Origami Horse
The origami horse will please every child. To make it yourself, follow the steps of the proposed master class. Younger children would require help with the steps. A detailed description will help you understand each step. If you take a large sheet of paper, then the horse will turn out to be of impressive size! Let’s start the master class!
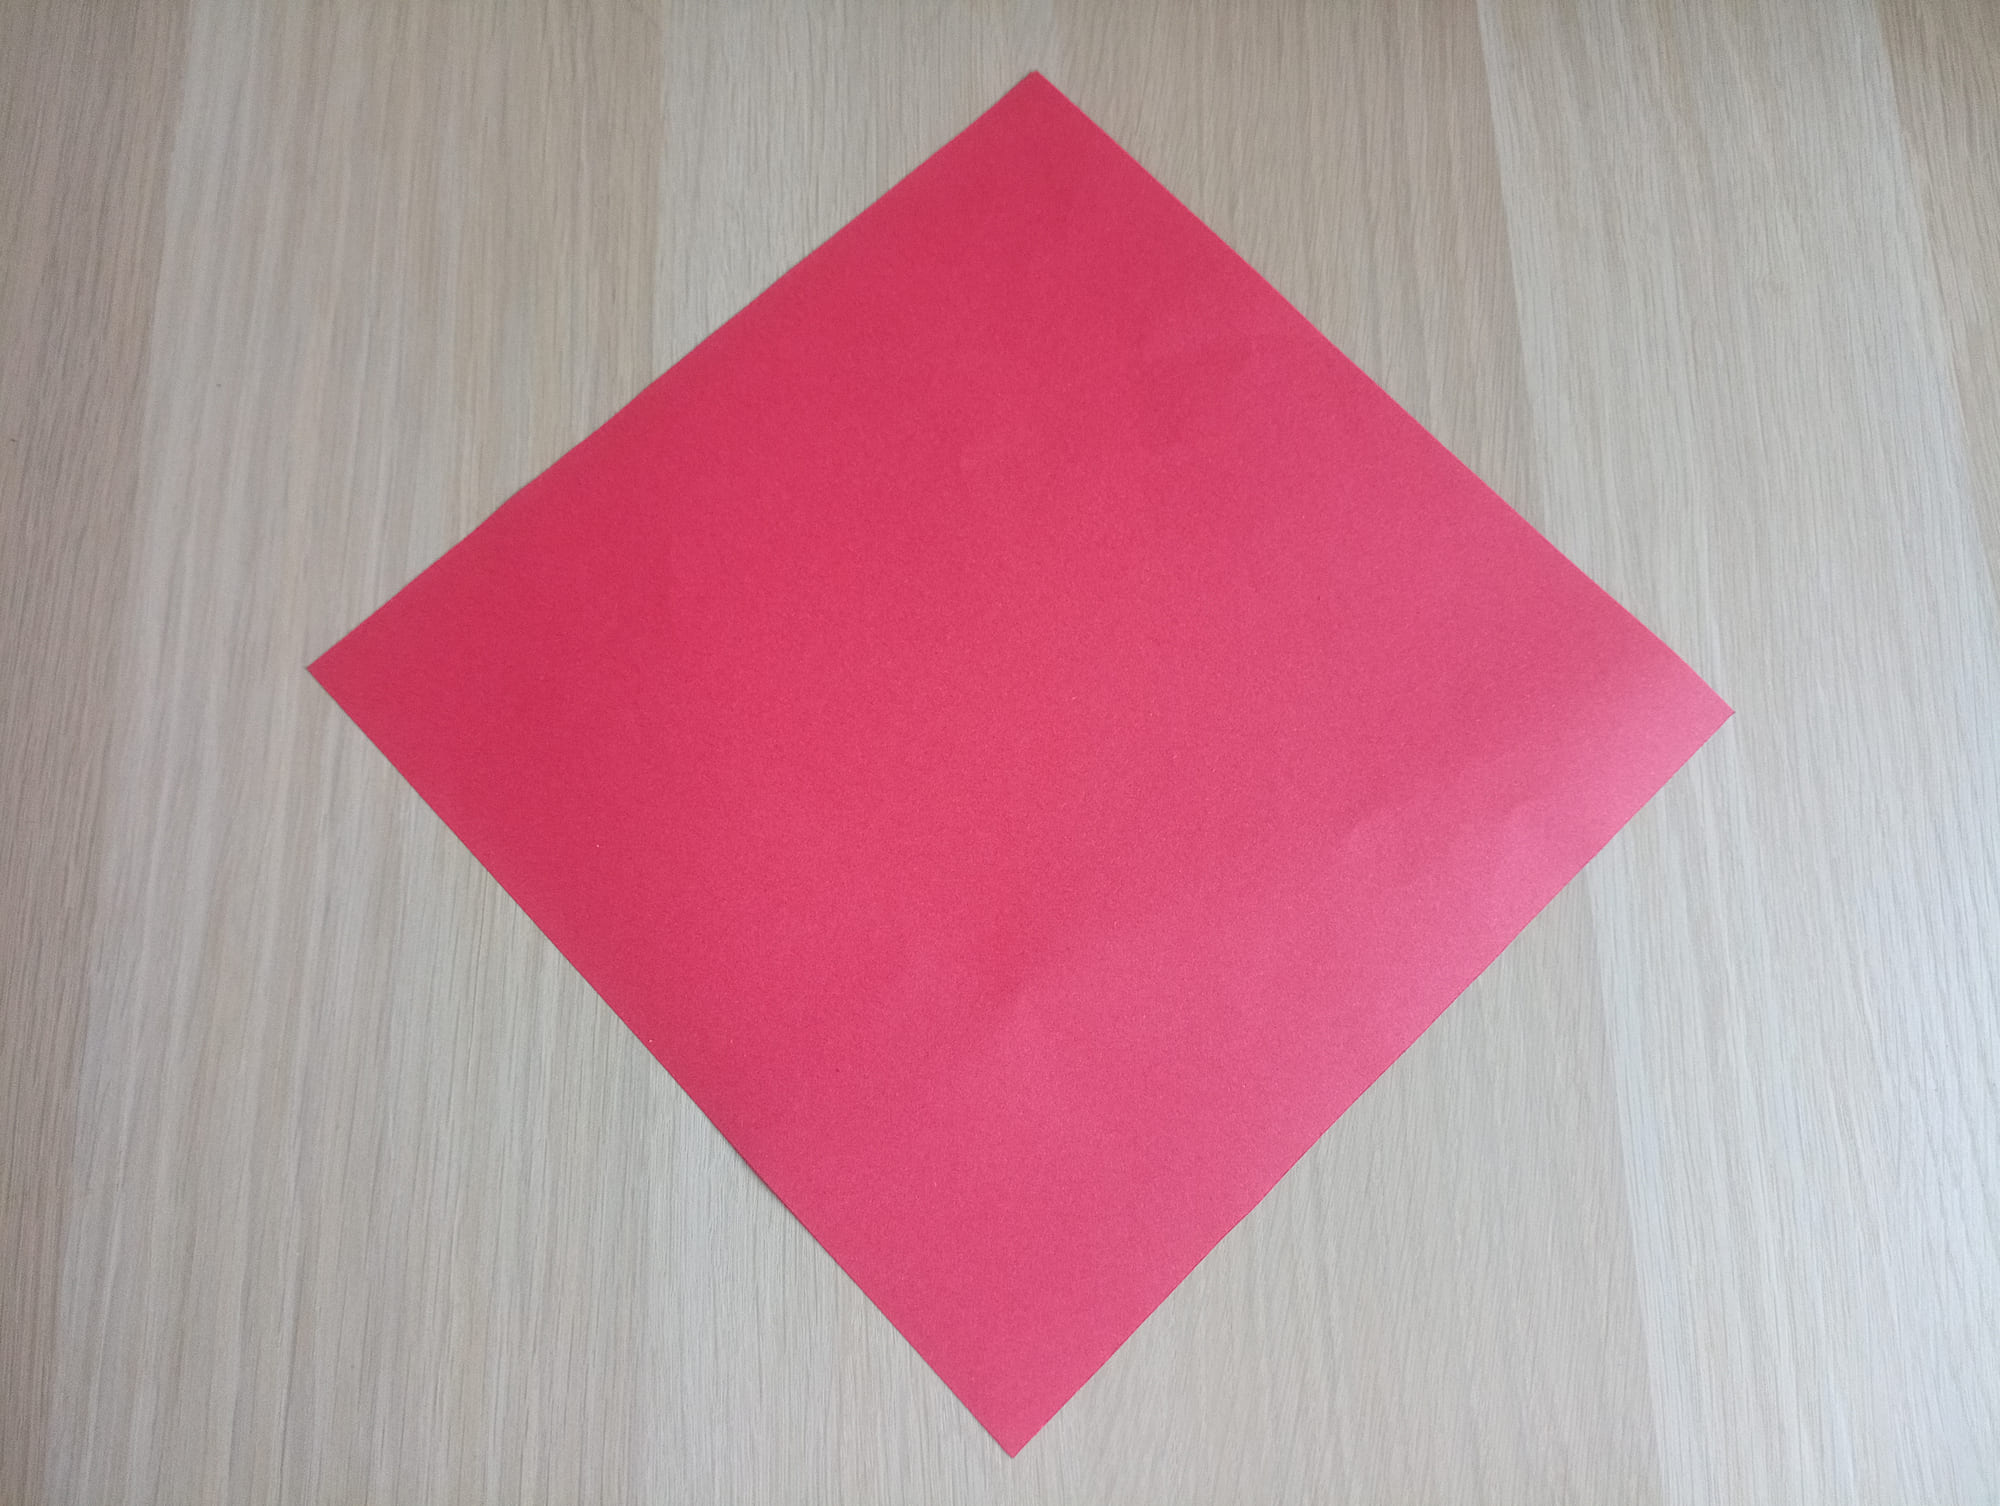
Take a sheet of paper (size 15×15 cm).
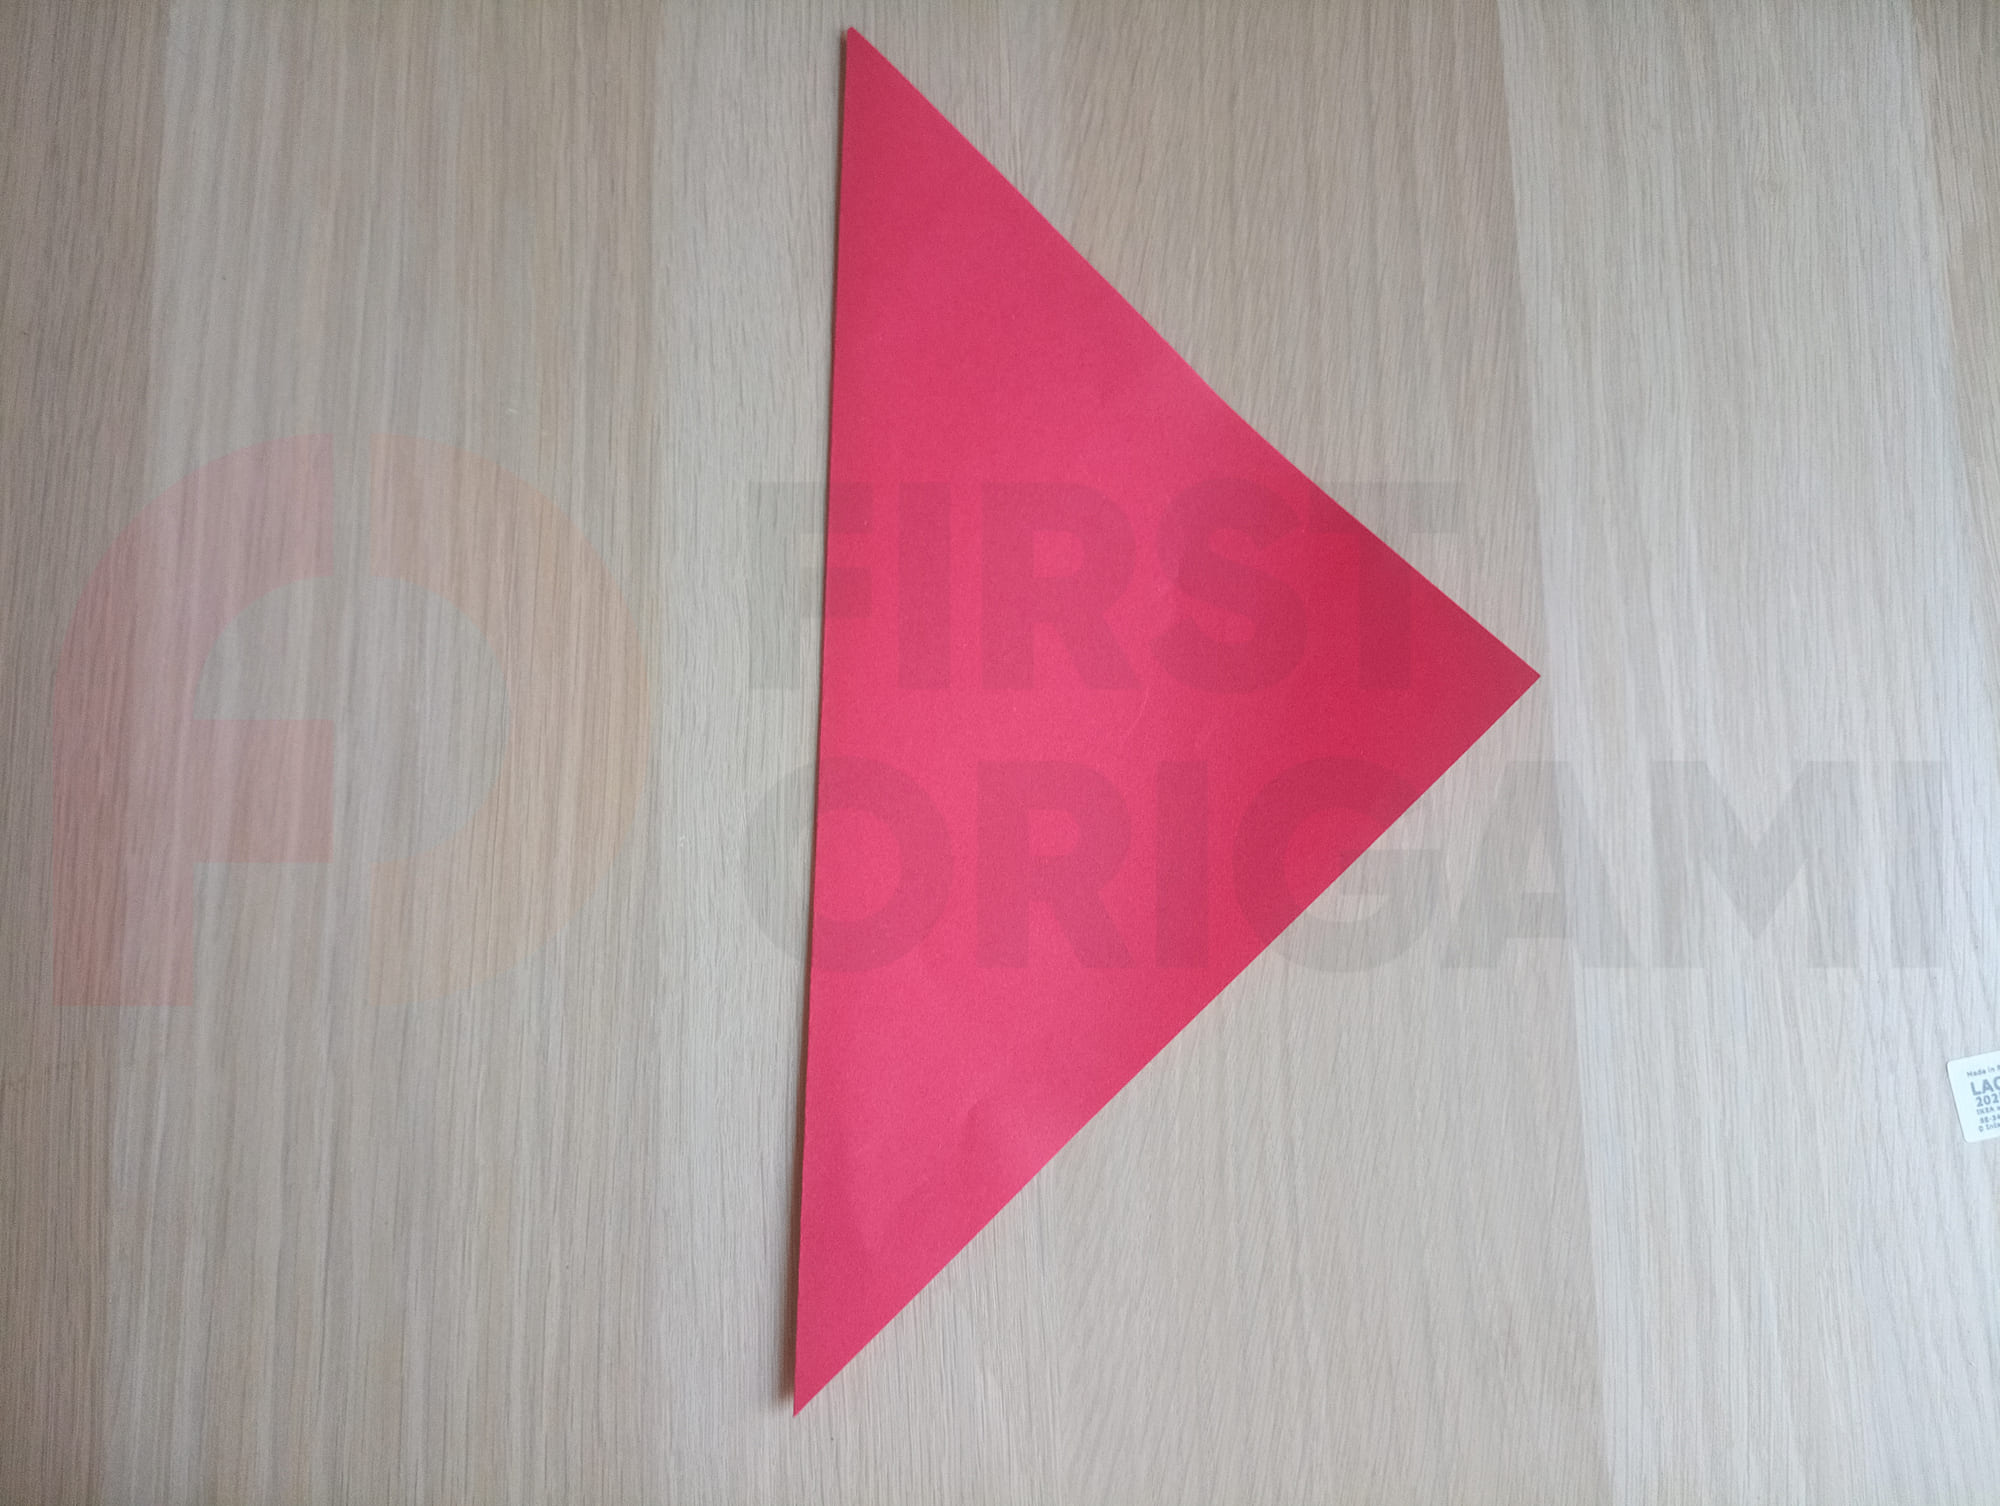
Fold the sheet in half diagonally.
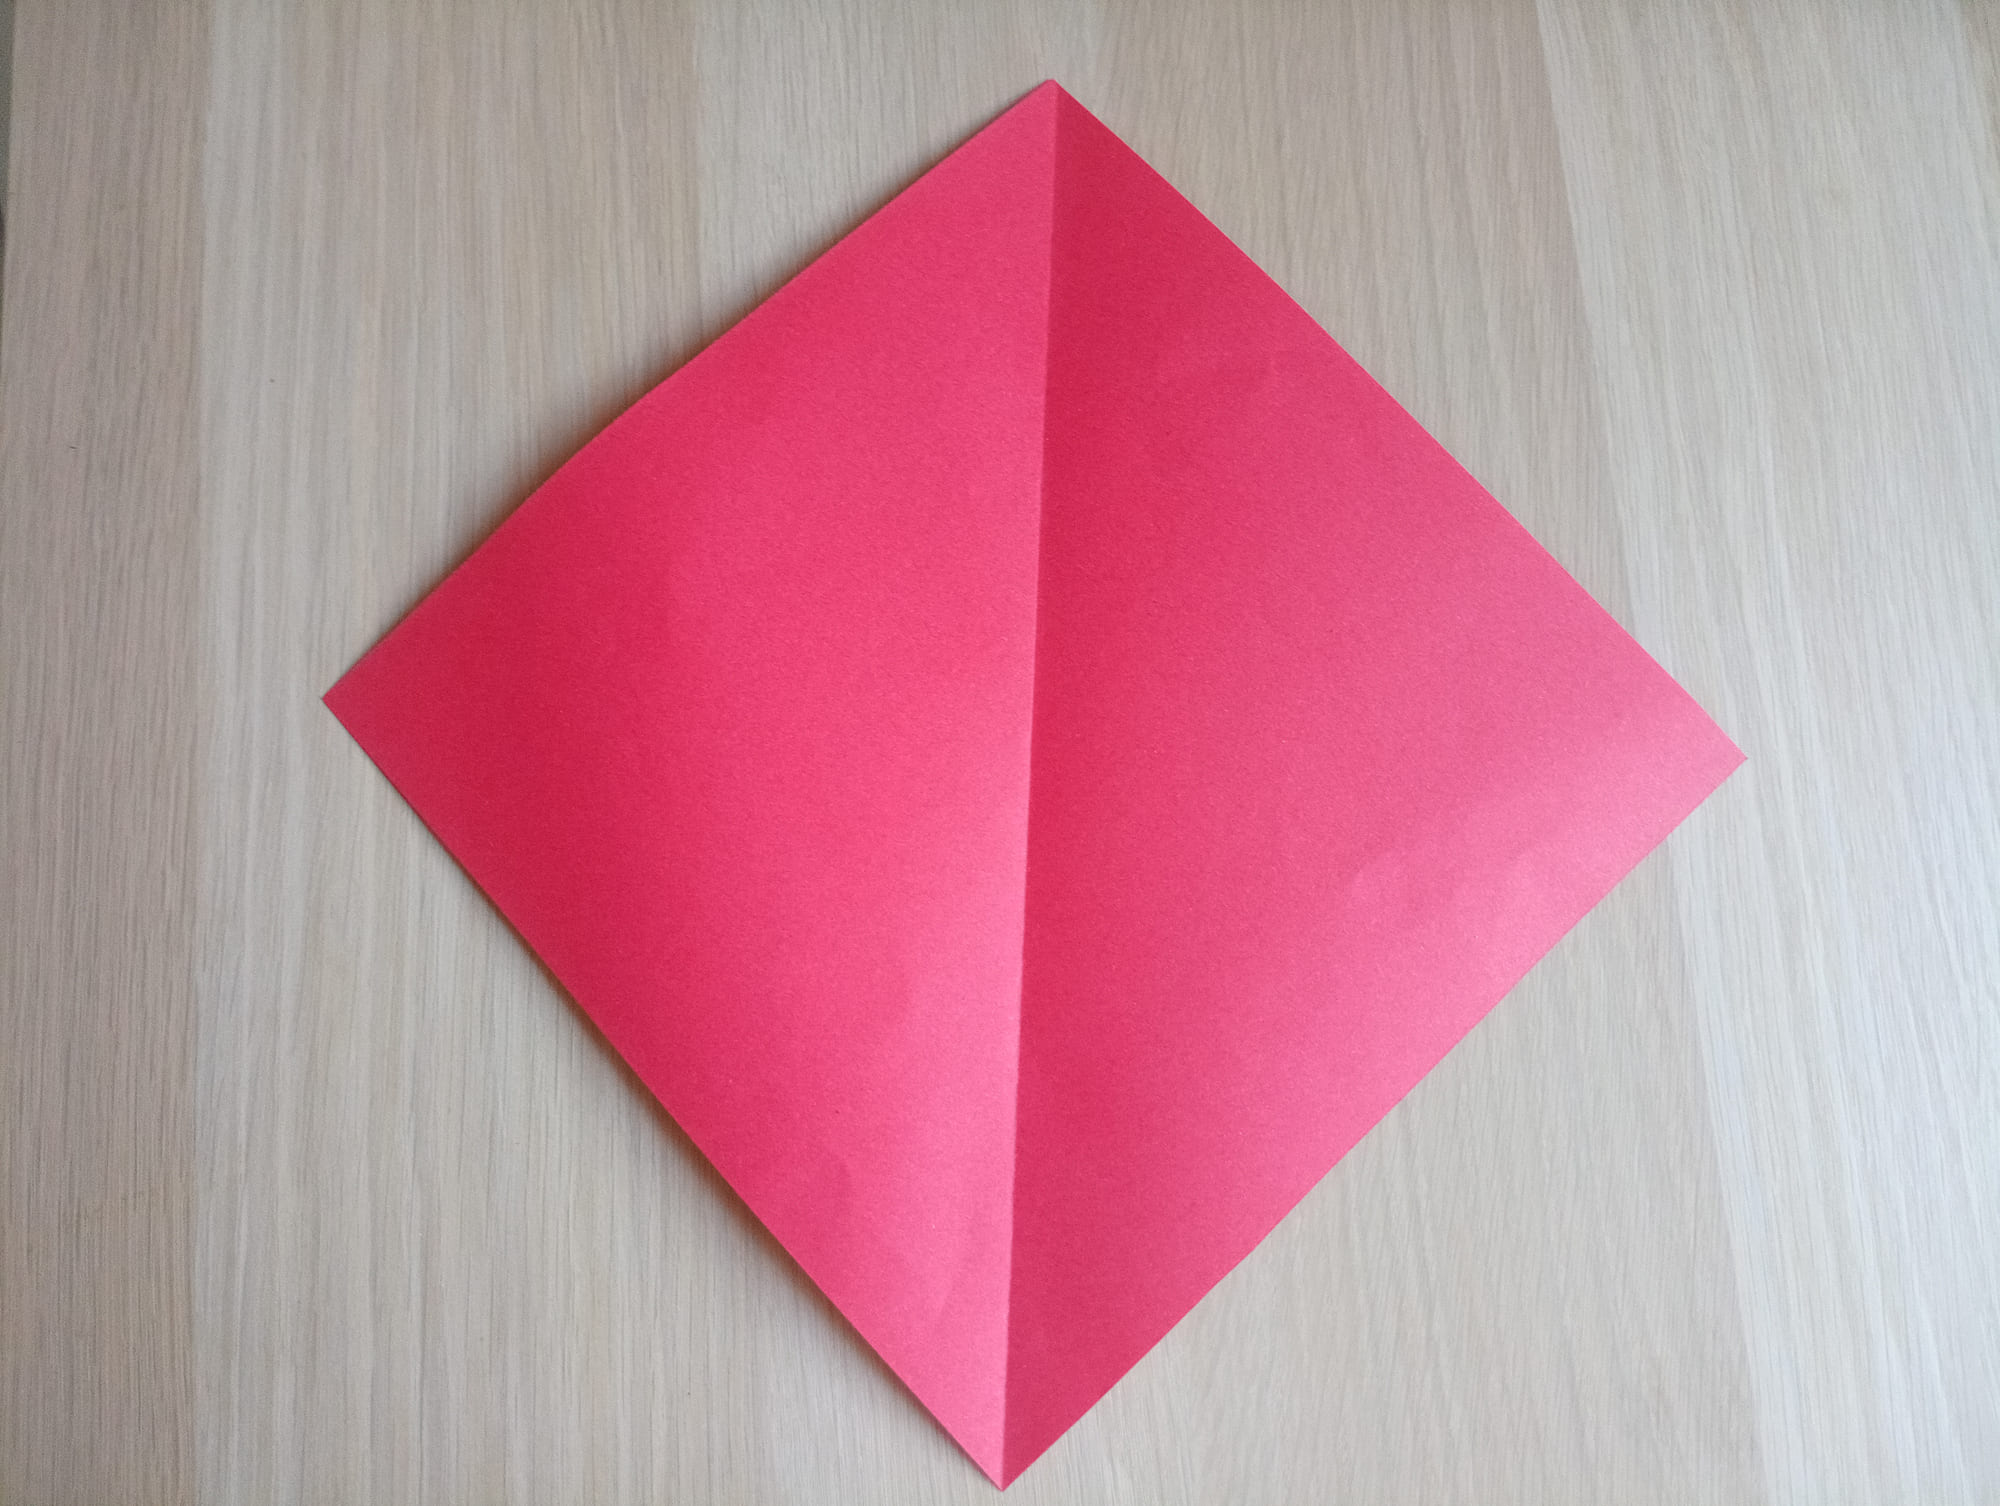
Open the sheet again, a central fold appears in the middle. You should use it as a guide when performing next steps.
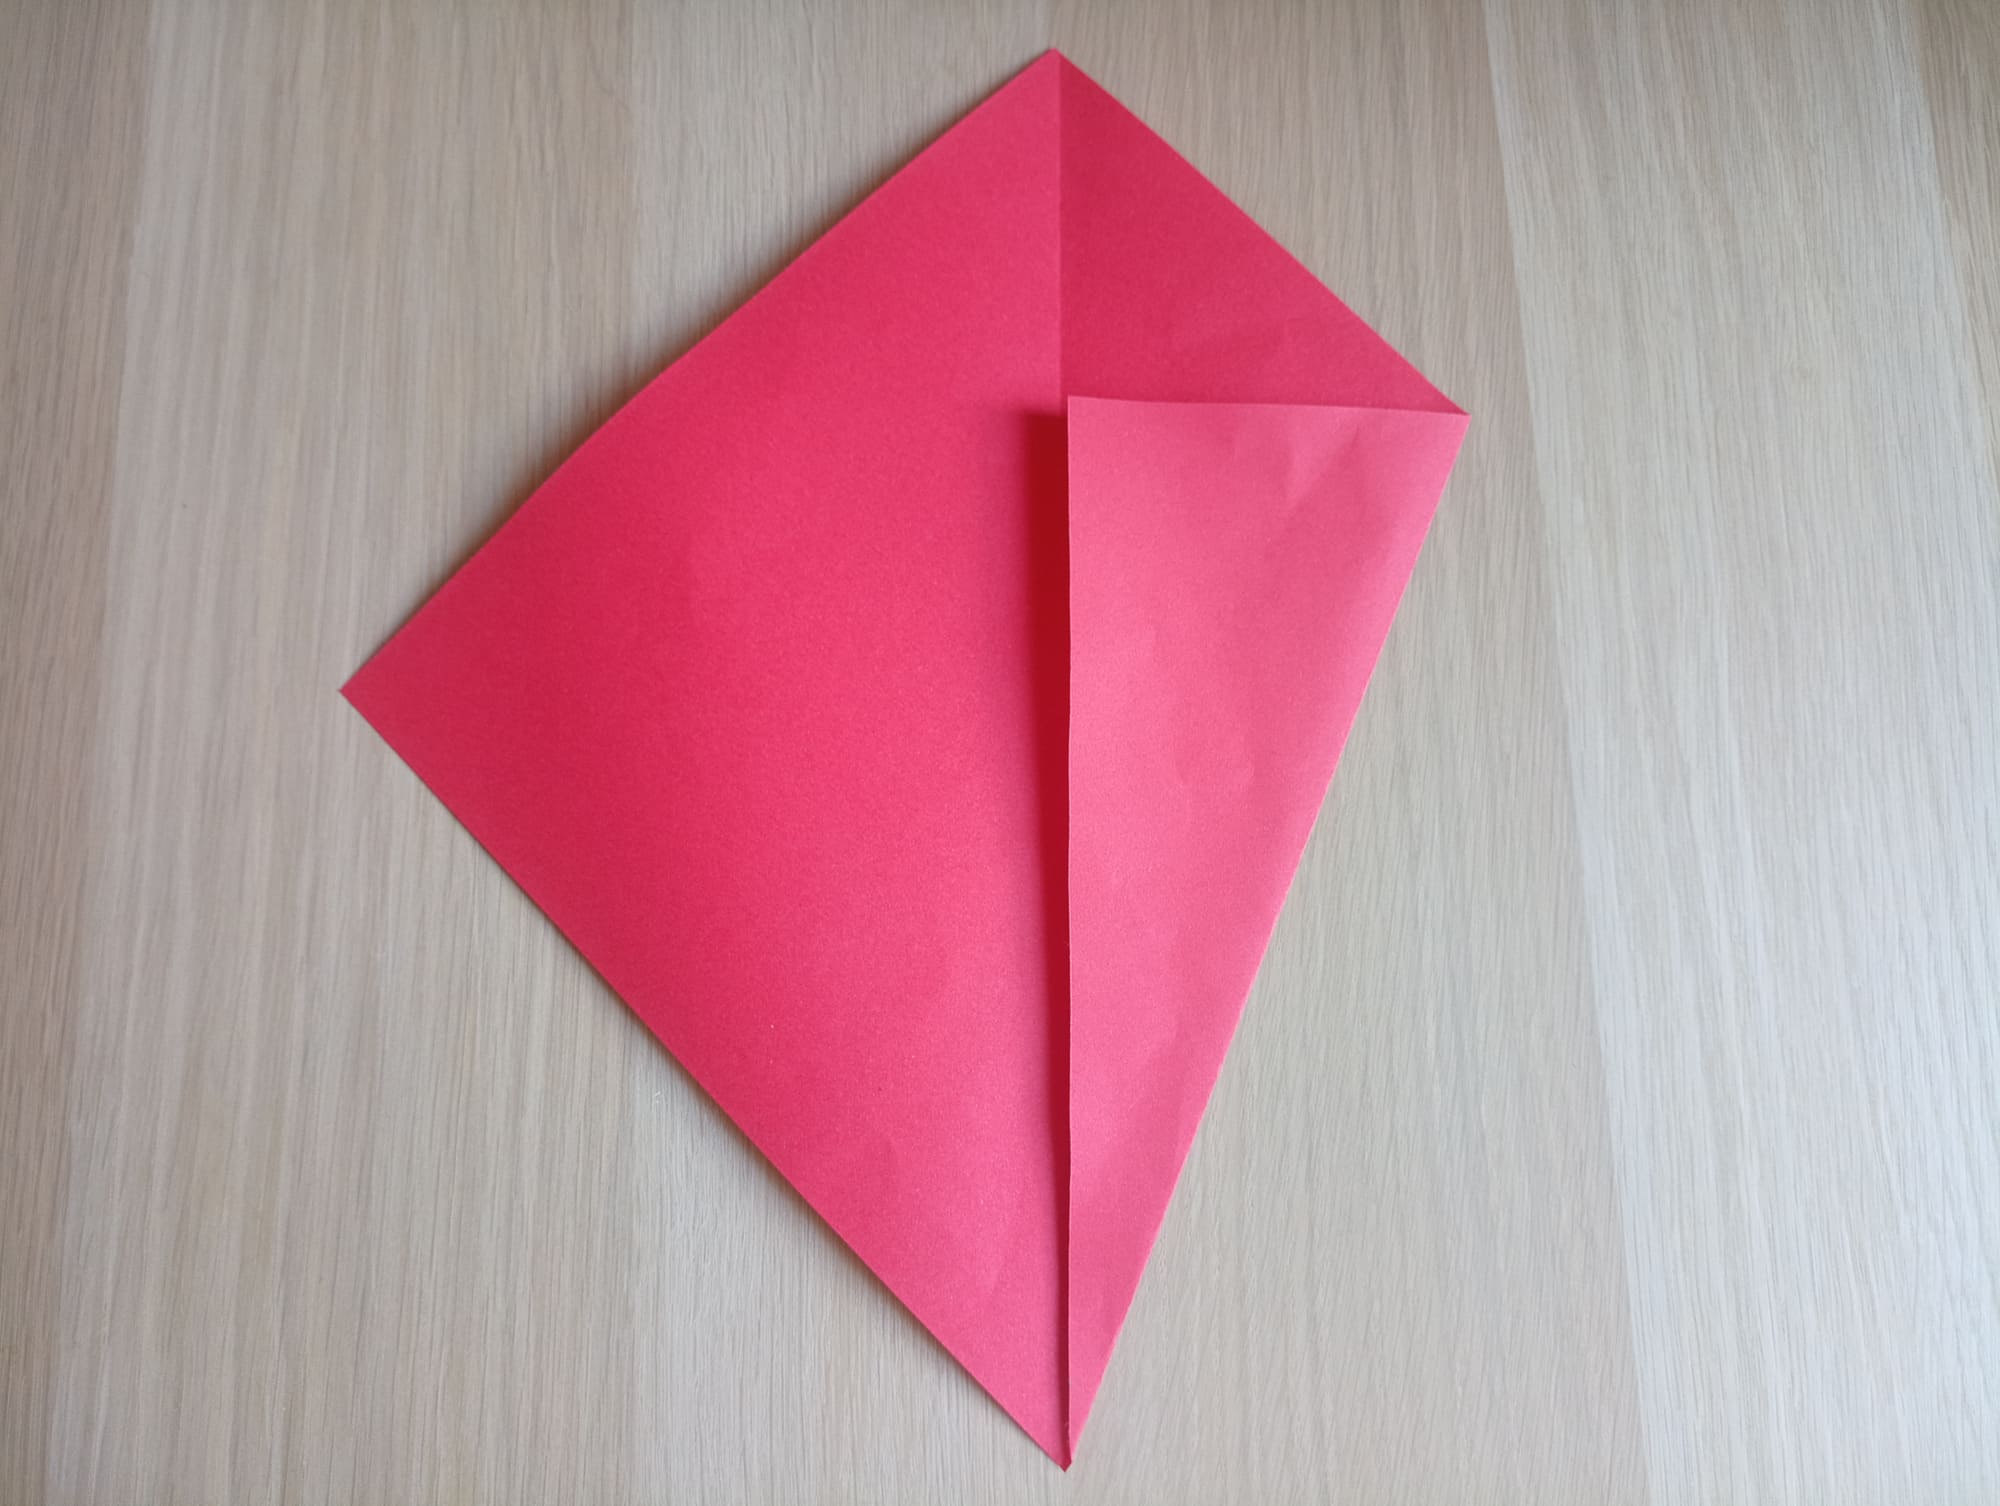
The right corner of the rhombus figure must be bent to the midline.
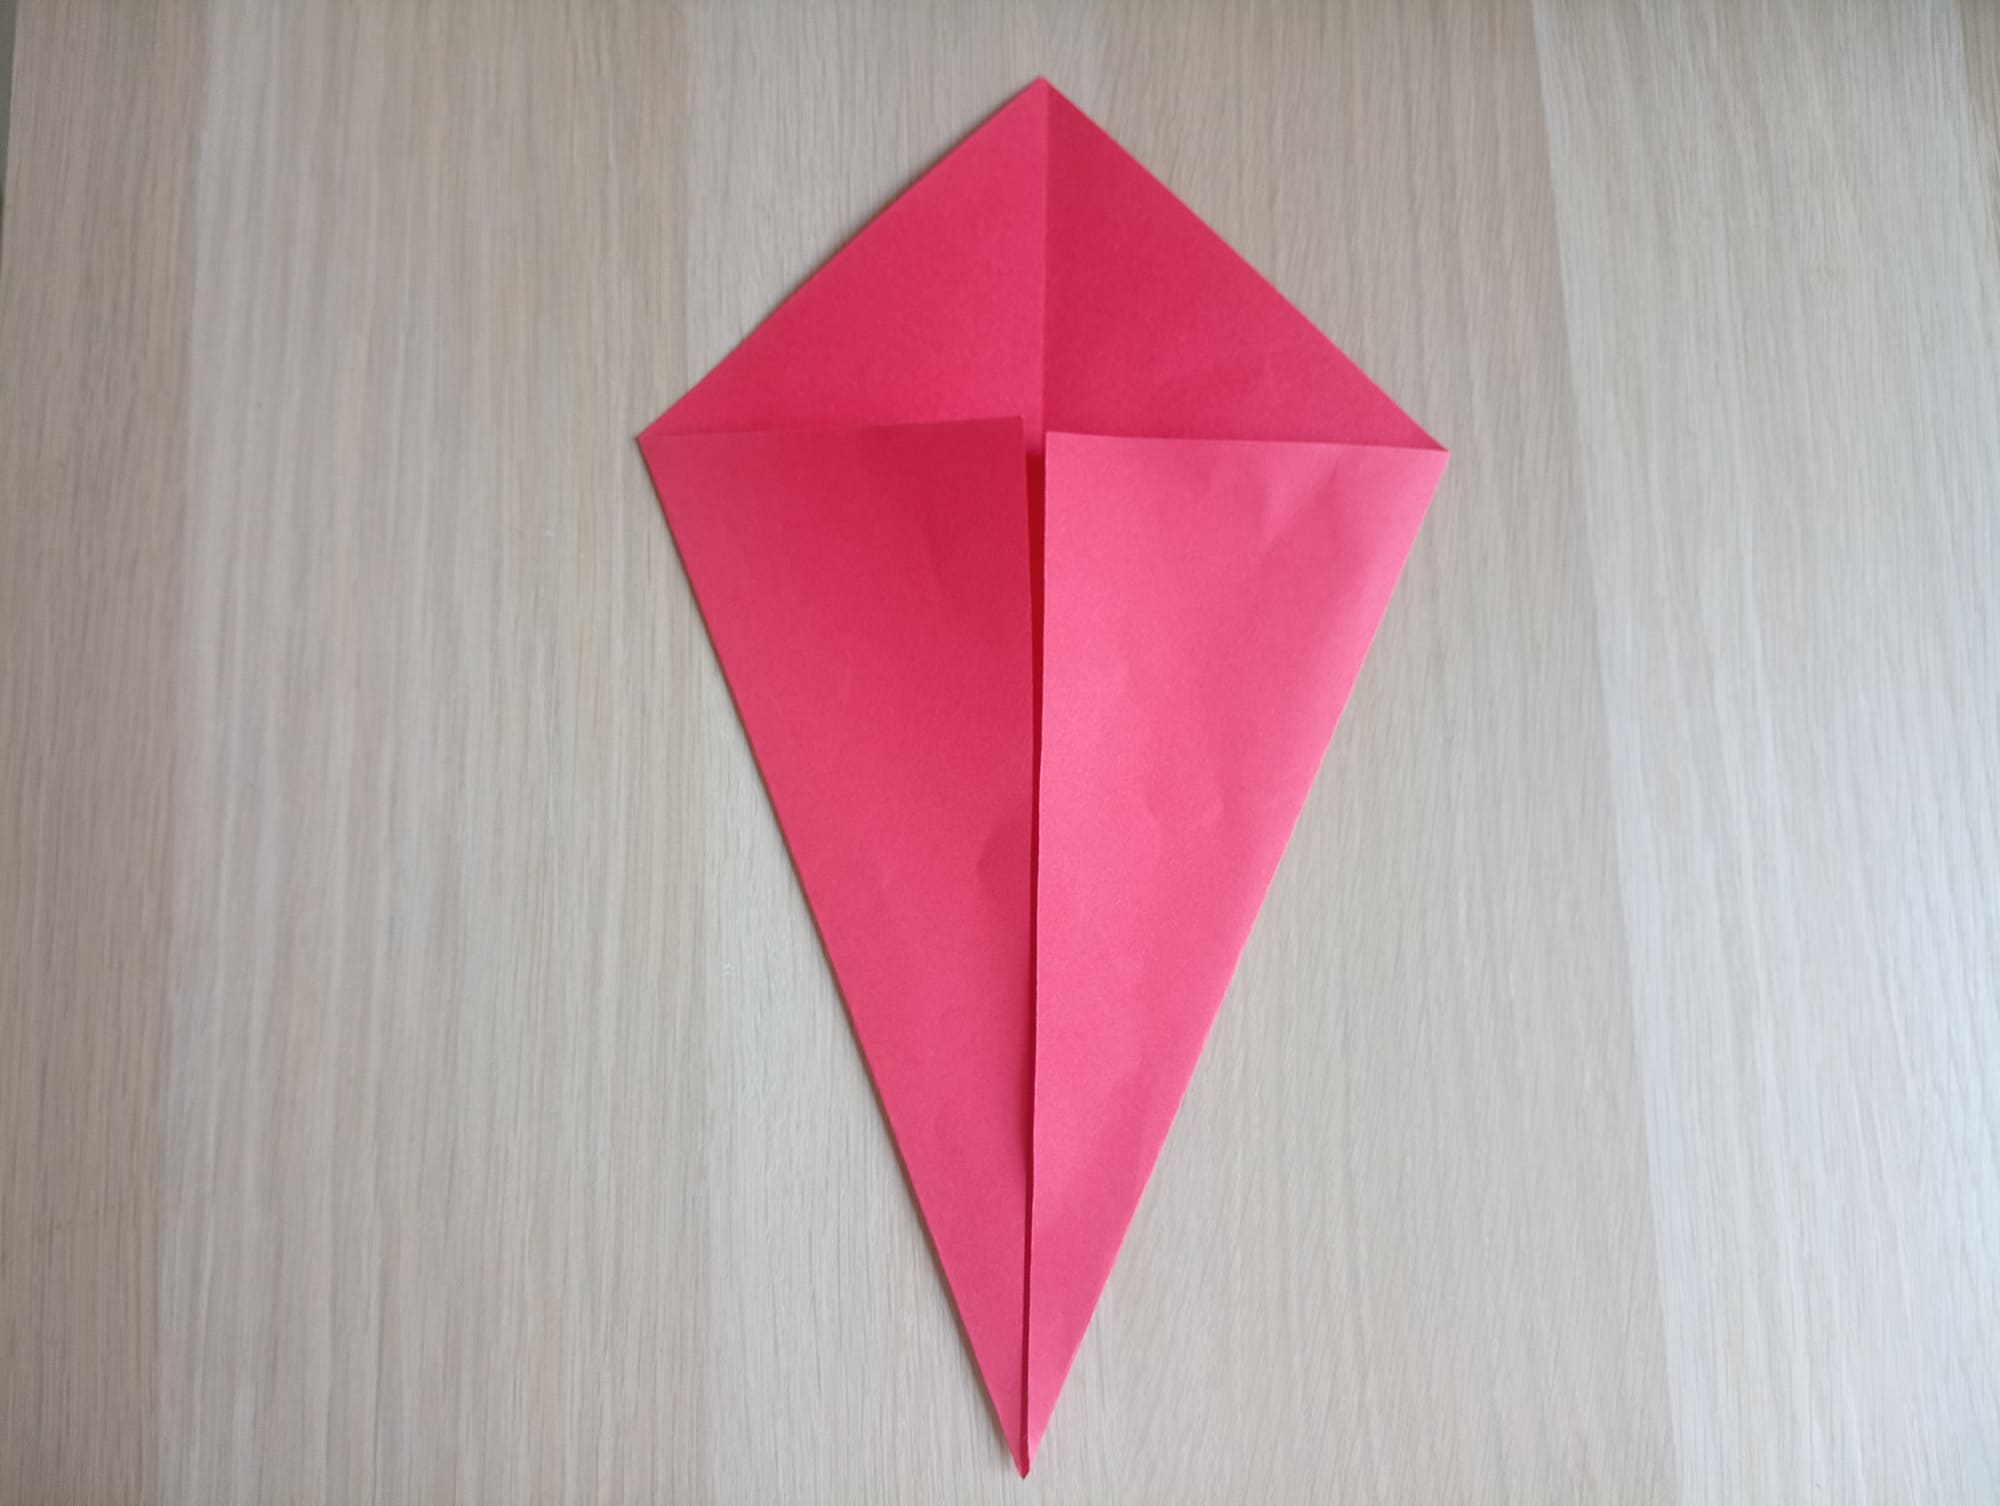
Repeat the action with the left corner.
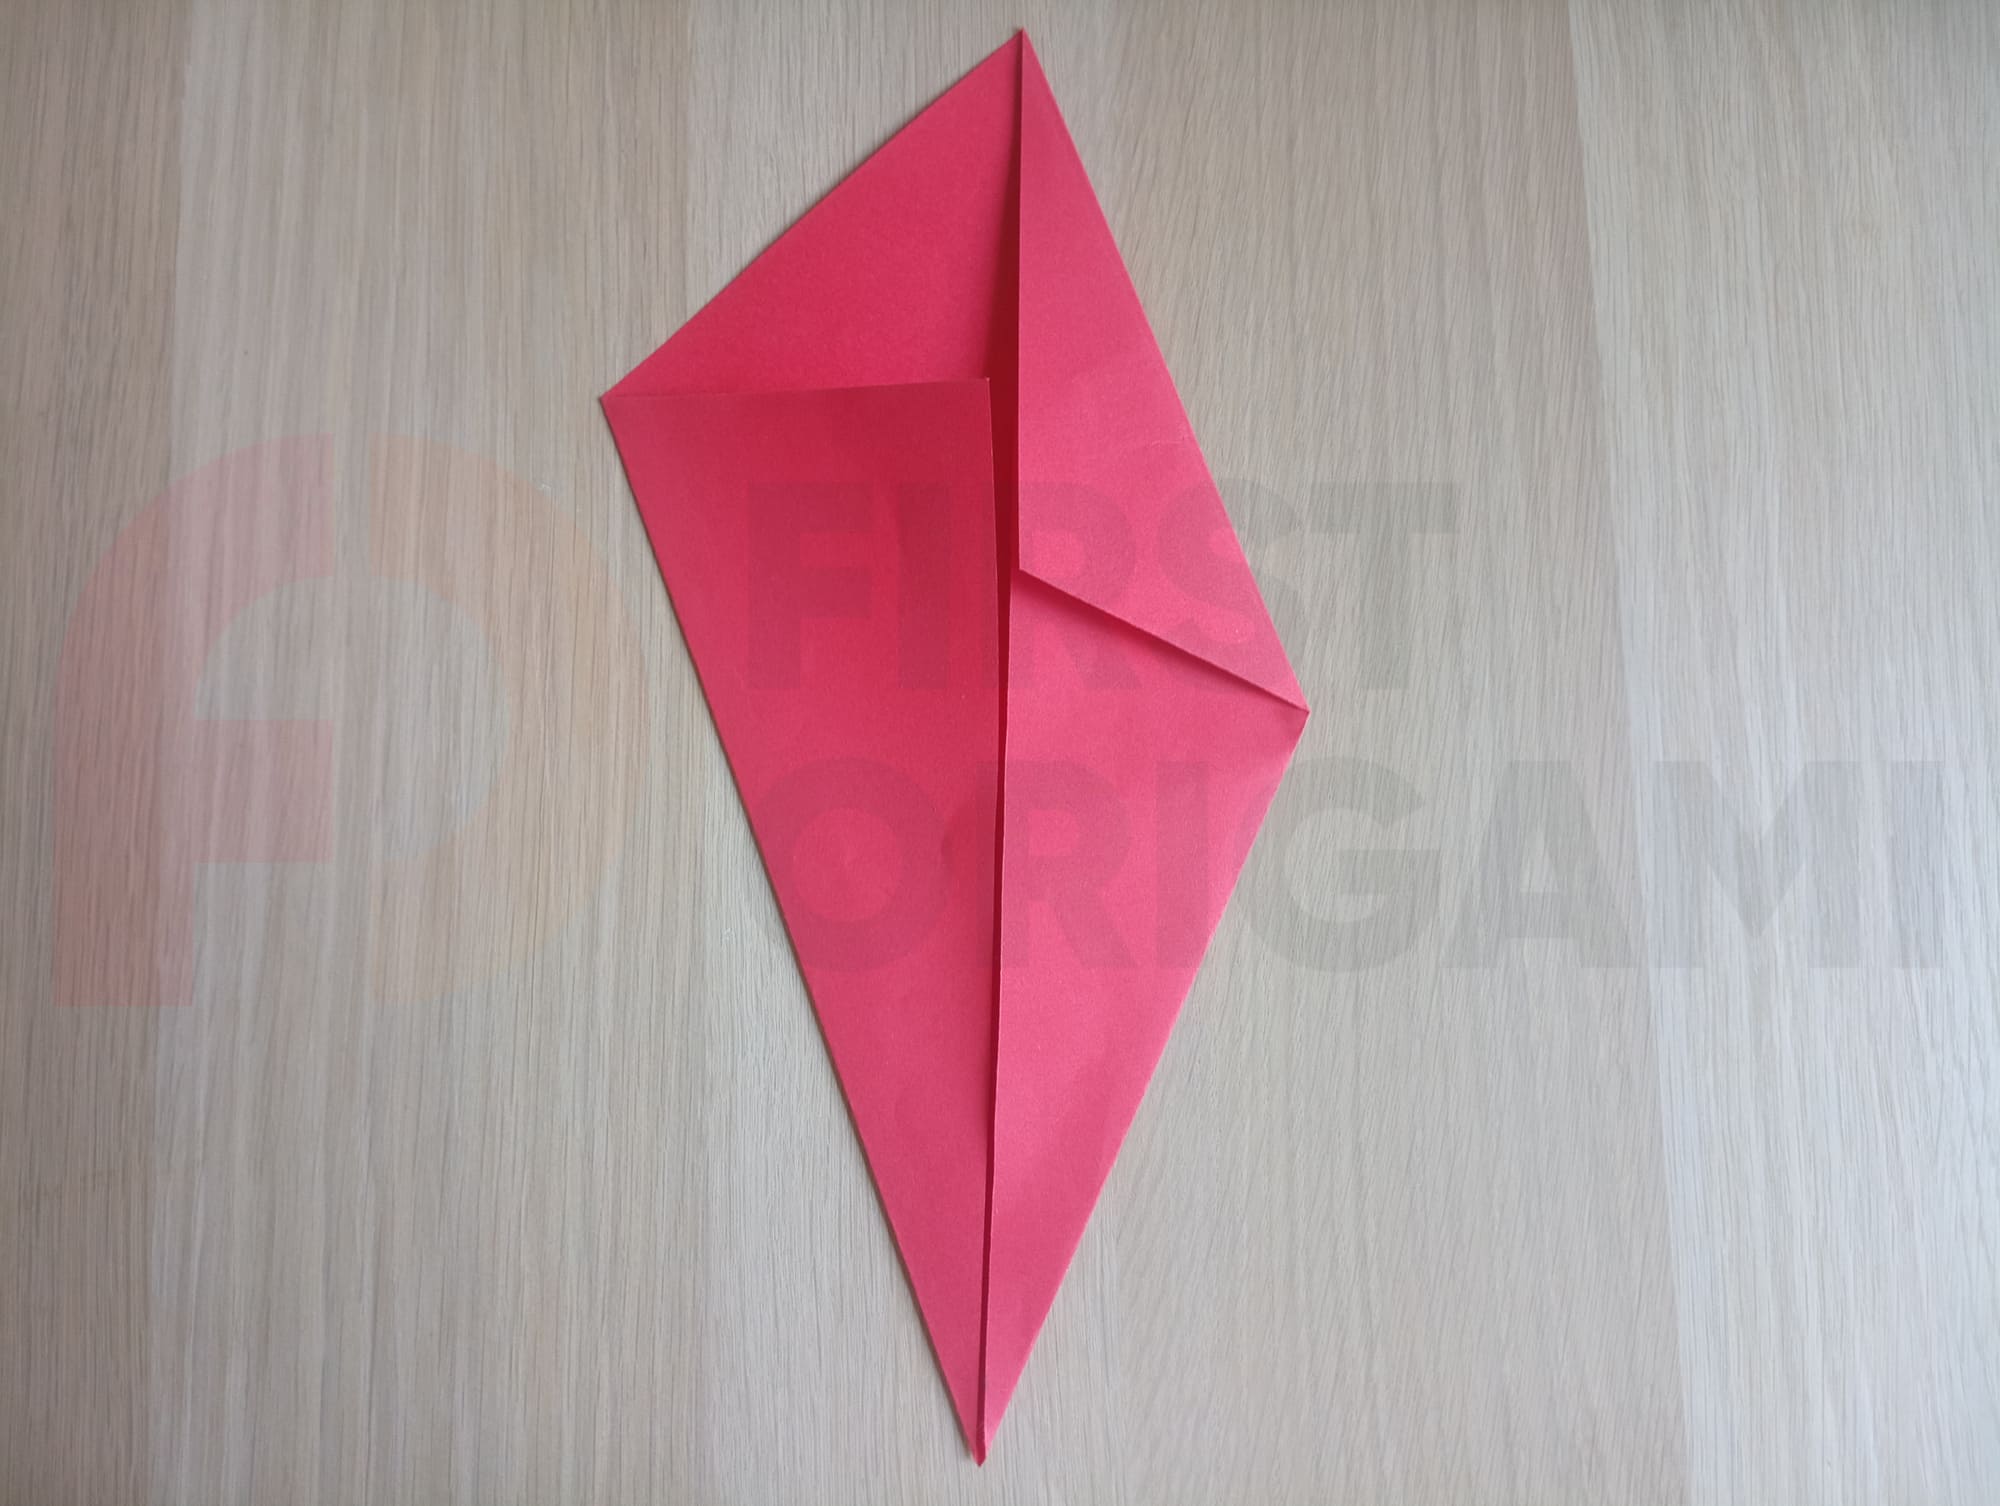
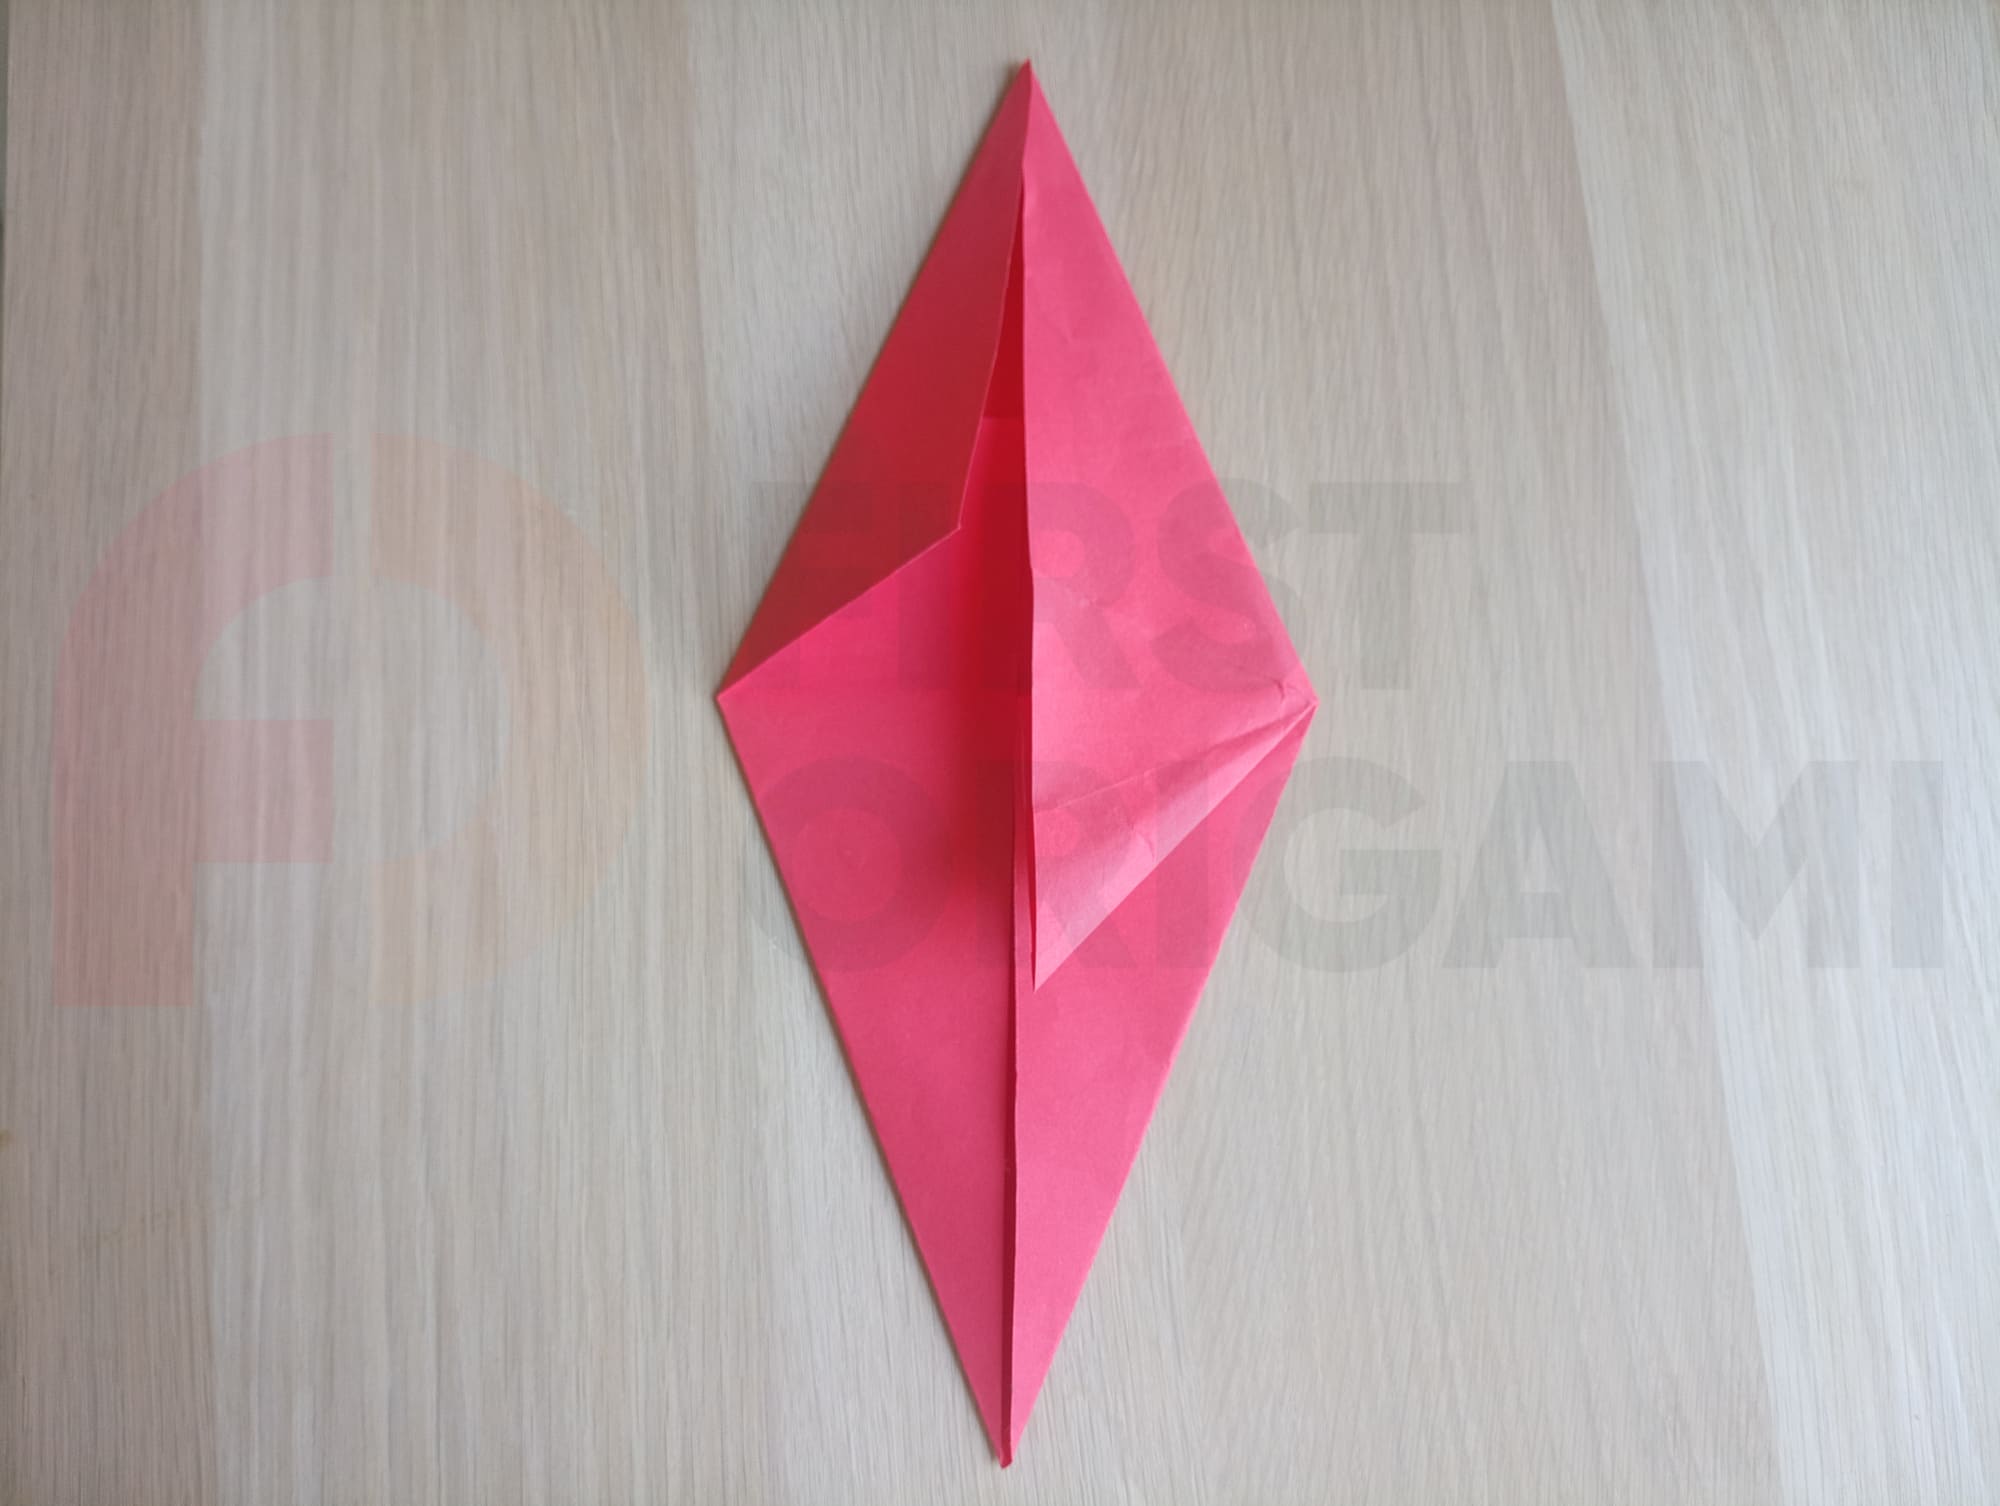
Bend the upper right corner also to the middle fold line.
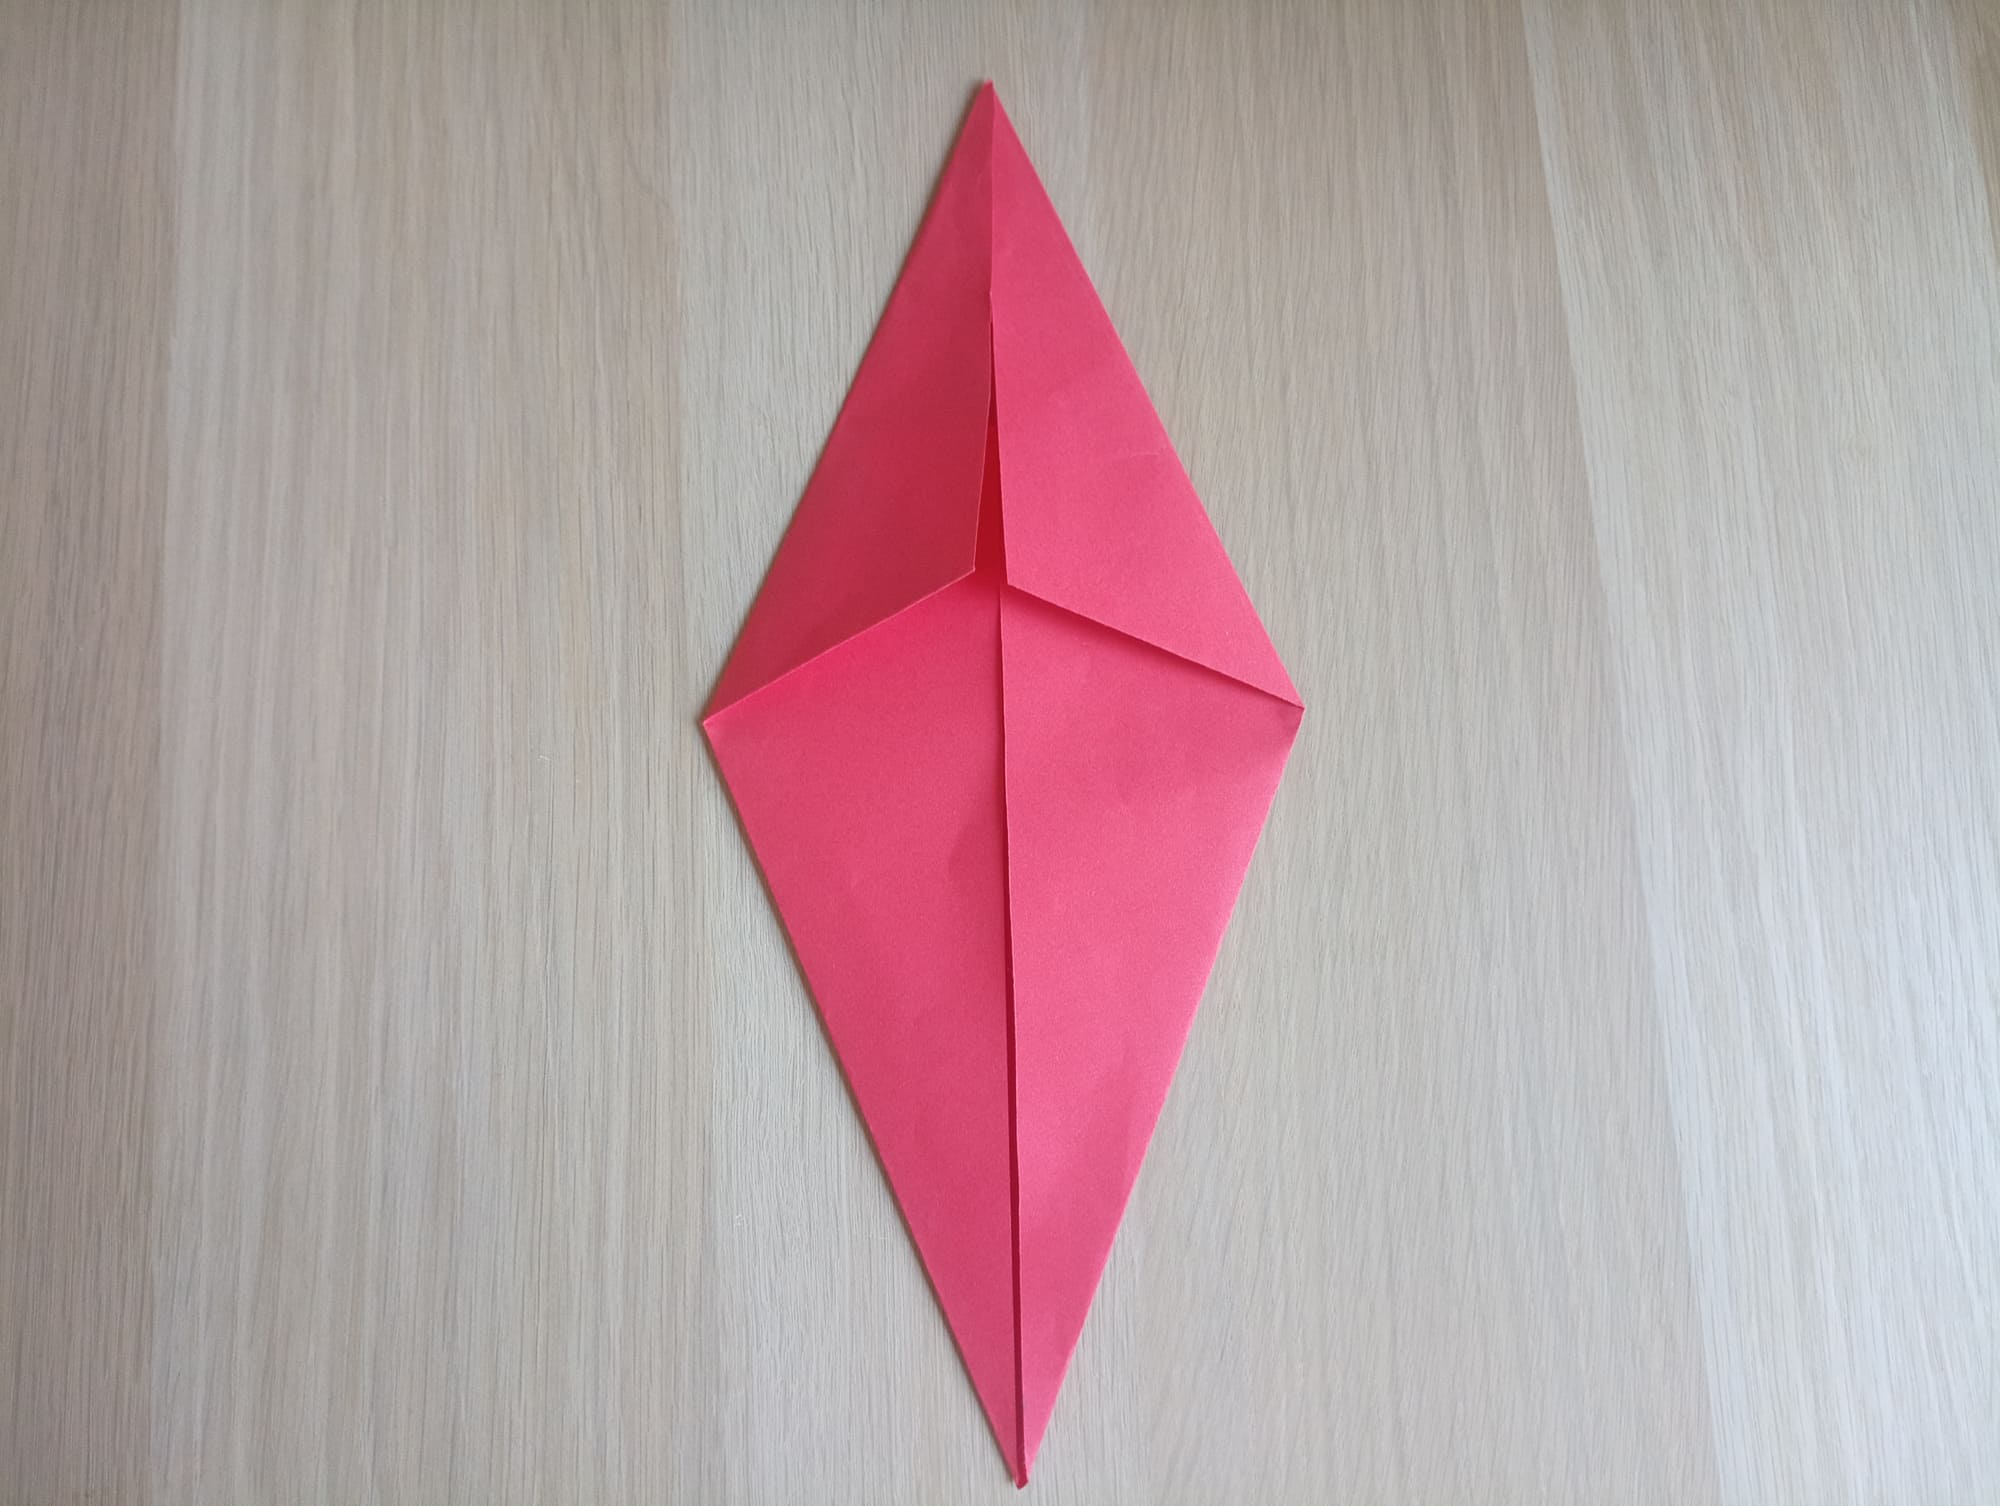
It is also necessary to repeat the action with the upper left corner.
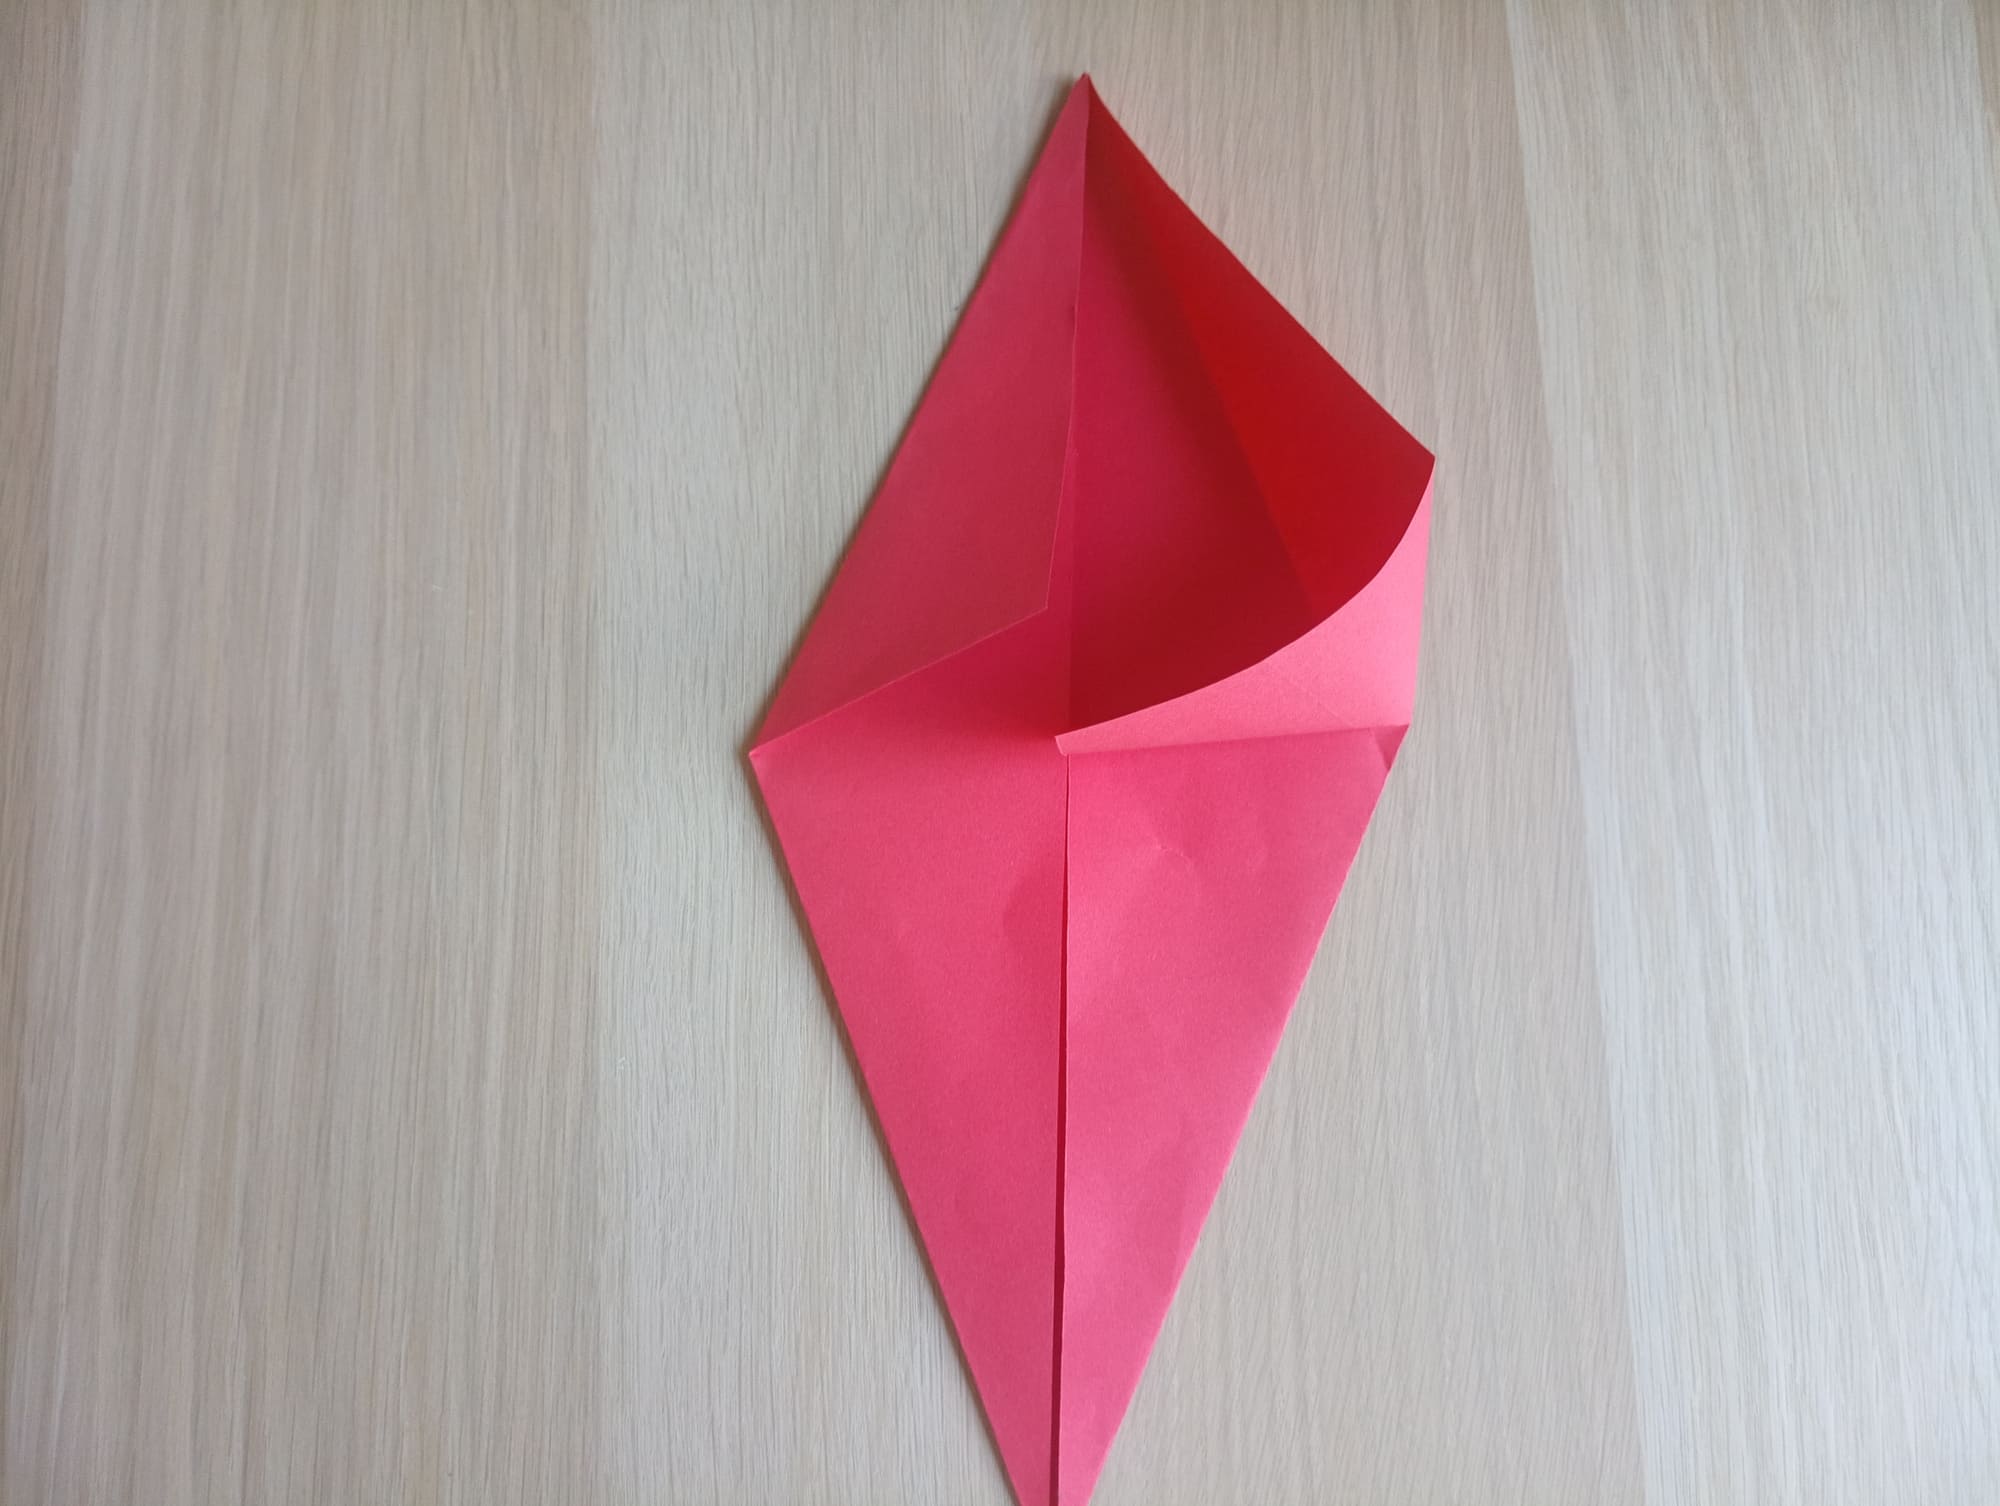
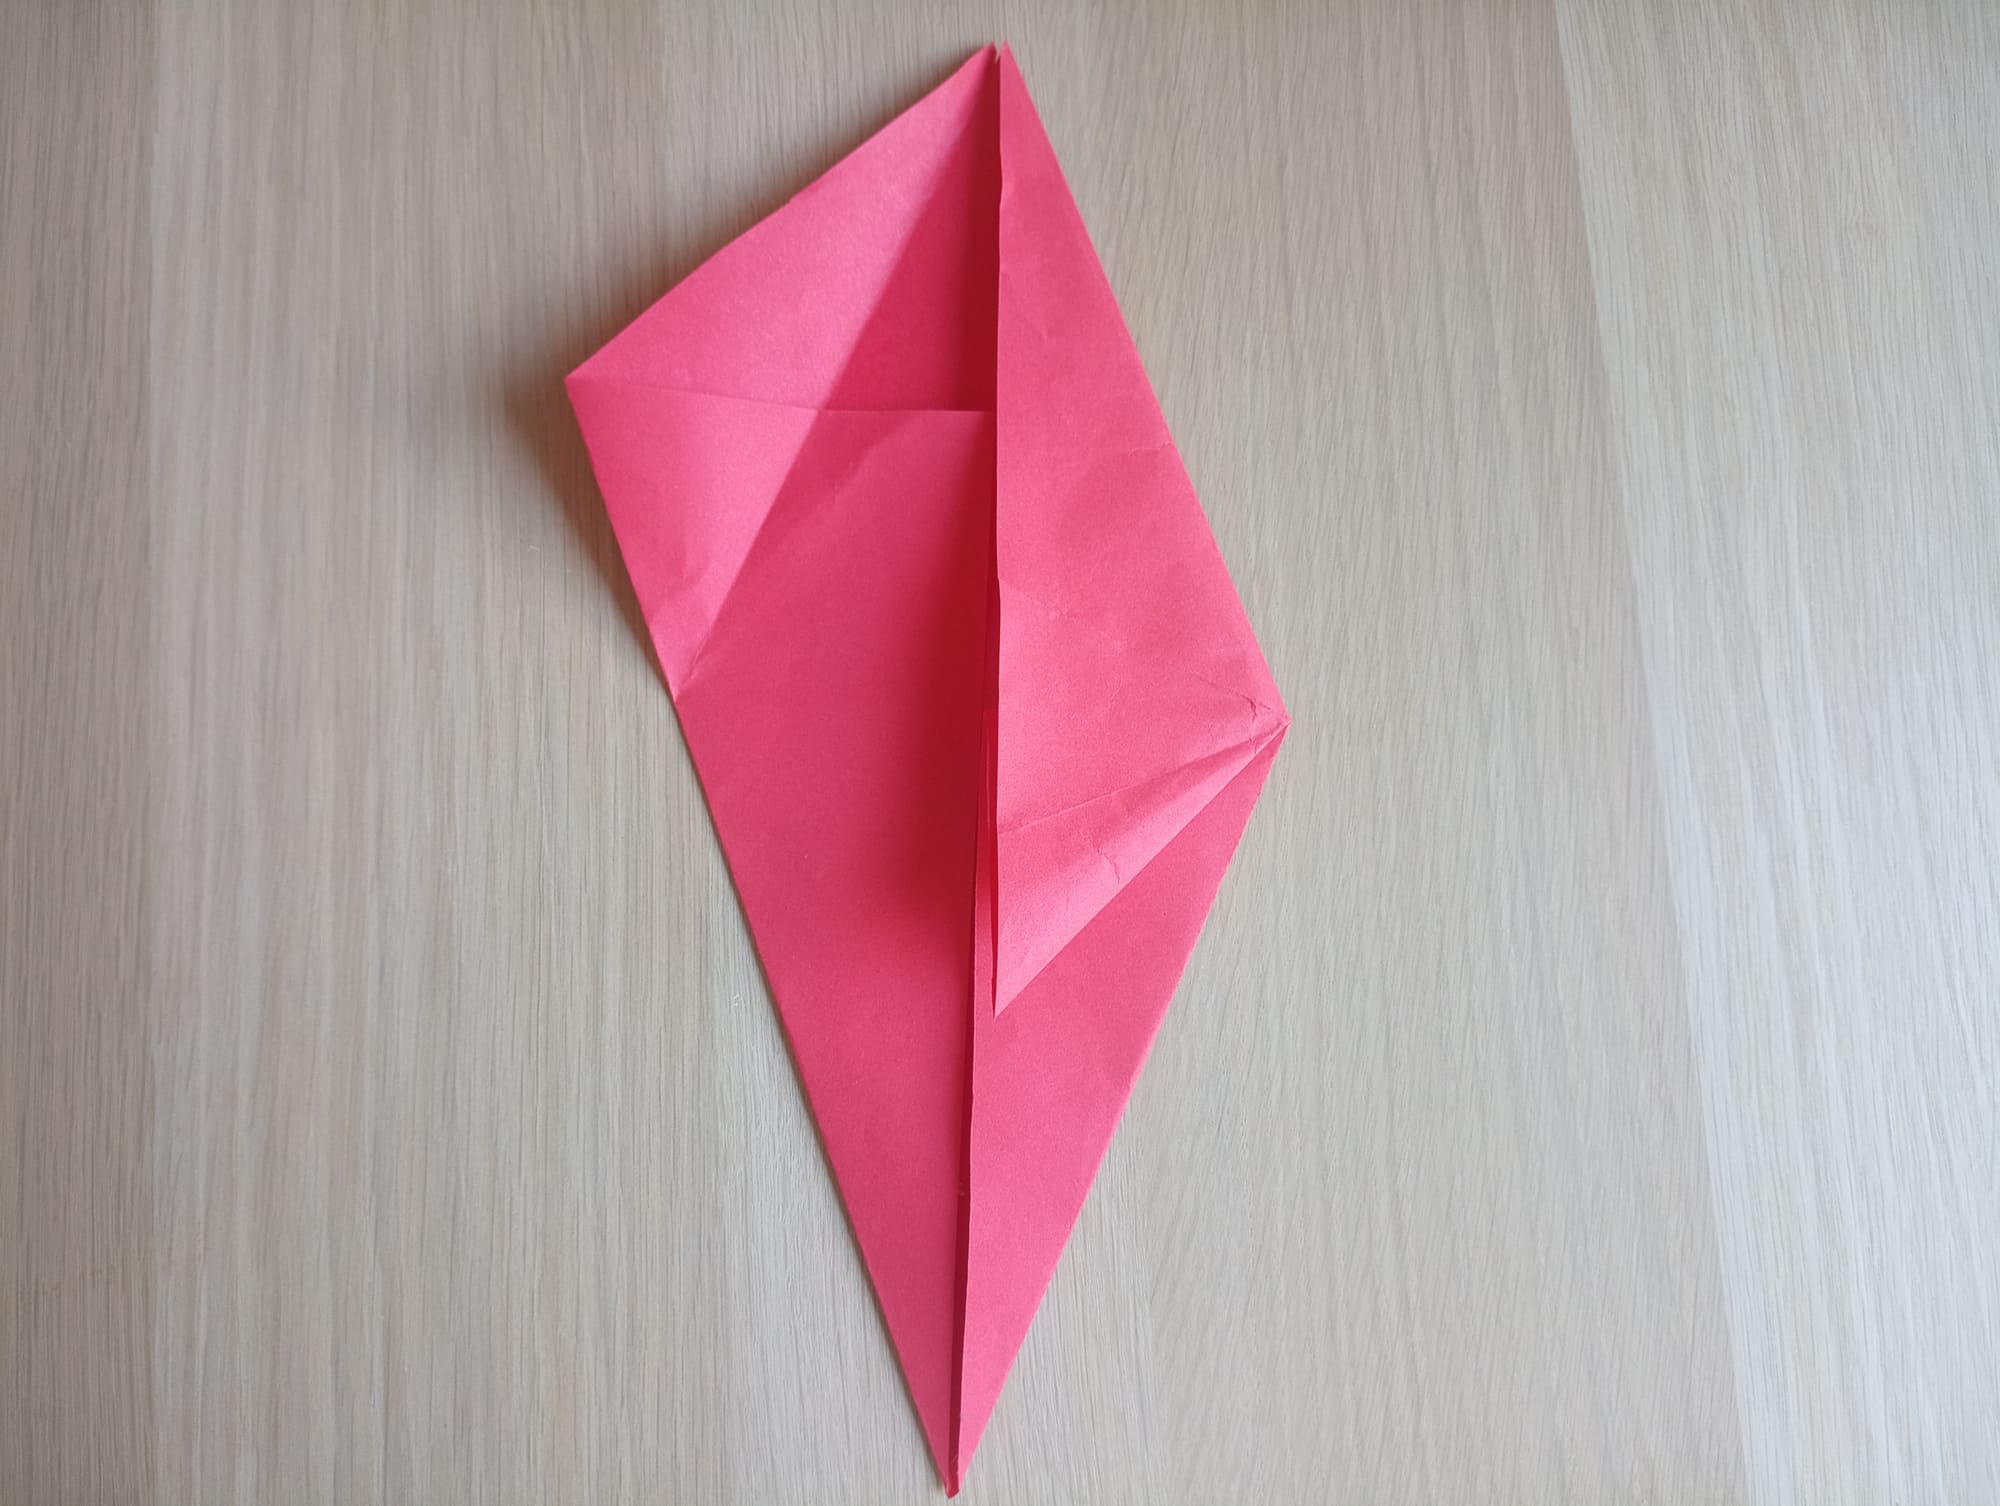
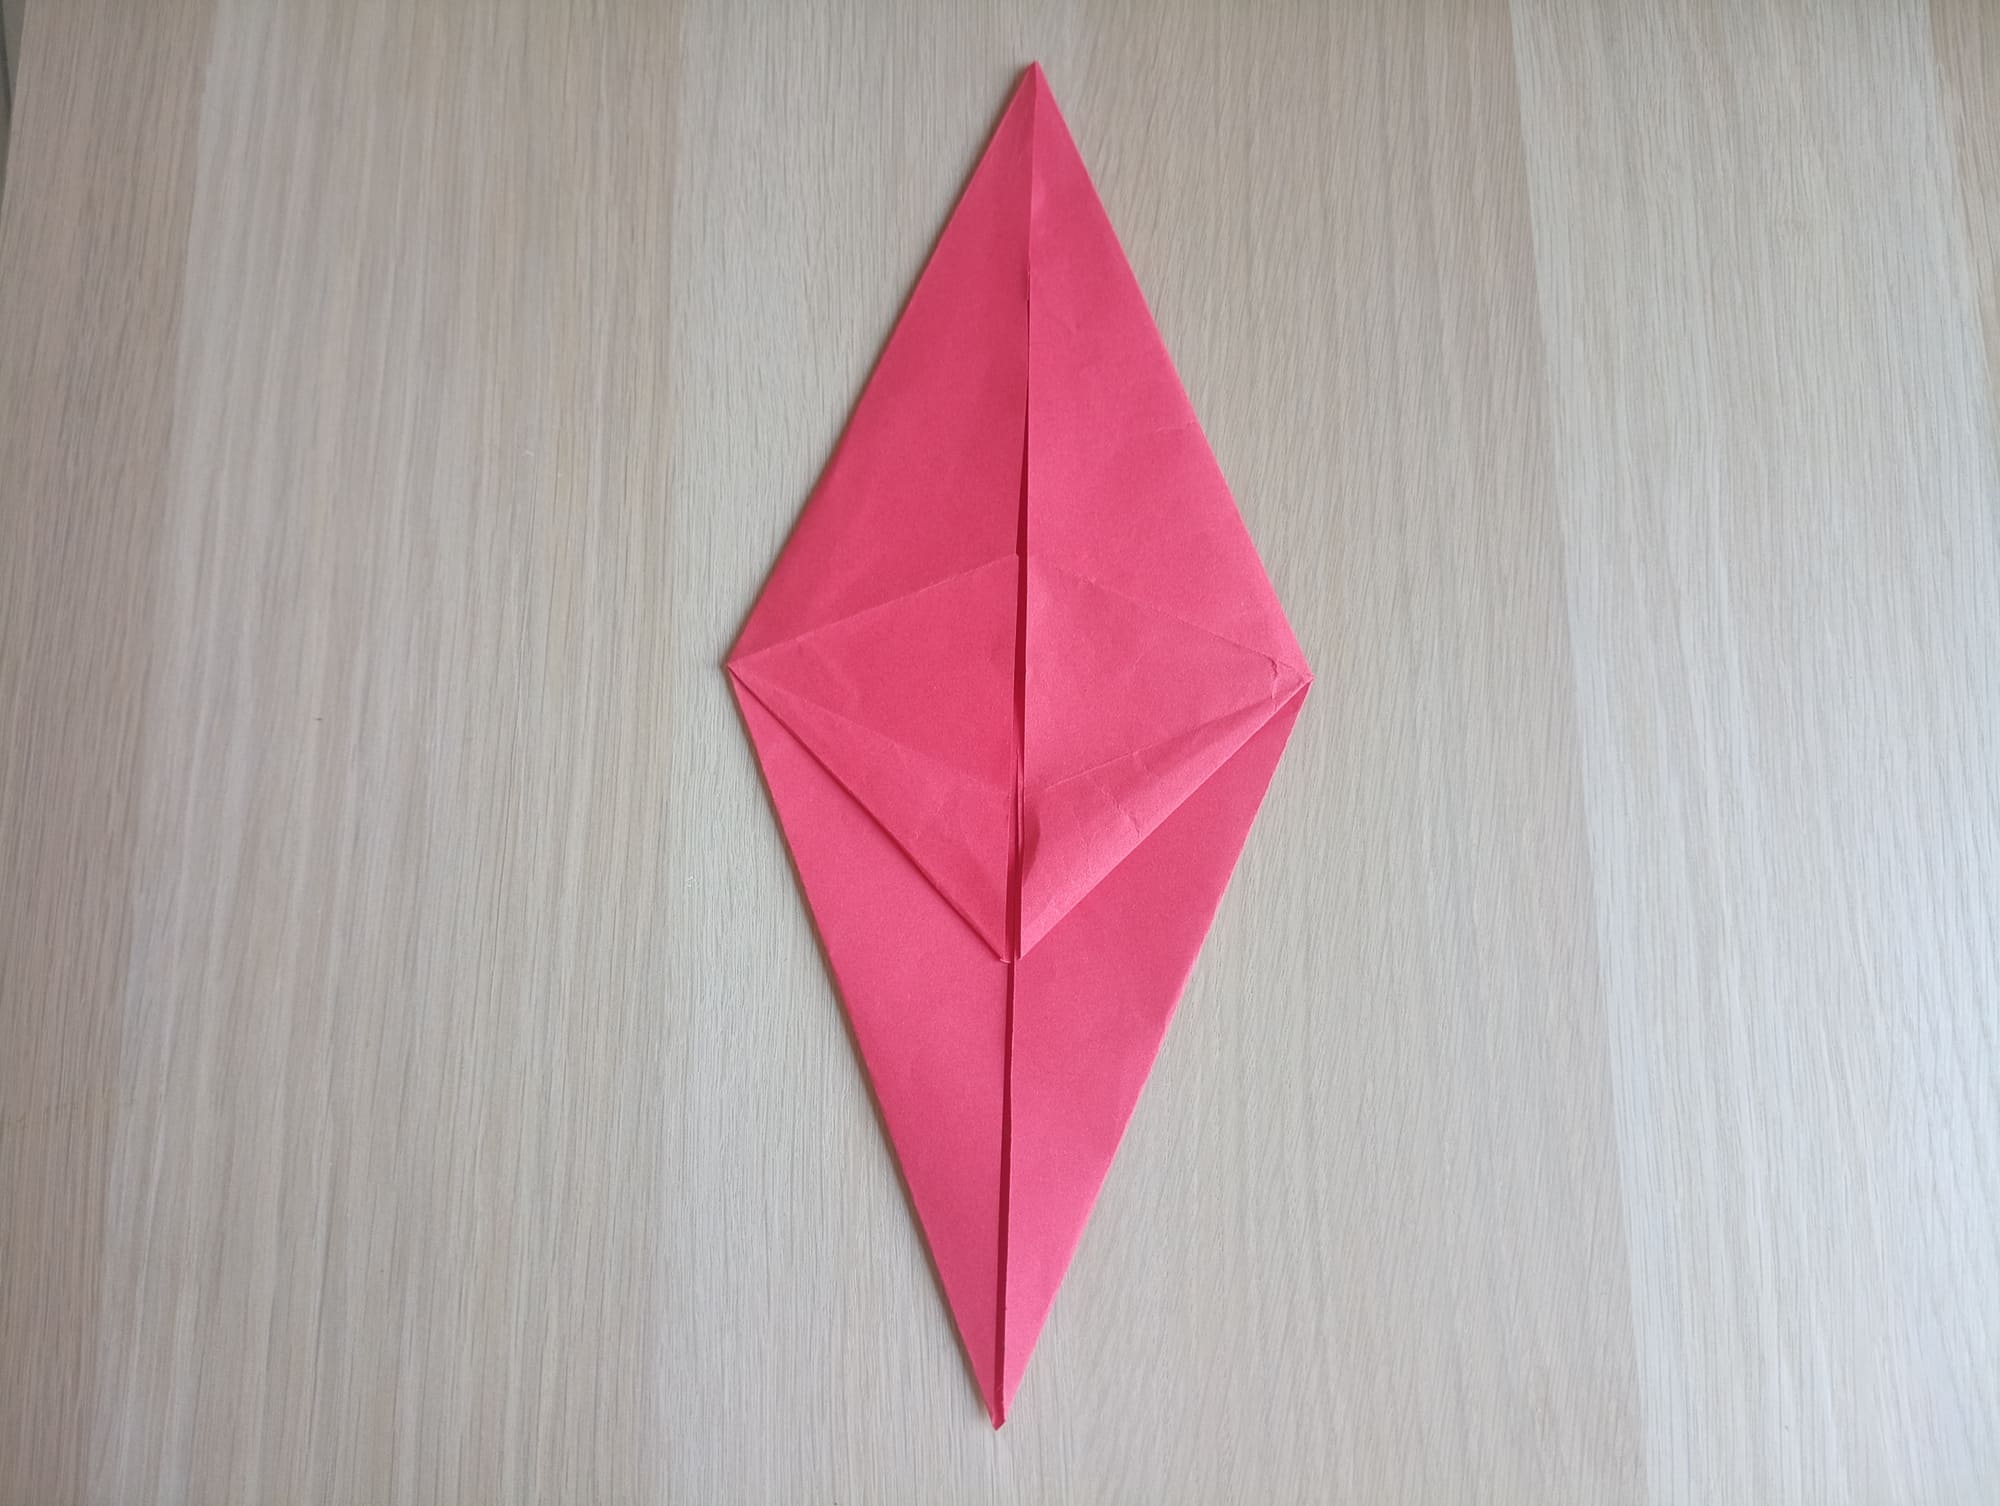
The upper pockets must be opened, bent, and flattened down (see photo).
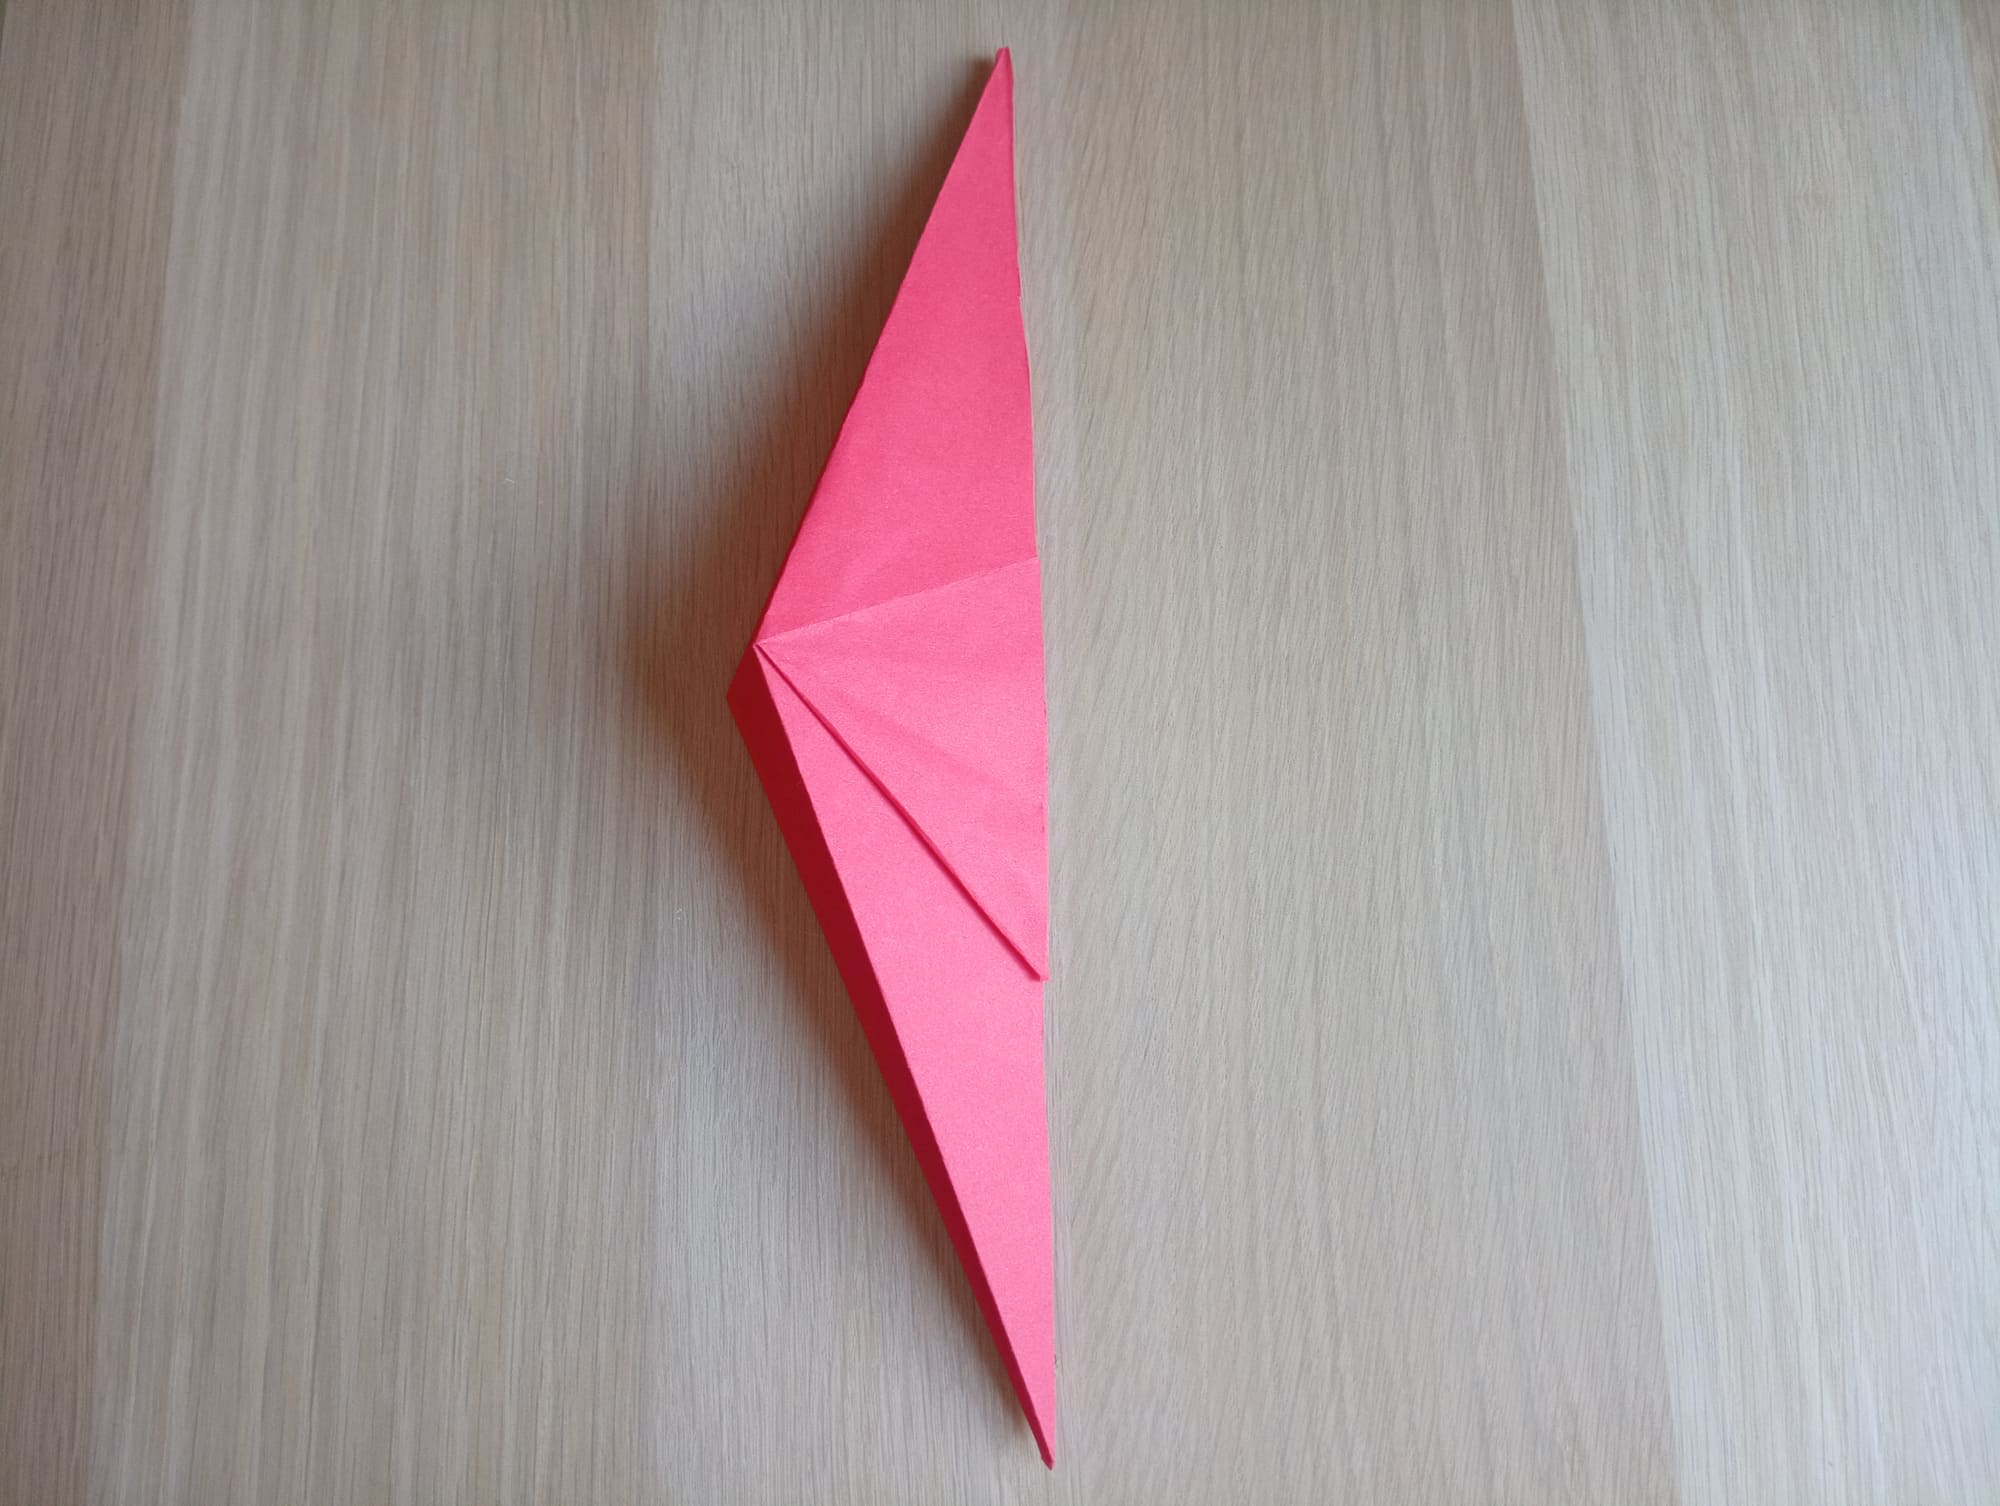
Fold the figure in half along the midline.
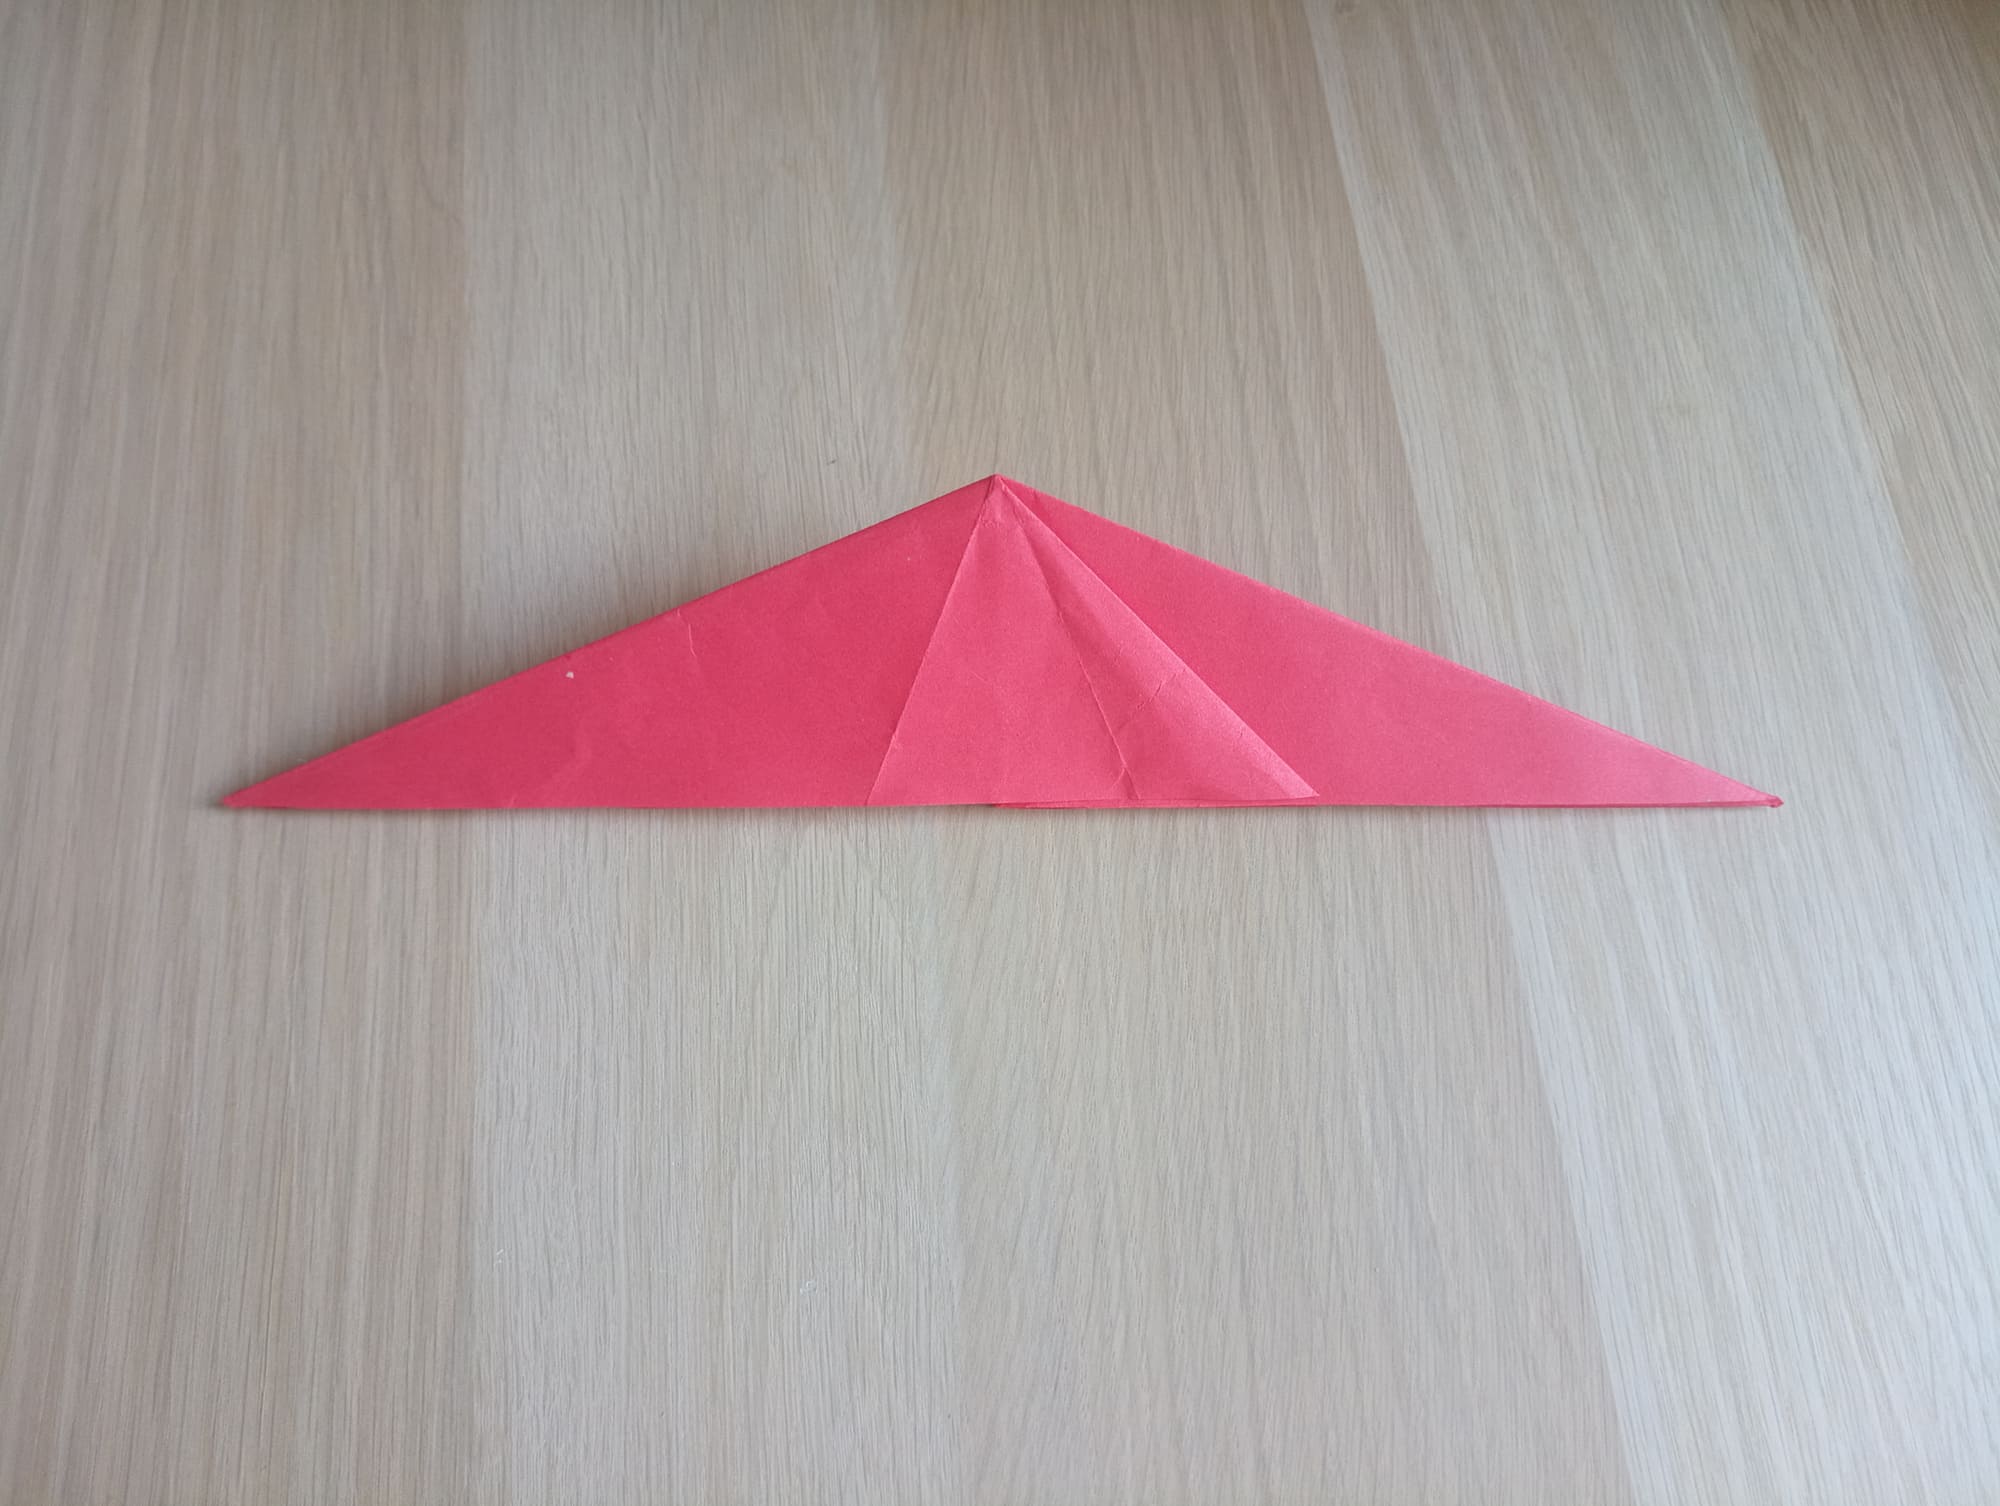
Rotate the figure horizontally.
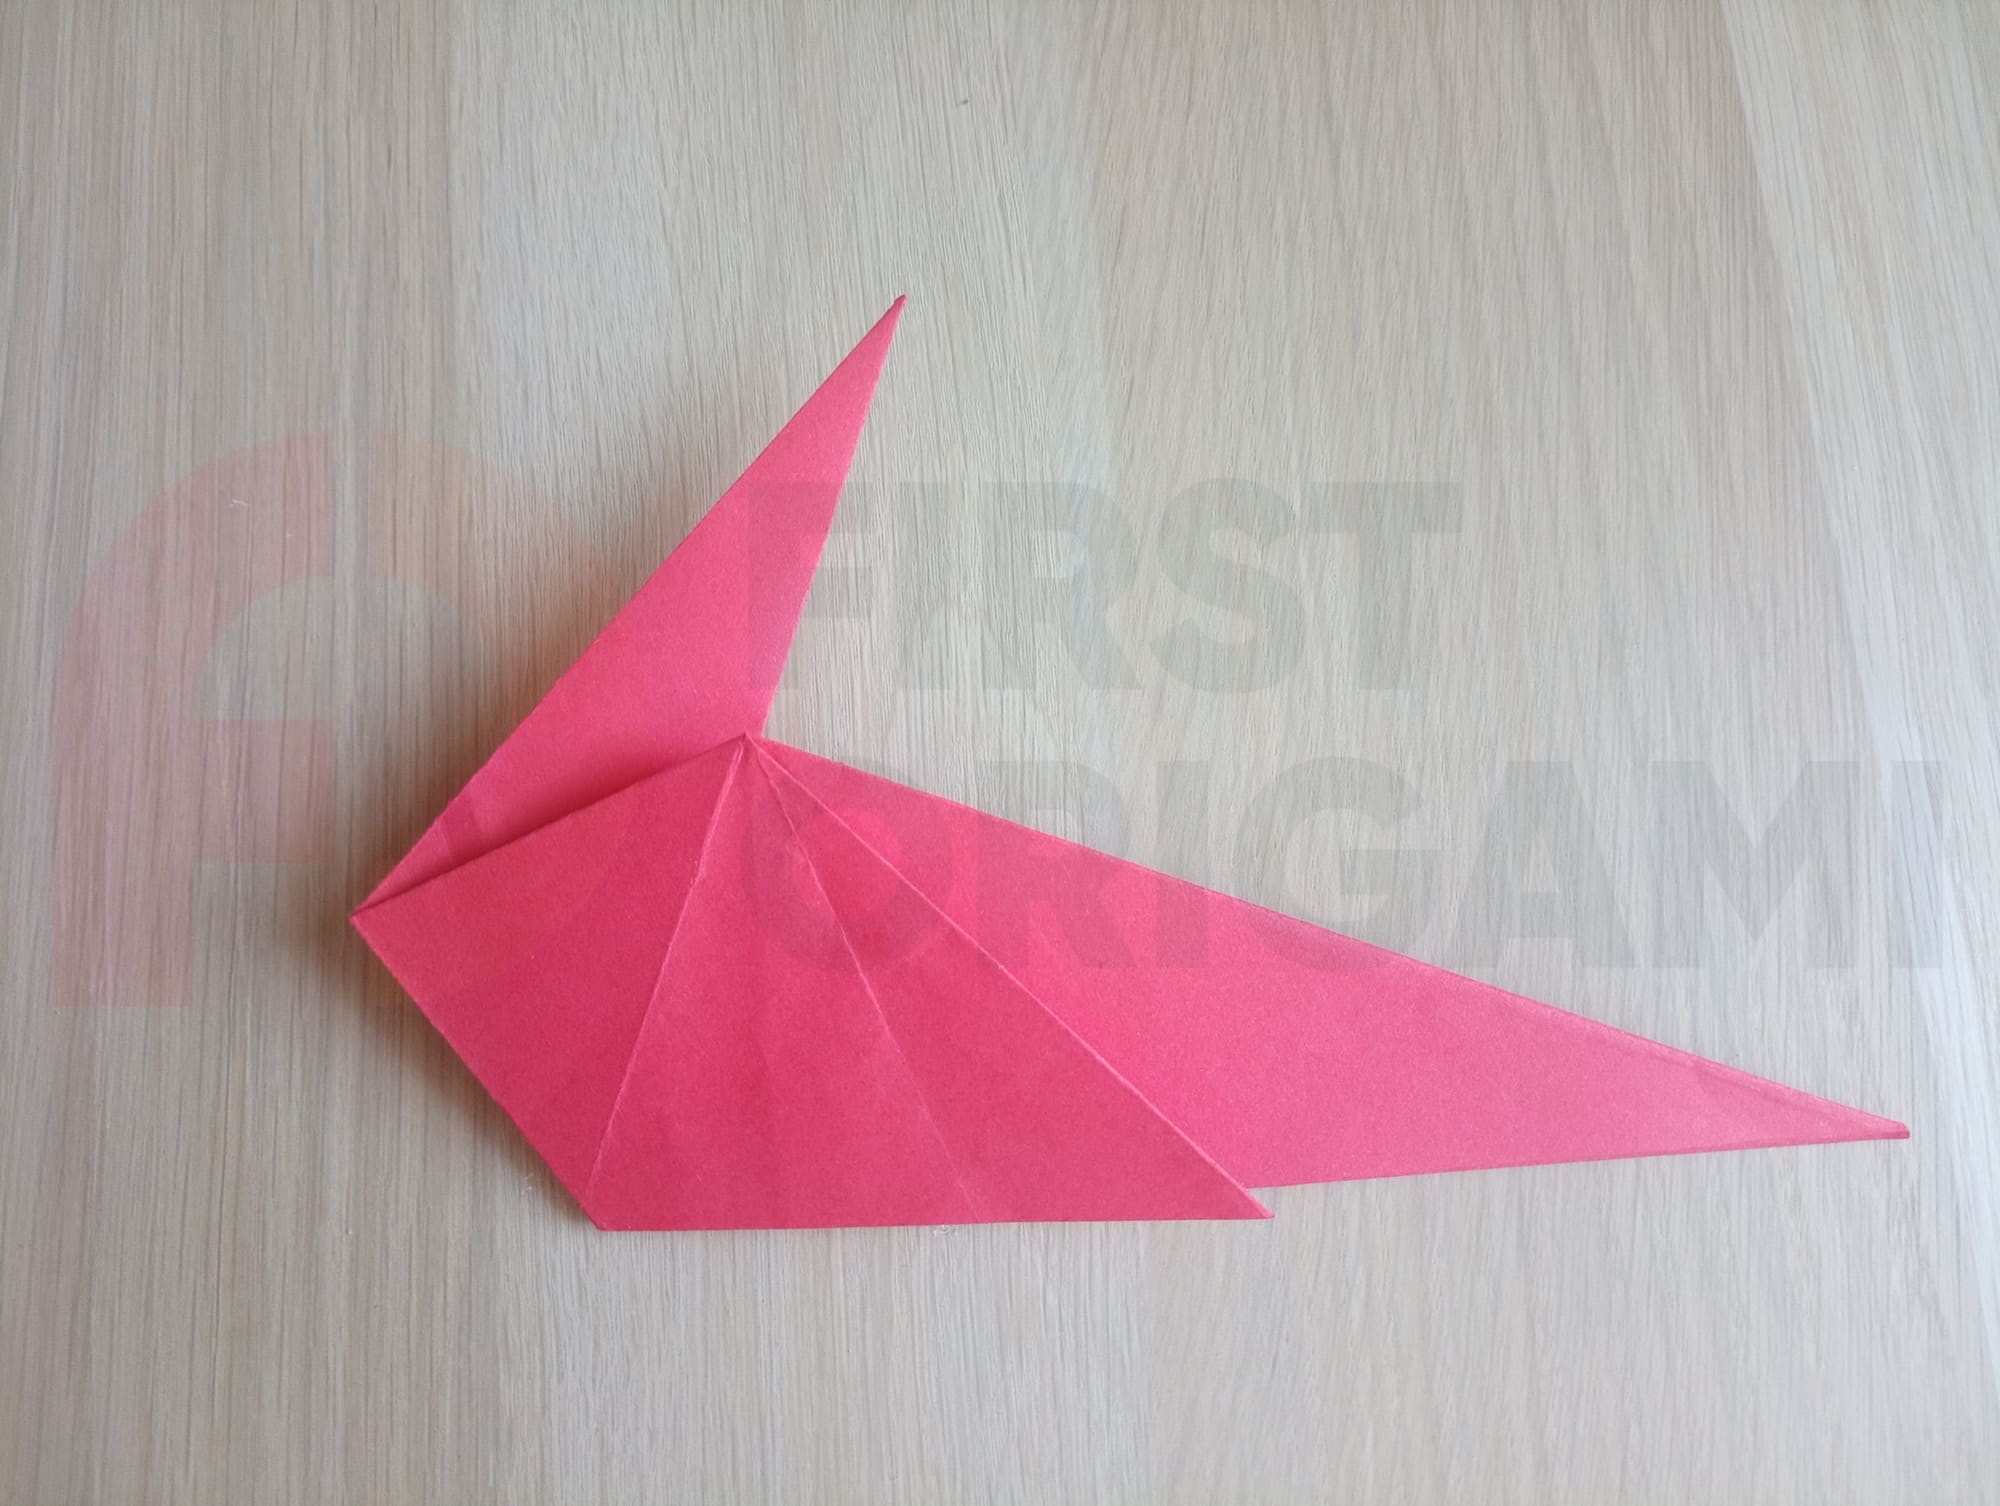
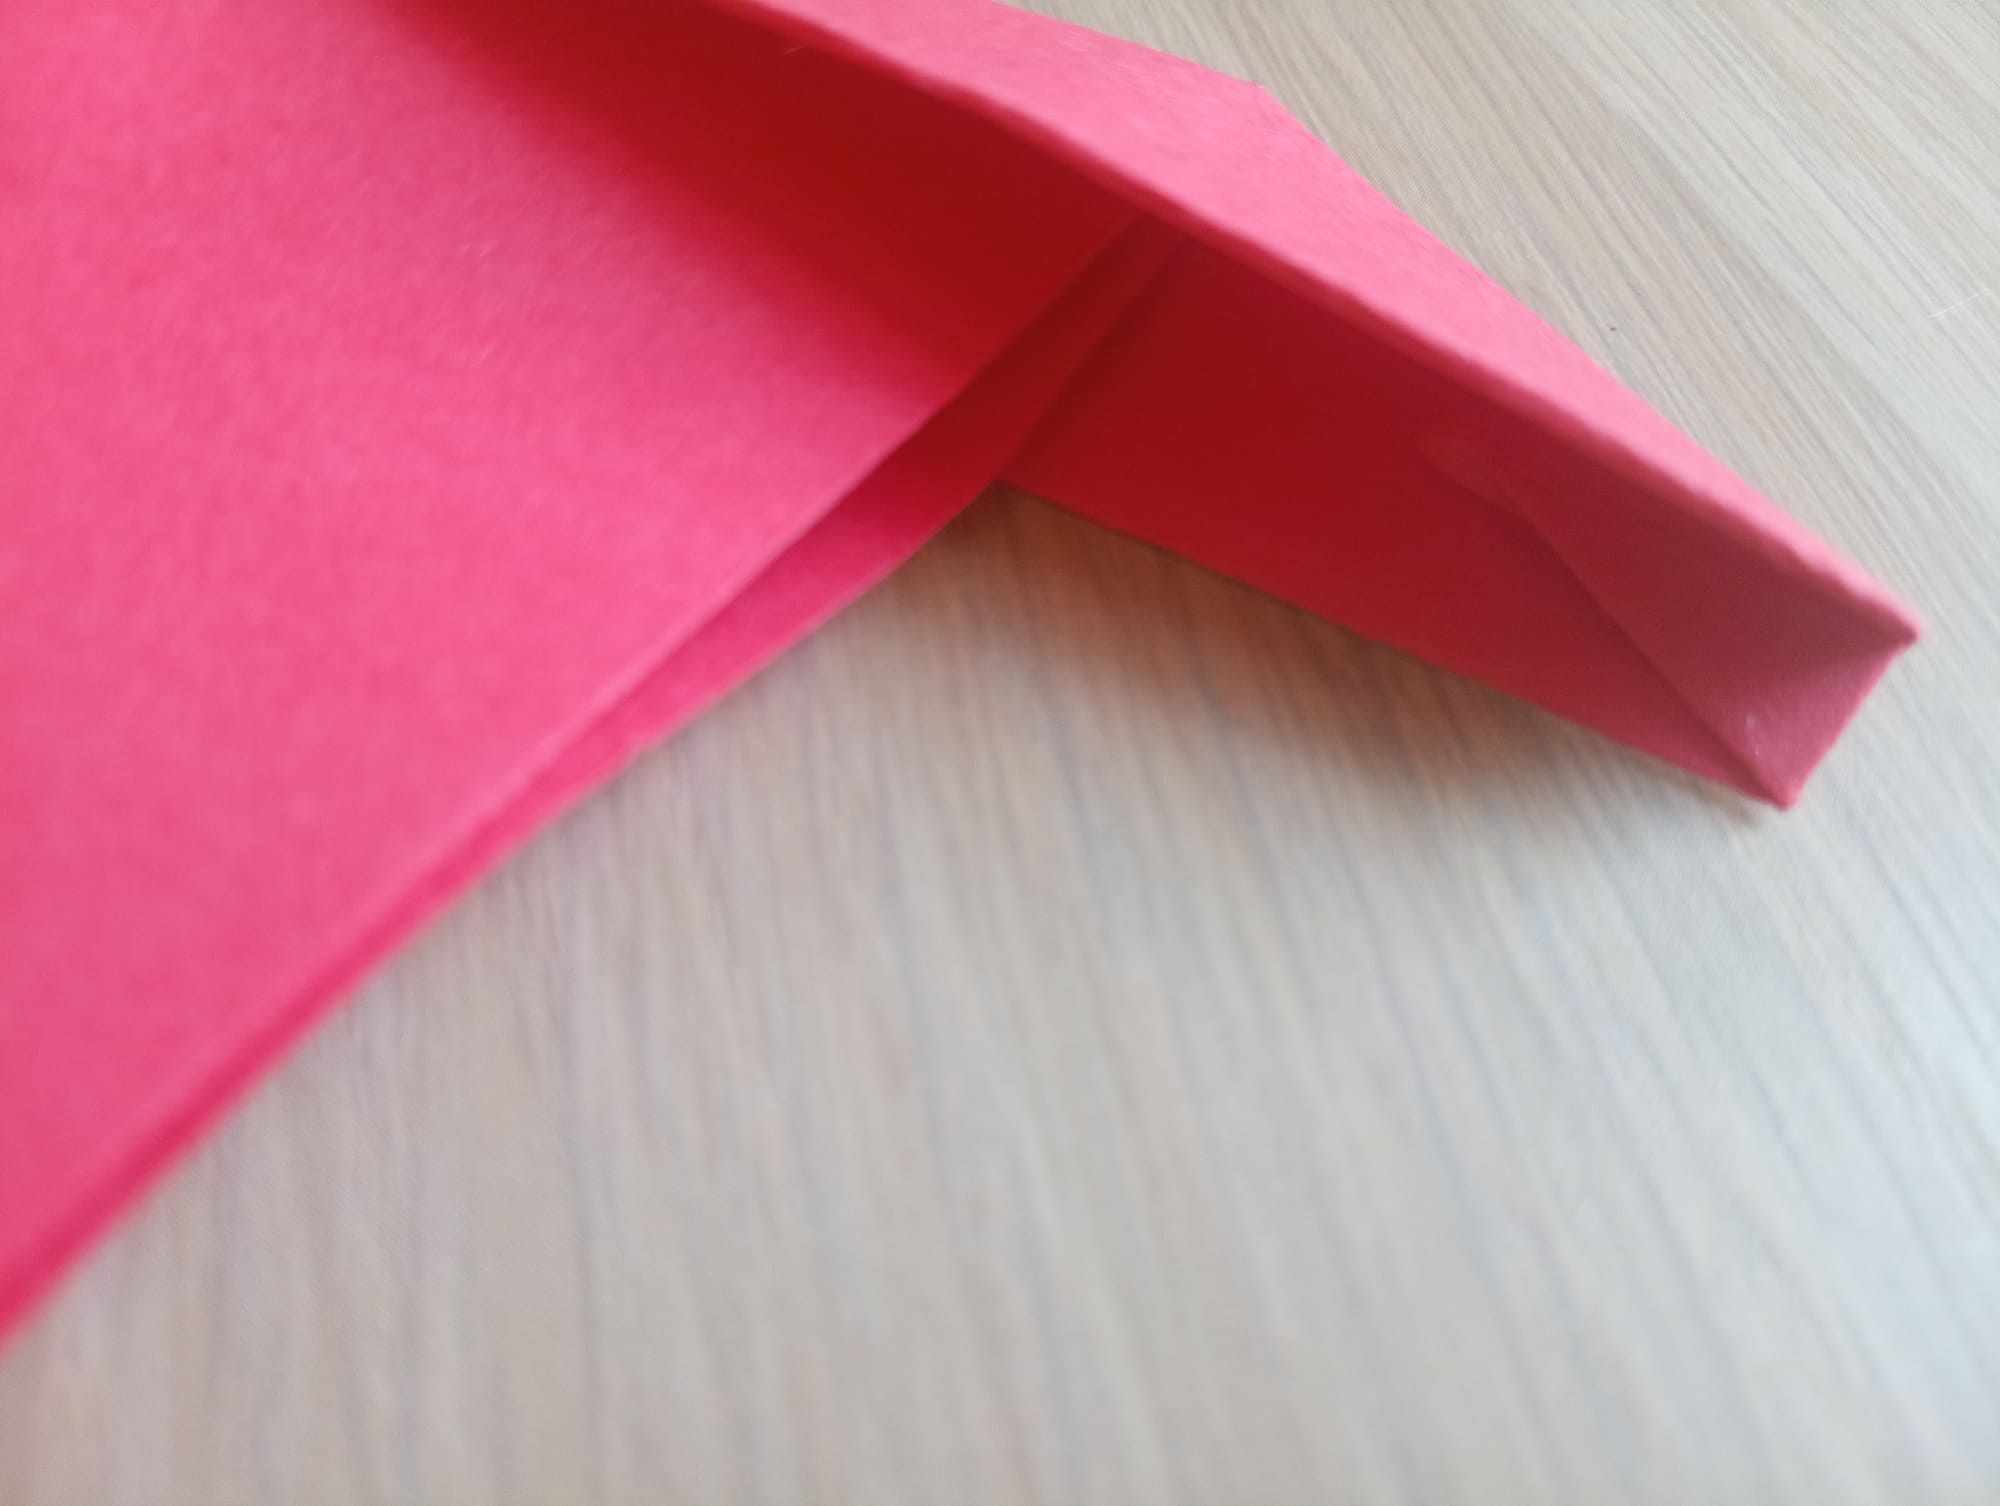
Bend the left side with a back fold to the middle.
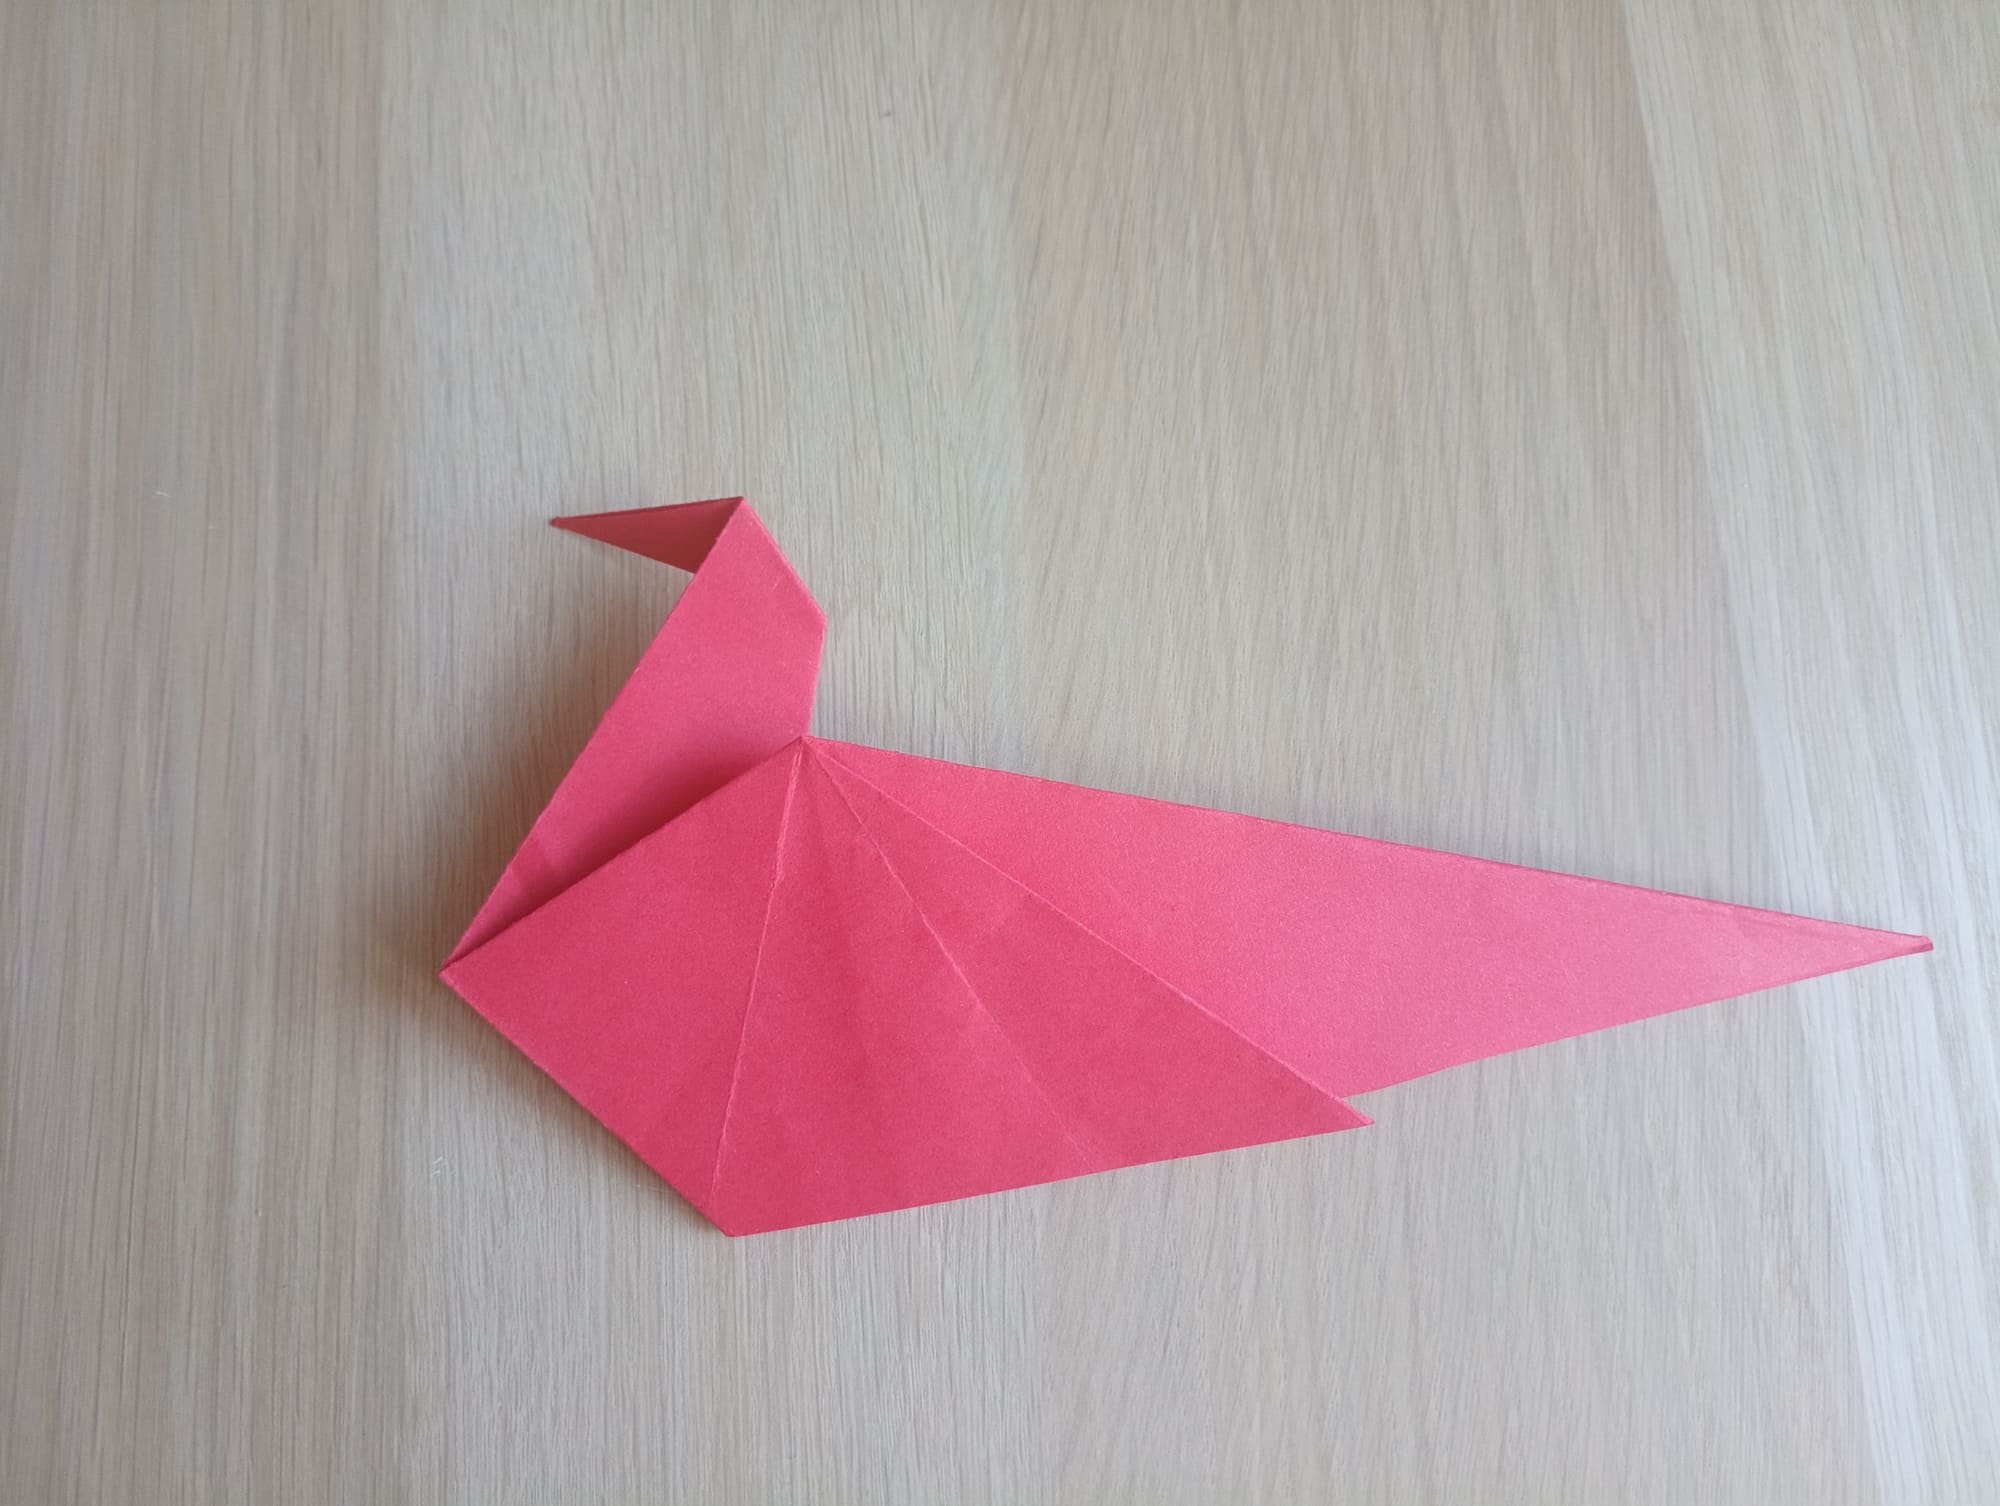
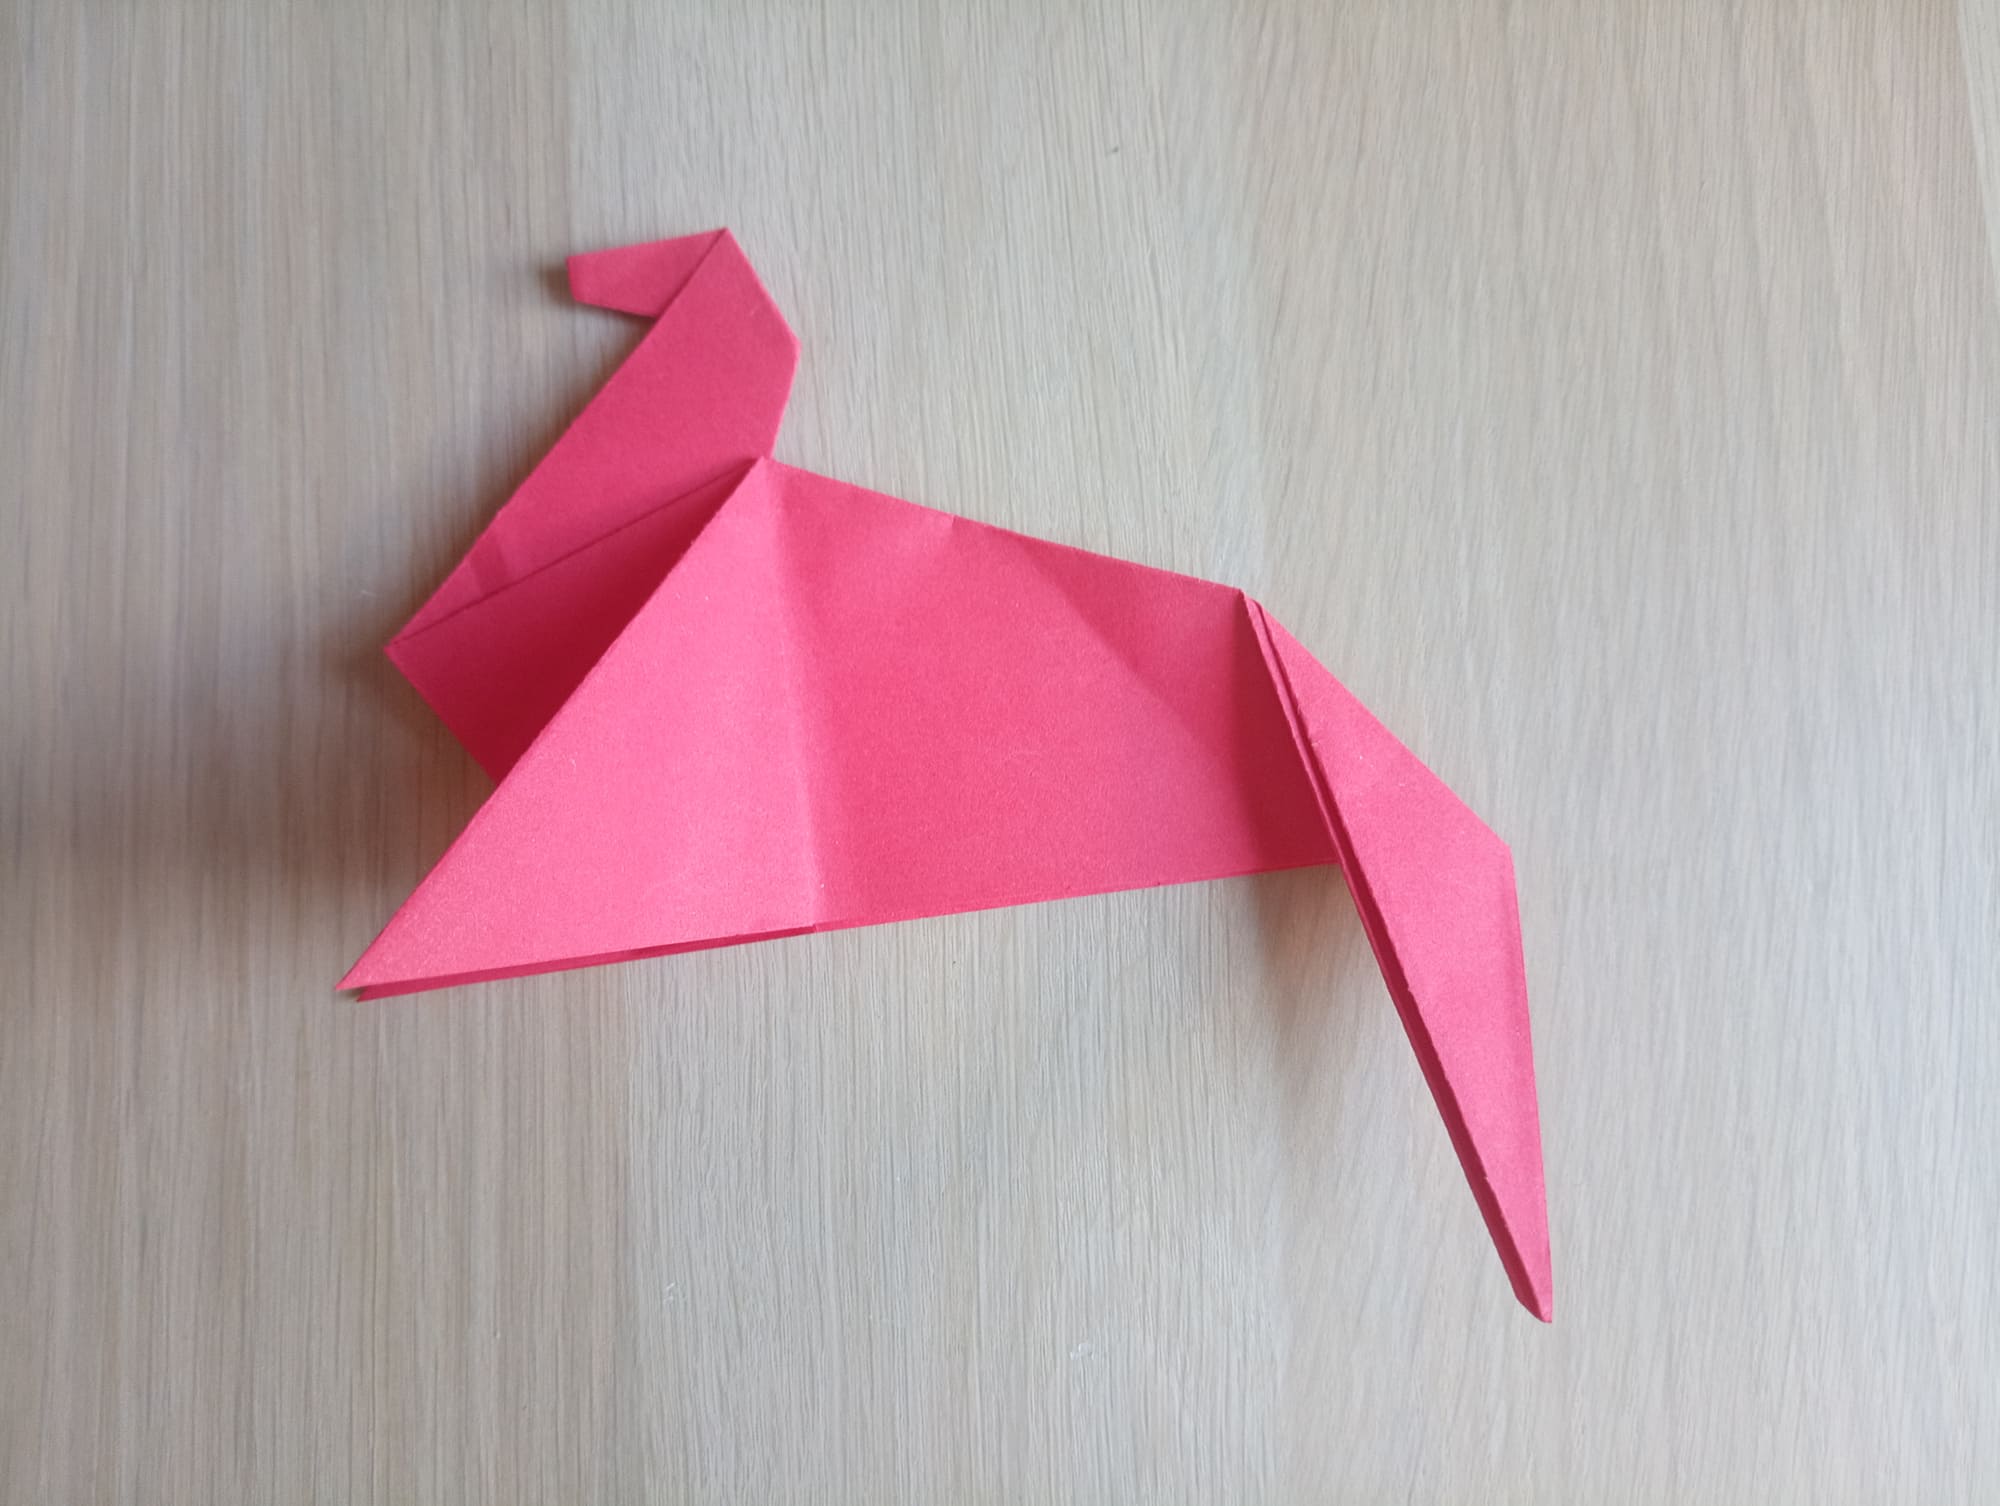
Make a fold for the horse’s head, then reverse the fold.
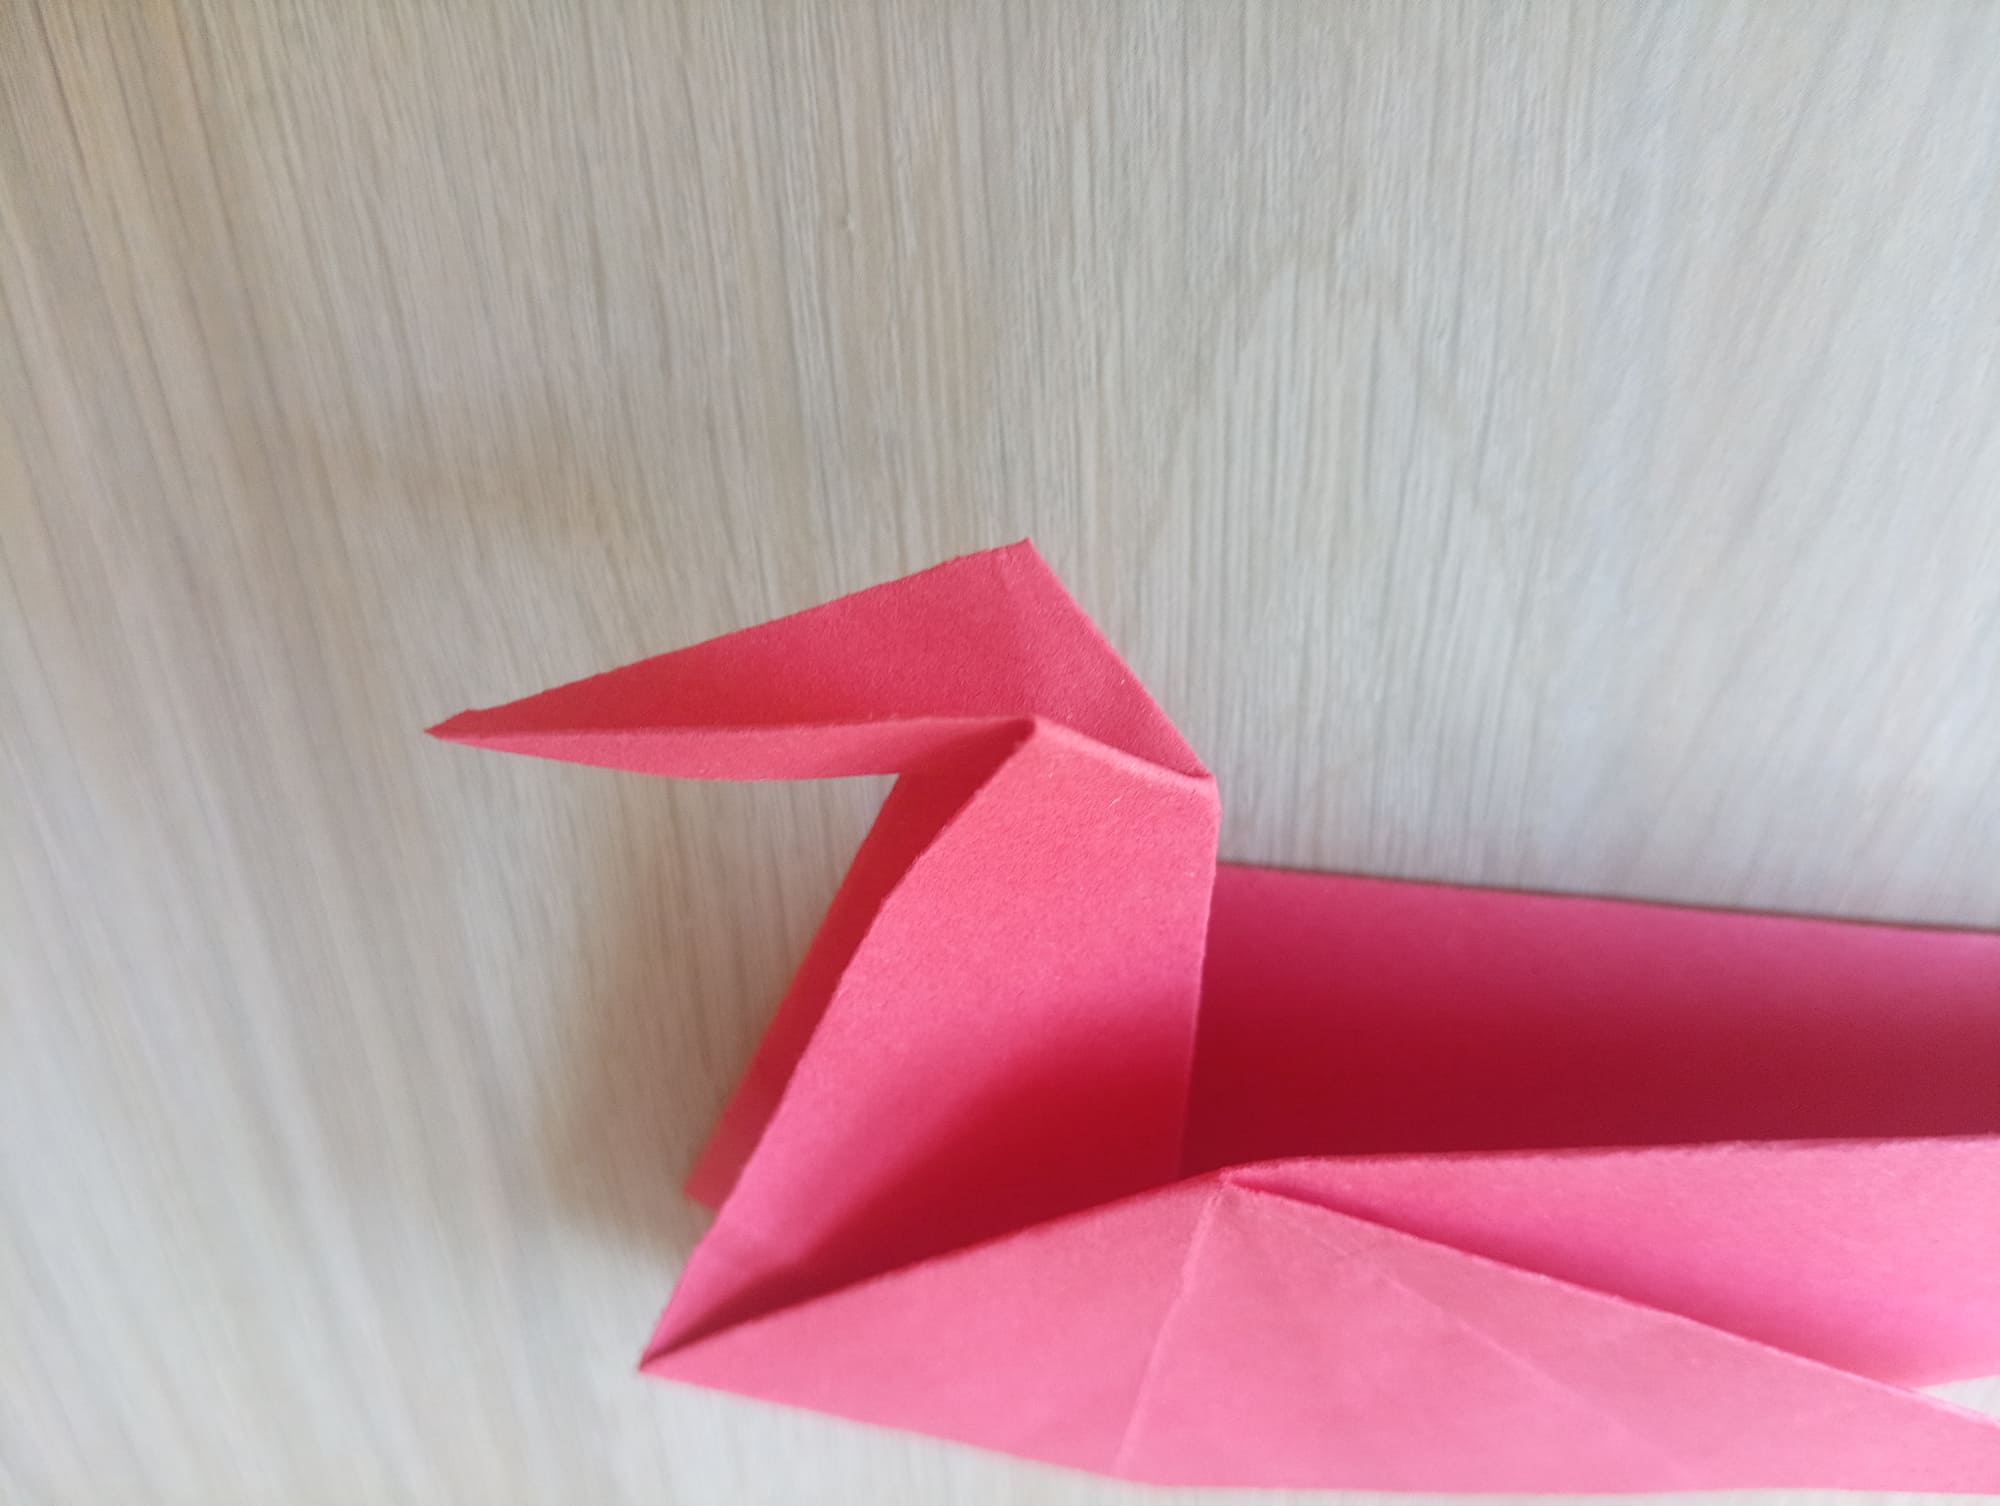
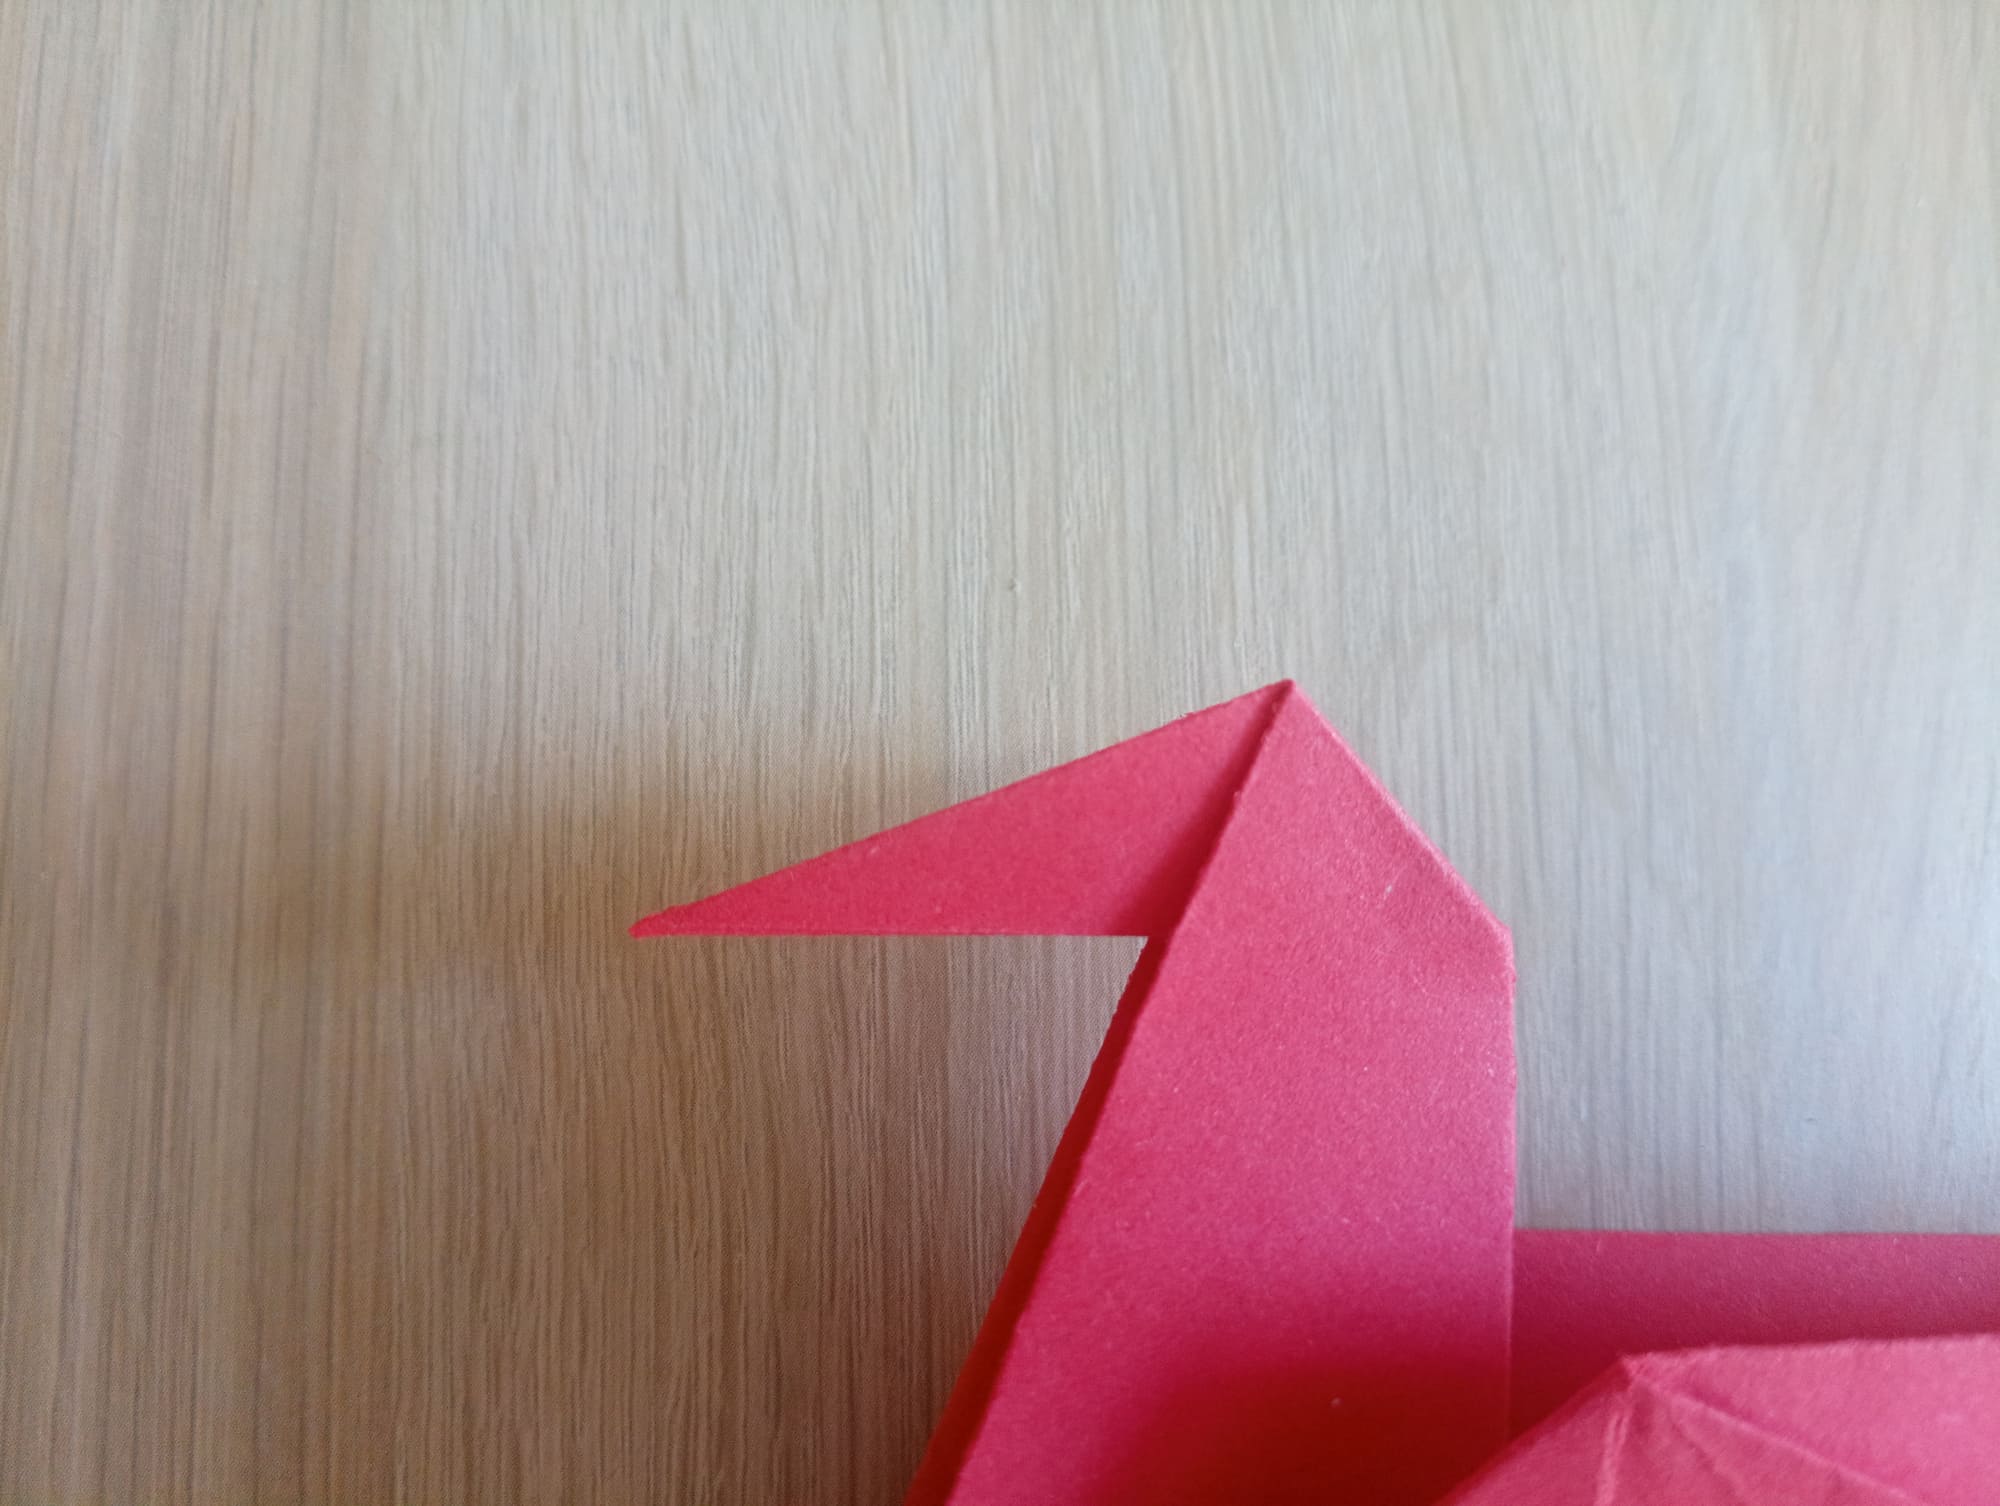
Repeat the same steps with the nose of the head.
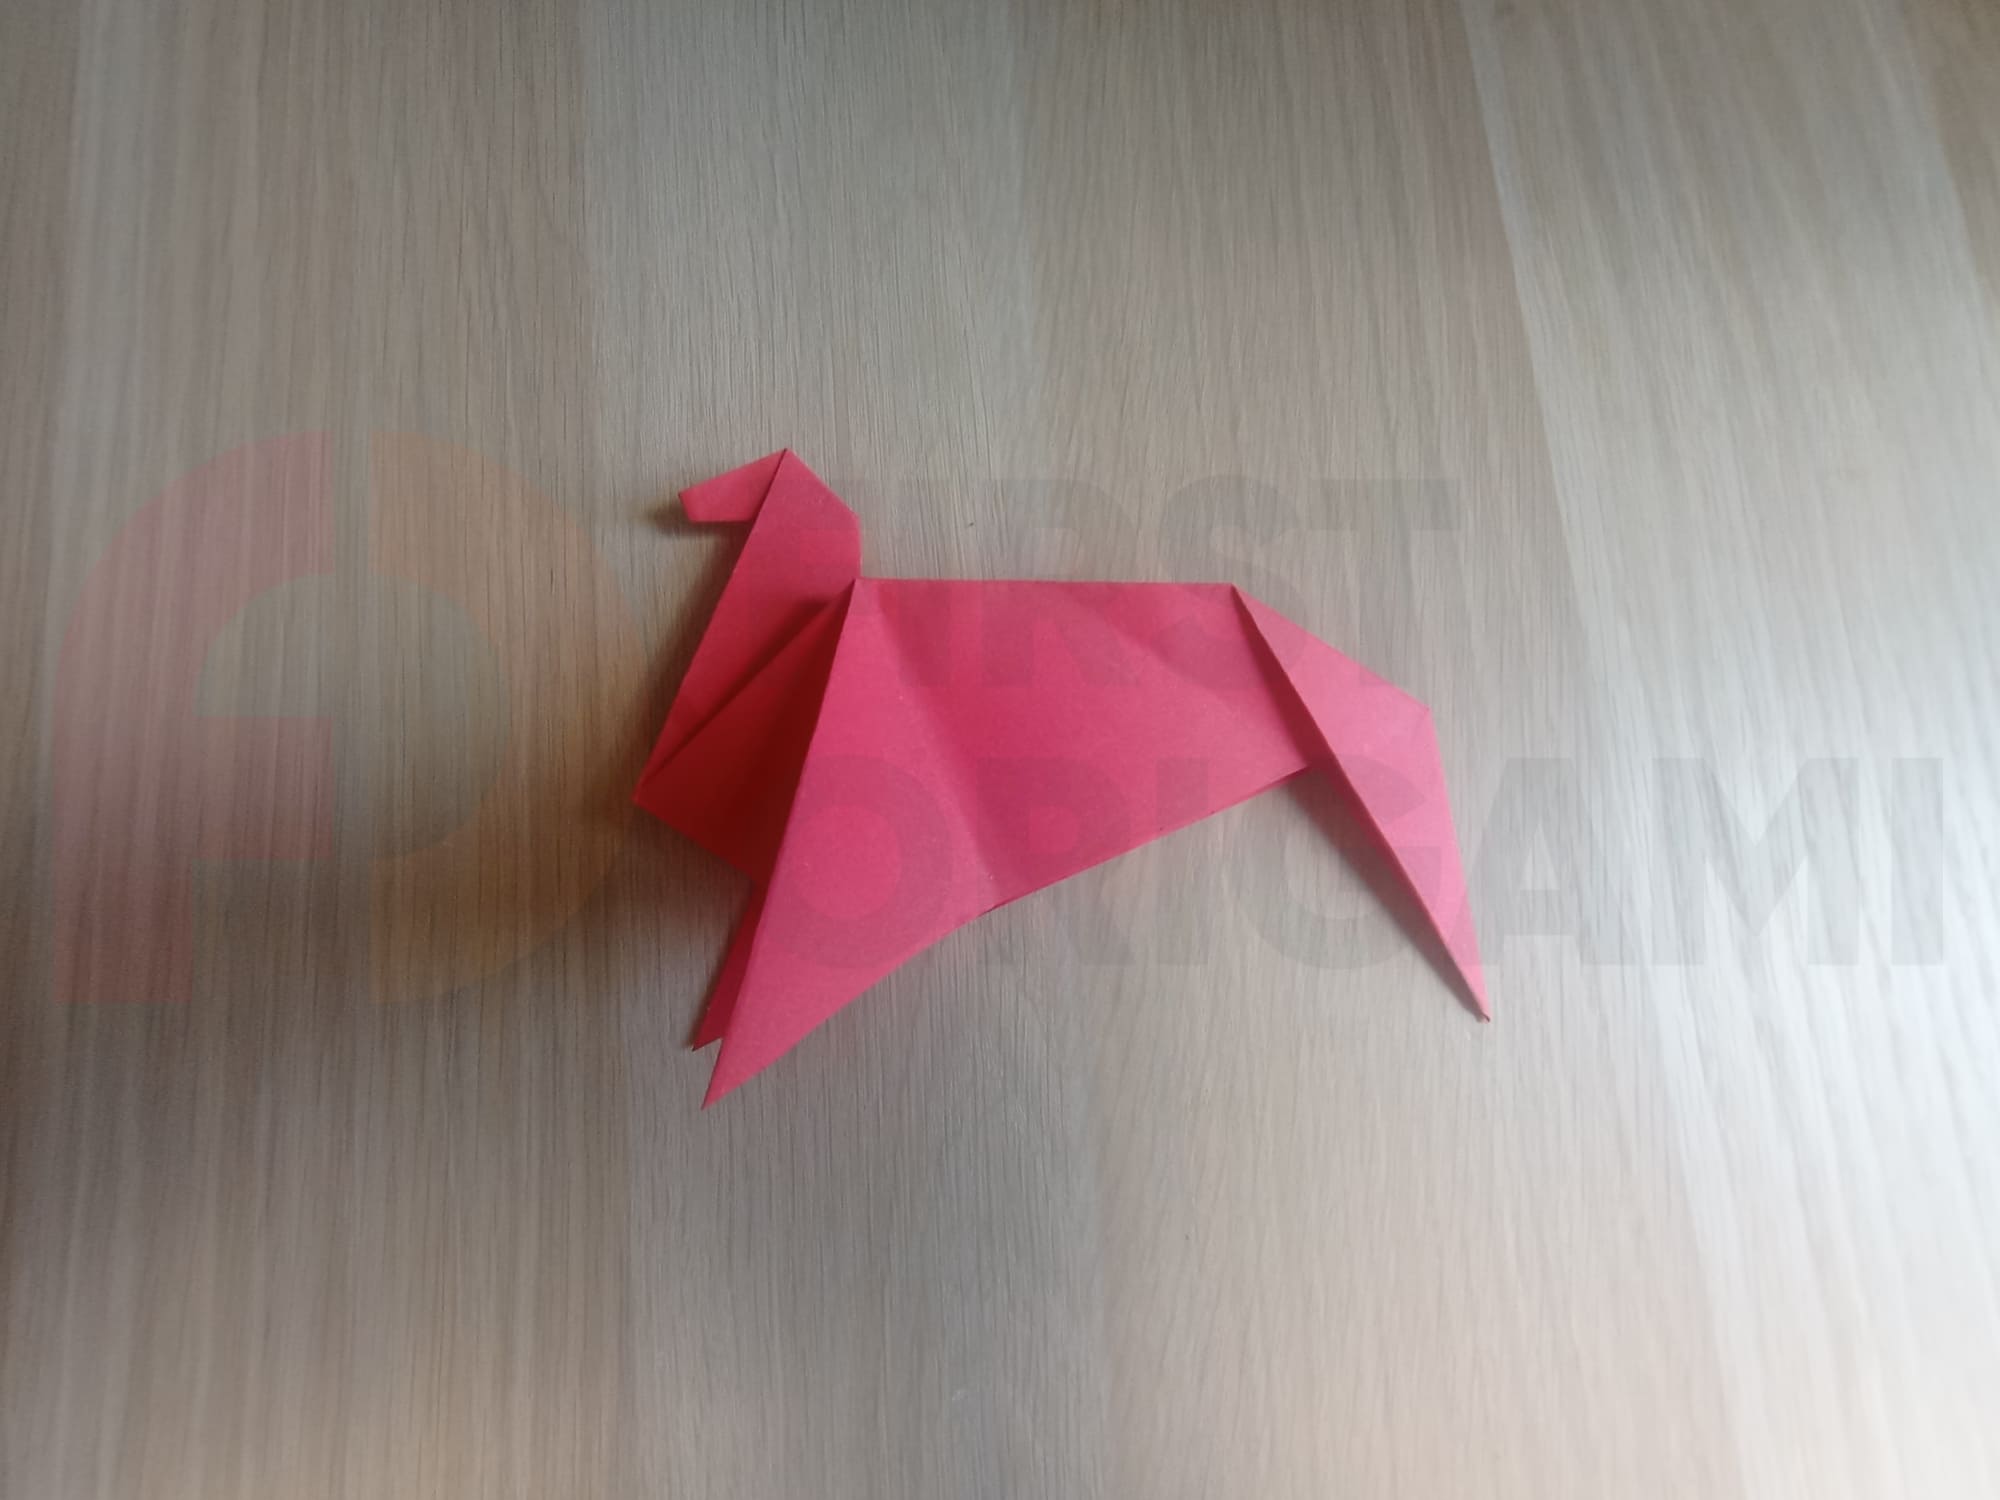
Bend the corner in the middle of the figure forward.
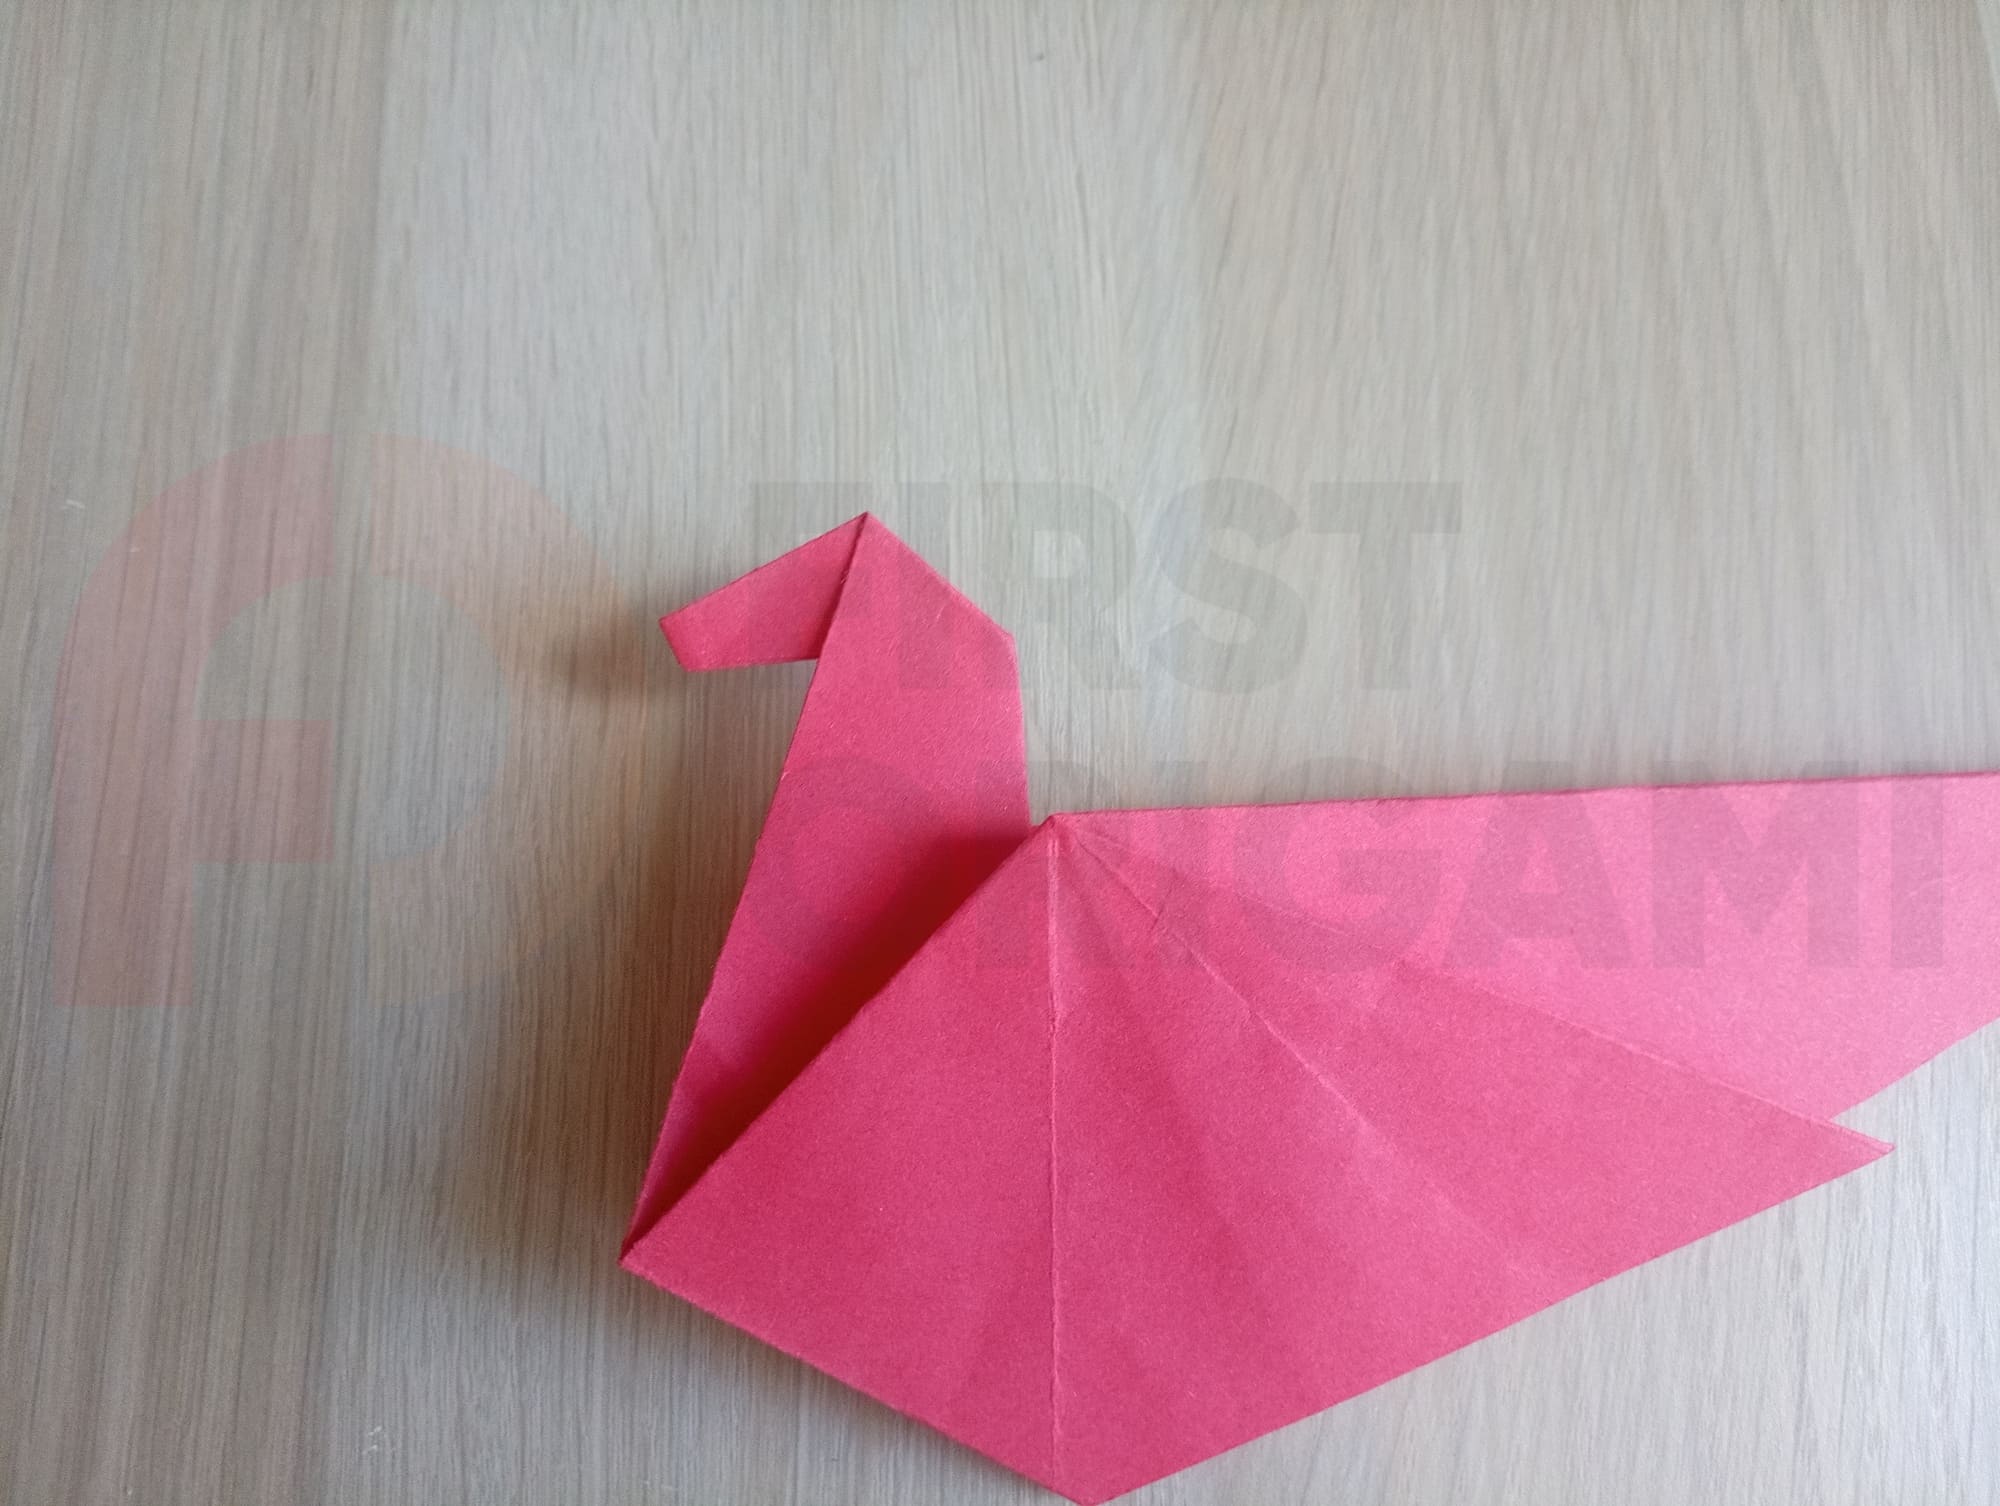
Bend the back corner down. Make a reverse fold with this fold.

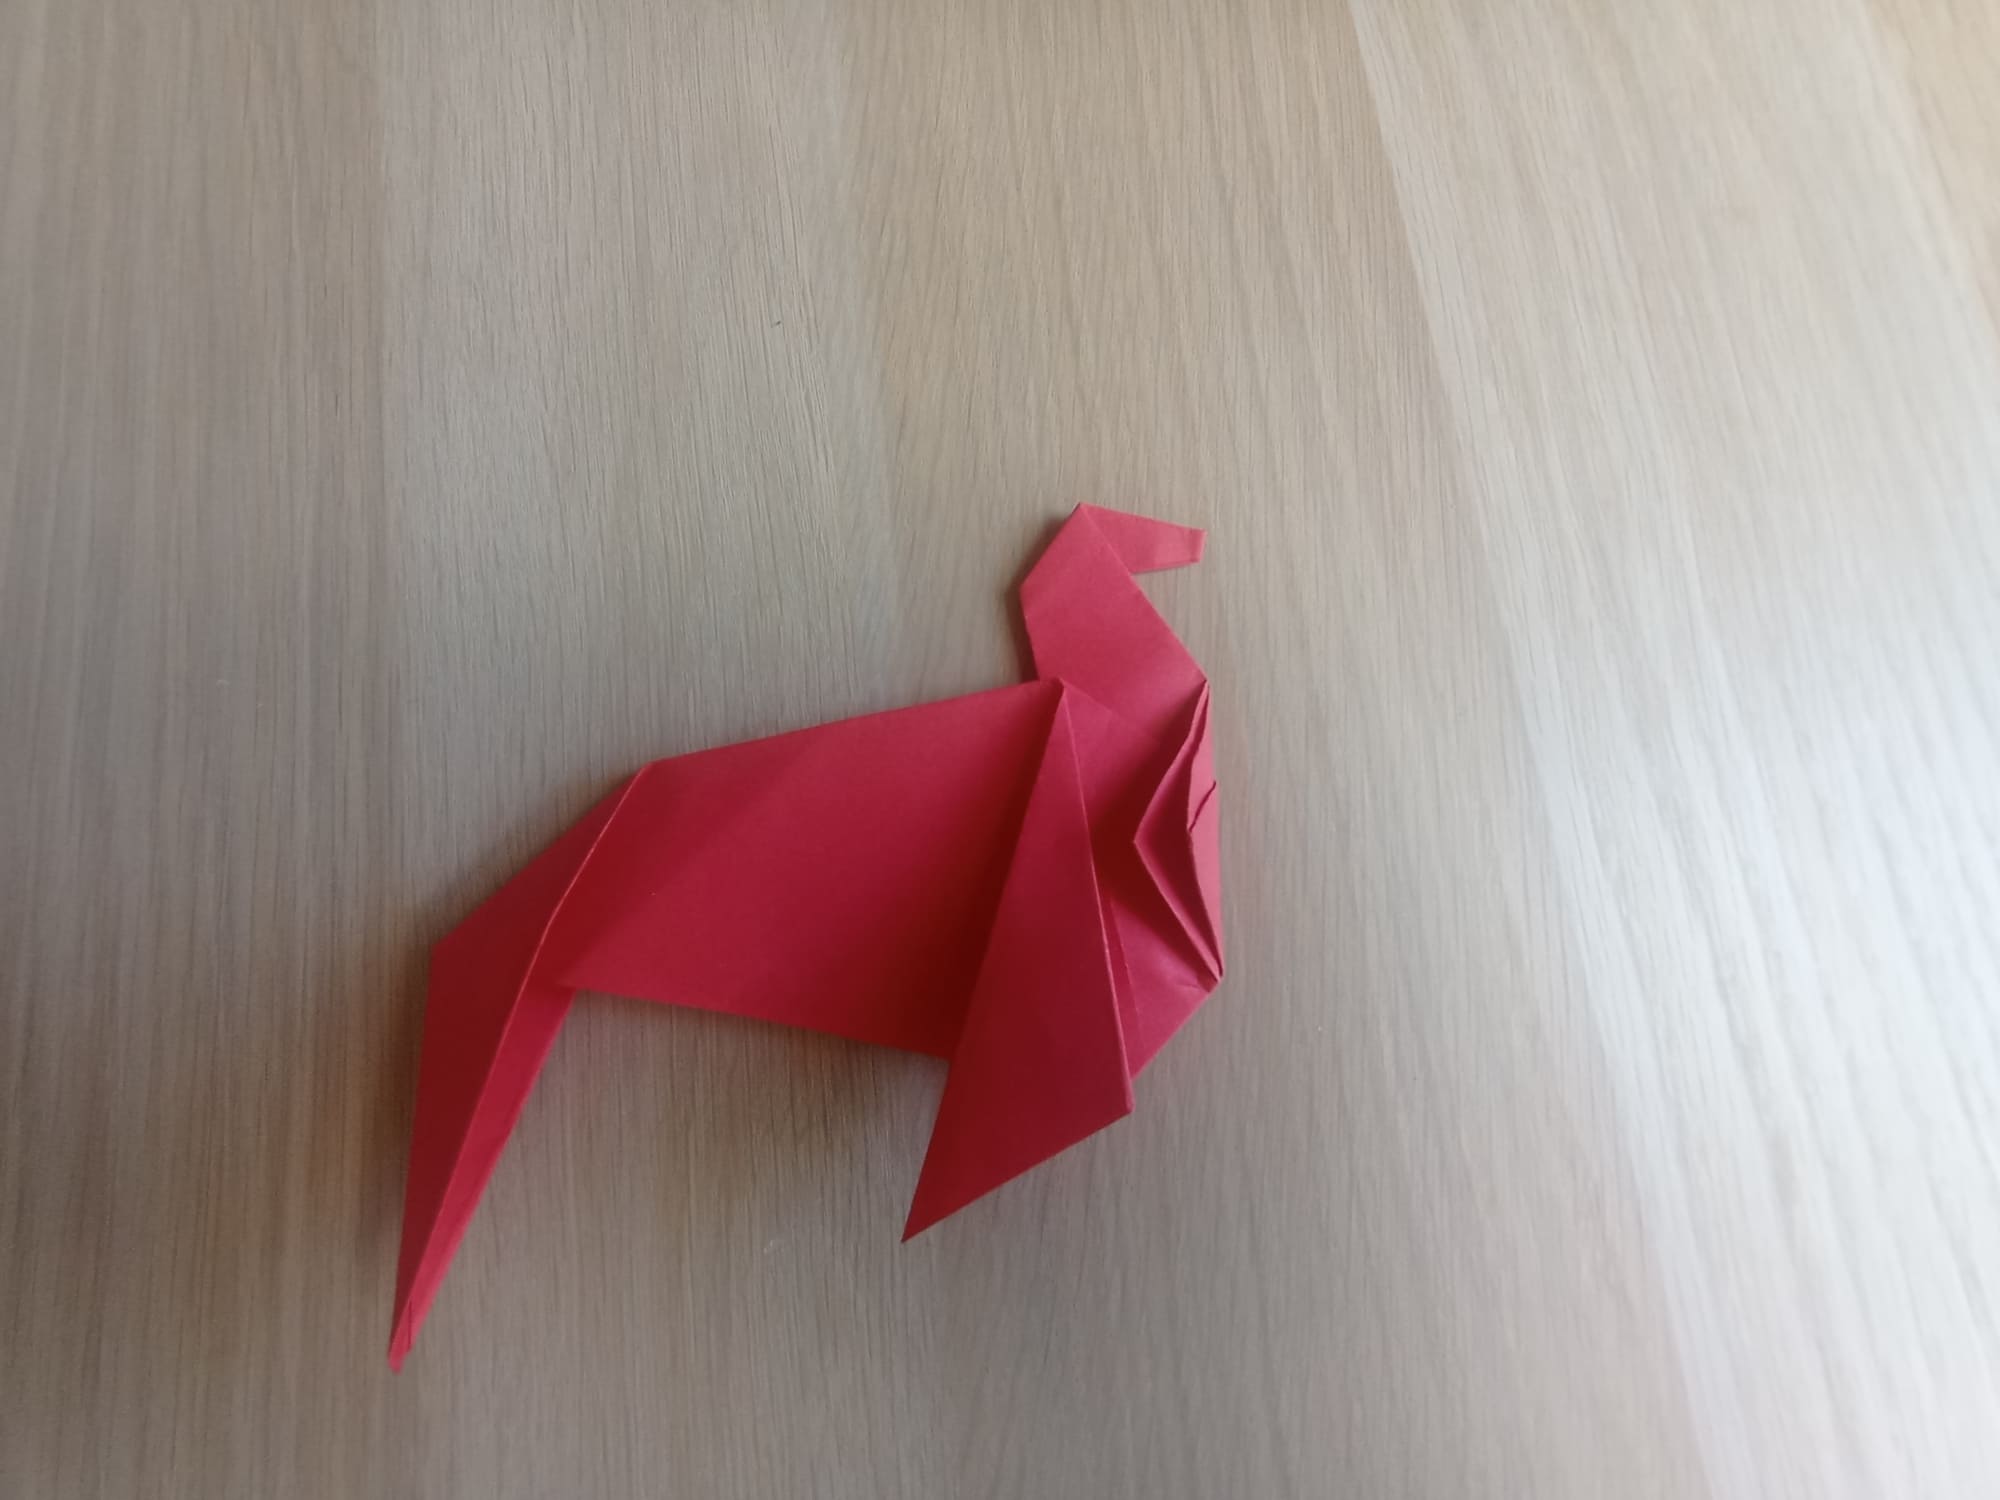
Bend the side corners and the body of the horse in the opposite direction.
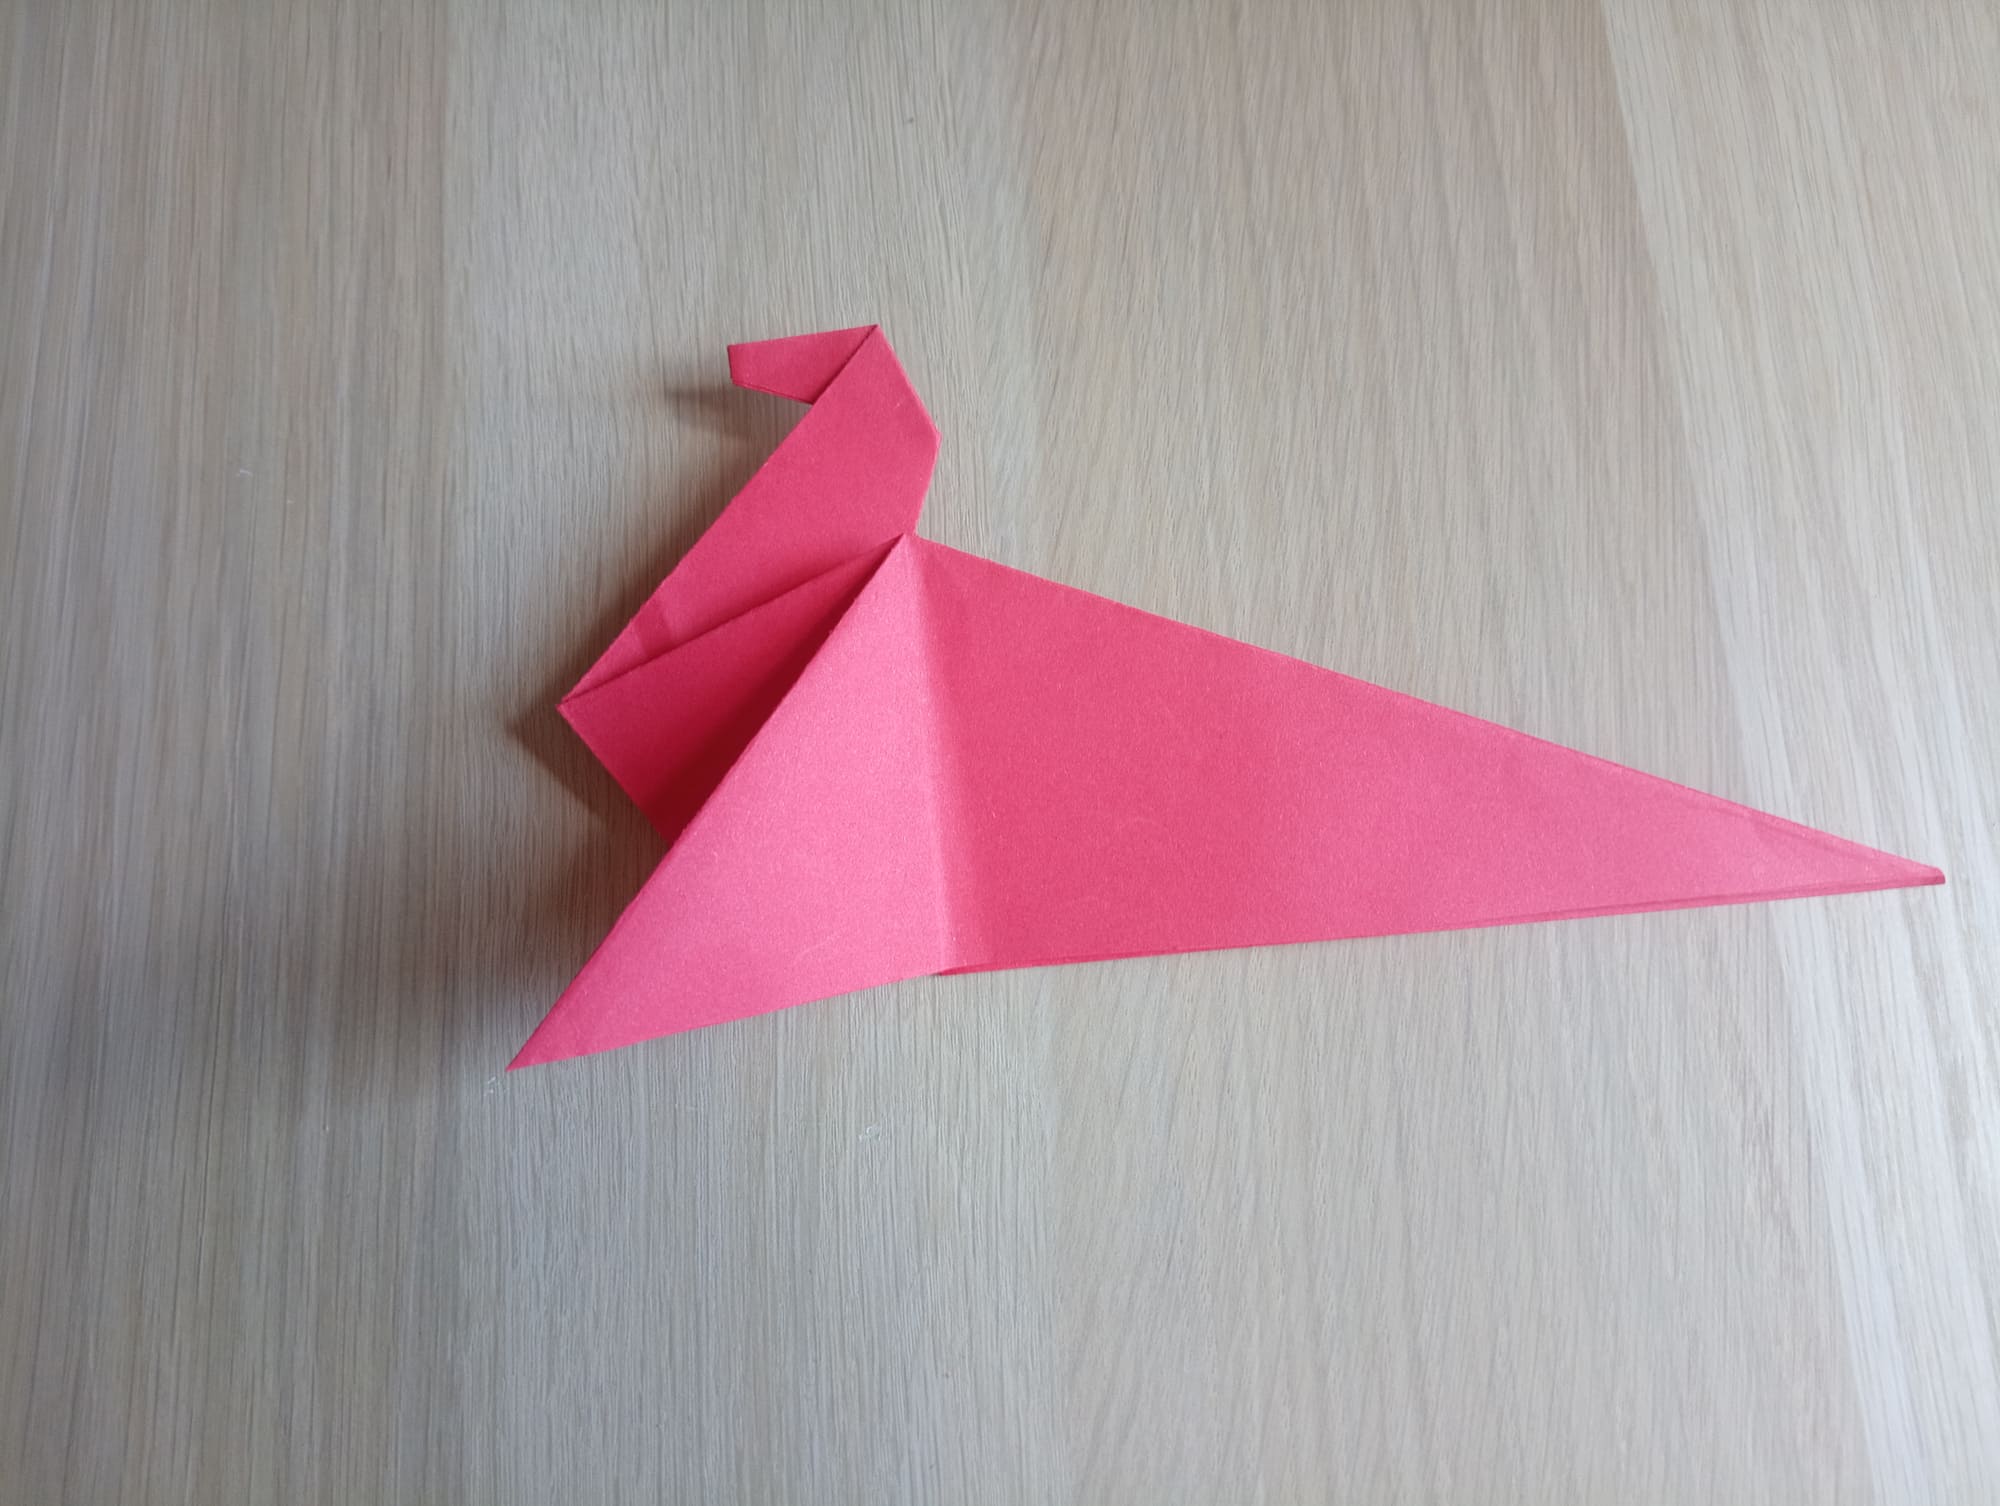
Flip the shape over.
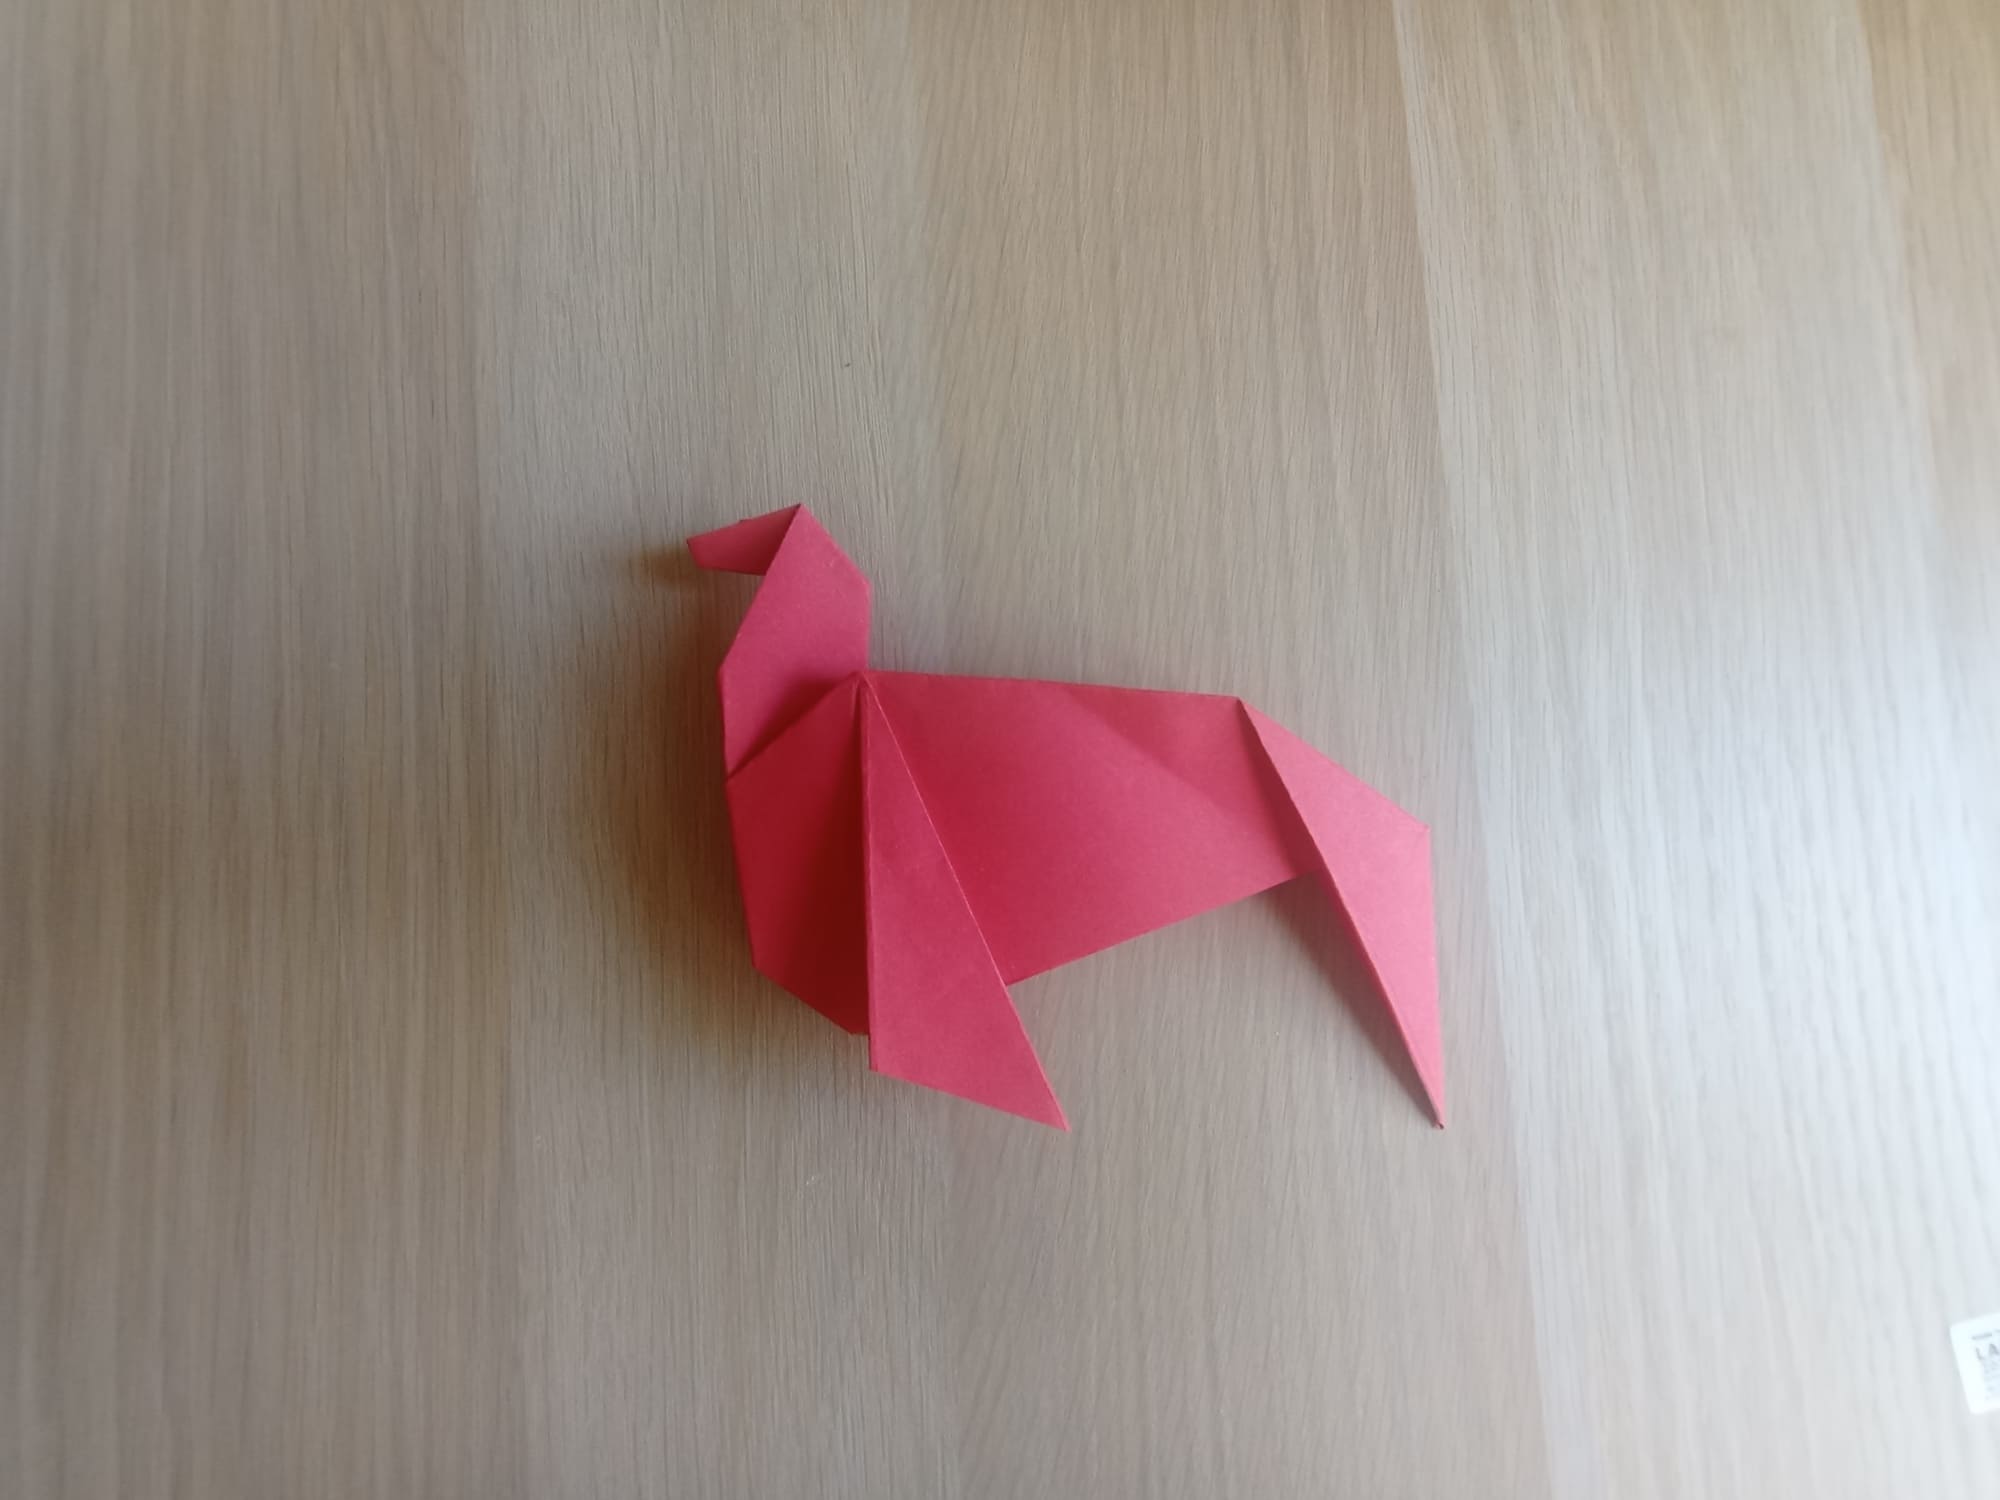
Tuck the area of the hind legs for stability of the figure.
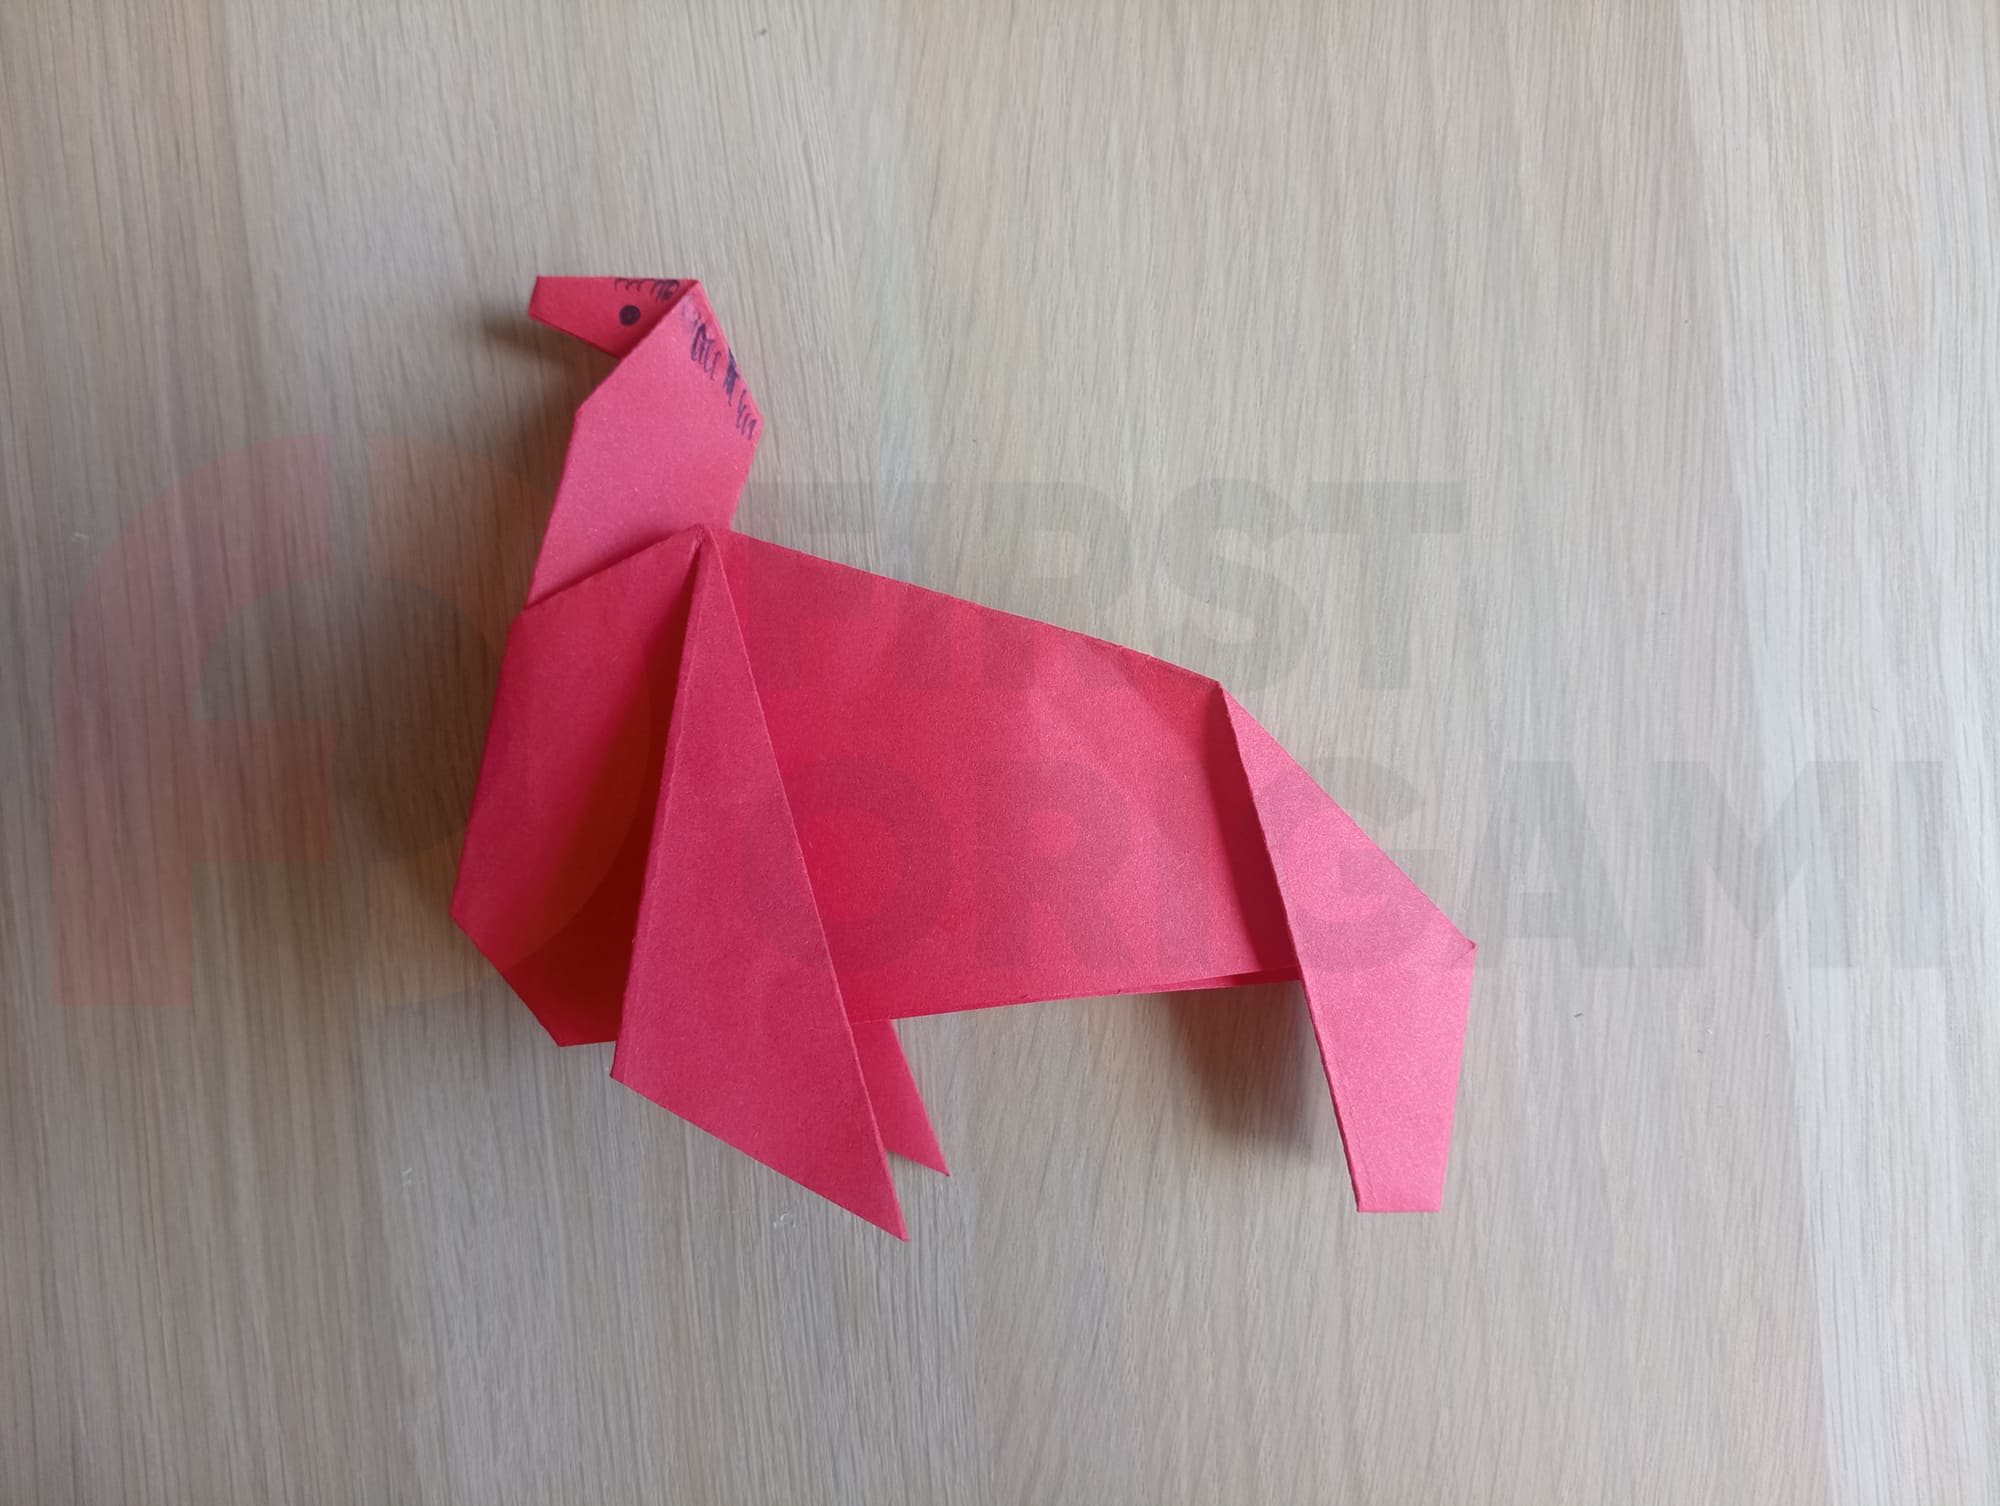
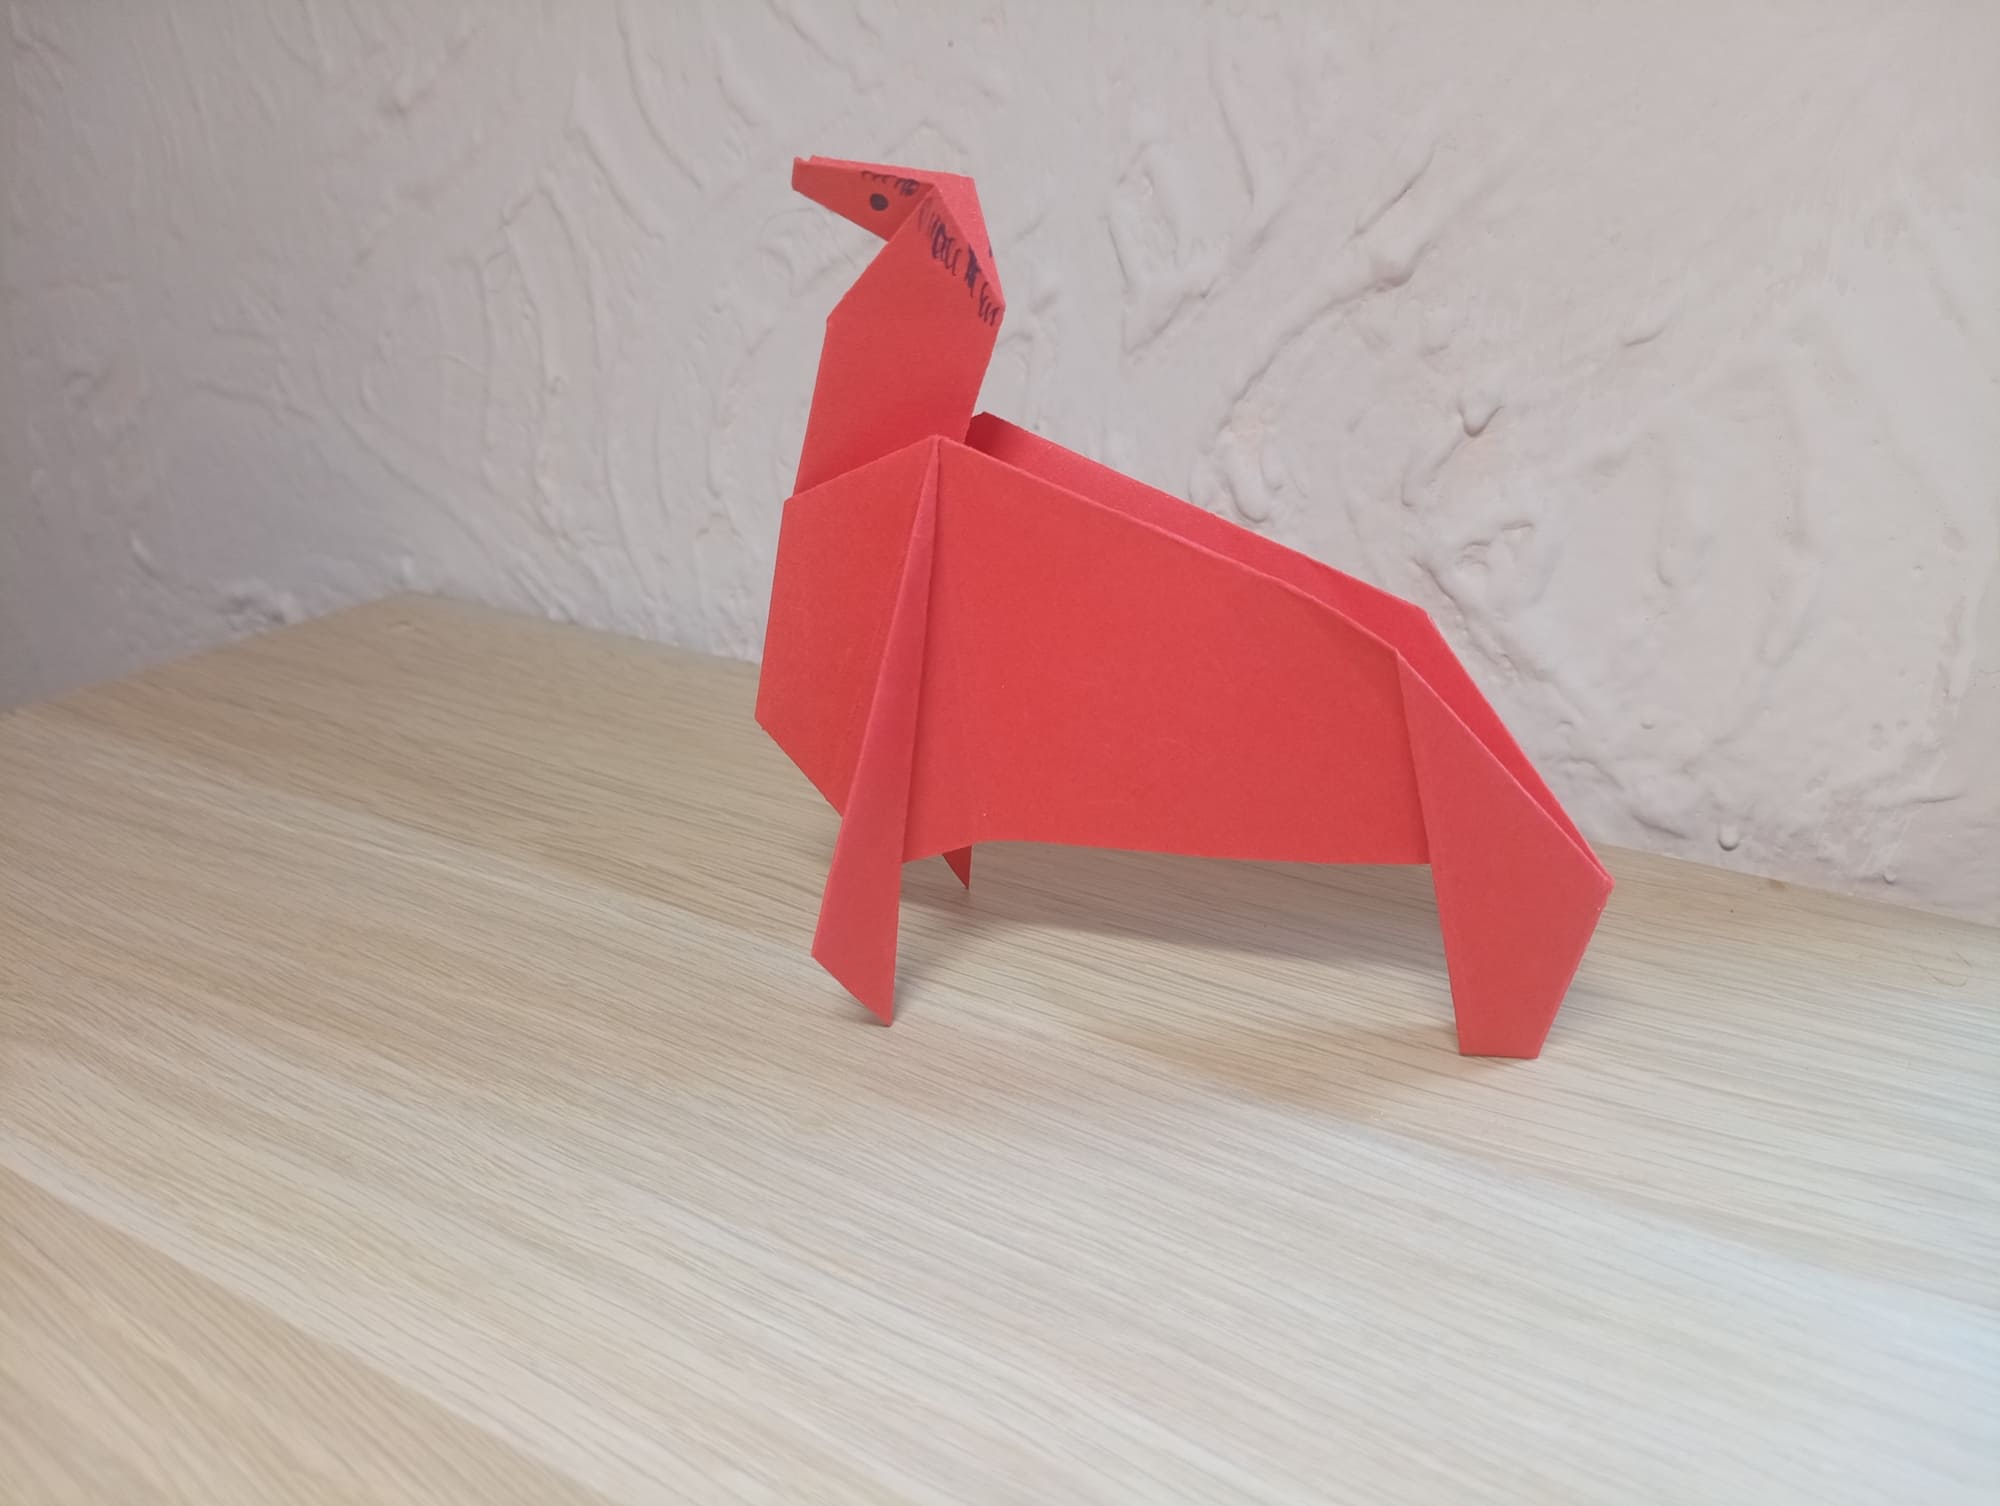
Draw the mane and eyes of the horse.
The horse figure is ready. It can be placed on any horizontal surface and be played with. Please note that the mane can also be made from other improvised materials that can be attached with glue. The finished saddle also looks good. Your imagination will help you make the horse beautiful and unforgettable!


