Origami House
Folding a house in origami technique is very simple, and perfectly suitable for crafting lessons with children. Consecutive steps in this instruction will help you to do the work without errors. You will get a flawless result the first time, even if you do not have any experience in folding origami. For this Origami House, you will need only one square sheet of paper of the desired color and a little time. Glue, scissors, and other things will not be needed, because this is the main essence of the art of origami – only hands and paper!
The master class consists of consecutive steps, the fulfillment of which will lead to the desired result. Let’s start!
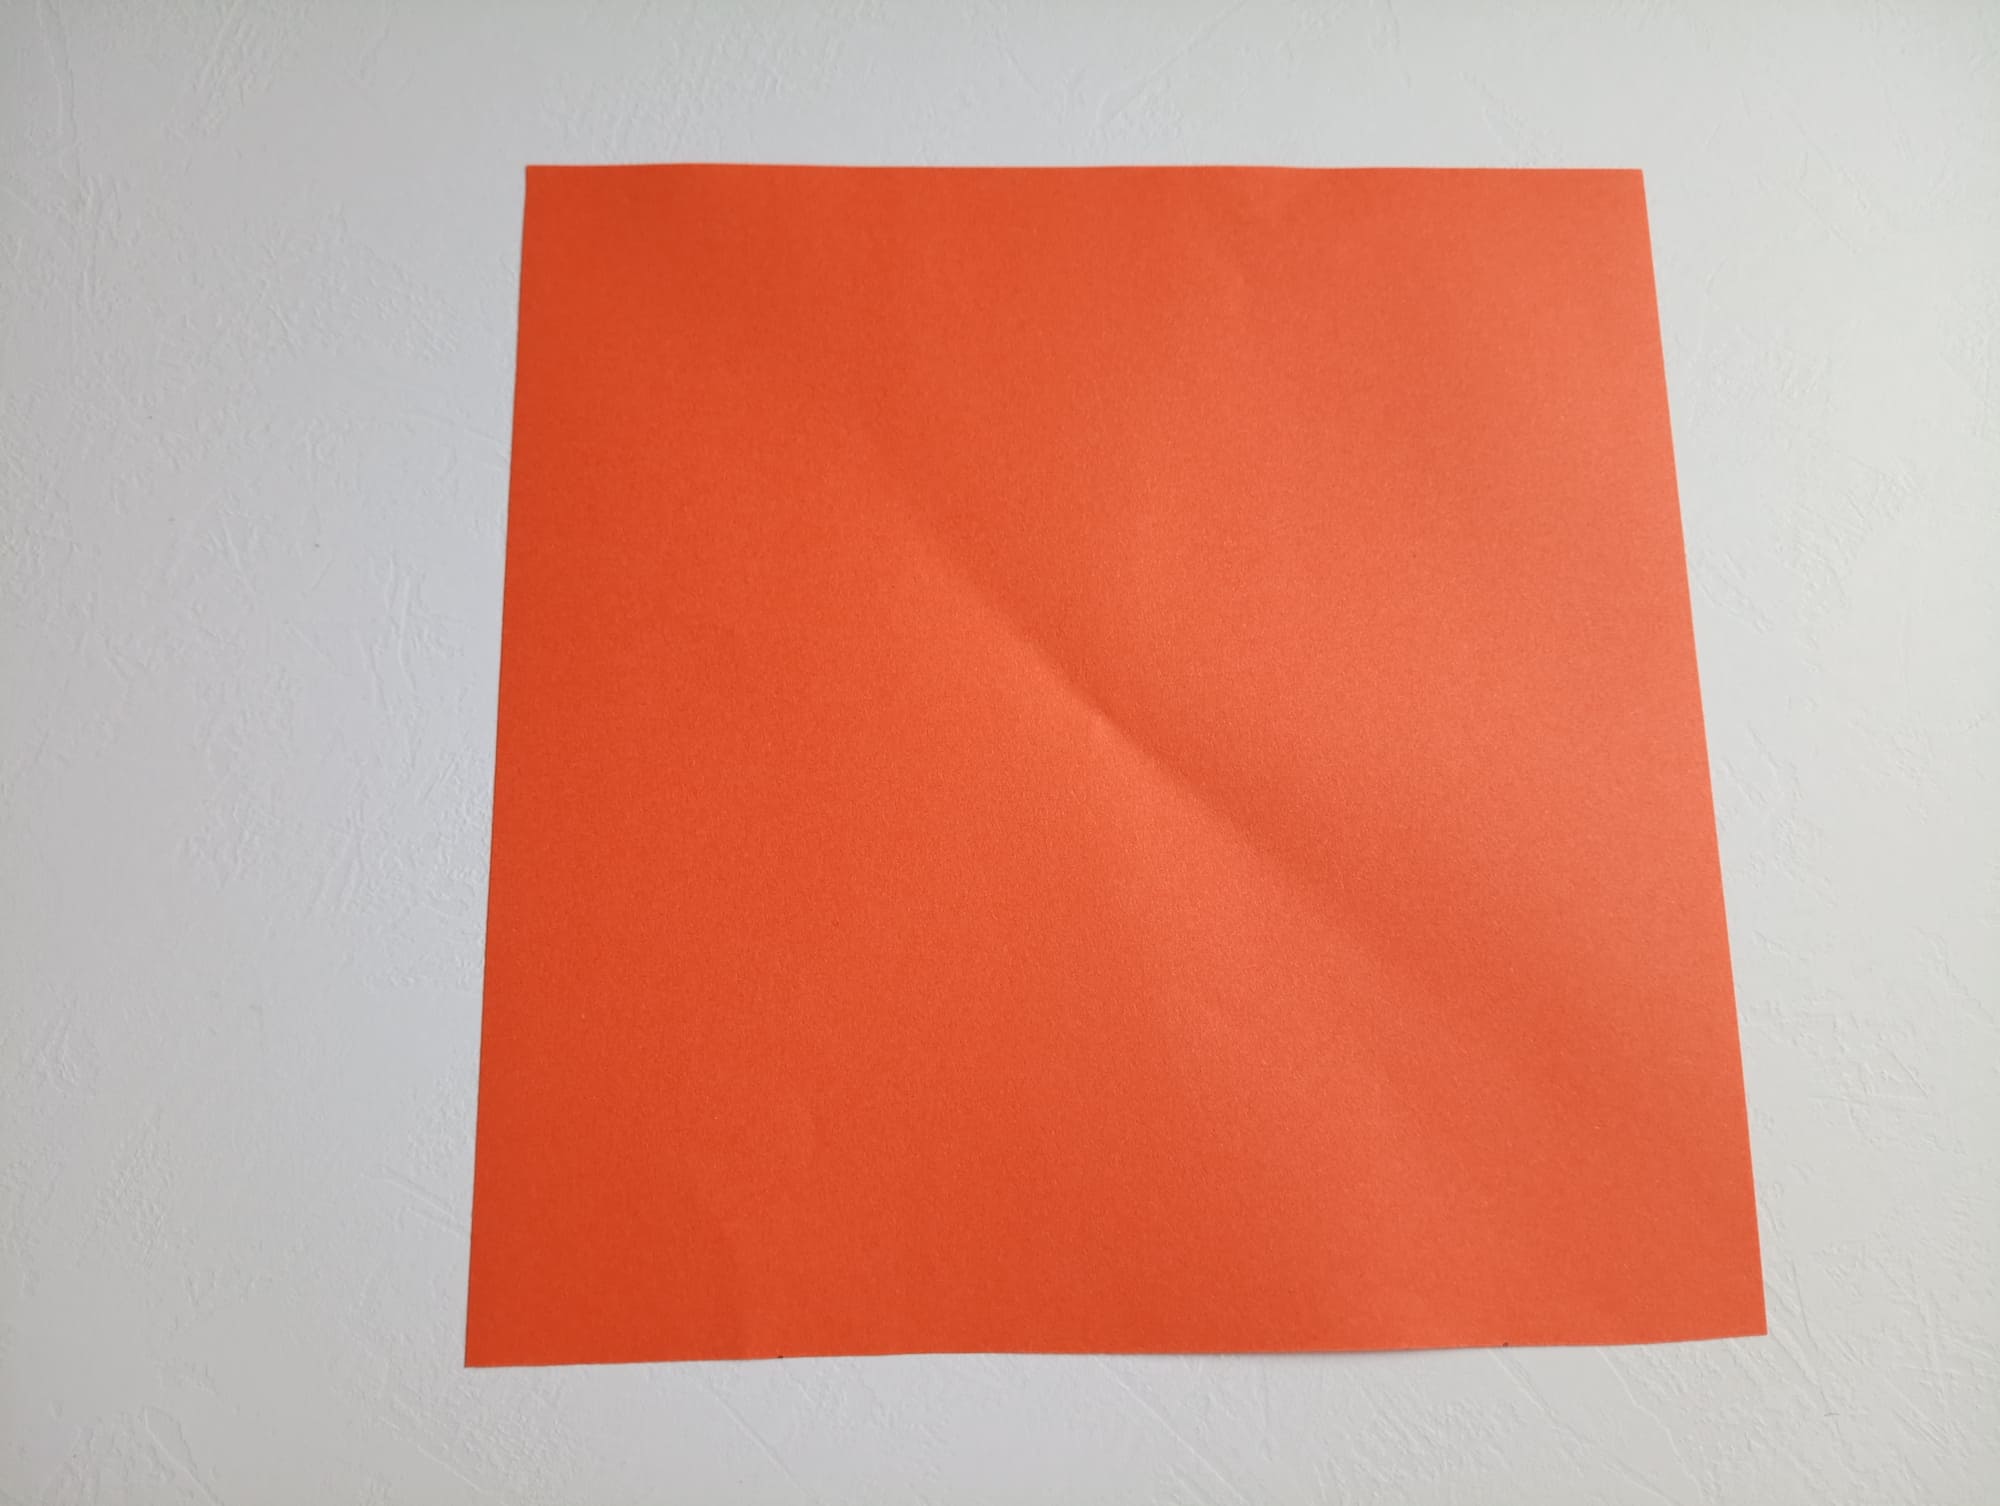
Take a sheet of paper of the chosen color, with the size 15 x 15 cm.
Fold the sheet in half along the horizontal line.
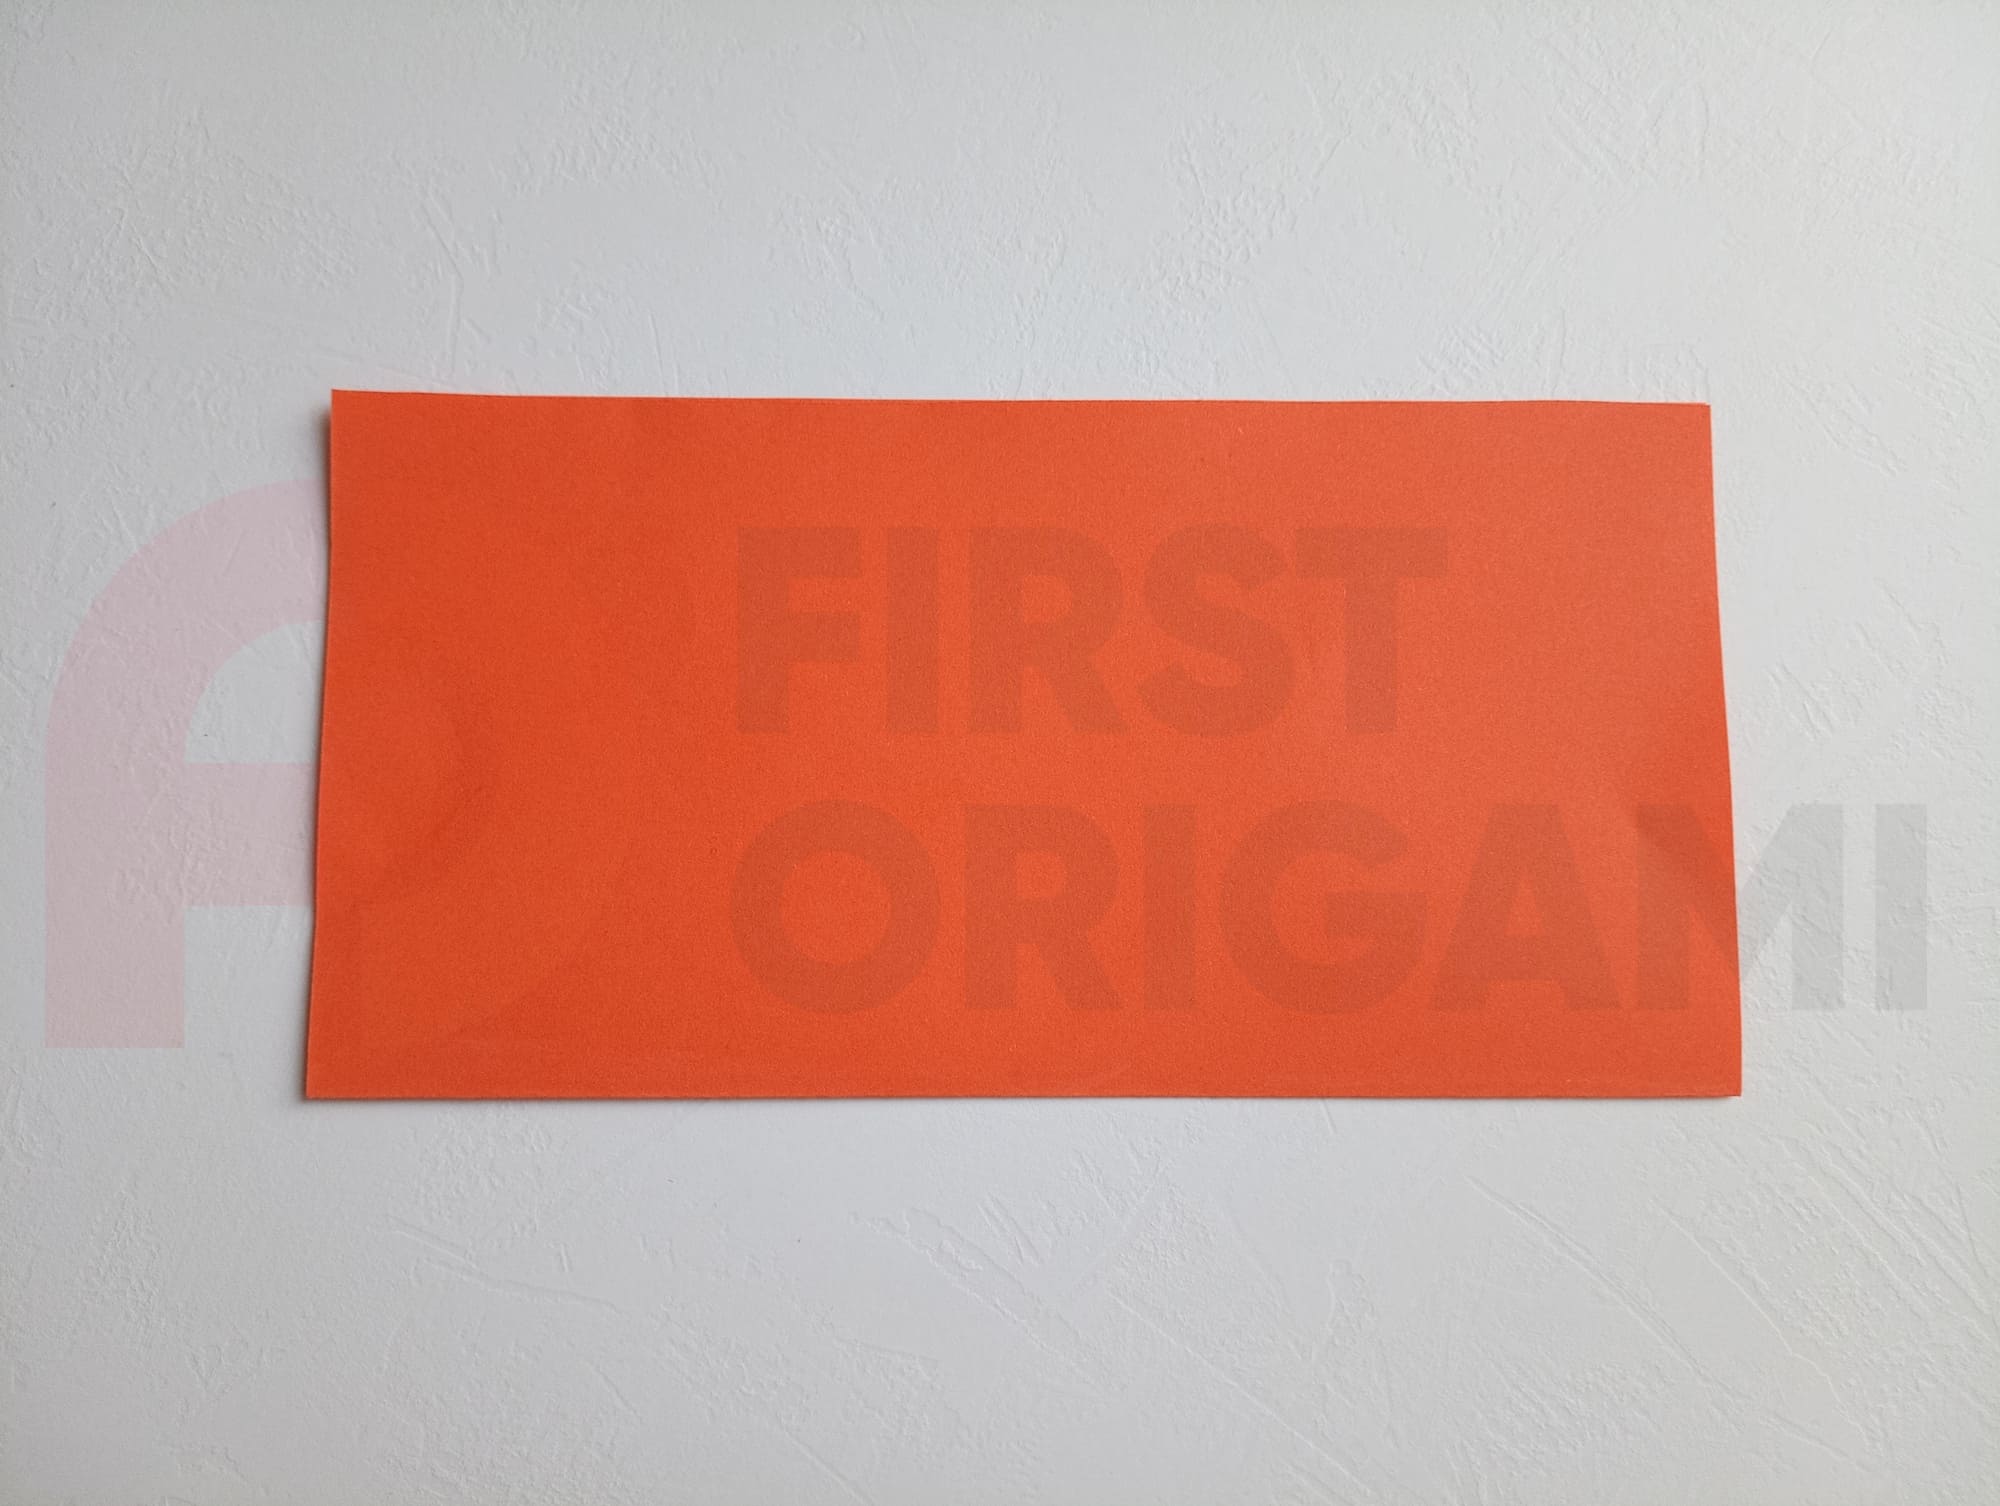
Open the sheet of paper.
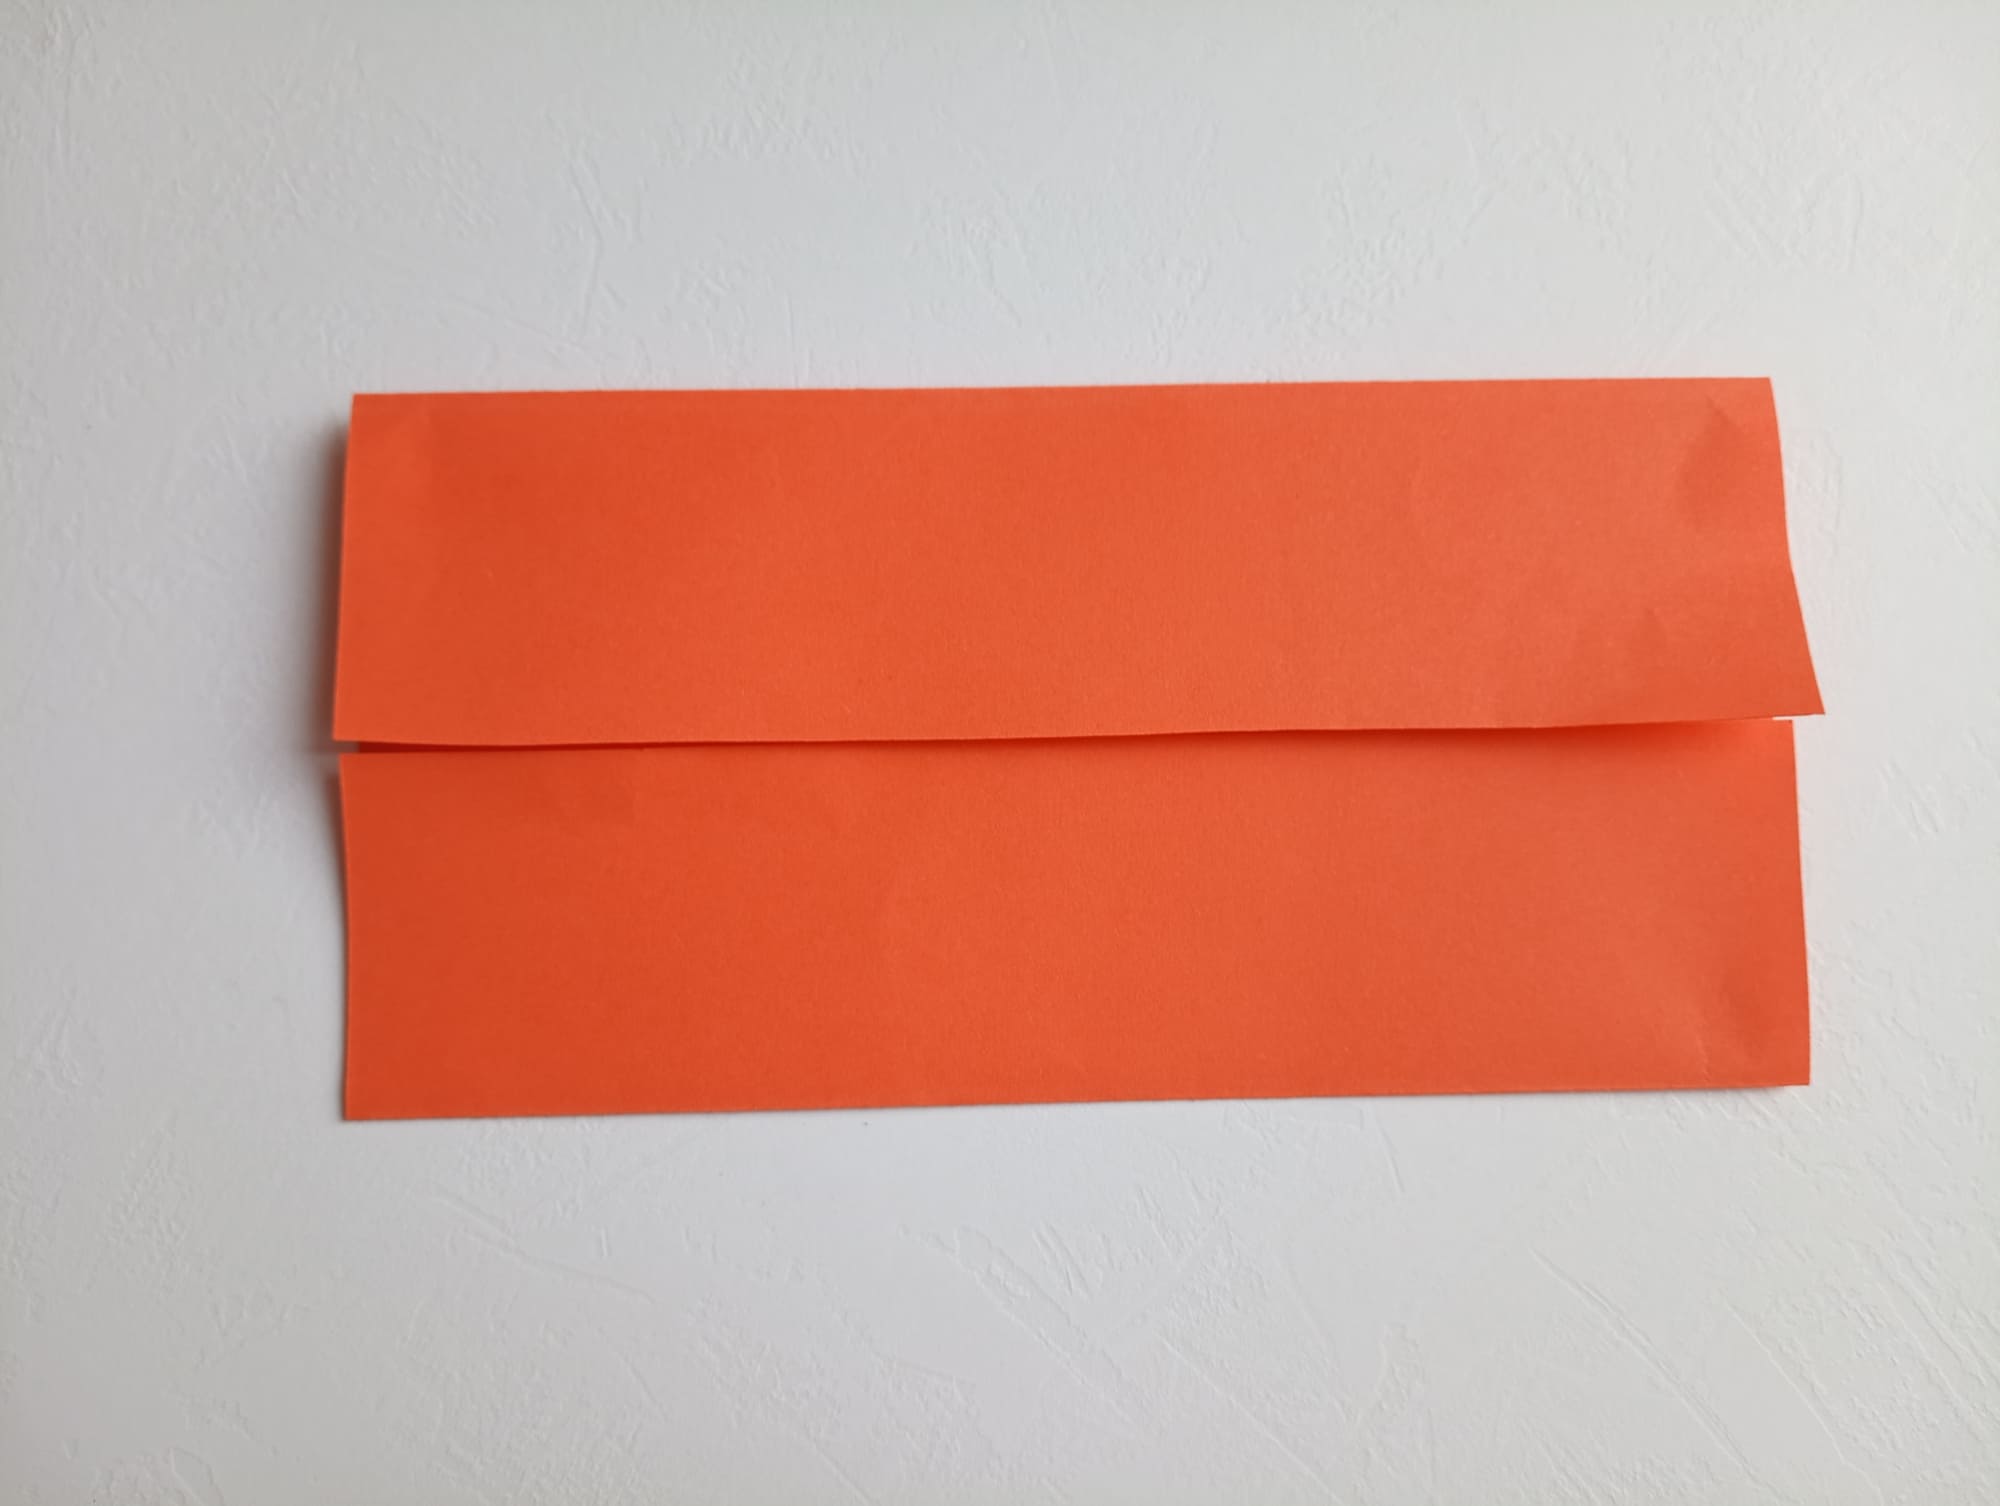
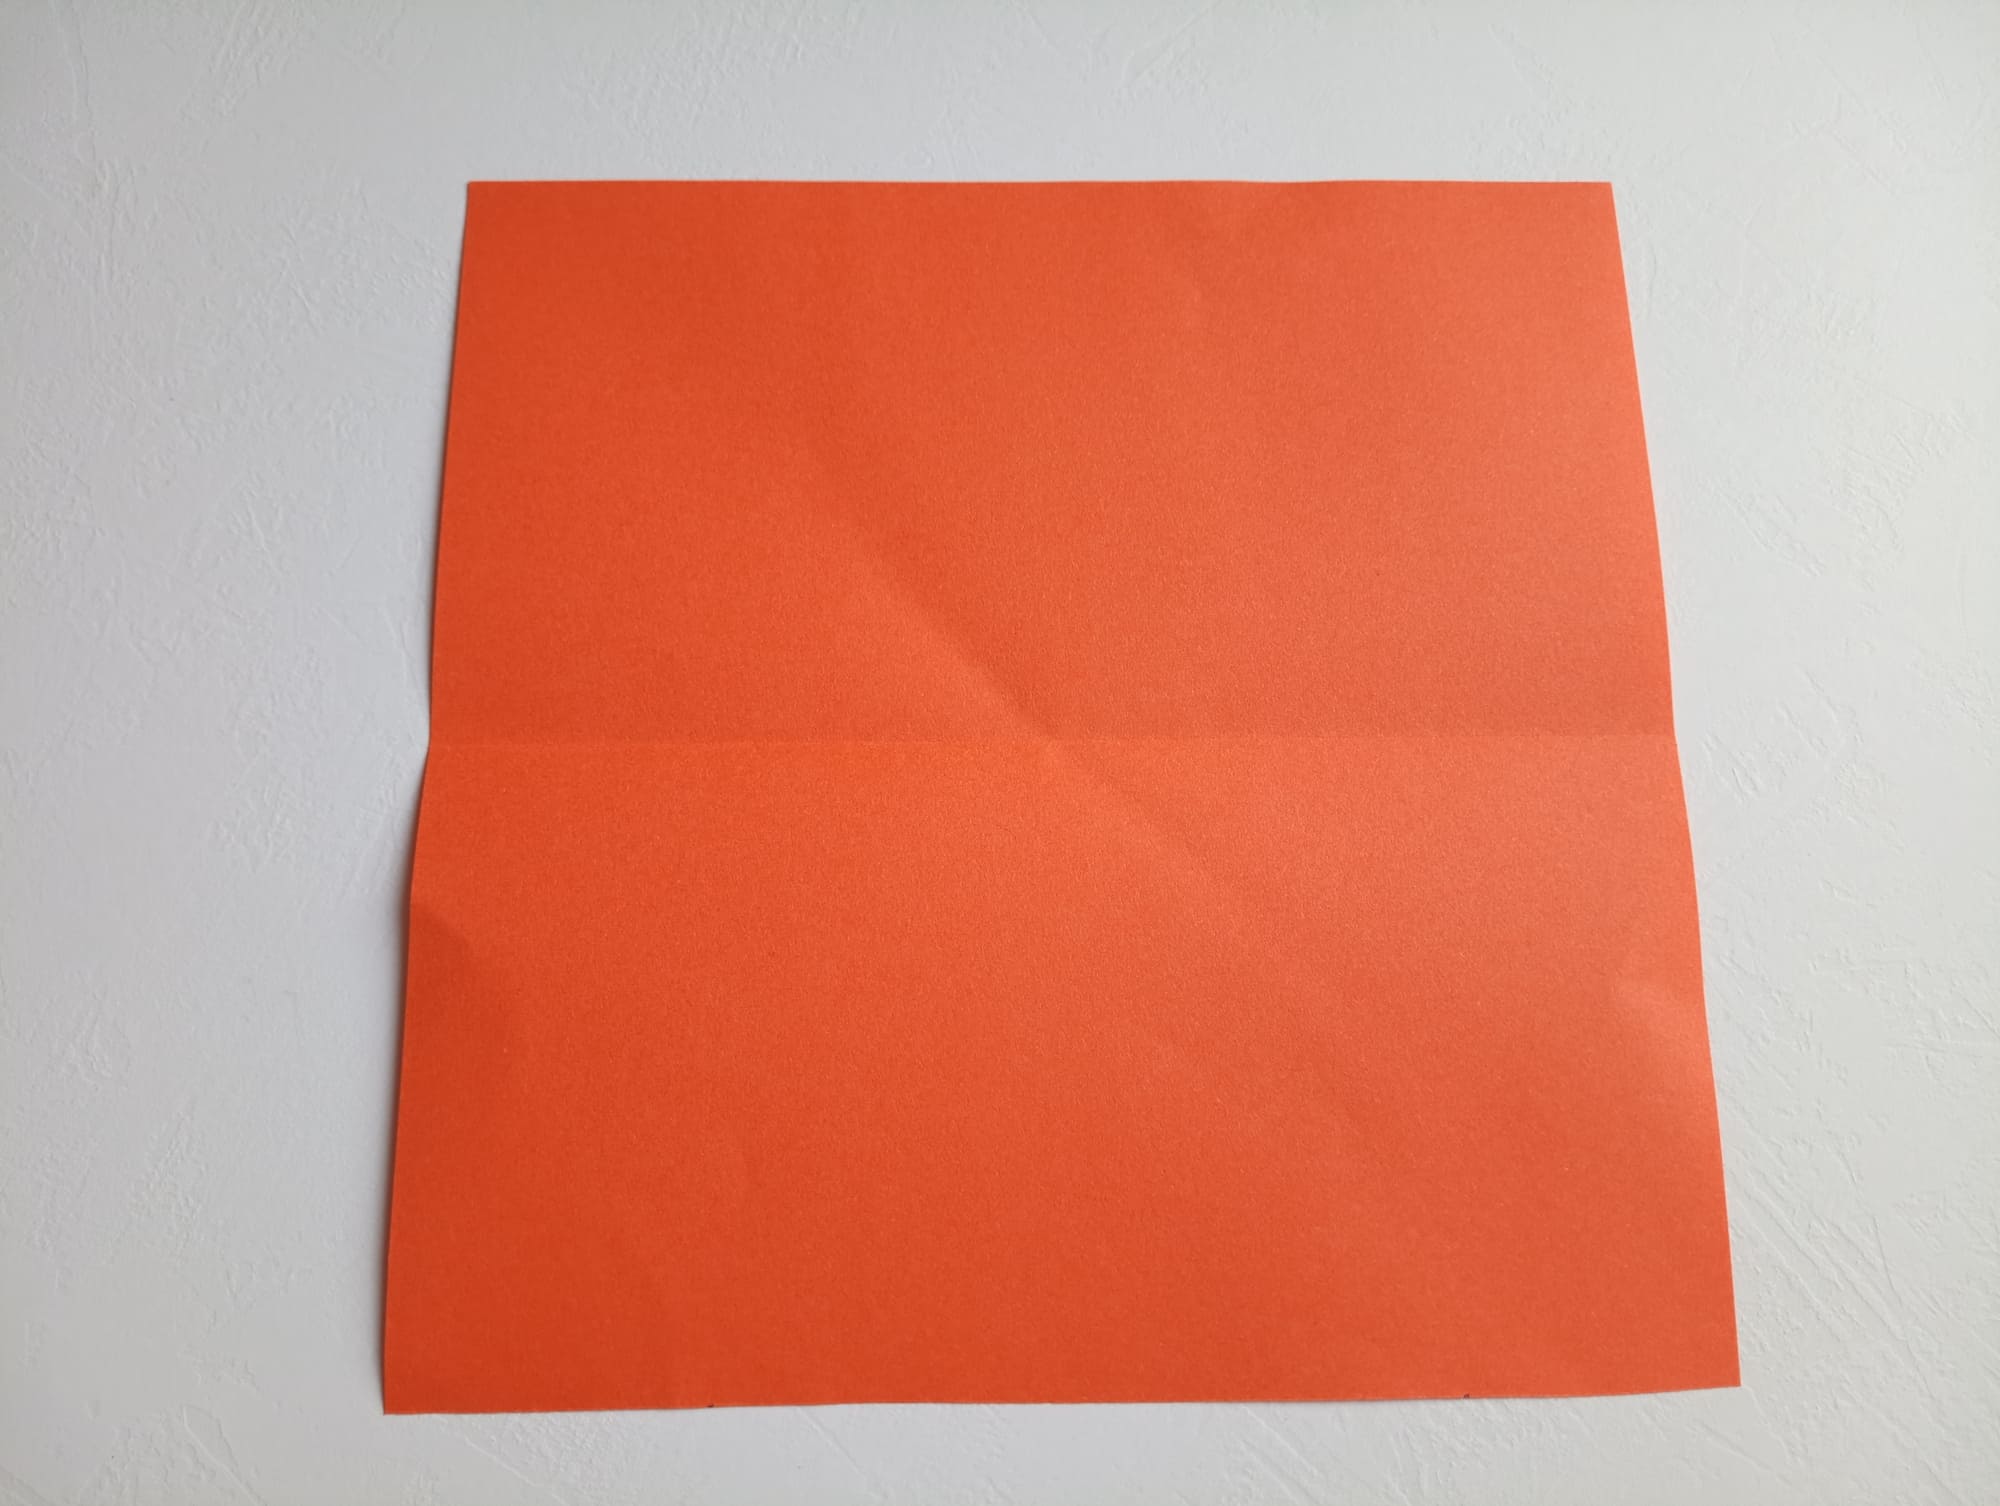
Fold the top and bottom edges and join along the center line.

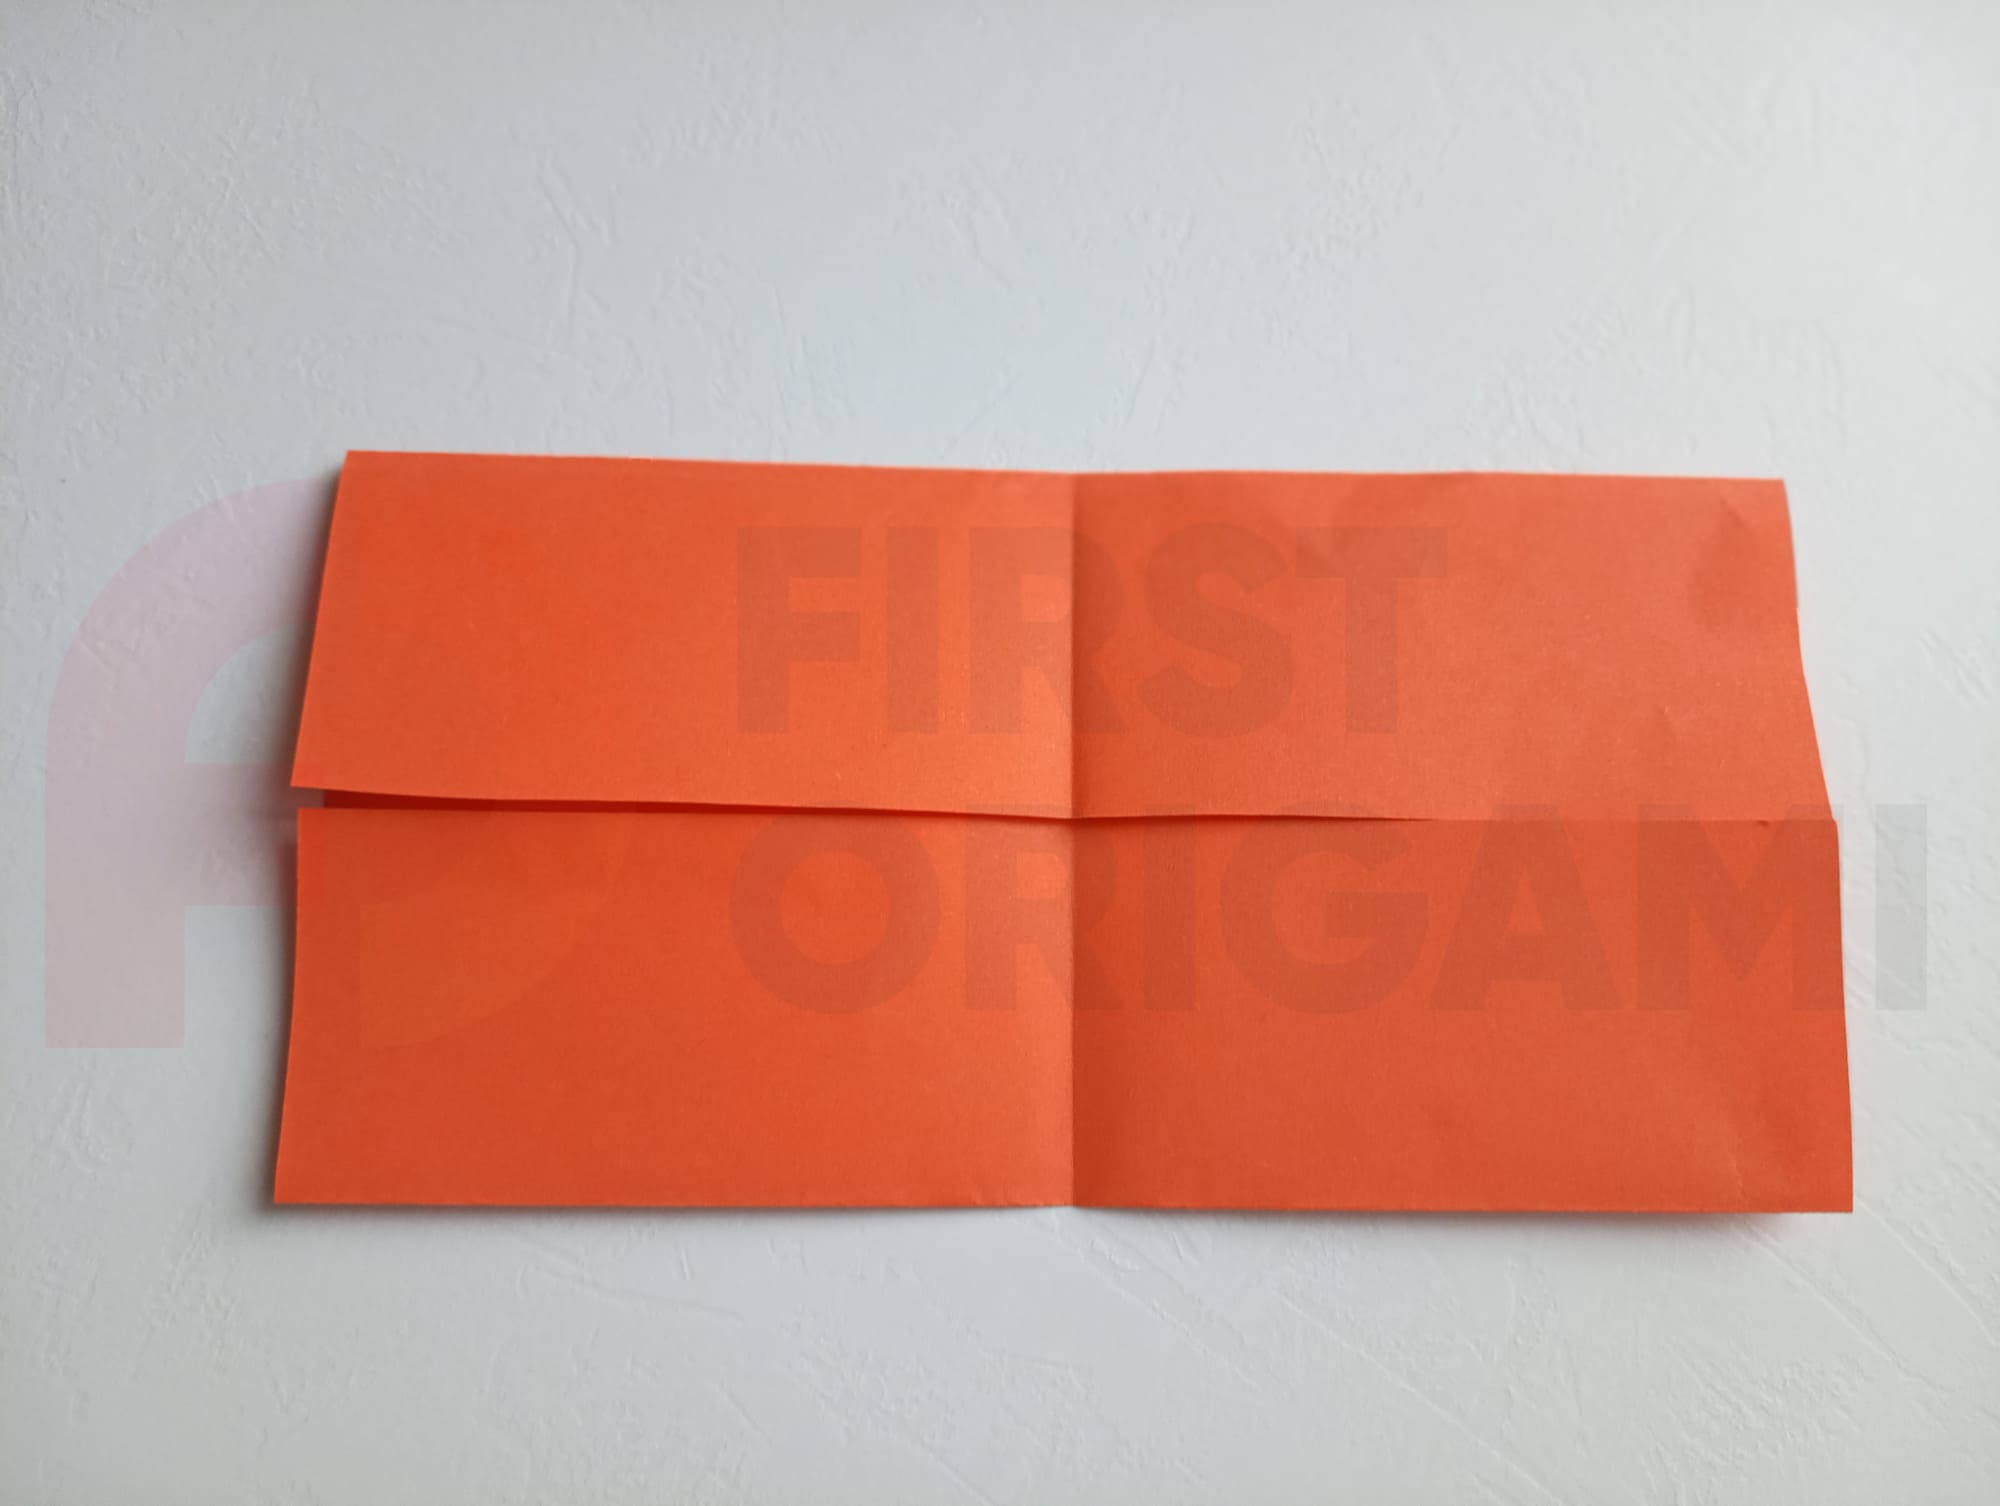
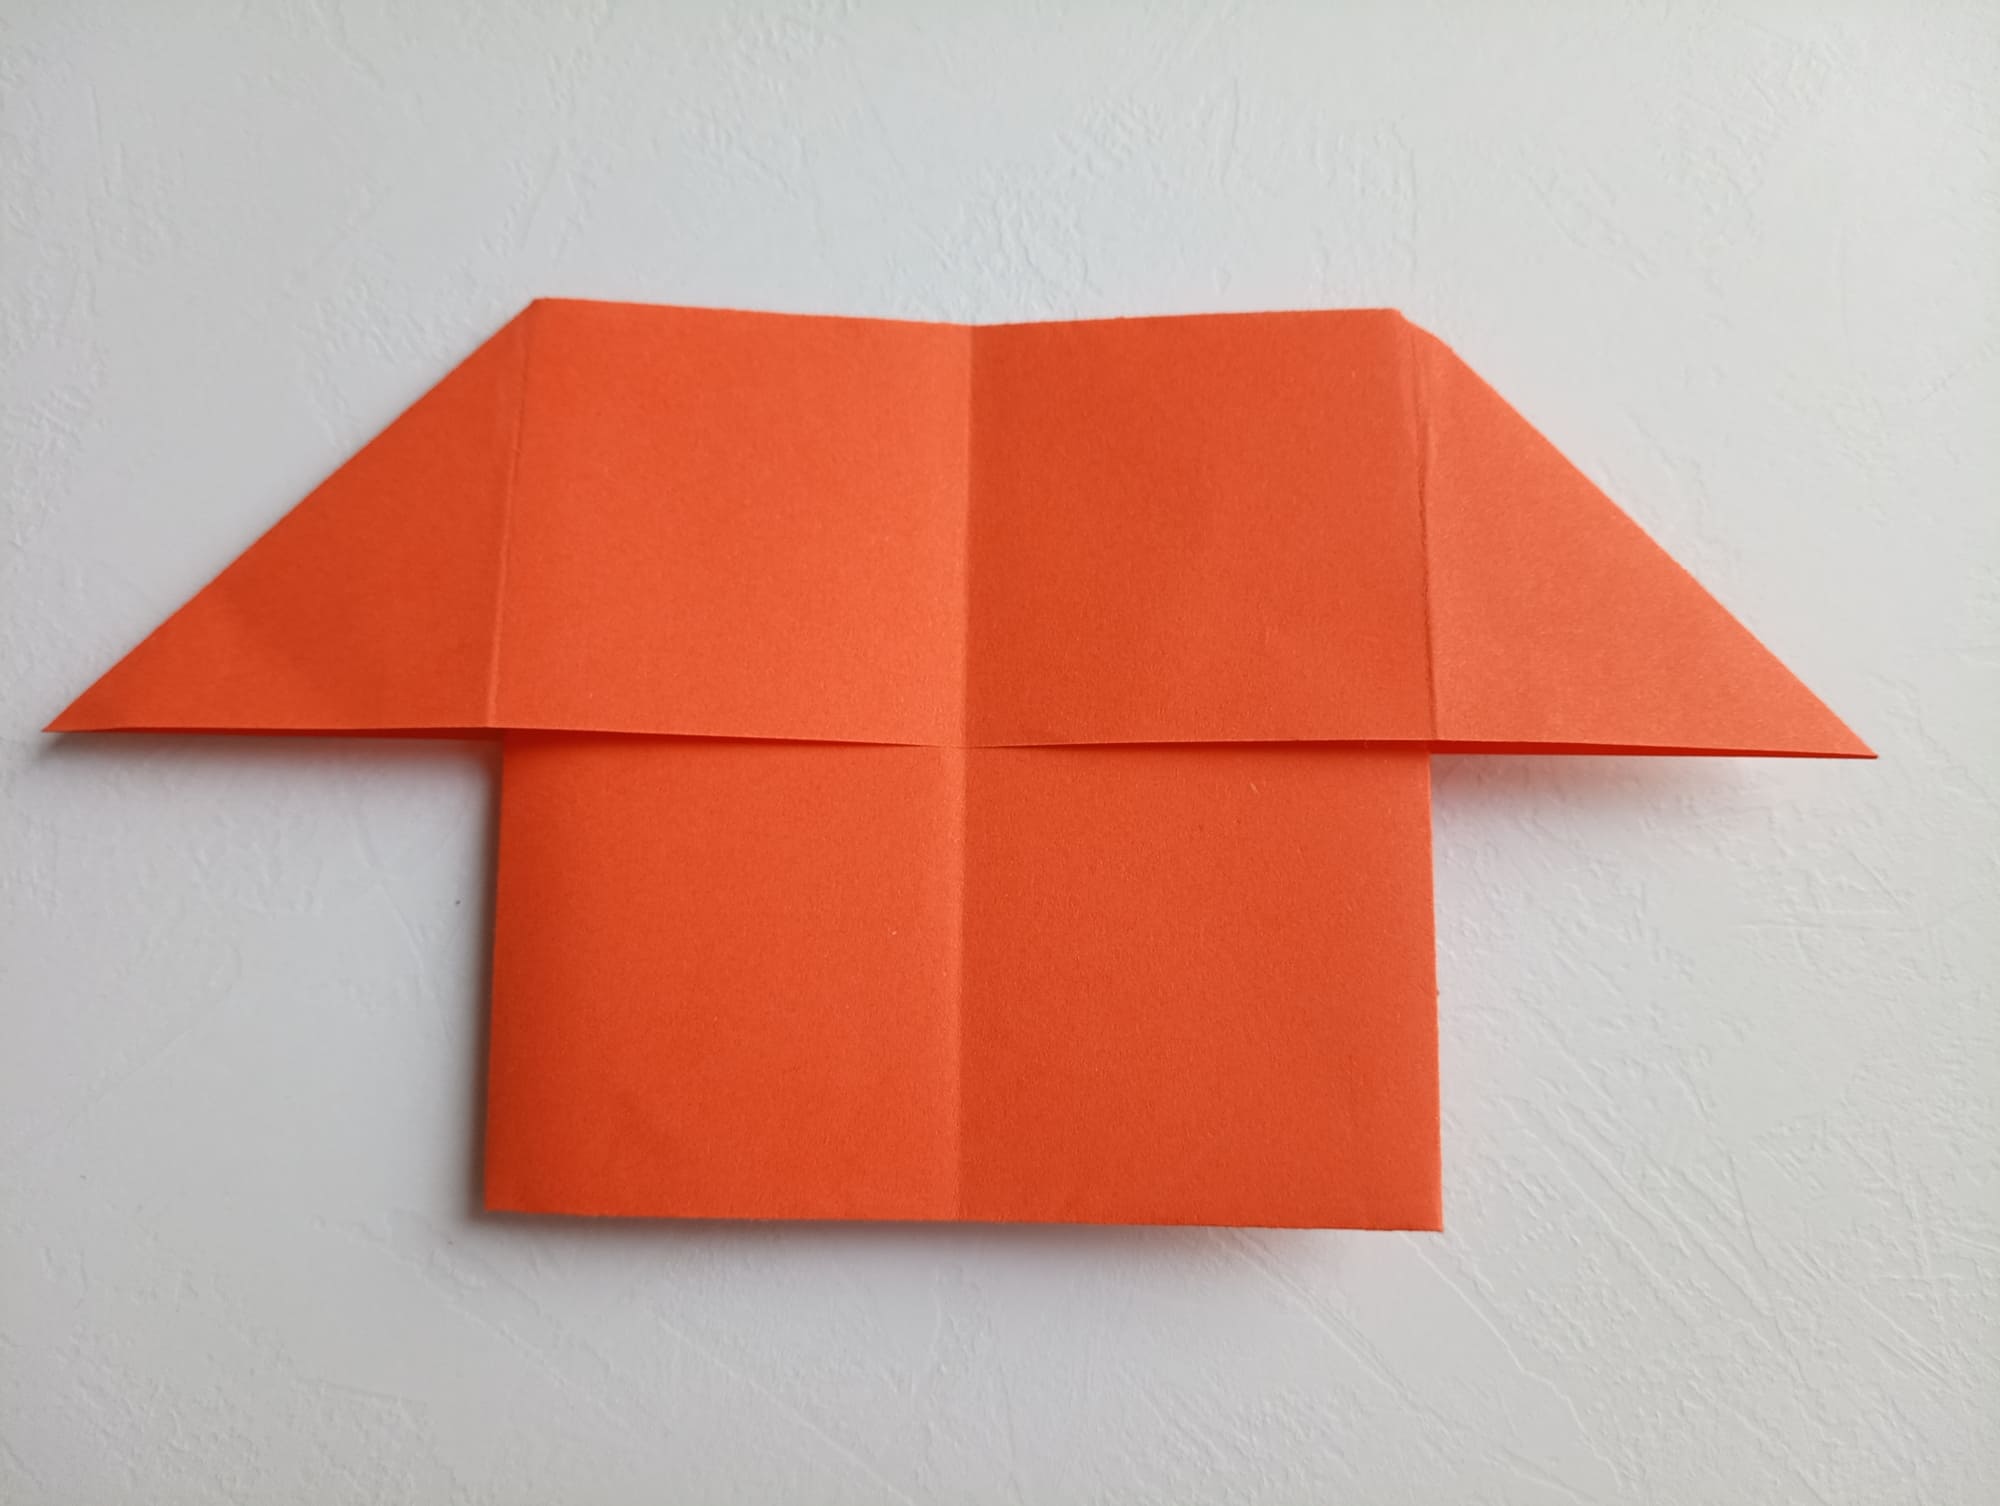
Fold the shape in half across.
Unfold the shape and you will see the fold of the last valley.
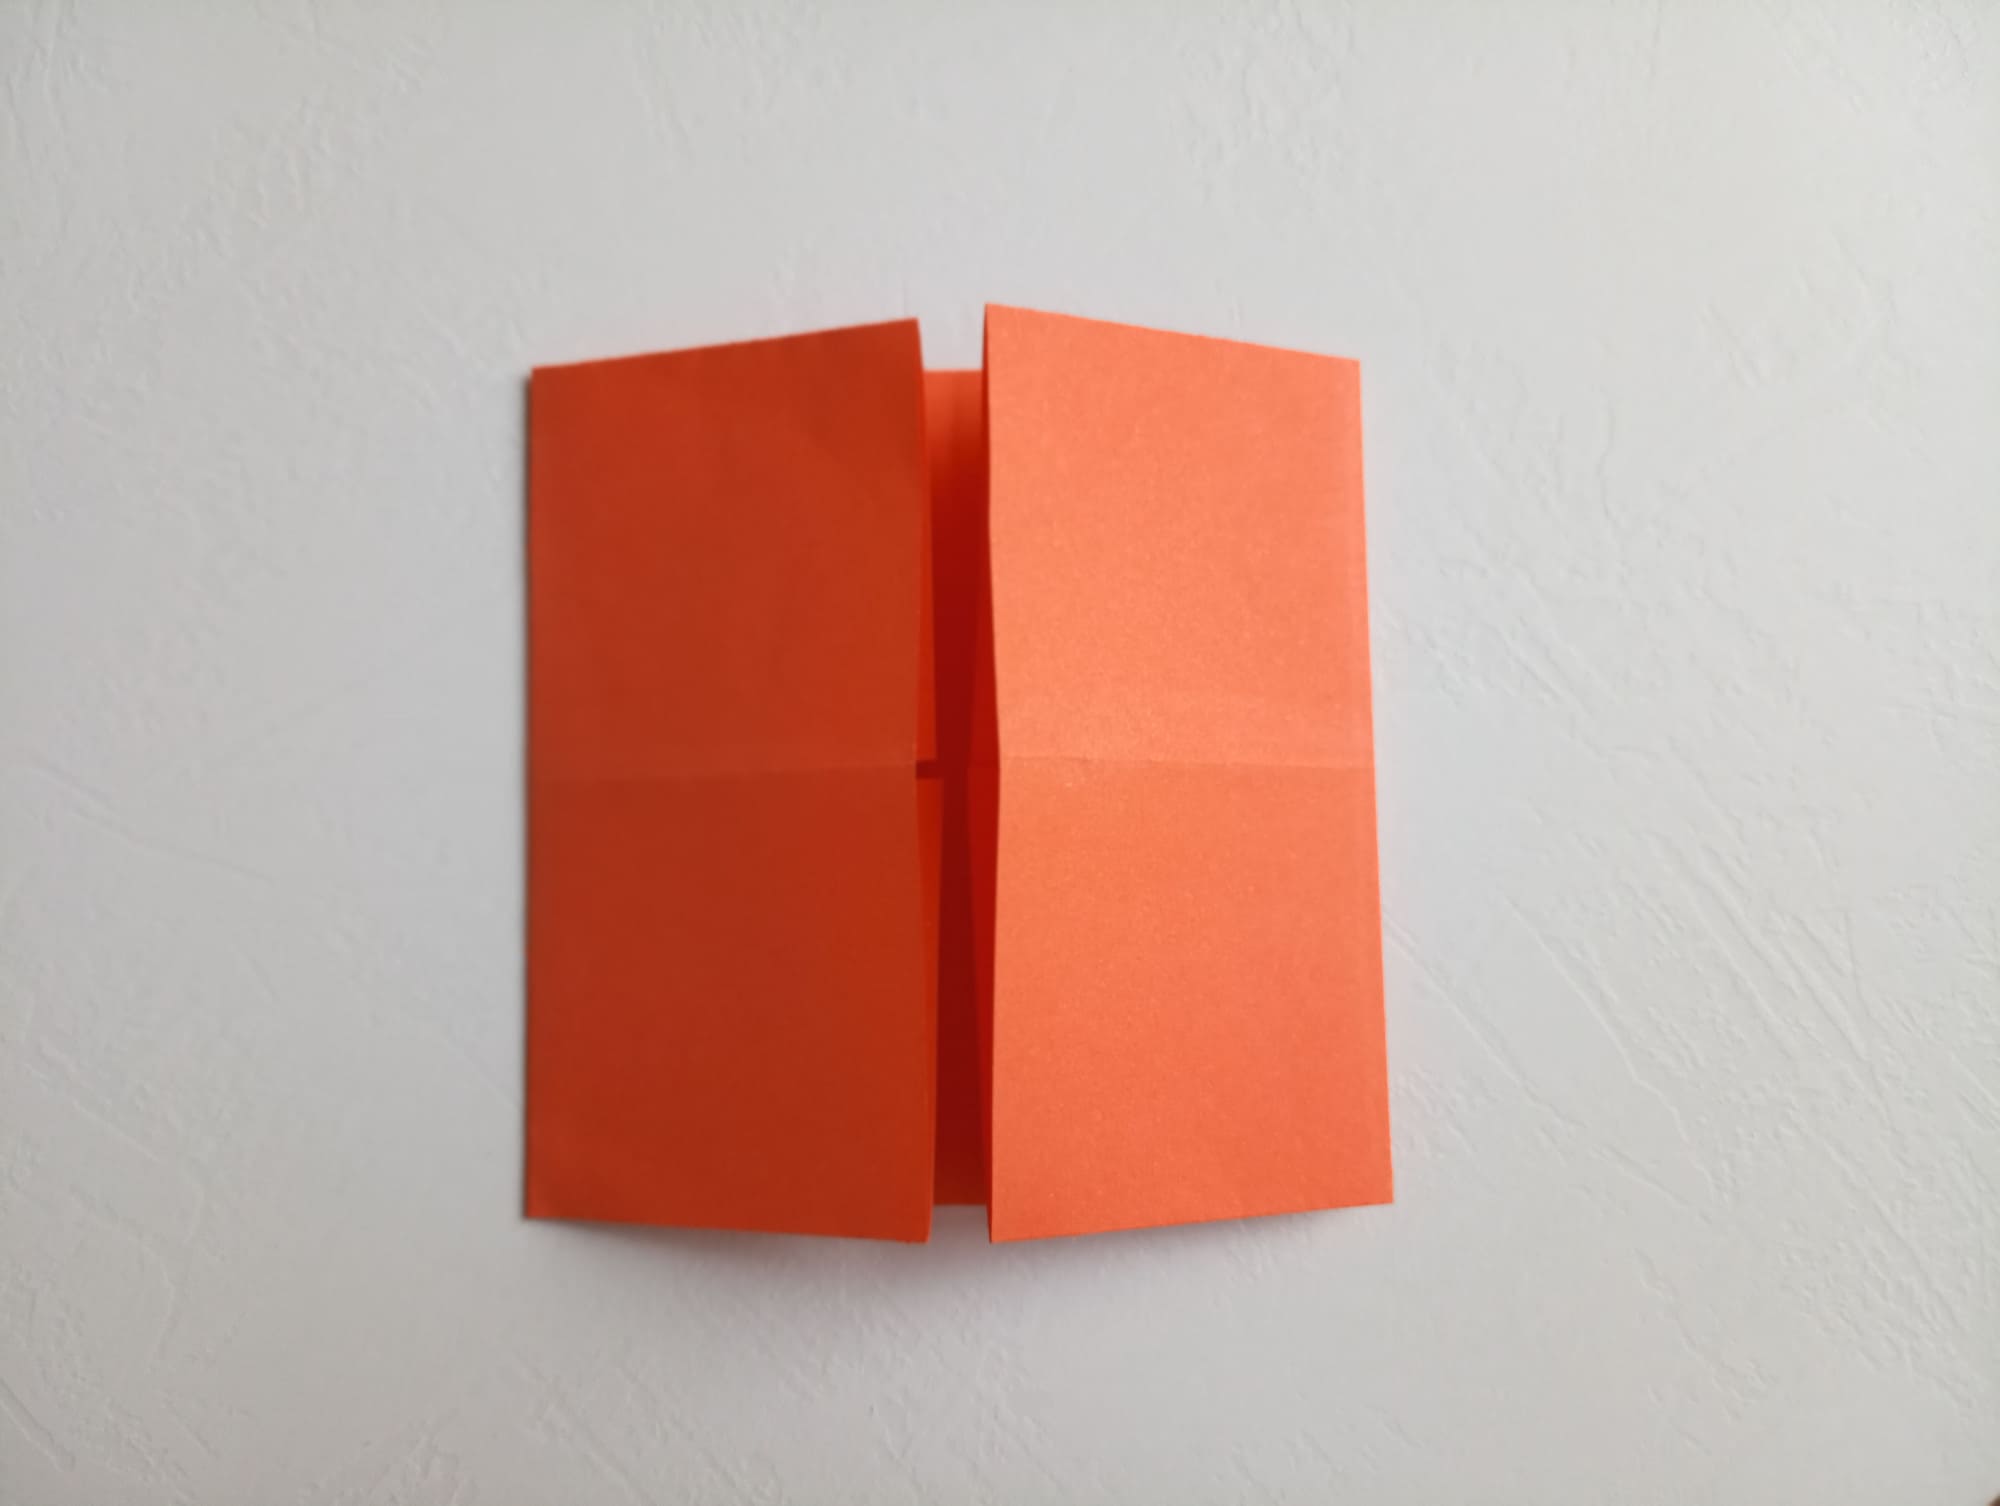
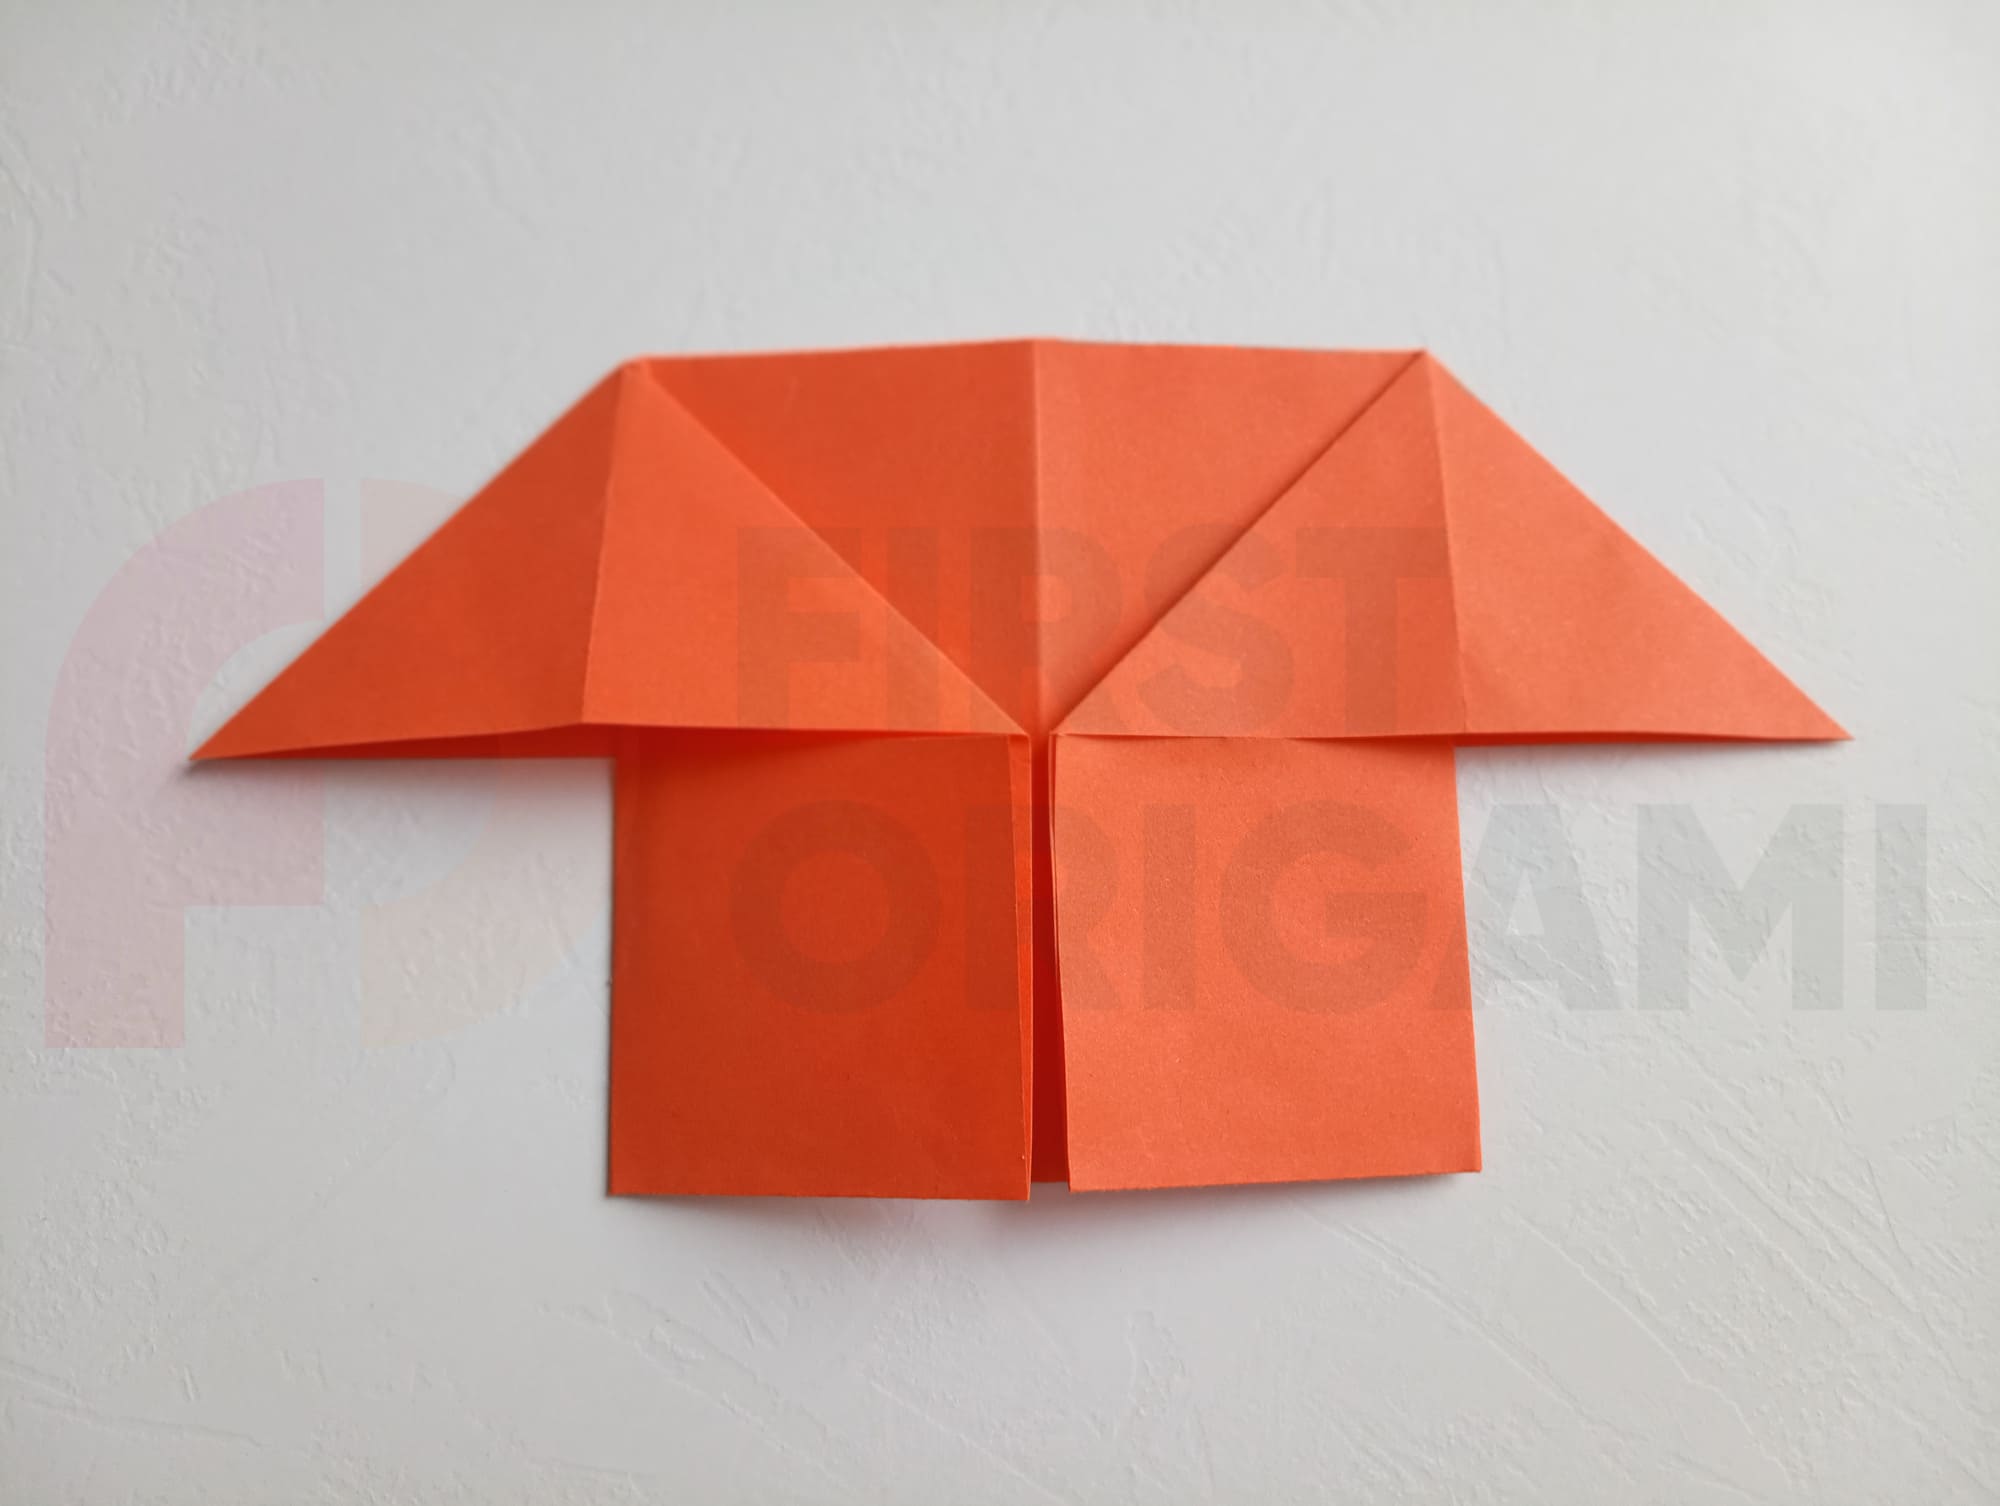
Fold the right and left edges toward the middle, where the resulting line is seen.
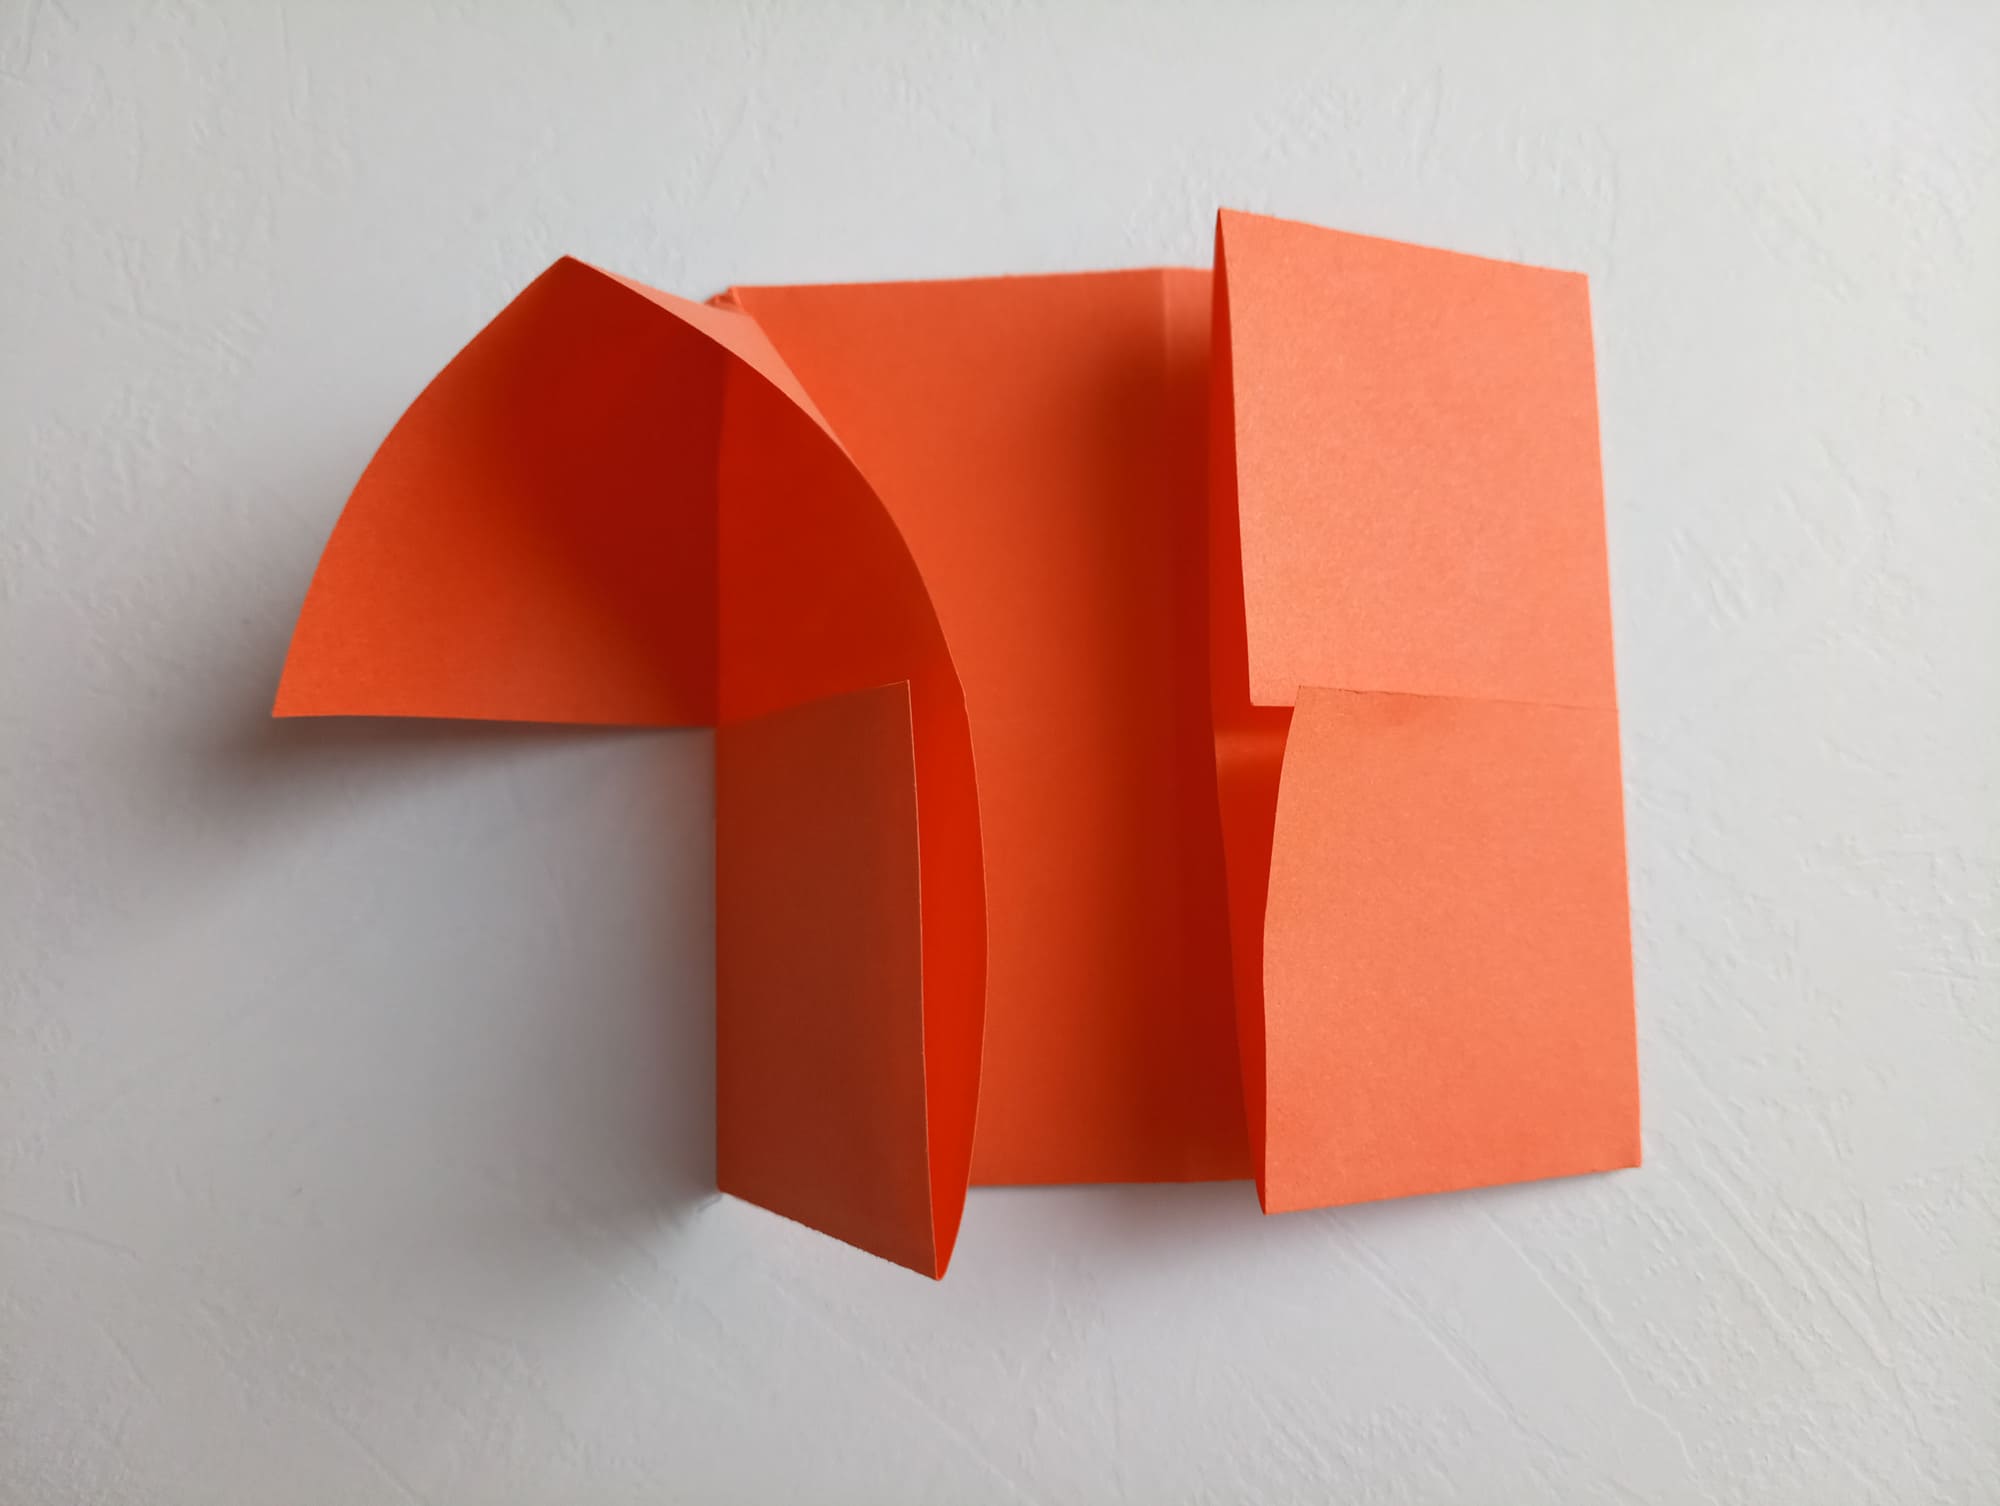
The top left flap needs to be opened, flattened, and tucked in.
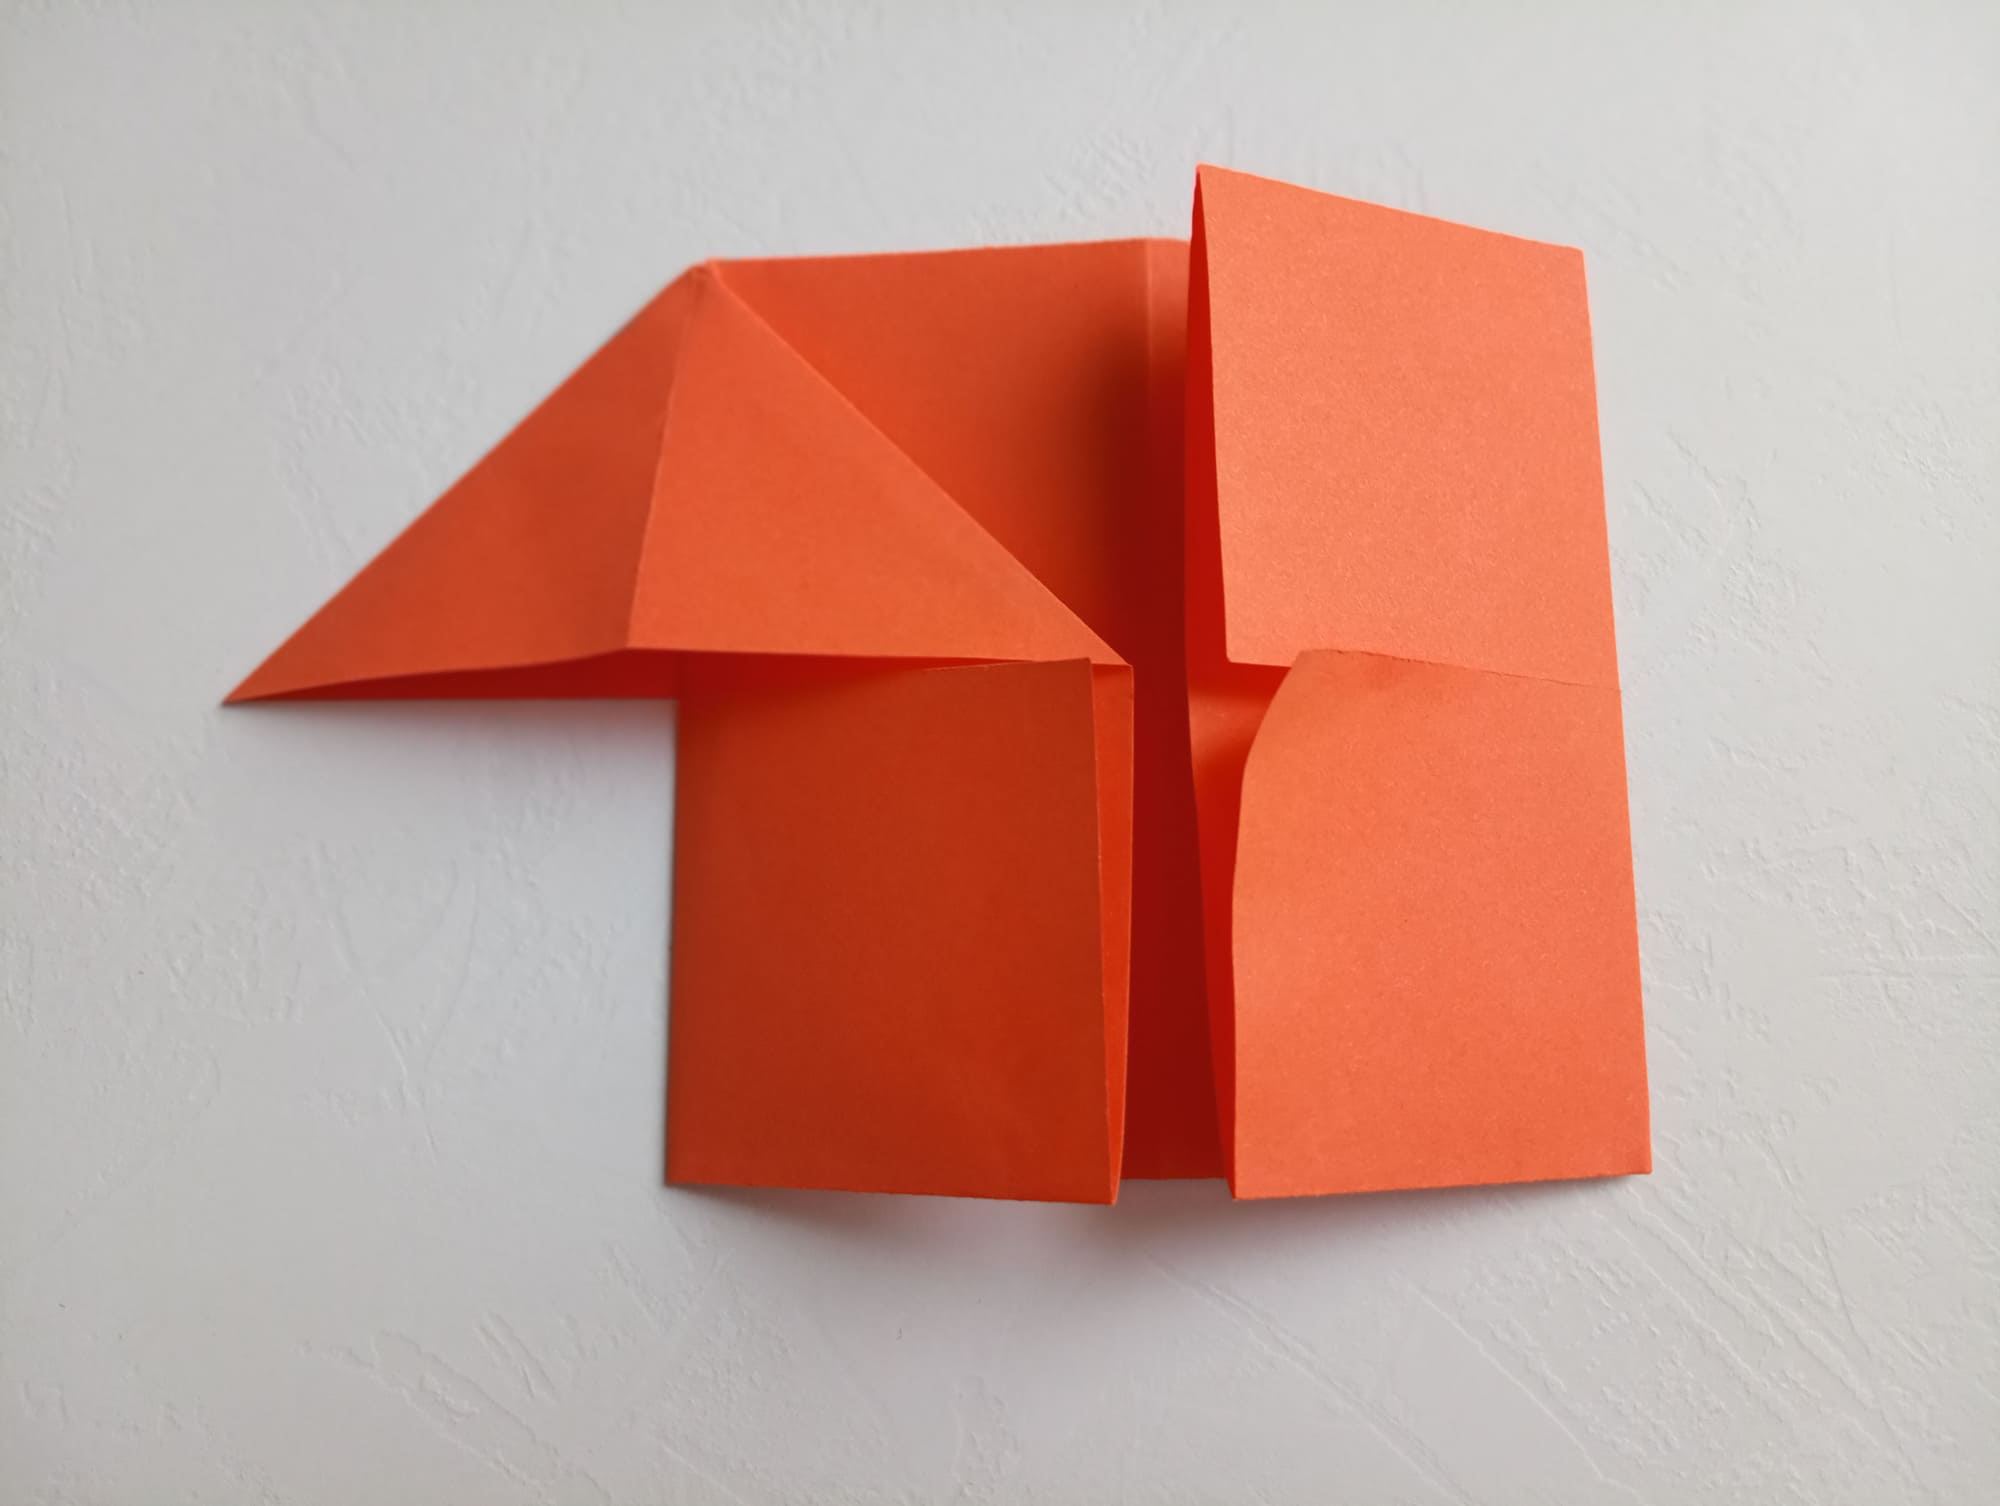
Look at the sequence of actions in the photo.
Repeat the actions of steps 8 and 9 with the right flap.
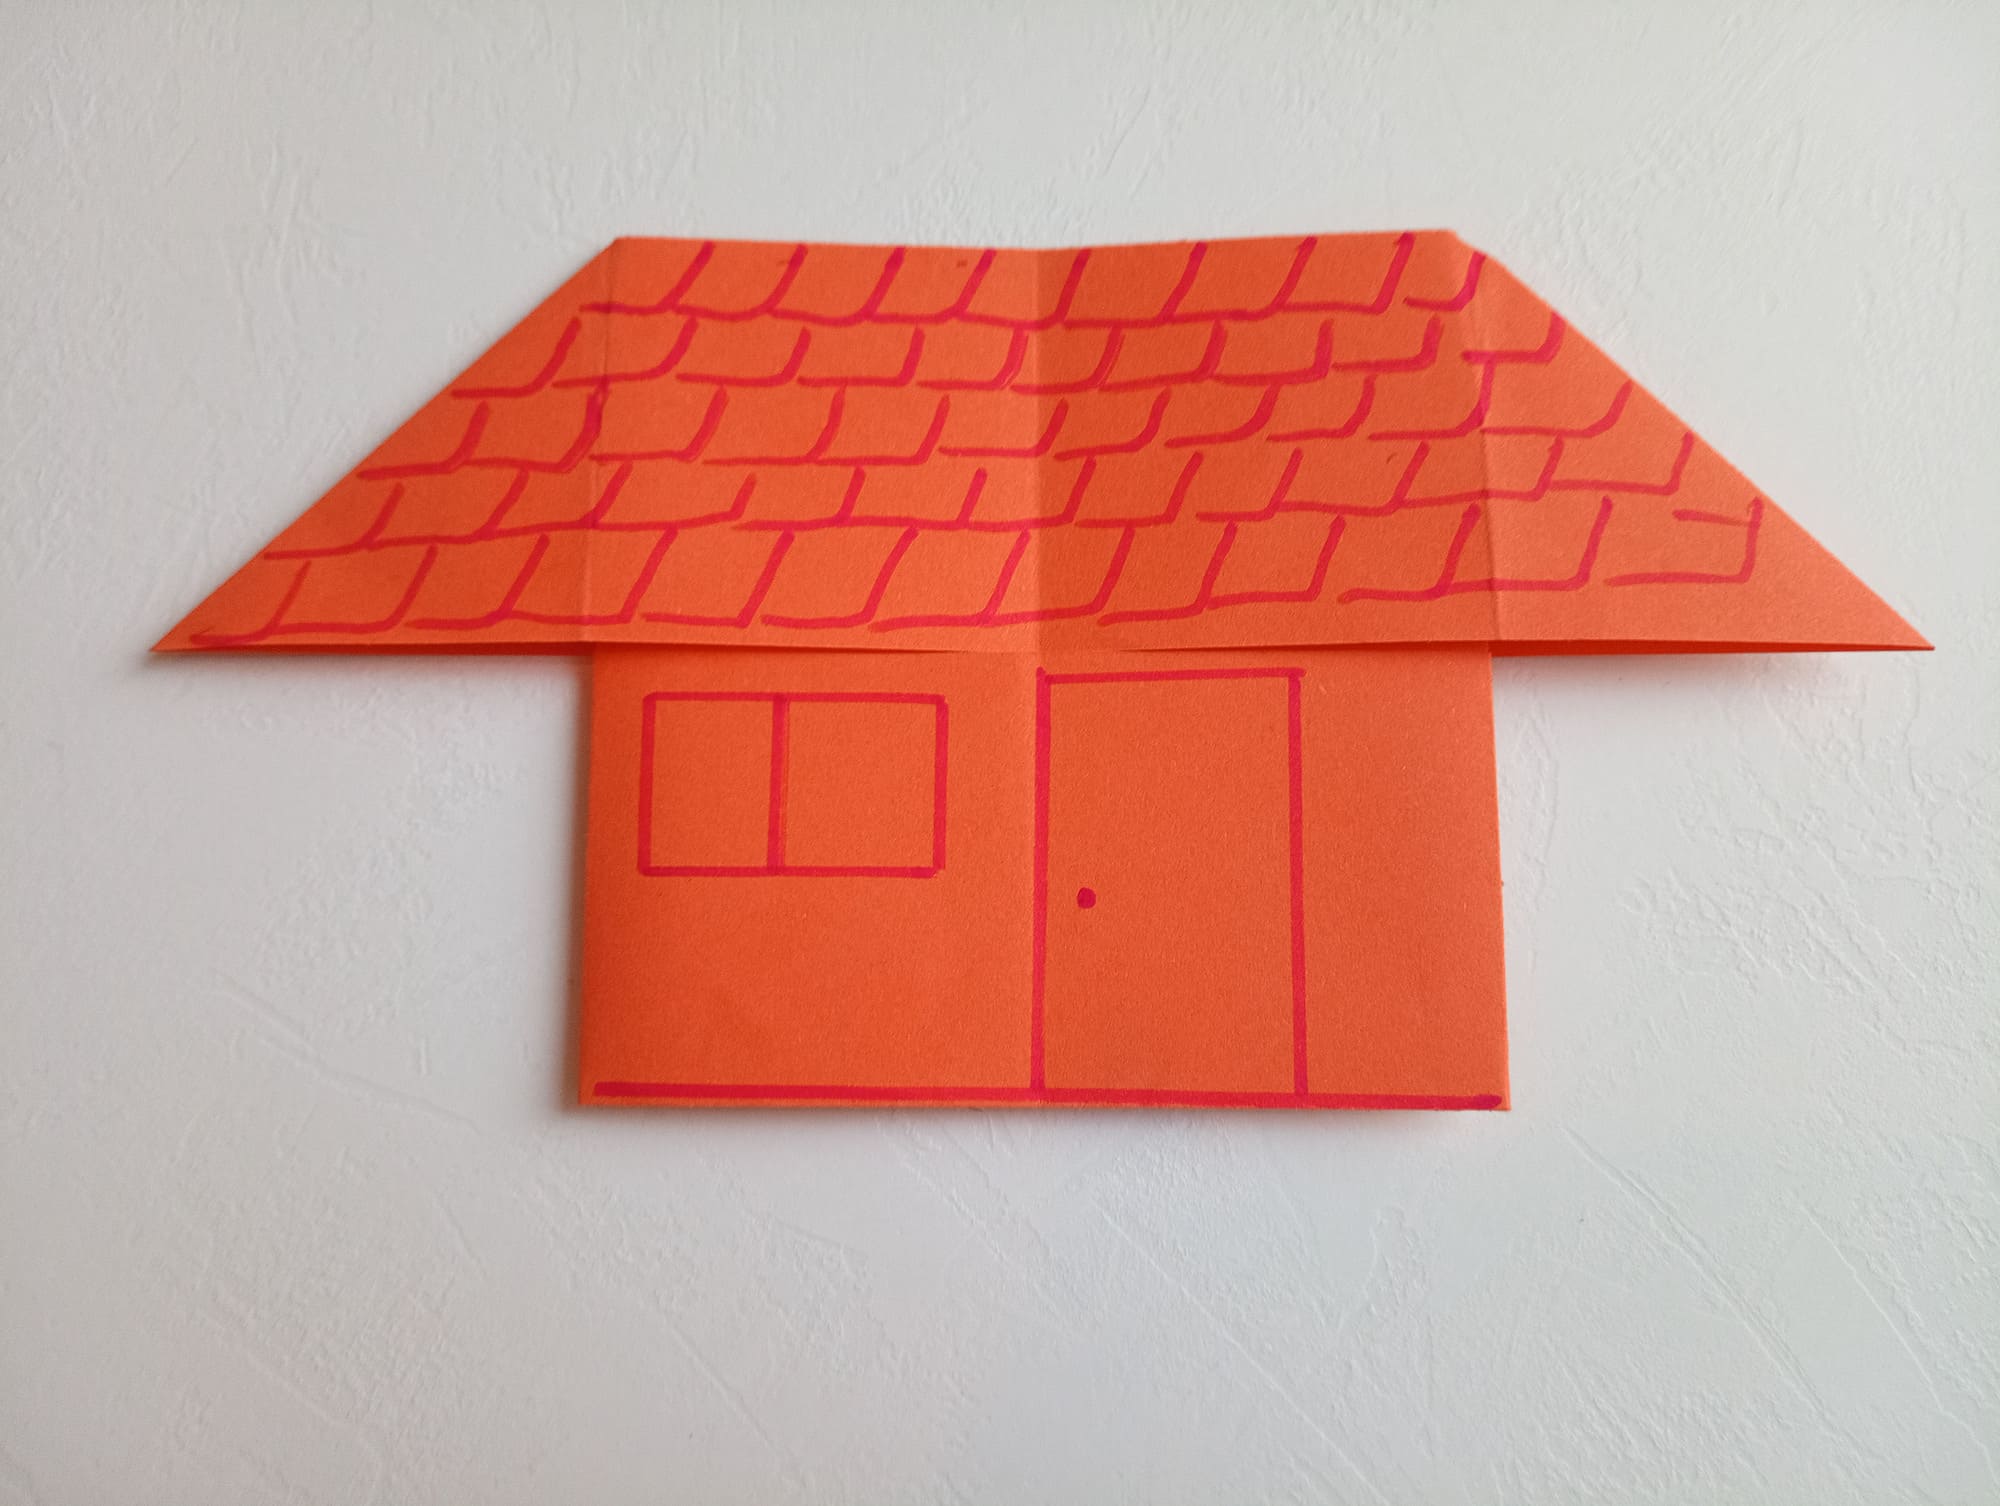
Turn the figure over and you will see the finished house.
Use a felt-tip pen to draw a pattern on the roof, and draw a door and a window.
The house figure is great for volume applique and even decoration. The size of the house depends on the original size of the paper. You can also color the figure as you wish. For example, decorate the window sill with a vase of flowers. Or decorate the facade at your discretion.


