Origami Hunting Flight Airplane
This paper airplane features a sharp, heavy front and flat, wide wings. It flies smoothly and far. We encourage you to assemble this model, so you can see how confidently it moves in the air and successfully lands in the end.
It is easy to assemble such an aircraft – just follow our step-by-step instructions, and you will definitely succeed. Ready? Then, let’s begin!
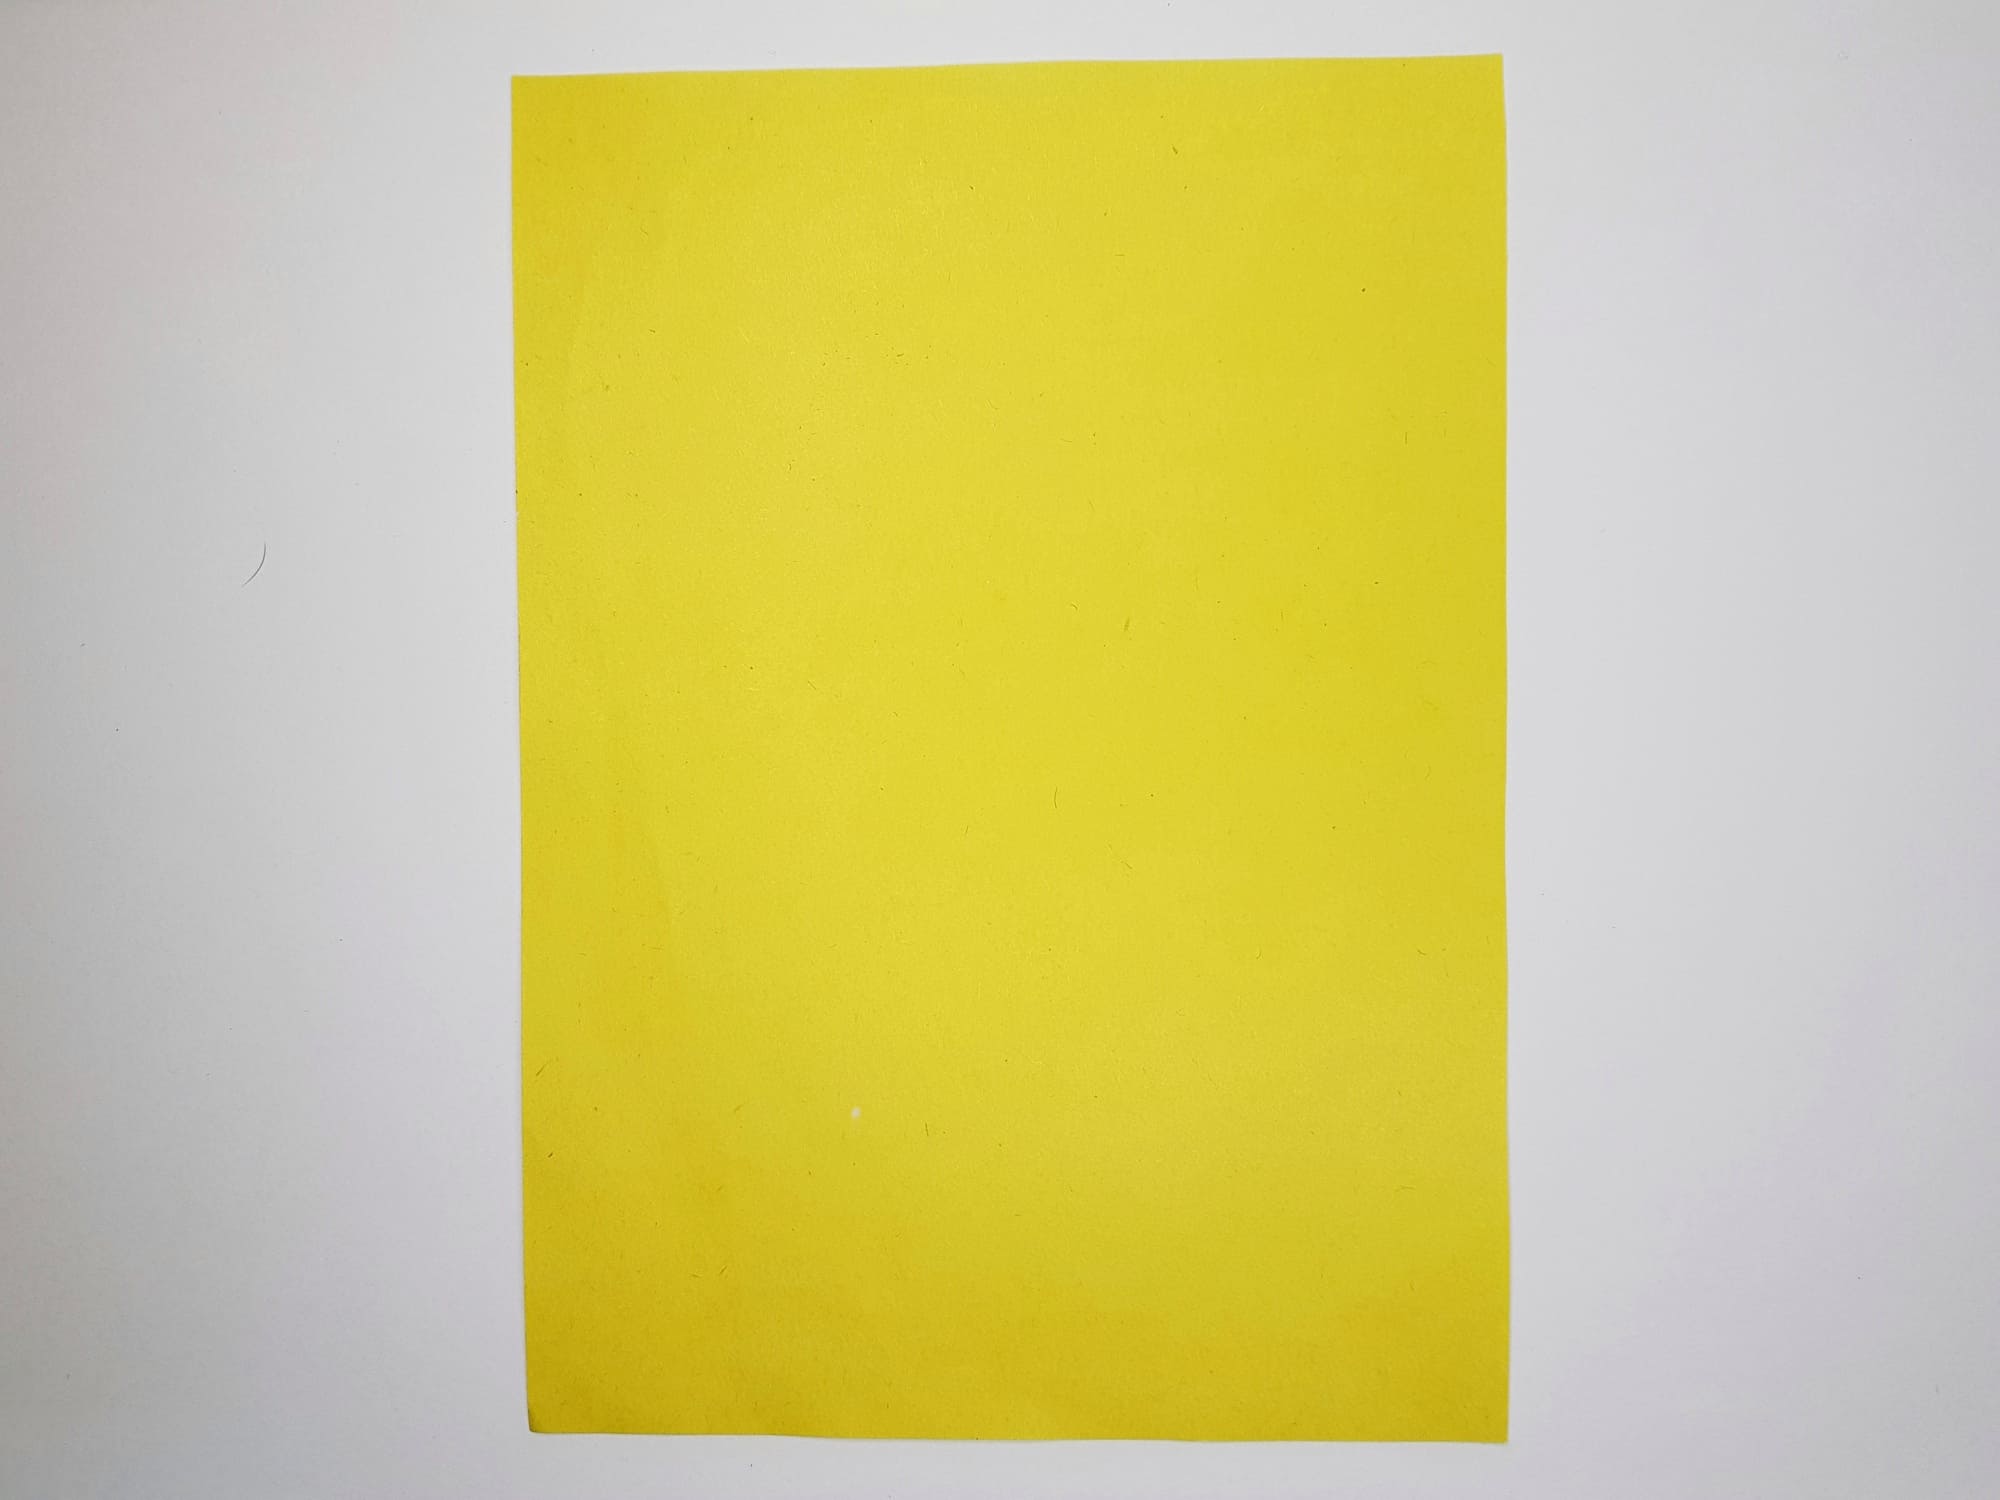
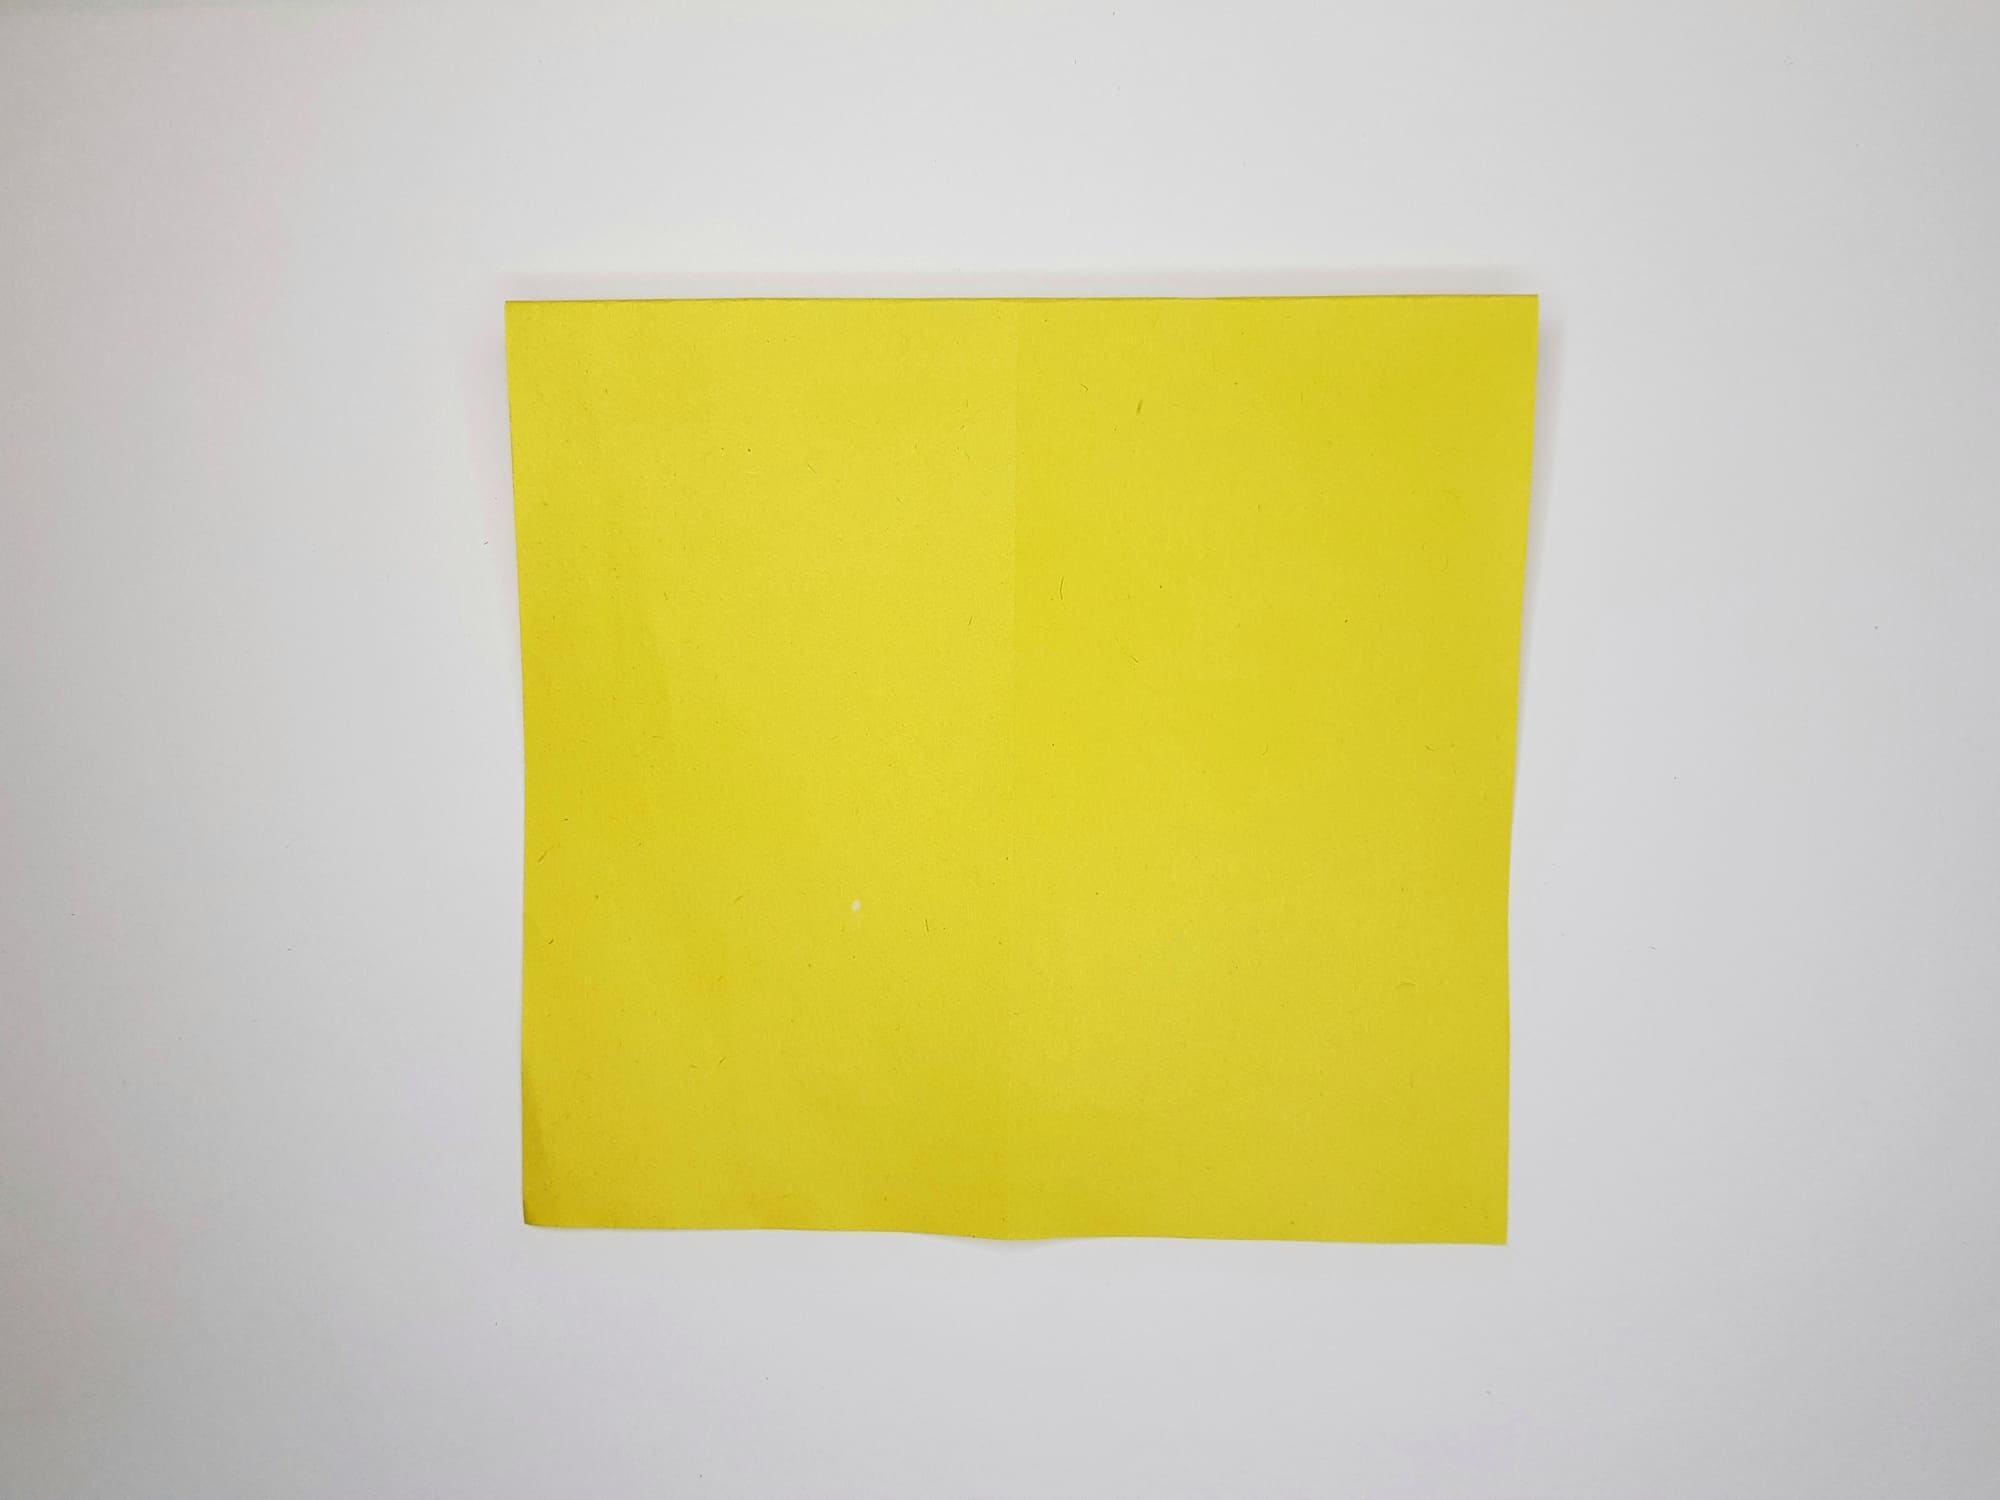
Take a sheet of A4 paper.
You can use a different size, as long as it has approximately the same aspect ratio.
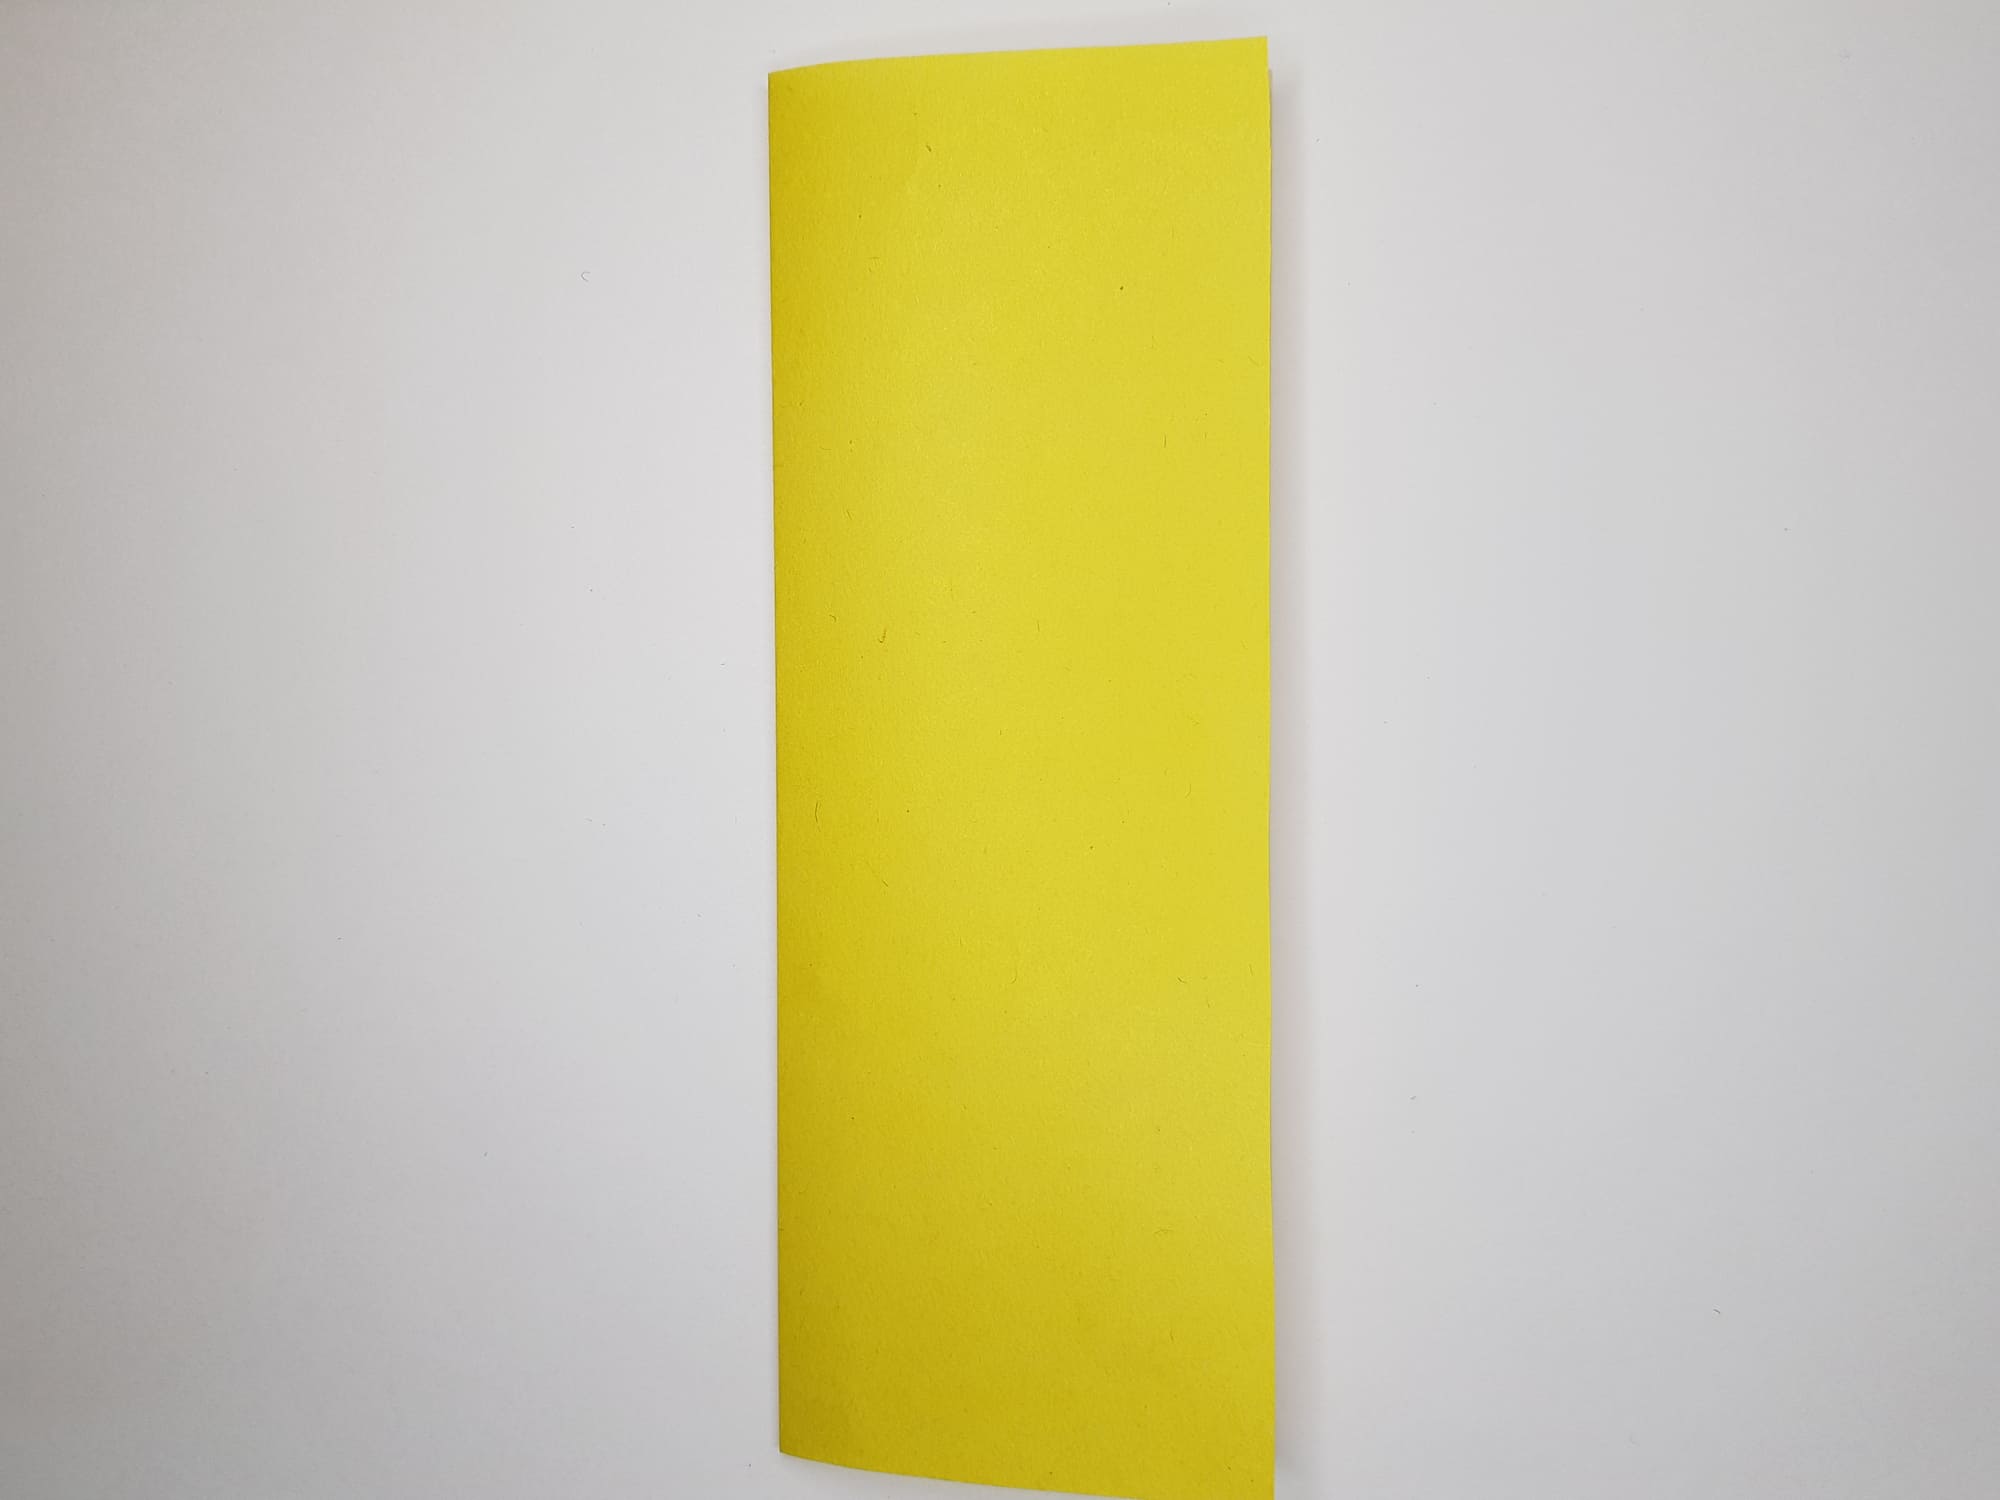
Fold it in half along the vertical axis and unfold it.
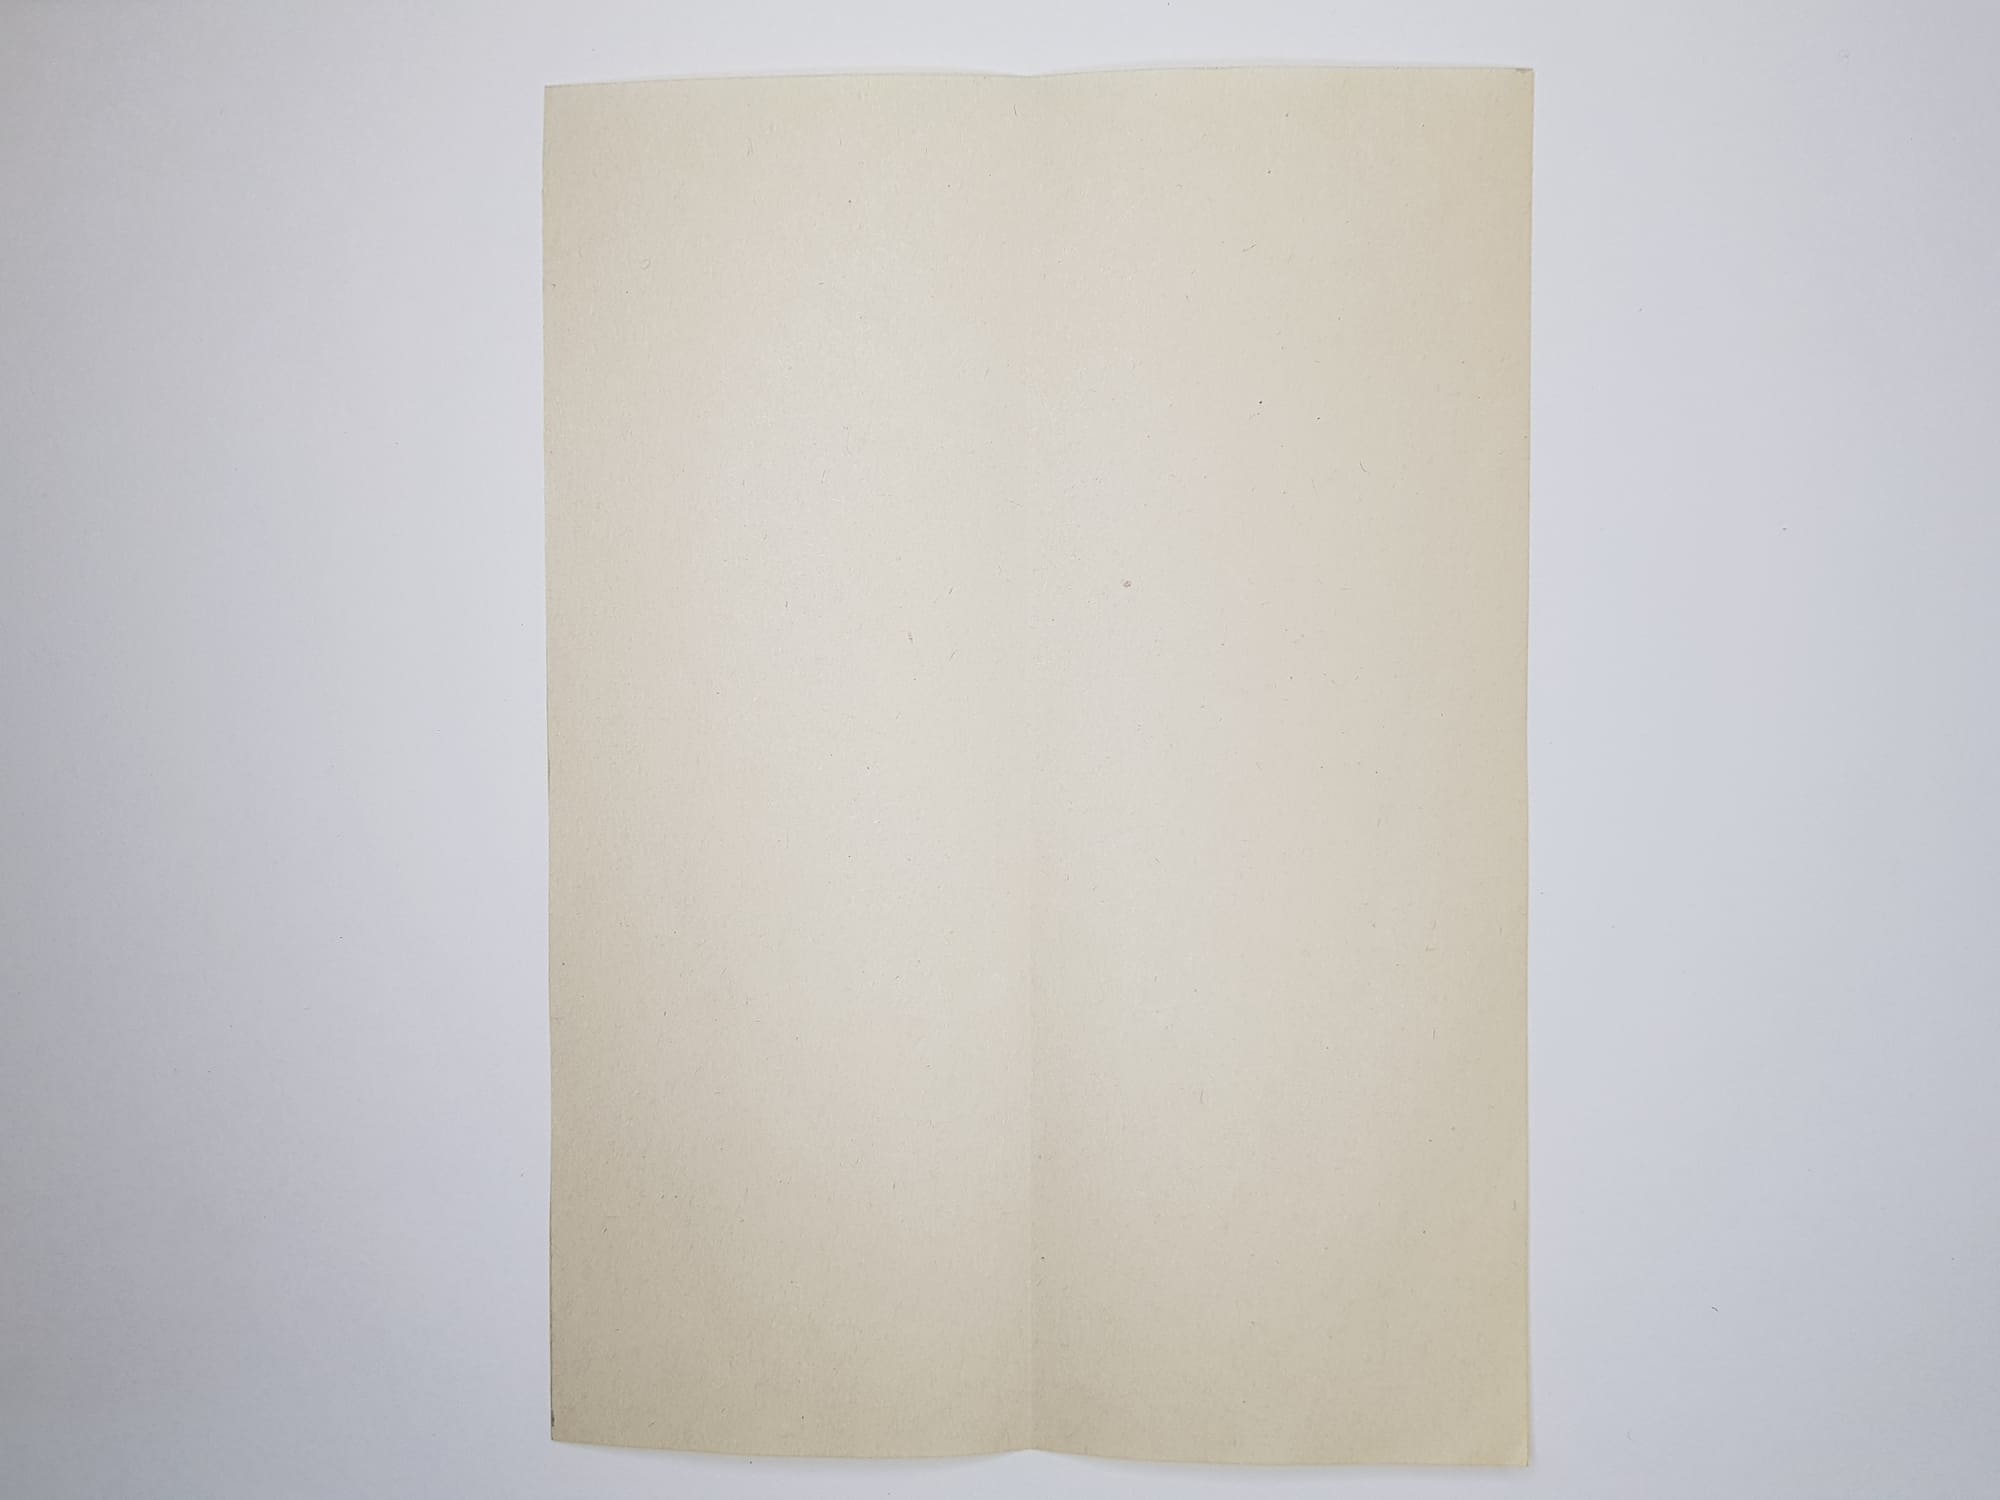
There should be a straight fold line in the middle of the rectangular paper.
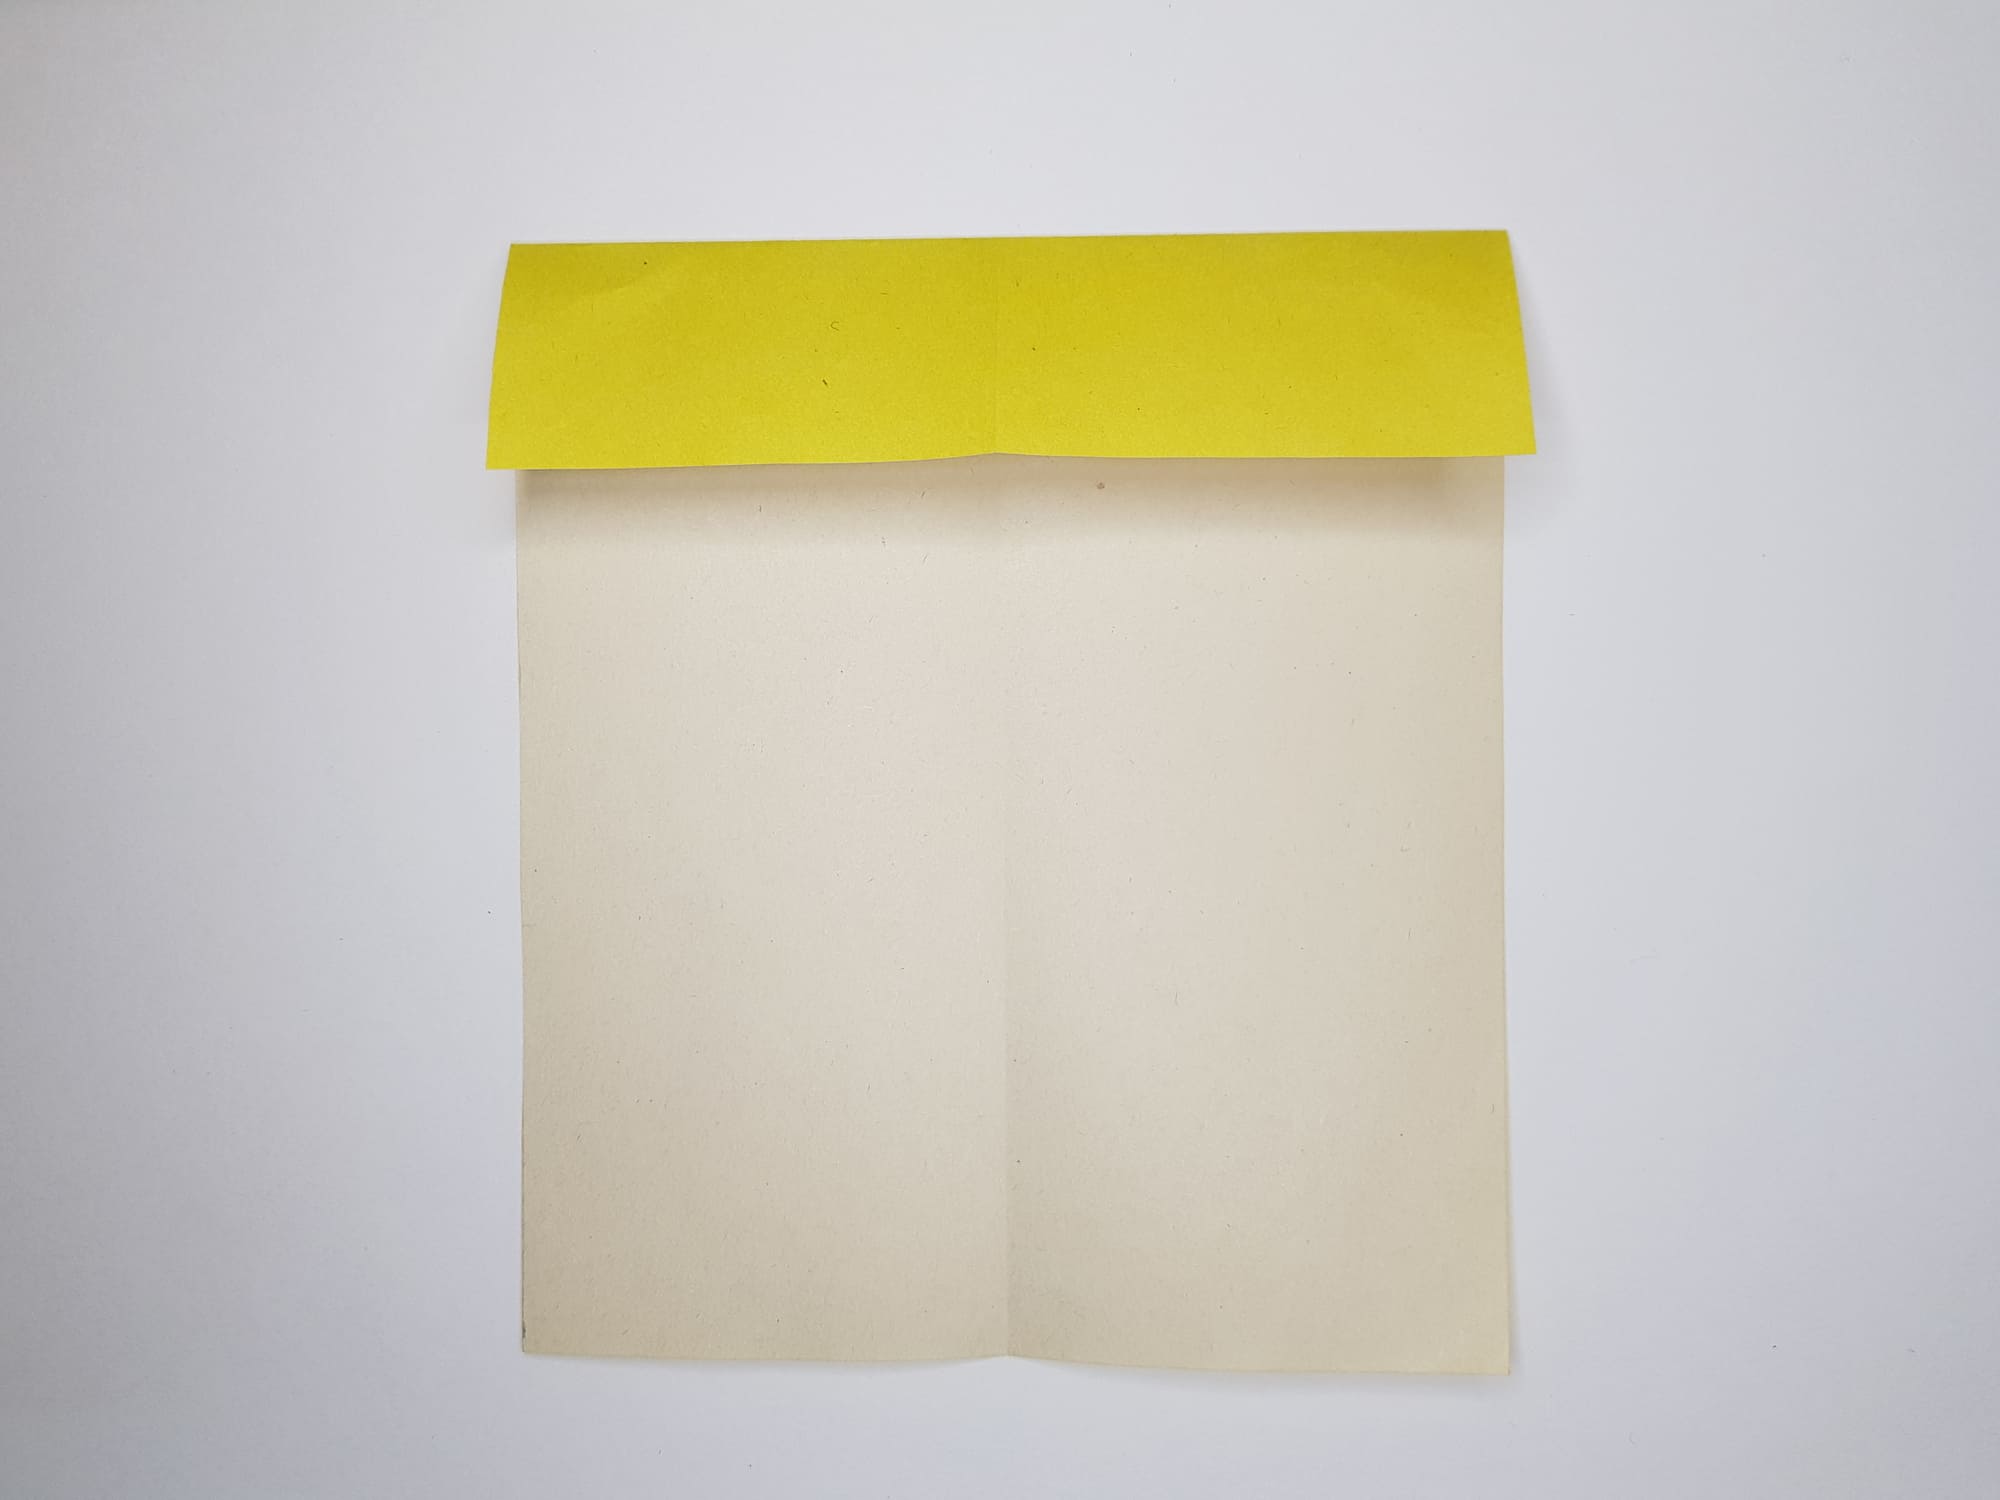
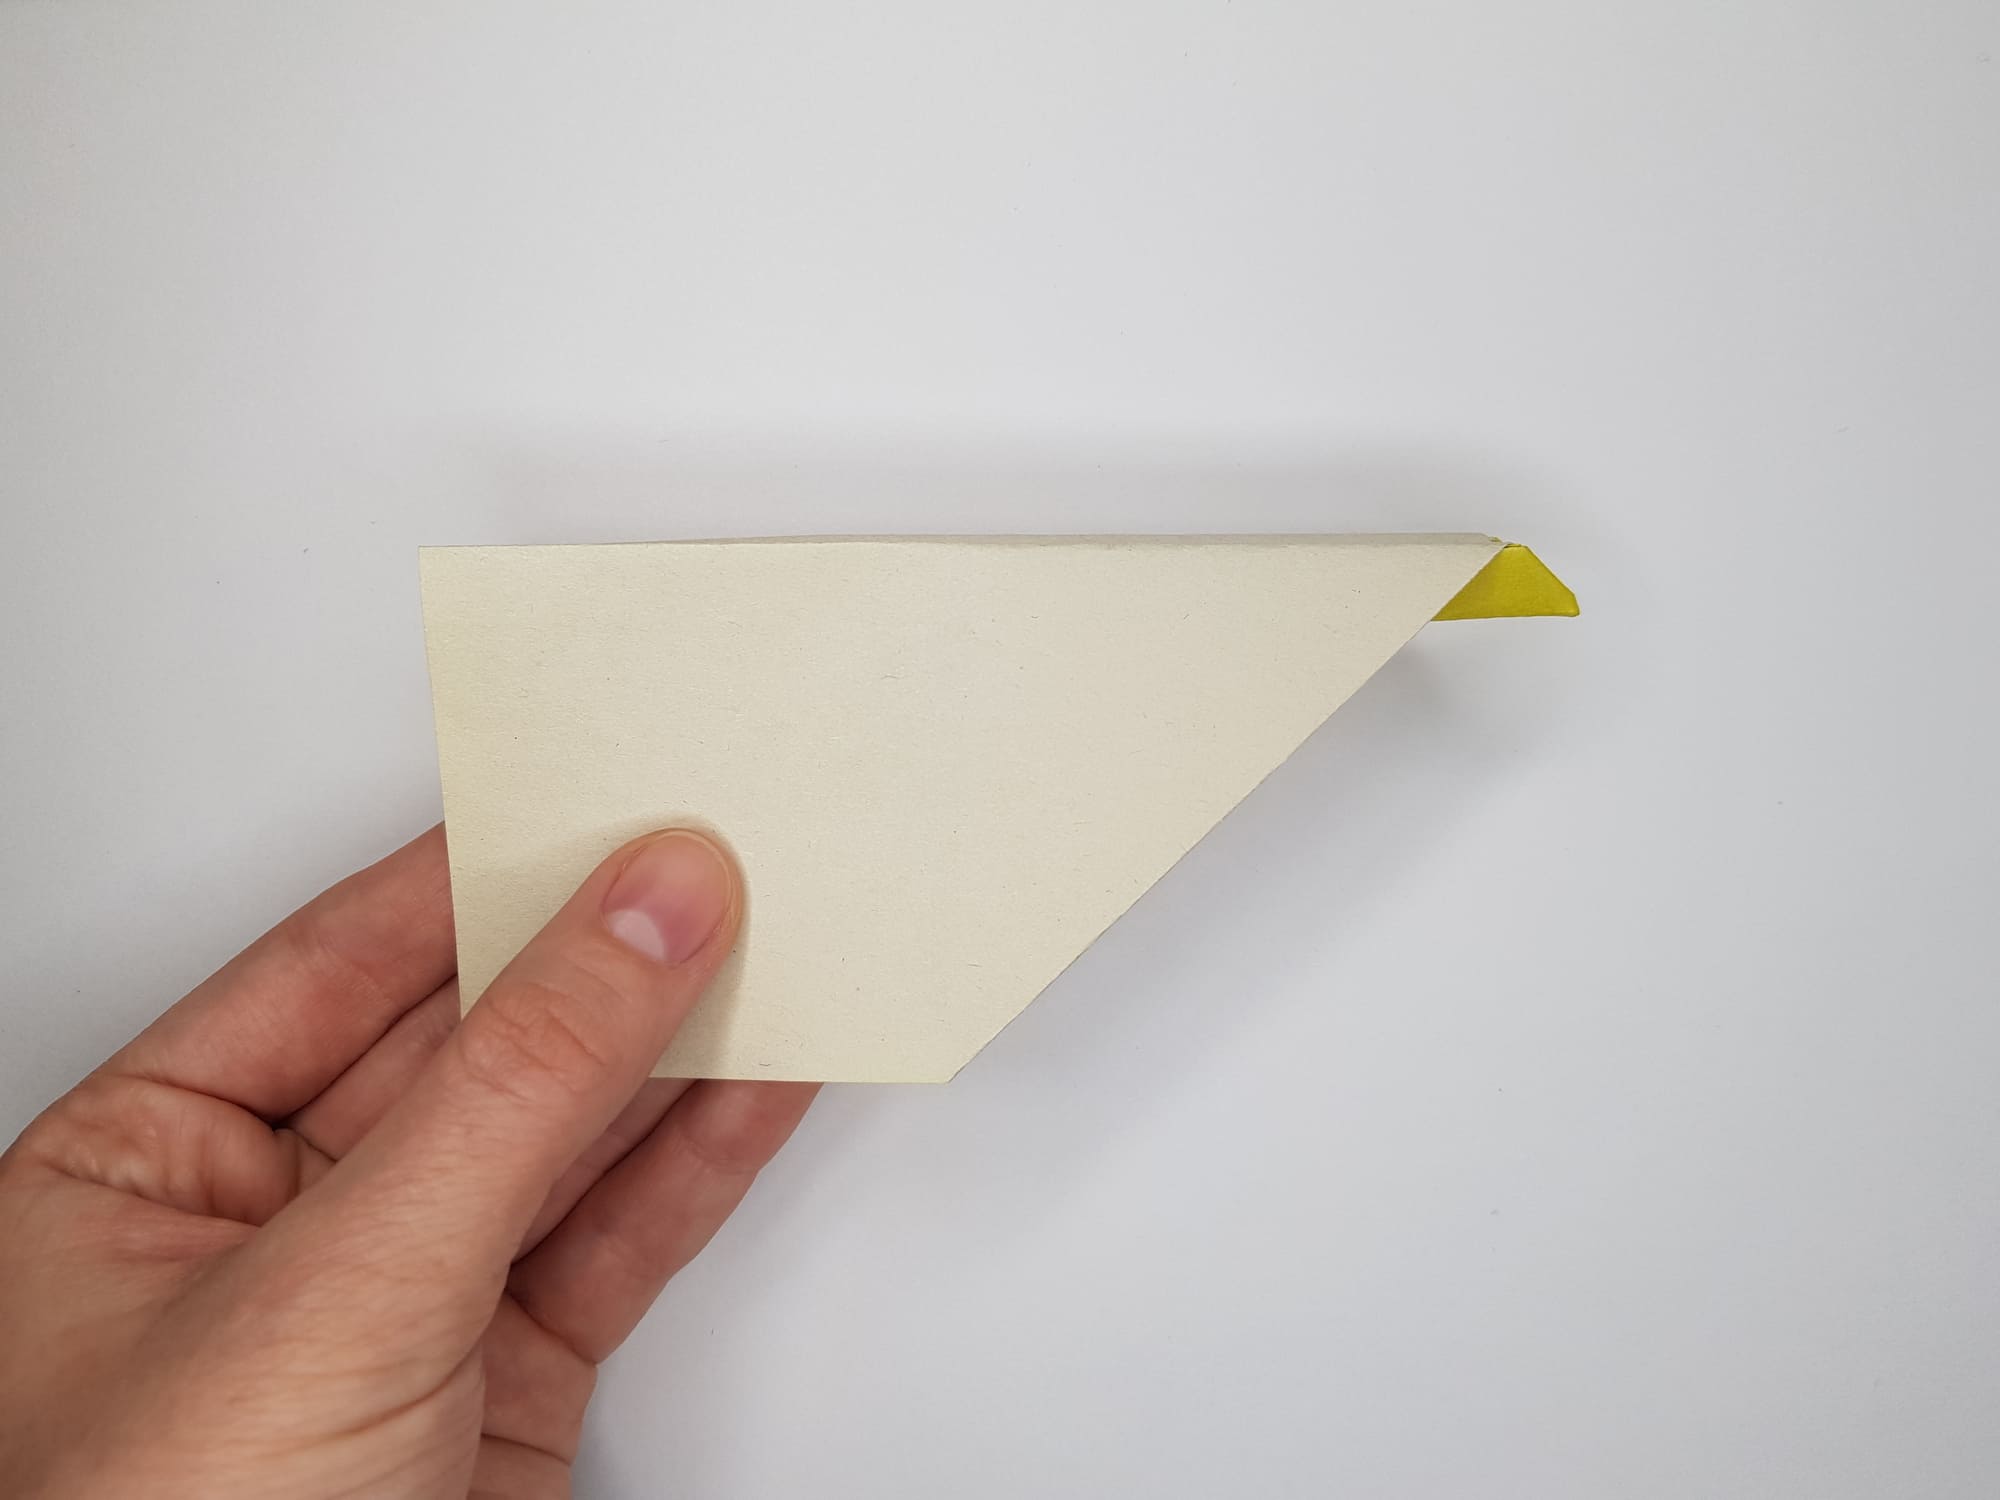
Bend the top edge 3-4 cm towards you, towards the center.
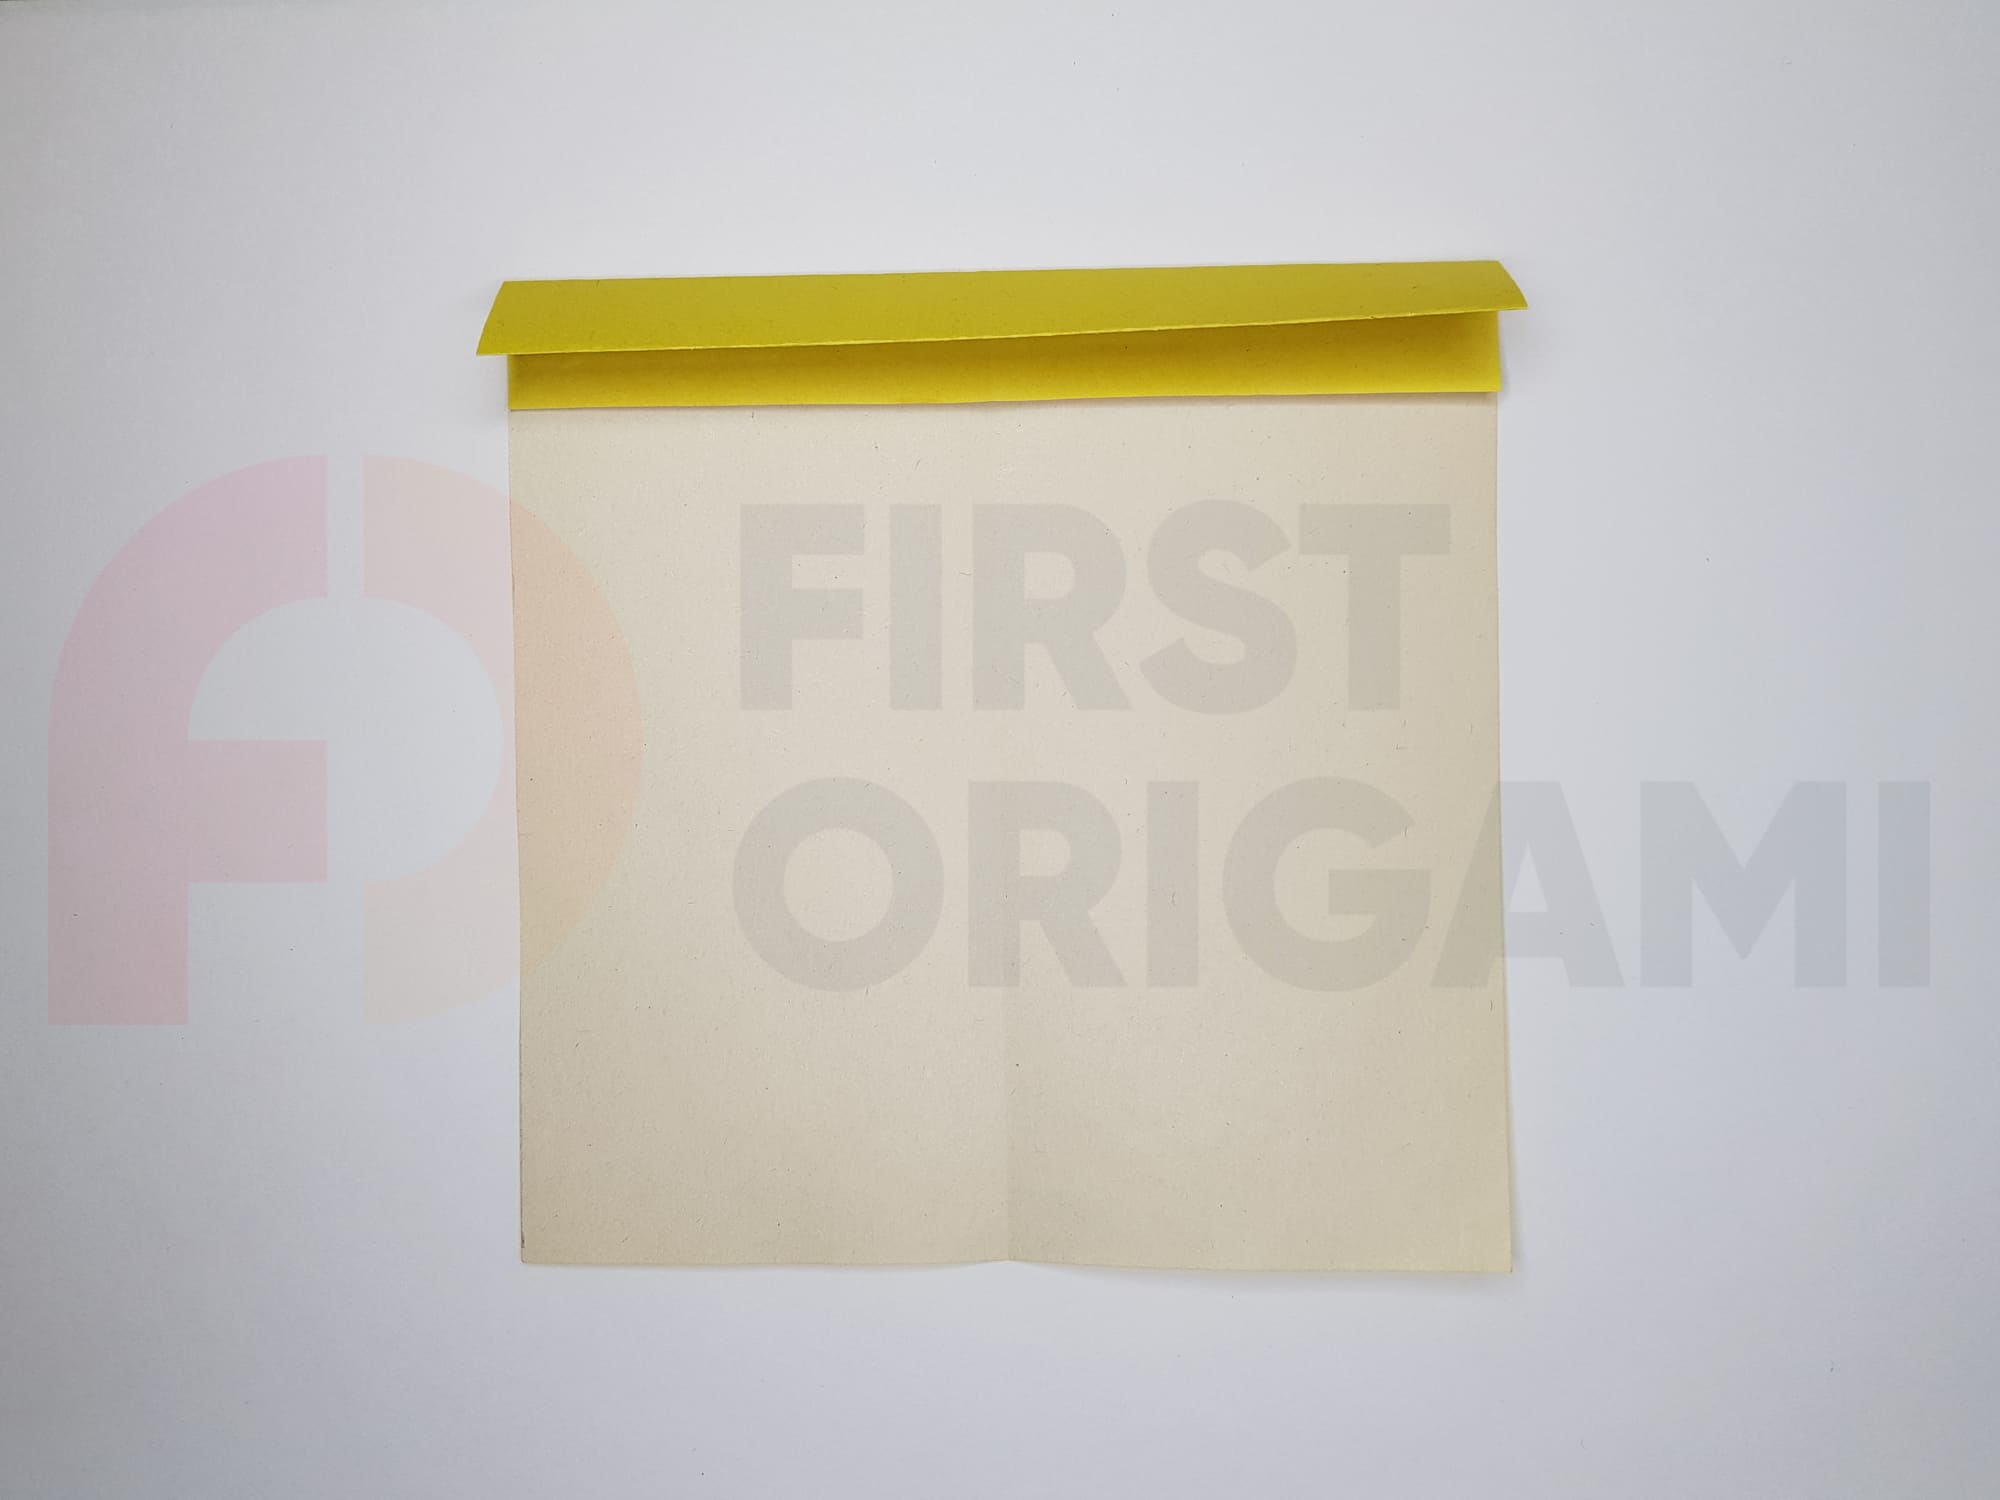
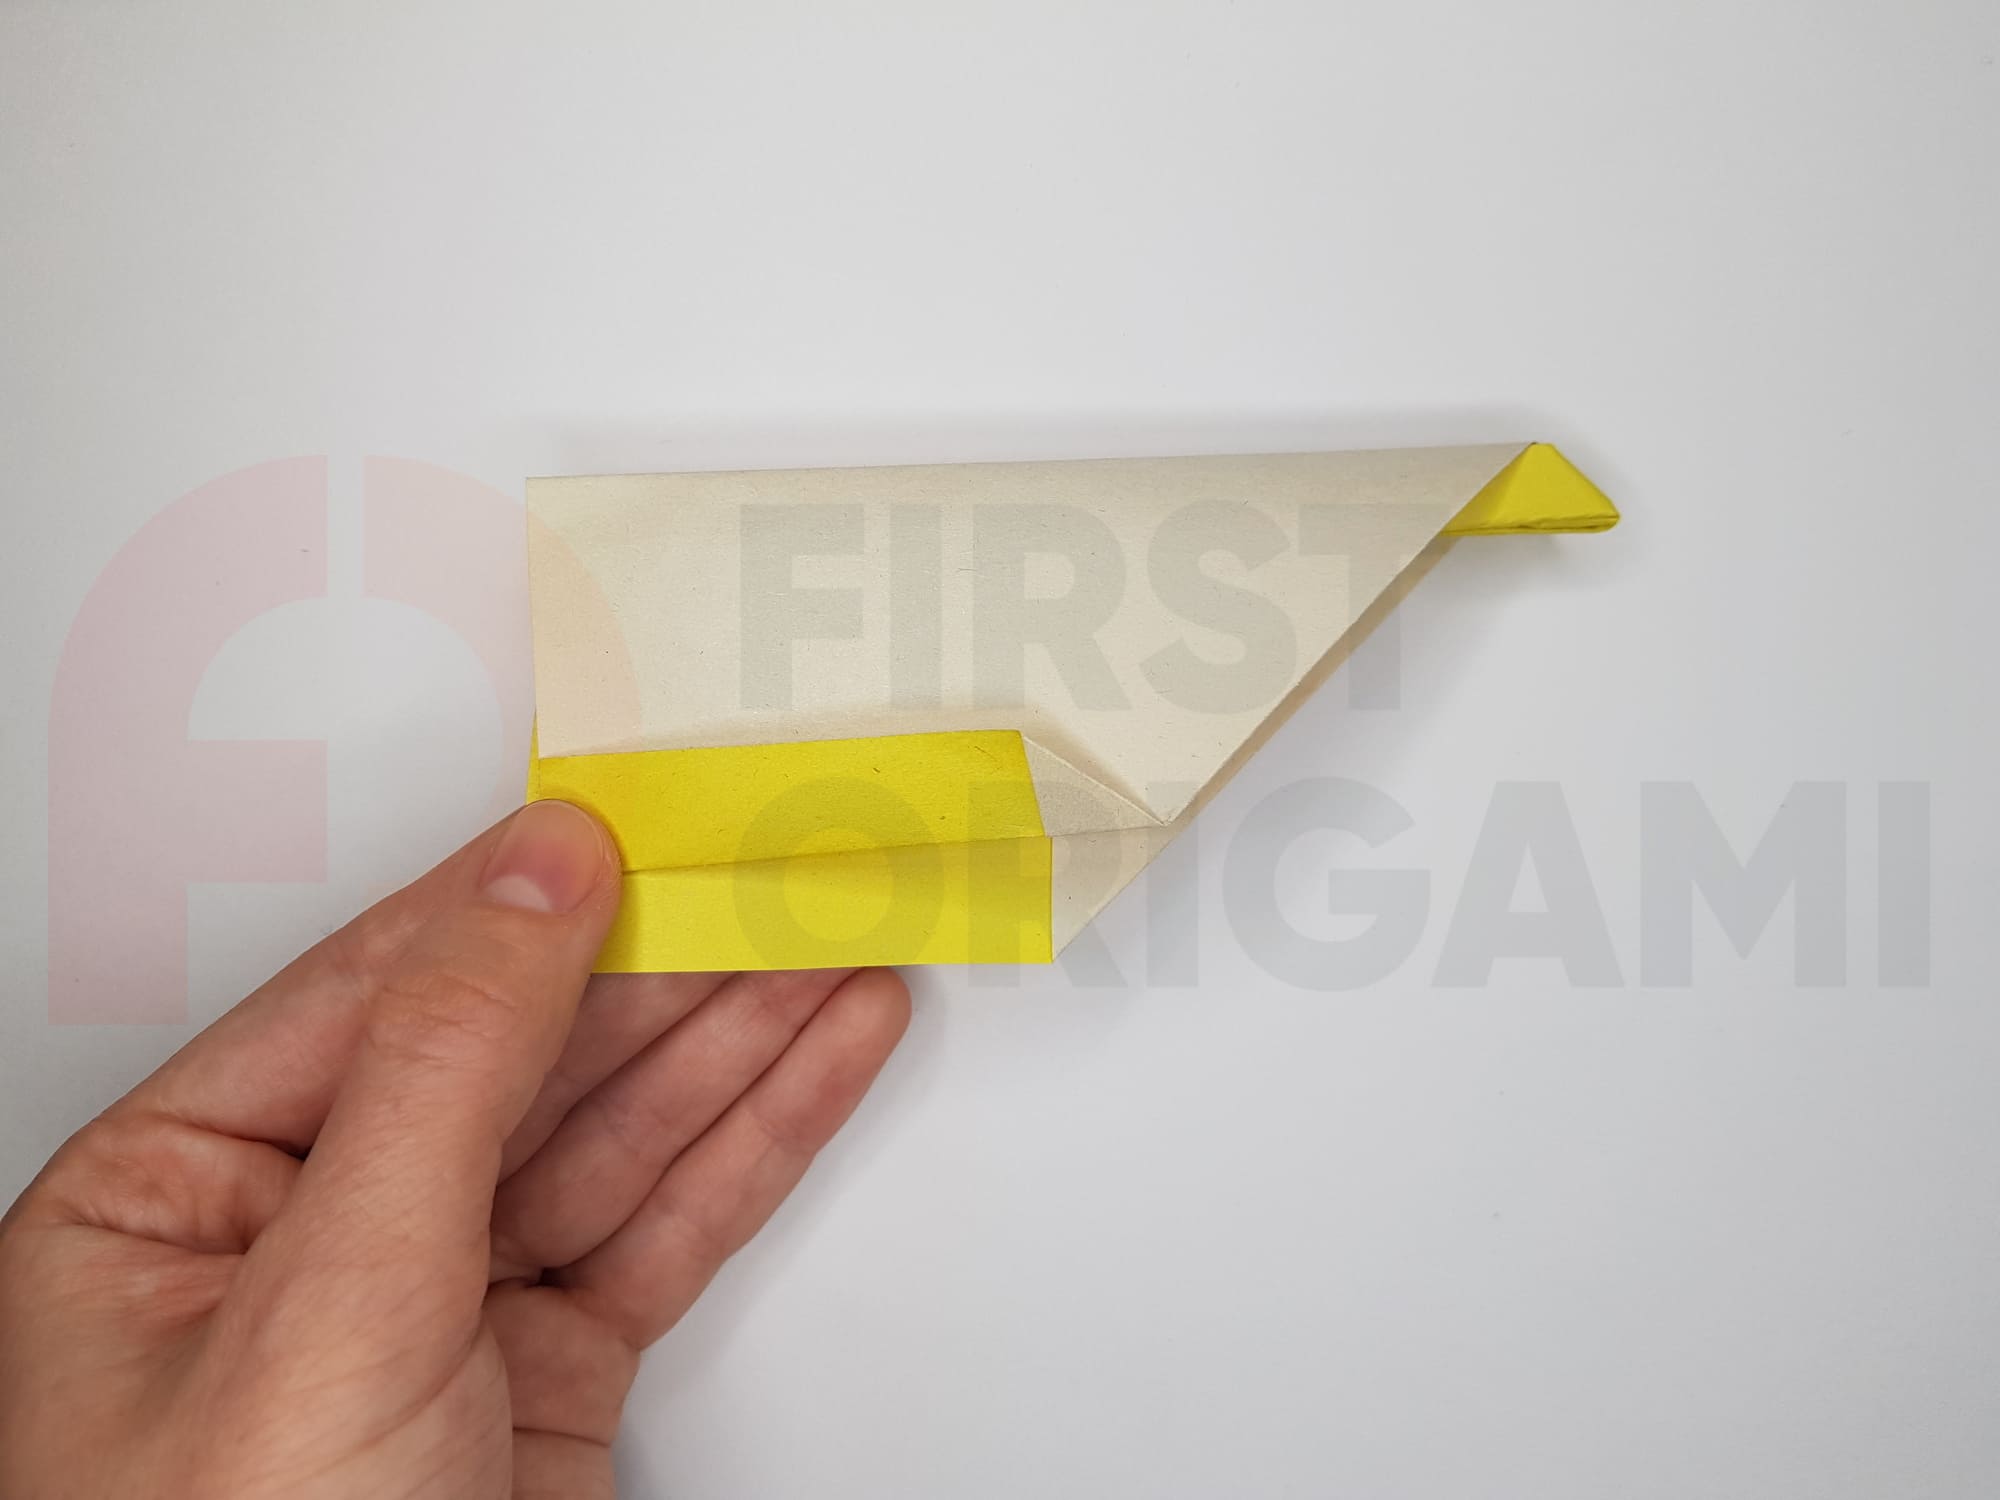
Fold the resulting strip in half towards you.
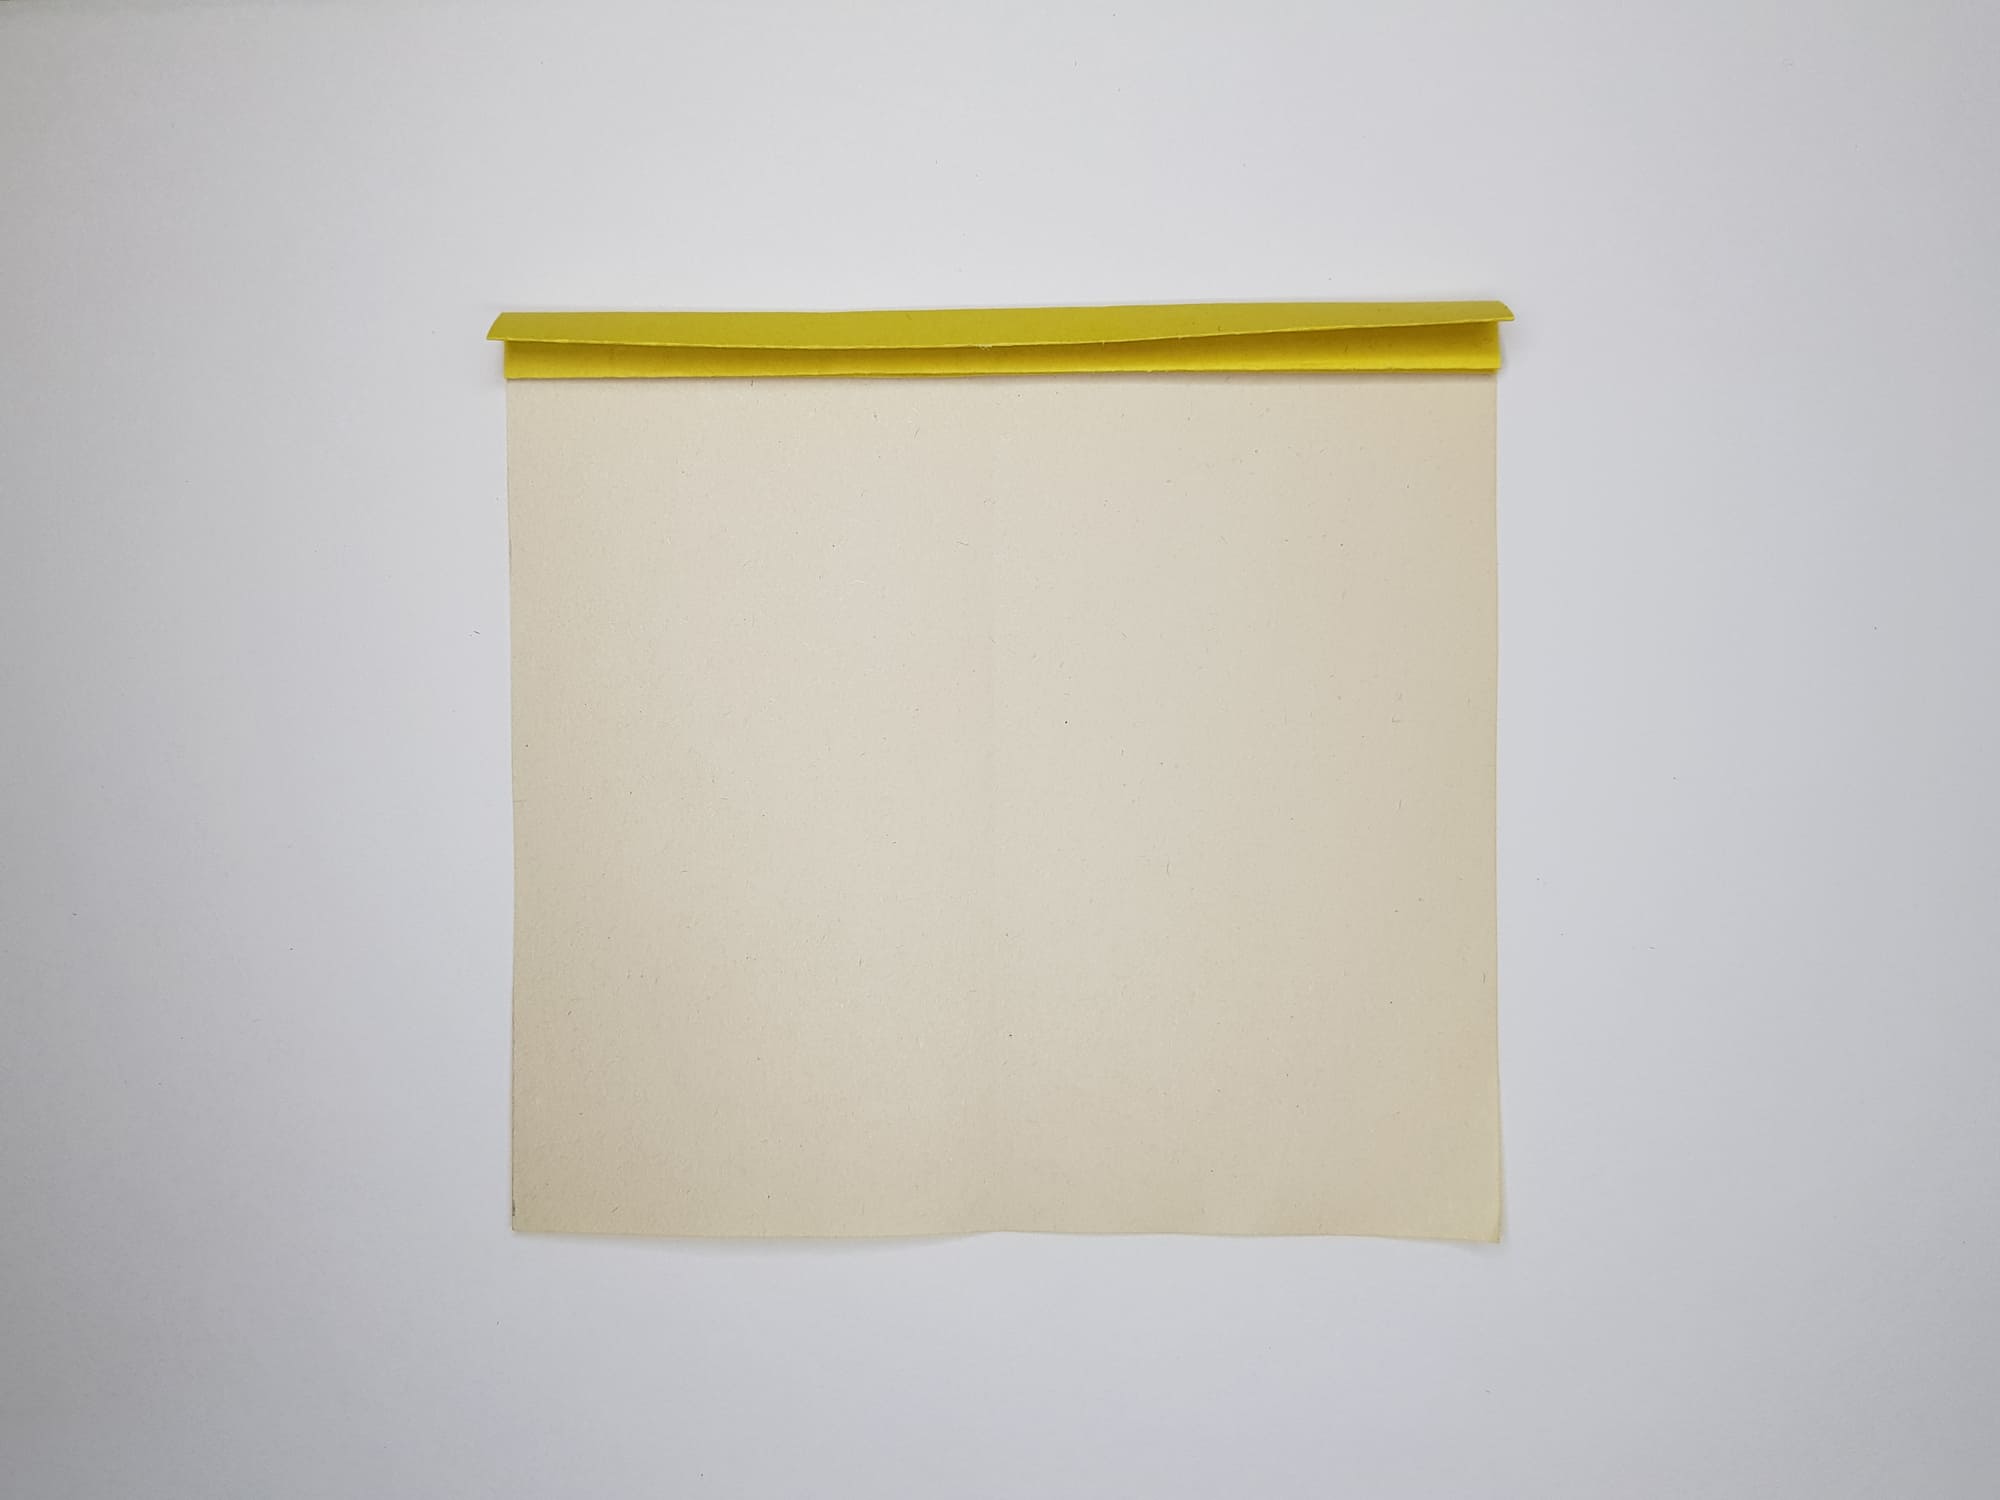
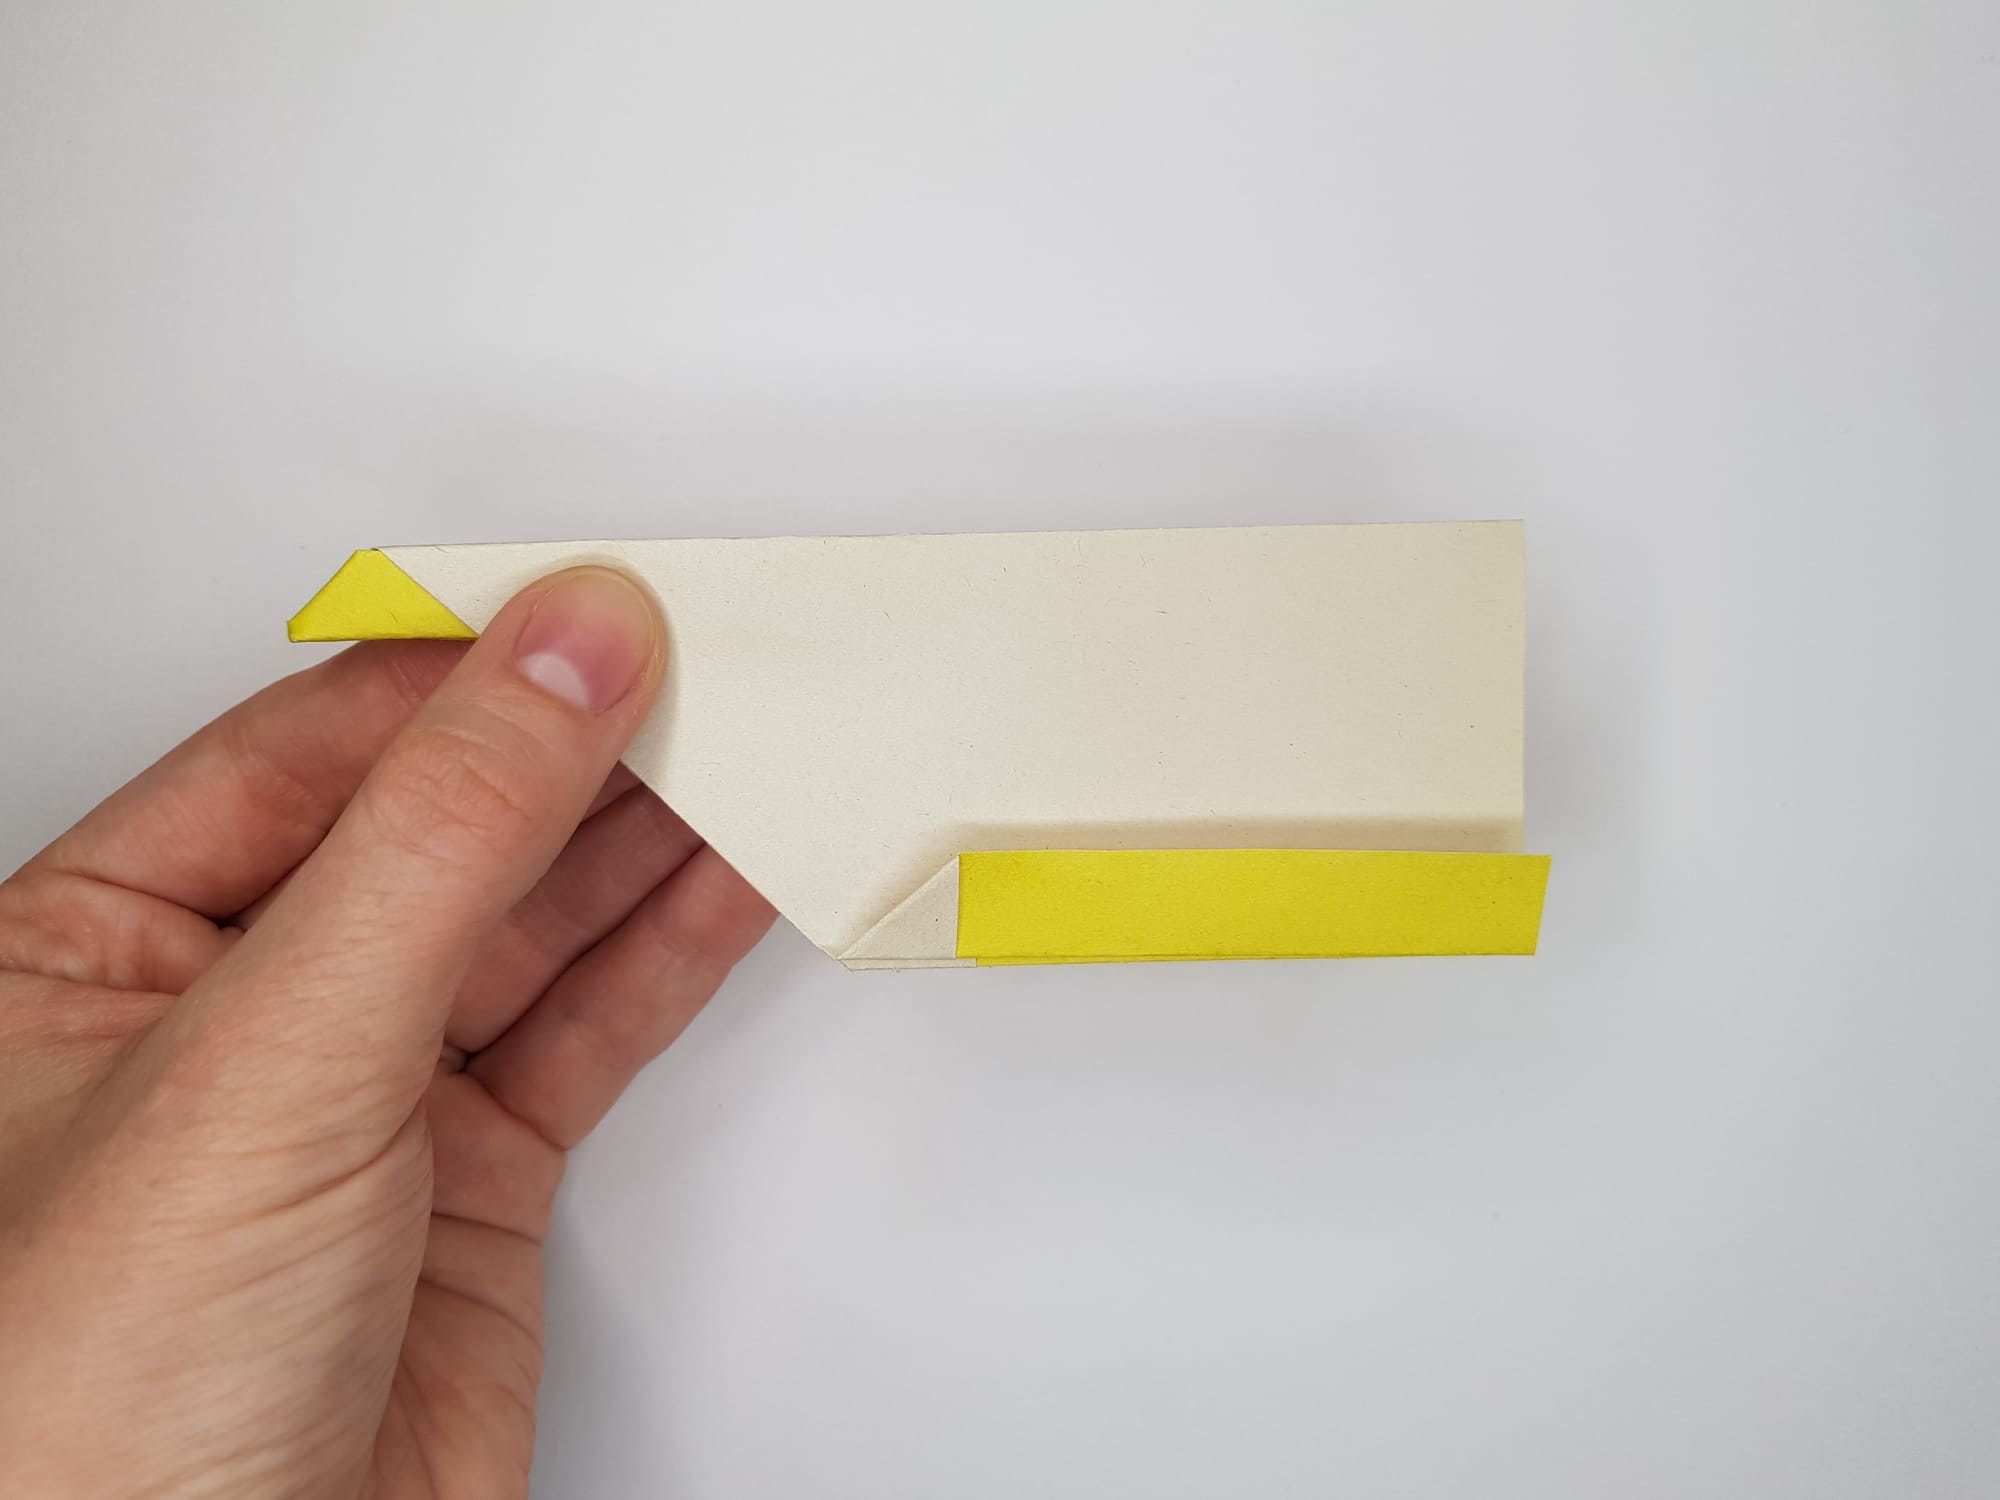
Repeat the action again.
Turn the paper over to the other side.

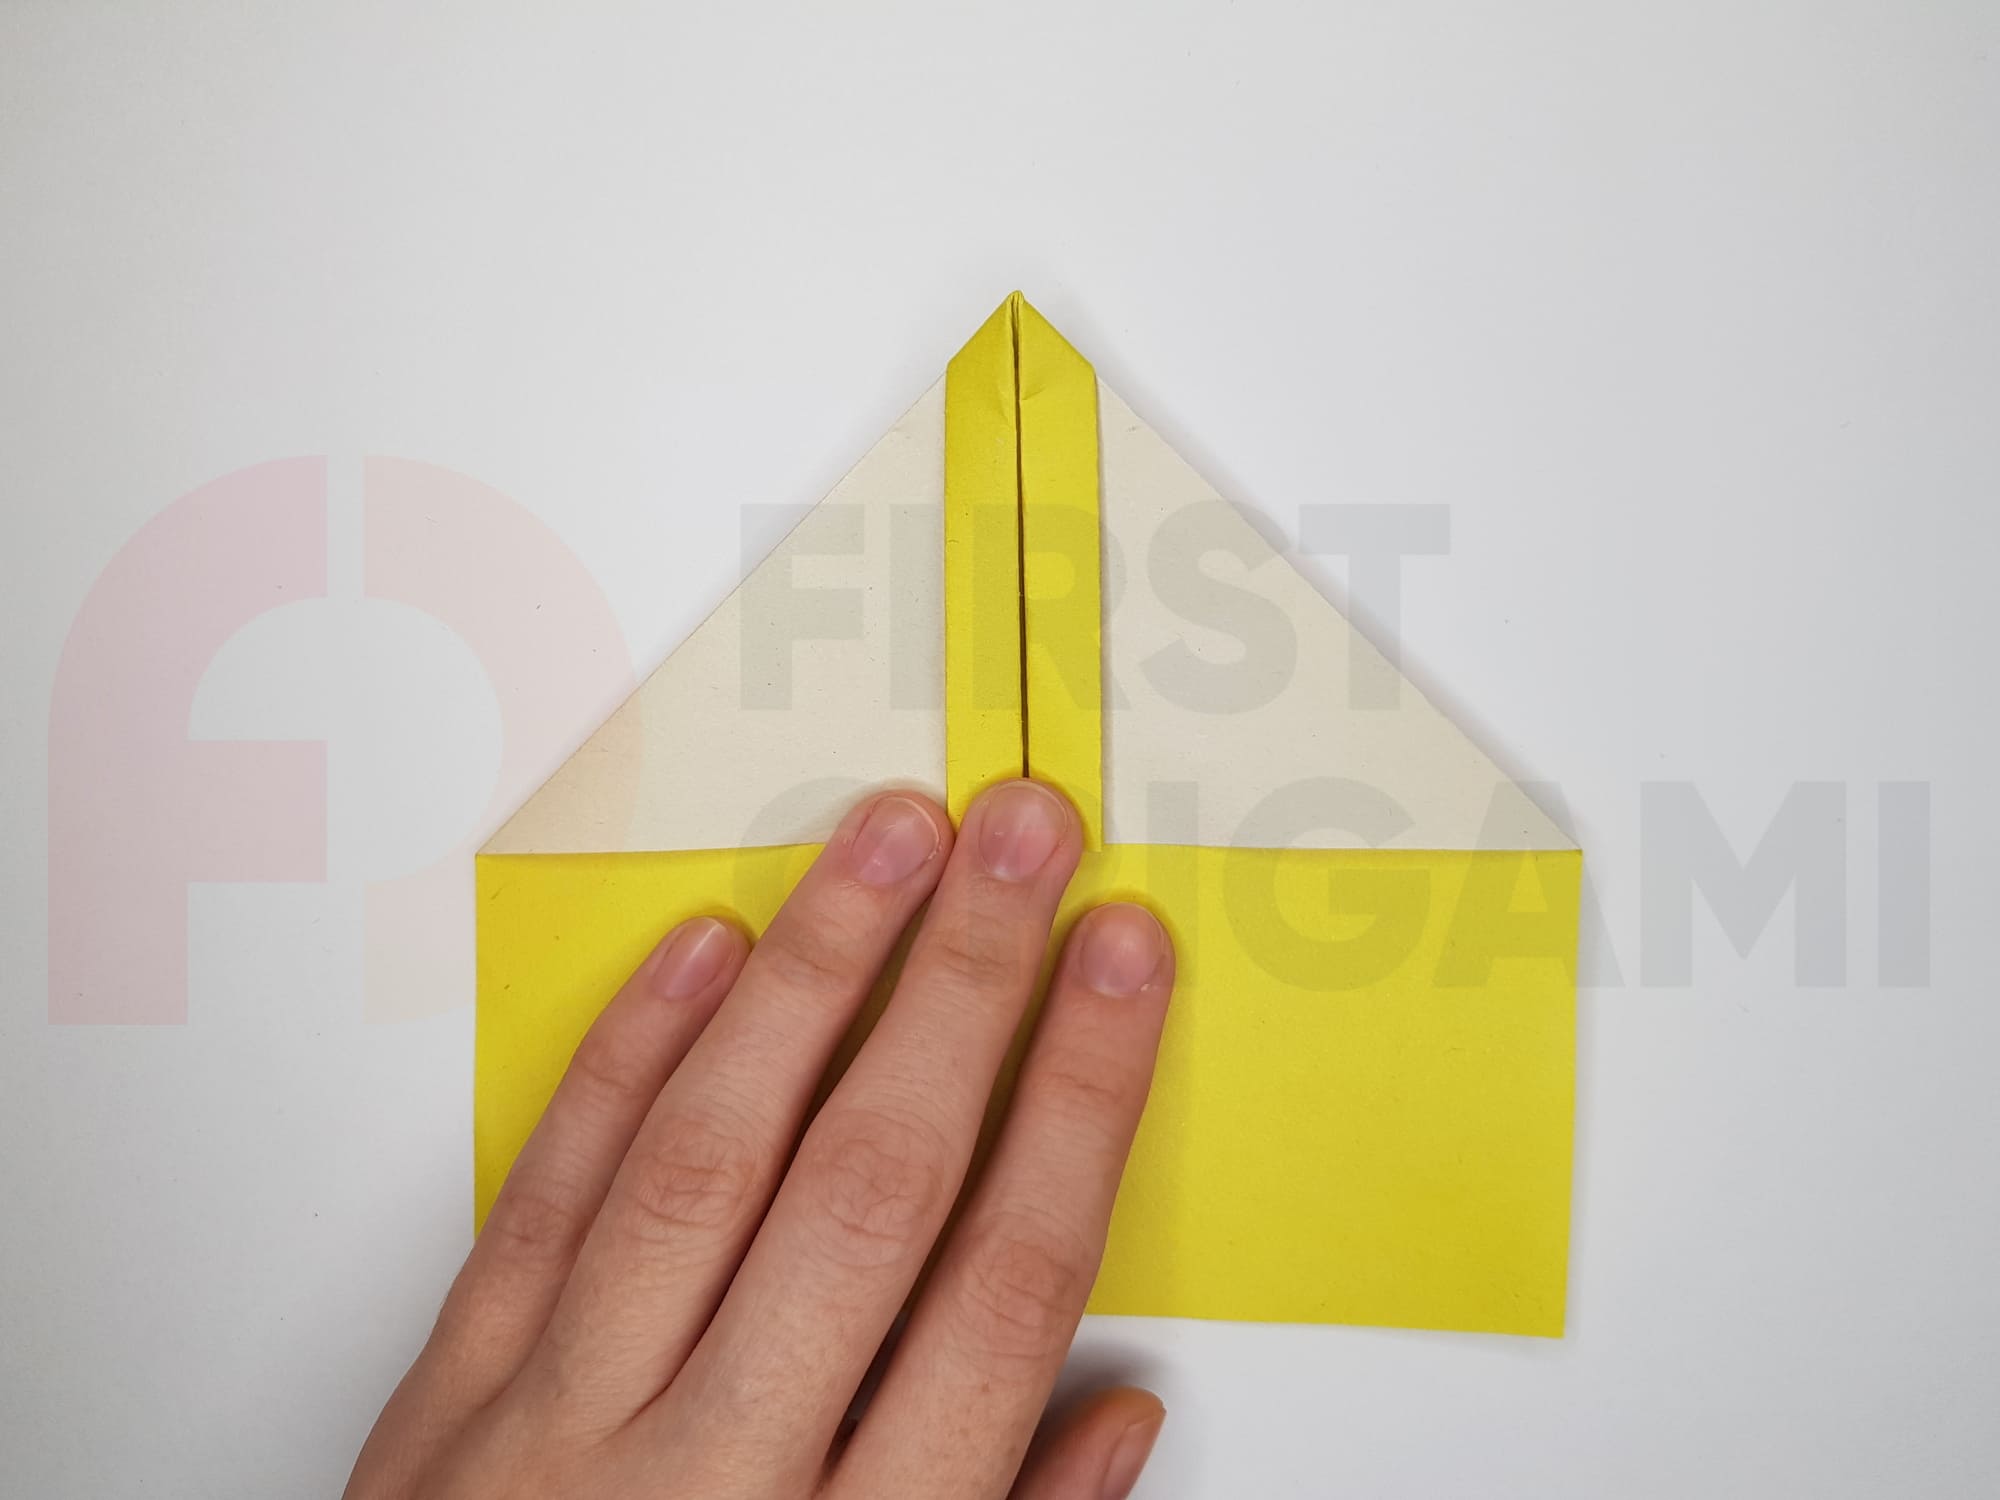
Fold the top corners towards the center.
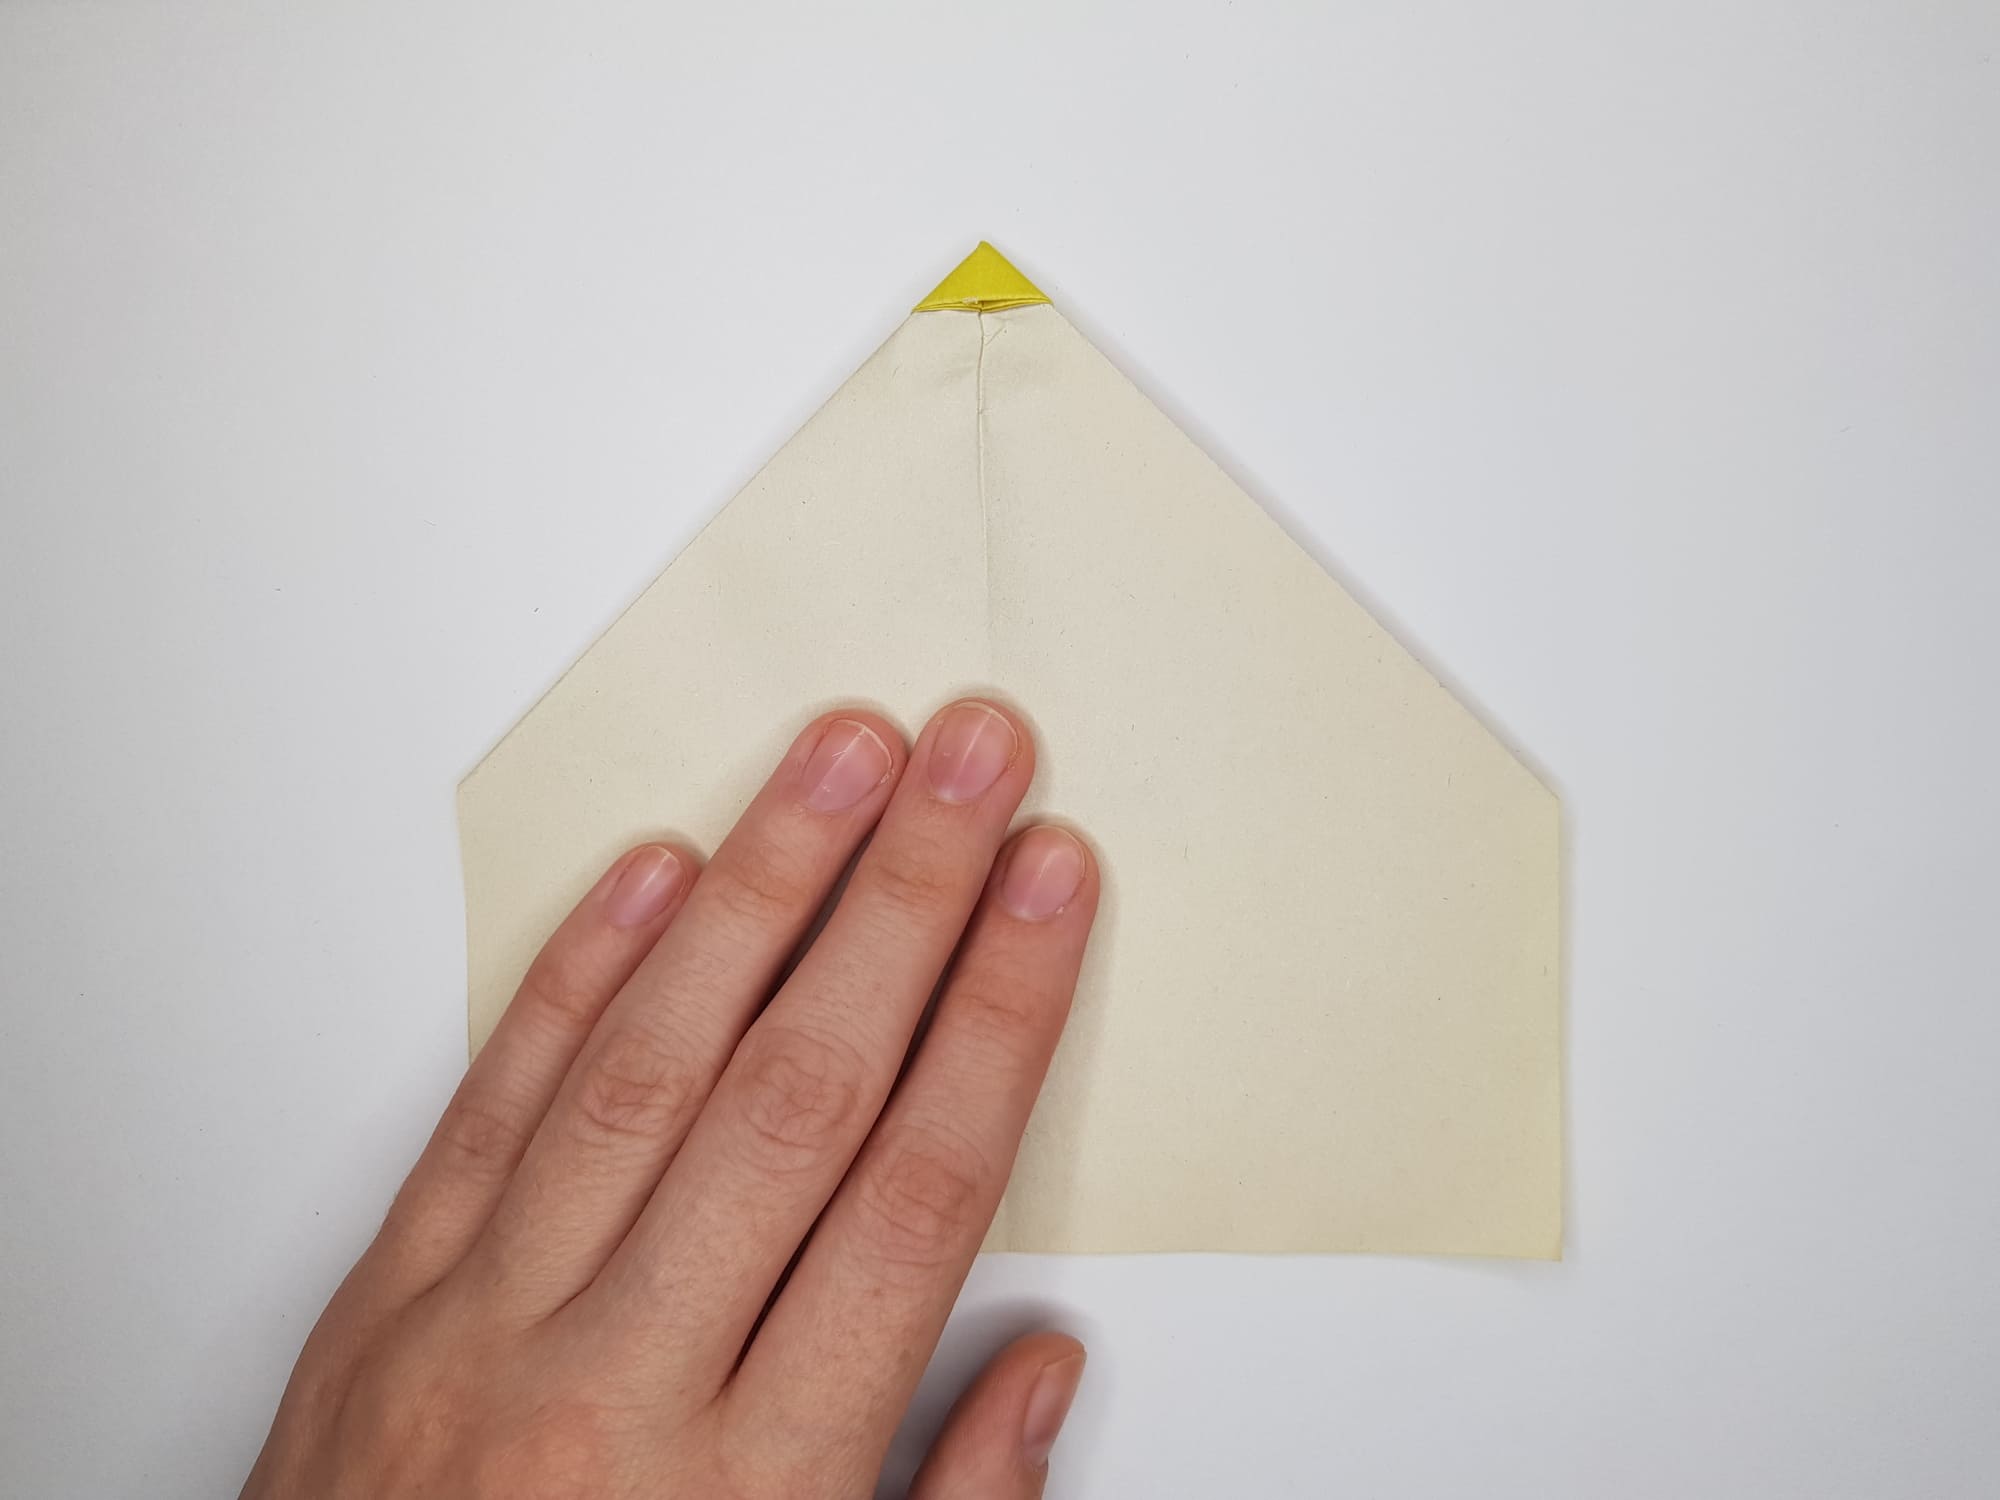
Turn the paper over again.
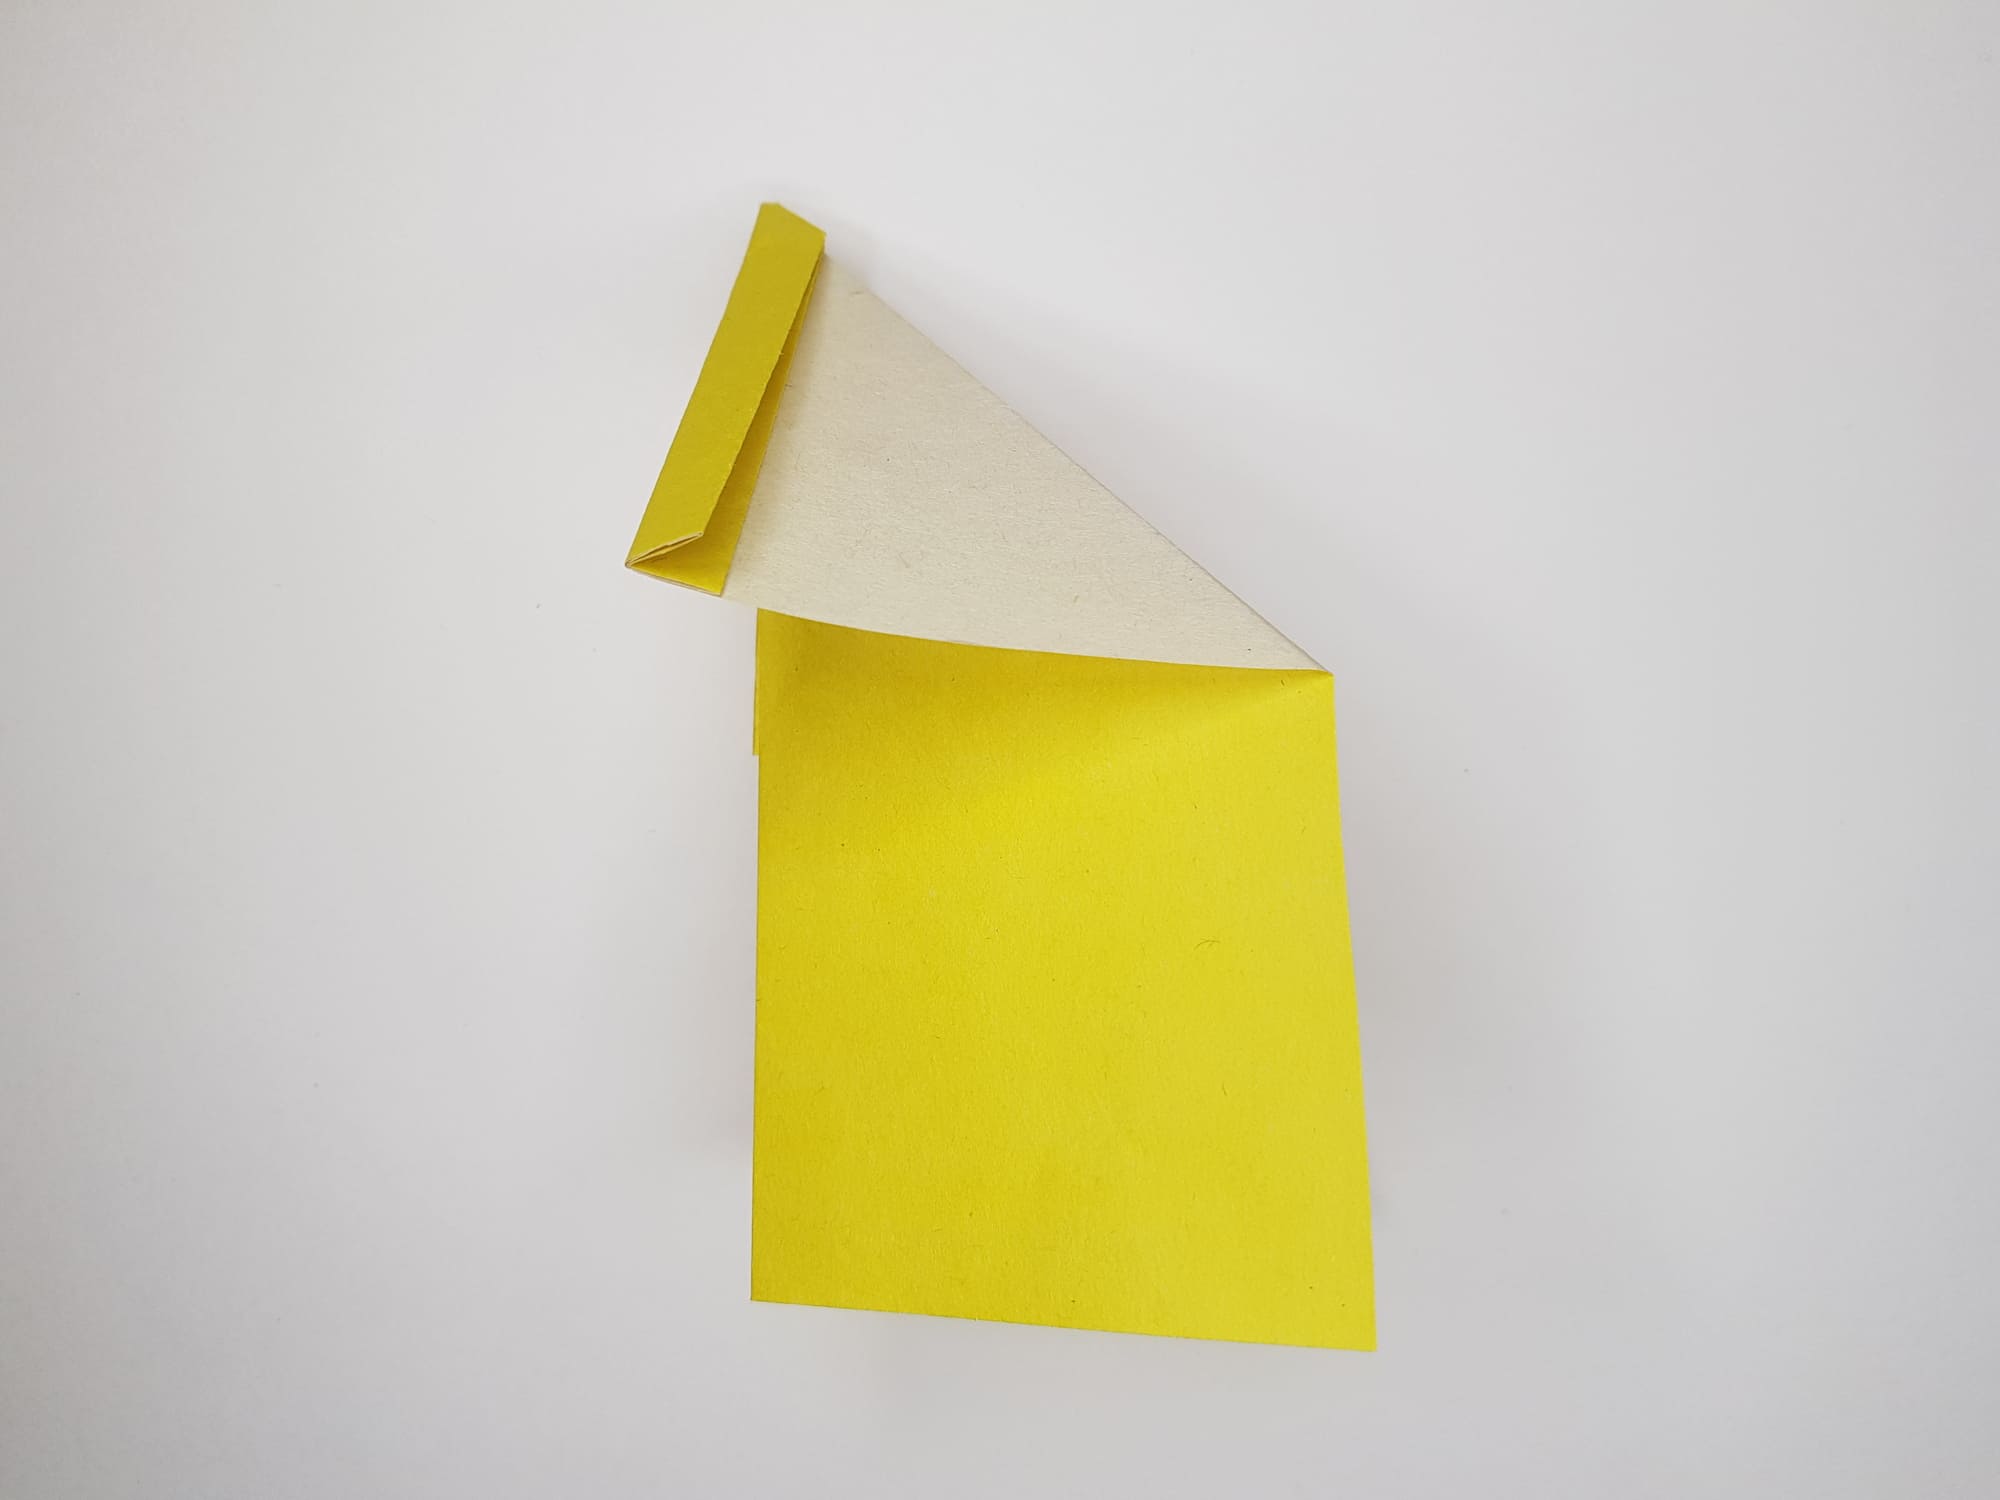
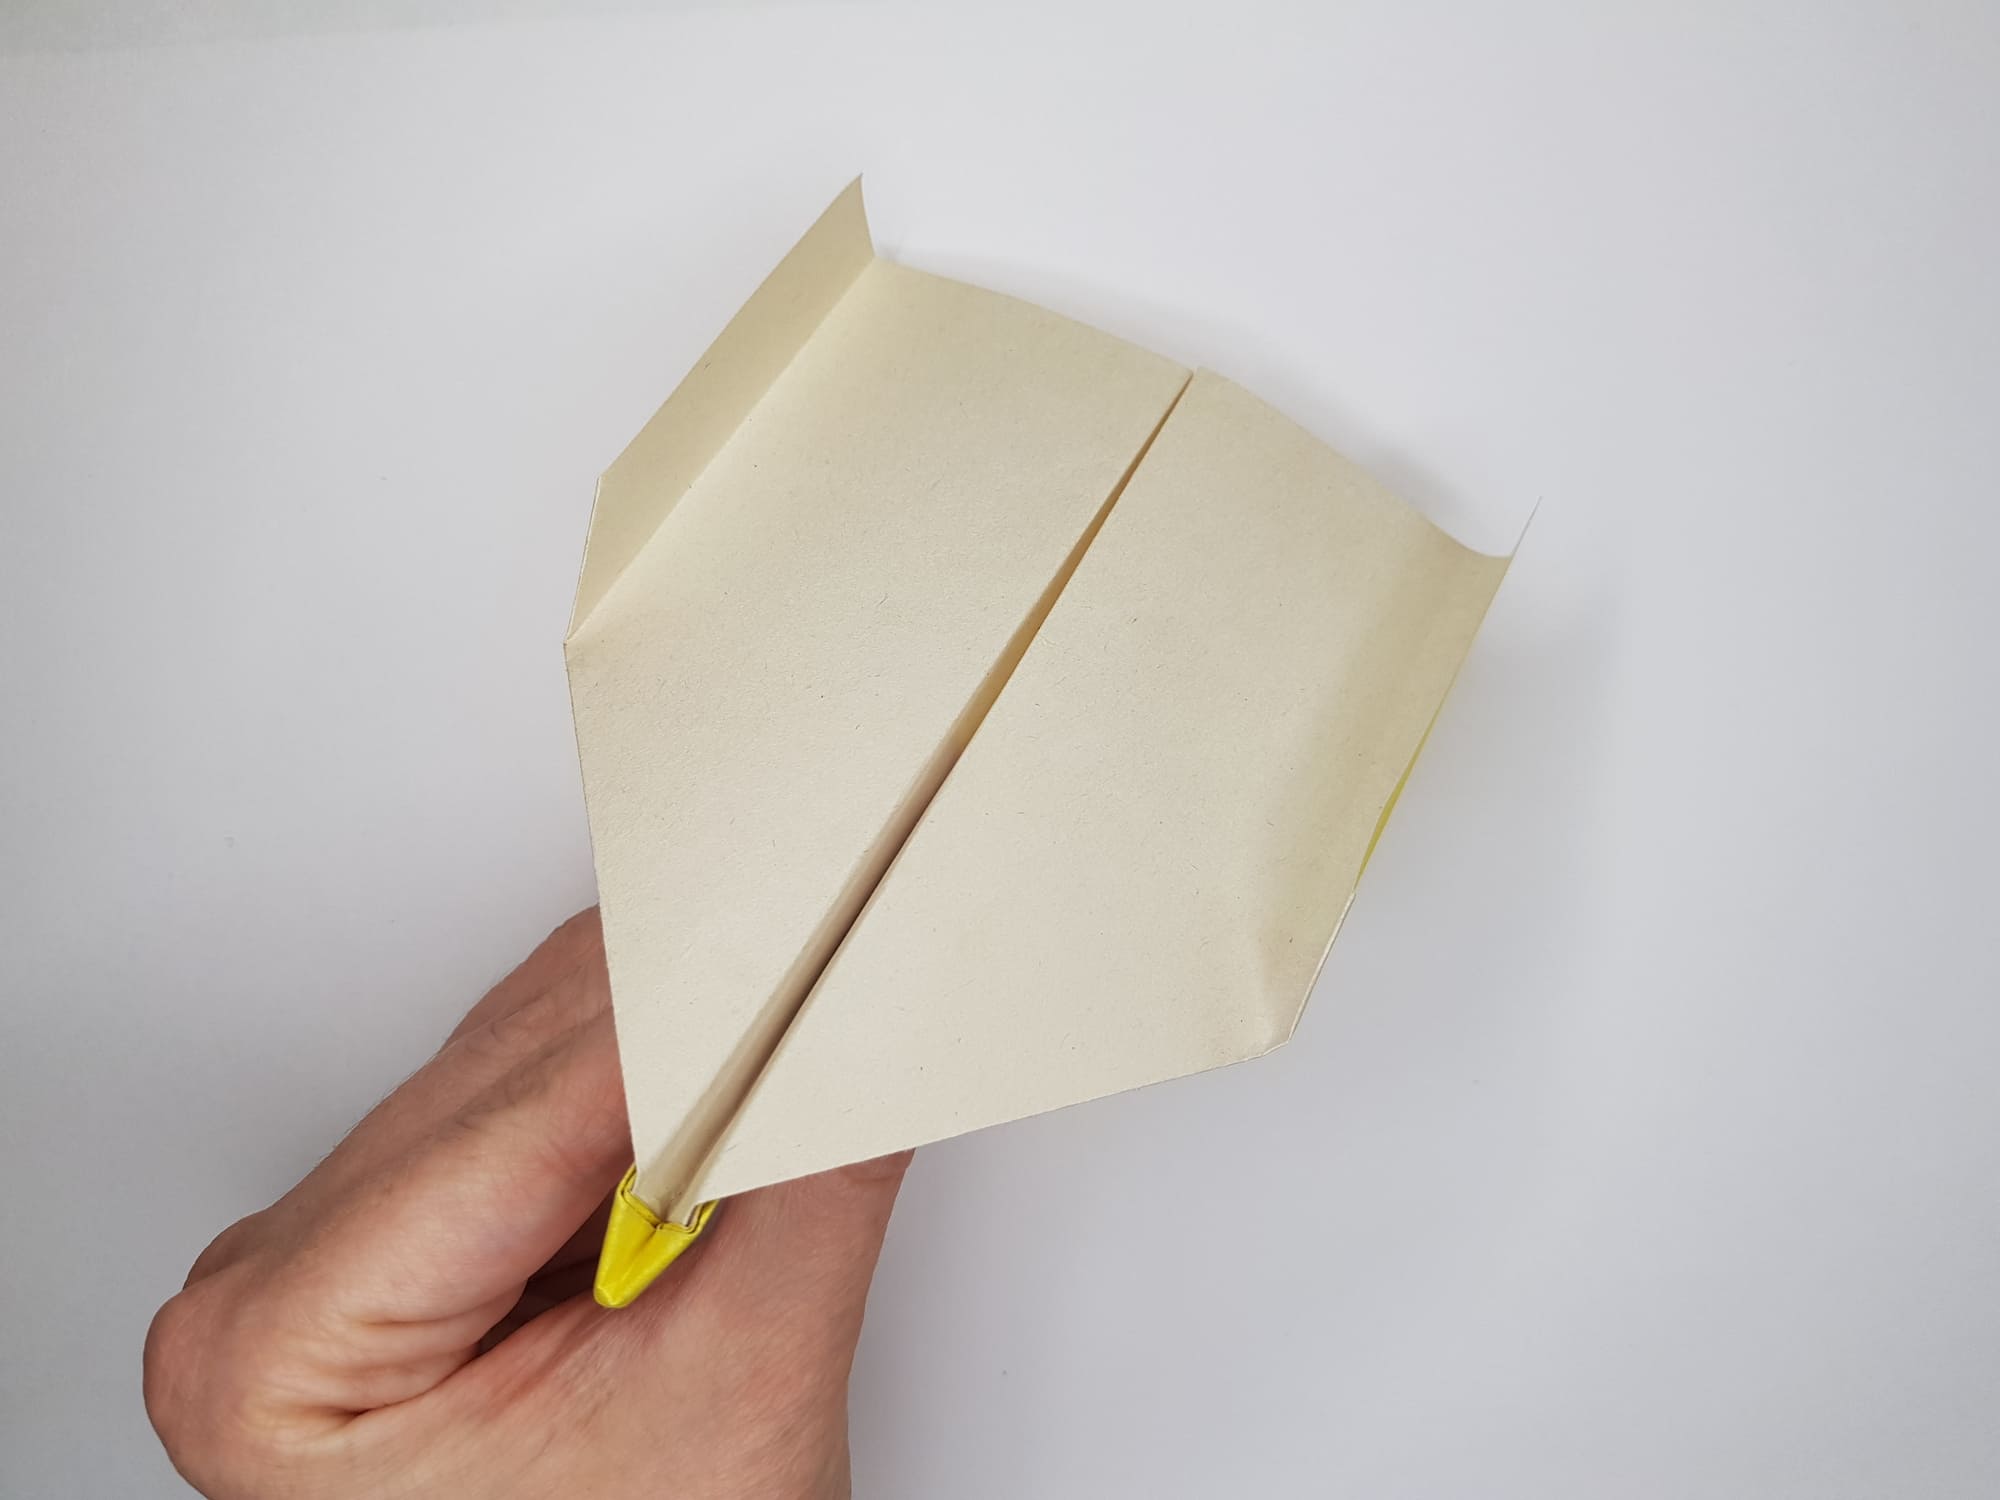
Fold your future aircraft in half along the vertical axis.
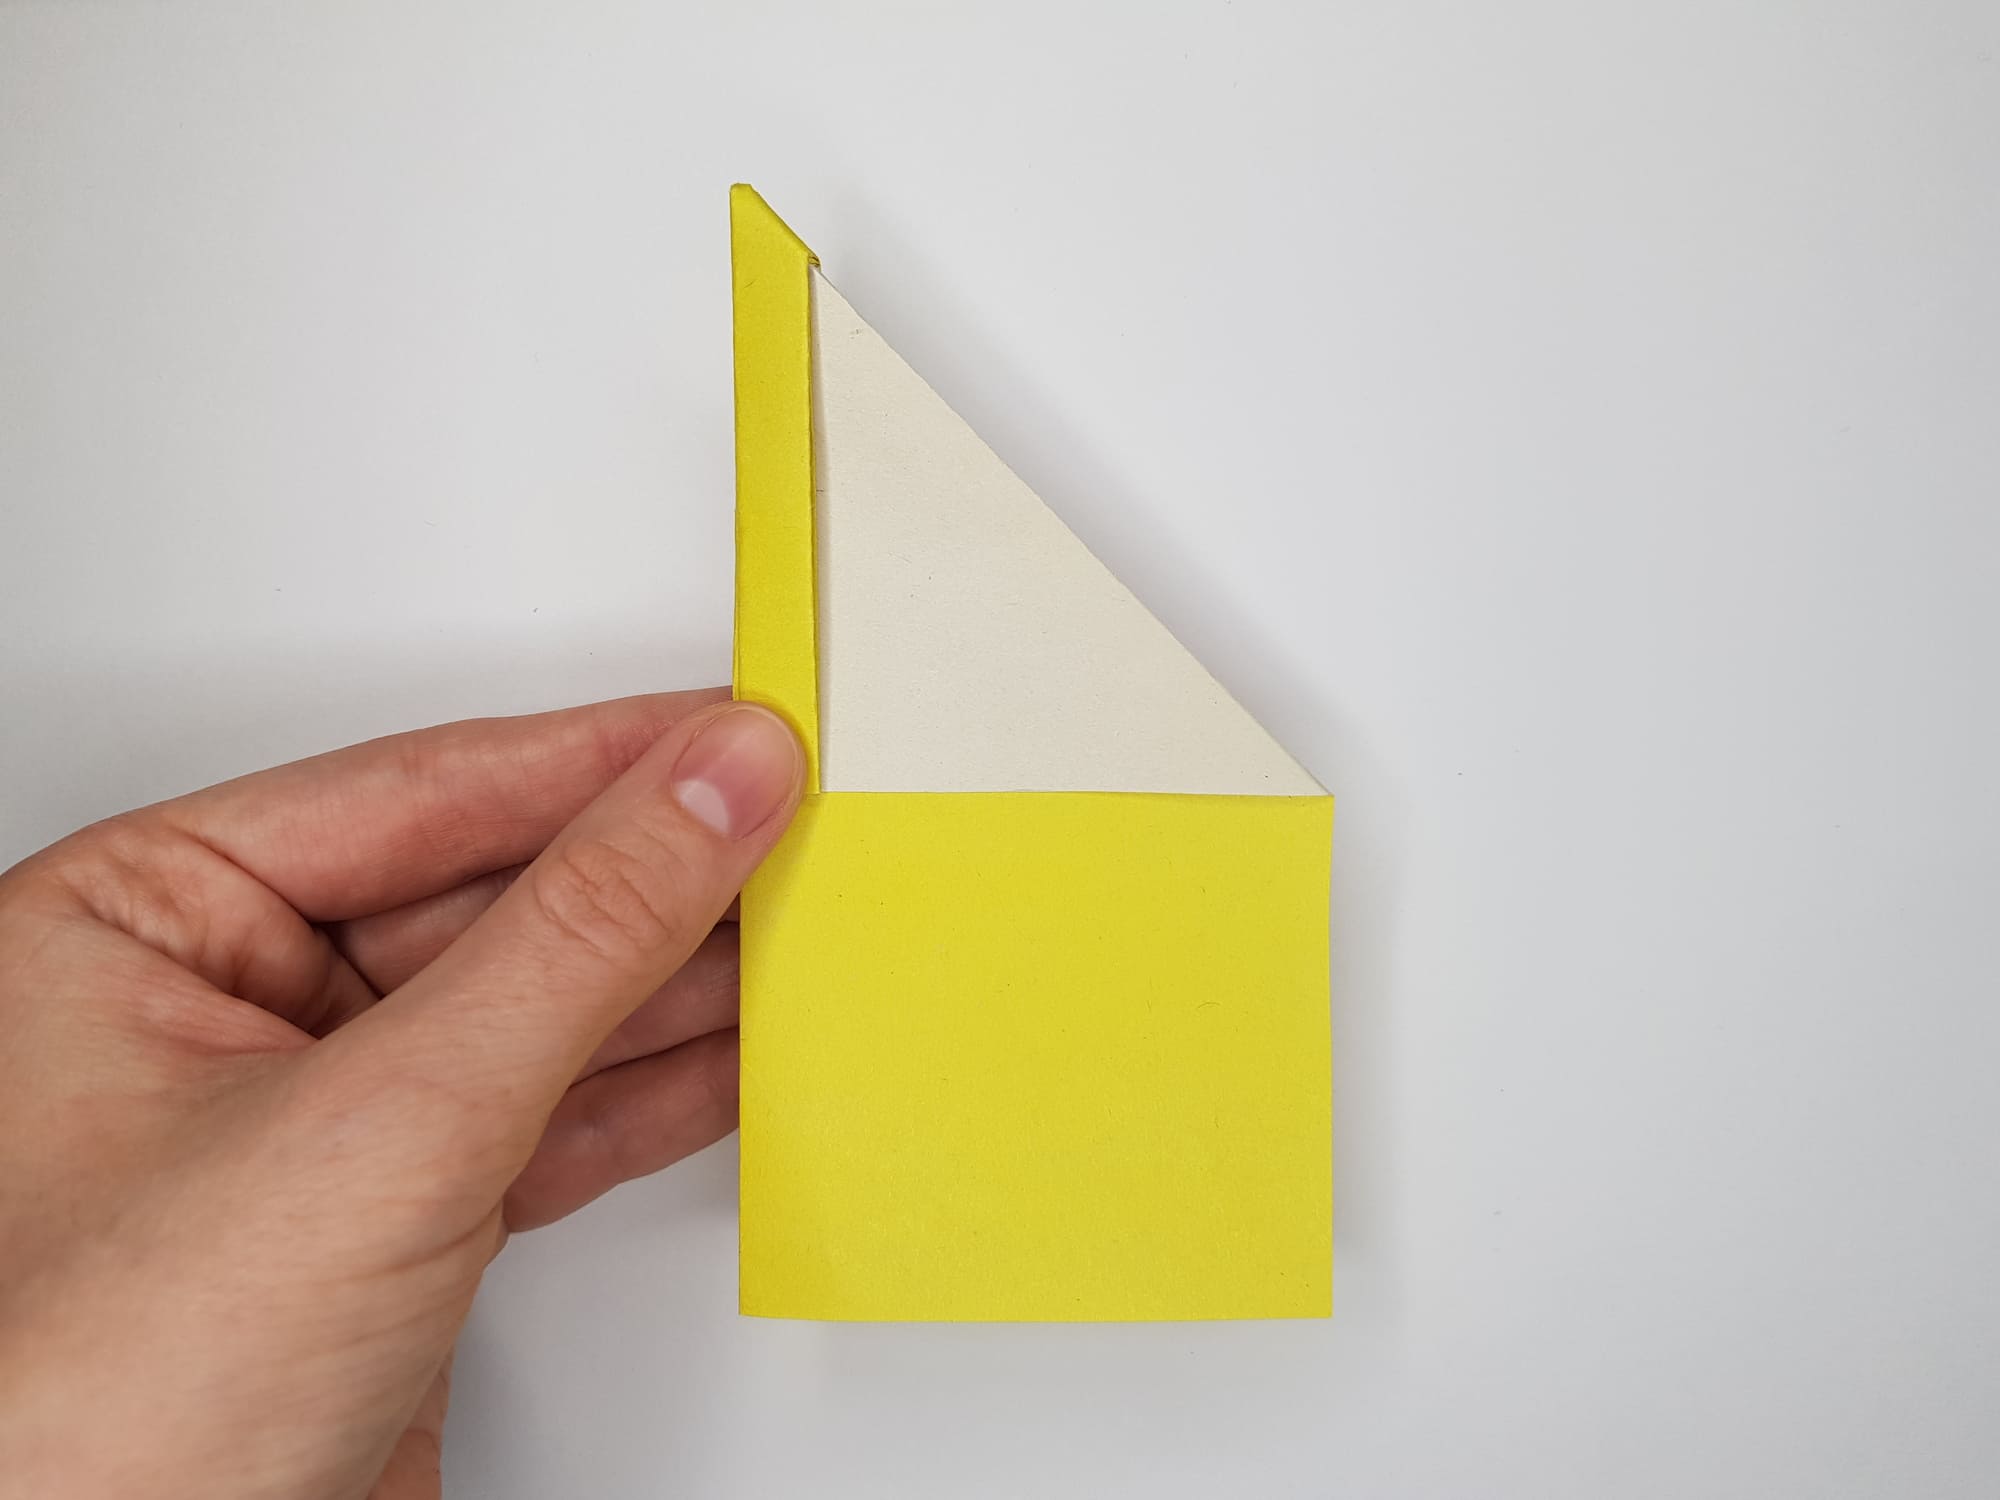
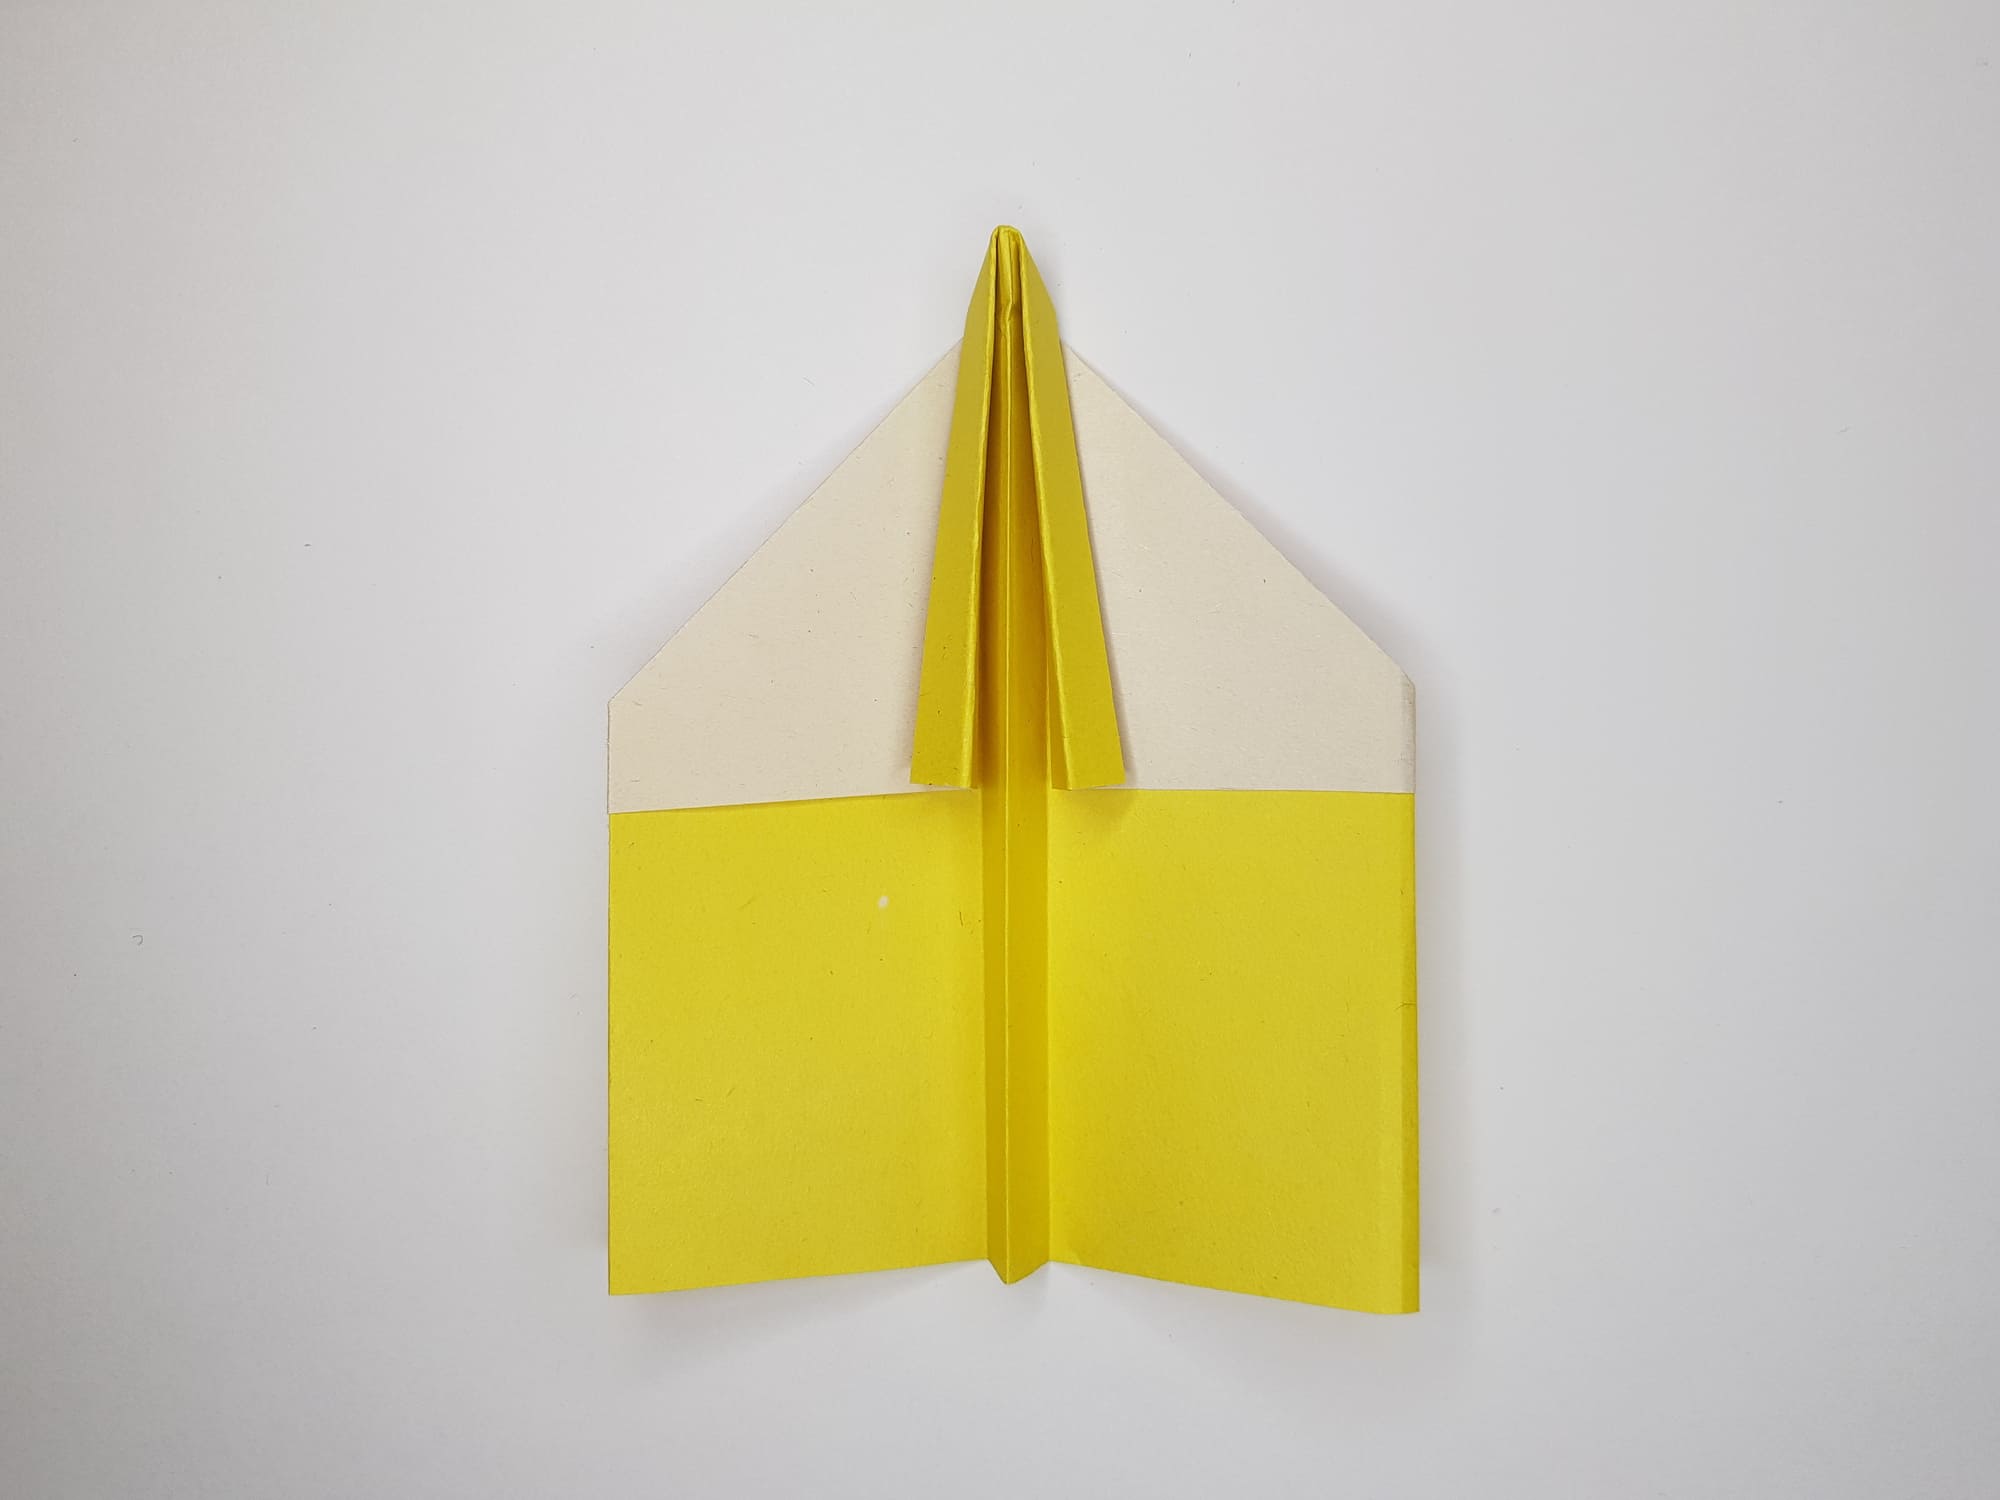
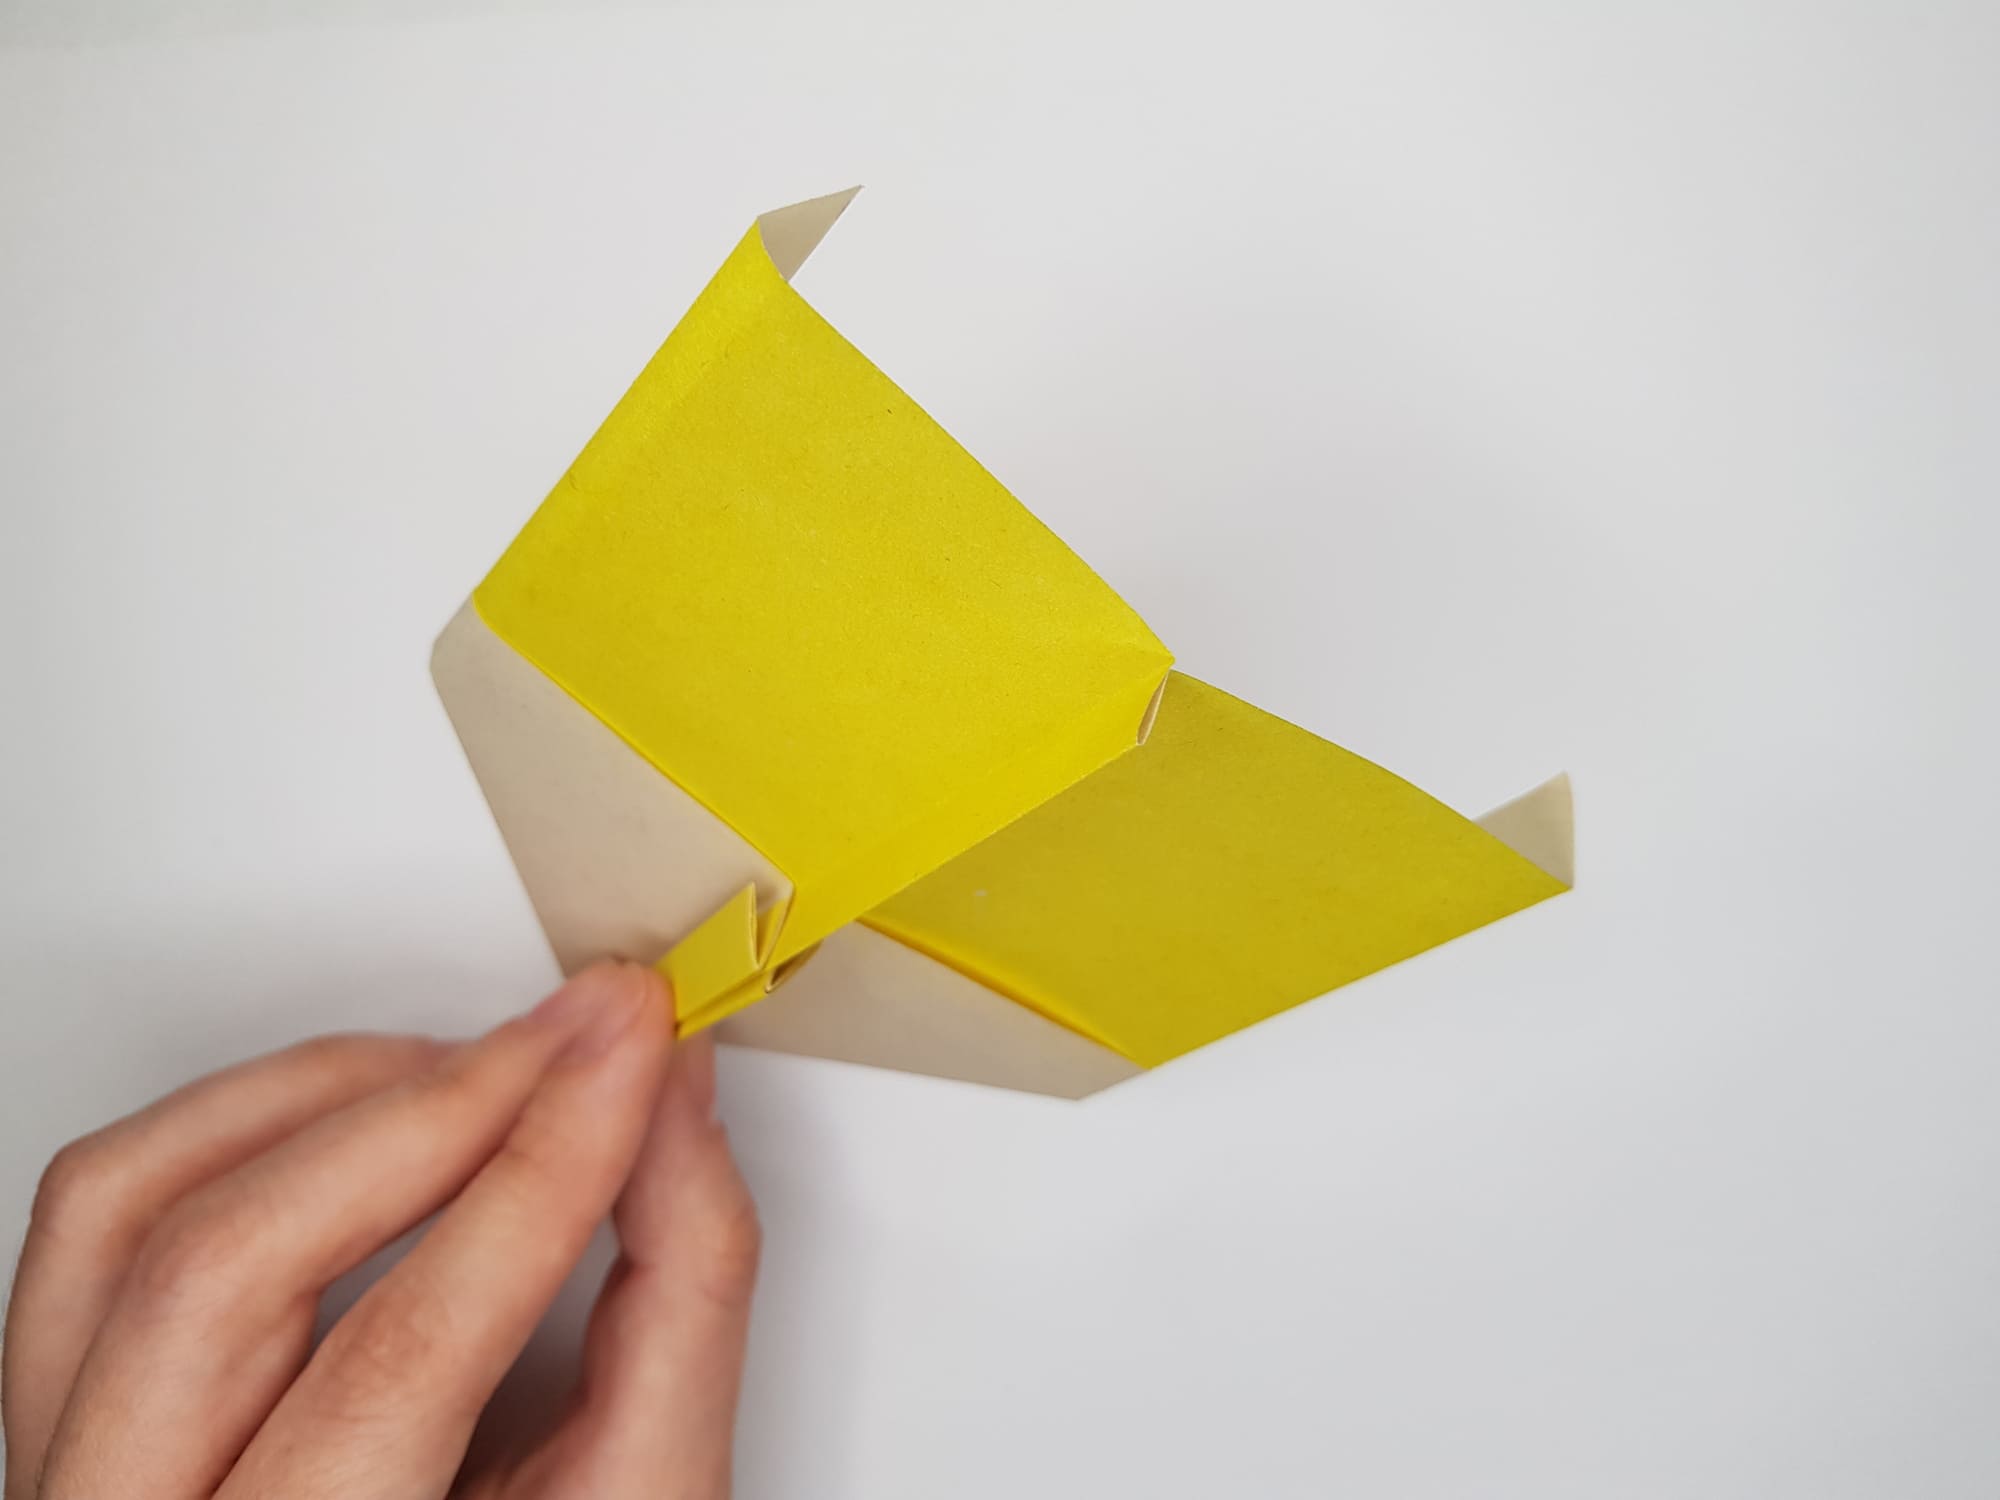
Create the fuselage – the body of the aircraft.
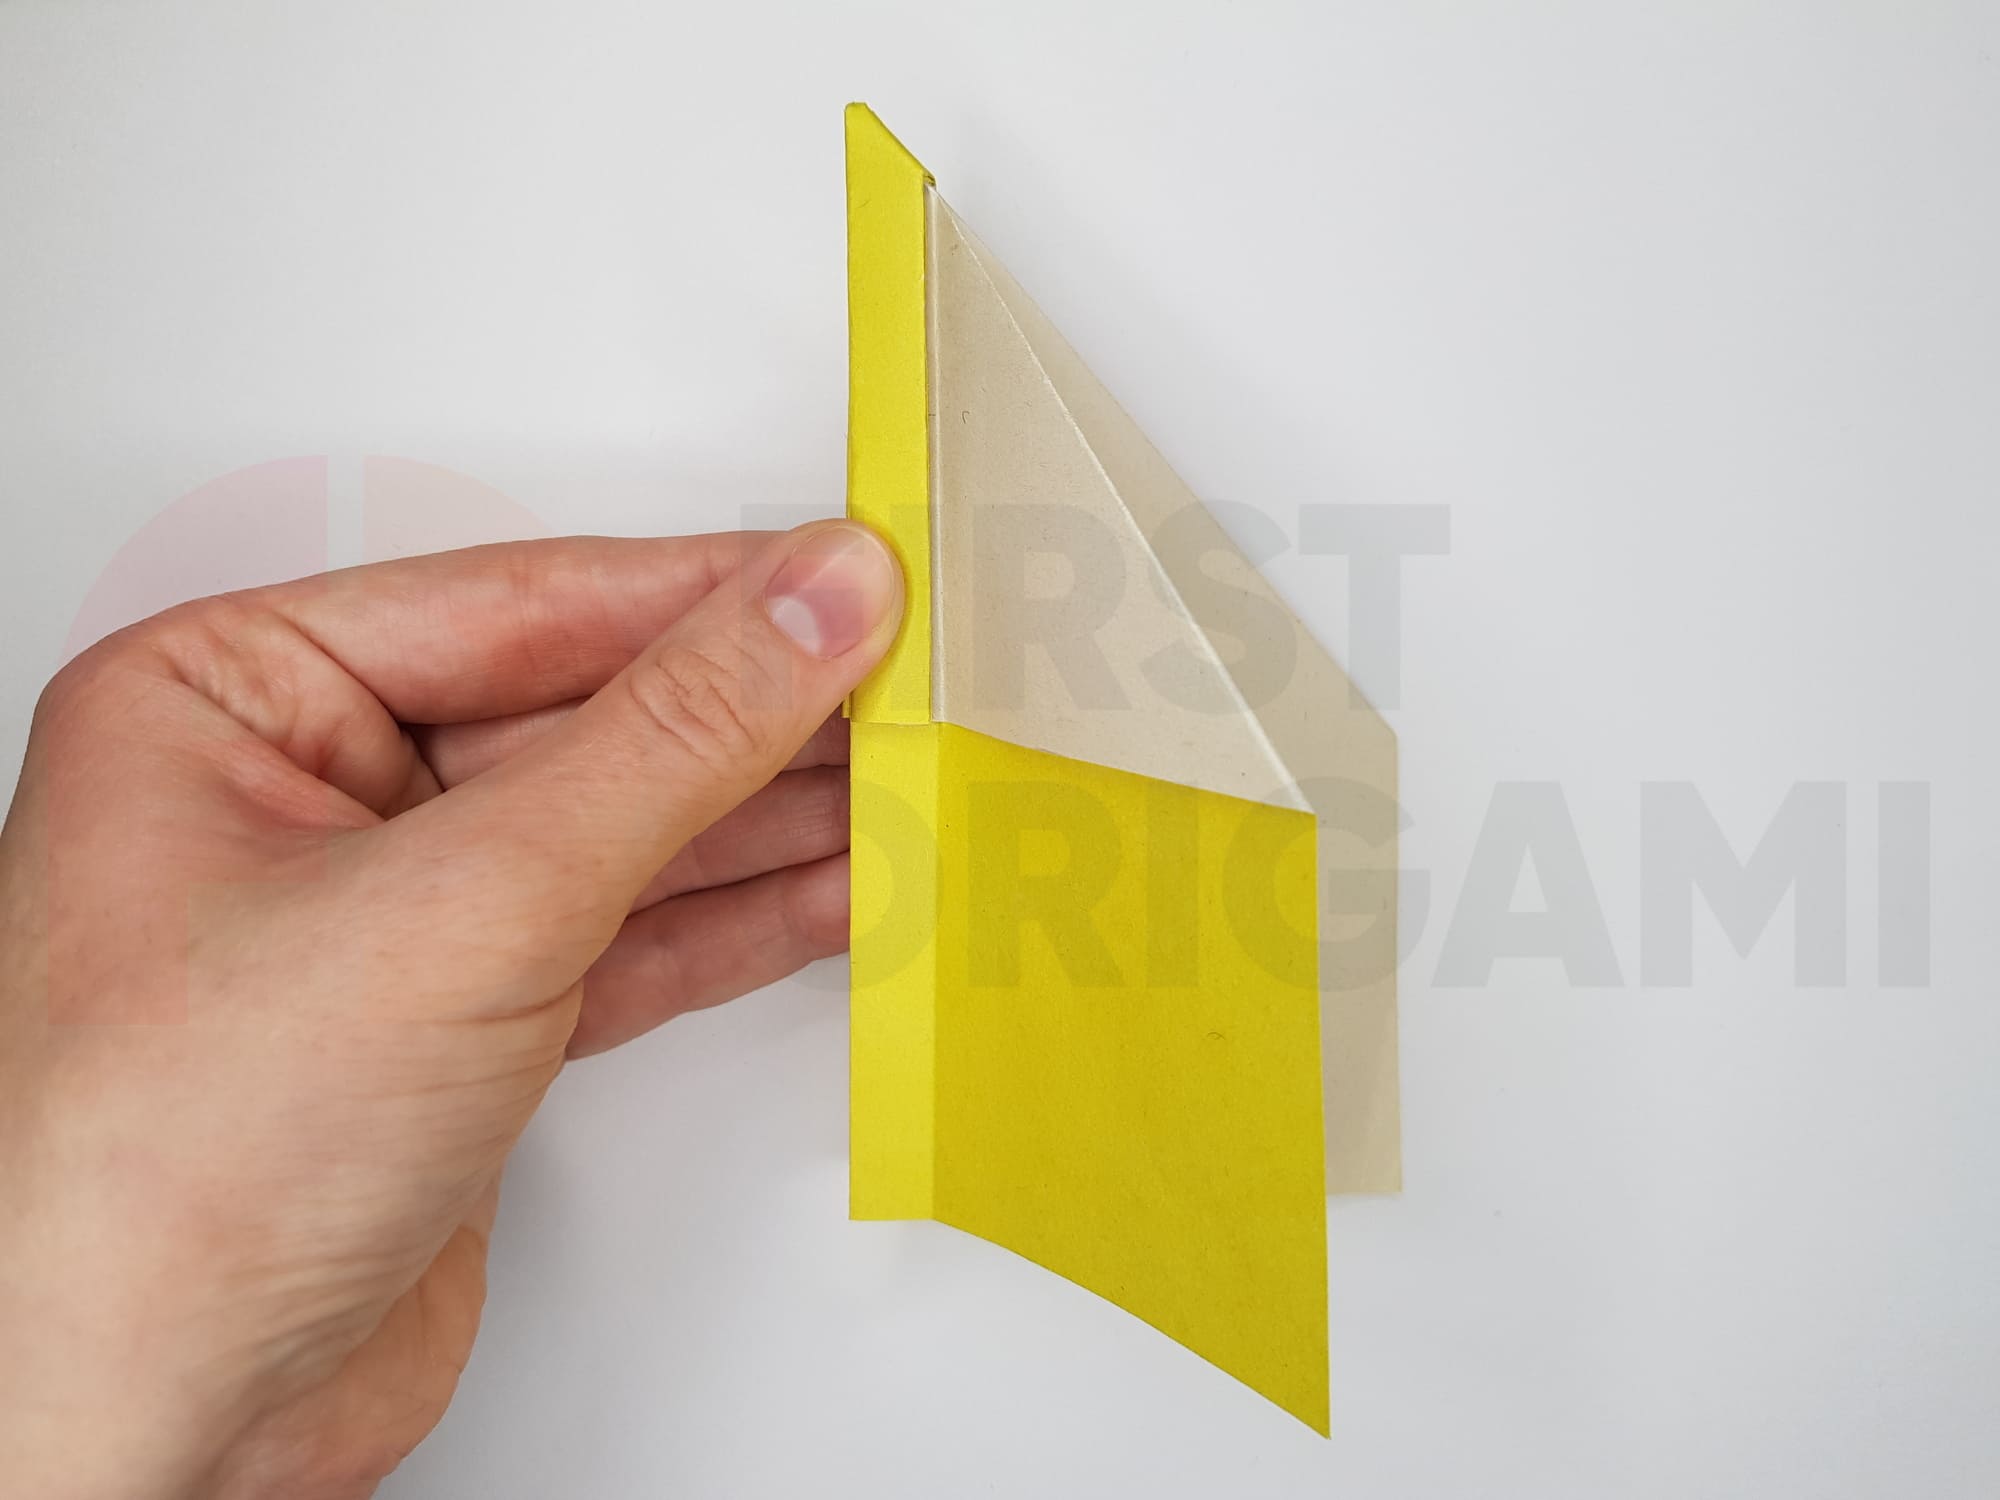
To do this, bend the upper part, stepping away 1-1.5 cm from the edge, as shown in the photo.
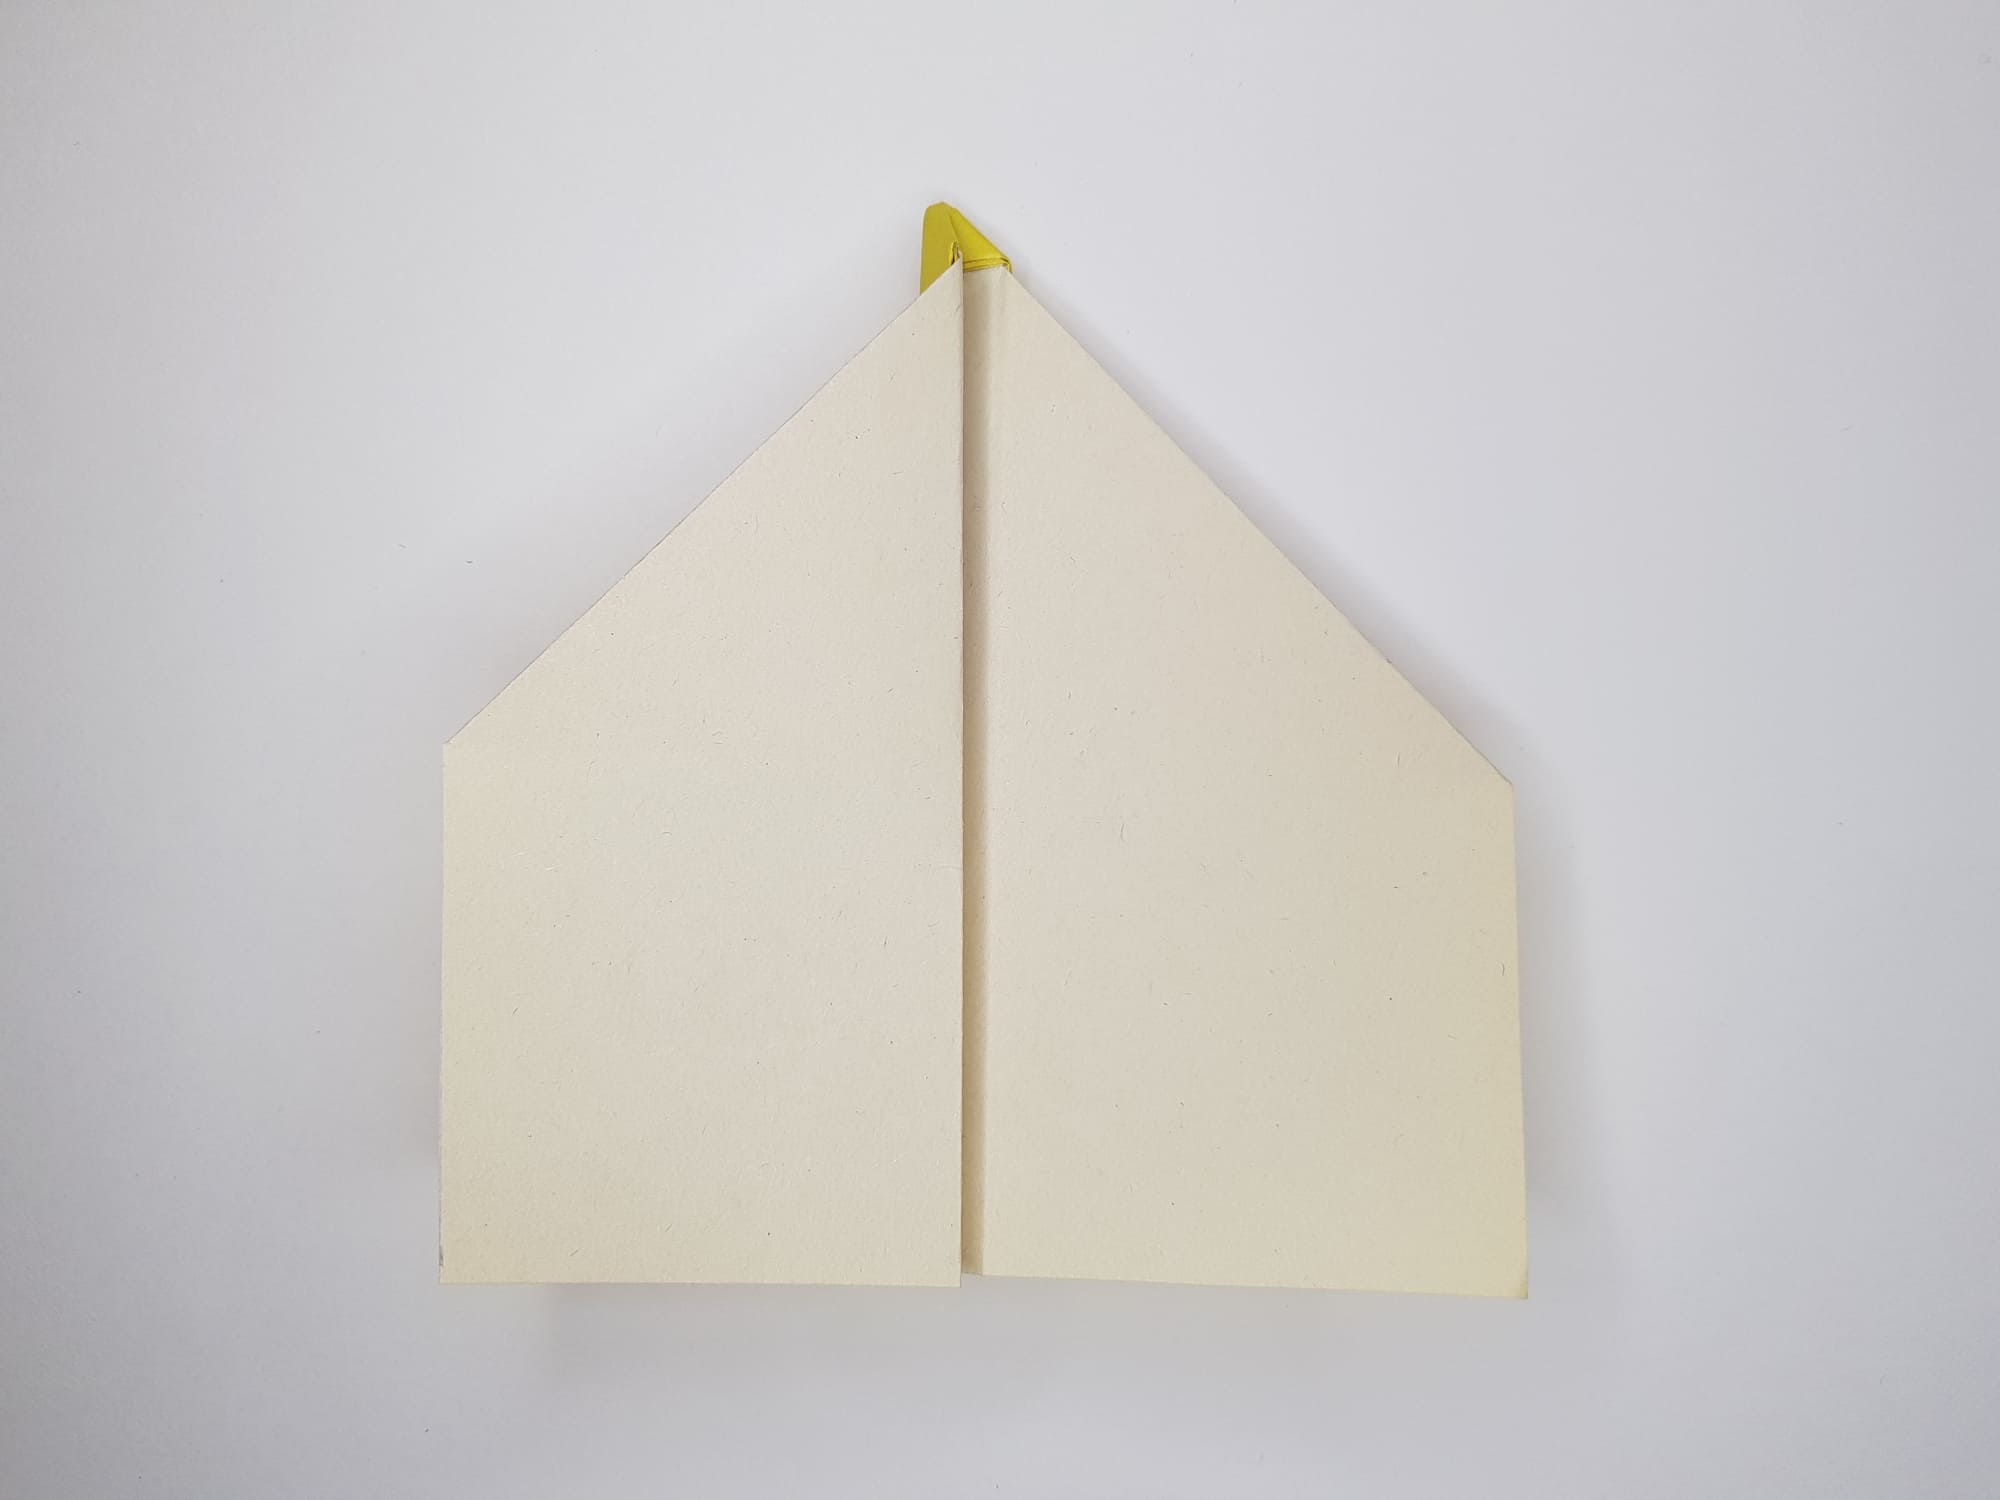
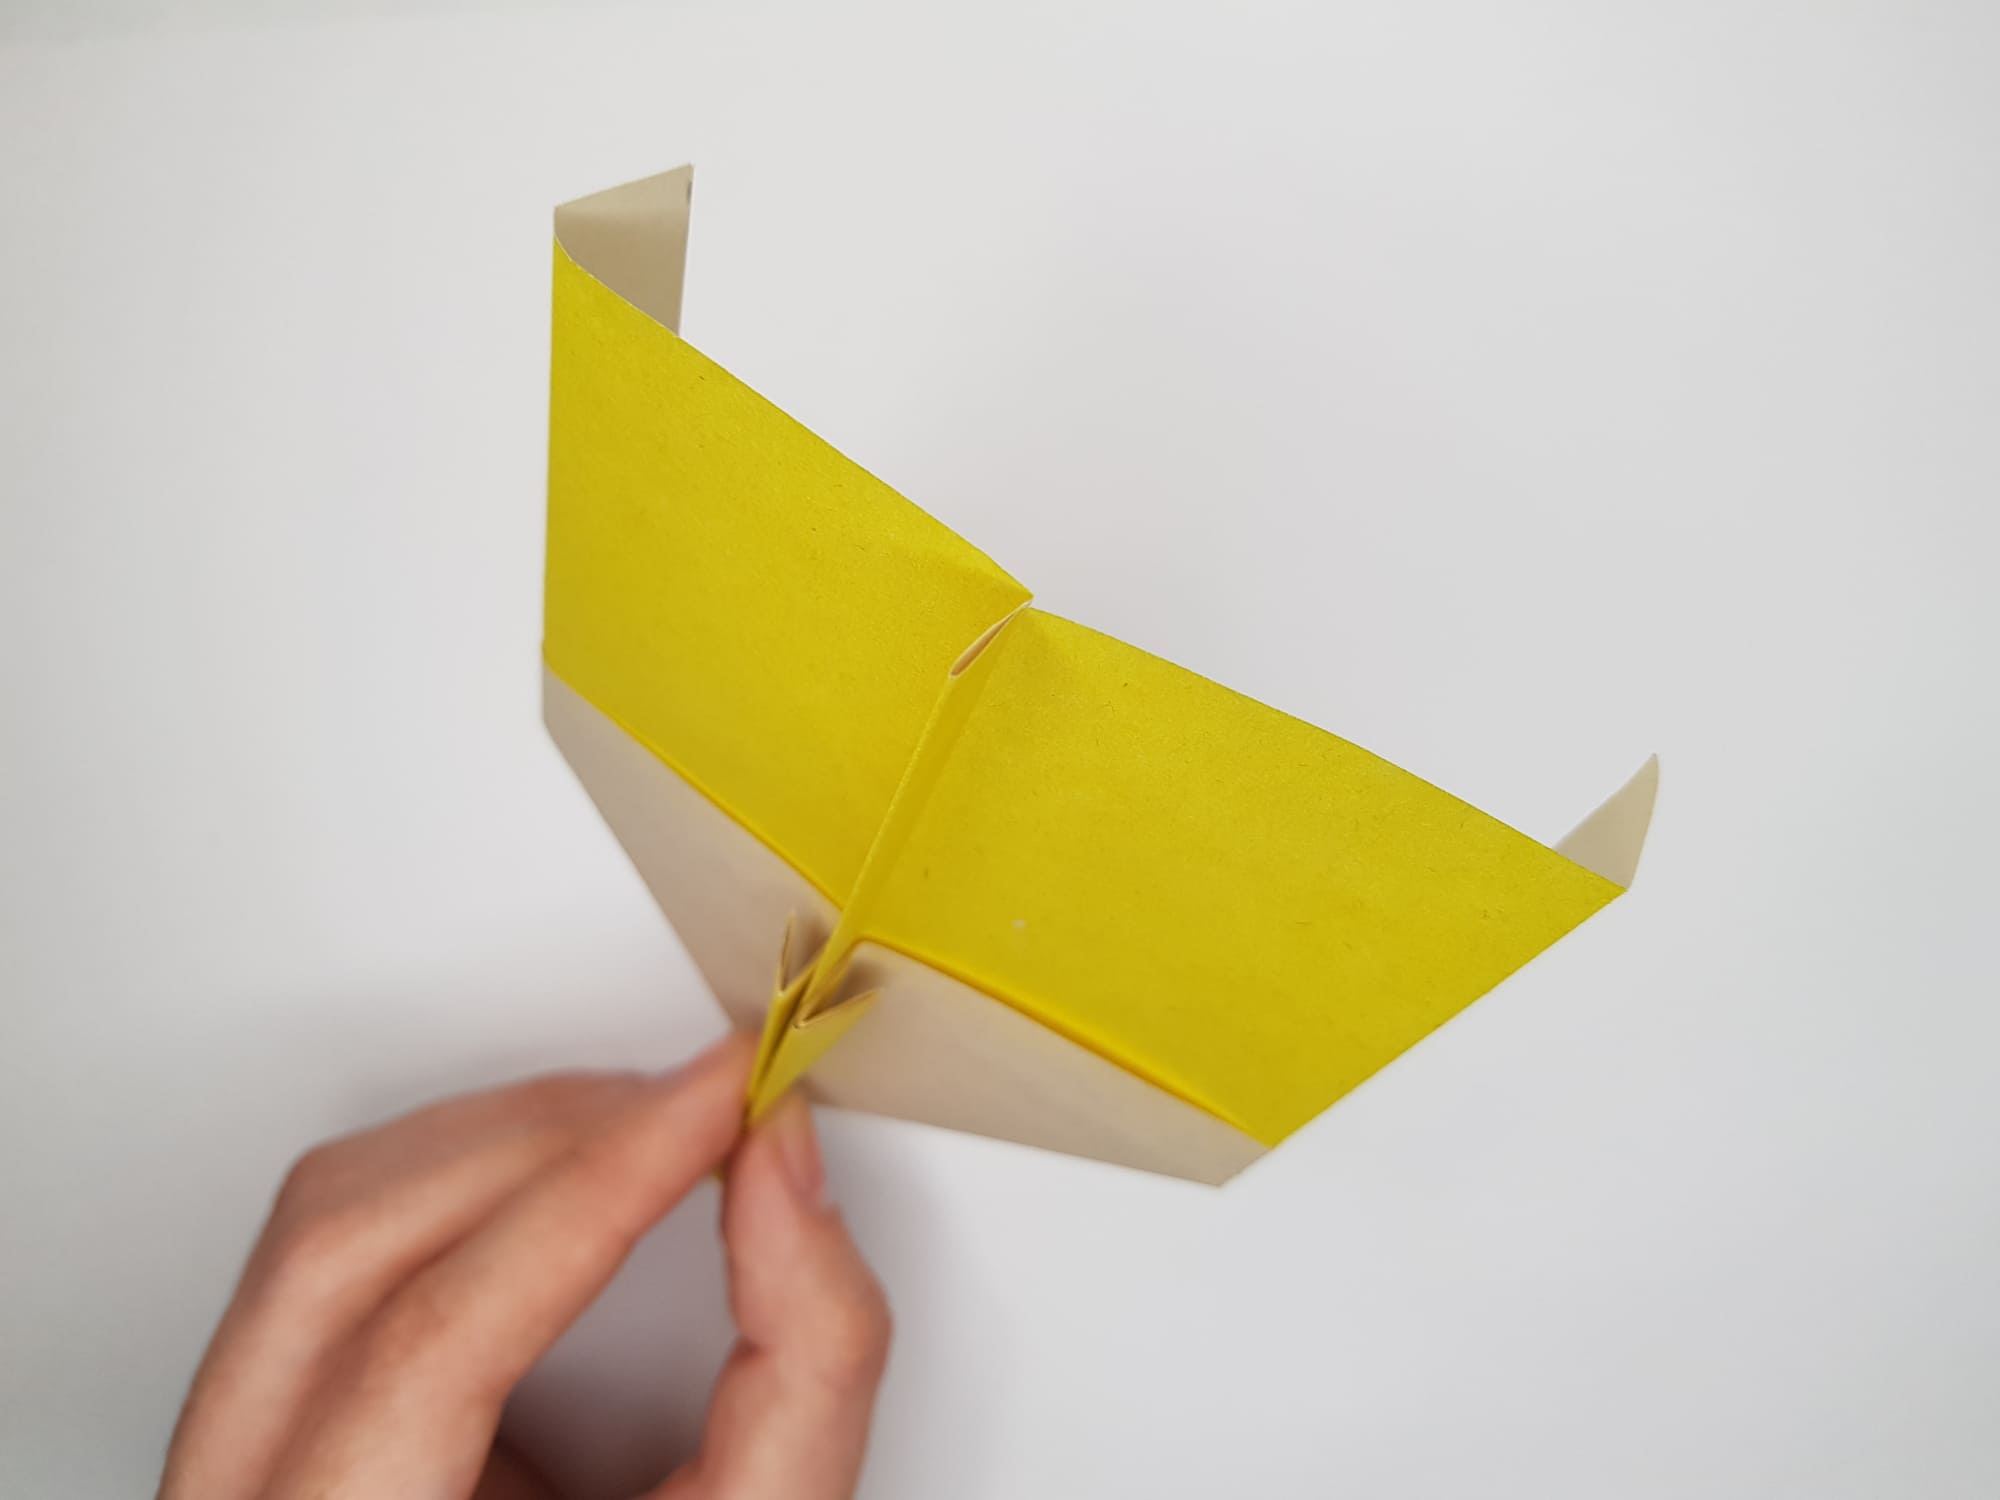
Do the same with the other side.
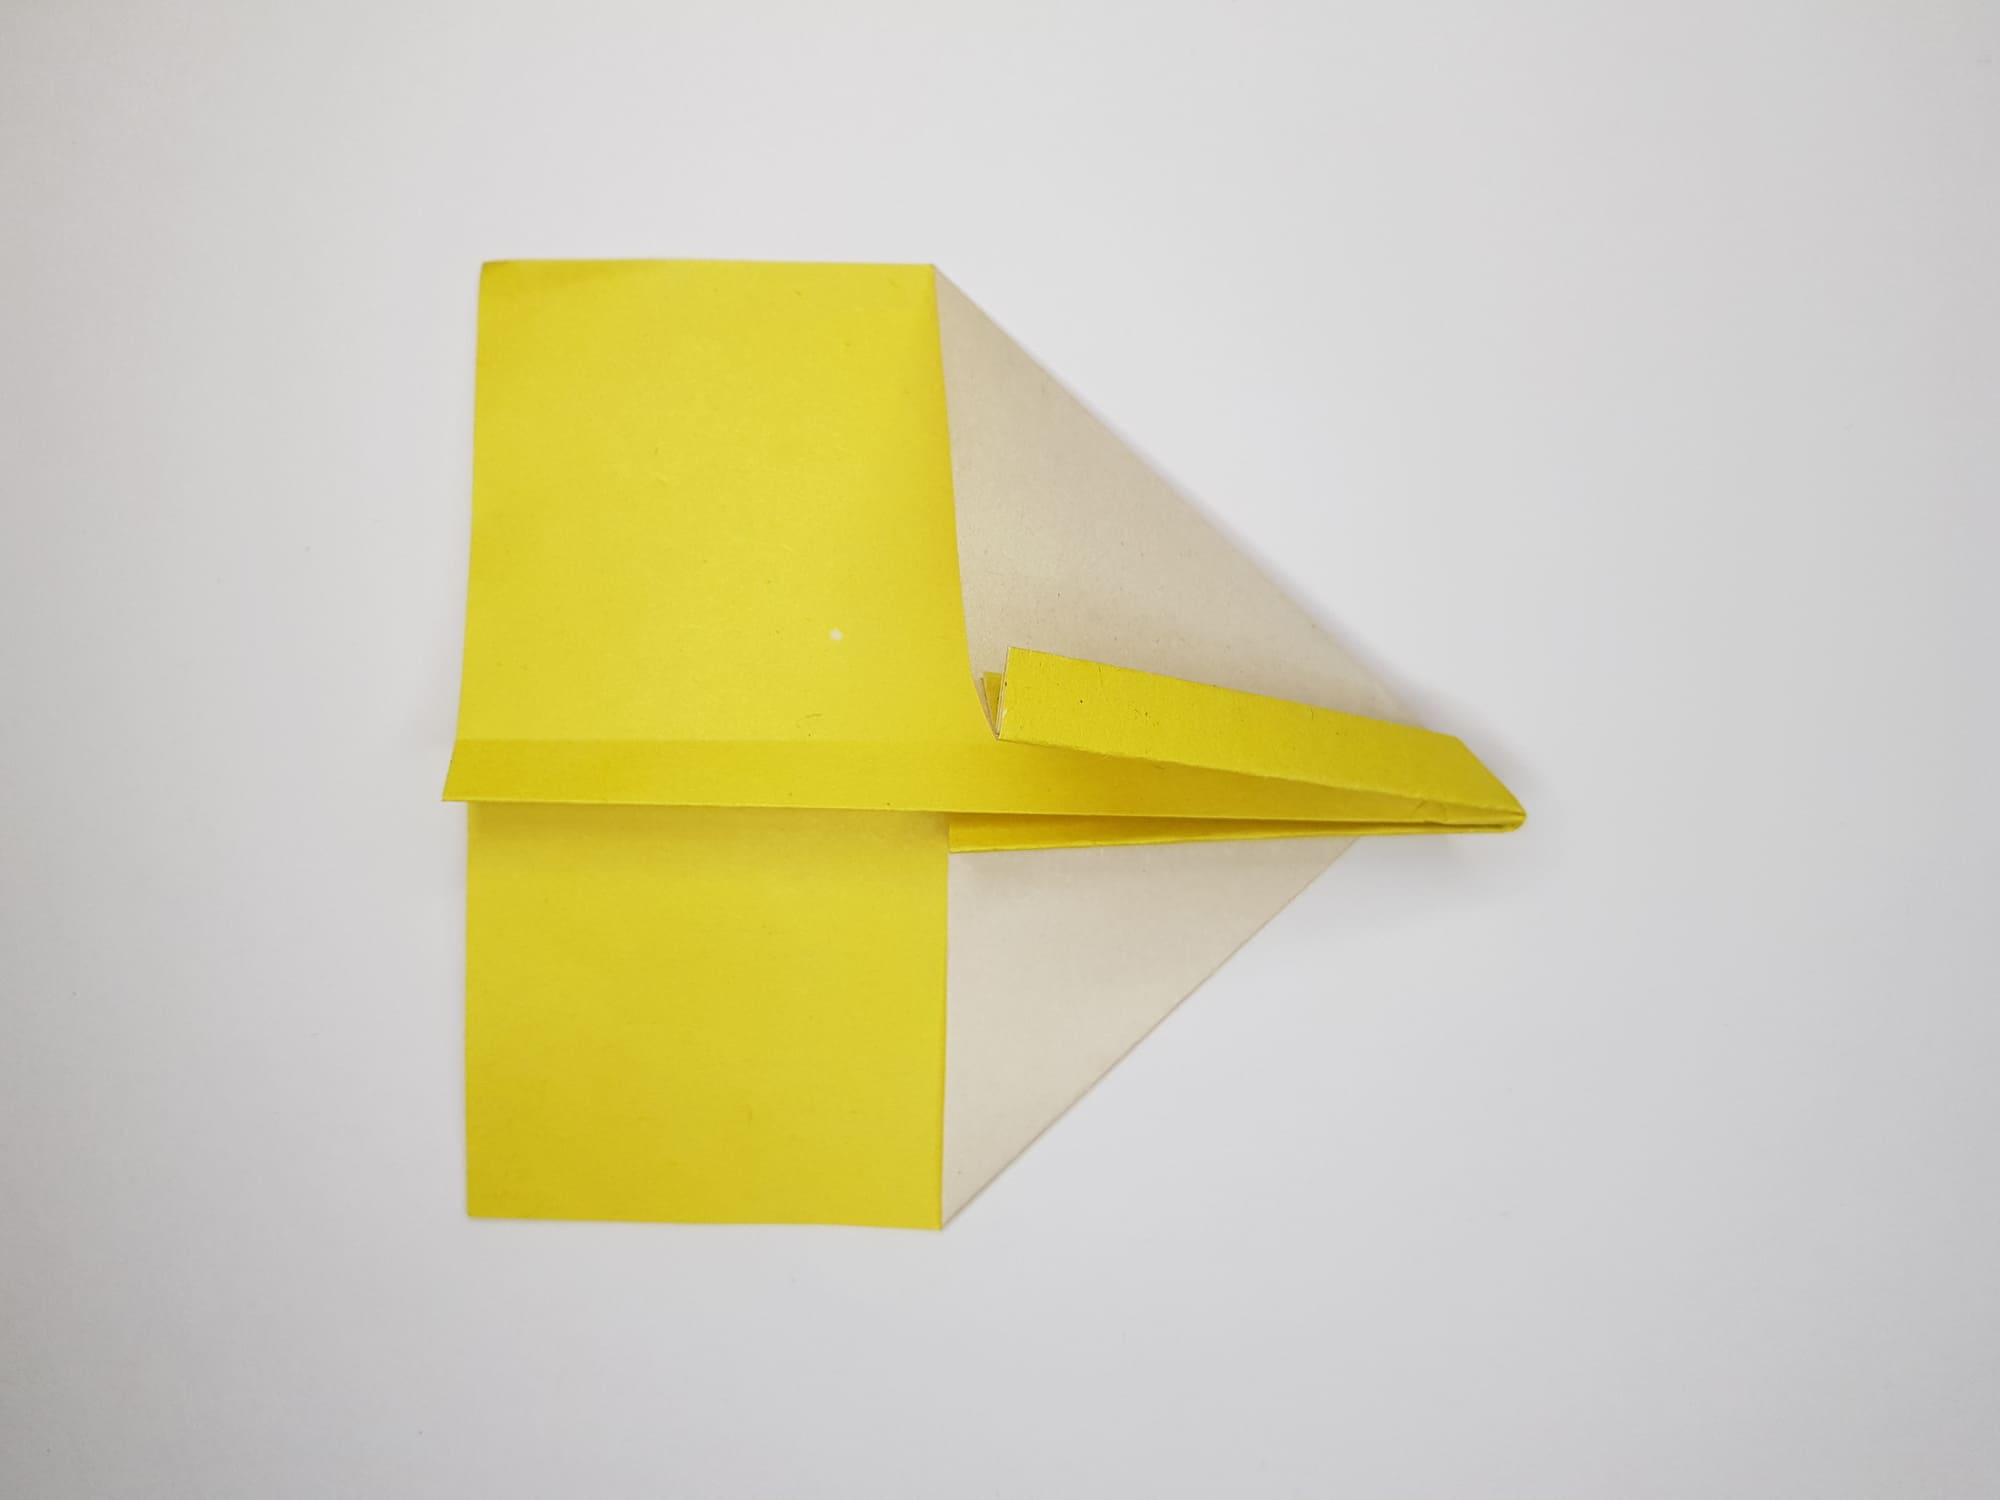
Bend down the edge of the airplane wing.
Repeat this step with the other wing. Your aircraft will be able to fly in just a minute!
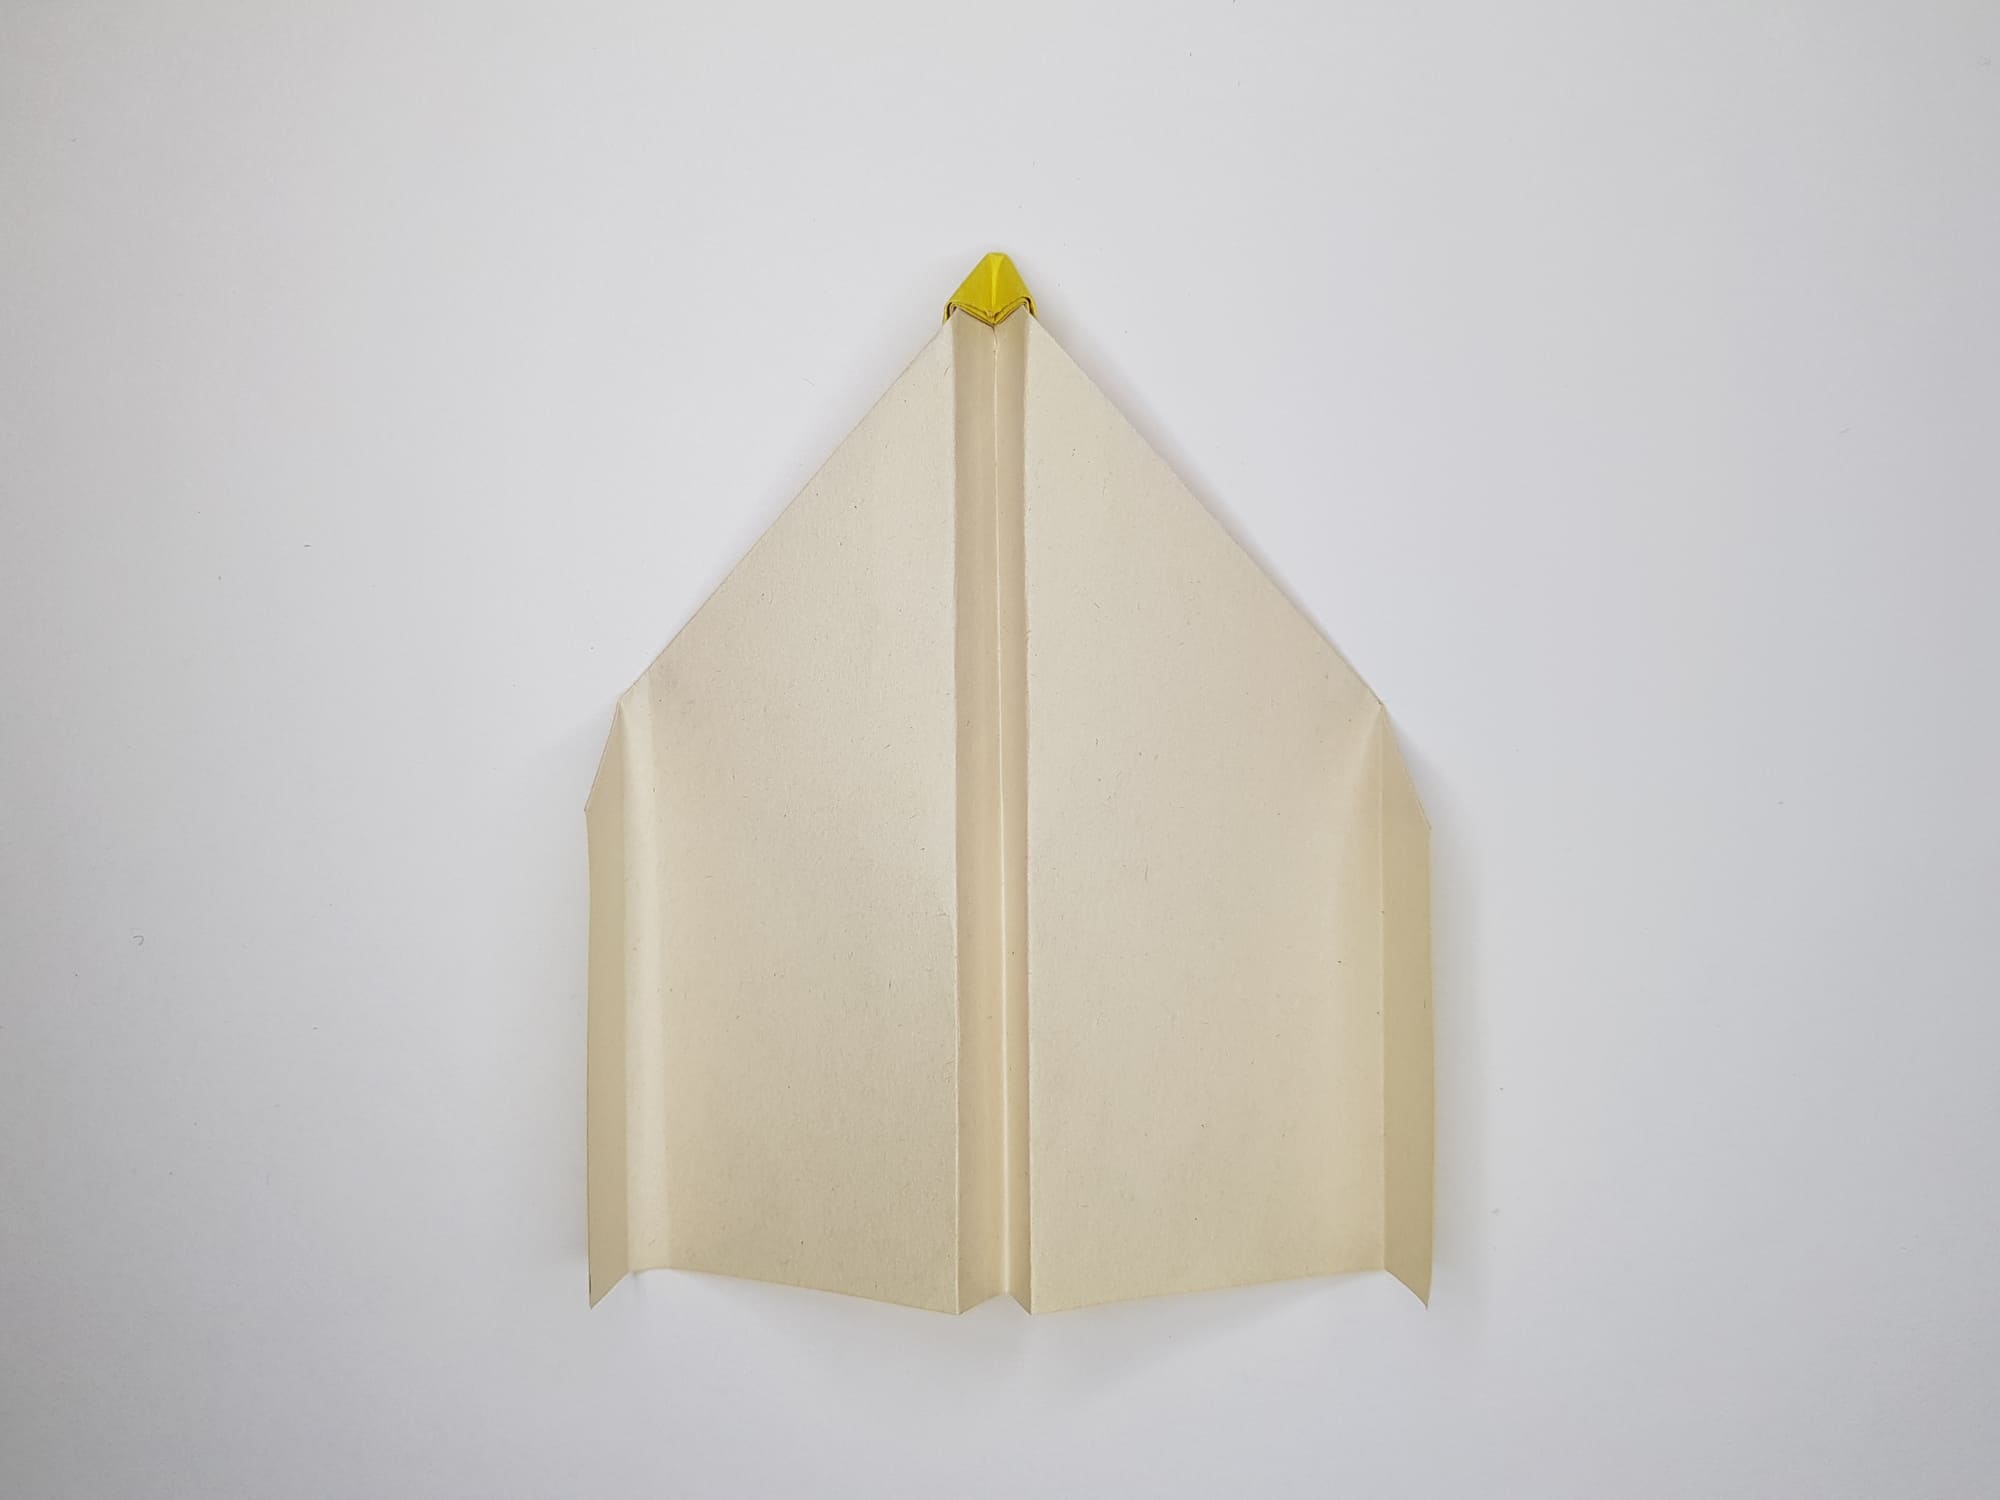
Straighten the model and crease the fold, giving it a neater look.
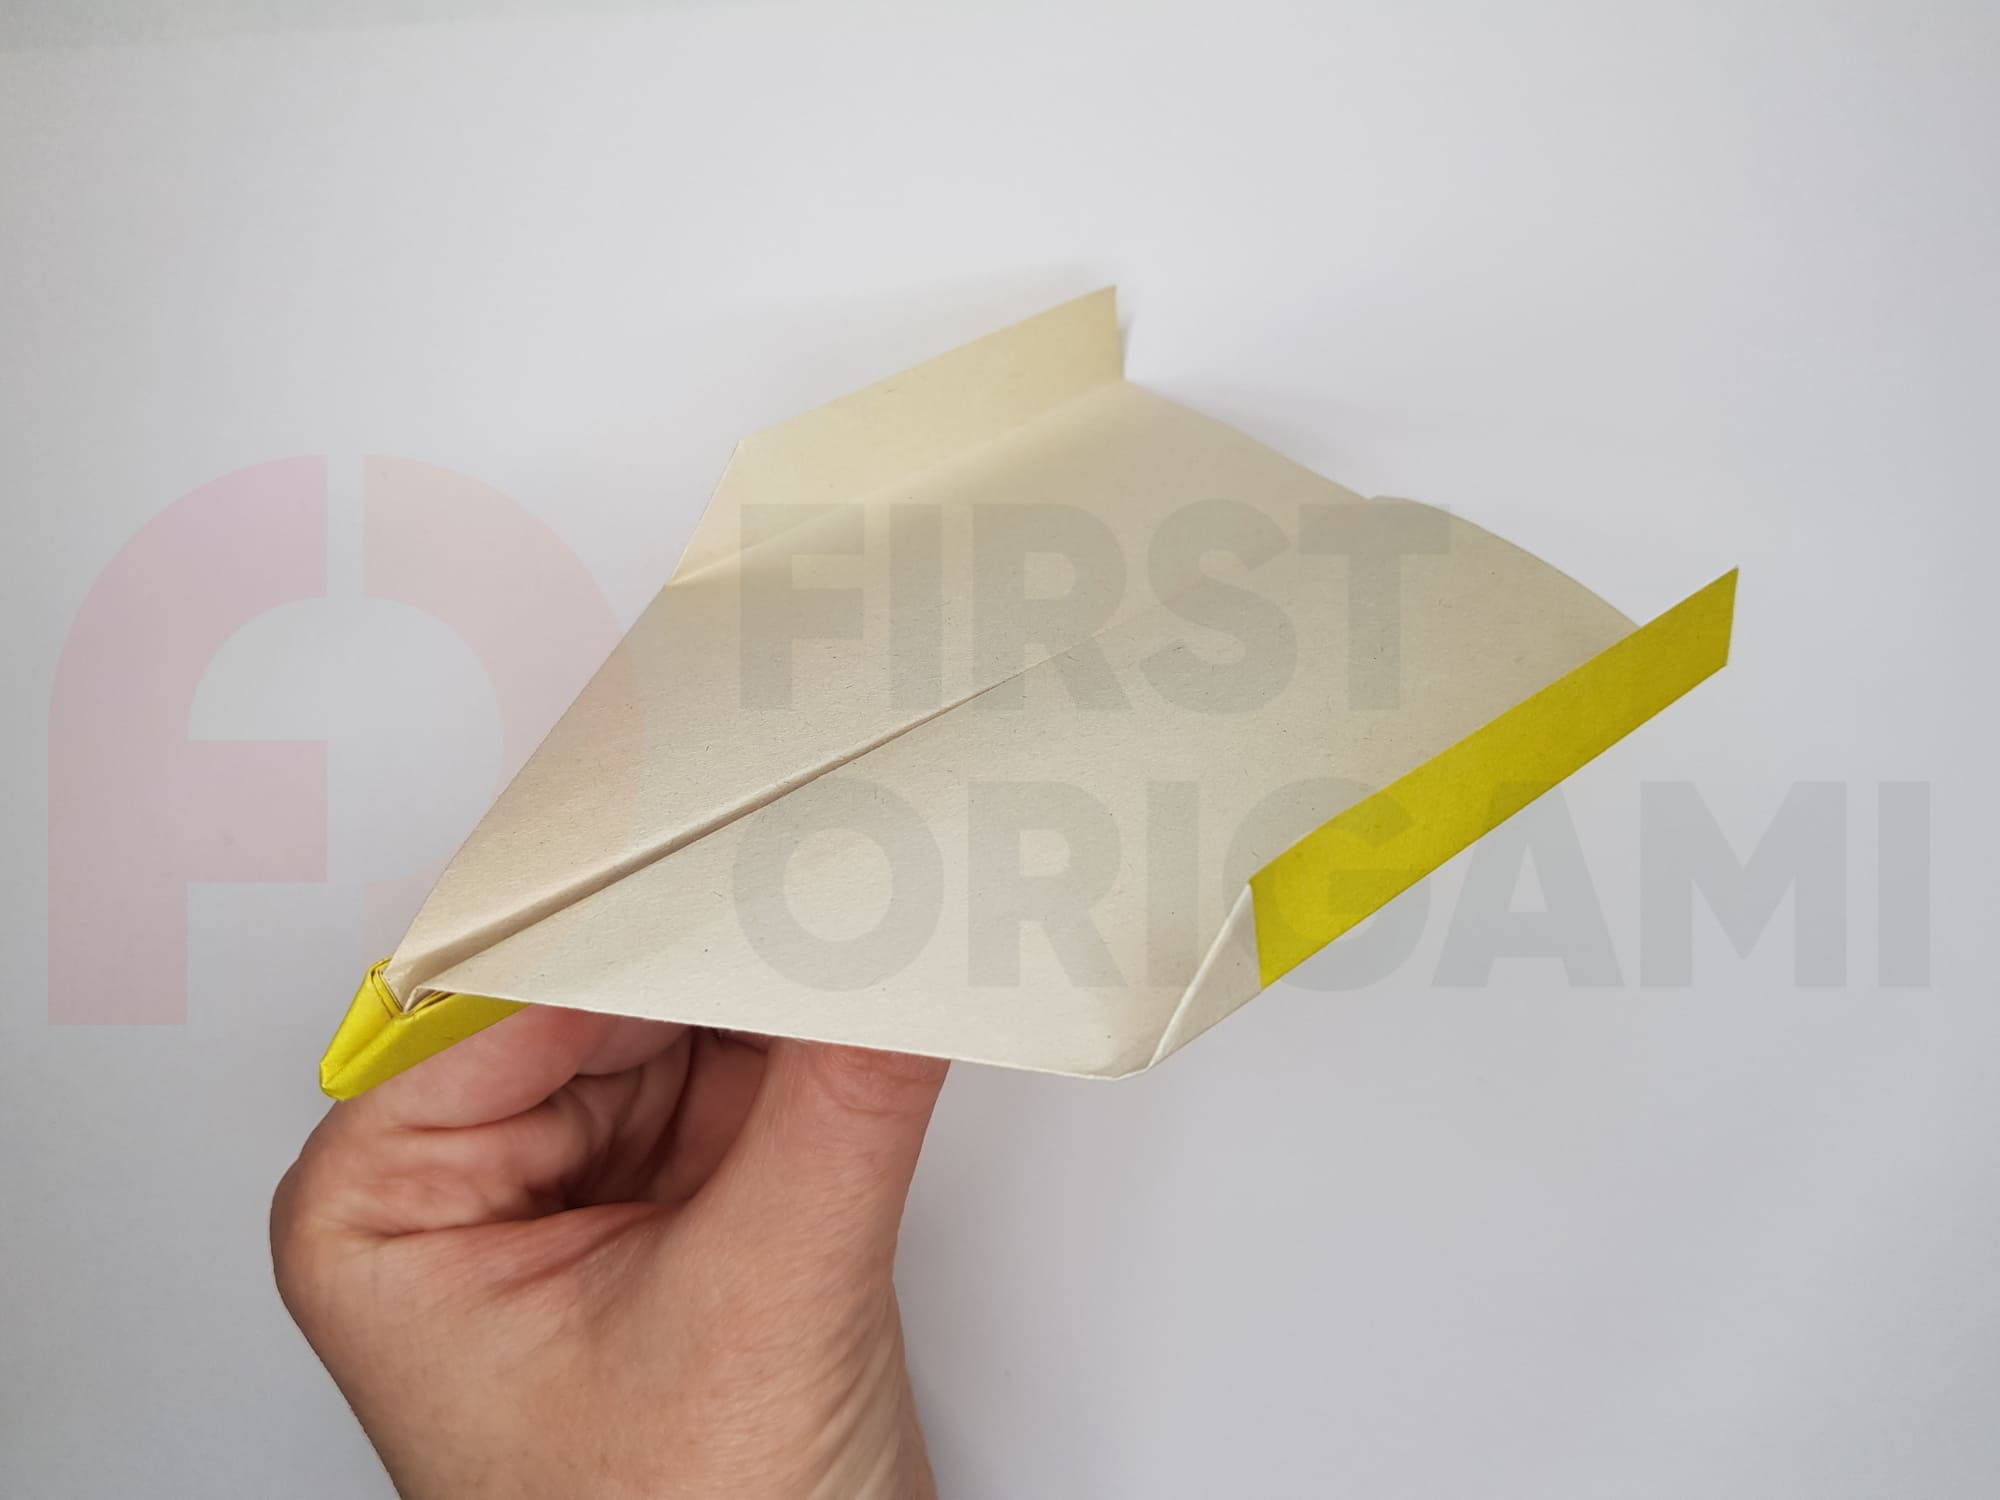
The airplane is ready.

Launch it on its first flight!
If you want to experiment with the design, connect the two parts of the fuselage using glue or double-sided tape. Of course, the model can also be decorated with drawings or stickers.


