Origami Inside Reverse Fold (Method 1)
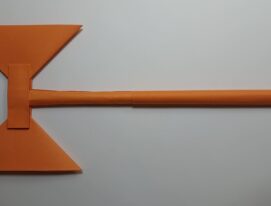
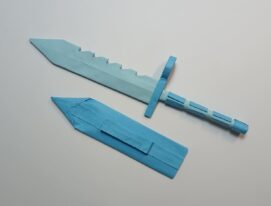
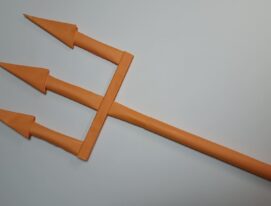
Below you will find detailed step-by-step instructions on one of the basic folds in the art of origami. These small techniques are often used in crafting complicated figures and origami toys. You can find them in instructions for making different animals, where they help to make a head or tail.
This fold is not complicated at all but can be intimidating to those who encounter them for the first time. Learning how to fold the inner and outer folds will make it easier to understand the instructions and you will be able to make many different origami without much trouble.
We recommend mastering these basic skills first on regular paper, as you might probably need to repeat it several times in order to be more confident while crafting more complex figurines. It is very important to dedicate some time to simple elements, as with their help you will be able to surprise your loved one with beautiful origami toys!
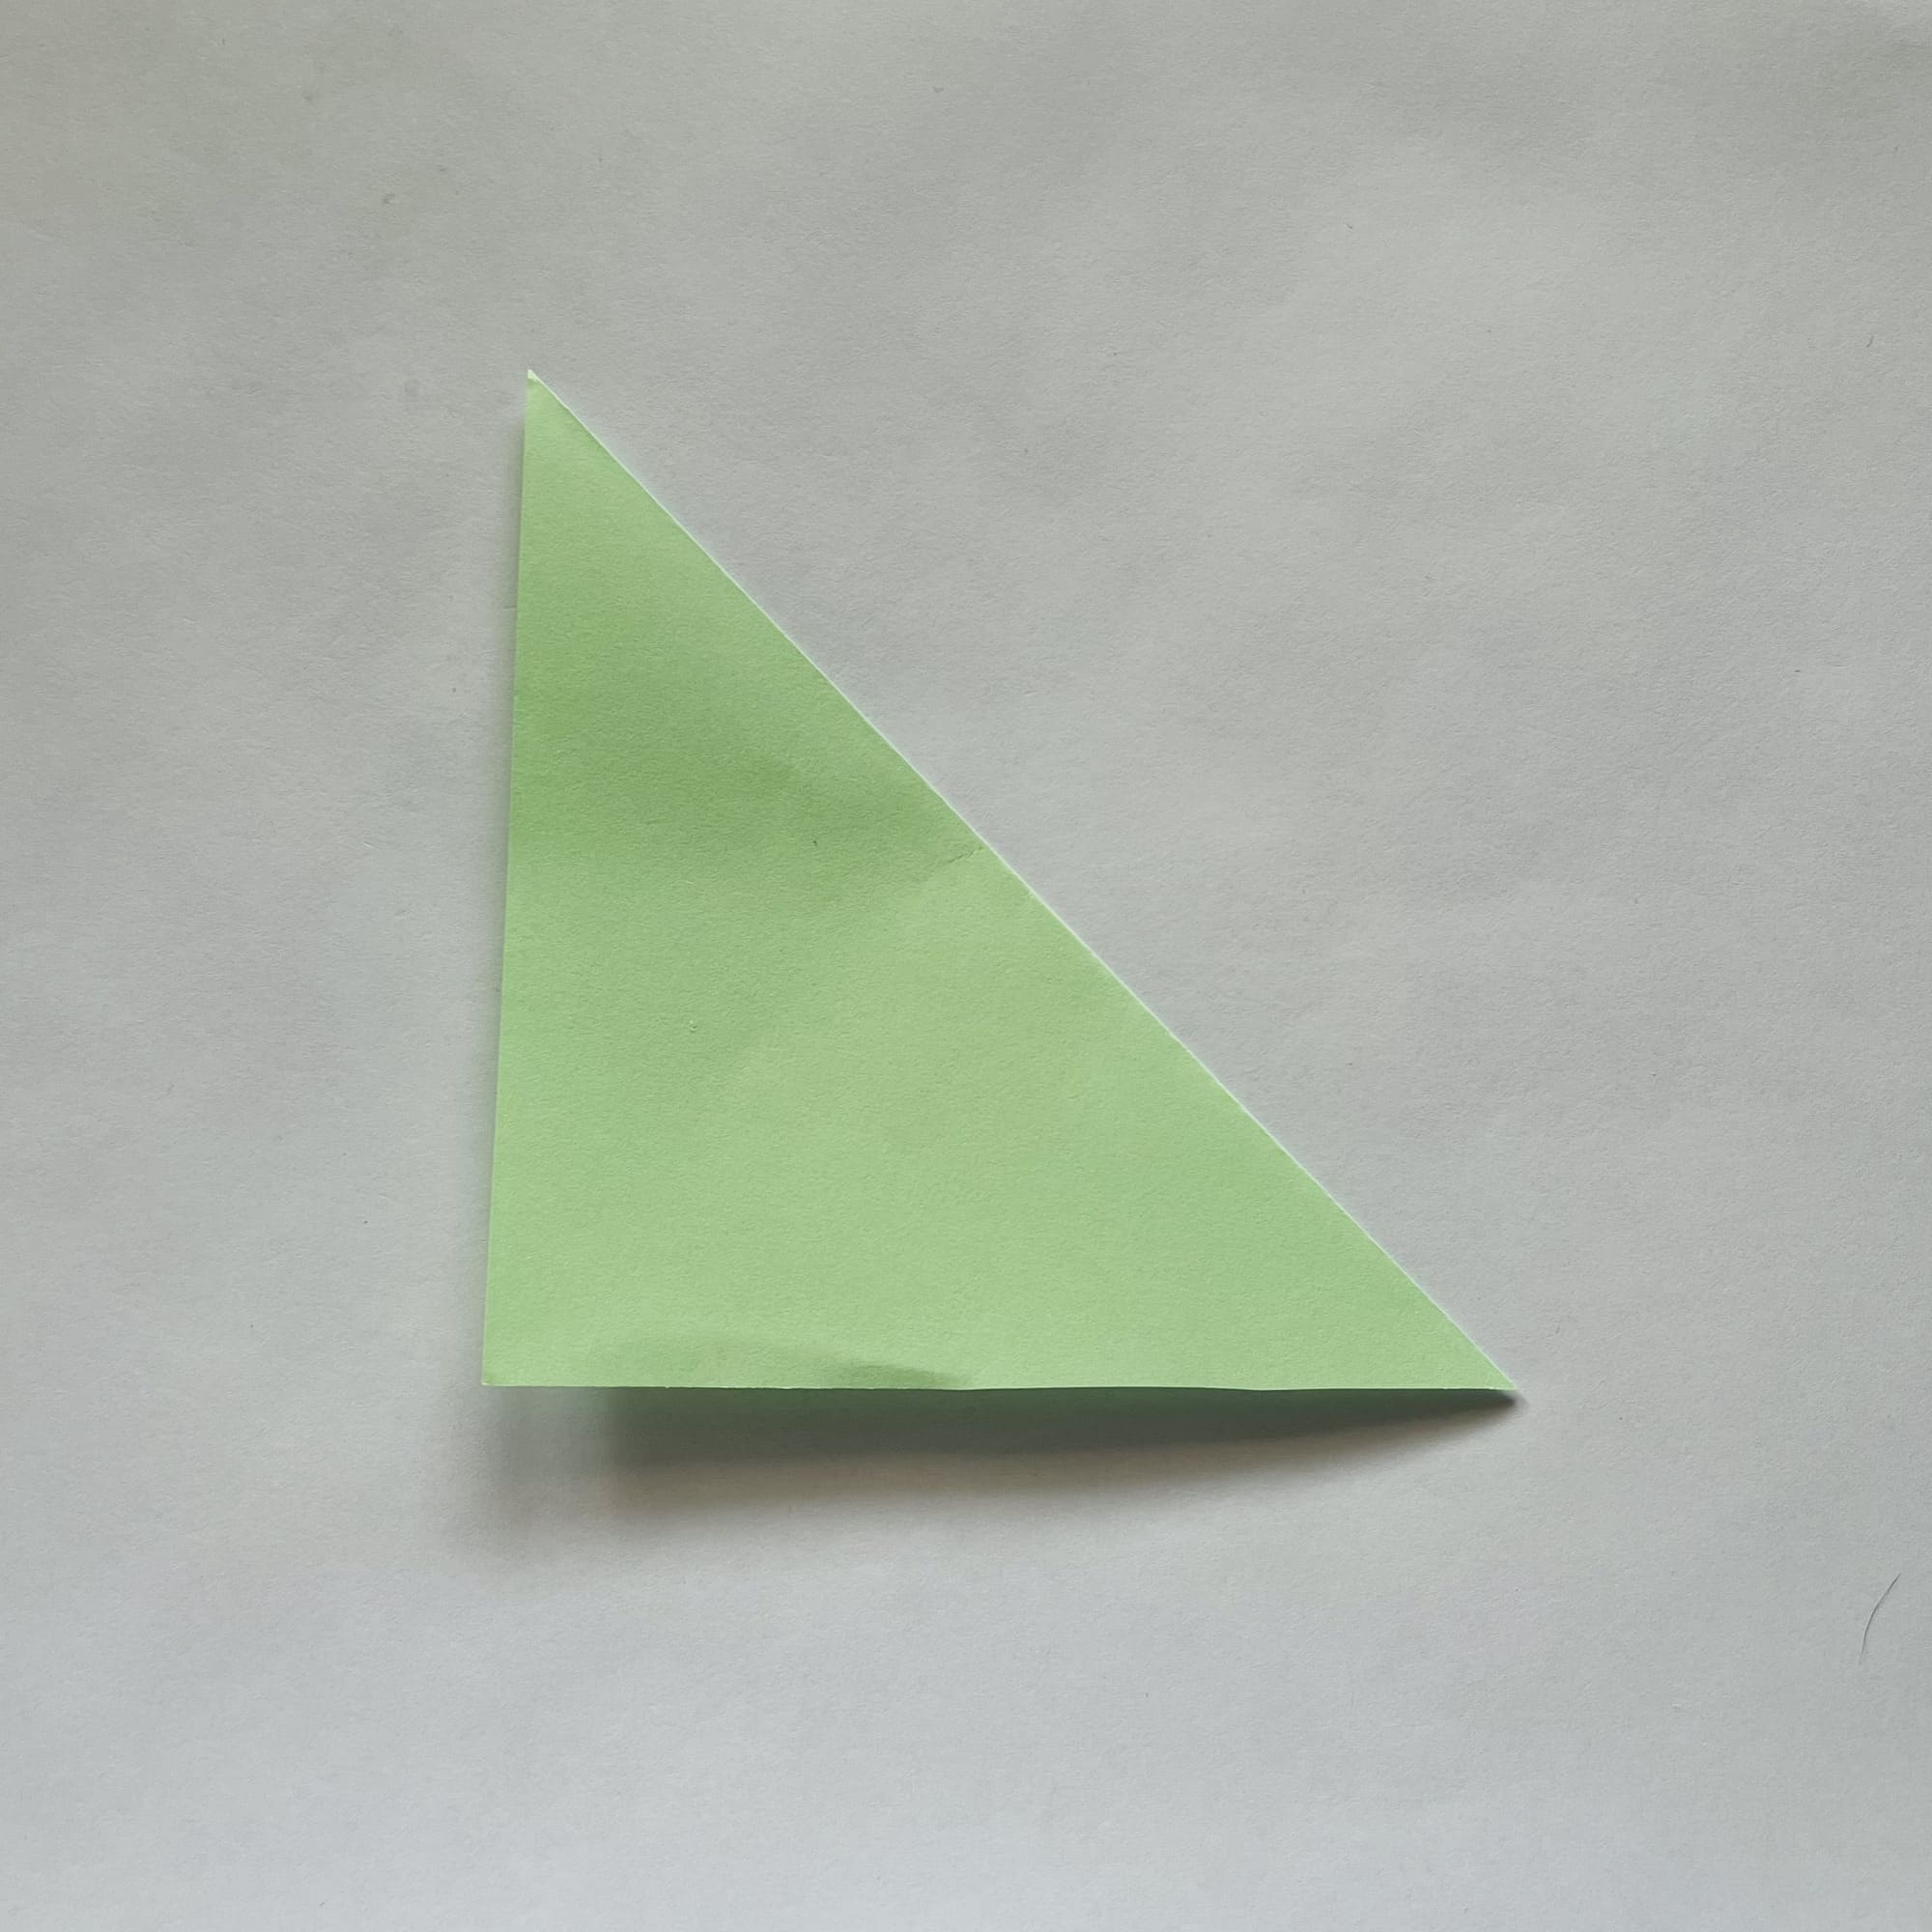
First, you should have a square piece of paper folded diagonally.
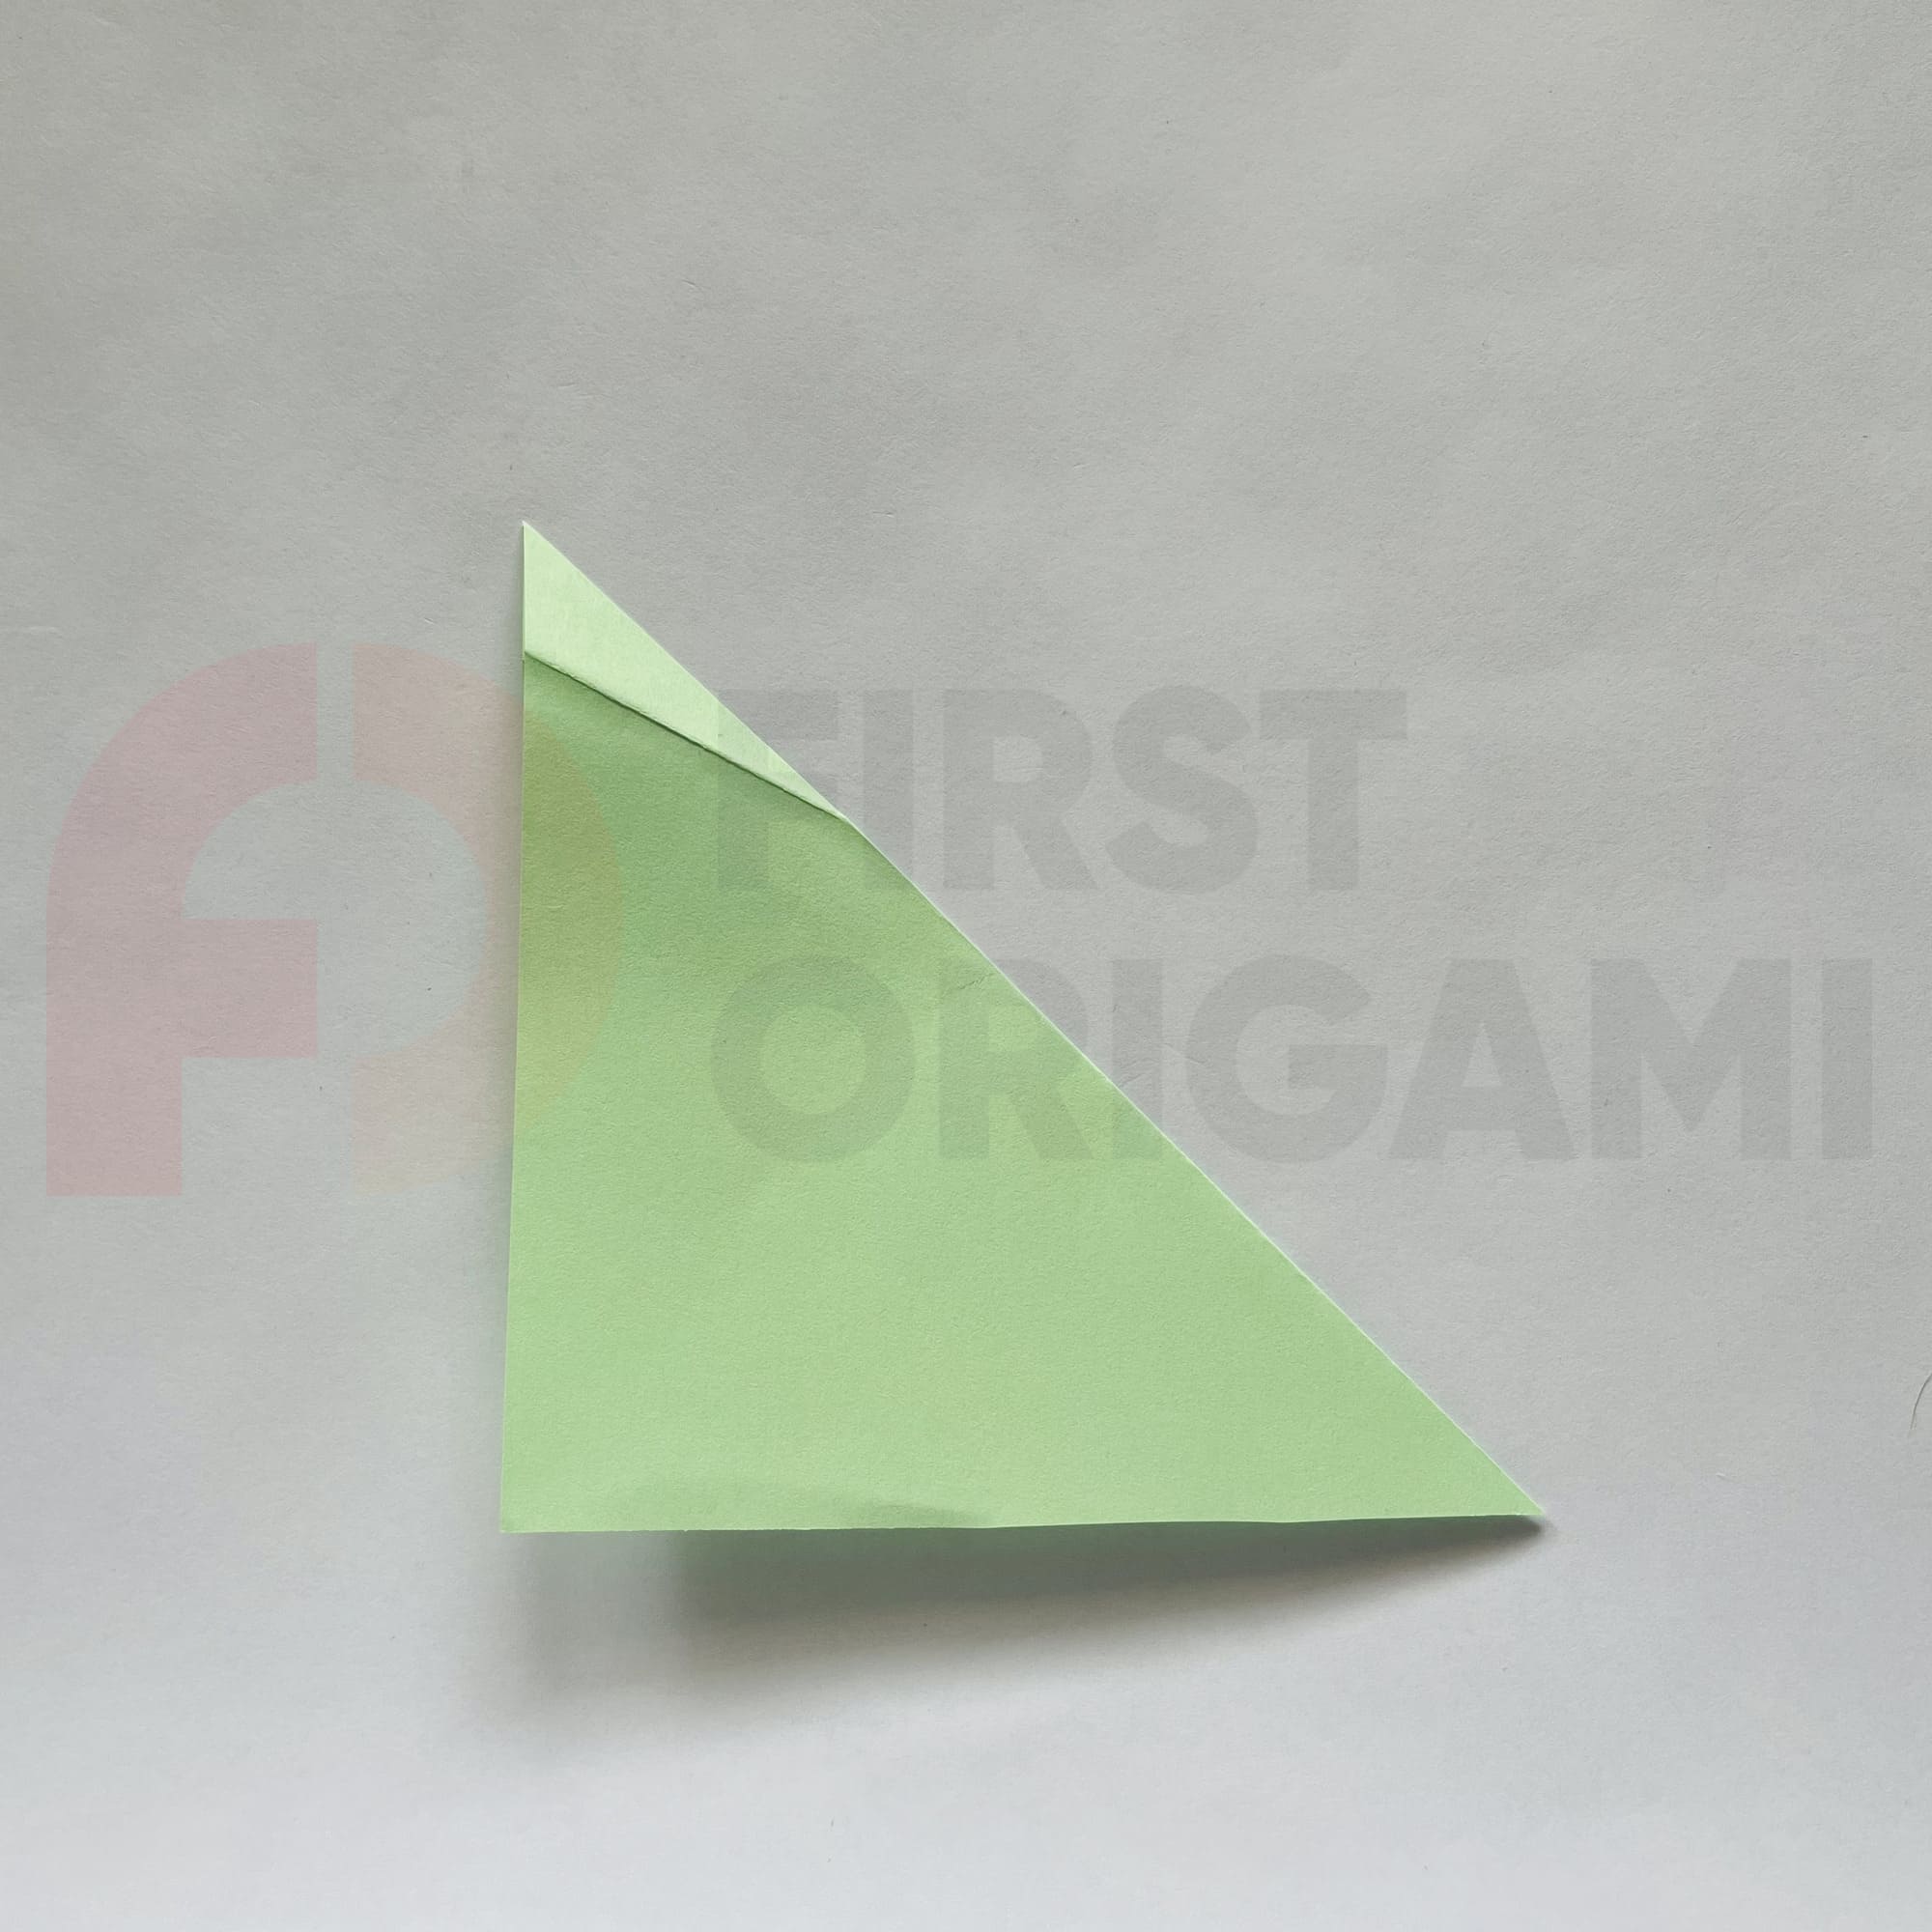
Let’s deal with one of its corners: fold it back diagonally, work the fold well, then unfold it.

To make it easier for you to fold, you can additionally bend this corner in the opposite direction so that the folding line is more pliable.
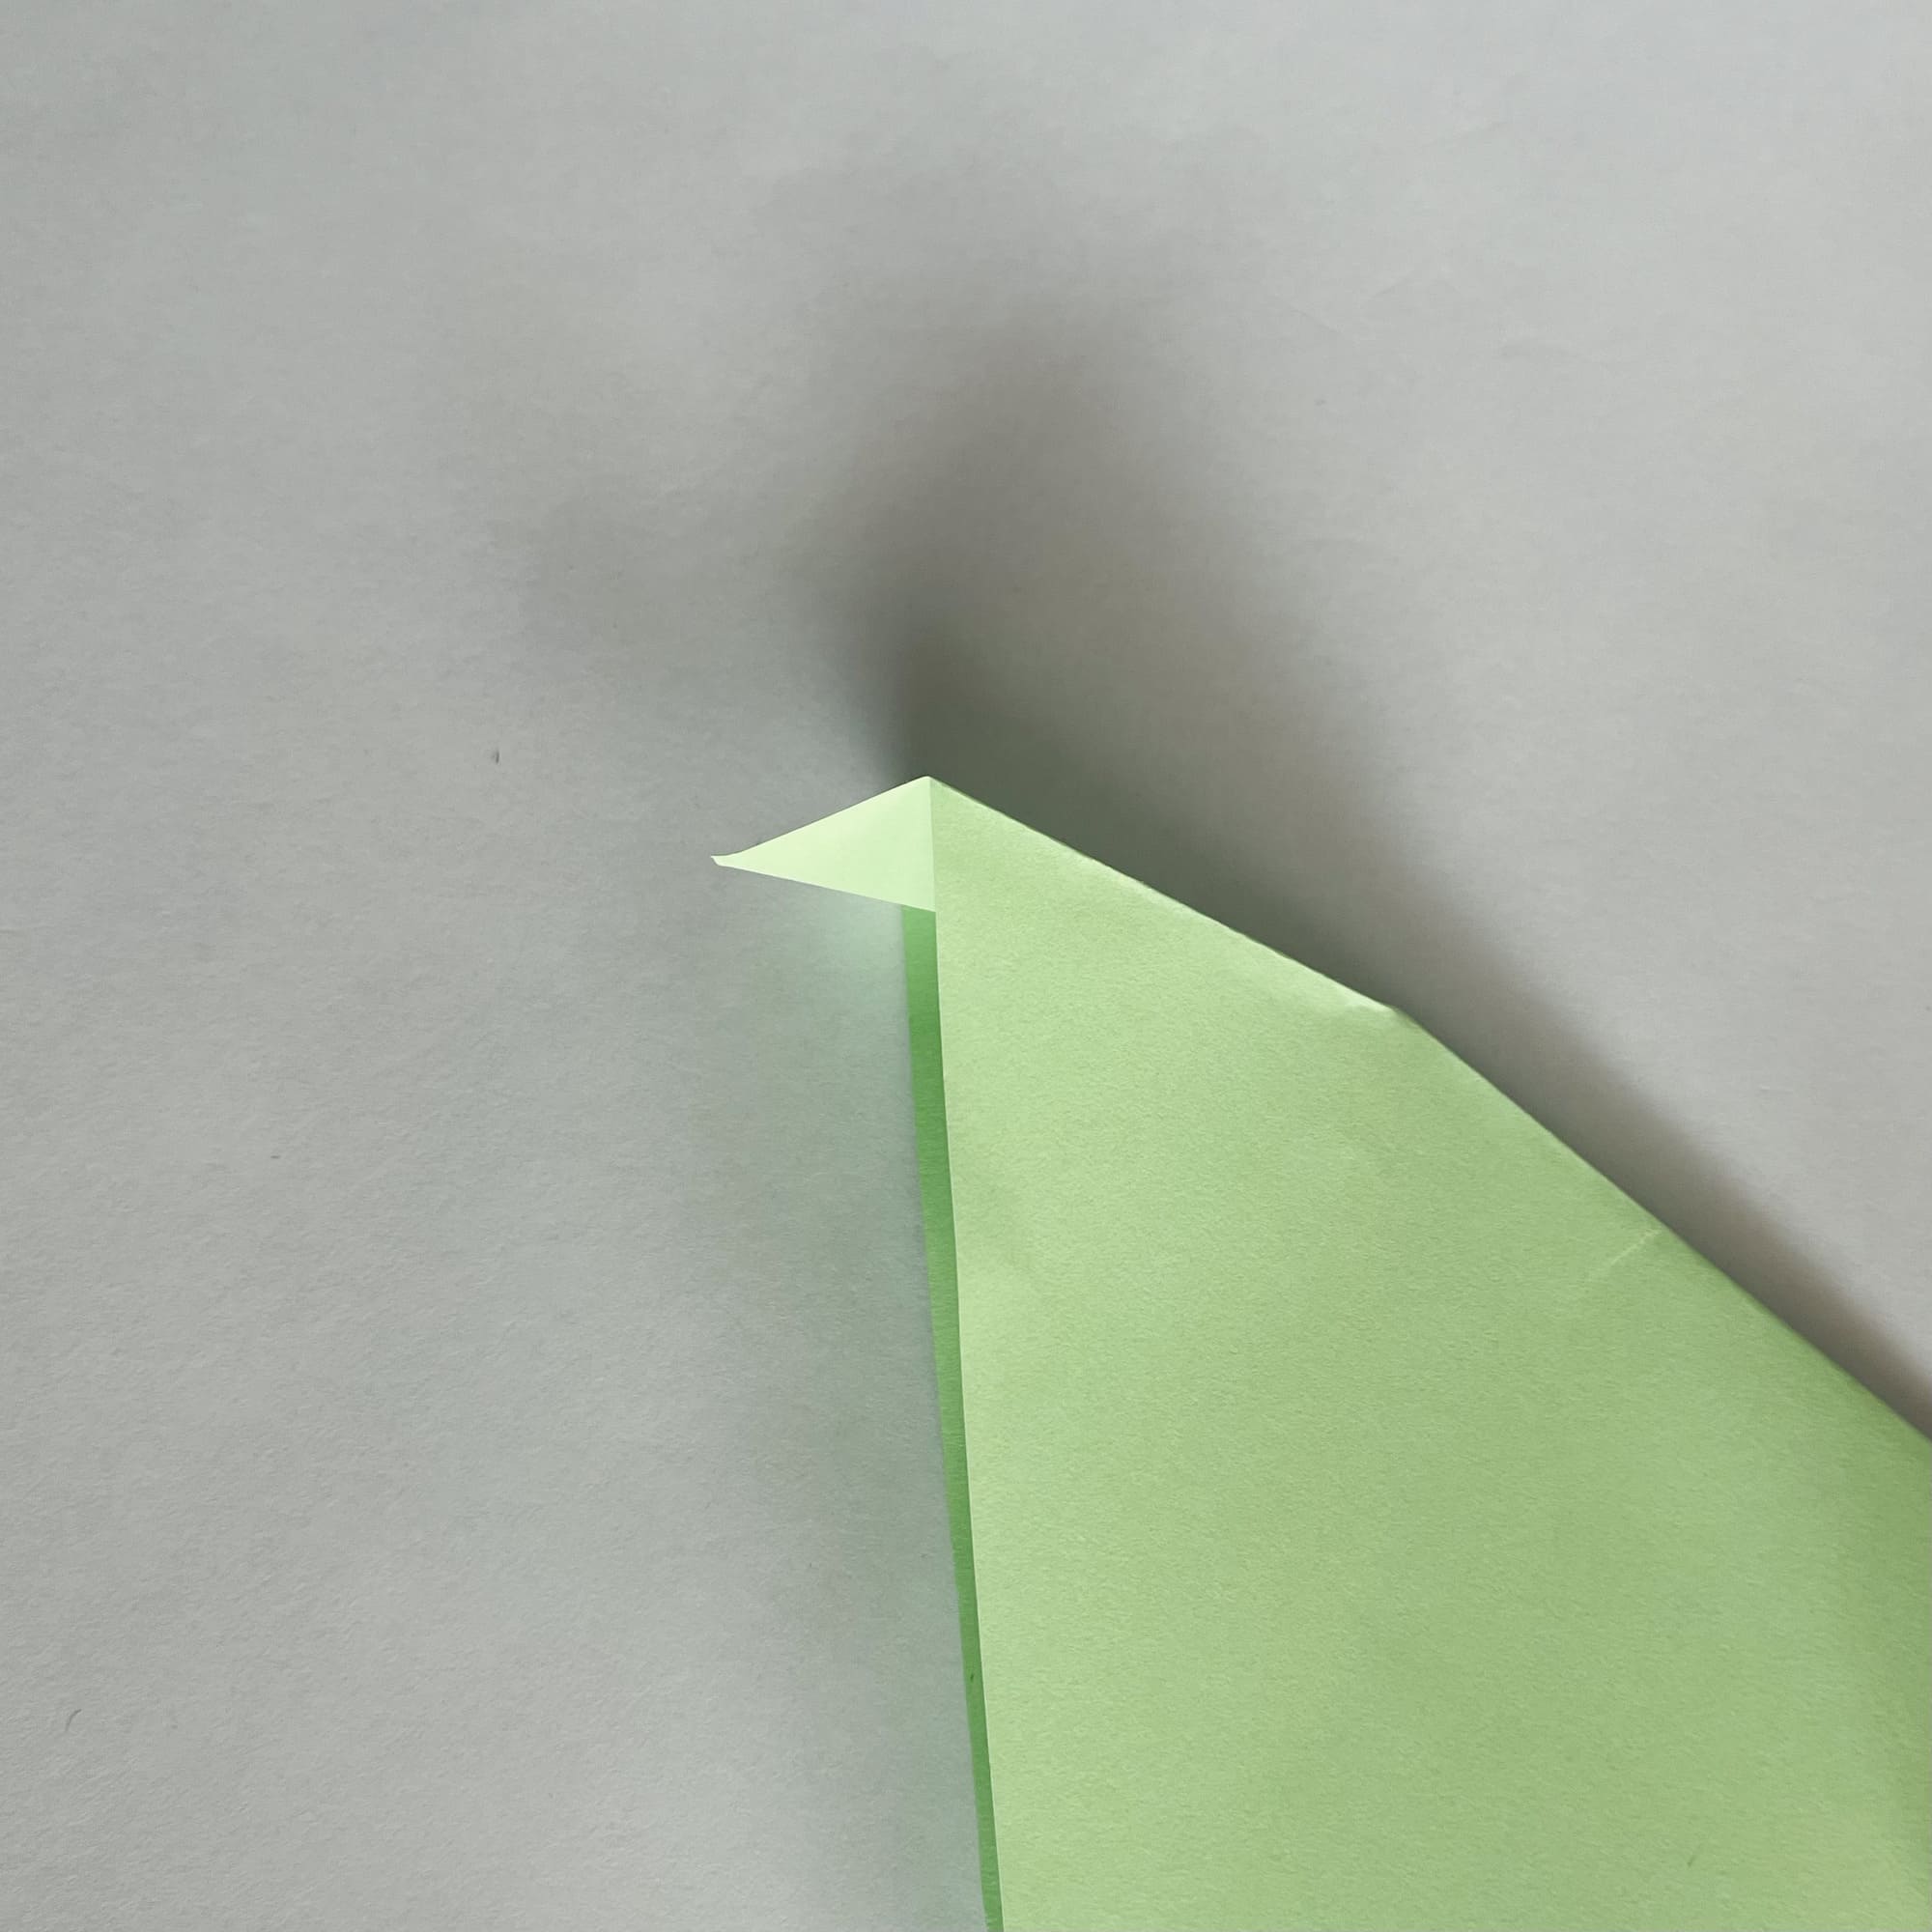
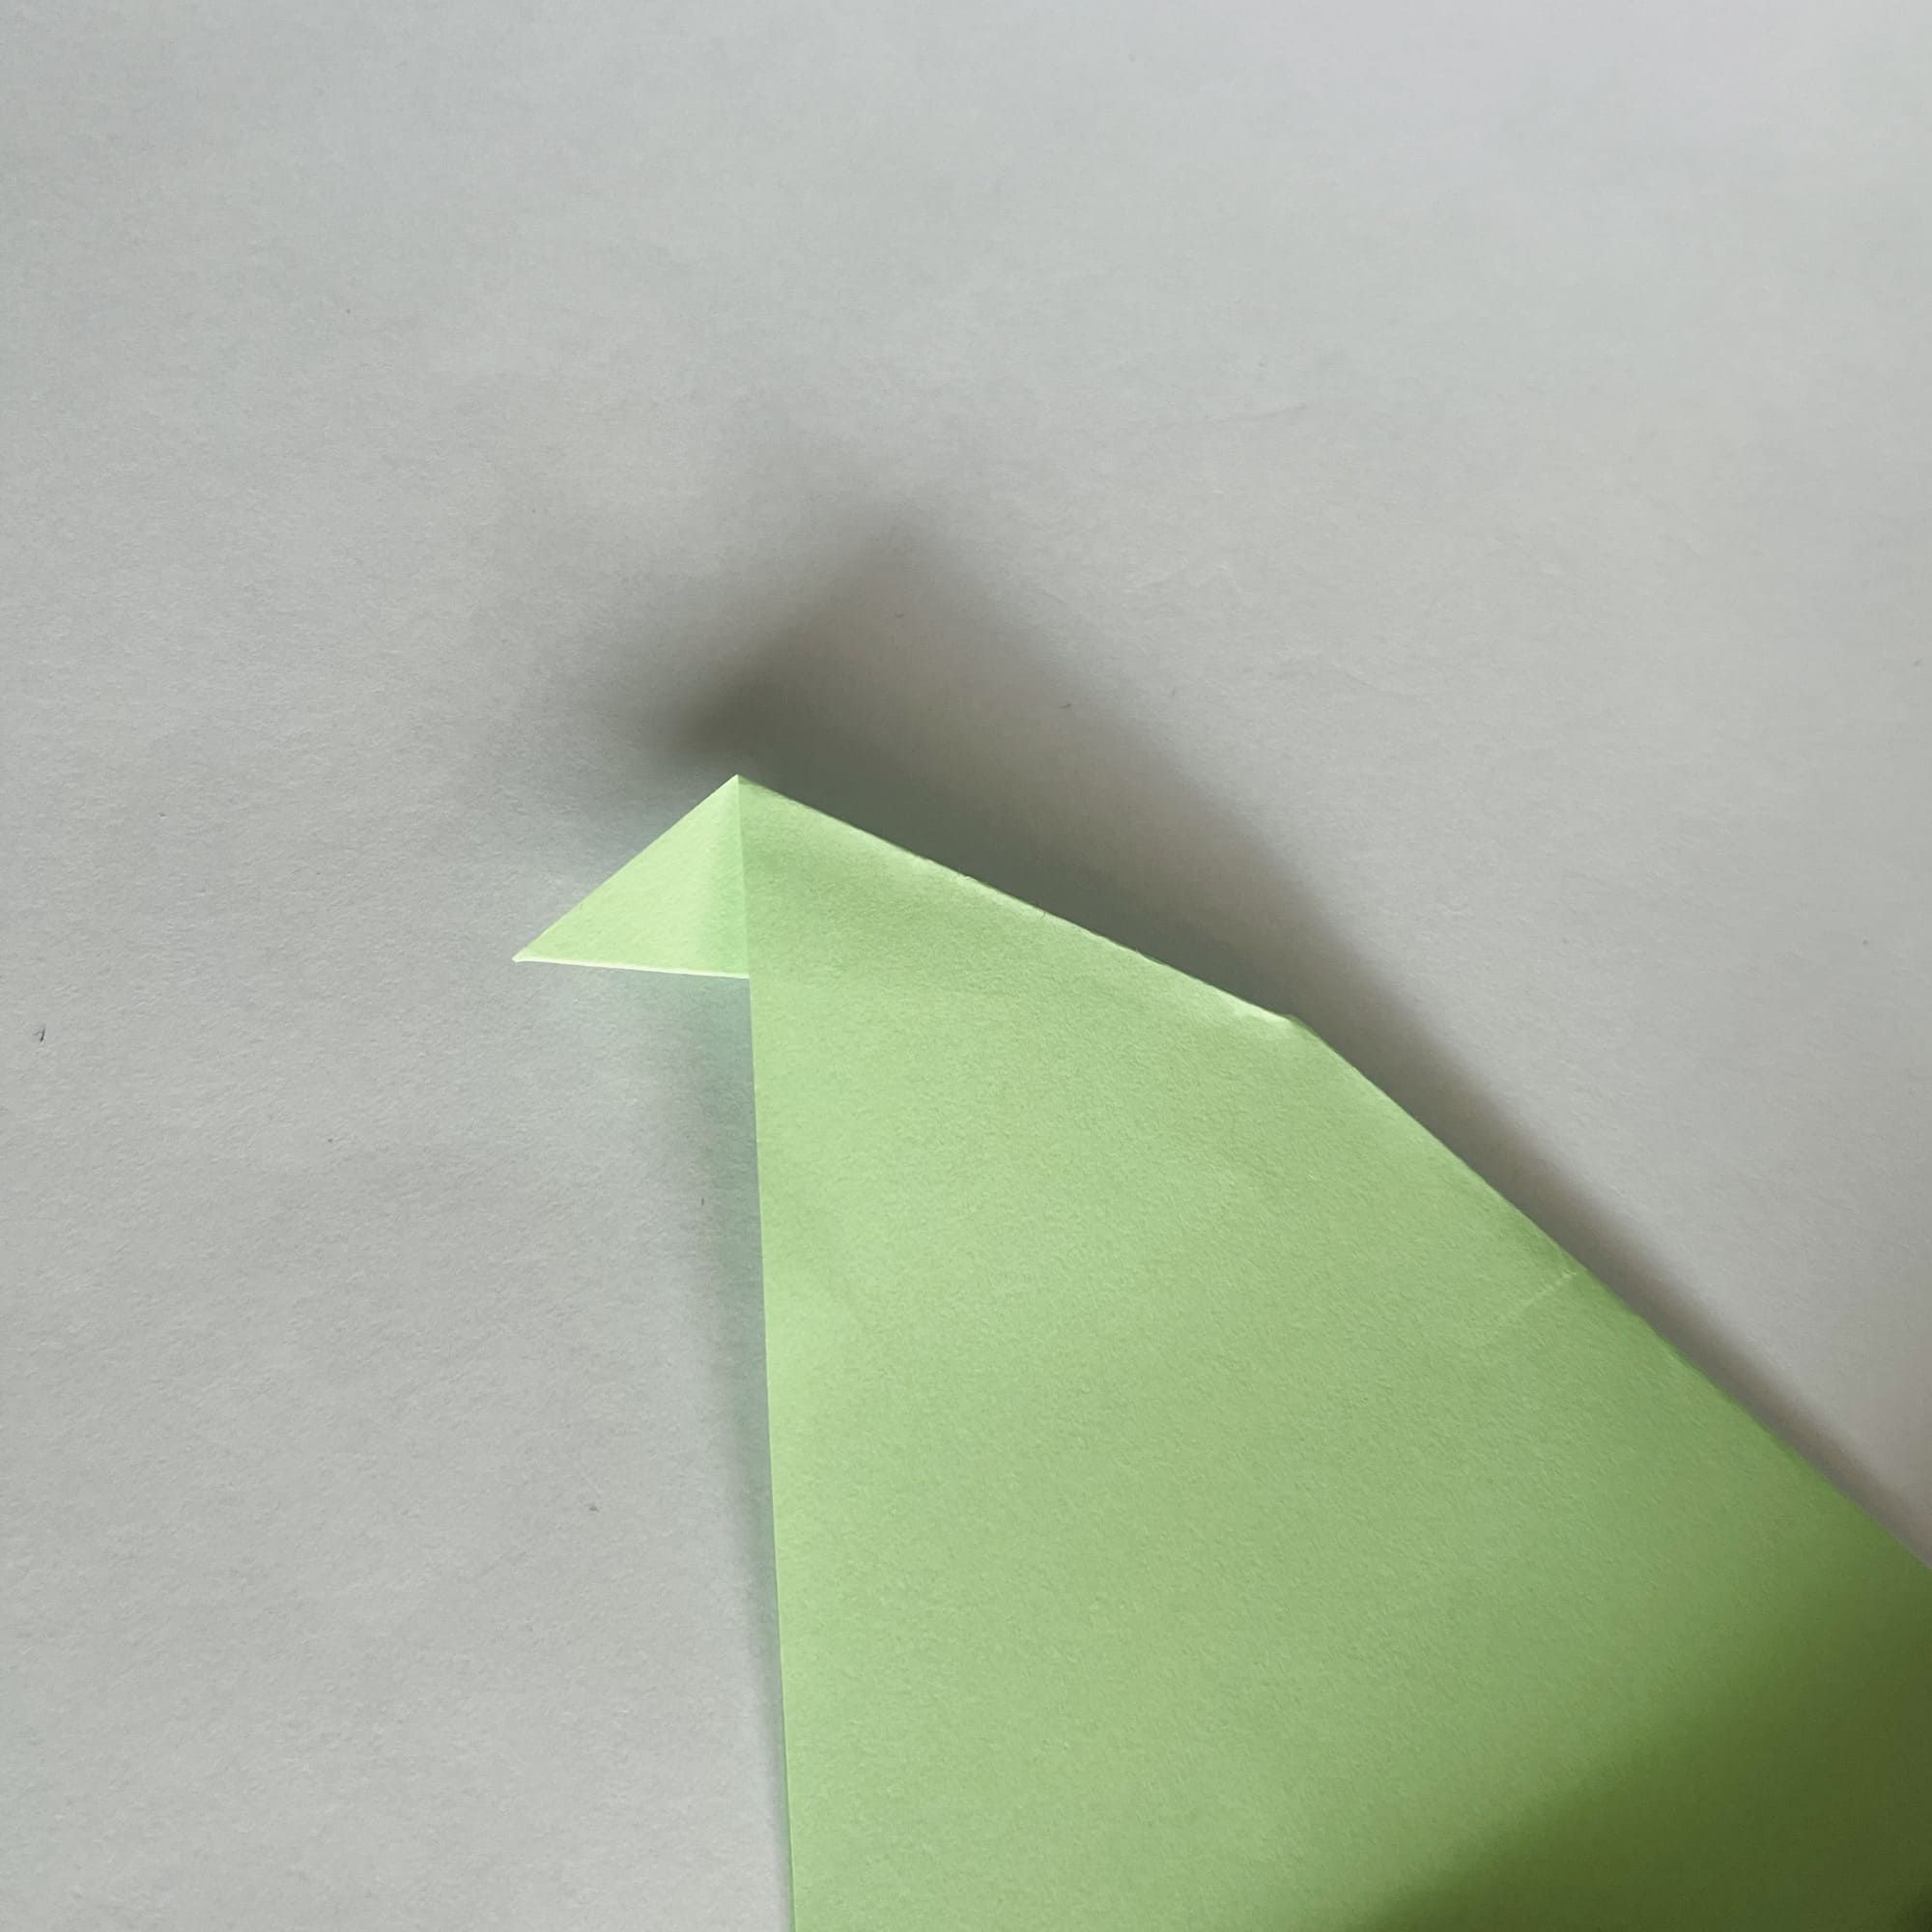
Open the paper a bit and press the corner so that it lays between the two layers of paper.

Now spread the paper out on the table.
This fold looks something like an animal’s head, but it can also be used to make a tail. Let’s give it a try.
That’s it, you’re doing great. Now you are armed with knowledge and you will not be frightened by such origami terms as “reverse inner fold” or “reverse outer fold”. Go ahead, master the art of origami!