Origami Inside Reverse Fold (Method 2)
These are small techniques that are often used in origami. You can find them in instructions for making different animals, where they help to make a head or tail.
This fold is not complicated at all but can be intimidating to those who encounter them for the first time. Learning how to fold the inner and outer folds will make it easier to understand the instructions and you will be able to make many different origami without much trouble.
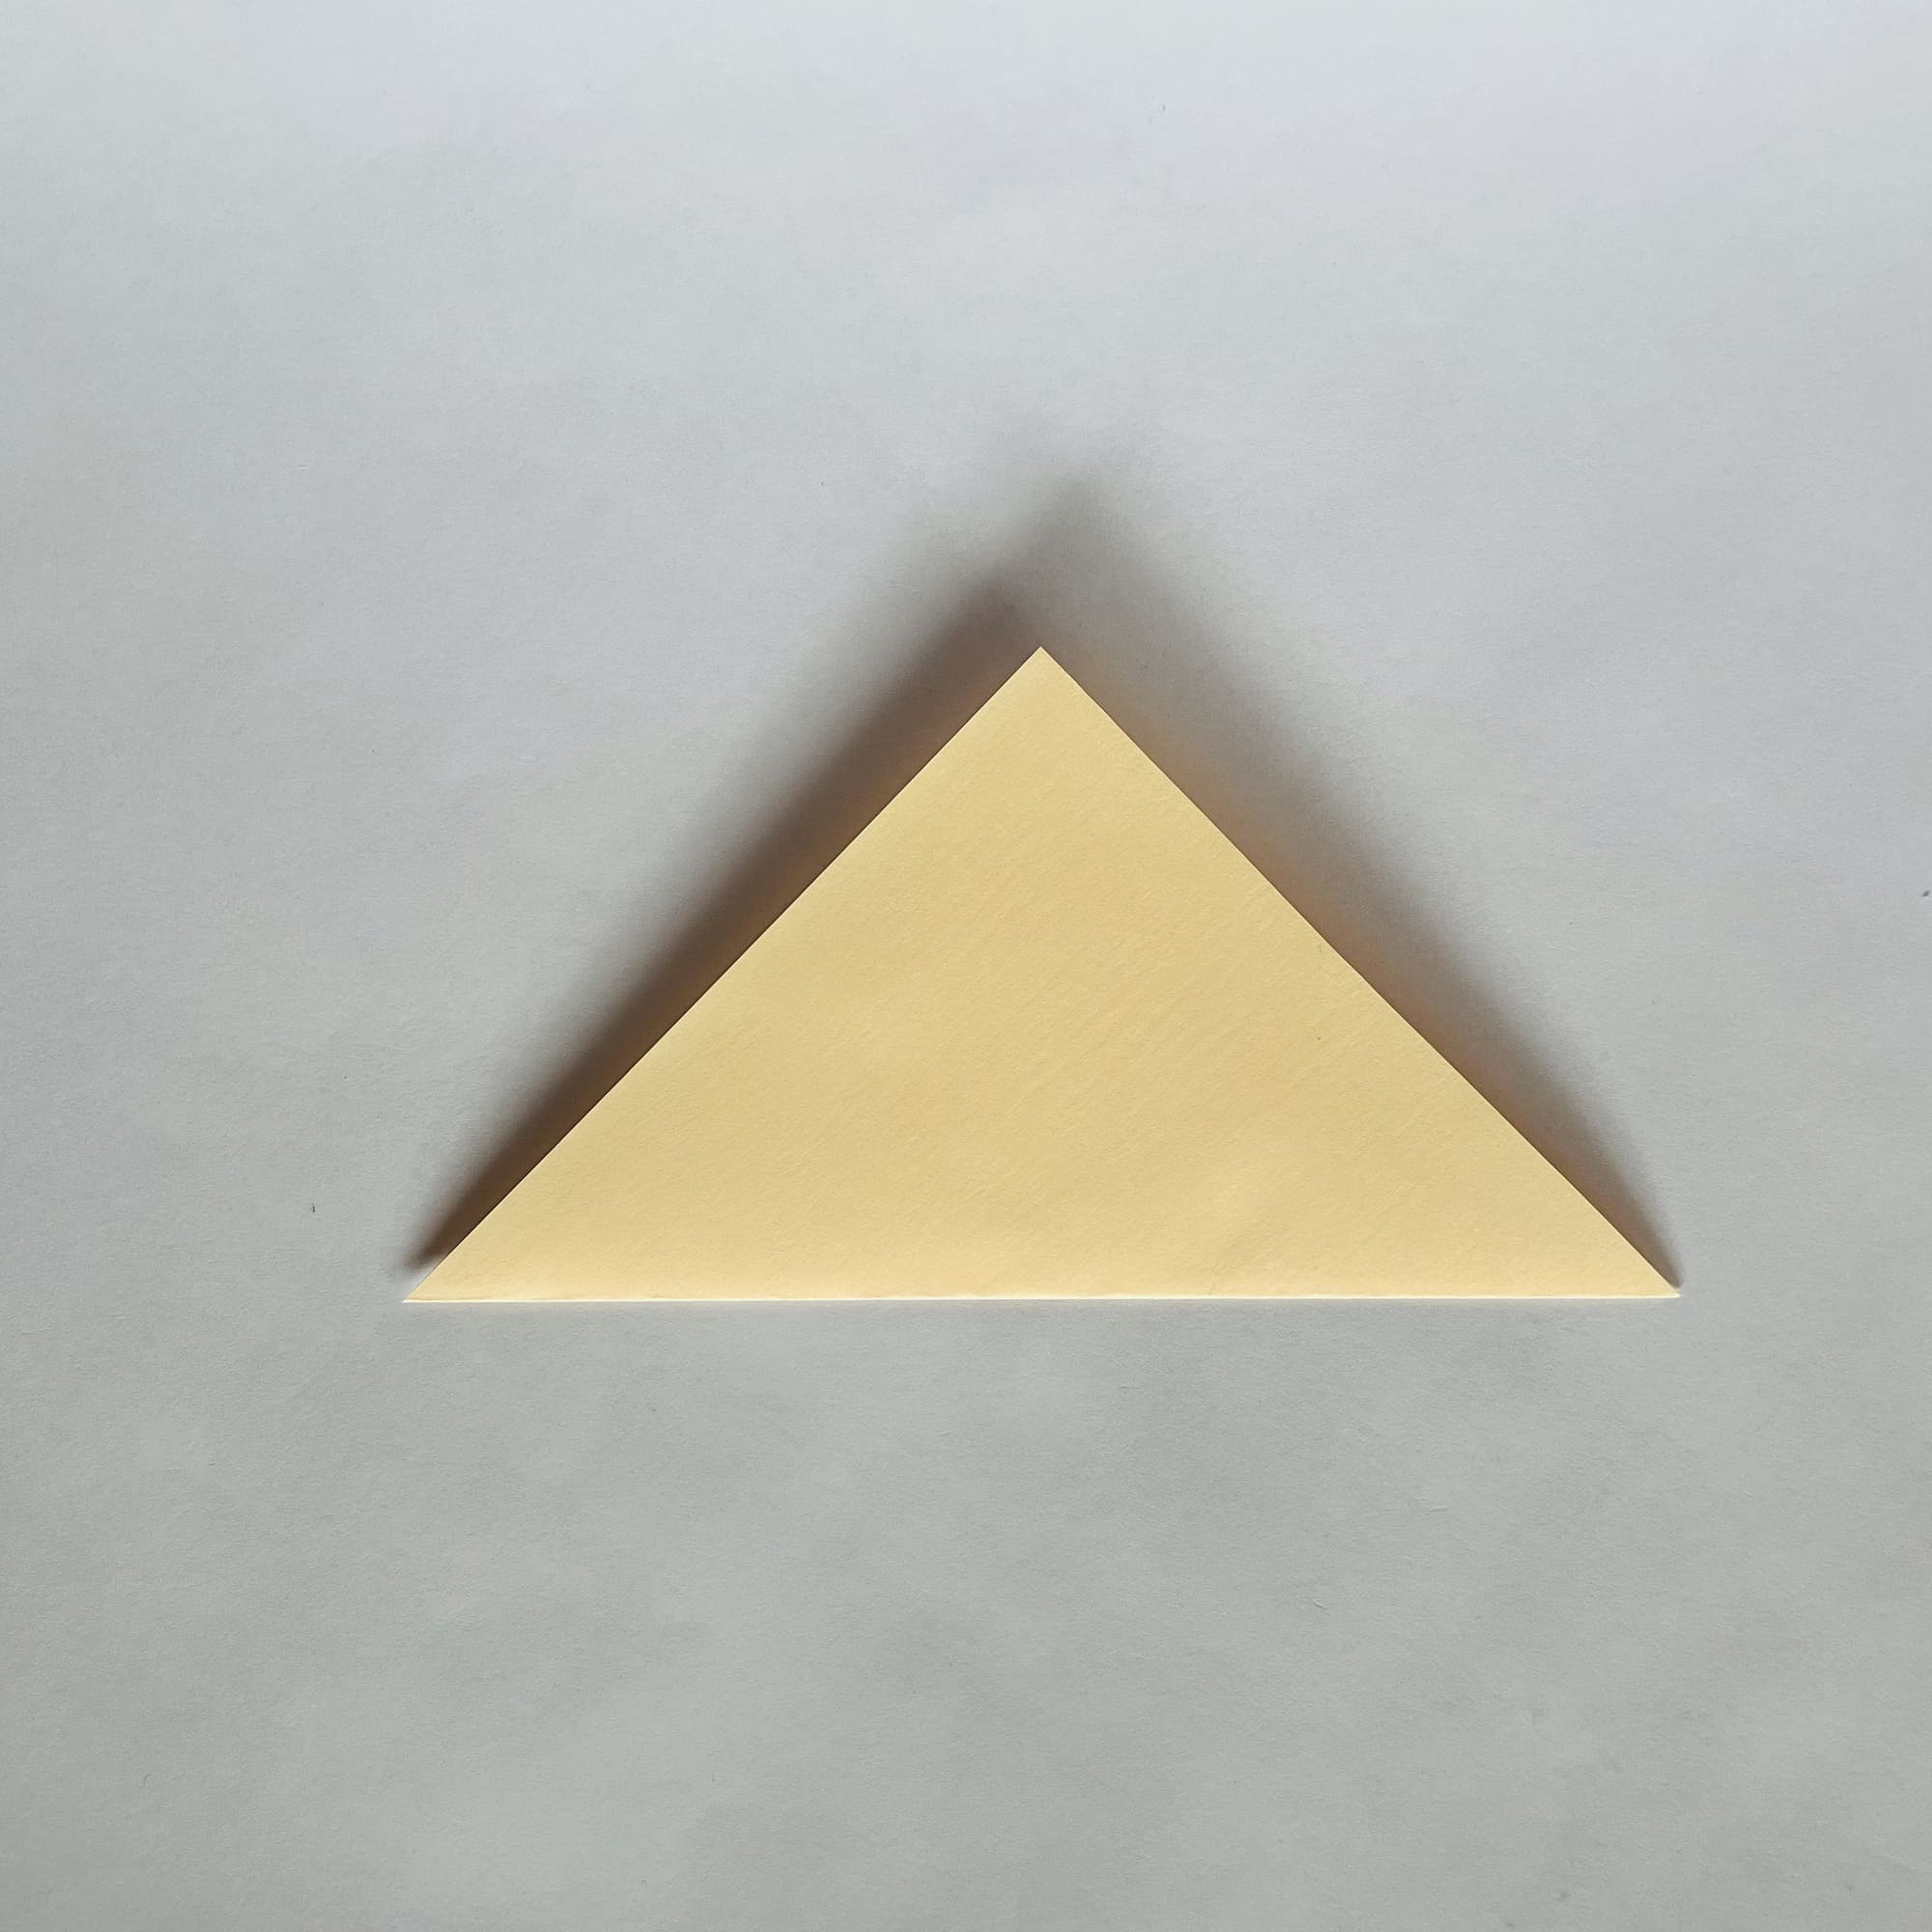
Take a square piece of paper, fold it diagonally.
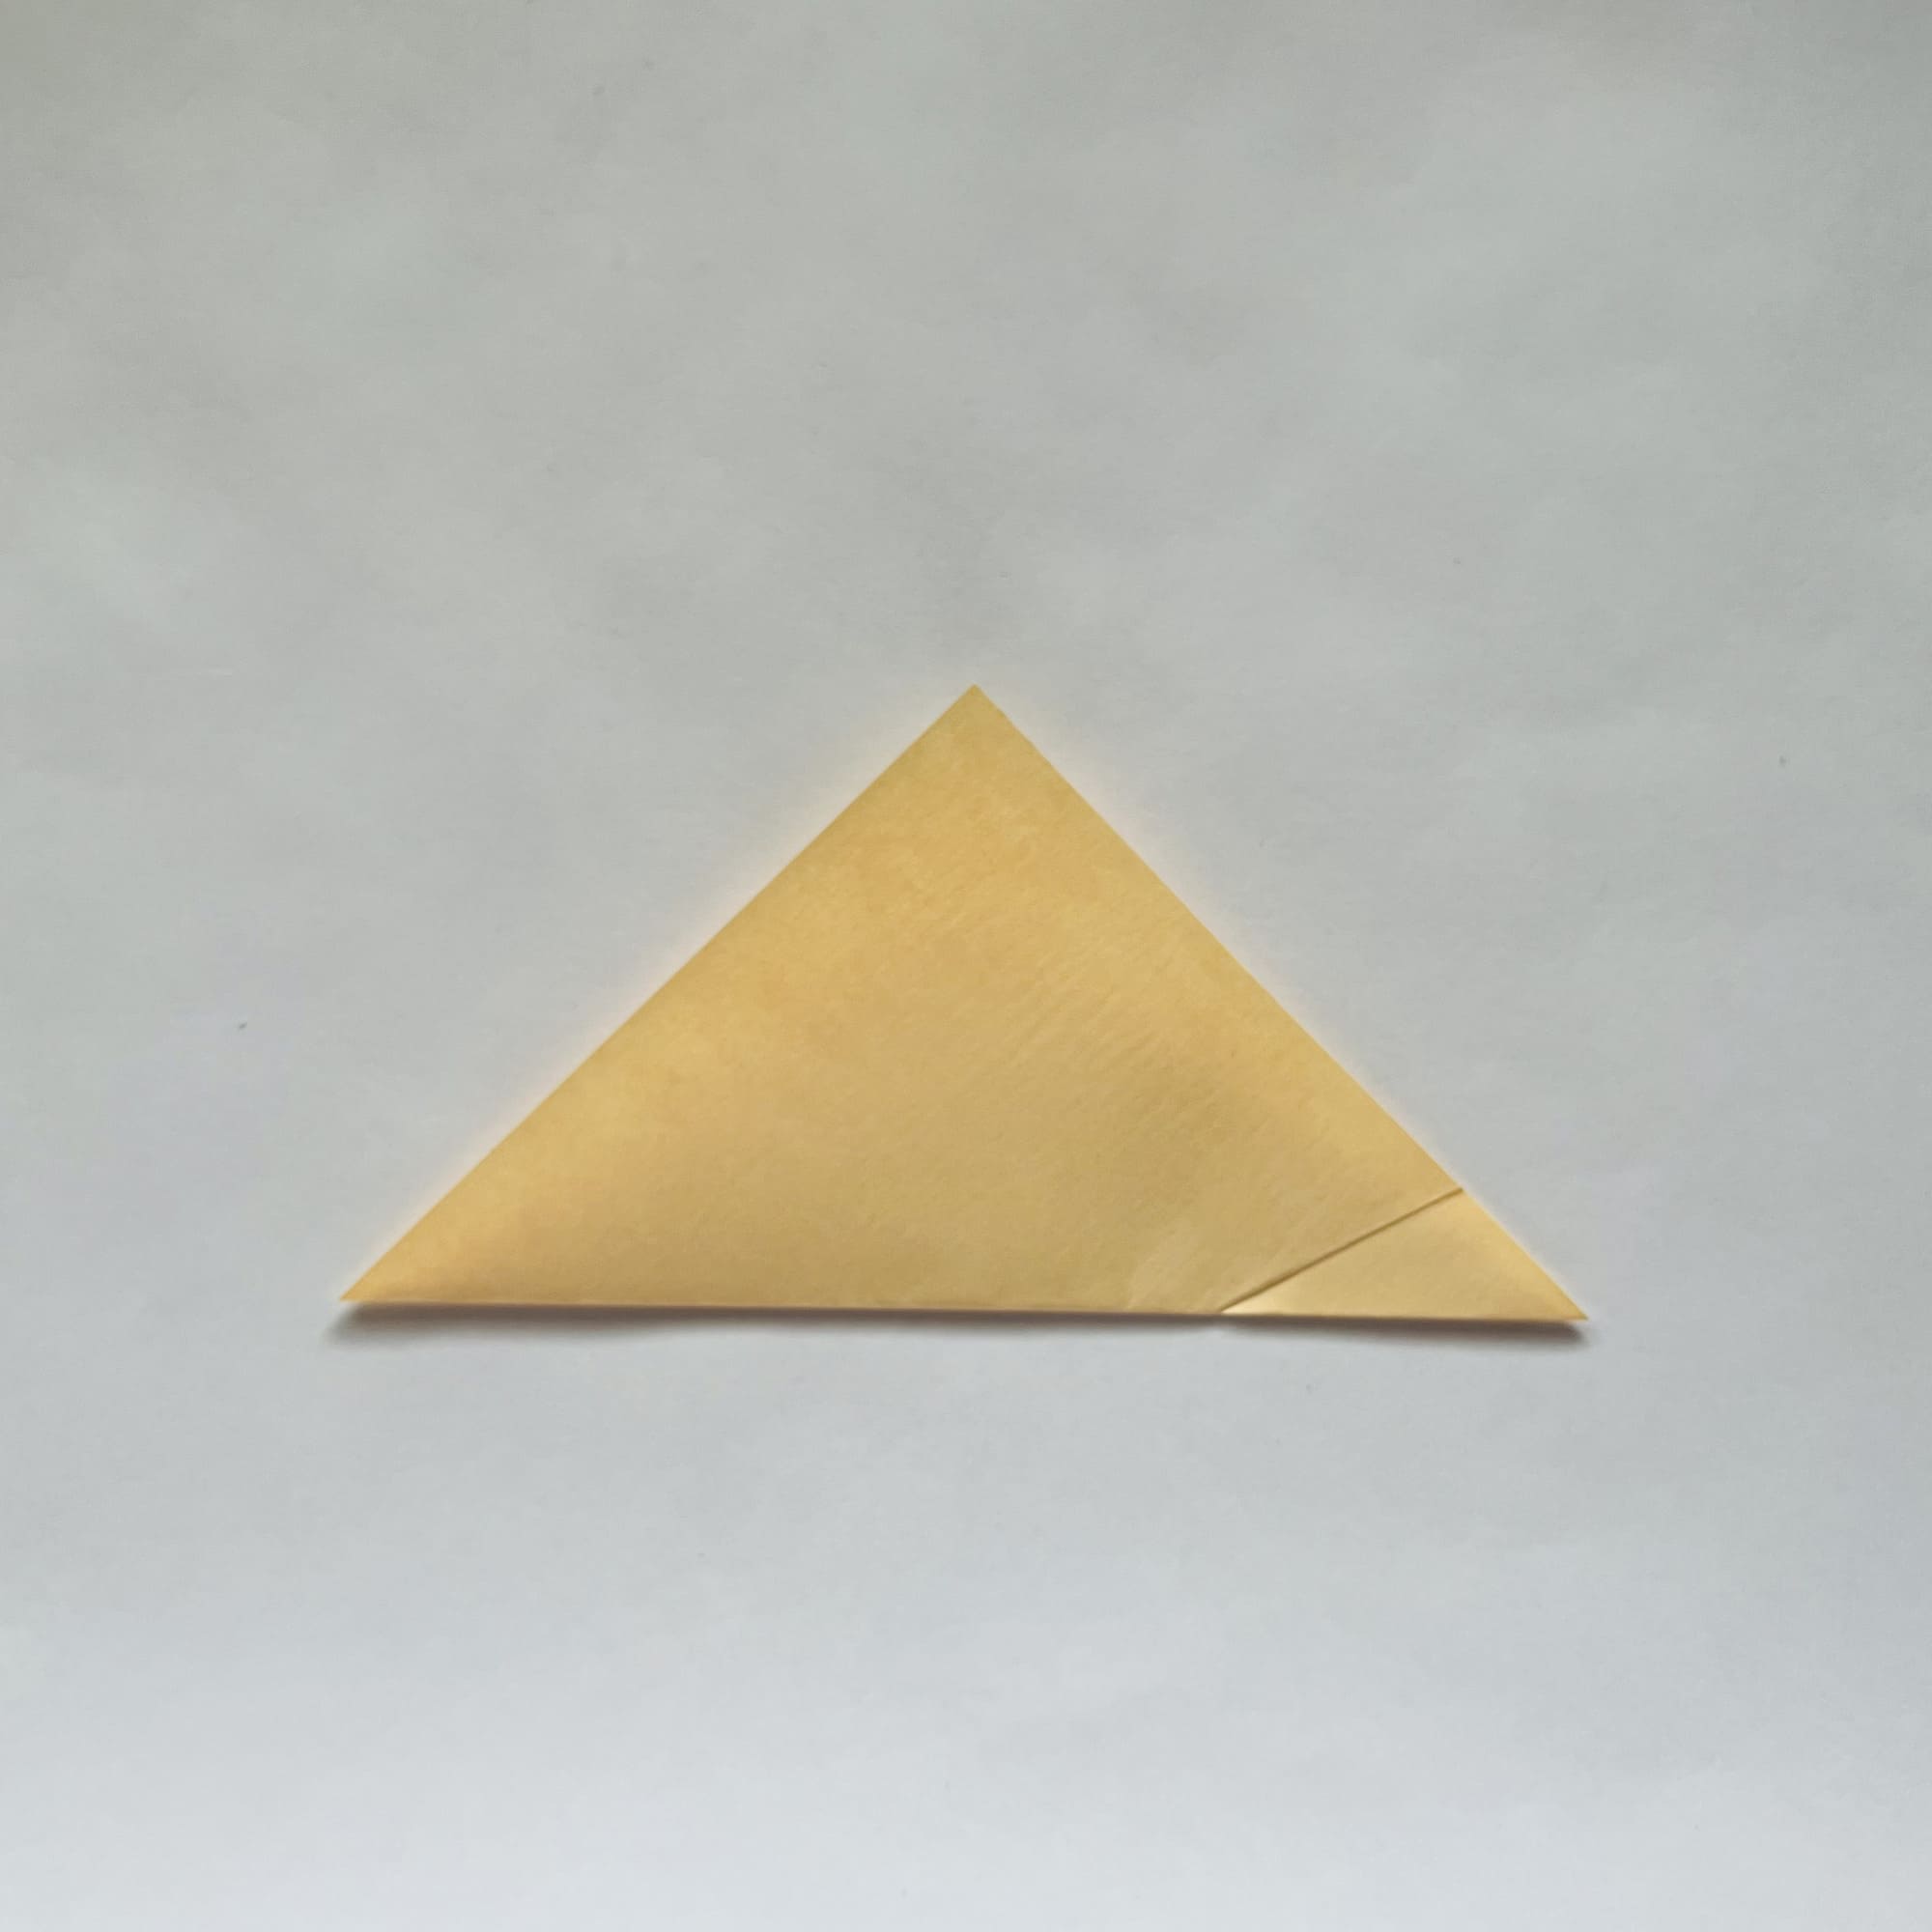
Fold the bottom right corner back diagonally.
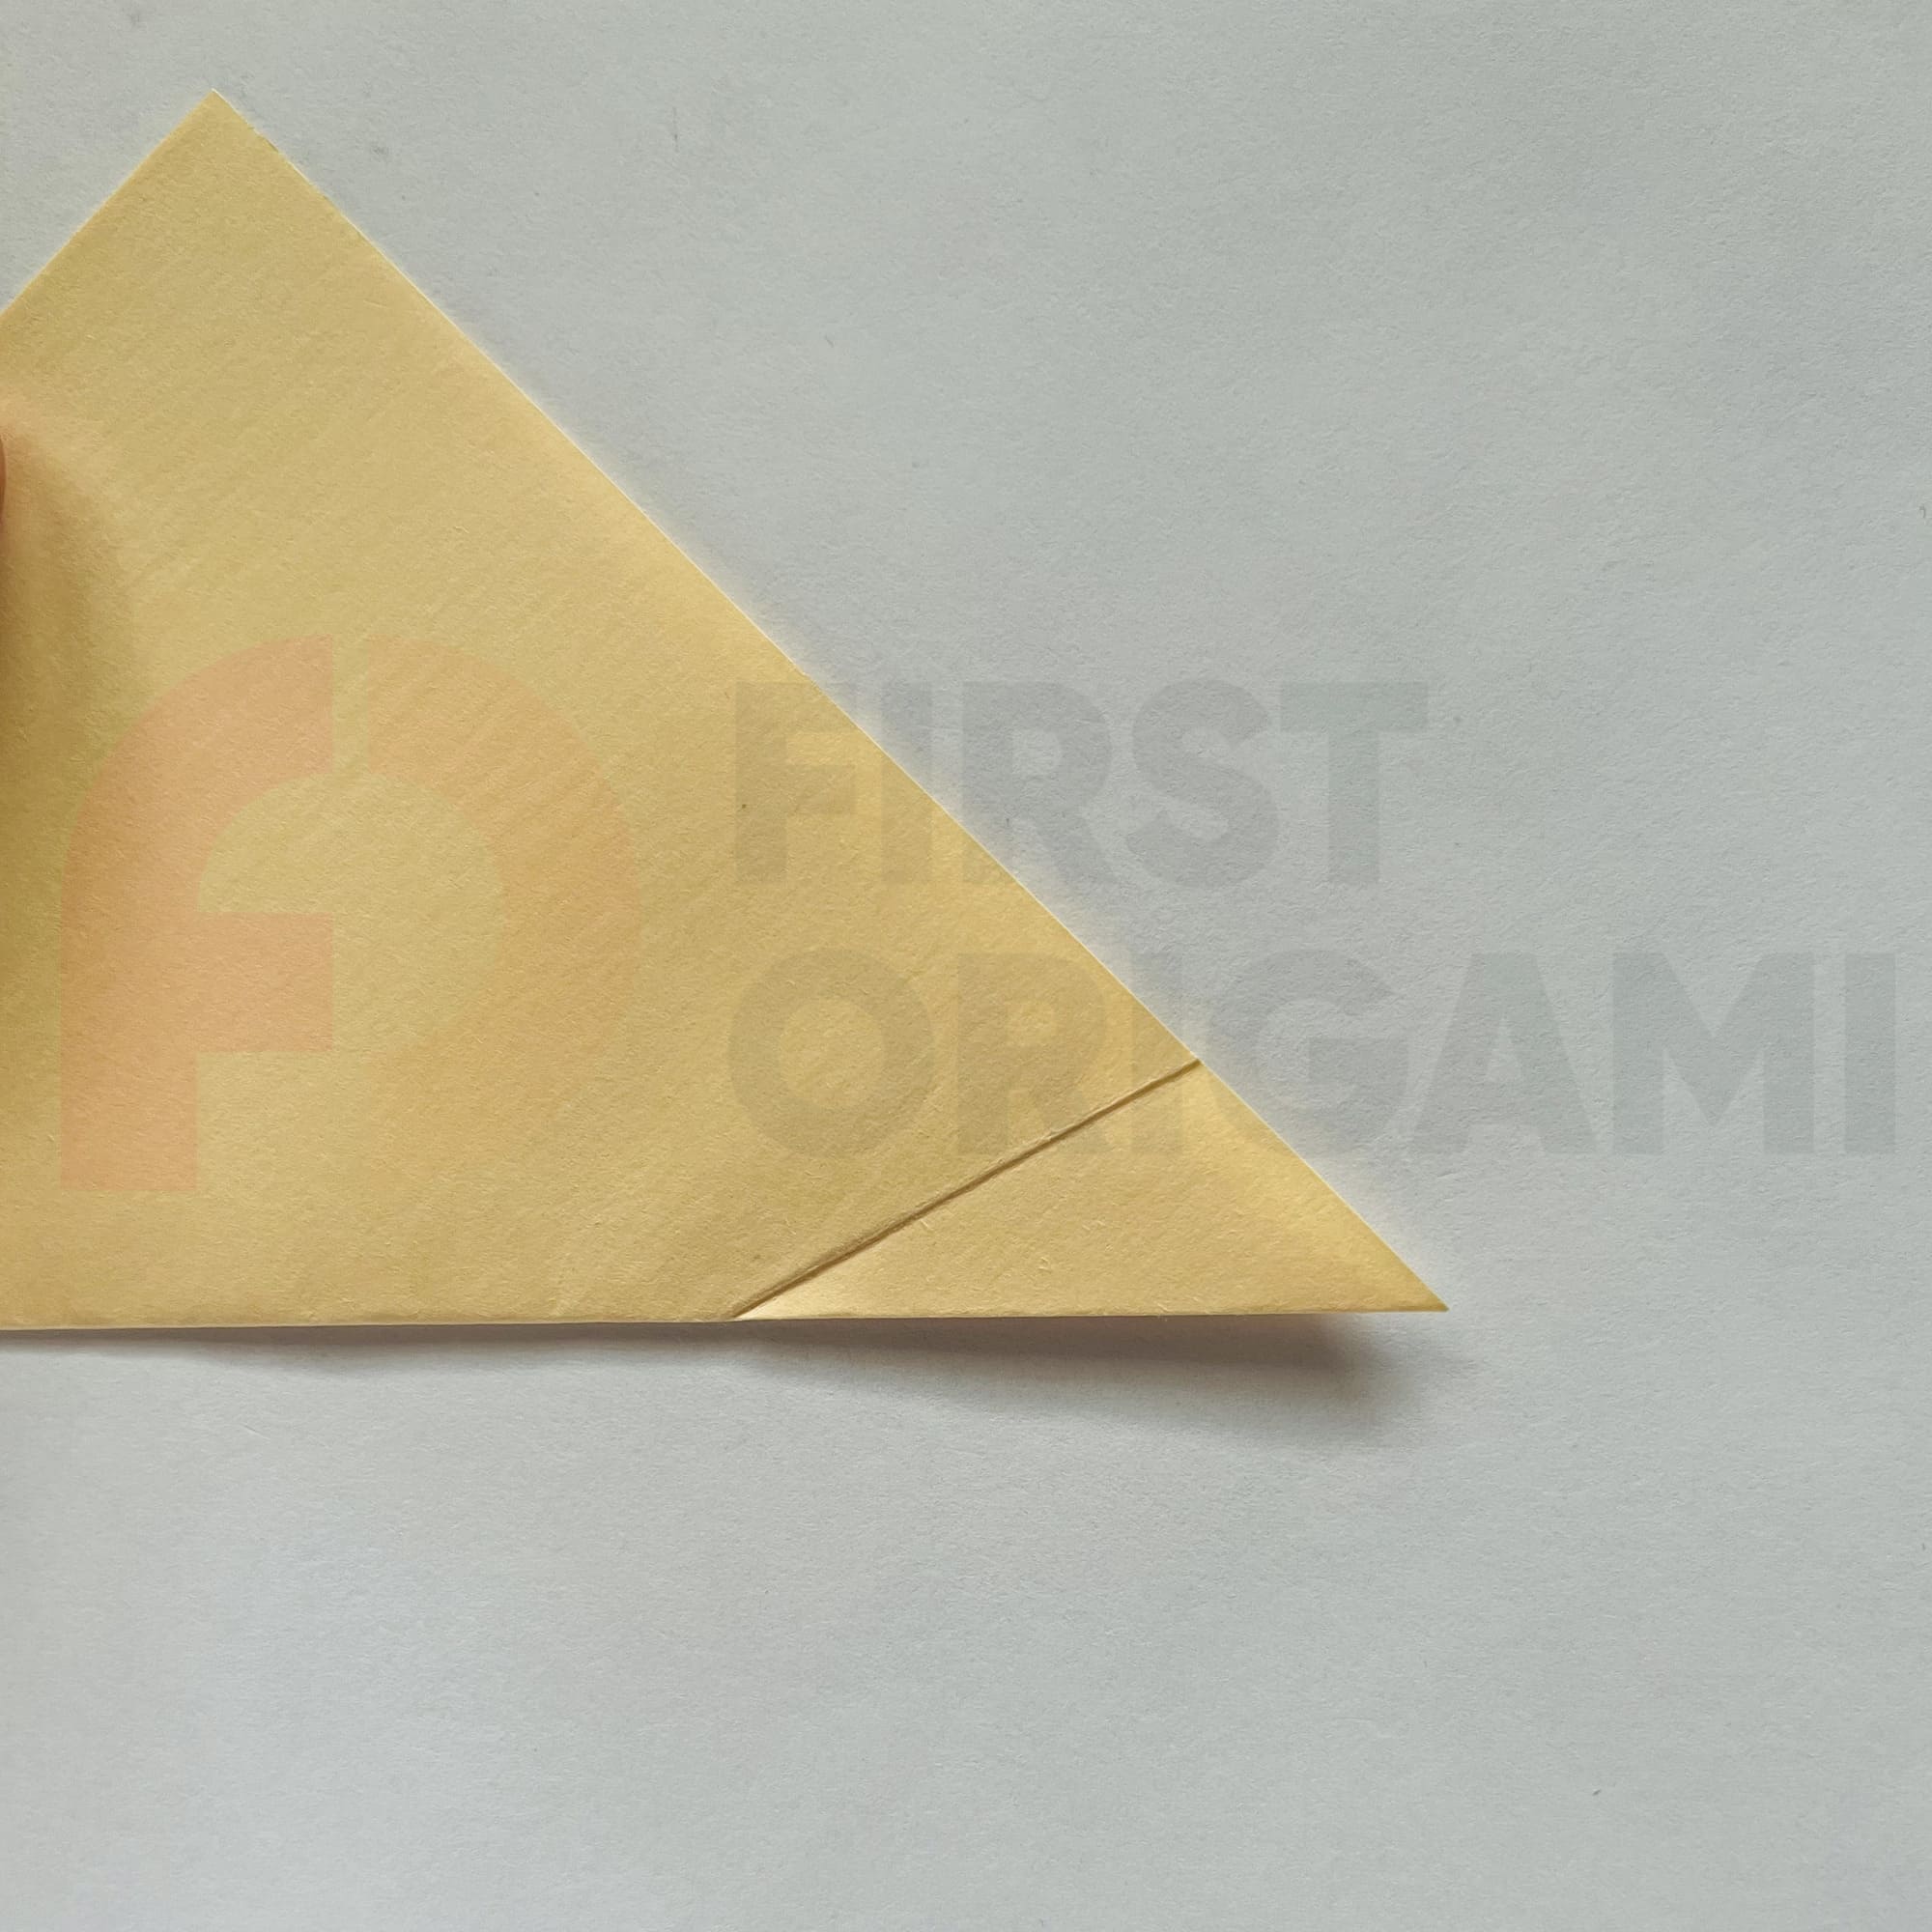
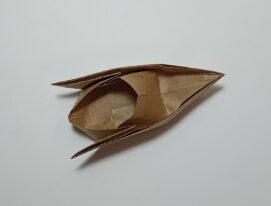
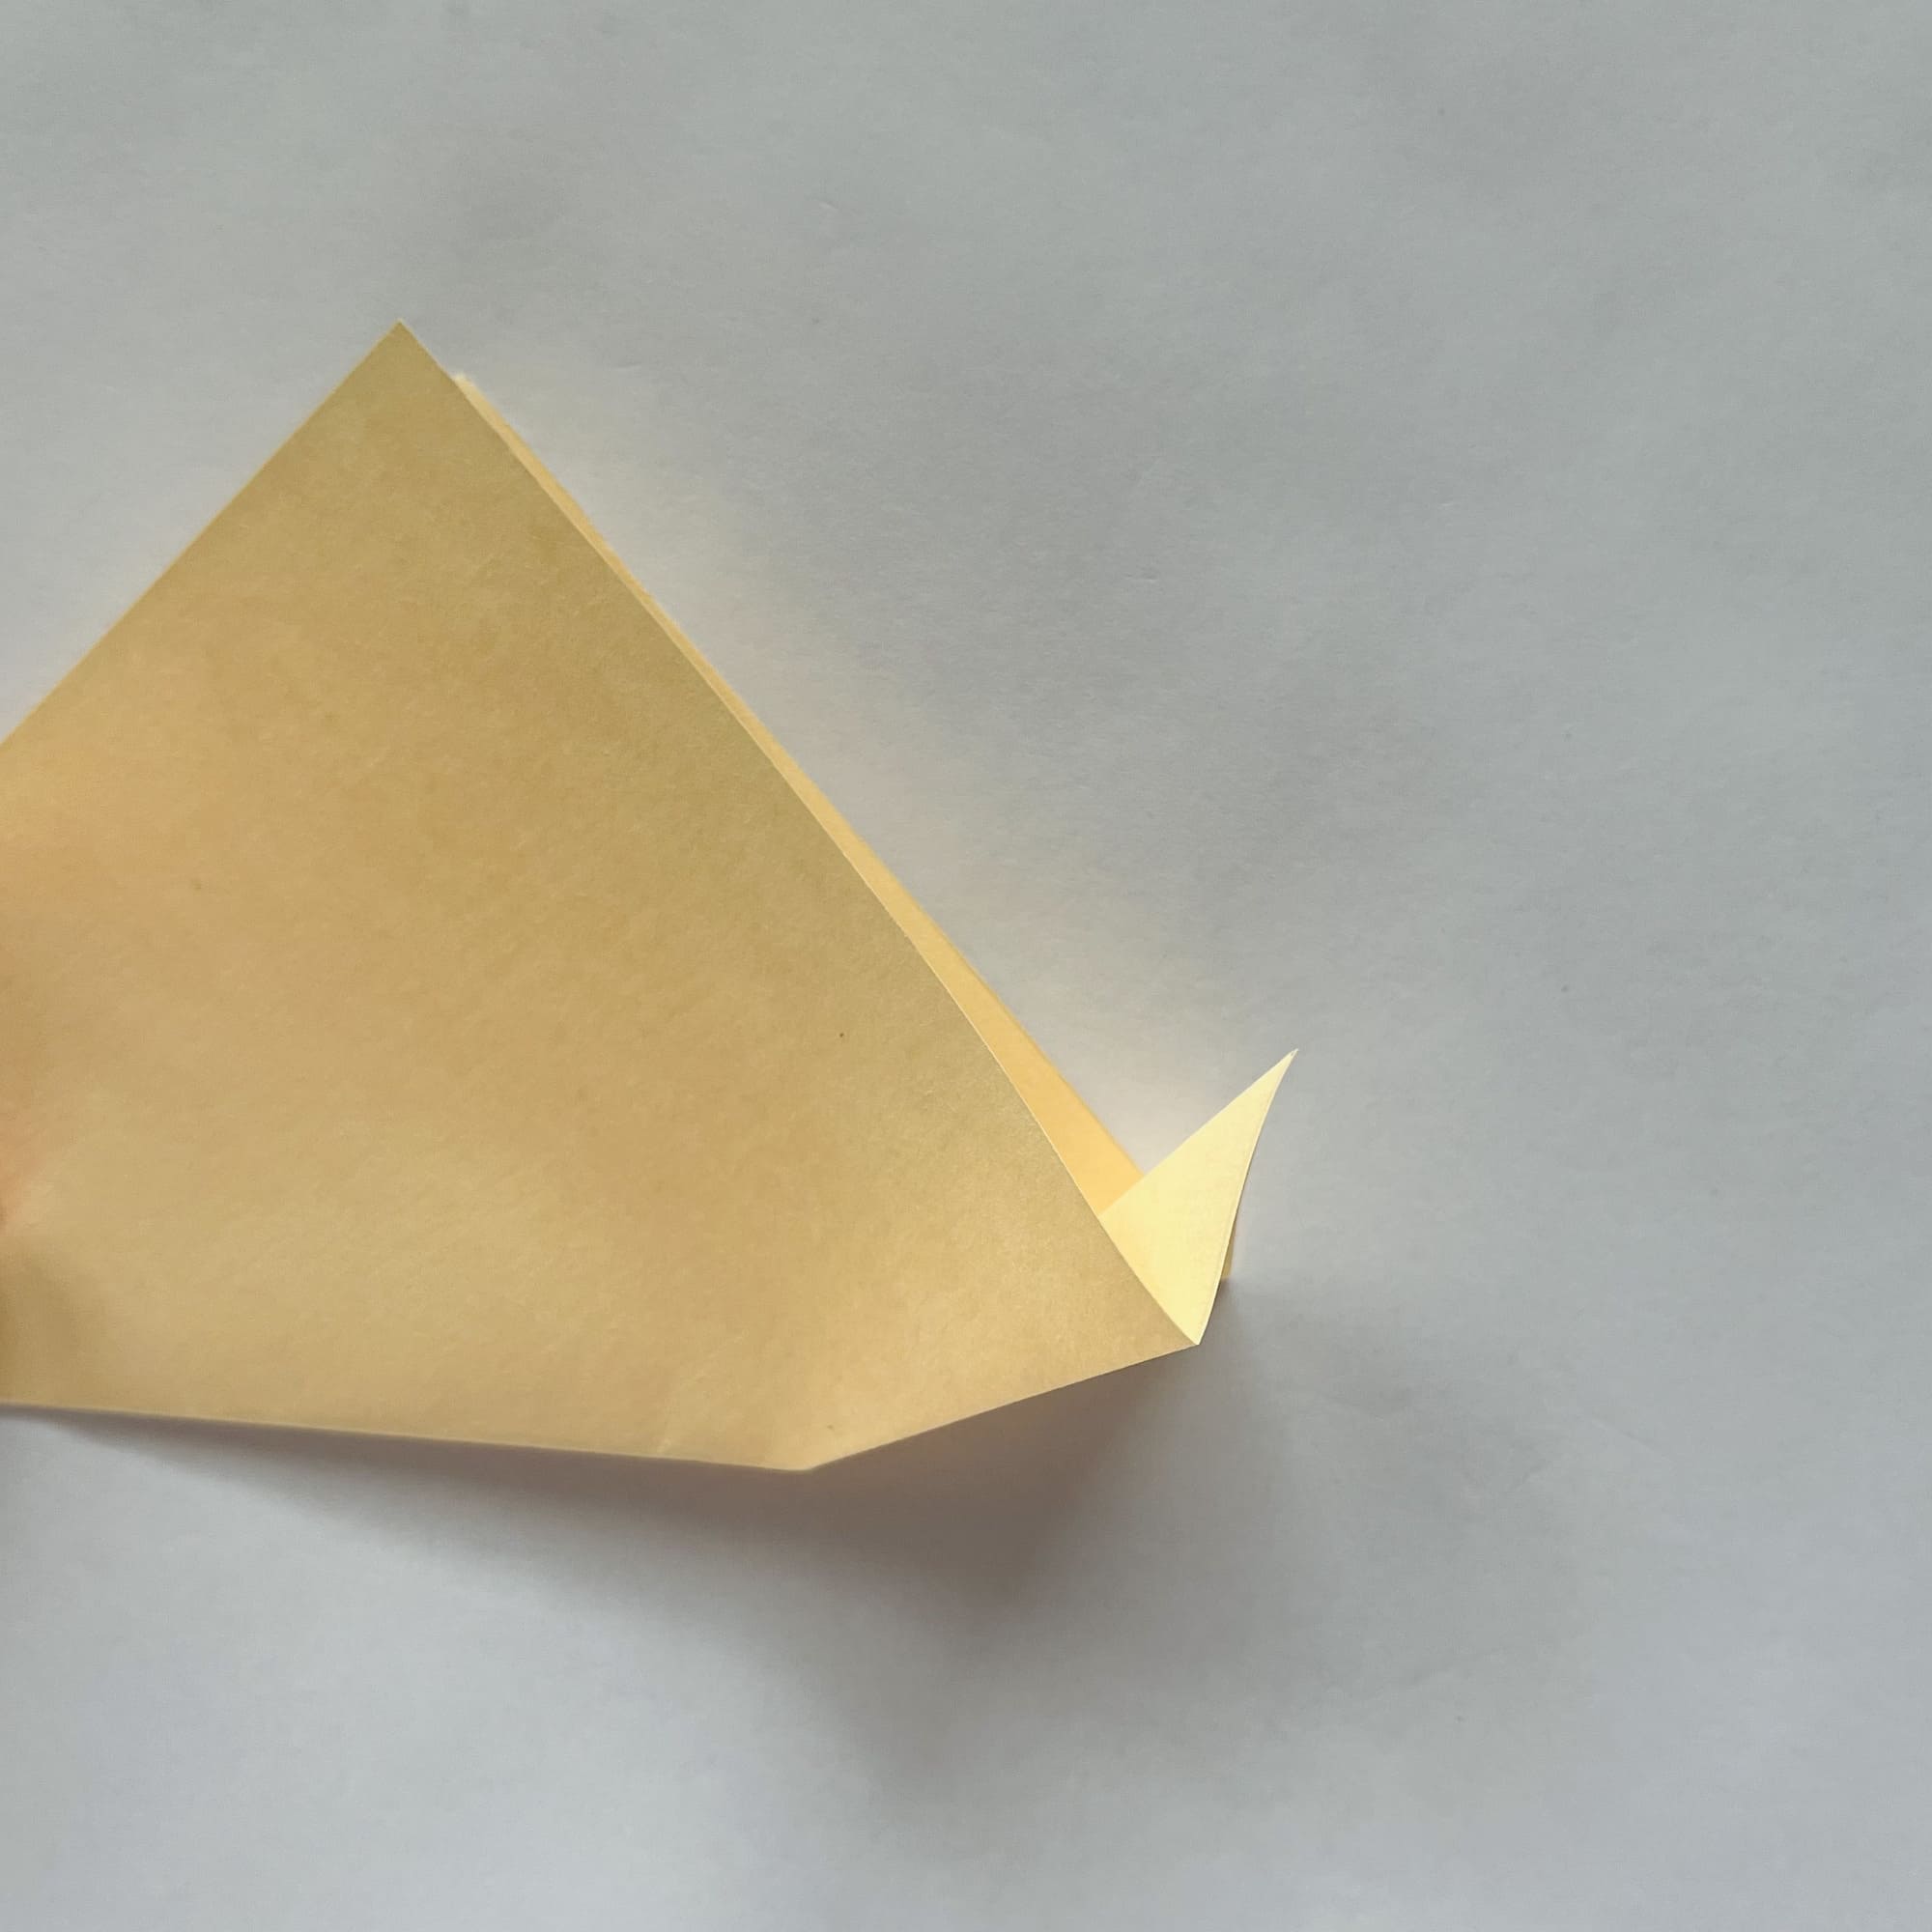
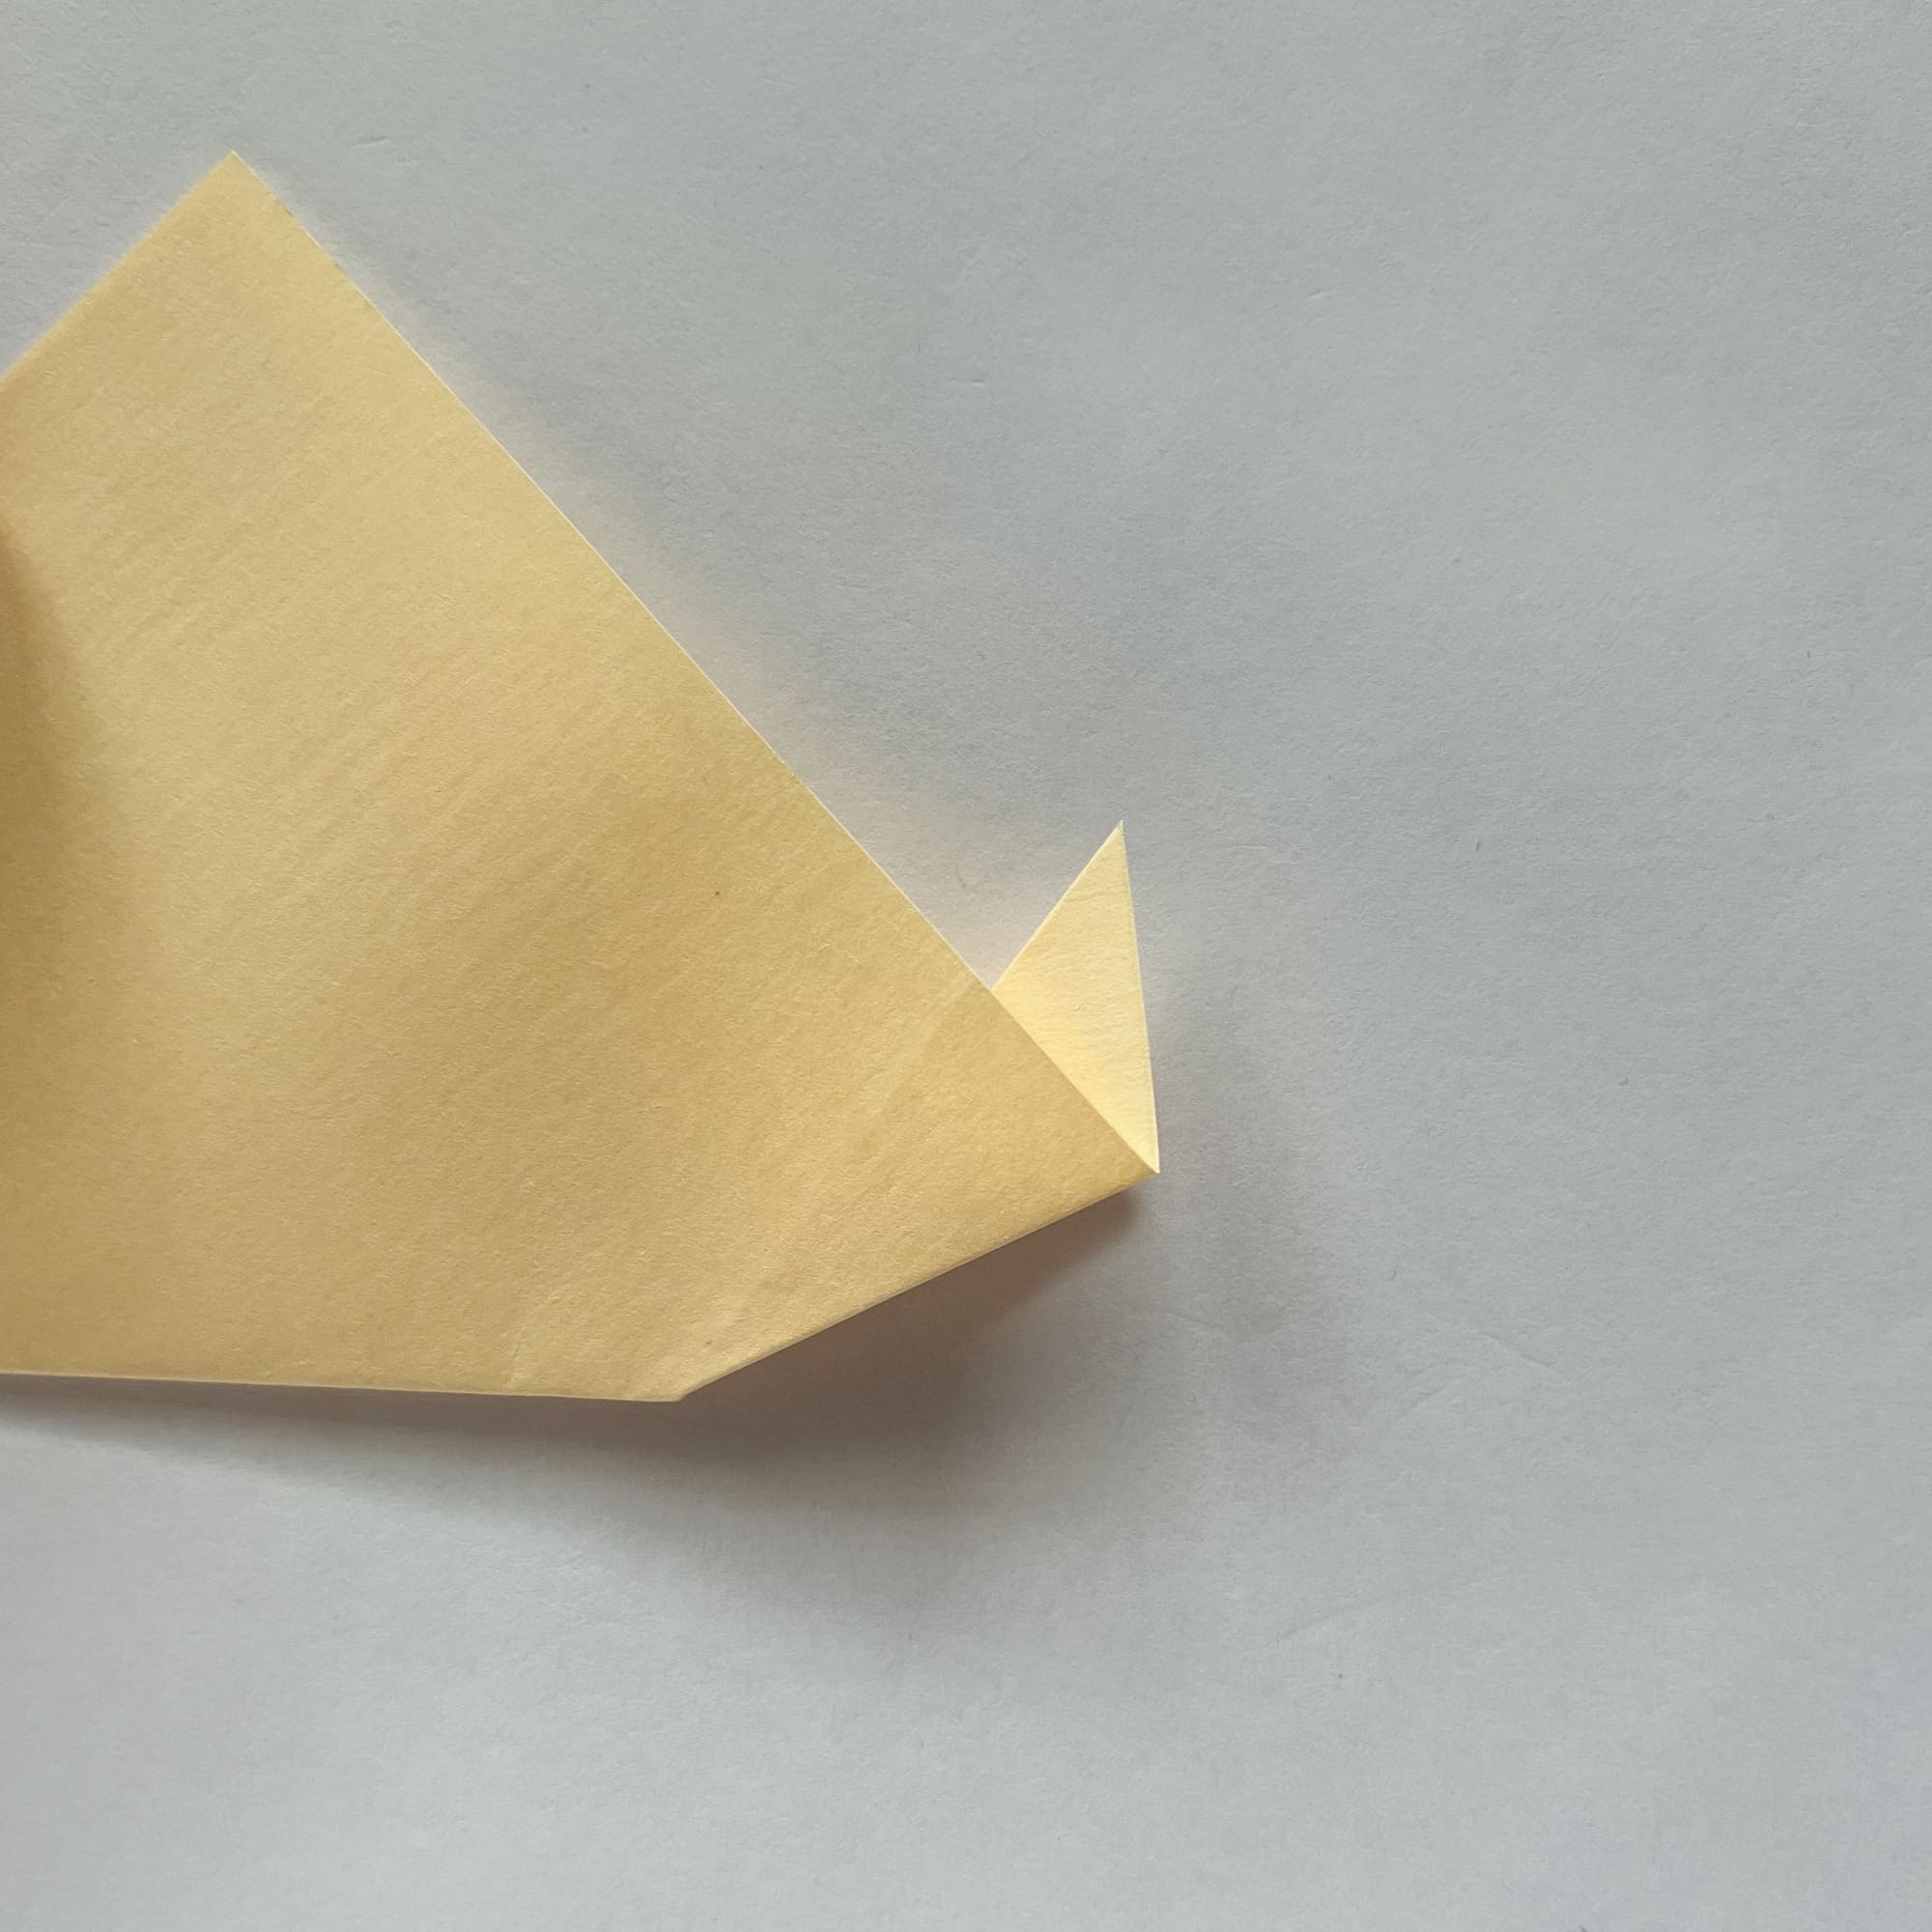
Now make the reverse inner fold: open the paper a little and press the tip.

You should get a pointy and slightly curved-up corner.
Bend the corner inside, as shown in the photo.
Fold and iron the lines, pressing the two layers of the figure to each other.
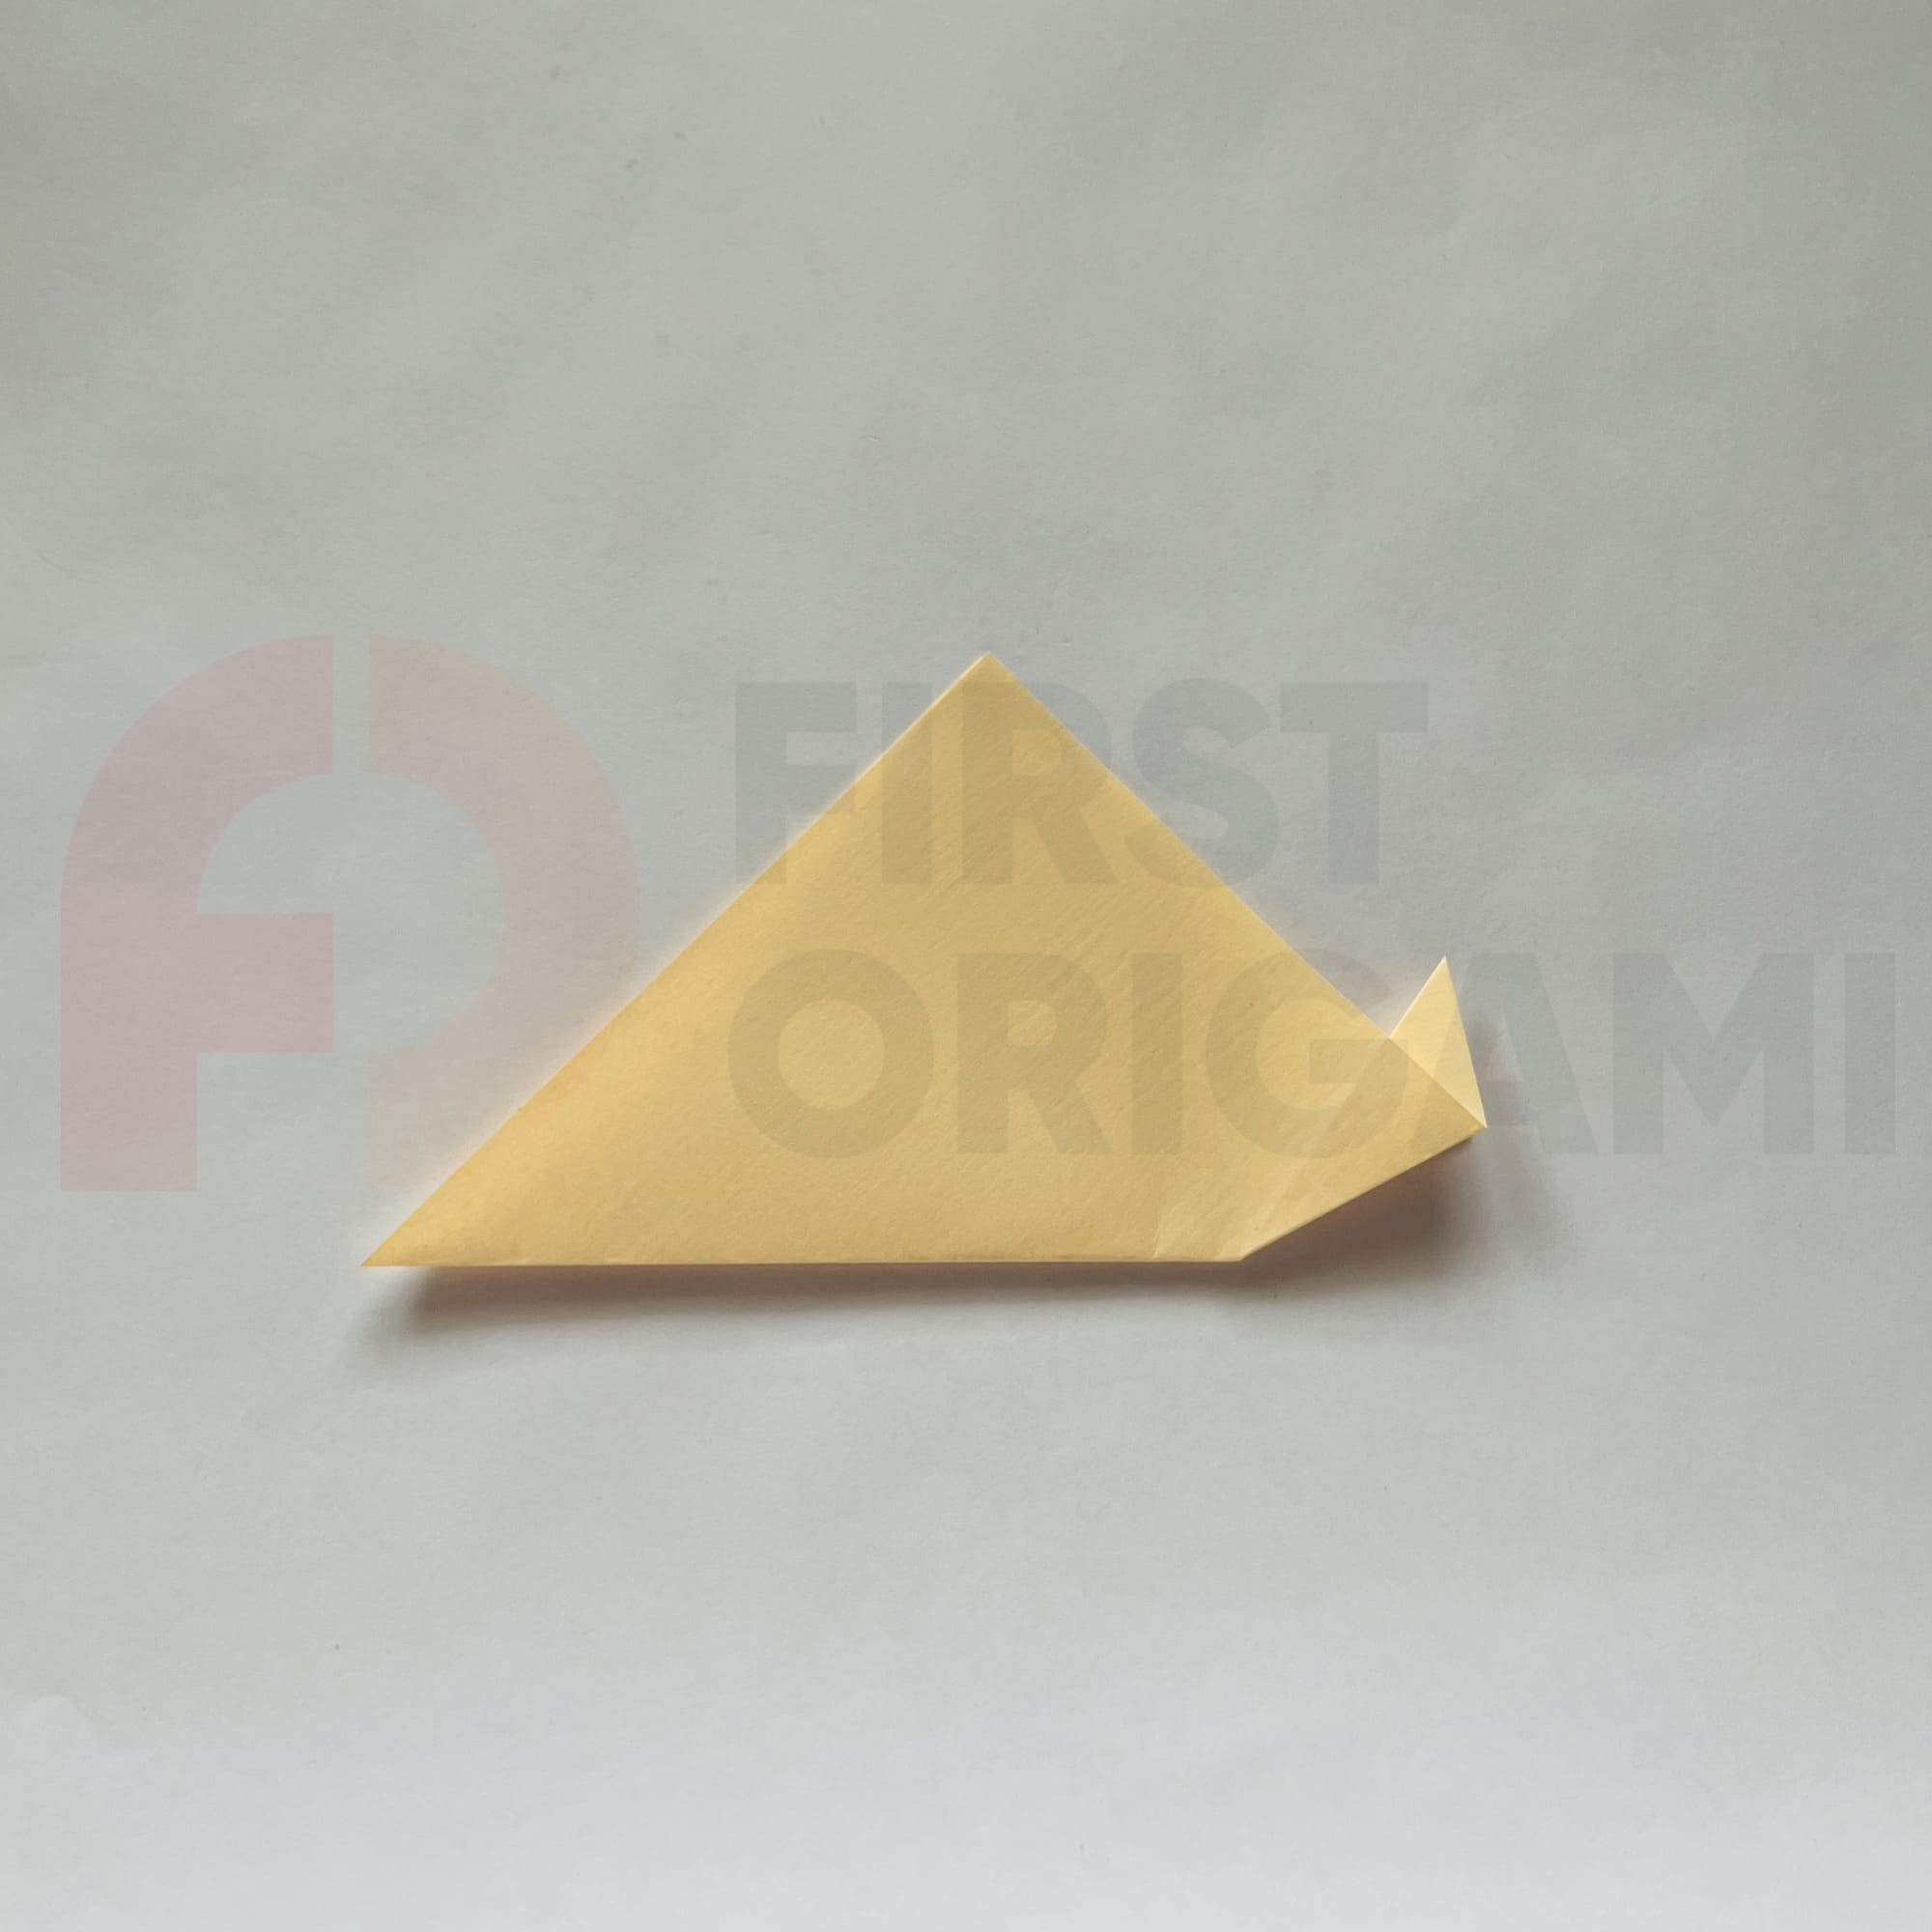
Check the resulting figure with the photo.
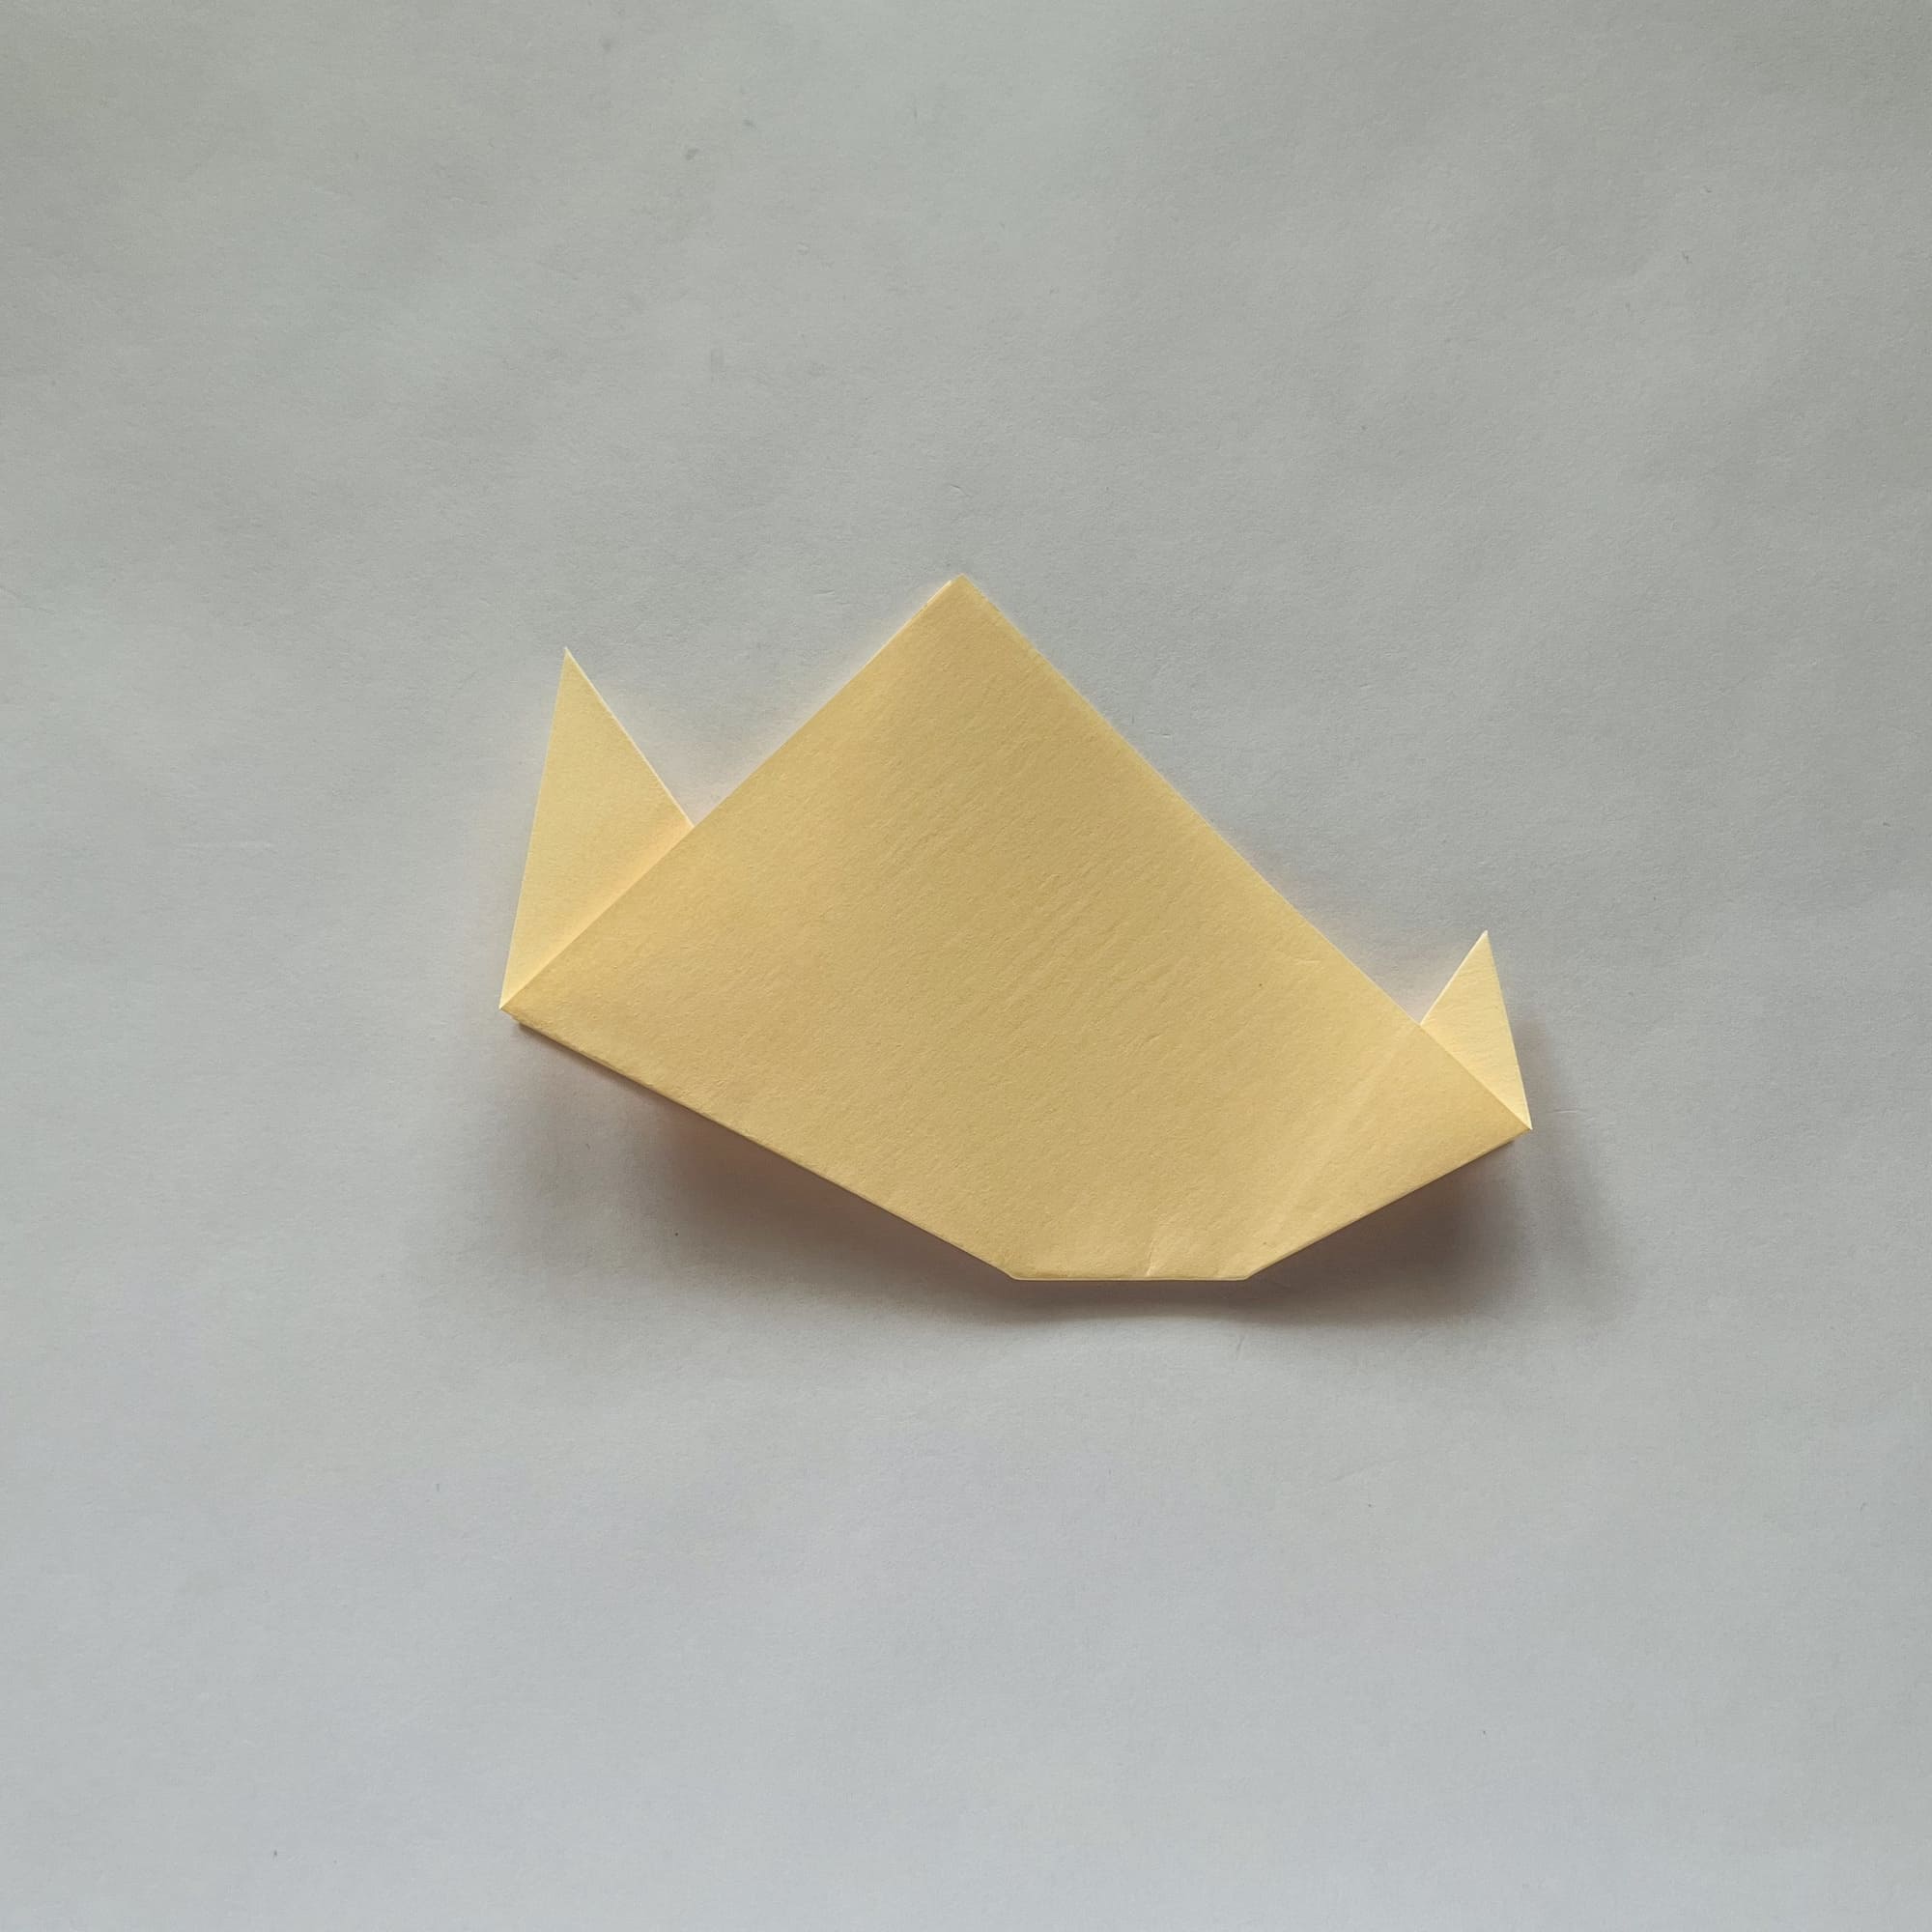
Now turn to the opposite corner: make a diagonal fold, bigger this time. Dip the corner between the layers of paper, you already know how to do this.
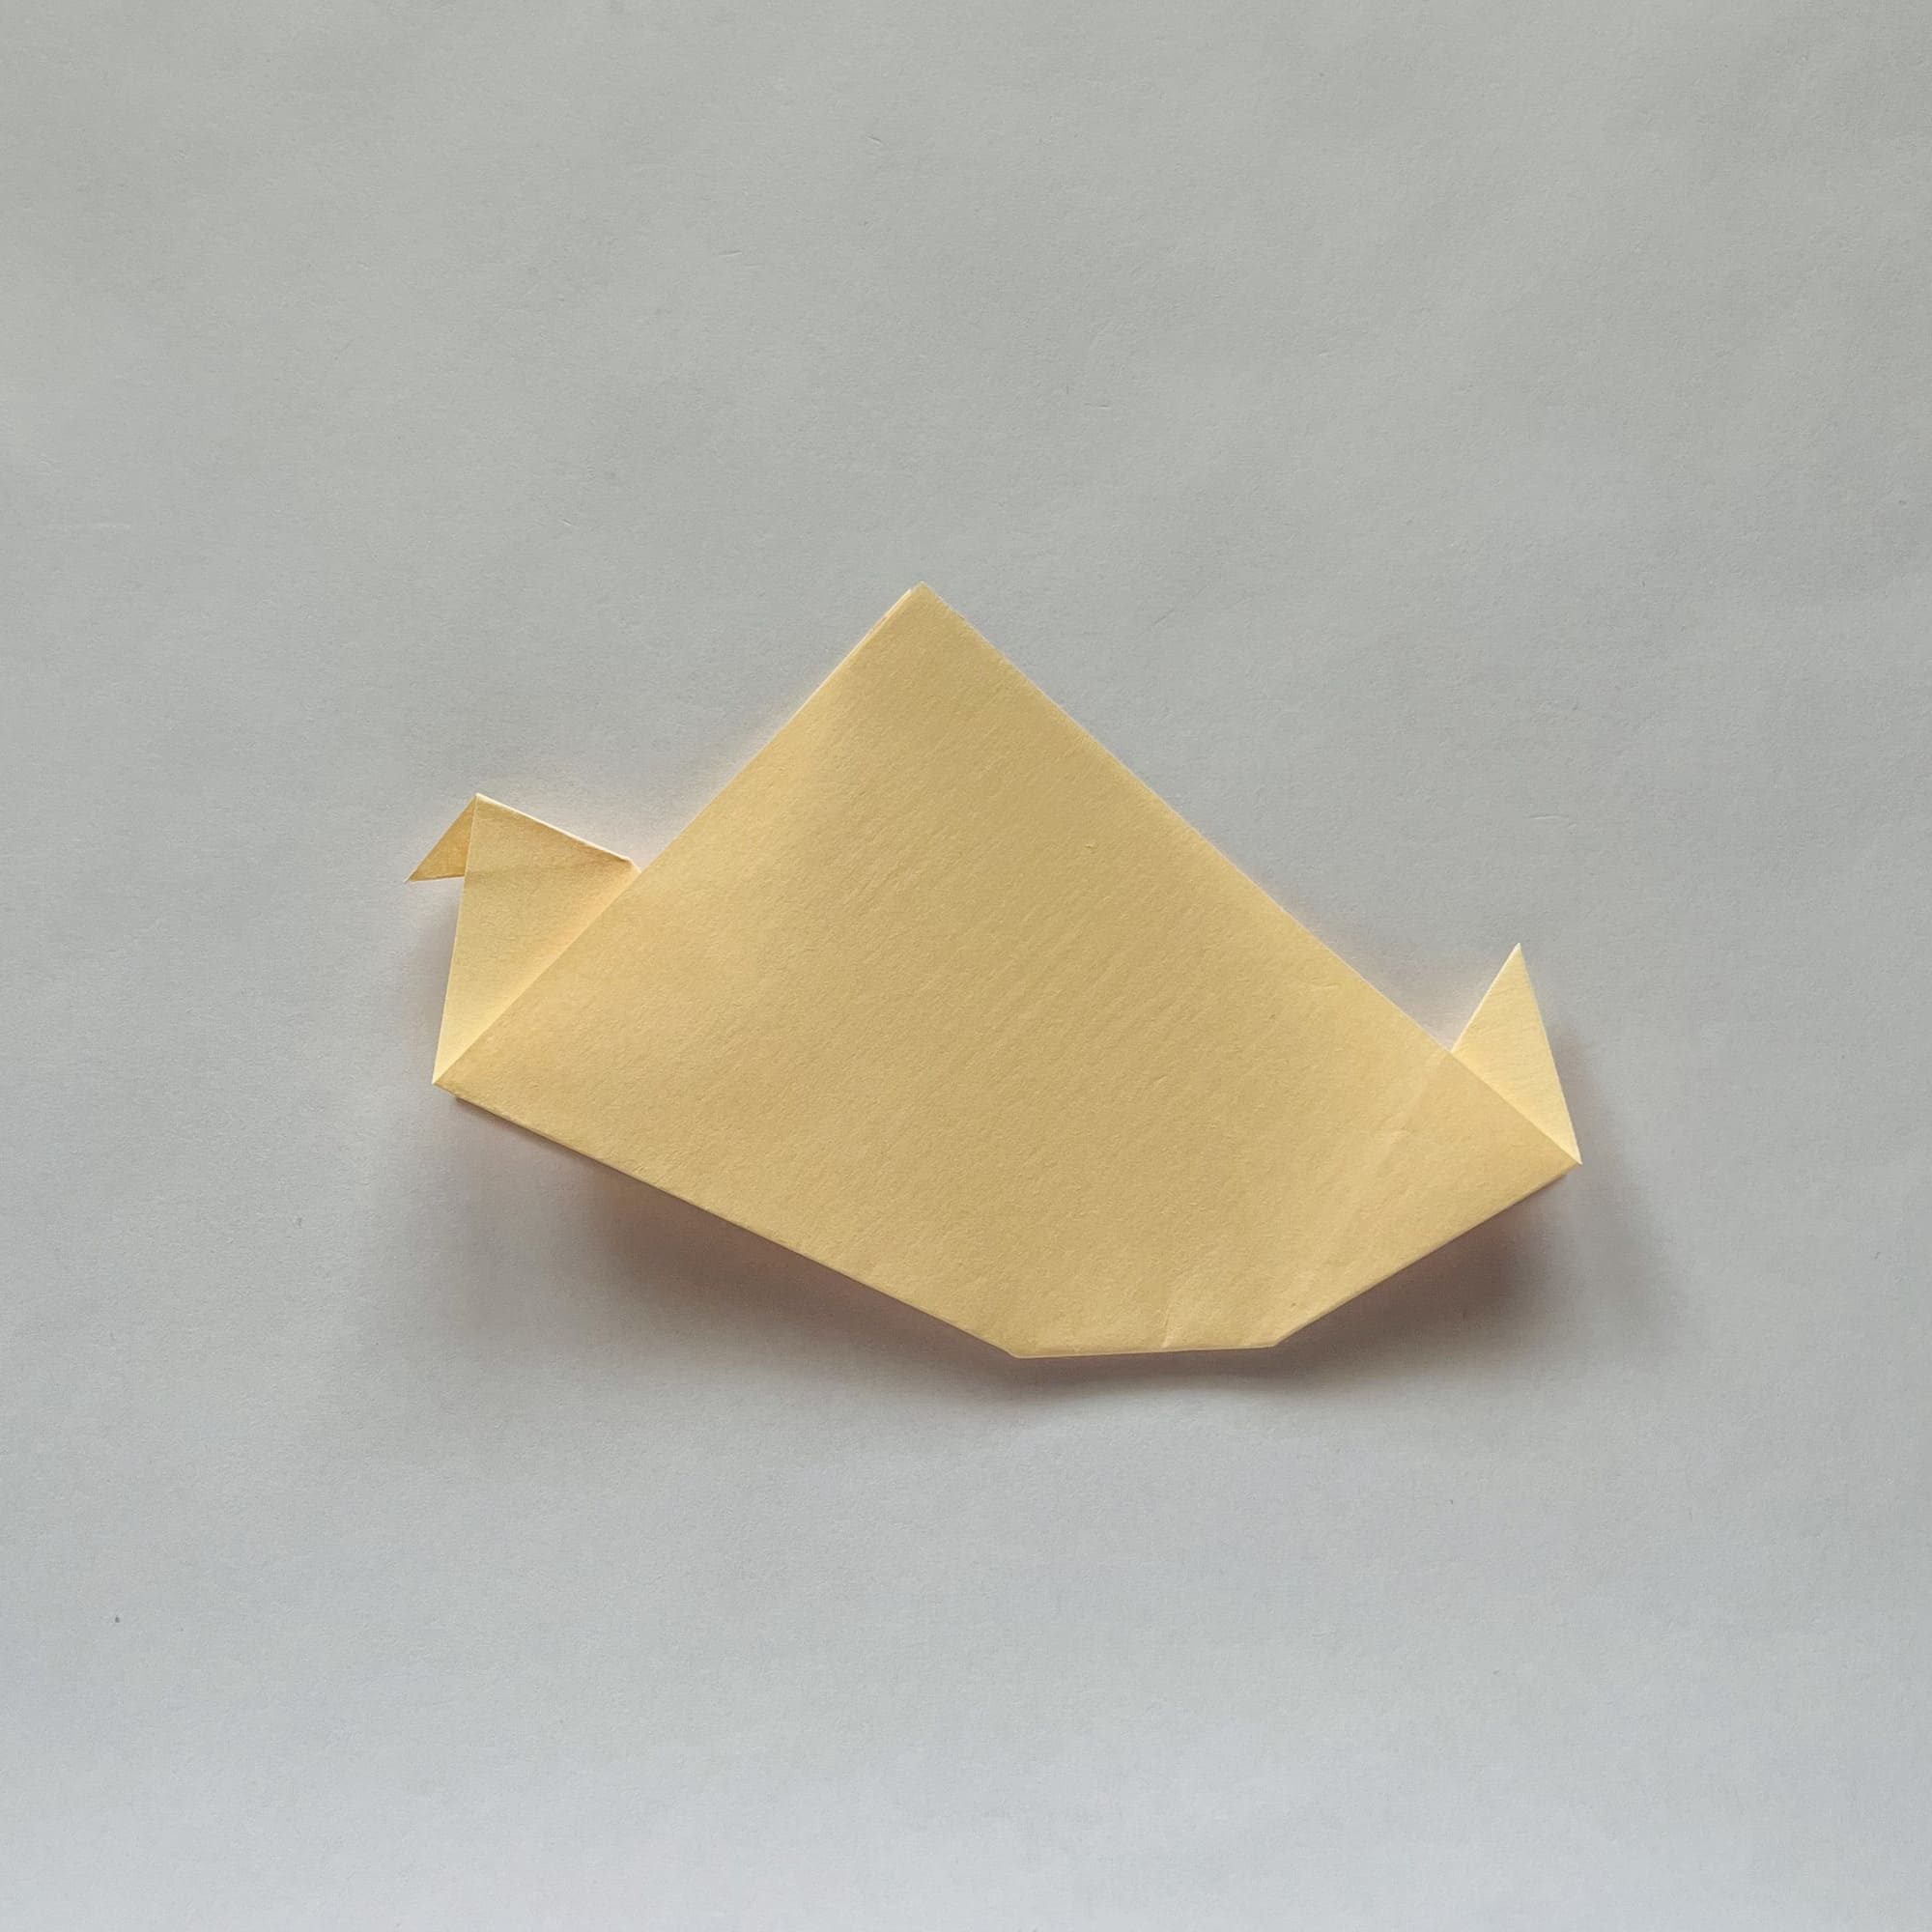
Now let’s make our reverse fold on the corner you just “dipped” – the one sticking up.
See what you got? It looks a lot like an animal with a head and tail.