Origami Jet Fighter Airplane
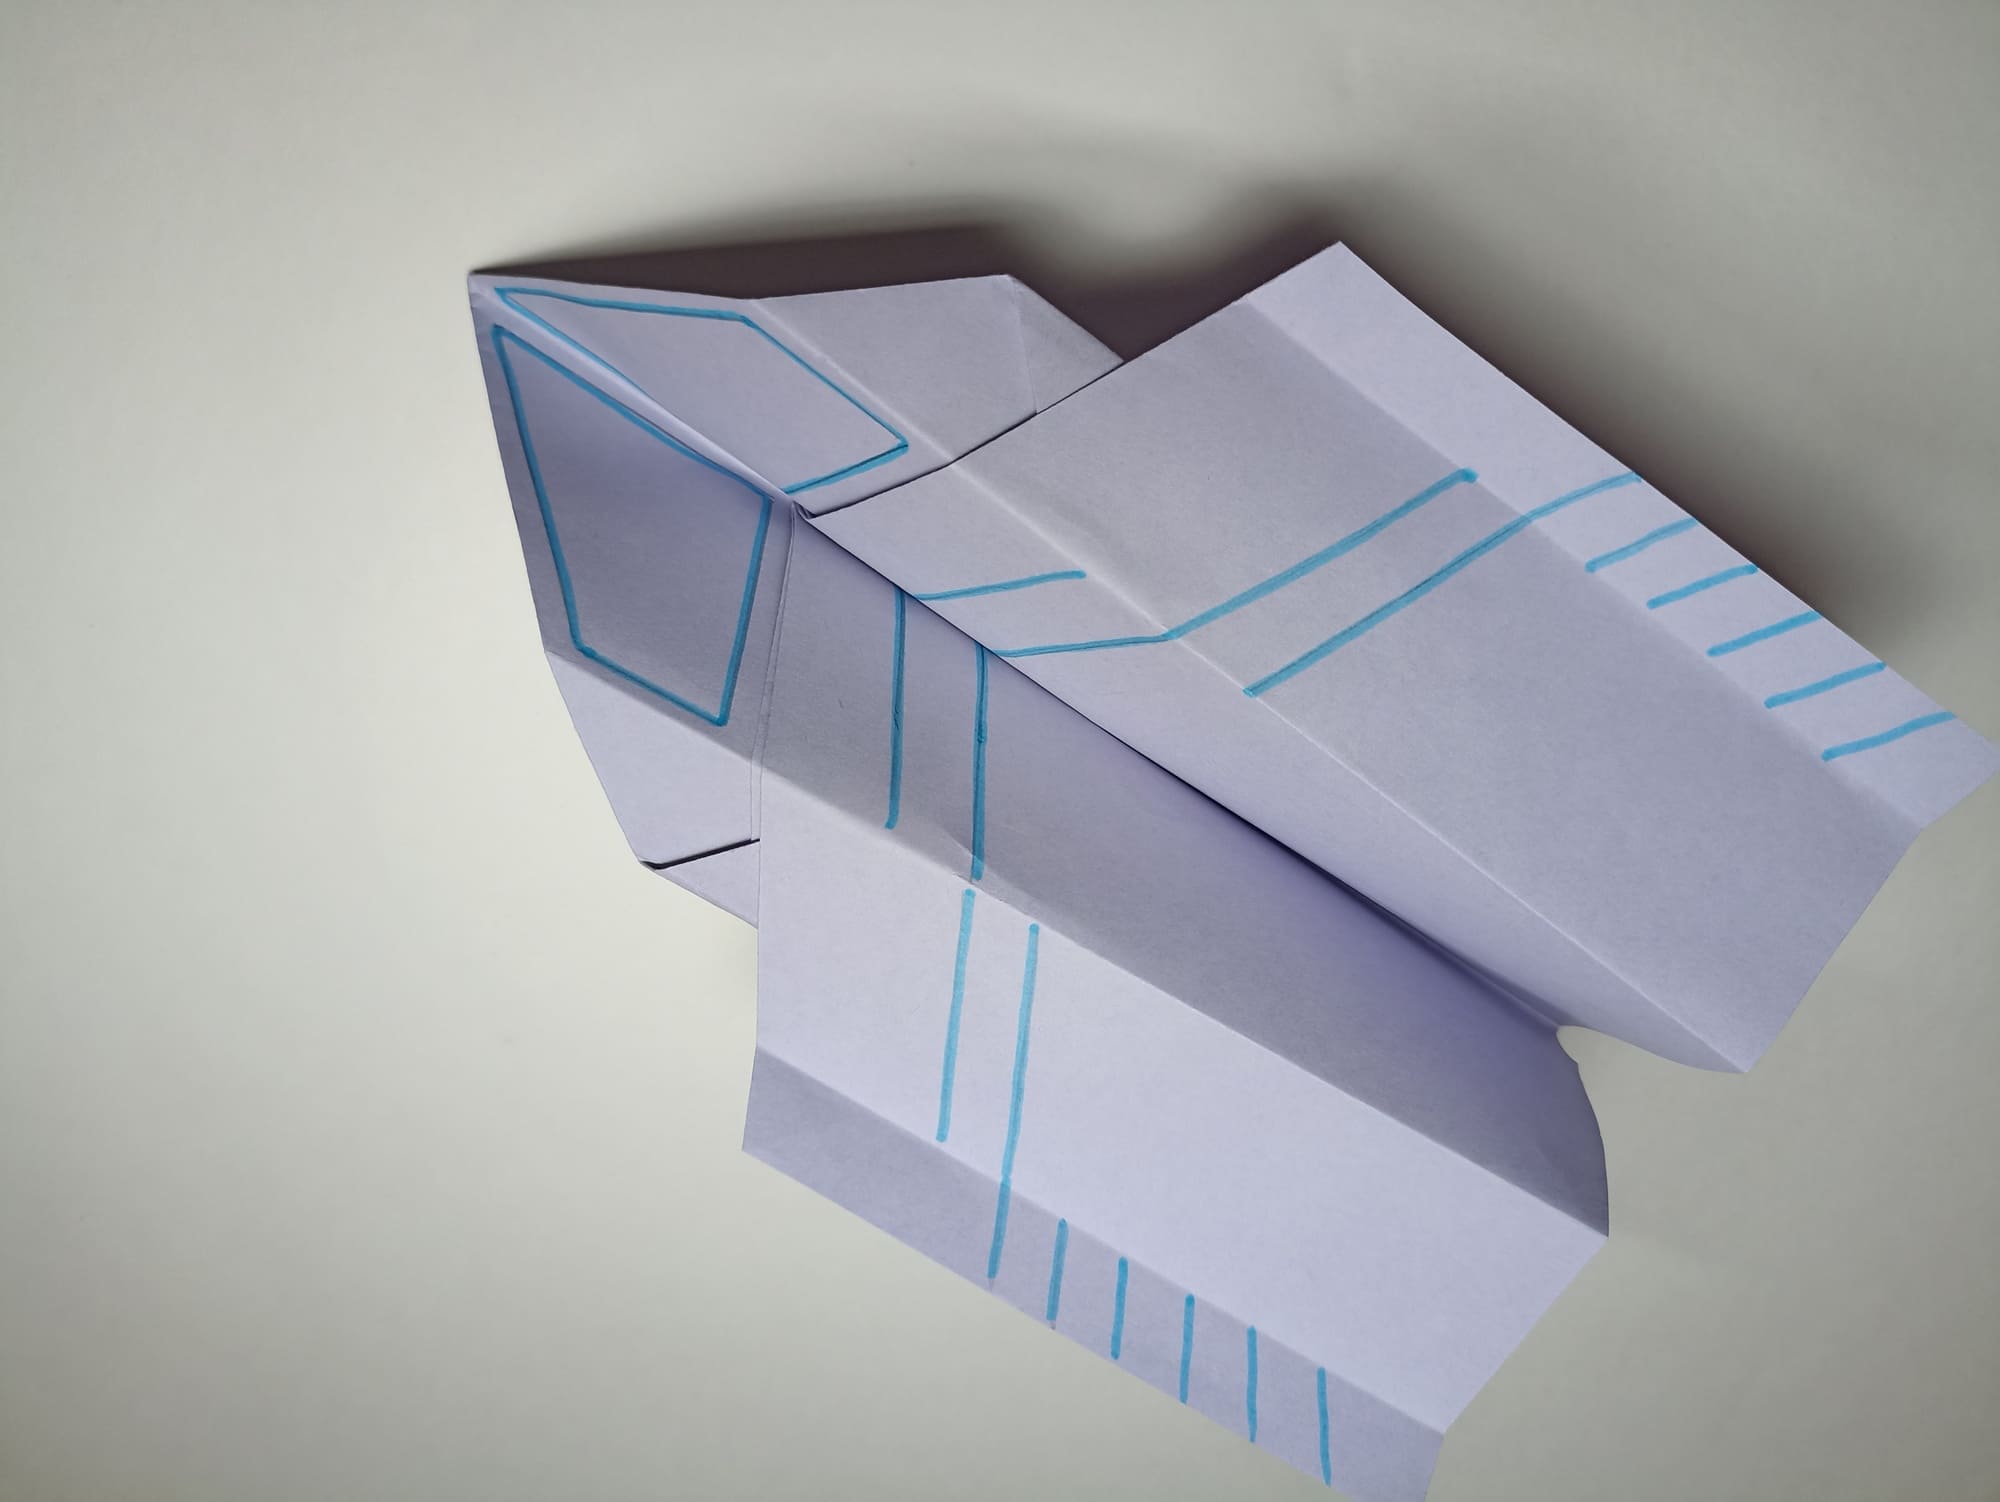
This airplane flies the farthest. The wide body of the fuselage smoothly transitions into arrow-like wings like those of the latest generation fighters. This design feature allows you to maintain a stable balance during flight and dive. The edges of the wings are inclined in a strictly limited direction.
The flight range of the model is affected not only by the design but also by the quality of the paper. Thin newspaper or notebook paper will not provide the corners and folds with the necessary rigidity; when dropped, parts of the body and wings will be deformed. For this creation, it is better to take office printer paper as it is thick, smooth, and bright.
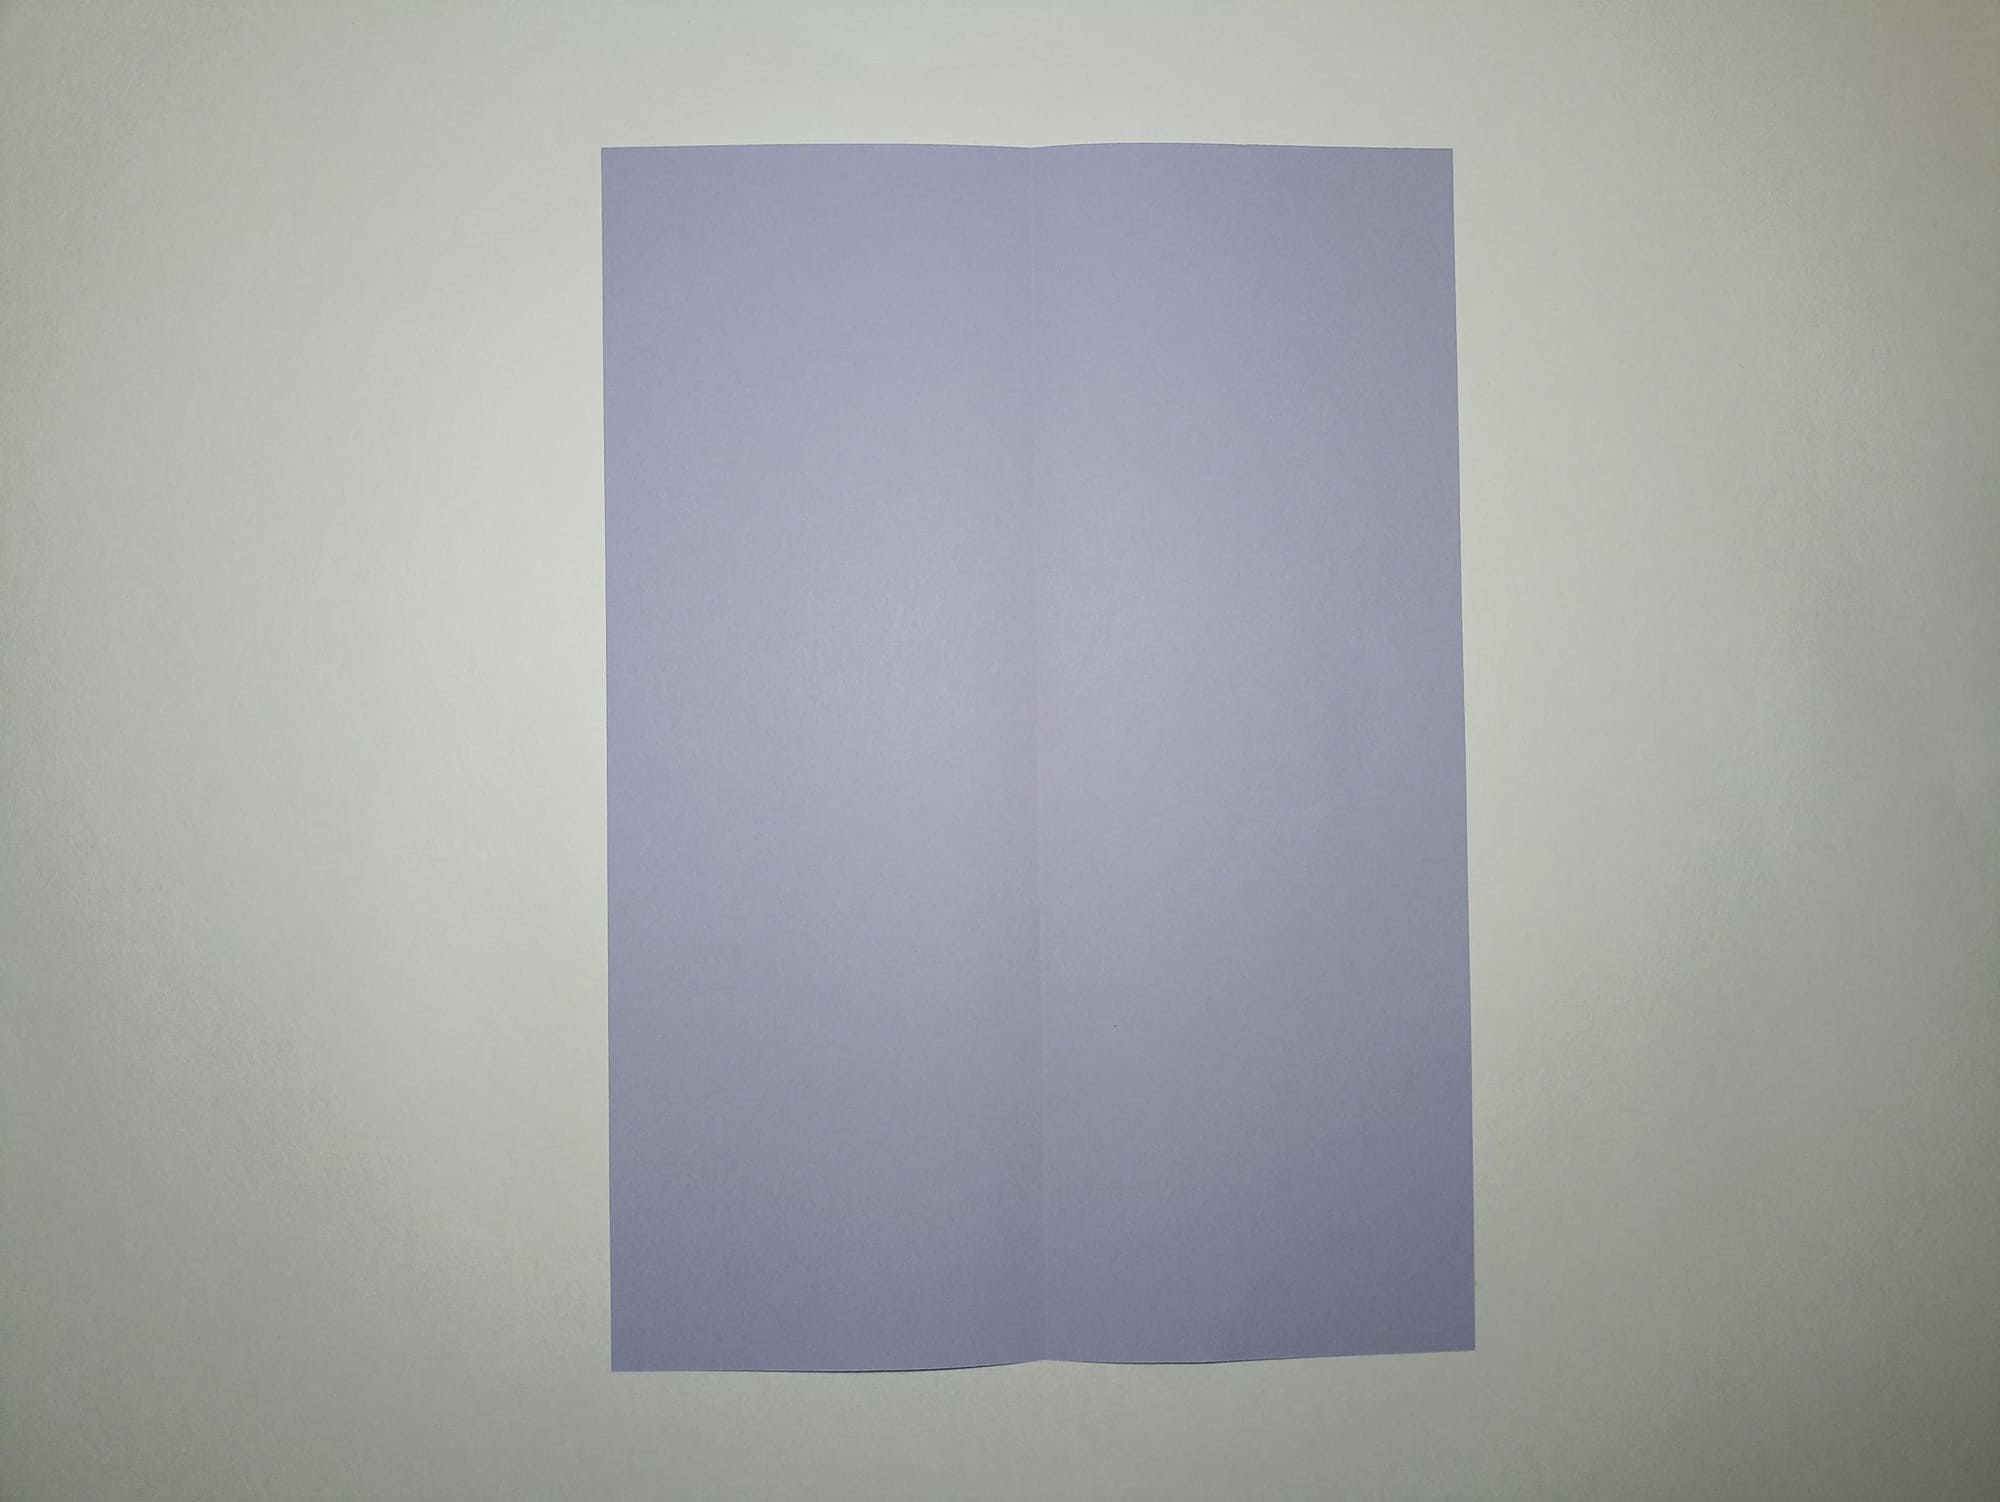
Mark a vertical line in the middle, connecting the right edge to the left, crease, and unfold.
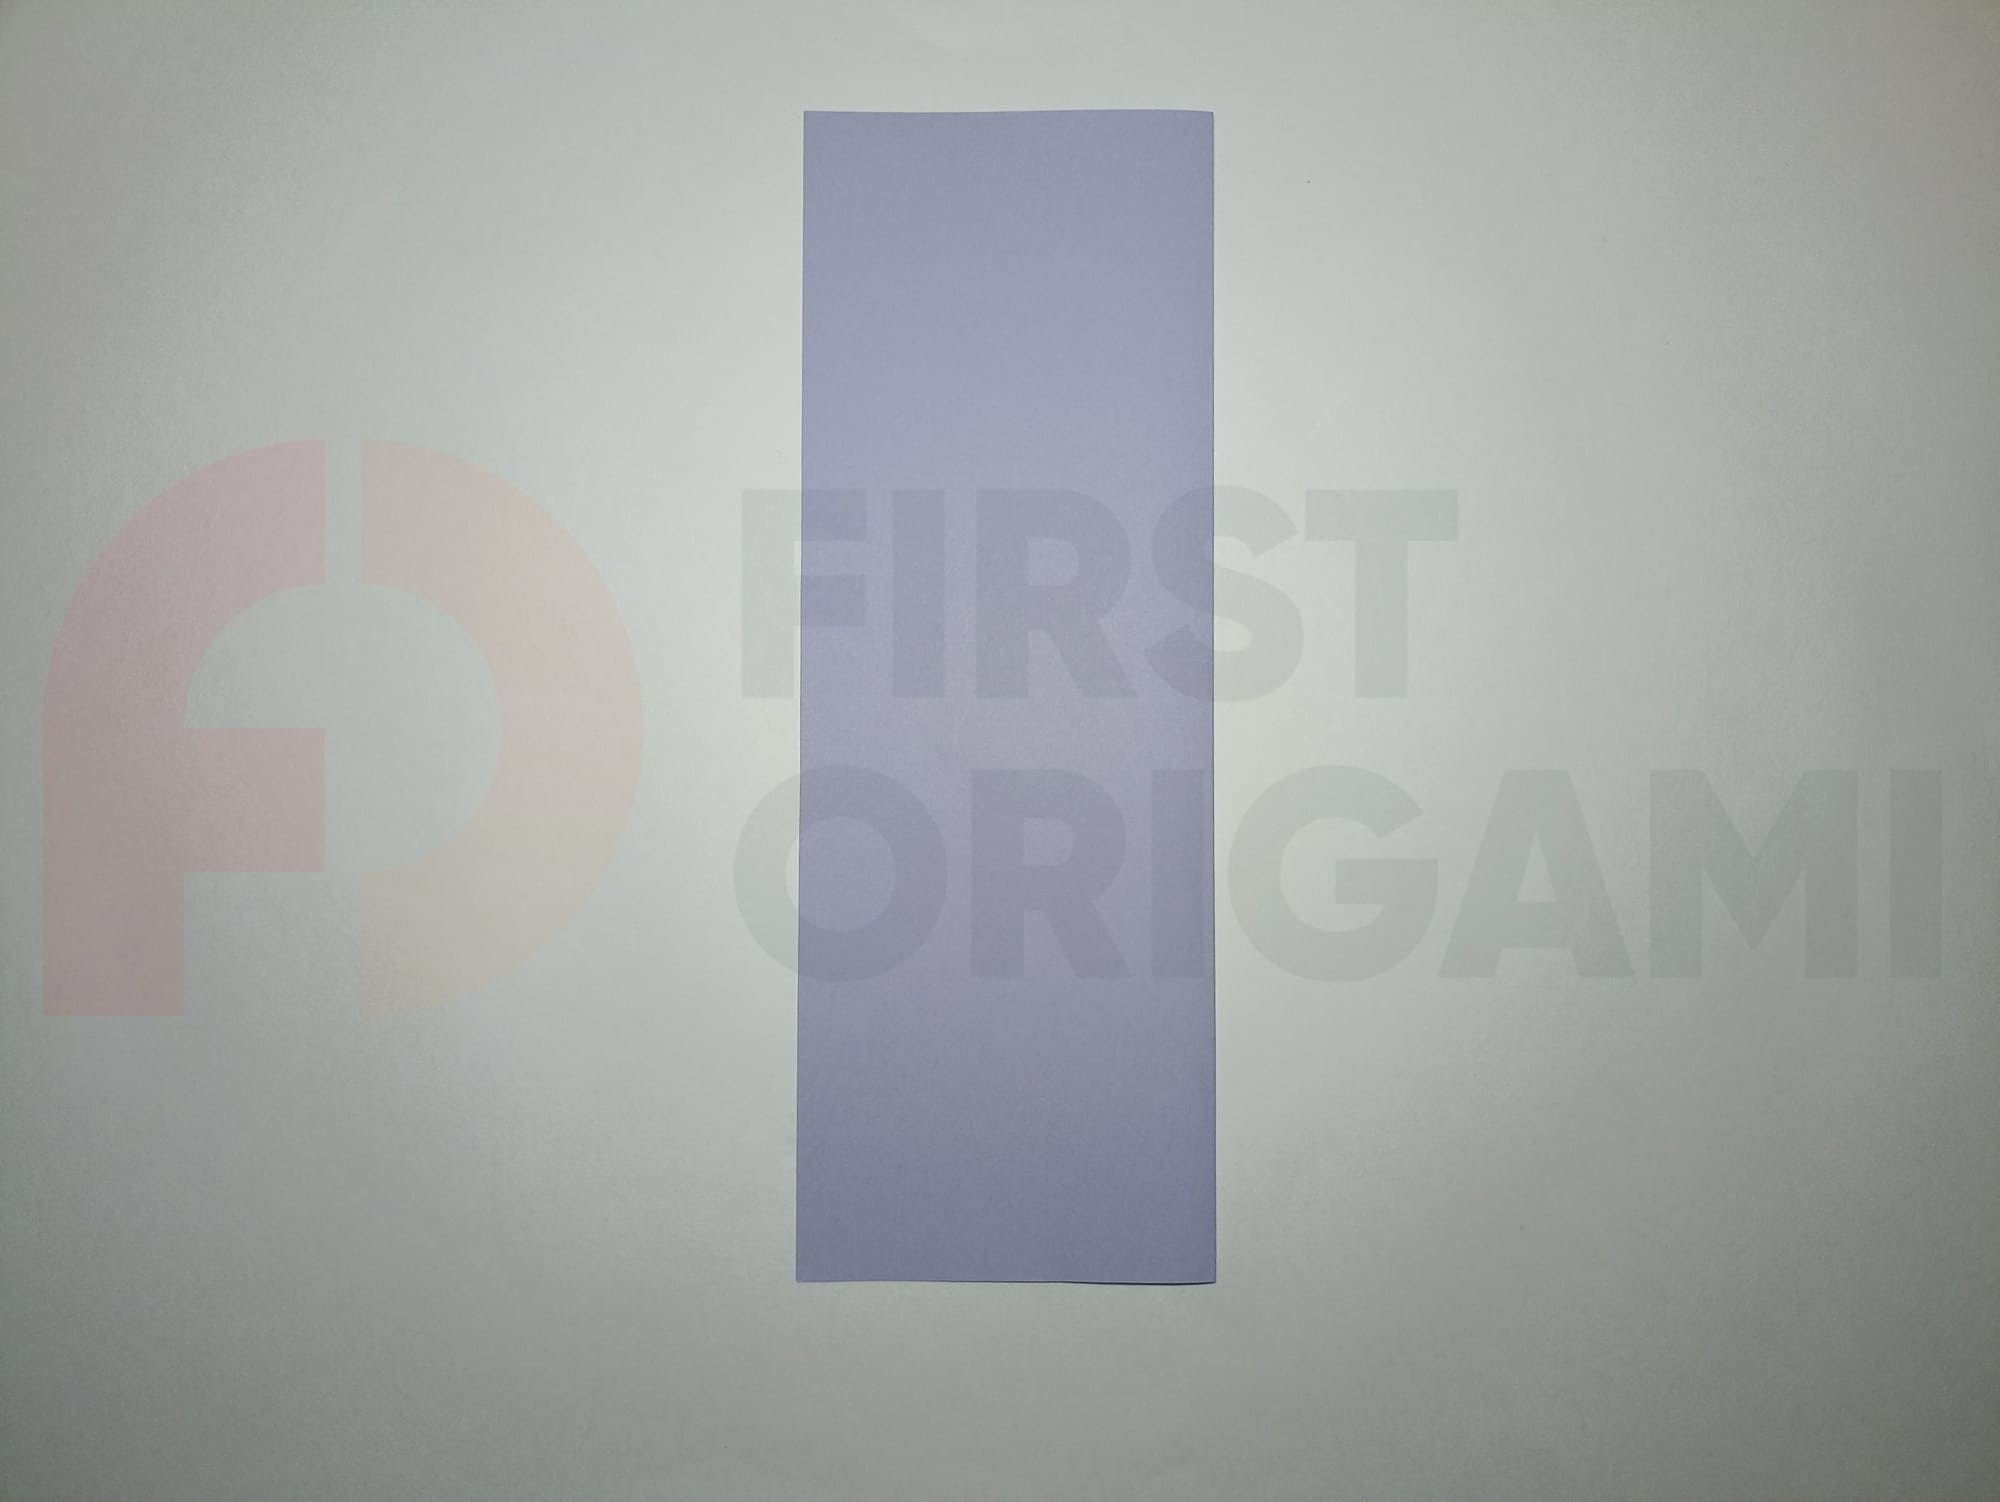
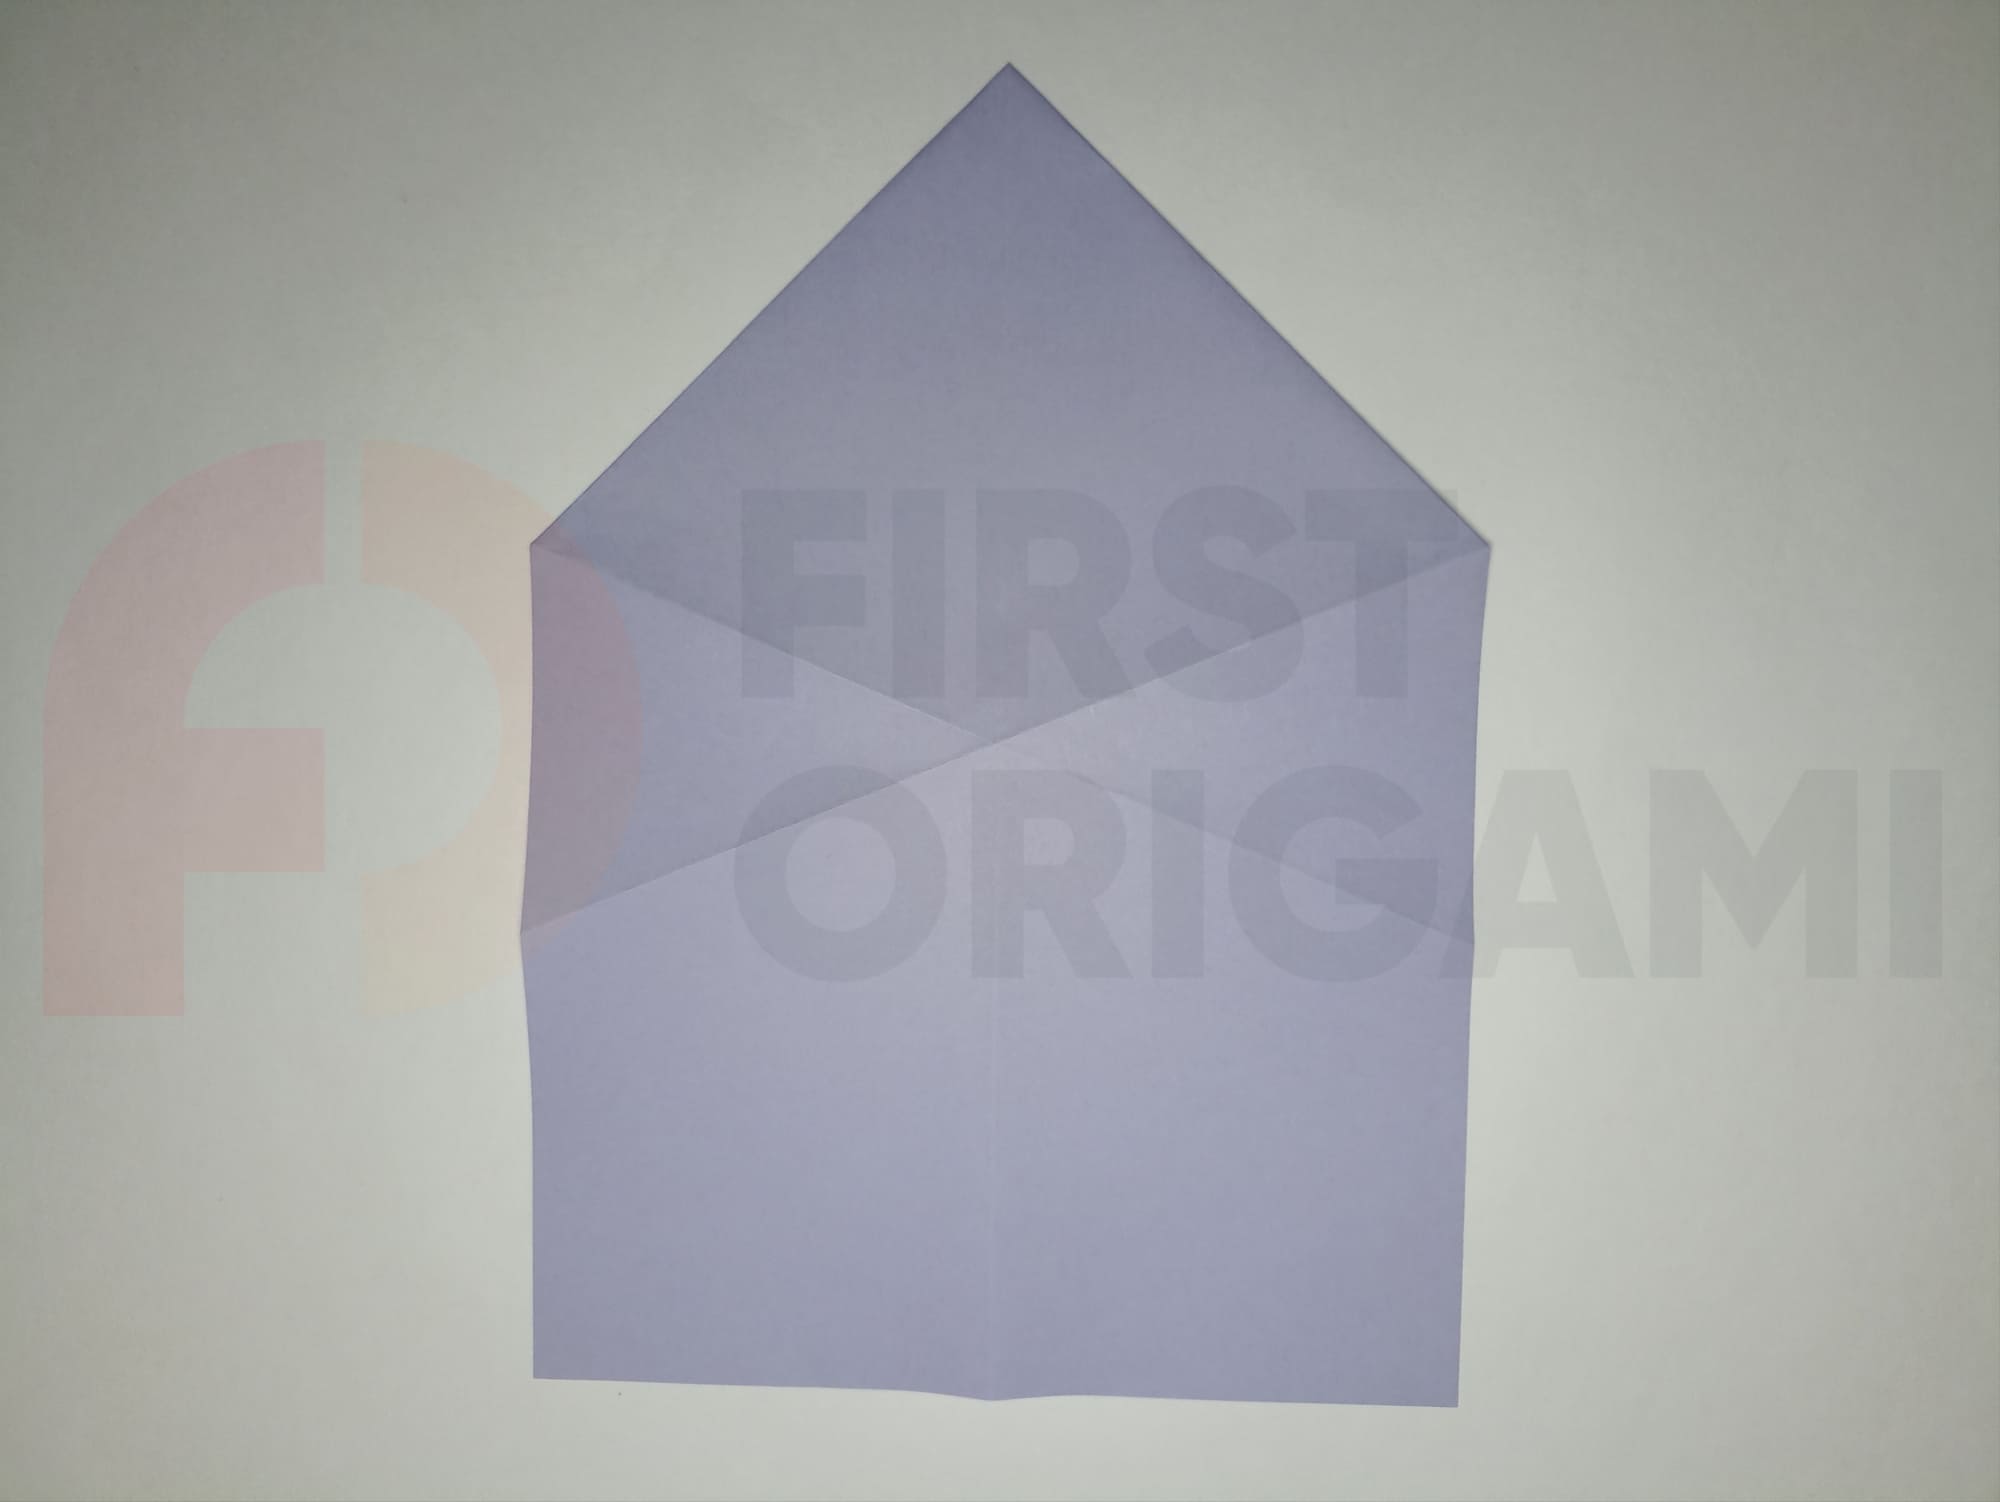
Alternately bend the upper corners of the rectangle to the middle line.

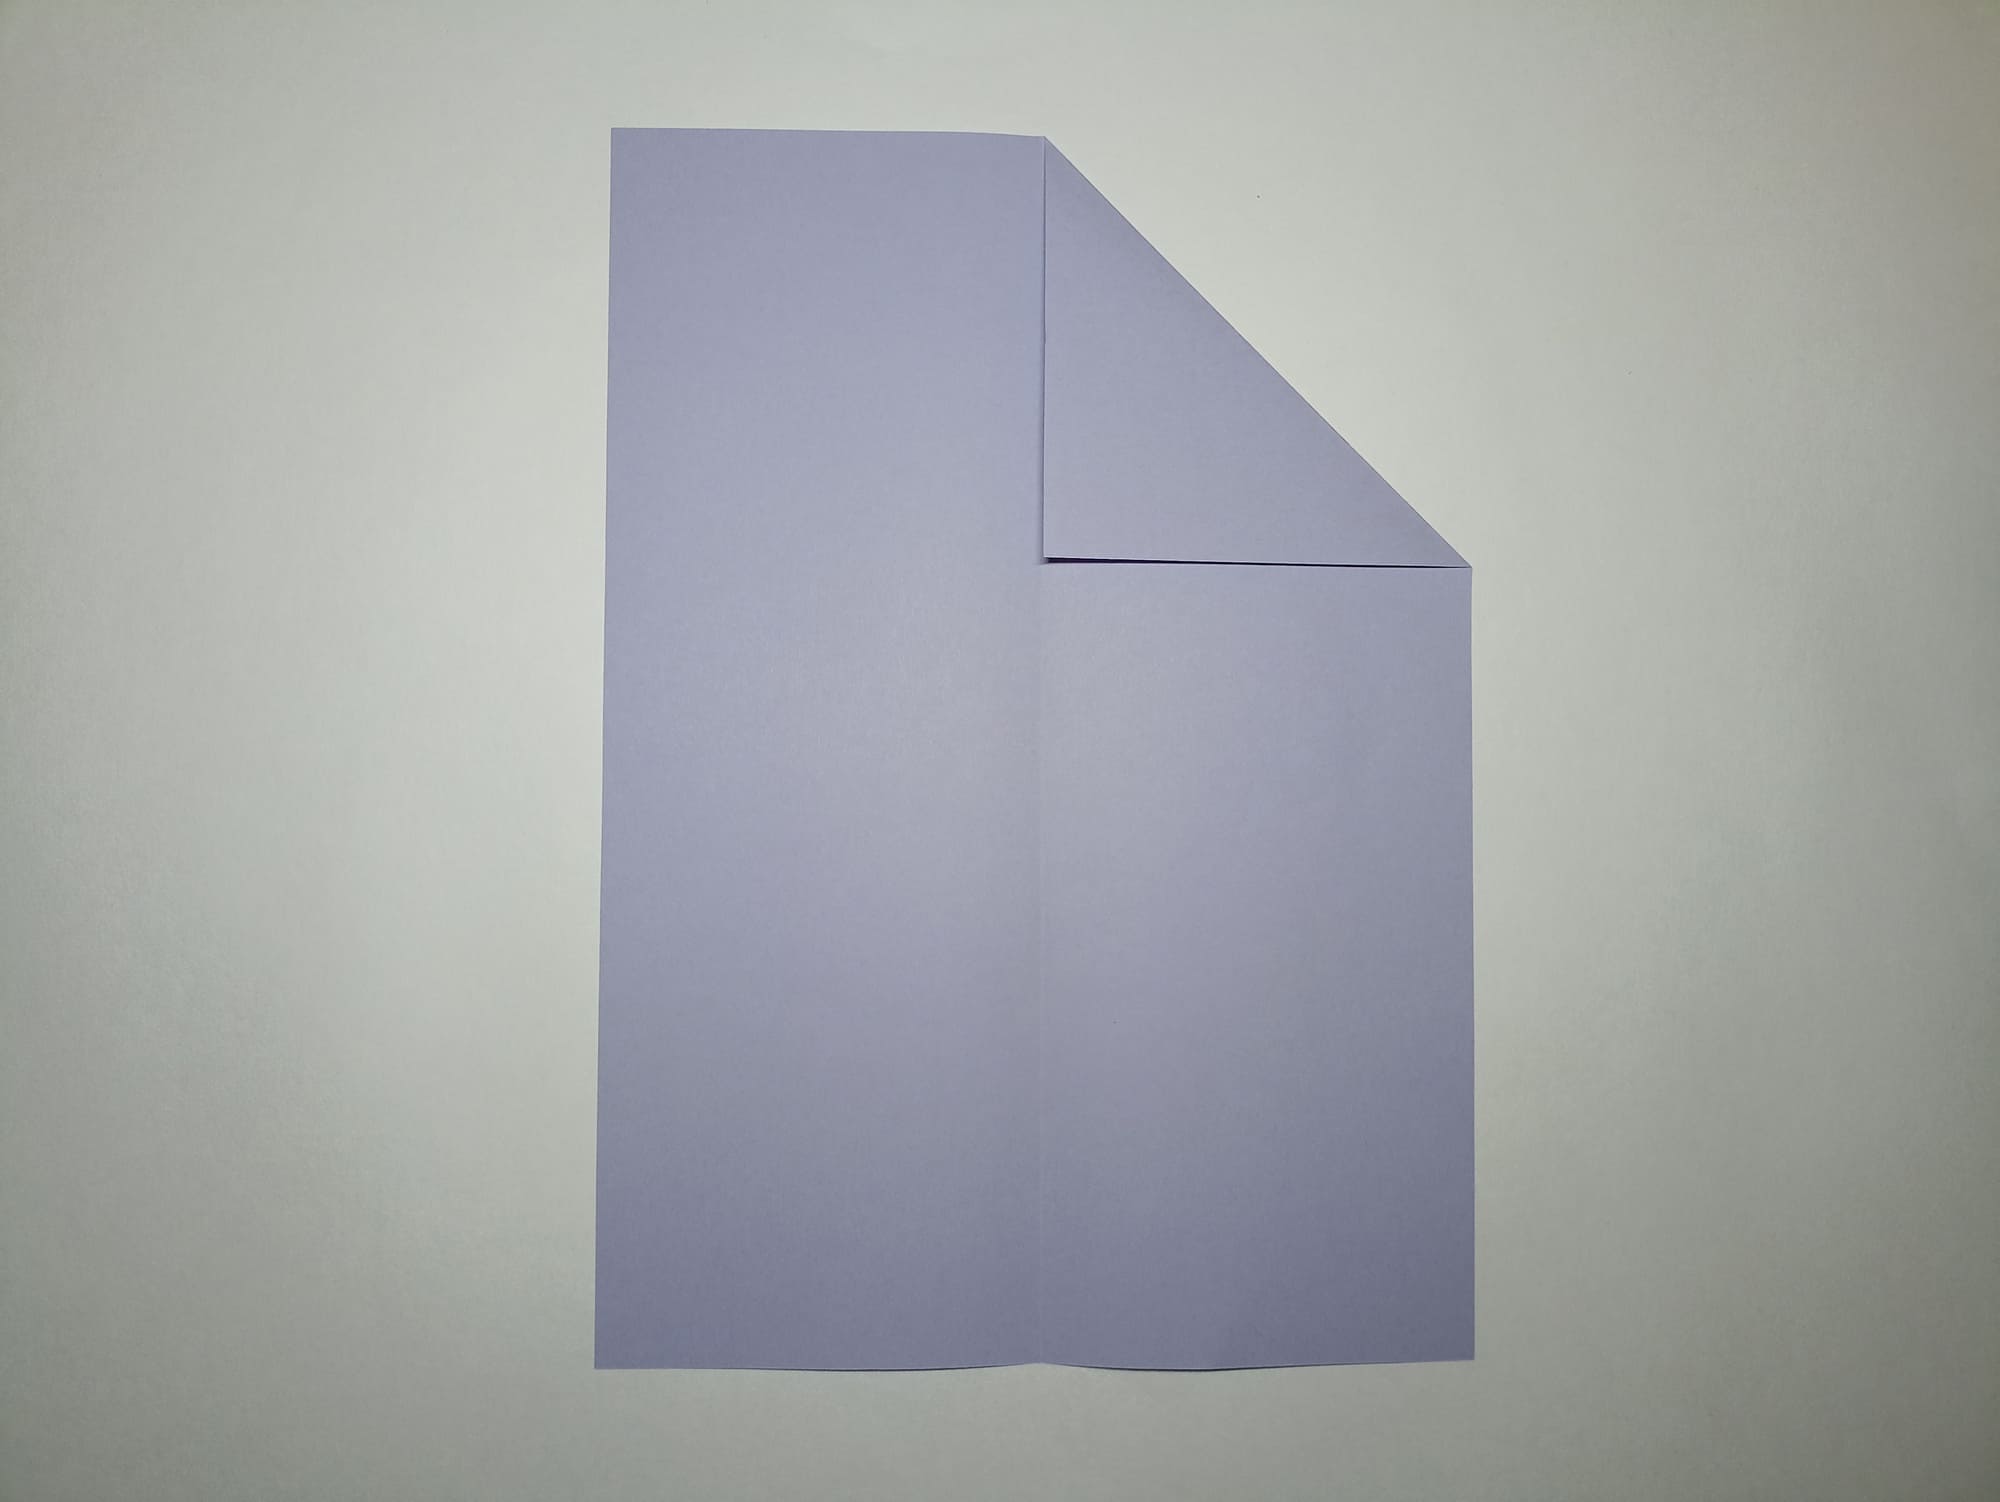
Align the right side from the top with the left side. The fold line begins in the corner of the large triangle.

Crease the fold and open the sheet of paper.
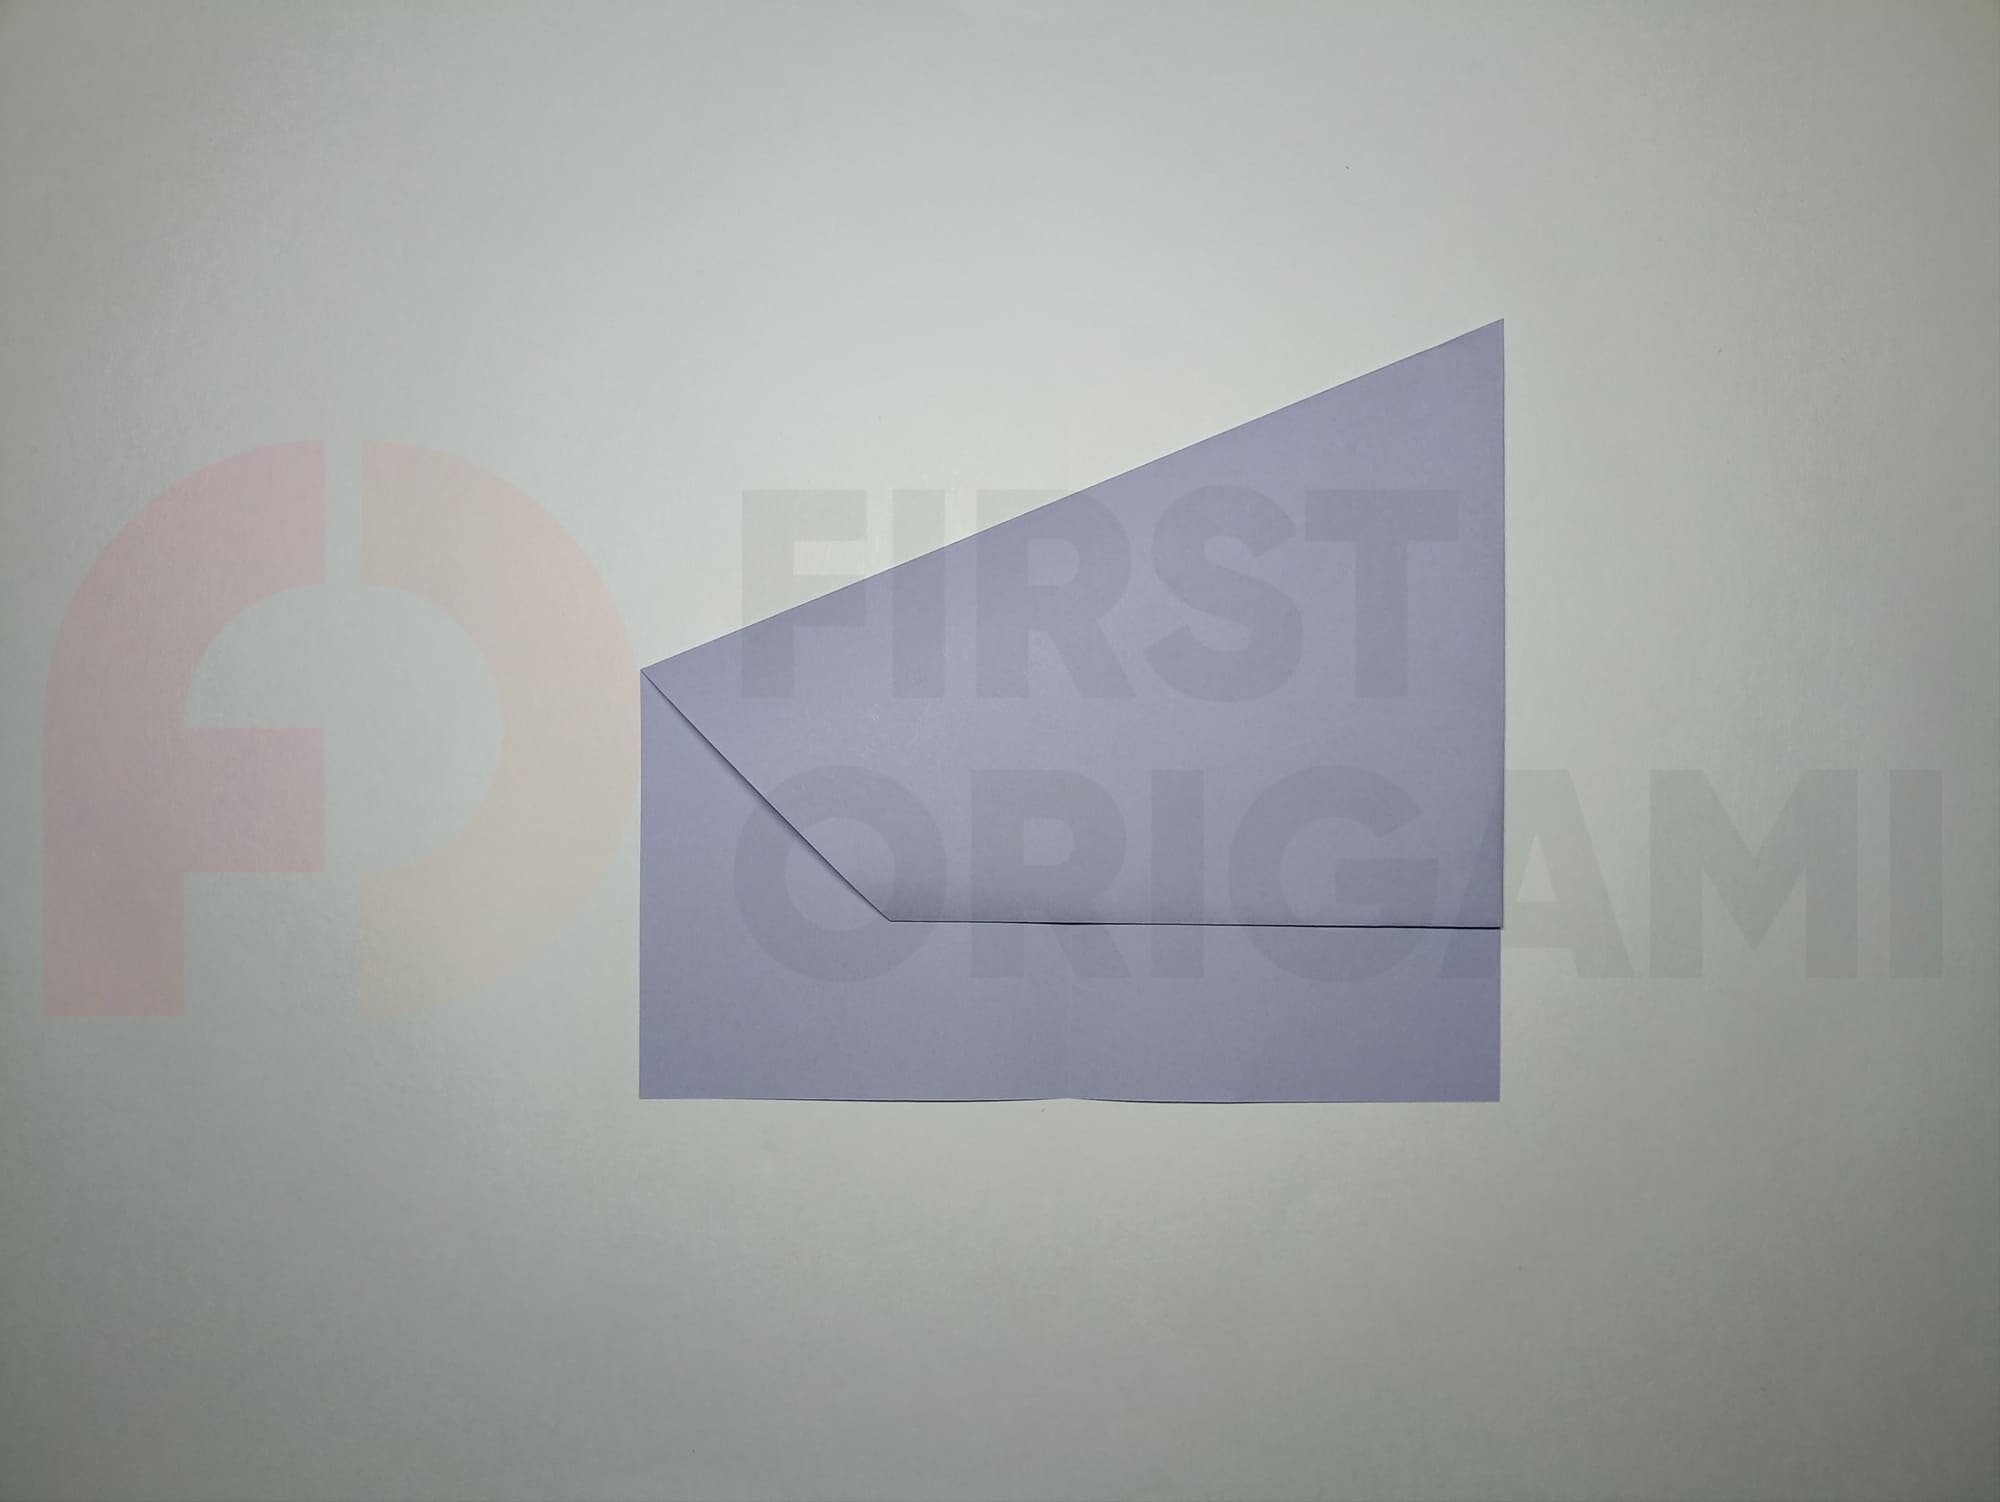
Do the same with the left side of the top.
Turn the figure over, as if turning a page.

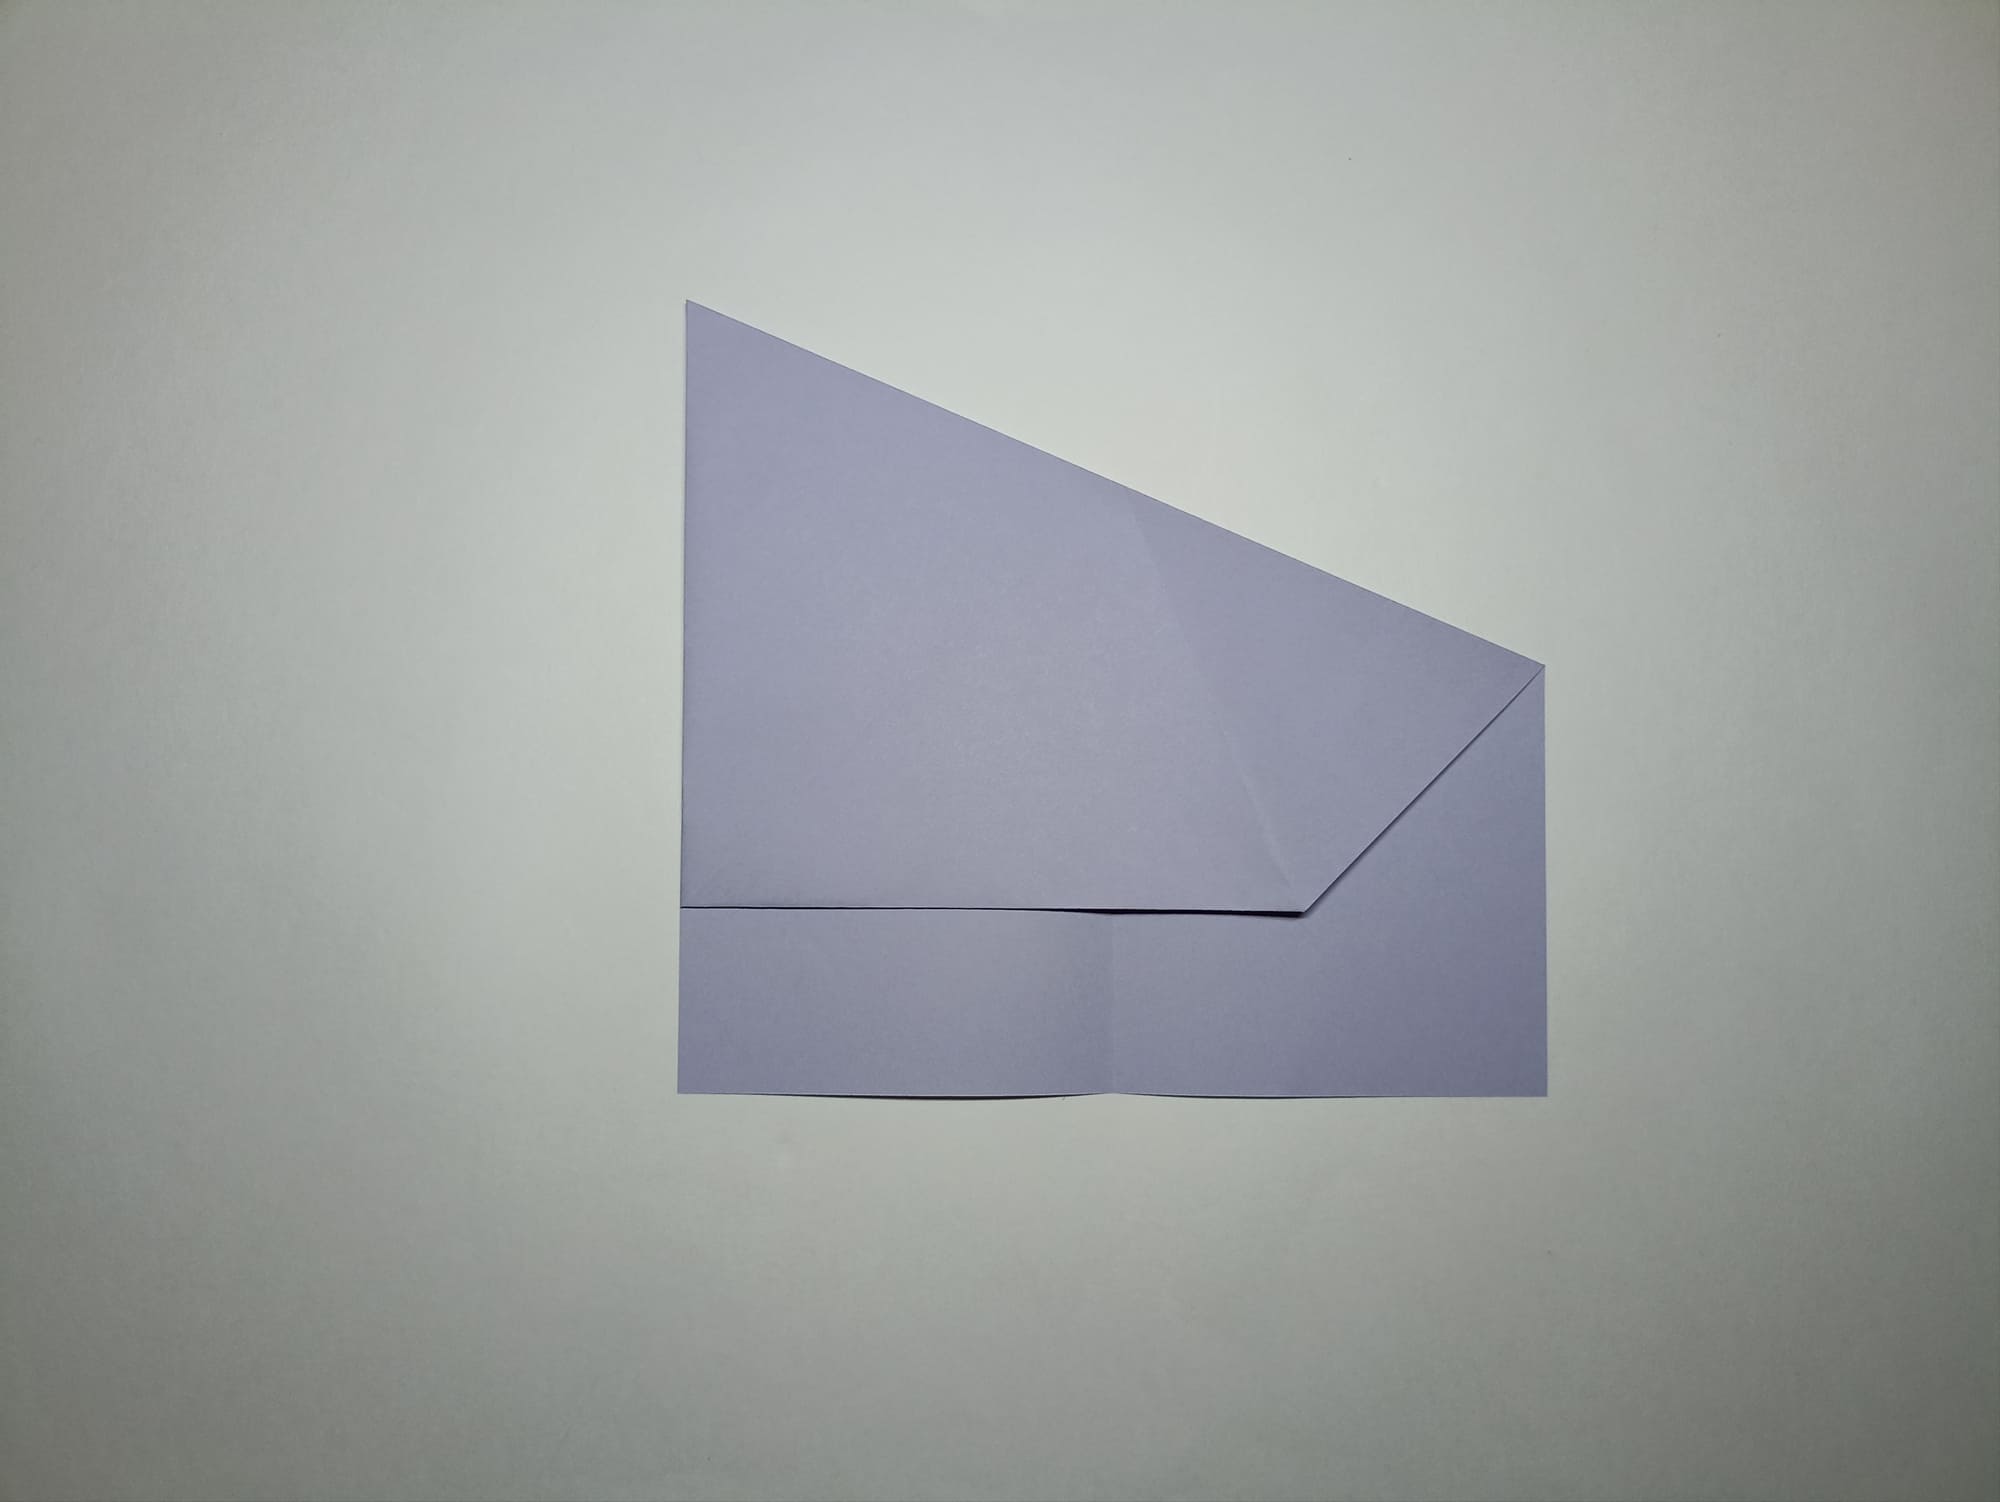
Bend the top of the triangle towards you along the line of the corners.
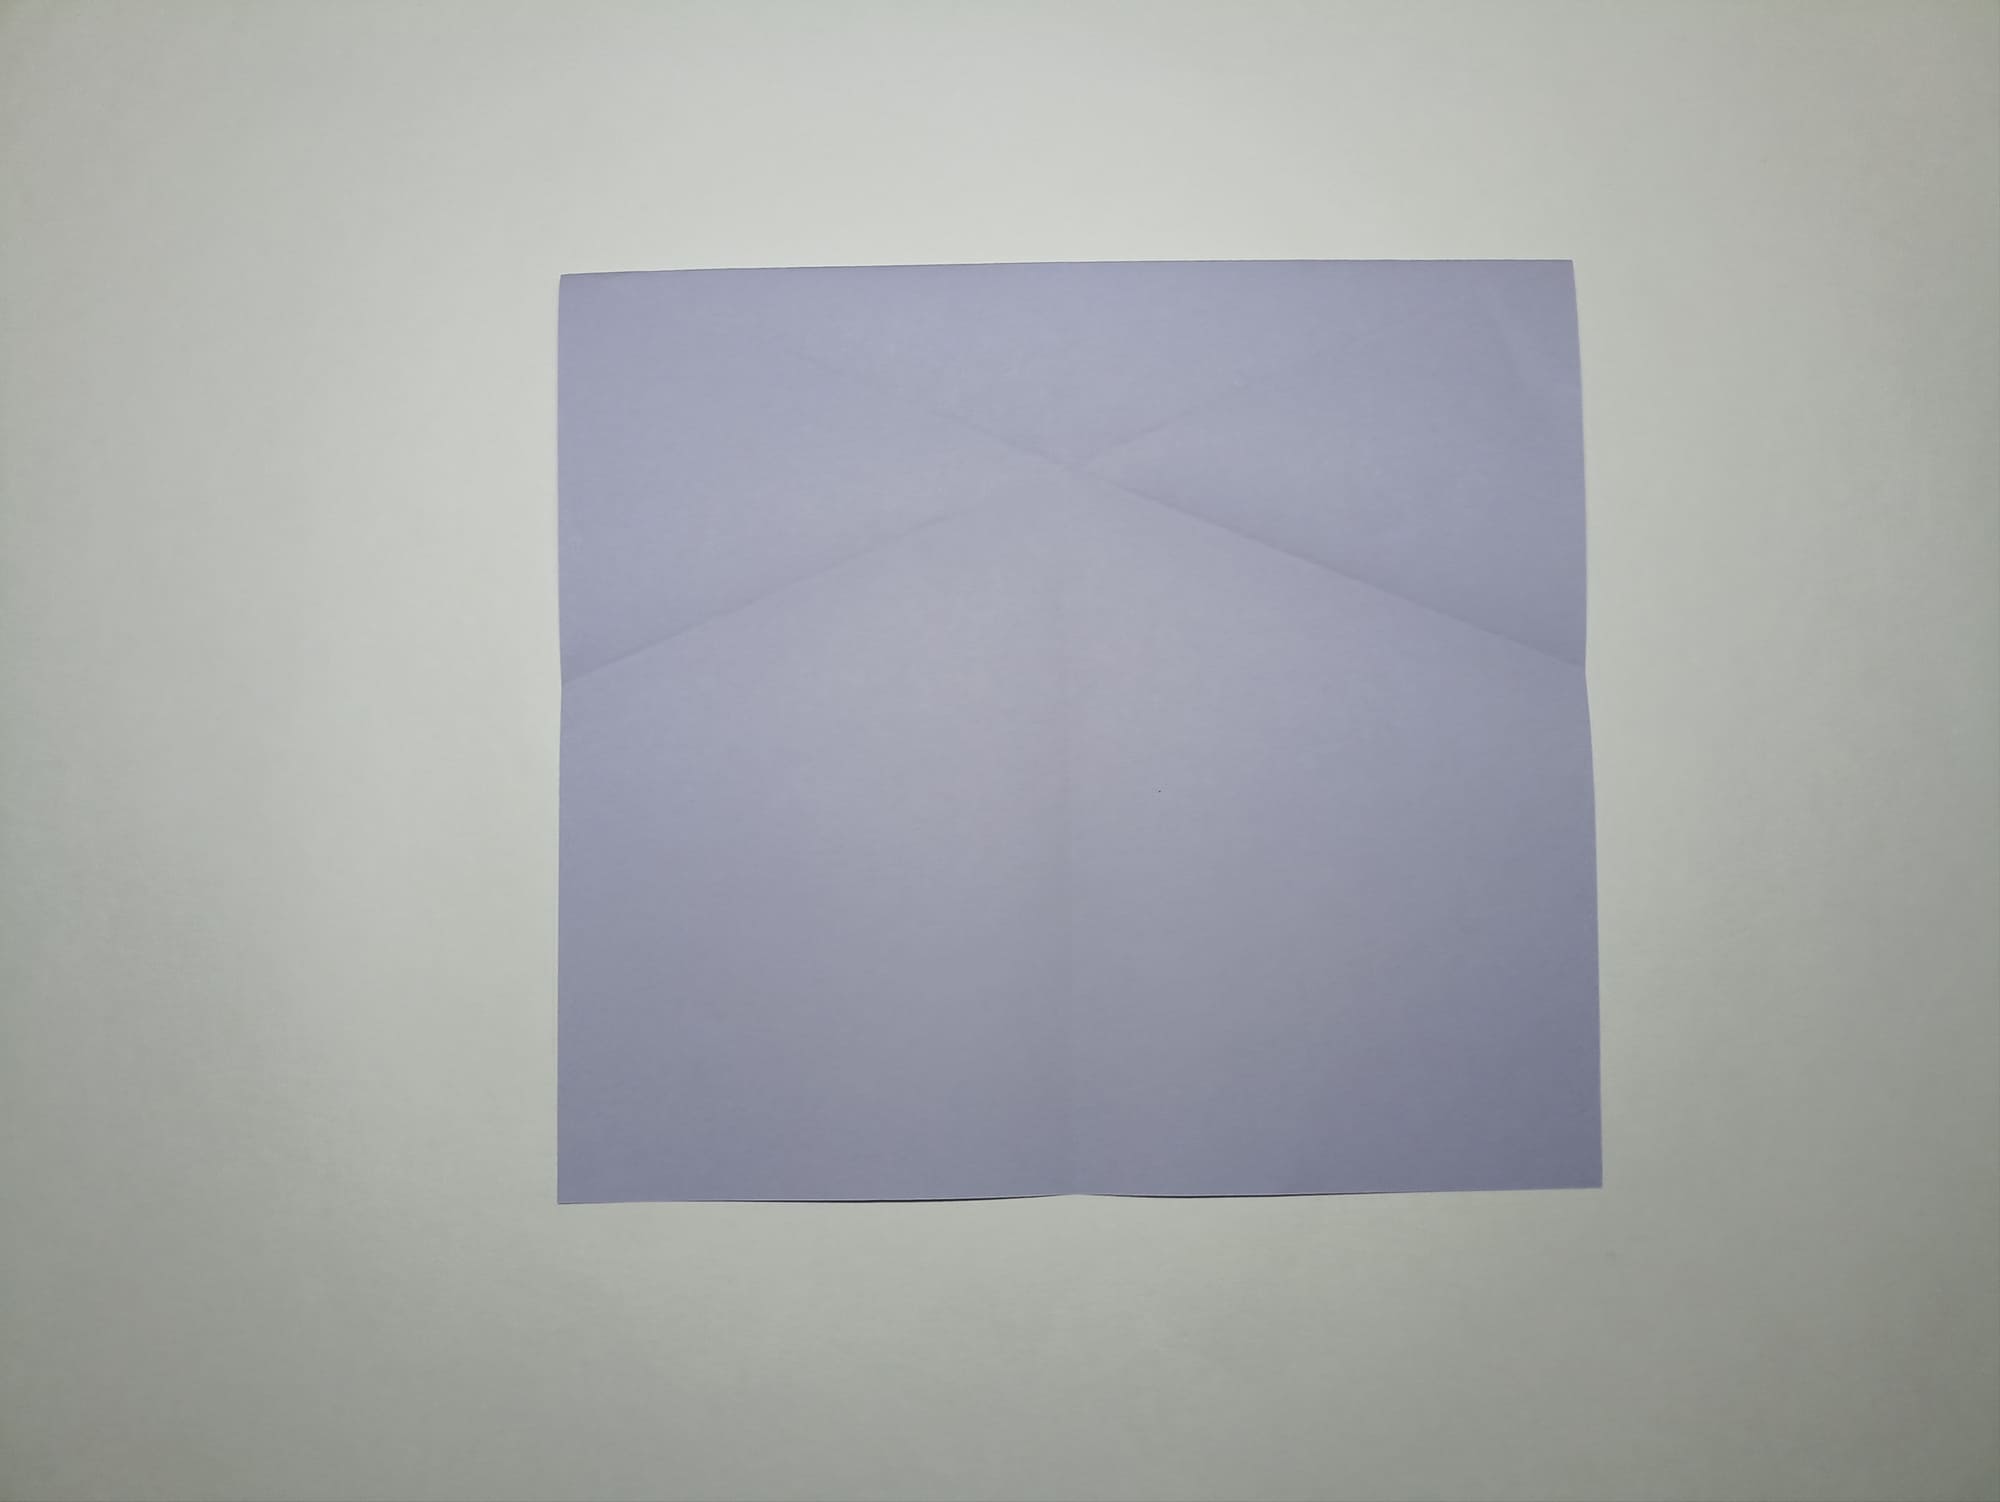
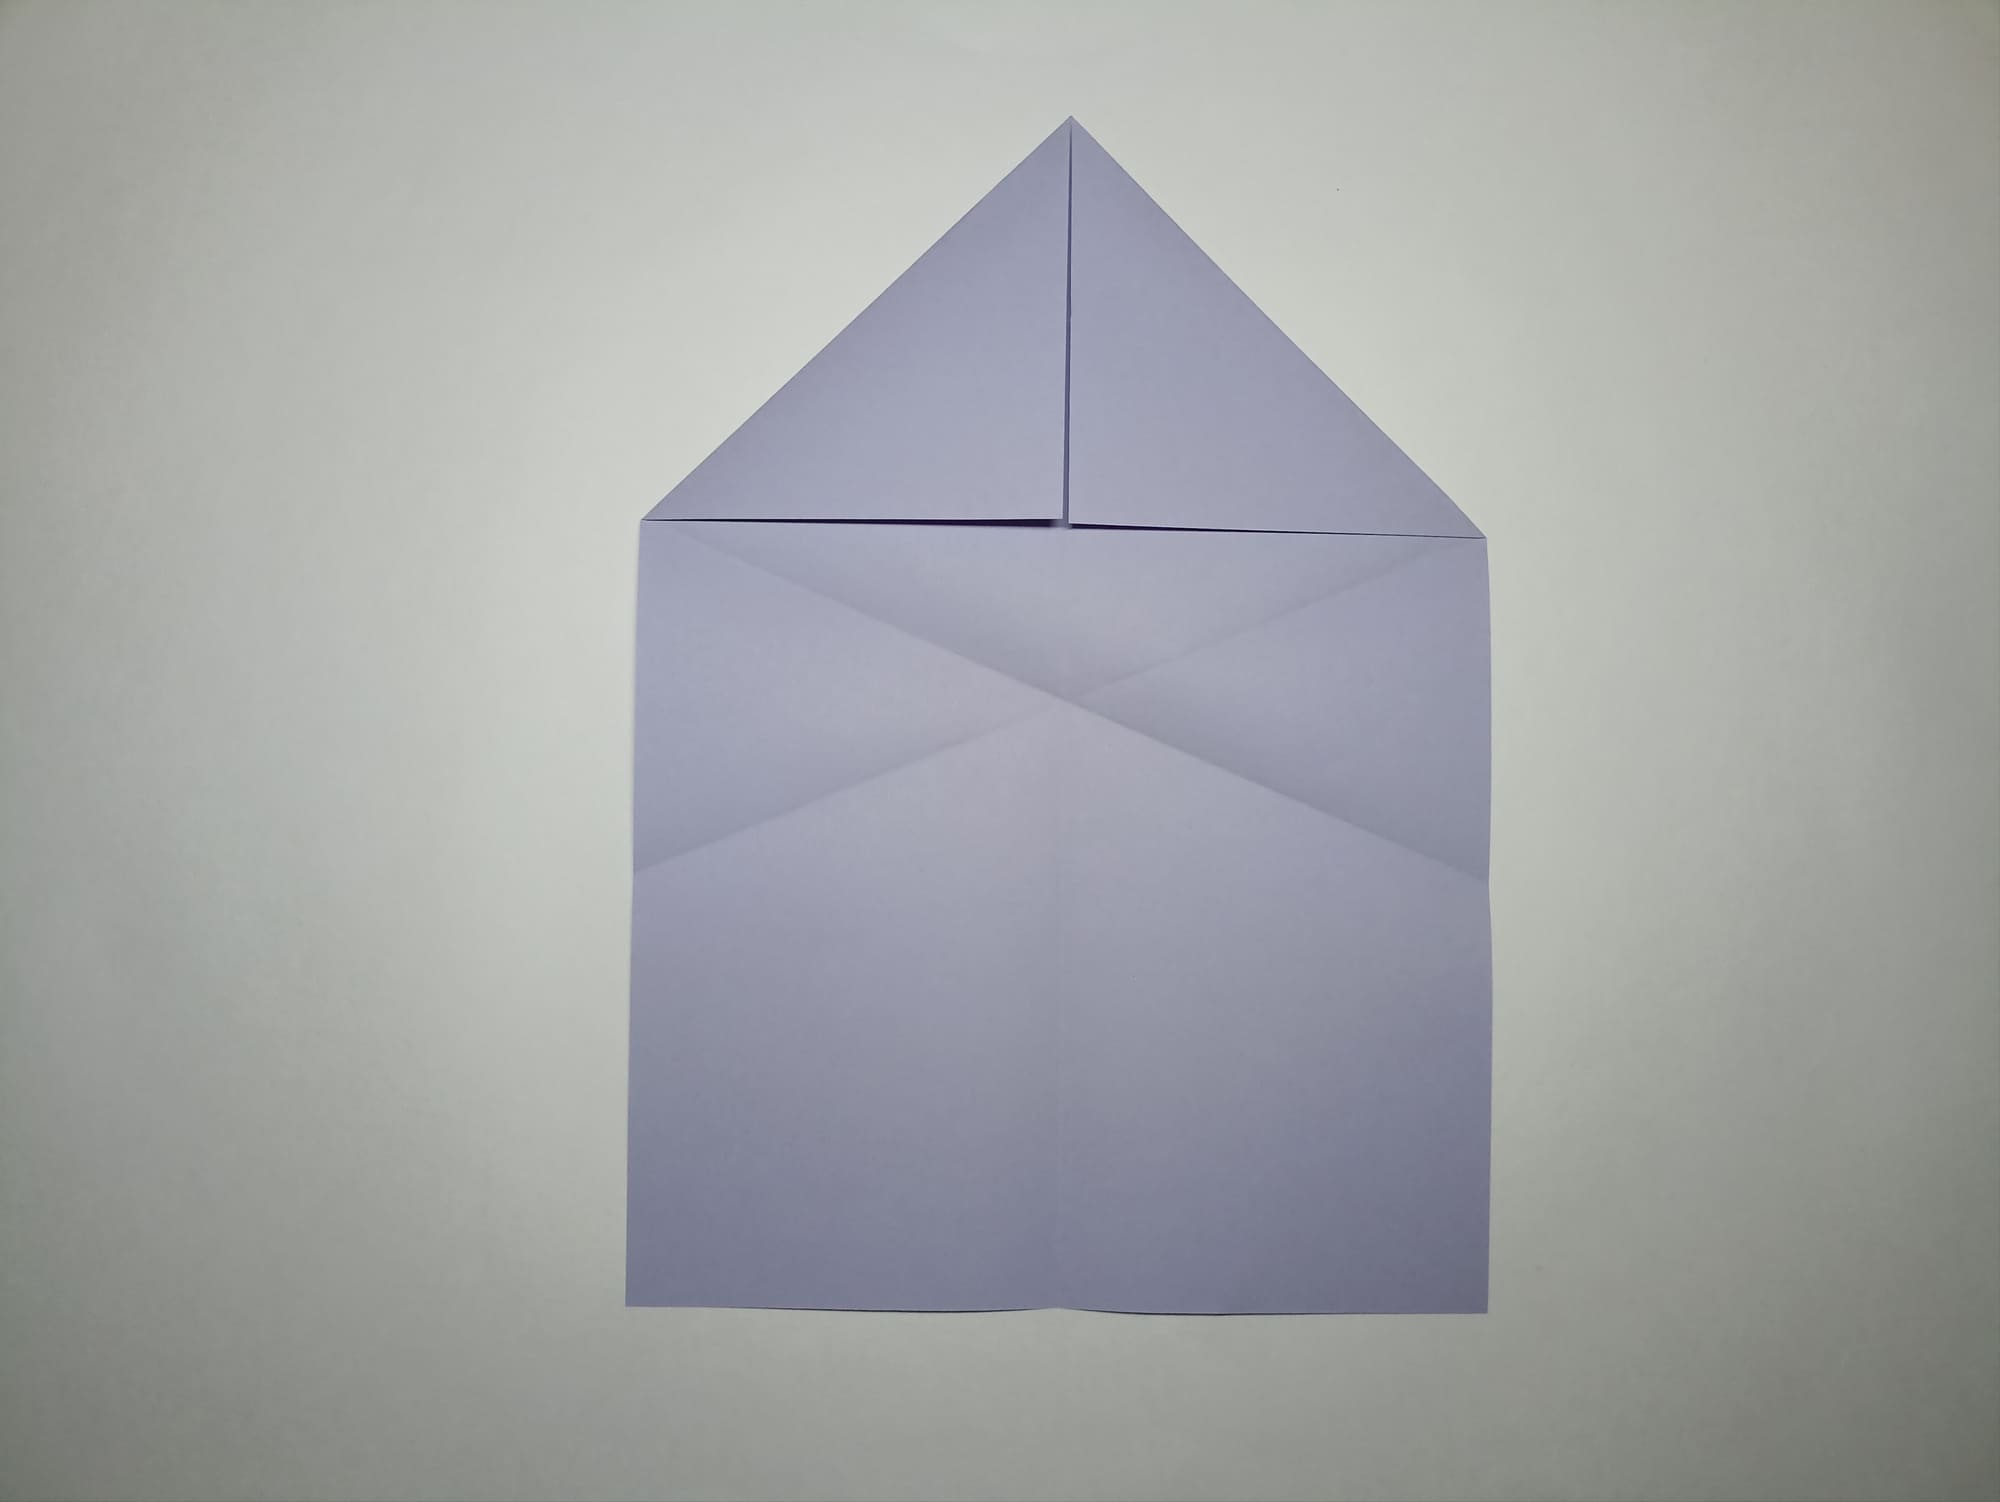
Turn the figure over again and unfold the horizontal fold. You can mark a horizontal fold passing through the center of the intersection of the lines.
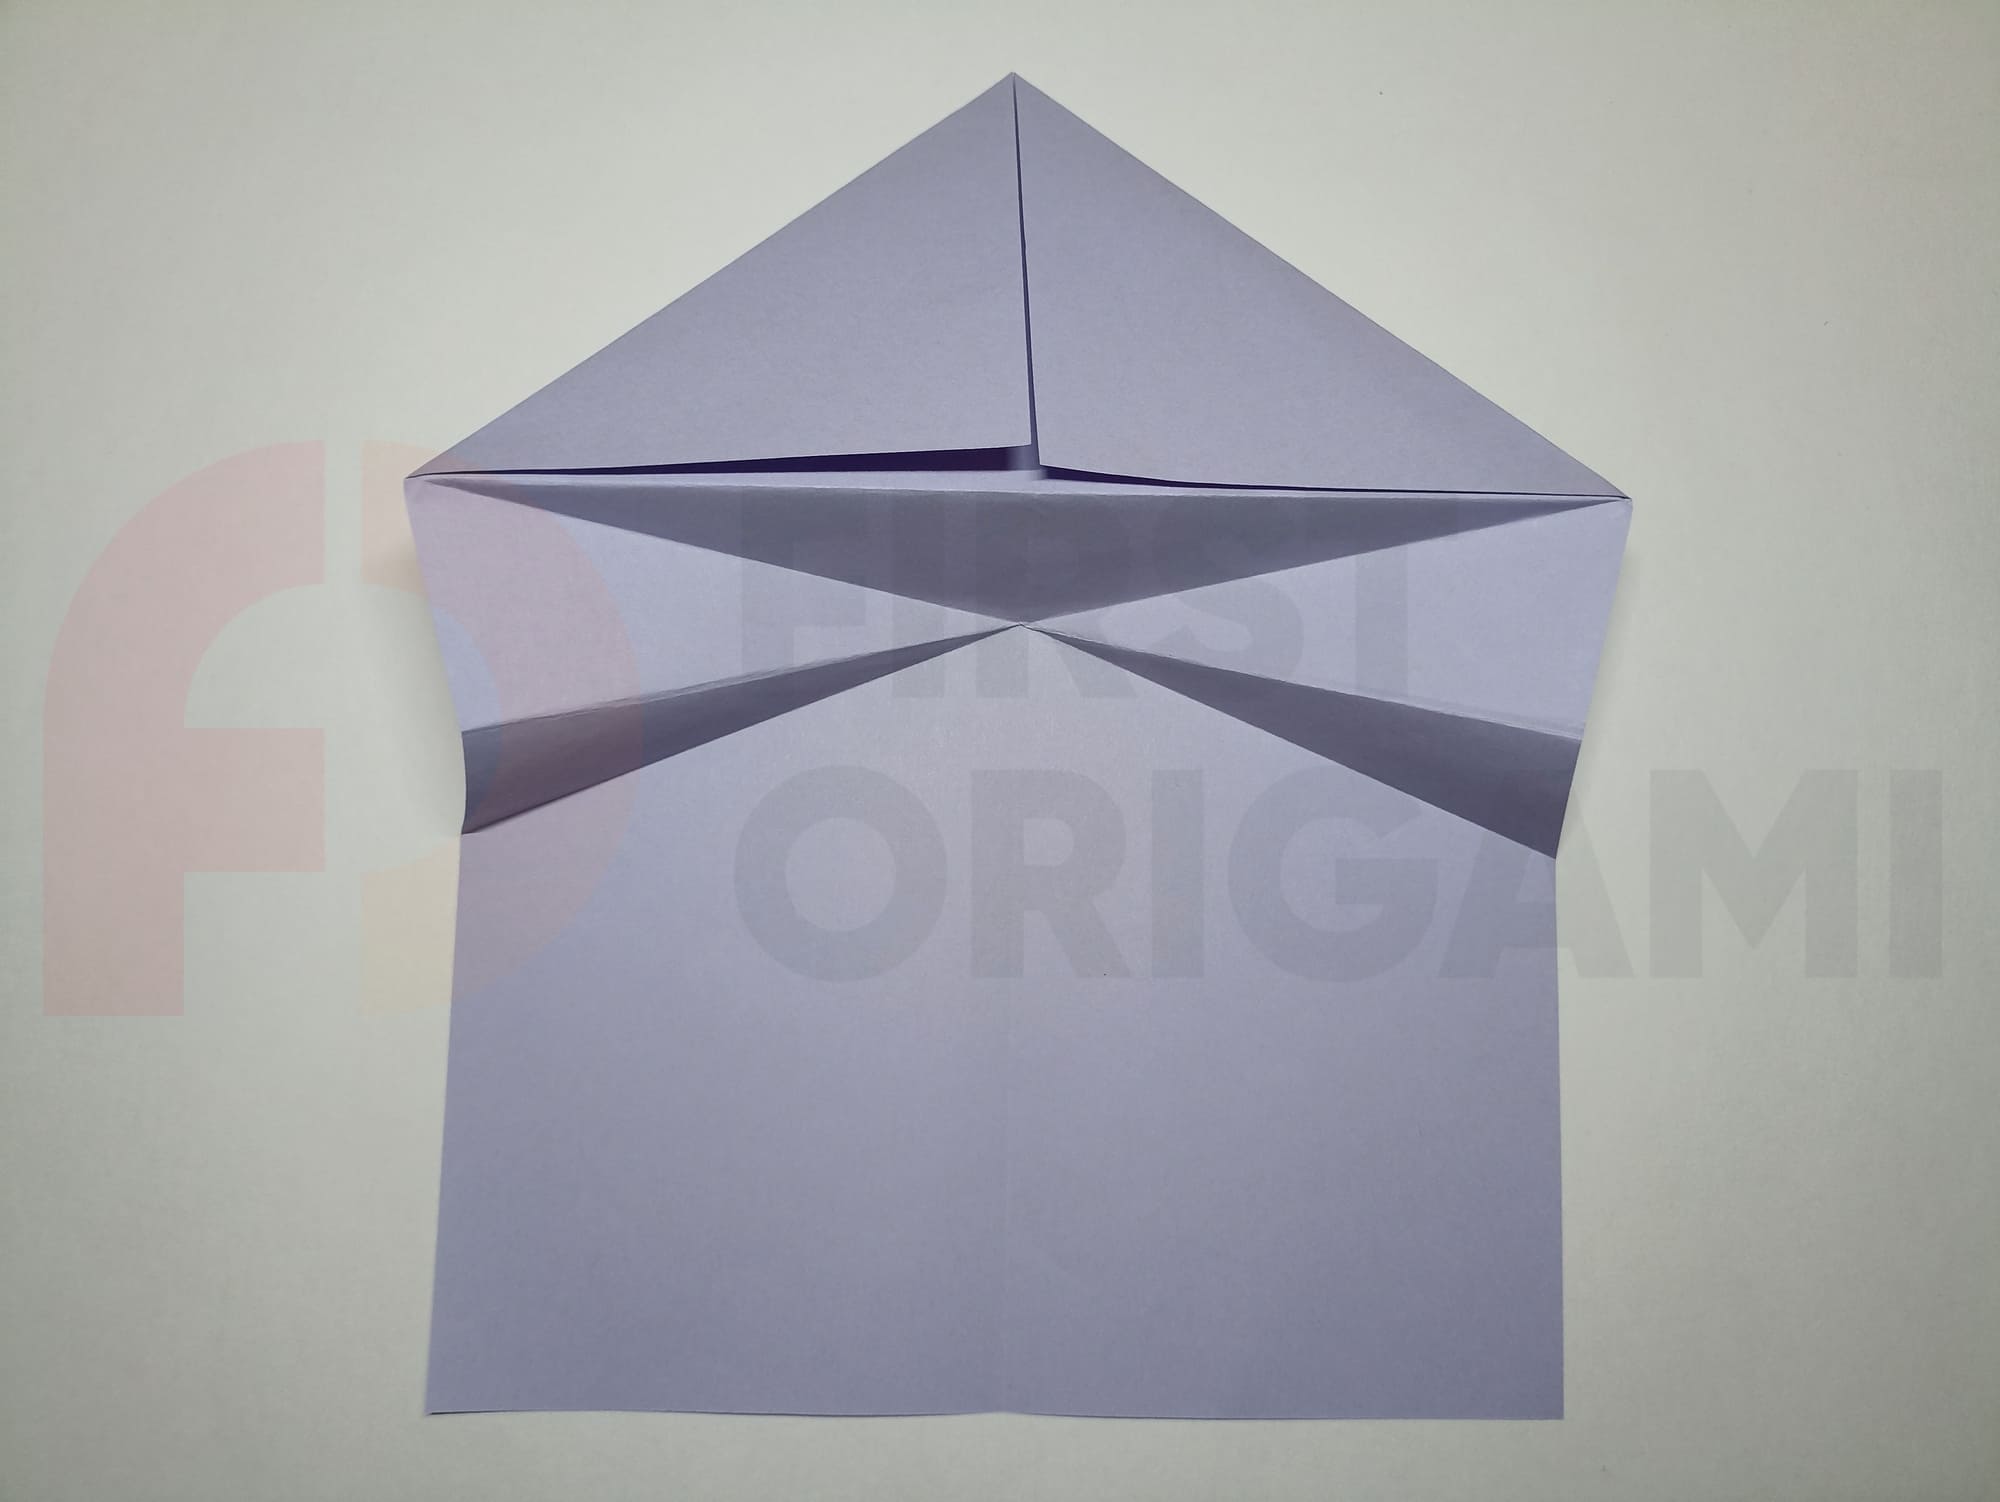
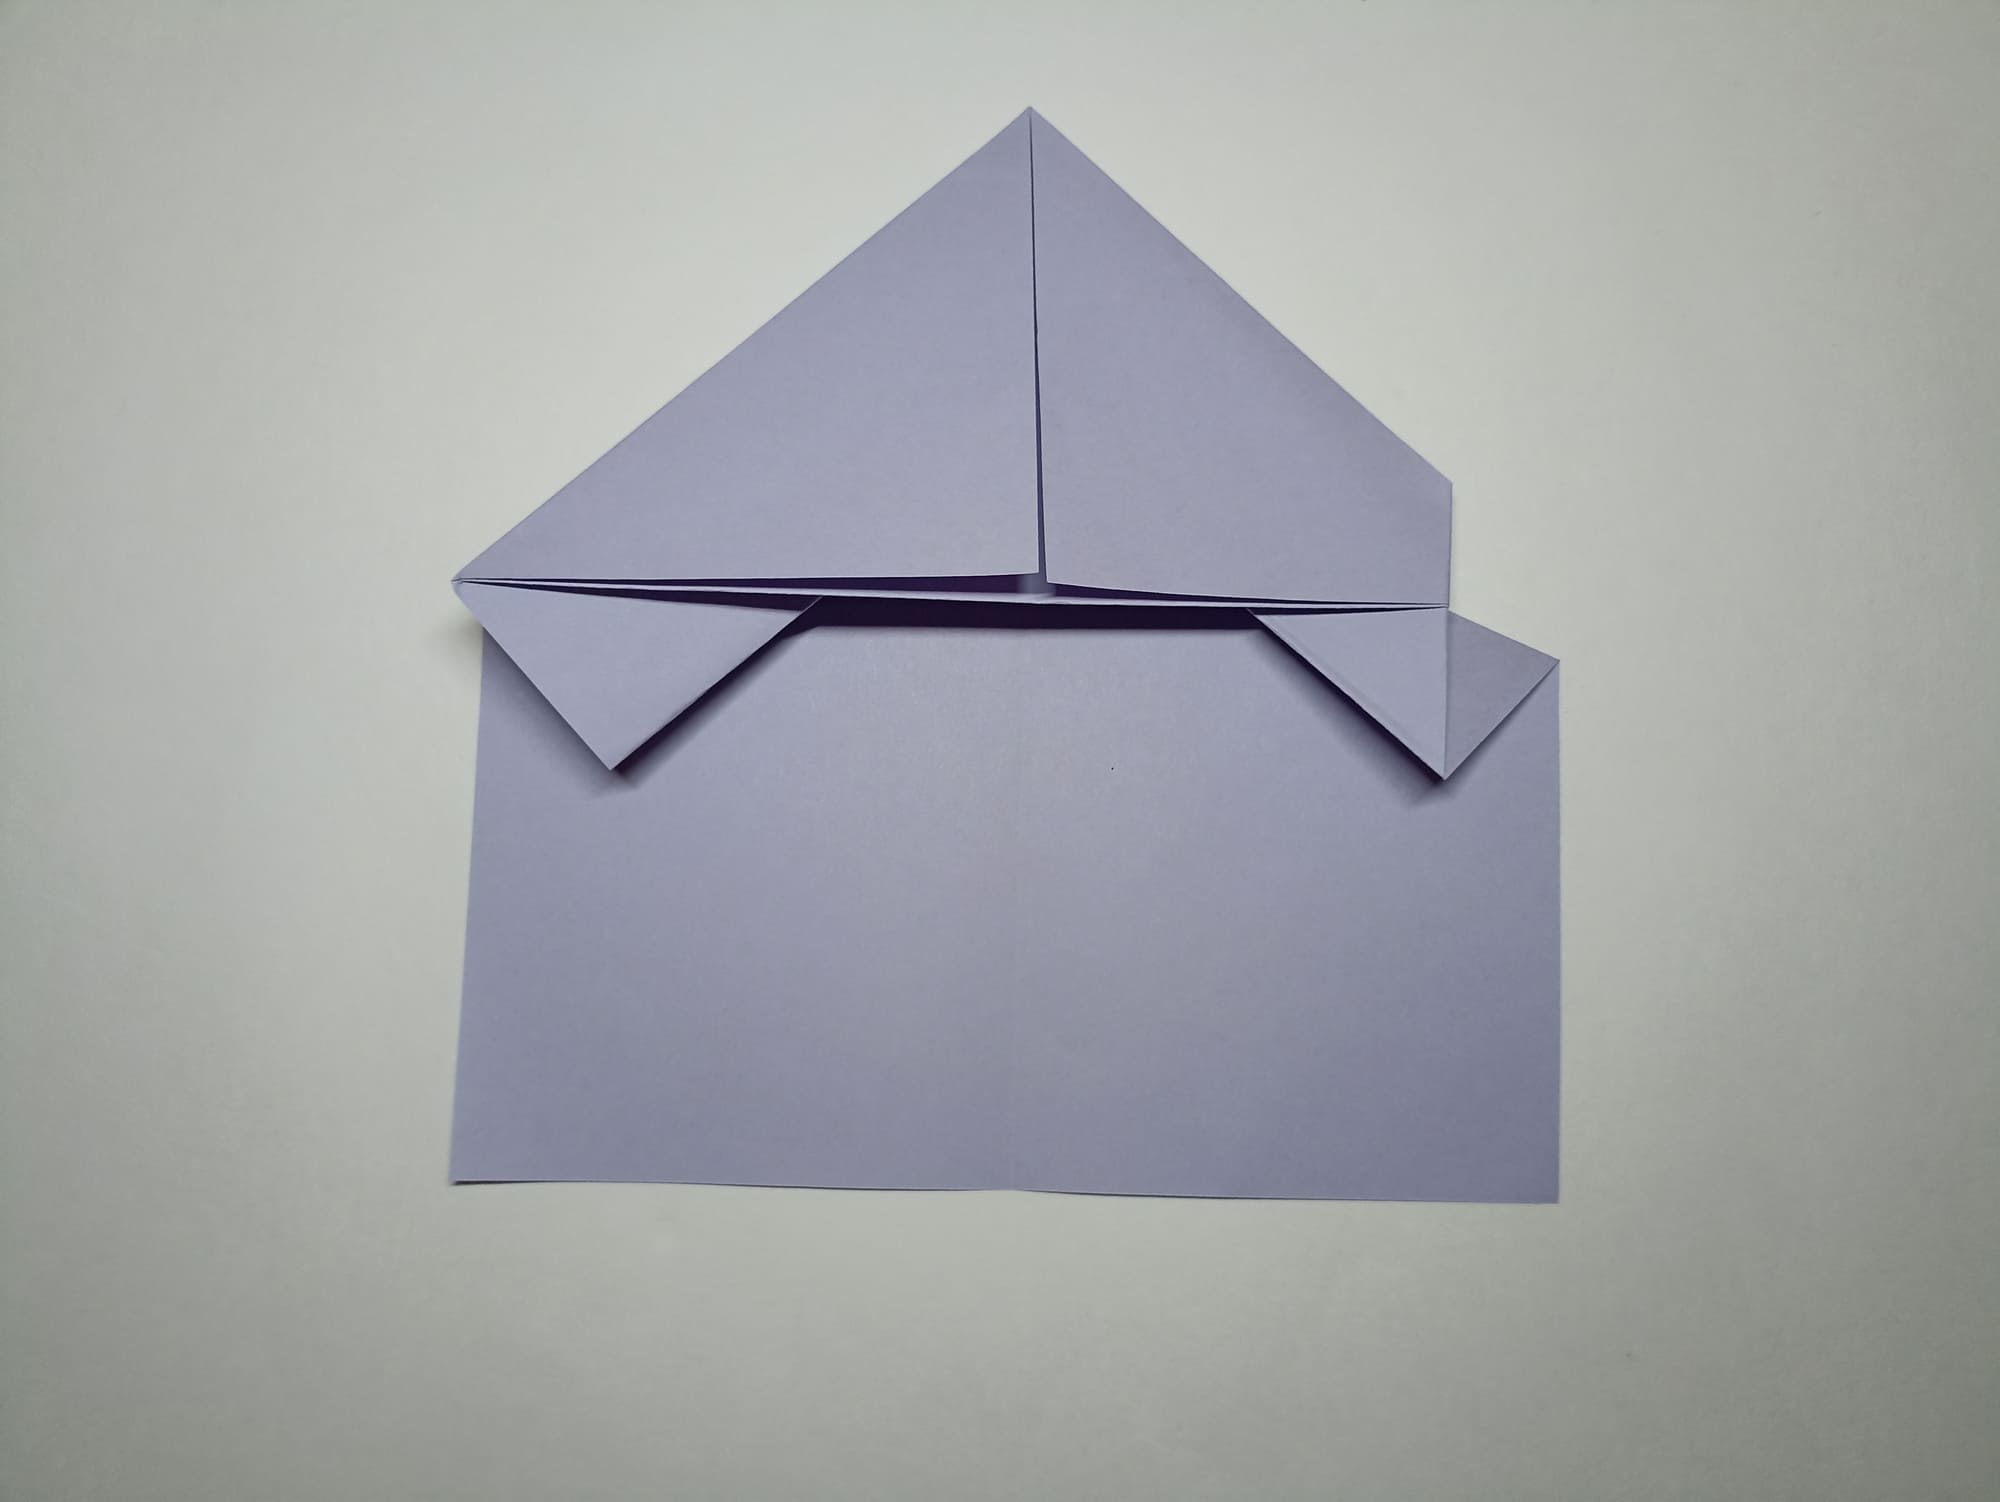
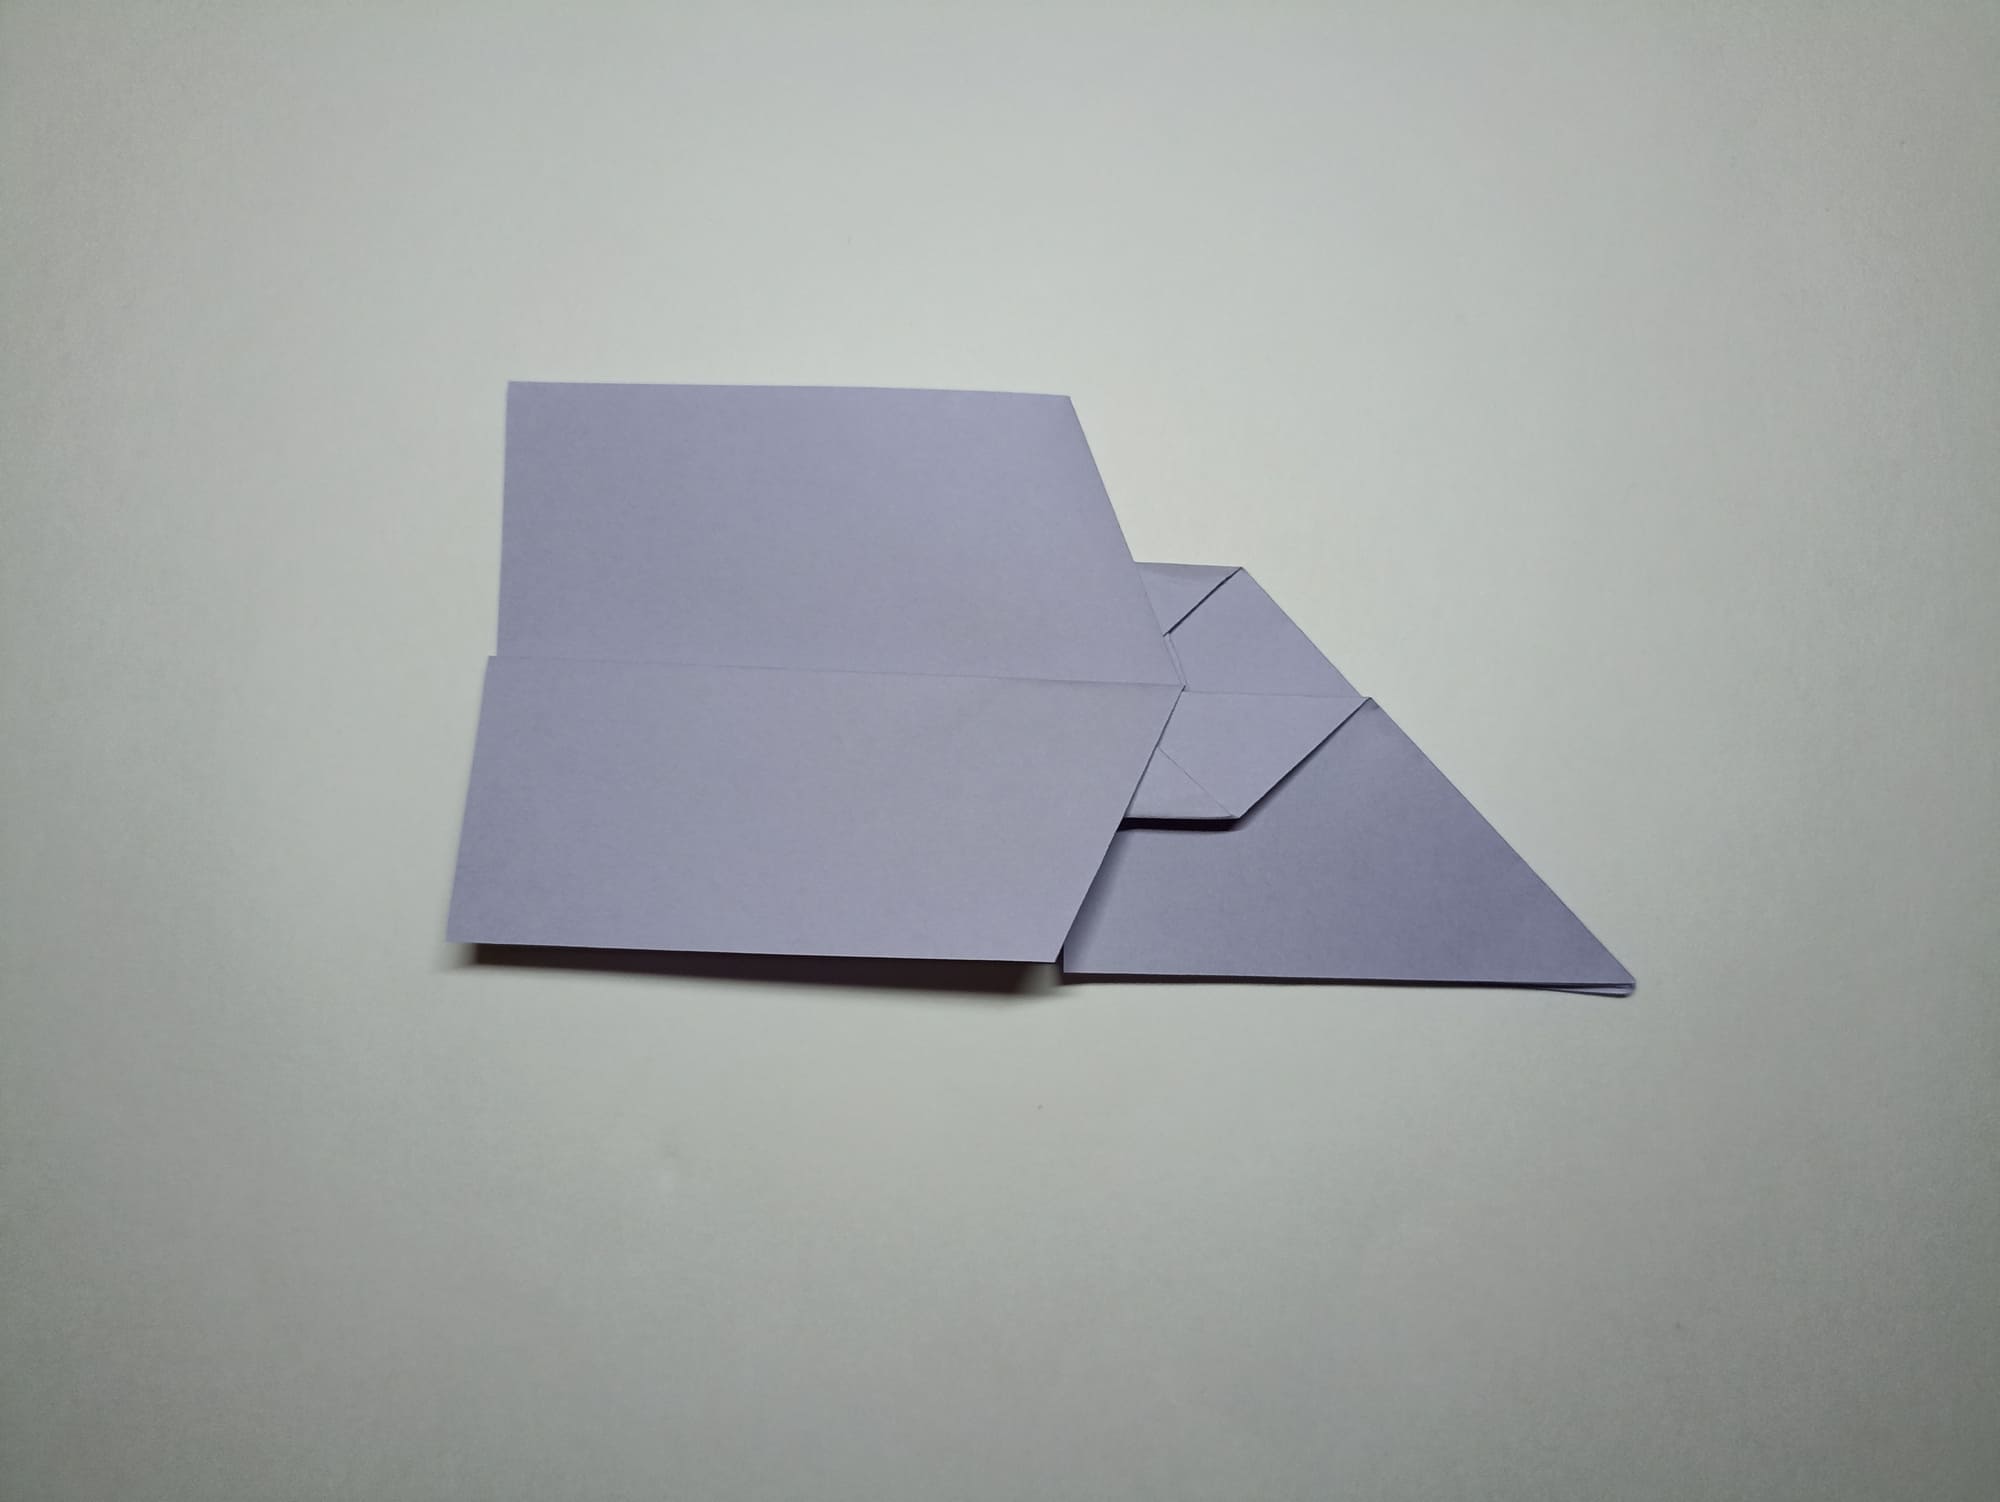
Make a complex fold along the marked lines, pressing the horizontal folds inward on both sides, and compare with the illustration.
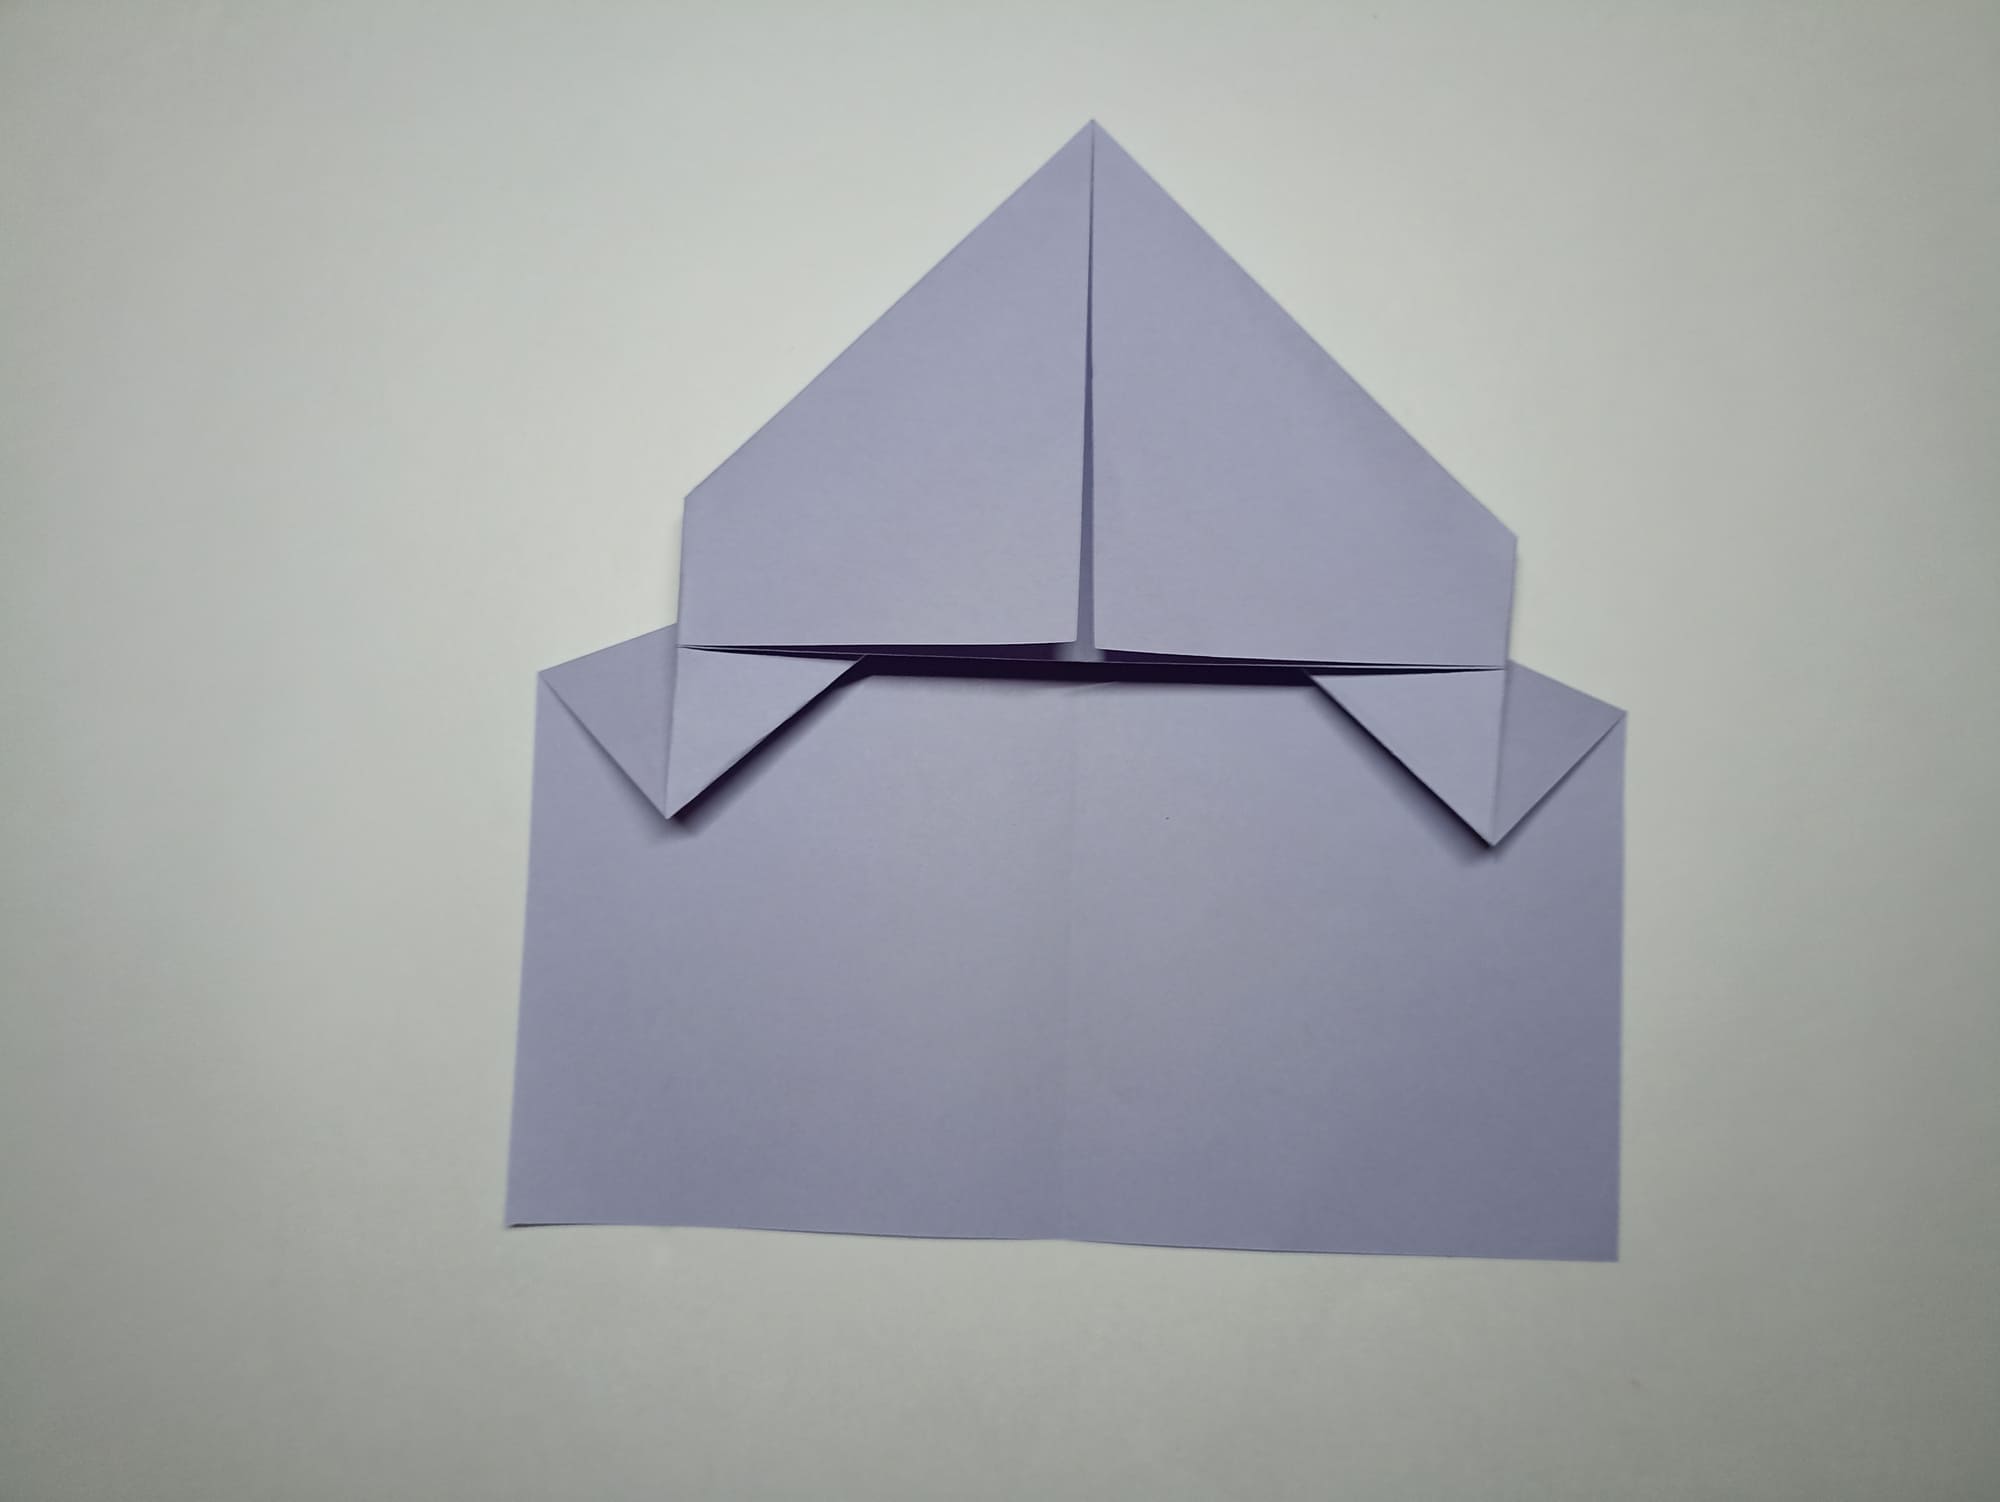
The design should have two small triangles with their tops pointing down the sides of the base of the large triangle.
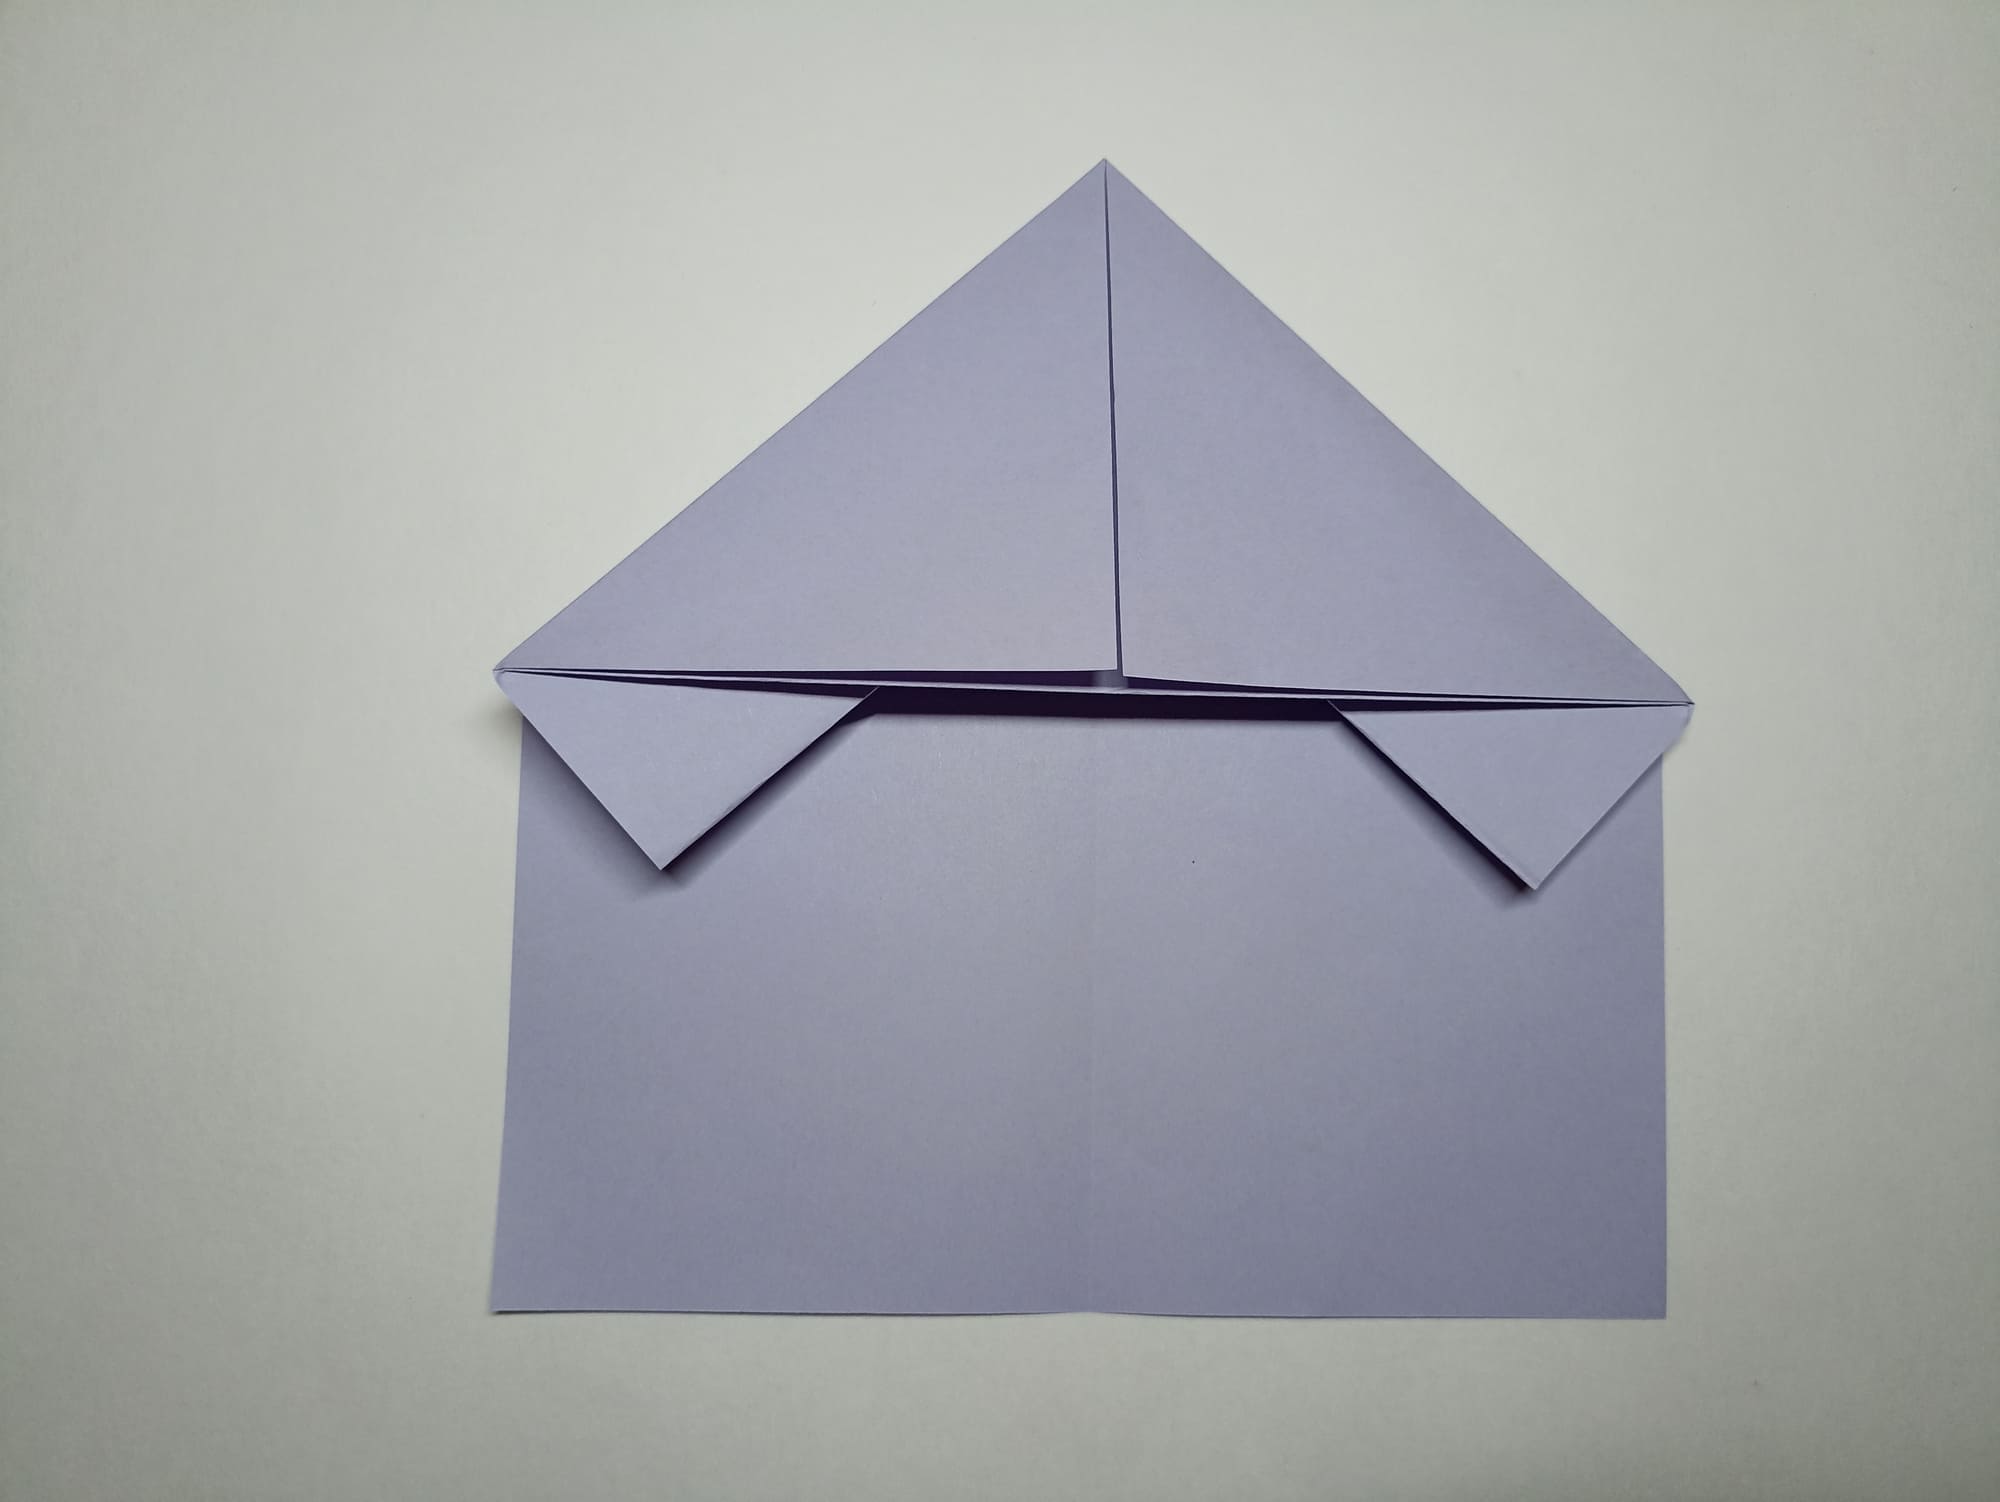
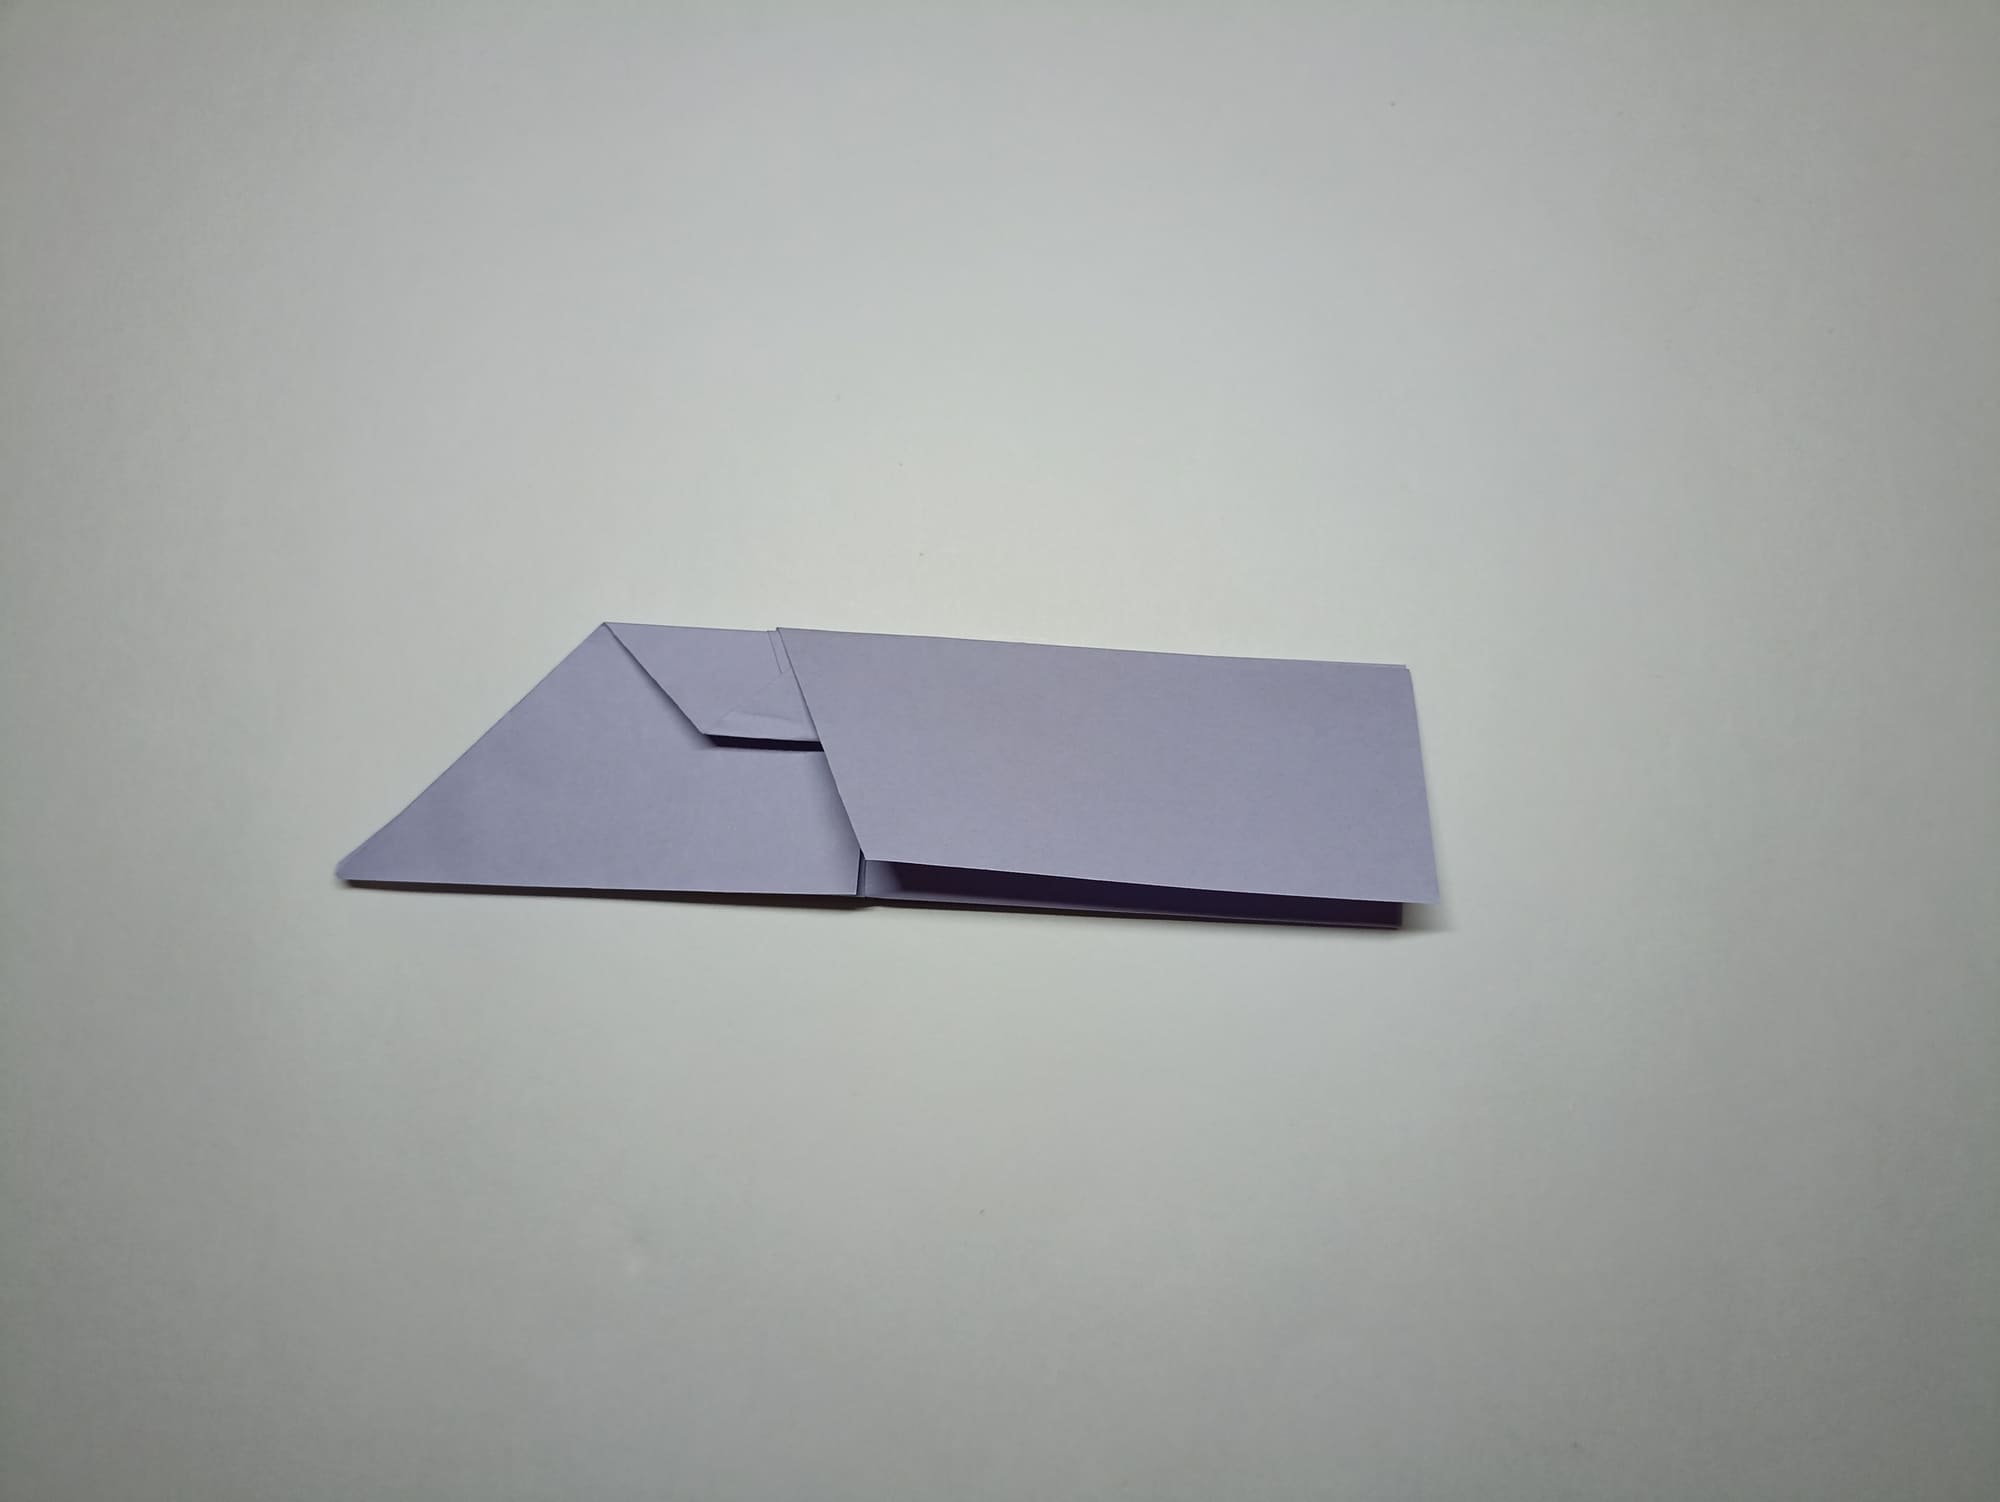
Bend the corners of the upper triangle inward vertically at the level of the small triangles’ tops on both sides.
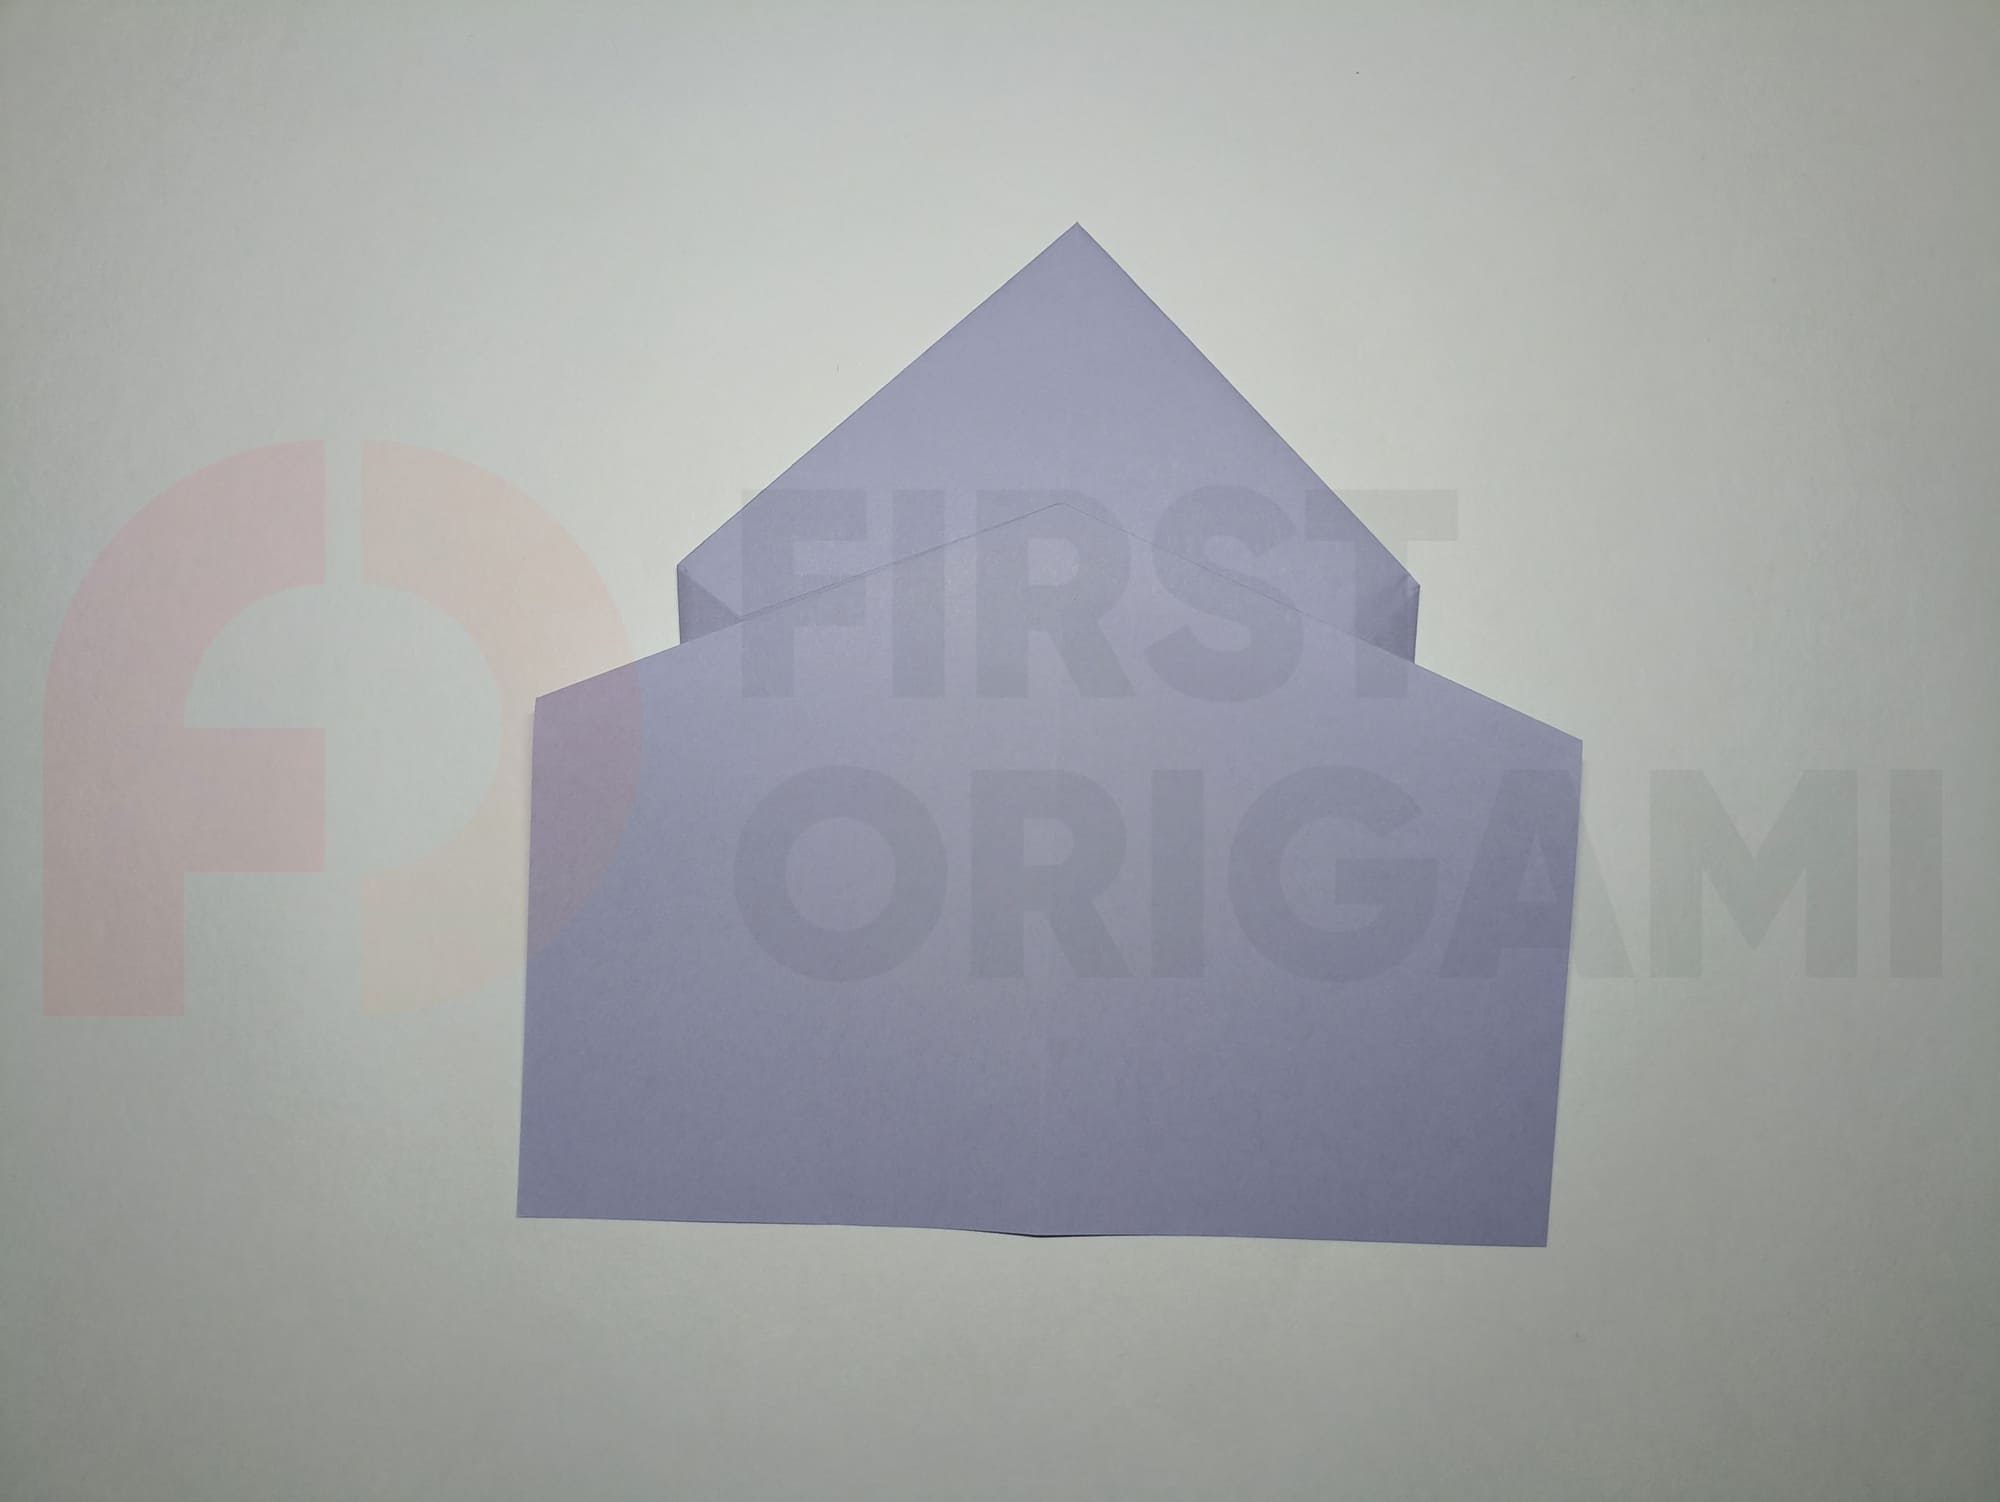
Turn the sheet of paper over, and close the figure along a vertical line, aligning and straightening the edges.
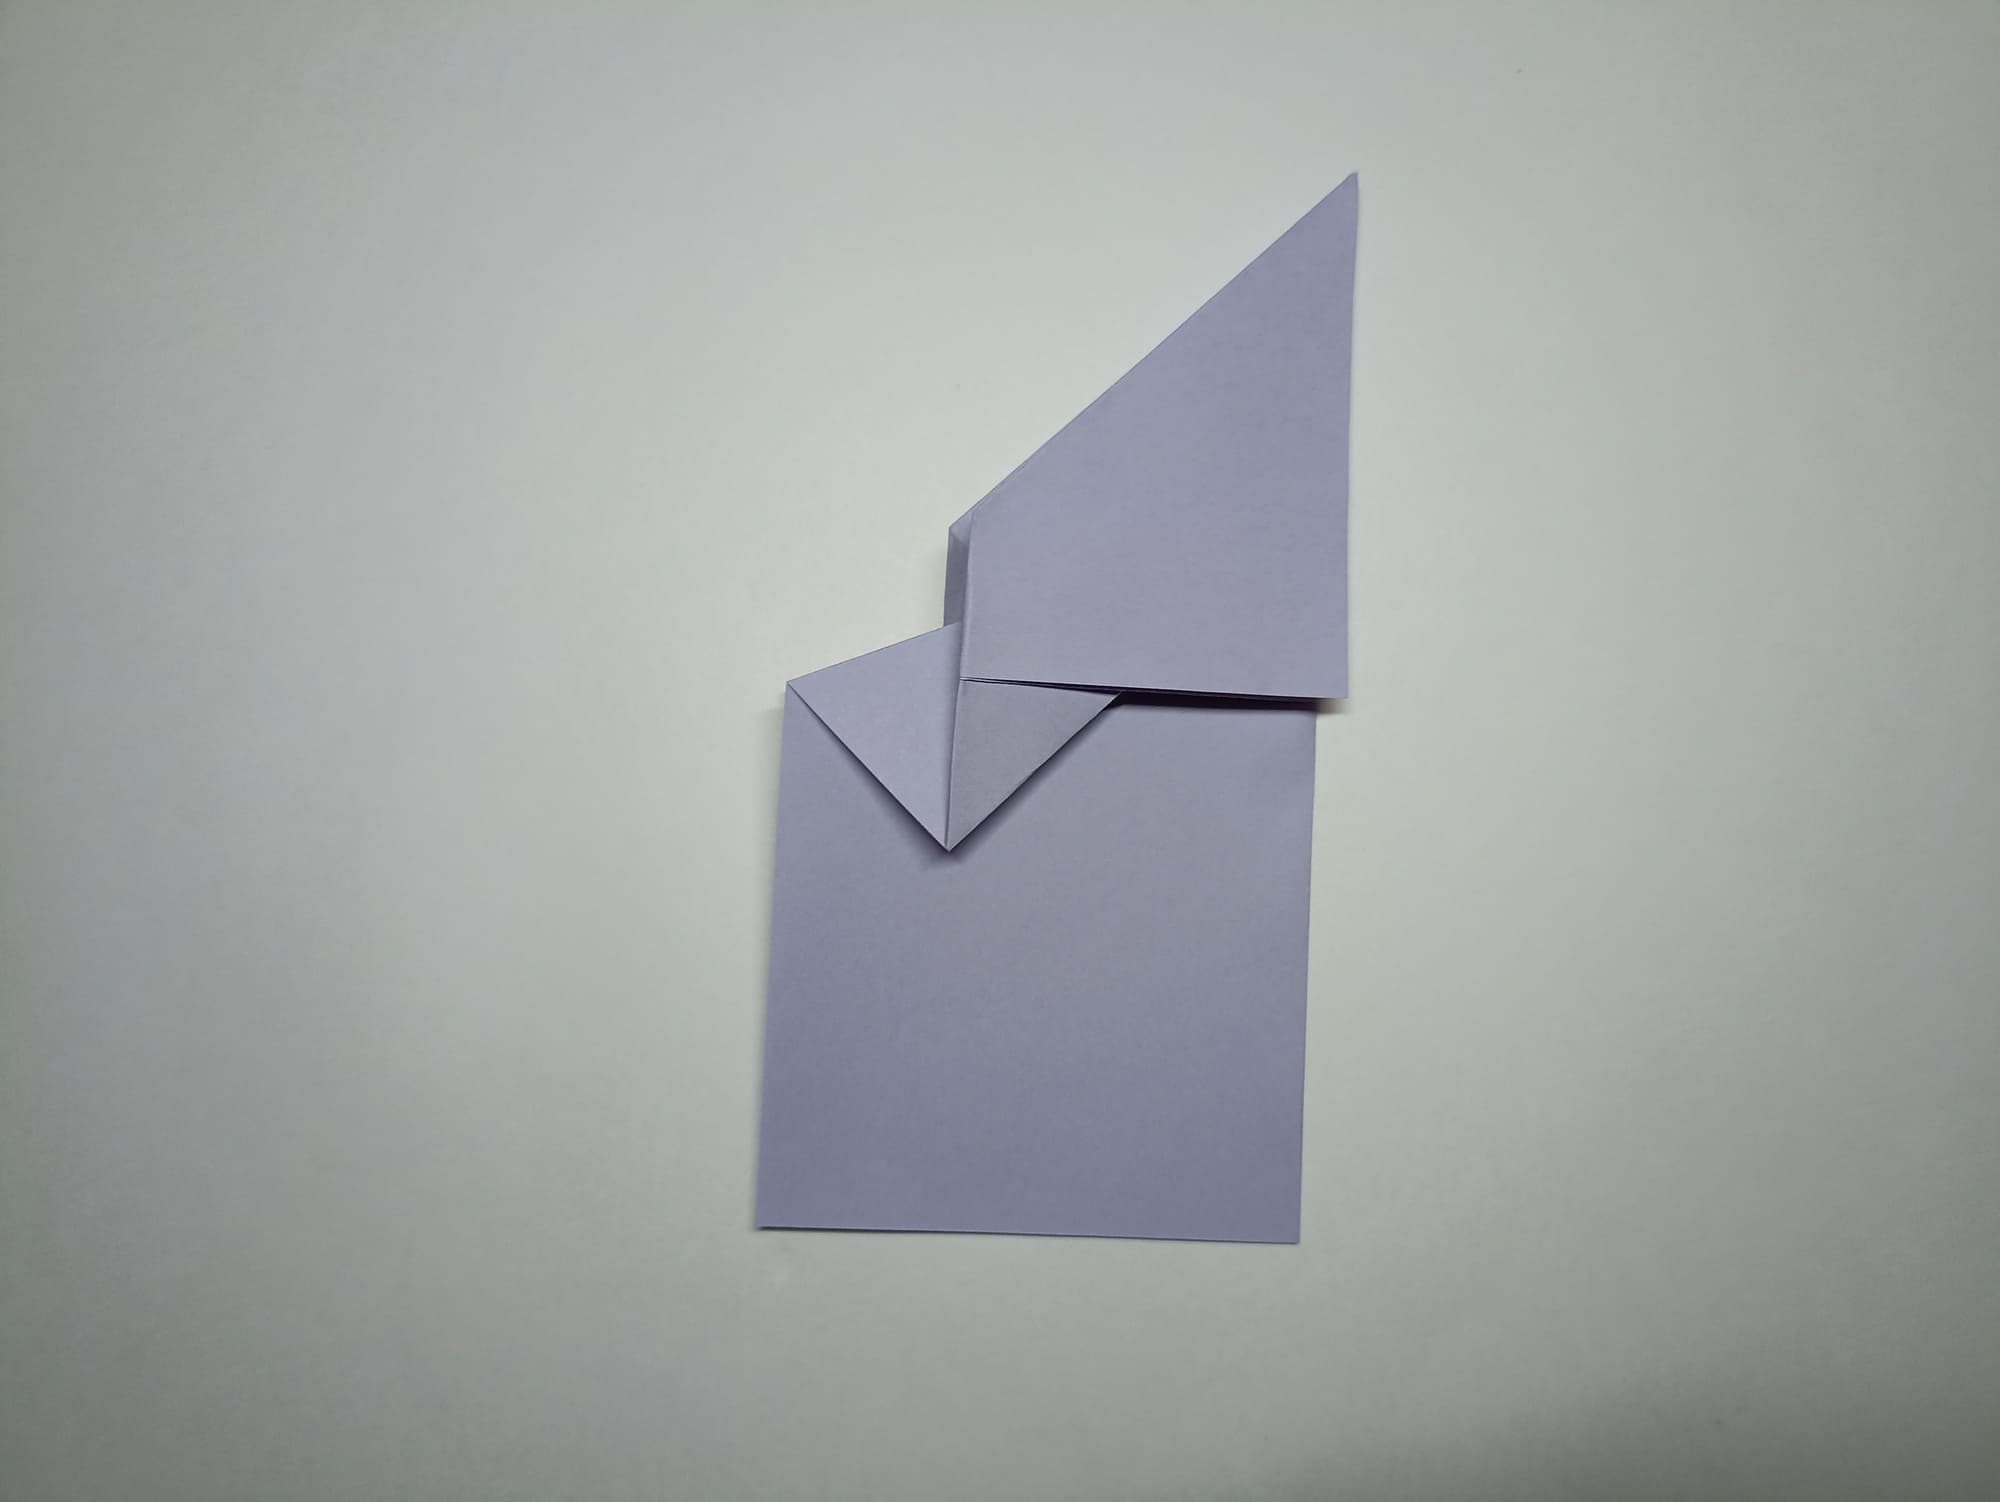
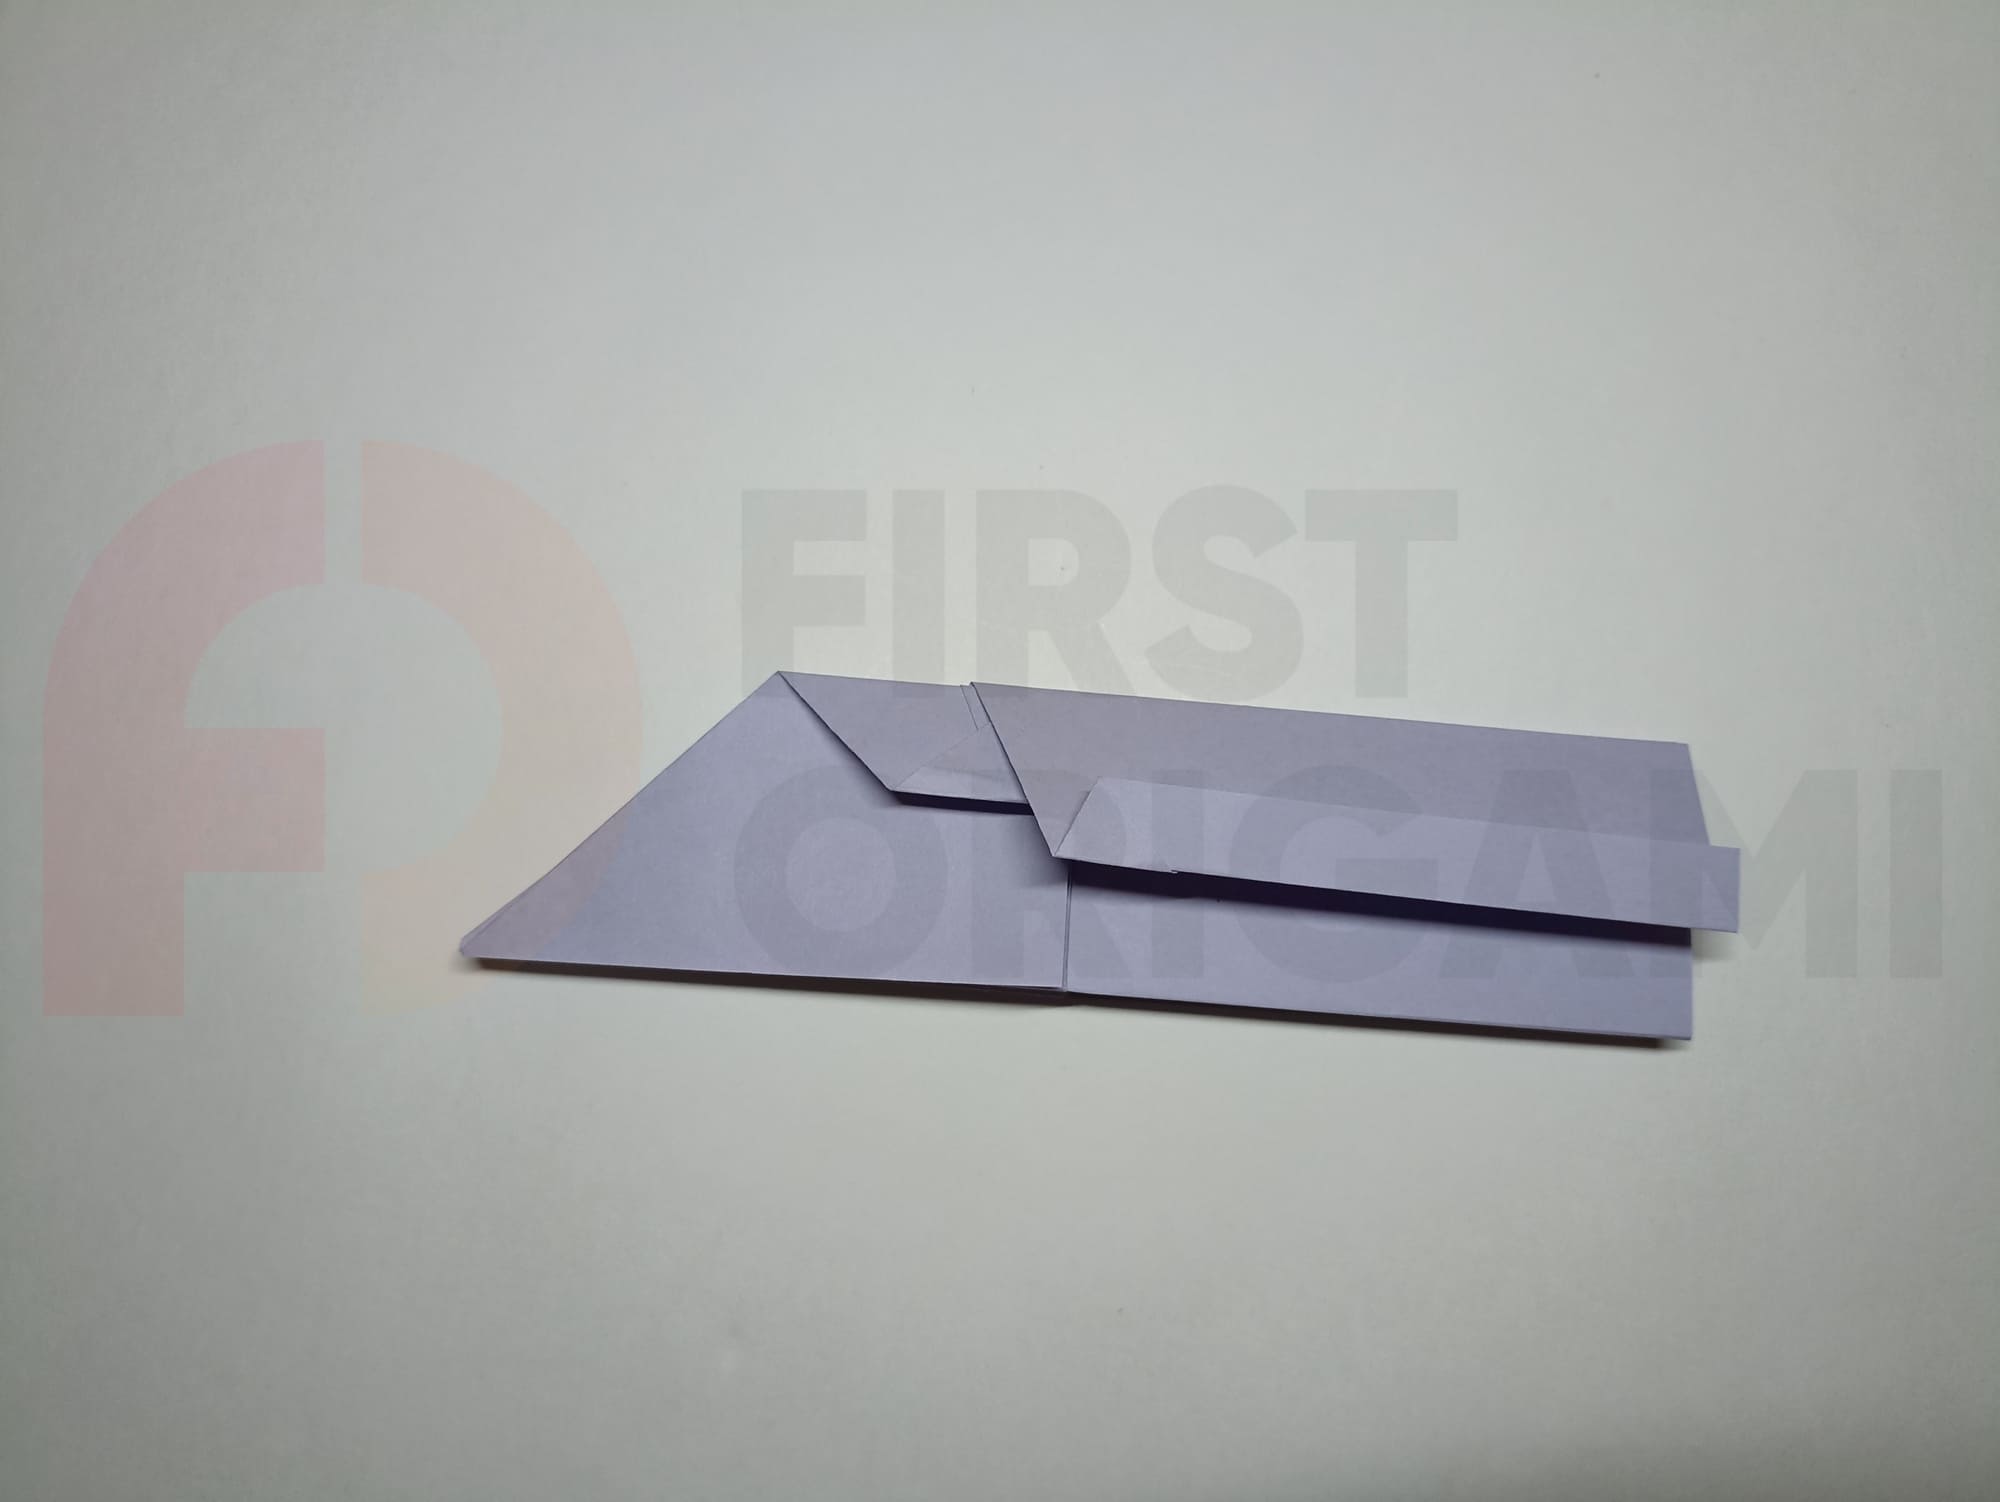
Rotate the sheet of paper clockwise and level it horizontally.
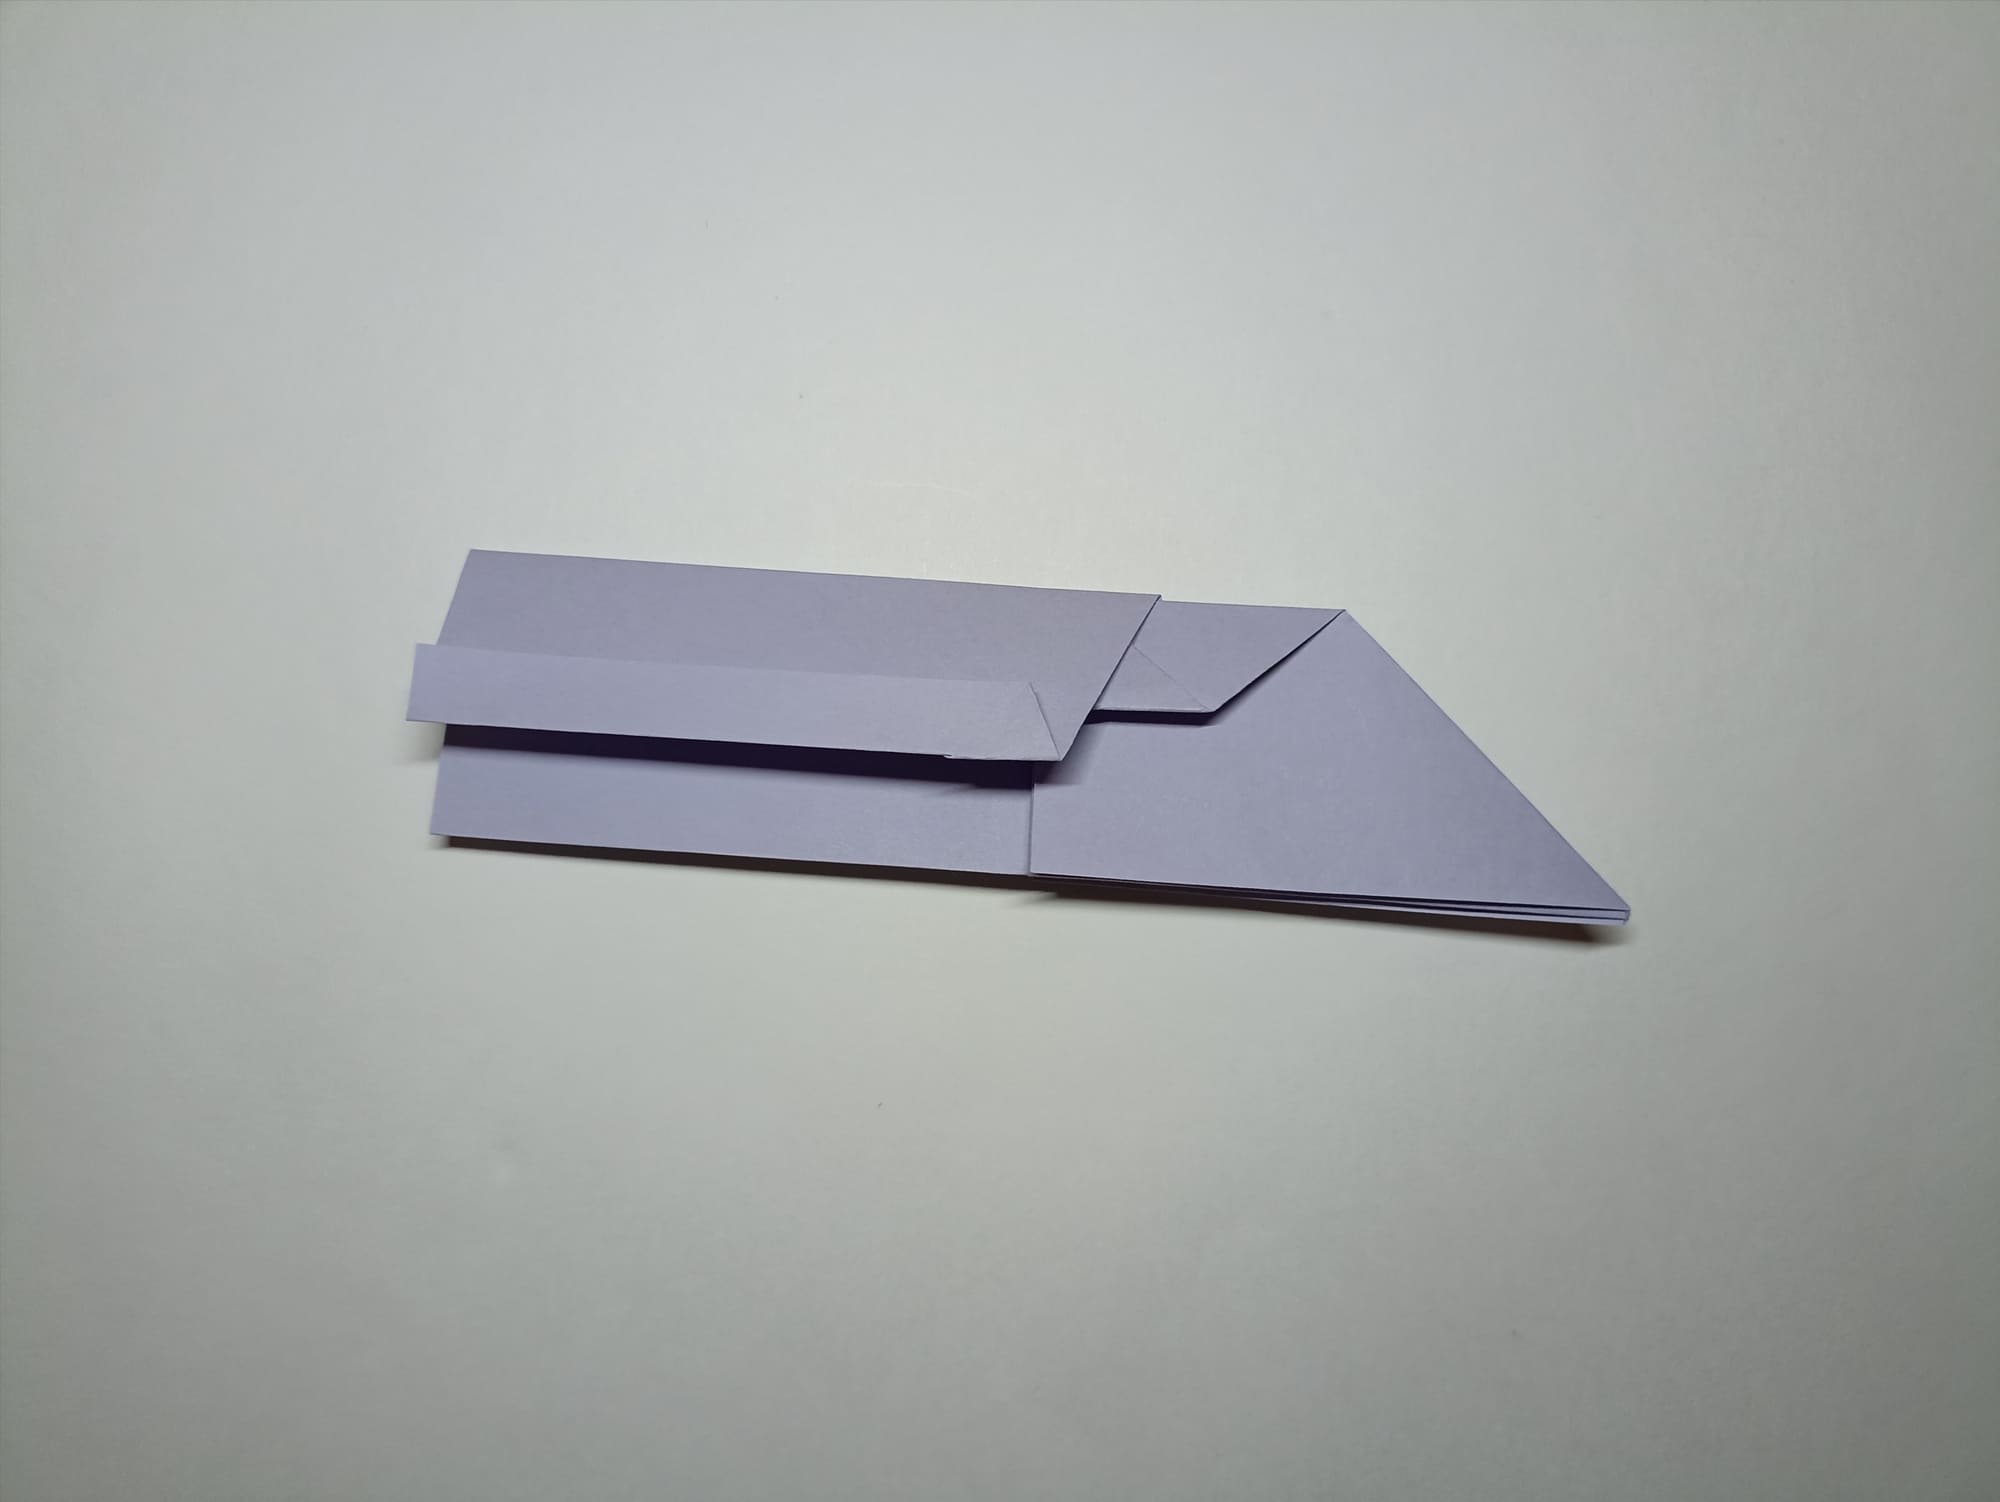
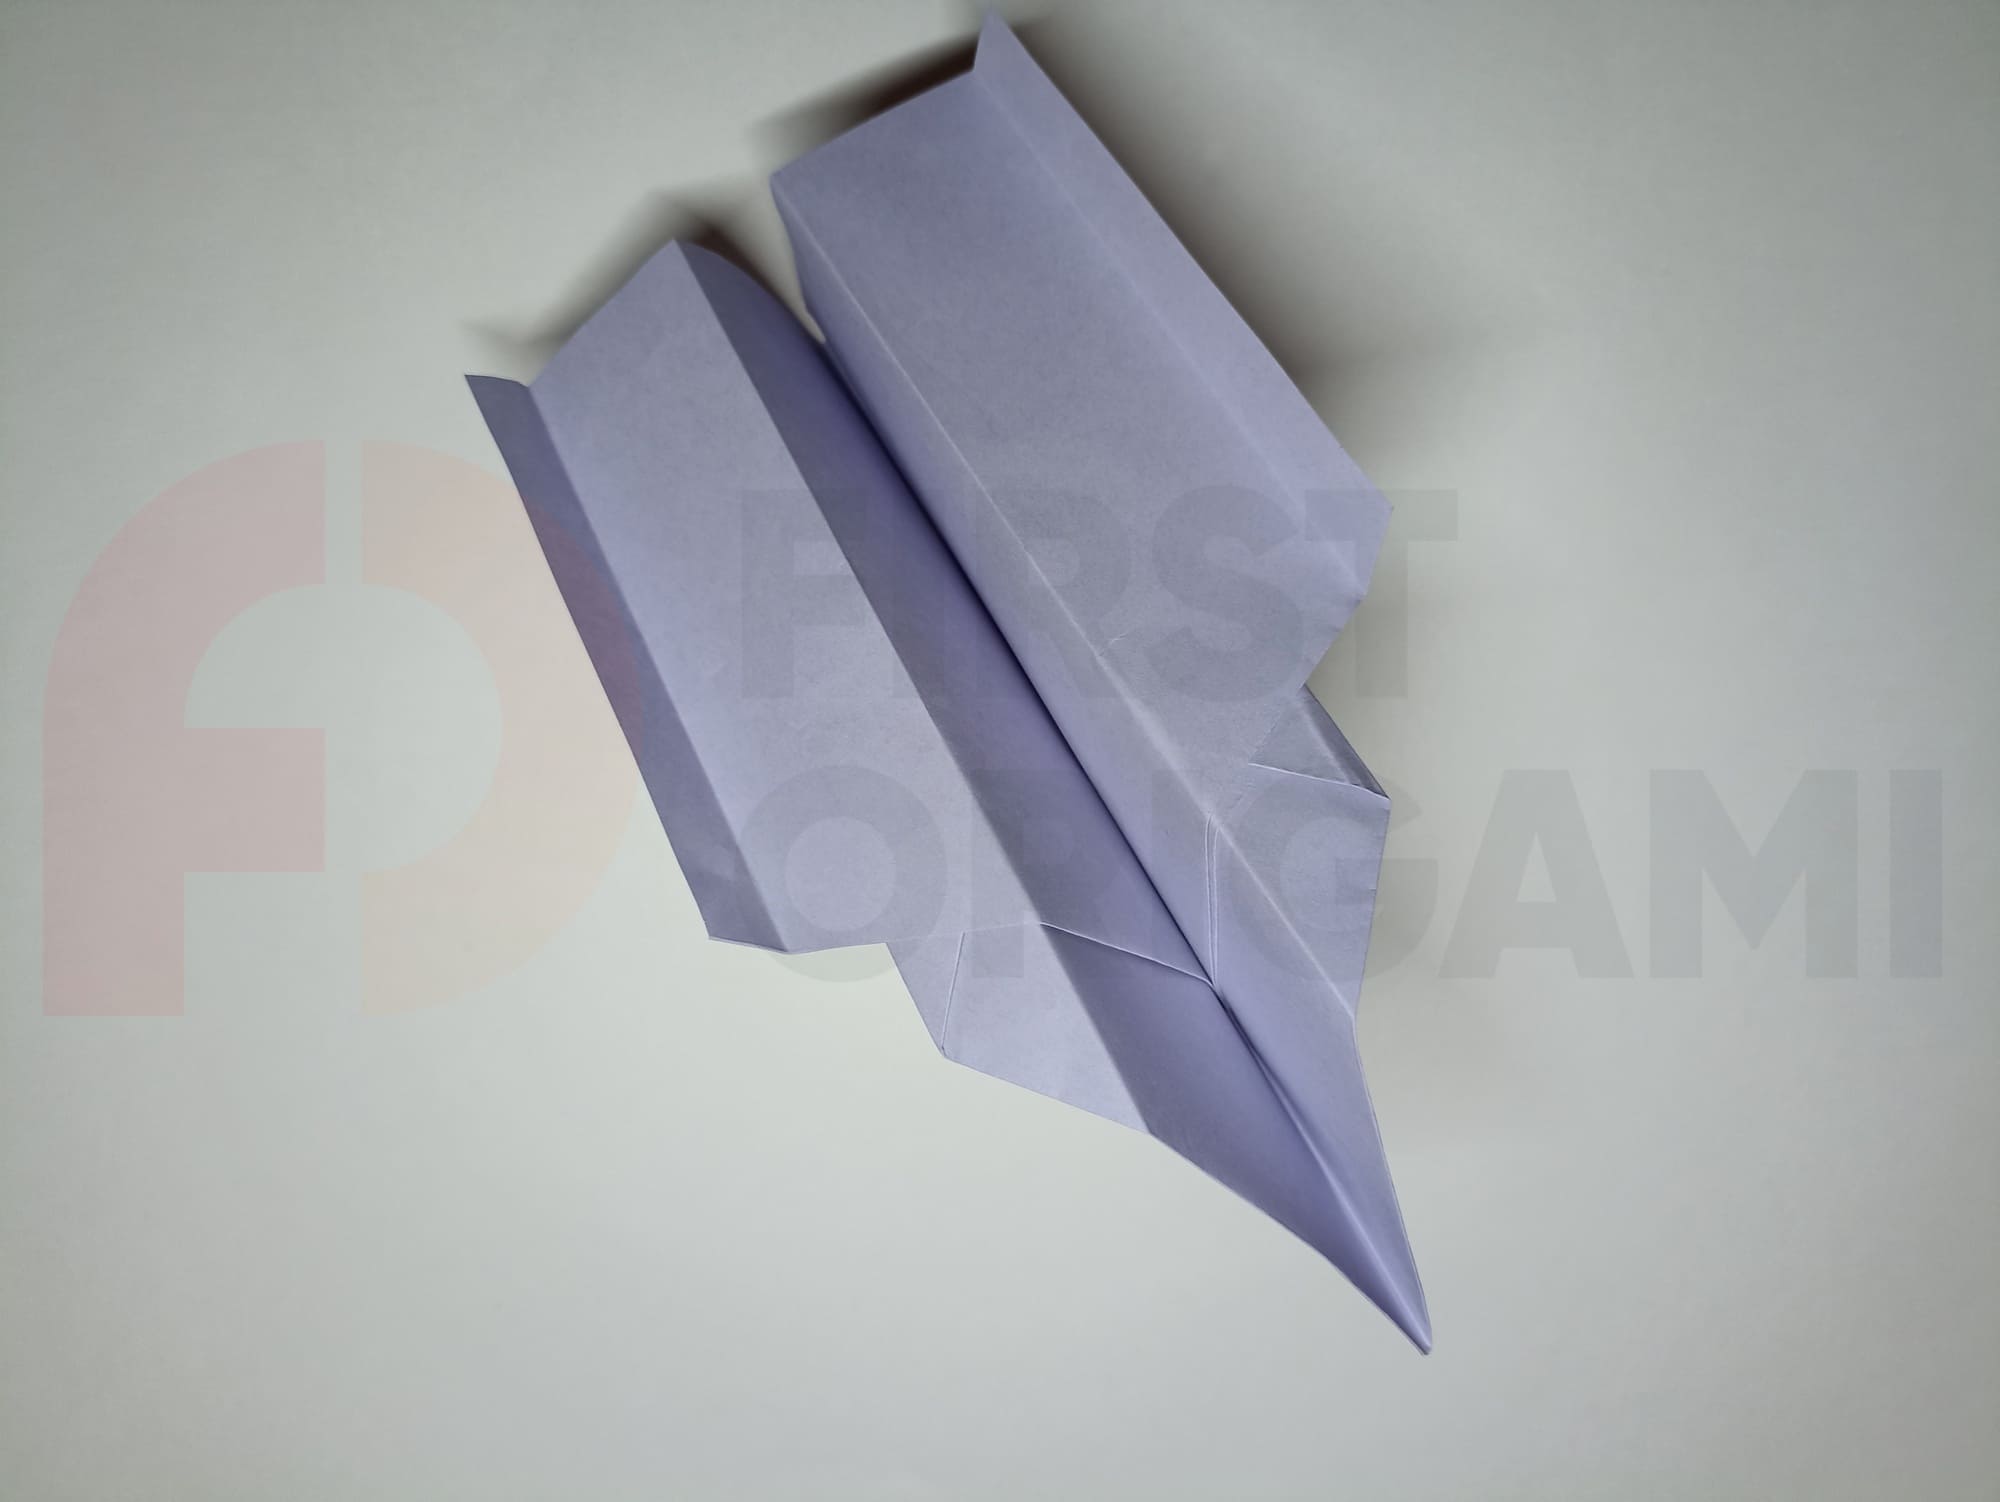
Bend the tops of the wings, aligning the side with the base fold.
Make additional folds at the edges of the wings – these are stabilizers. The angle of inclination will affect the flight characteristics and will help you maintain your flight course confidently and not roll over.
You can check it in practice.

Spread the wings and stabilizers, and draw the details.
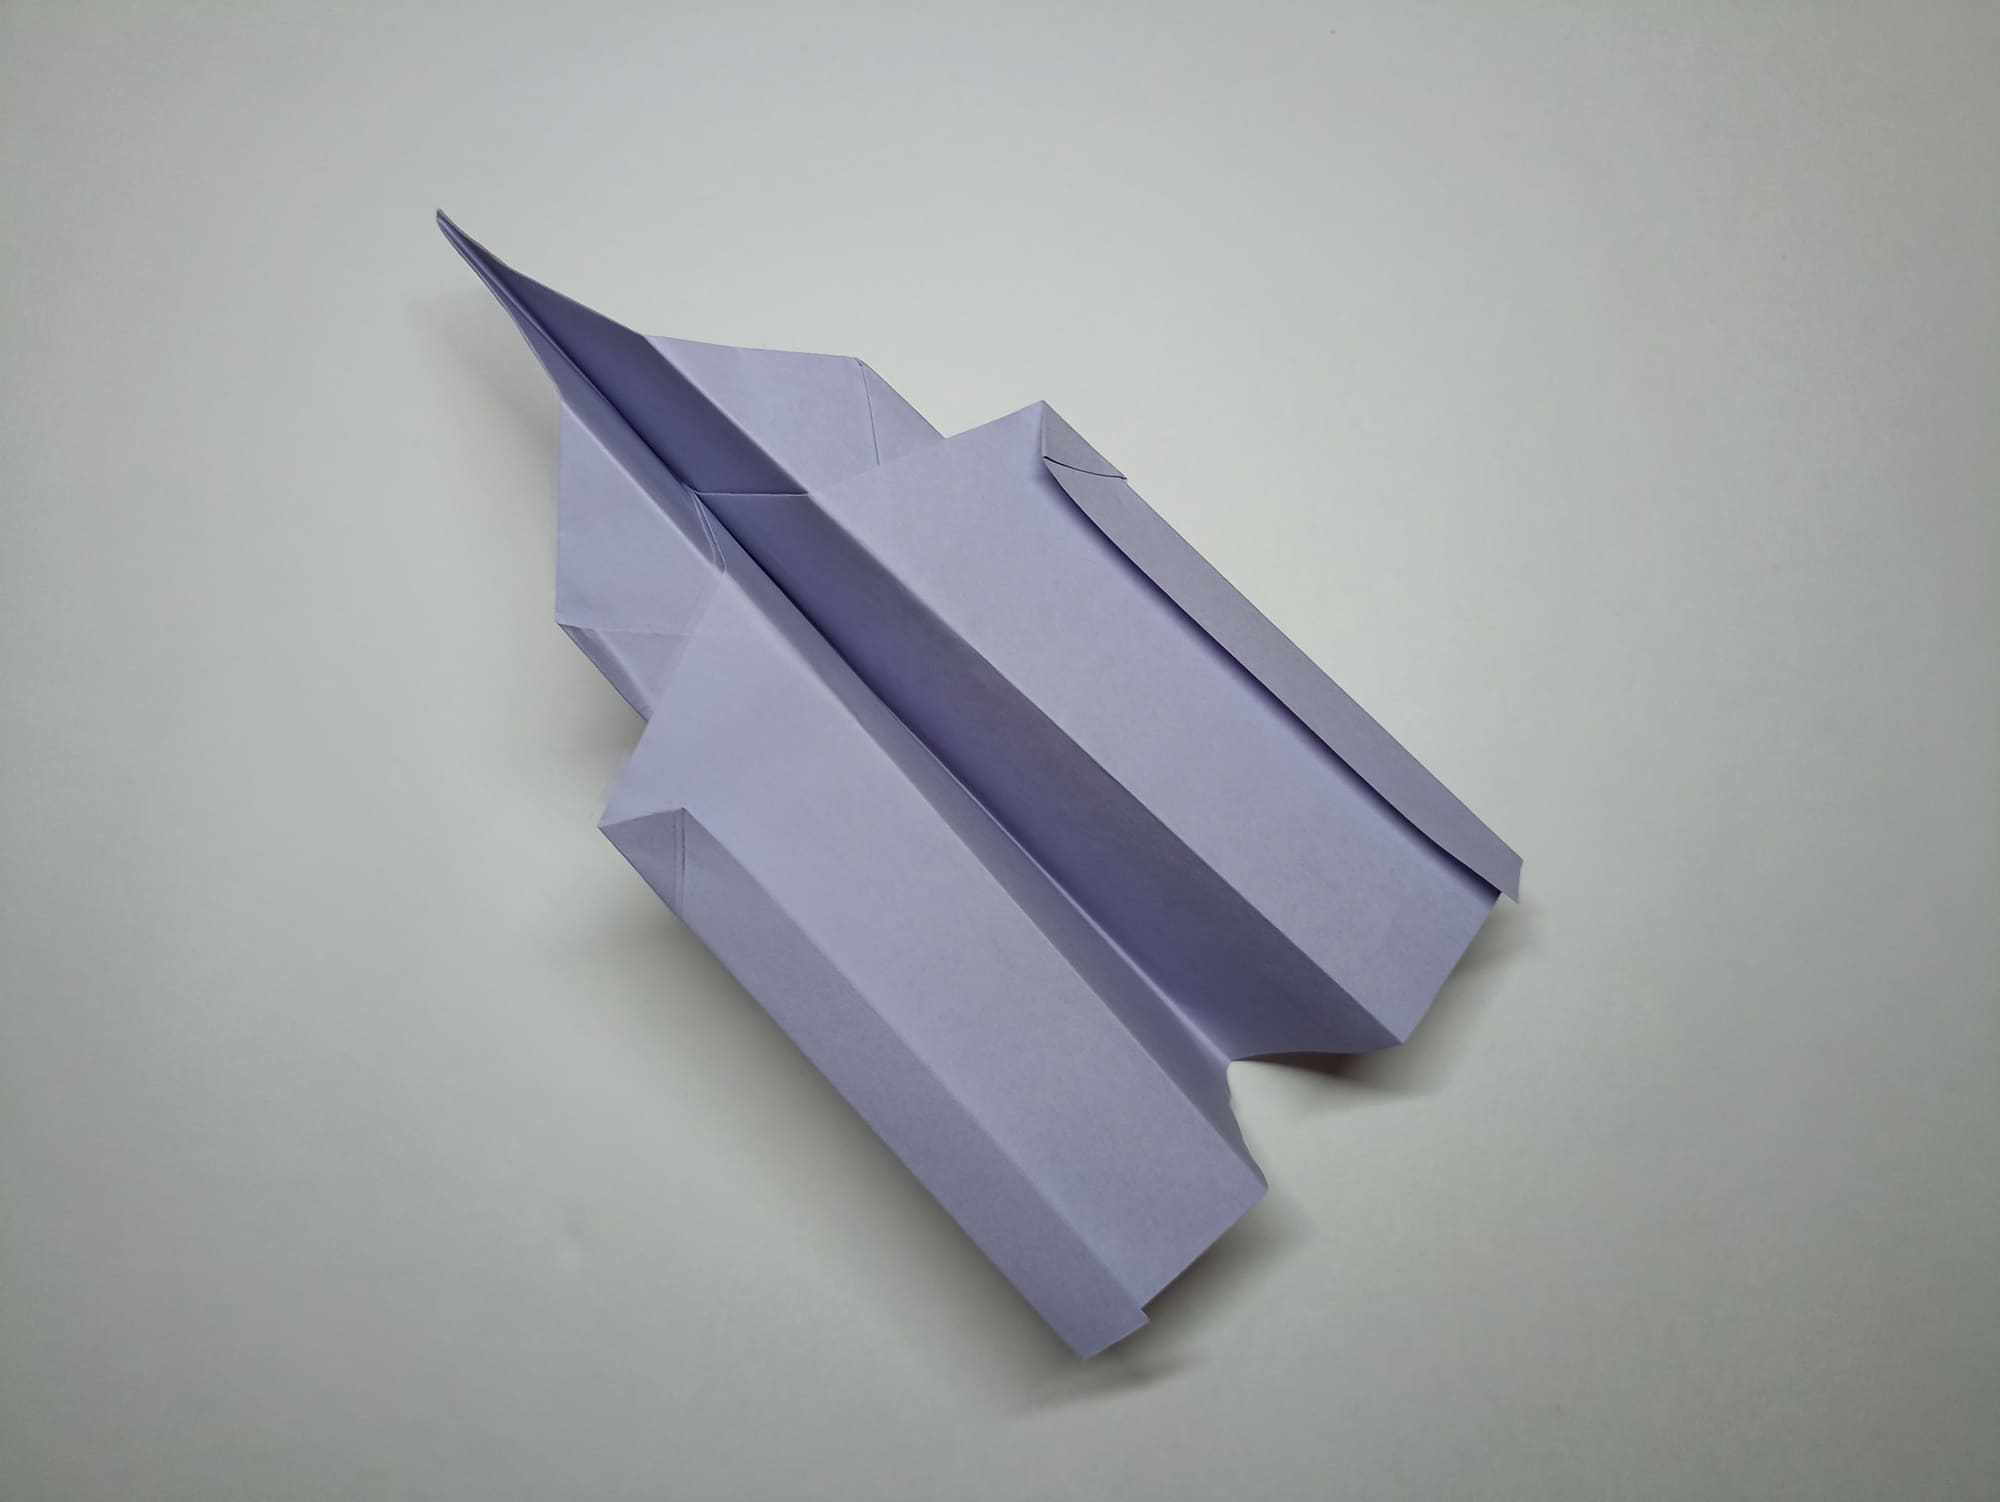
Excellent job!
It is better to fasten two-level wings together using small pieces of adhesive tape. The folds at the edges of the wings are stabilizers. The angle of inclination will affect the flight characteristics and will help you maintain your flight course confidently and not roll over. You can check it in practice. When launching, the airplane must be held in the densest place, where there are the most folds. This will be an approximate center of gravity.


