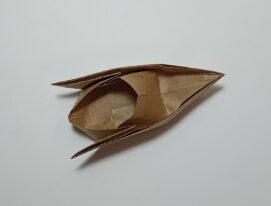
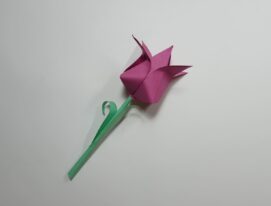
Origami Kawasaki Rose
The base for the Kawasaki rose is not easy to make. For this purpose, the twisting technique is used. Thanks to it, beautiful petals are obtained. They look like natural ones. It takes effort to make it work. Do the basis slowly and concentrated, and do not miss a single step. This is the only way to succeed!
Take photos of your work and send them to us. Admire the results of others. Leave comments at the bottom of the page. Let’s get started.
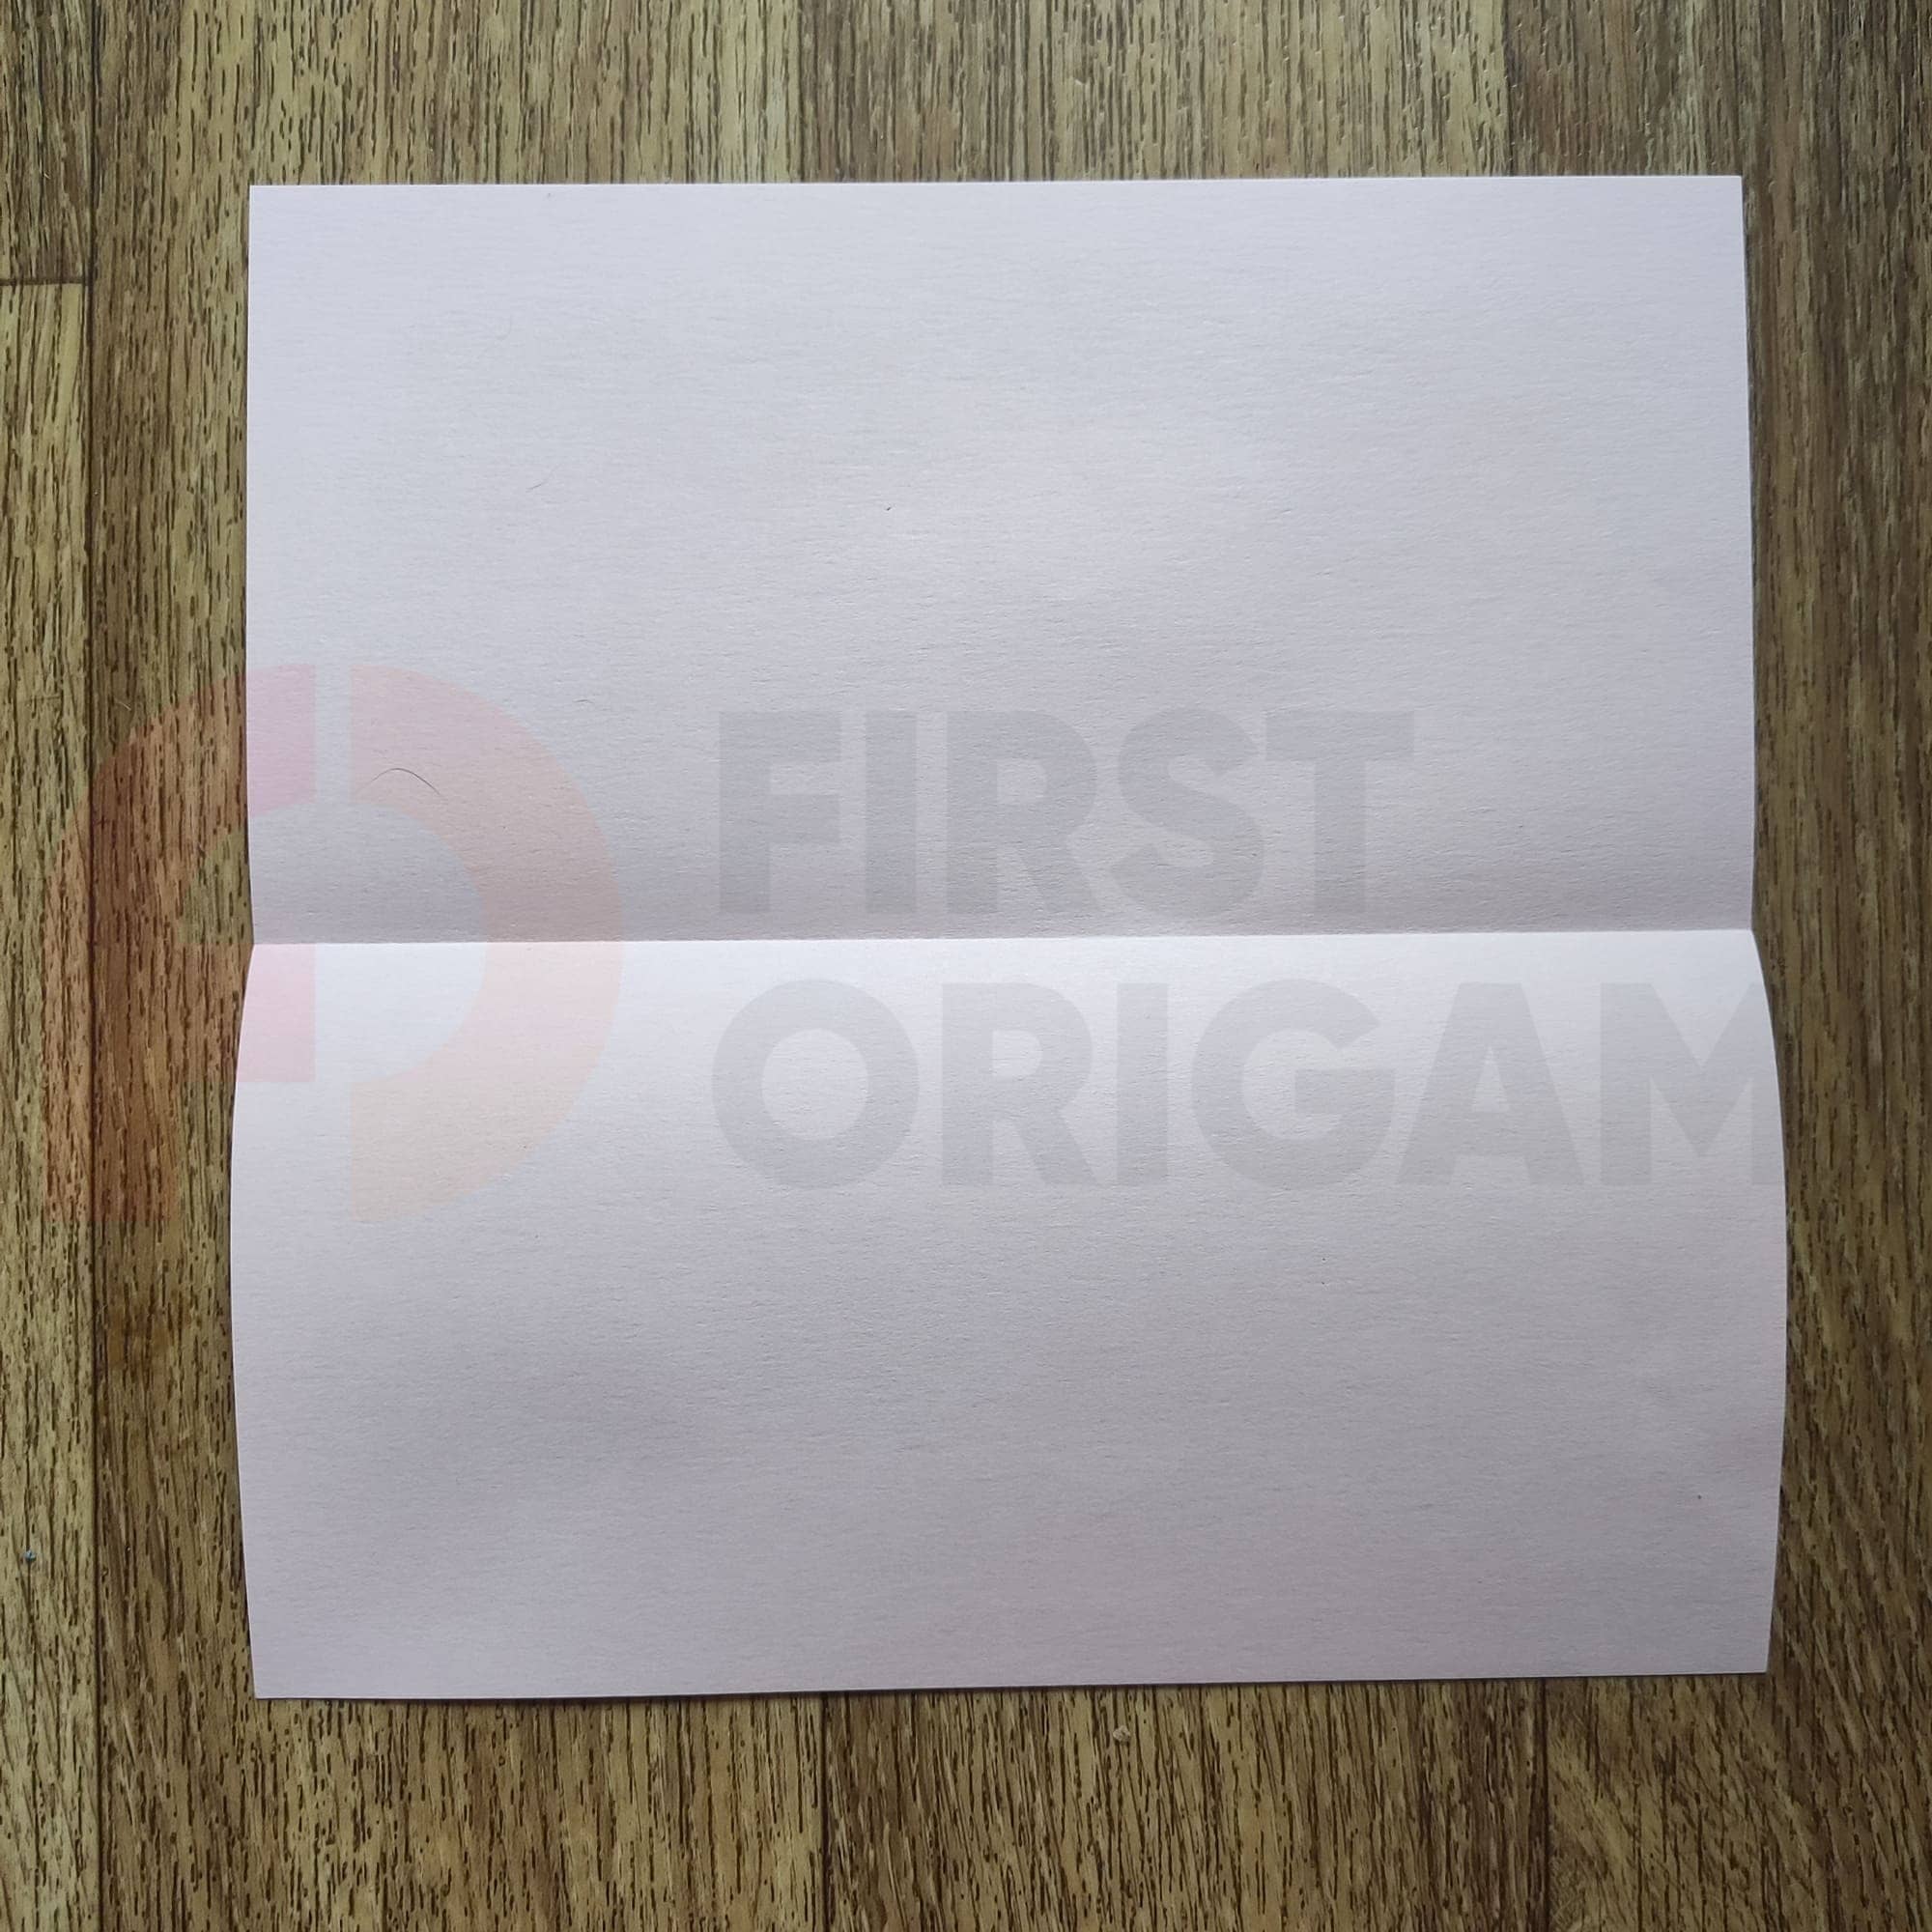
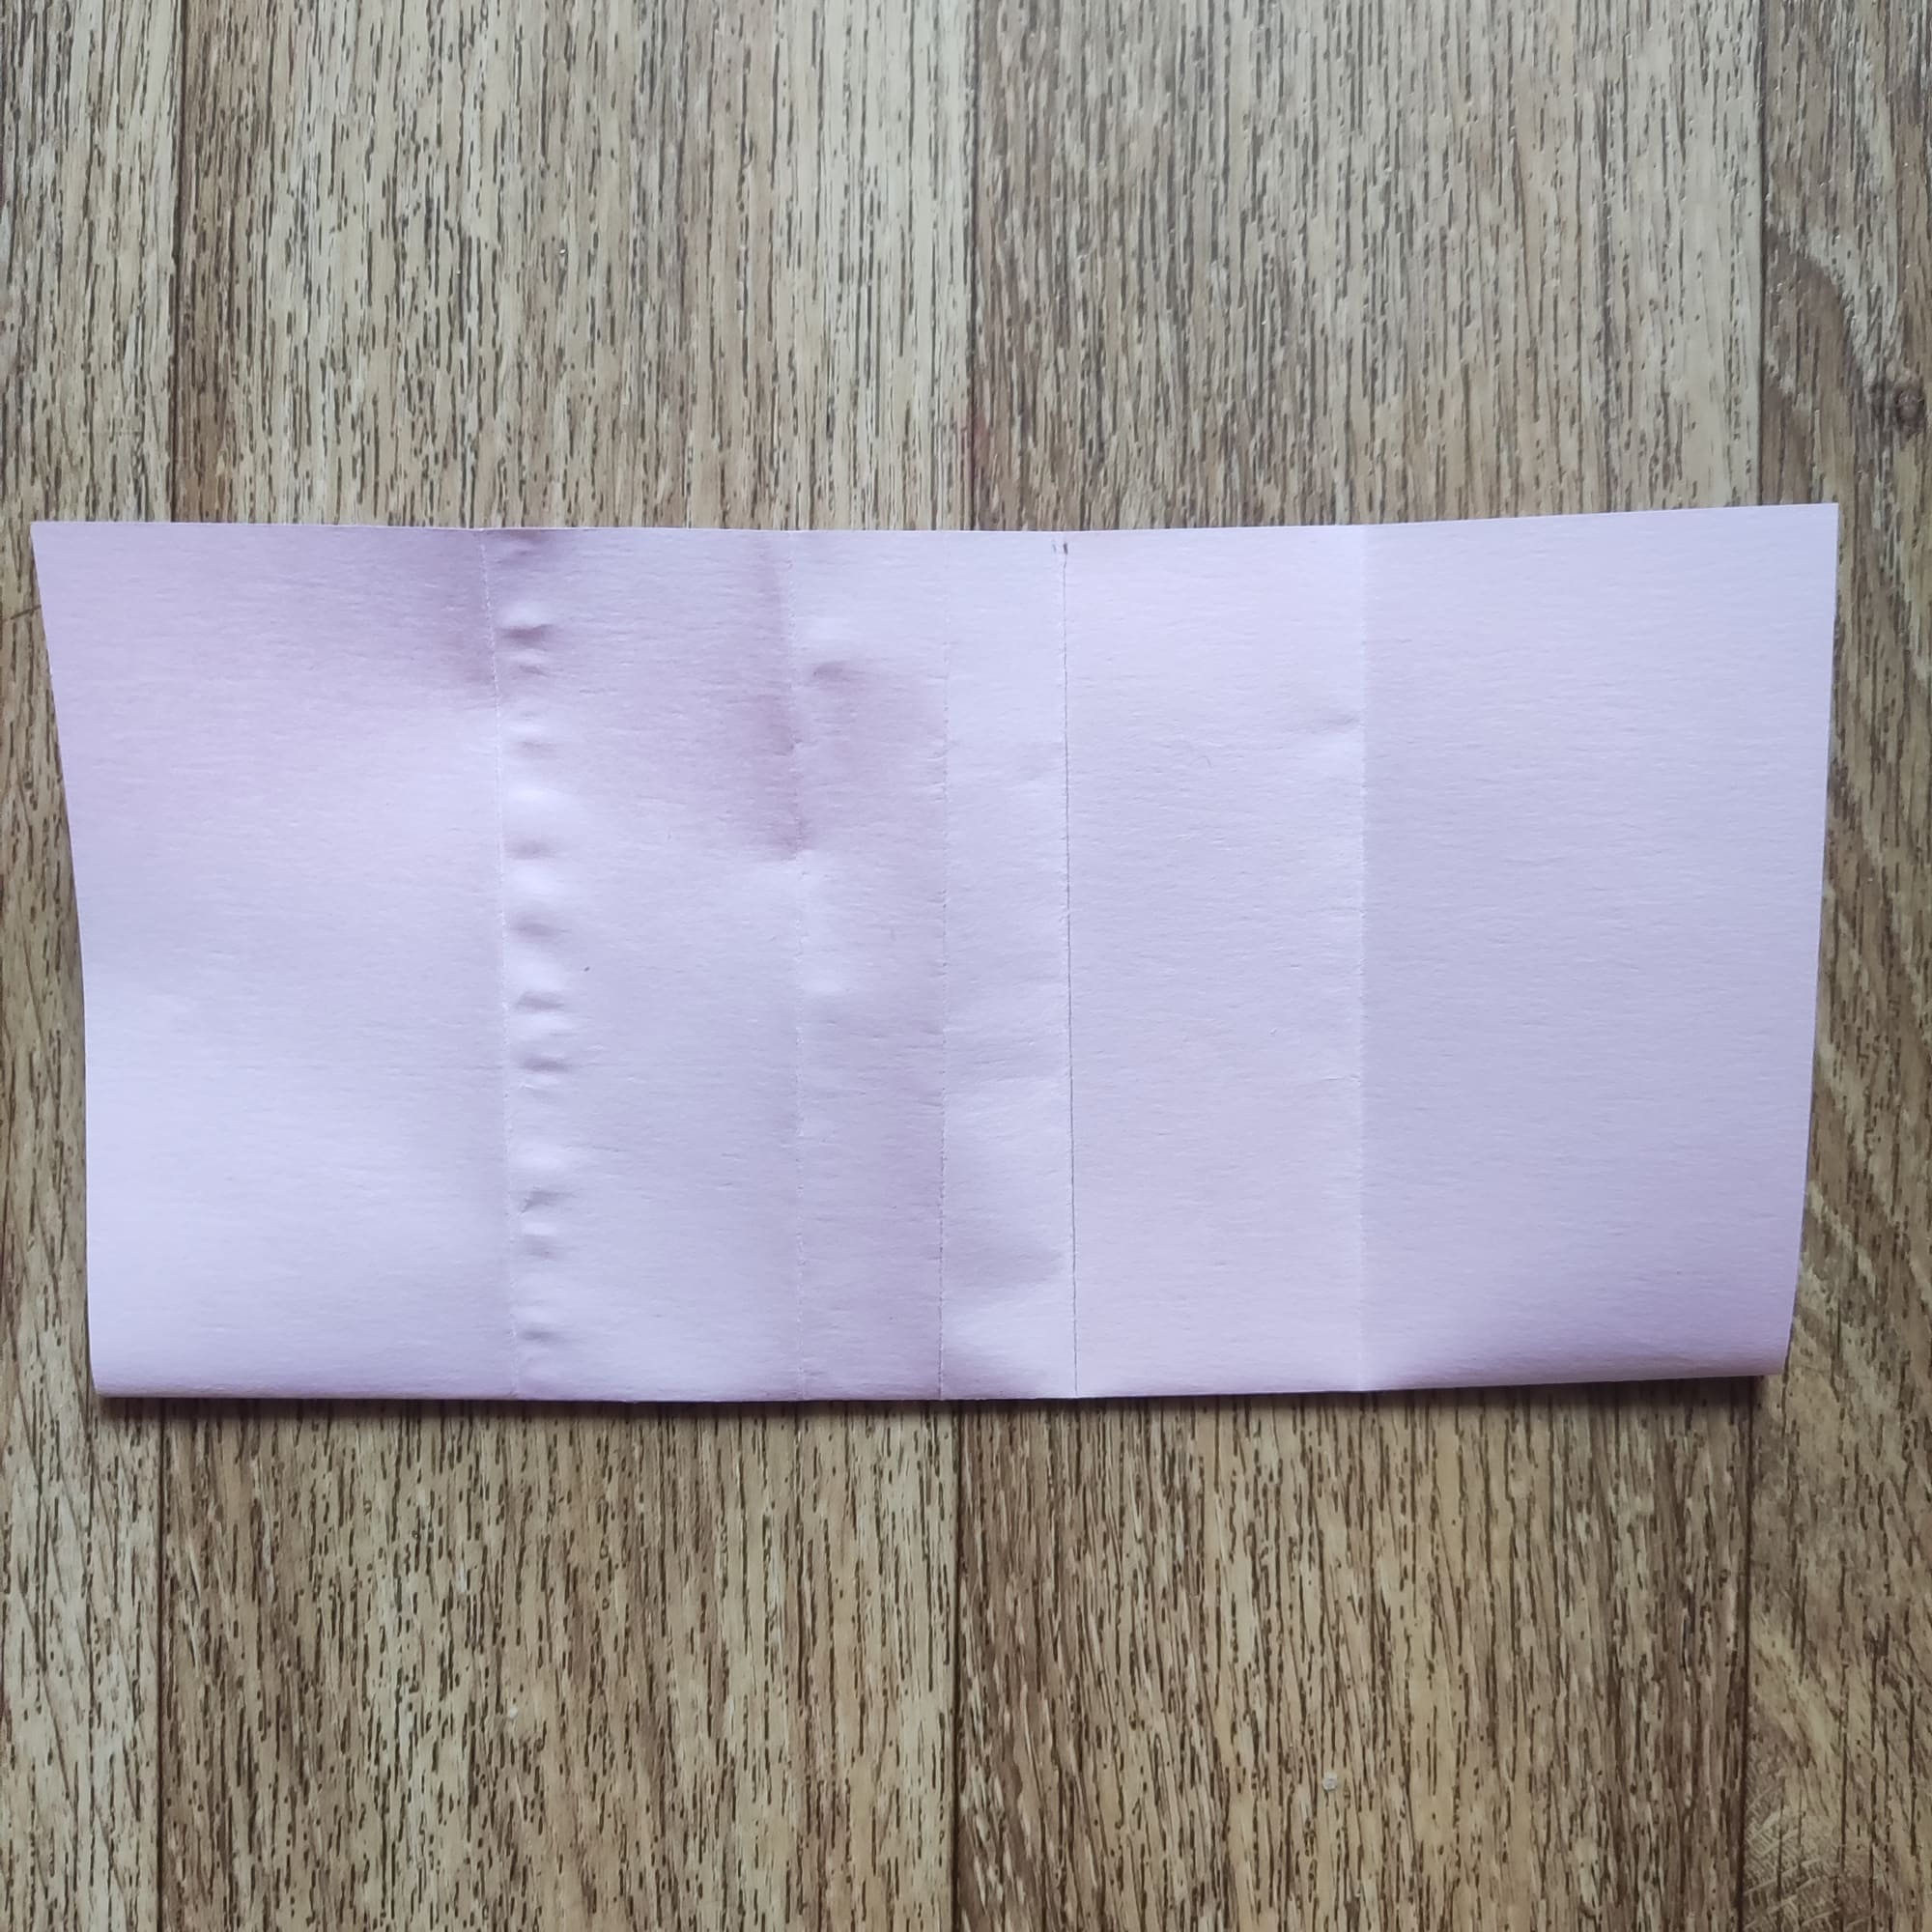
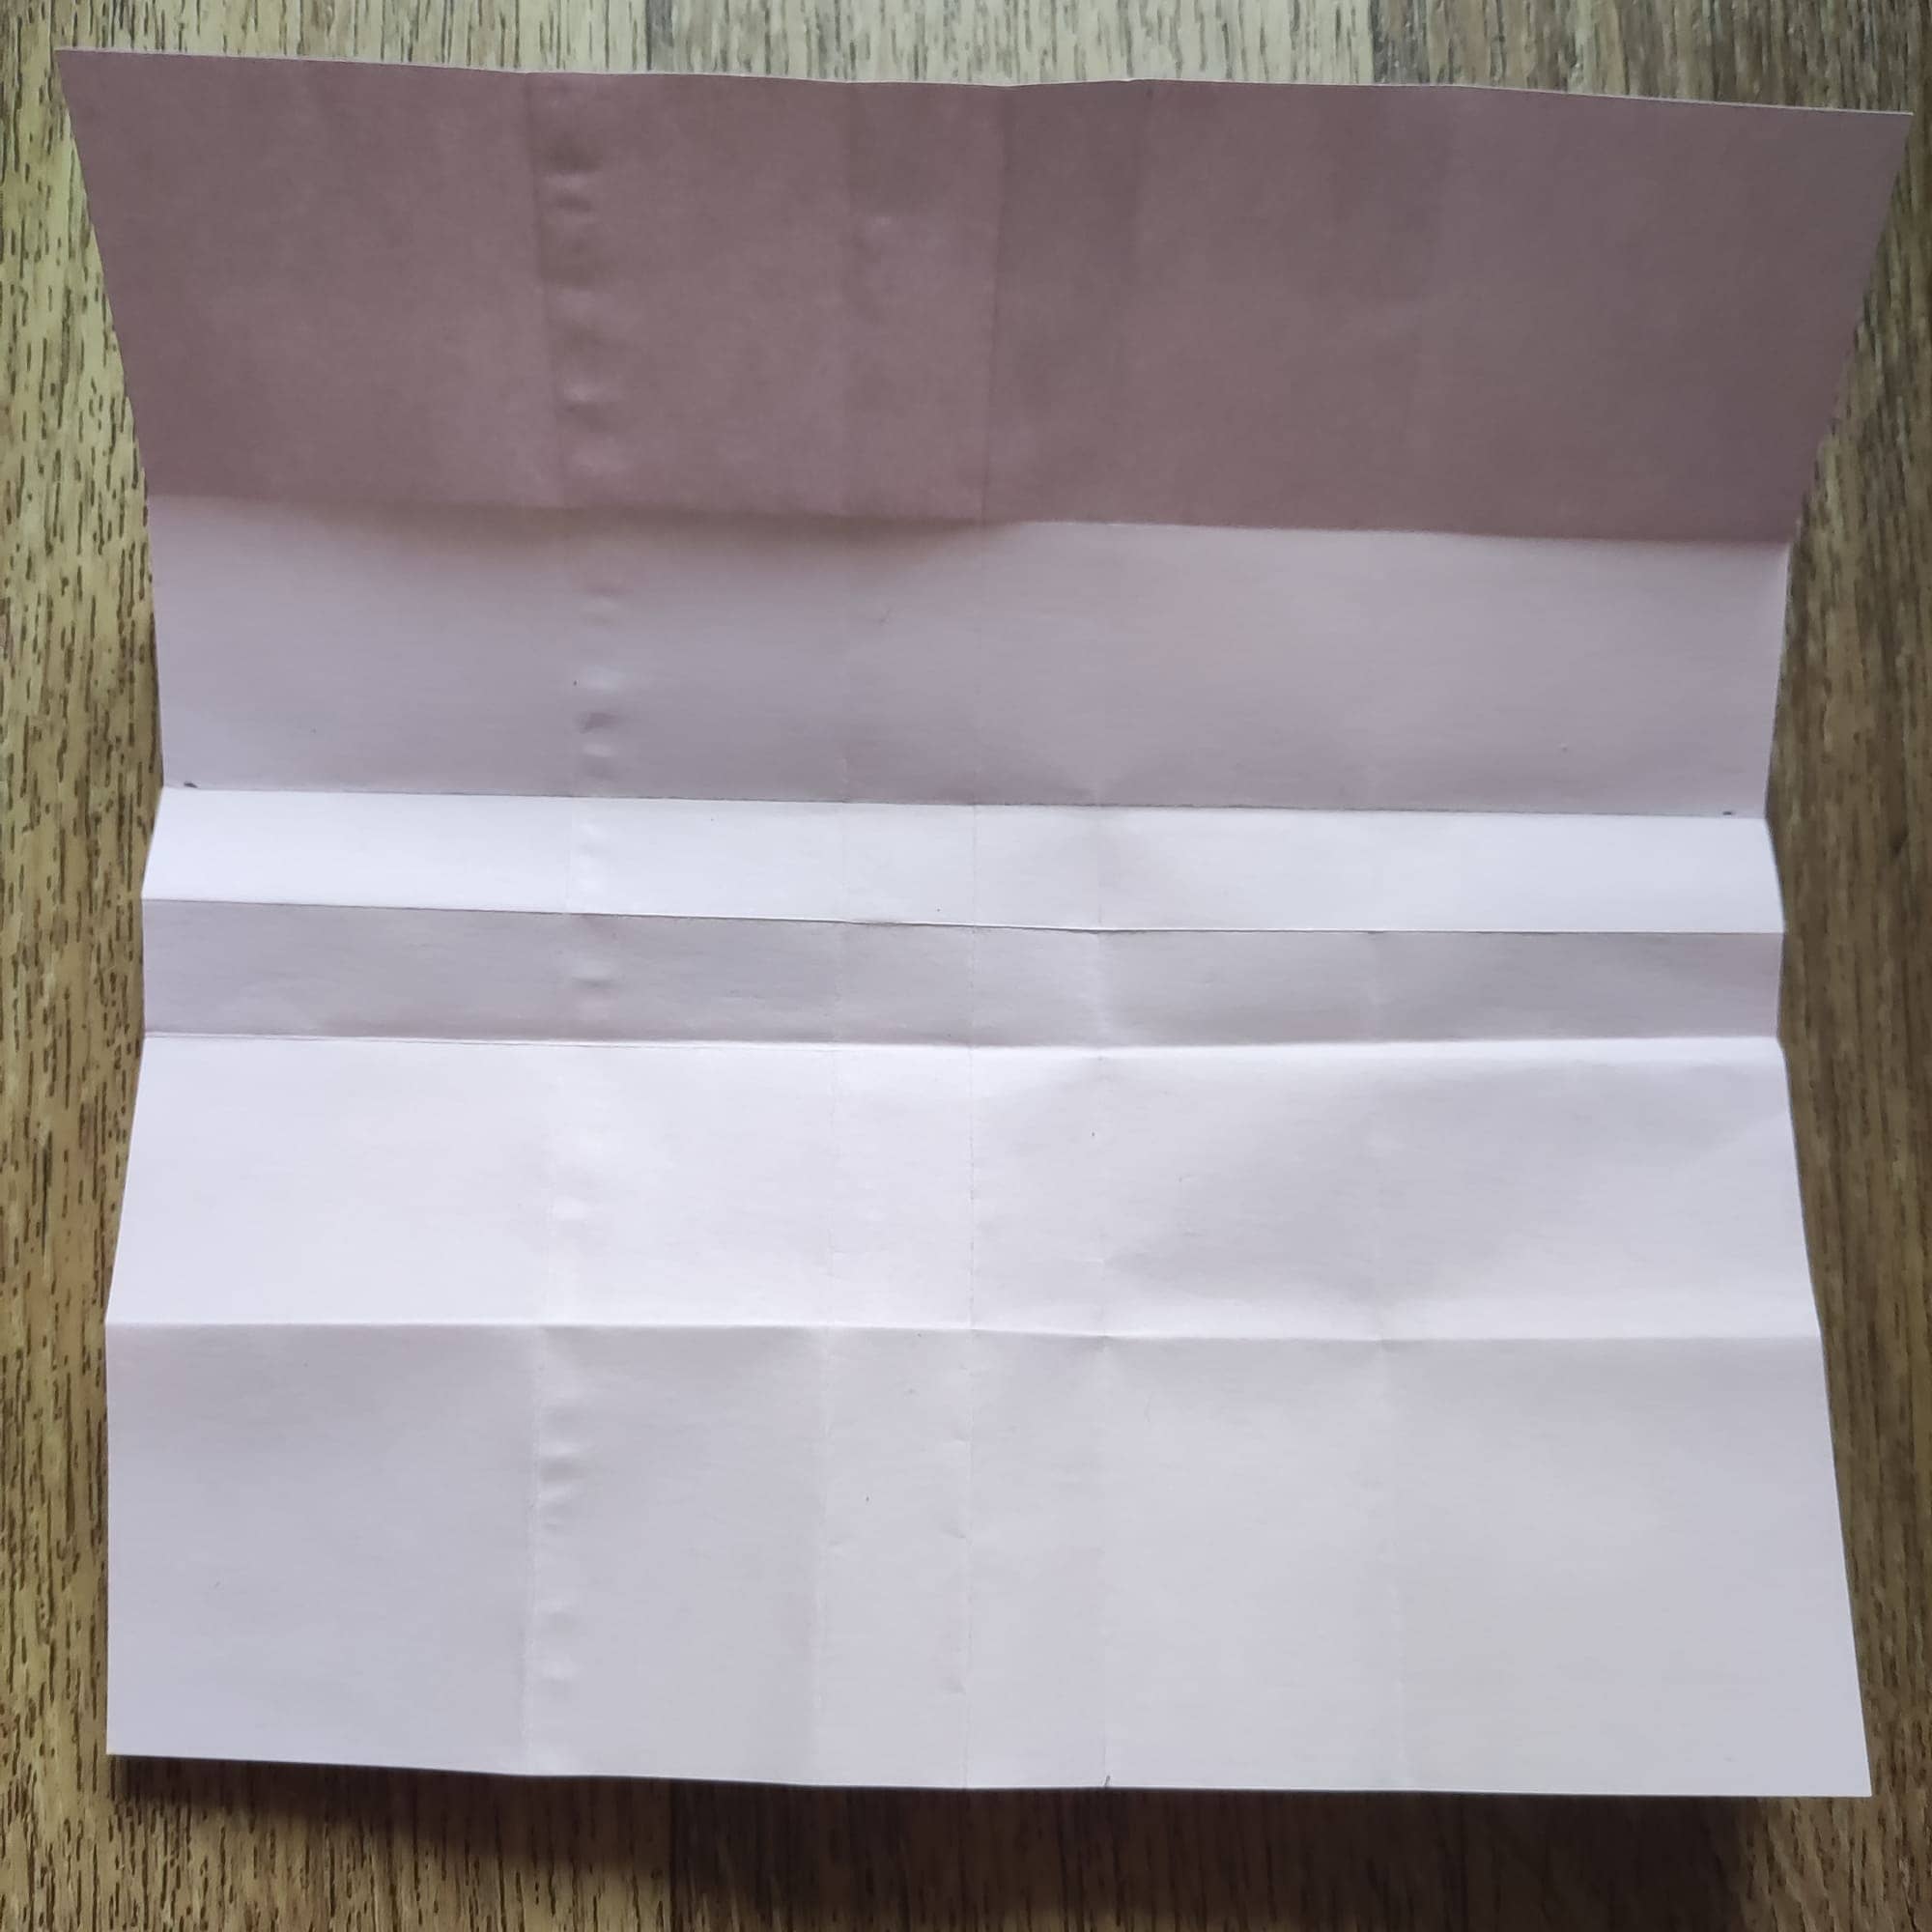
Place a square piece of paper face up. Fold it horizontally and straighten it out.
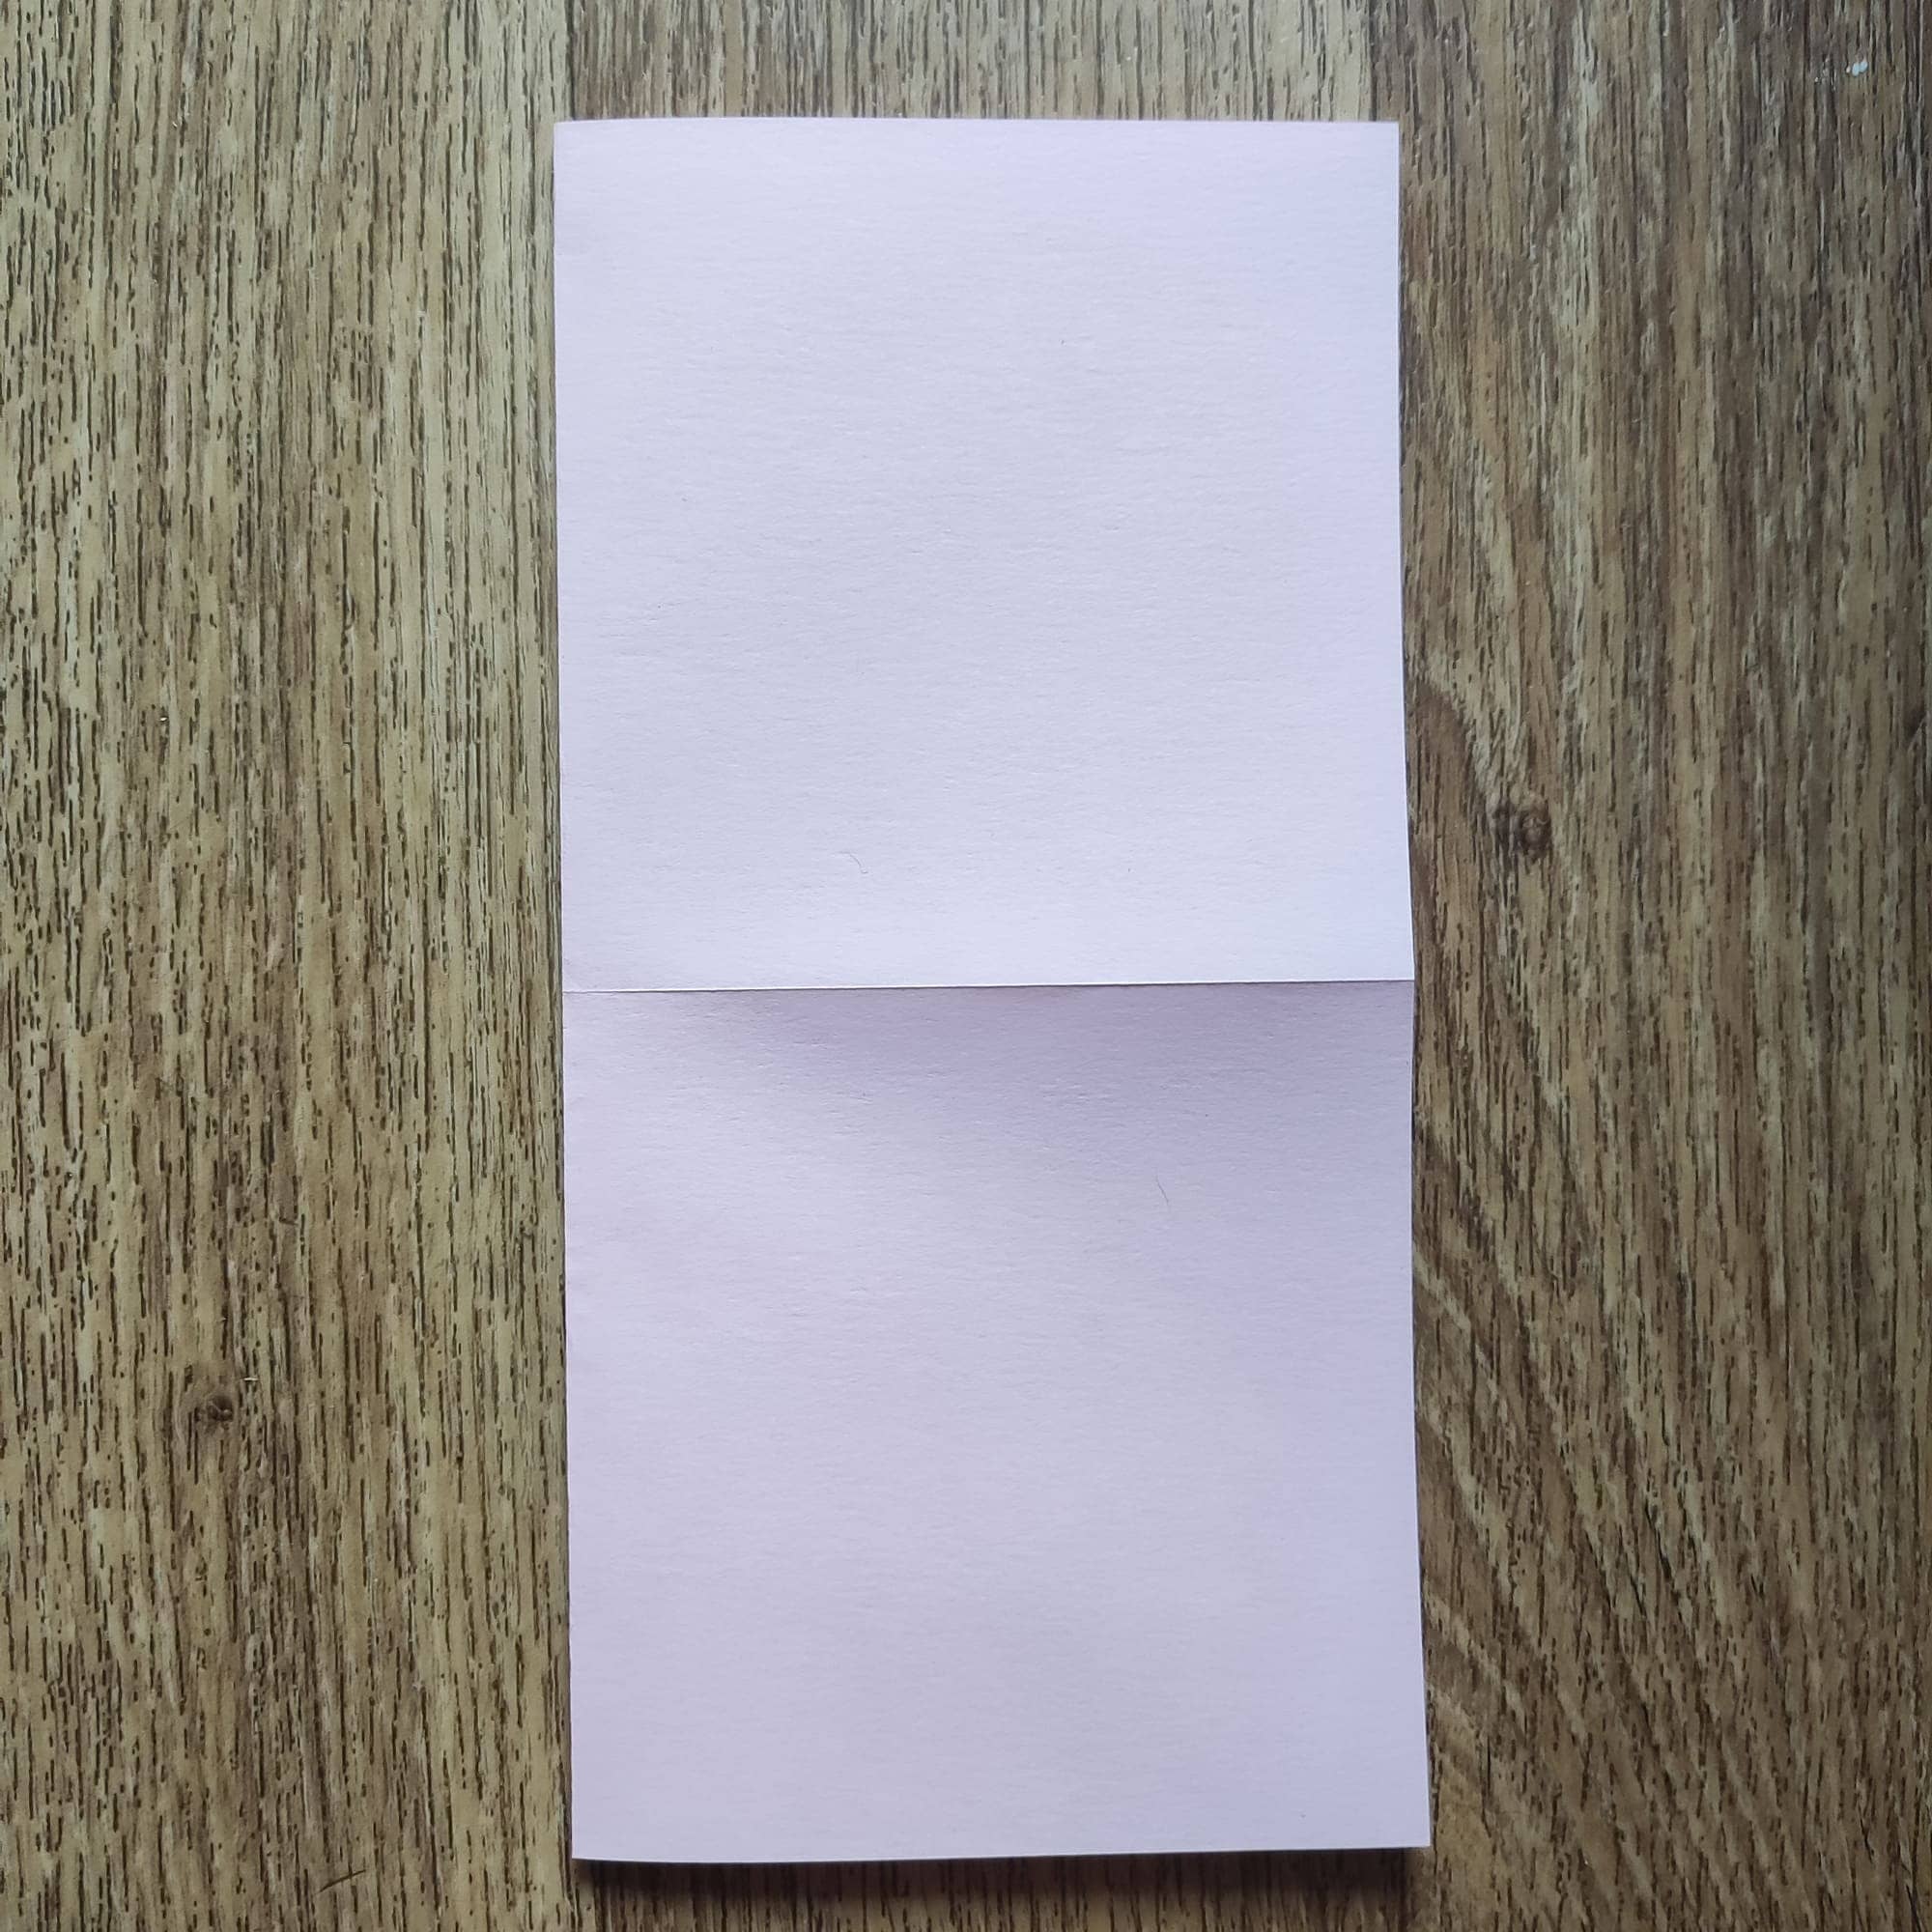
Make another fold in the center as in the picture.
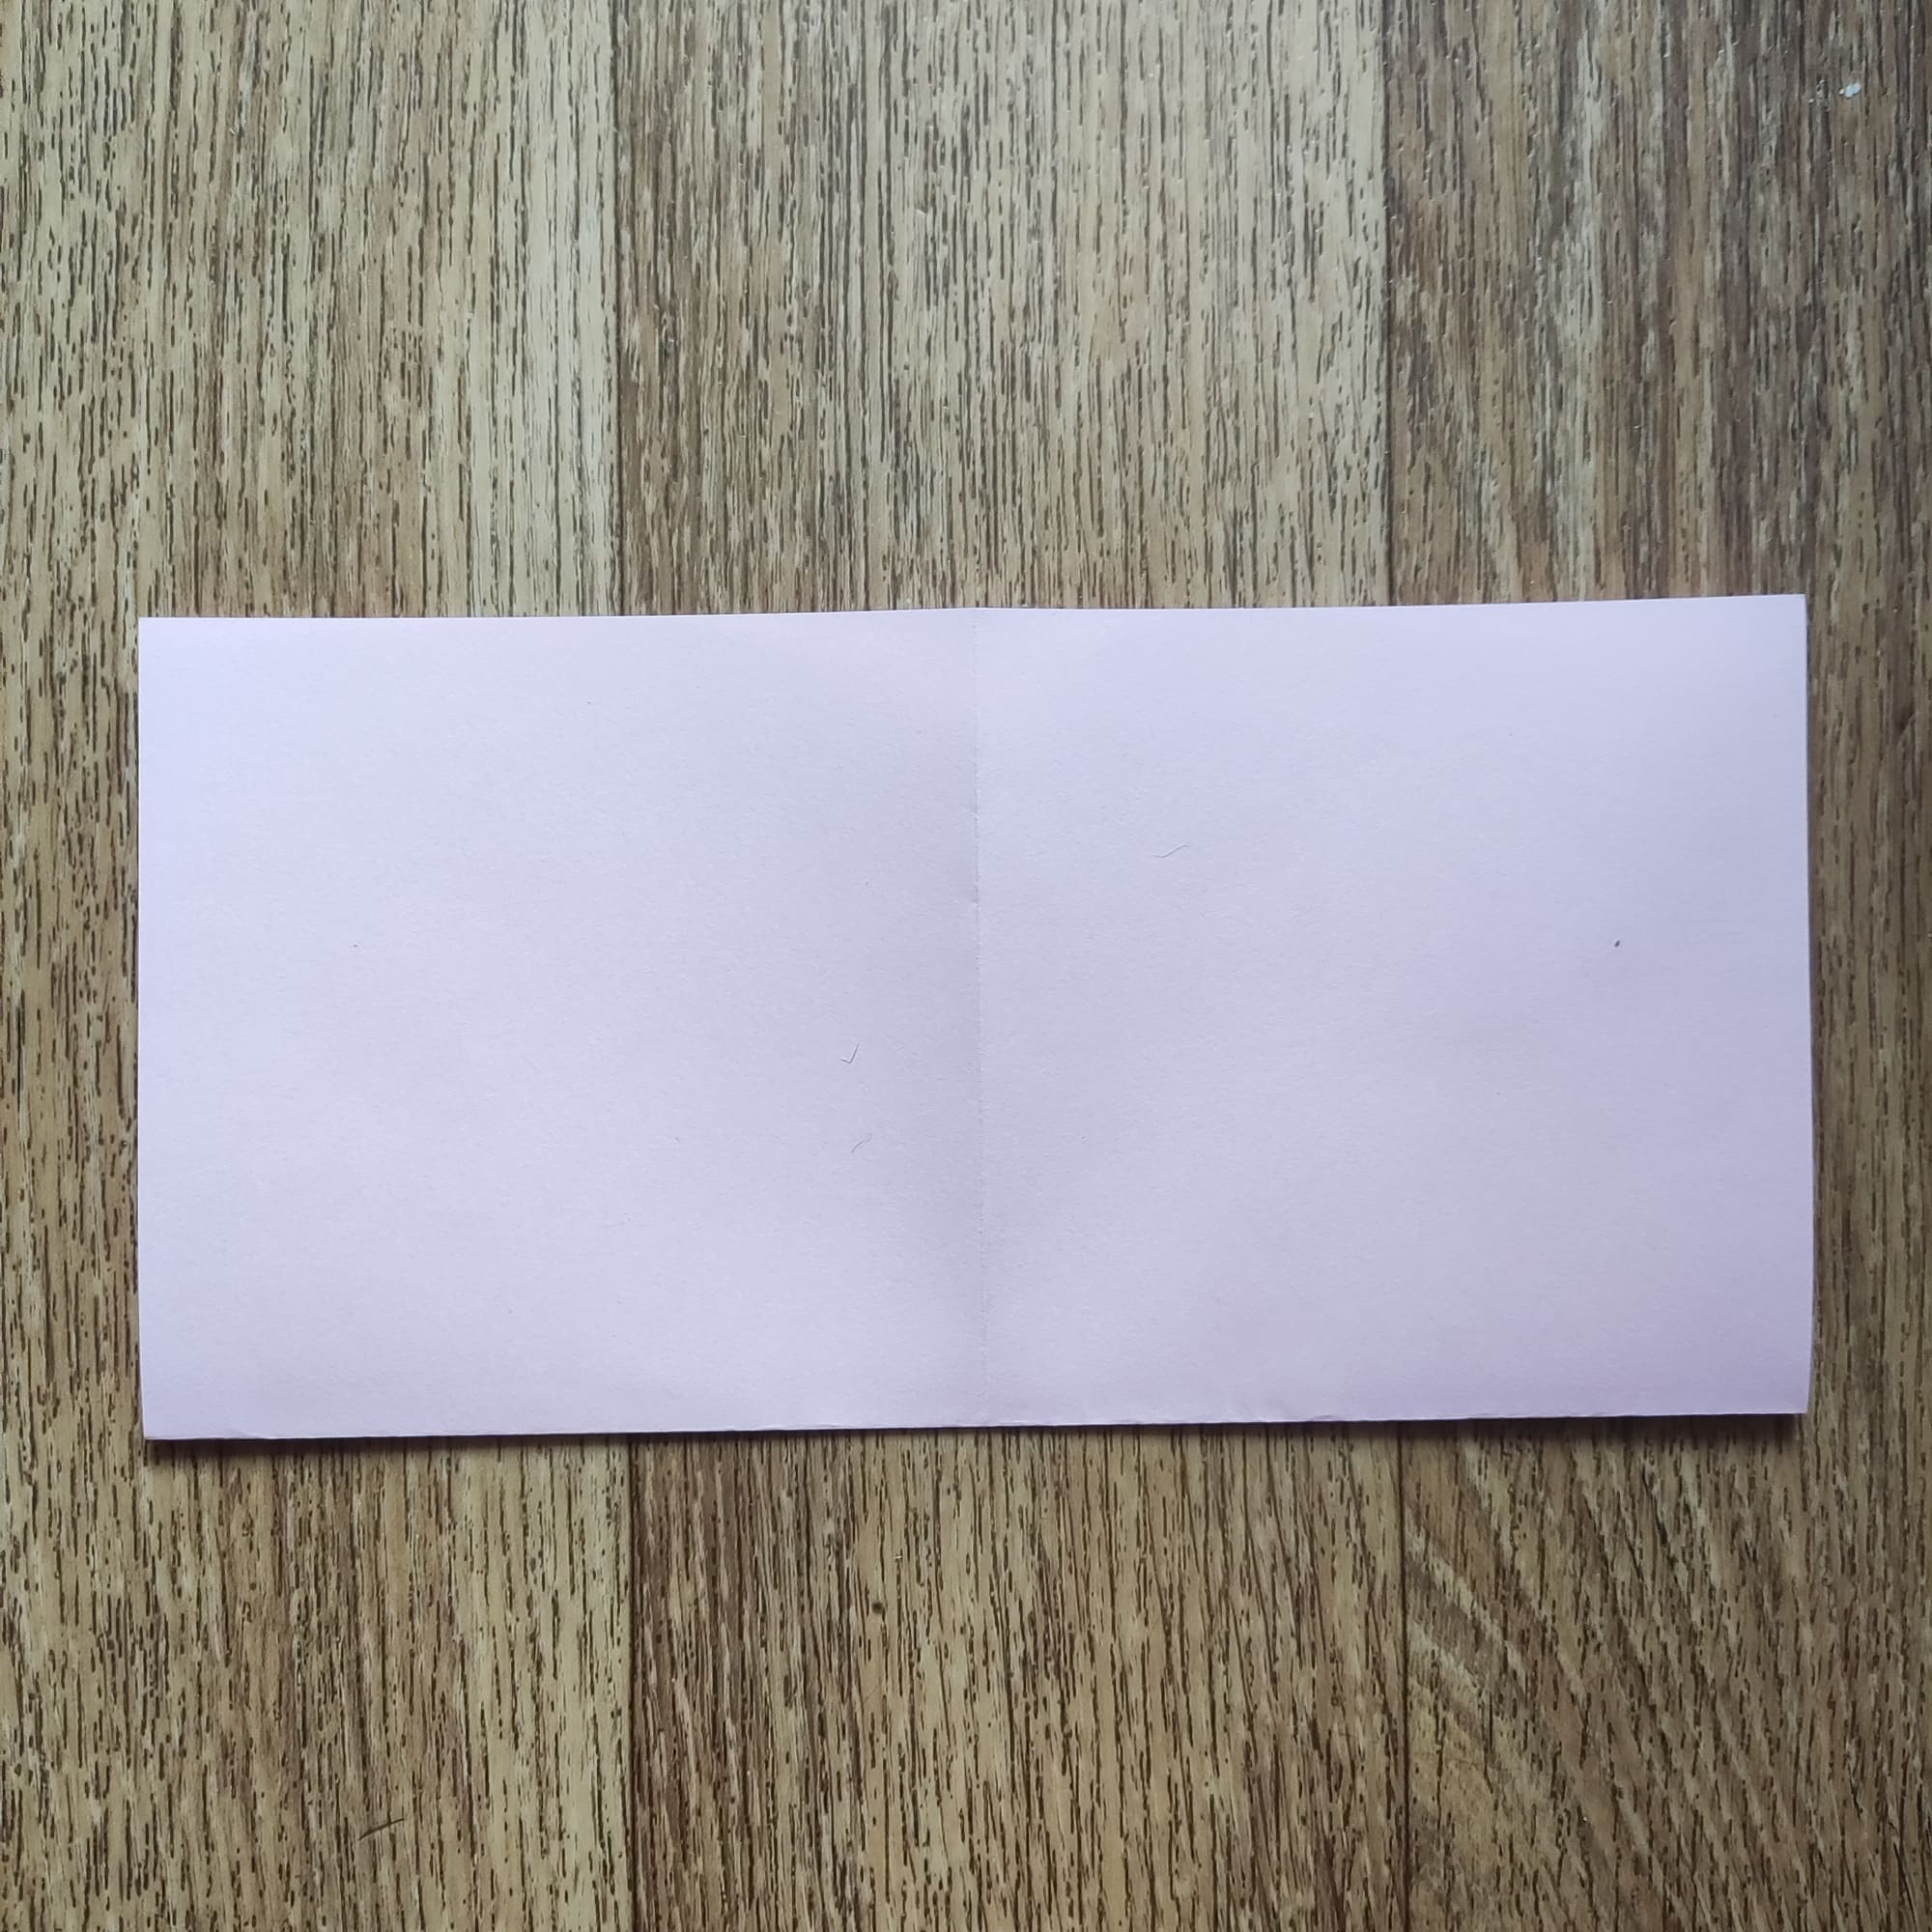
Lay the sheet horizontally and once again fold it lengthwise, straighten it out. The top part is the unfolding part.
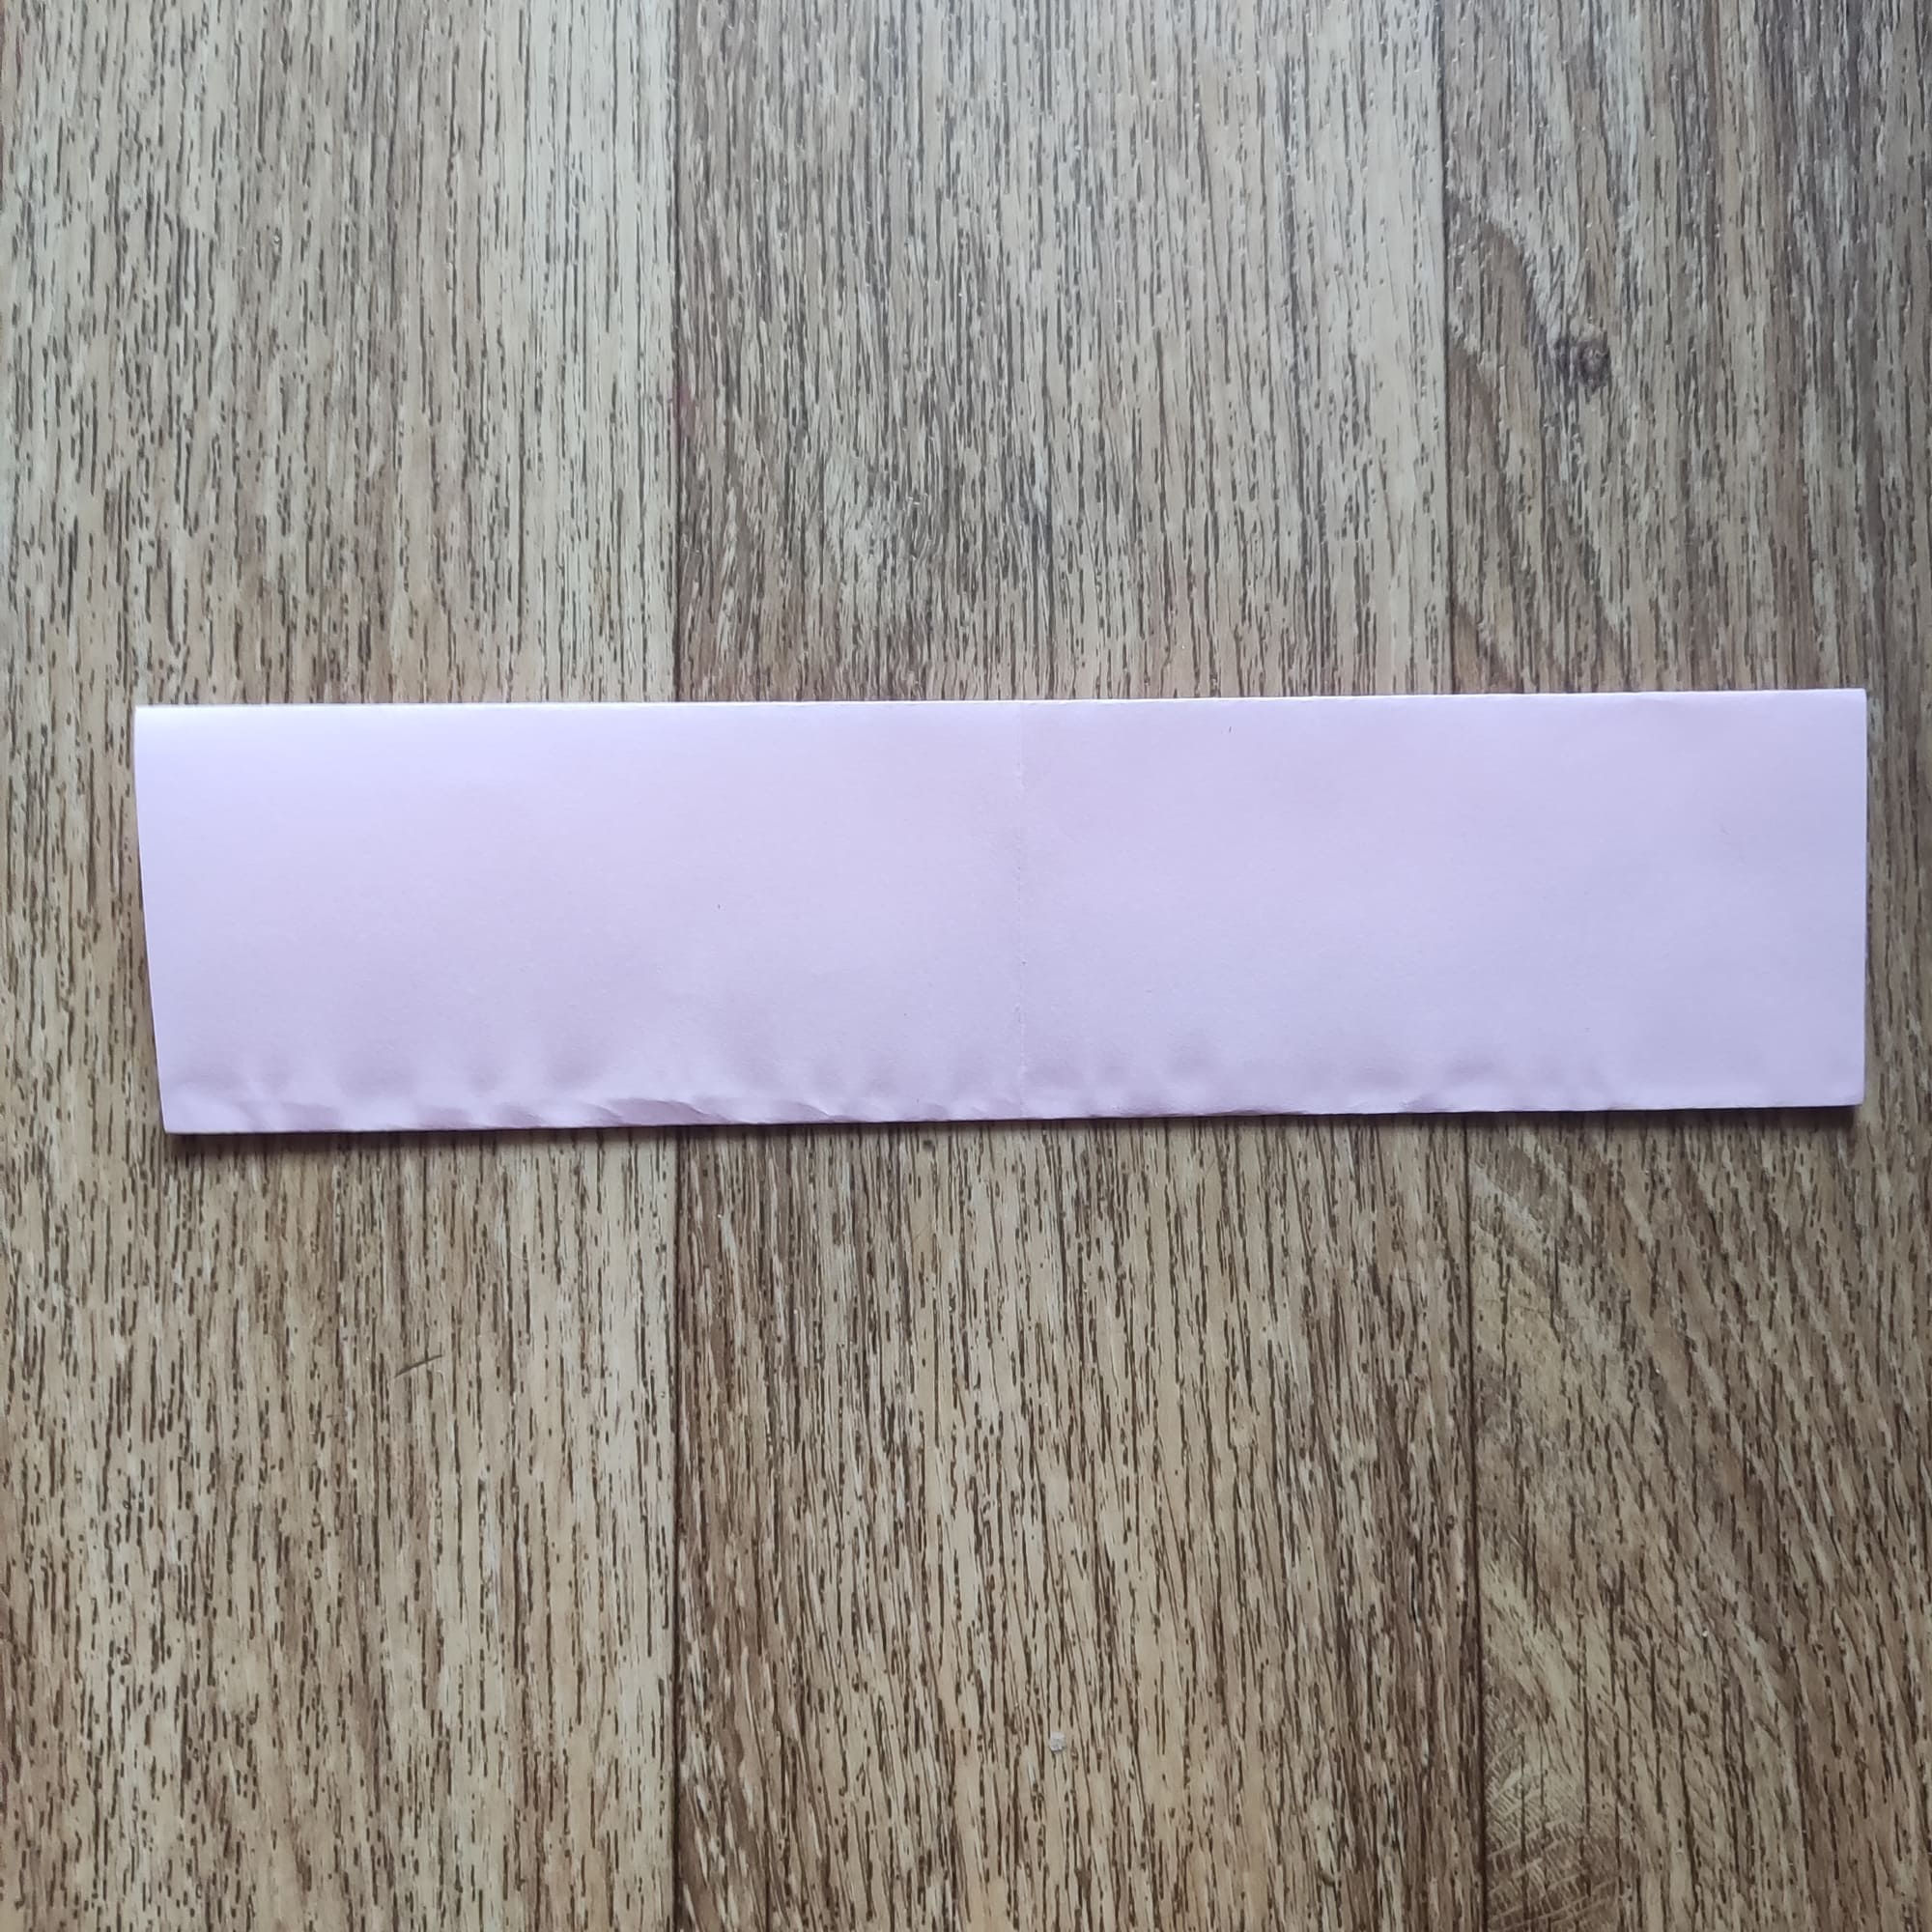
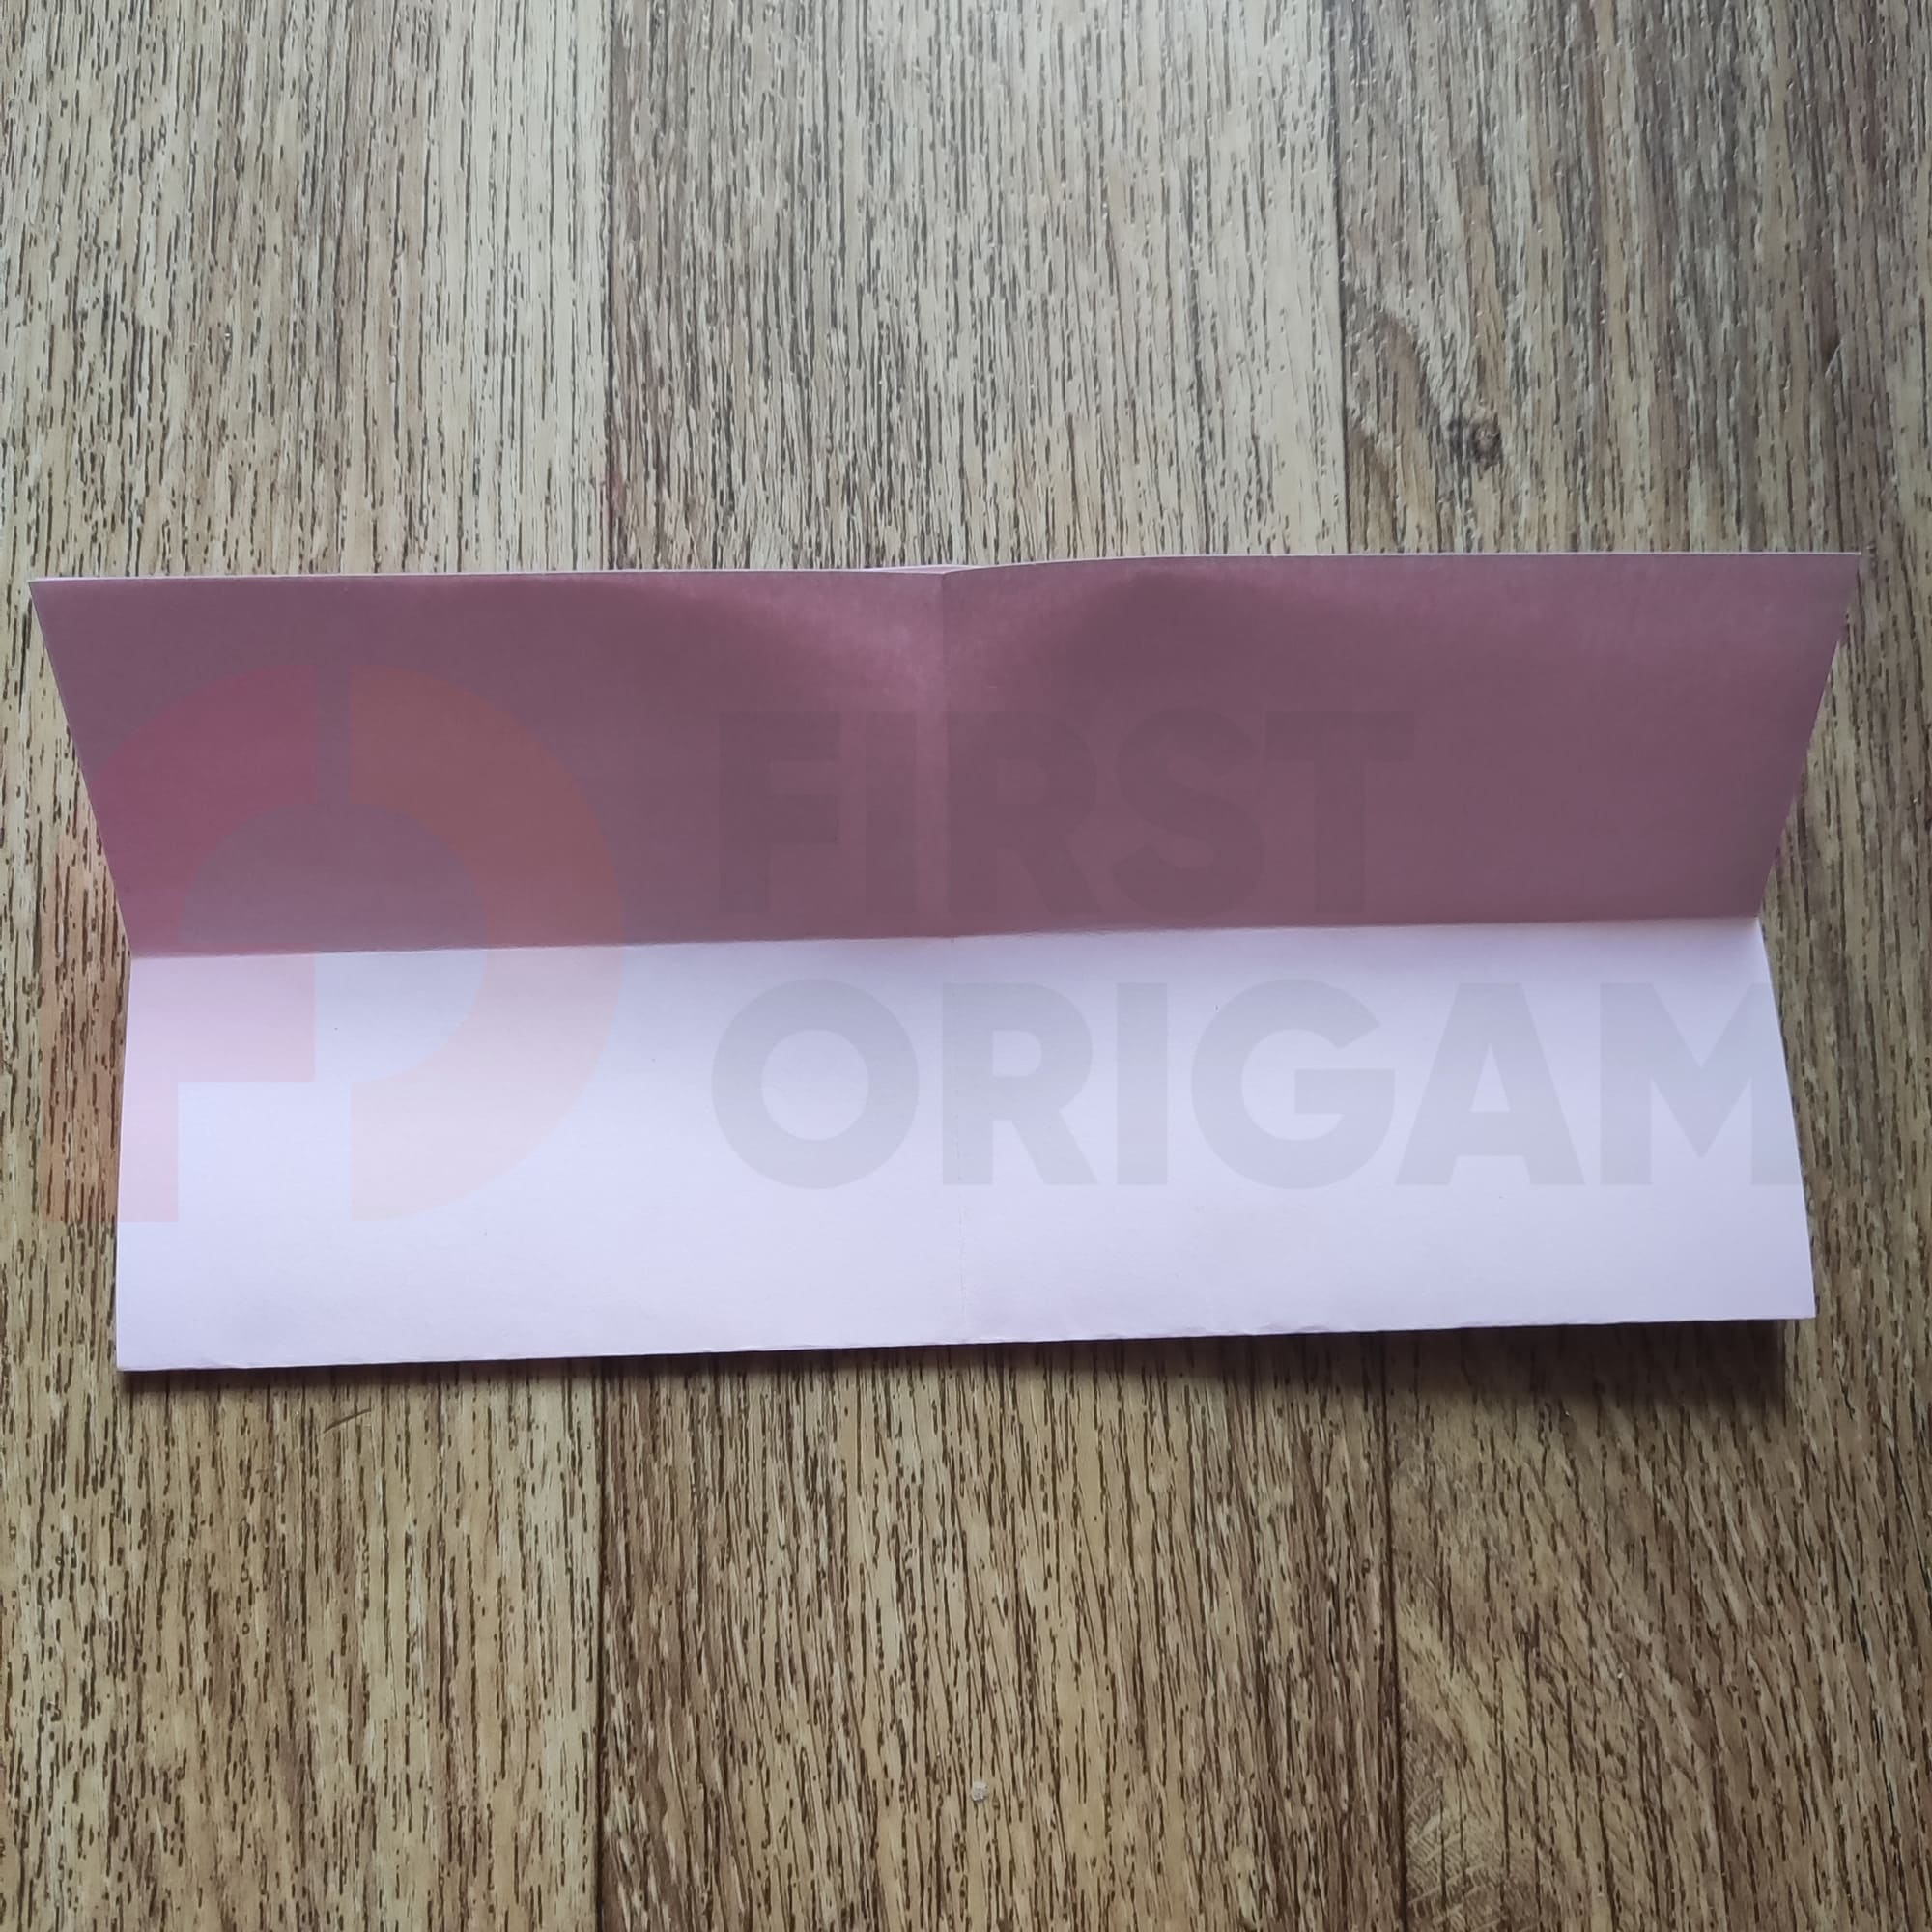
Measure out 1/3 of one half and fold it over.
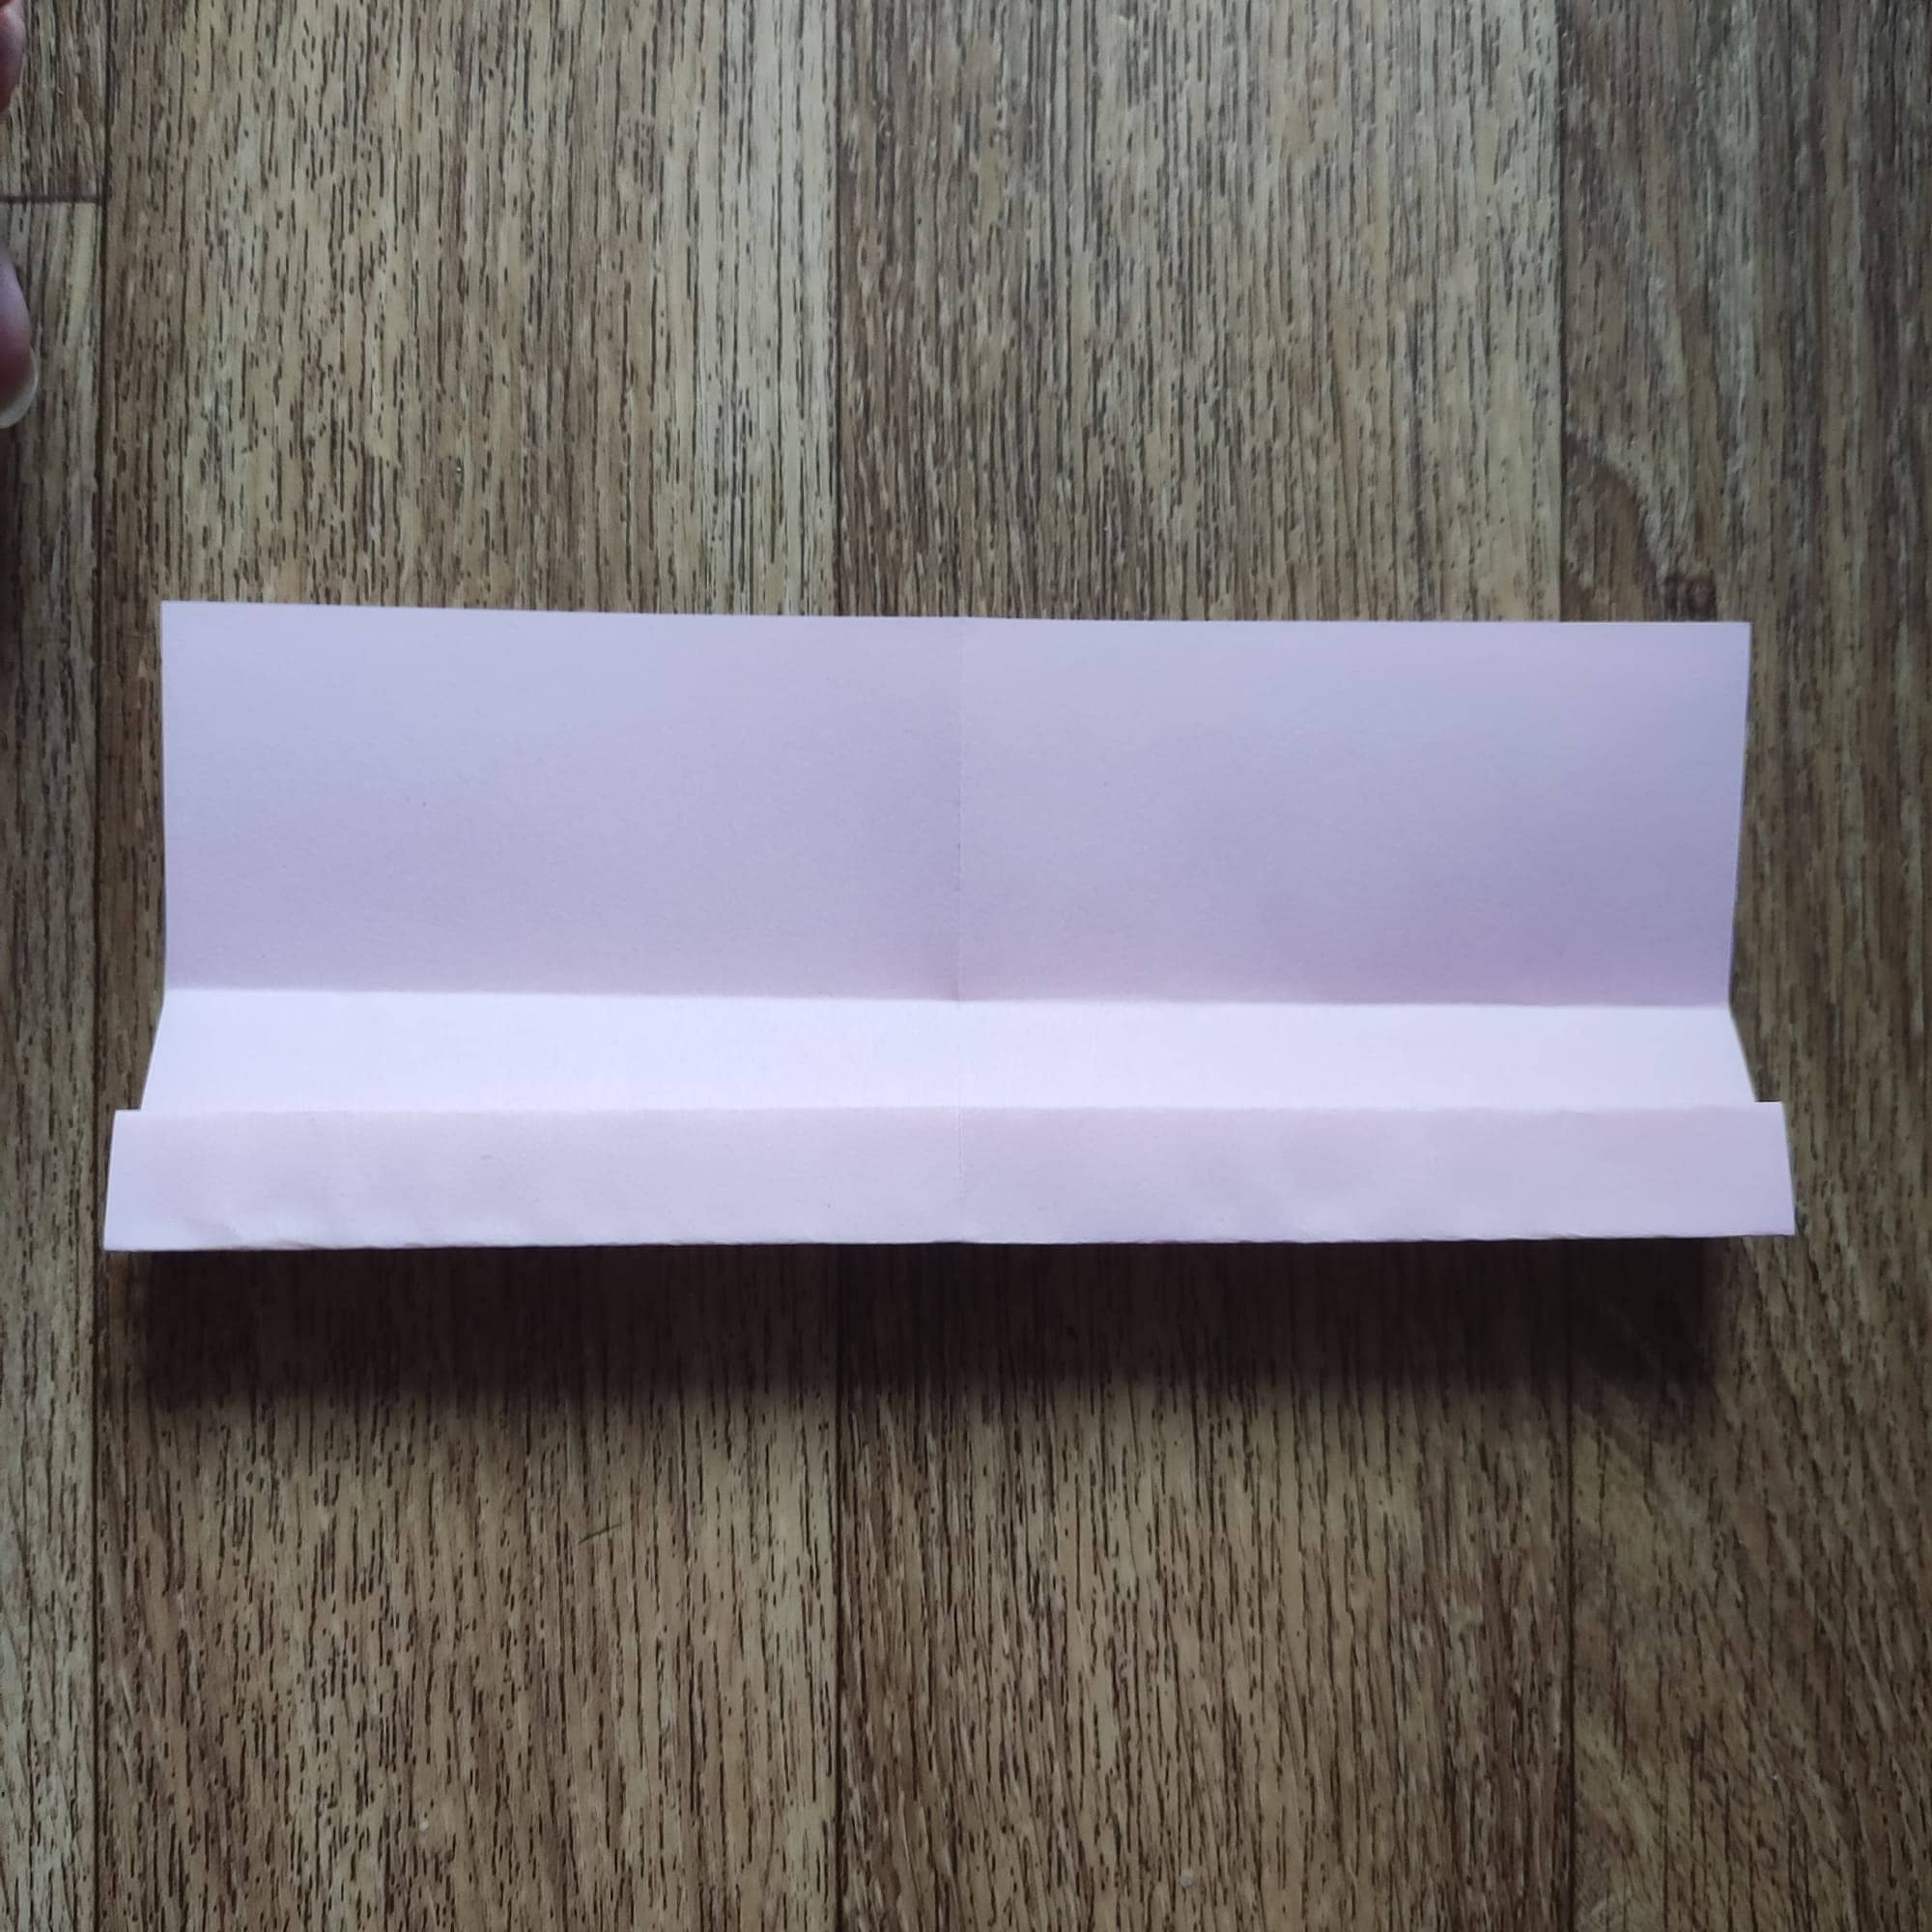
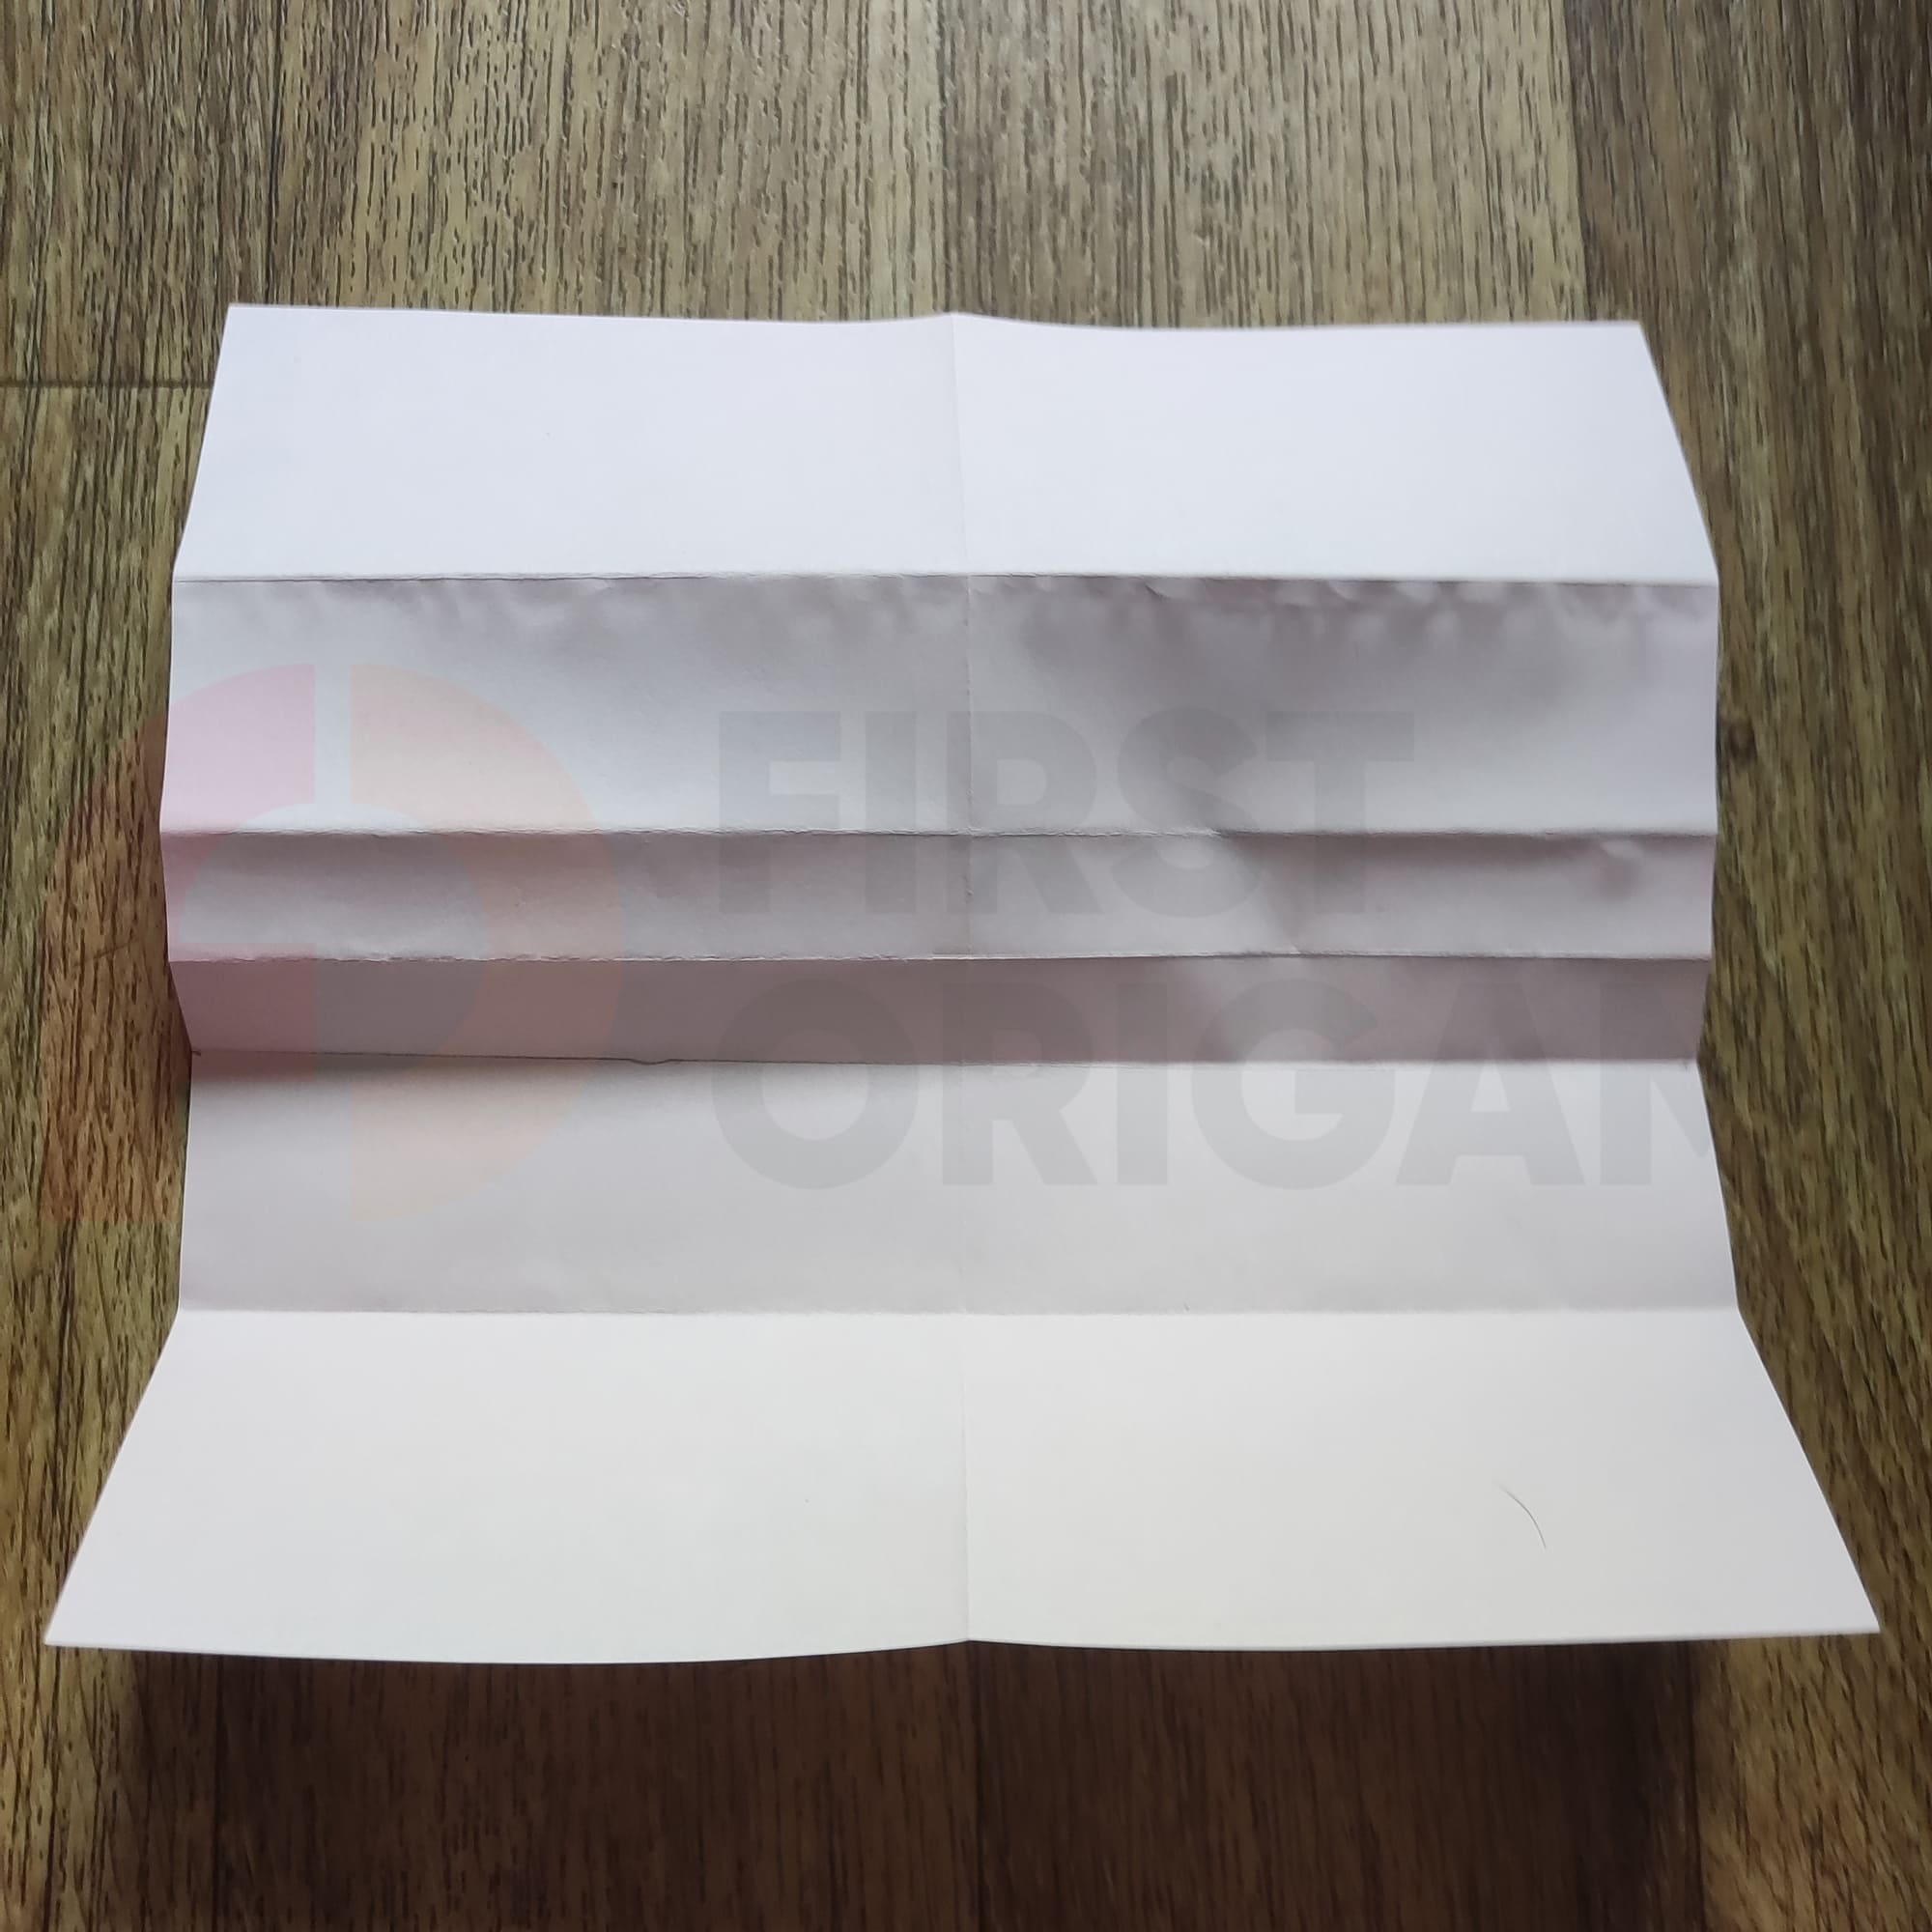
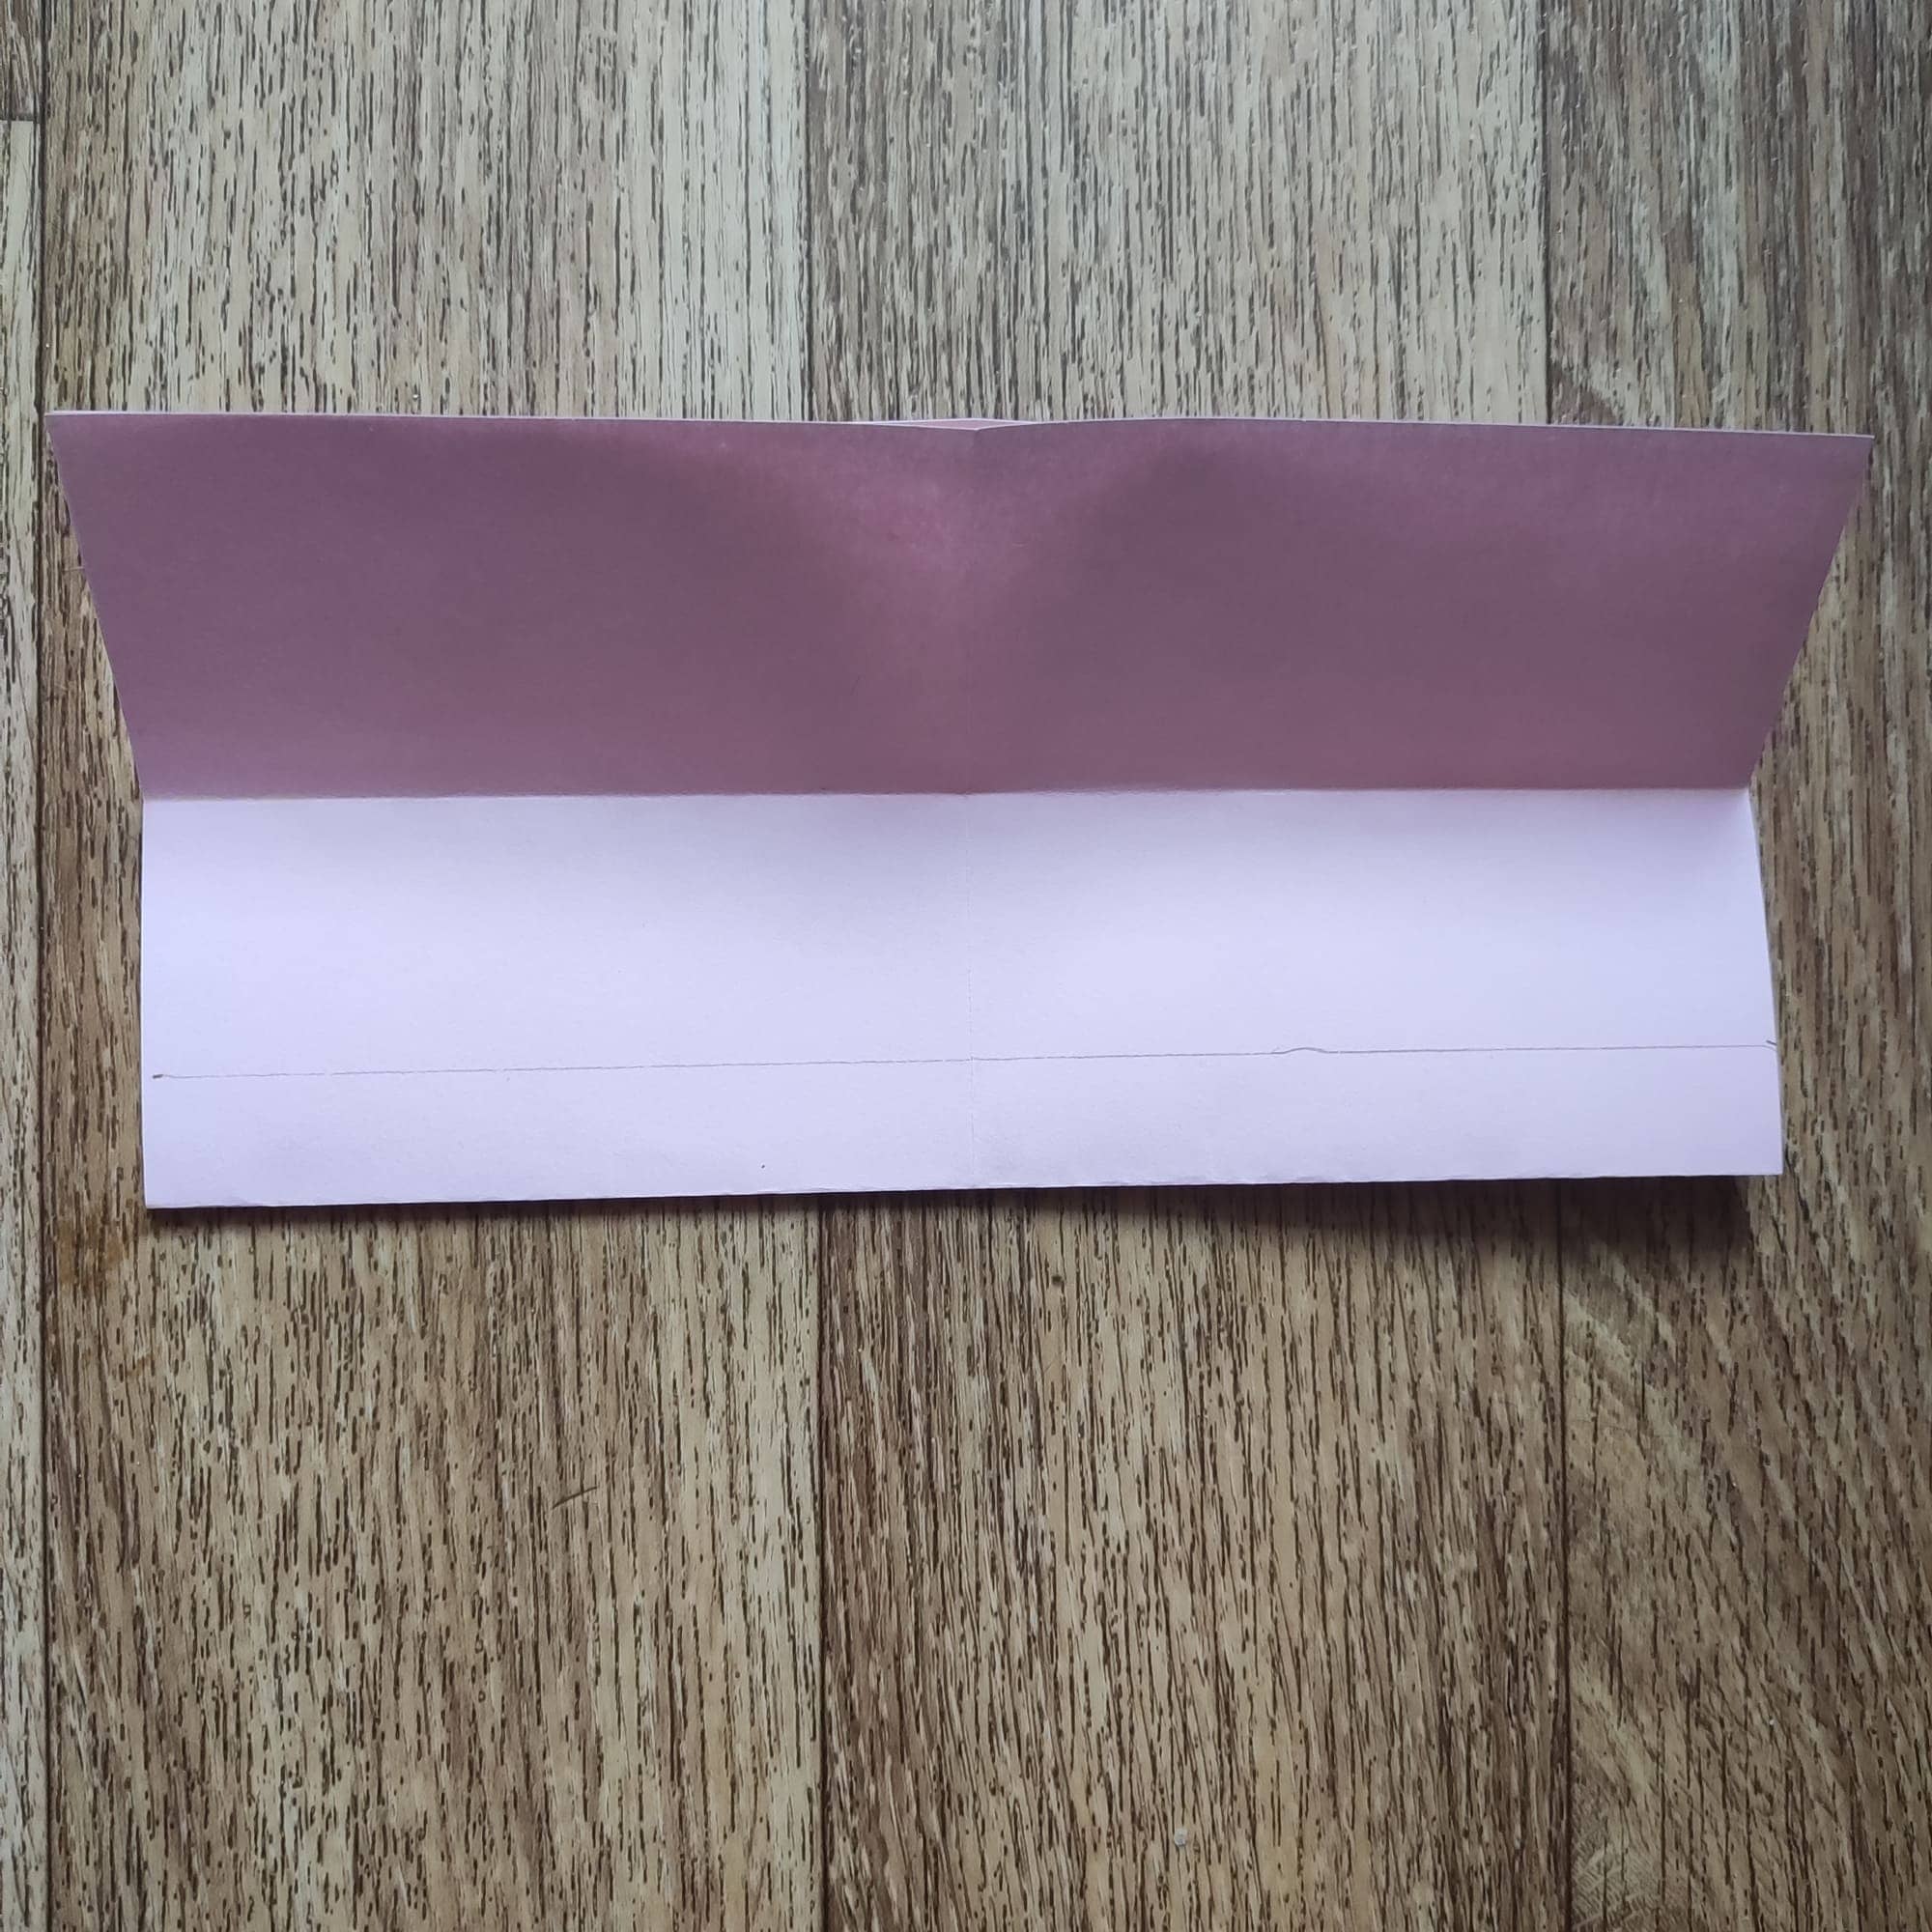
Straighten the sheet. Unfold it and repeat the steps. We now have a marked paper.
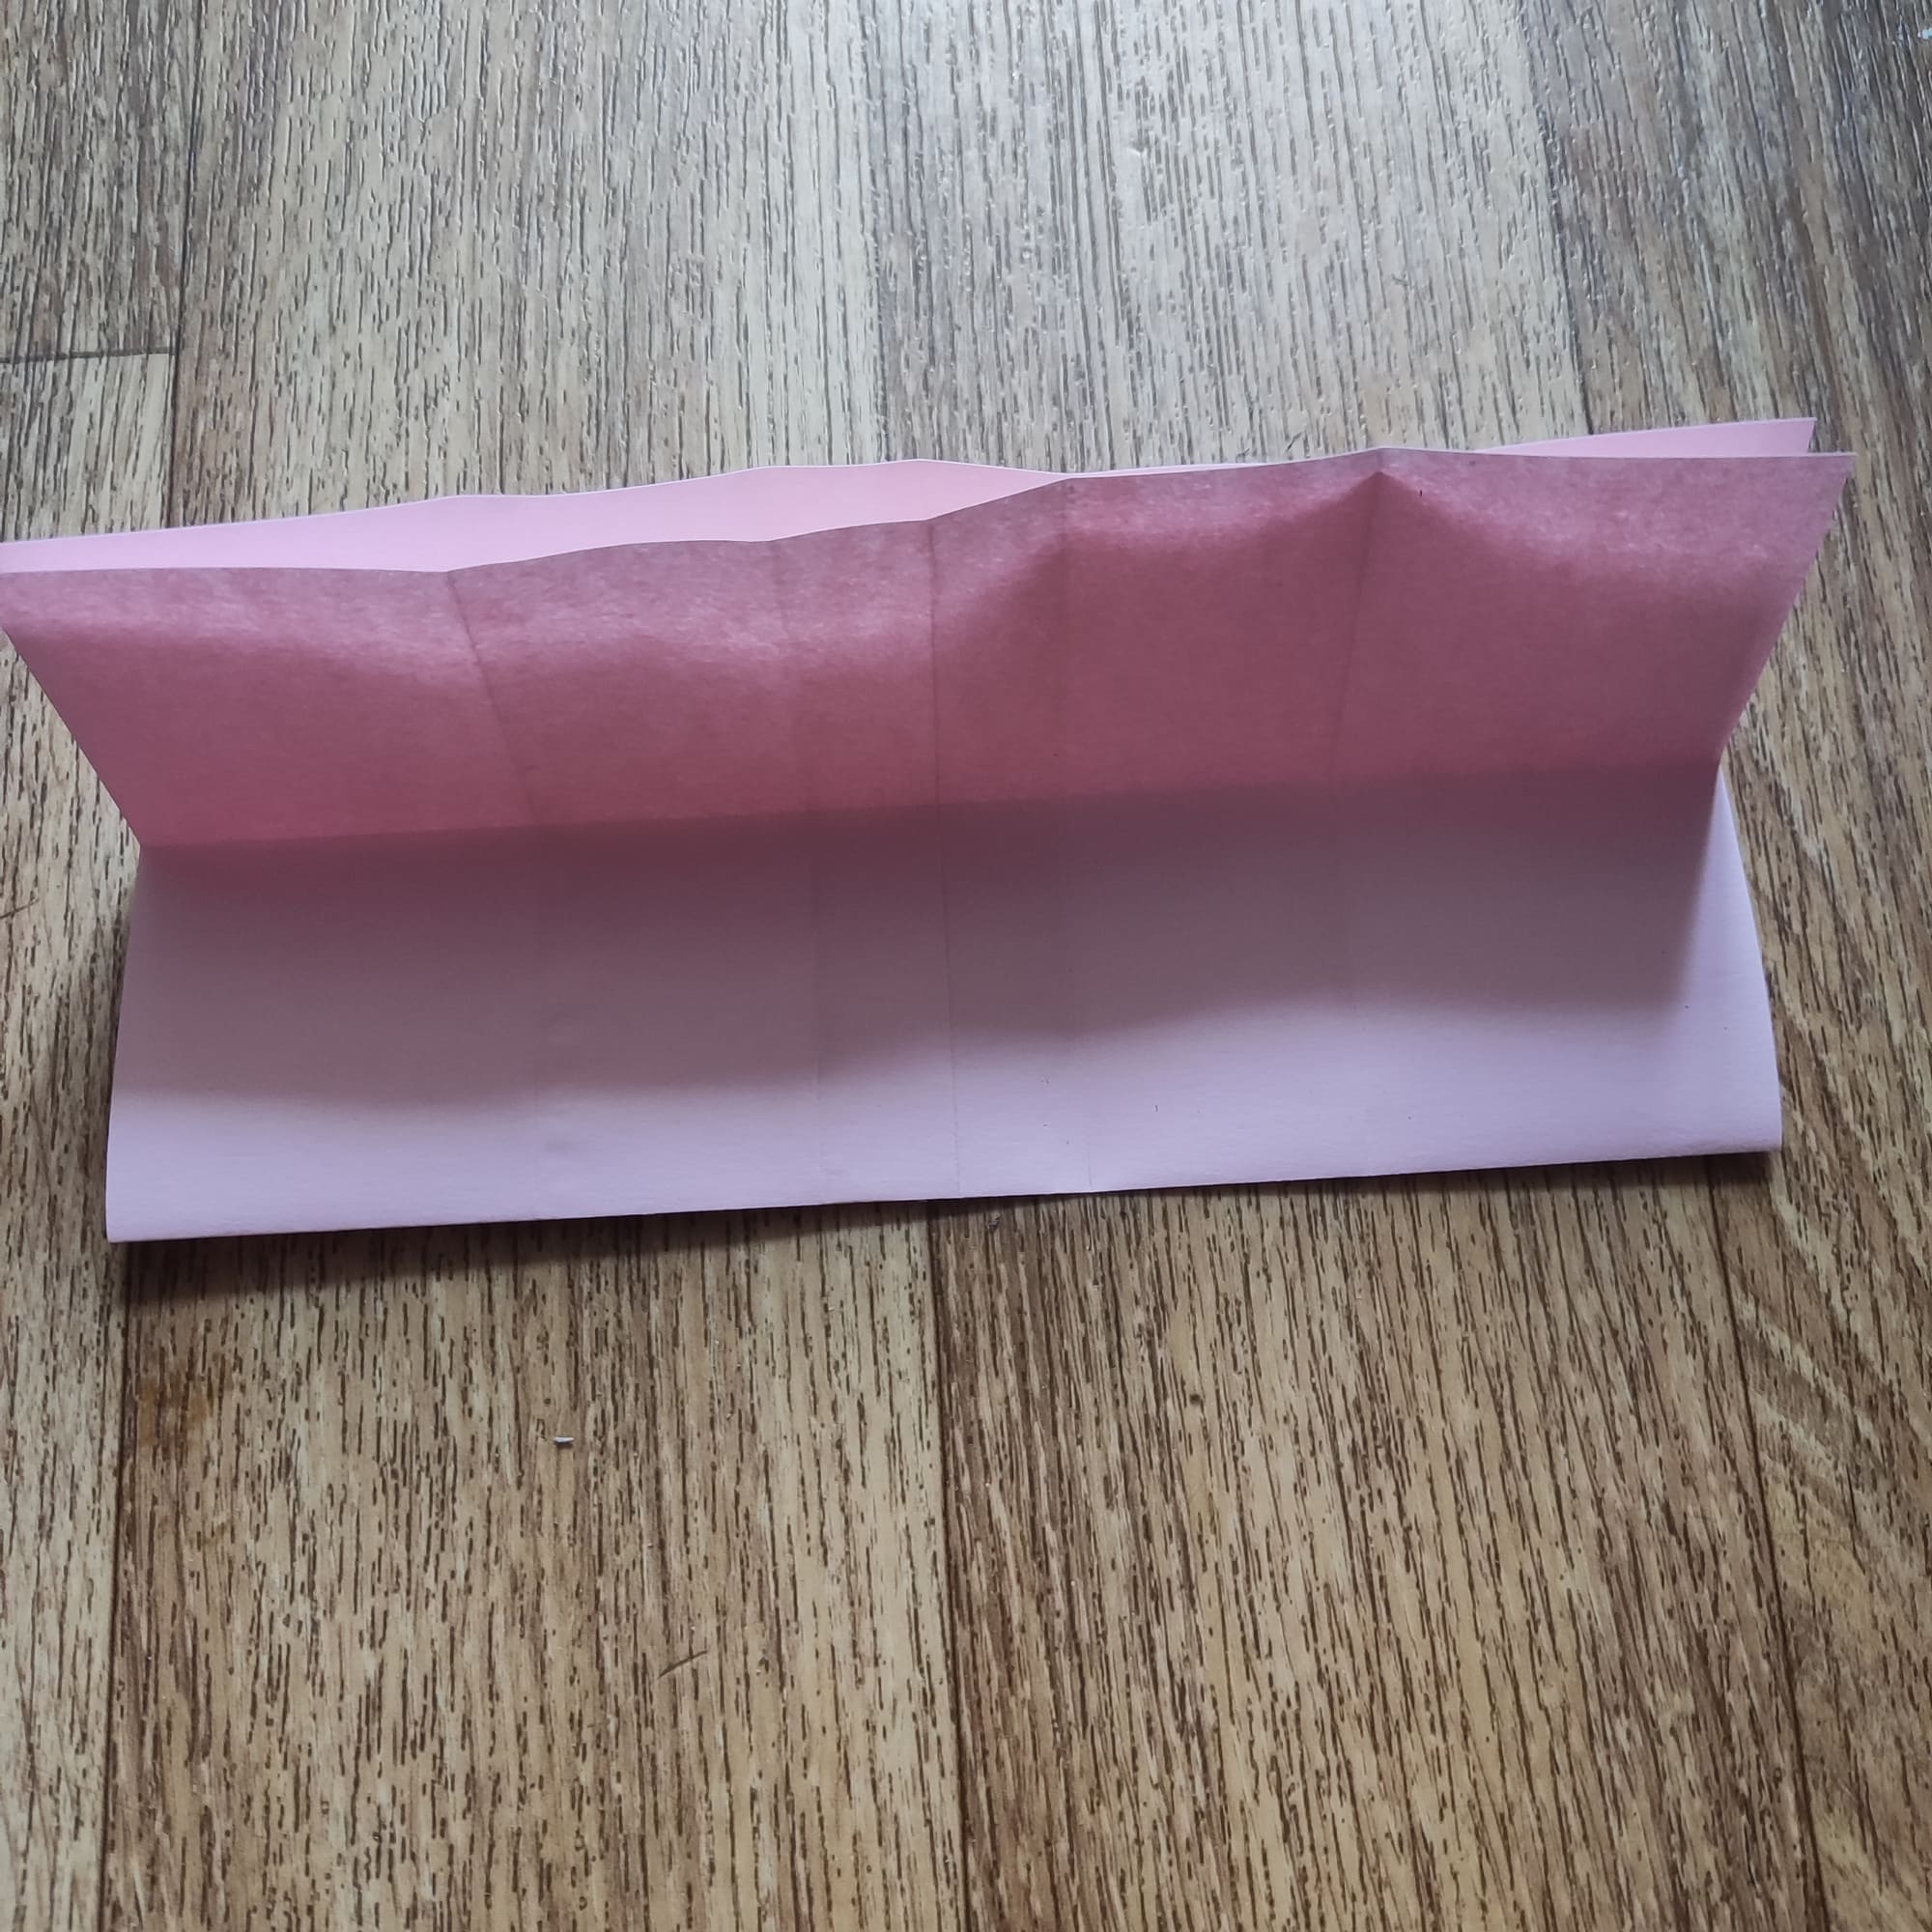
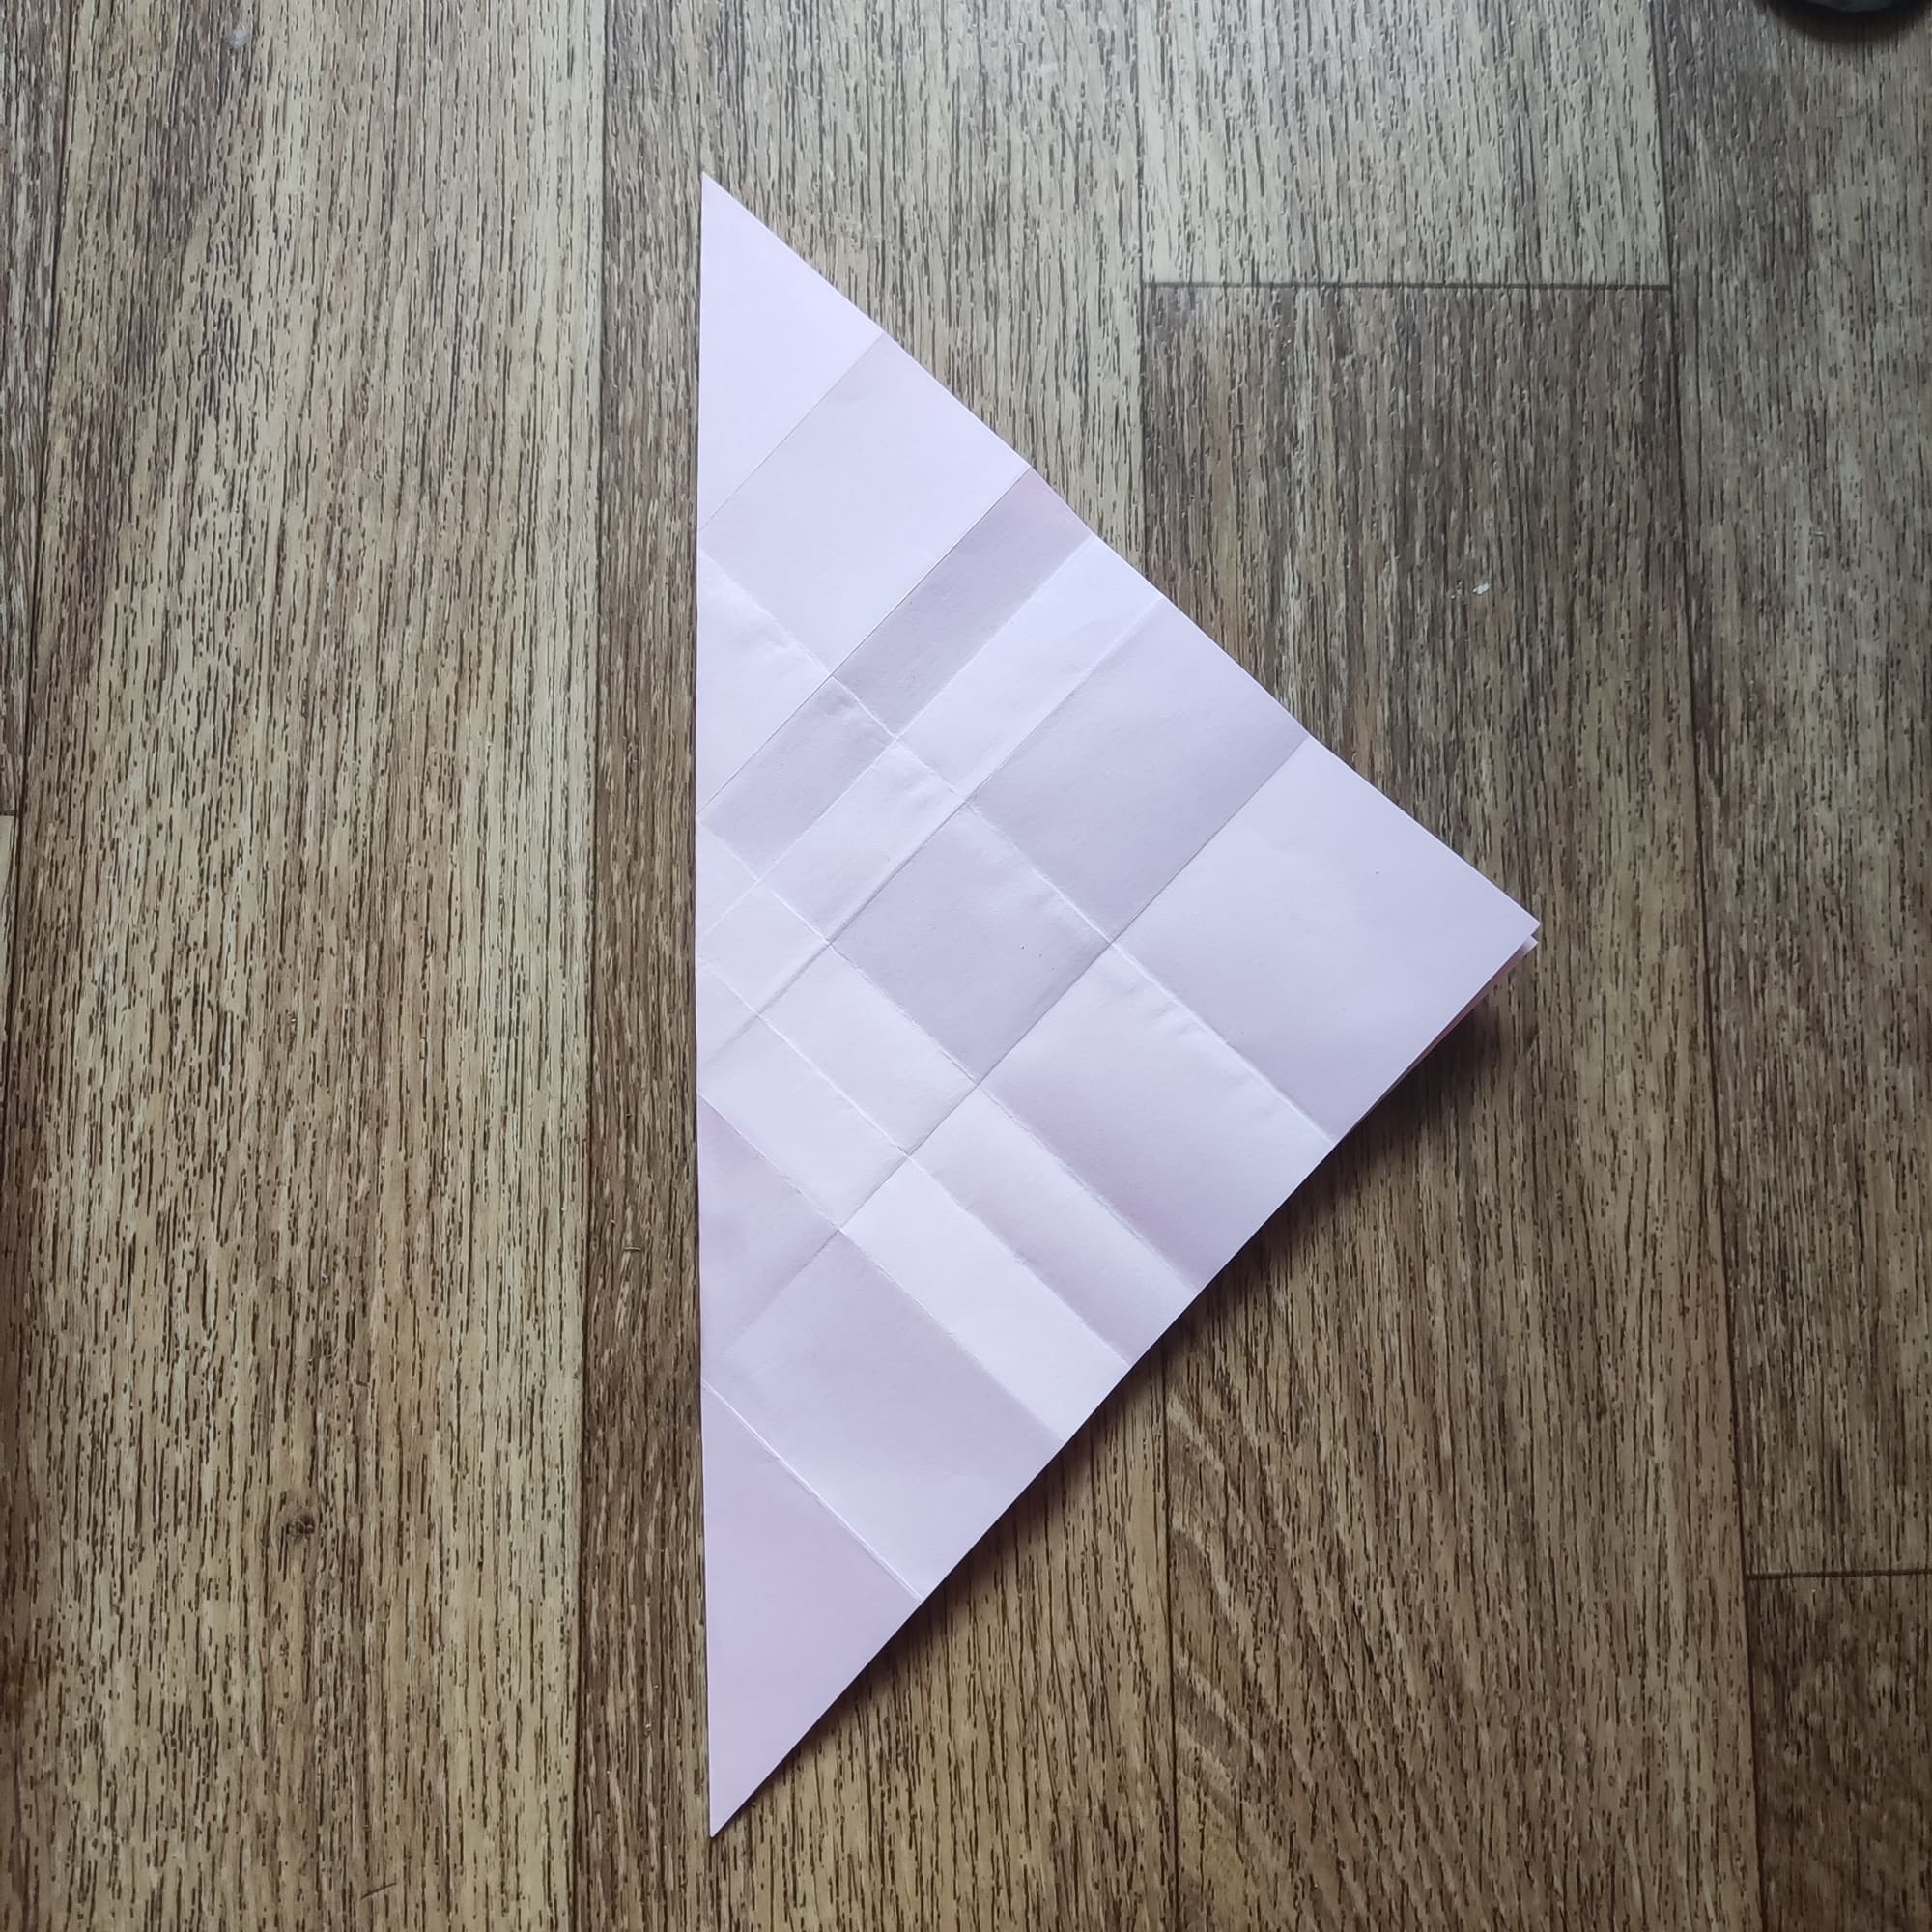
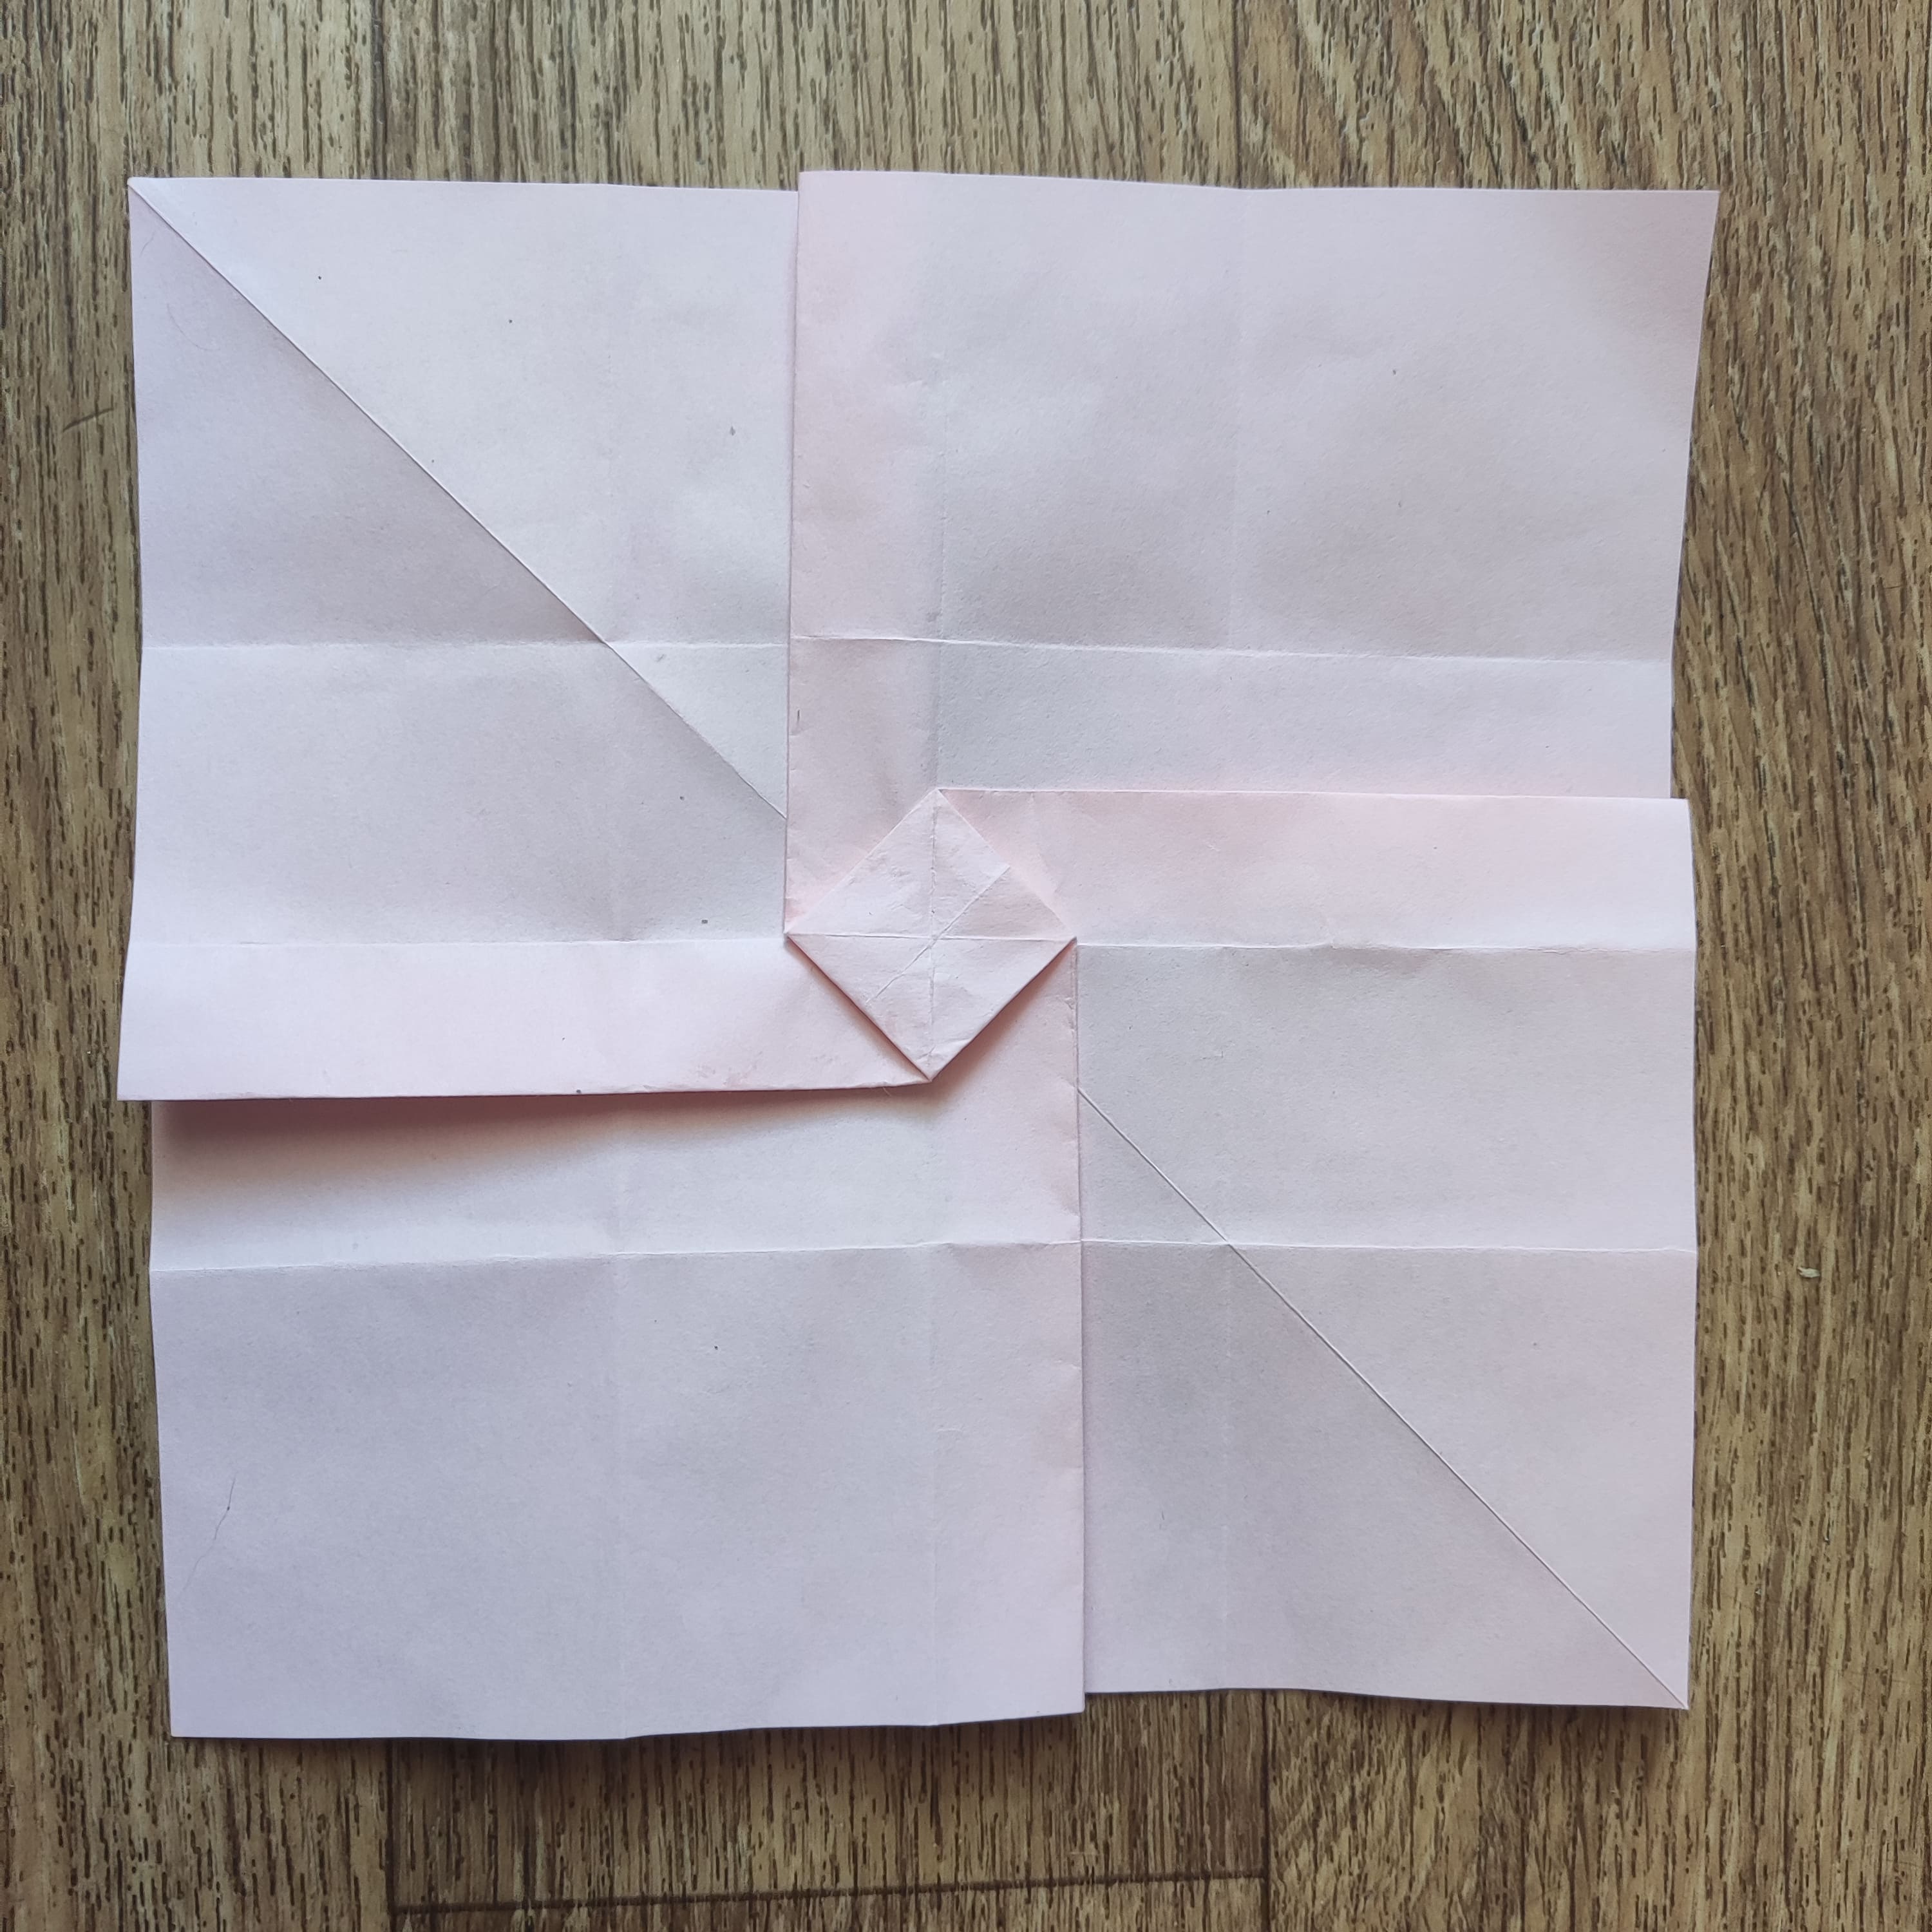
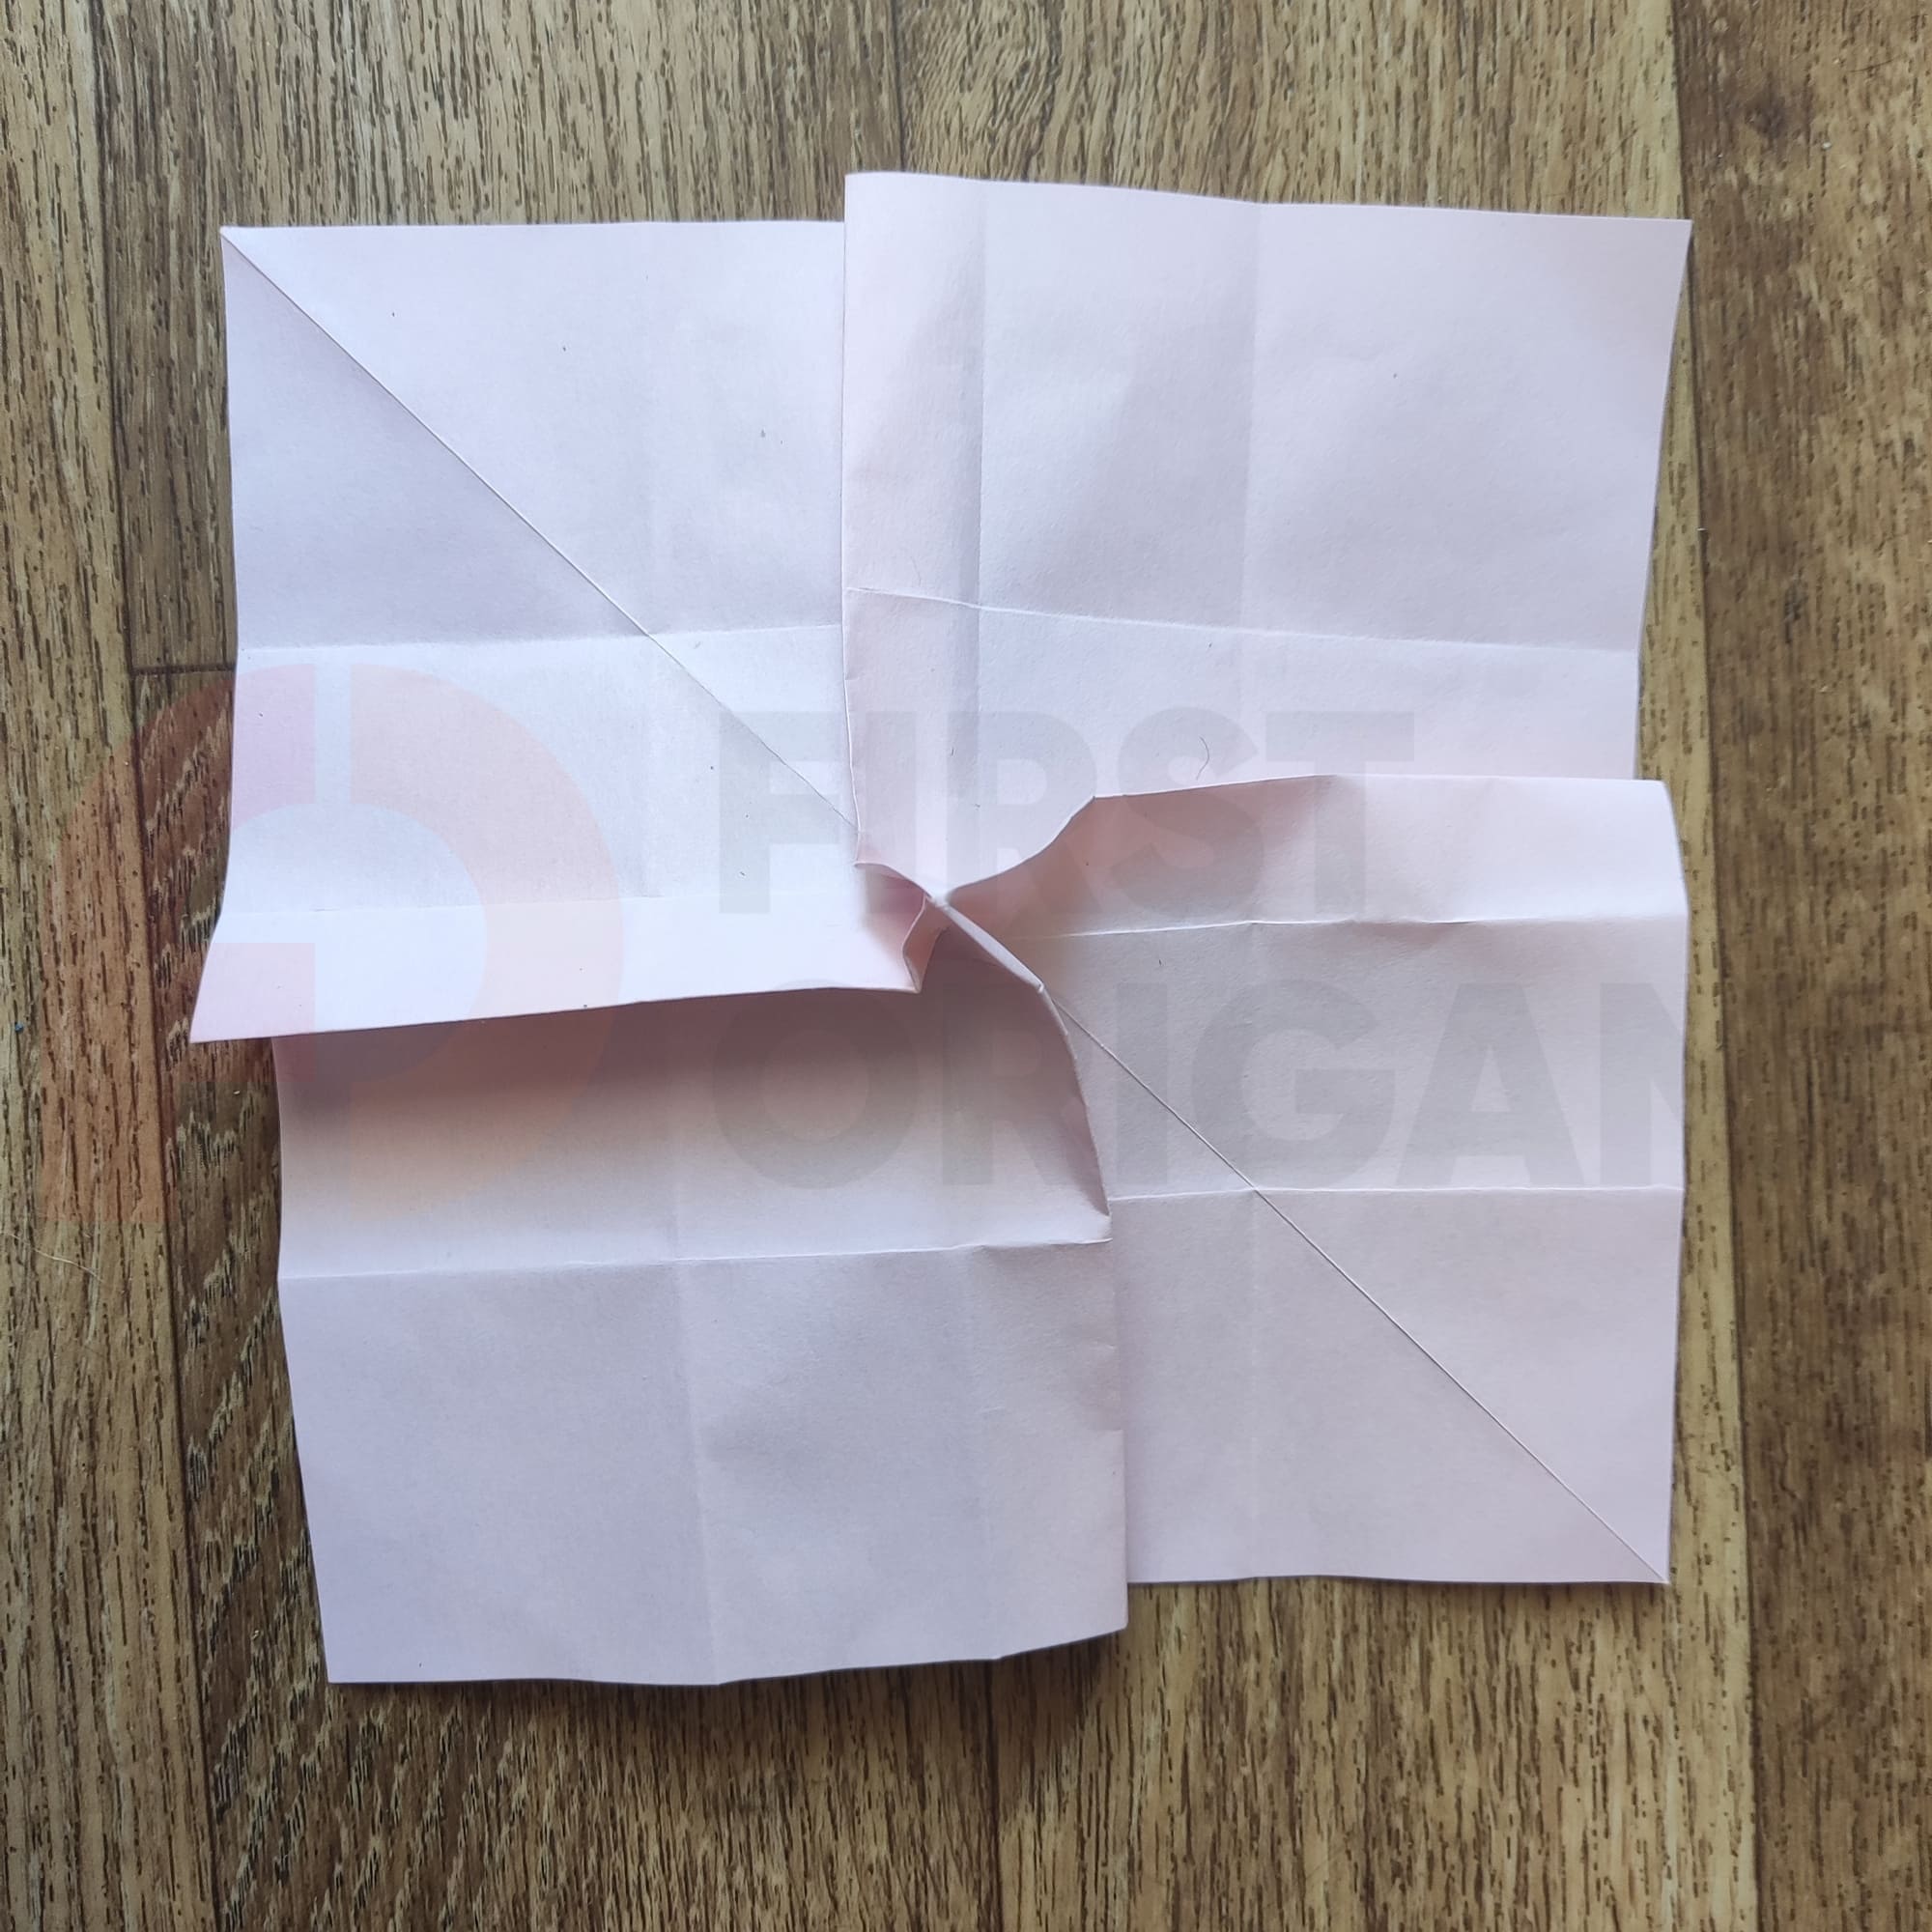
Make diagonal folds so they are pronounced. Then make folds in different directions on both sides.
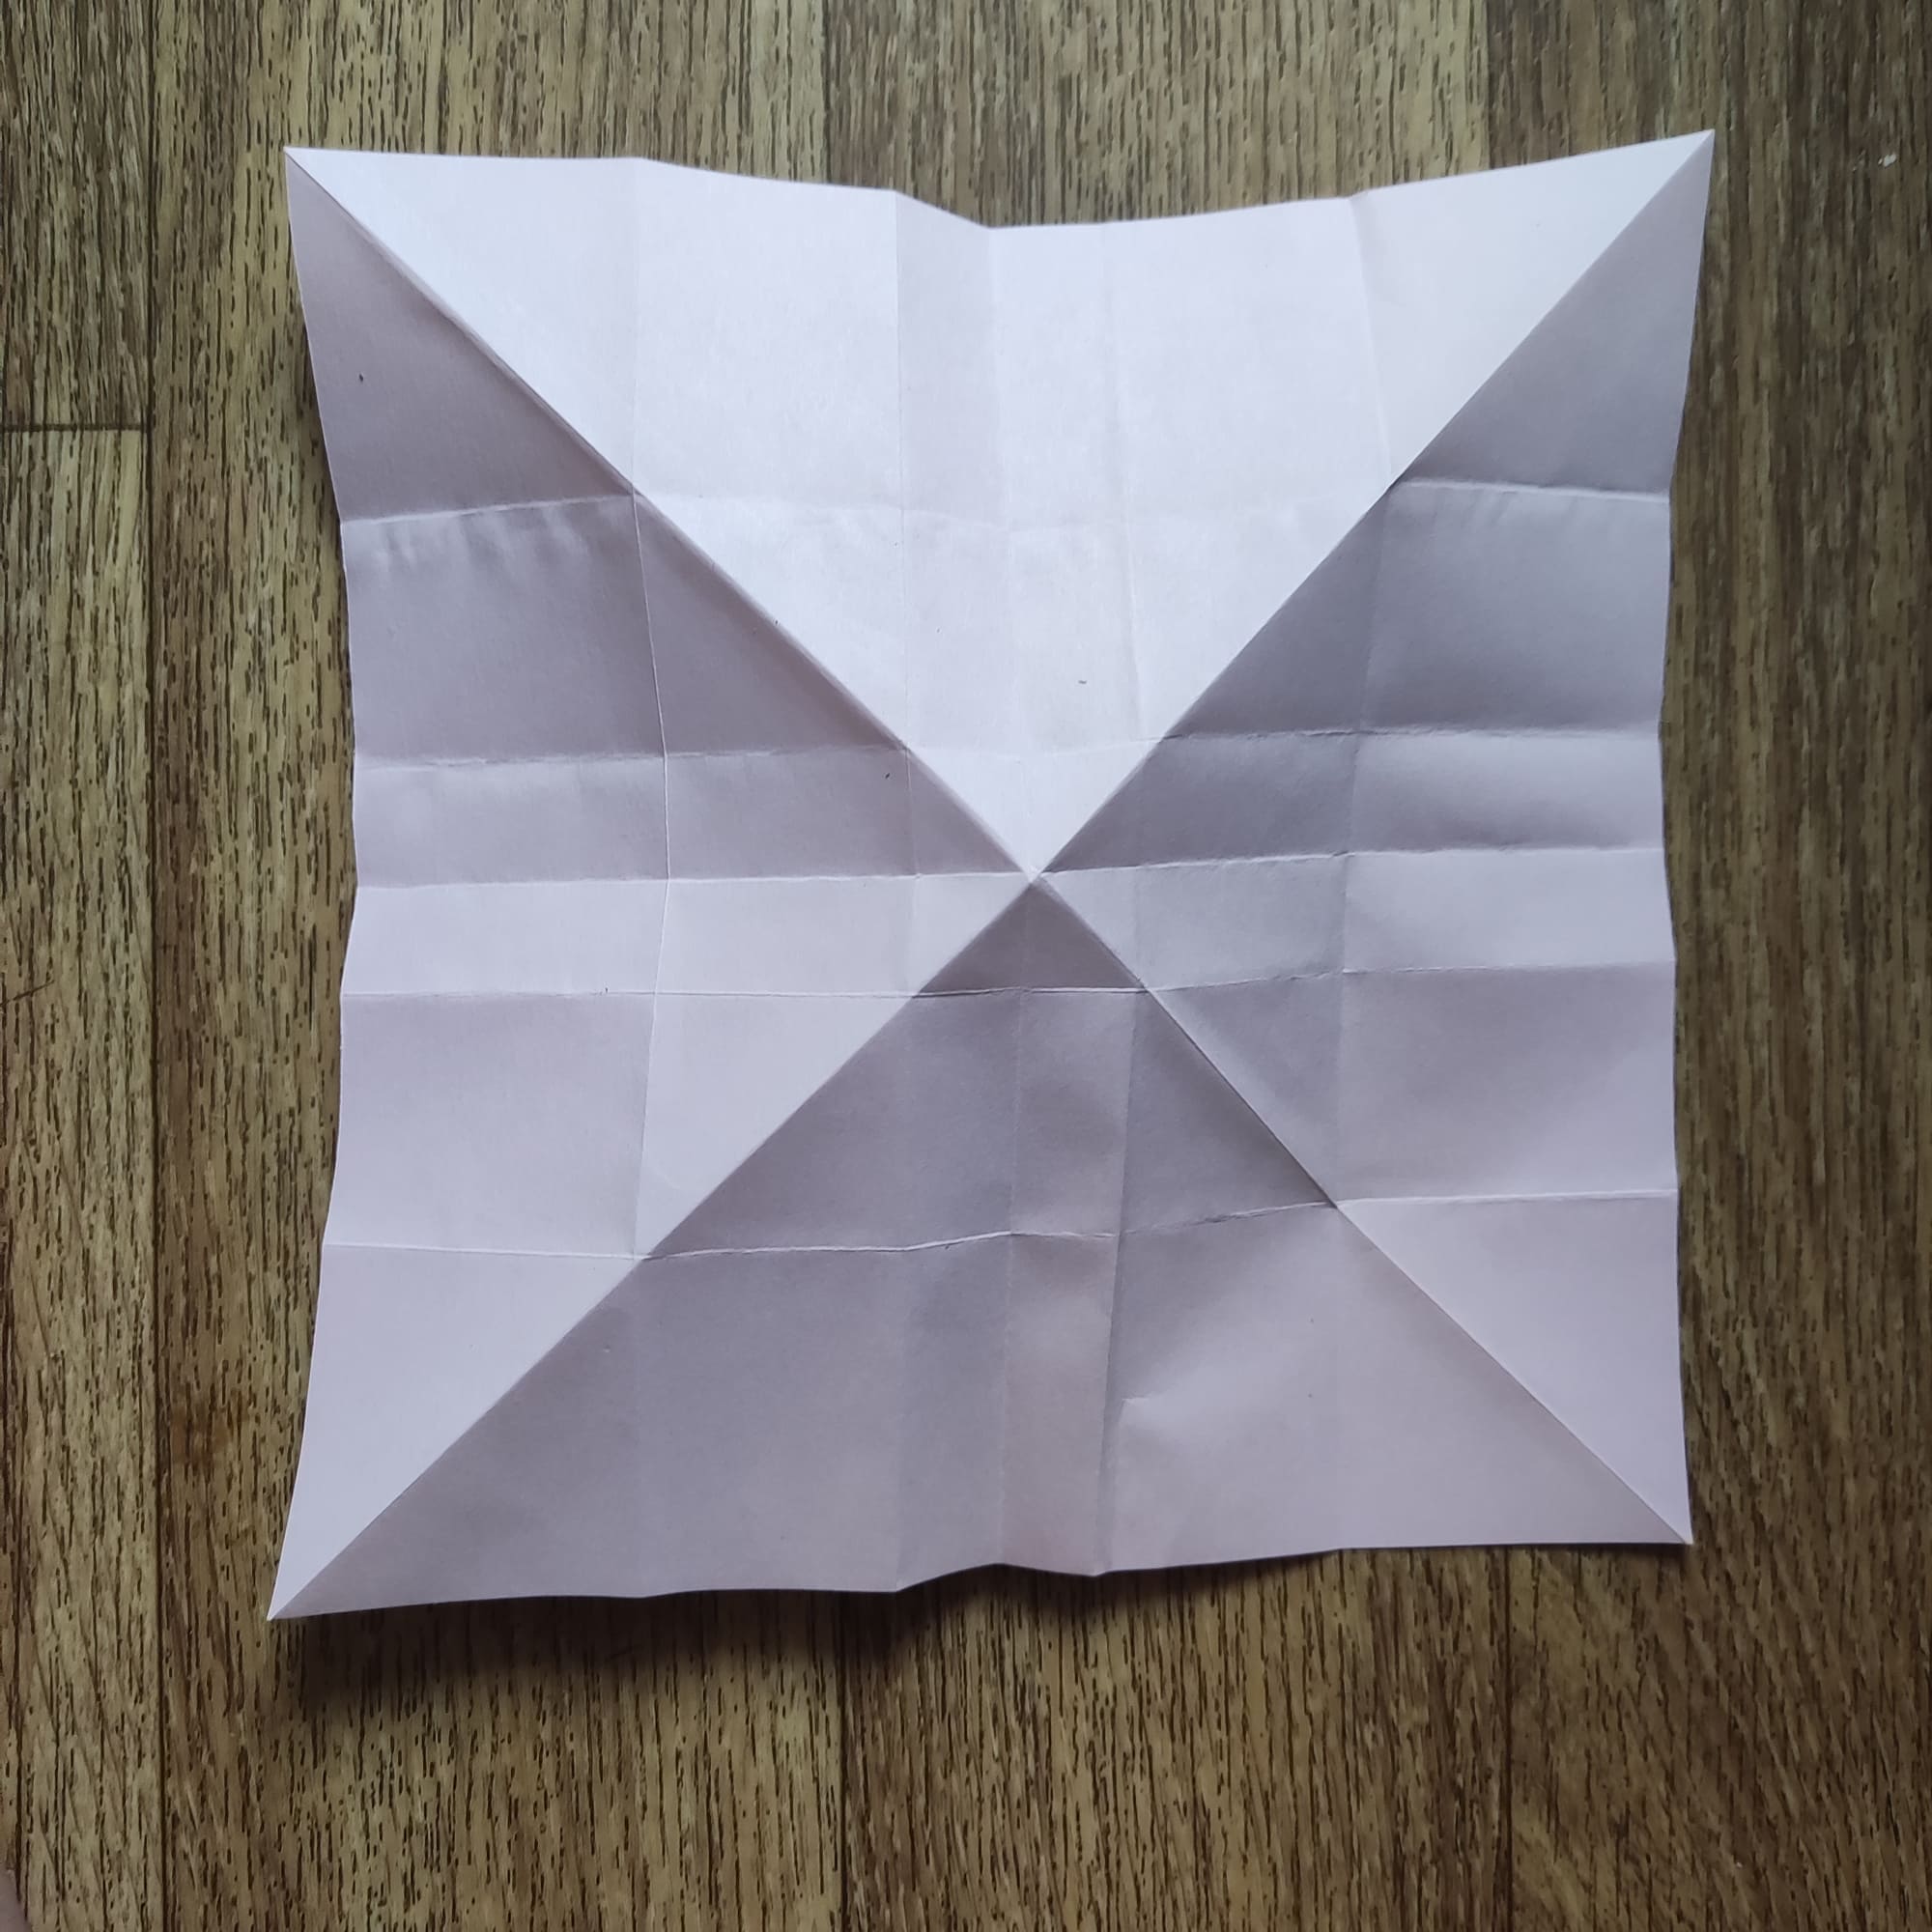
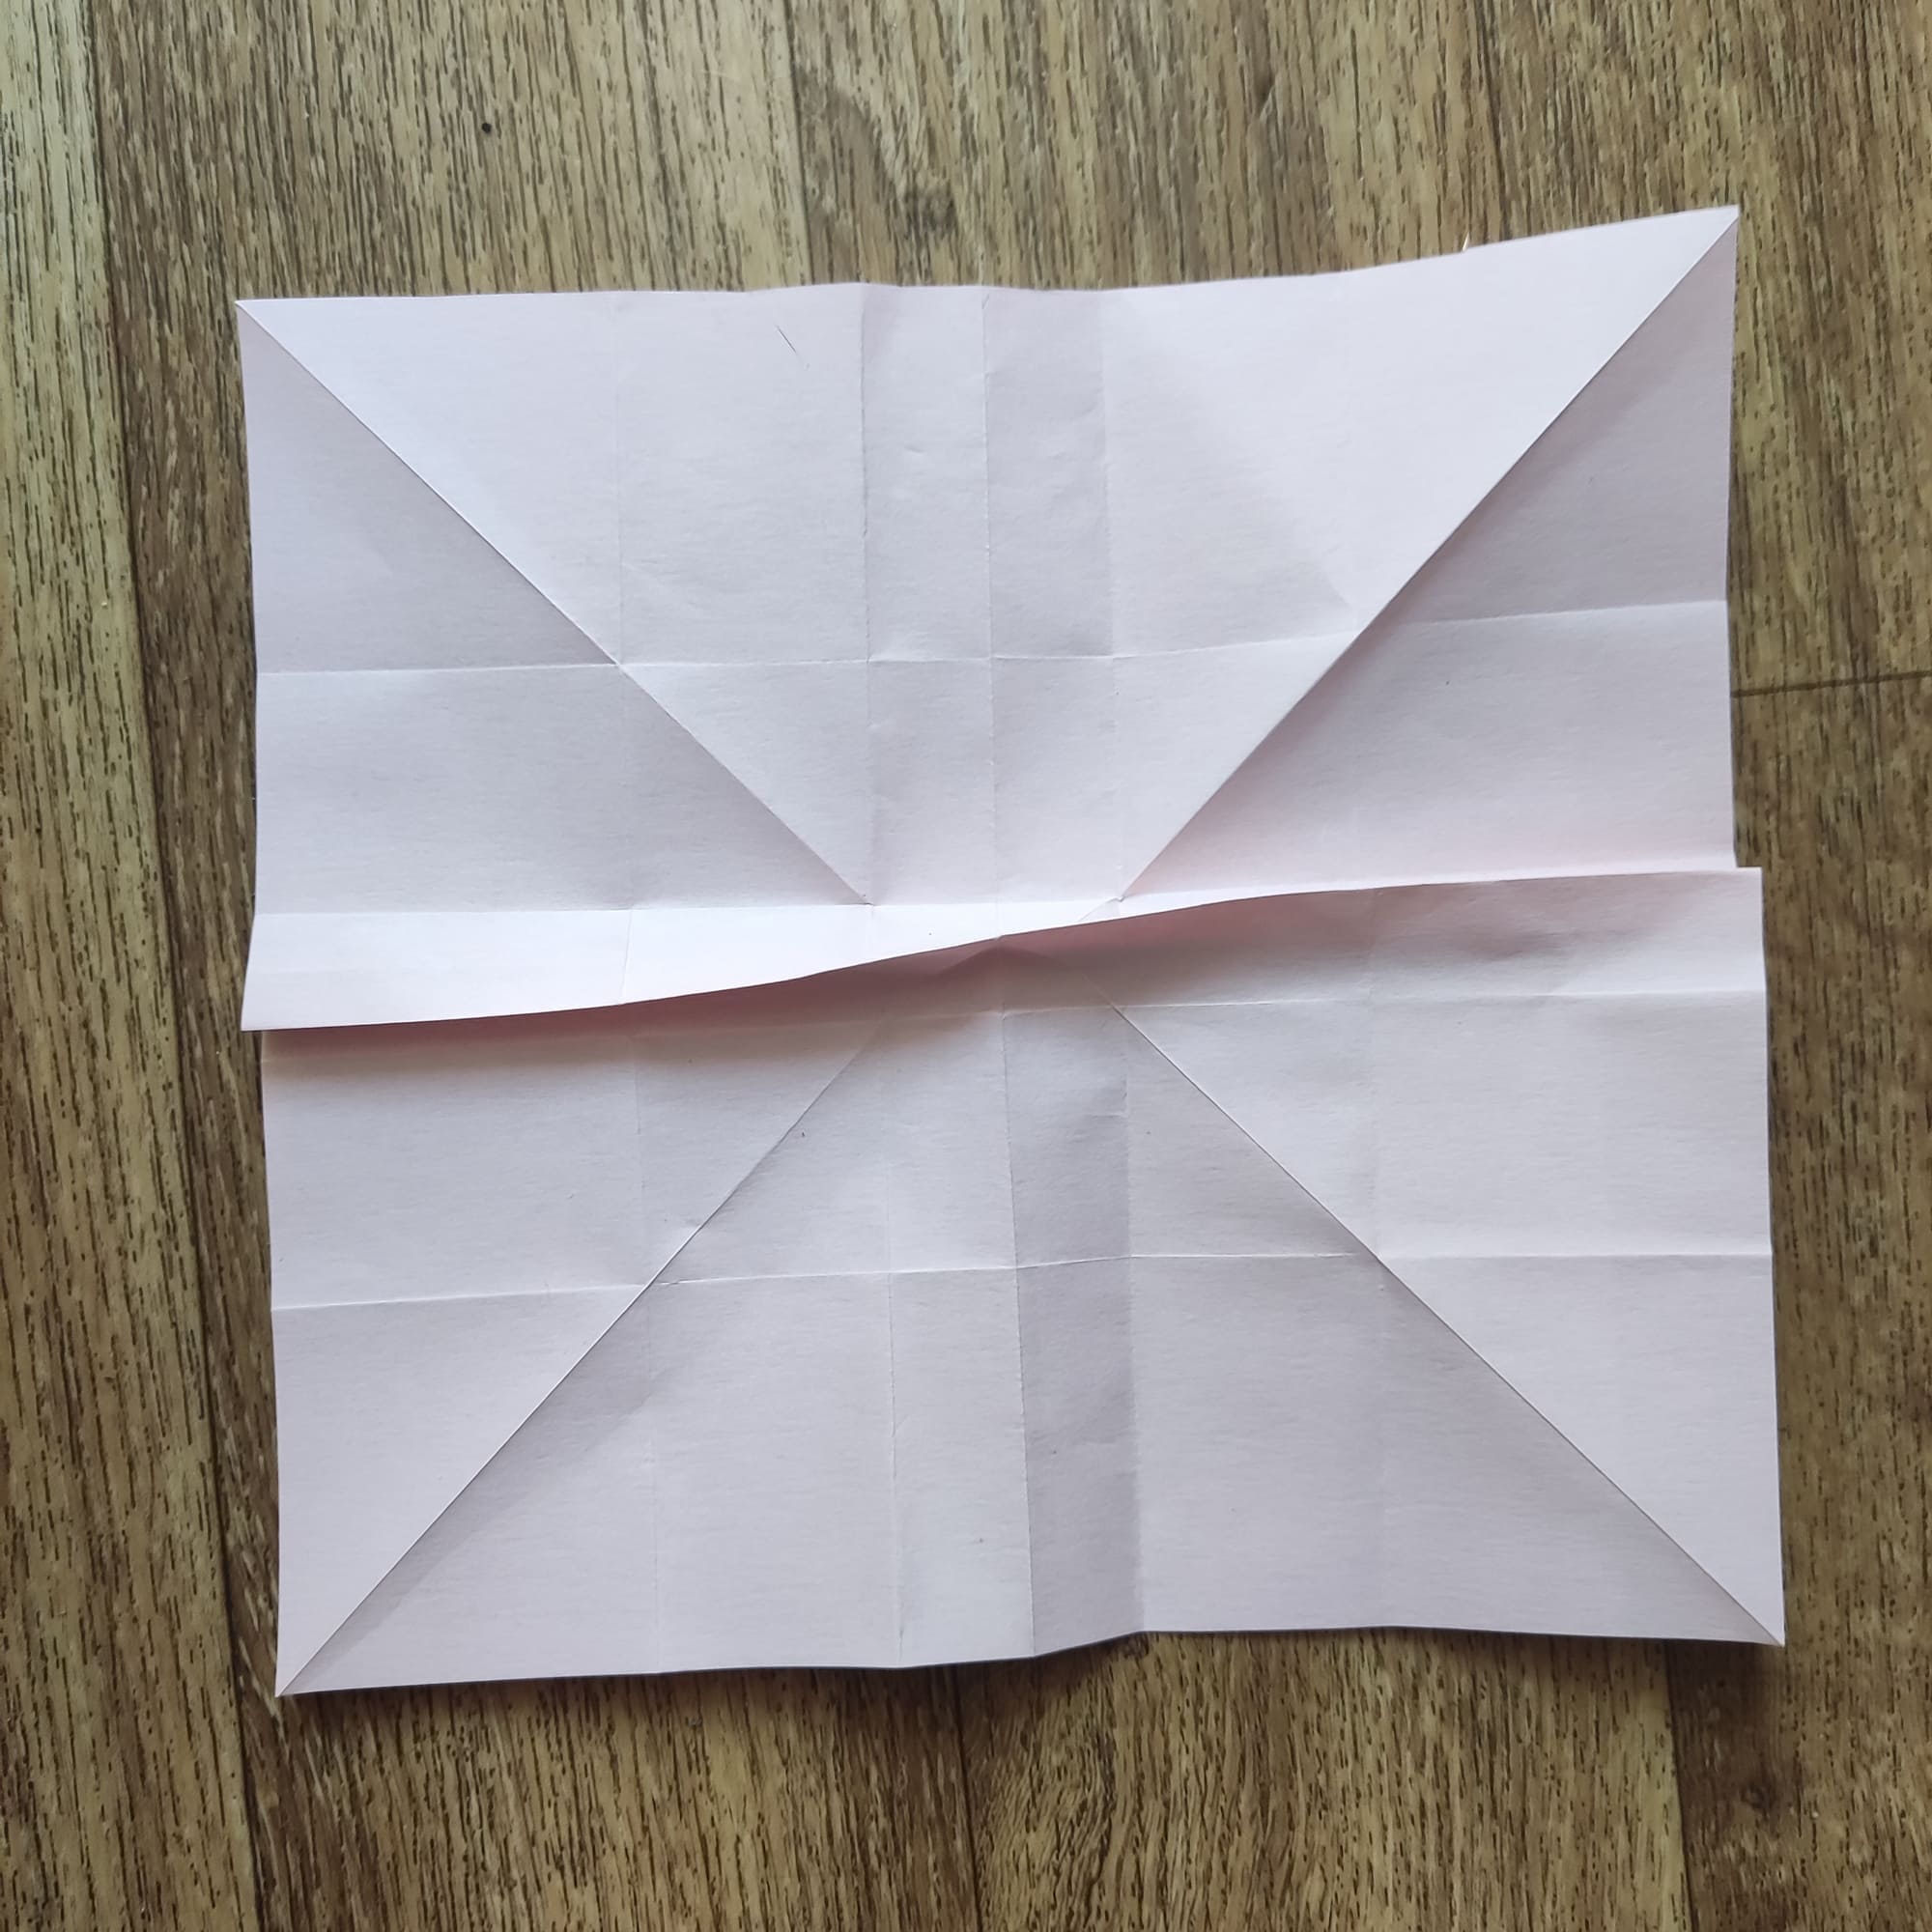
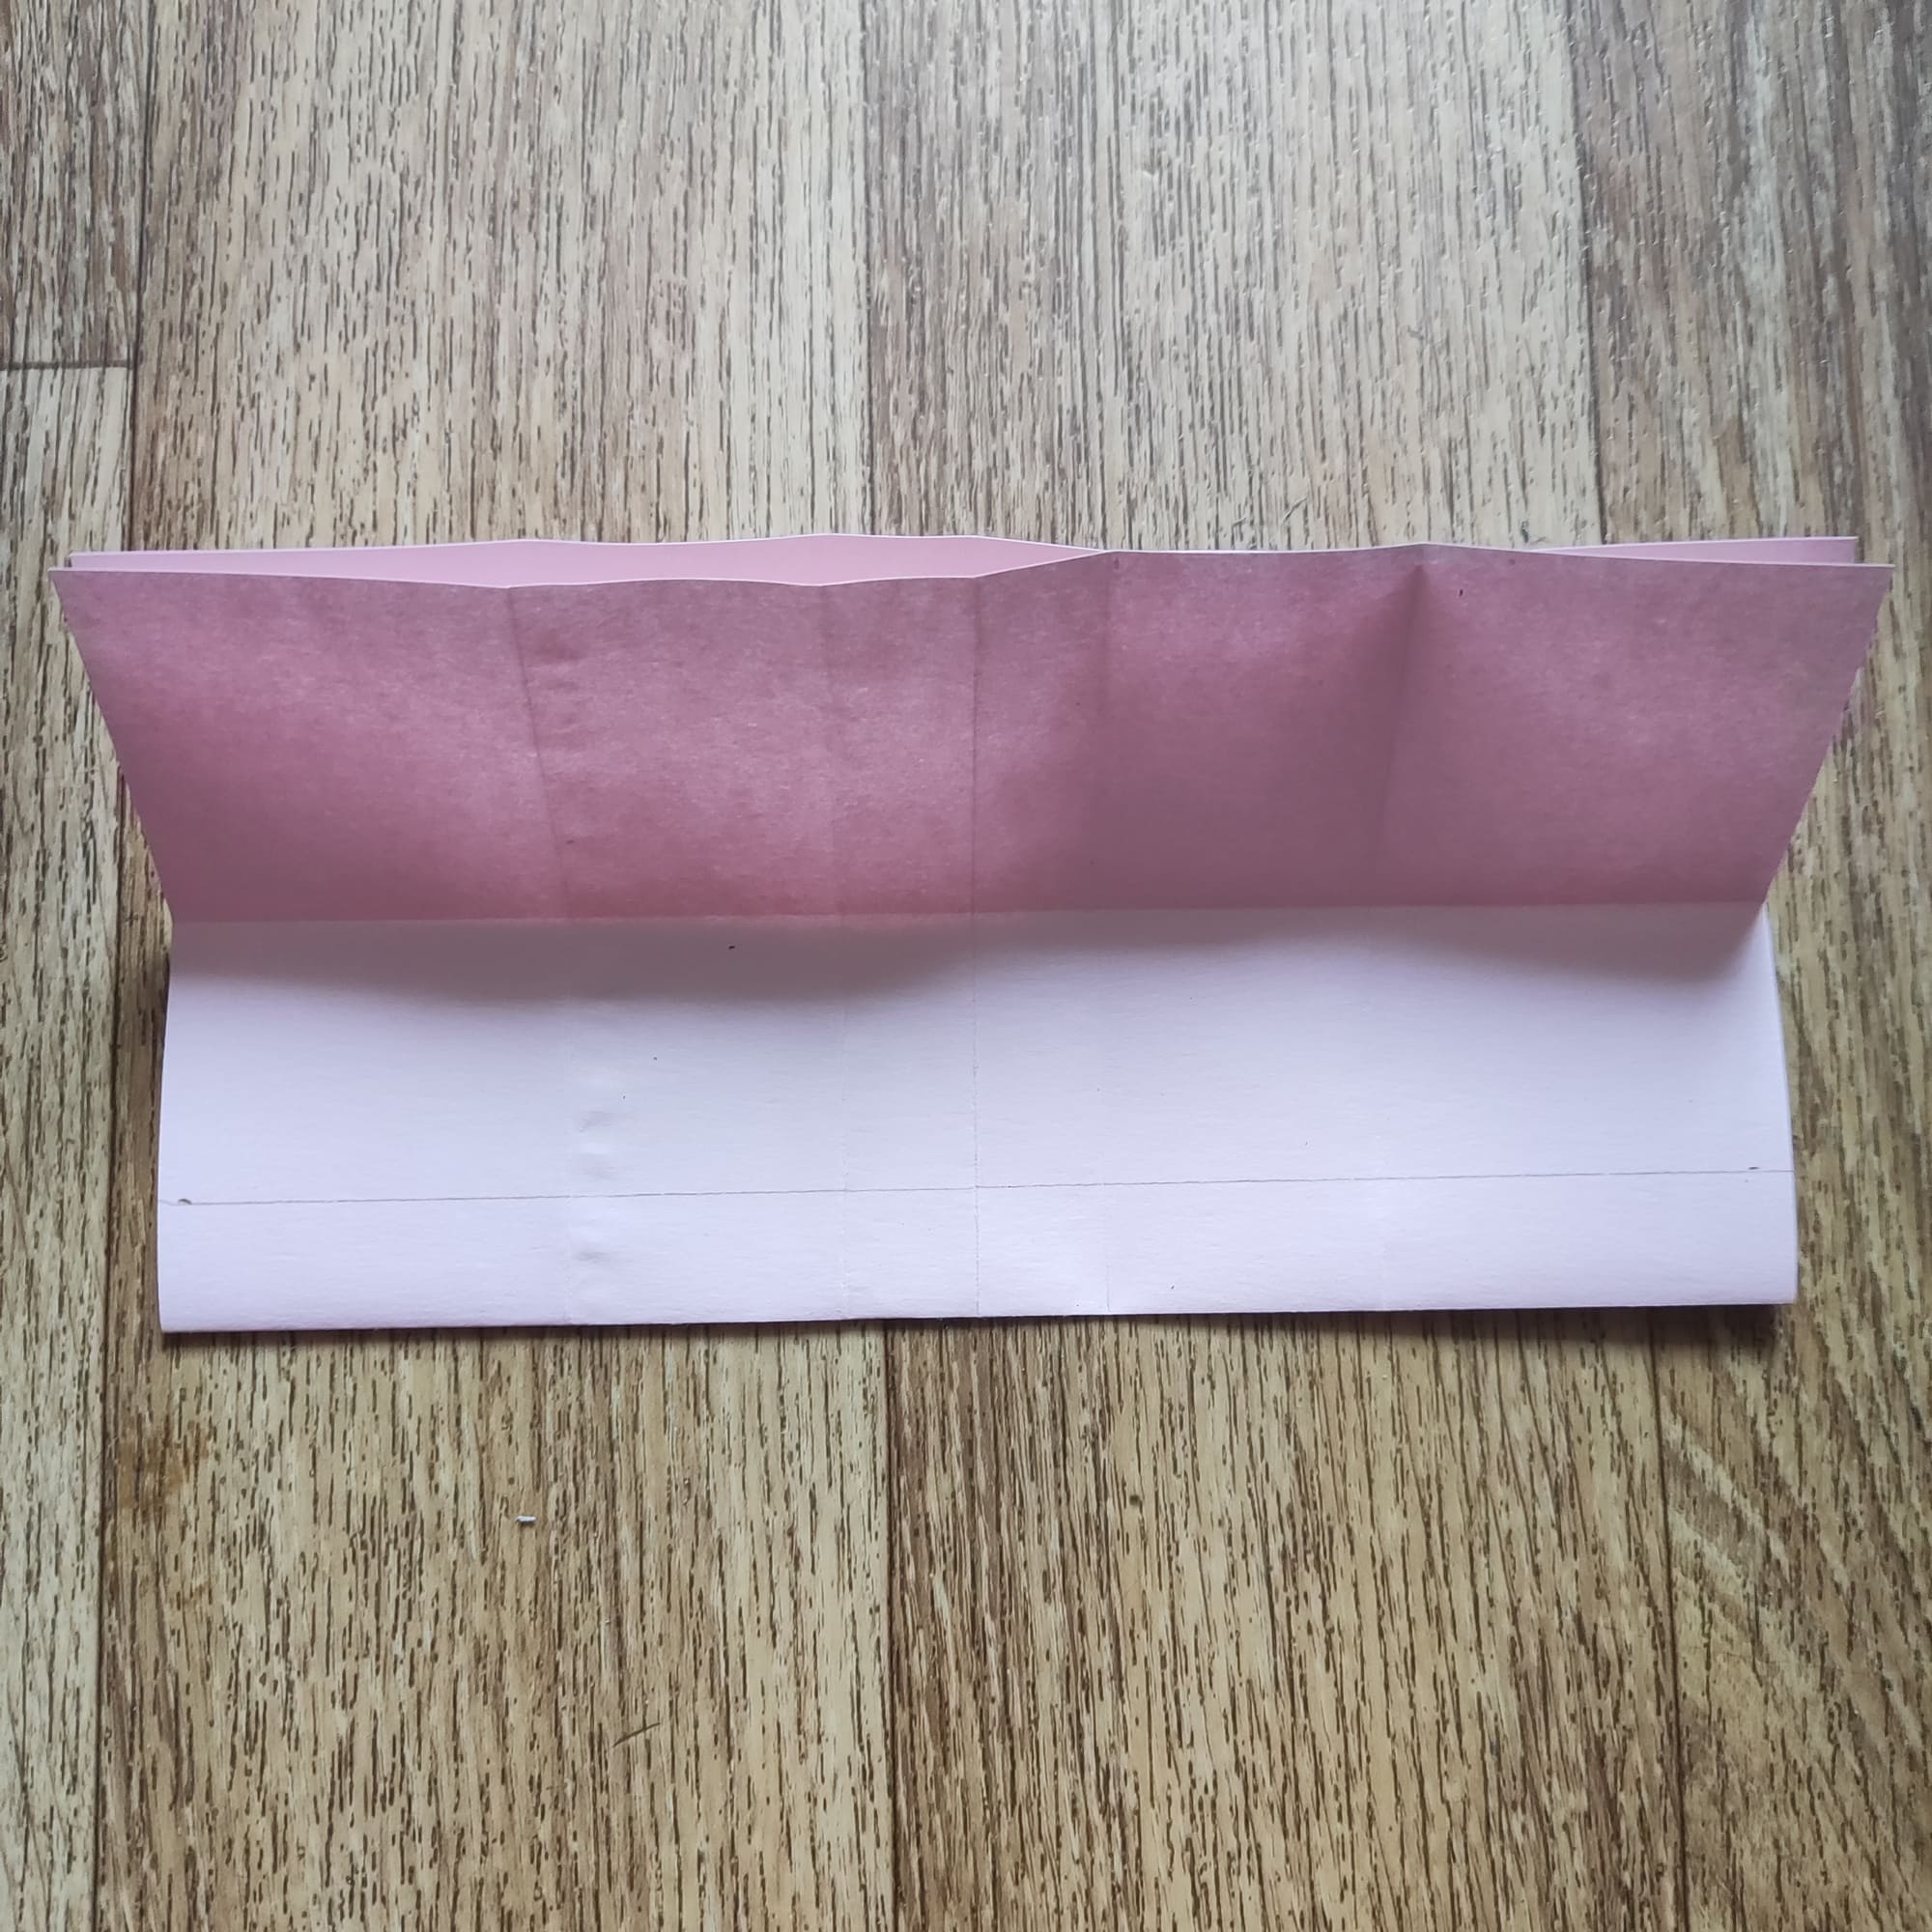
Fold the lines on the other two sides. You should end up with a twisted four-pointed star on top.

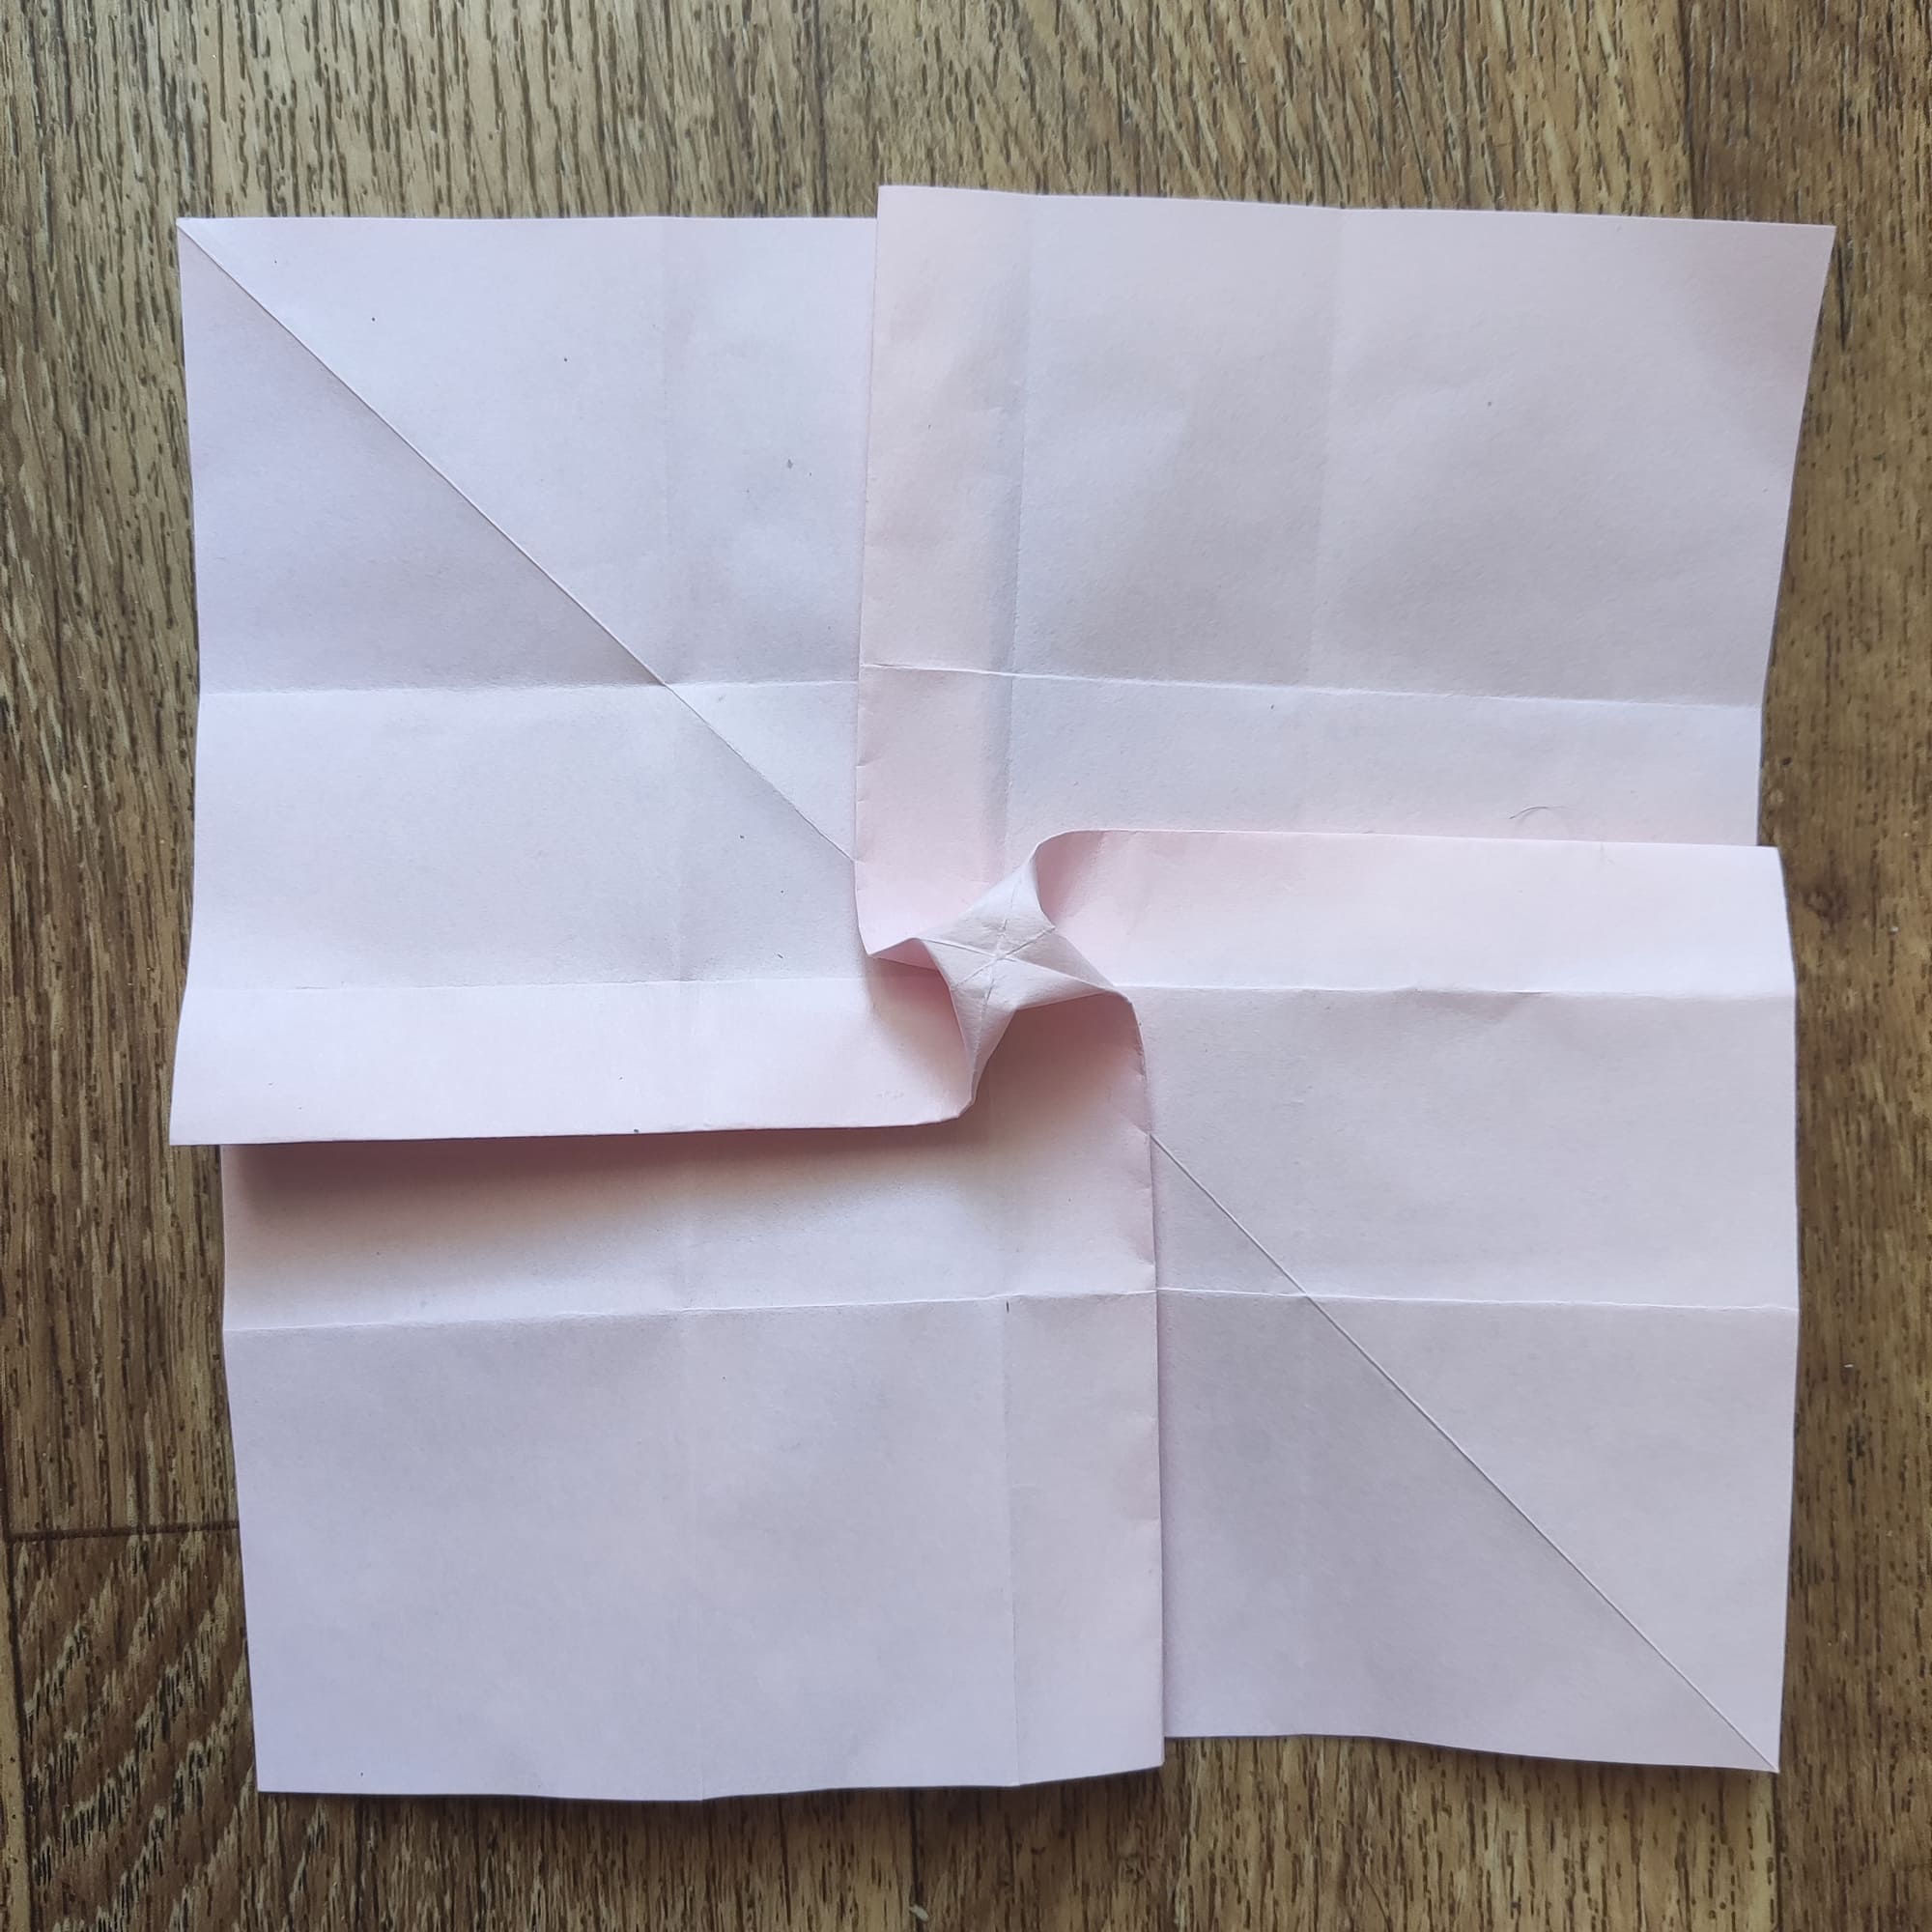
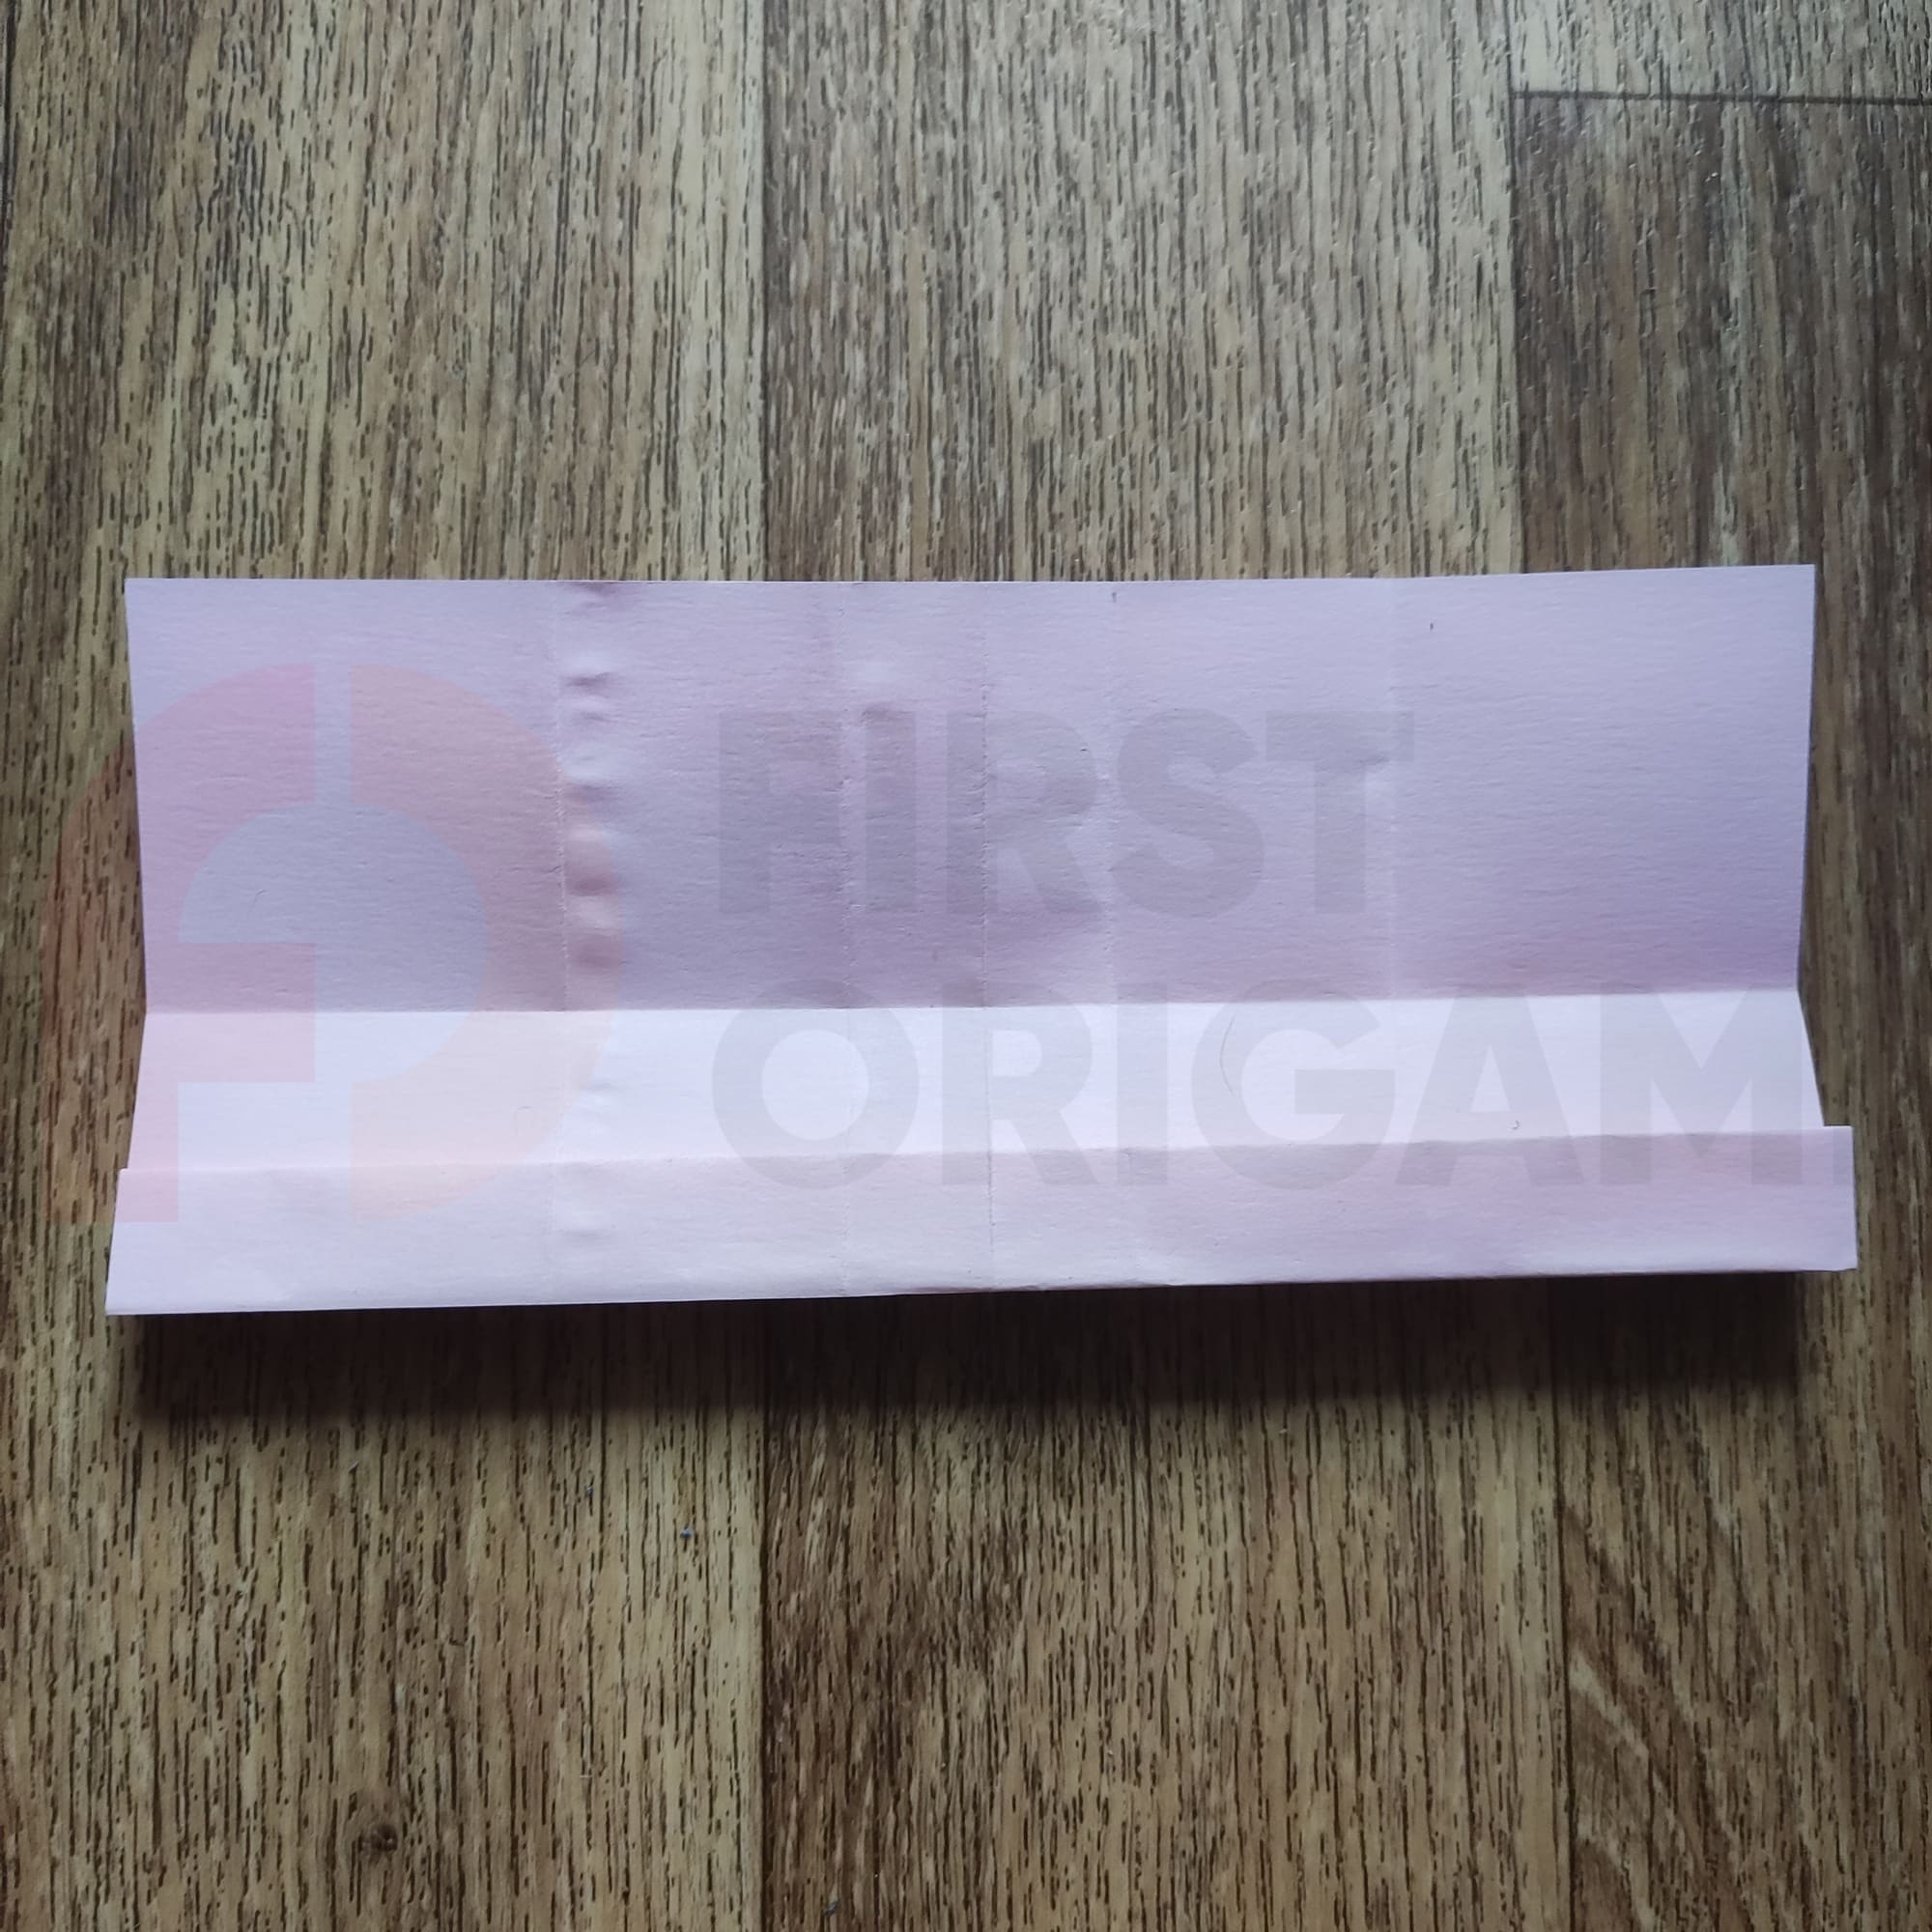
If you continue twisting while gently pressing down on the center, the star will turn into a square.
Here is the base for the rose. To make it work quickly and correctly, follow the instructions. Don’t give up if you don’t get it right the first time. Remember: “Water sharpens the stone!”. And be sure to send us your work, so that everyone can see it. It is important for inspiration. Also, leave tips for making in the comment box.