Origami King Bee Airplane

It is swift and maneuverable, like a brave little bee that has spotted a fragrant flower full of nectar. This prototype’s name “King Bee” and its ability to perform aerial stunts may surprise even an experienced paper airplane maker.
Arm yourself with scissors, paper, and a few minutes of free time to see for yourself the acrobatic abilities of this prototype.
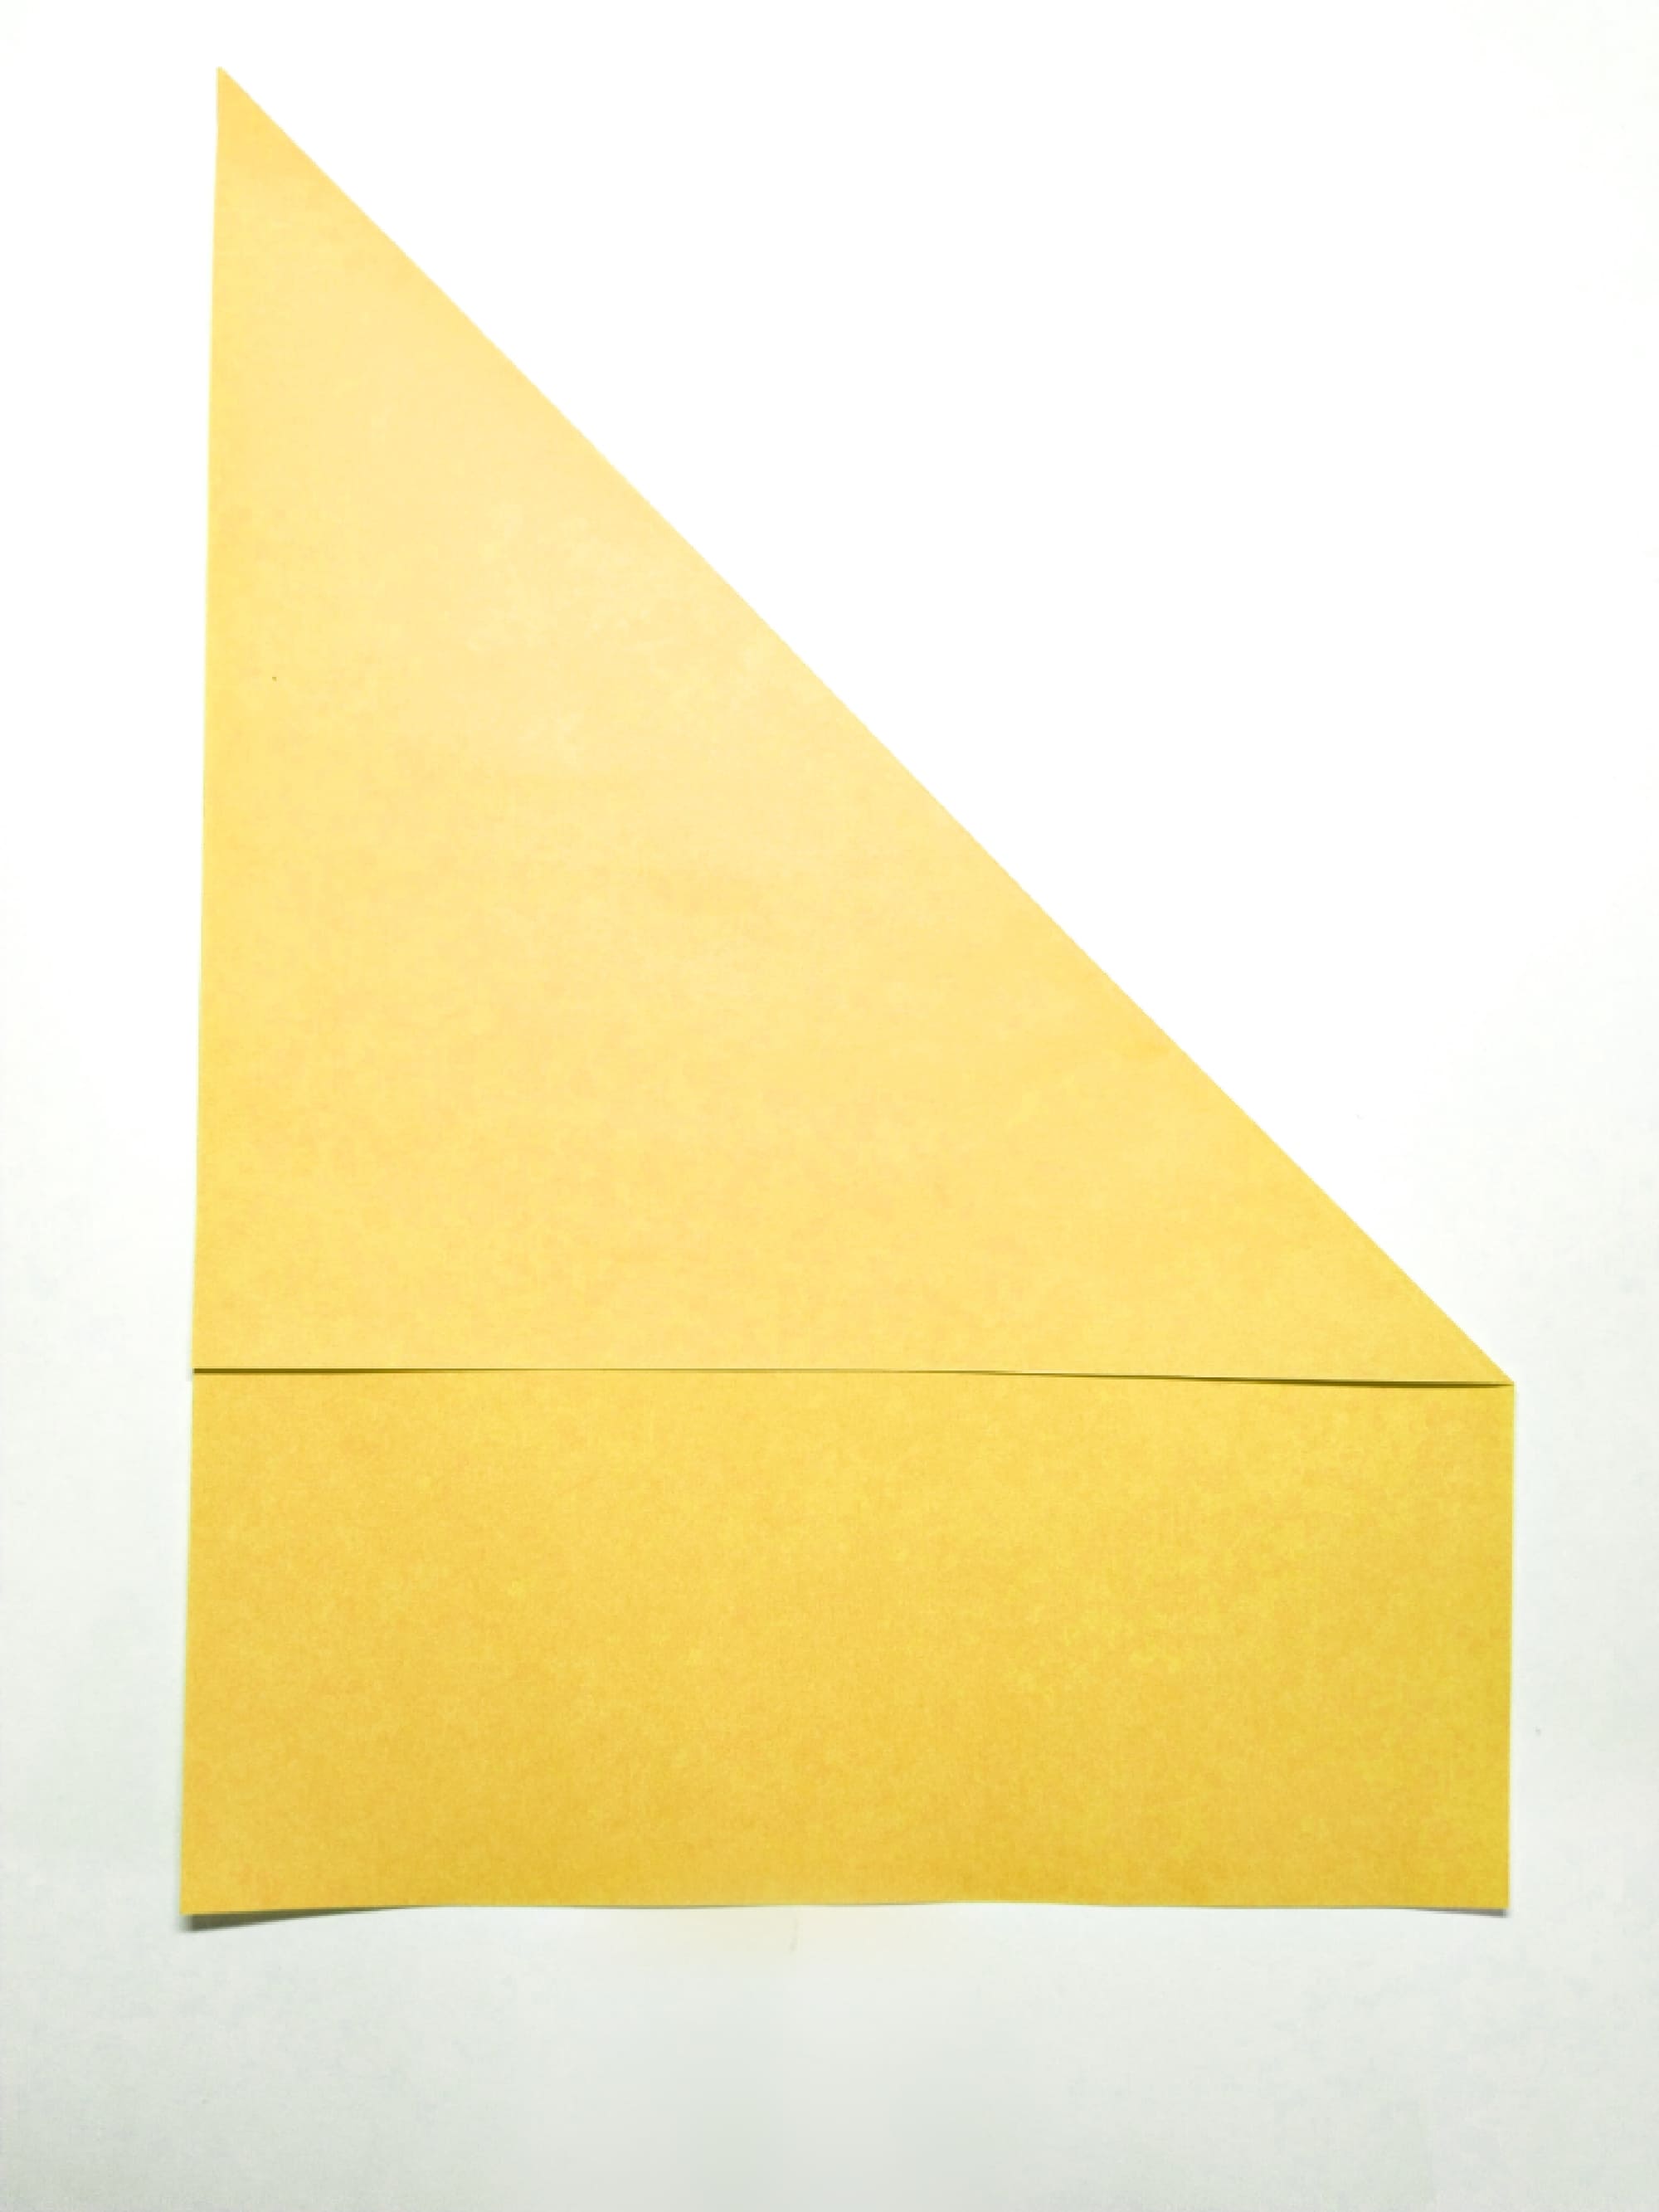
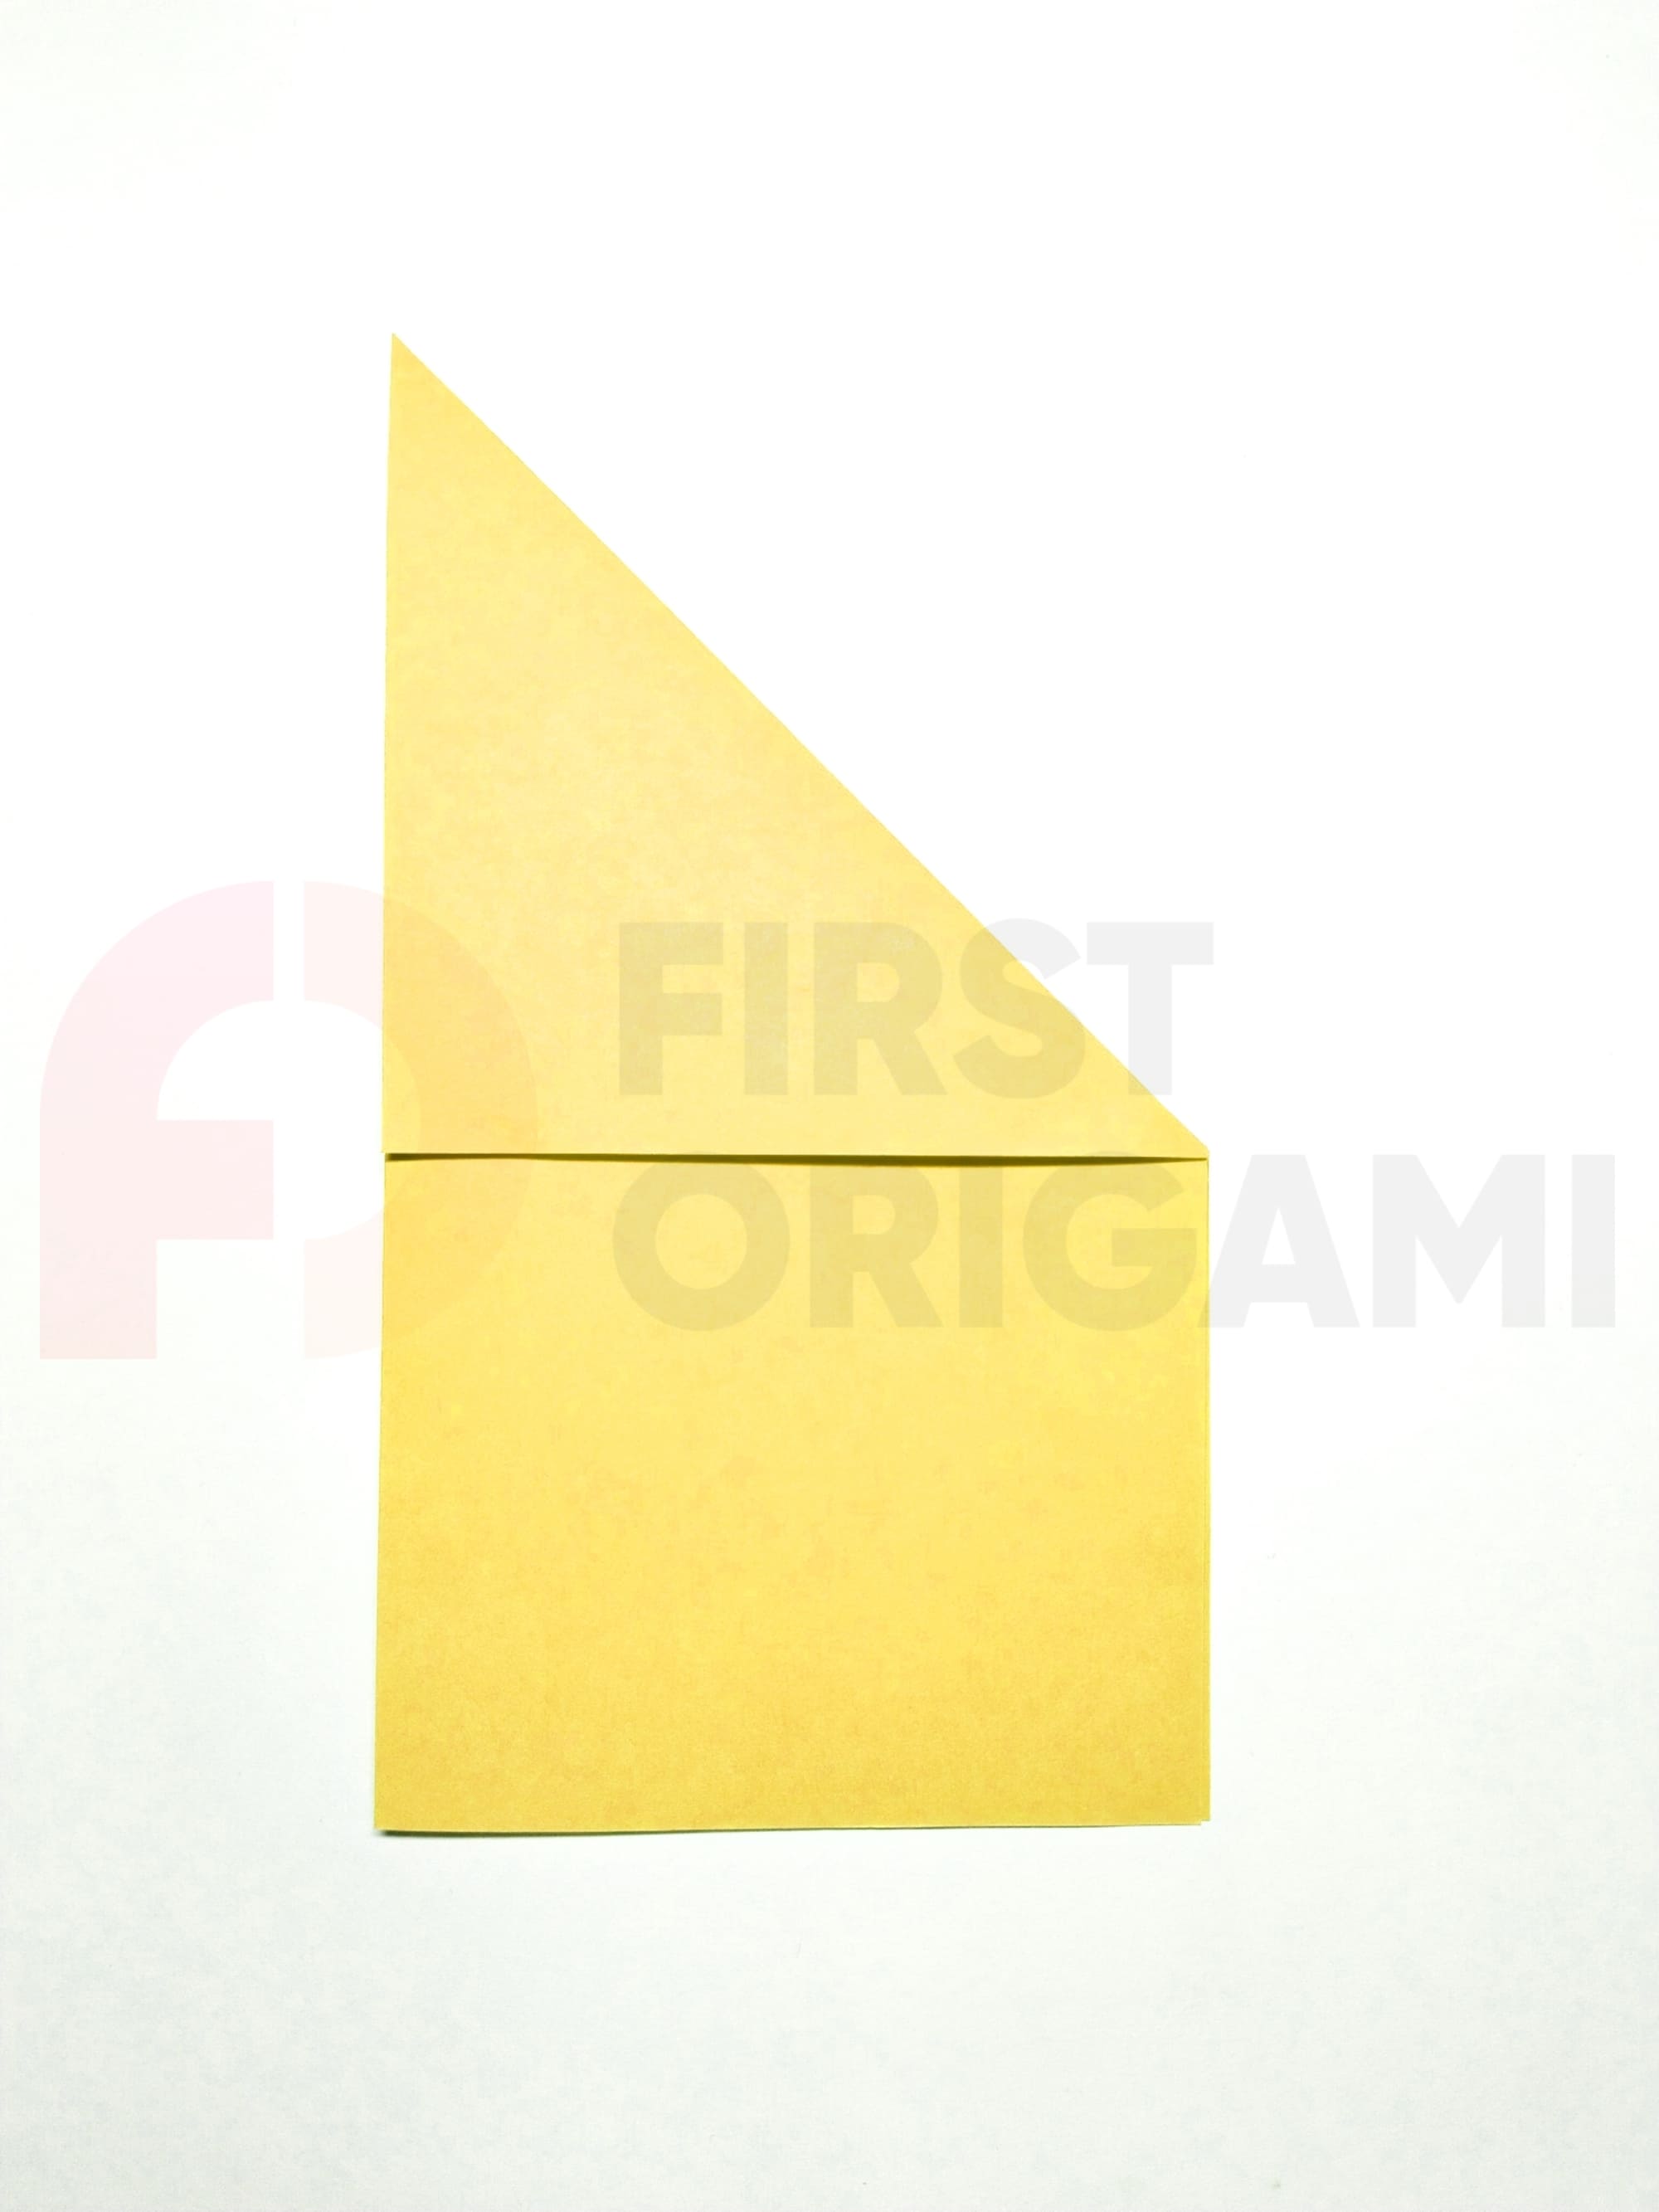
Fold the corner of the rectangle diagonally, aligning the two sides.
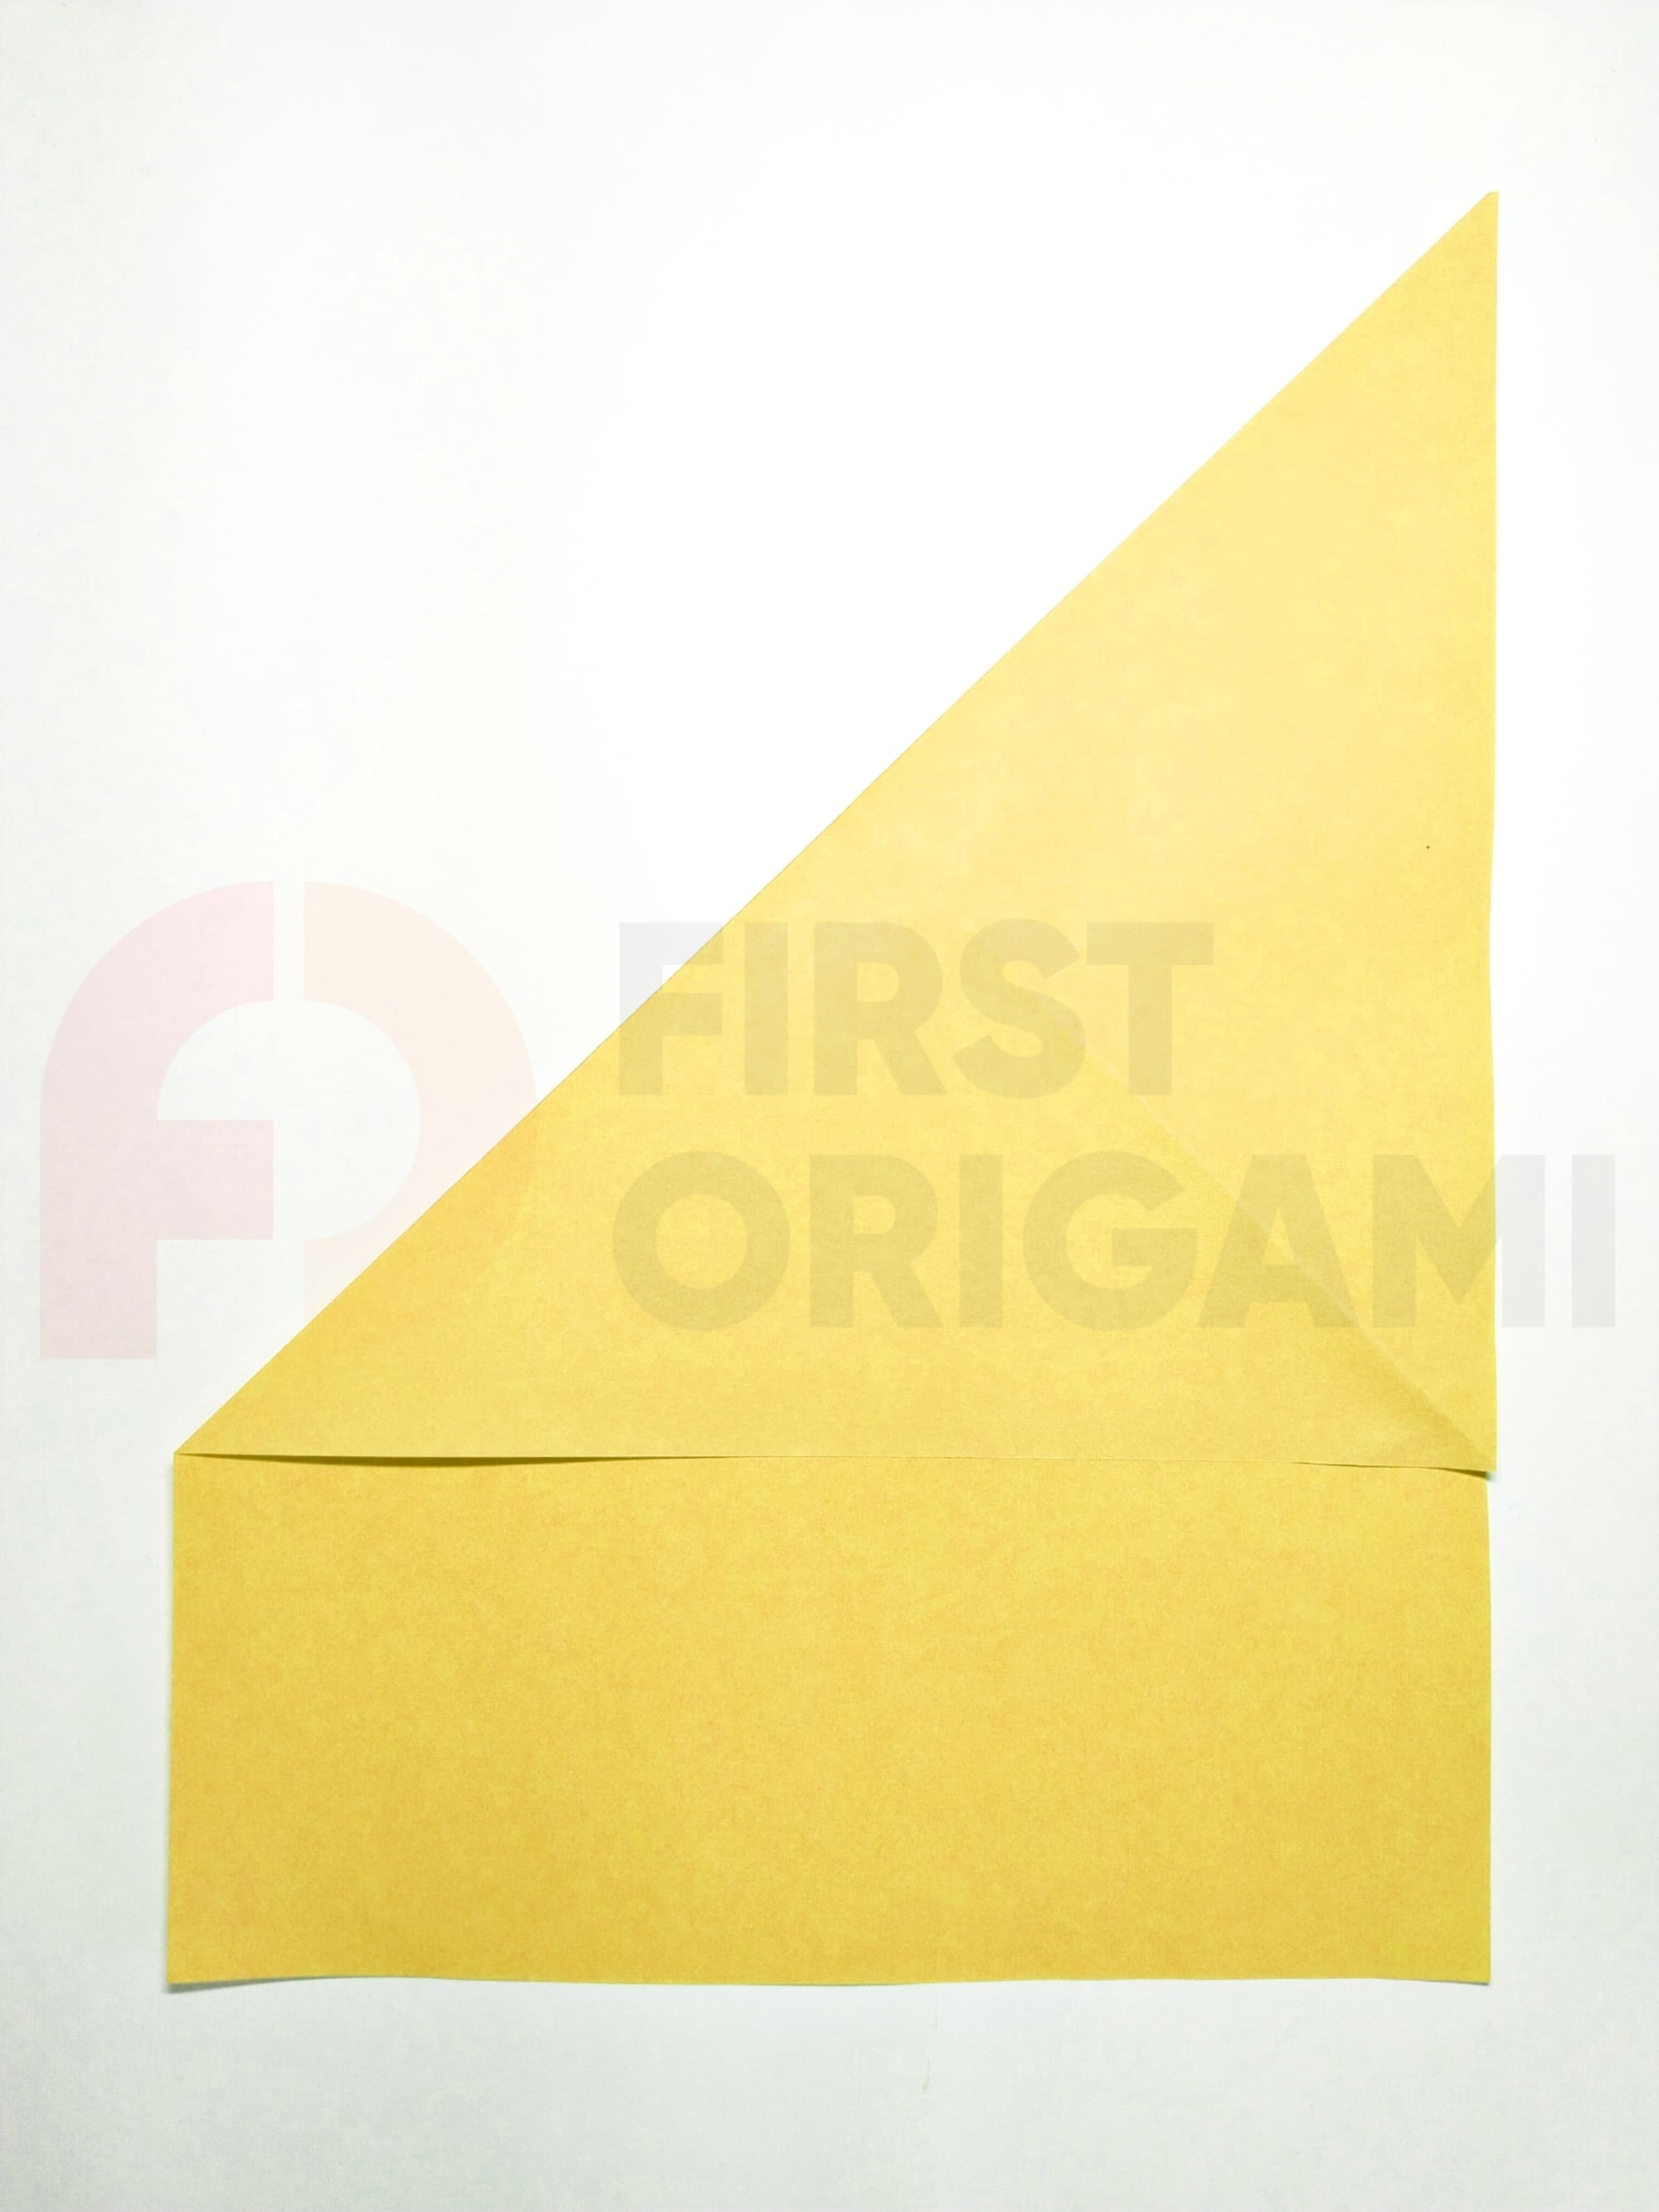
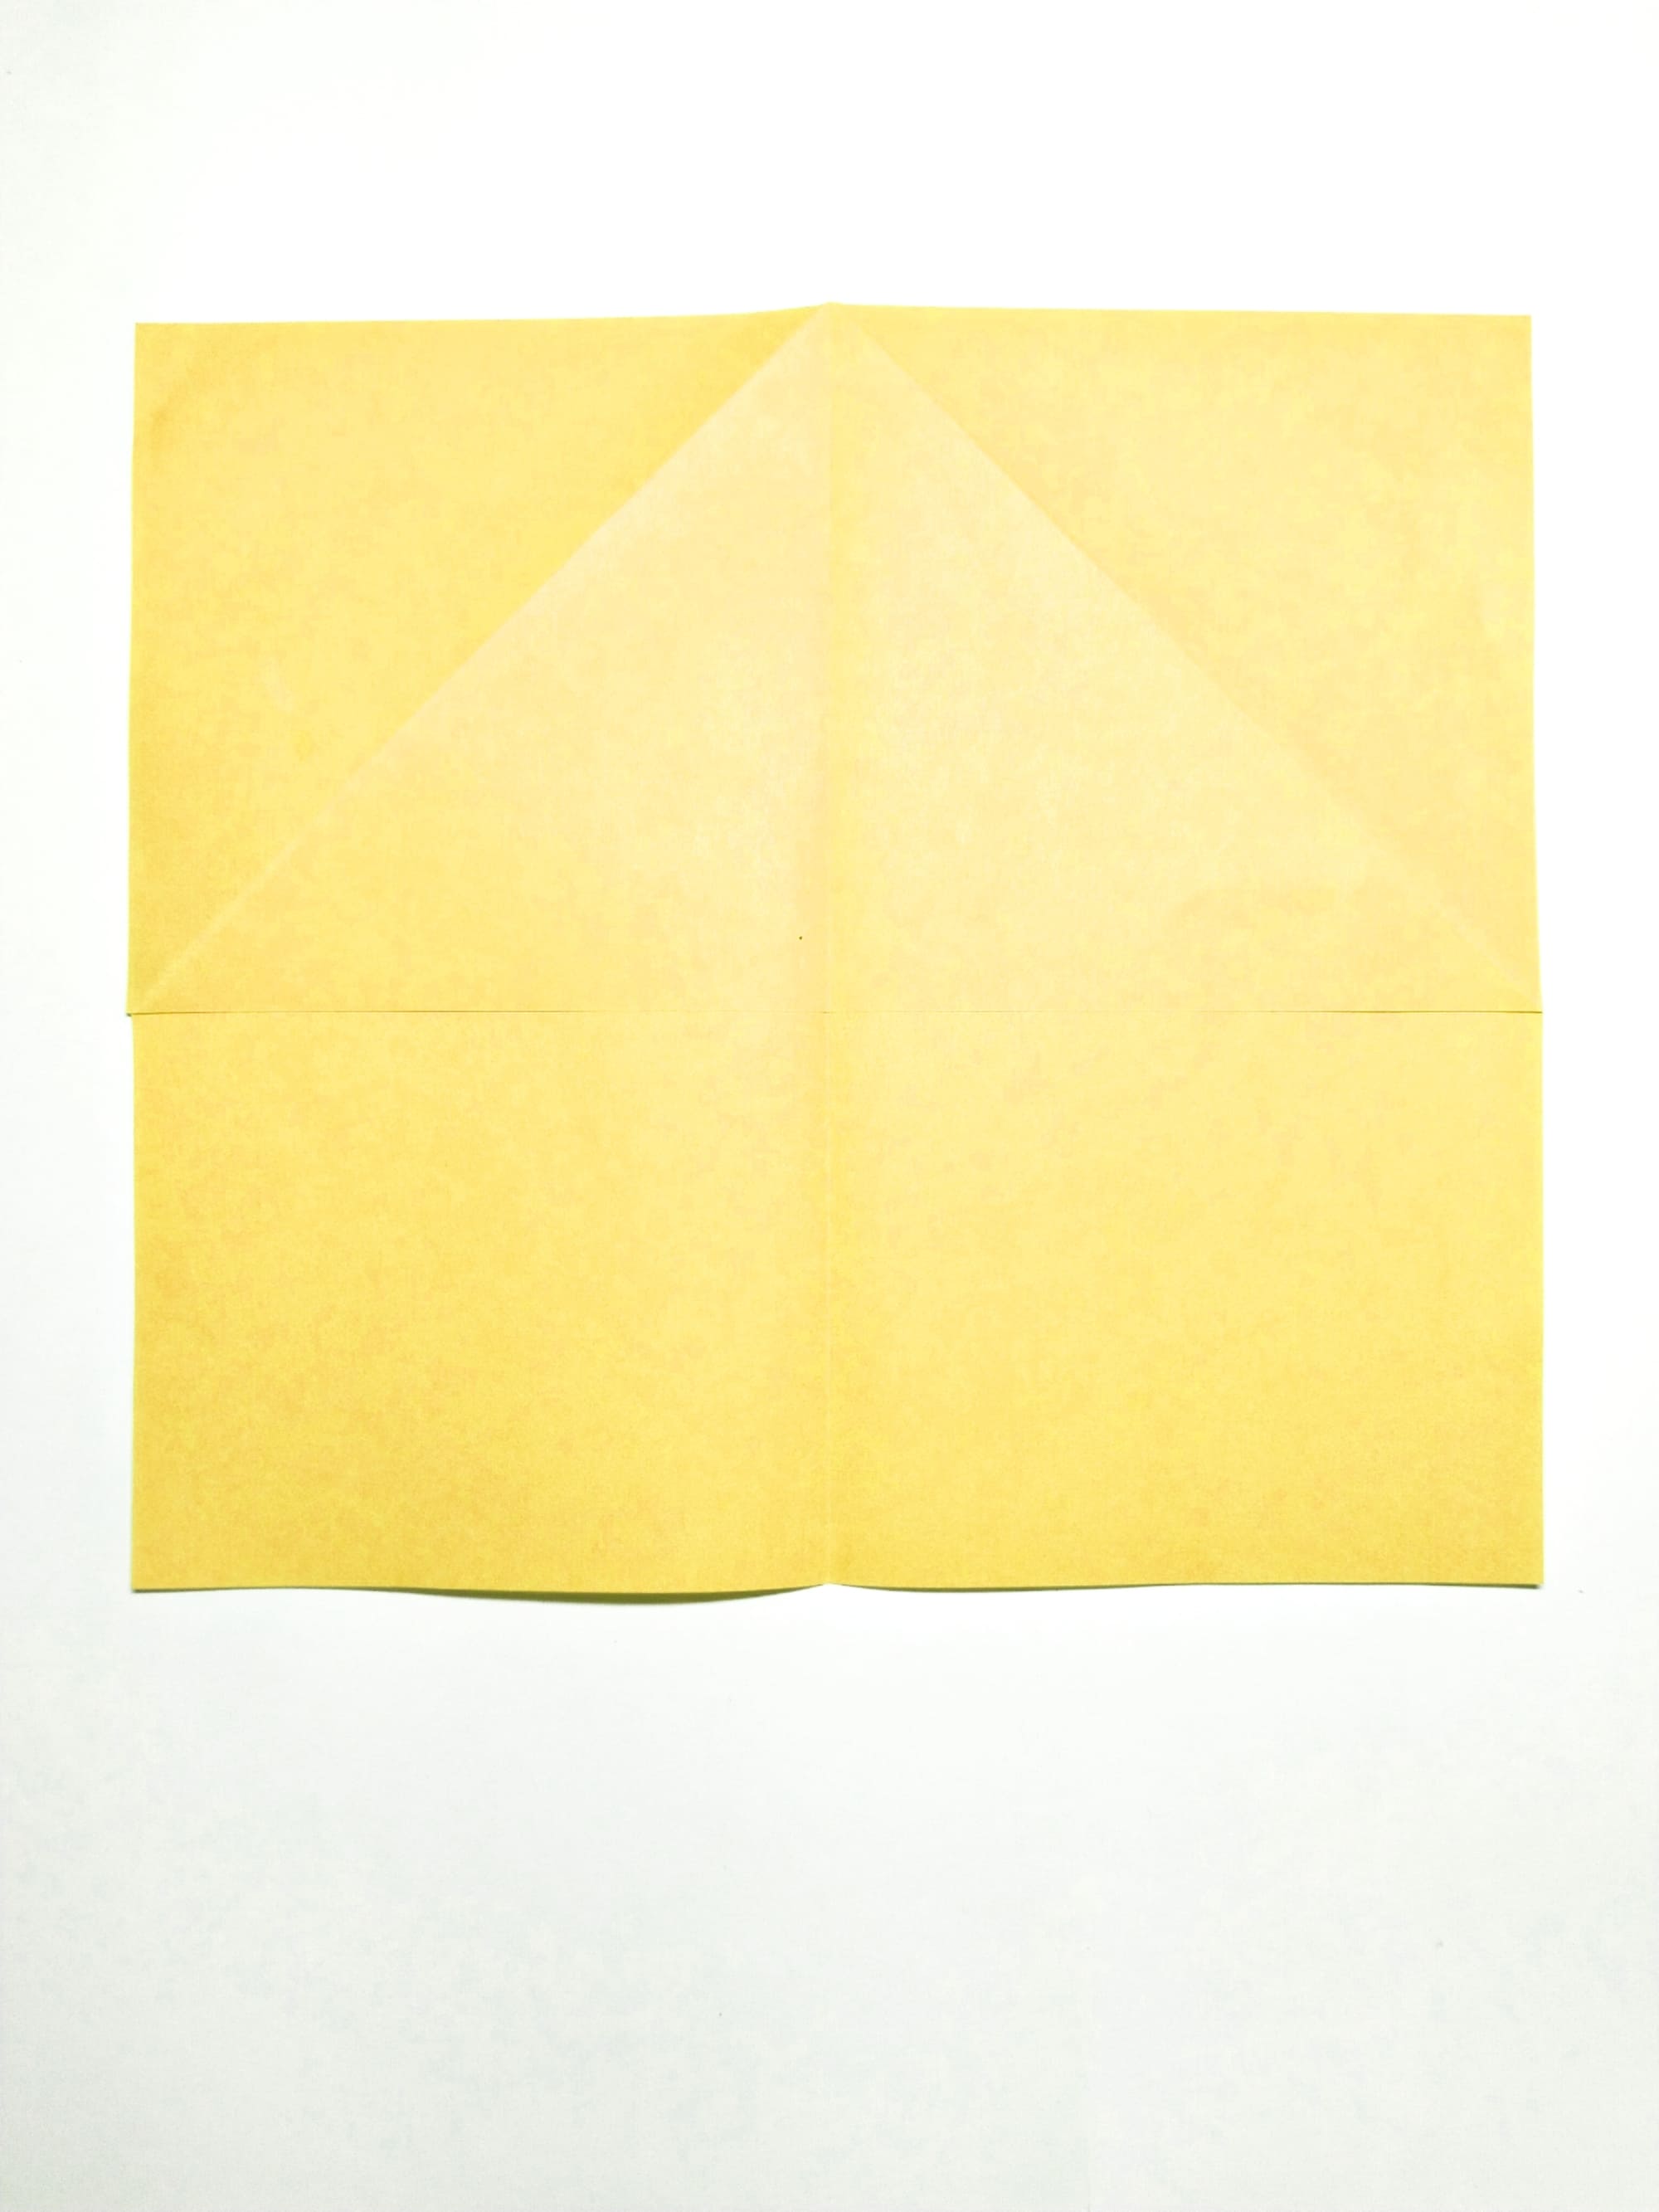
Unfold the sheet of paper and mirror the action on the opposite side.
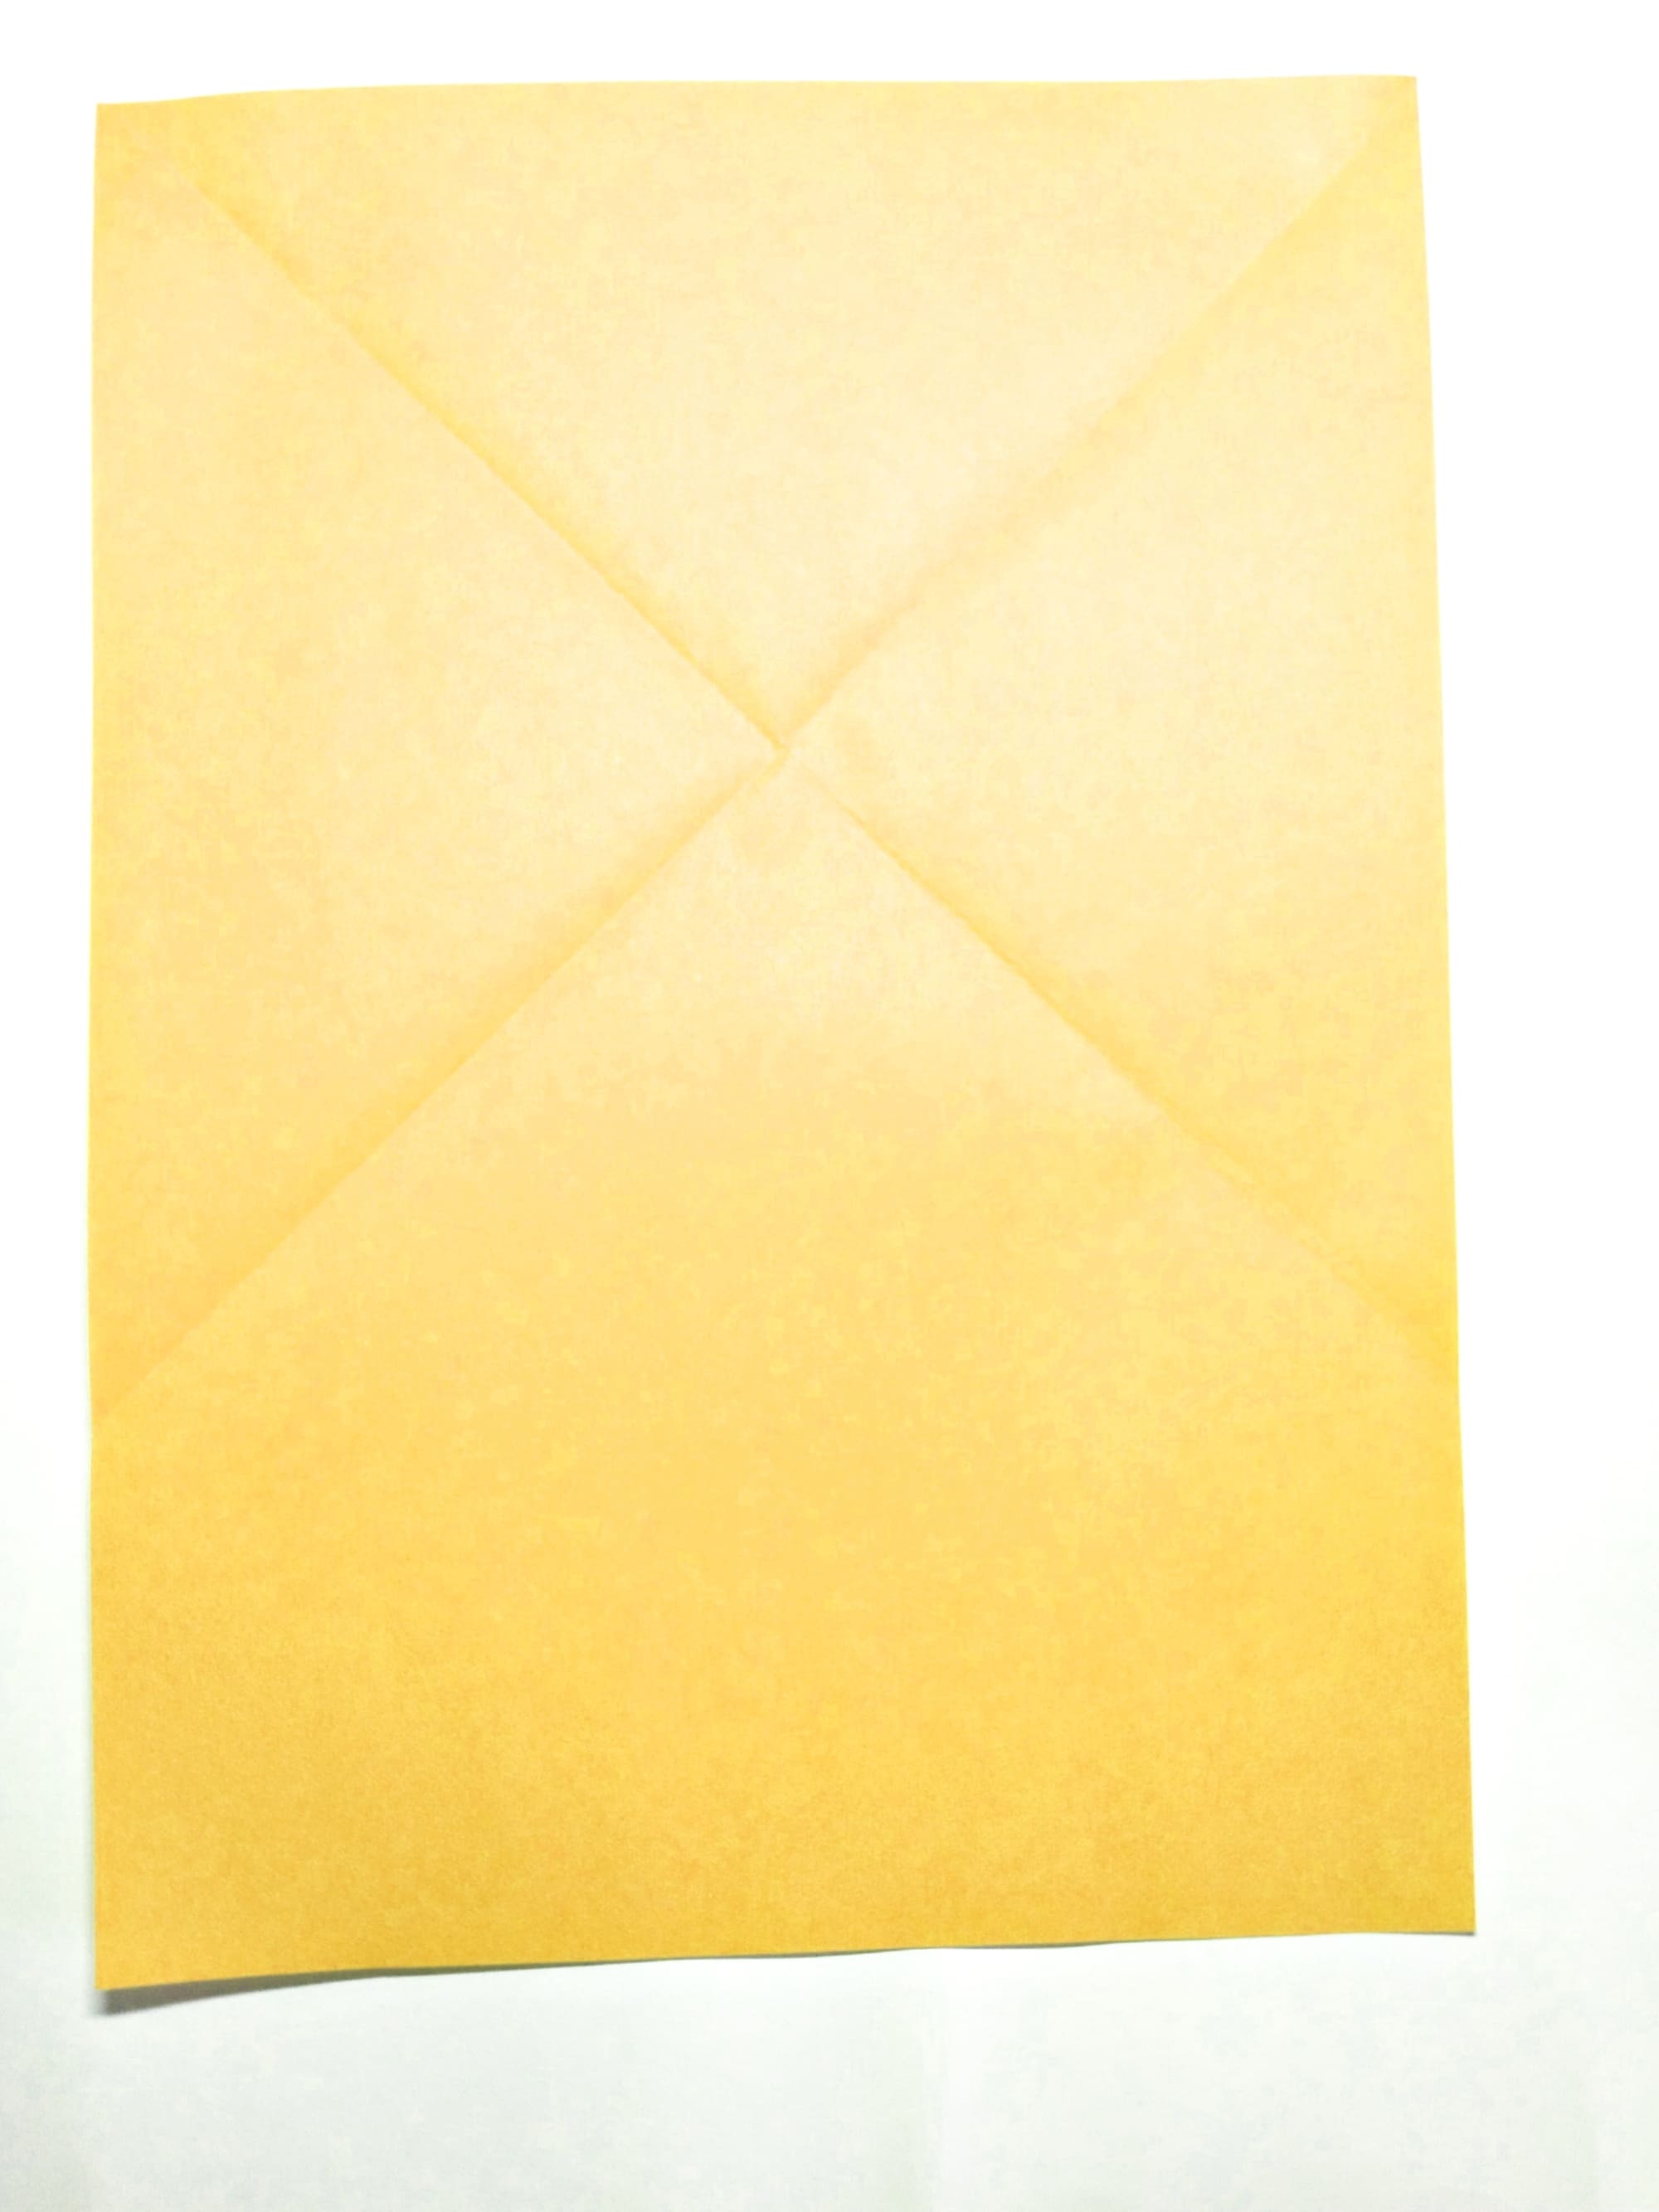
Flatten the paper again. You should end up with two intersecting lines.
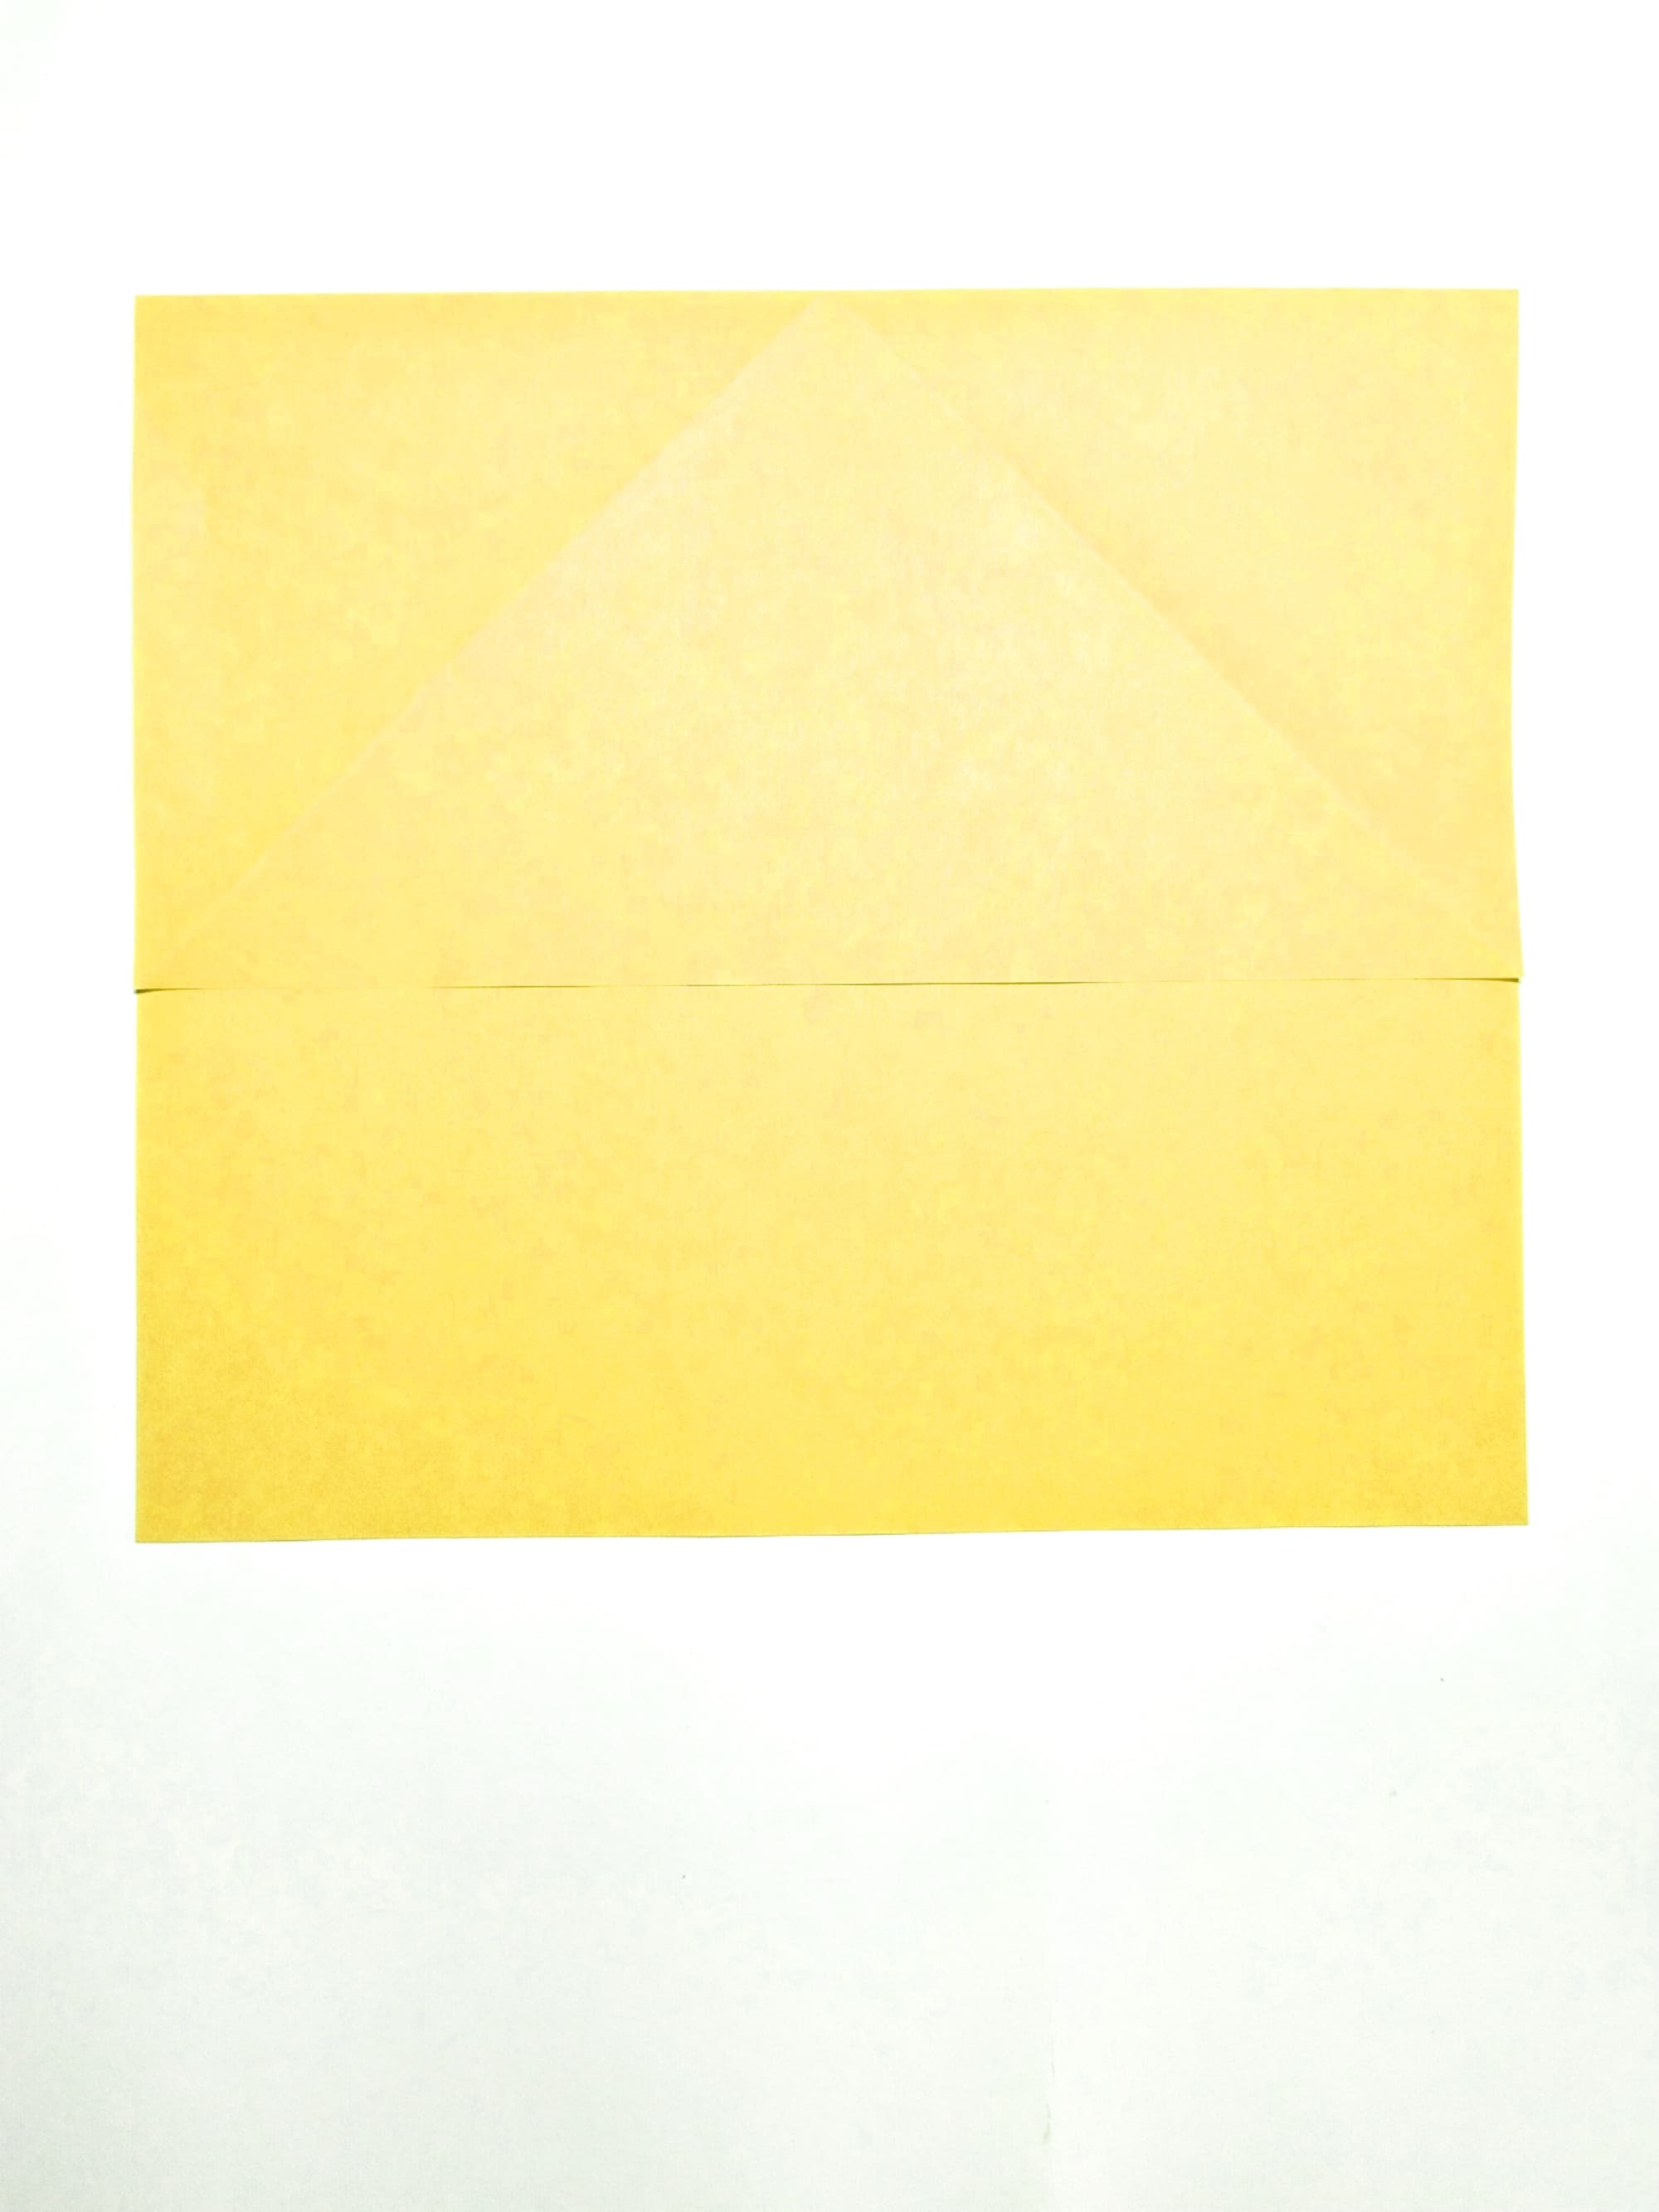
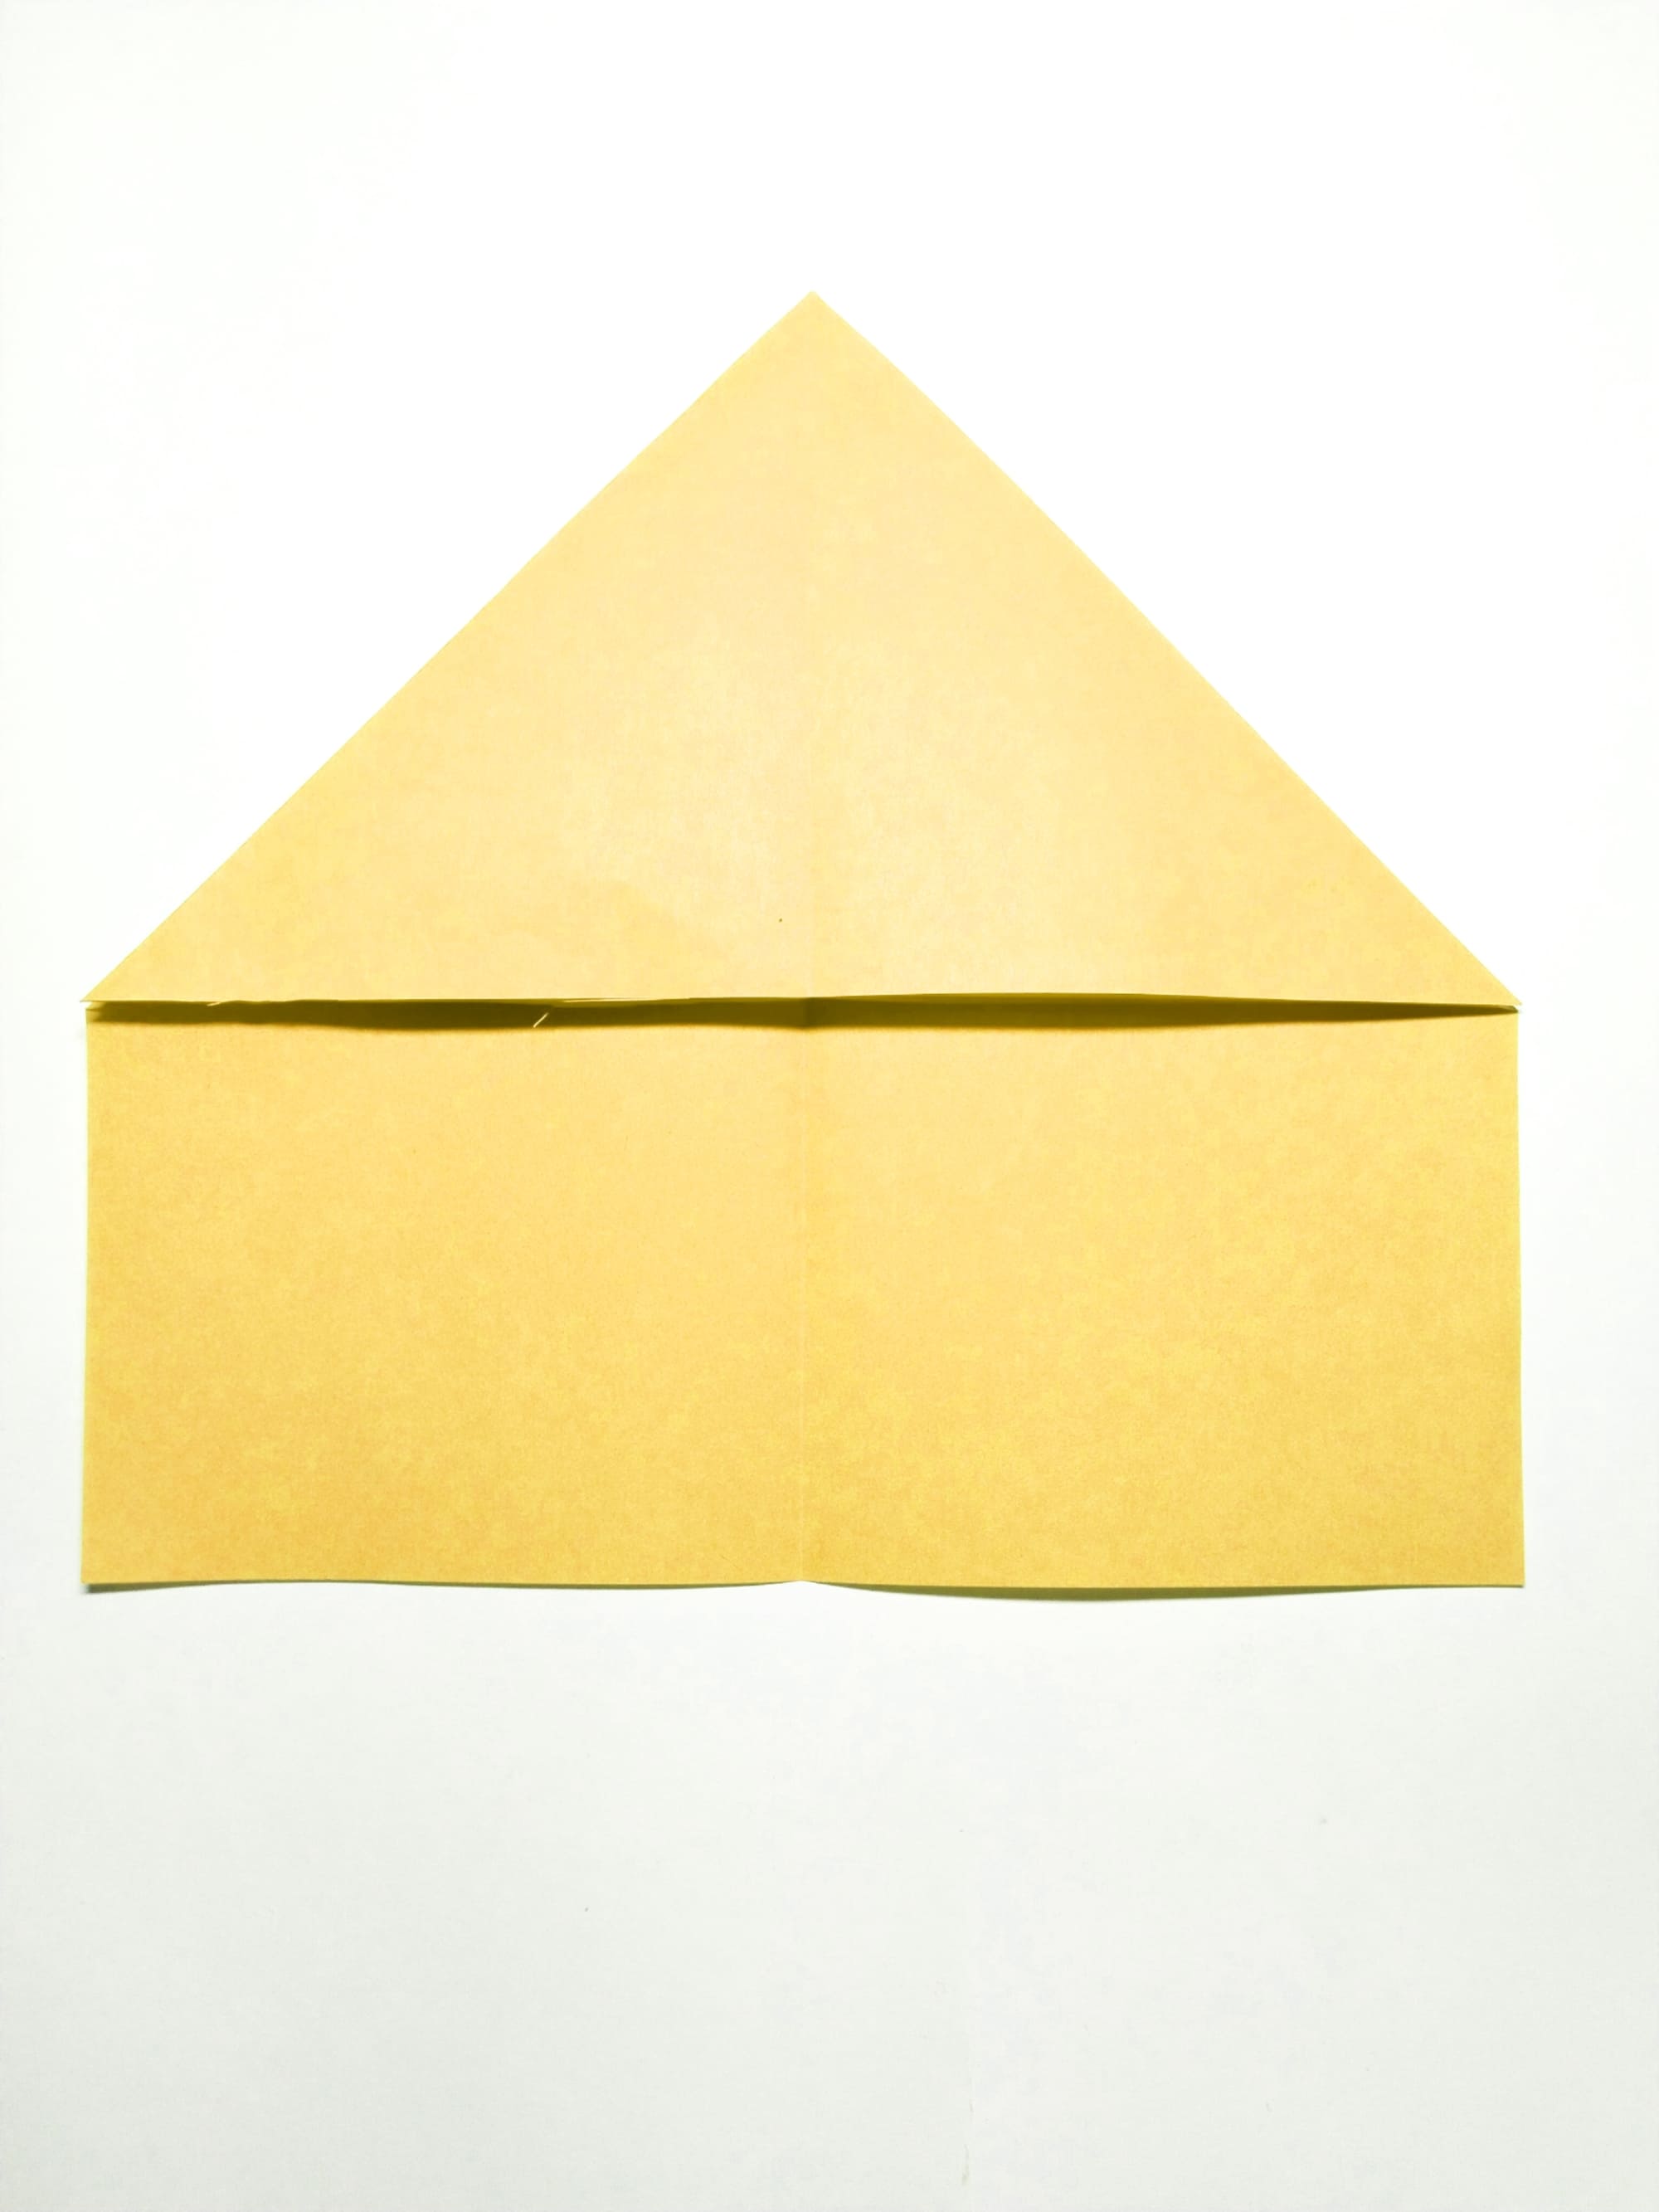
Bend the figure in half. Please note that the fold line must run horizontally through the intersection point of the diagonals.

Next, align the opposite sides using a vertical fold.
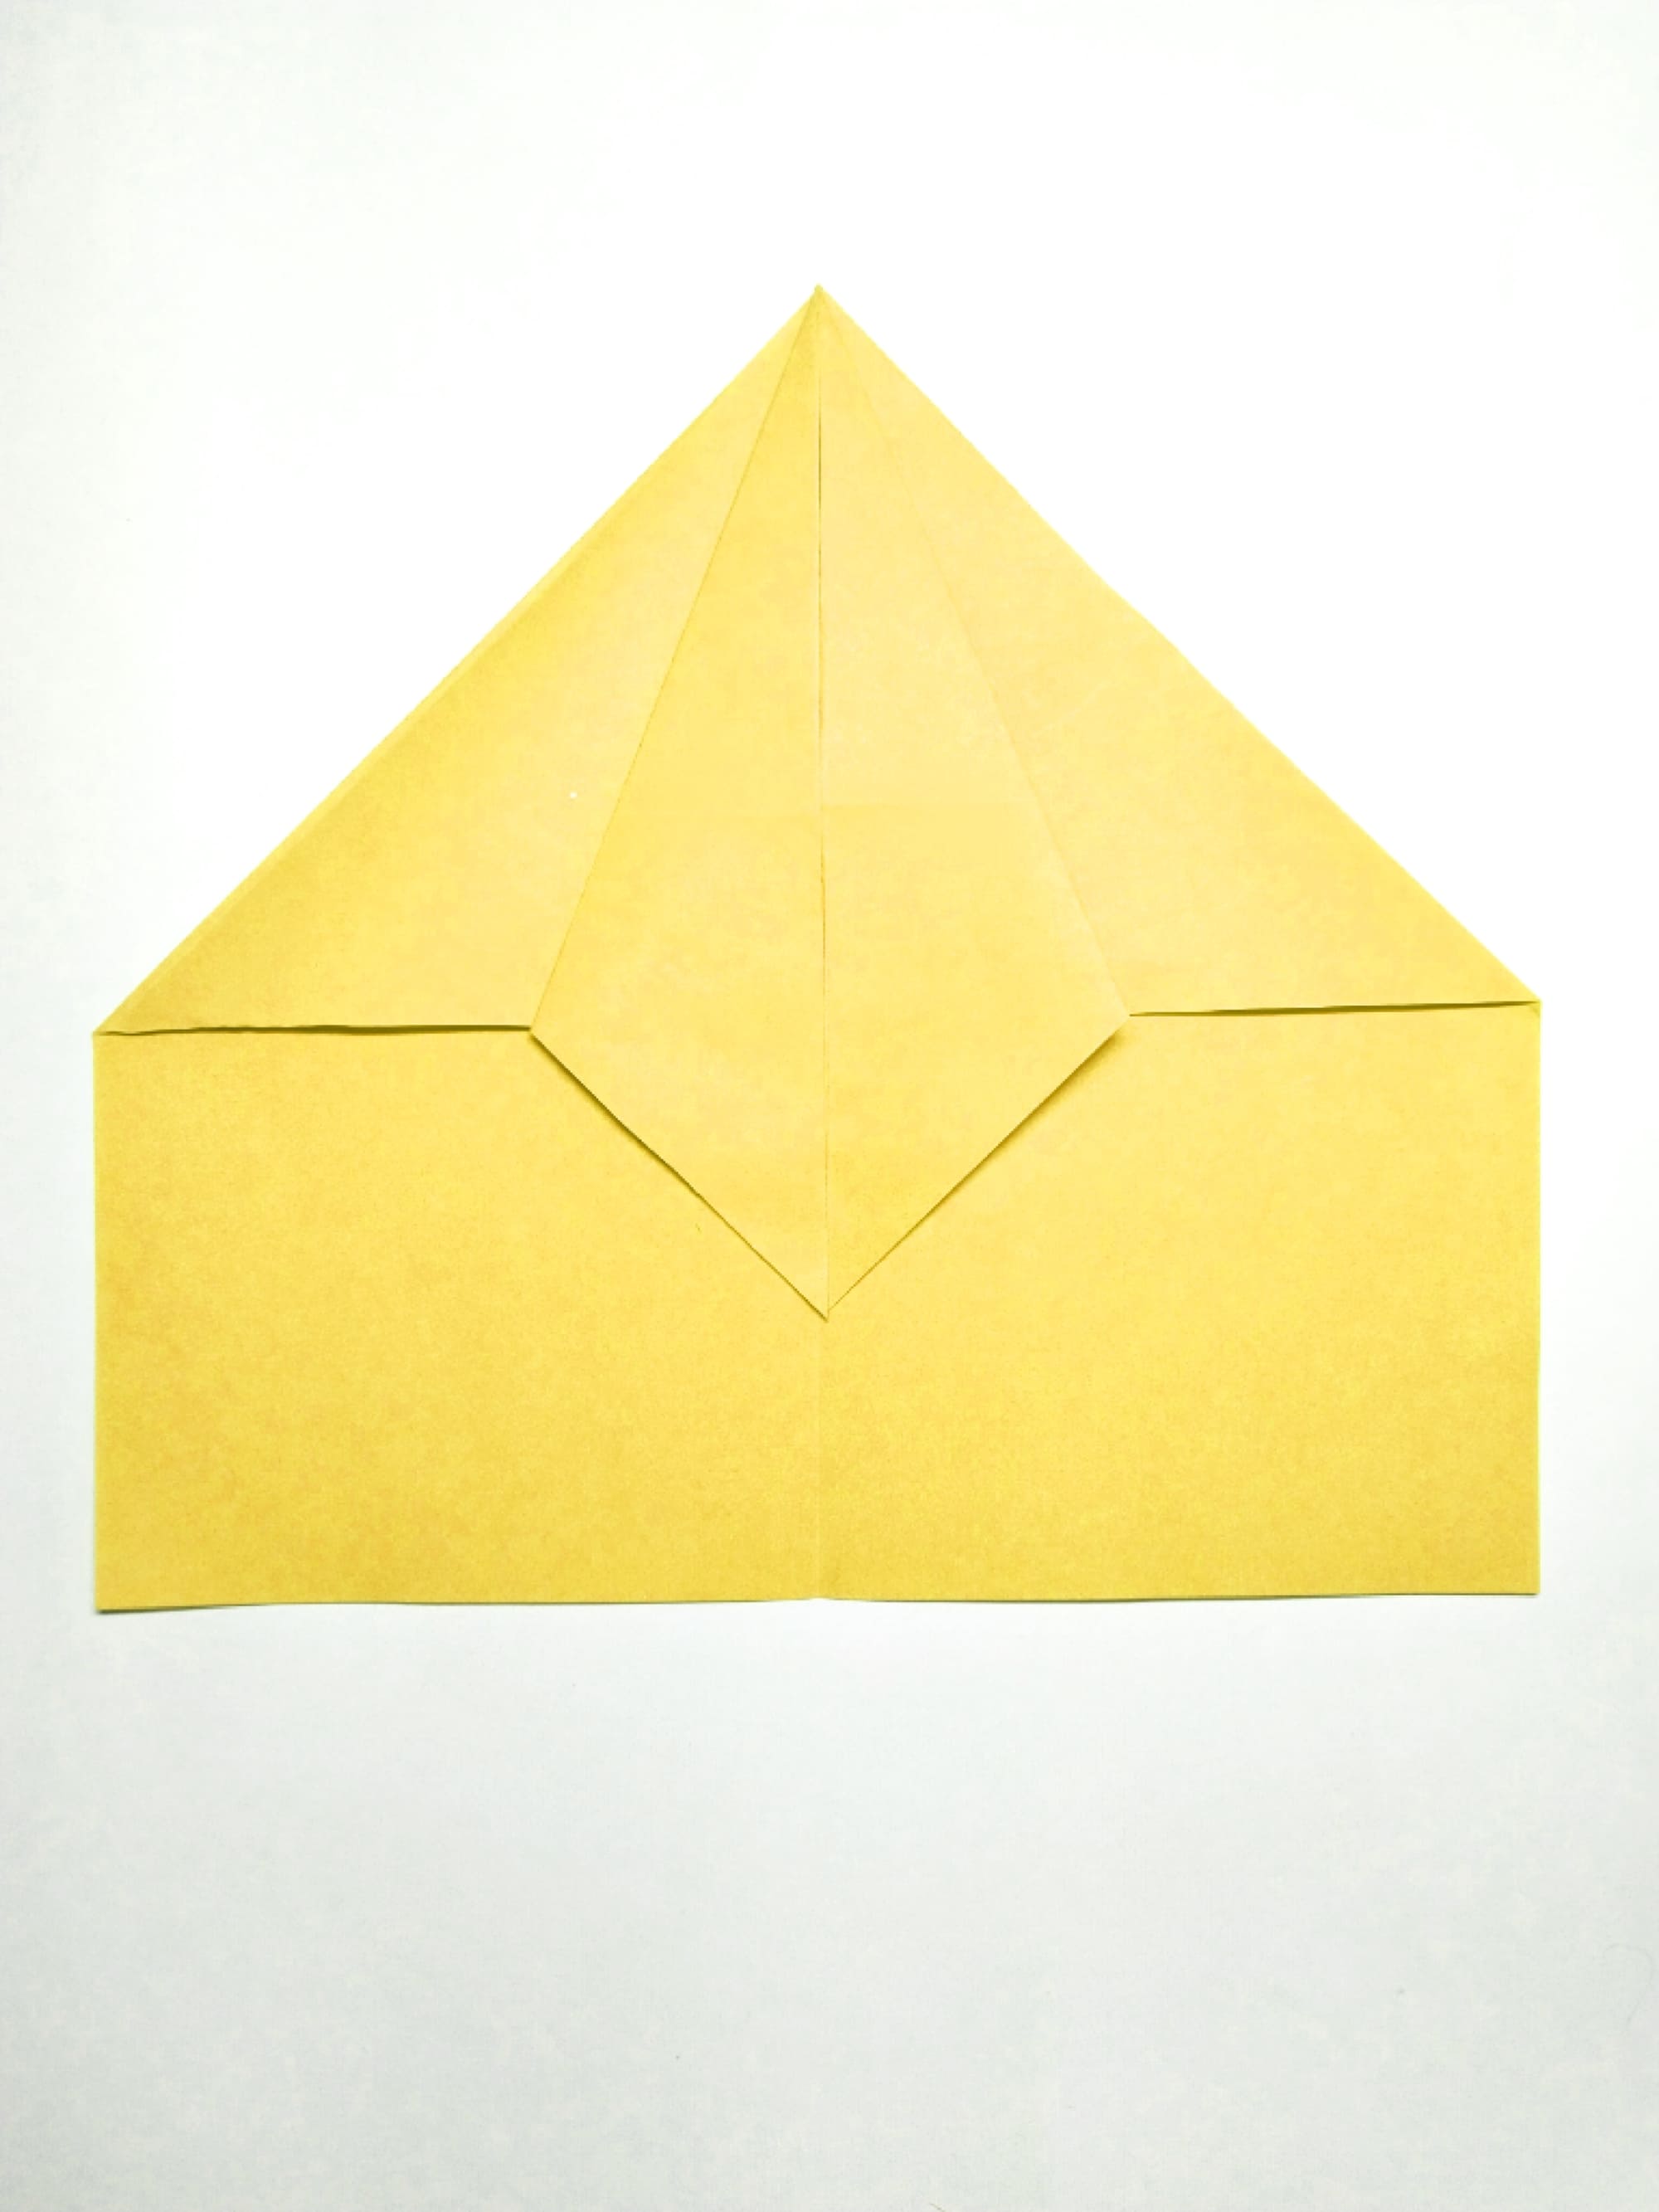
Fold the outer corners towards the center.
Expand the shape to the state described in step 4.
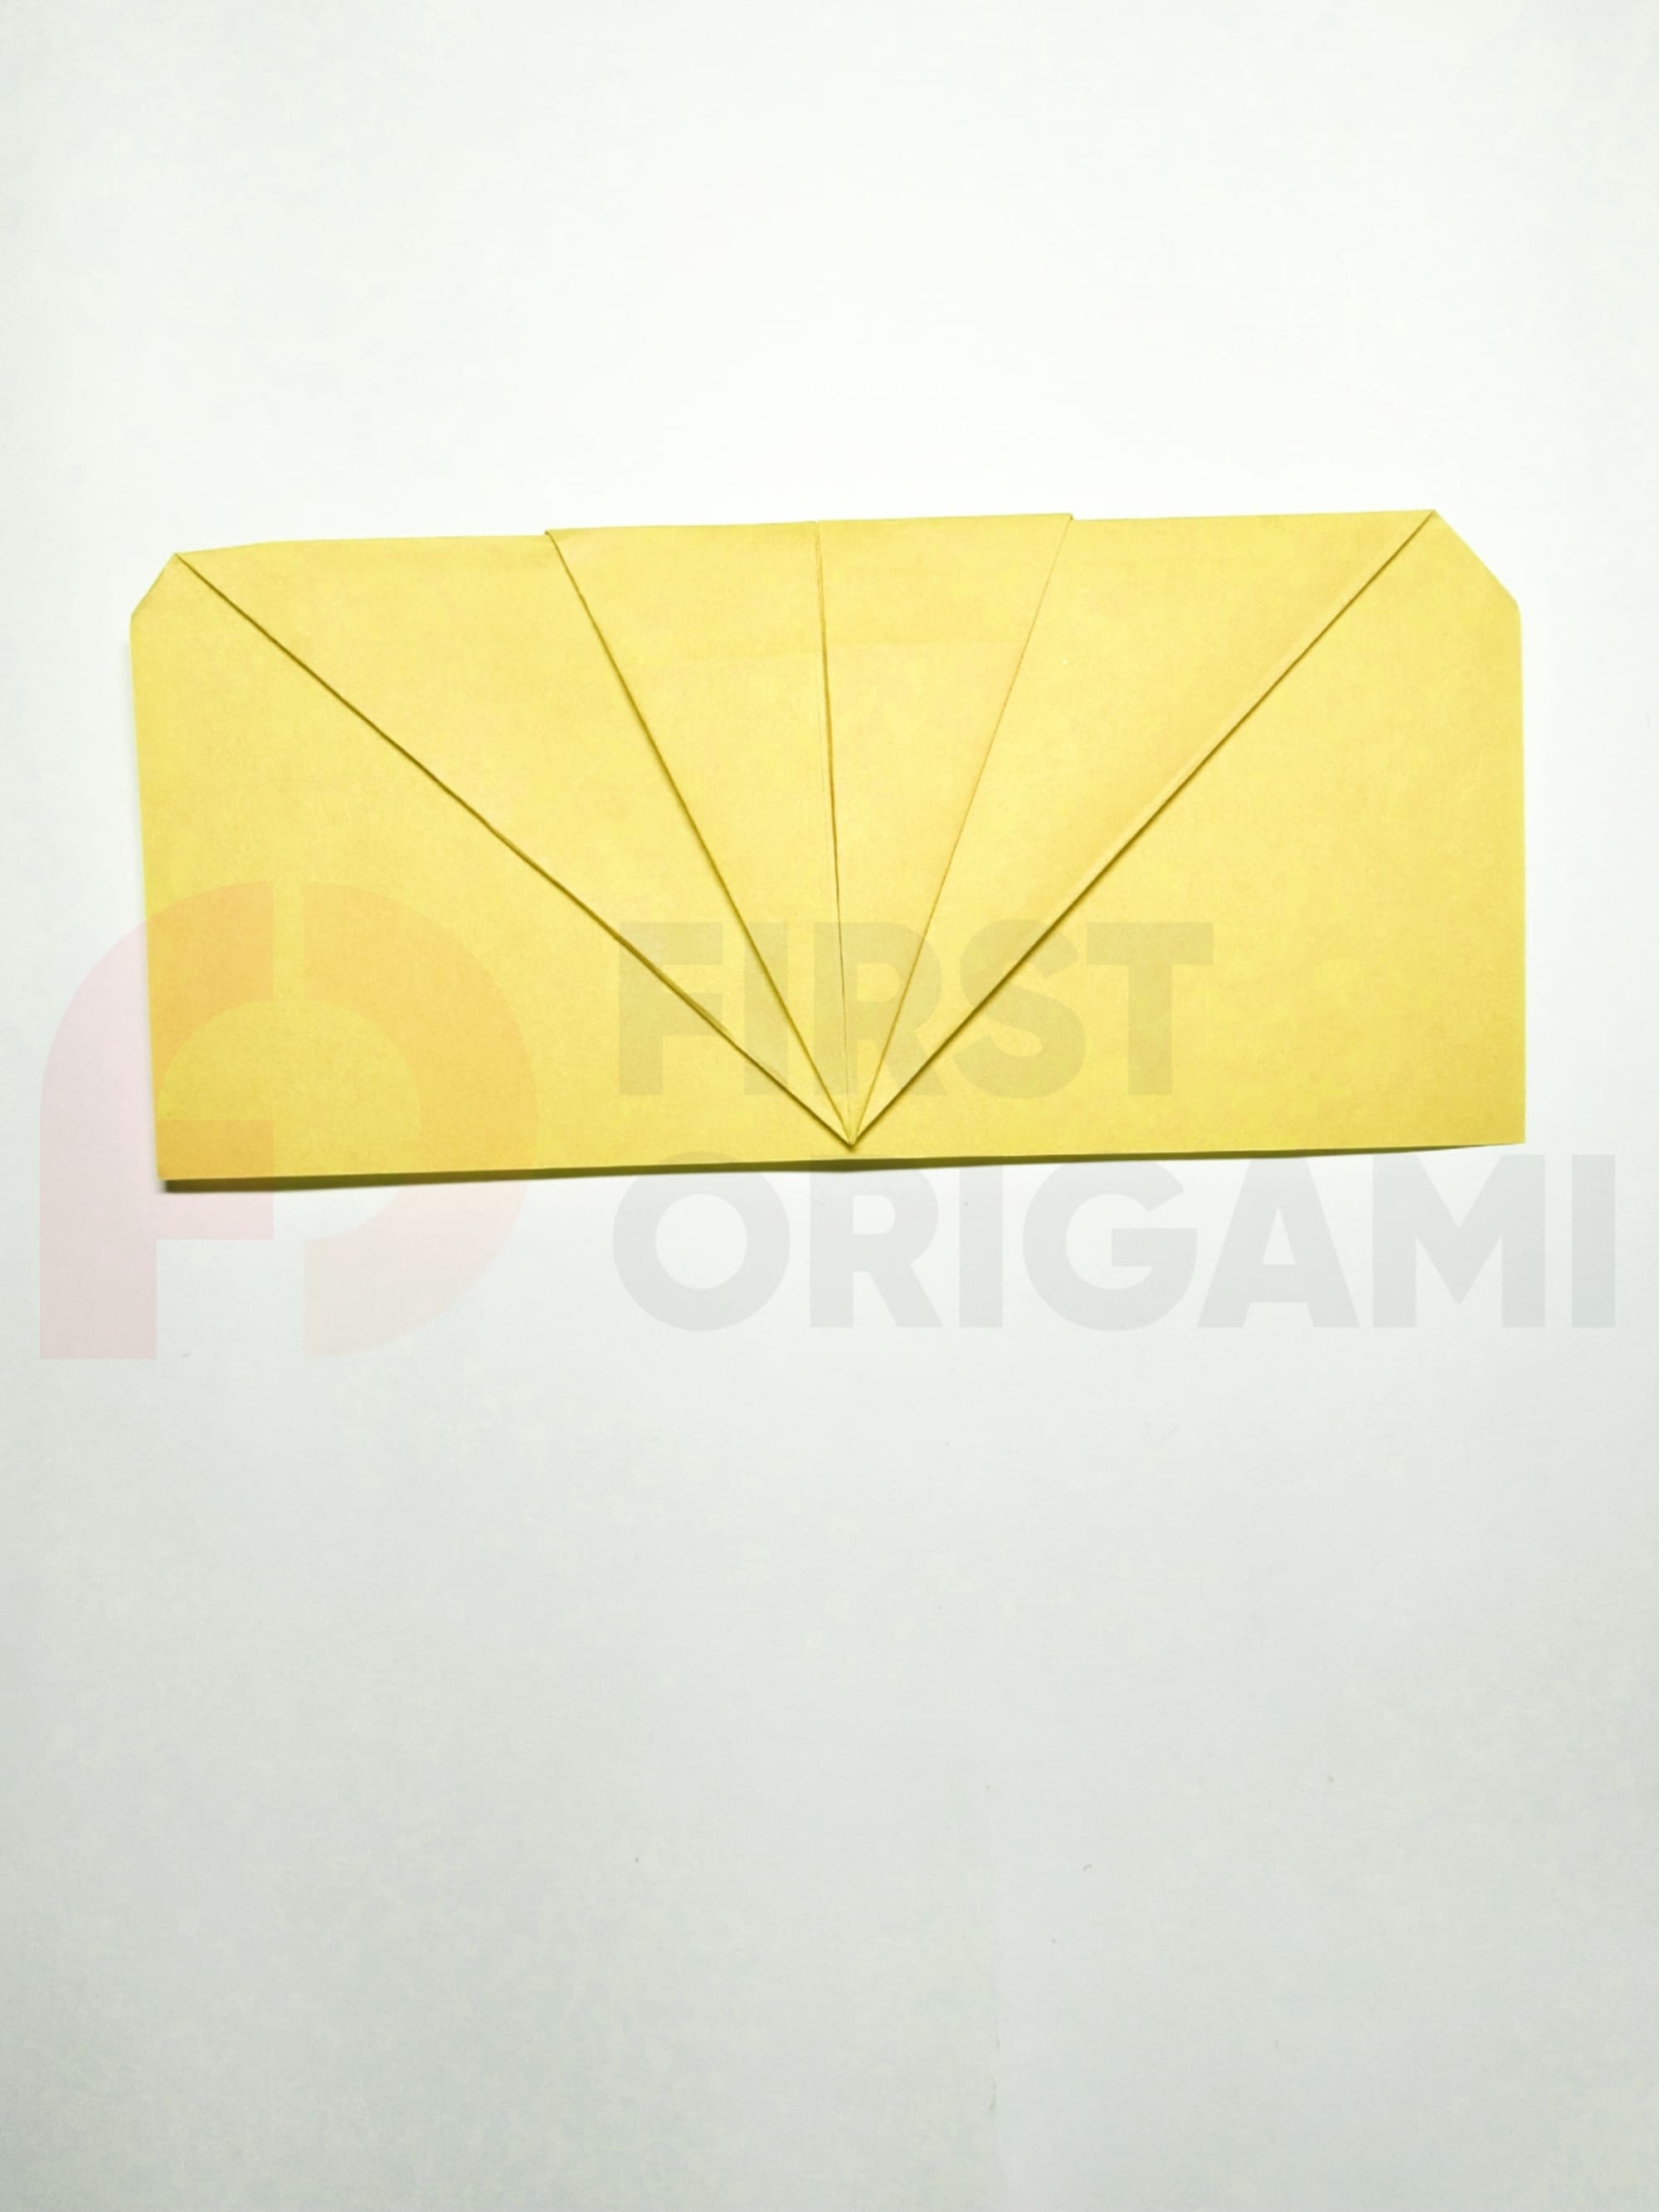
Bend the side triangles formed by the lines inward.
Bend the triangles of the outer layer towards the center line so that you get a rhombus elongated at one end.
Turn the future plane over and lower the top to the bottom line.
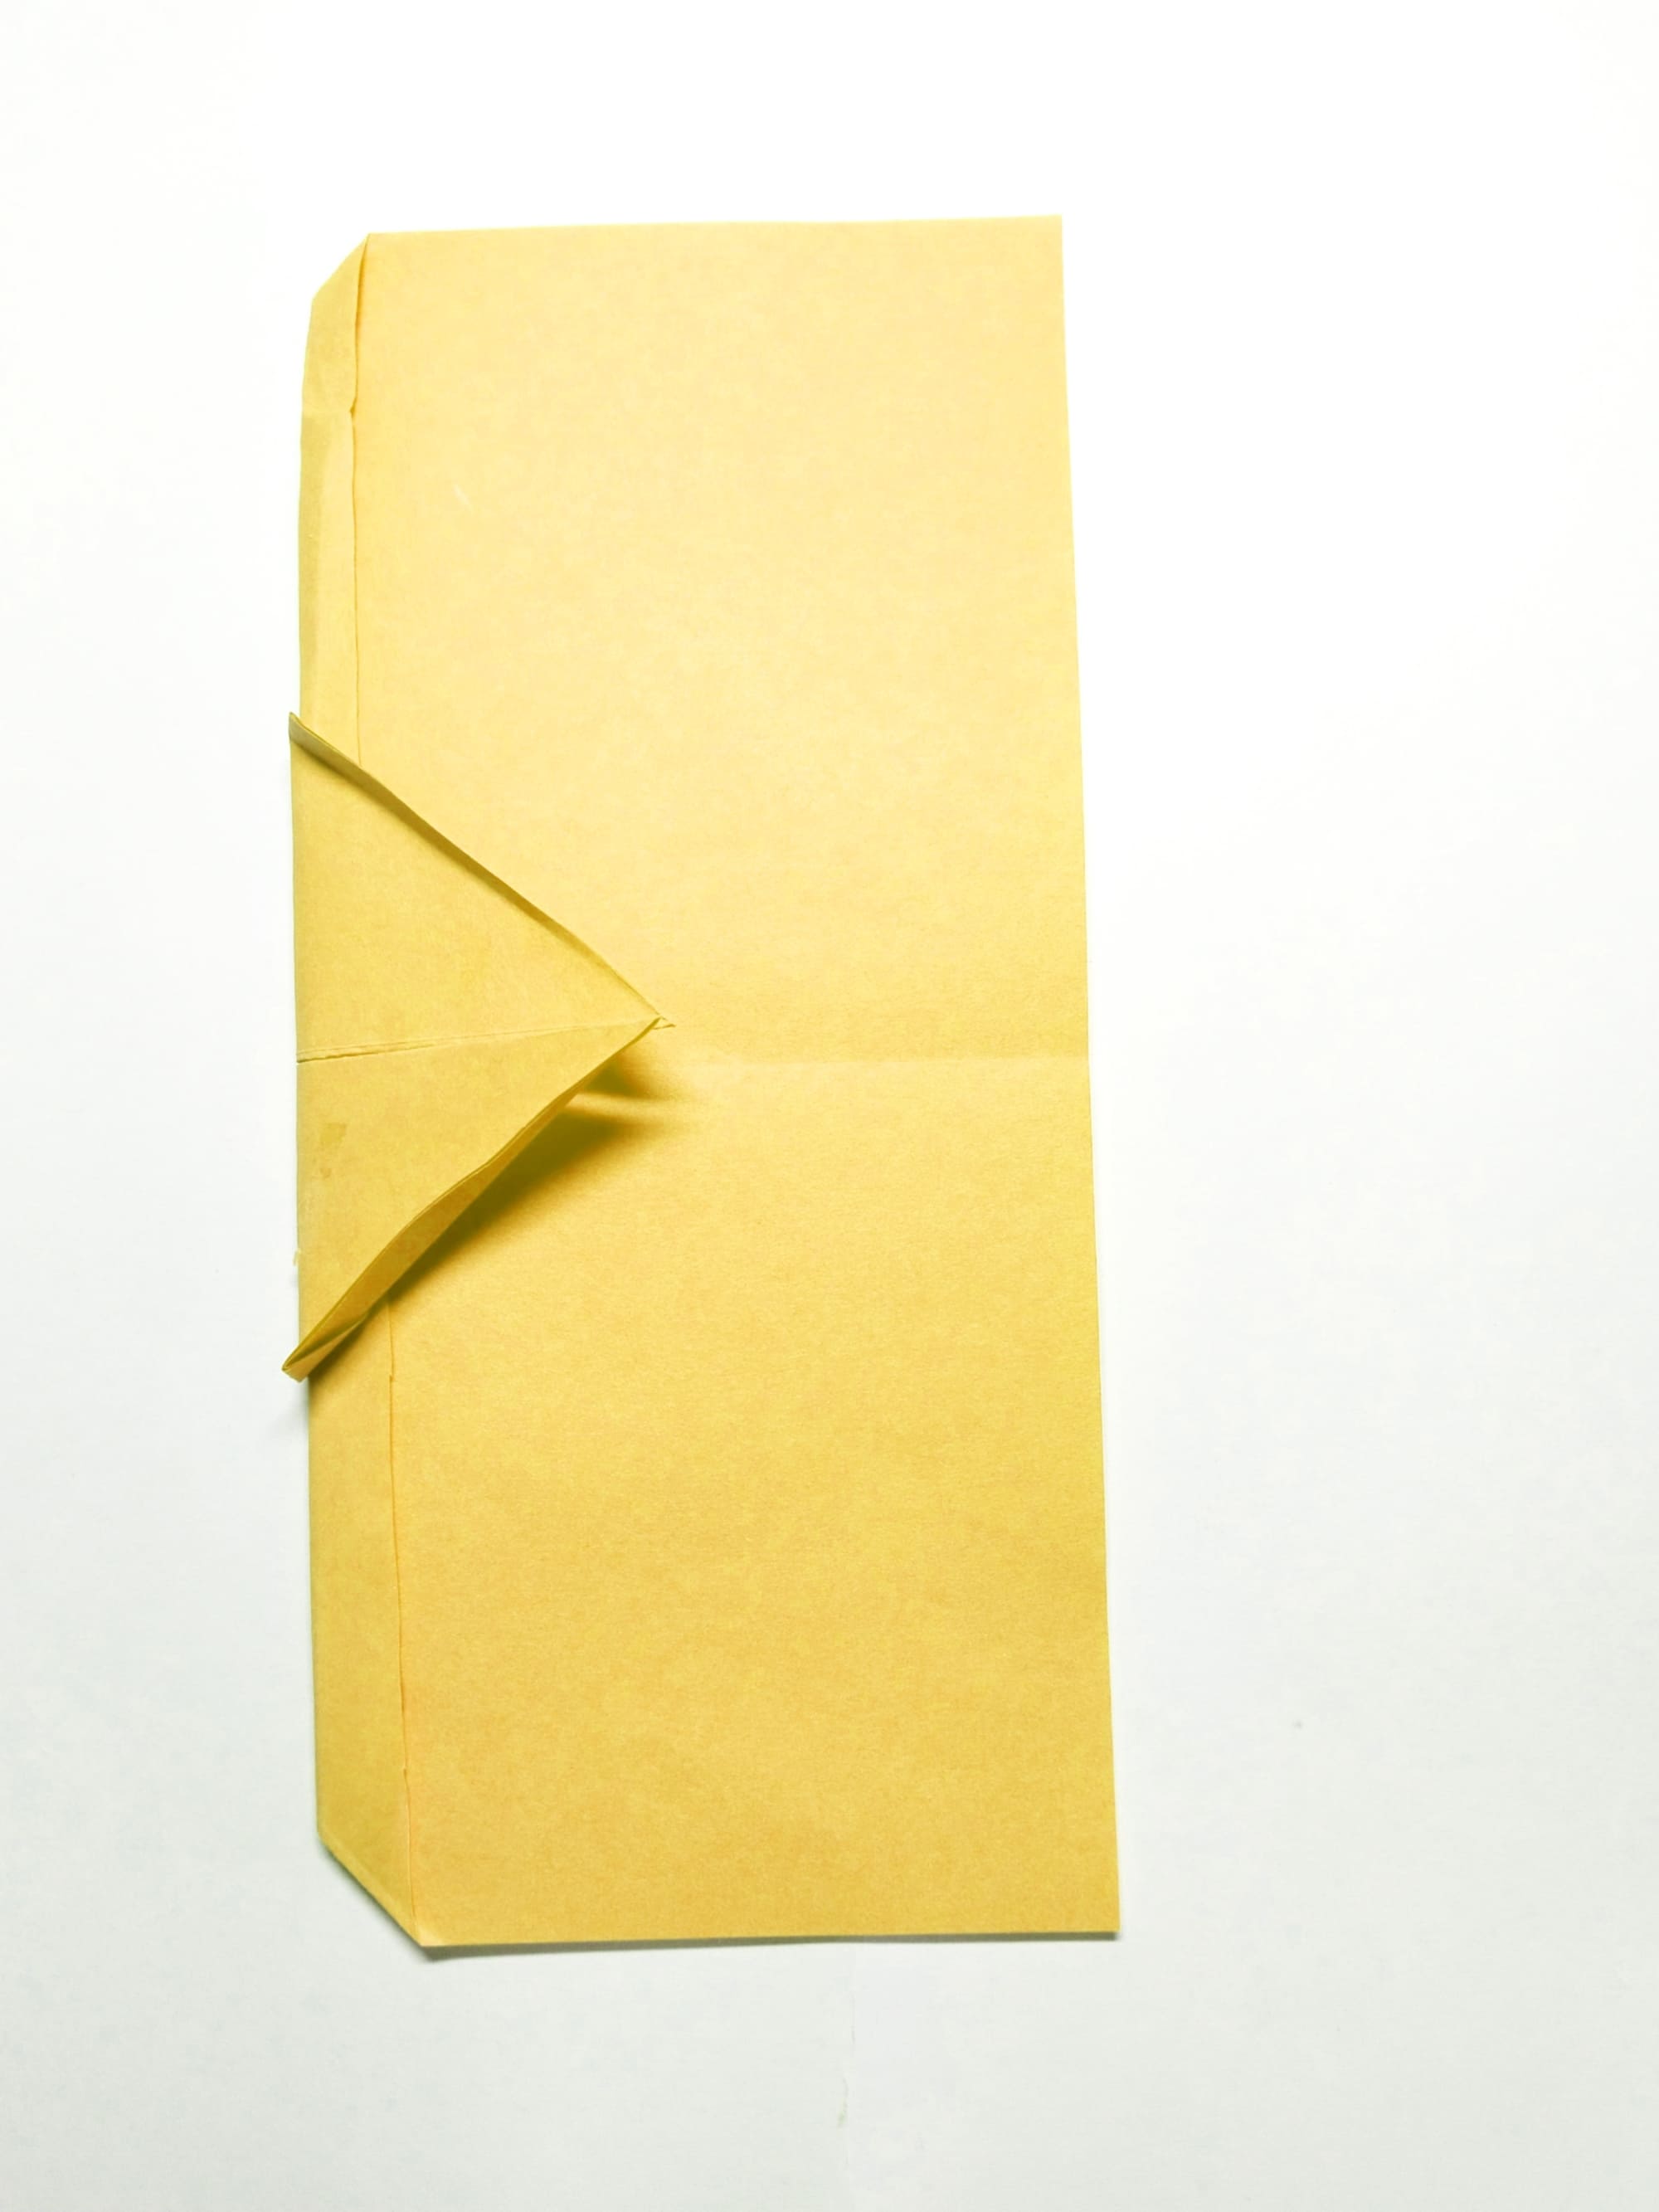
Unfold your model again. Using a ruler, bend the edges of the top shape upward, giving it the appearance of a triangle.
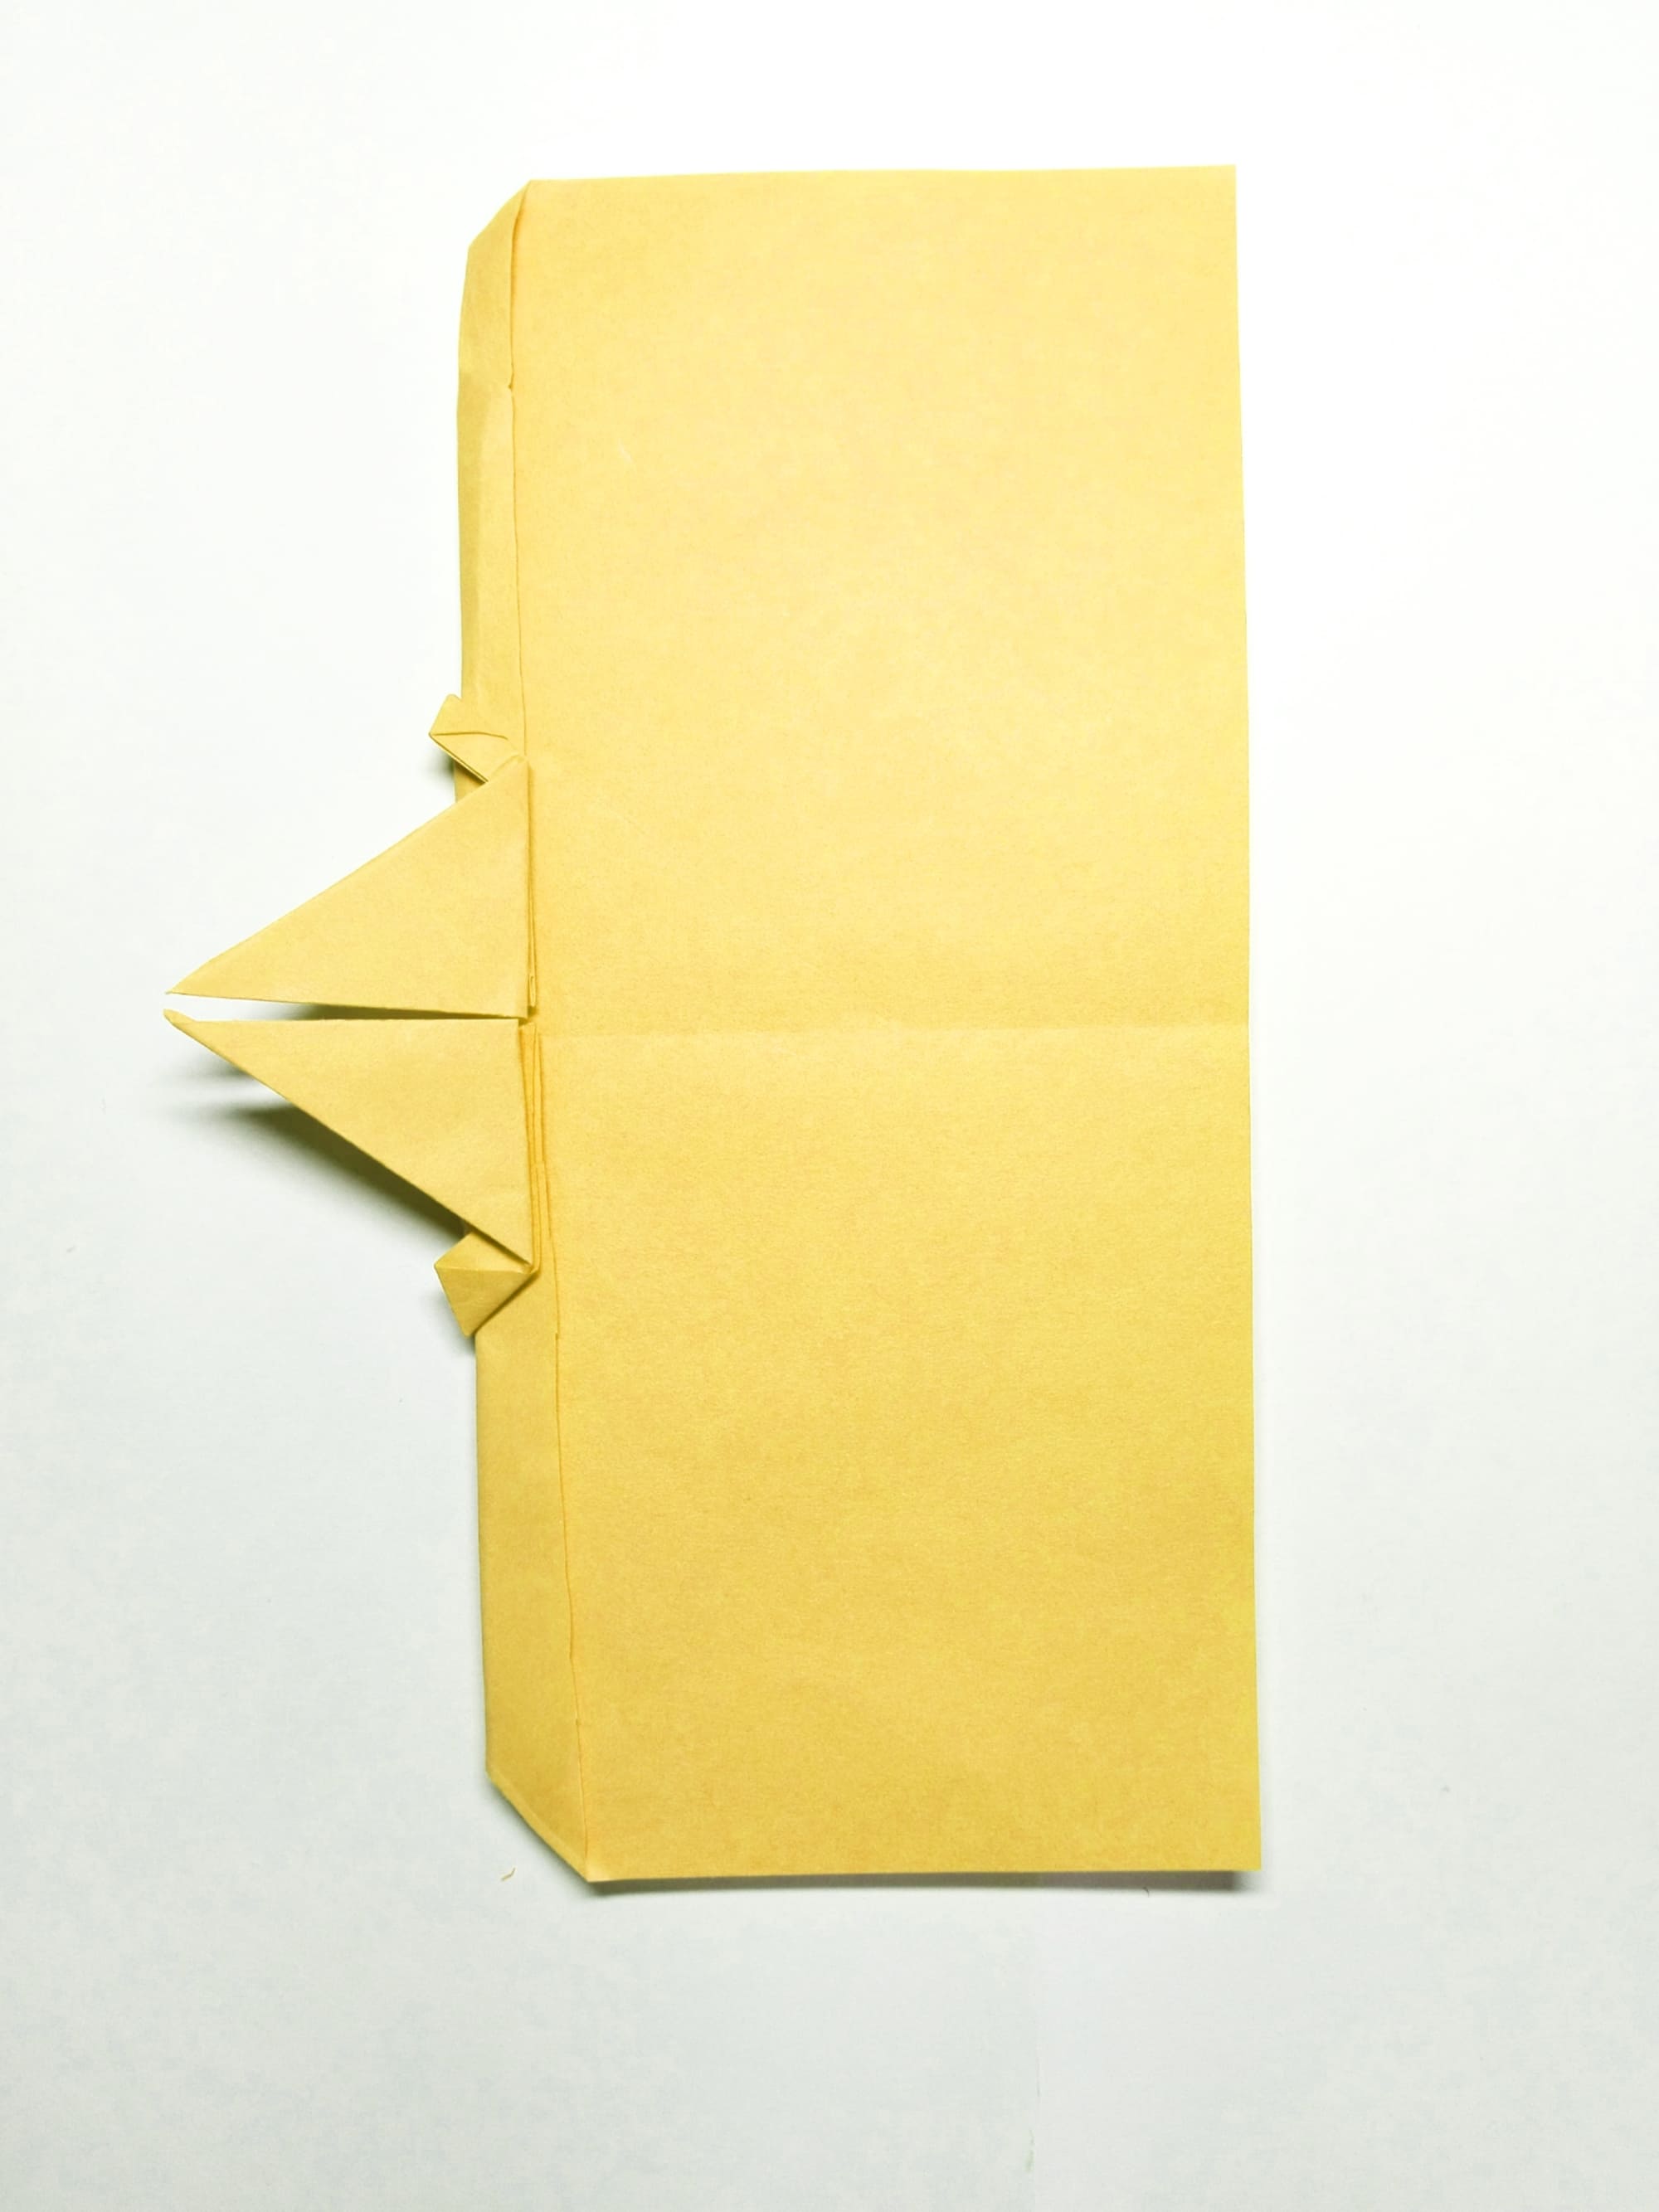
Bend the future antennae of the bee upward. The fold should coincide with the paper overlay line.
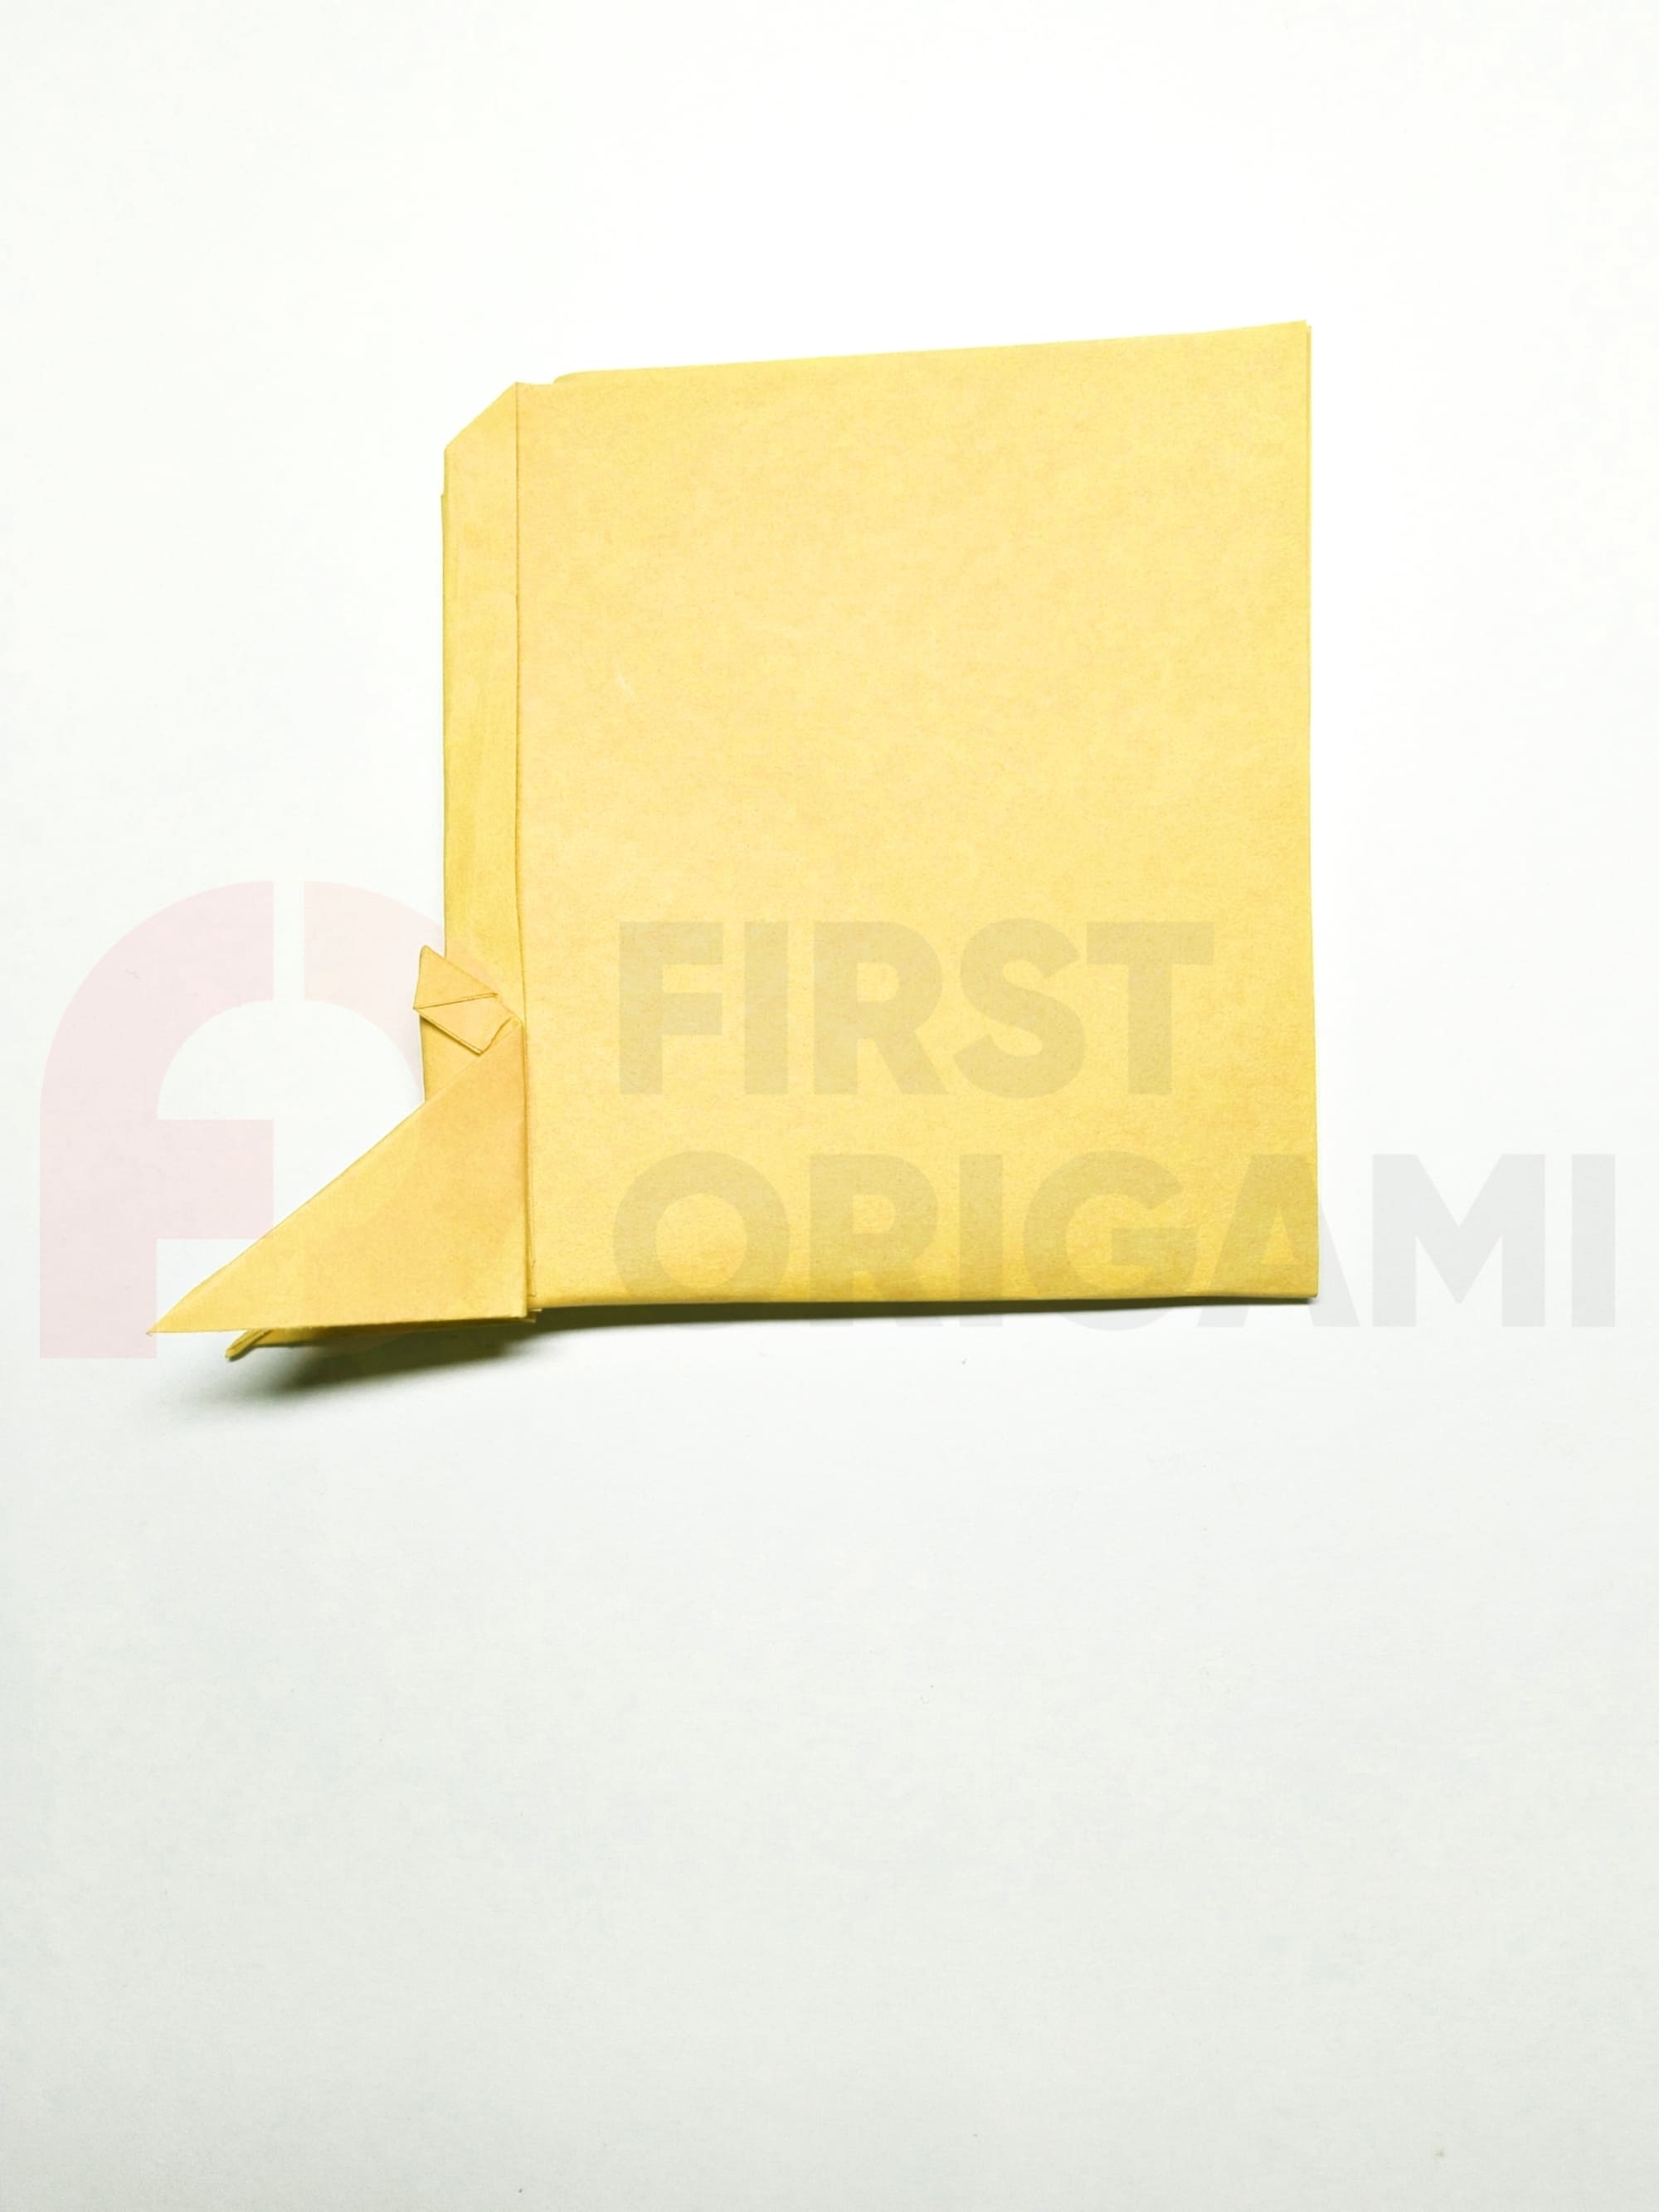
Fold the plane in half so that the antennae are on the outside.
Using a ruler, bend the wings along a straight line parallel to the base.
The King Bee prototype is ready to go on expeditions. You can also use scissors to make a couple of cuts on the back of the wings to add a few points of speed to your model.