Origami Kite Base
Yes, we know, that folding basic figures is not much fun, as you don’t get any result in the end. But these in-between folds are super important if you want to get a perfect complex figure. Below you will find step-by-step instructions on how to make one of these basic shapes, the Kite Base.
Origami kite base is named for its kite-like shape — a rhombus or a diamond one. The kite base is a simple but important basic origami figure that is used to make many different models. If you master this figure, you can easily turn it into more complex origami toys.
So we strongly recommend not ignoring the basic figures, and honing the skill of their folding, so that more interesting ornaments will be given to you easier and faster! Let’s start learning!
For this origami, we will need a square piece of paper. Choose any color you want!
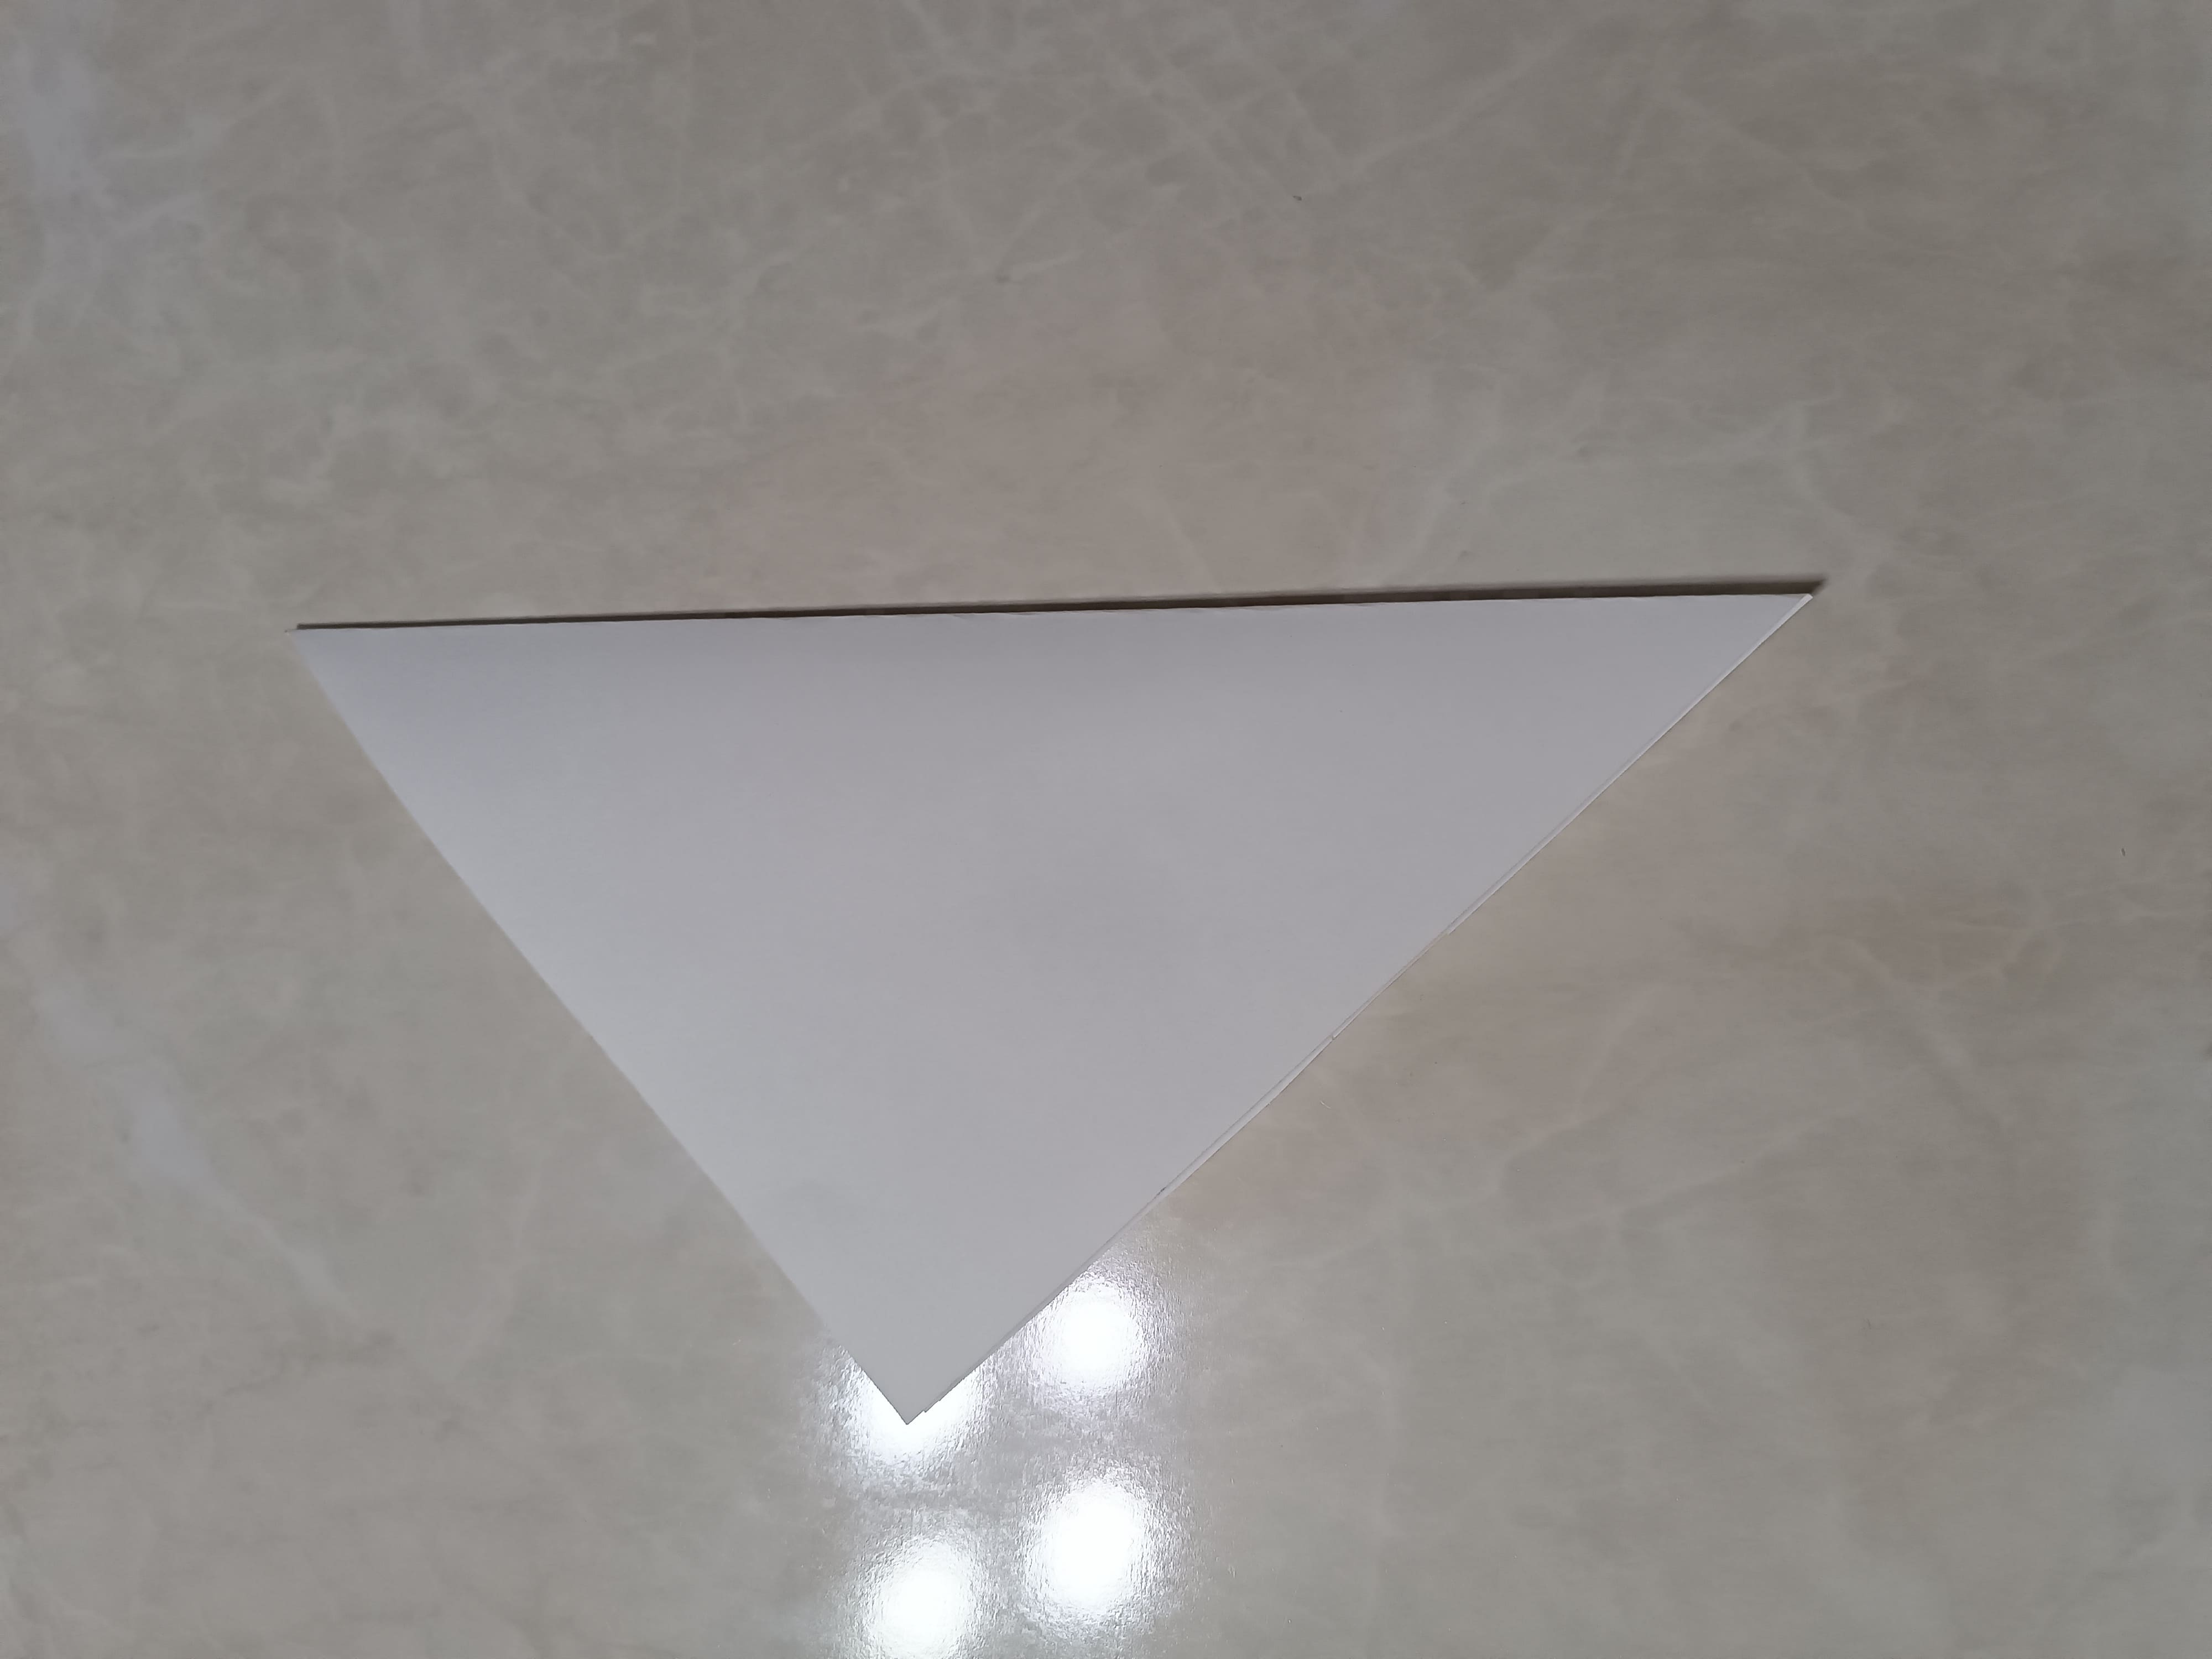
First, make a triangular fold. Fold along the diagonal axis from left to right (or right to left). Crumple the resulting curve of paper well.
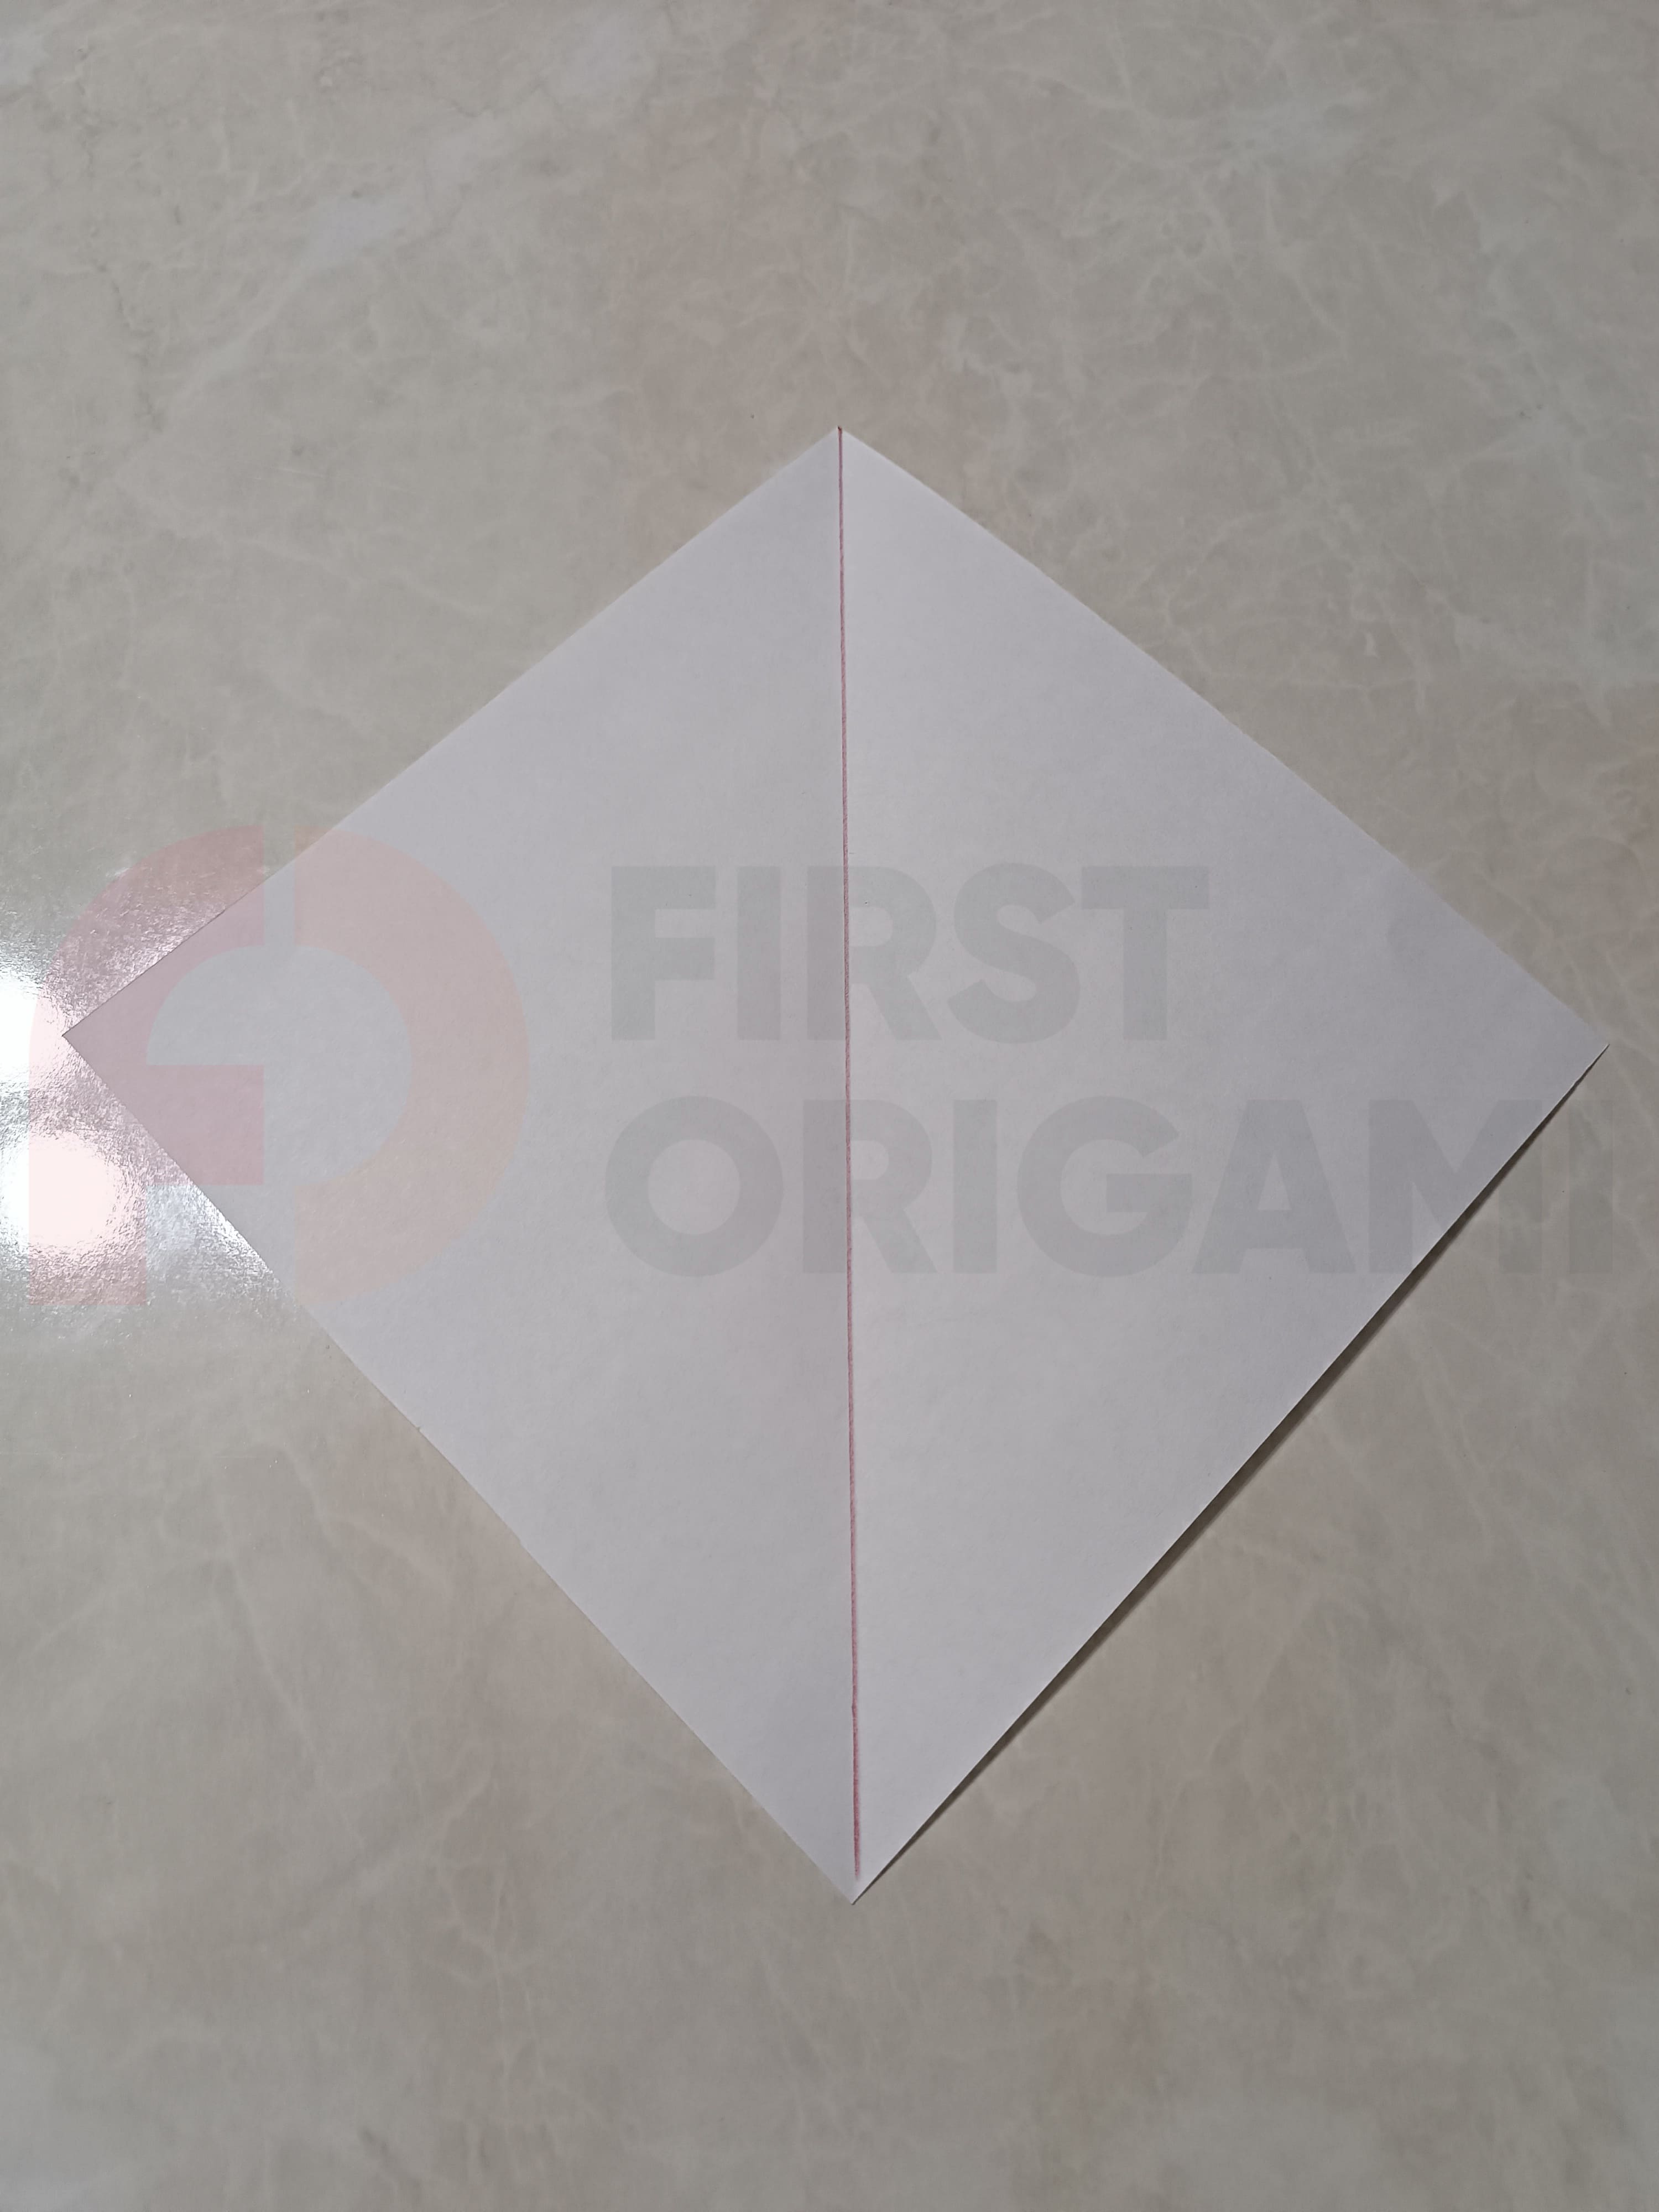
The folding line should be very distinctive, this will make the future steps easier.
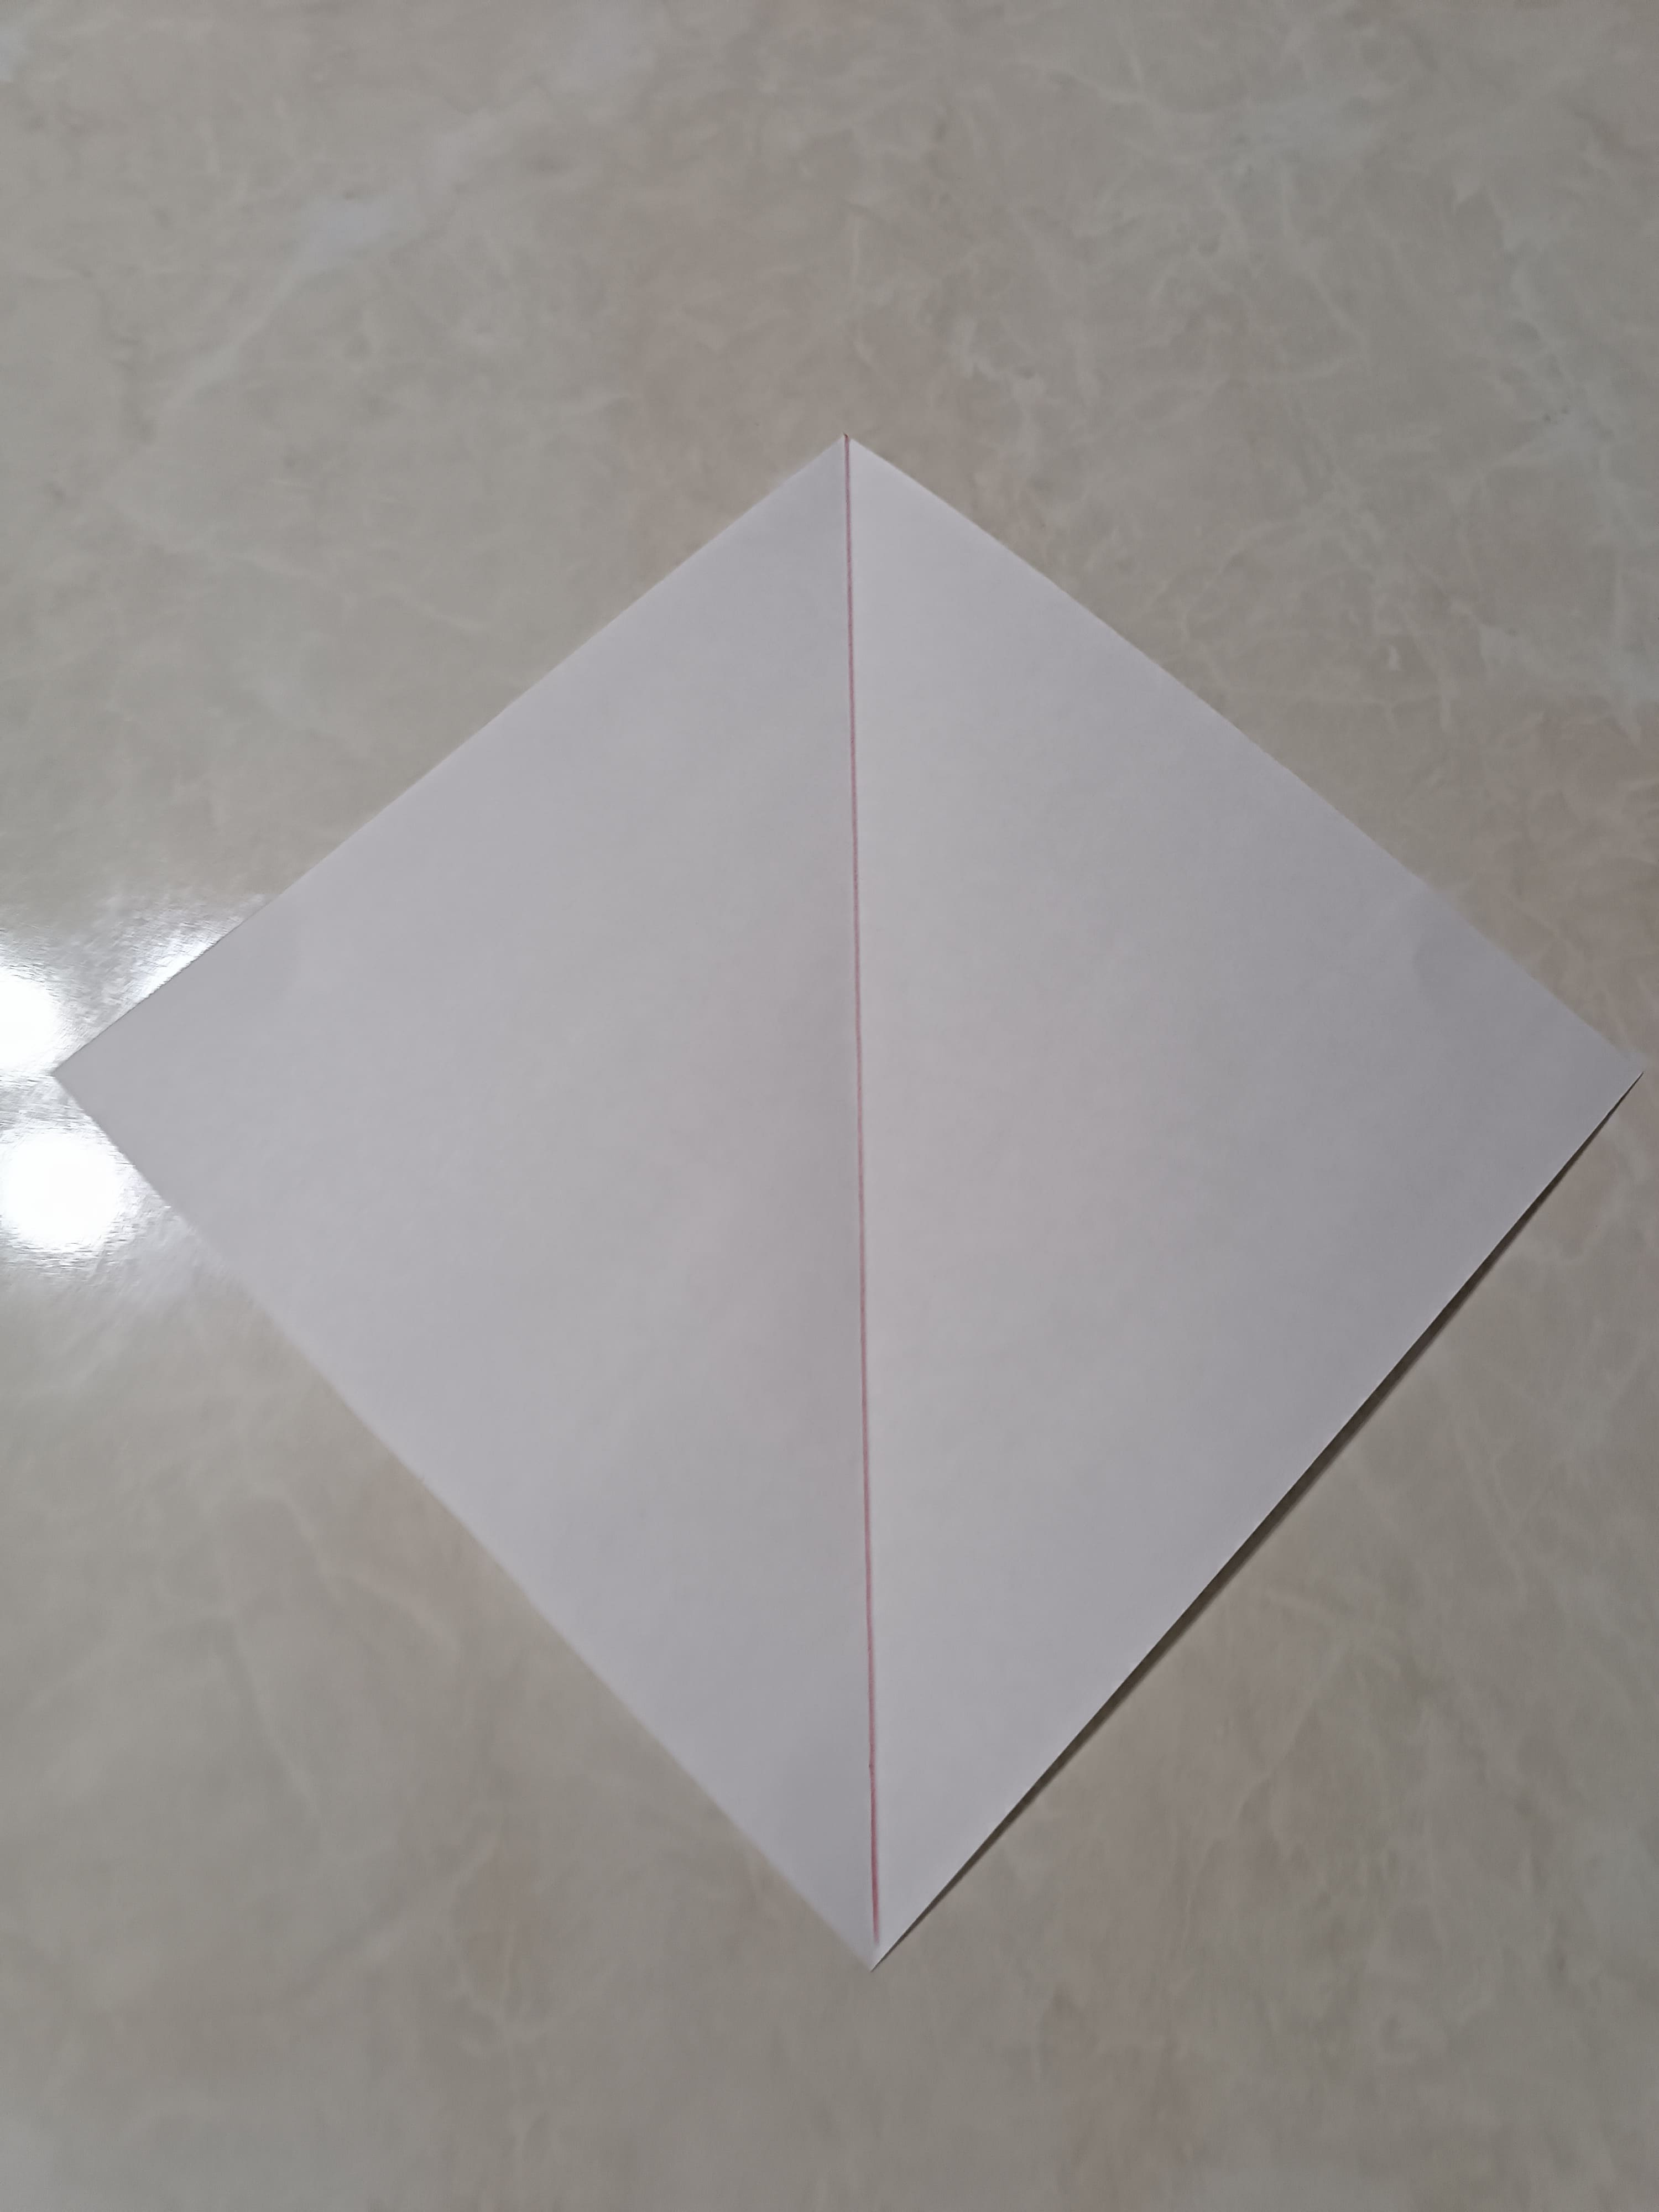
Unfold the paper.
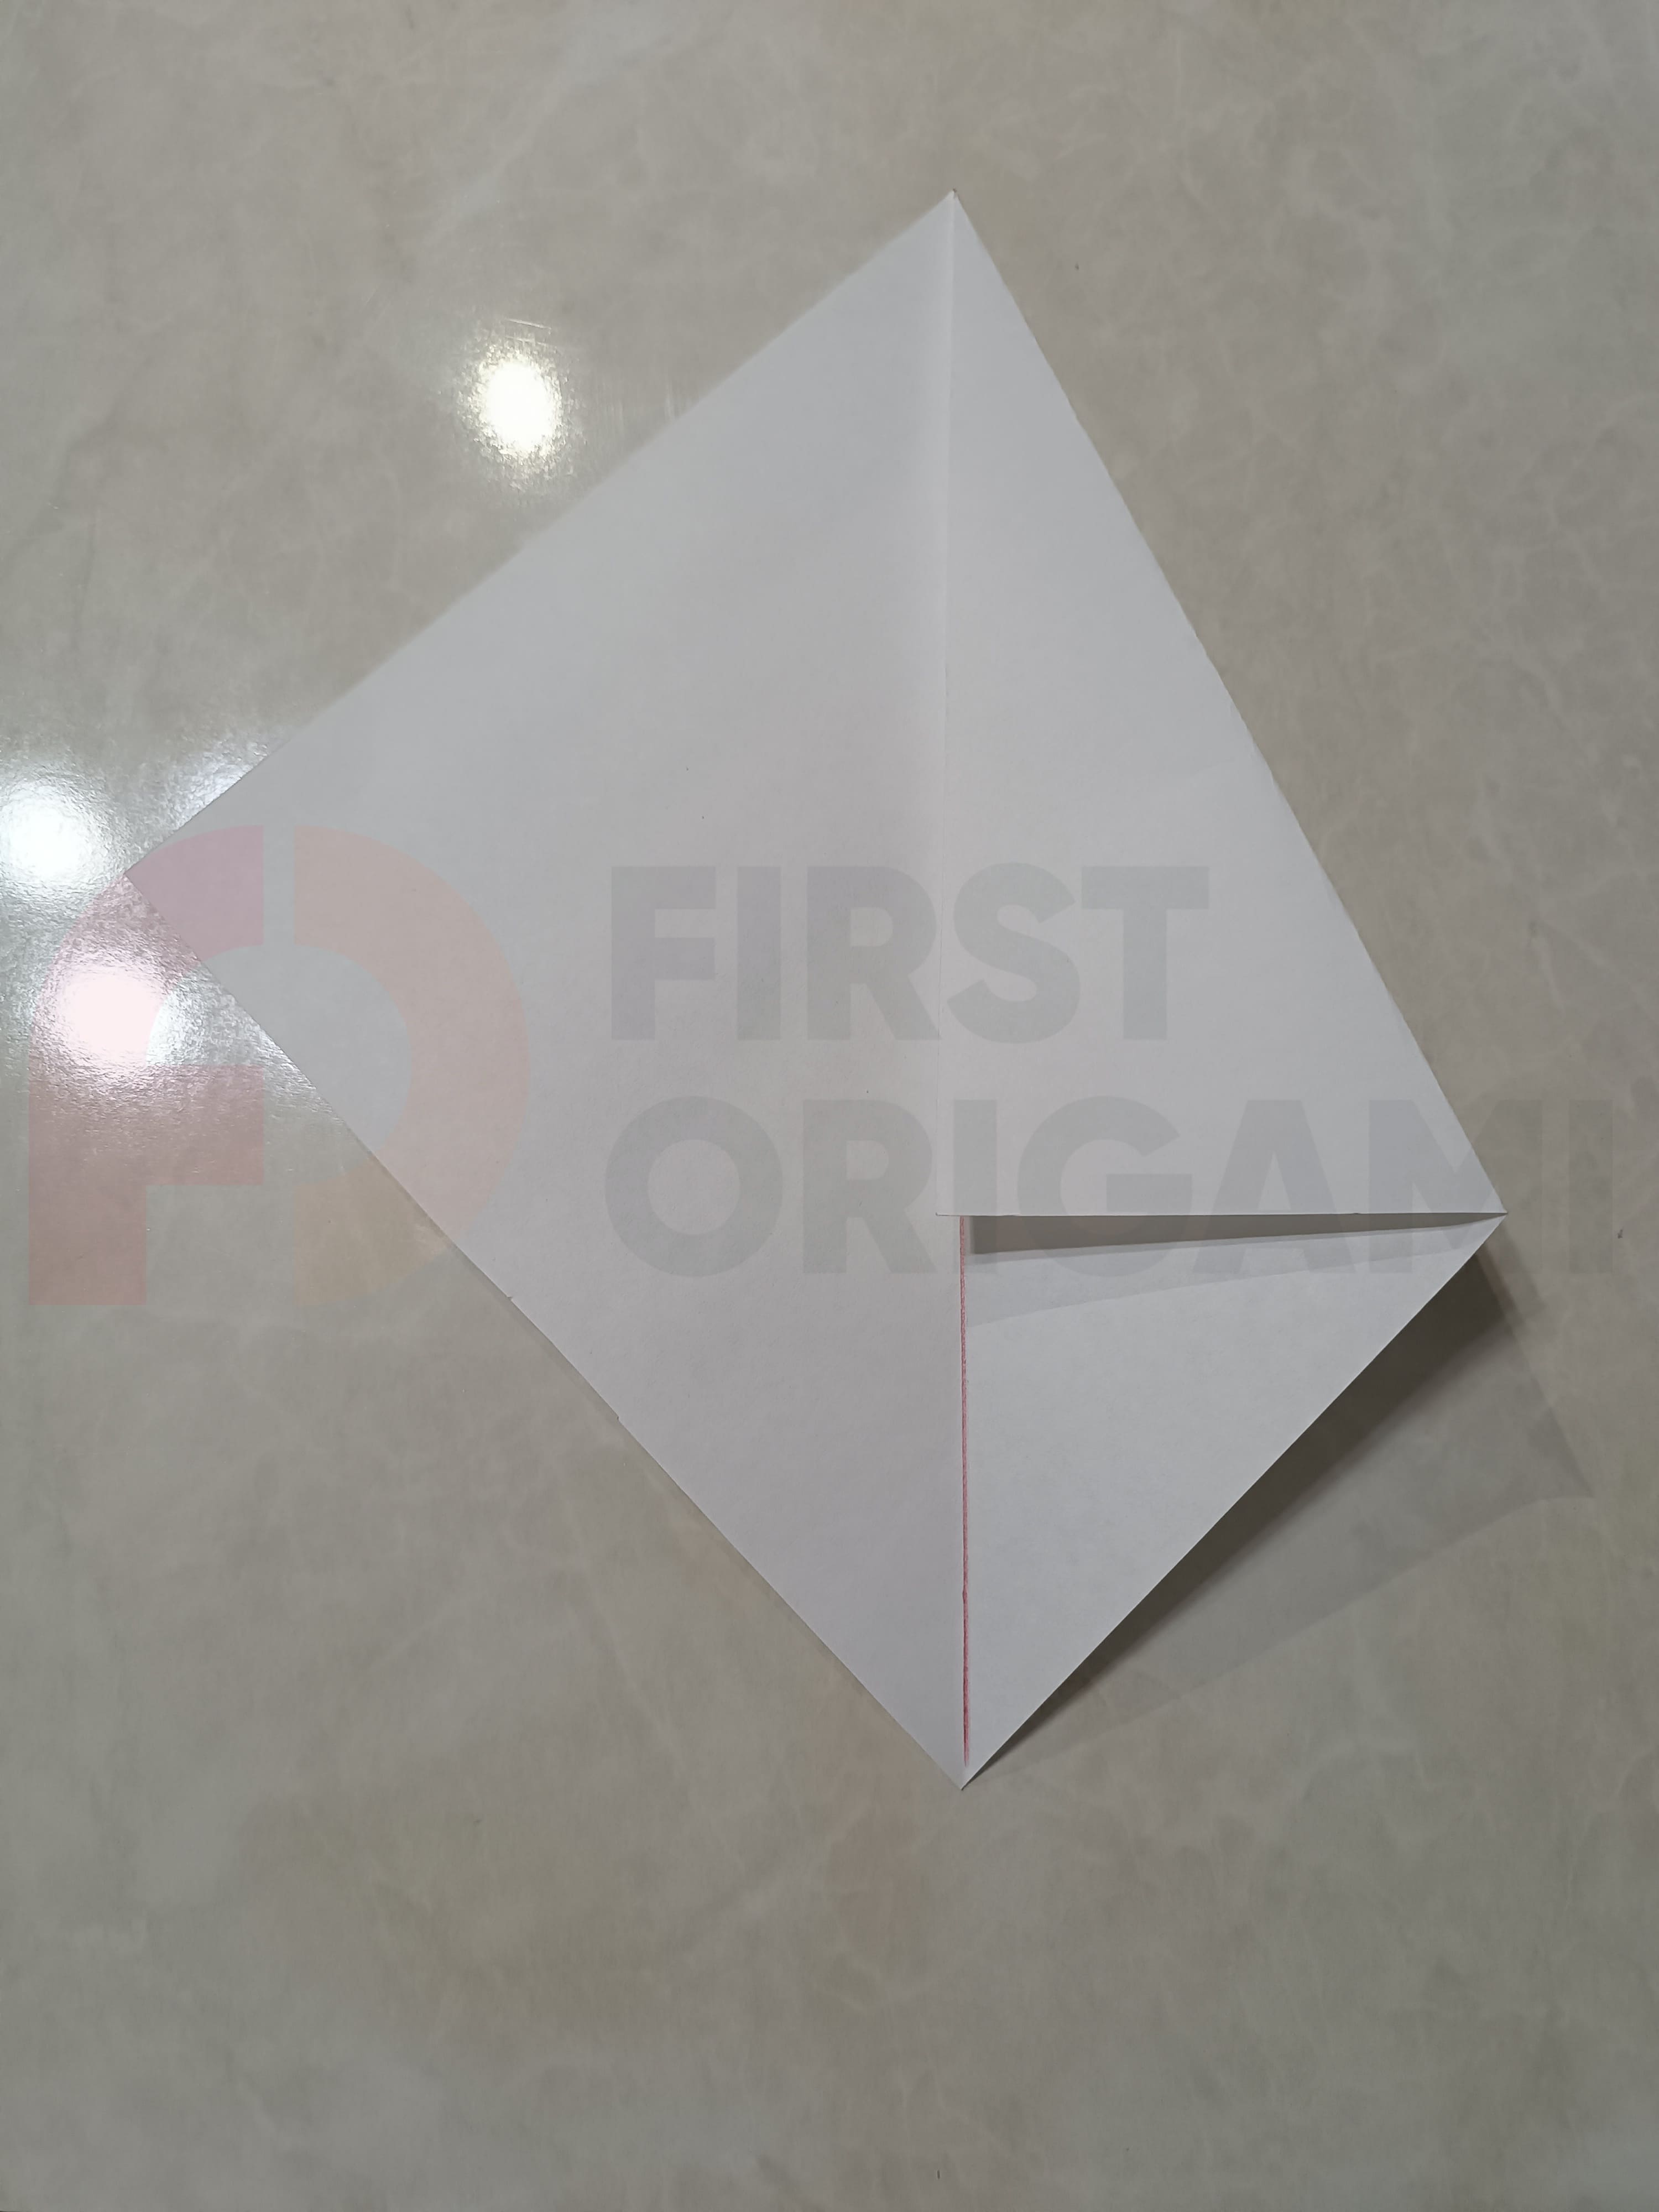
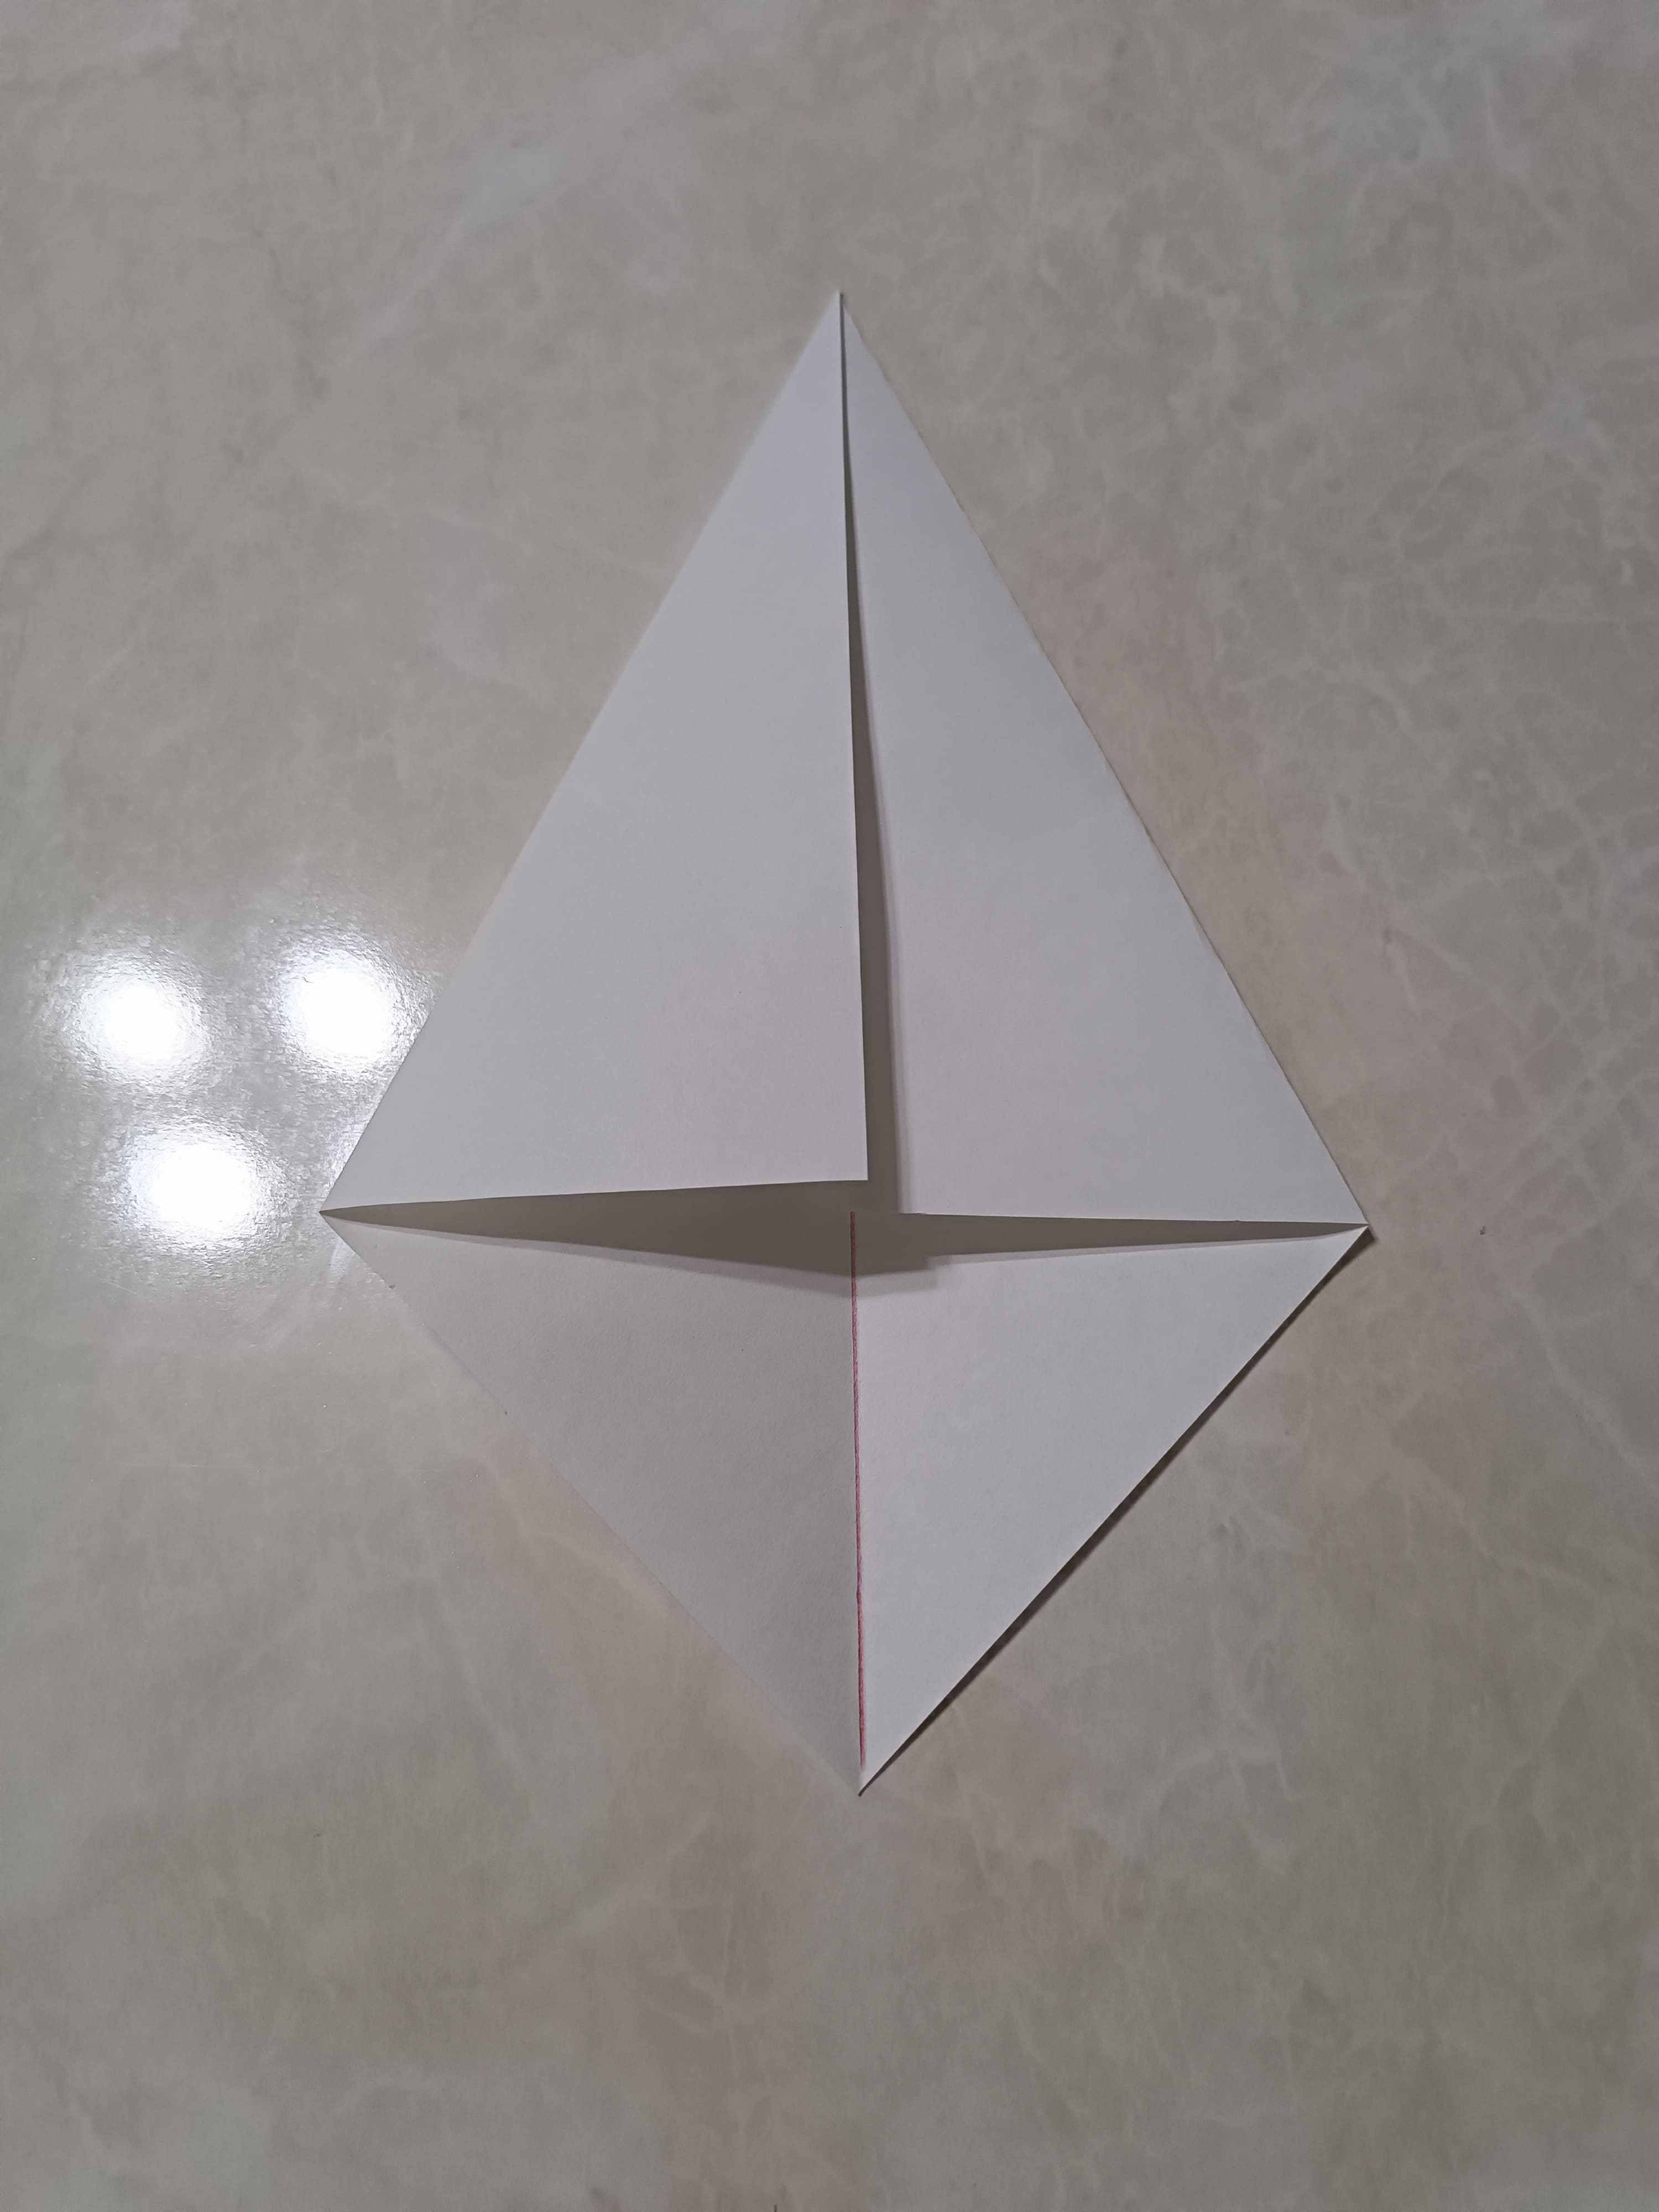
Now fold the right side so that the edge of the sheet comes together at the fold (from Step 1) in the center.
Fold the left side so that it meets the fold in the center and the kite base is ready.
You can make an origami diamond base from the kite base.


