Origami Knight’s Helmet
Can knight armor be made out of paper? Yes! It will also turn out very beautiful. Today, we will show you how to assemble a helmet – simple, clear, and engaging. Take gray, silver, black, or brown paper for this, or come up with a different choice and create a bright colorful helmet. You will also need a glue stick to complete the work. Let’s start!
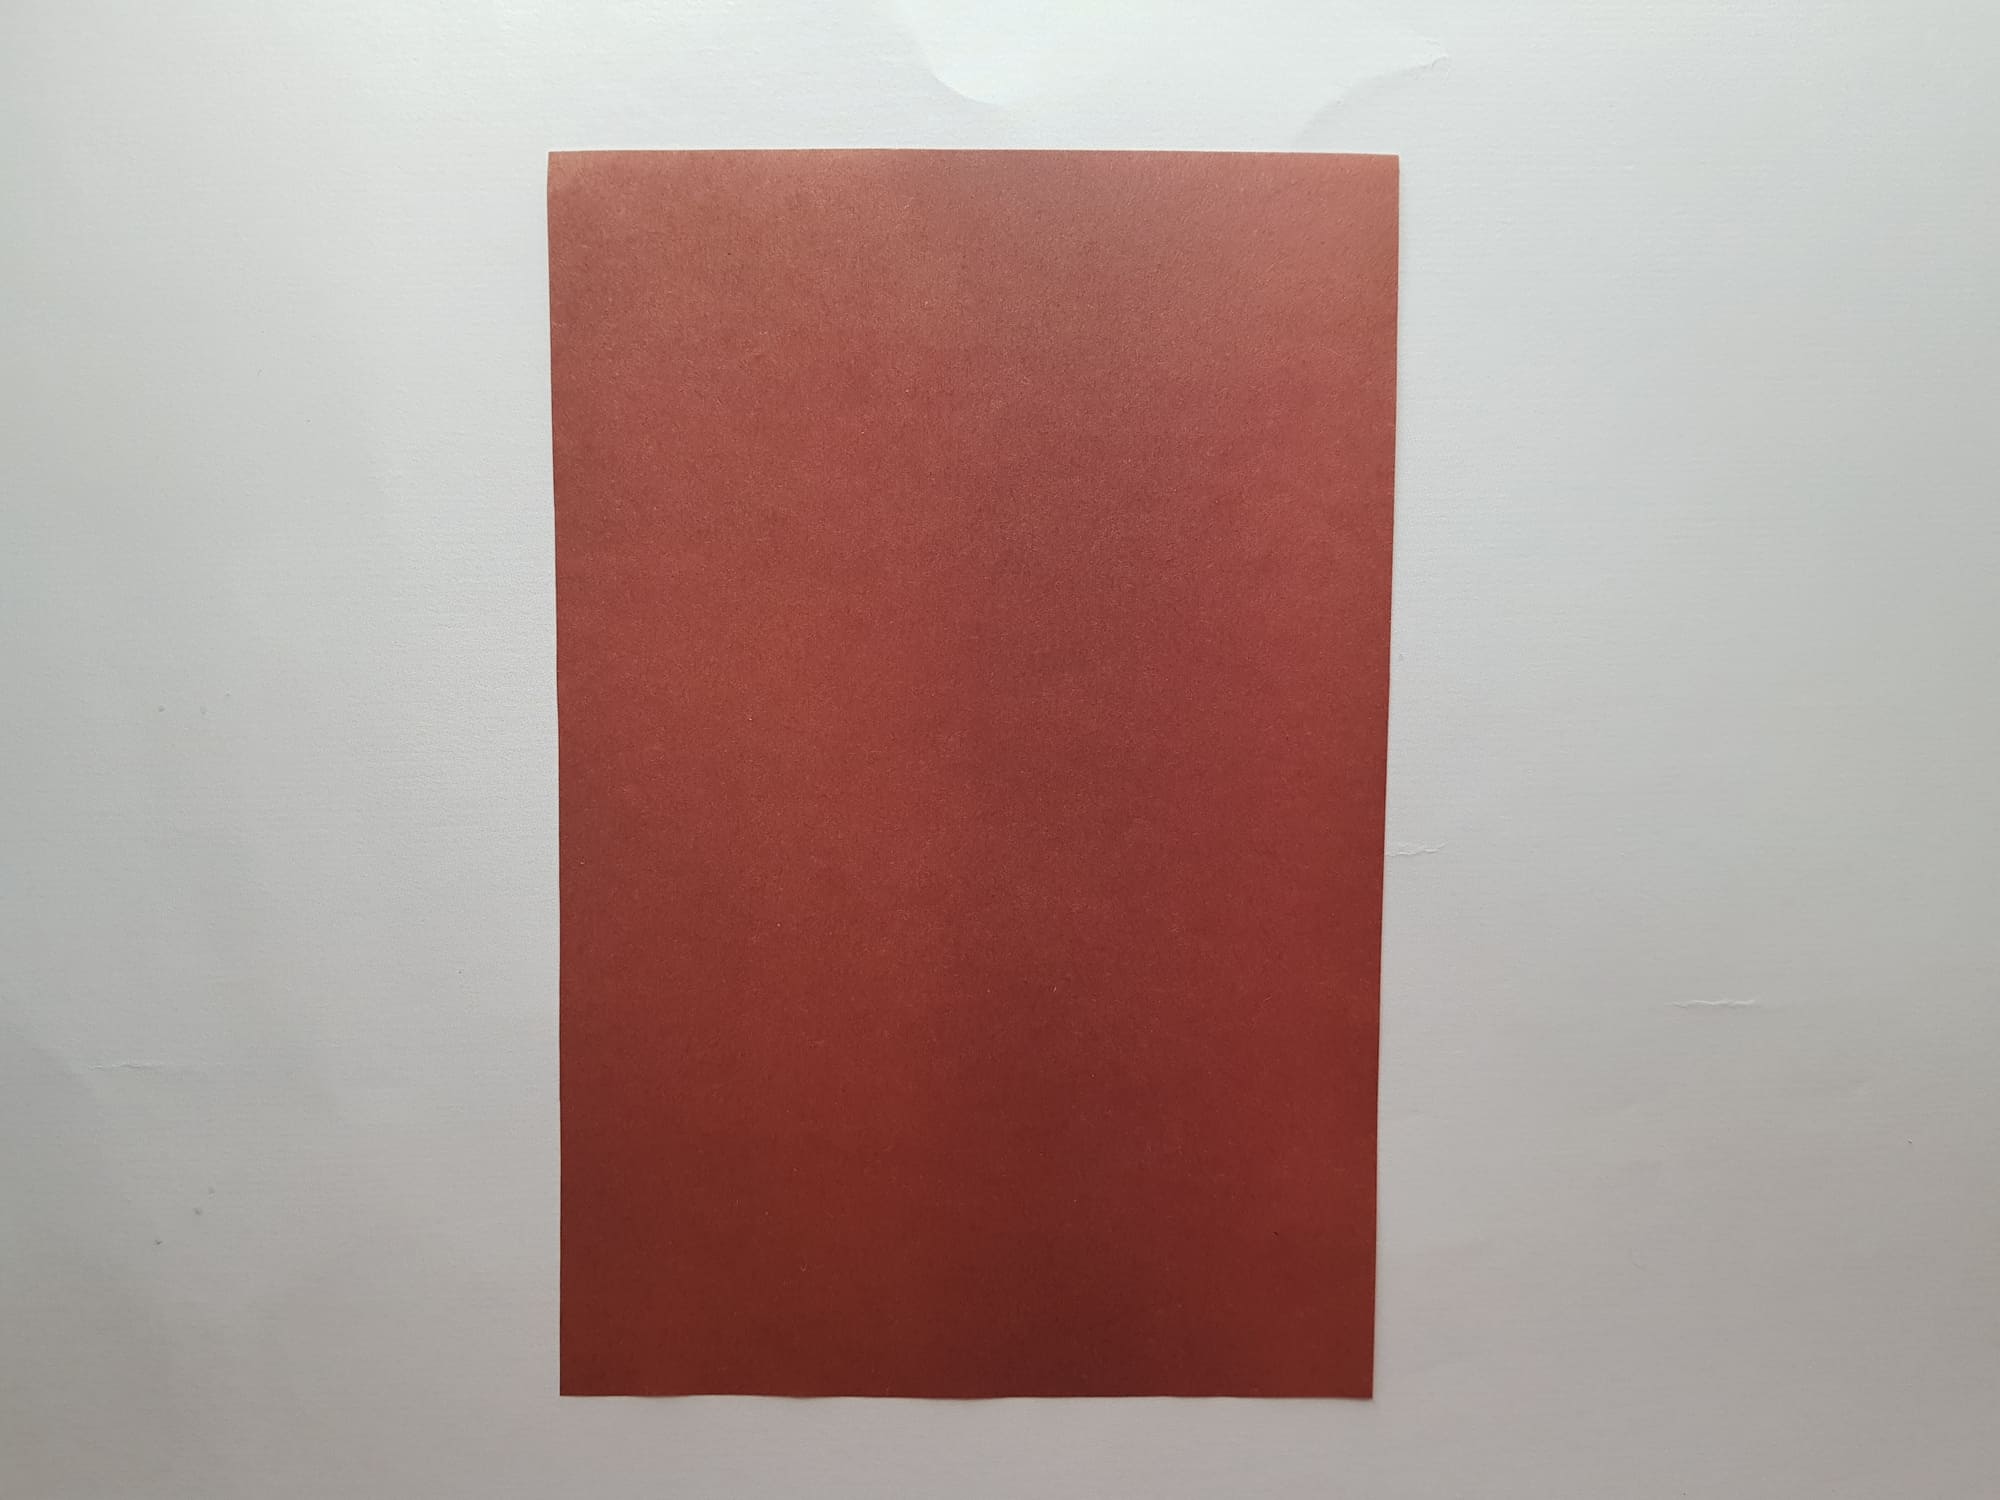
Prepare a sheet of paper measuring 28×22 cm. It can be larger or smaller but in the same ratio of length and width.
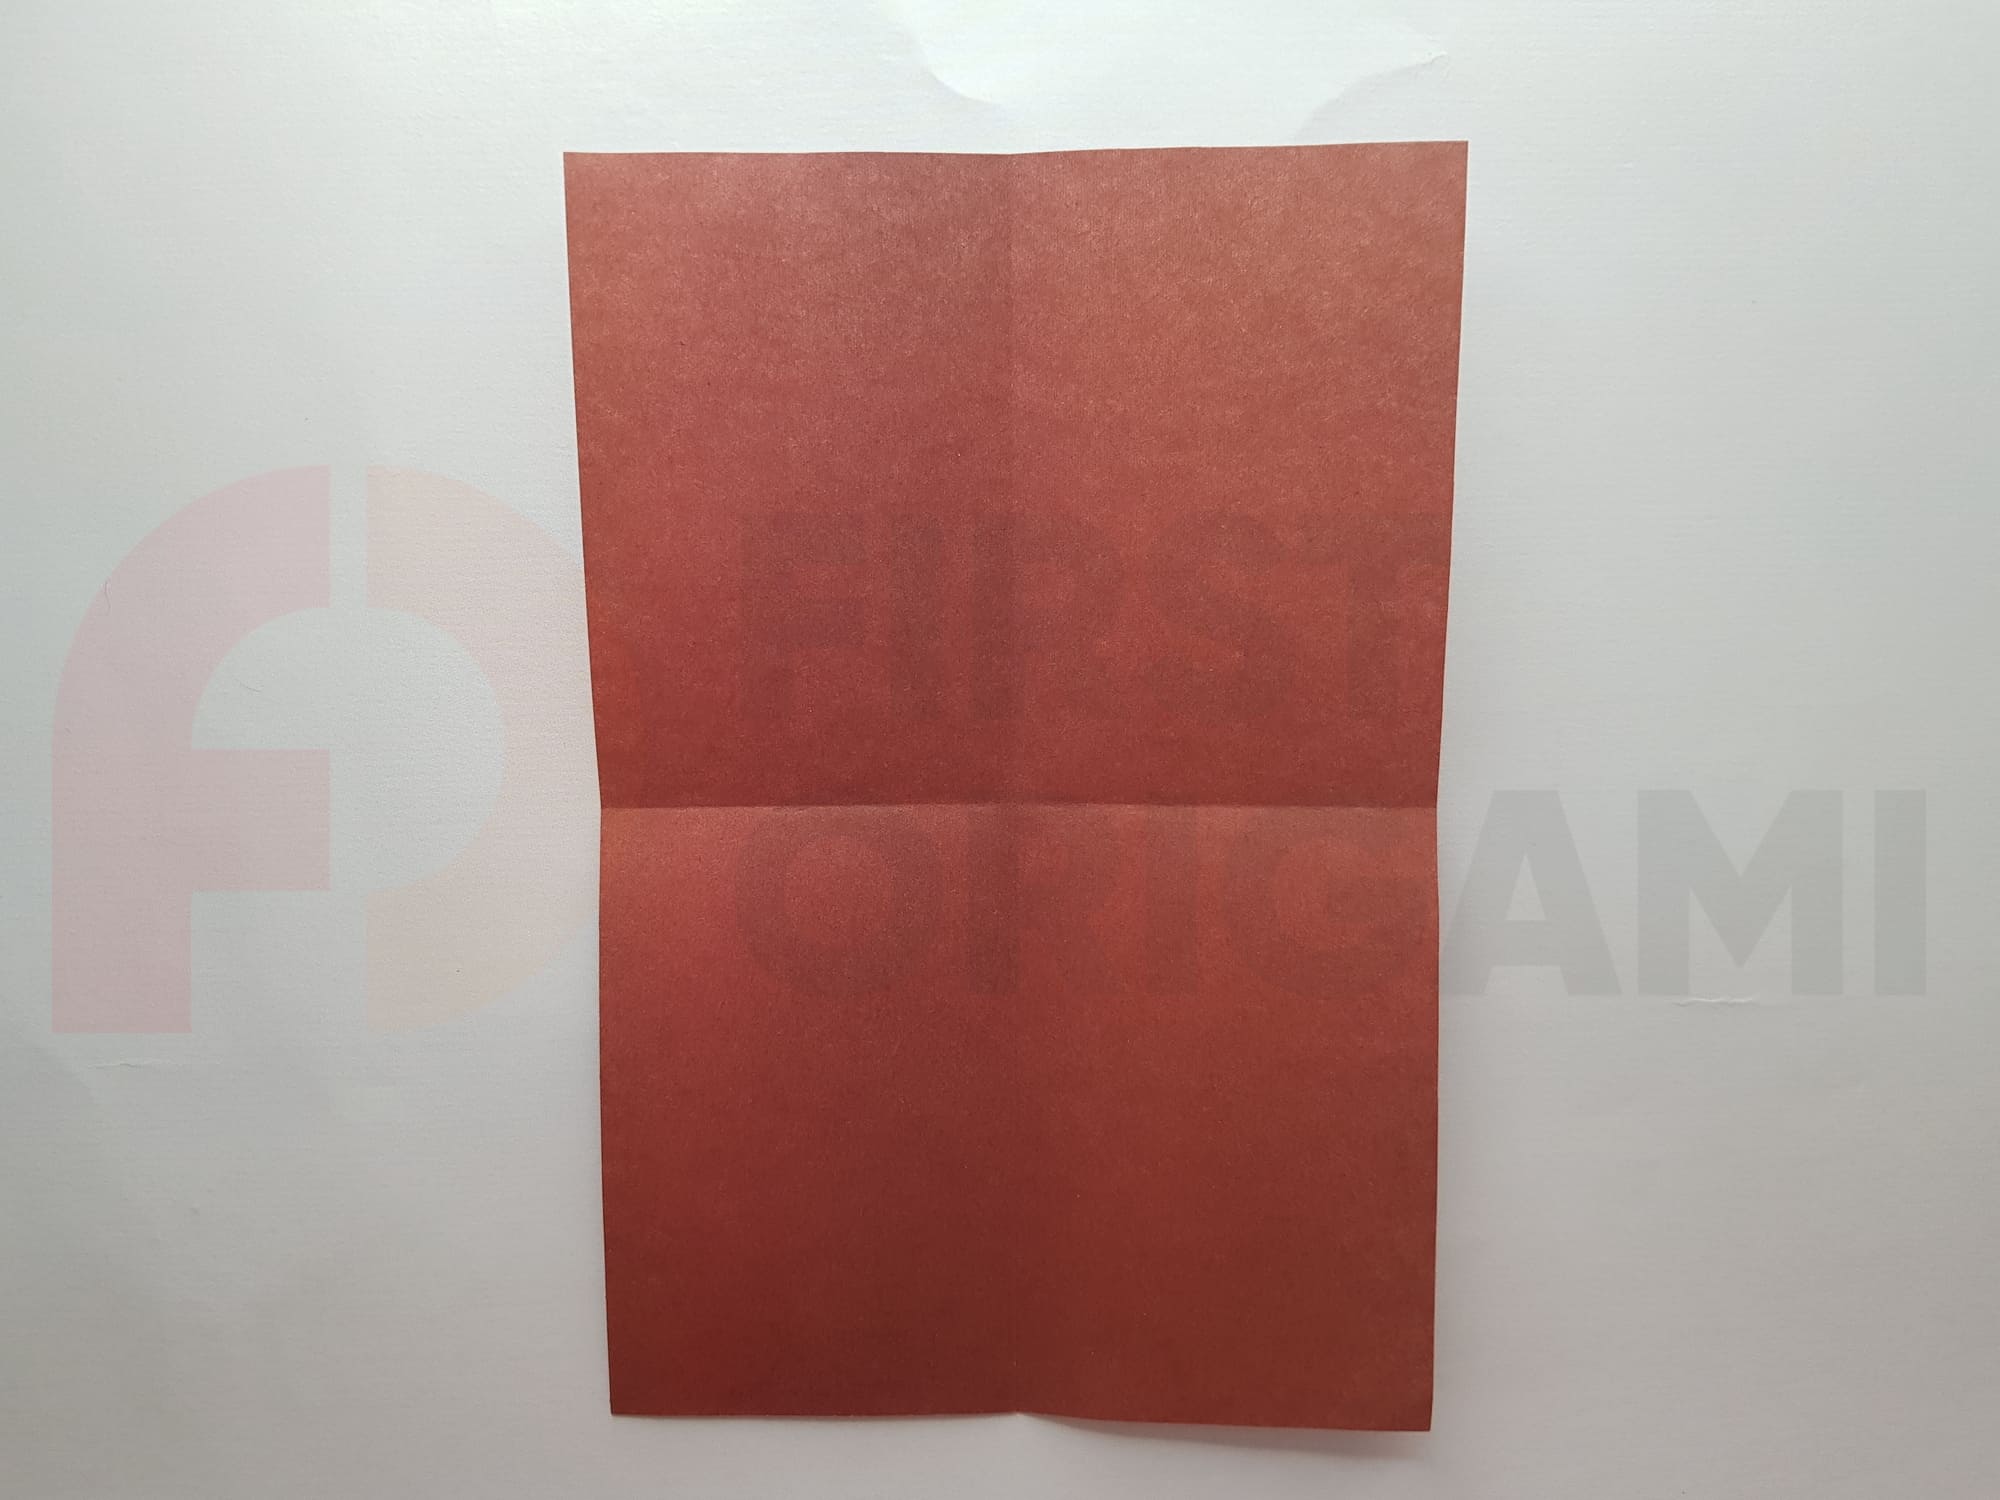
Place it right side up and fold it in half, vertically and horizontally, to get assisting folds.
Fold the paper in half horizontally.
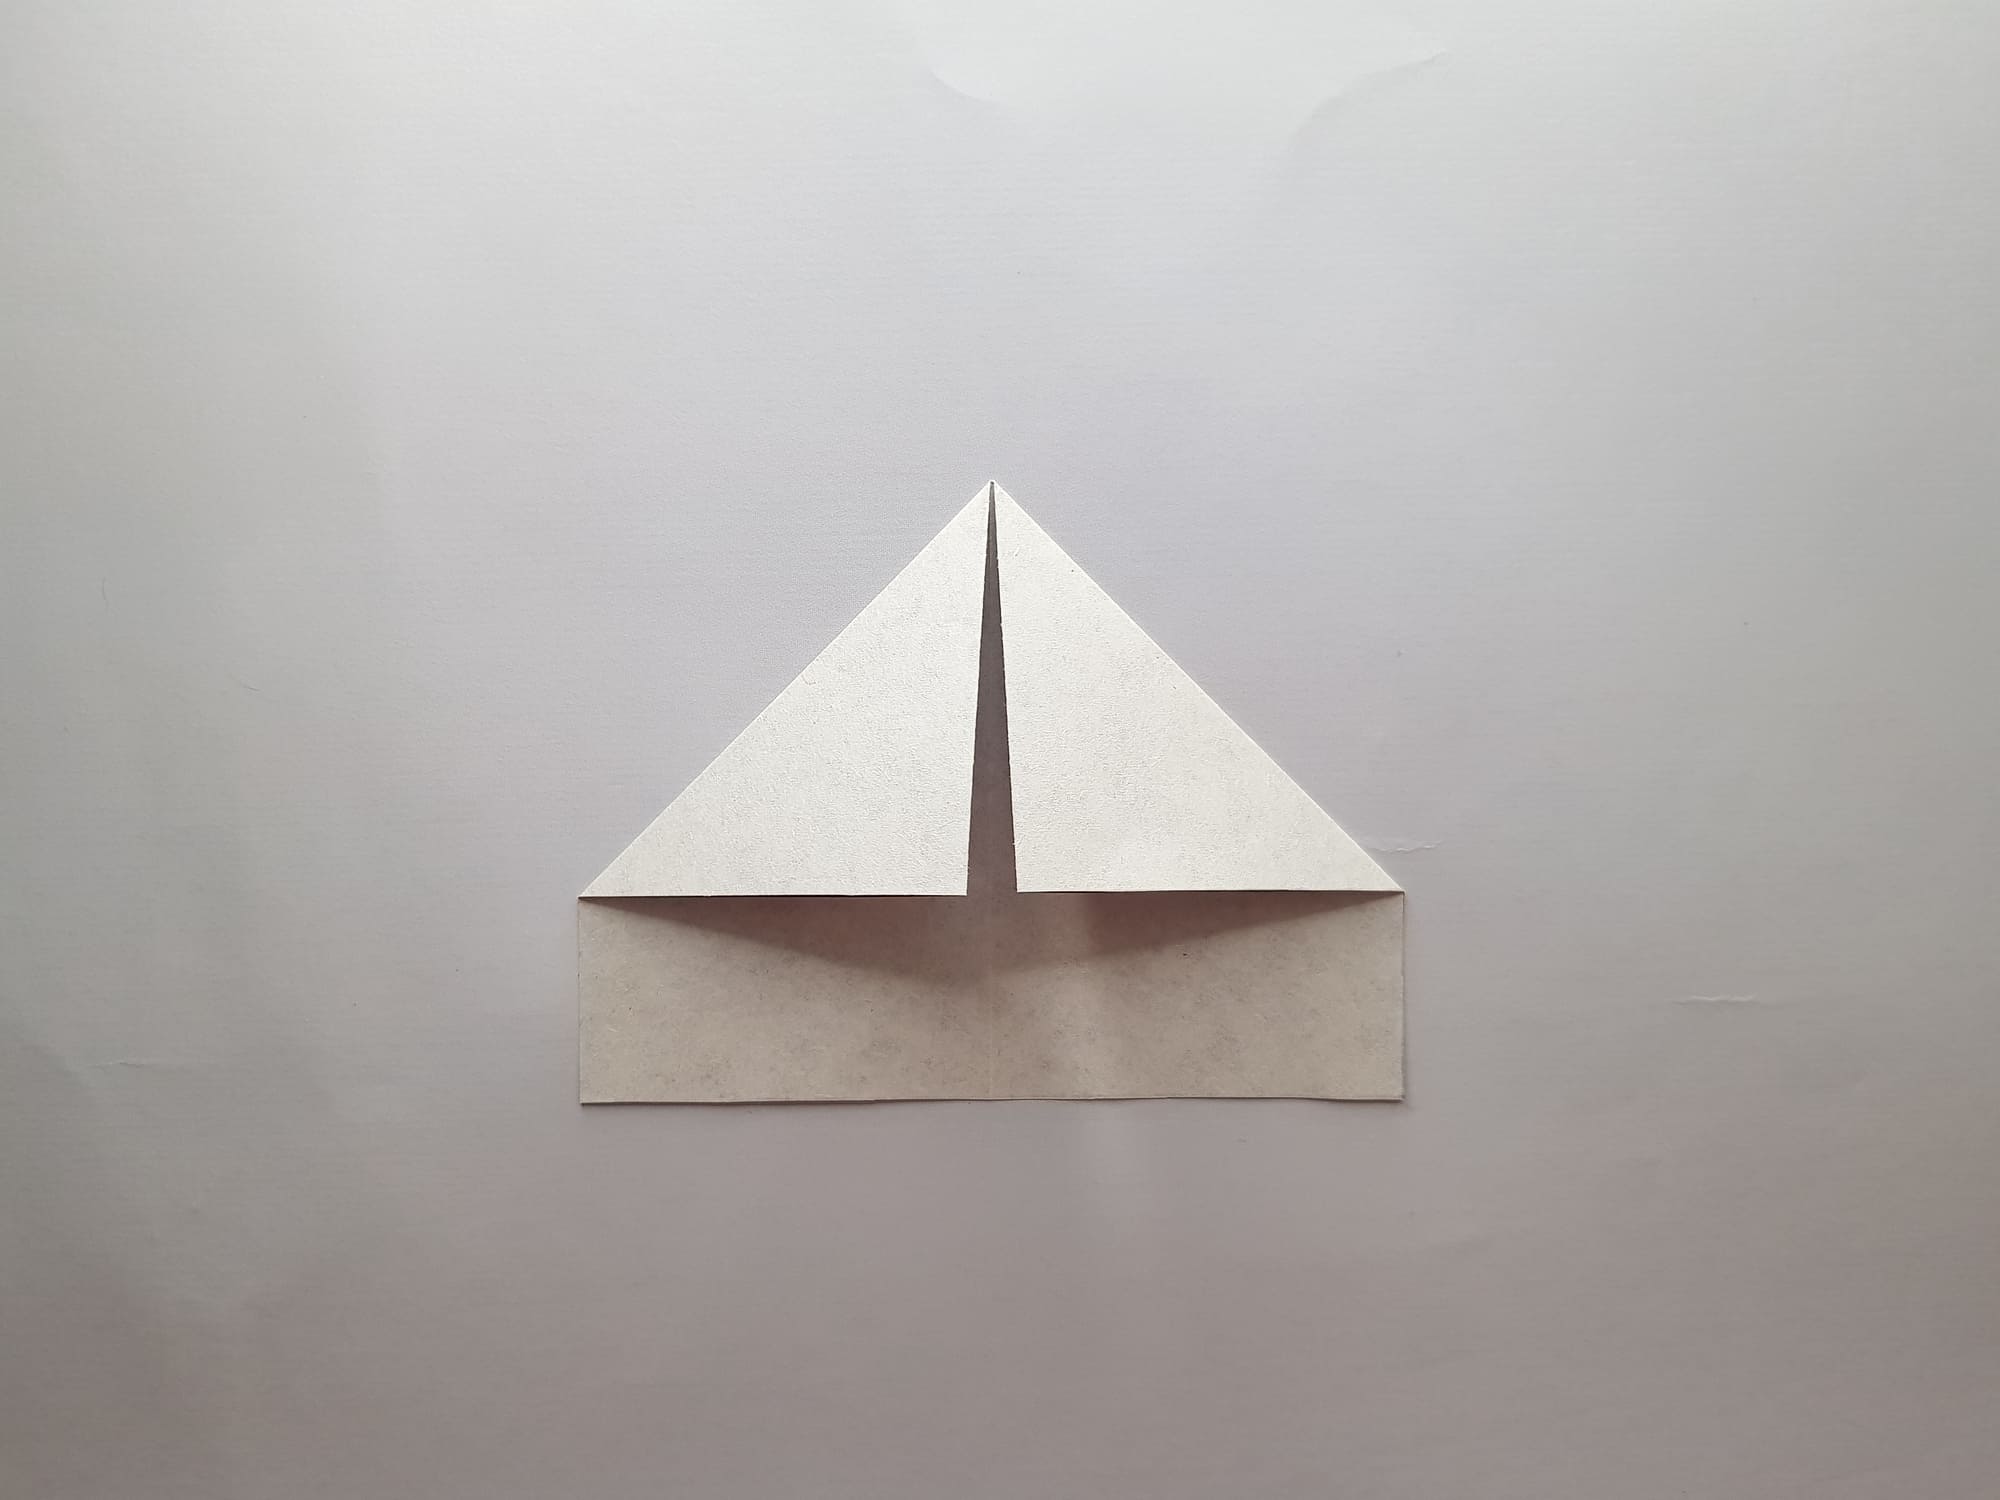
Fold the top corners of the paper towards the center.
Bend the bottom of the shape up and crease the fold.
Unfold the paper – all the assisting folds are done.
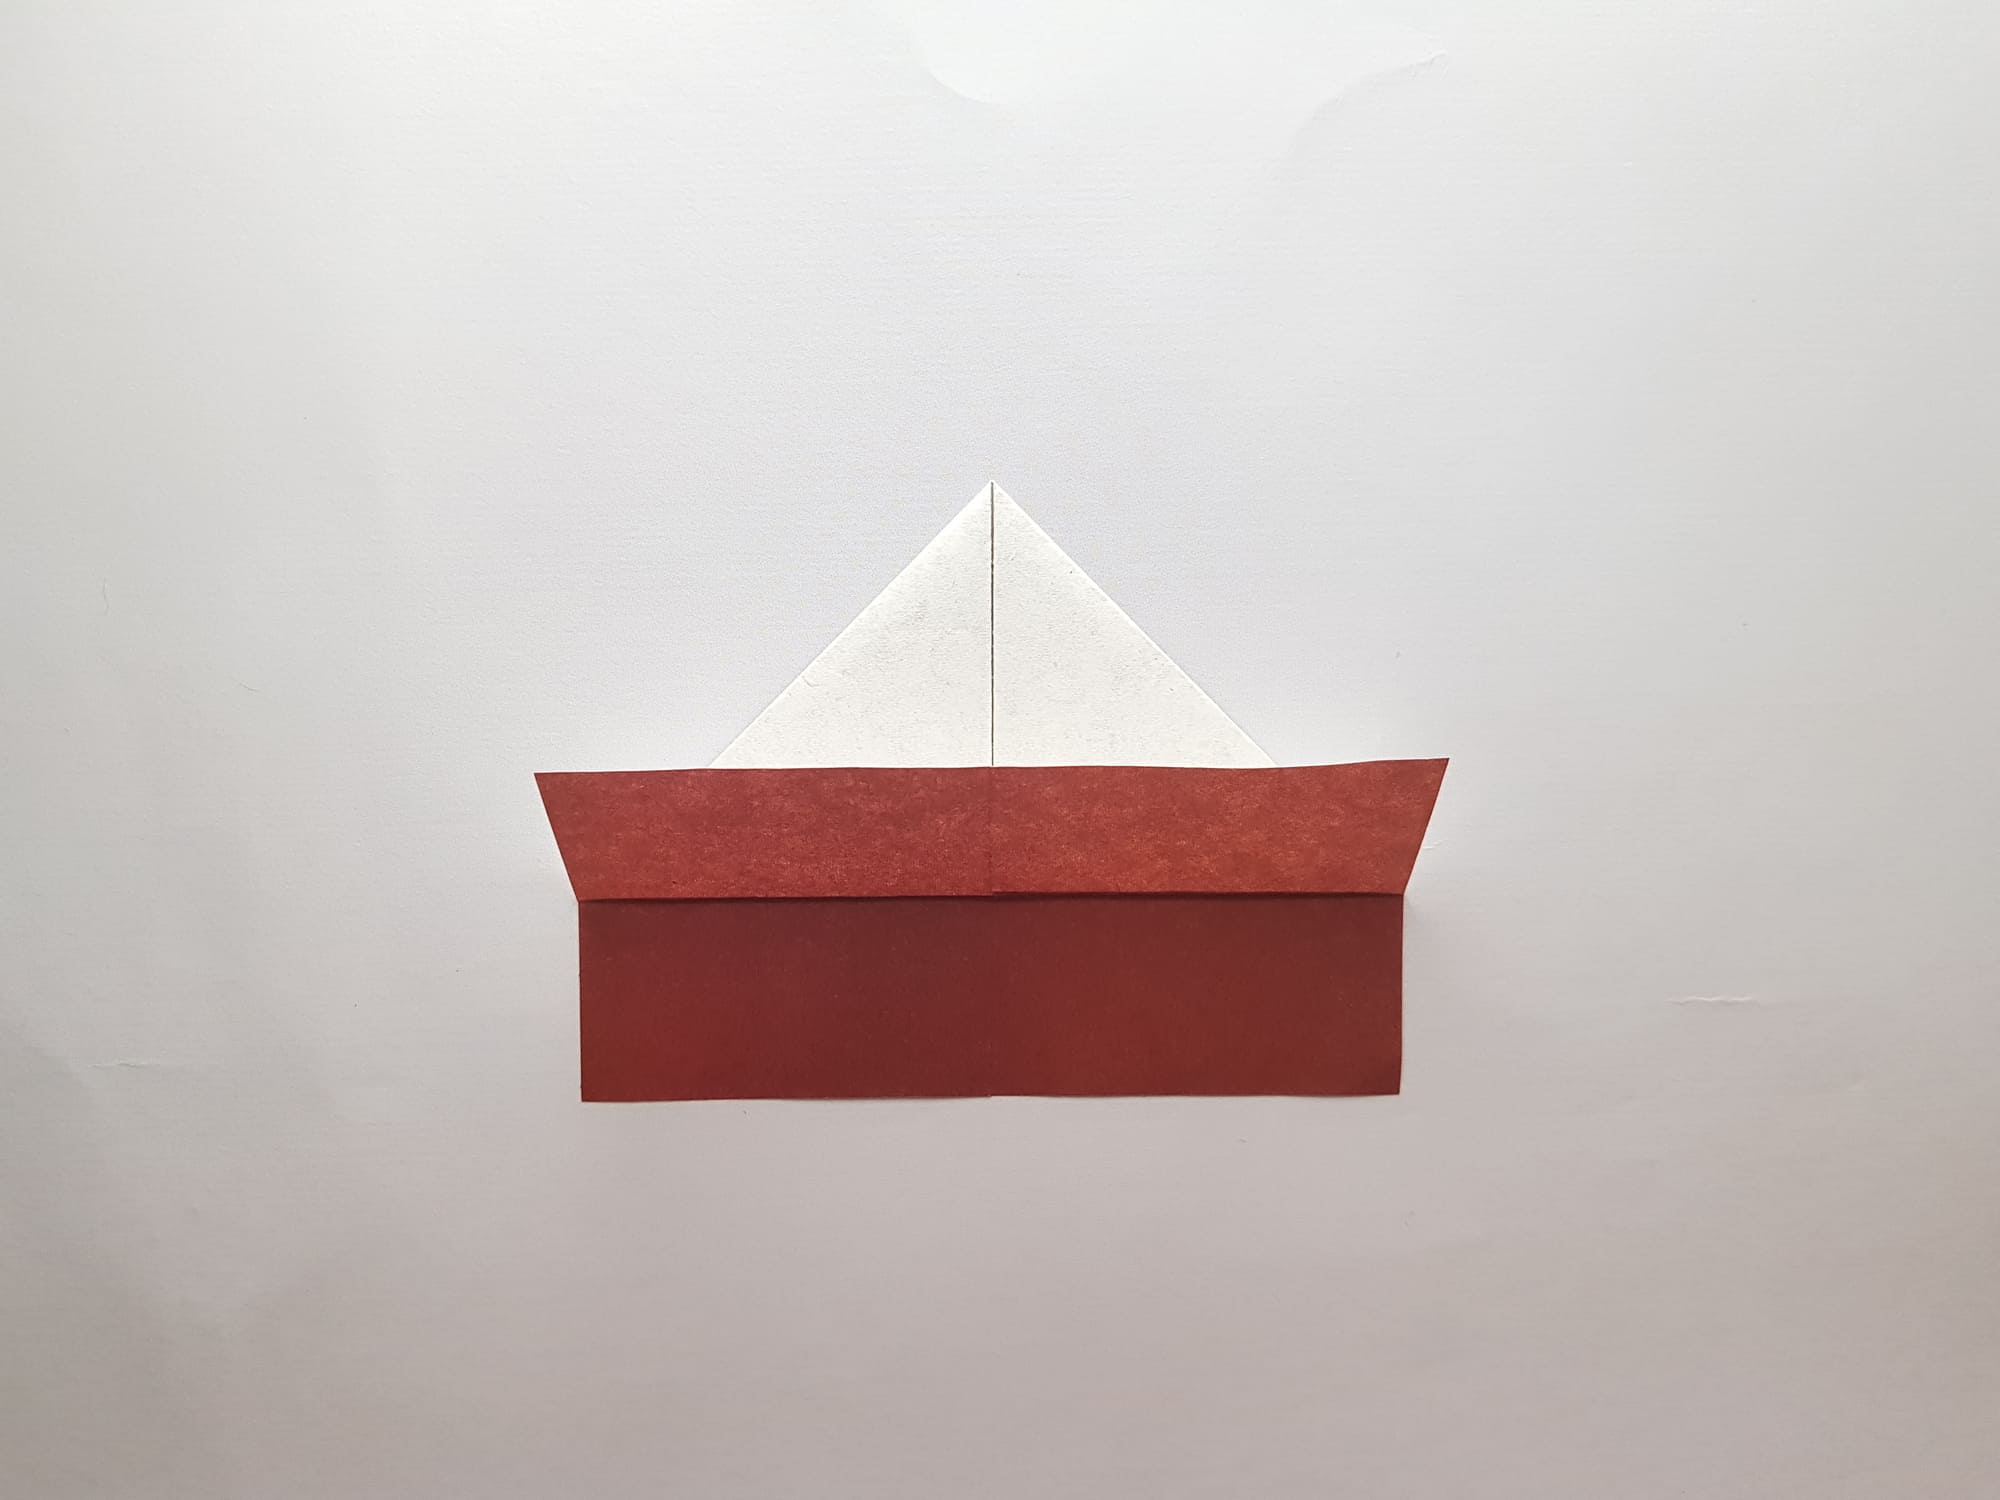
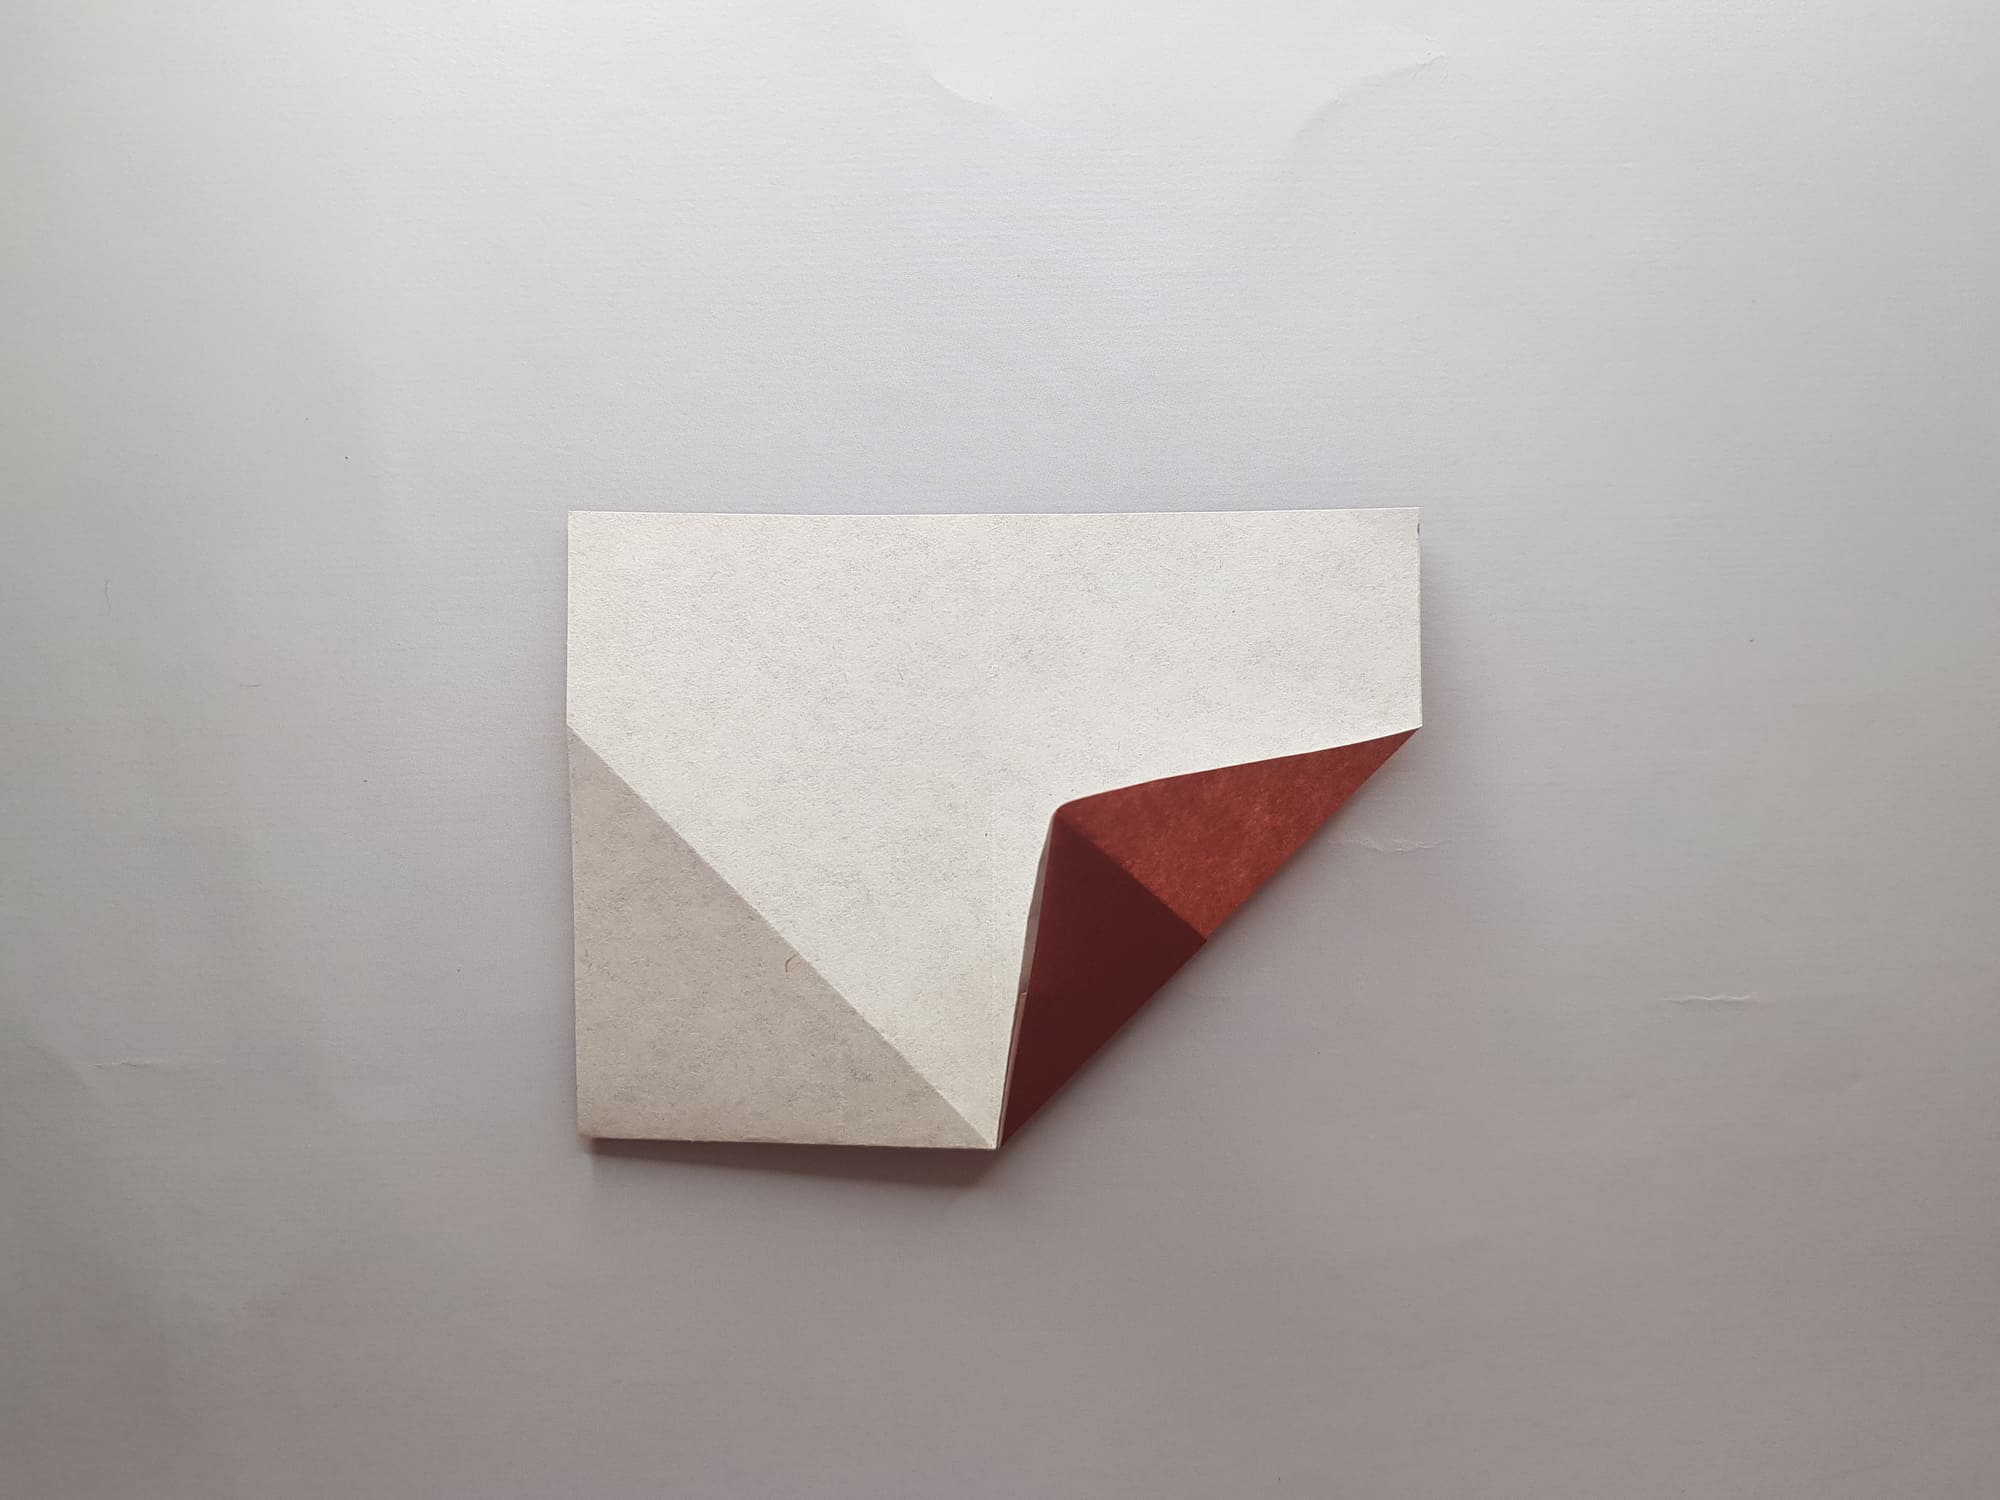
Bend the top of the shape towards you, towards the center, as shown in the photo.
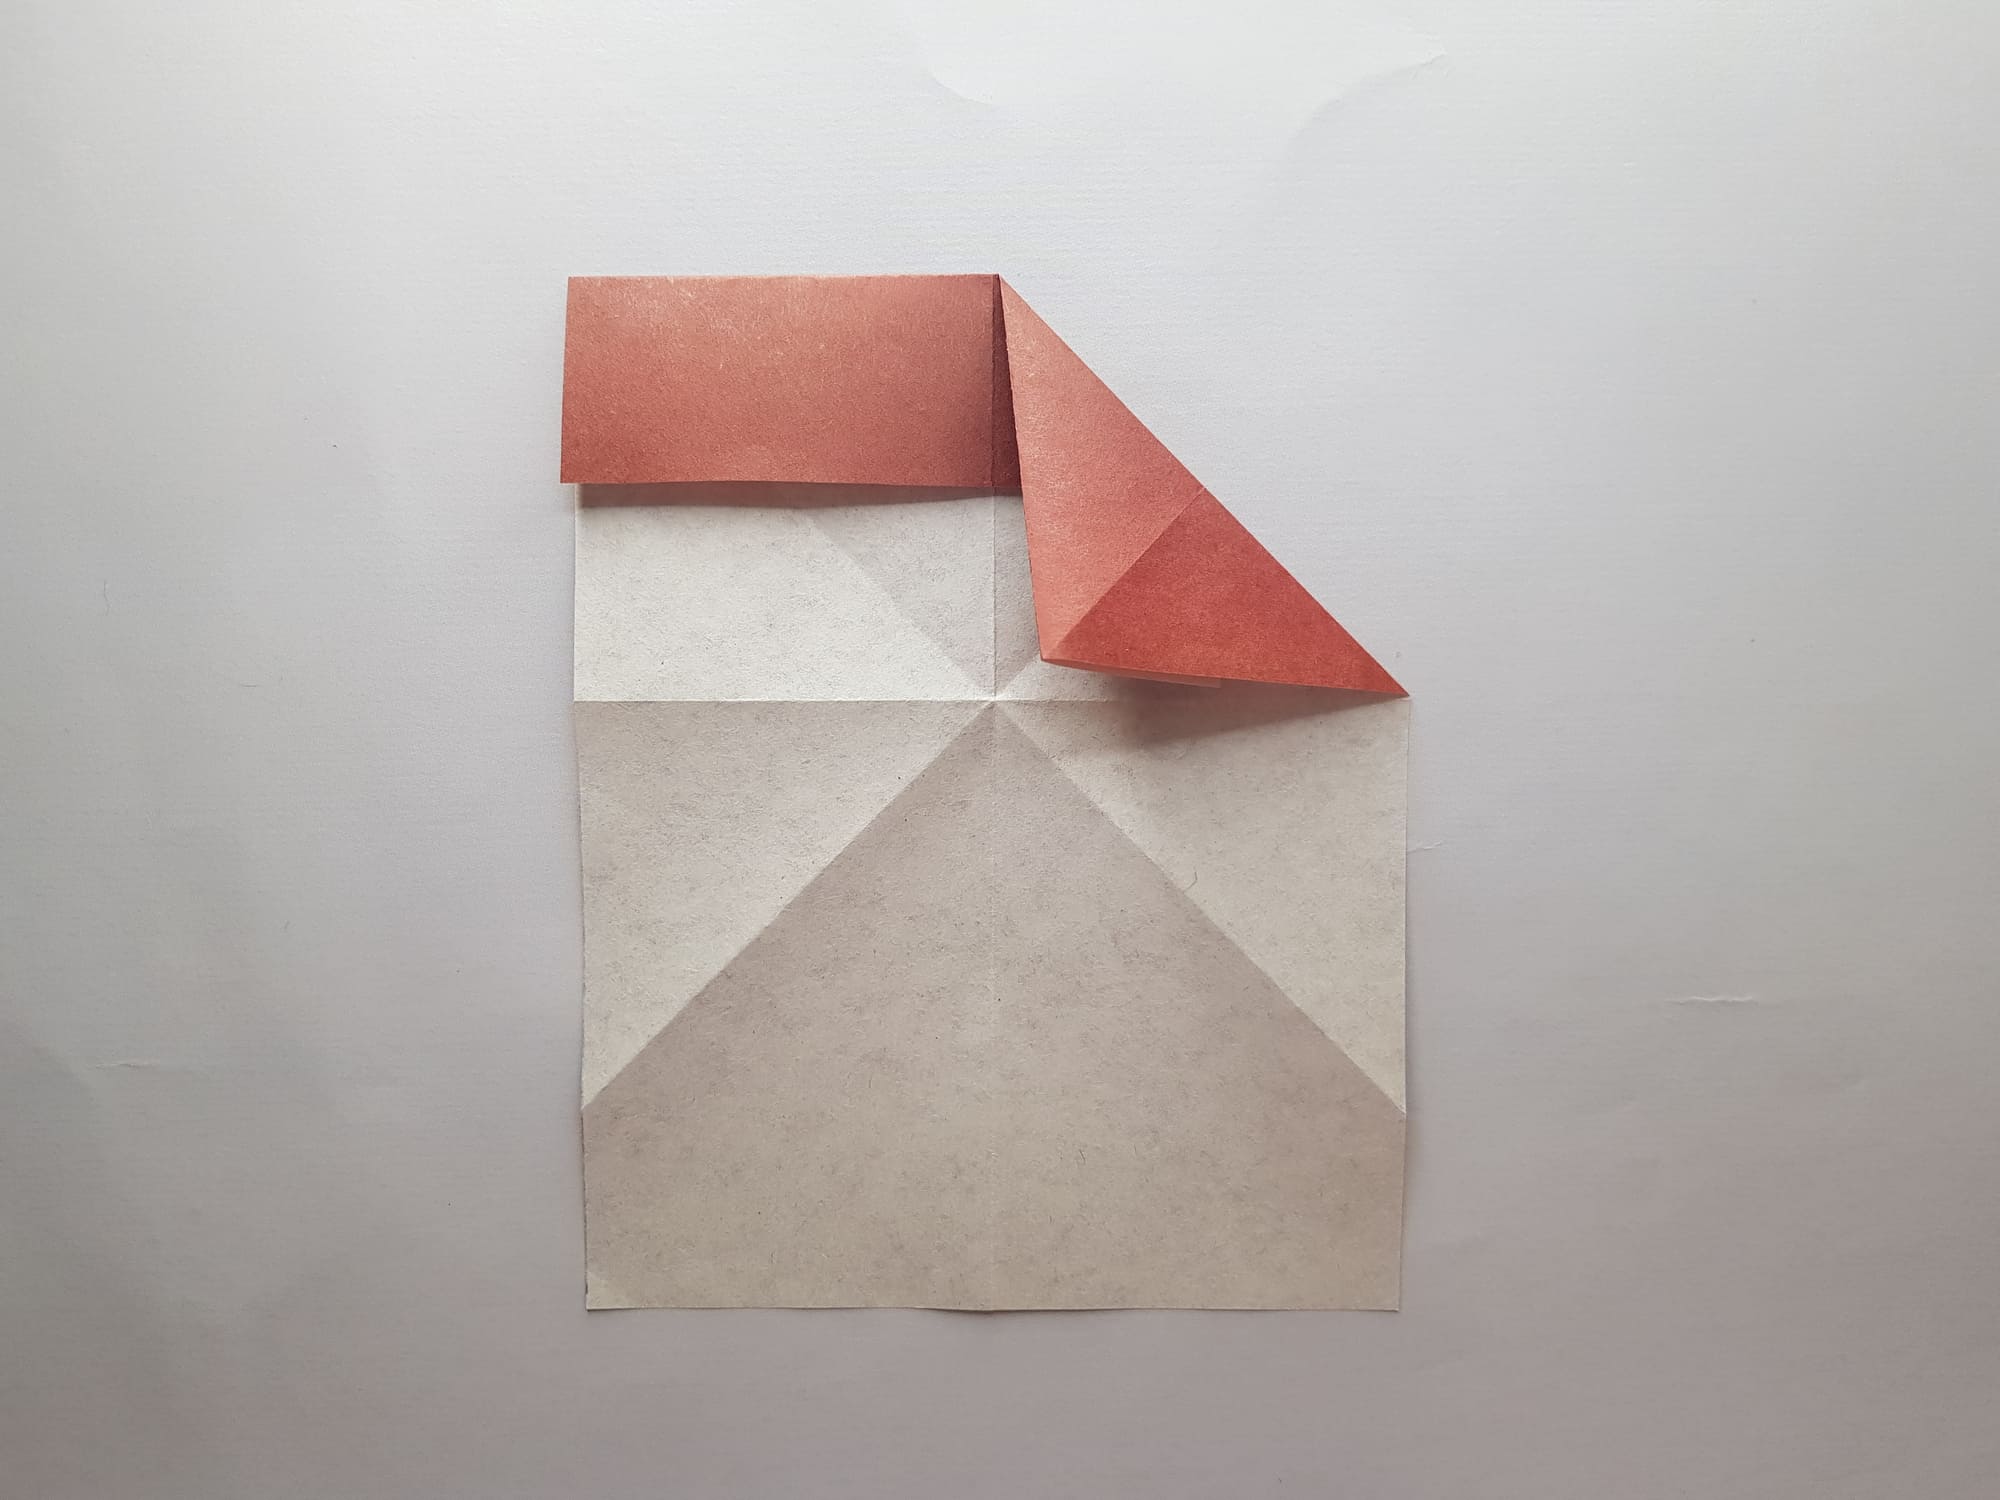
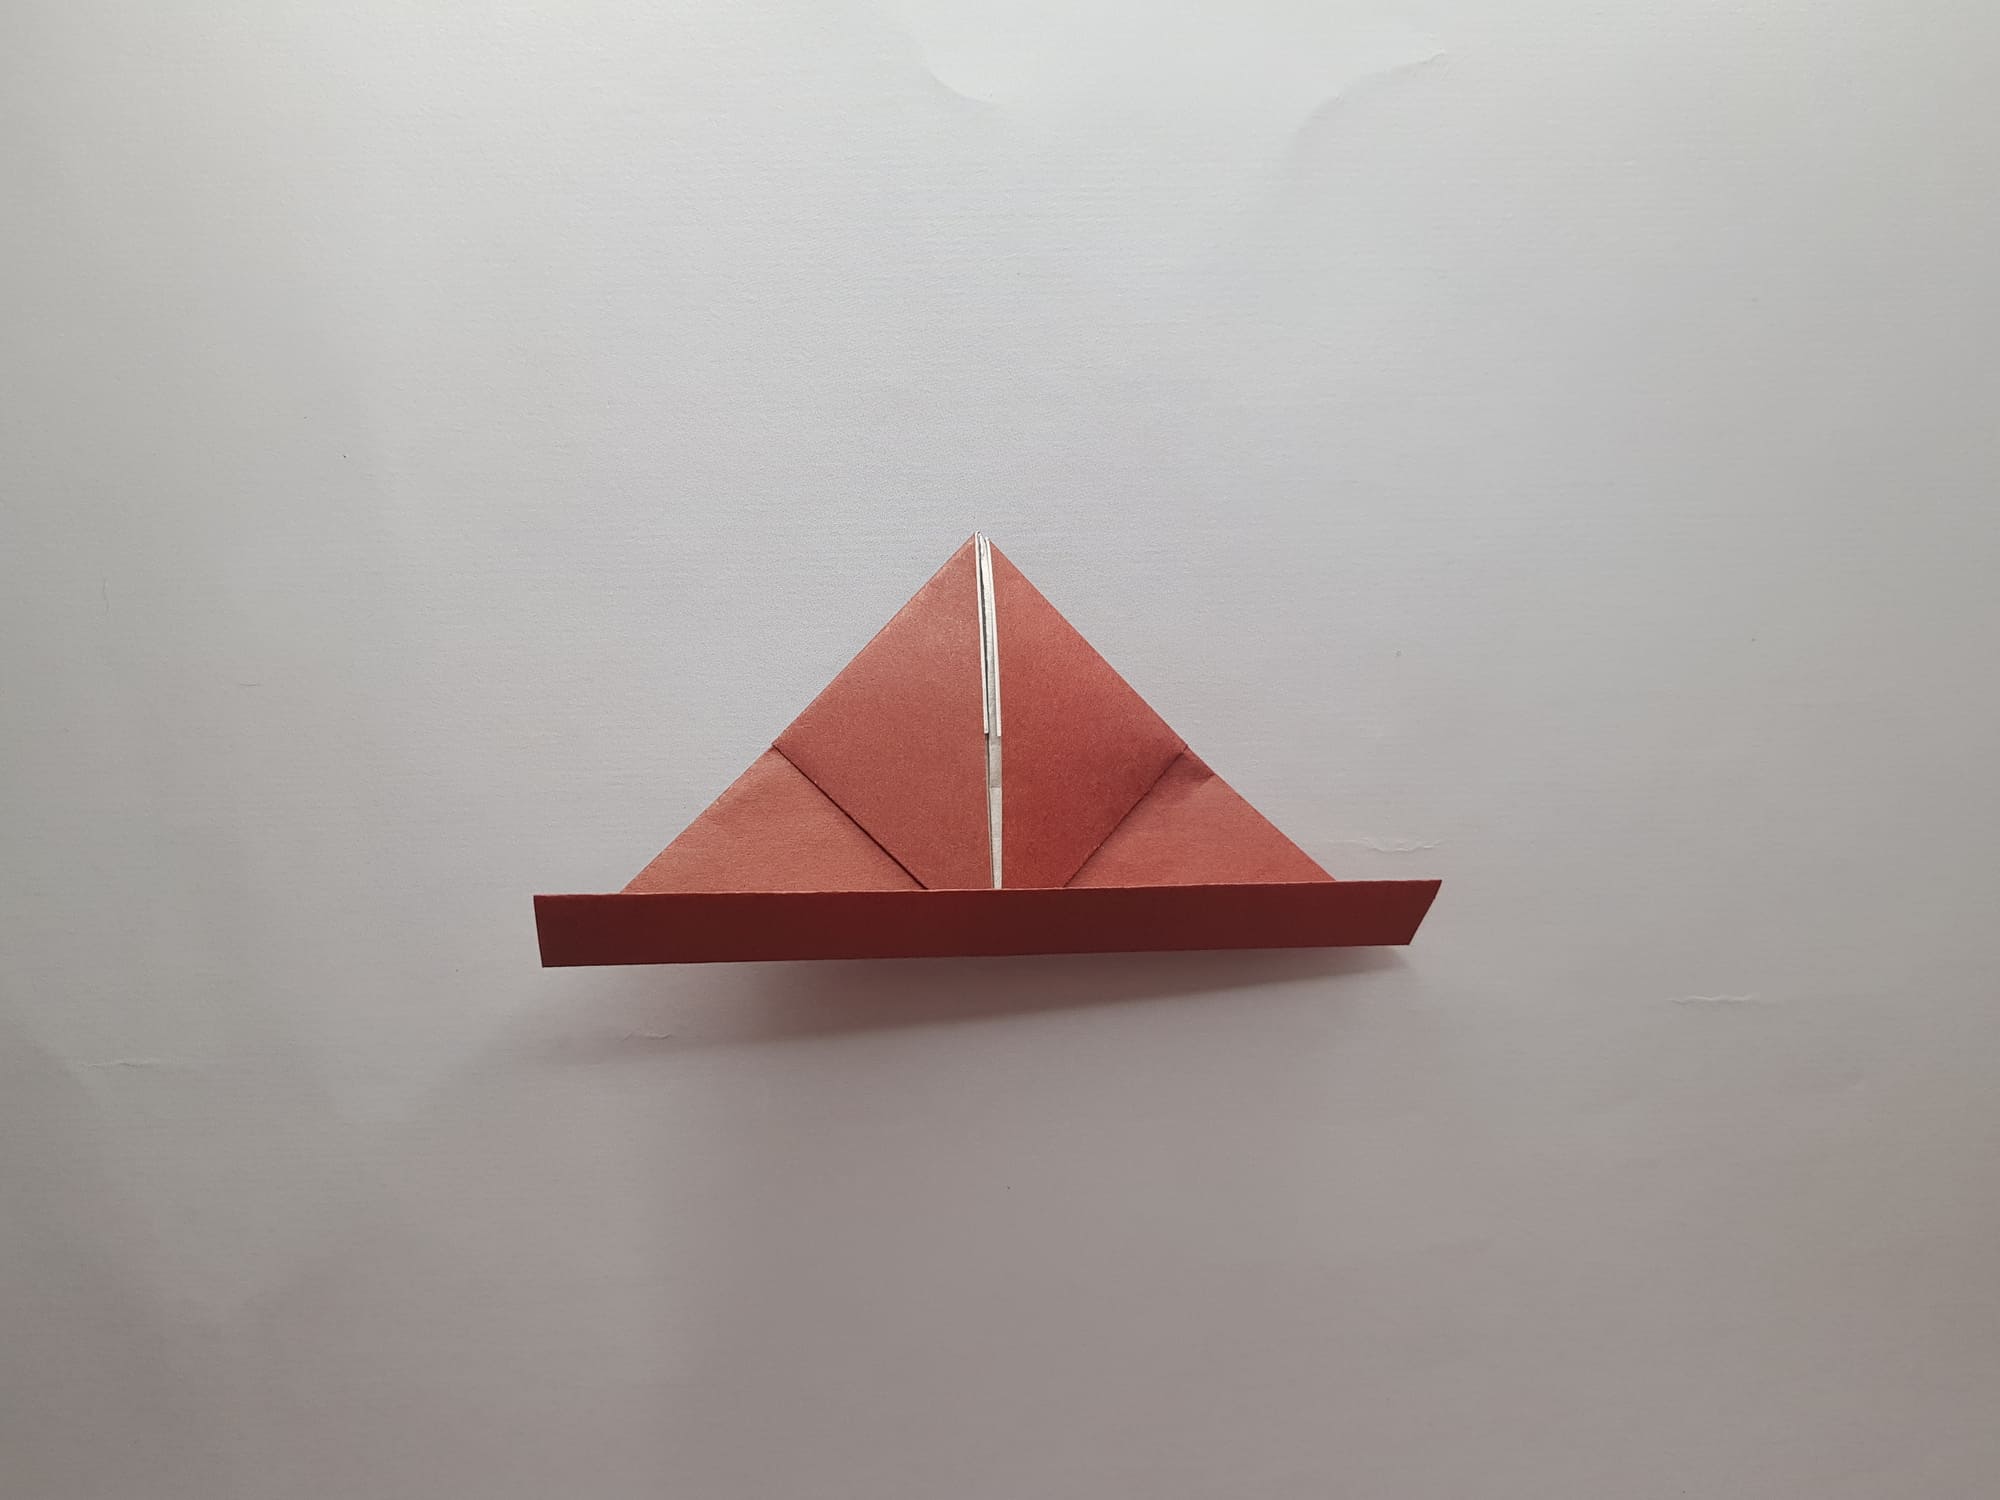
Fold the top corners to the center.
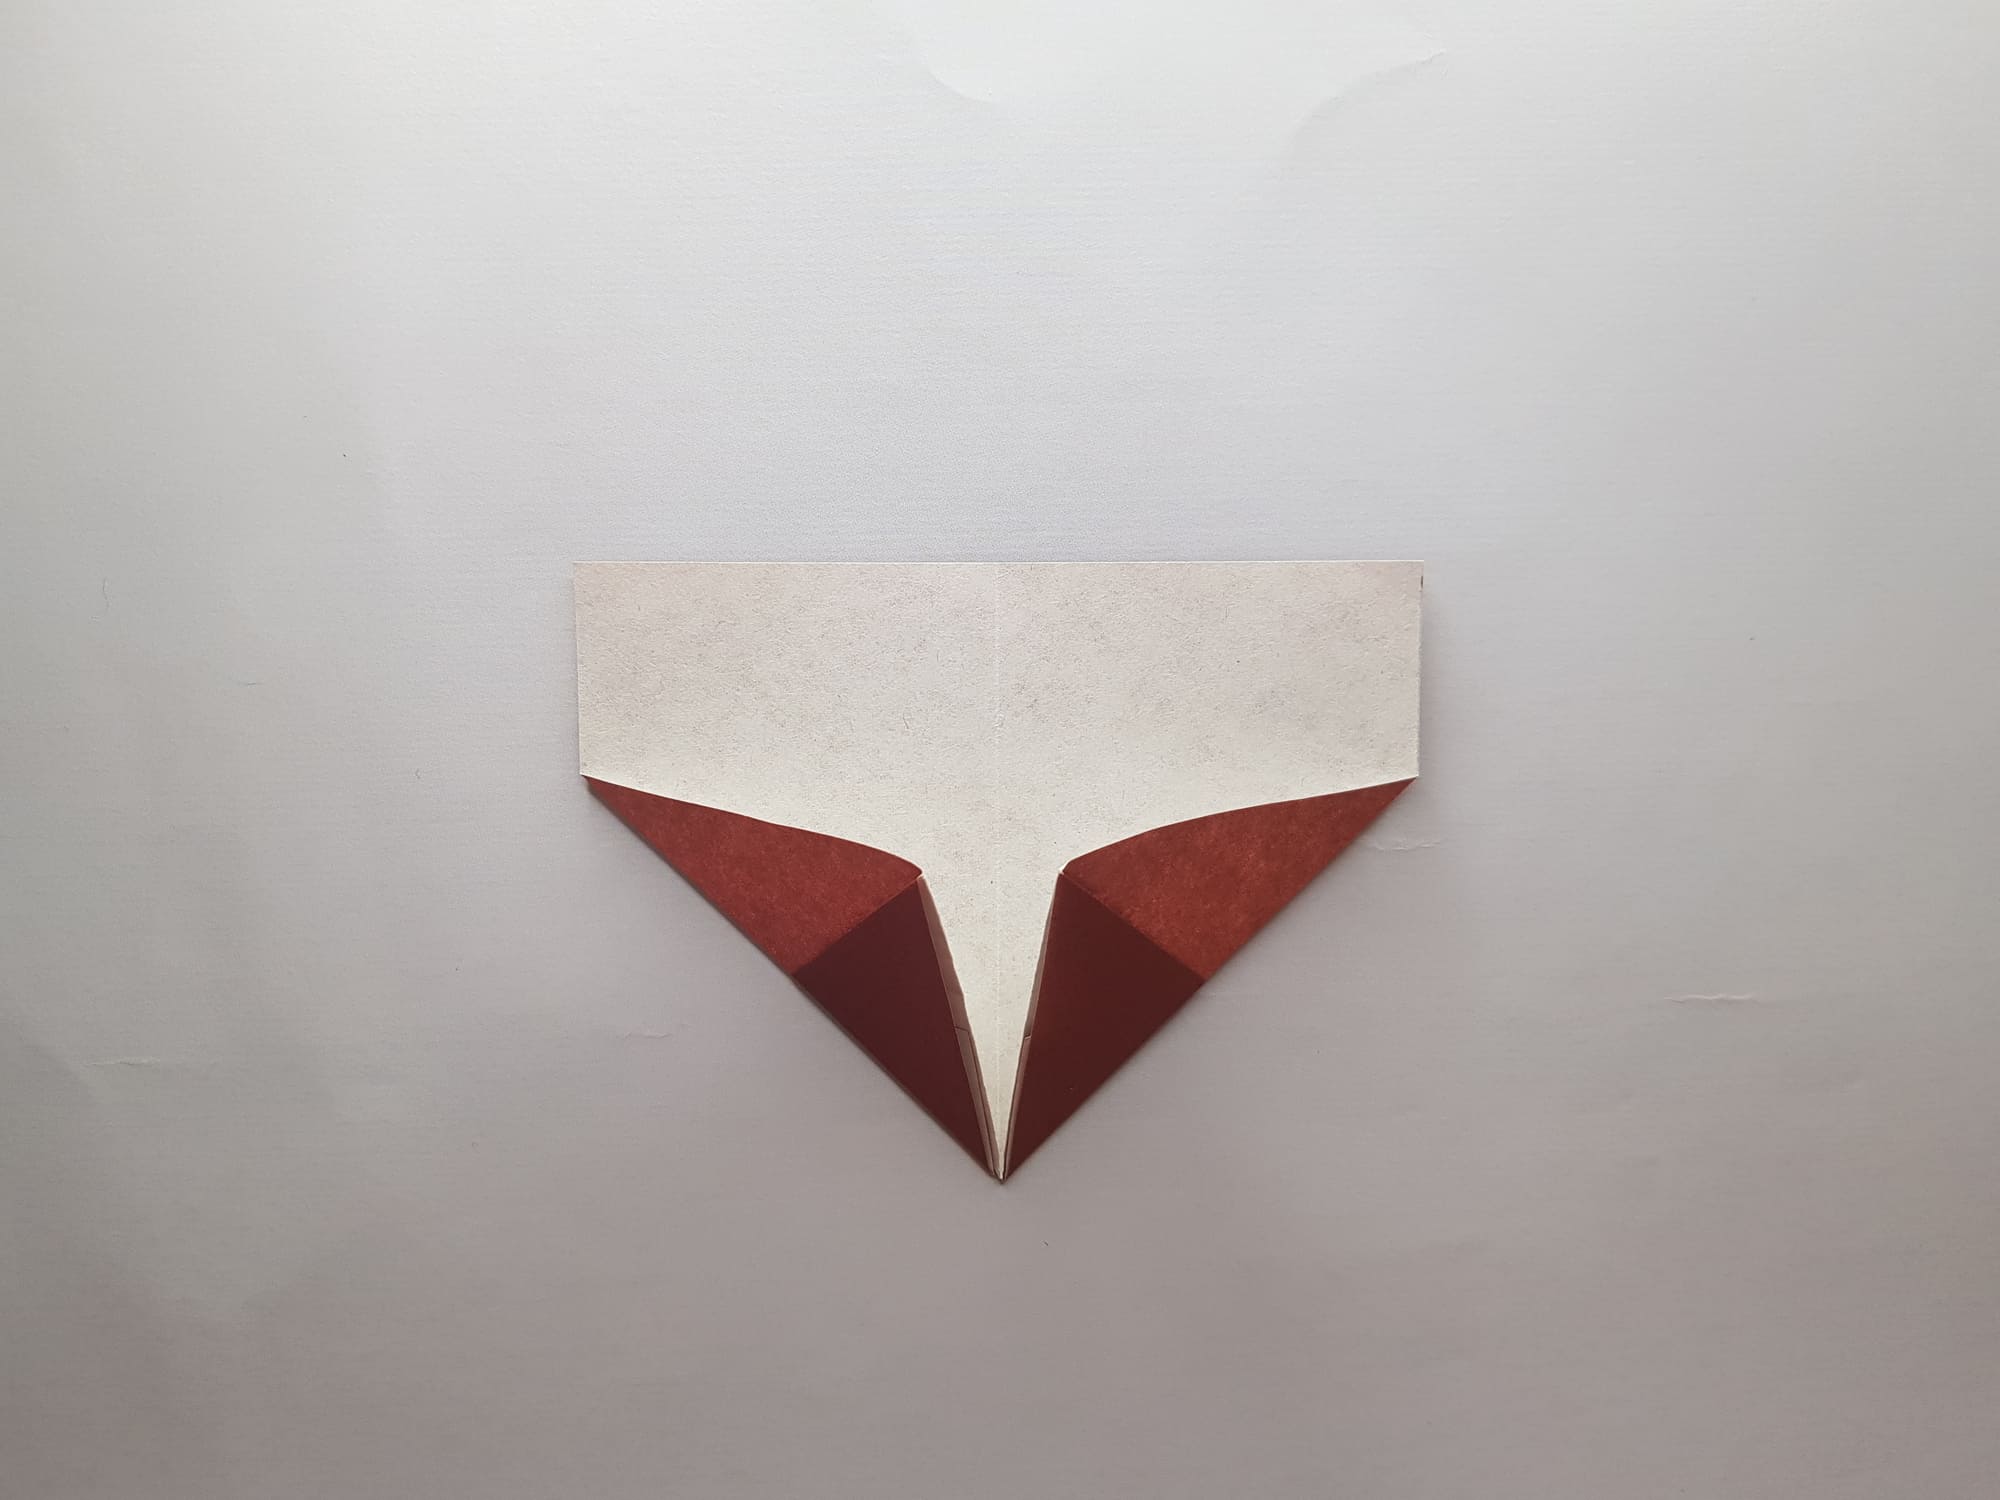
Flip the craft to the other side. Visually, it is divided into two parts – a triangle and a rectangle.
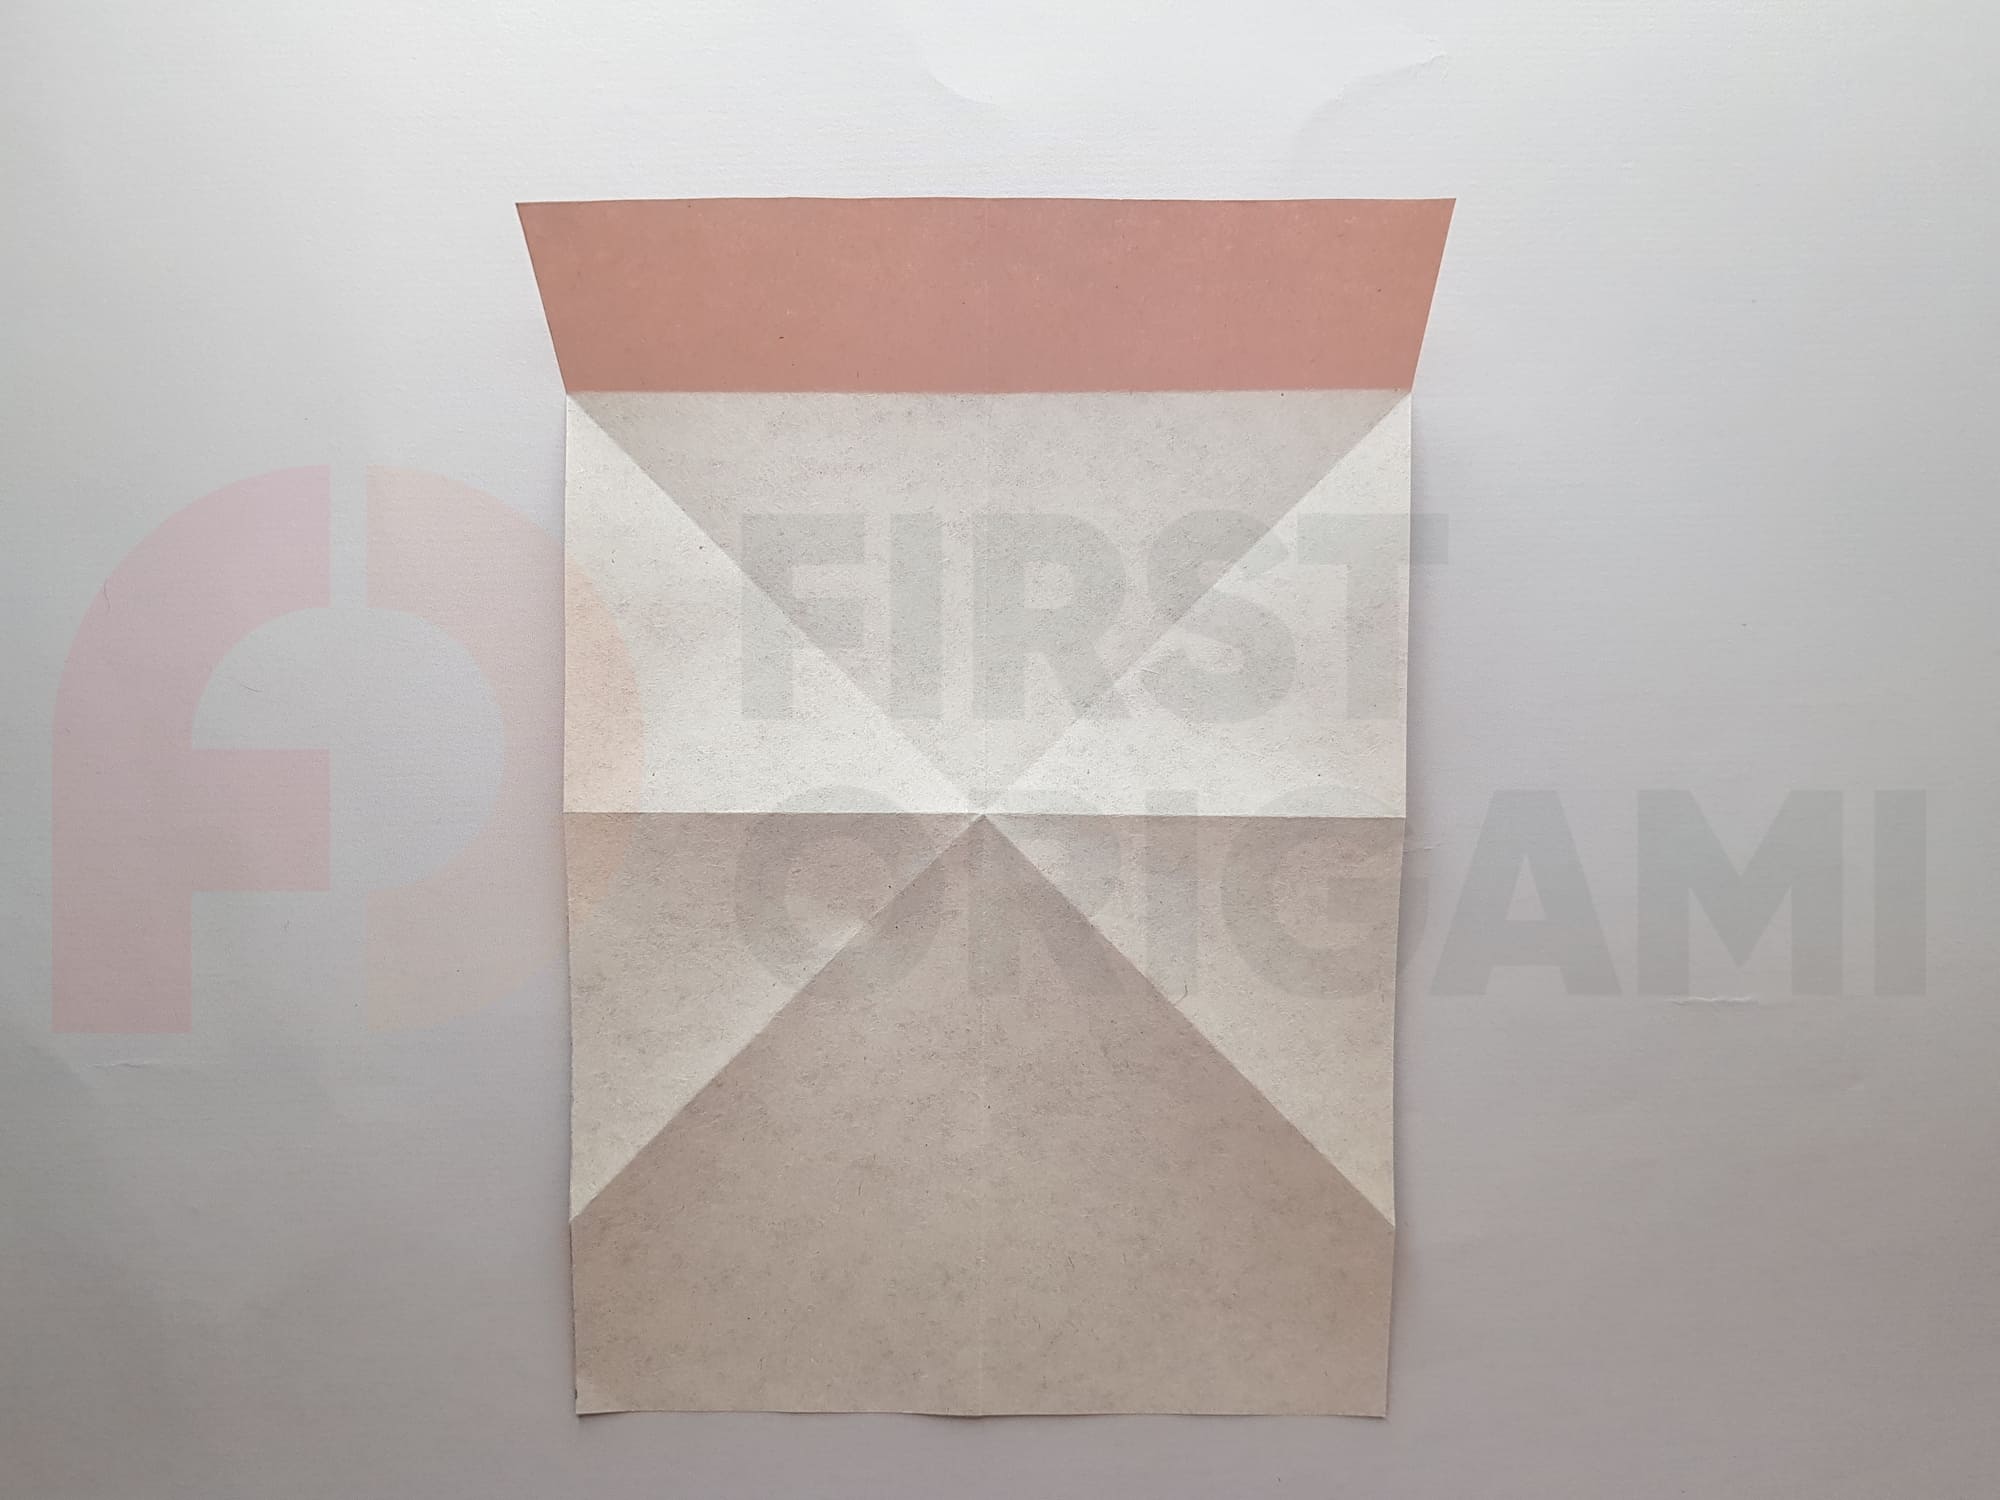
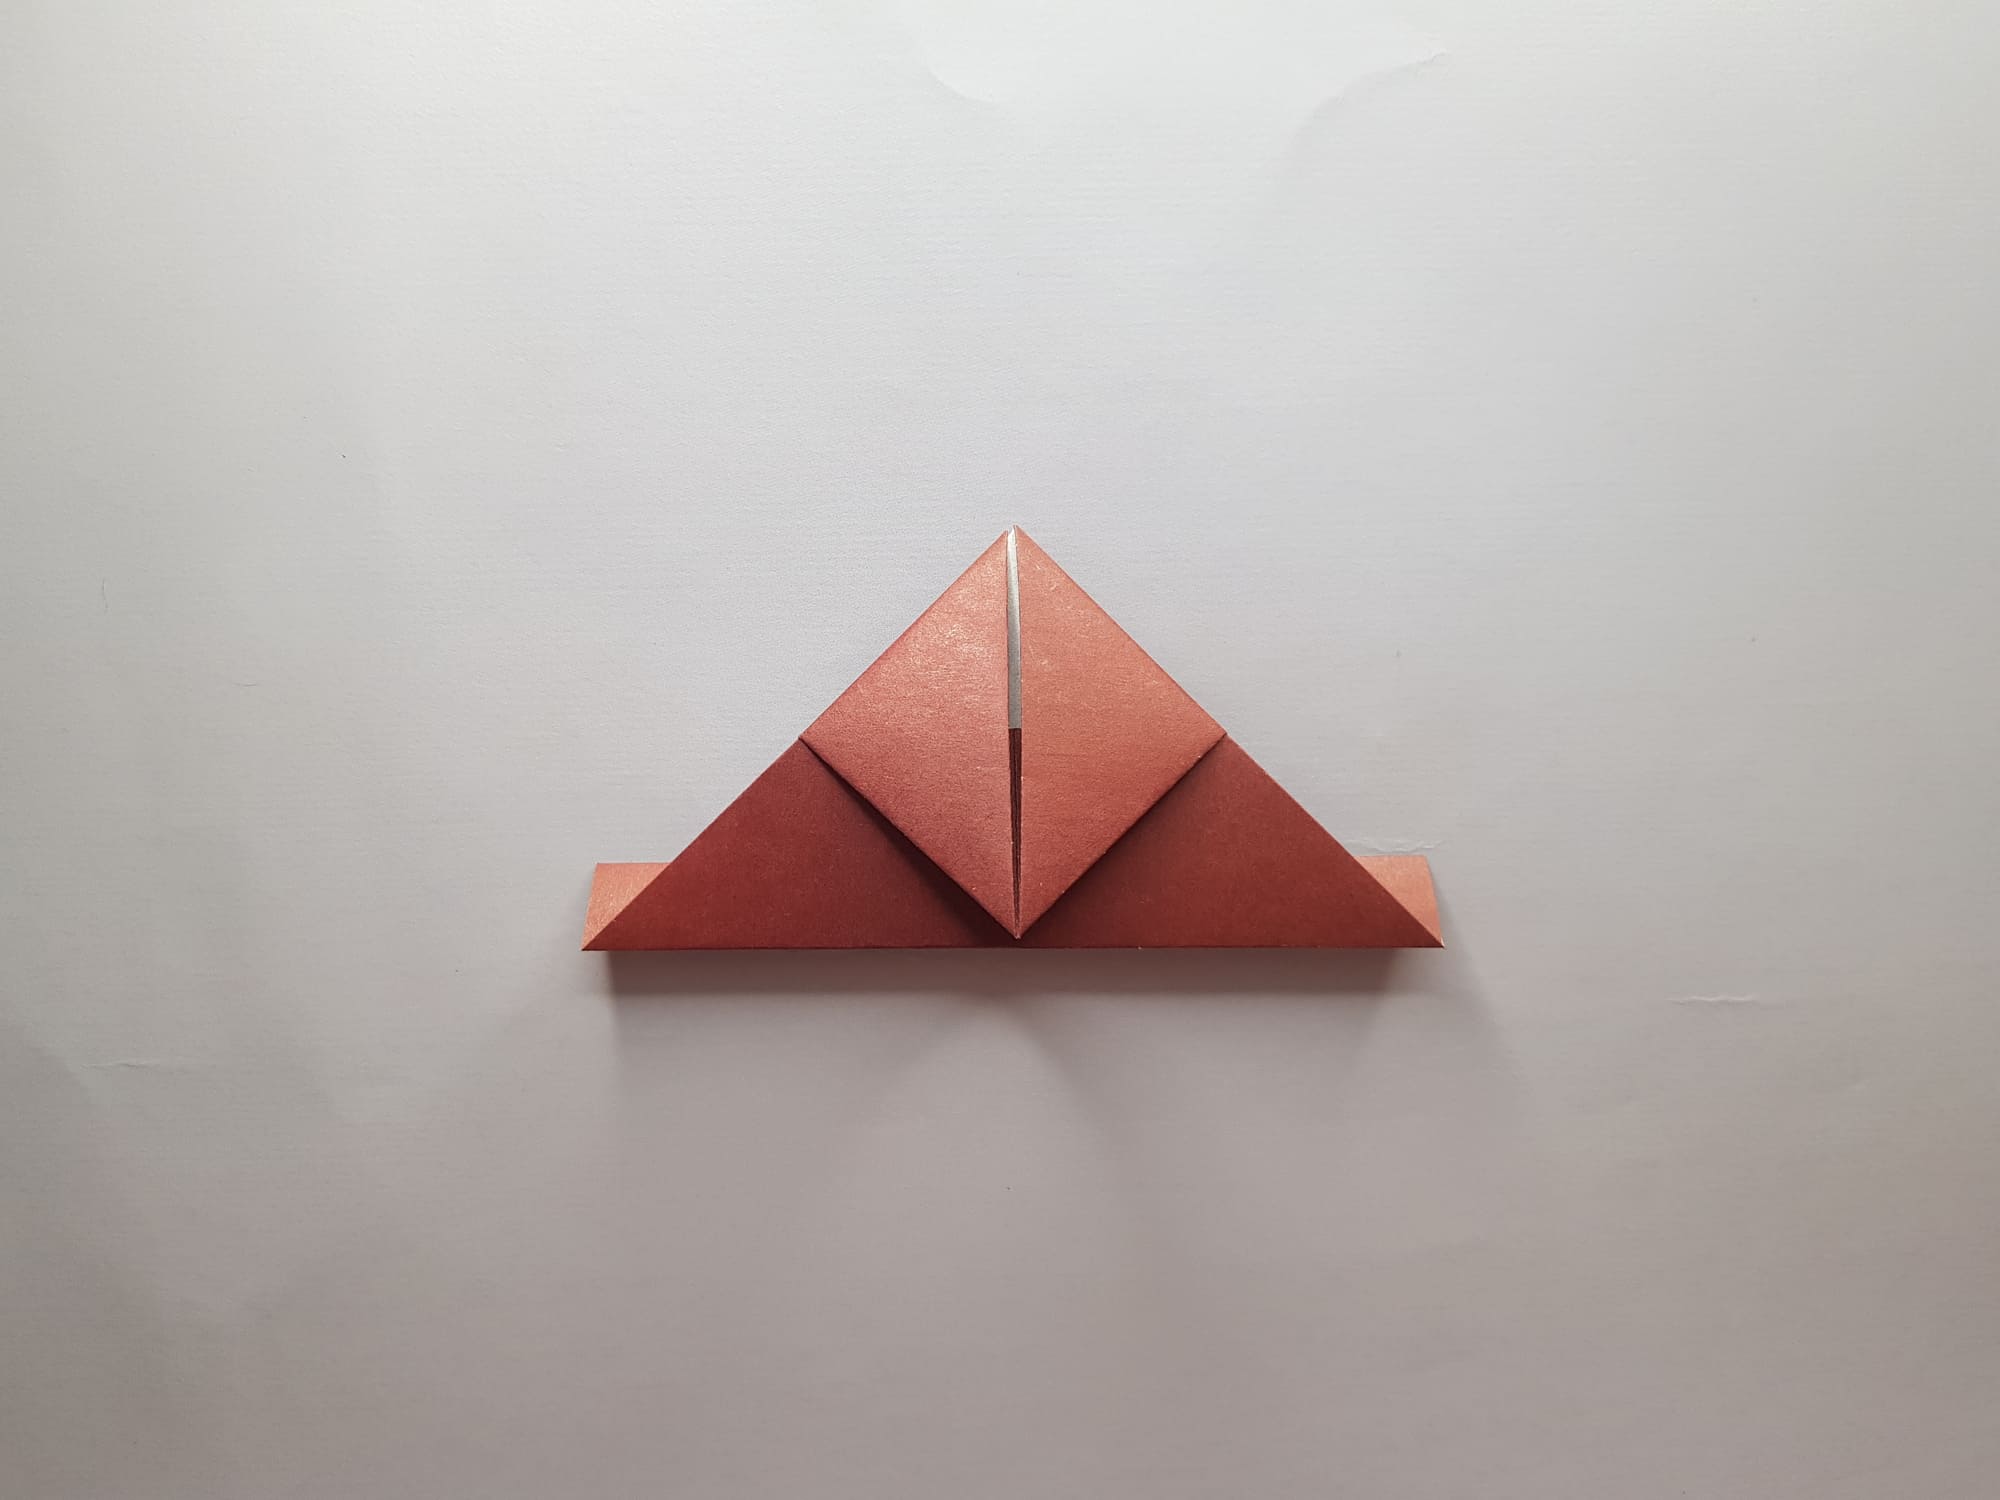
Fold the paper in half horizontally upwards, away from you, so that the rectangle is on top and the triangle is on the bottom.
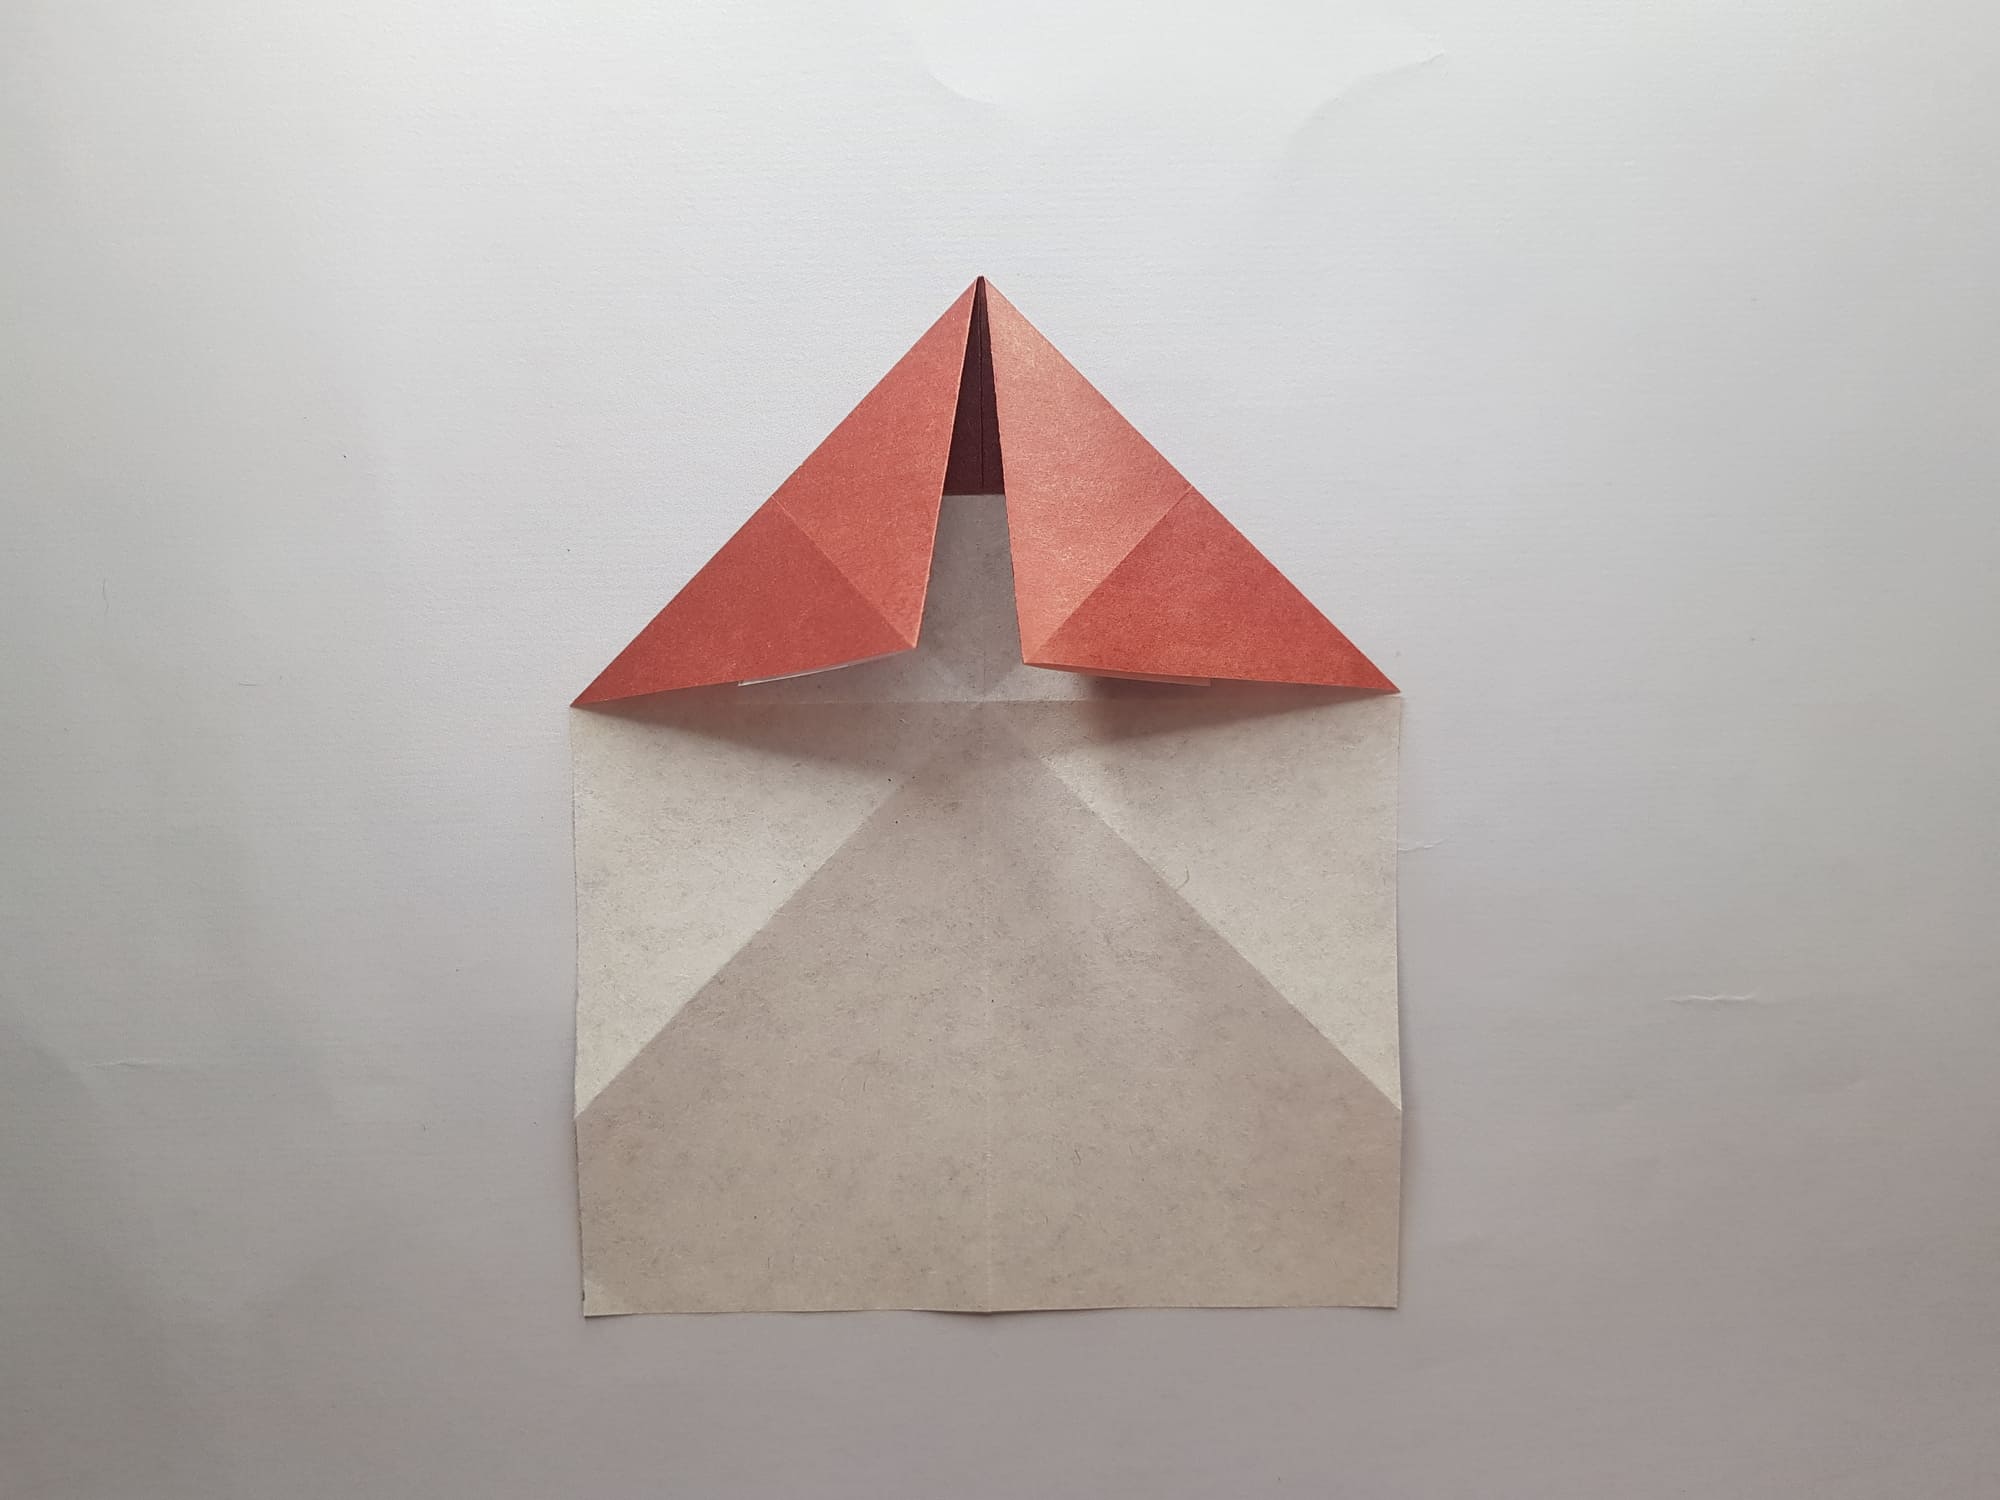
Bend the bottom corners to the center.
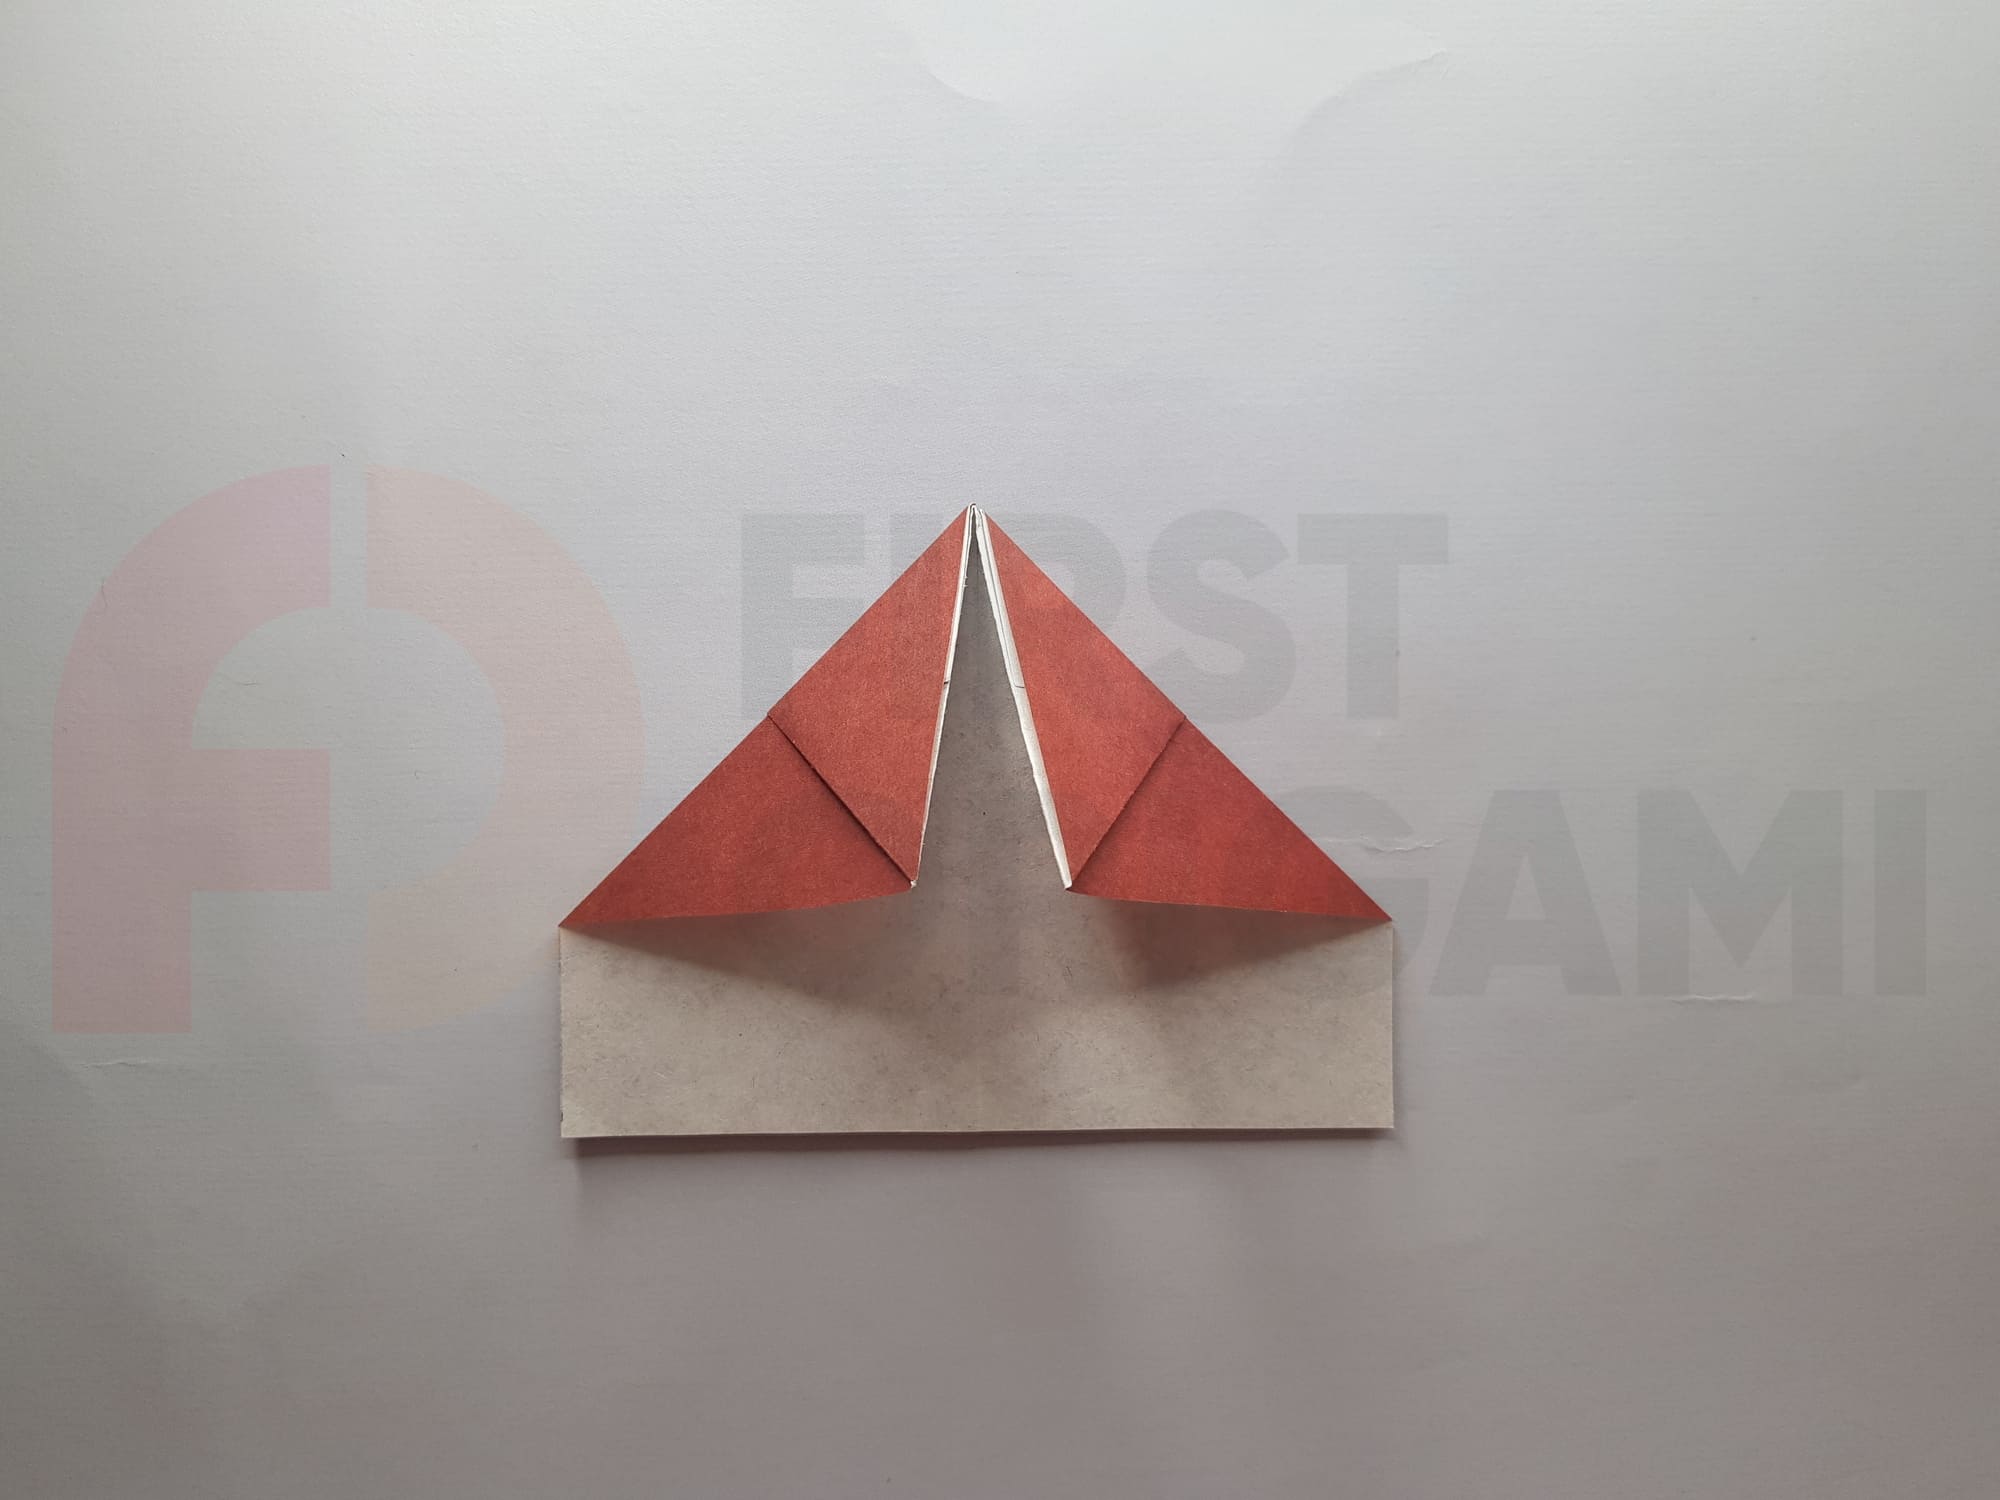
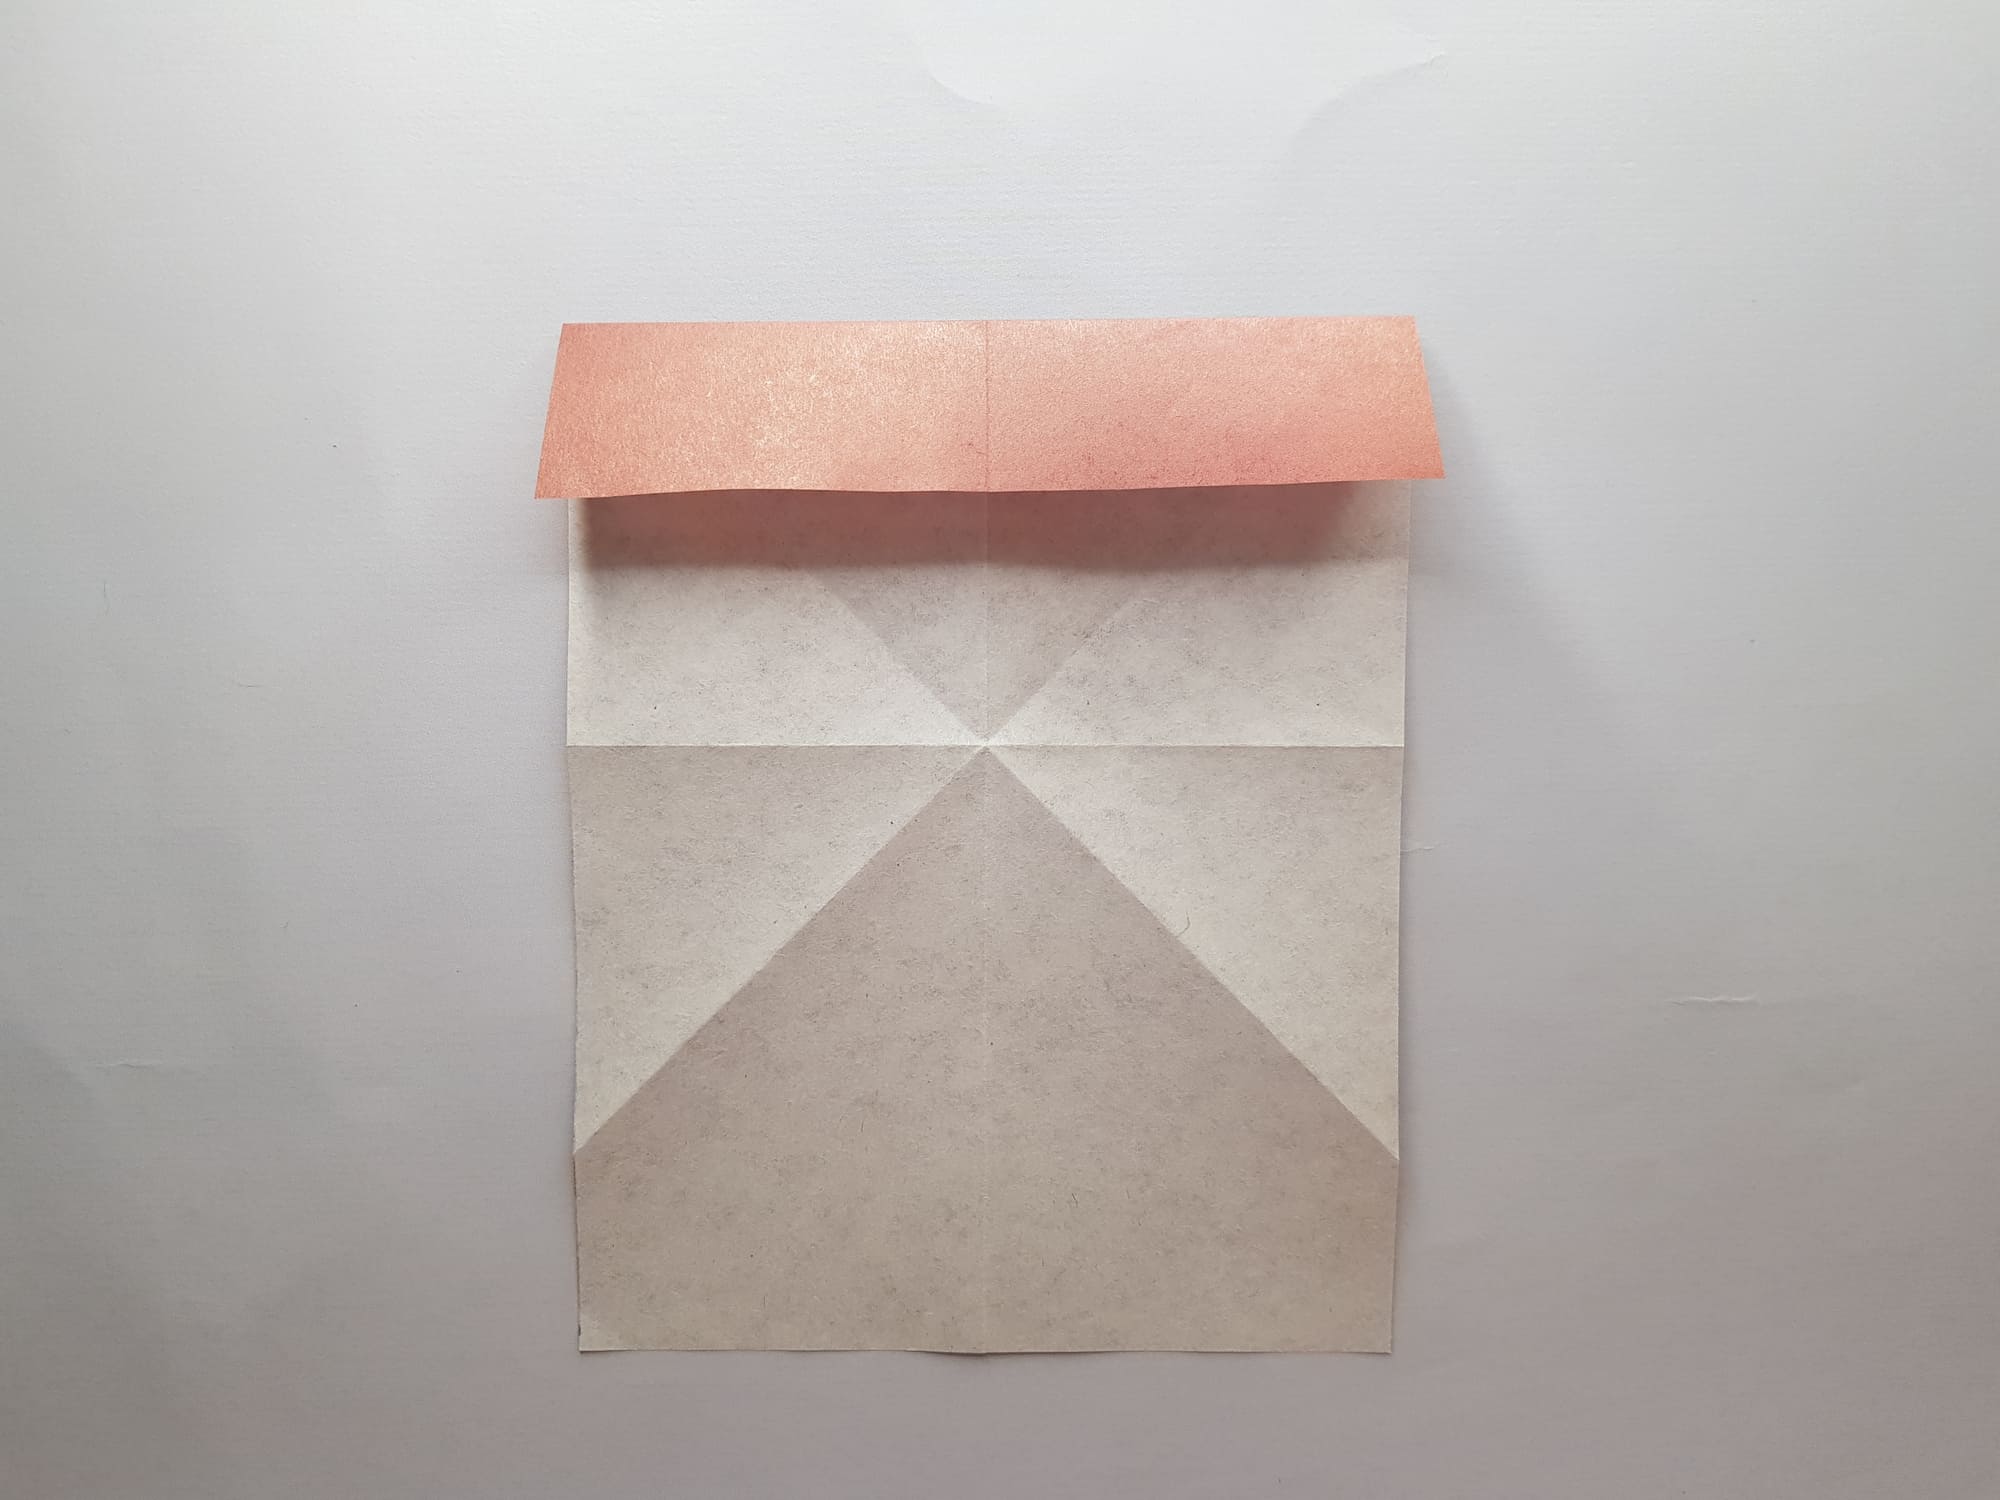
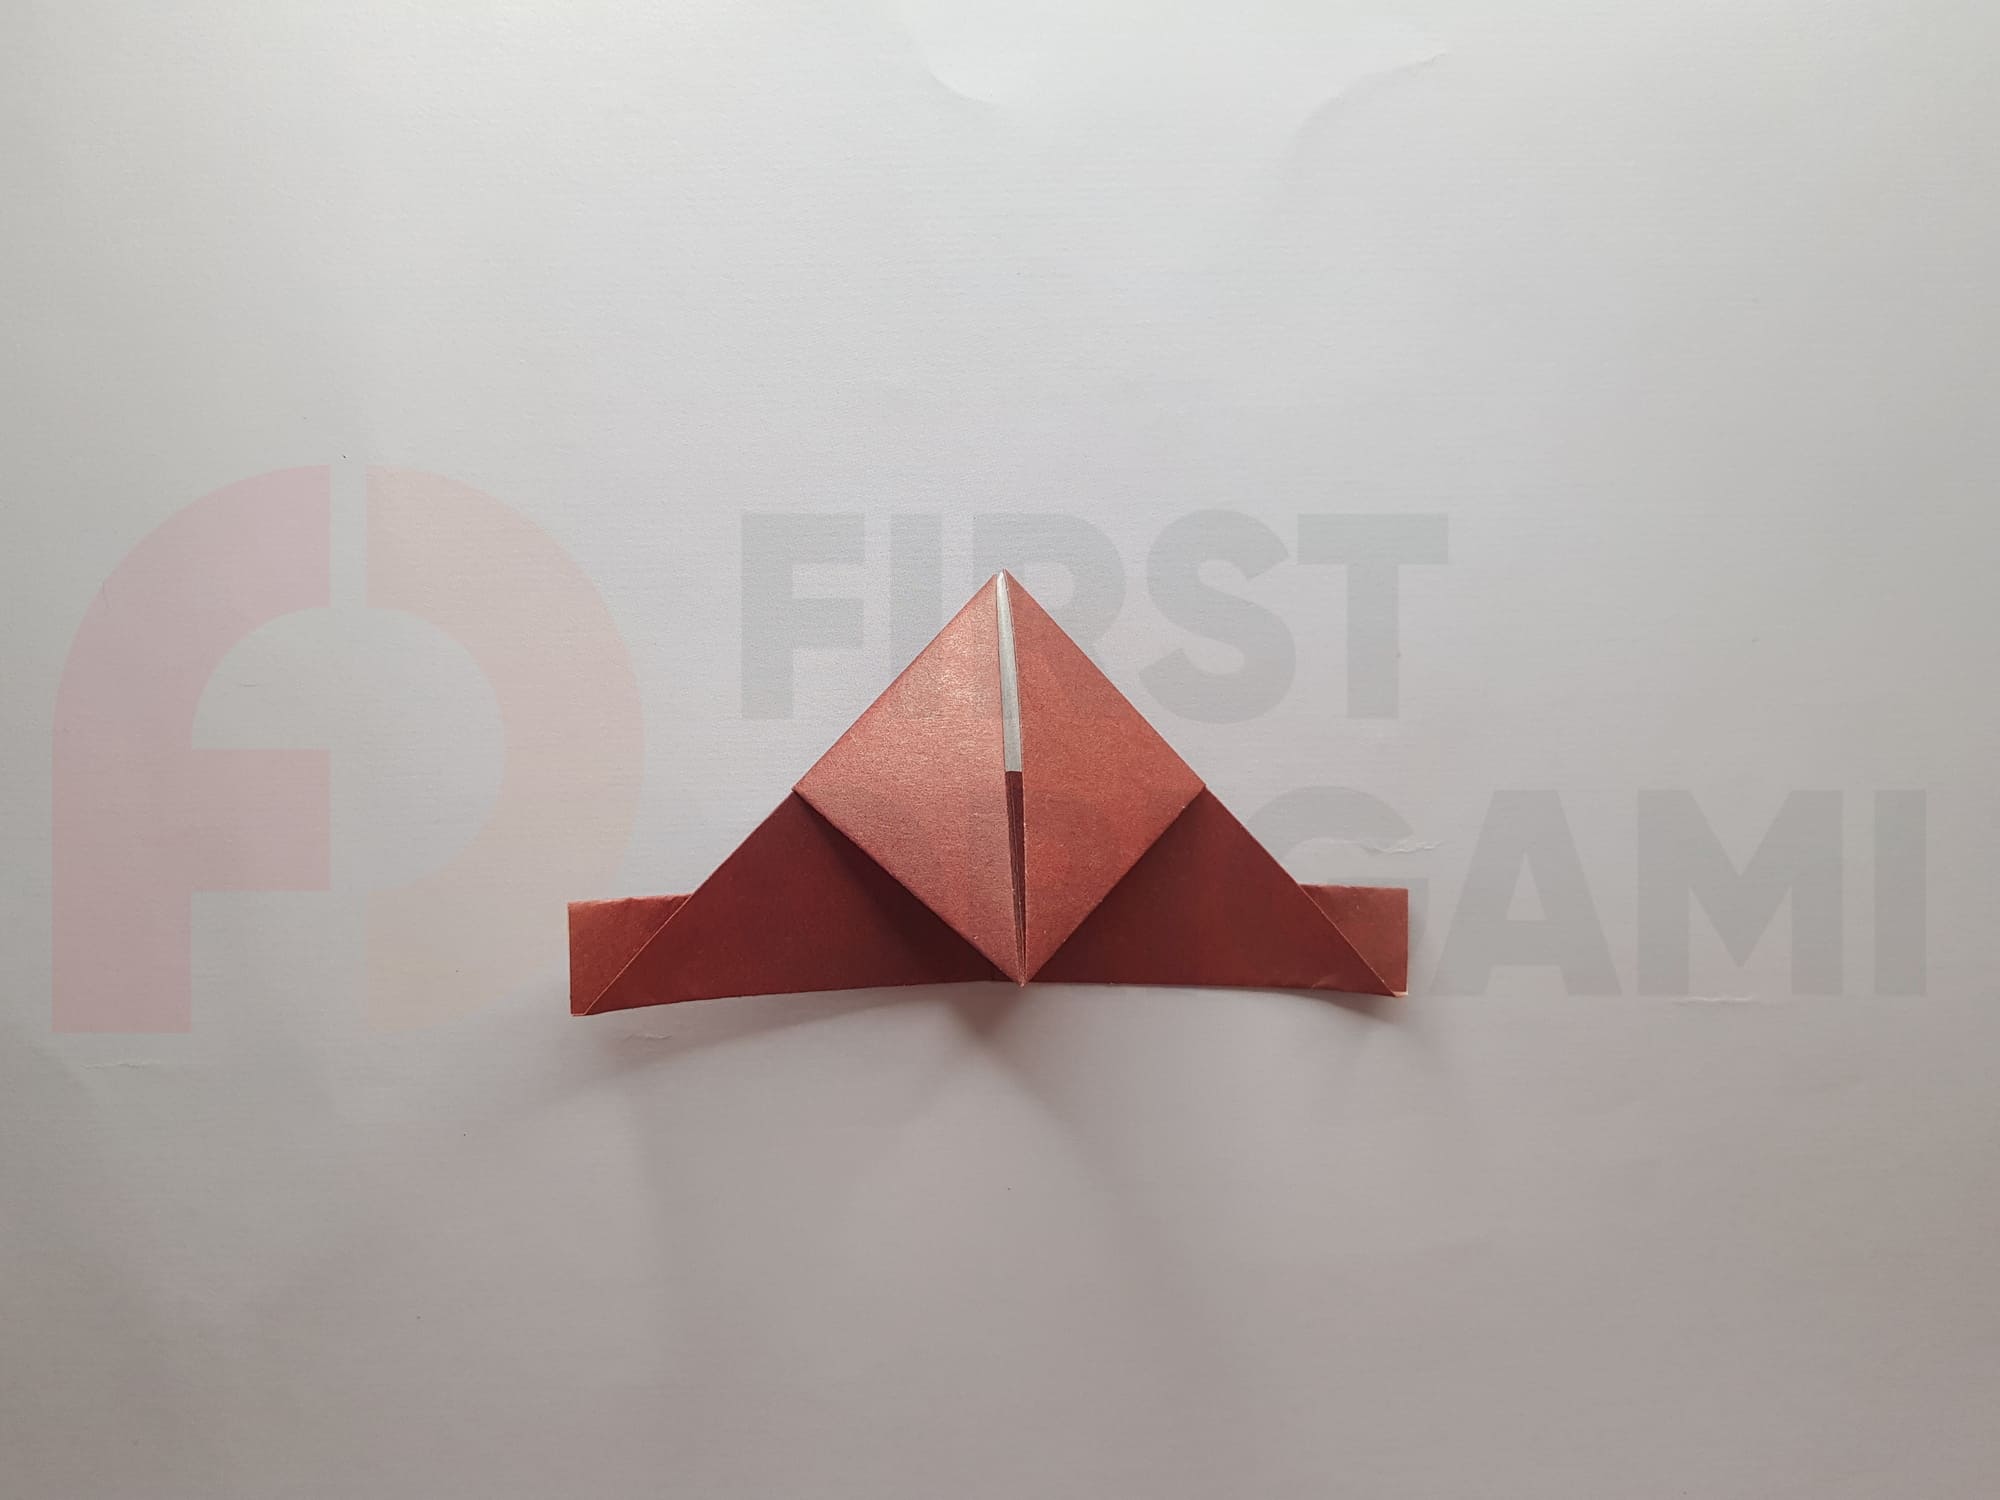
Rotate the figure 180 degrees.
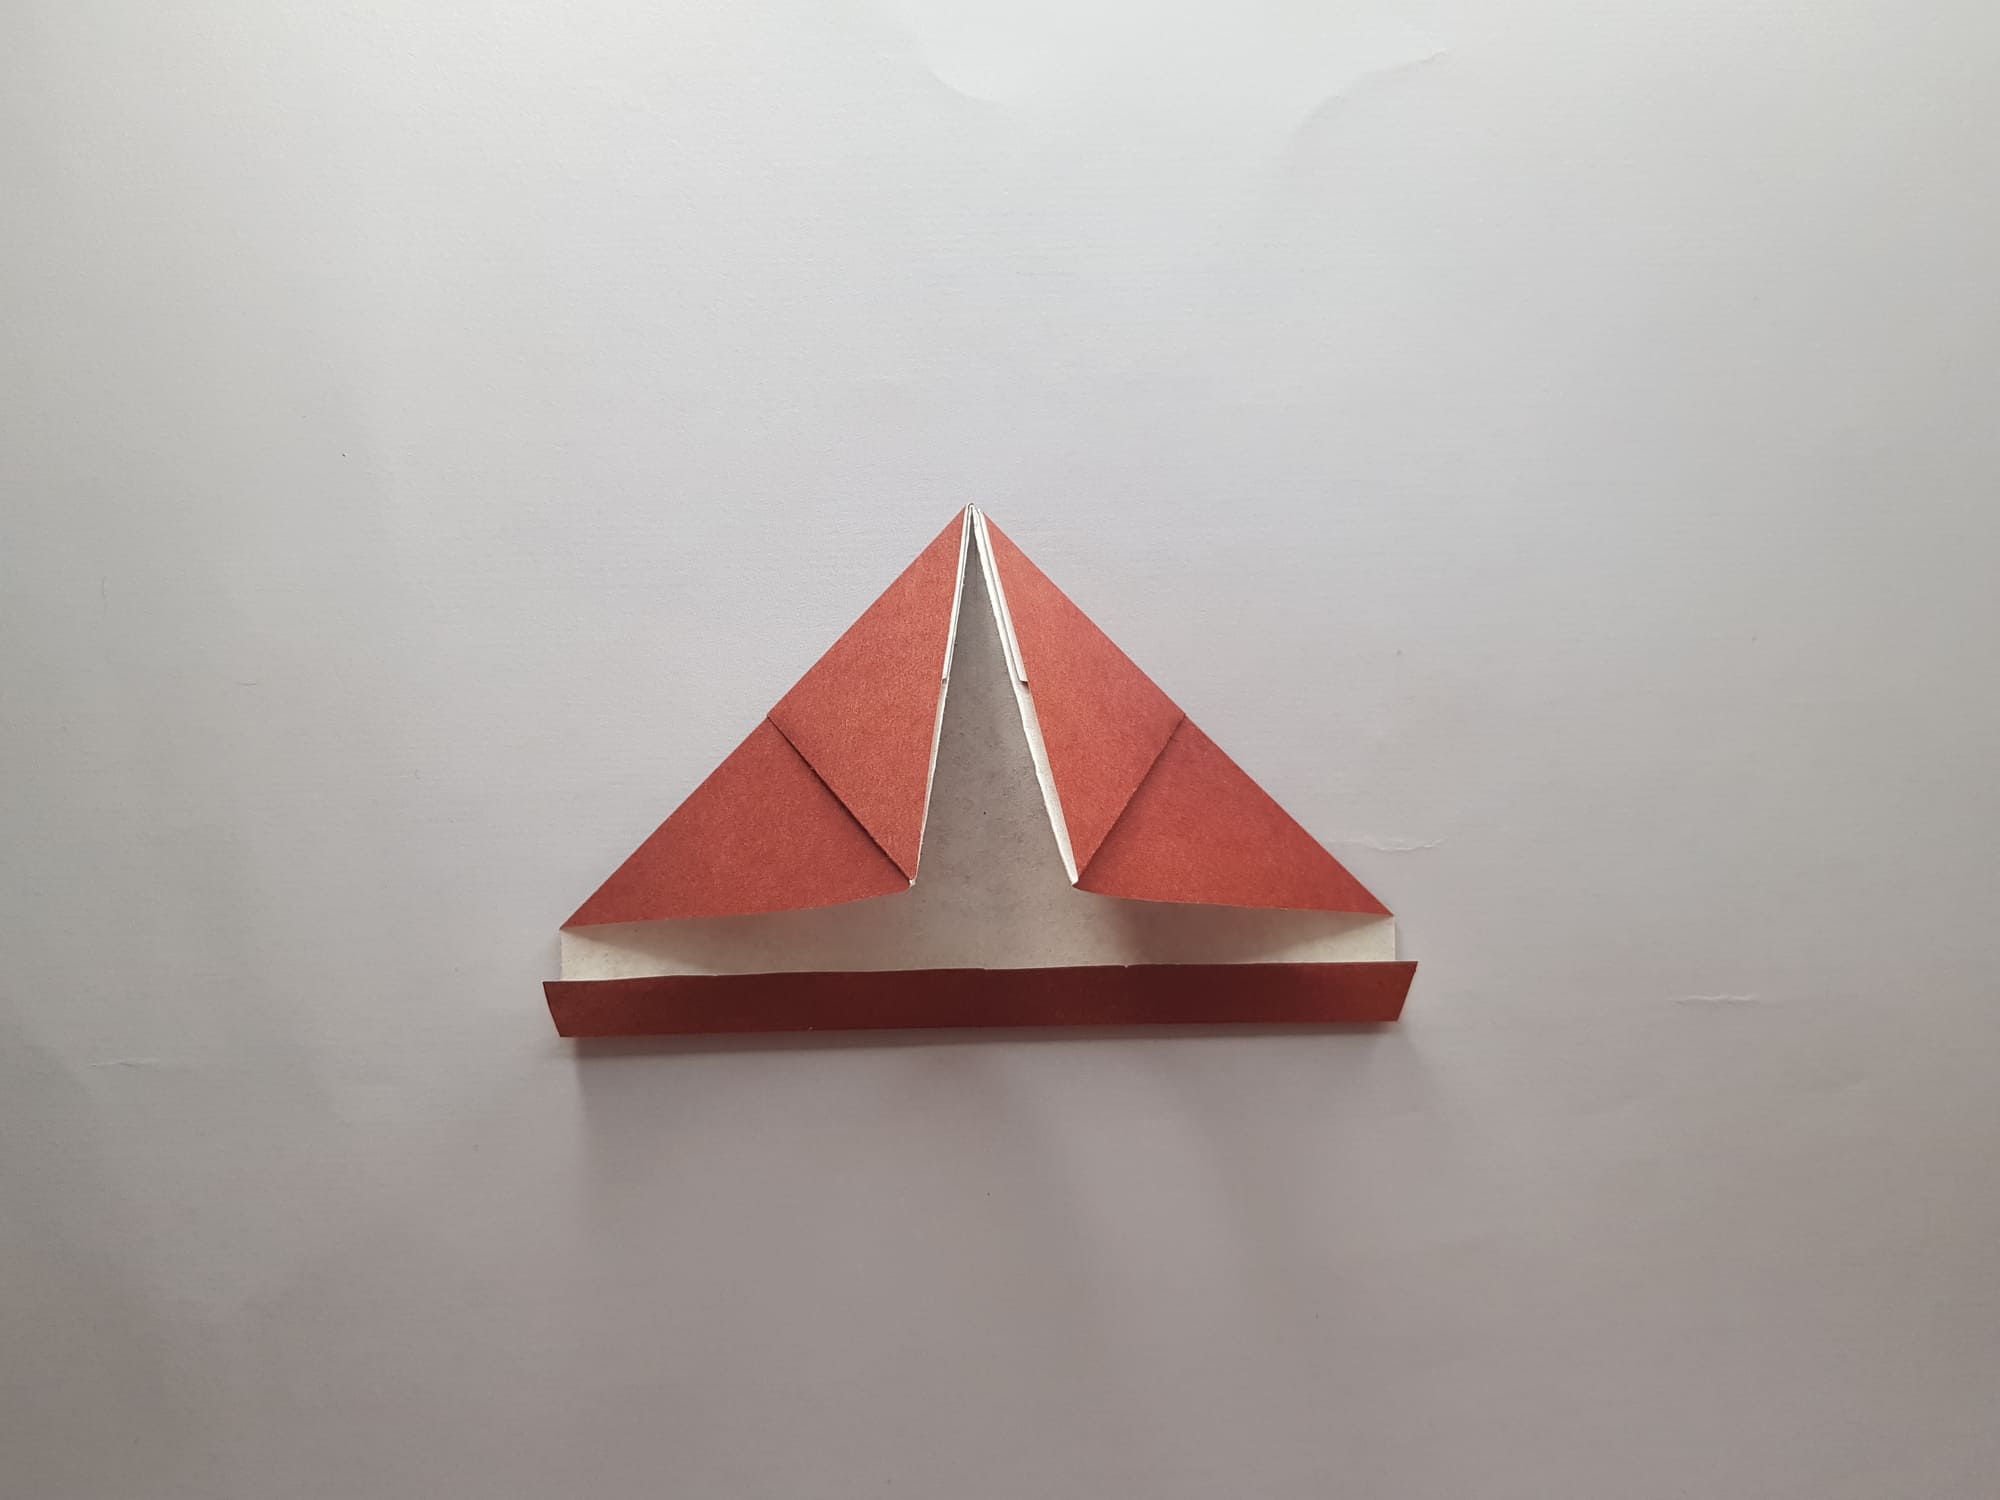
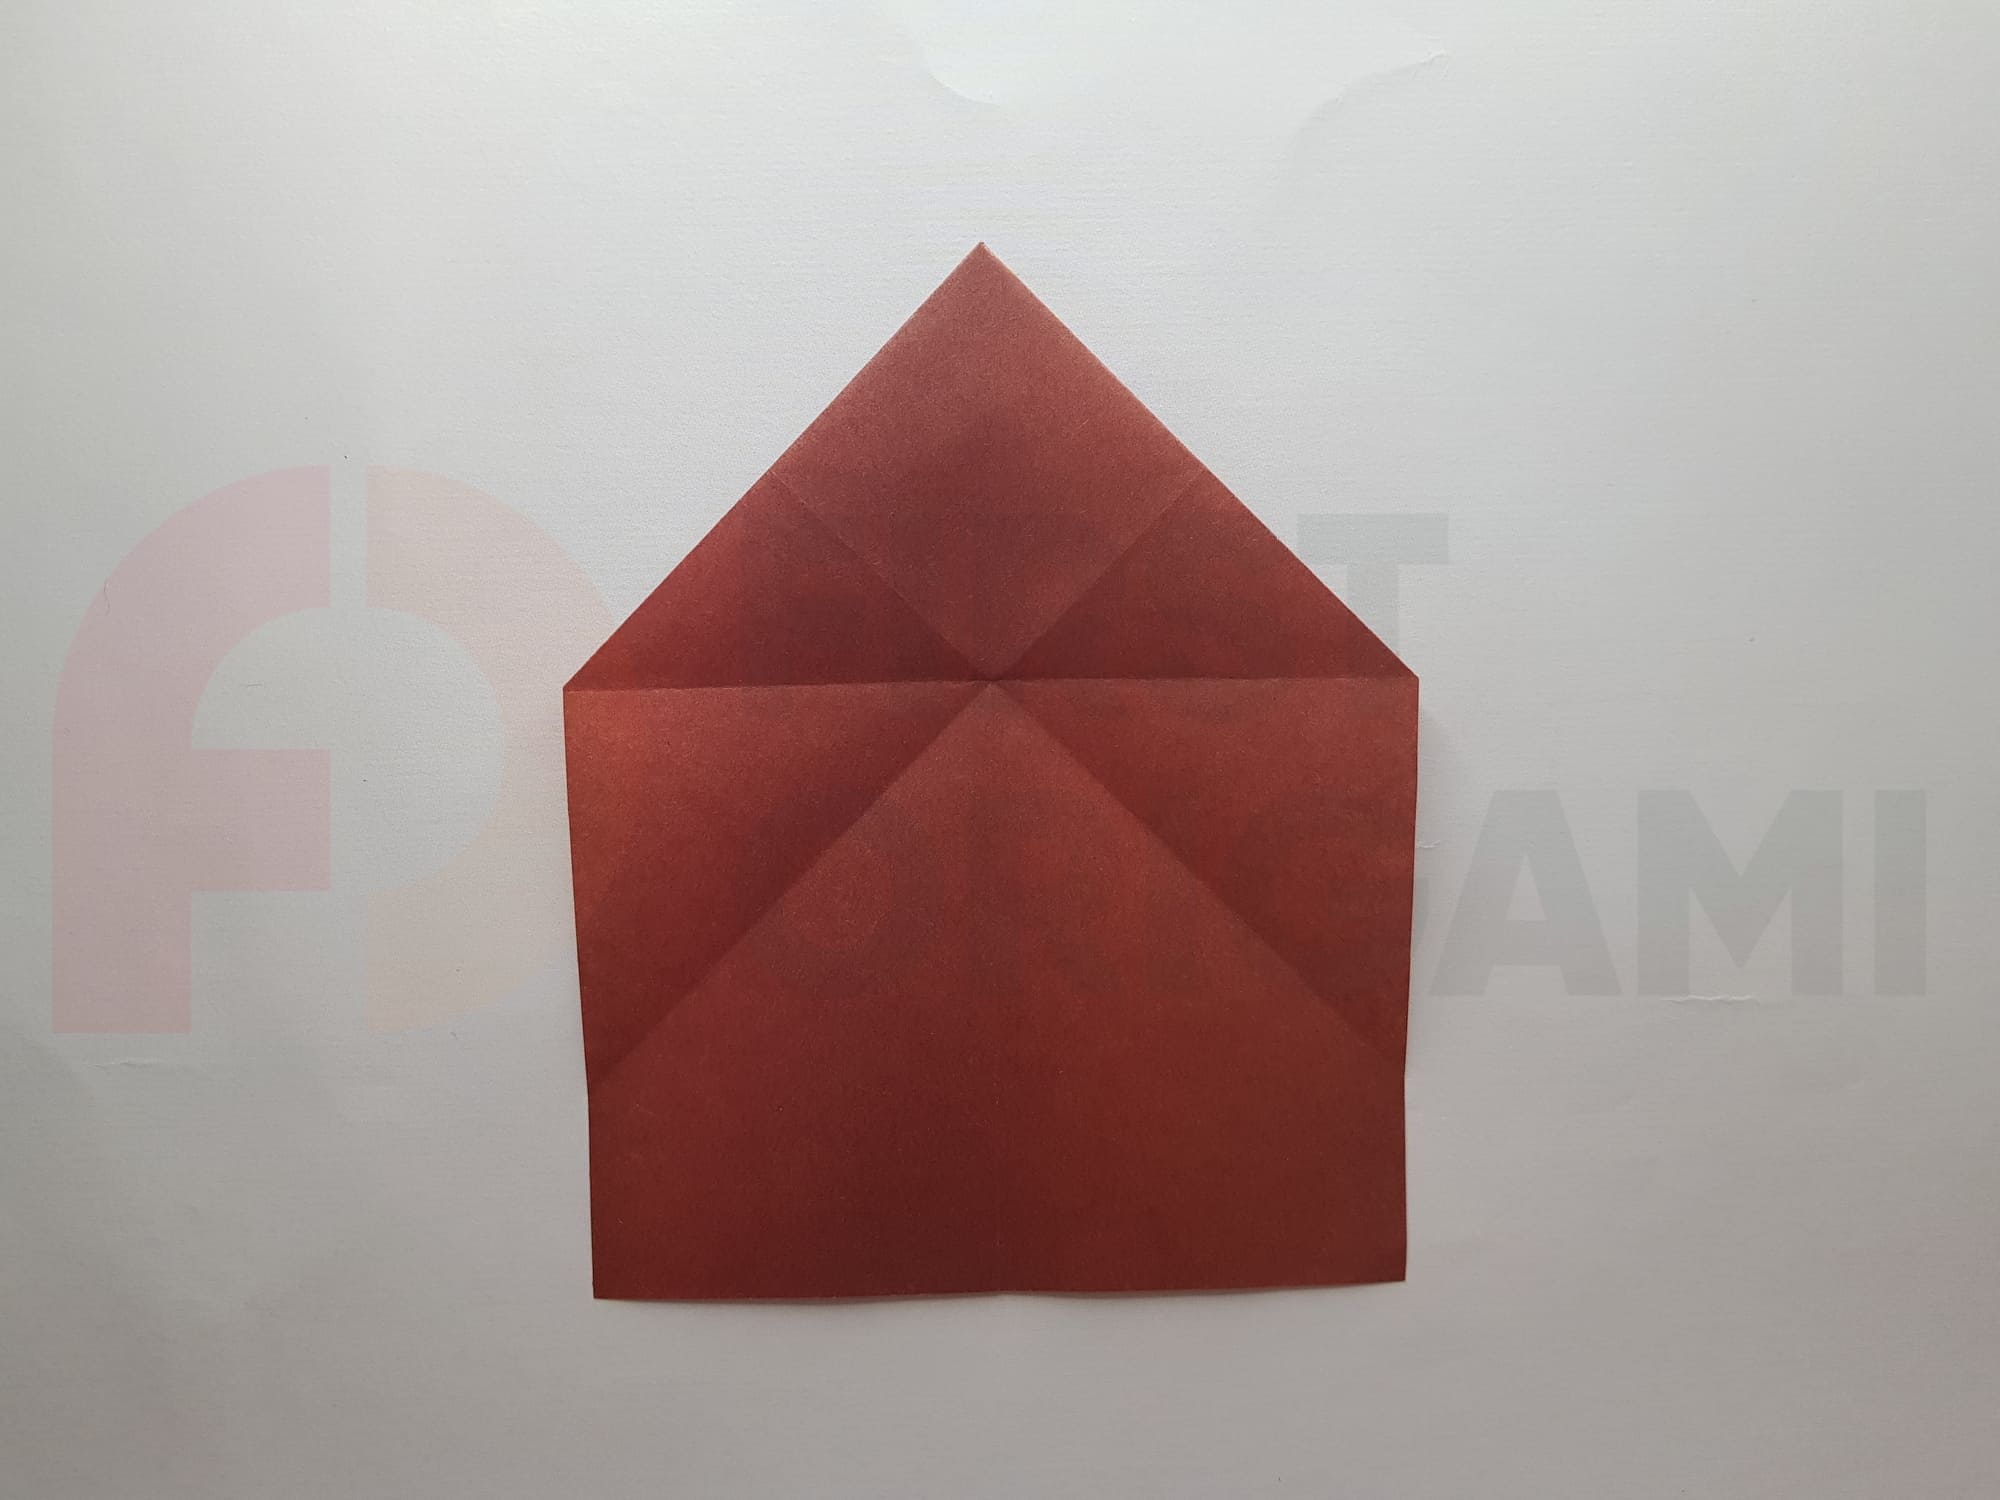
Fold the lower part of the figure in half upwards, and then make another fold upwards, as shown in the photo.
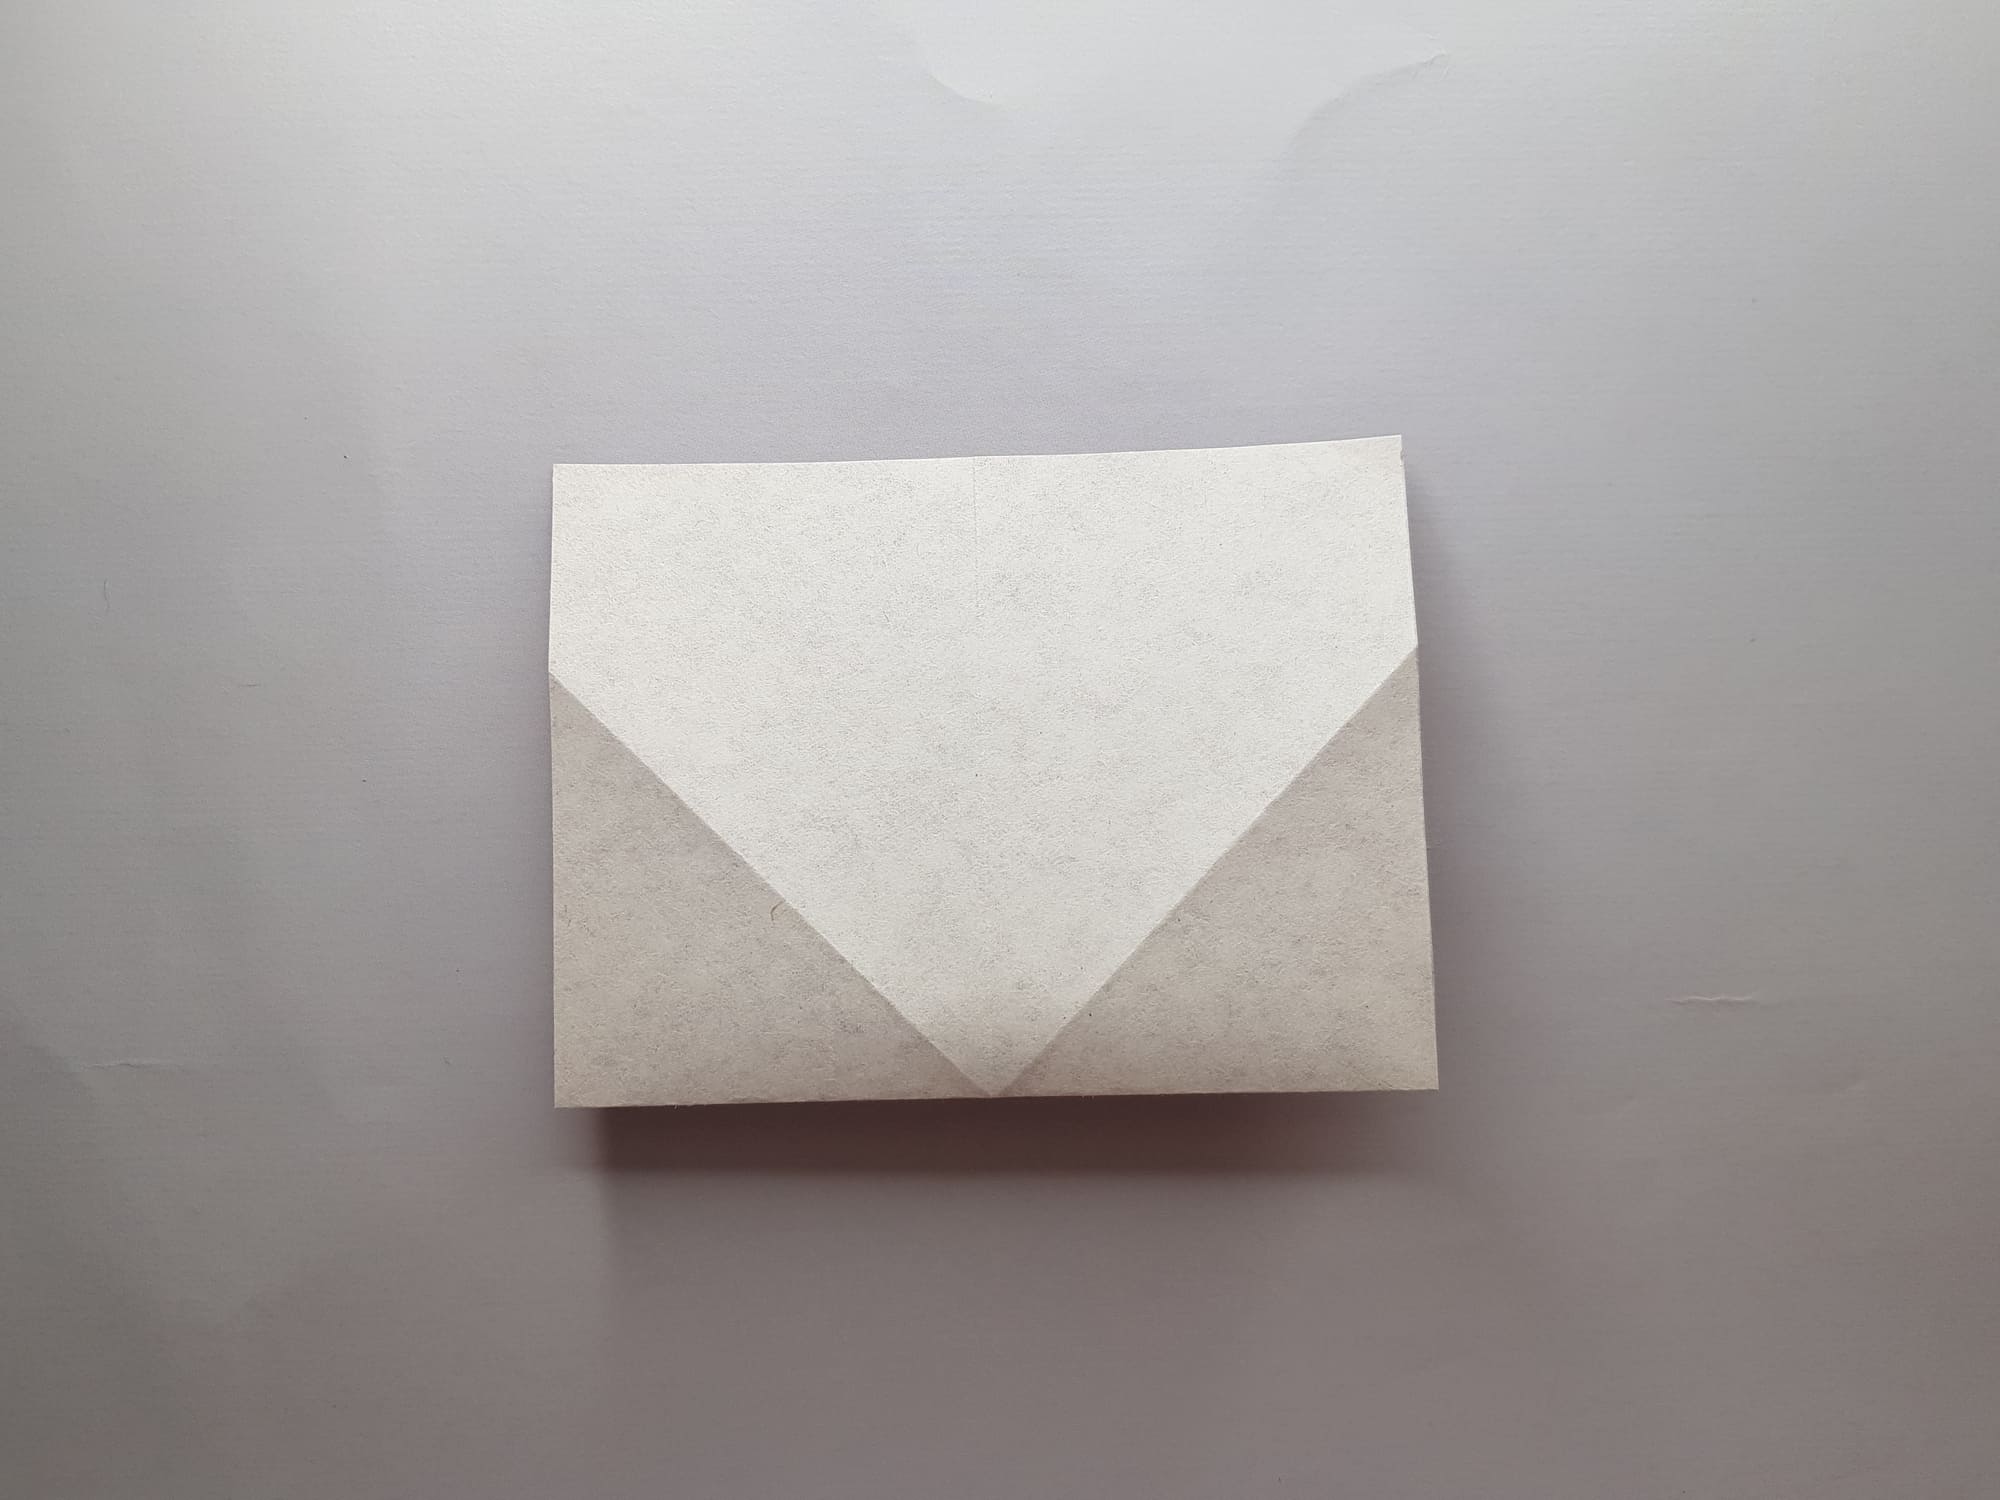
Turn the craft over.
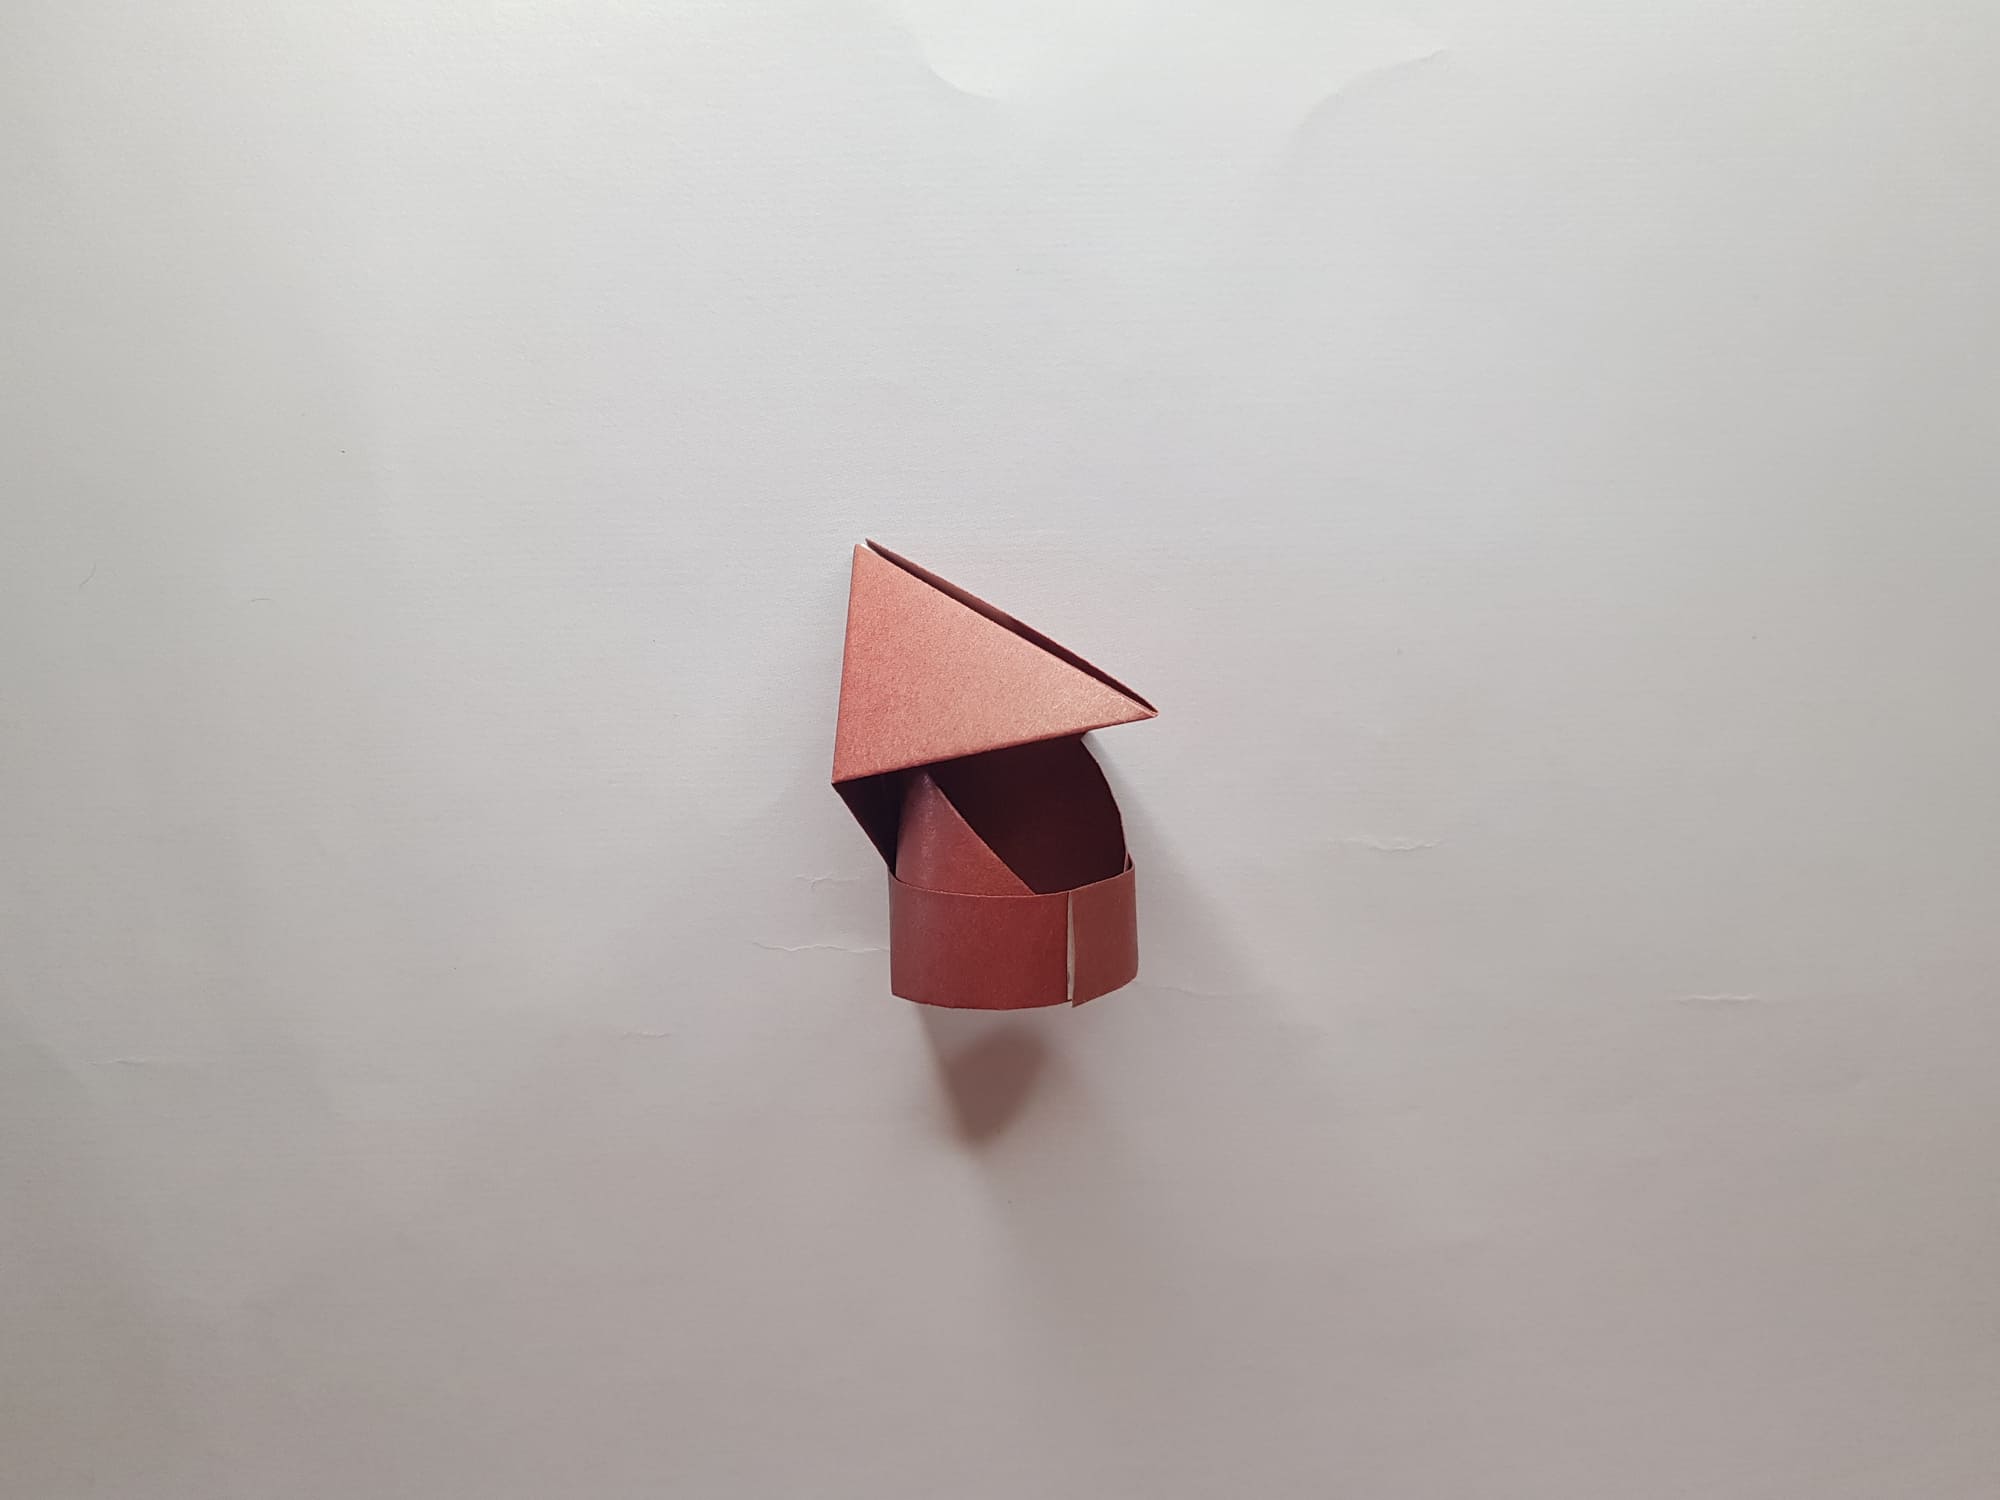
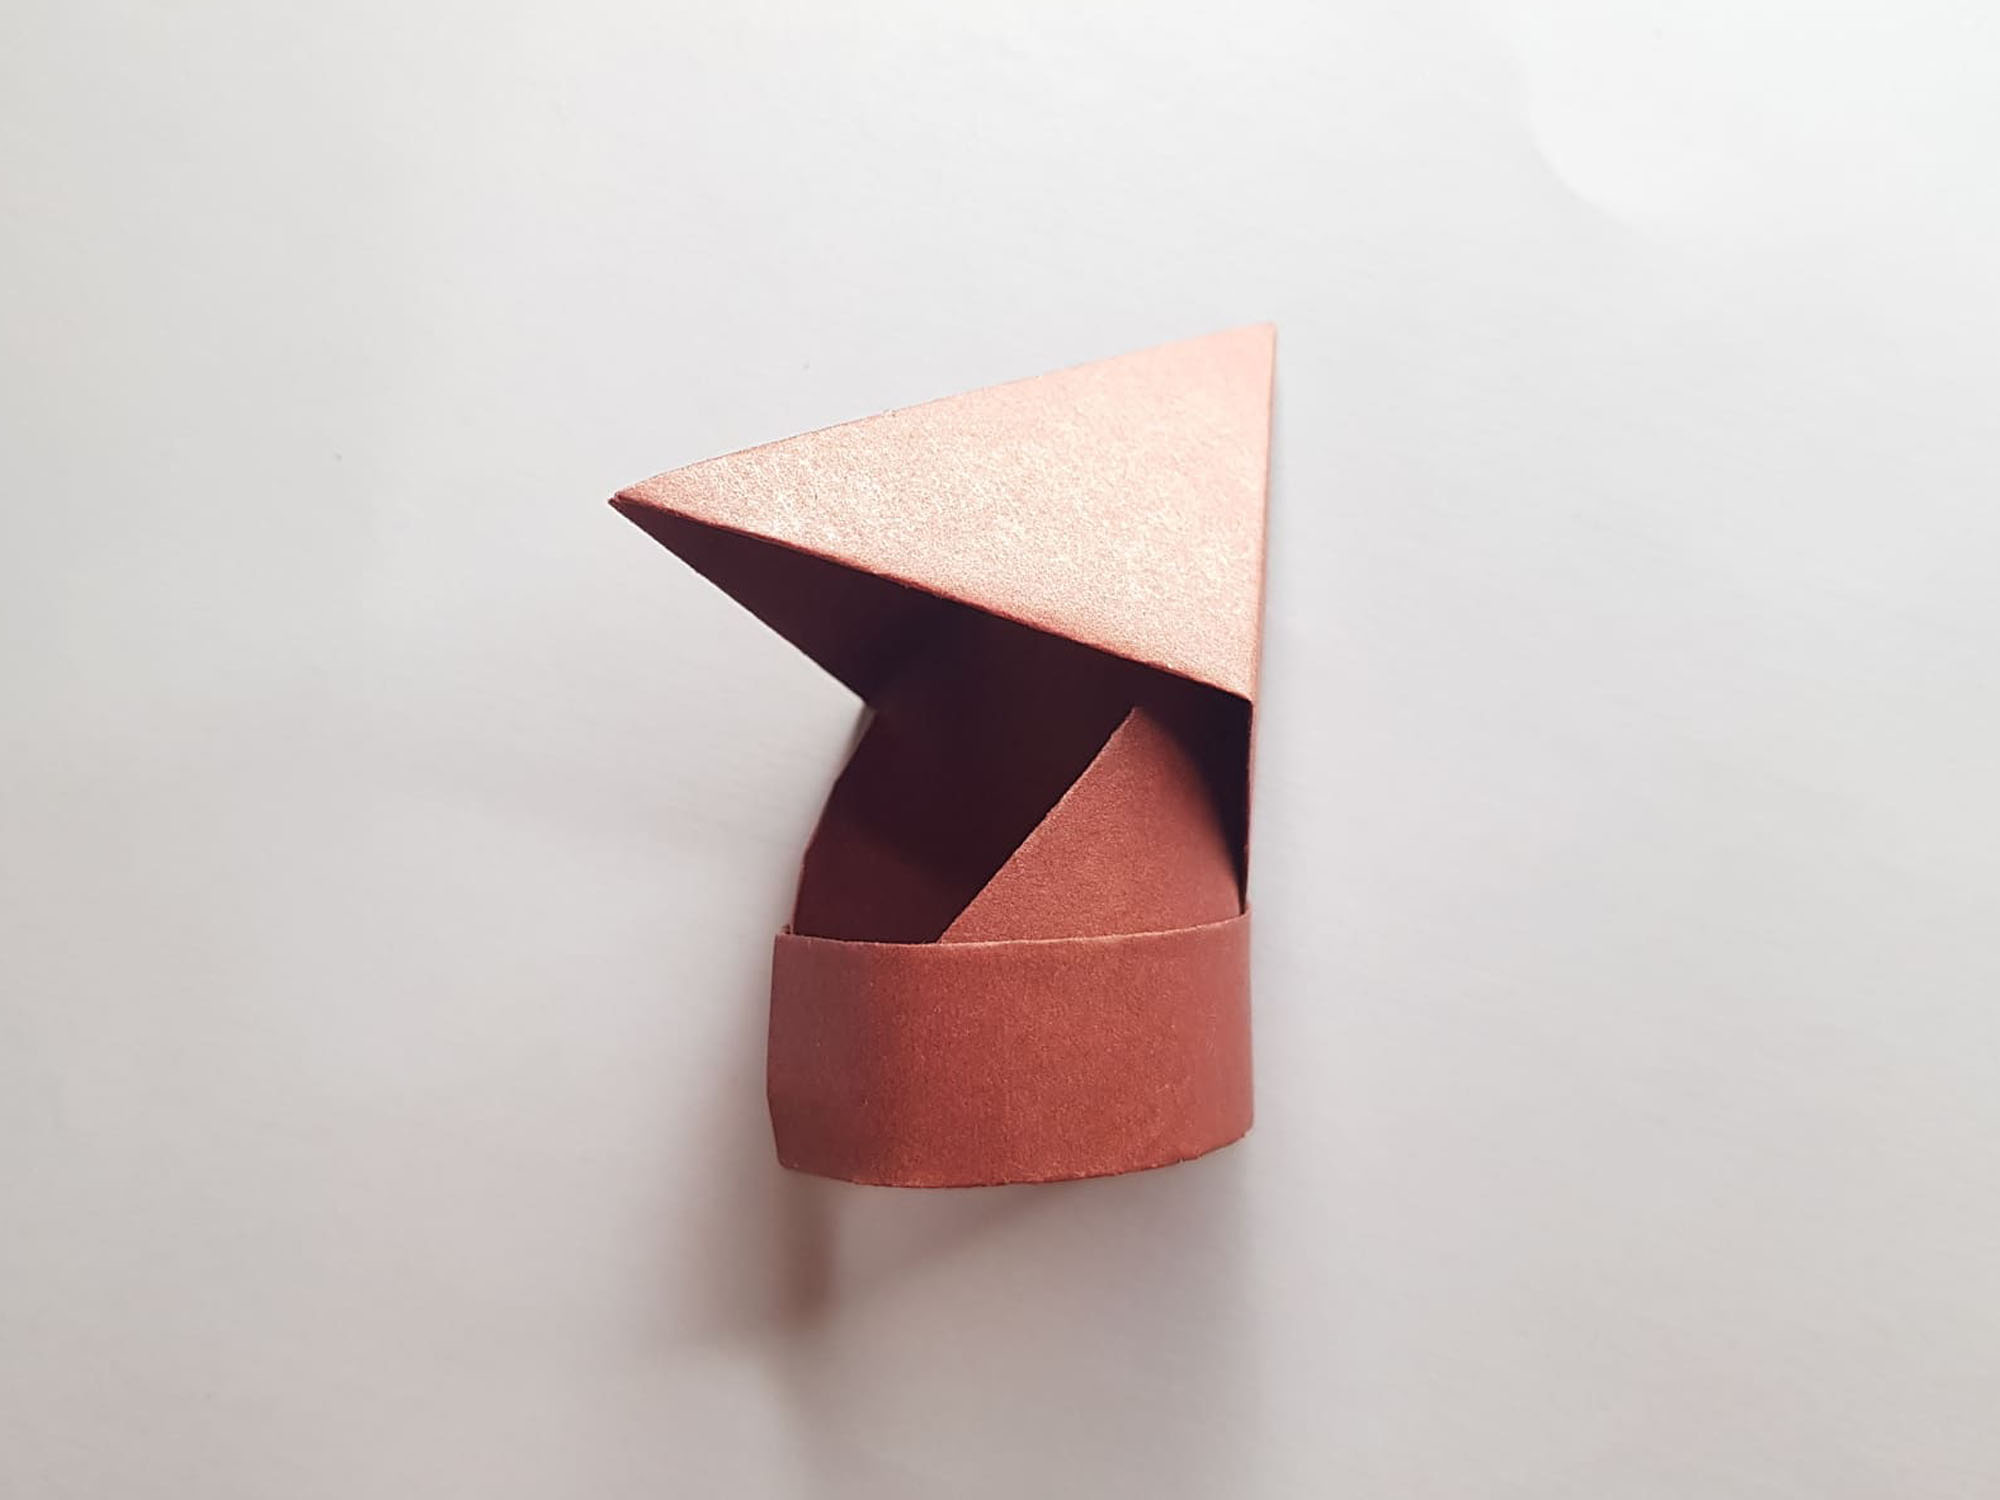
Using glue, connect the two edges of the figure.
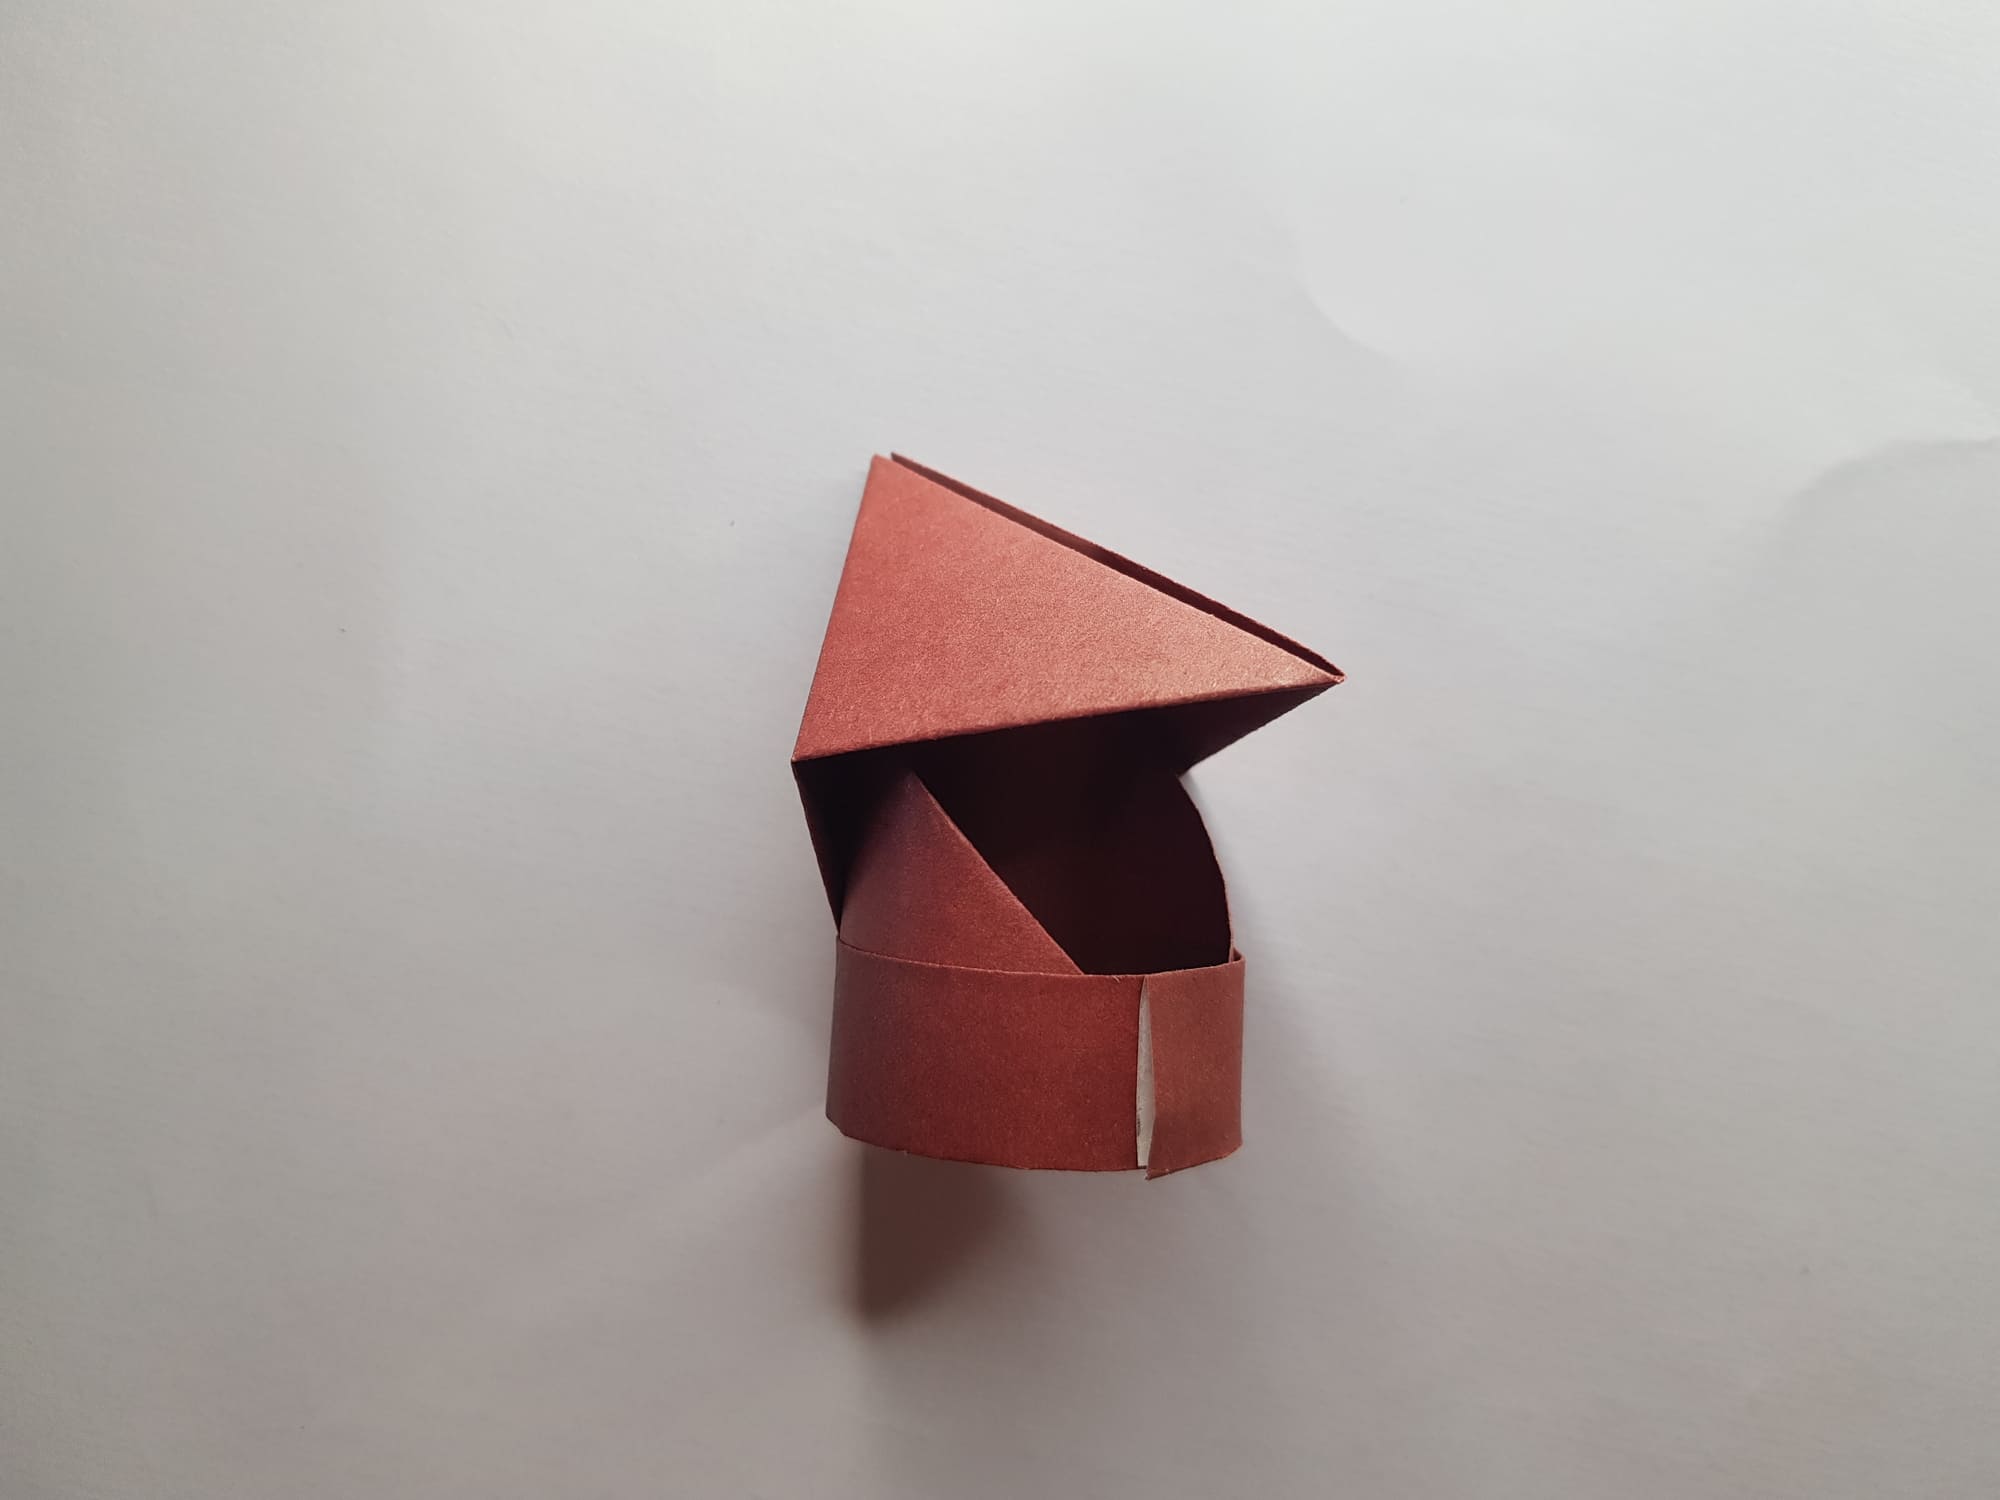
The knight’s helmet is ready. Give it shape by creasing the folds.

This craft can be used for puppet theater or crafts. Try the helmet on toys or make it big to have a game with friends and feel like a knight. In any case, it is interesting and easy to assemble this origami – even beginners can handle it.


