Origami Knight’s Shield
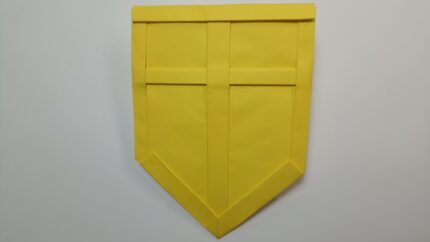
A mandatory attribute of the armor of medieval knights was a shield. A warrior used a shield to ward off the blows of swords, arrows, and spears in hand-to-hand or mounted combat. In difficult moments of battle, the shield performed not only a defensive function but also an offensive one. The warrior could strike with the entire surface, stunning and knocking down the enemy. The edge strikes are comparable to the force of a slashing weapon.
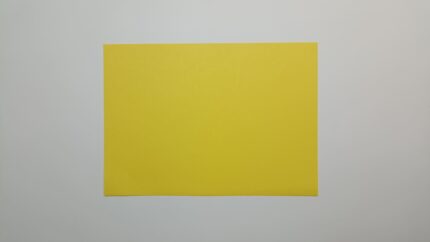
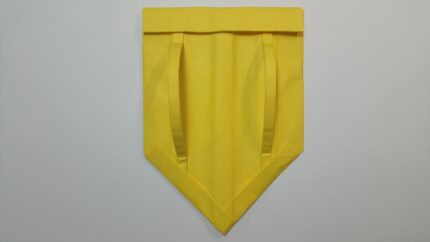
Using the origami technique, you can make a real knight’s shield. There are many steps in the detailed description, but there are no complex folds. It is enough to be careful and follow the instructions. To create it, you will need 13 sheets of colored or white paper, glue, and scissors. The finished shield will be large. Internal stiffening ribs and many layers of paper will add strength.
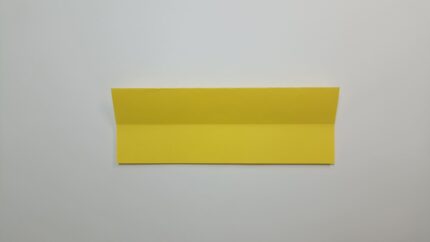
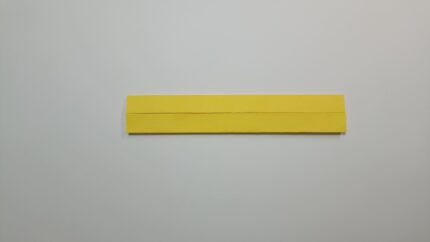
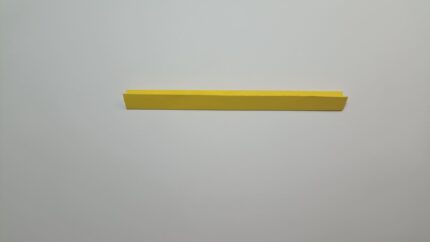
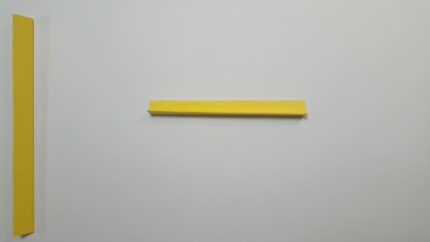
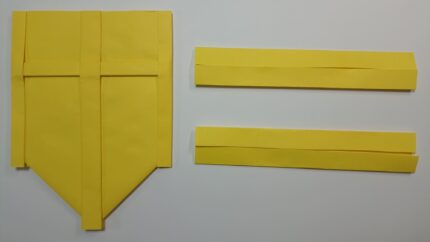
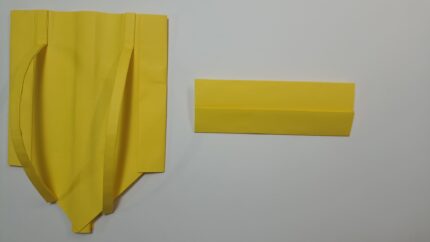
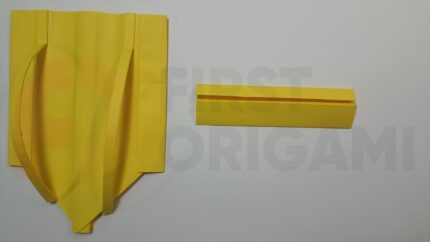
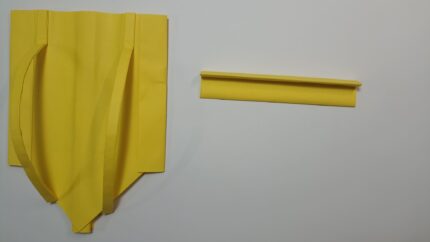
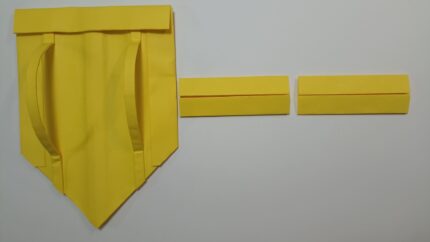
Fold the strip of paper again along its entire length. The result is a narrow part that will be located on the front side.
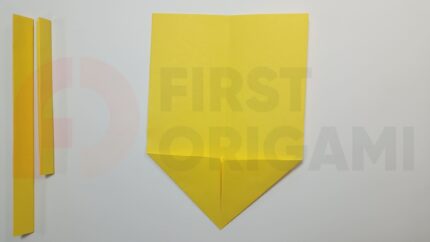
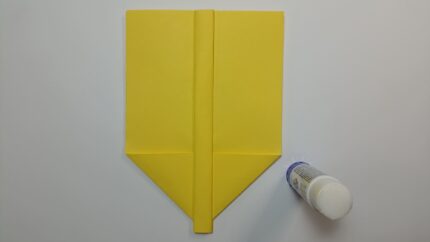
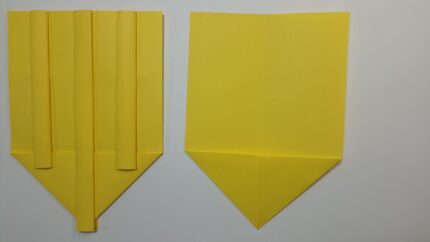
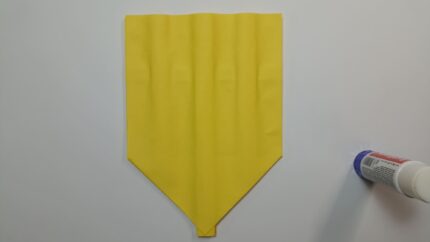
Bend the edge into a triangle, aligning the lines of the bottom with the intended center line. Turn the figure over.
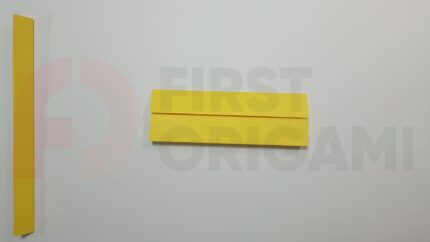
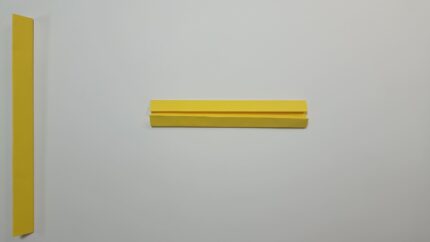
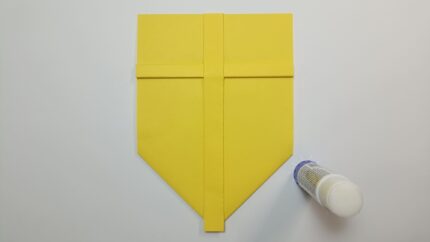
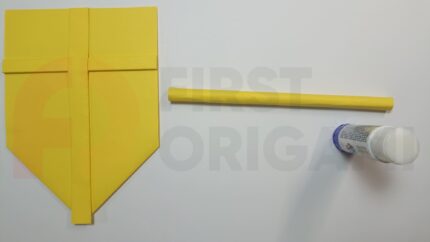
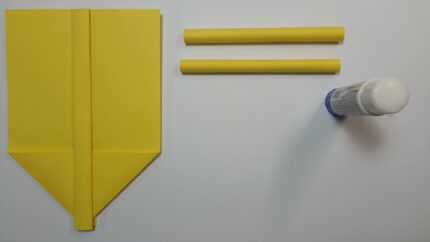
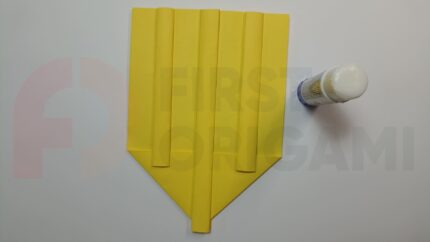
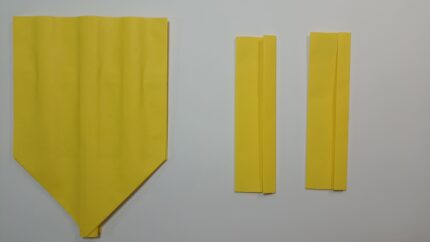
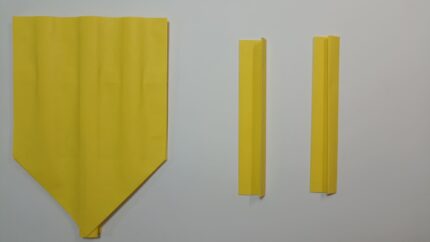
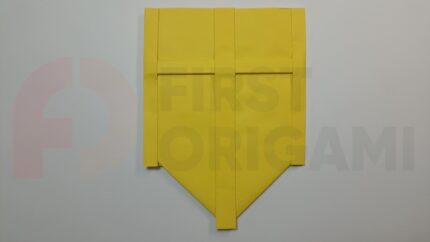
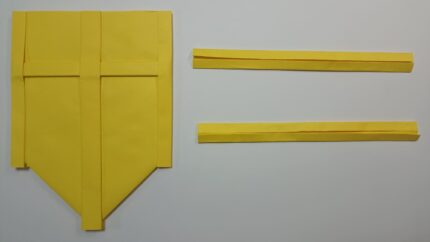
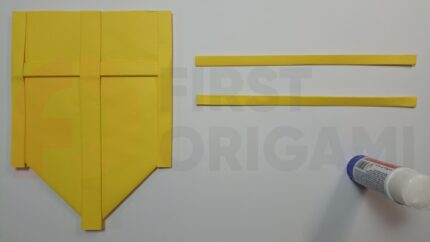
For the middle stiffening rib, roll two sheets of paper into a tube along a long line and secure with glue.
Coat the part with glue, turn it over, and glue it to the shield, aligning the sides and corners.
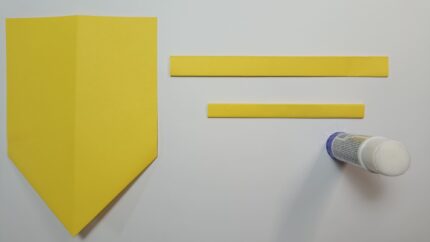
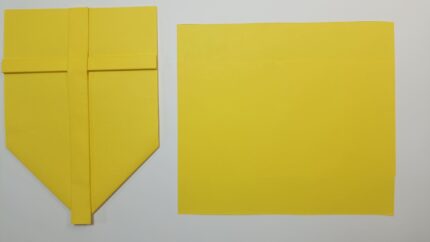
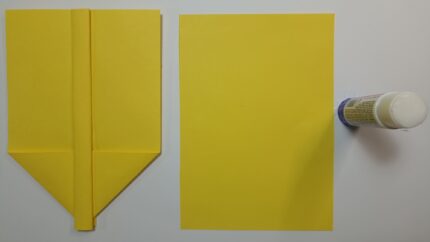
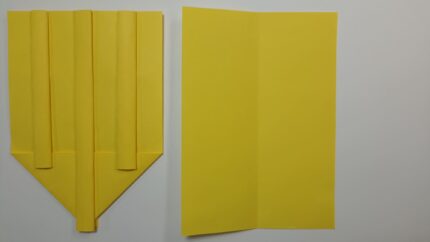
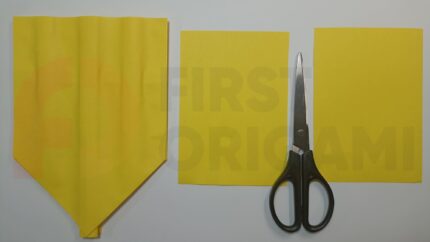
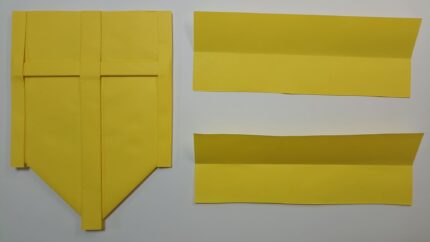
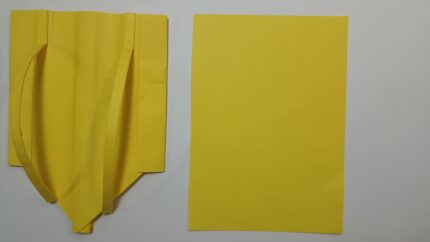
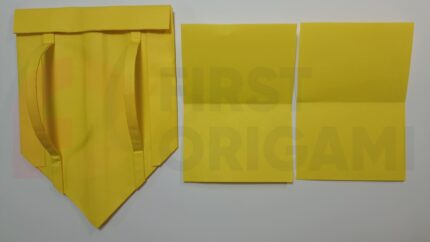
For the frame of the side parts of the shield. Cut a sheet of paper in half along the line marked by folding.
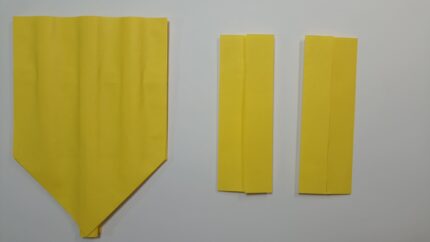
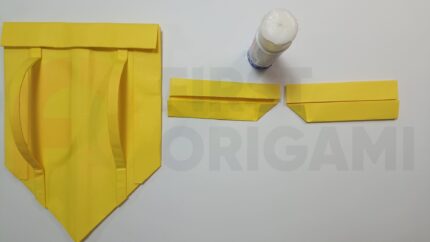
For the shield handles. Cut the sheet in half along the marked line, after folding it in half lengthwise. Mark a center line on each strip.
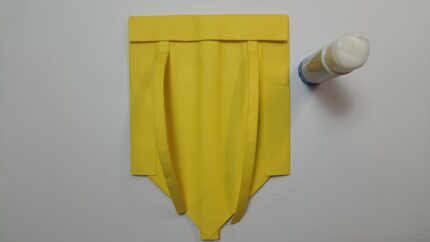
At the edges of the strips curved in a semicircle, make folds for gluing to the base, as in the sample. Glue at the locations of the side stiffening ribs, aligning along the top edge.
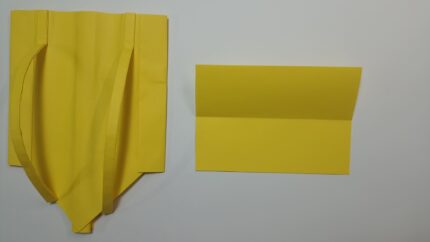
To frame the top of the shield, fold a sheet of paper in half along the short side. Mark the center.
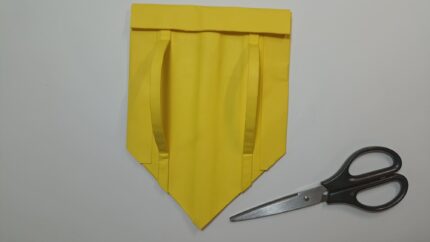
Adjust the lower part of the handles, trying the shield on your hand. Usually, the handle that the palm covers is made smaller. Trim excess paper at the bottom and sides.
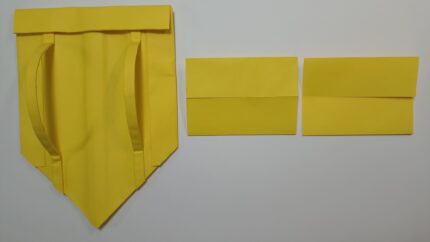
For the frame of the lower part of the shield. Cut a sheet of paper in half along the previously marked middle line obtained by bringing together the short sides.
Bend the corner of the side of the figure, as in the sample. Make a symmetrical bend on the second piece.
Glue, aligning the frame in the center, end-to-end on the front side and overlapping on the back.
The finished shield can be painted. You can get inspiration by watching films, reading books, and finding descriptions or illustrations of medieval knights’ shields. You can raw elements of symbolism and show creativity and knowledge of history. It is very interesting!
