Origami Koi
You can make a fish with your own hands from paper using the origami technique. The color of the paper can be any – according to your desire!
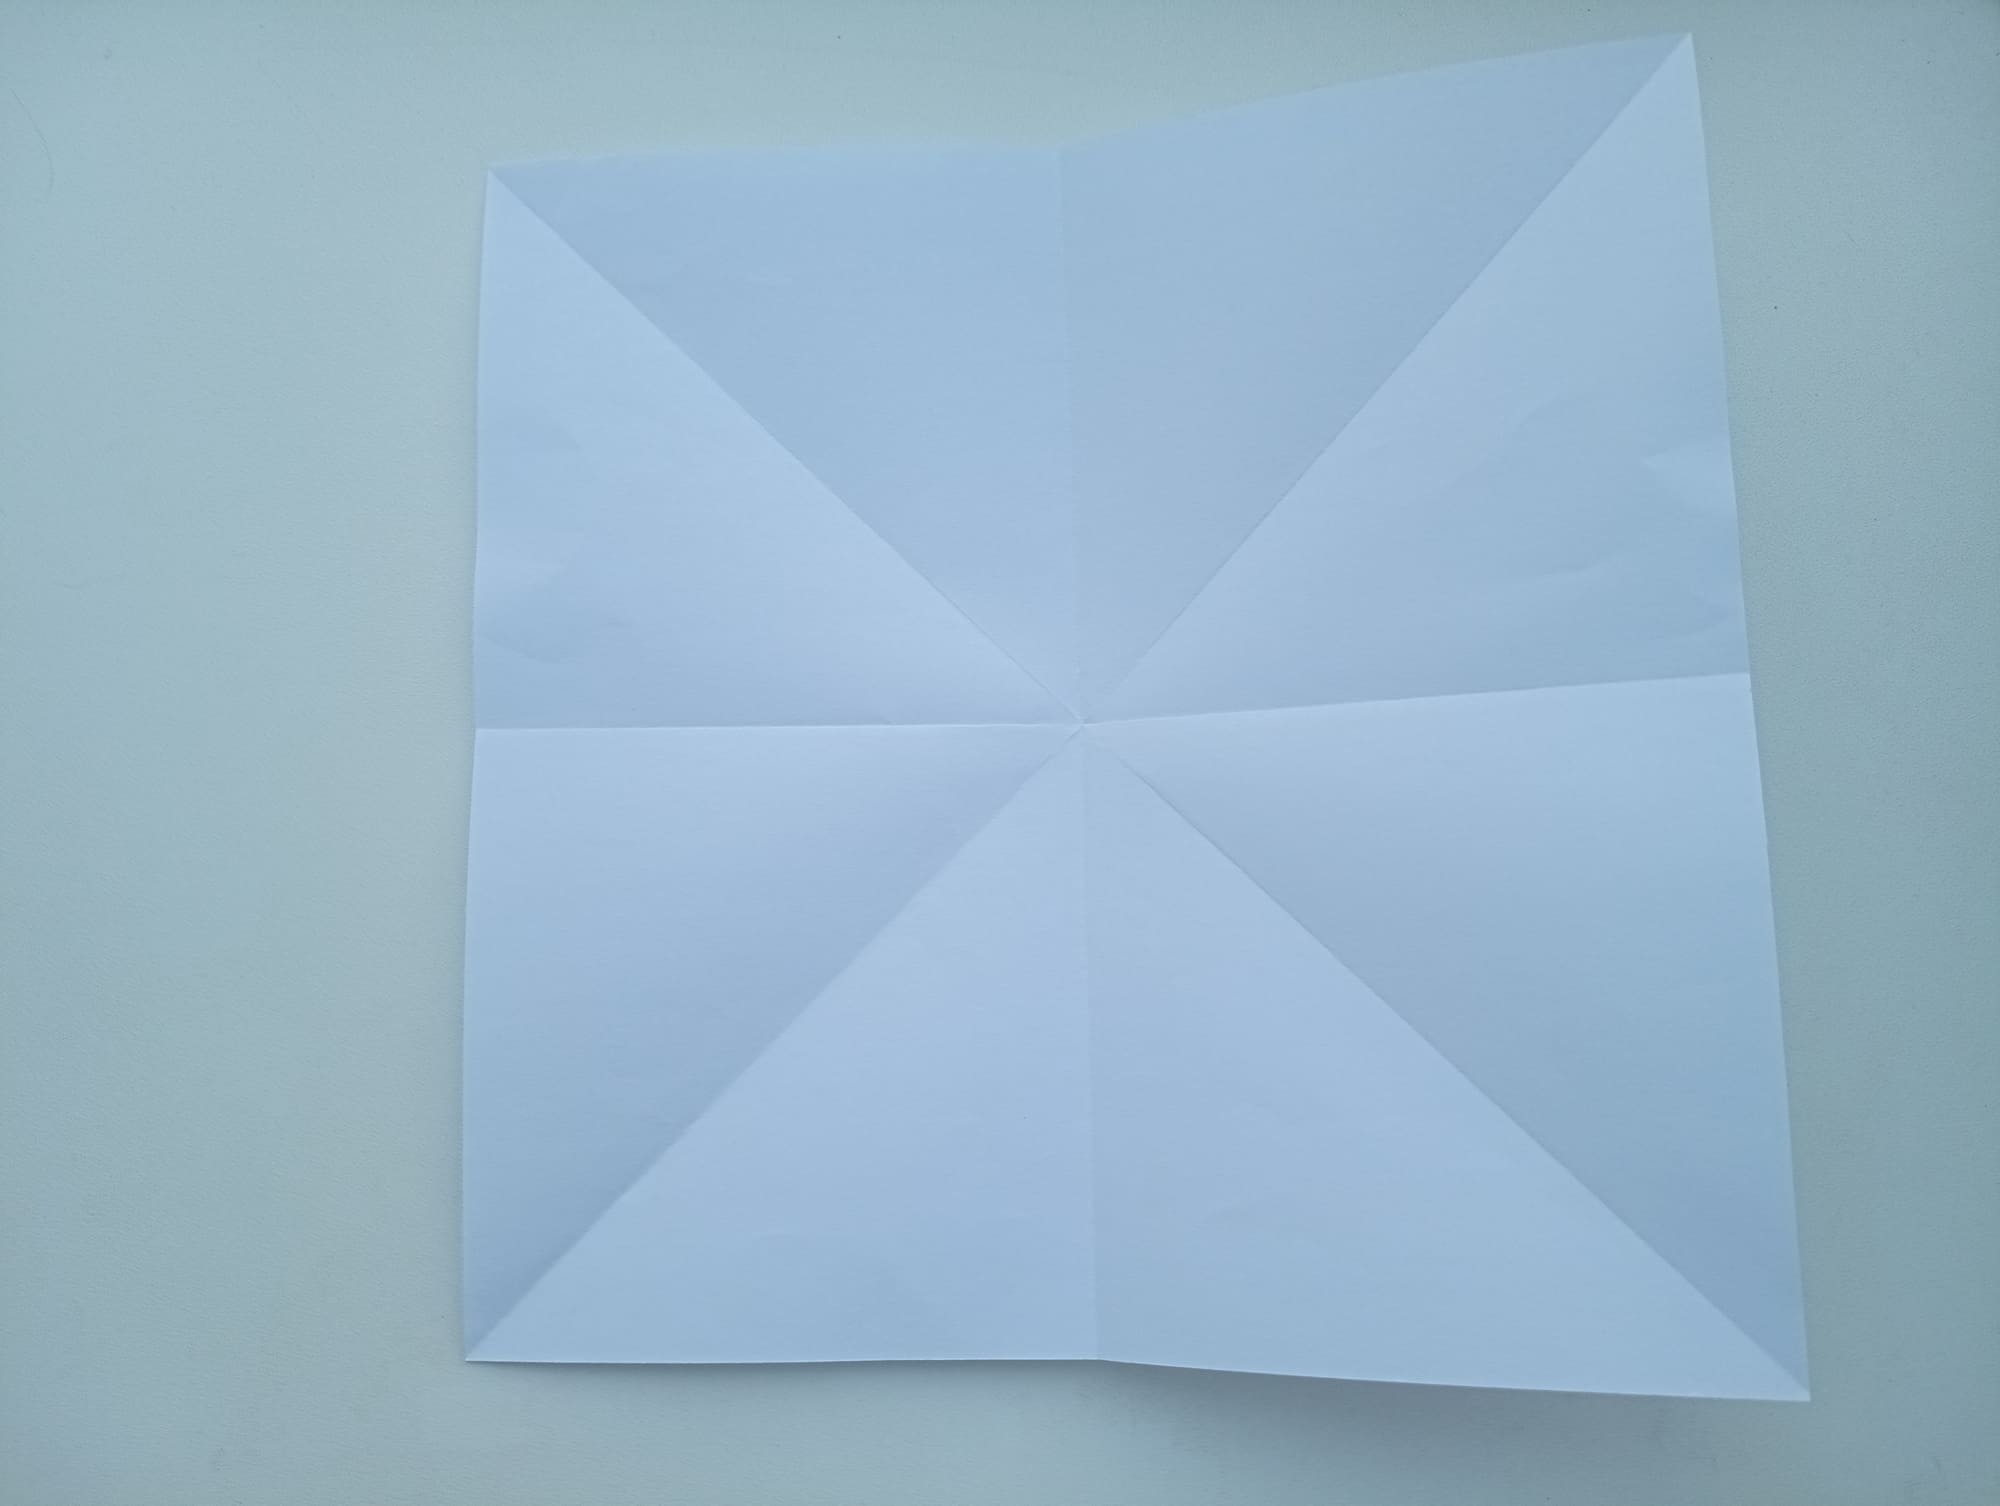
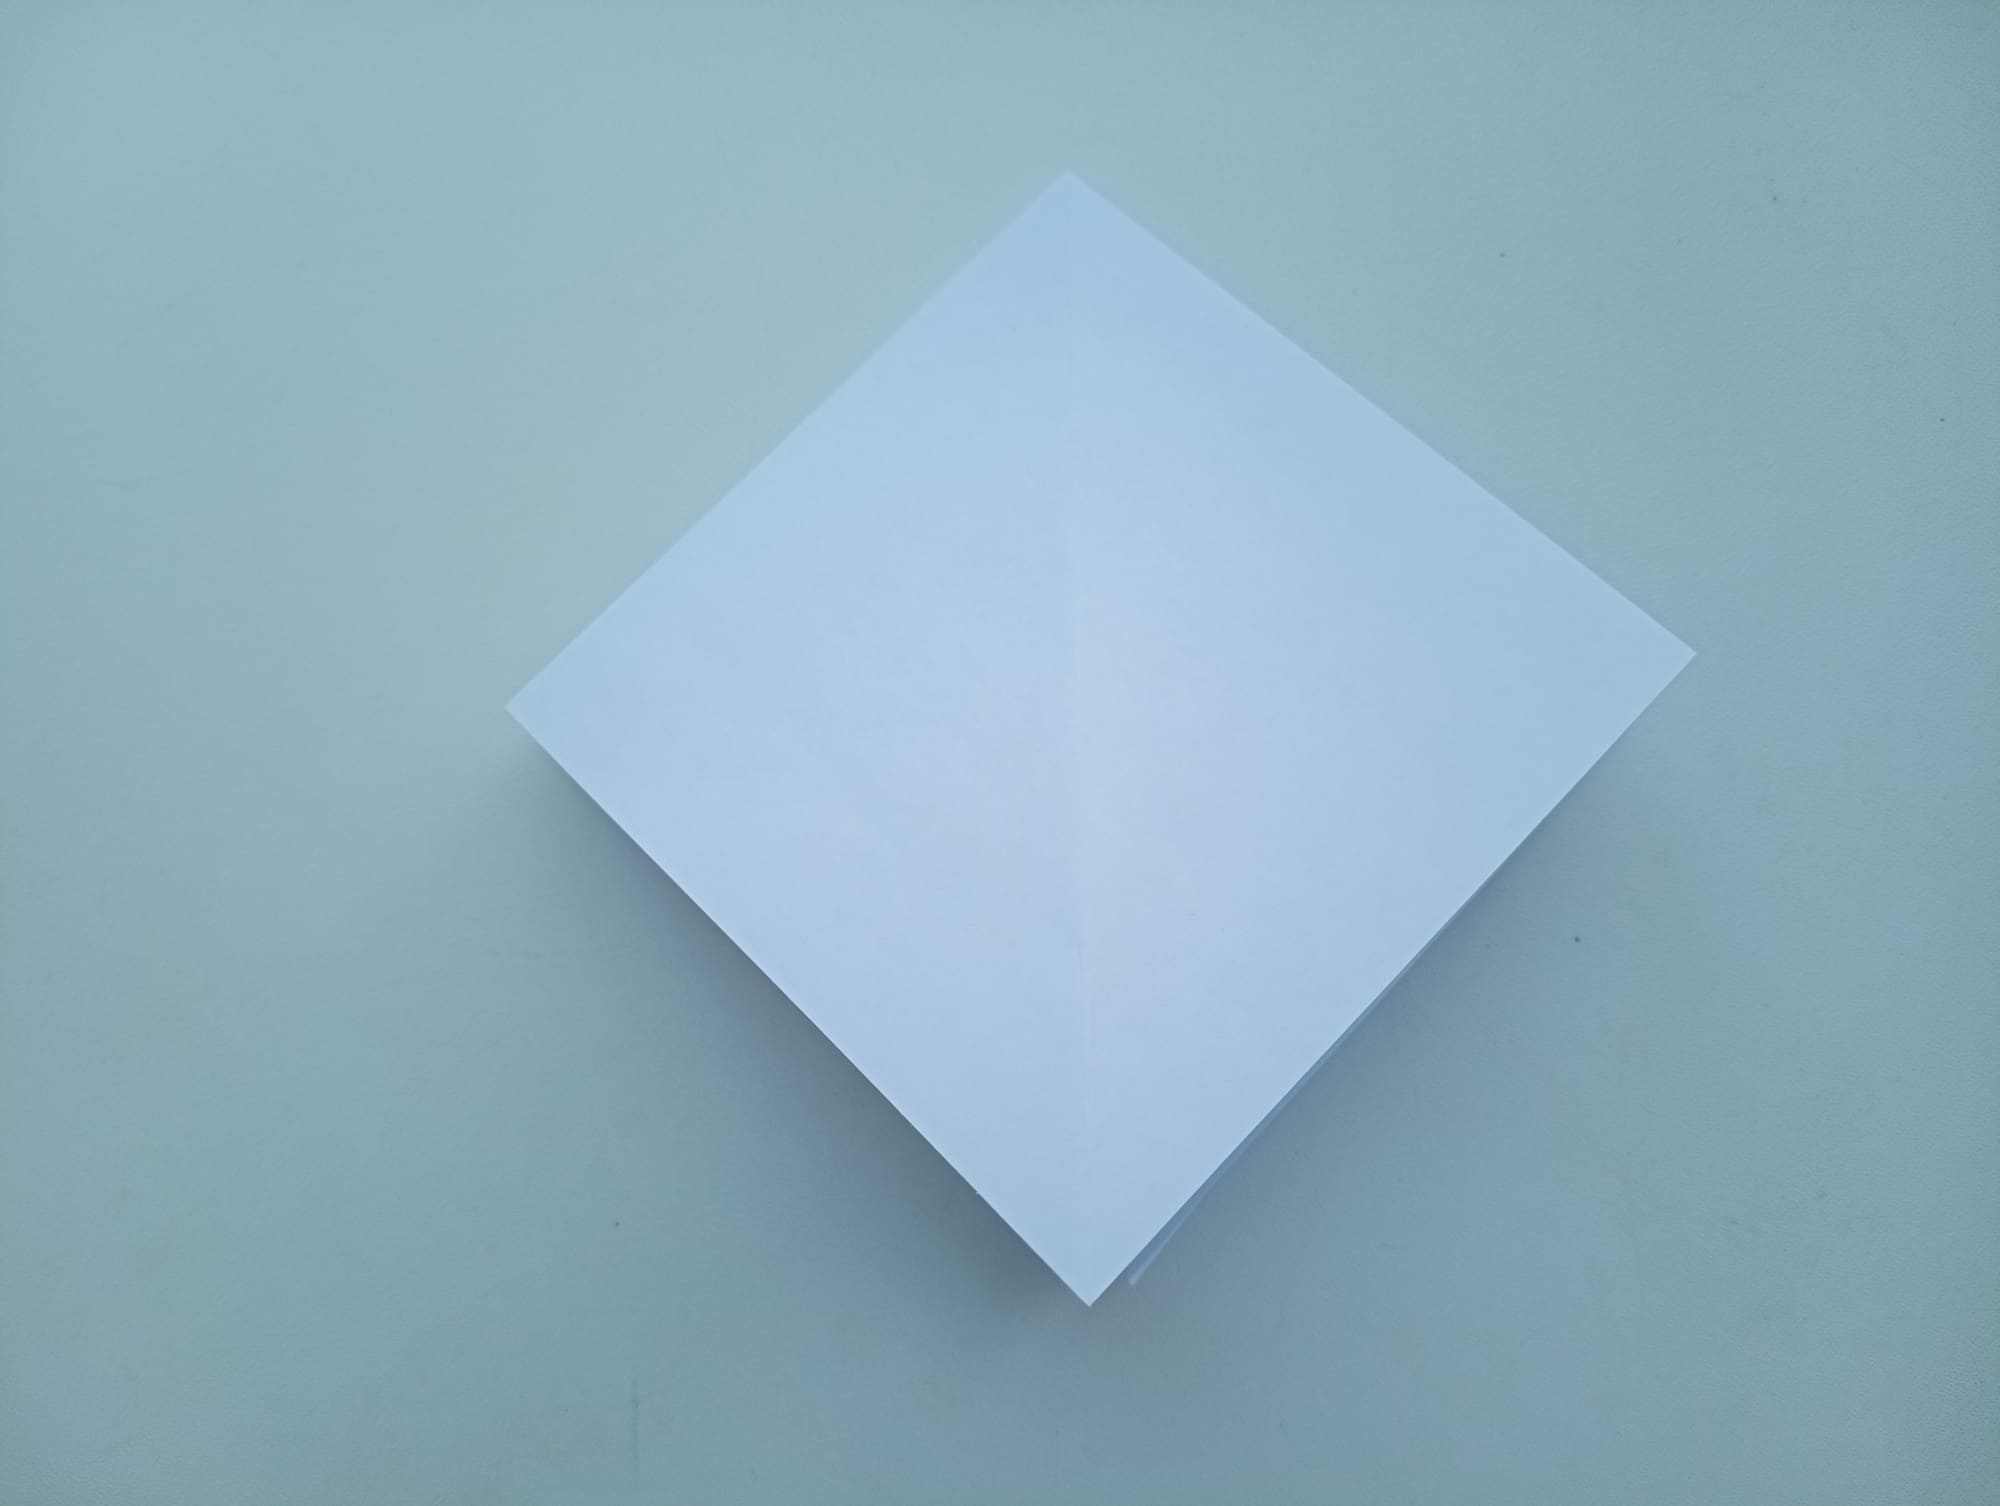
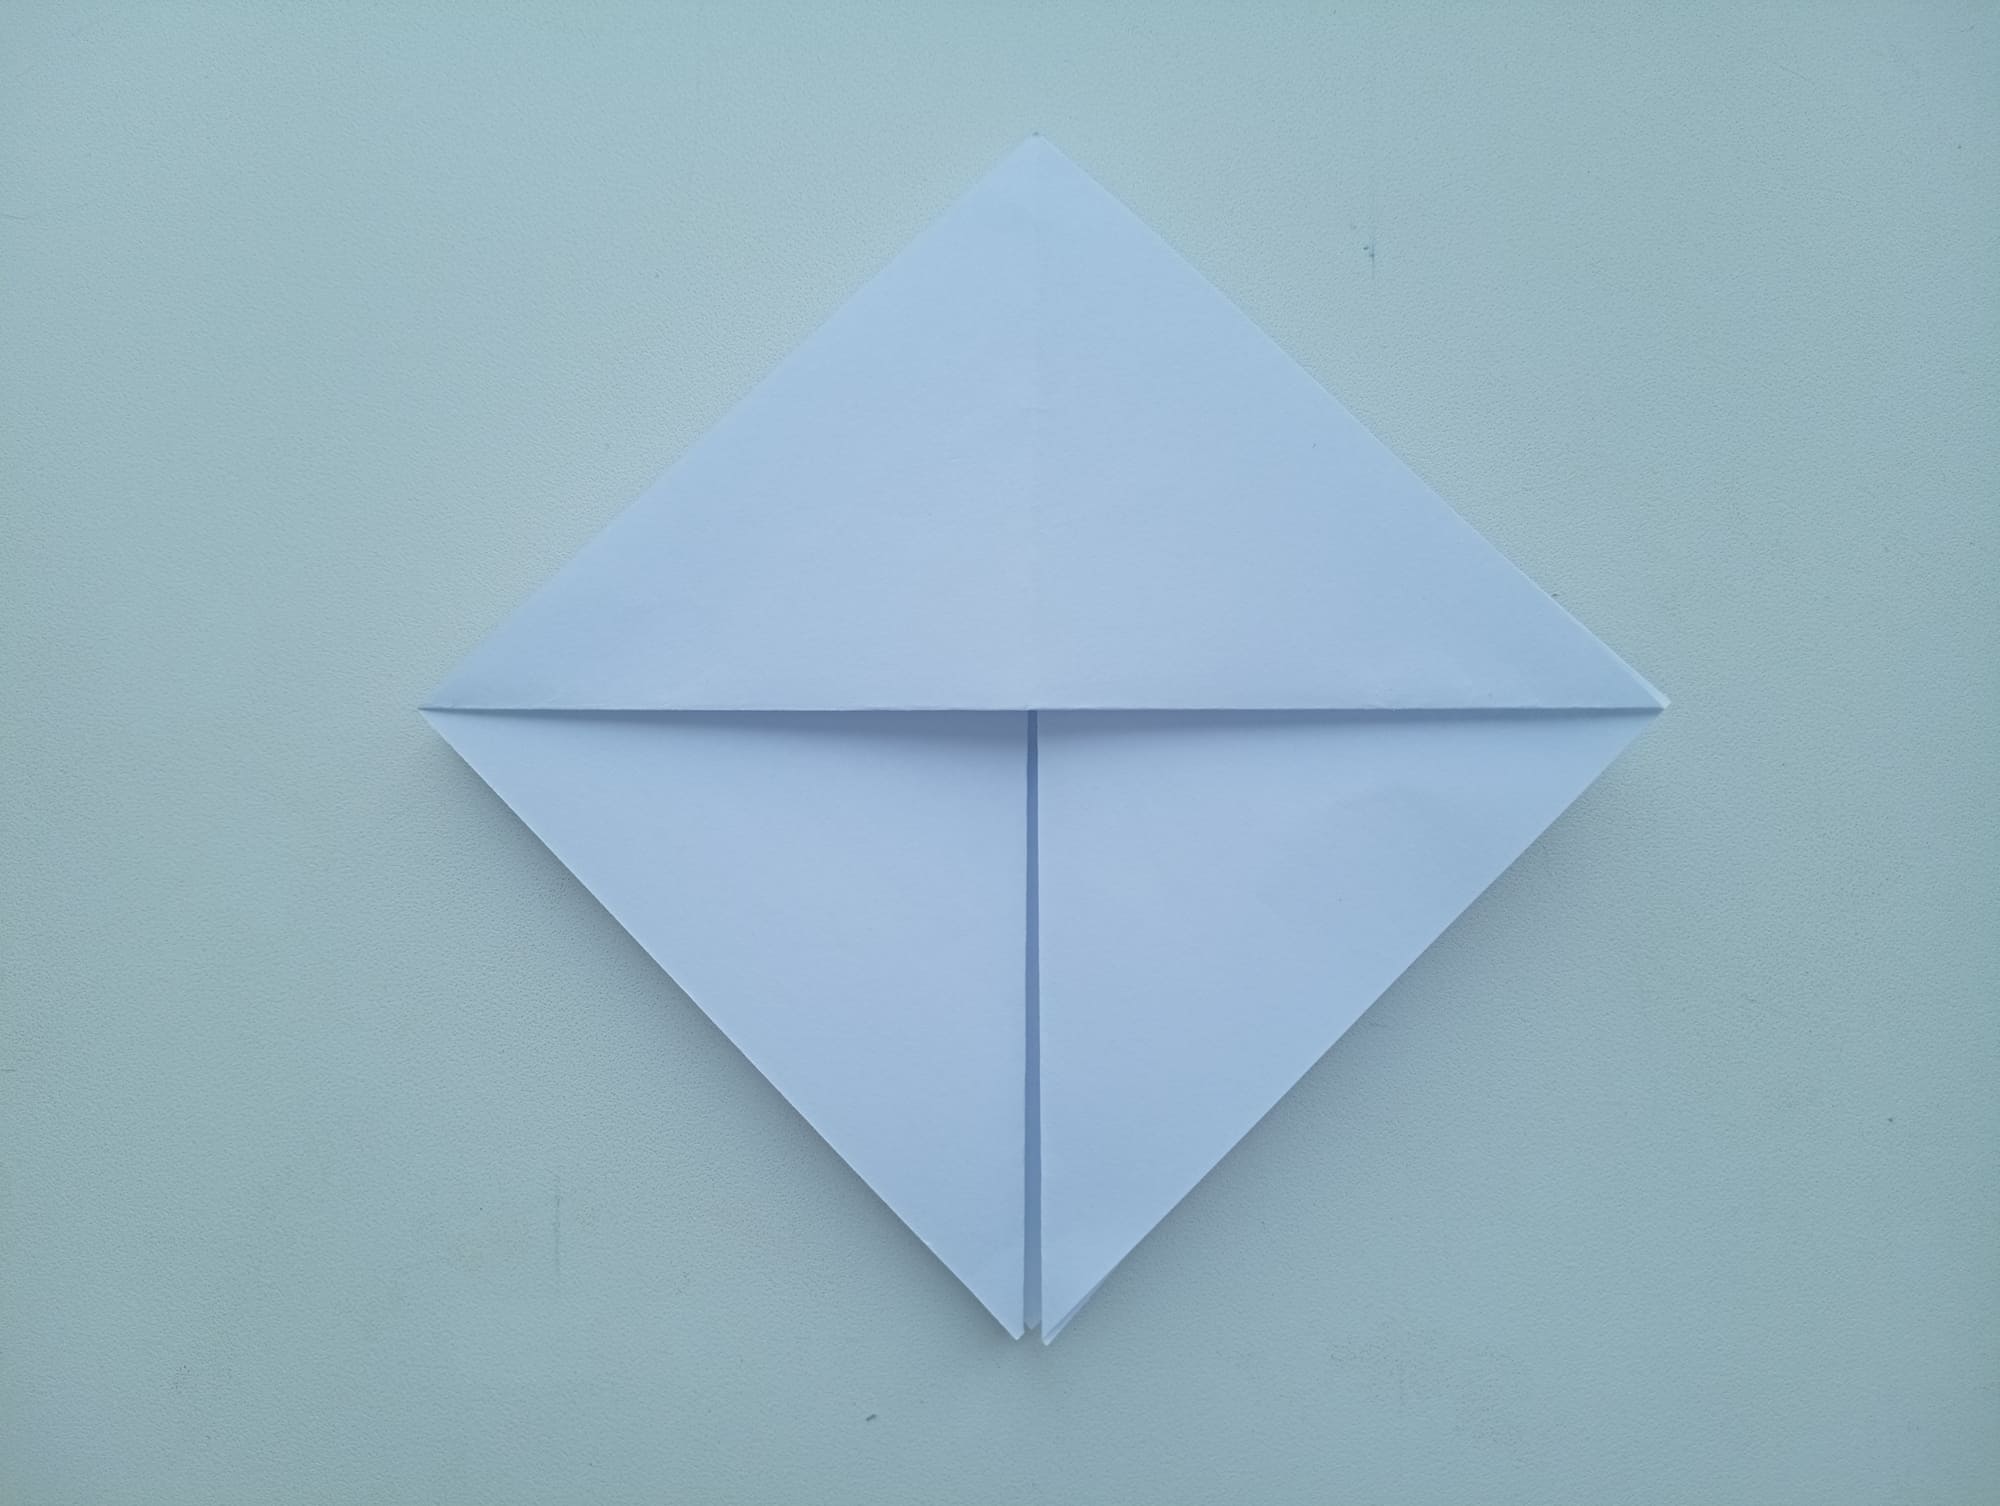
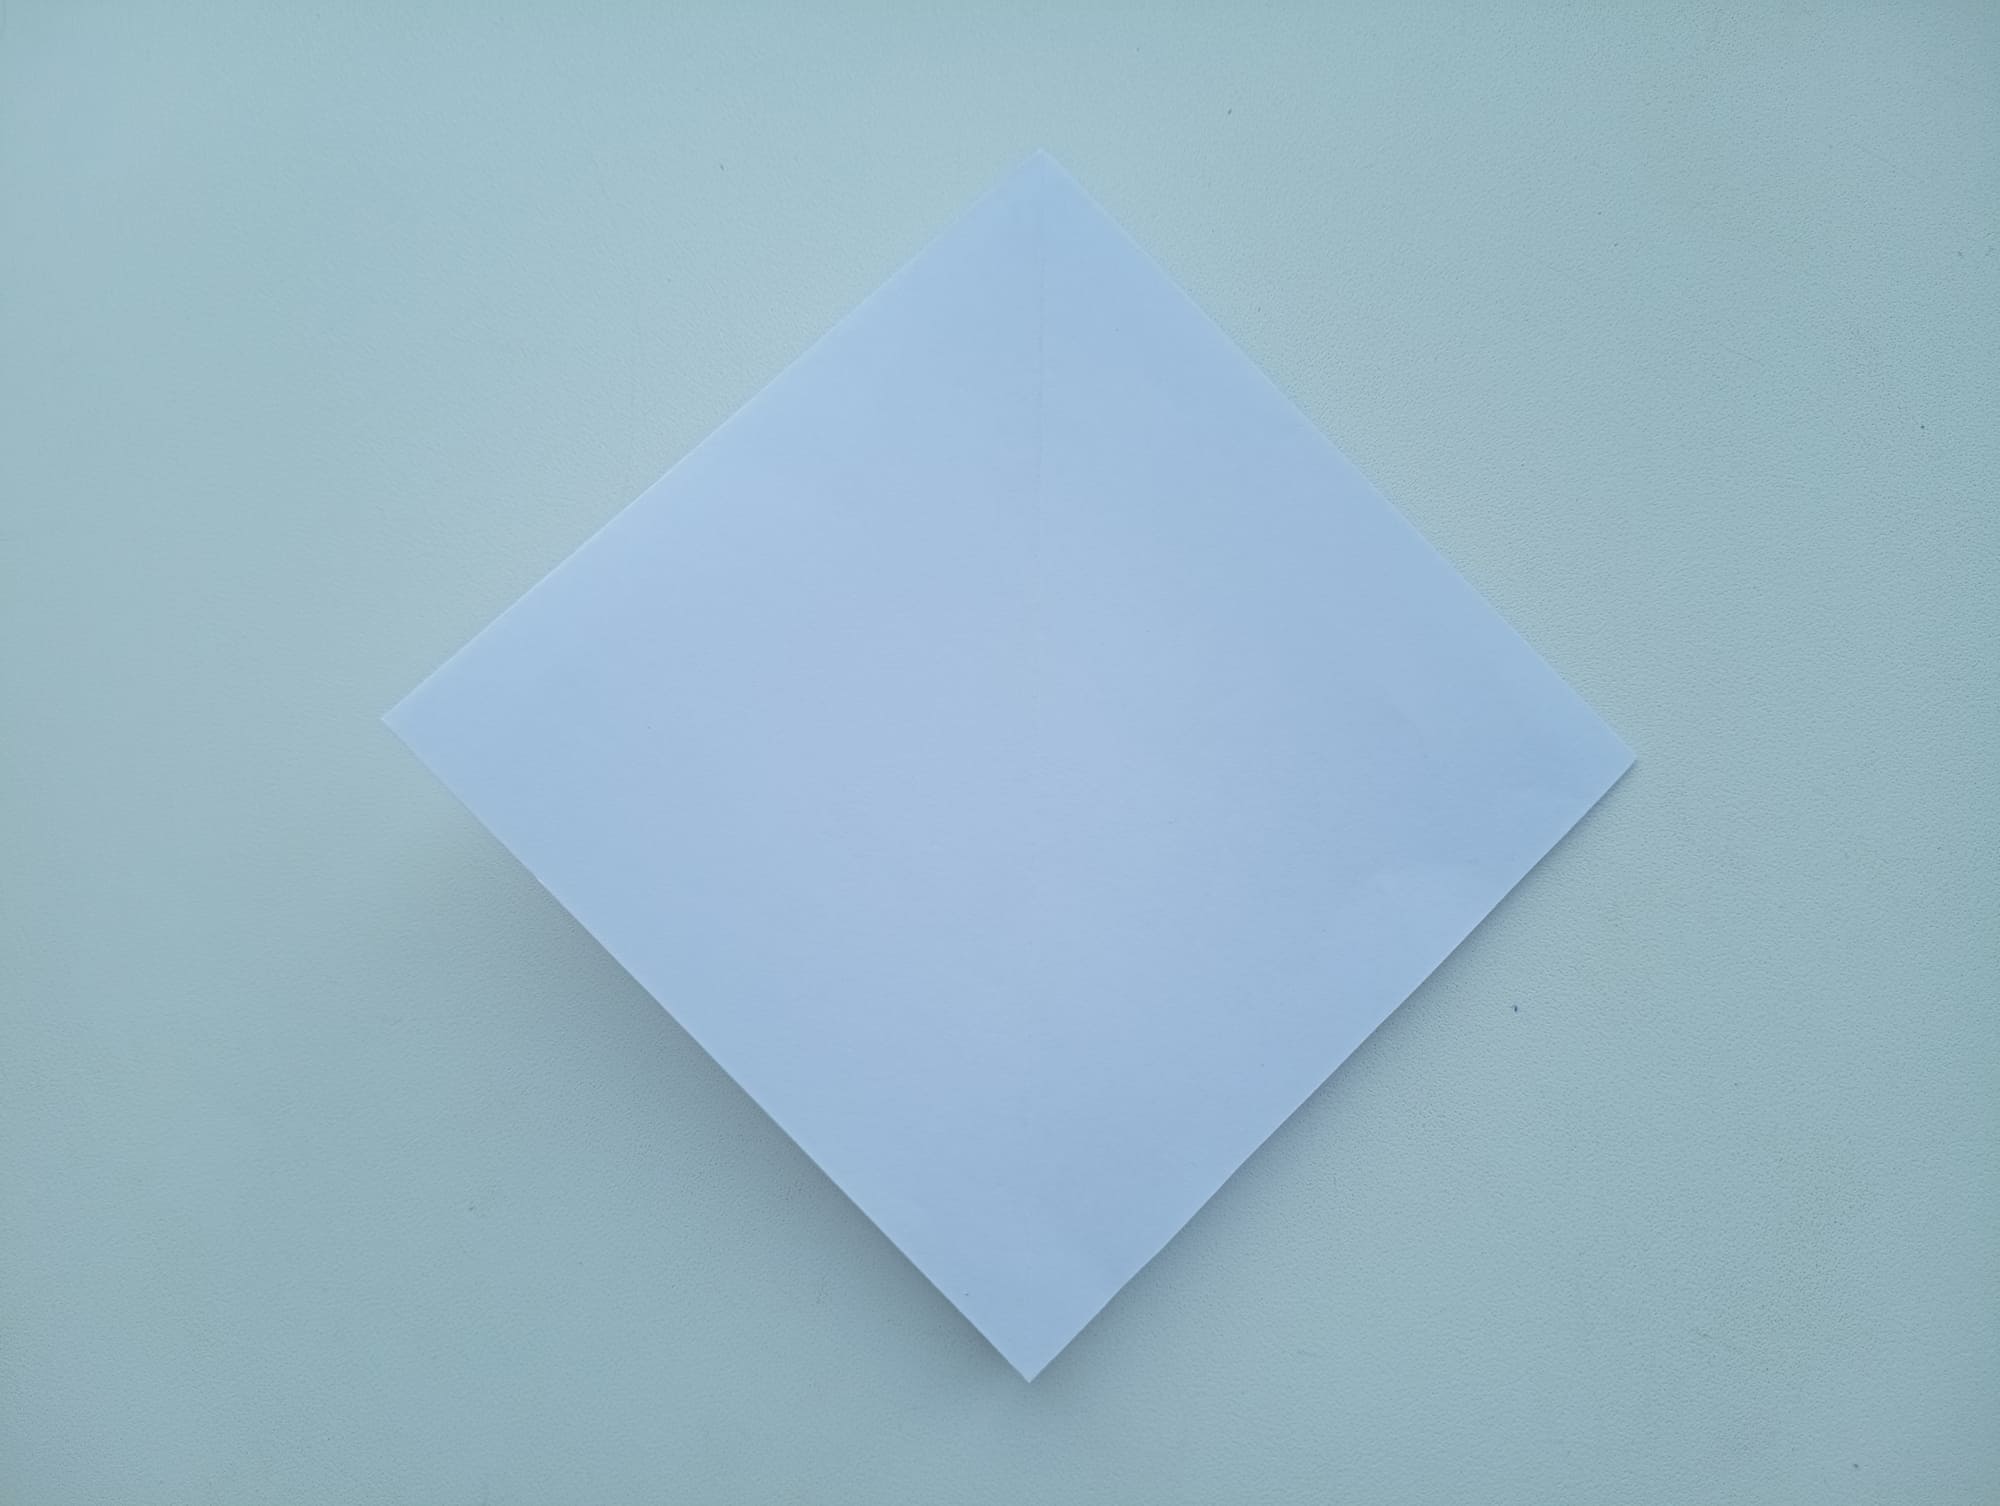
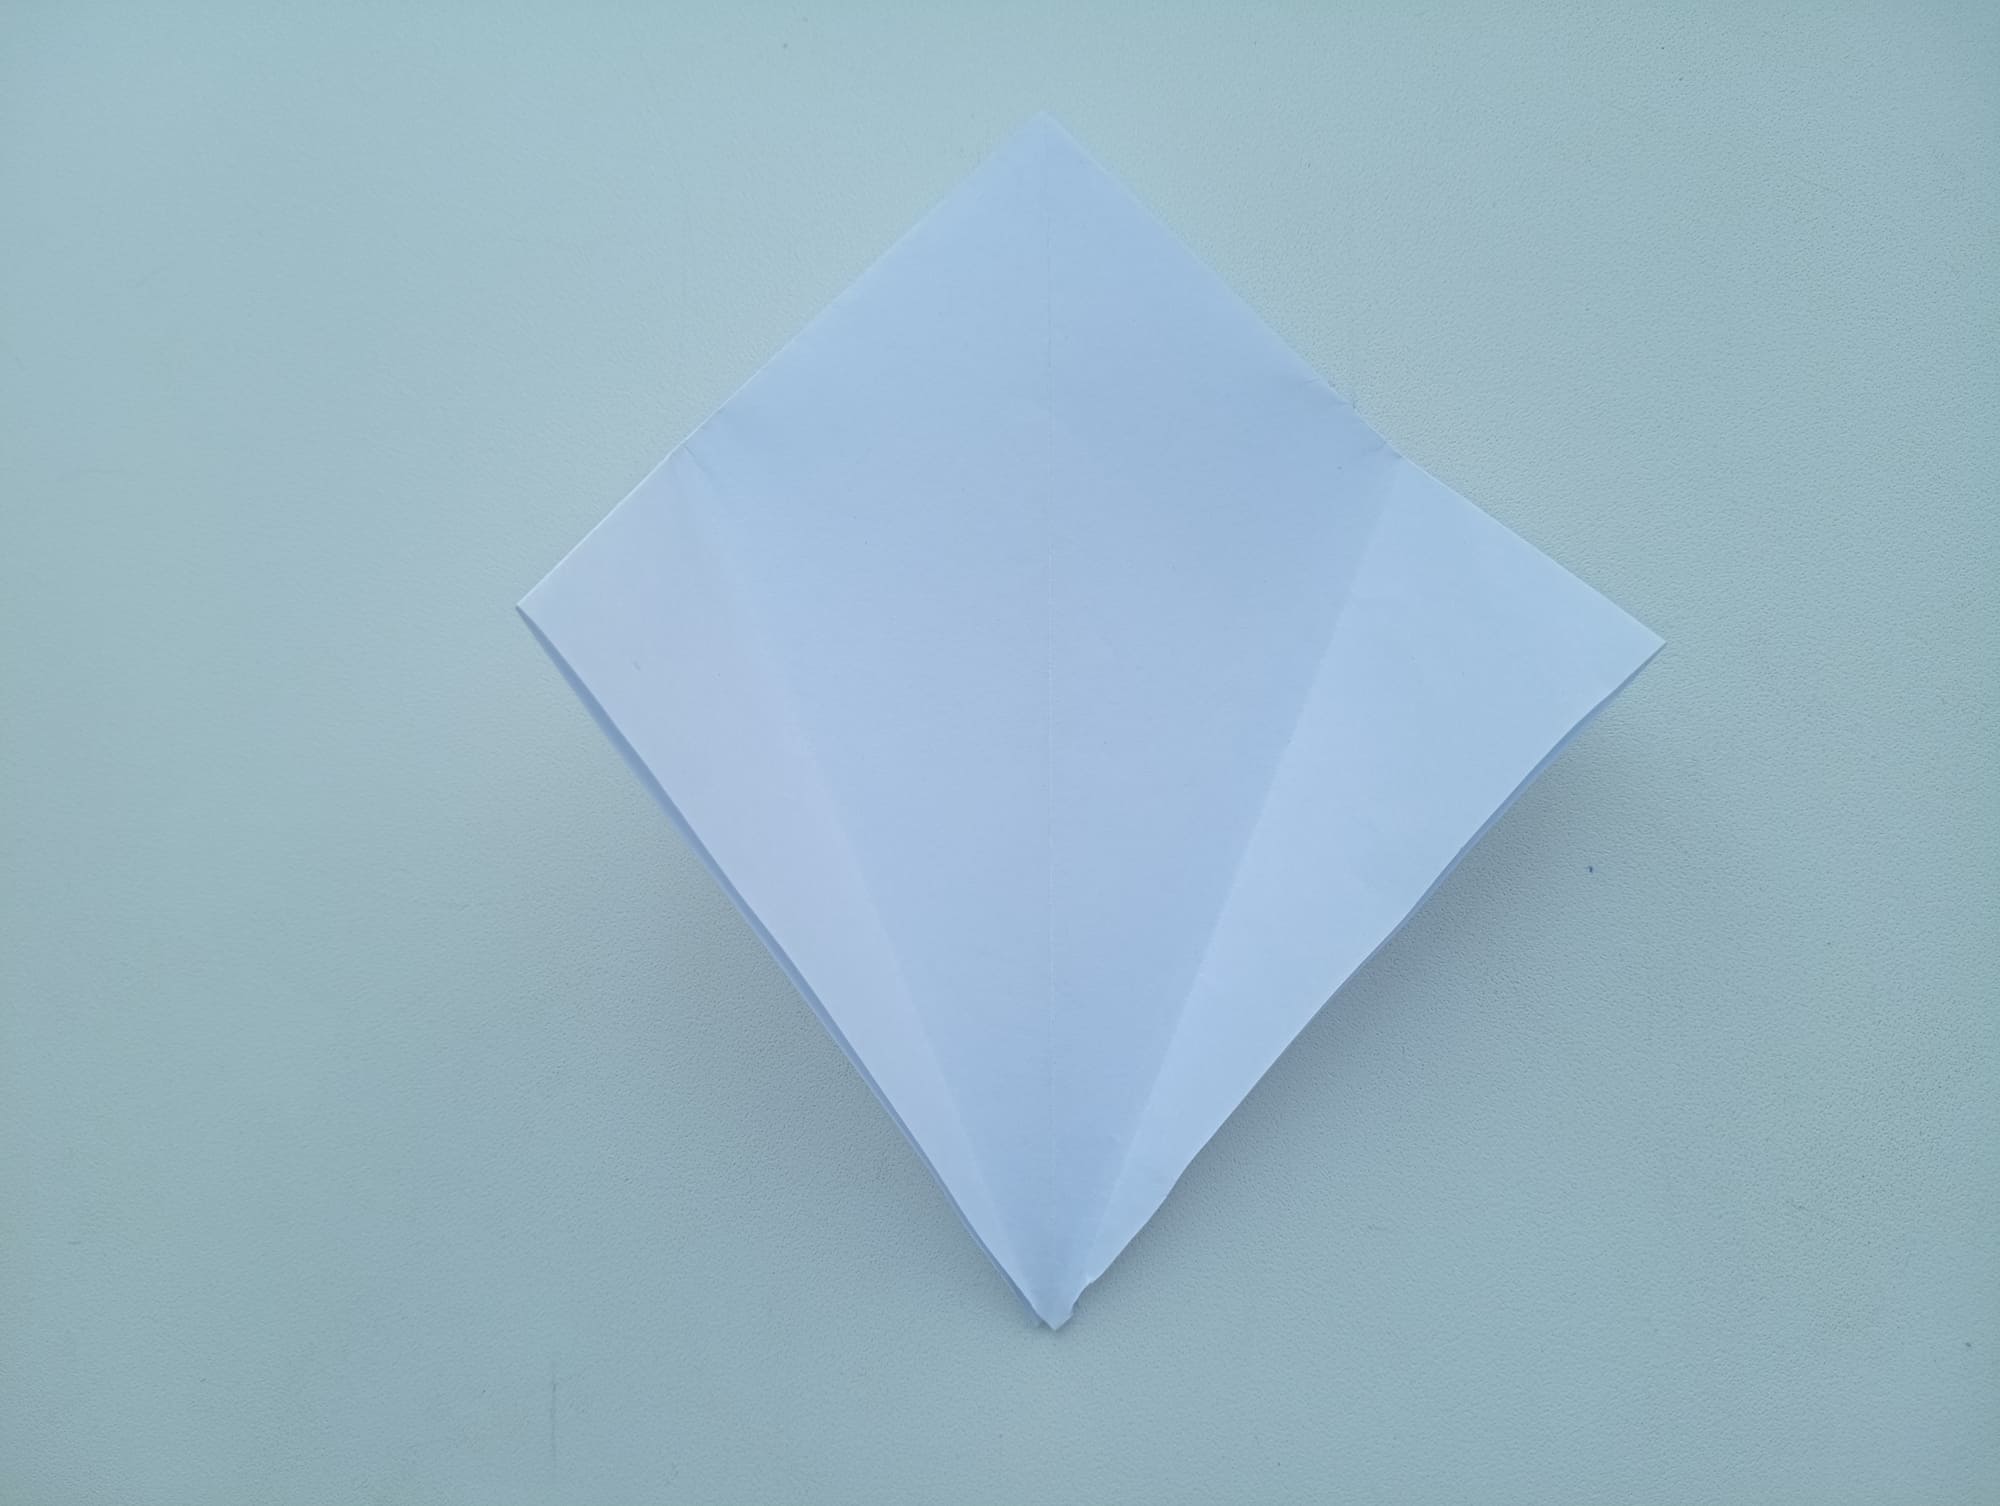
Take a piece of paper measuring 15 by 15 cm. Fold it along both diagonals and then horizontally and vertically. The photo shows all the folds that should turn out.
Take a piece of paper measuring 15 by 15 cm. Fold it along both diagonals and then horizontally and vertically. The photo shows all the folds that should turn out.
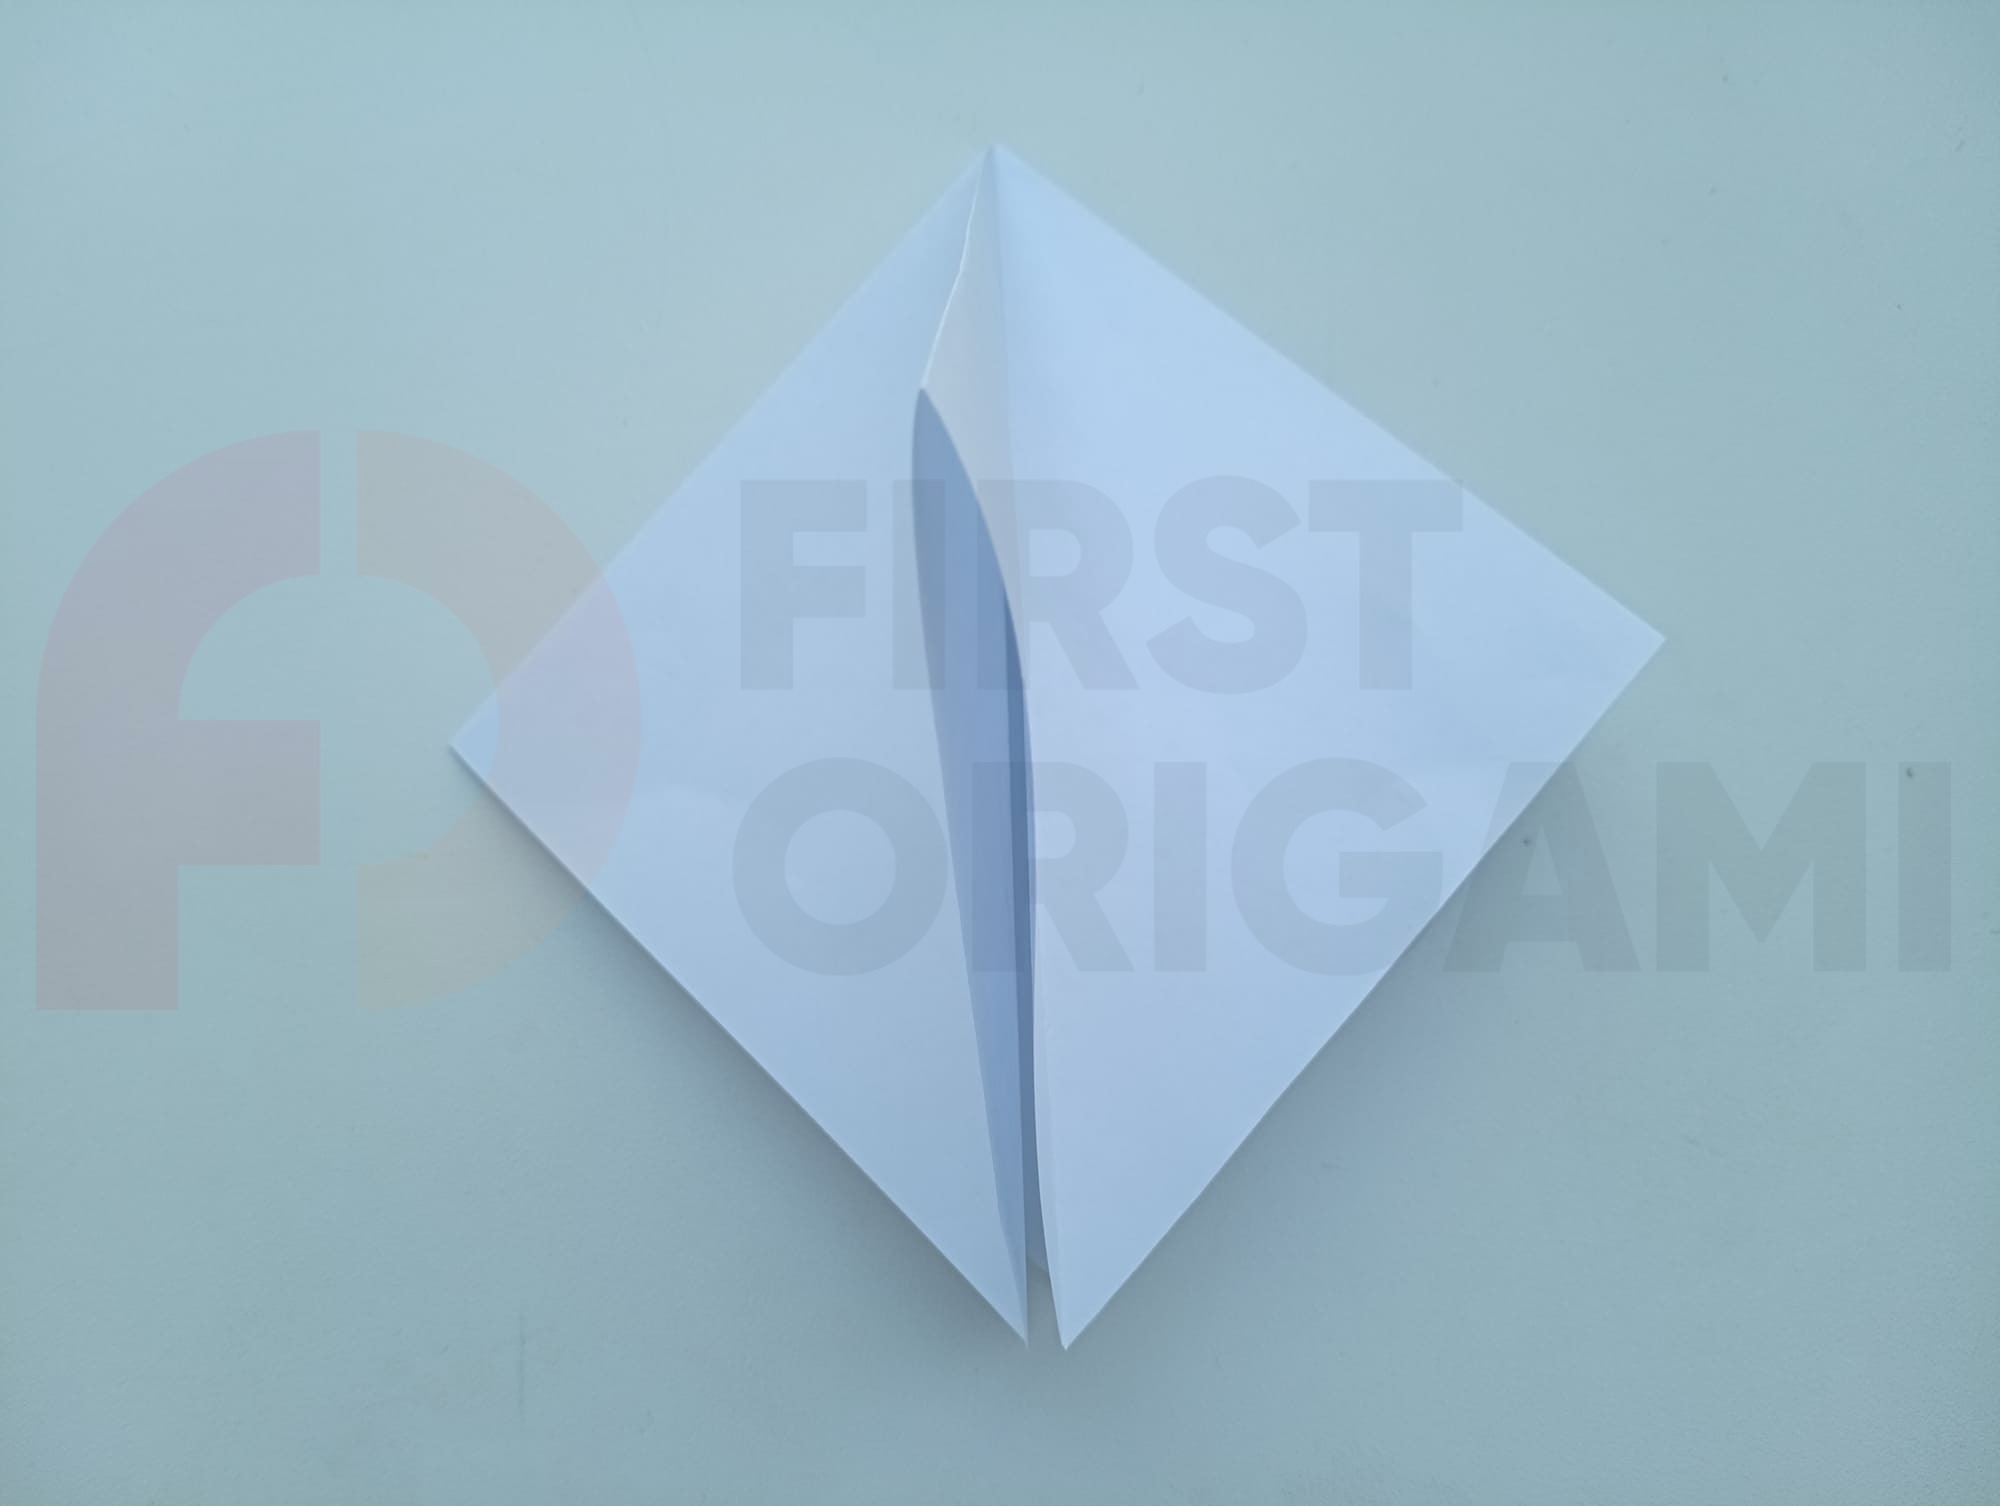
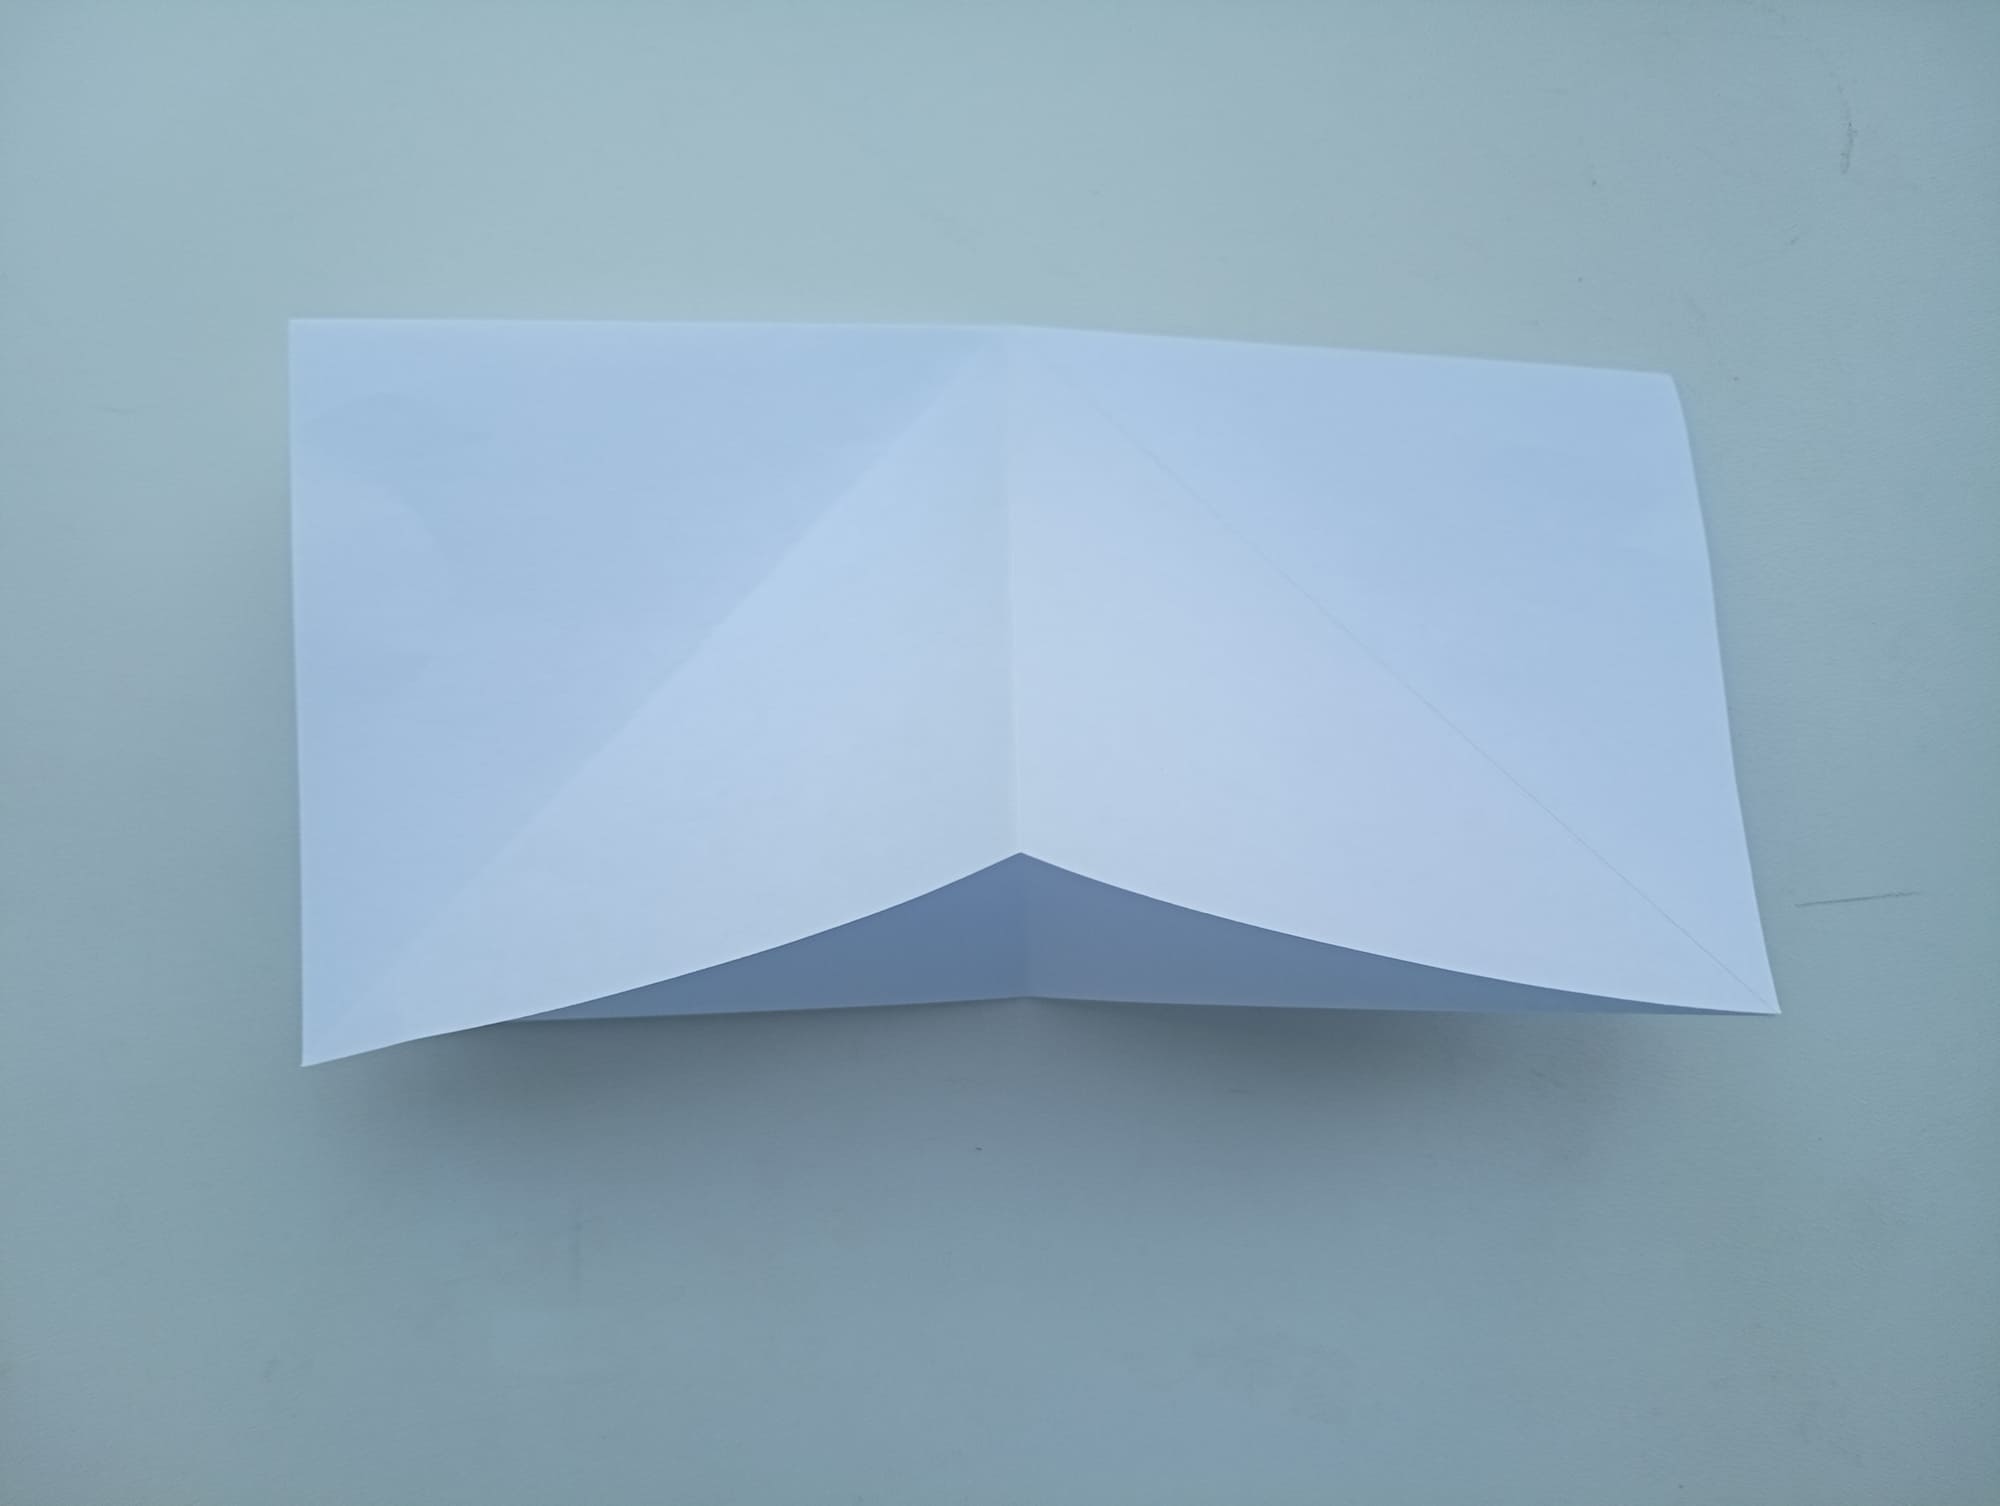
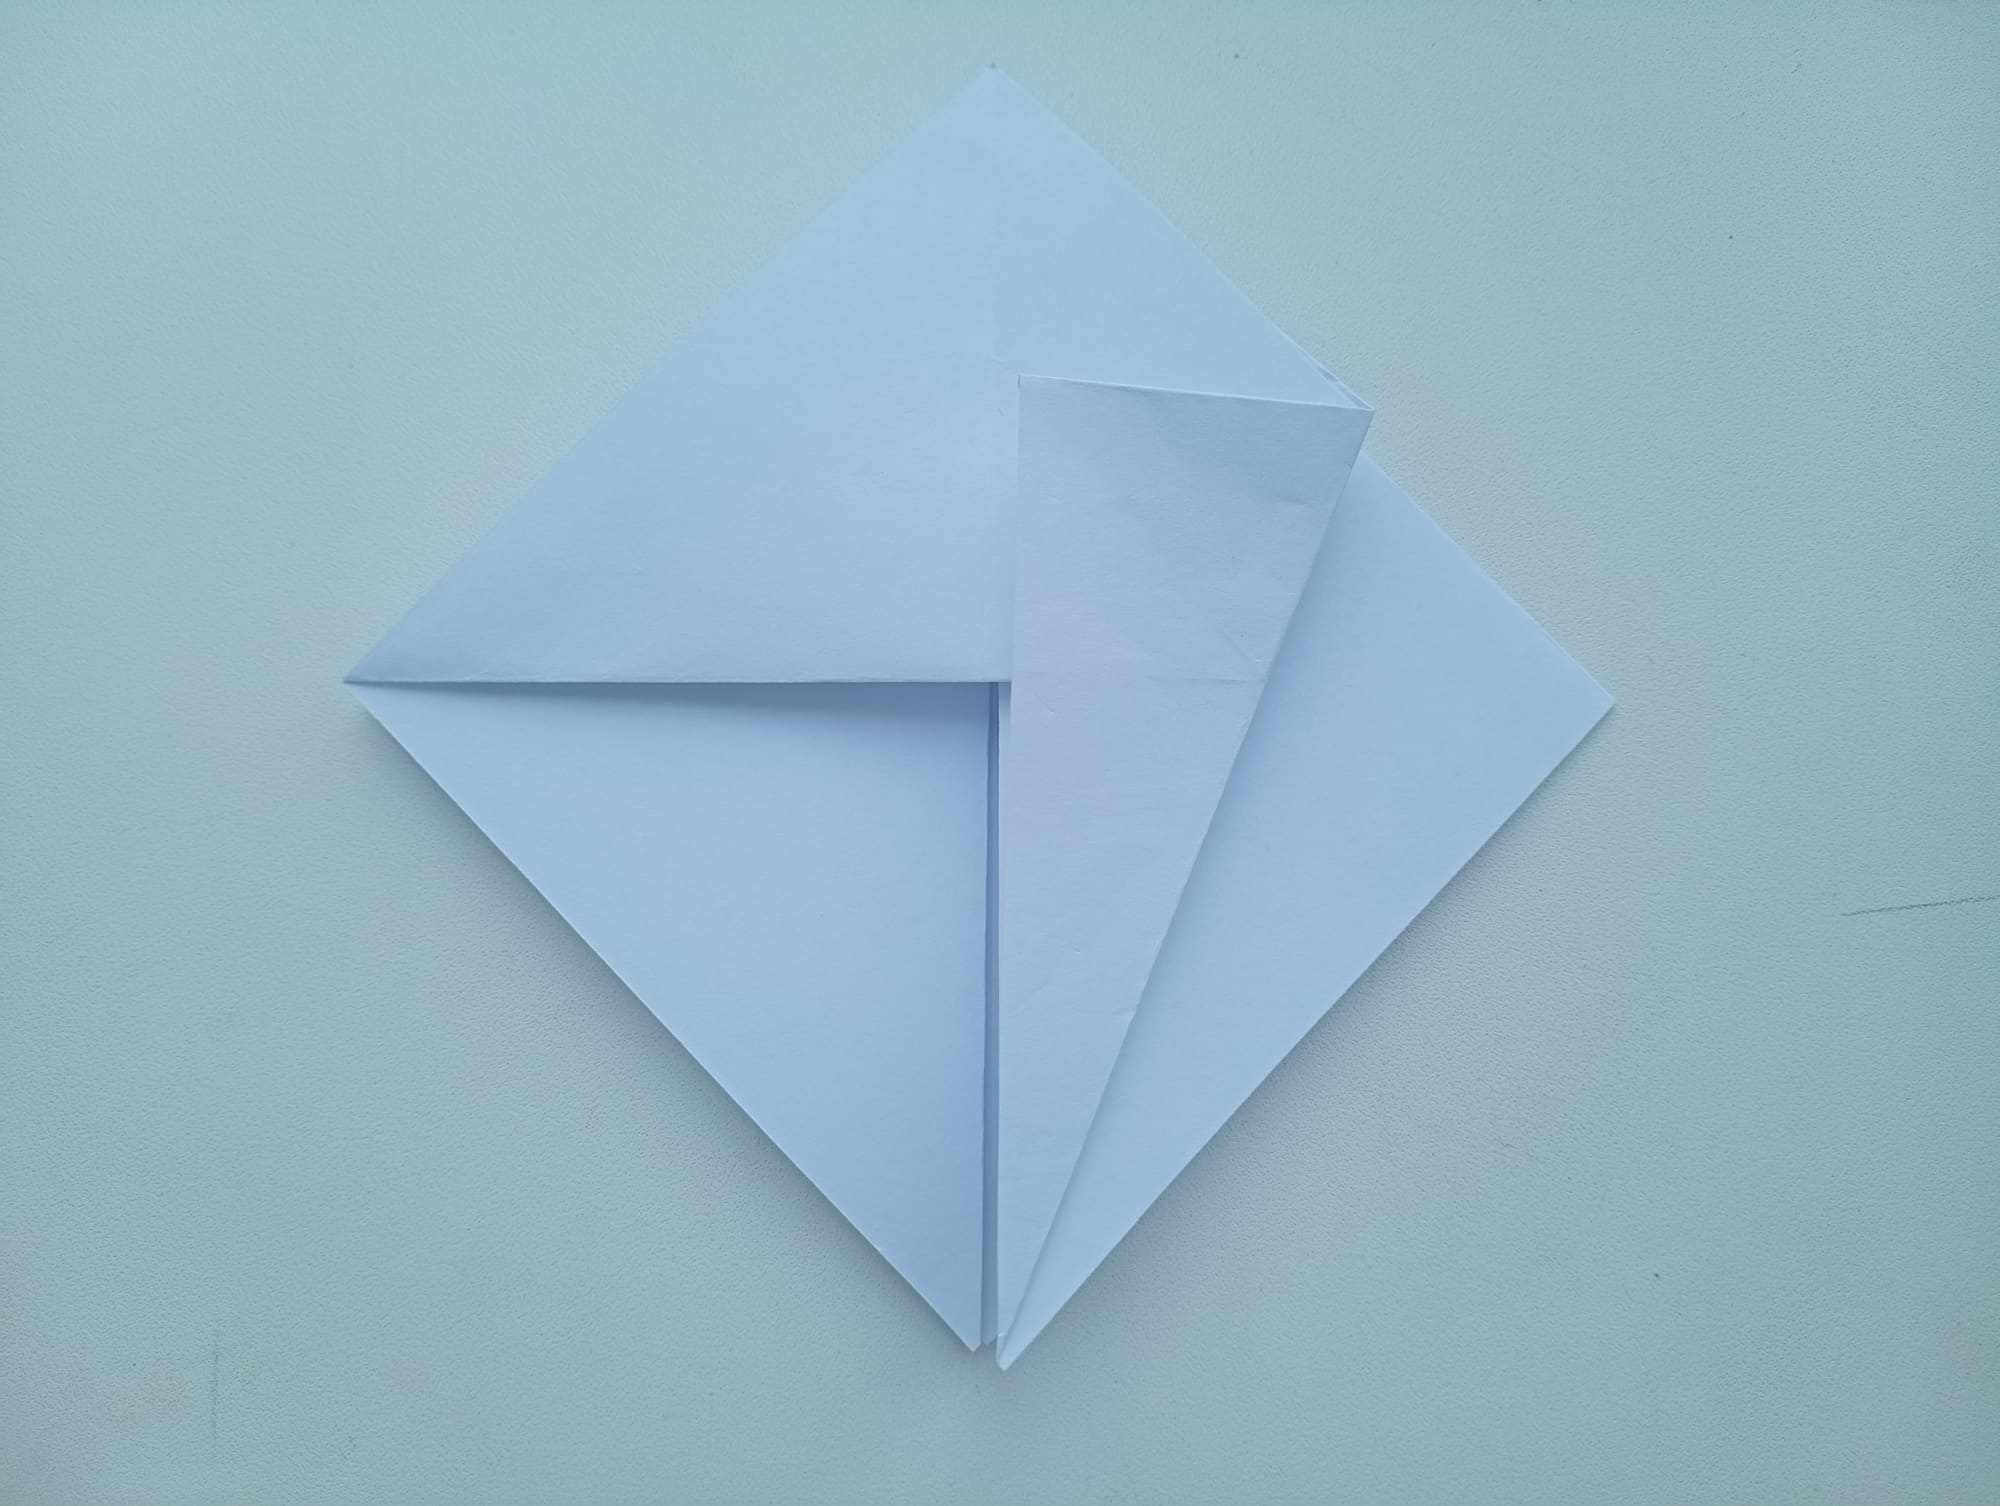
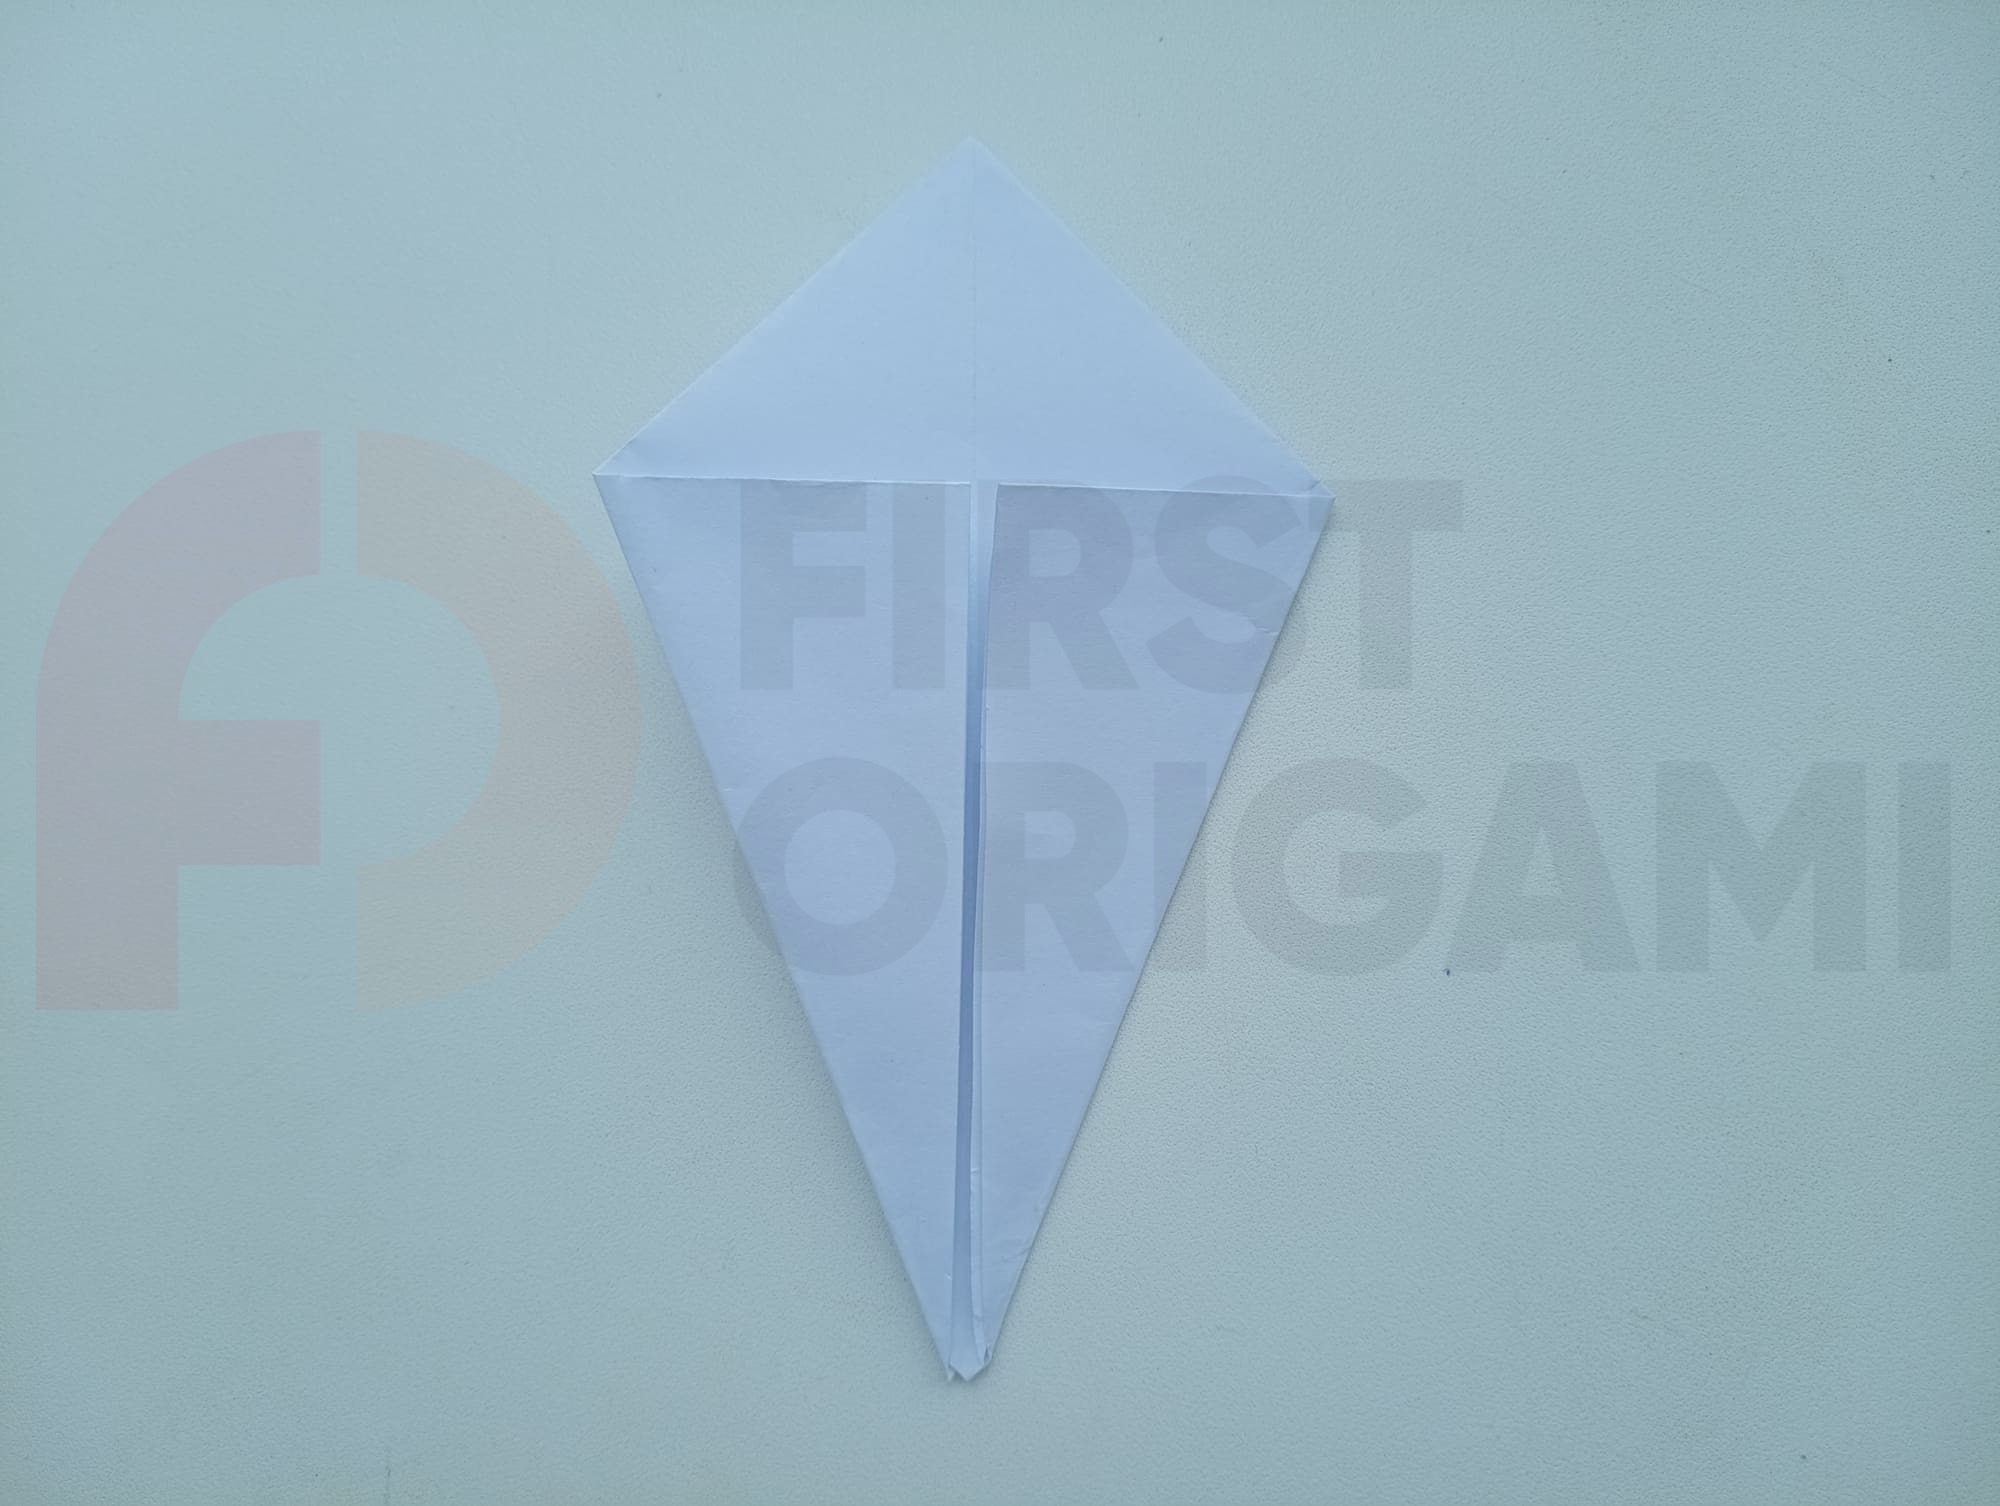
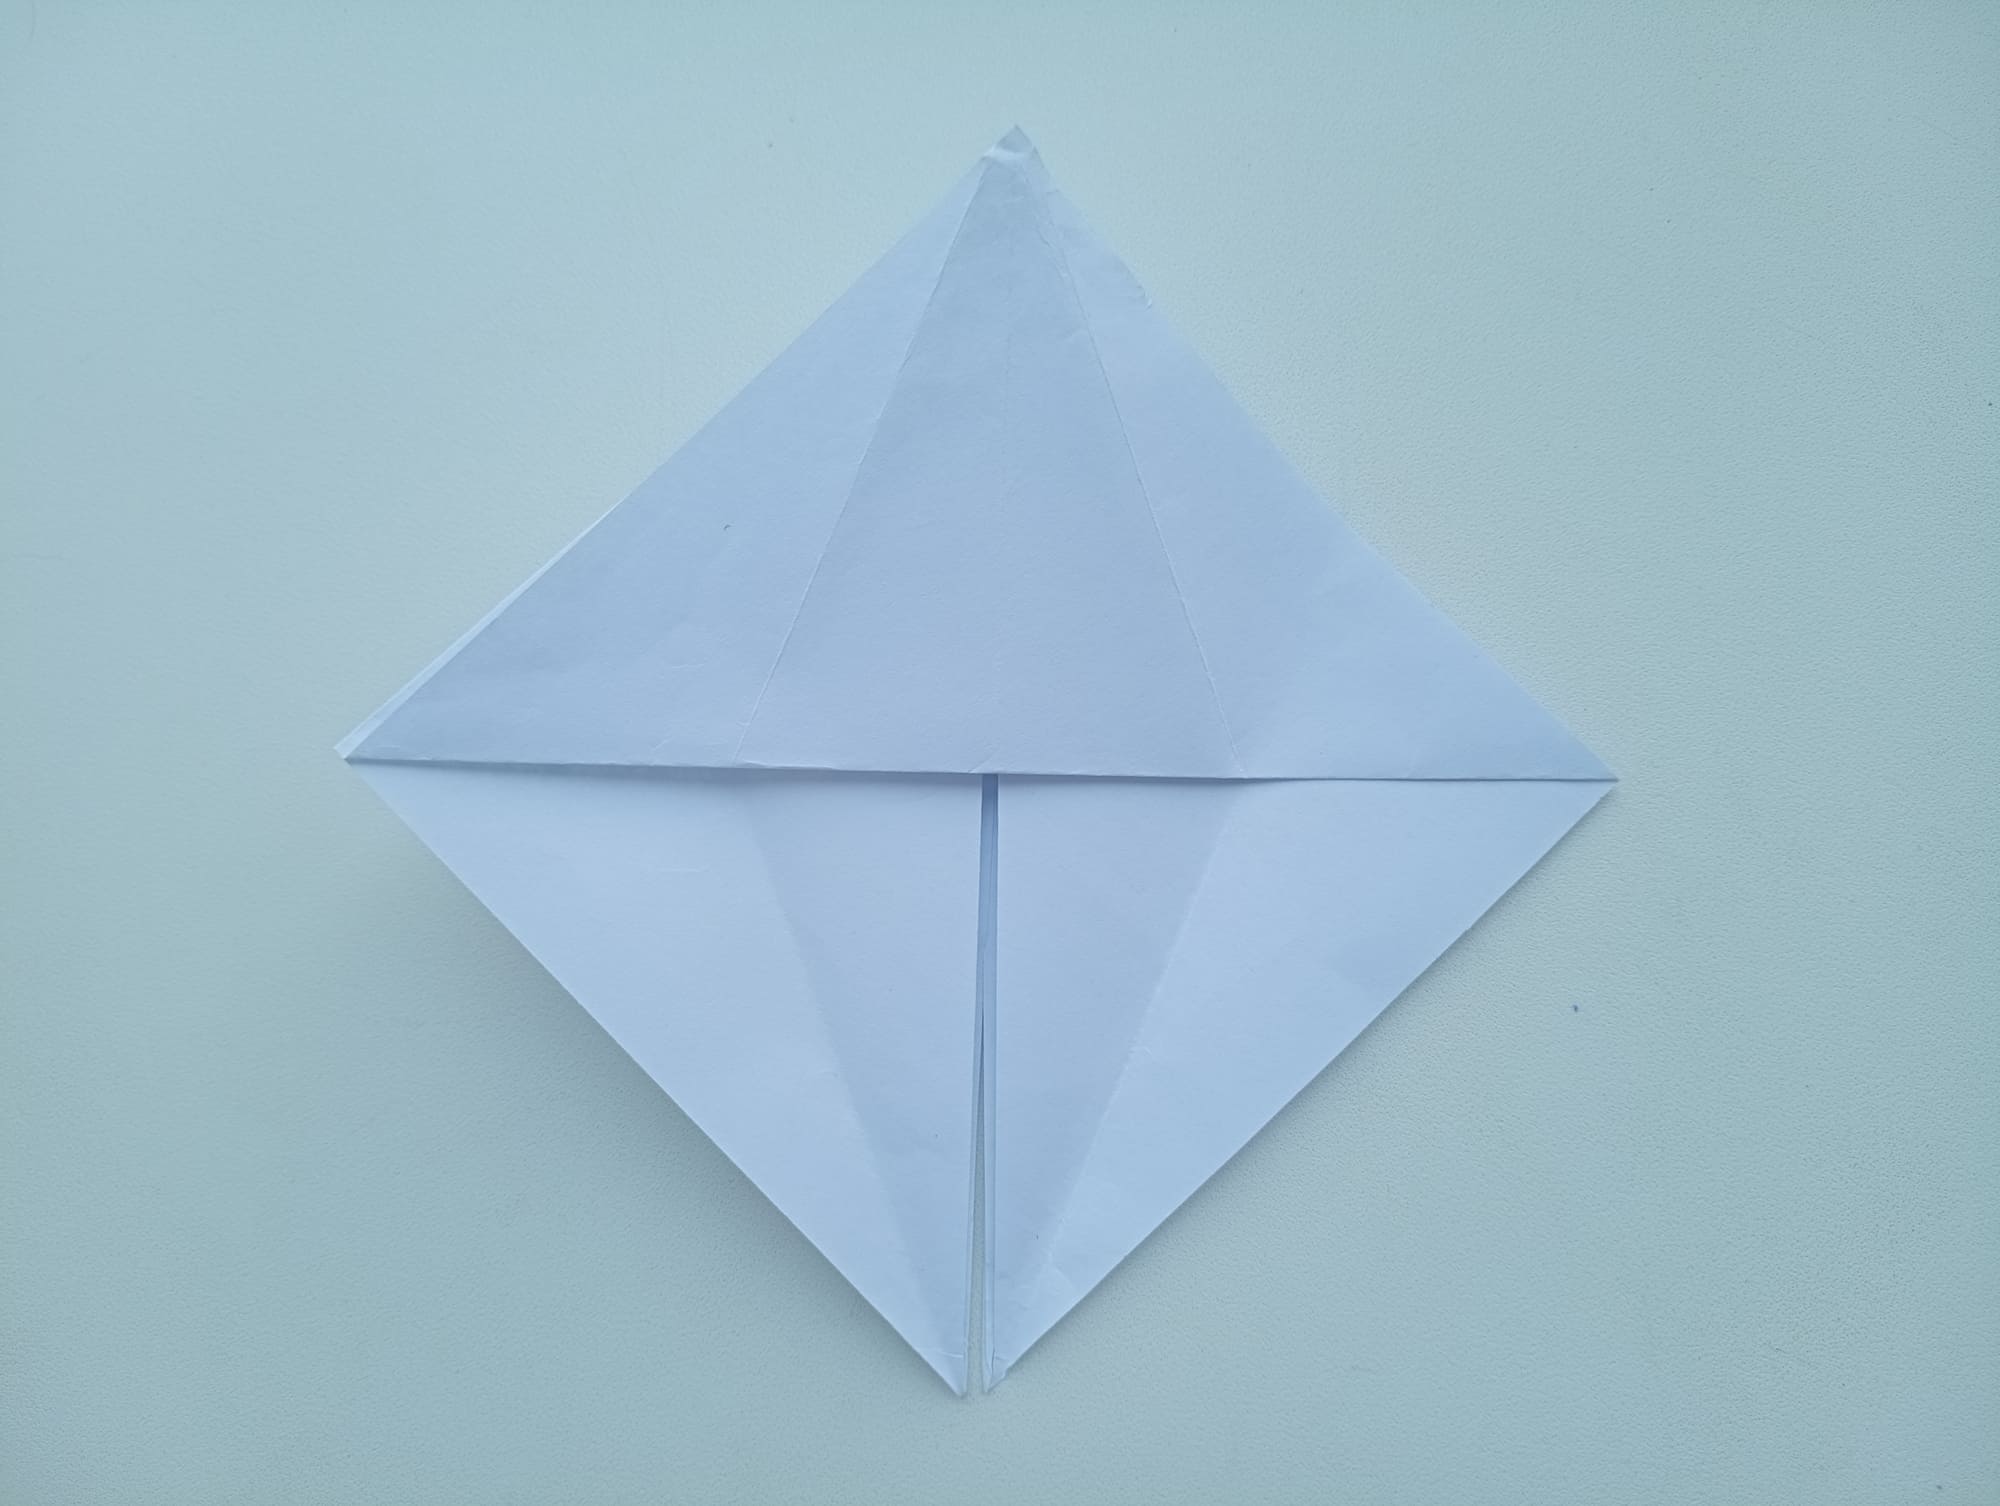
Fold a small square along the fold lines, as in the photo. You should end up with a traditional square origami base.
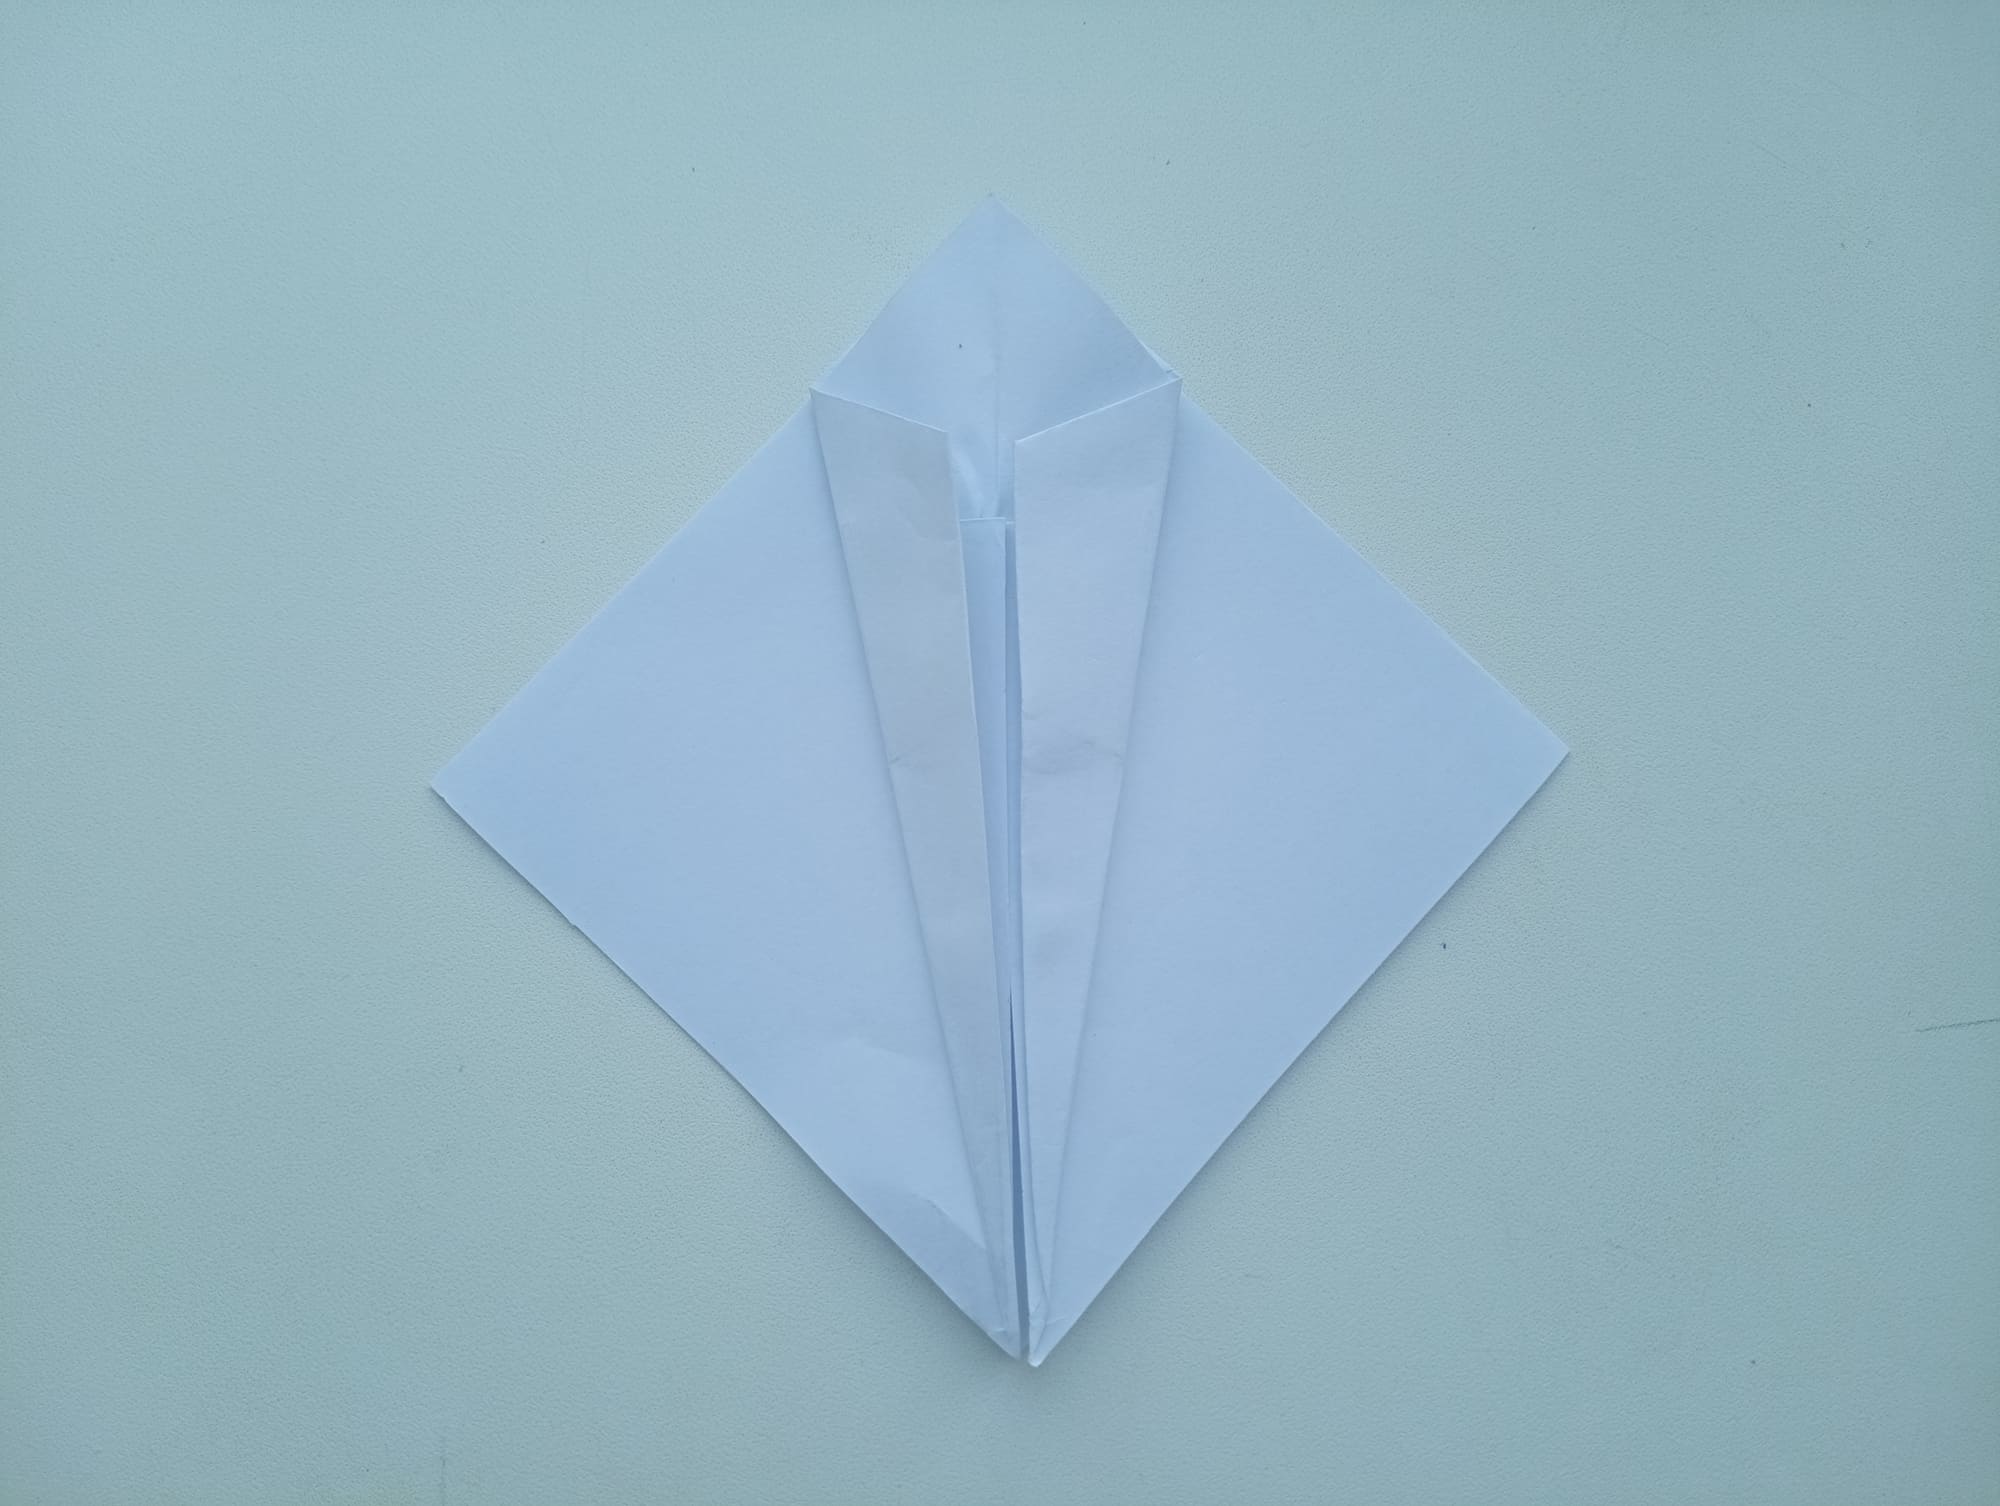
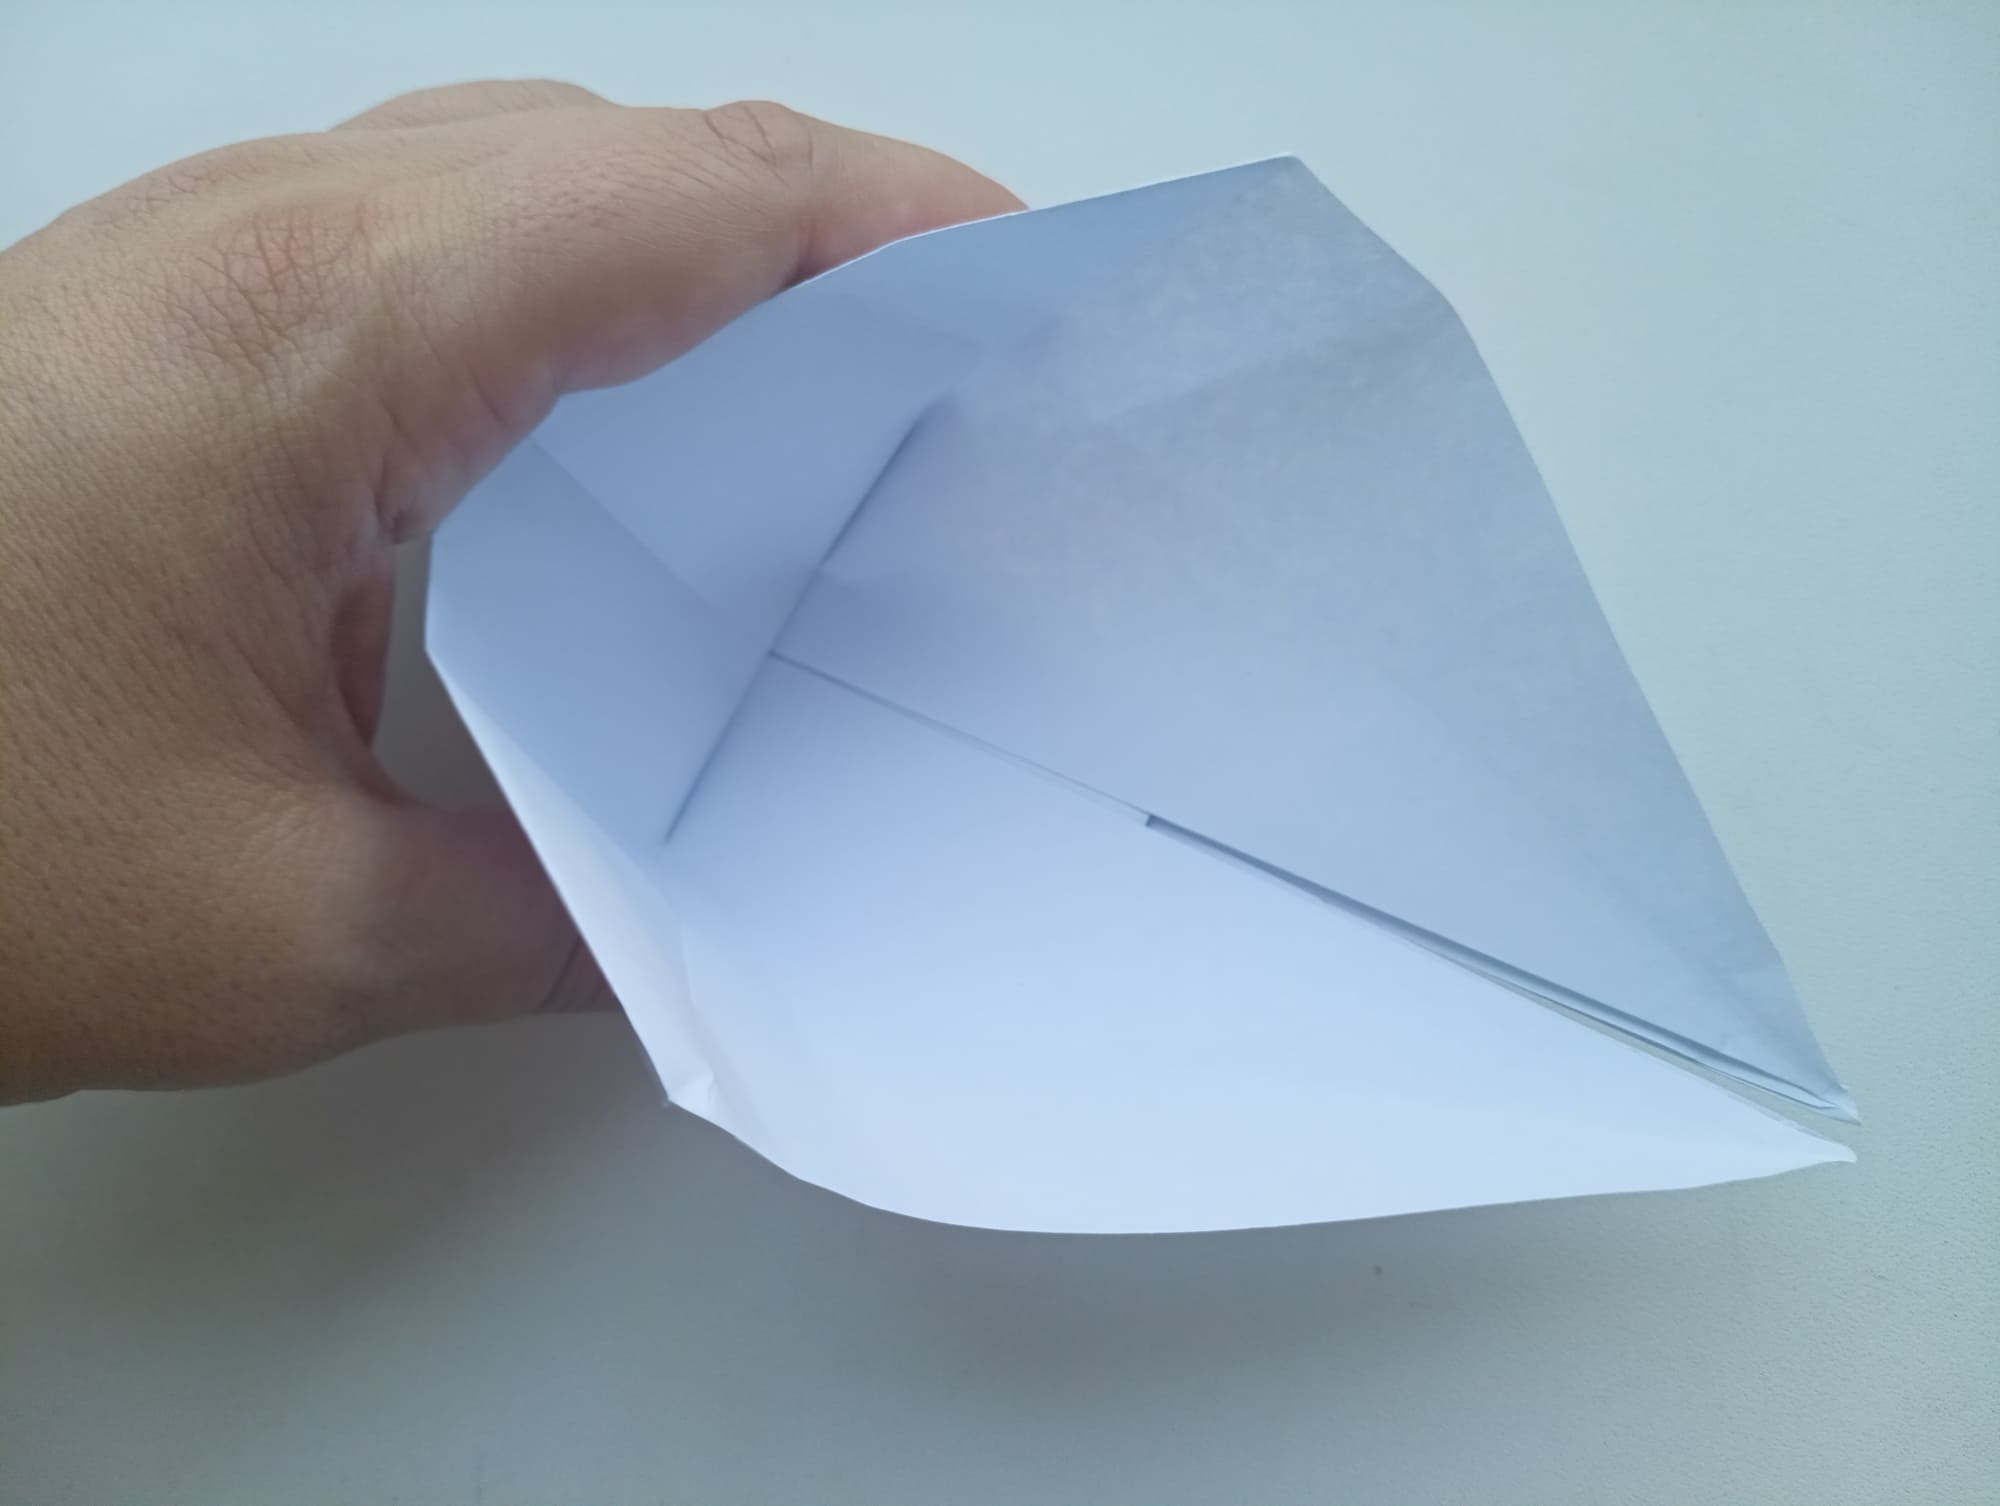
Fold up one bottom layer by pulling the corner up. Crease the fold line with your fingers.
Fold the left and right corners to the center line alternately.
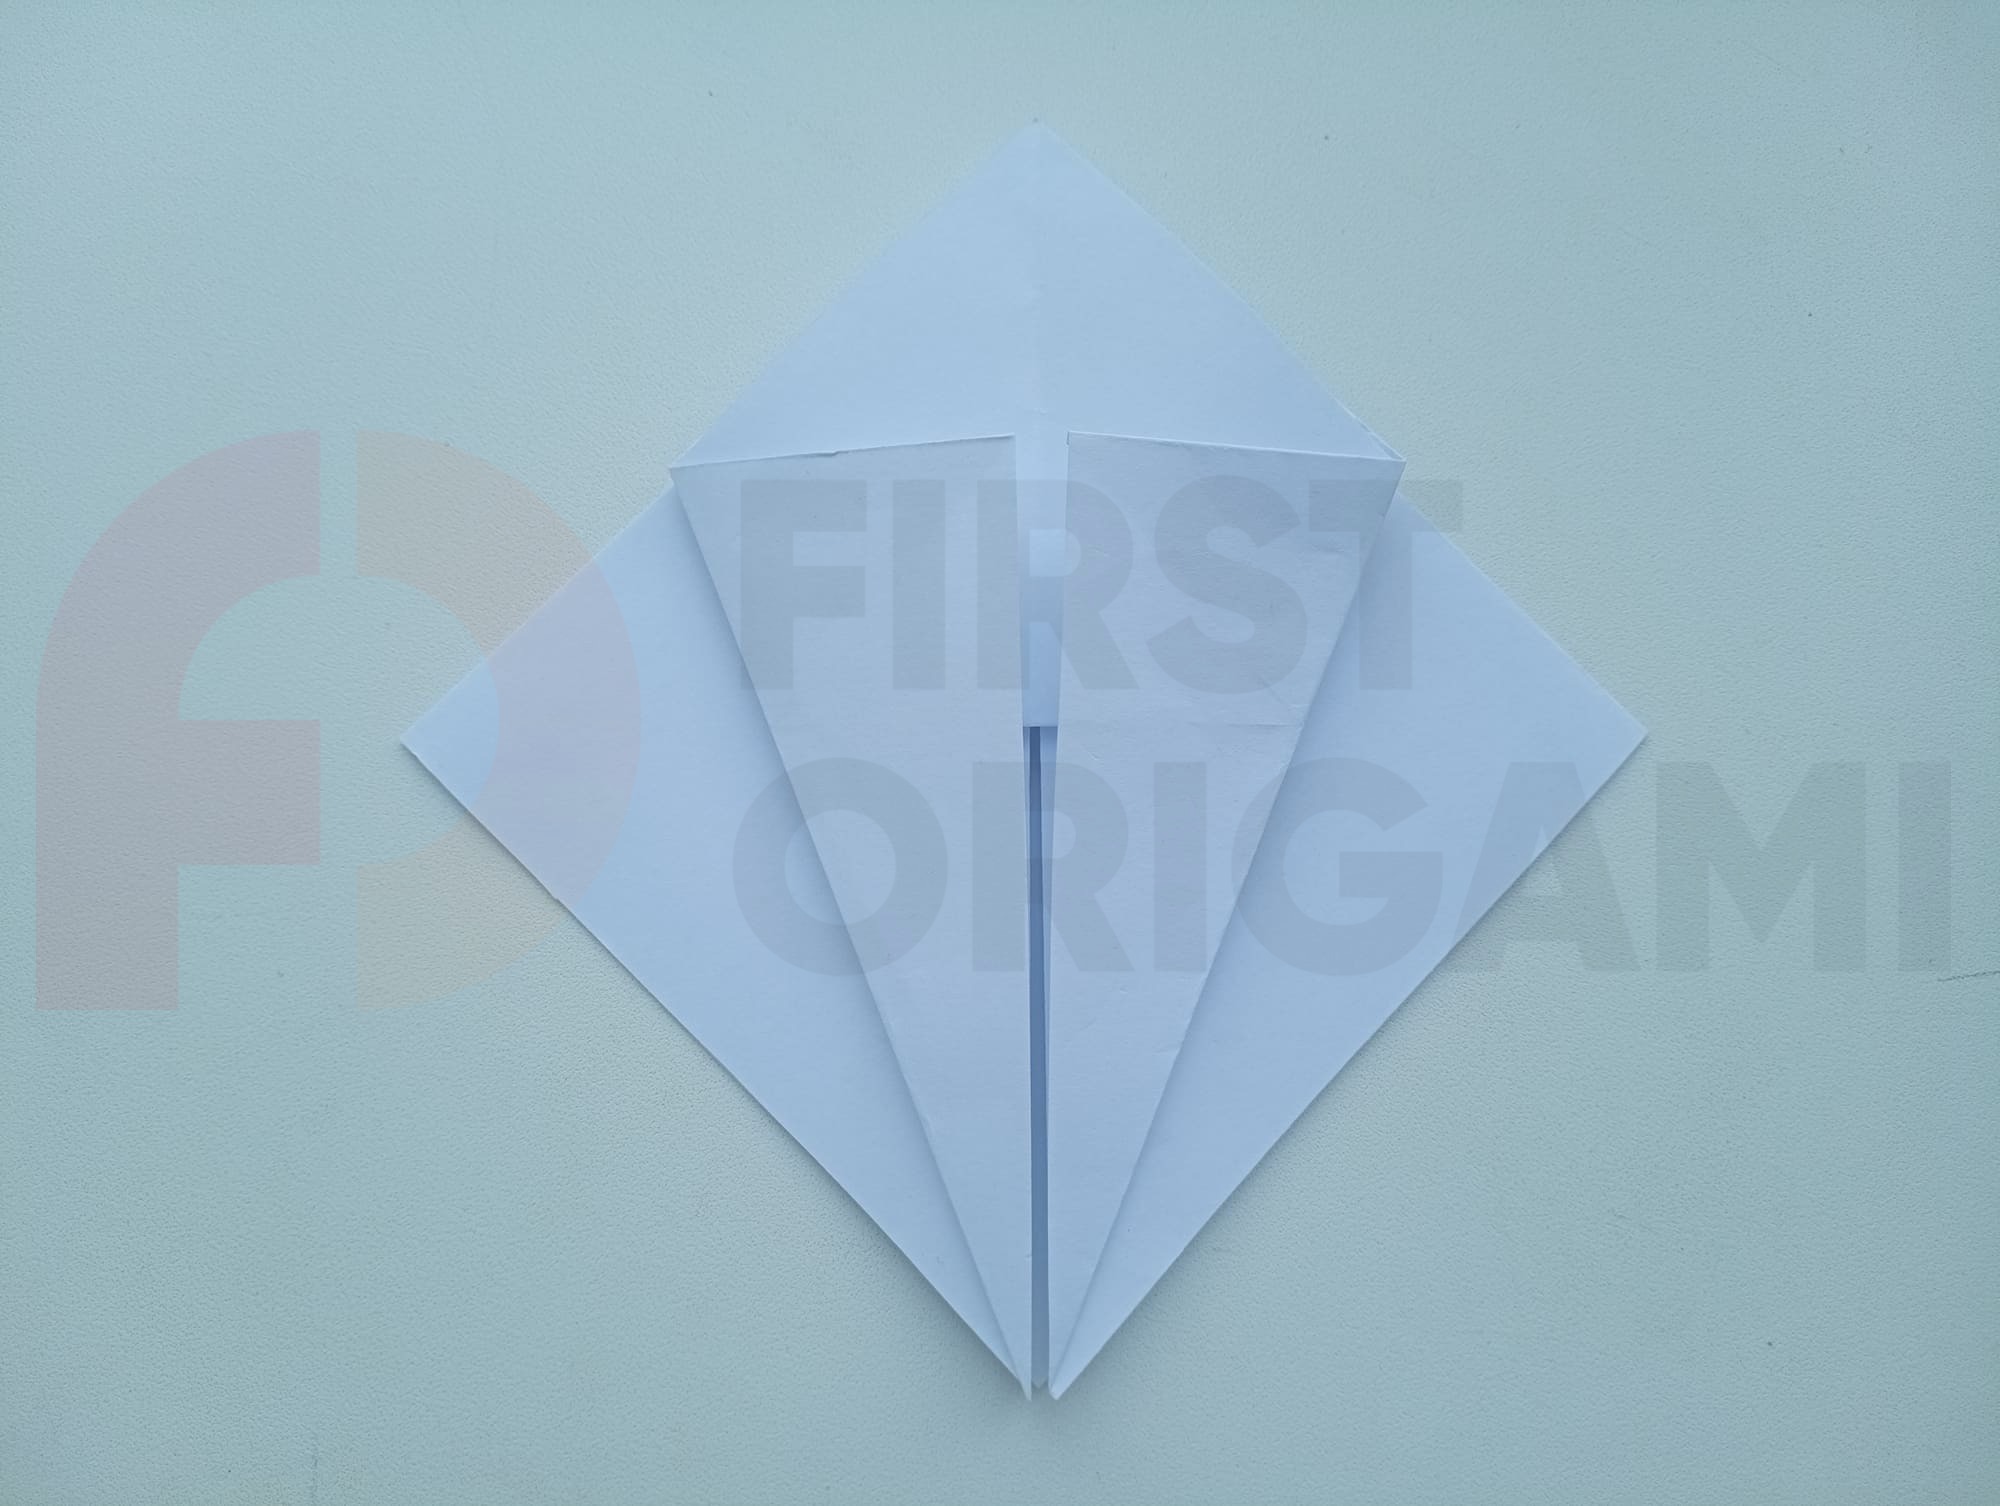
Then, repeat the same movements (see photo).
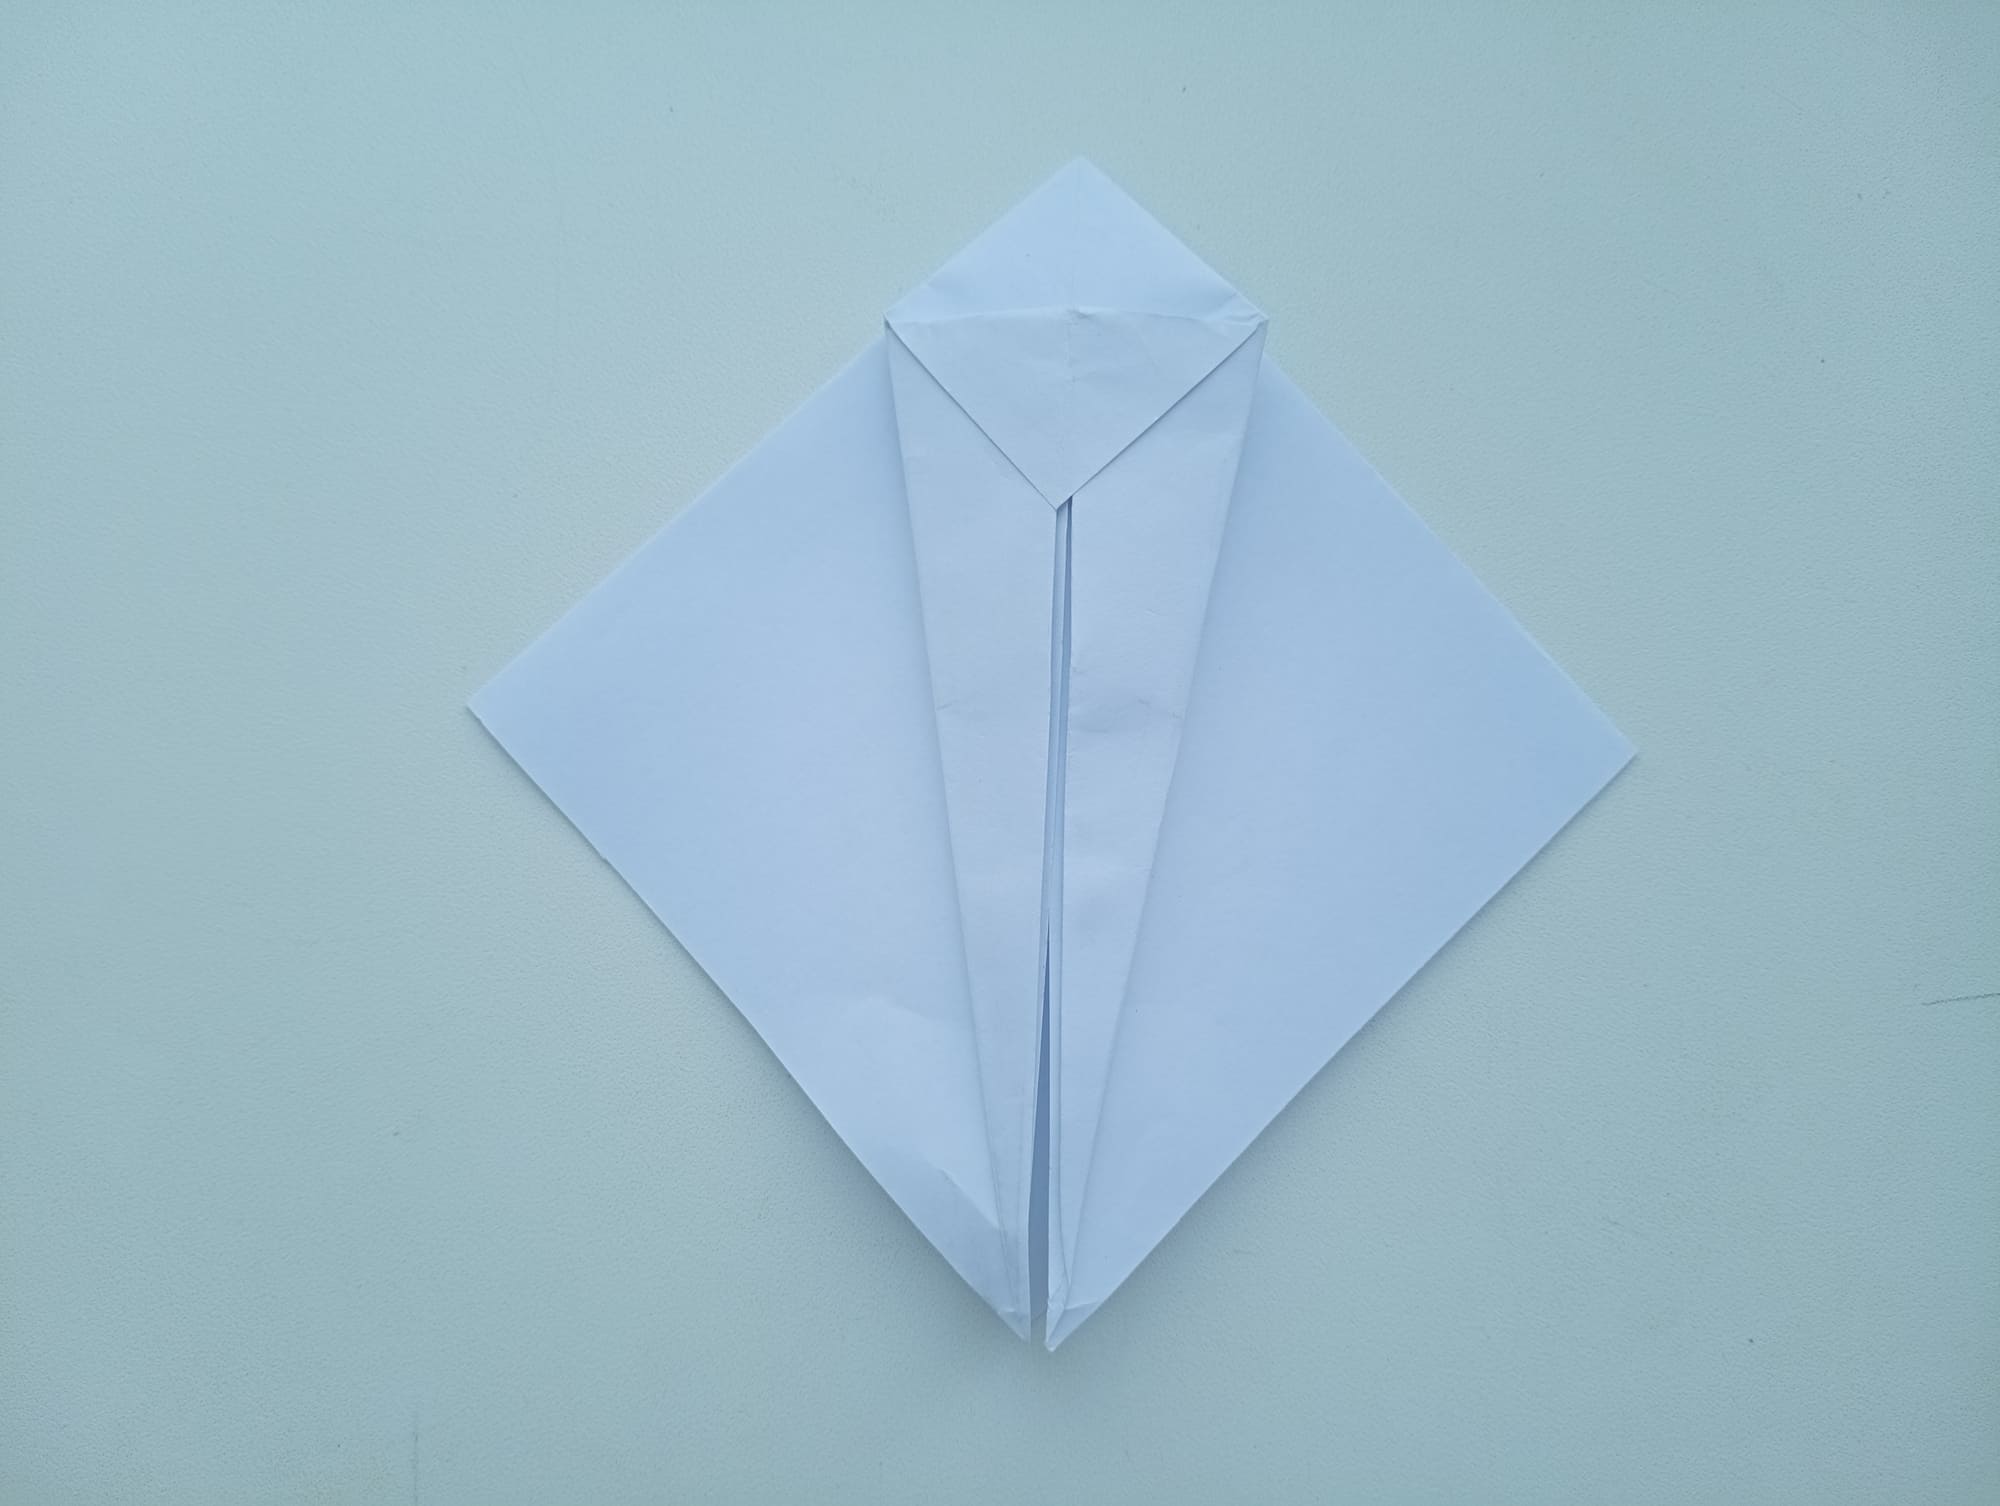
Fold the top corner of the layer down towards the middle, covering the tops of the side corners (see photo).
Flip the part over to the other side.
Fold the side corners (left and right) to the middle fold line.
Now, you need to unfold the corners back.
Pull the bottom layer by the corner up, forming the following model. In origami, this fold is known as the petal fold.
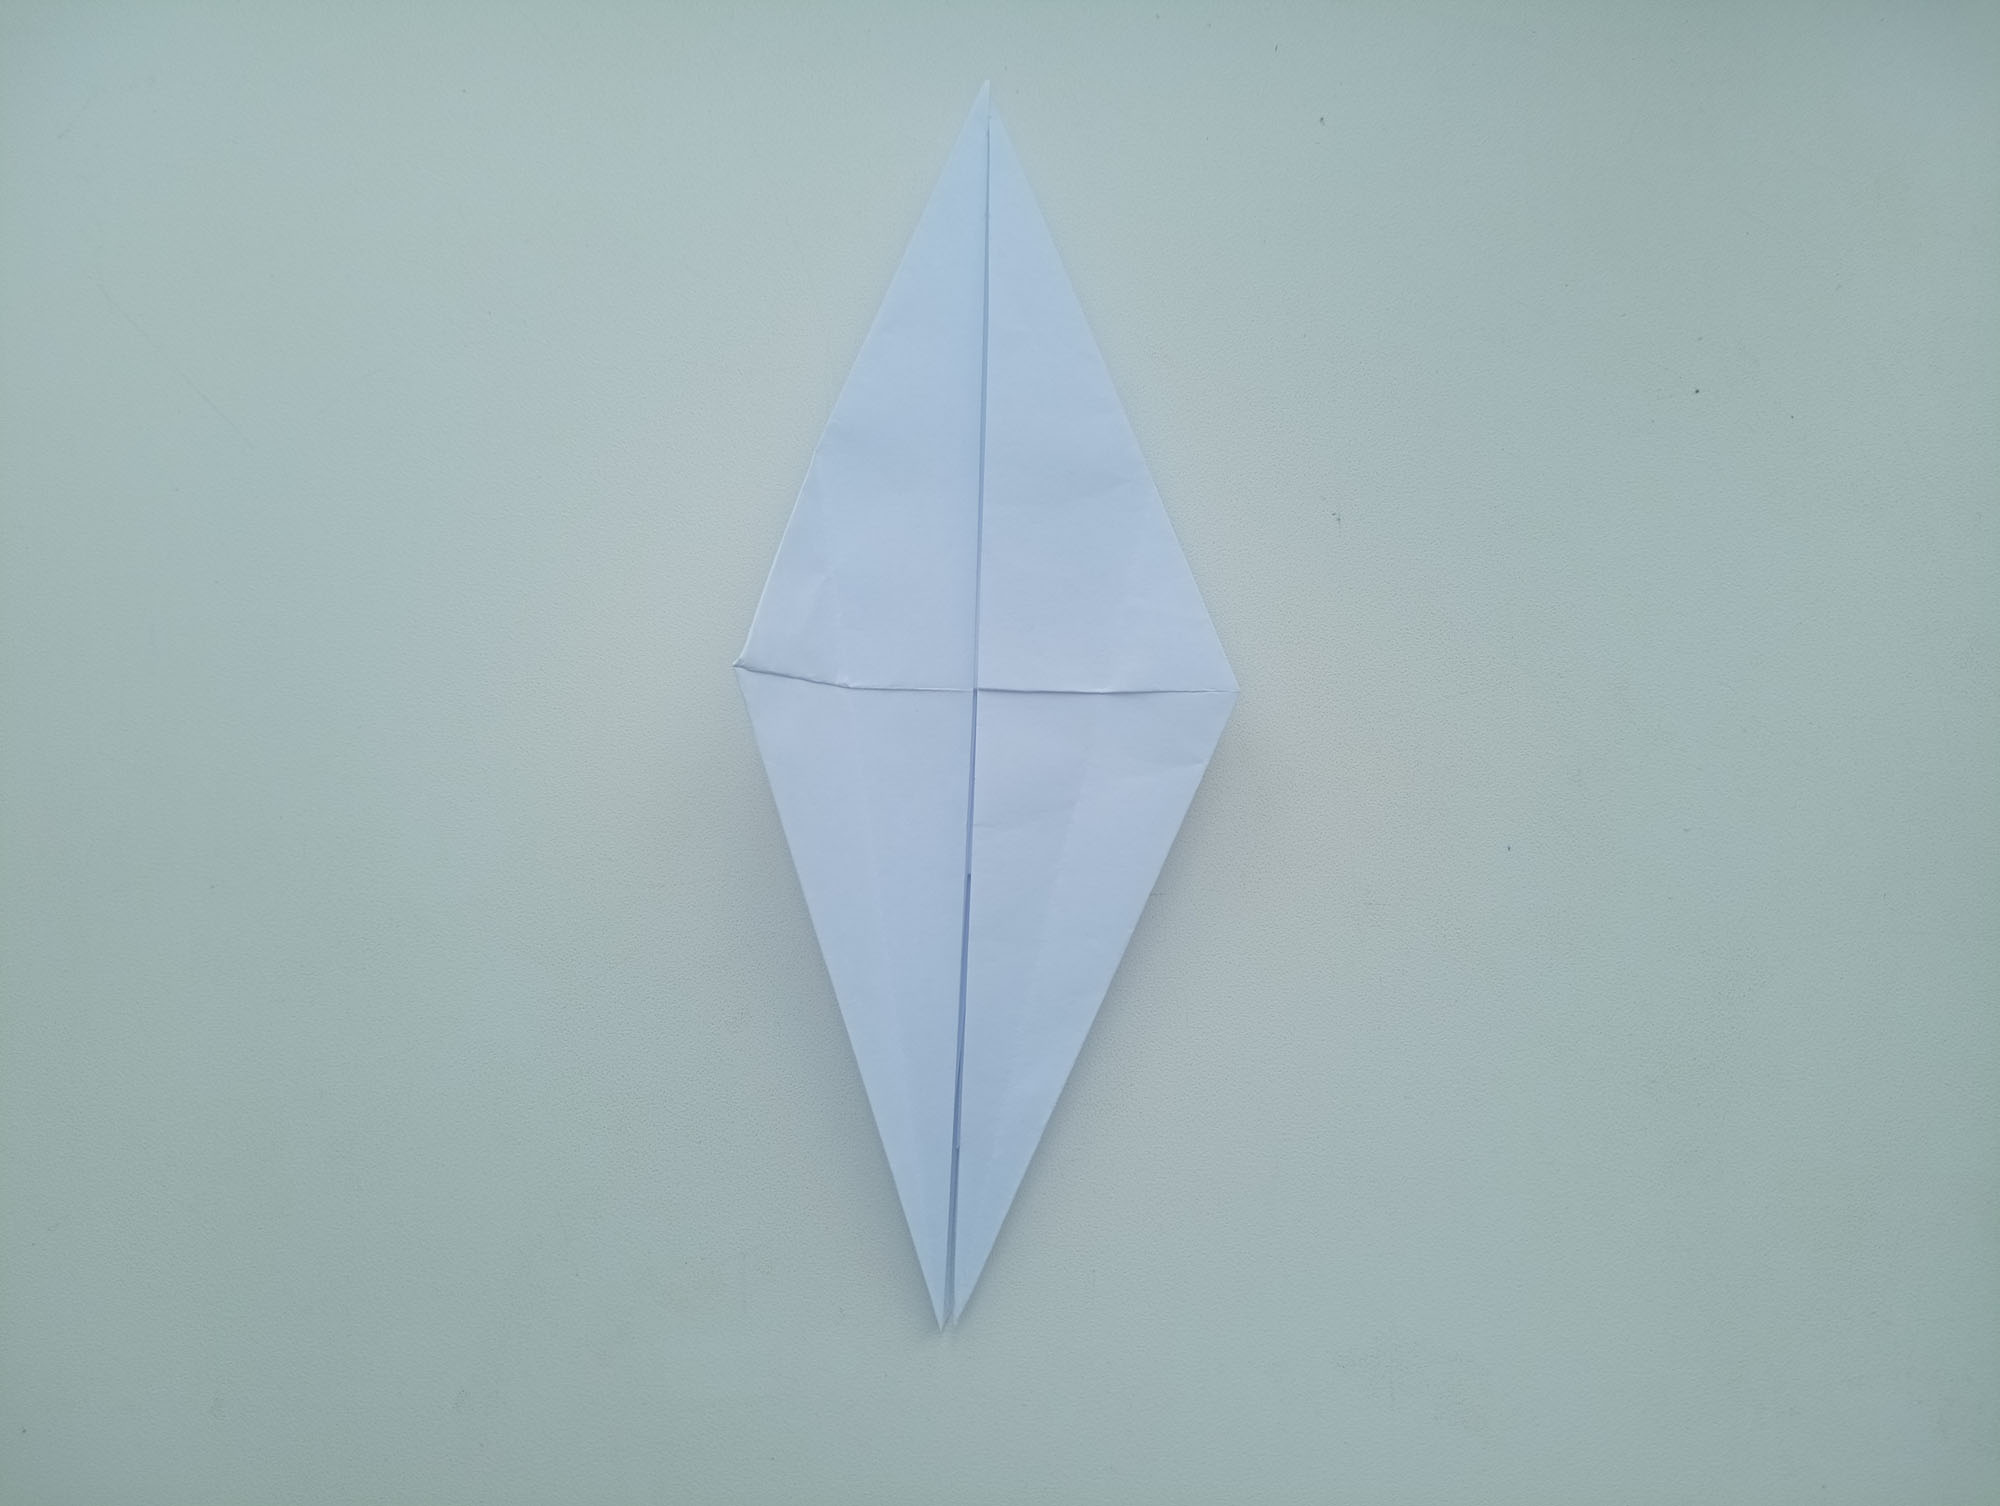
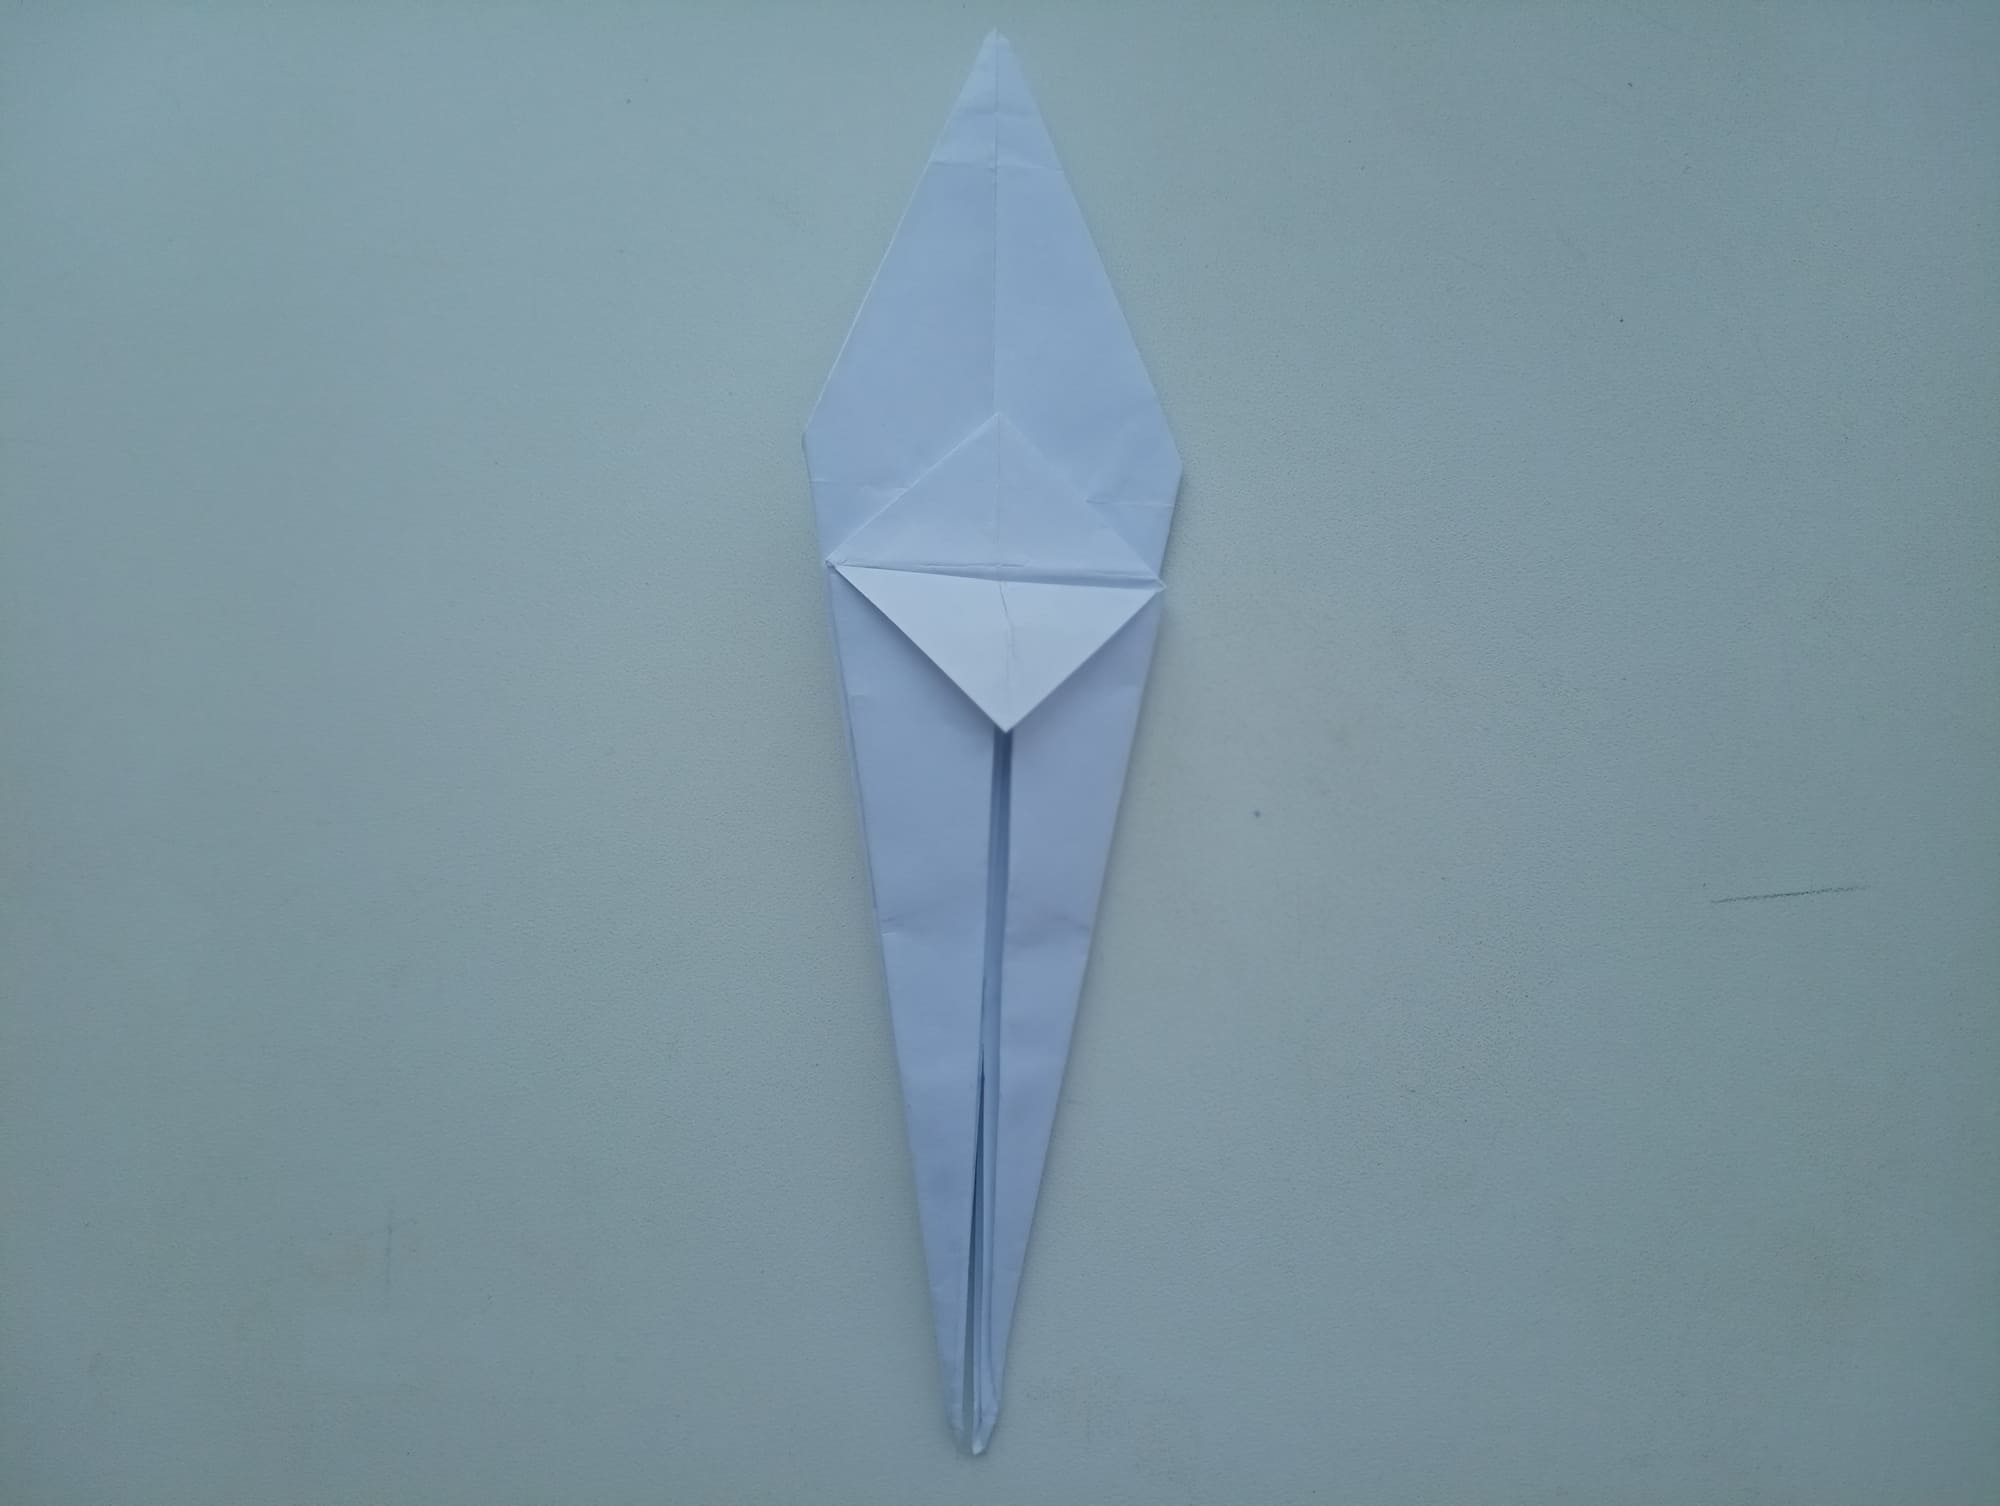
Fold the side corners to the center fold line. It is good to go through all the folds with your fingers.
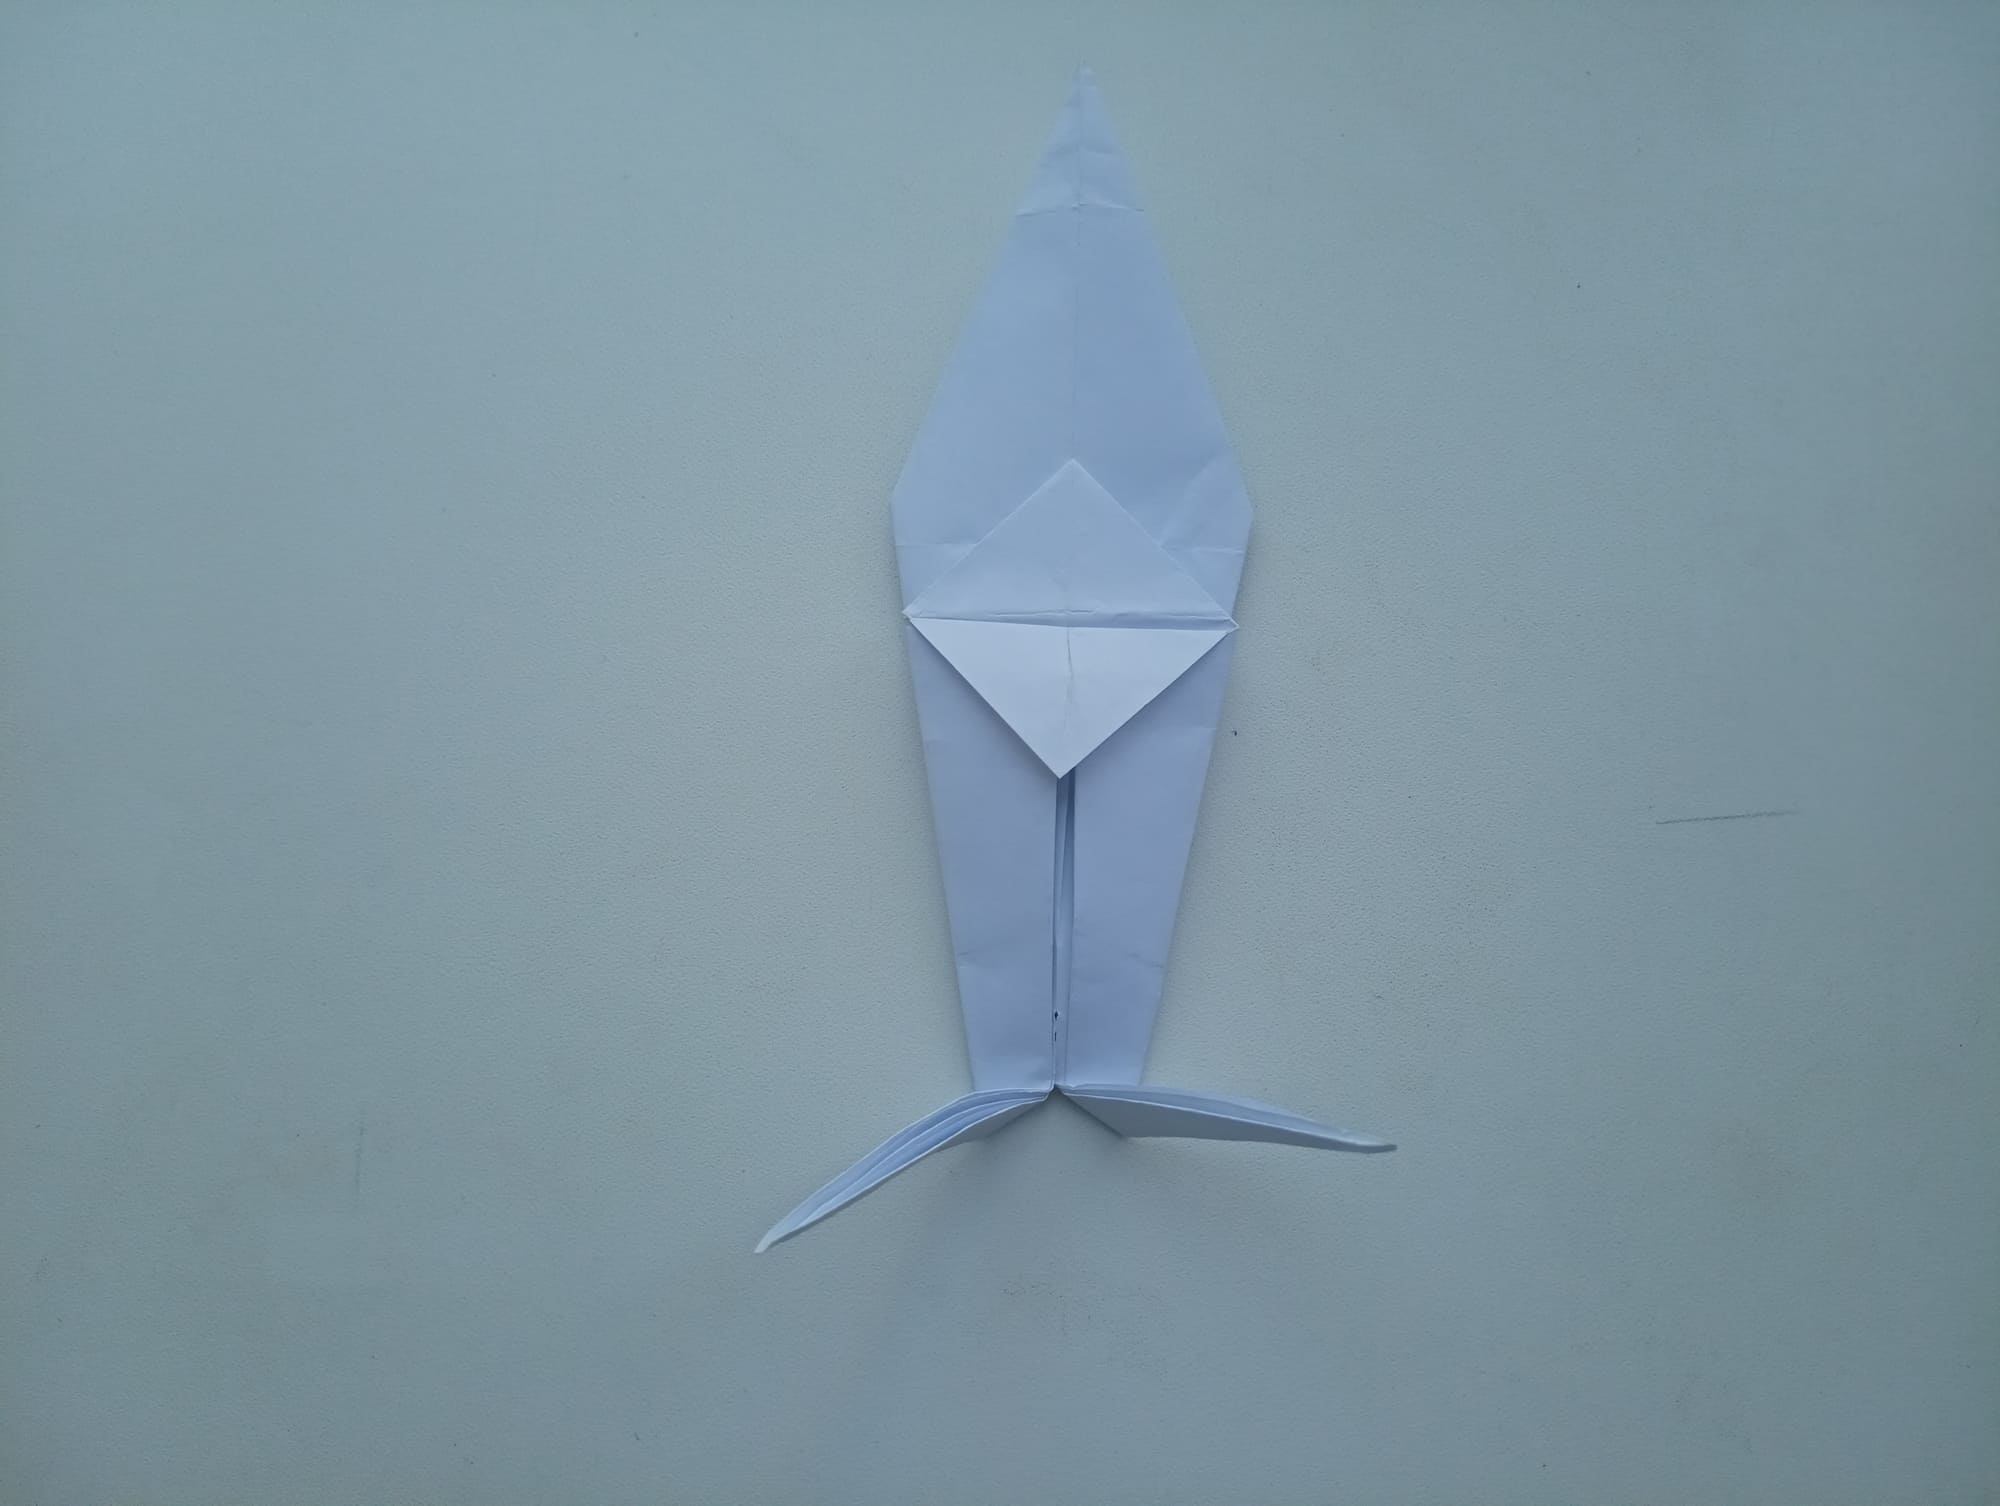
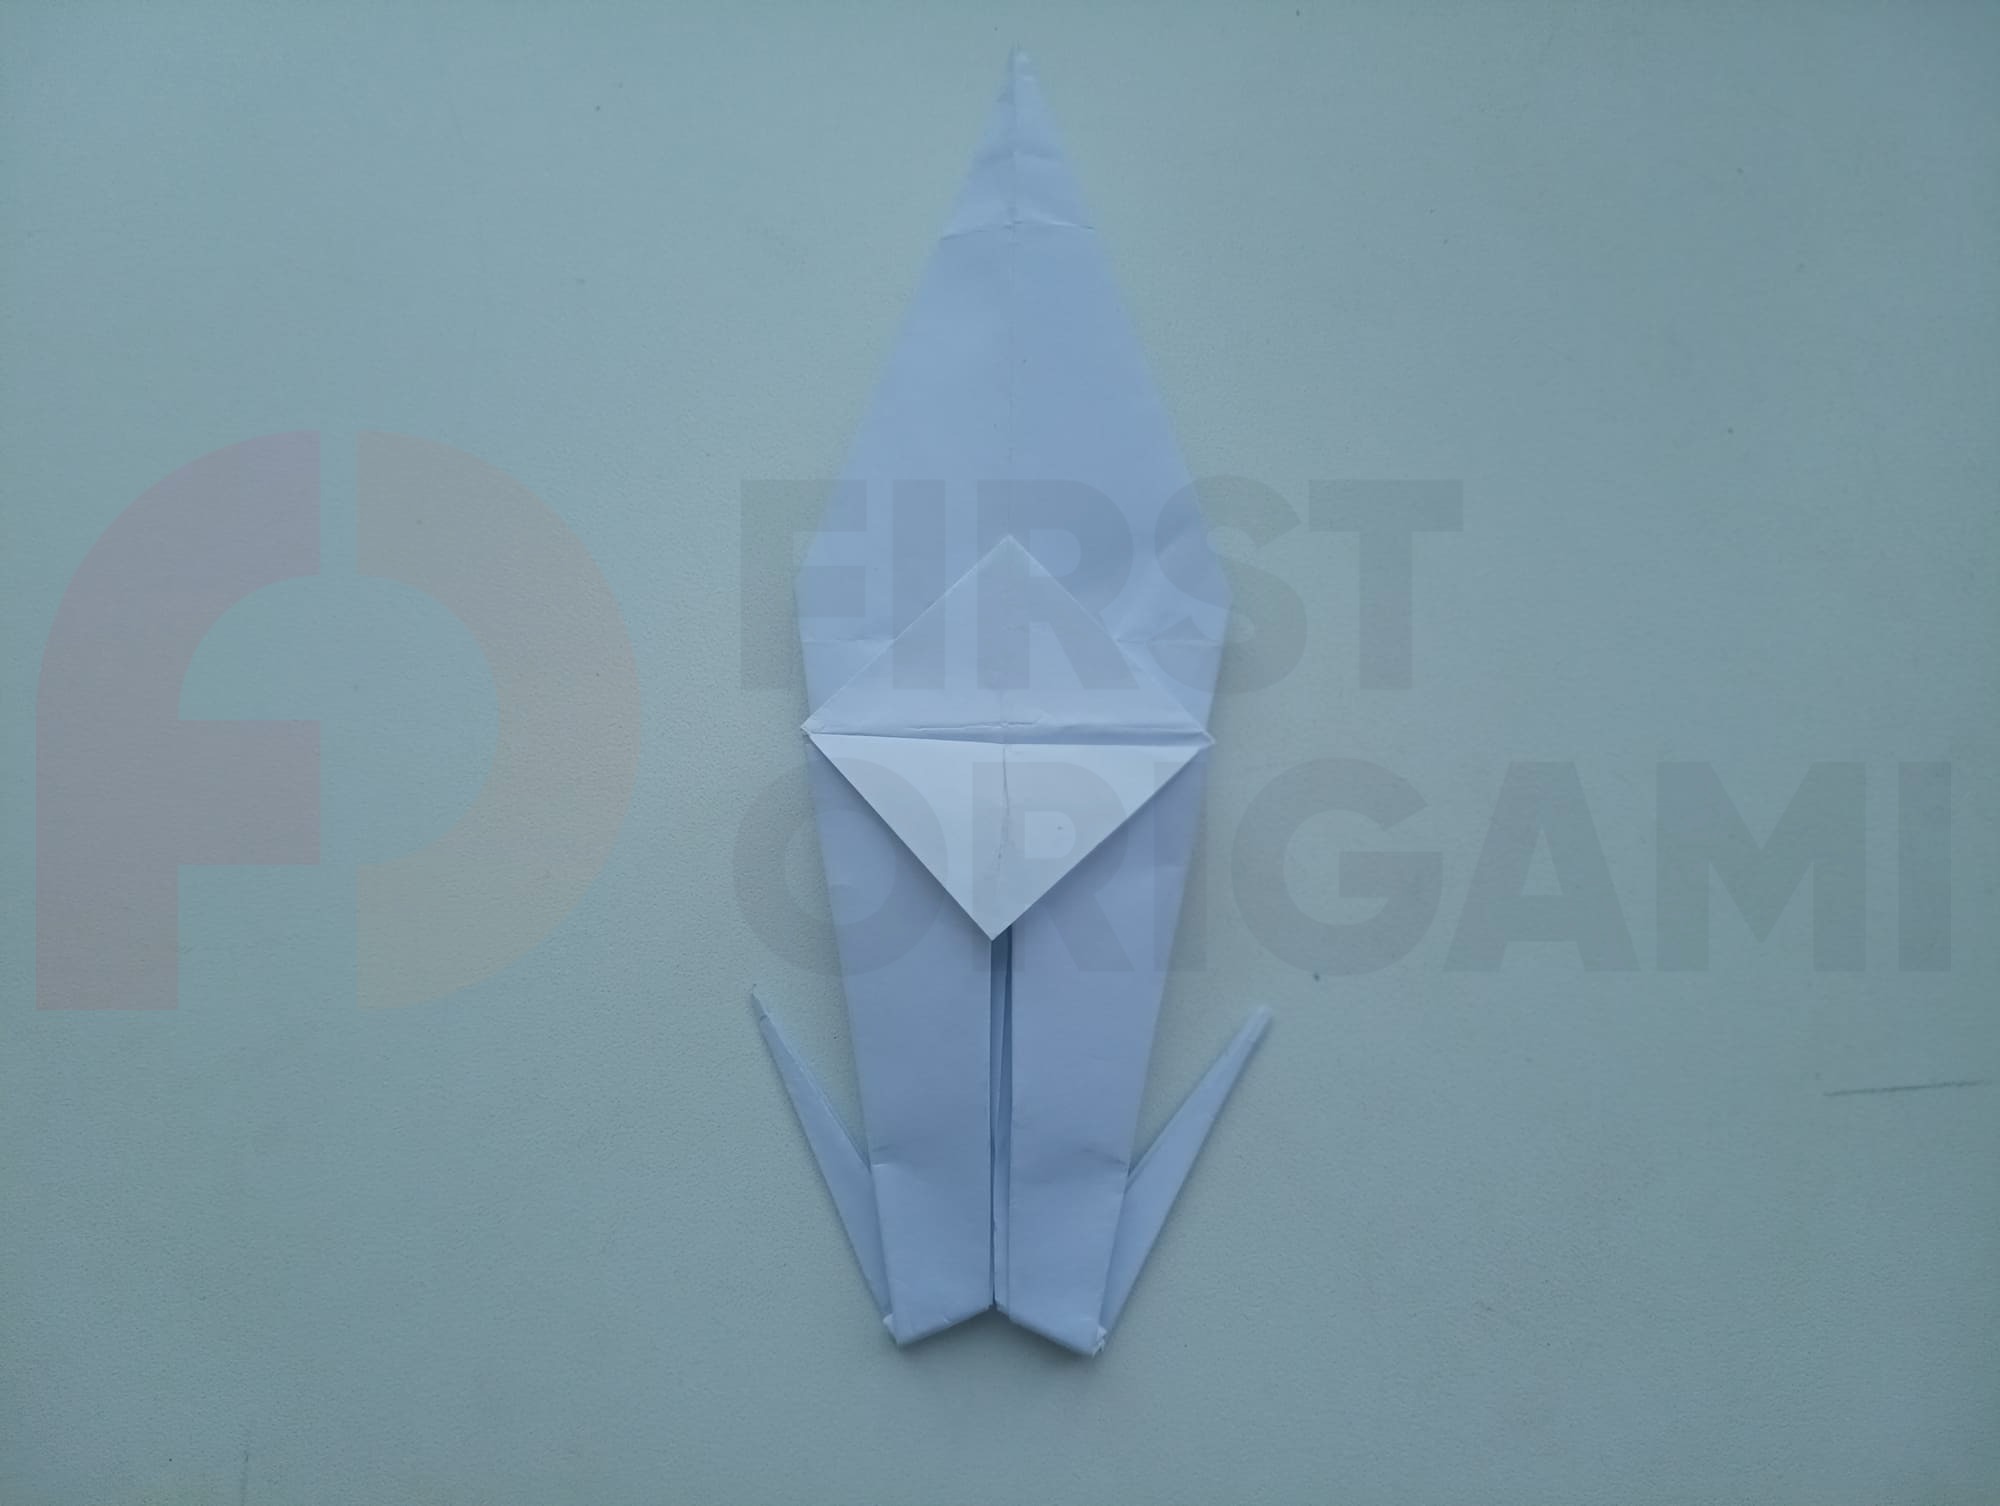
Raise the bottom corners to form fins. Then, you need to secure them using the reverse inner fold method, creasing the folds well.
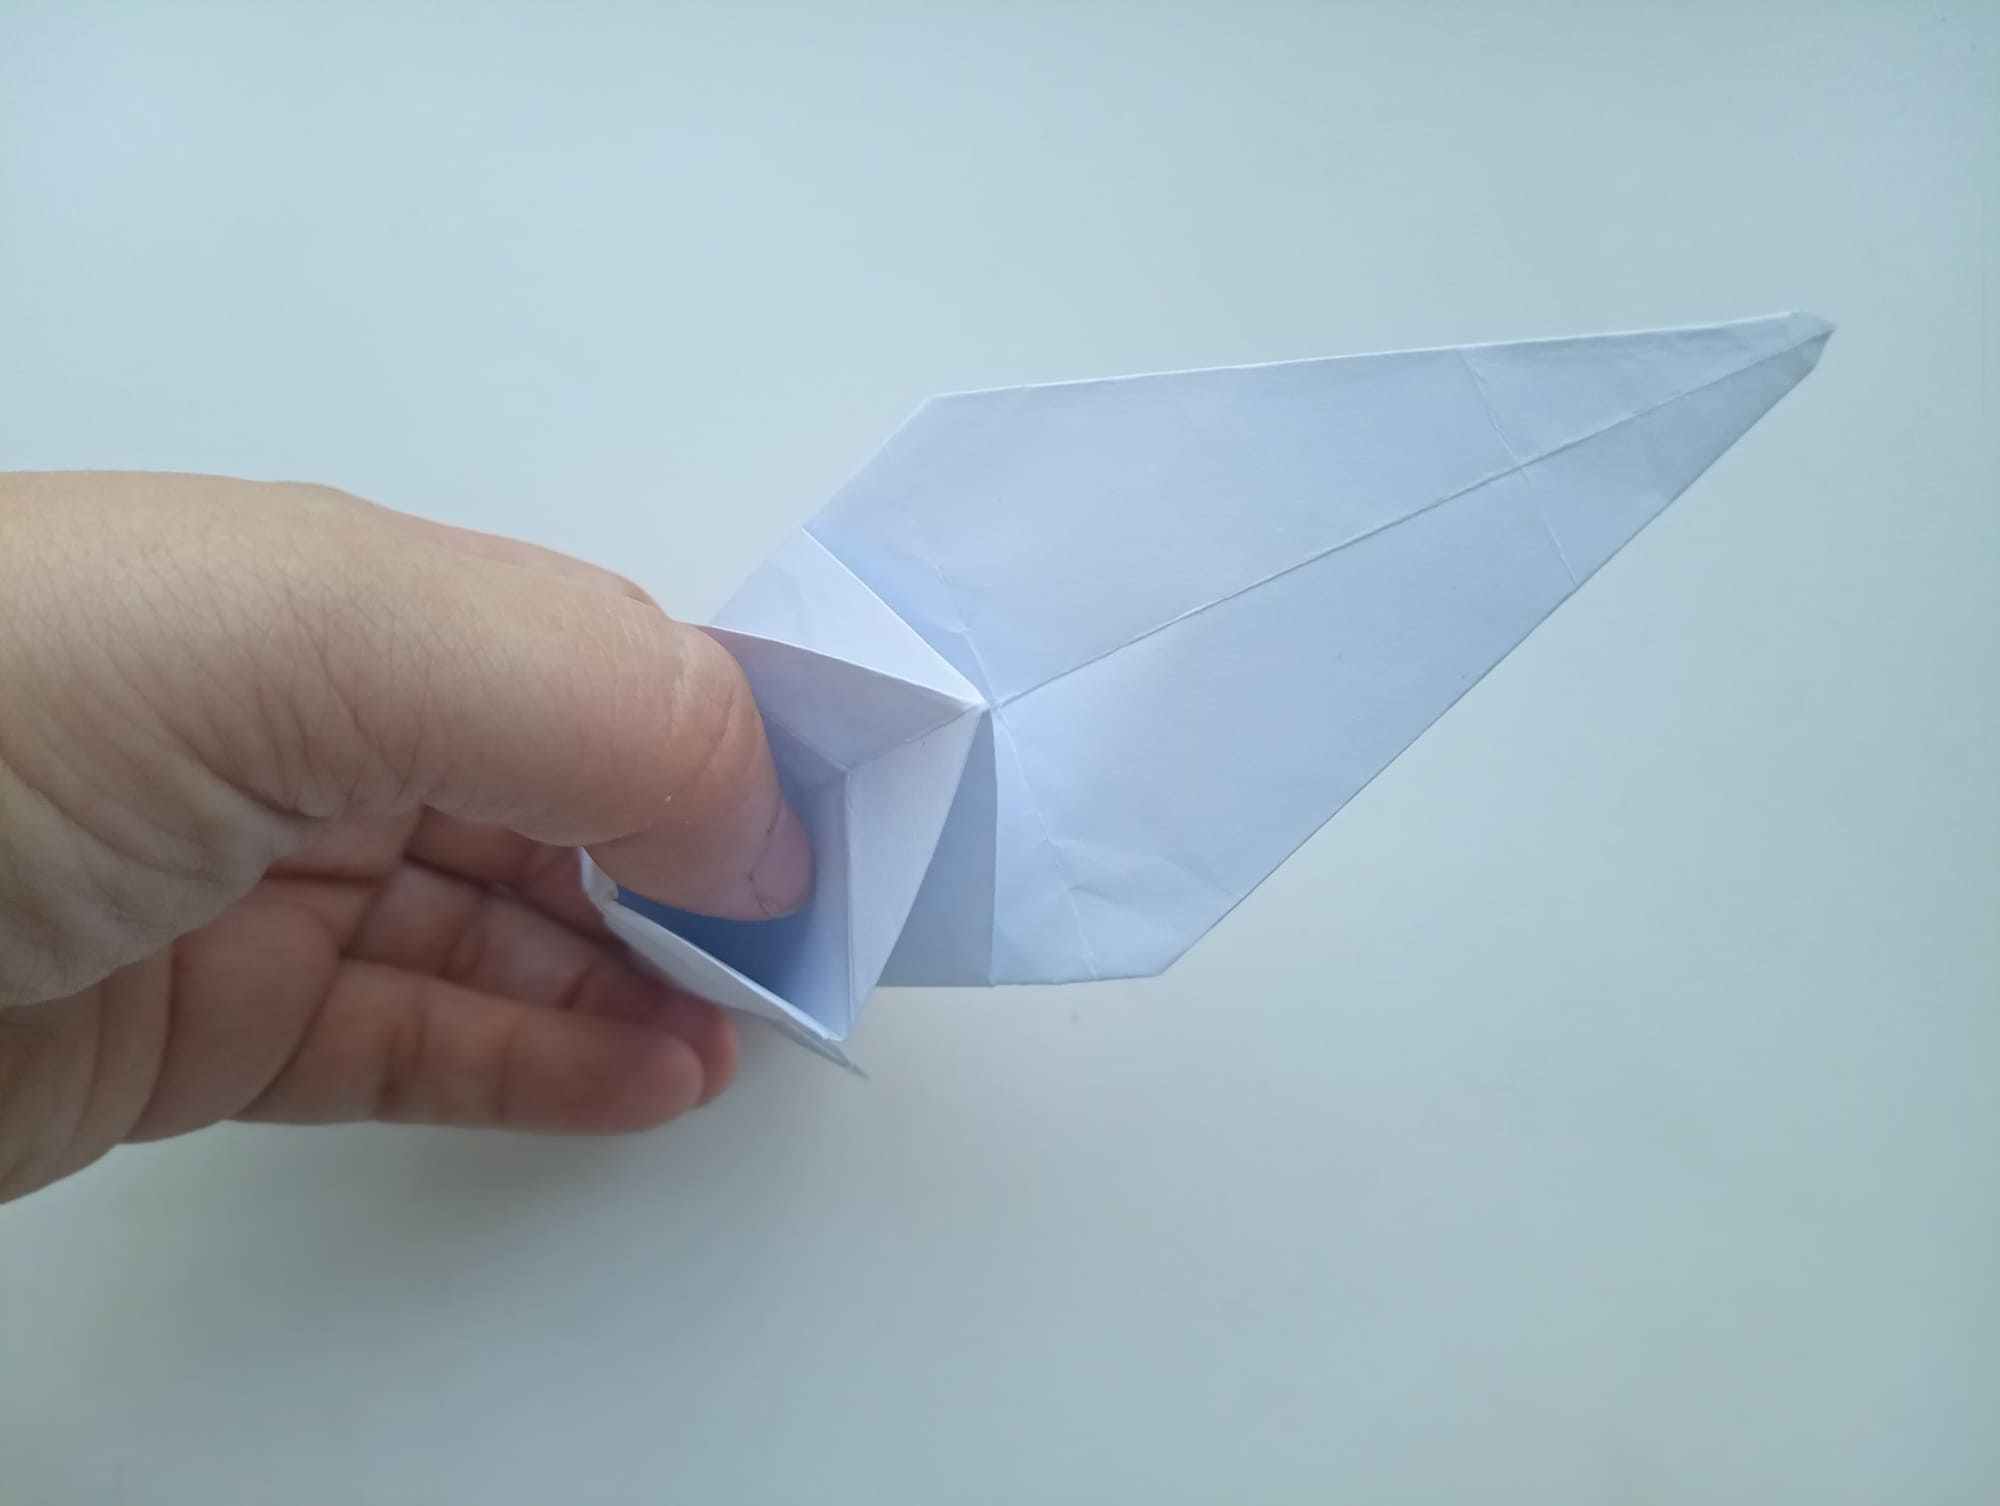
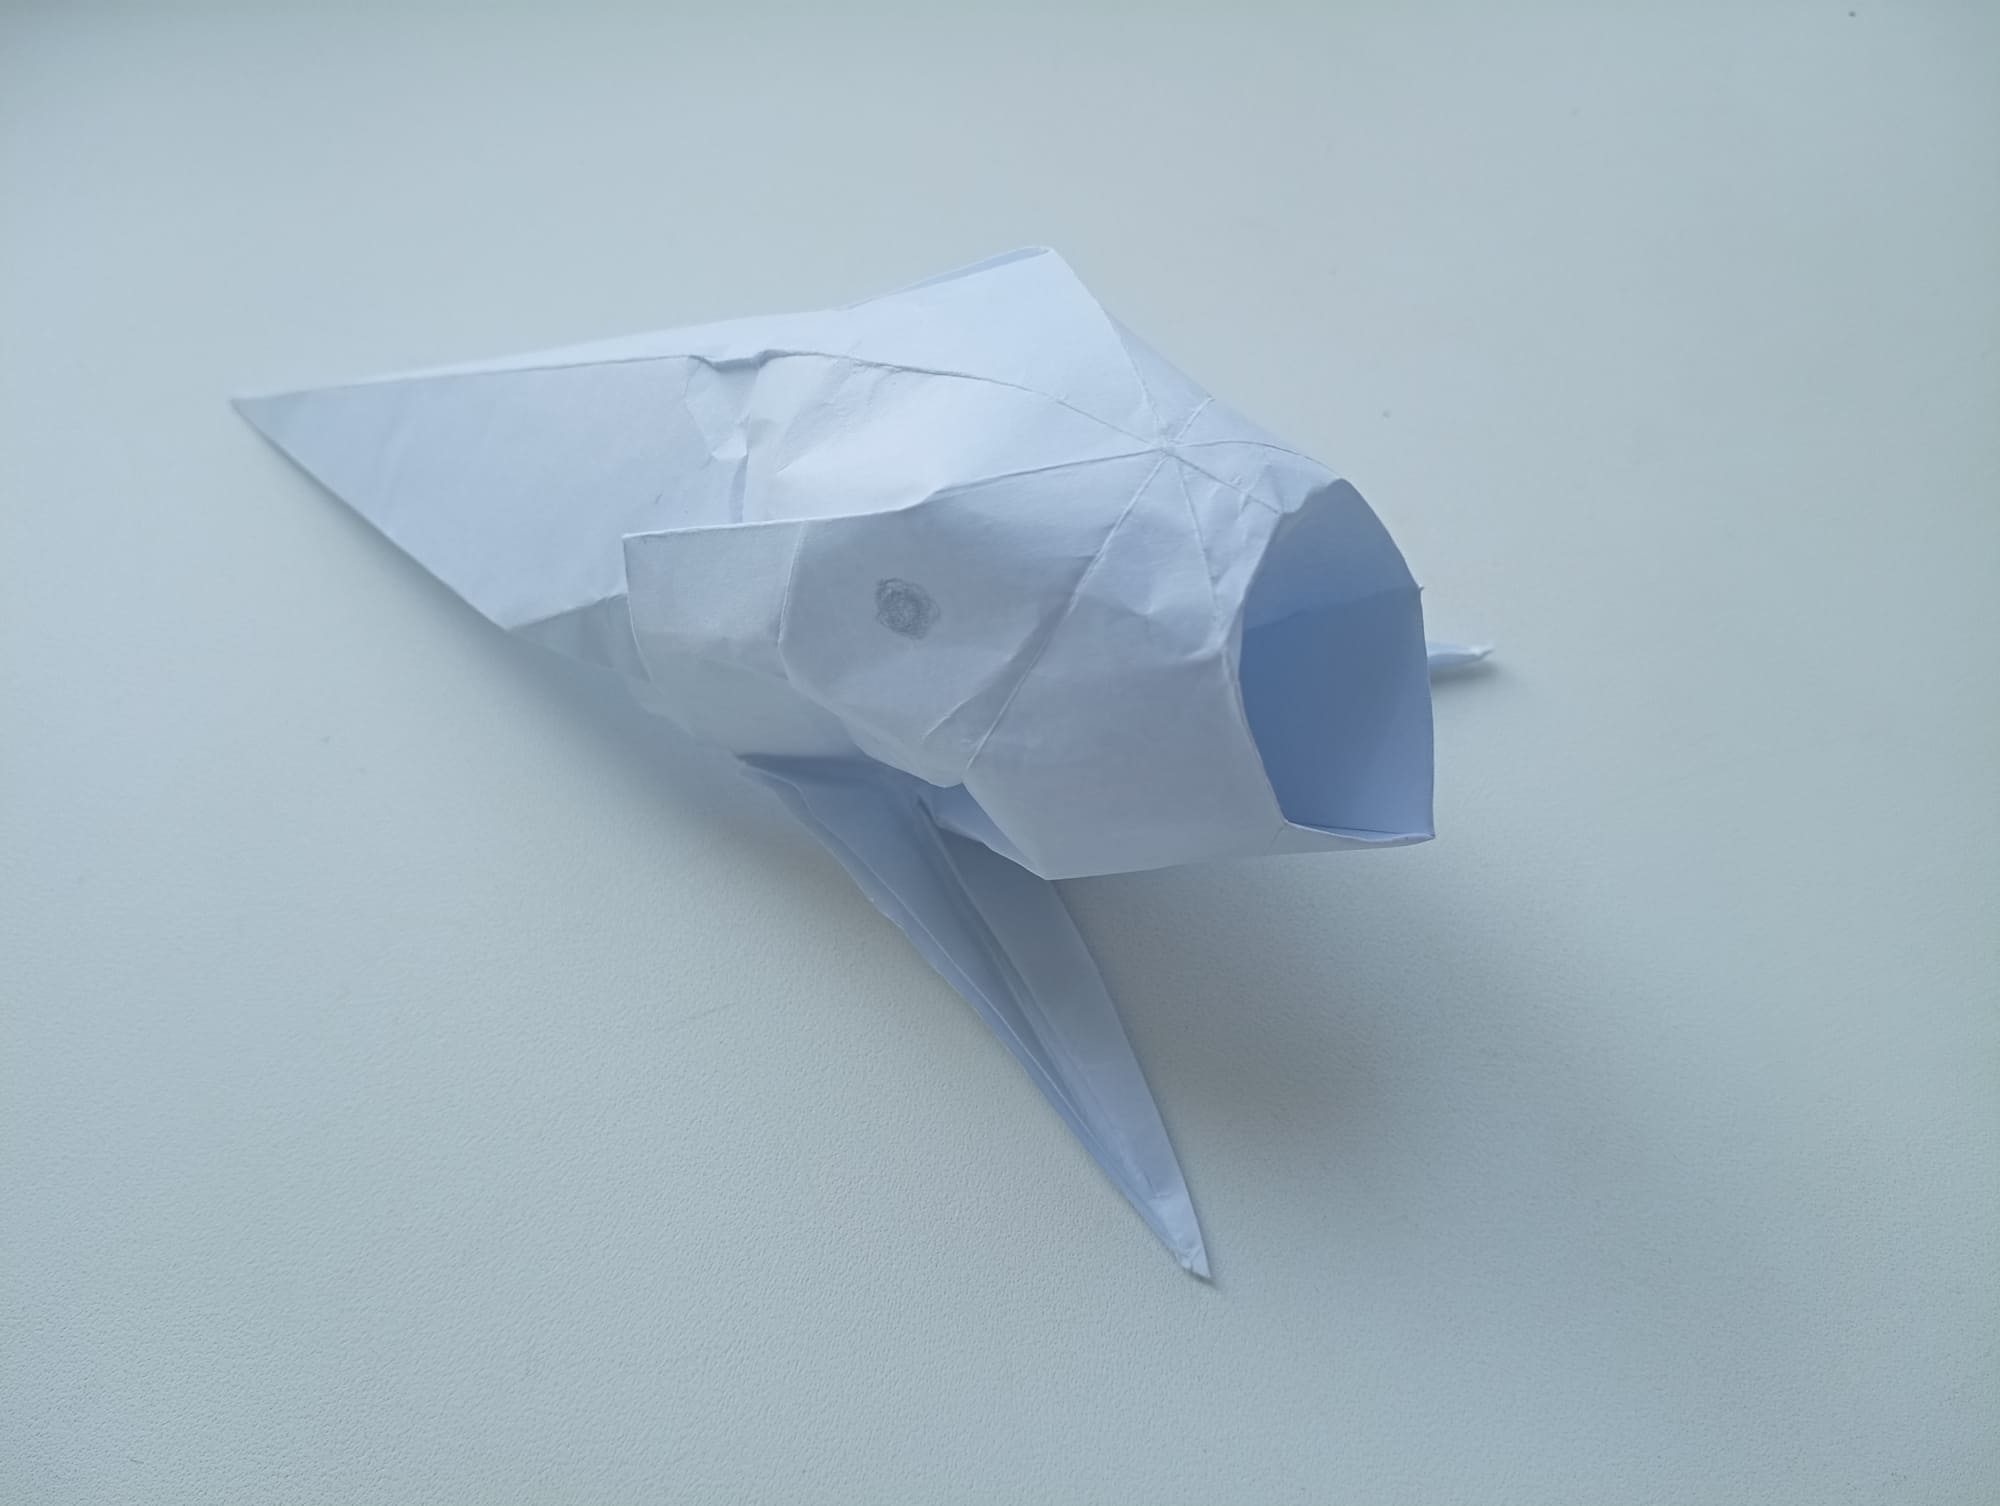
Place your thumb in the mouth of the fish, and gently pull around the corner of the tail, spreading the head and body of the fish with your fingers.

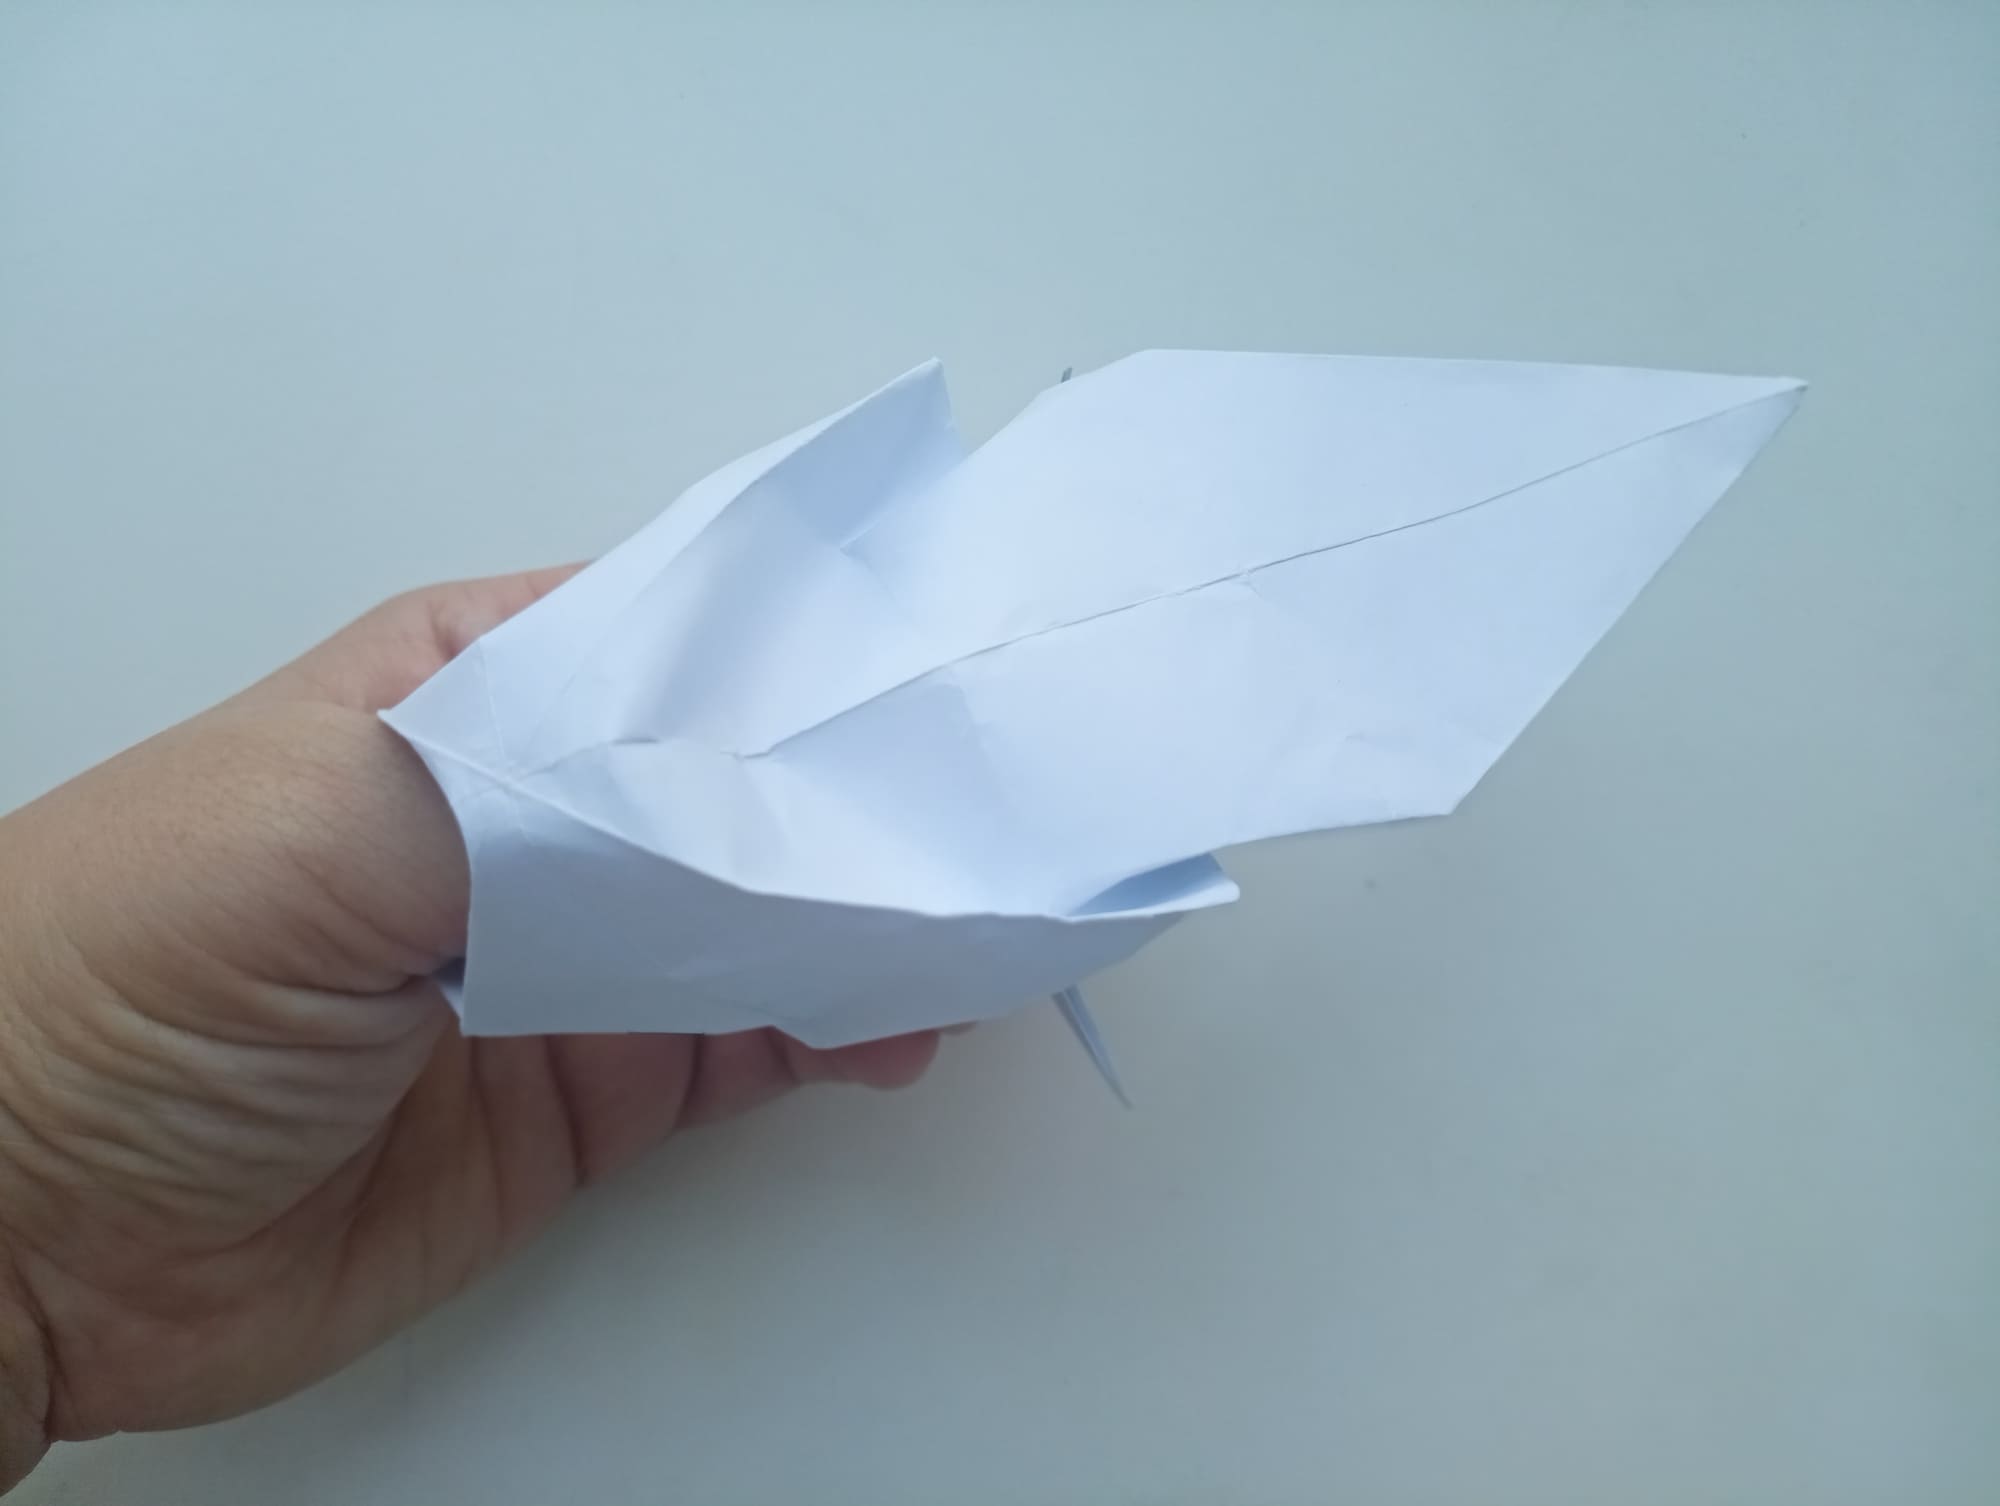
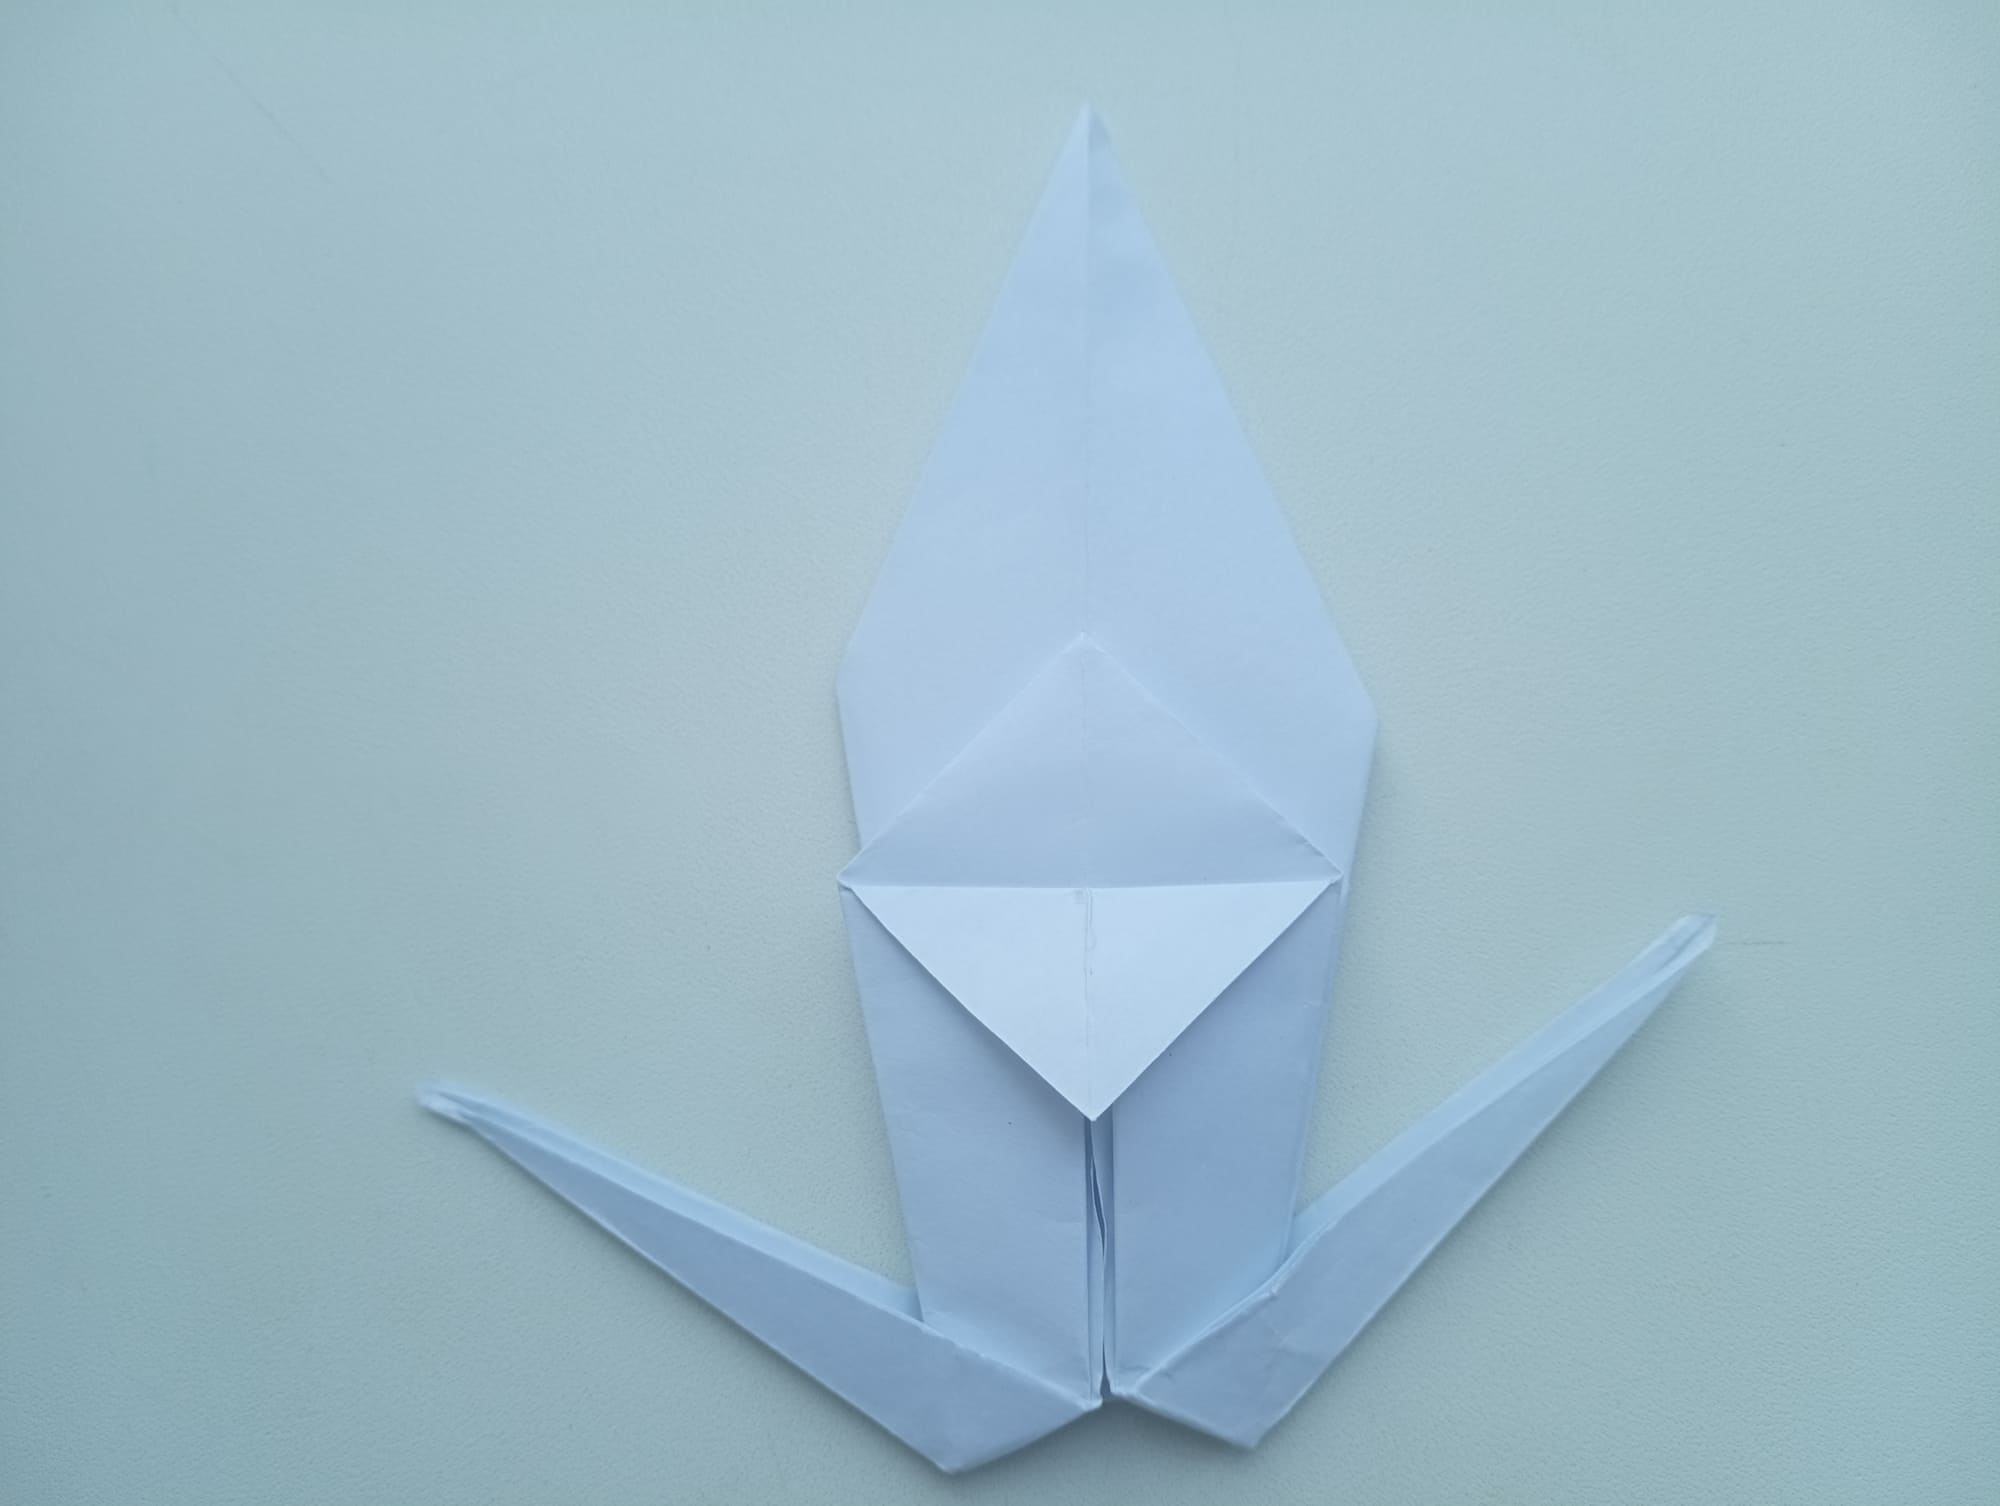
Form the body of the fish with our fingers, slightly bending the fins.
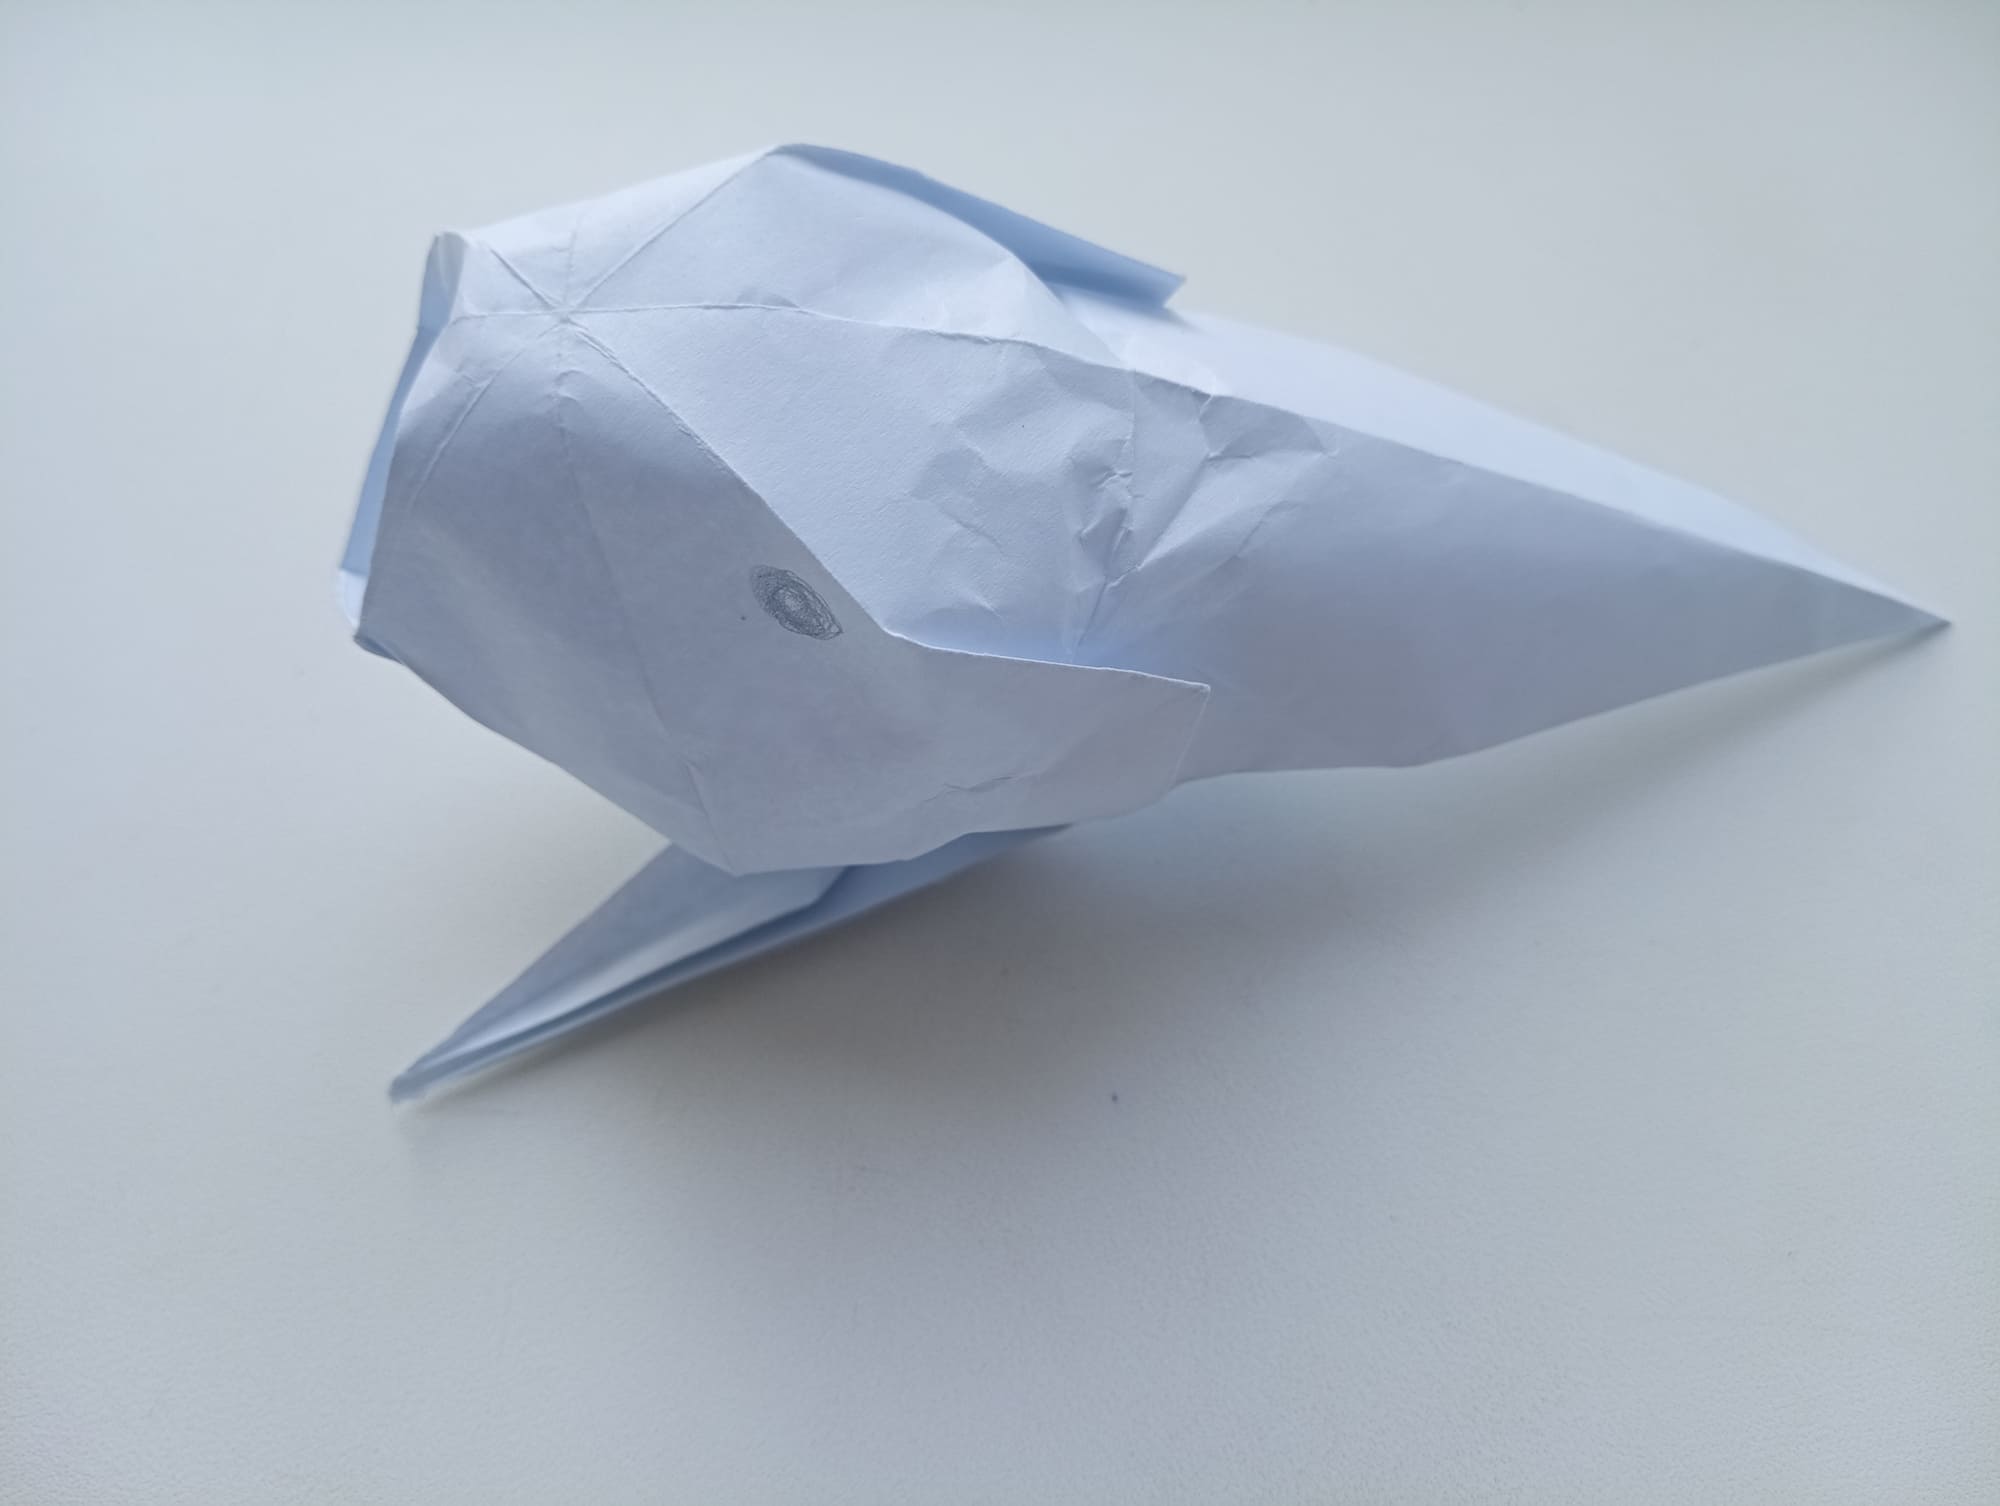
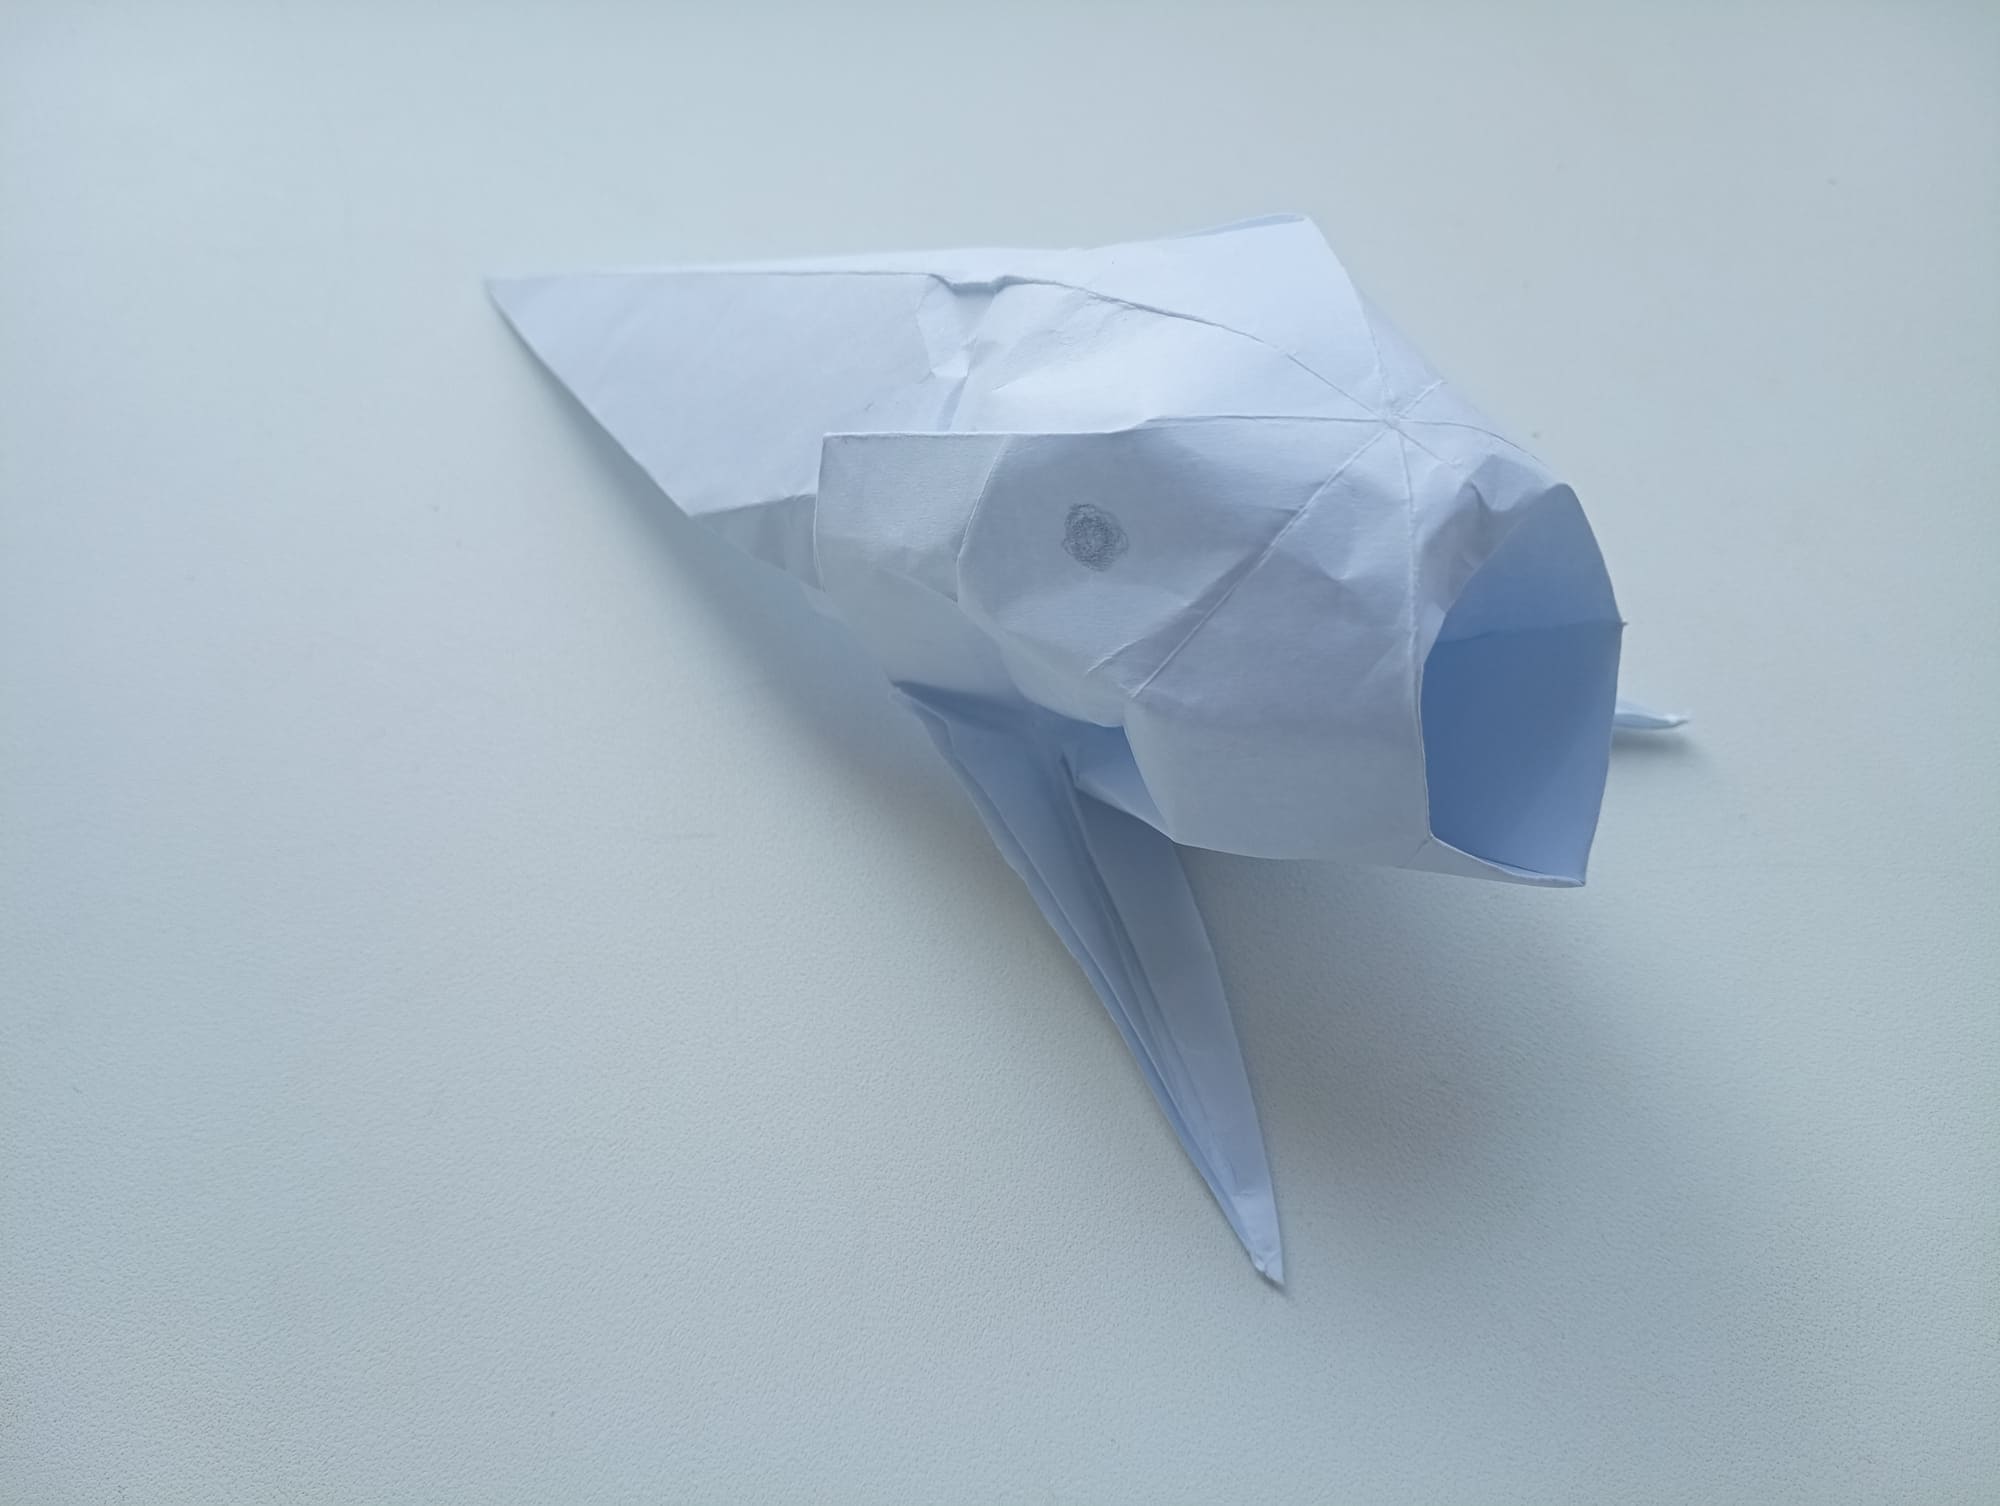
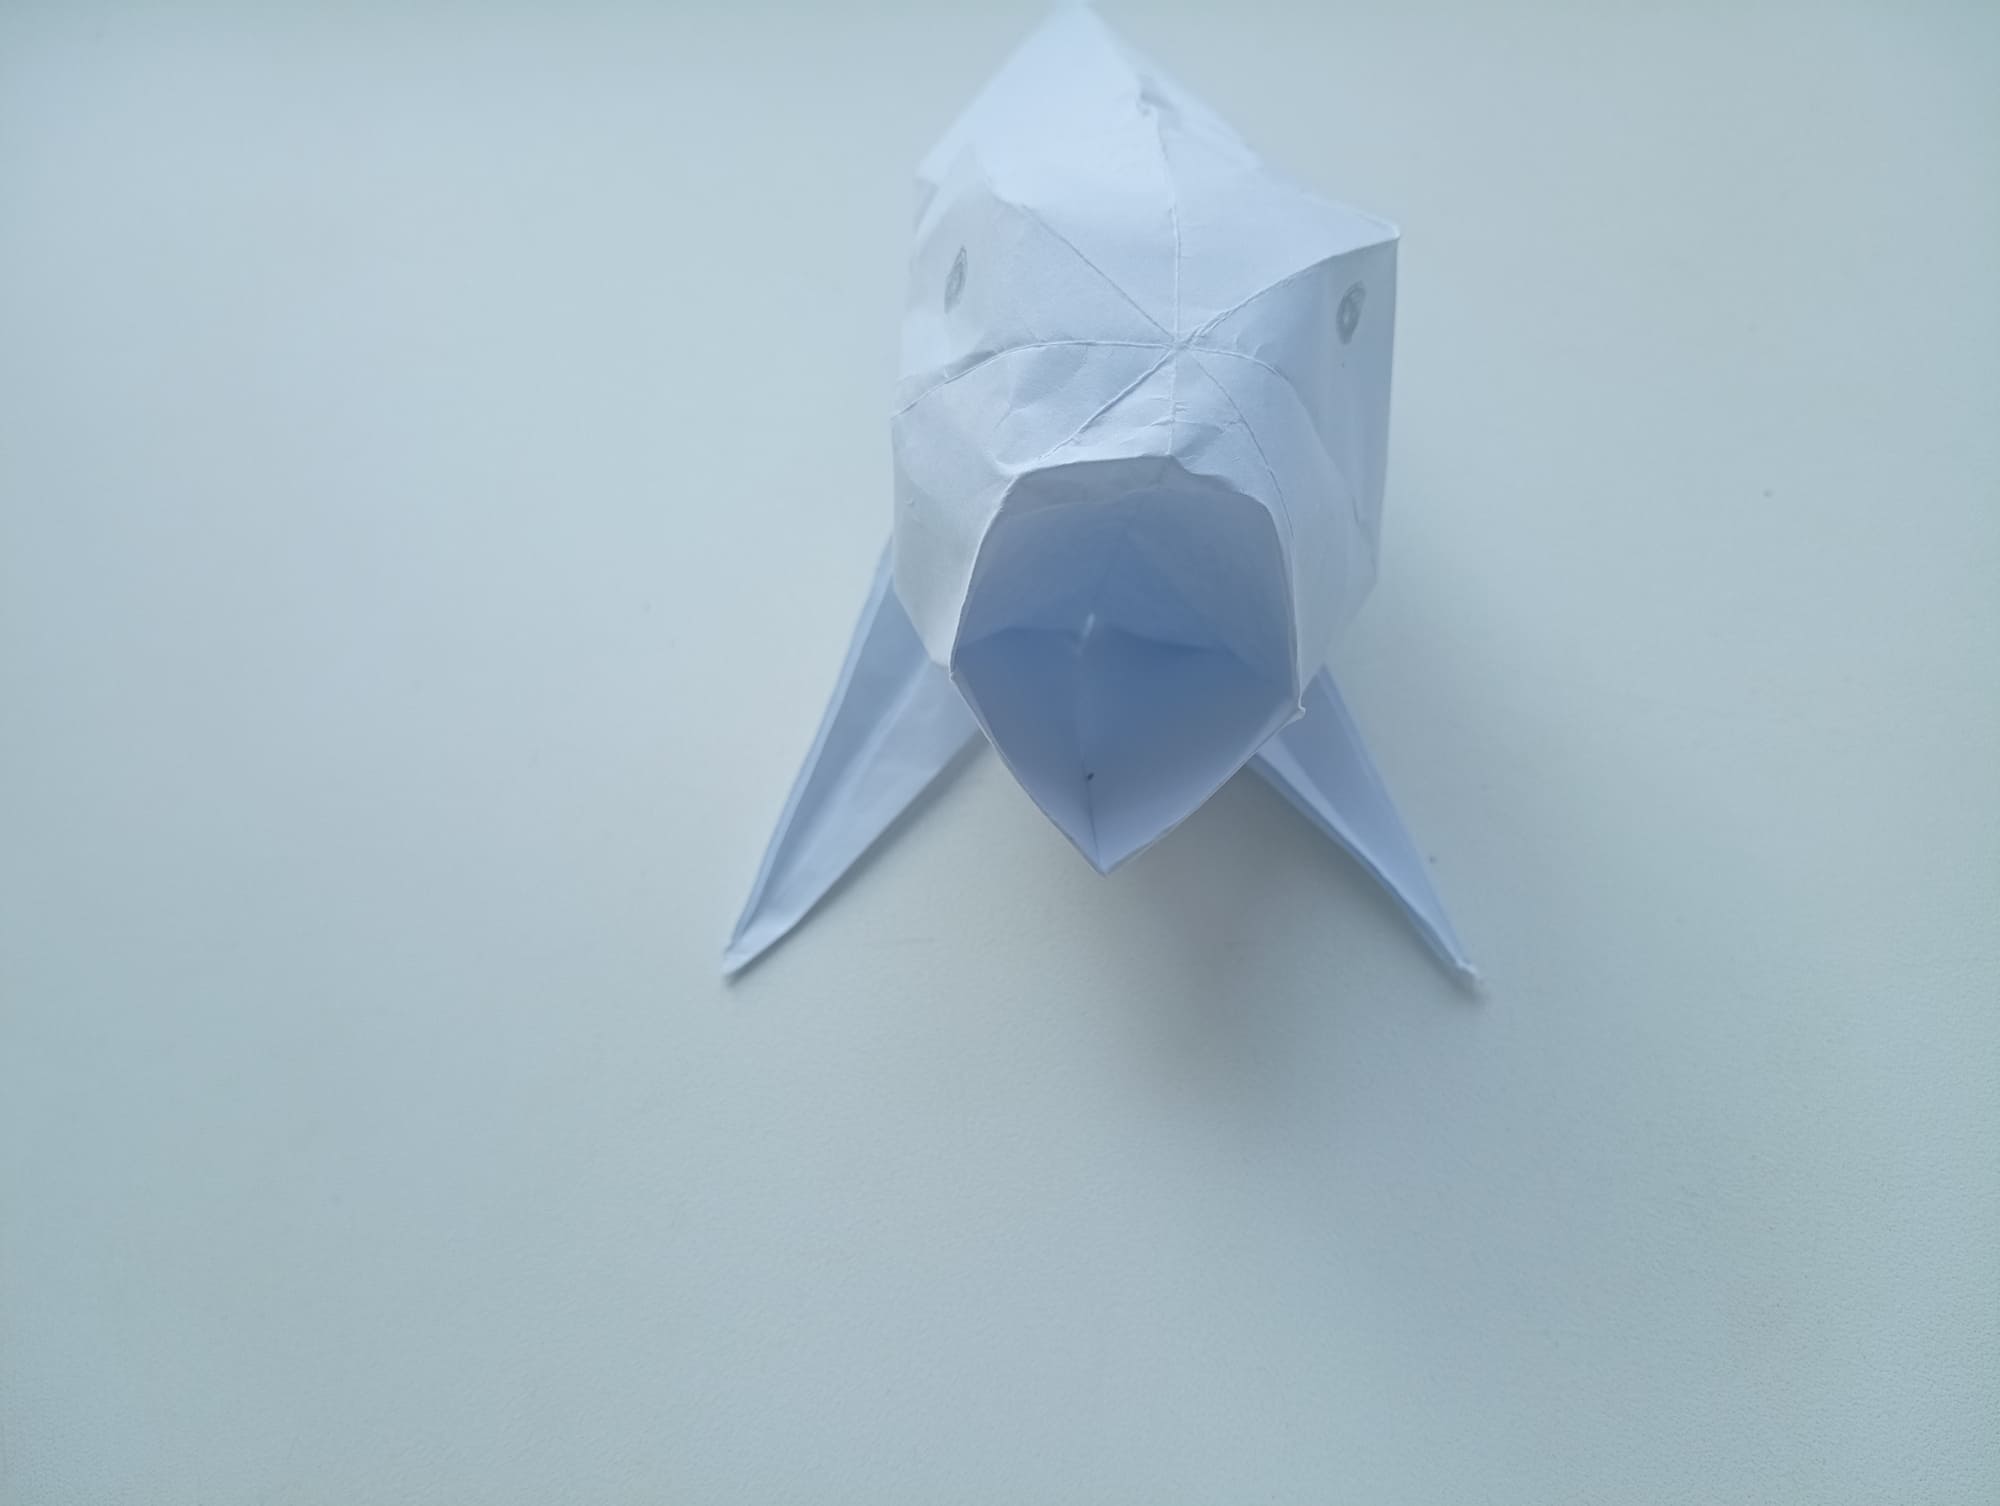
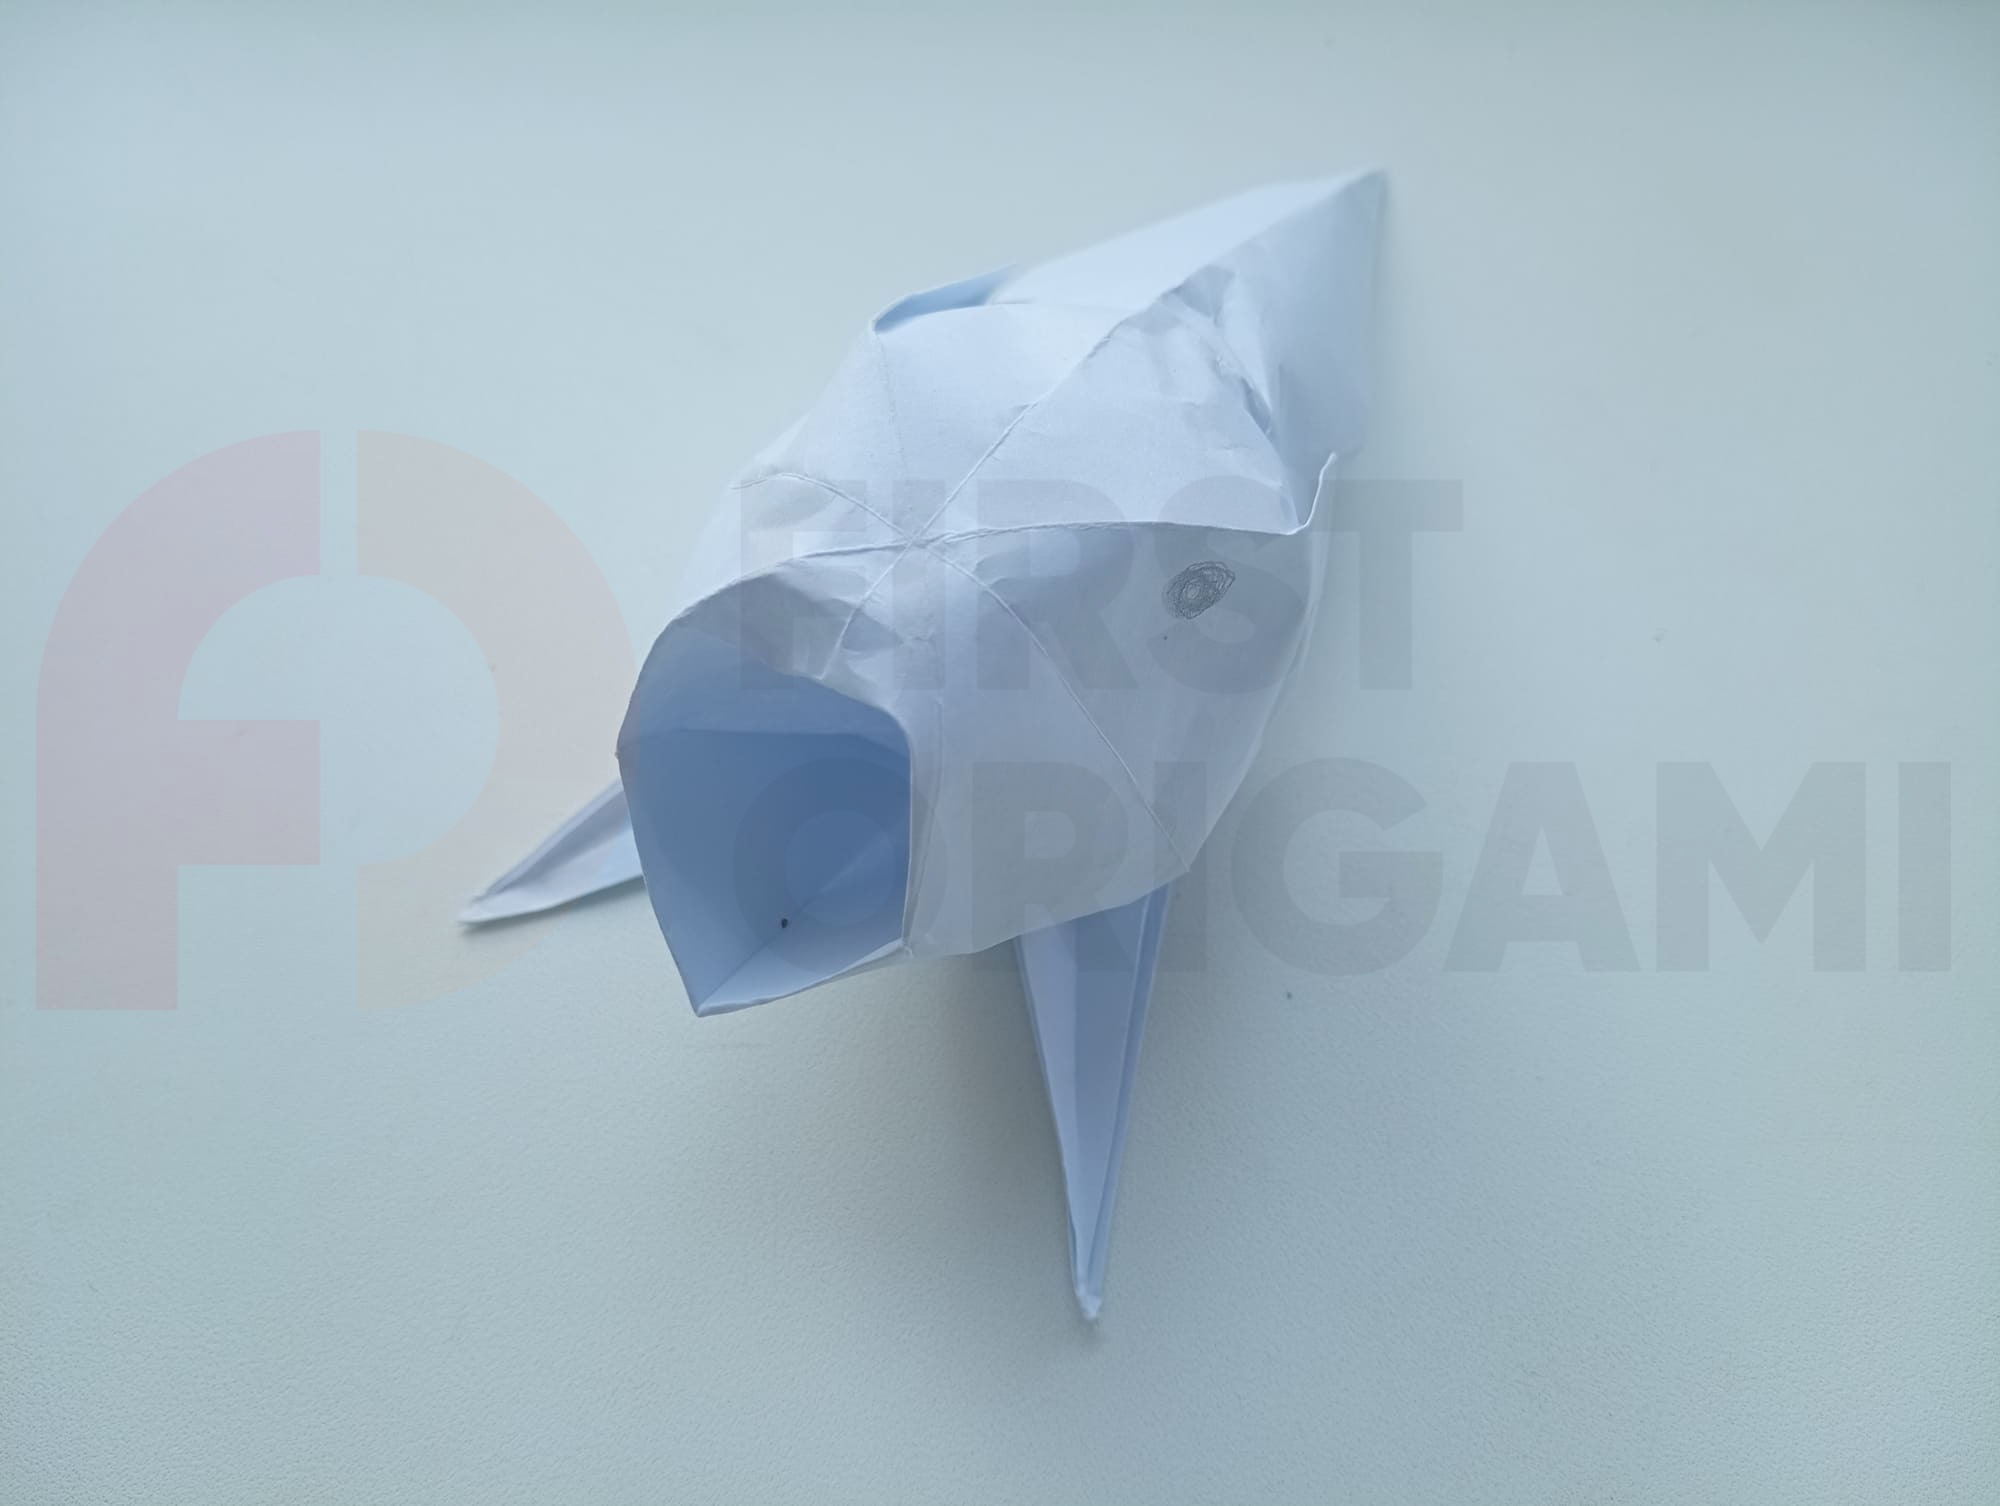
The resulting fish is ready for a voyage!


