Origami Ladybug

A charming ladybug will lift your spirits and decorate the flower alley. The ladybug model is perfect for a master class in the company of little helpers. This is one of the favorite insects for most children. Suitable model not only for decorating flower compositions but also for placing them in the house. Try all your skills to repeat all the steps of the master class.
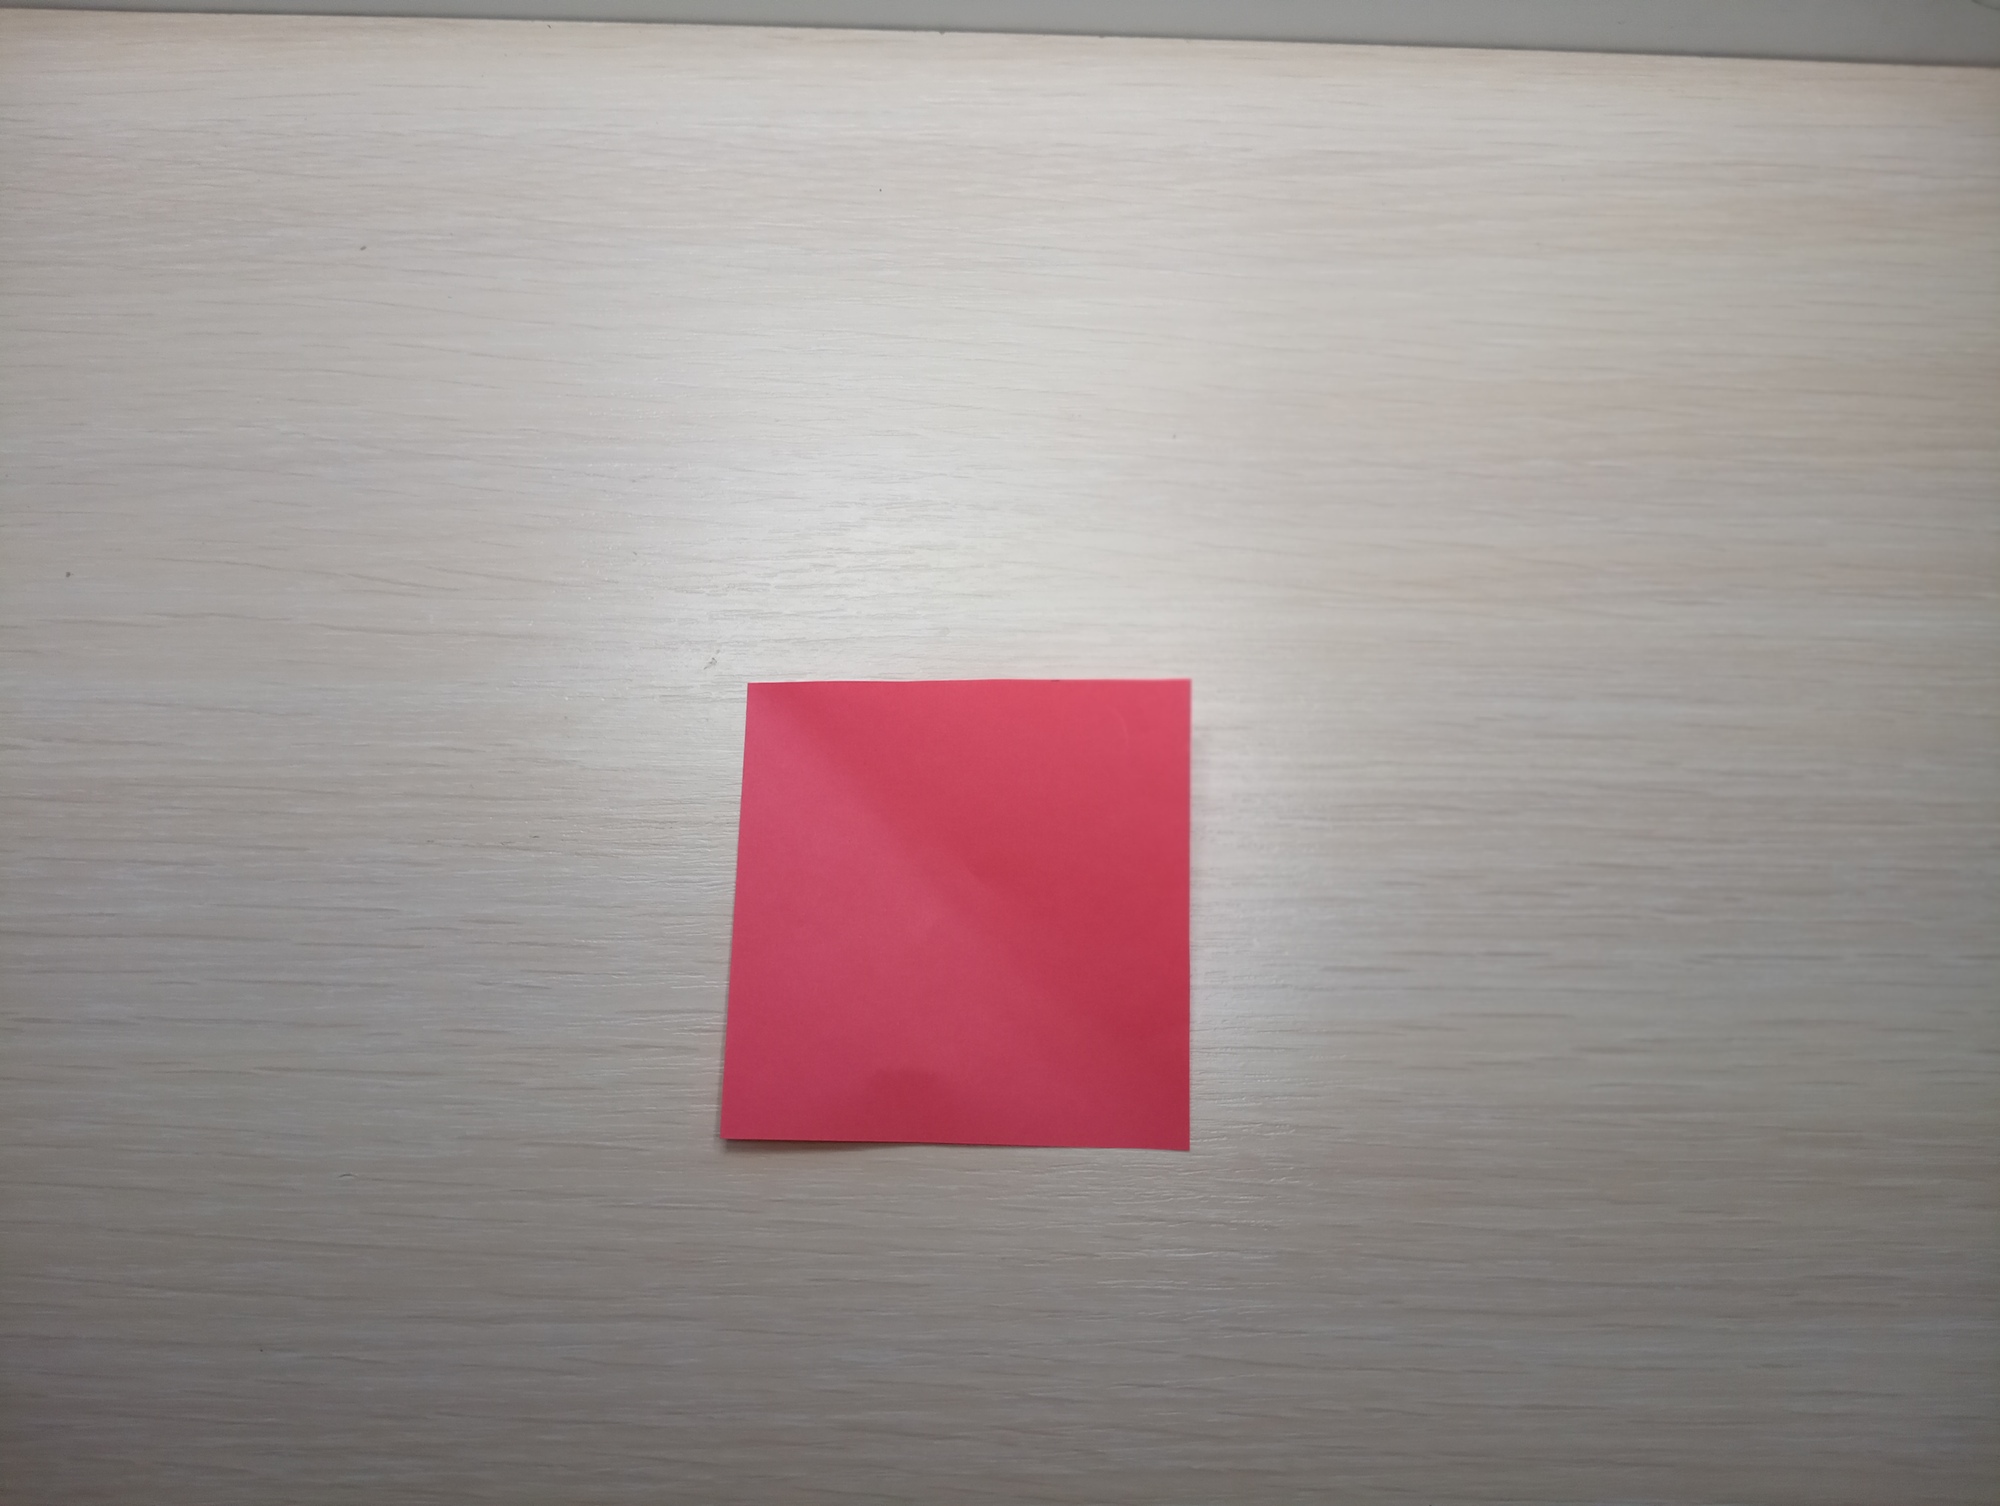
Take a square piece of paper measuring 8.5 by 8.5 cm.
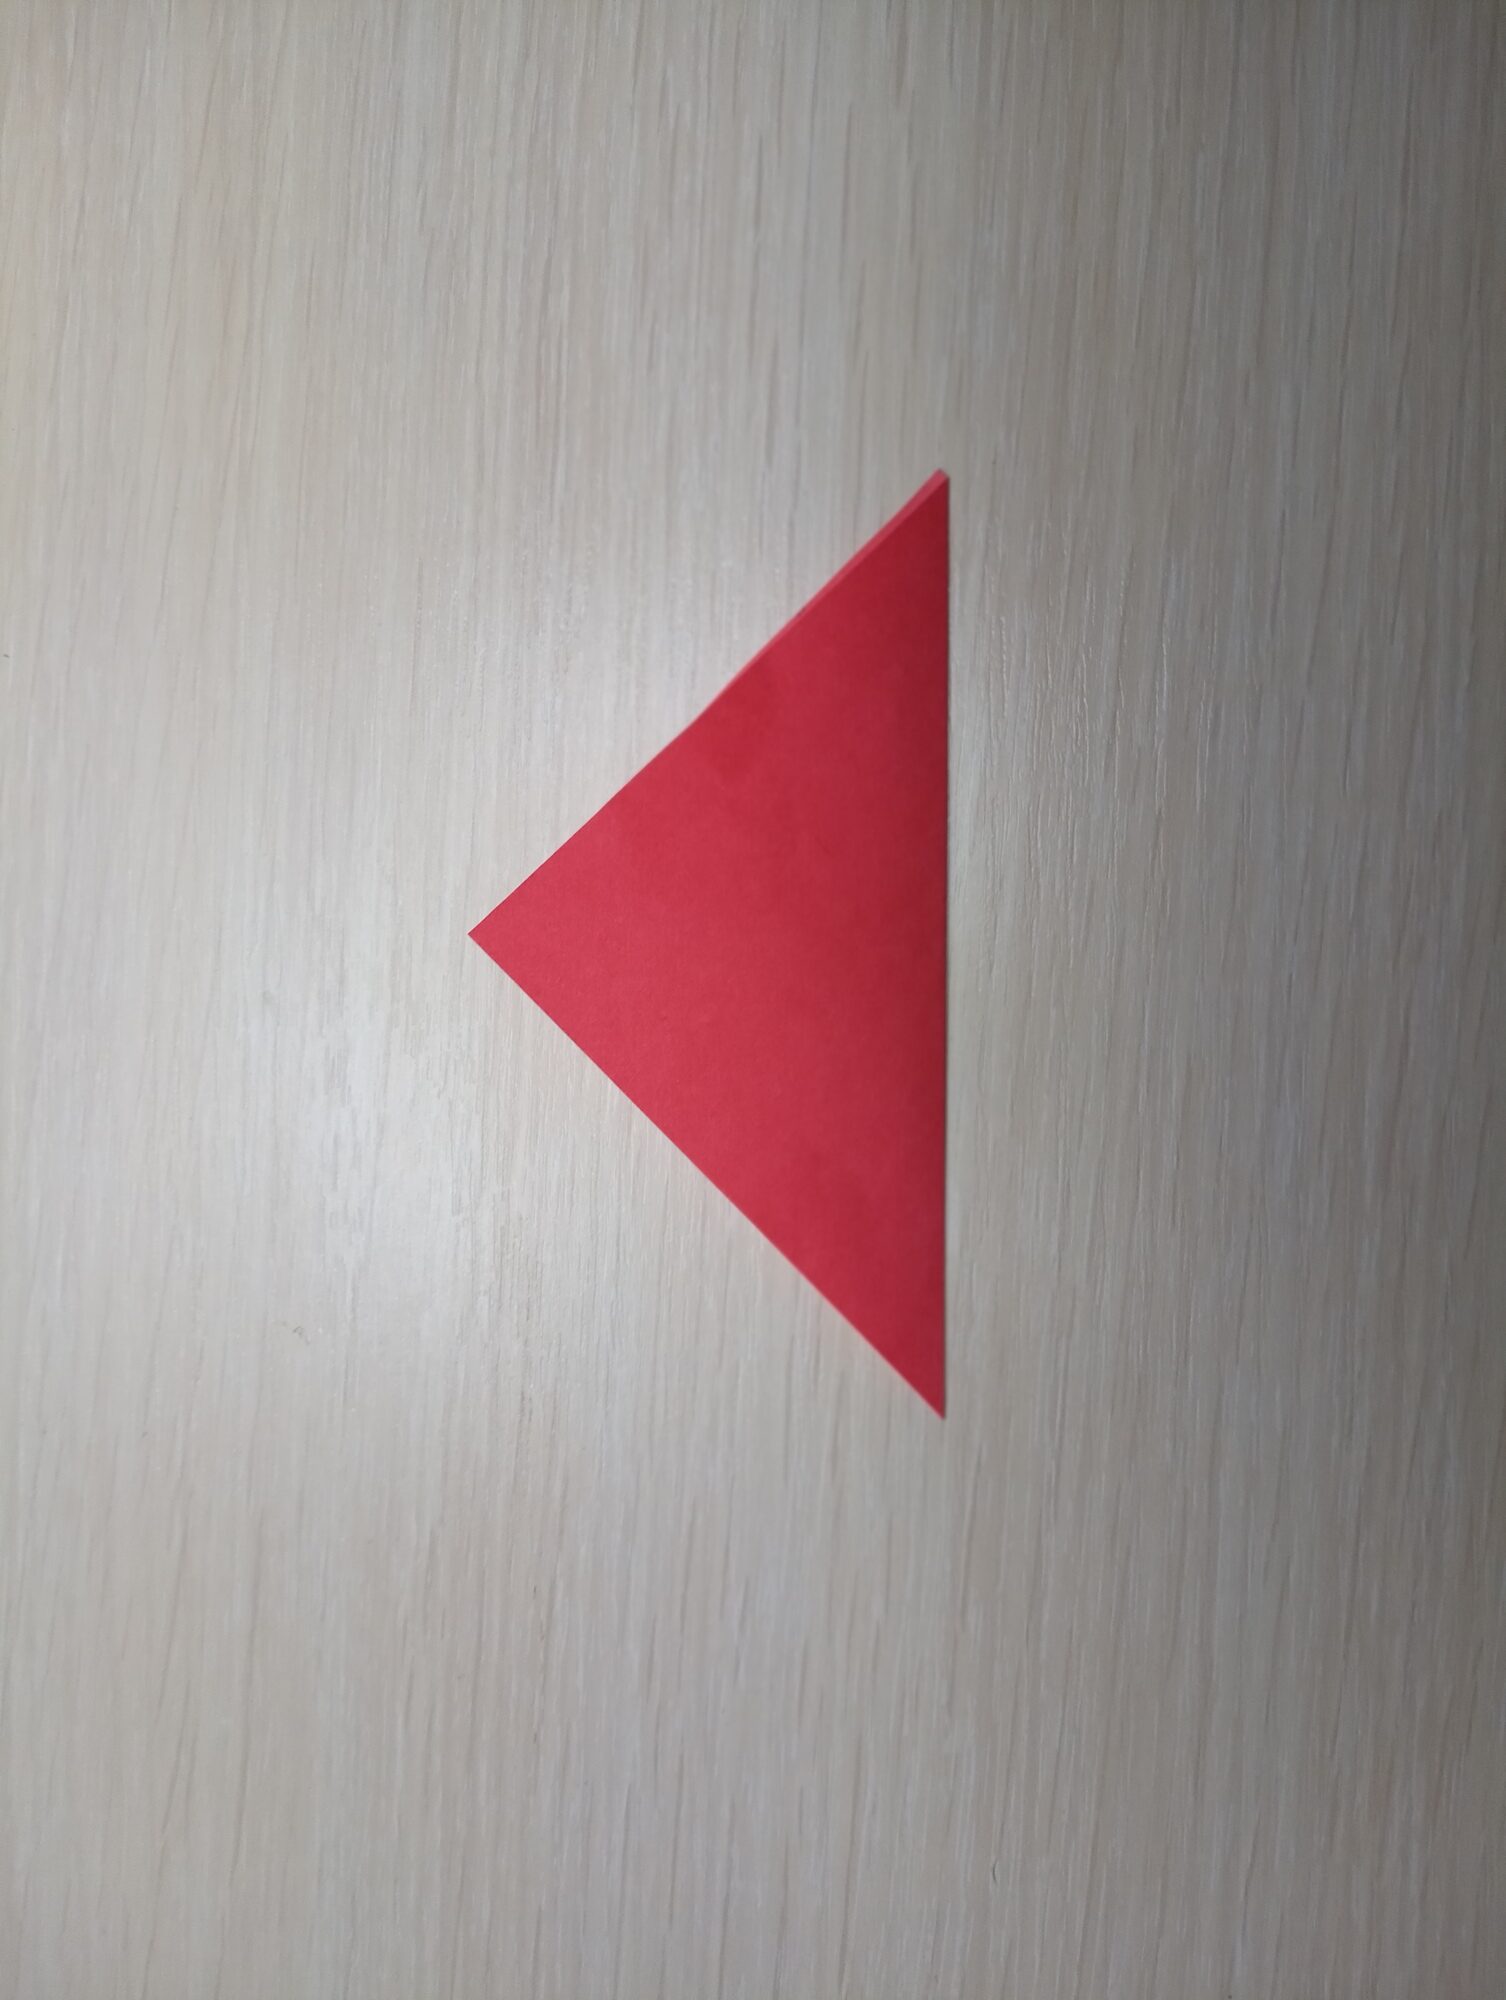
Fold it in half diagonally.
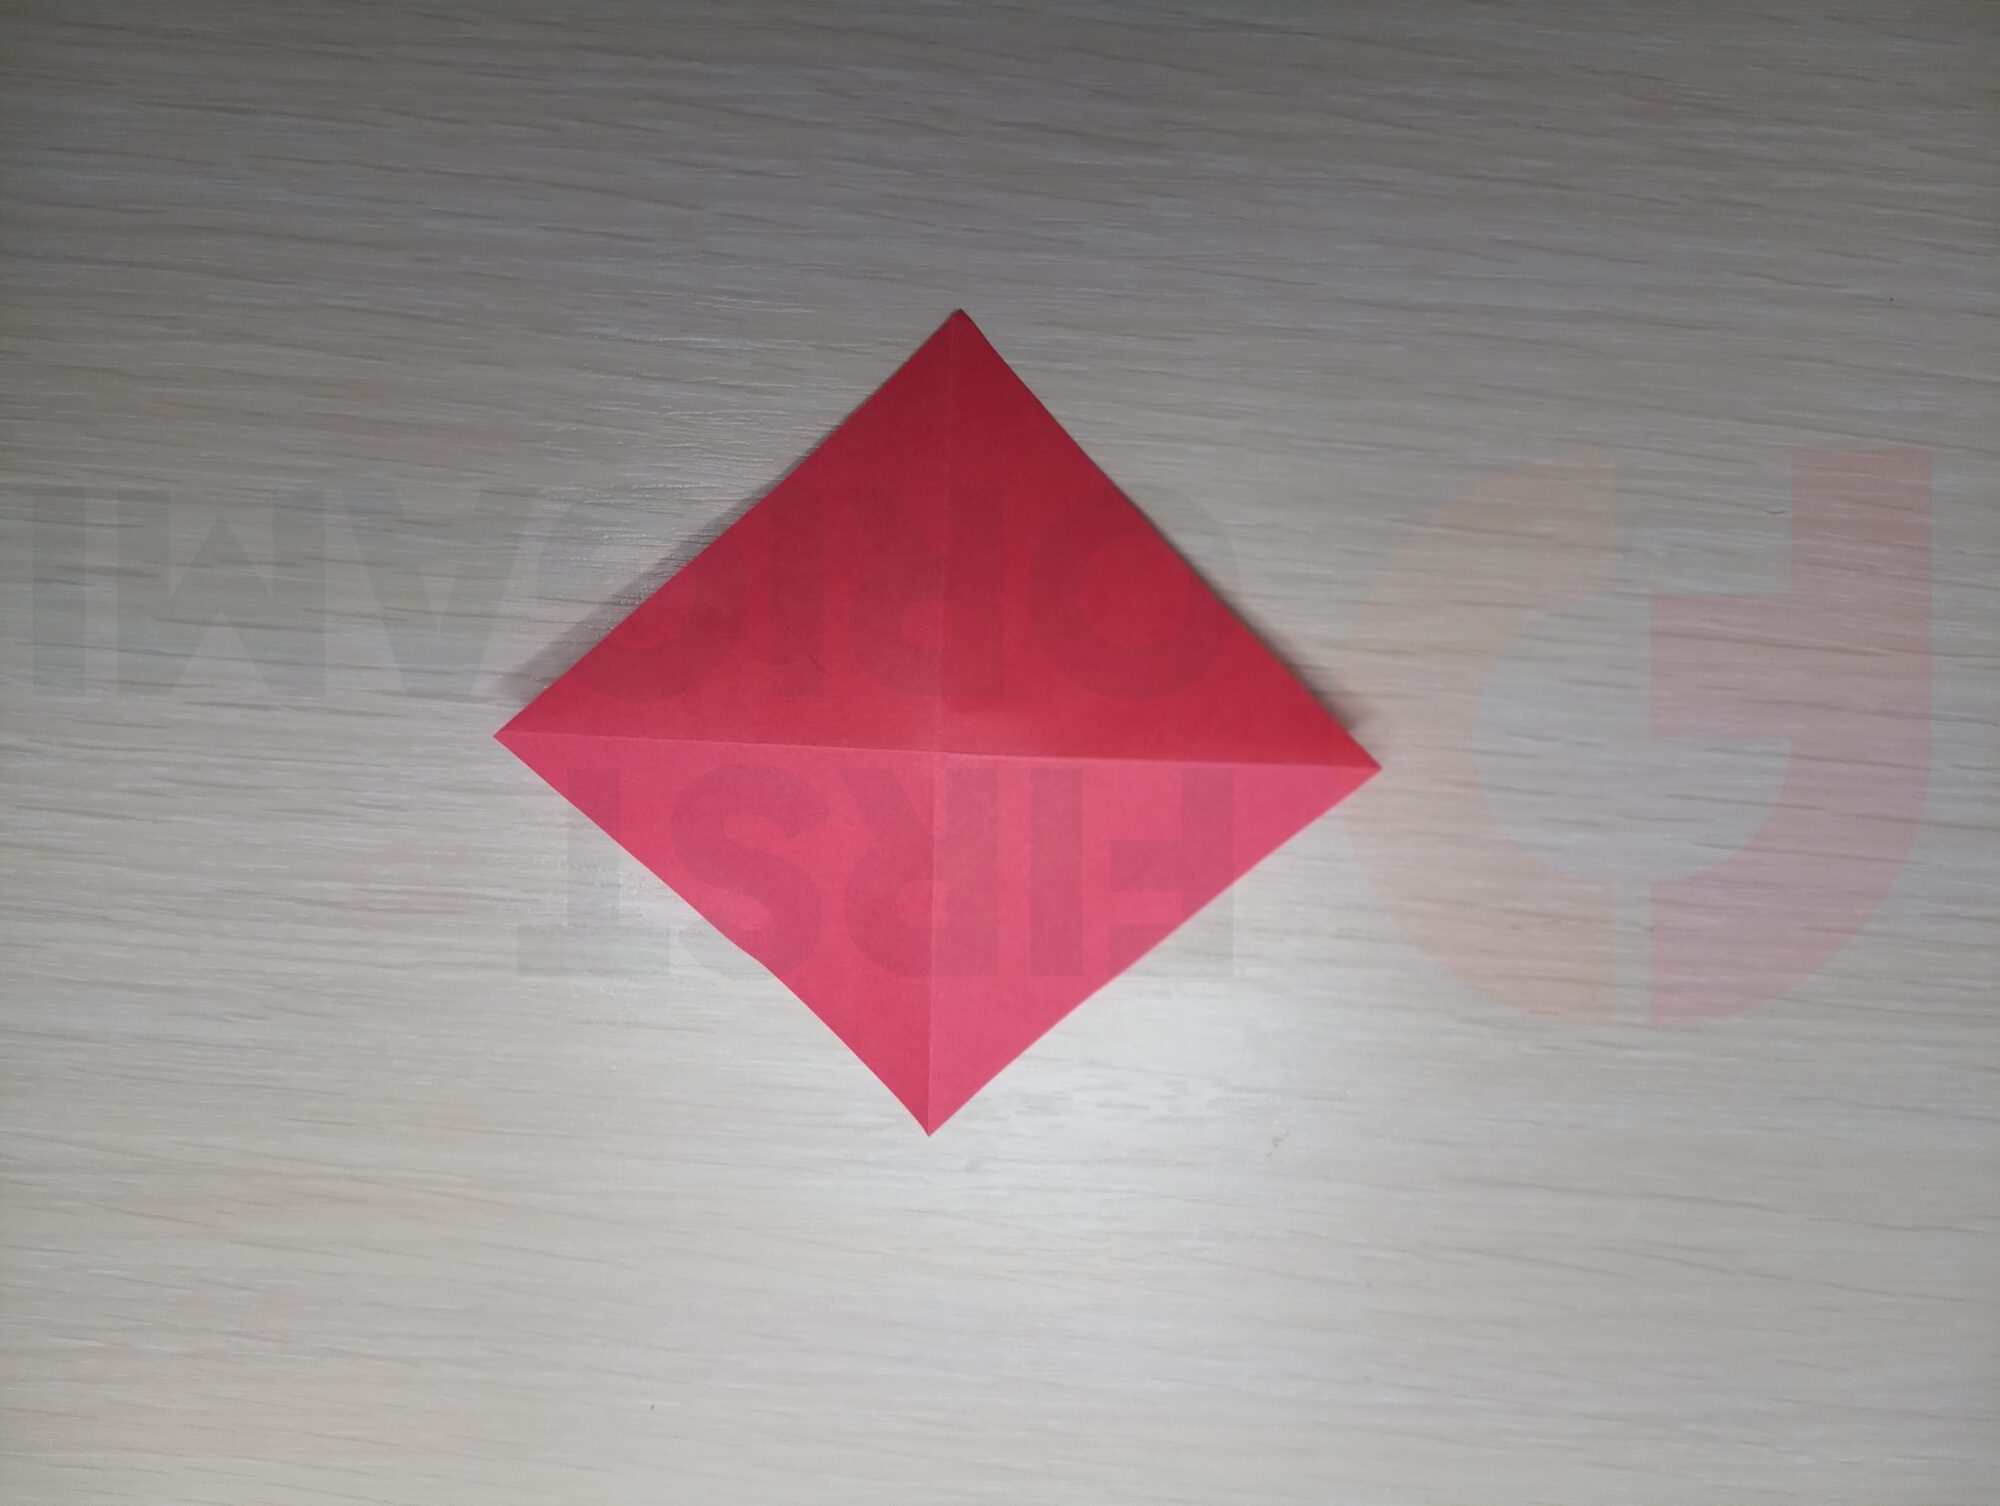
Repeat the folding action but on the other diagonal and open the piece of paper.
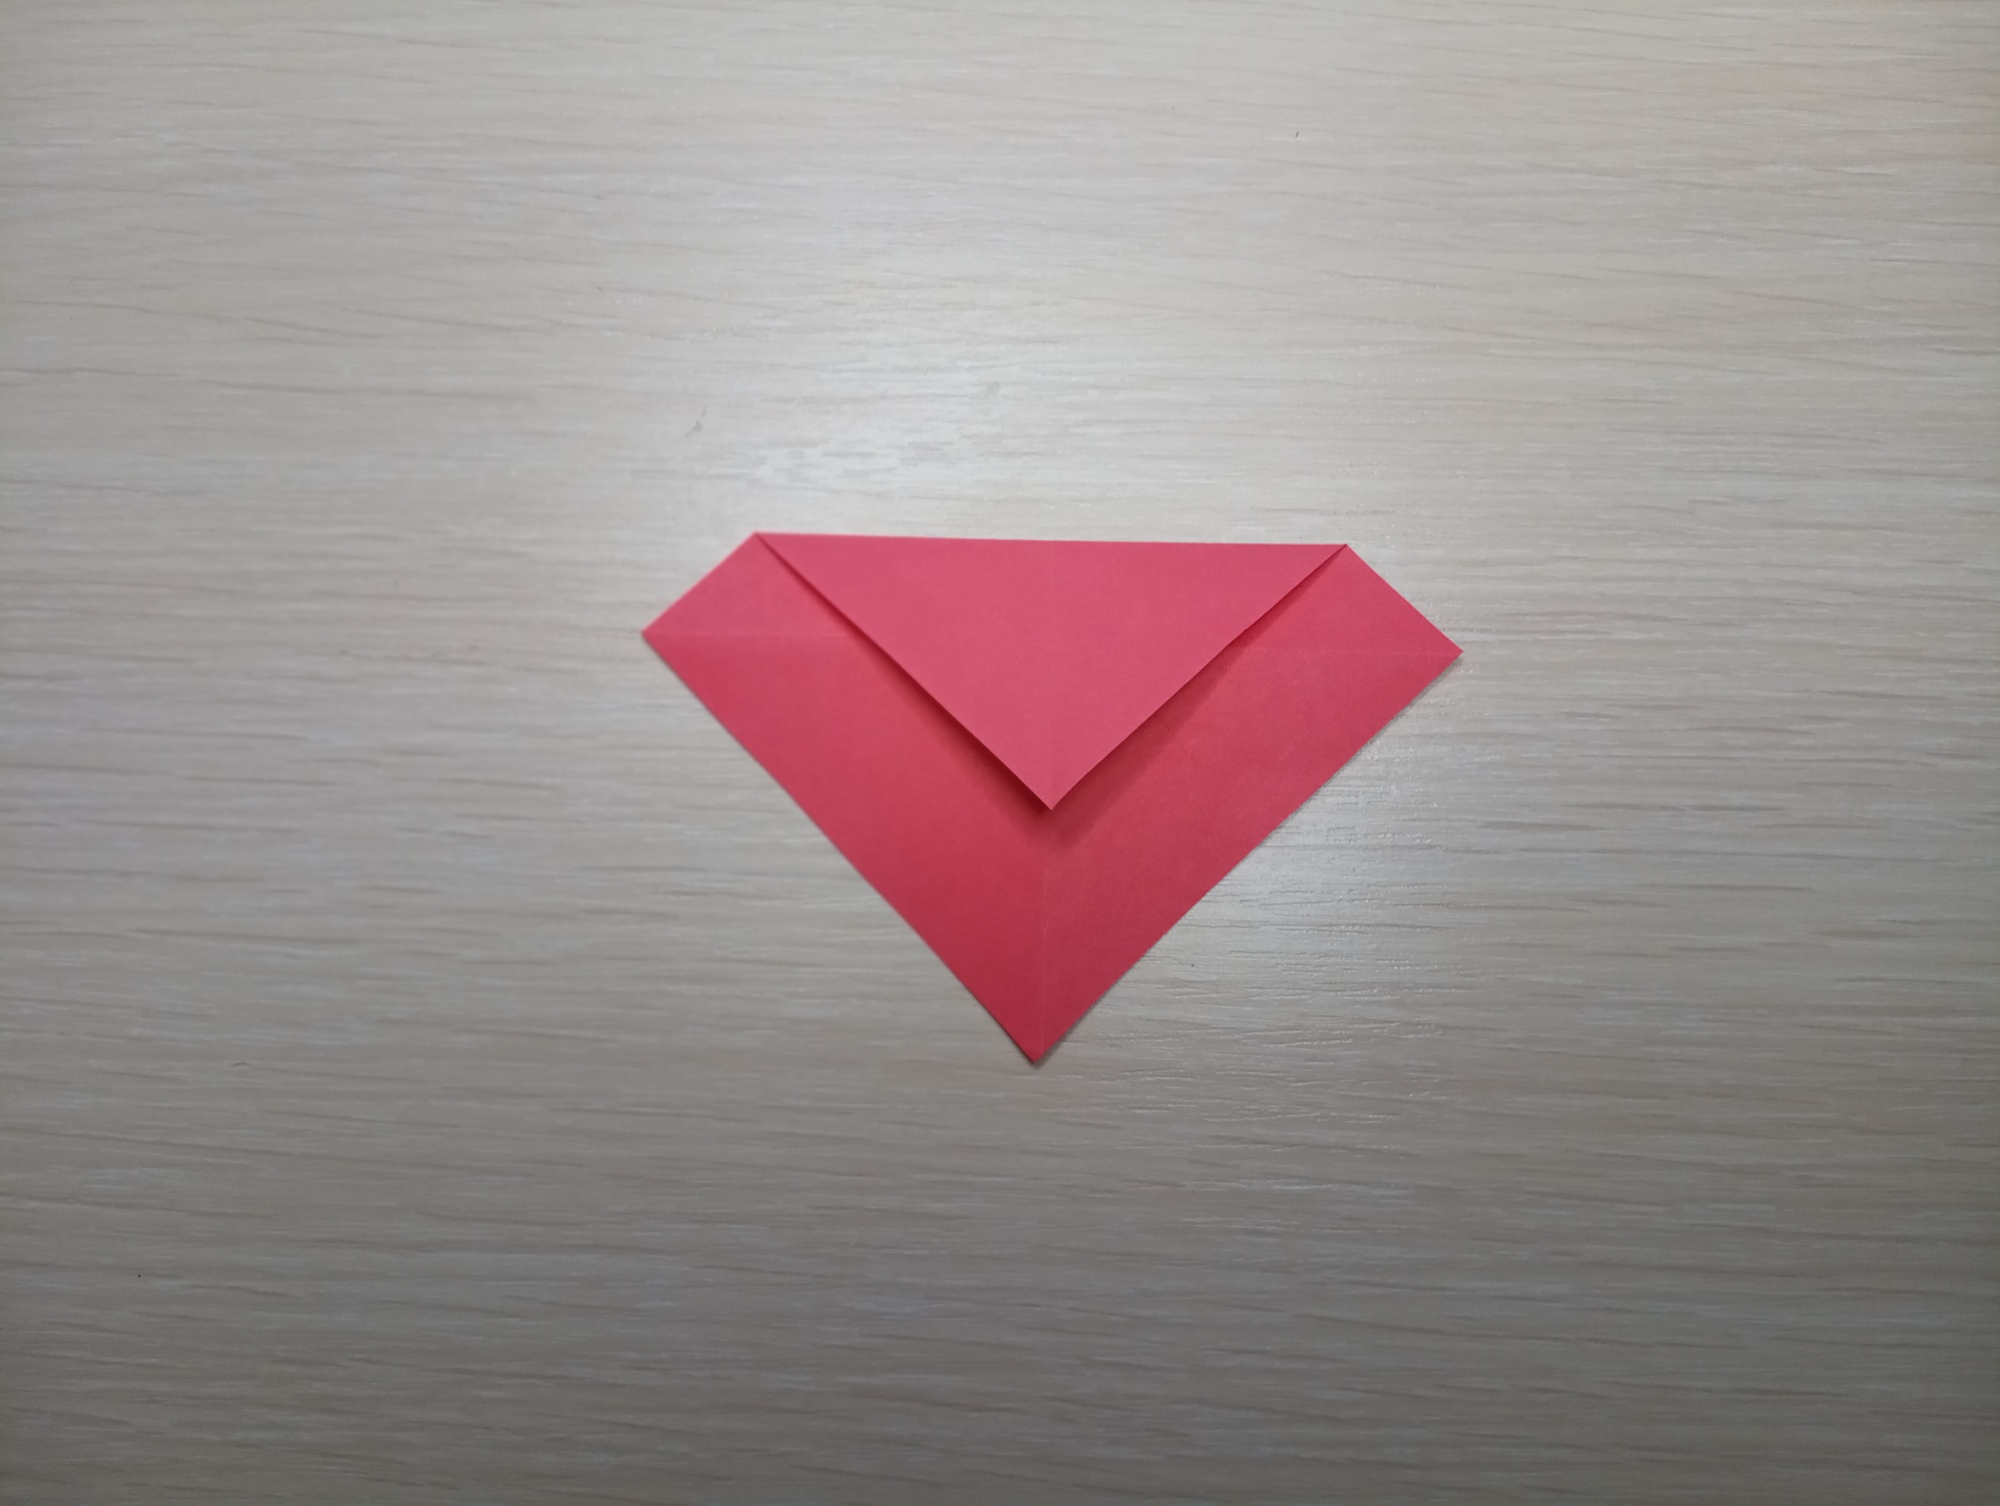
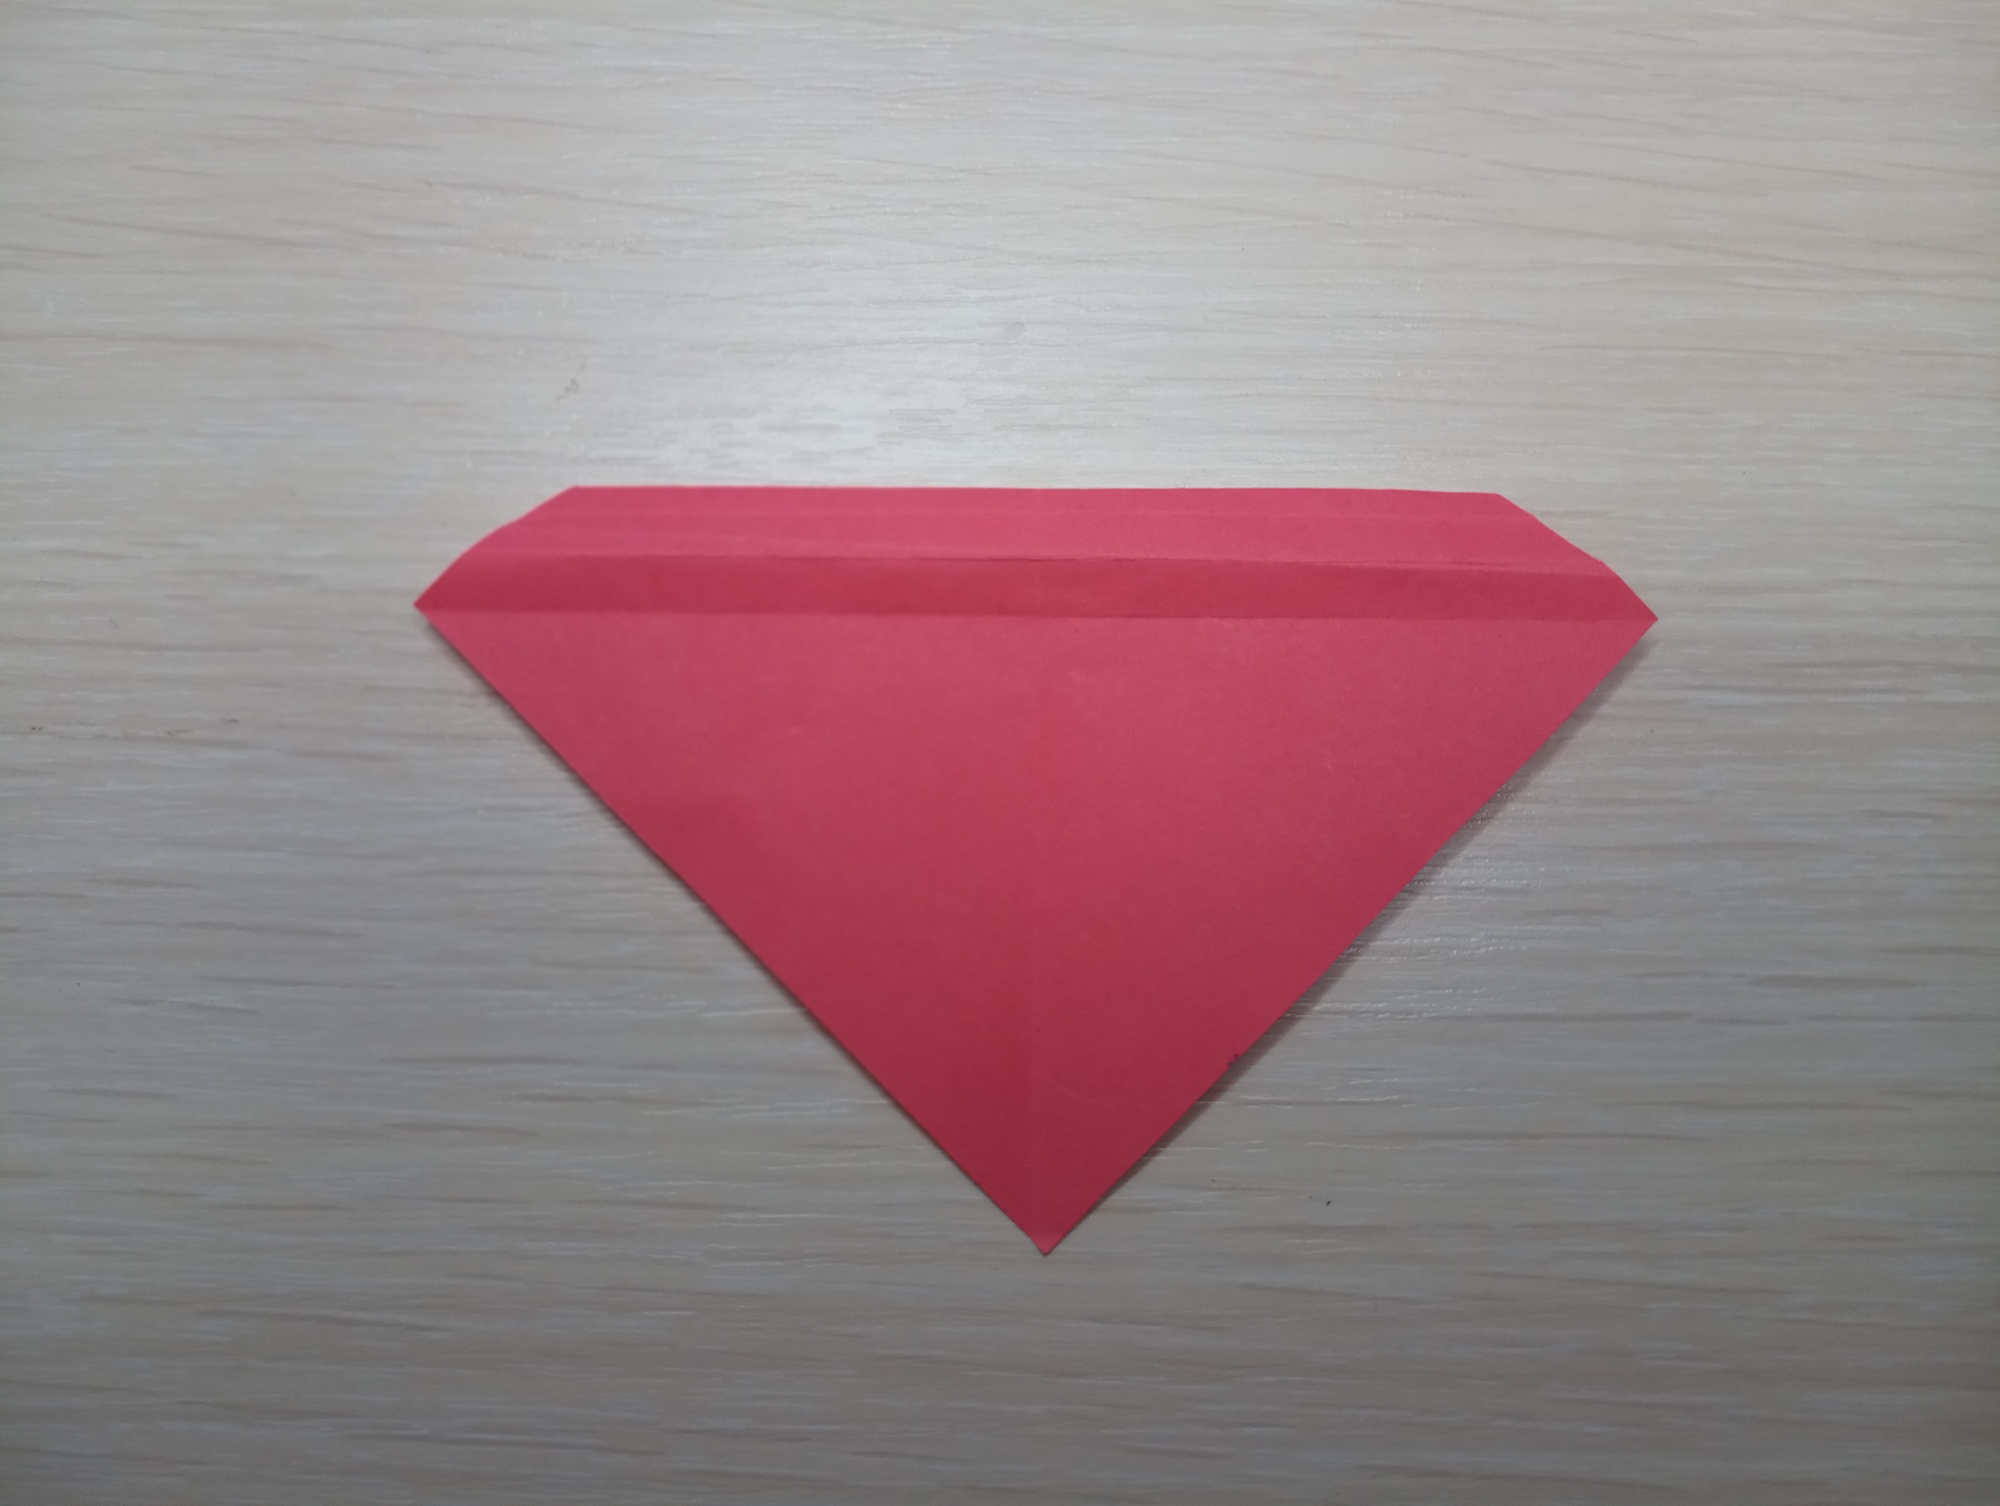
Fold the top corner edge forward below the location of the center fold (see photo).
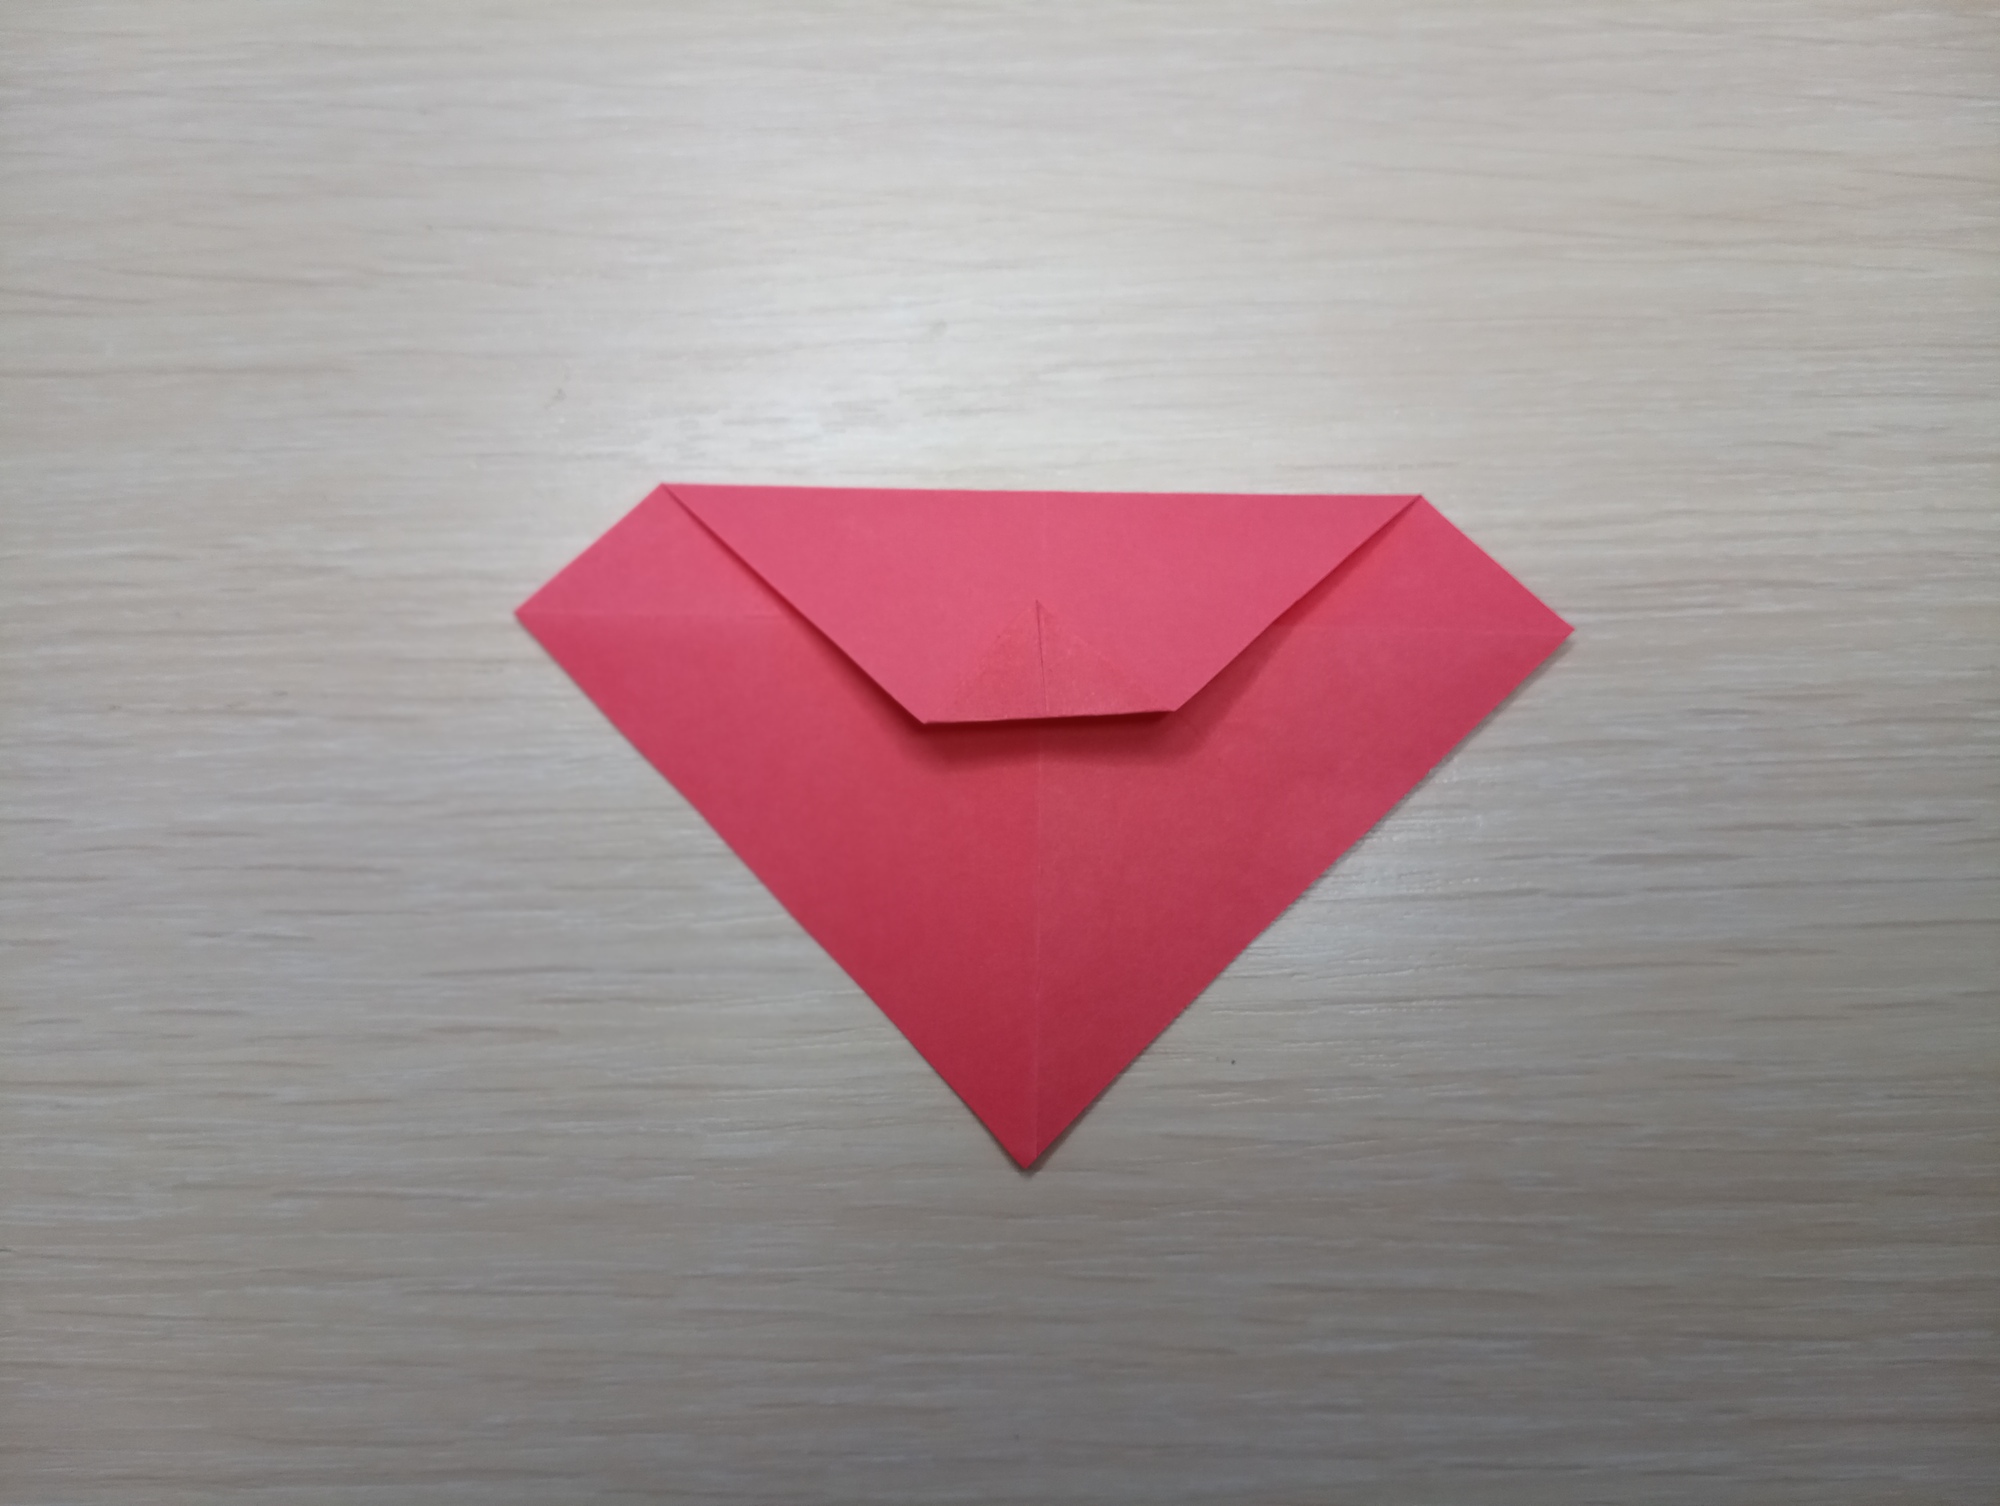
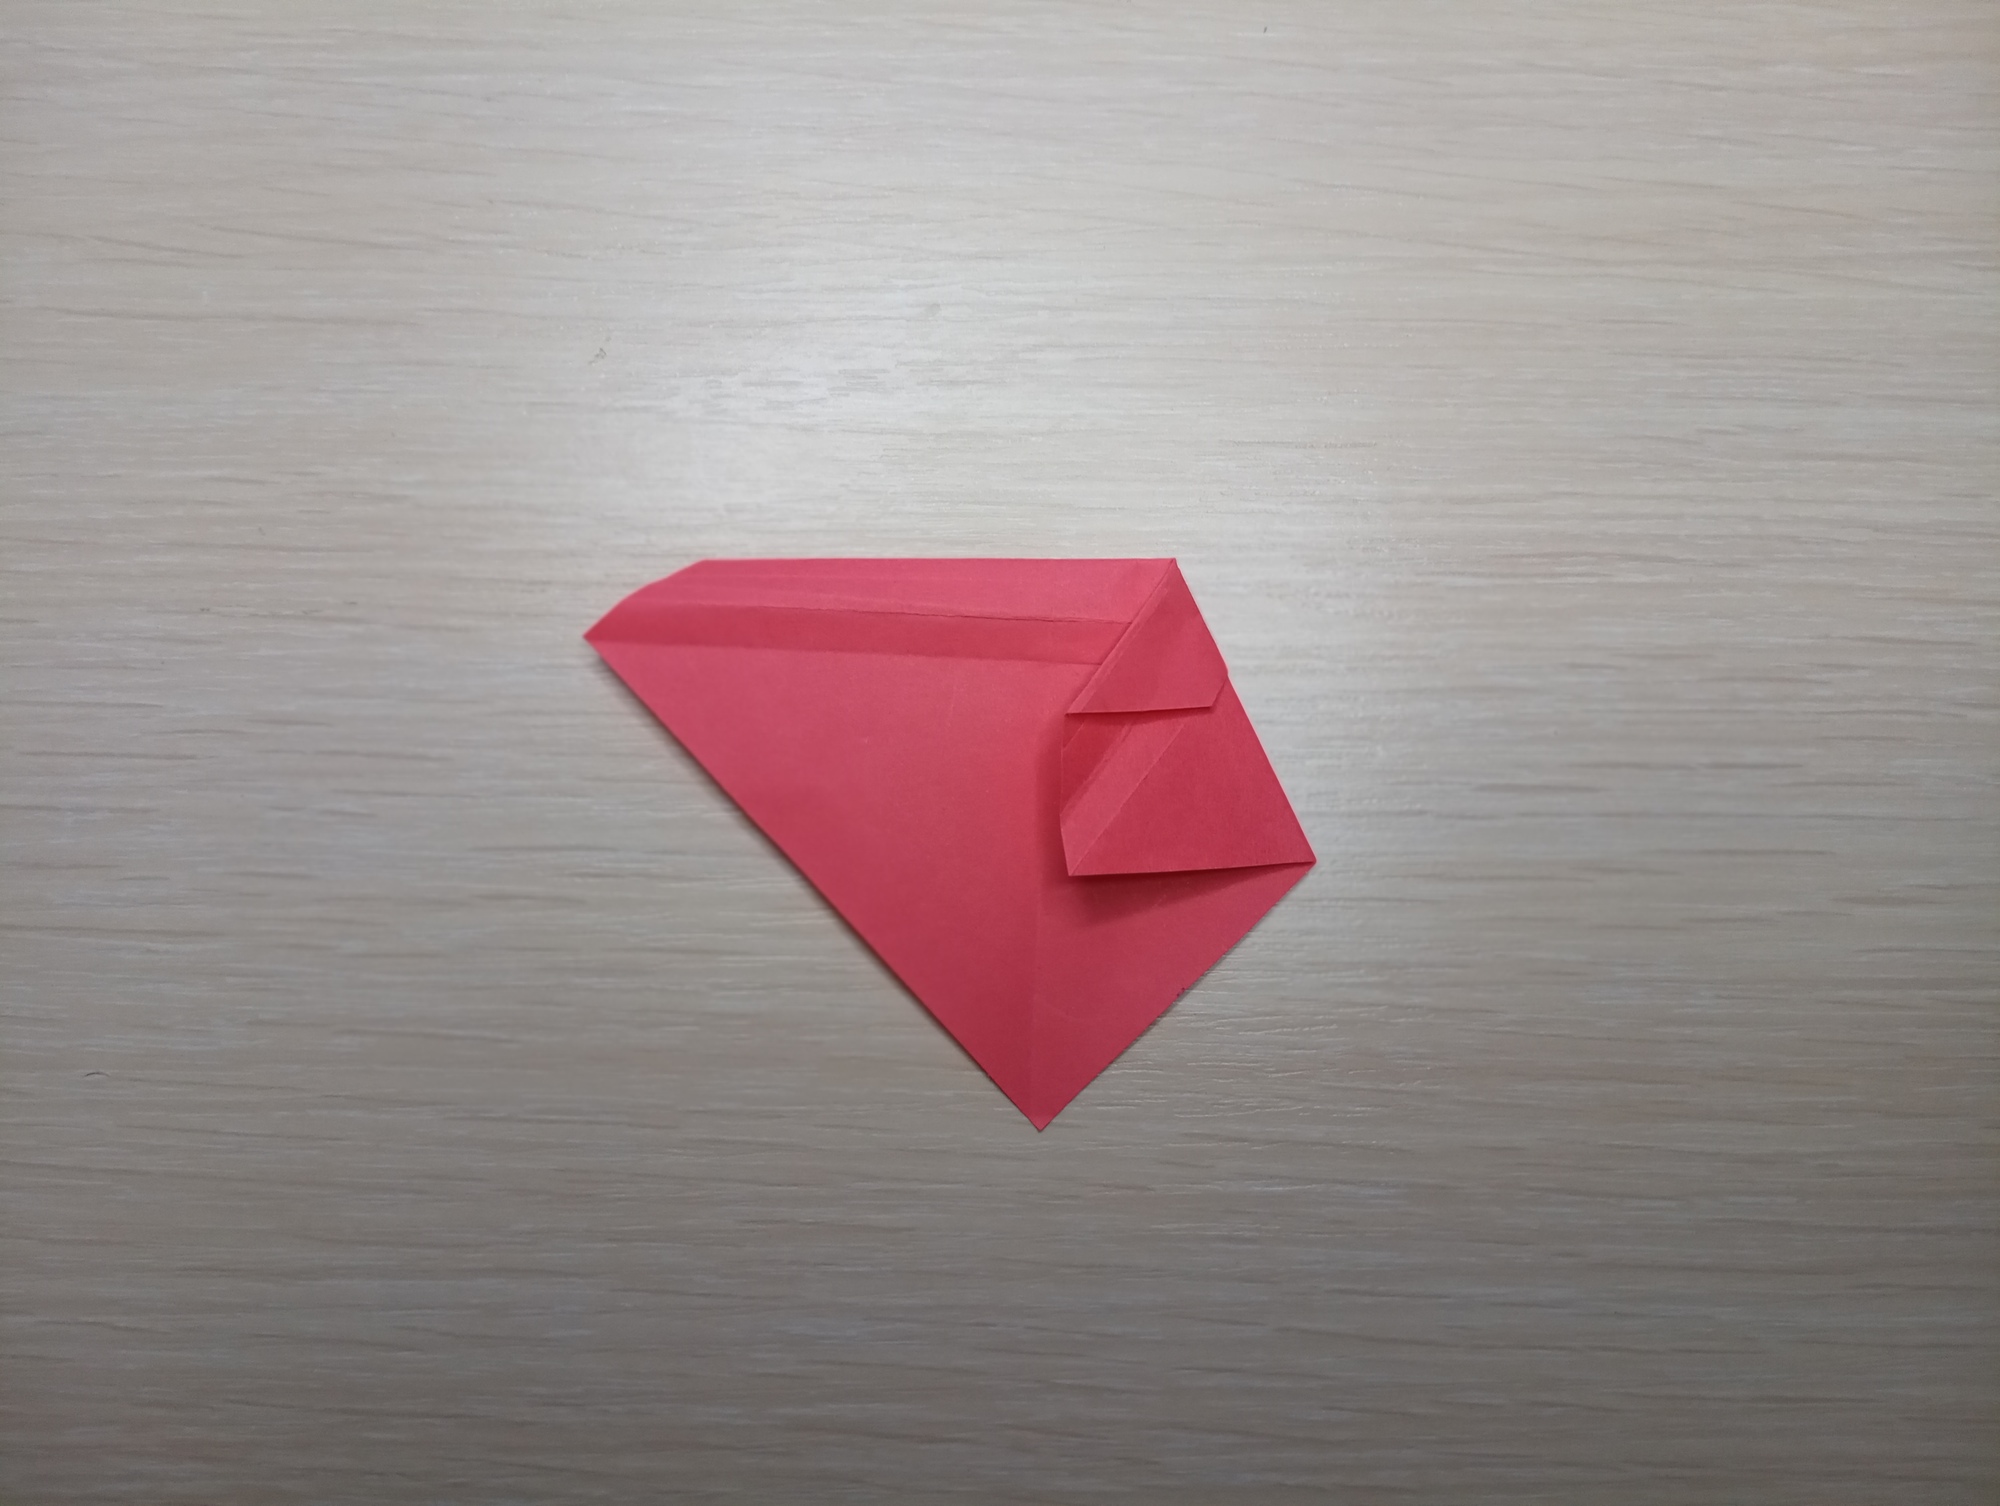
Tuck in the bottom corner as in the photo.
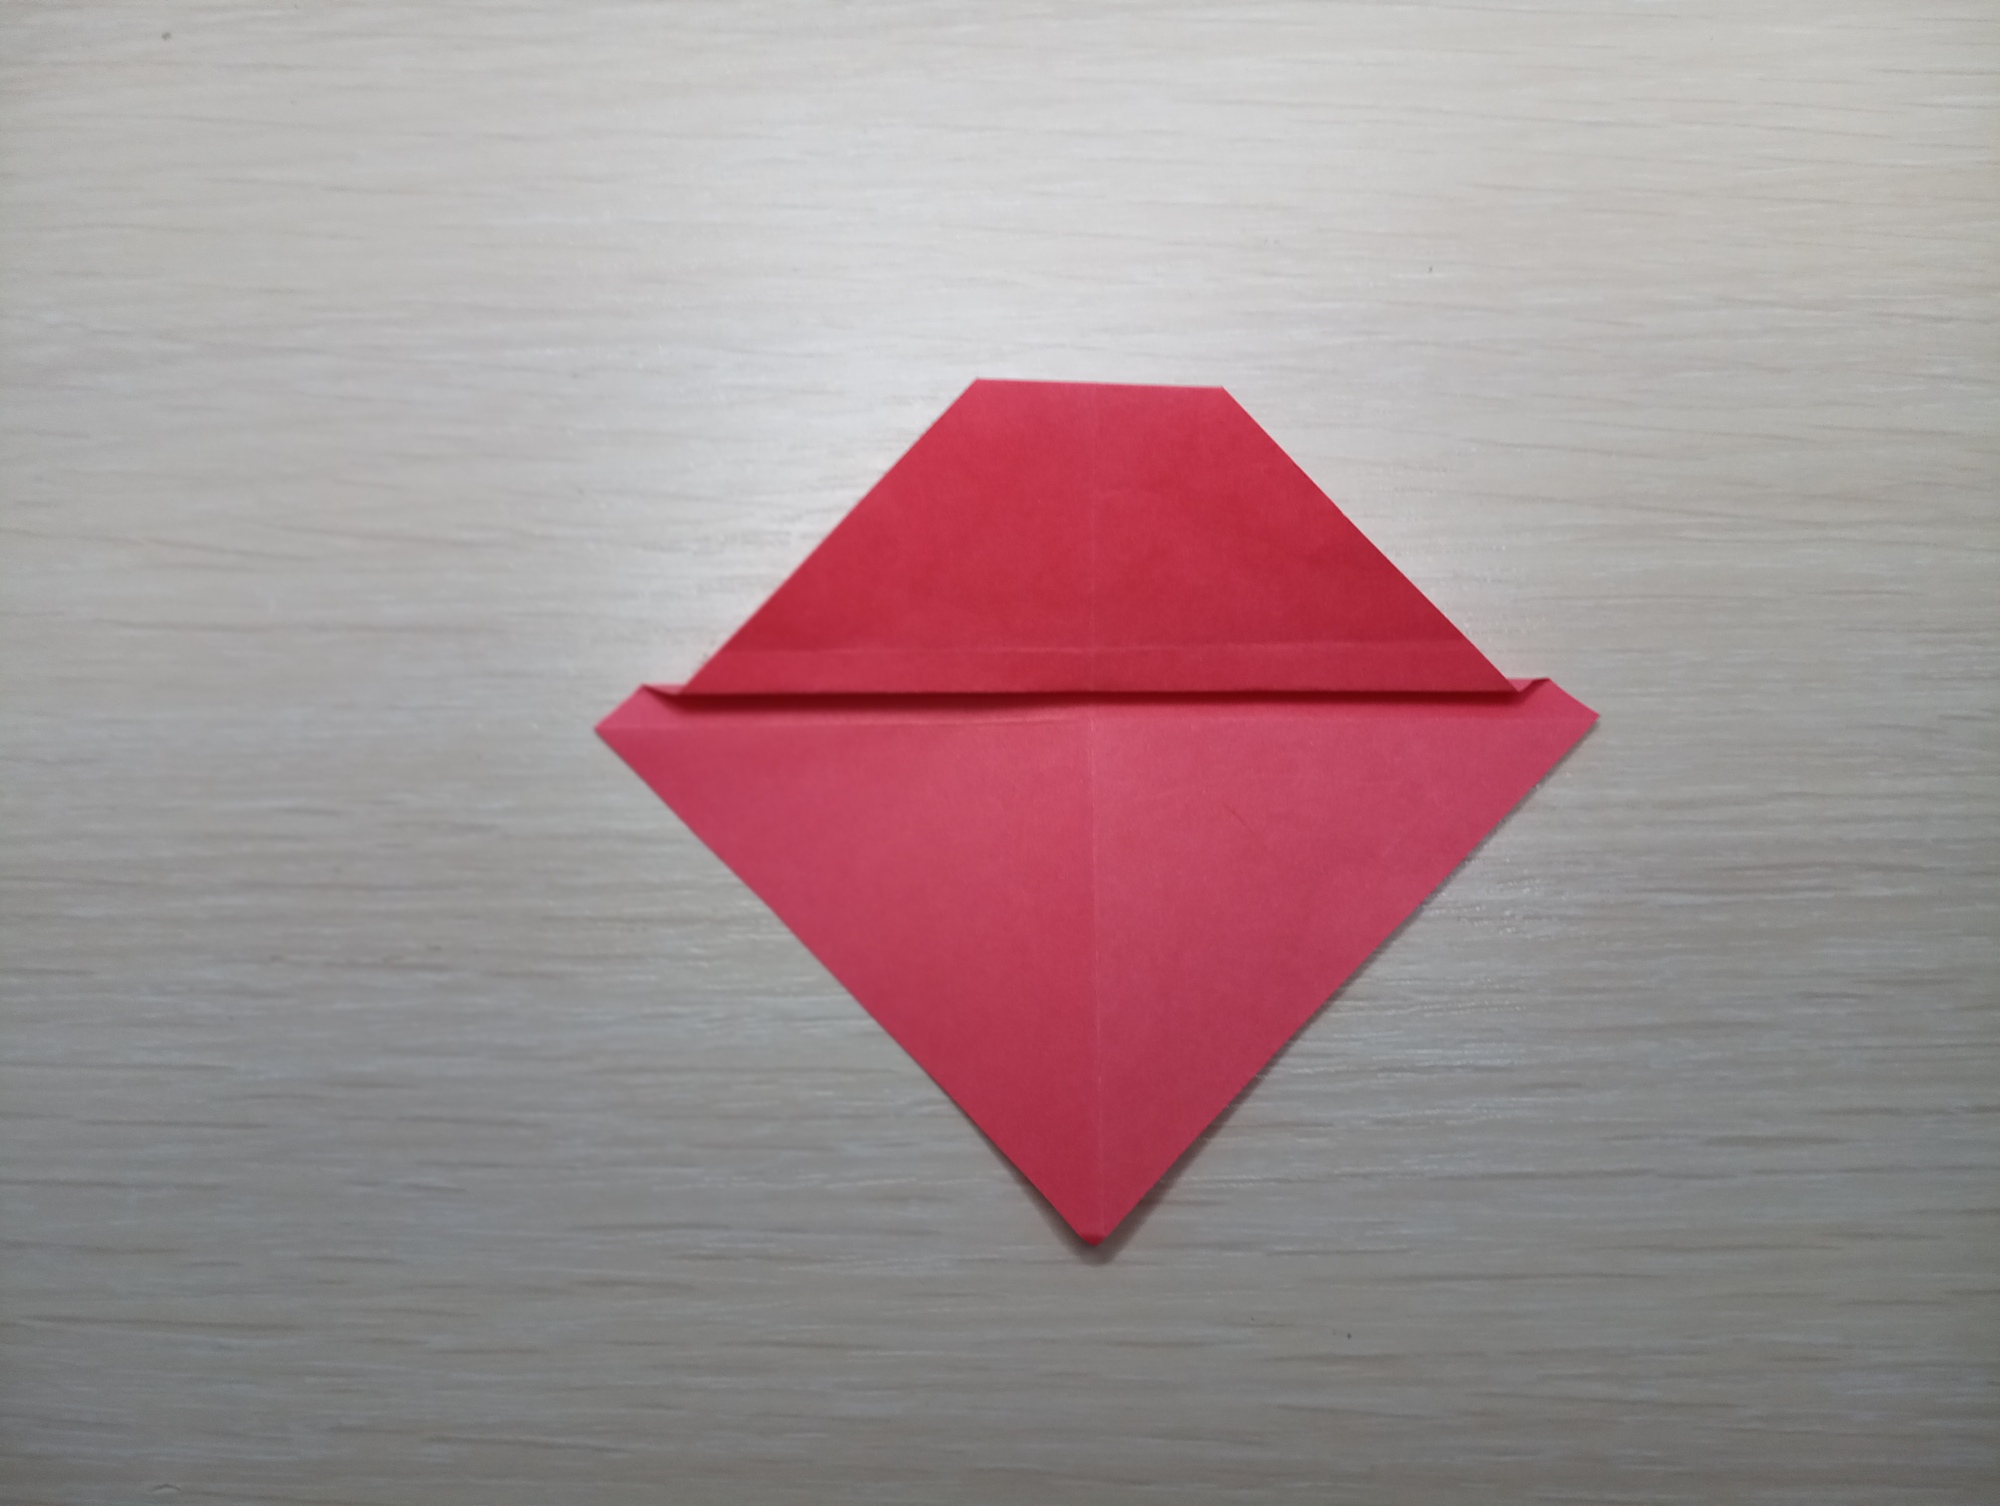
Make a mountain fold with an elevation above the center fold line (see photo).
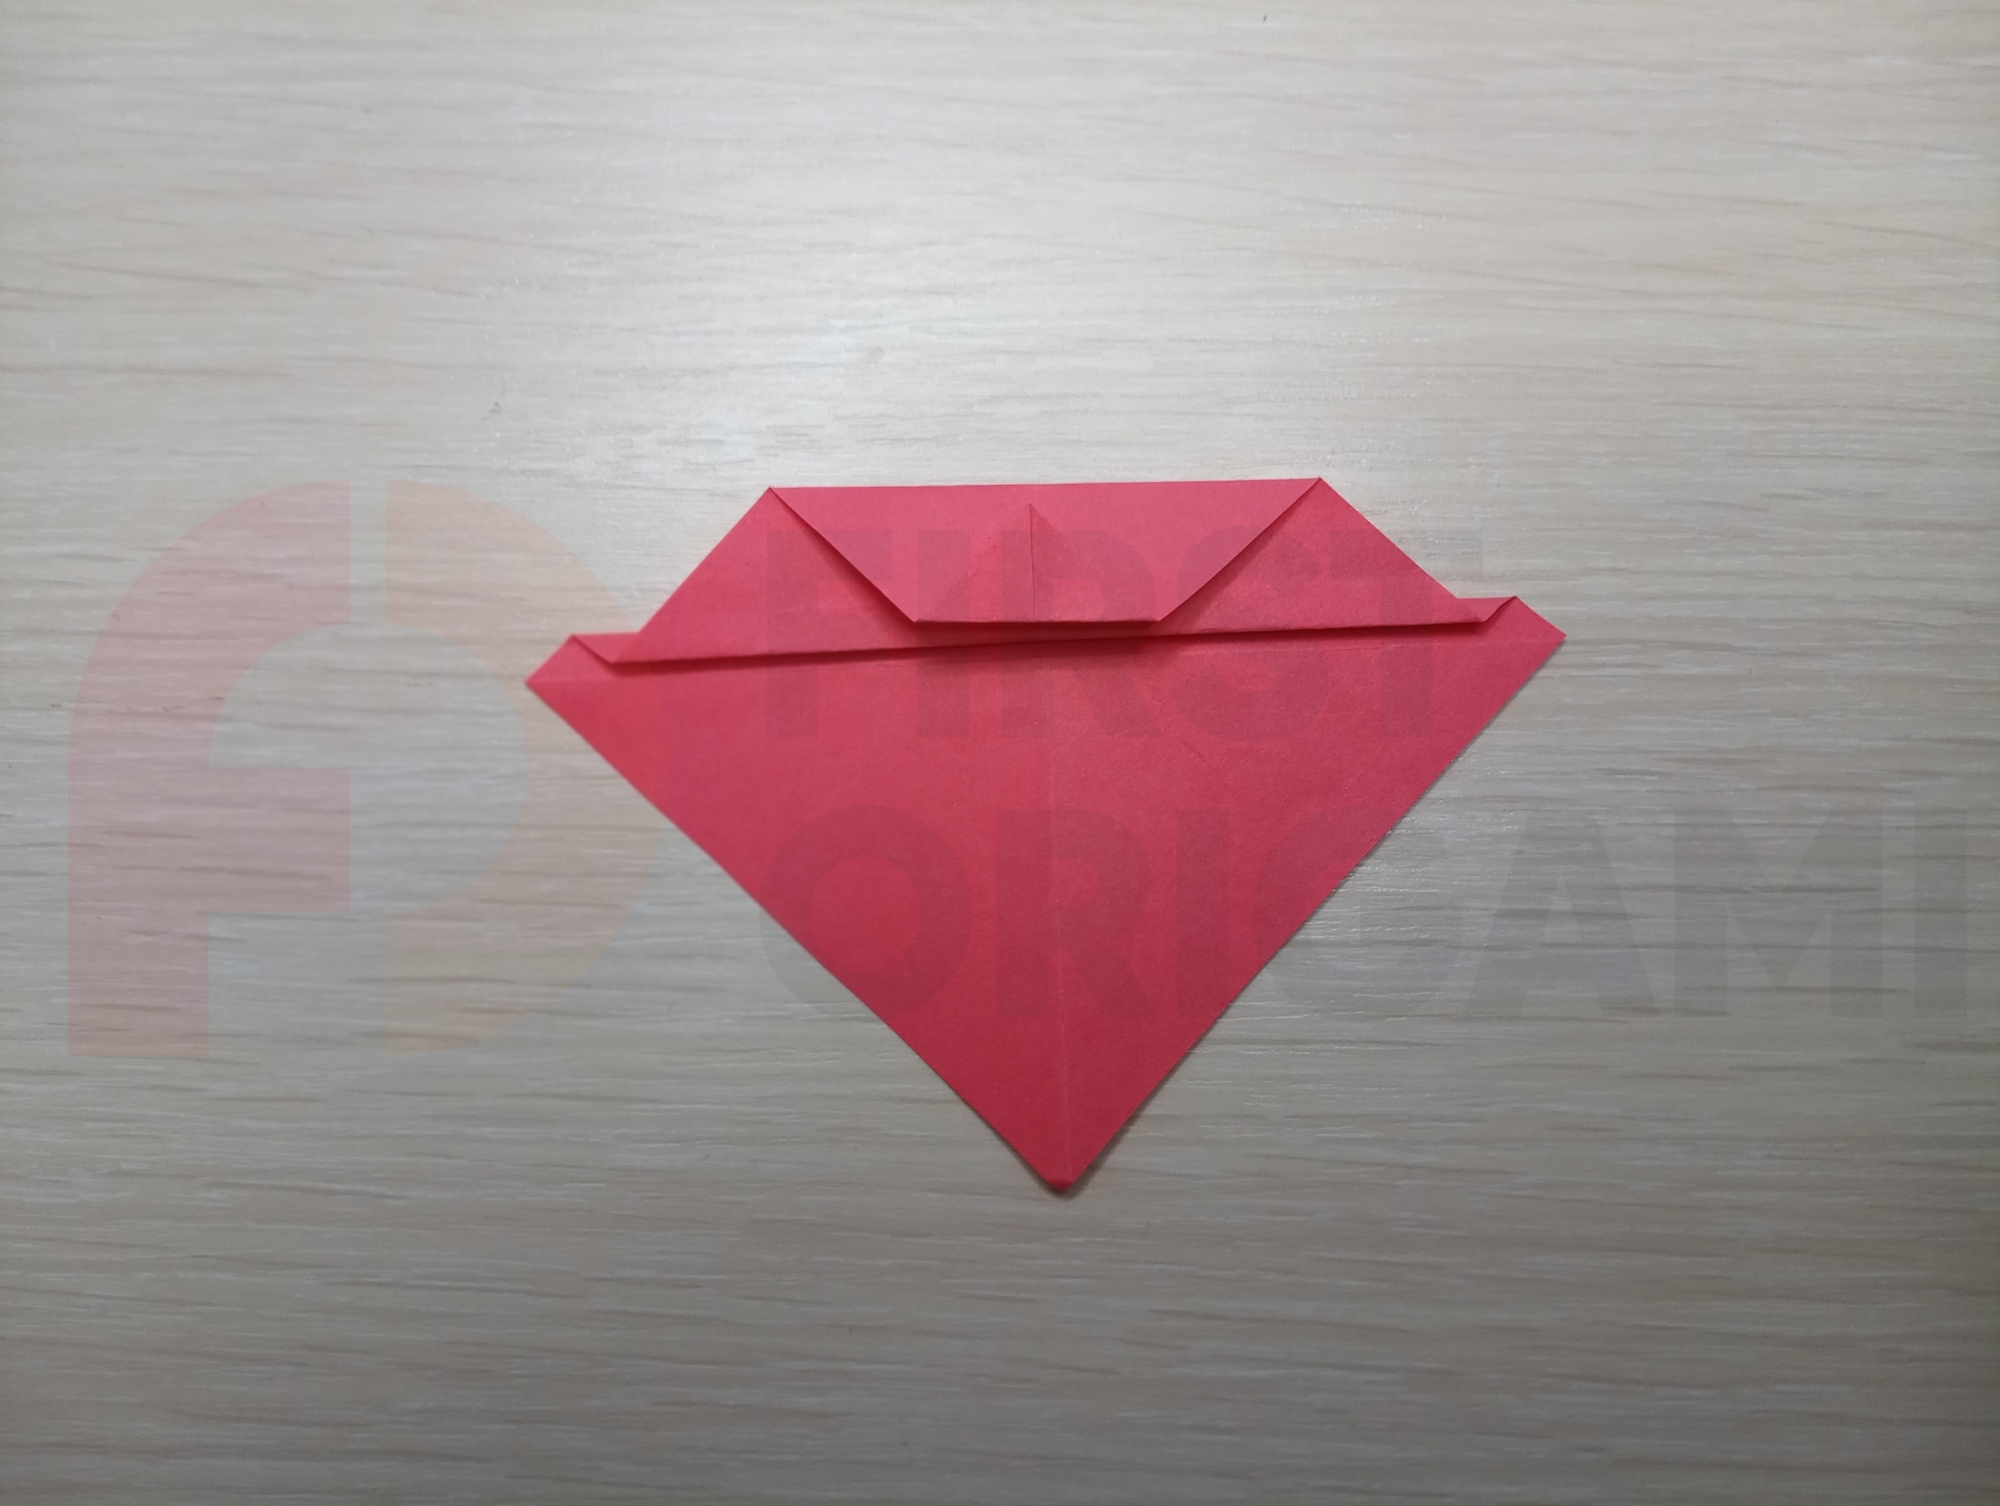
Fold the top edge back and hide it in the fold, as in the photo.
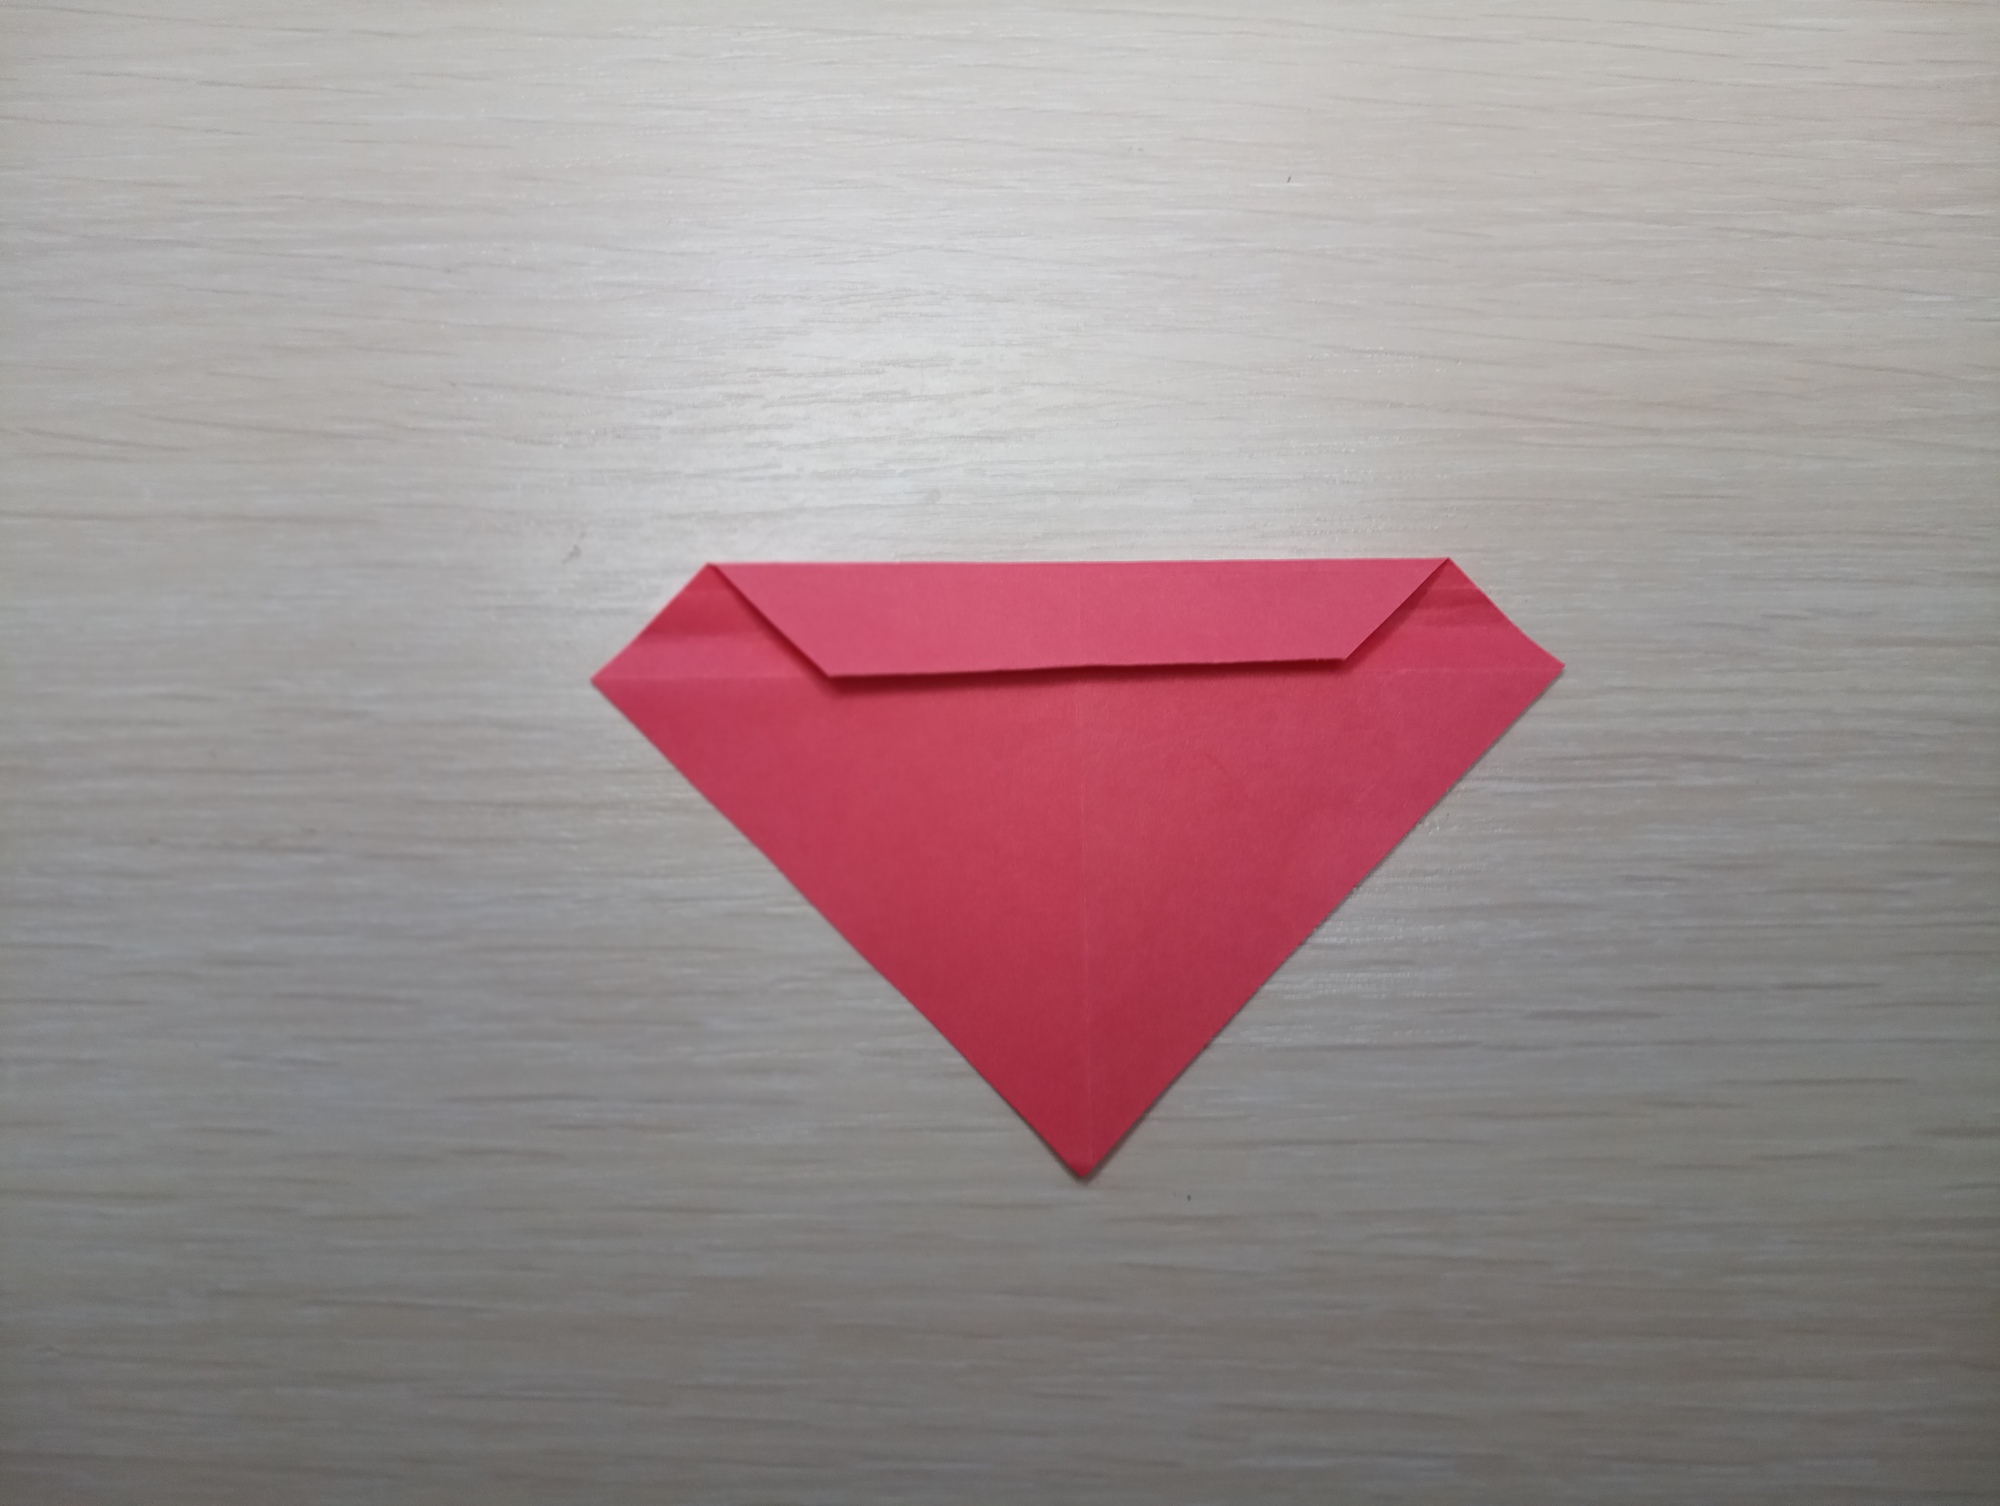
Flip the shape over.
Fold the right side edge to the center line.

Repeat the steps with the left edge.
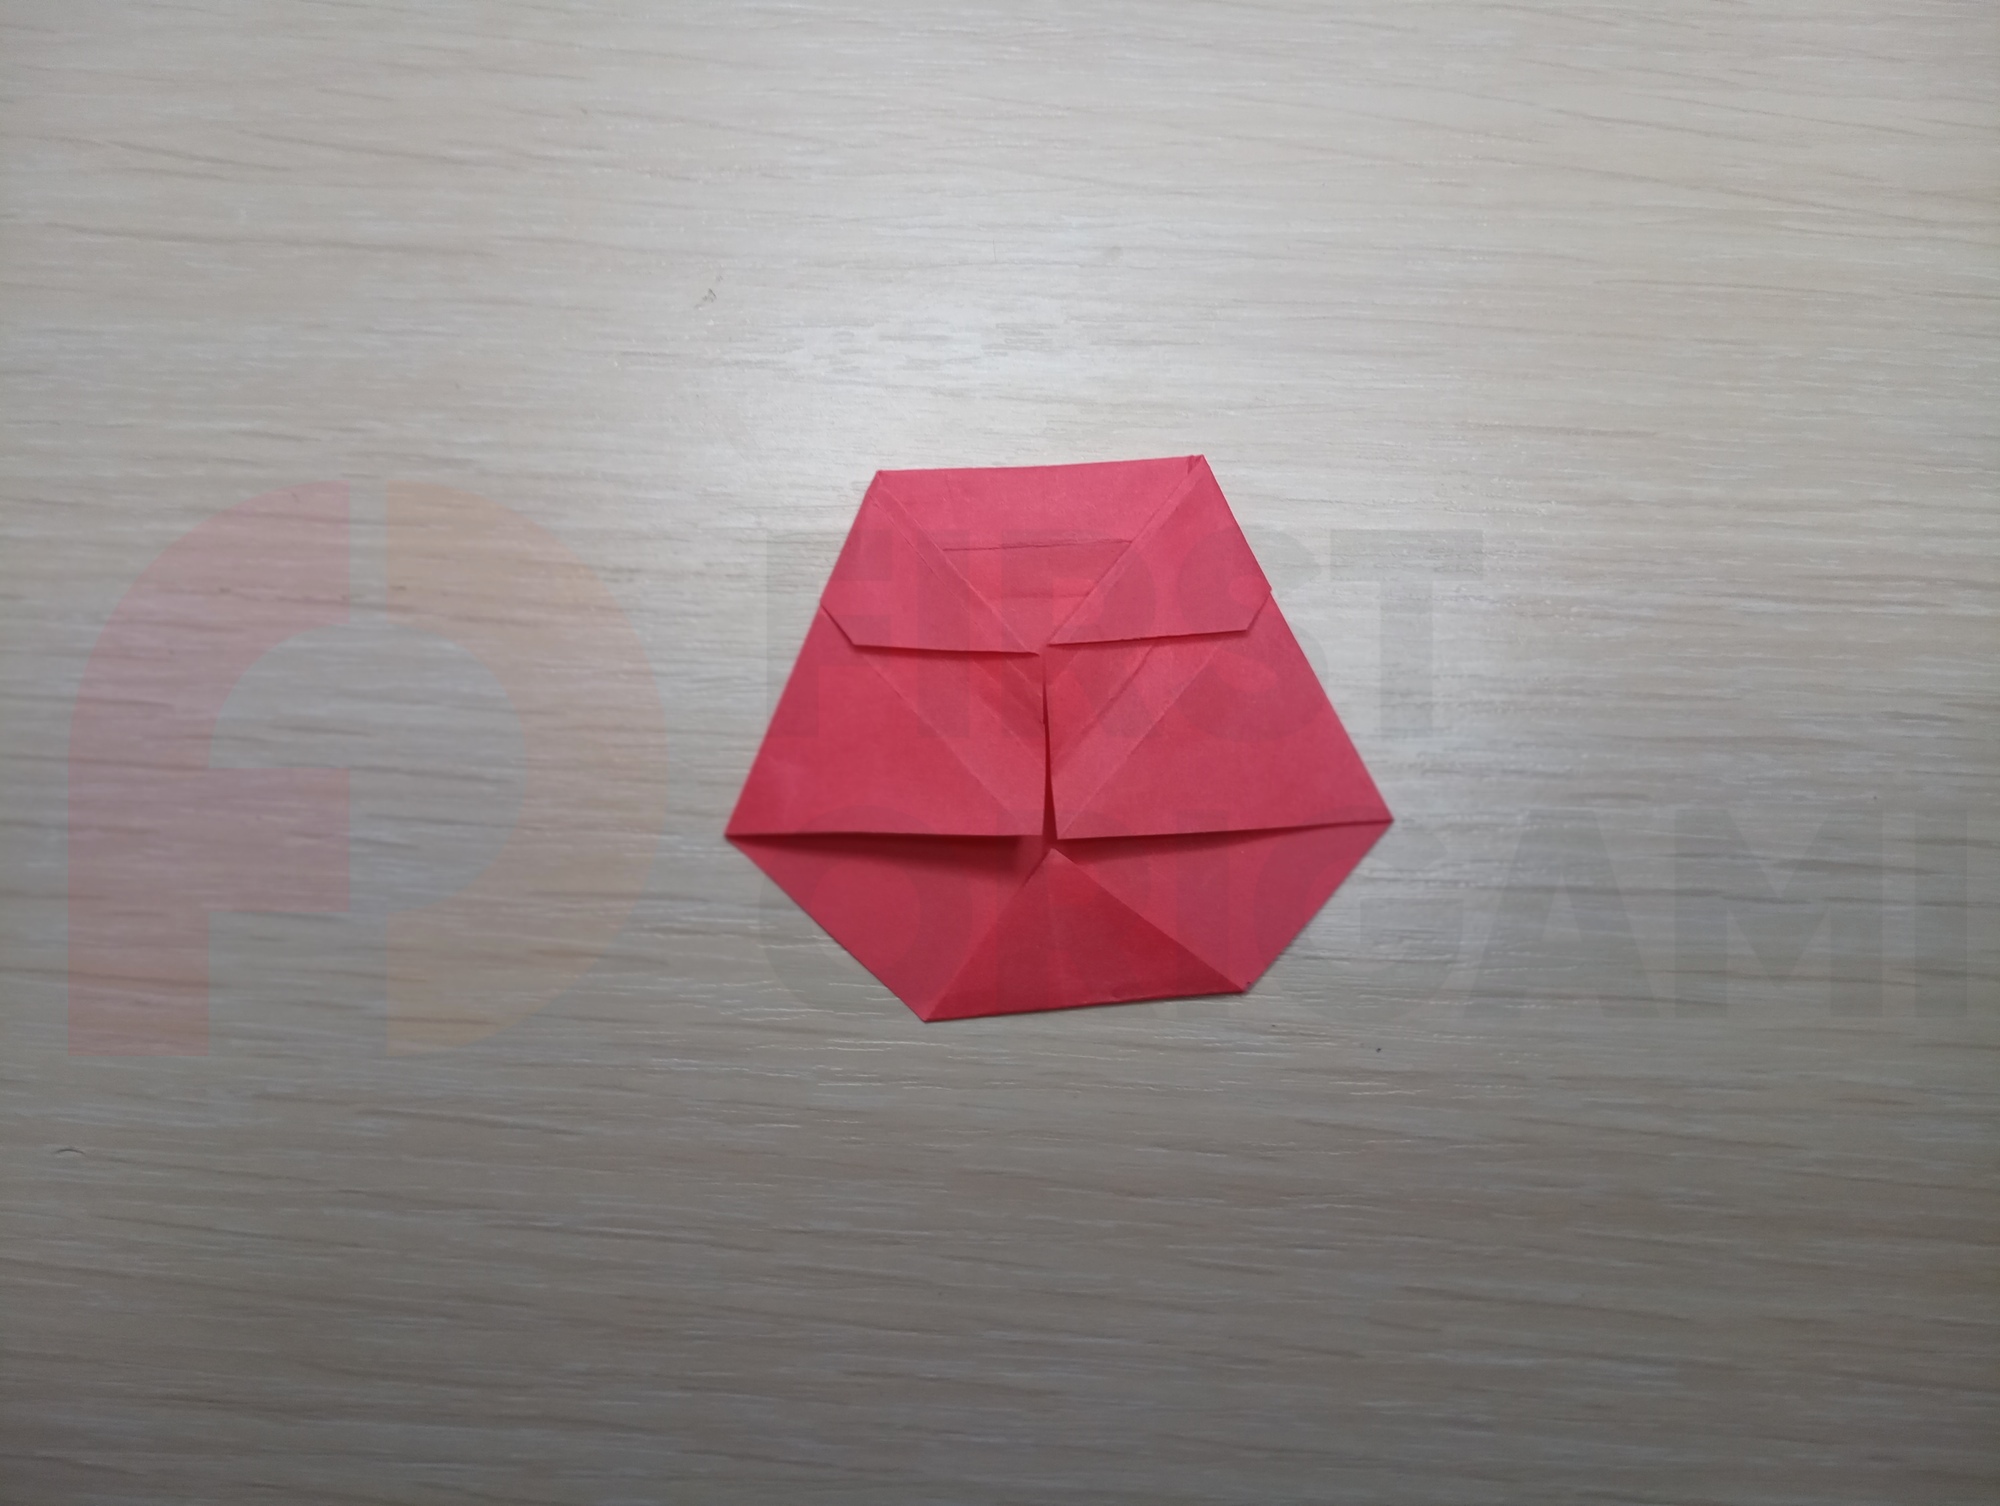
Lift the bottom corner.
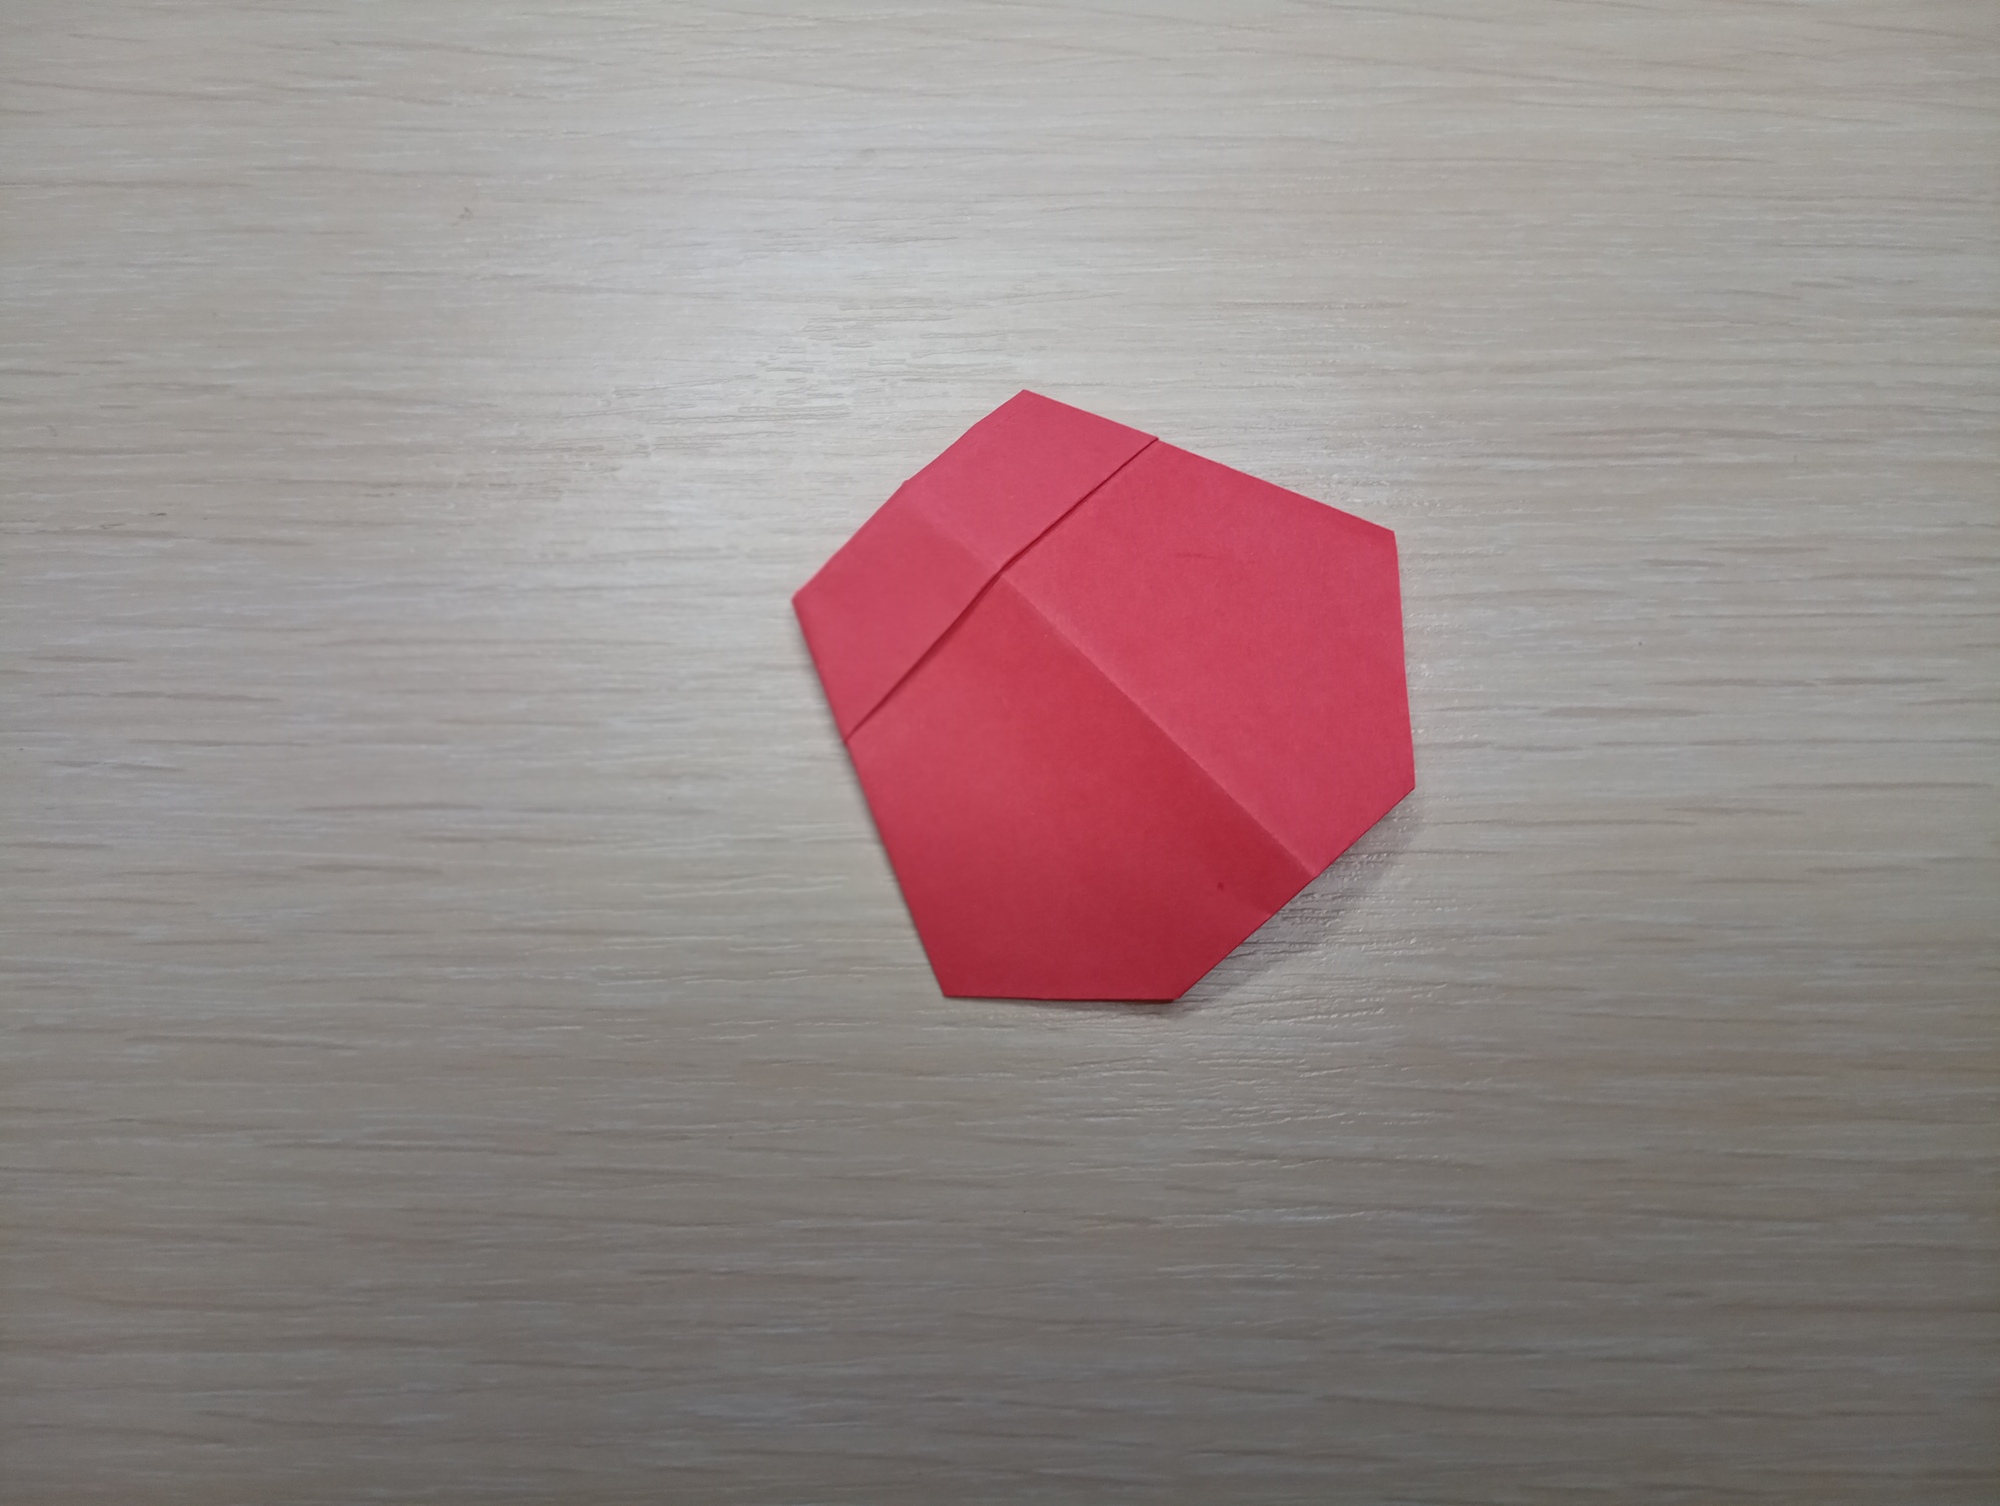
Turn the figure over.
The finished ladybug should be colored in black dots, you can add eyes and make the insect look more realistic.
Make several of them, and they will not be bored in the company! This simple master class is easy for everyone! Keep an eye on the situation – soon there may be a lot of ladybugs on this Origami Planet.


