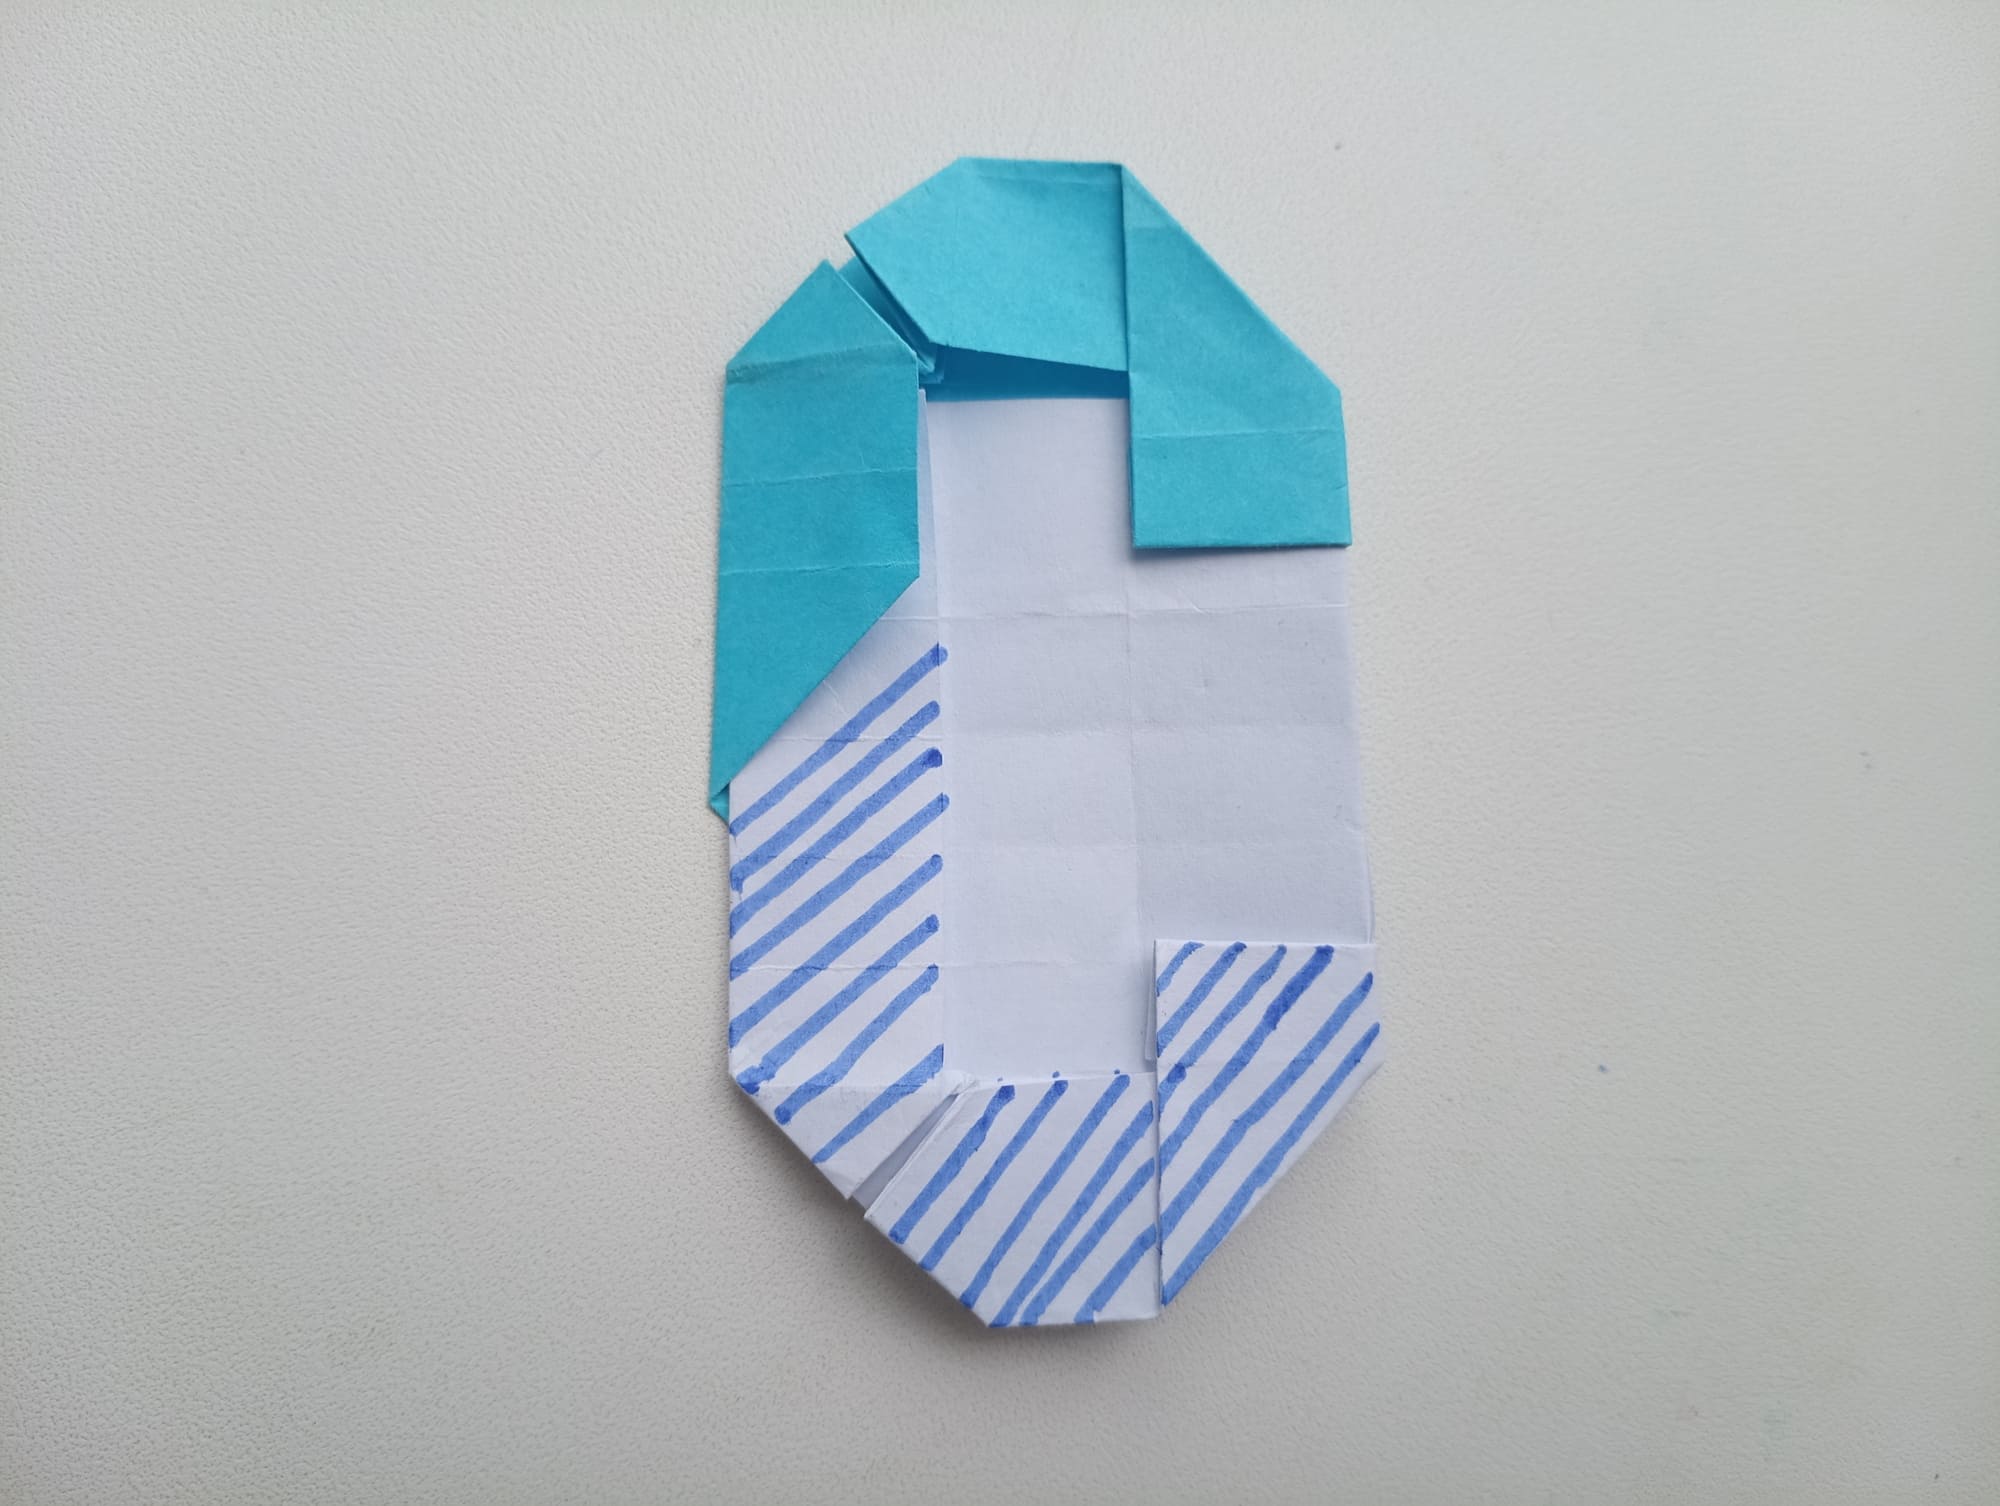
Origami Letter C
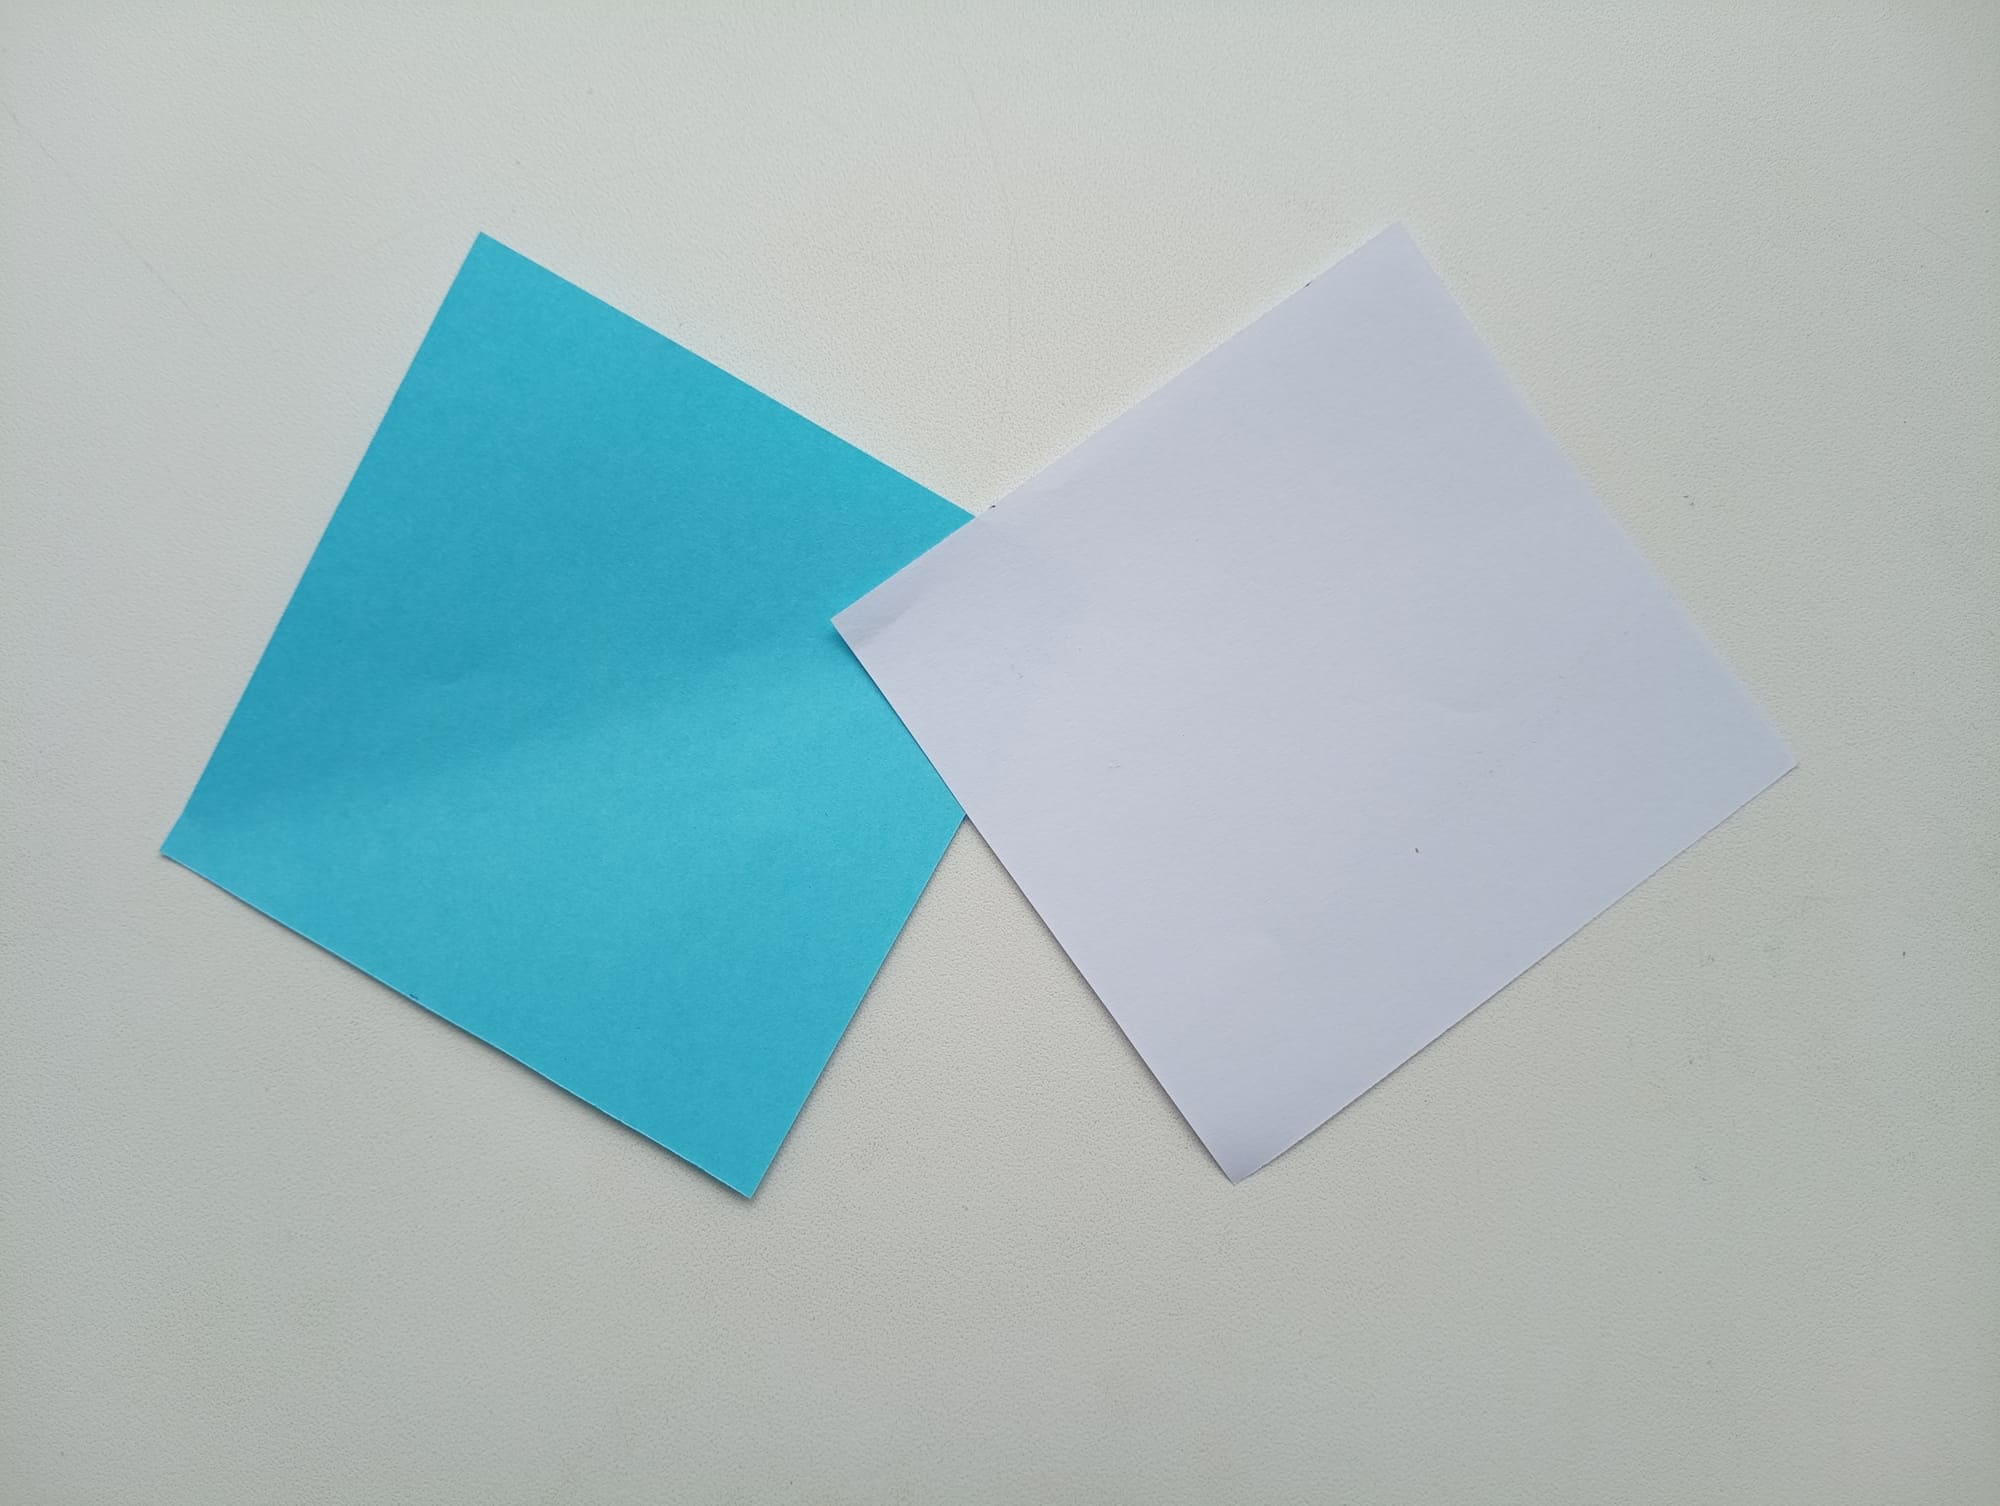
The letter C can be made with your own hands using the origami technique. For creating it, you need to prepare two sheets of square-shaped paper. You can take double-sided paper or plain. This master class uses two colors for clarity when connecting two letters. The dimensions of the squares are 8.5 by 8.5 cm. Before you start, make sure that you have enough time. The master class is not easy, but follow the simple steps and you will succeed!
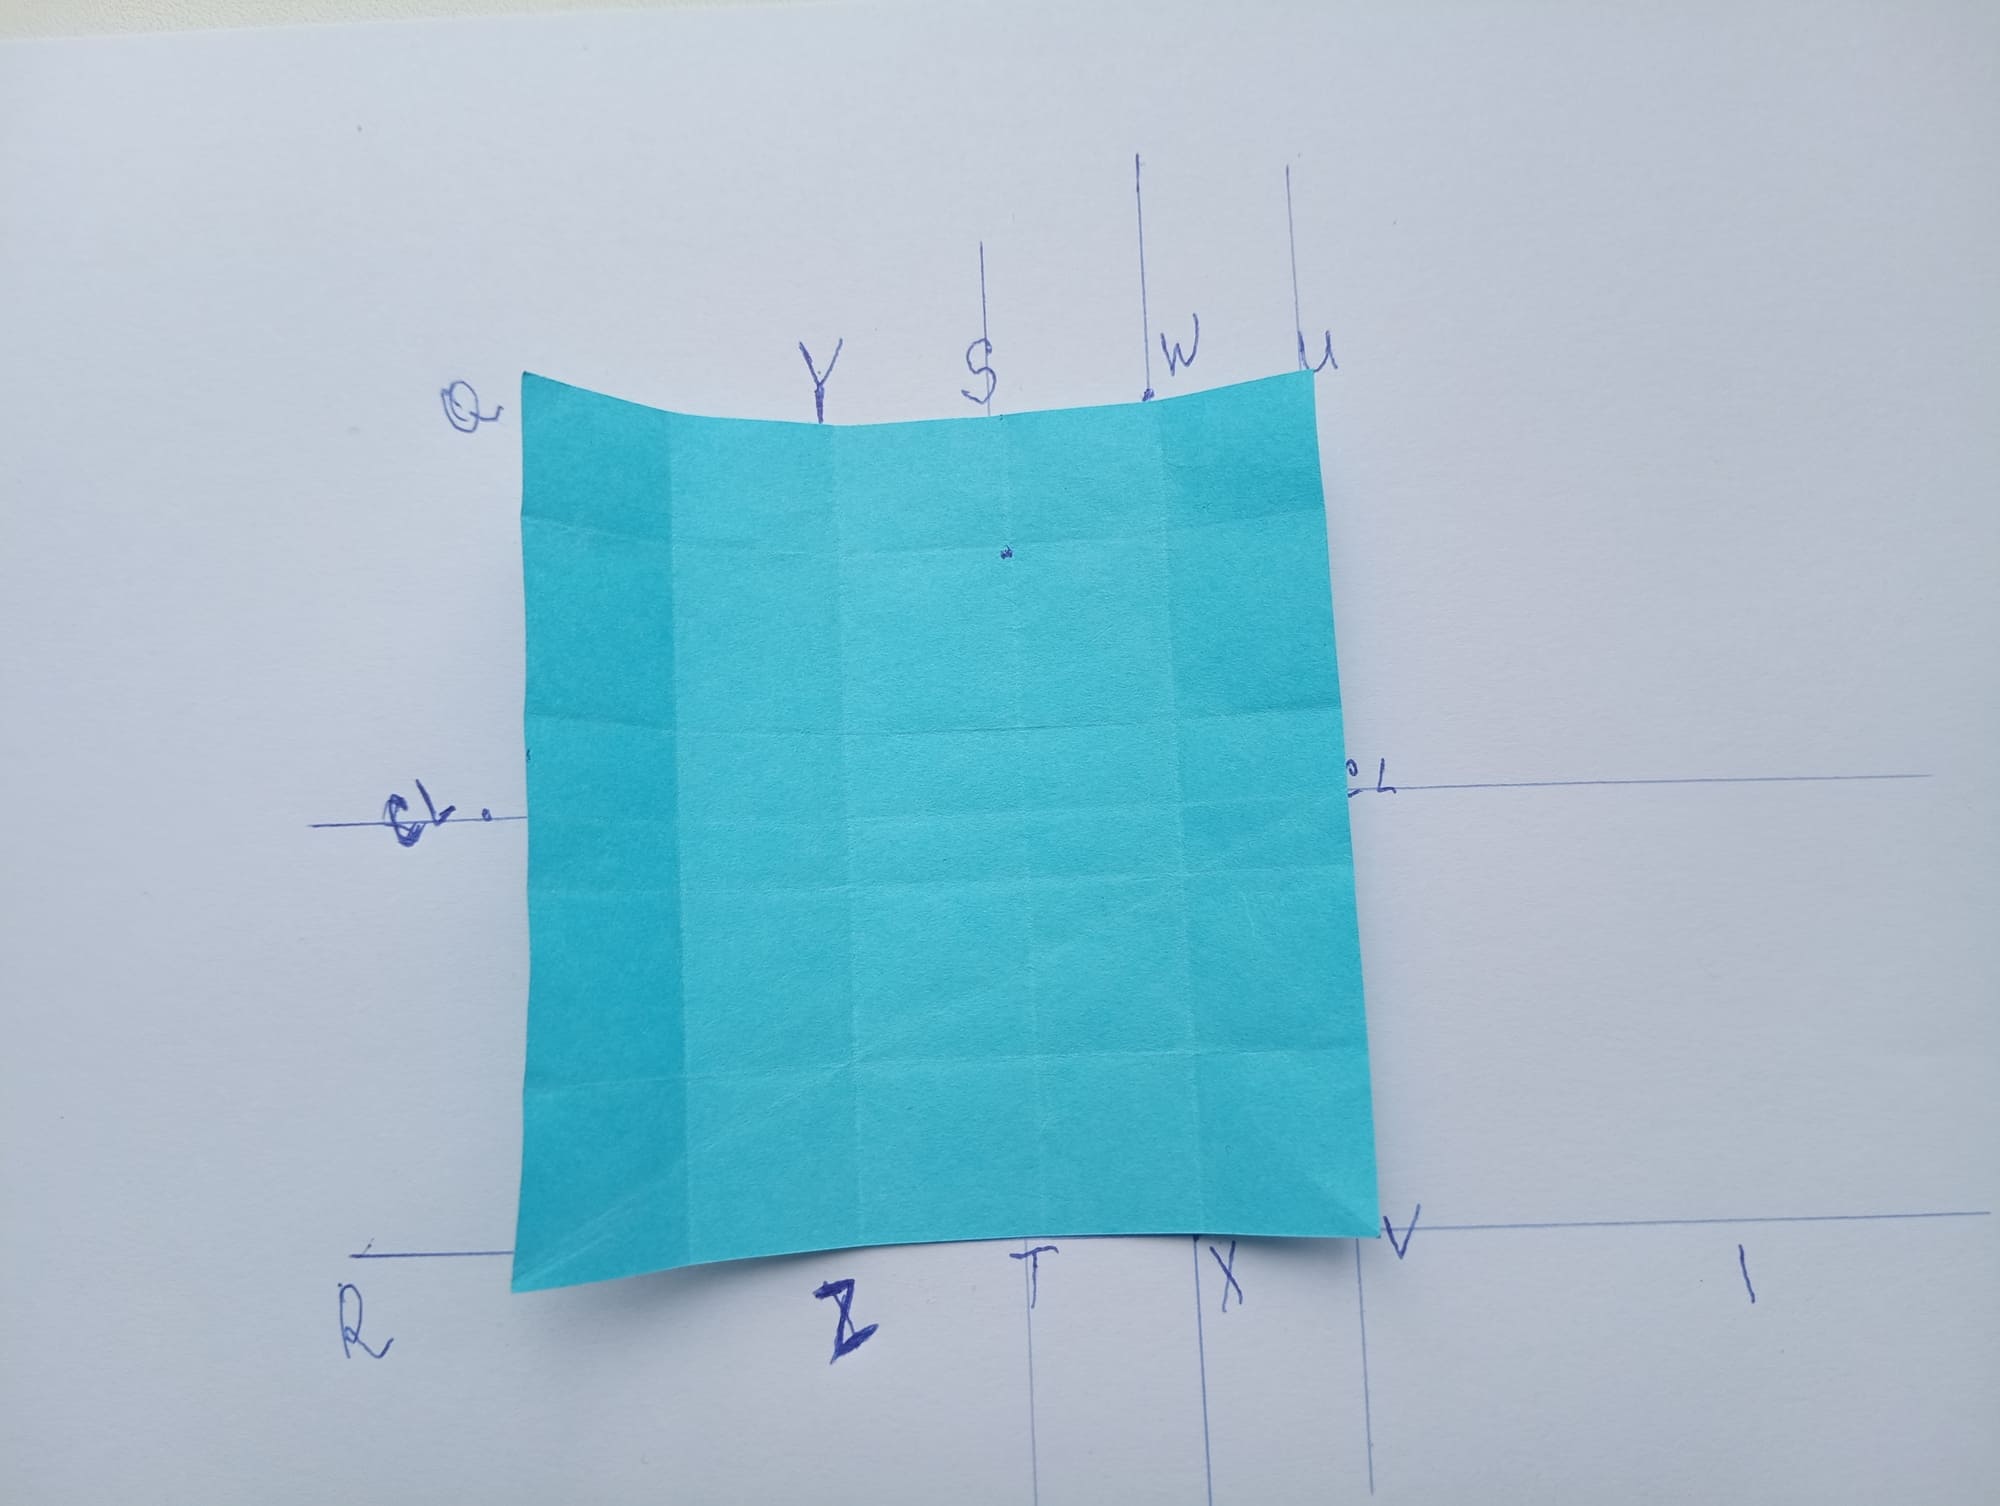
First of all, you need to divide both parts into five parts. To do this, you must follow a certain procedure.
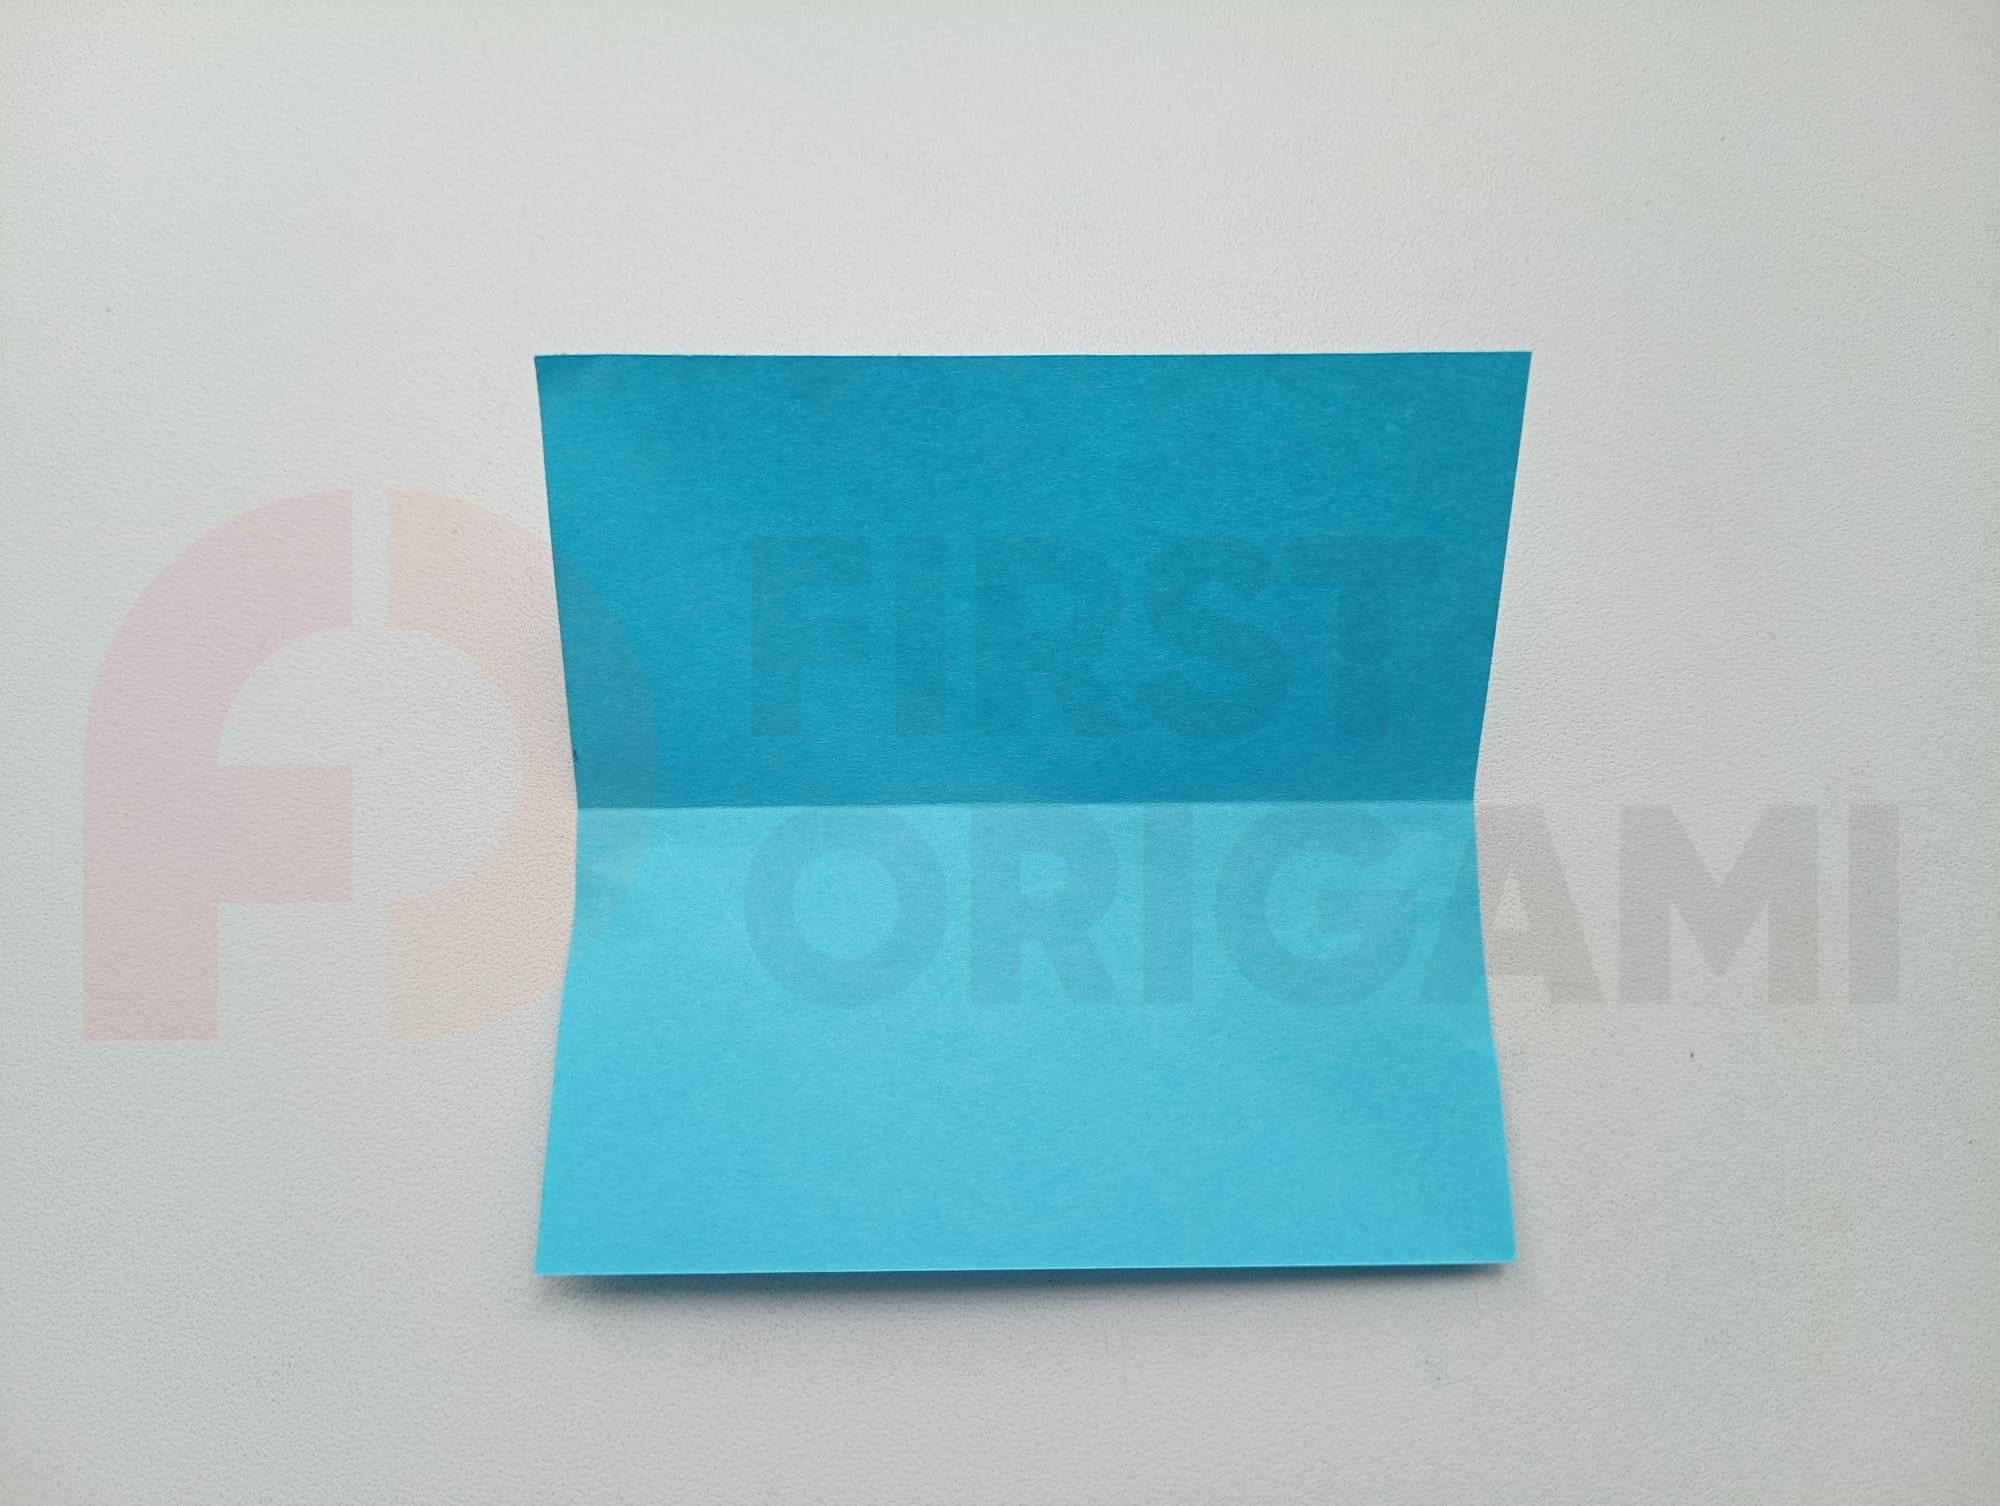
Take the first sheet and fold it in half.
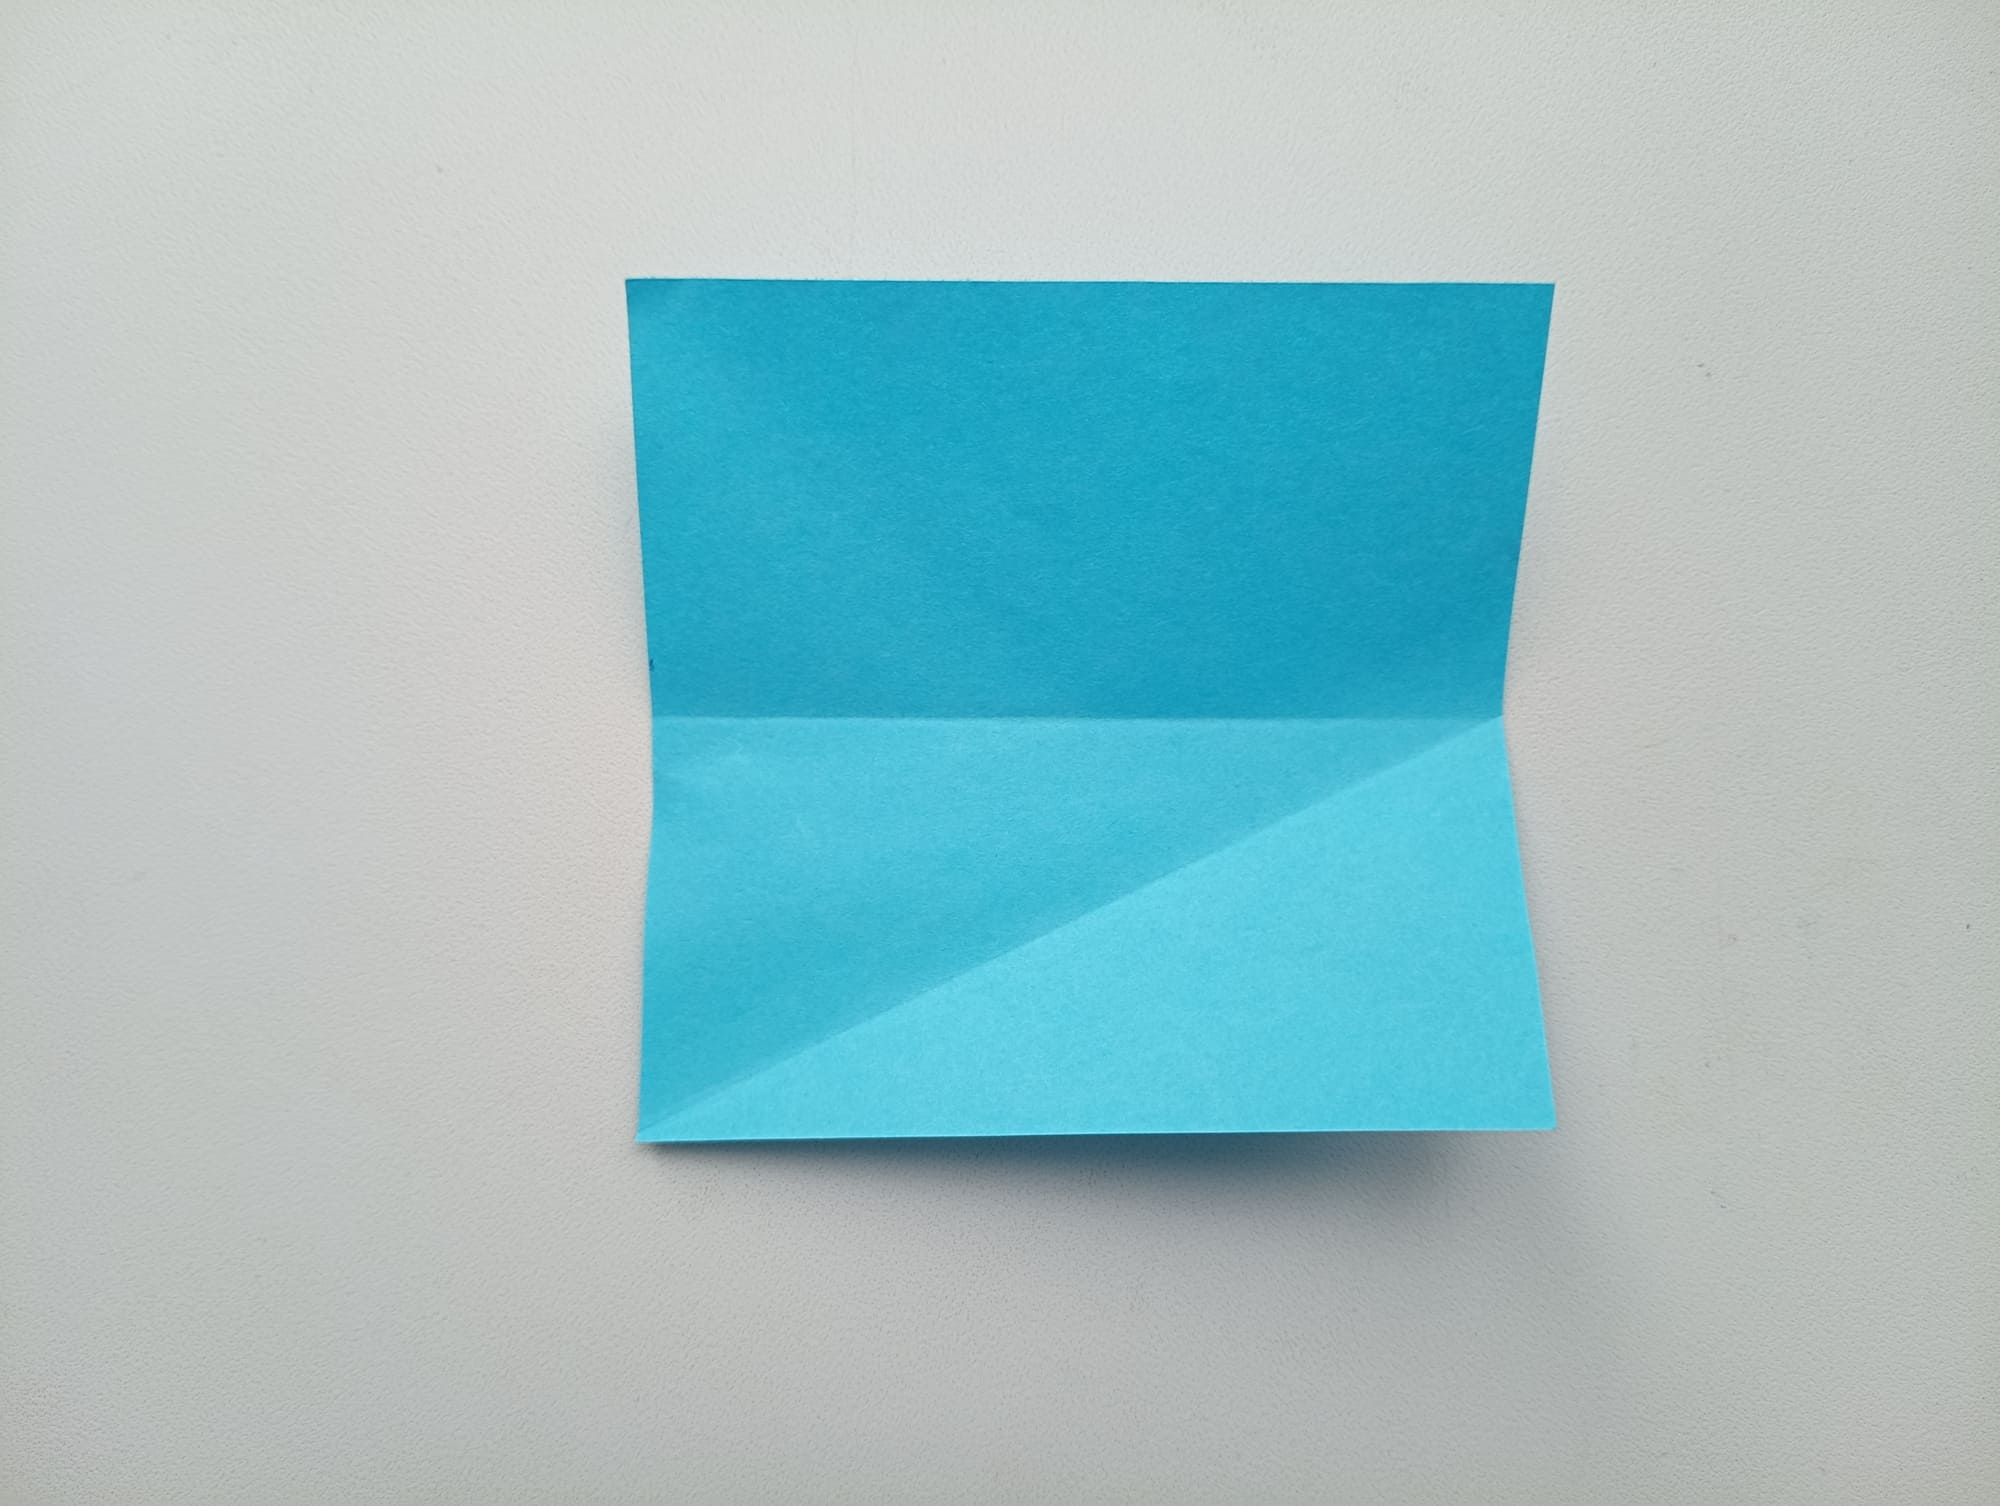
Make a fold from the lower right corner, as shown in the photo.
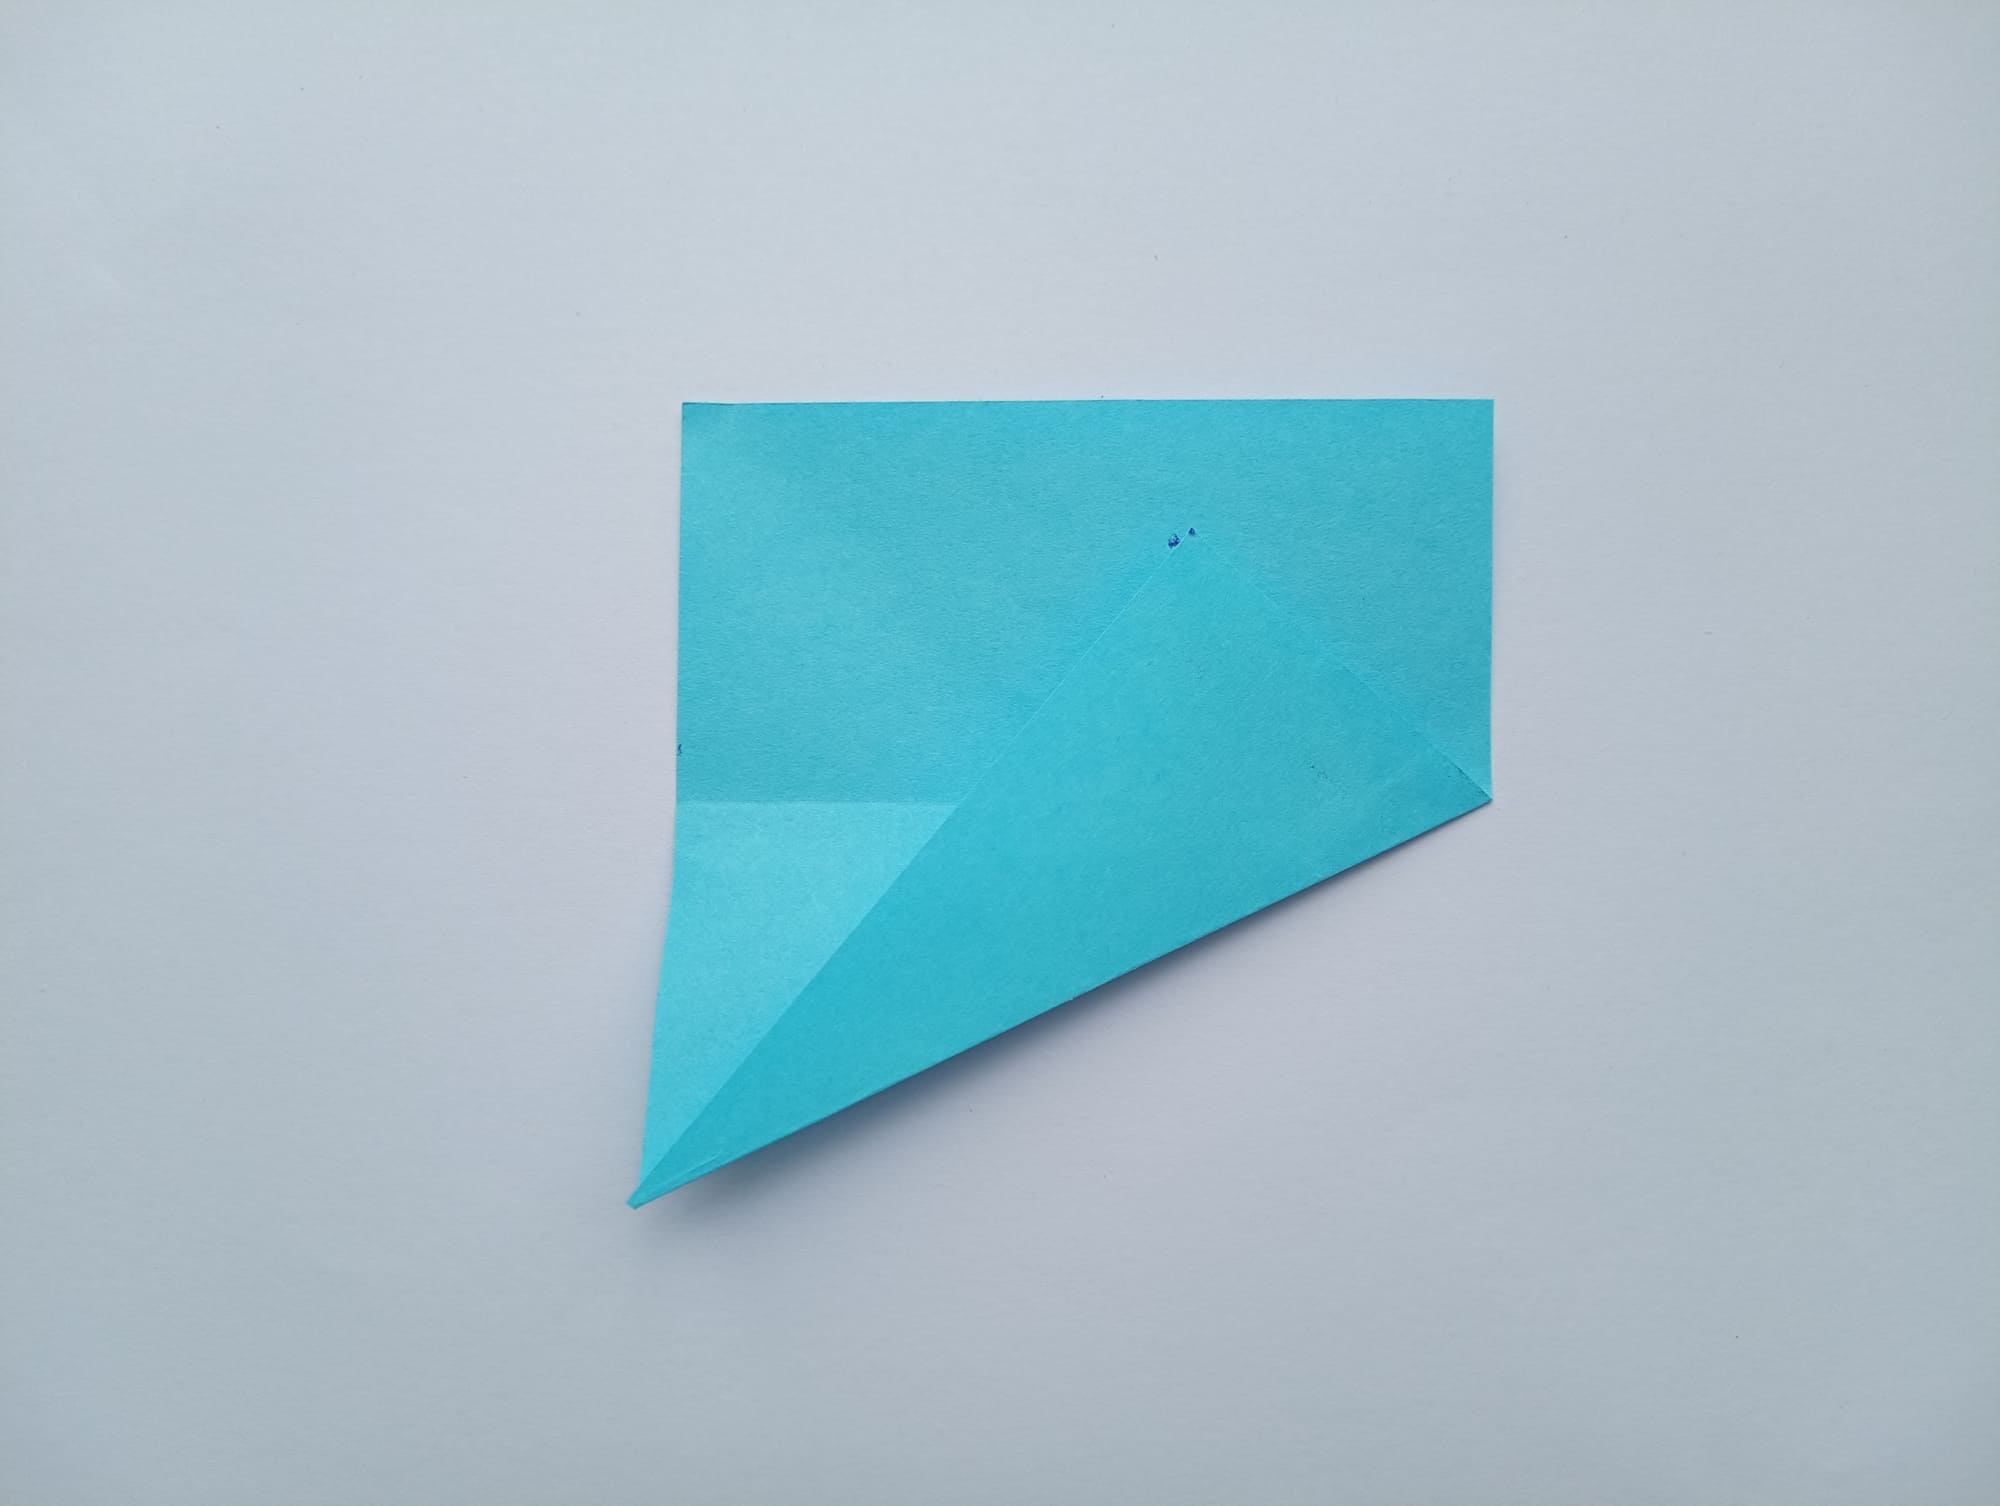
Determine the point that the bottom right corner forms.
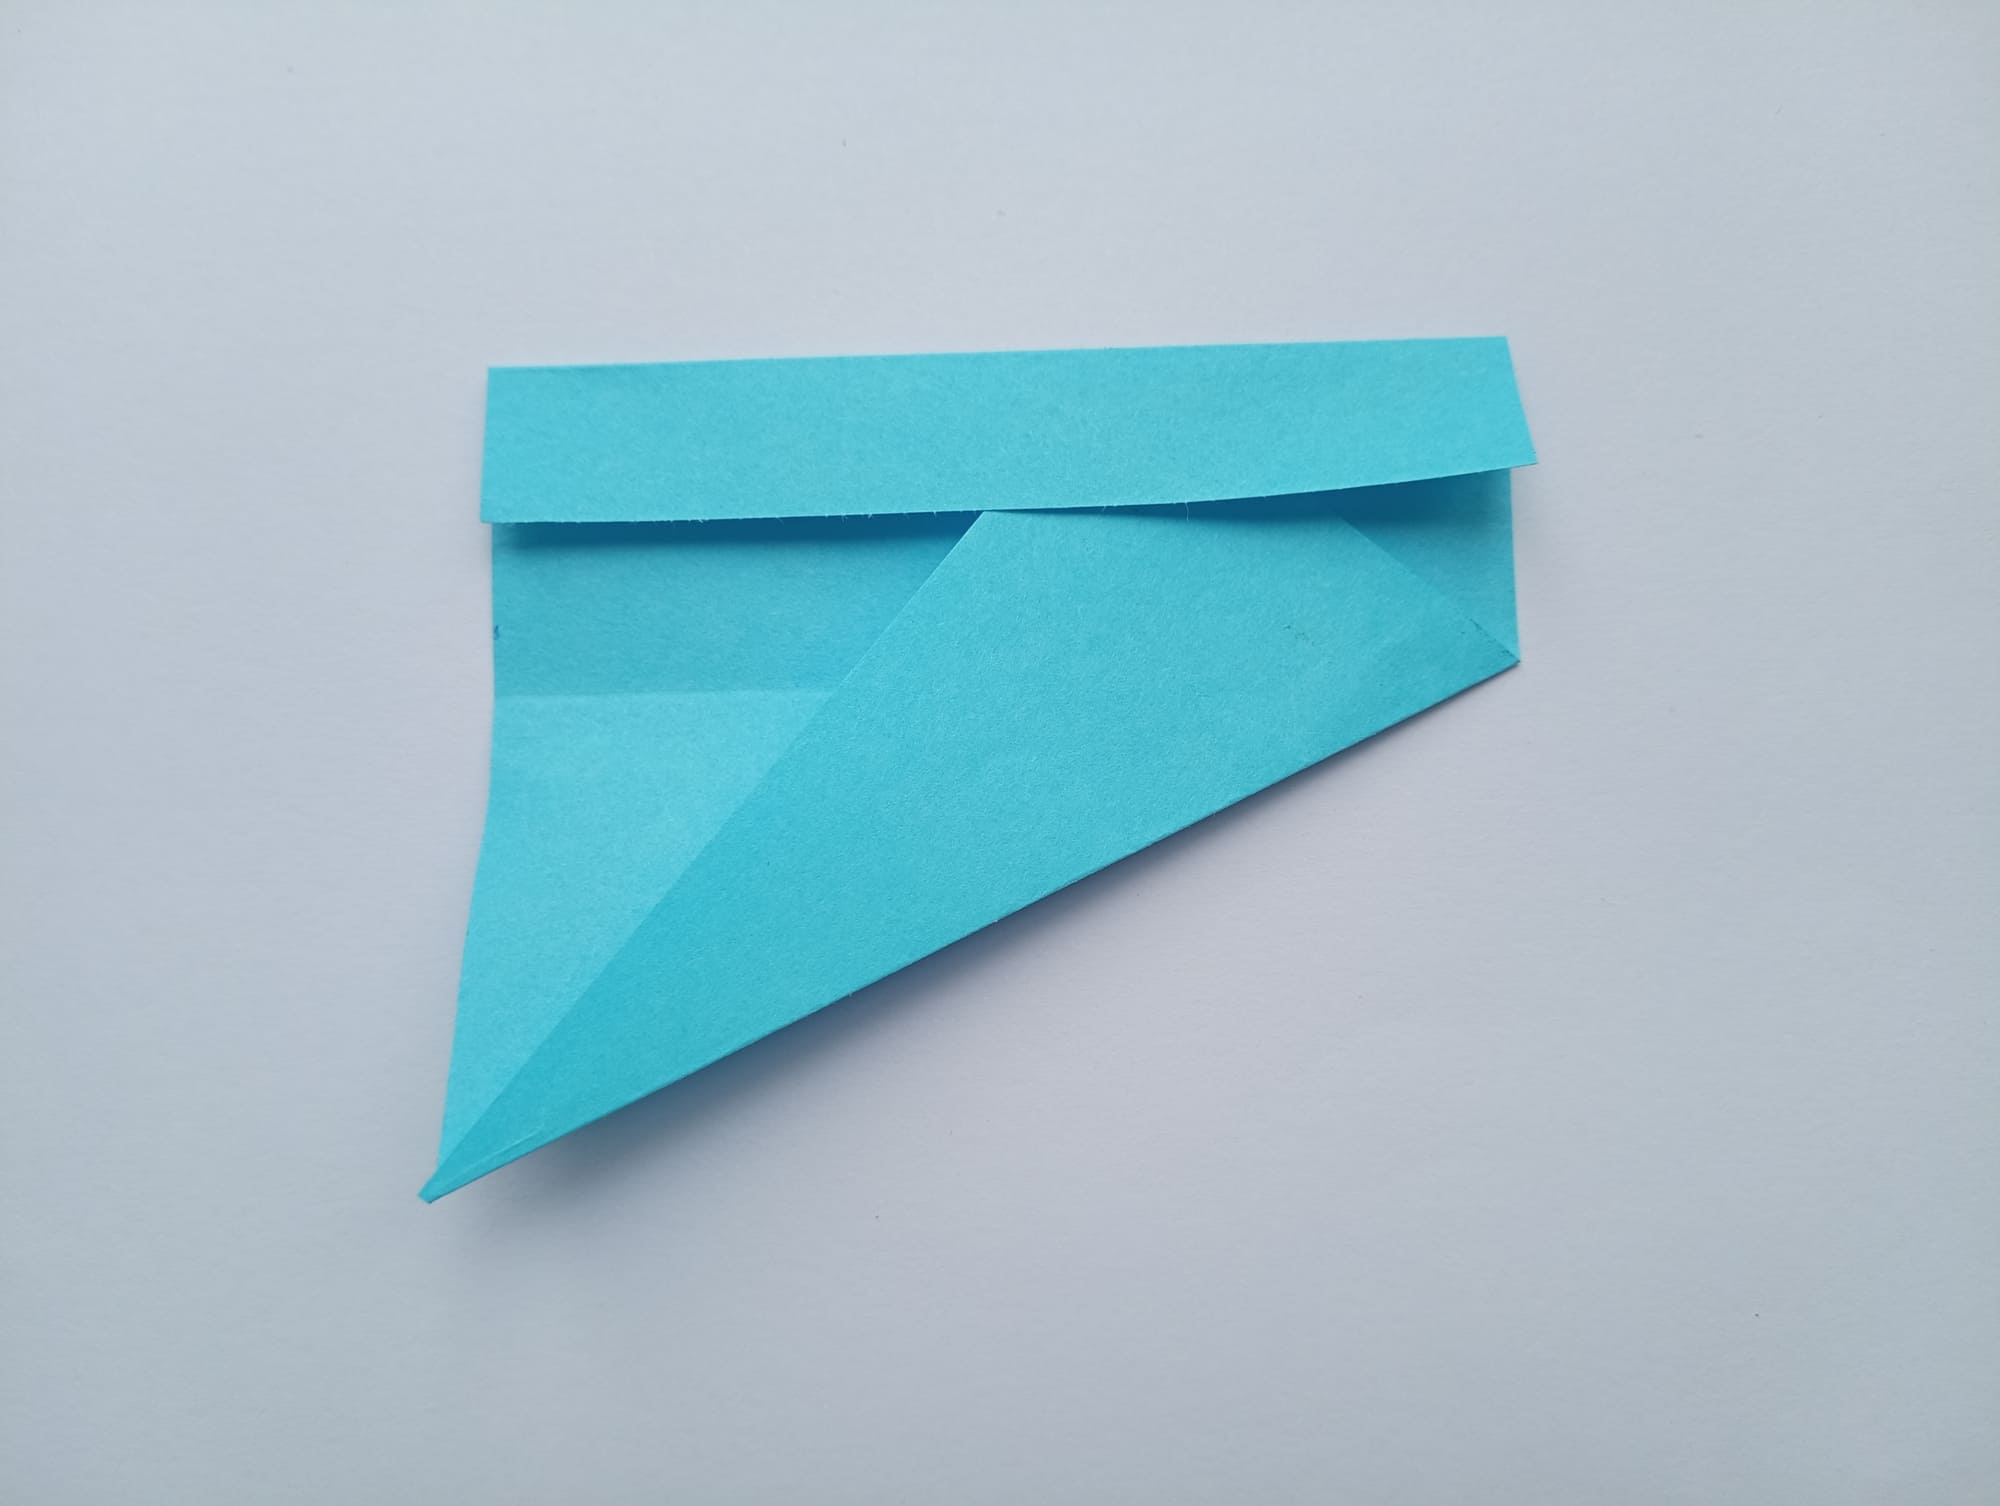
The found point should become the intersection of the horizontal and vertical lines.
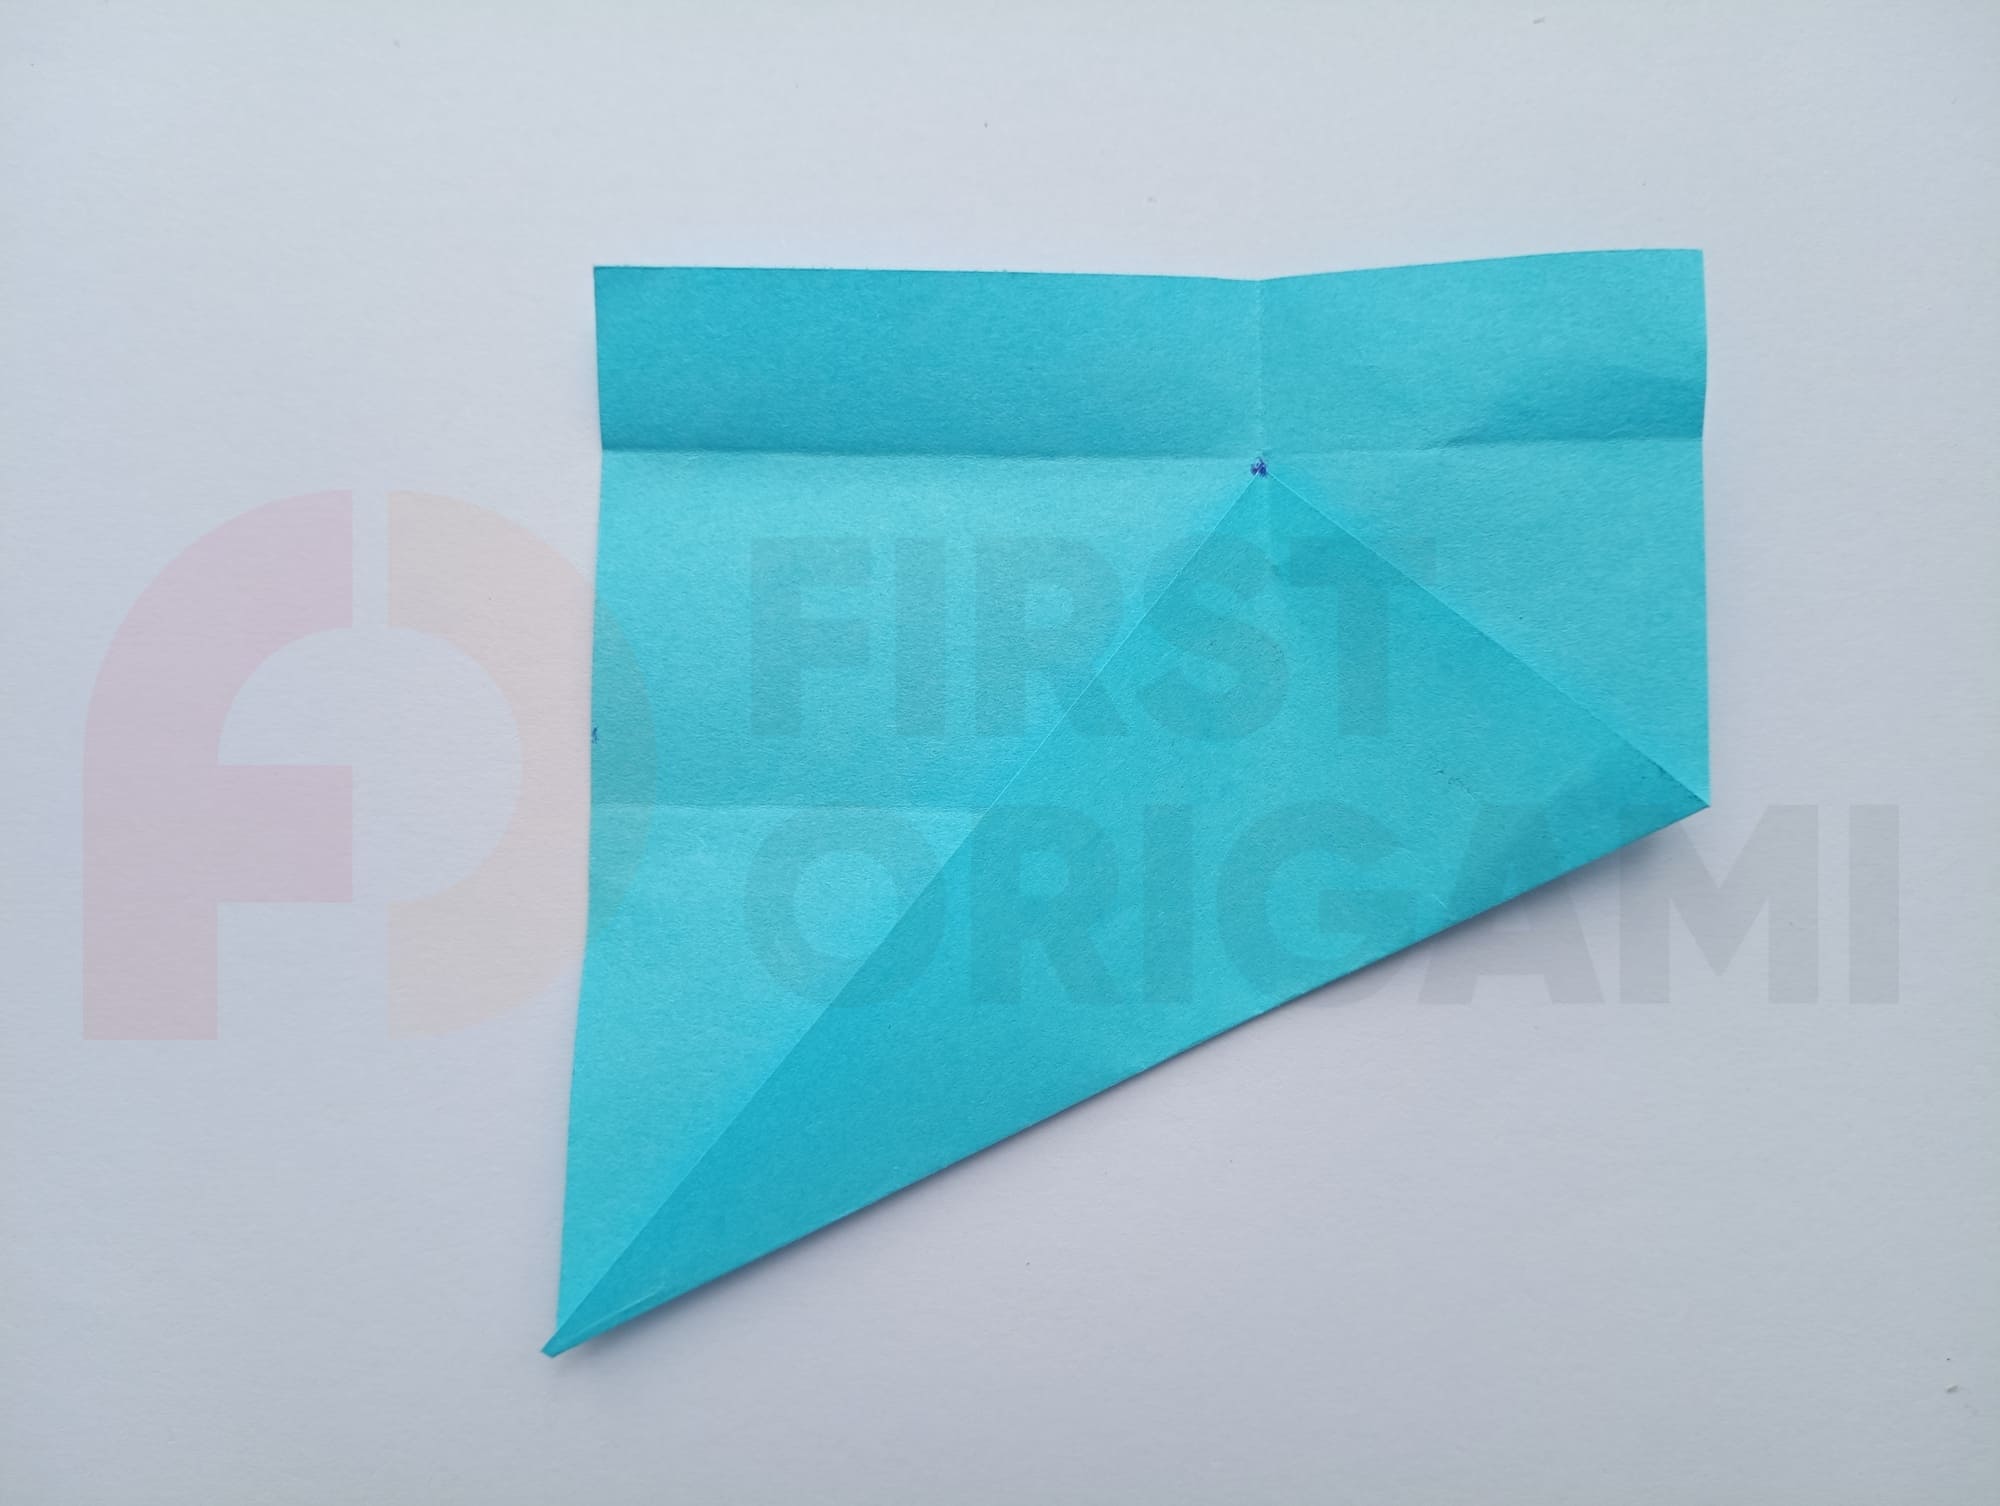
Make the necessary folds (see photo).
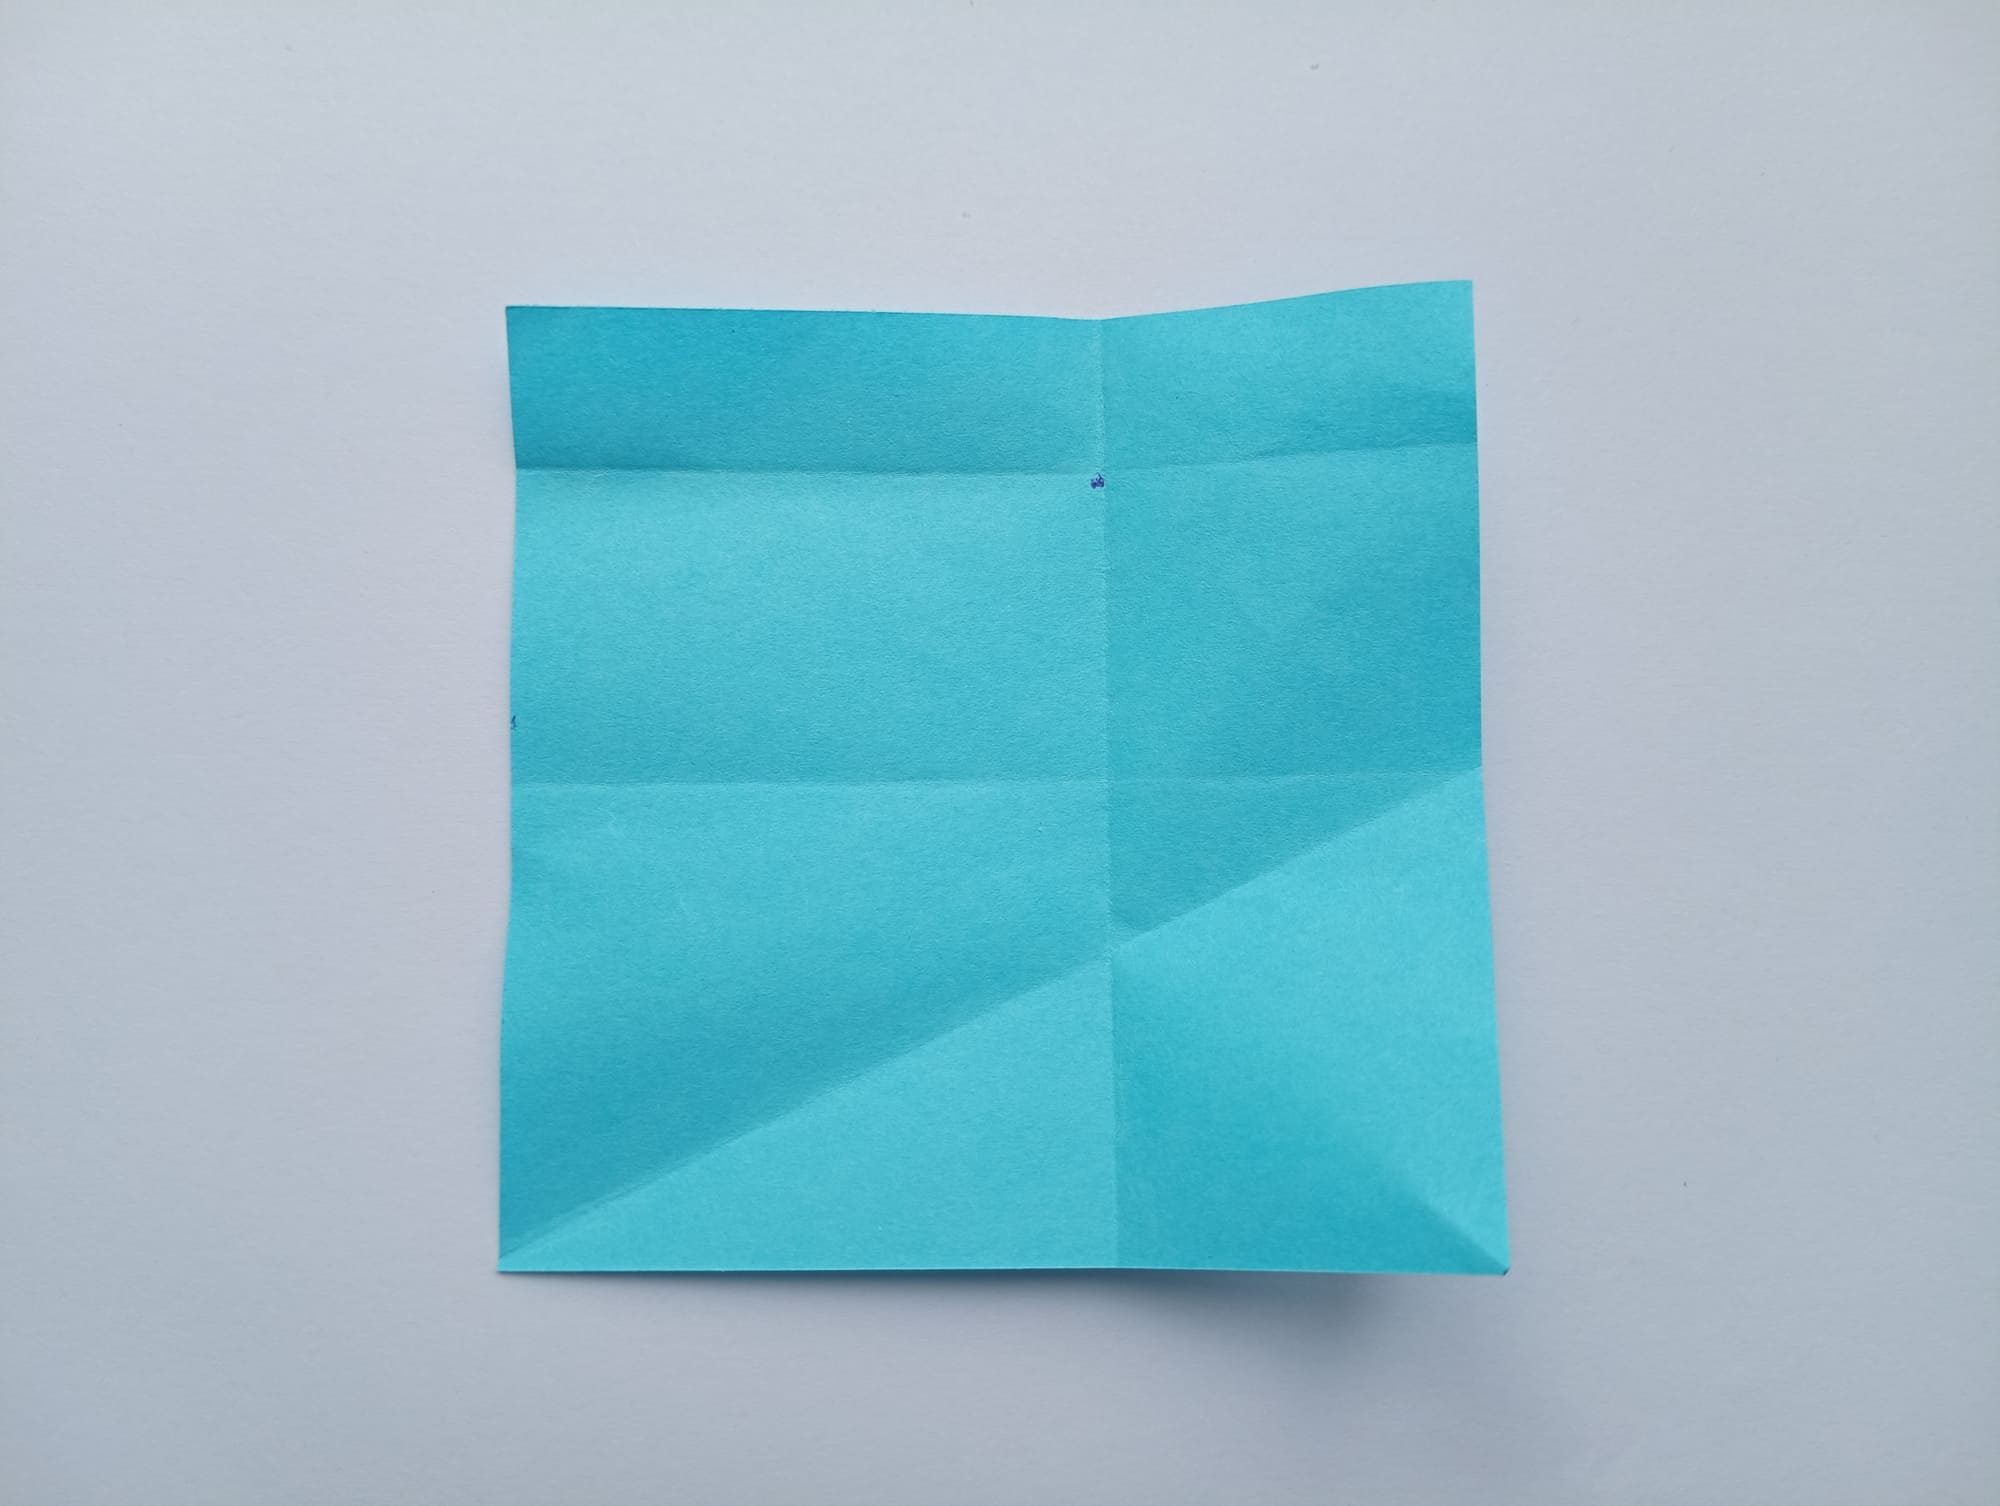
Open the corner and unfold the paper.
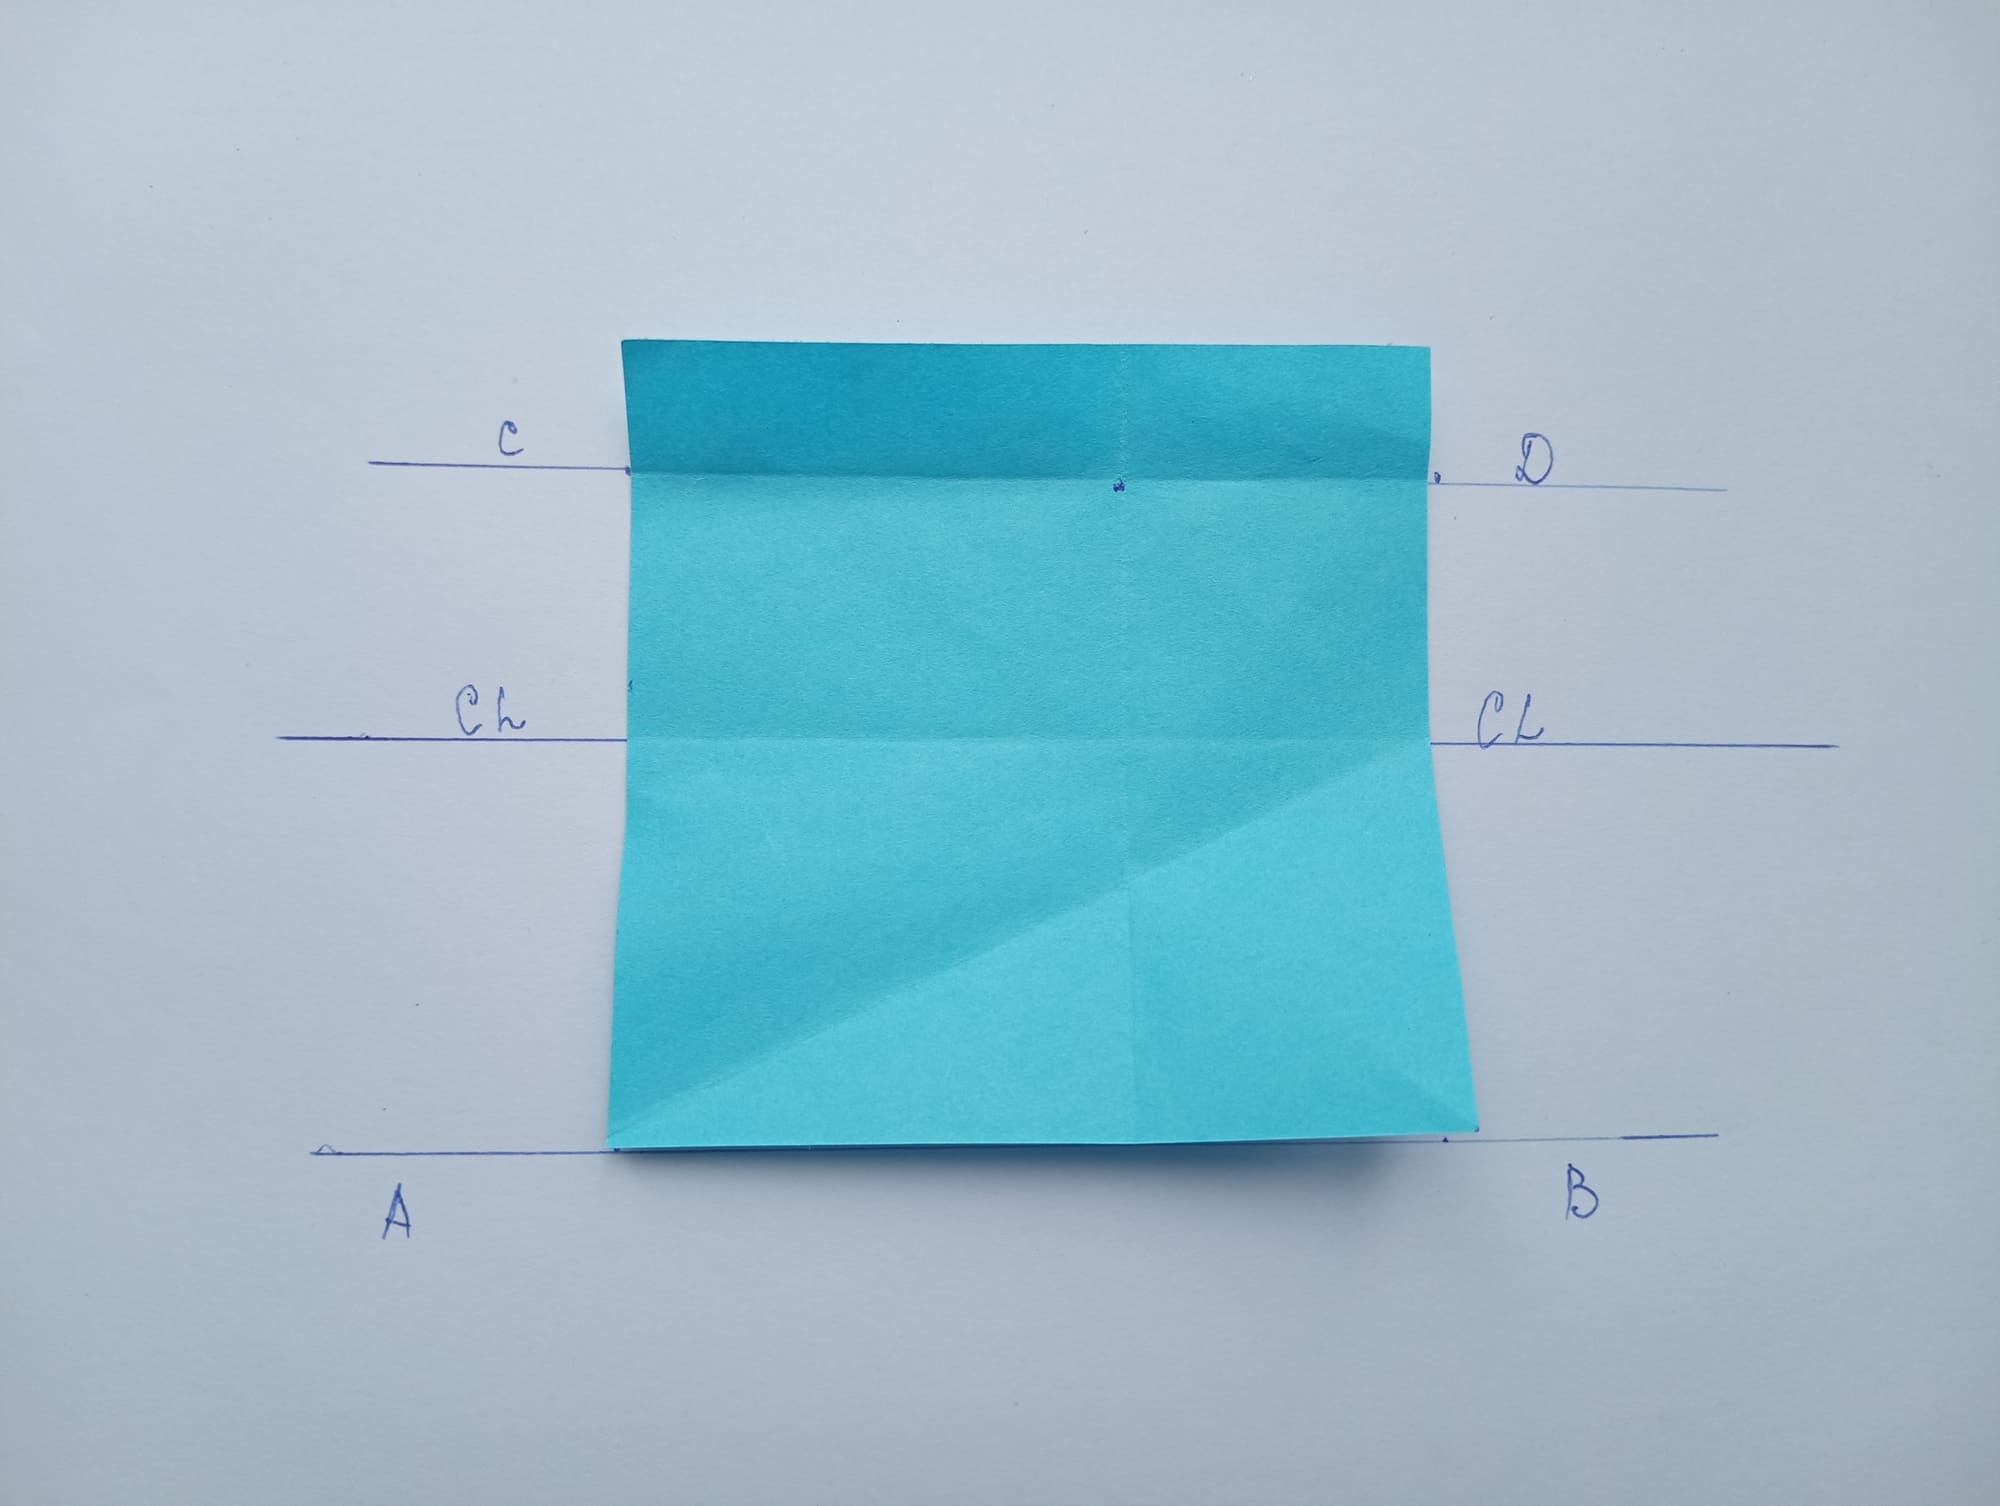
Let’s start with horizontal lines. Connect side AB to CD and unfold to get a new fold EF

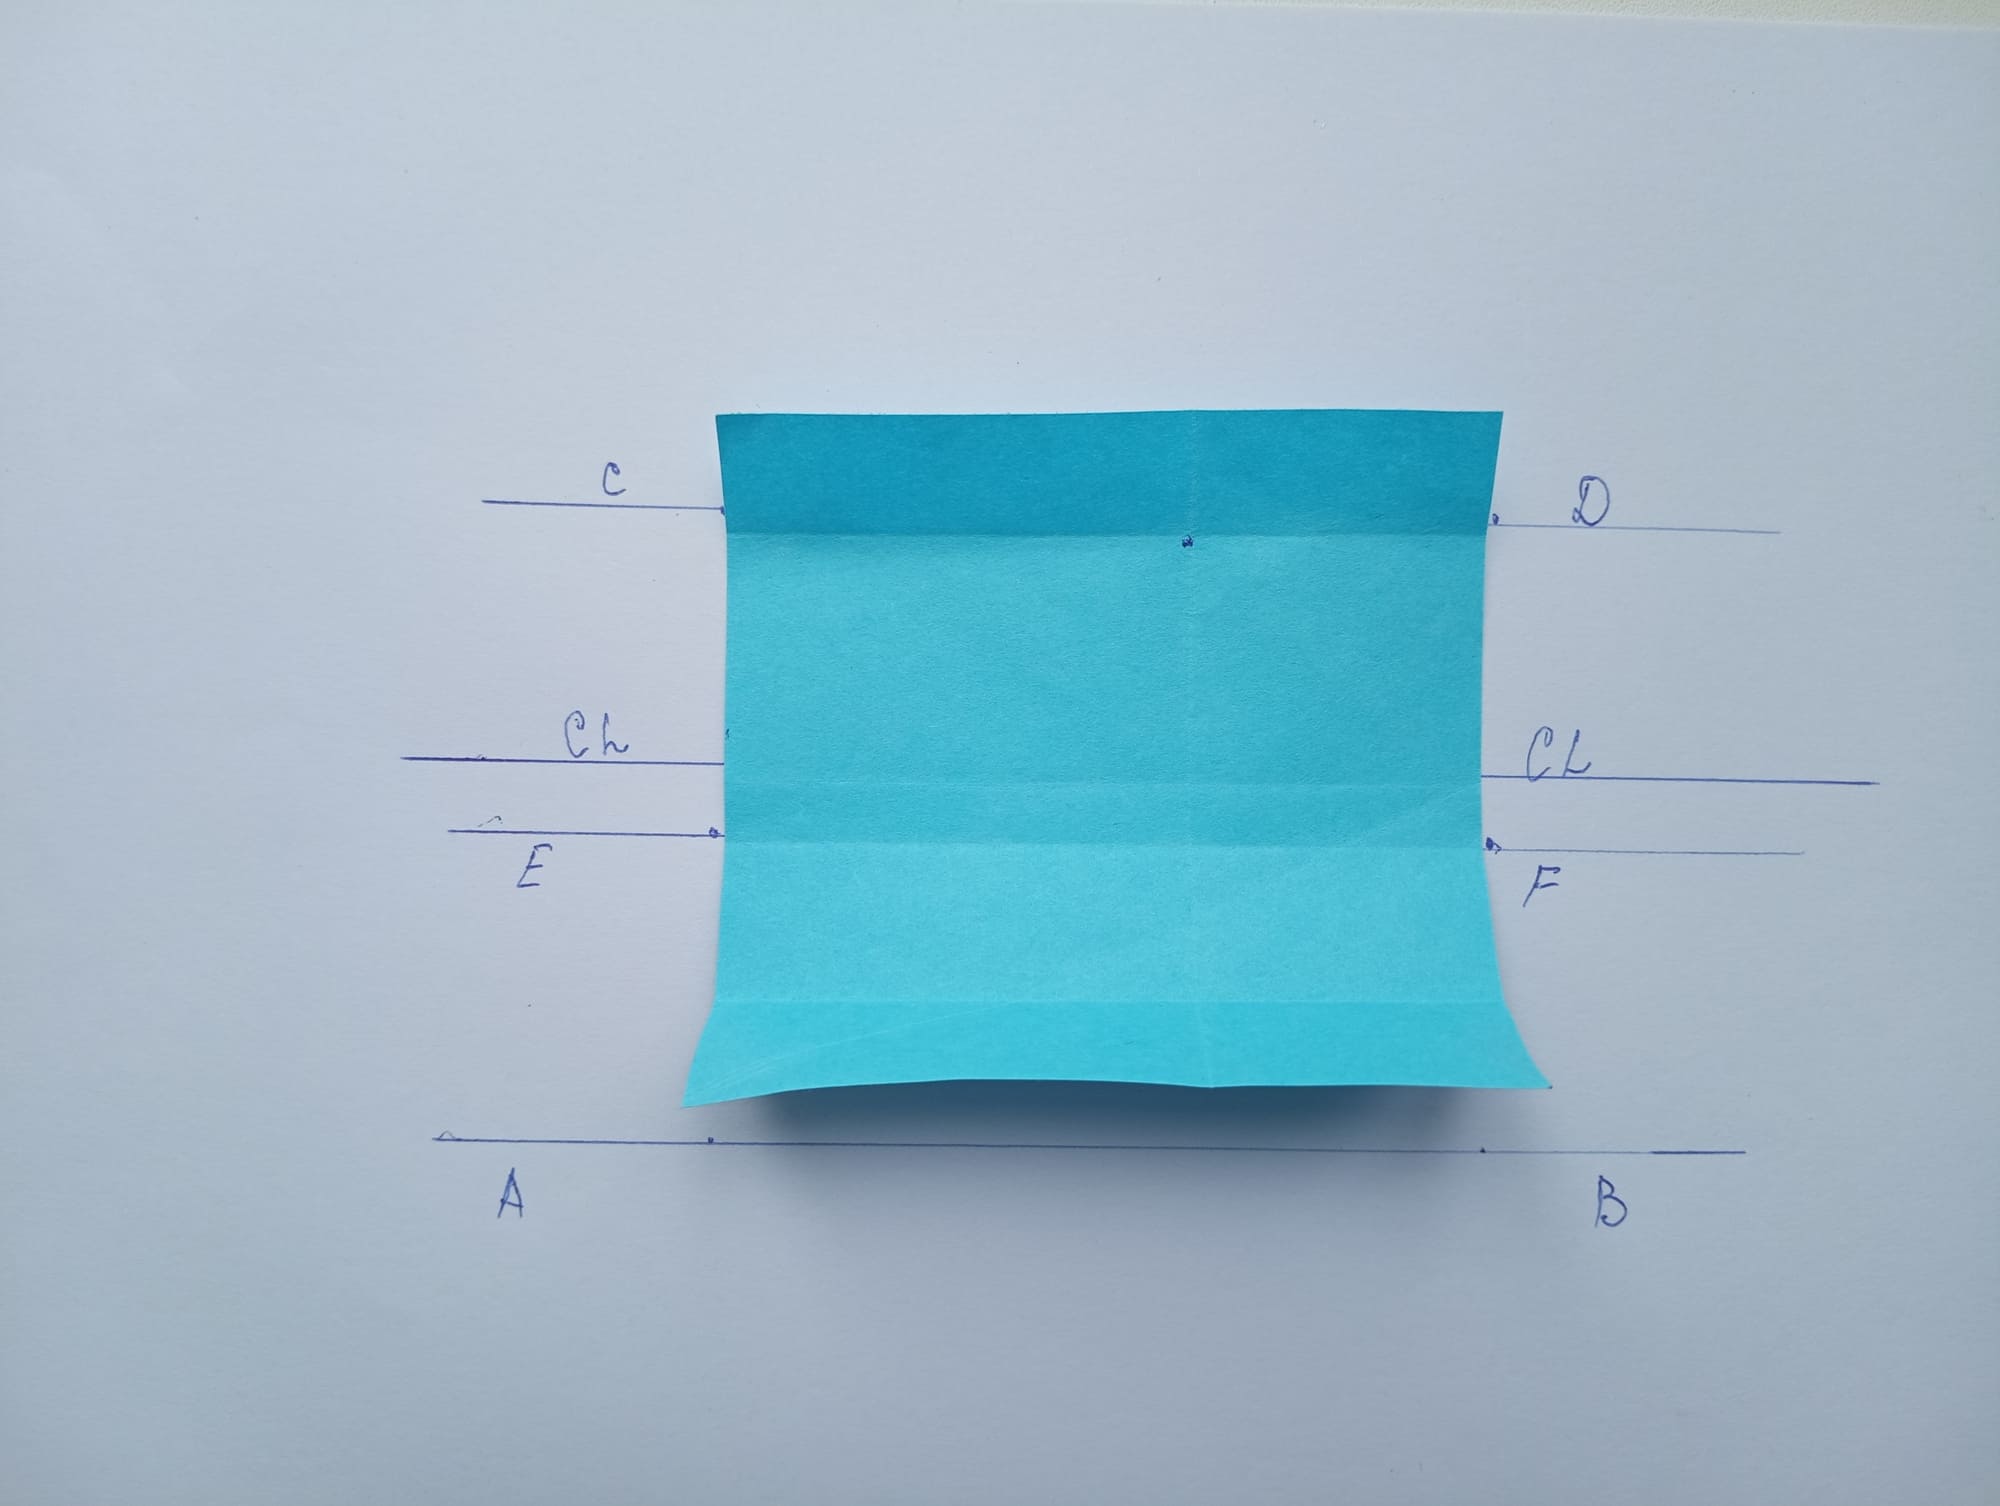
Now, fold AB to EF.
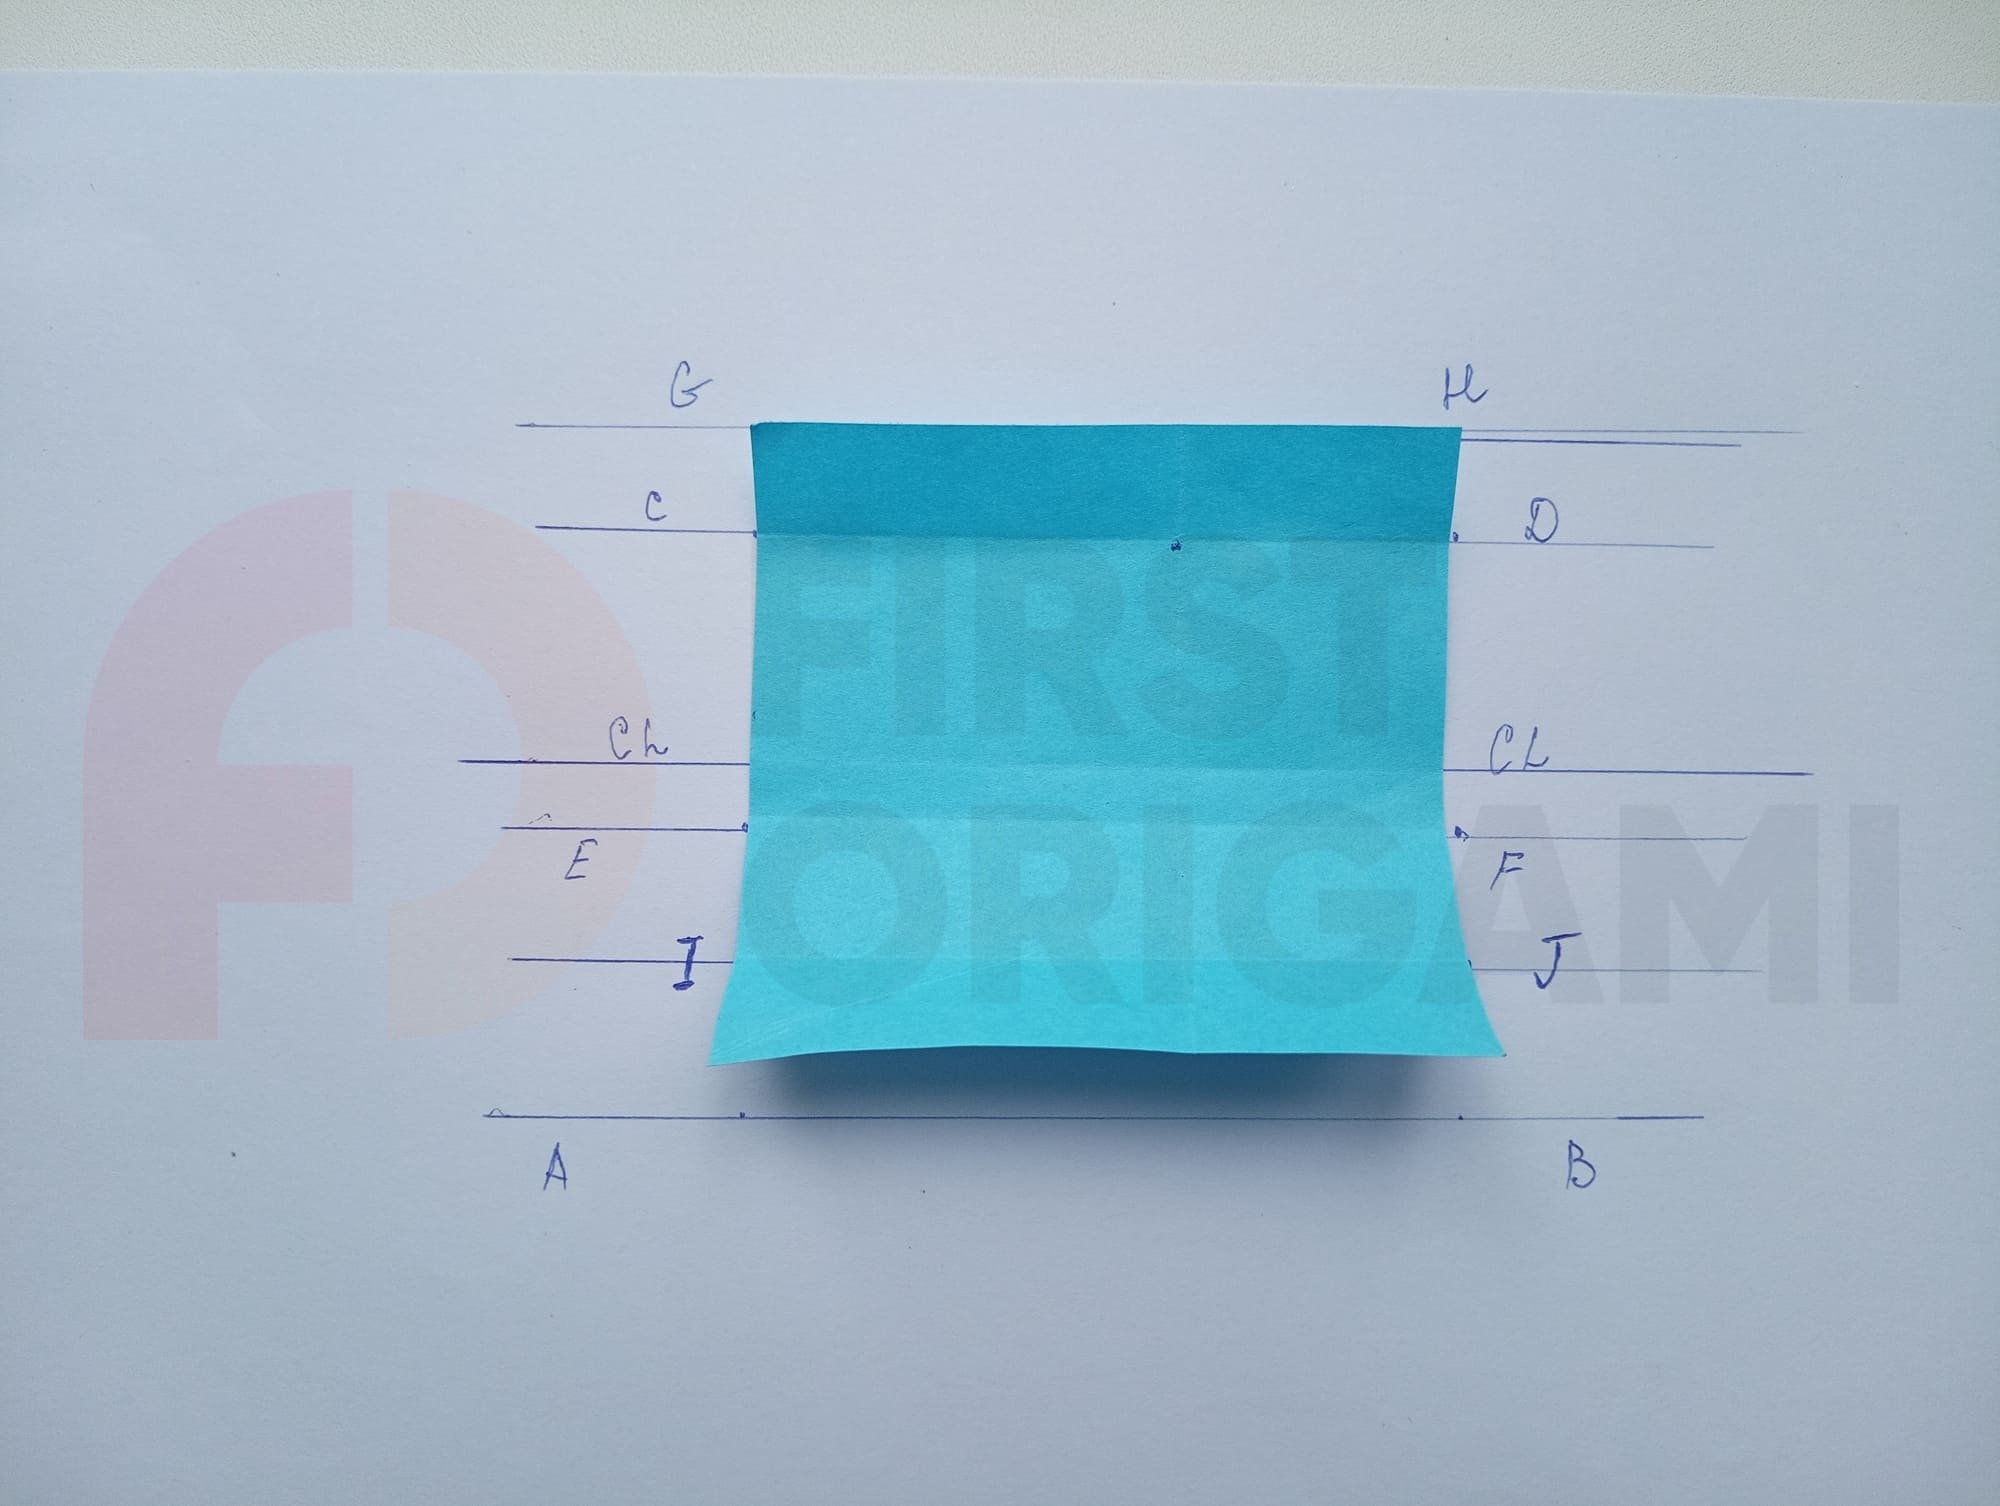
Unfold and the result would be an IJ fold.
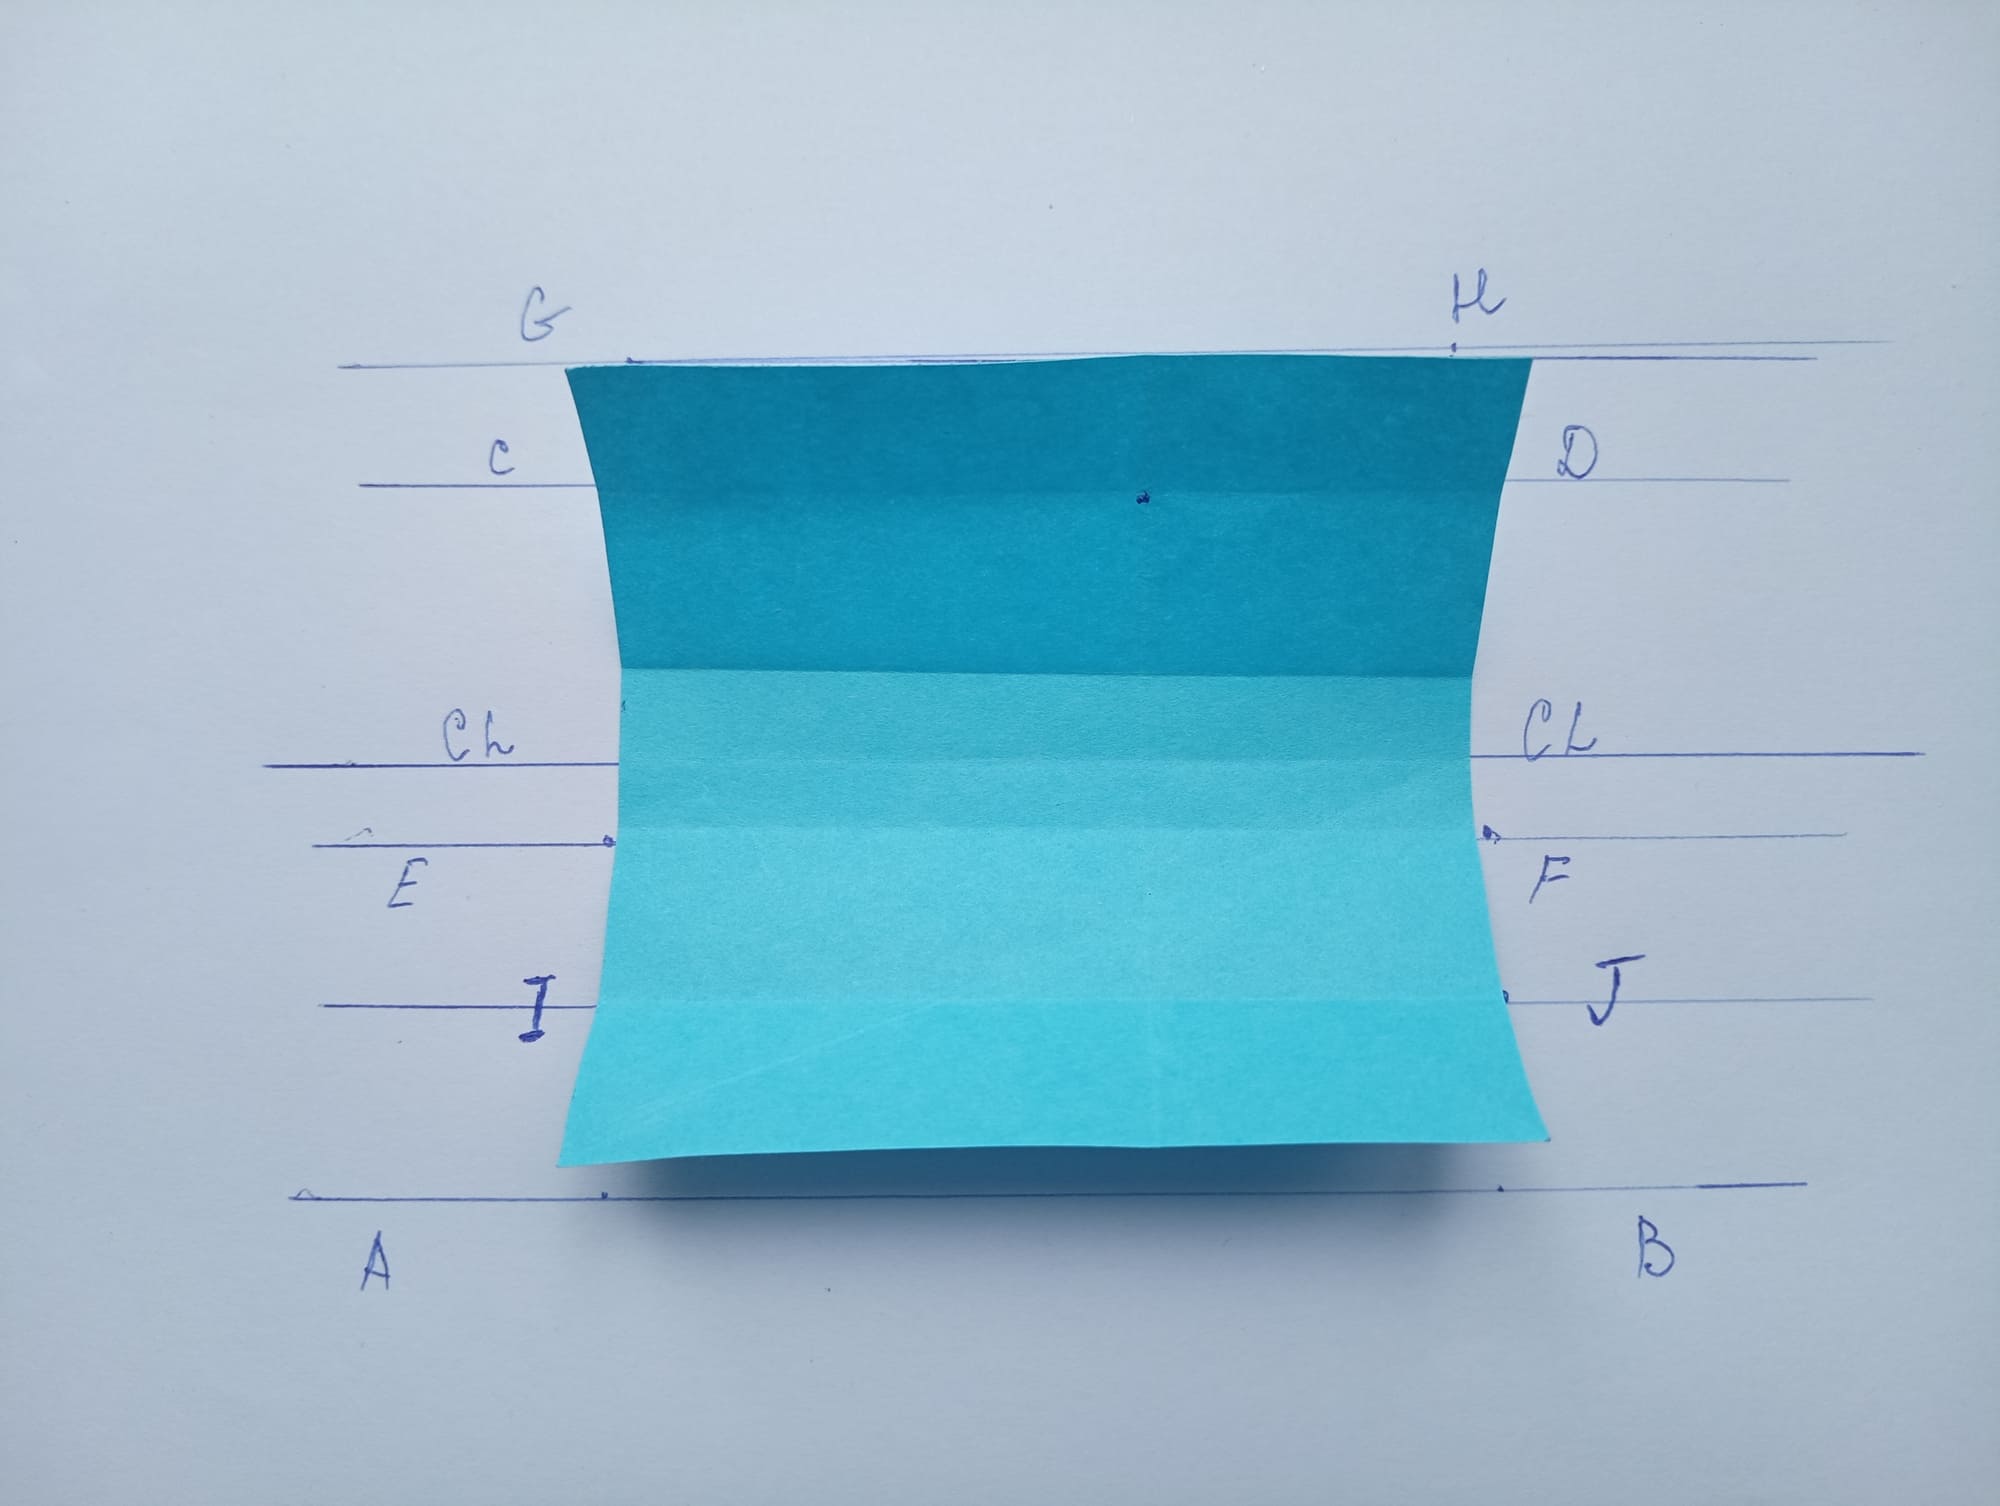
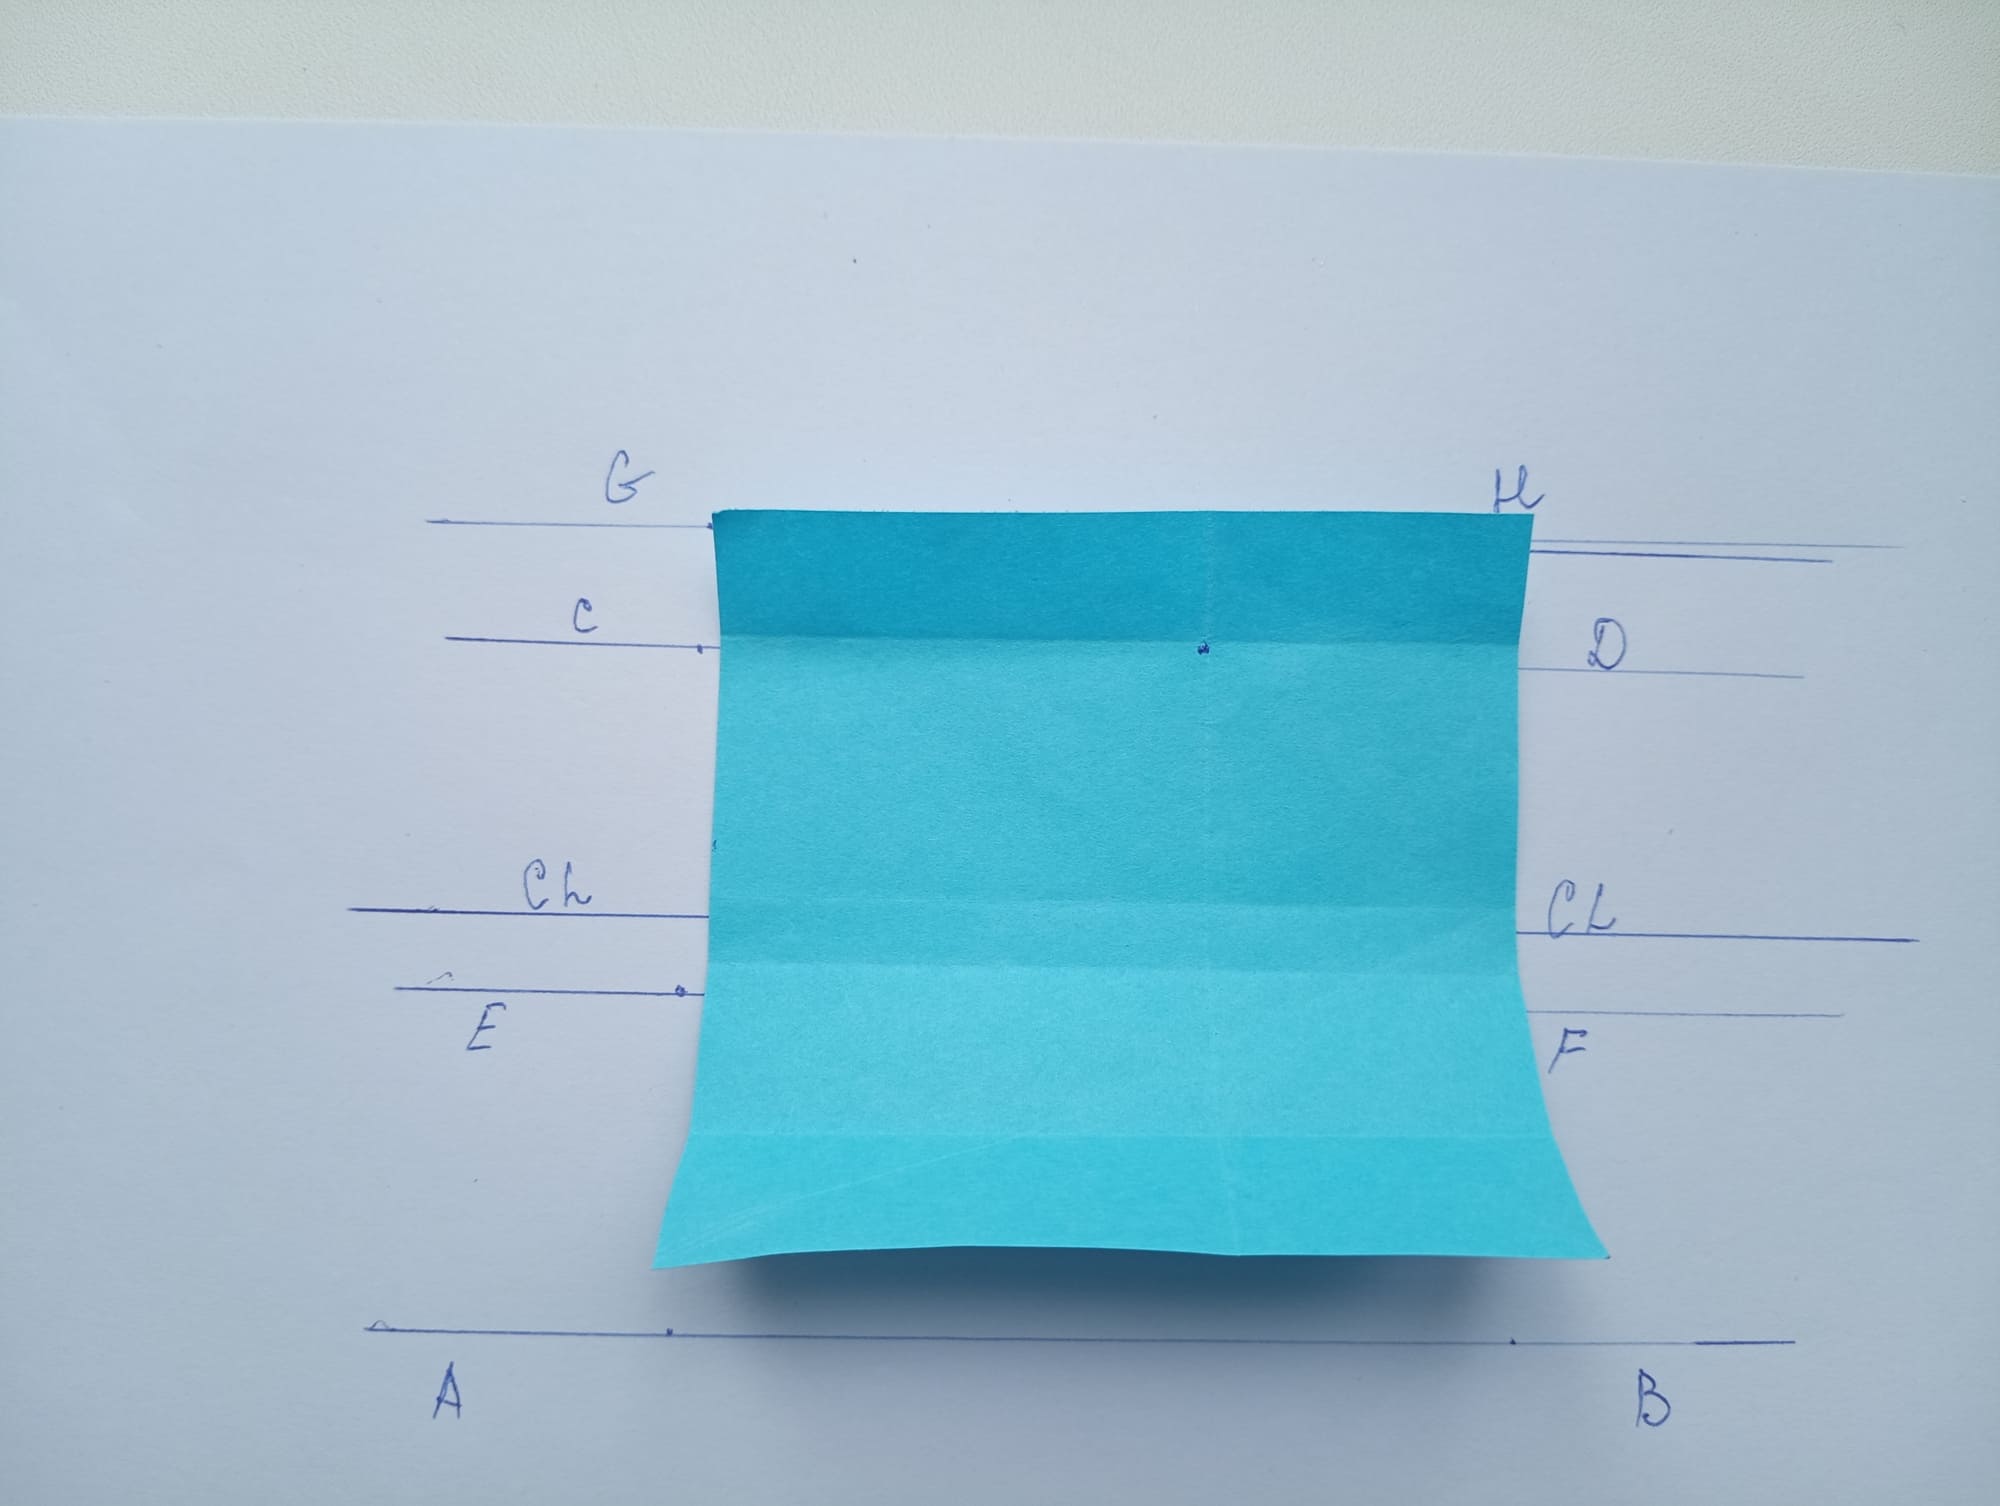
Fold from top to bottom from GH to IJ. Crease the seam and return the paper to its original position.
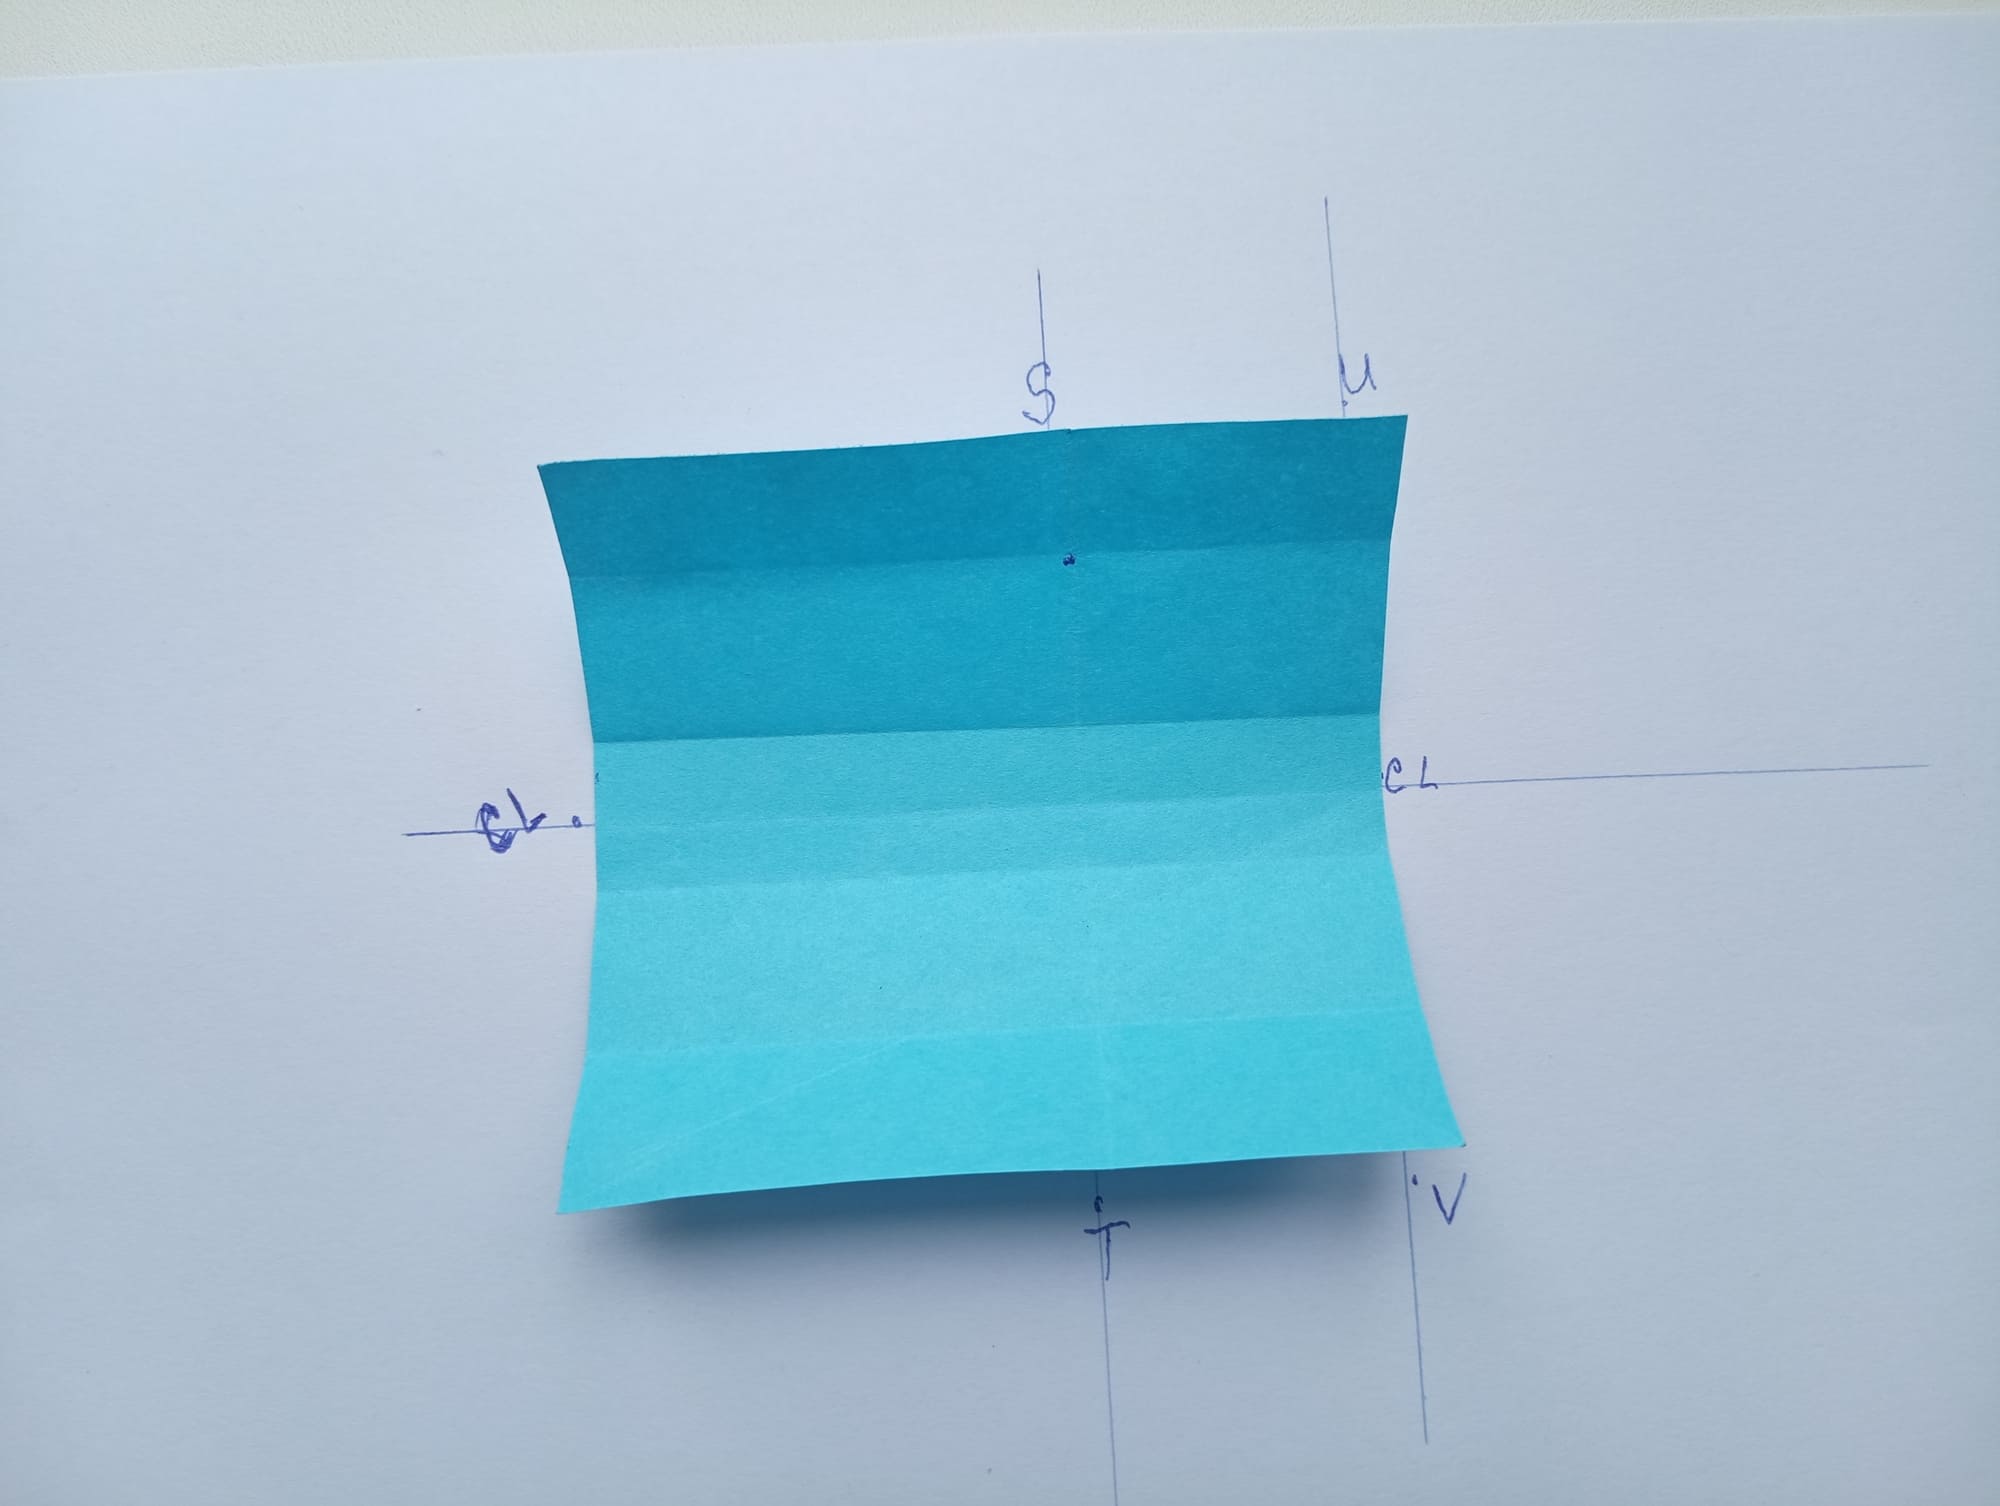
Let’s move on to vertical lines. To do this, fold the UV to ST and unfold it back.
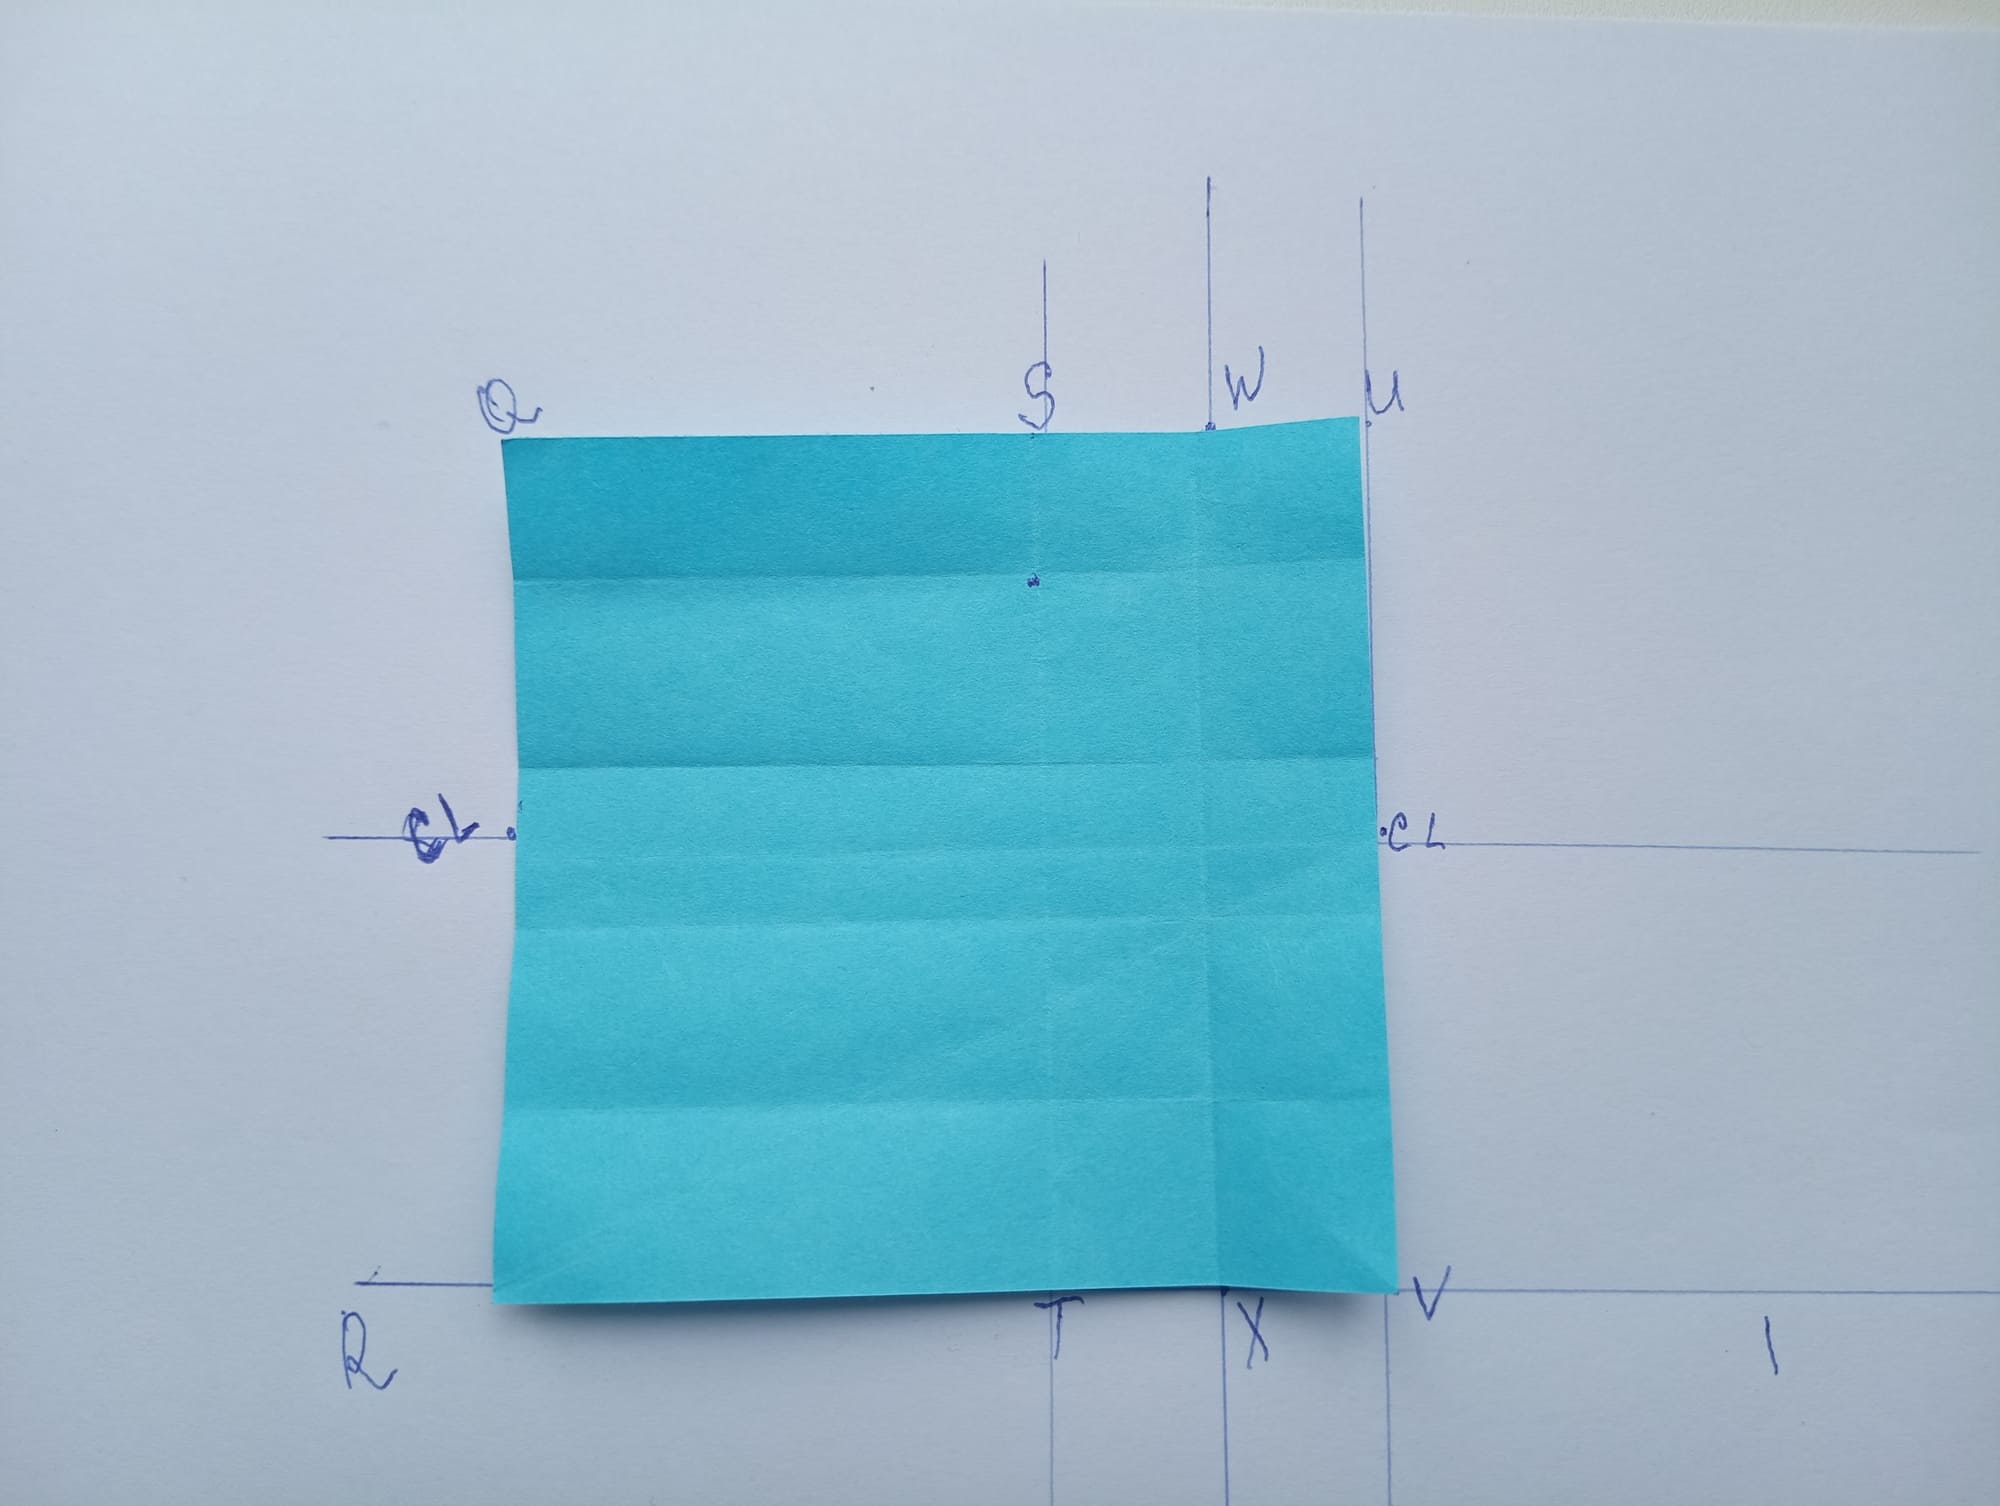
Now, fold the side of the QR to WX and unfold it back.
The last vertical fold is made along the crease from QR to YZ.
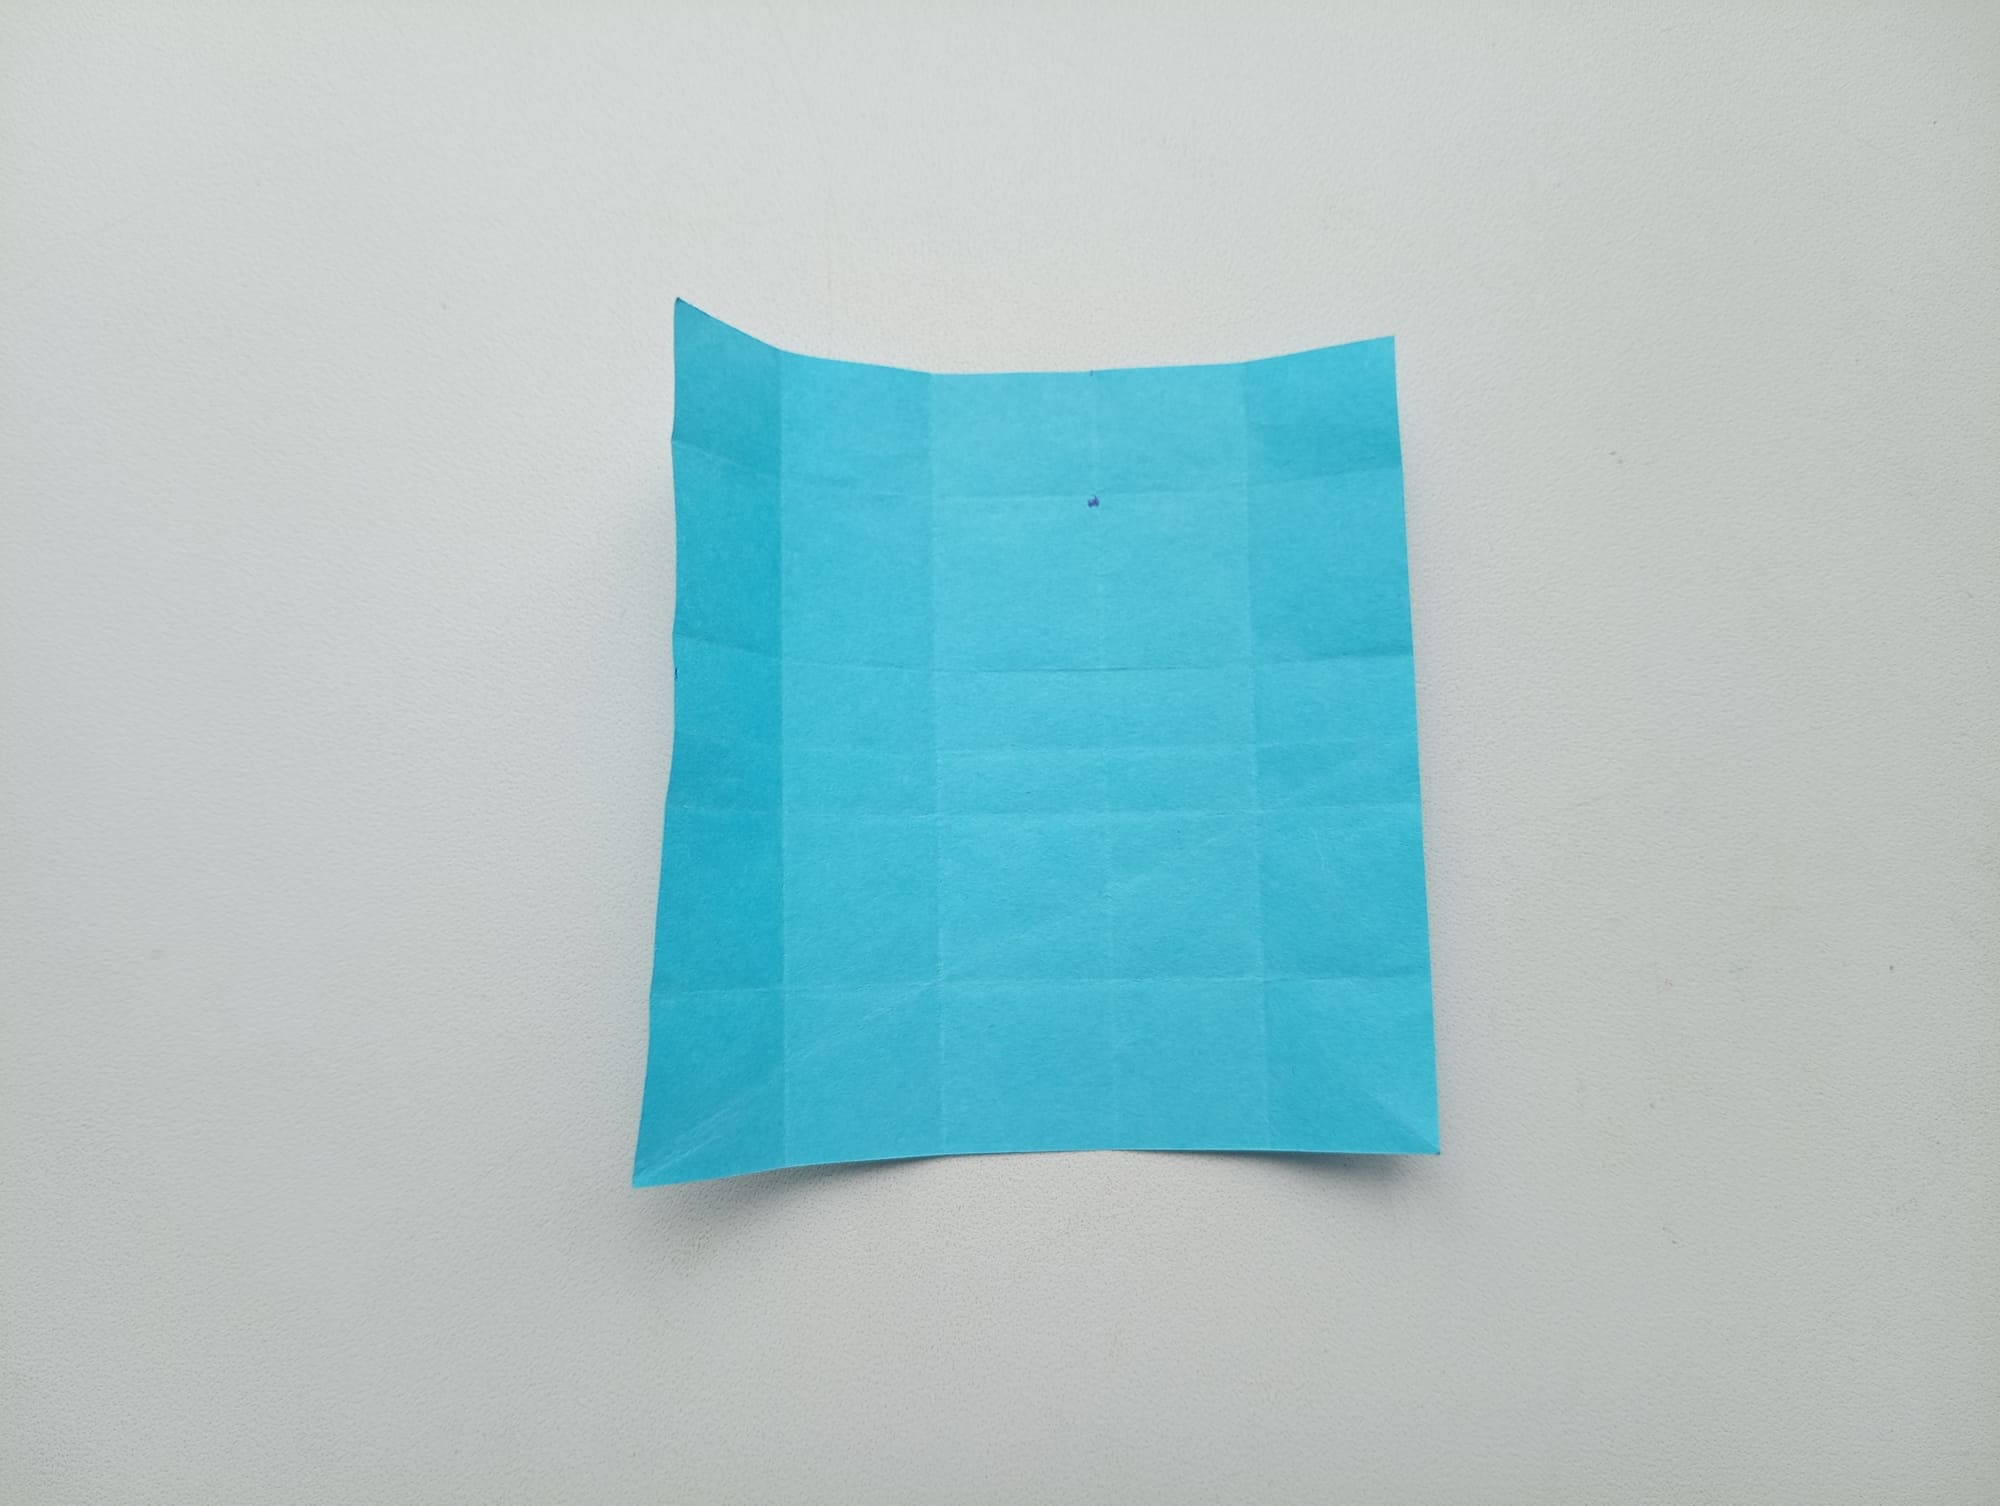
After that, unfold the sheet of paper. The division into fifths is over.
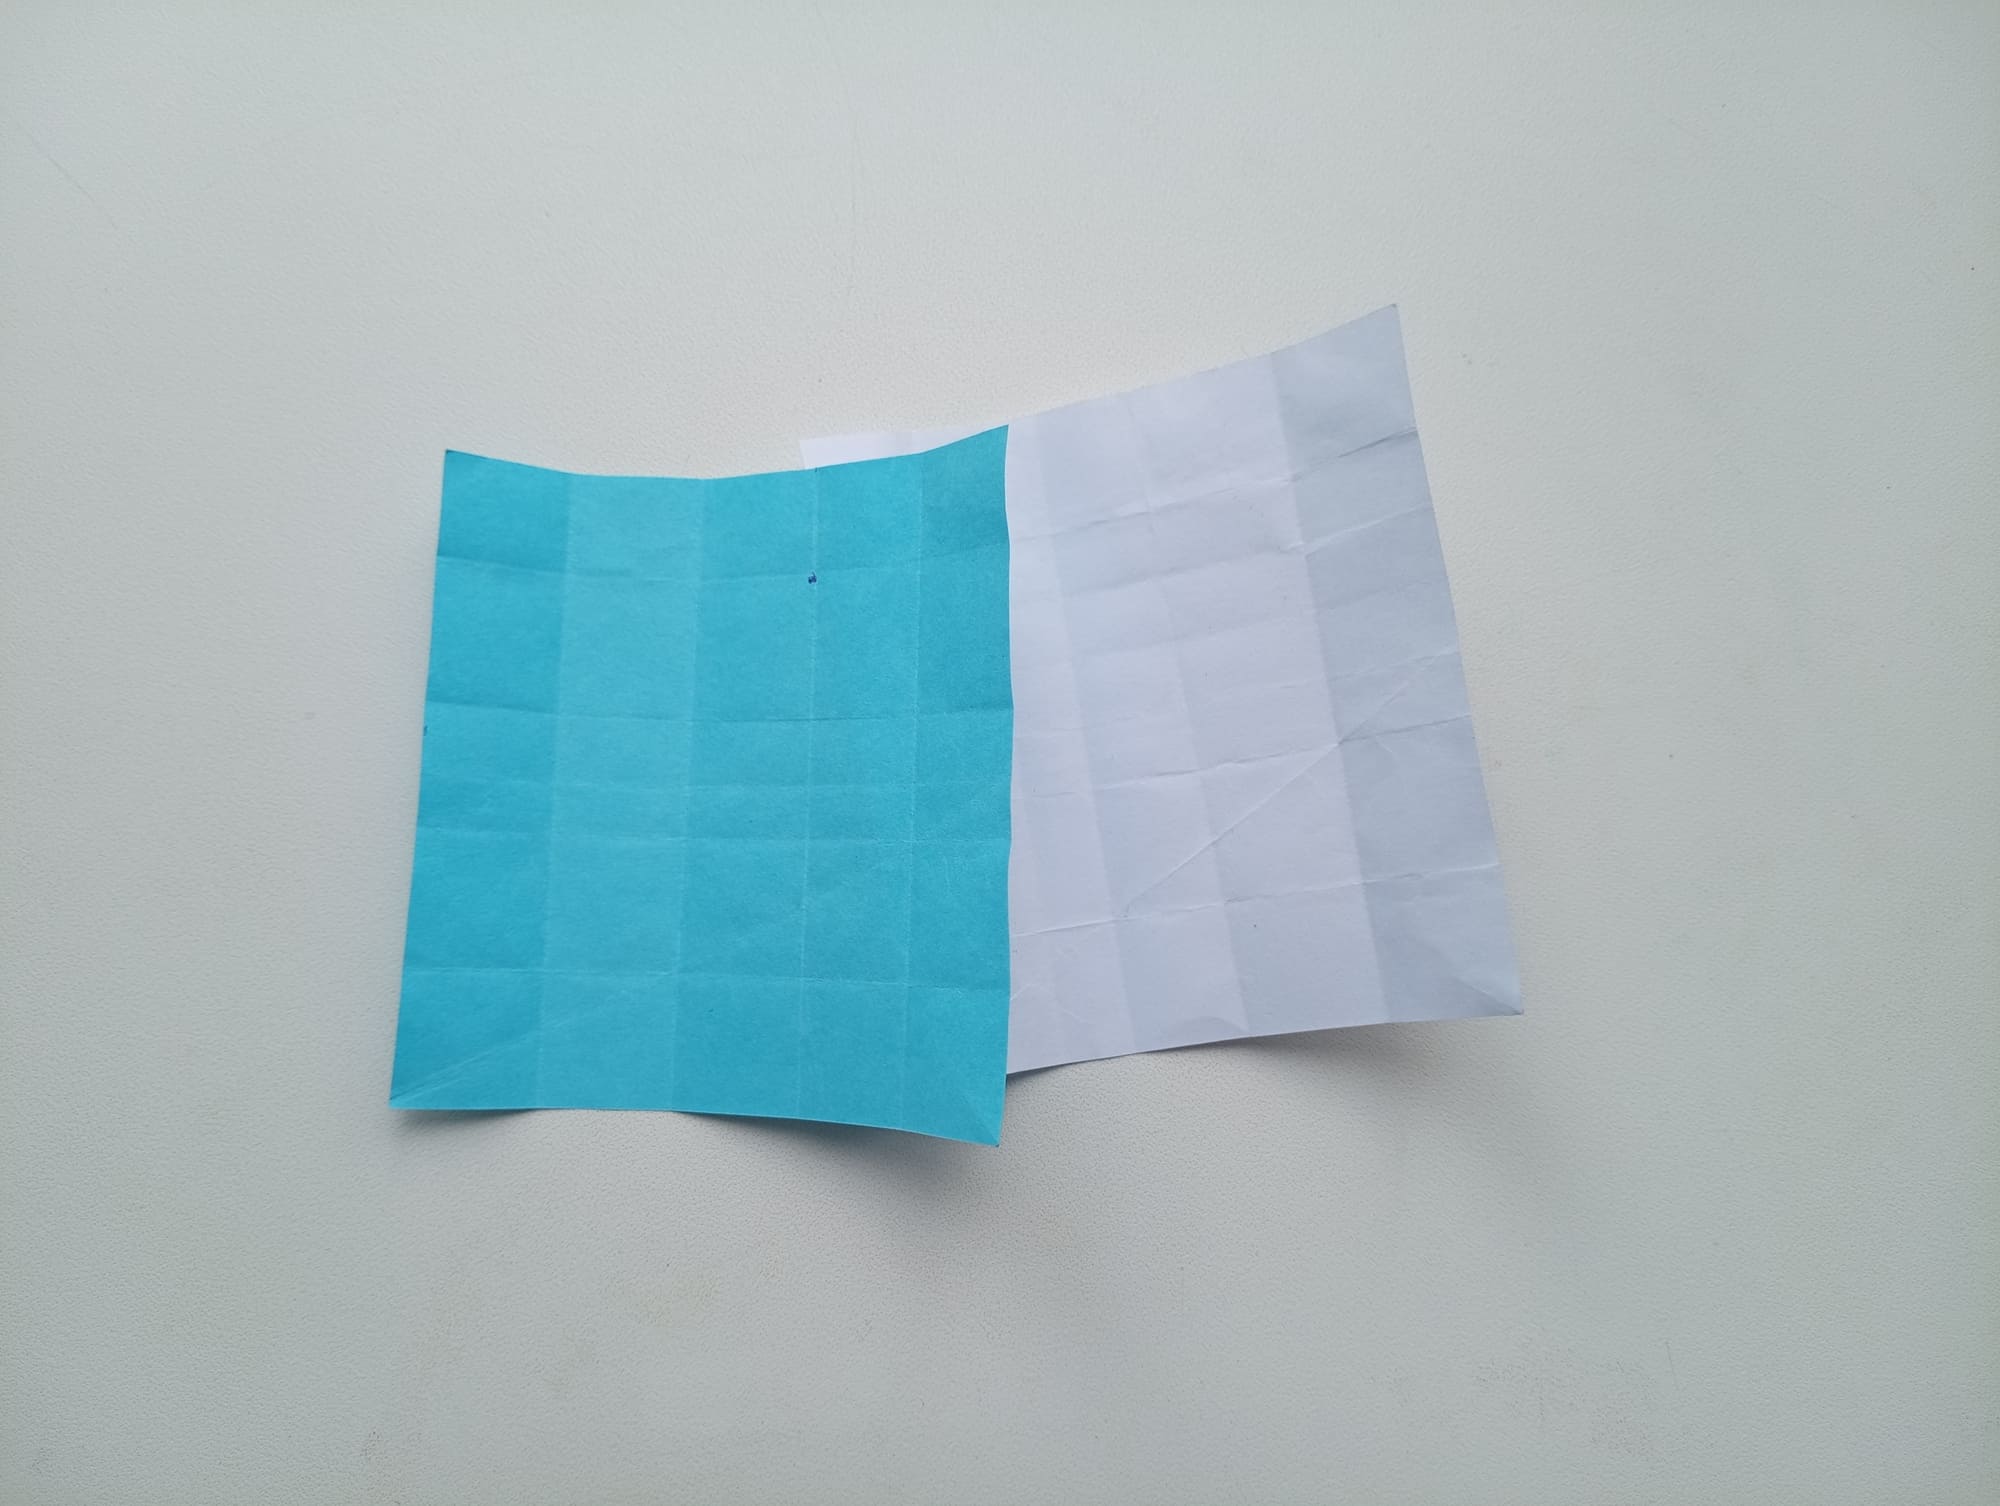
Divide the second sheet of paper to make the letter C.
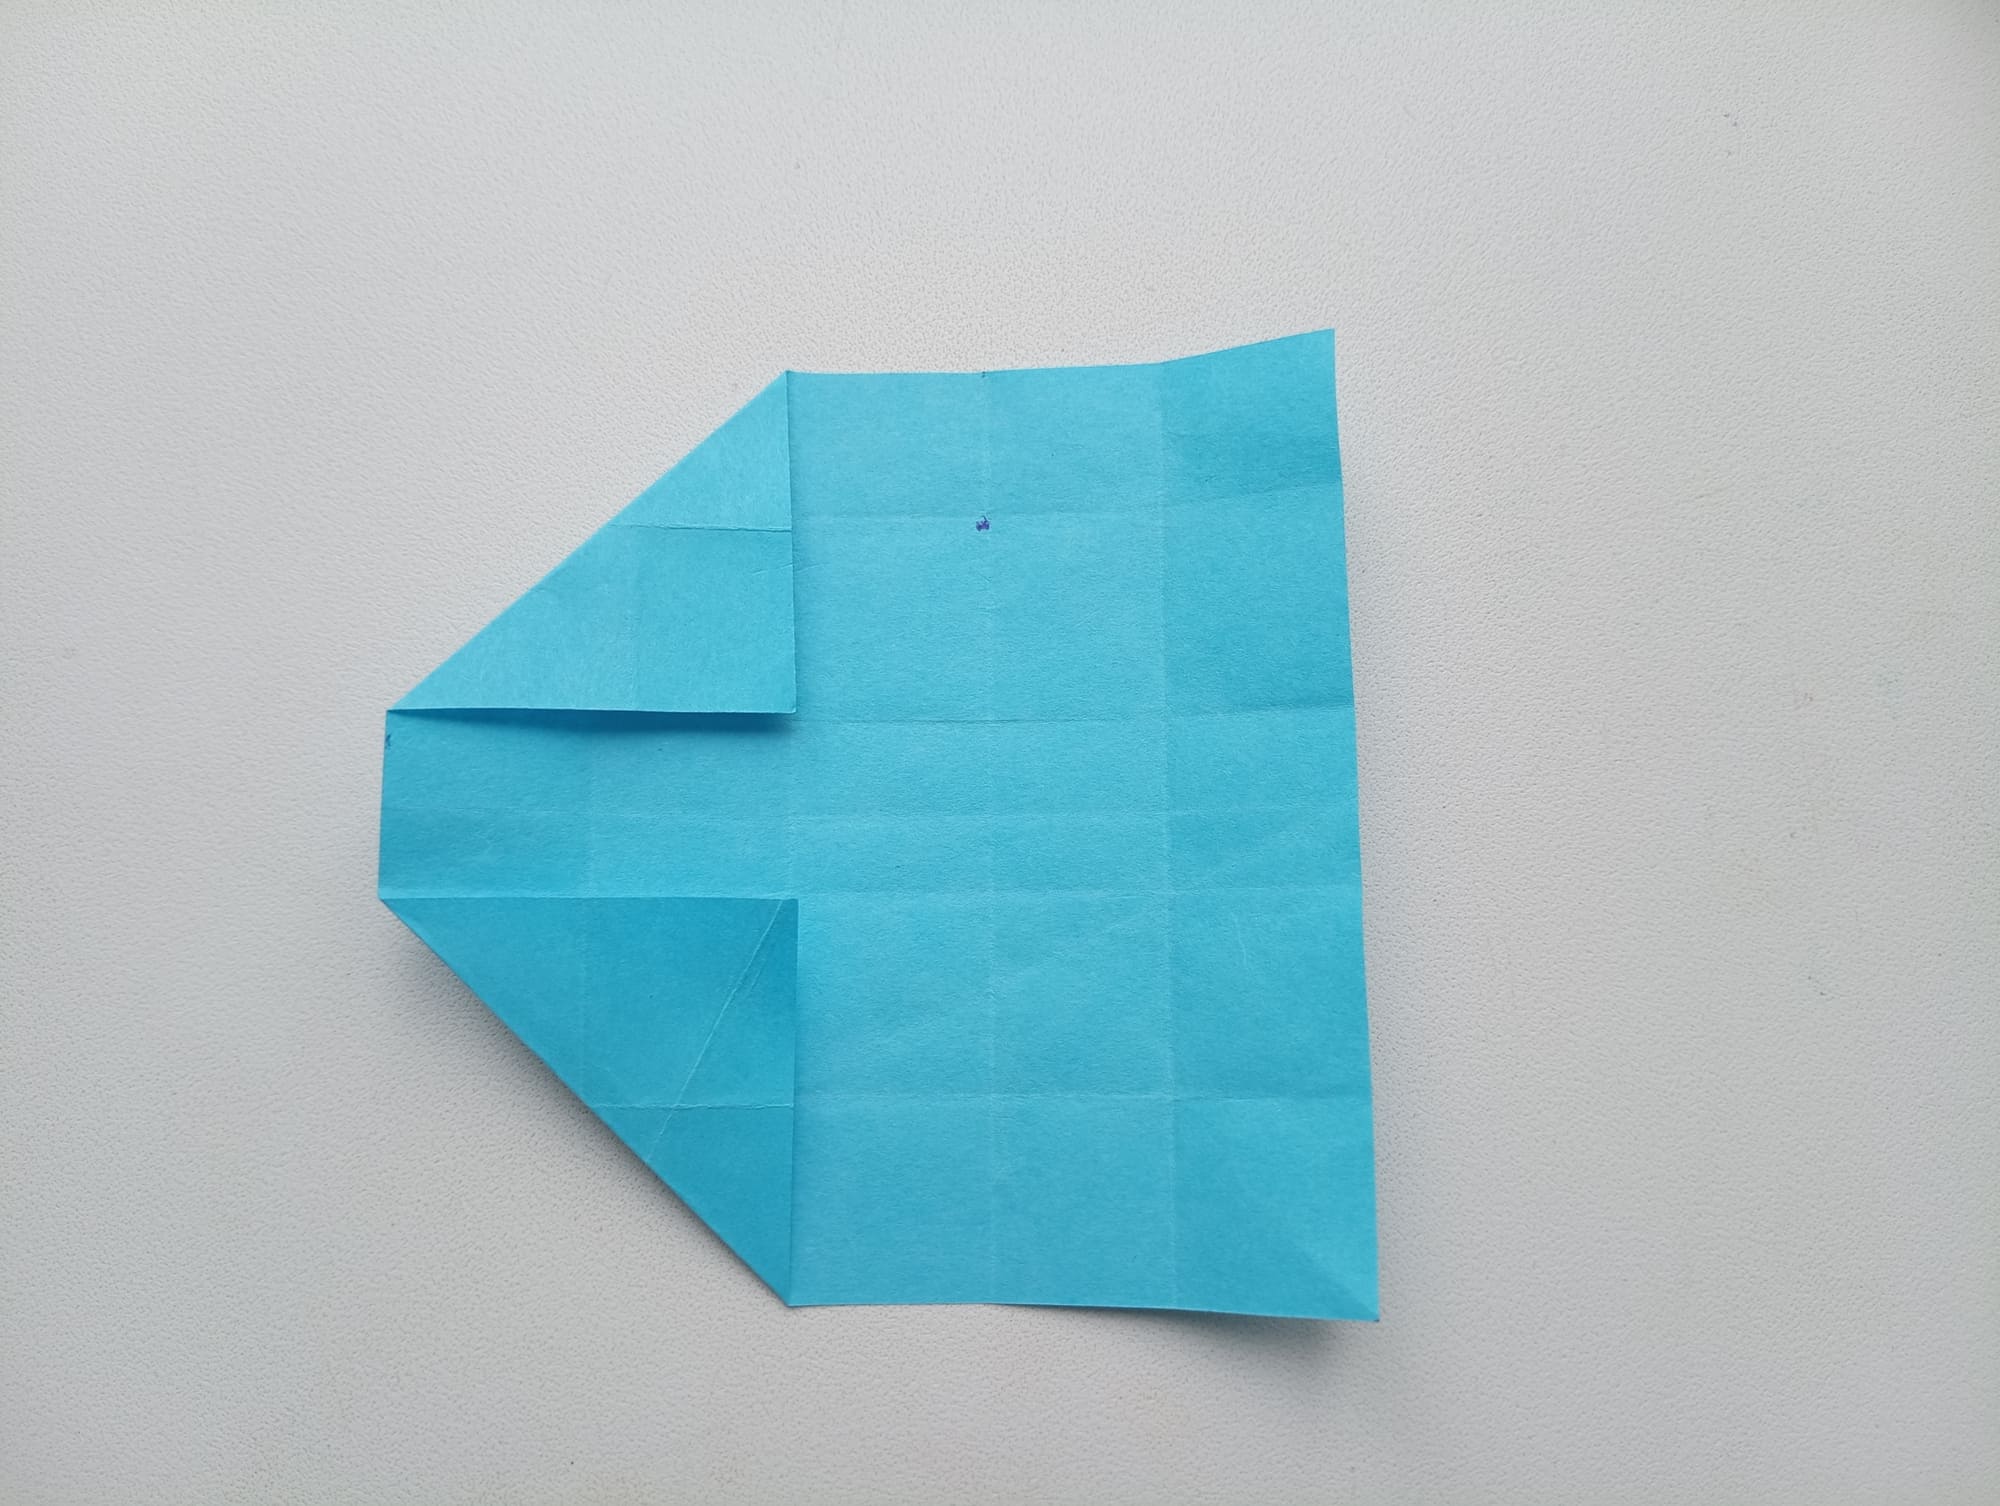
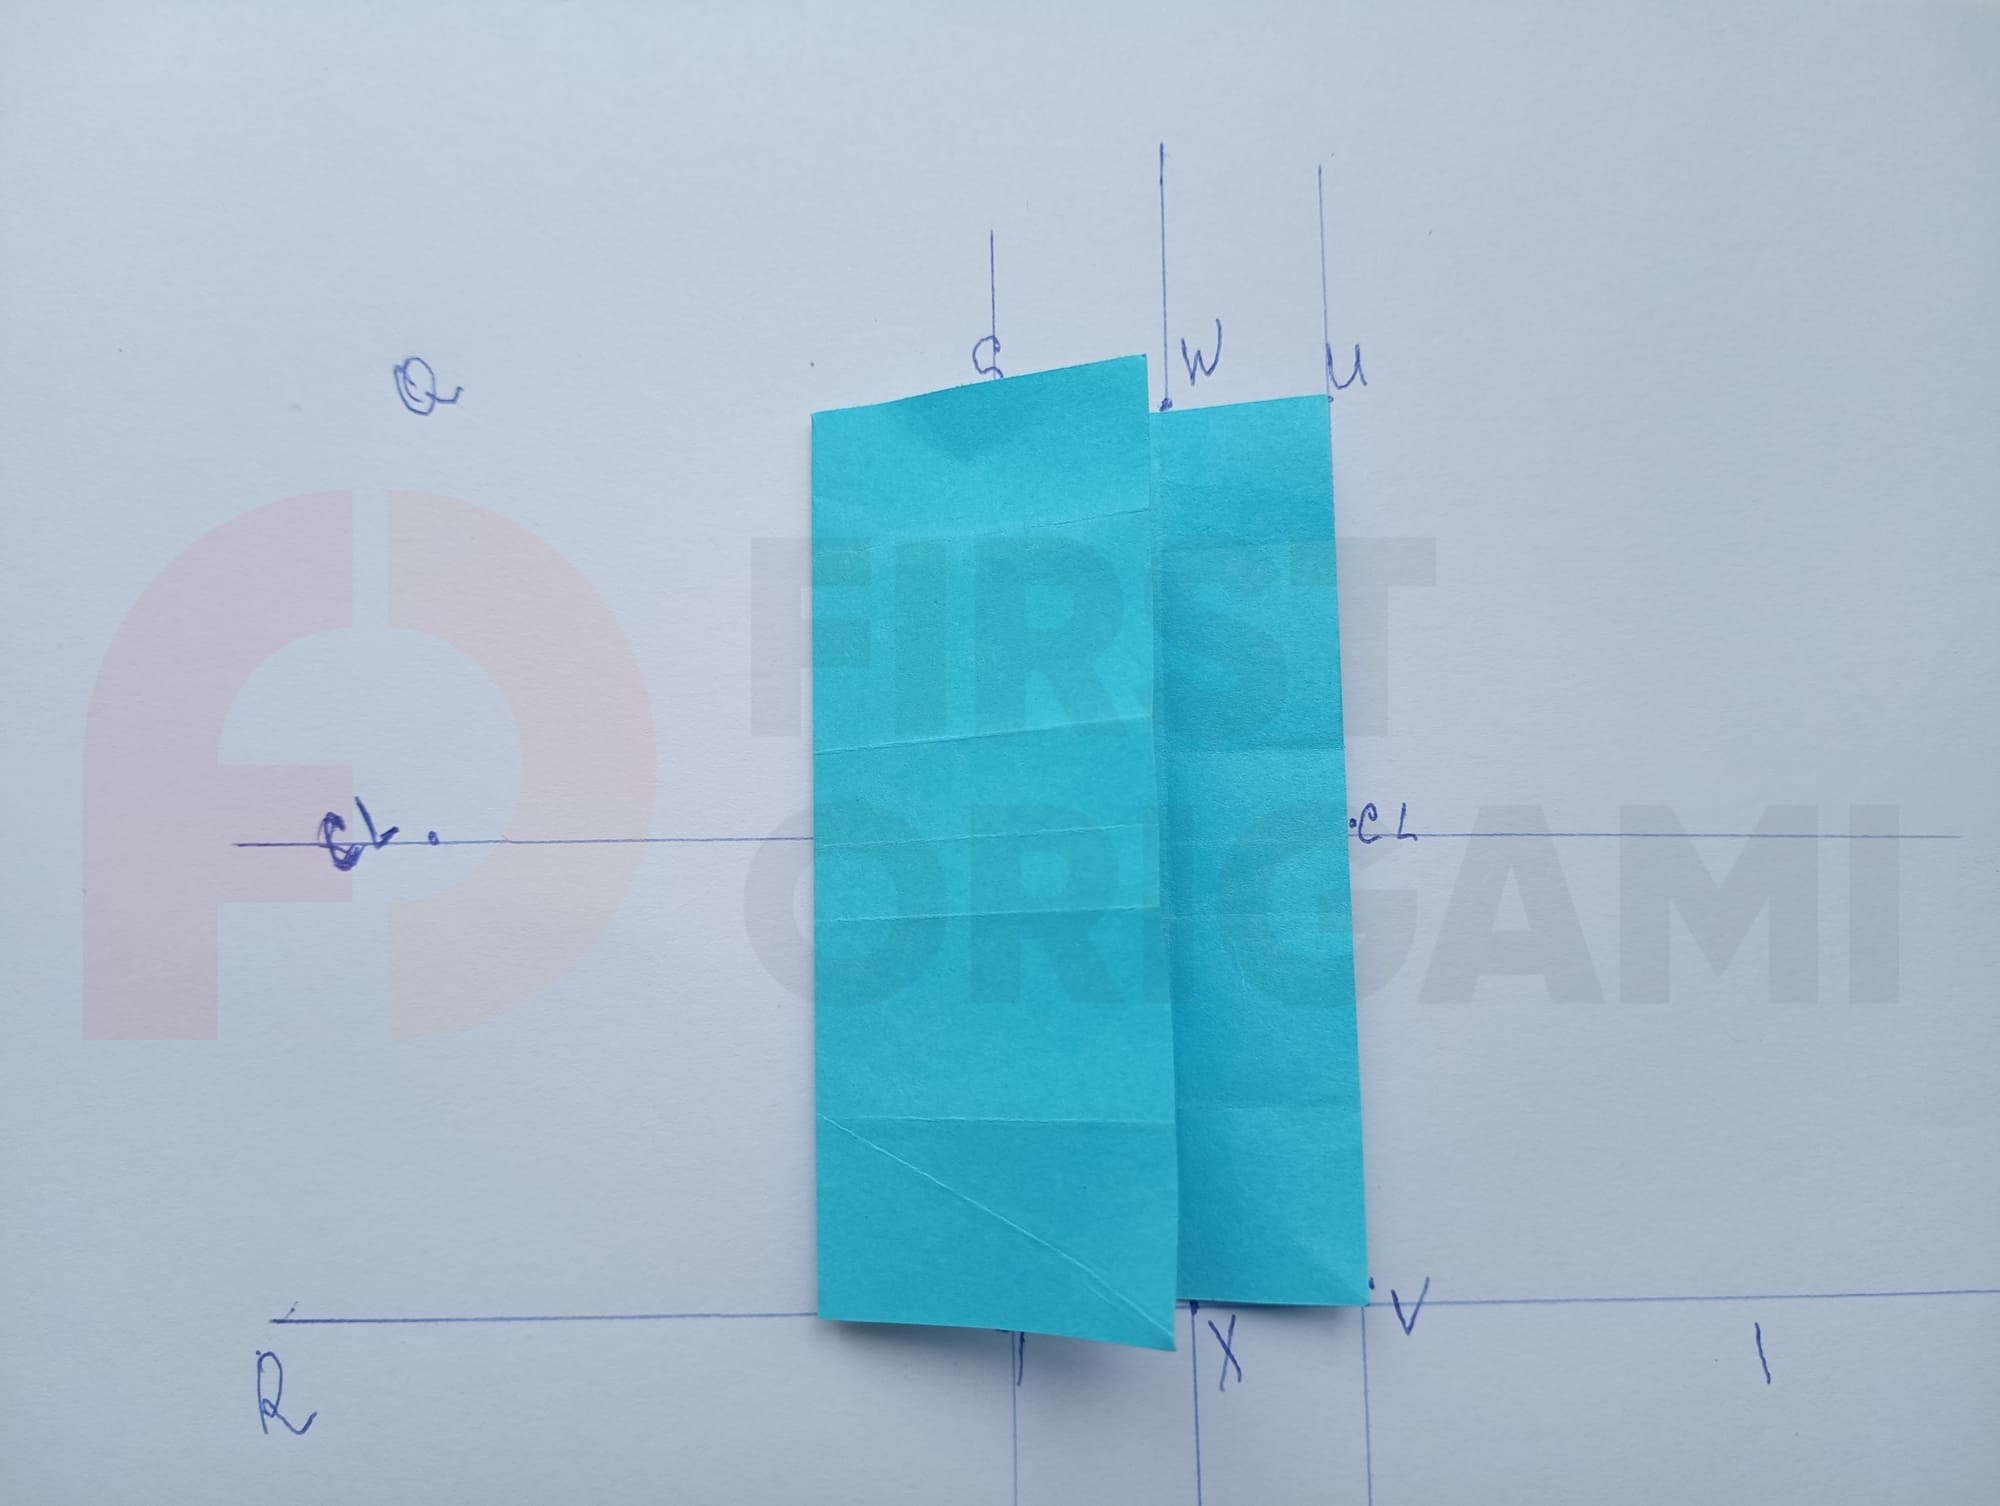
Let’s start the master class on making the letter C. On the first sheet, you need to bend the upper and lower left corners.

Bend the left edge to the first line.
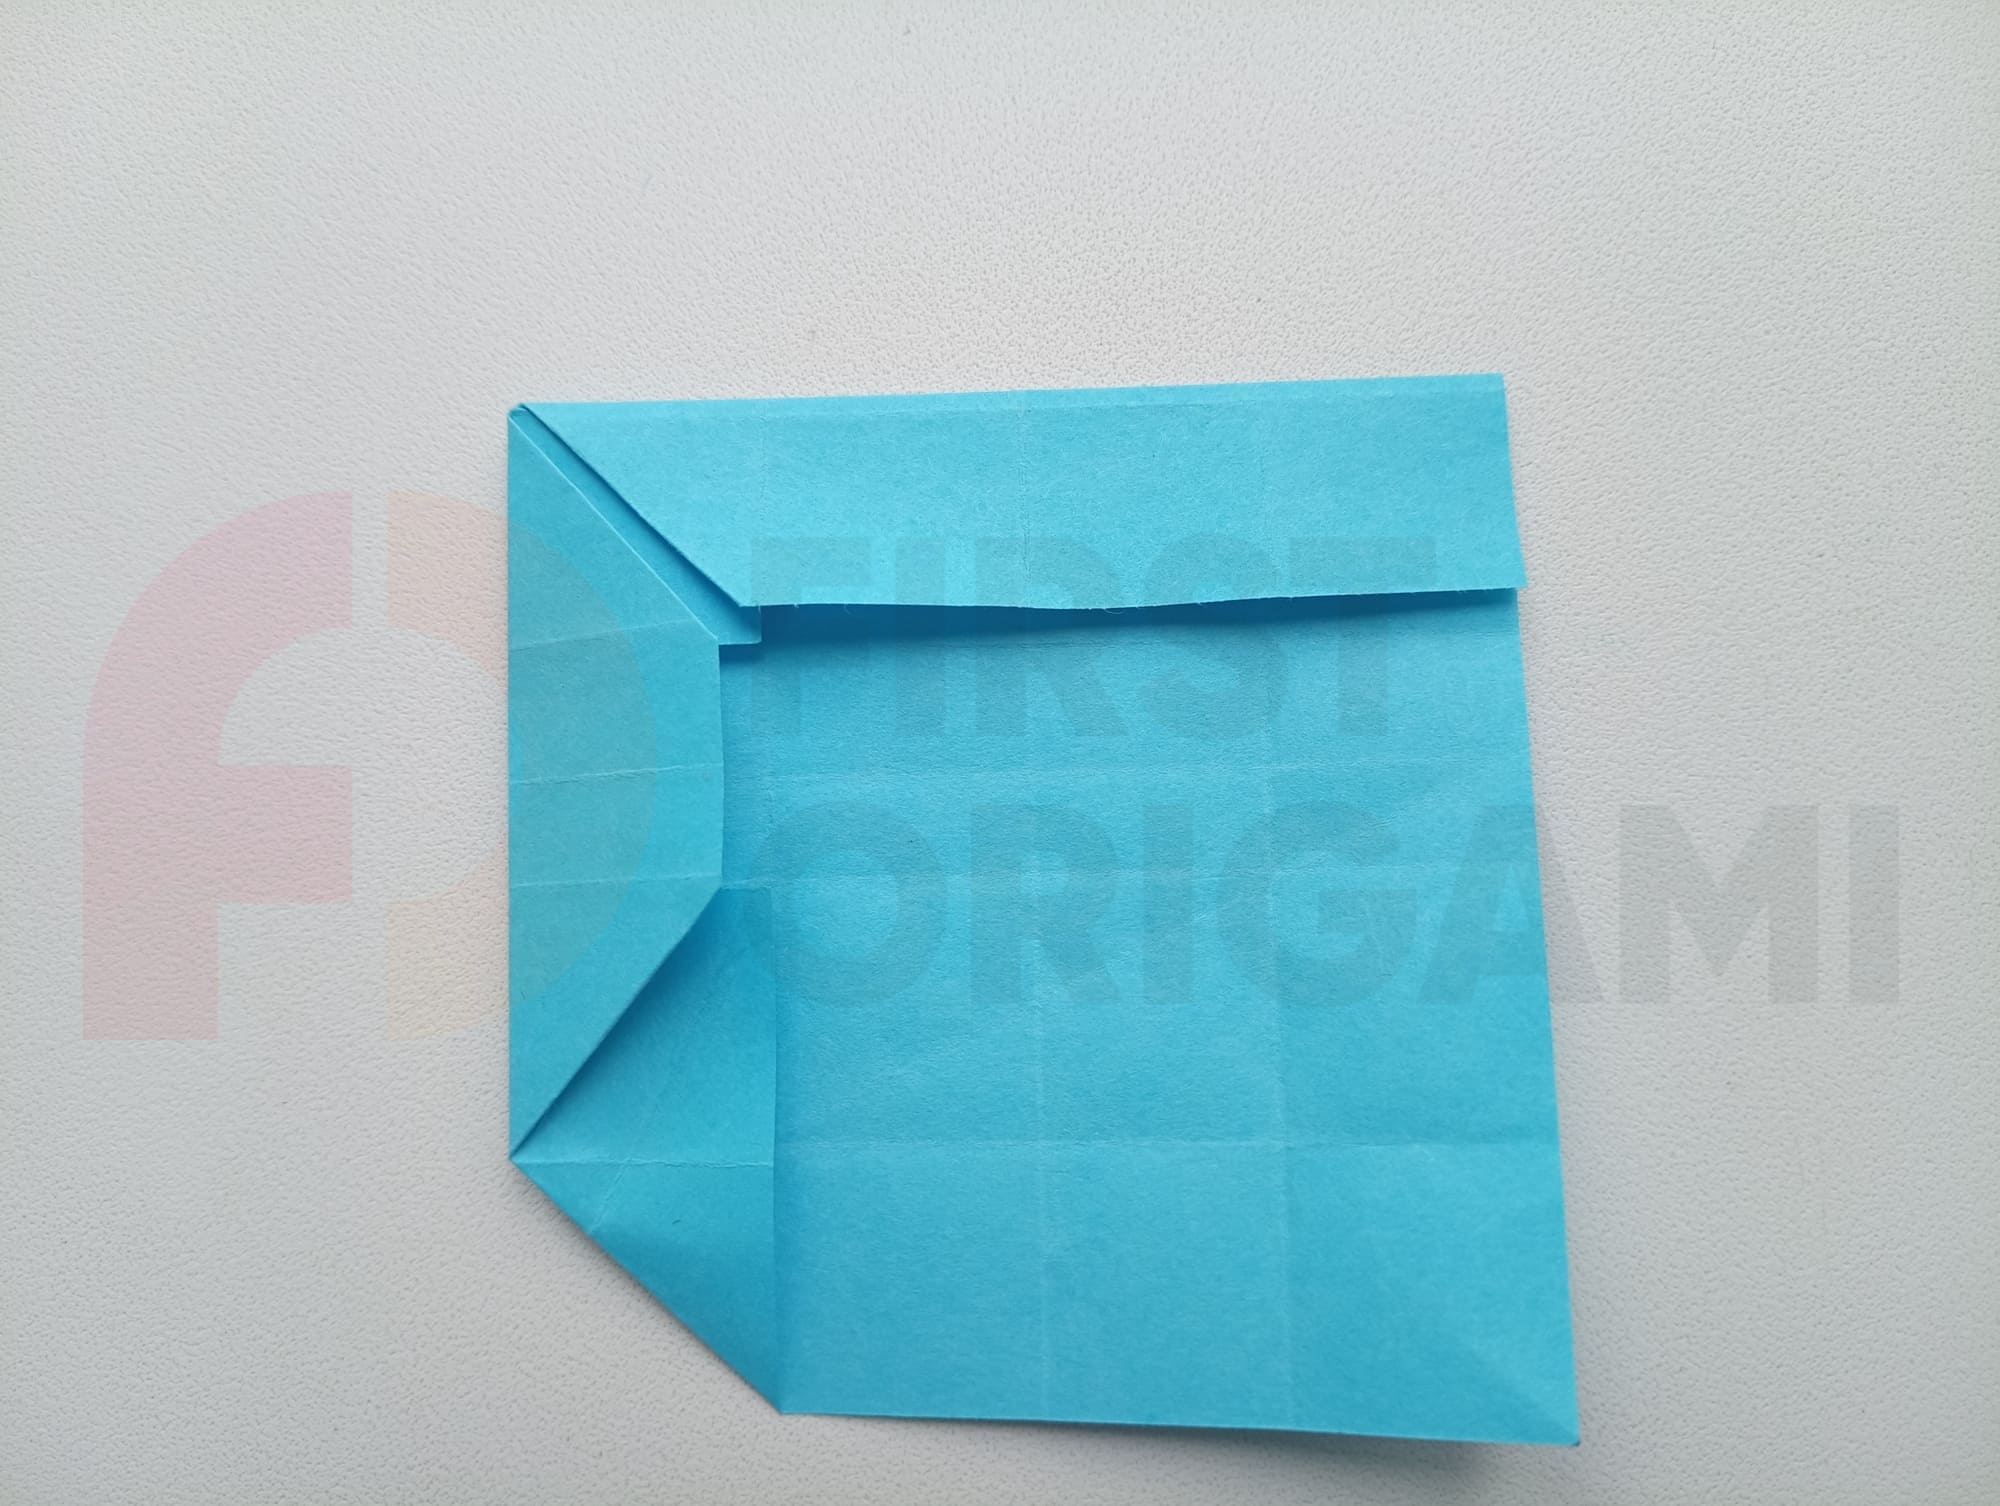
Make a crease with the top side.
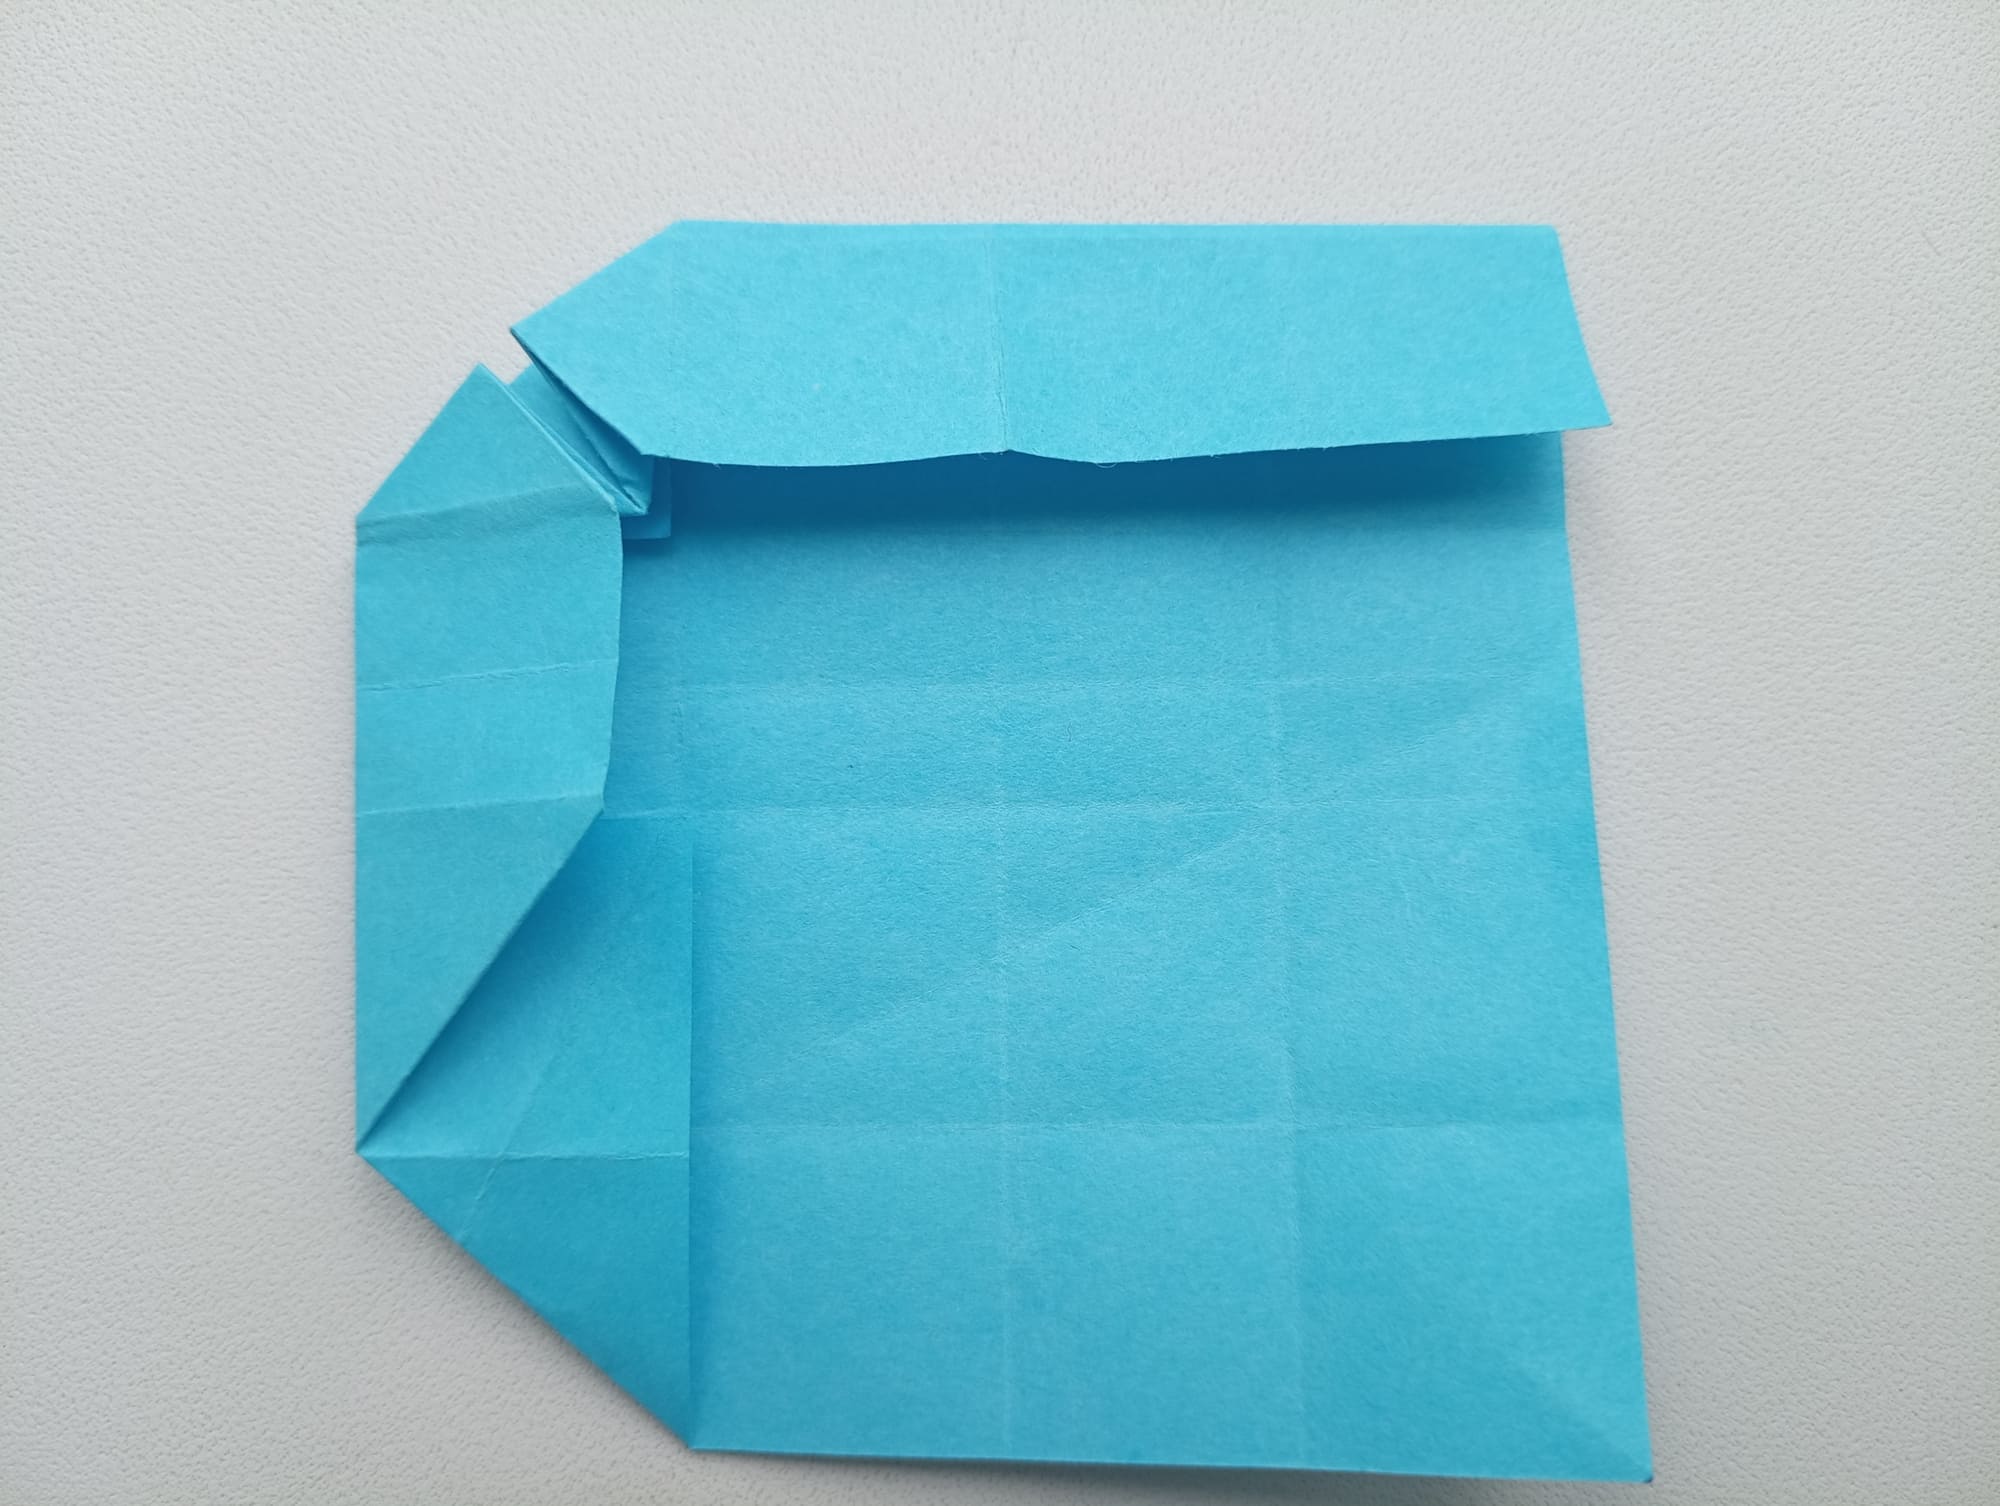
Fold the upper left corner diagonally, making a mountain fold. The first part is ready.
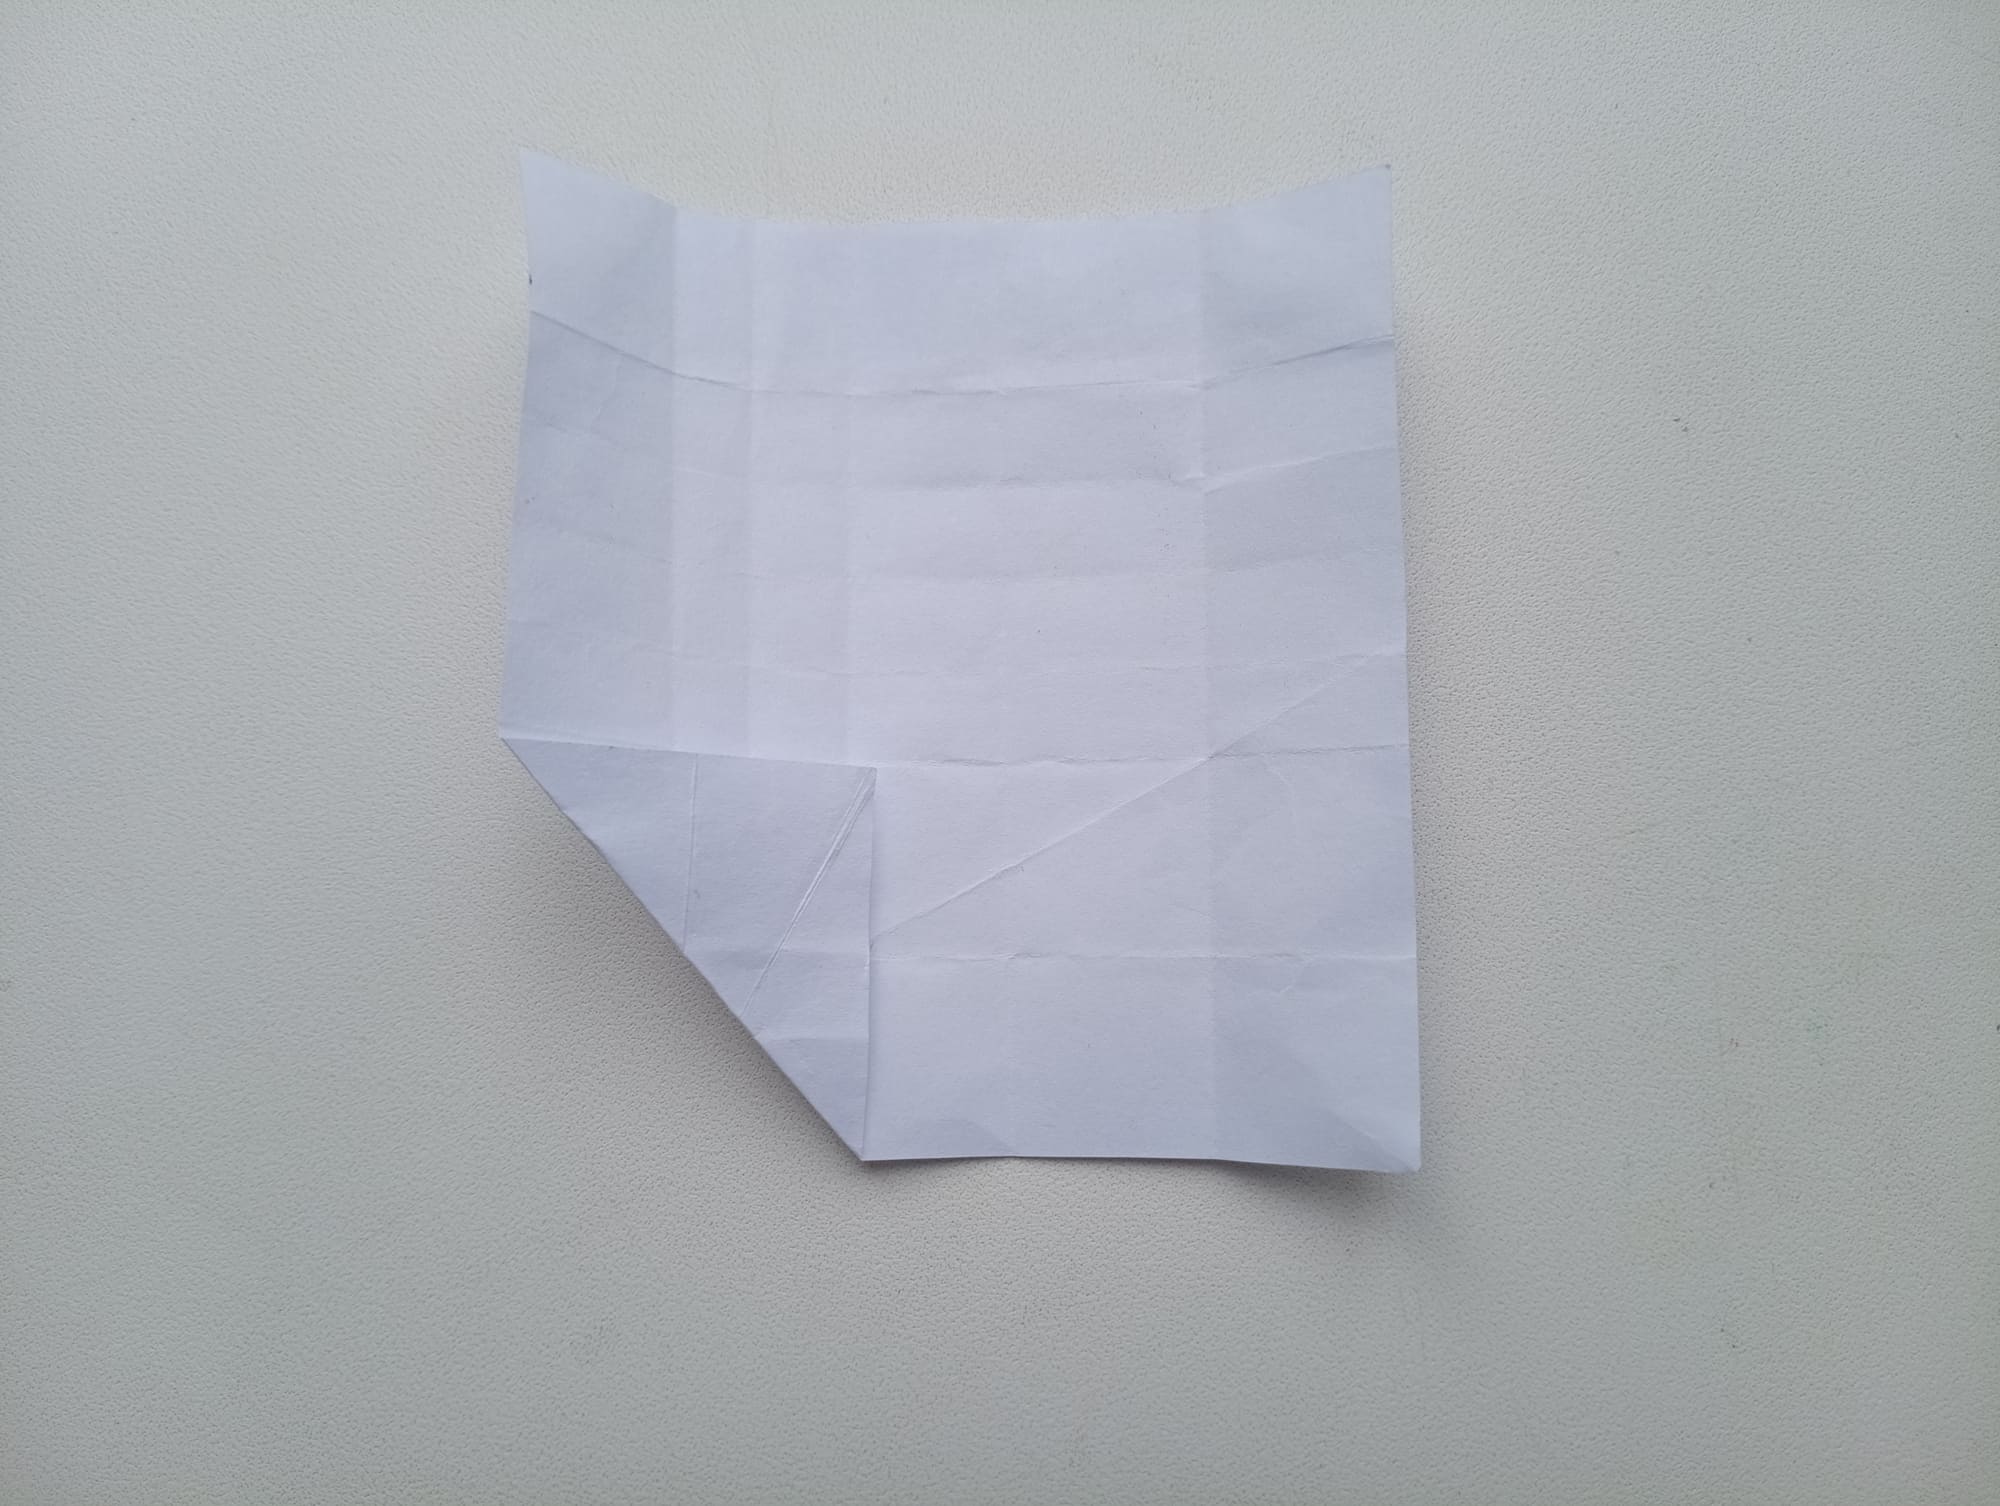
Make a diagonal fold in the lower left corner.
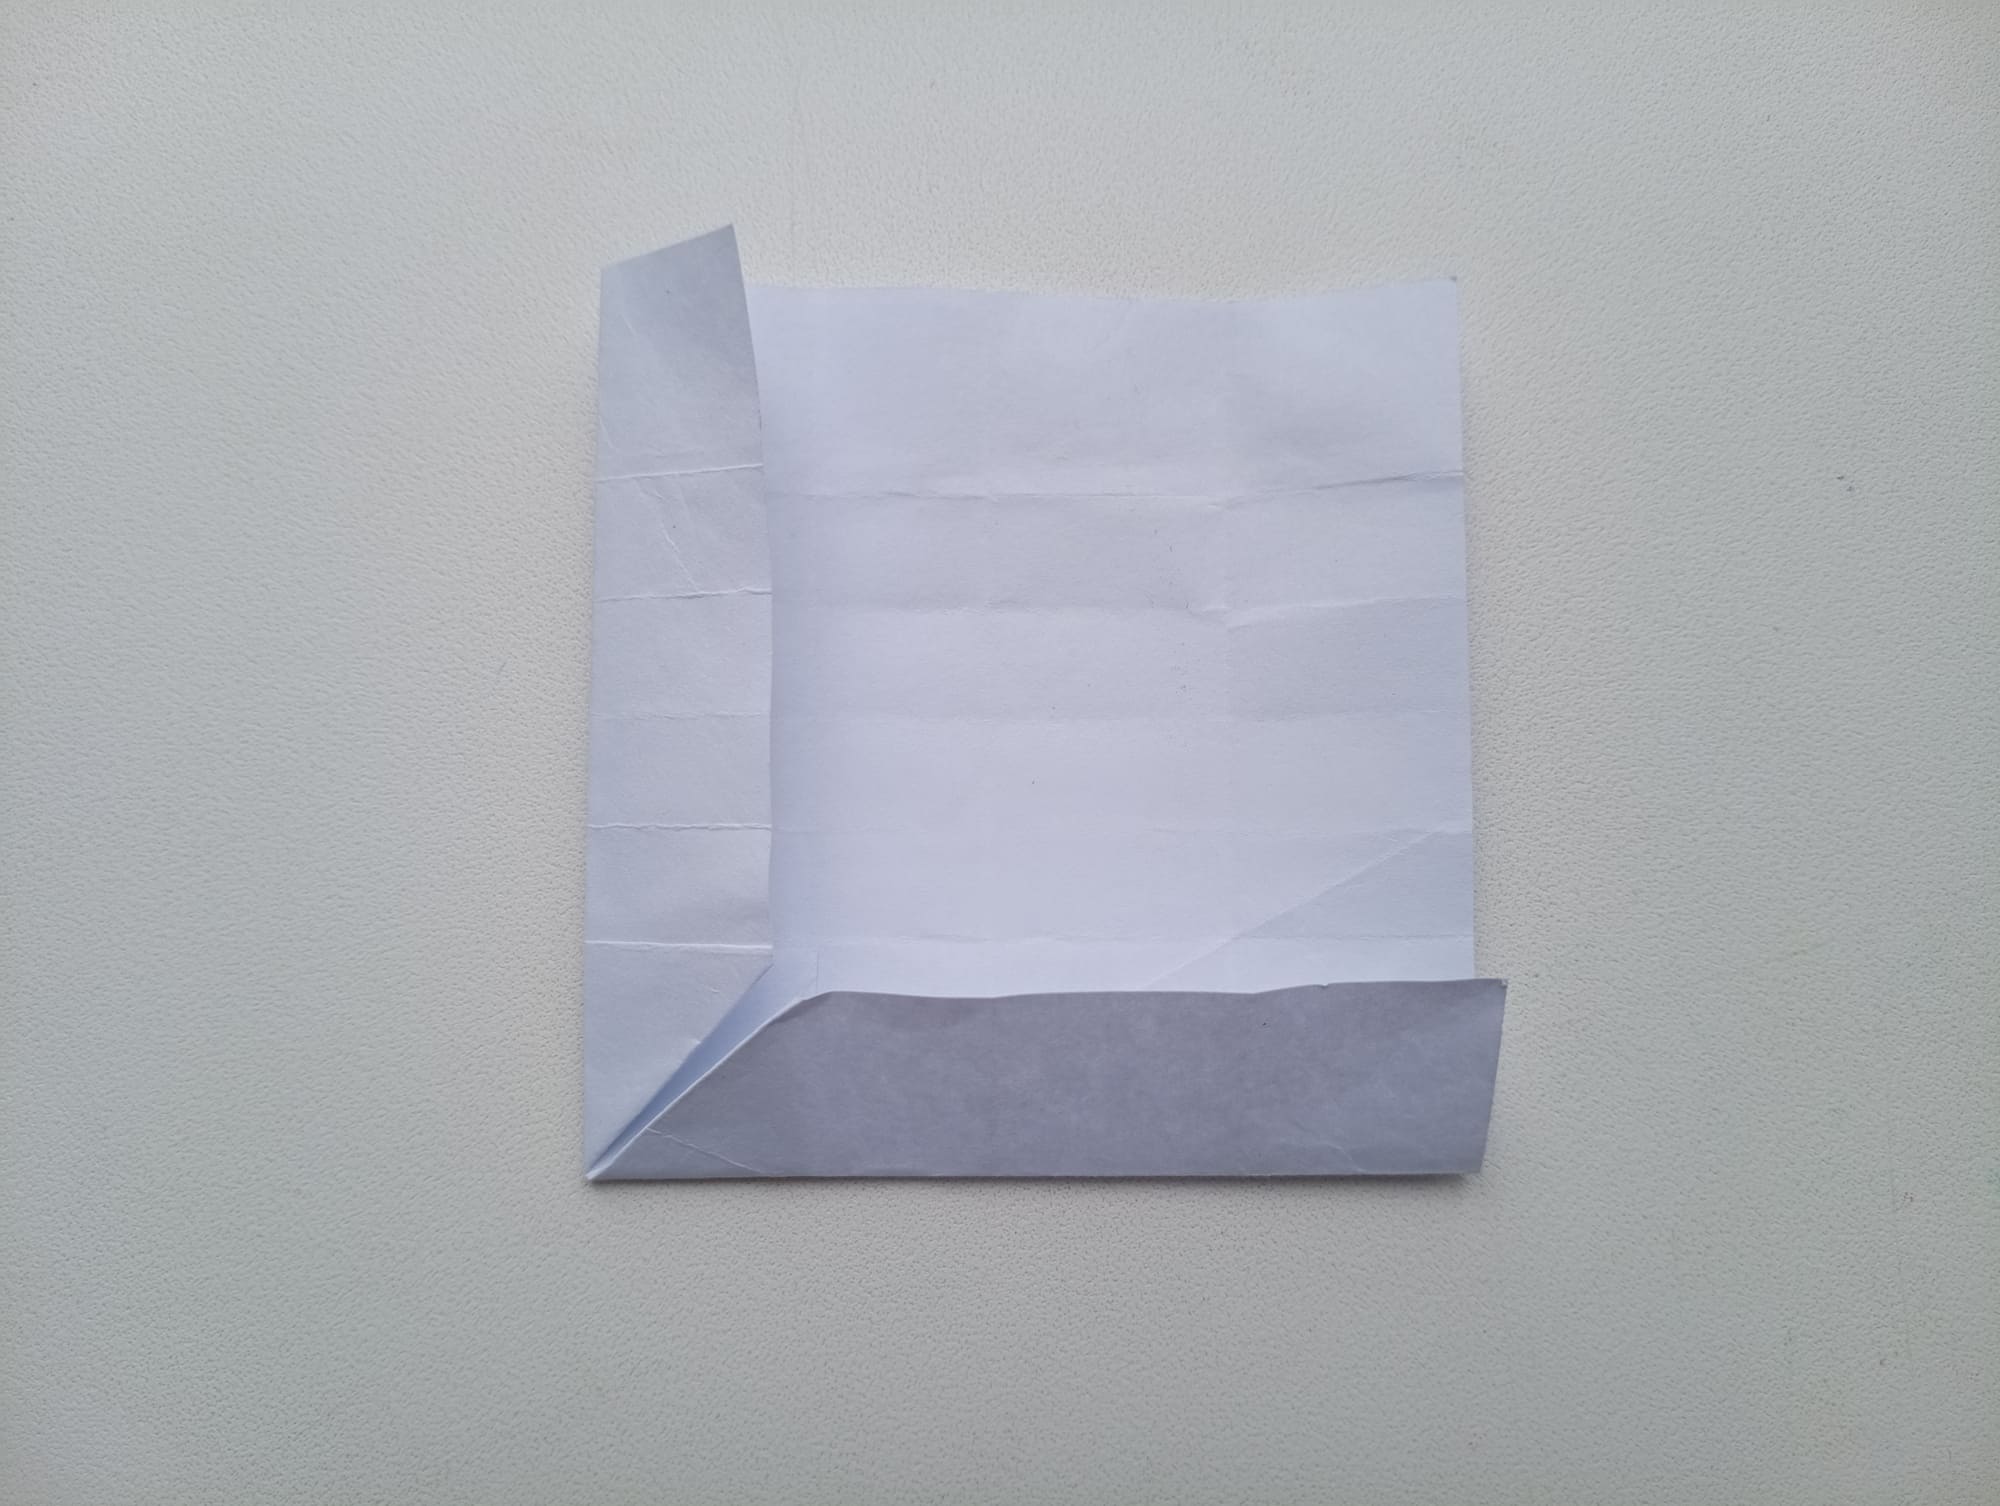
Bend the left and bottom edges to the center. The second part is ready.
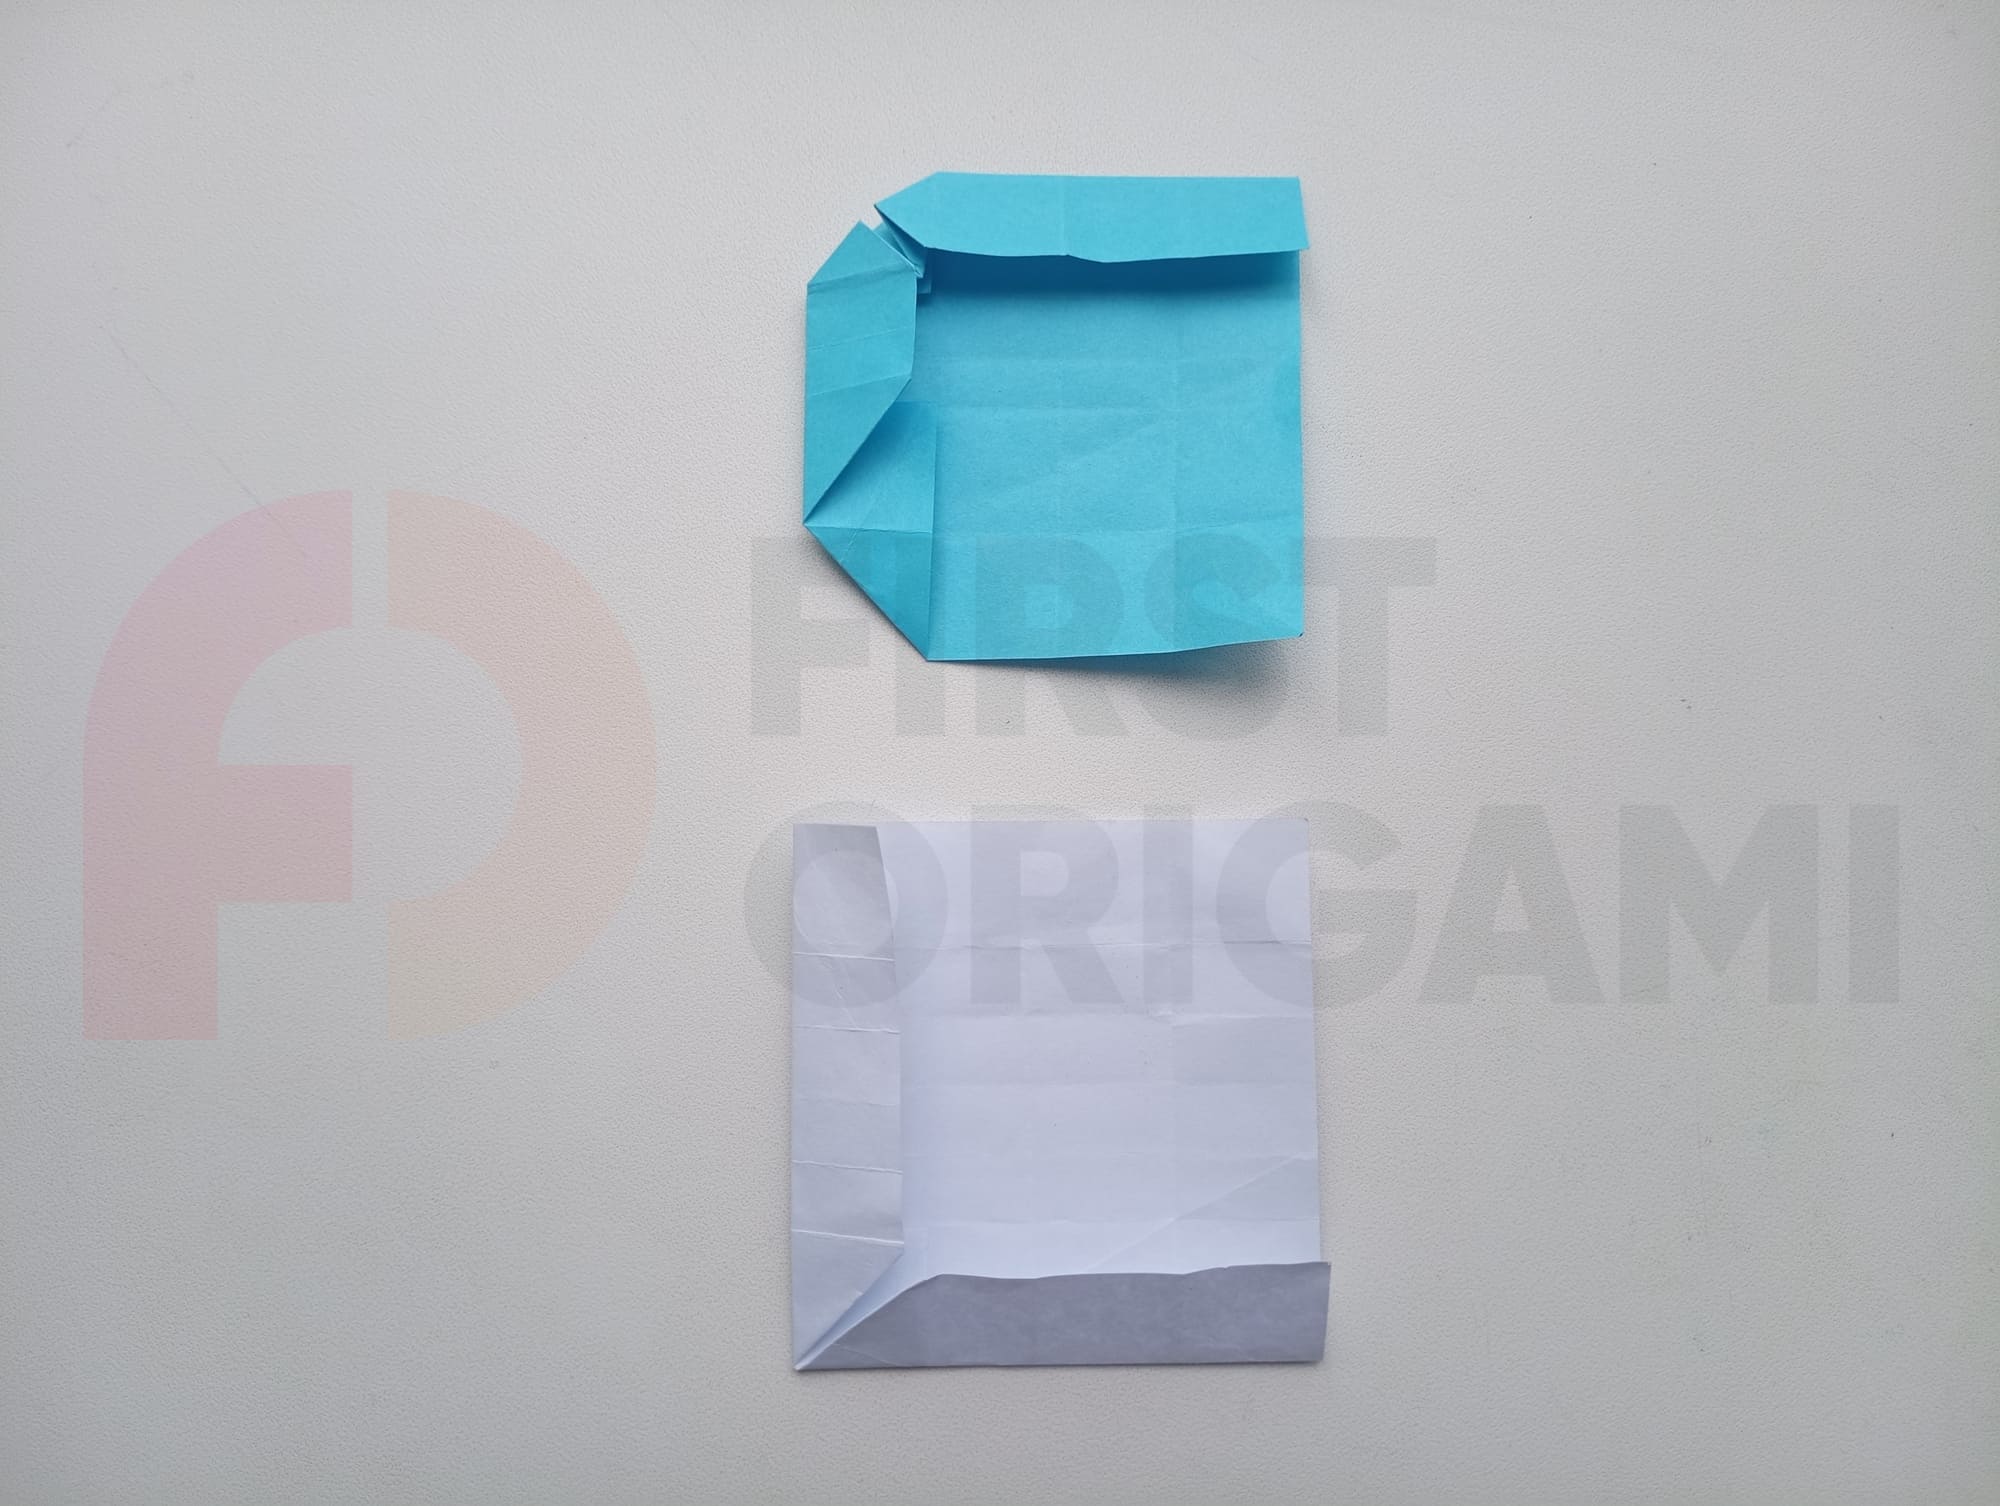
Arrange both parts as in the photo.
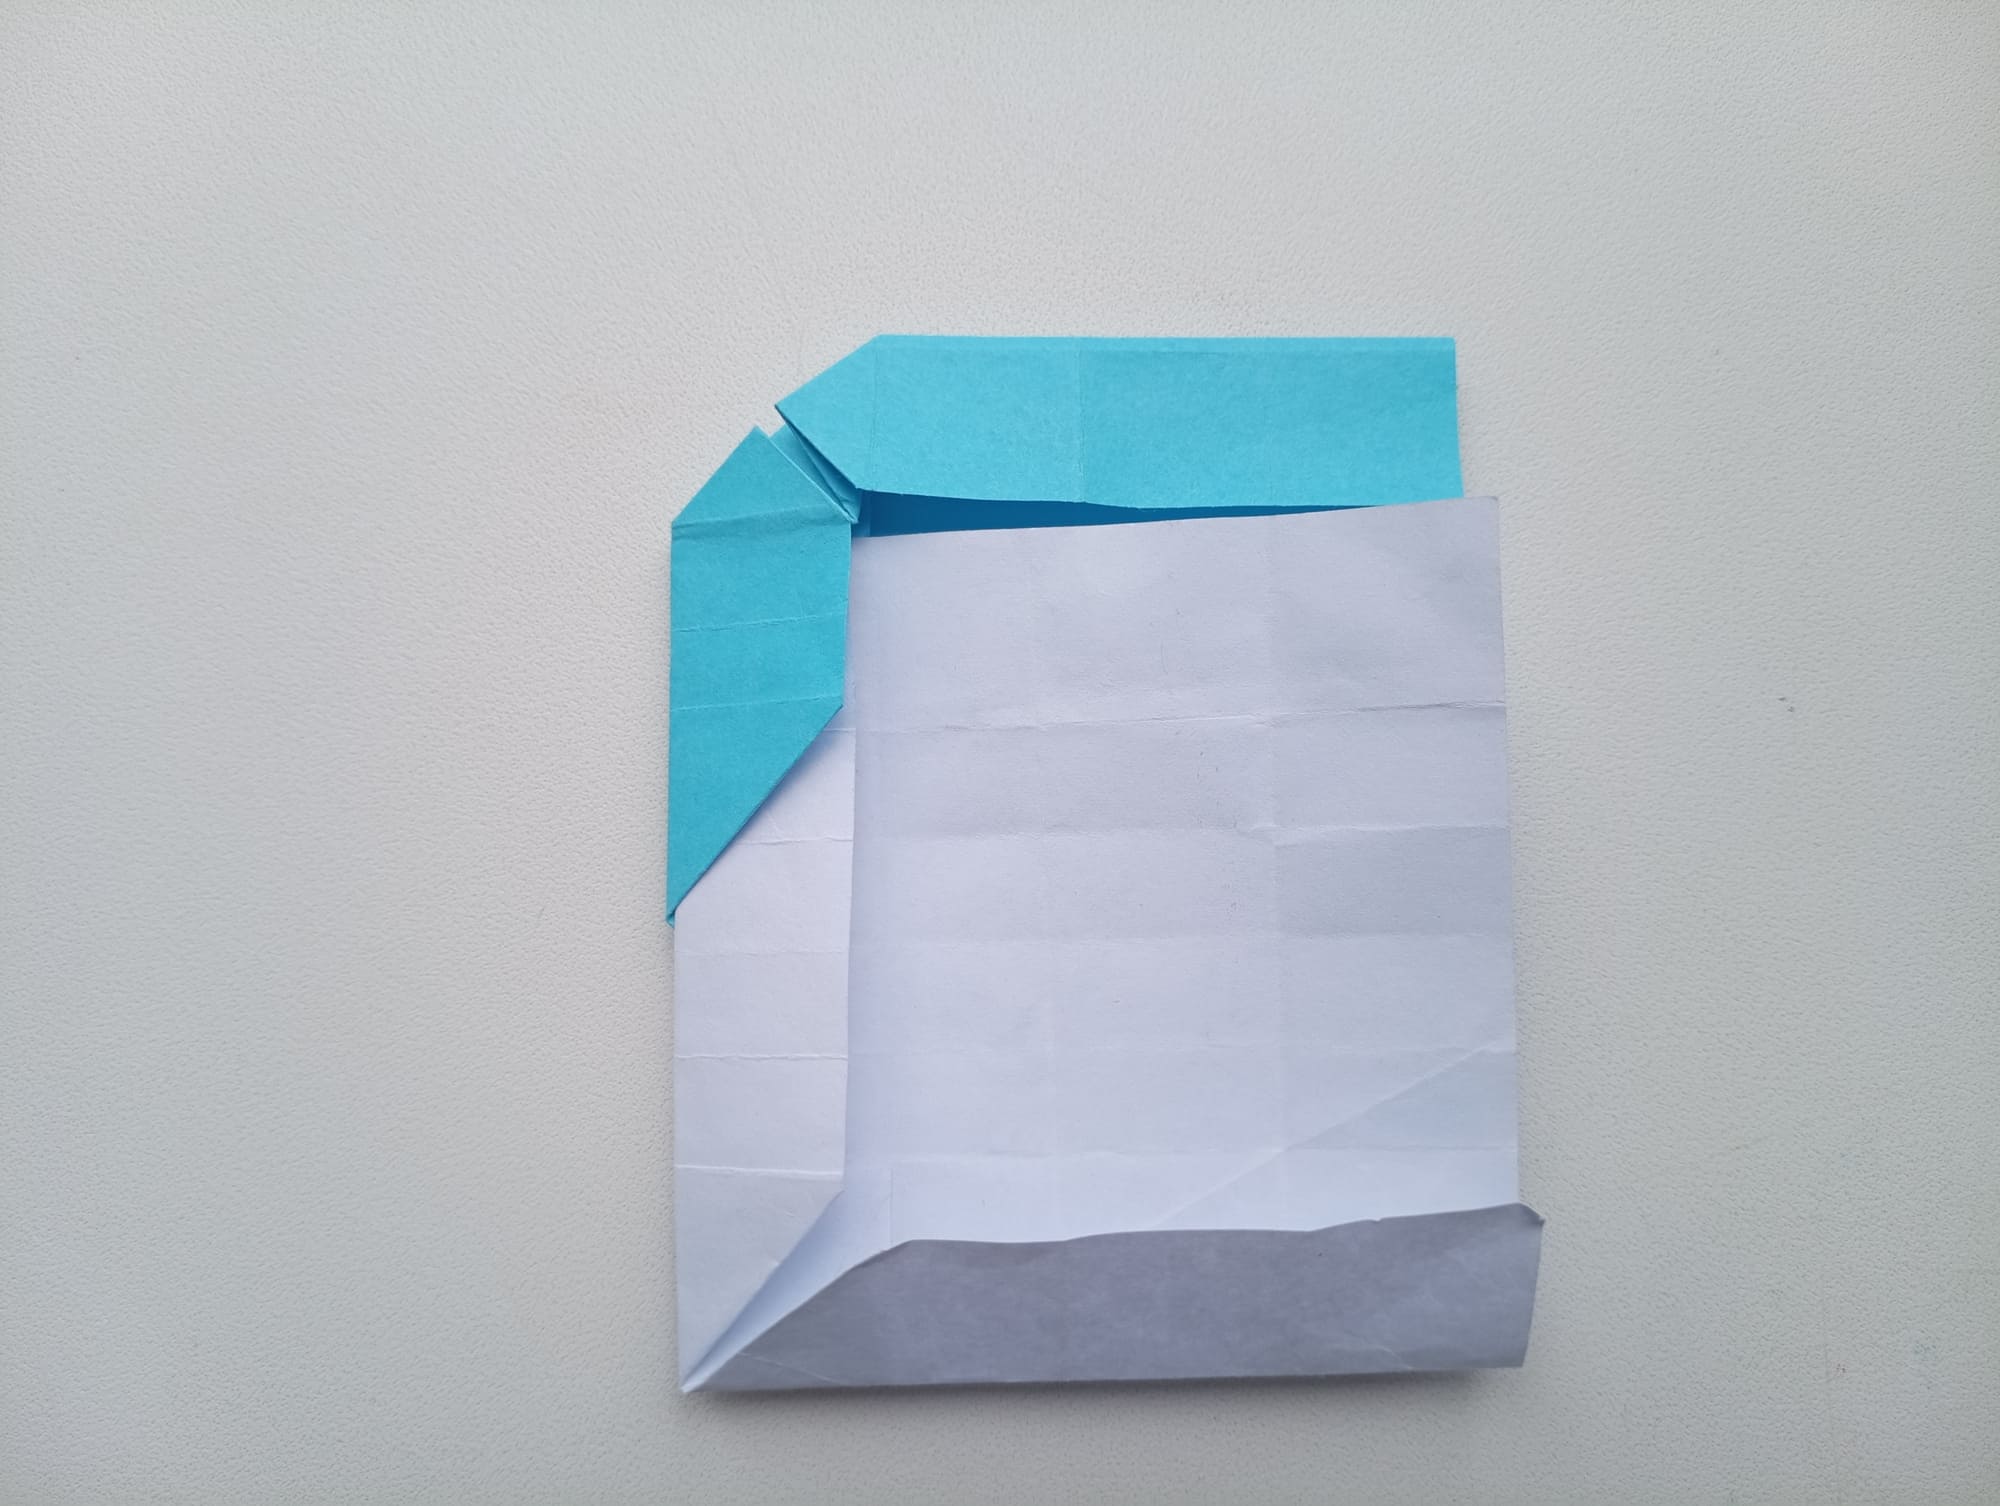
Connect them, as in the photo.
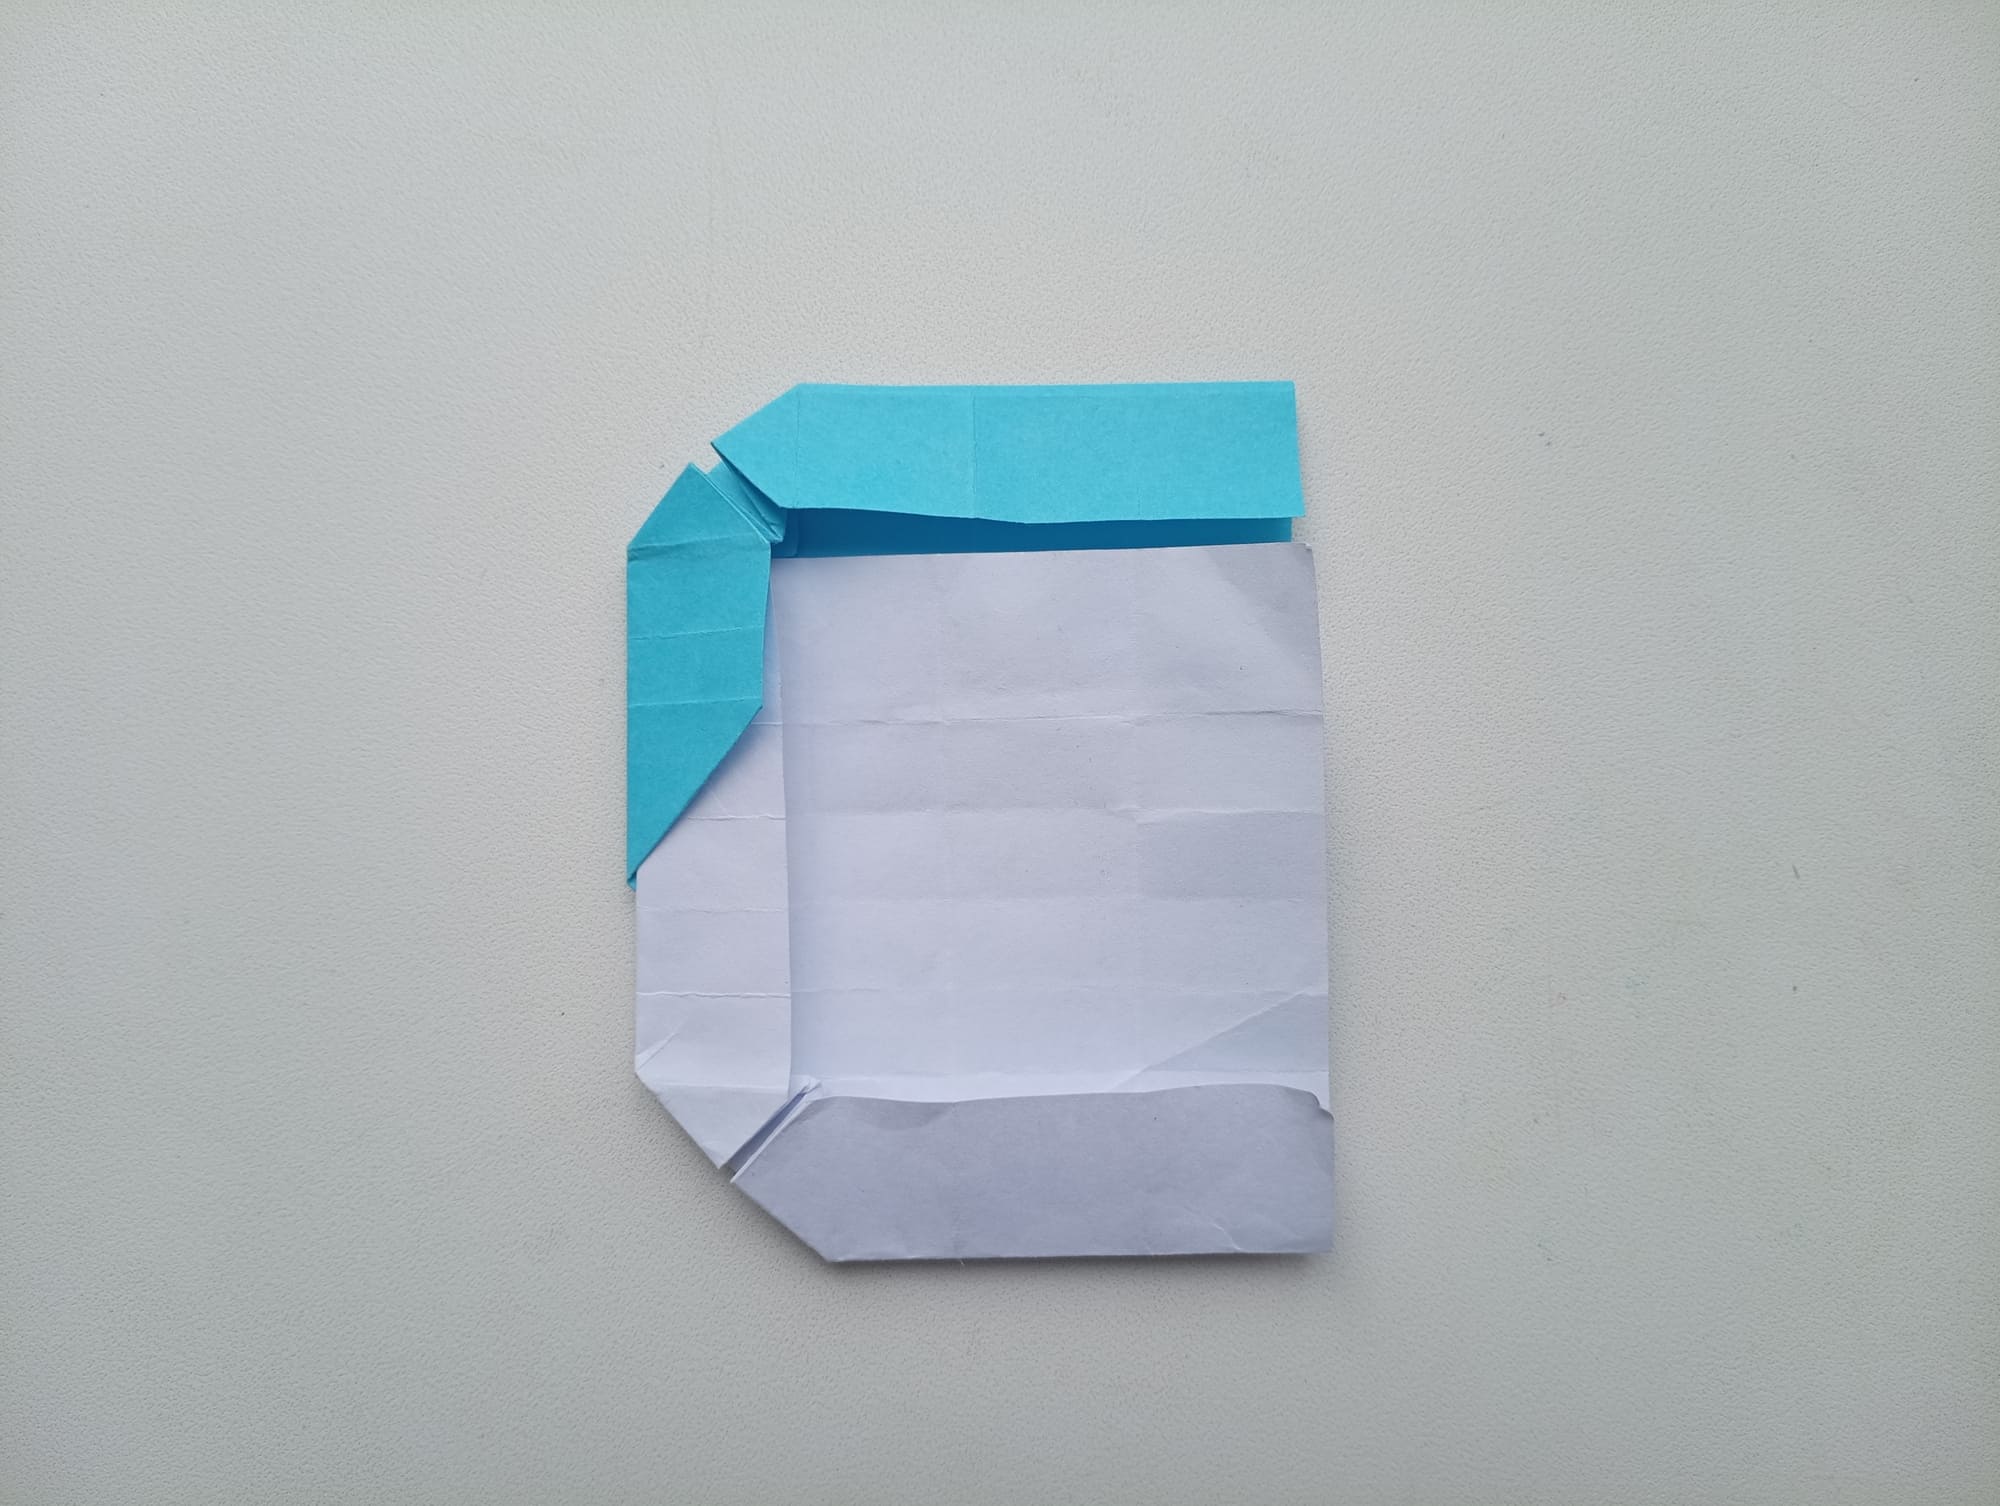
Fold the lower left corner, making a mountain fold.
Bend the right edge closer to the first line.
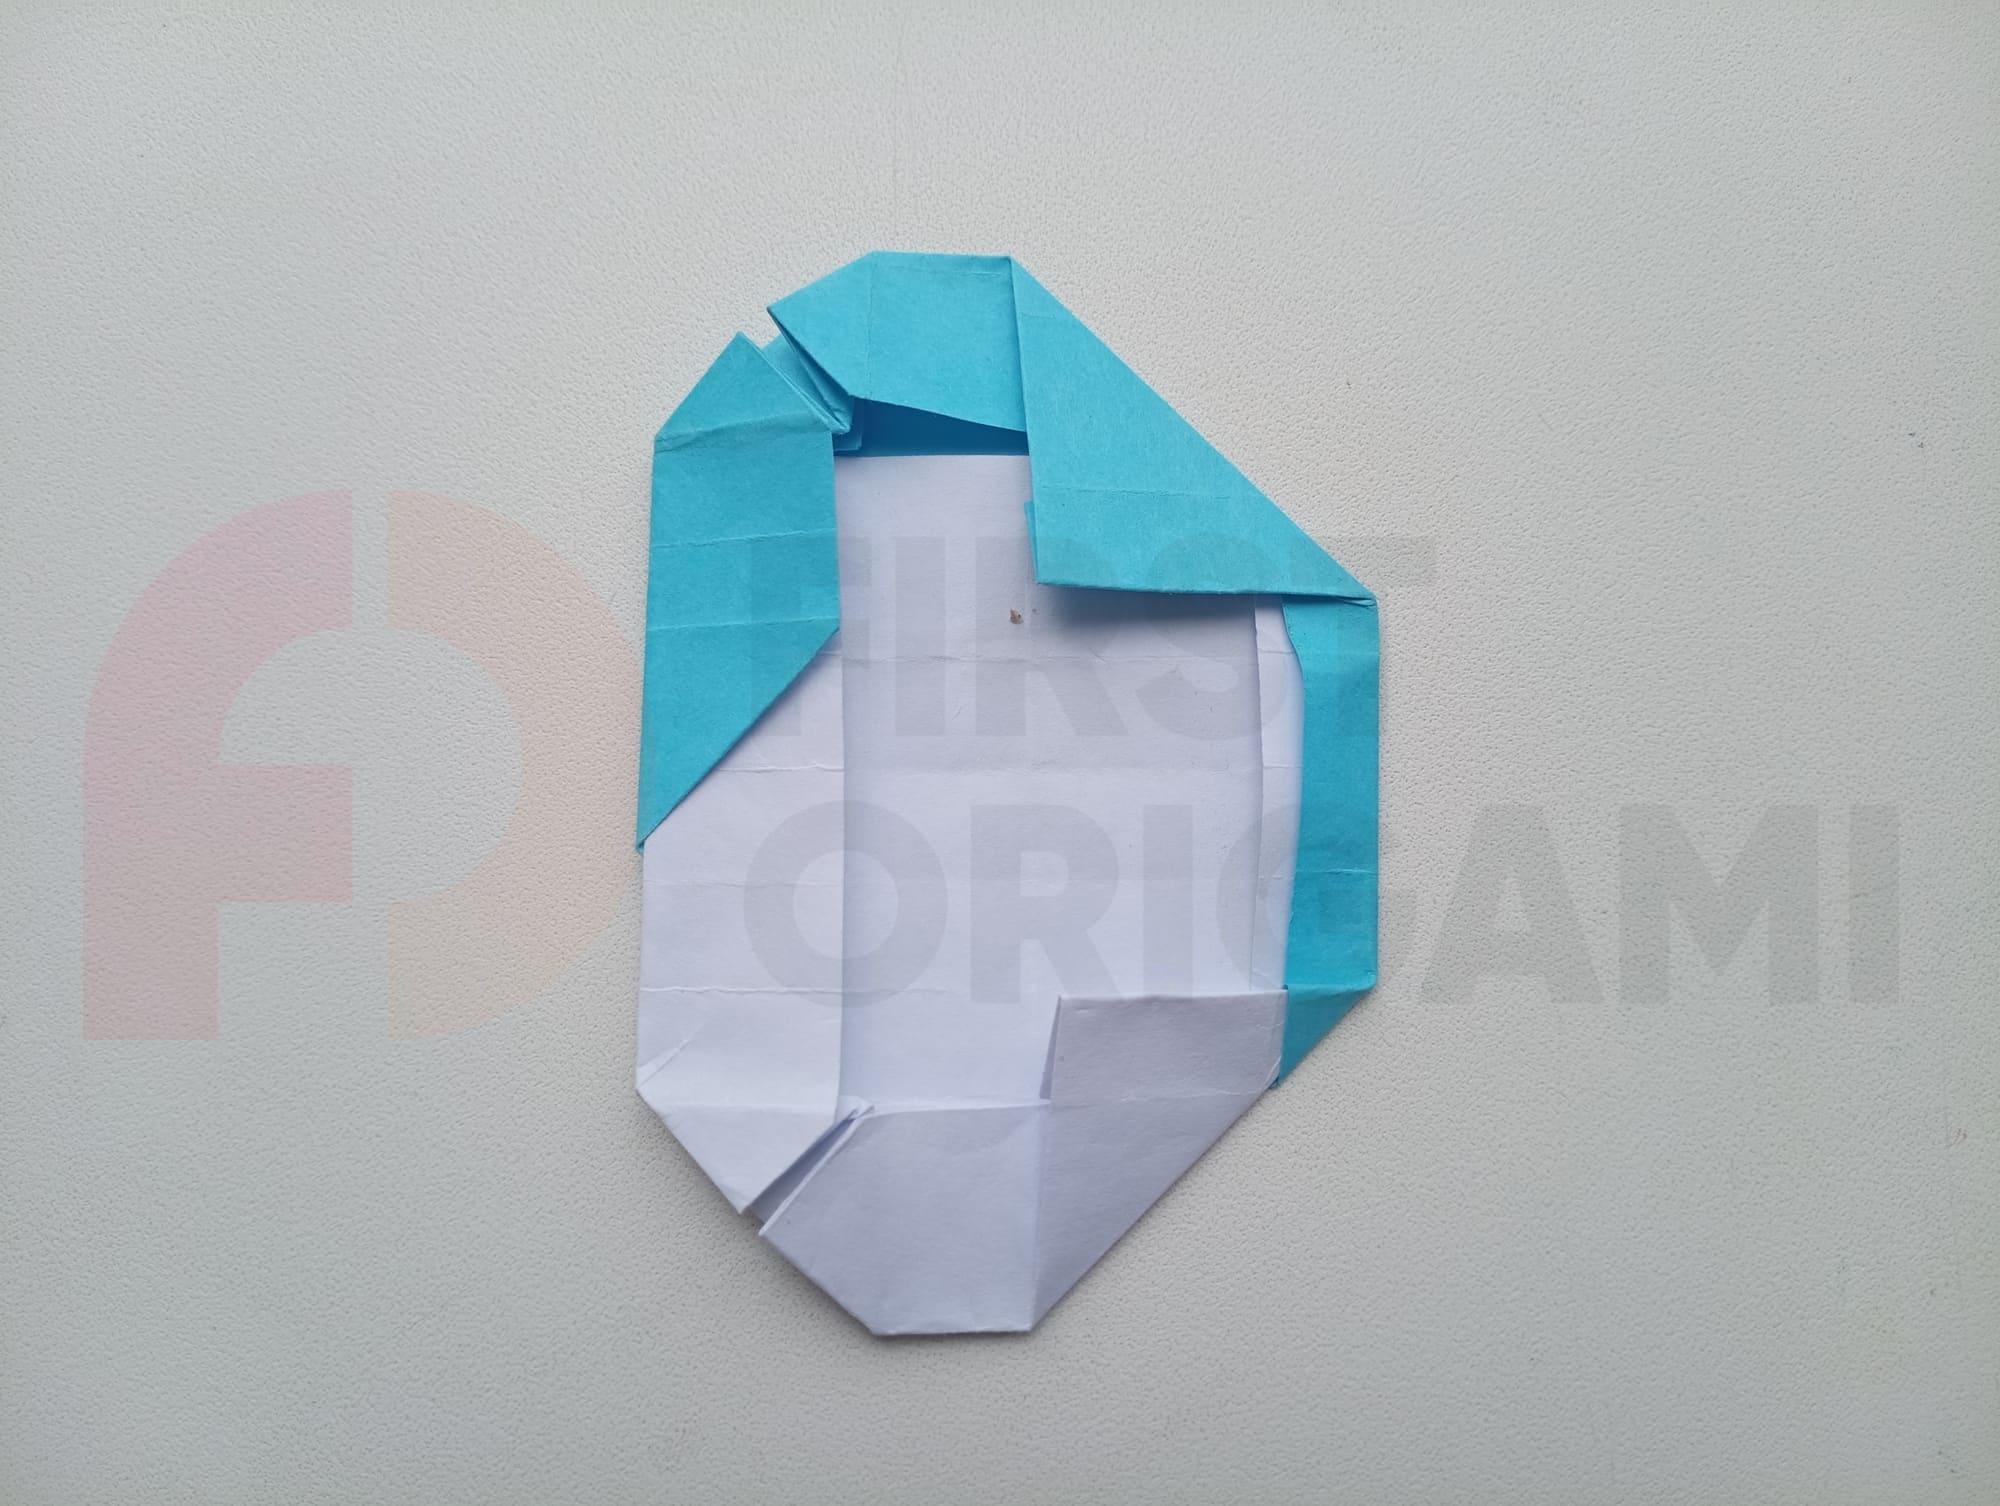
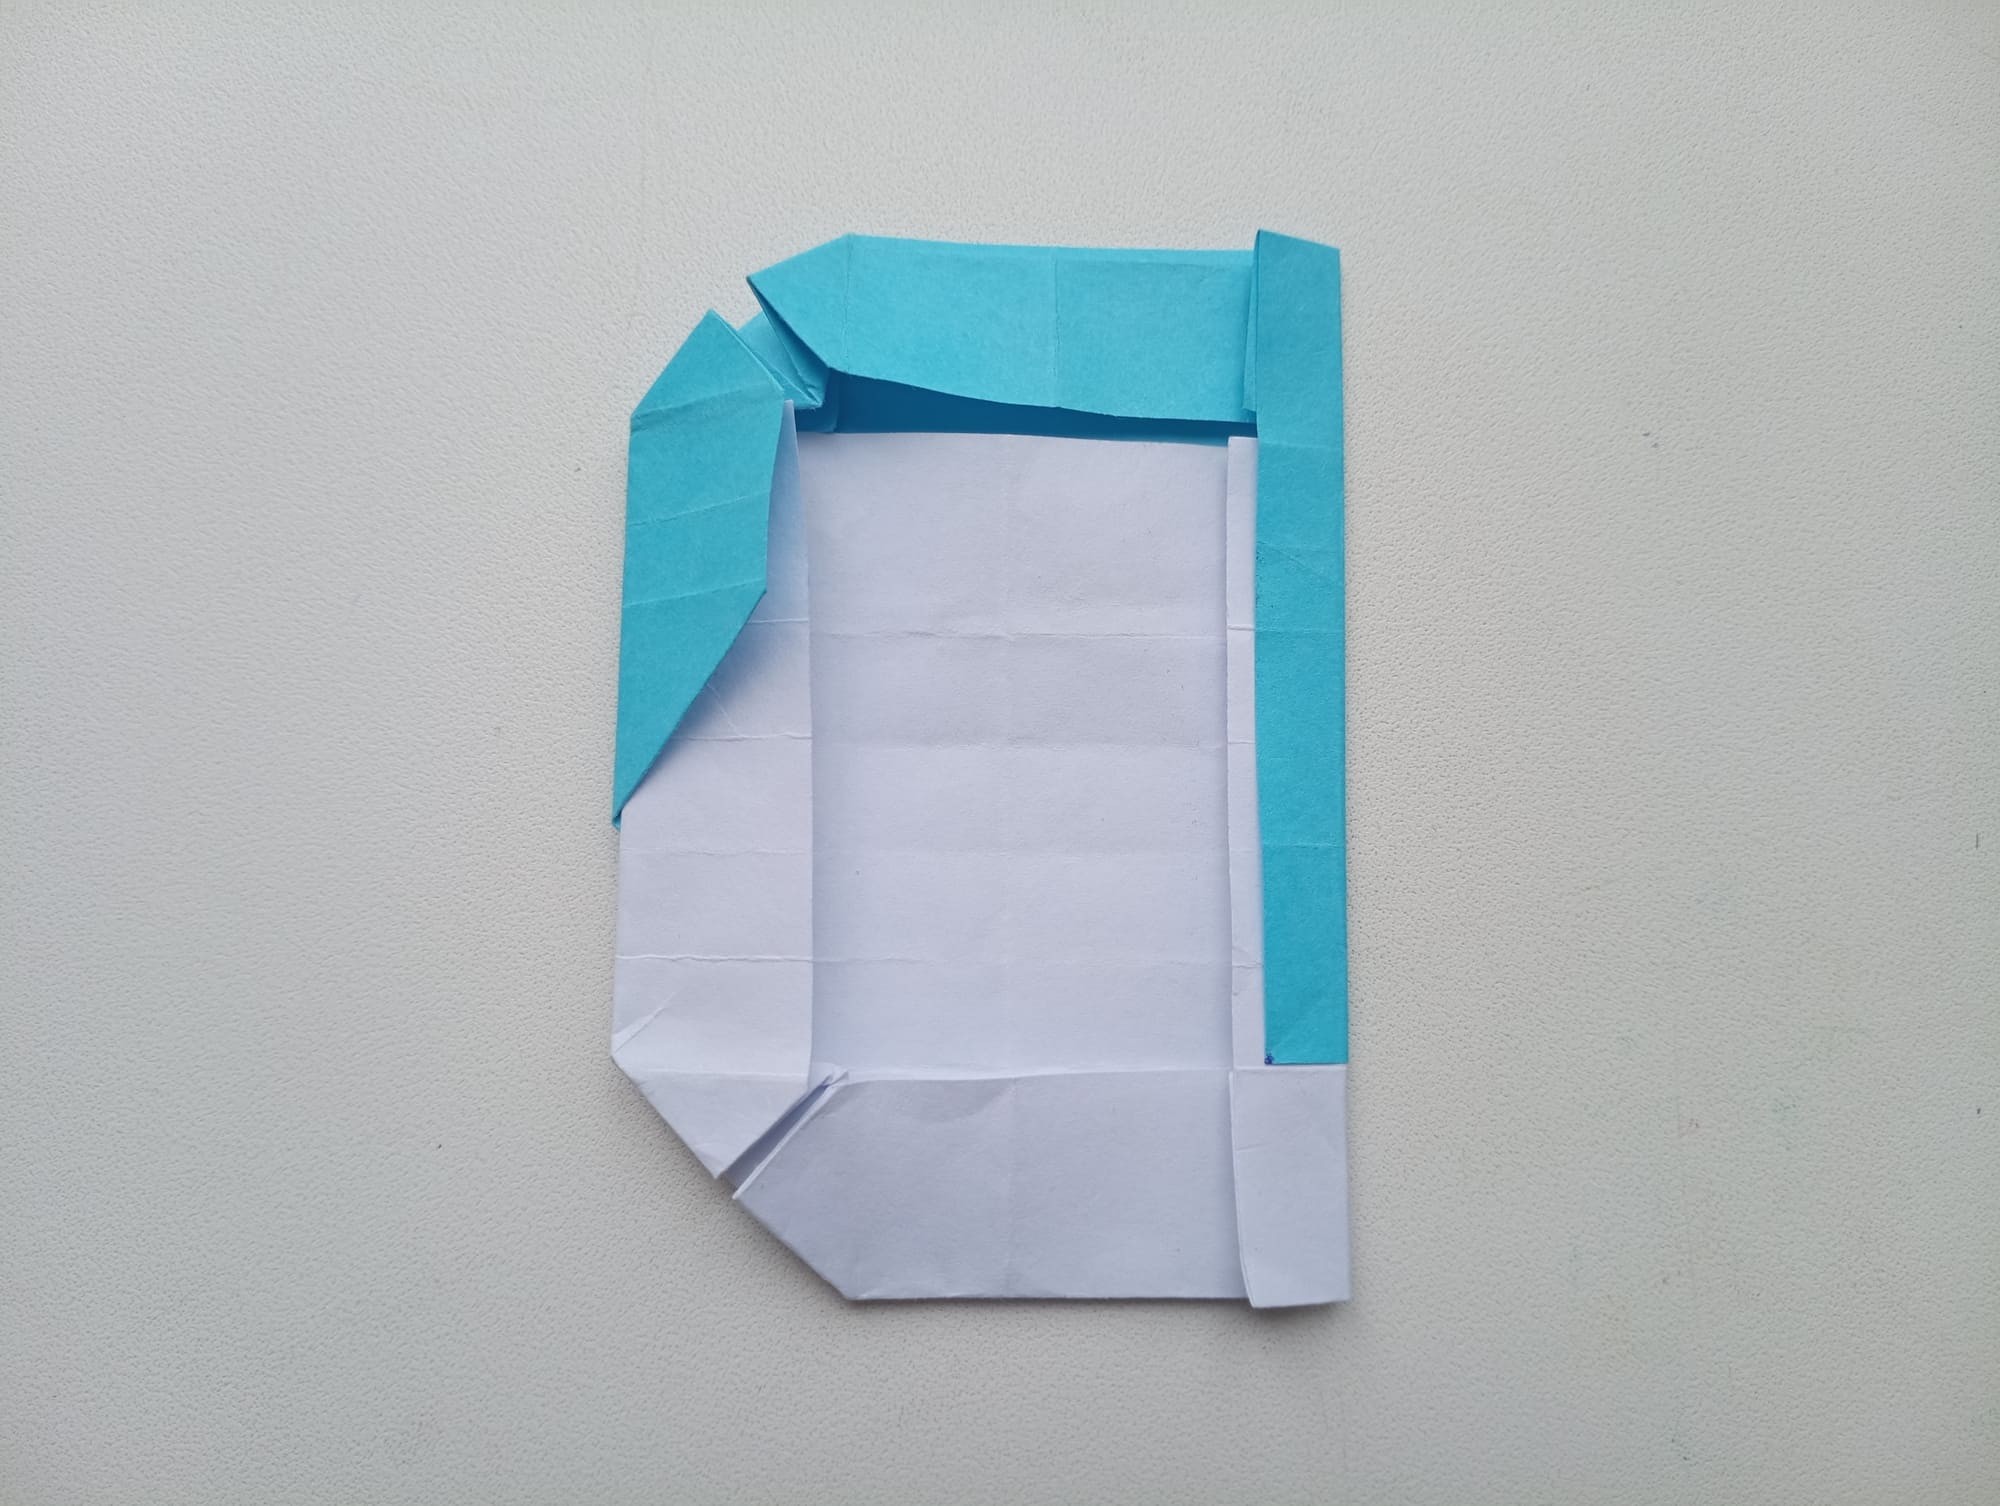
Perform two folds diagonally on the right top and bottom.
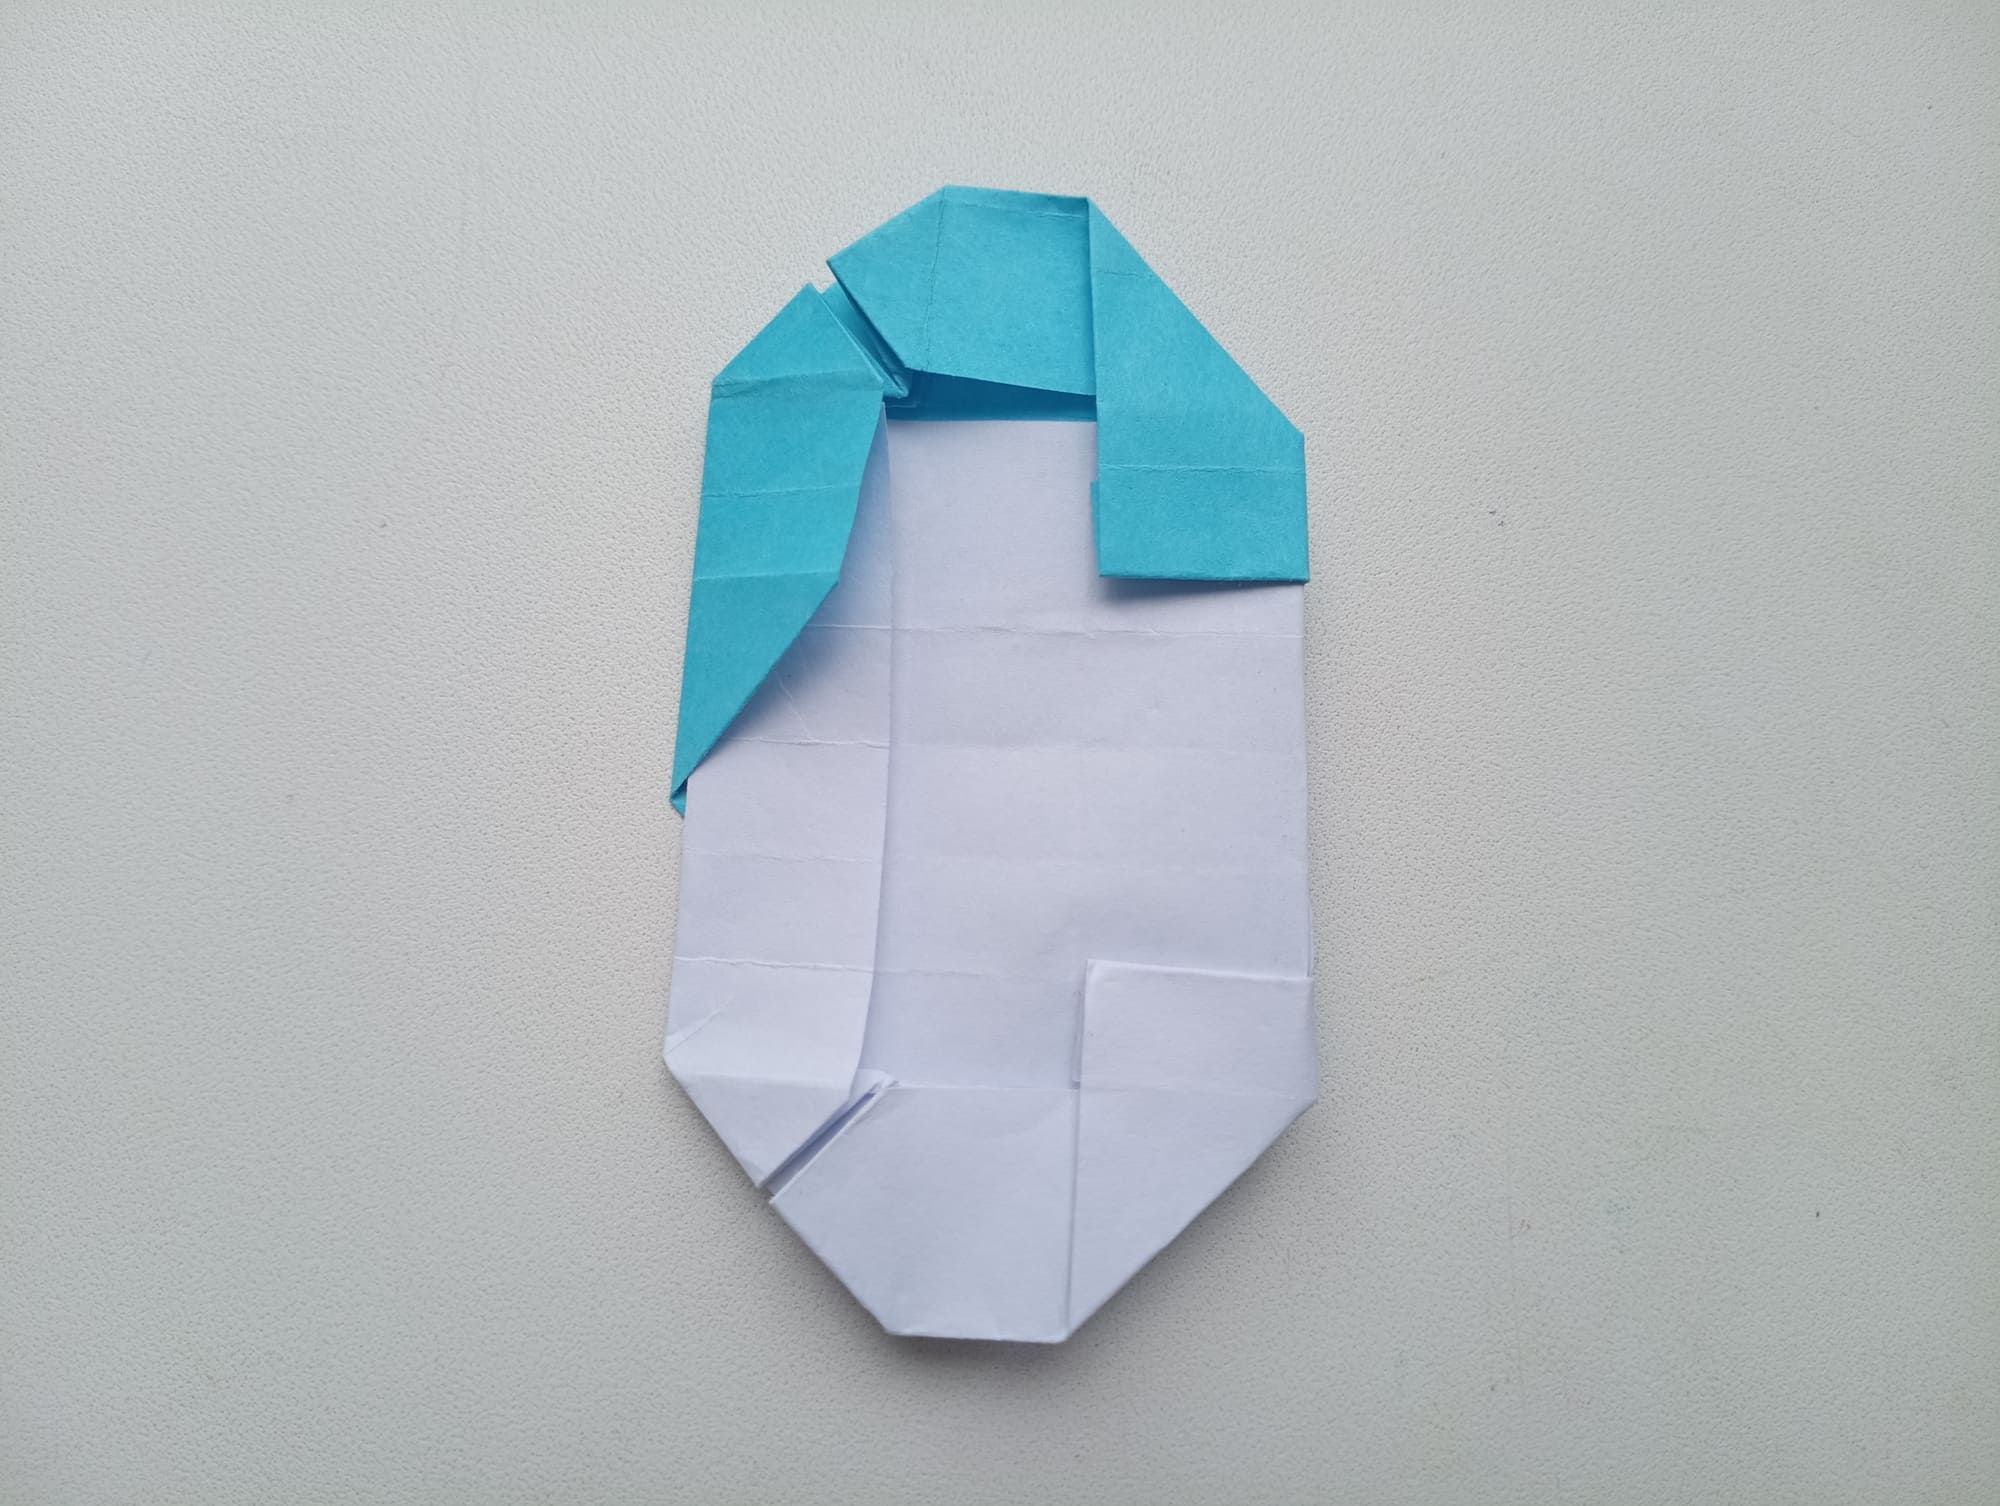
Make a mountain fold back along the vertical line on the right.
The origami master class on the execution of the letter C is completed!
Now, the letter can be used for decoration or composing a name. Please note that the figure is three-dimensional. If you need larger letters, take square-shaped paper, but with larger sizes. There are no other differences when performing a master class on making a capital letter. Good luck in your endeavors!


