Origami Lift-Off Airplane
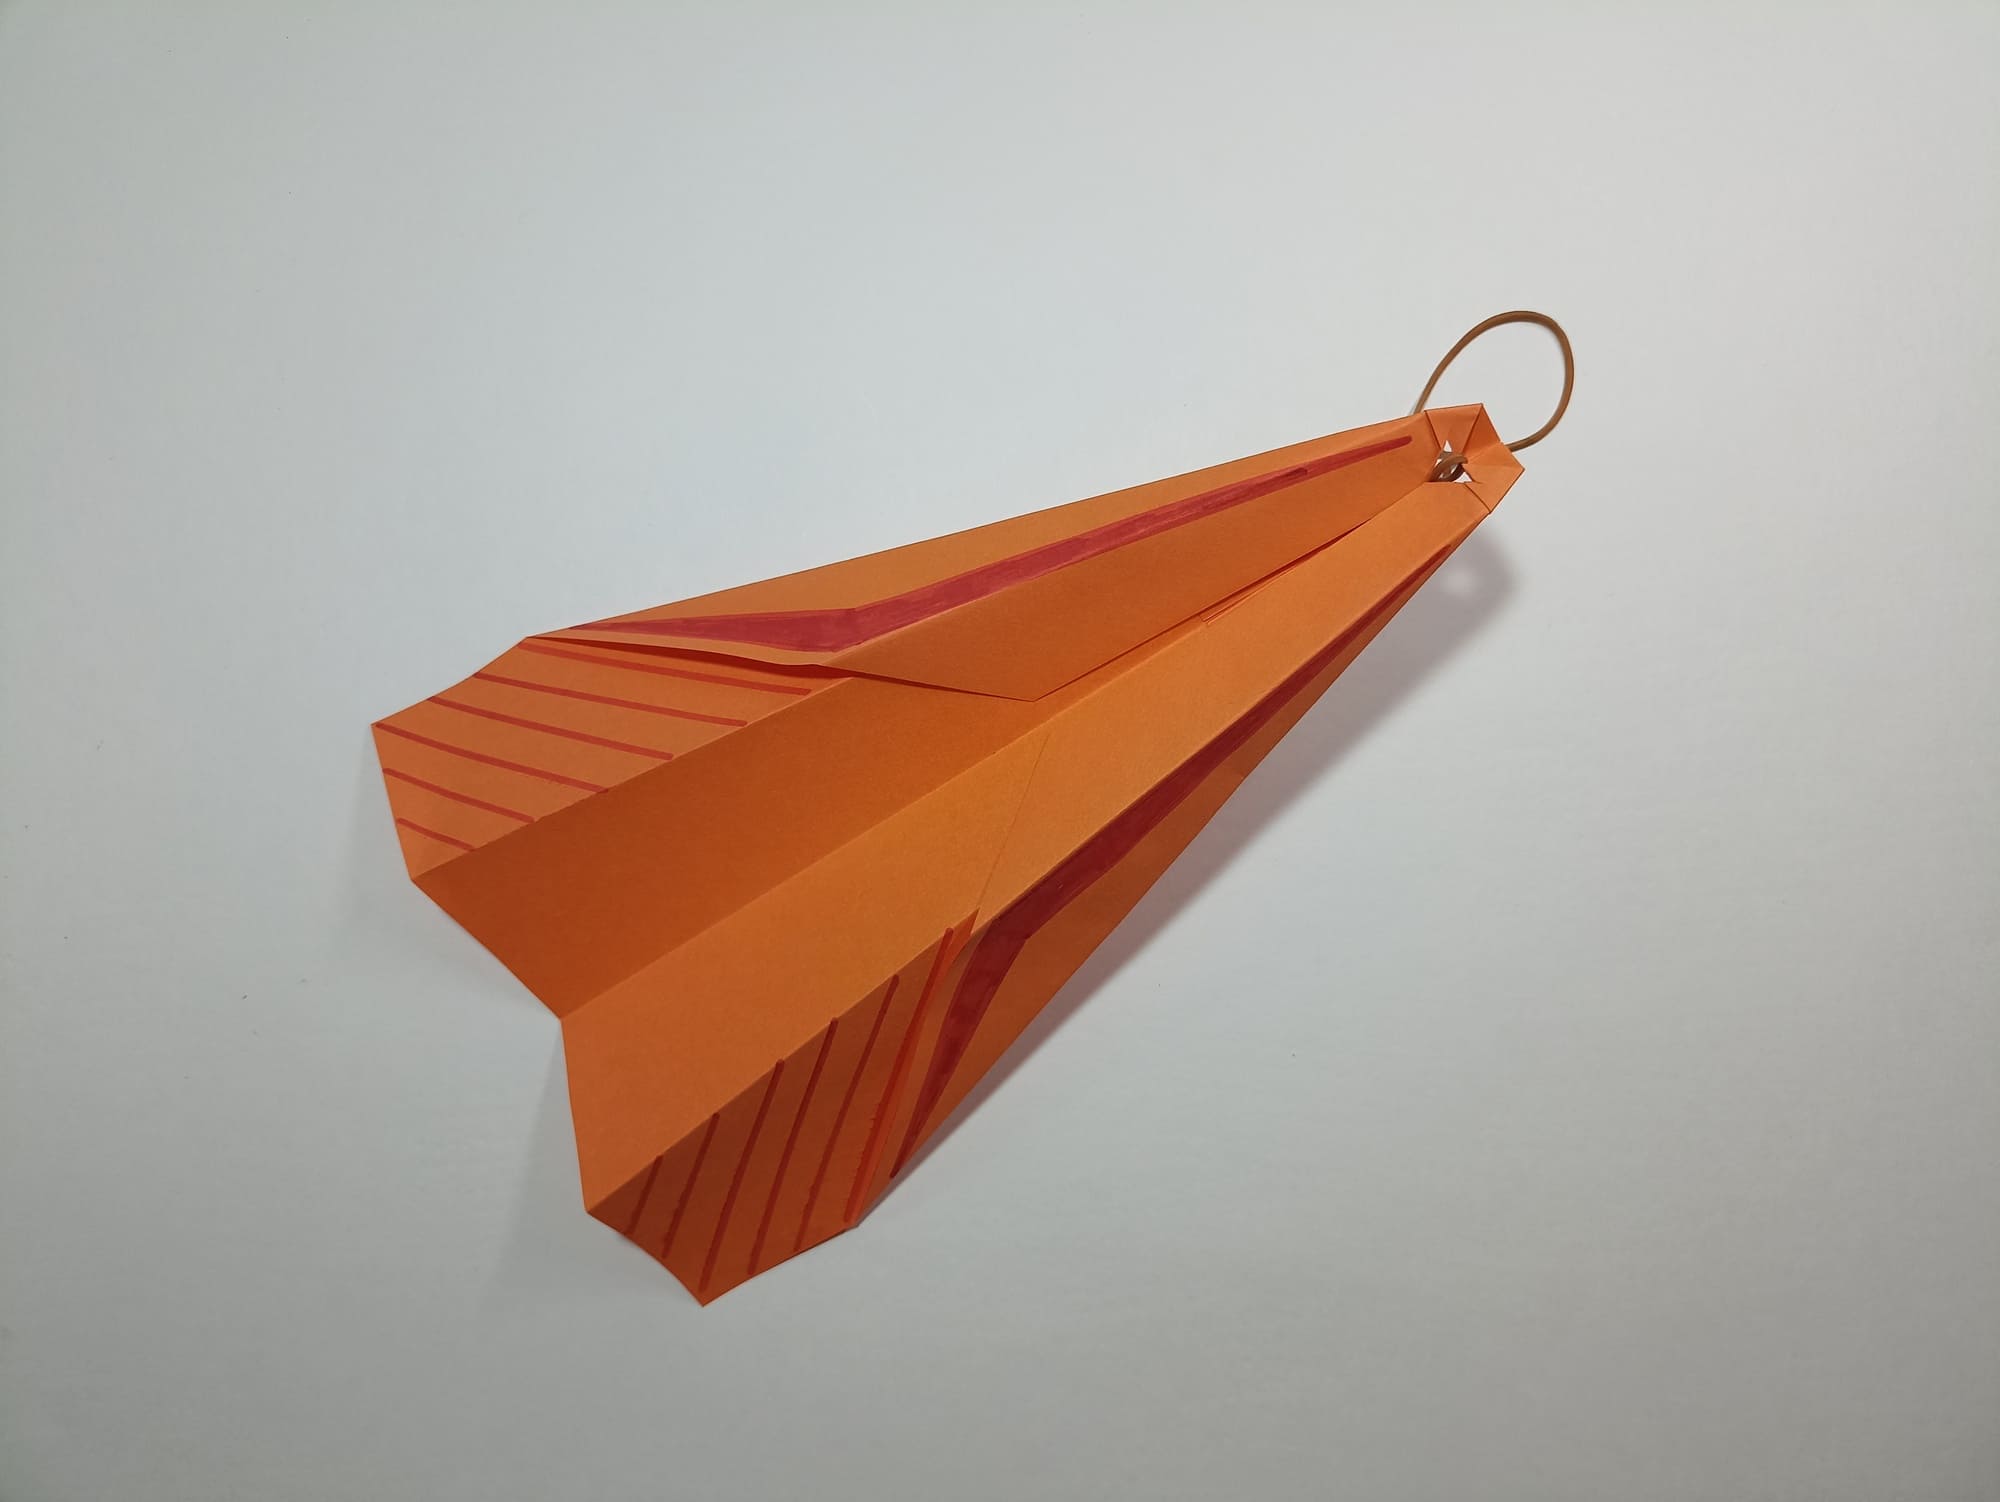
This model is every boy’s dream. A simple device makes the launch of the aircraft fast and very accurate. The sharp wings and nose of the airship reduce air resistance and promote maximum long-distance flight and speed that will be the envy of all rivals. The airplane can fly more than 15 meters away or up, depending on the direction of launch. It flies very smoothly without rolls or flips. Of course, it is better to fly a launching airplane outside in order to fully enjoy the flight range.
In addition to paper, you will need scissors, a thin stationery eraser, and a pencil for marking. The easy assembly instructions will make this creation within the capabilities of a beginner. An important point is that the flight range is affected not only by the tension of the elastic band but also by the absence of obstacles. To prevent the airplane from getting caught on your fingertips when launching, you can get creative and use a clever trick – tie the end of an elastic band to a stick. After launch, the stick with the rubber band remains in your hands, and the plane goes into free, rapid flight.
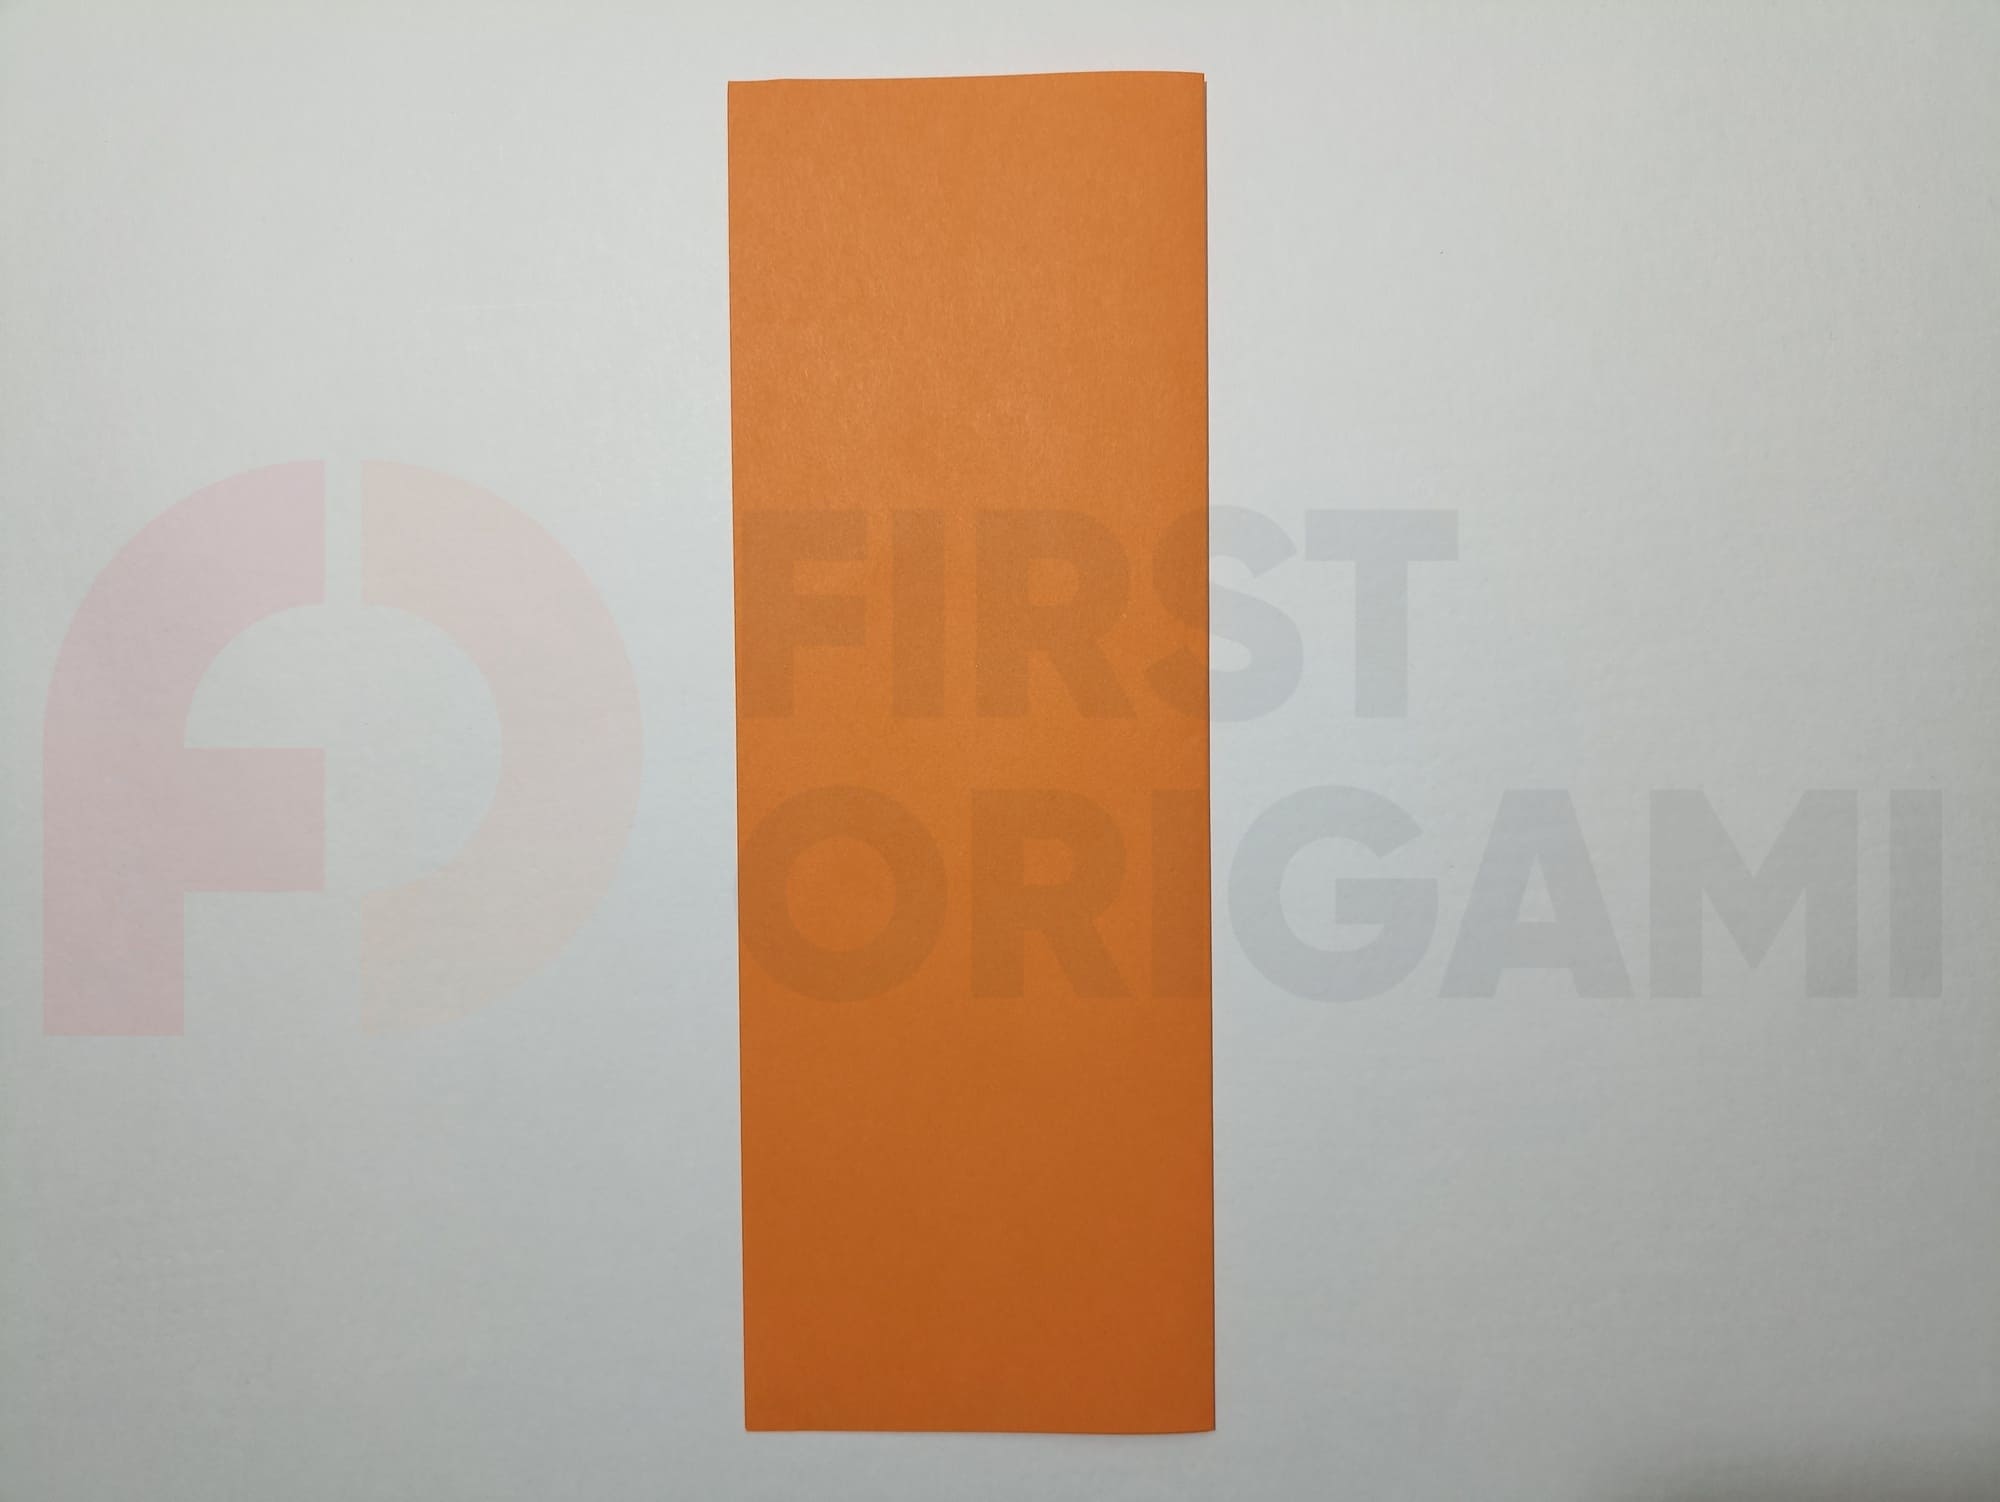
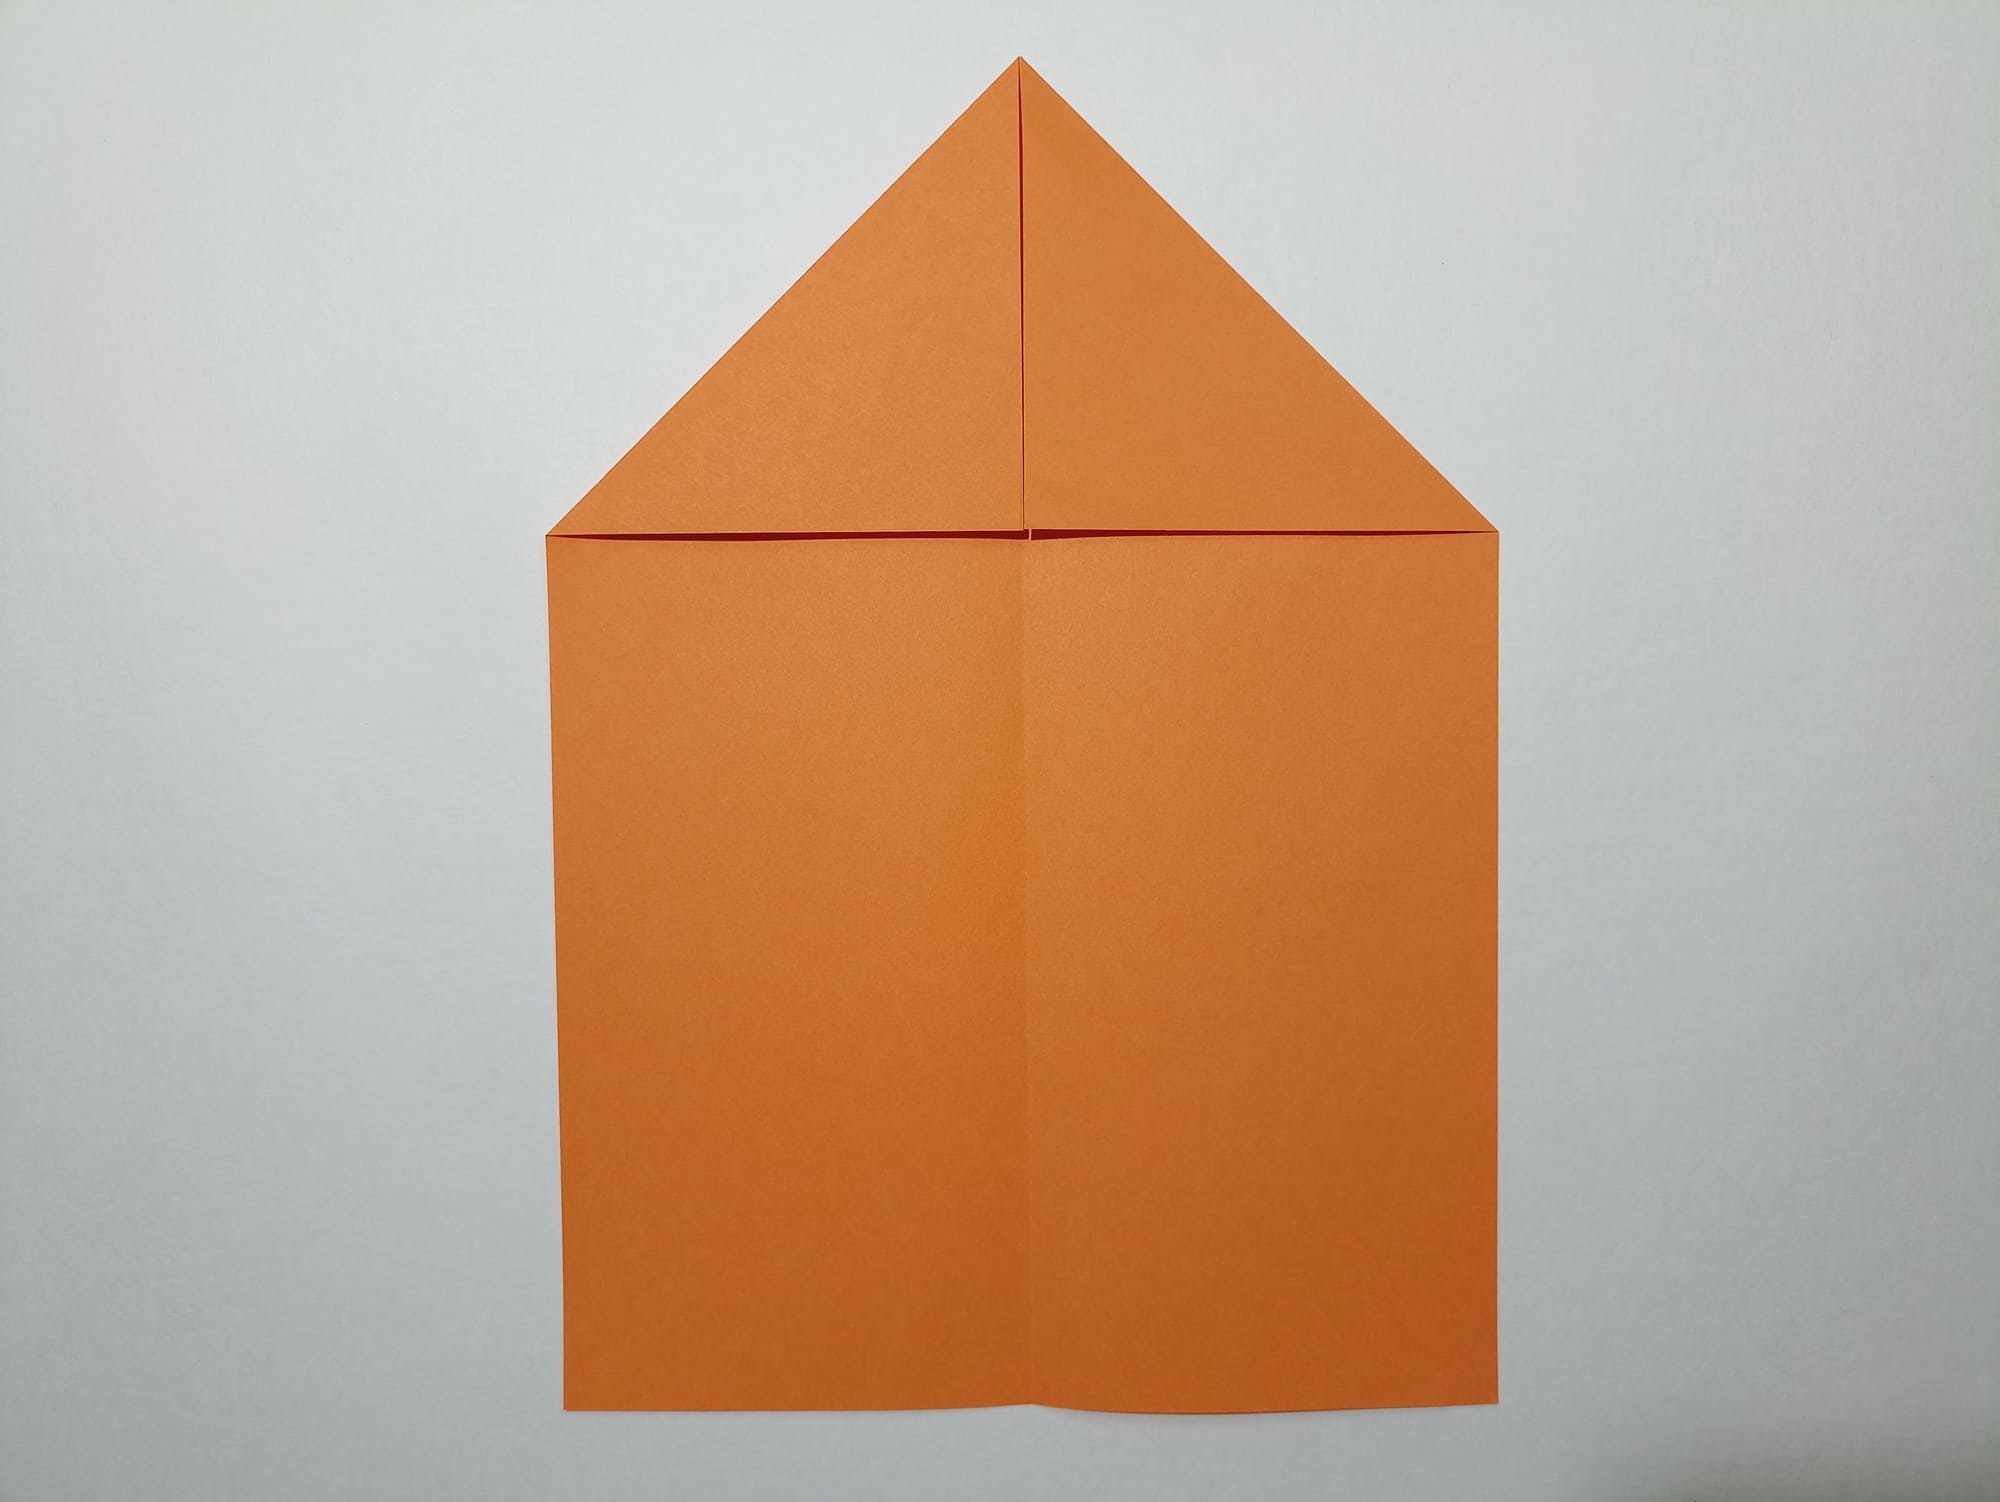
Mark the base of the body and the middle with a fold, folding the sheet of paper in half vertically.
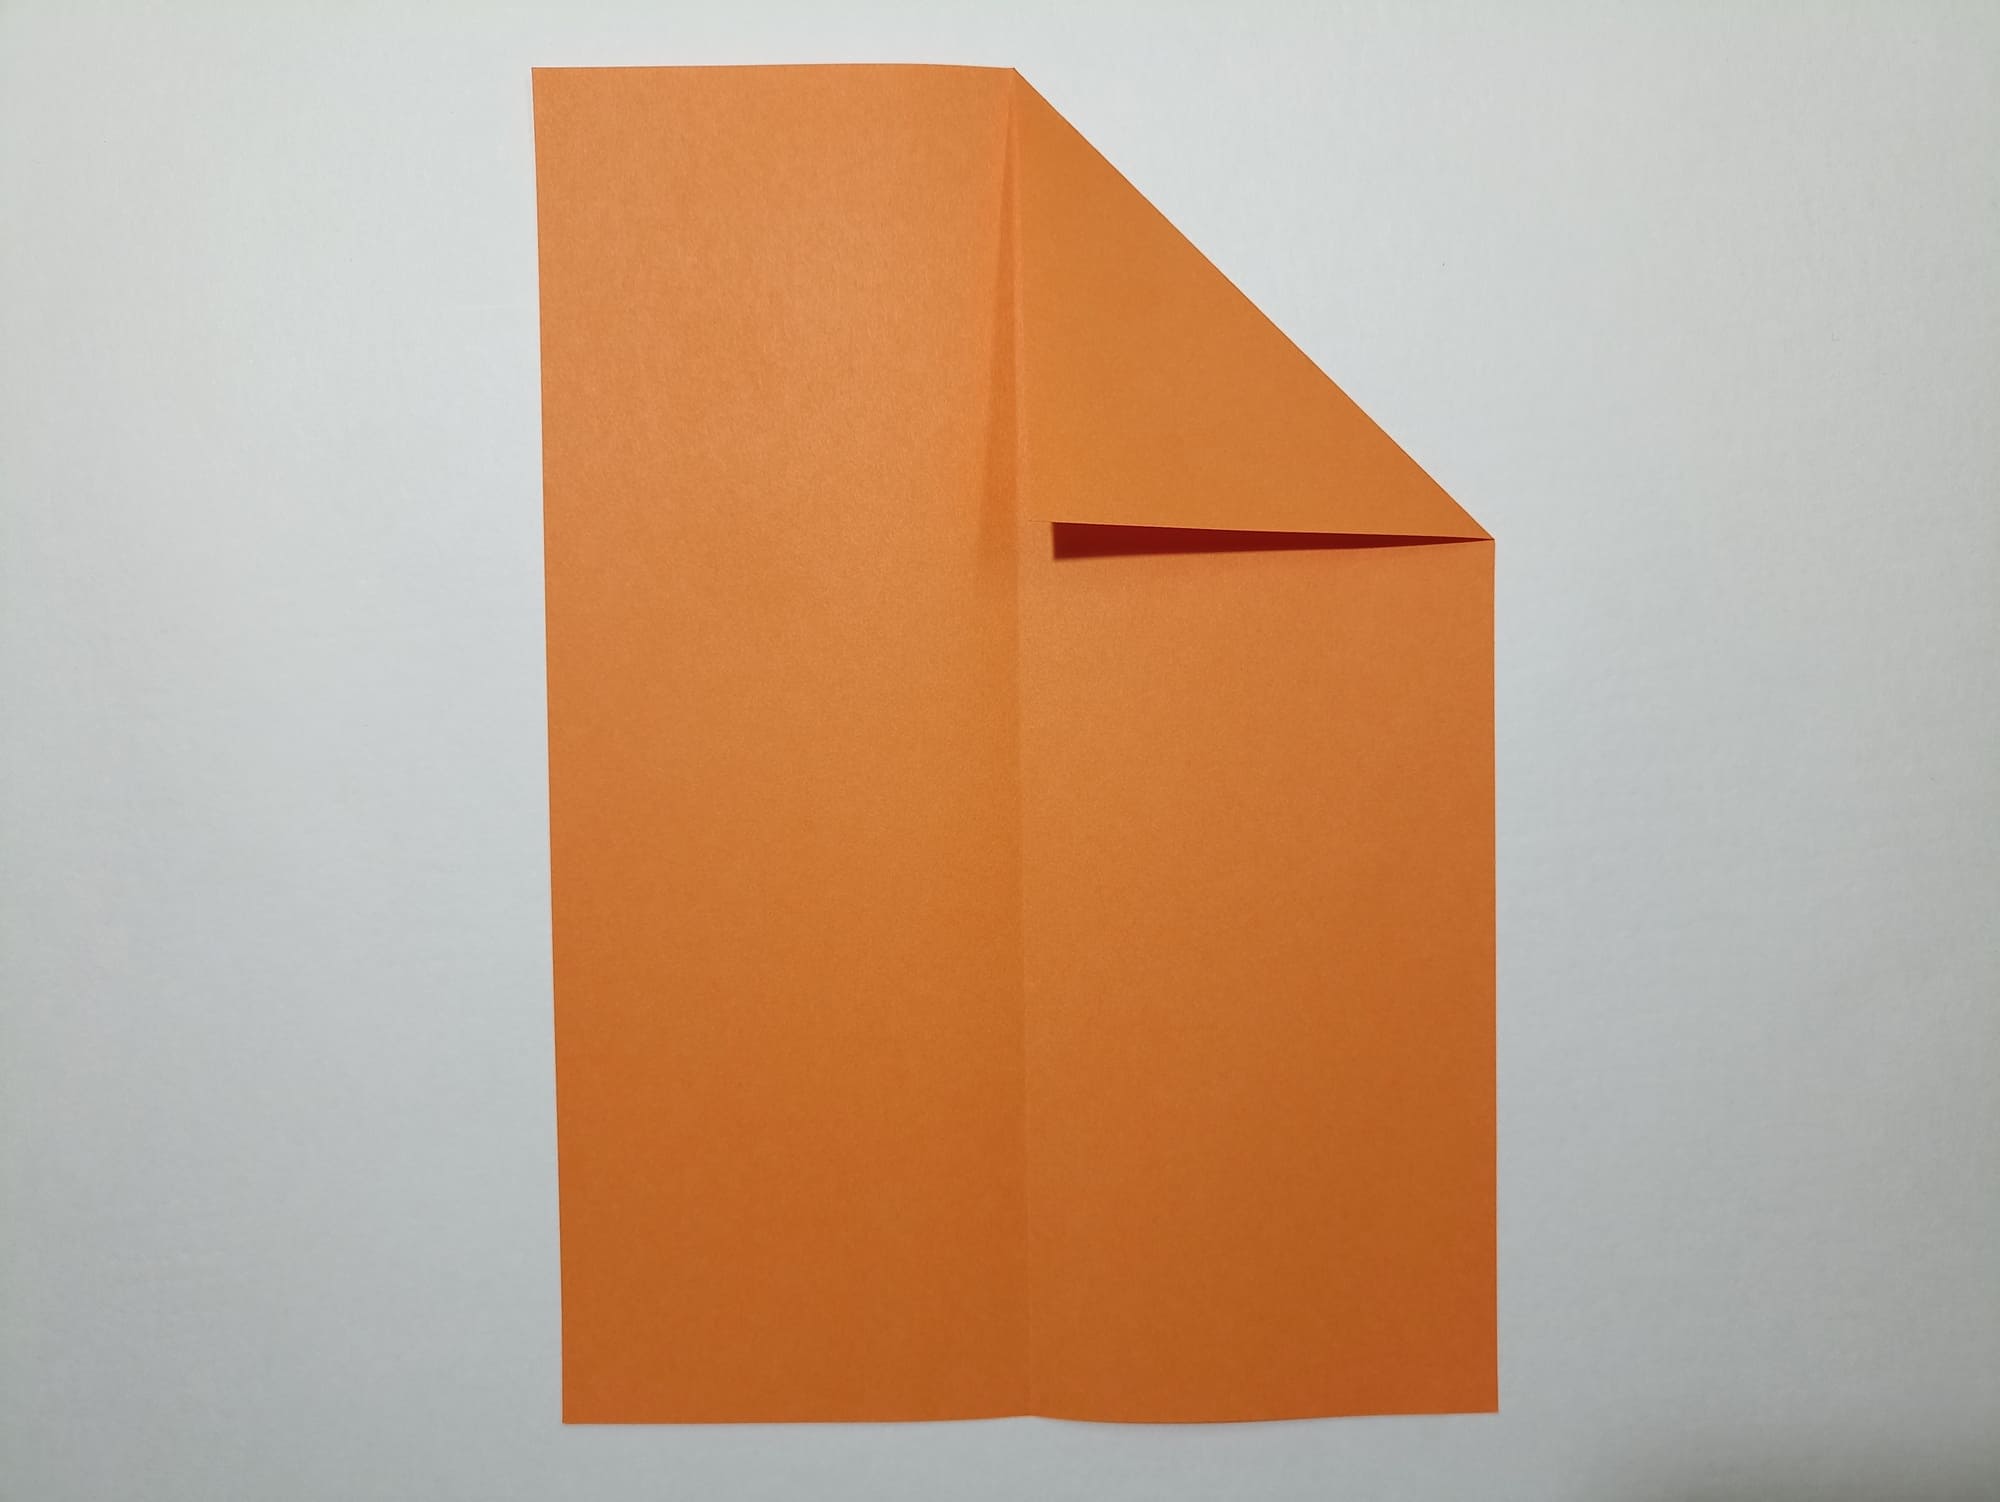
Fold the top of the sheet into a triangle, and turn the shape face down.
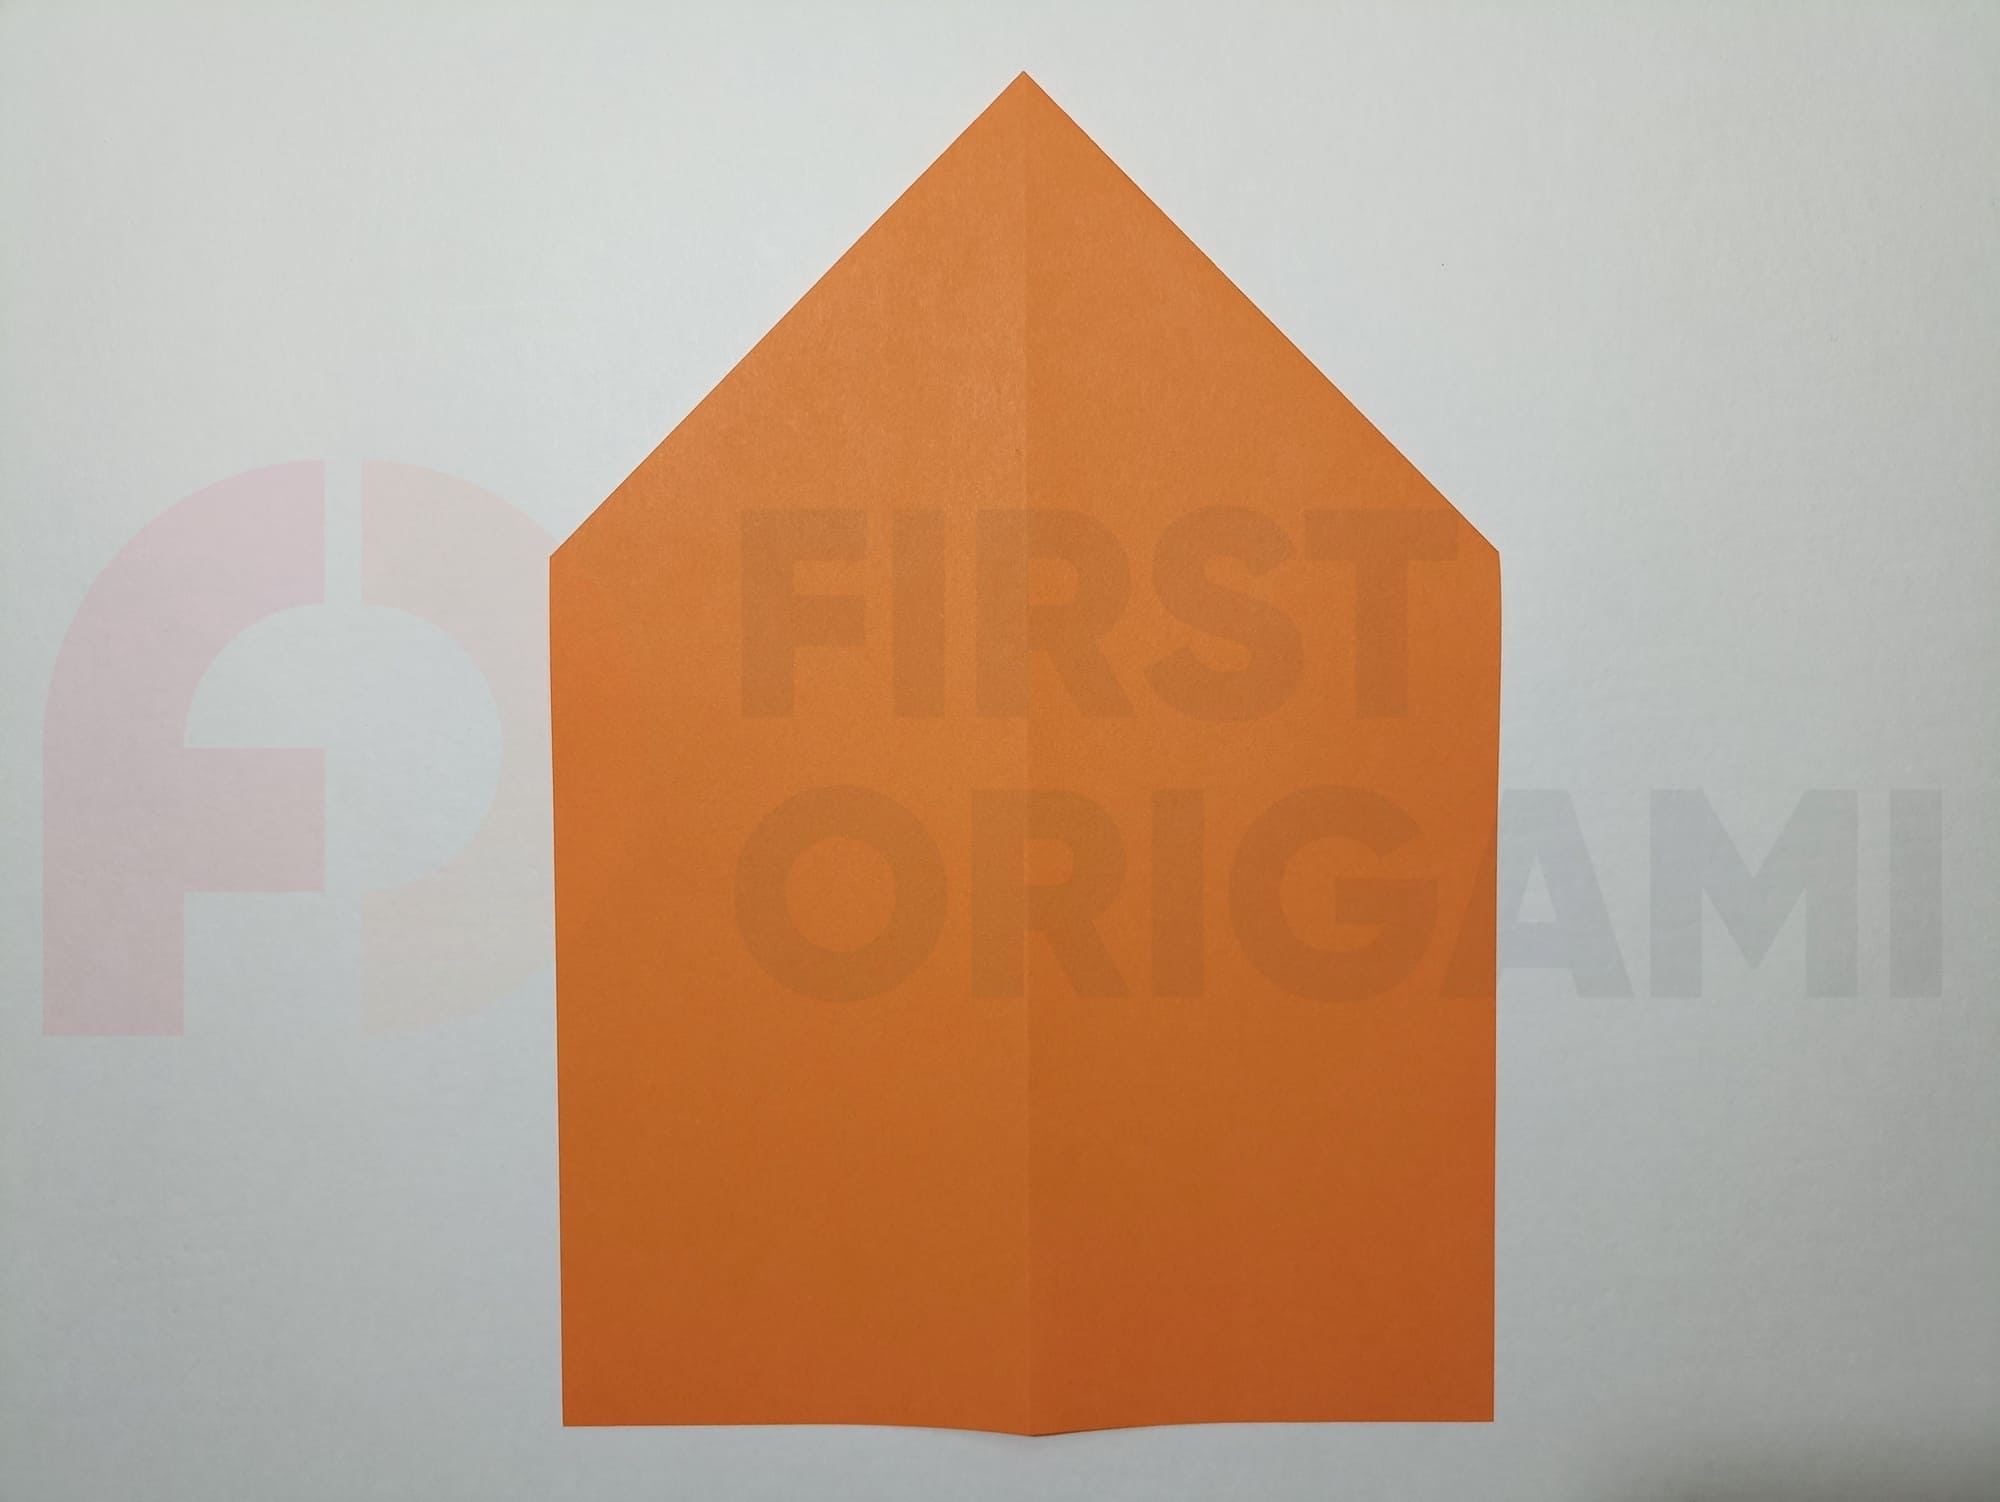
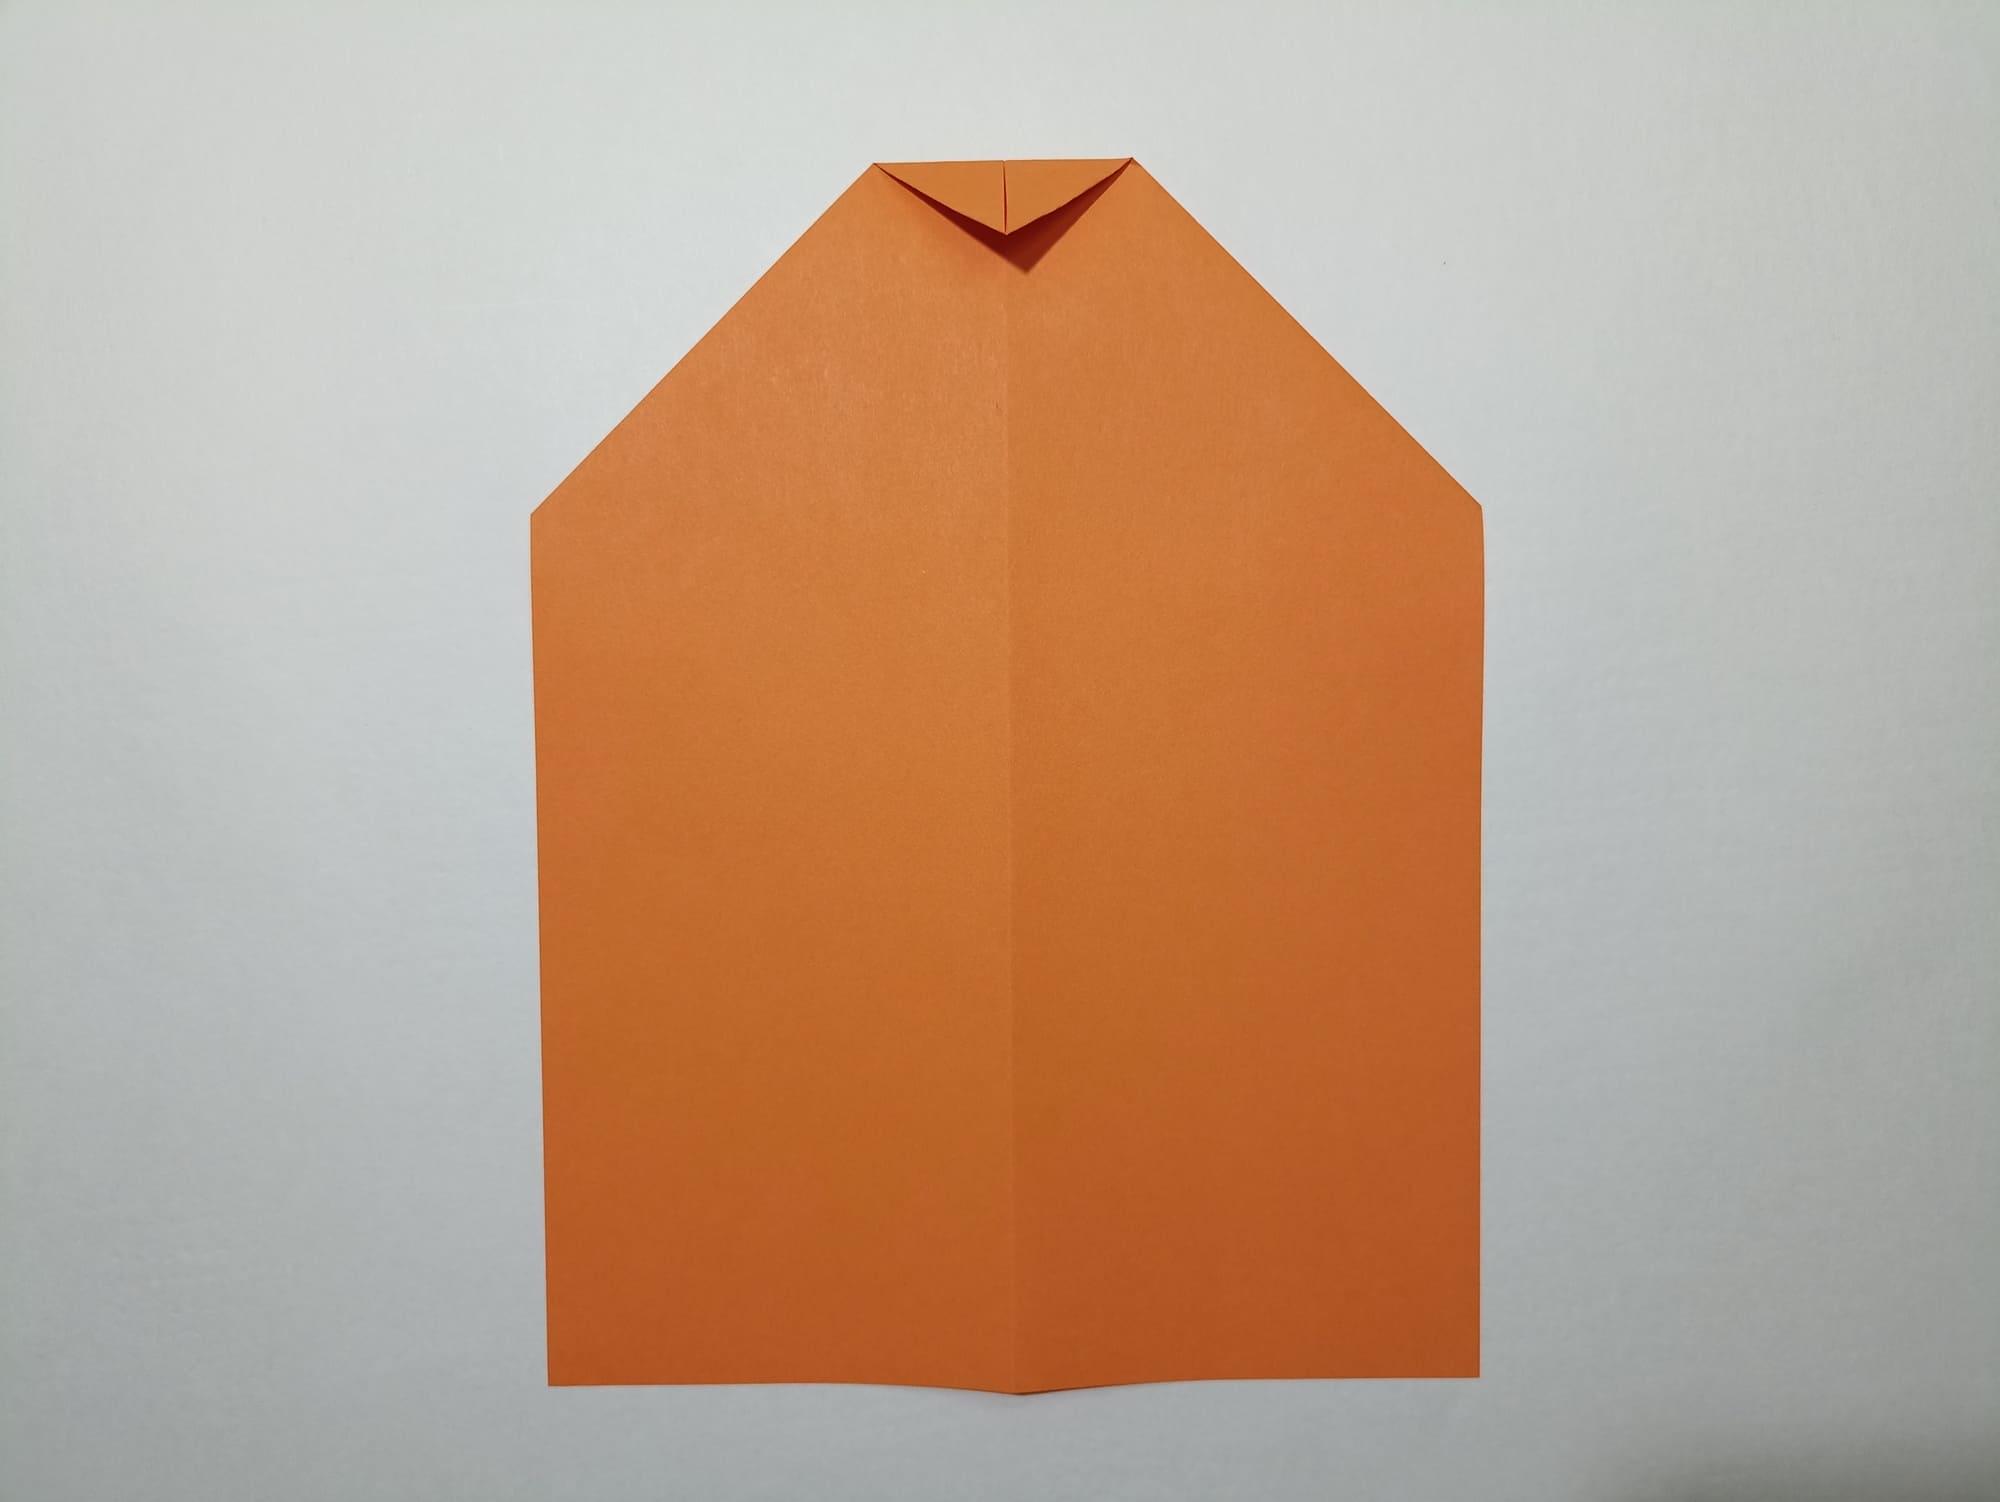
Bend the top towards yourself at any distance, and turn it back over.
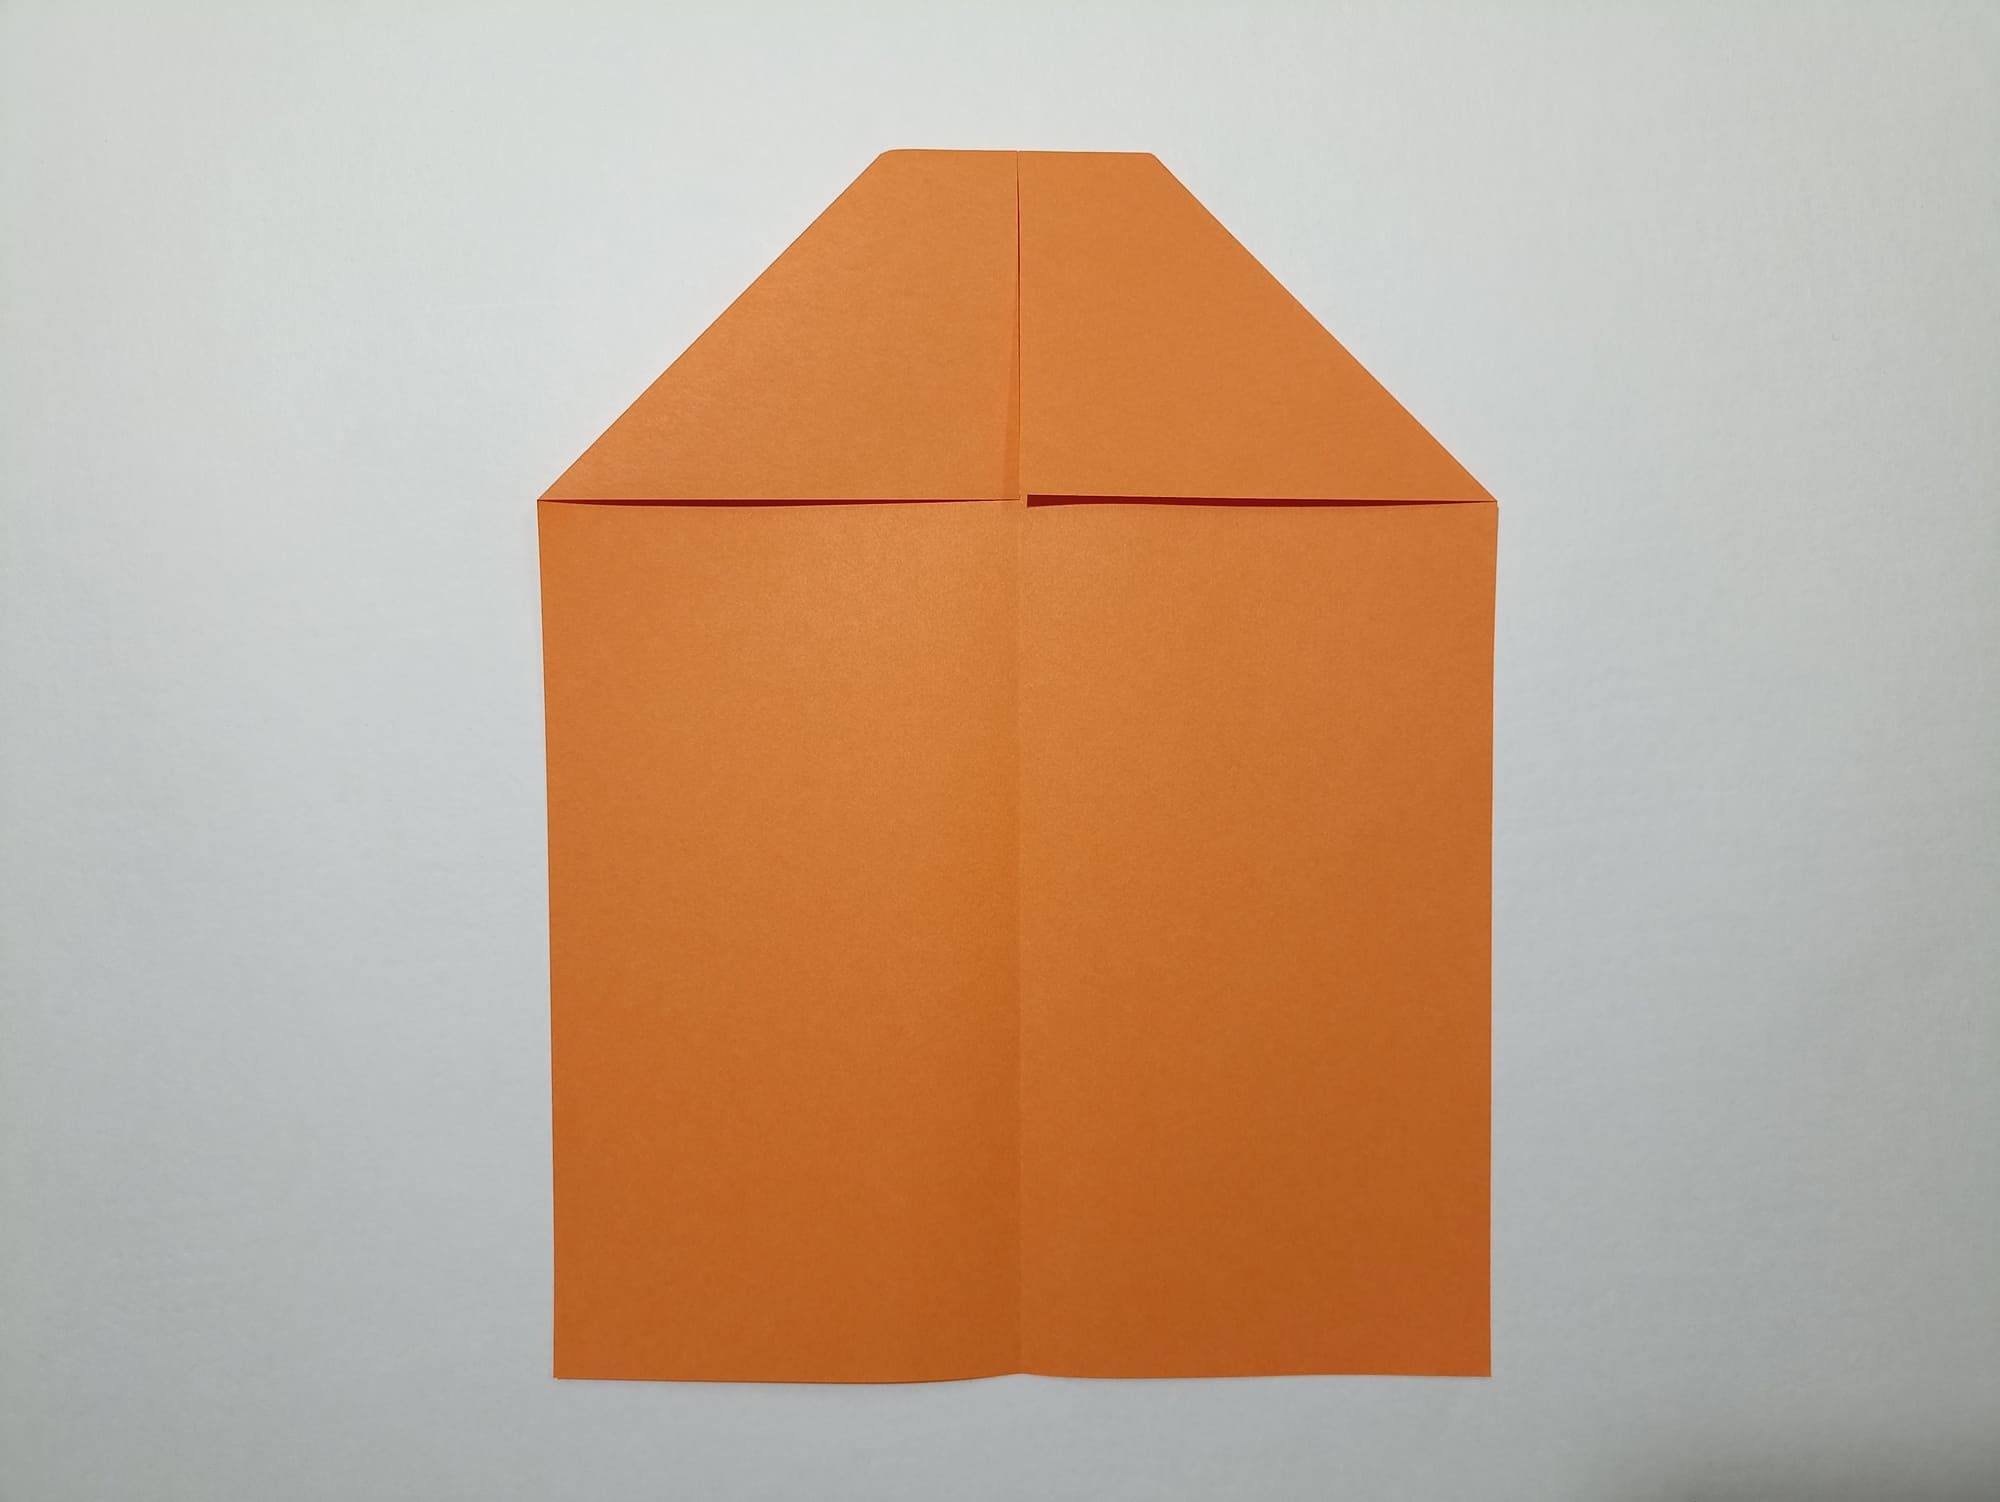
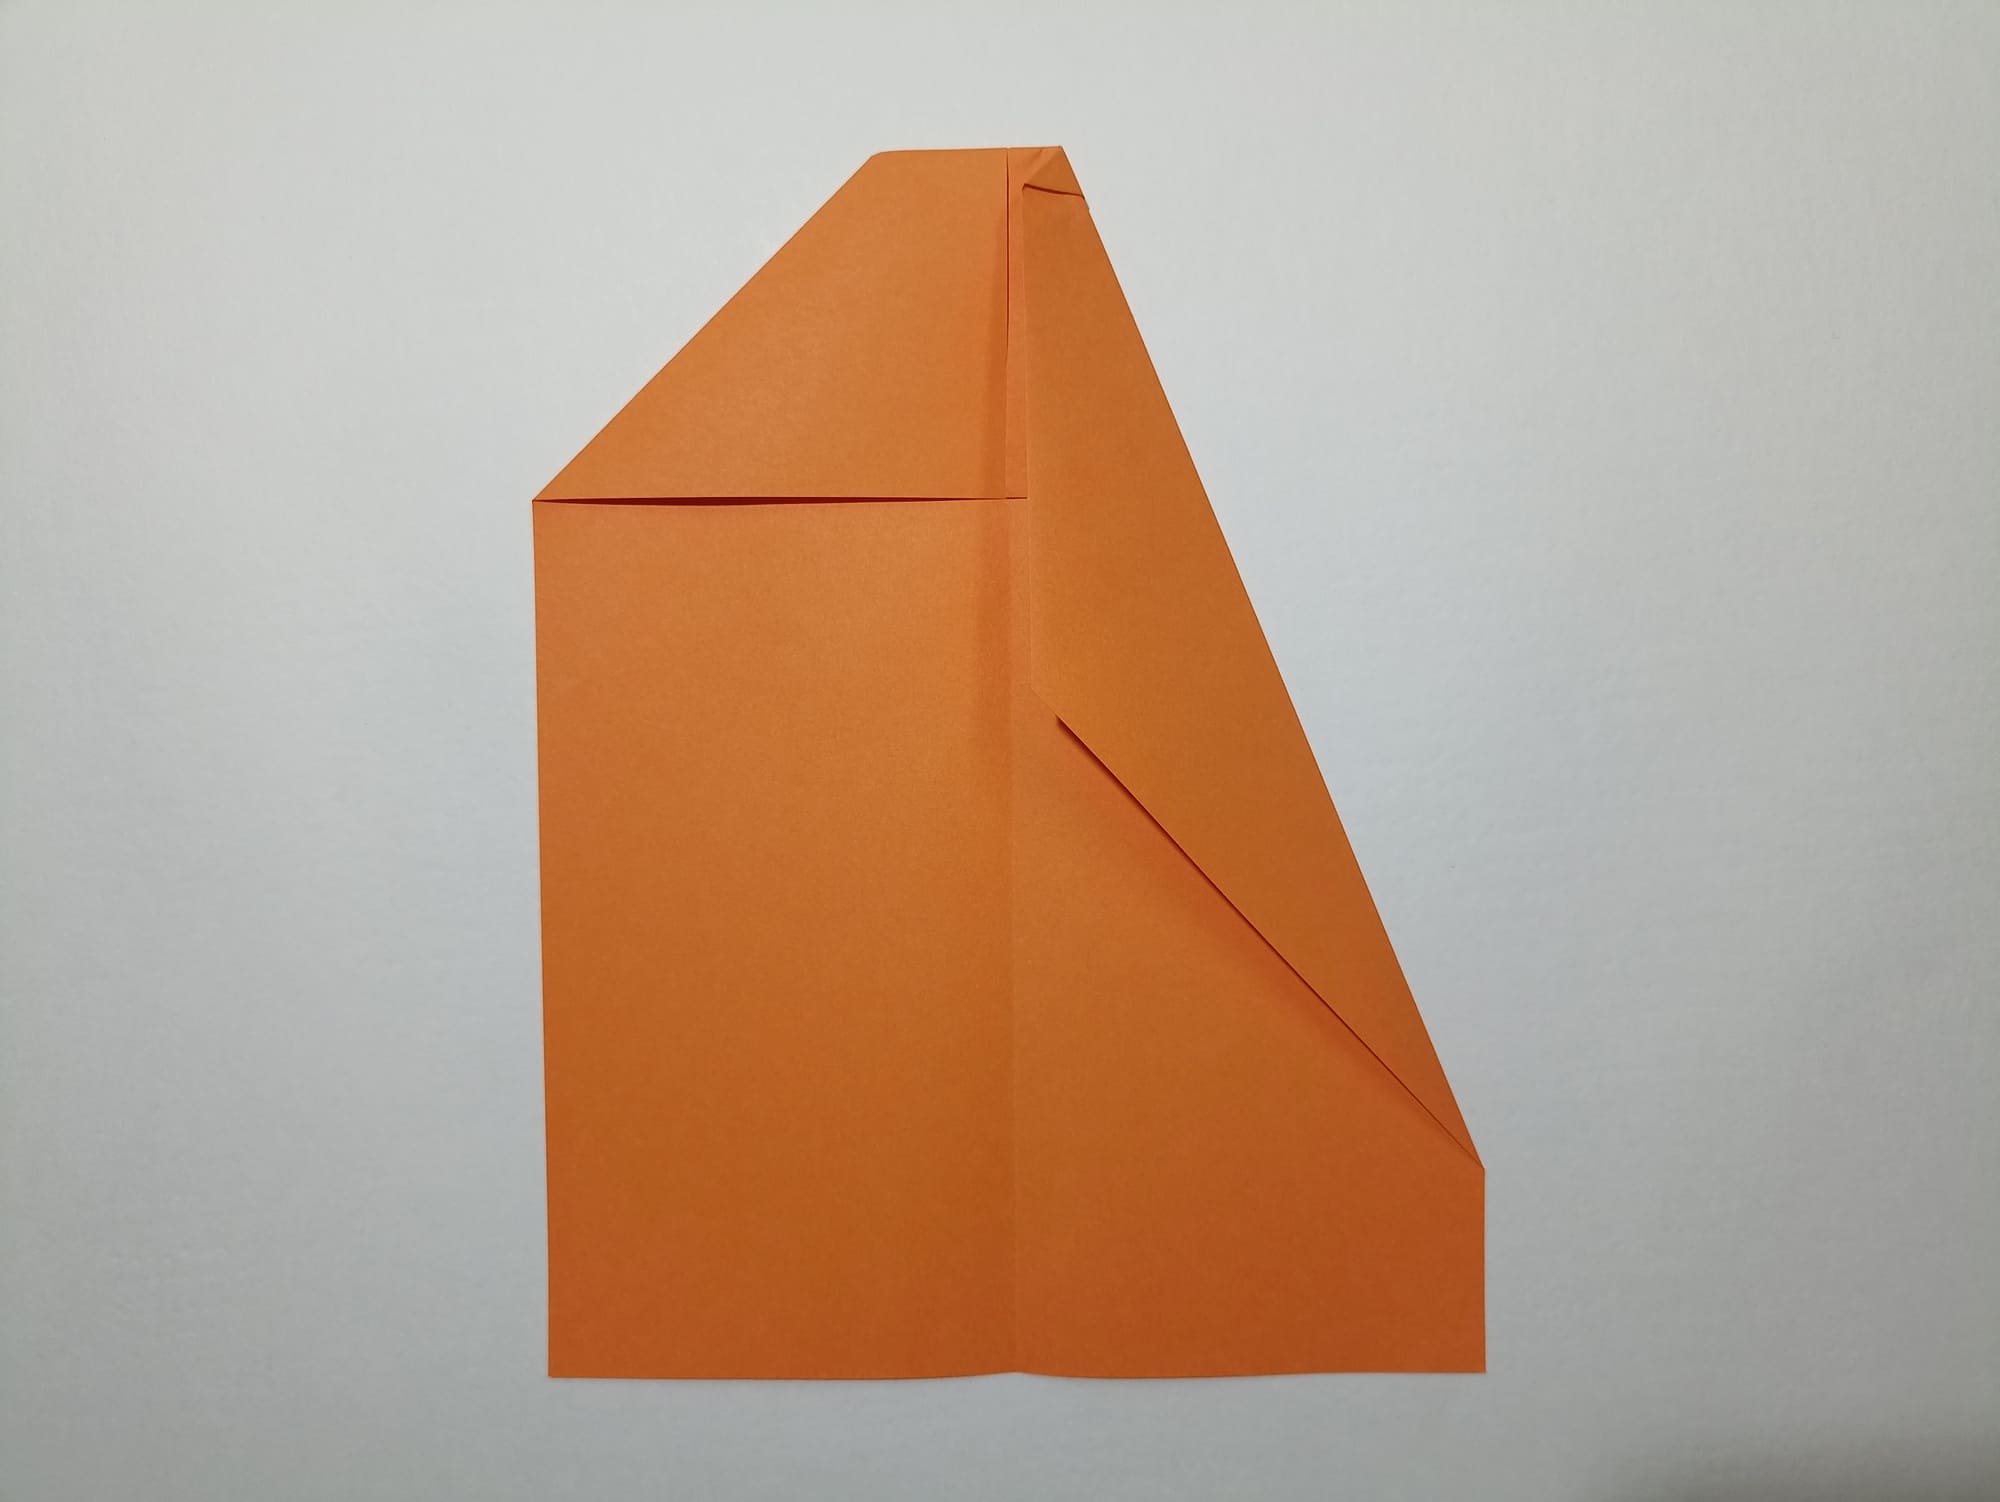
Bend the sides of the resulting trapezoid shape towards the middle.
Fold the airplane along the base line, and turn it sideways horizontally.
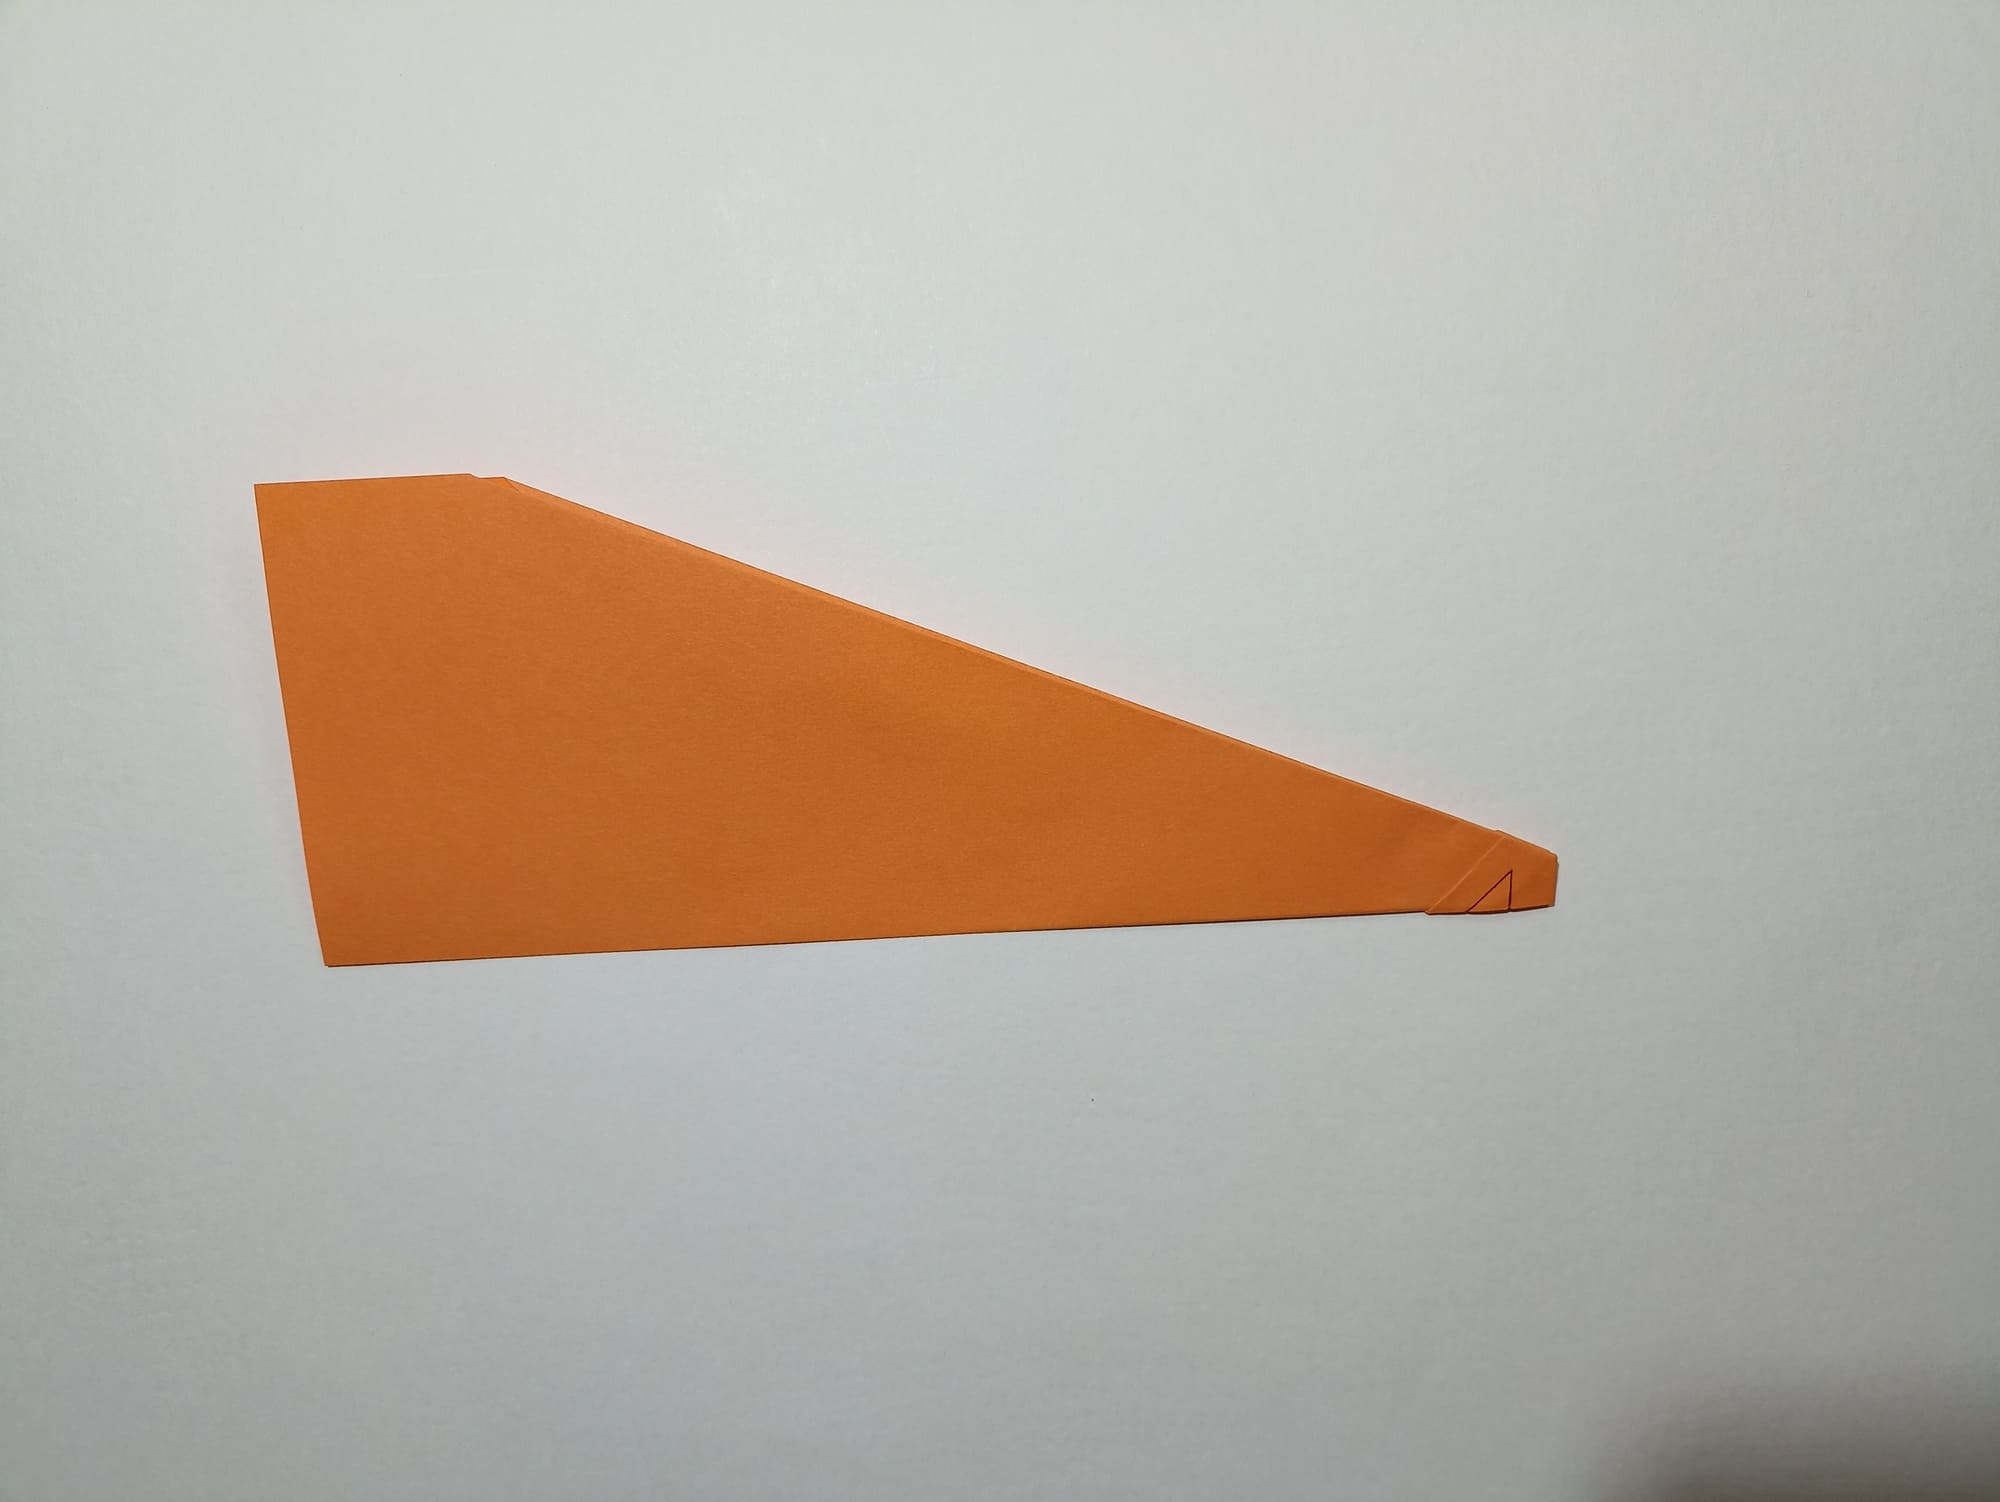
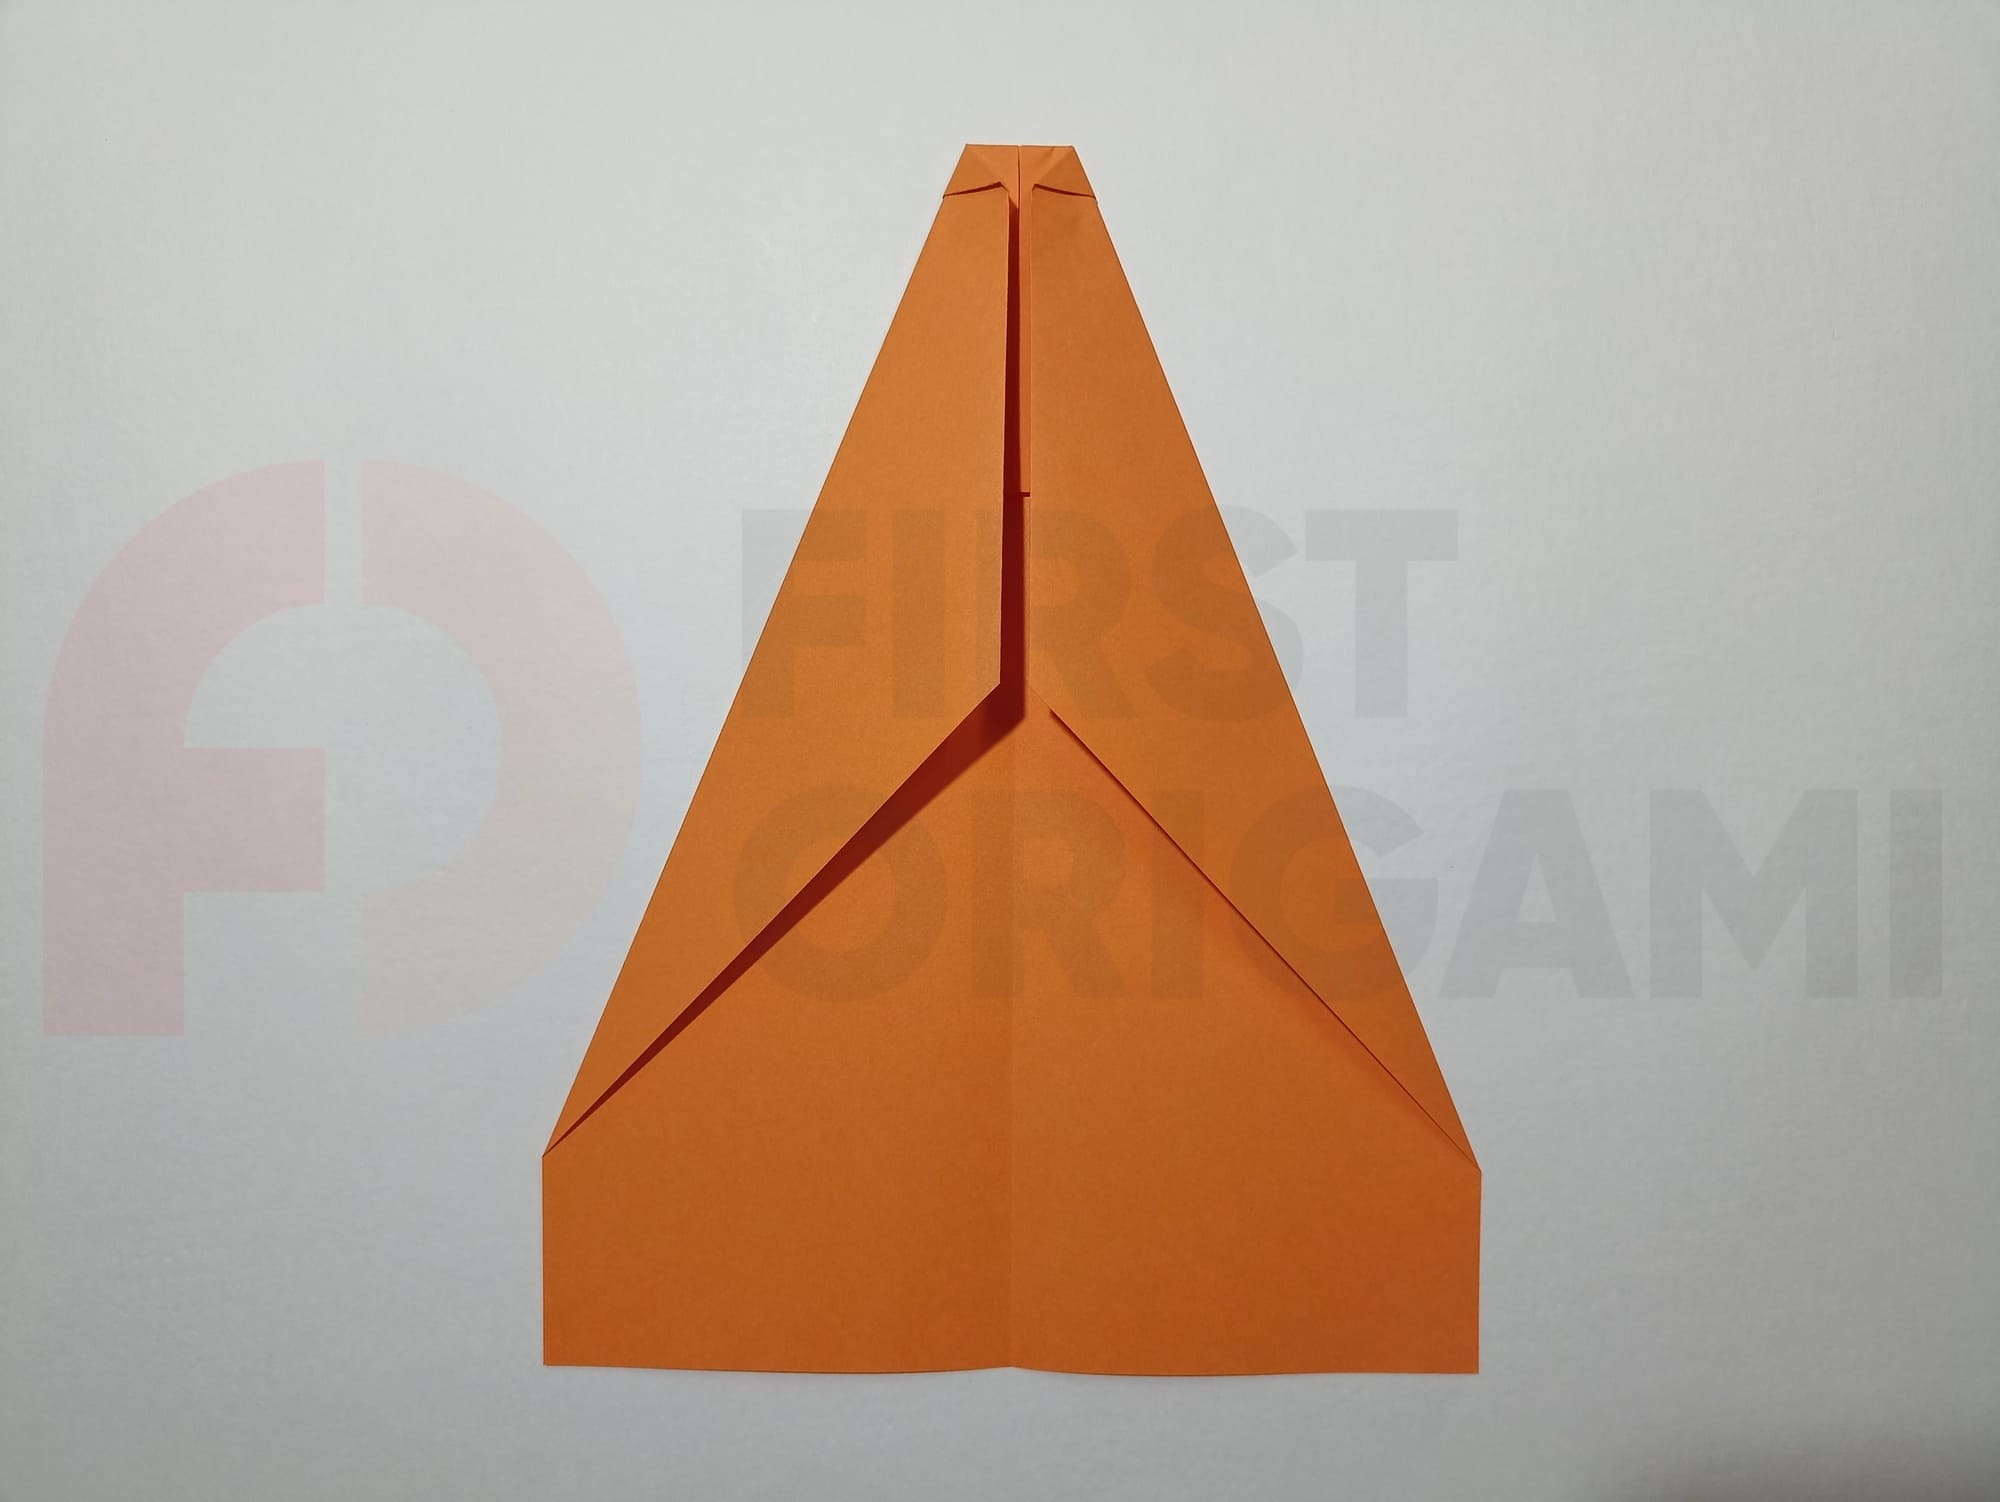
Mark the cutting lines. The triangle with its top should fit on a dense area of the nose of the airplane, with the right side parallel to the nose. Compare with the illustration.
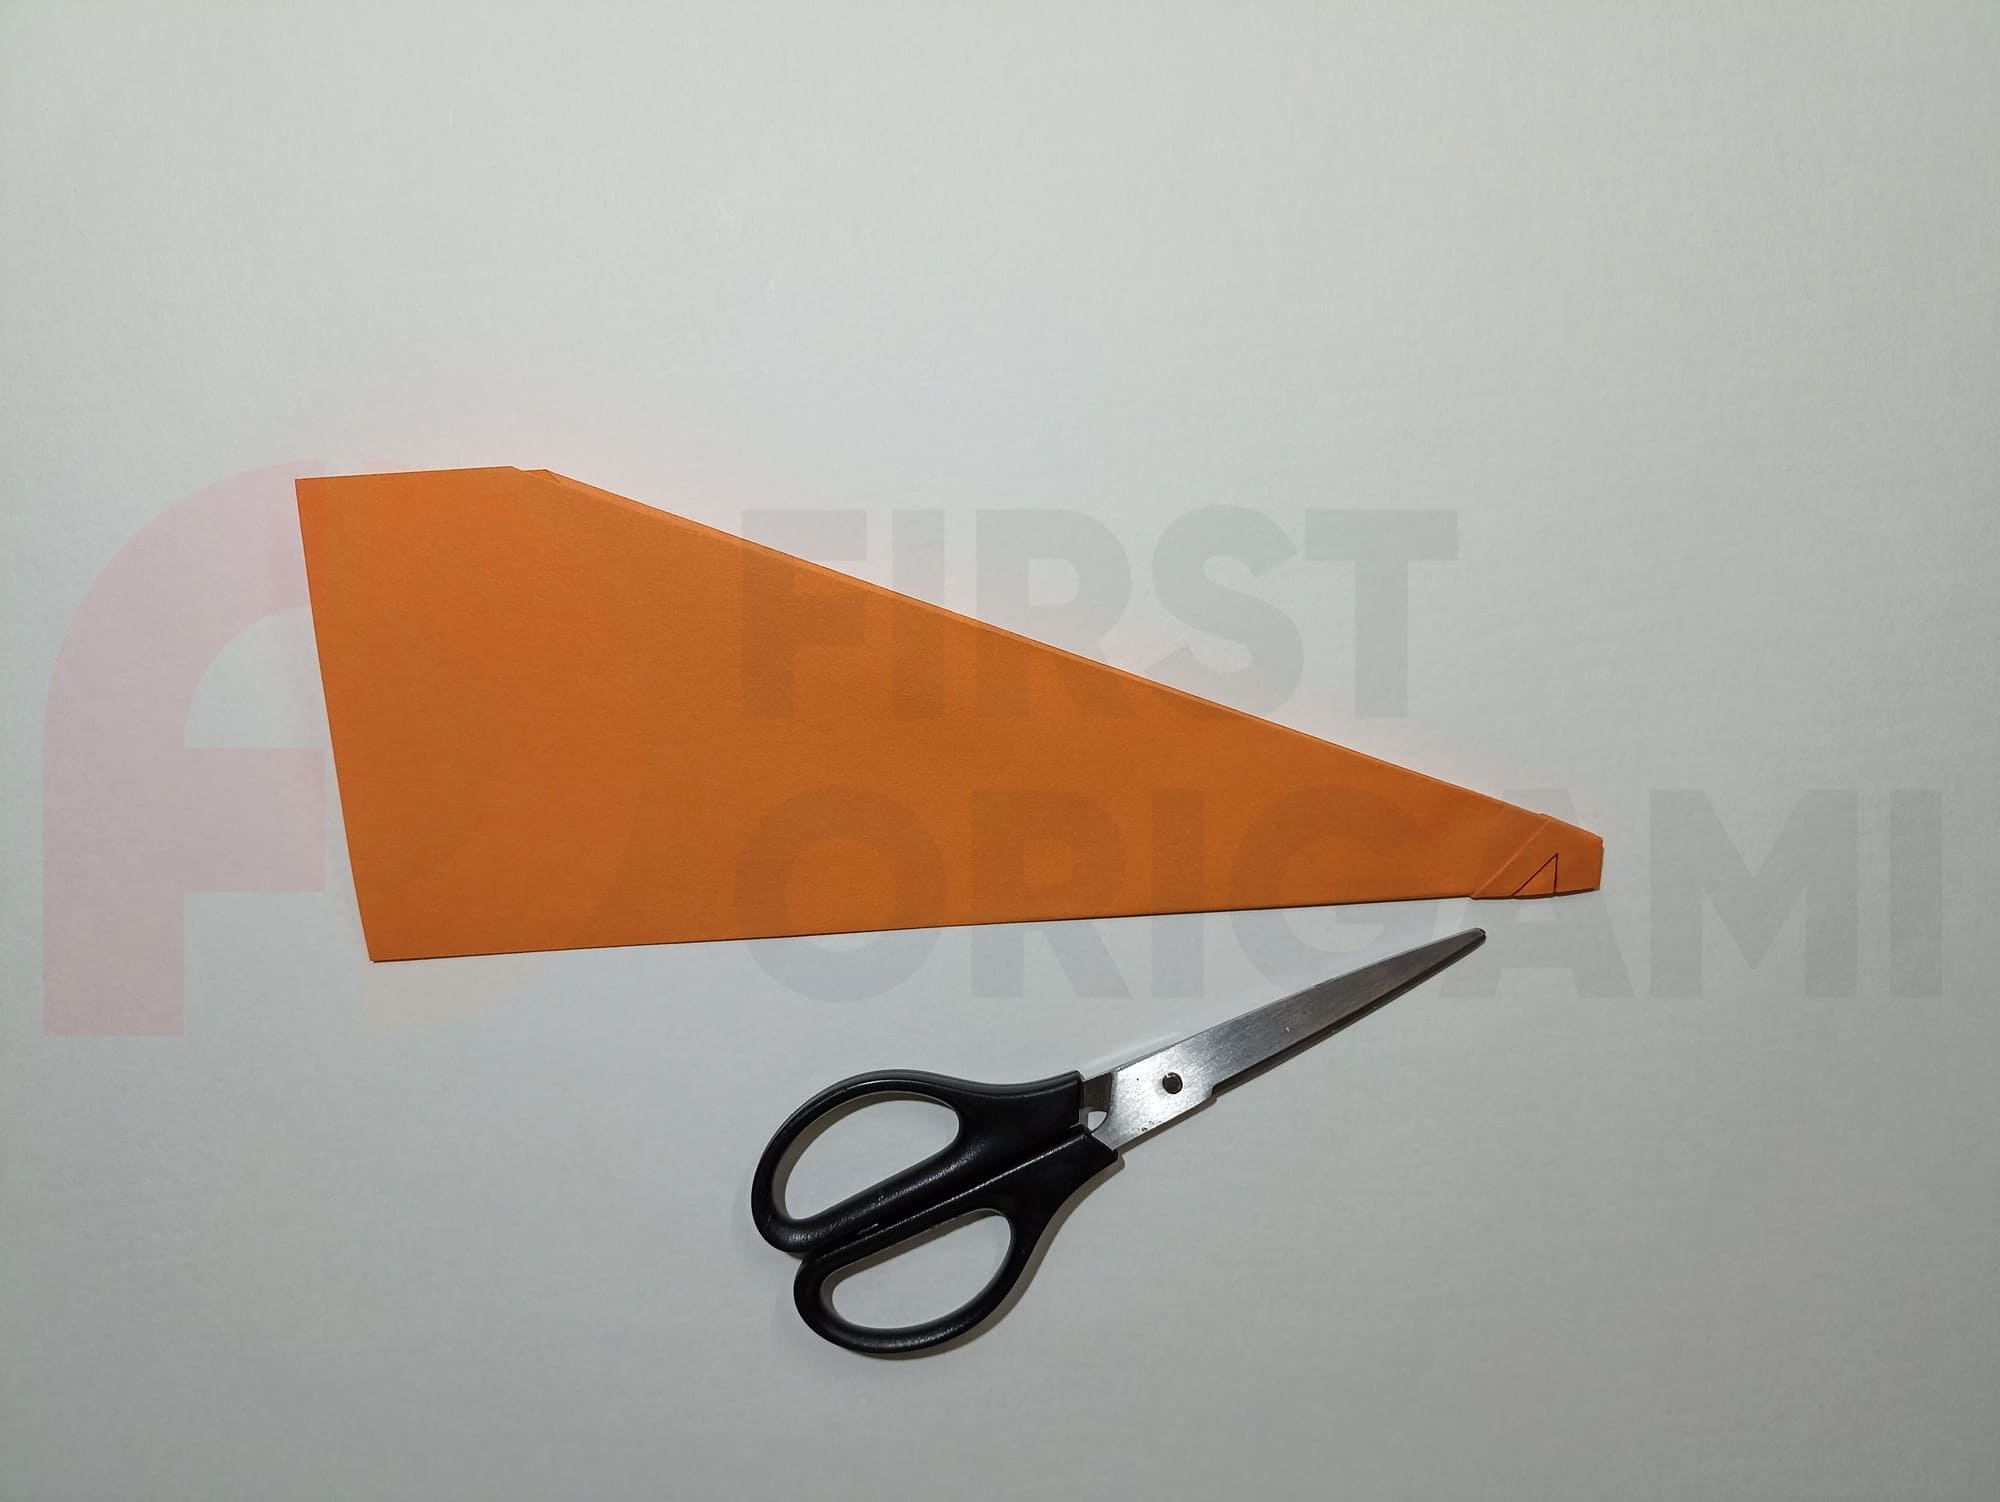
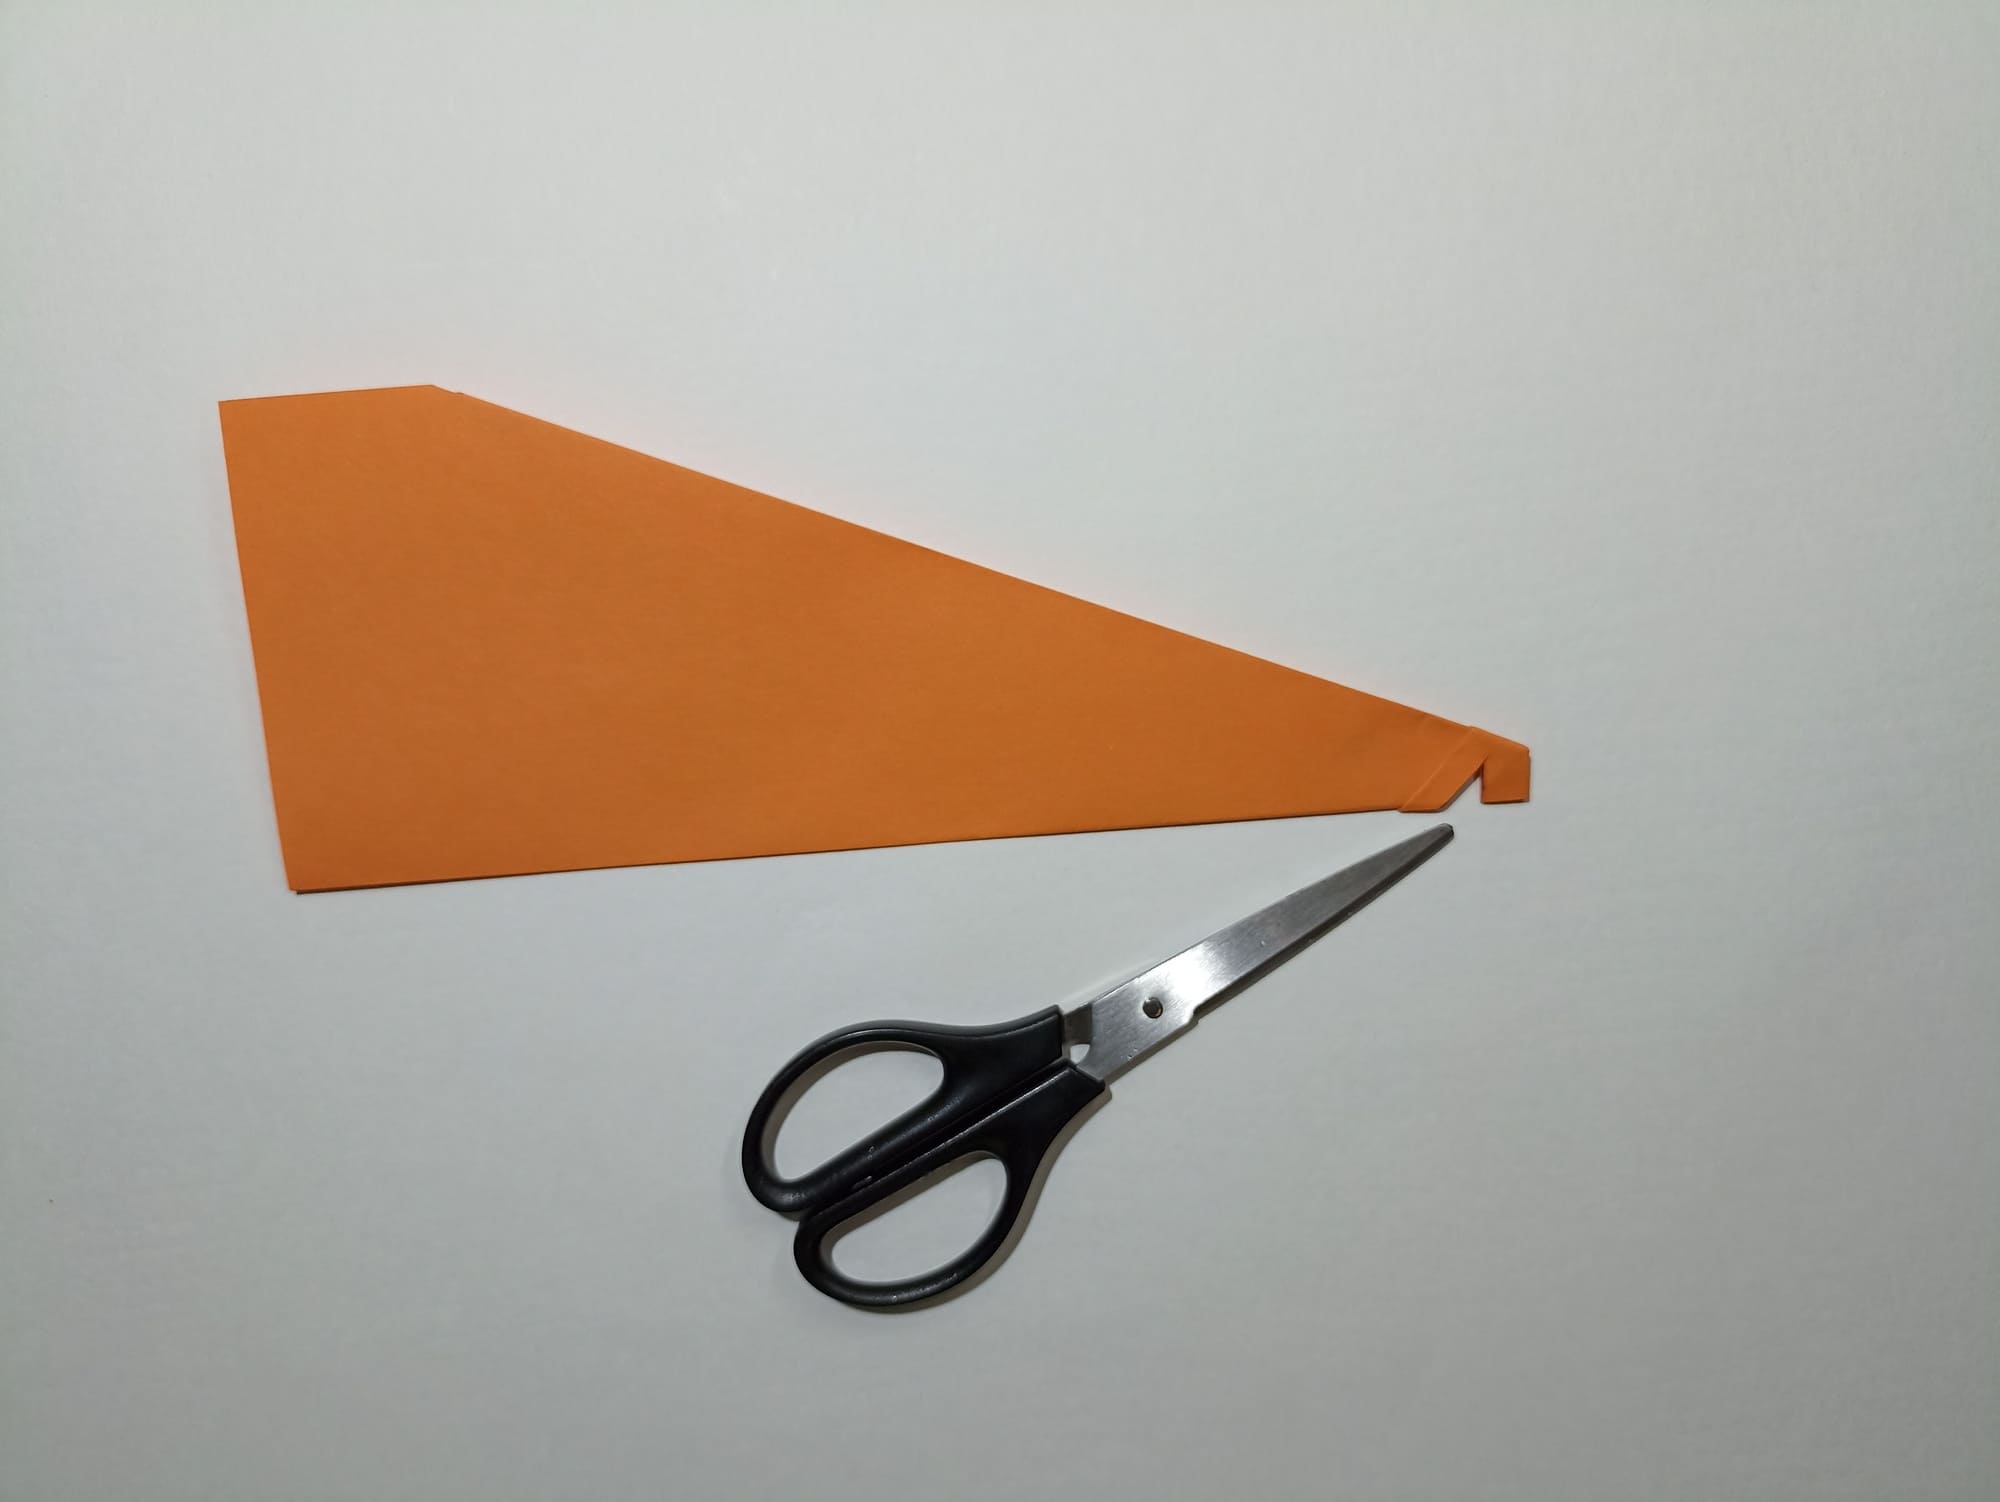
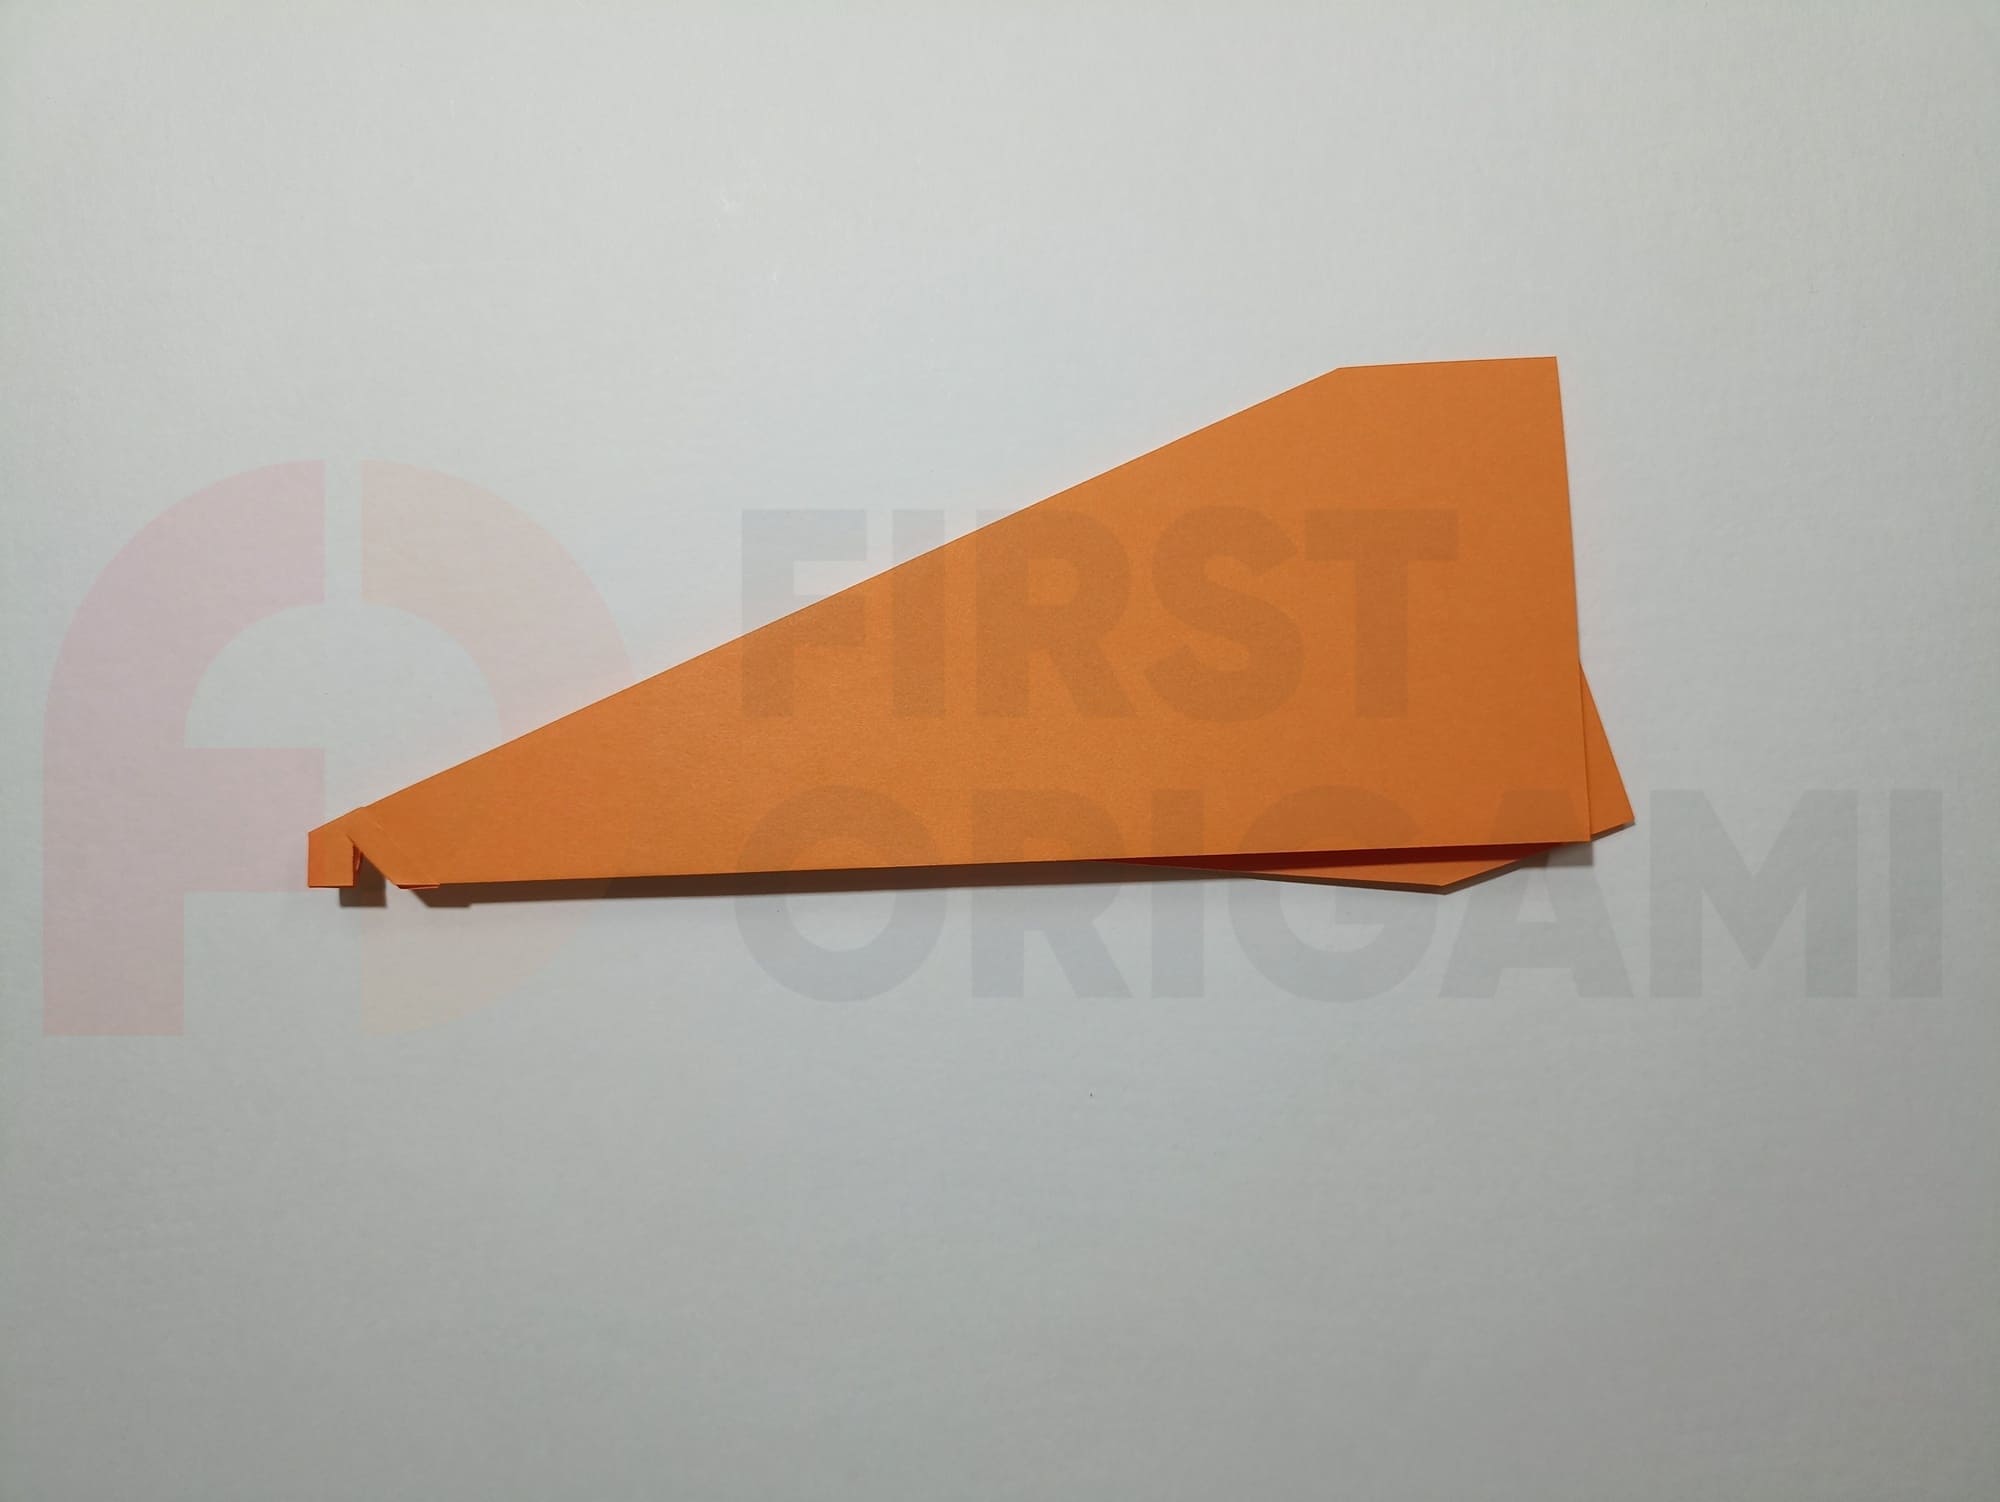
Make a cut along the marked lines.
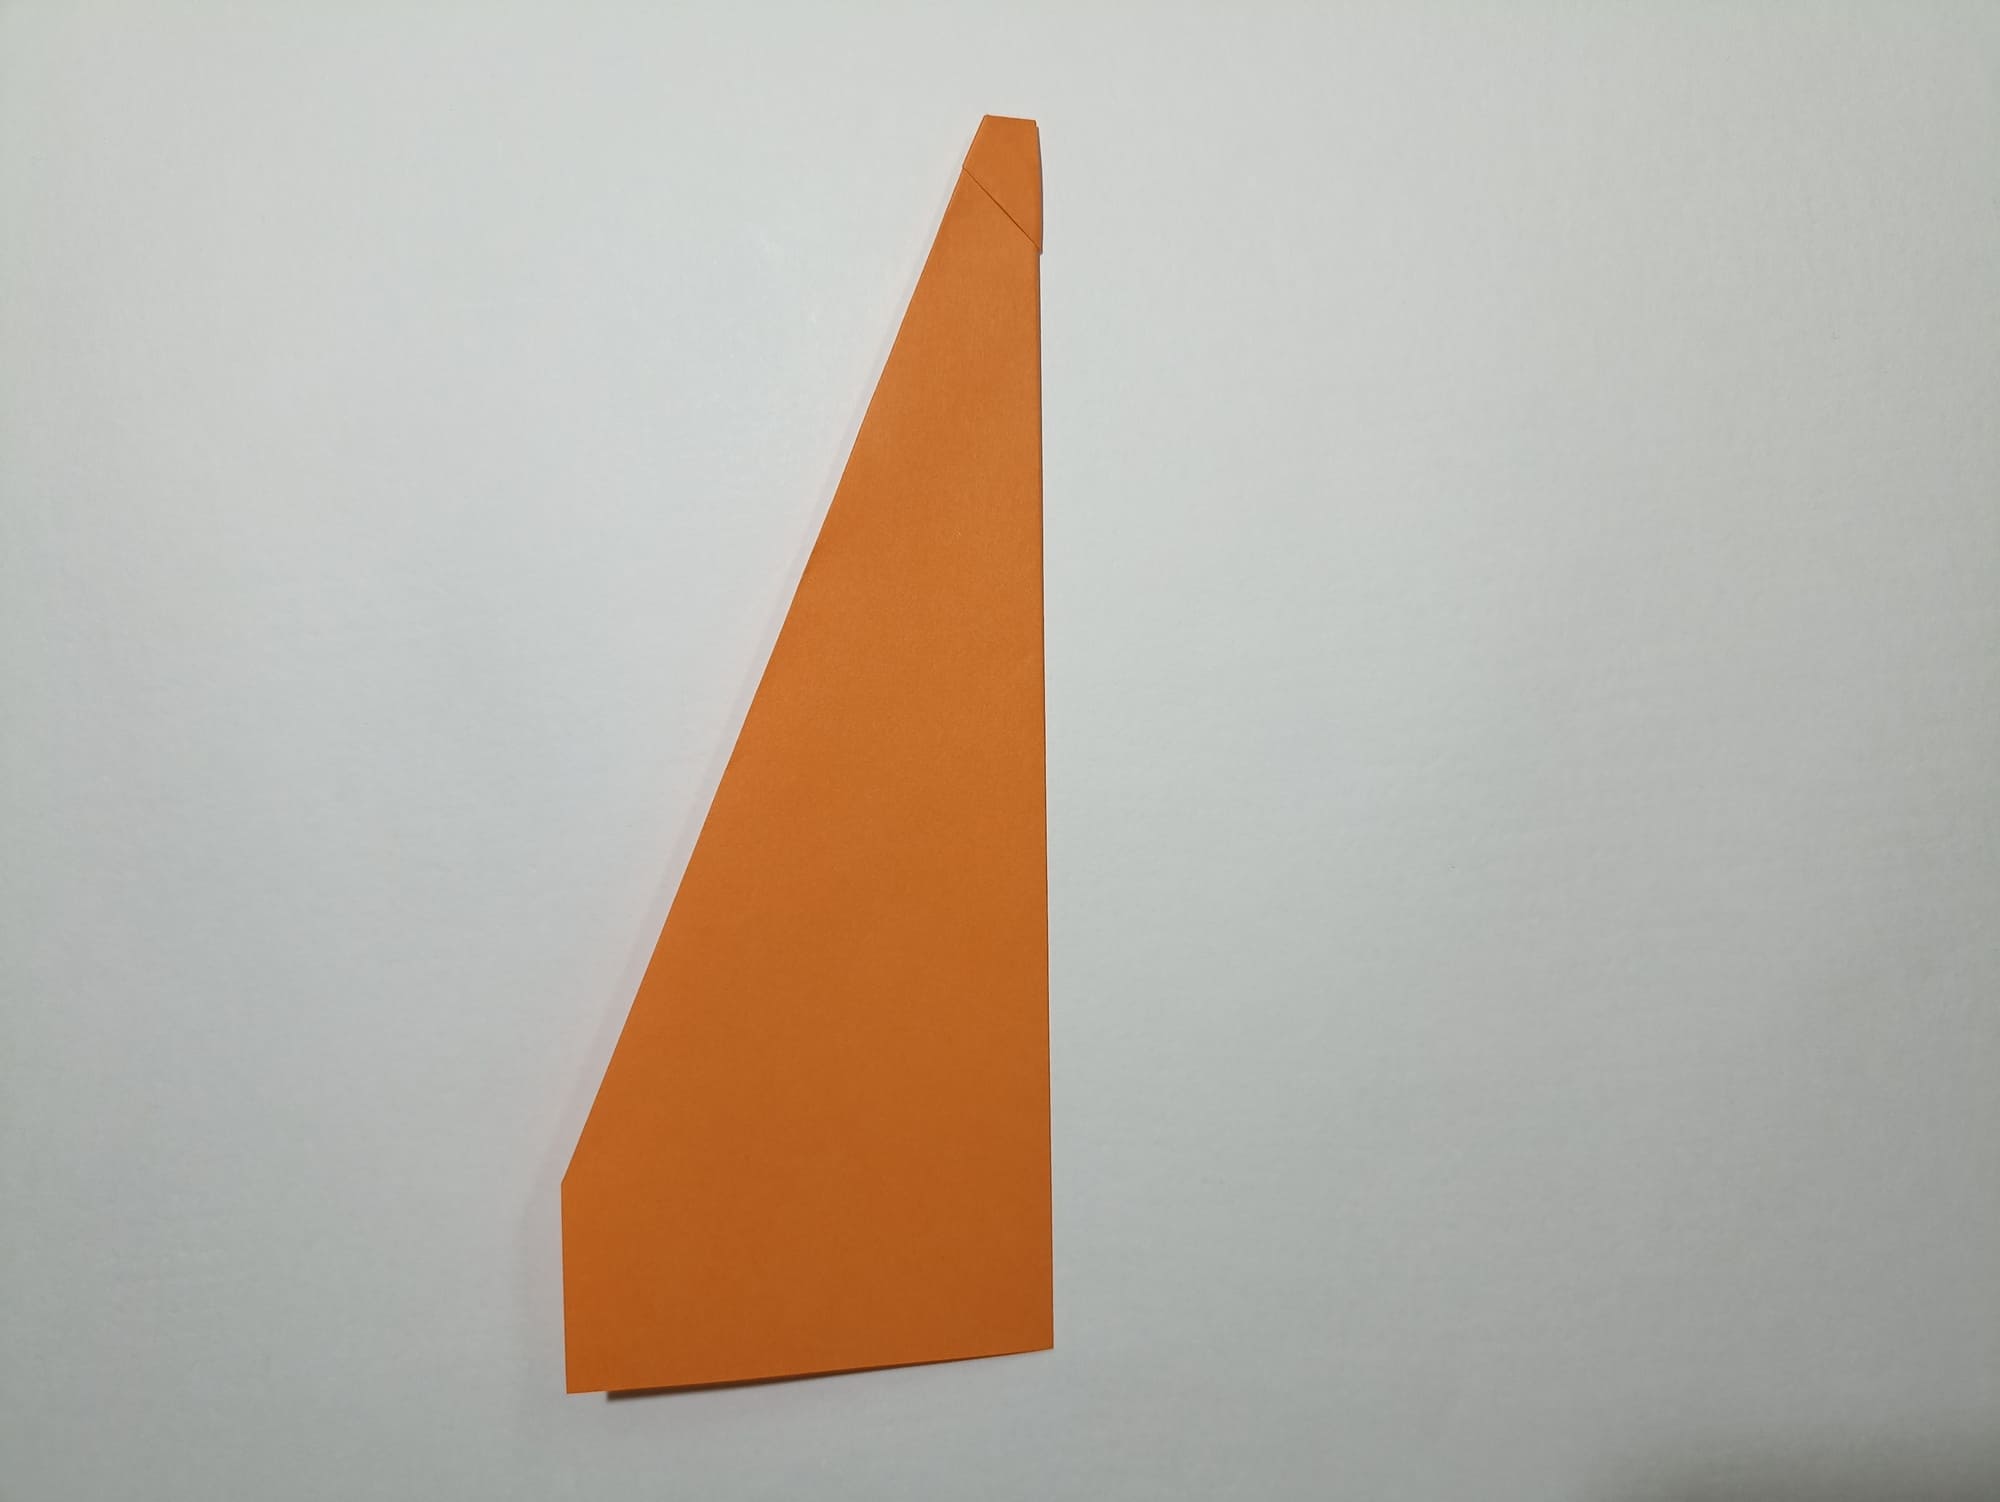
Bend one wing along the line connecting the center of the wide part of the wing with the top of the nasal fold.
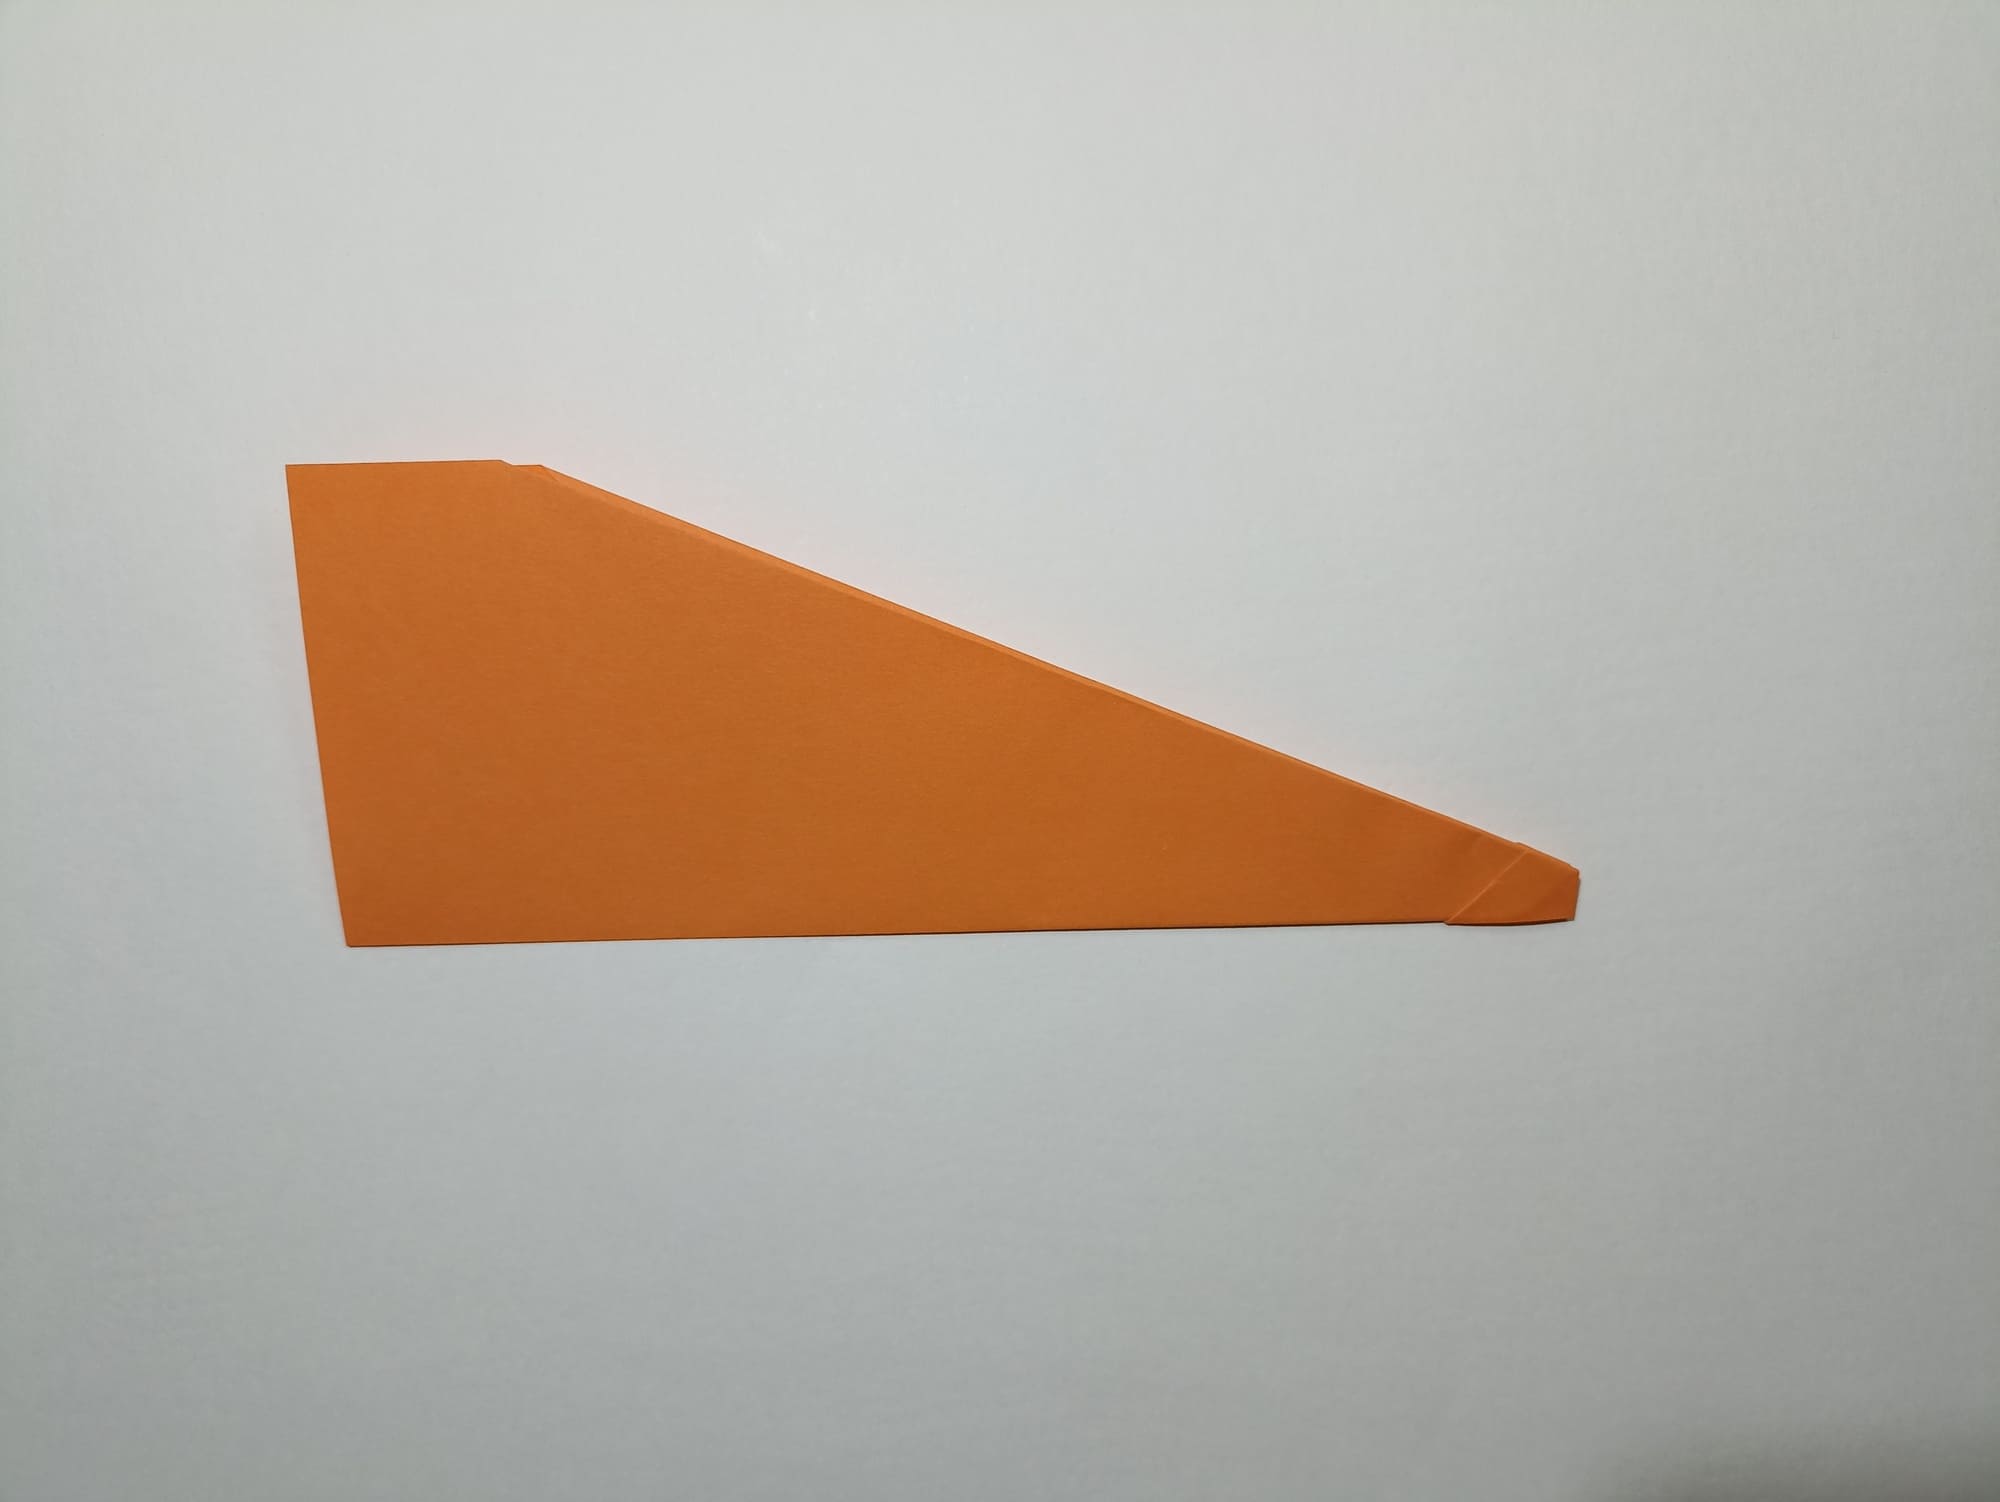
Turn the figure over and bend the second wing, aligning the lines.
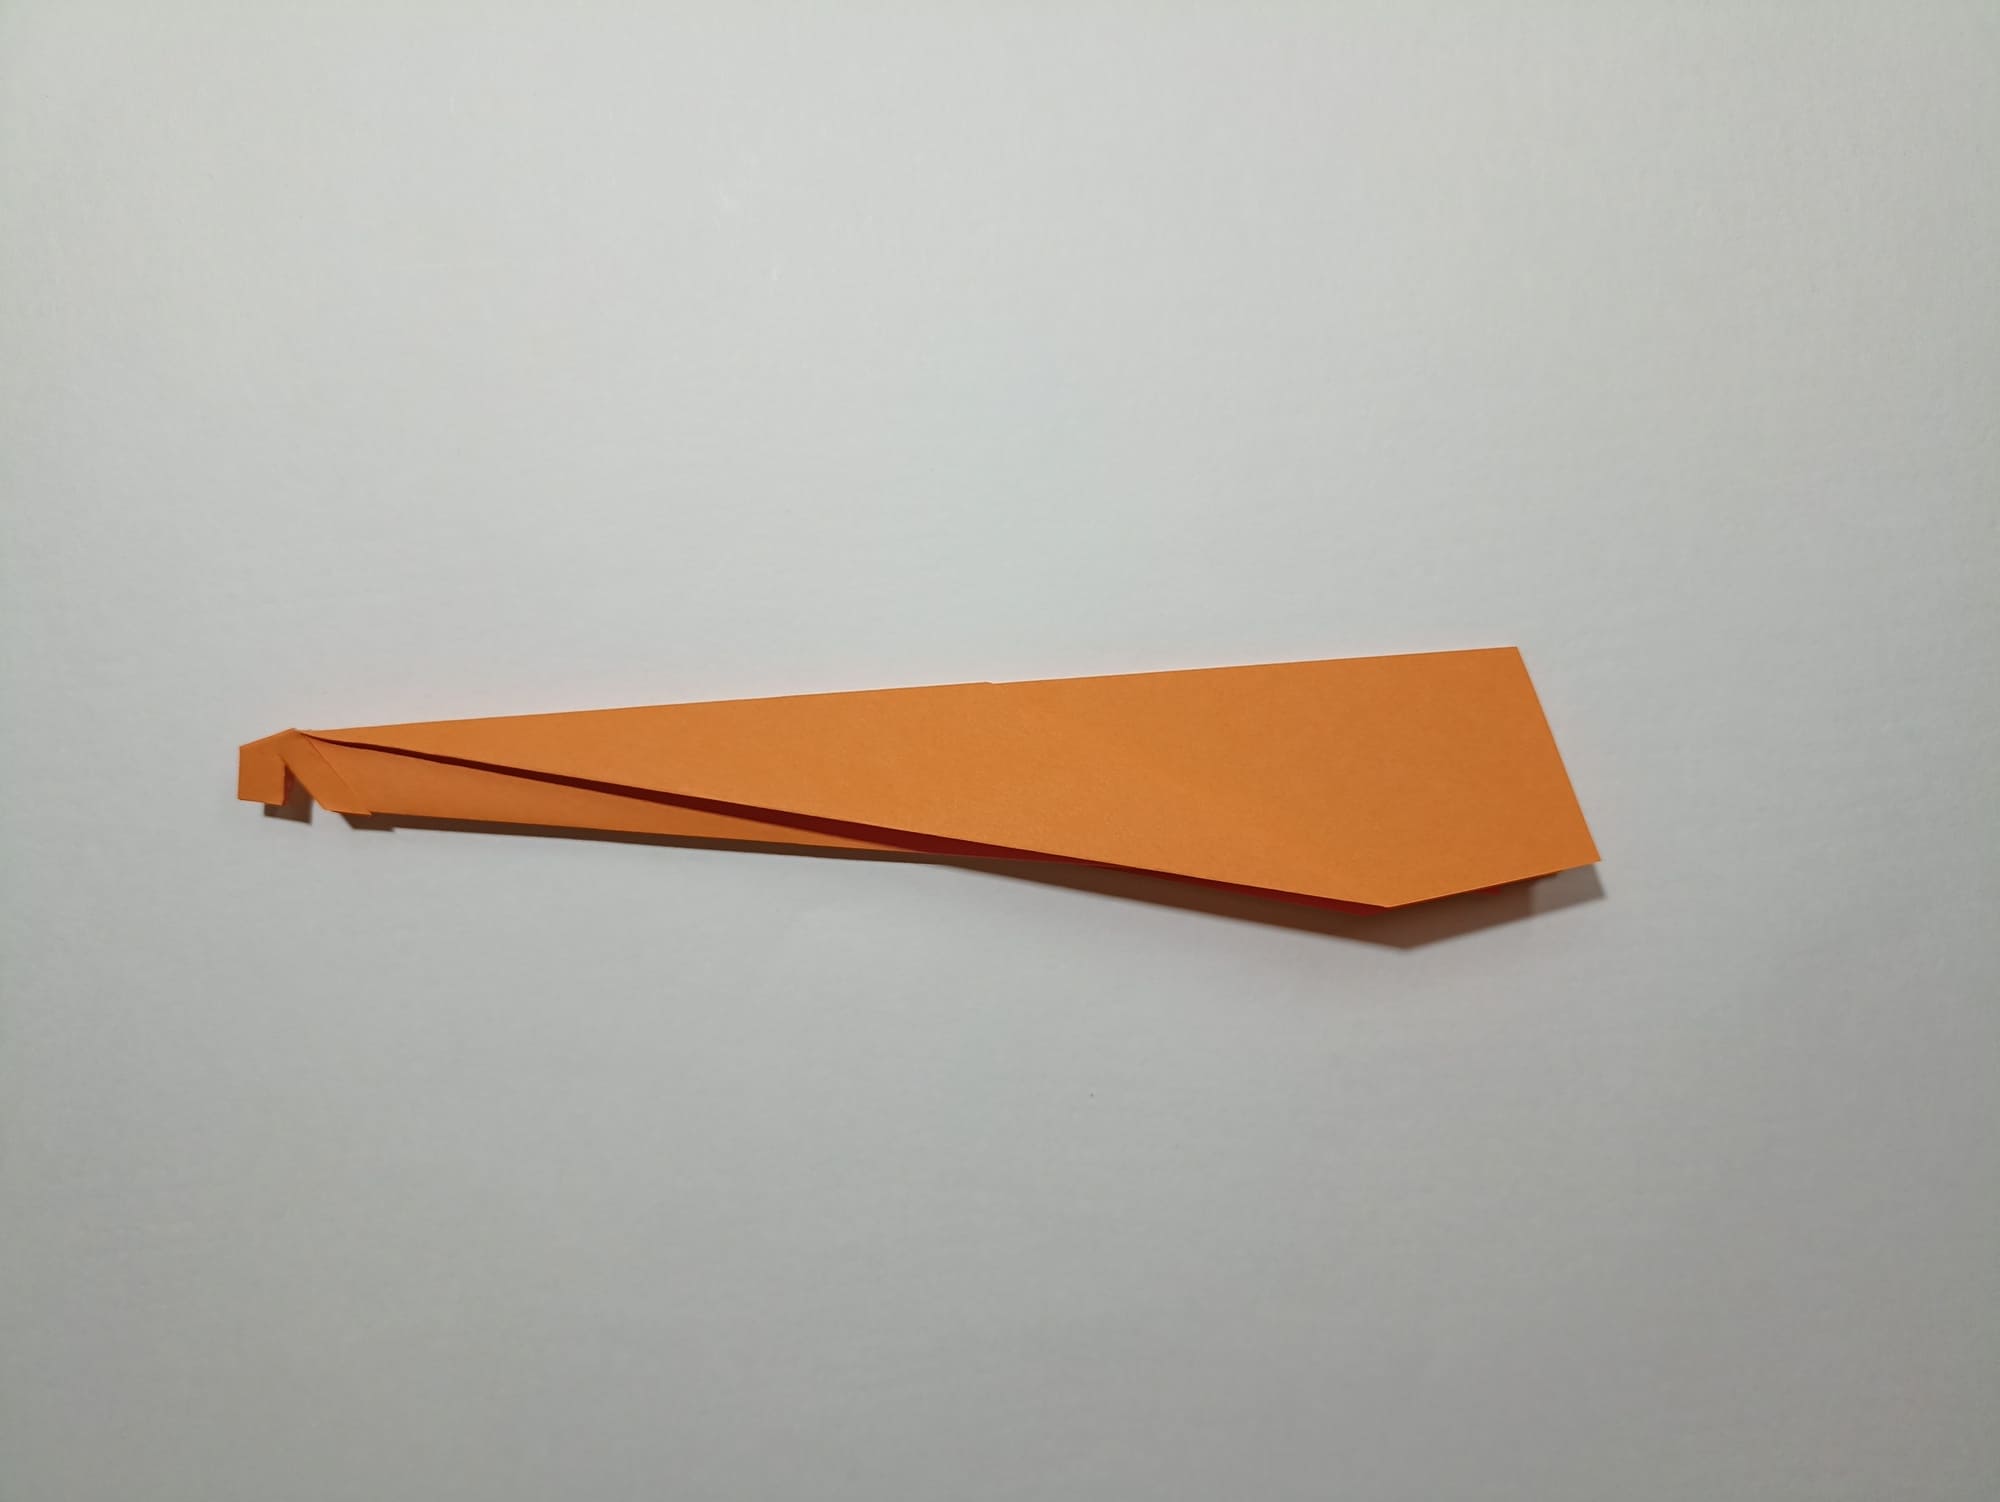
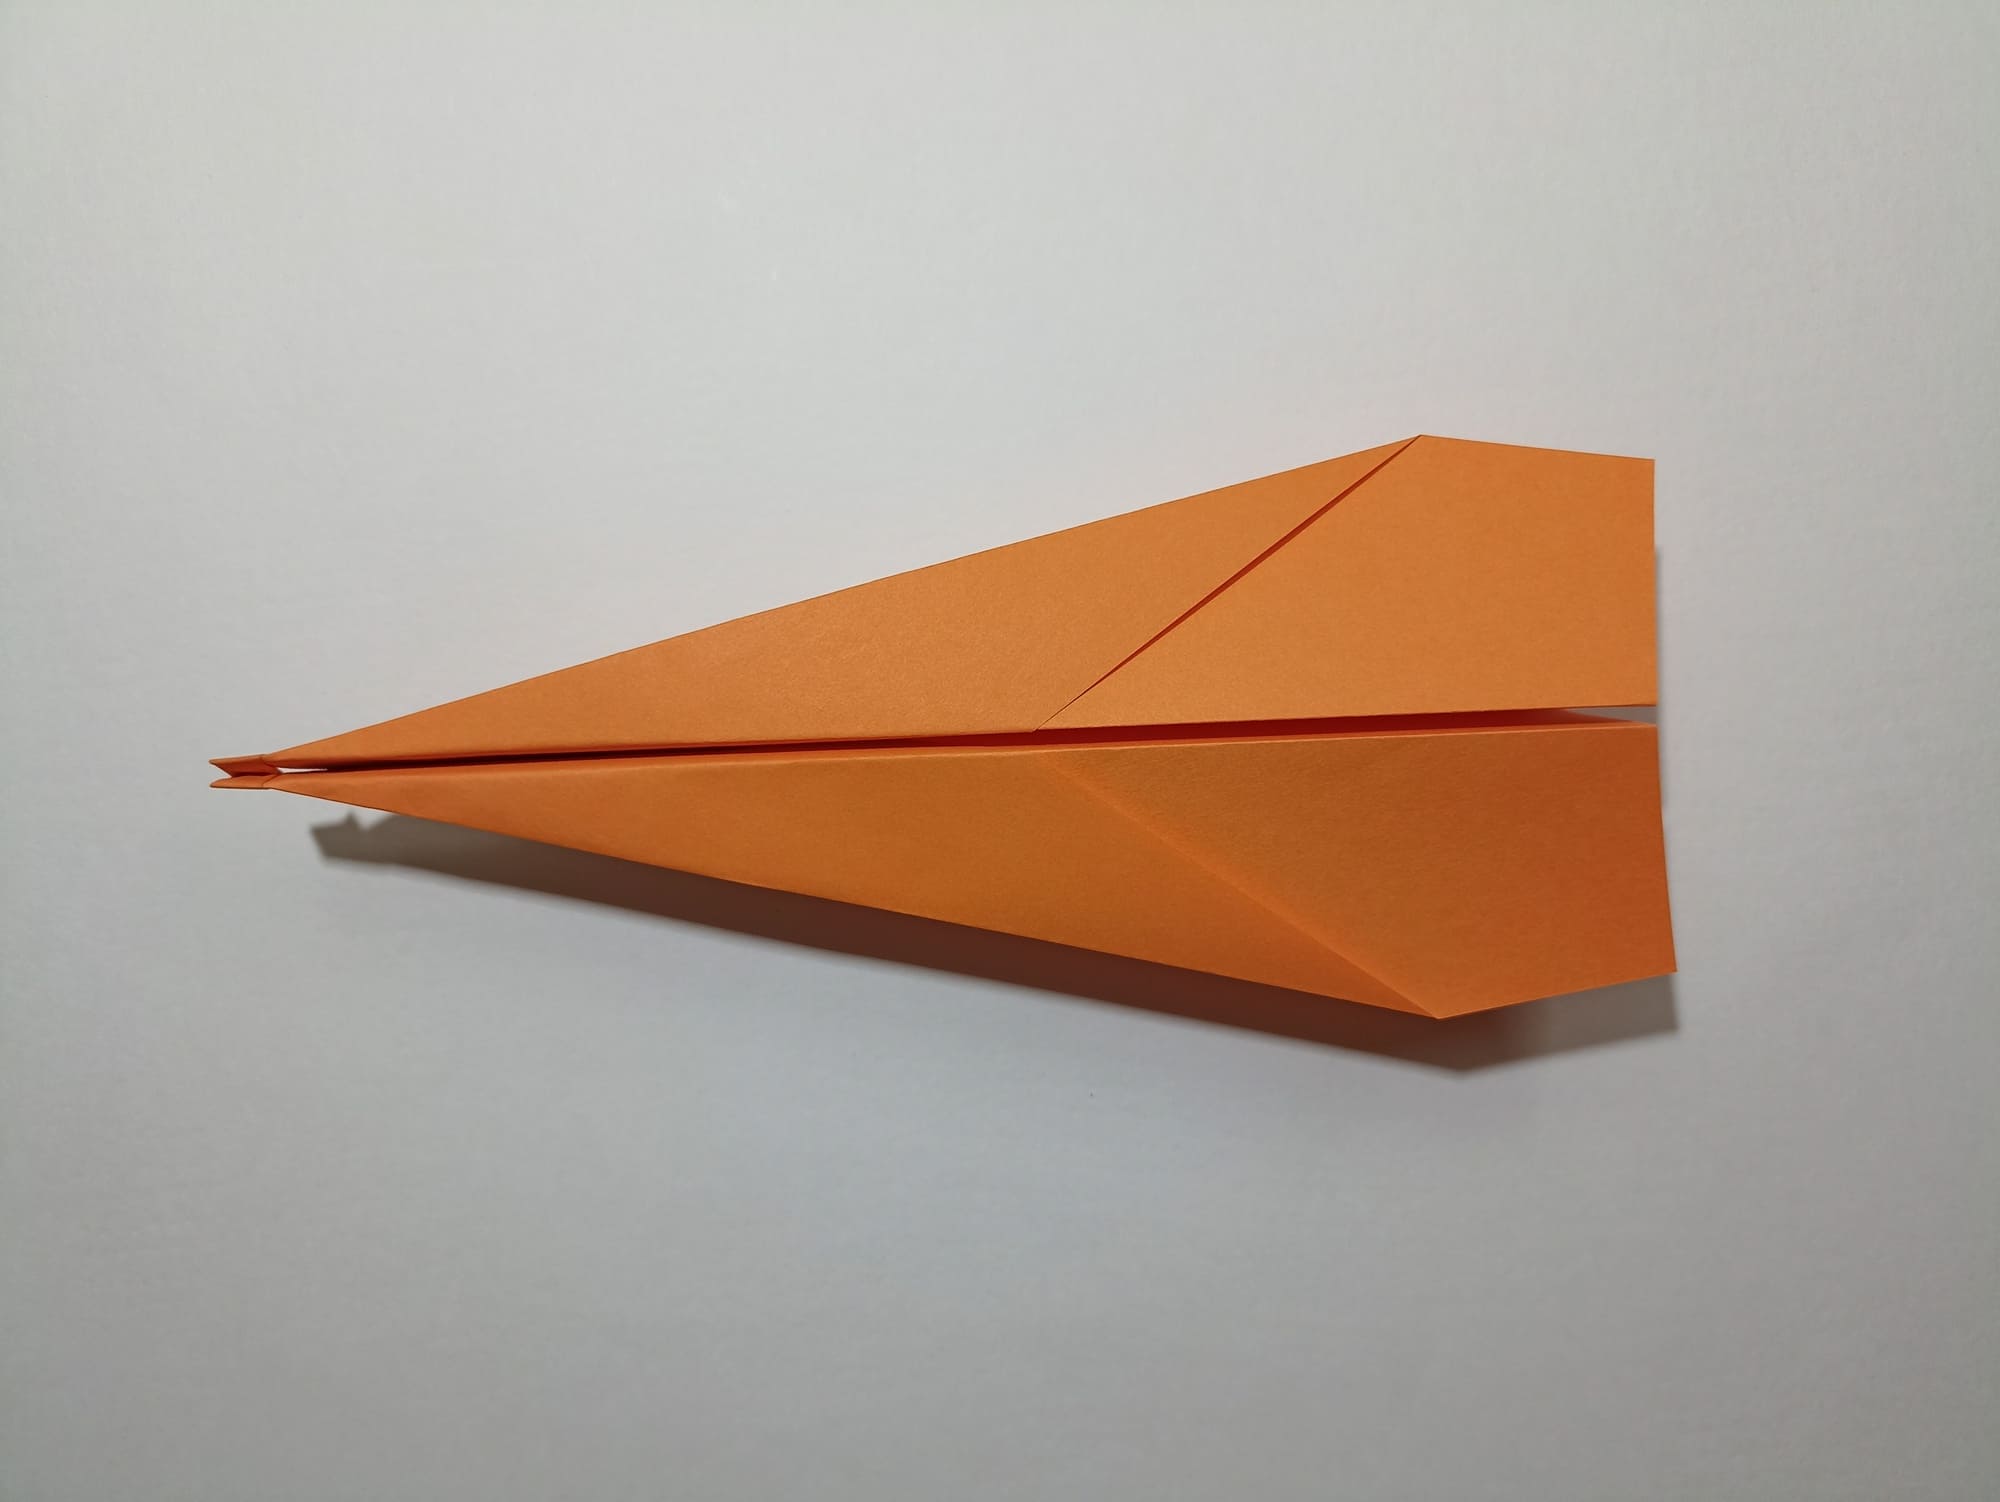
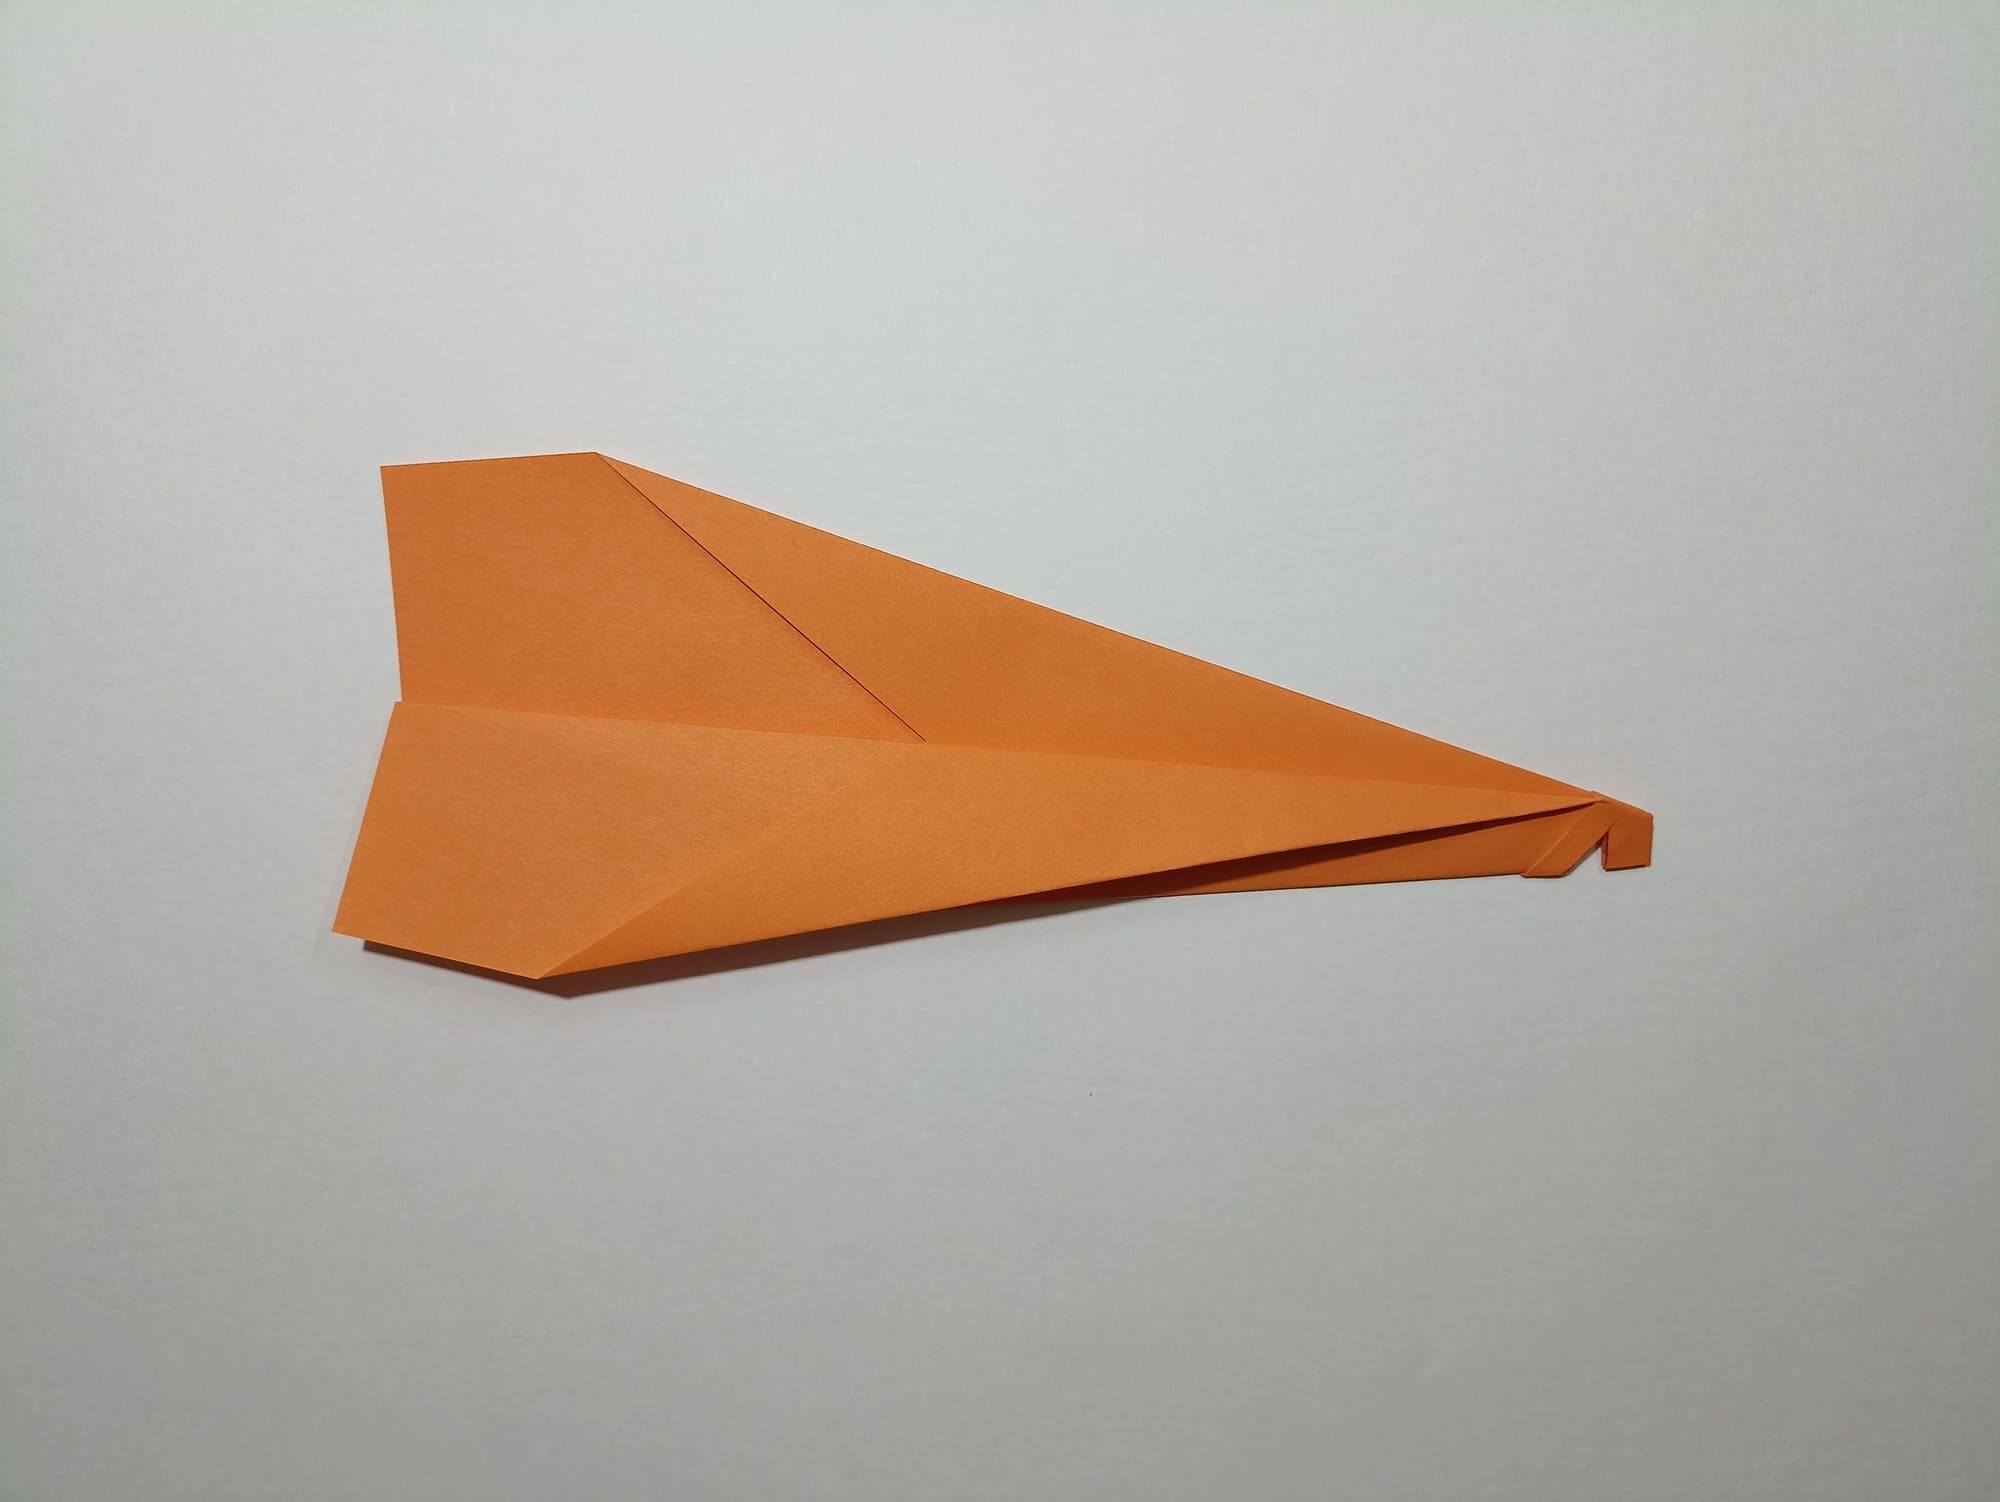
Spread your wings.
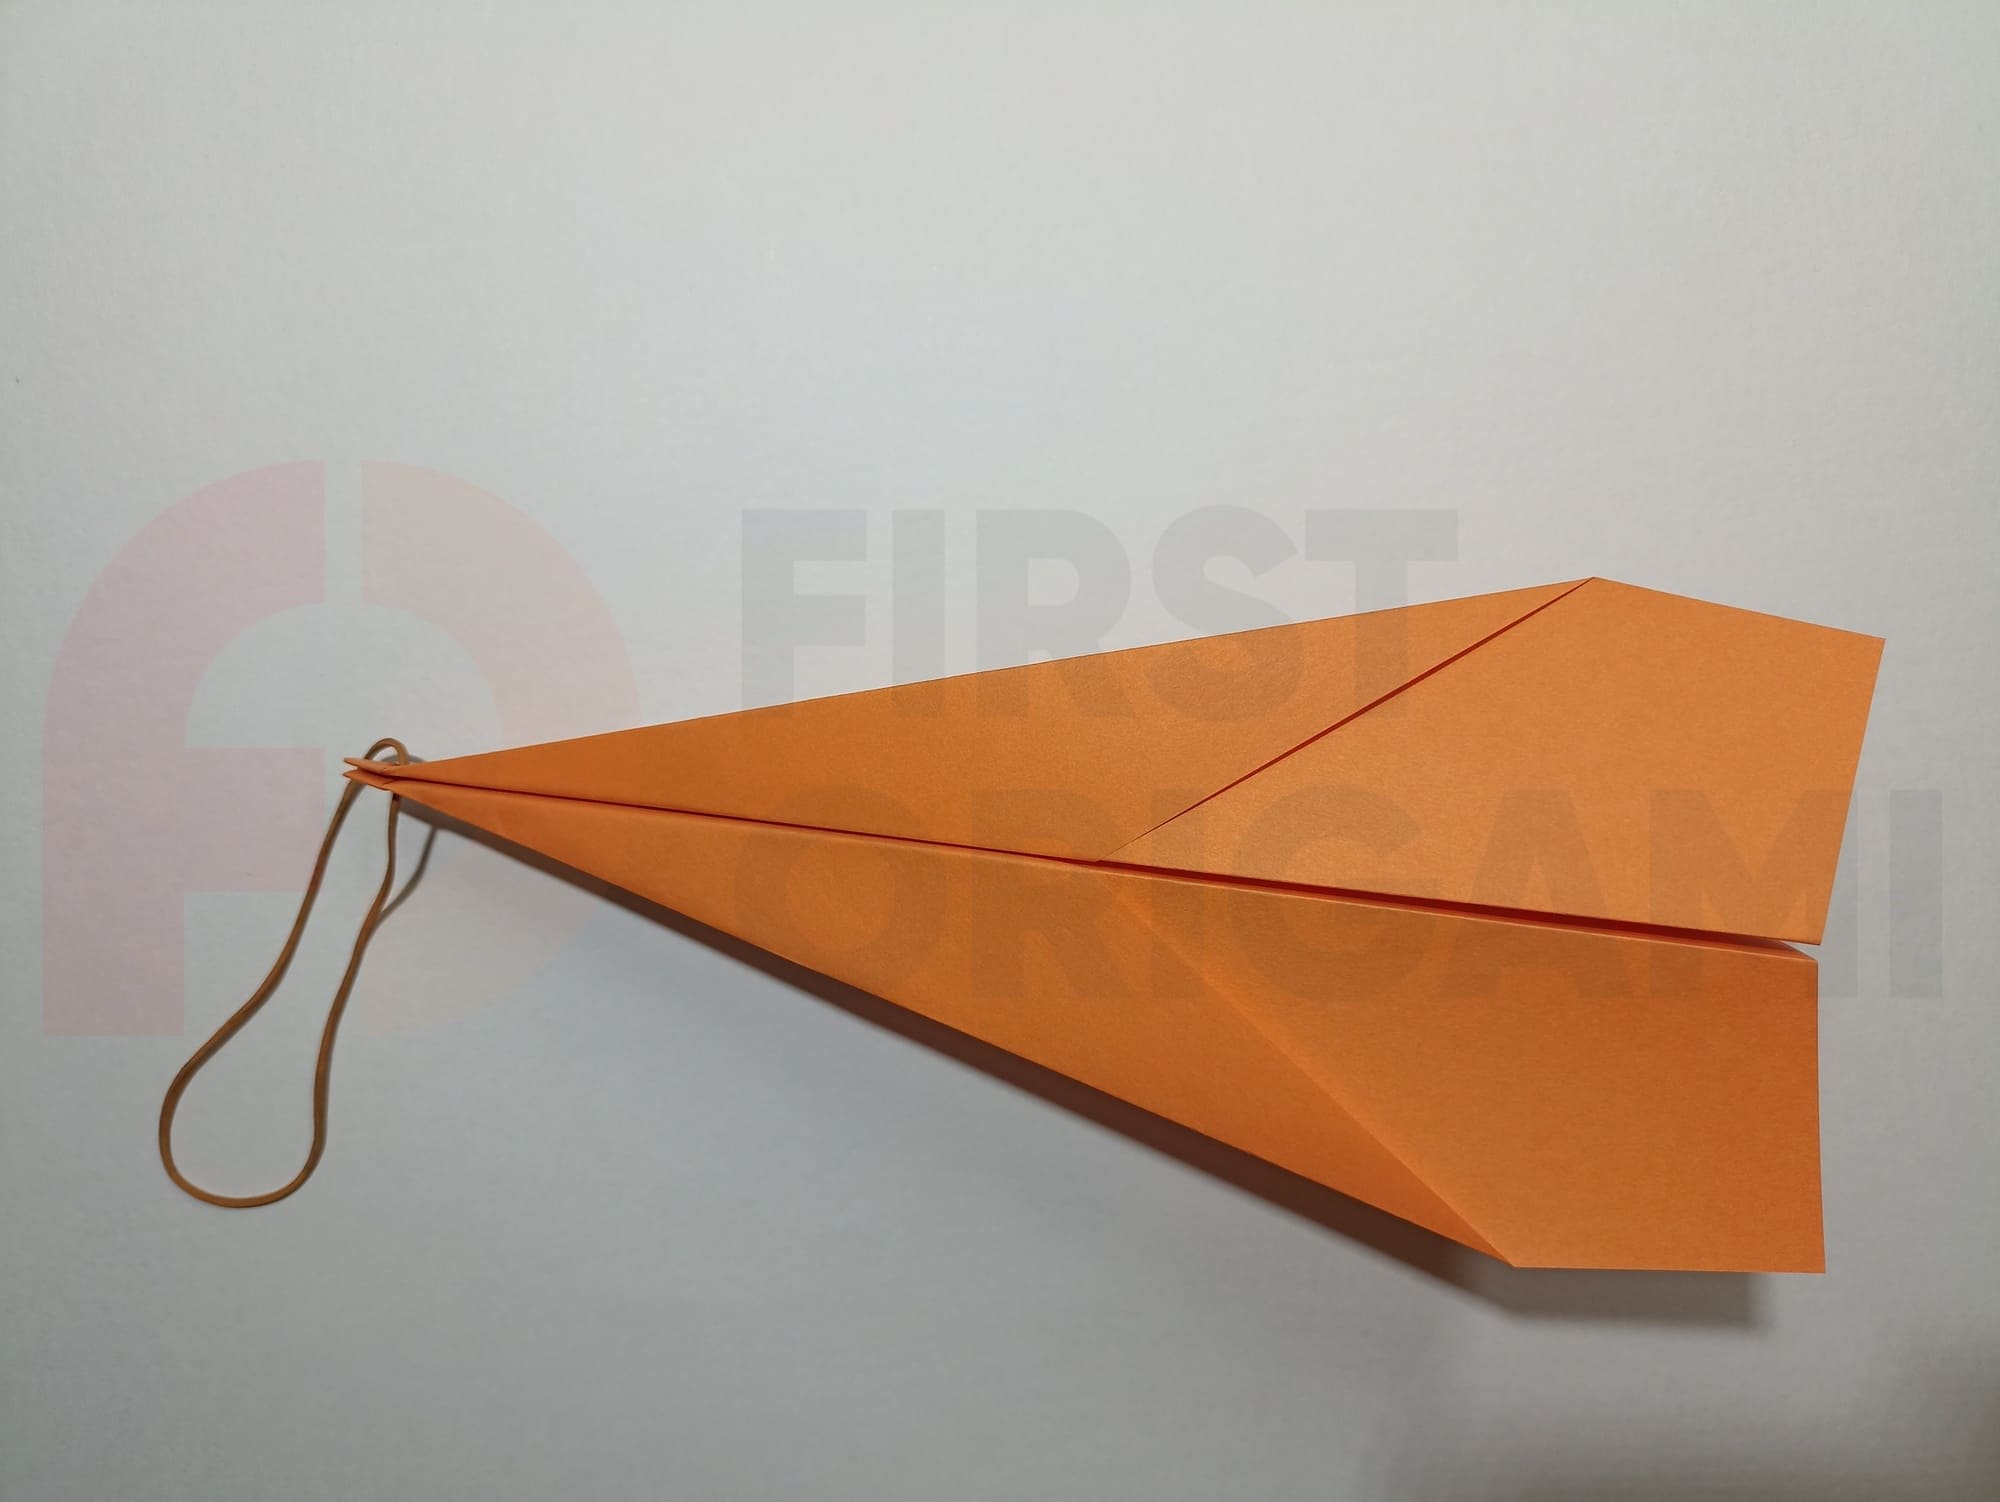
Place the rubber band for launching into the cut.
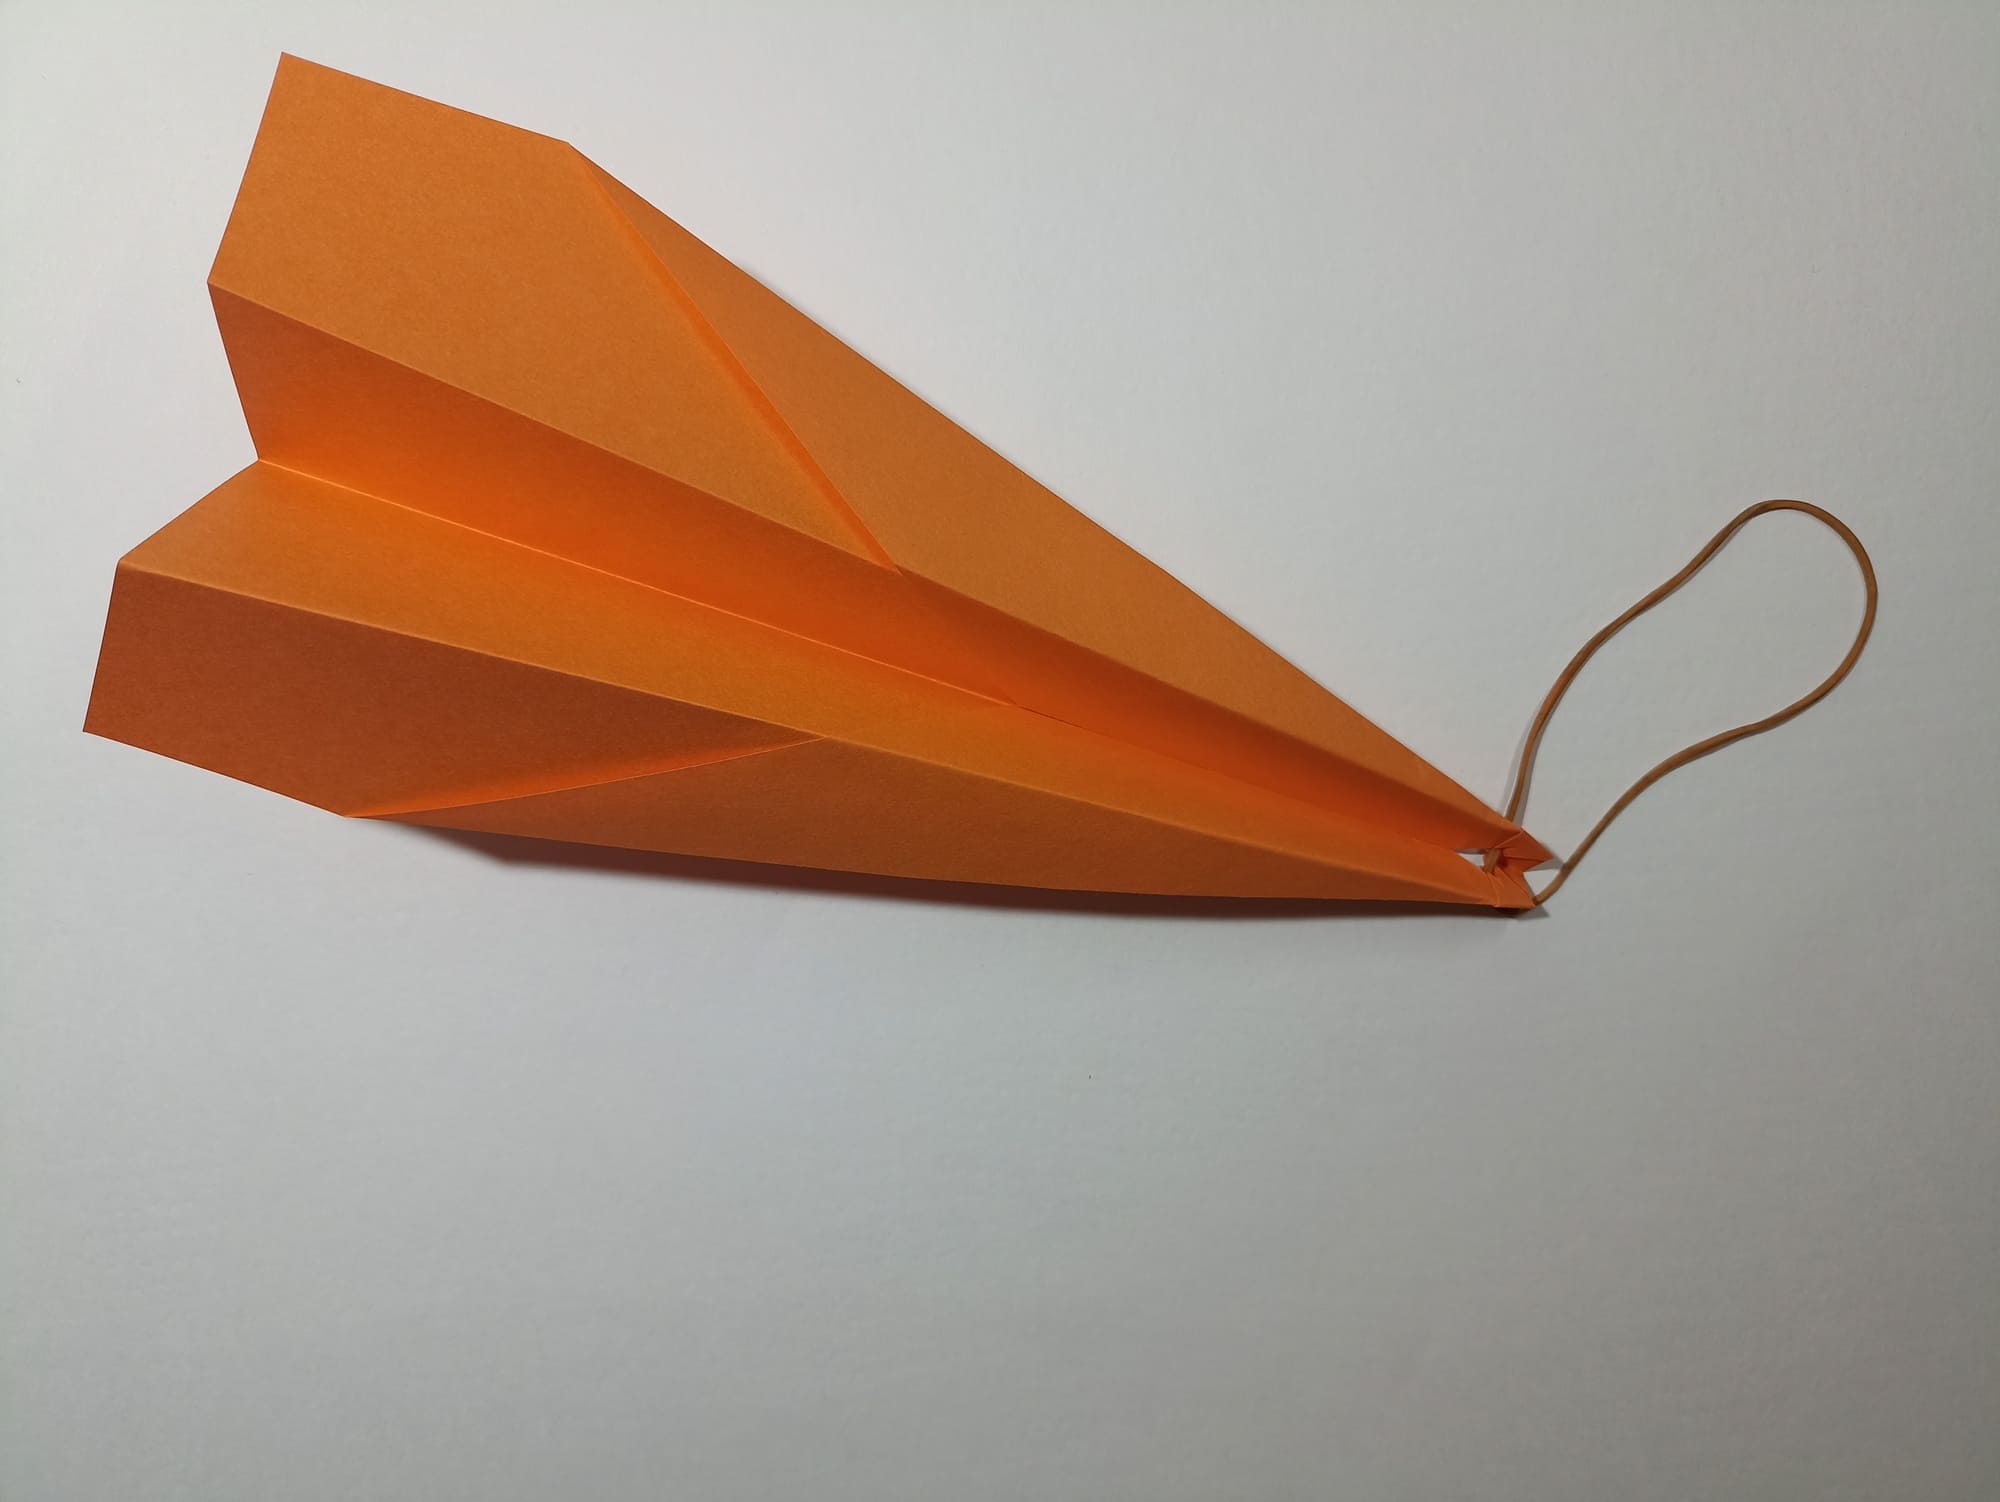
Take the airplane by the base with one hand and pull it toward you, pull the elastic band away from you with the other hand, and let go.
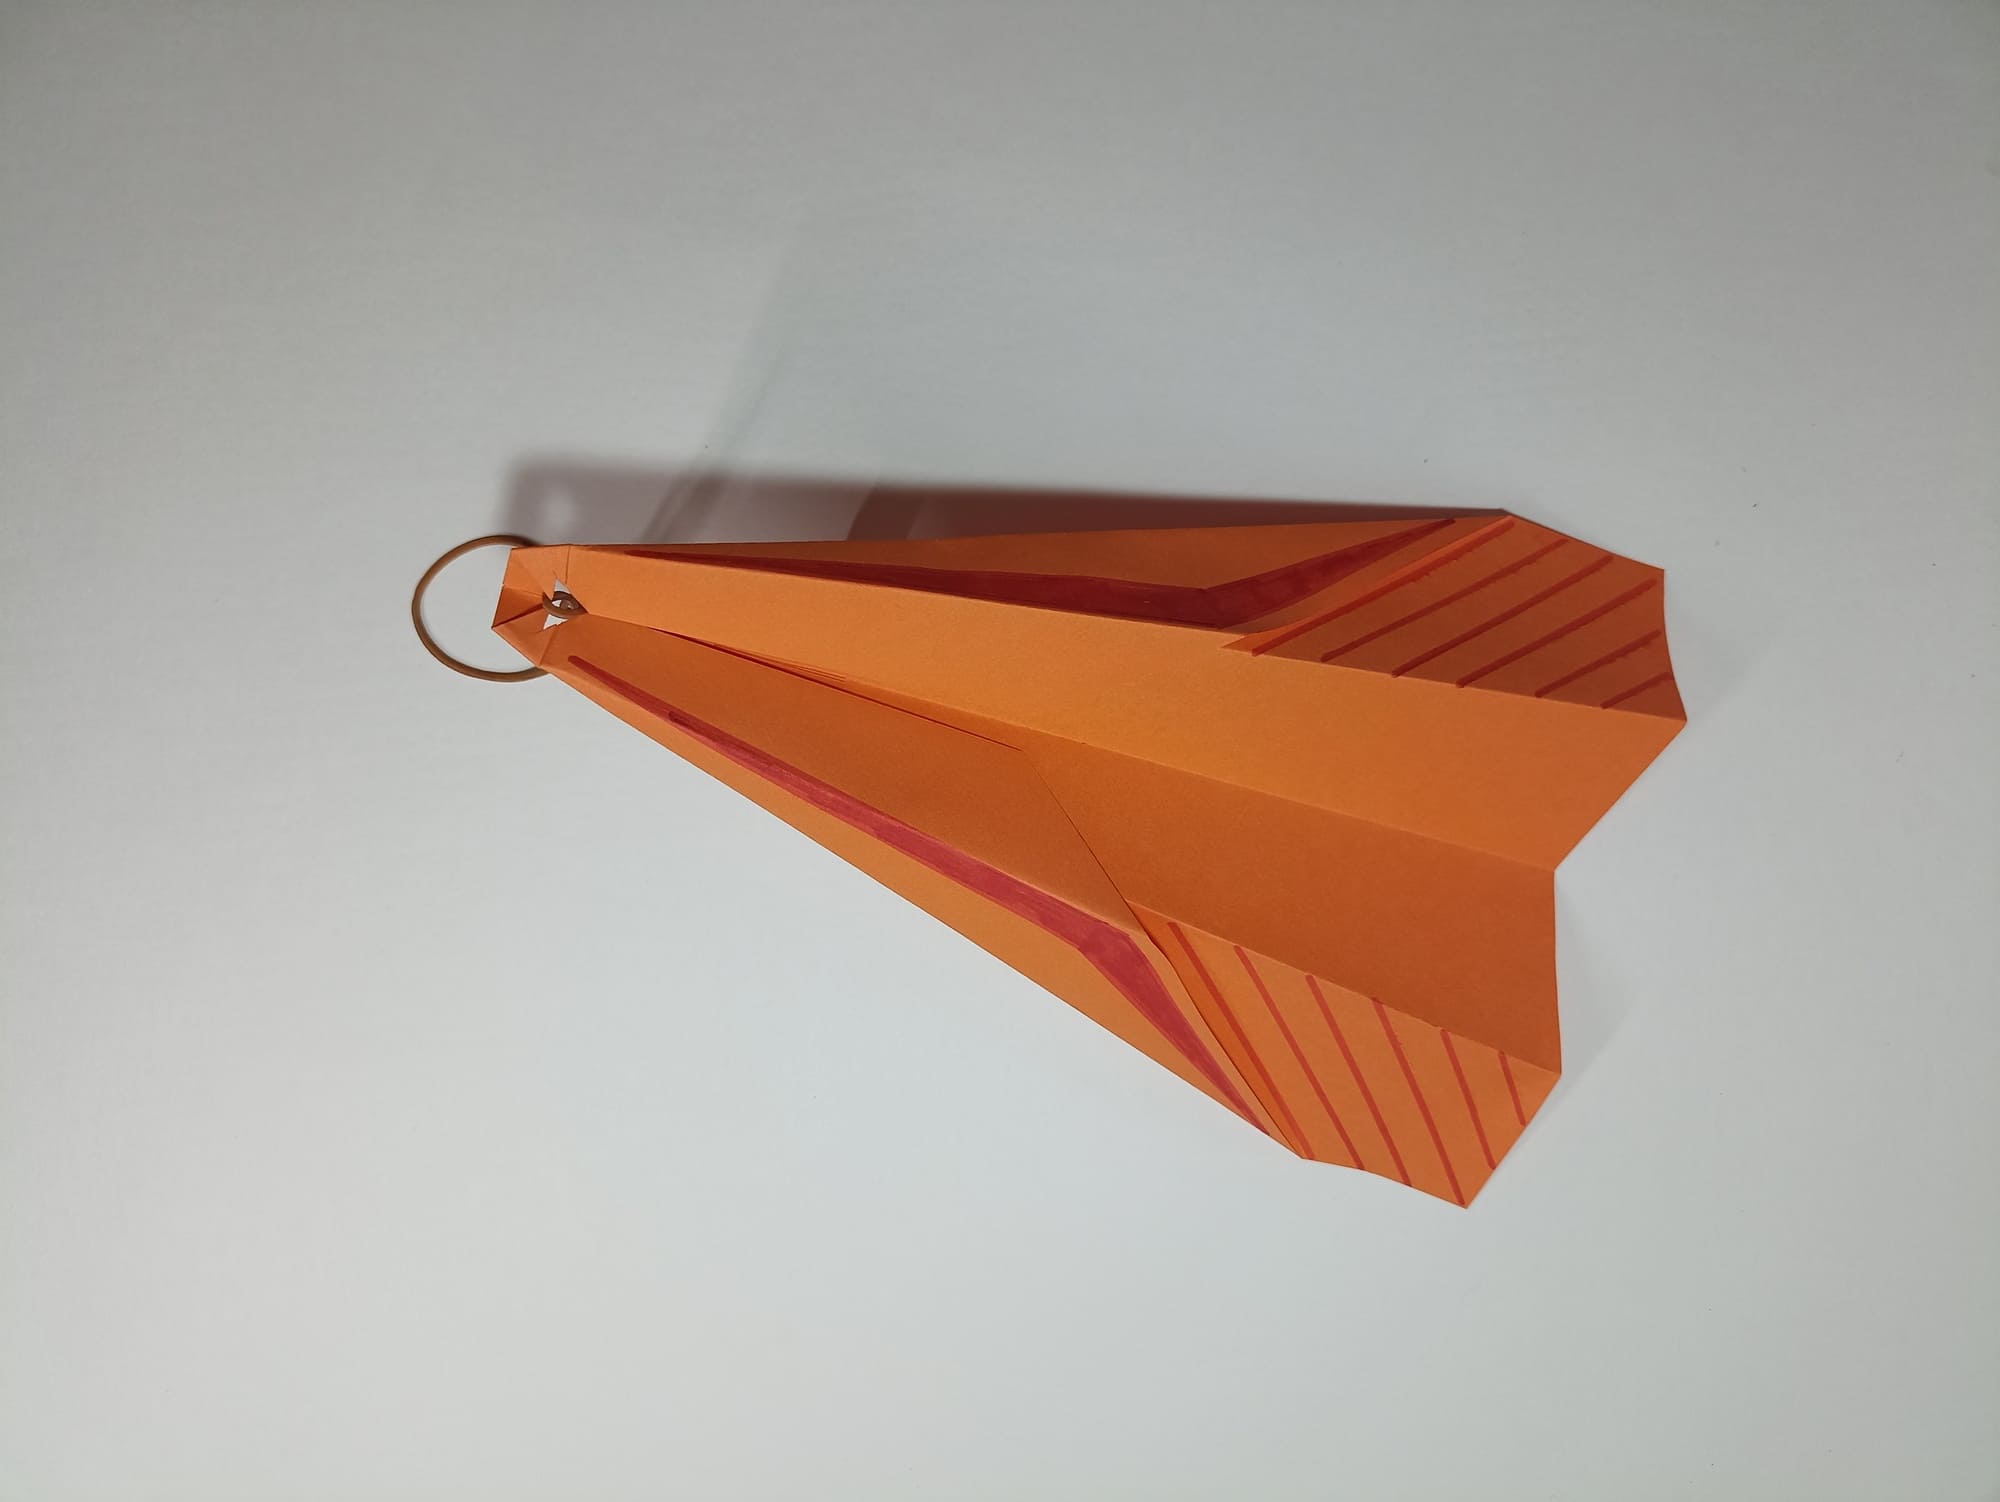
Draw longitudinal lines on the body to visually extend the airplane even more.
When launching, it is important to be attentive and careful; you should not aim the airplane at the faces of people around you, so as not to cause injury. The section under the nose of the airplane can be taped with tape to give it density. This technique will help the body not to wrinkle when falling and not to tear from the tension of the elastic band.