Origami Light Spinner Airplane
The propeller has very large wings, no tail, and a small body. The design feature allows you to make a spiral of a large radius in flight. This airplane, launched from a height, does not go into a tailspin. That is, it does not quickly fall nose down like a stone but performs a downward spiral – an aerobatics maneuver in which circular movements with the same radius in one plane gradually go towards the ground.
In the limited space of the room, you can enjoy quiet planning and observe the trajectory. The angle of inclination of the flaps folded in the opposite direction affects the radius of the spiral. These simple 14-step instructions will help you make this beautiful model.
The propeller is similar to a drone with a silent ion engine. Such aircraft are equipped with video cameras. They explore hard-to-reach areas of city blocks, silently rising vertically and landing without a landing strip.
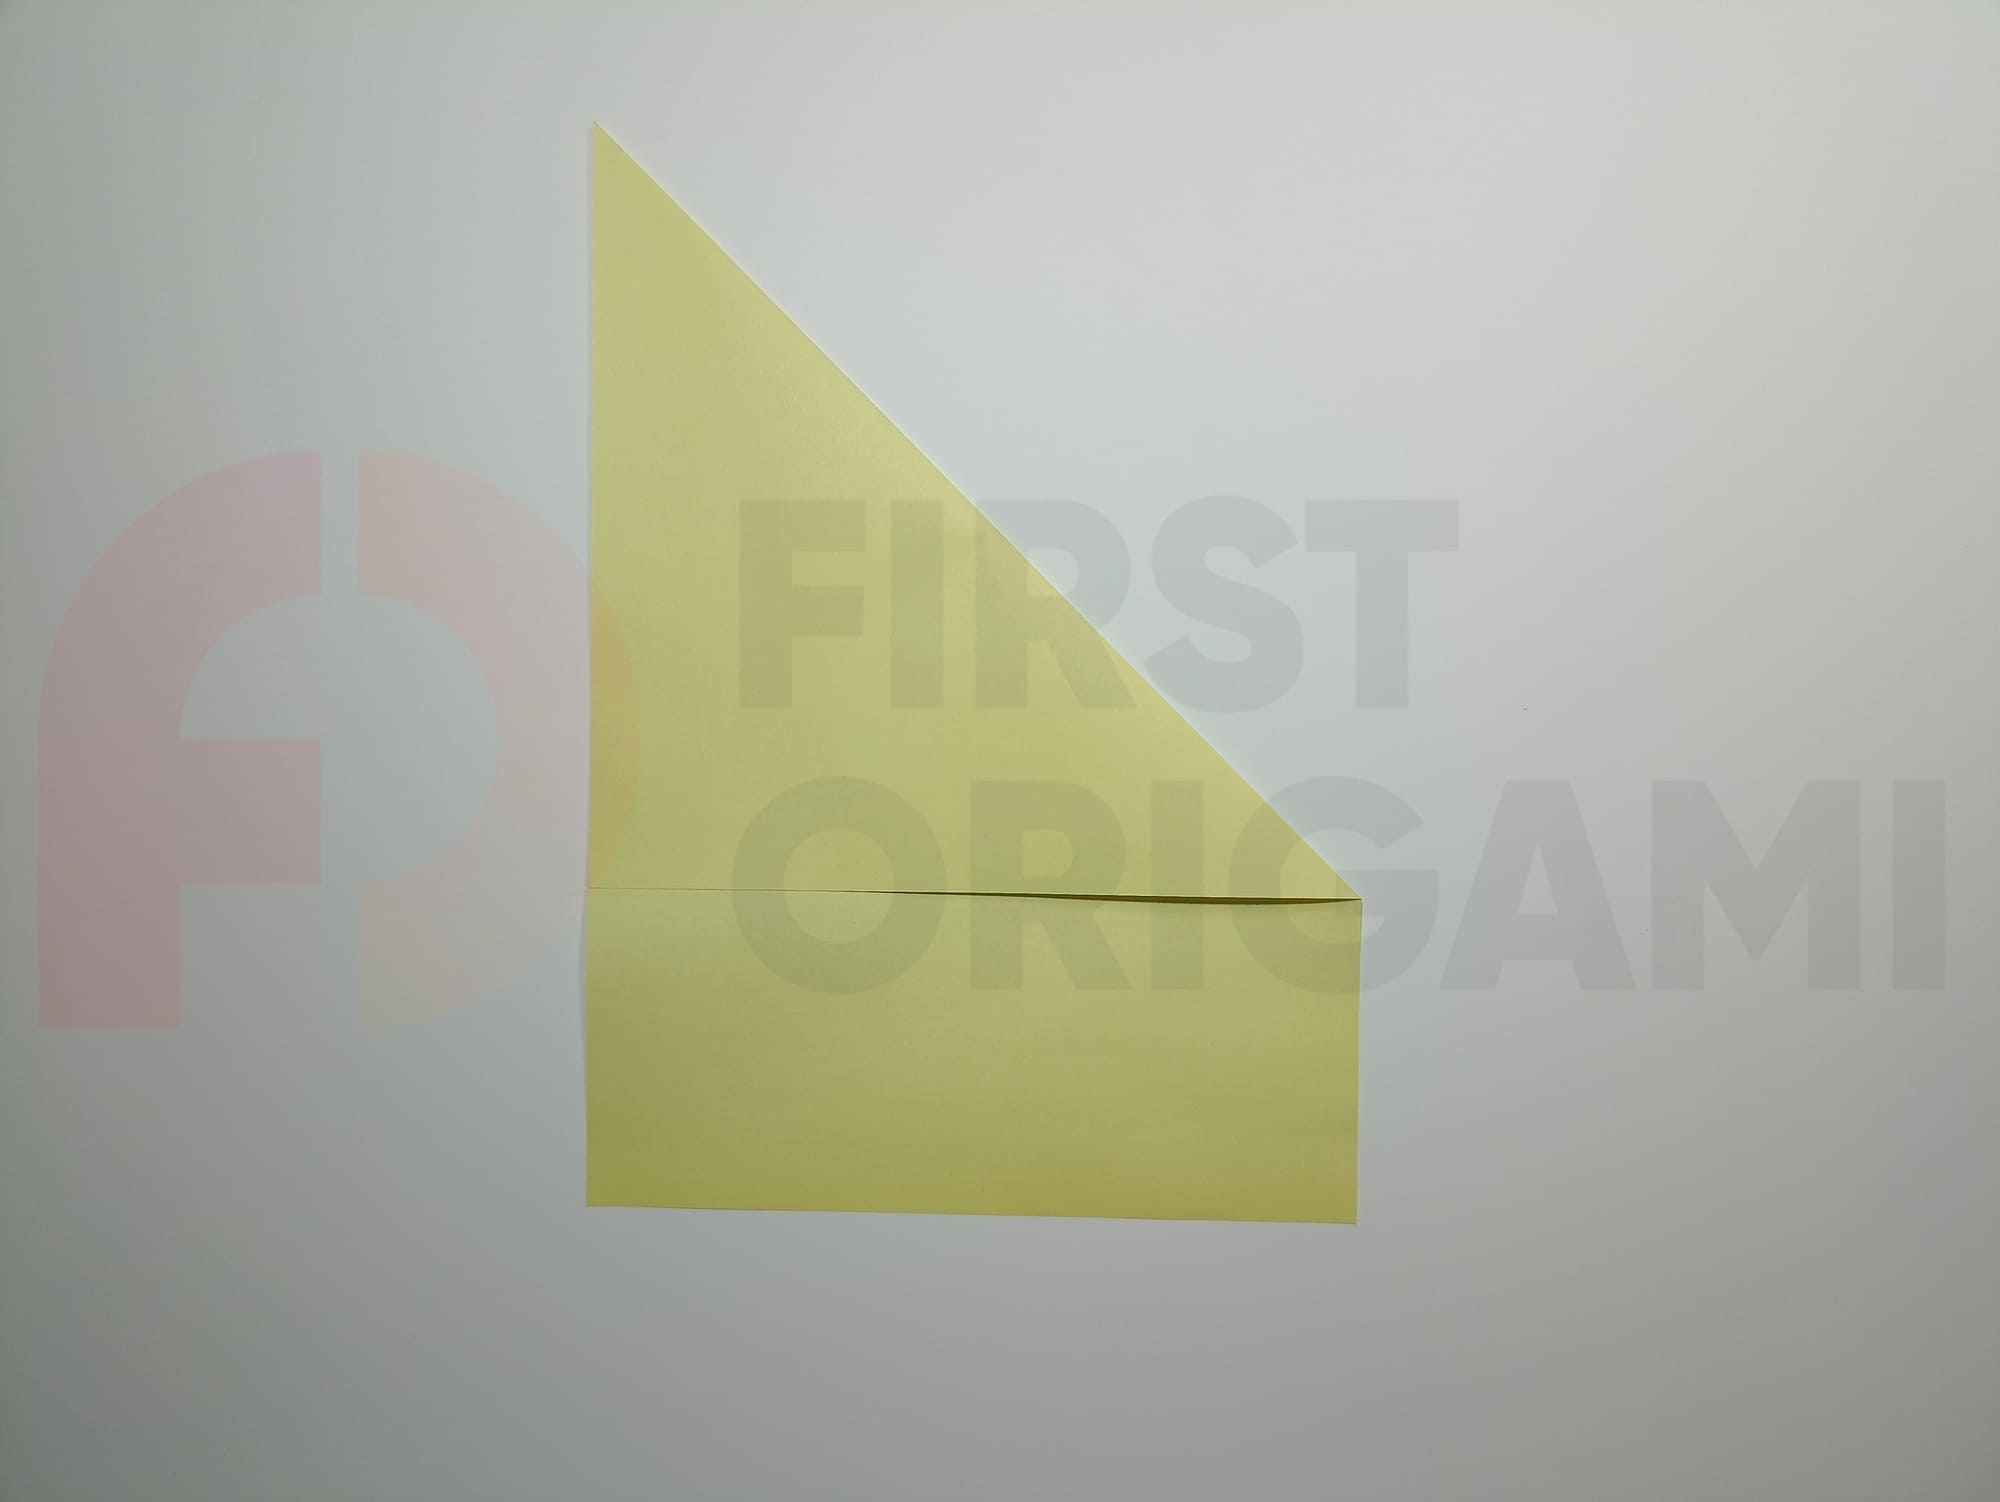
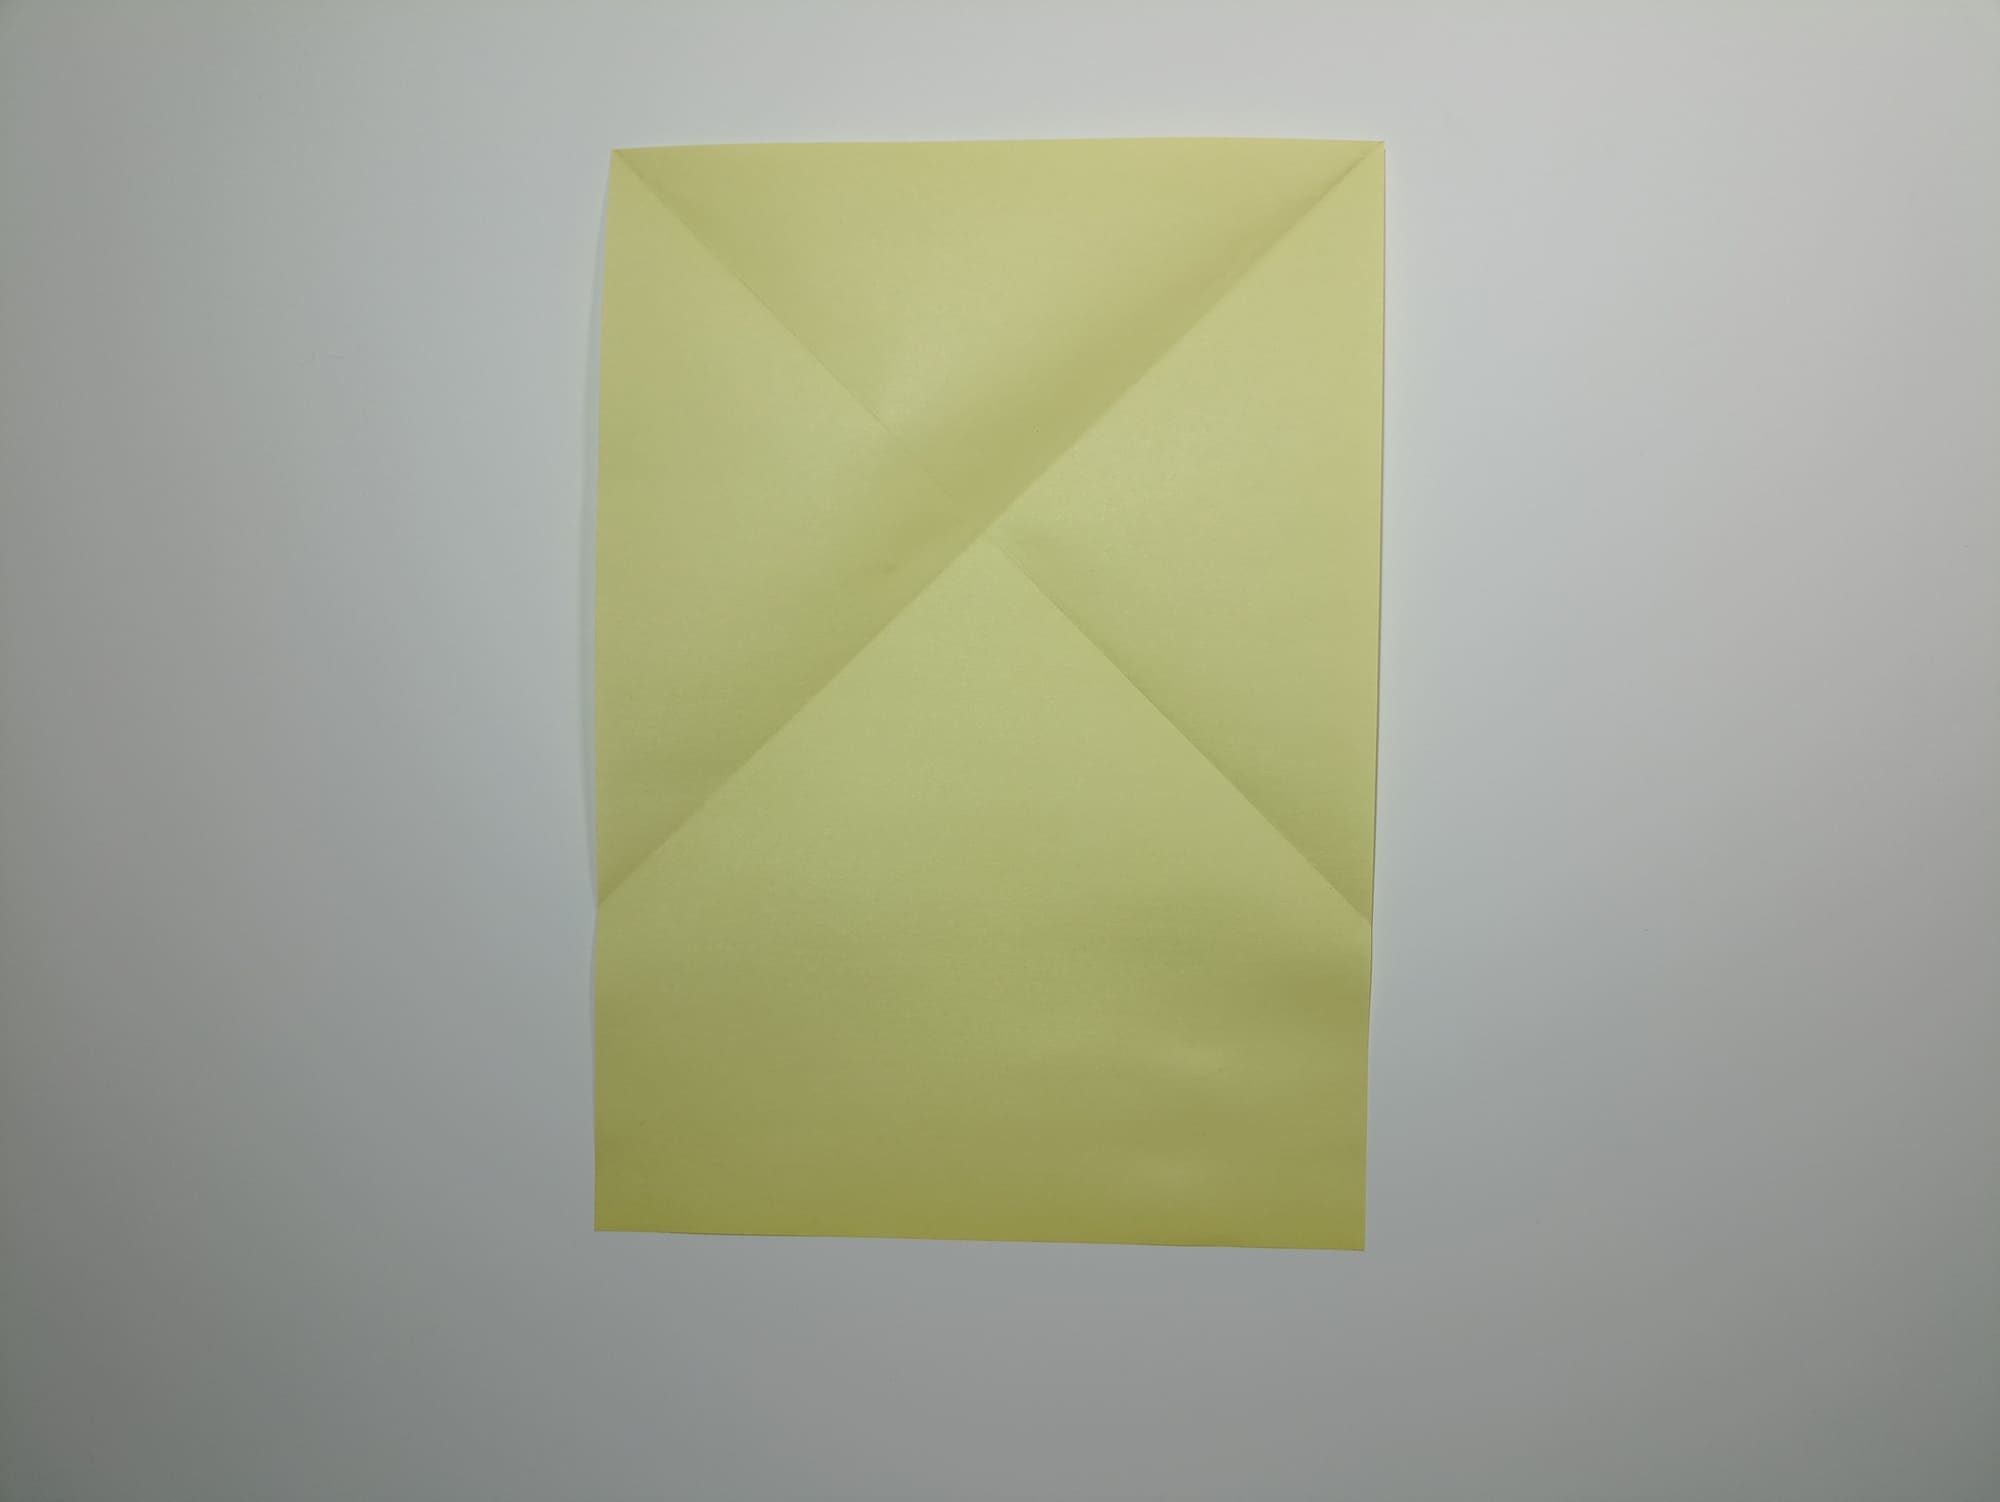
To mark assisting lines, fold the top of the sheet of paper to the right side, unfold it, and fold it to the left side.

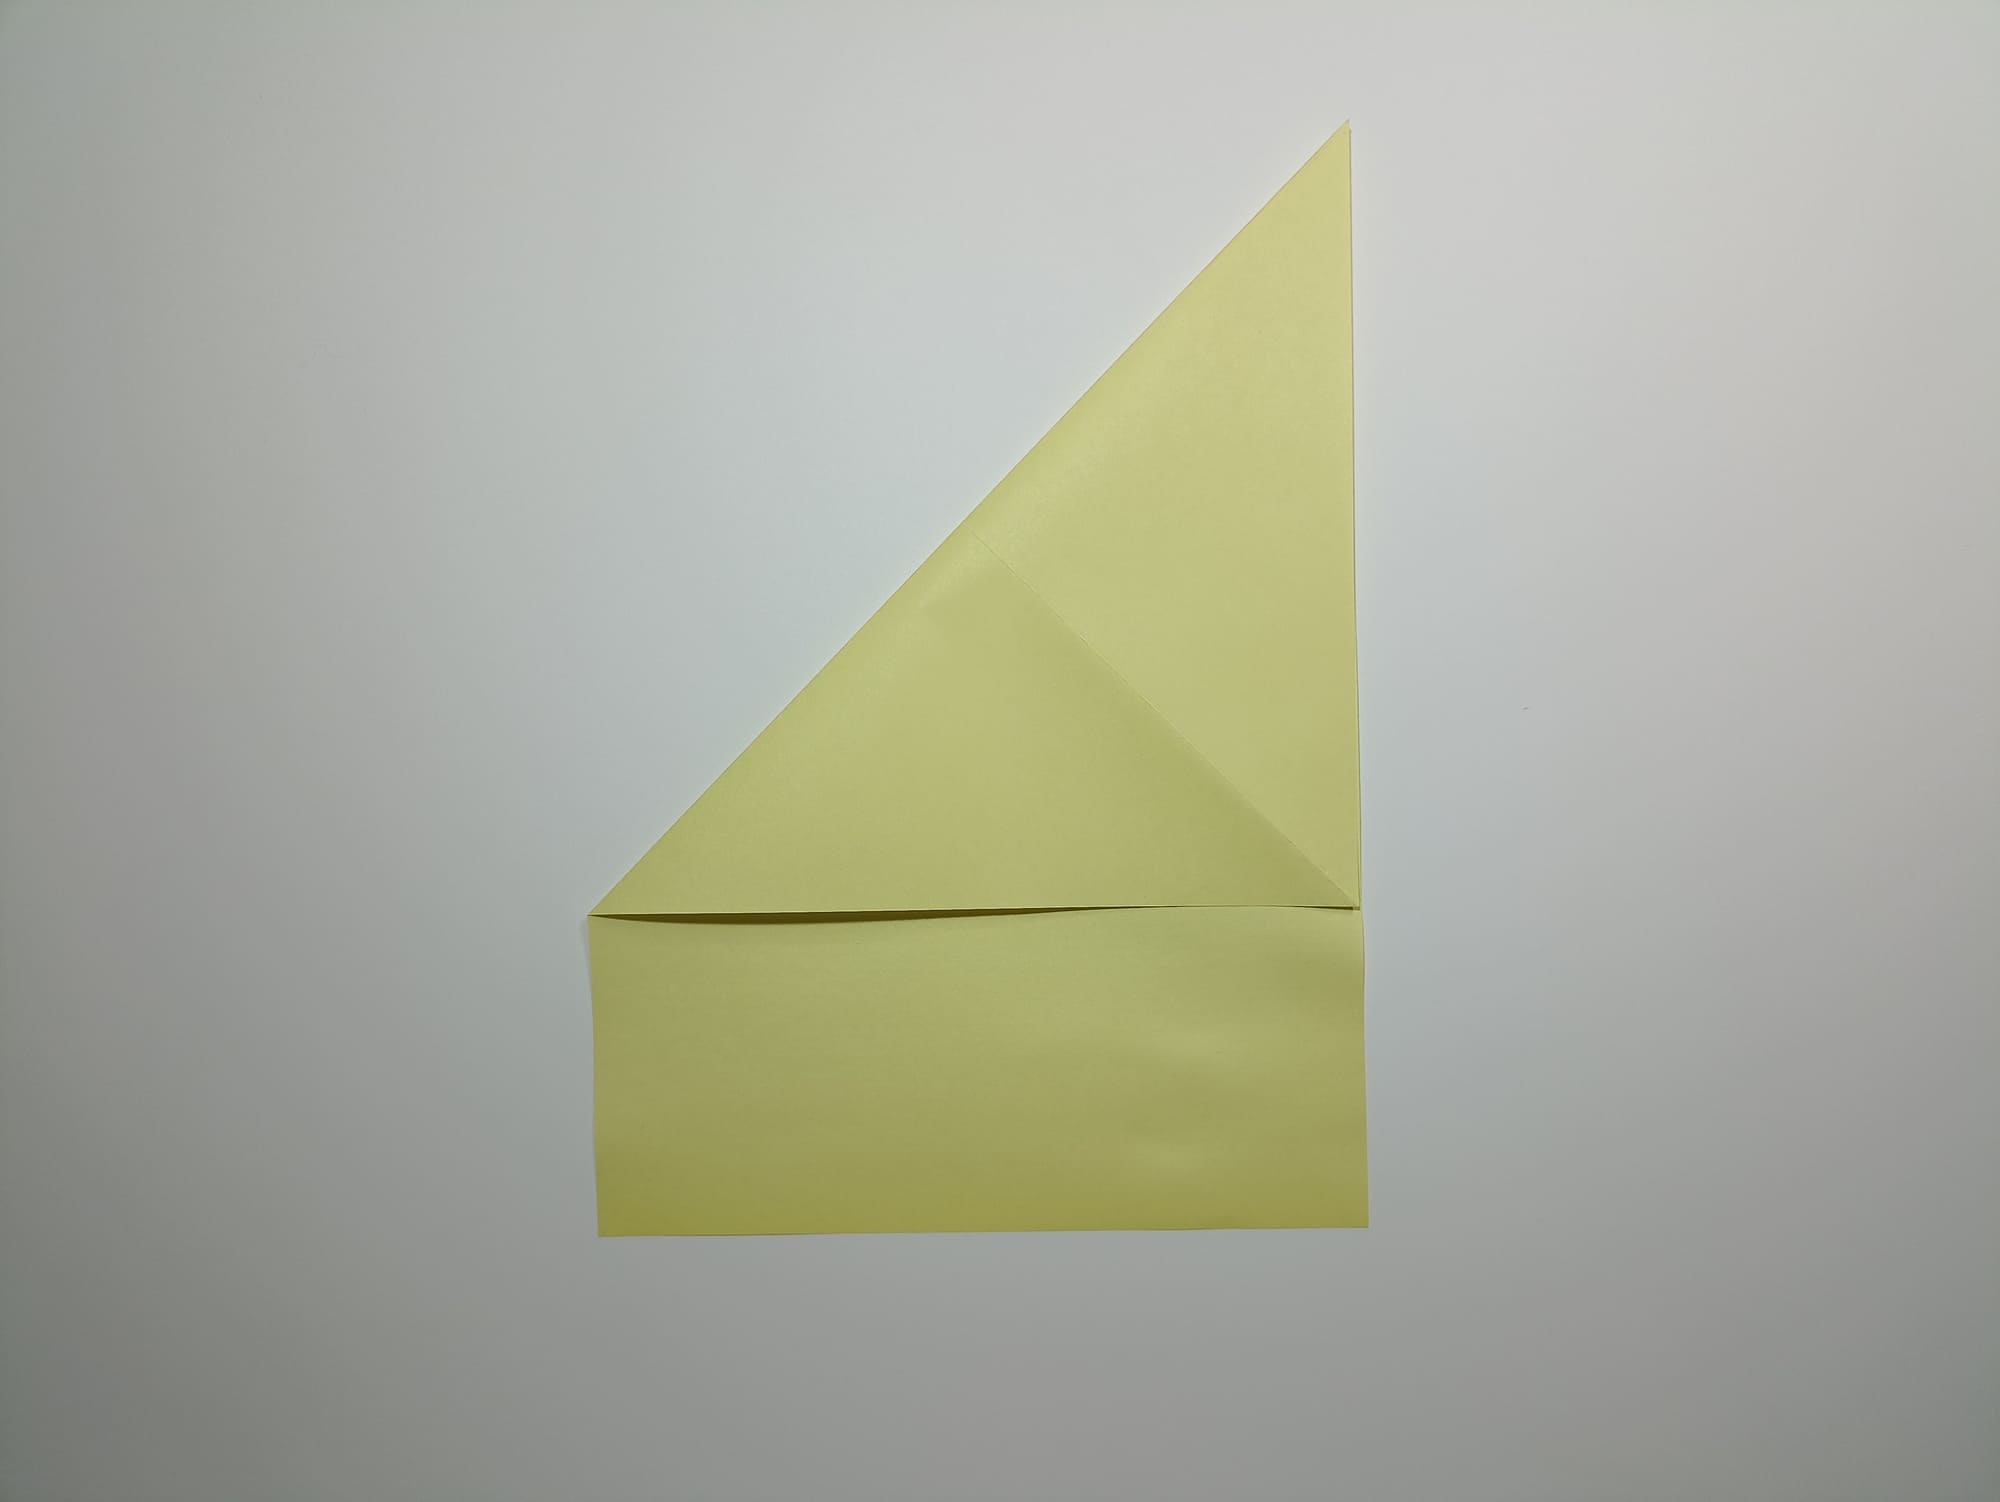
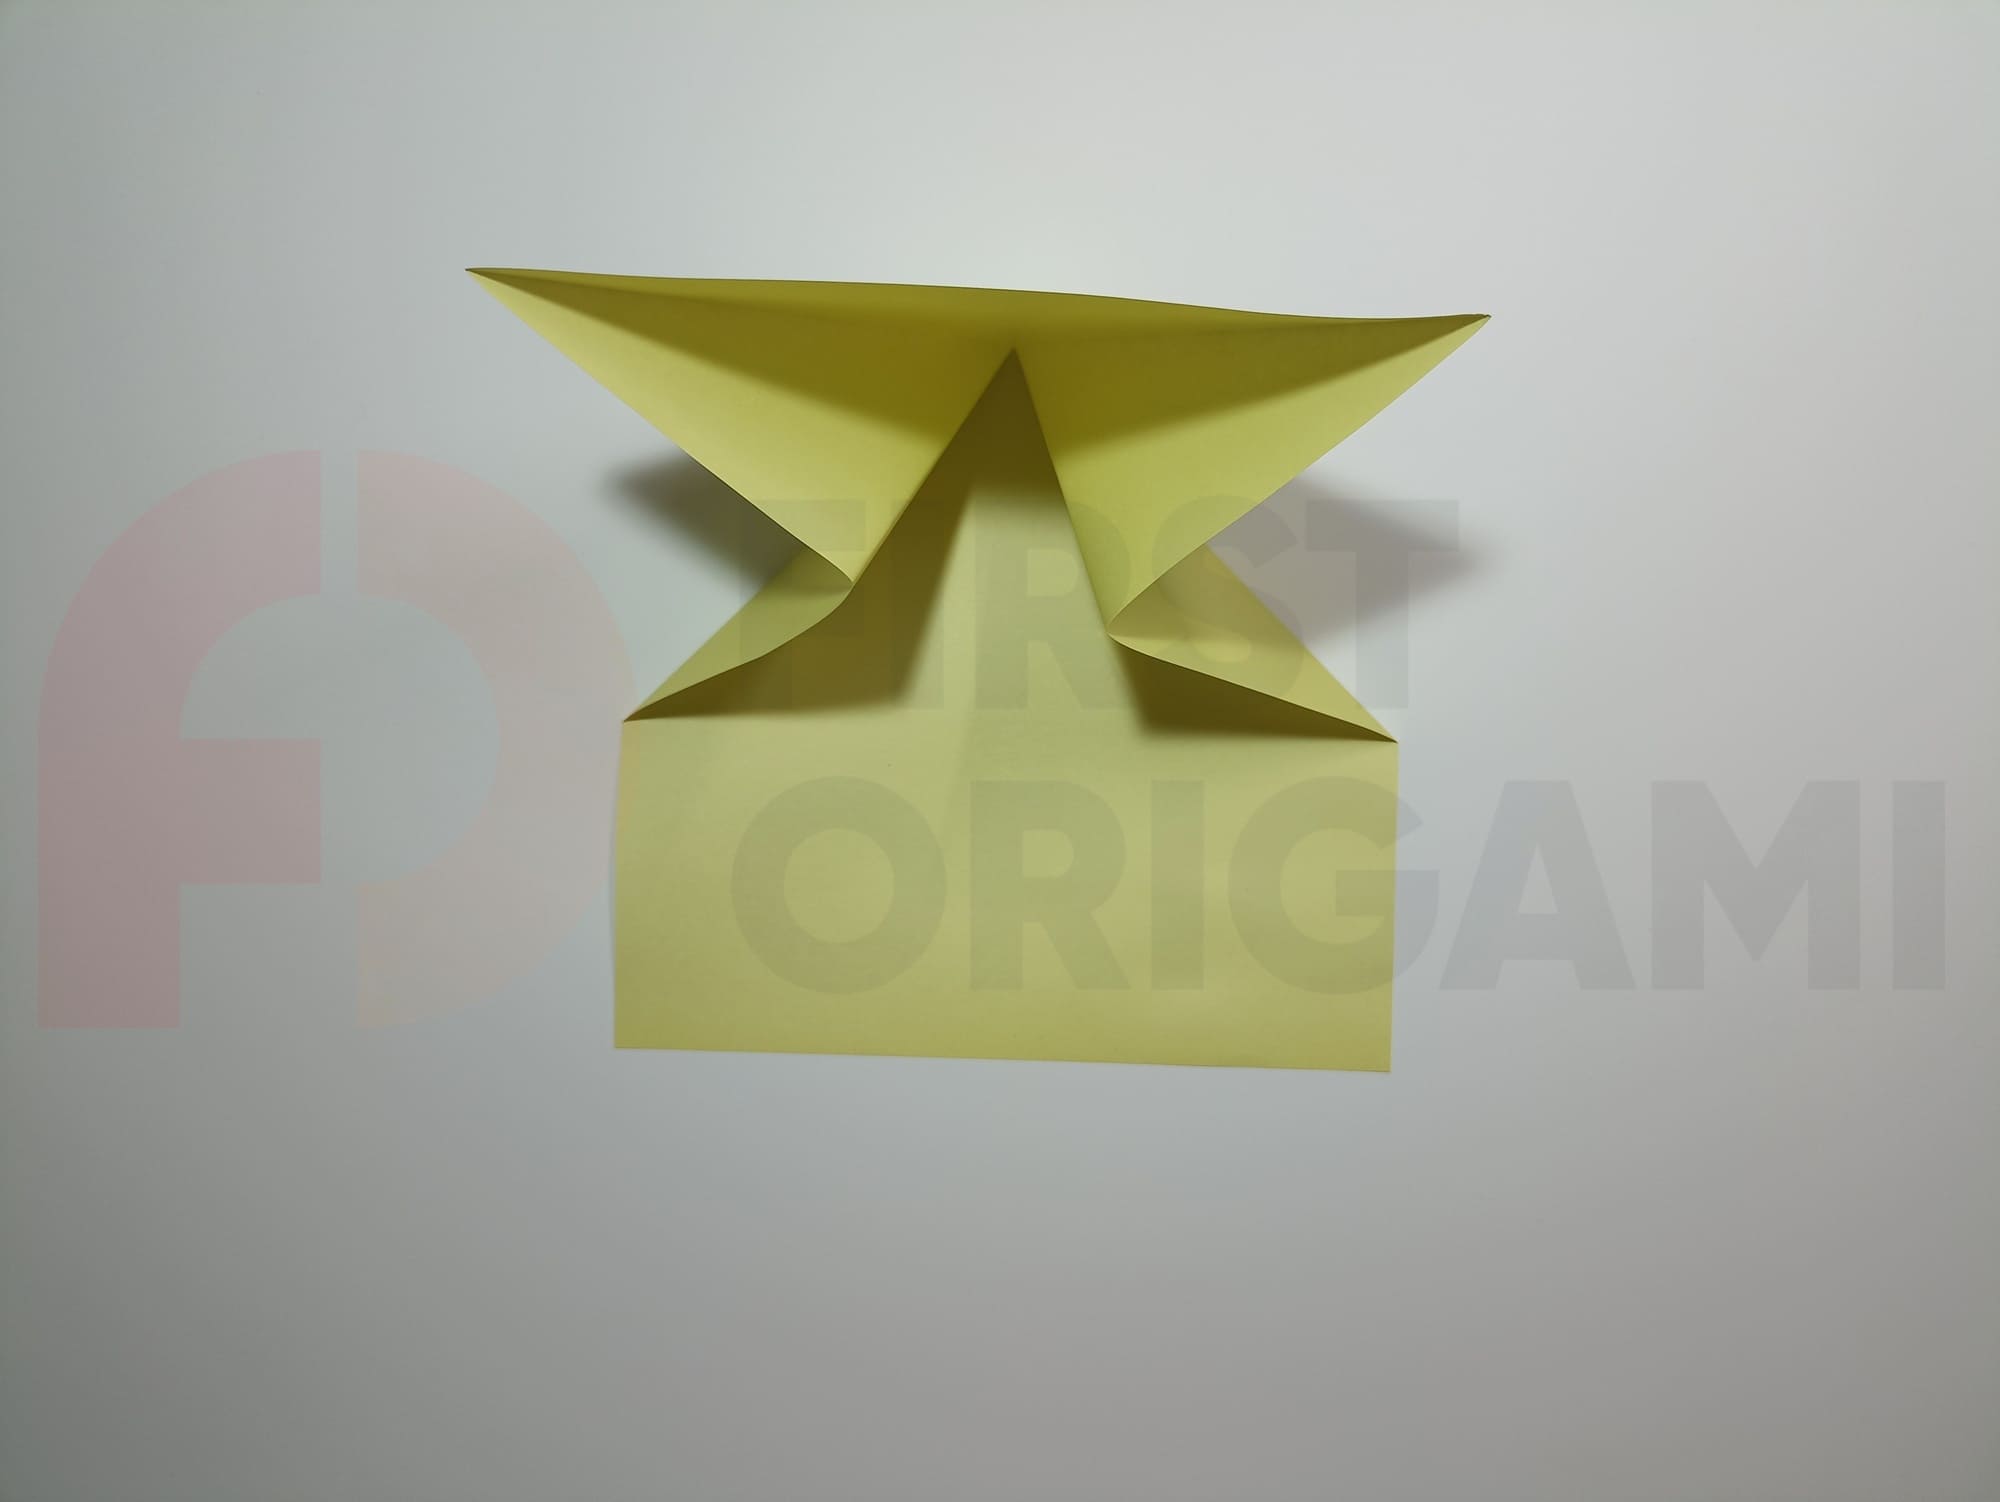
Form two layers of triangles at the top of the paper. With both hands, pull the sides towards the middle and press the fold from above, aligning it along the edges and corners.
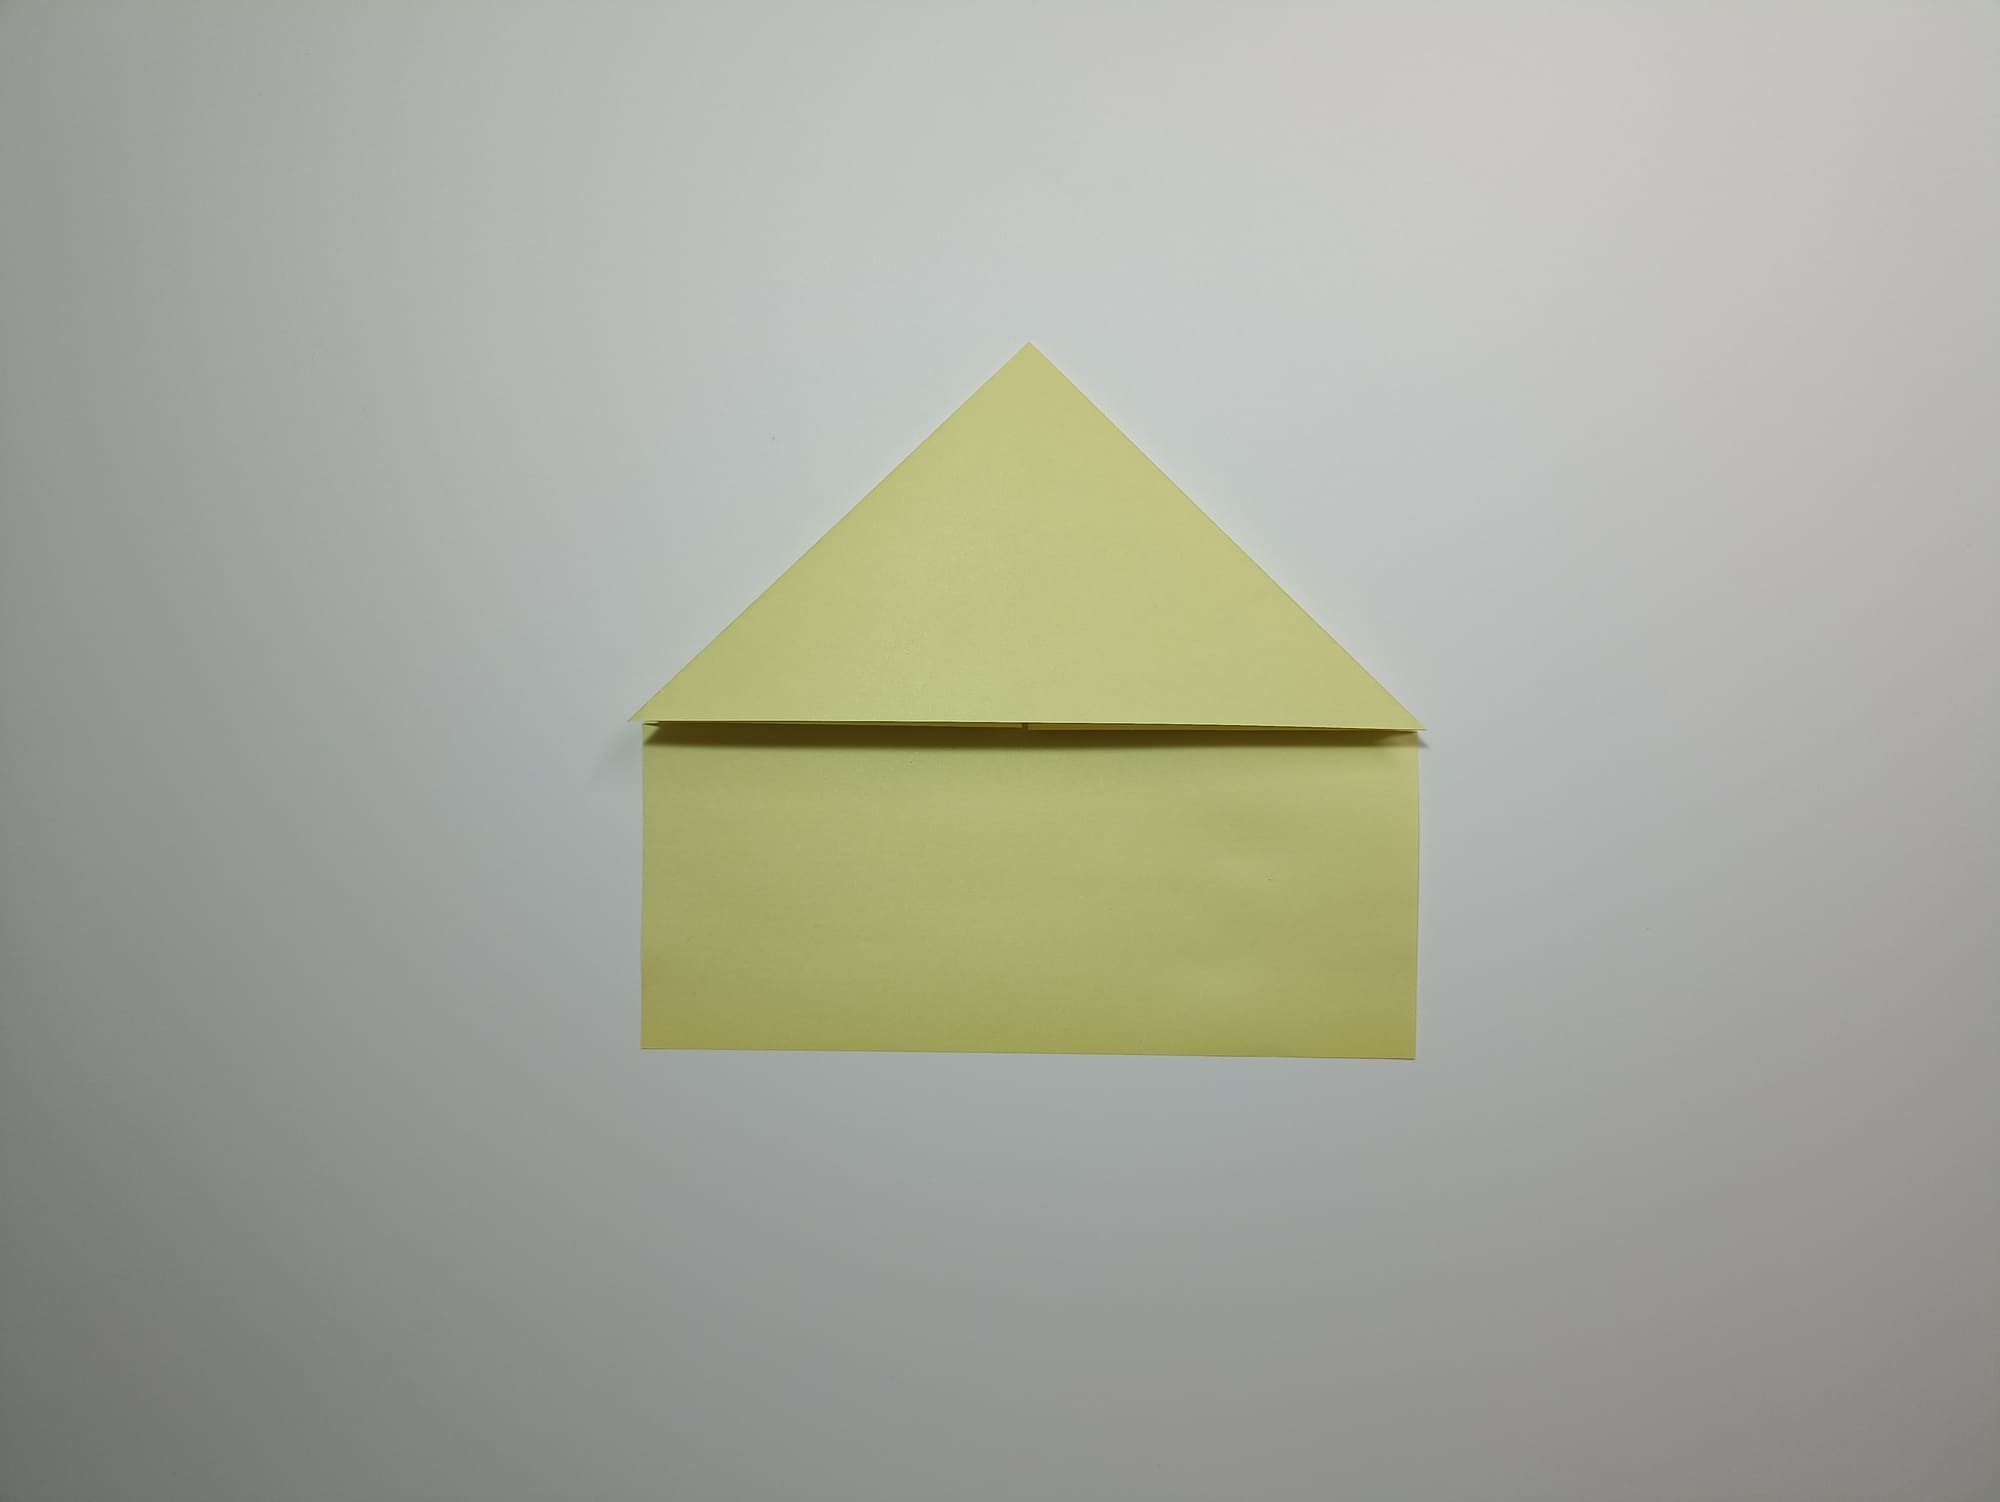
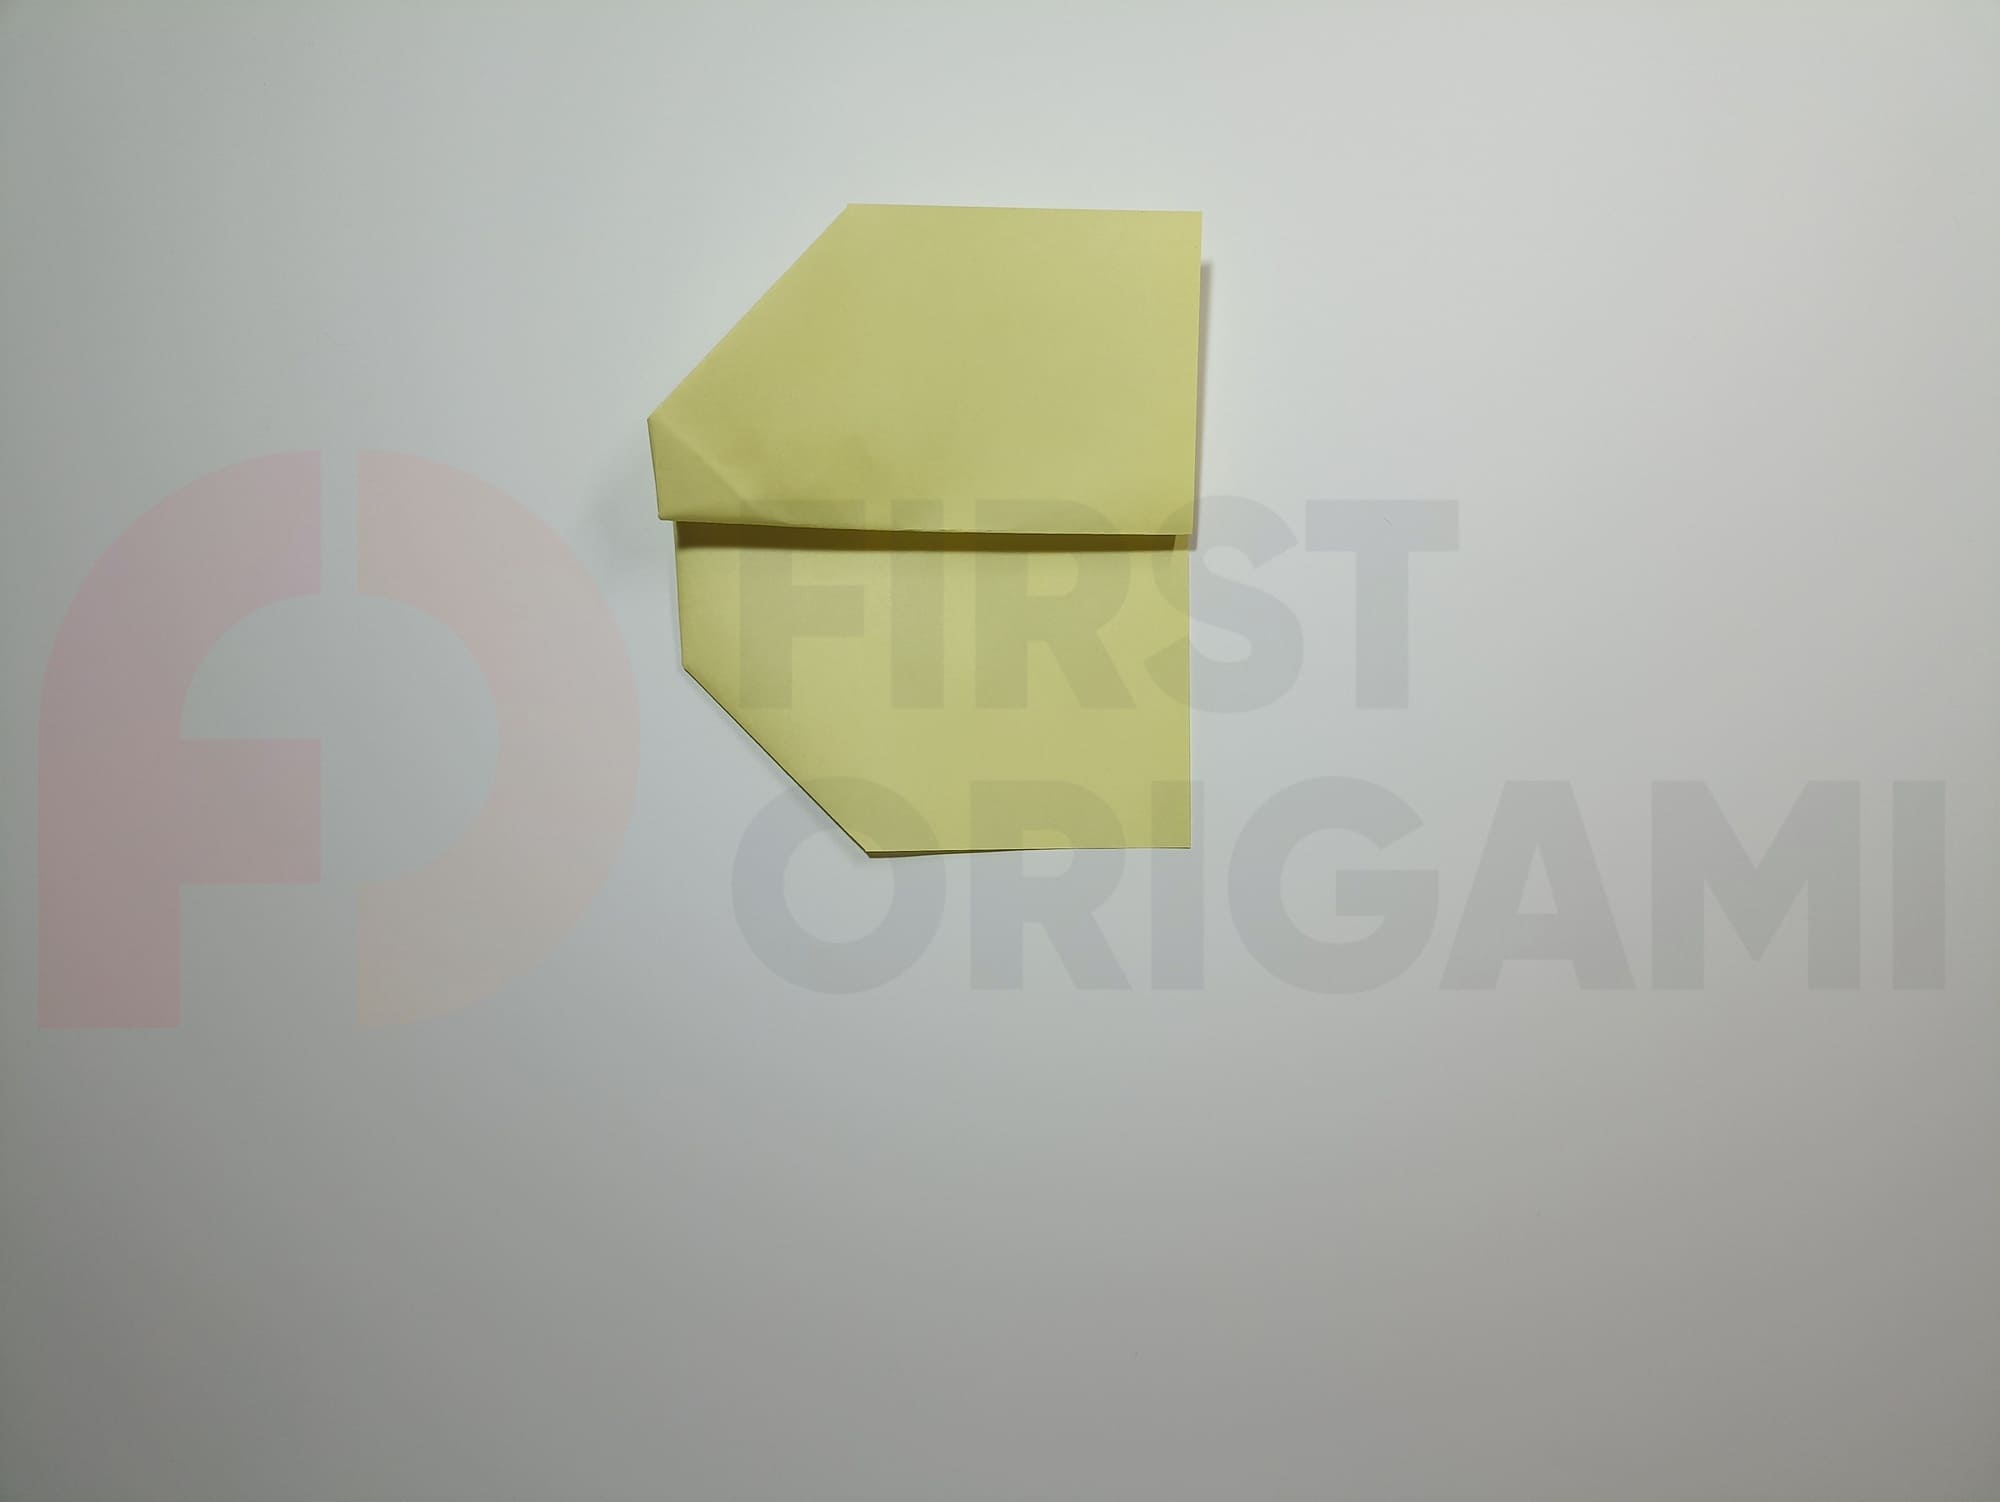
Fold the top of the large triangle towards itself to the base line.
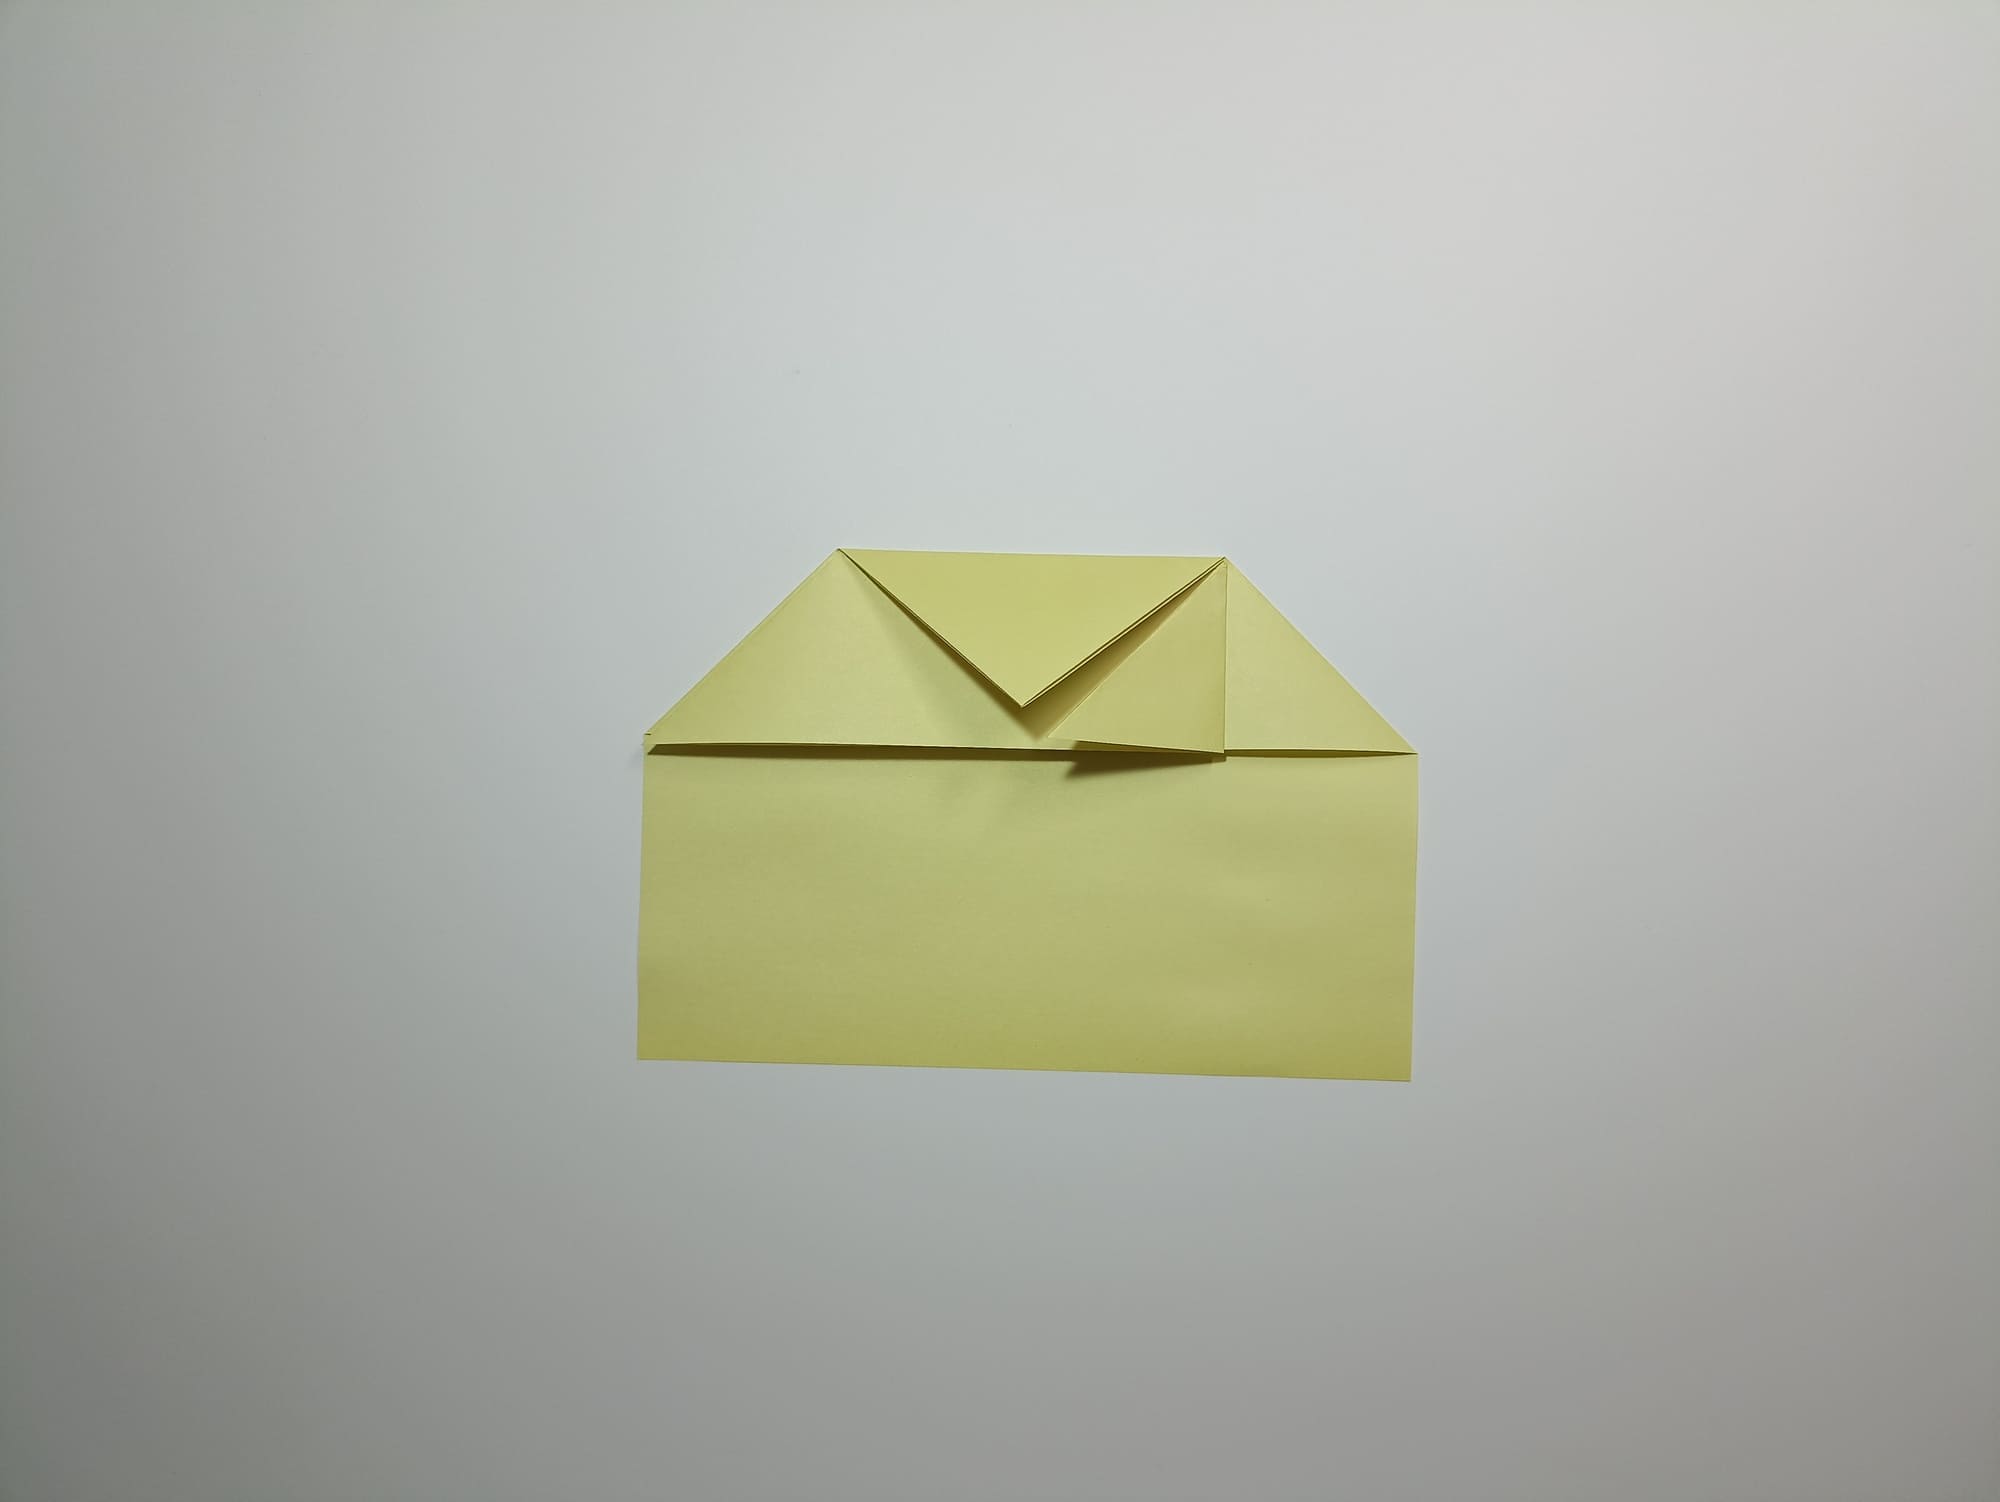
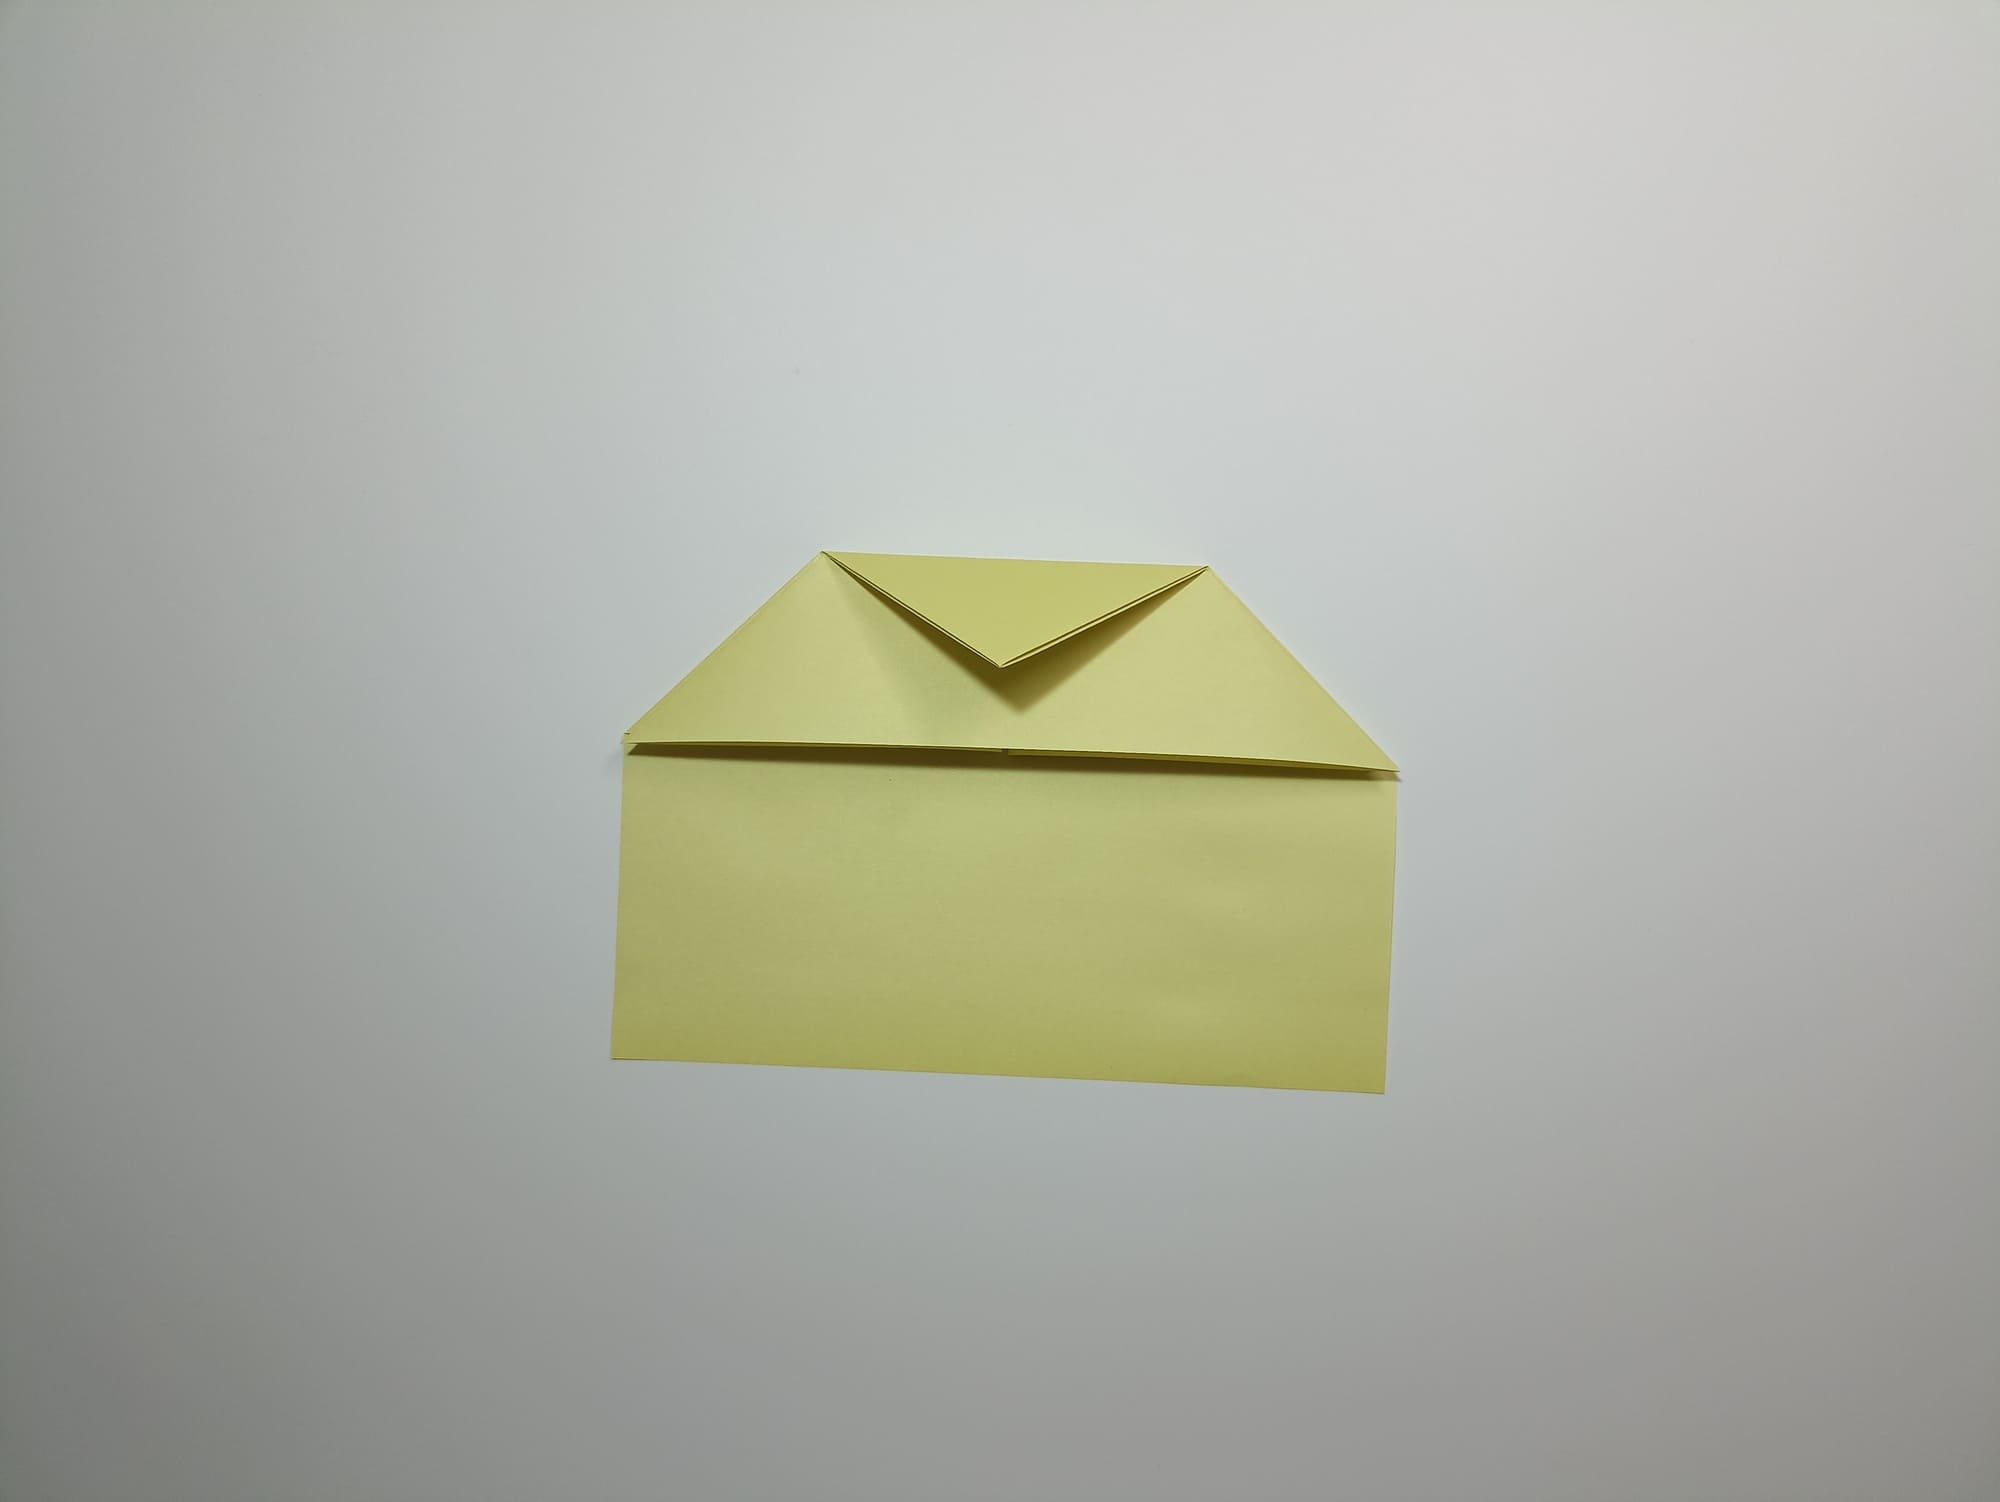
Bend the sharp side corners of the large triangle to the point obtained on the base line.
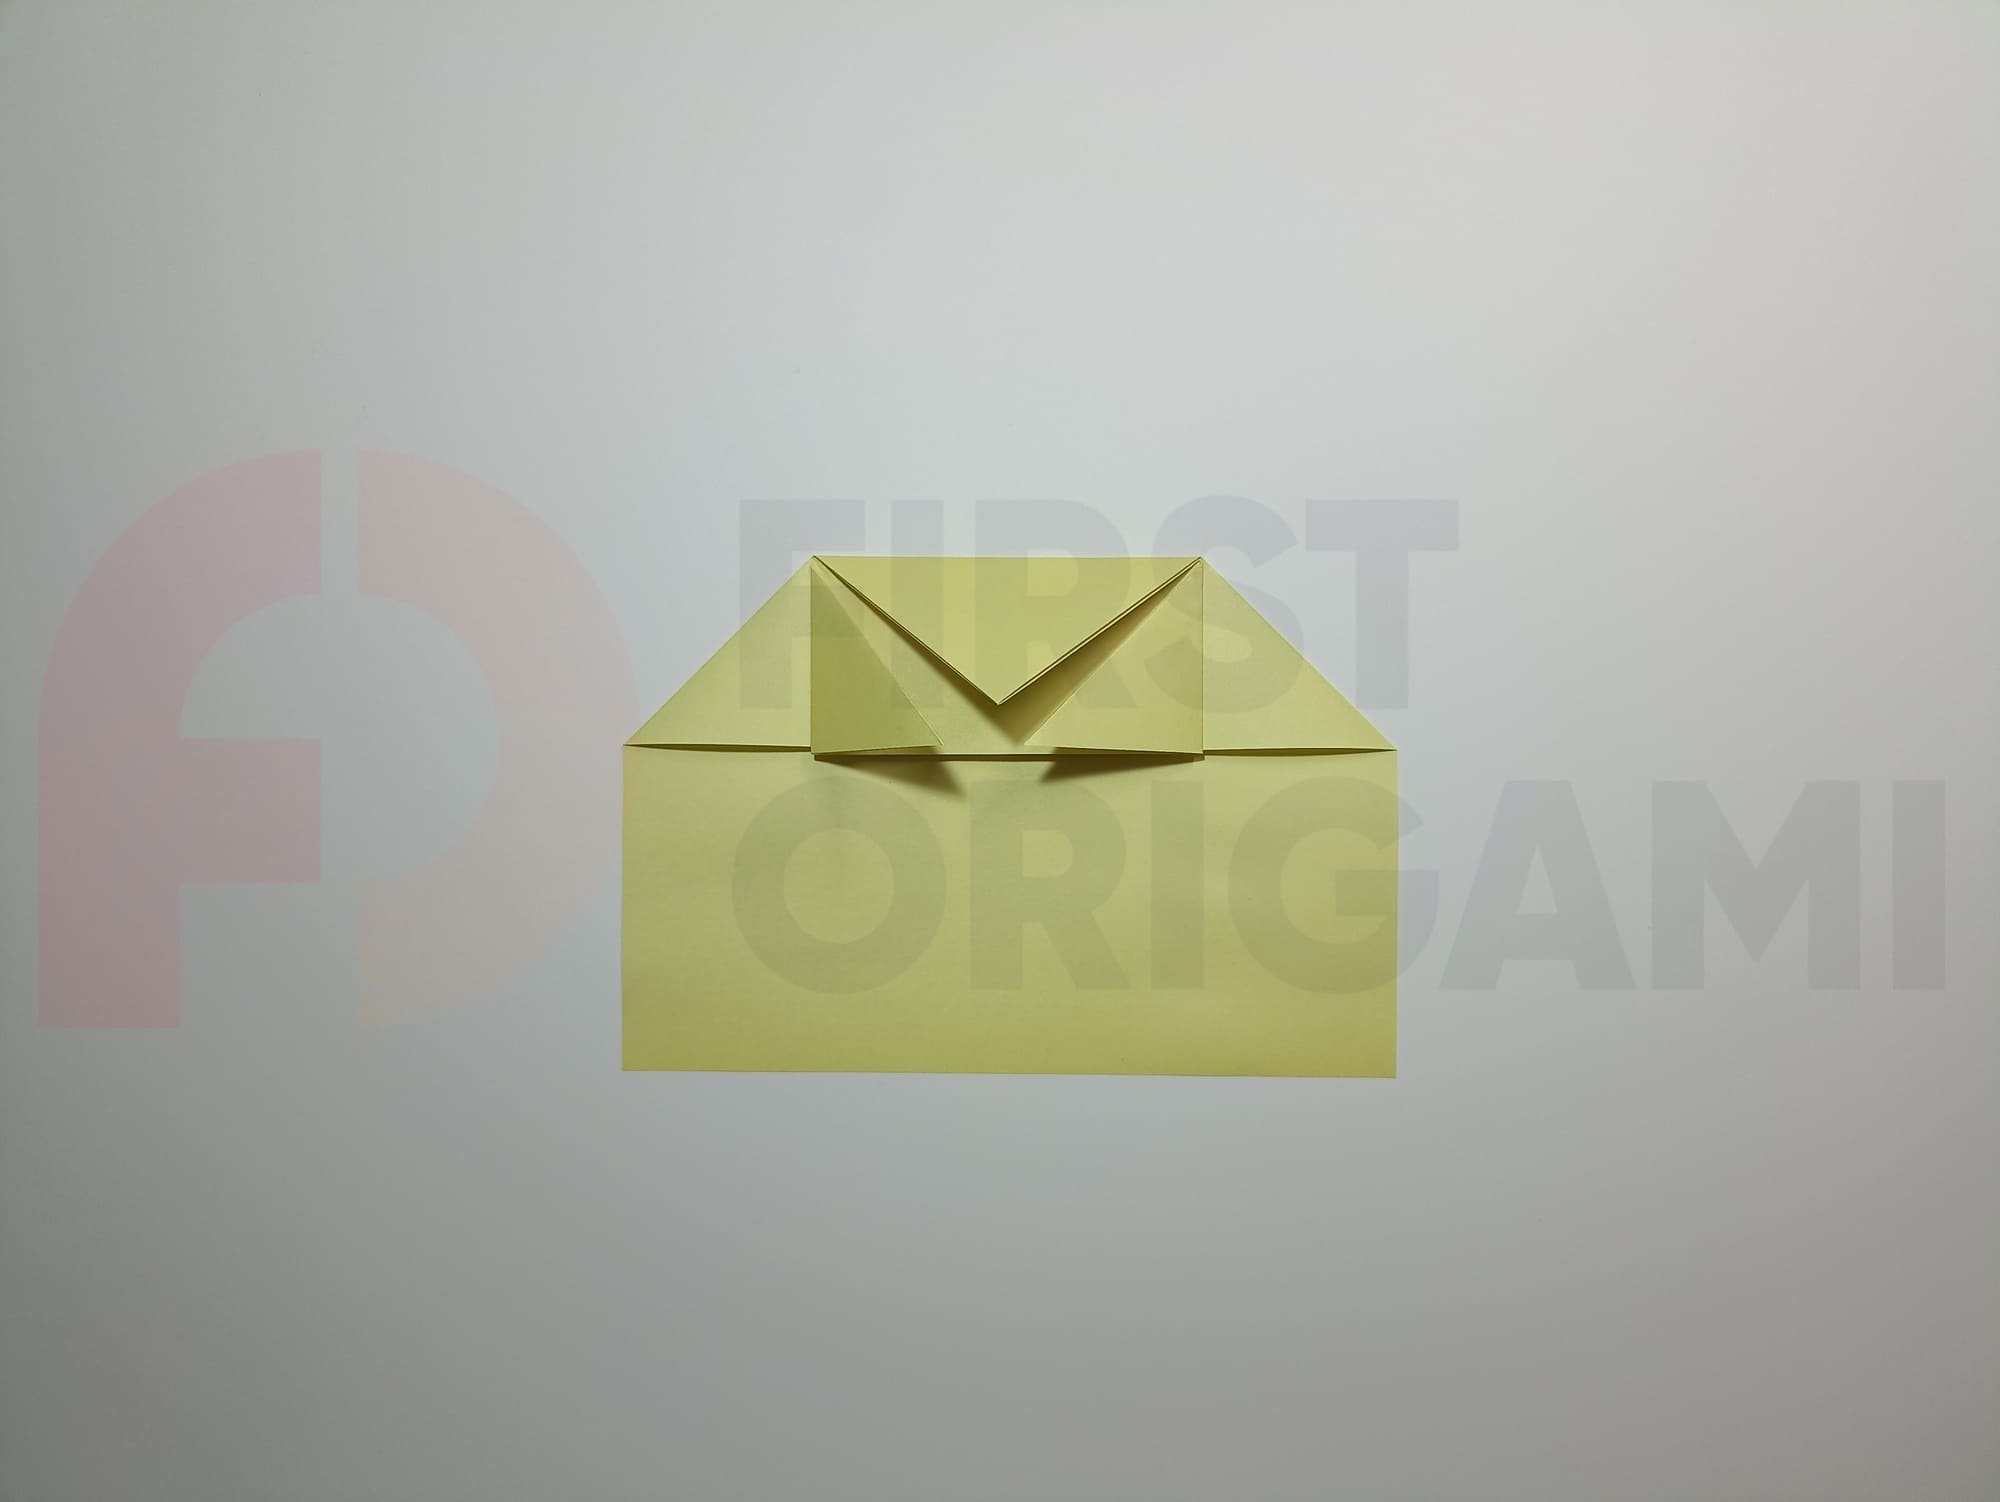
Crease the folds well.
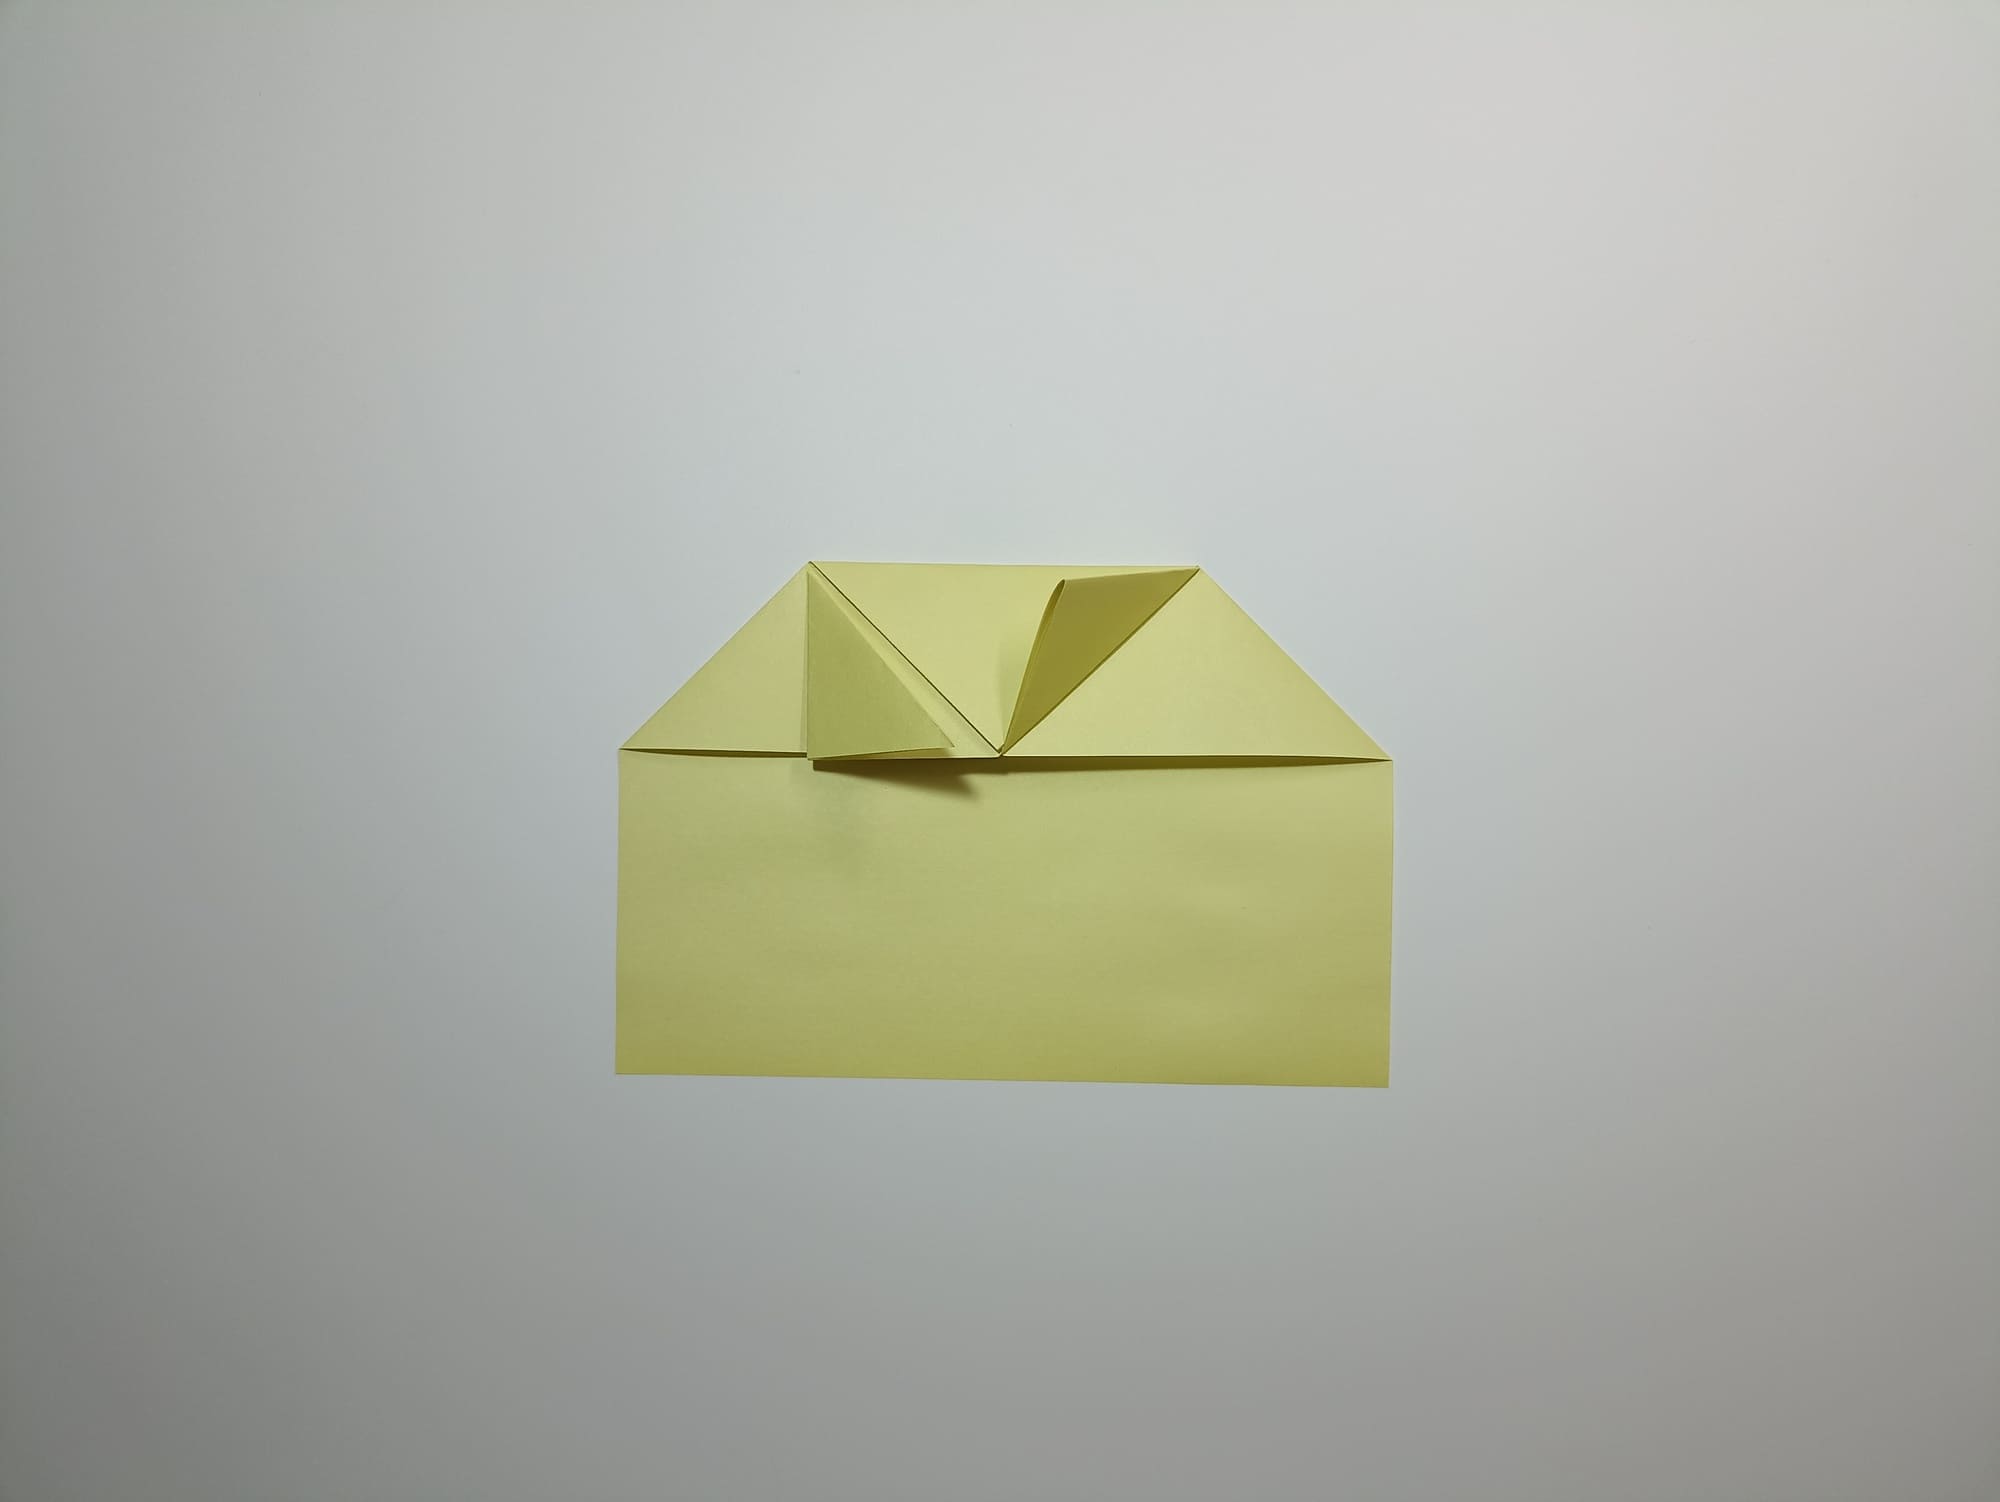
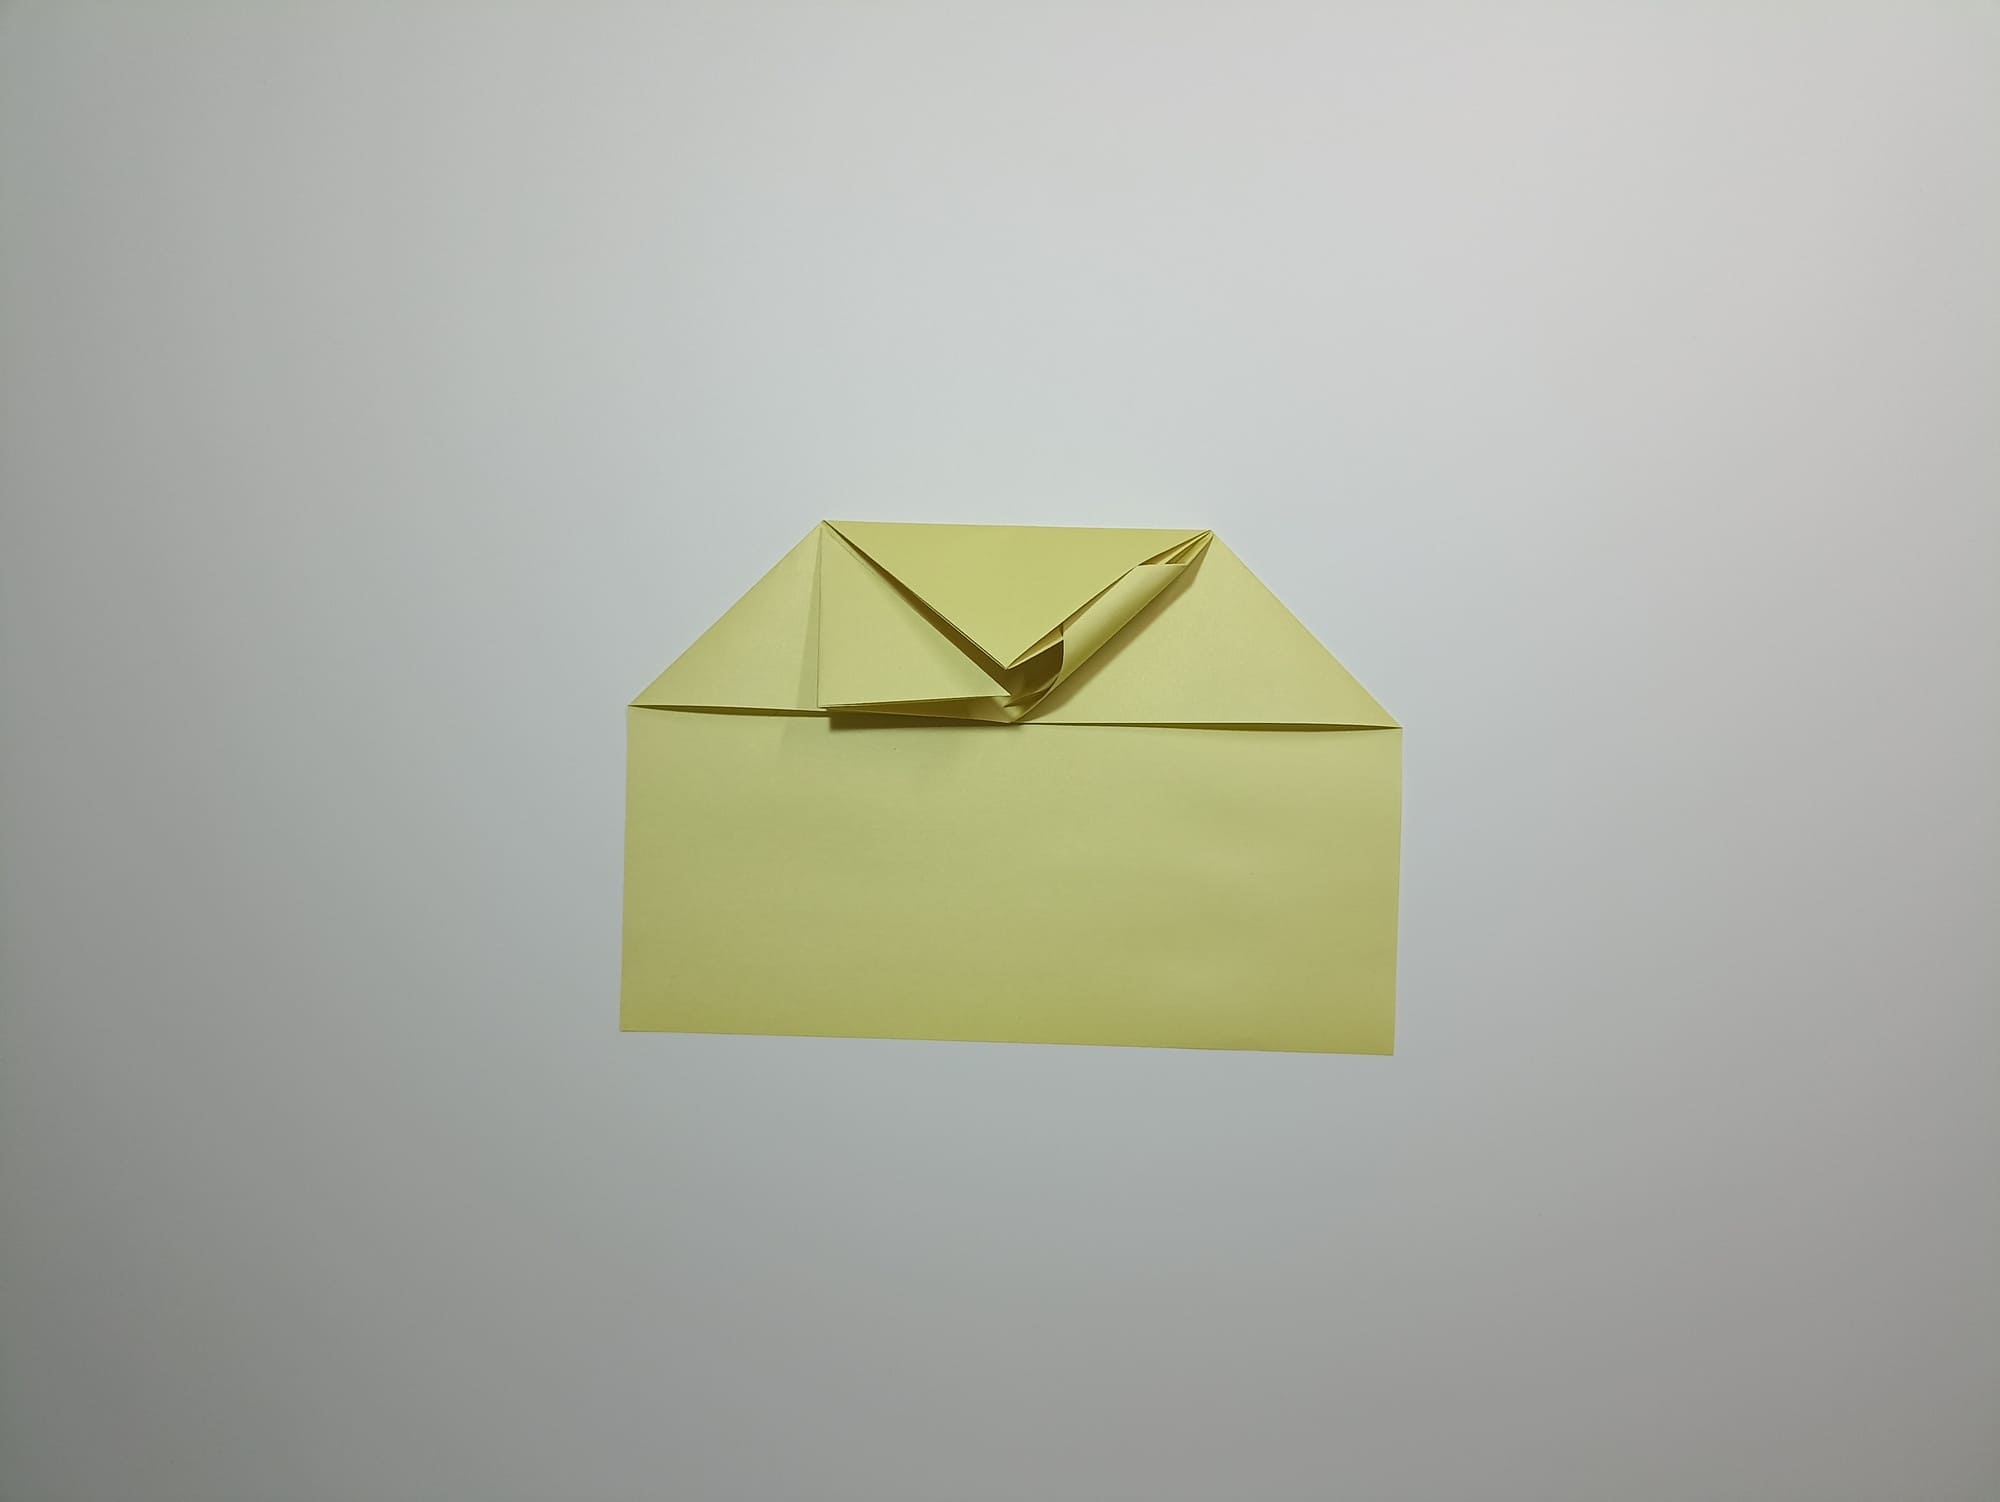
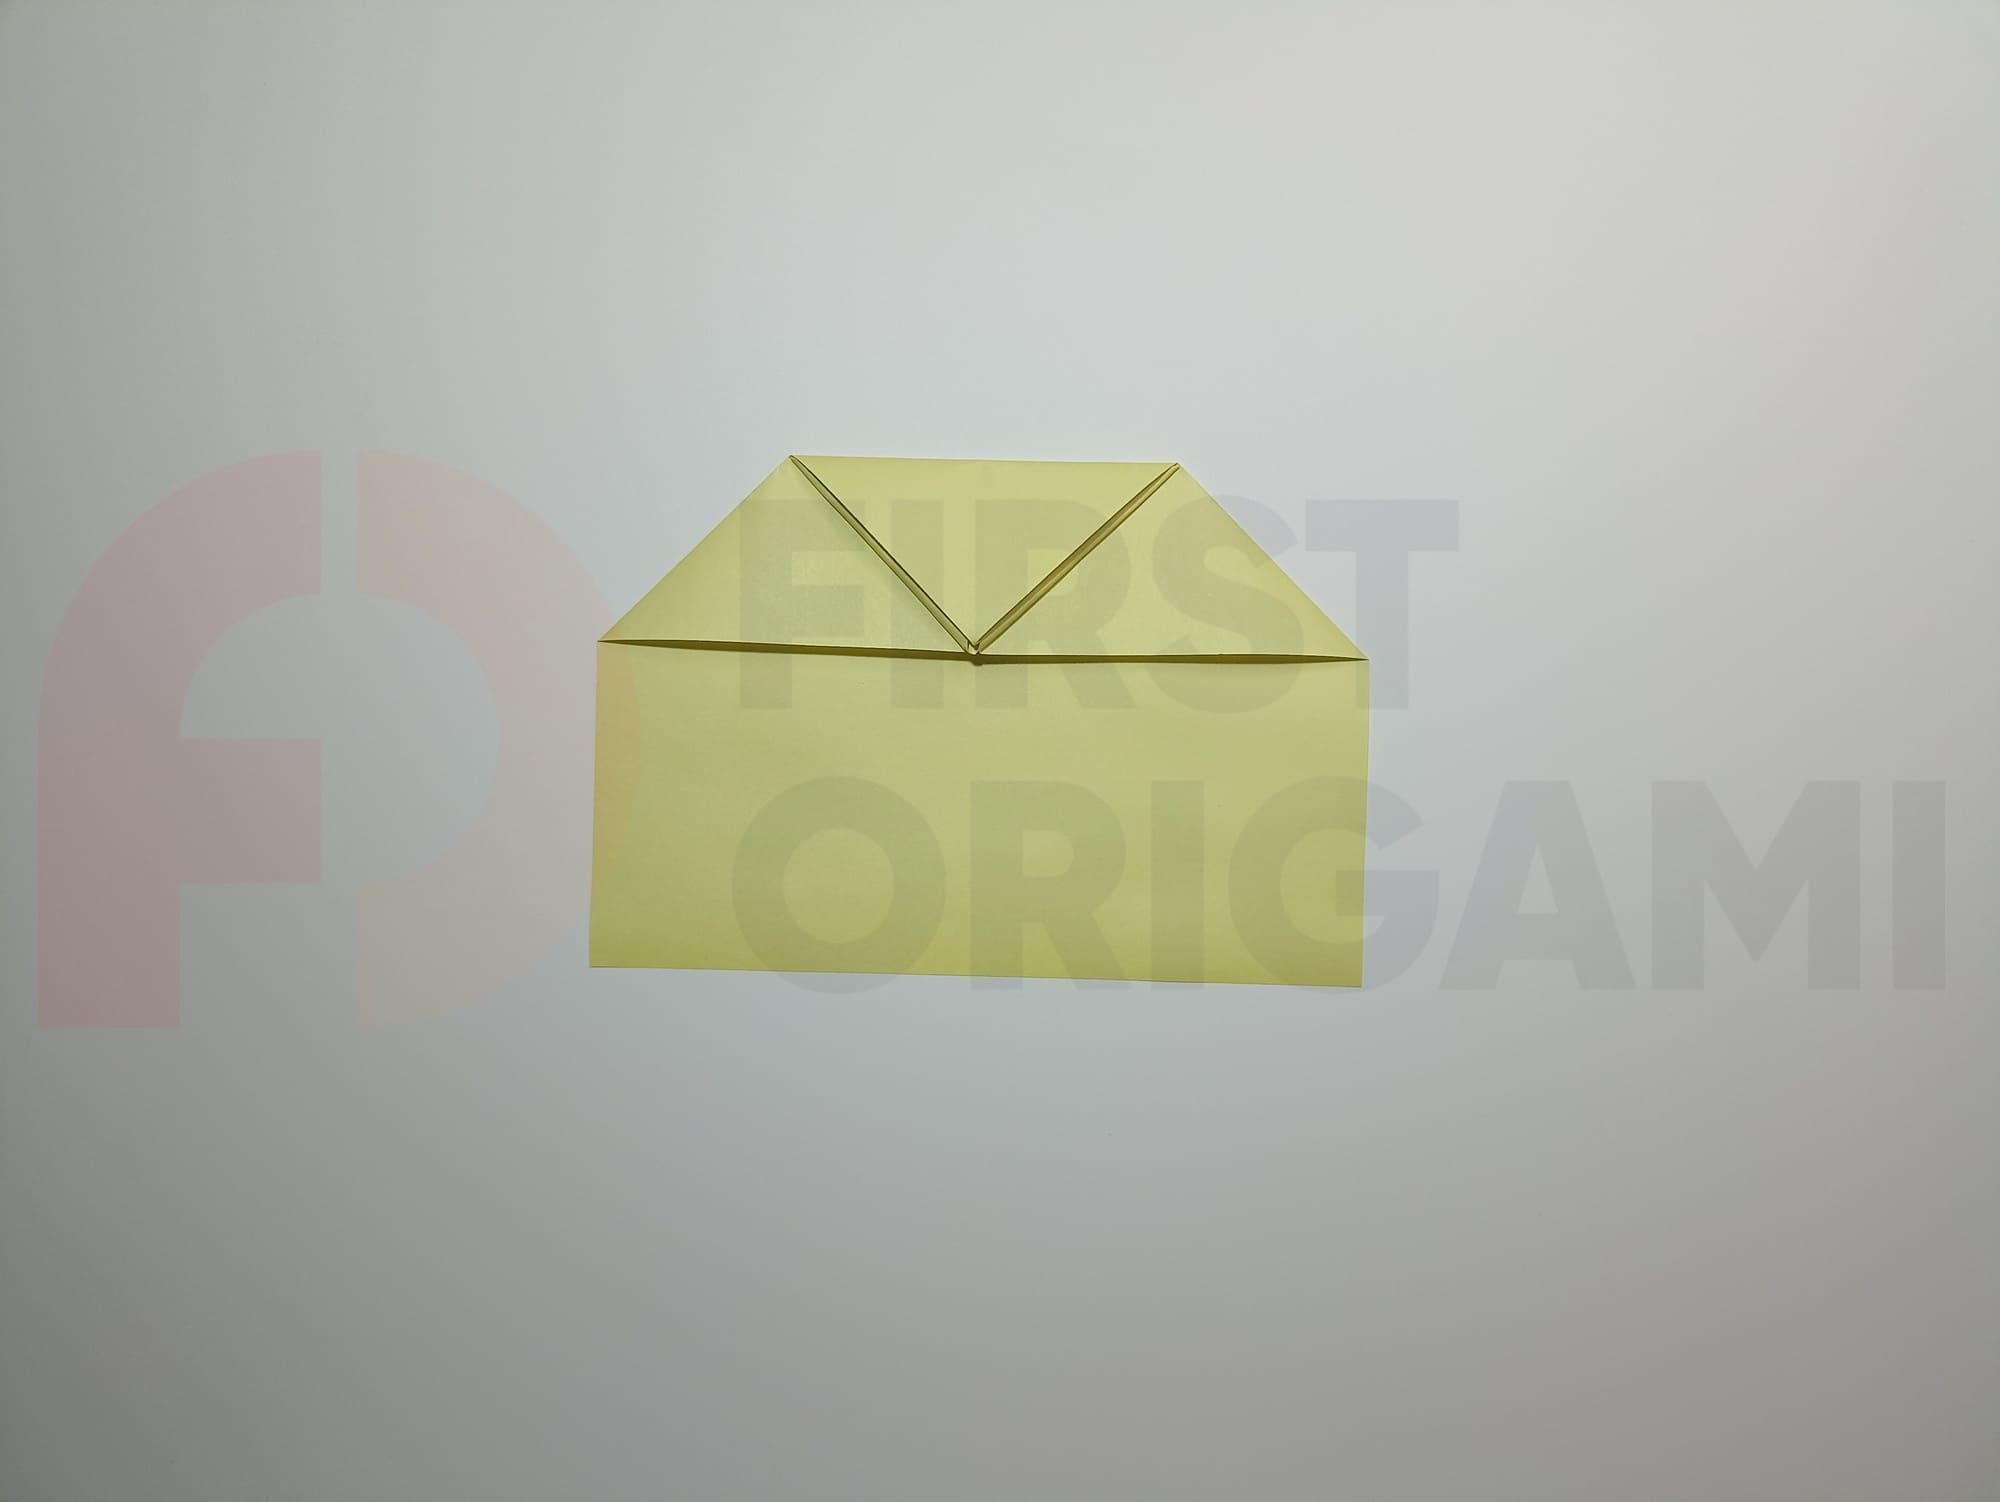
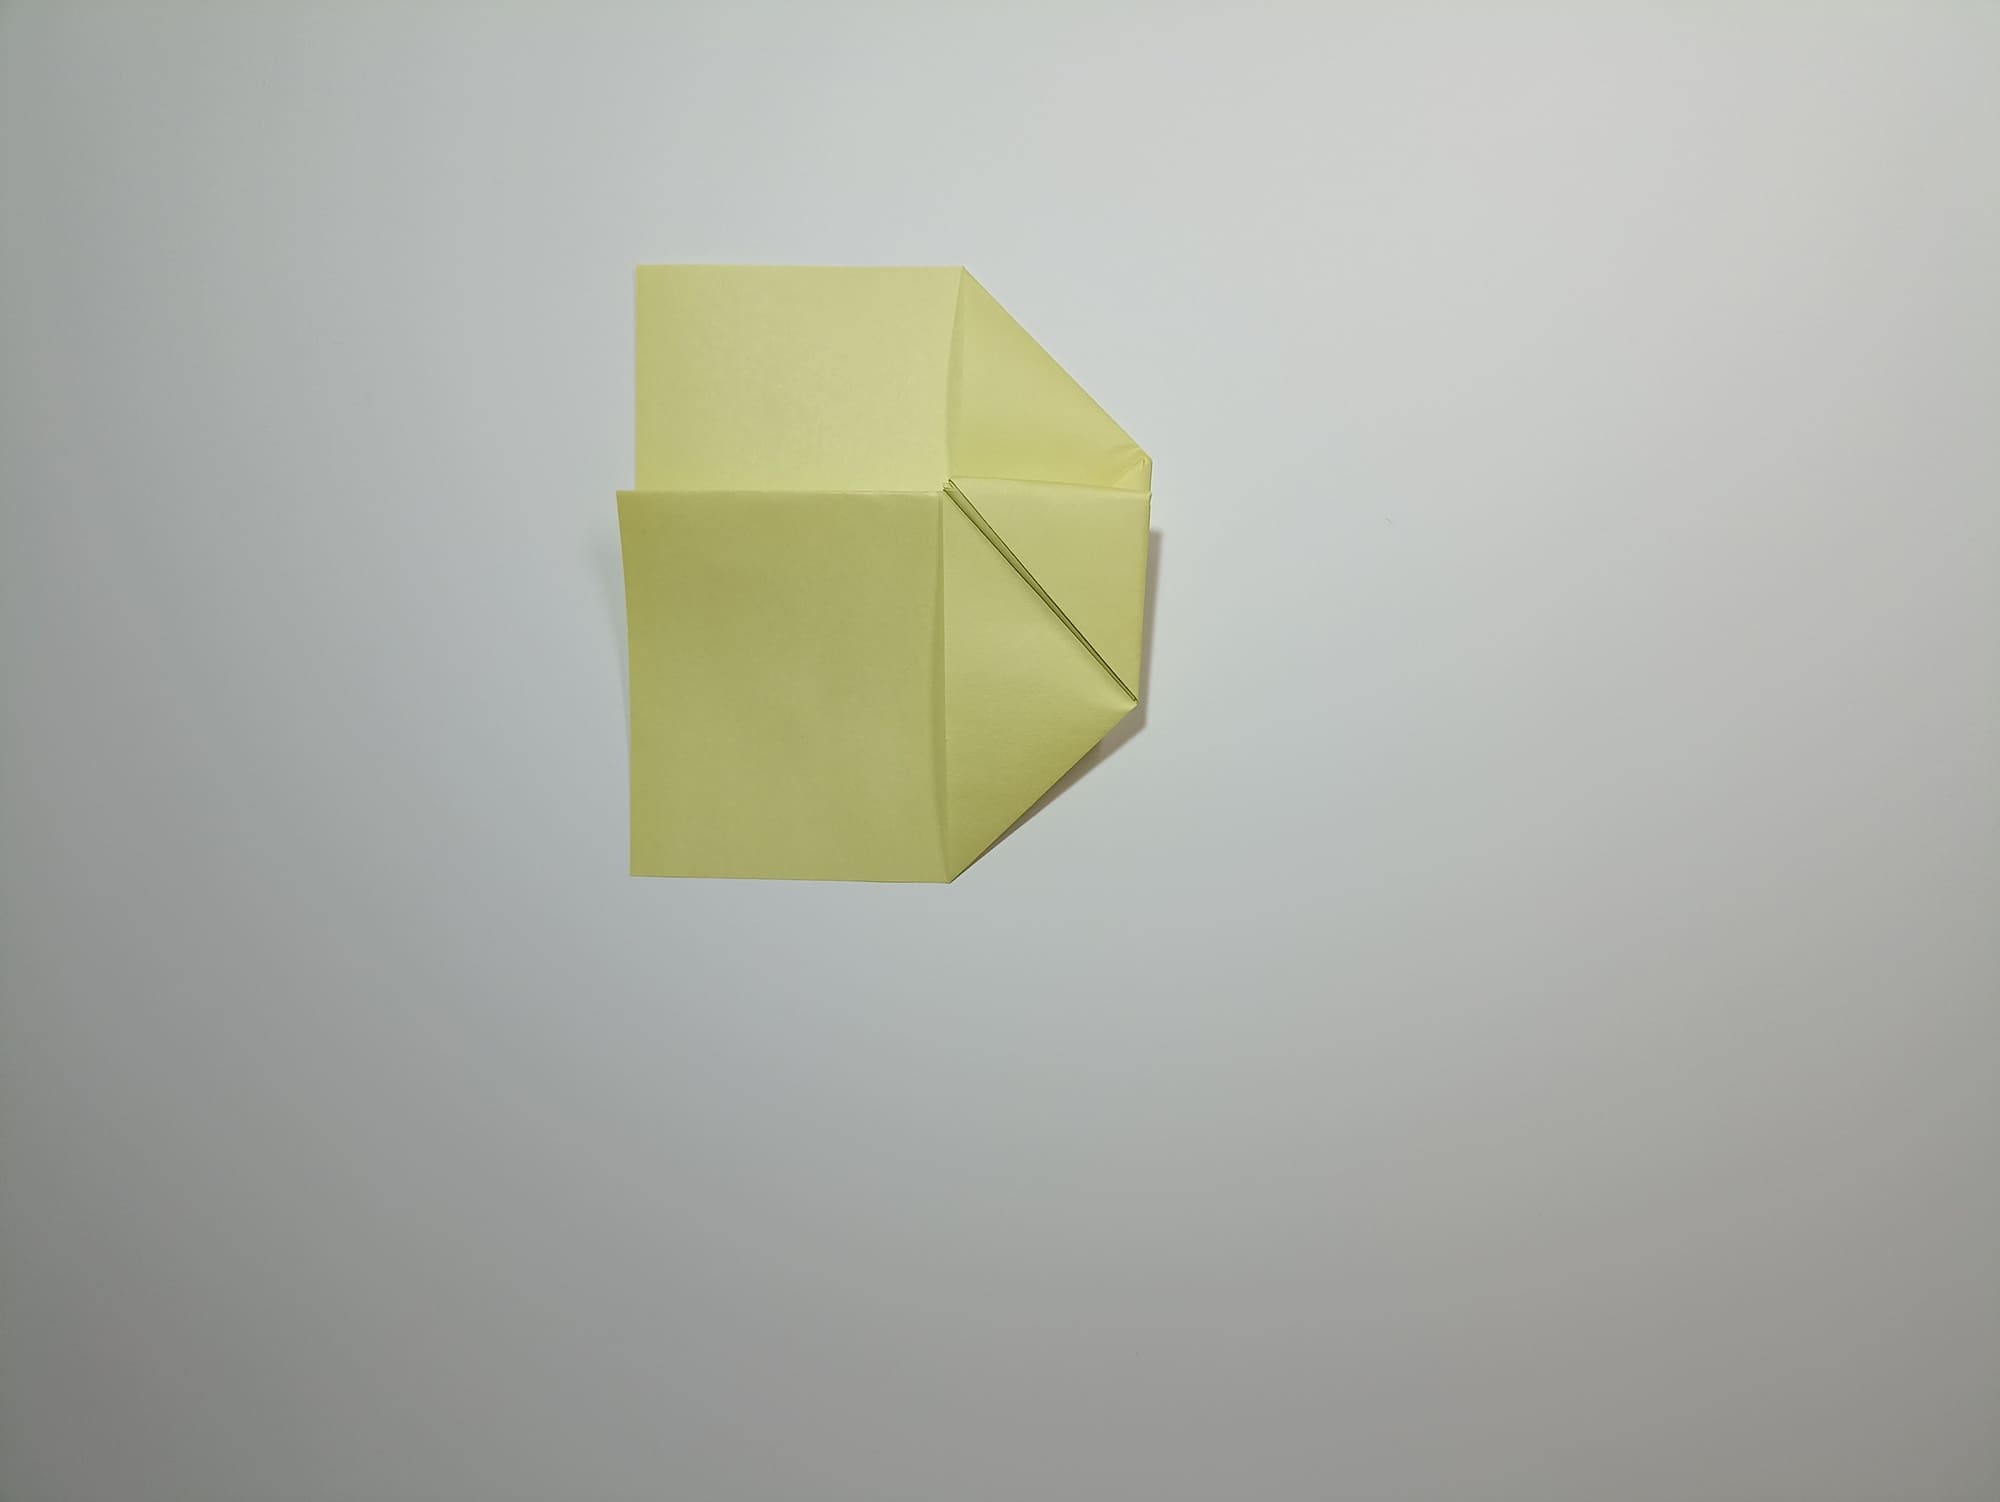
Make folds on the sides of the small triangles and open the folds back to form a house.

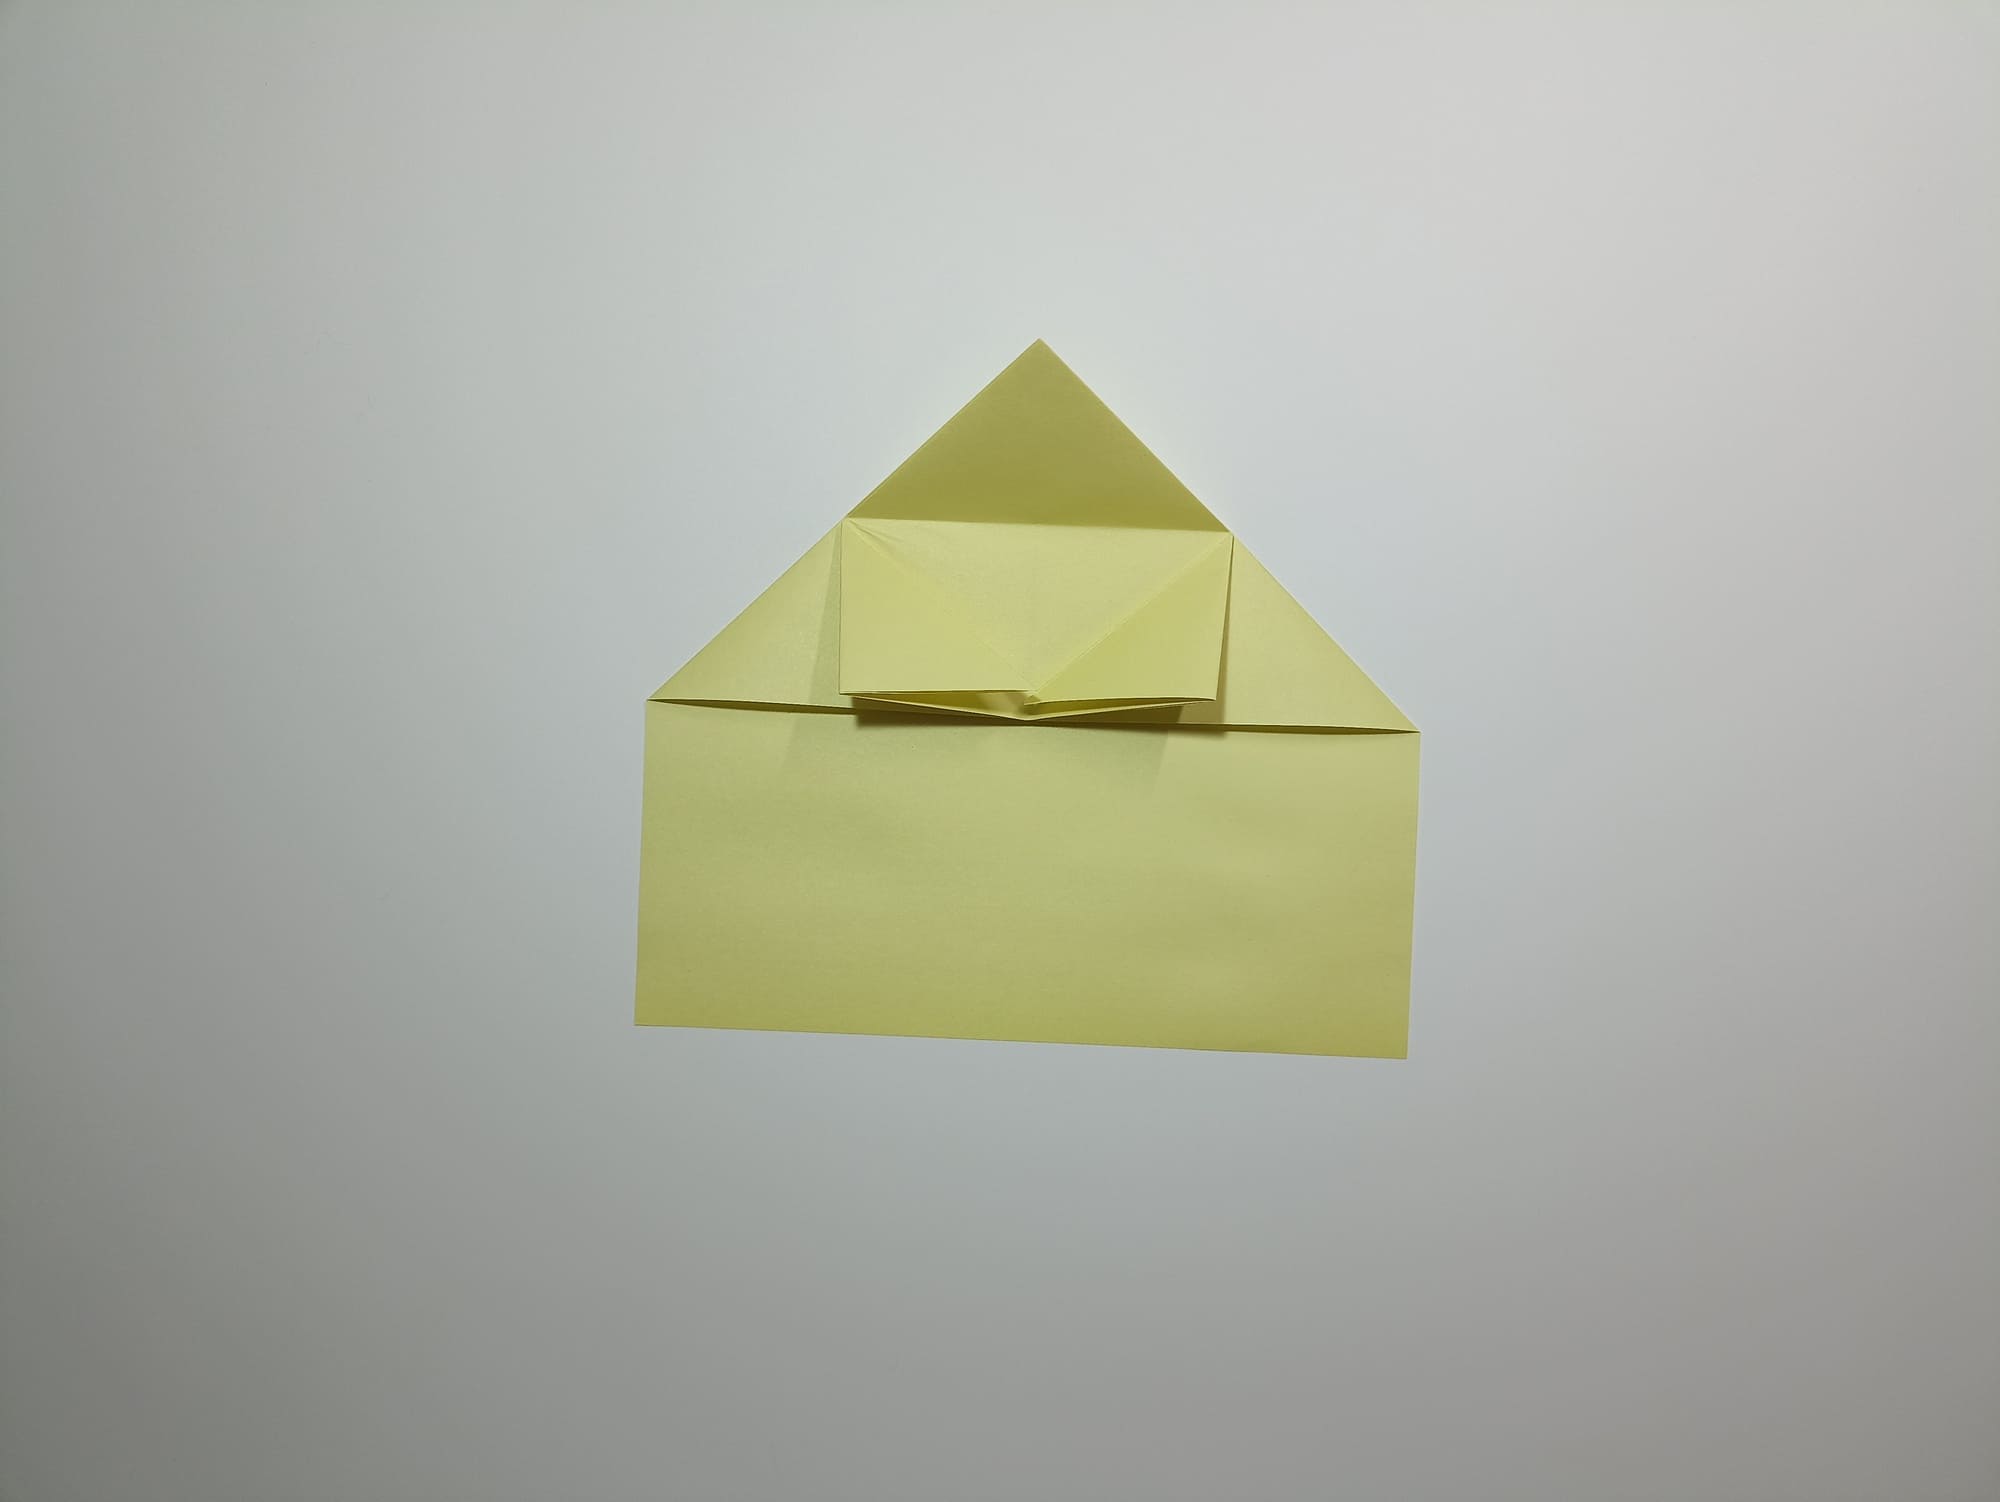
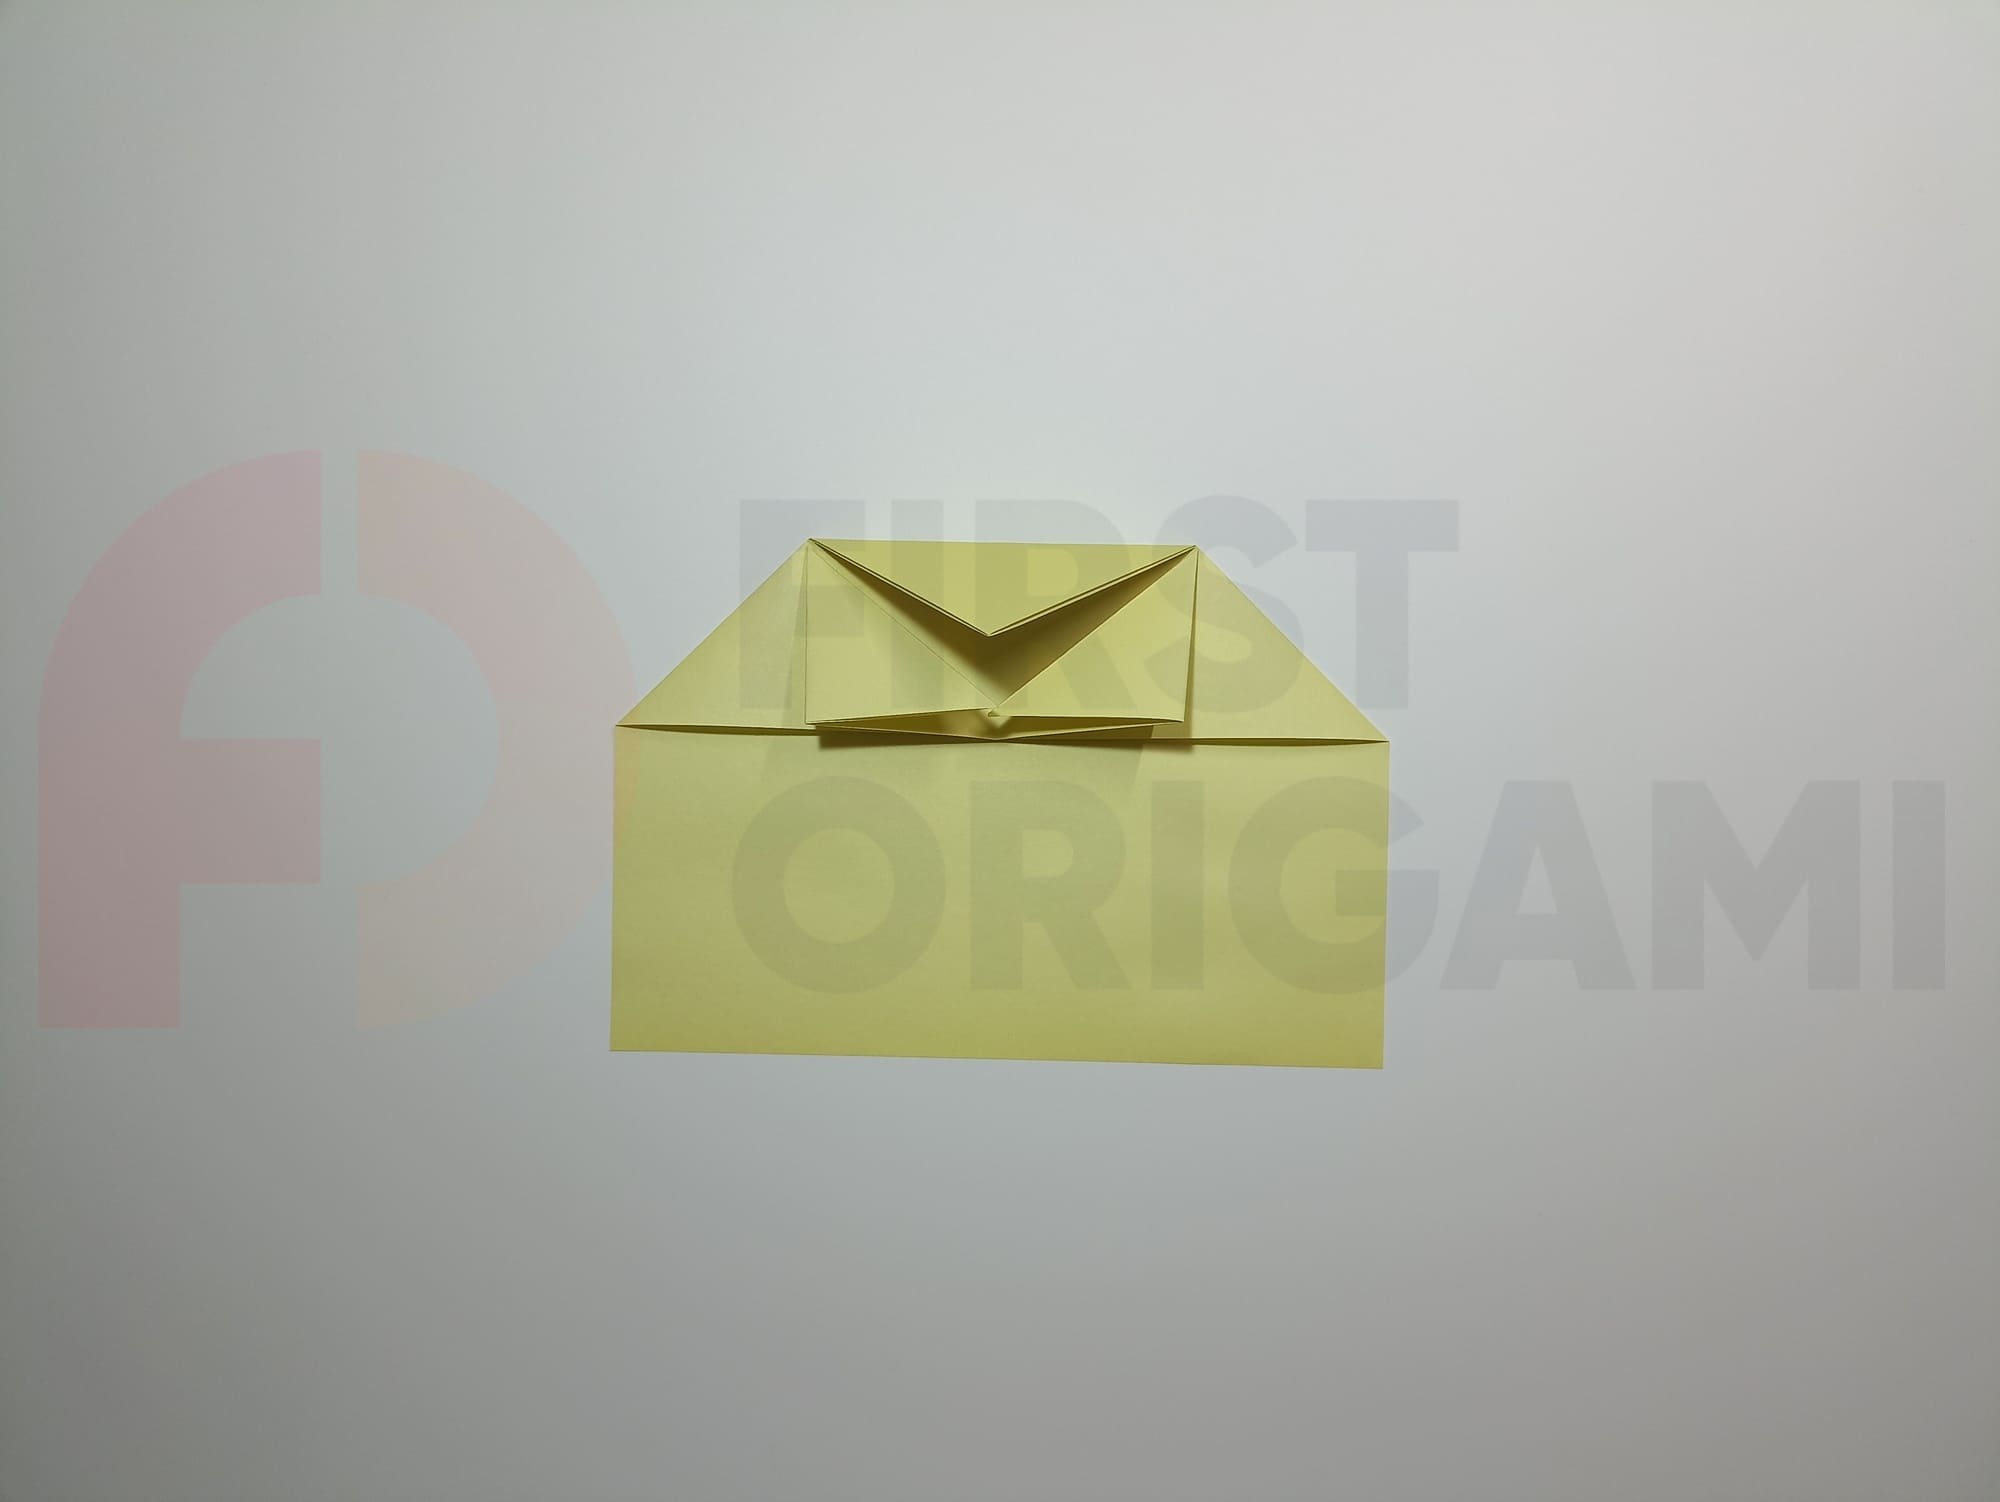
There are pockets on the sides of the roof of the resulting house; insert the side corners of the base into them on both sides.
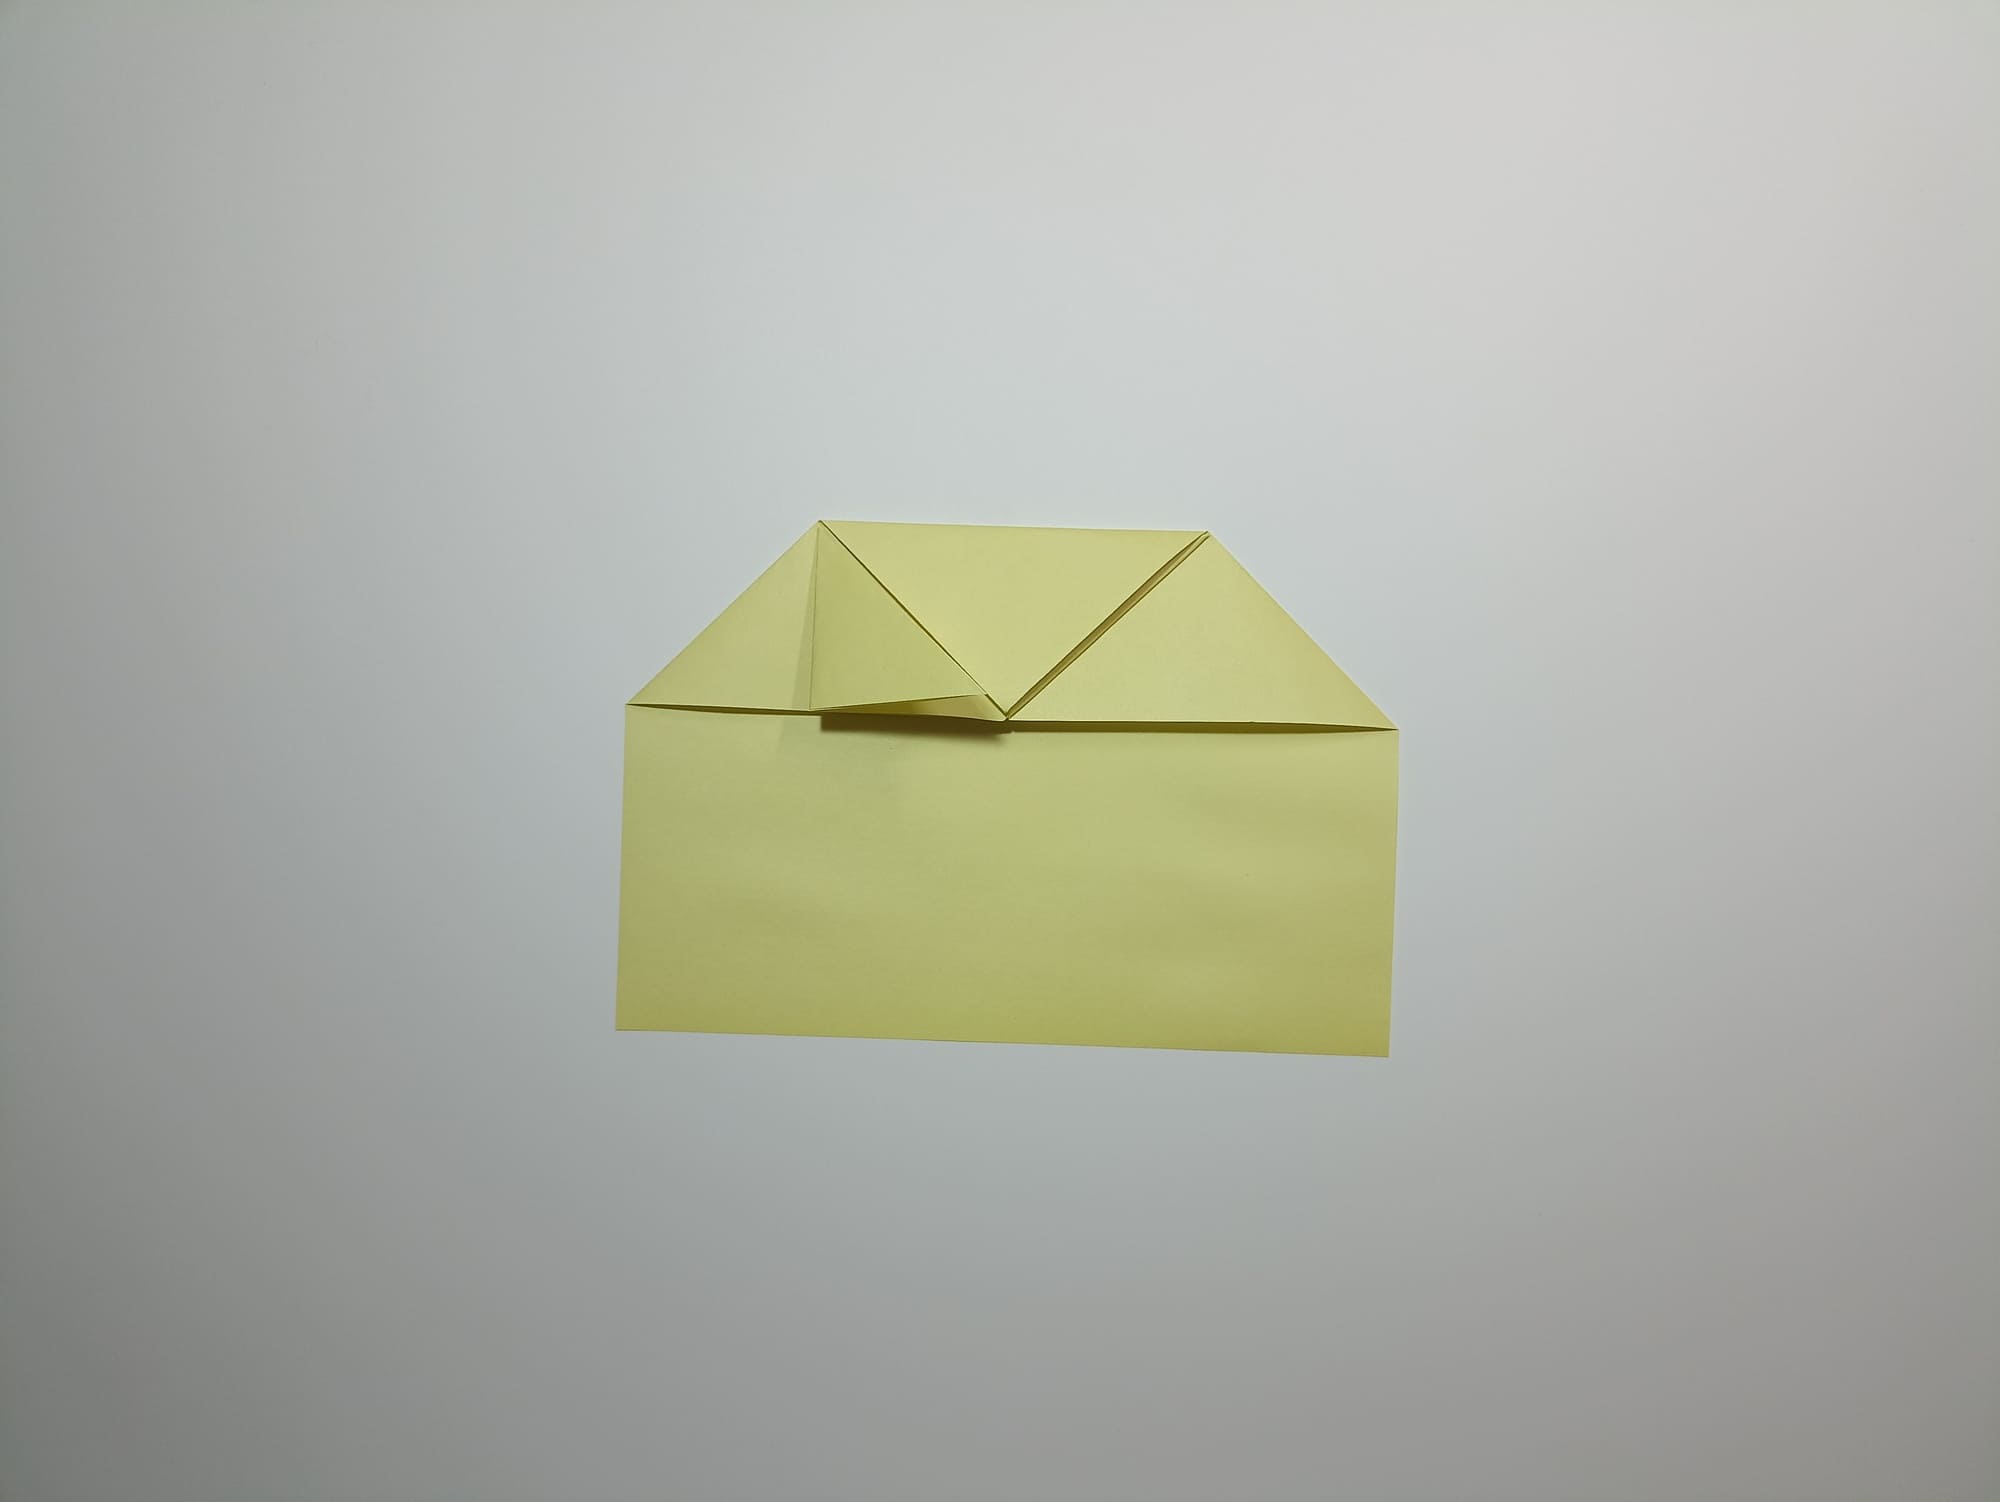
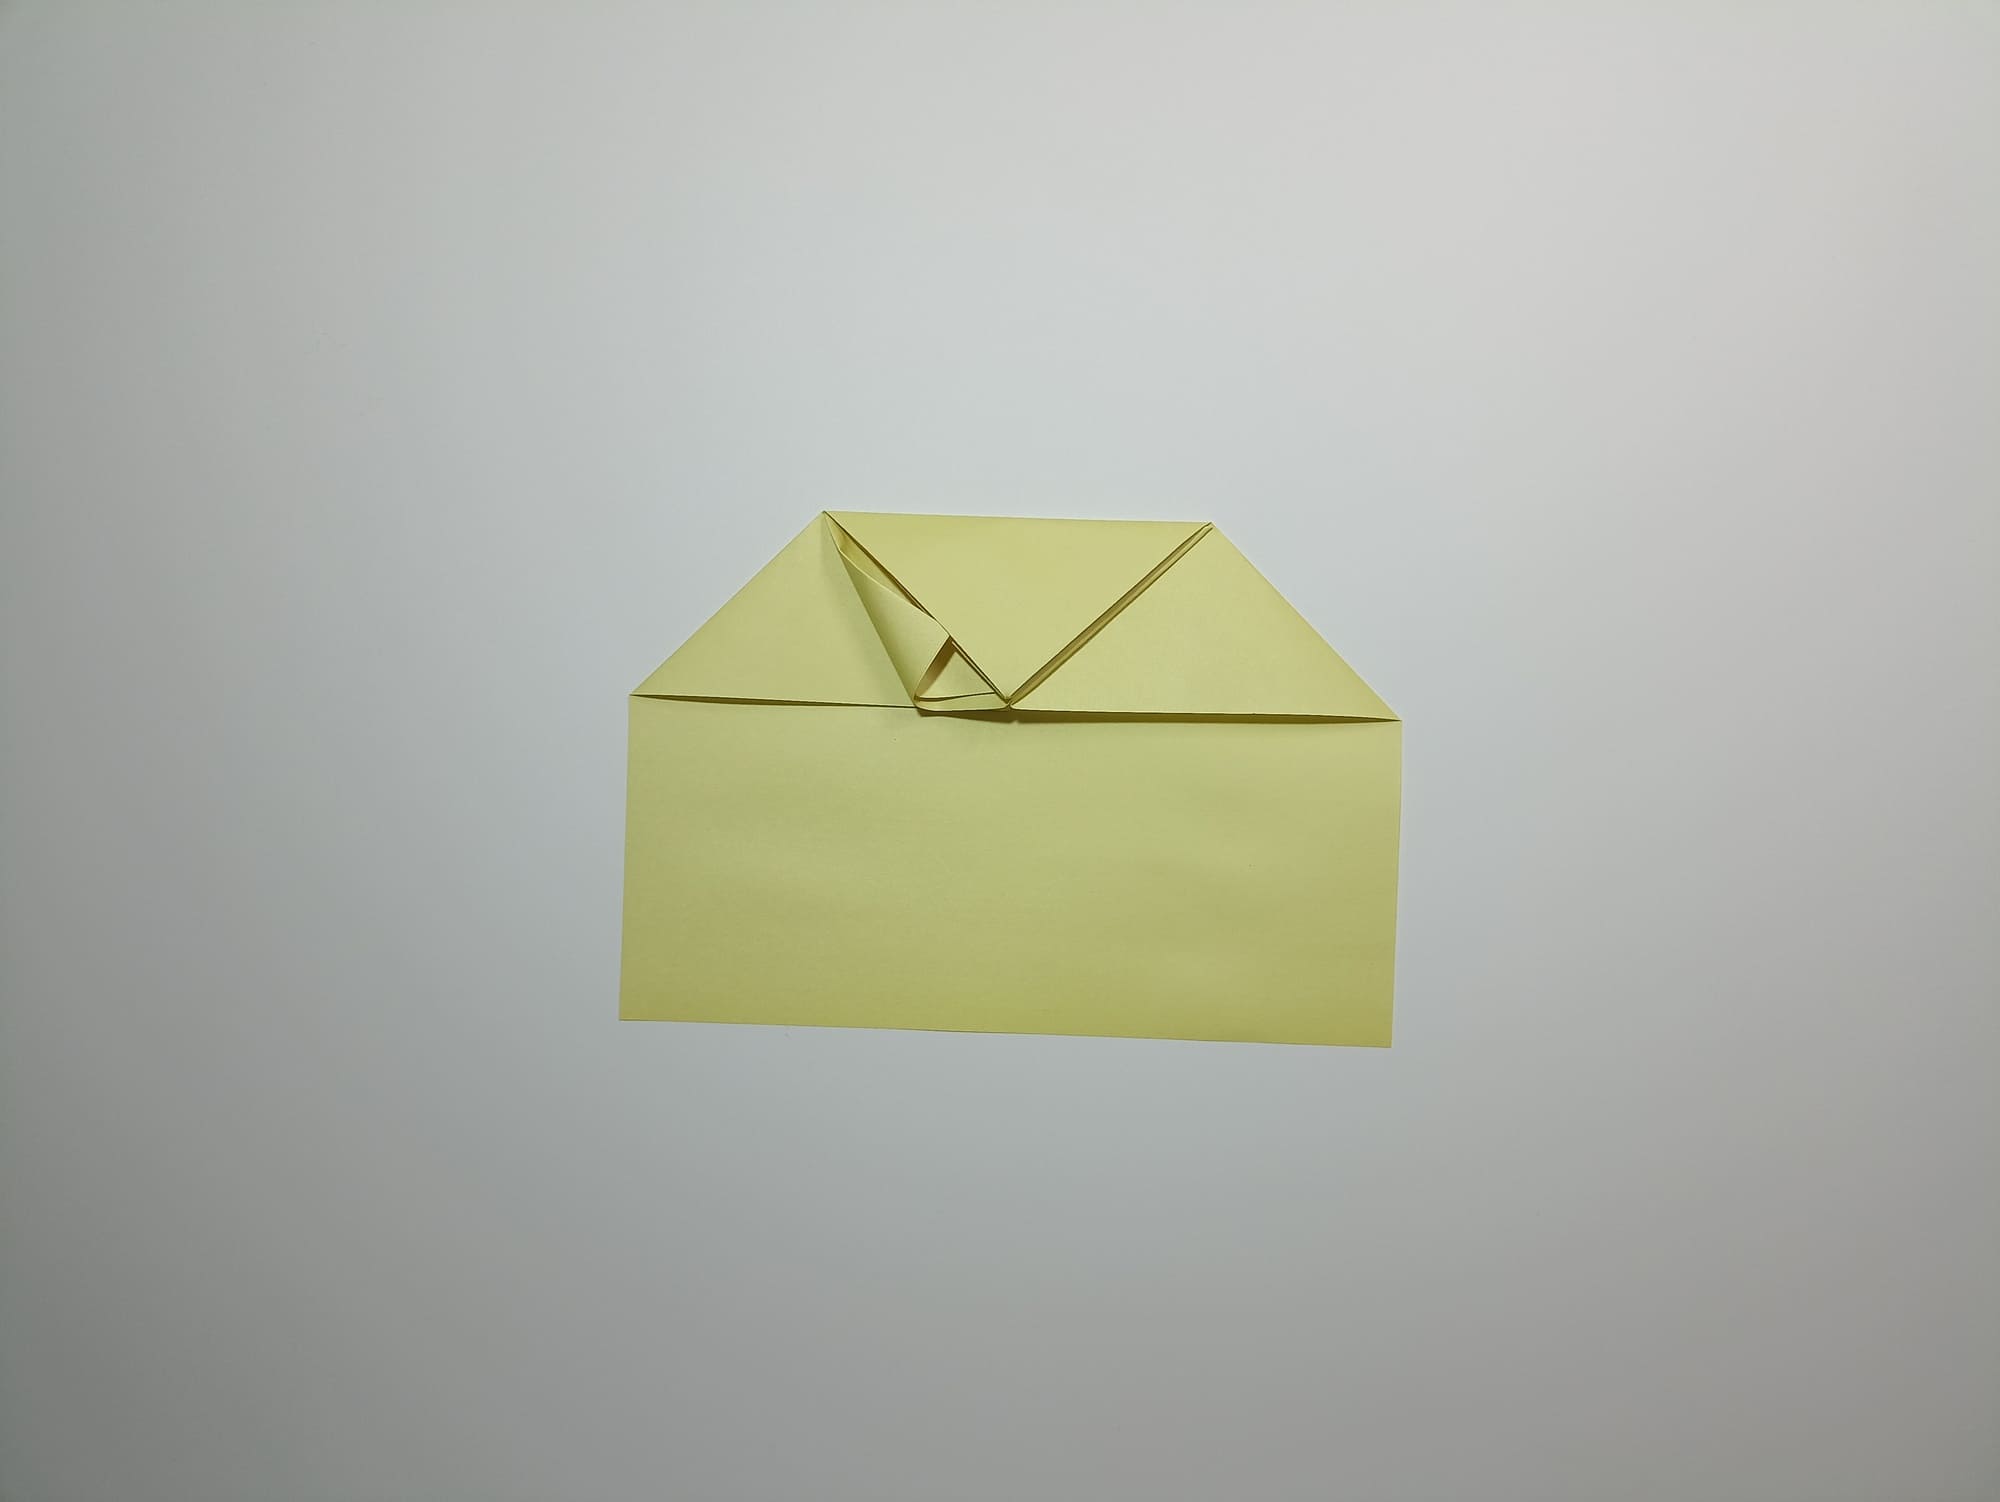
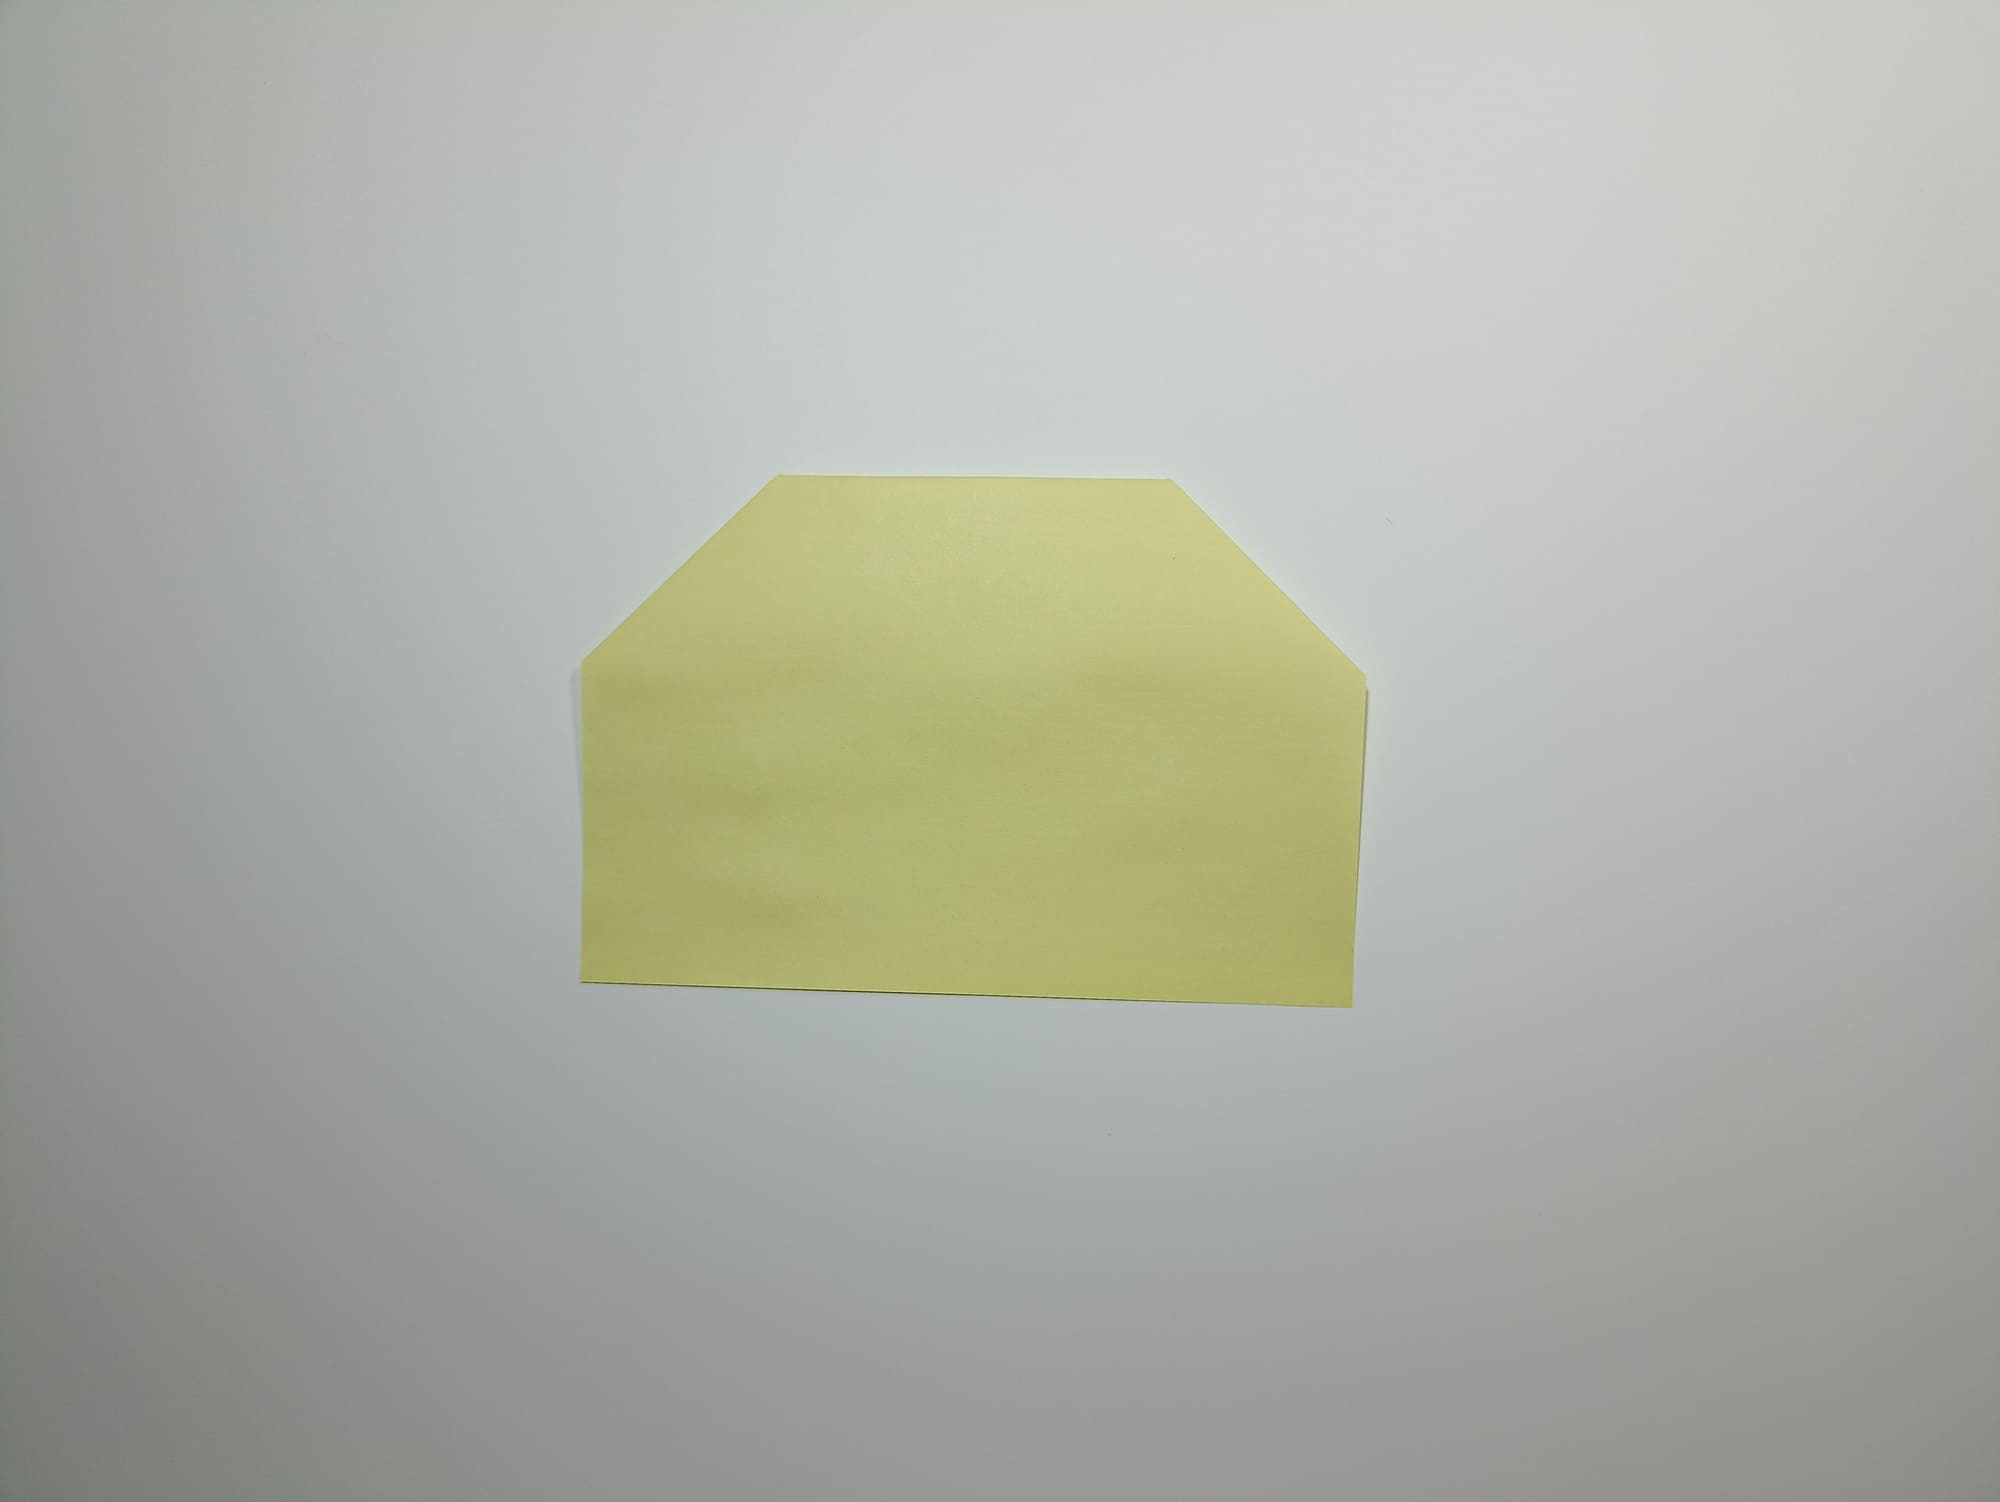
Turn the airplane over with the fold-free side facing up.
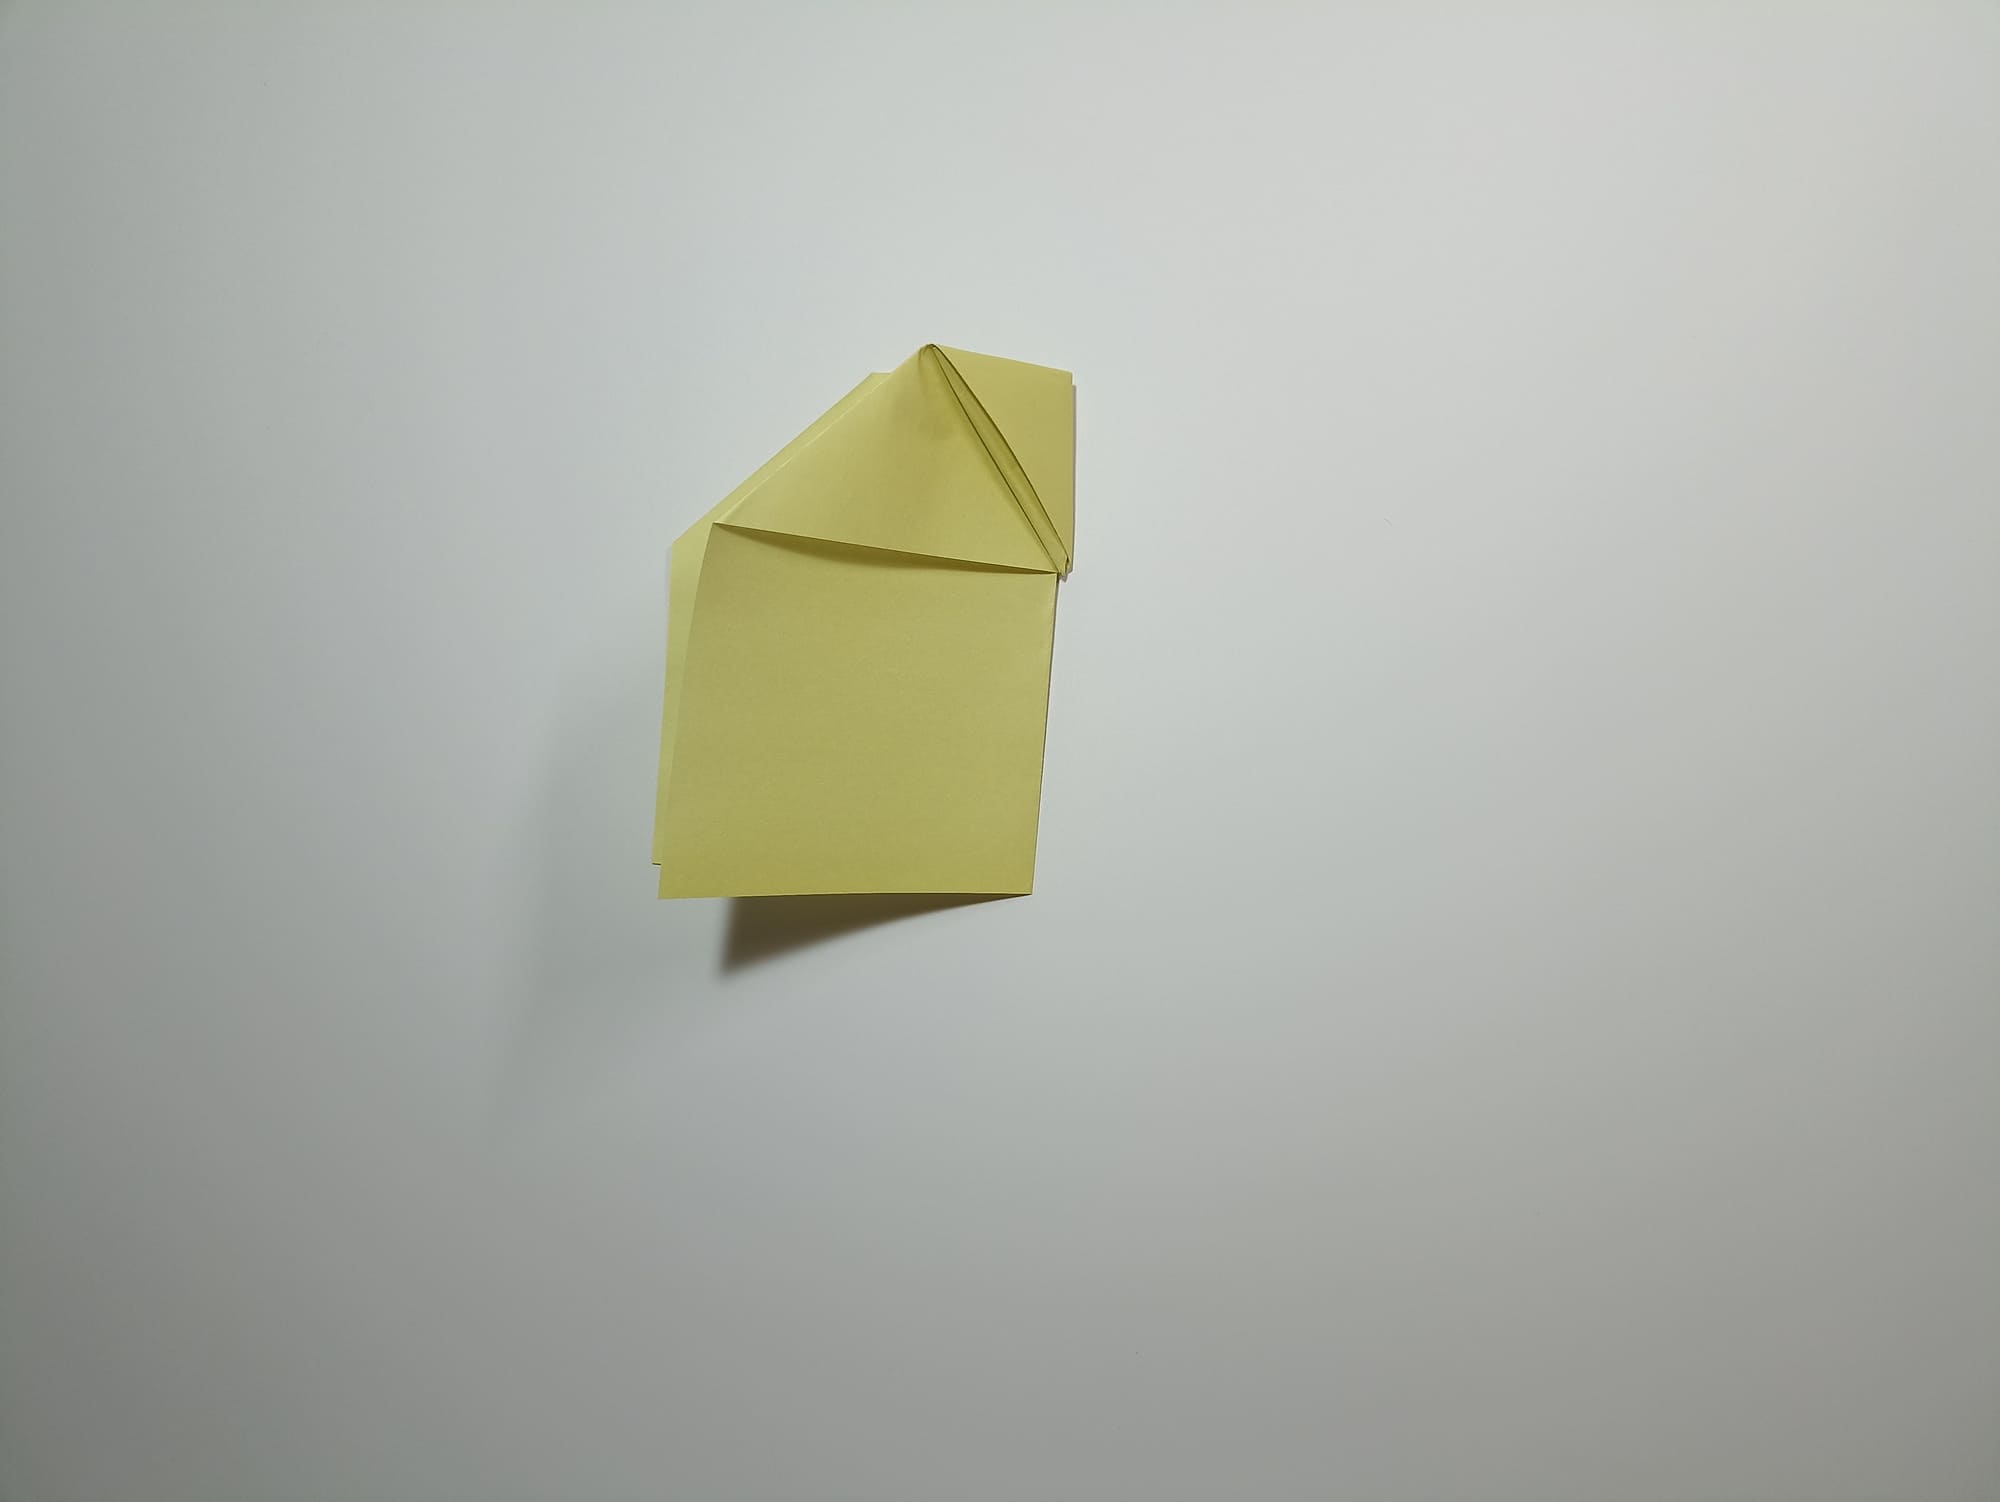
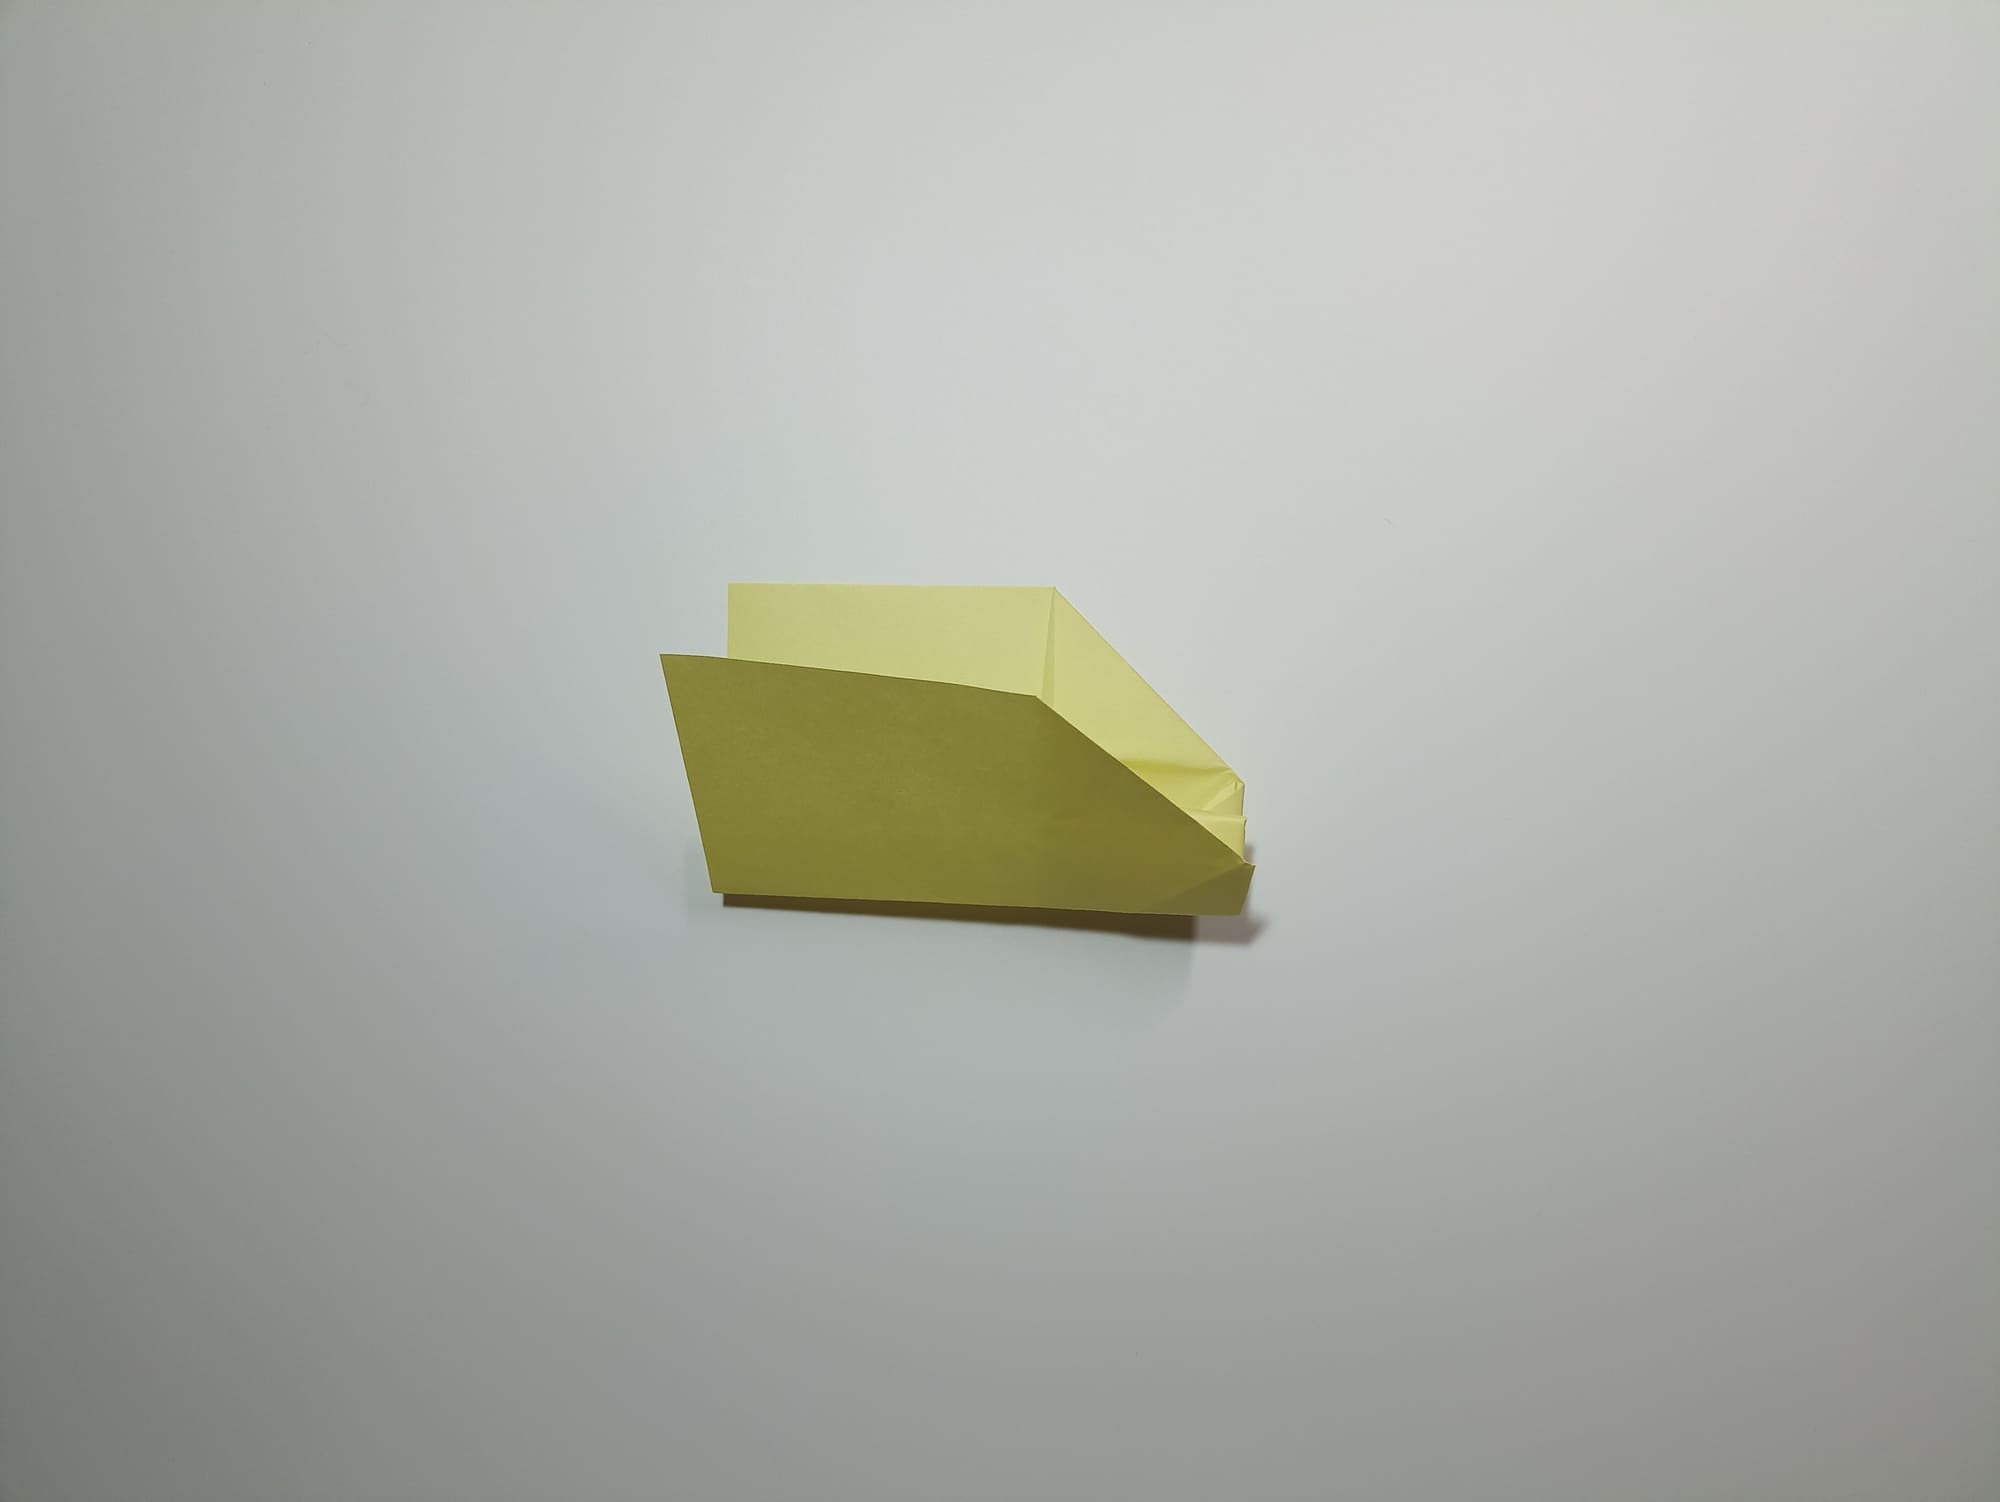
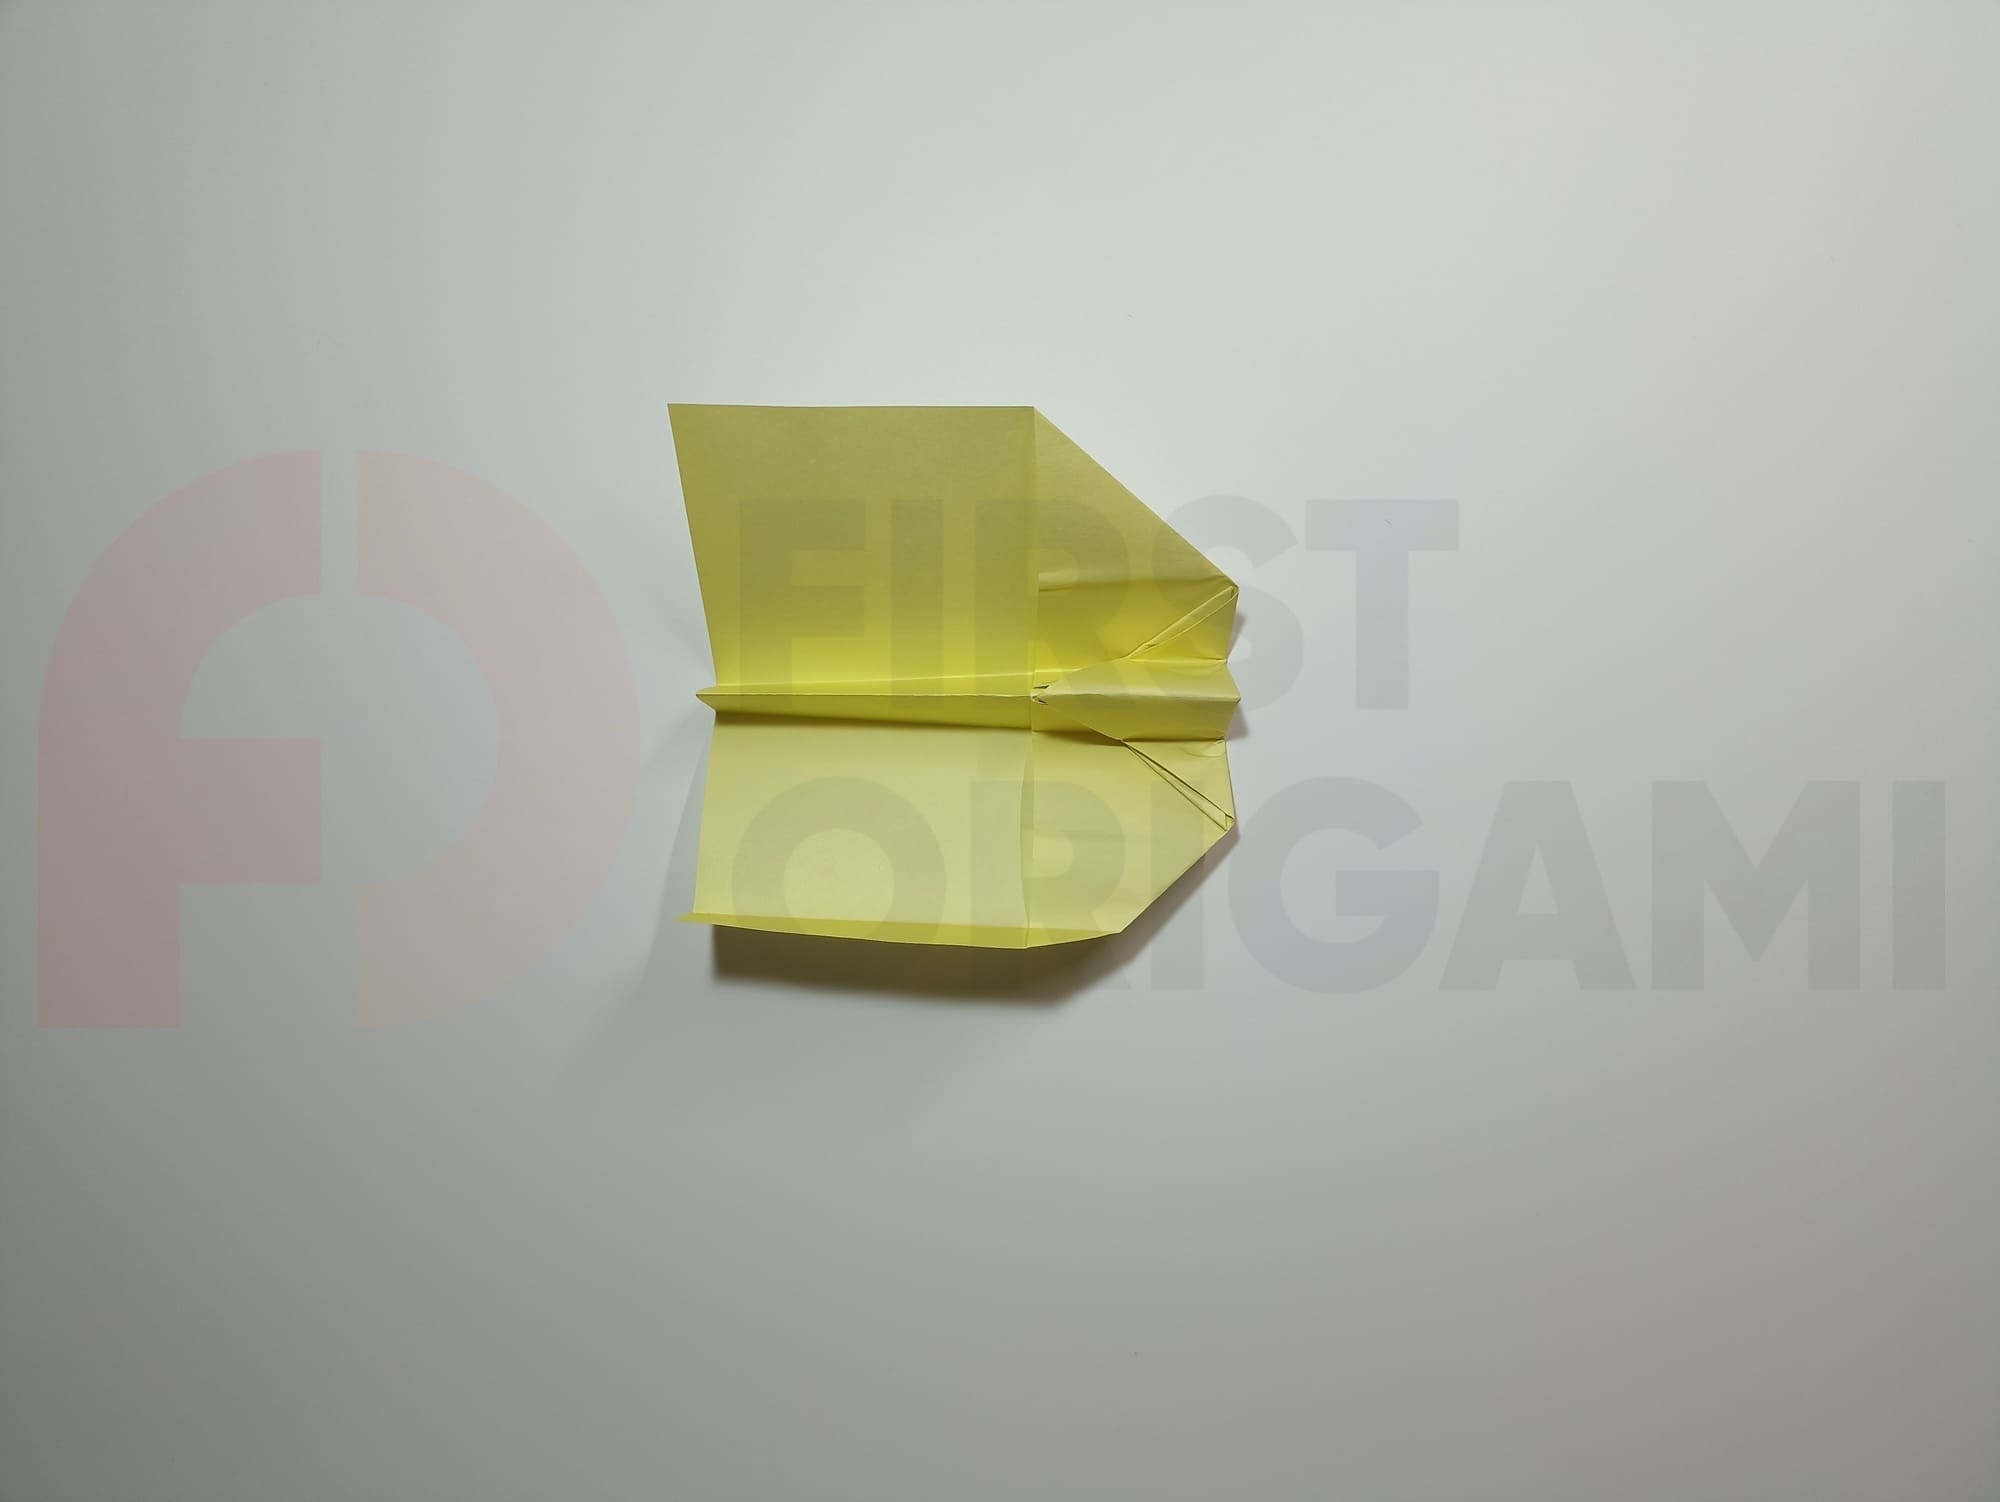
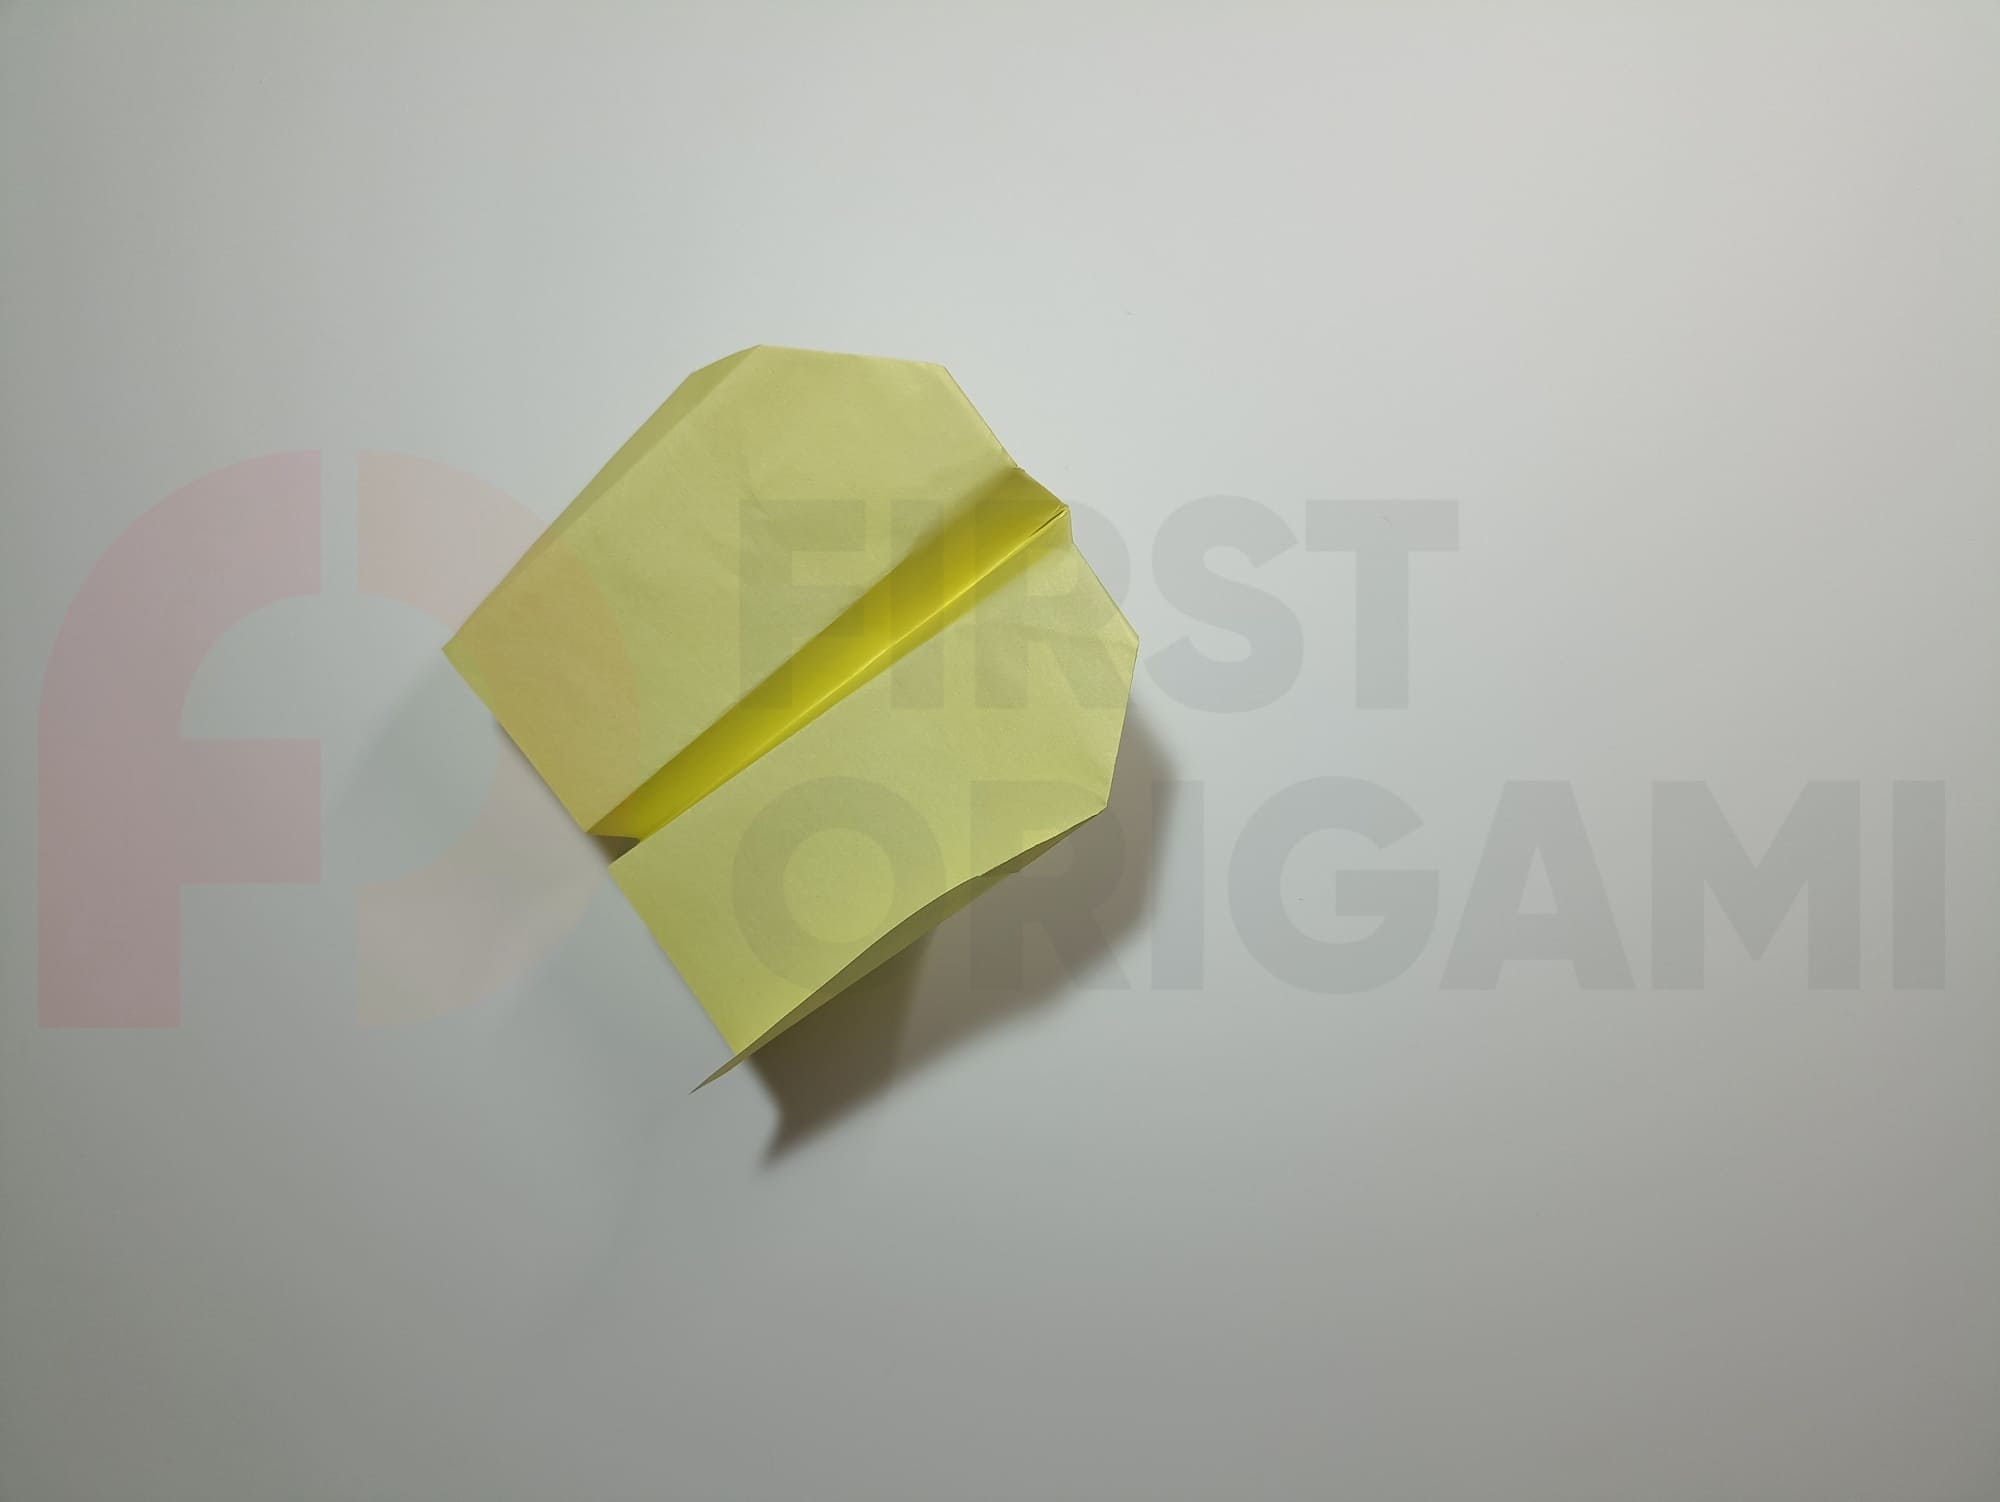
Fold the figure in the middle and turn the edge of the body up.
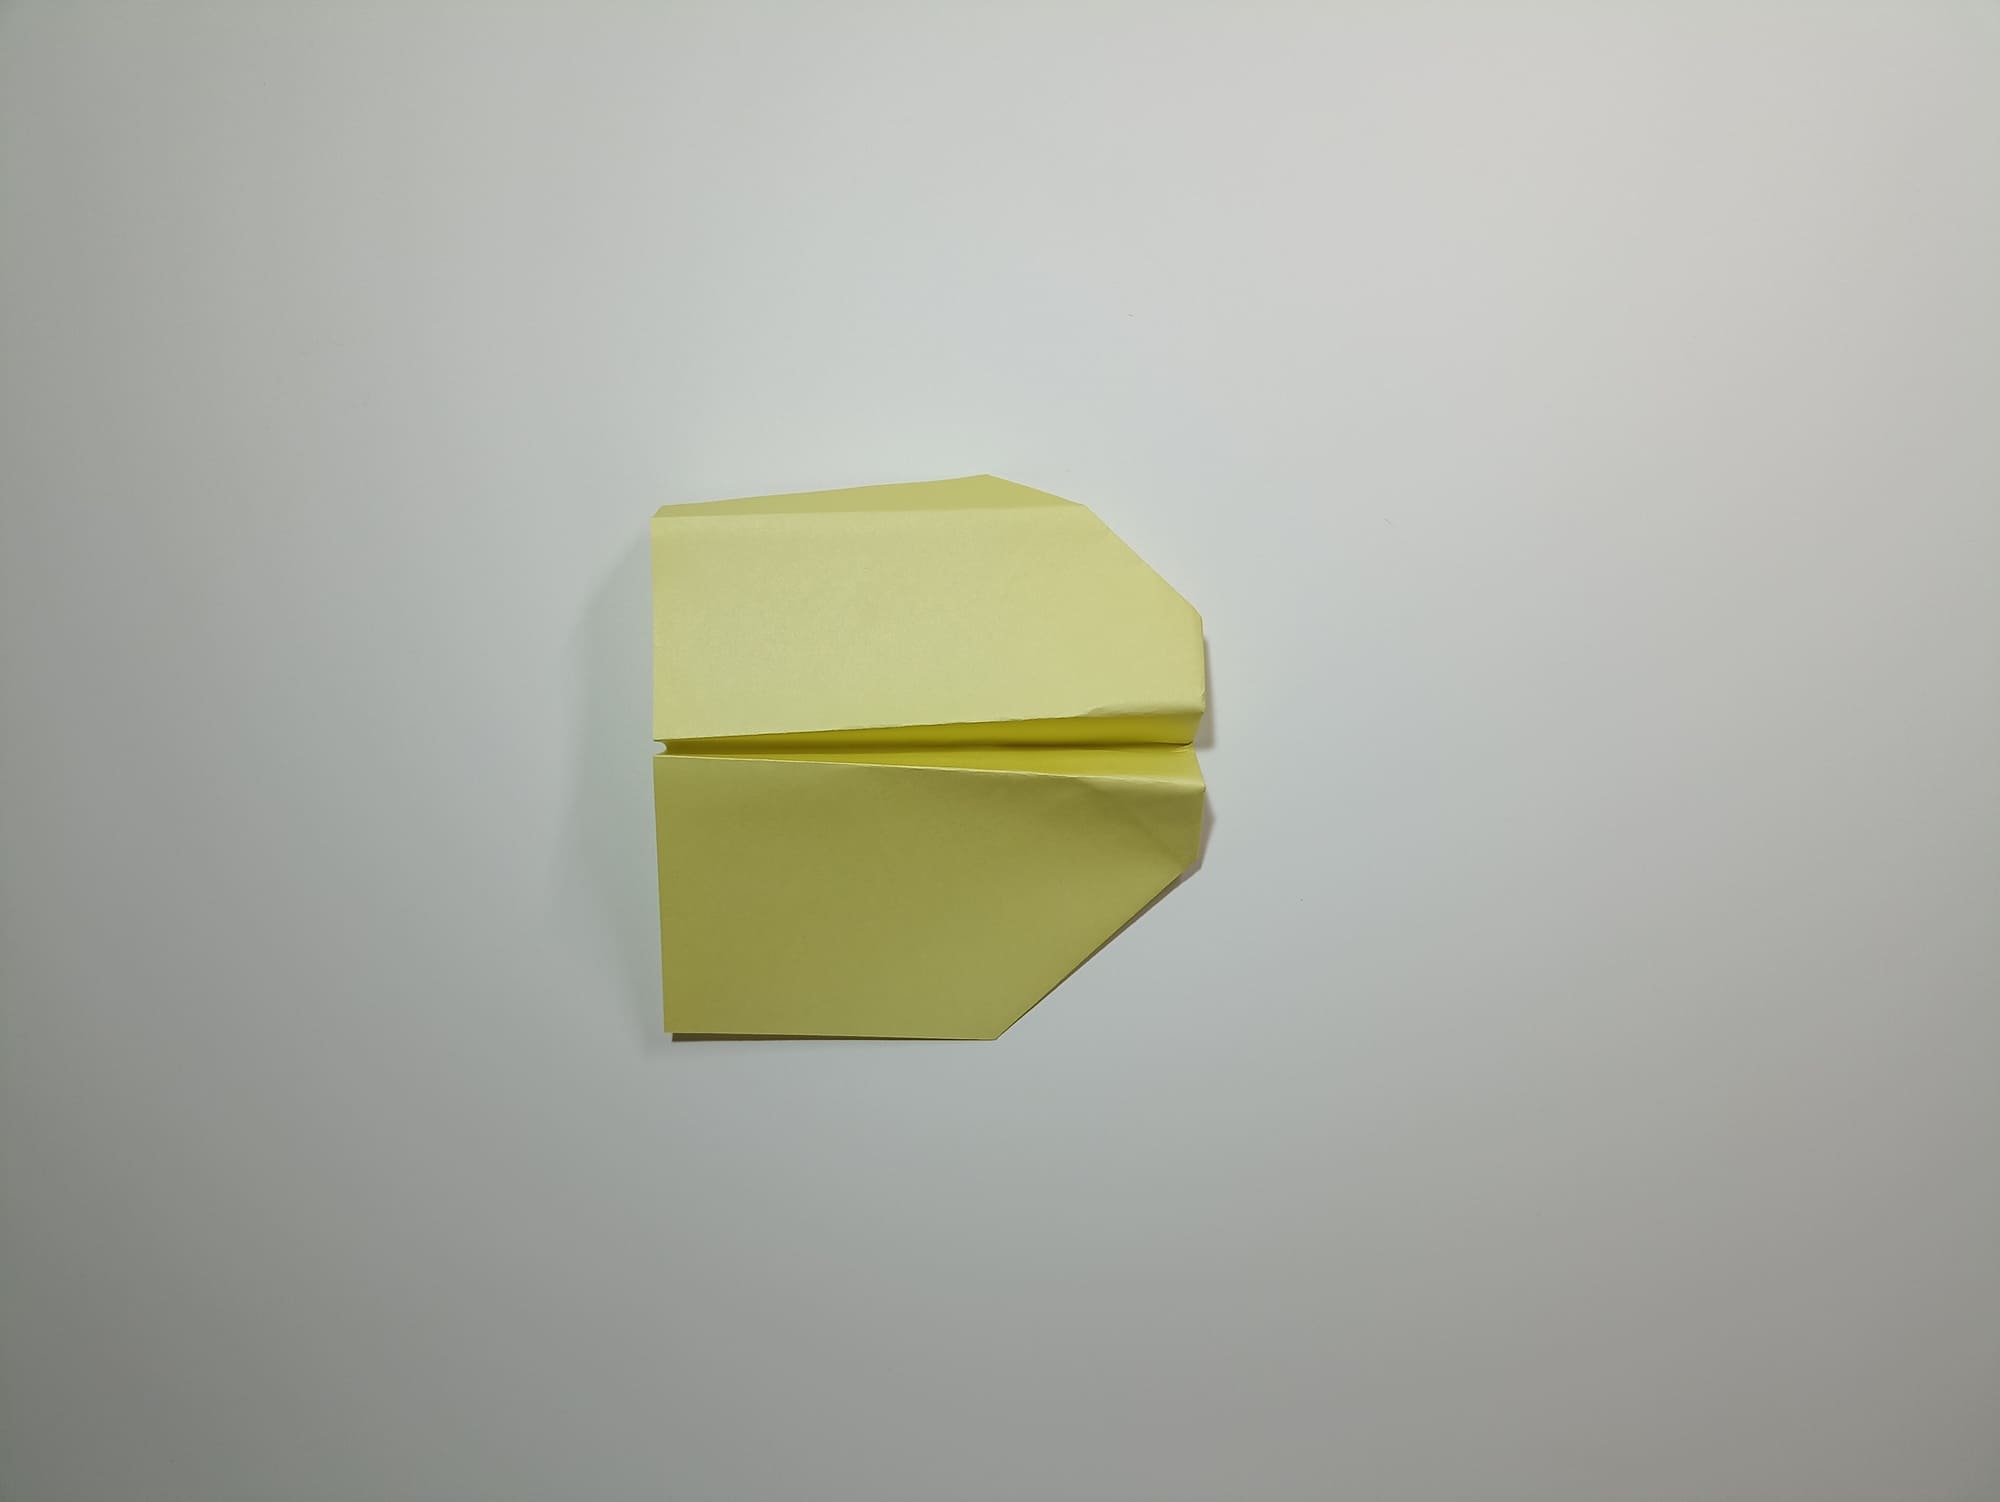
Bend the wing up. The line should bisect the side of the nose and be parallel to the body.
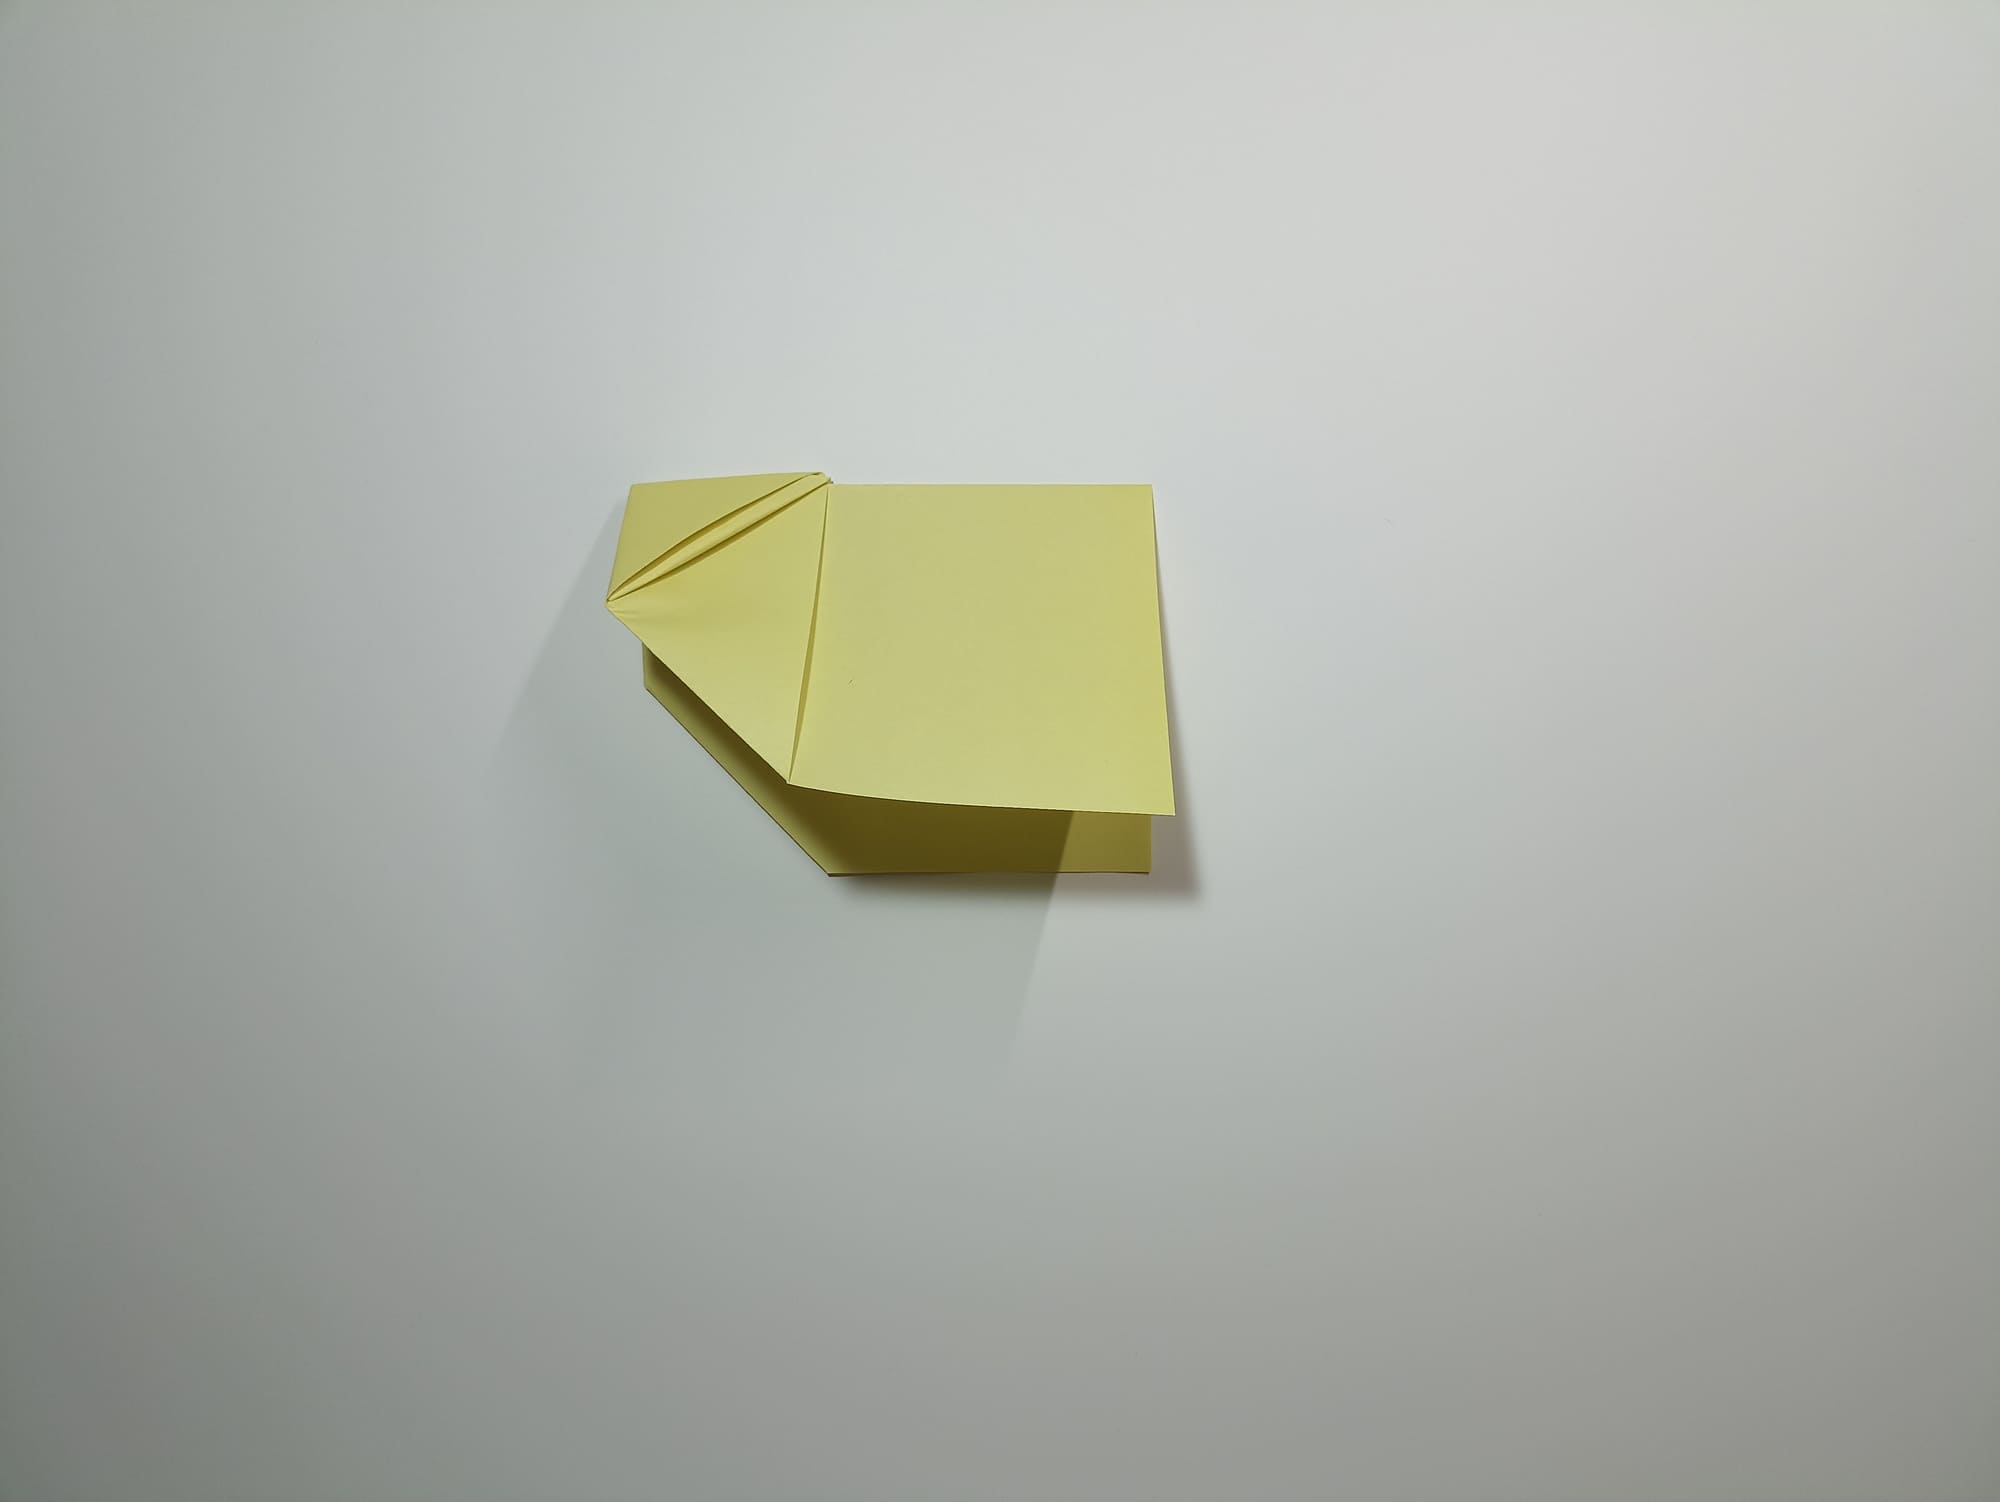
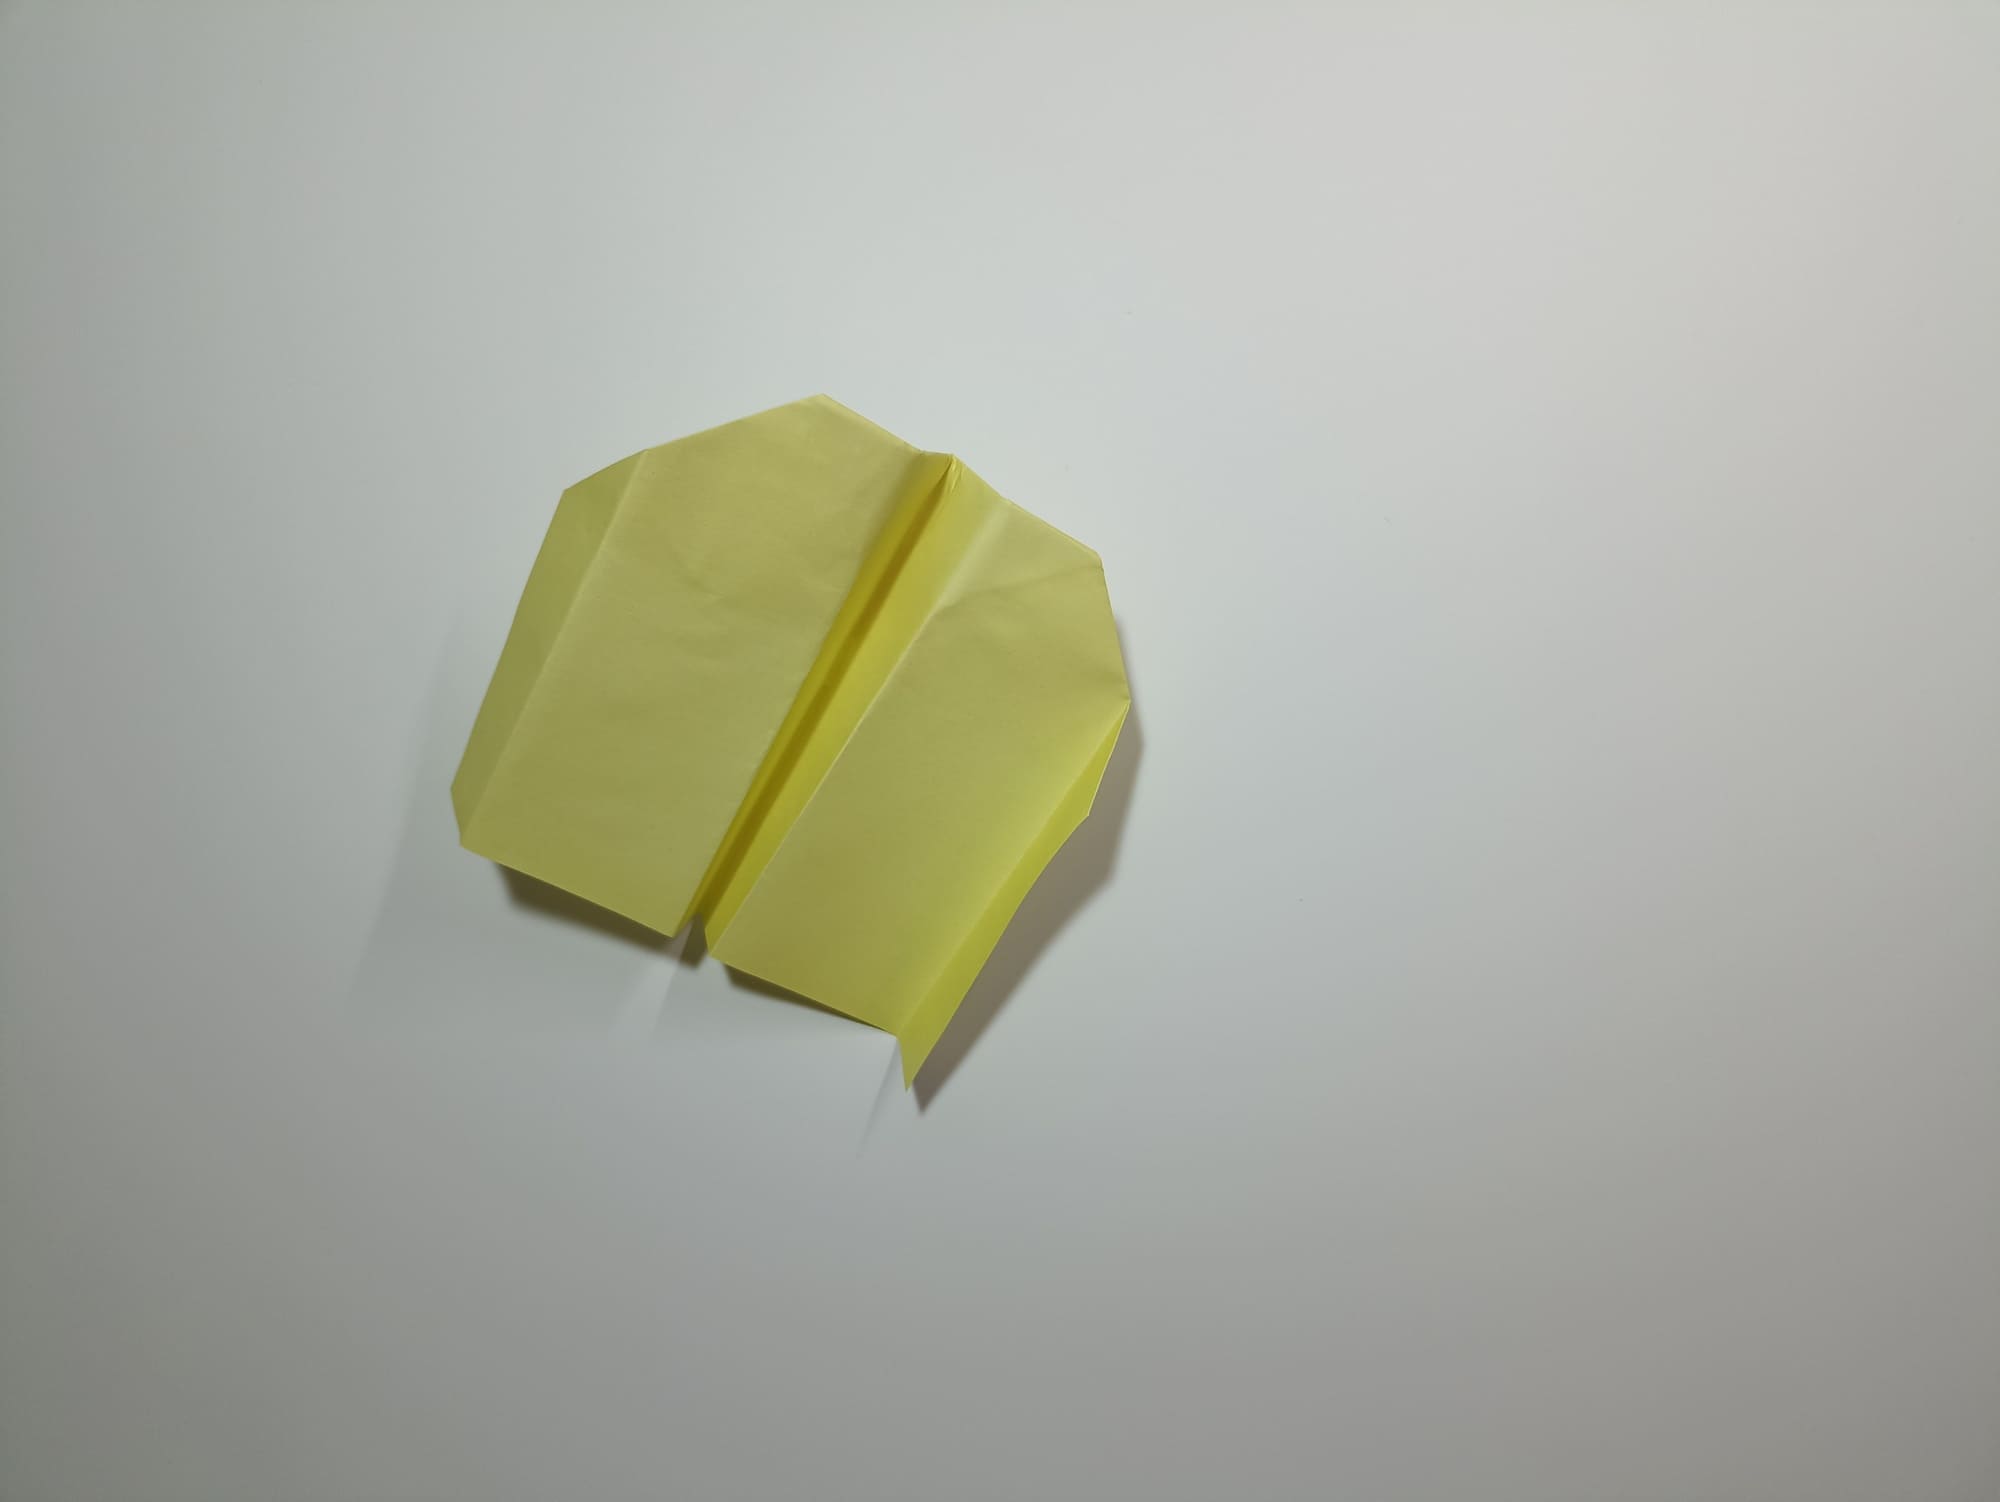
Turn the model over and bend the second wing.
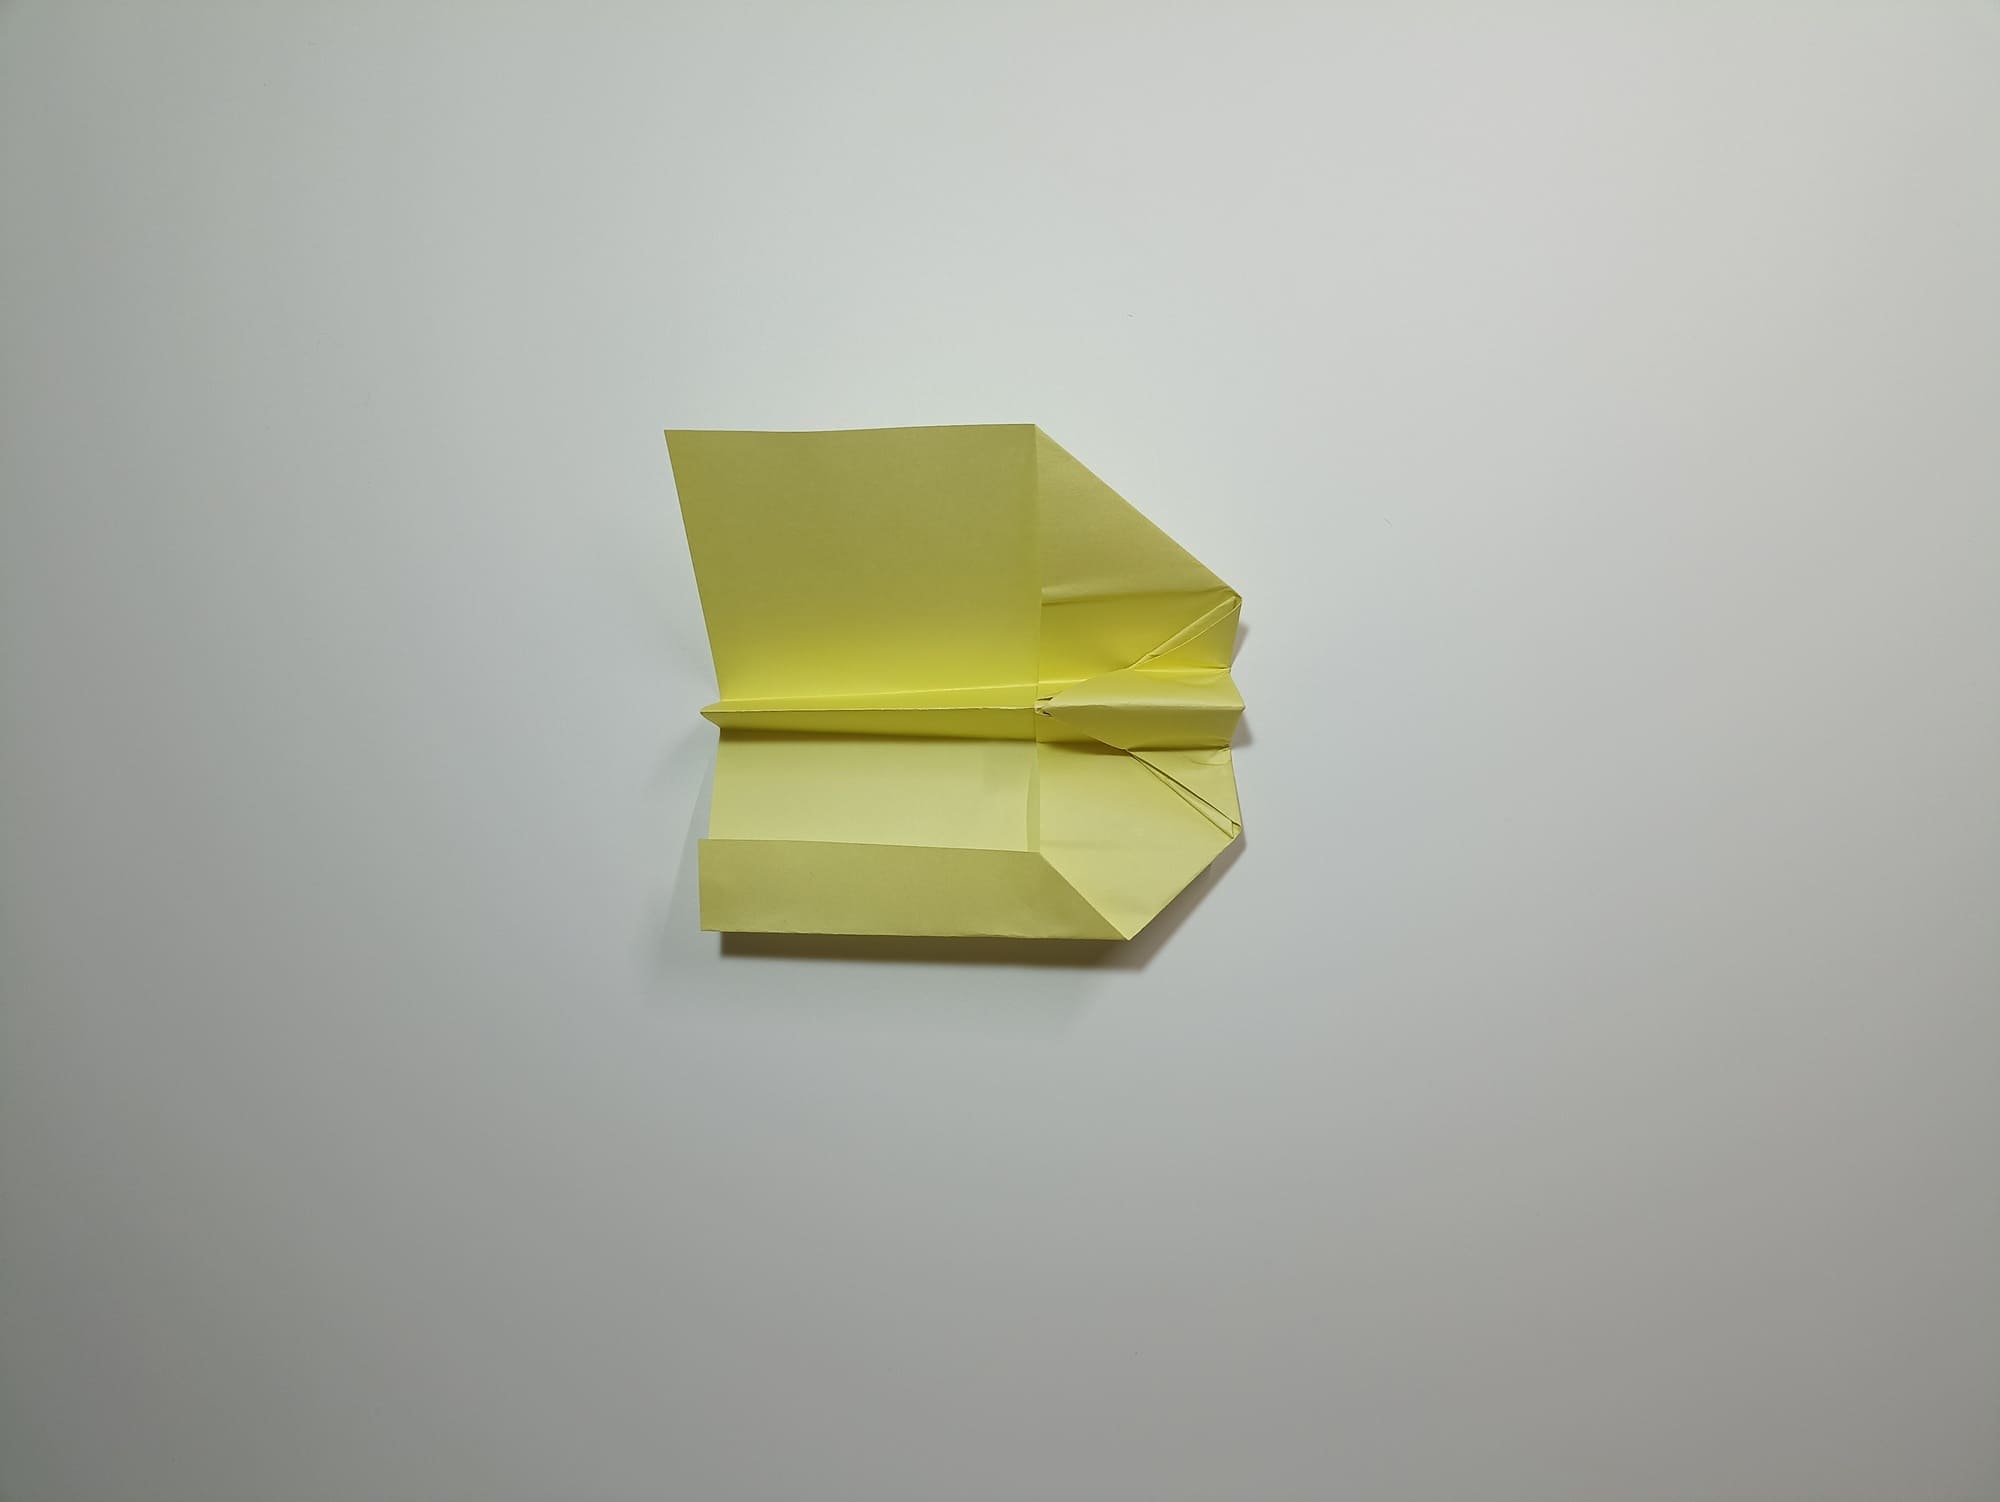
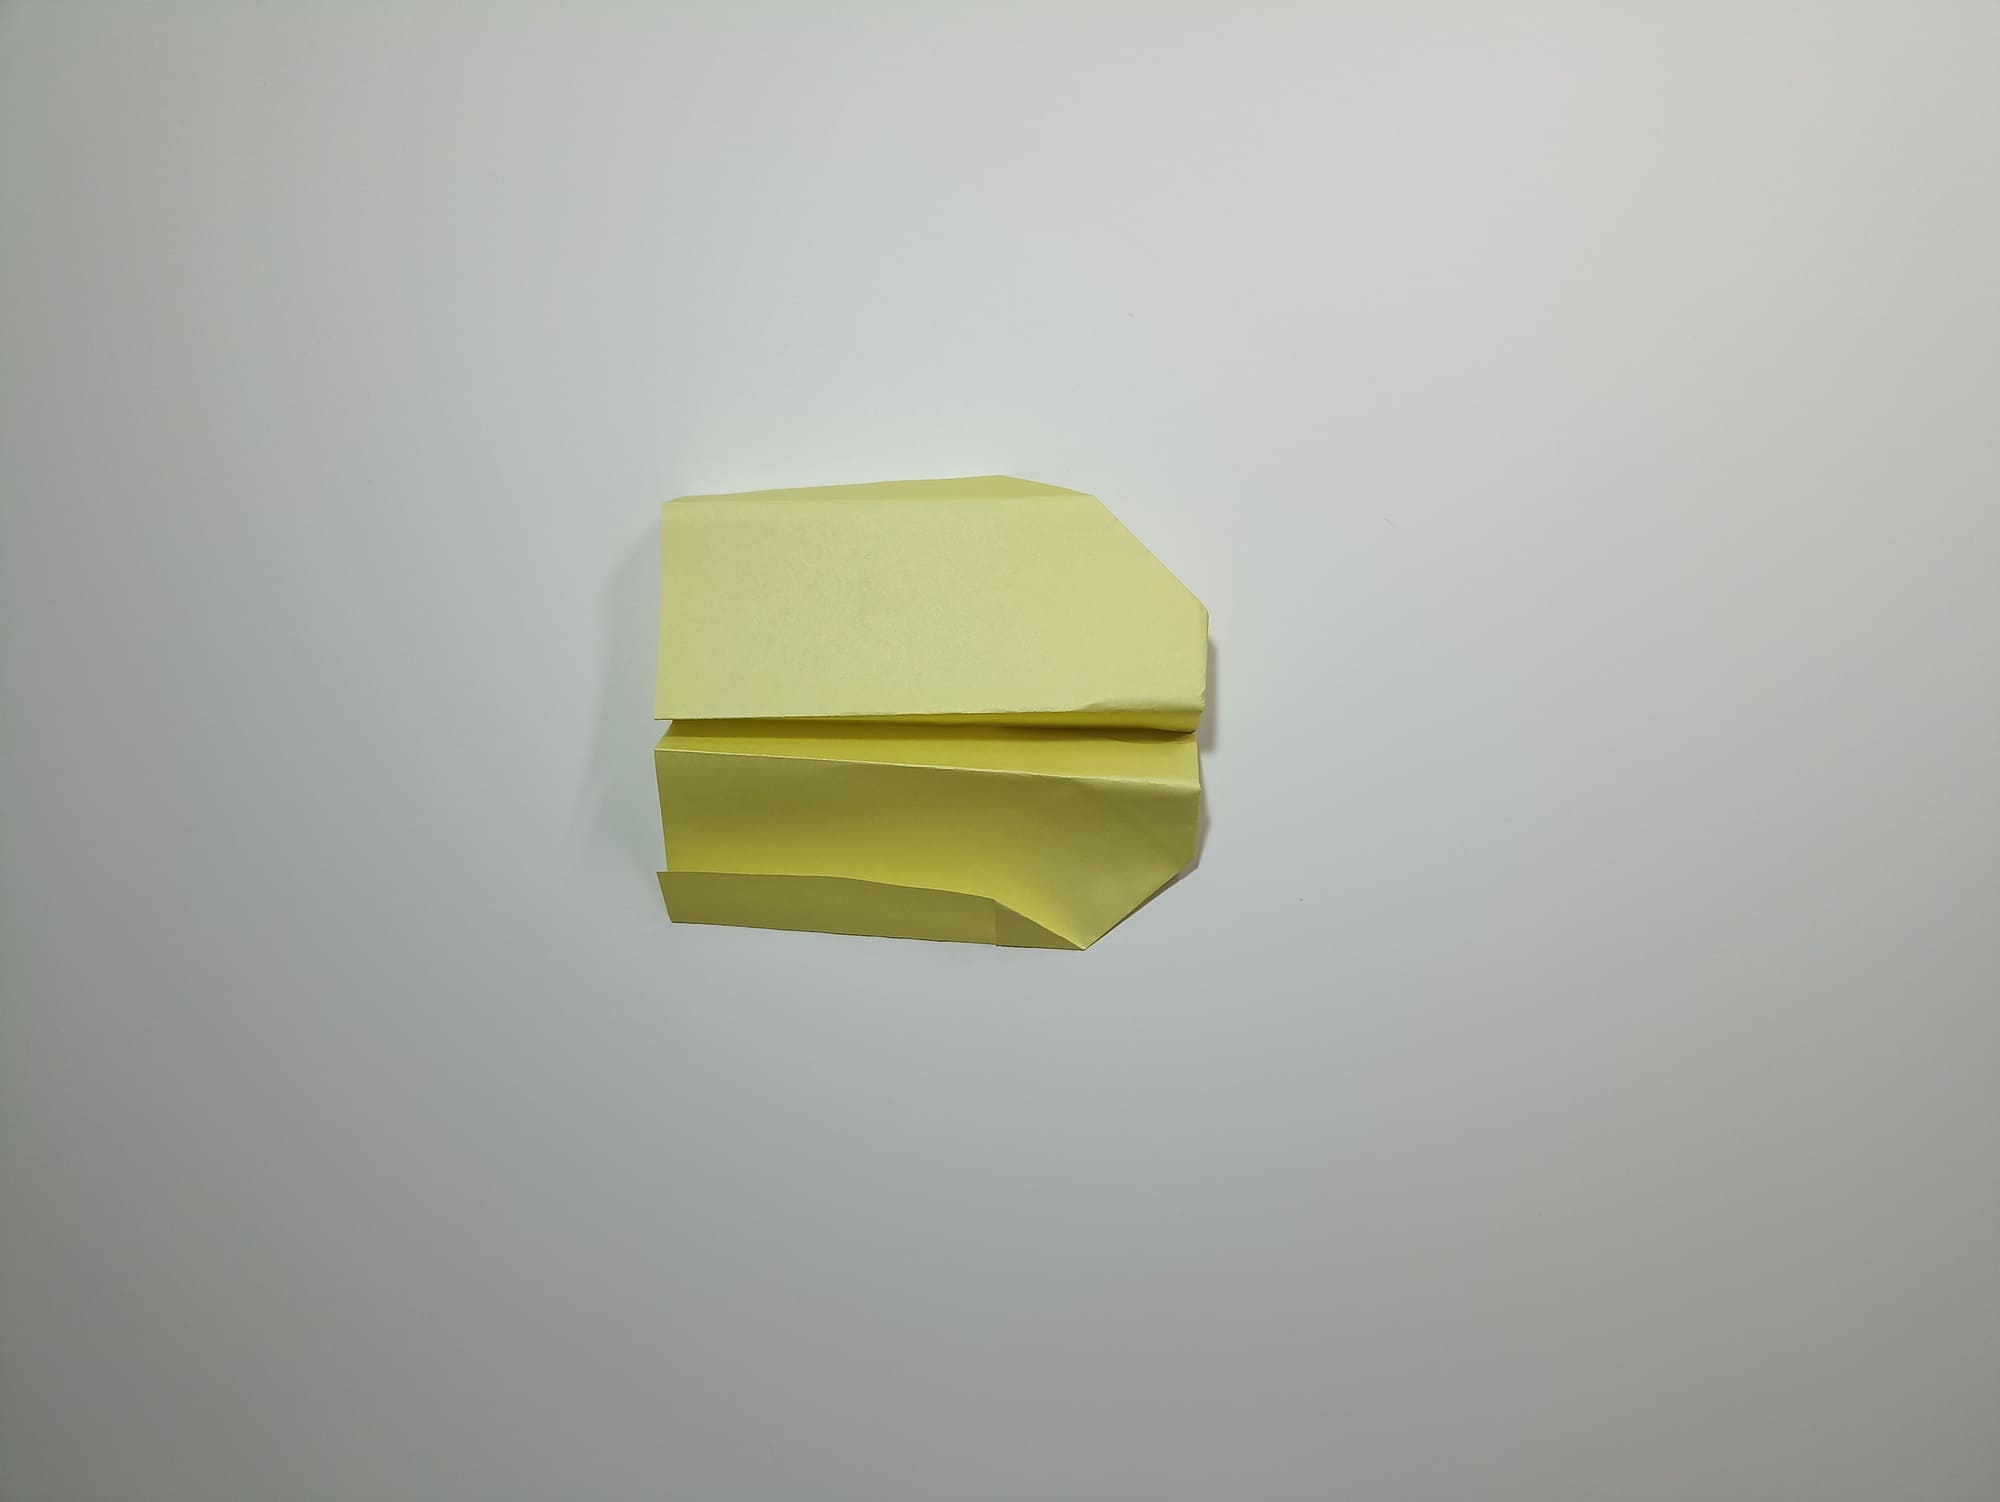
Make a fold on one wing at a distance of one and a half to two centimeters.
Align it perpendicular to the surface of the wing, that is, place it on the edge.
Turn the body over.
Make another fold and place the bent part on the edge.
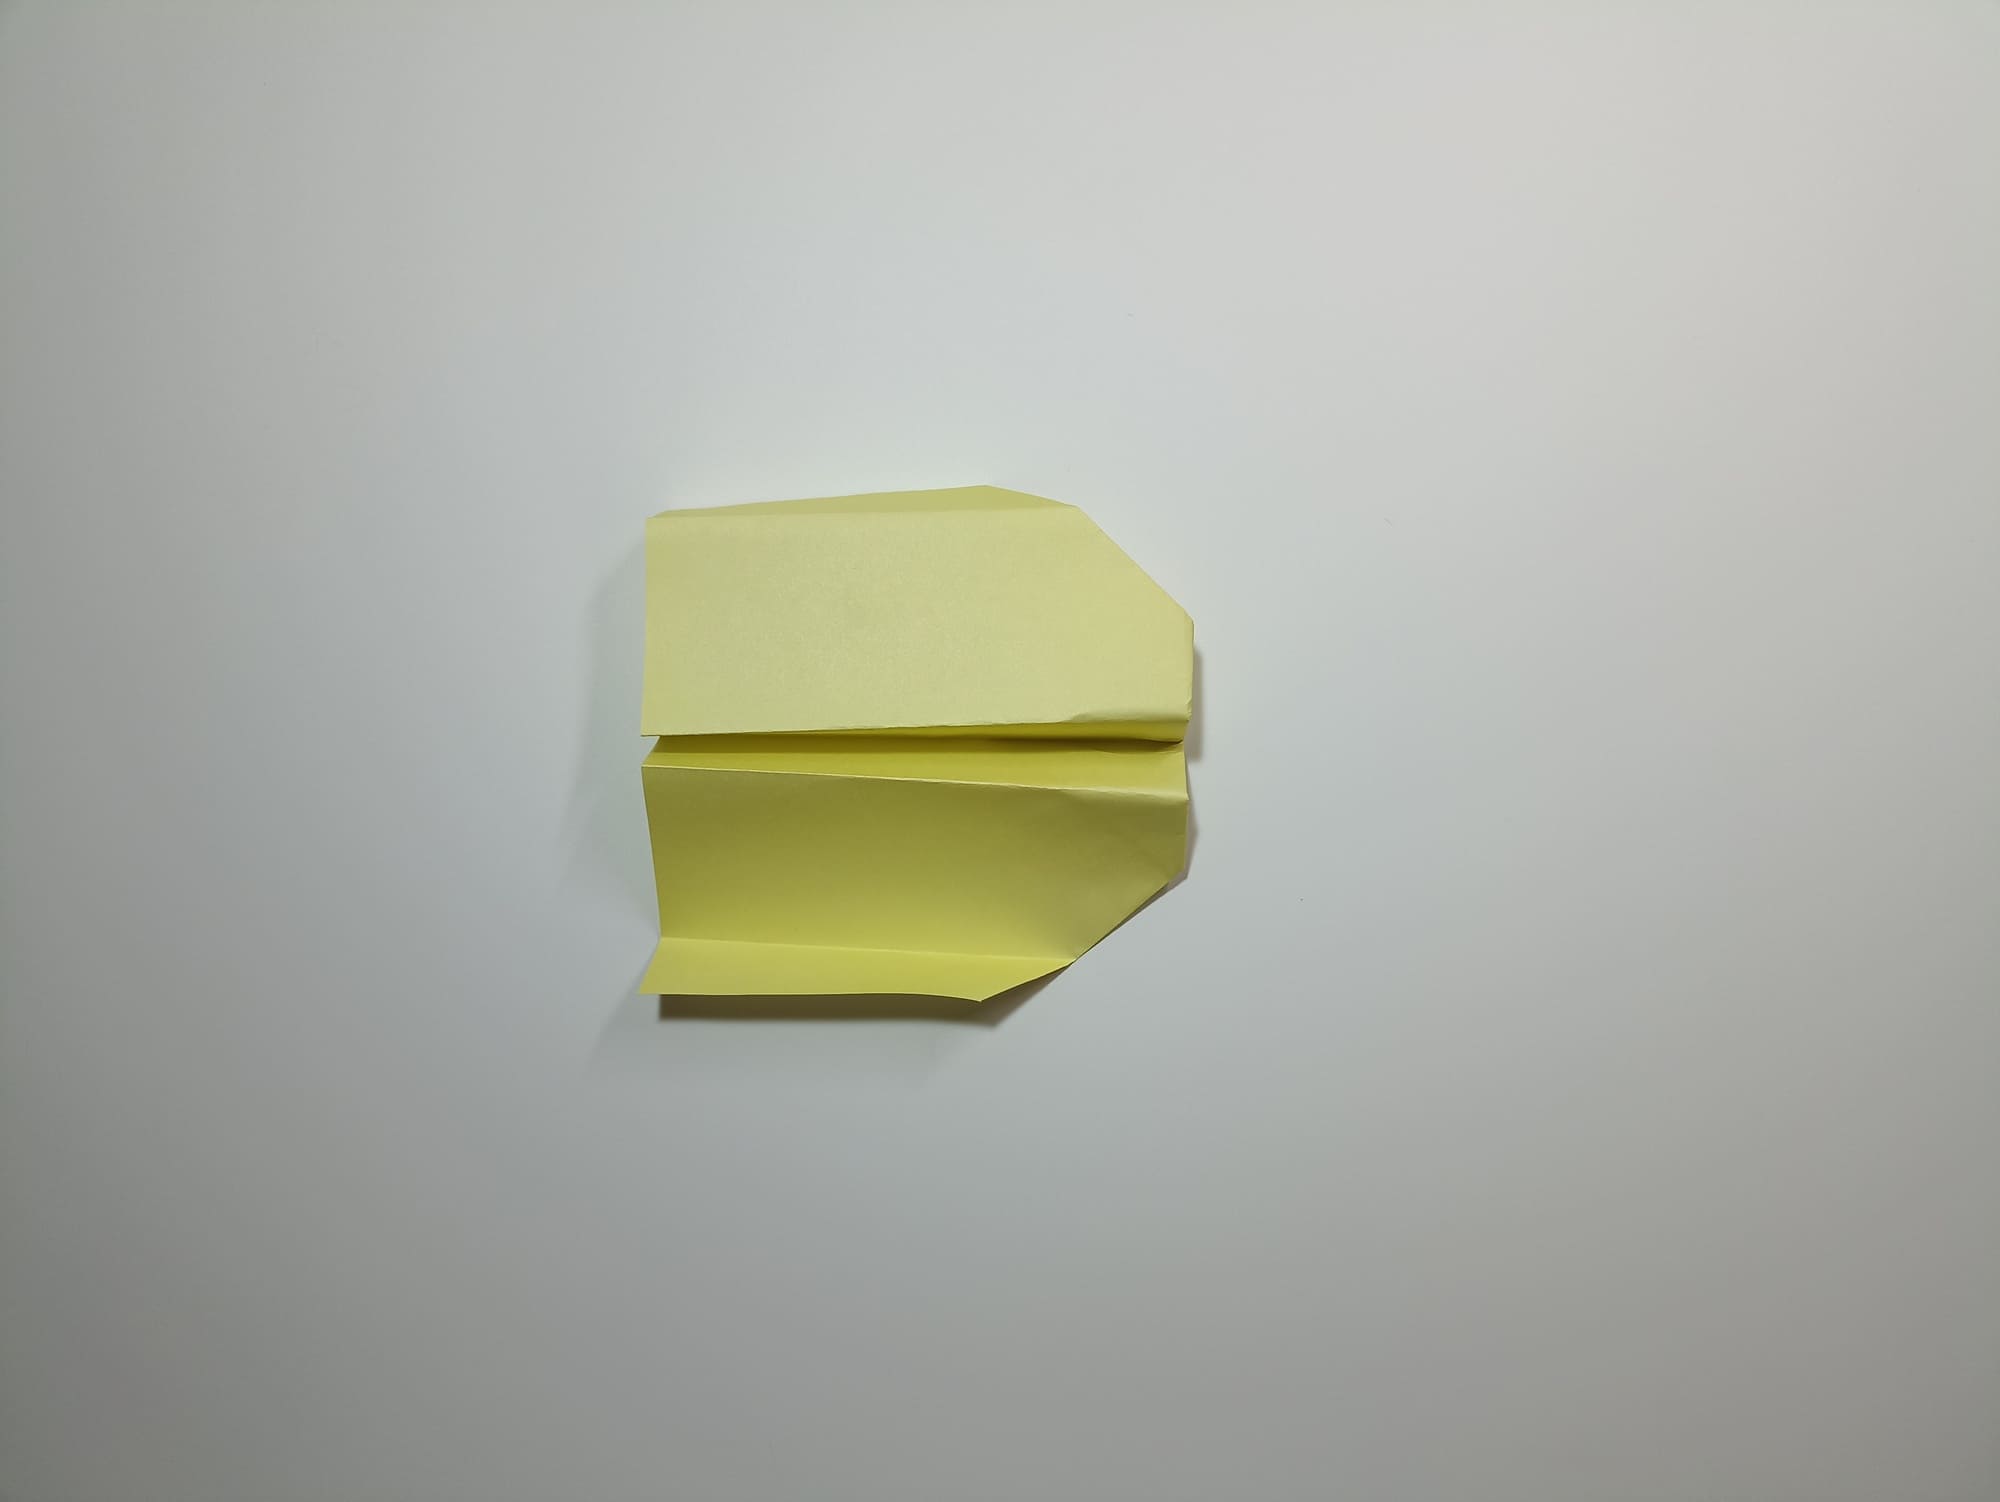
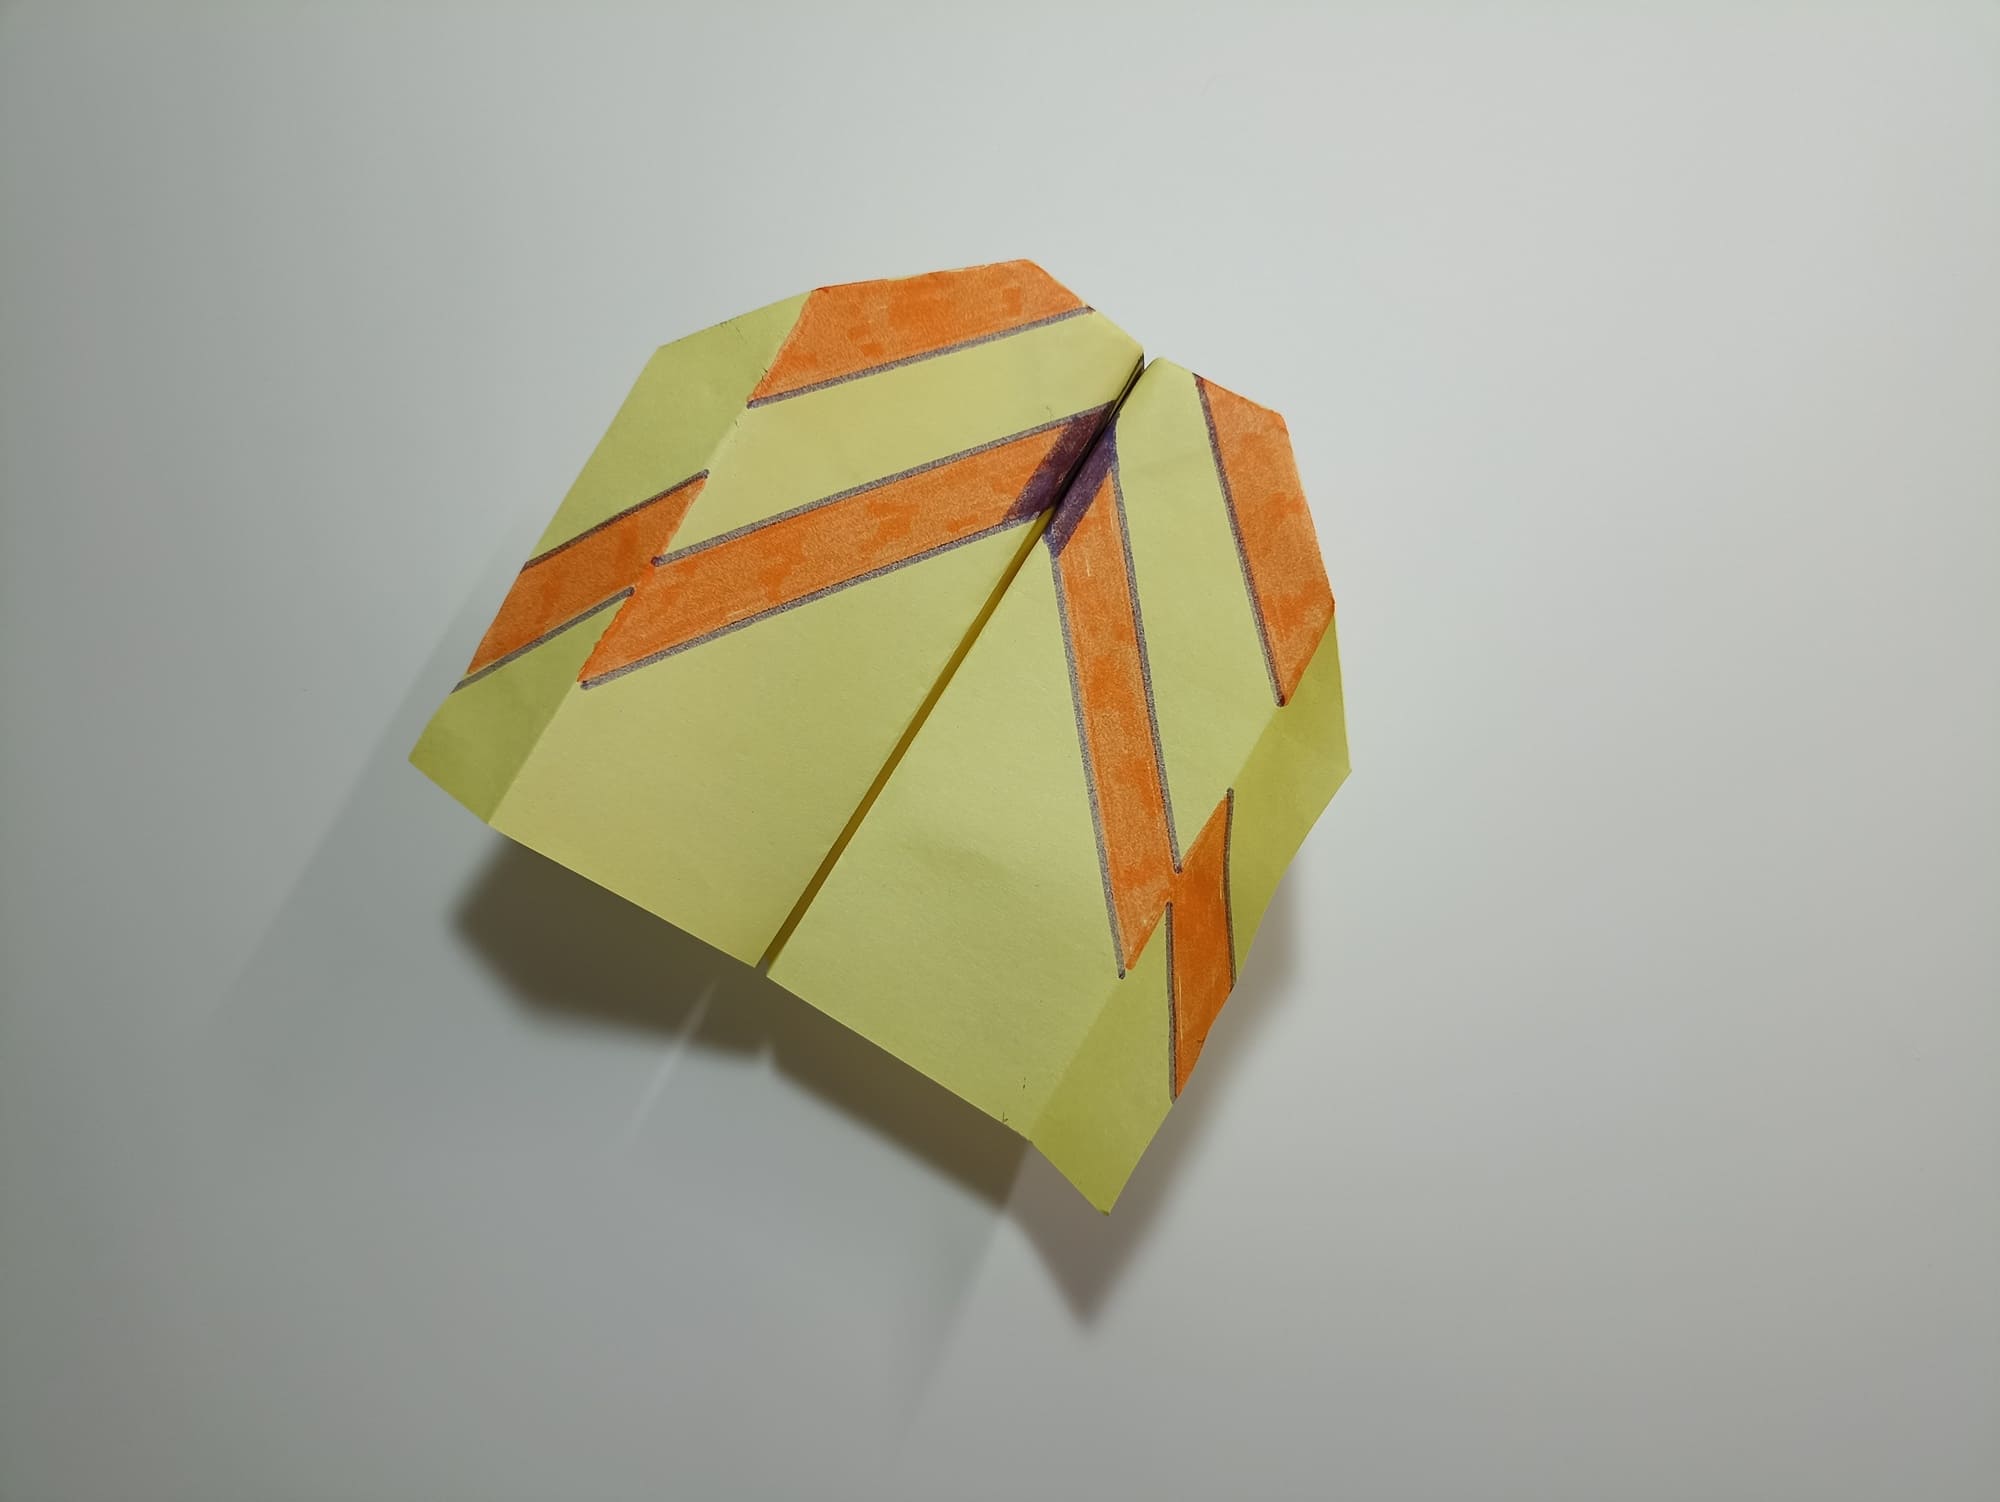
Adjust the angles of the wings and draw the details.
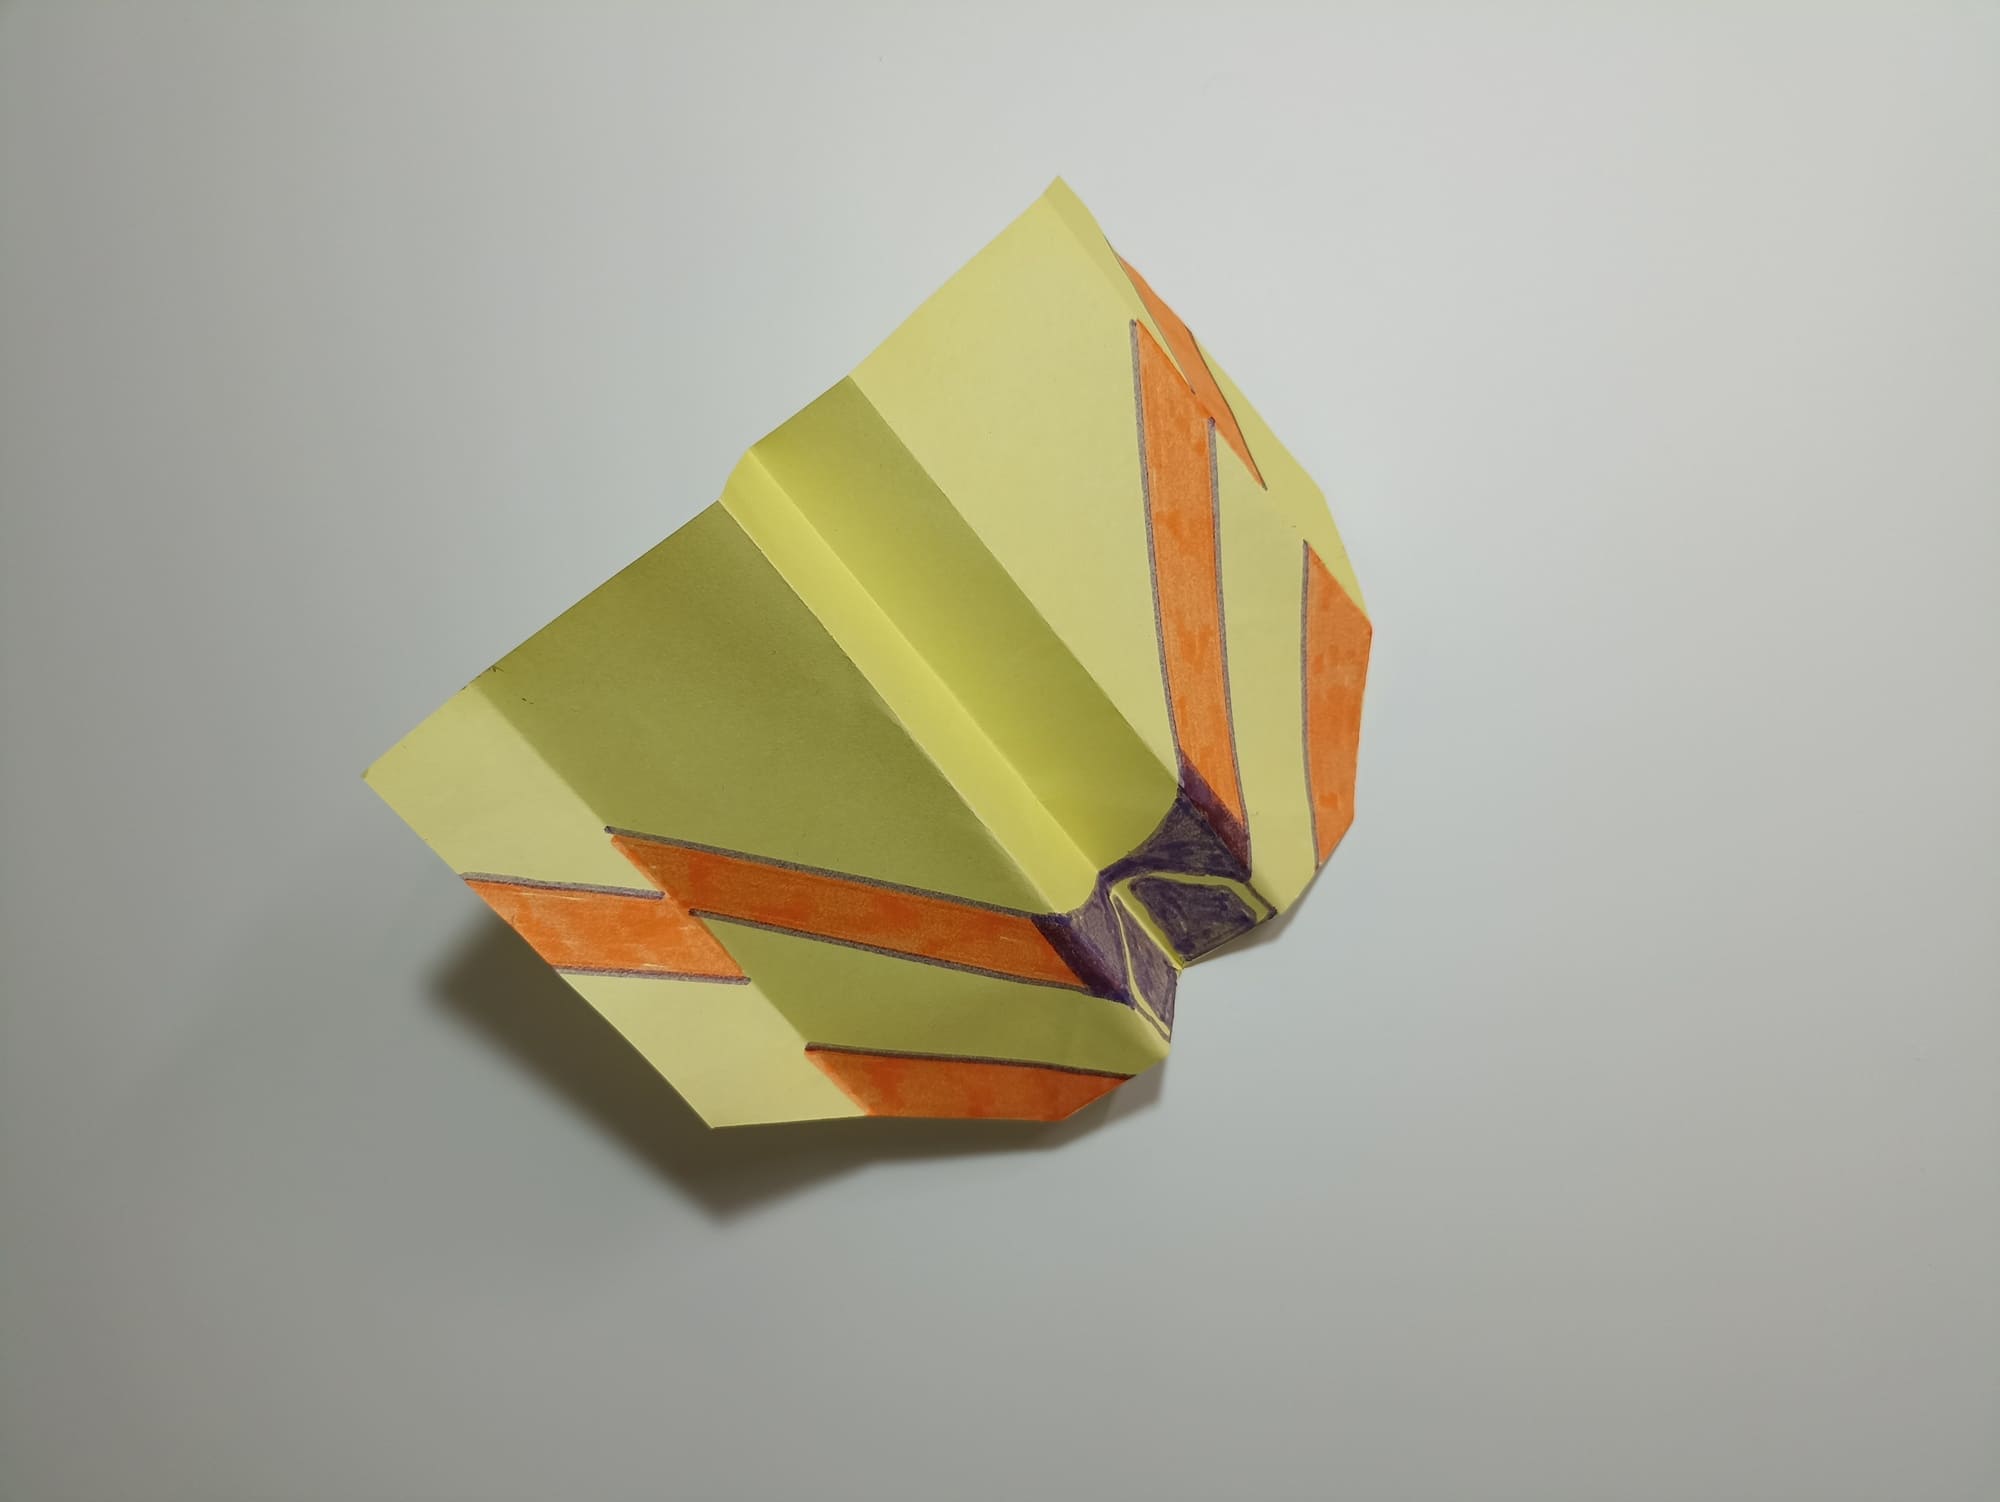
Ready!
The airplane can also be launched from the ground. To do this, you need to set the flaps in one direction, turn the body over, and throw it up, performing a wide swing from the shoulder with a straight arm. Then, the propeller will make a loop and fly a little into the distance.


