Origami Lily with Sterm

One of the most beautiful and elegant flowers, the Lily, is also in the top 10 most popular origami patterns. The Lily figure is an origami classic, and you can find several variations on how to make it. But without a support stem it can’t stand, so below you will find instructions on how to make it. Choose a square of origami paper in shades of green for a more realistic look.
Take a square green sheet of paper, fold it diagonally, work out the fold, and unfold it.
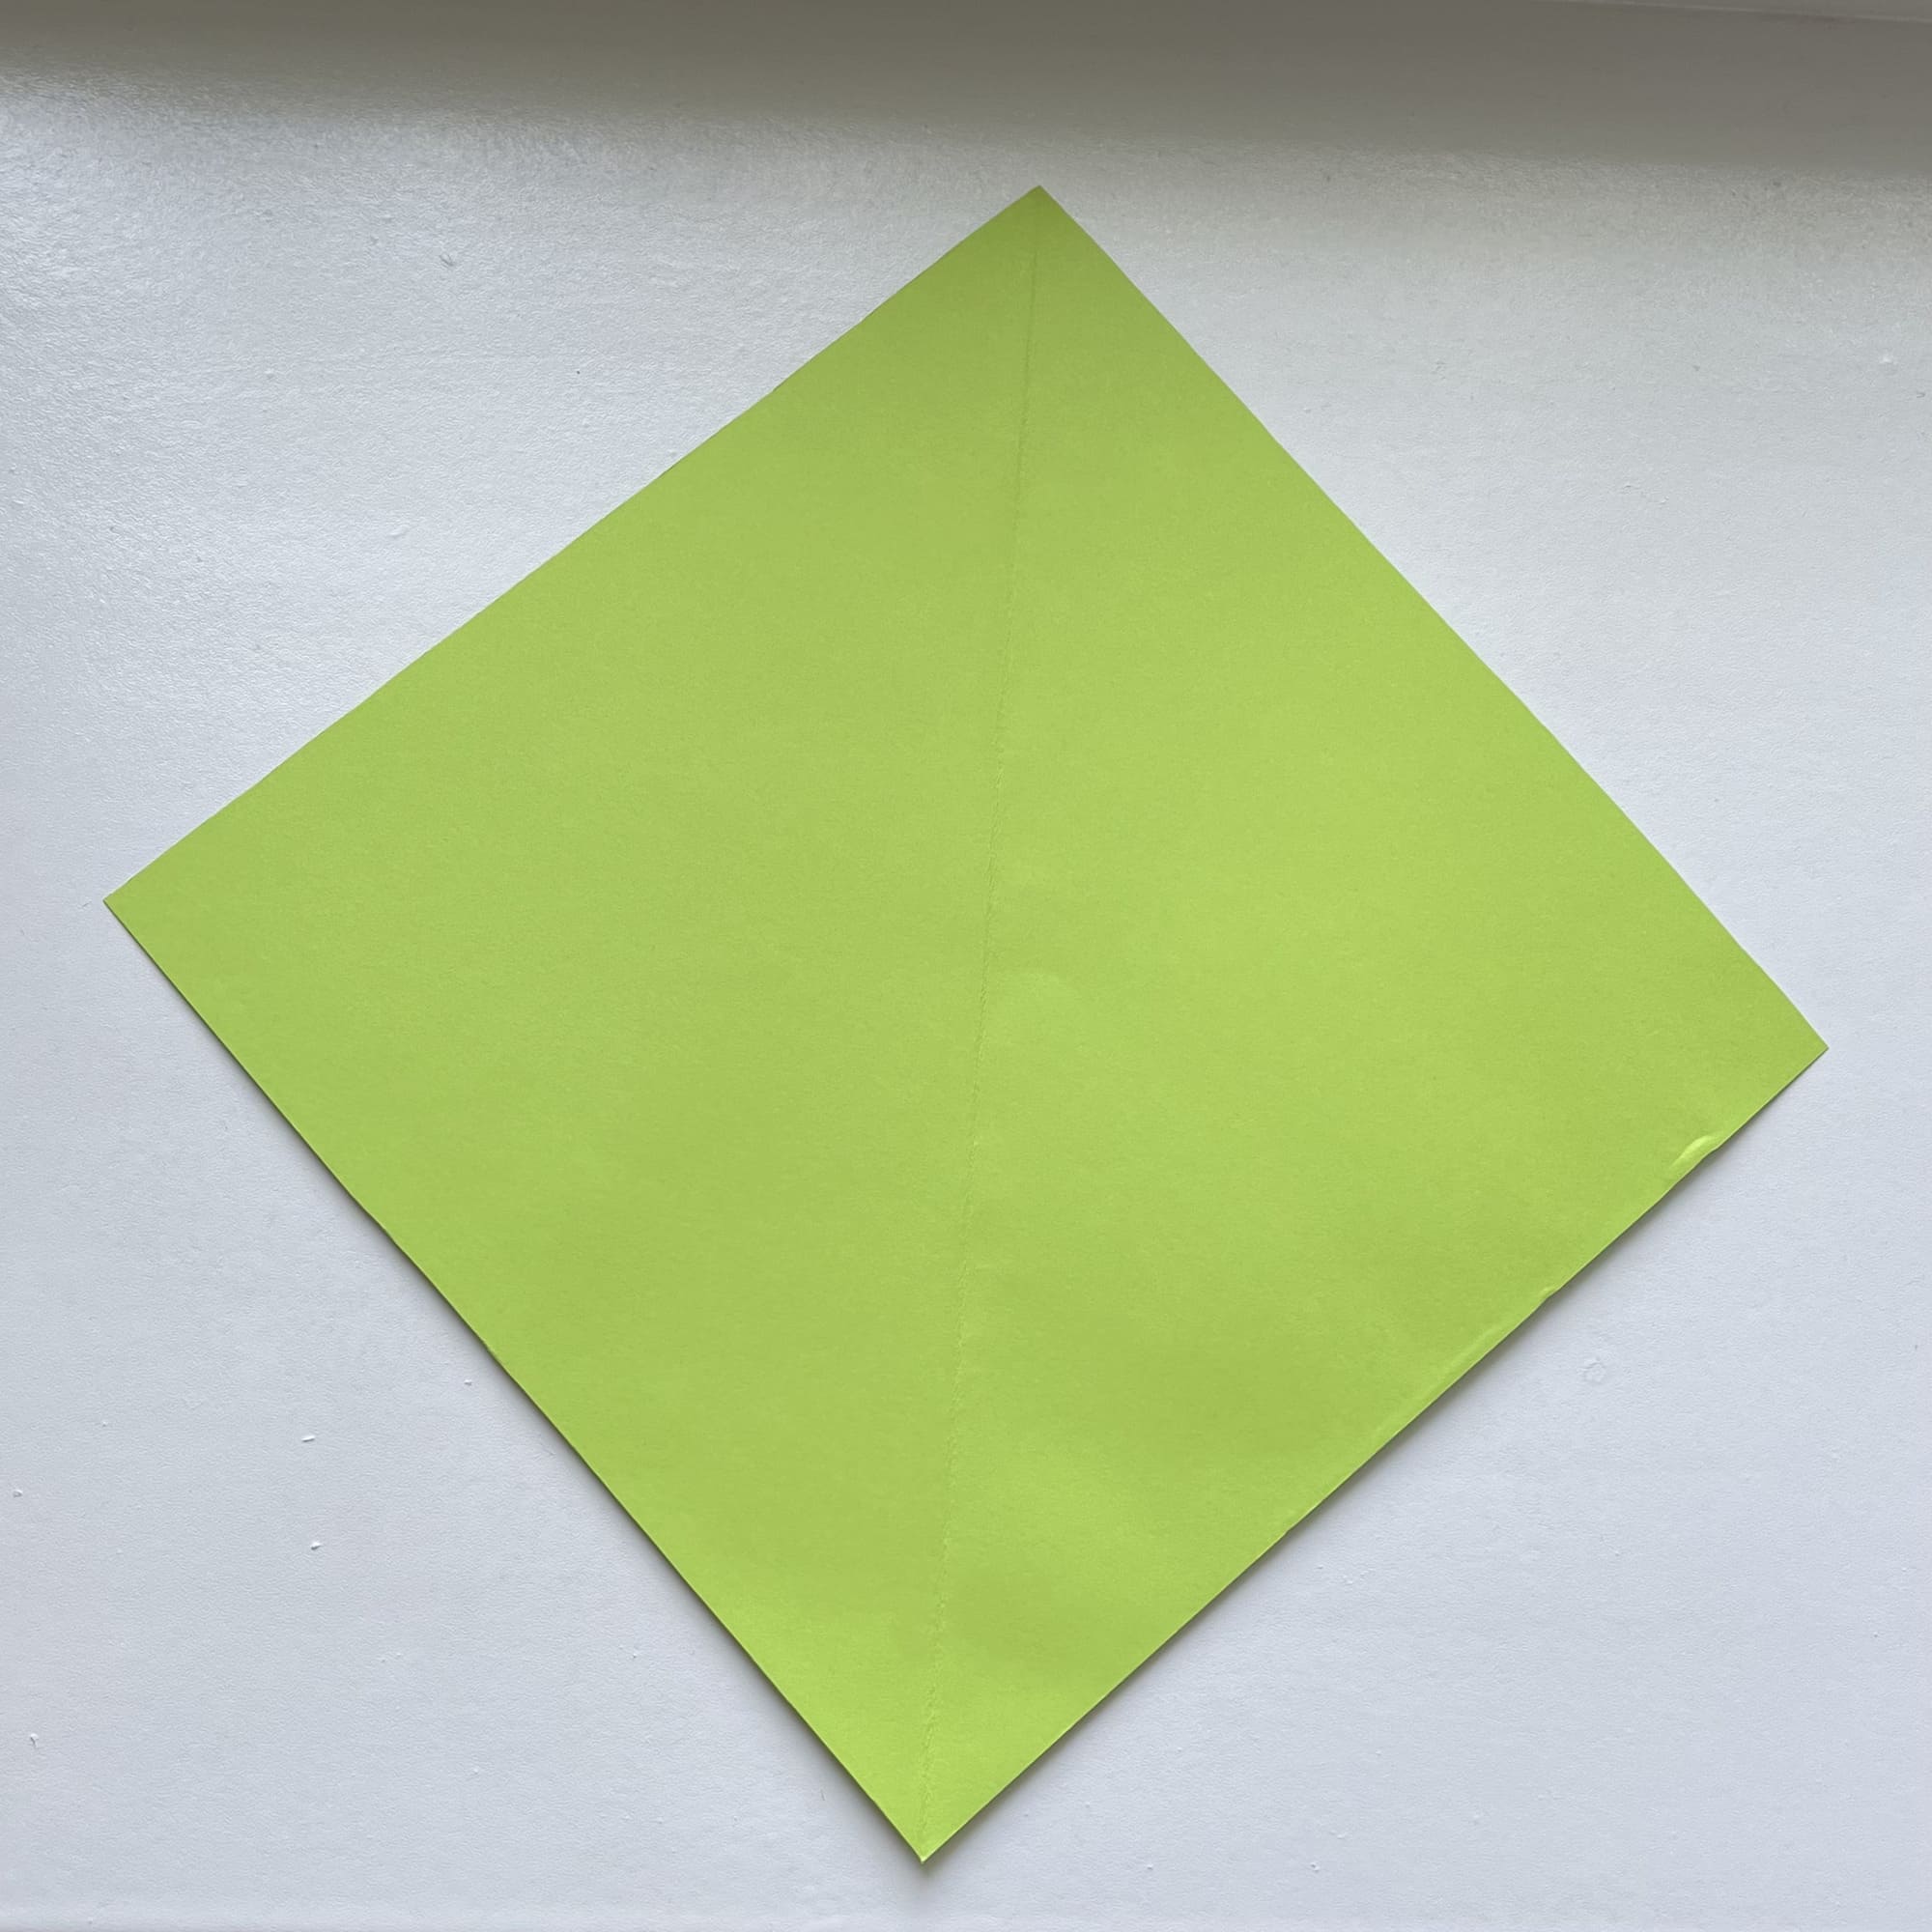
Now turn the square paper, so it lays on the table as a rhombus — with the corners pointing up, down, and to the sides. The folding line should be positioned vertically.
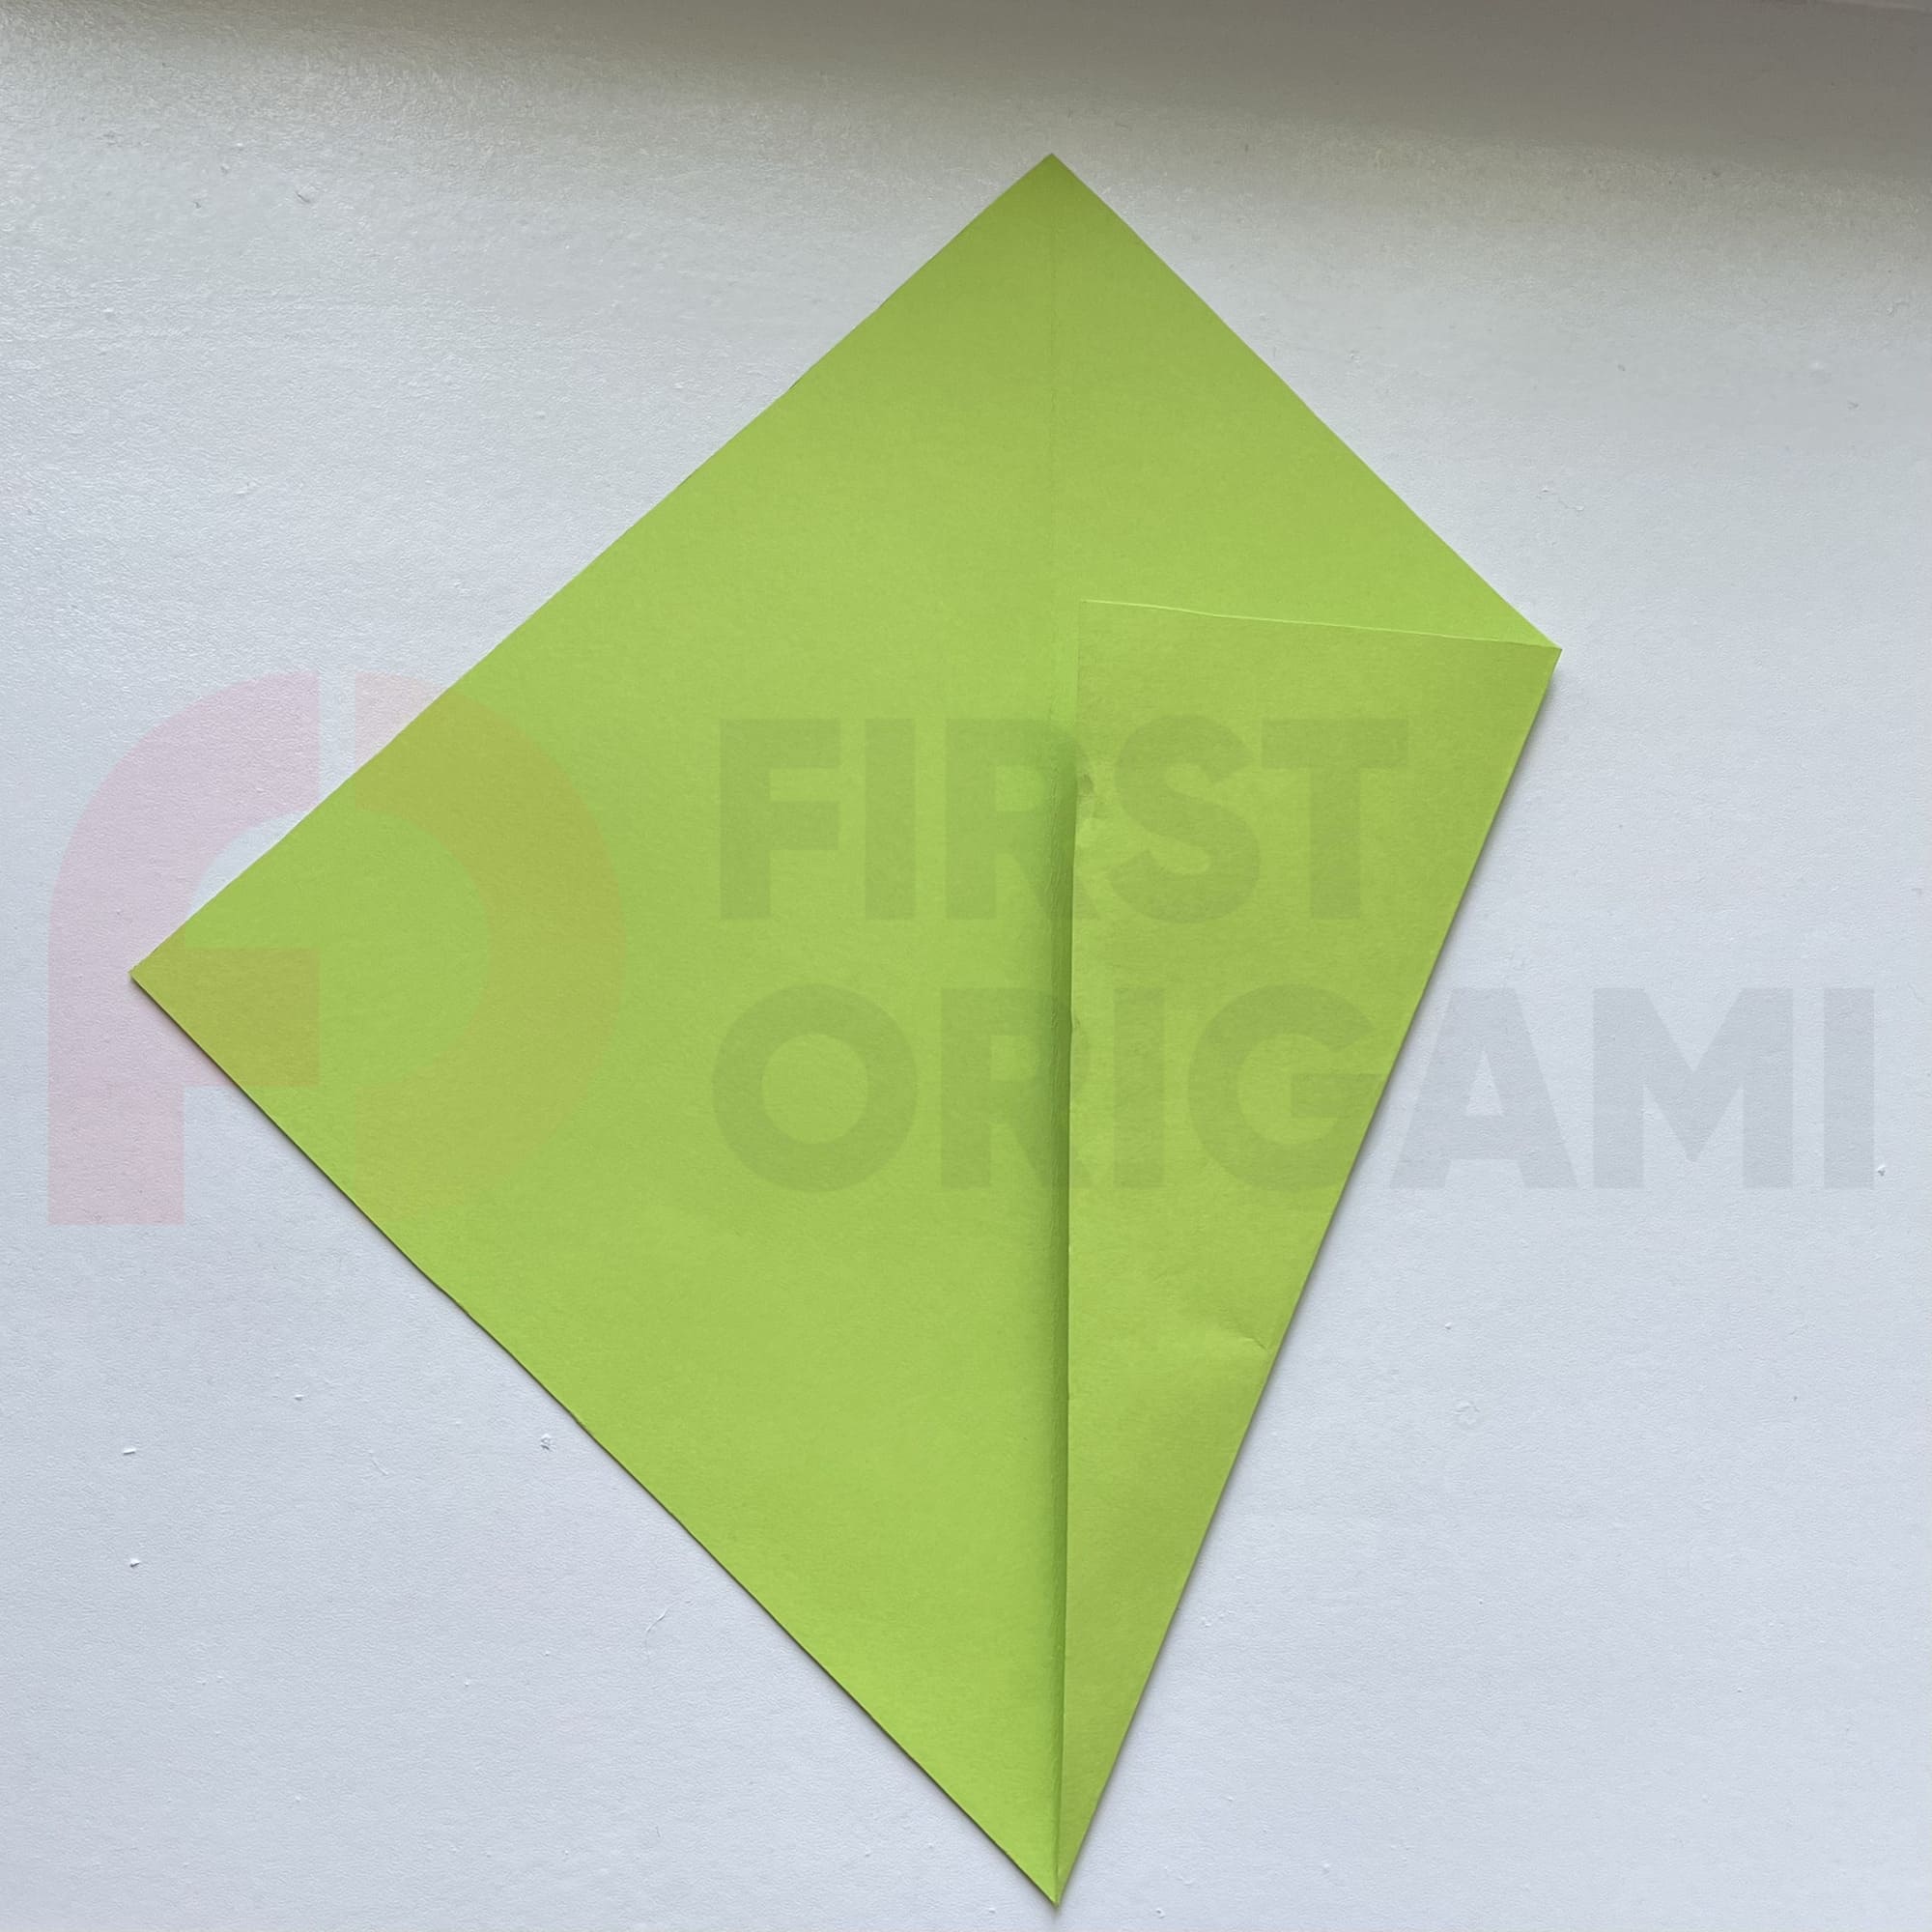
Fold the two bottom halves of the paper to the center line.
Work out the folds and iron the surface with your fingers.
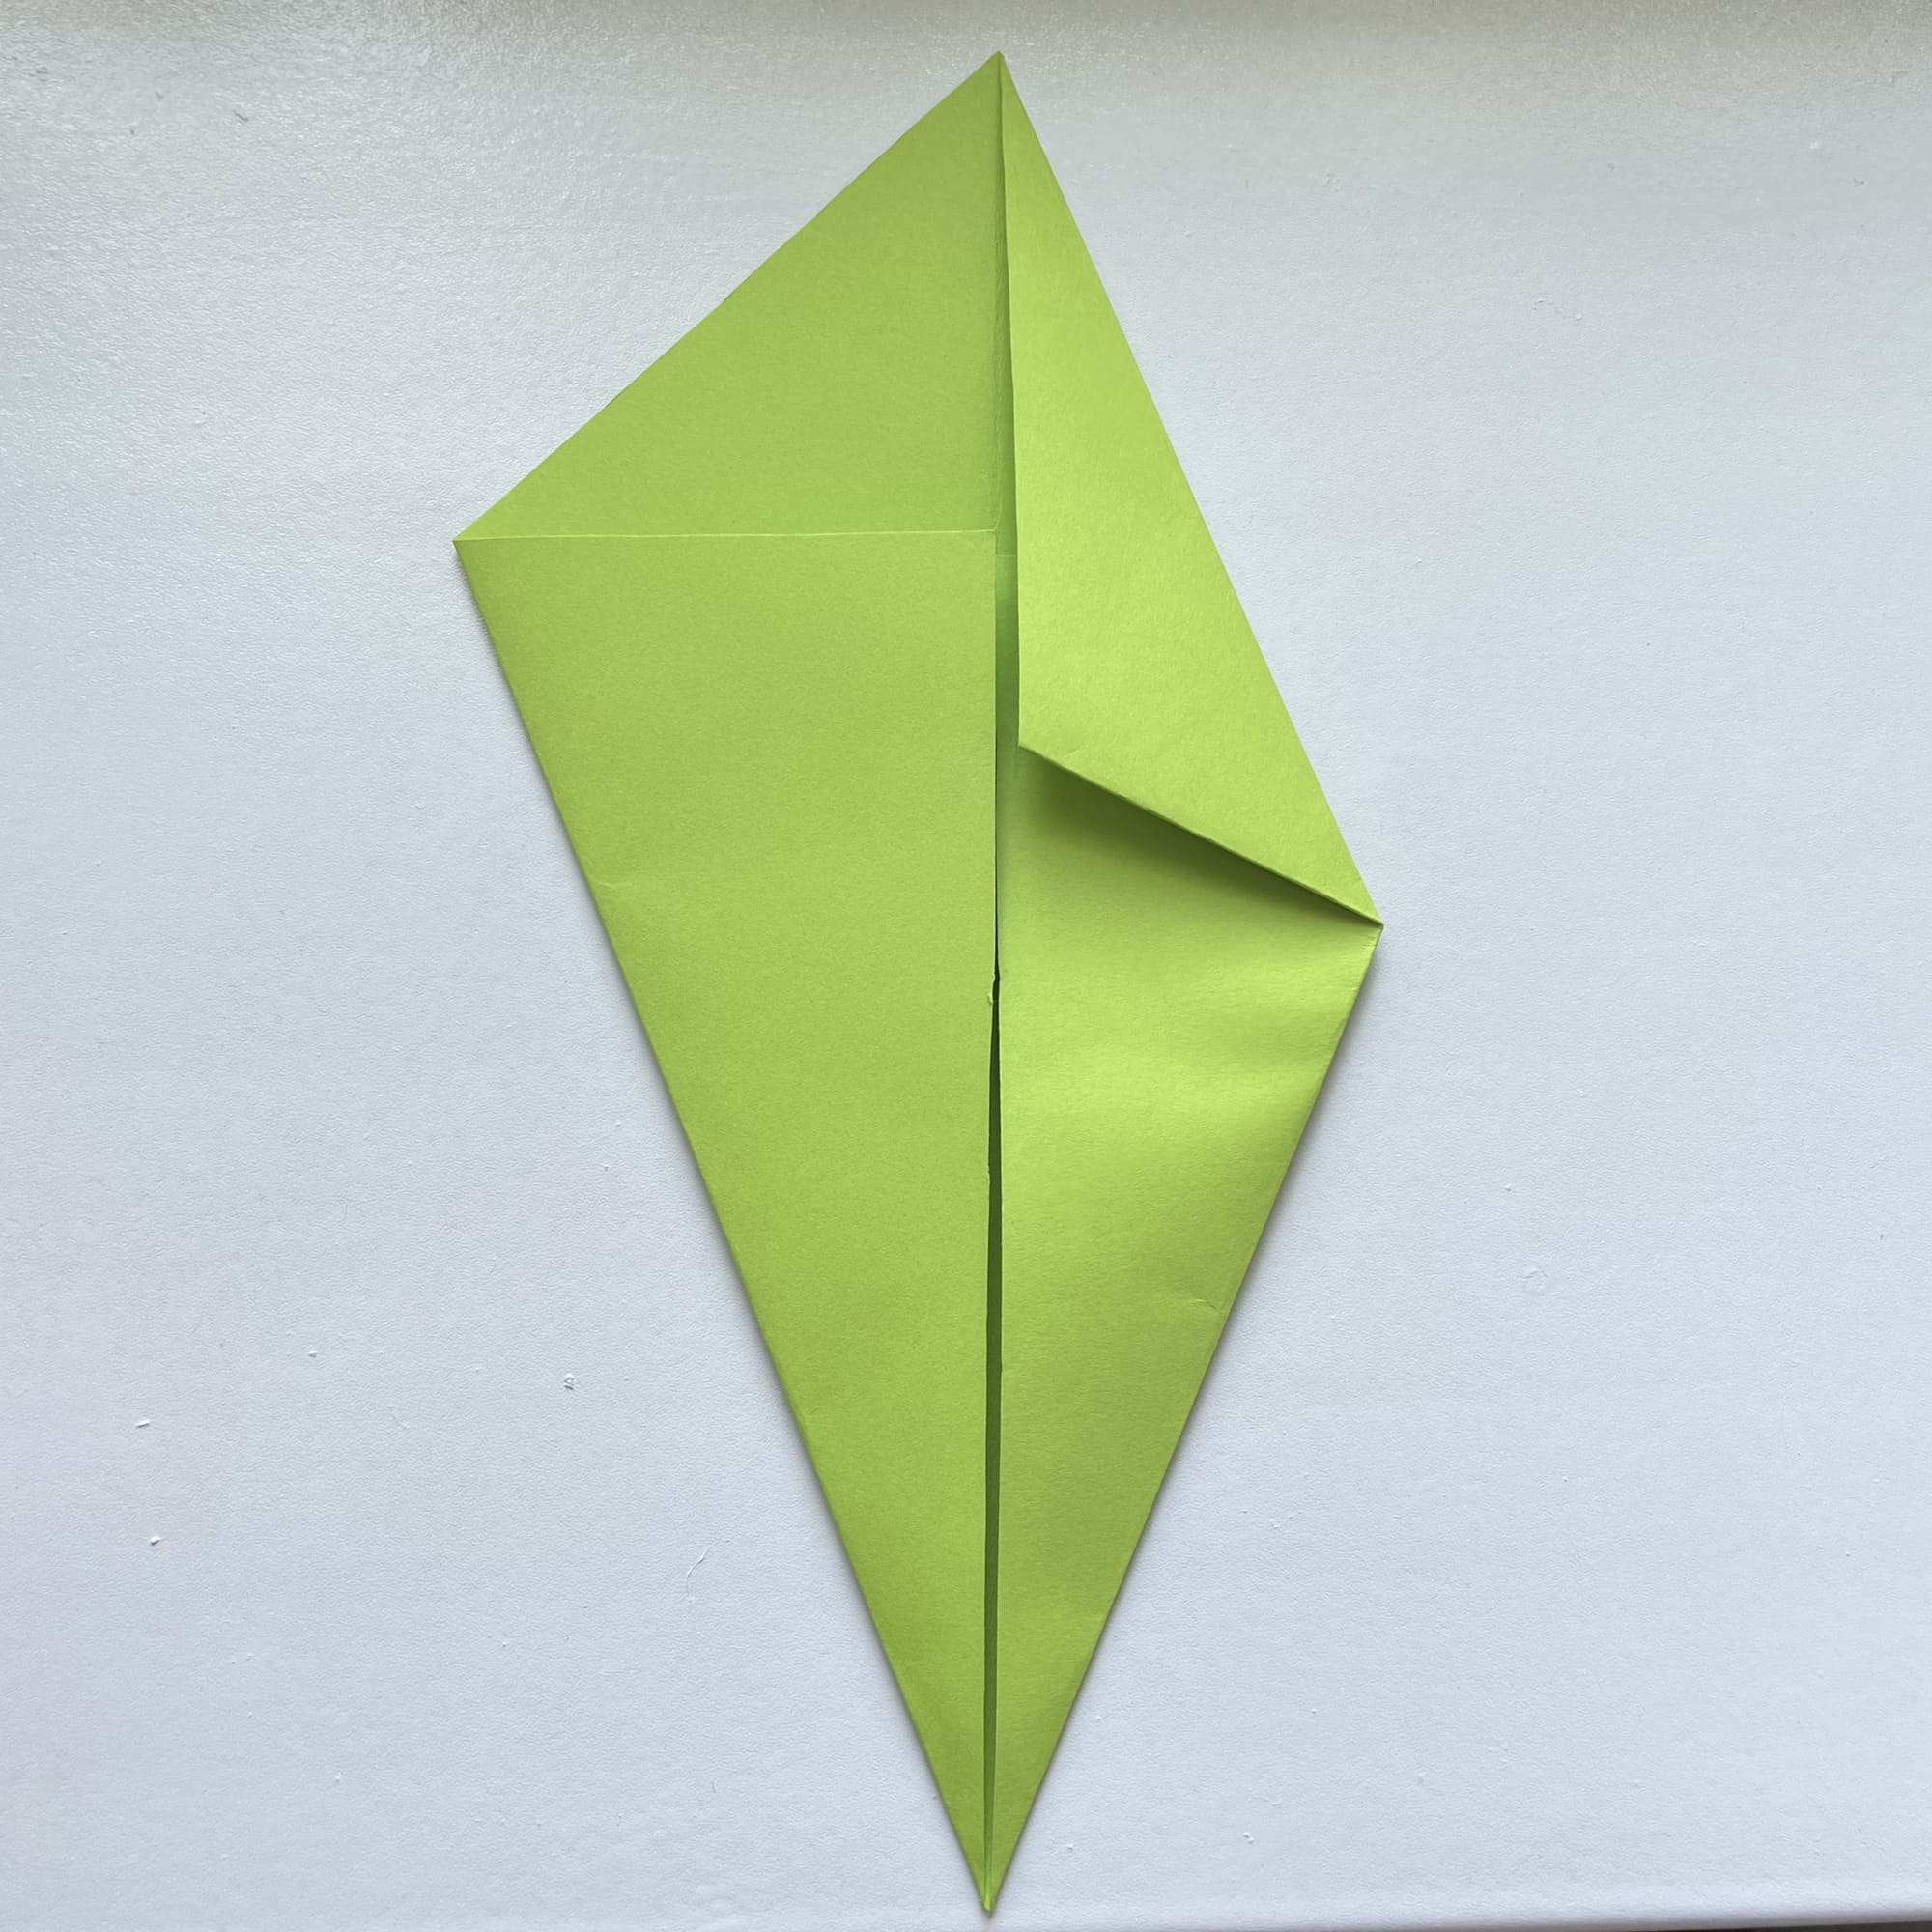
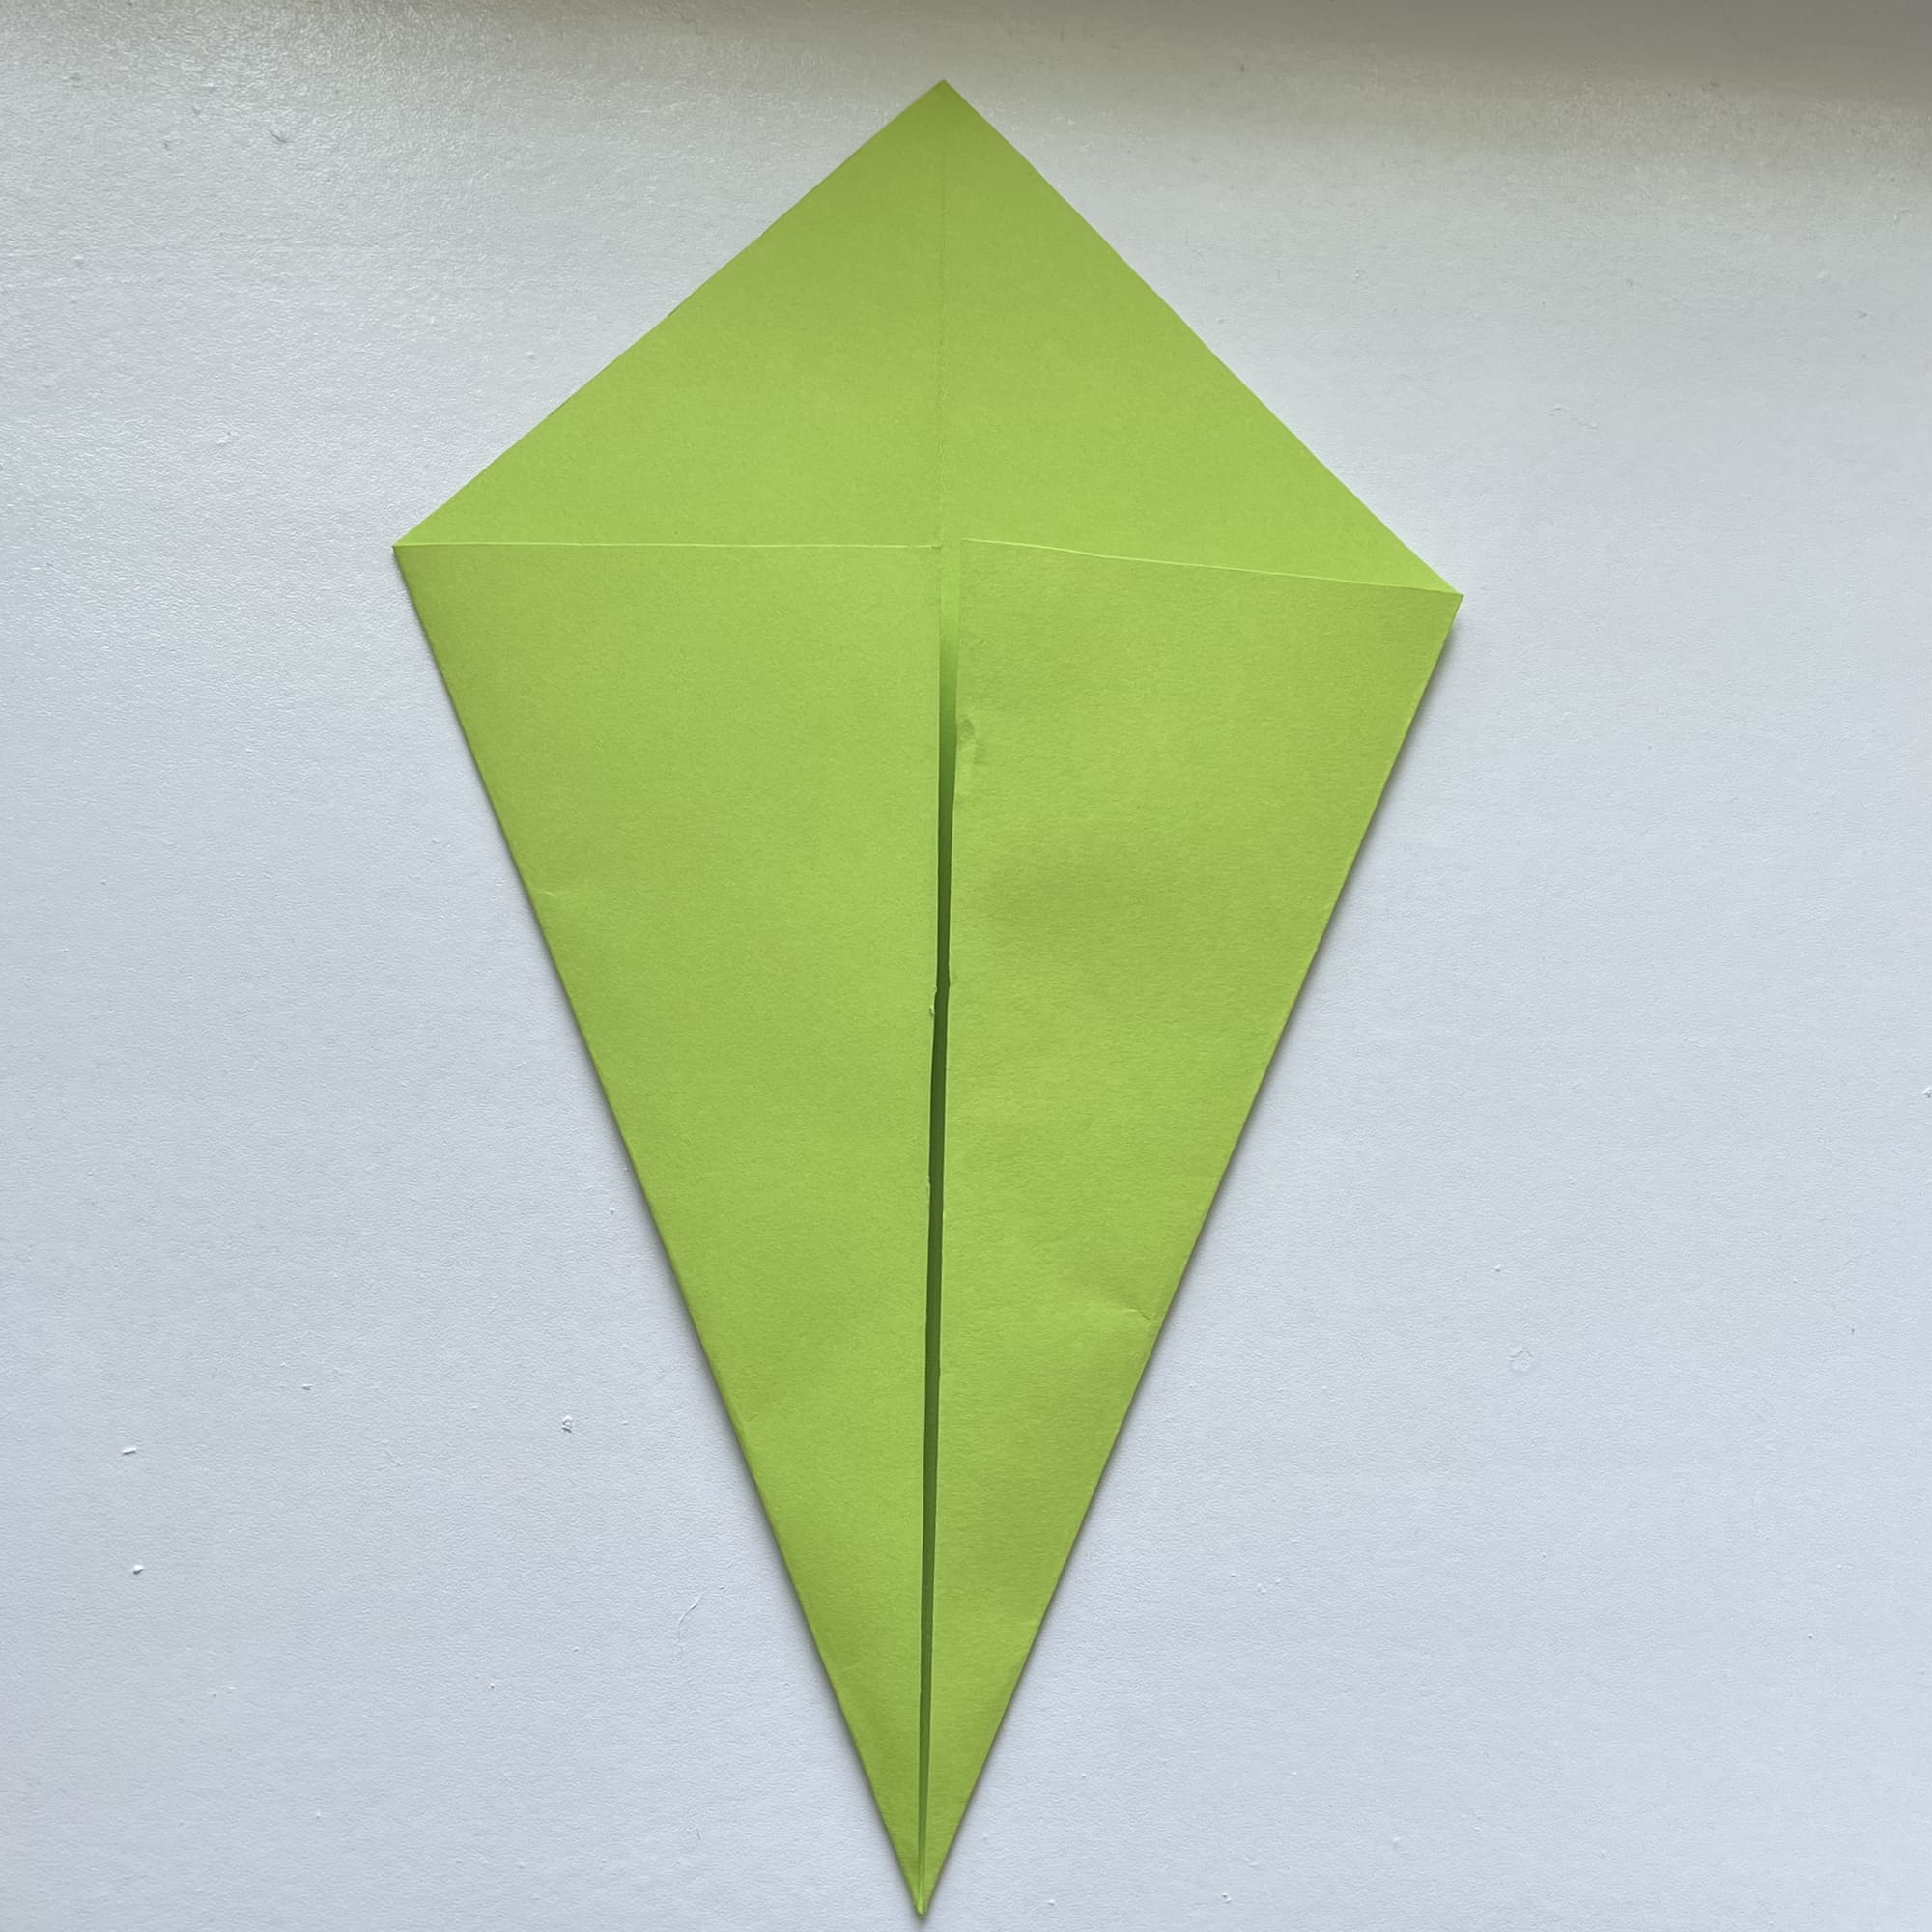
Fold the two upper halves in the same way so that they meet at the center fold line.
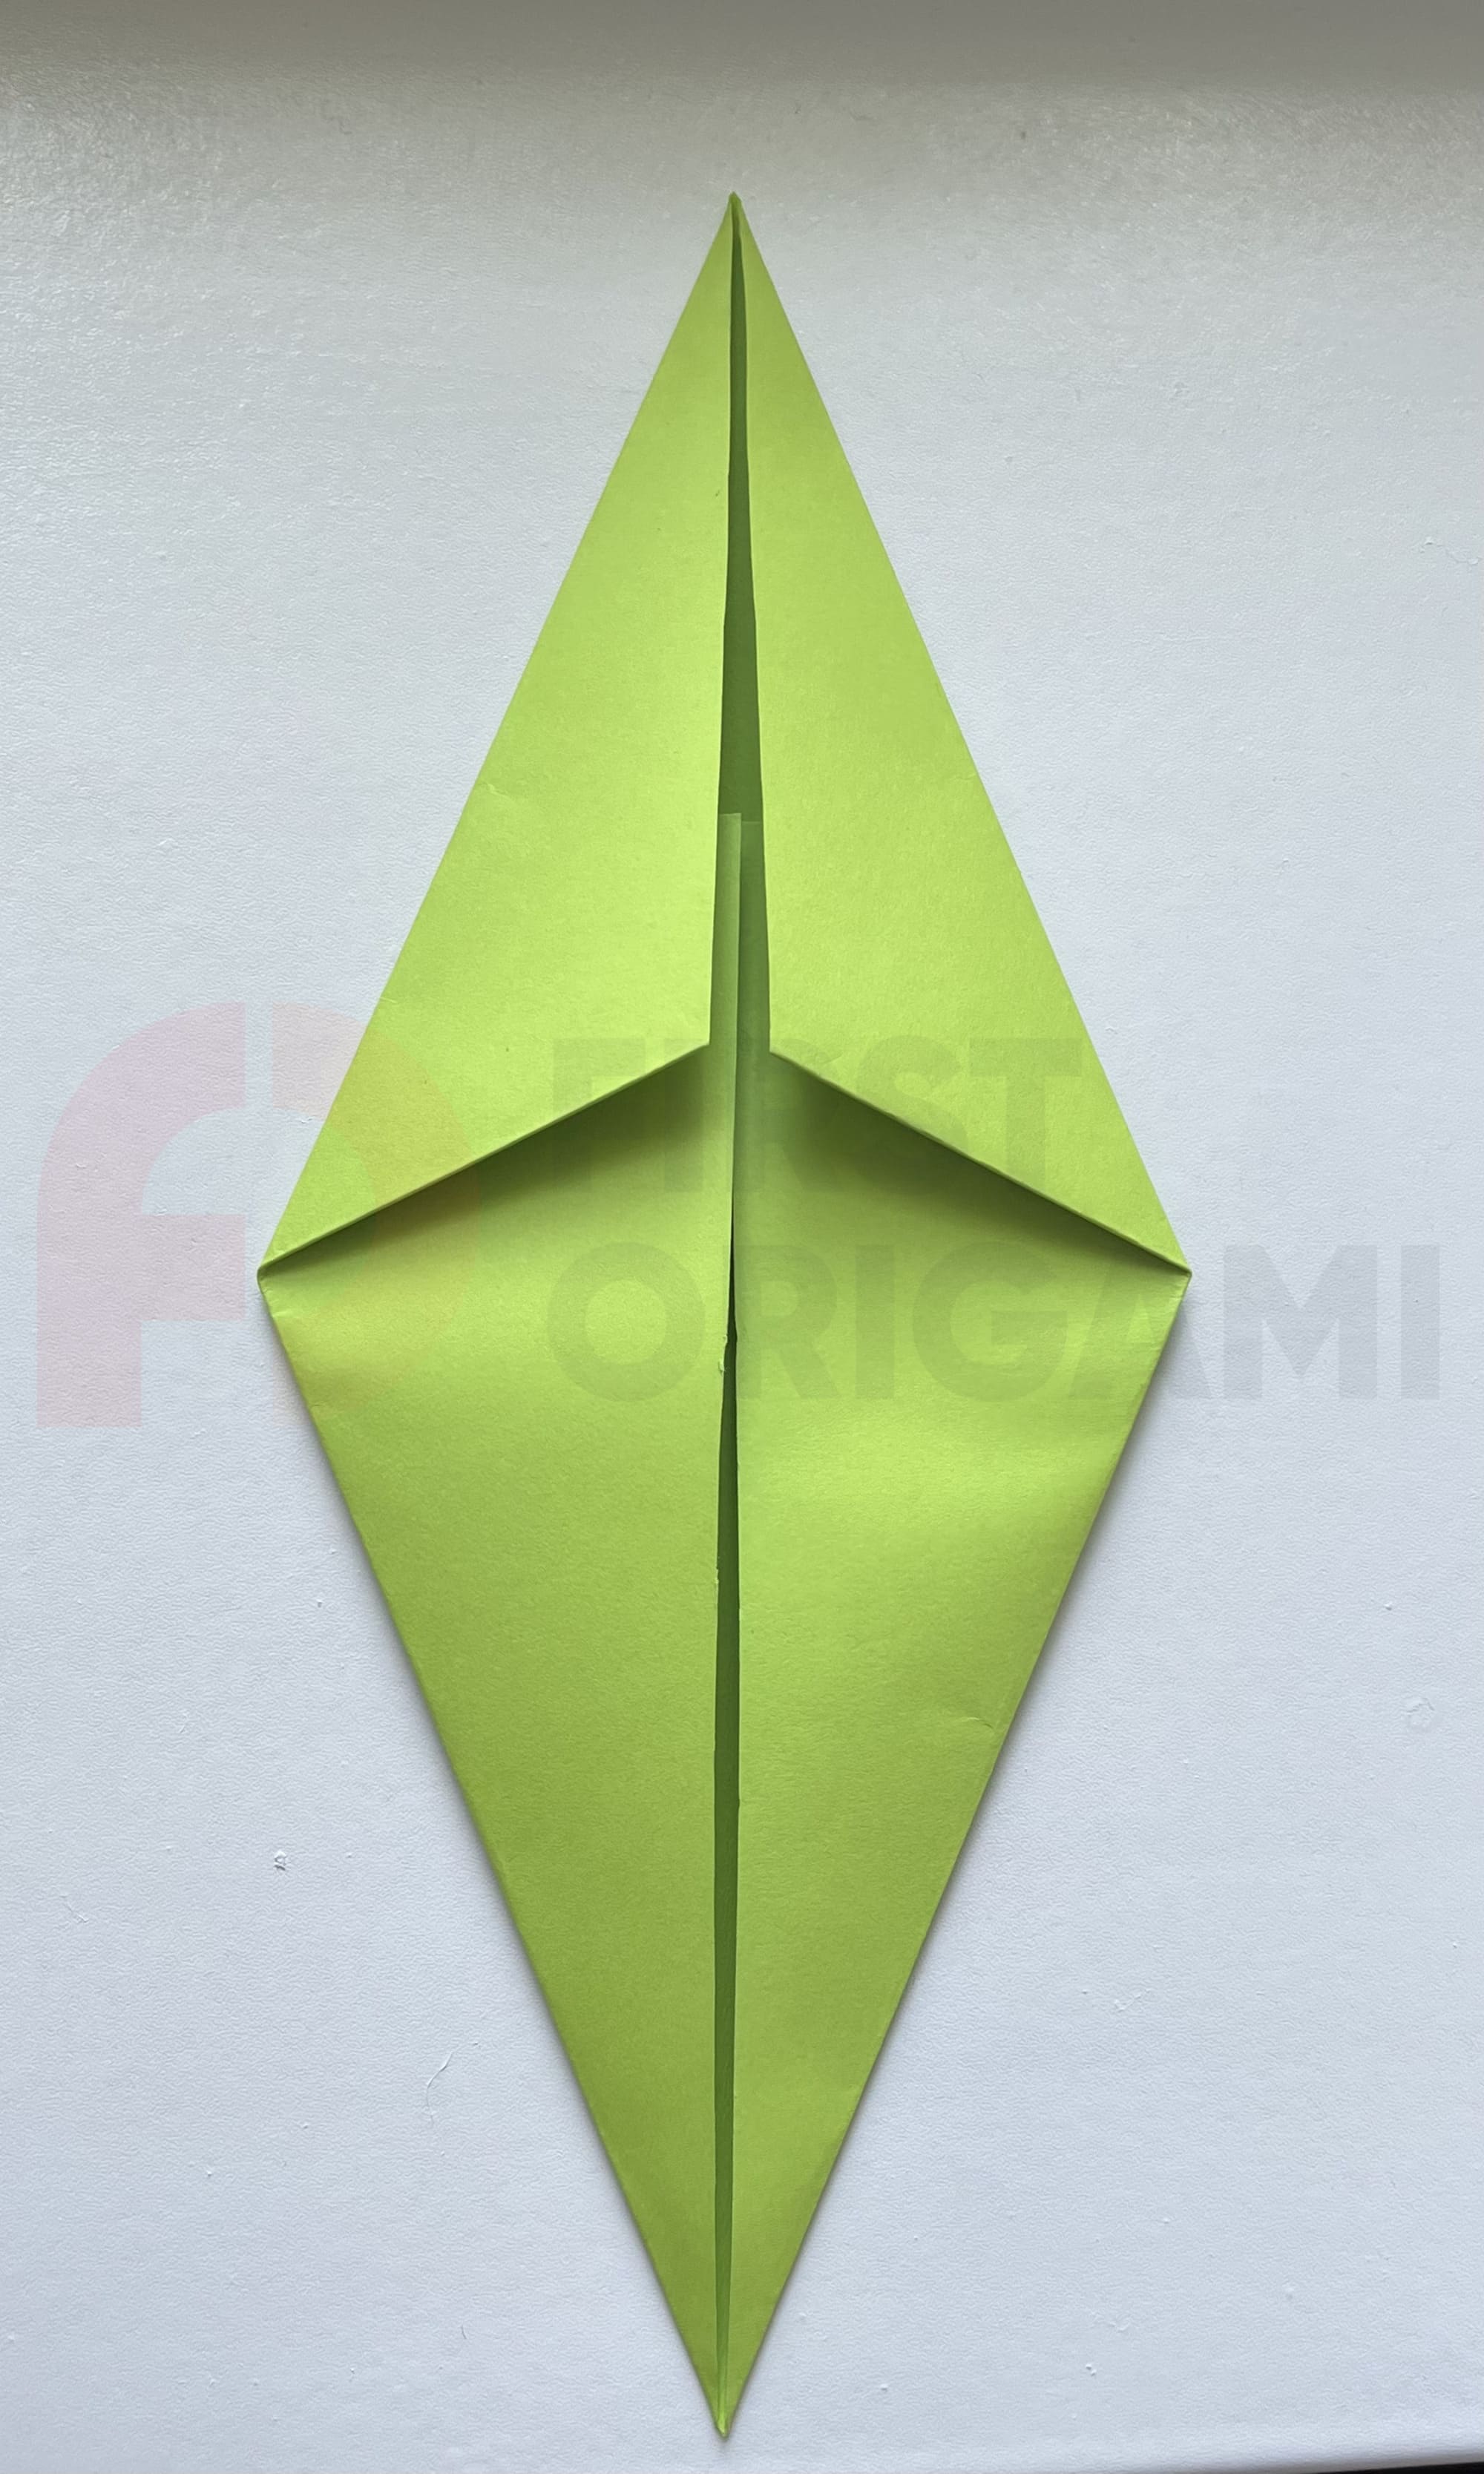
You should get a narrow Diamond figure, as shown in the photo.
You have a diamond shape. Turn it 90 degrees counterclockwise.
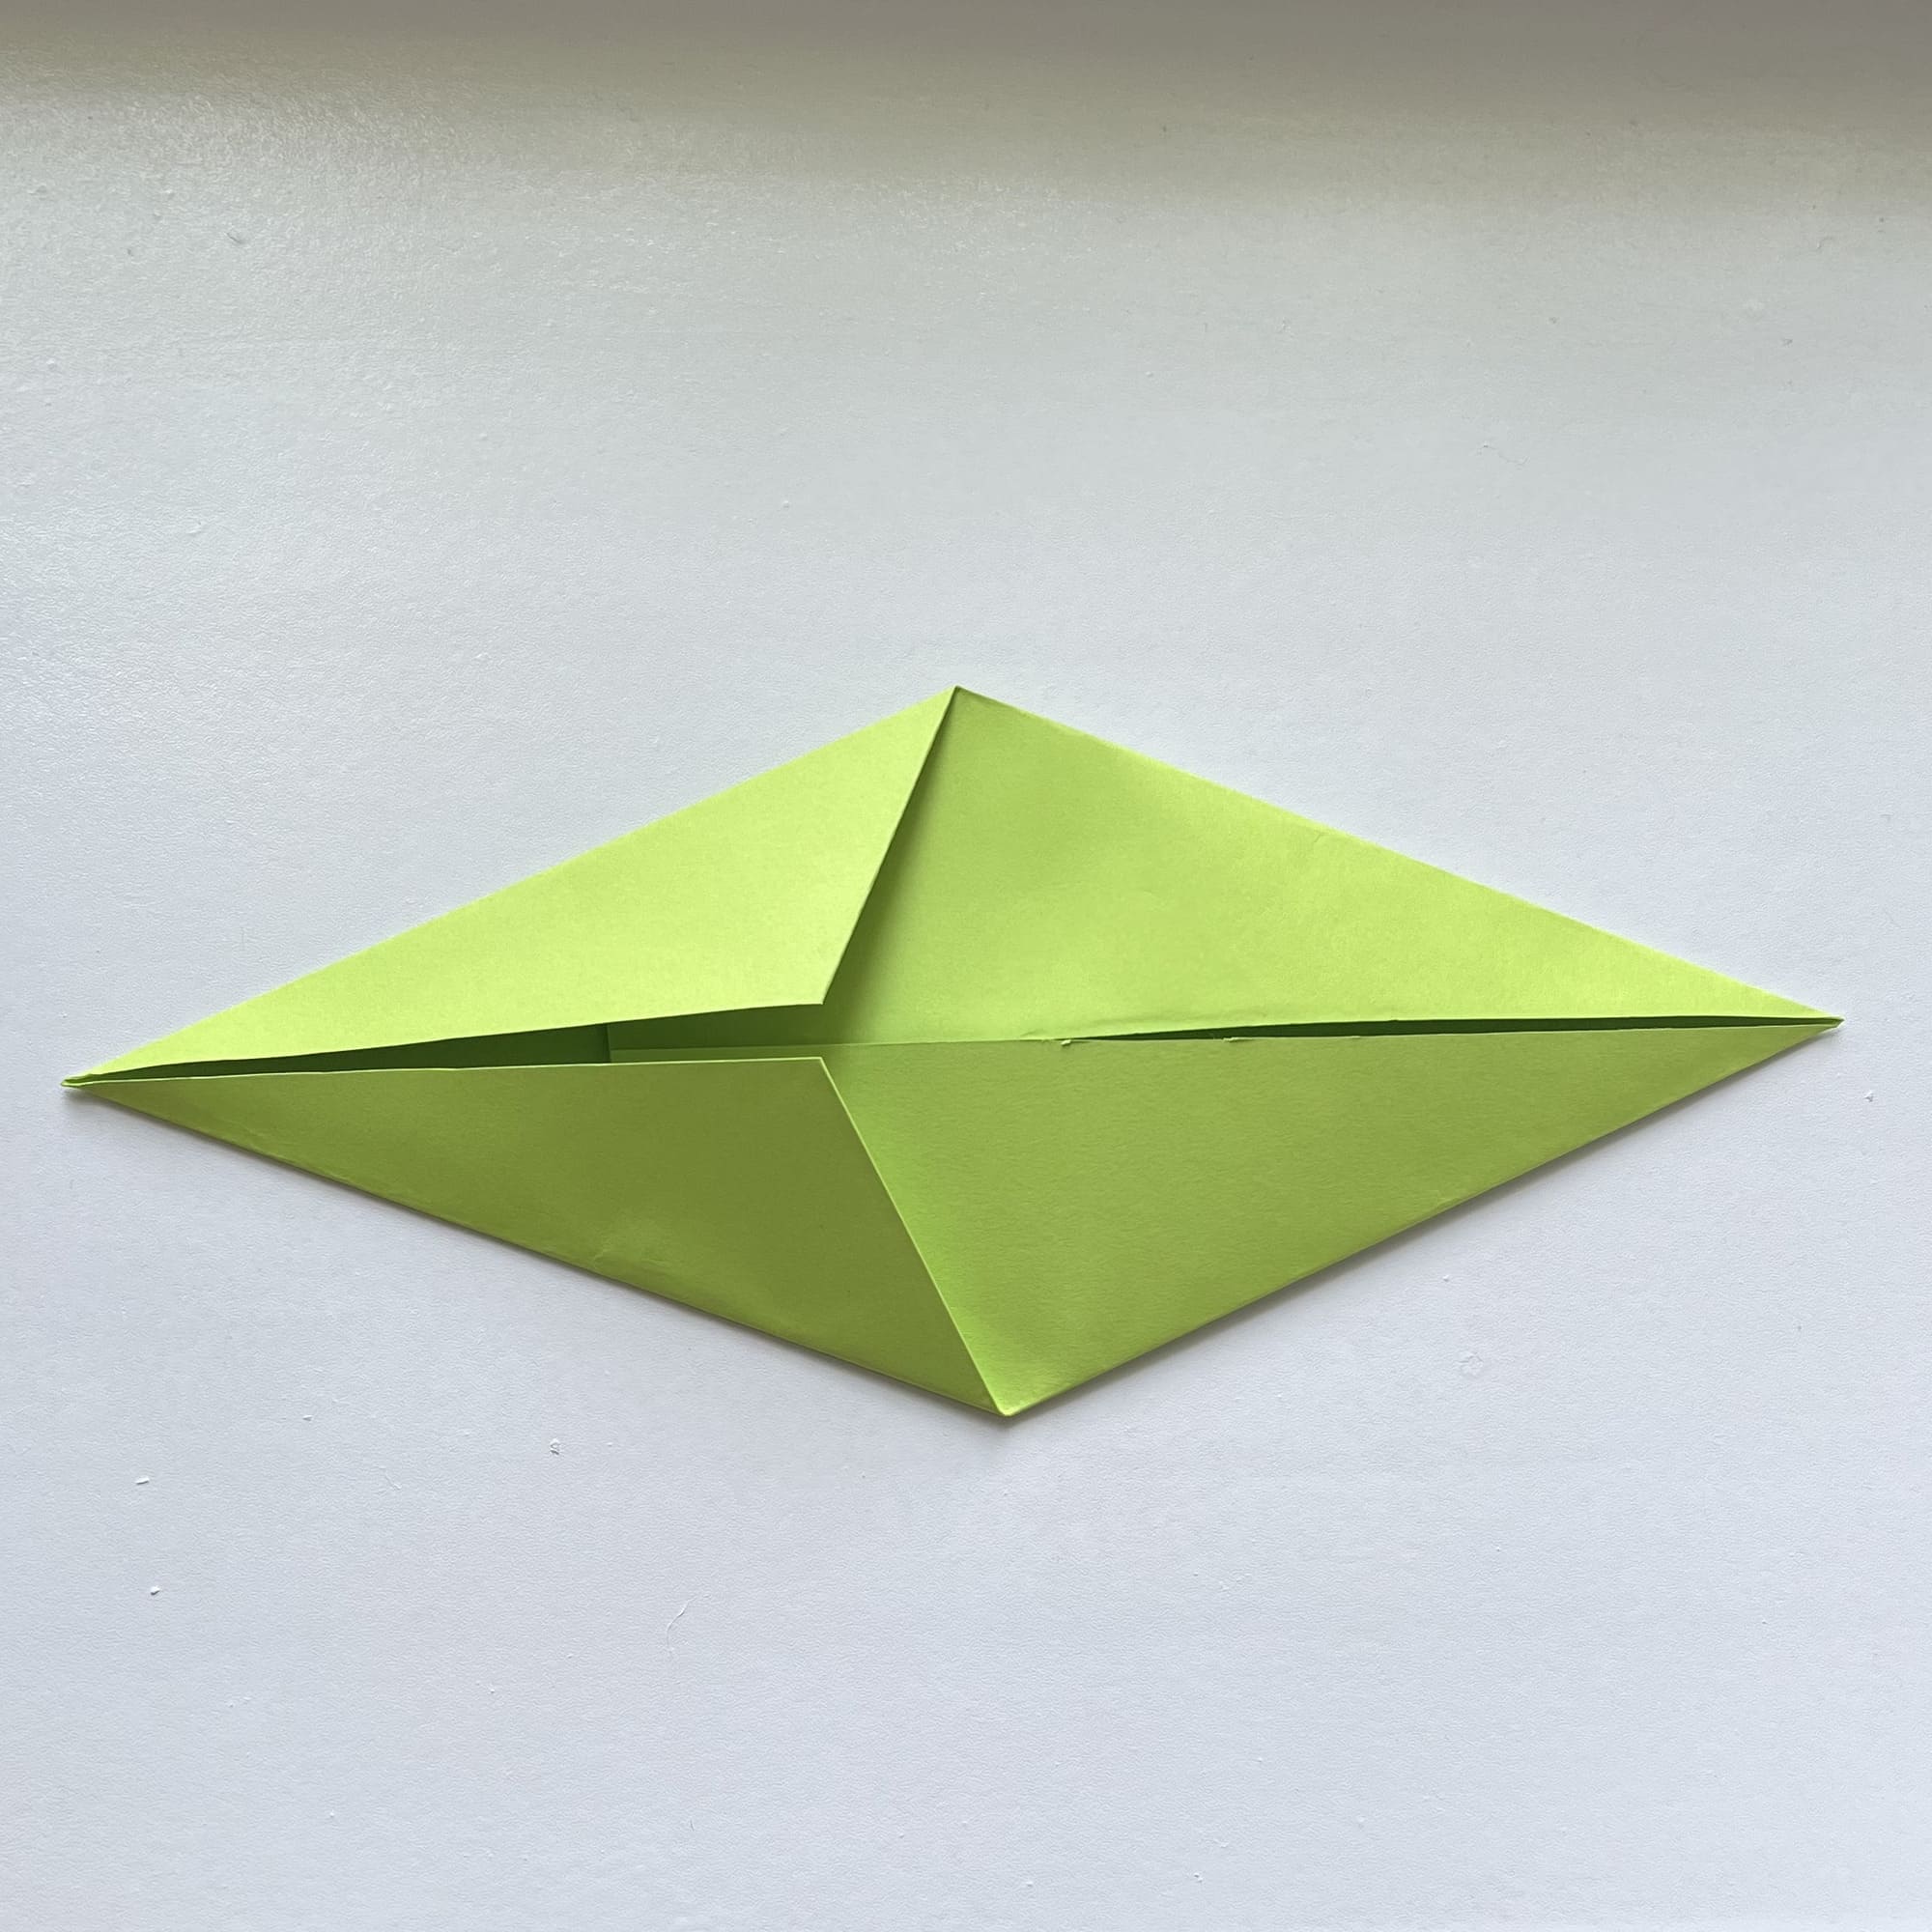
The edges of the paper in the center part form a vertical V-shaped line. Bending the figure along this line, begin to bring the right and left halves closer together so that an acute angle is formed between them.

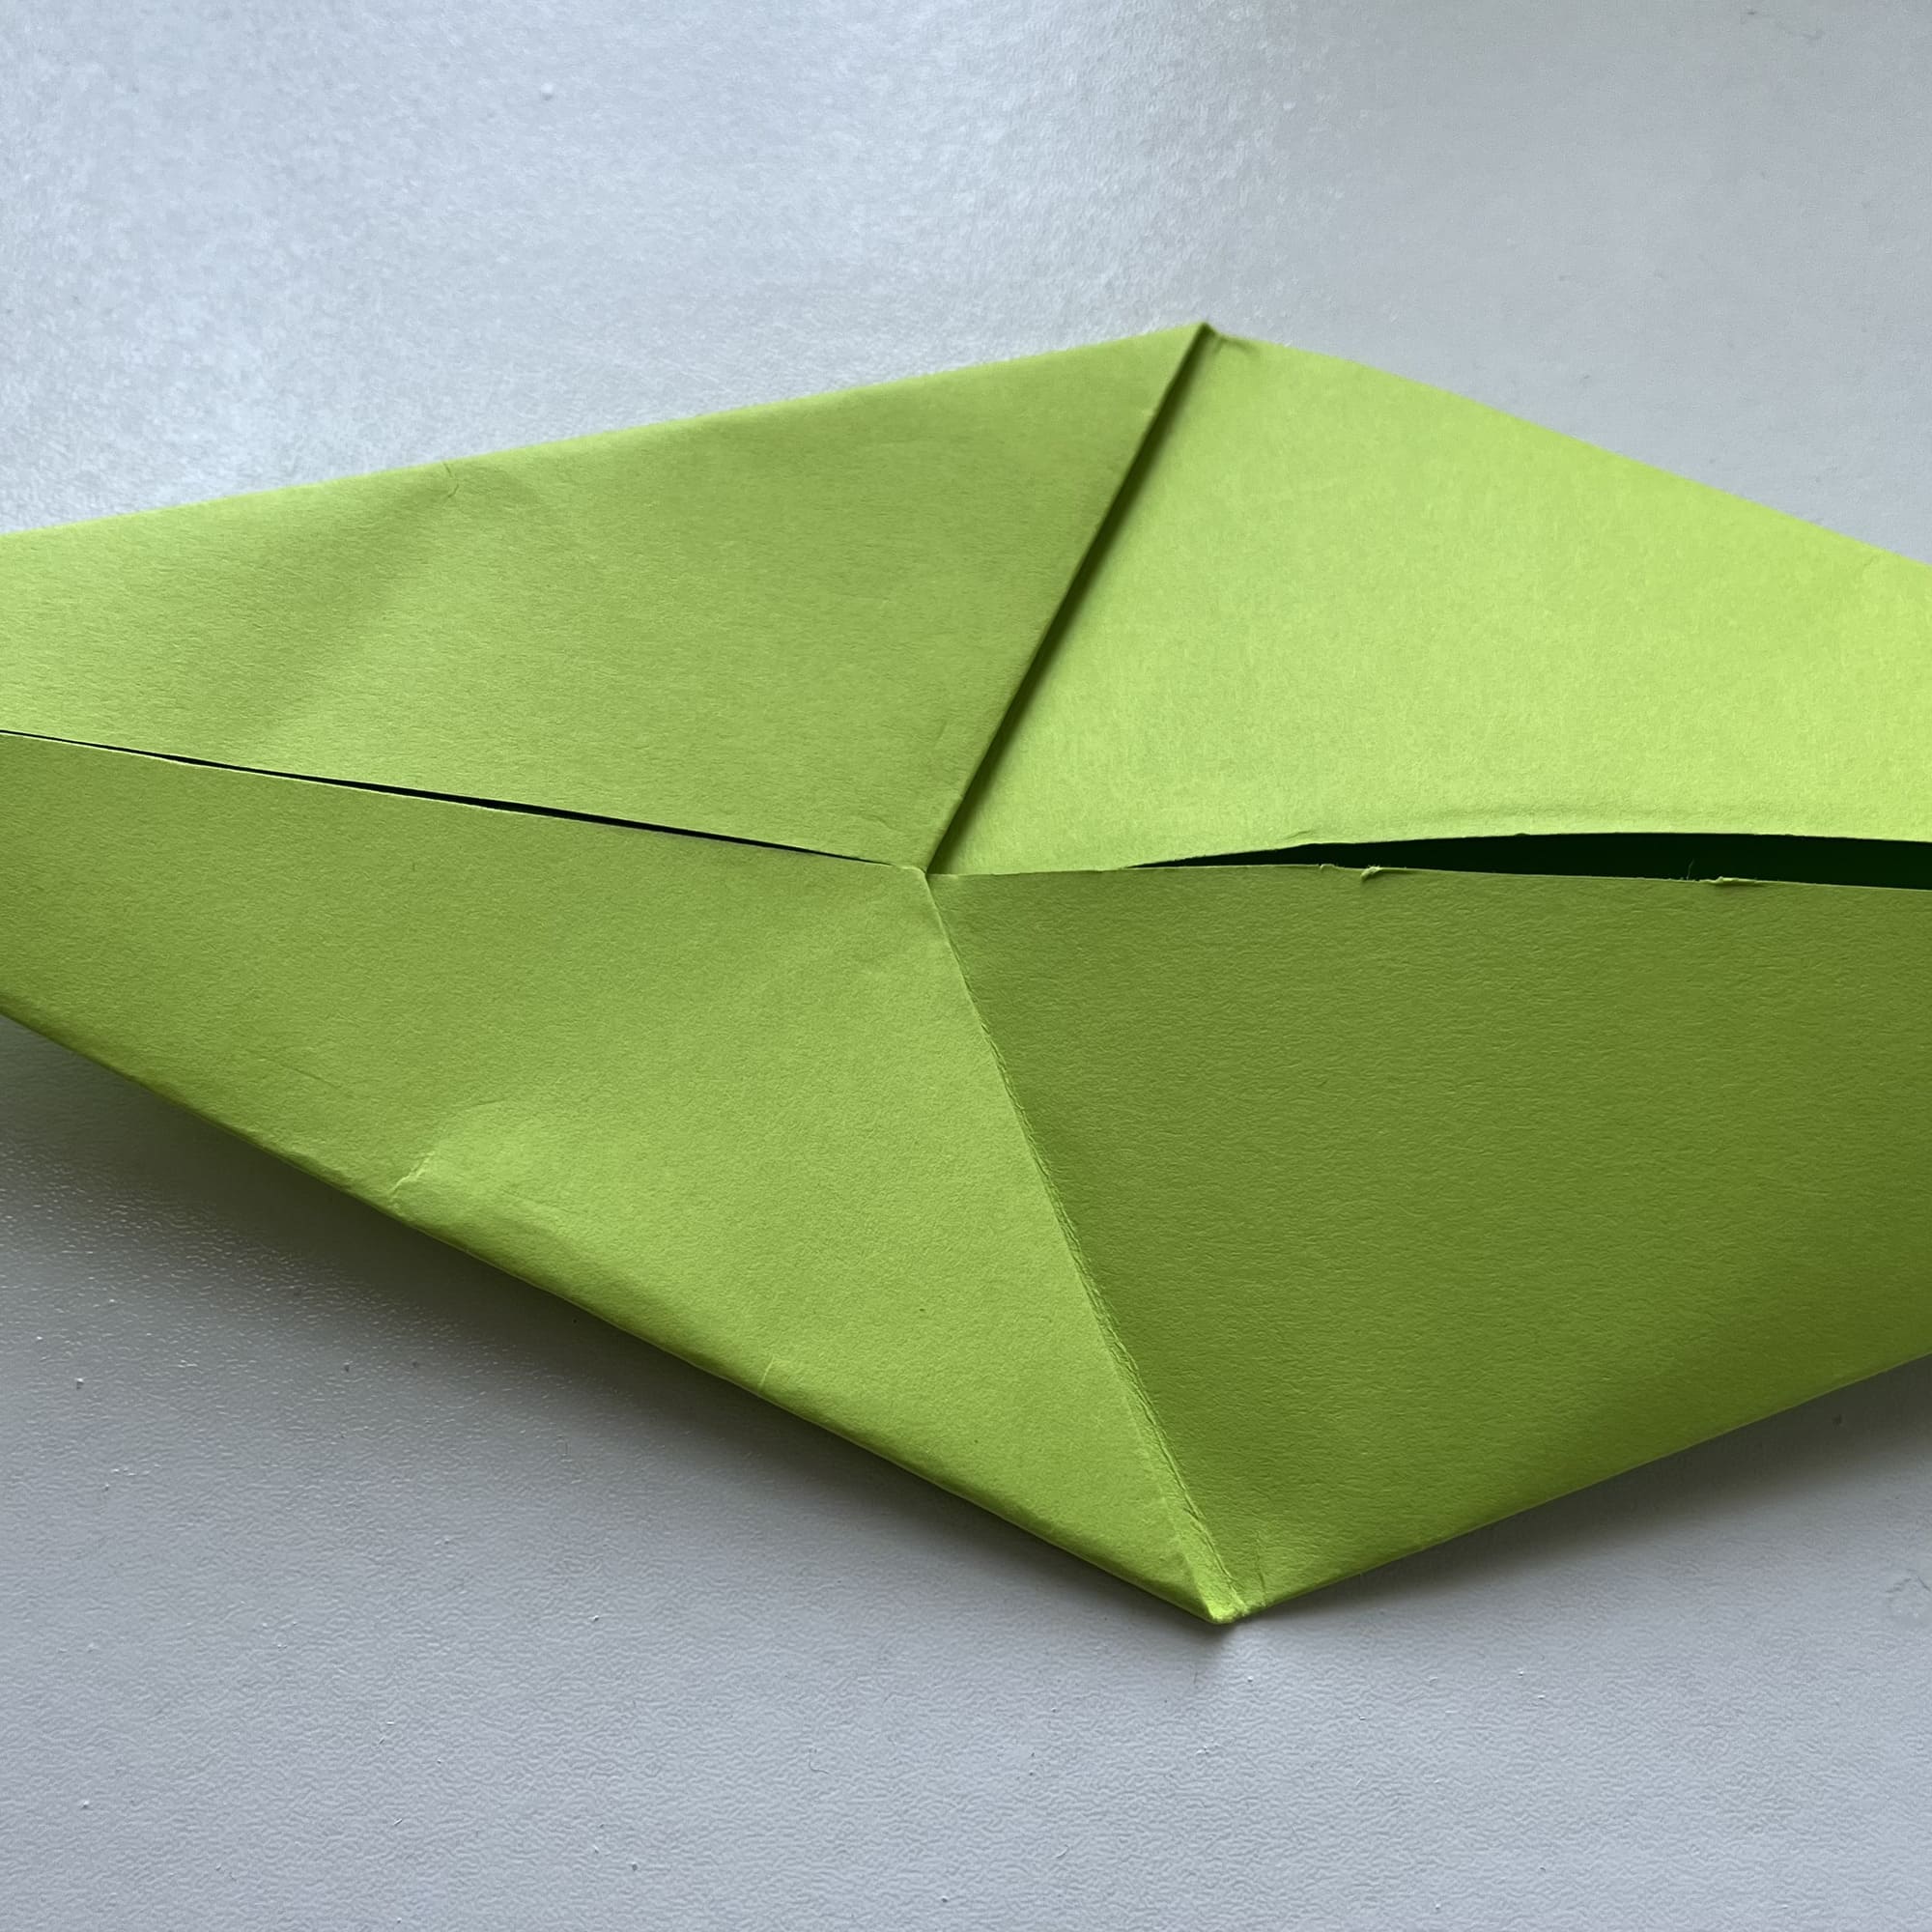
Keep bending the sides closer together.
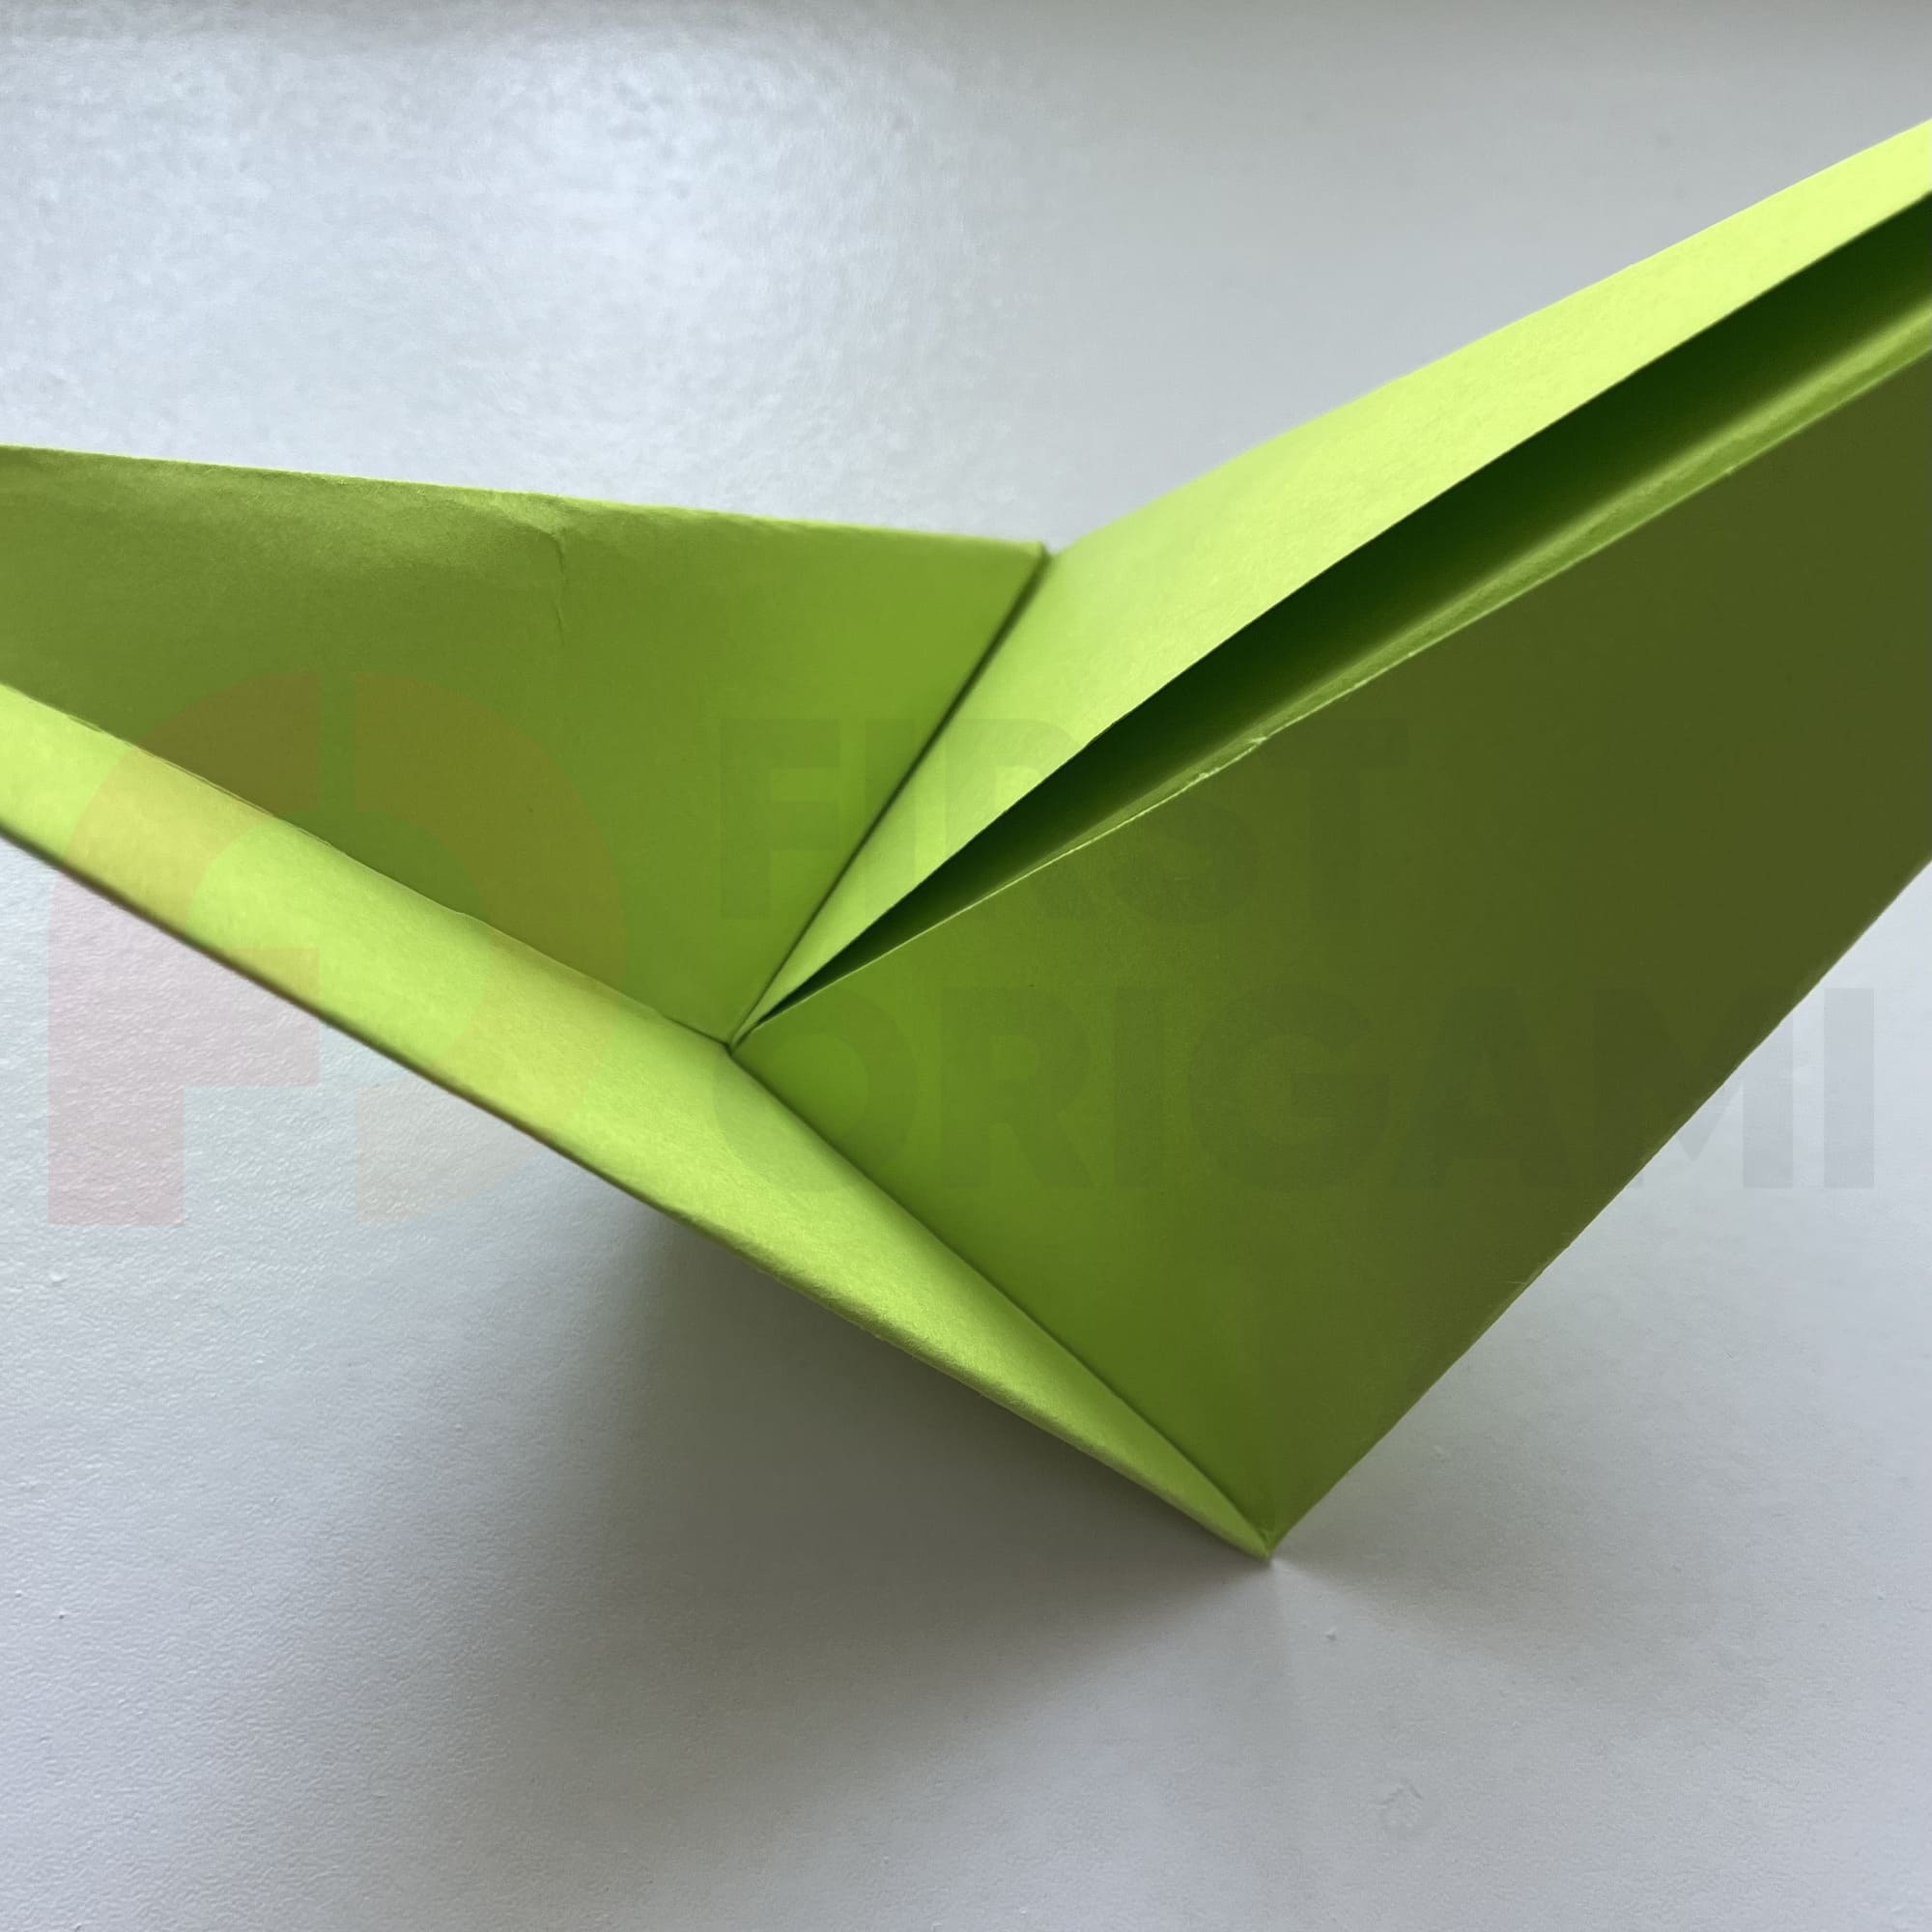
Now work out all the folds forming a stable figure.

Put the step on the table and slightly flatten it.
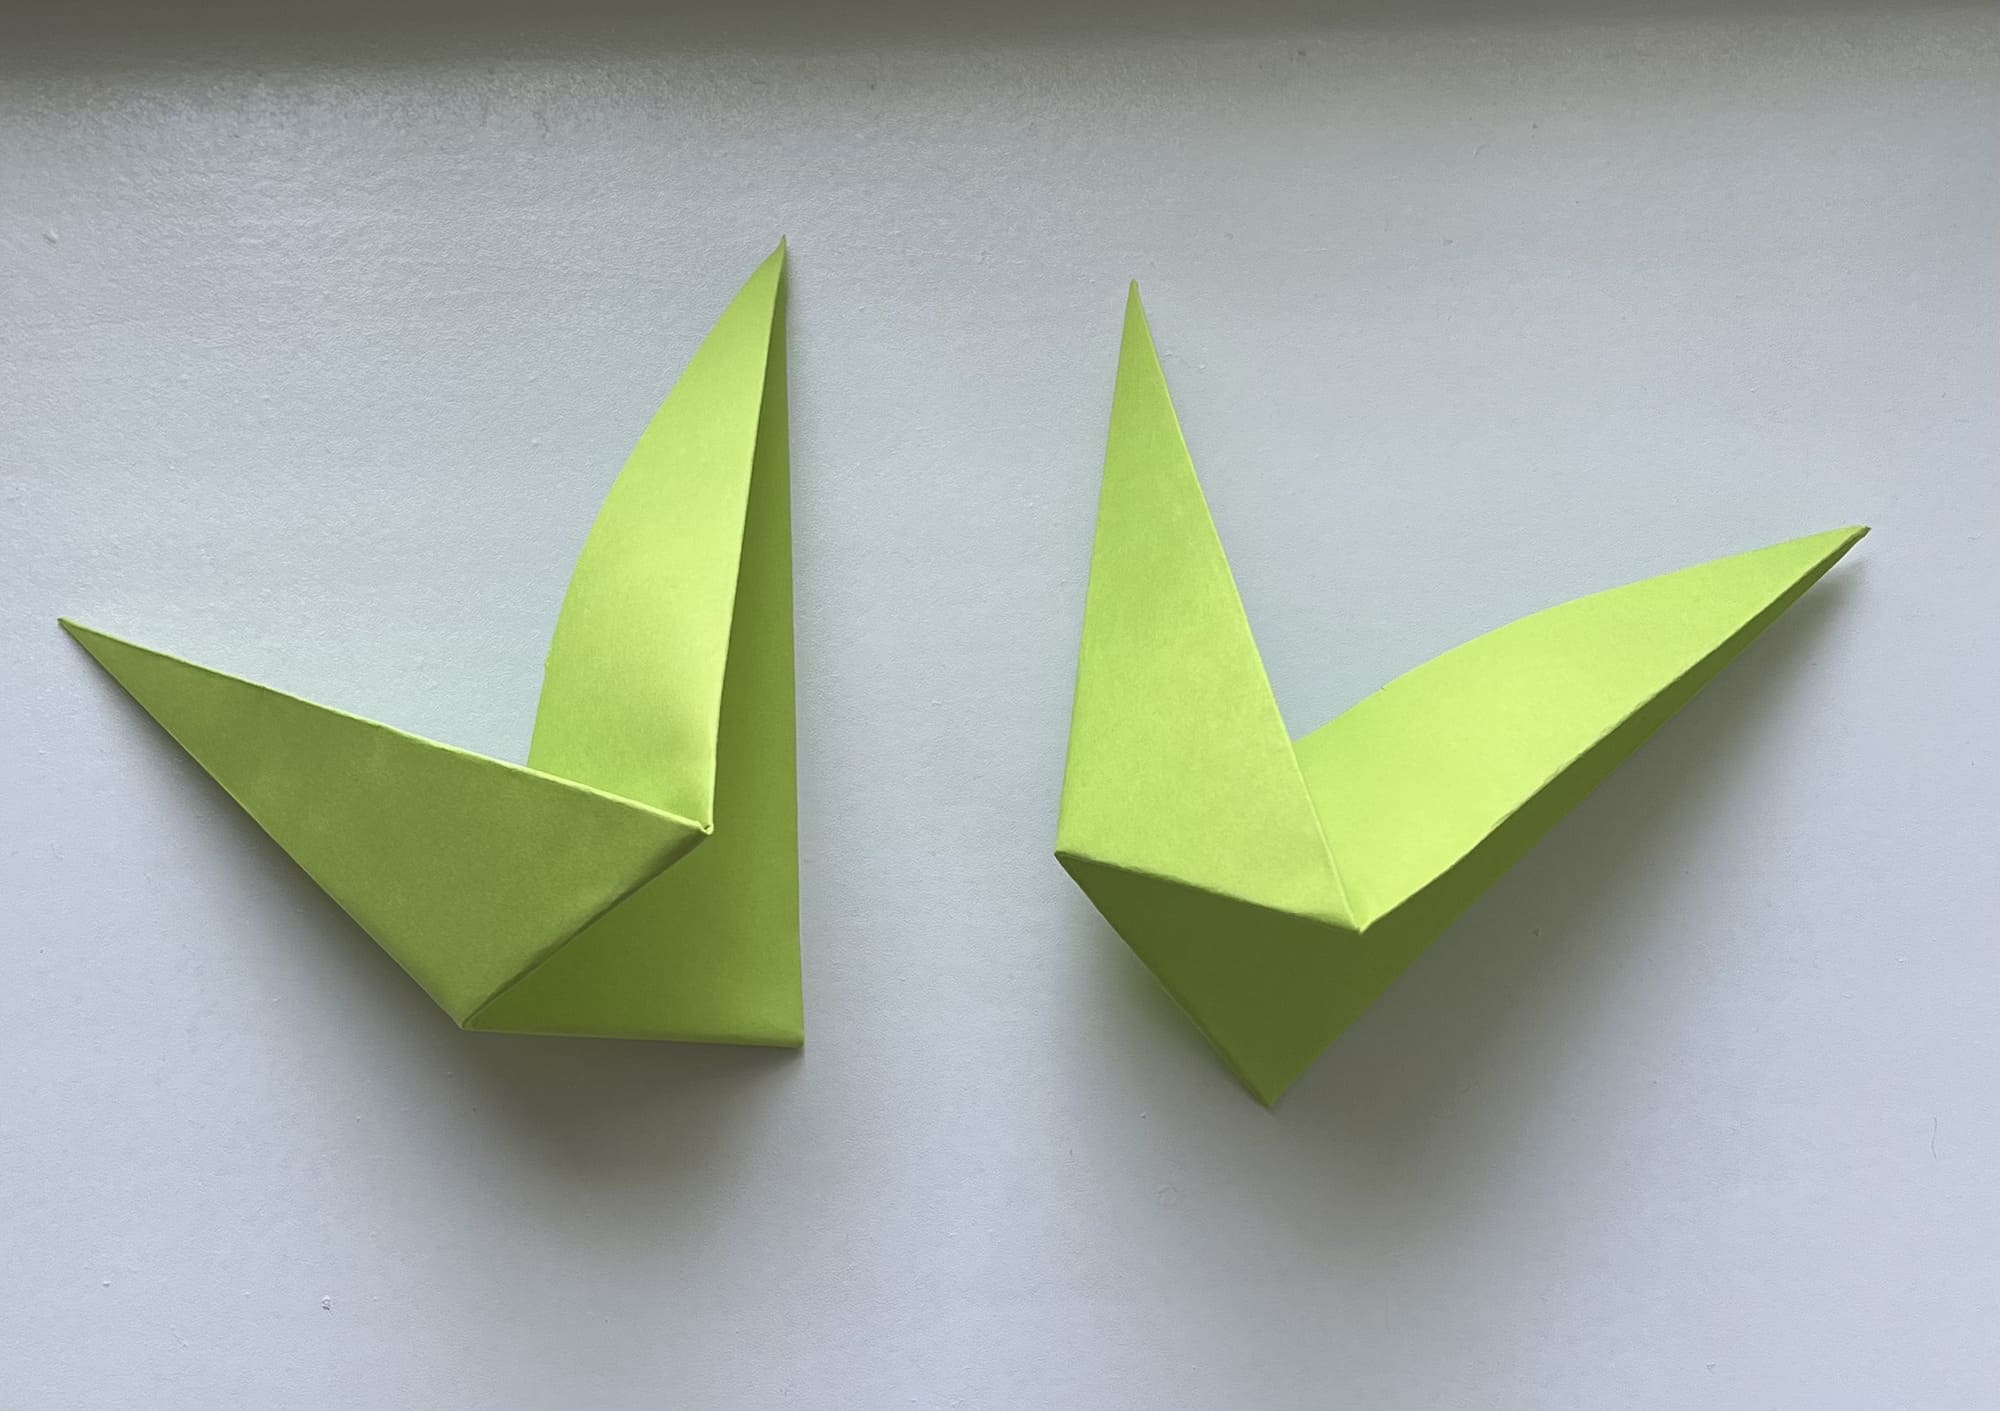
Repeat repeat the first 5 steps to create a second similar shape.

Glue them together using stationery glue or double-sided tape. You will get a three-pointed shape, which is the stem of the lily.

Open up the triangular pockets, for adding more volume to your stems.

Now it’s time to attach the Lily flower to the stem.
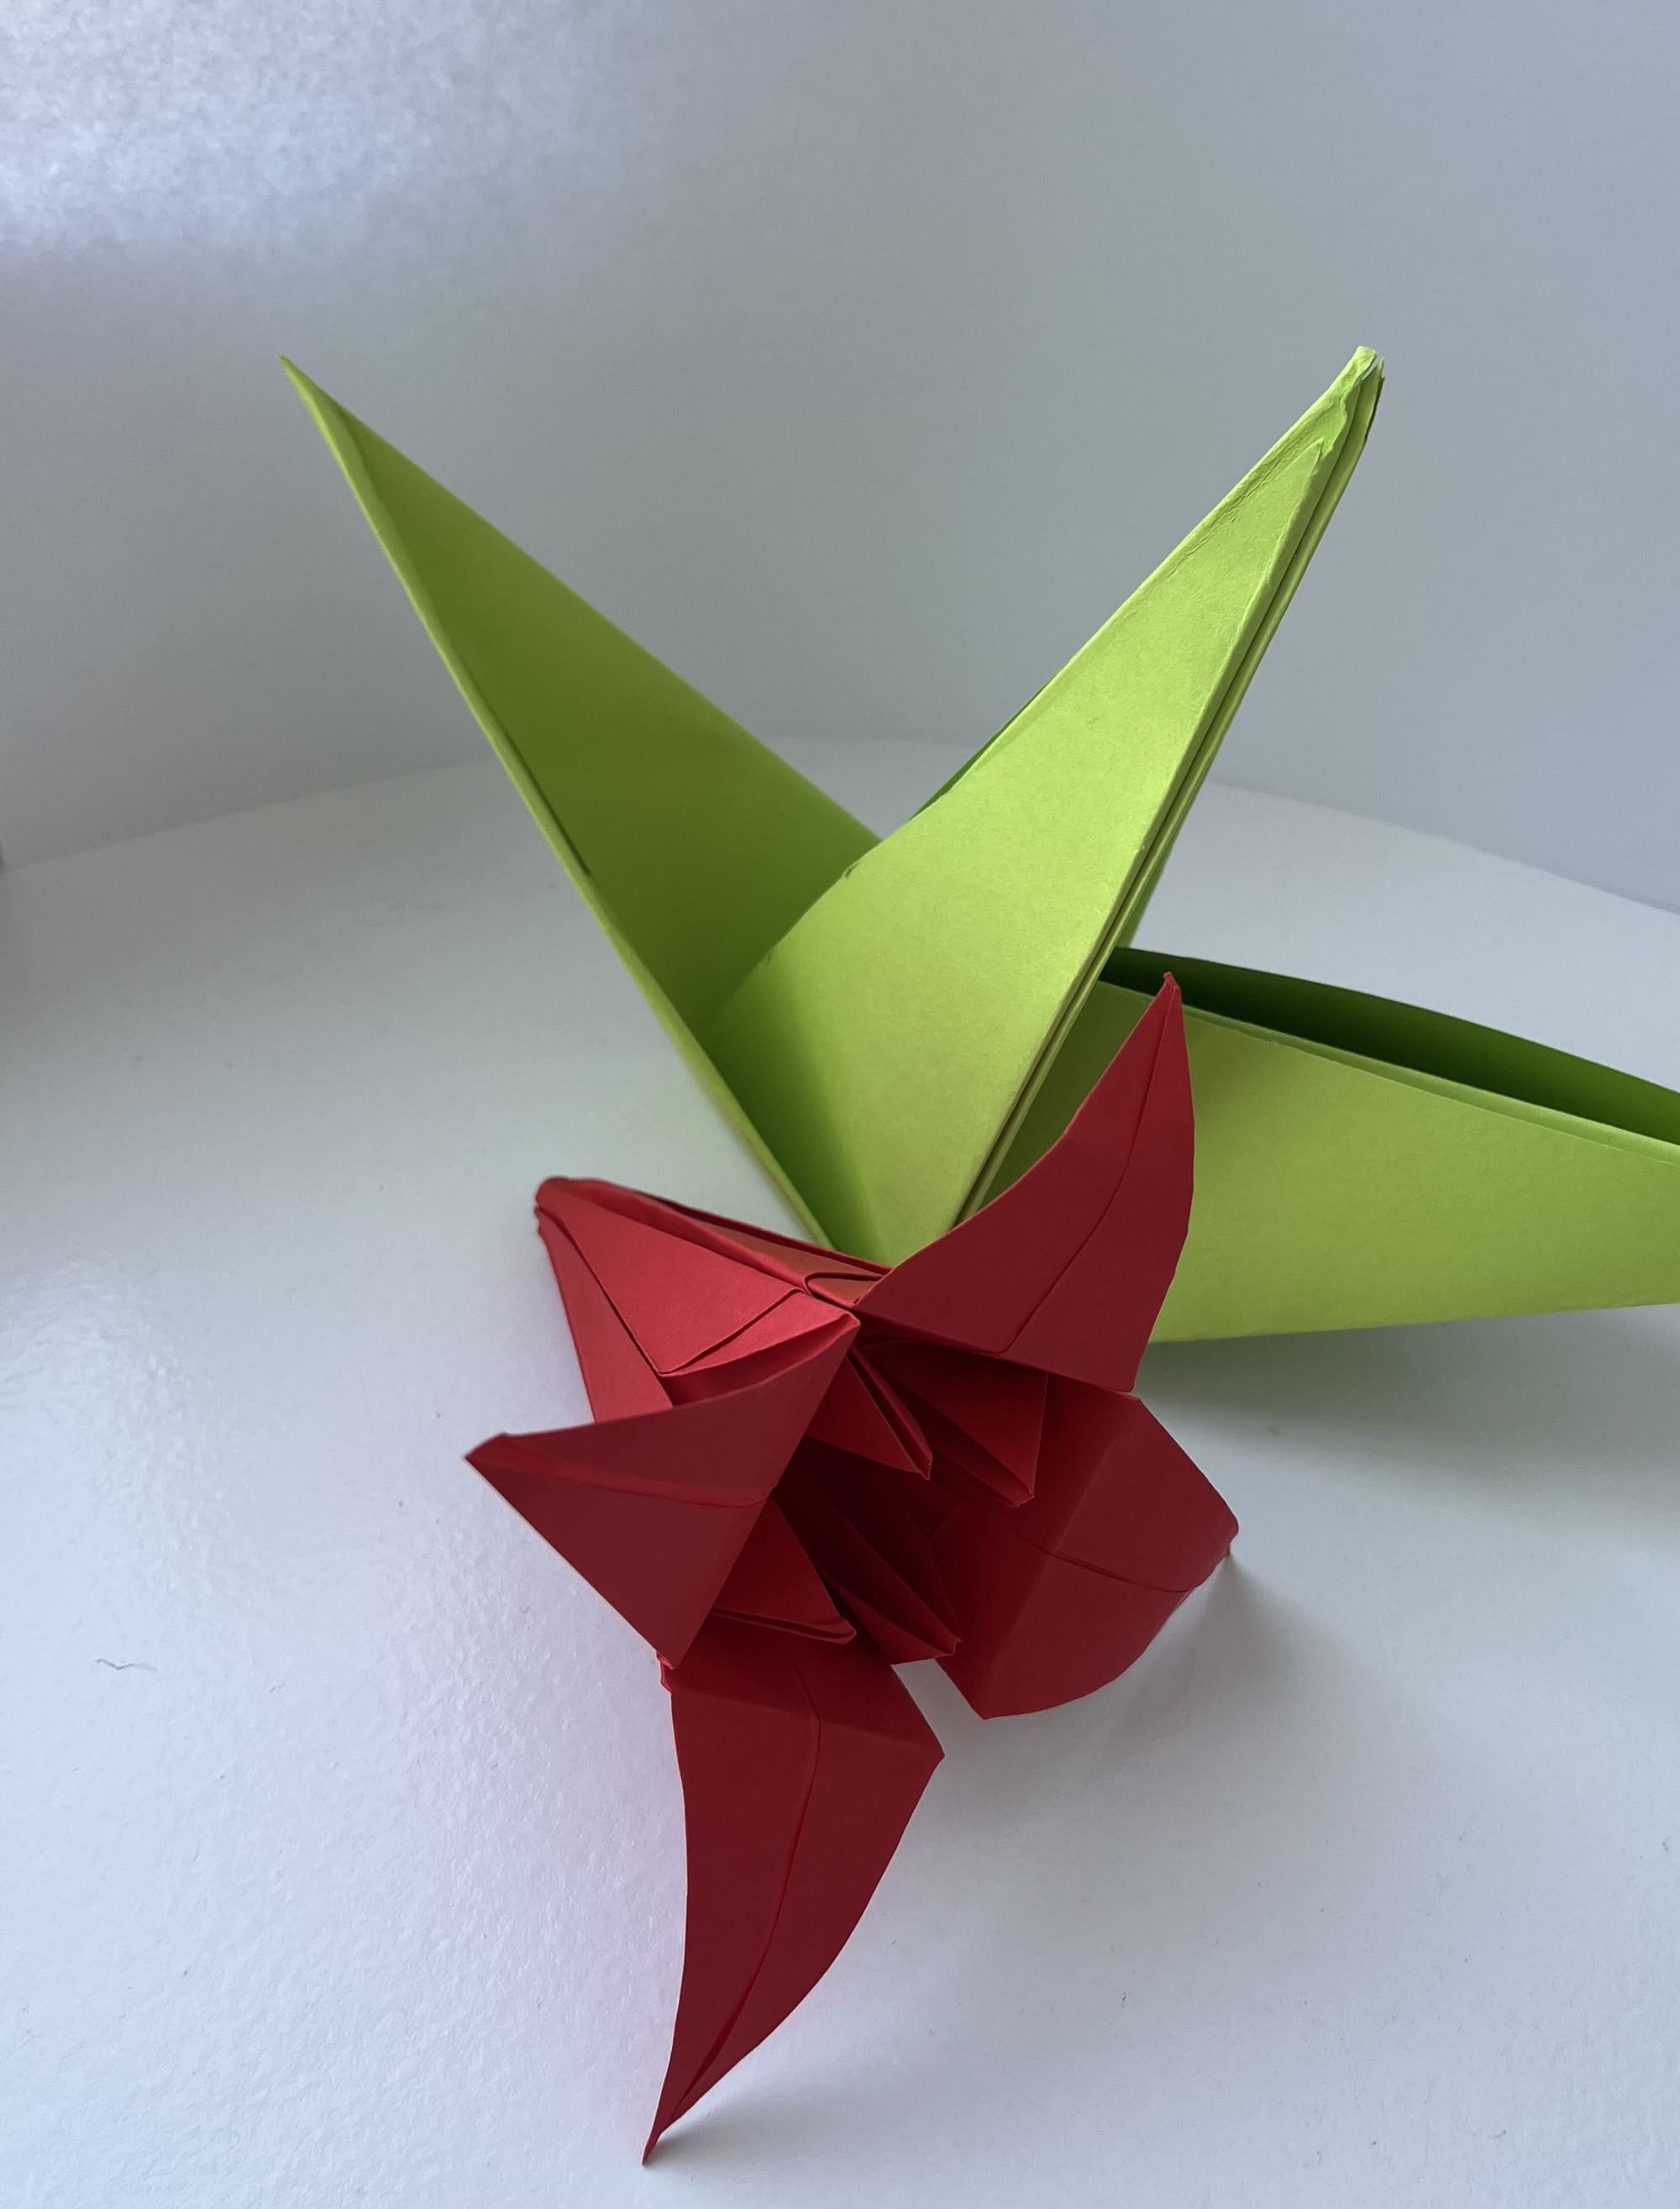
Place the flower on top, making a small hole at the base of the bud.
A stylish decoration for your table that will please the eye!


