Origami Lily
Lily is one of the most beautiful flowers on the planet. Surprisingly, you can embody its charm on a simple sheet of paper. The origami flower is very similar to a real lily. It looks great in home compositions. The master class is suitable for working with children. The main thing is to follow each step without skipping the steps and you will succeed!
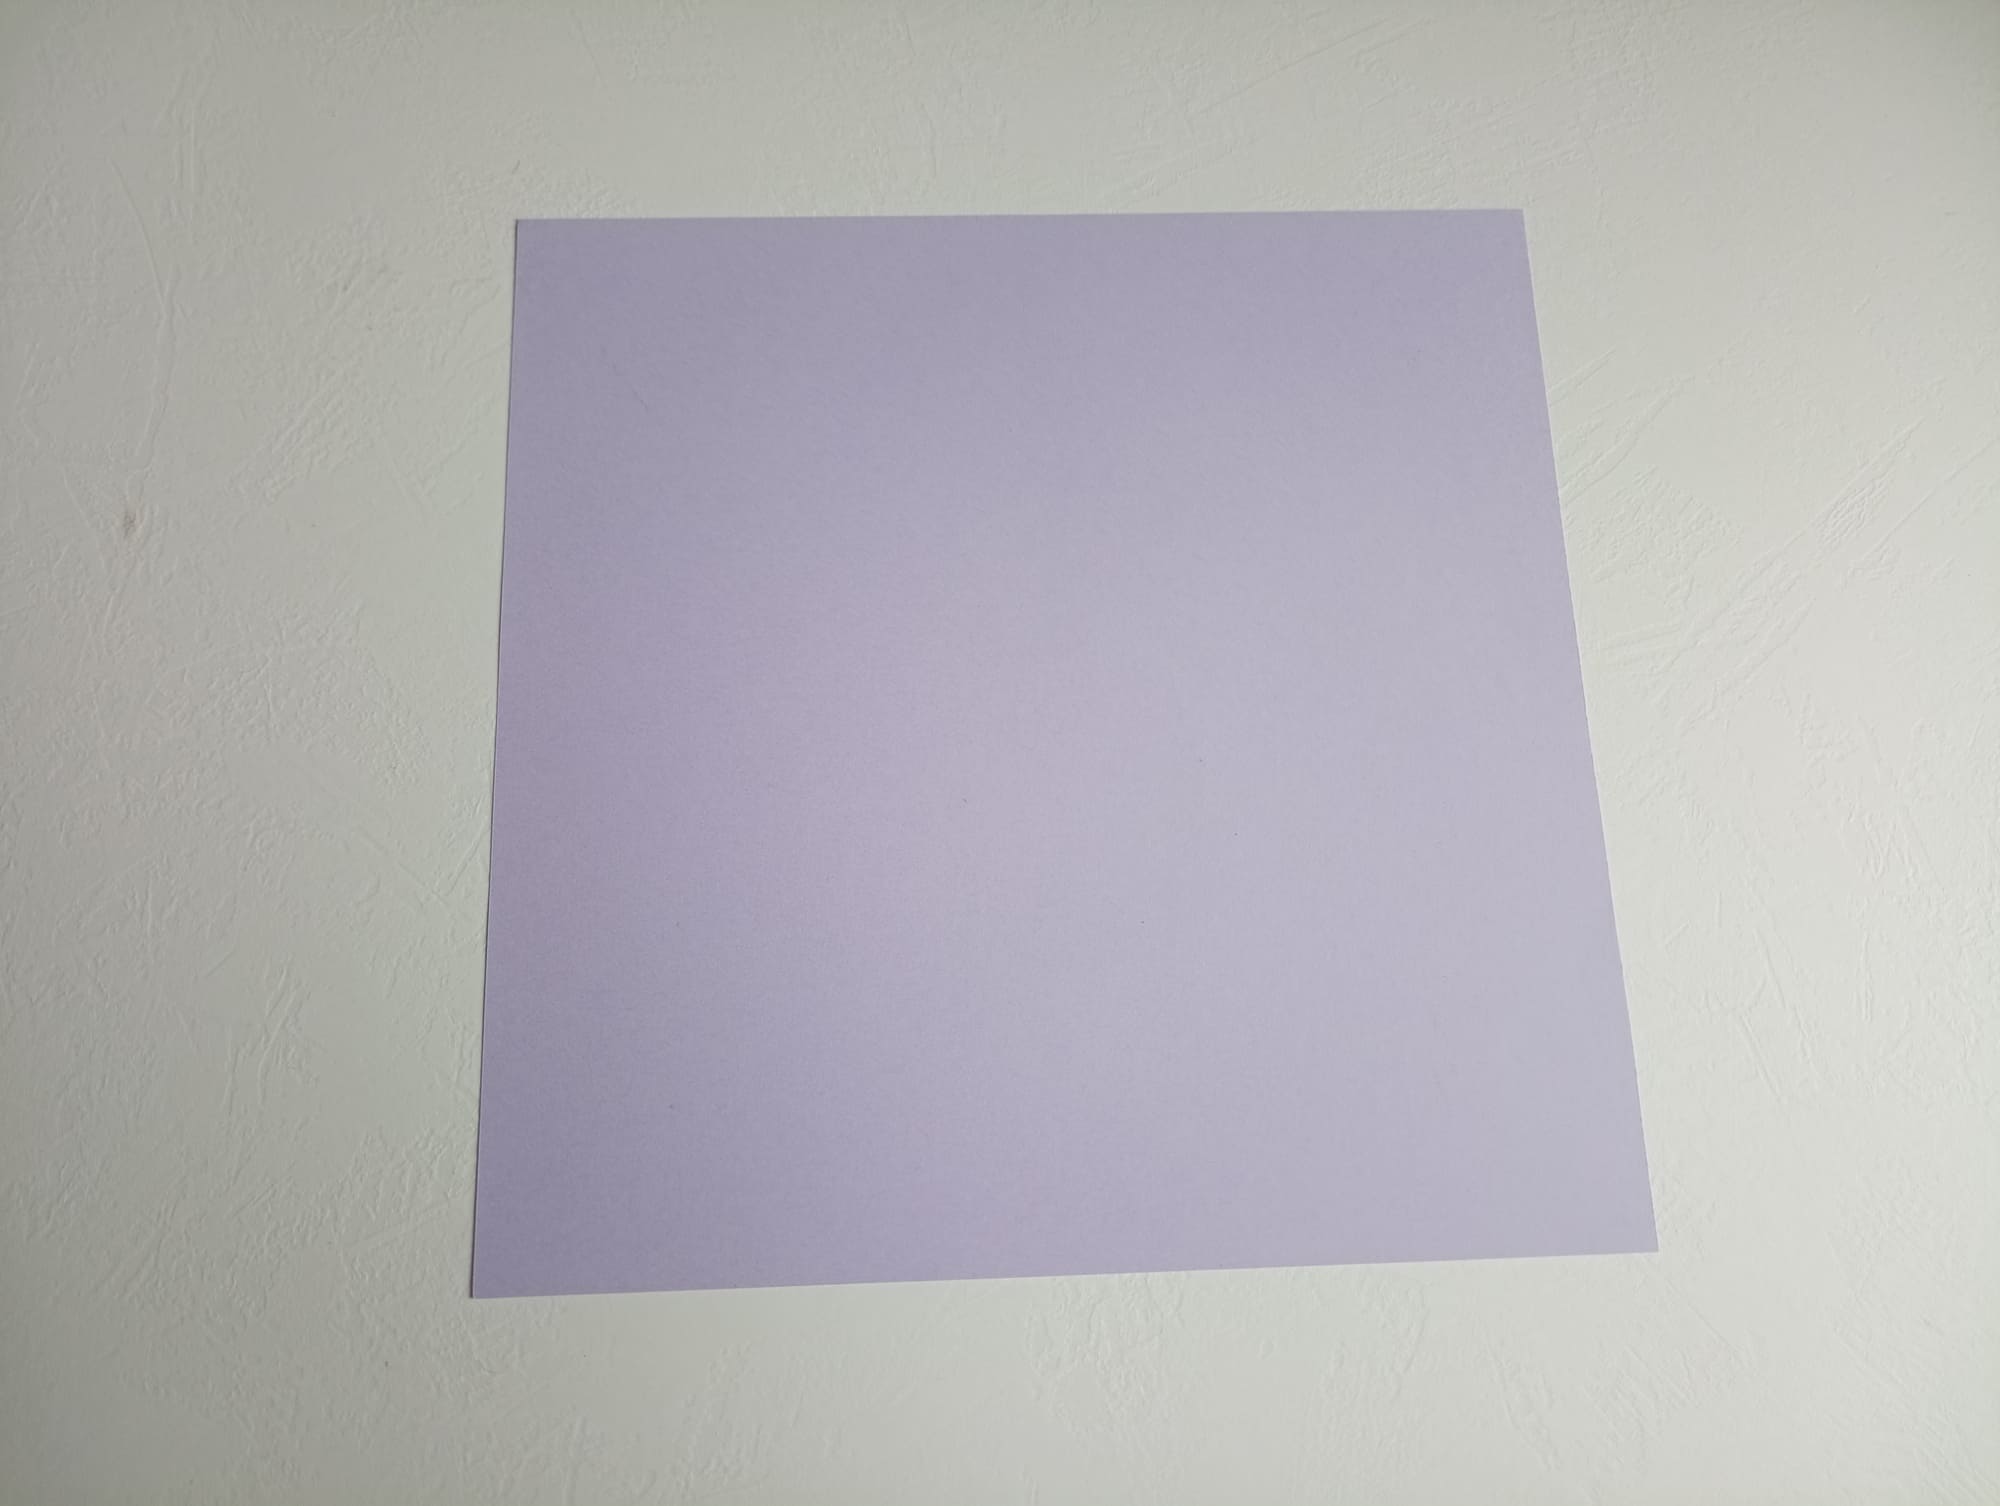
Take a square sheet of paper (size 15 by 15 cm.)
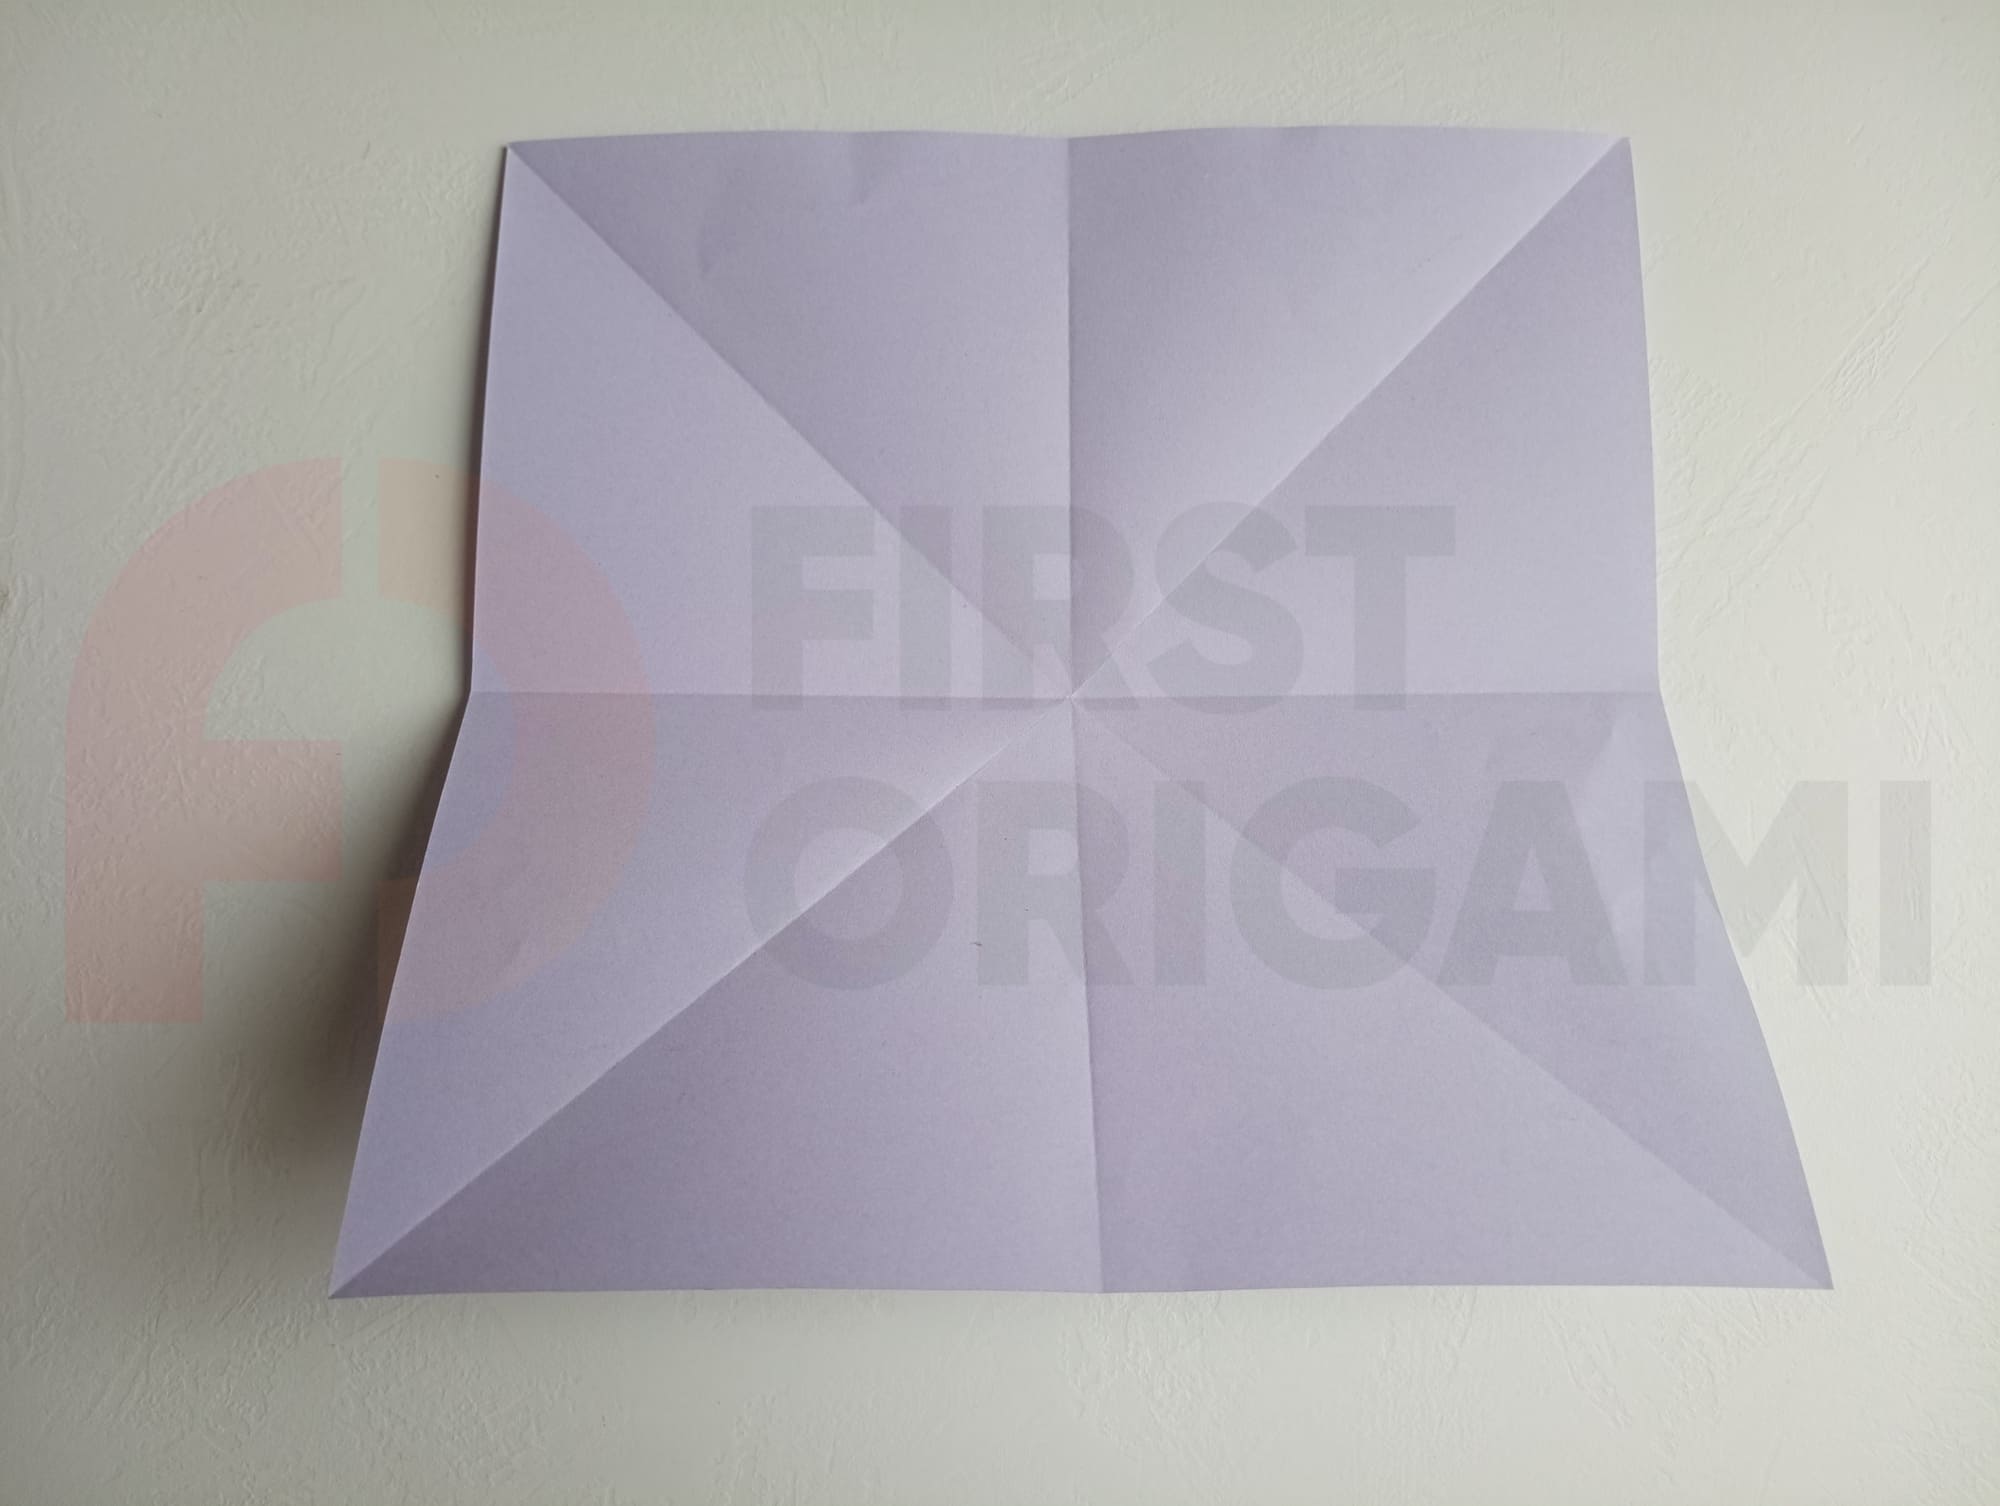
Fold the sheet of paper vertically, horizontally, and diagonally to make the folds shown in the photo. Unfold the paper.
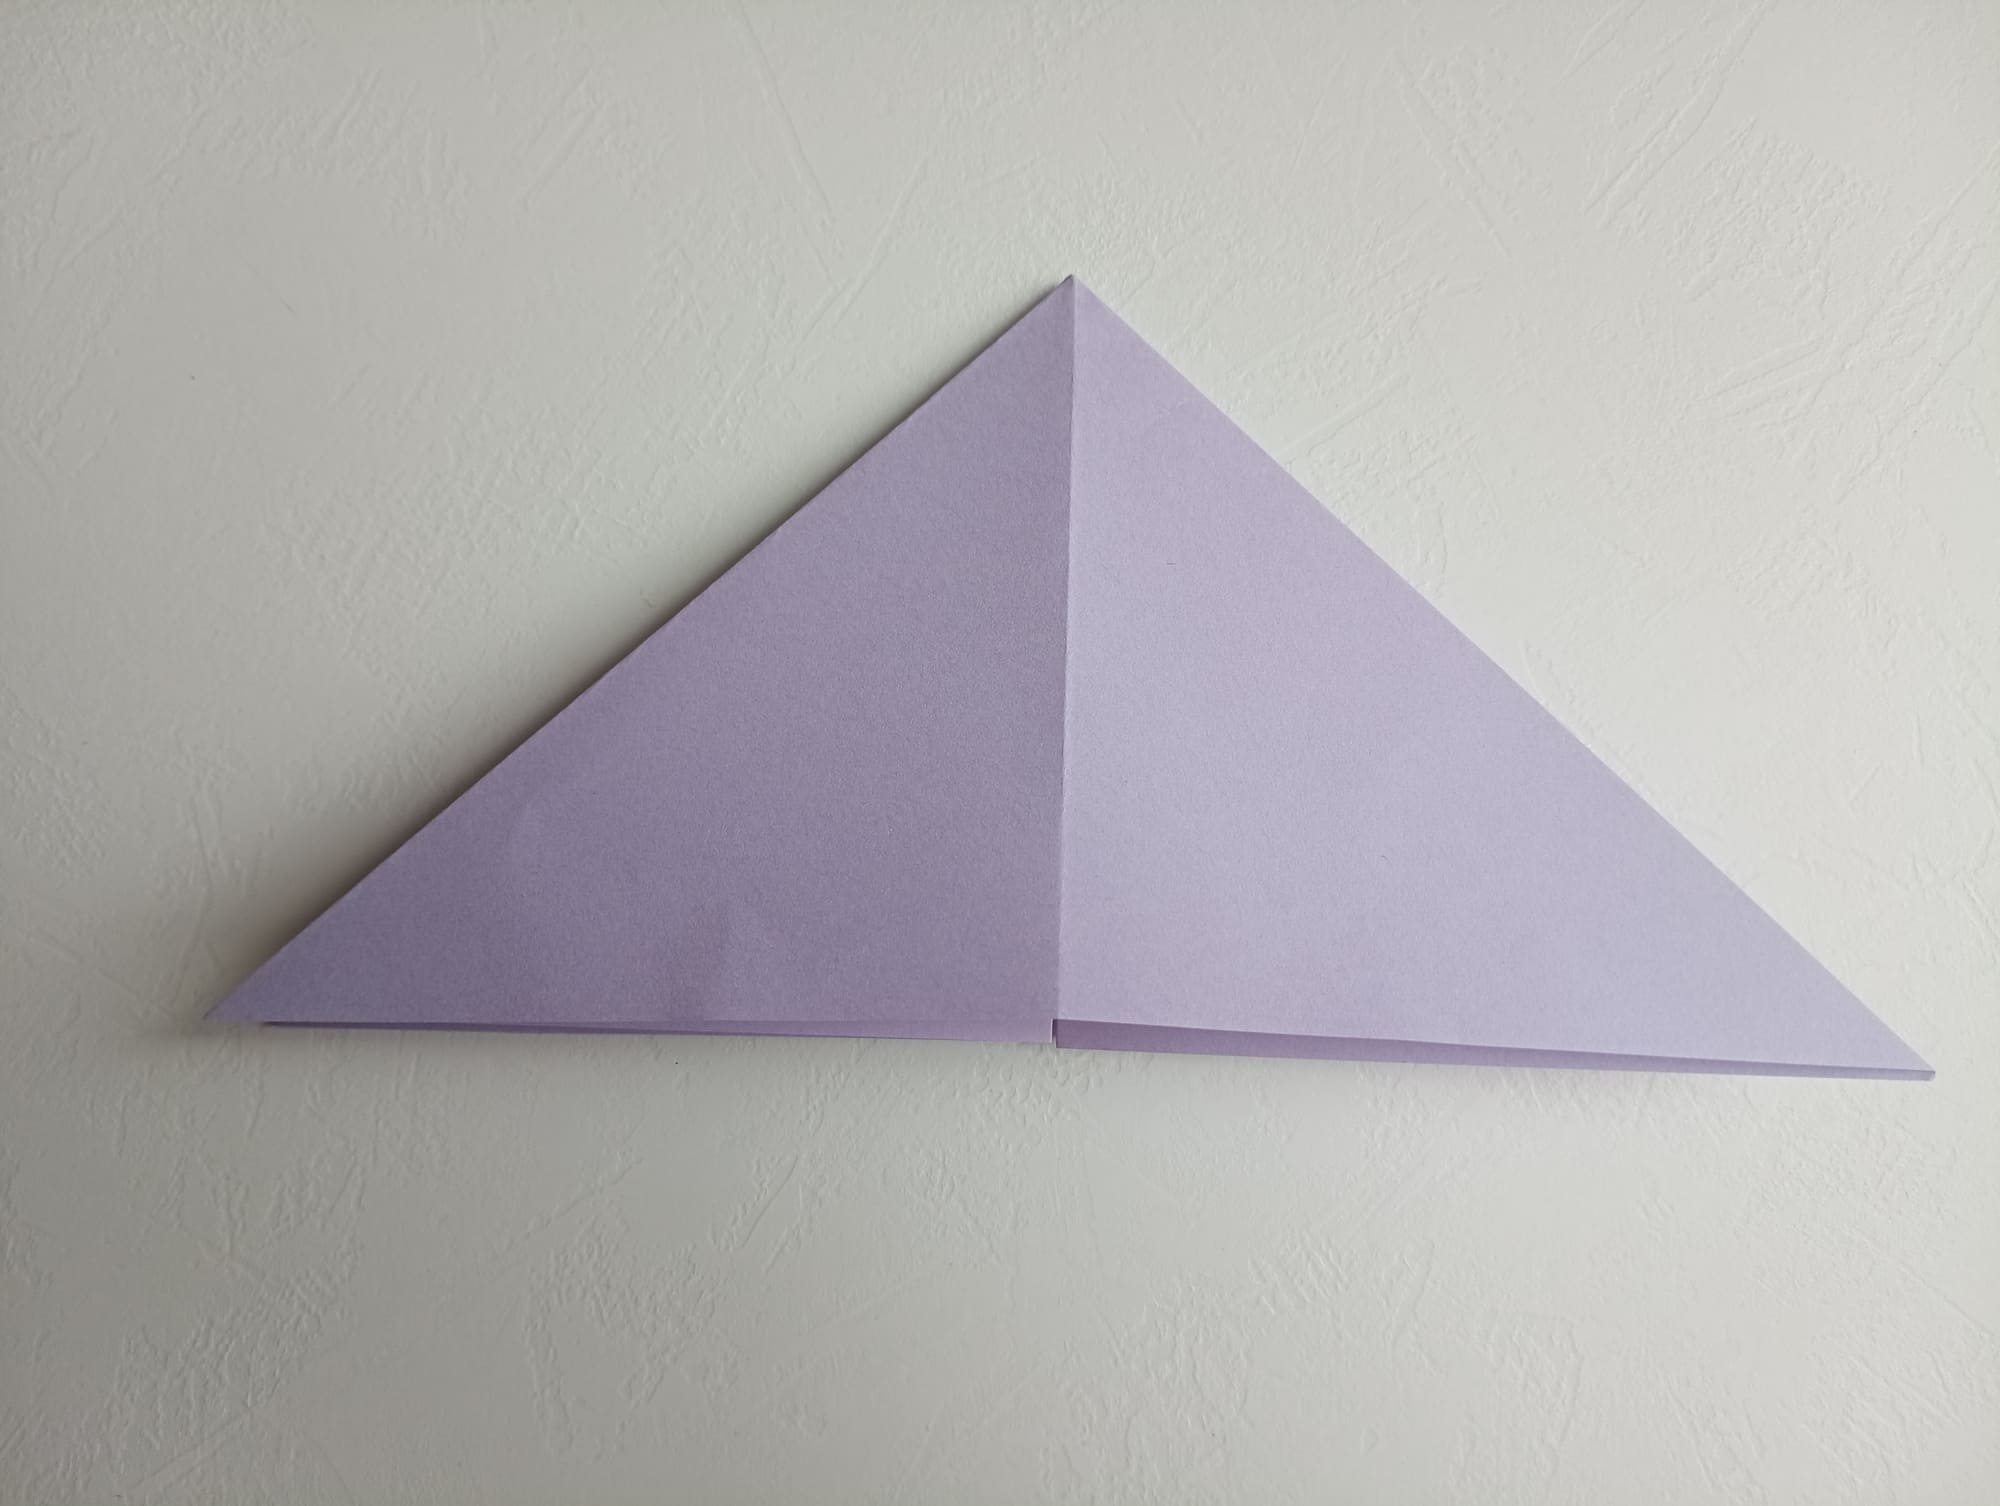
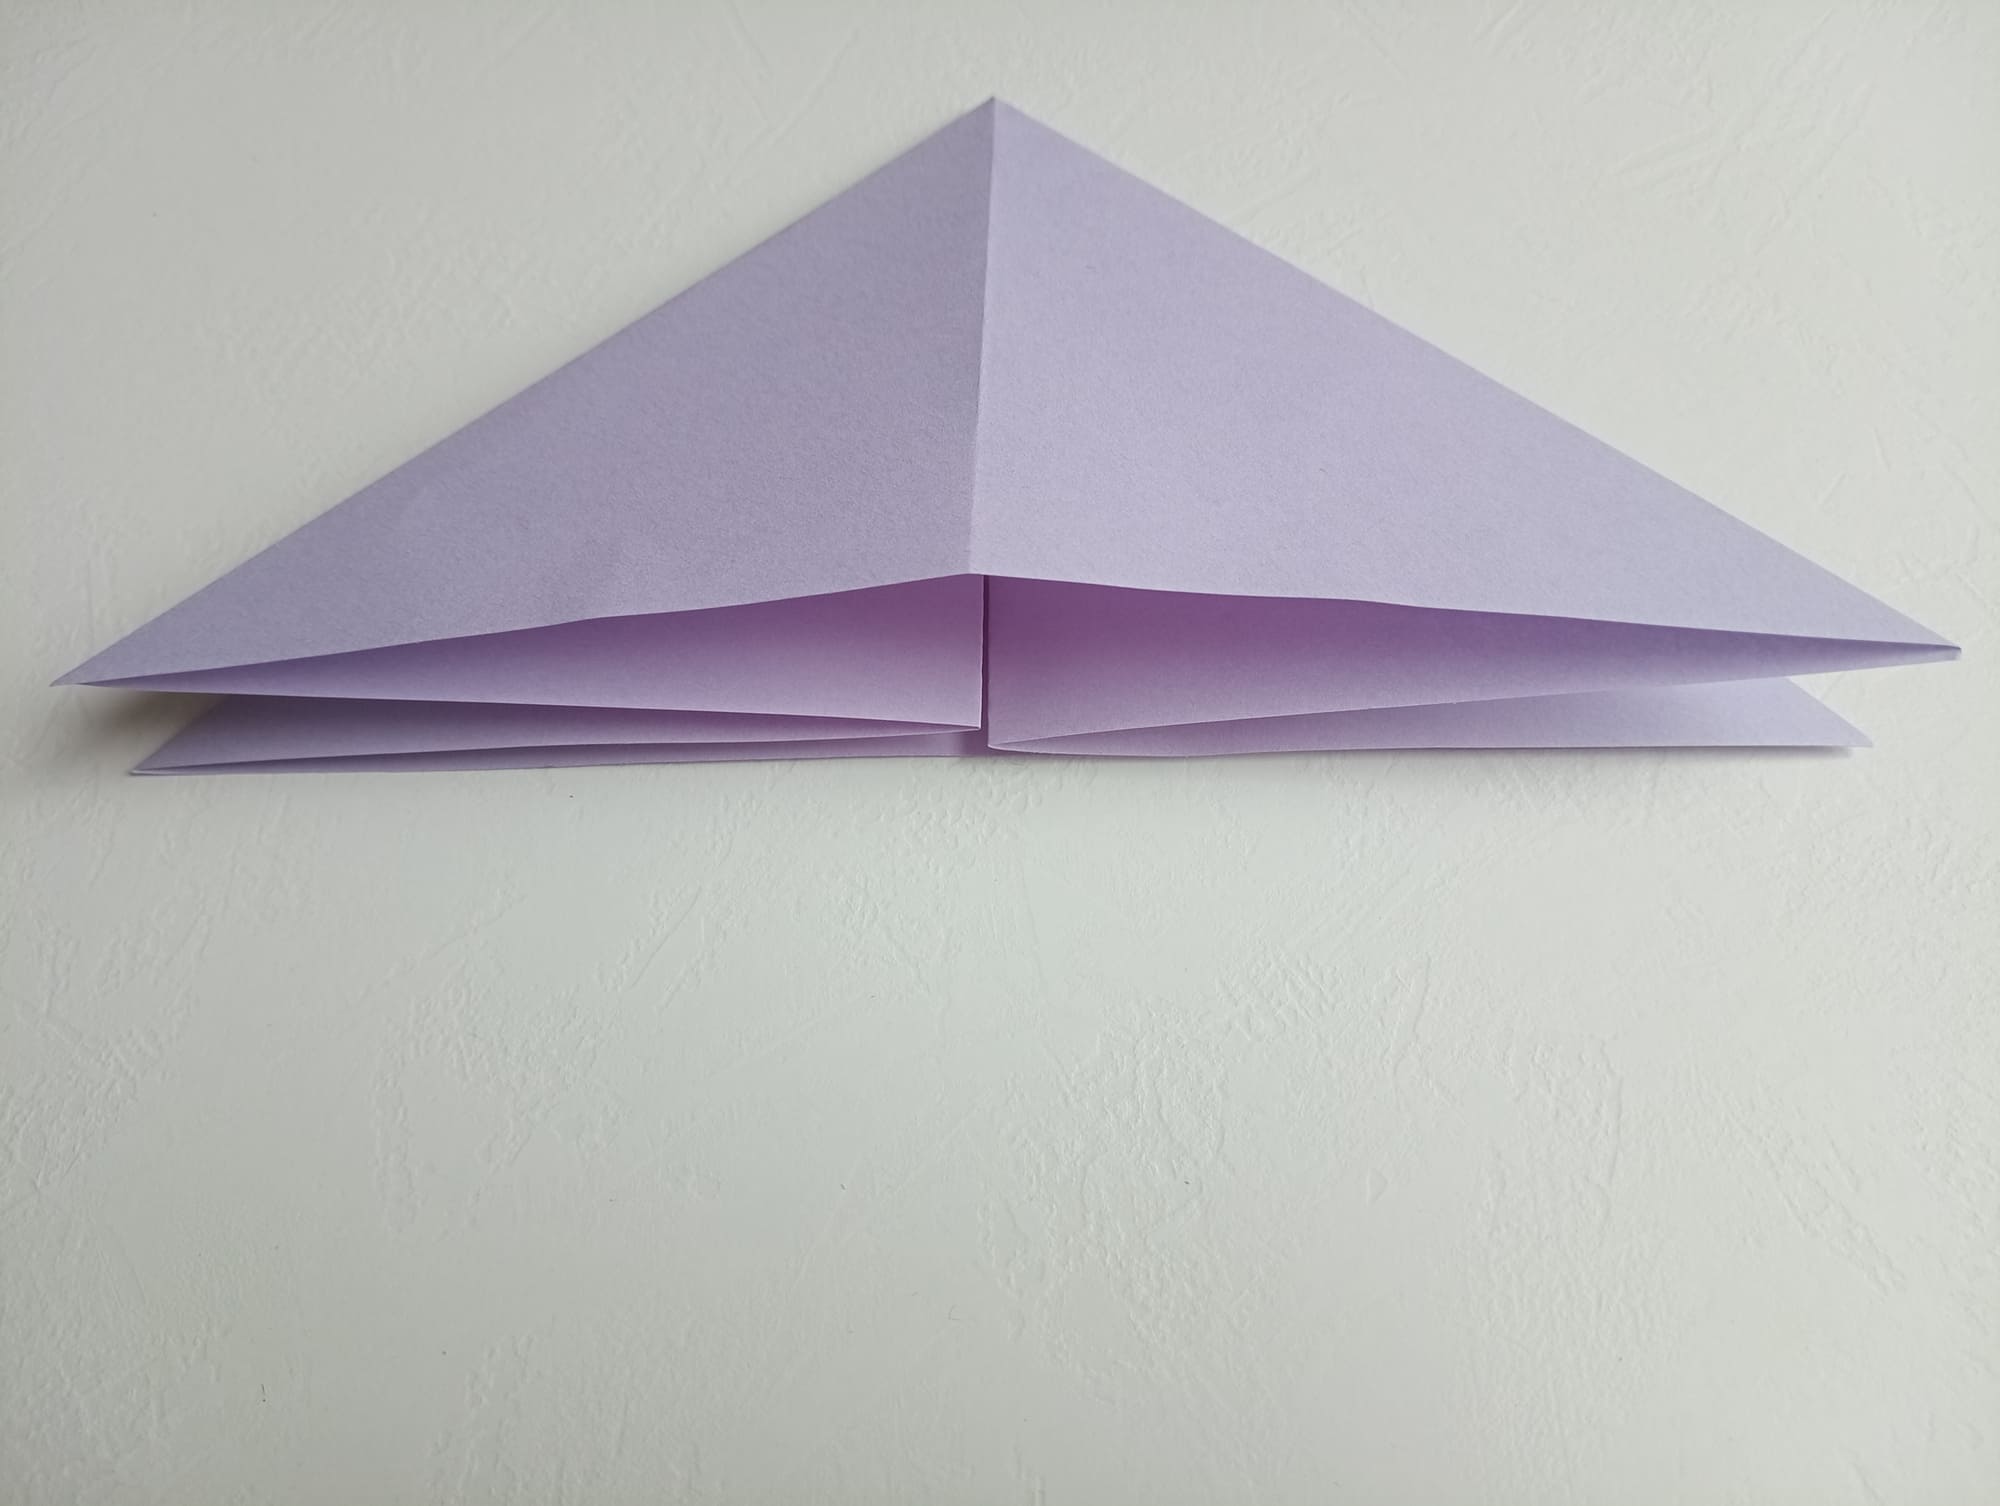
Fold the sheet along the folds, as in the photo.

Raise the right corner, bring it to the middle, and flatten it, creasing all the folds.
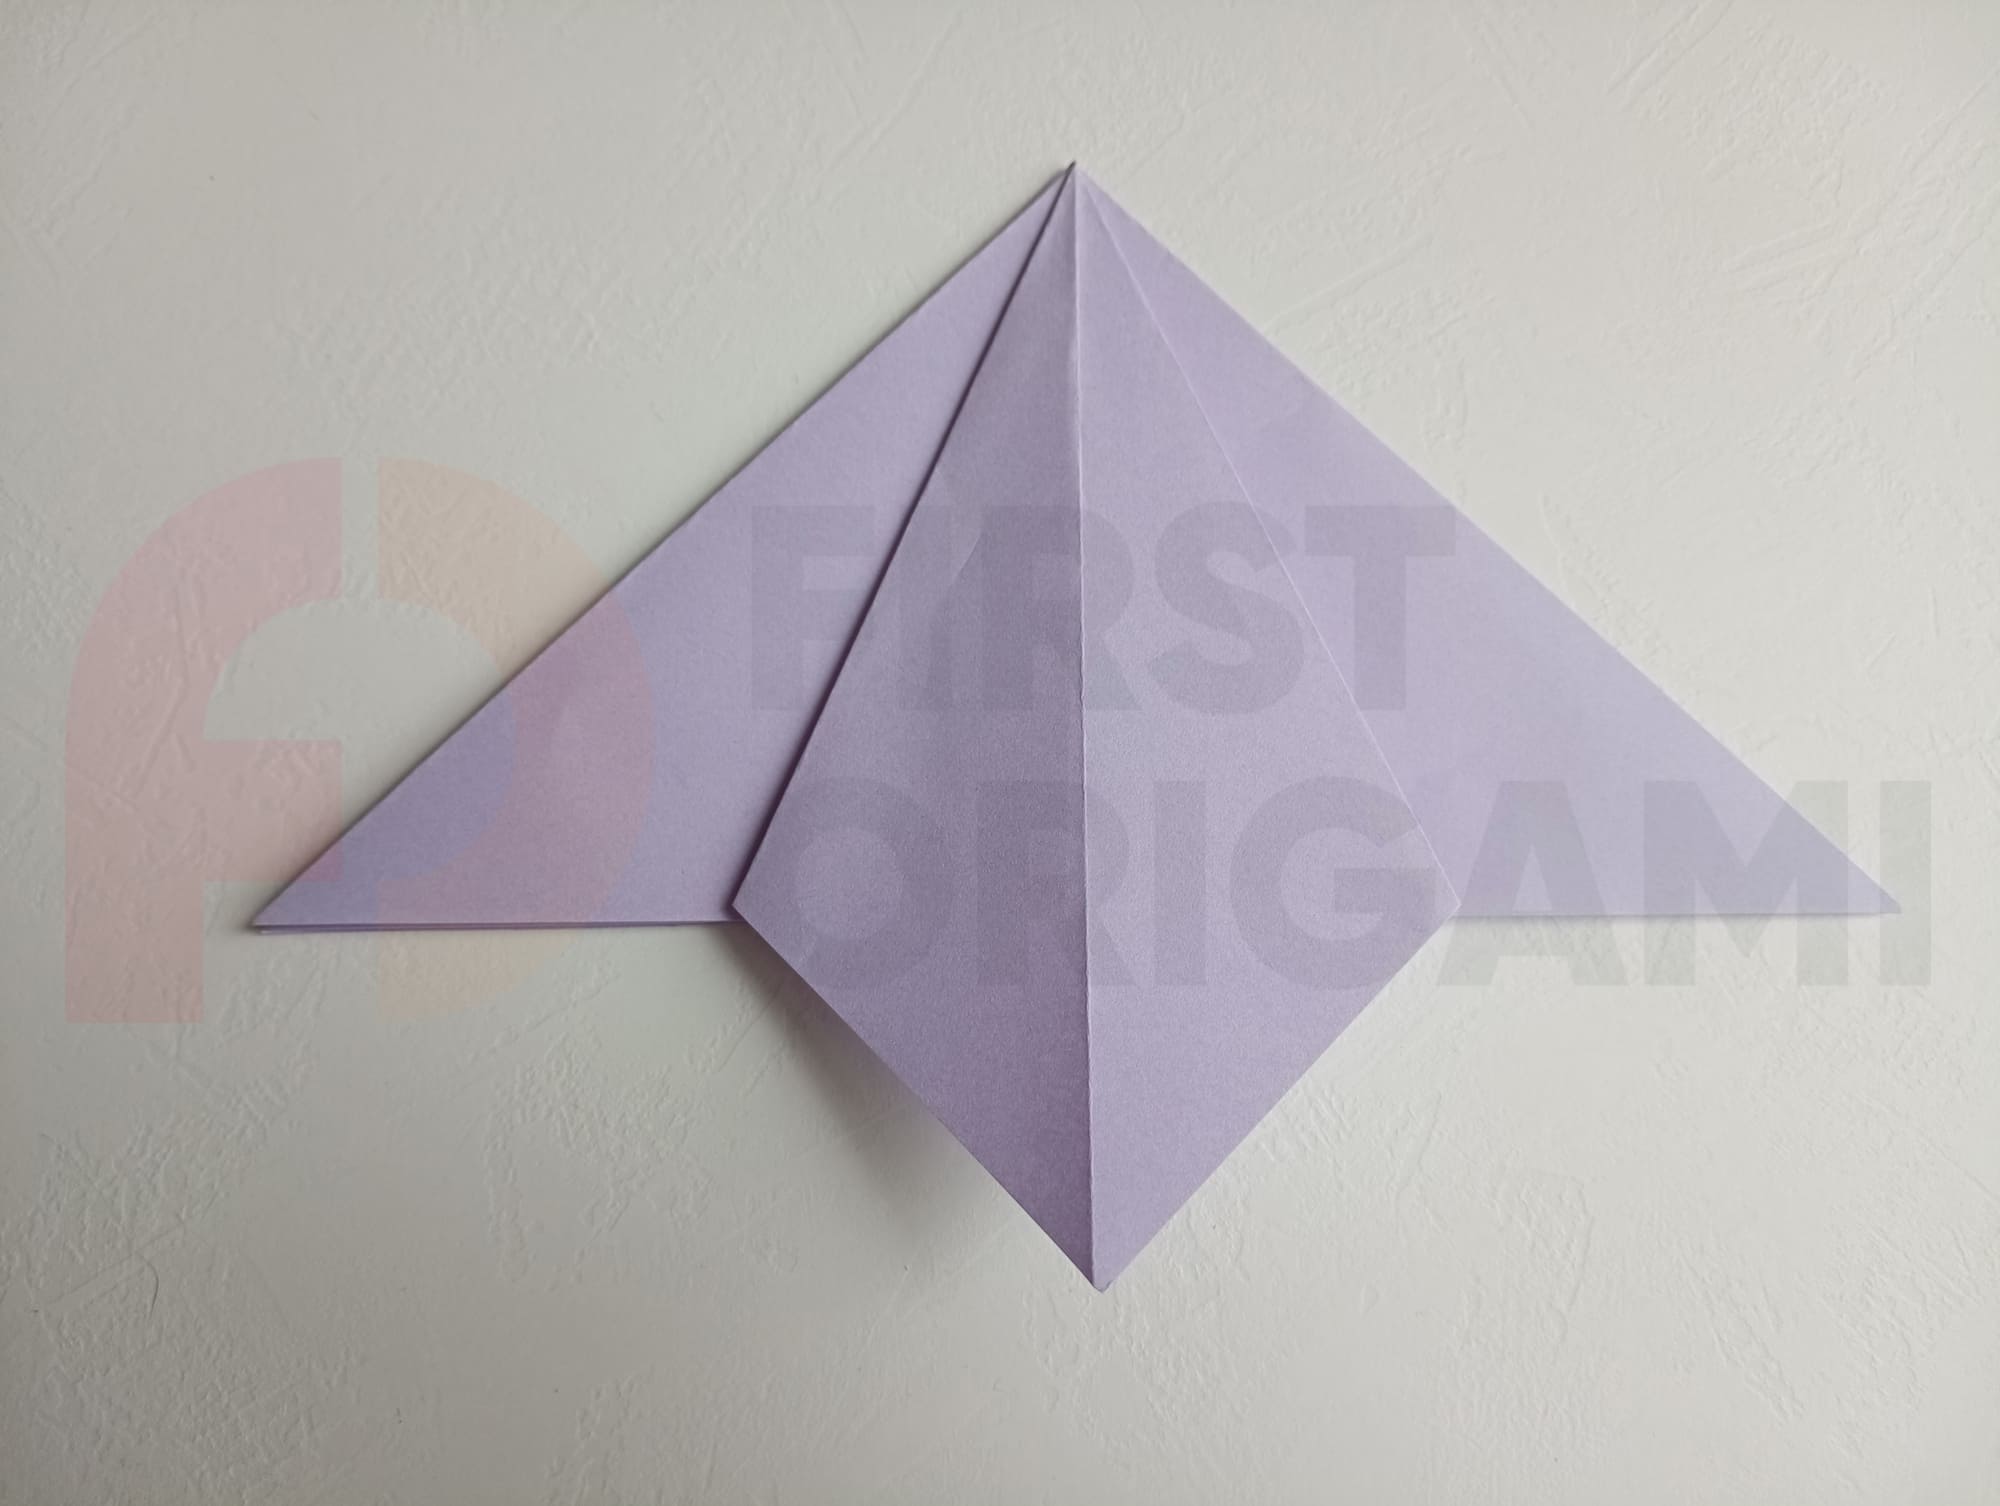
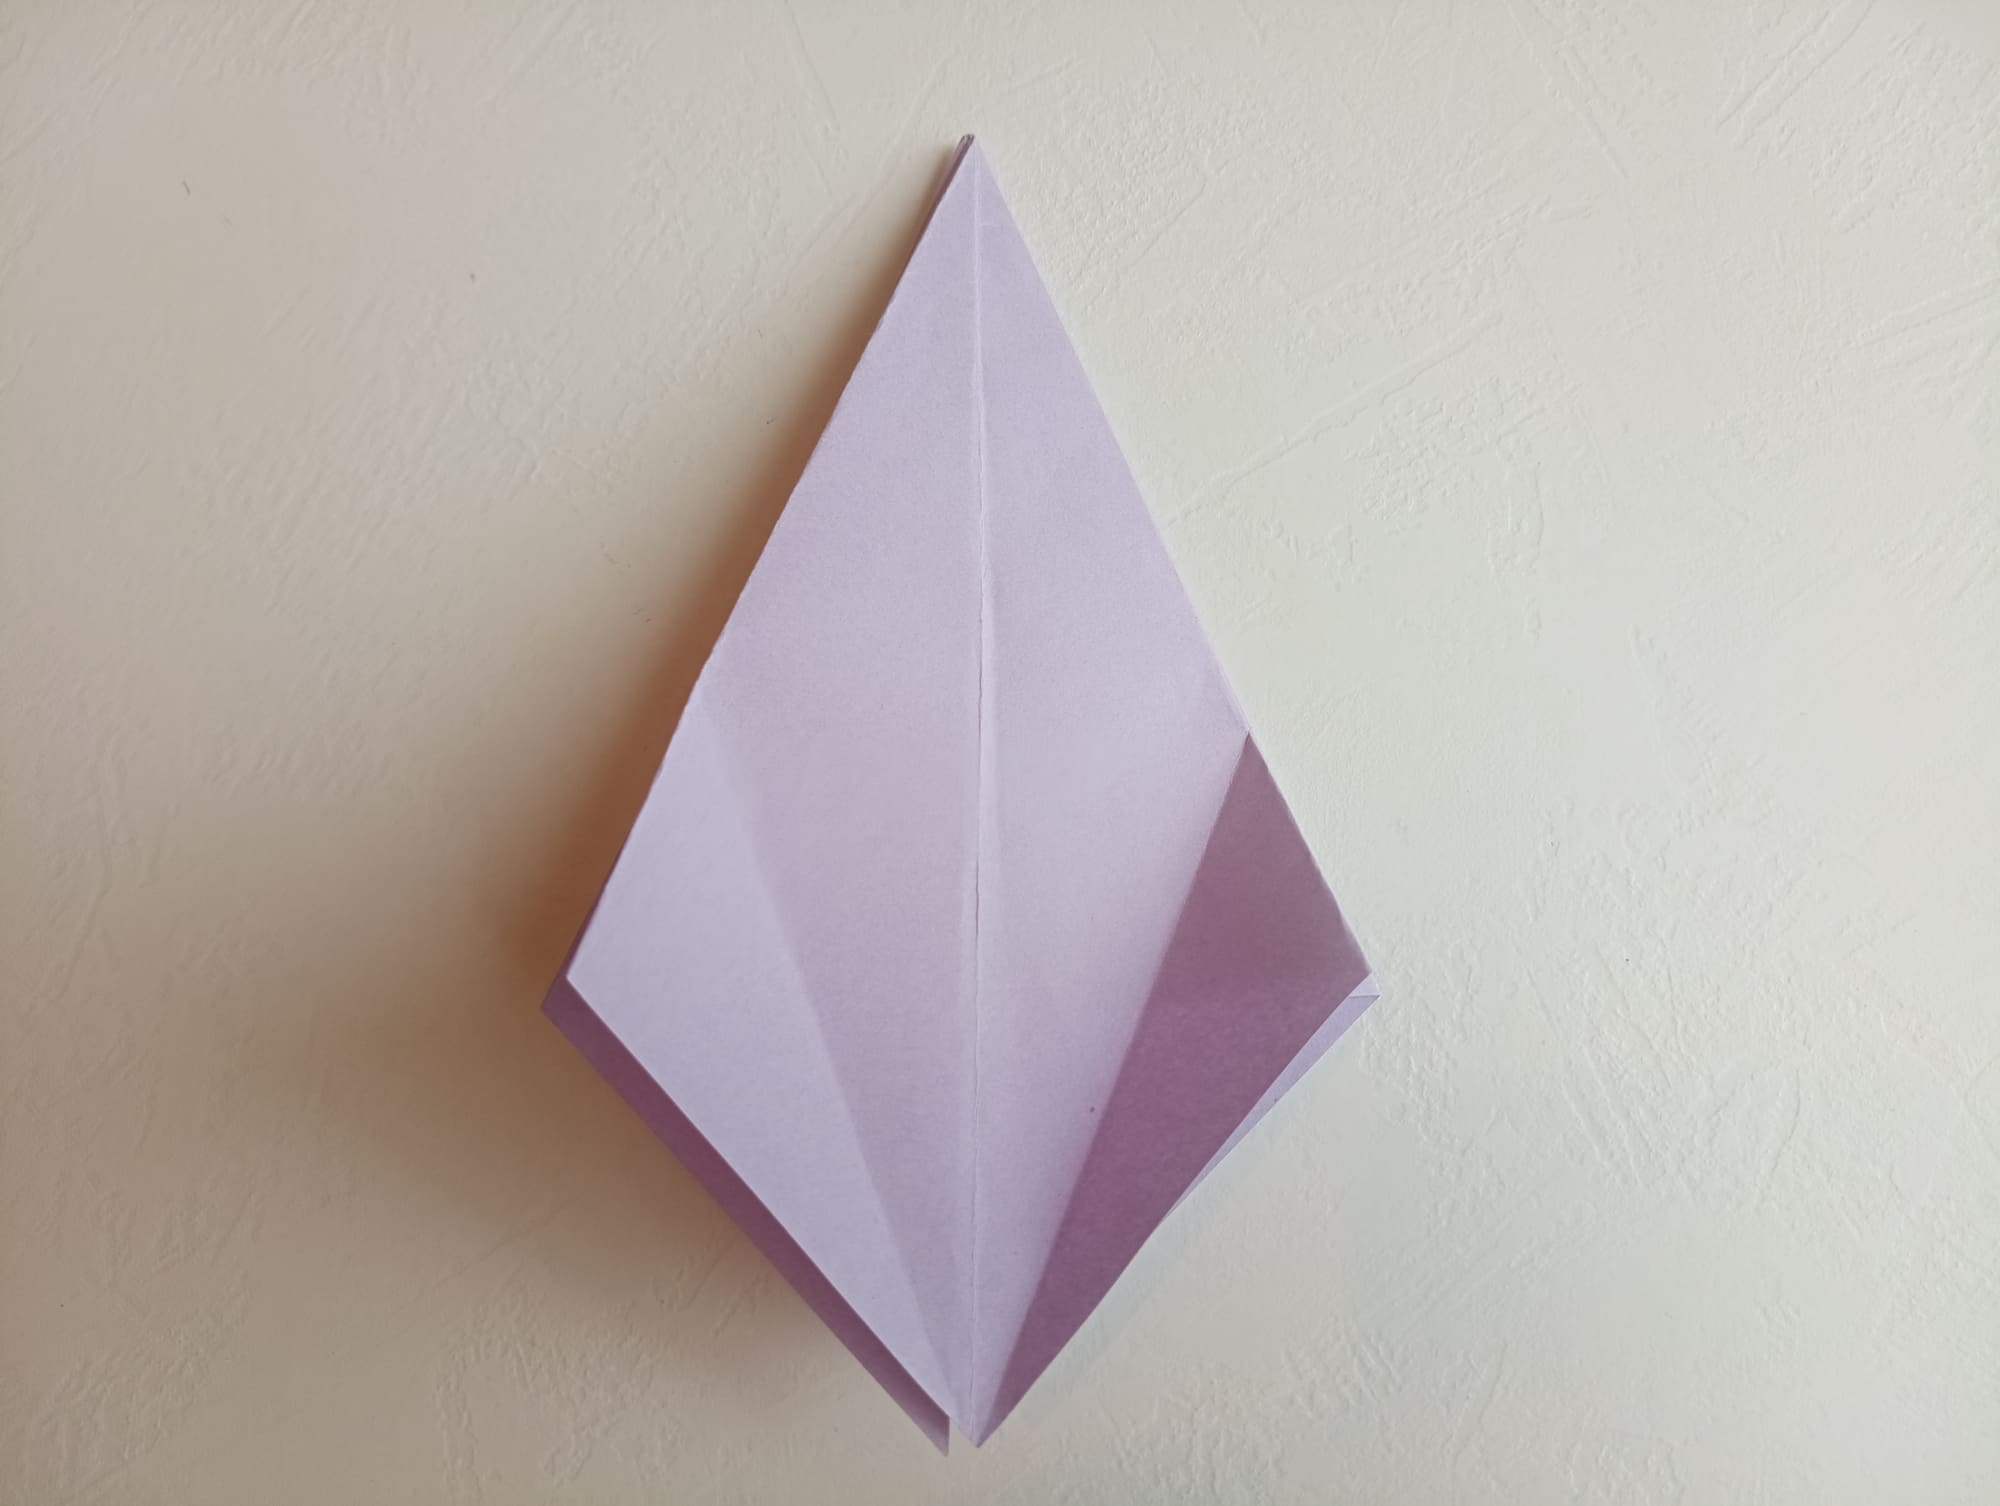
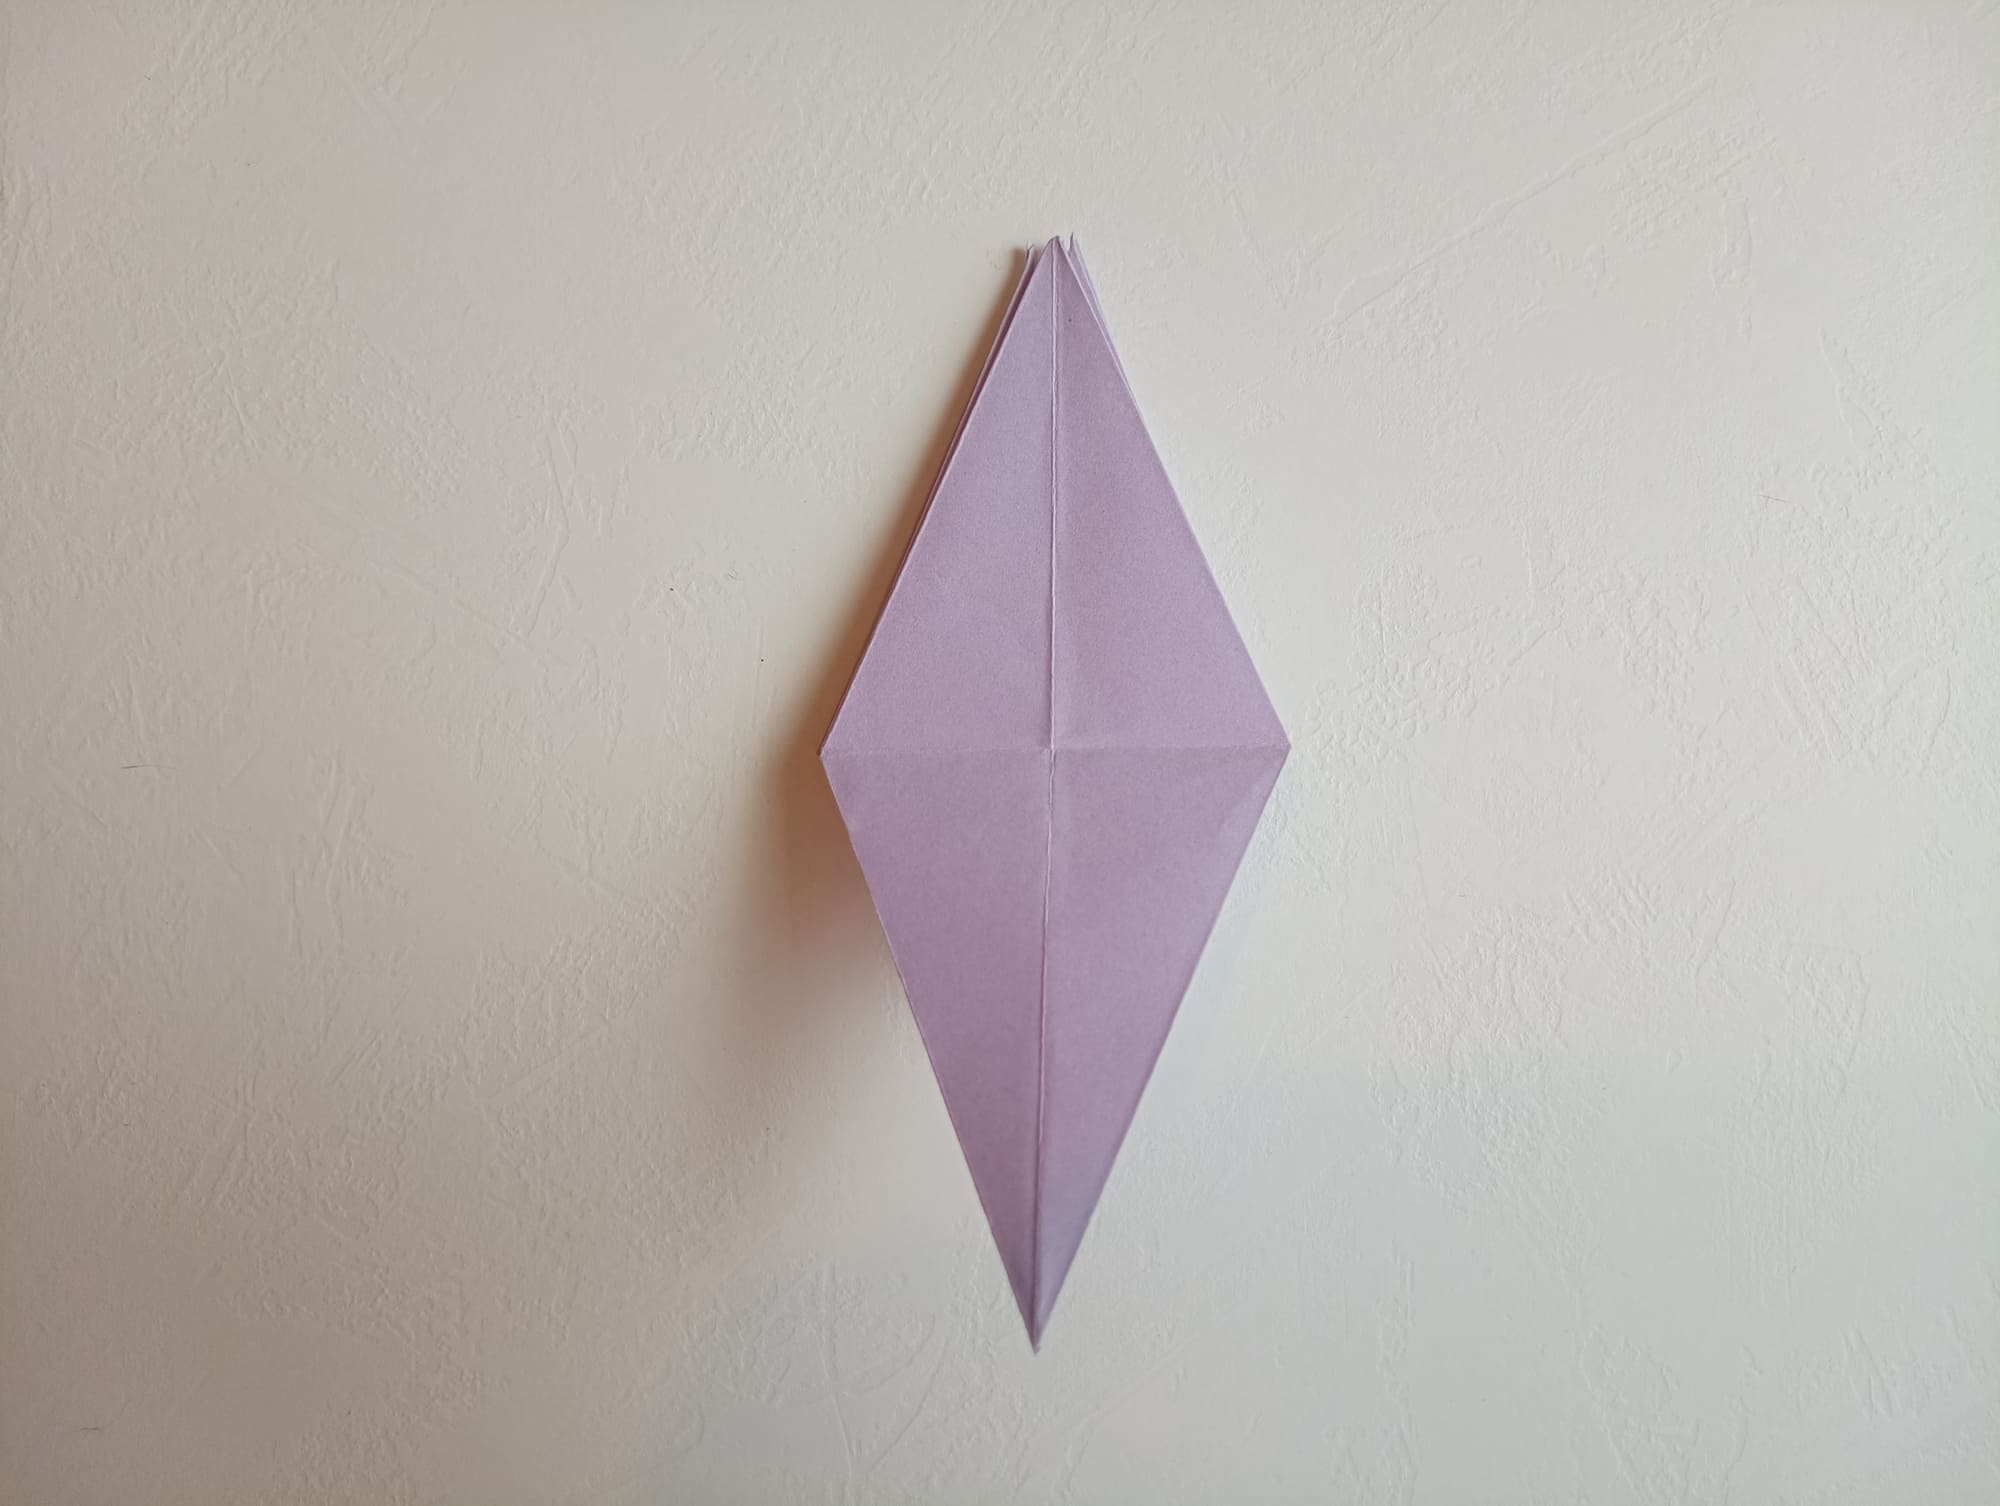
Follow the previous step for the remaining three corners. You should get a rhombus.
Bend the sides of the rhombus to the middle.
Unfold the sides and the desired folds will appear on the figure.
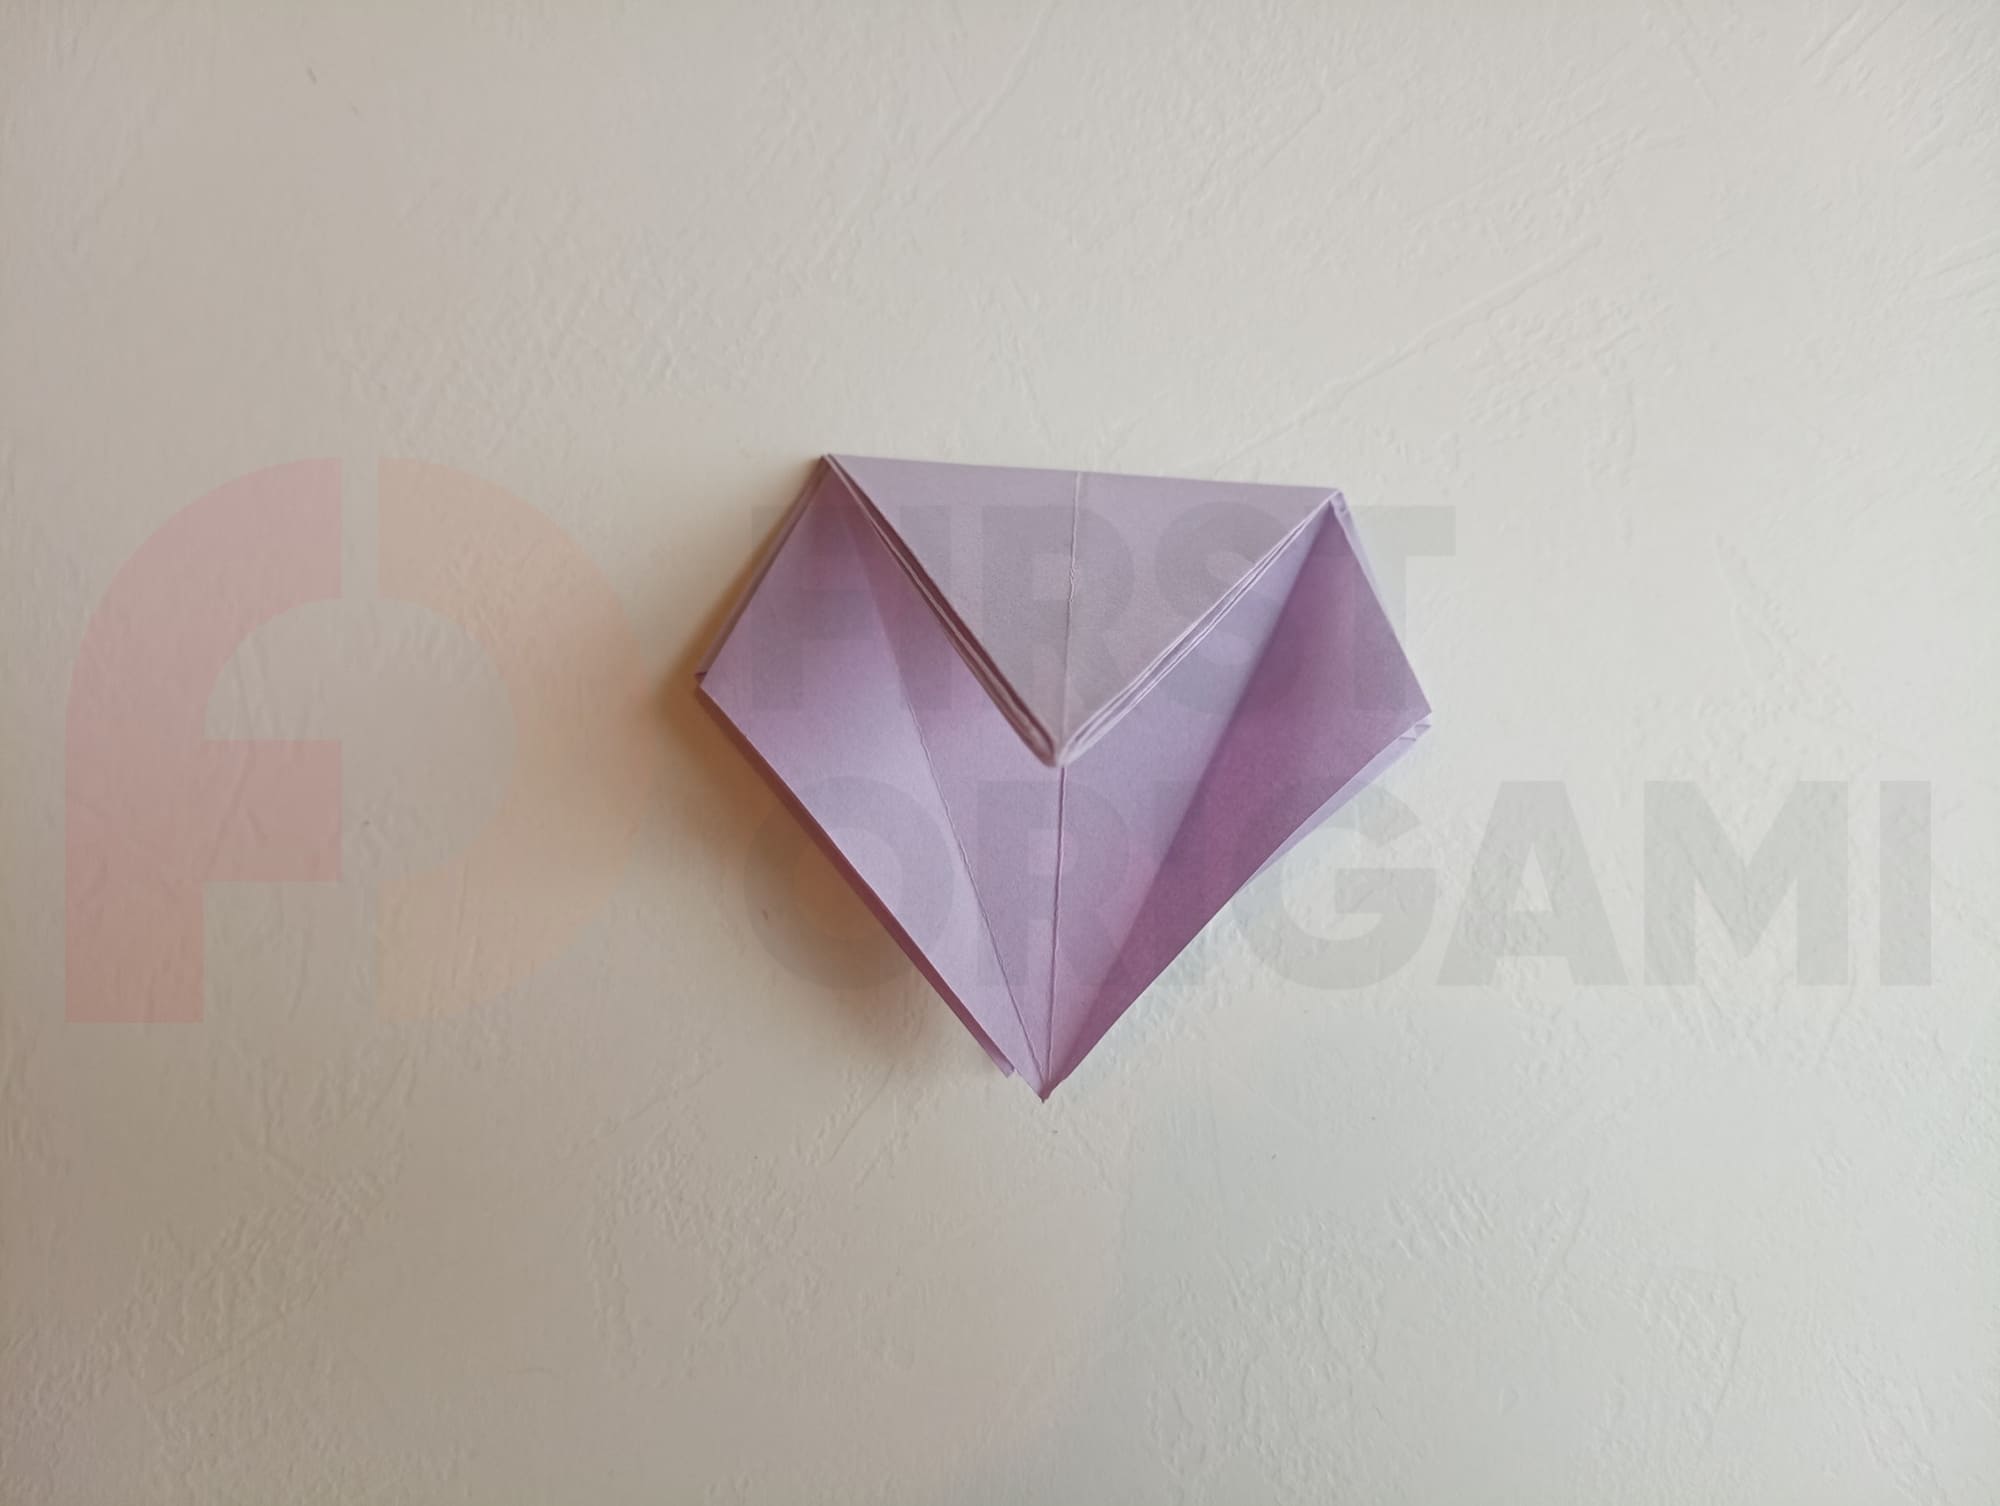
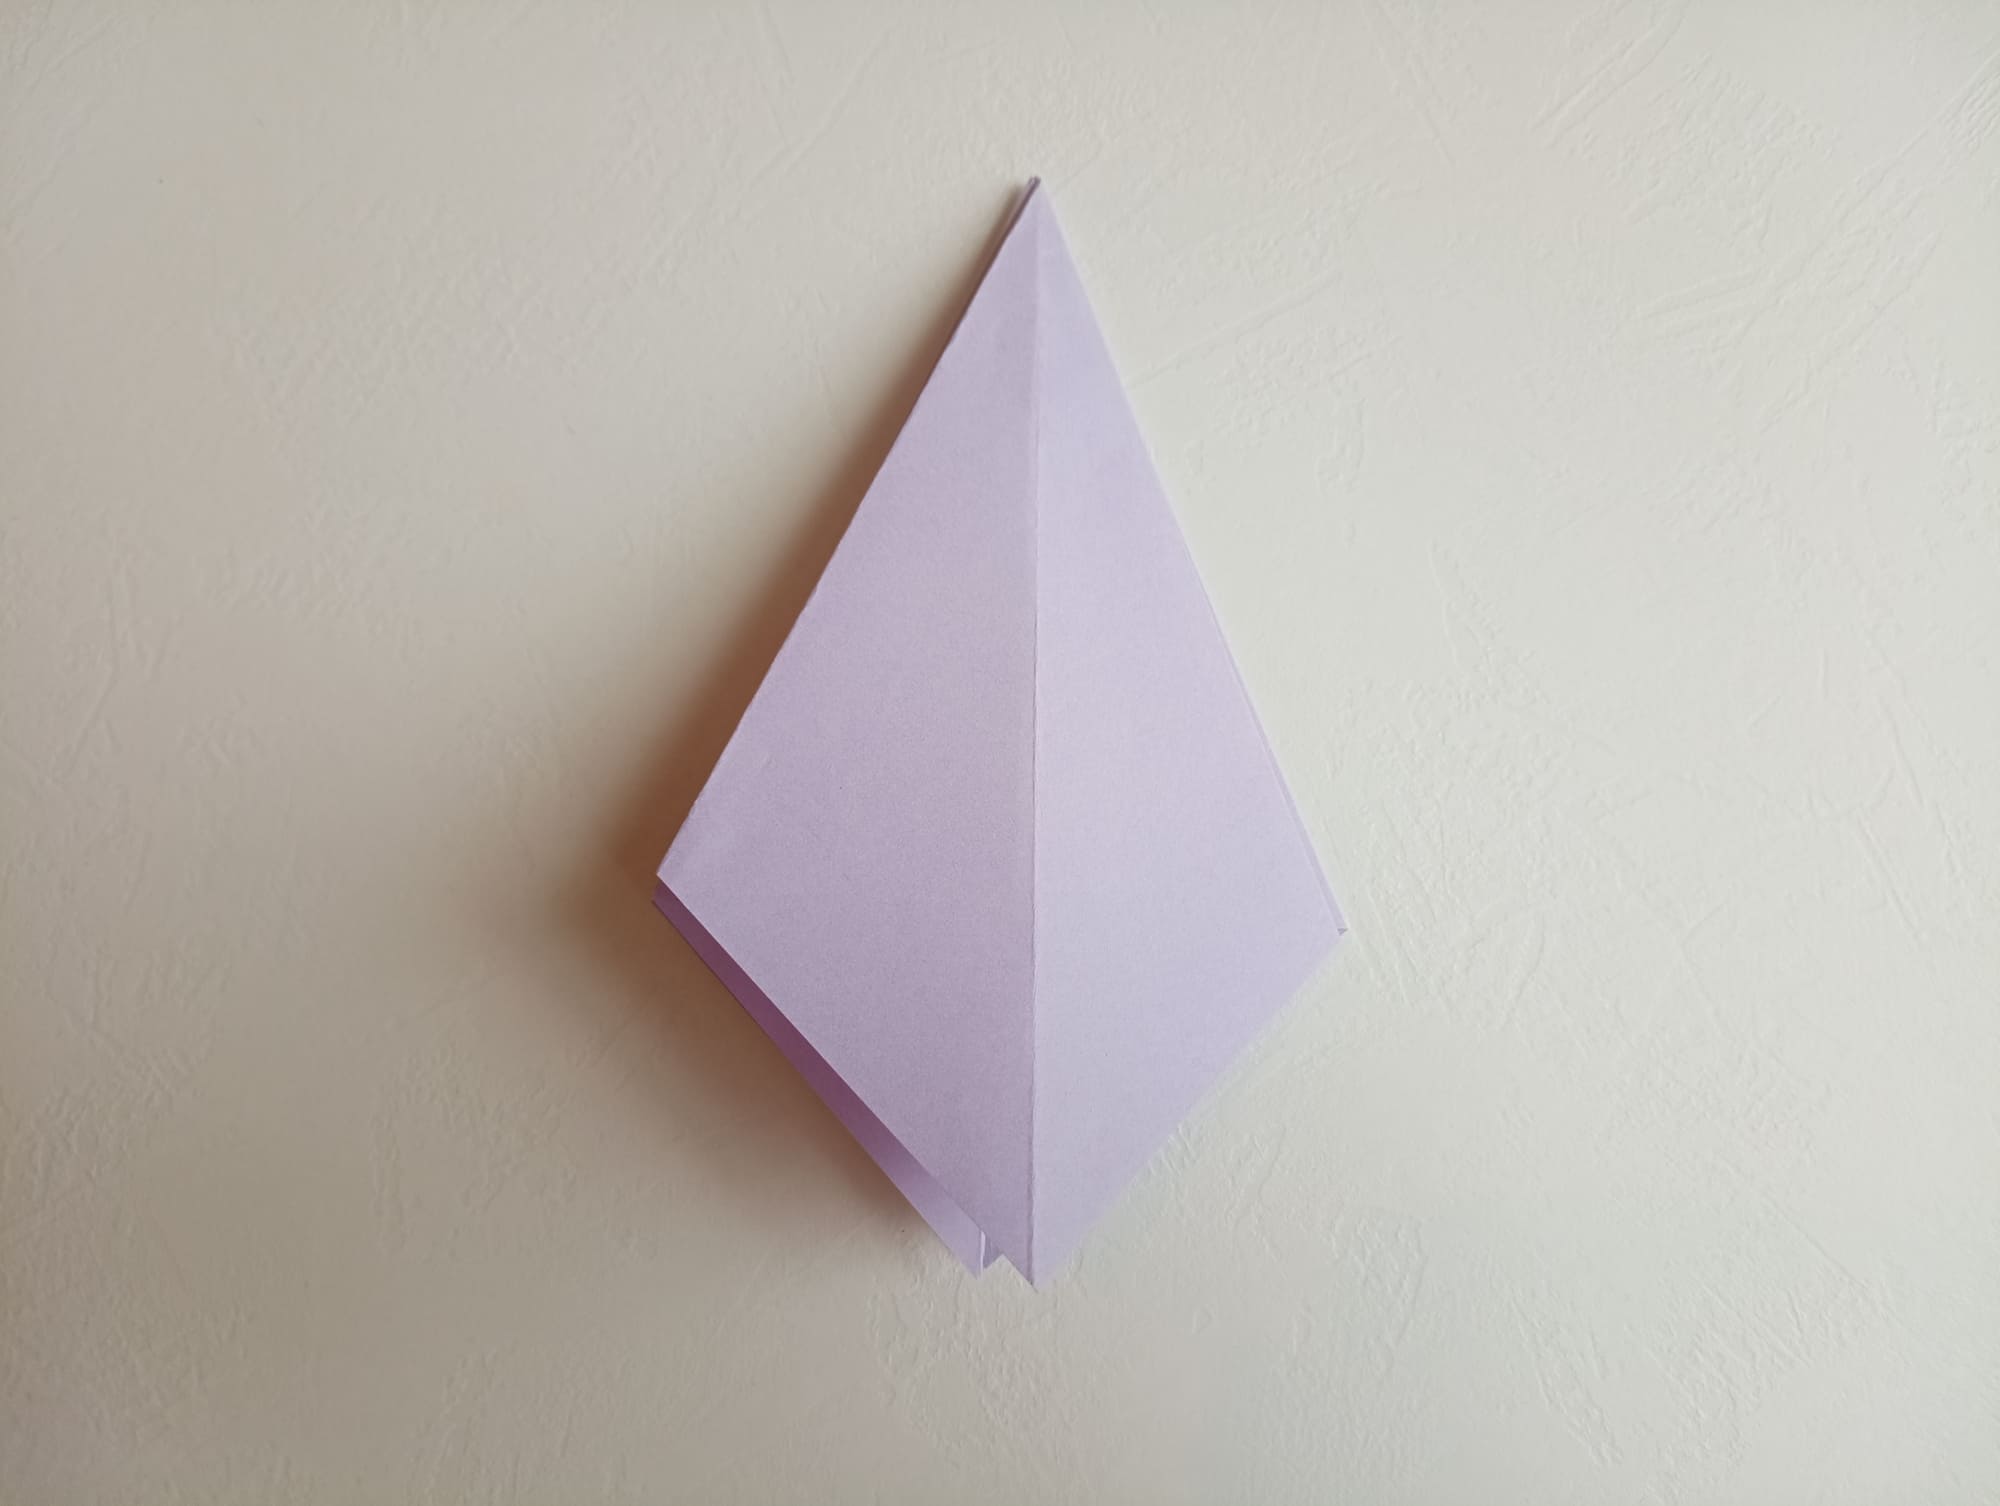
Bend the top corner to the bottom to get the third fold.
Raise the bottom corner to the top, being guided by the resulting three folds.
Repeat previous steps for the other three sides.
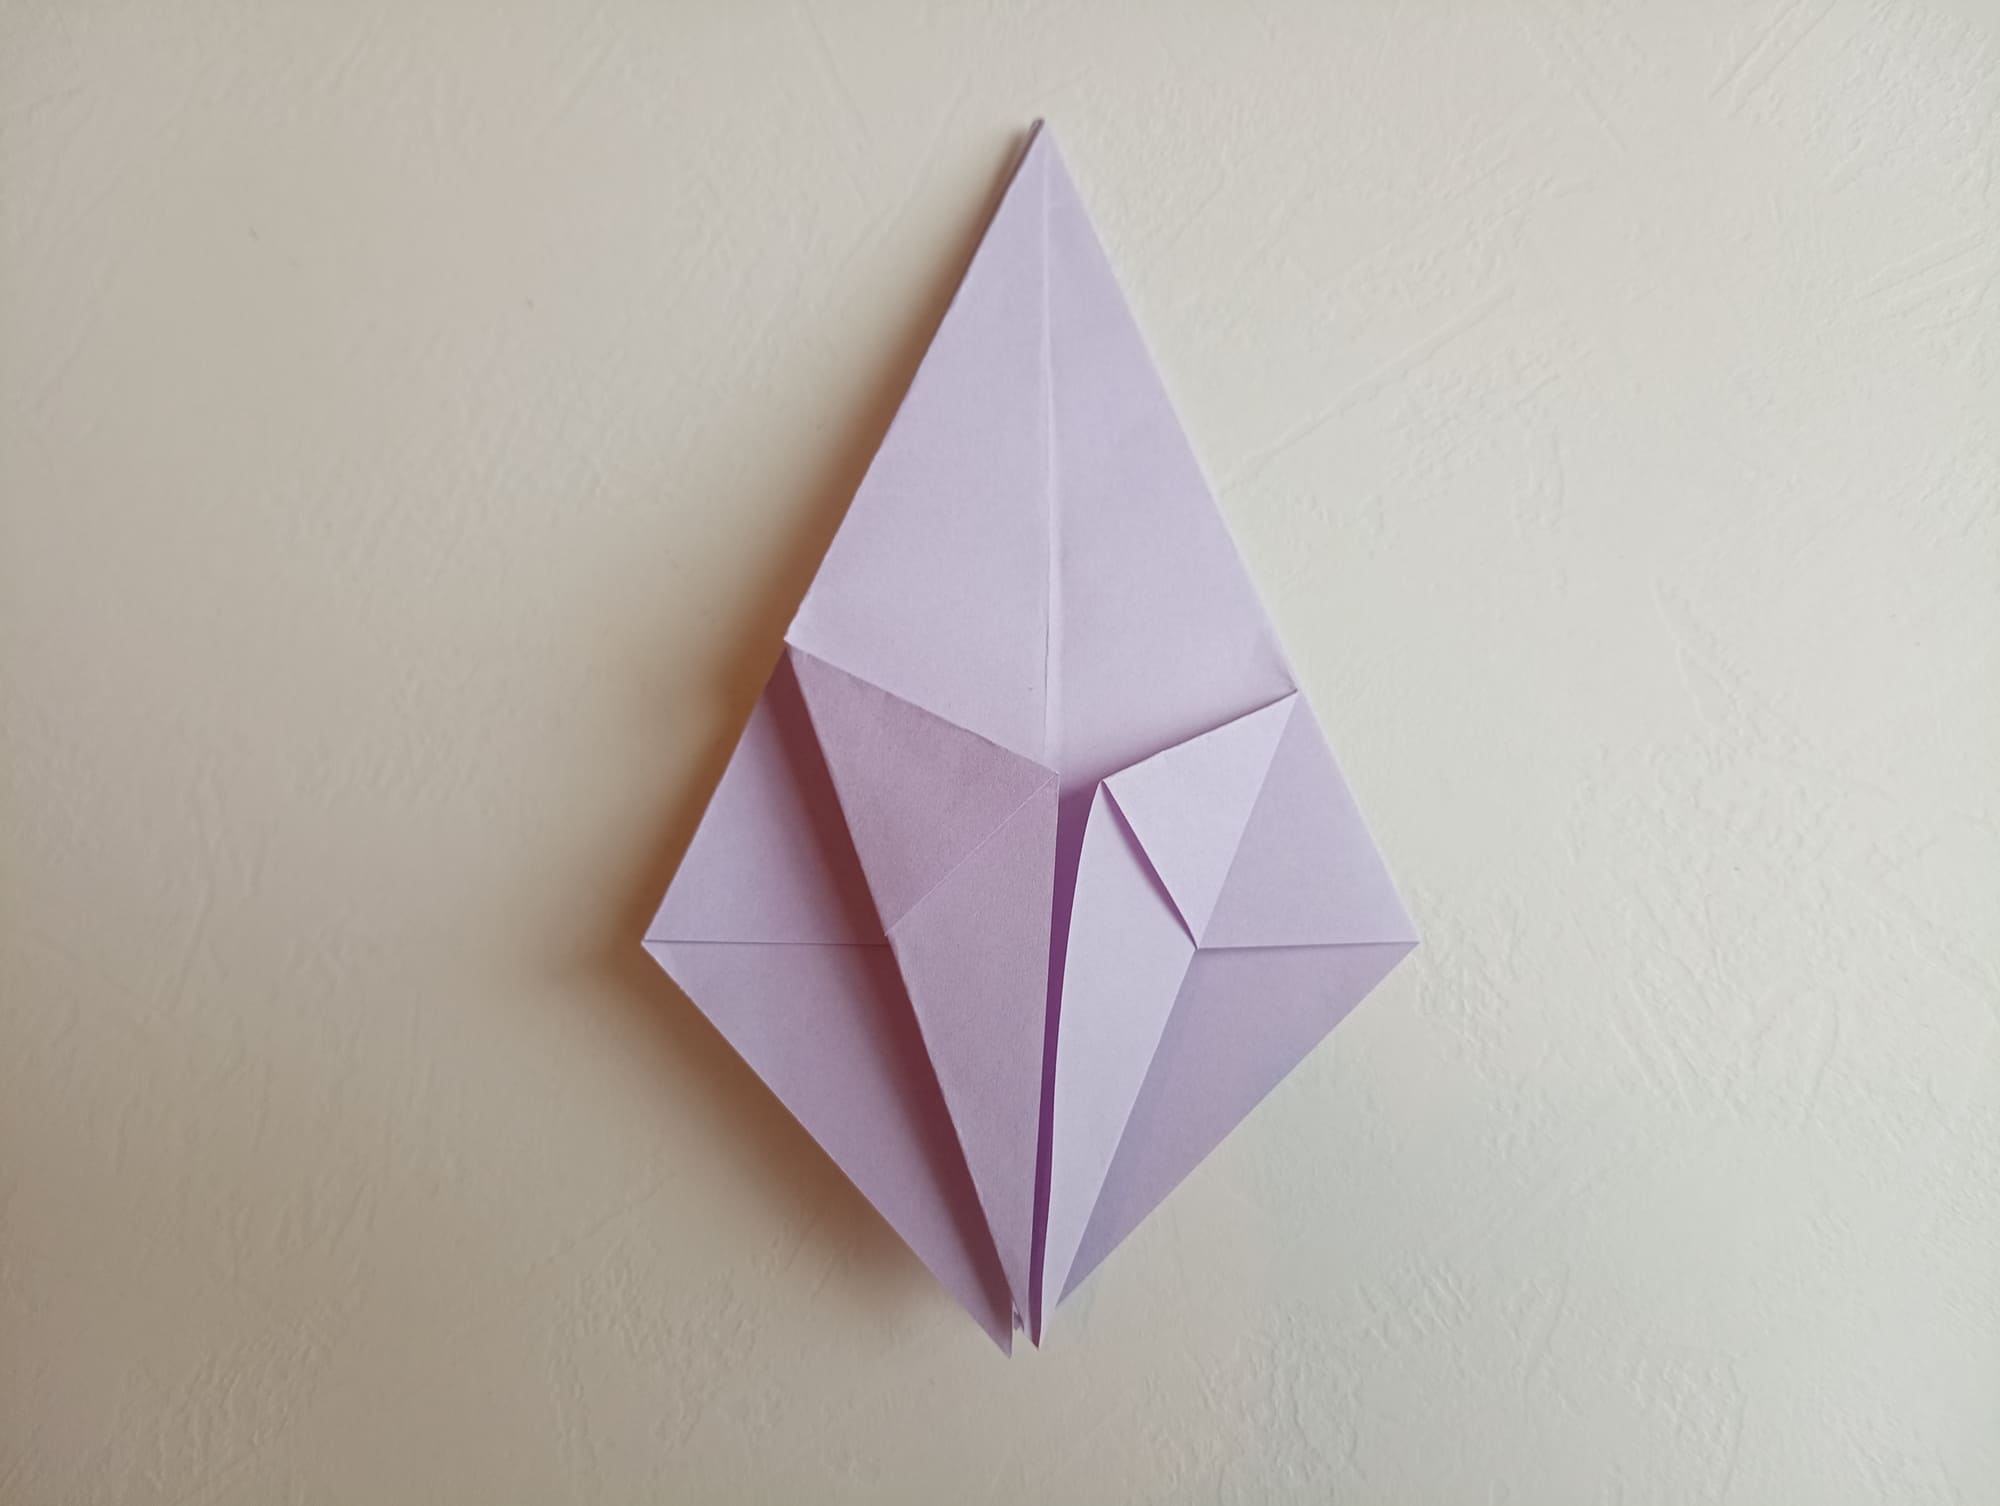
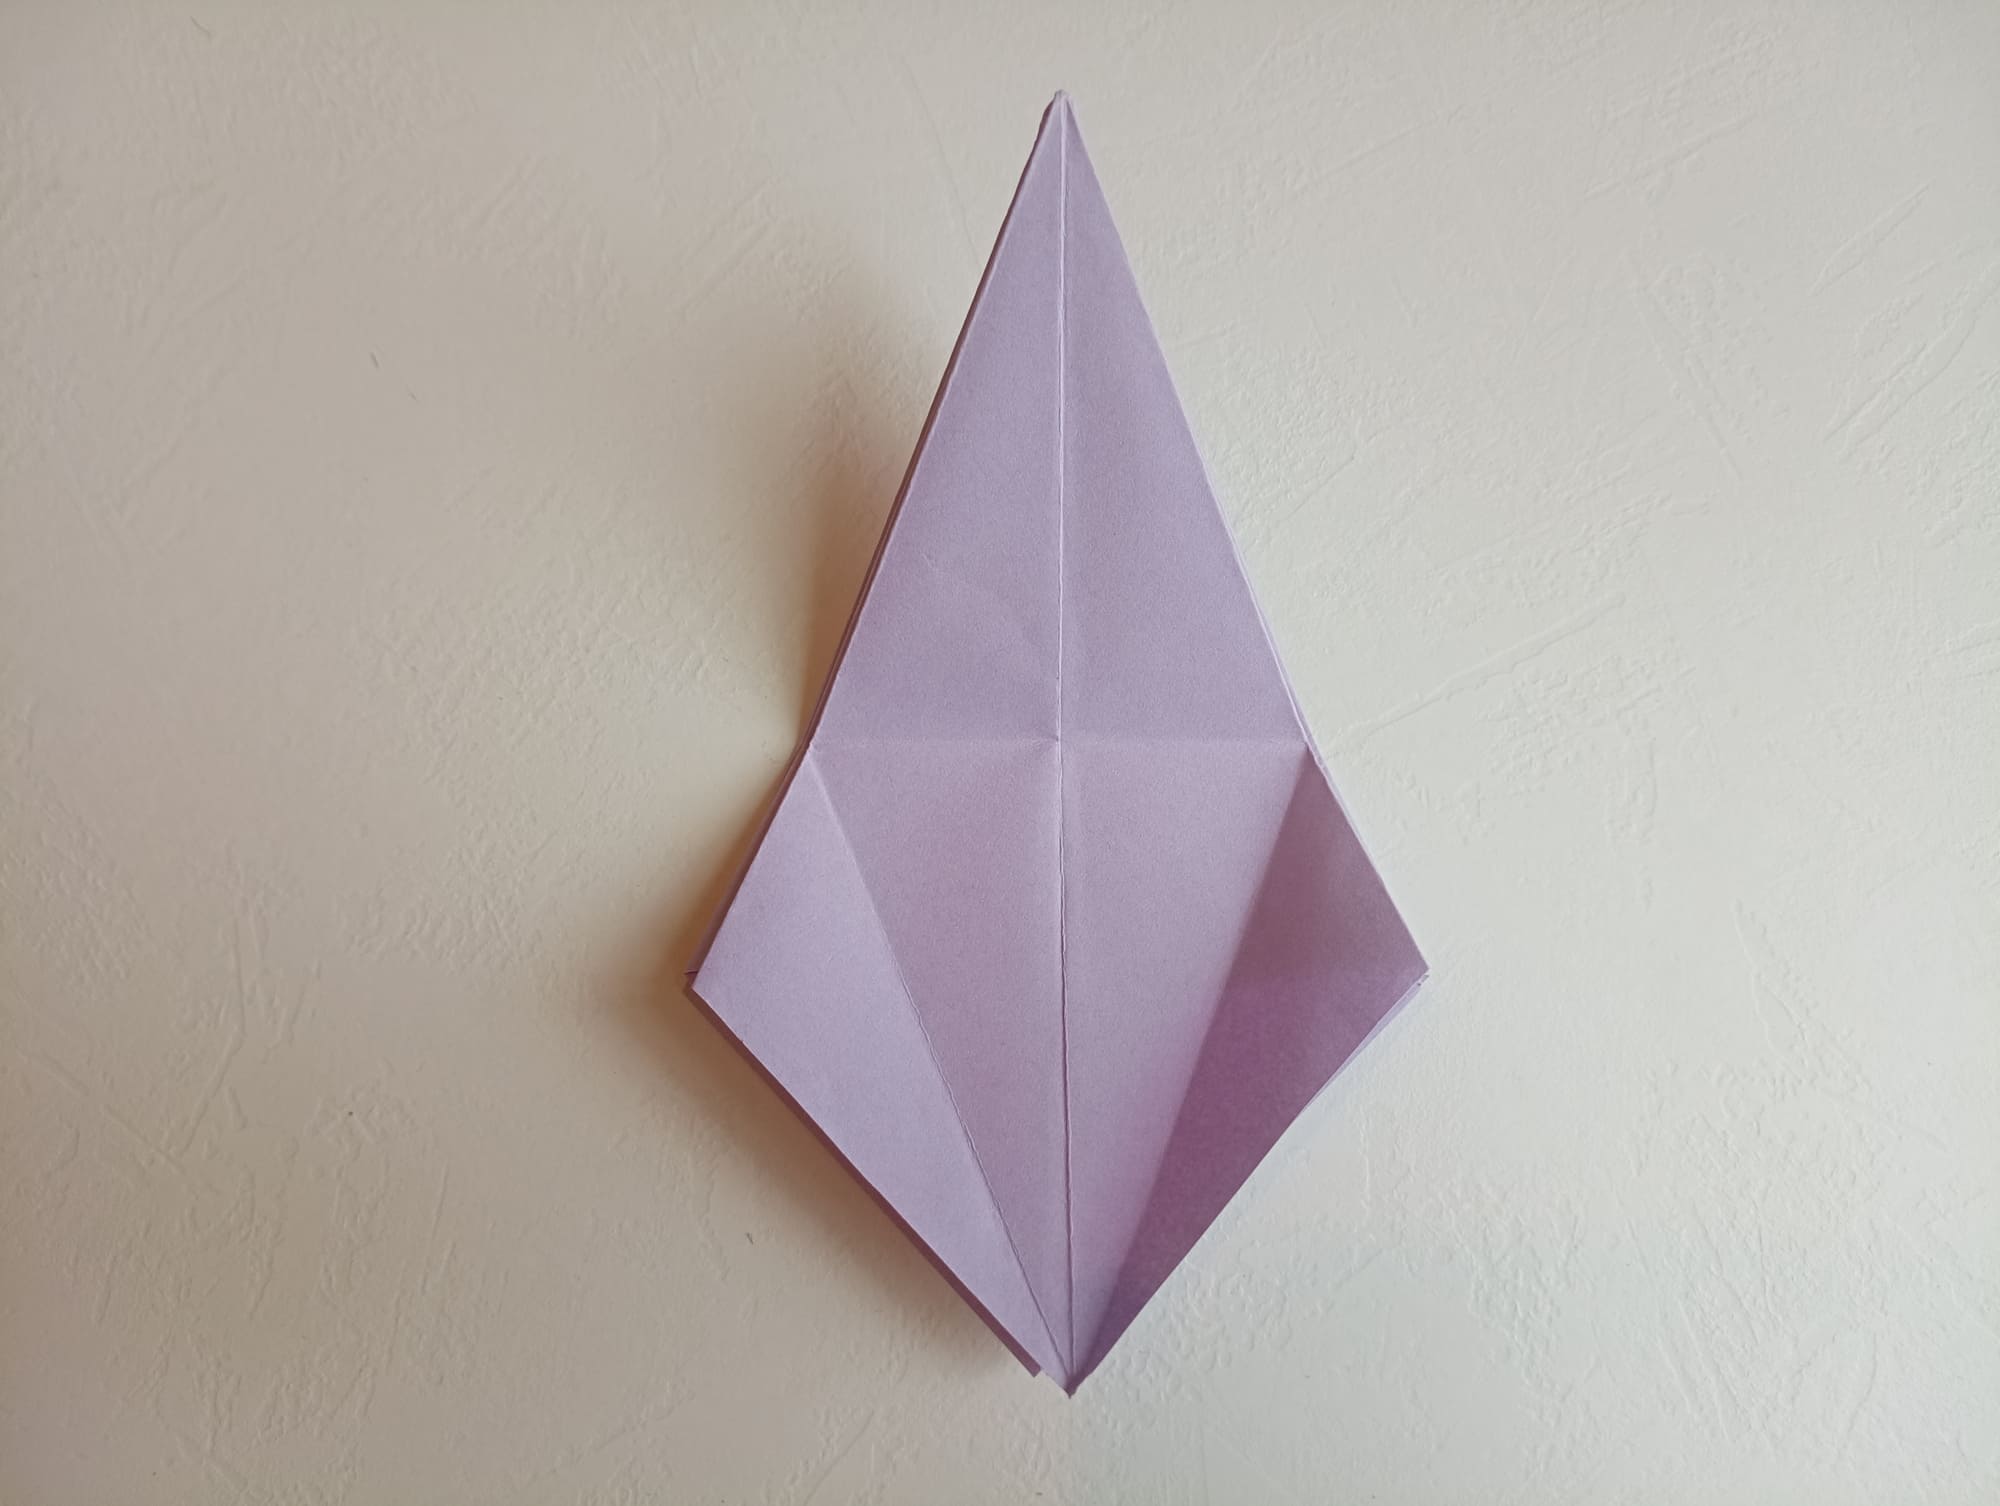
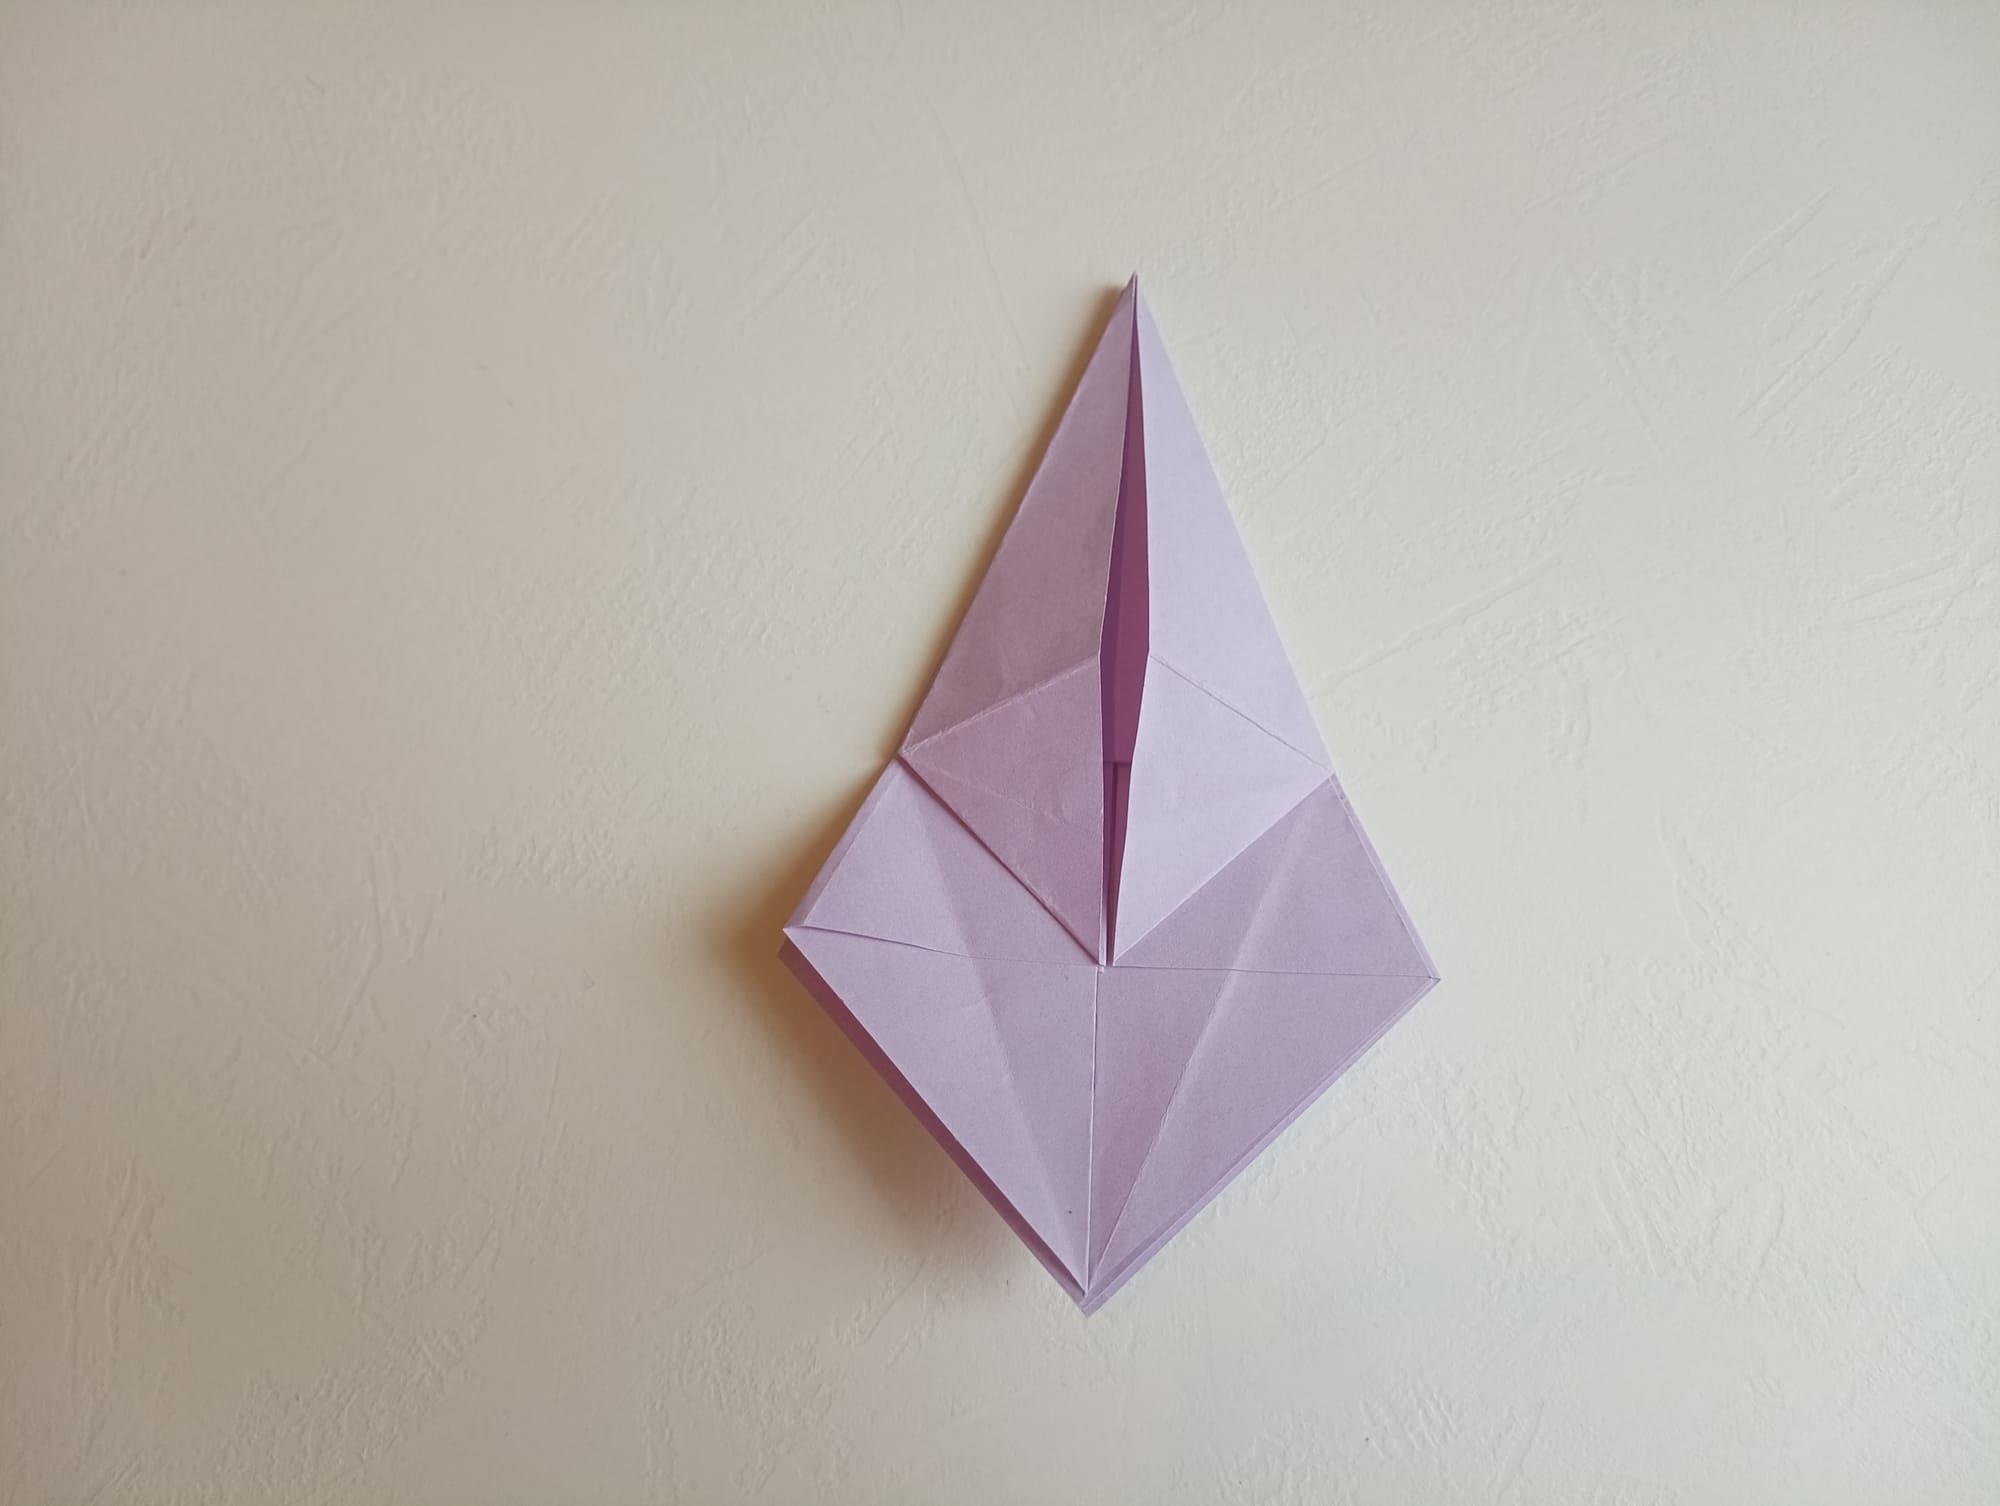
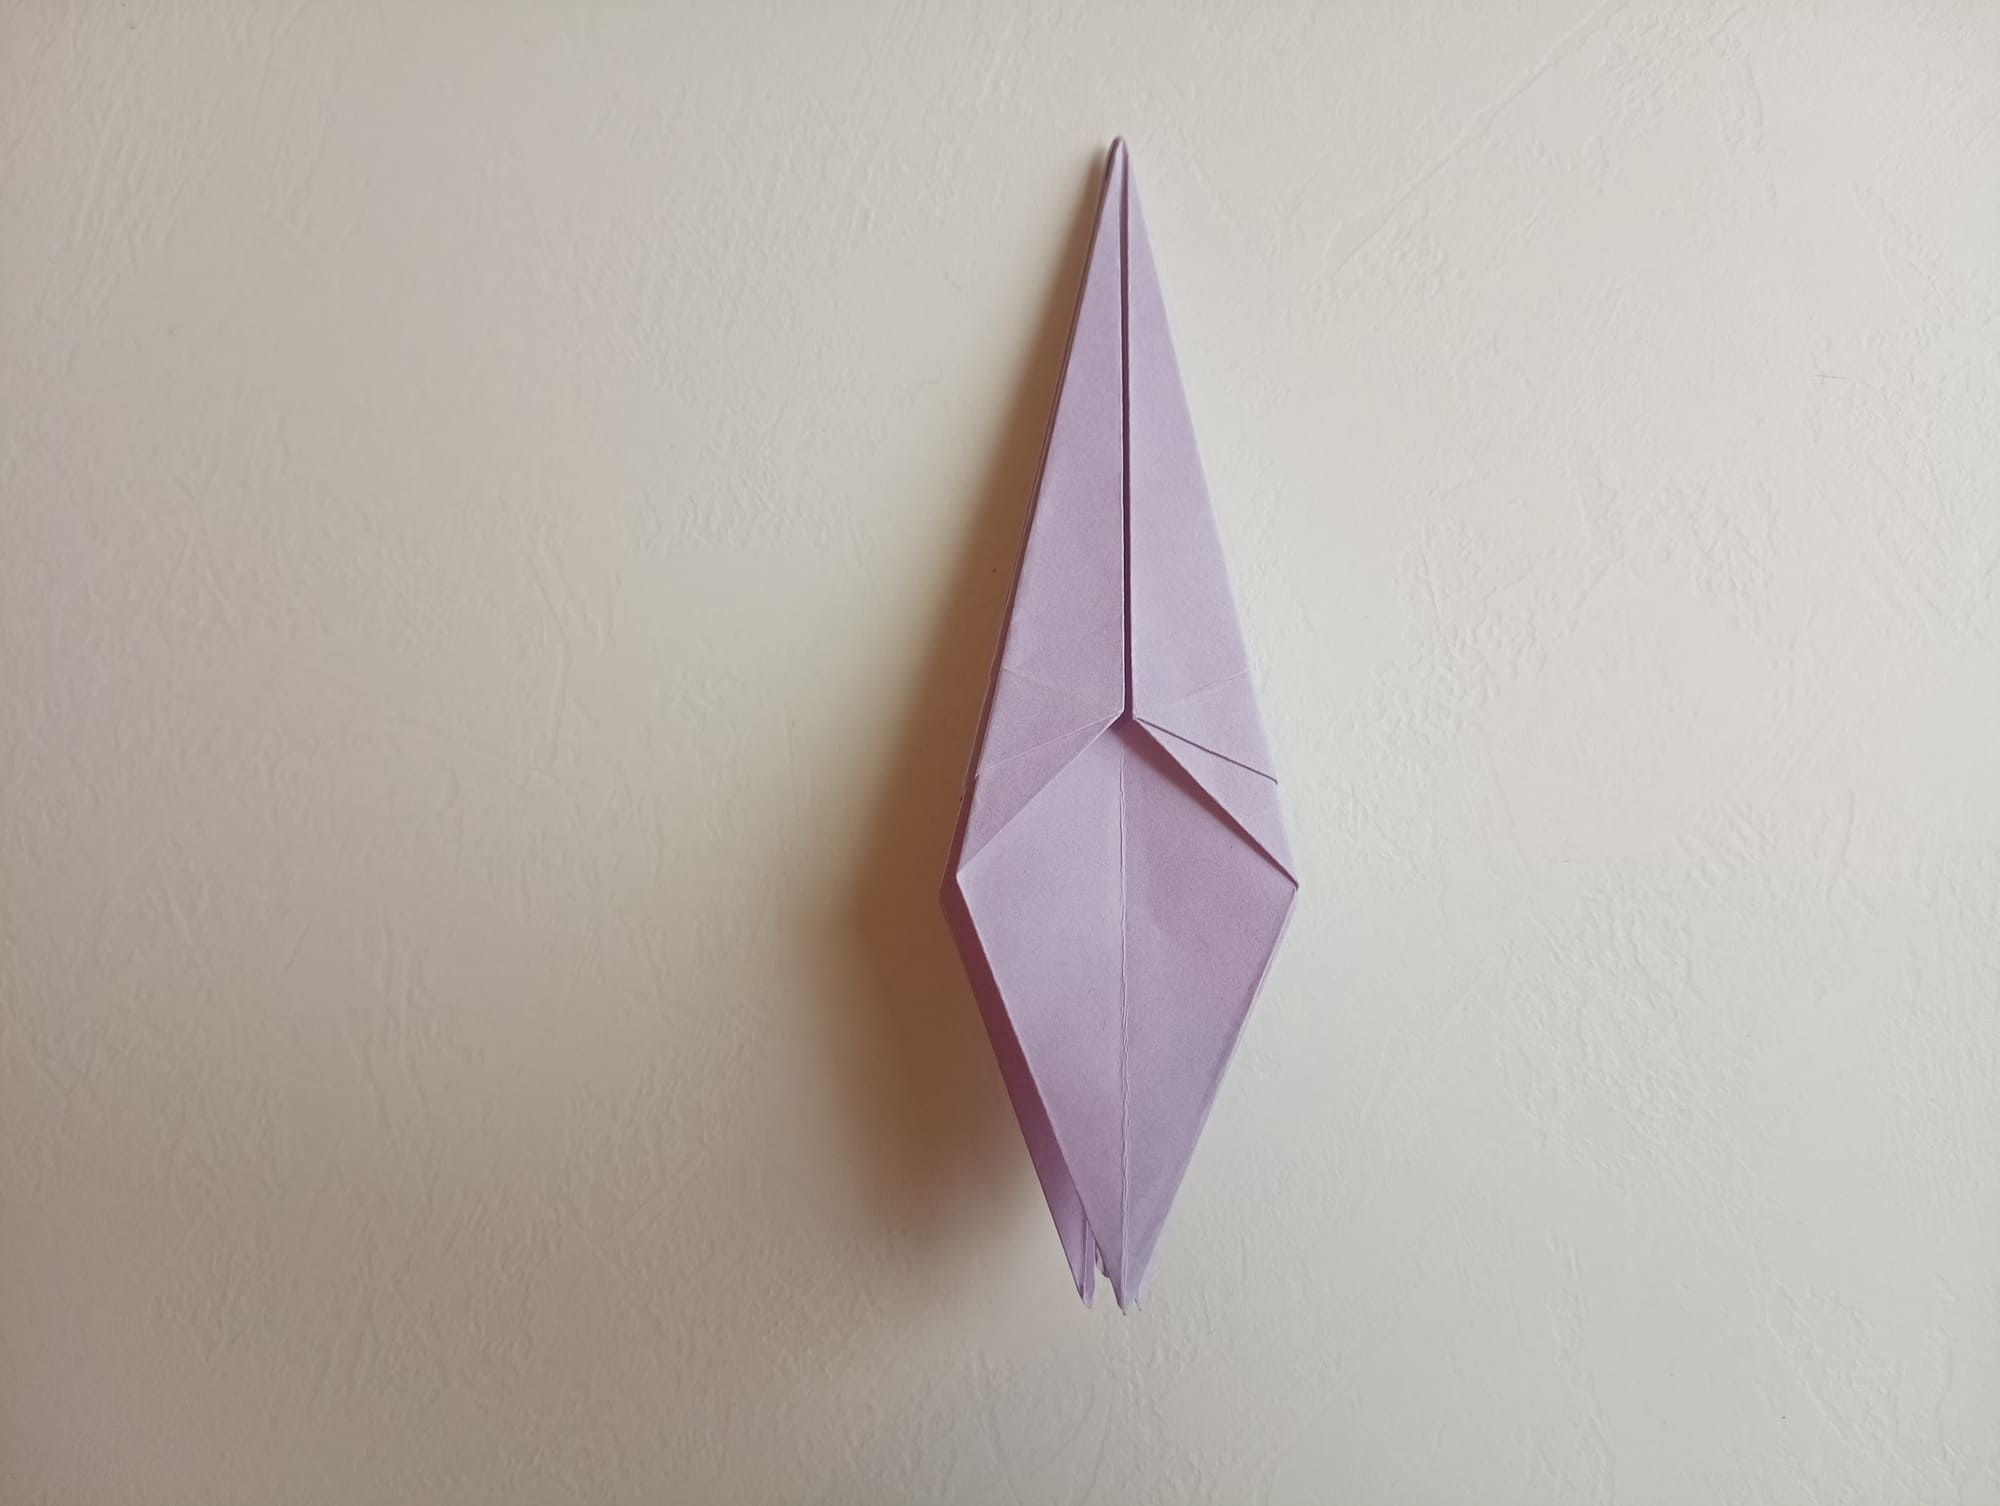
Now, lower the top corner down to get a rhombus.
Repeat step 11 for the other three sides.
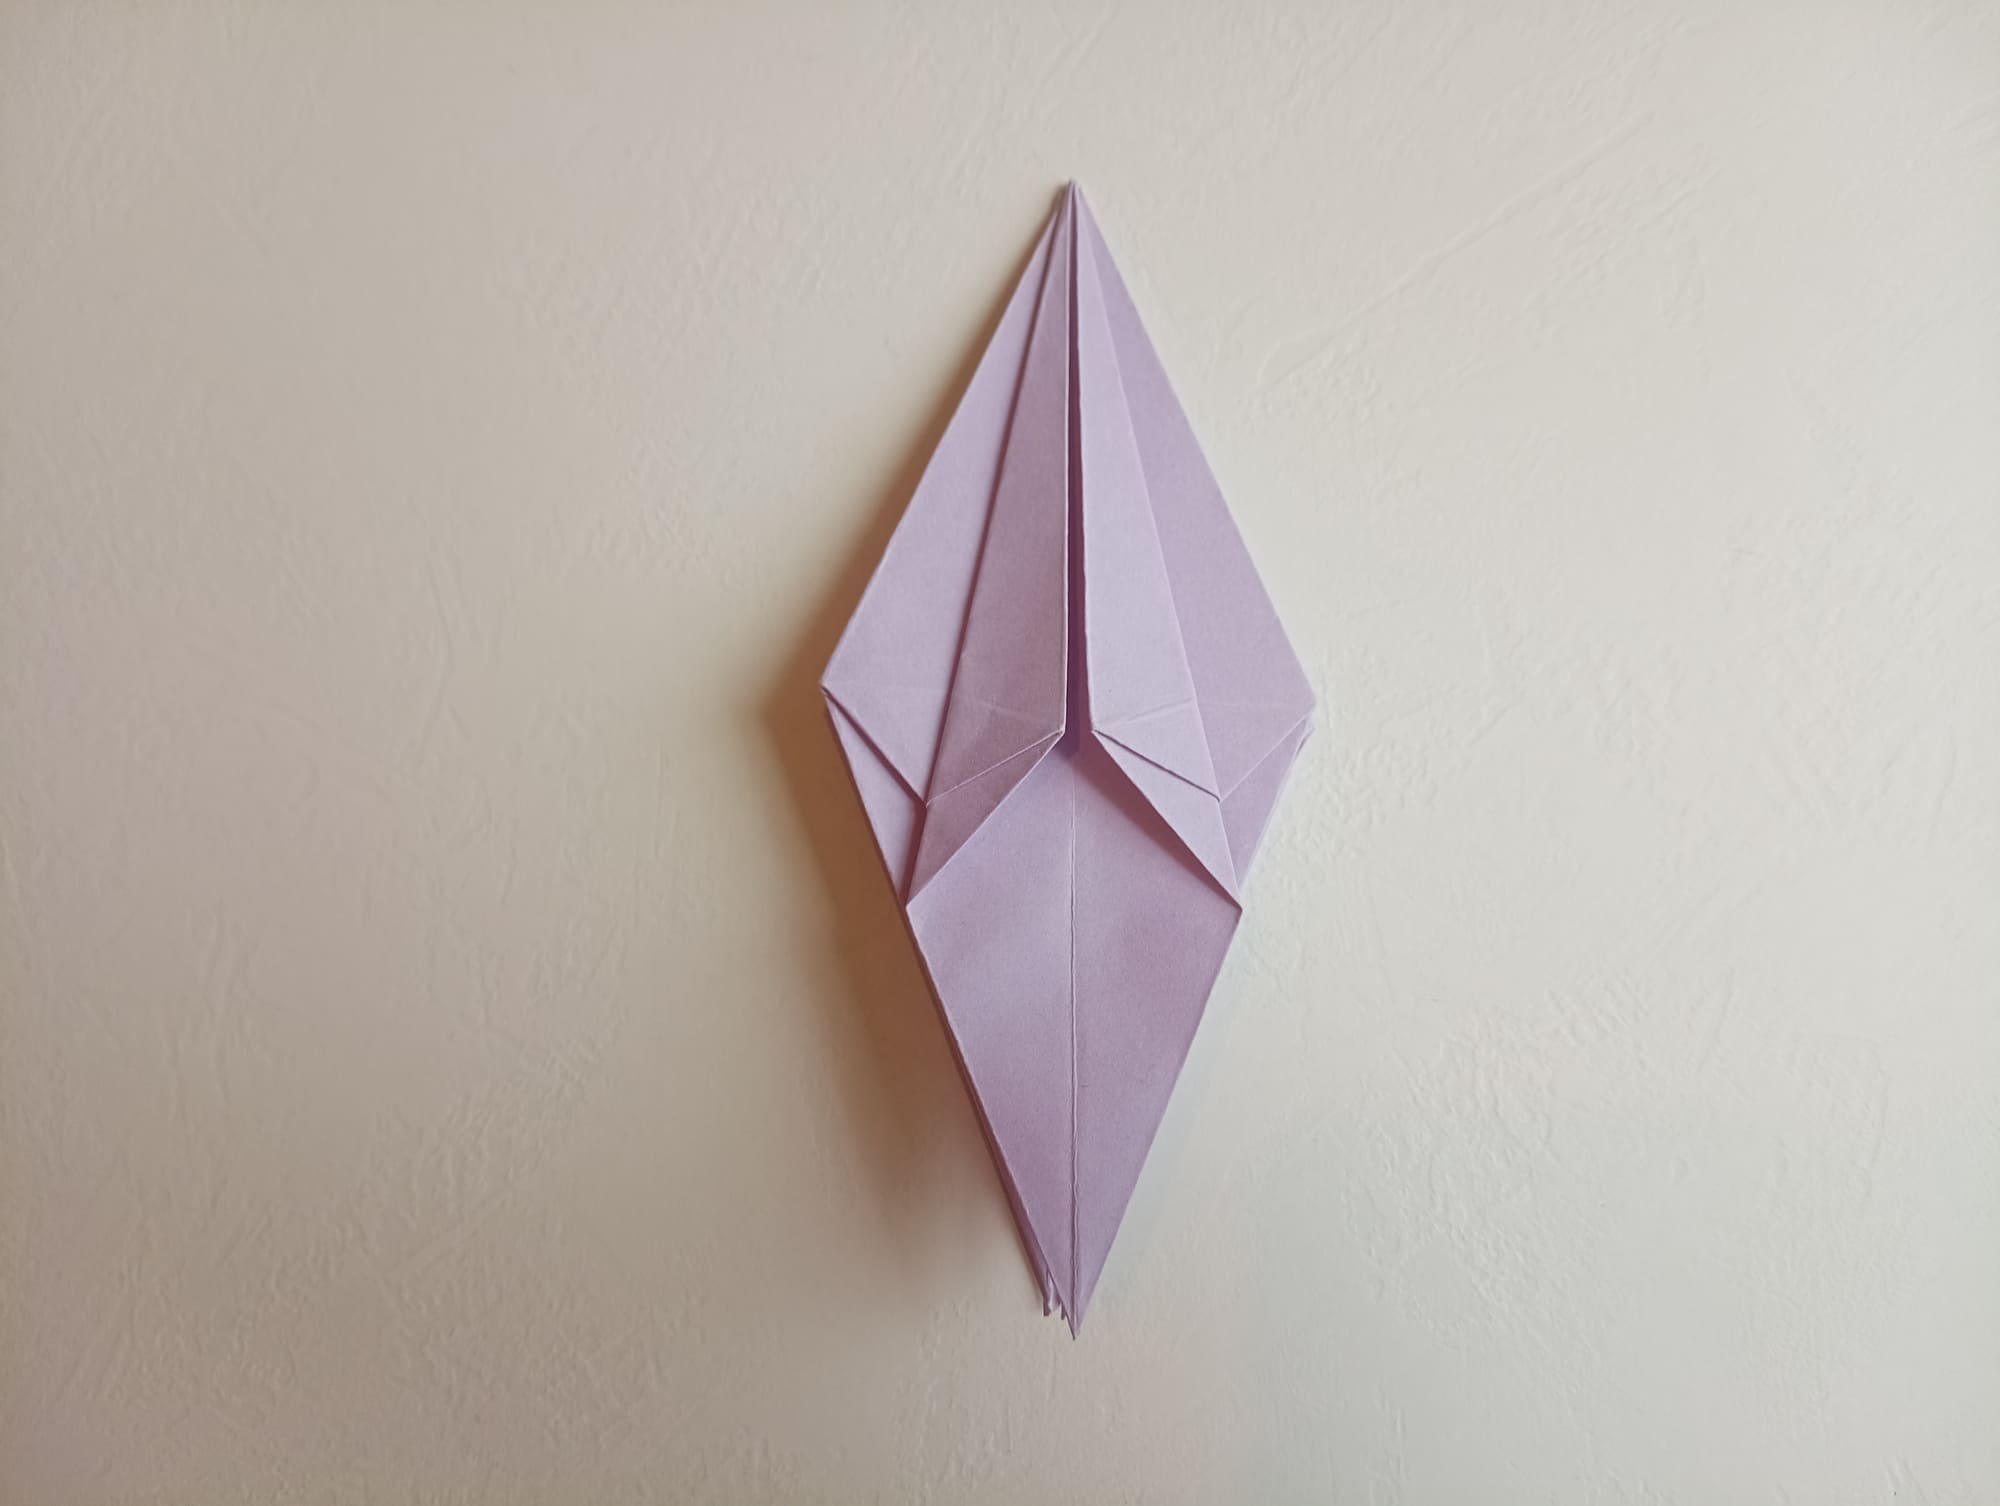
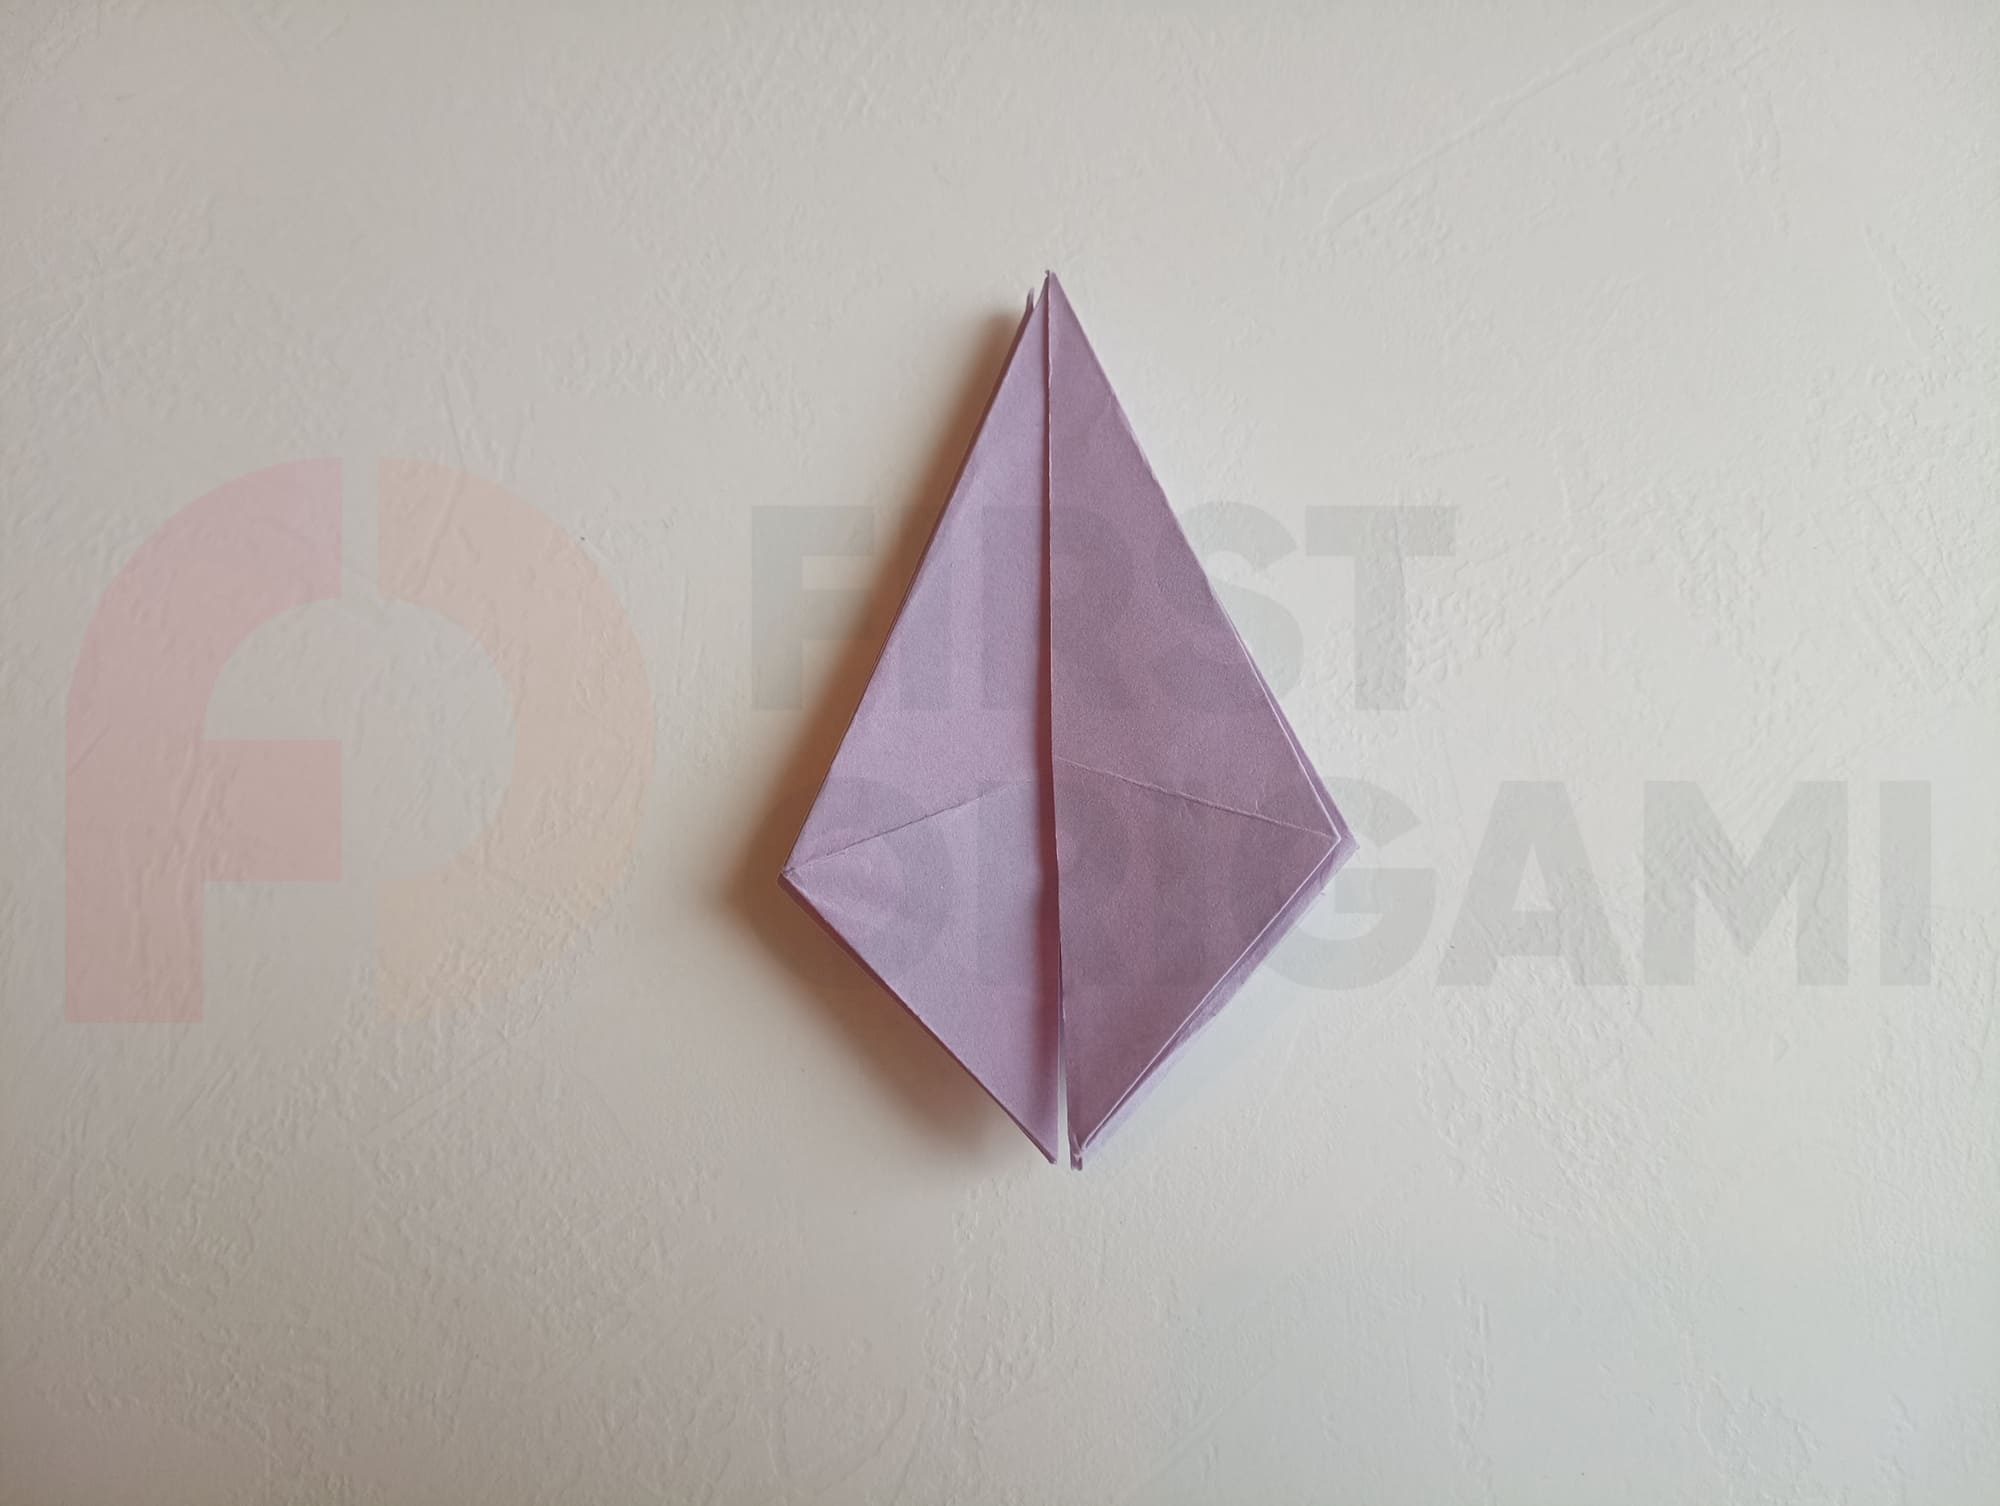
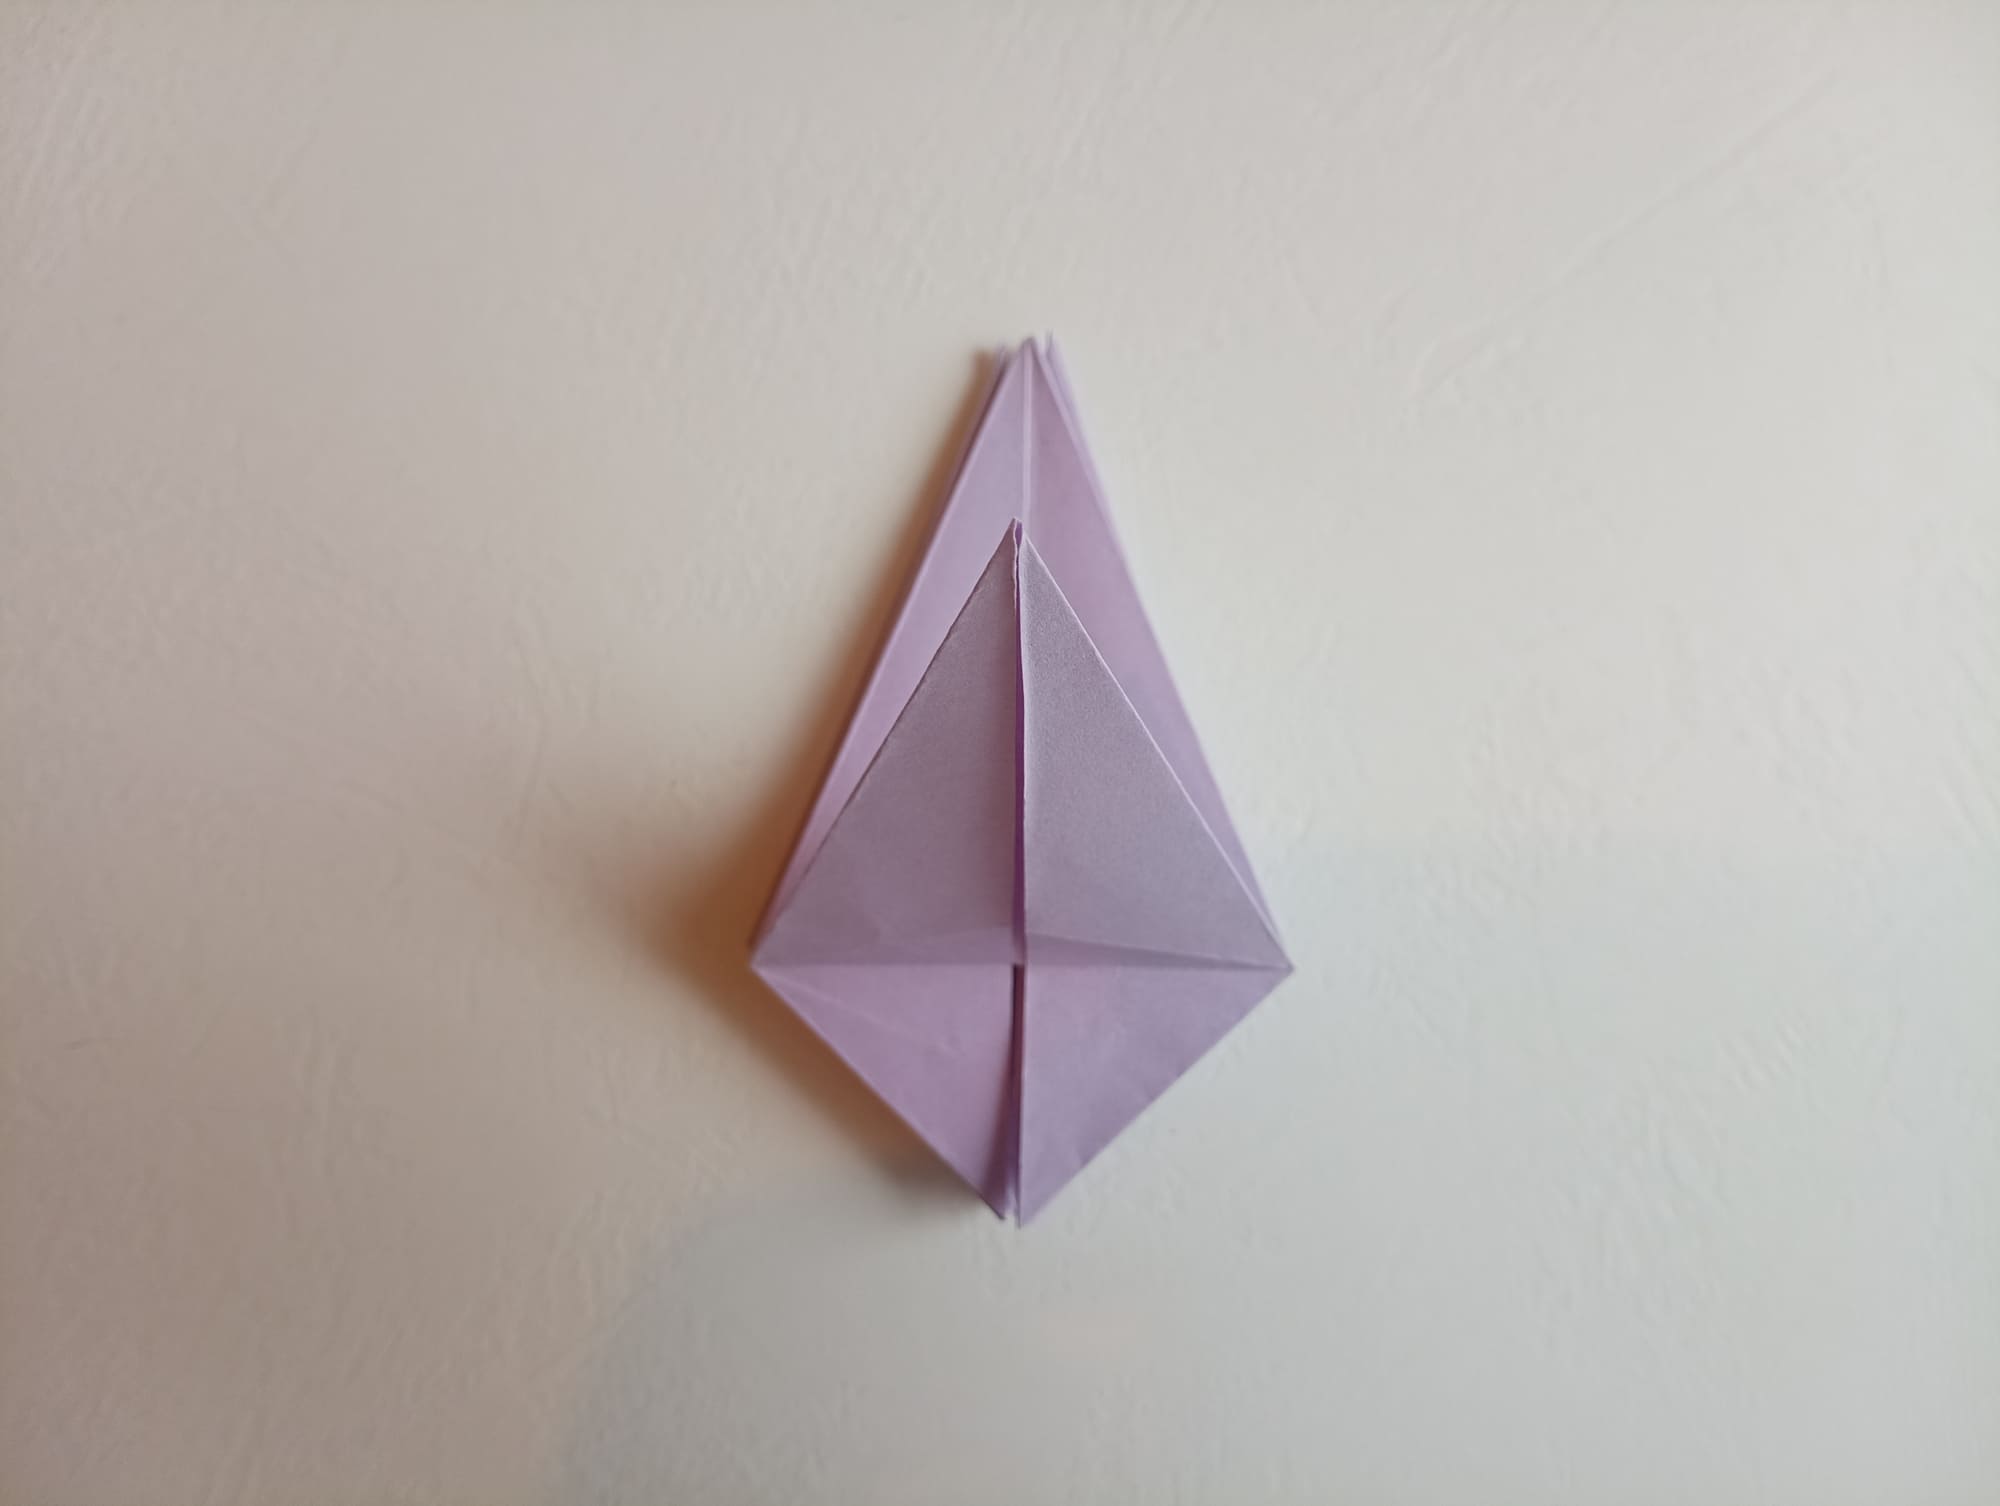
Bend the sides of the rhombus to the middle.
Repeat the previous step for three other sides.
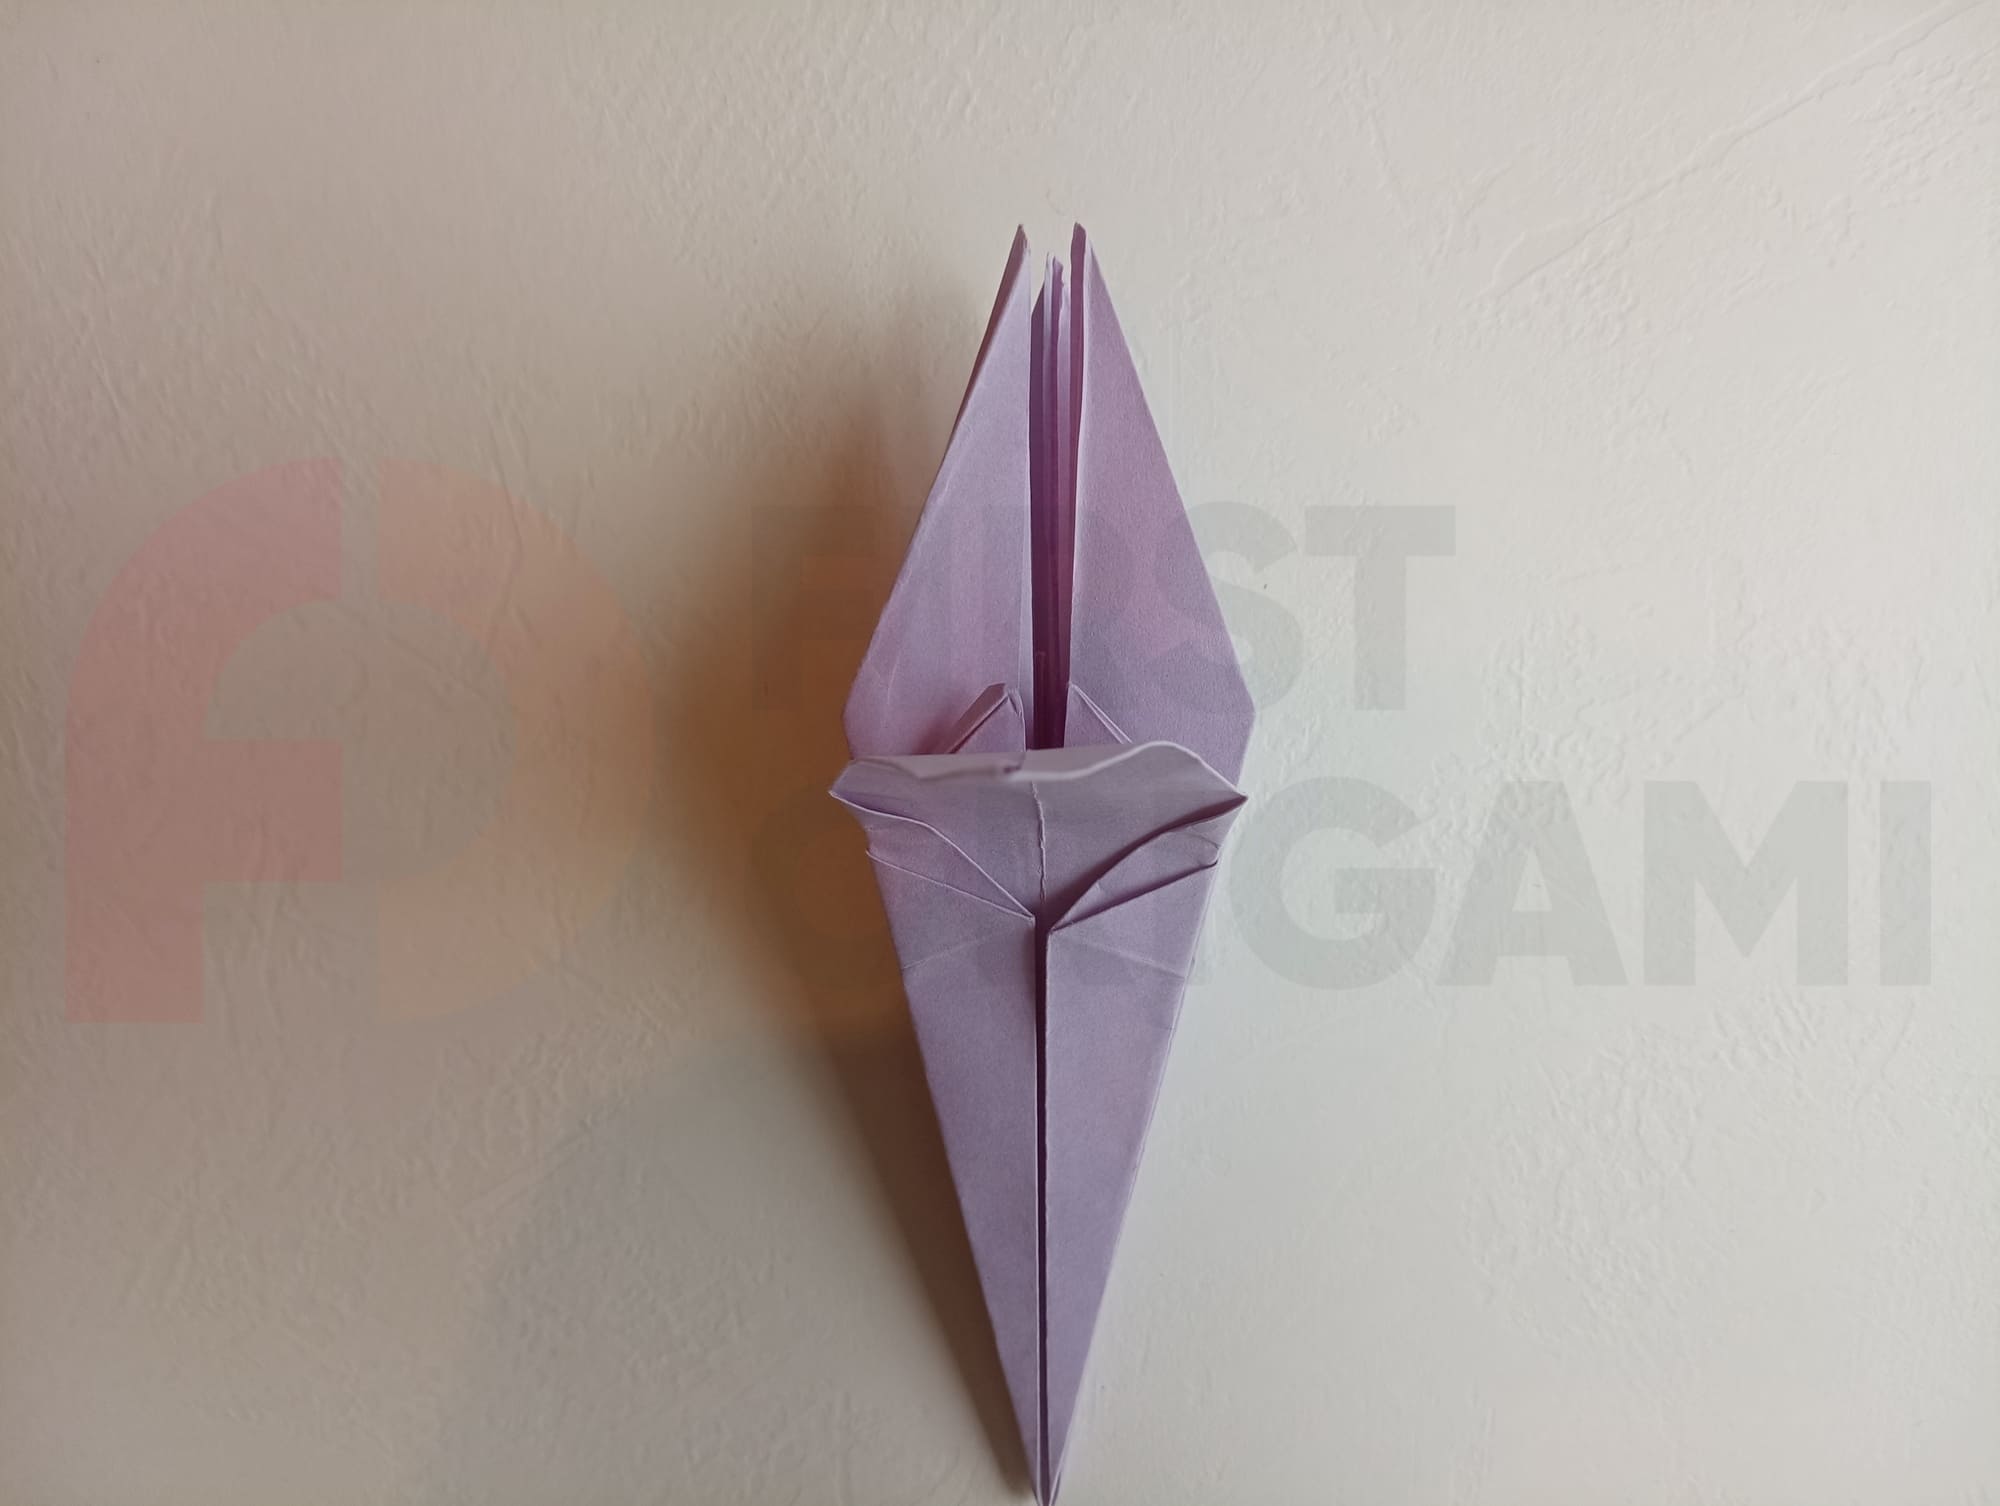
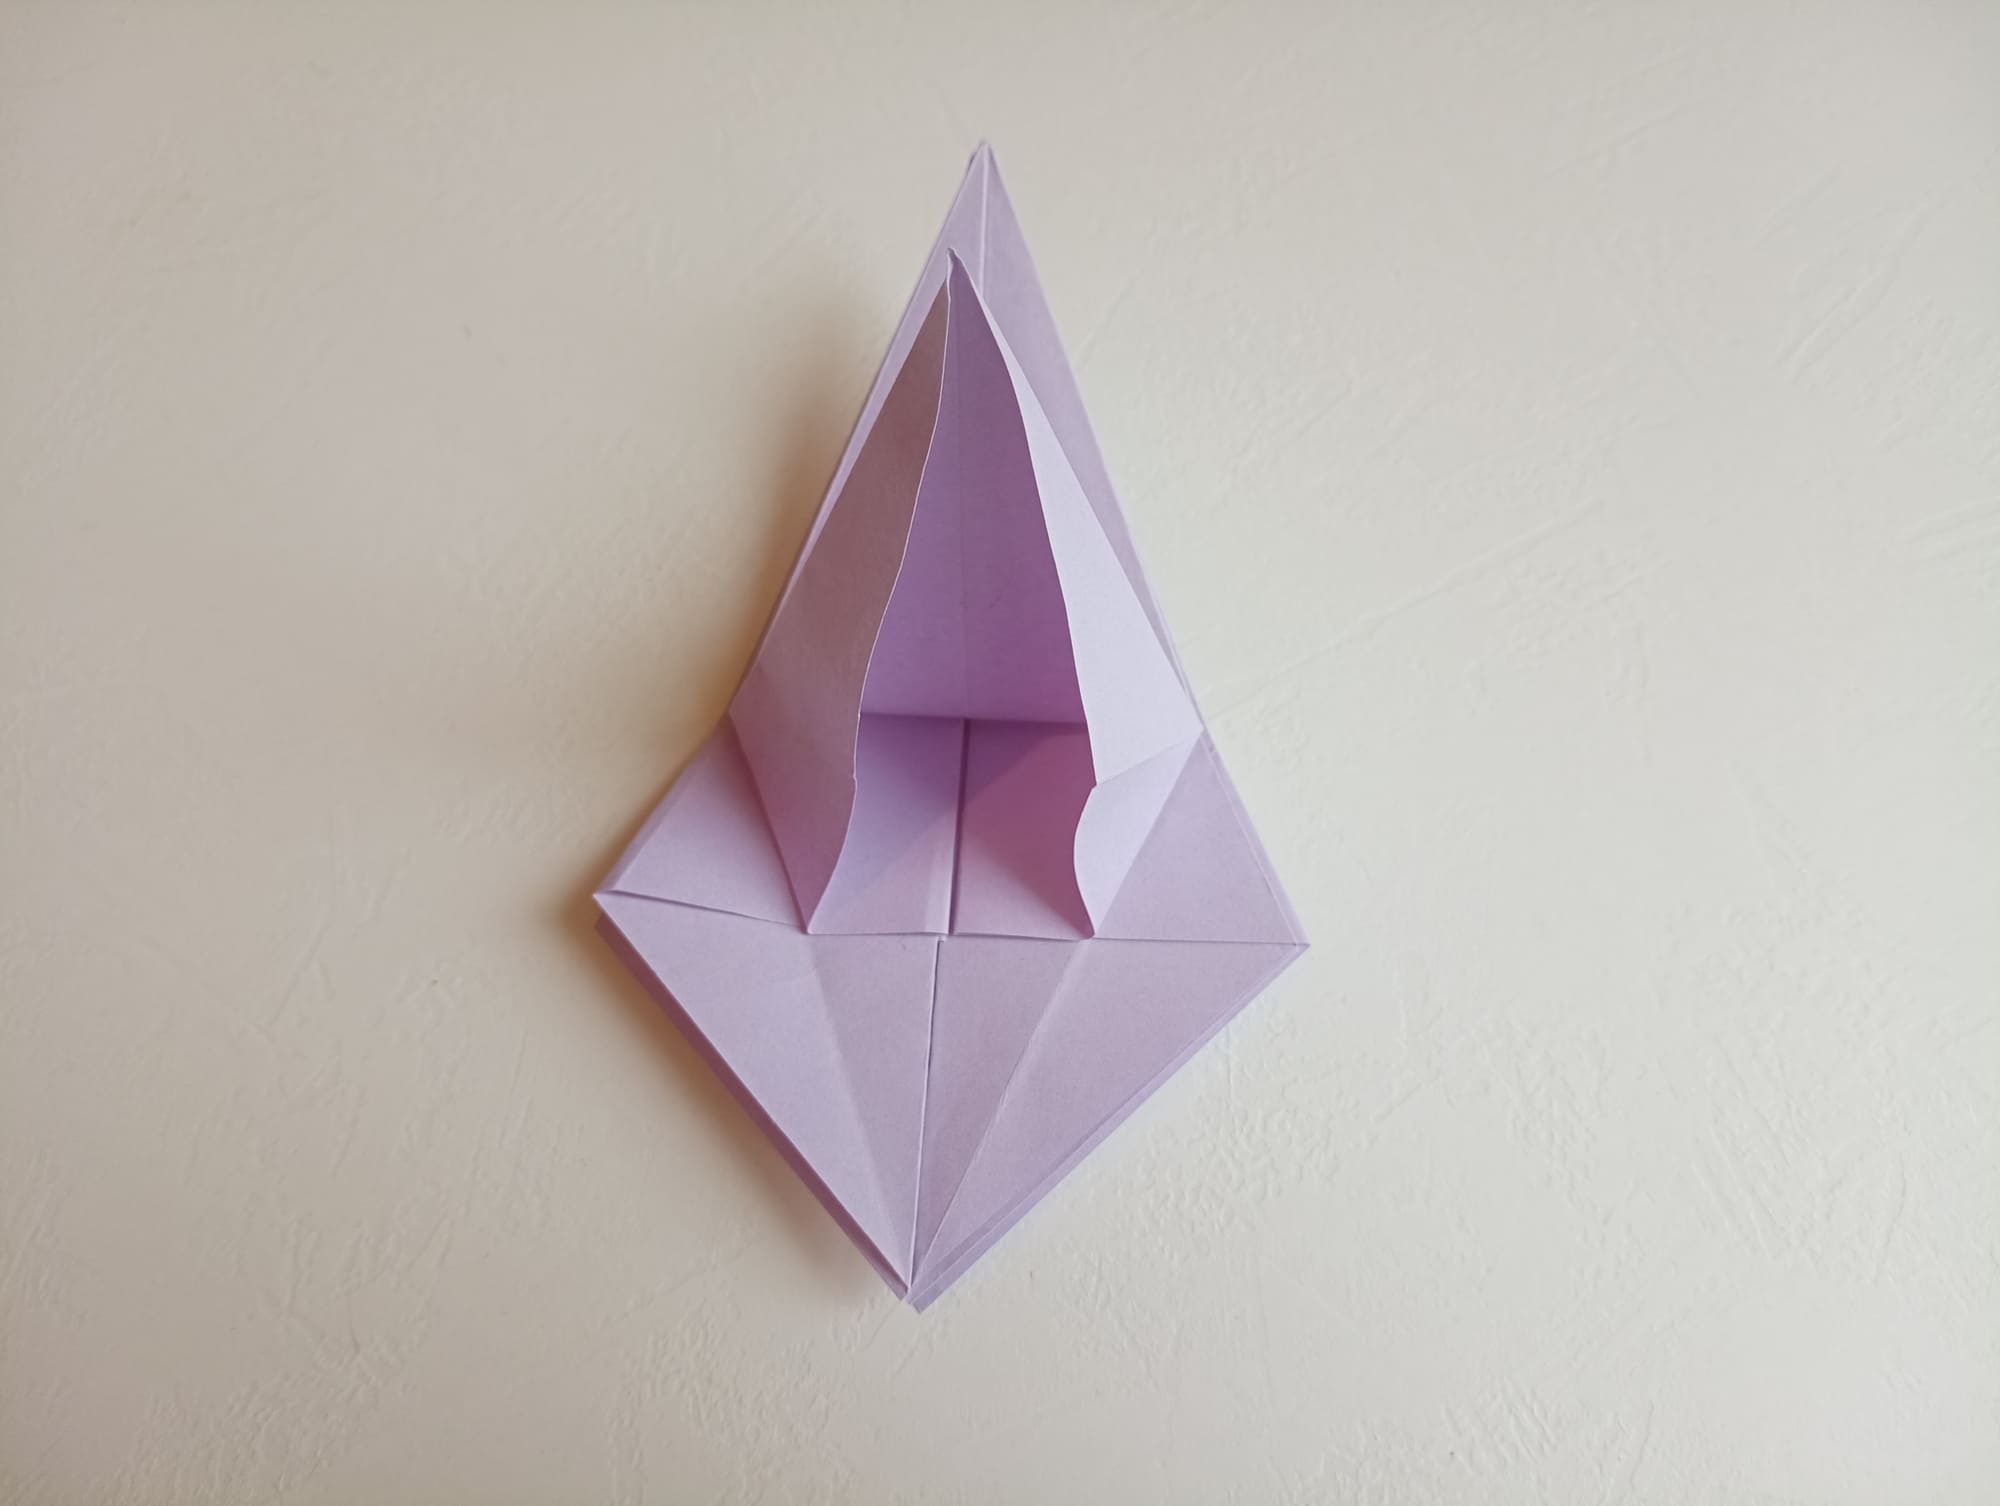
Begin to carefully open the lily, one petal at a time, straightening each of them.
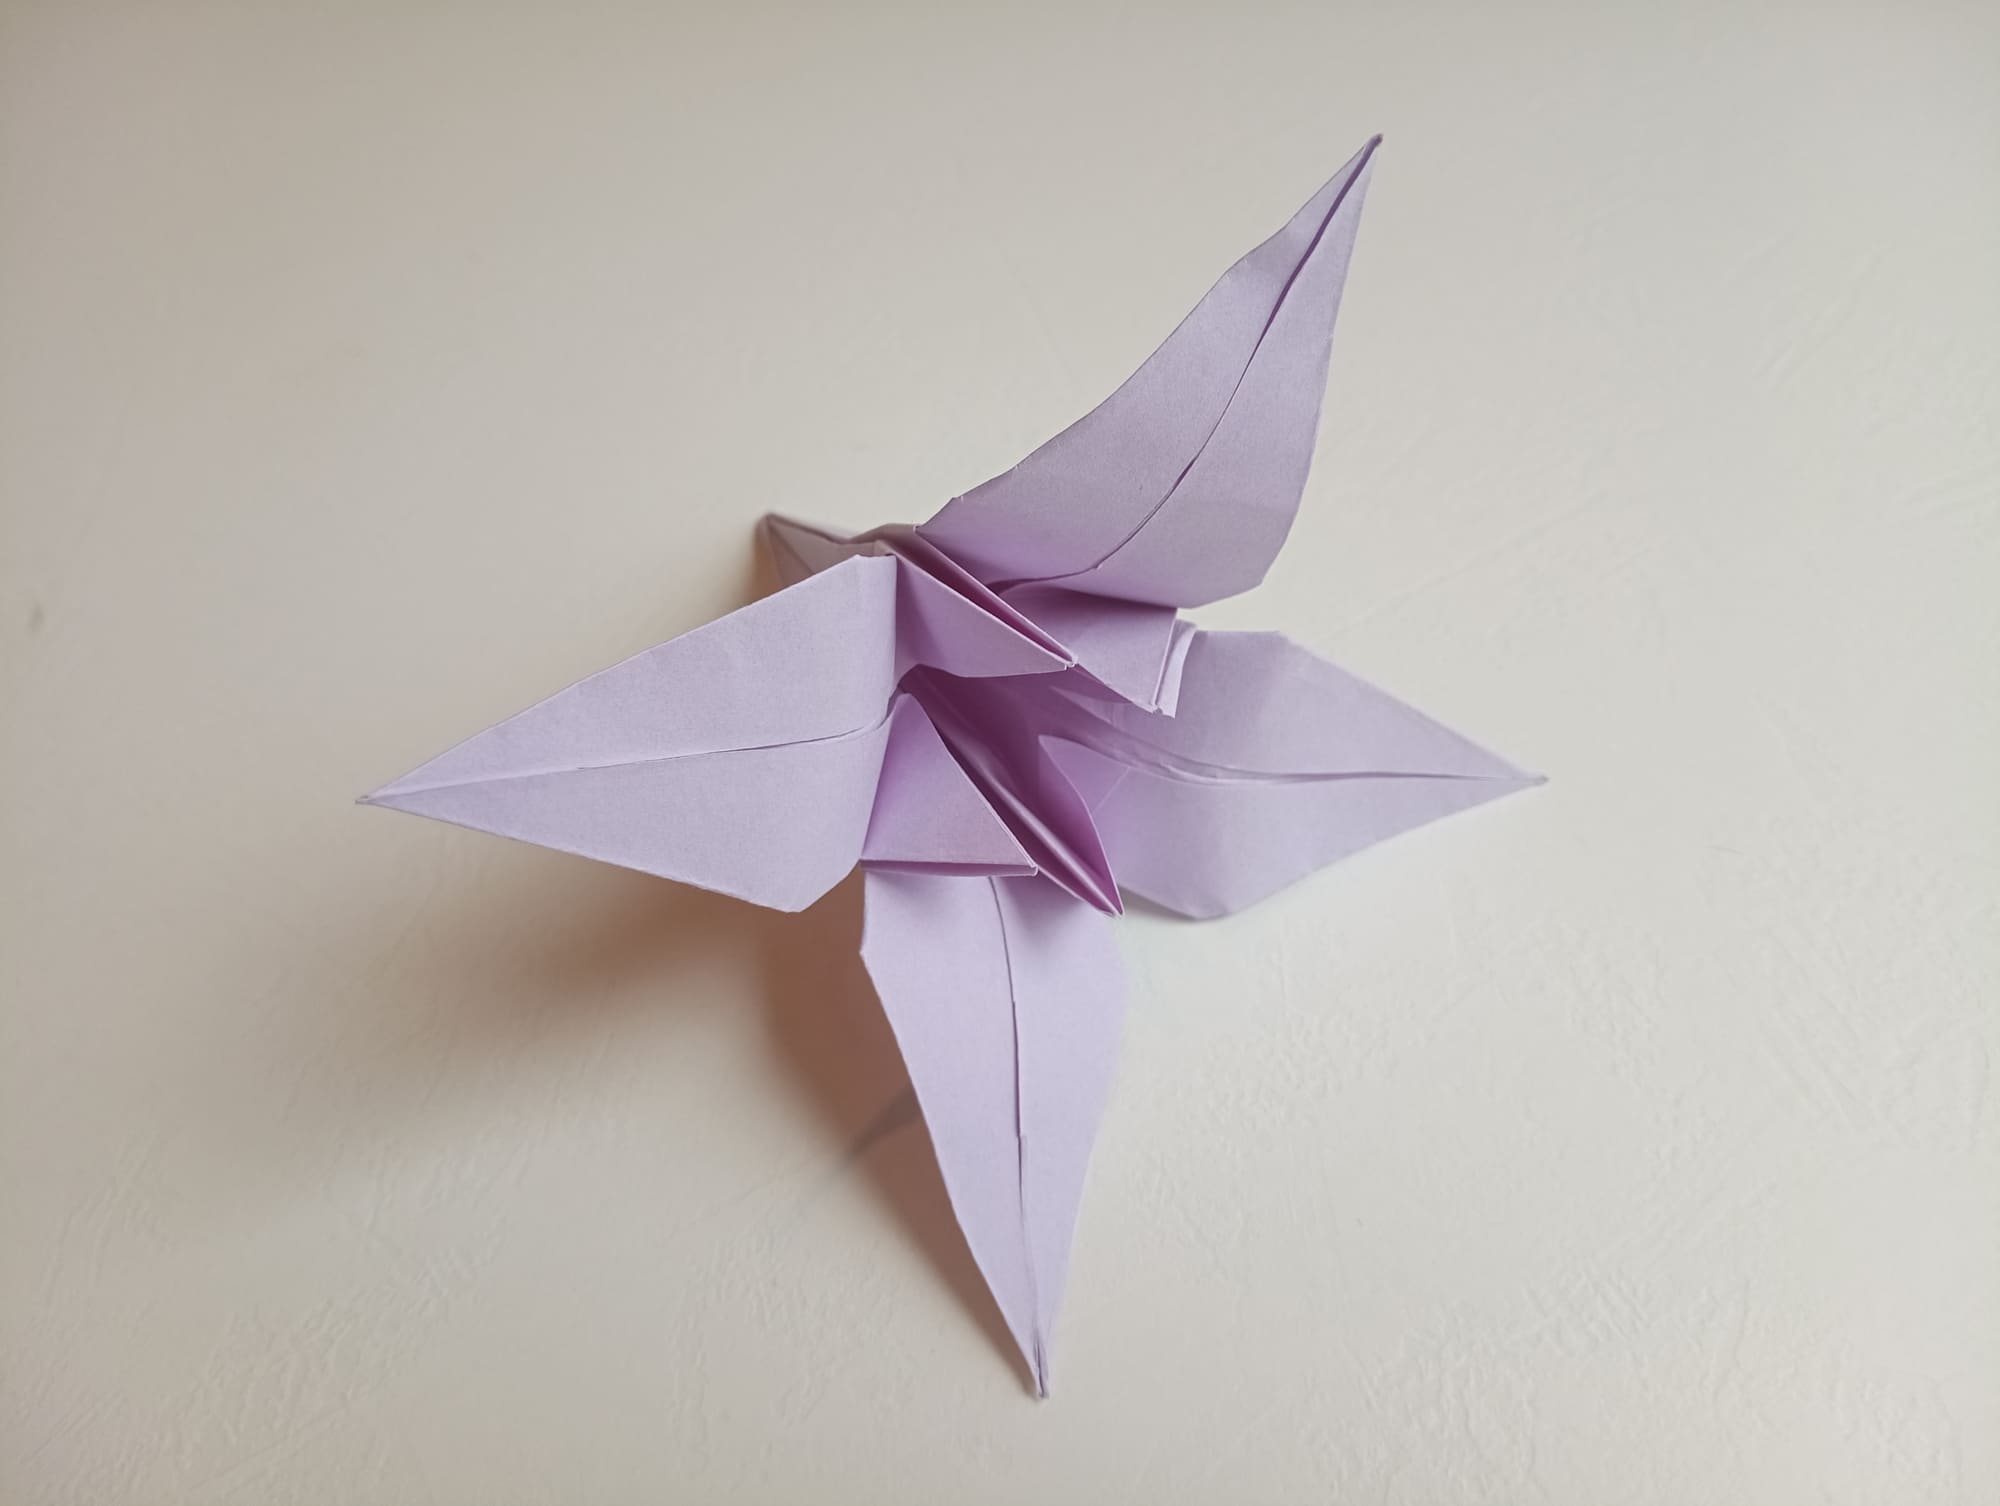
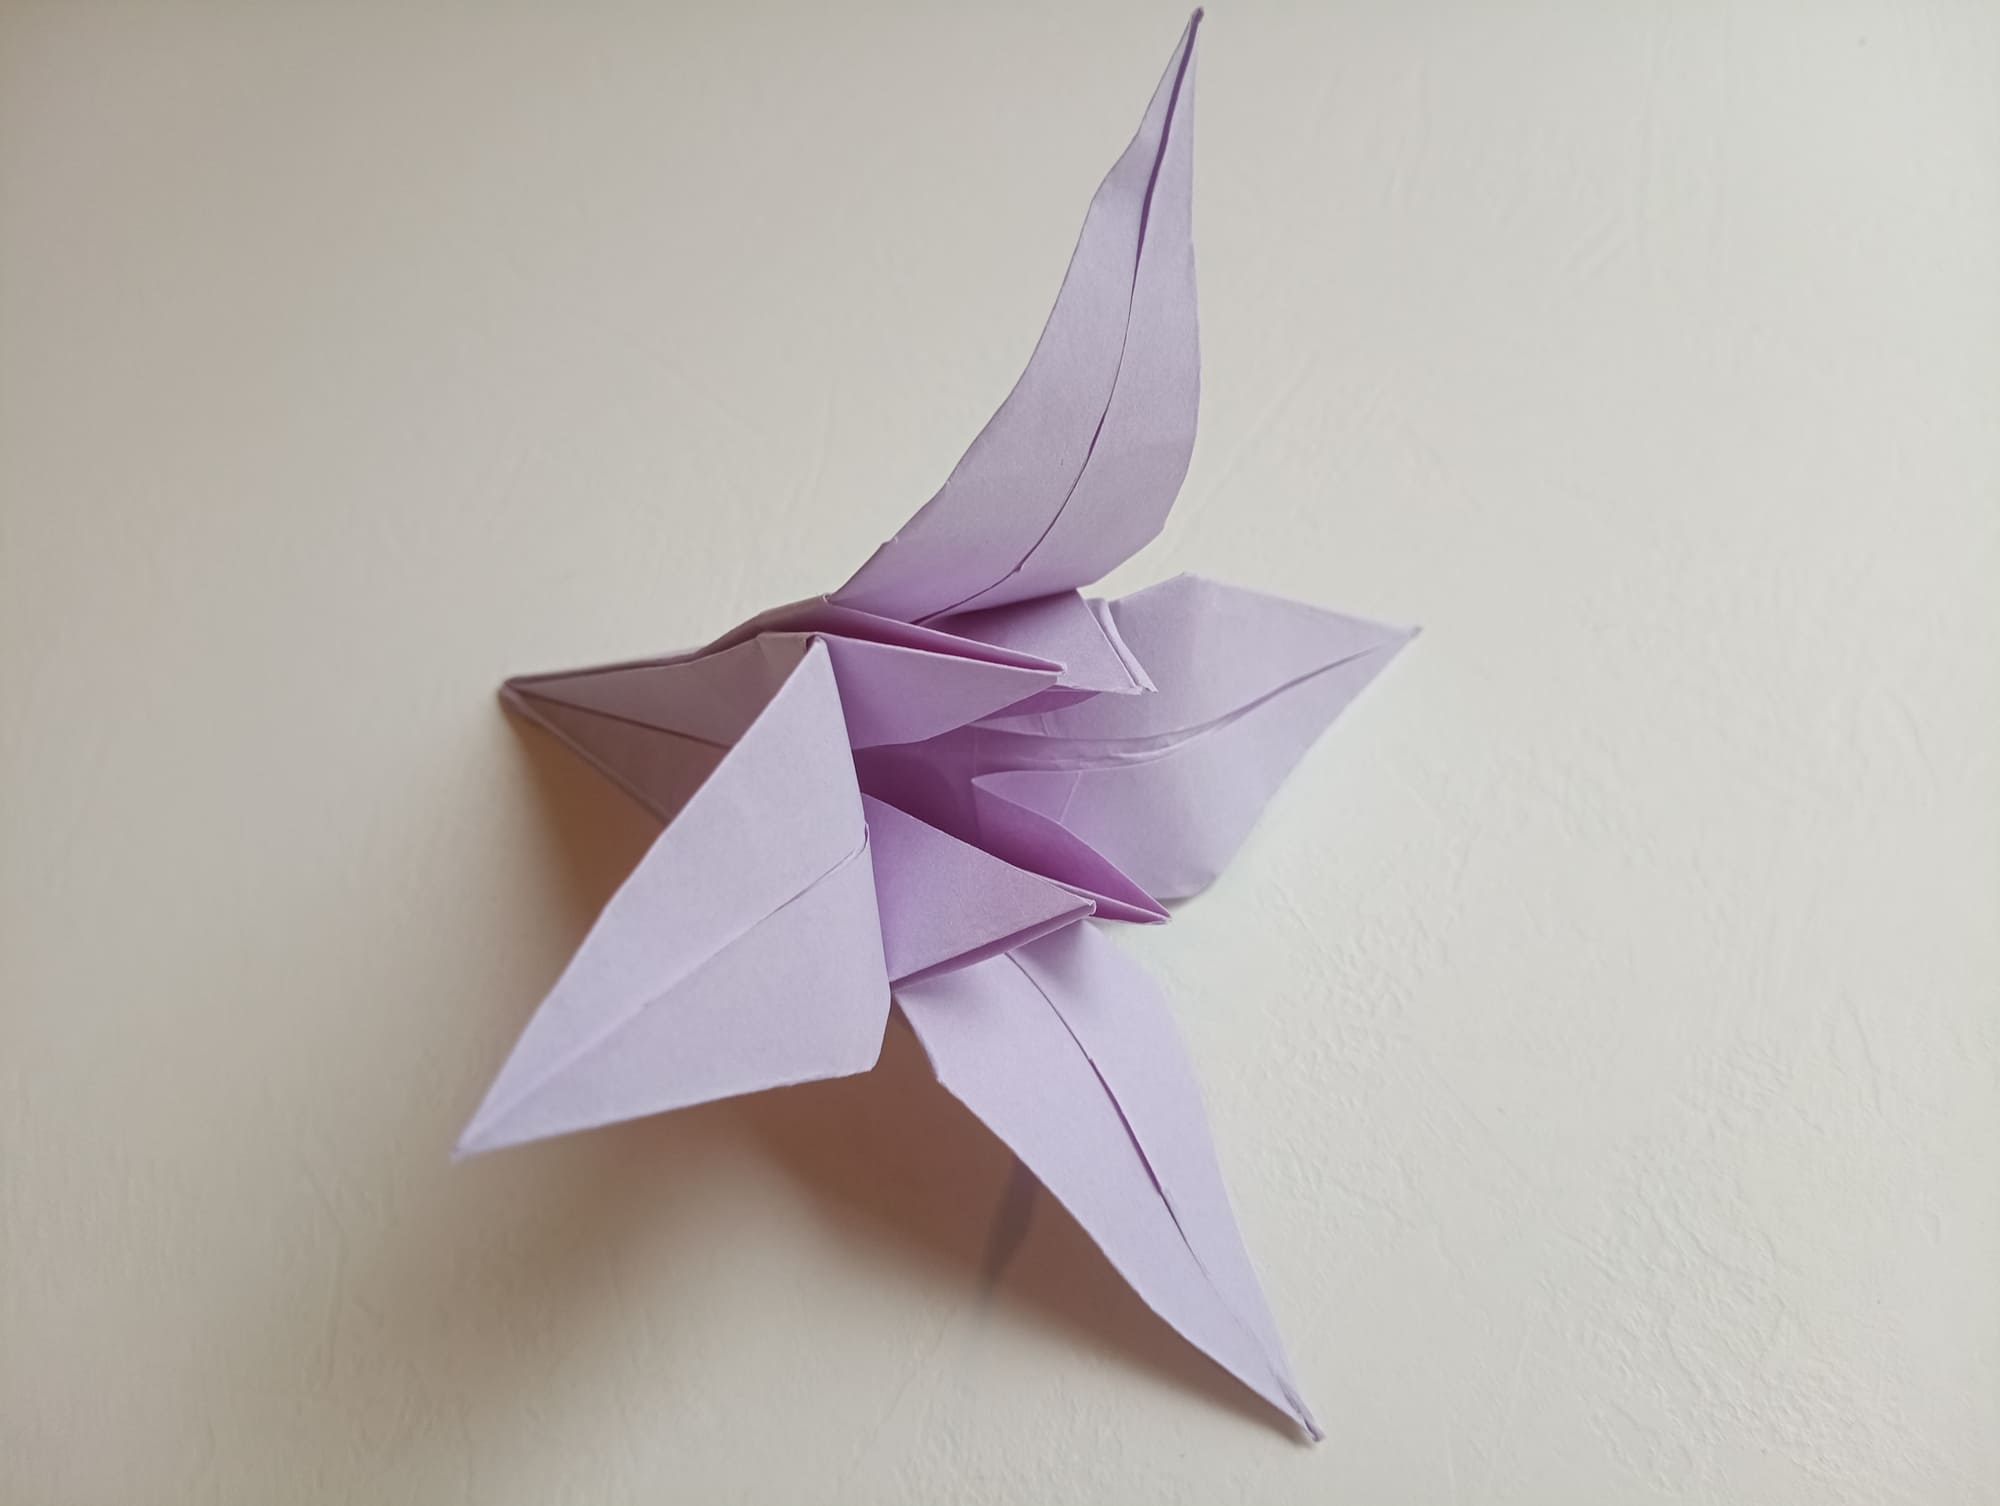
The finished lily keeps its shape well and goes nicely with other buds in the bouquet. The master class is not difficult, even a child can handle it. The help of an adult is still needed. Therefore, we recommend that you spend your leisure time together, during which you will definitely be able to make a huge bouquet of lilies!


