Origami Lucky Star
Making dozens of small happy stars with your own hands is not at all difficult. The tradition of filling transparent jars with them has been known for a long time. They are given for good luck, and such decor will look good in every home. If you want to fill the atmosphere of your living space with goodness, you will definitely need such small, charming lucky stars. A master class on creating these is simple and straightforward.
To get started, prepare strips of paper 1.5 cm wide and 28-30 cm long. You can choose different colors.
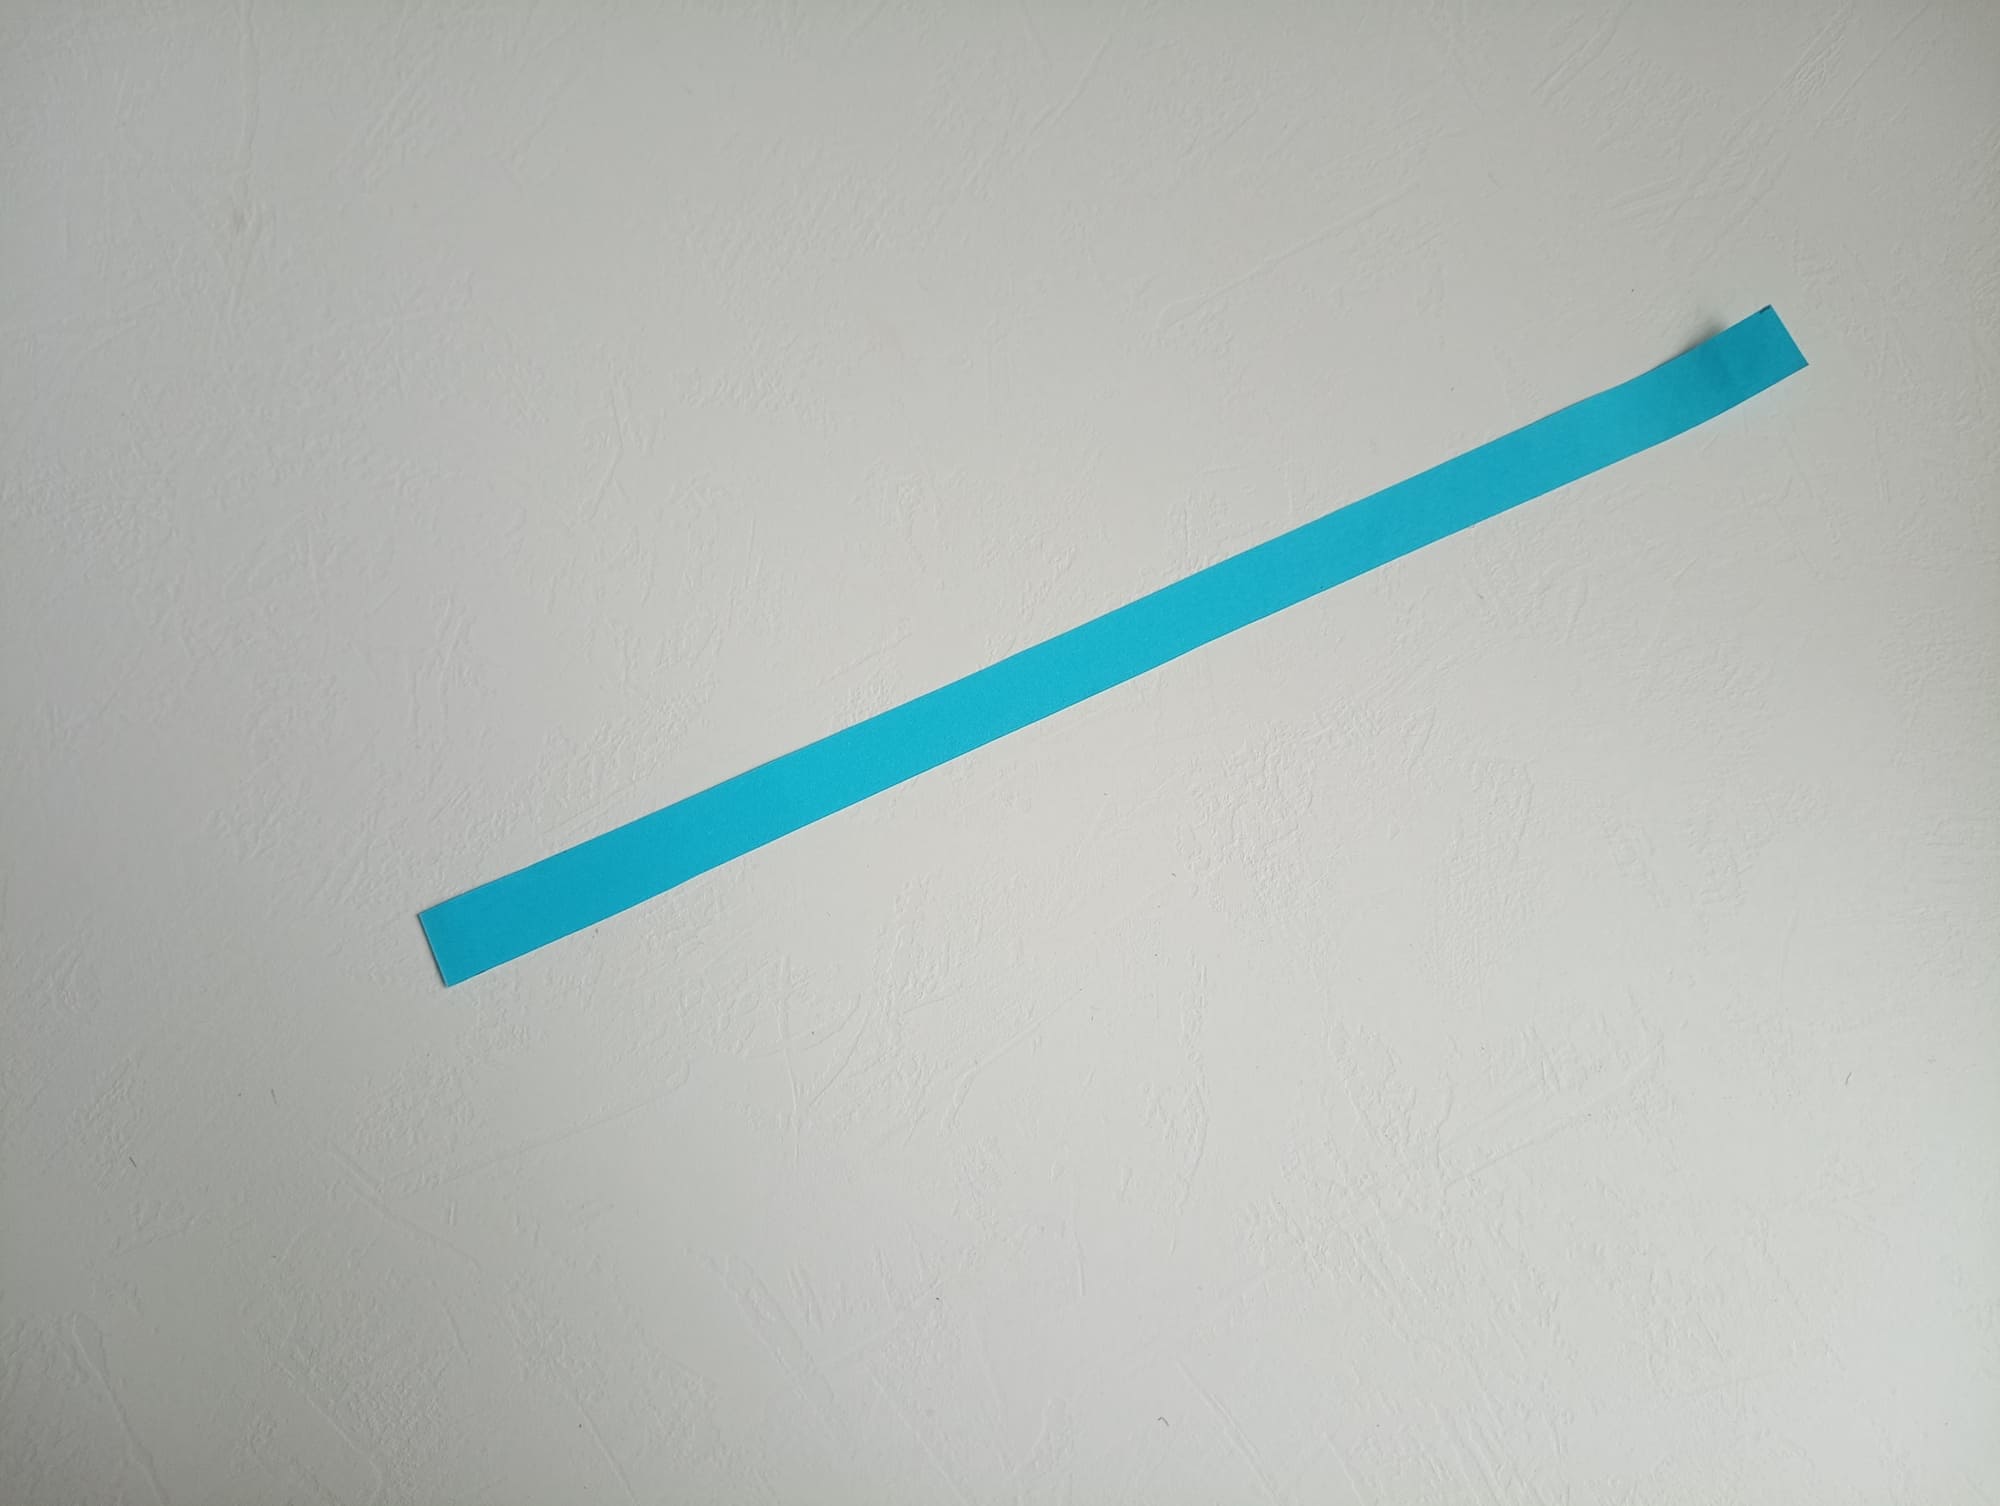
Take one of the strips.
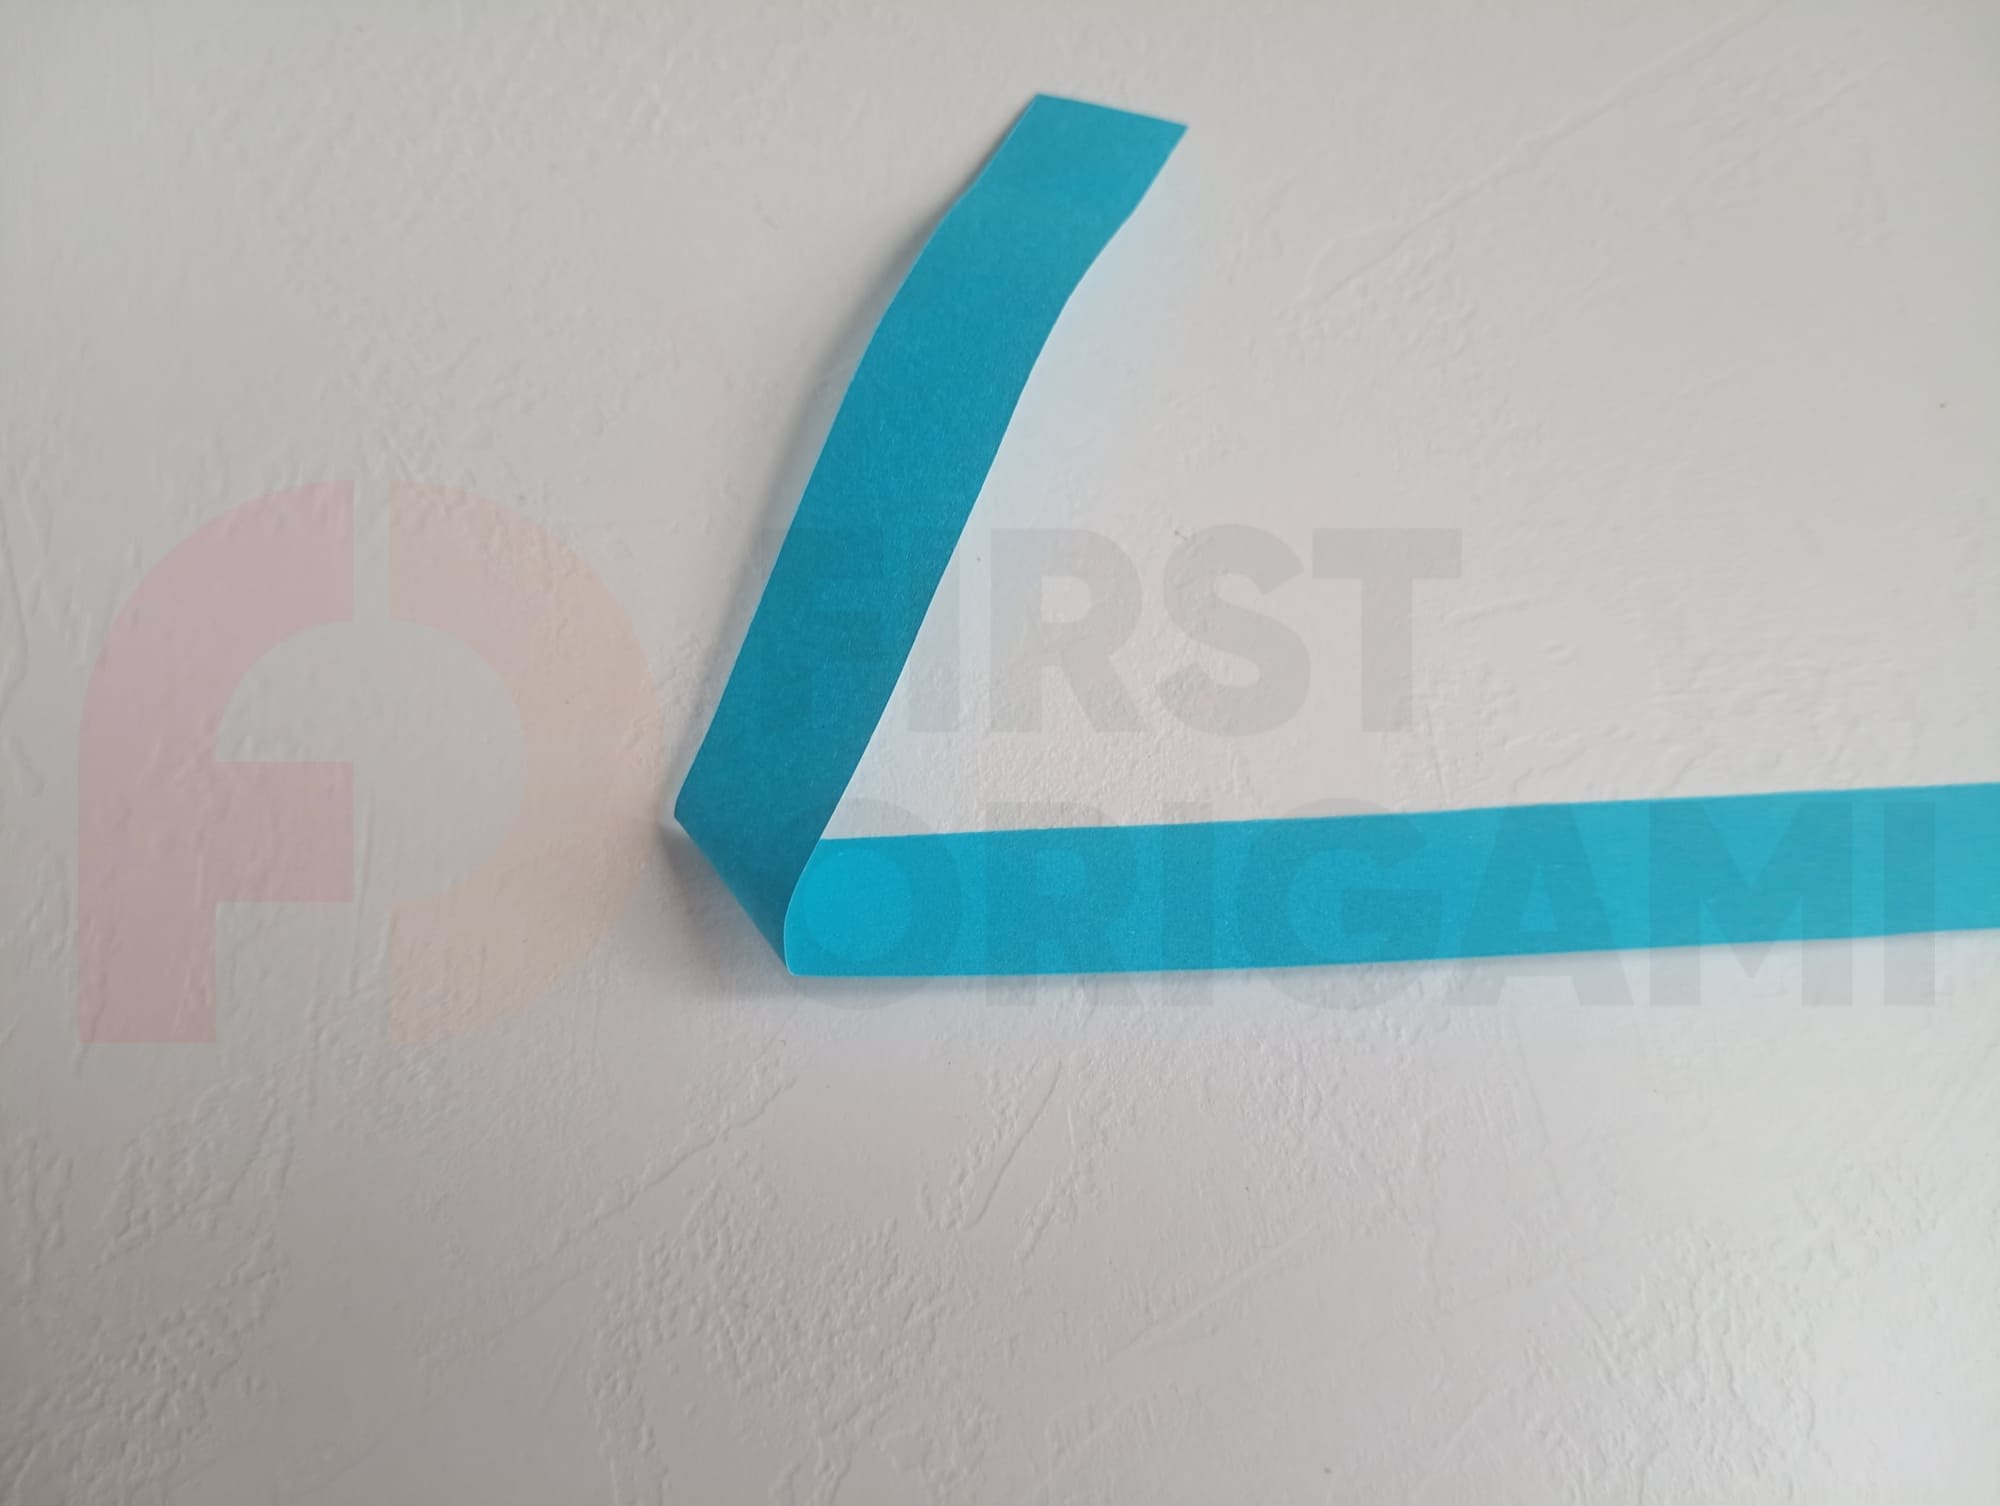
Fold one edge of the paper up.
Then, tuck the edge of the paper under the length of the entire strip.
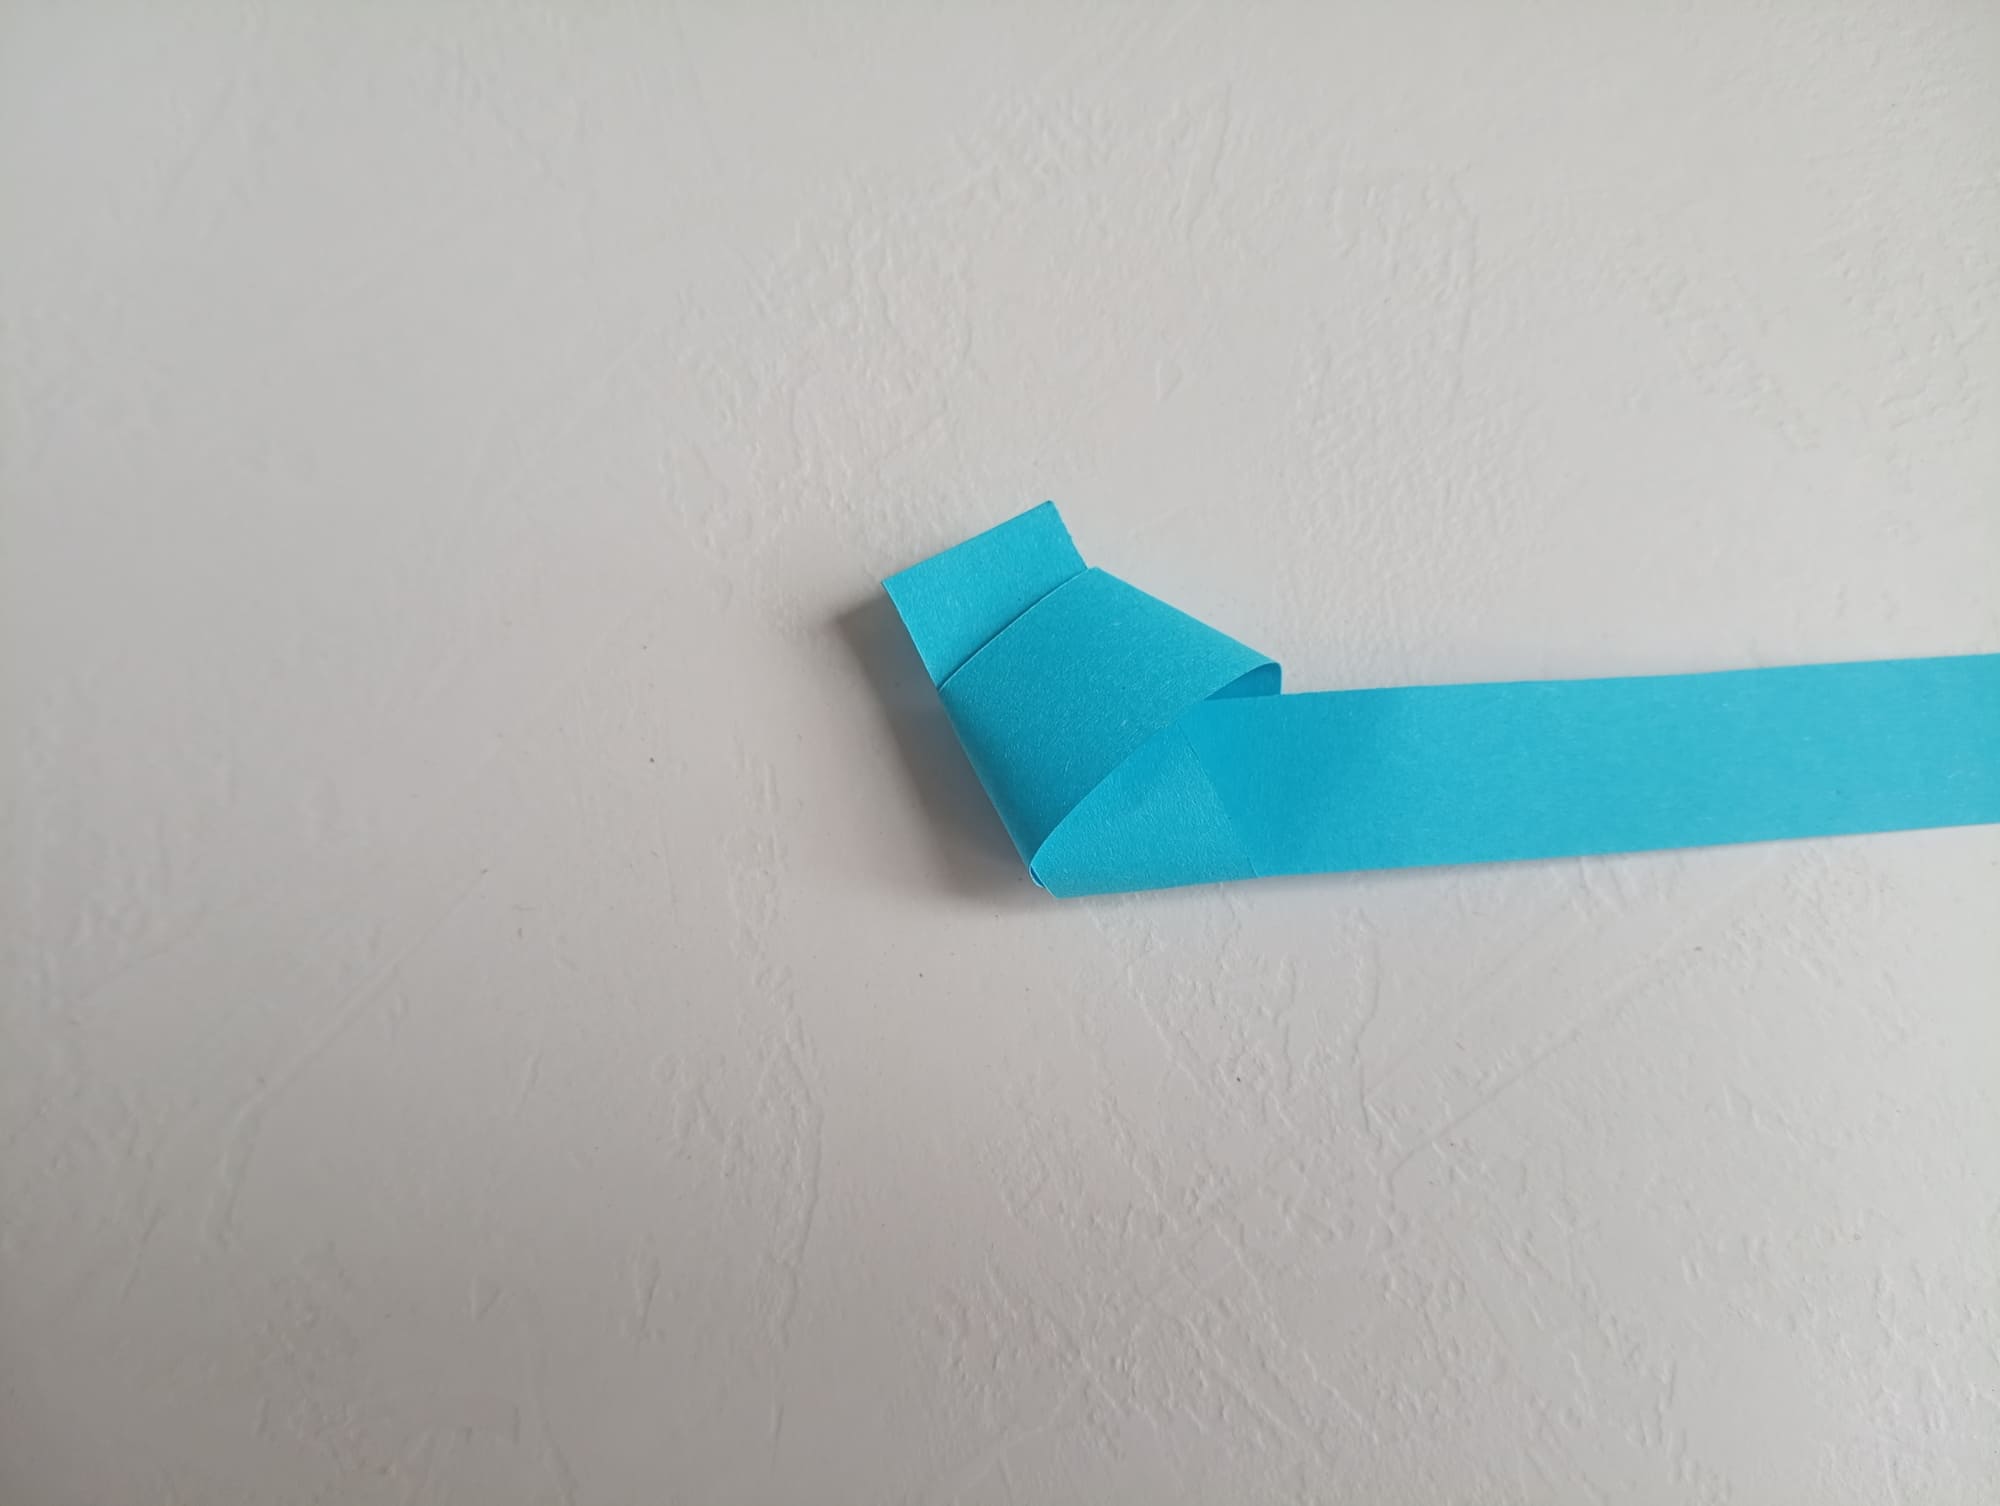
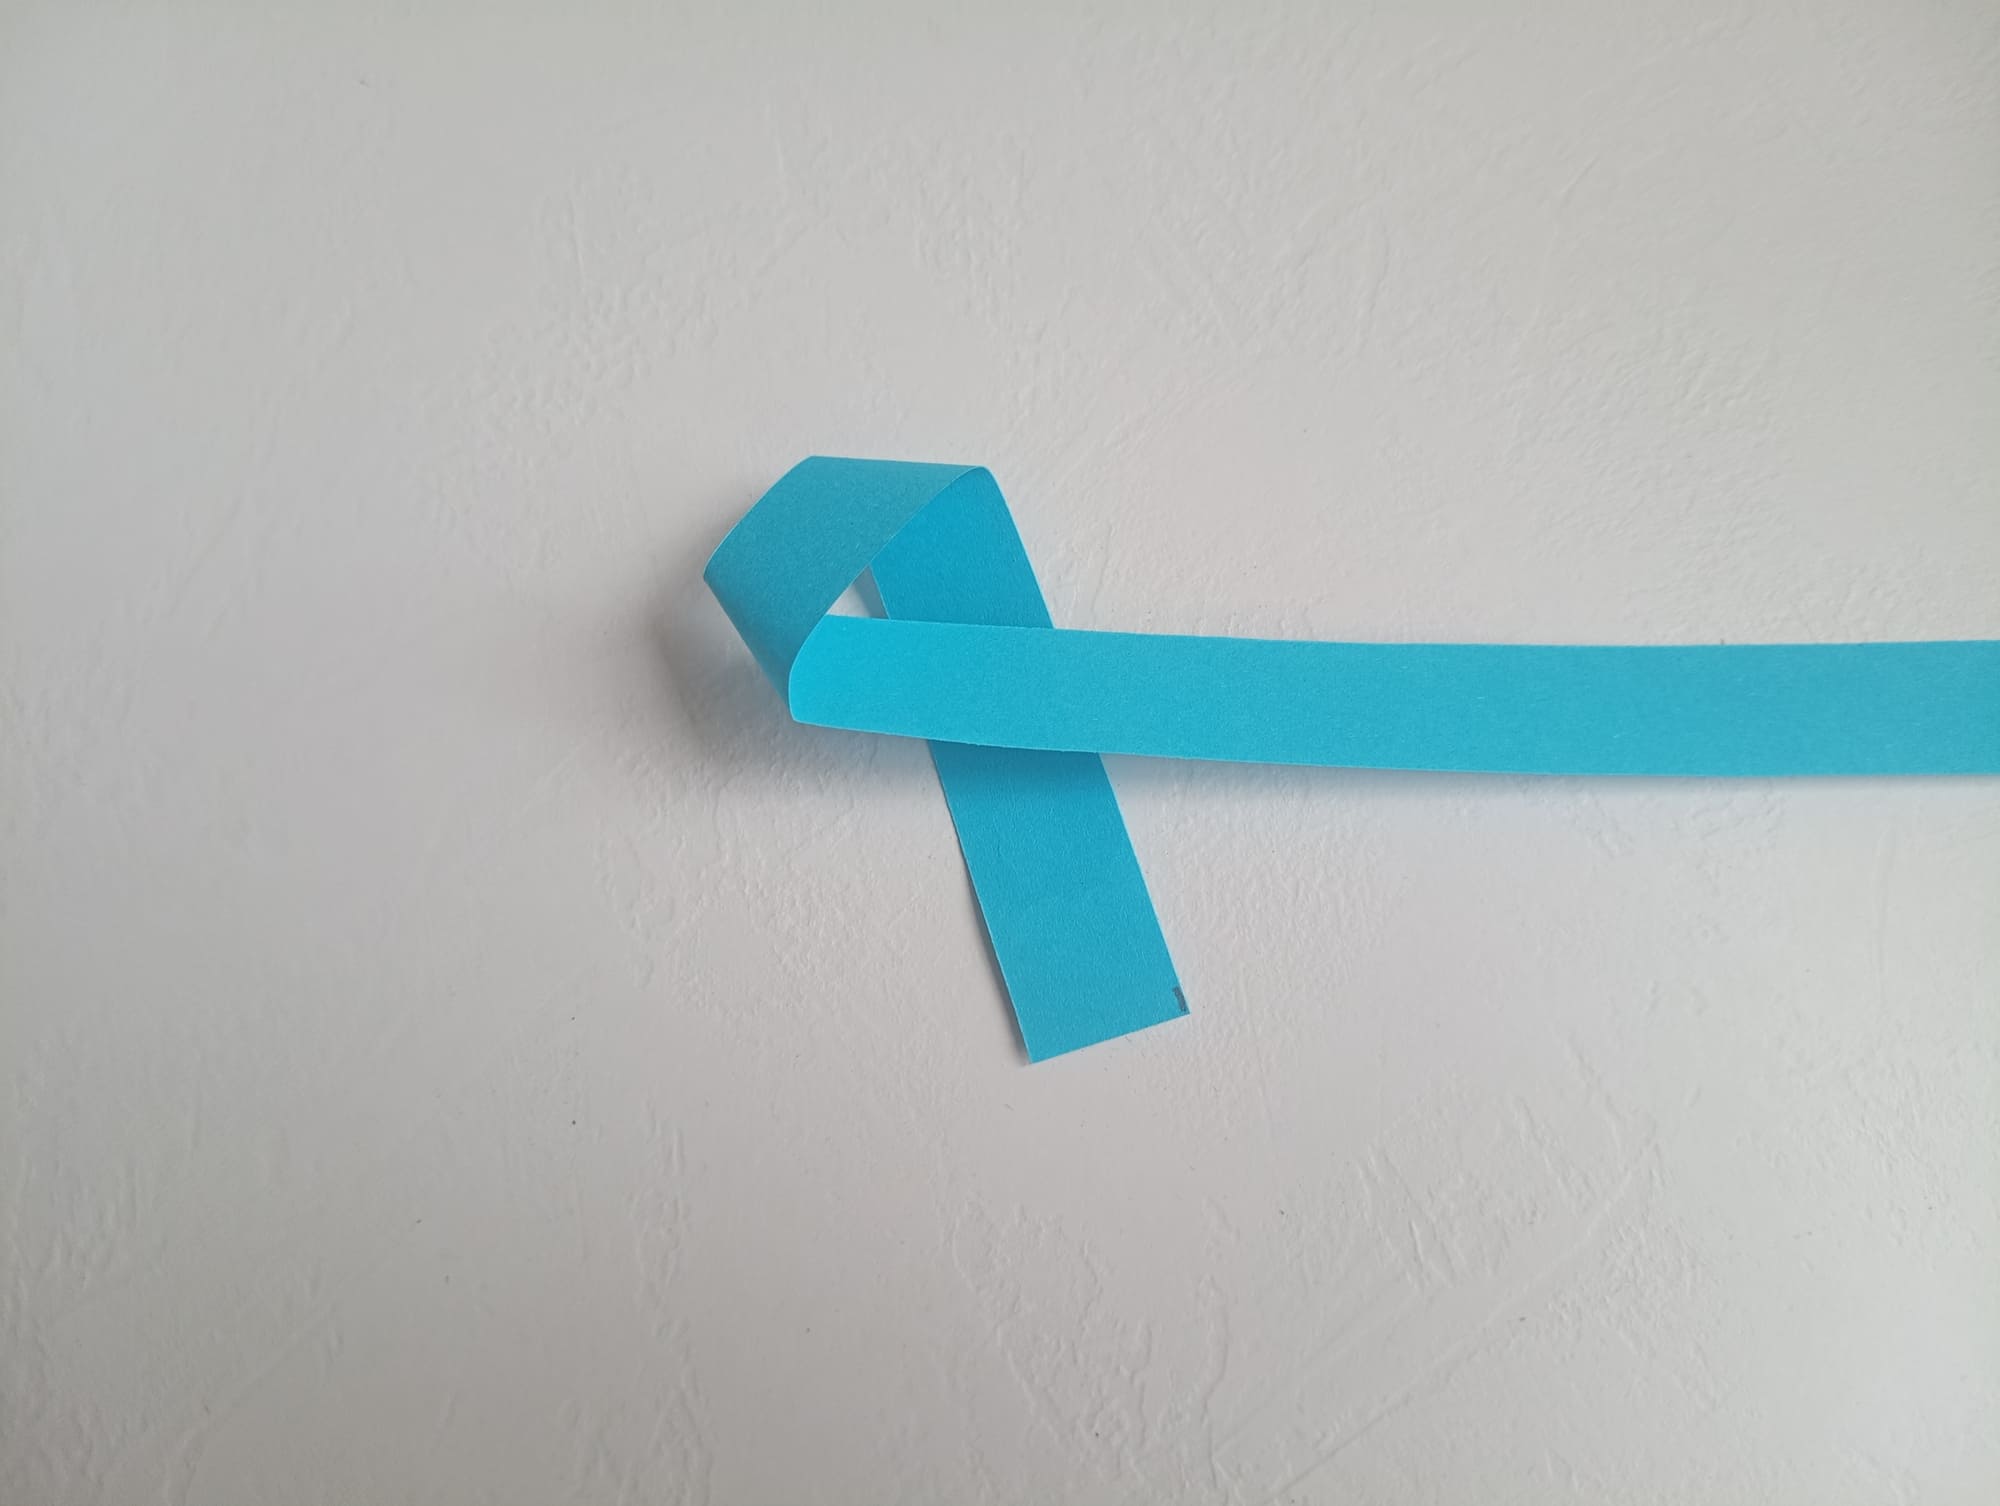
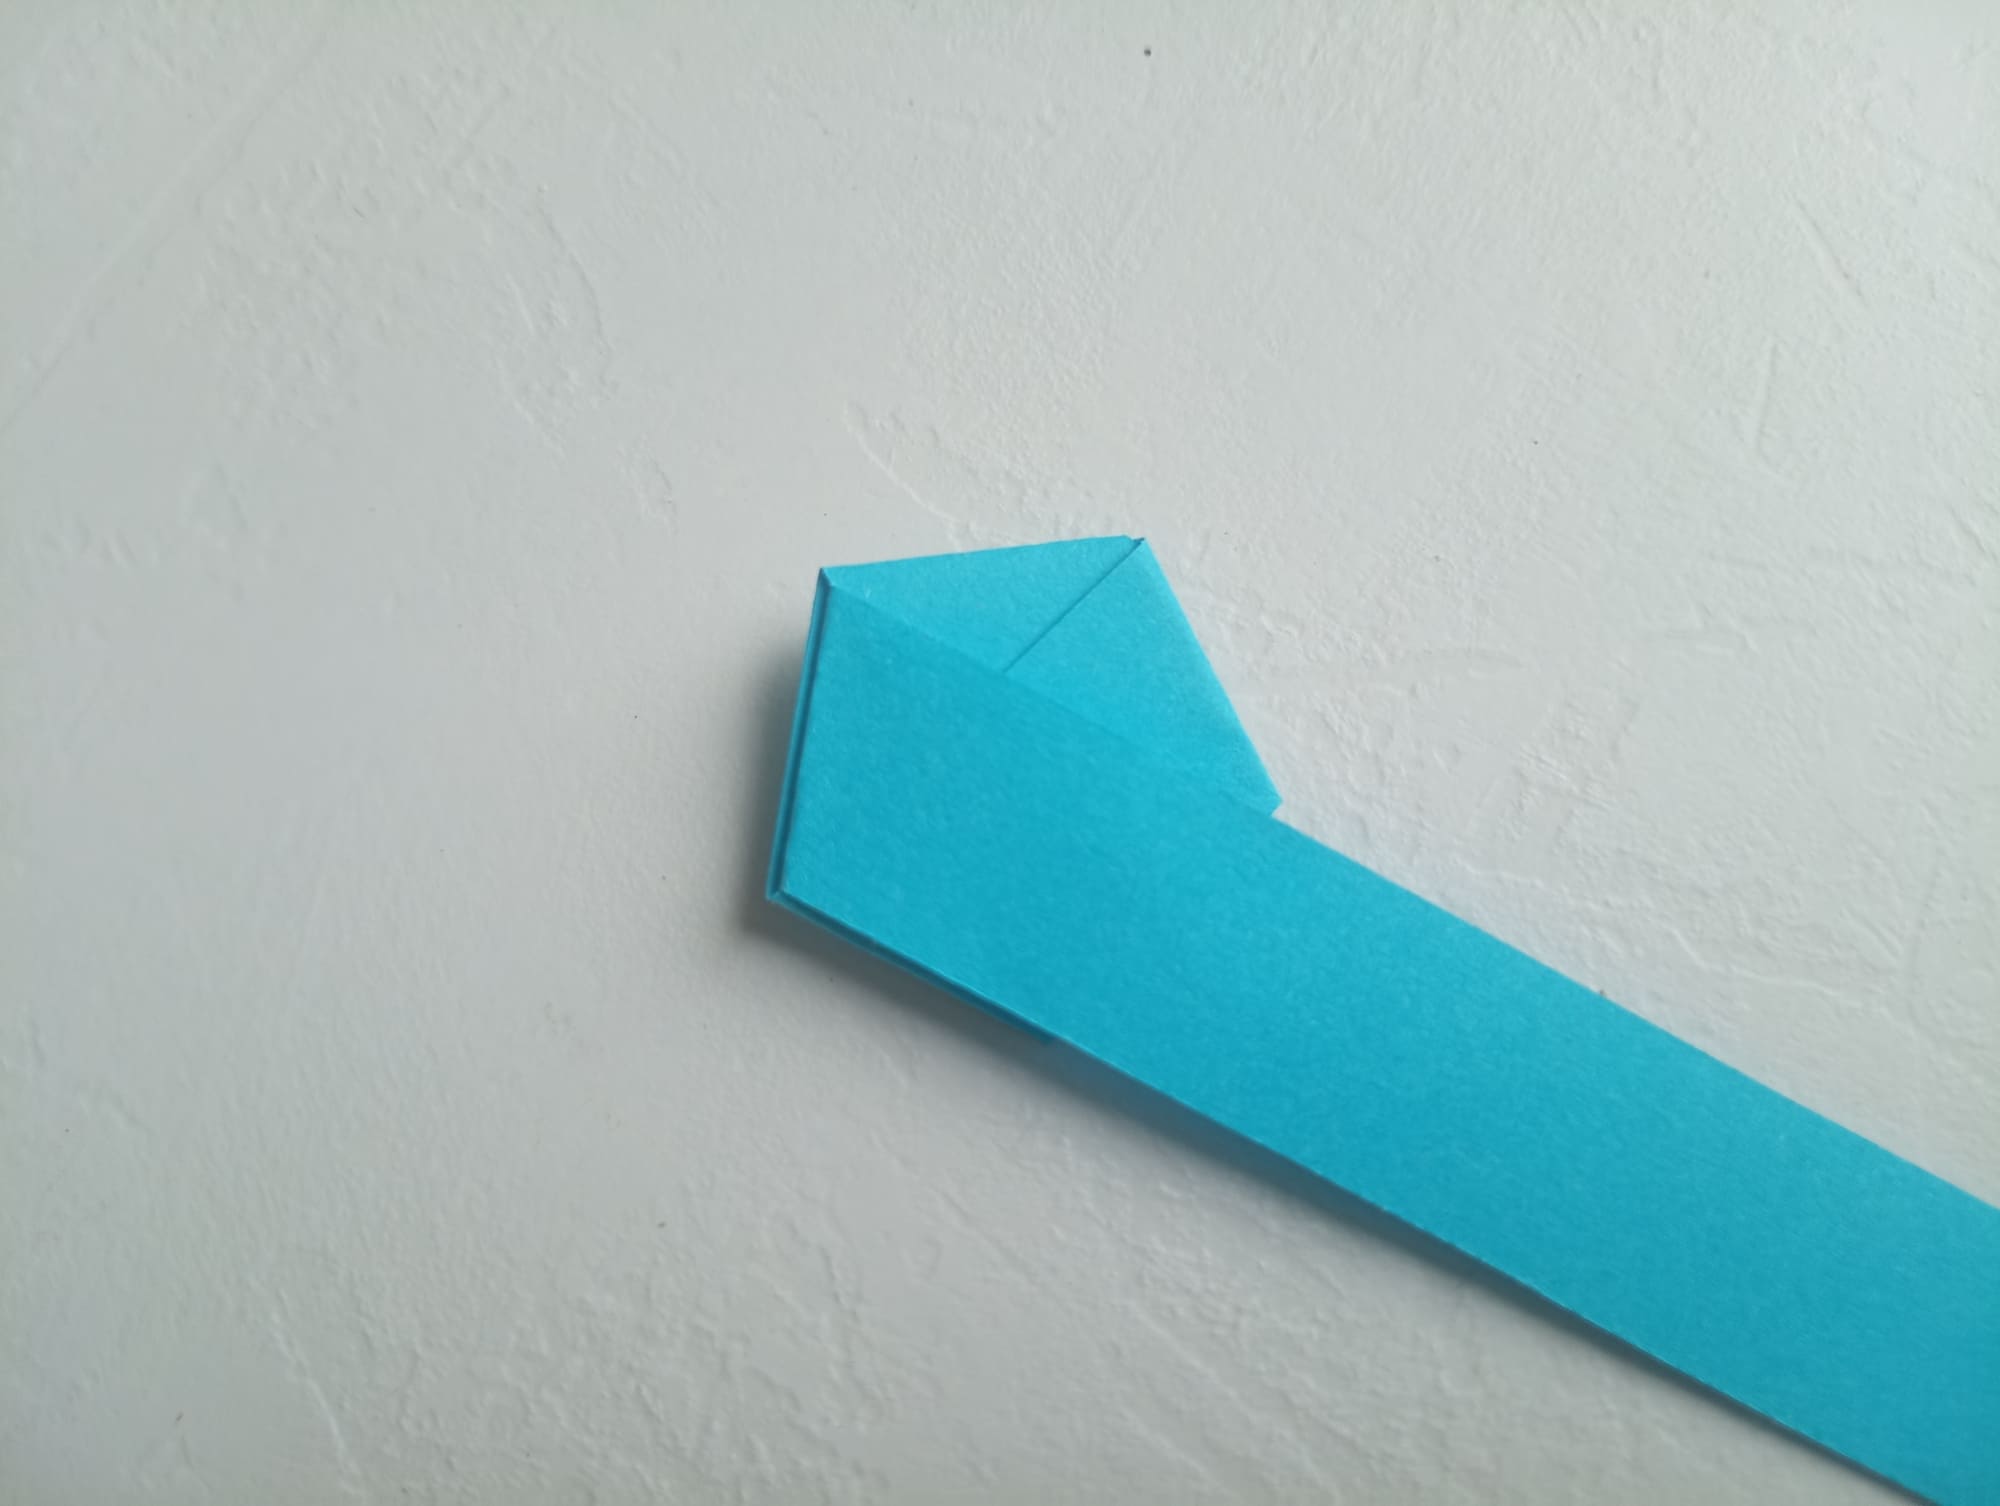
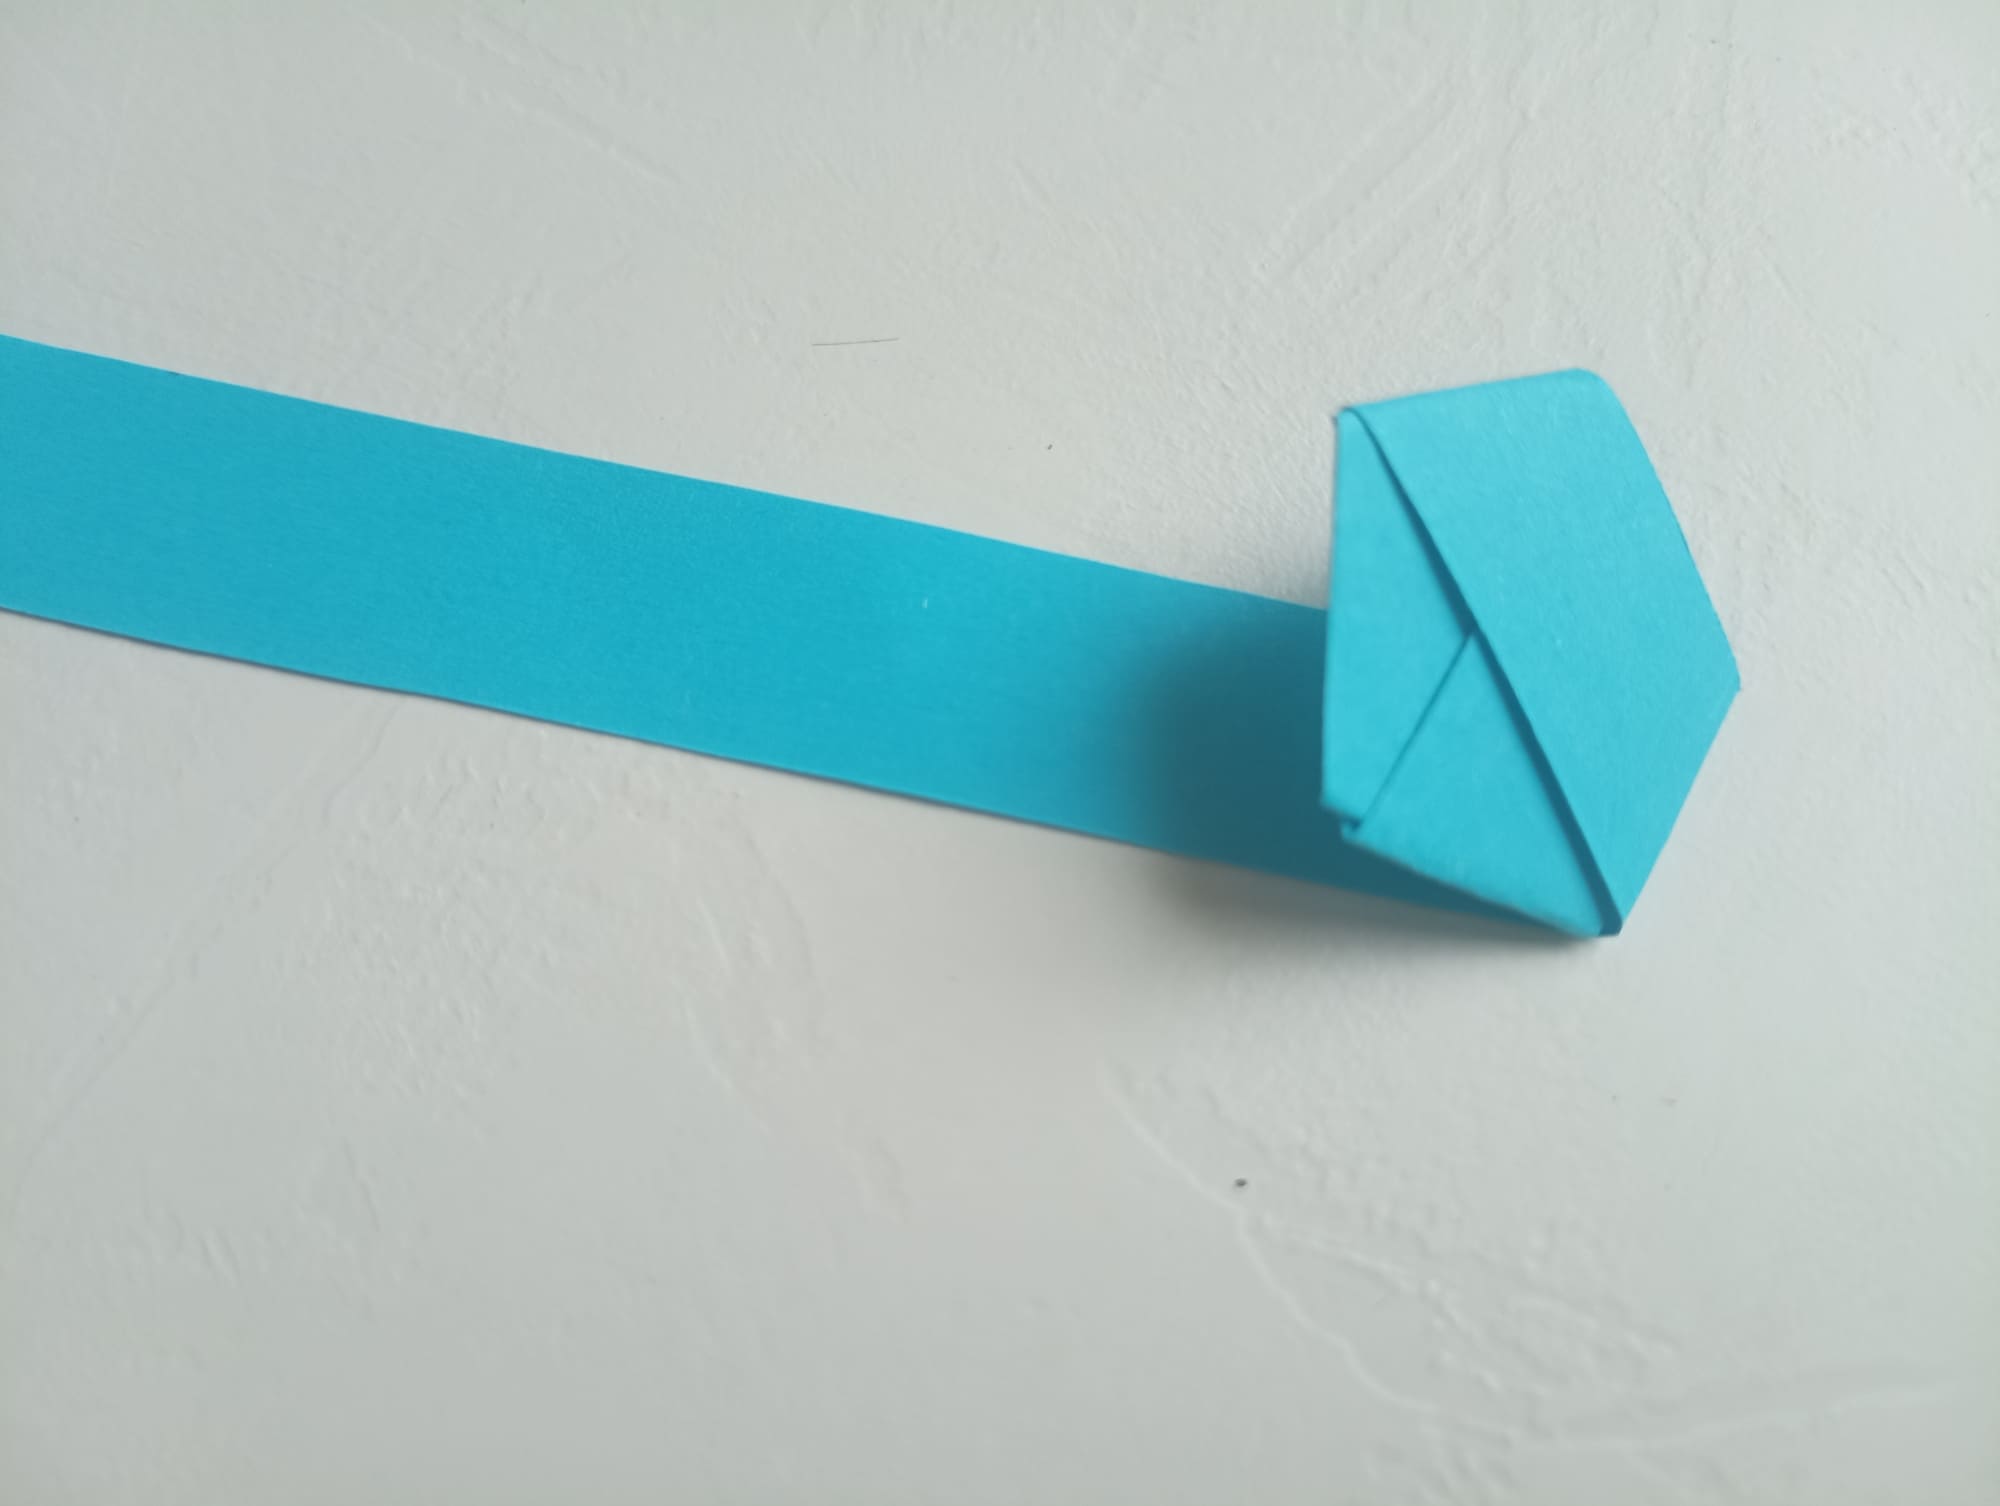
Wrap the same edge into the resulting loop.
Tighten the resulting knot to crease all sides of the resulting figure well.
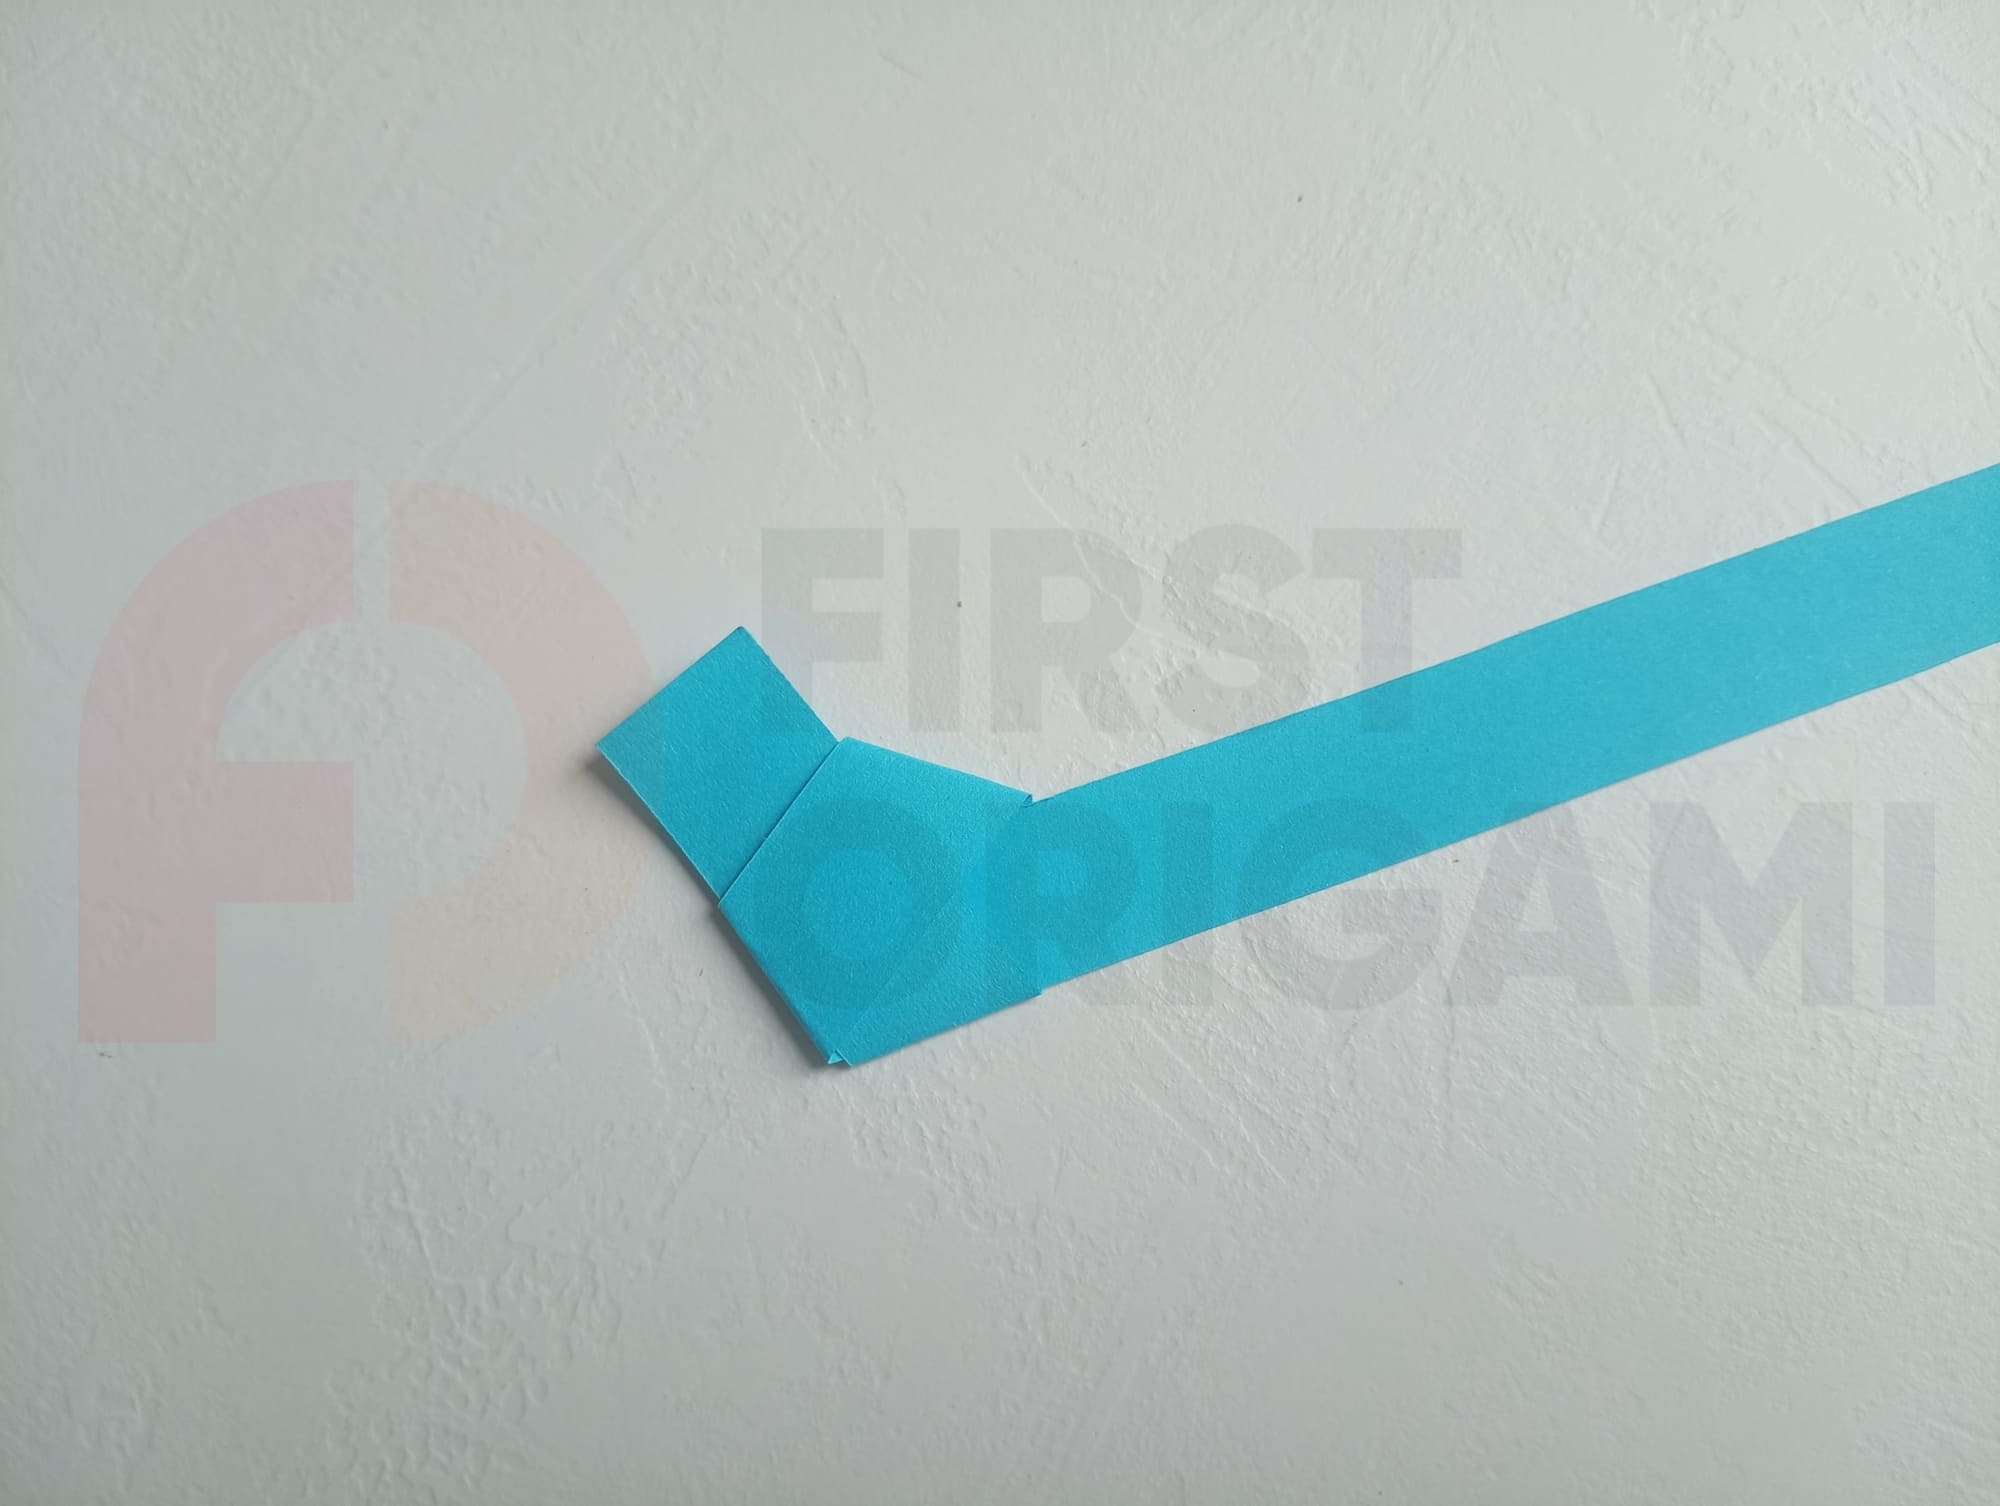
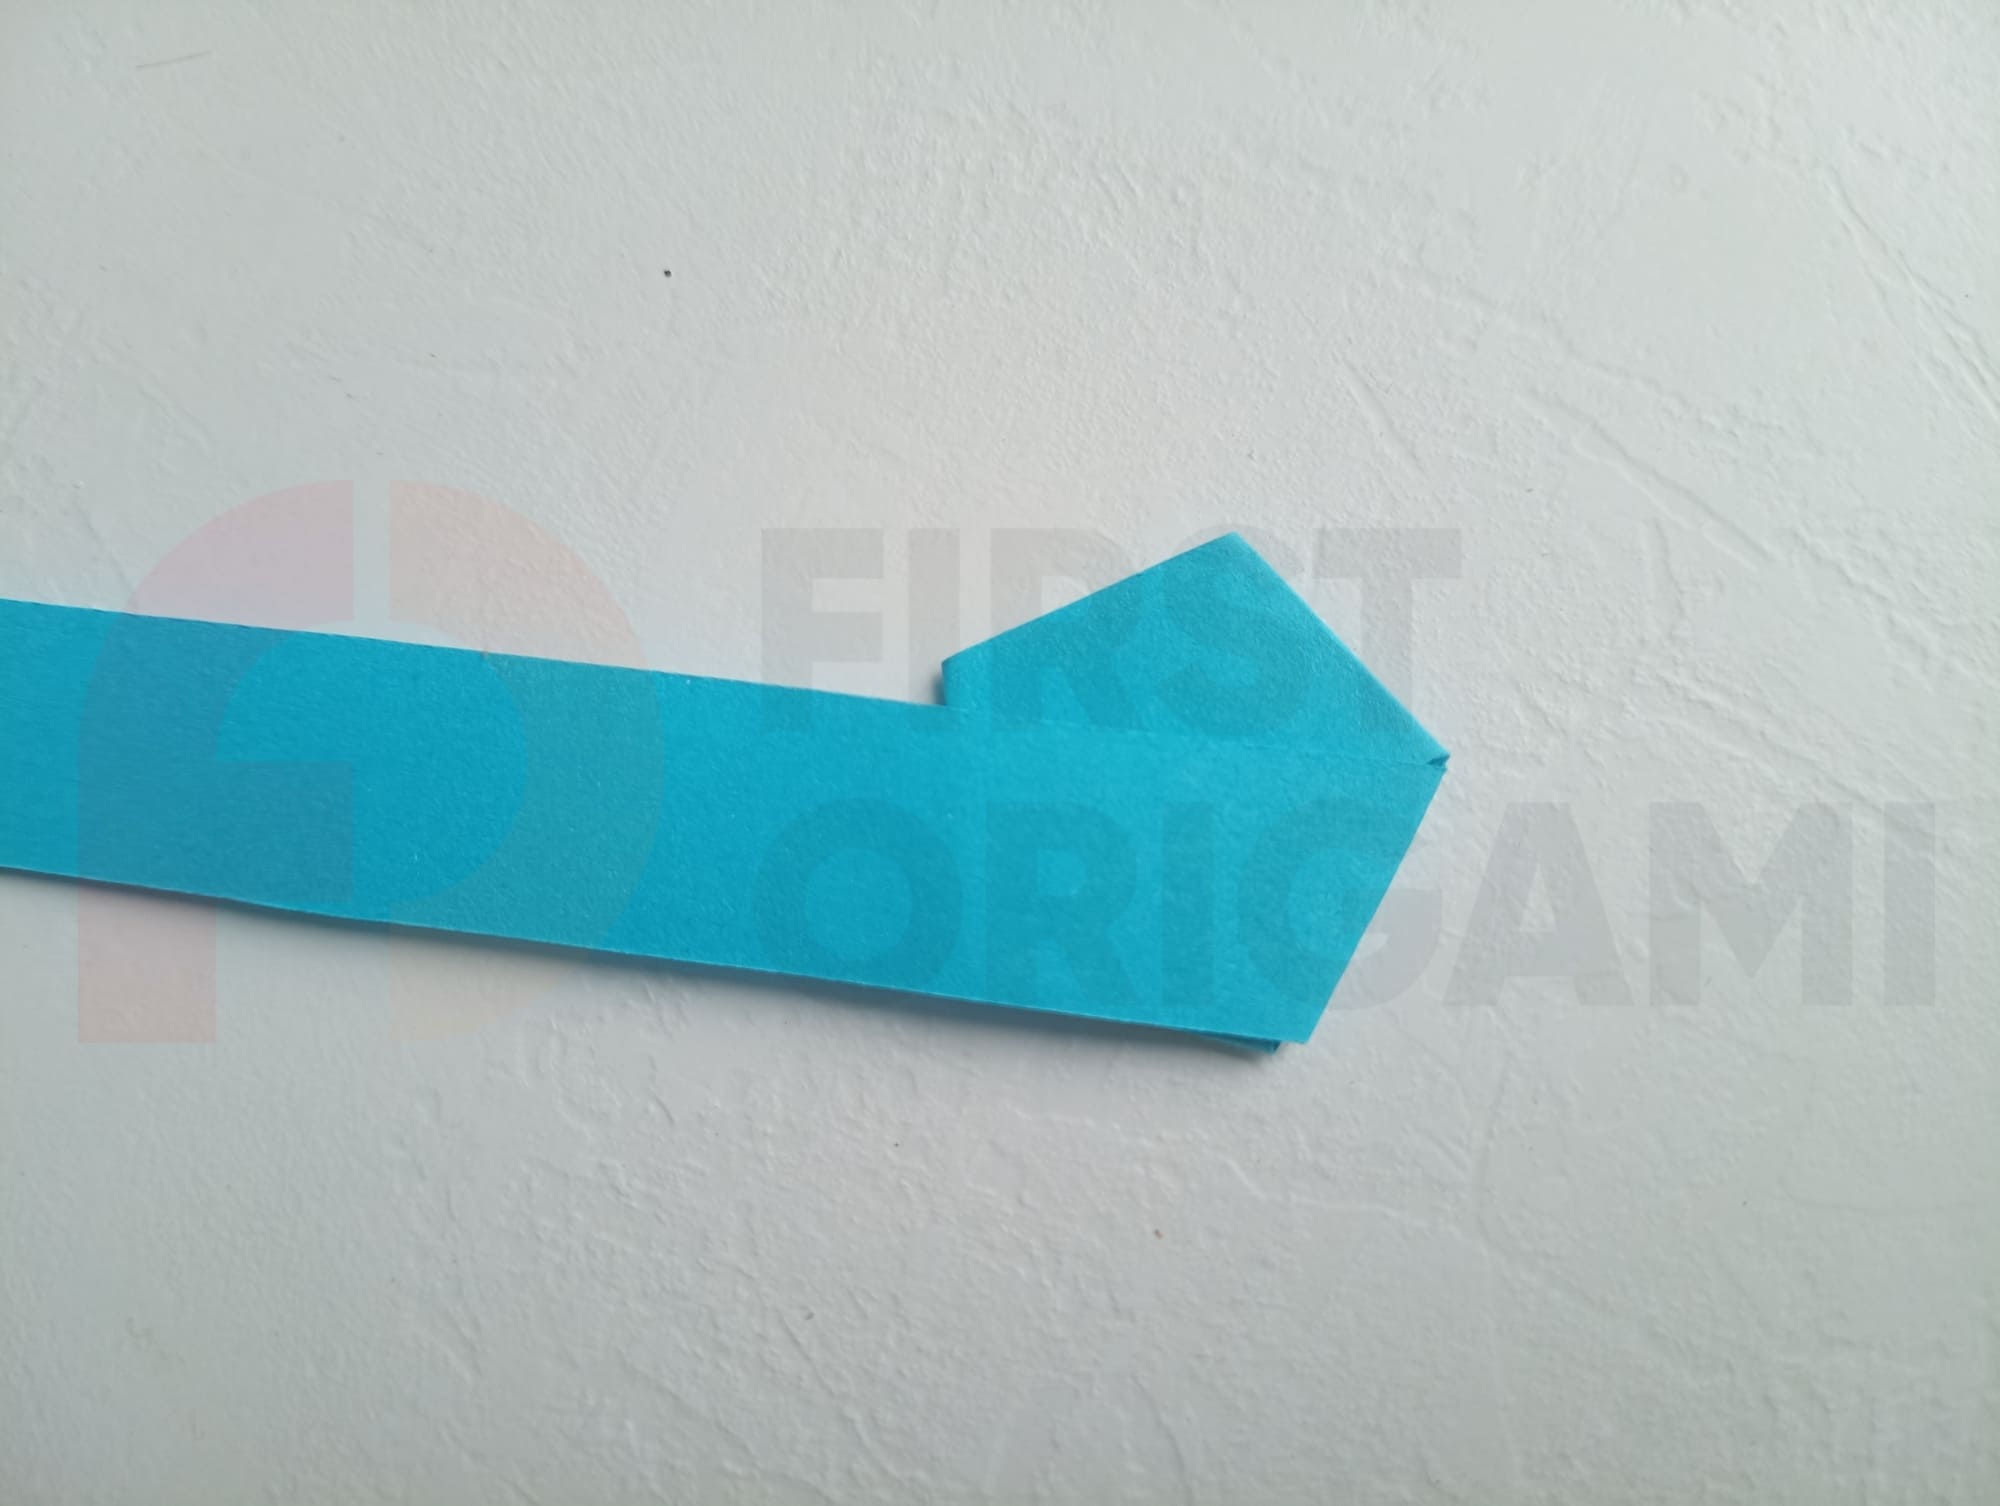
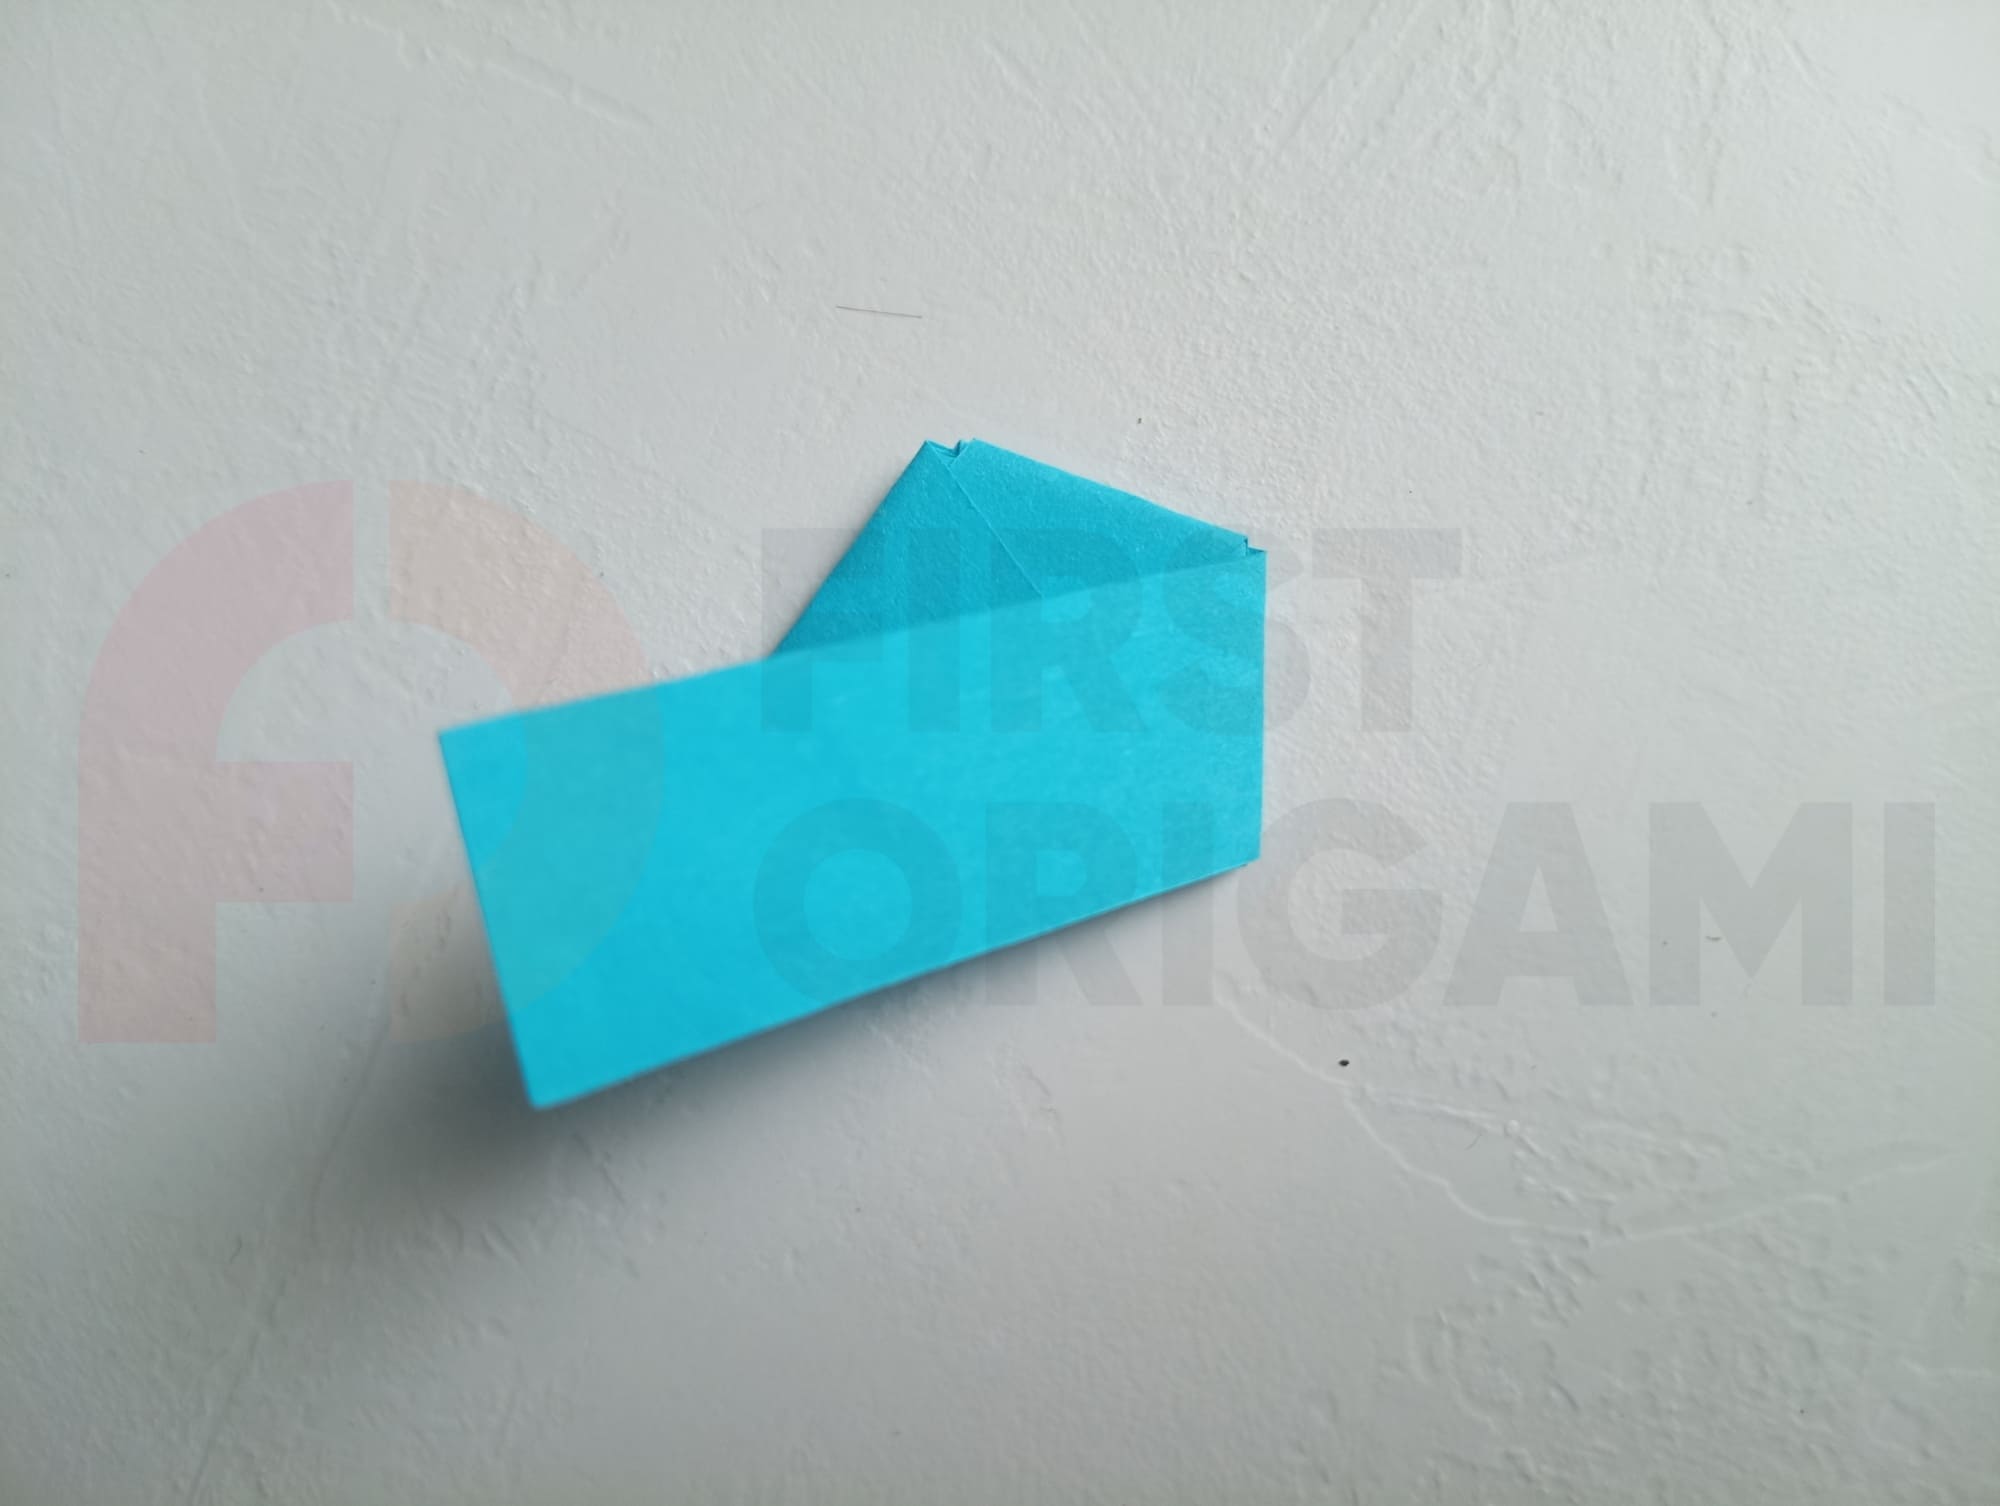
Fold the remaining end back and tuck into the valve.
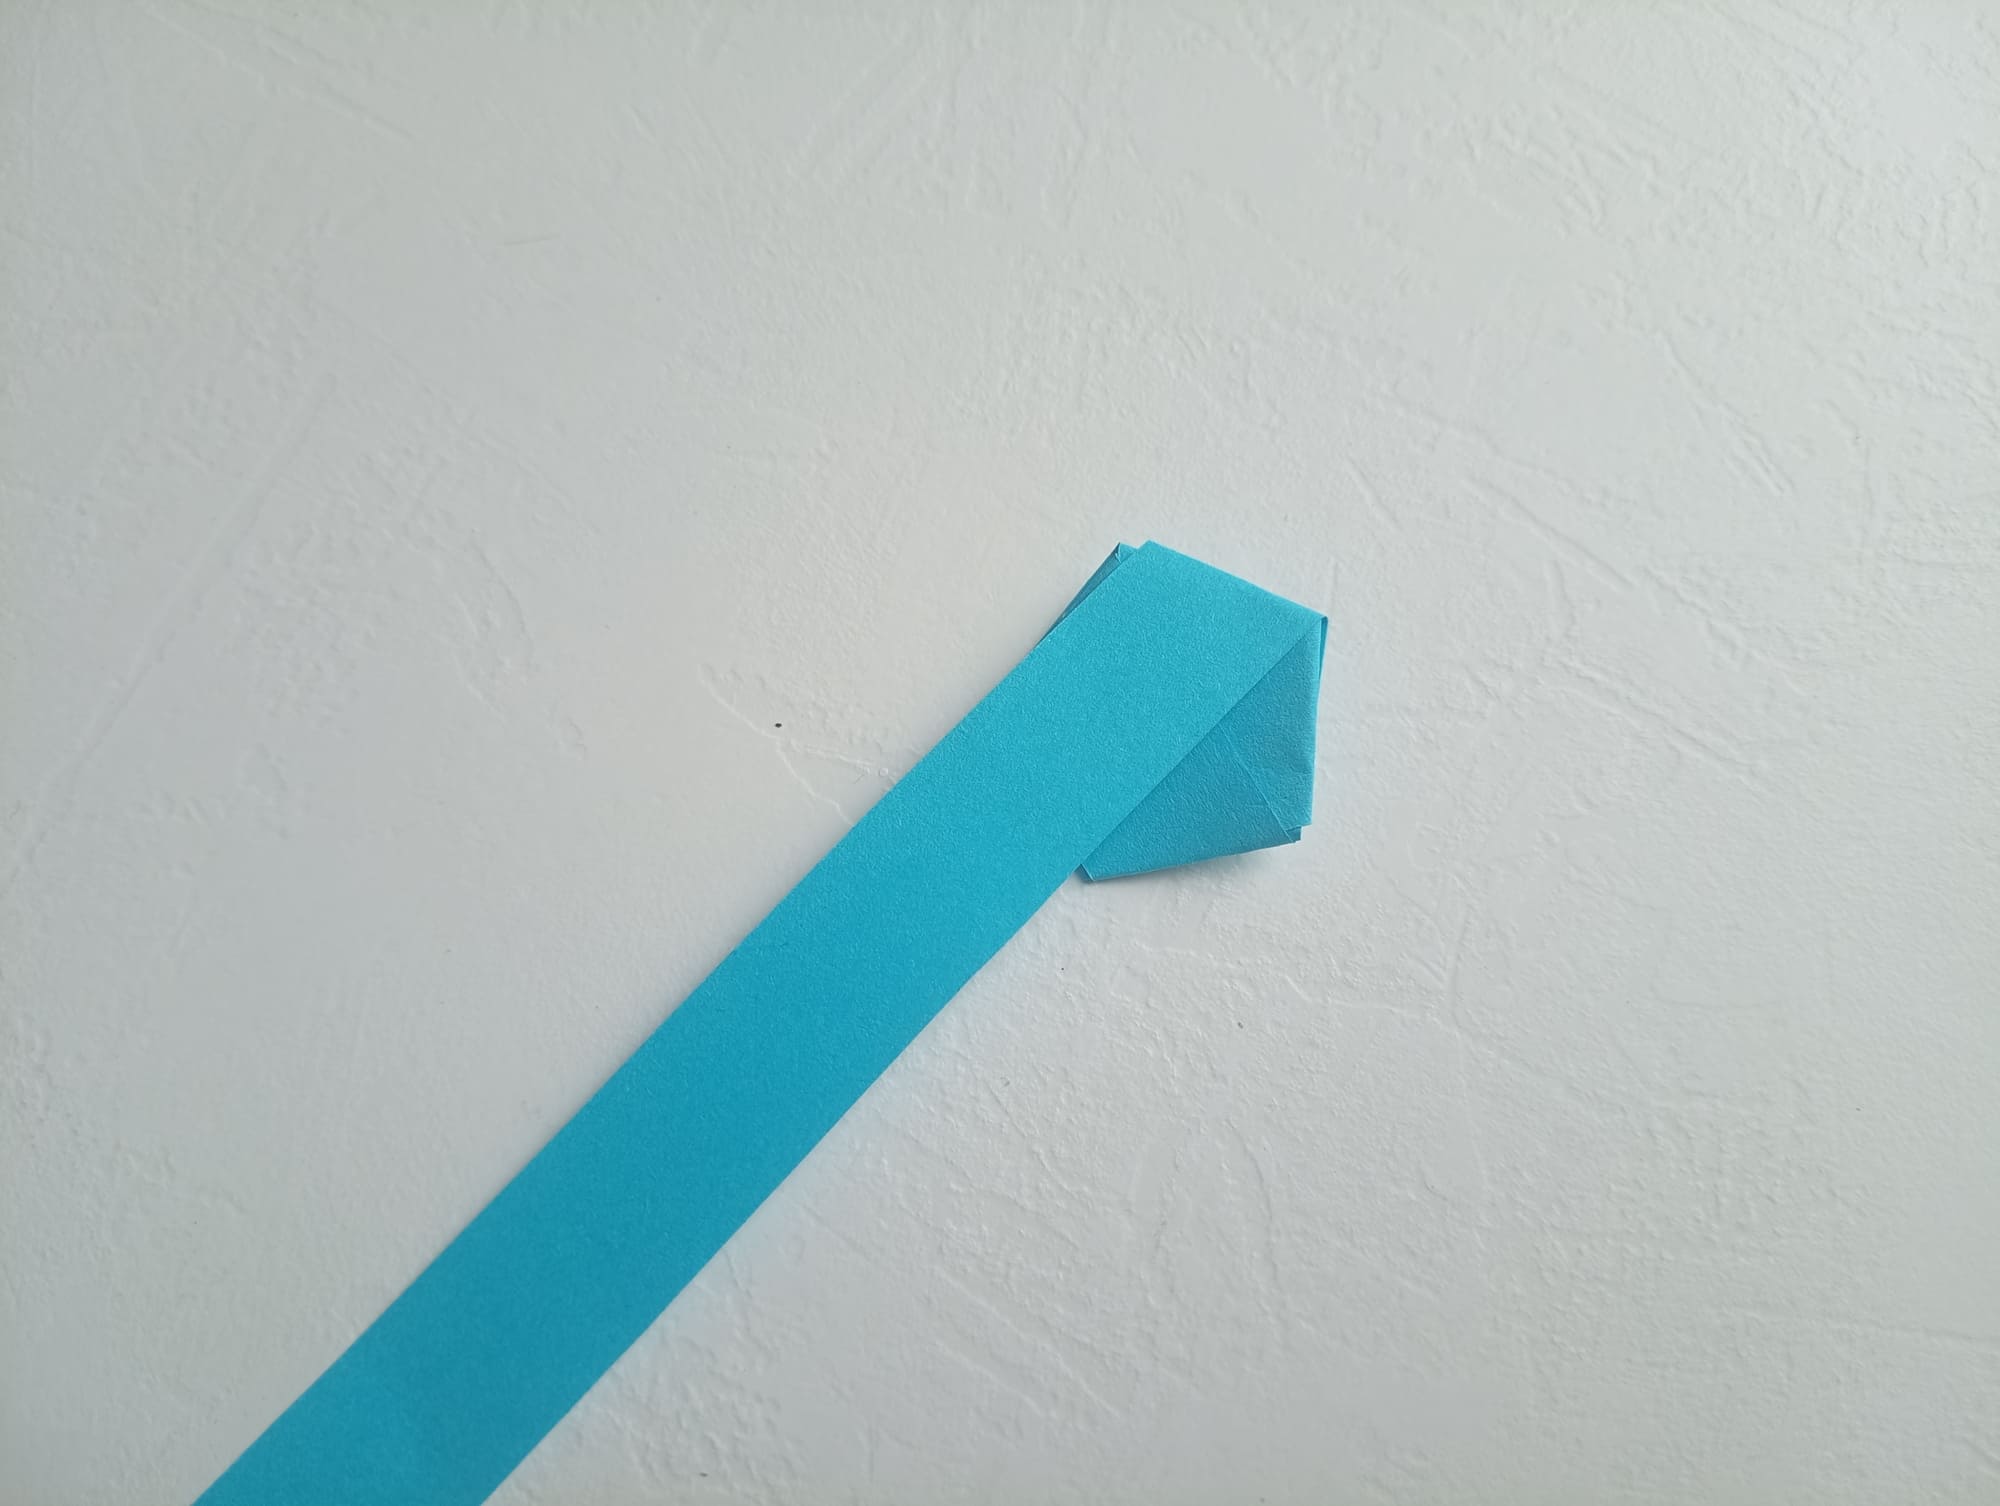
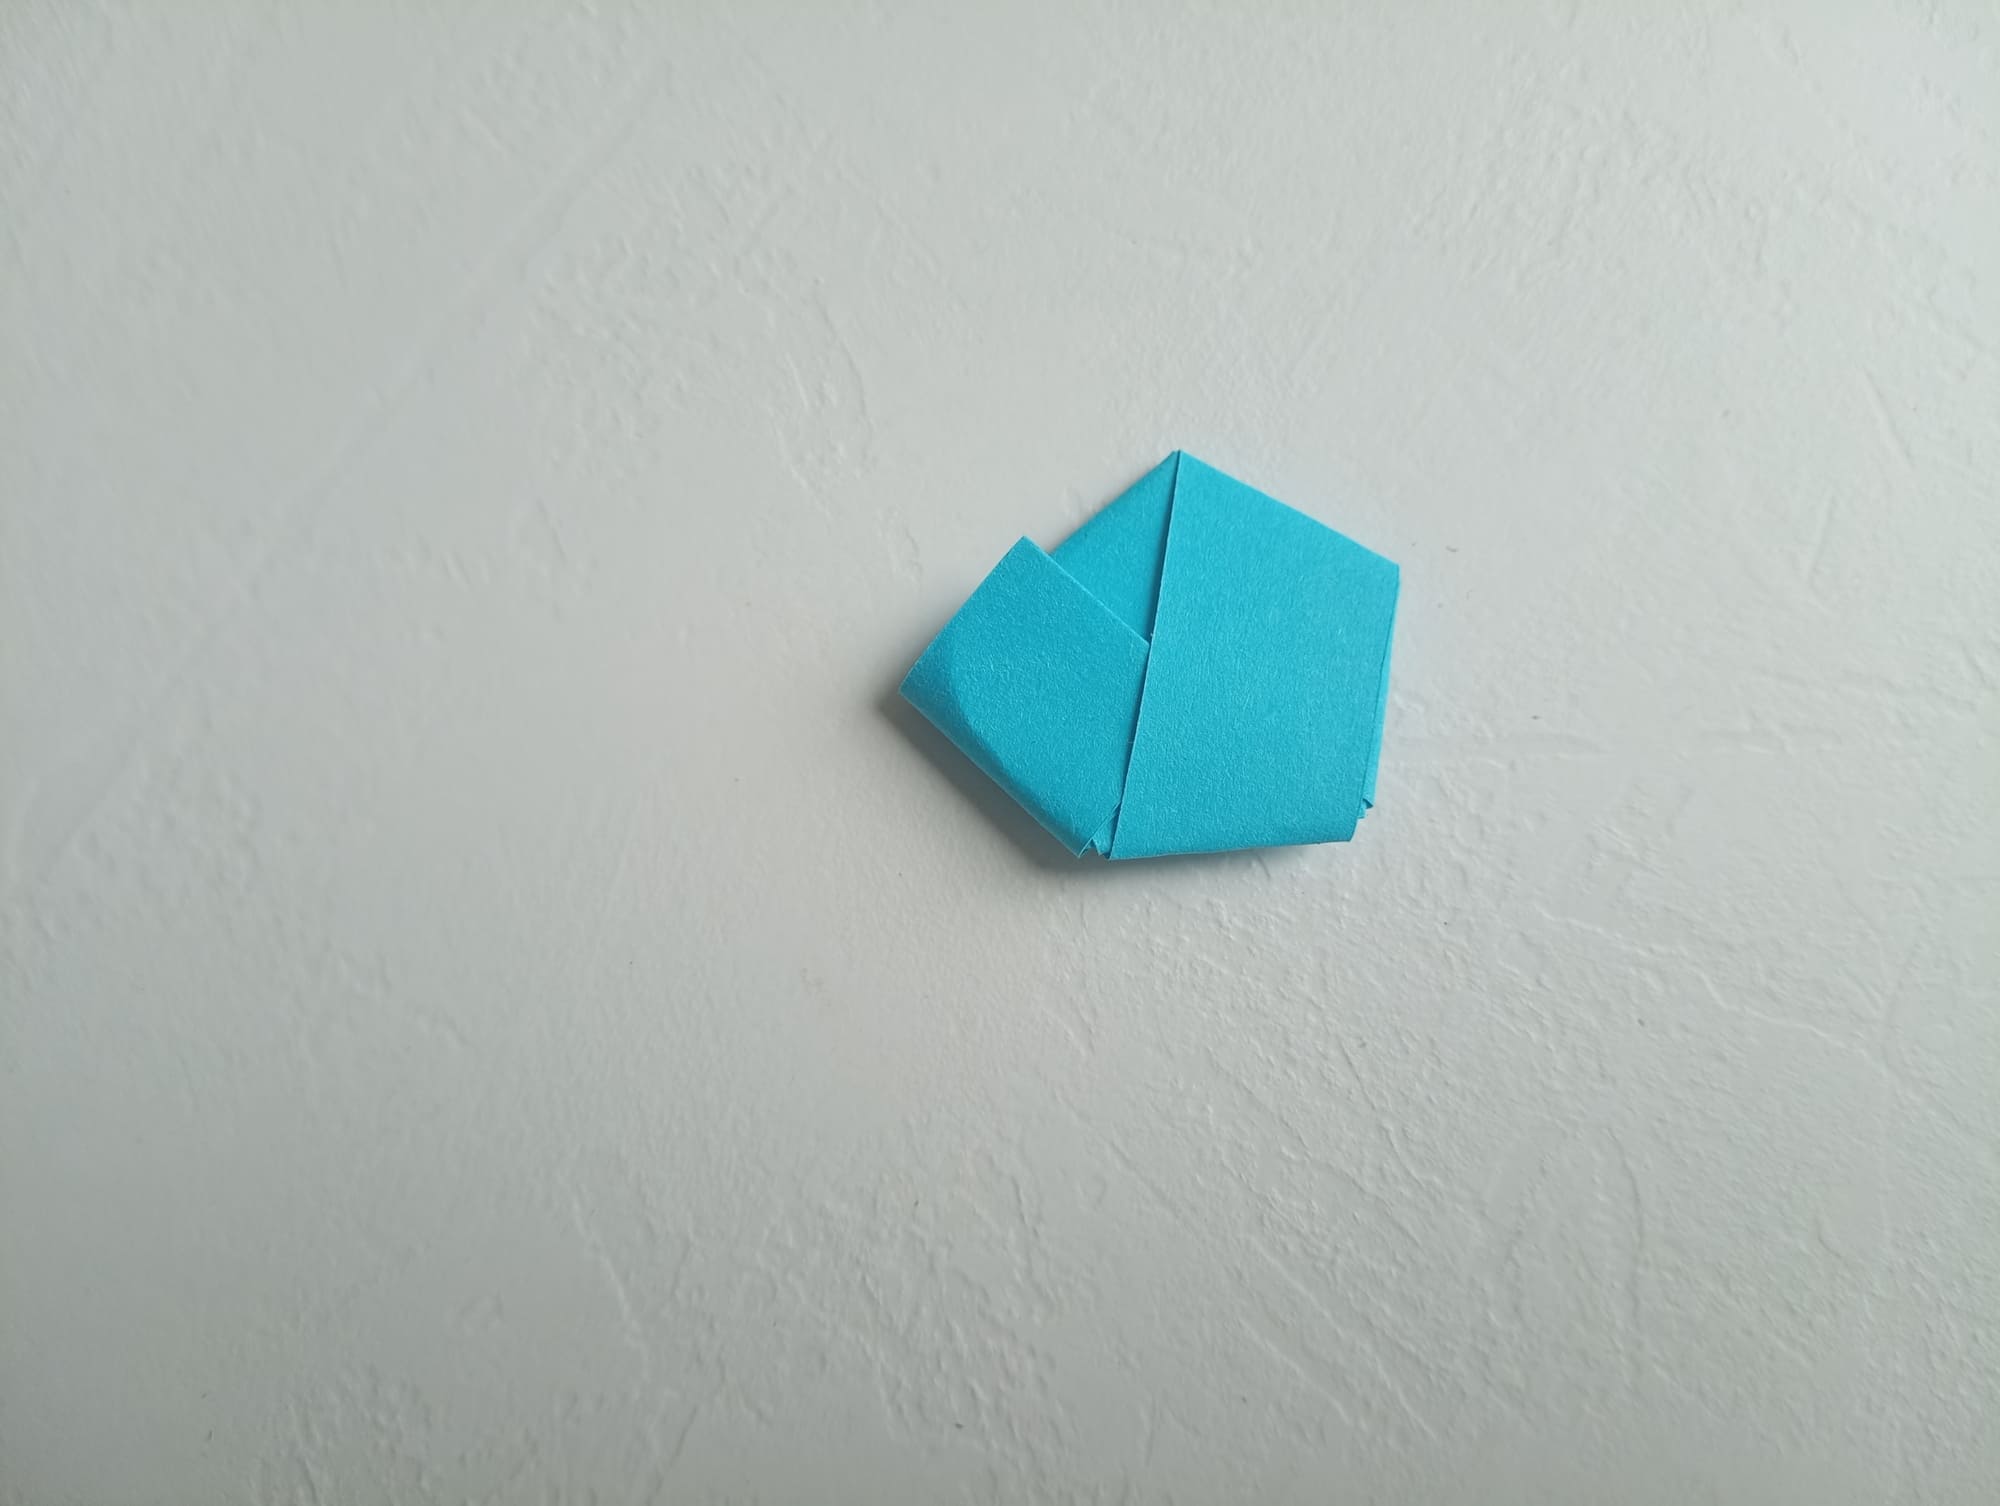
Flip the shape.
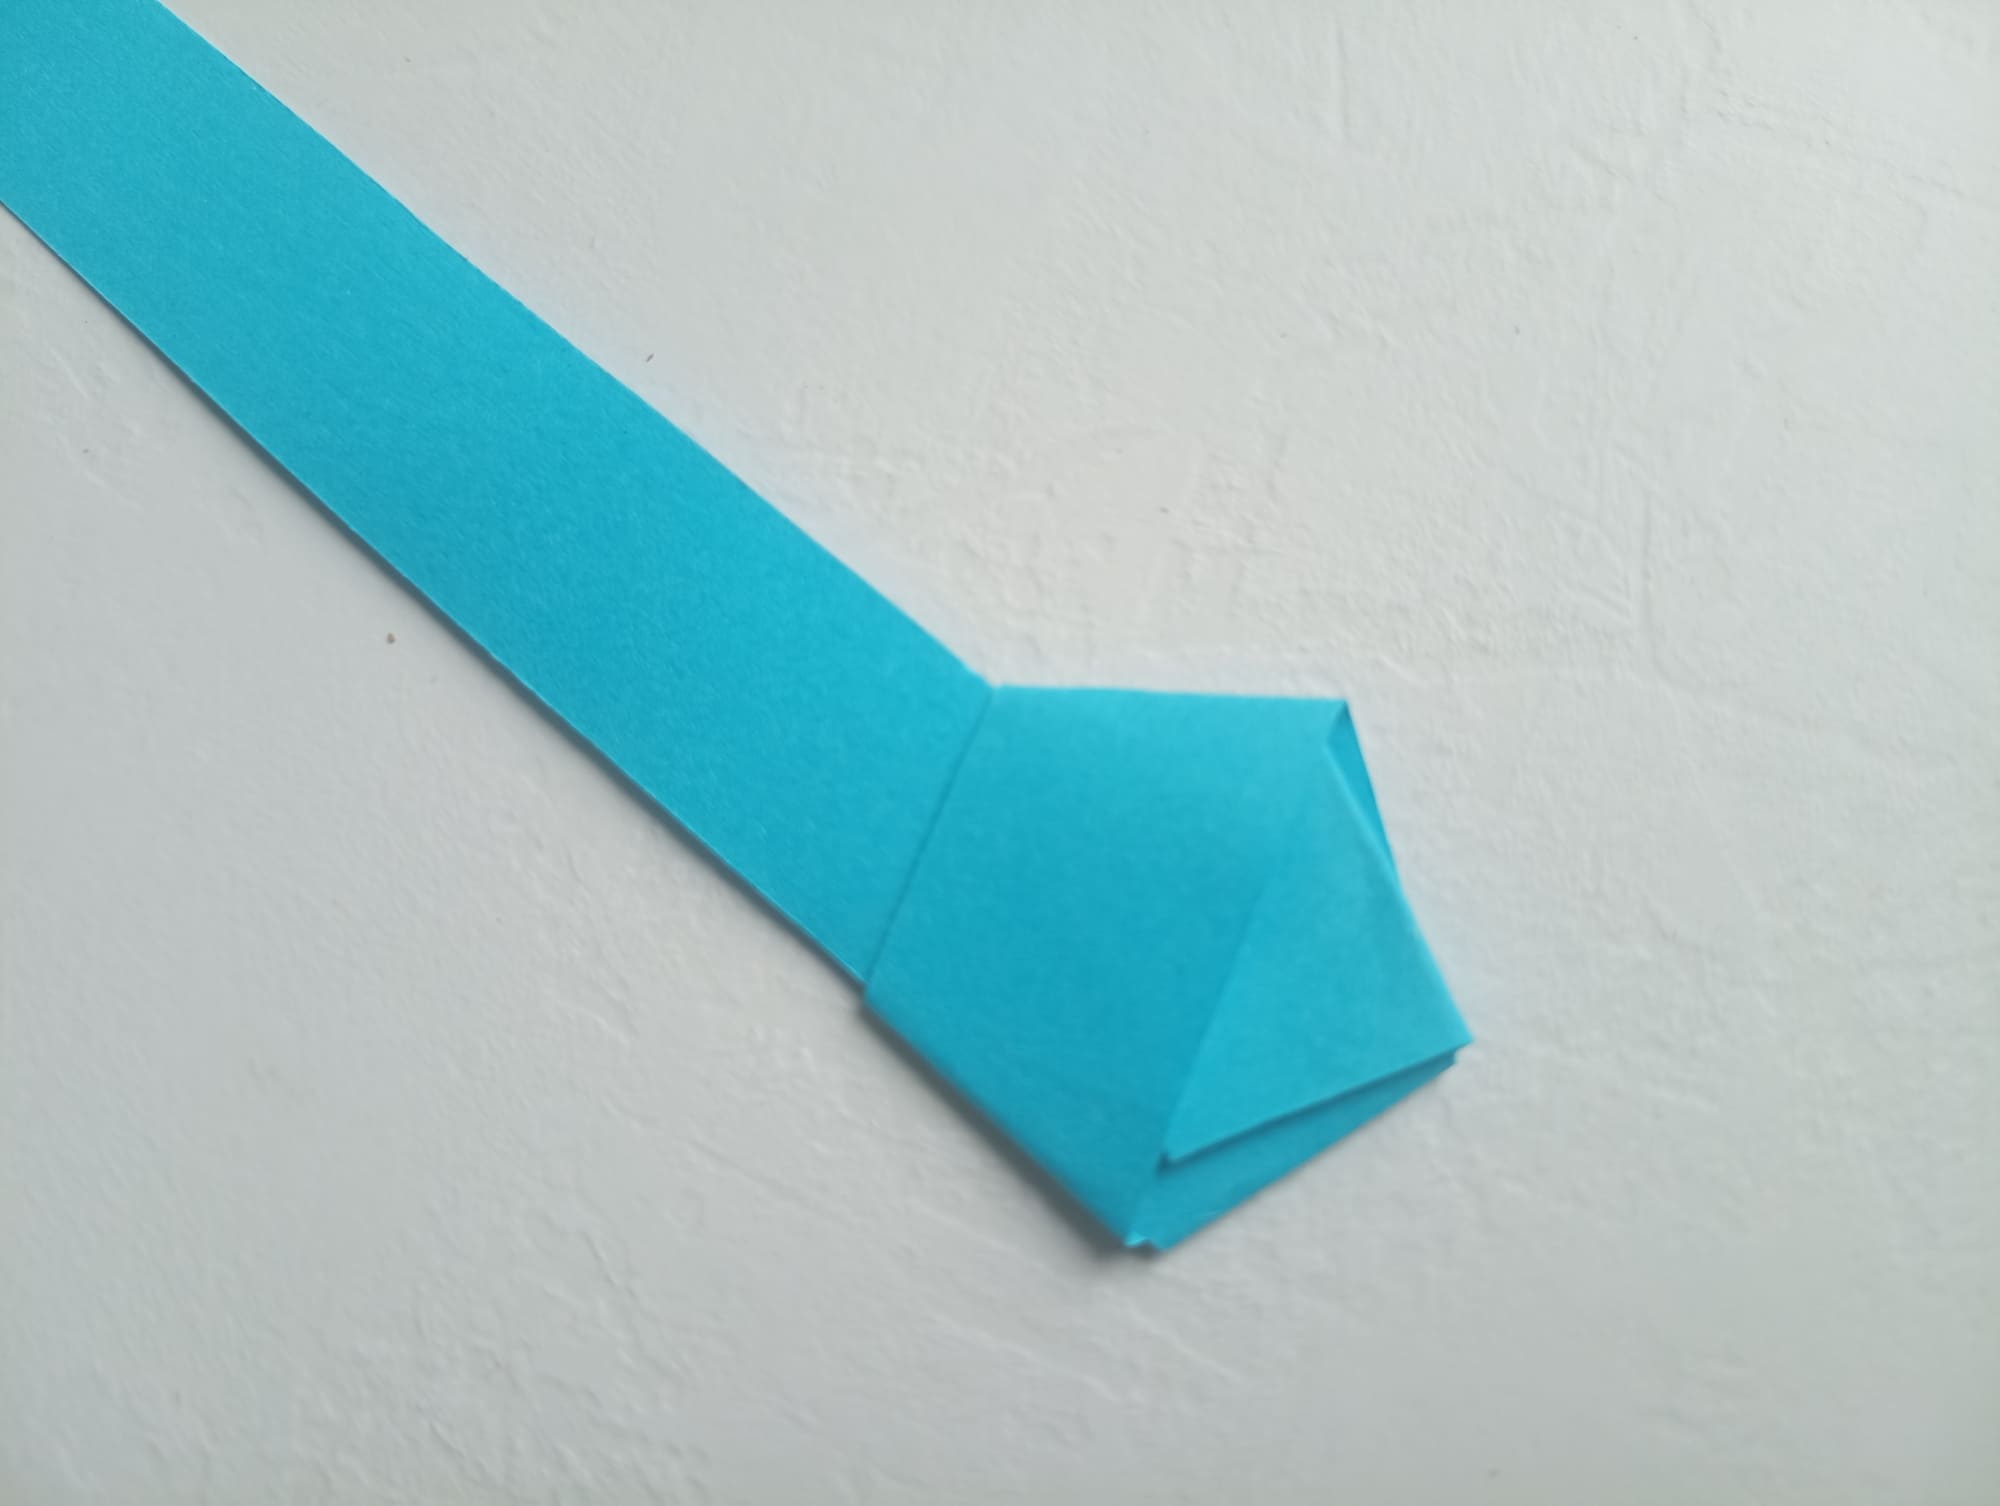
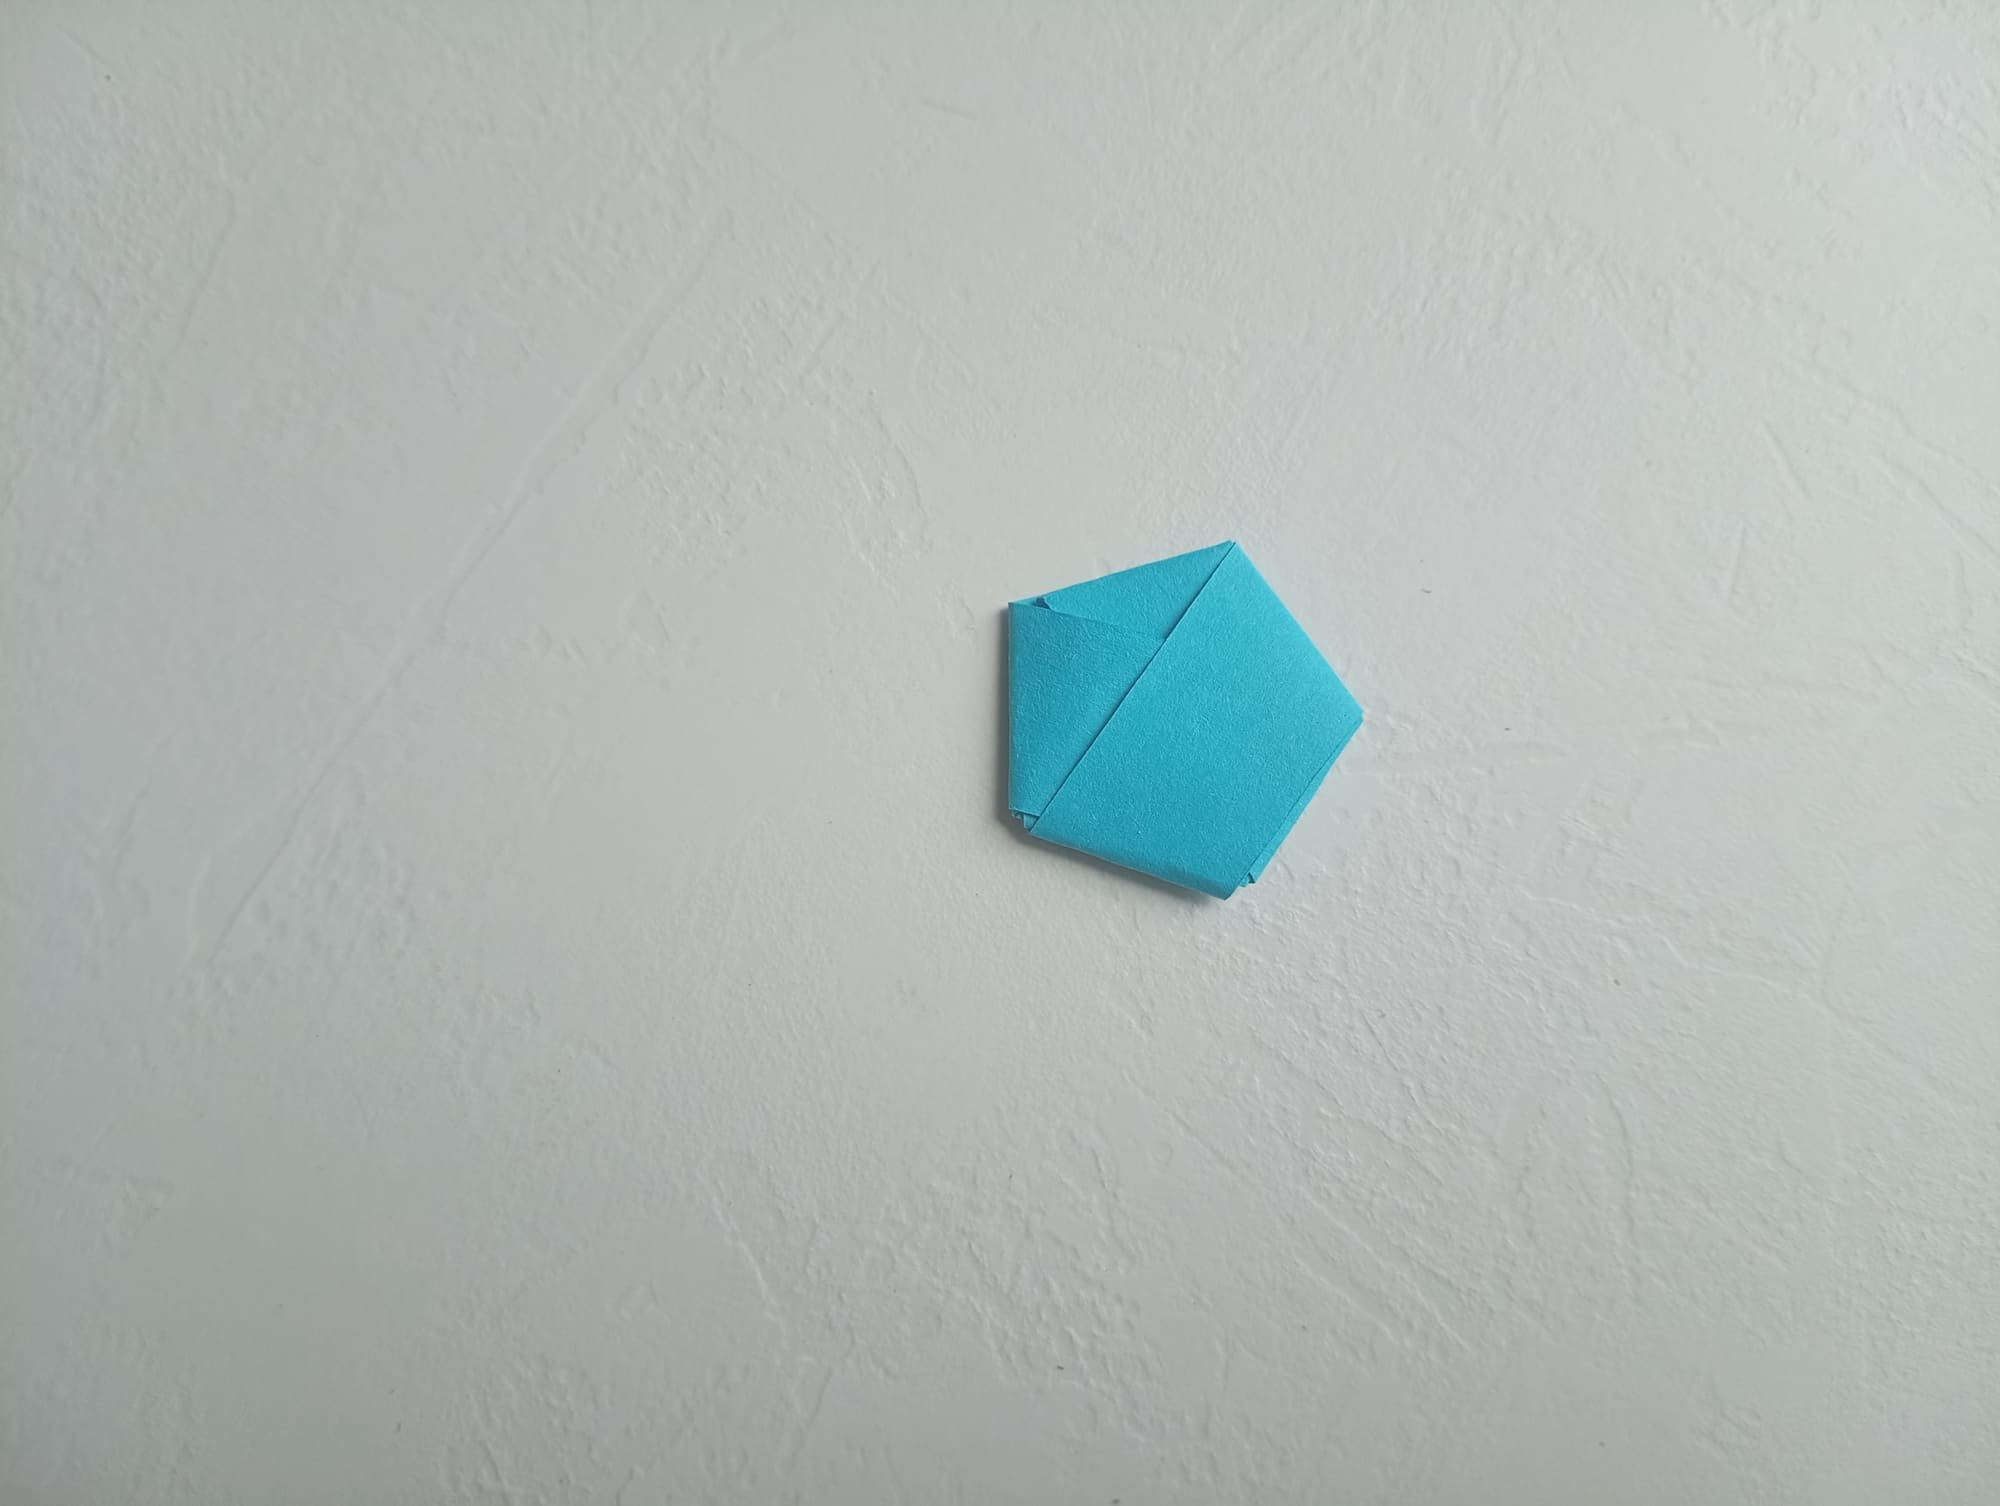
Begin to wrap the star. The first wrap is shown in the photo.
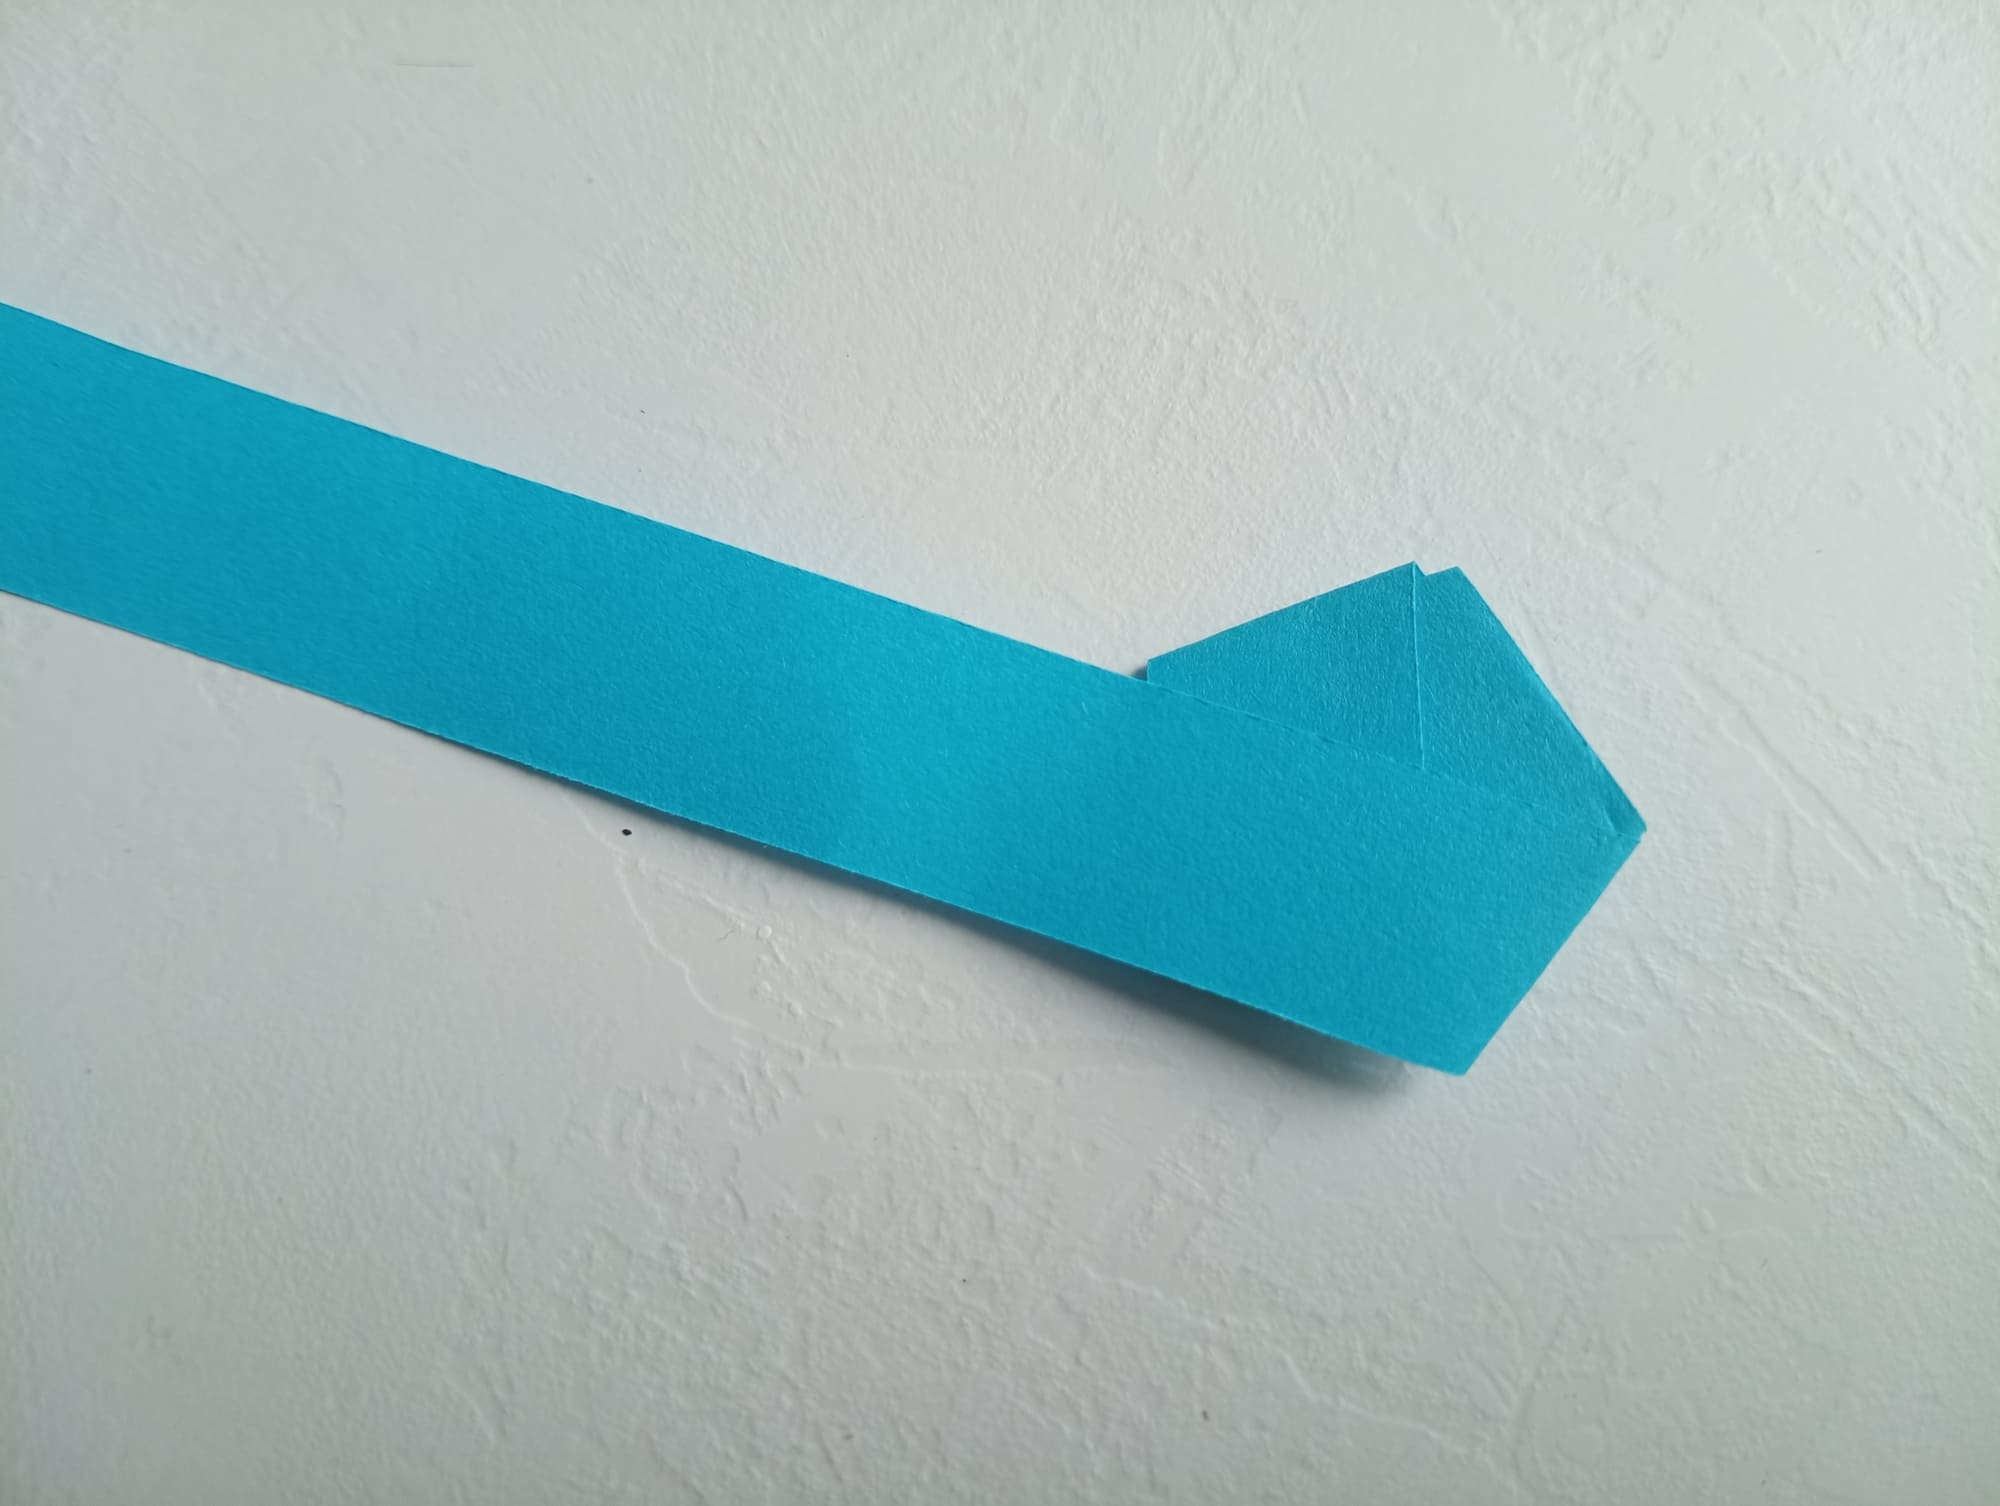
Continue wrapping in this next step.
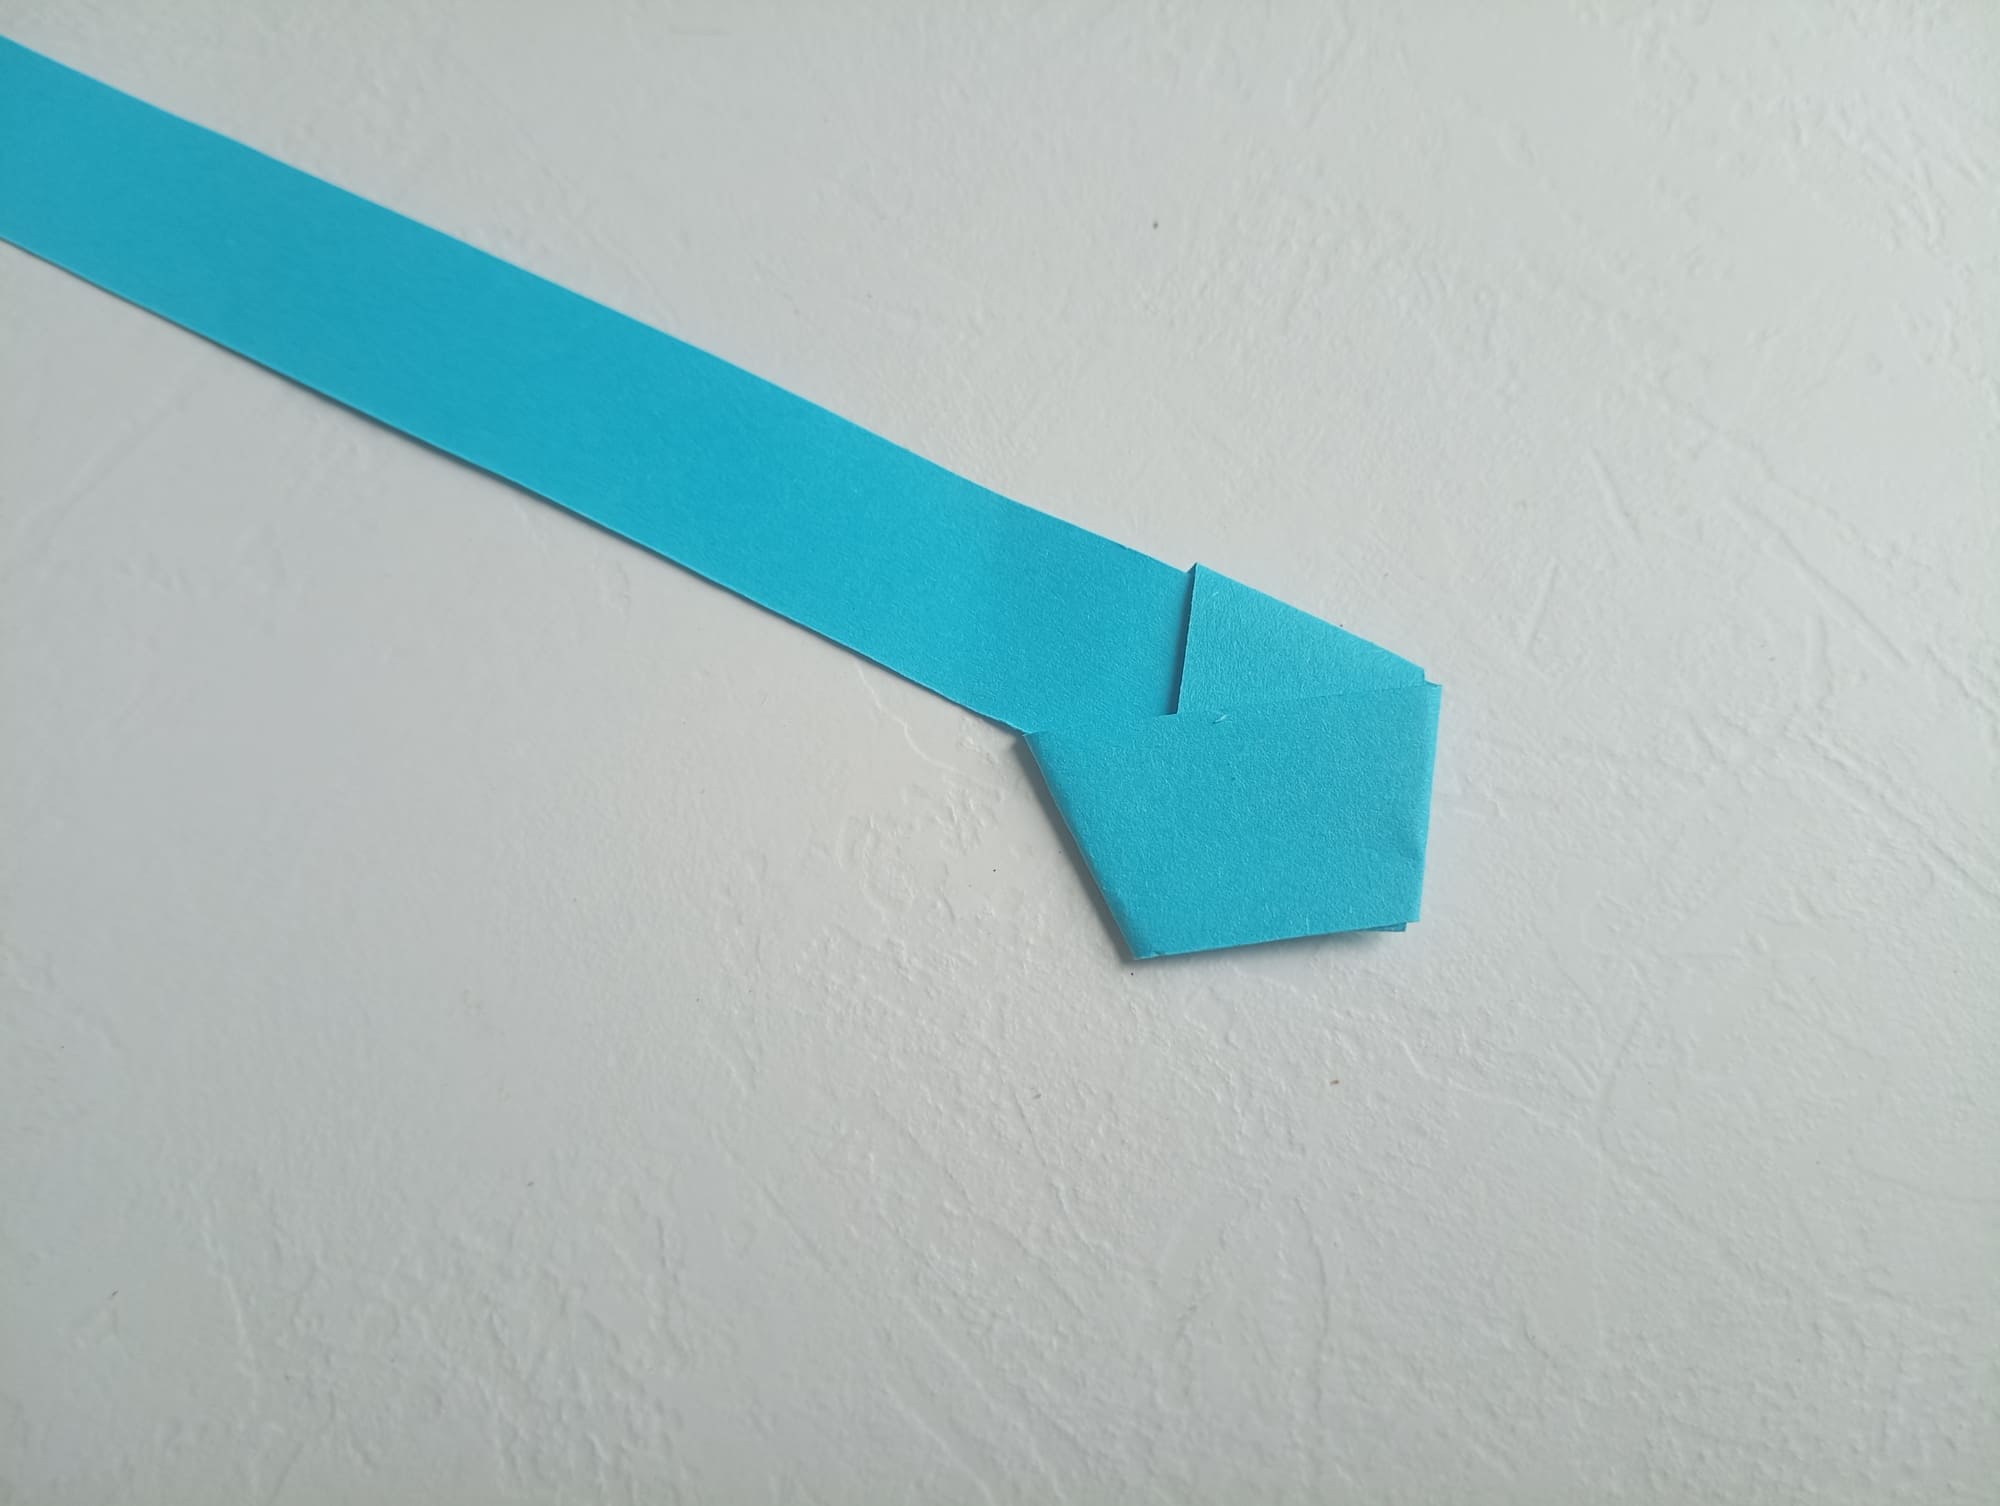
Turn the figure over for the next wrapping move.
Continue wrapping further until the strip runs out. See the sequence in the photo.
The remaining end is also hidden in the valve.
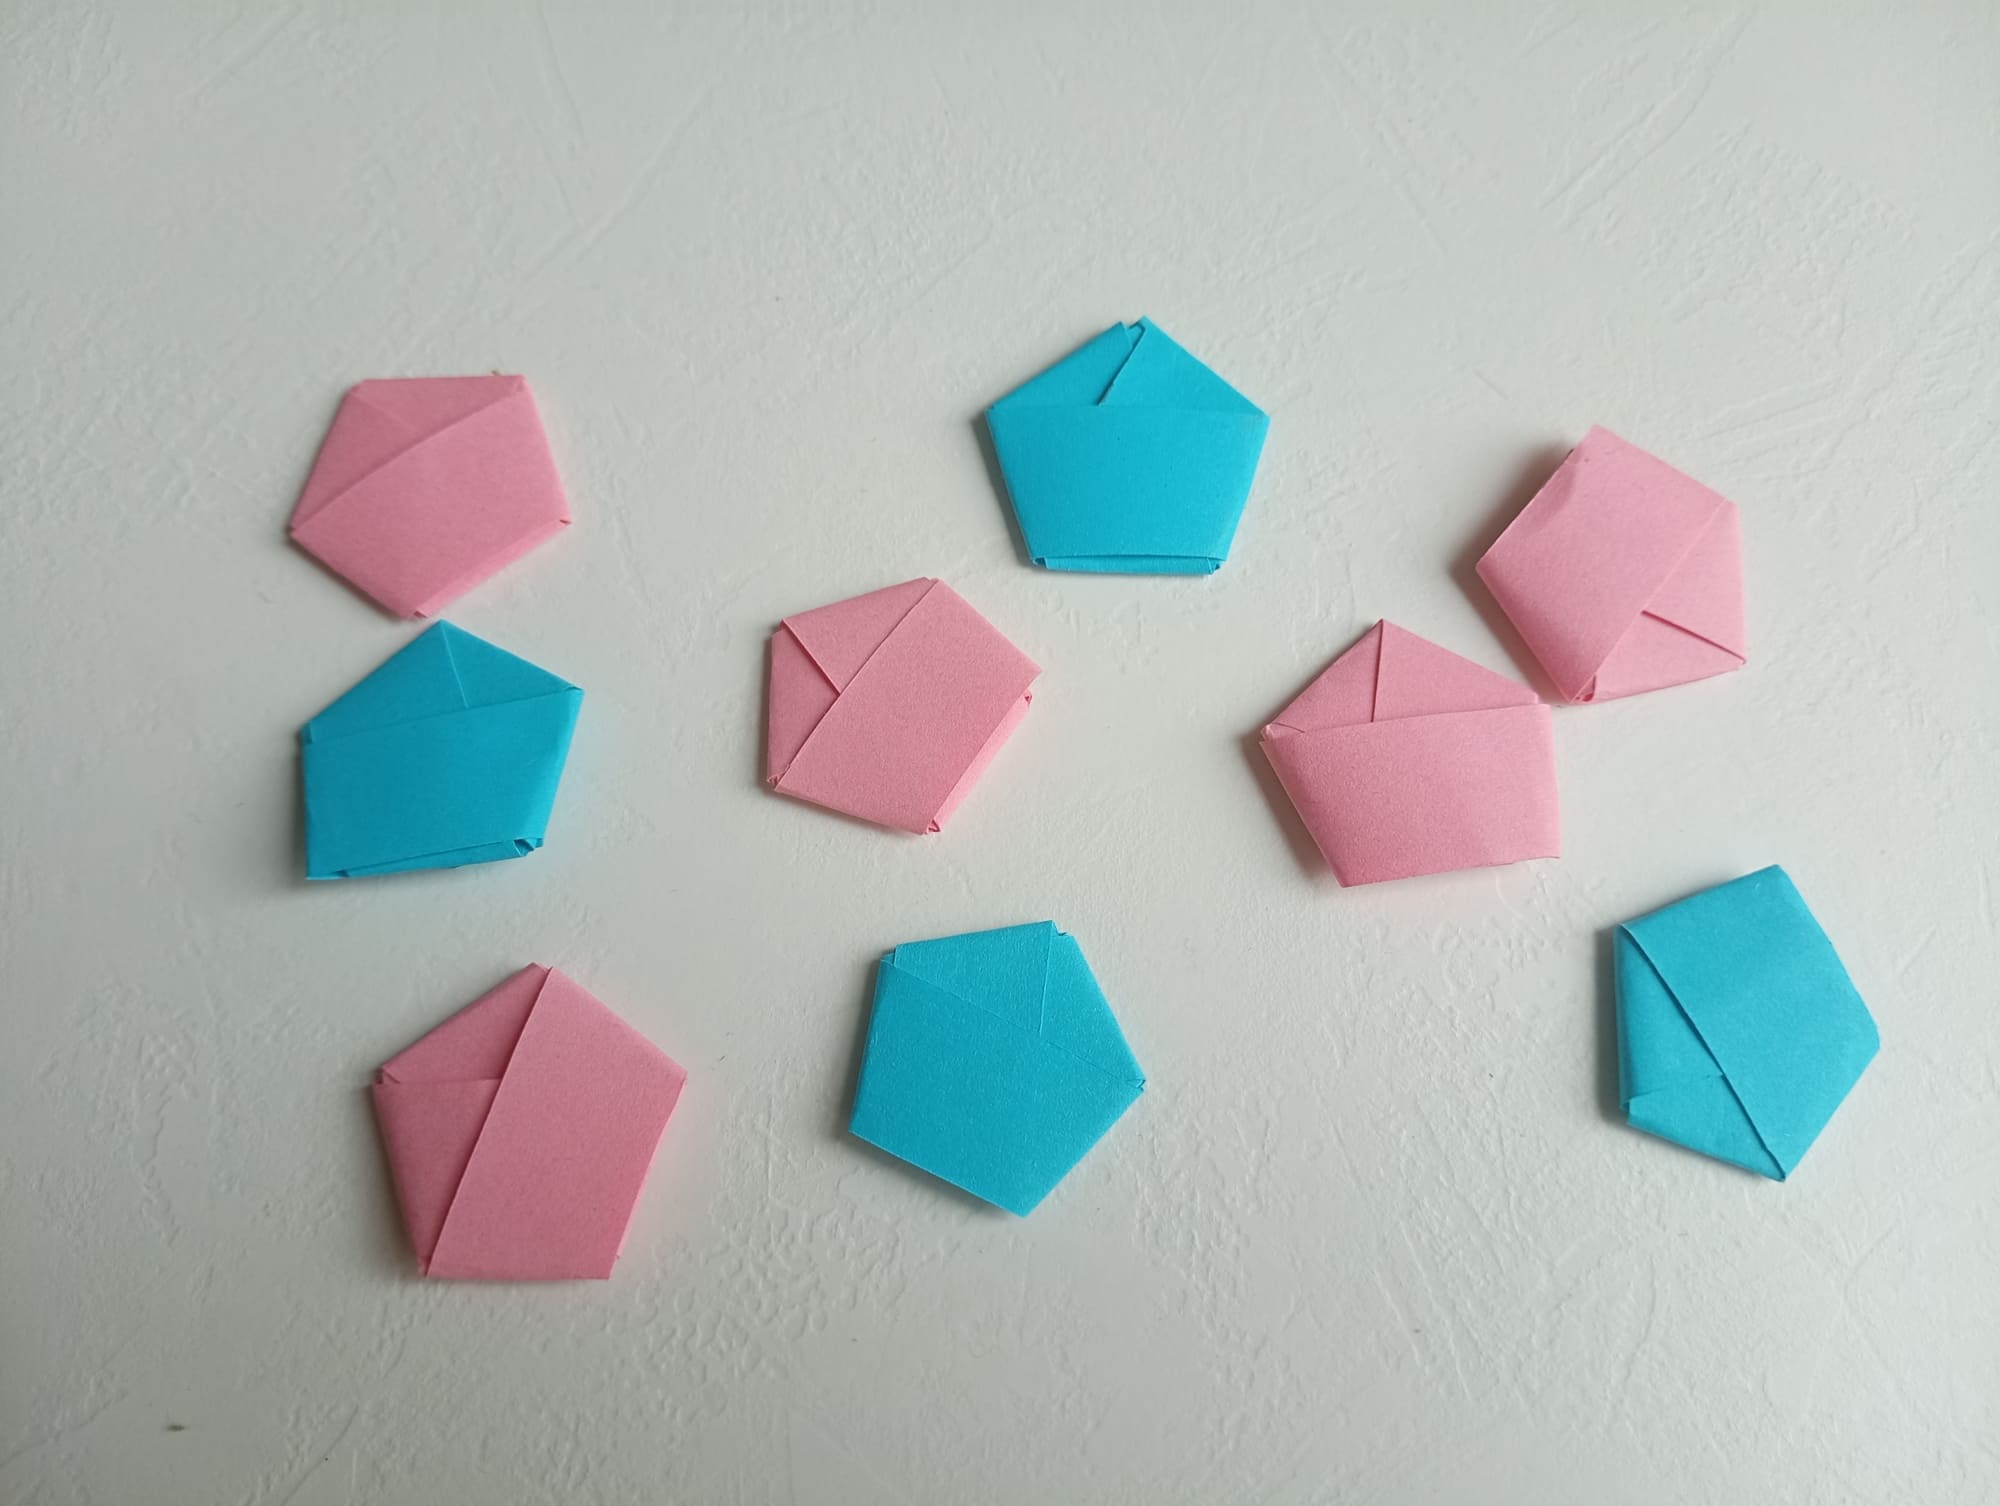
The star is ready.
Continue doing the same for the rest of the strips. Soon there will be a lot of stars, and you can fill the container of the desired size with them. Multi-colored stars look interesting and bright. Monochromatic figures are good for decorating in the desired style. For example, blue for a marine theme, and purple for a night one. Good luck with the master class!


