Origami Magic Rose Cube
This origami paper figure will be not only a wonderful gift for your loved ones but also a great decoration for your table. Choose paper of any color, because the more saturated and interesting the print, the brighter this unusual product will turn out!
Magic Rose Cube is a rather complicated figure, so be patient and take your time. You will need to make two basic blocks – petals and leaves.
We will start, of course, with the petals. For this figure, we will need three such elements, from which we will form a rose.
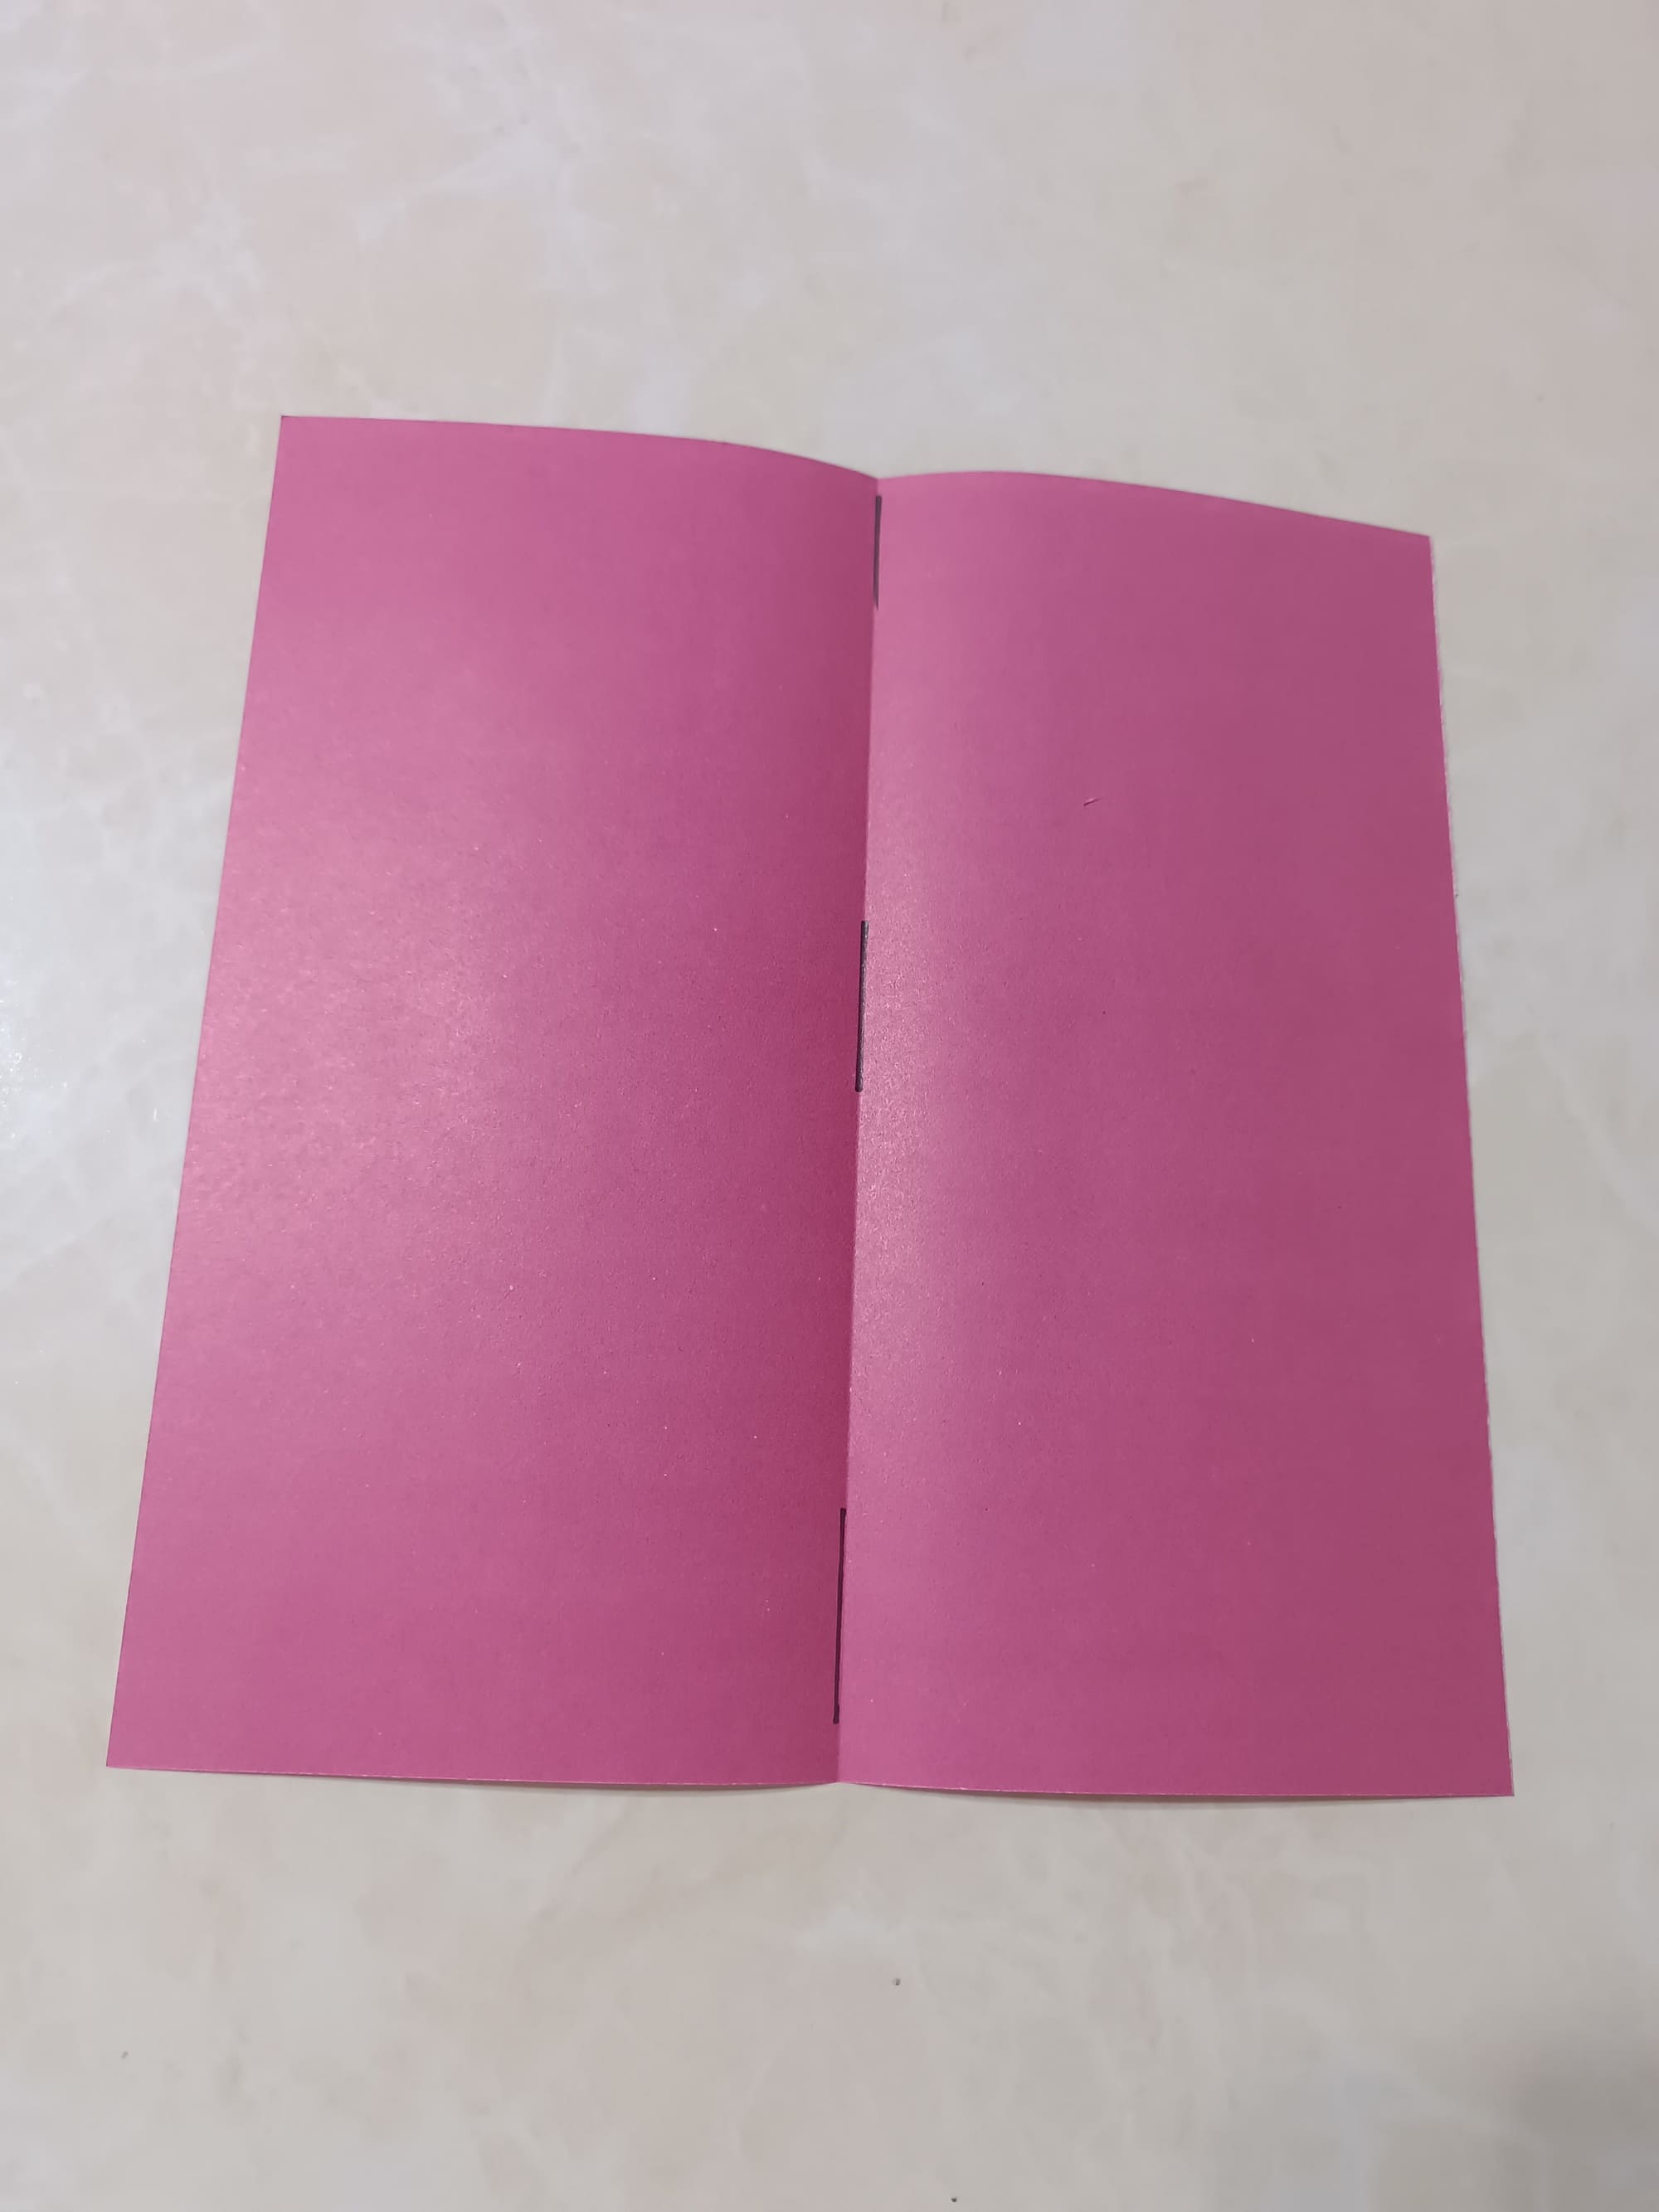
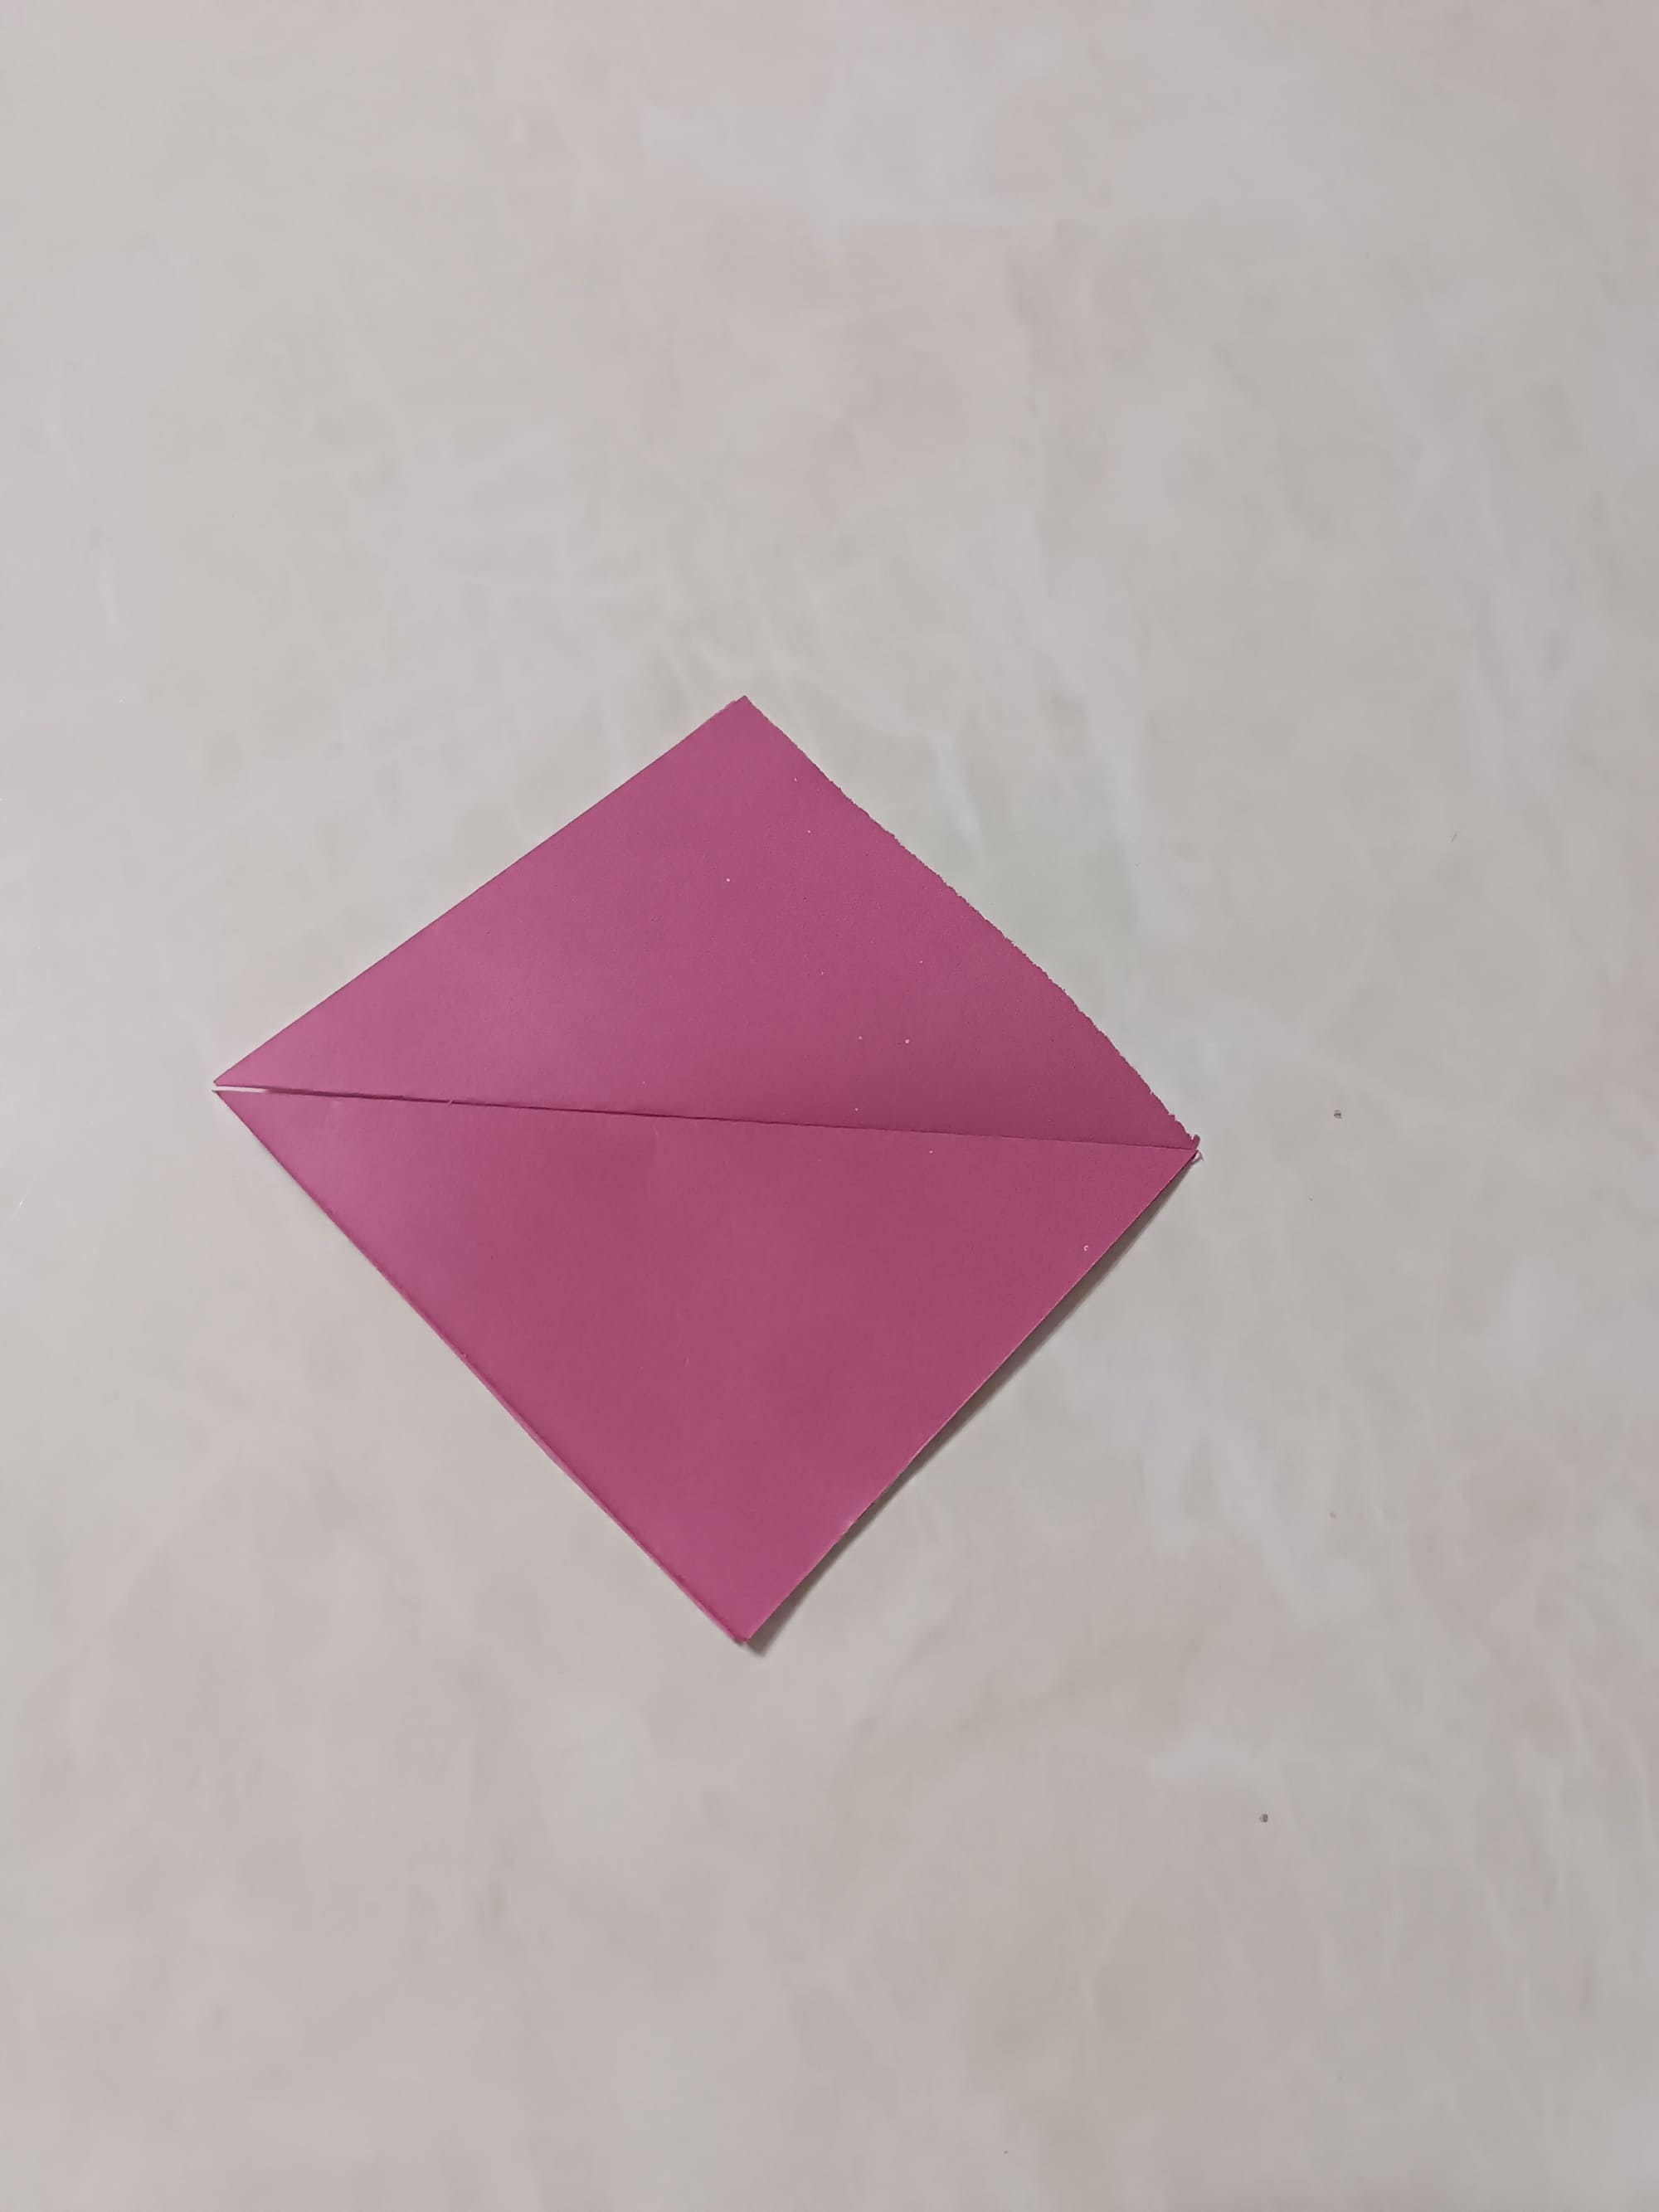
Start with a 15 x 15 cm square origami paper, putting it with the colored side down. Fold the paper in half along the vertical axis. Fold it well and unfold it.
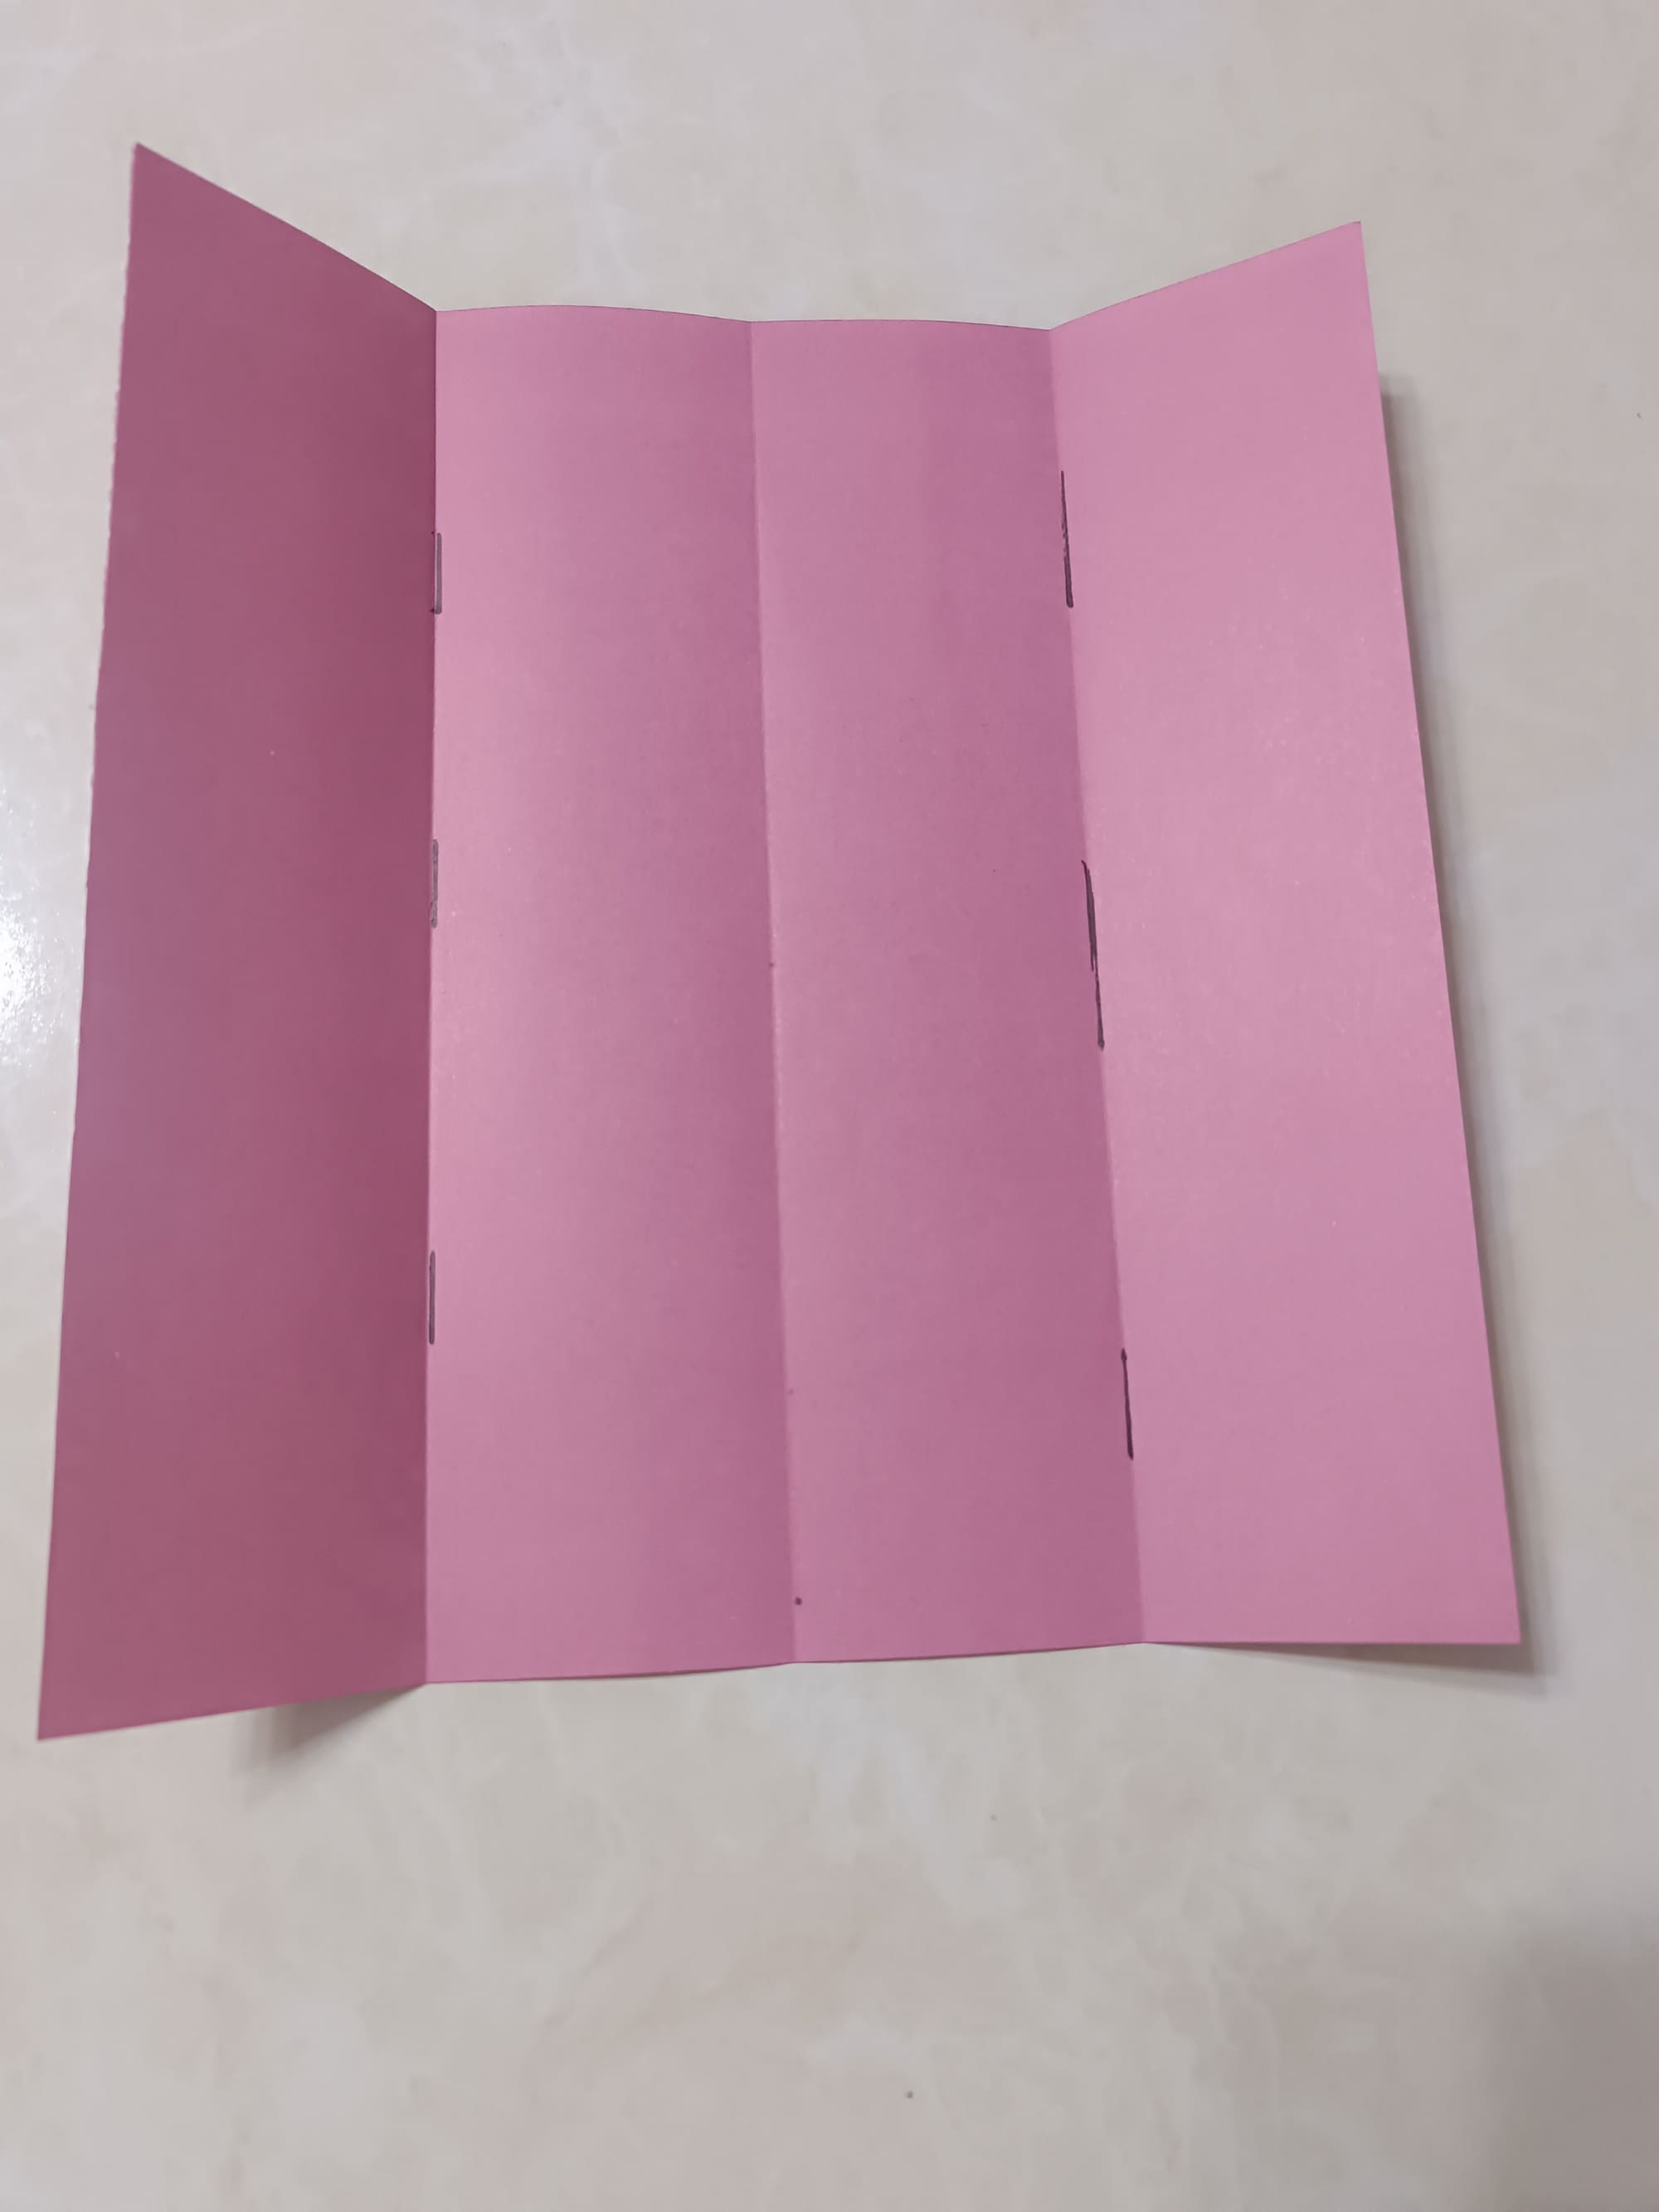
Now fold both sides so that they come together in the center. Again, fold and unfold well.
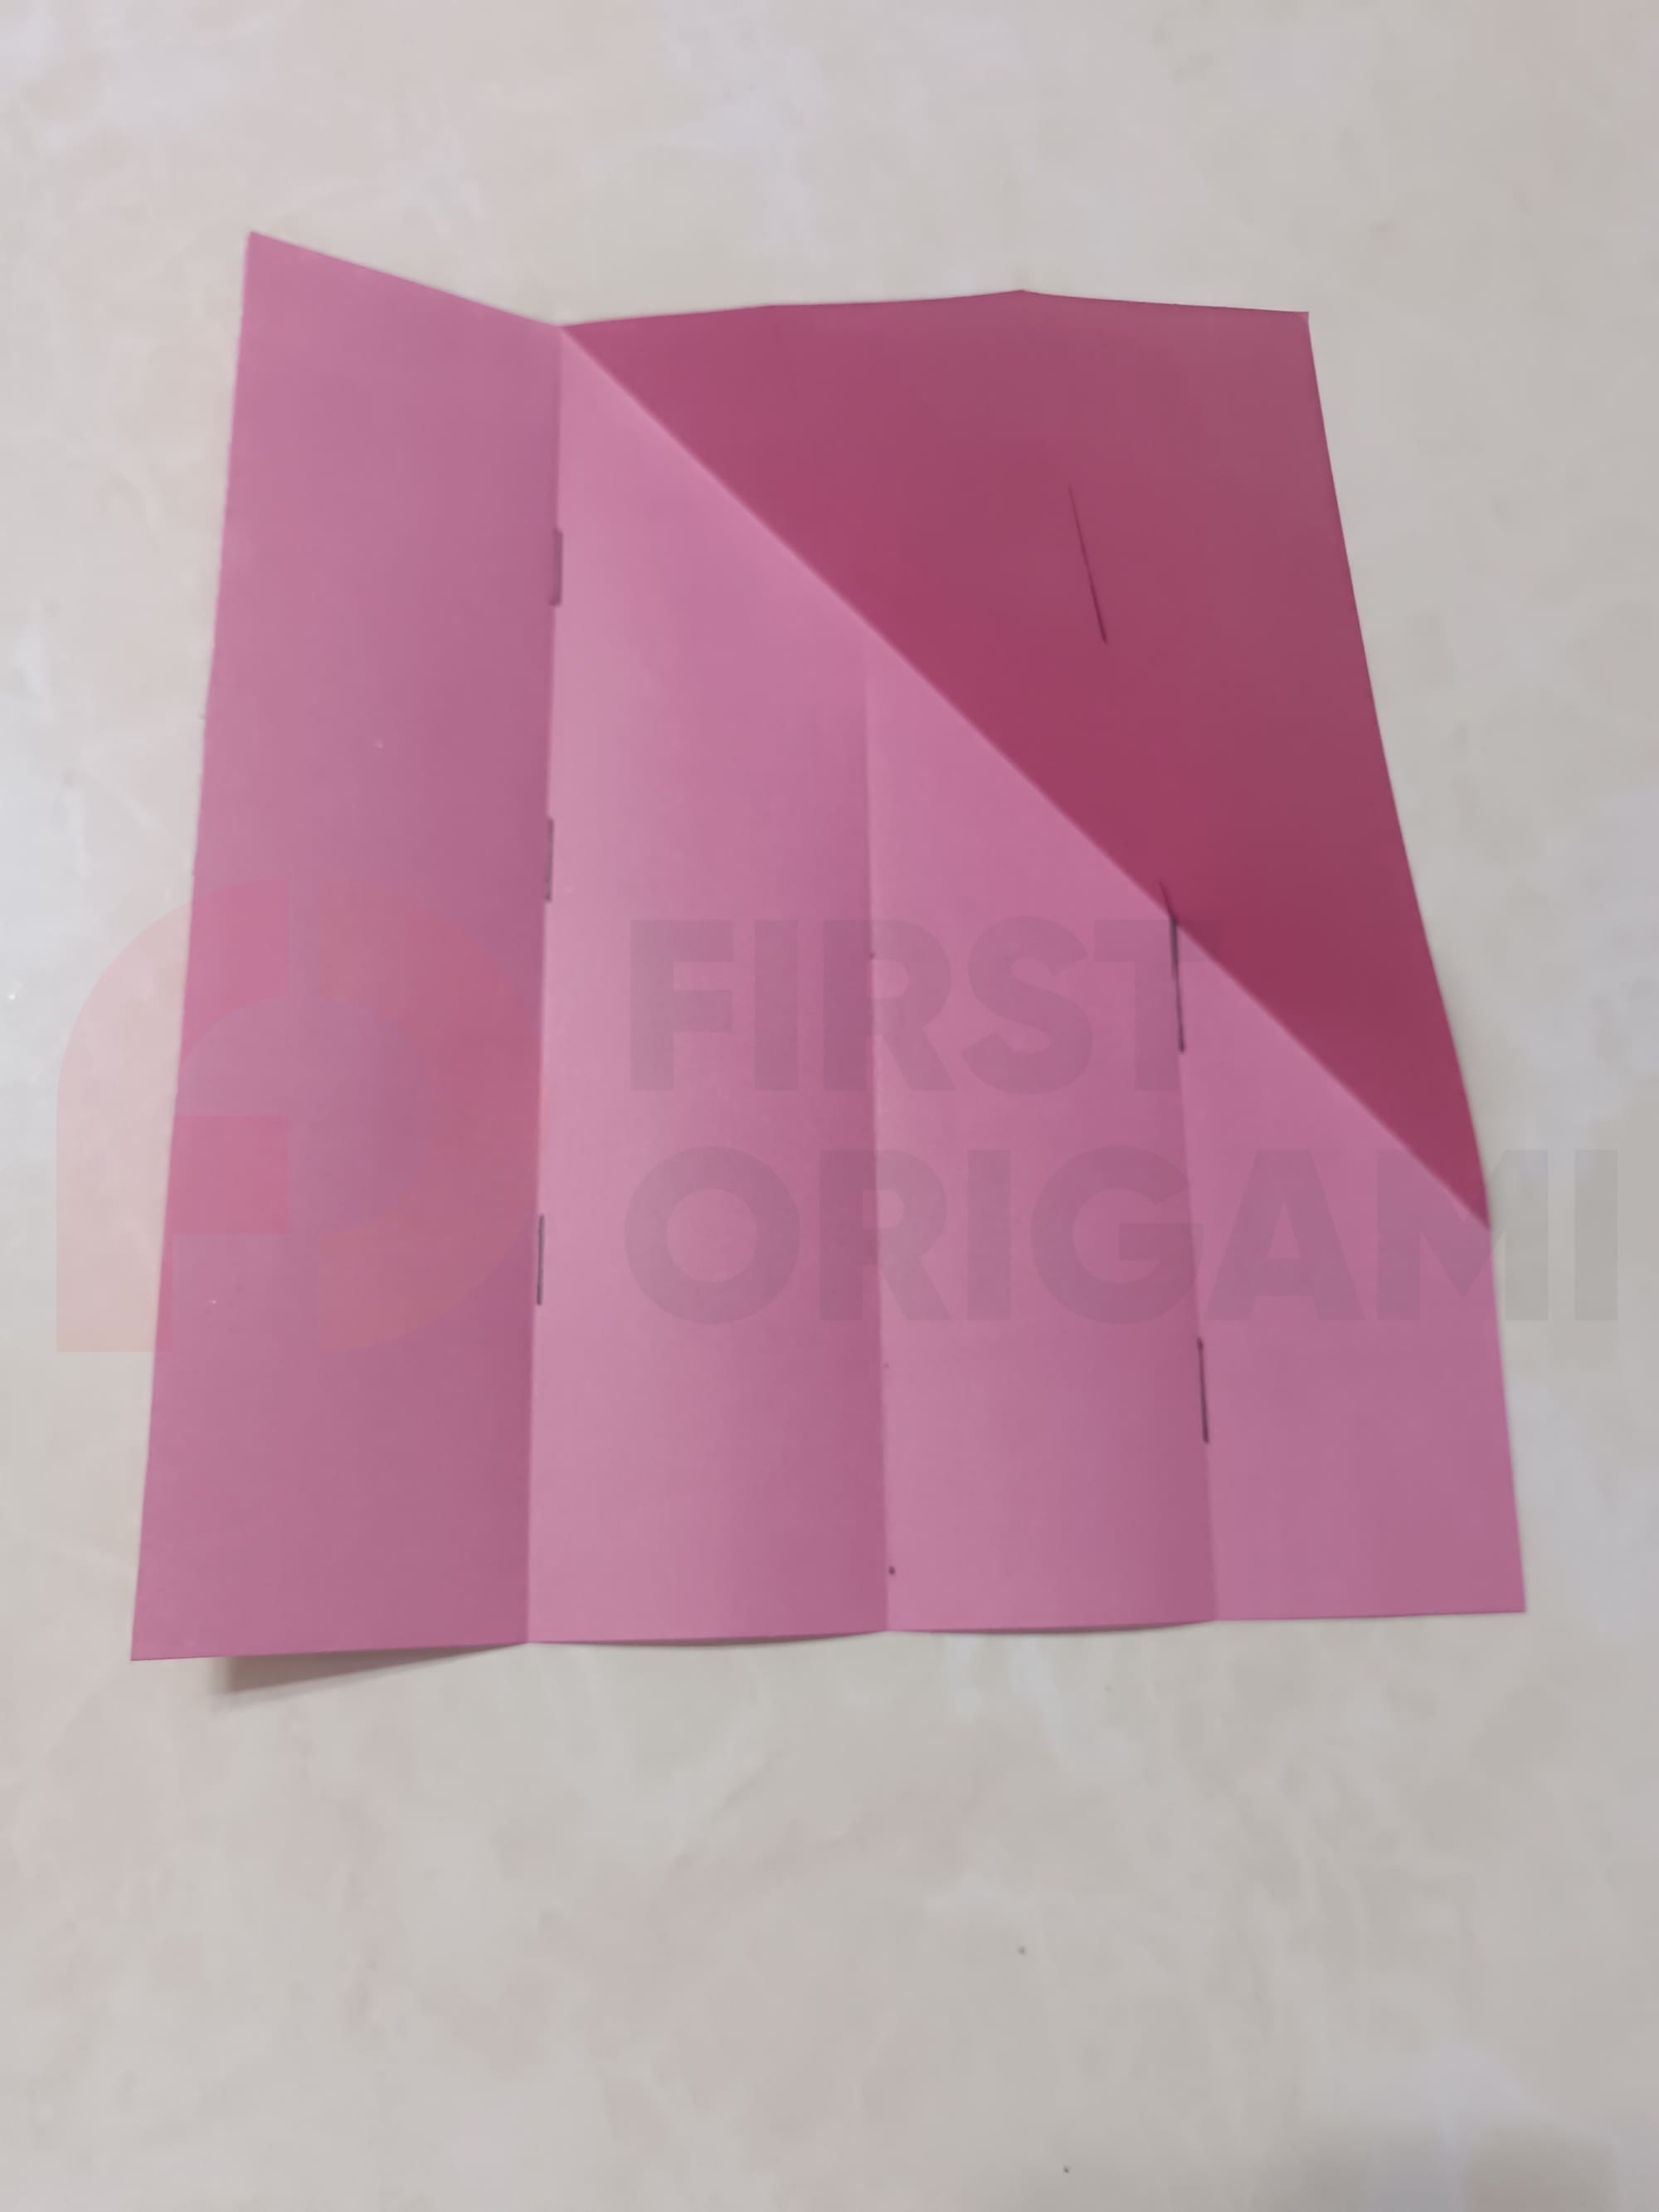
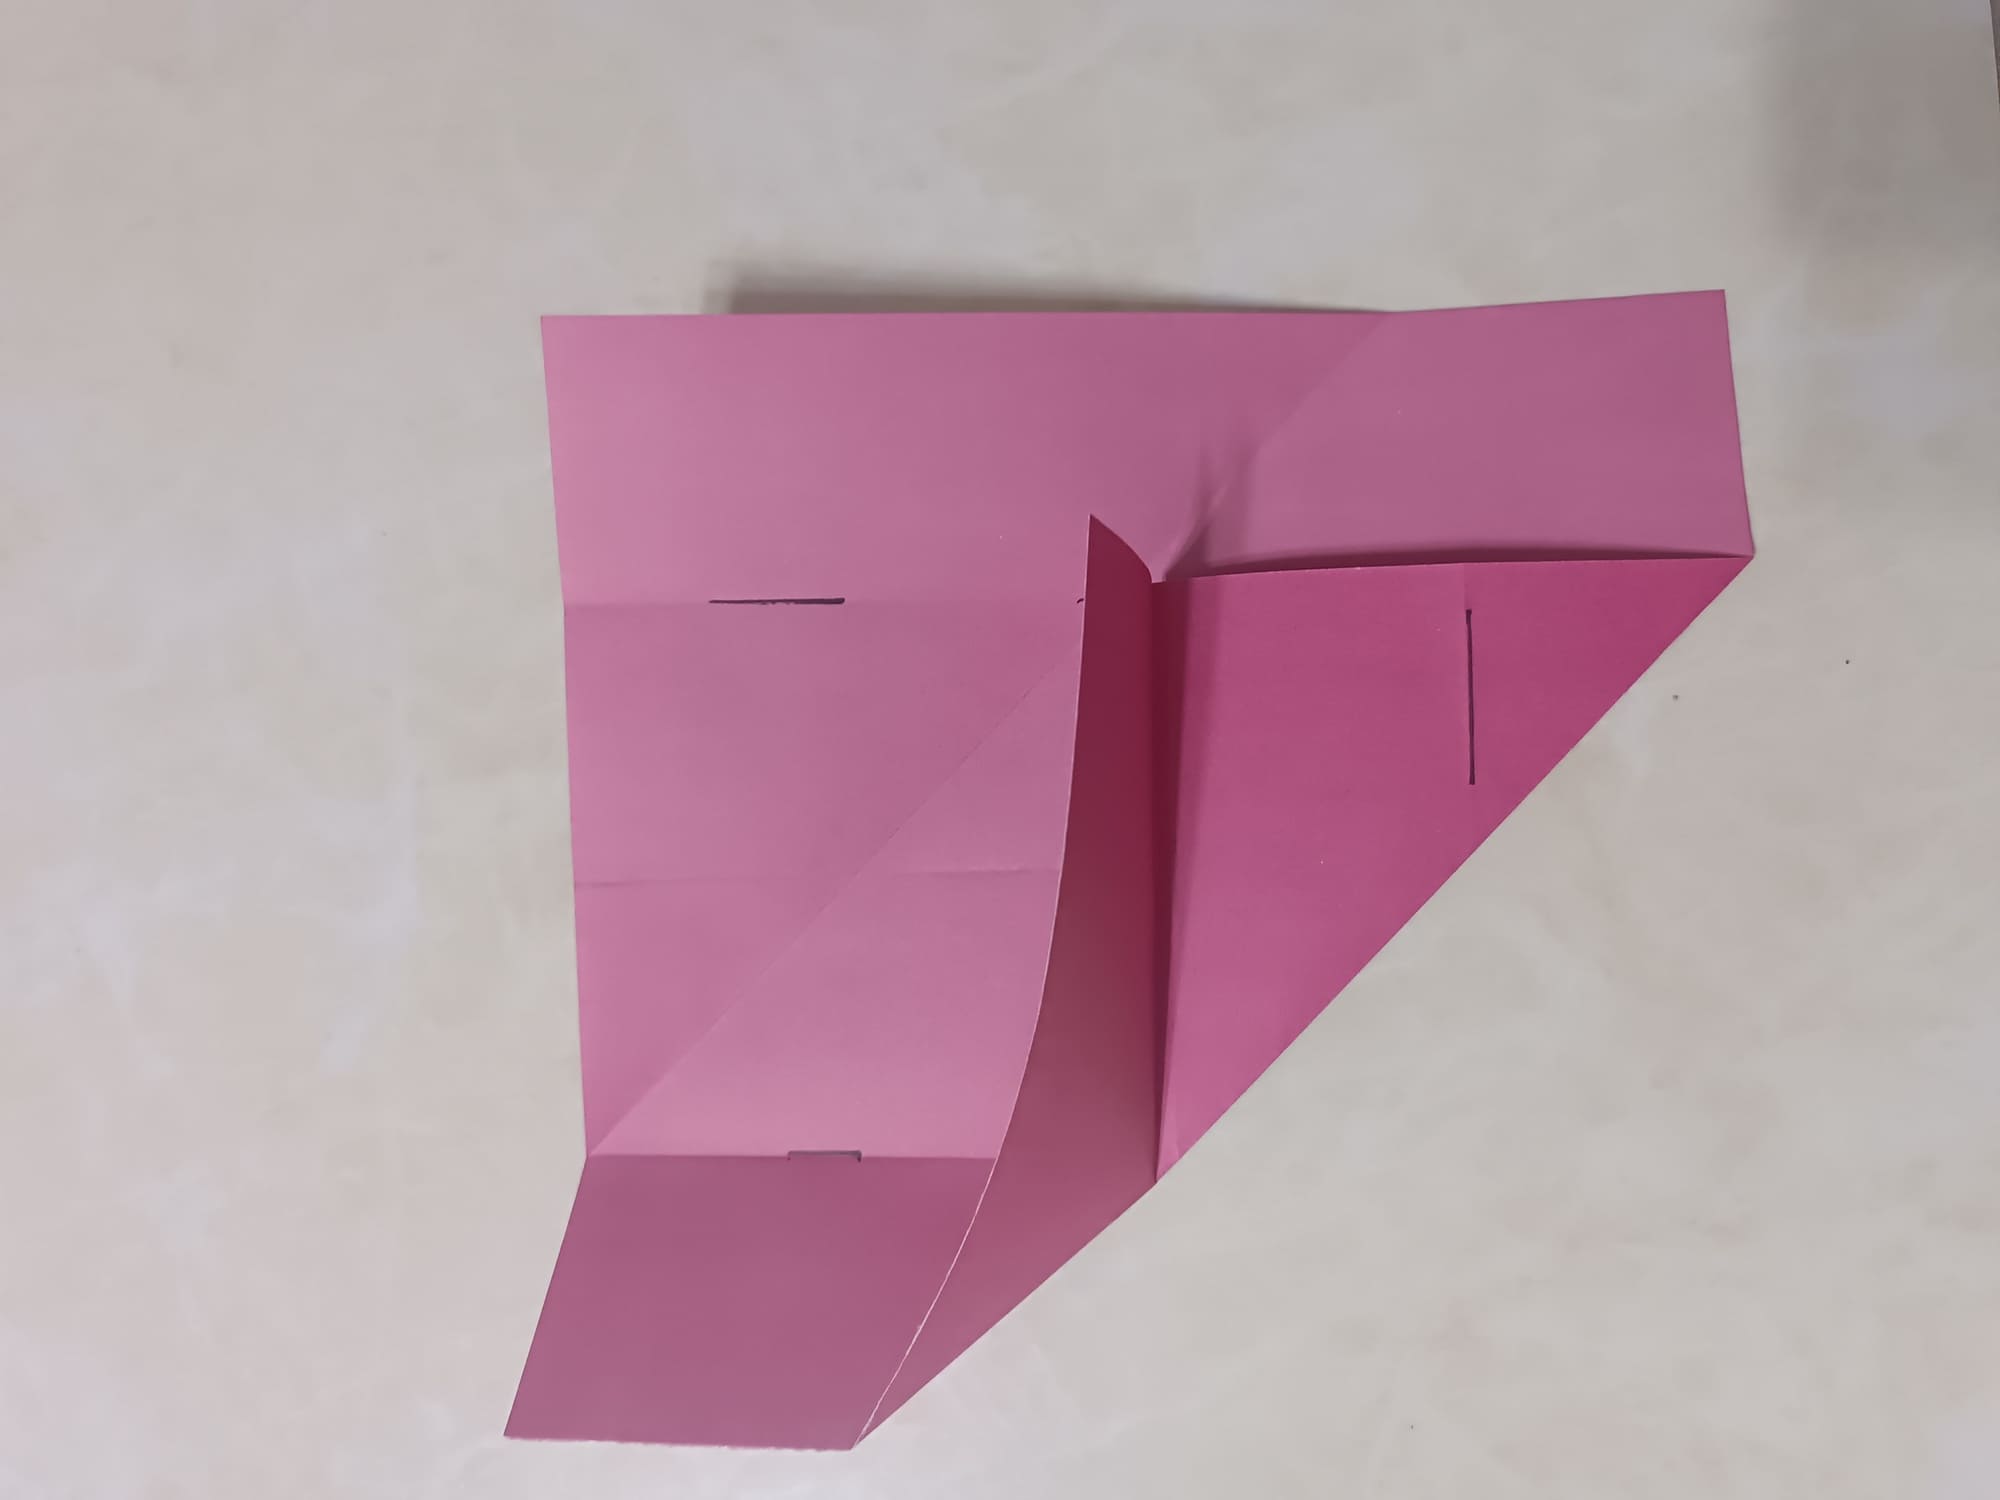
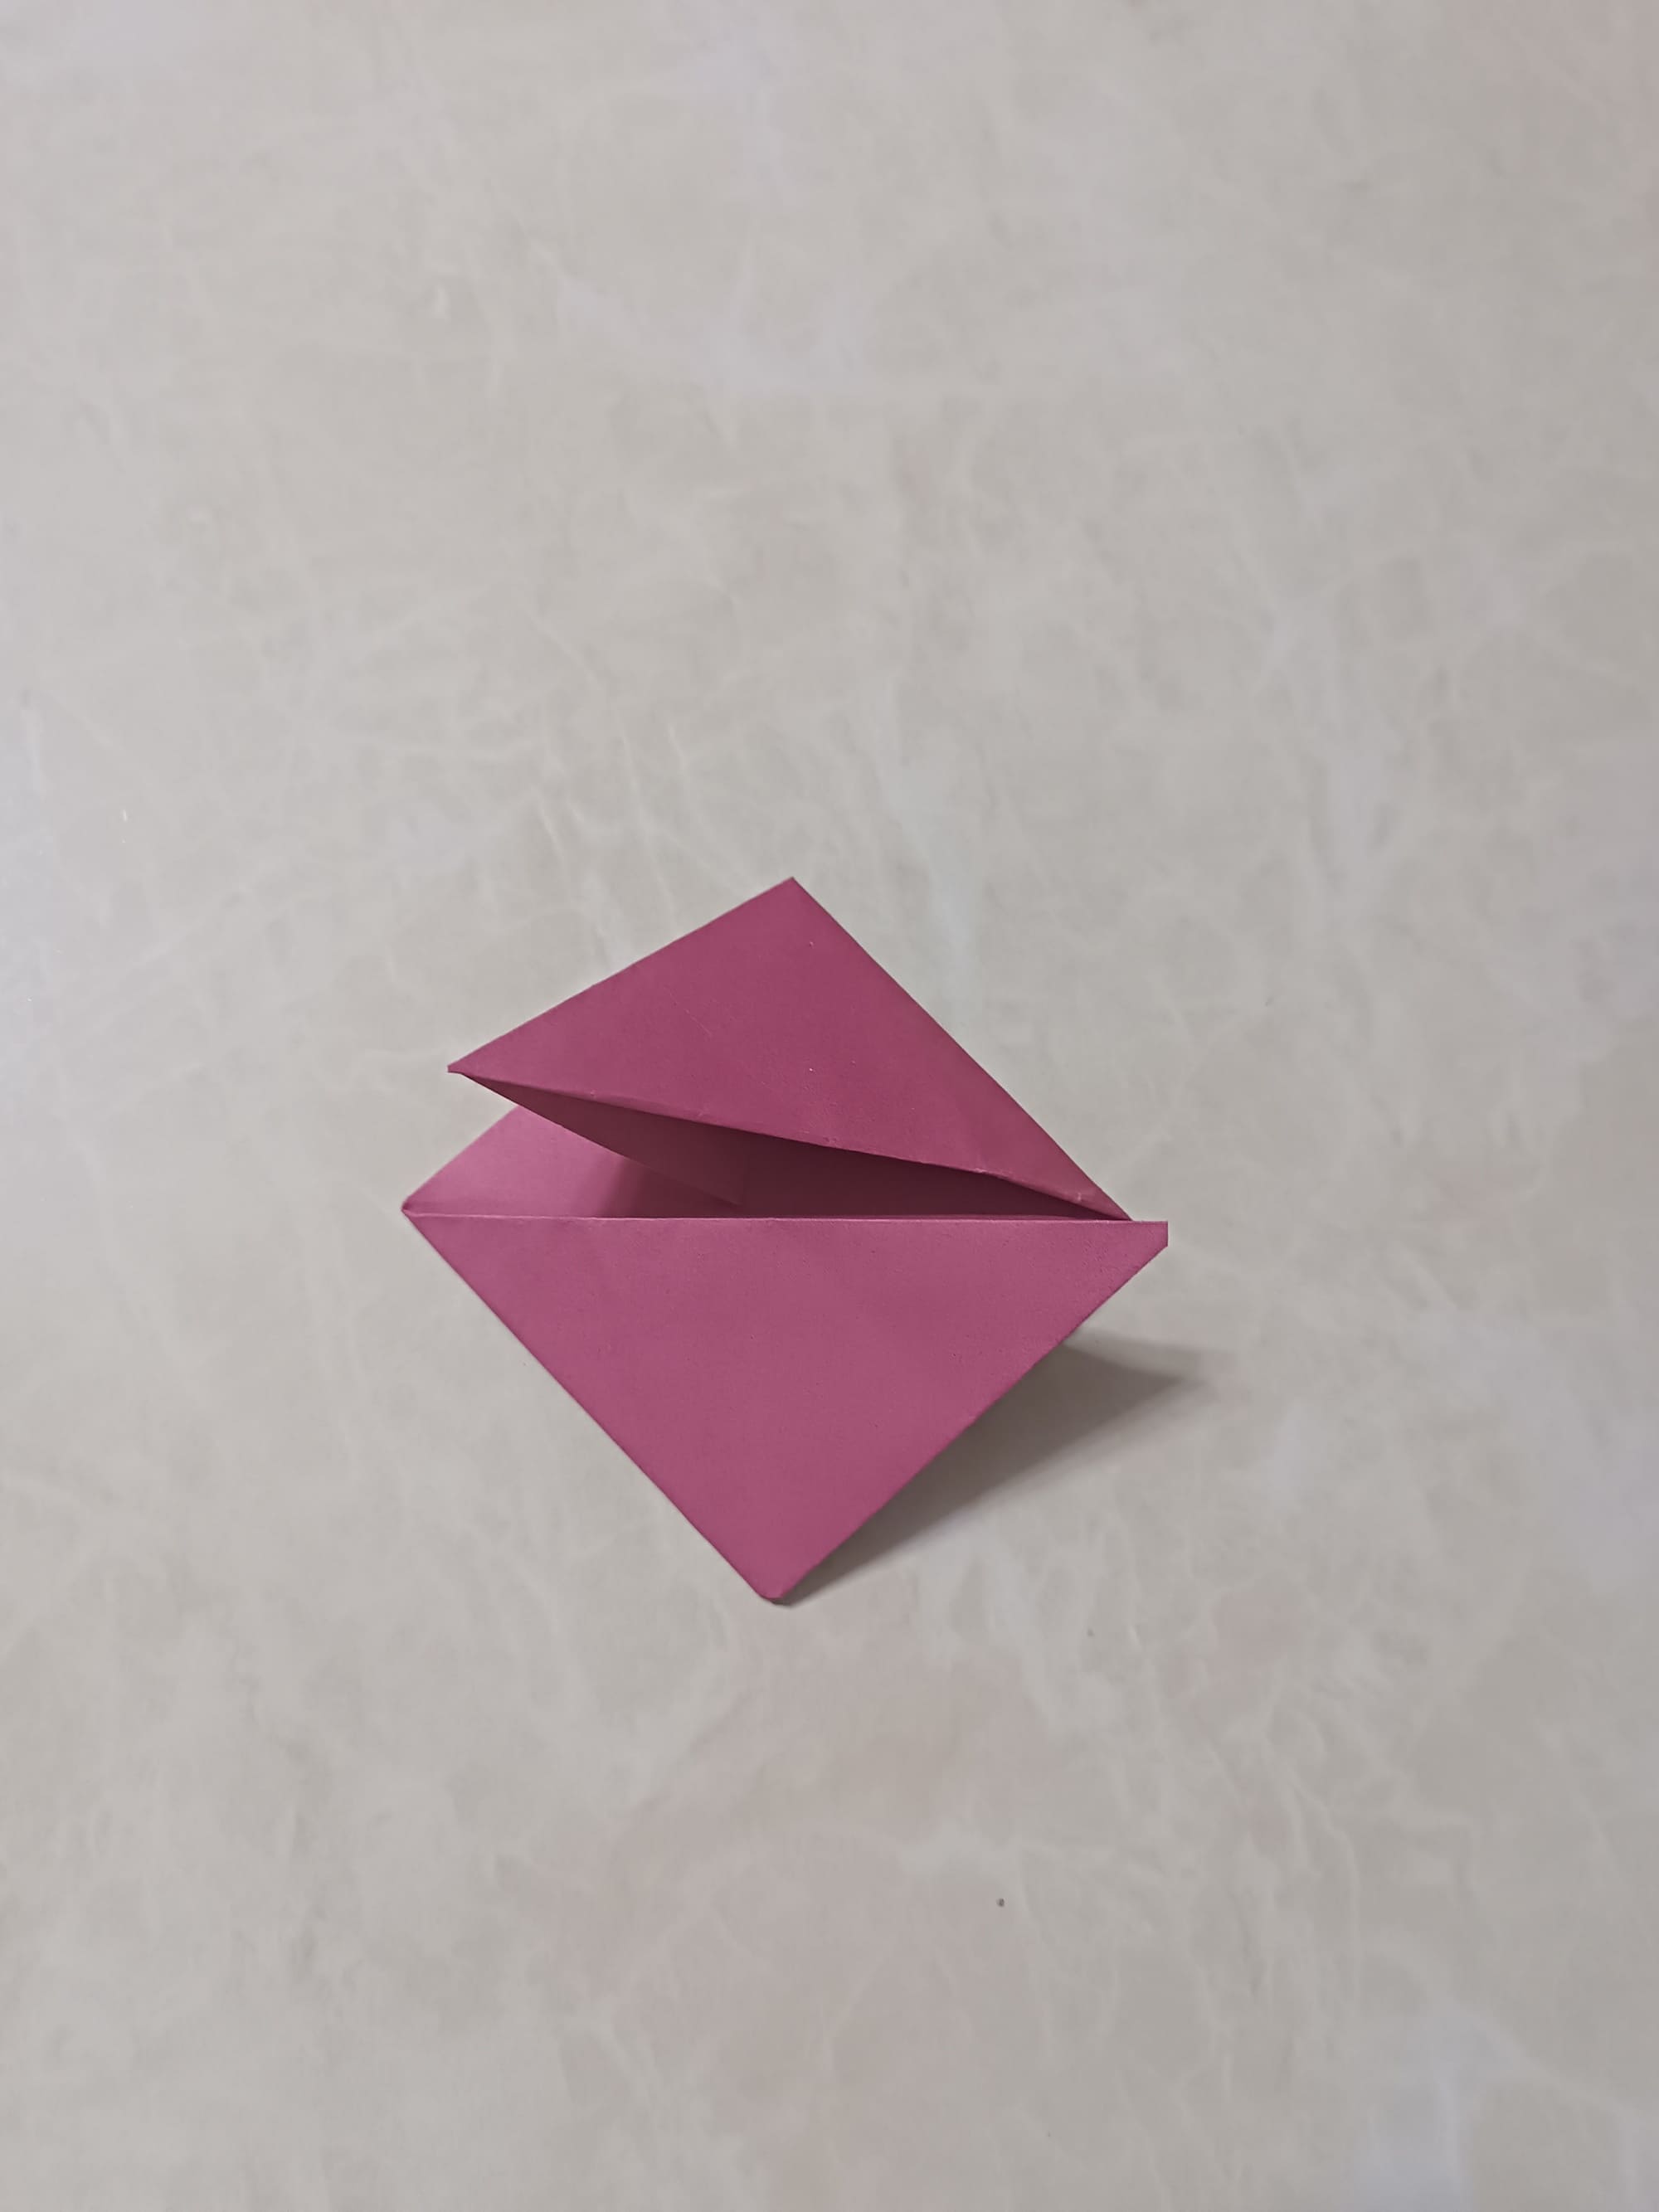
Fold the sheet as shown in the photo.
Pay attention to the folds and then unfold the sheet again.
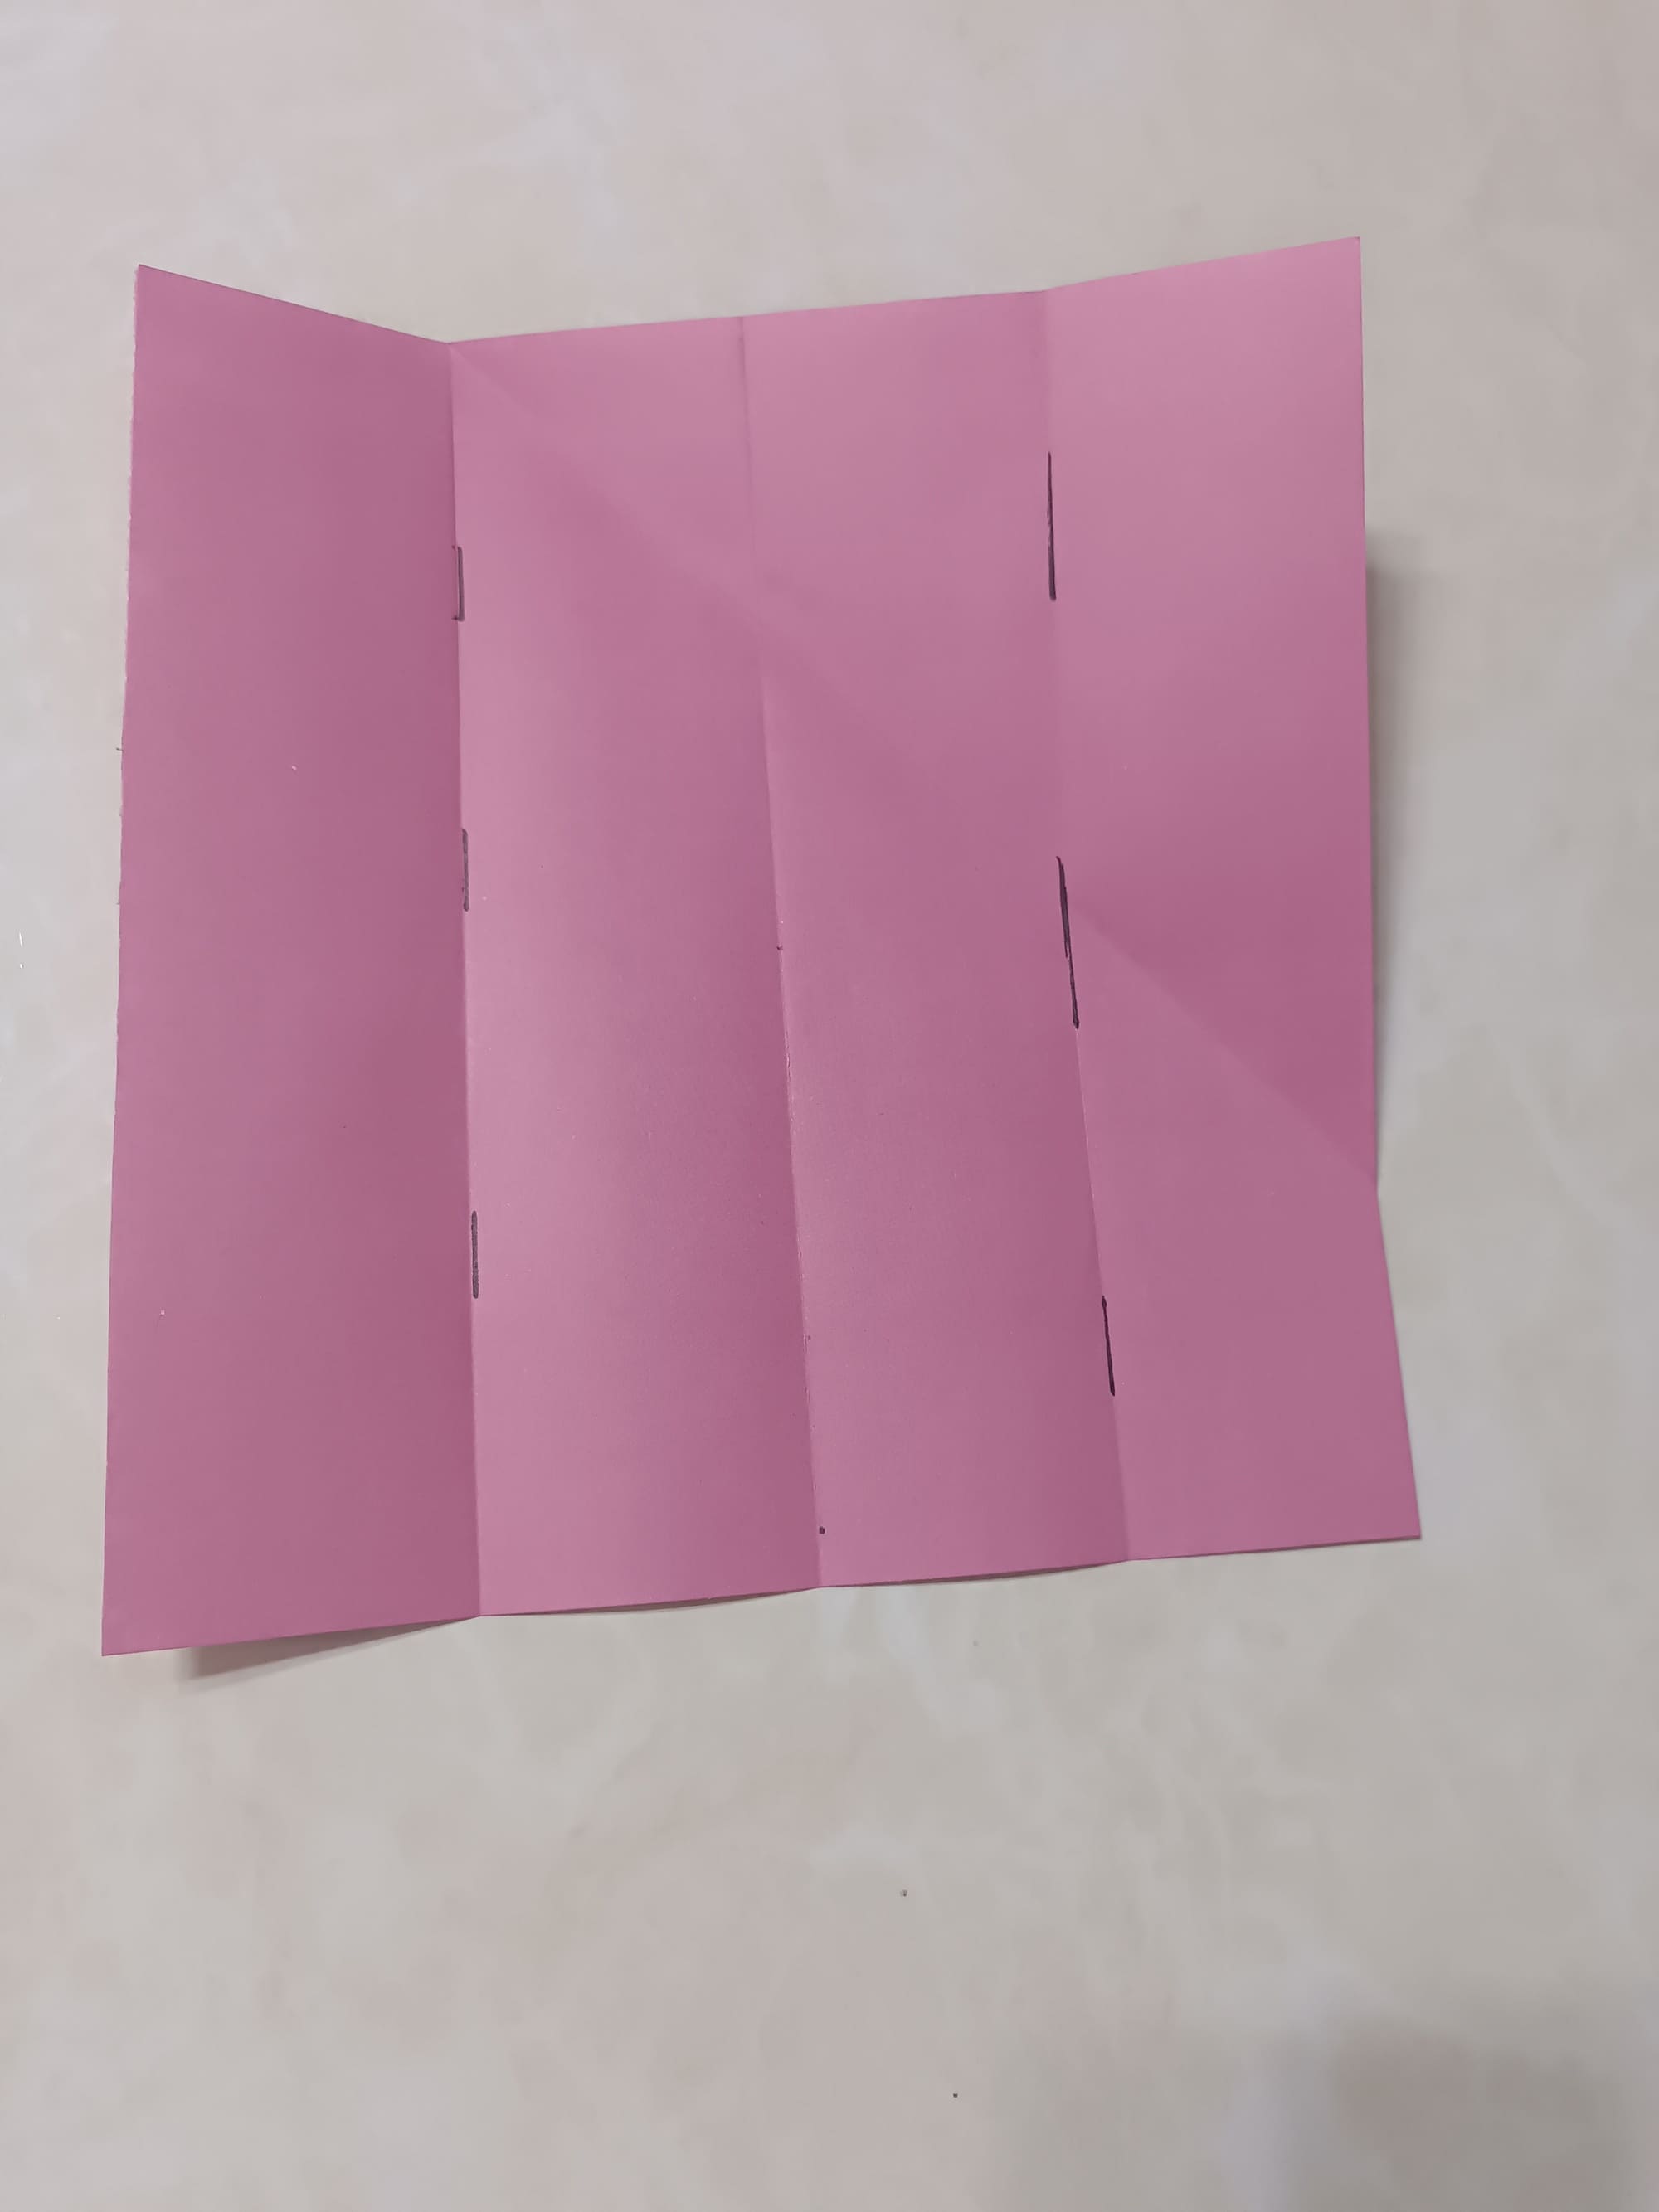
Fold the sheet as shown in the photo.
Again, carefully unfold it.

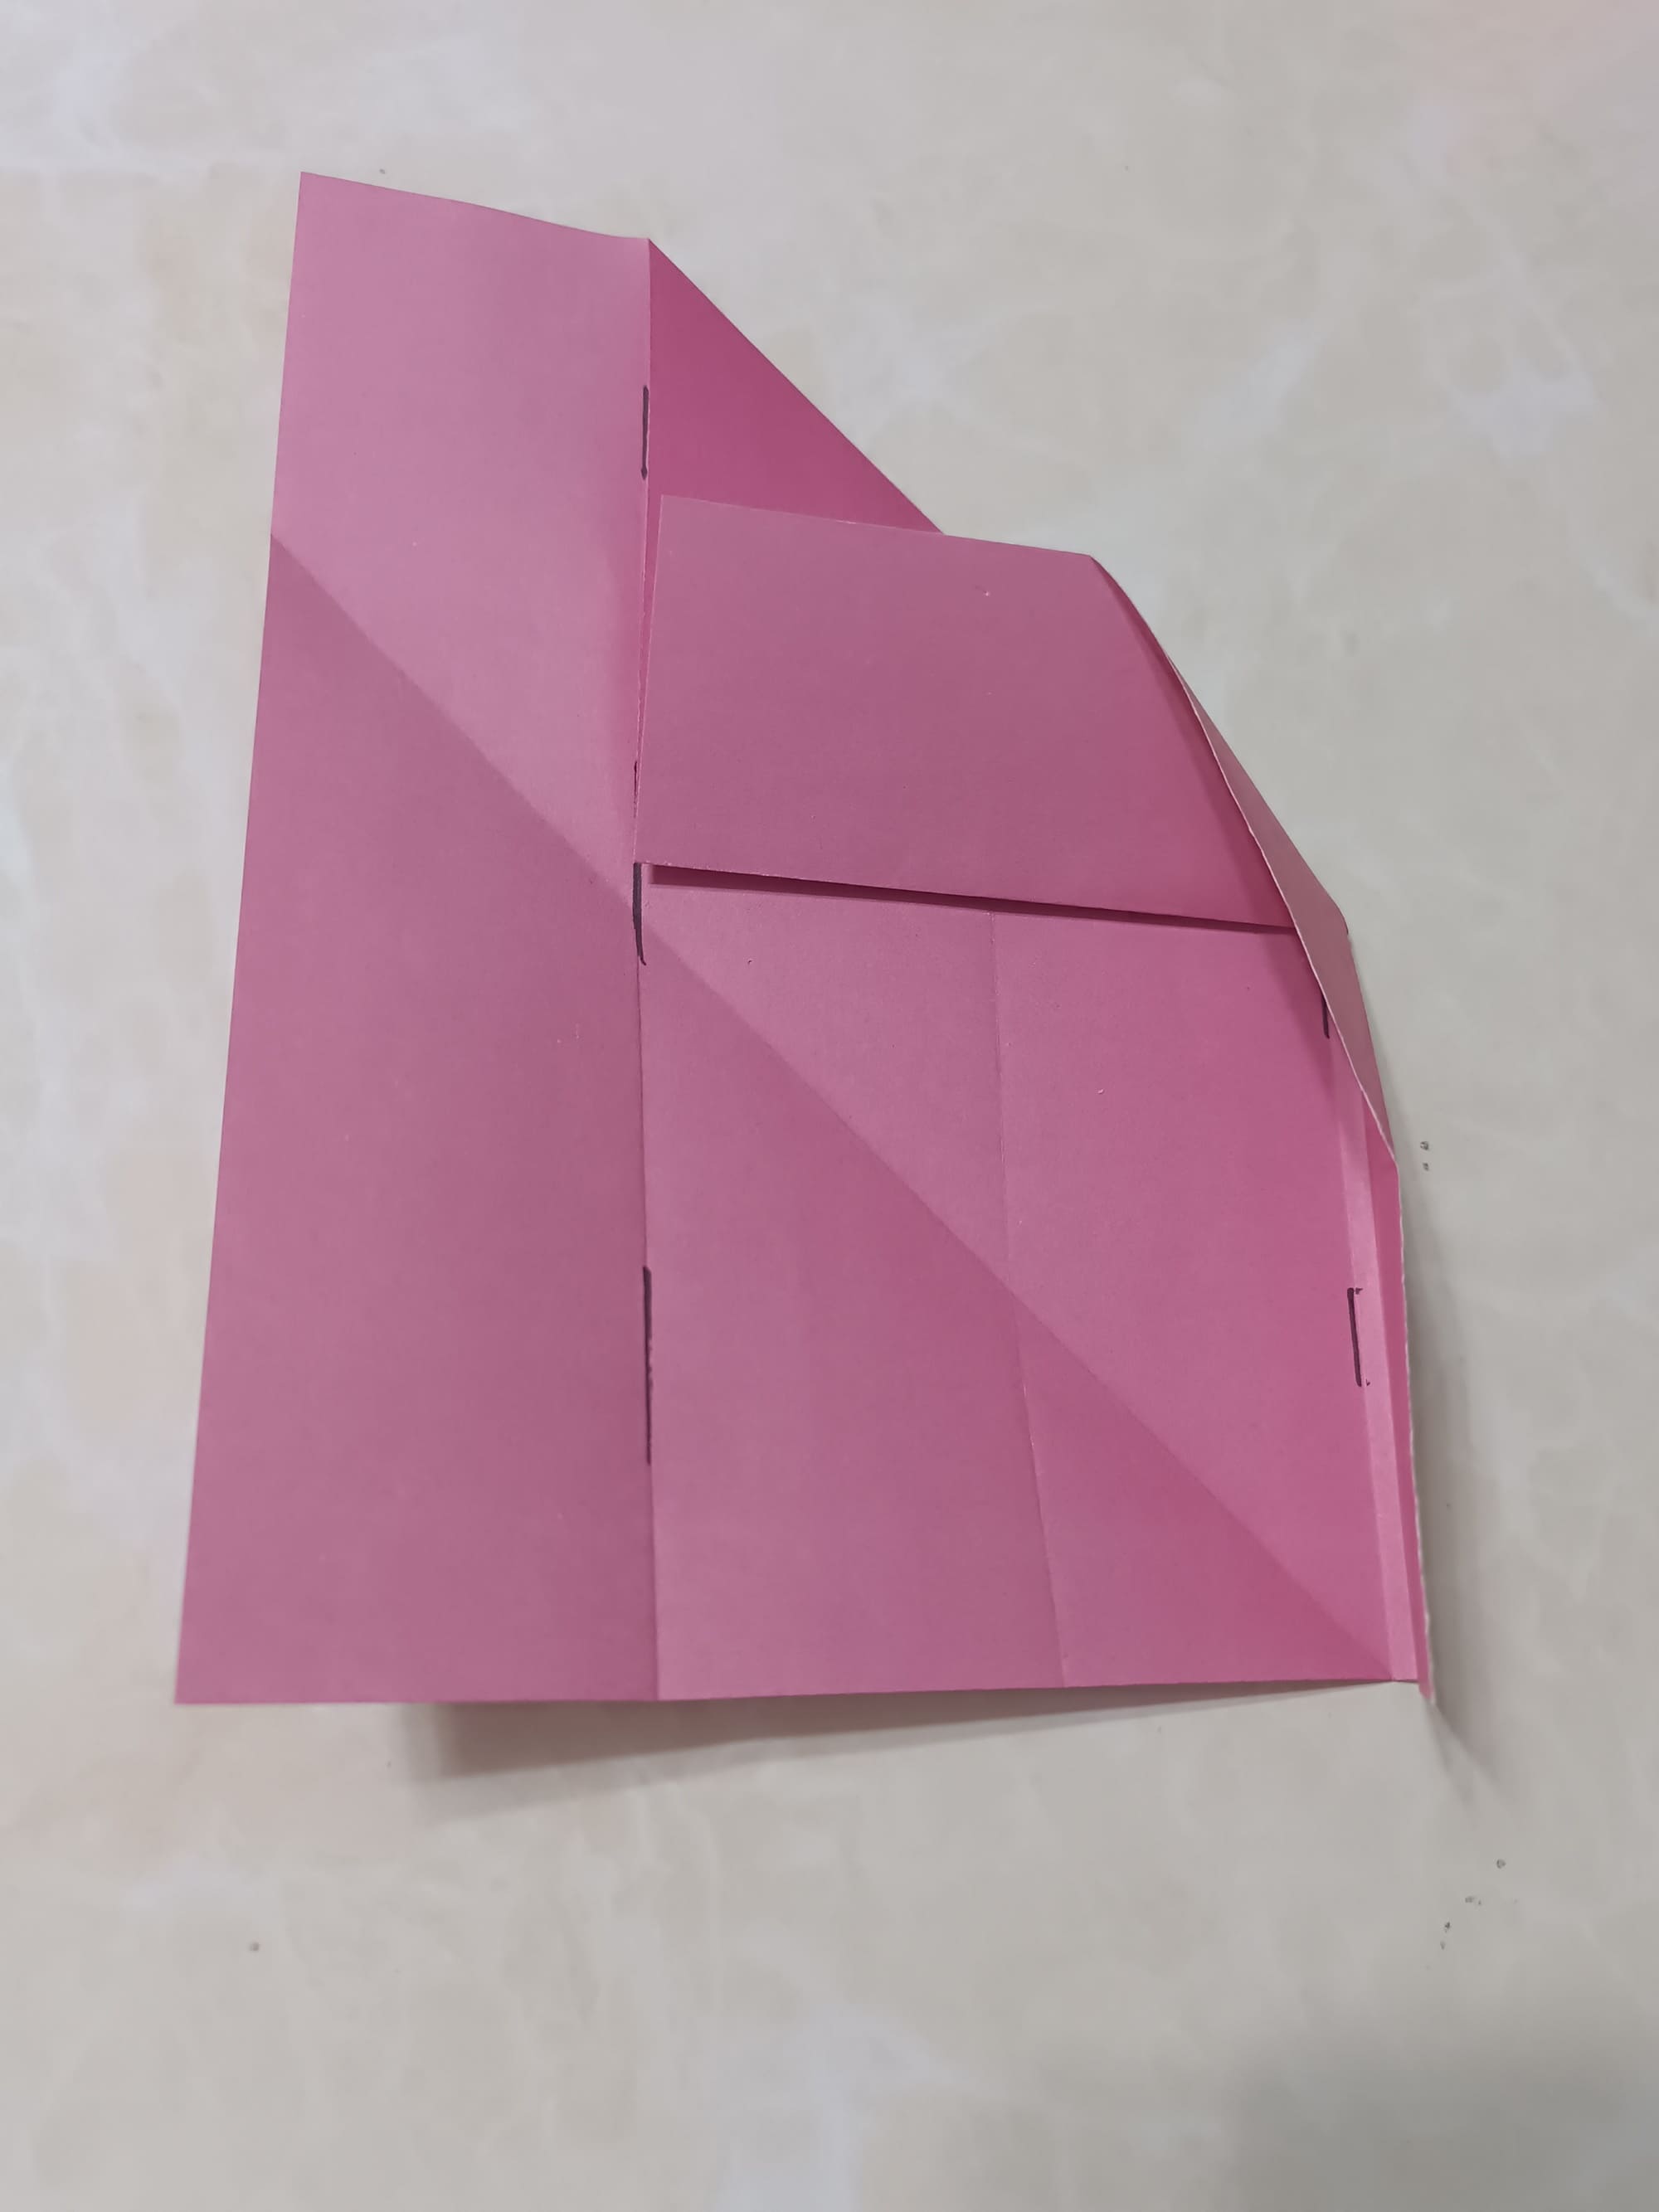
Next is a very important step that we will repeat several times.
So, start by making a horizontal fold on the top layer as shown in the picture.
Now fold the left side back to the right.

Then press the paper so that the diagonal edges line up on the left side.
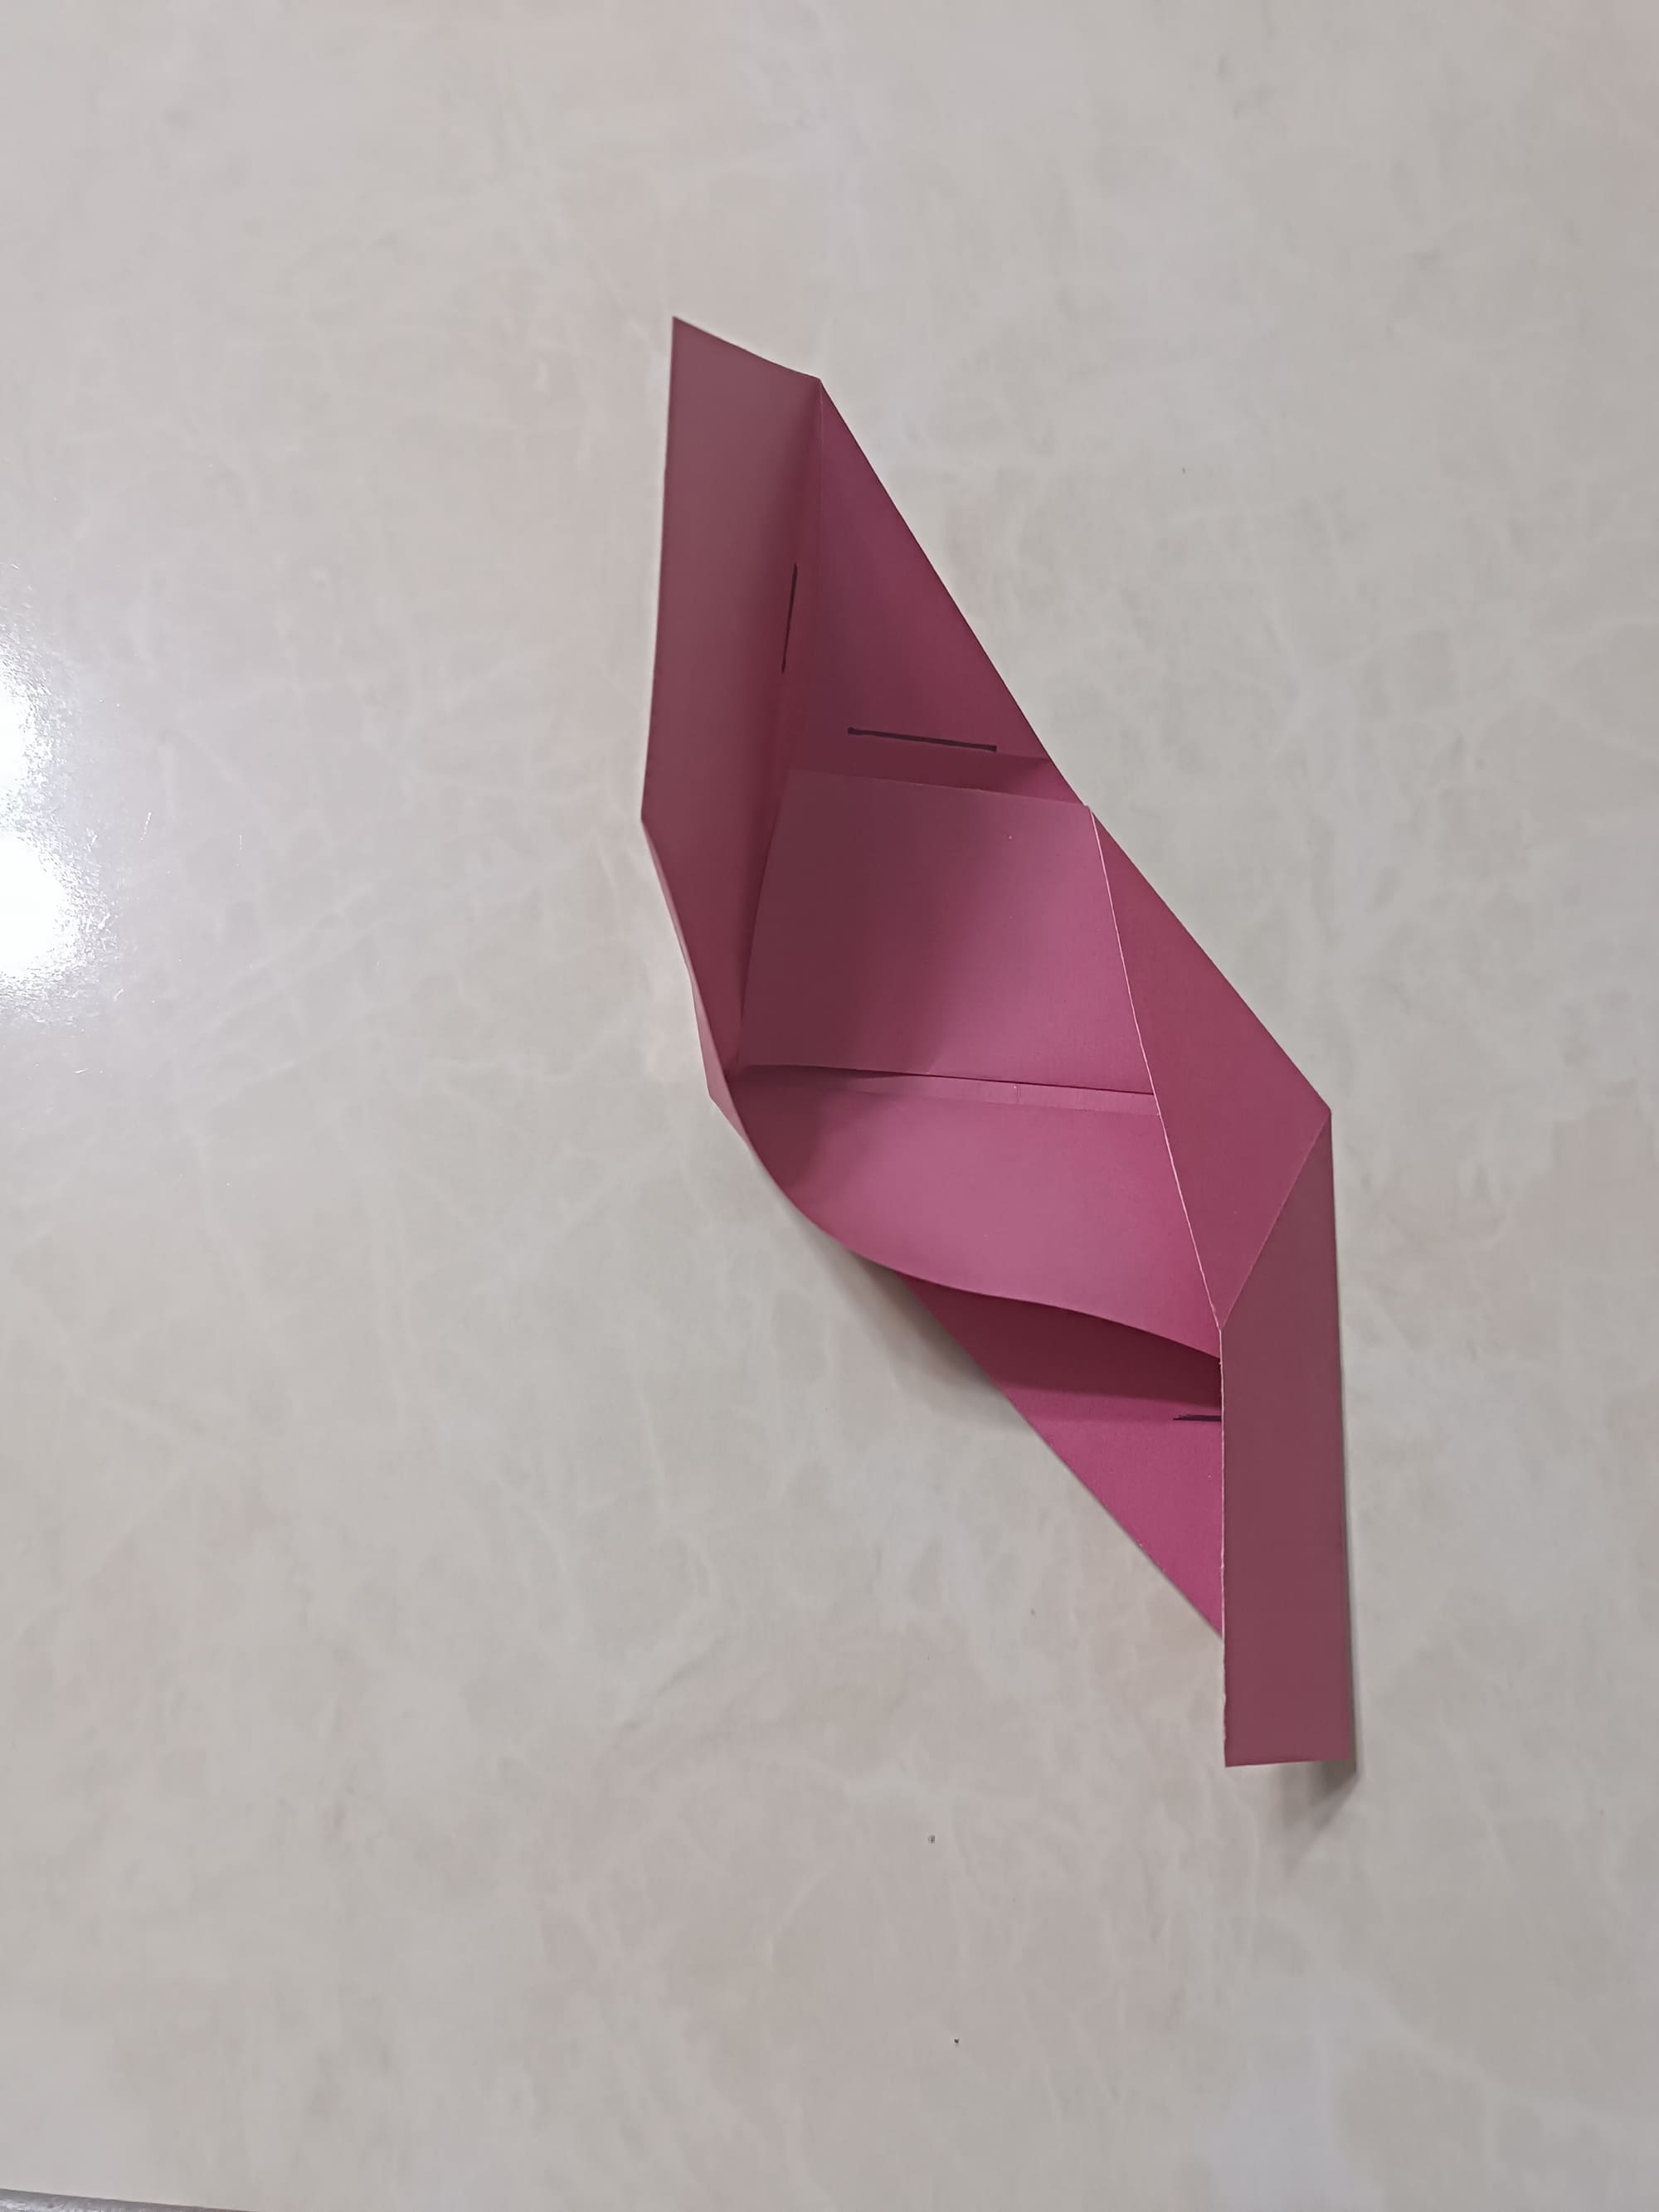
Flip your product over.
On the flipped piece, repeat the few steps.
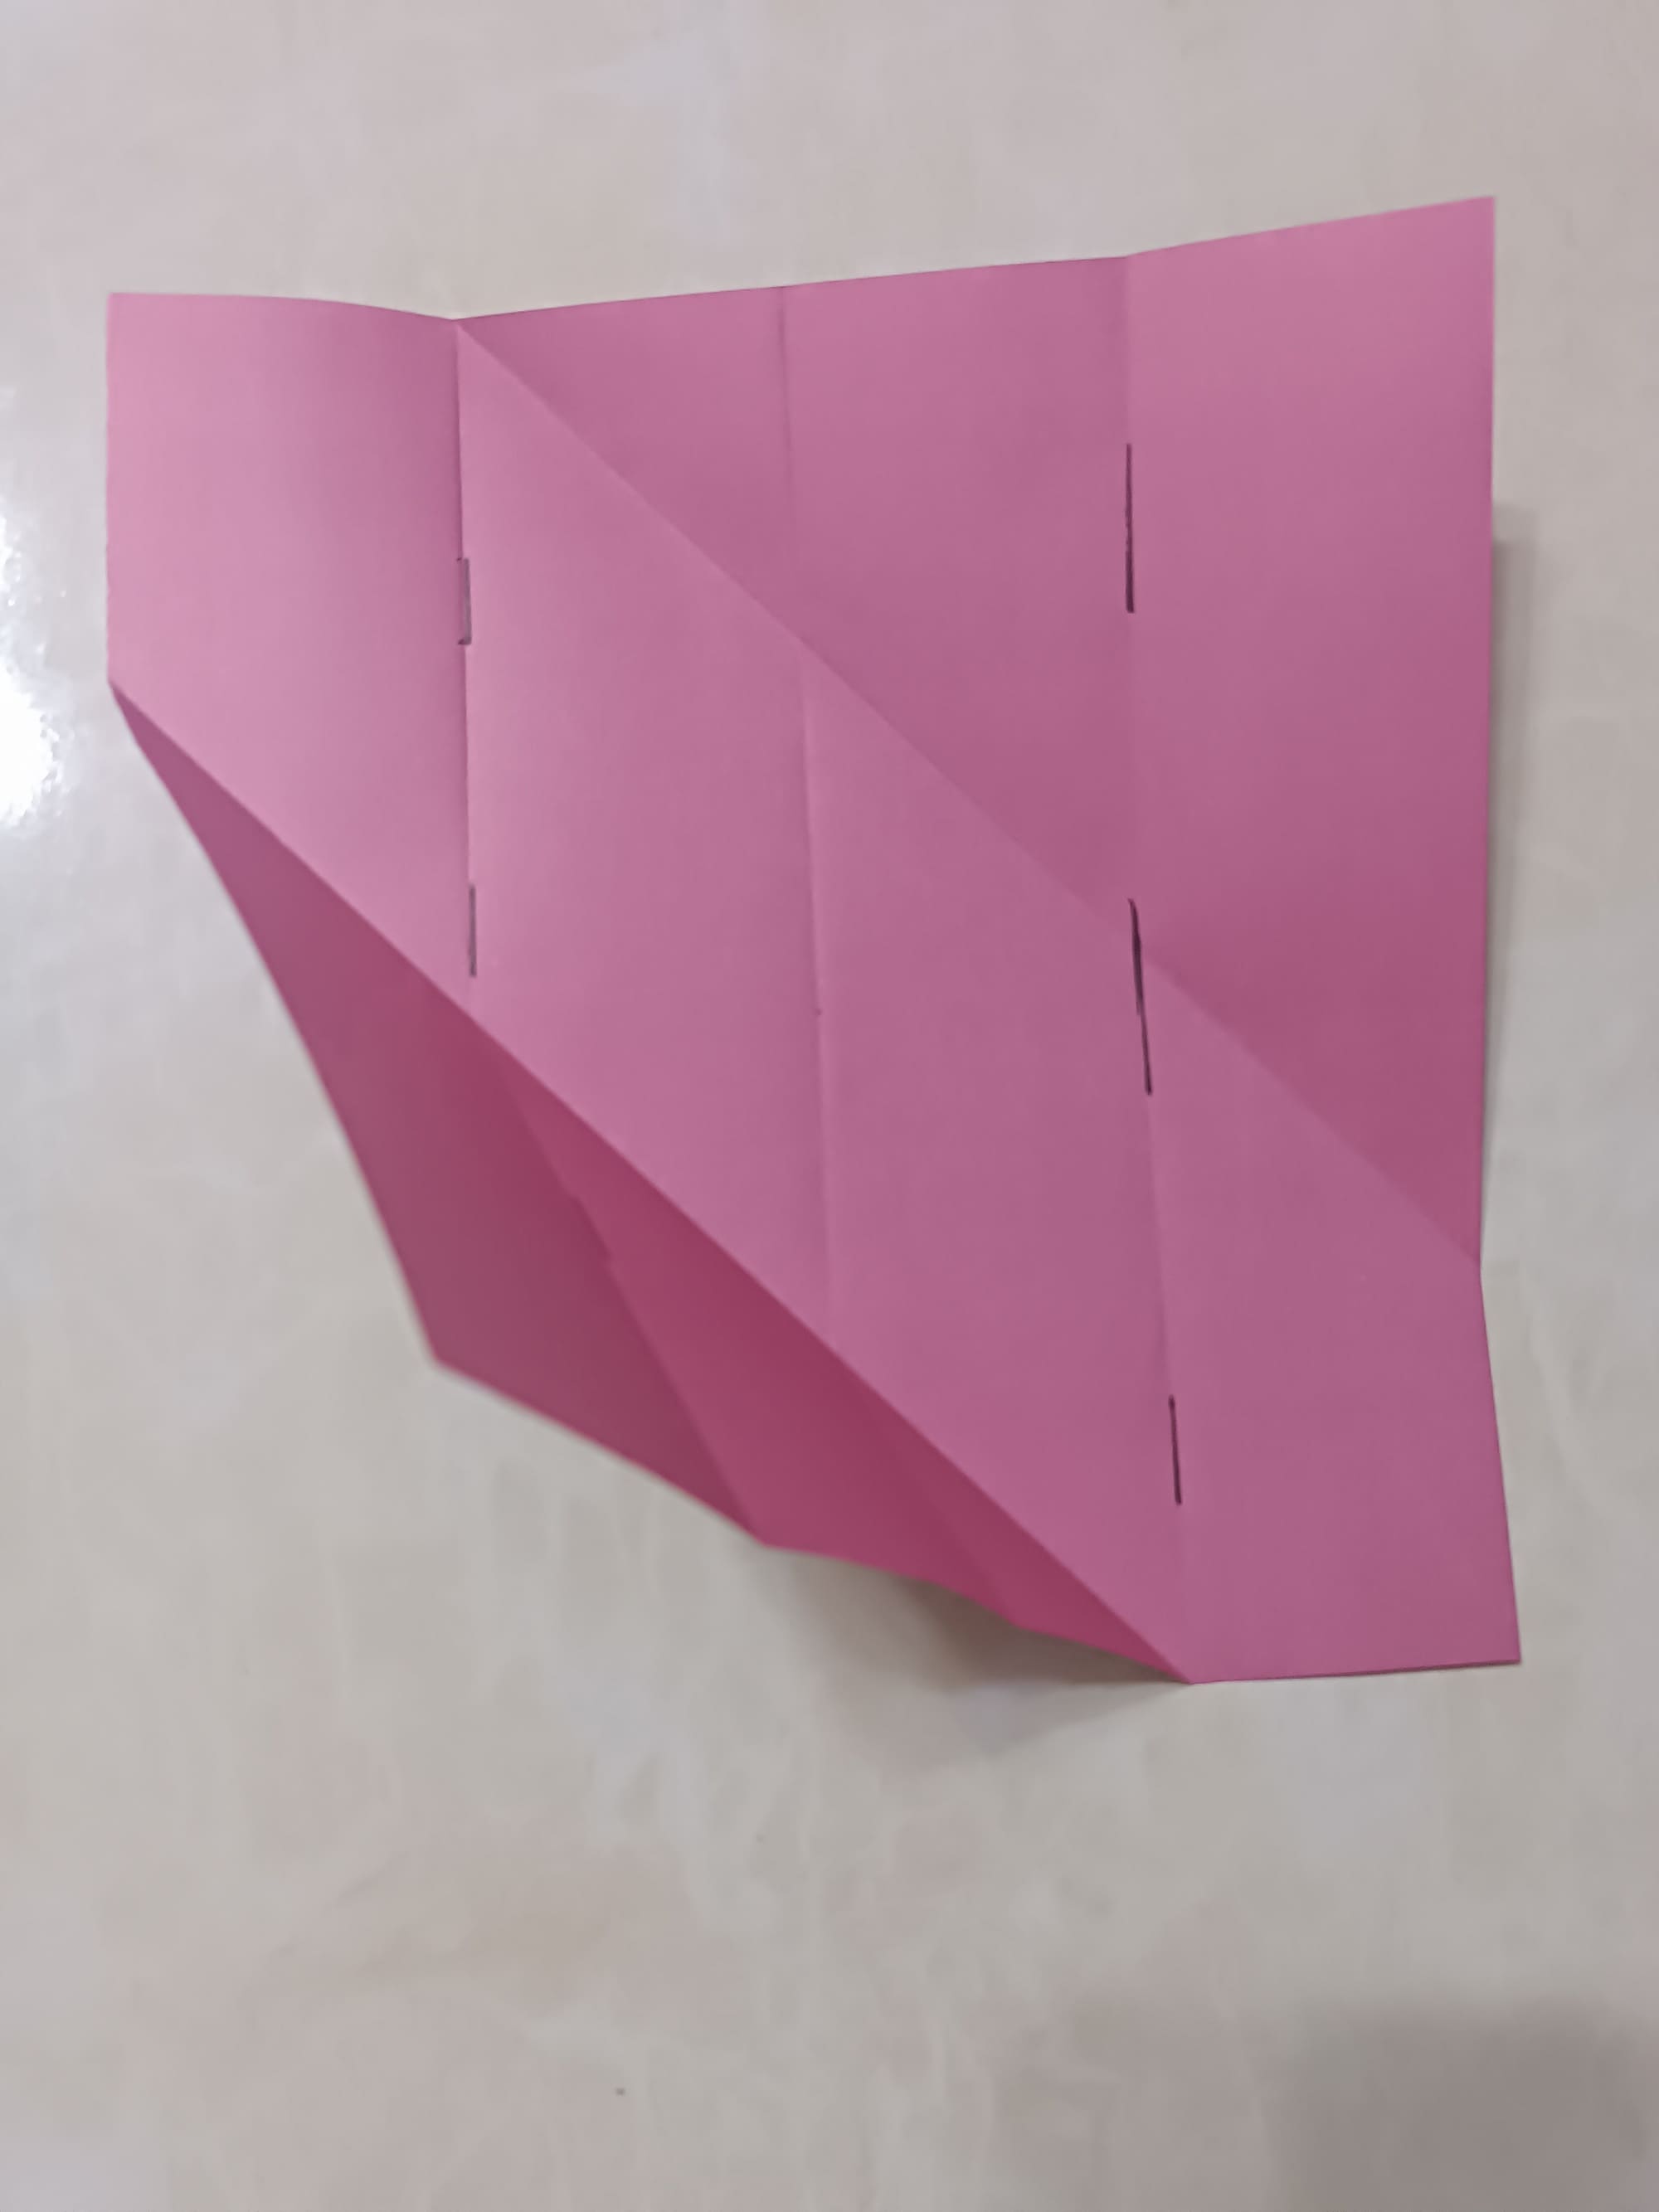
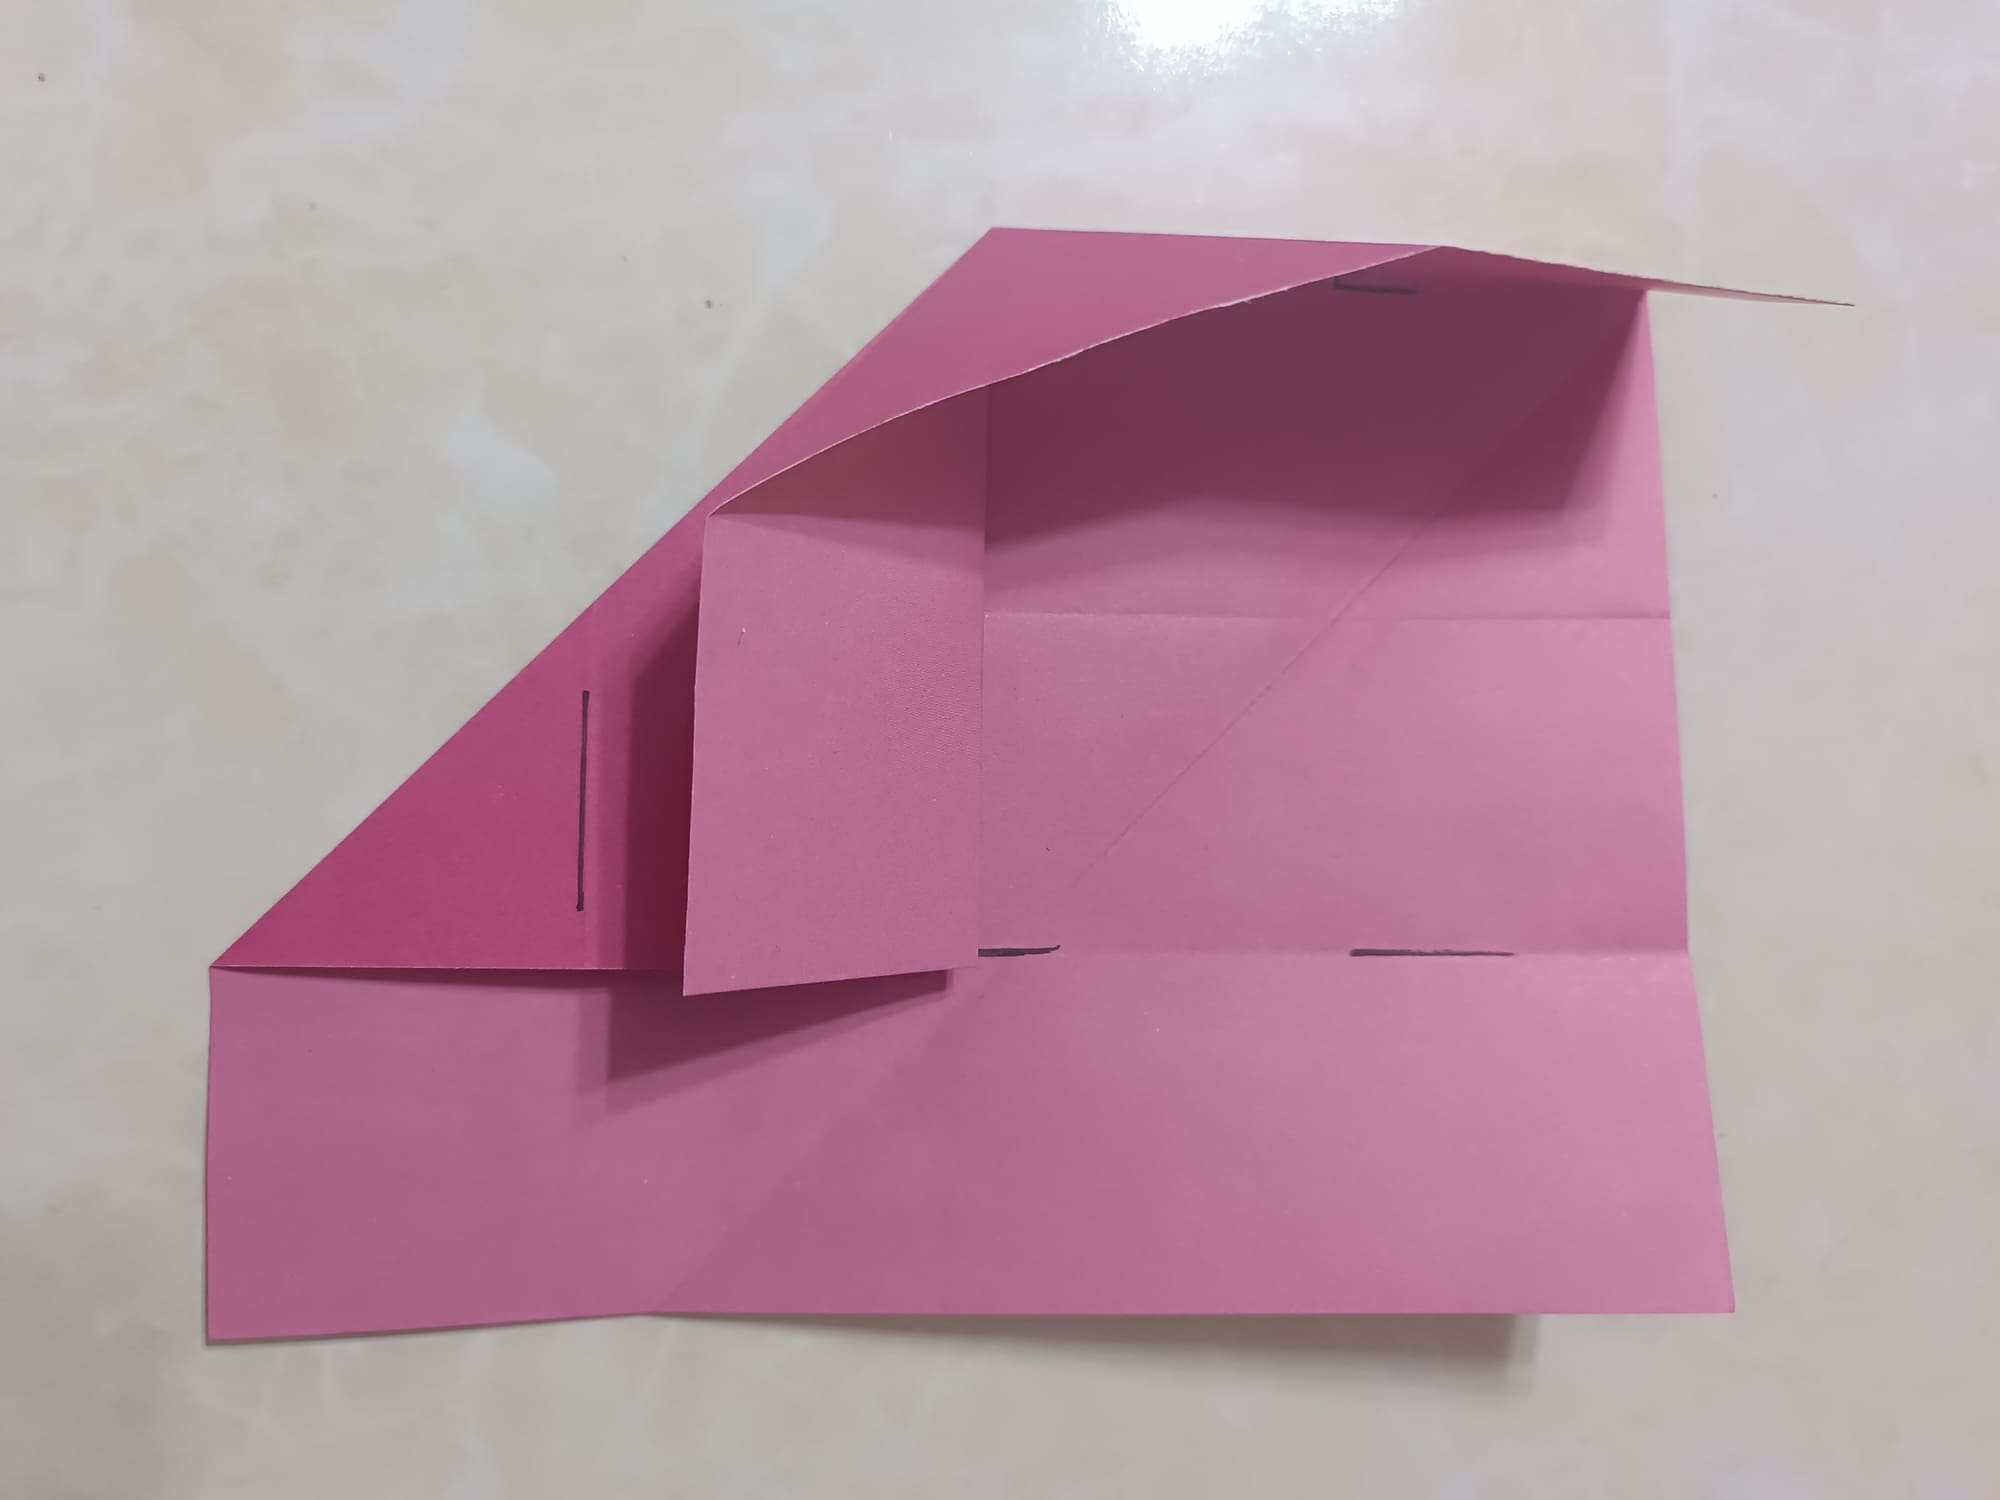
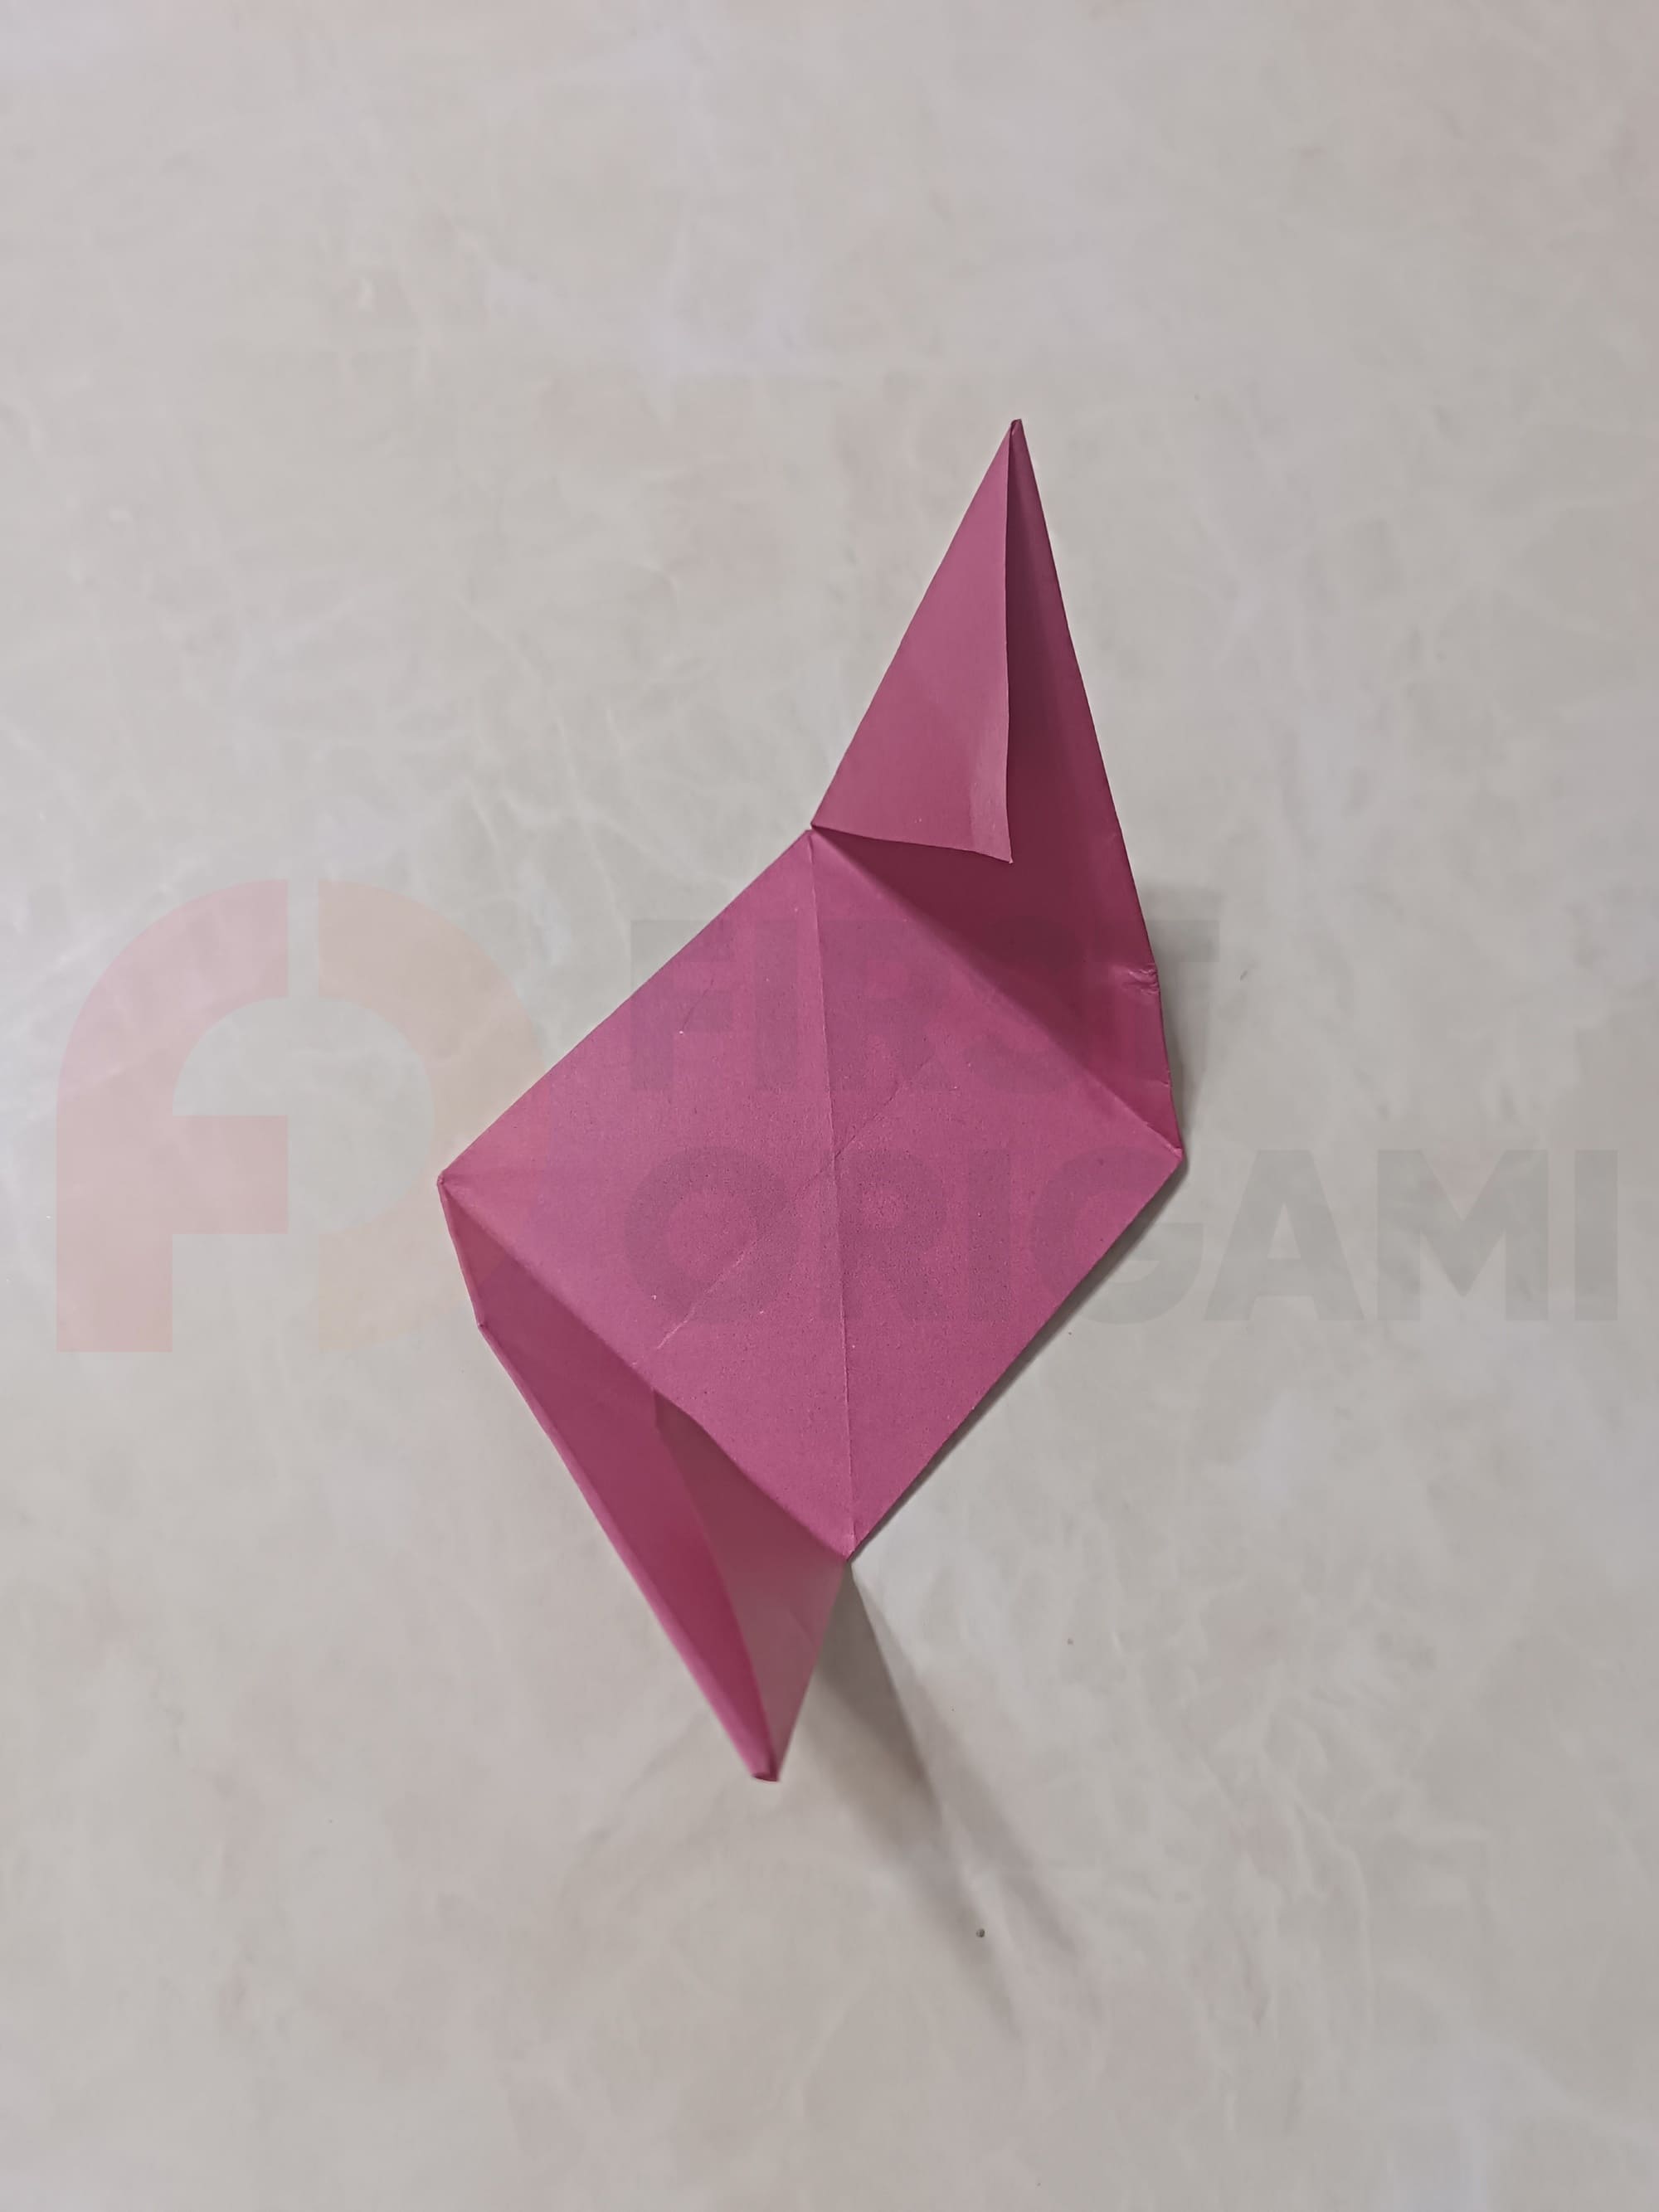
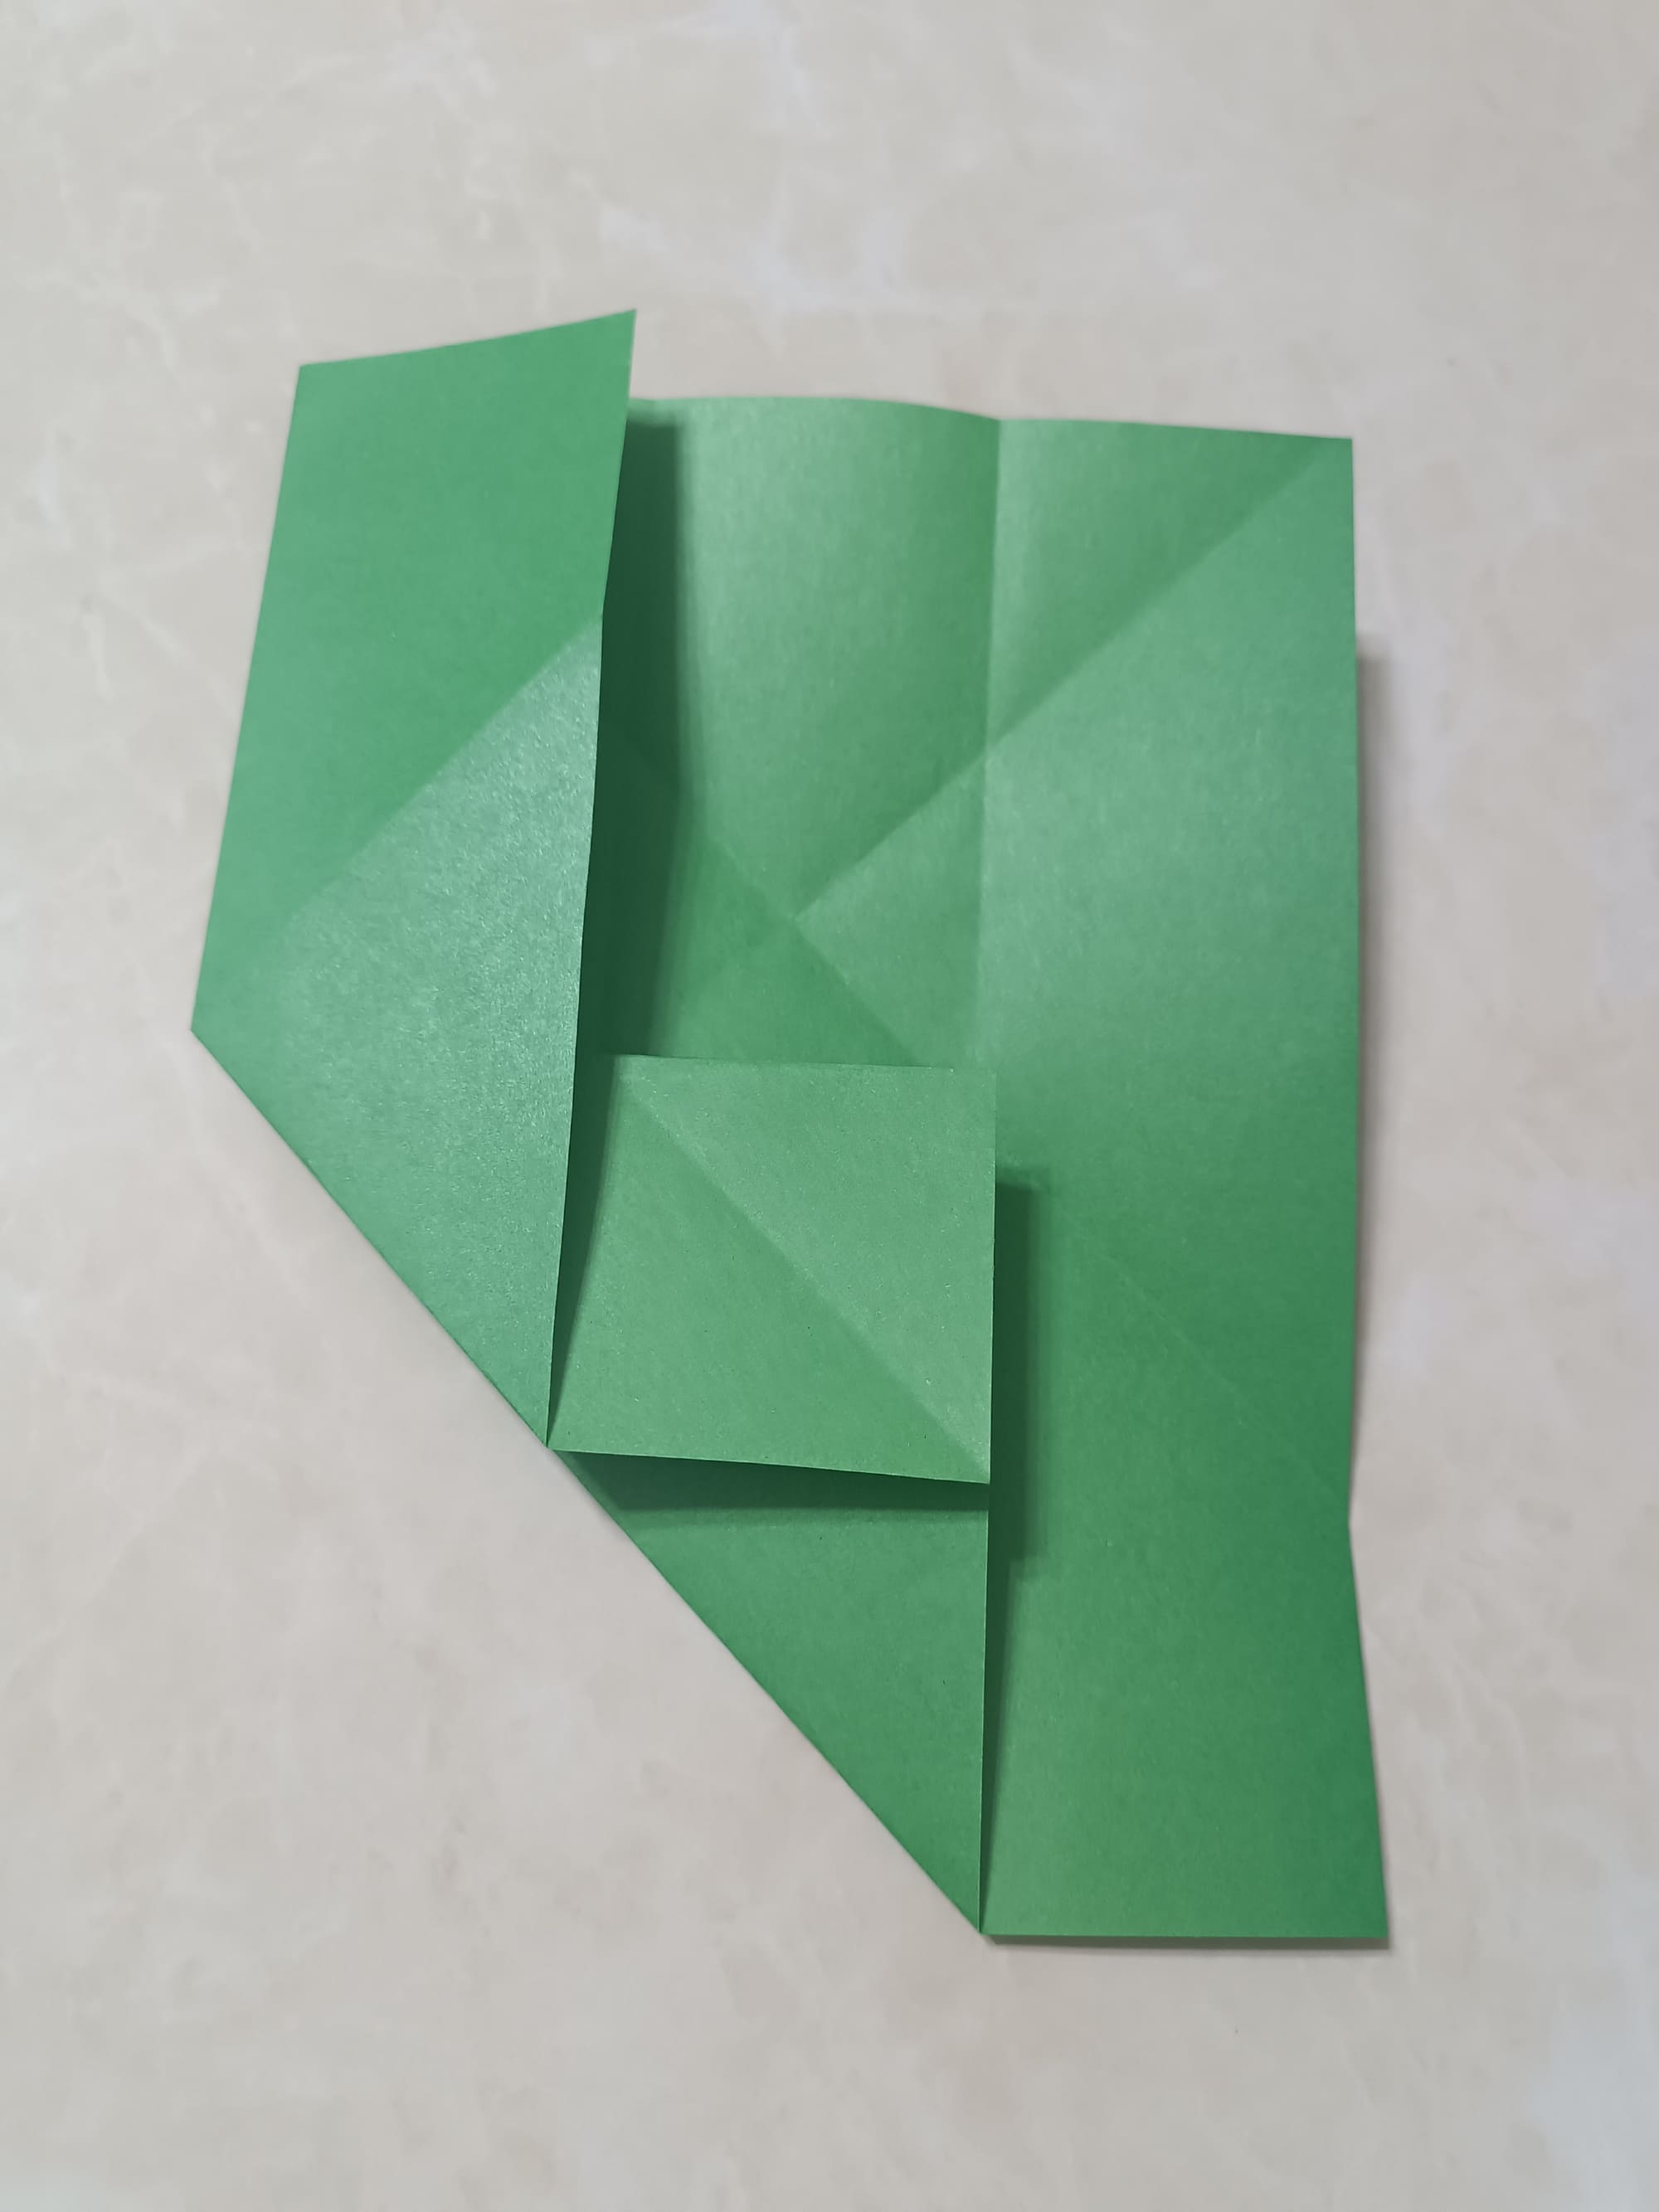
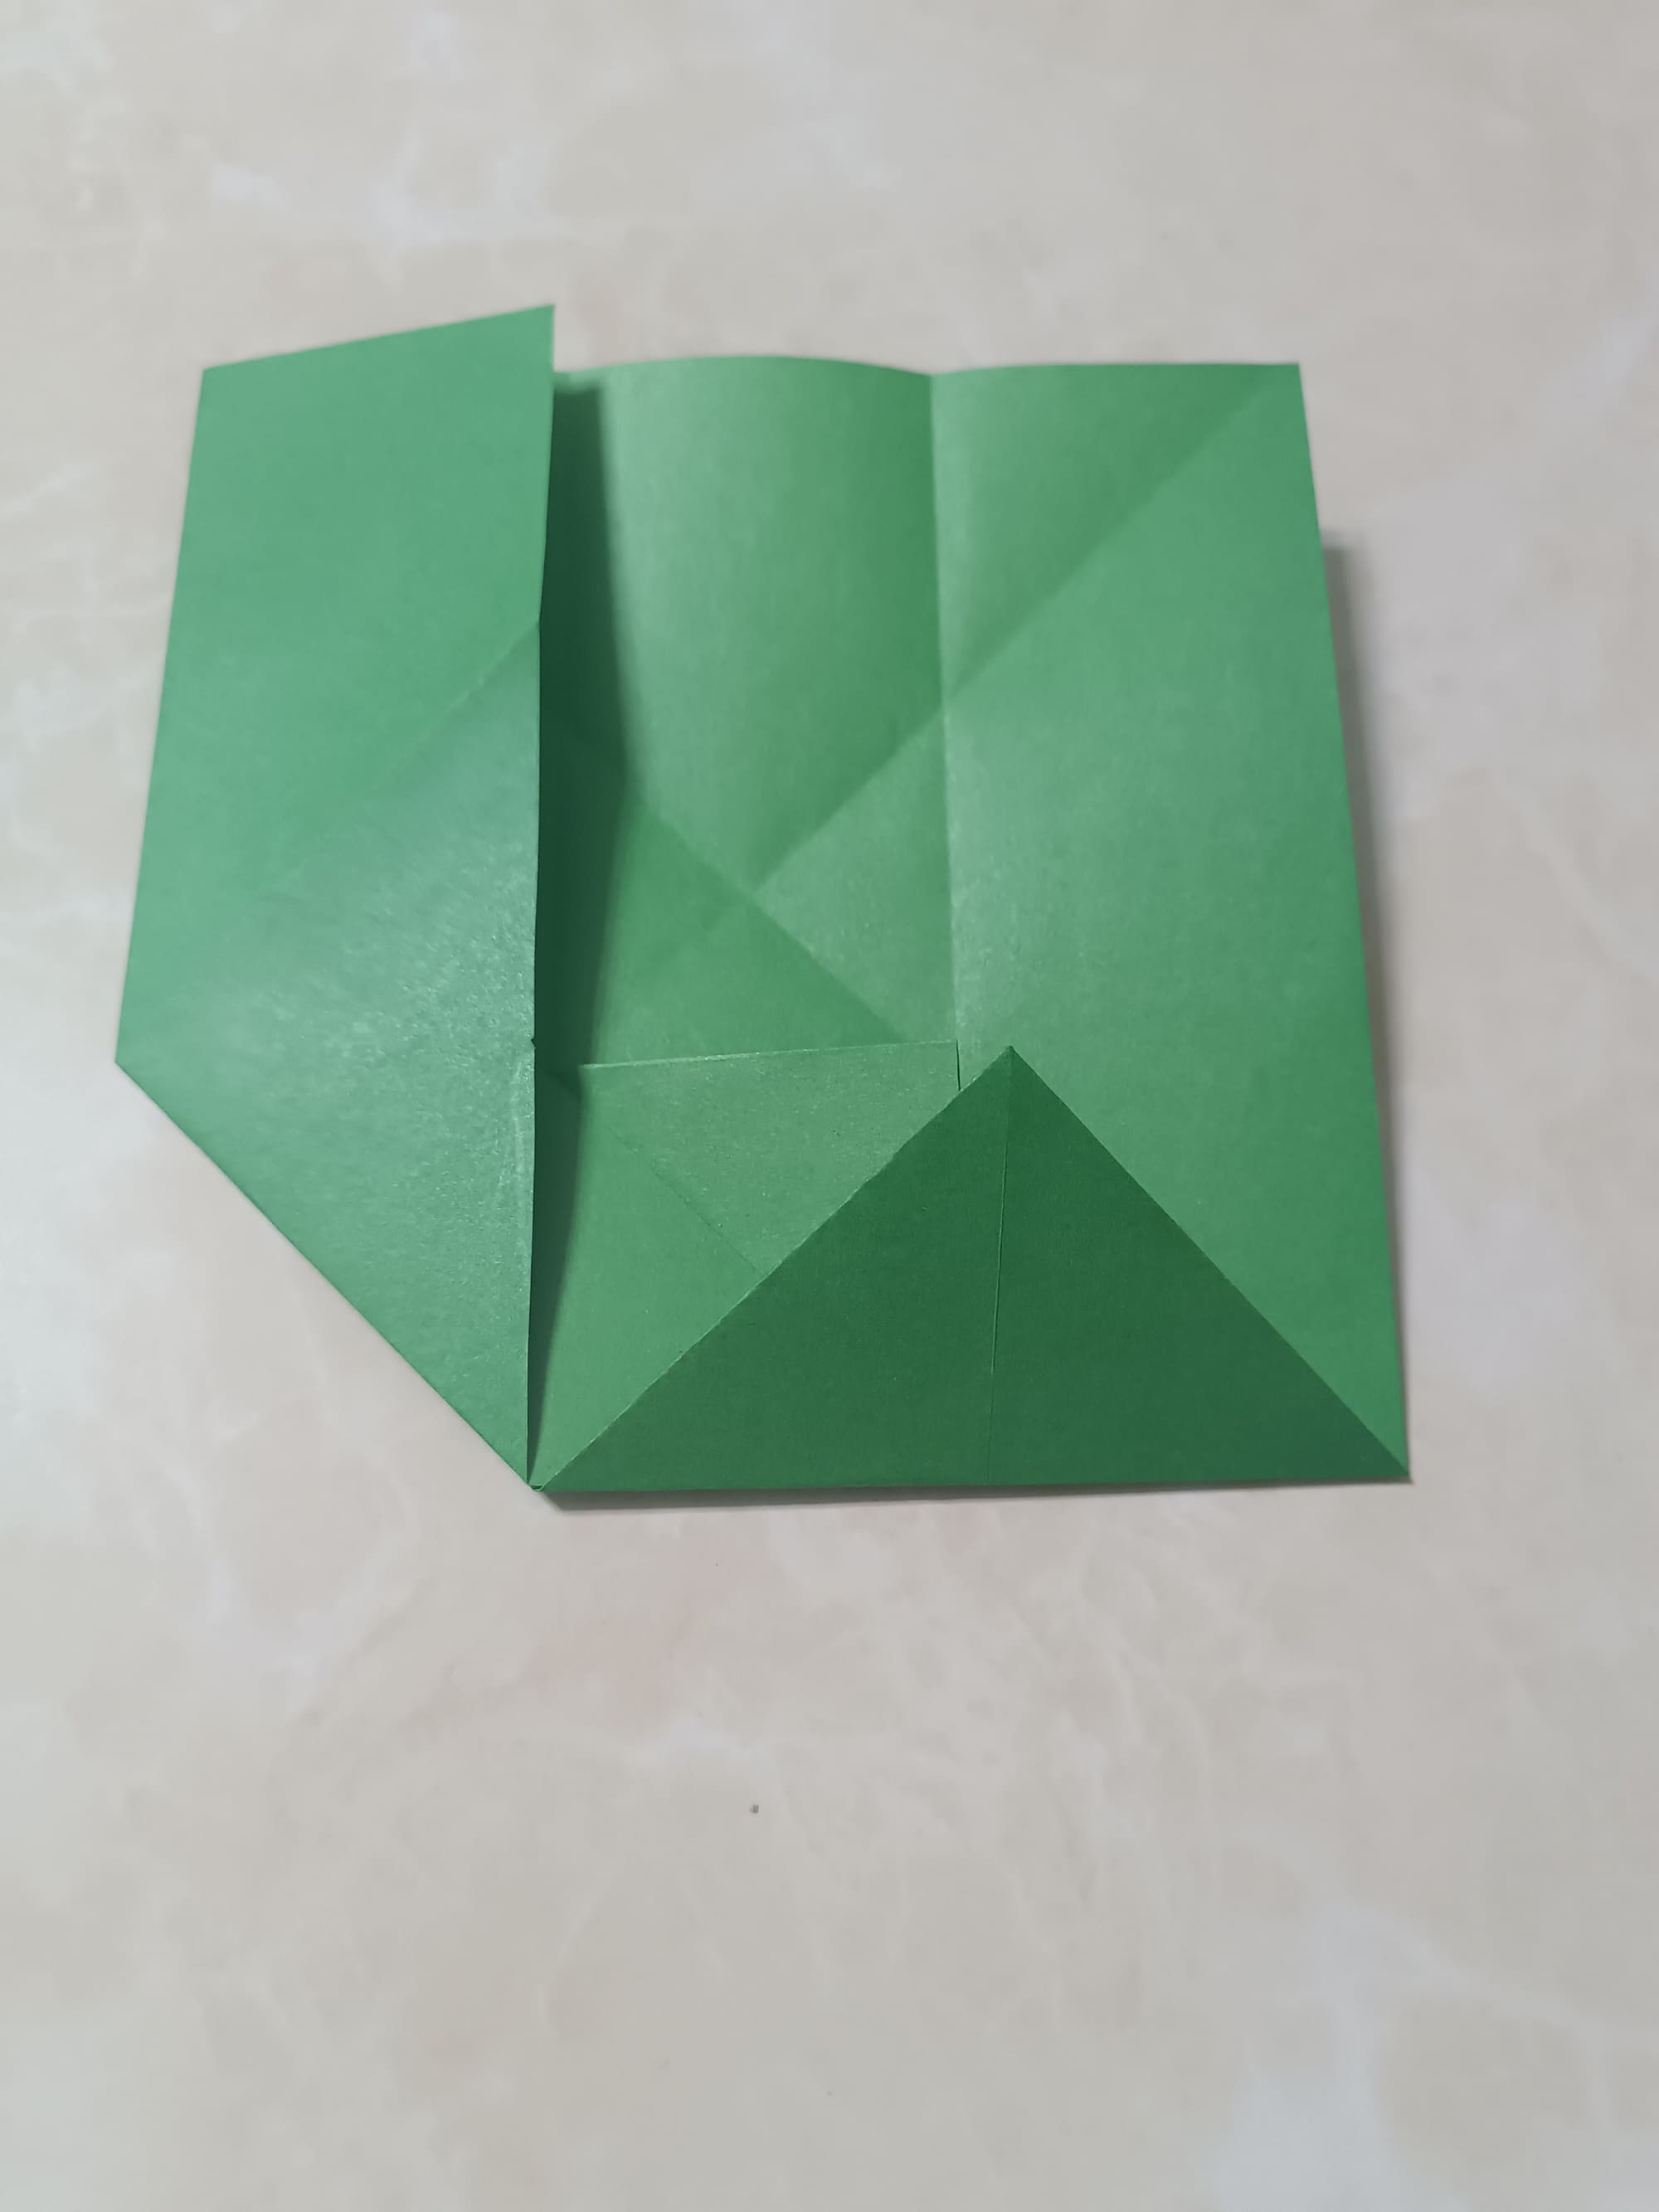
First, lift the top layer on the right side.

Then make a diagonal fold as shown in the photo.
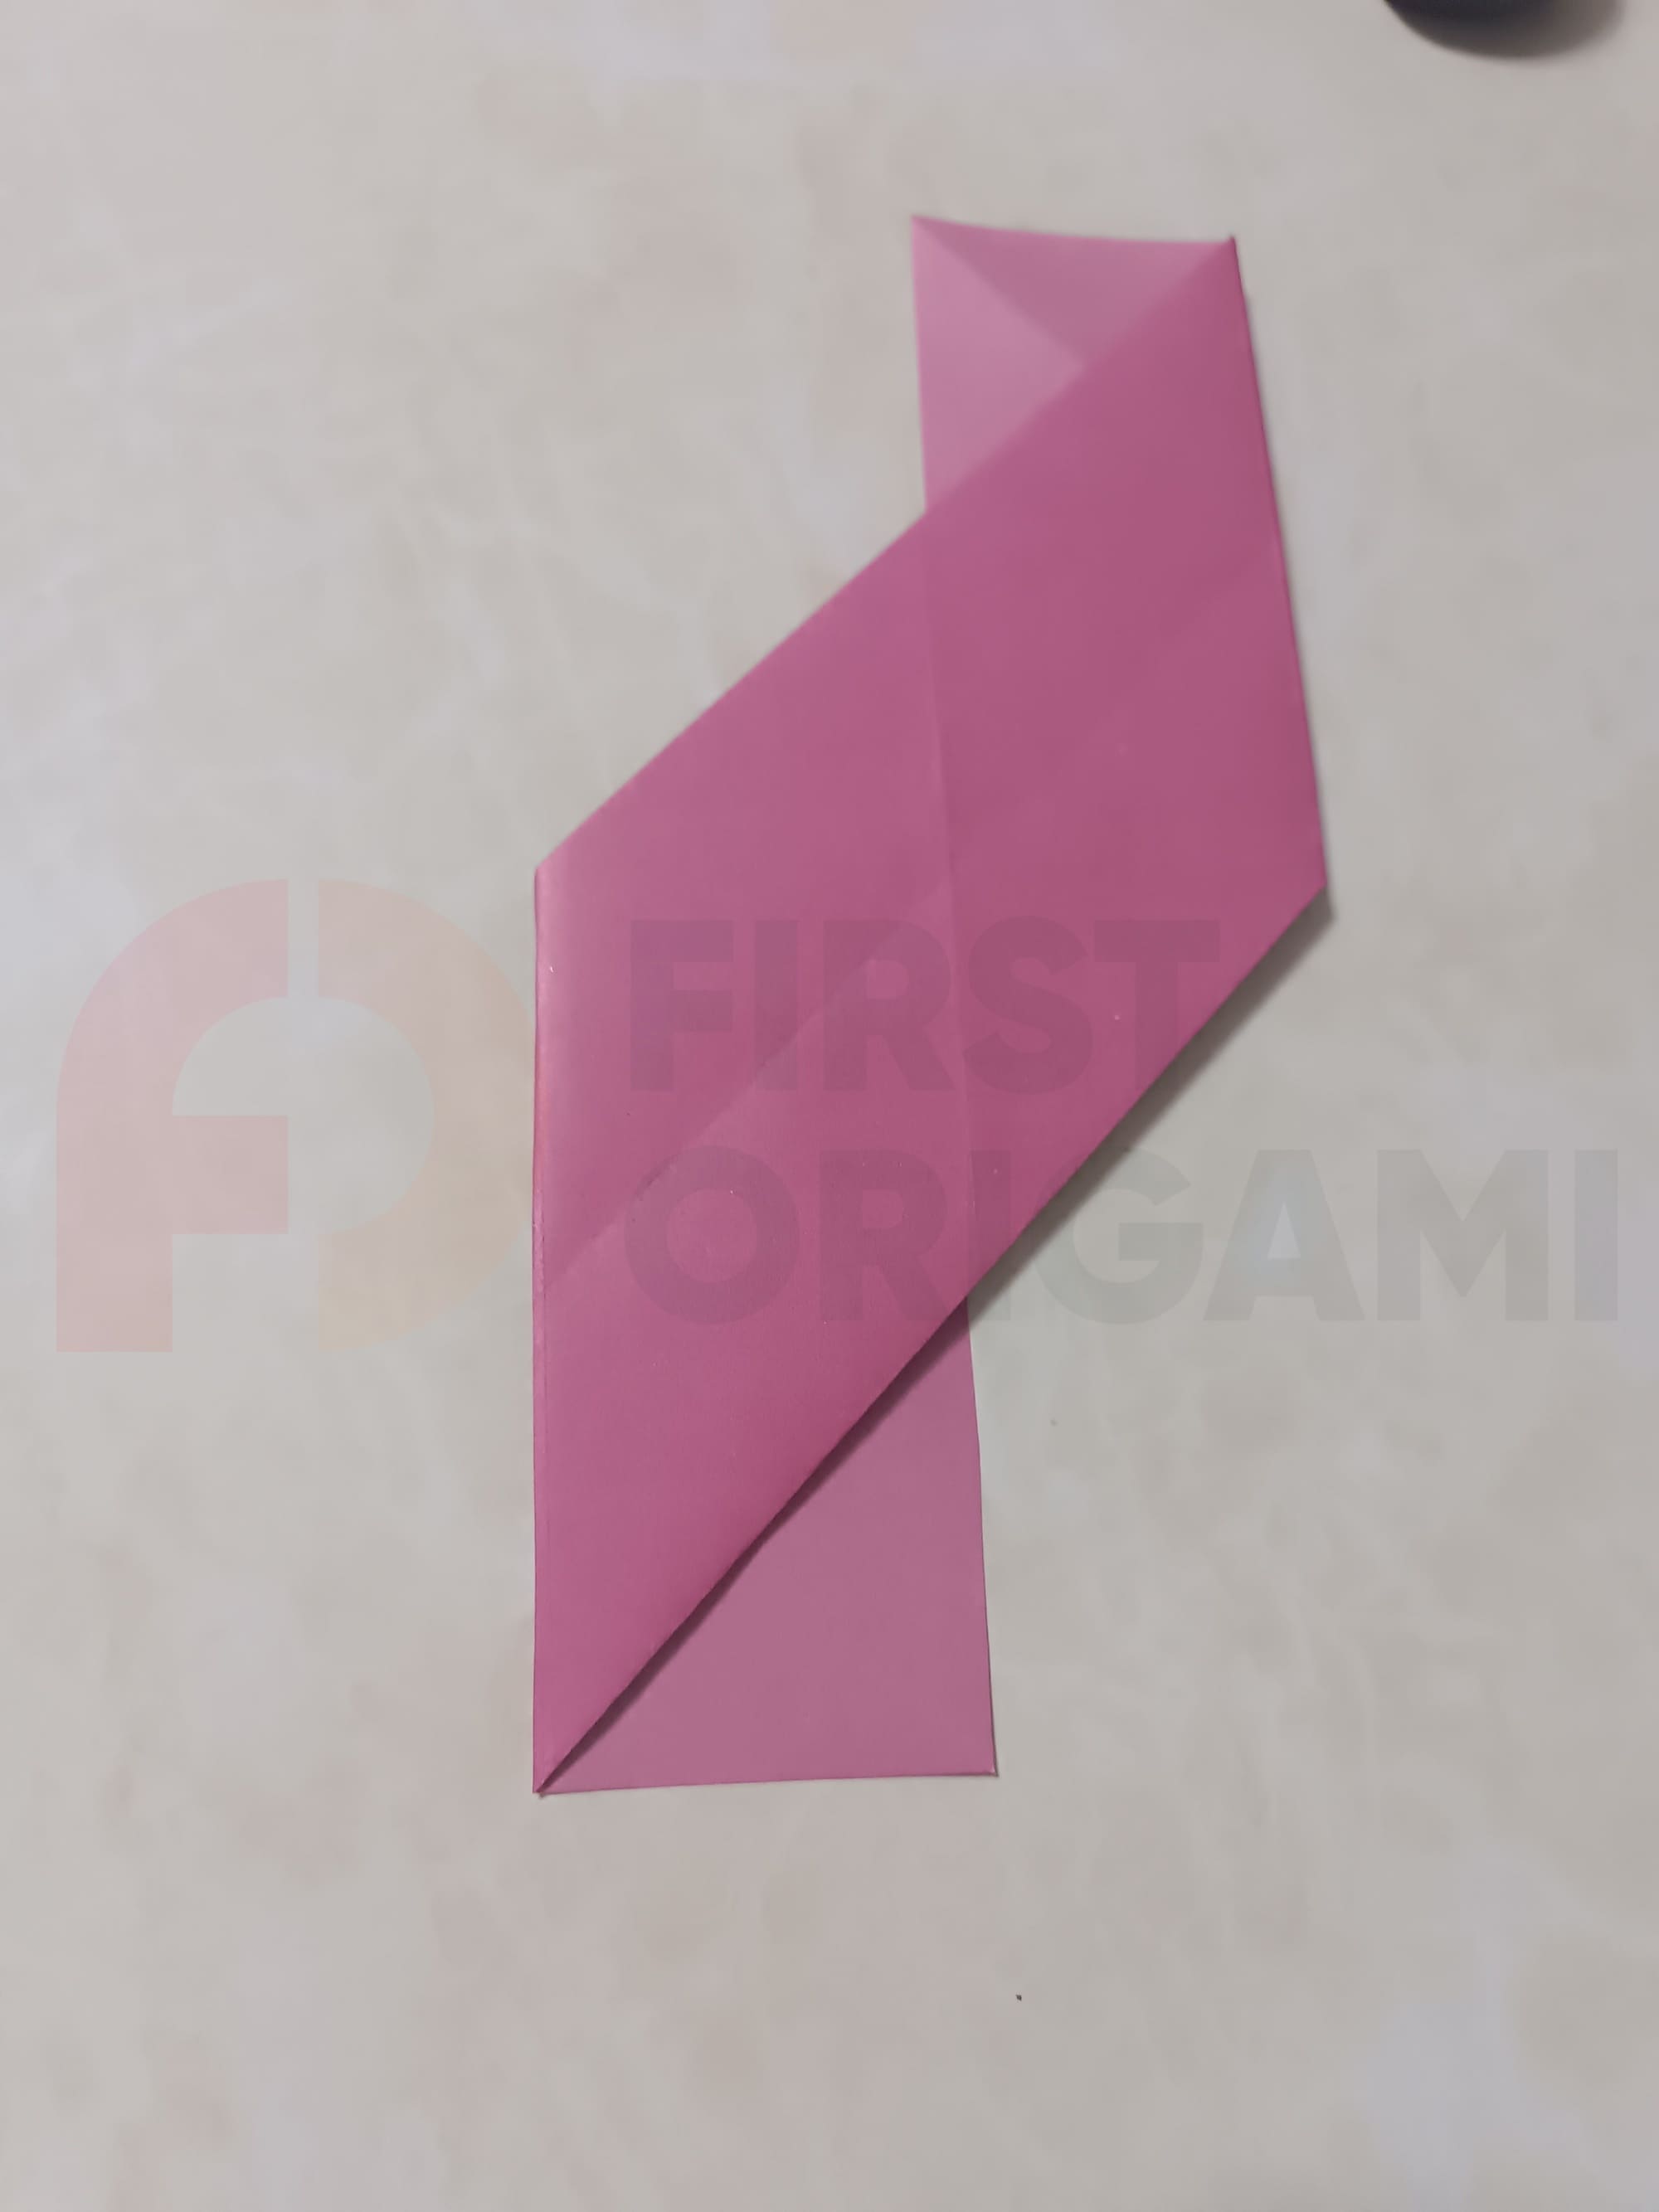
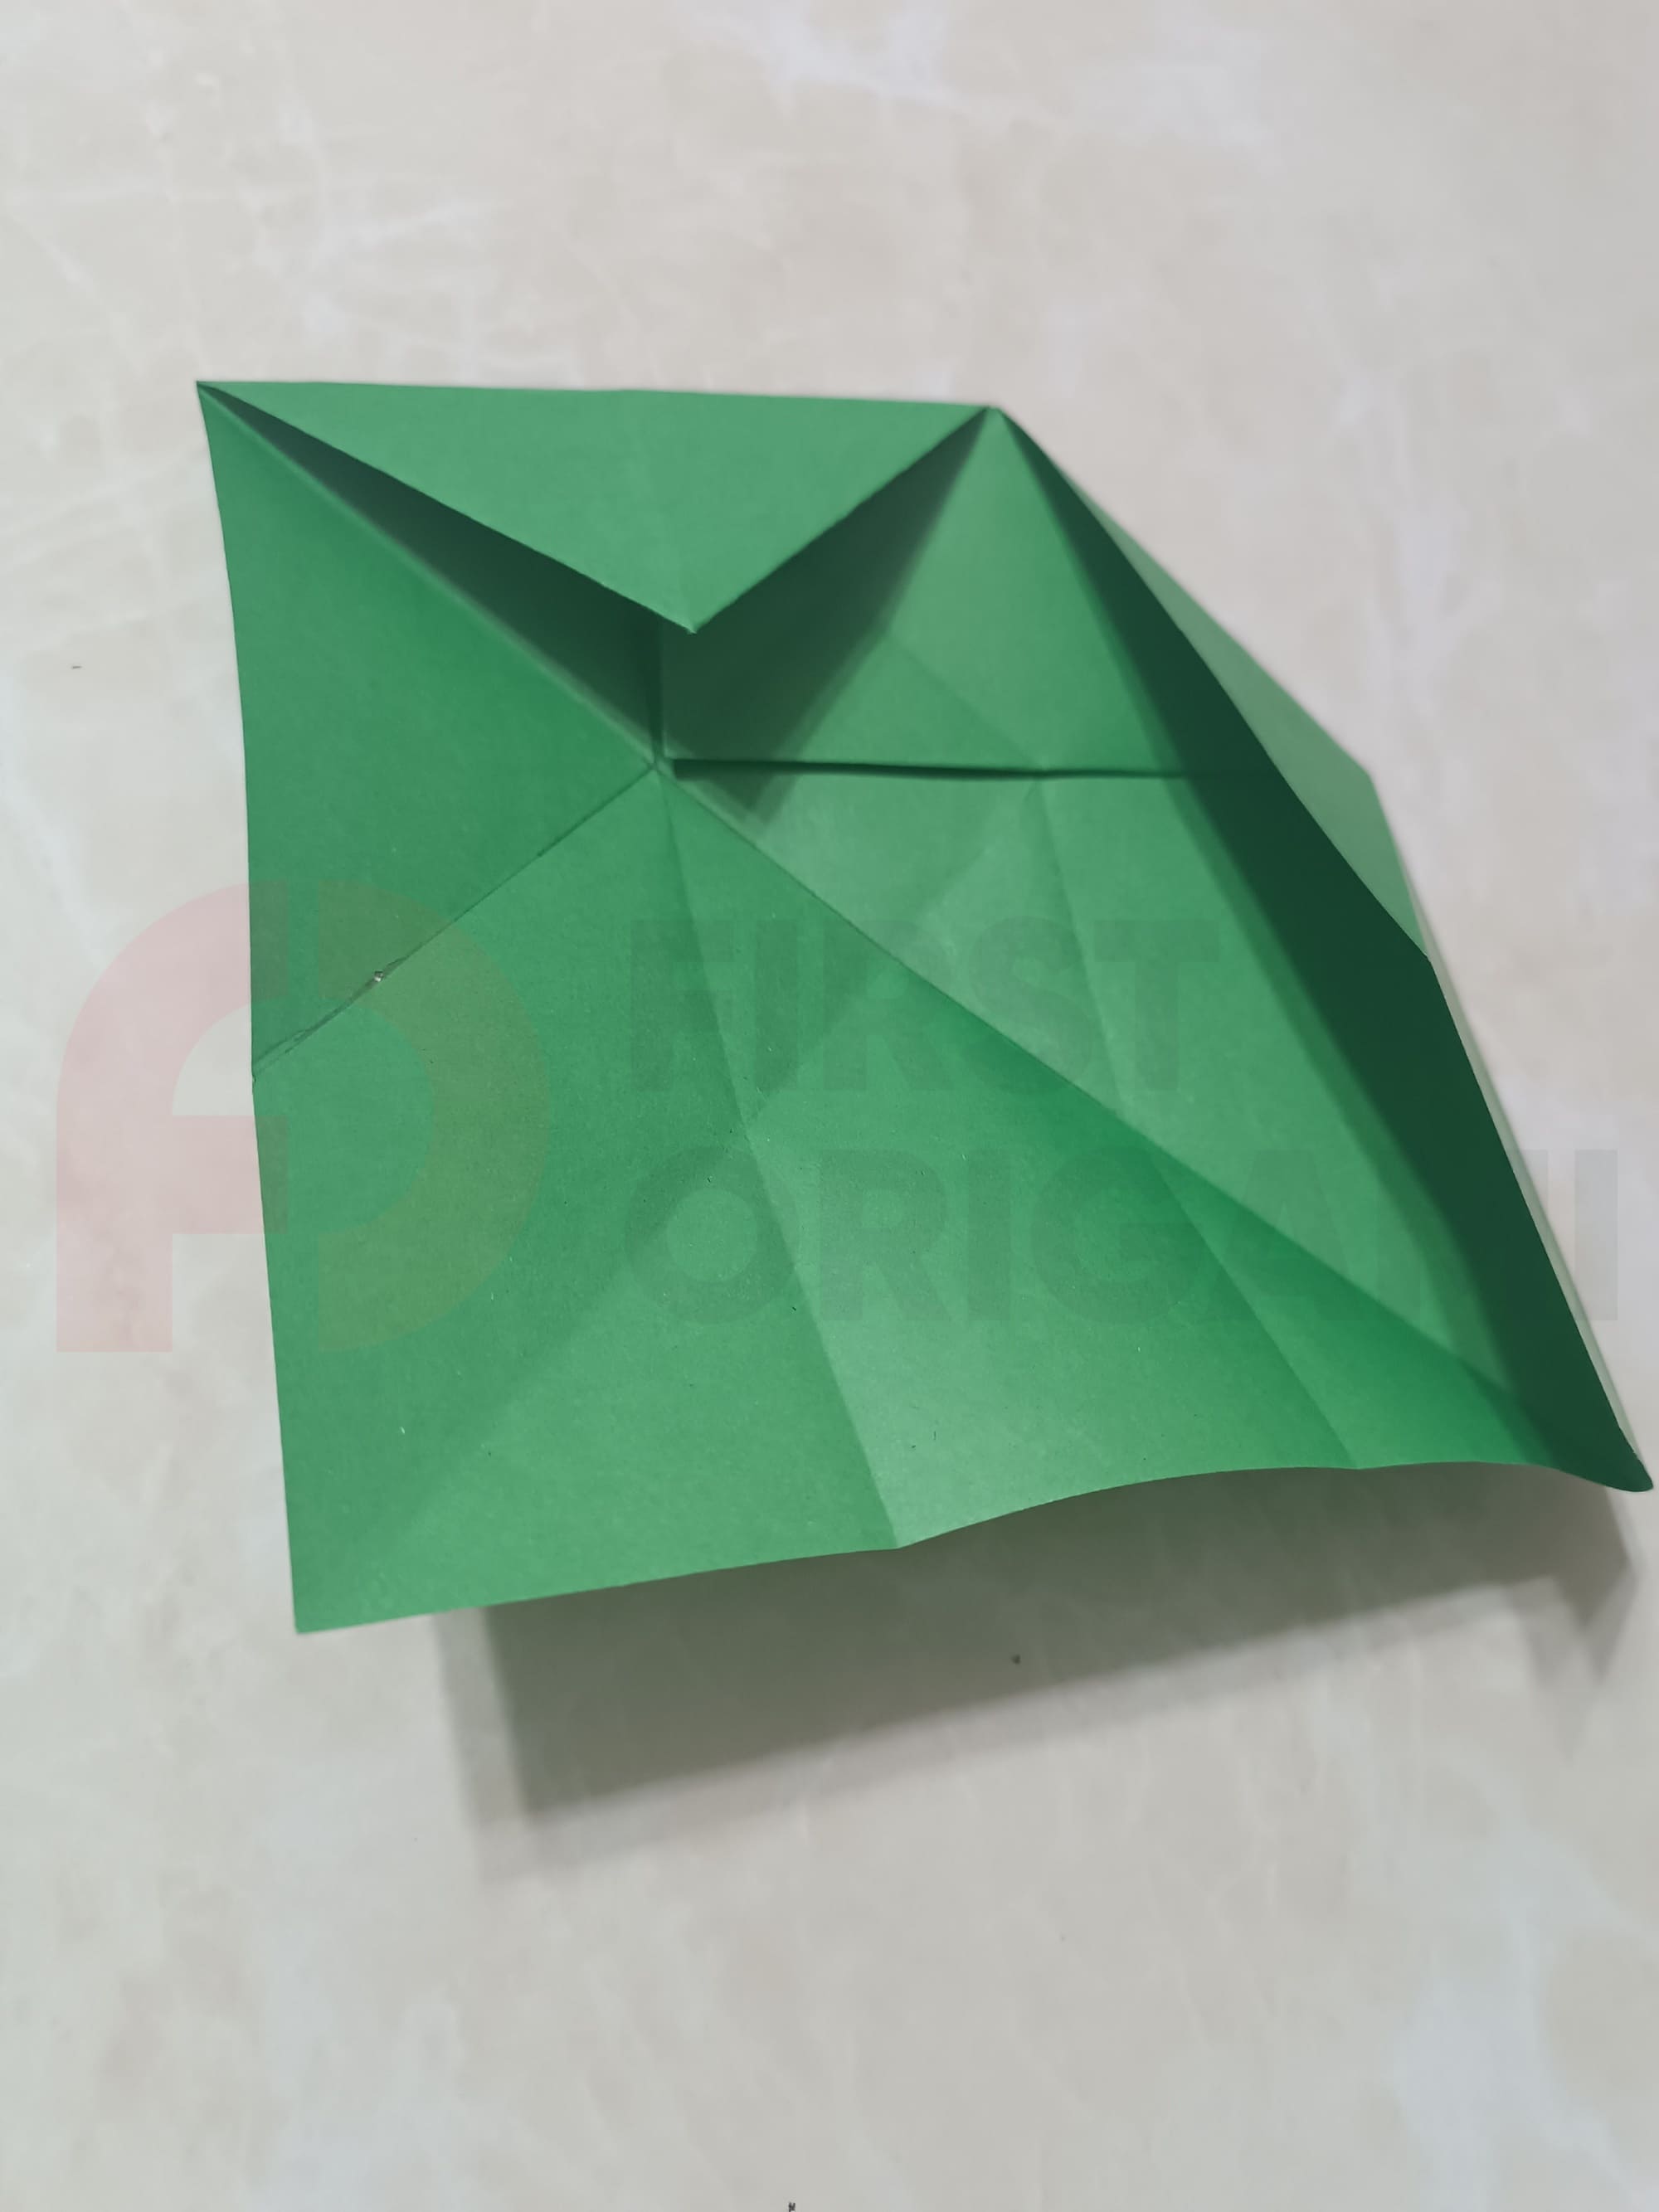
Next, make a horizontal fold as shown in the photo, folding only the top layer.

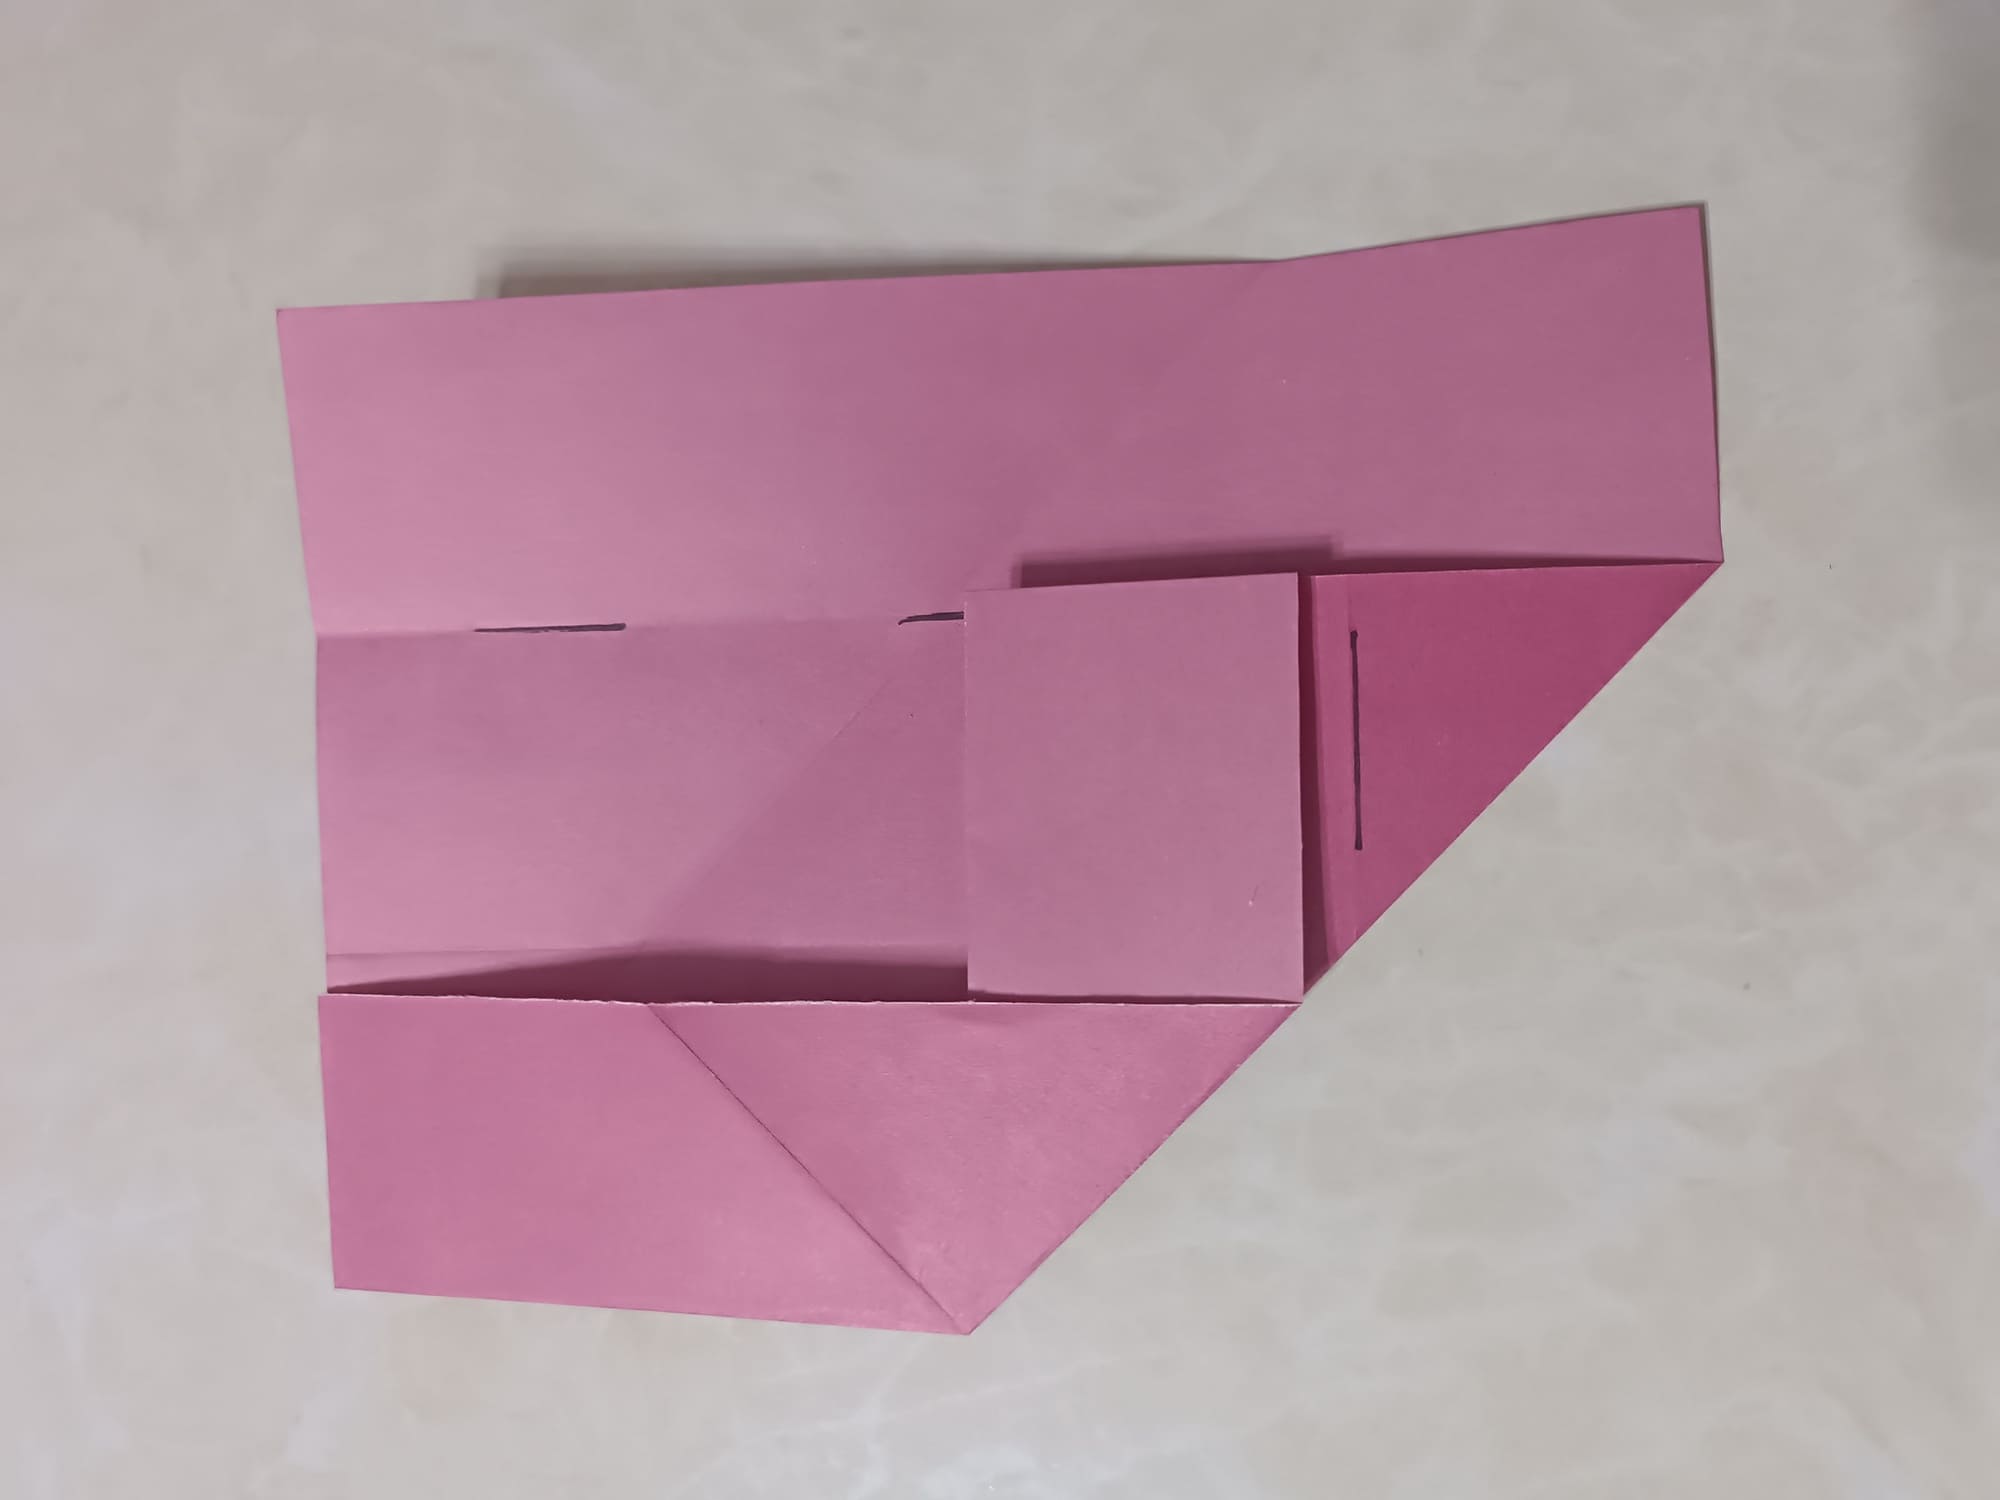
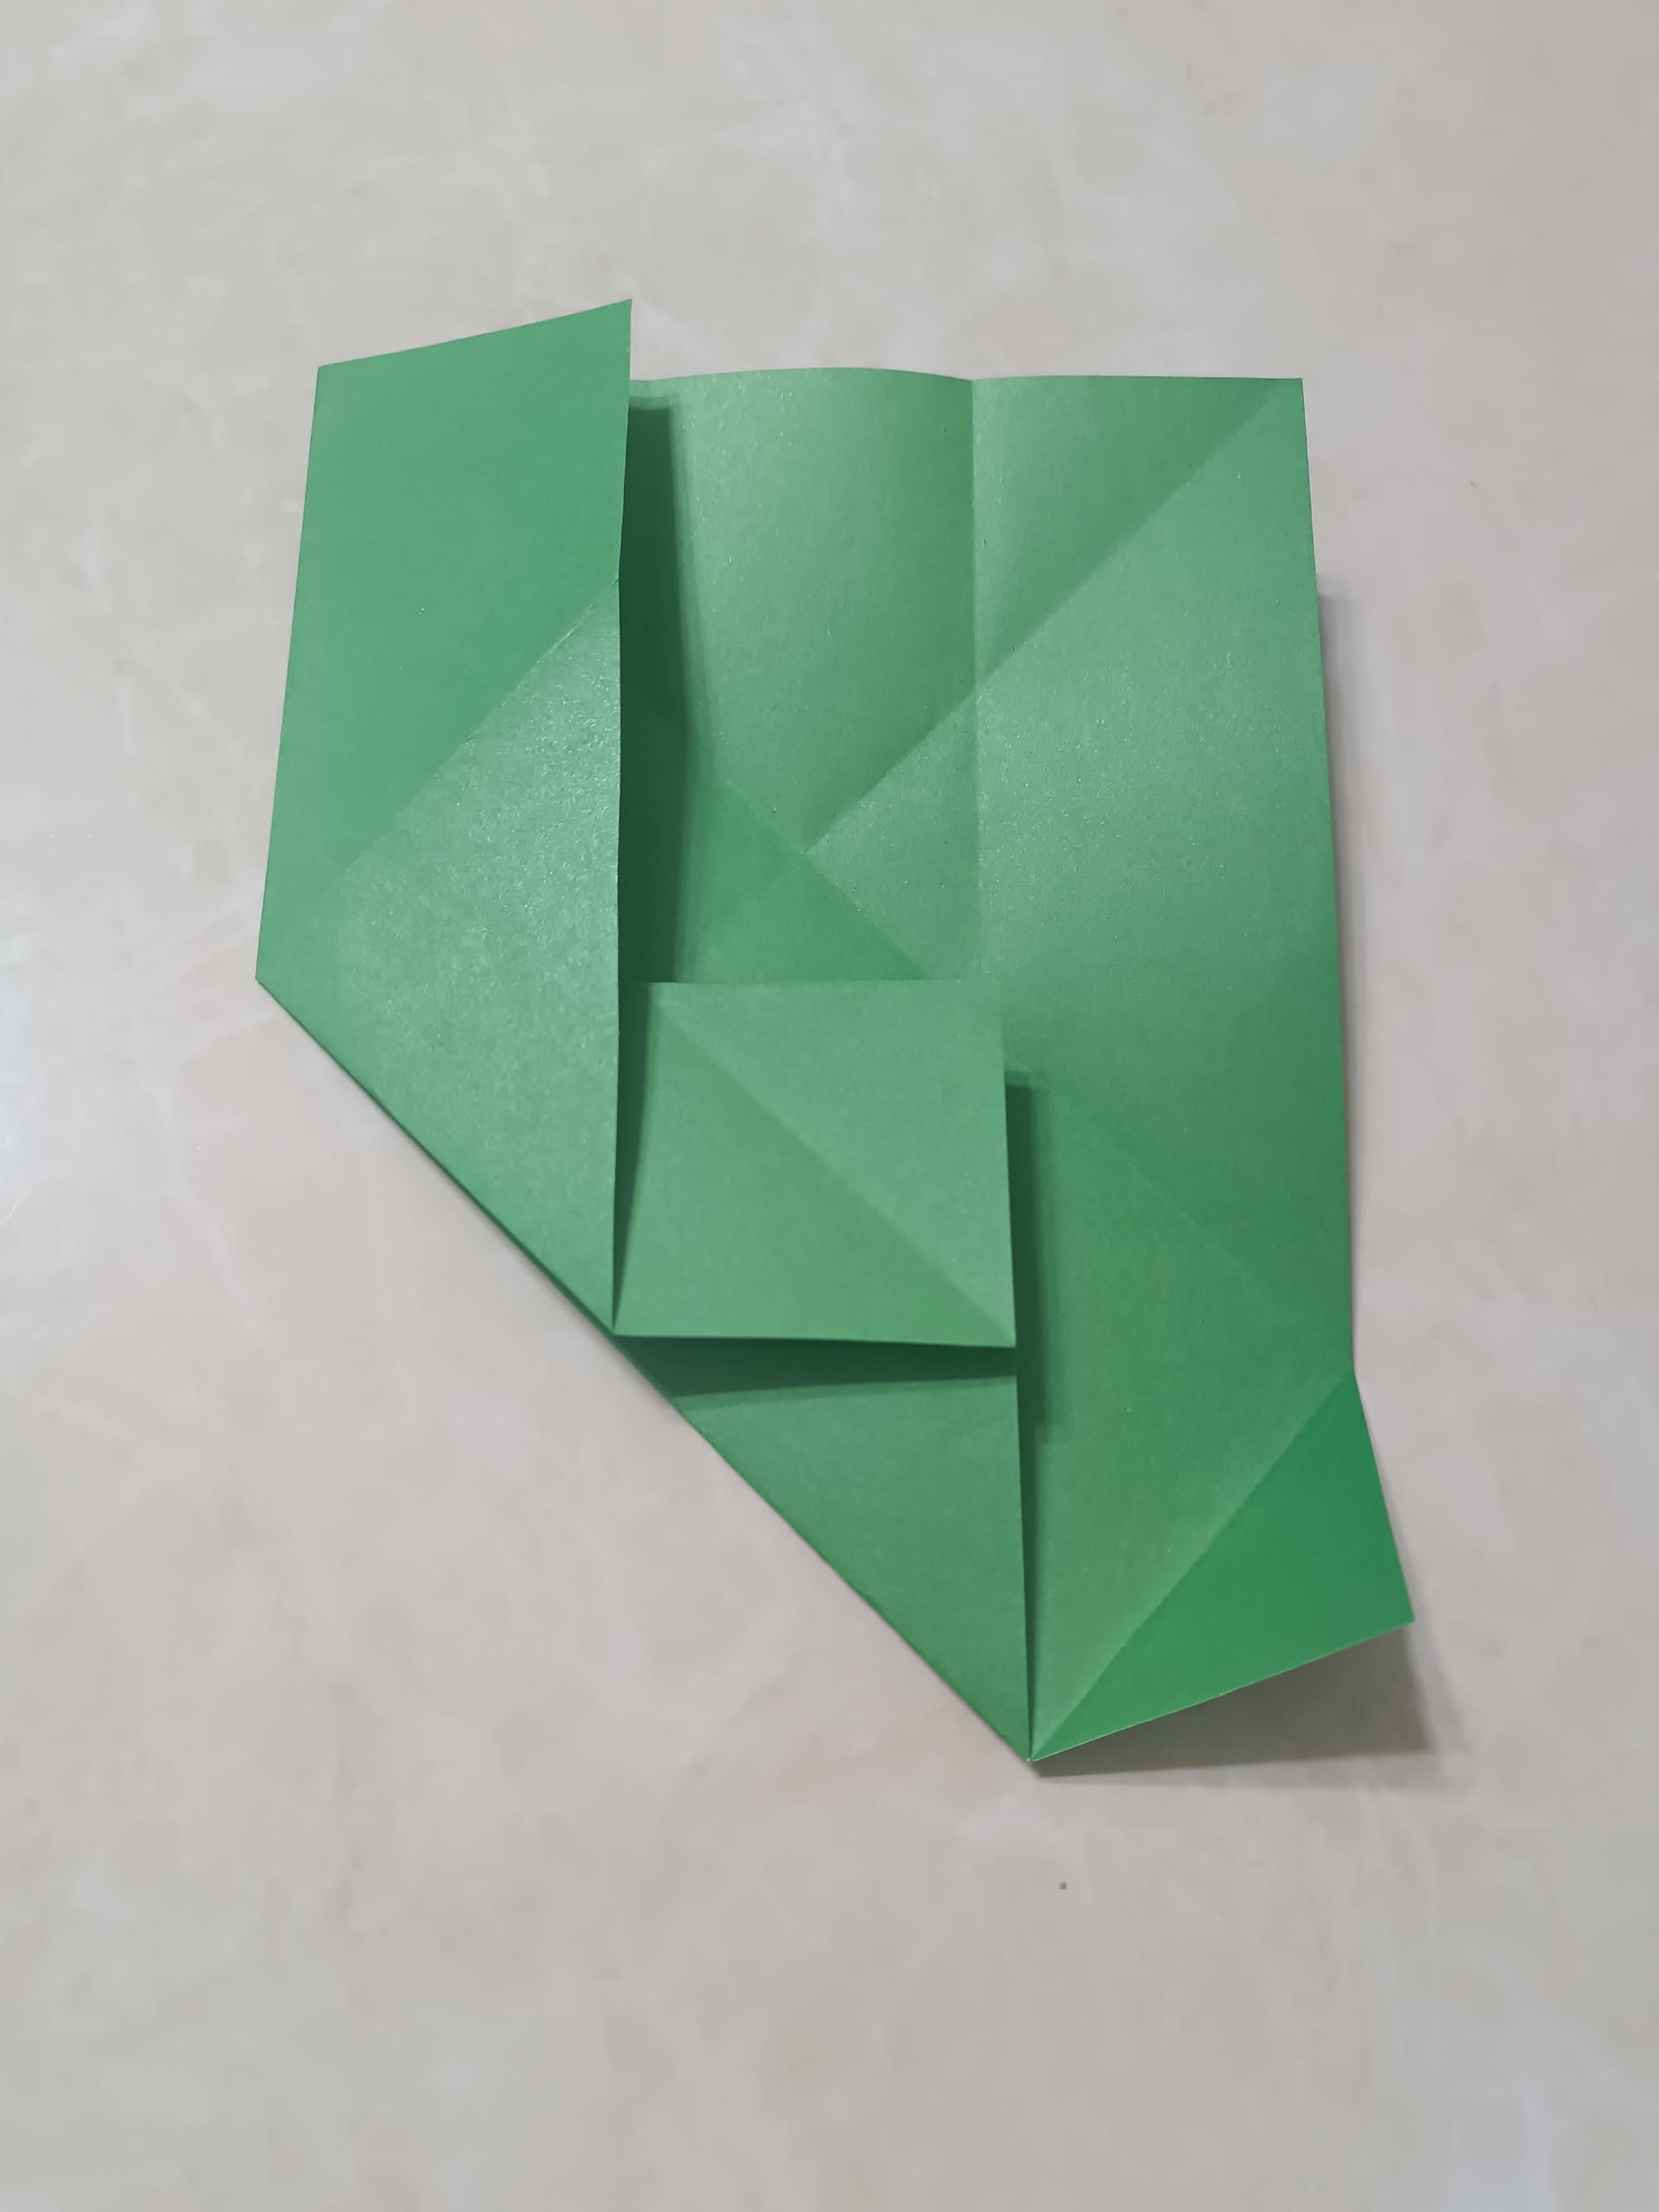
Now flip the left side to the right to “close” the paper.
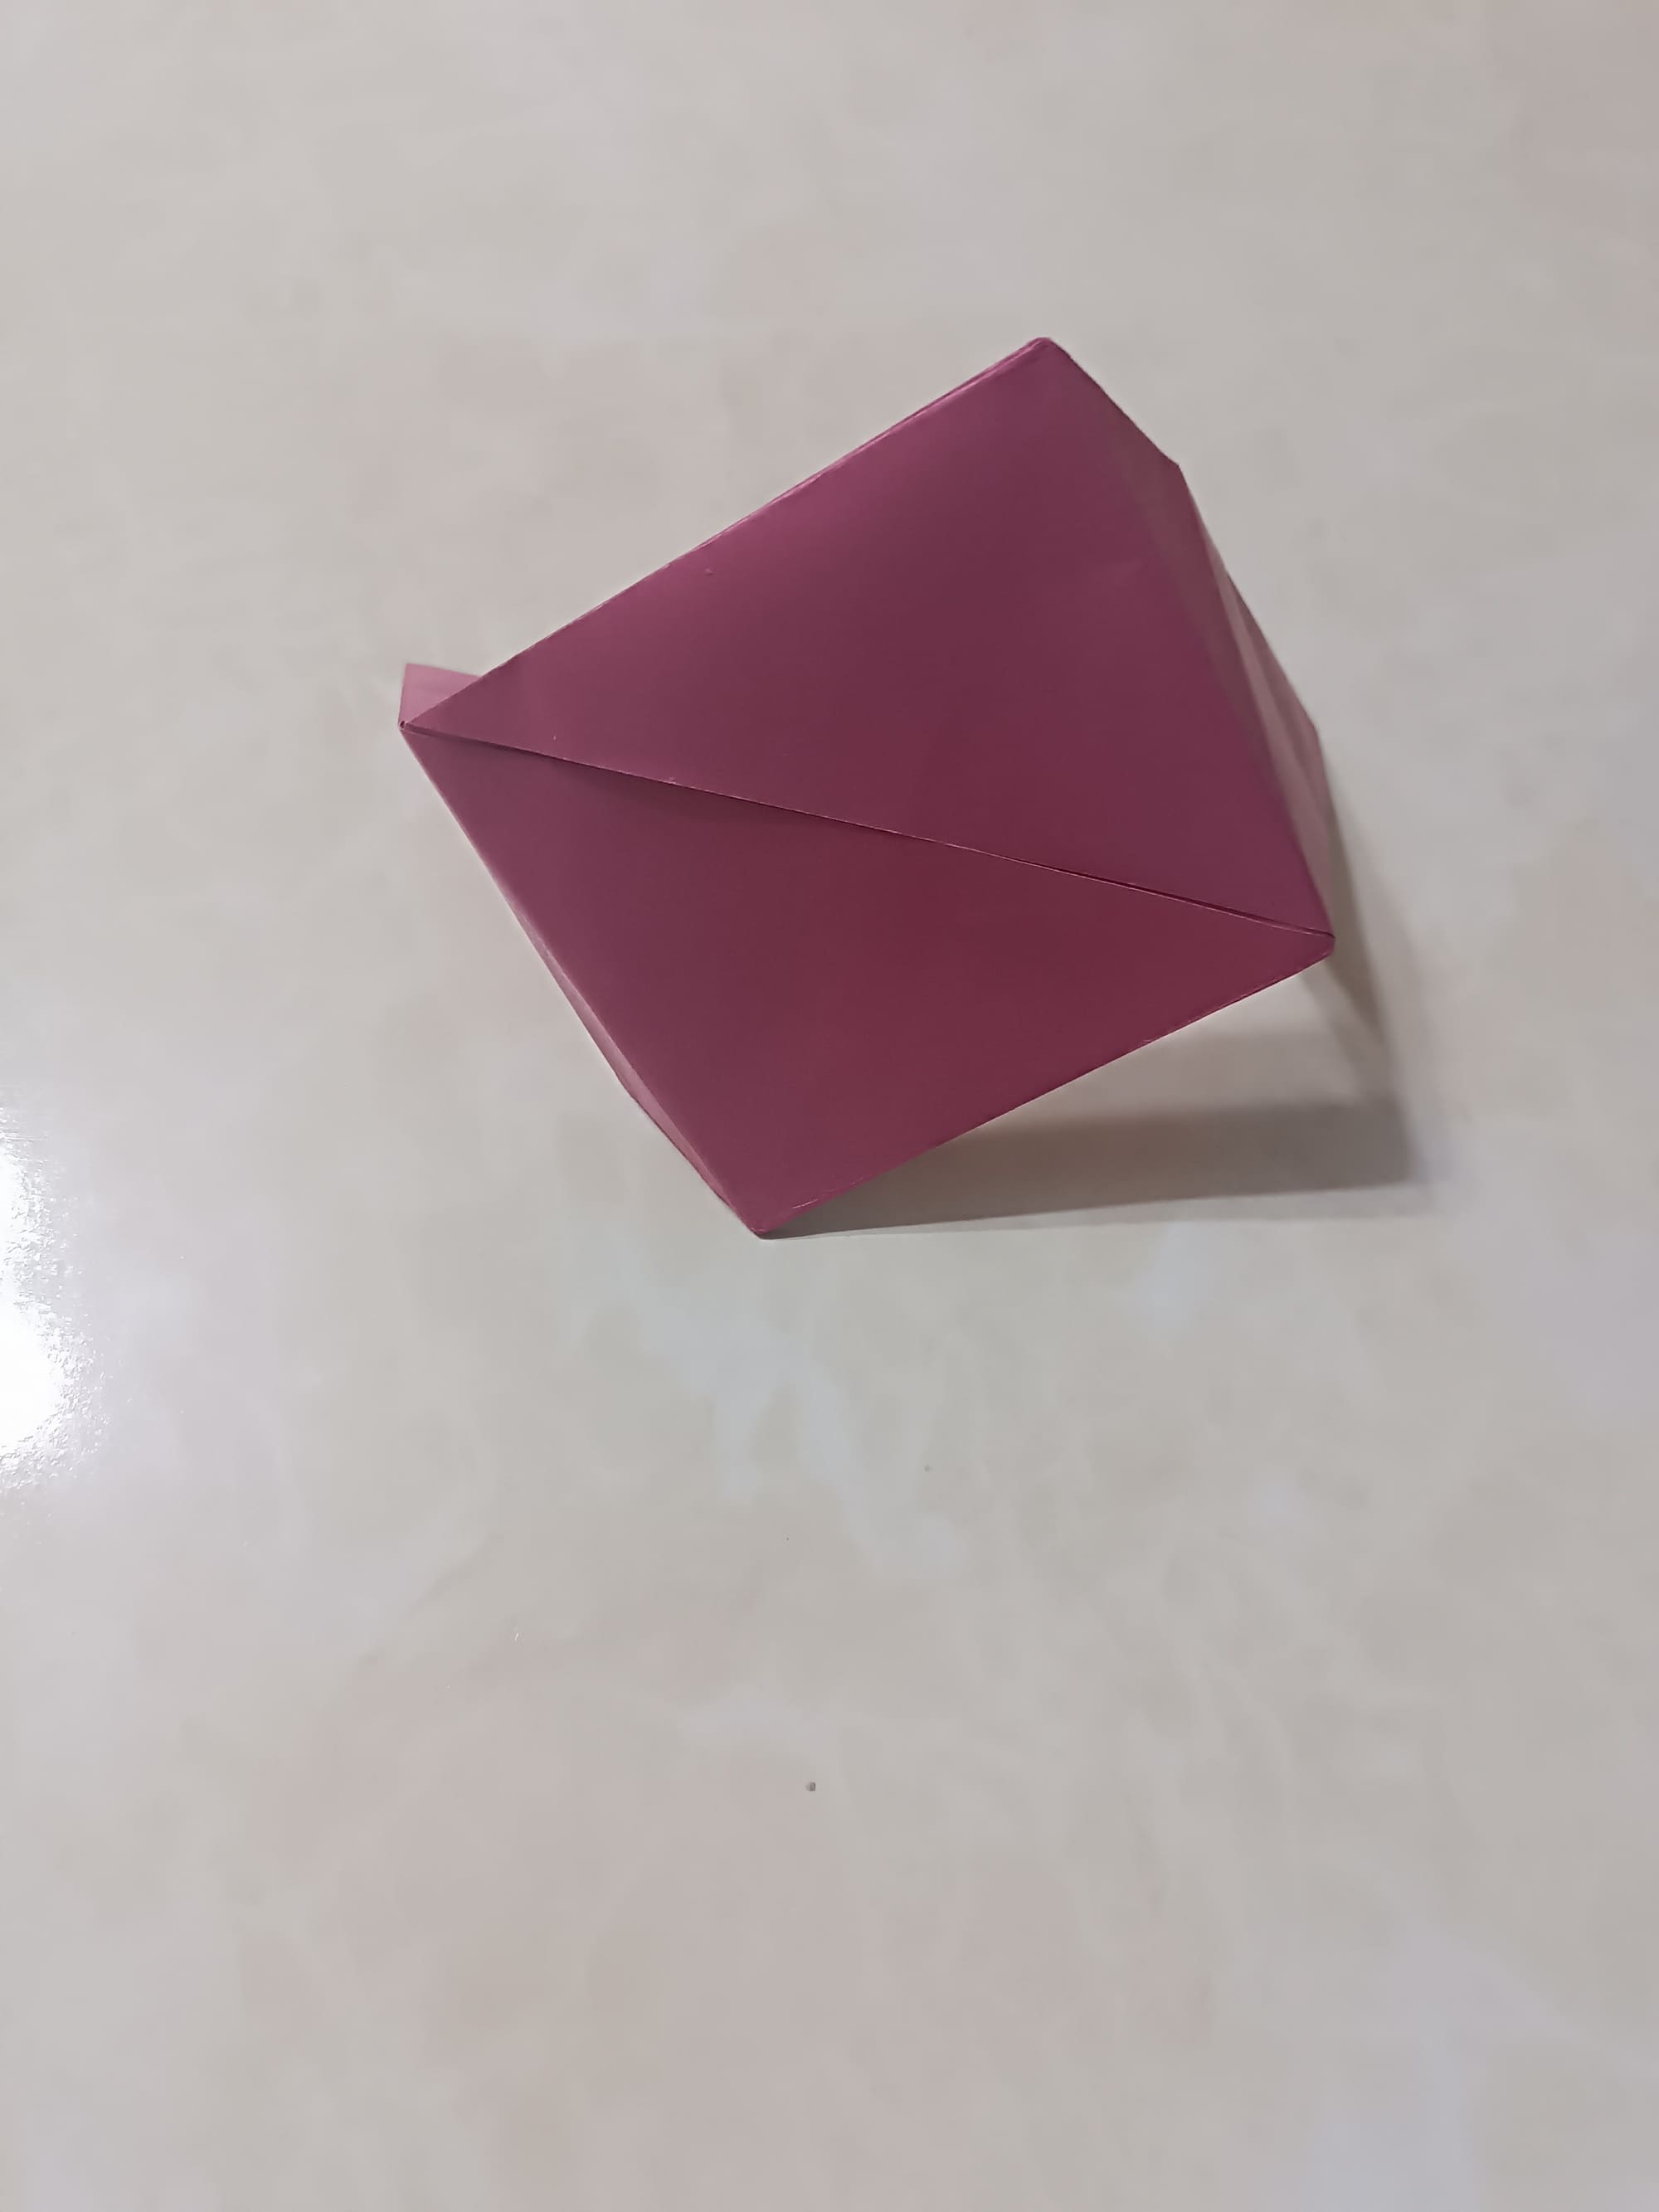
Press the paper so that the diagonal edges line up on the left side.
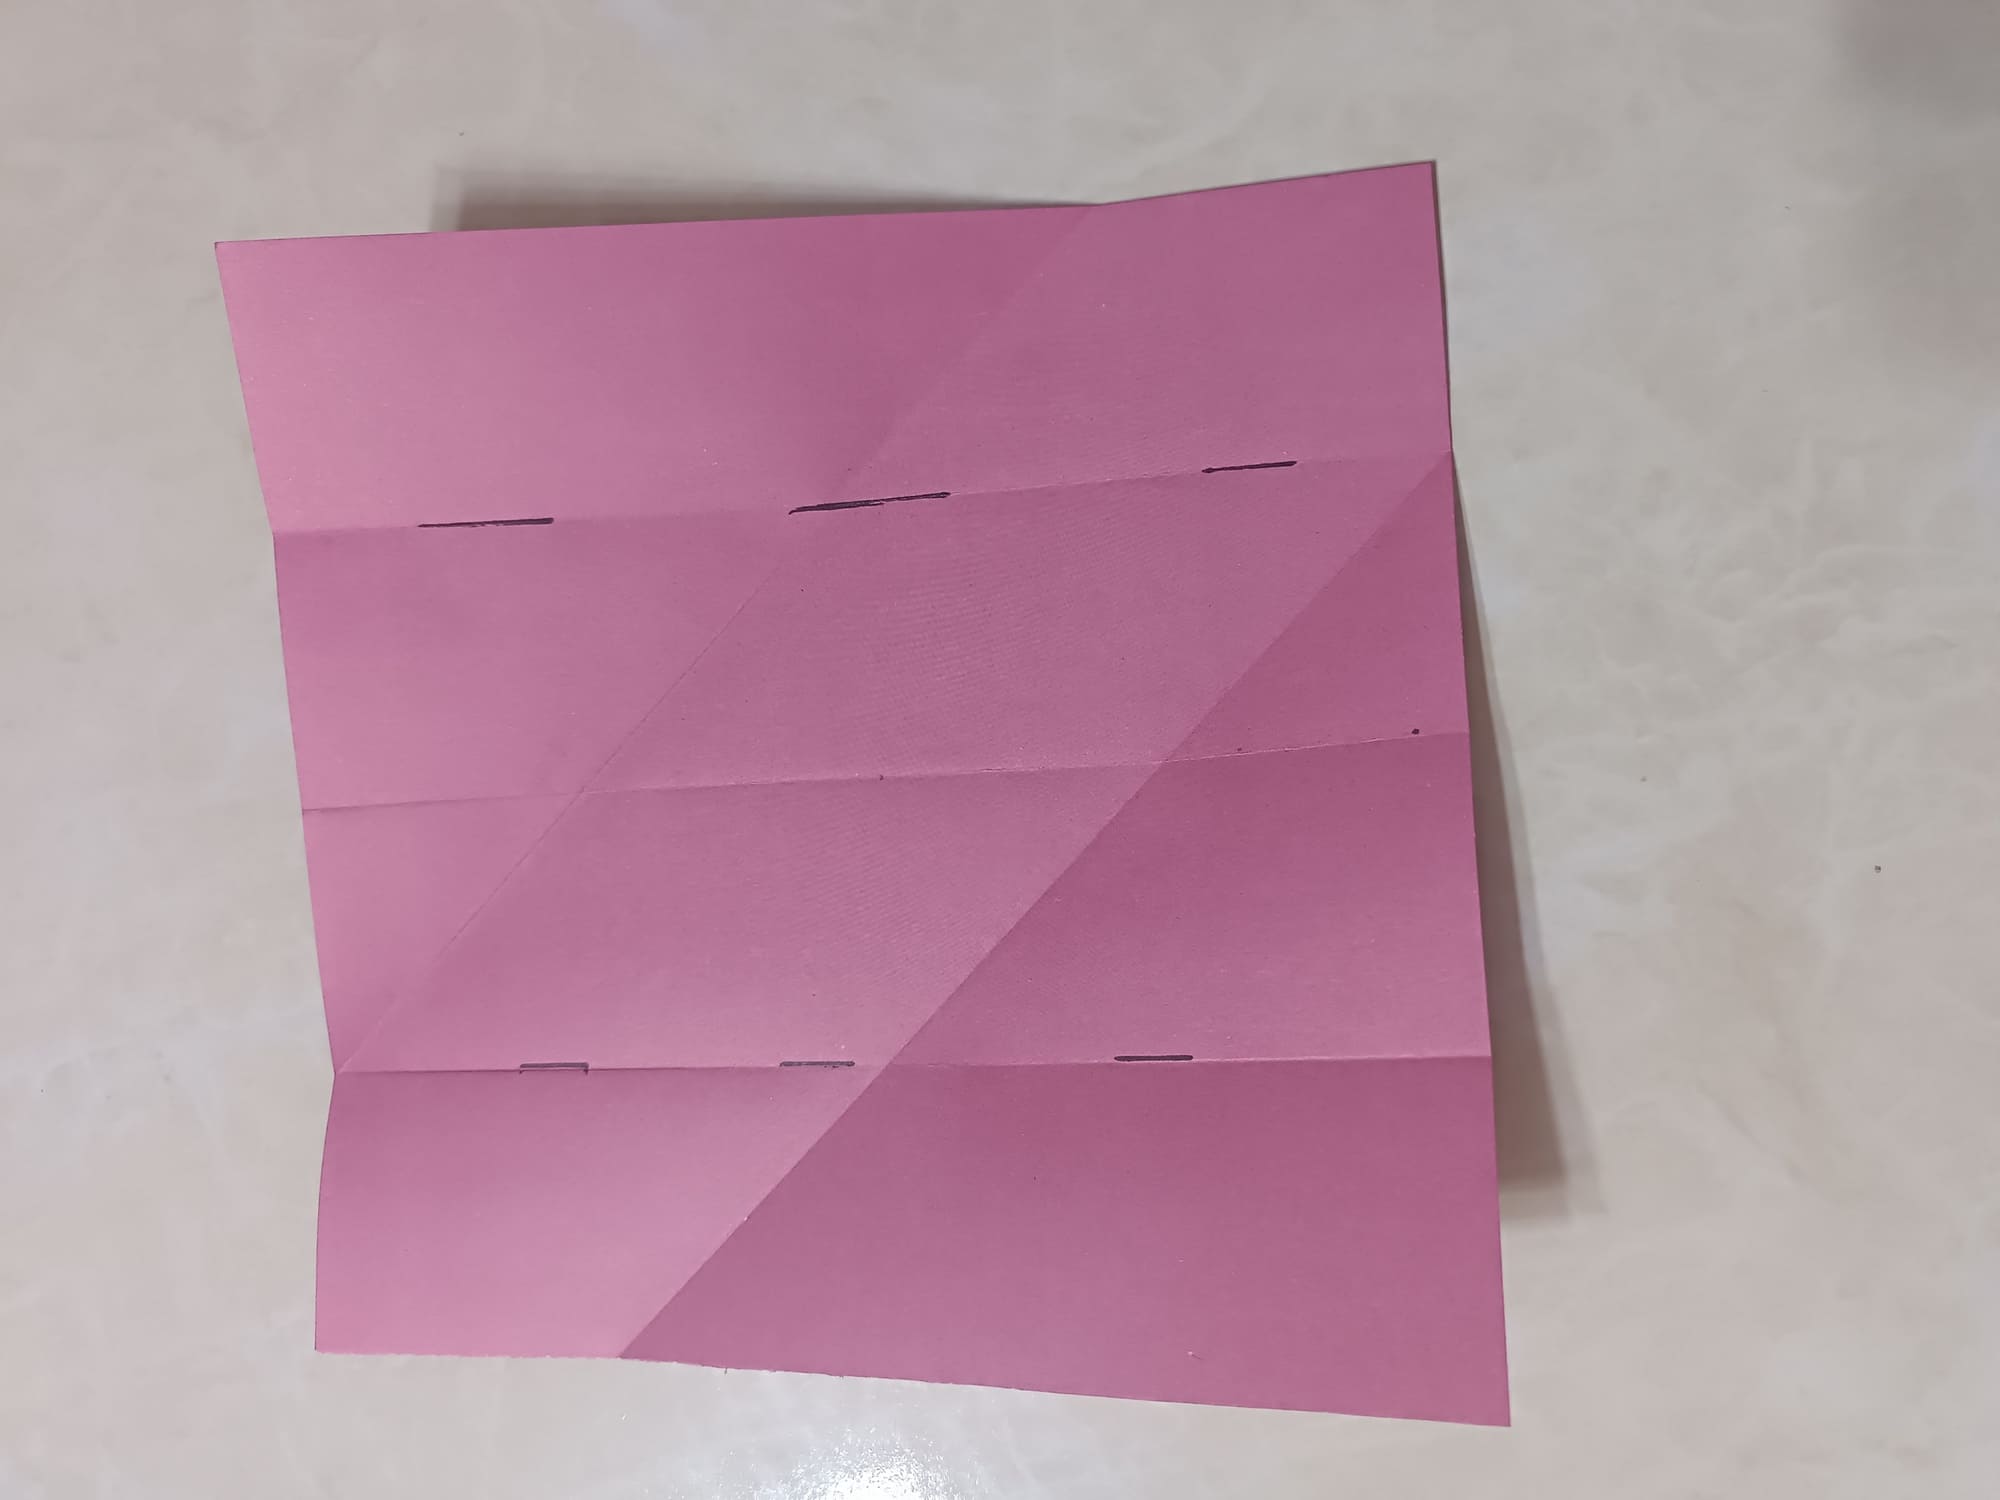
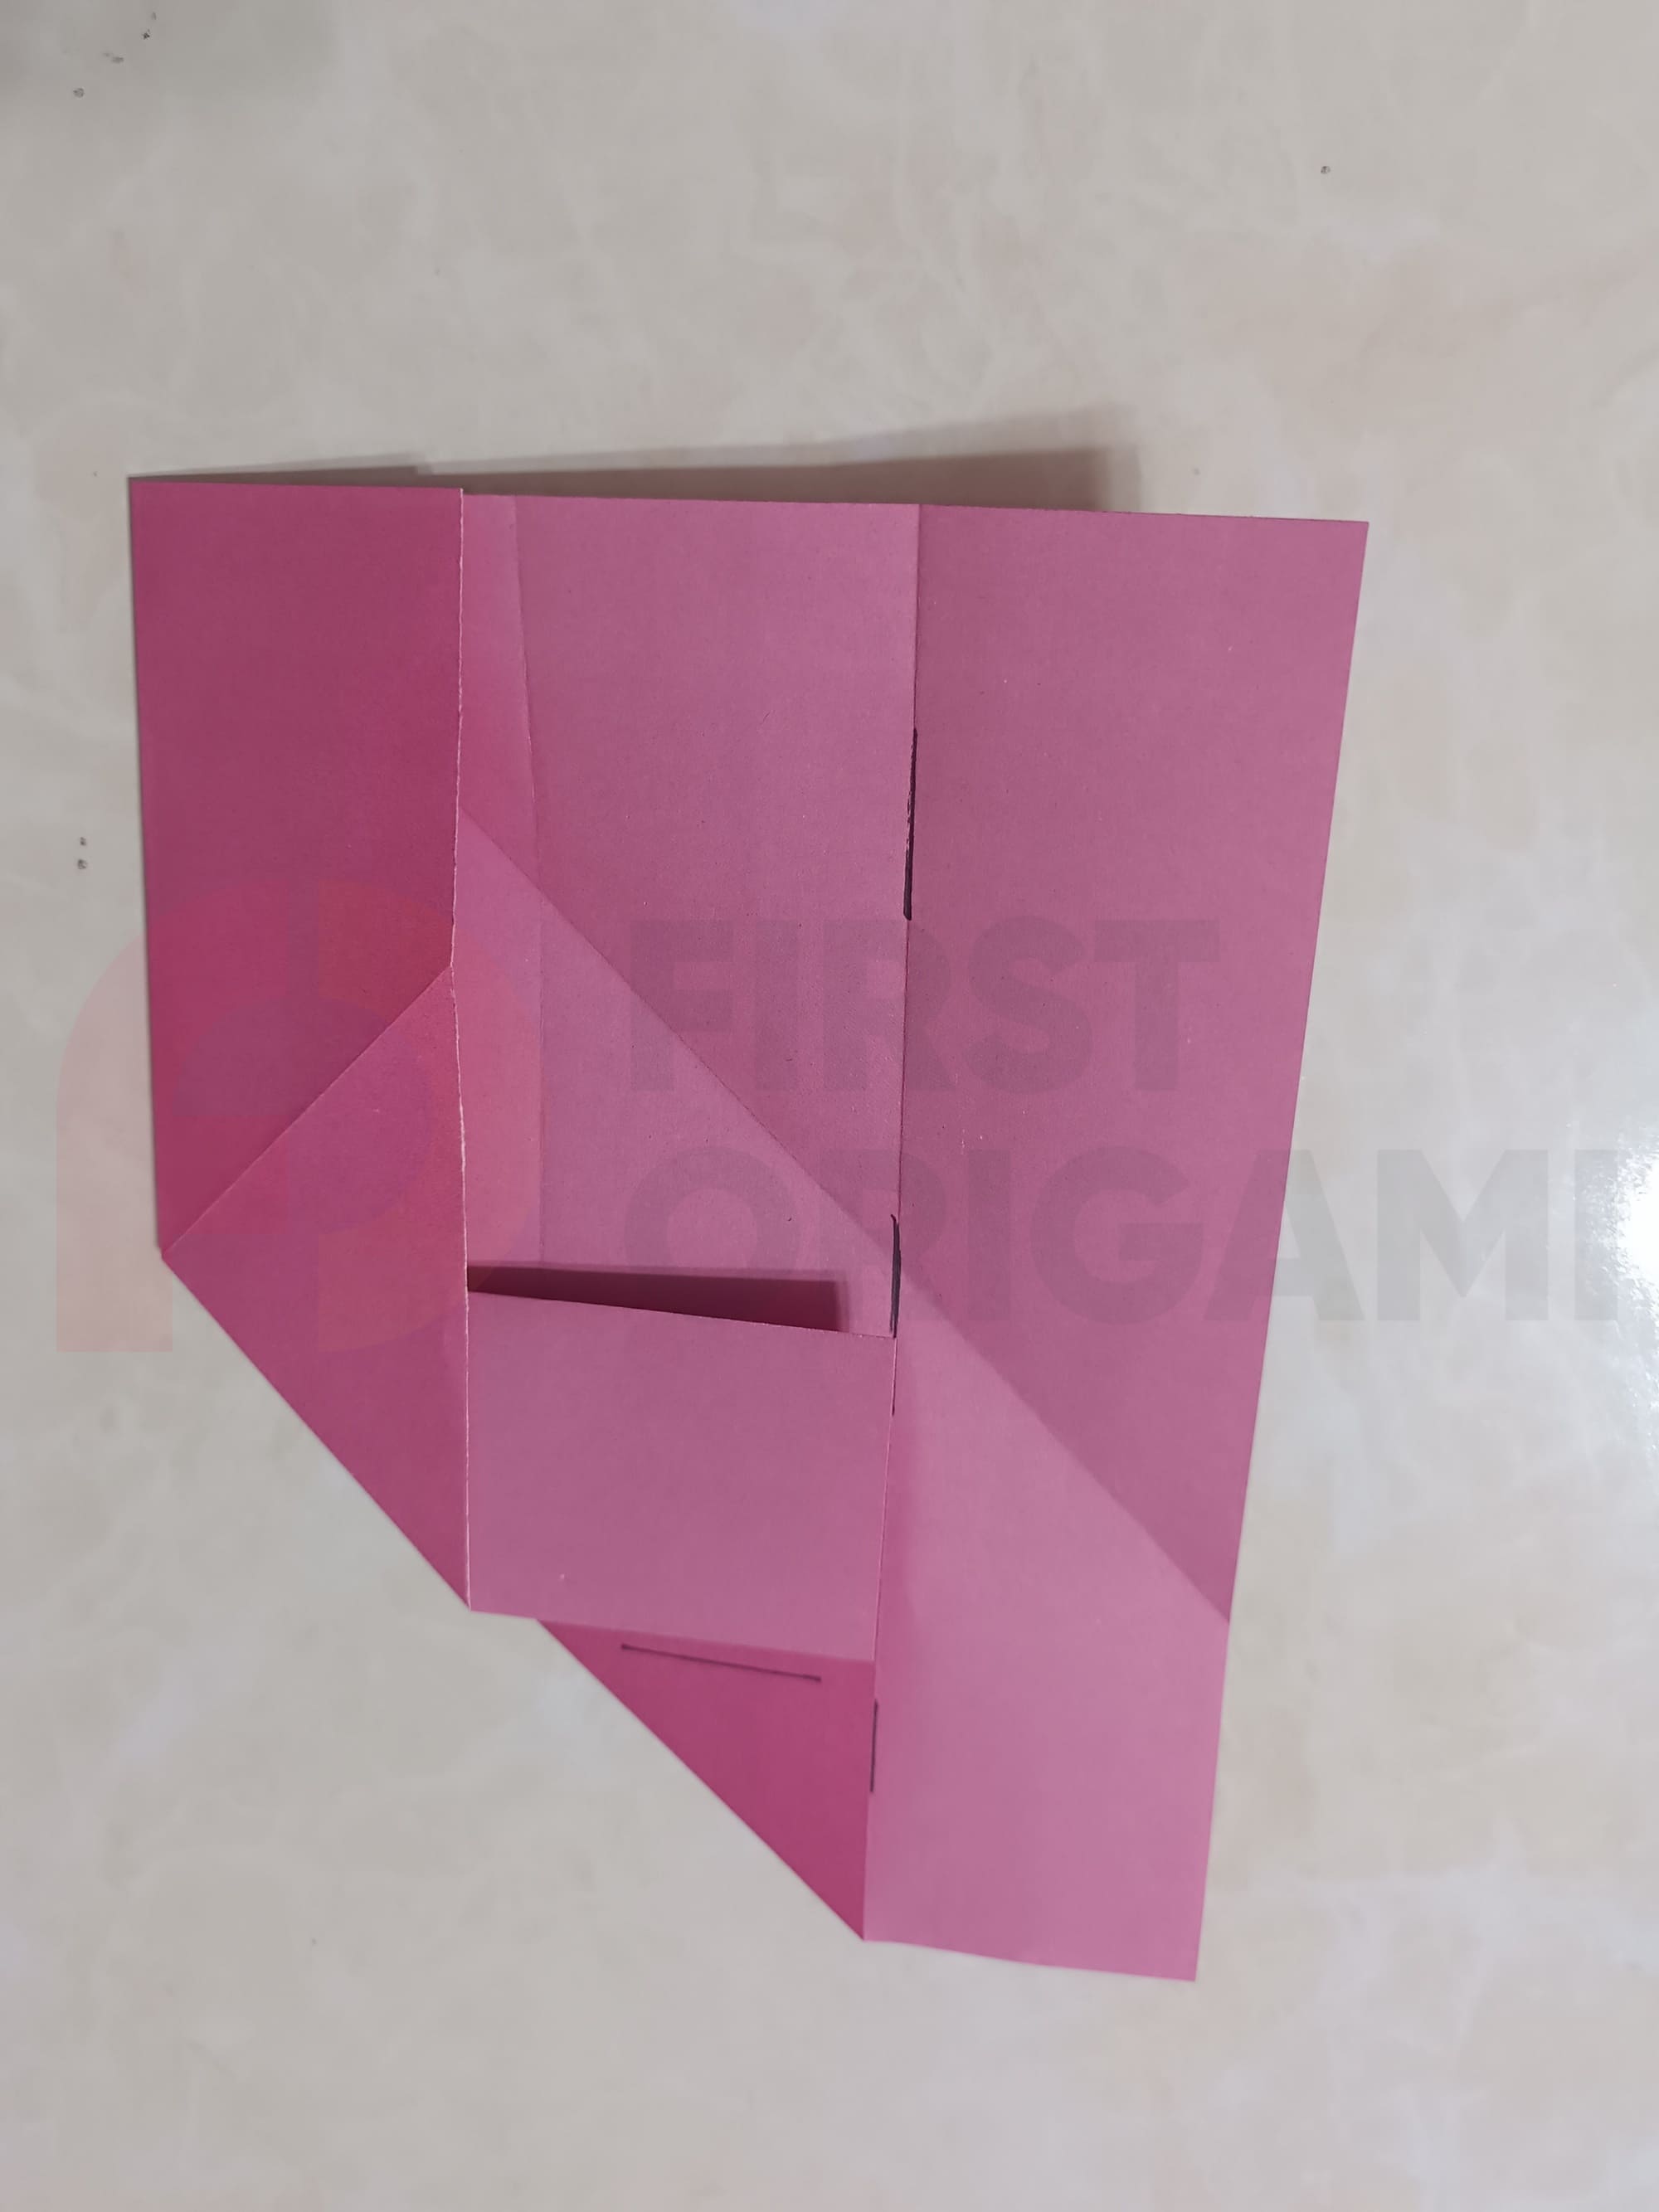
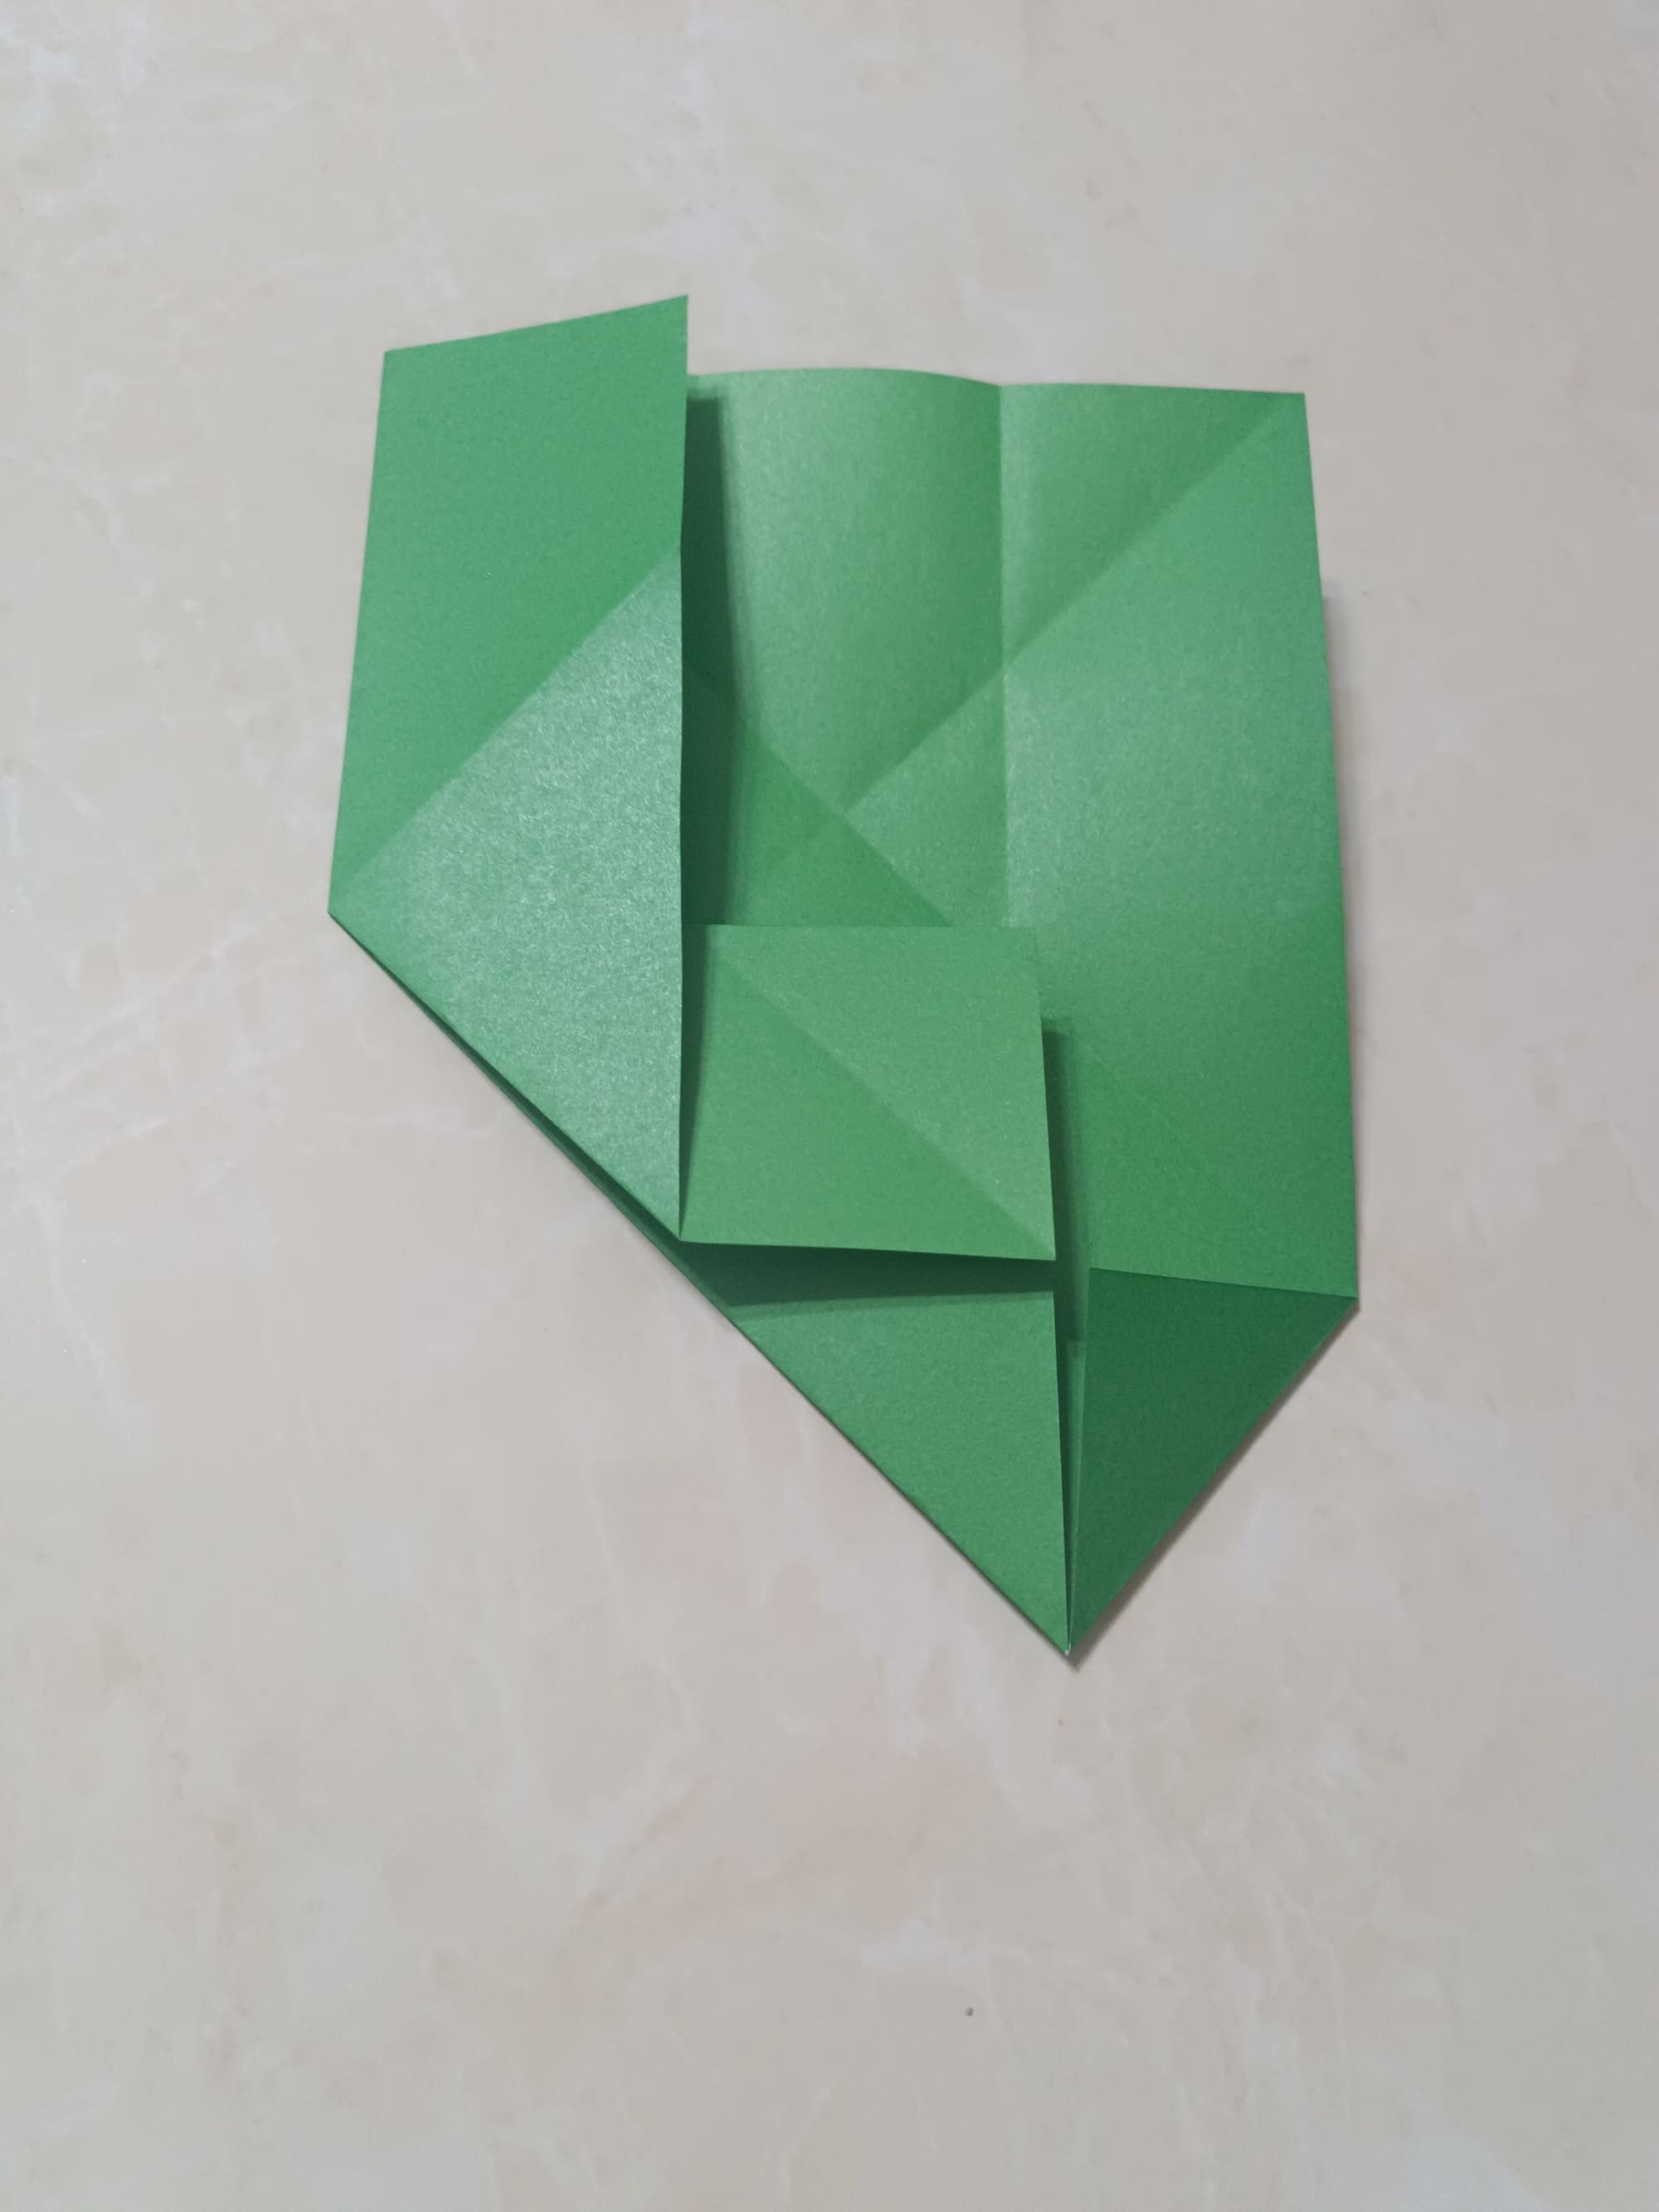
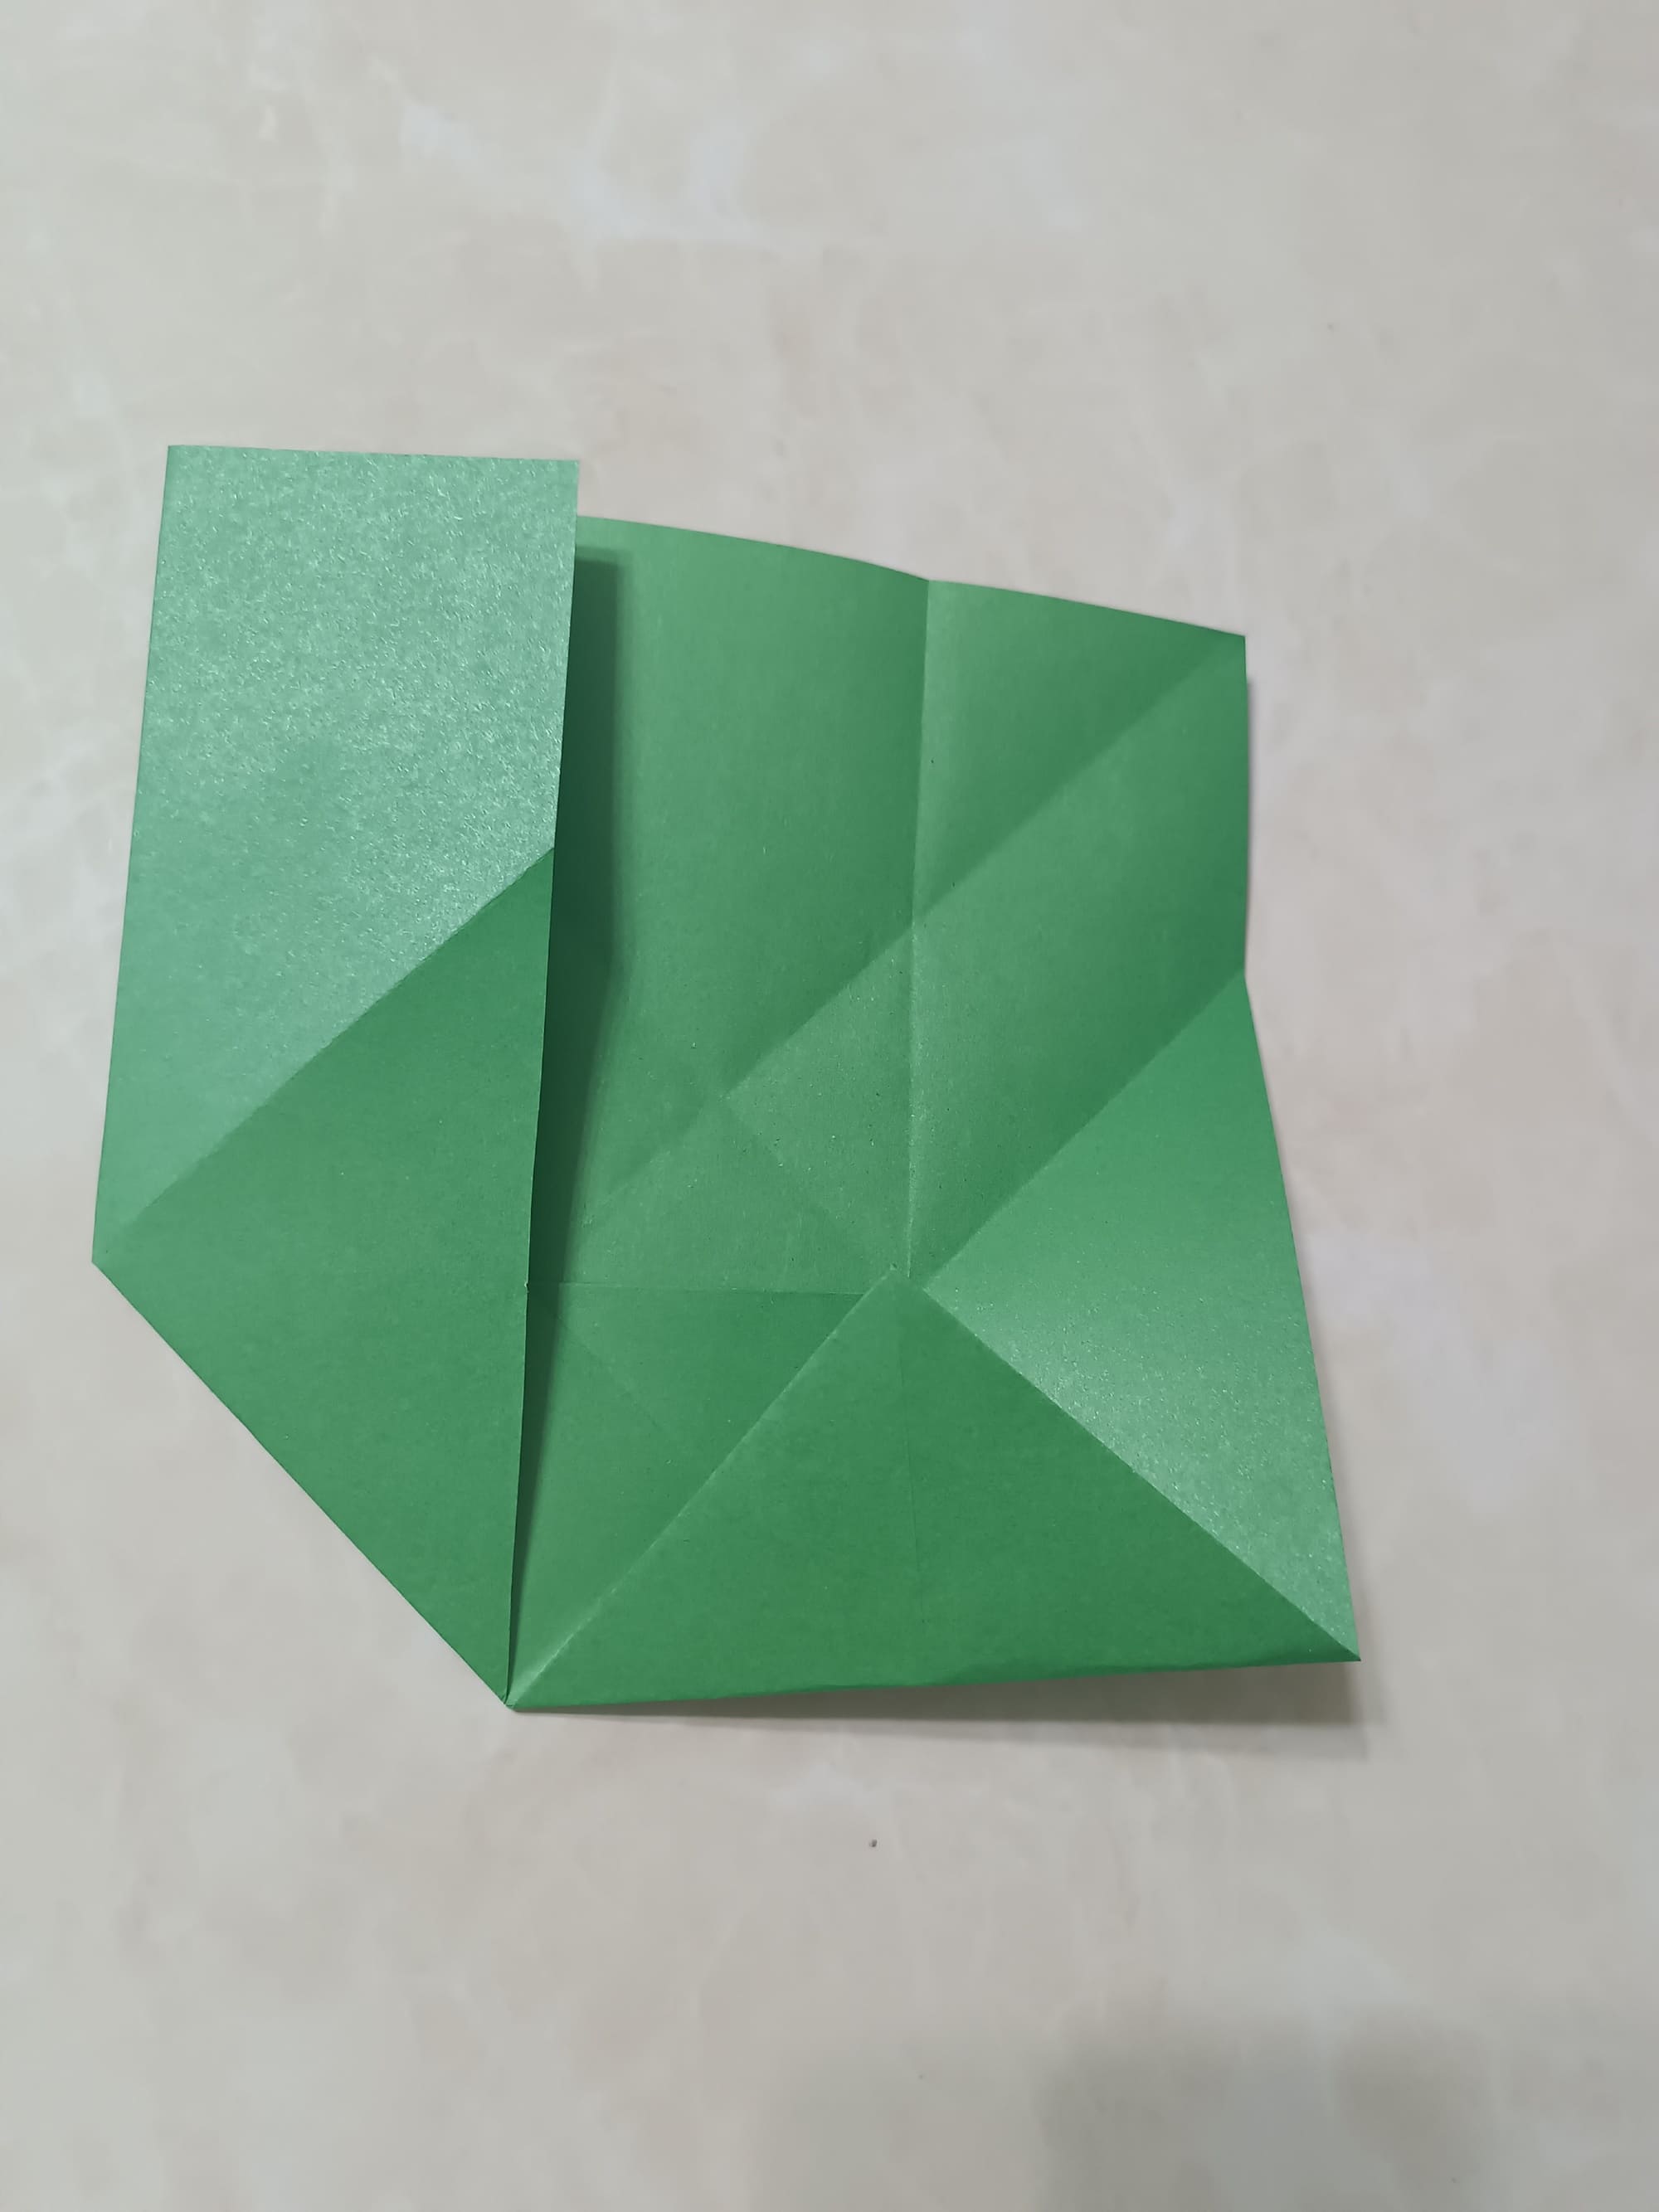
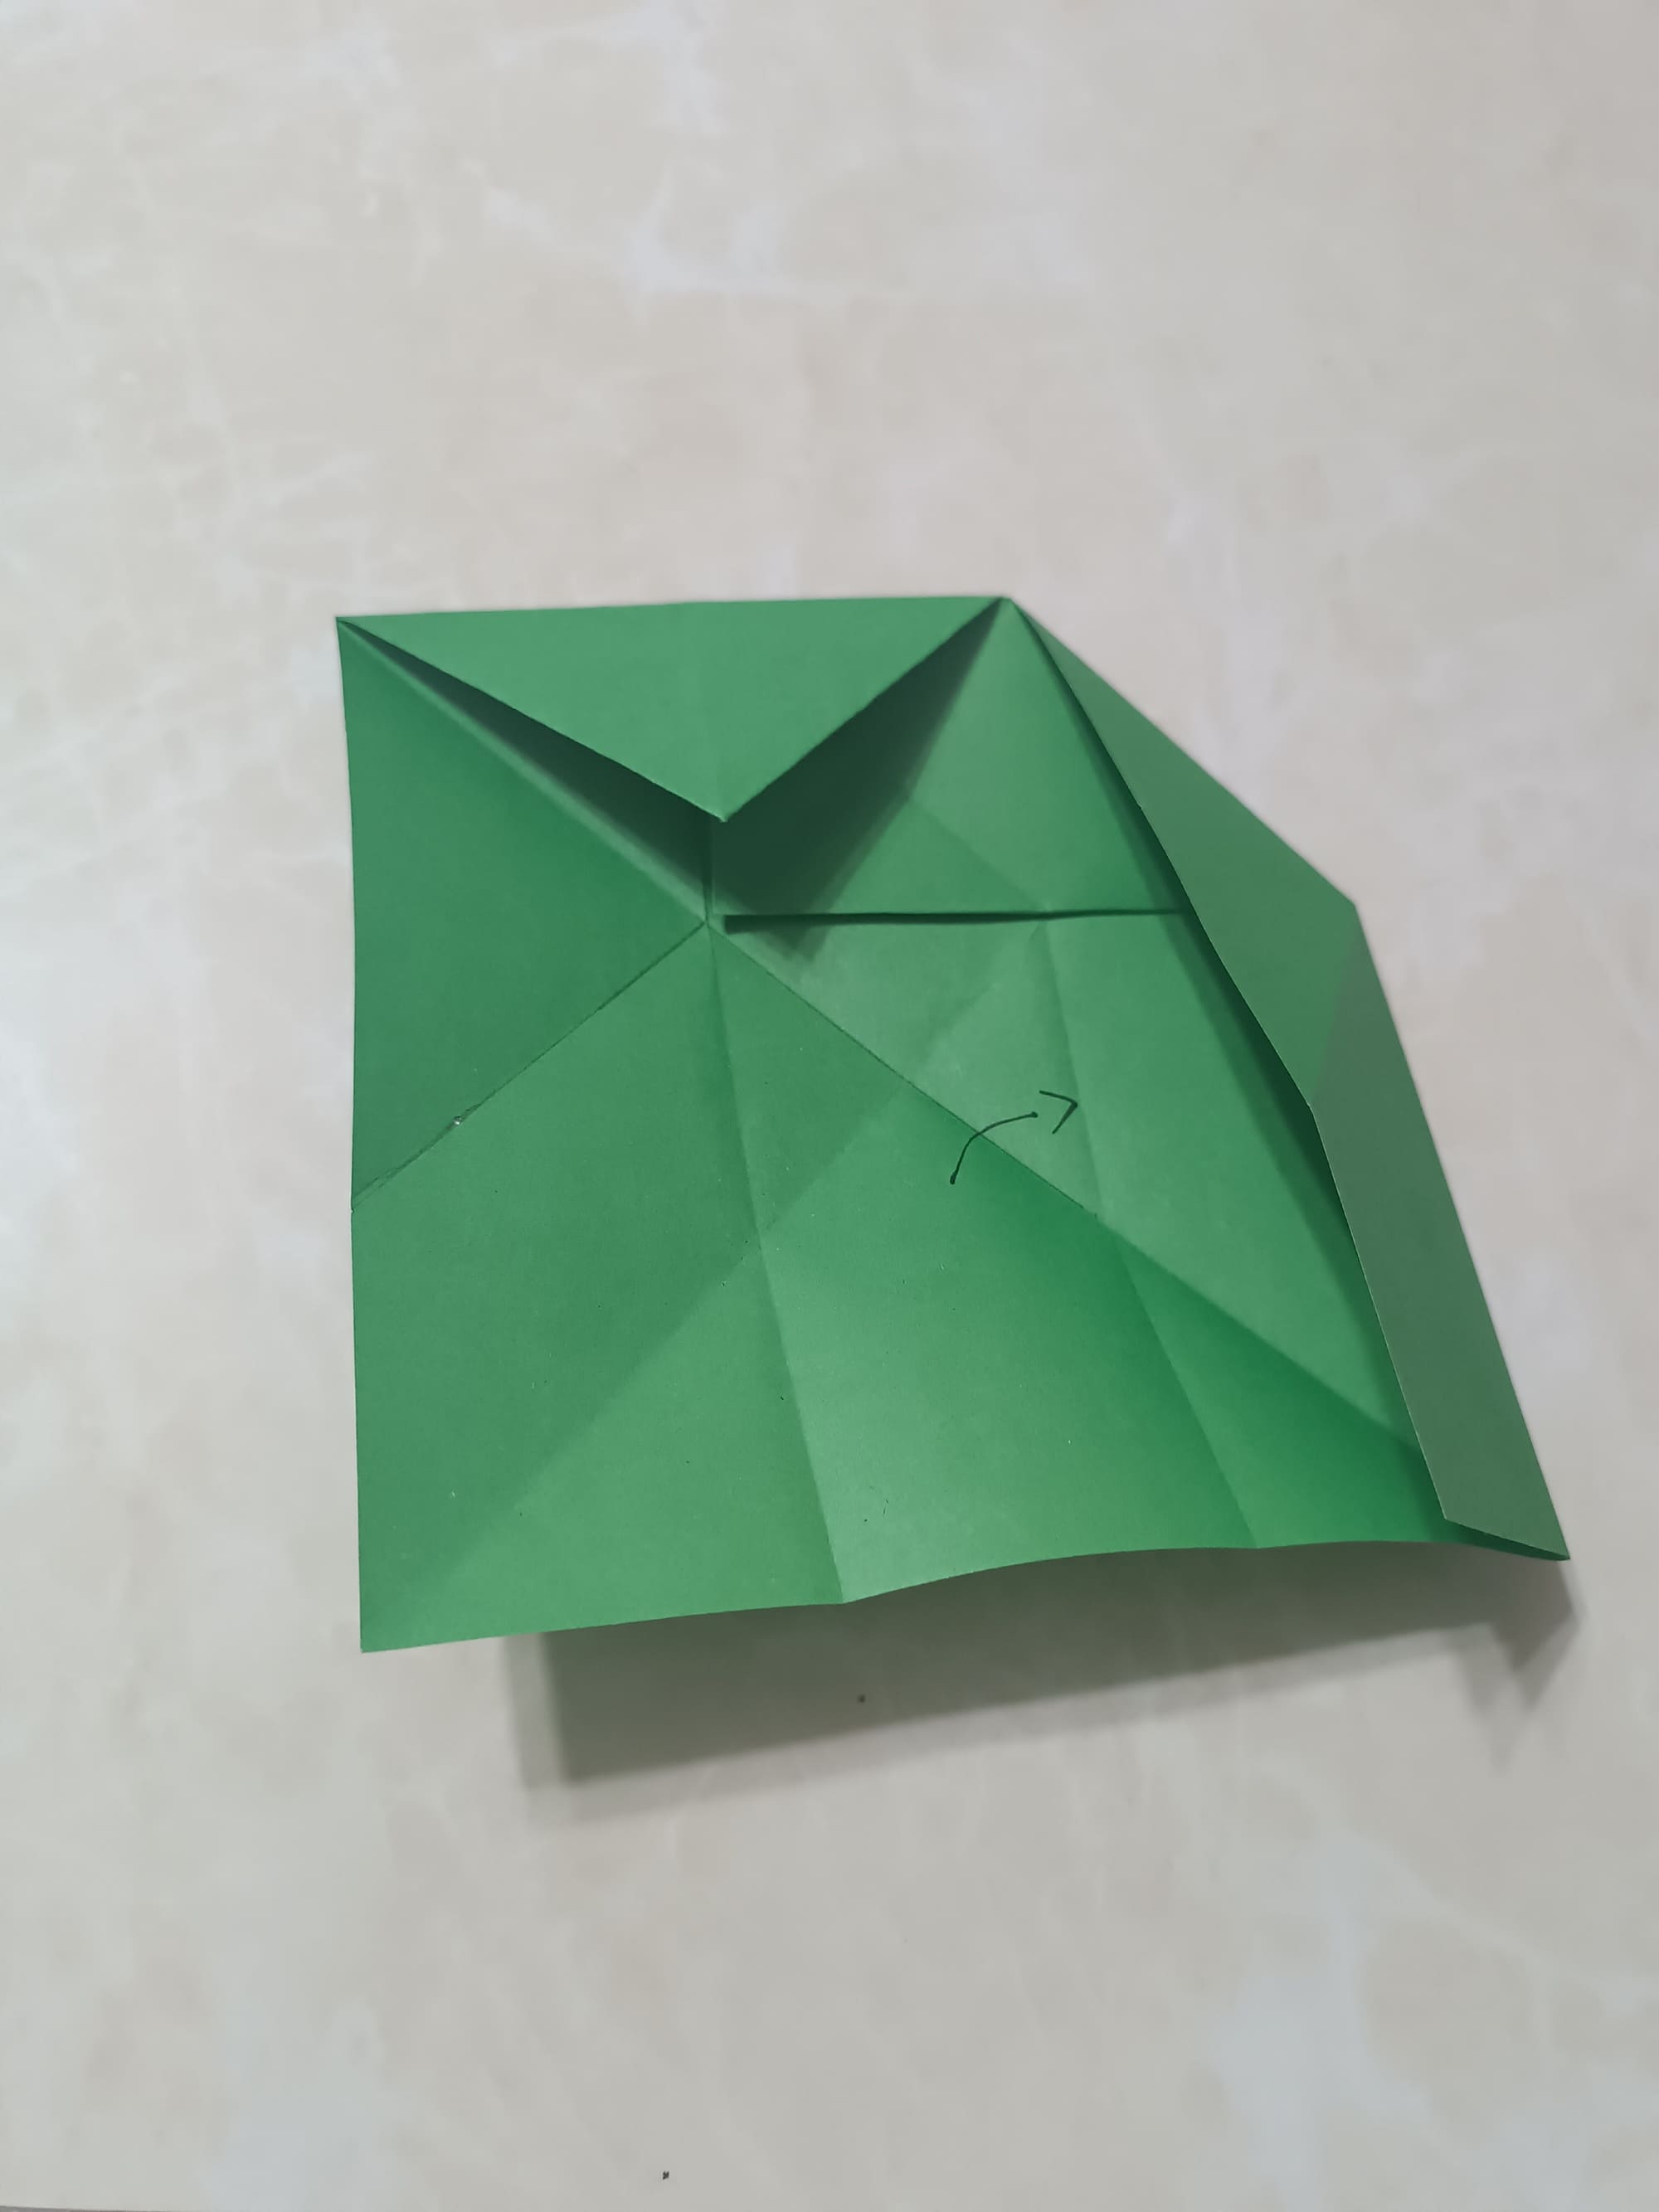
Flip the paper over. Make 2 diagonal folds as shown. Fold out well.

Now make 2 more diagonal folds. Fold well.
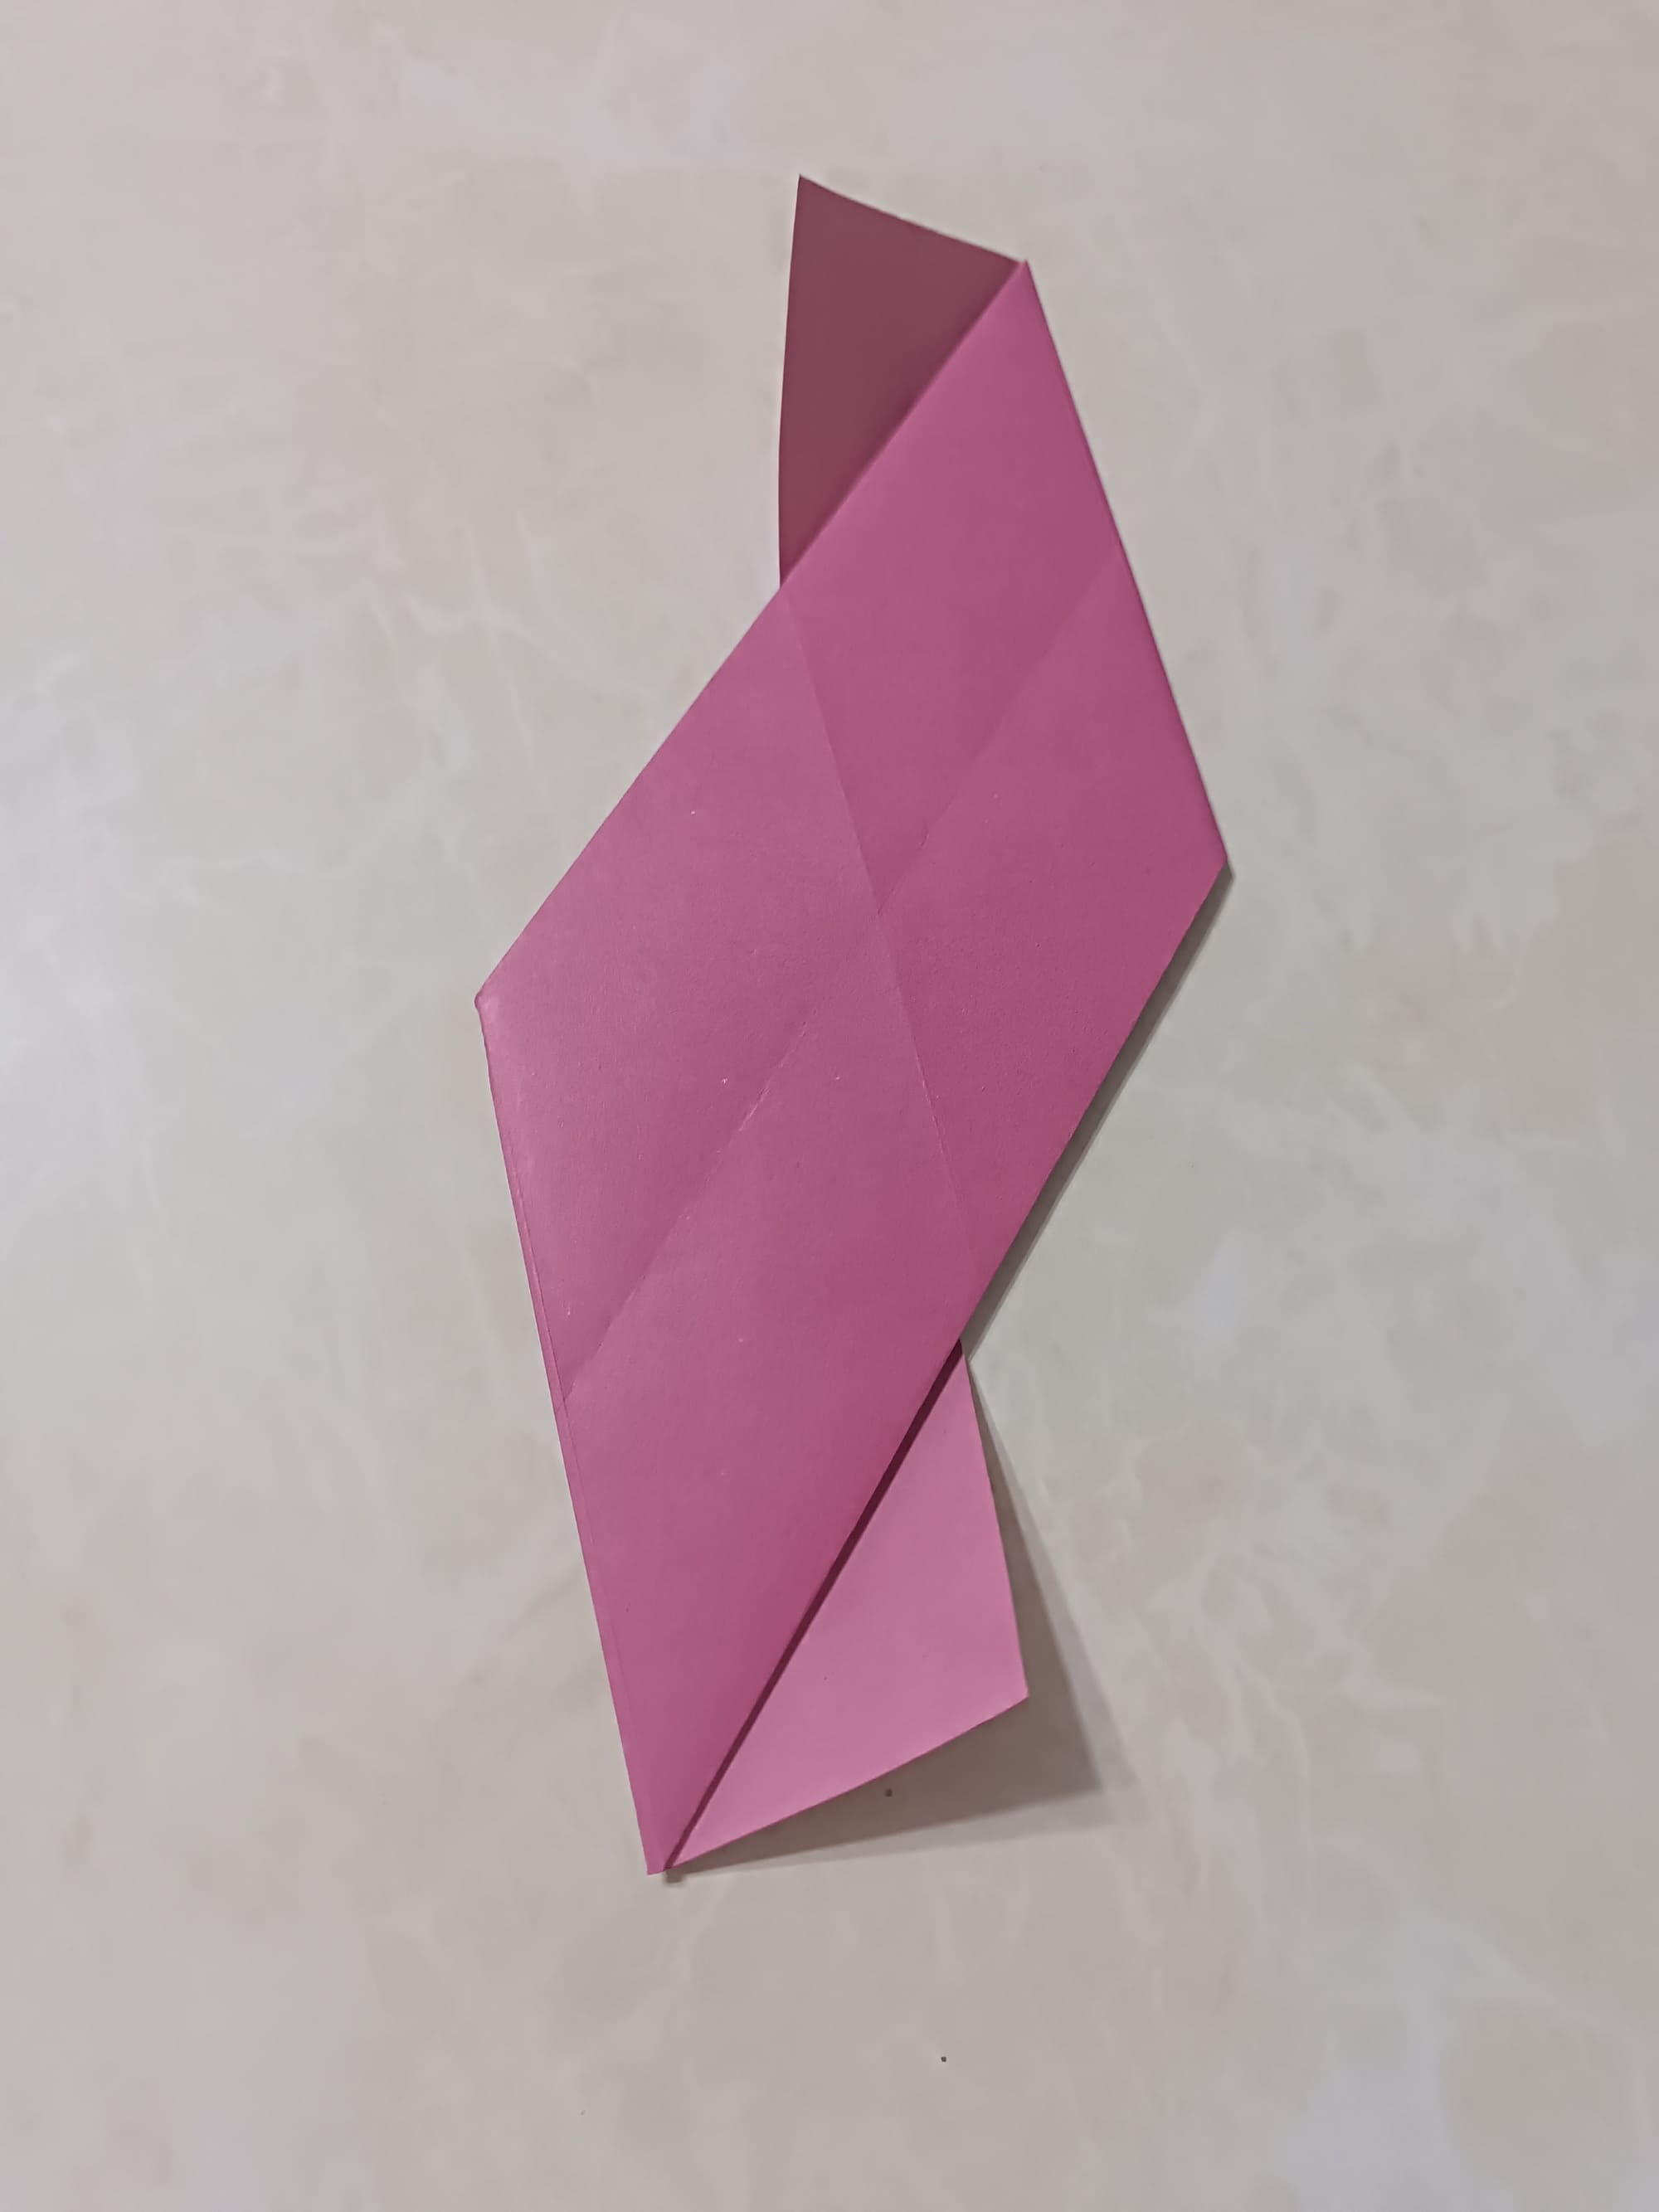
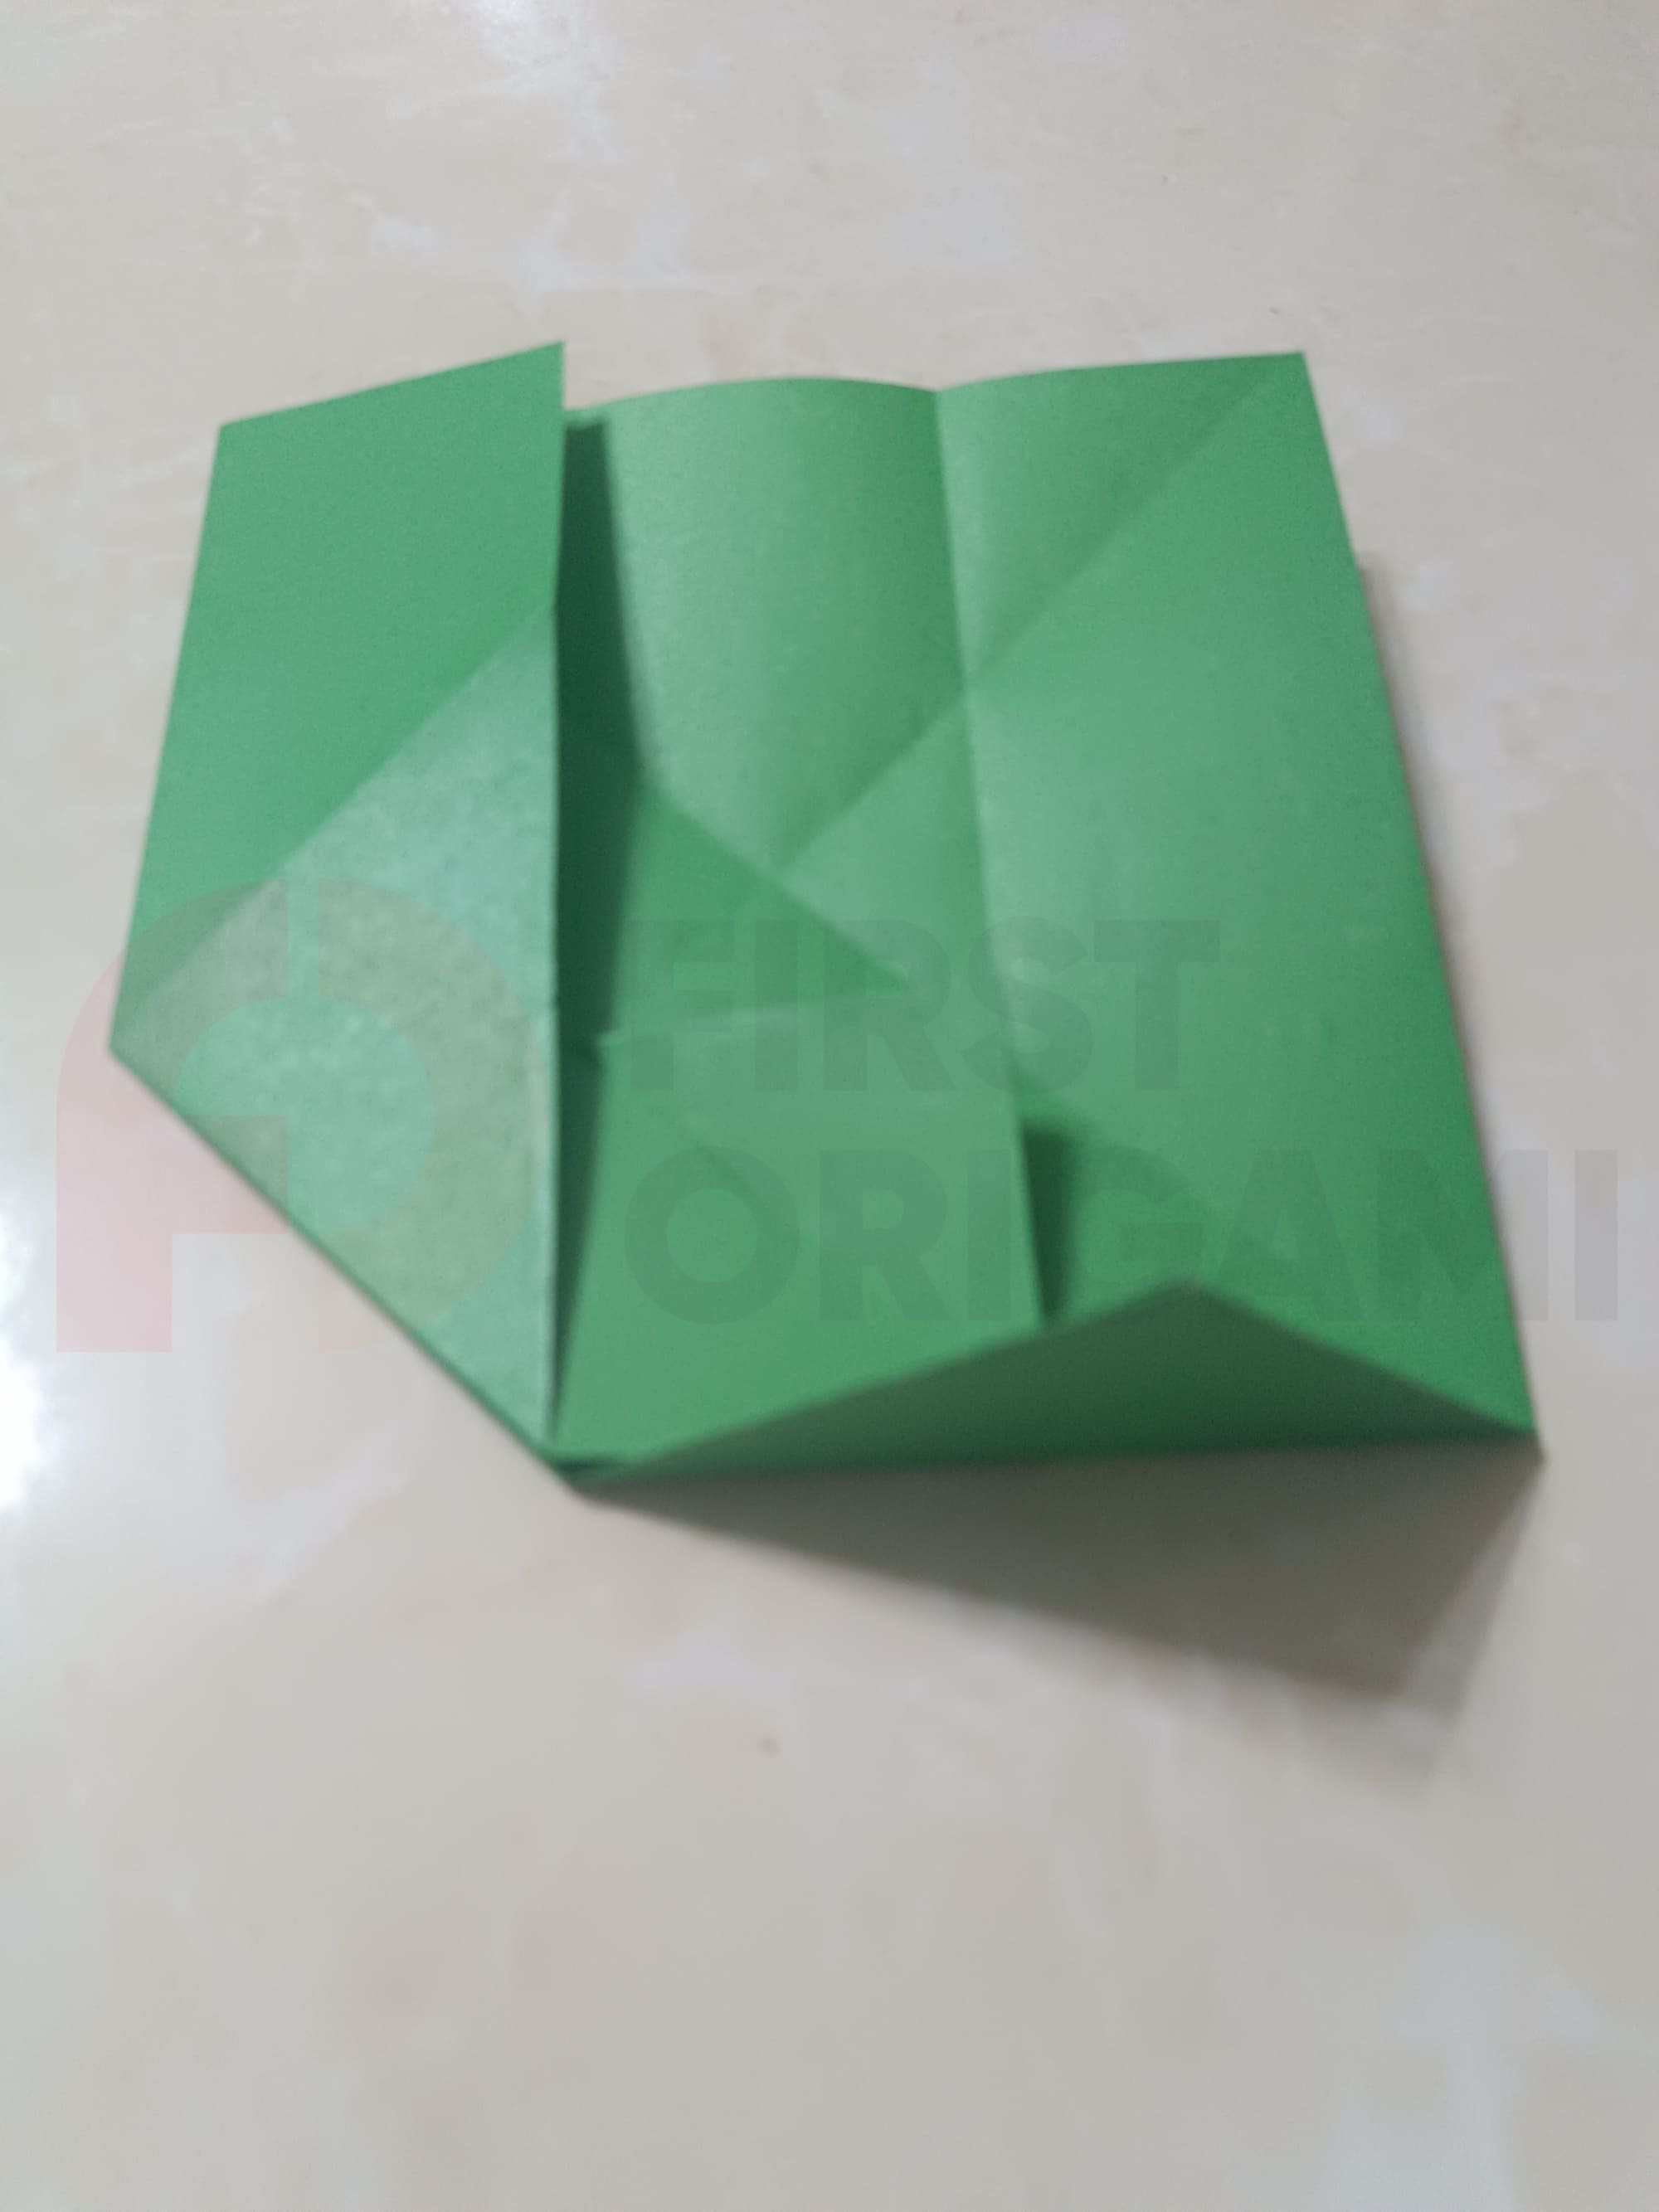
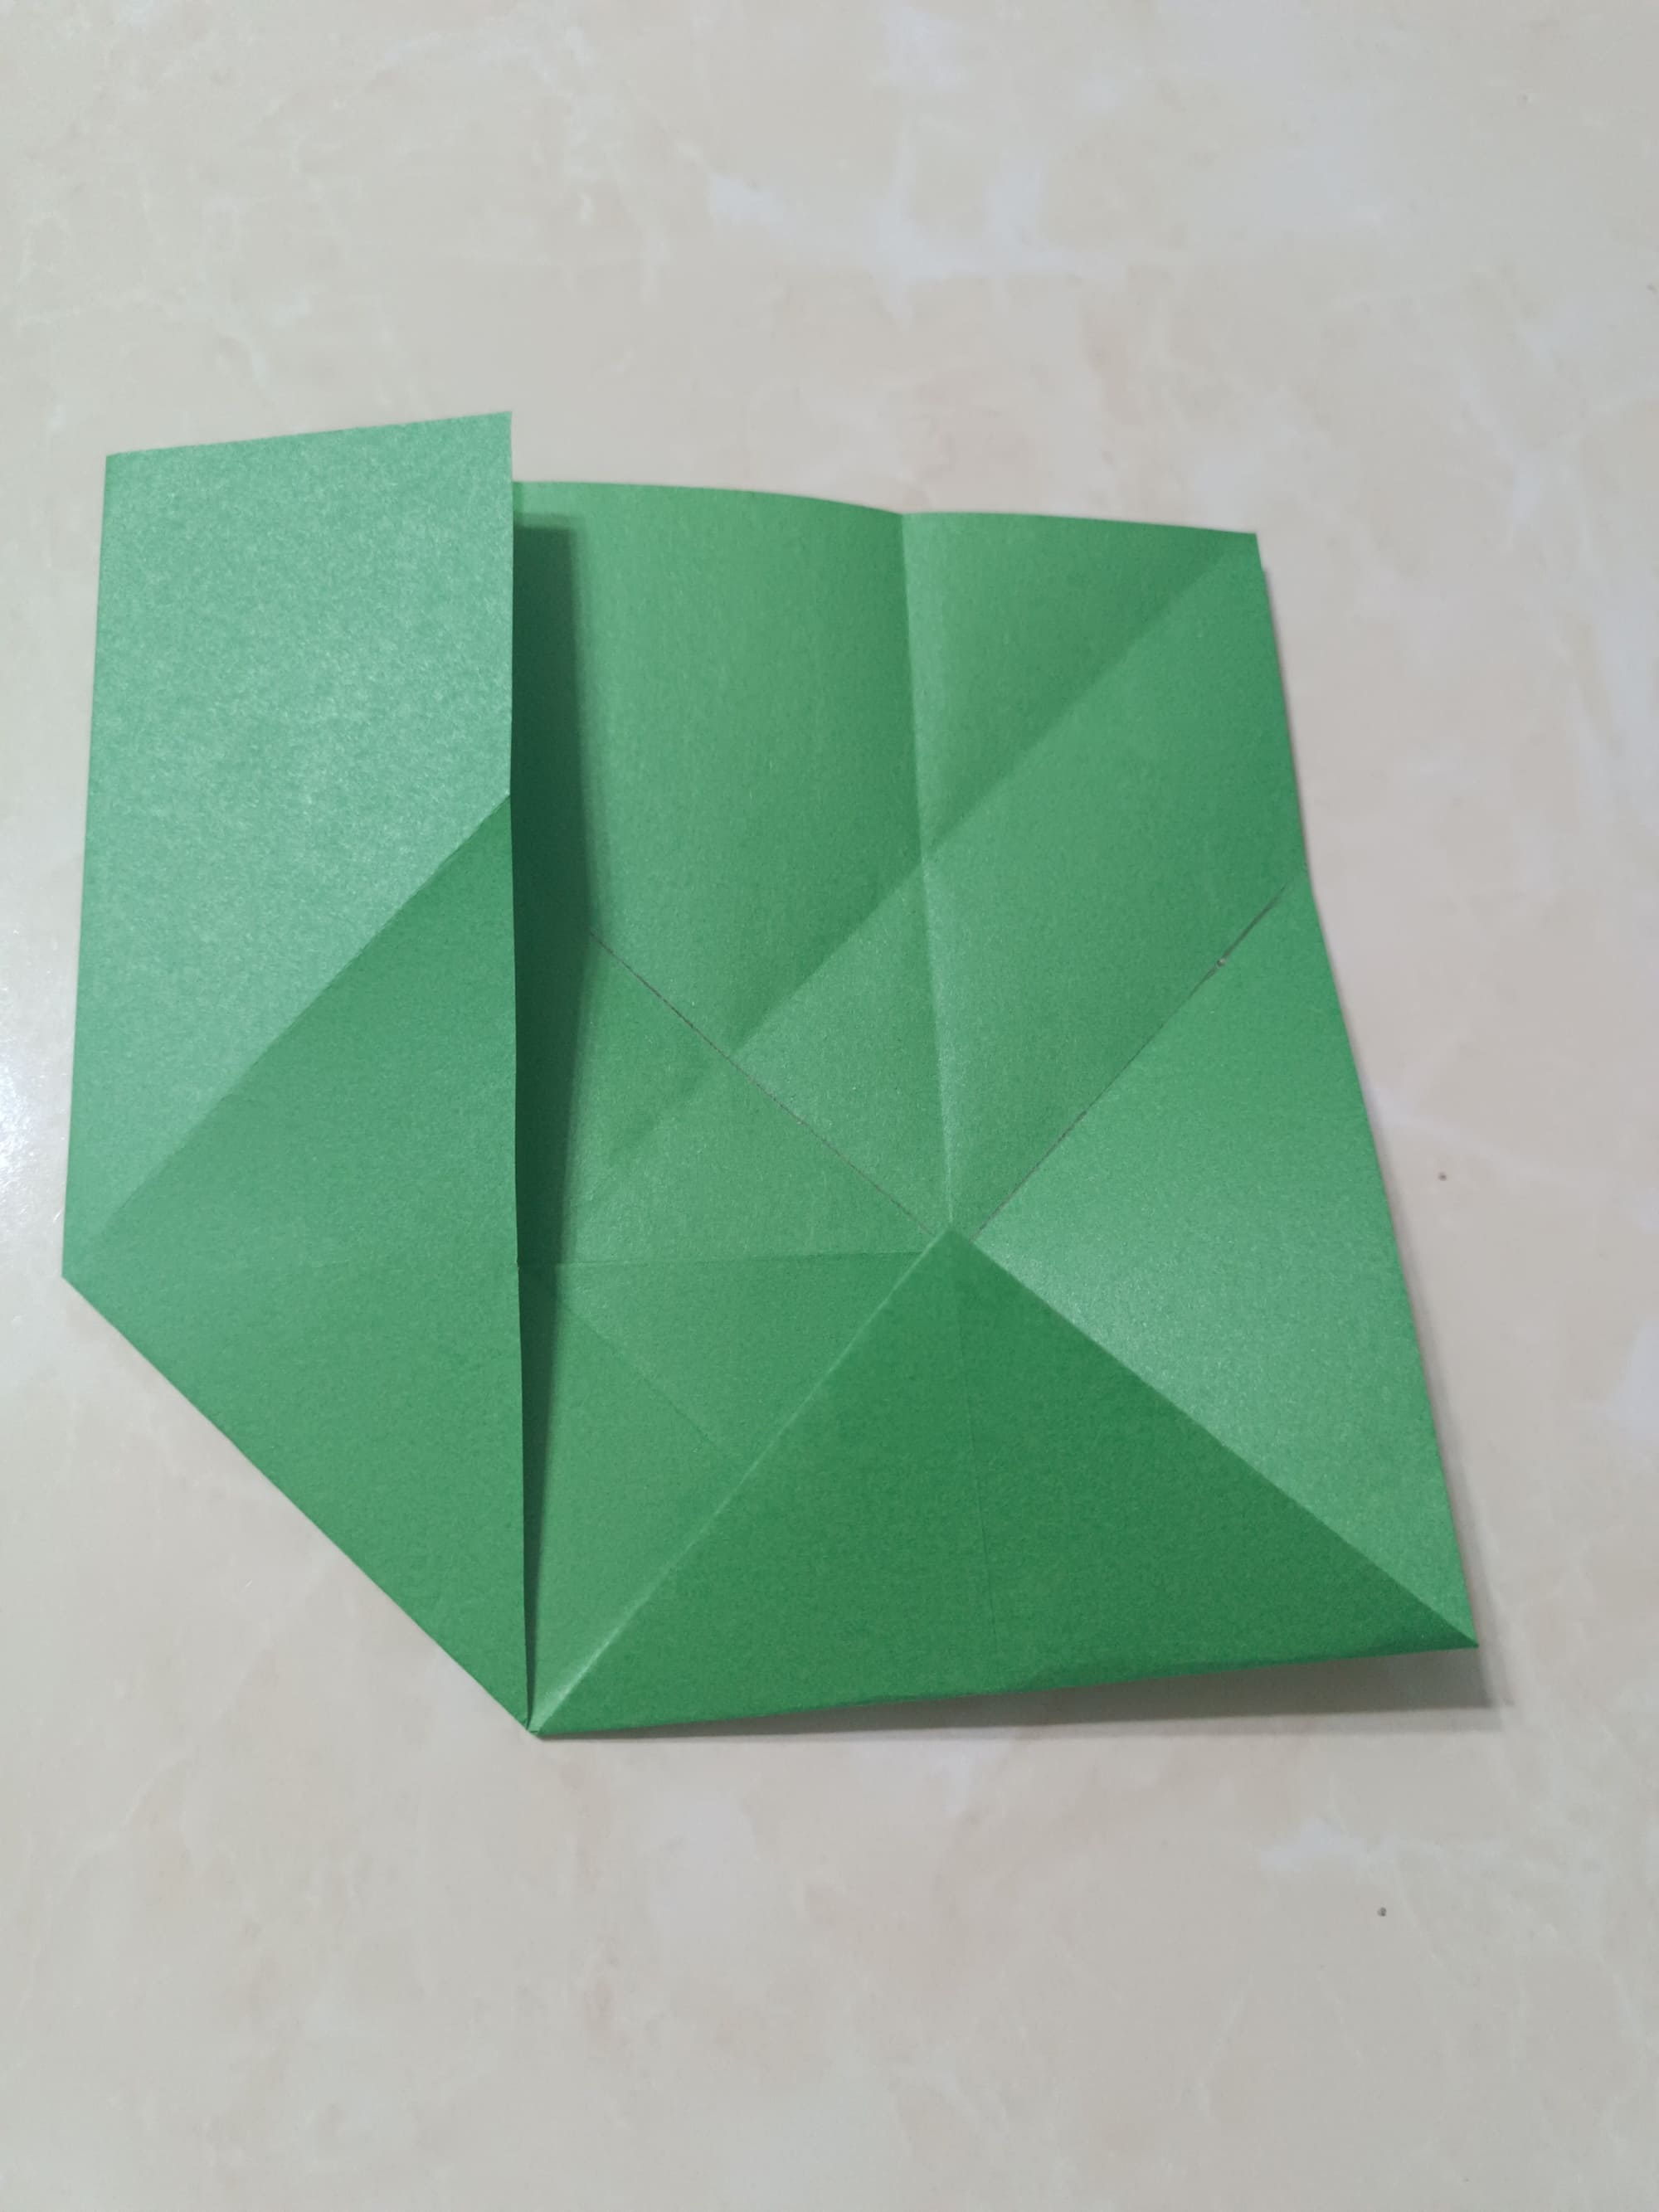
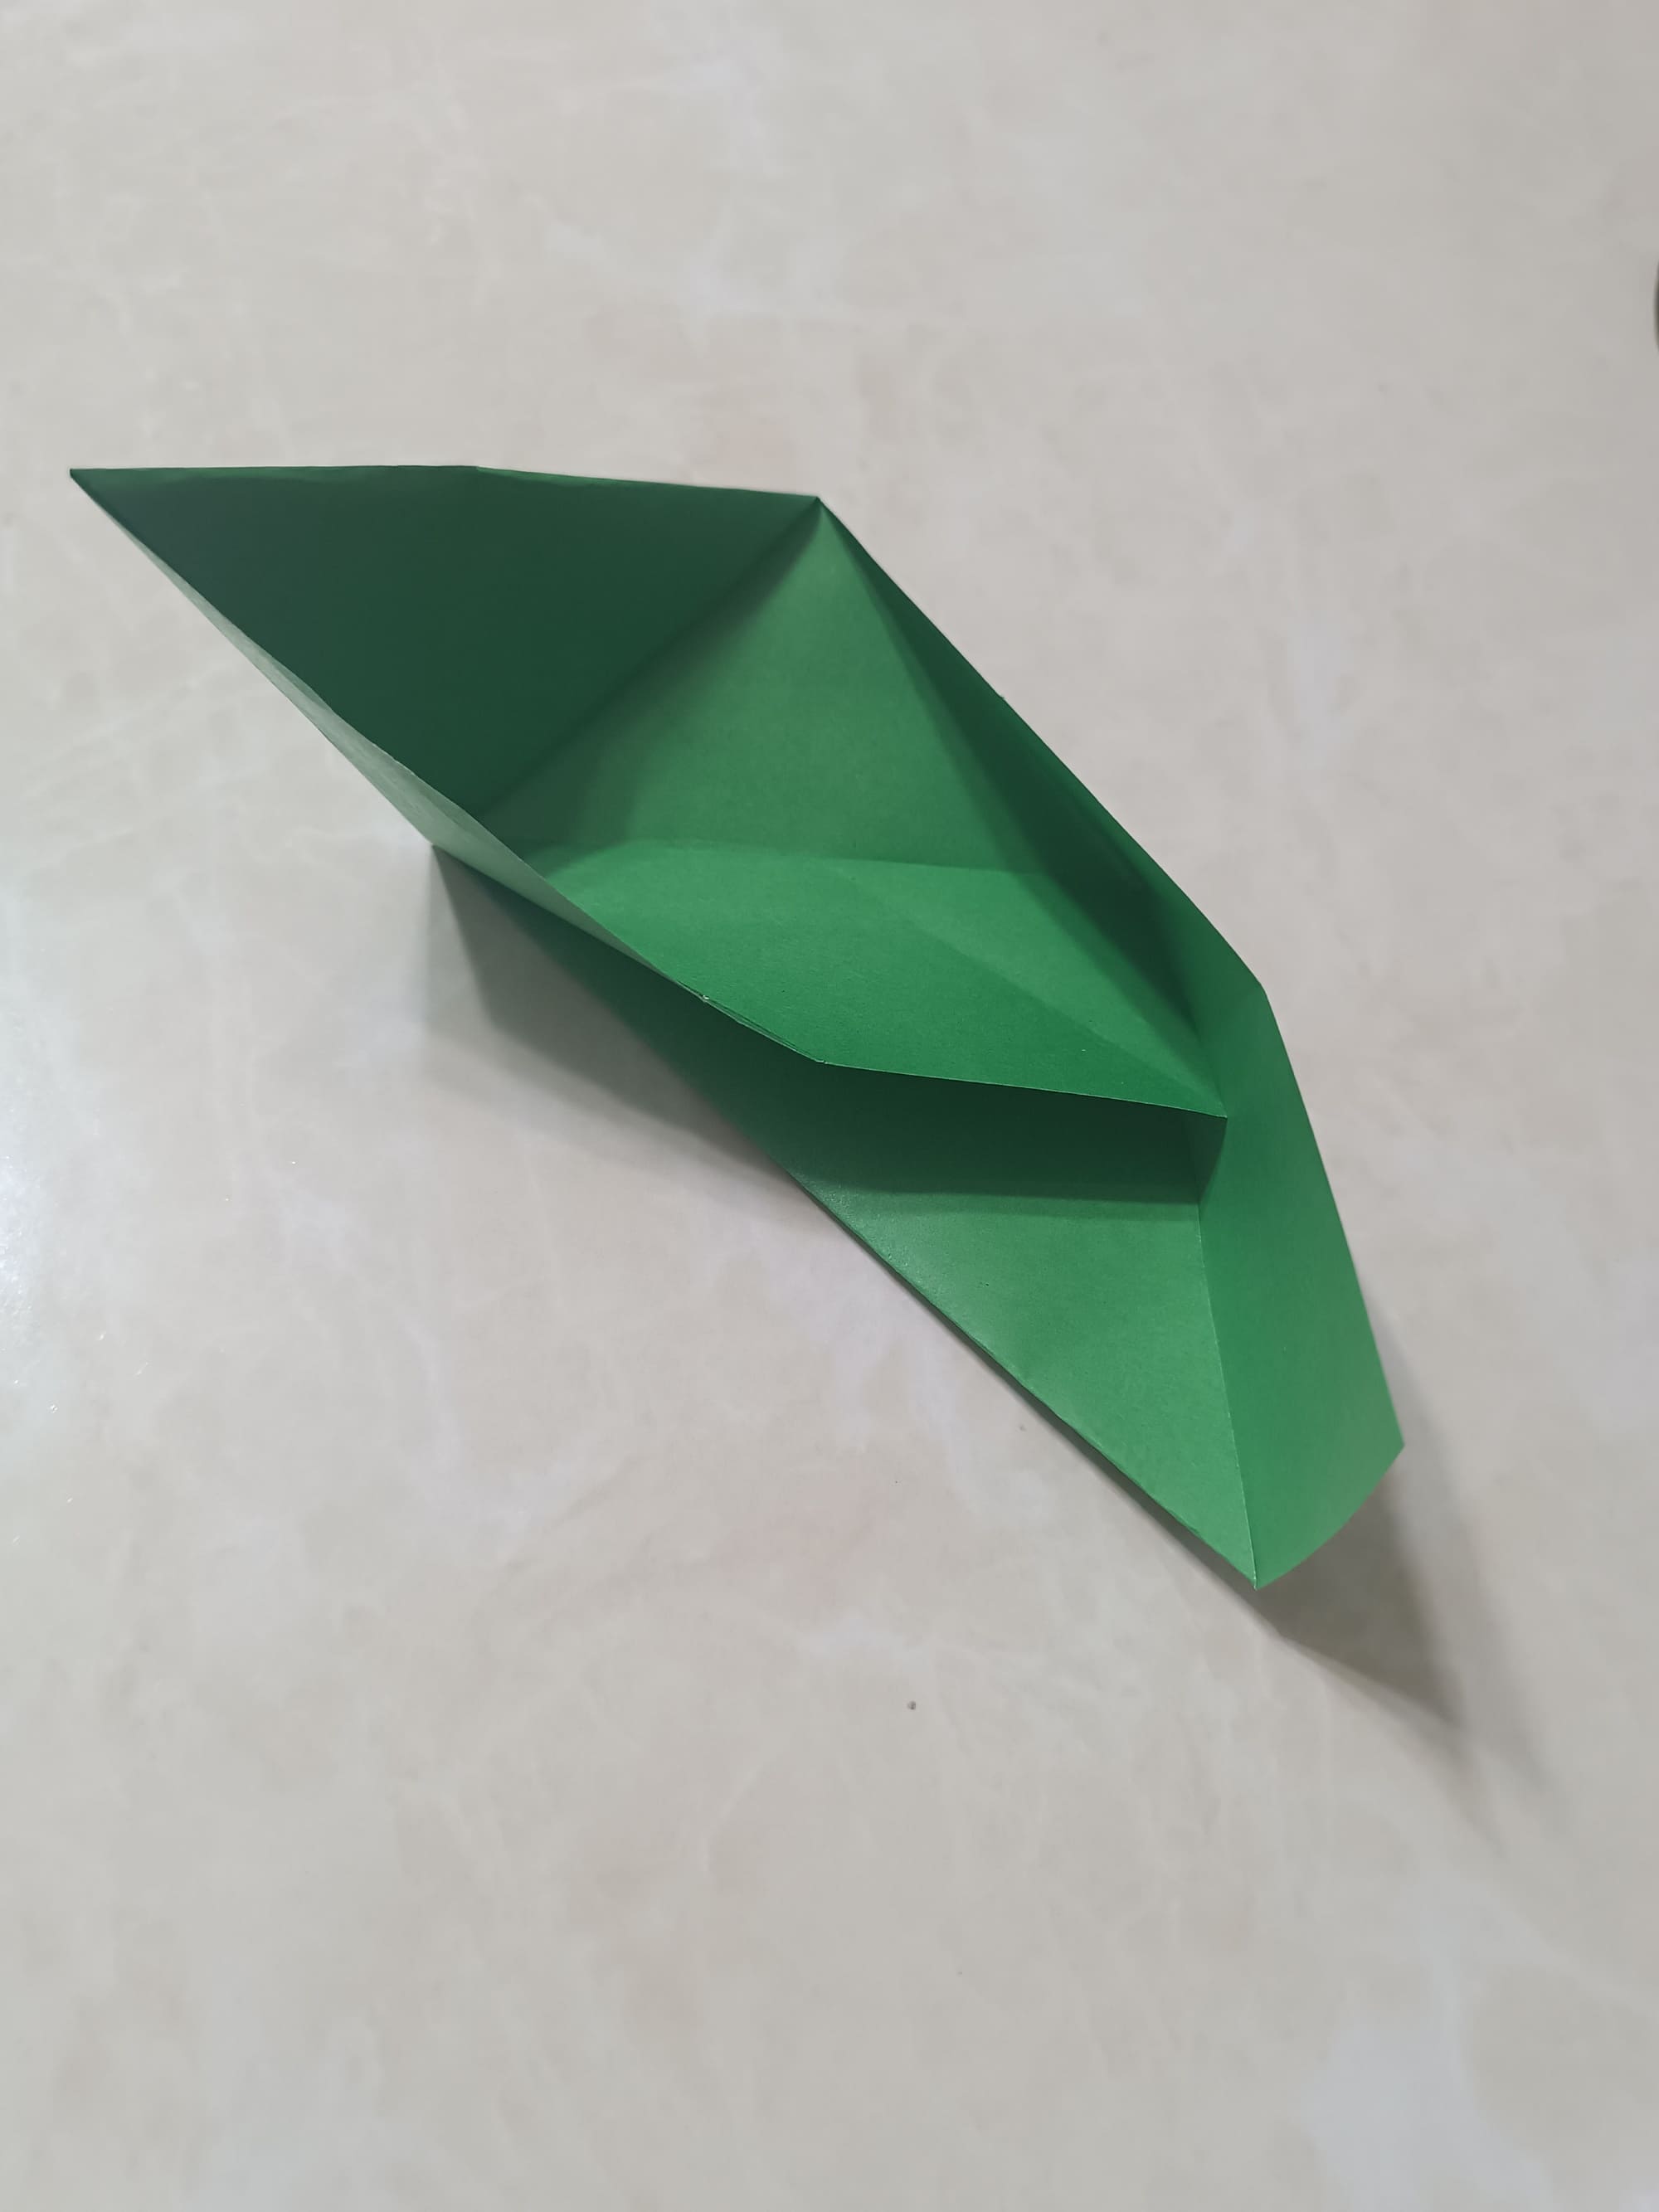
Unfold your paper to make the shape.
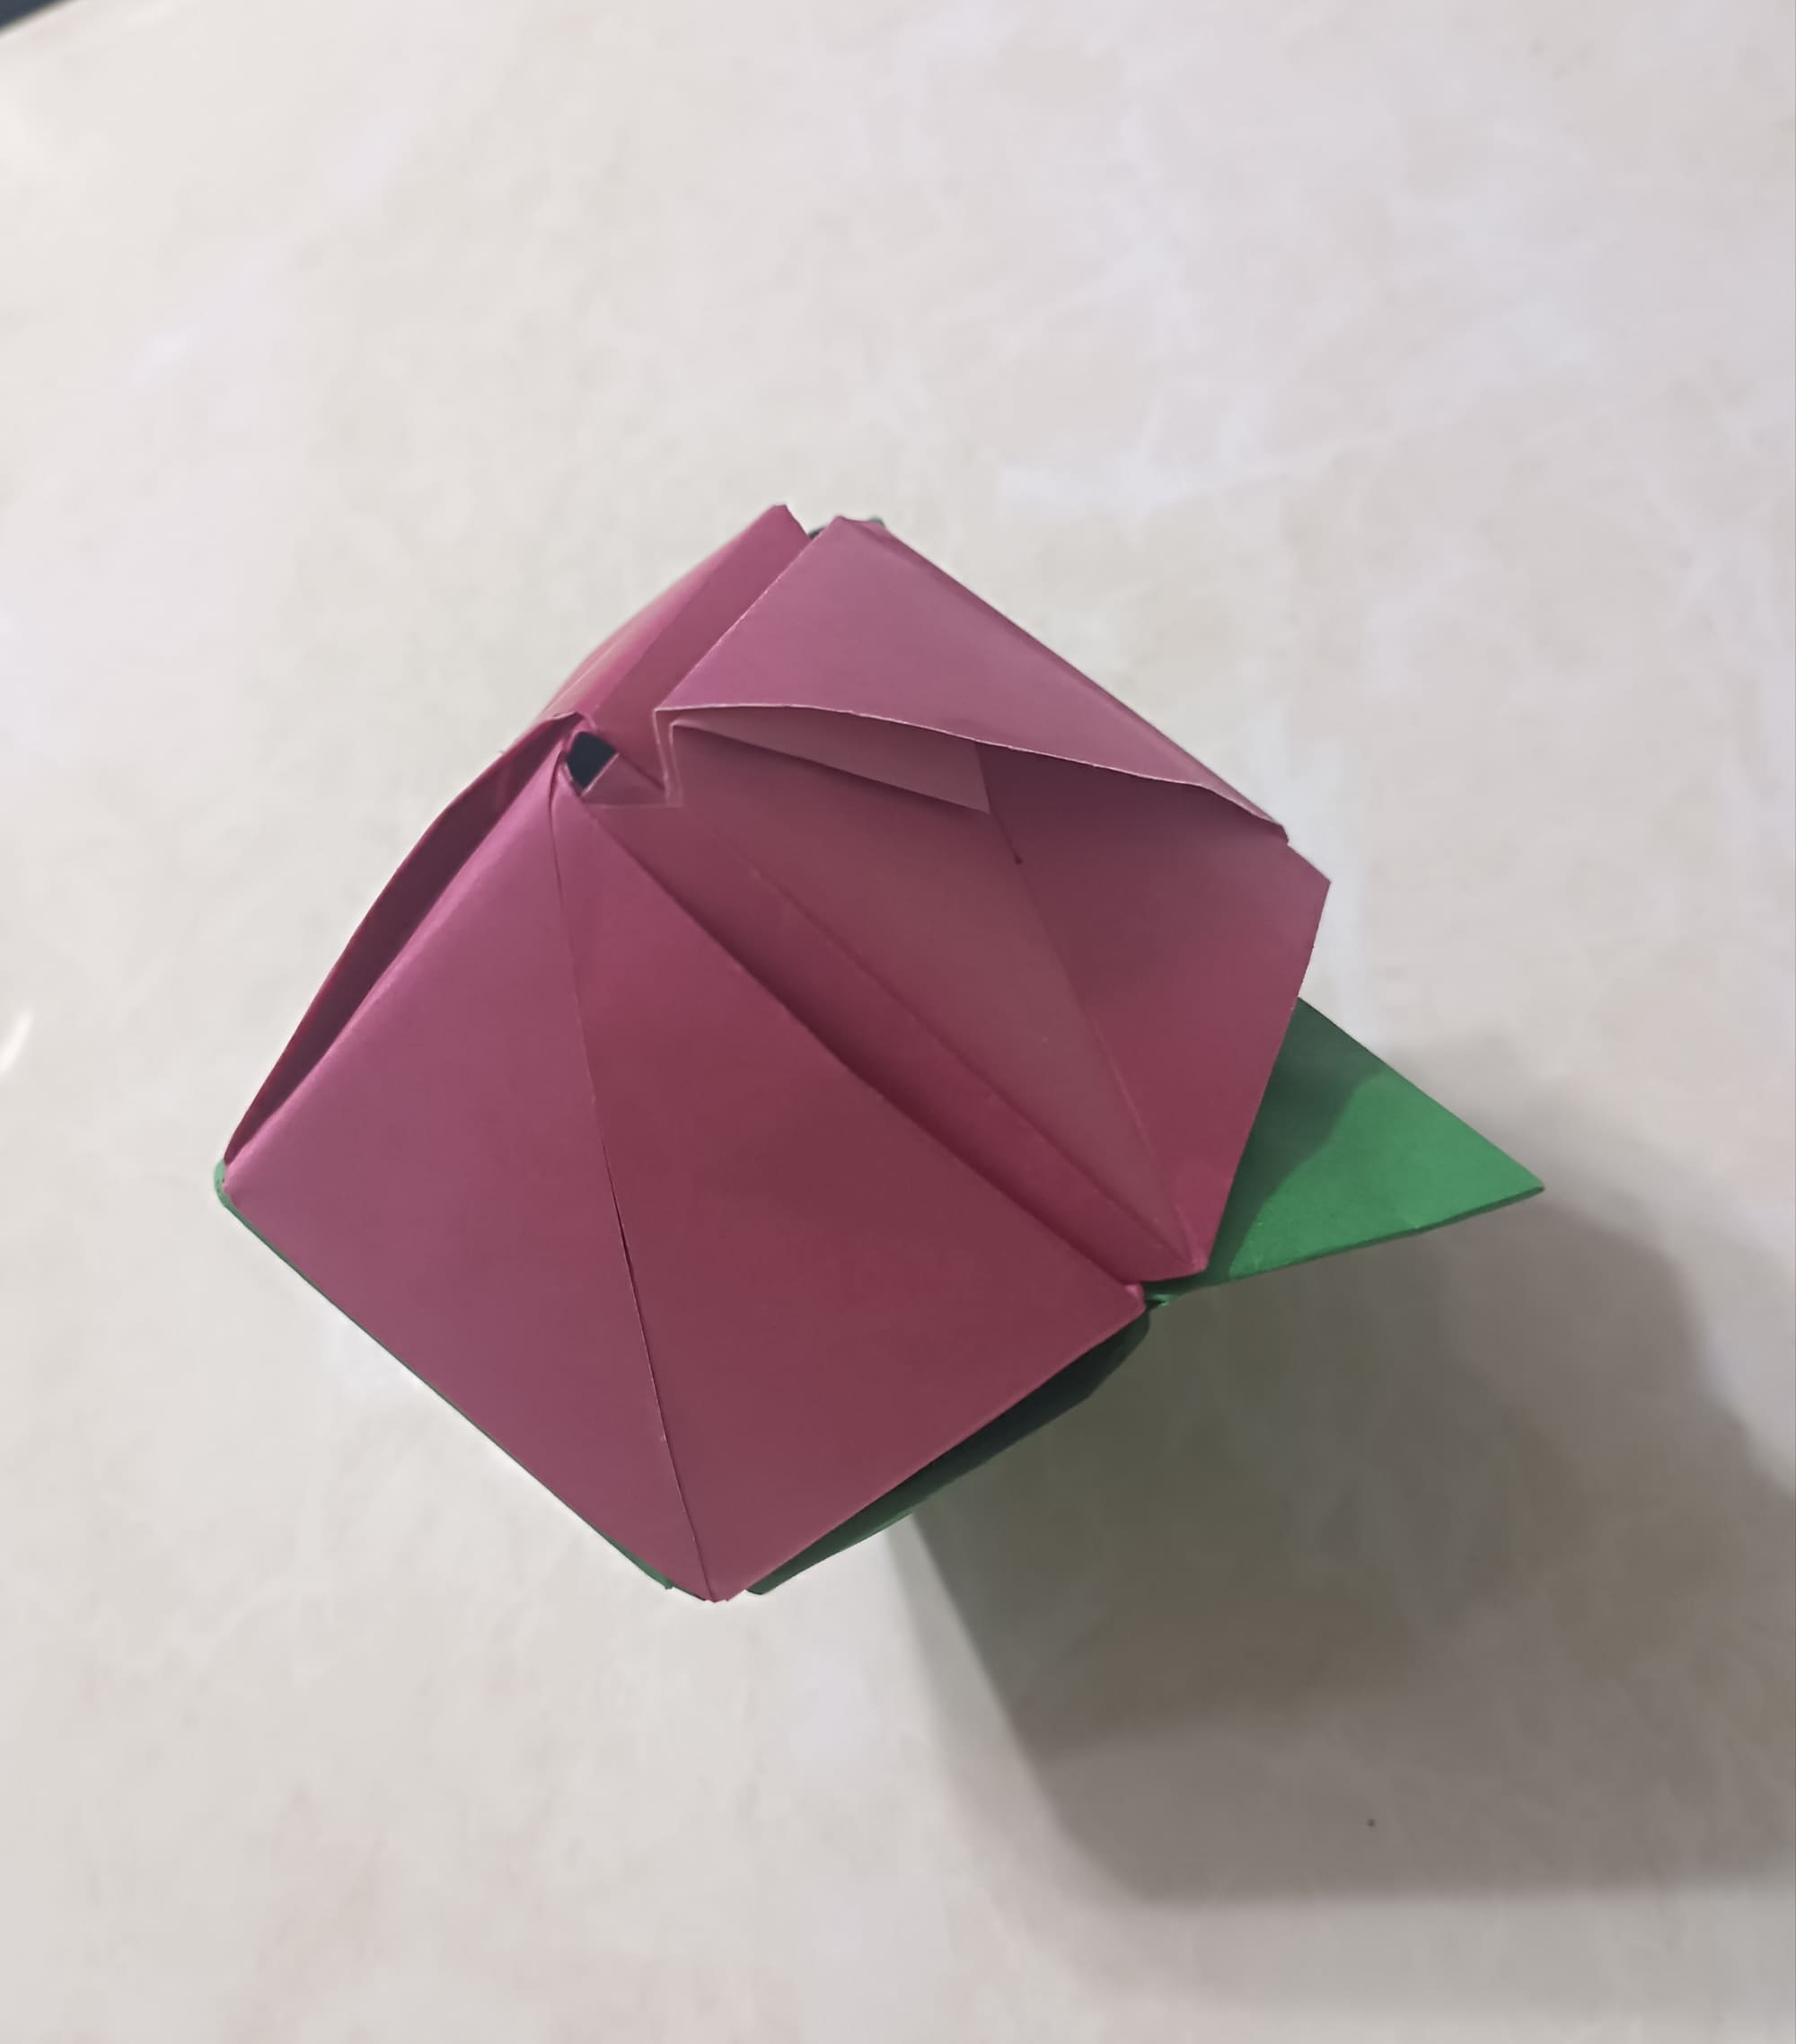
Flip your paper over and you will see that the Petal is ready.
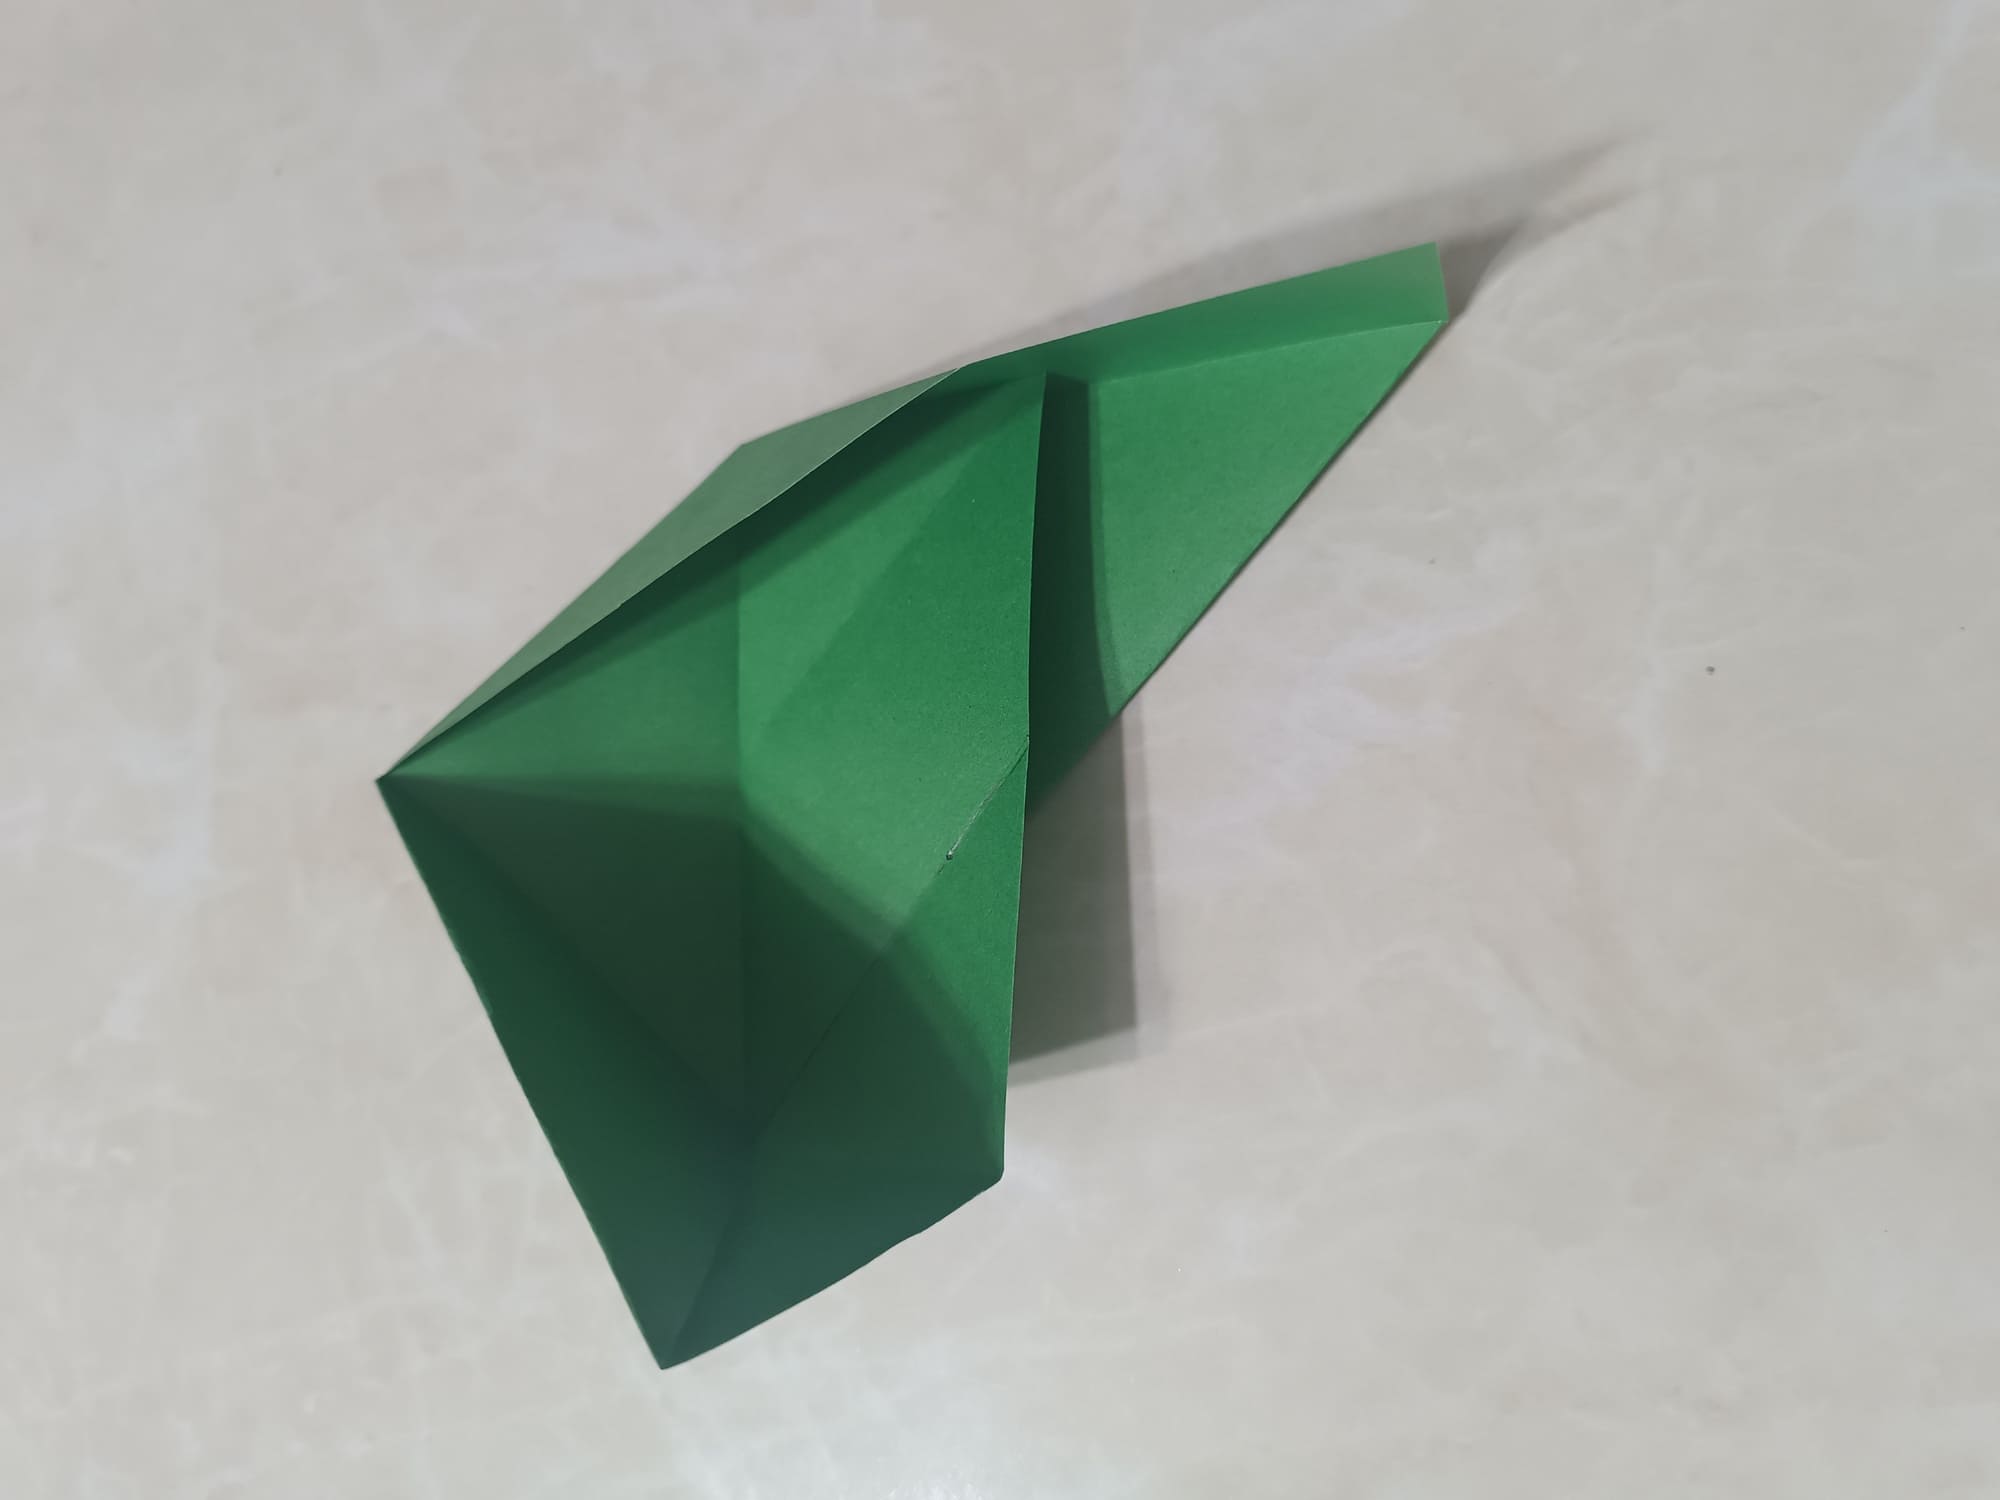
Now you need to make two more petals by repeating steps. Good luck!
It’s time to move on to the leaves of our beautiful rose. You can use plain green paper for the leaves, although you can be imaginative and use any color!
First, repeat Steps 1 through 10 to make the petals.
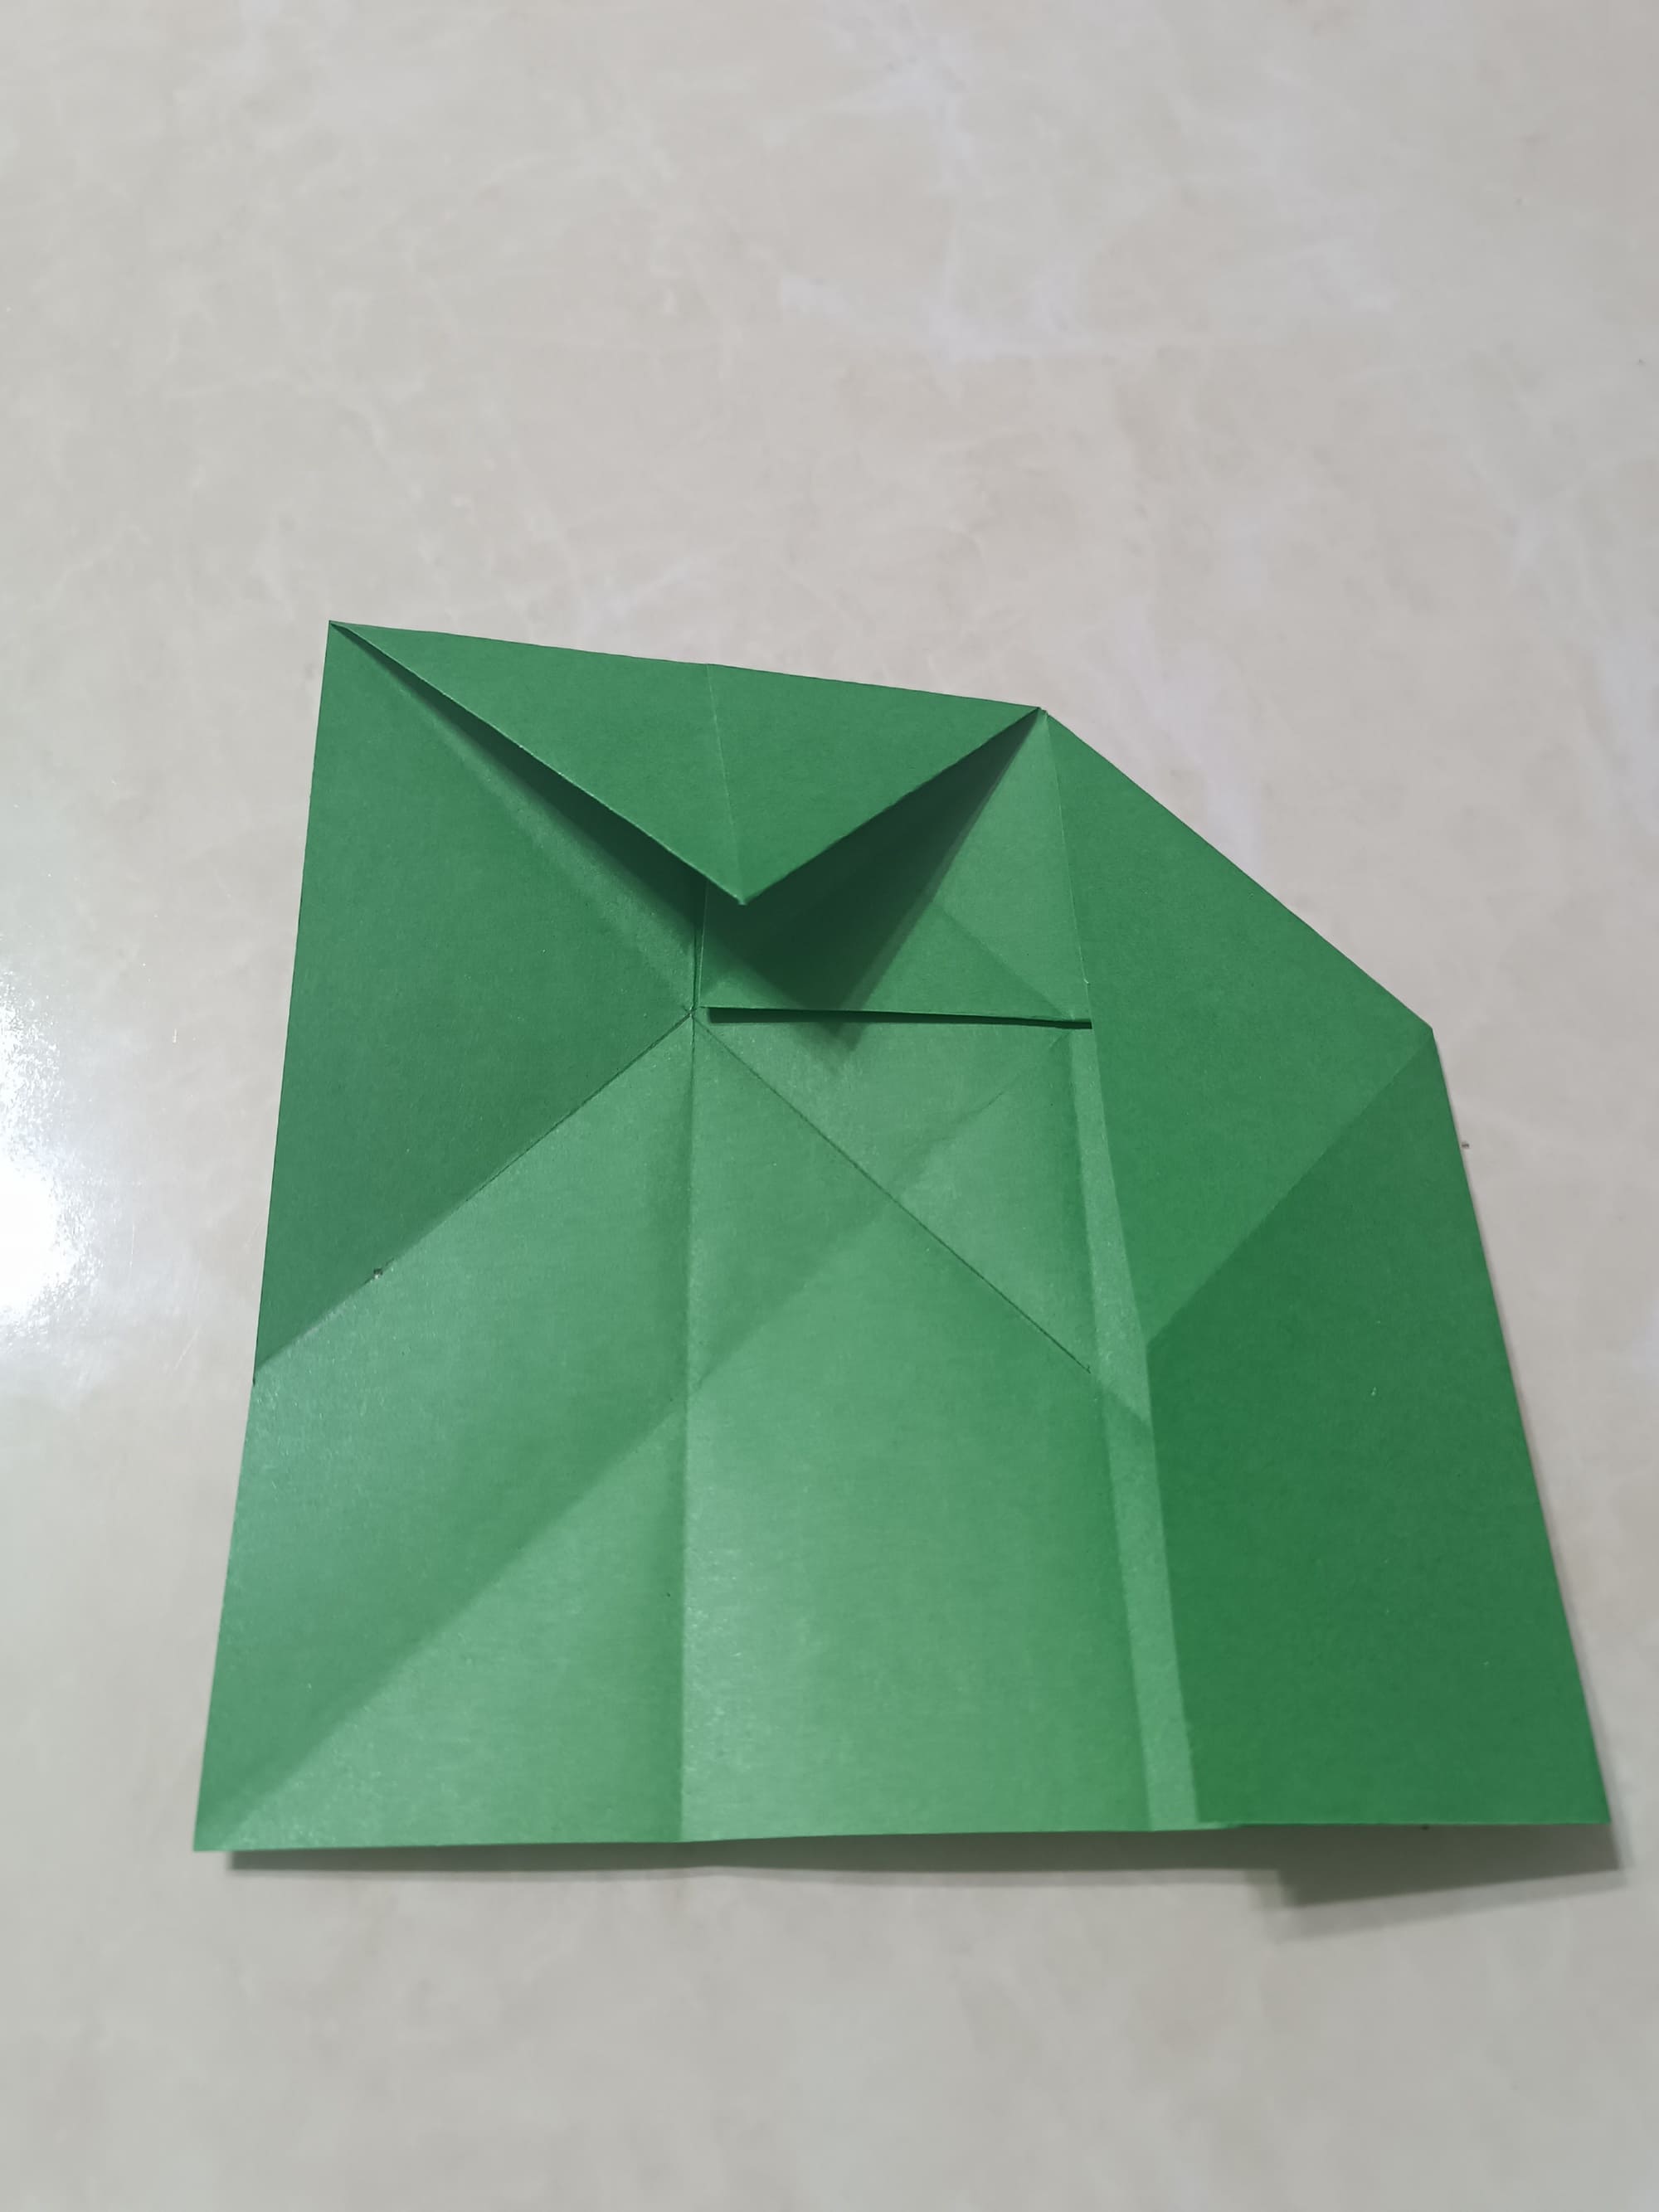
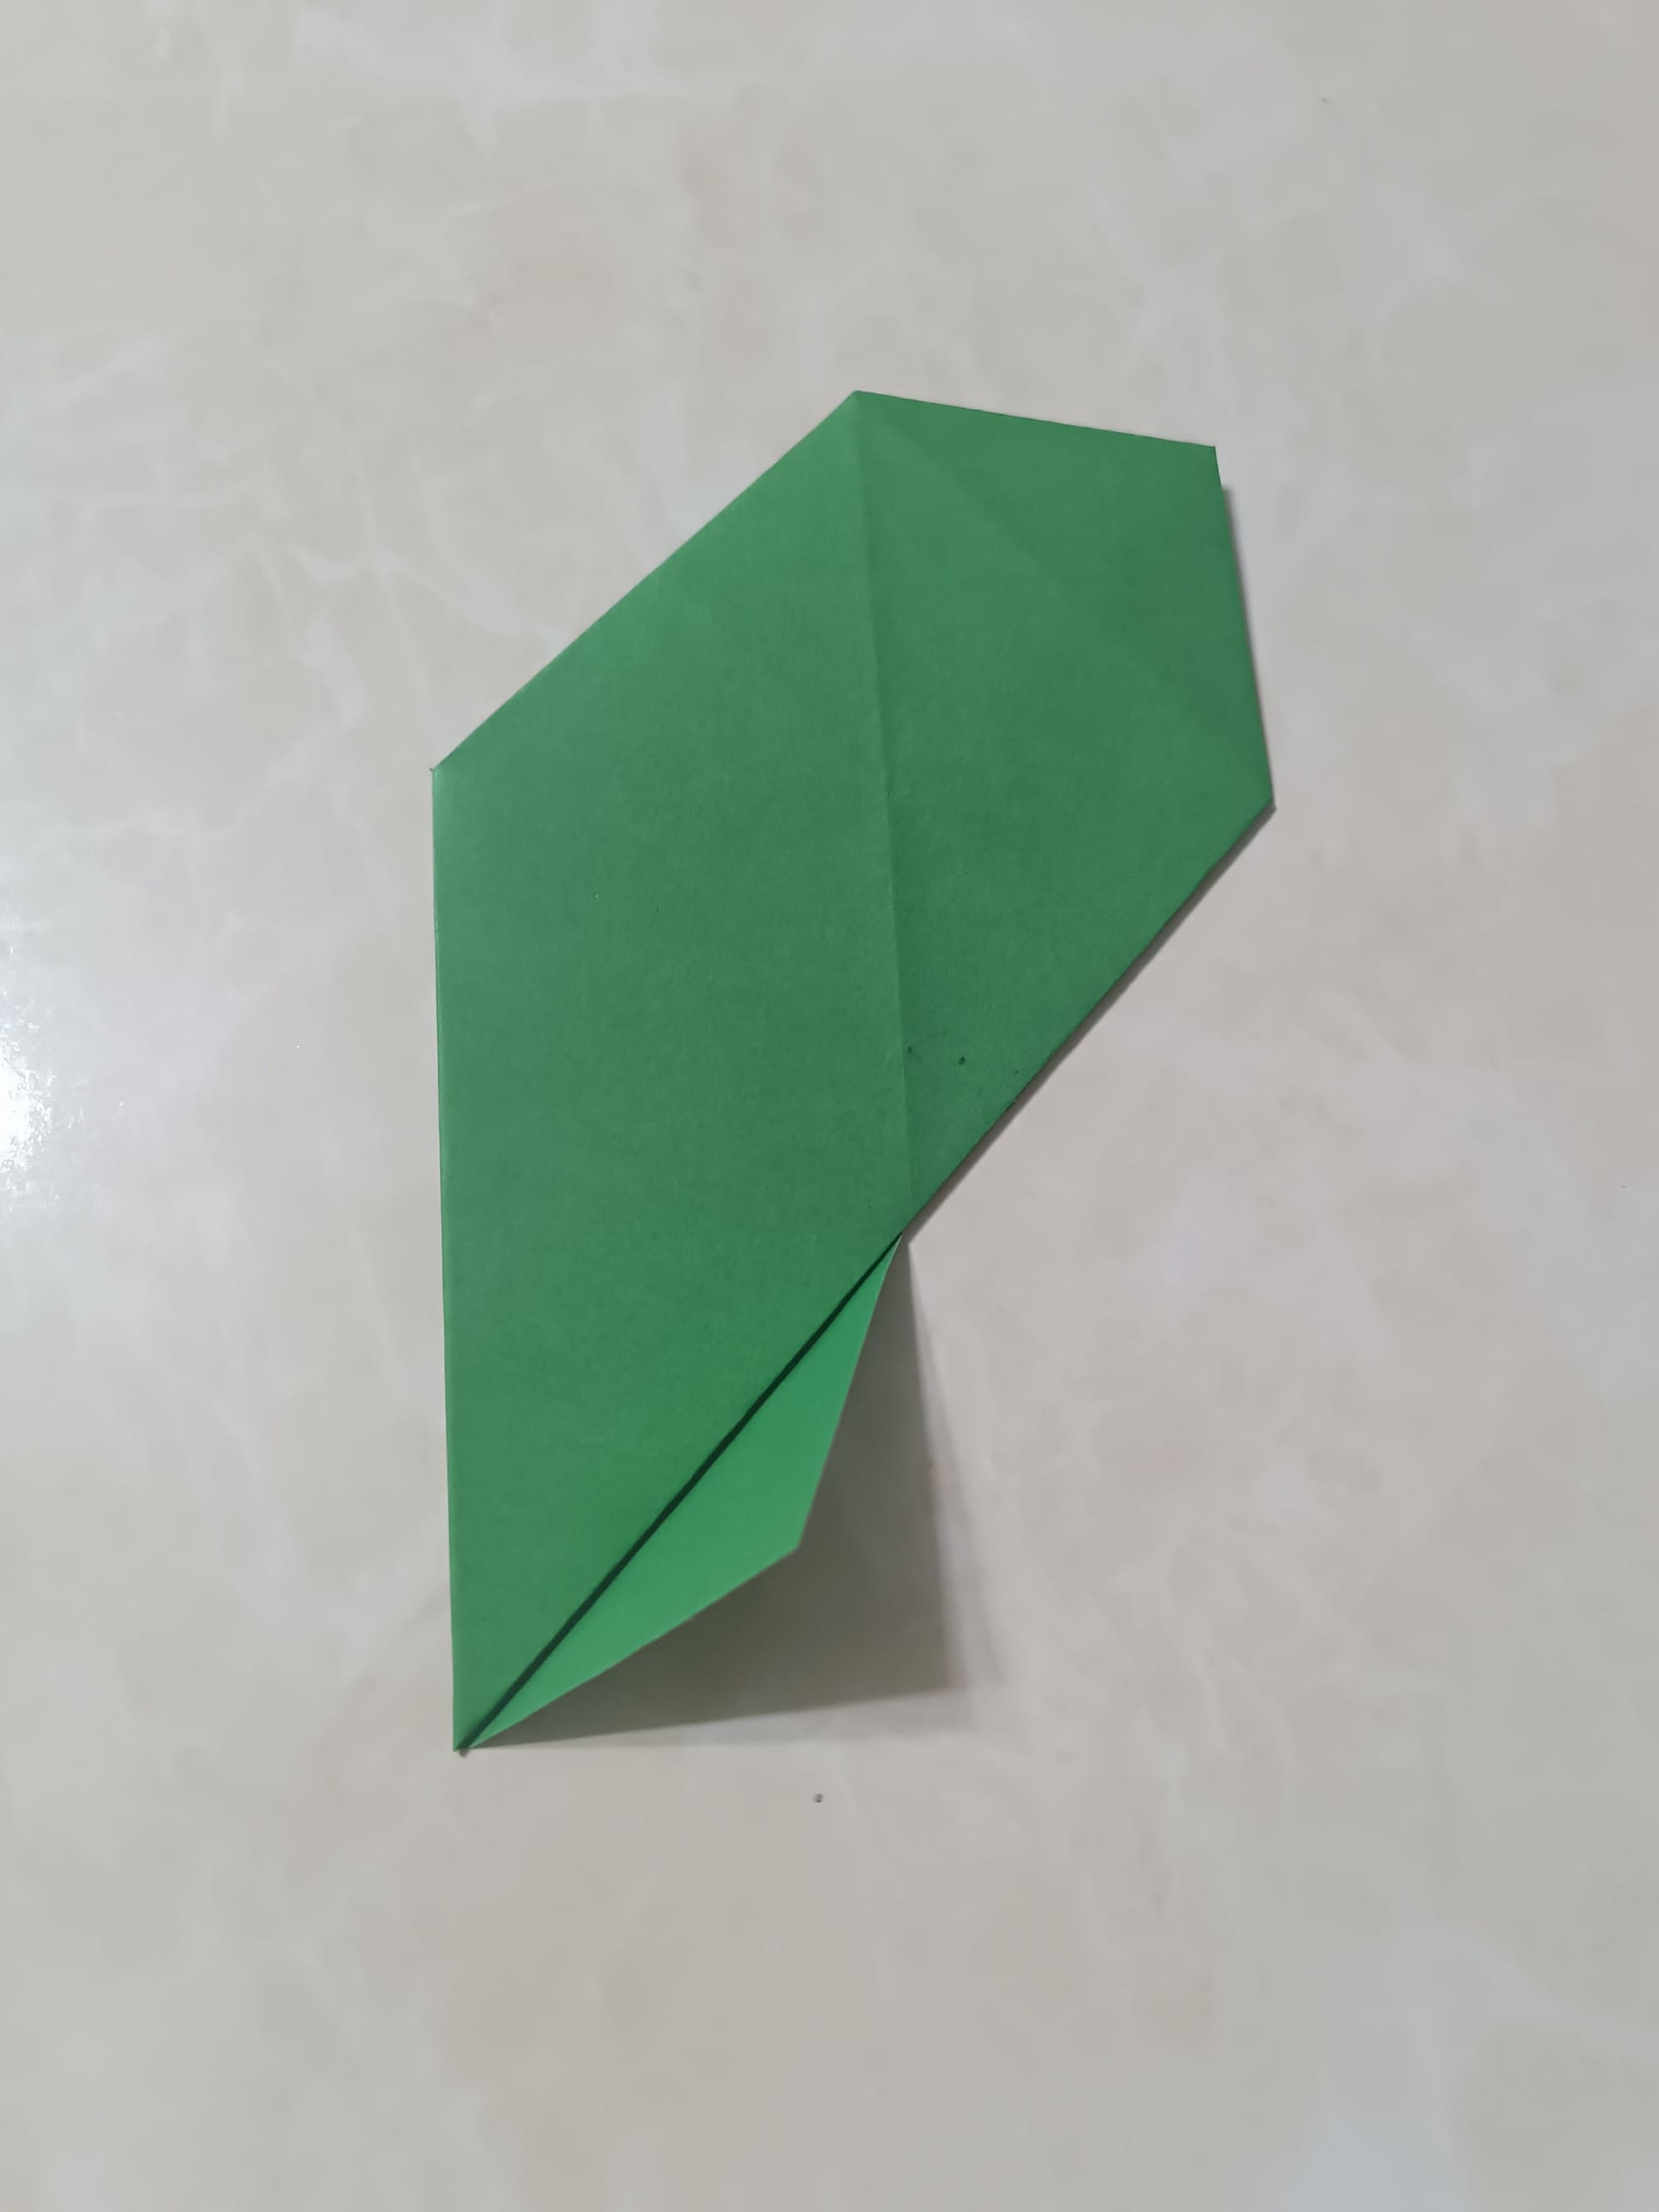
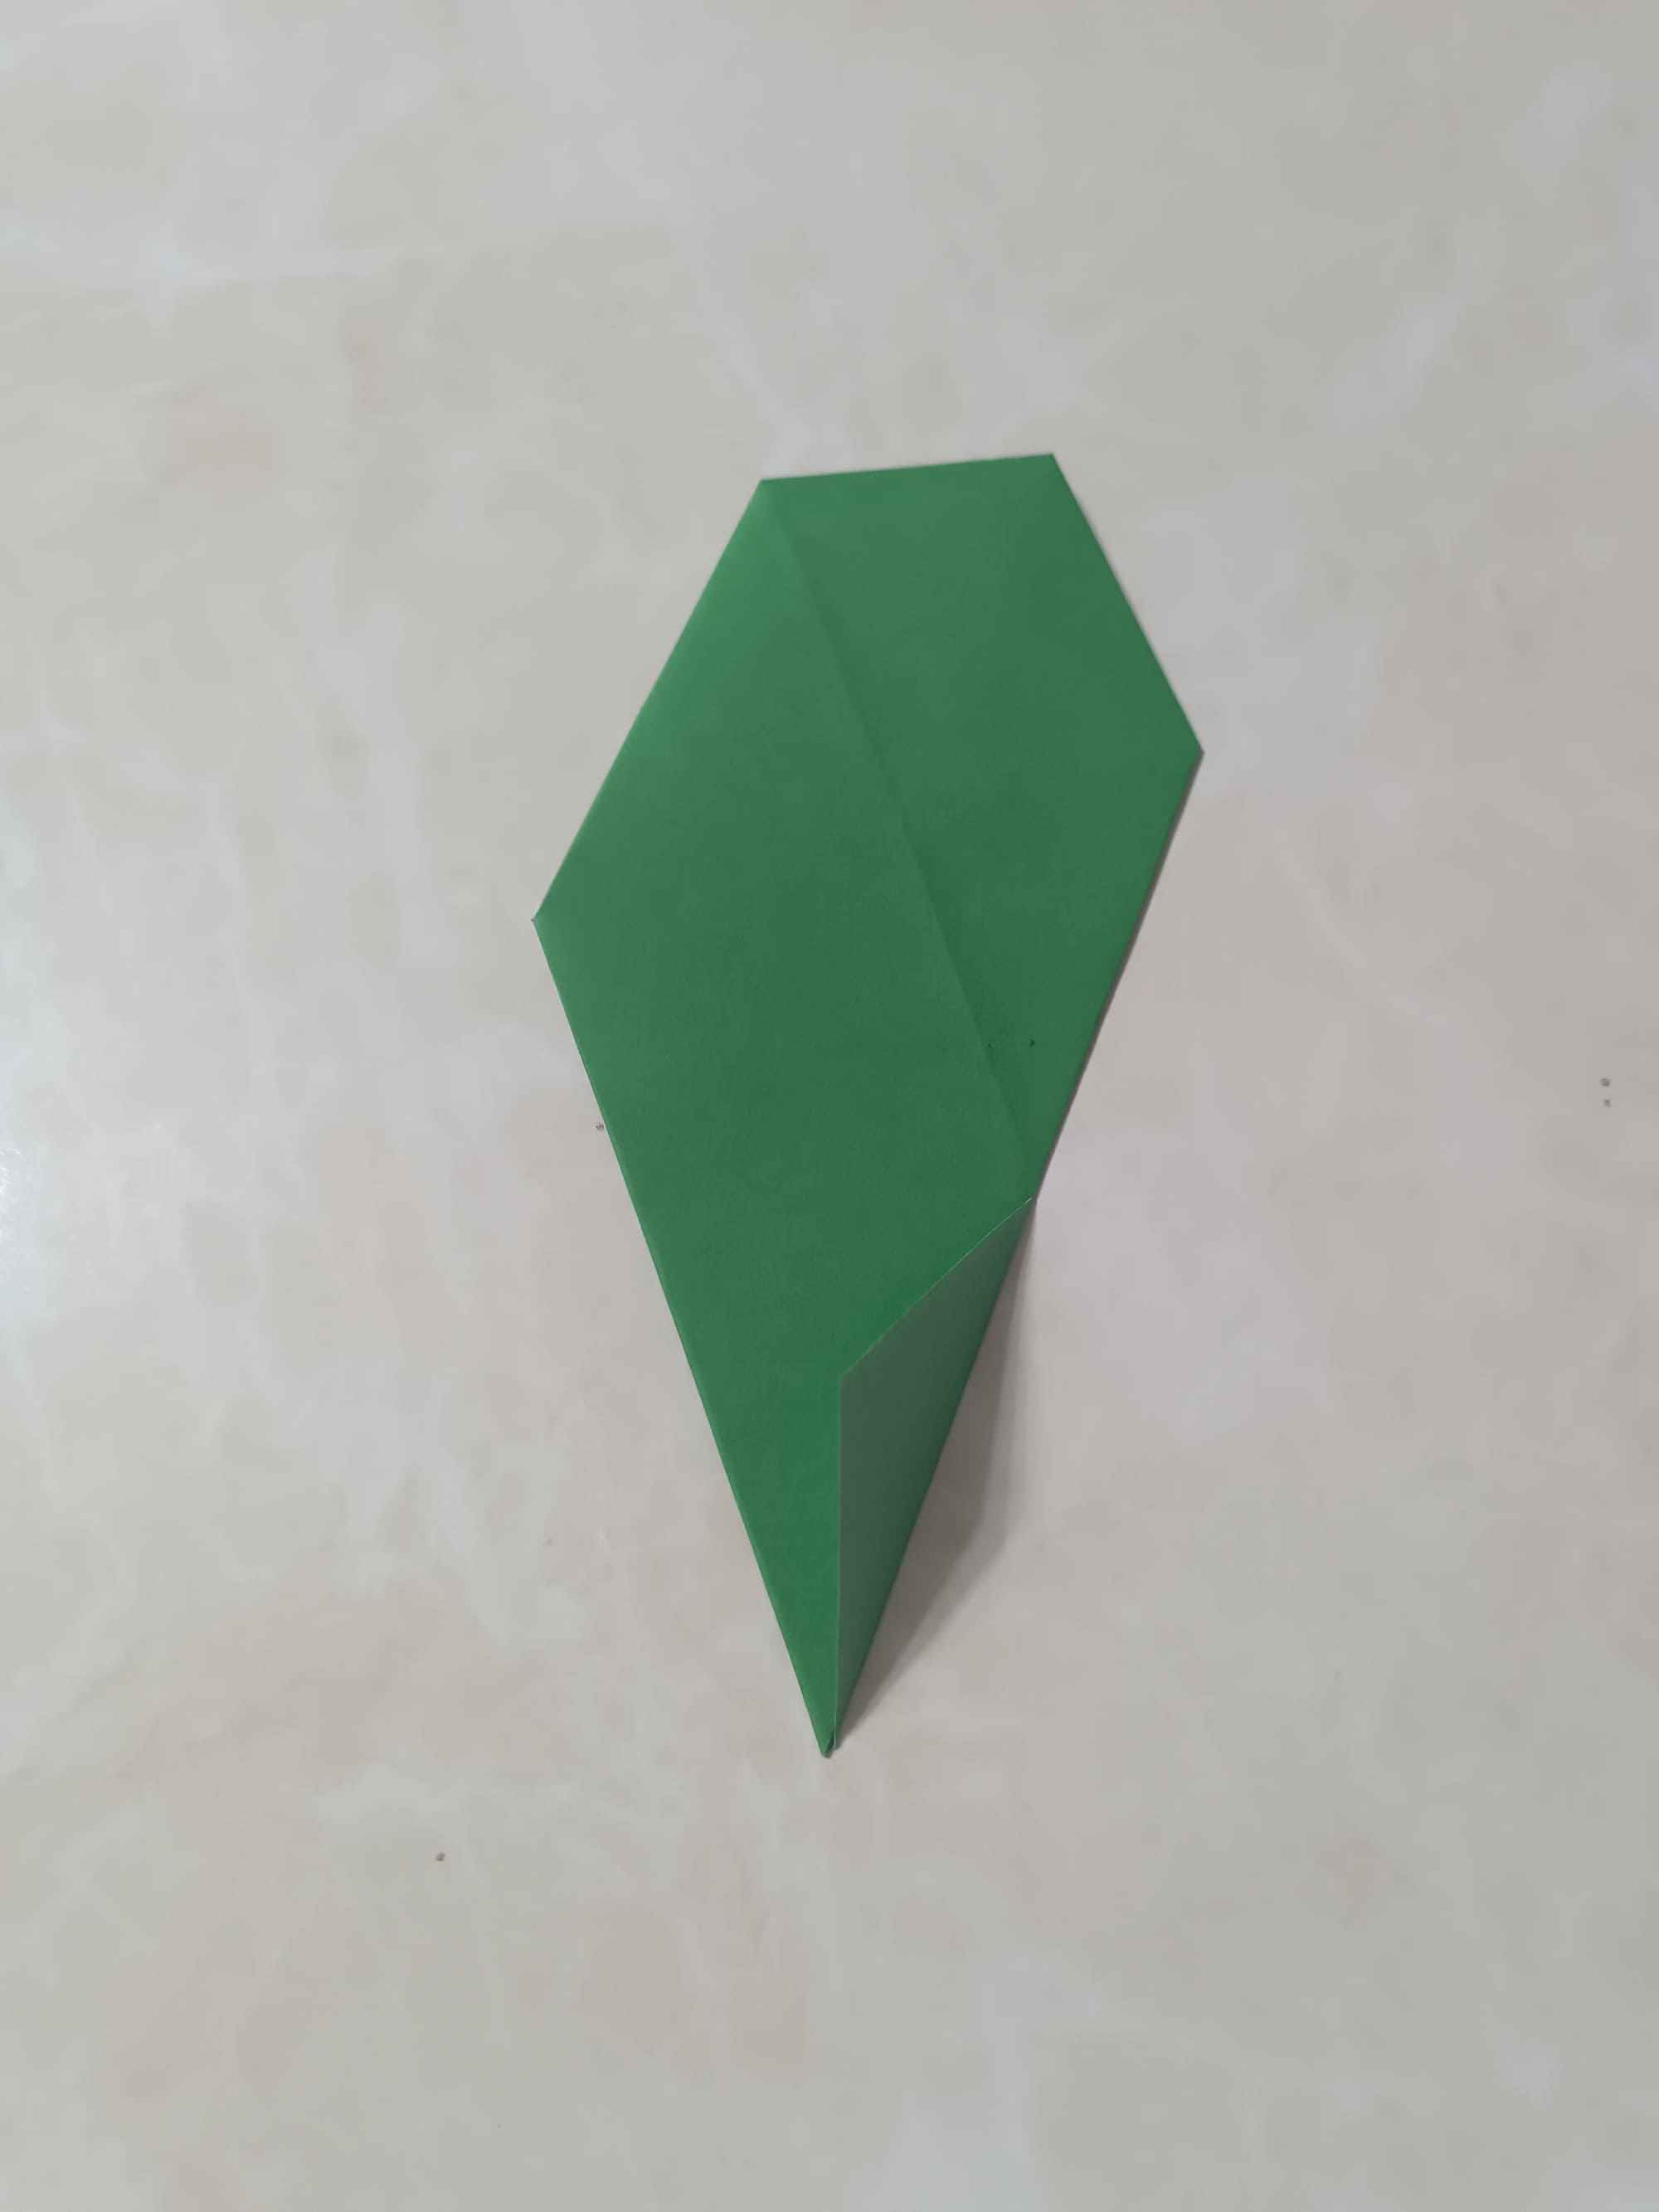
Now make a small diagonal fold in the bottom right corner, as shown in the photo.
Fold in the bottom tip.
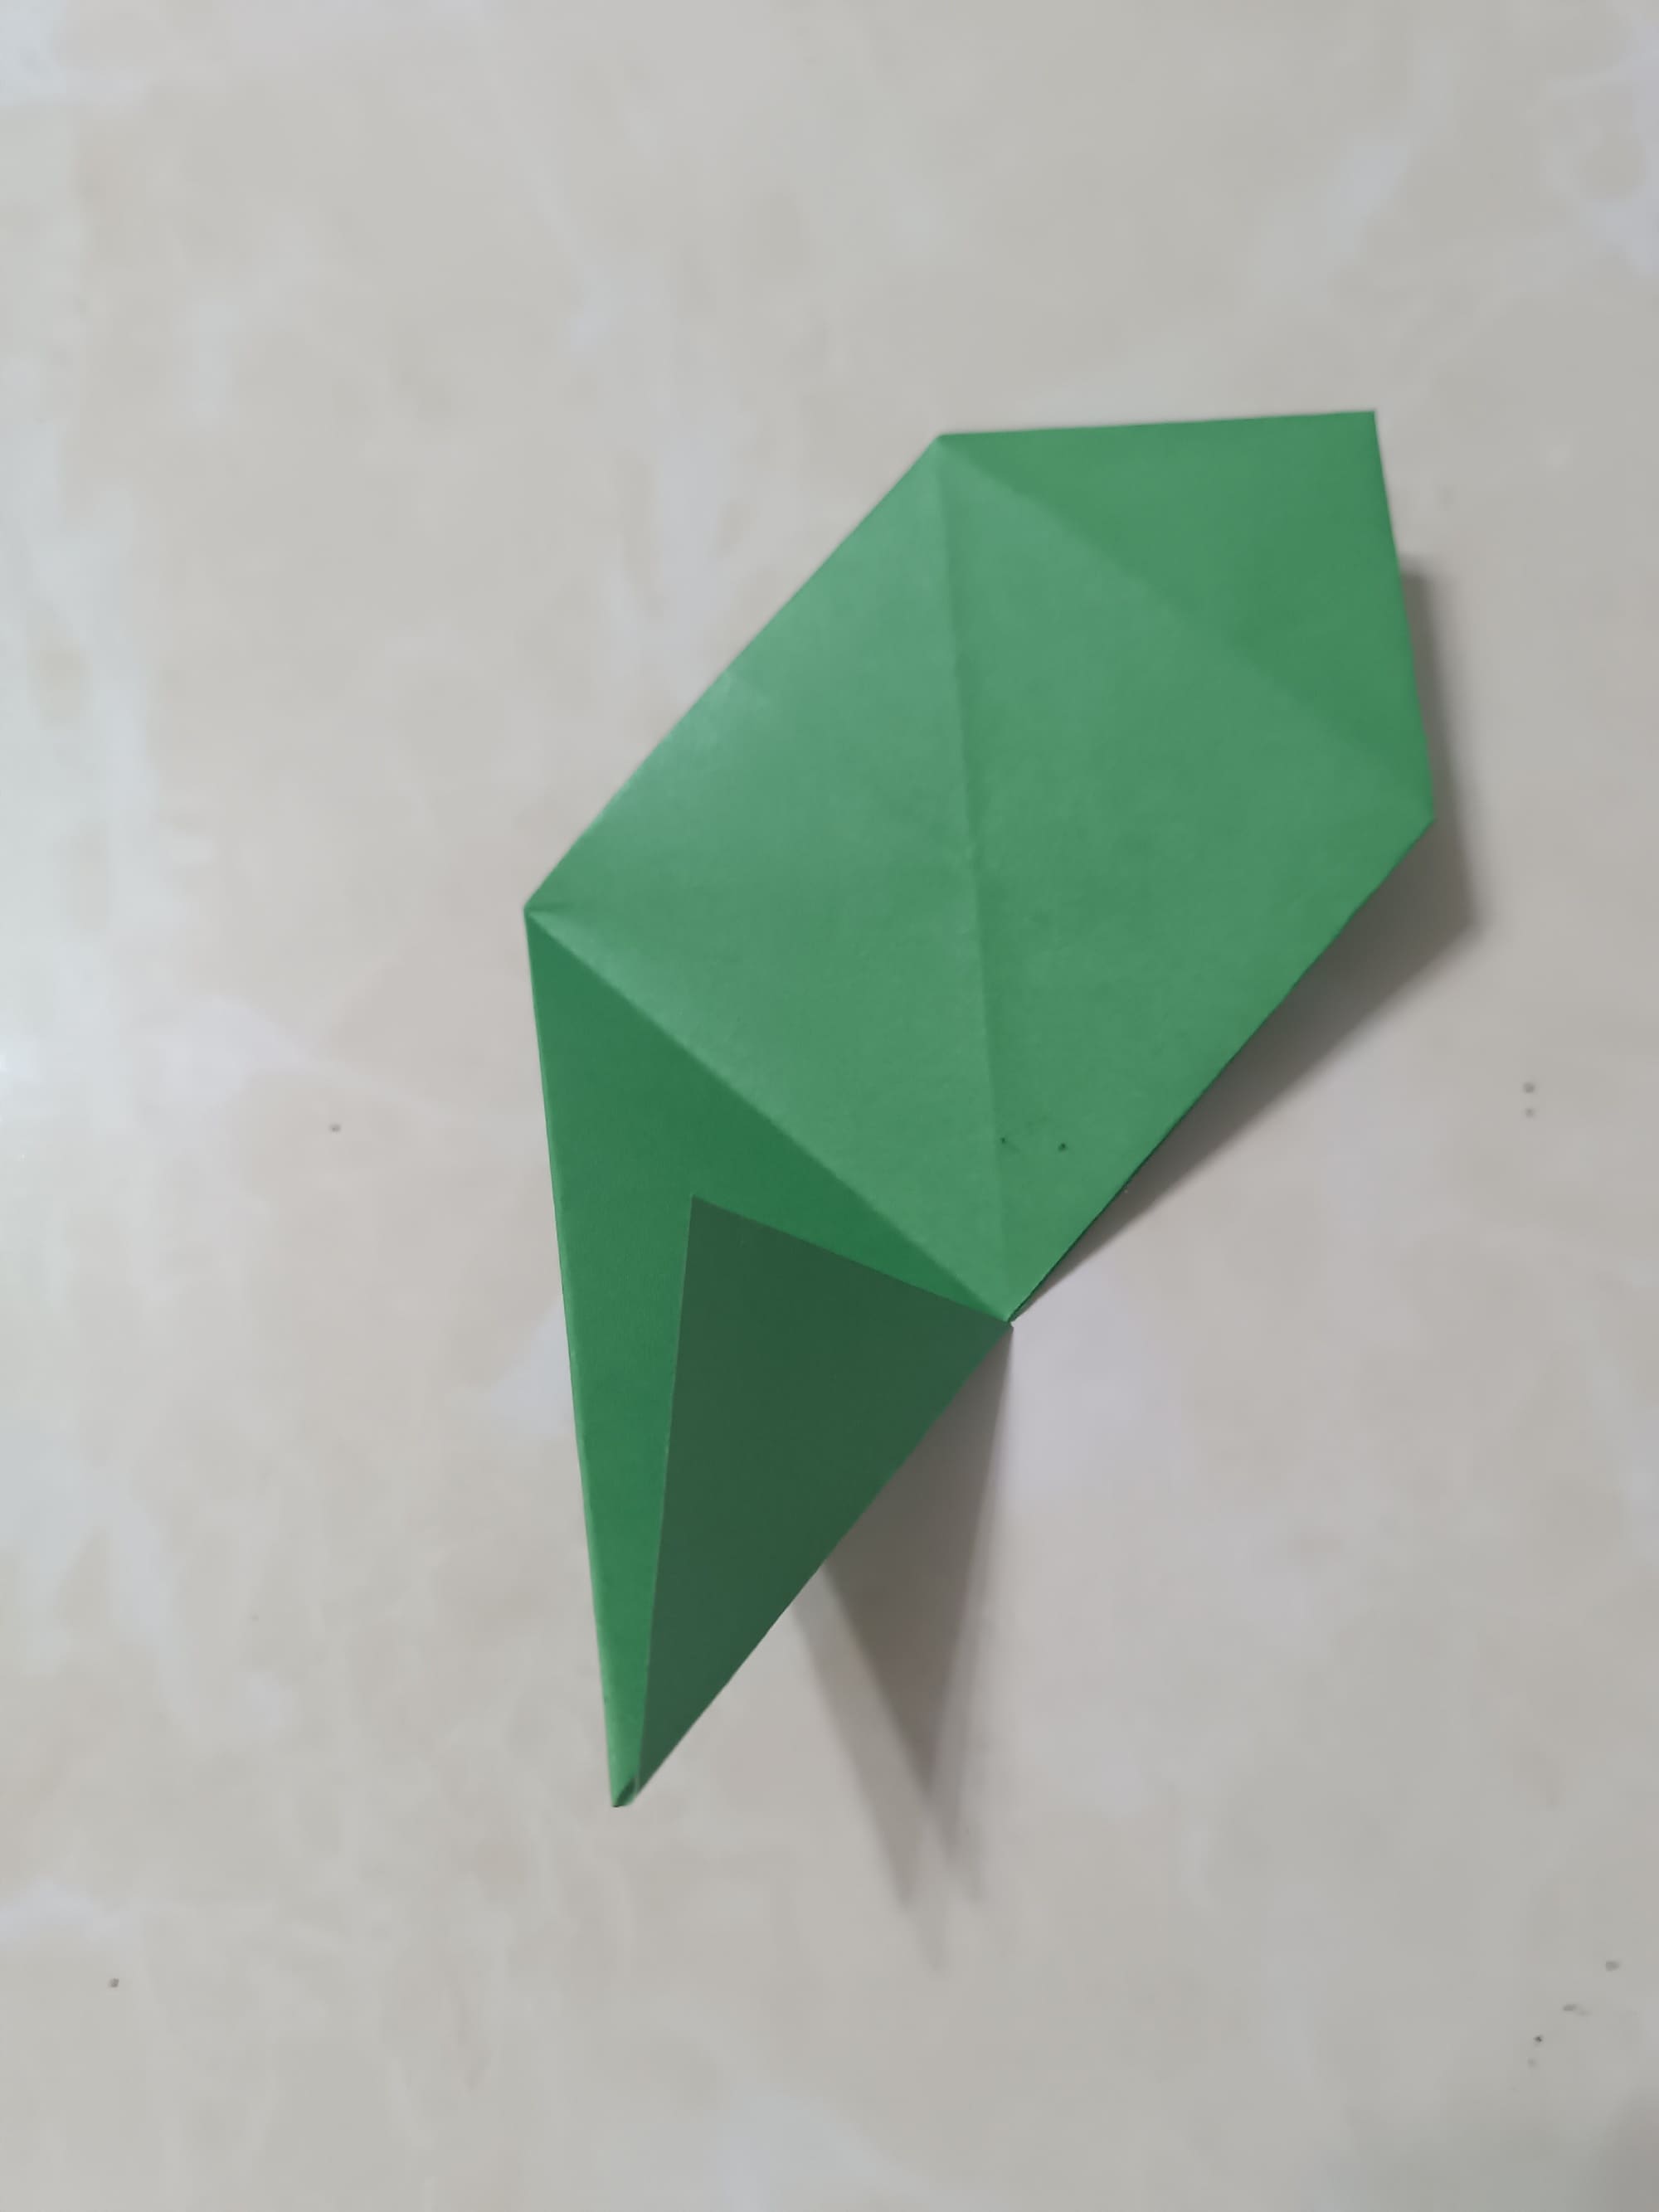
Make a diagonal fold again. Make a good fold and unfold it.
Turn your paper over.
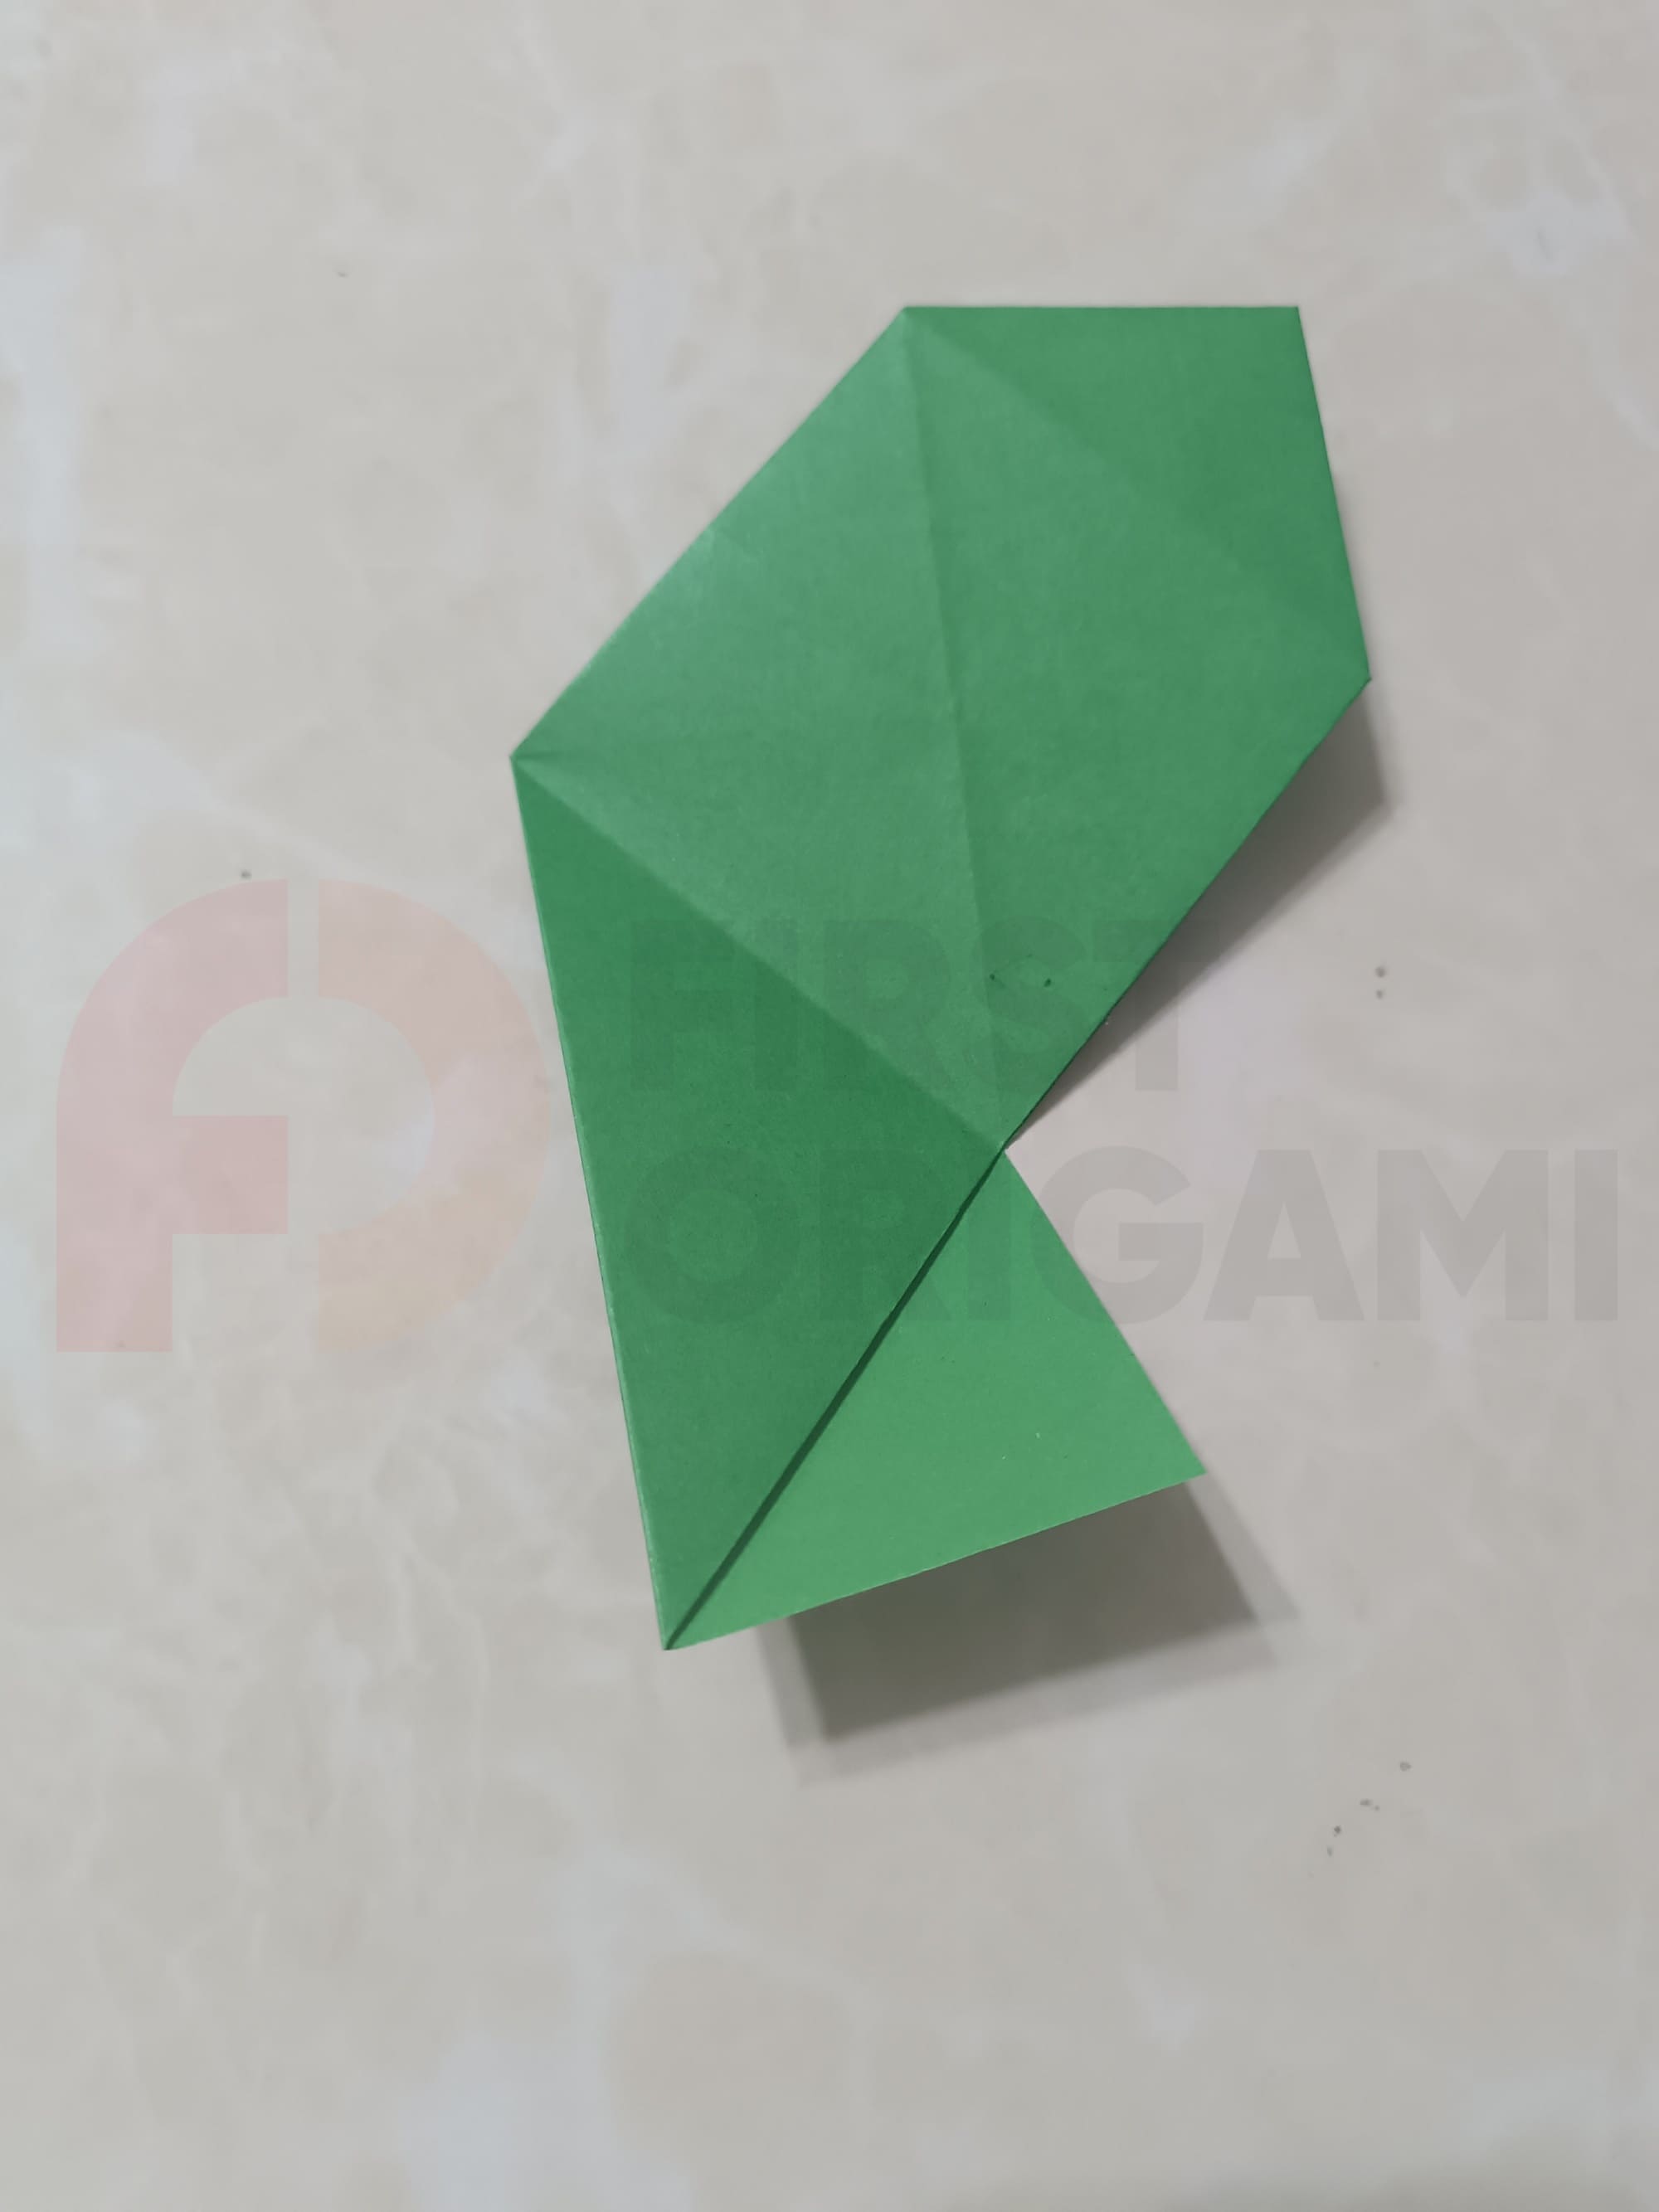
You’ve already done the next few steps when making the petals, so there should be no difficulty.
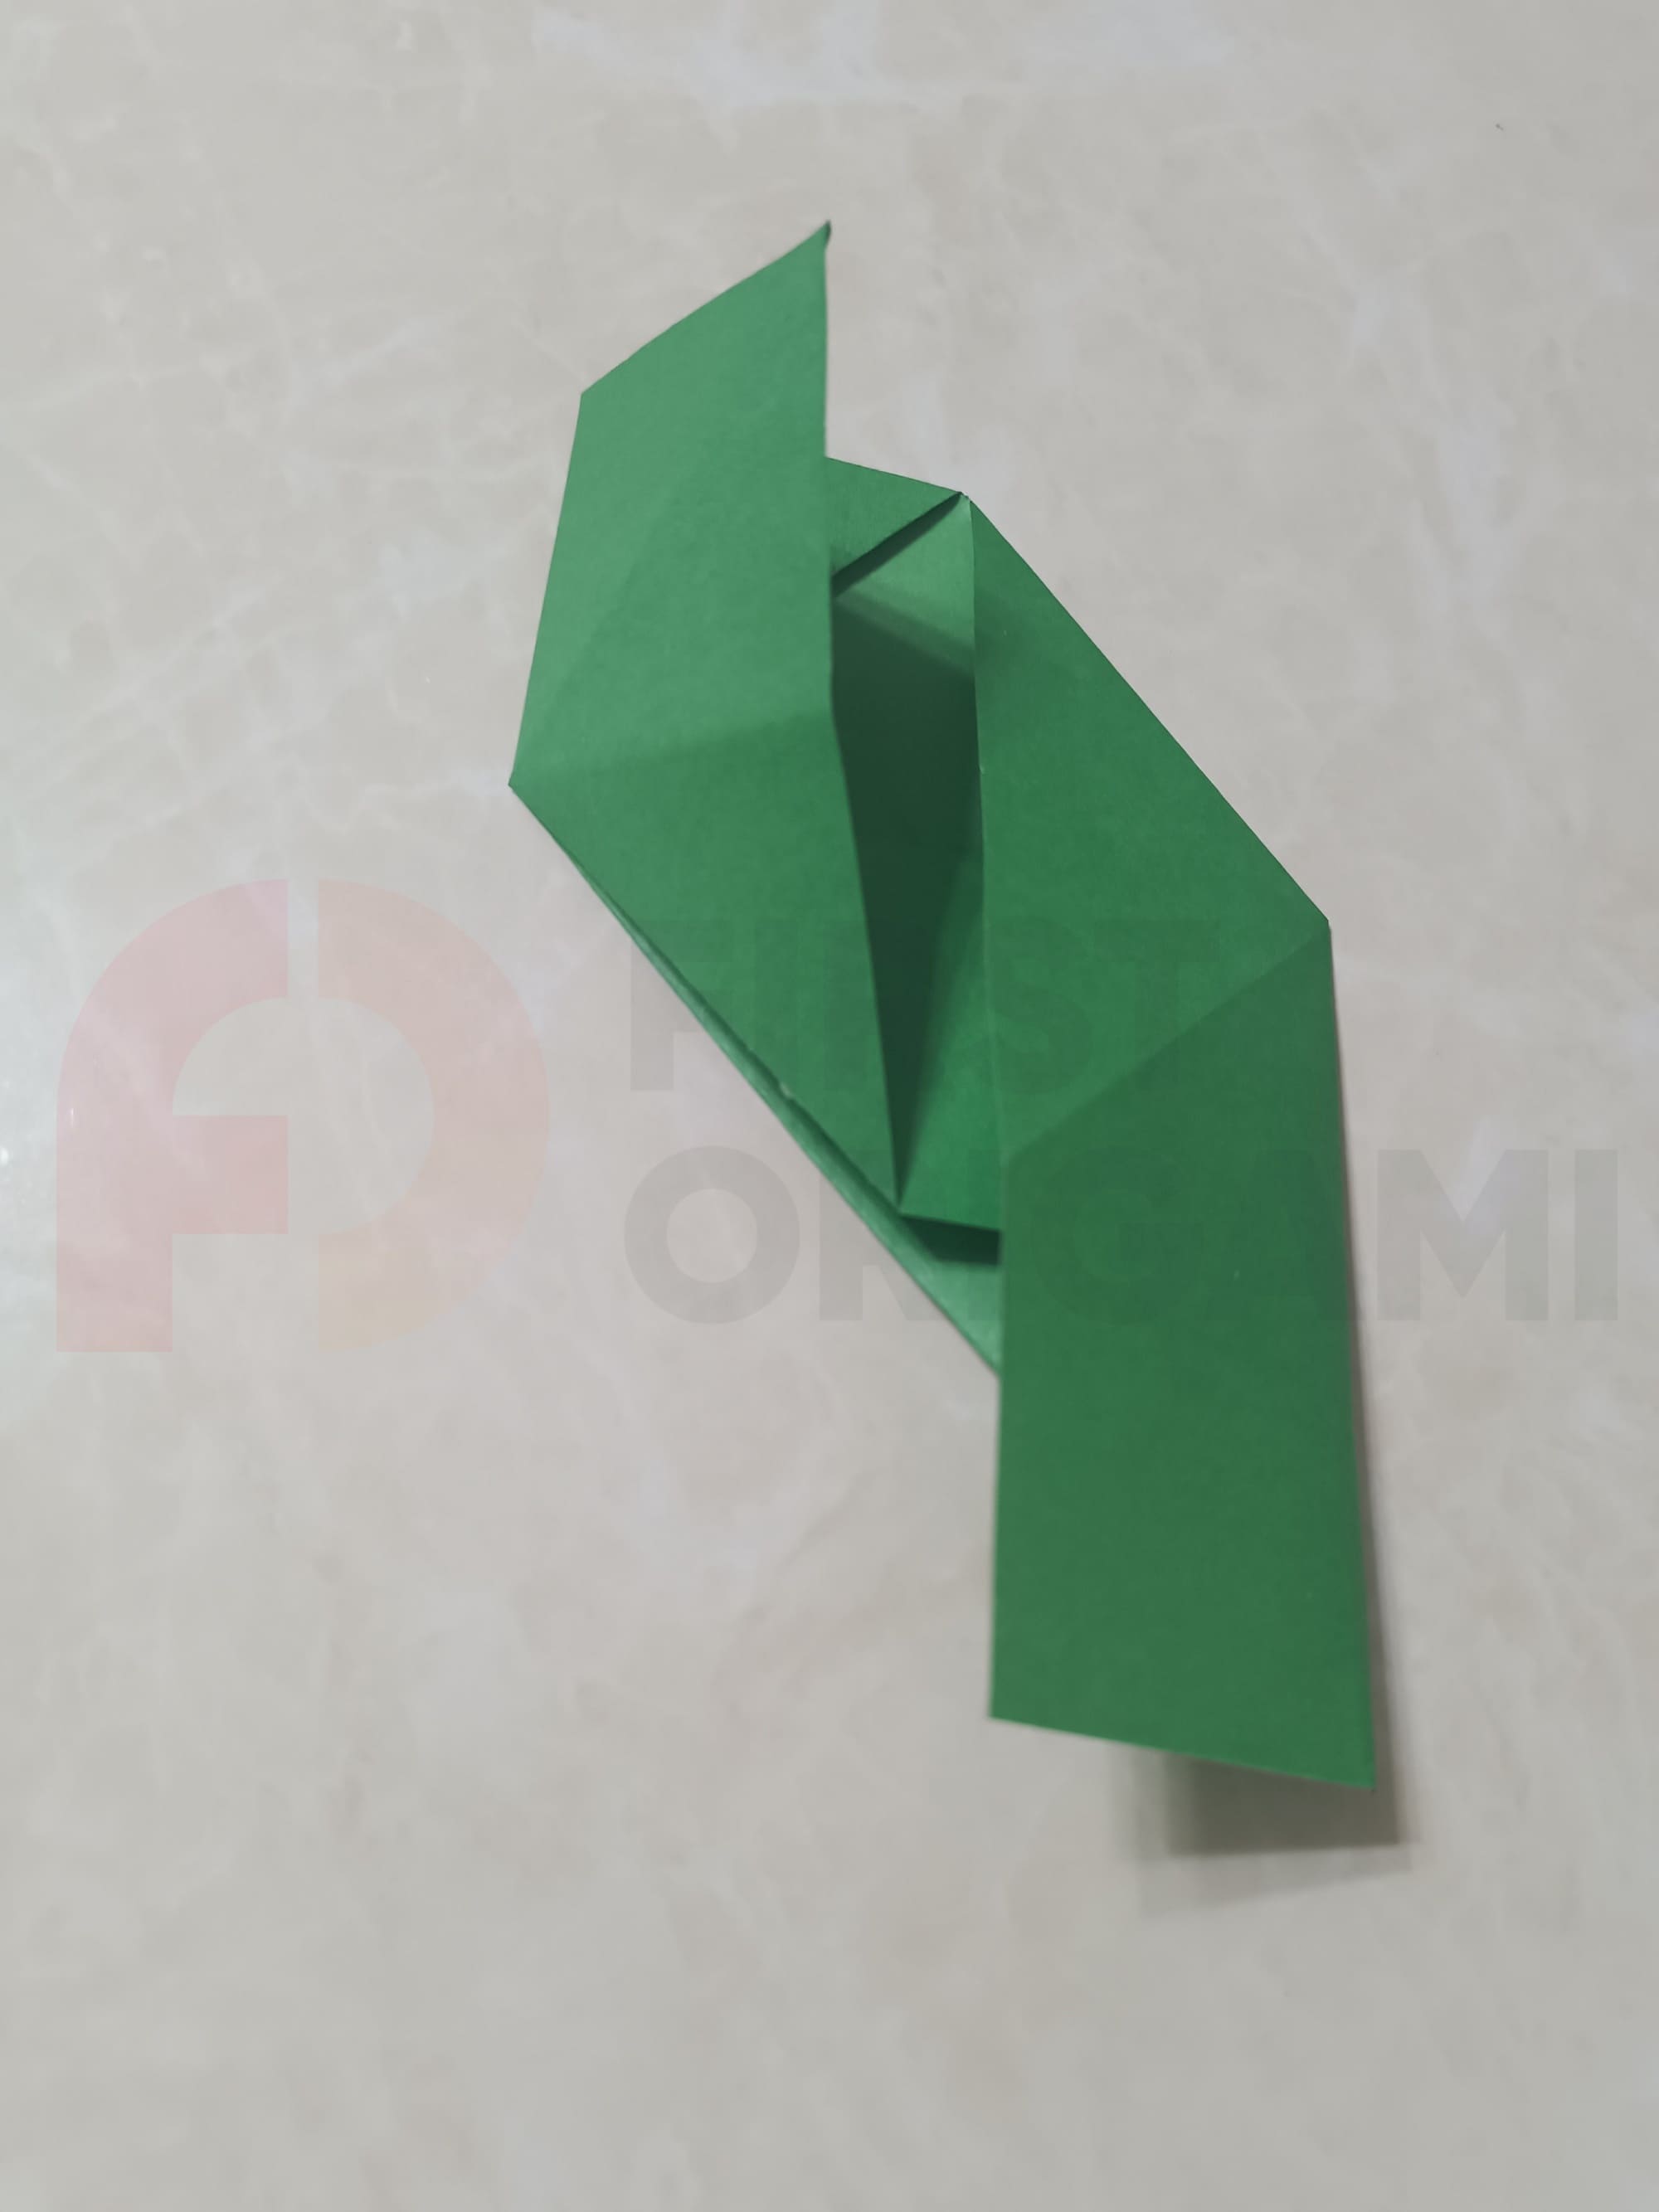
Lift the top layer of the piece on the right side, and then make a diagonal fold as shown in the photo.
Now make a horizontal fold as shown in the photo.
Next, you need to flip the left side of your figurine to the right, “closing” the paper.
Flip the paper over. Make a small diagonal fold in the bottom right corner.
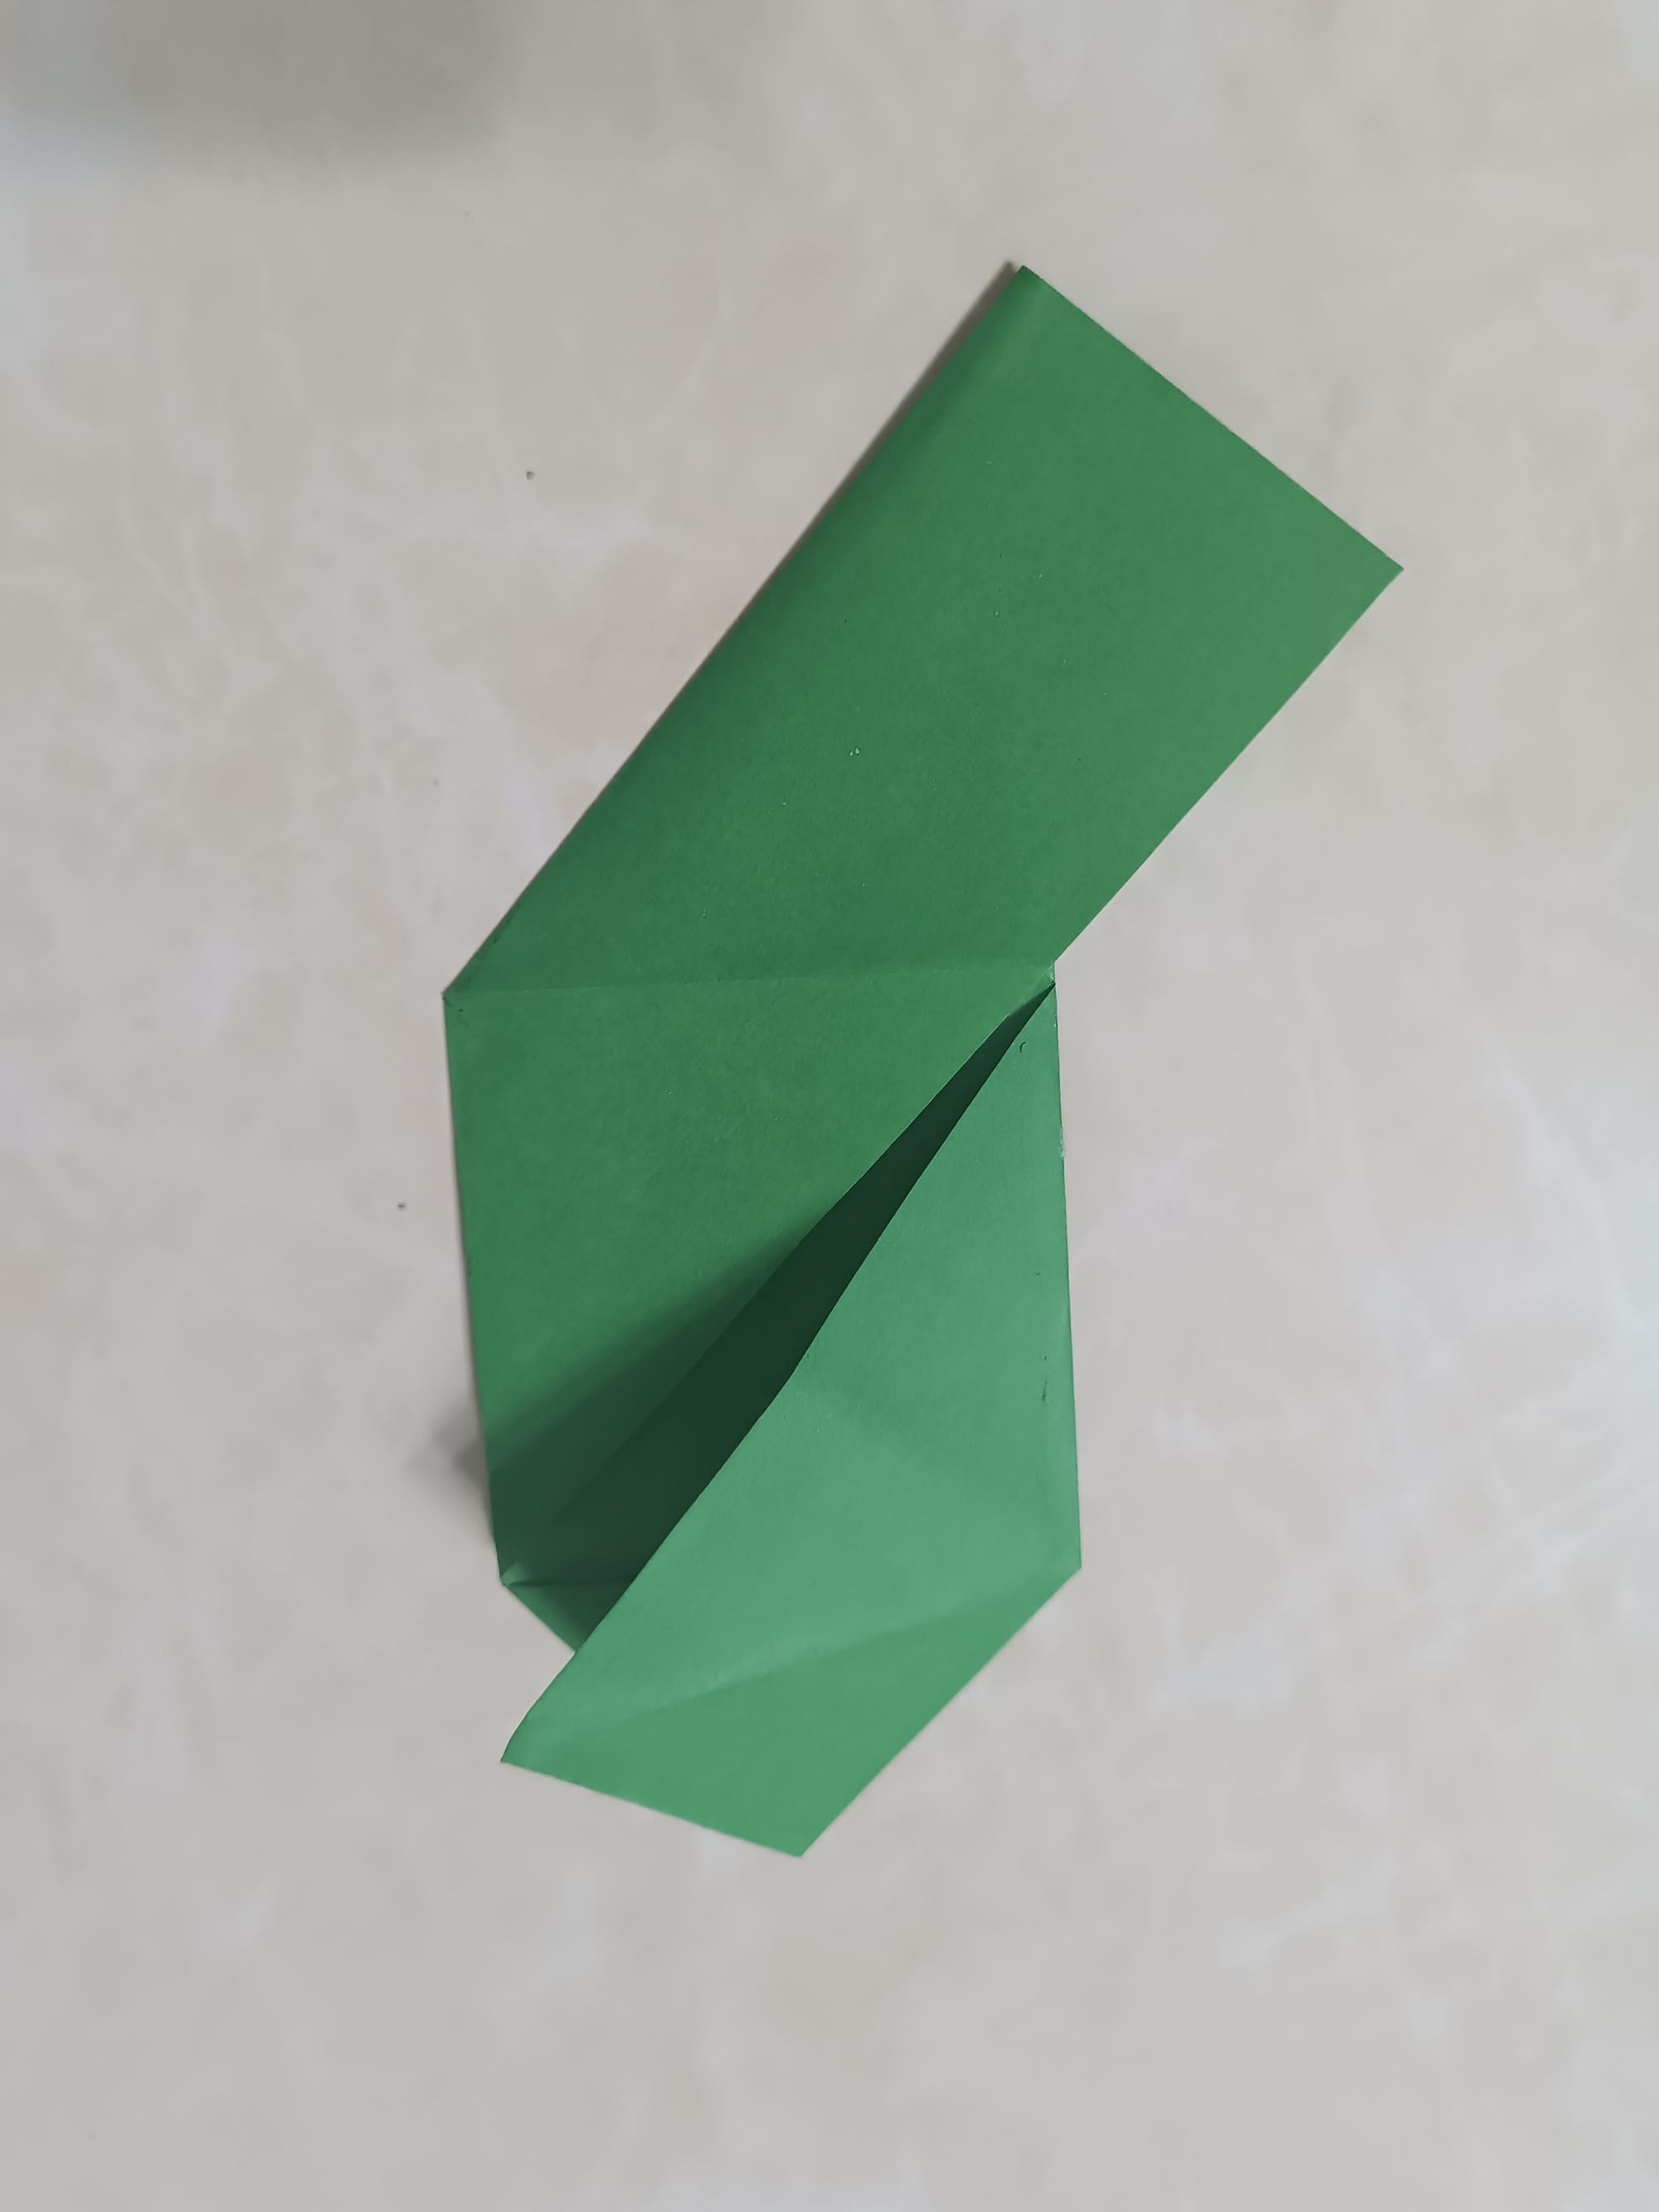
Now make another diagonal fold. Fold and unfold your product well.
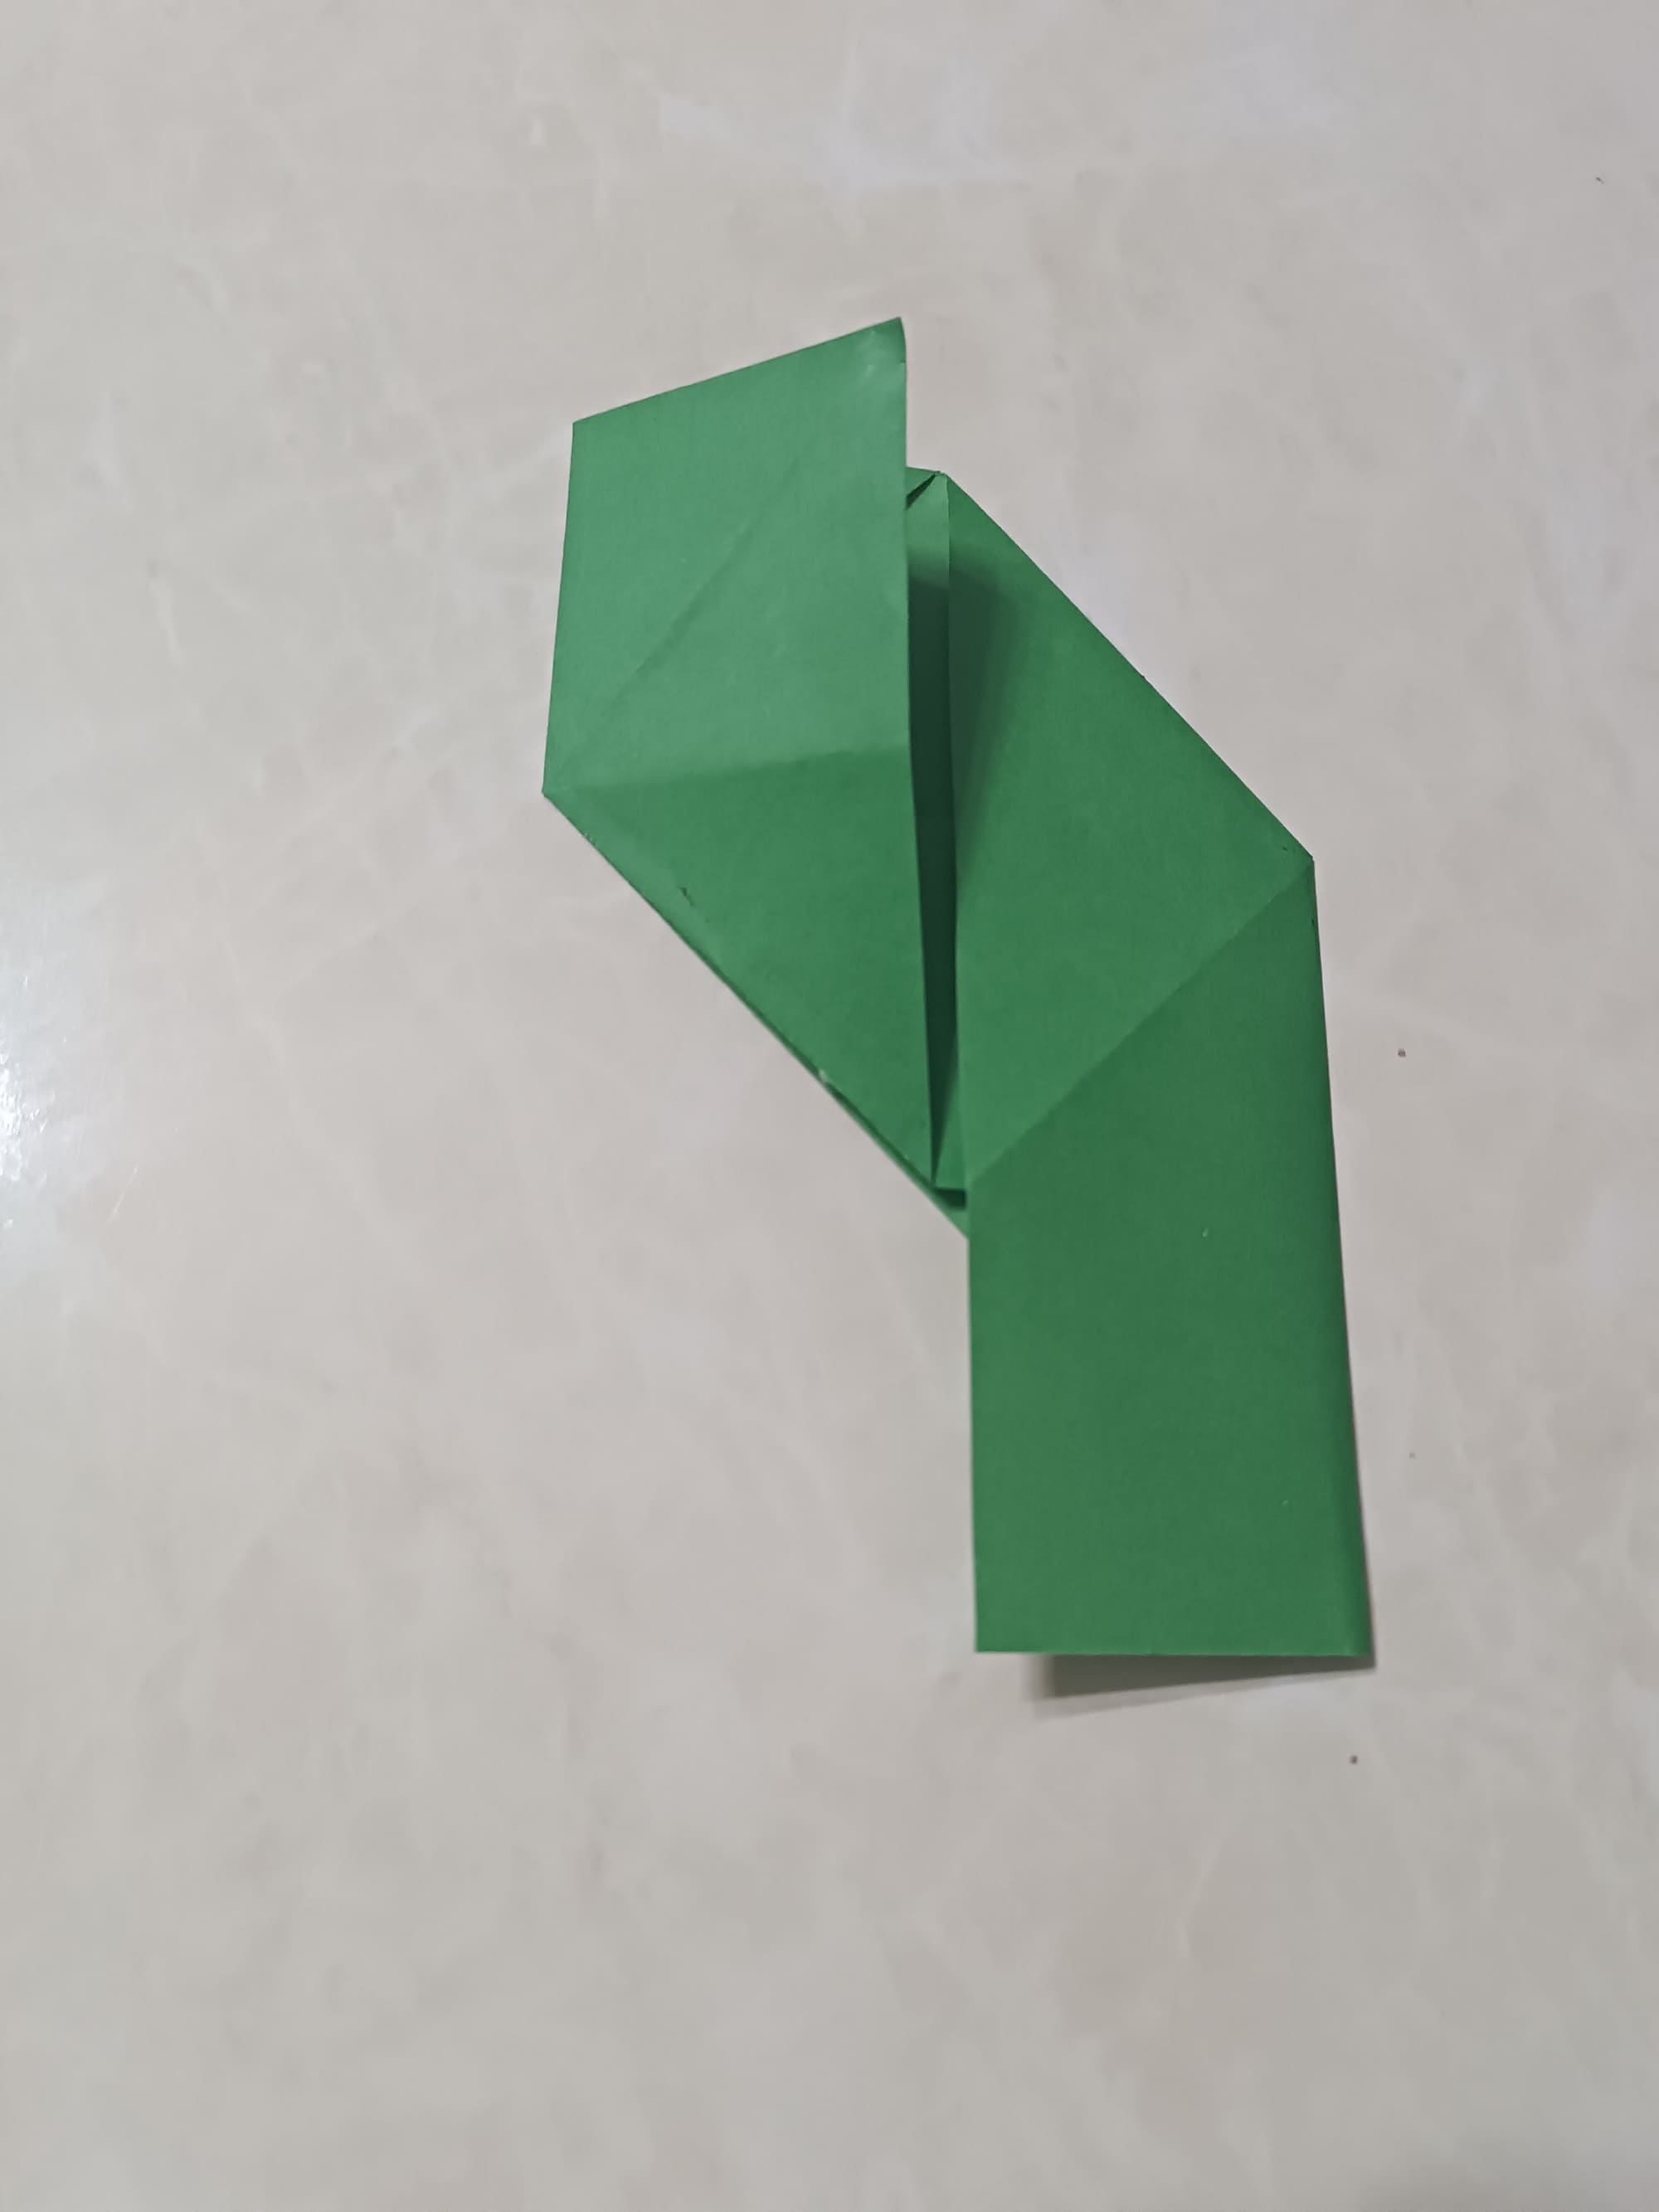
Unfold the piece.
Flip the paper over and you will see that your Leaves are ready.

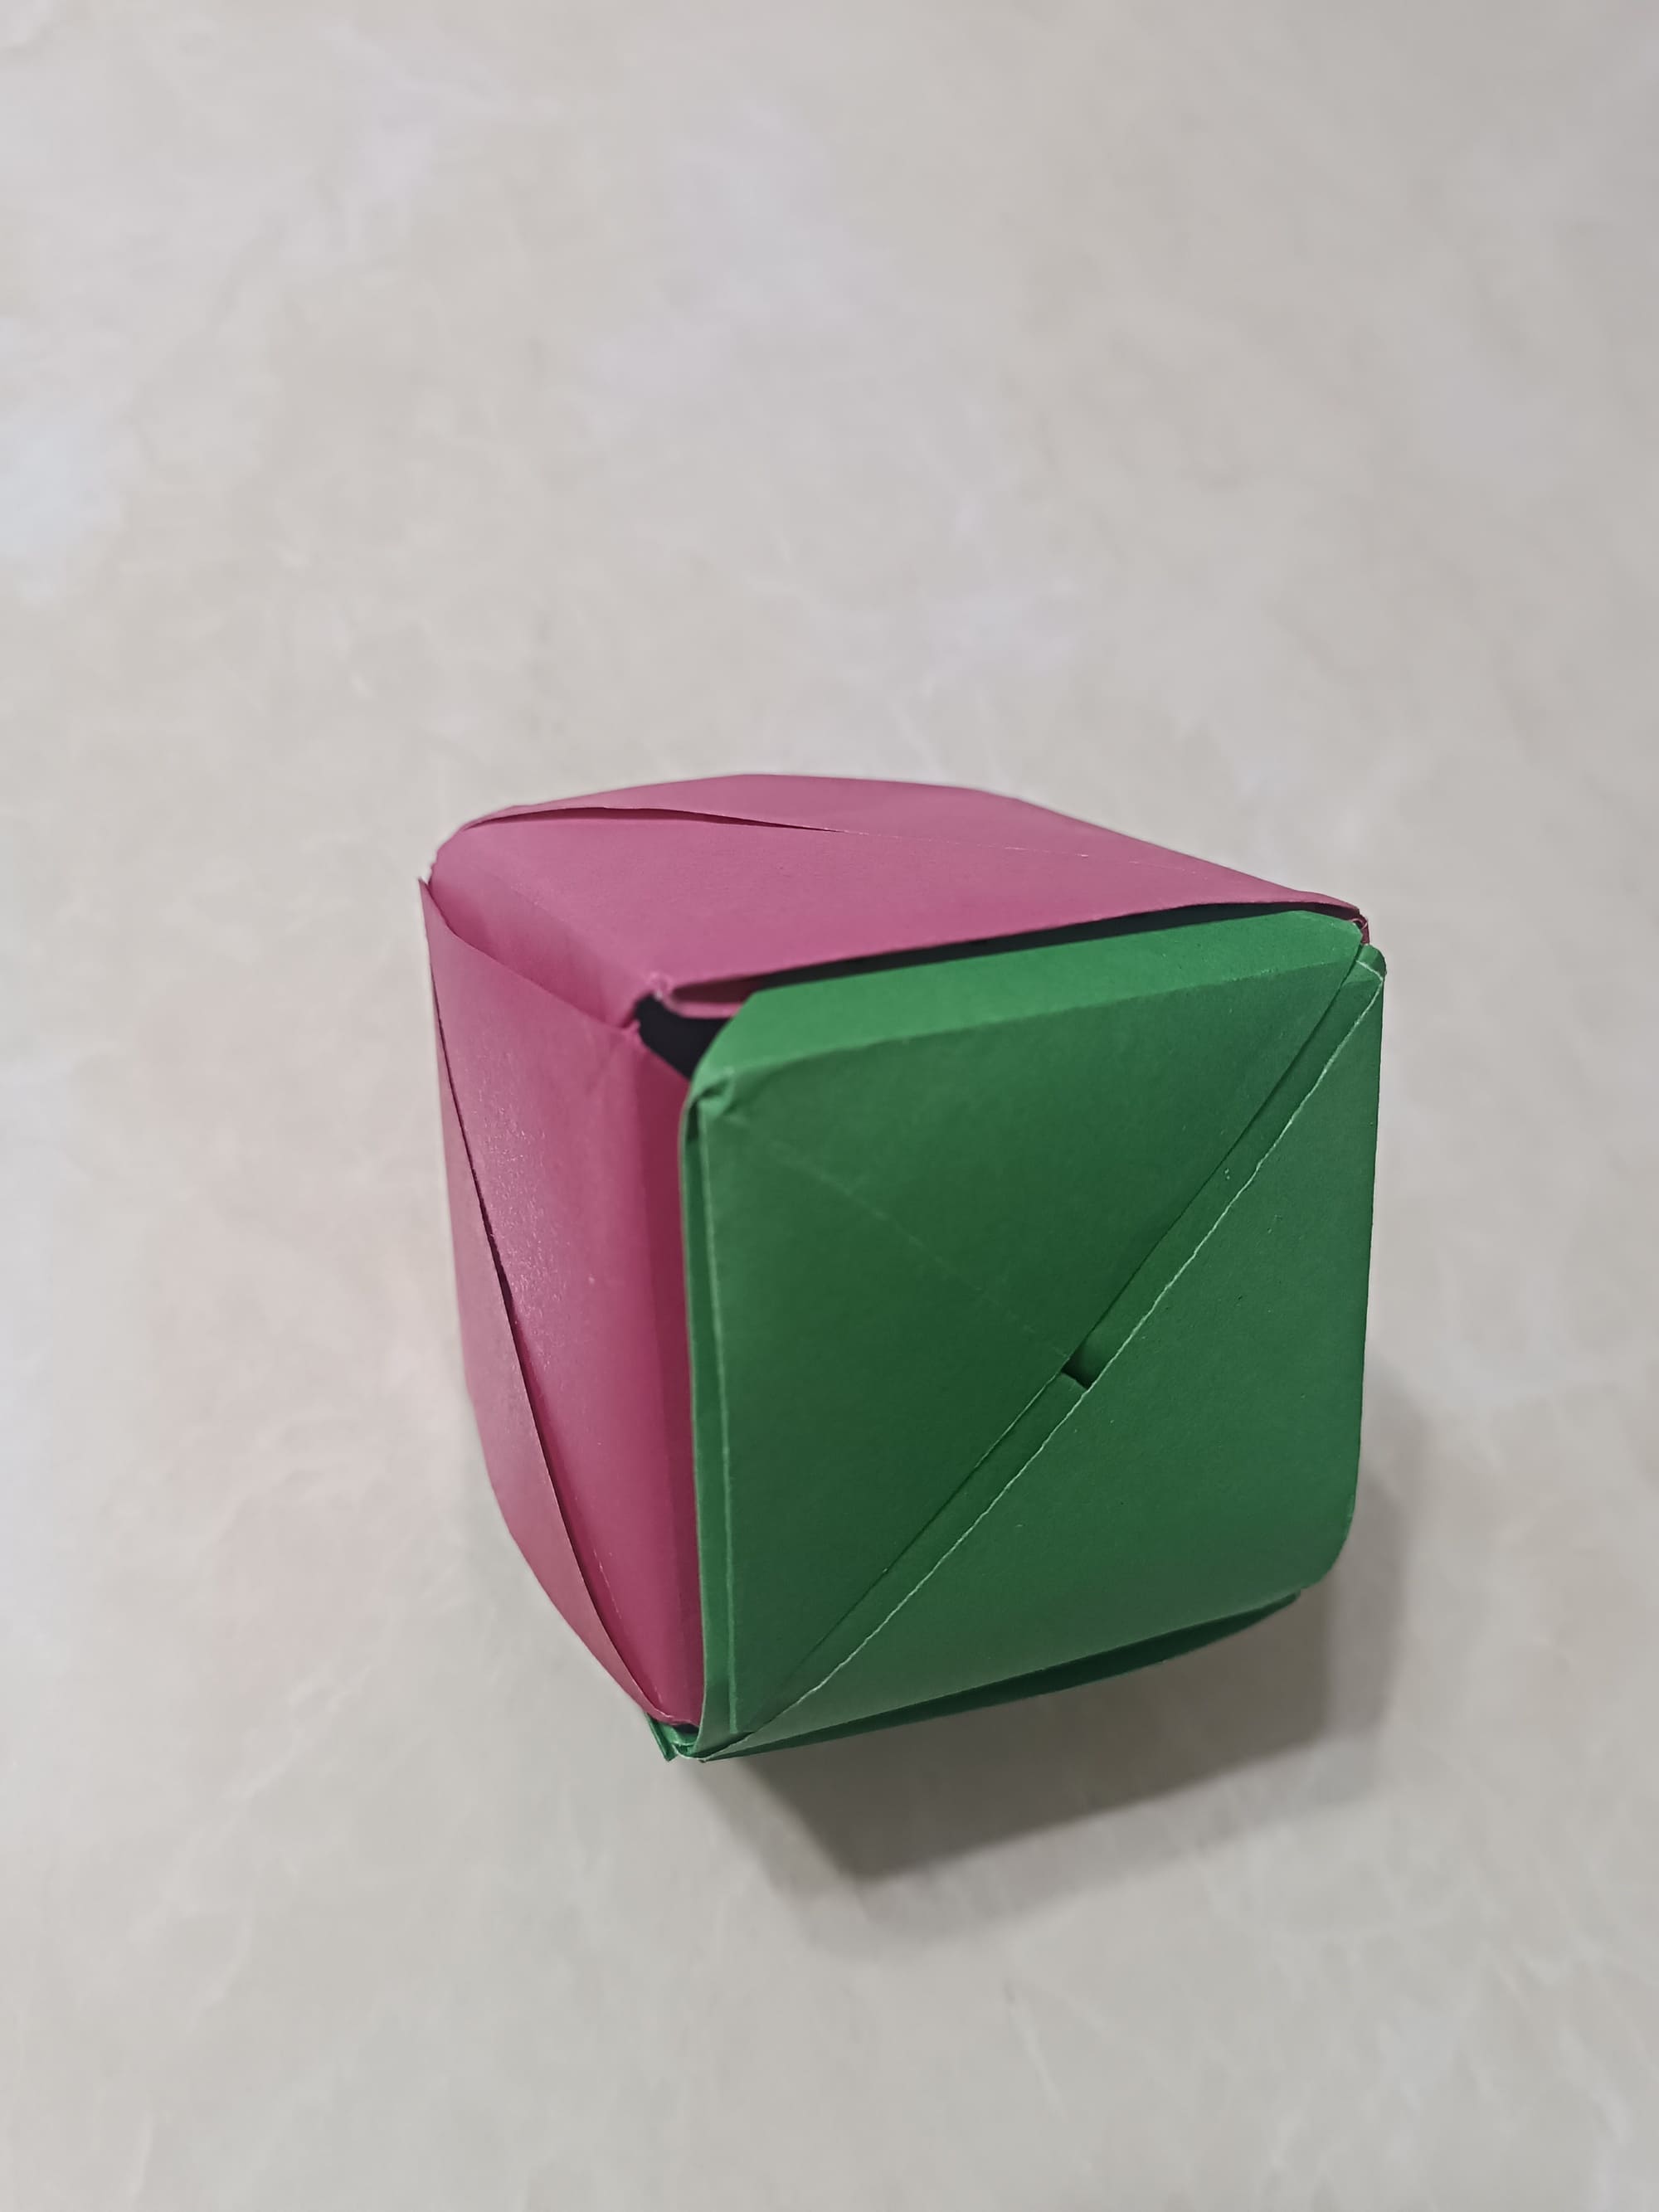
Now connect the two pieces and enjoy the result!