Origami Milk Box
Here, you will find instructions for making an unusual origami milk carton. You won’t be able to store real milk in it, but it can diversify your collection or be useful for playing with children.
For this origami, you will need an A4 sheet (21×28 cm). The color can be any, but we decided that it would be cool to draw spots to resemble a dairy cow’s pattern on light paper. You can also take an existing paper with a similar print.
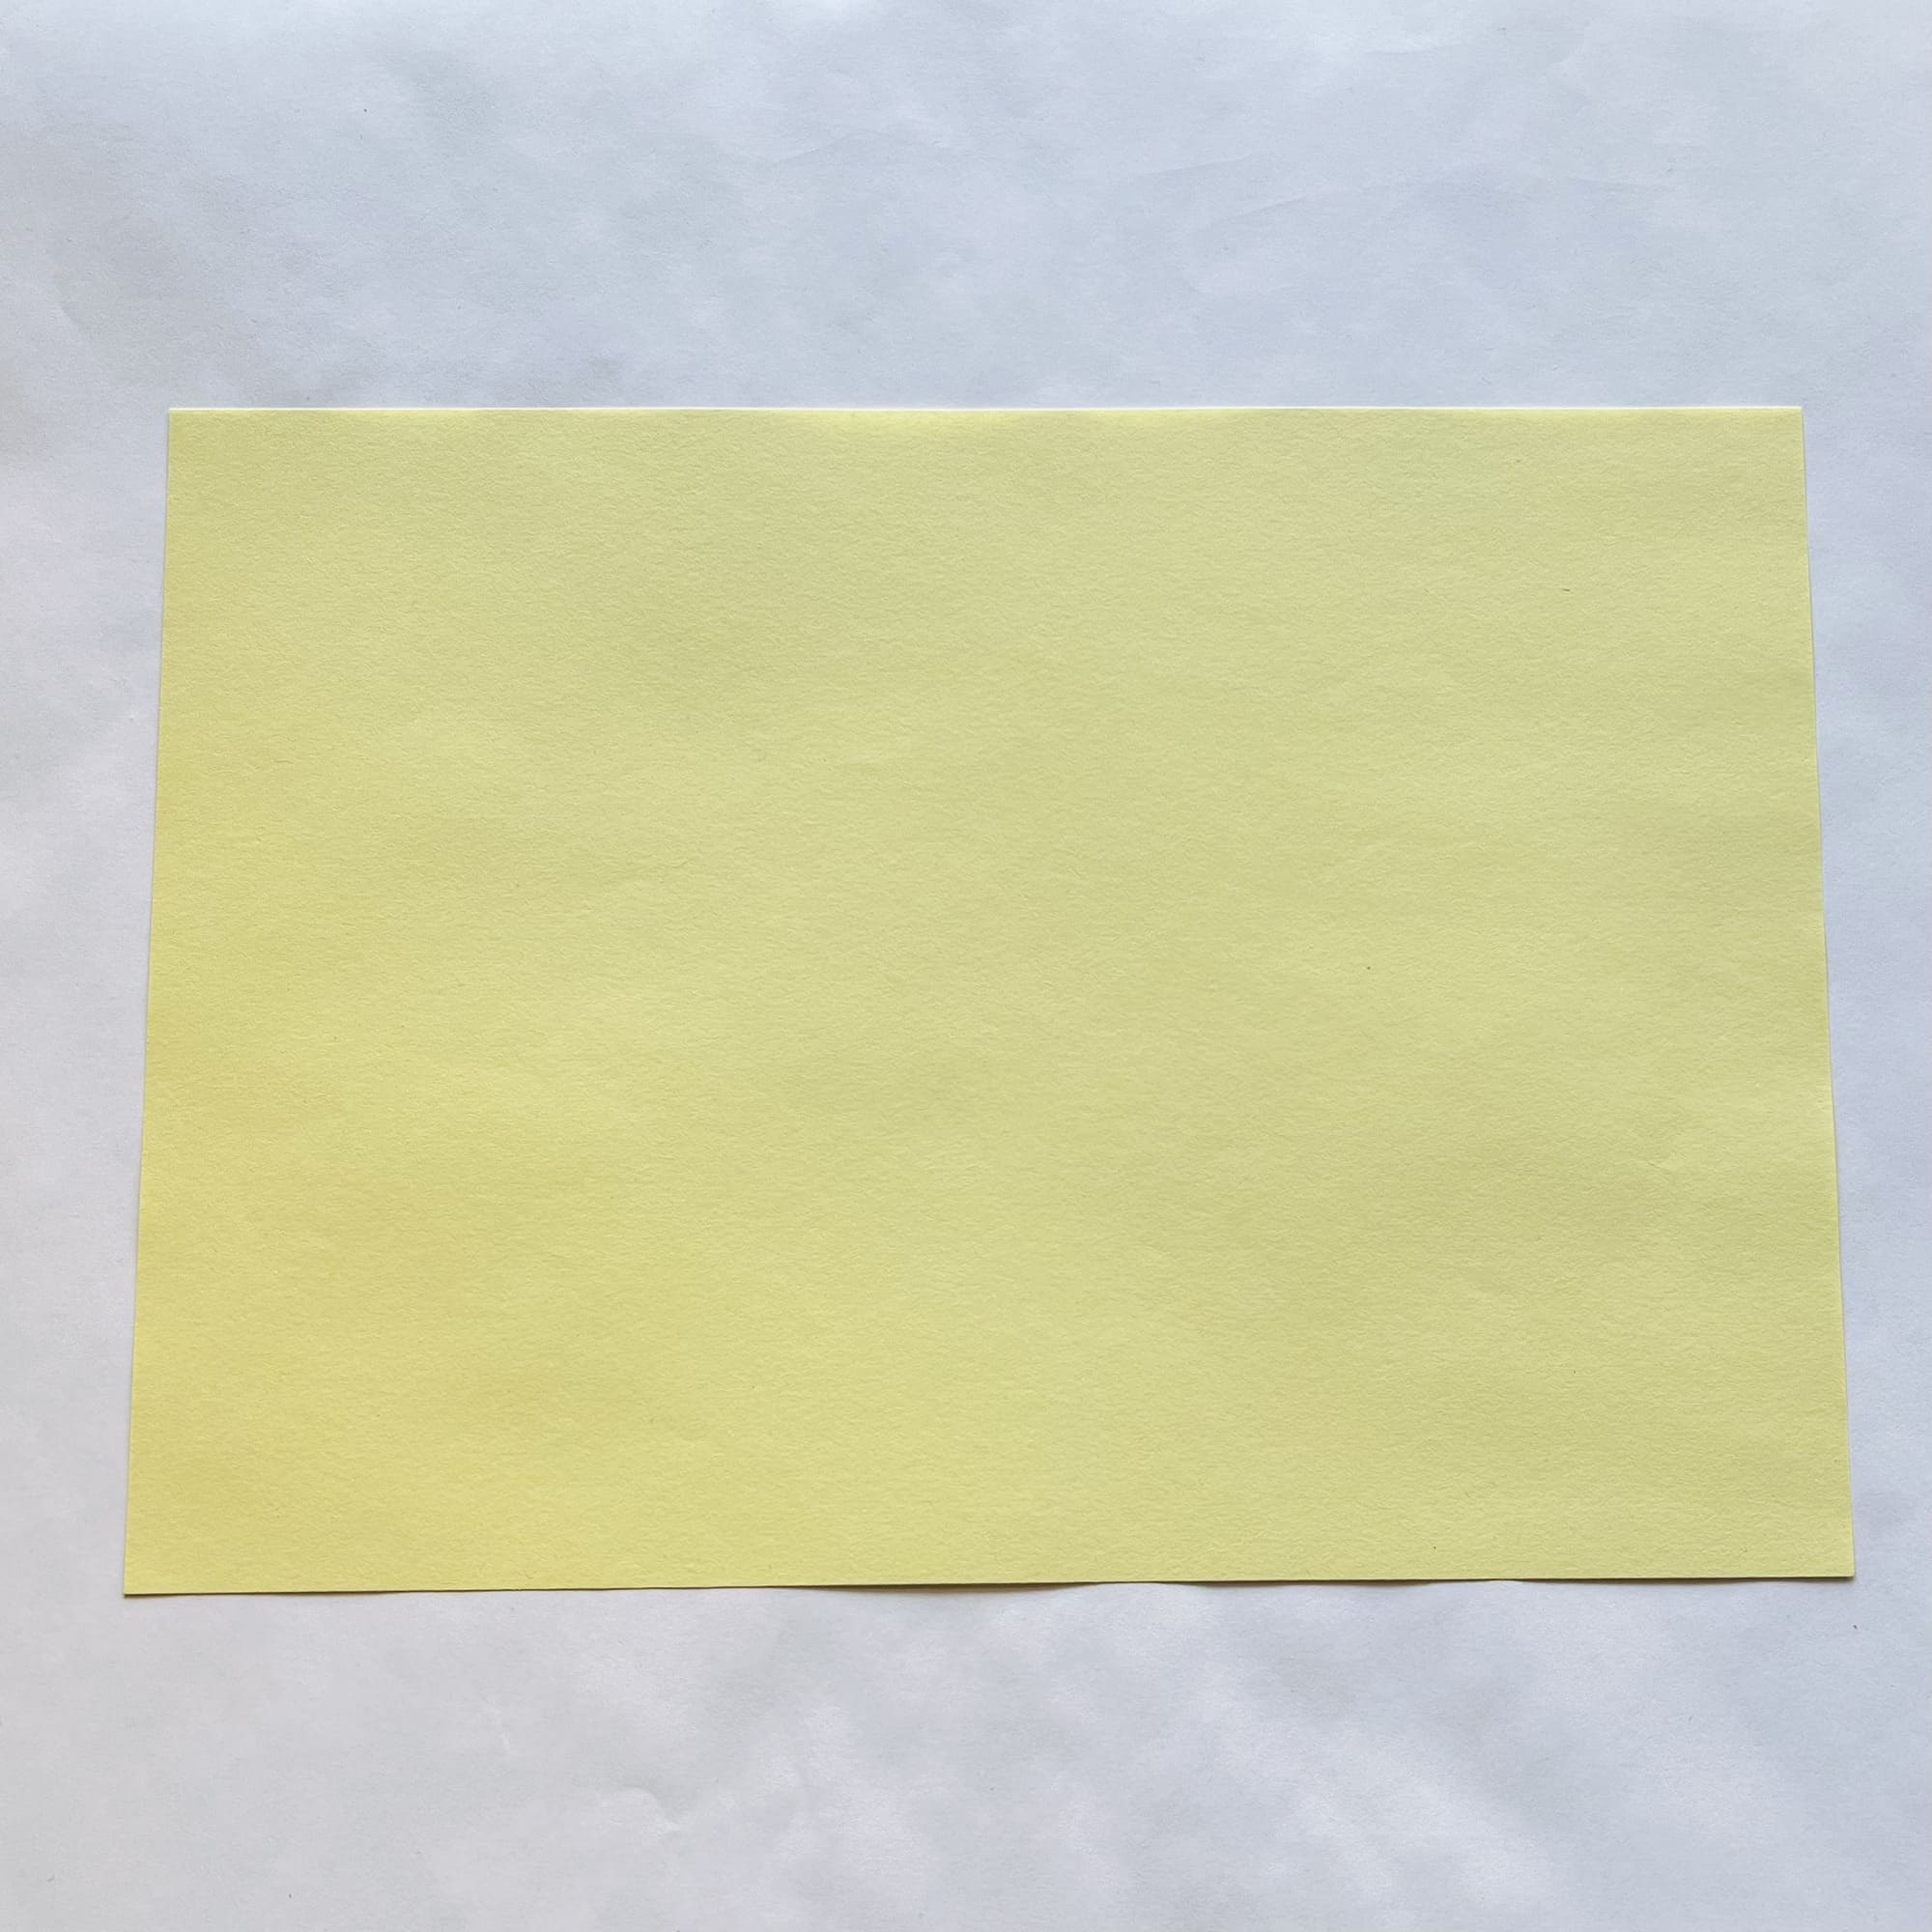
Place an A4 sheet horizontally with the print facing down.
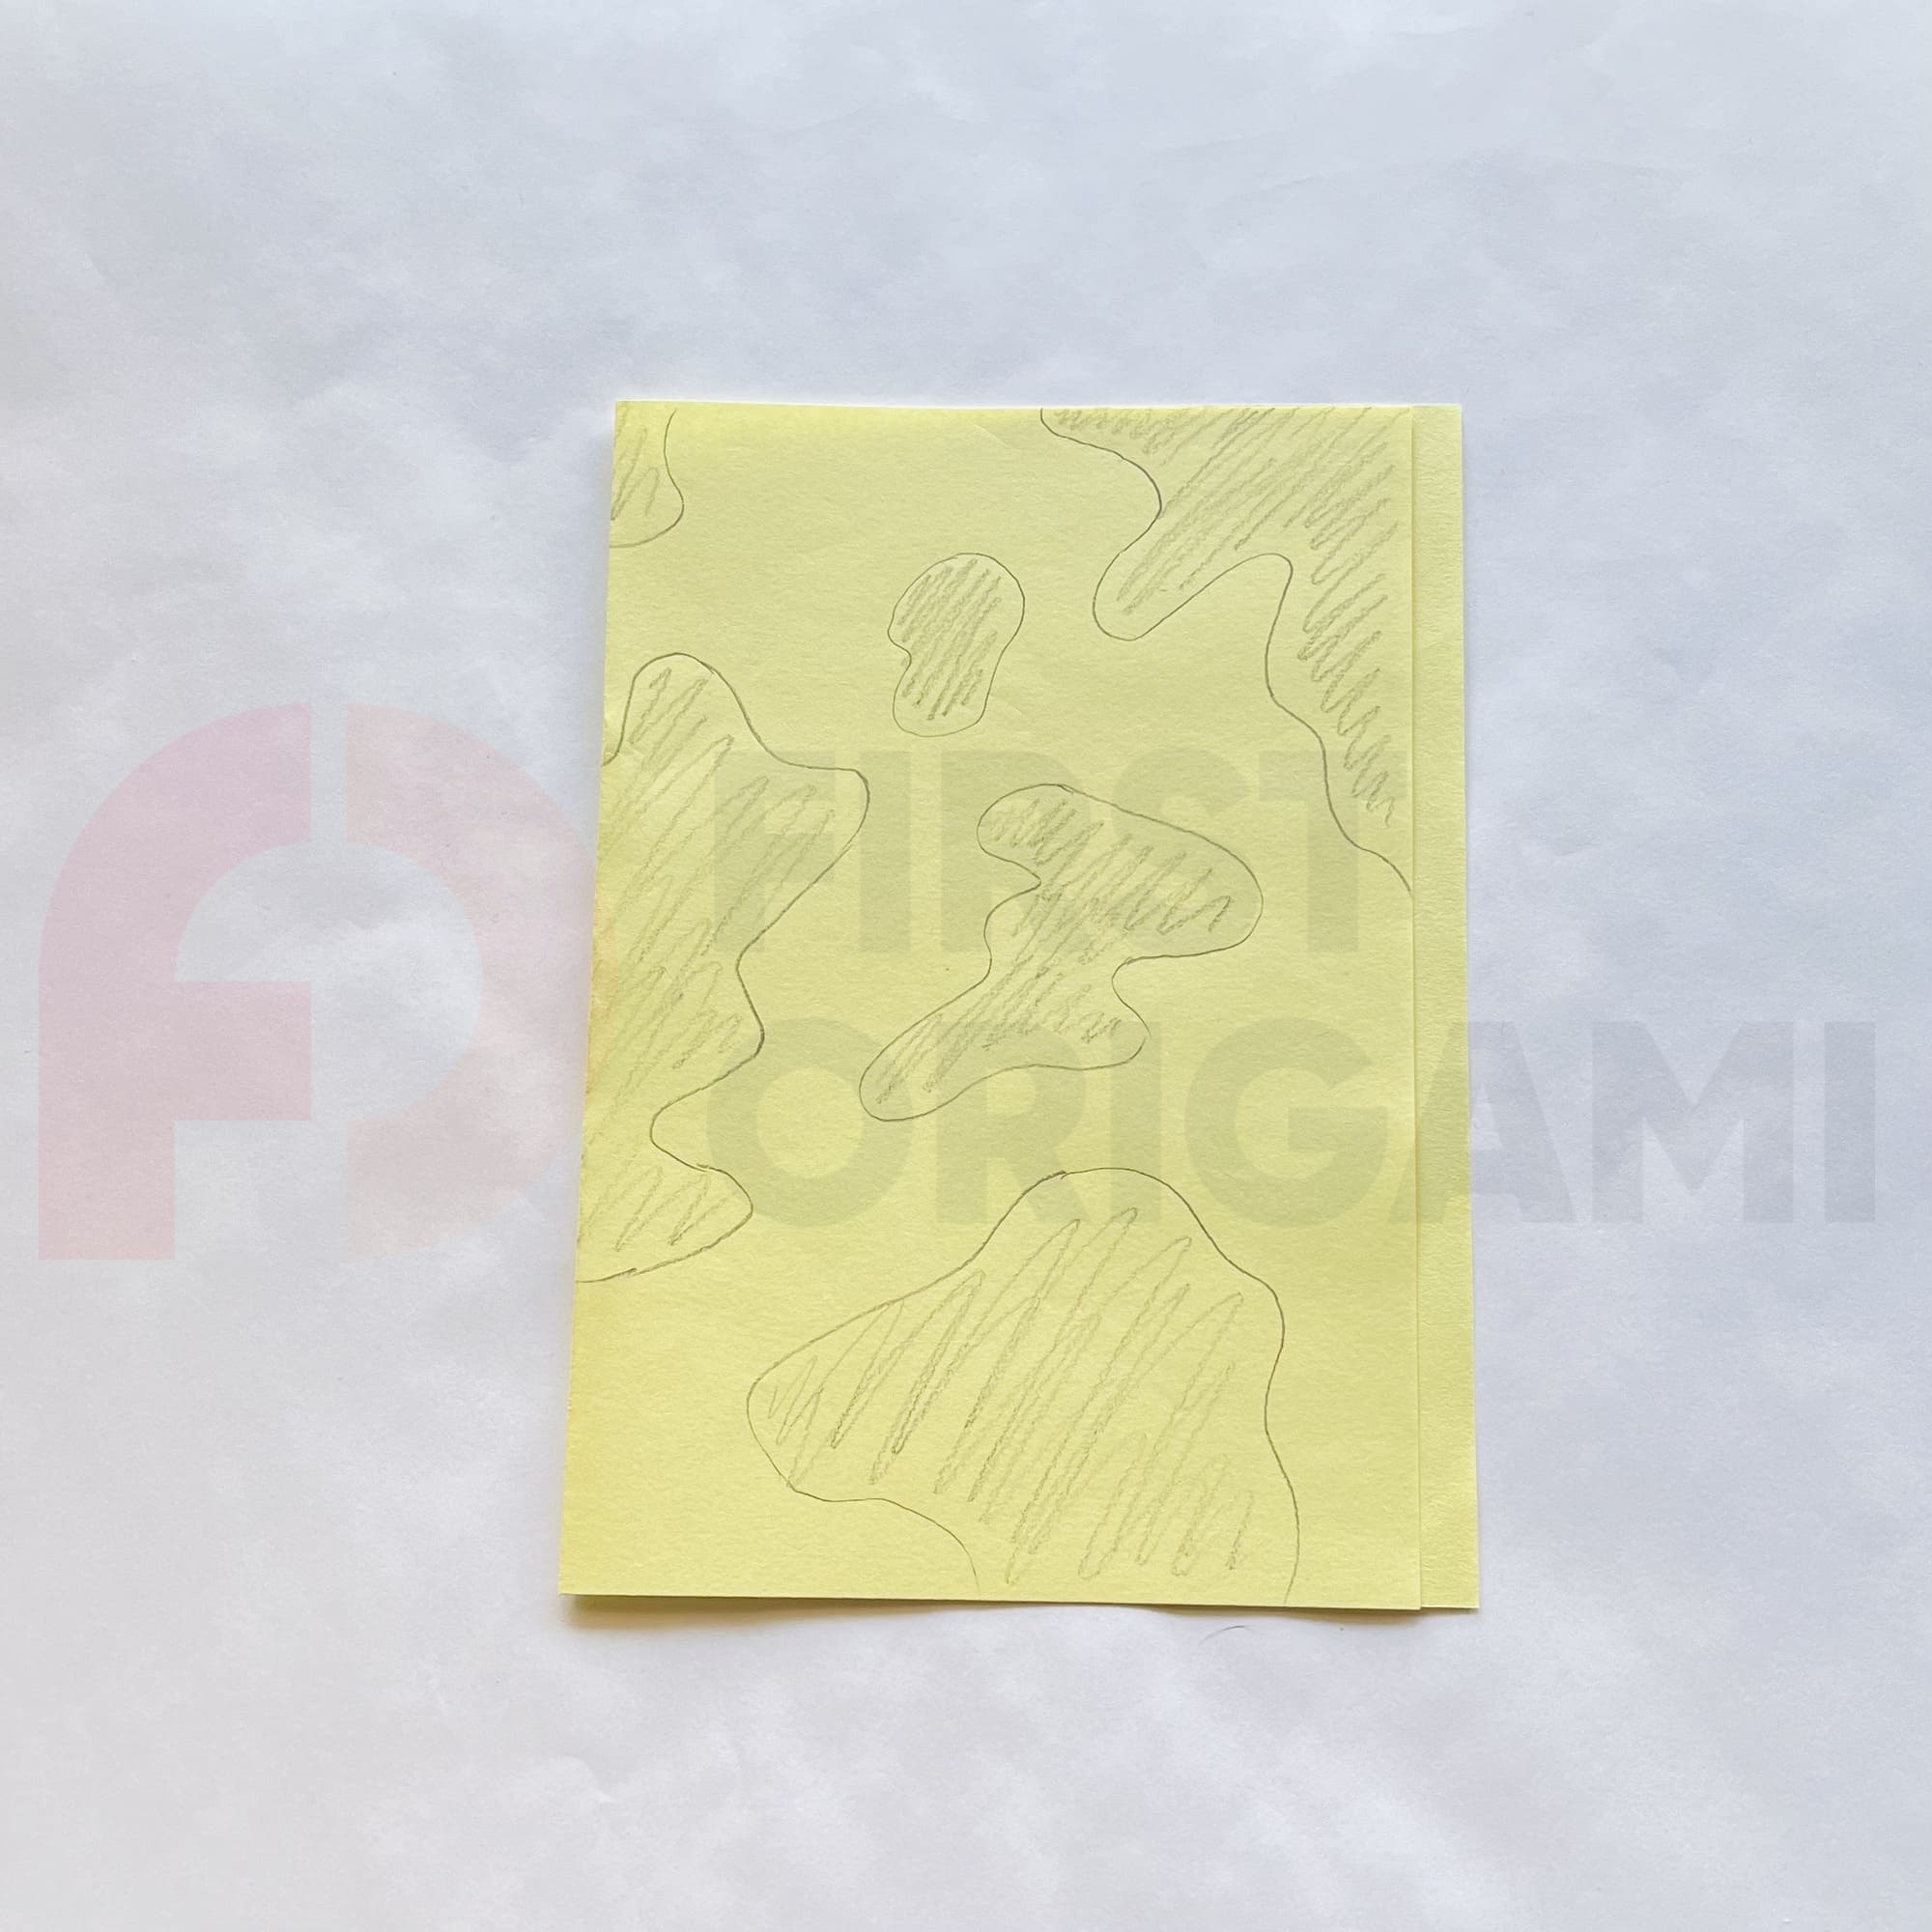
Fold it in half so that the fold line is not in the center, but slightly to the left.
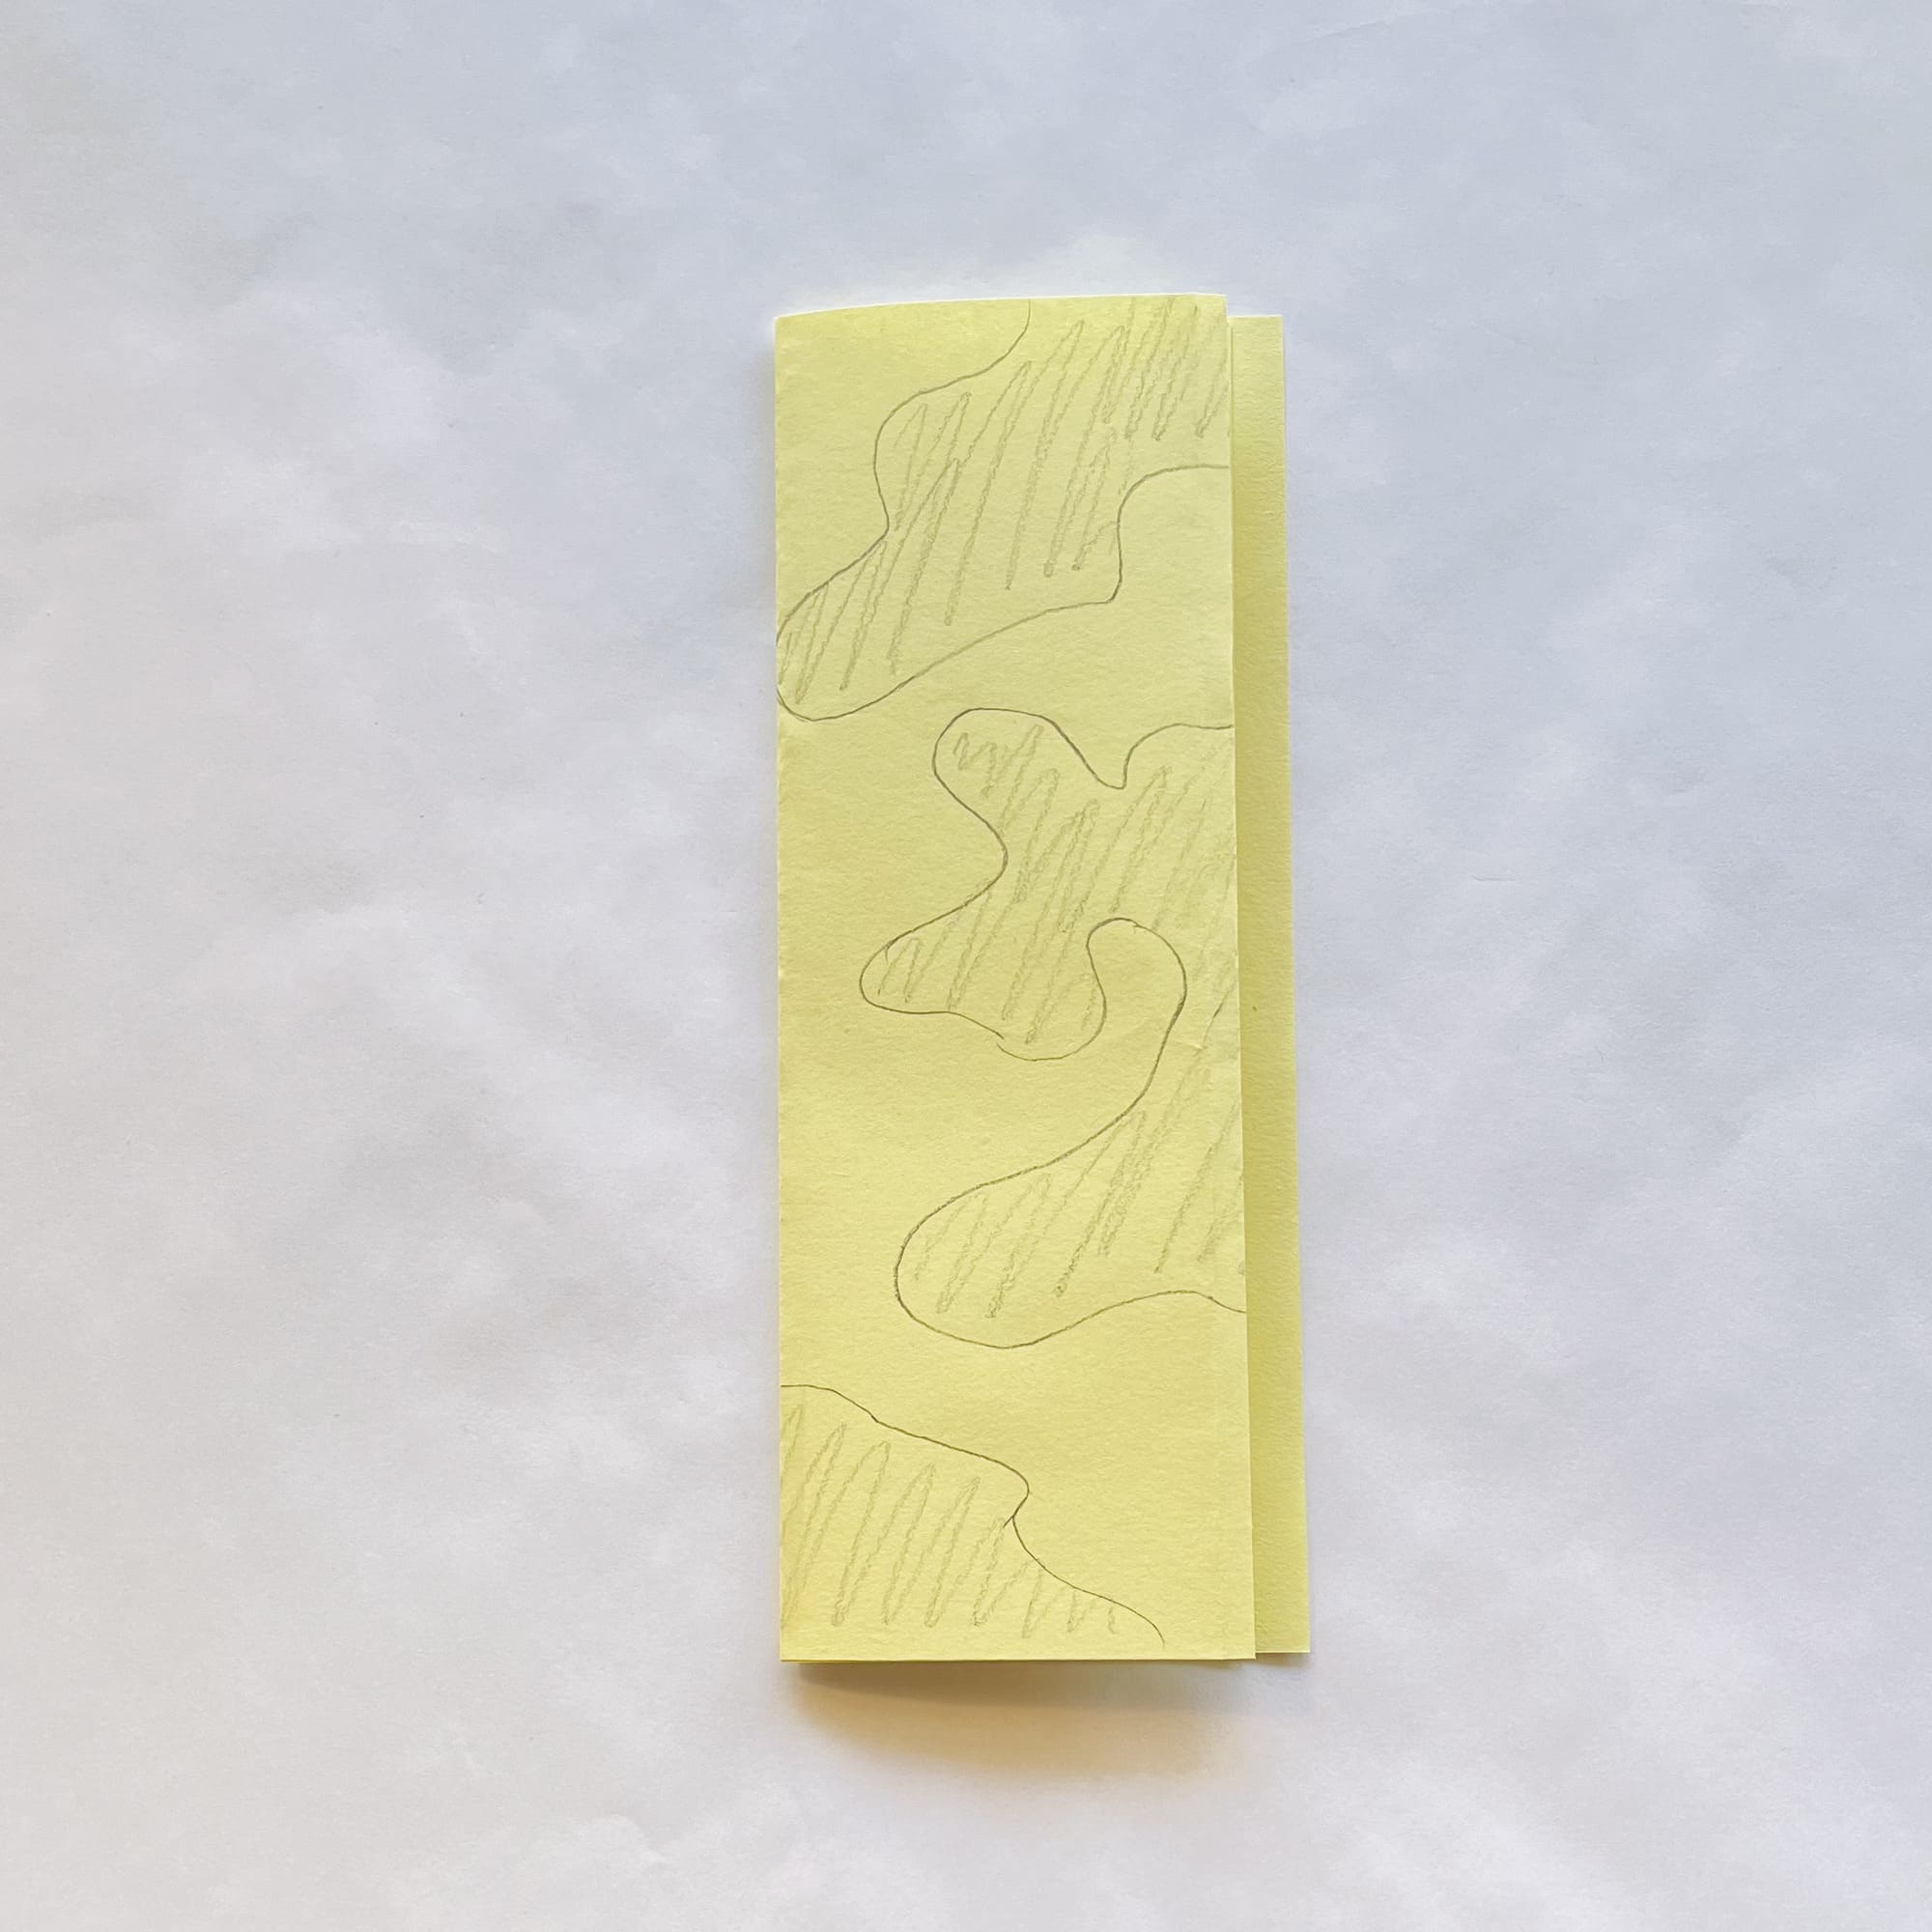
Fold the paper in half again.
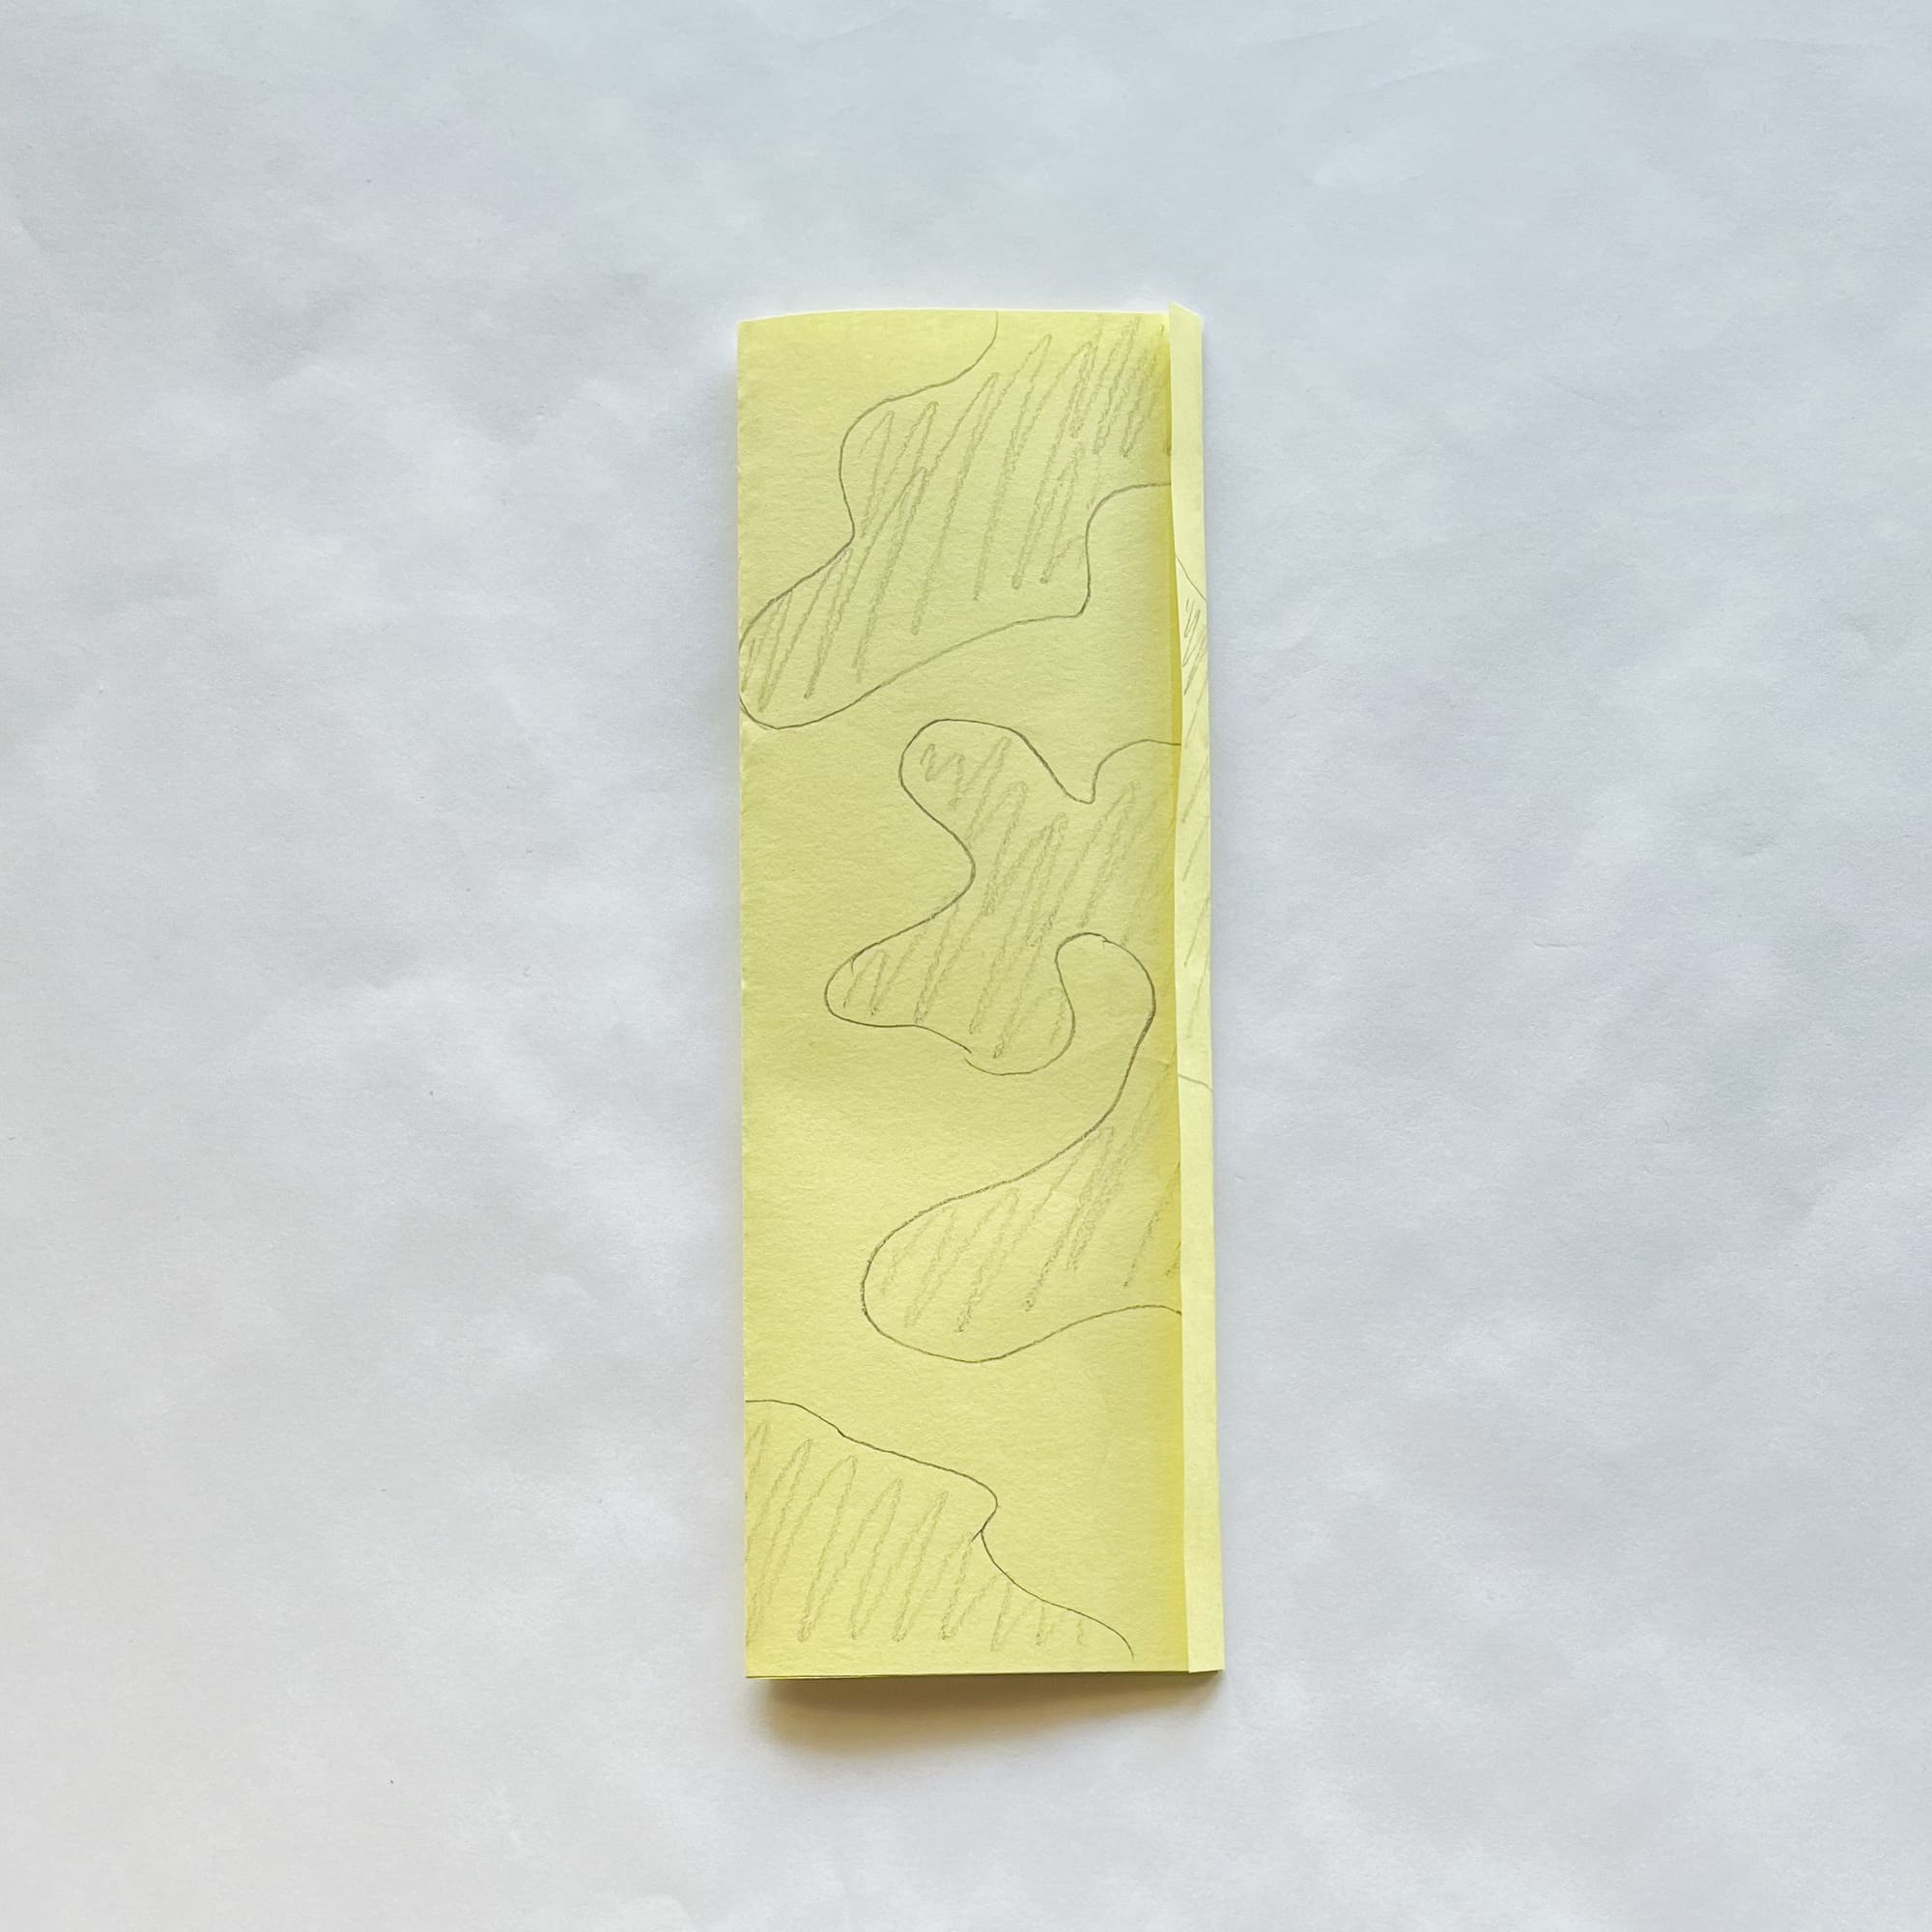
There should be a strip of paper left on the right without a pattern, fold it inward.
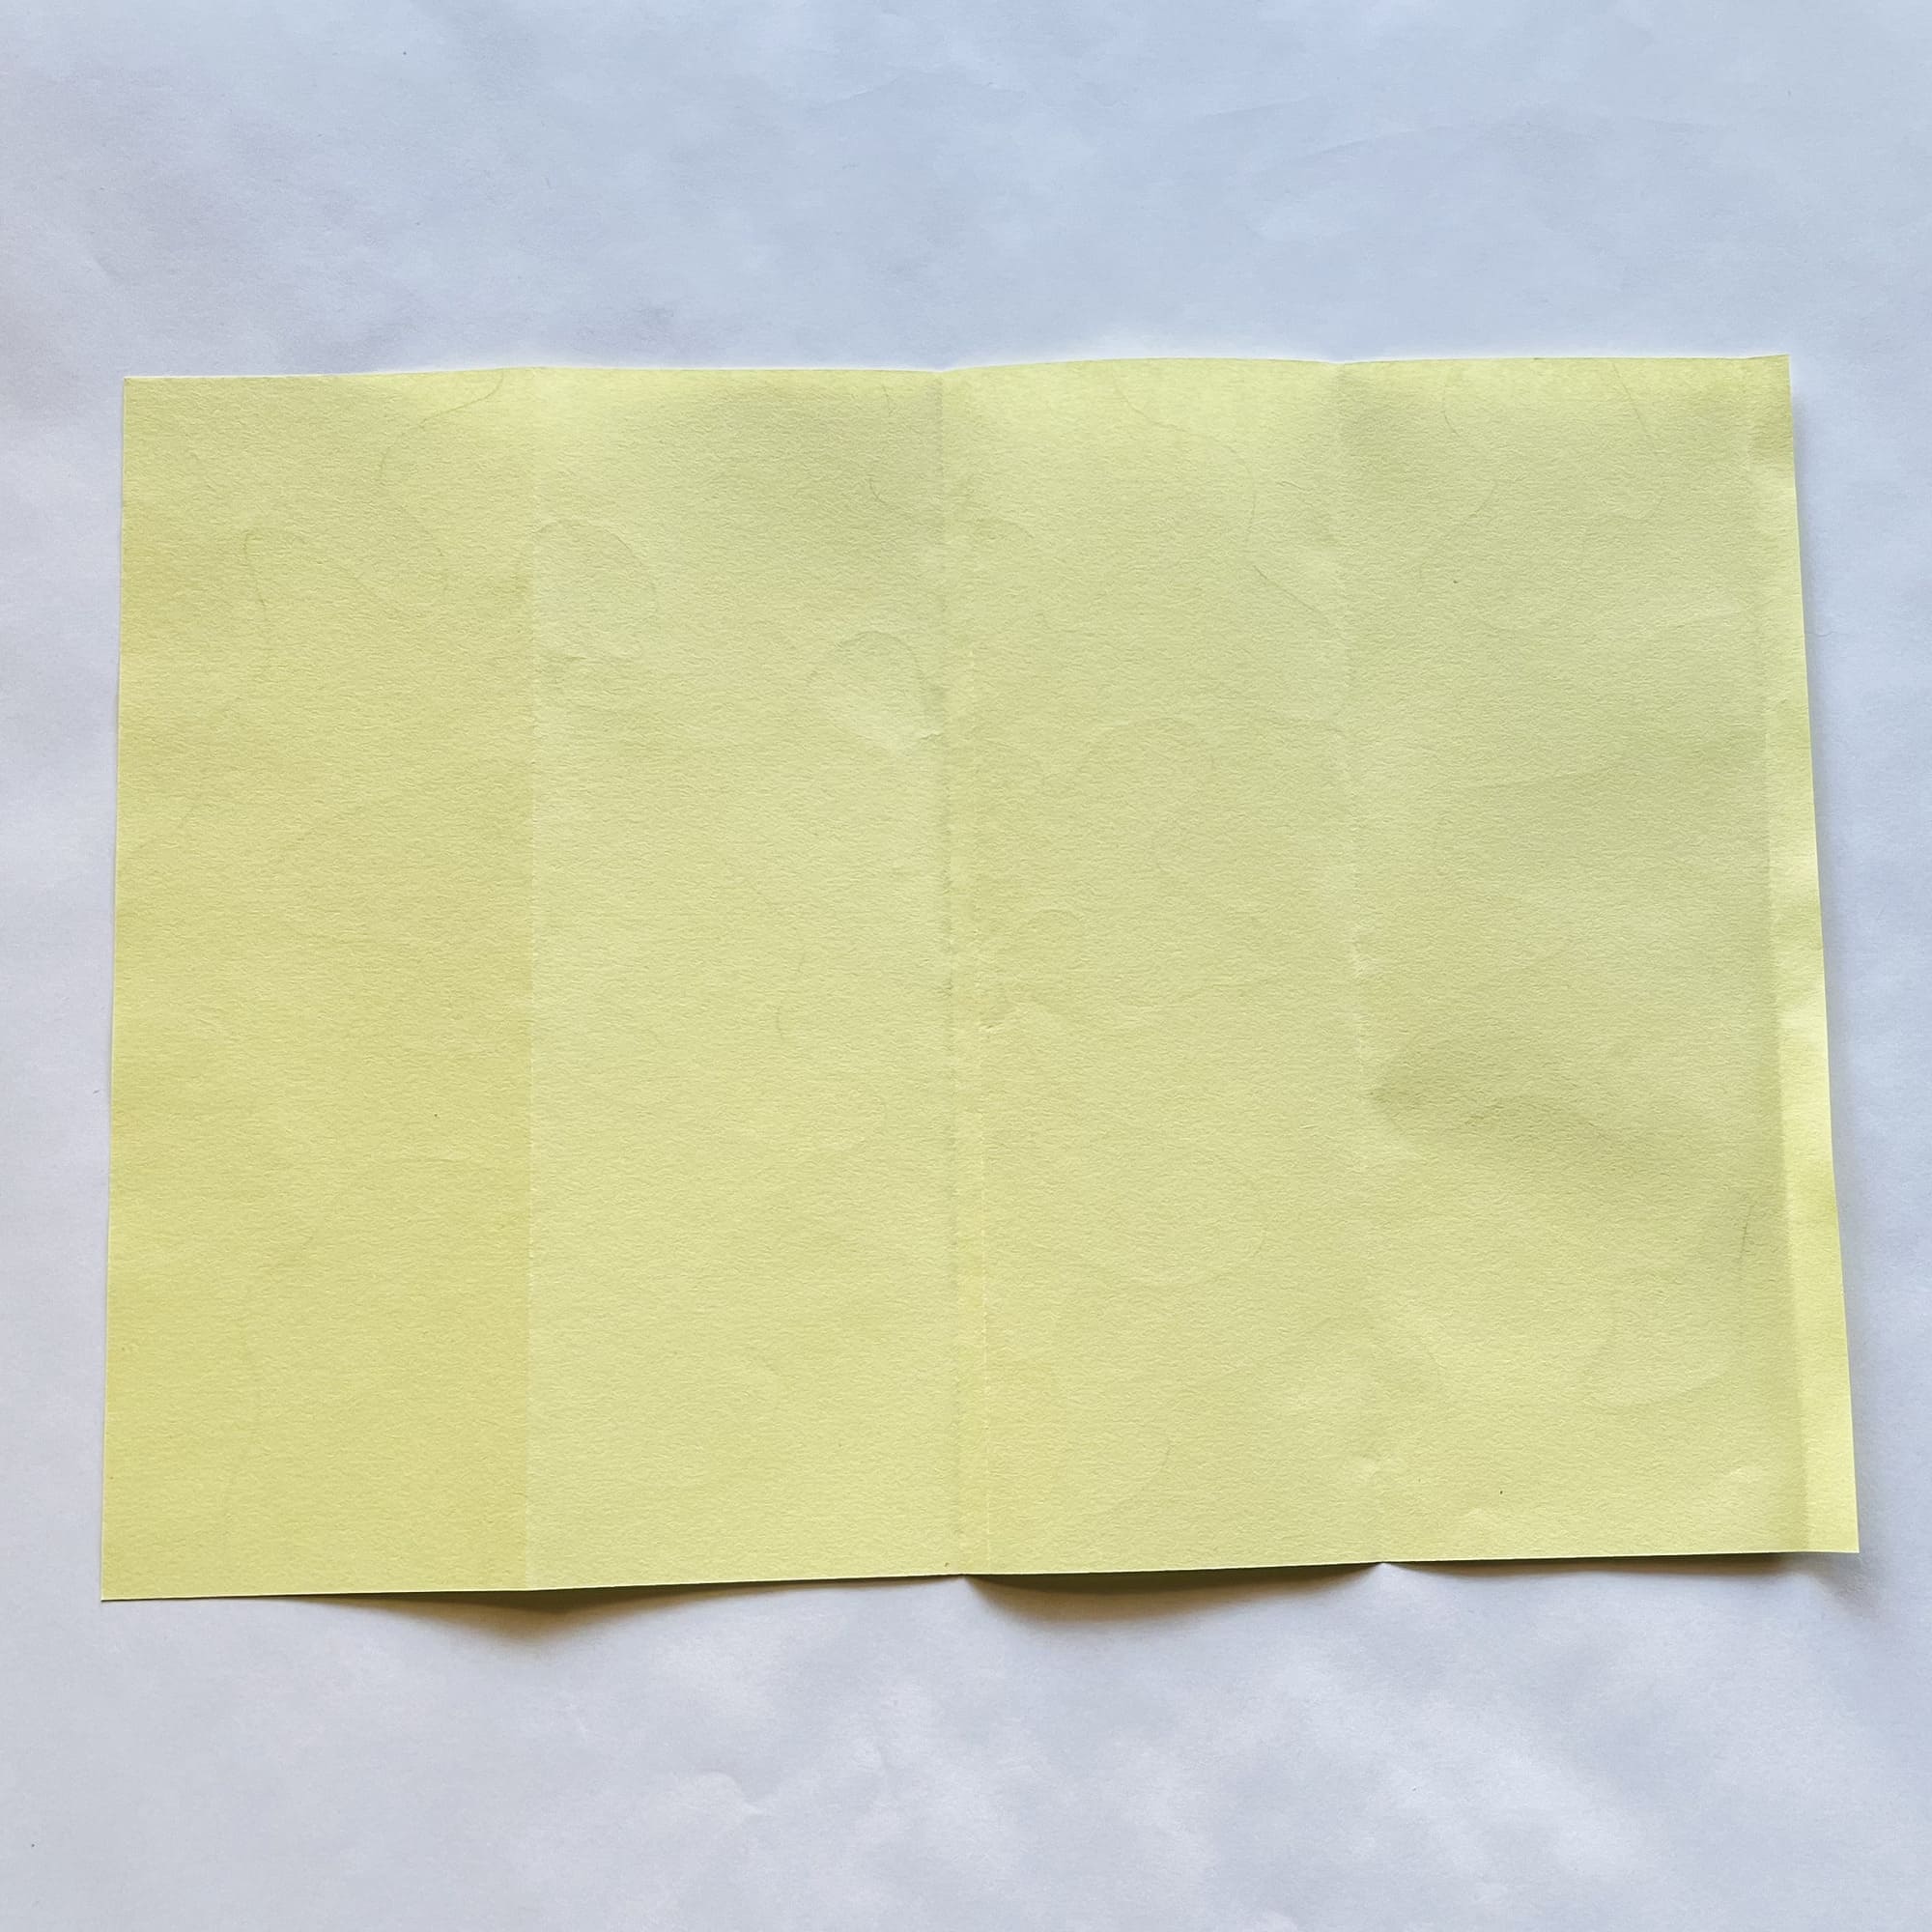
Unfold the paper. Bend the left vertical fold in the opposite direction.
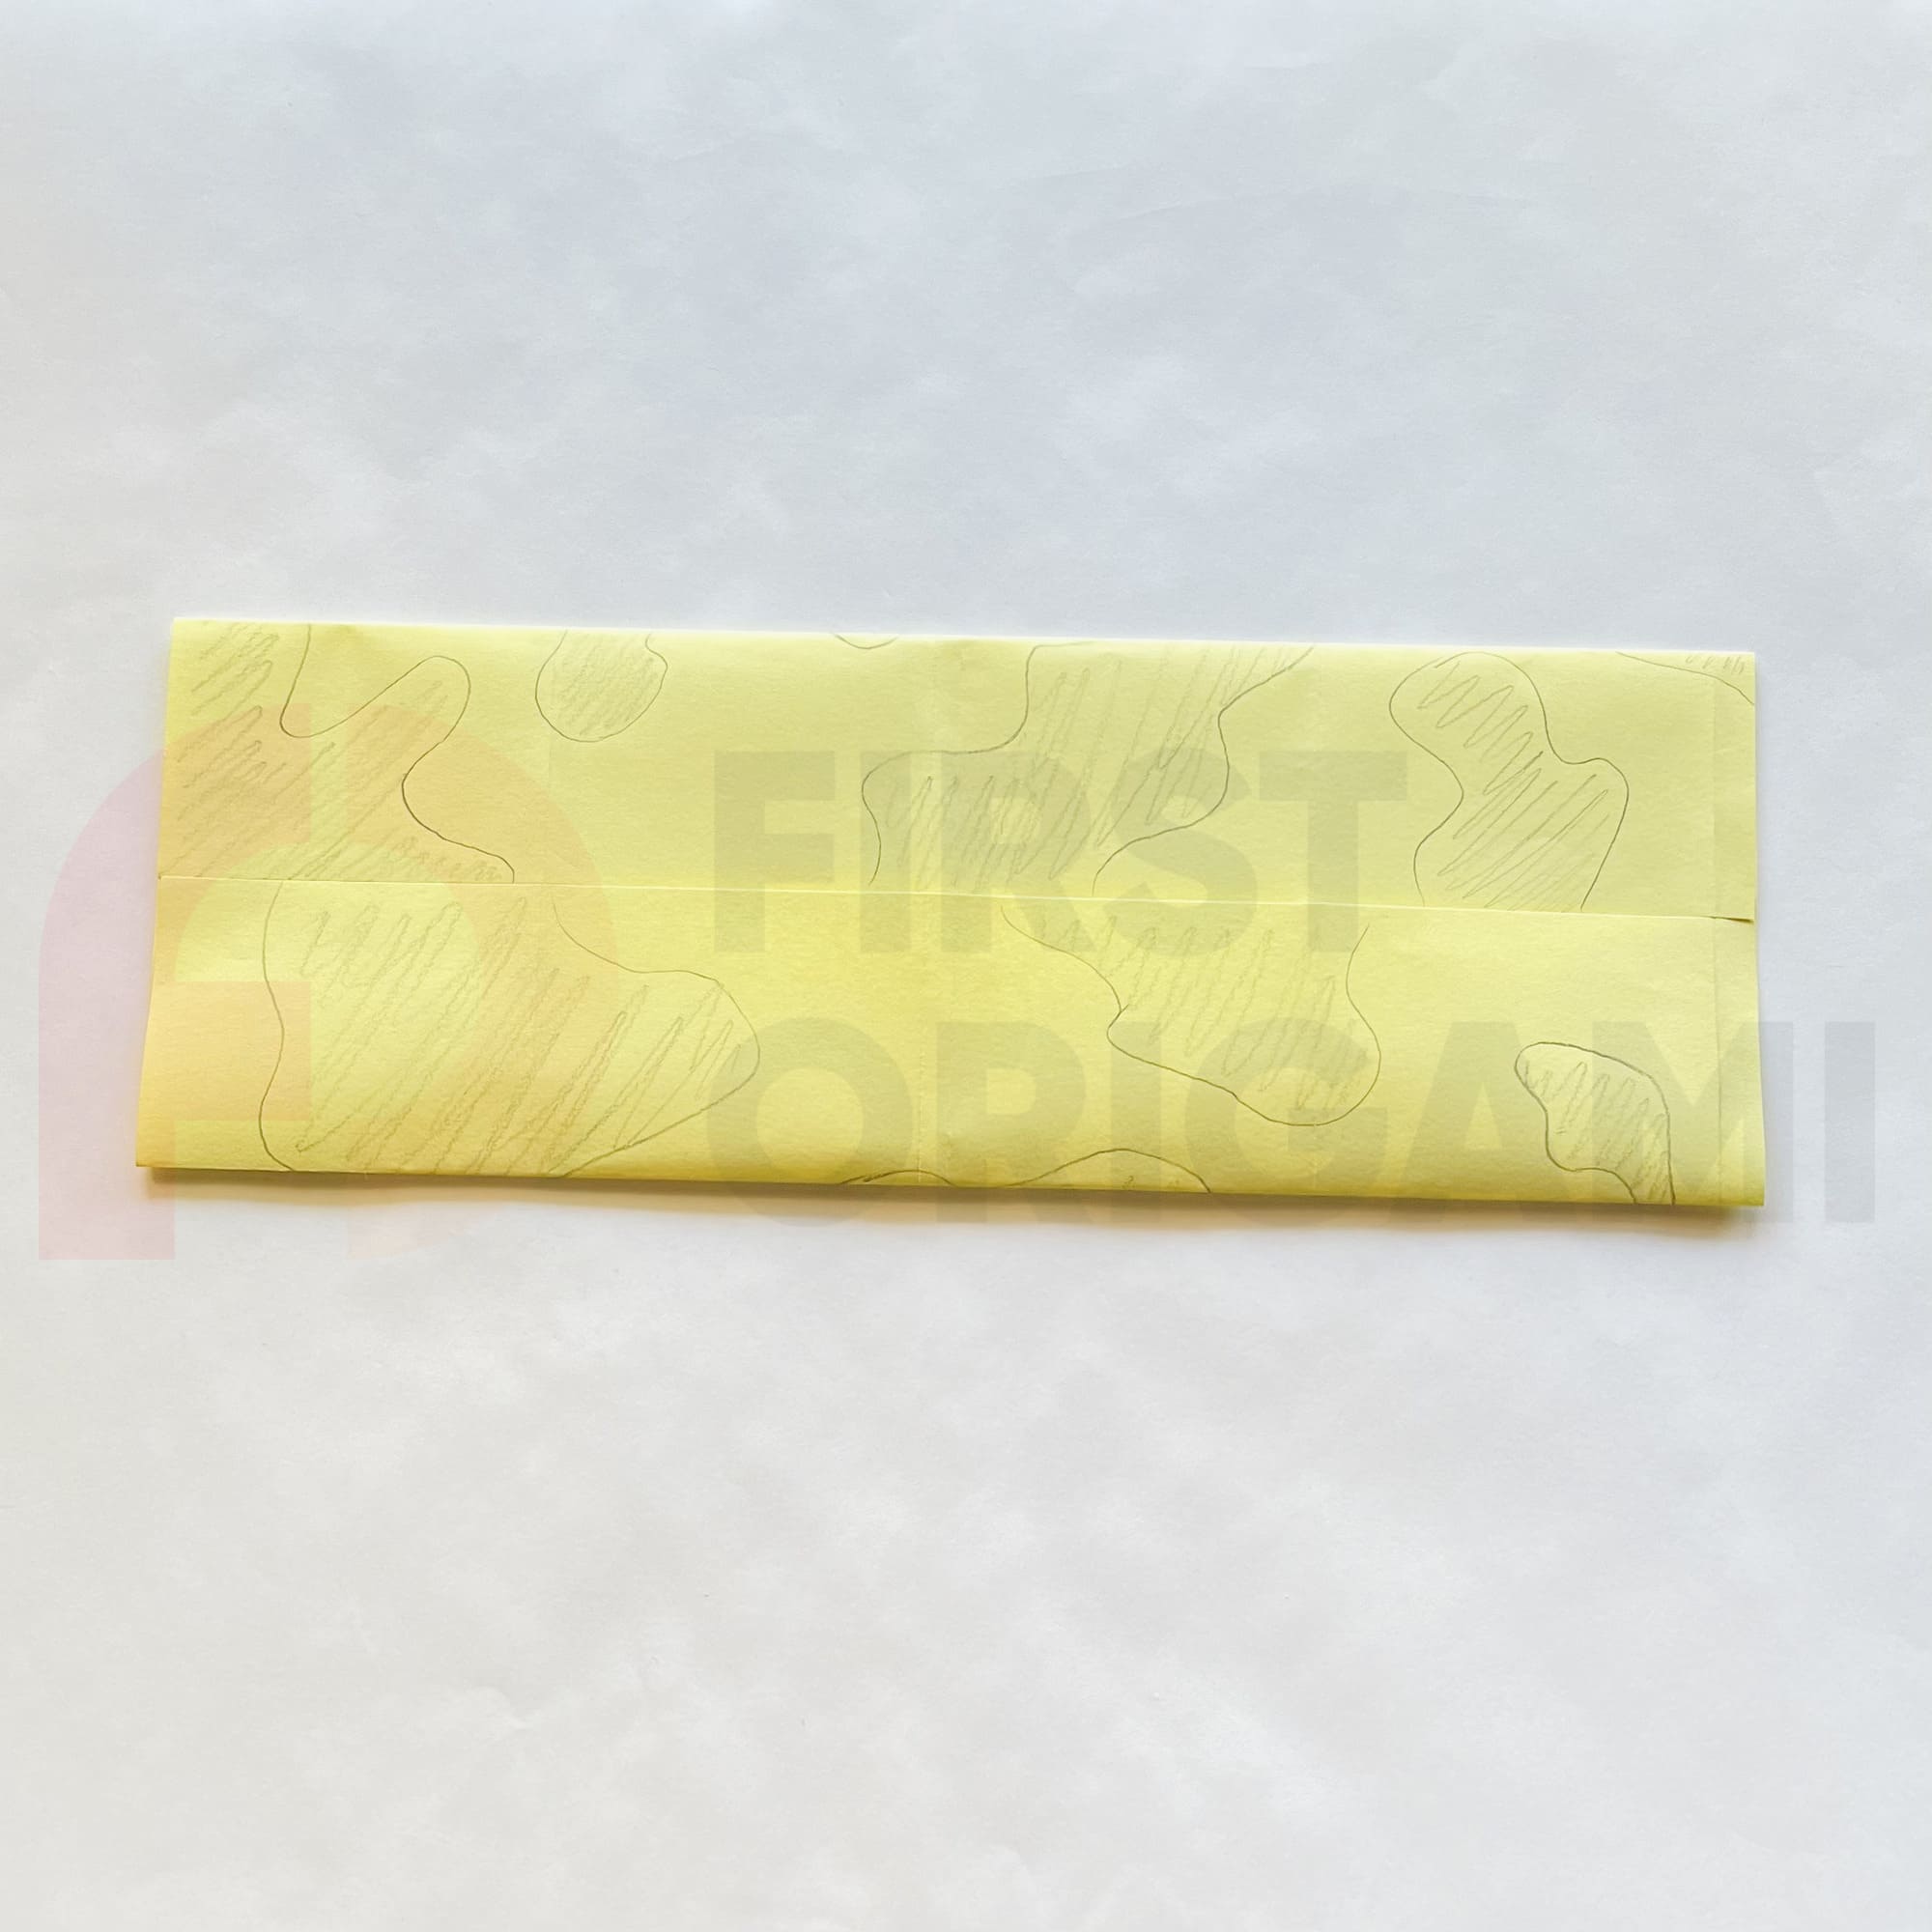
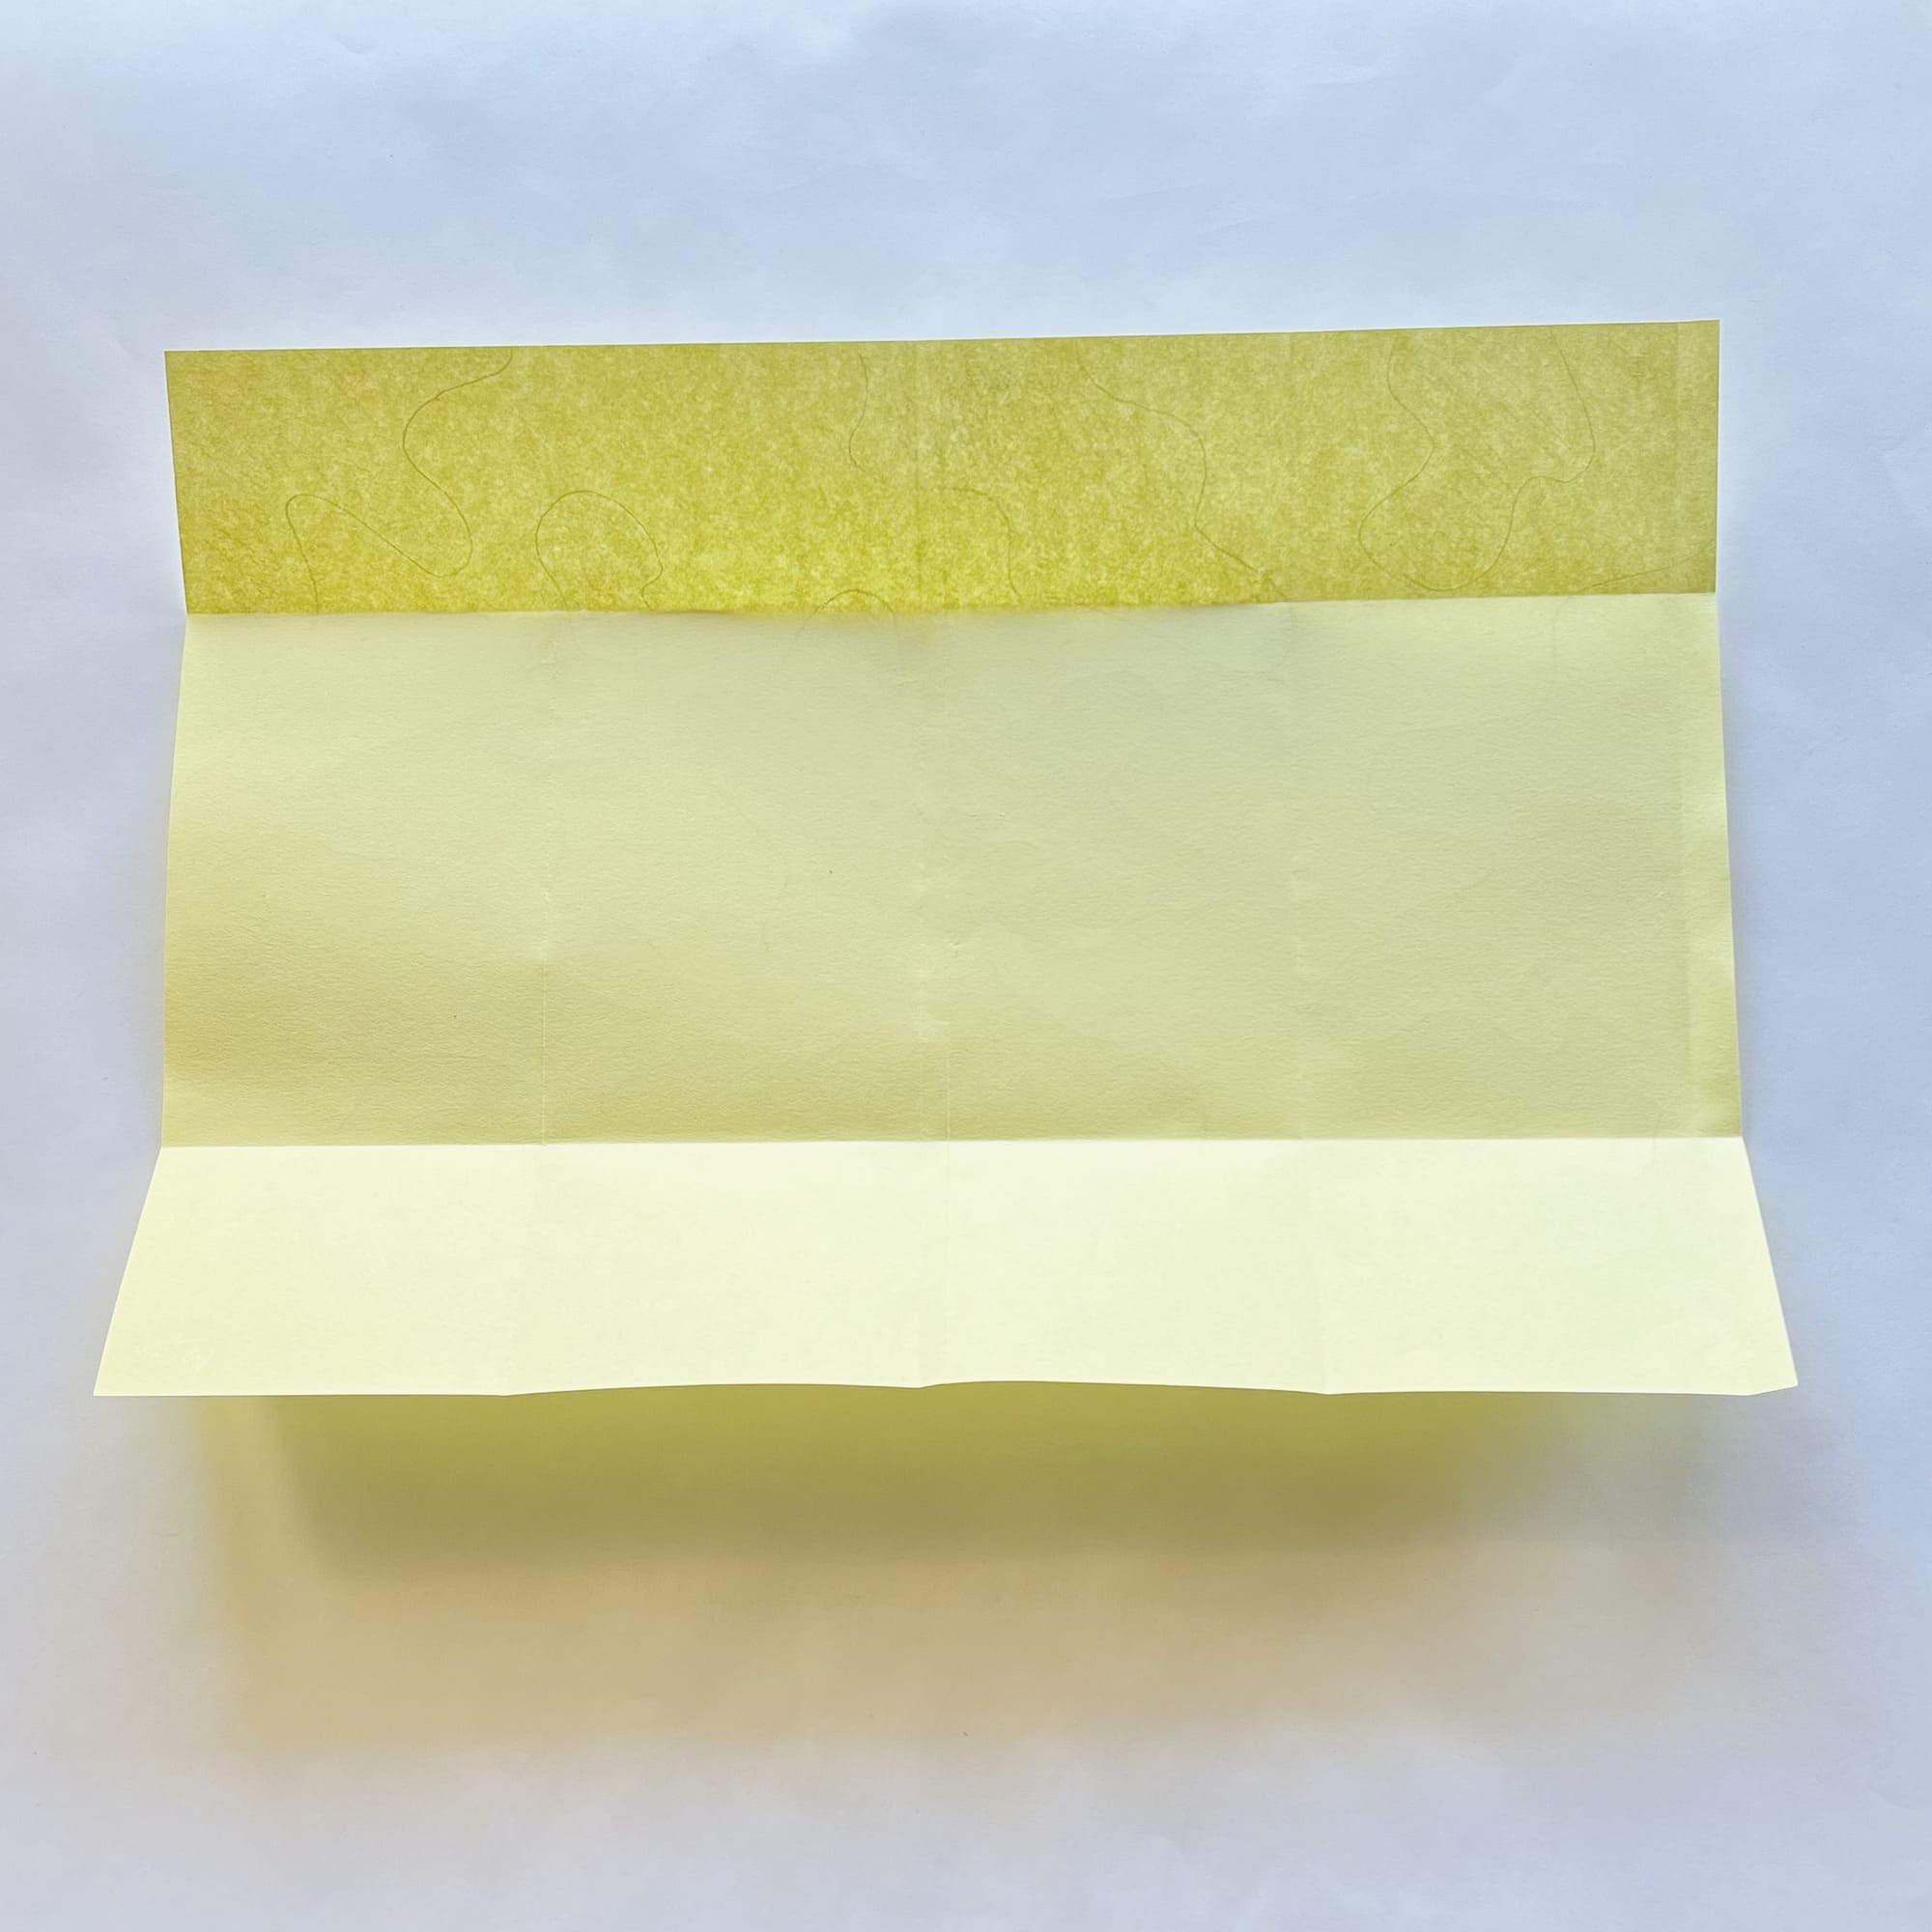
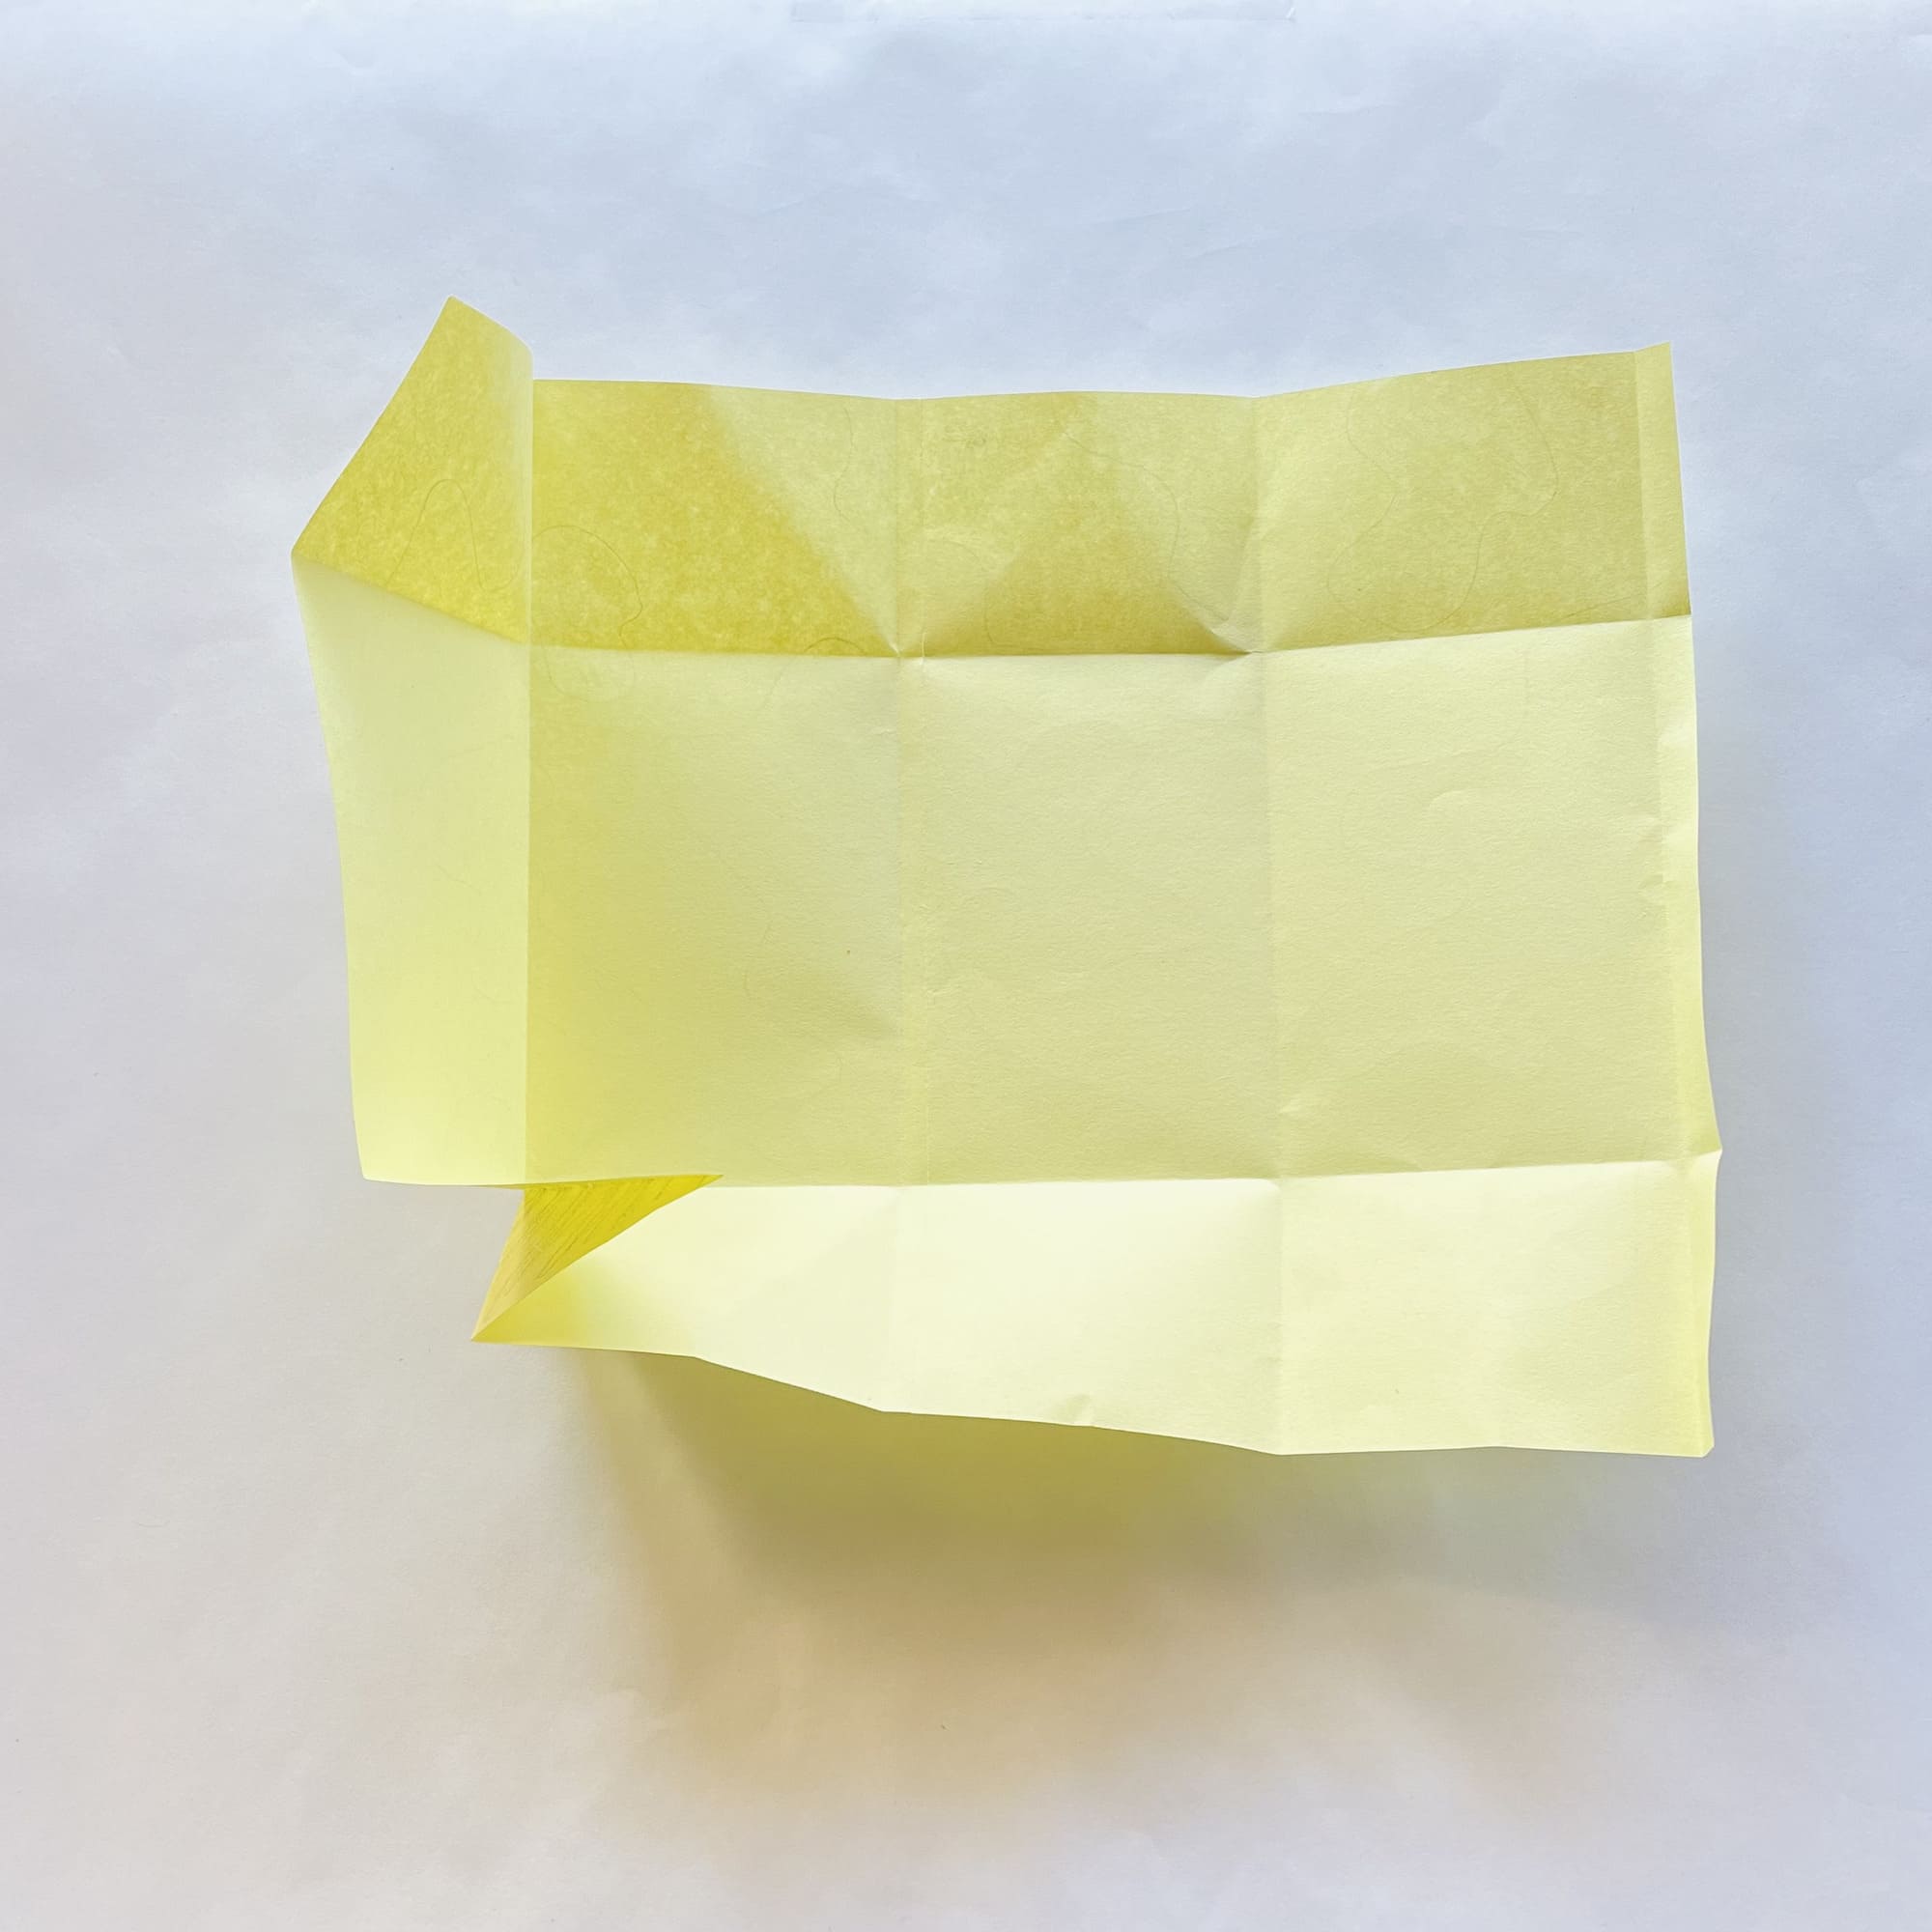
Fold the top and bottom halves towards the center, carefully crease the folds and unfold.

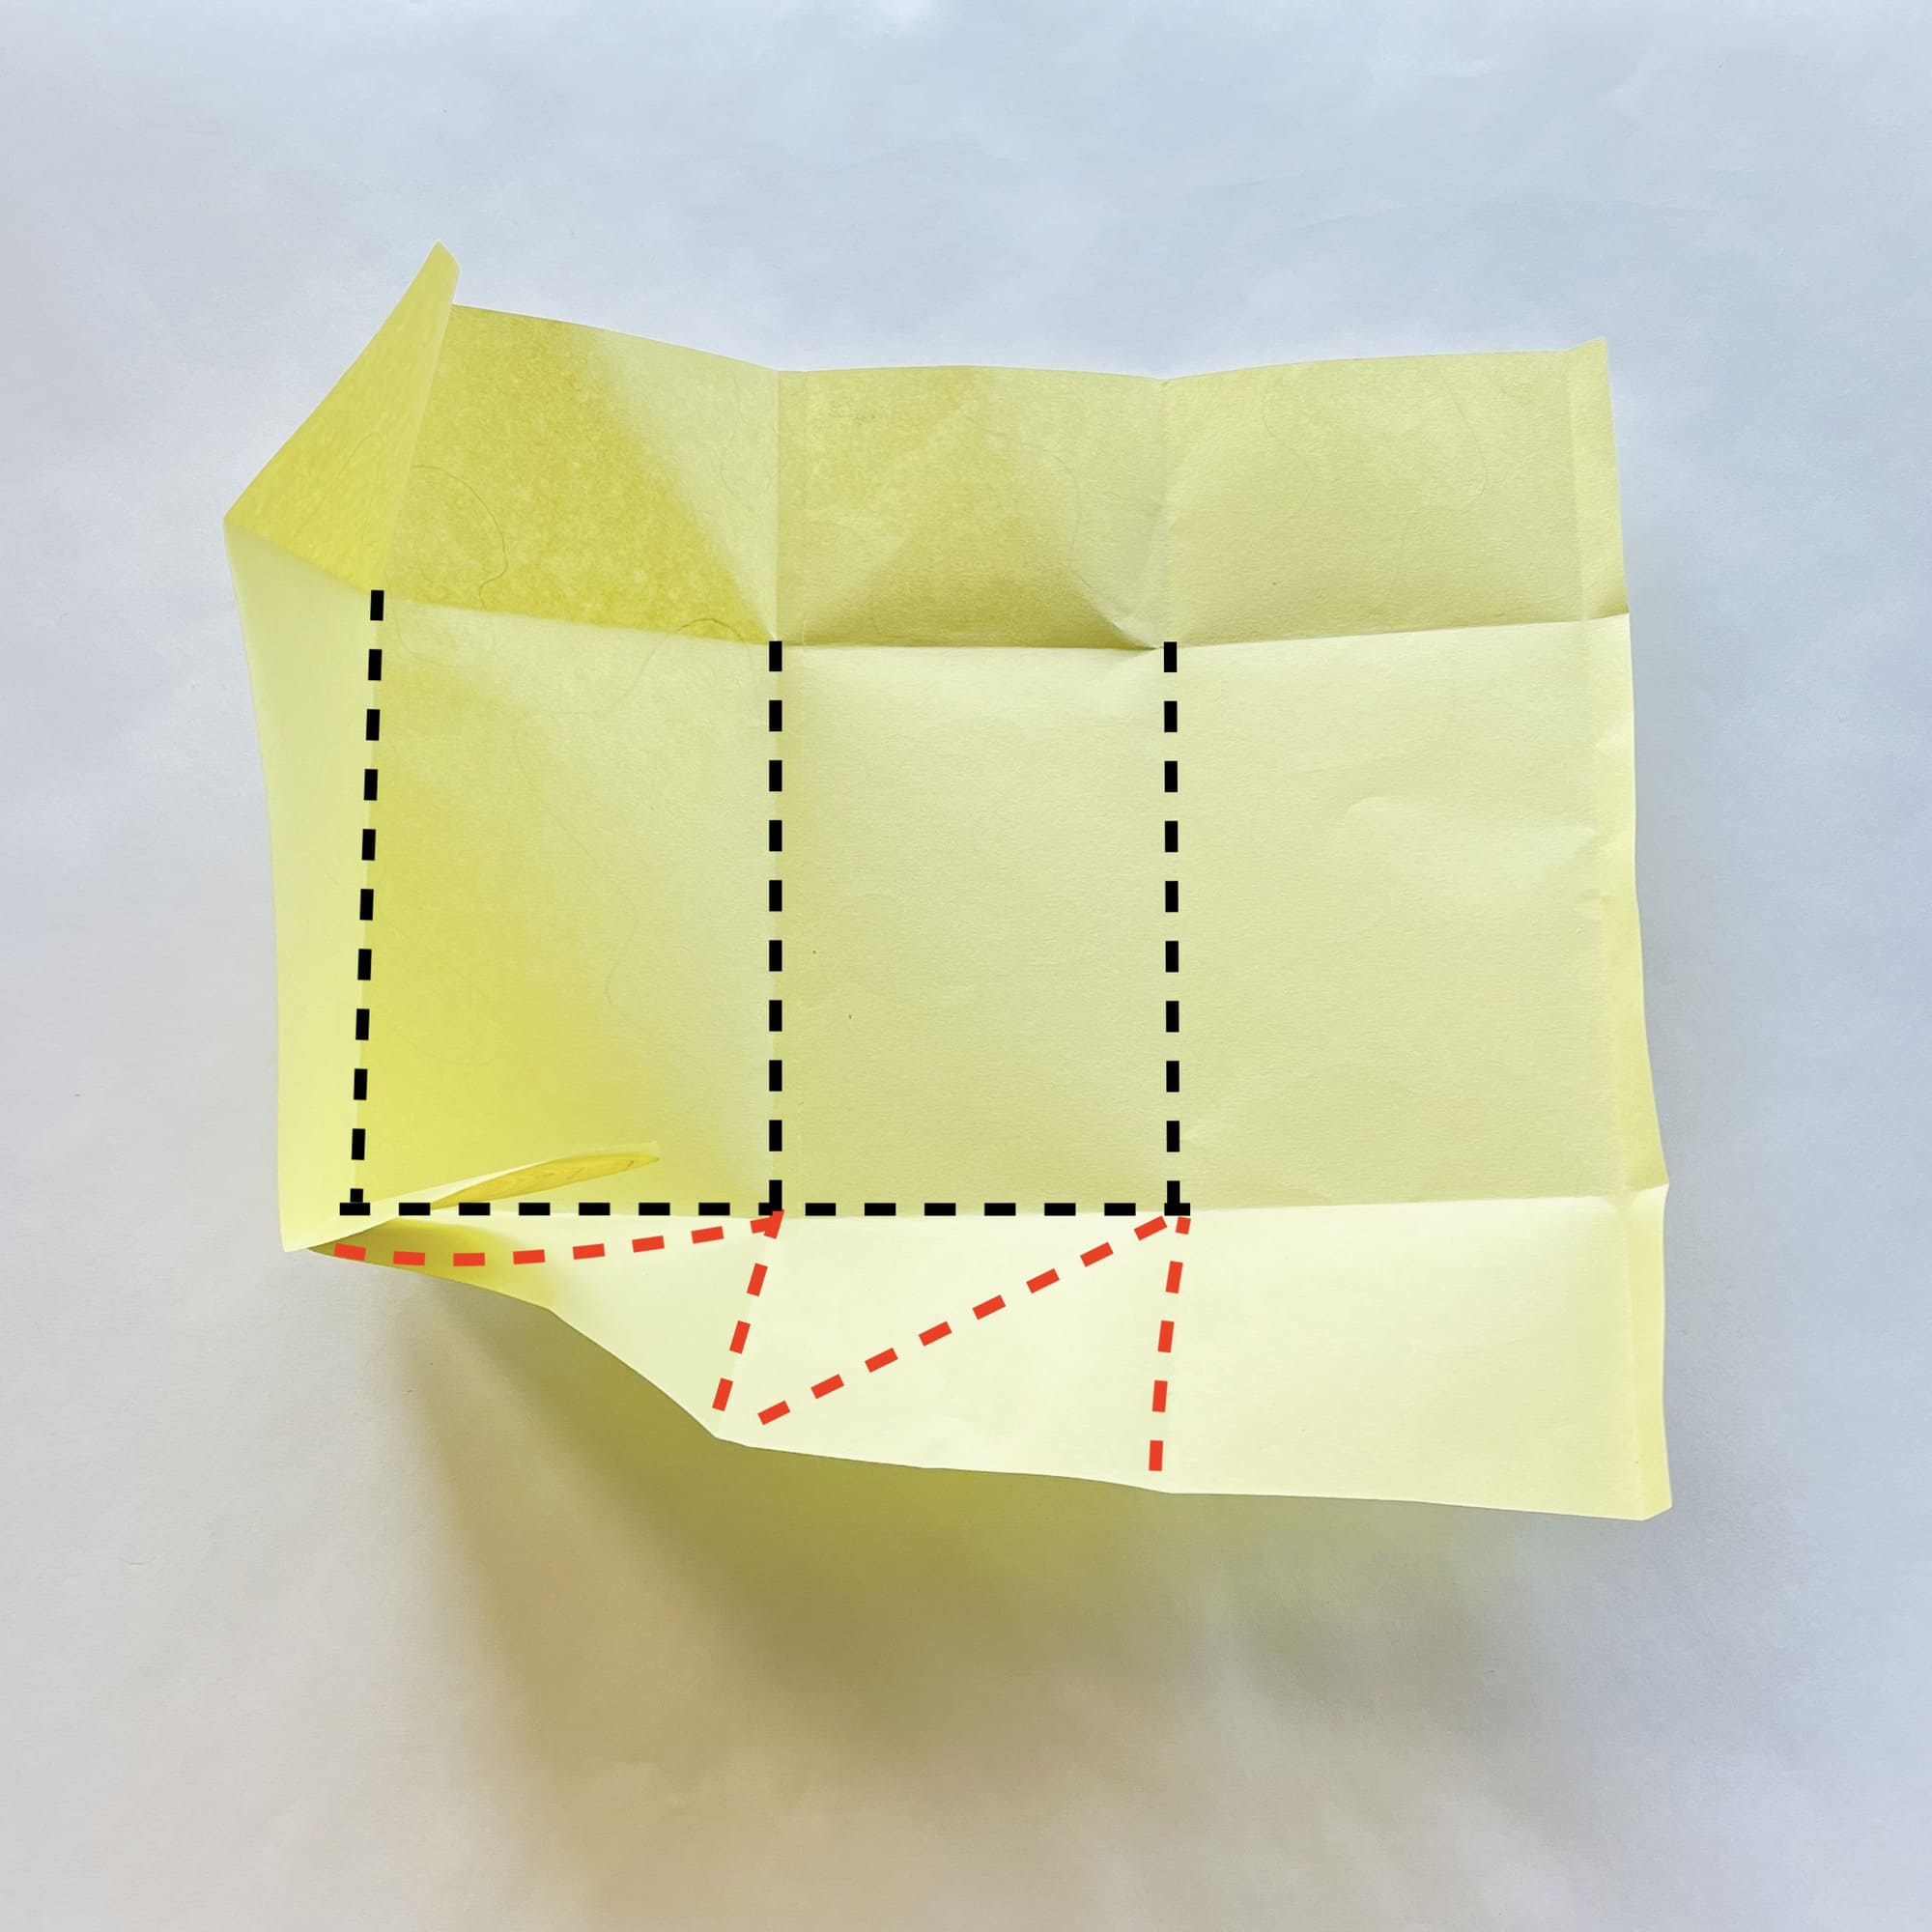
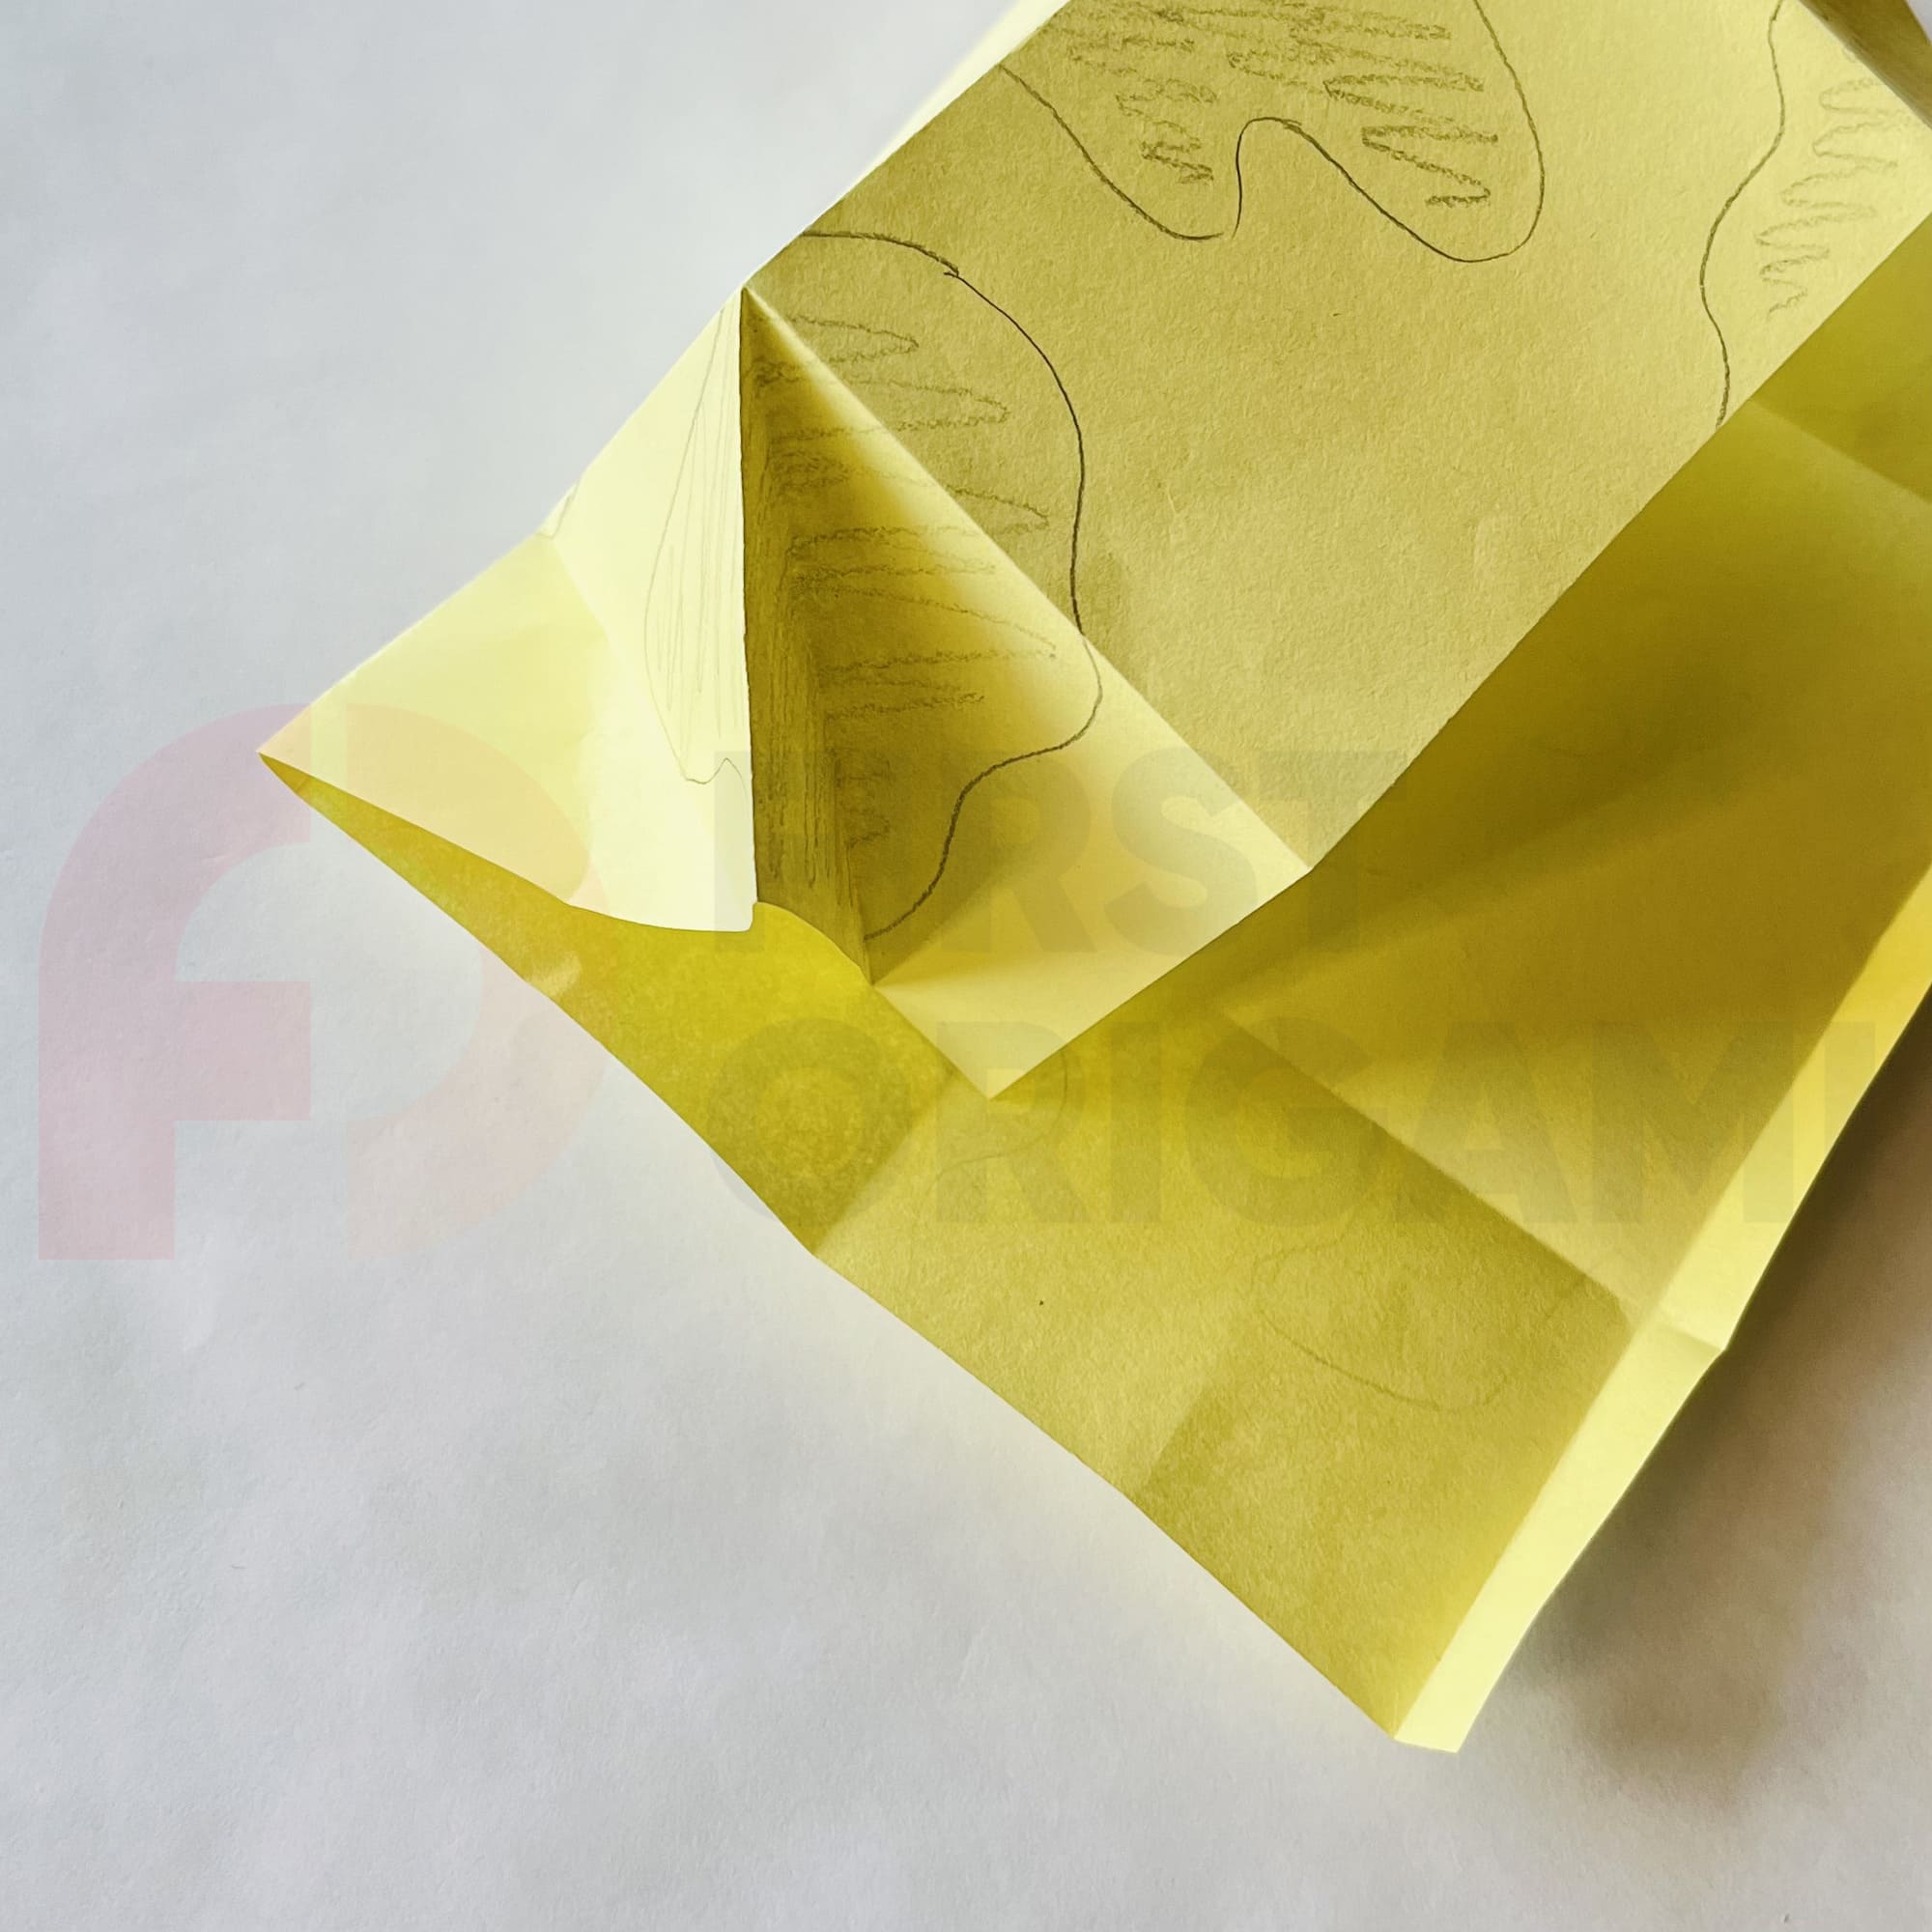
Now, you need to fold the paper along the dotted lines, the previously marked folds will help you with this.
Concave folds should form along the black lines. This will be easy.

You need to make a reverse fold along the red lines. If you have any questions, use the video instructions.
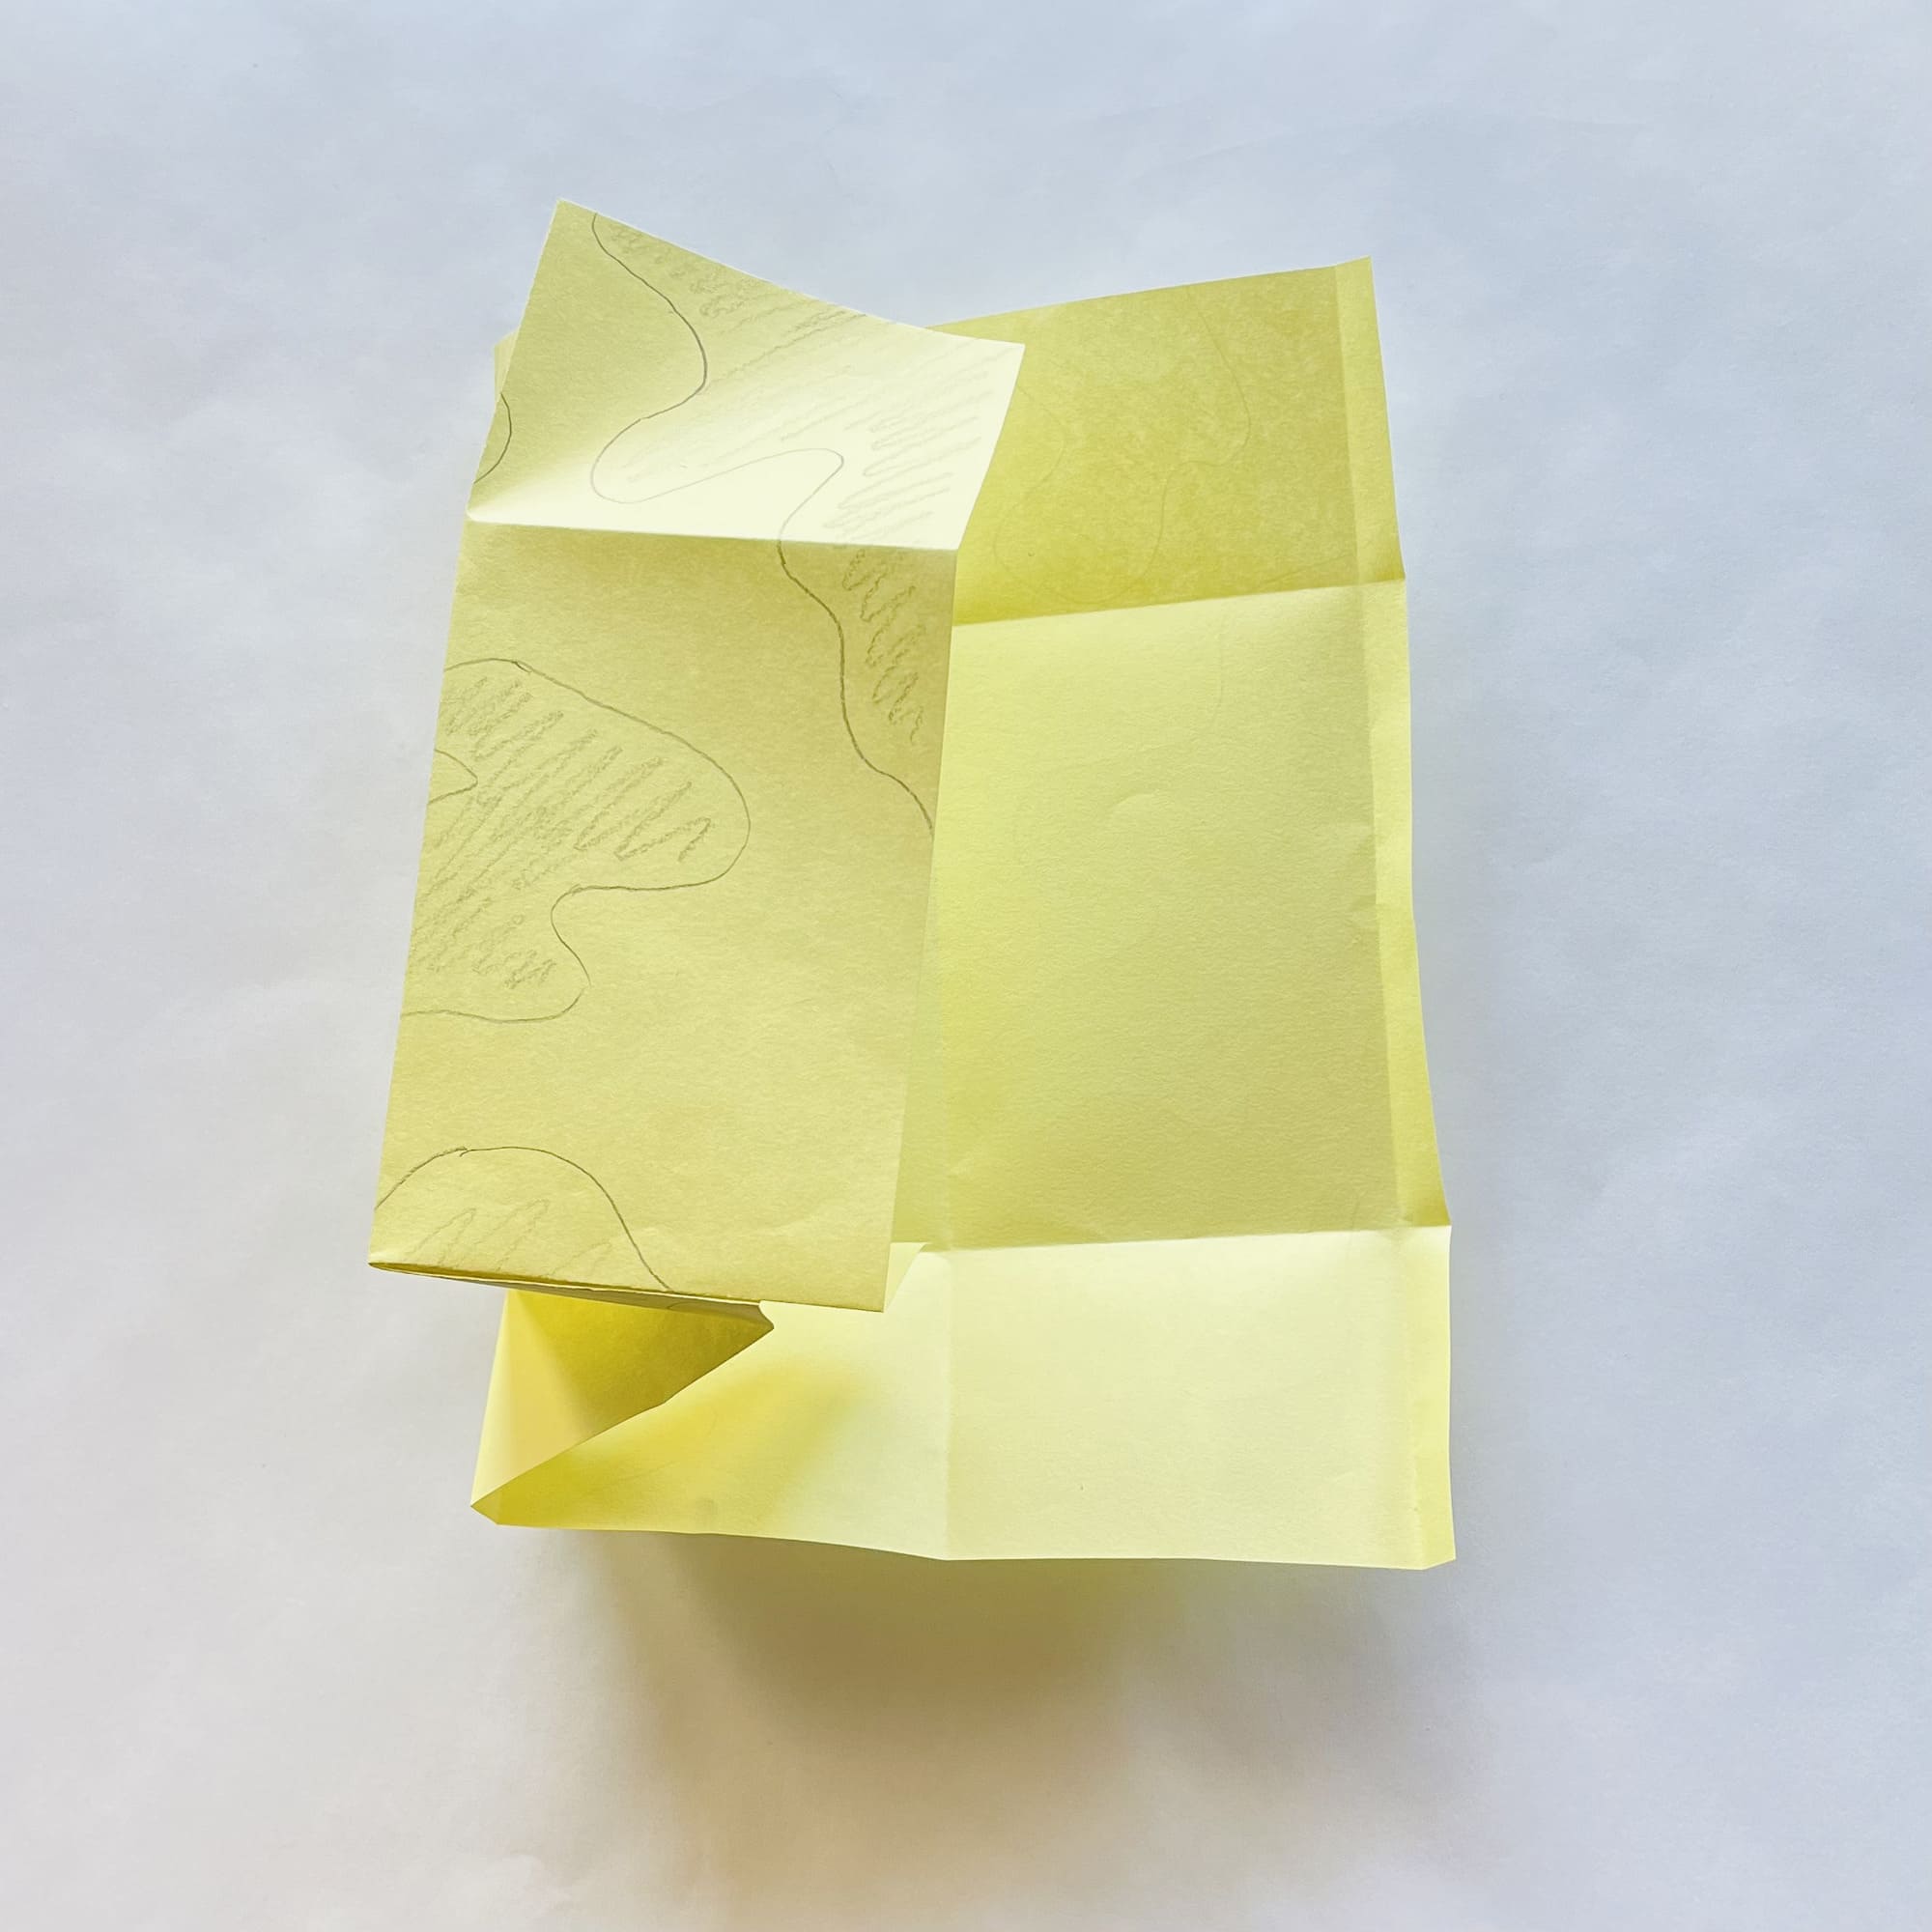
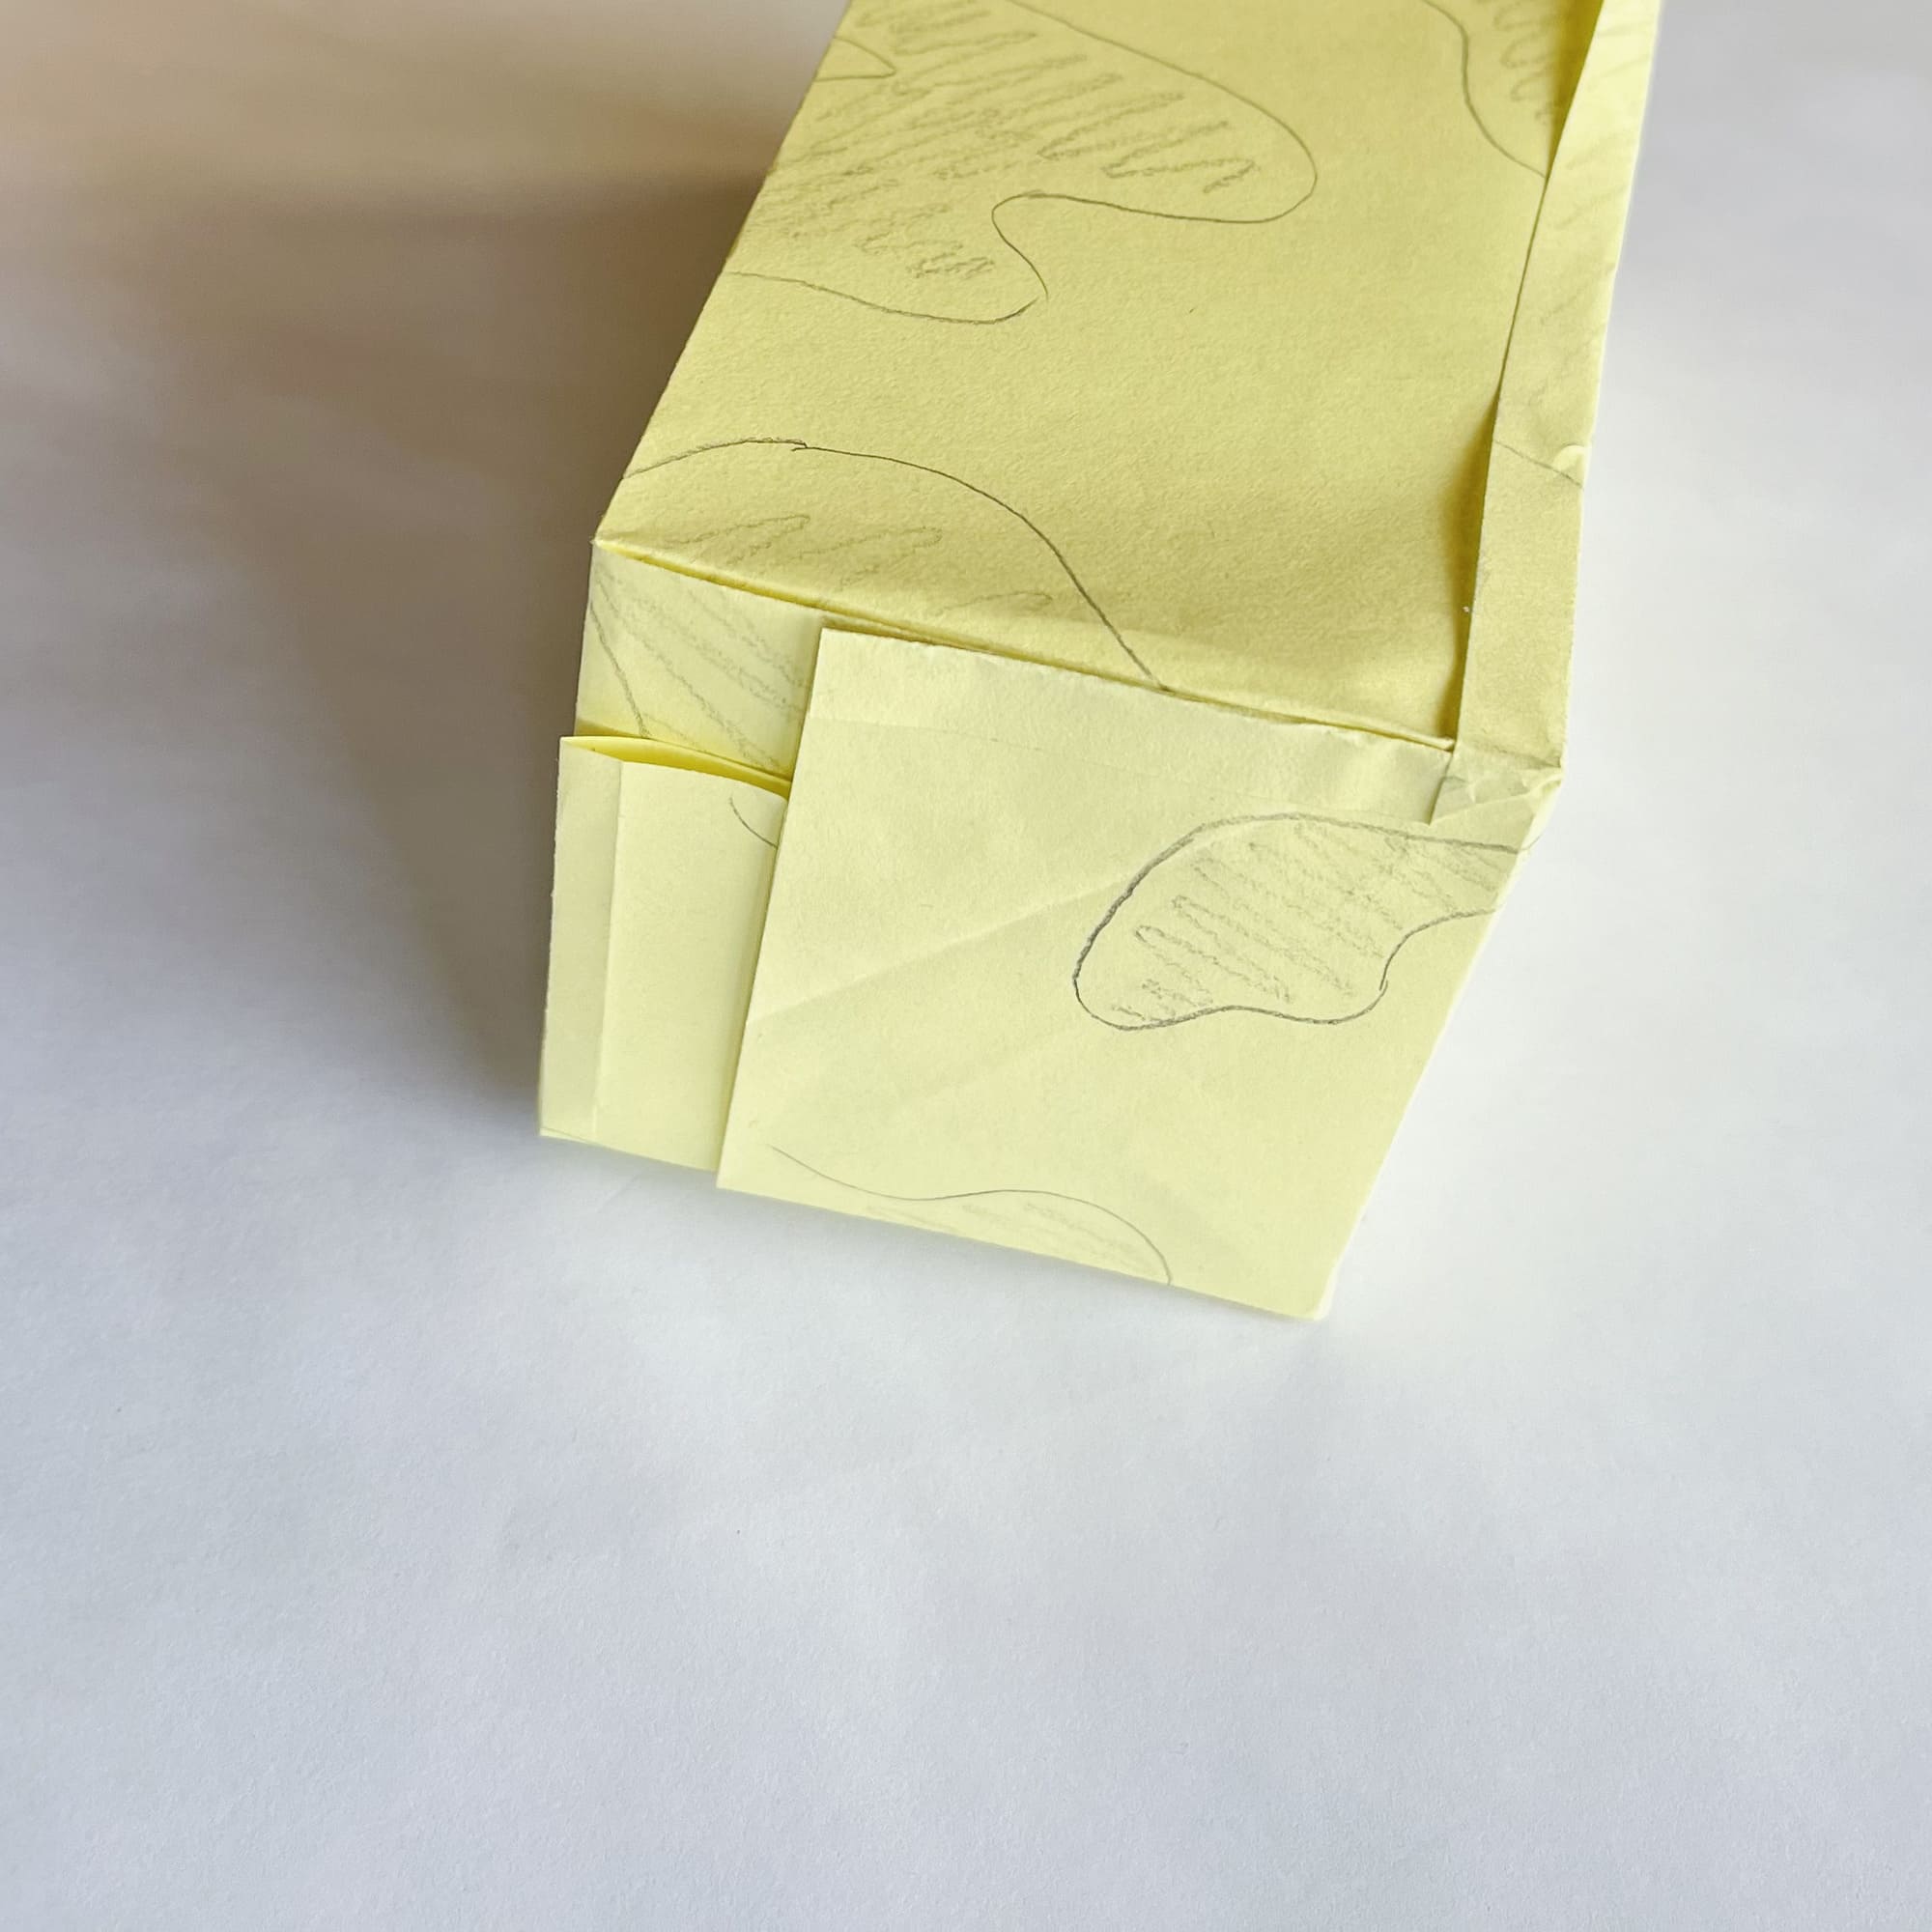
Repeat steps 8-10 in the second and third segments along the dotted lines one after the other.
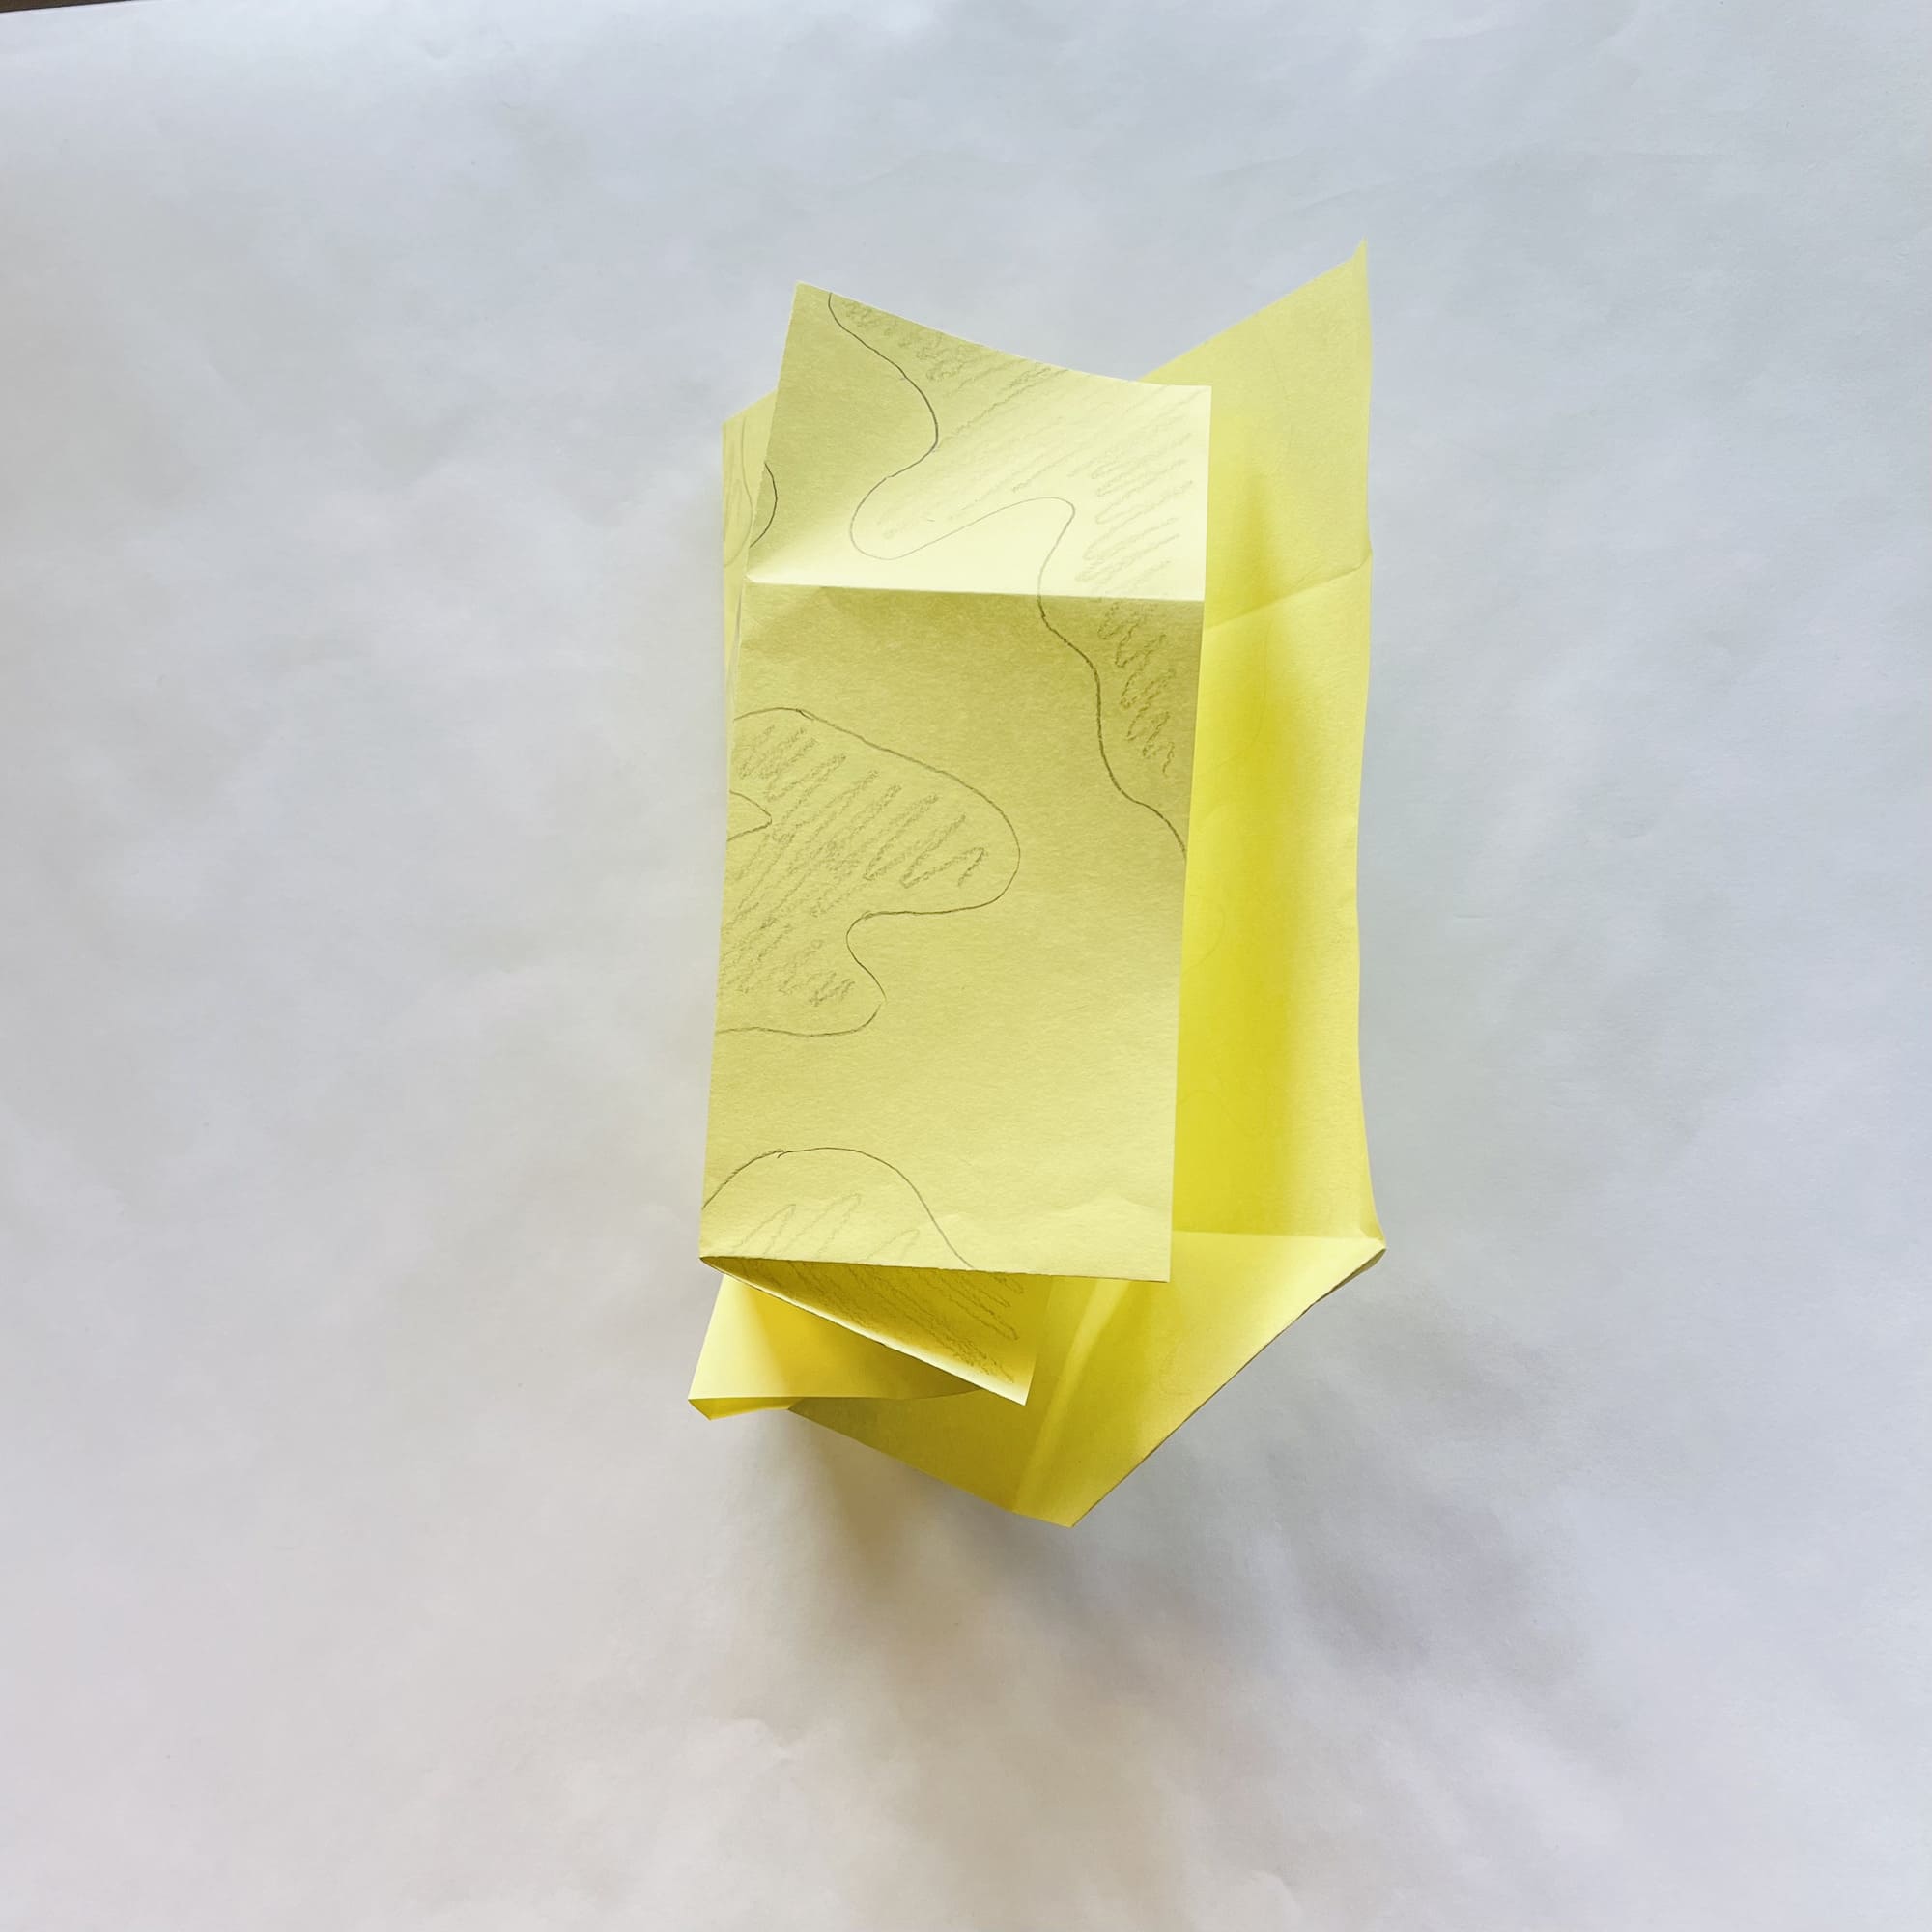
Fold the remaining fourth segment of paper to the other three so that the narrow strip is on top.
Take a glue stick, glue the bottom of the box, and glue a narrow strip of paper to the body.
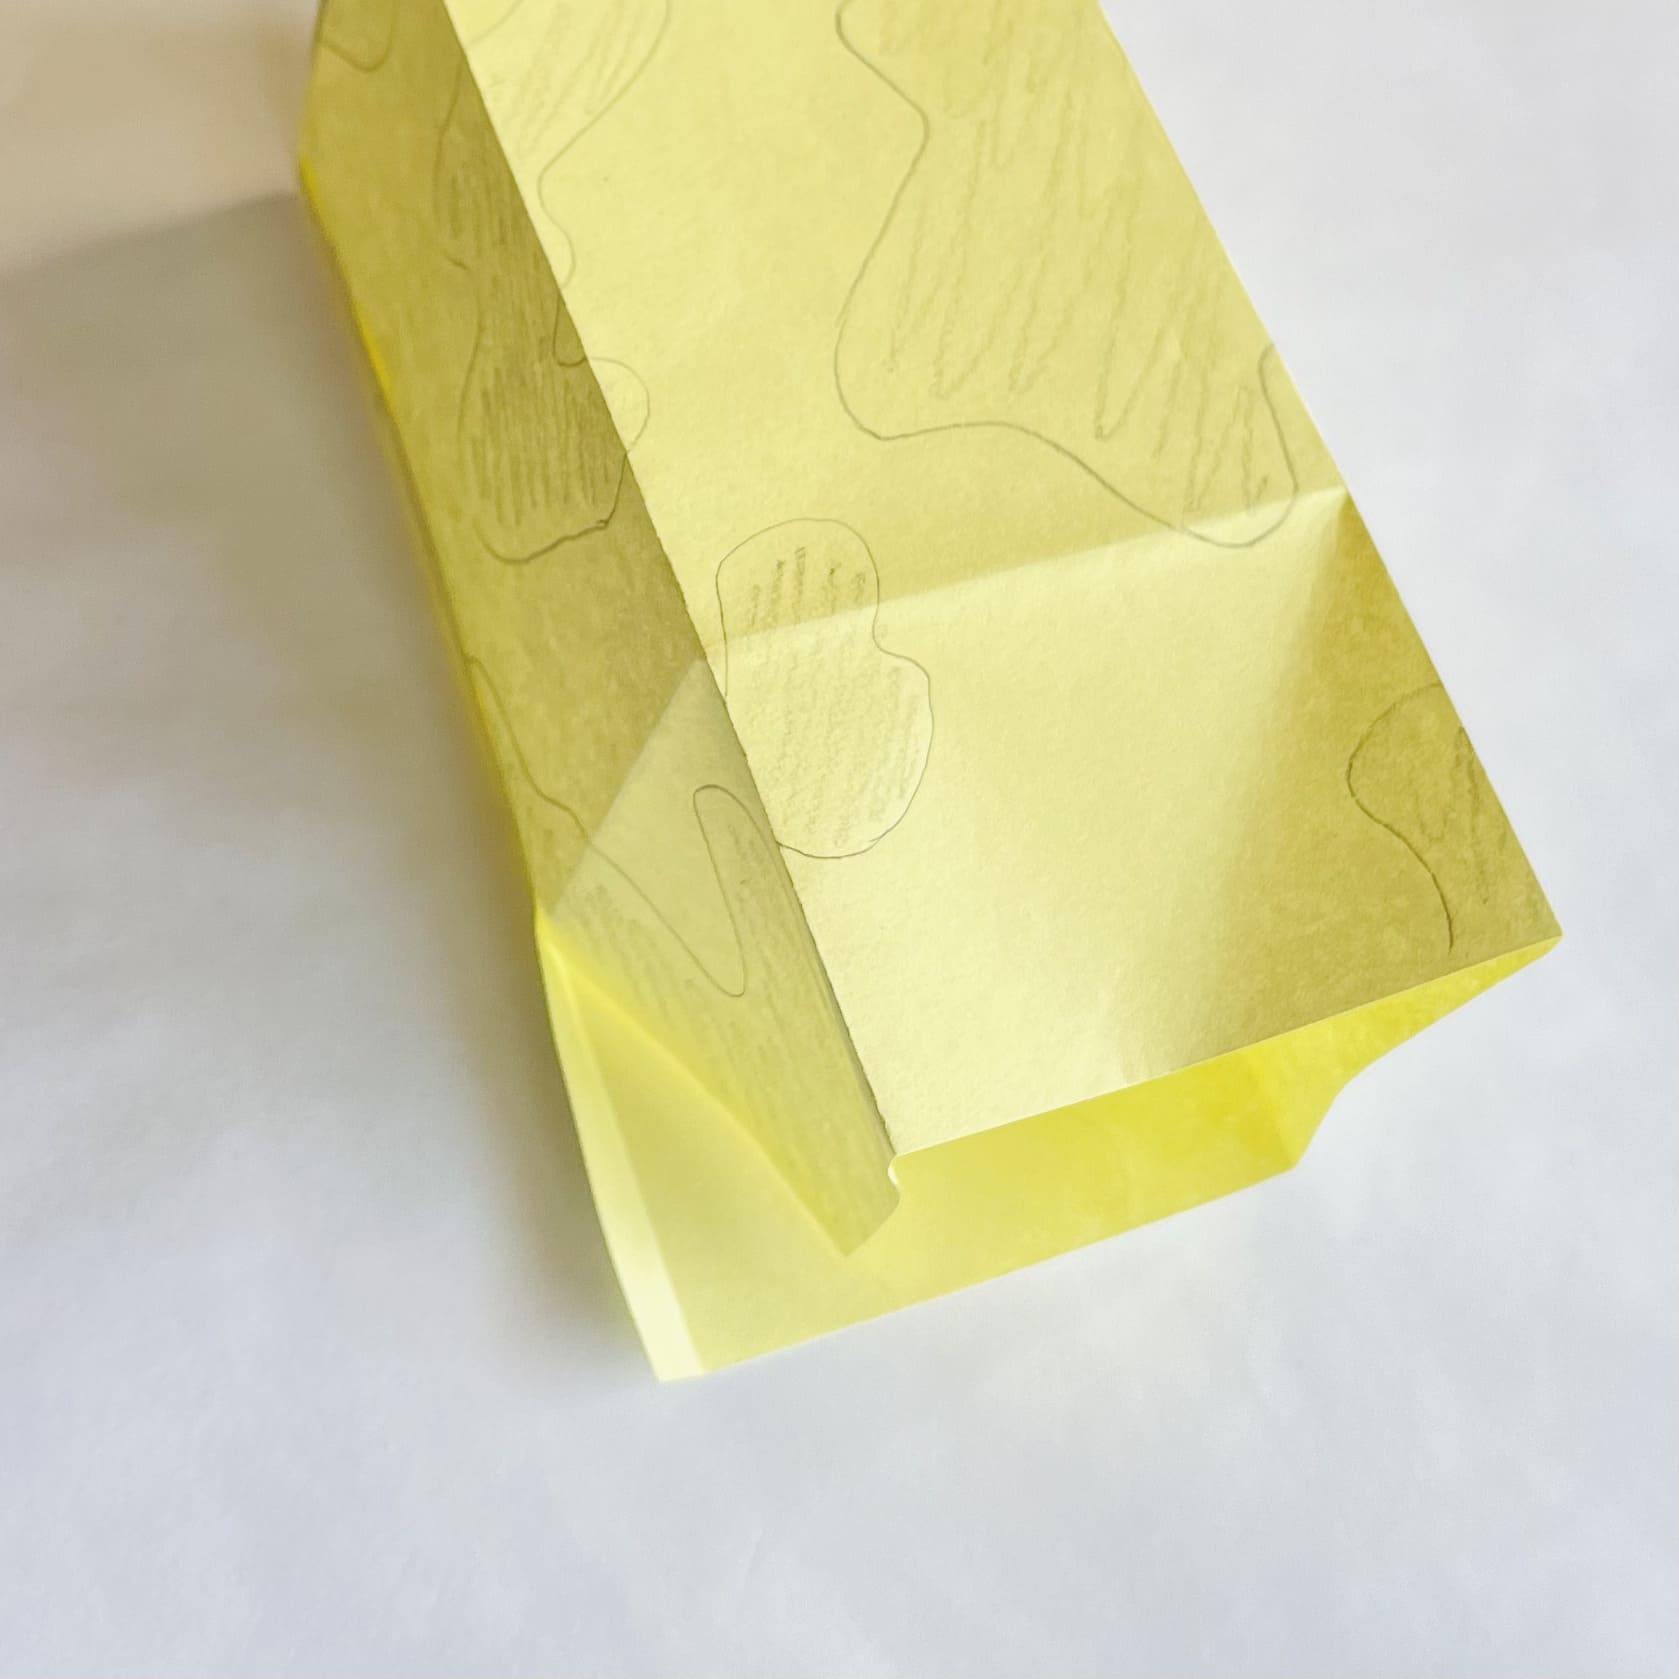
Now, let’s form the other end.
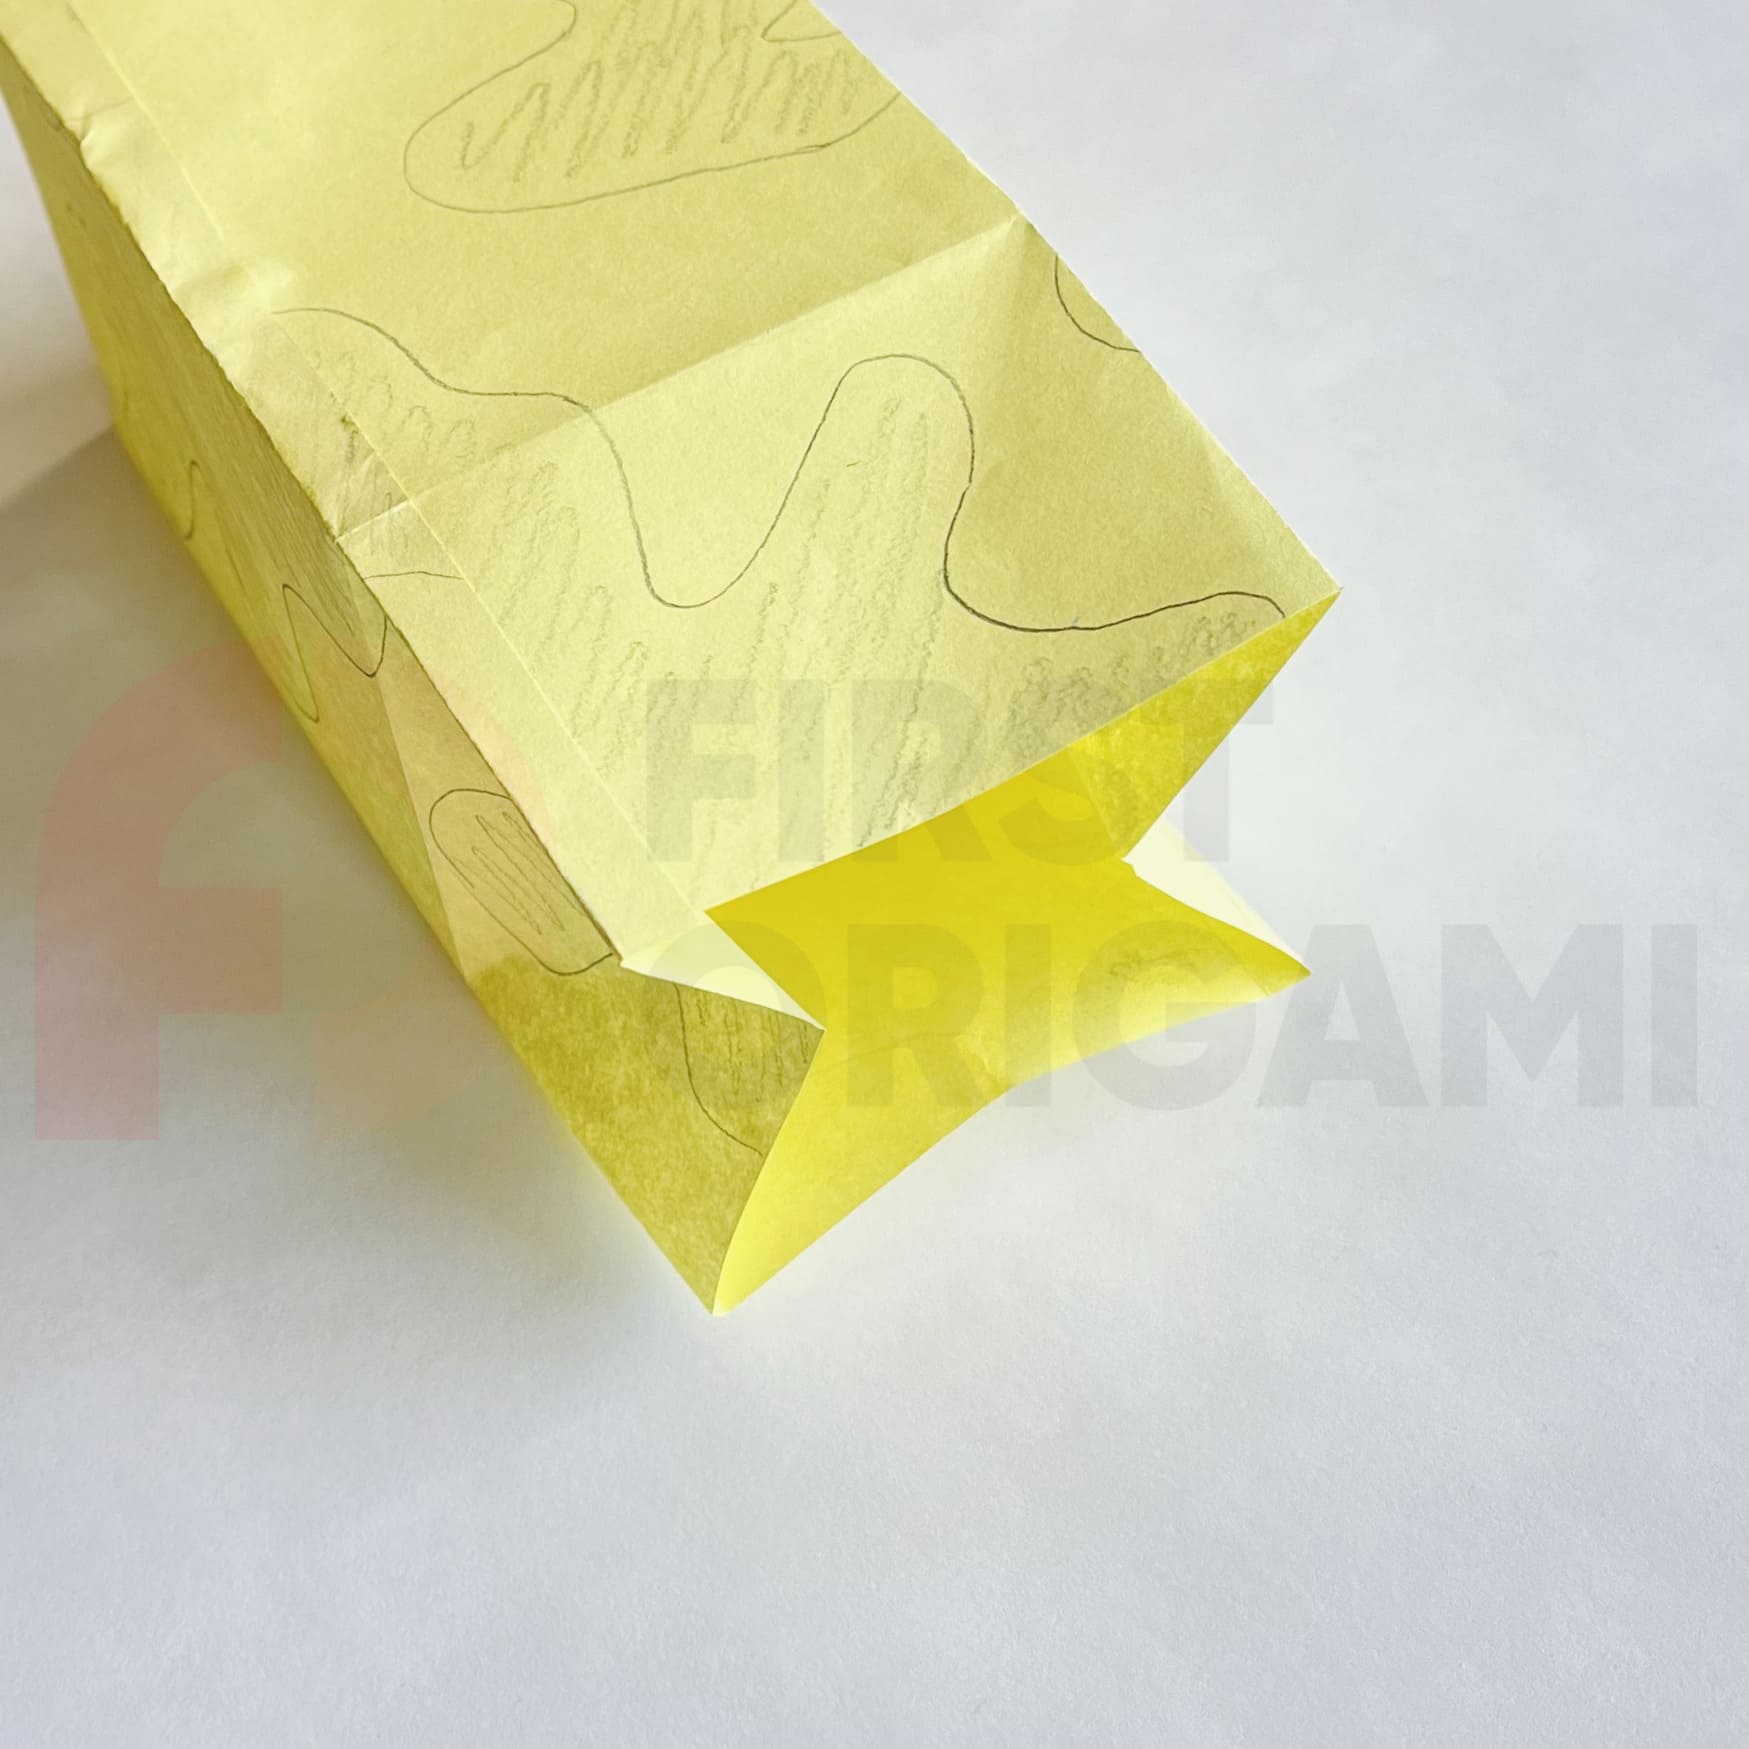

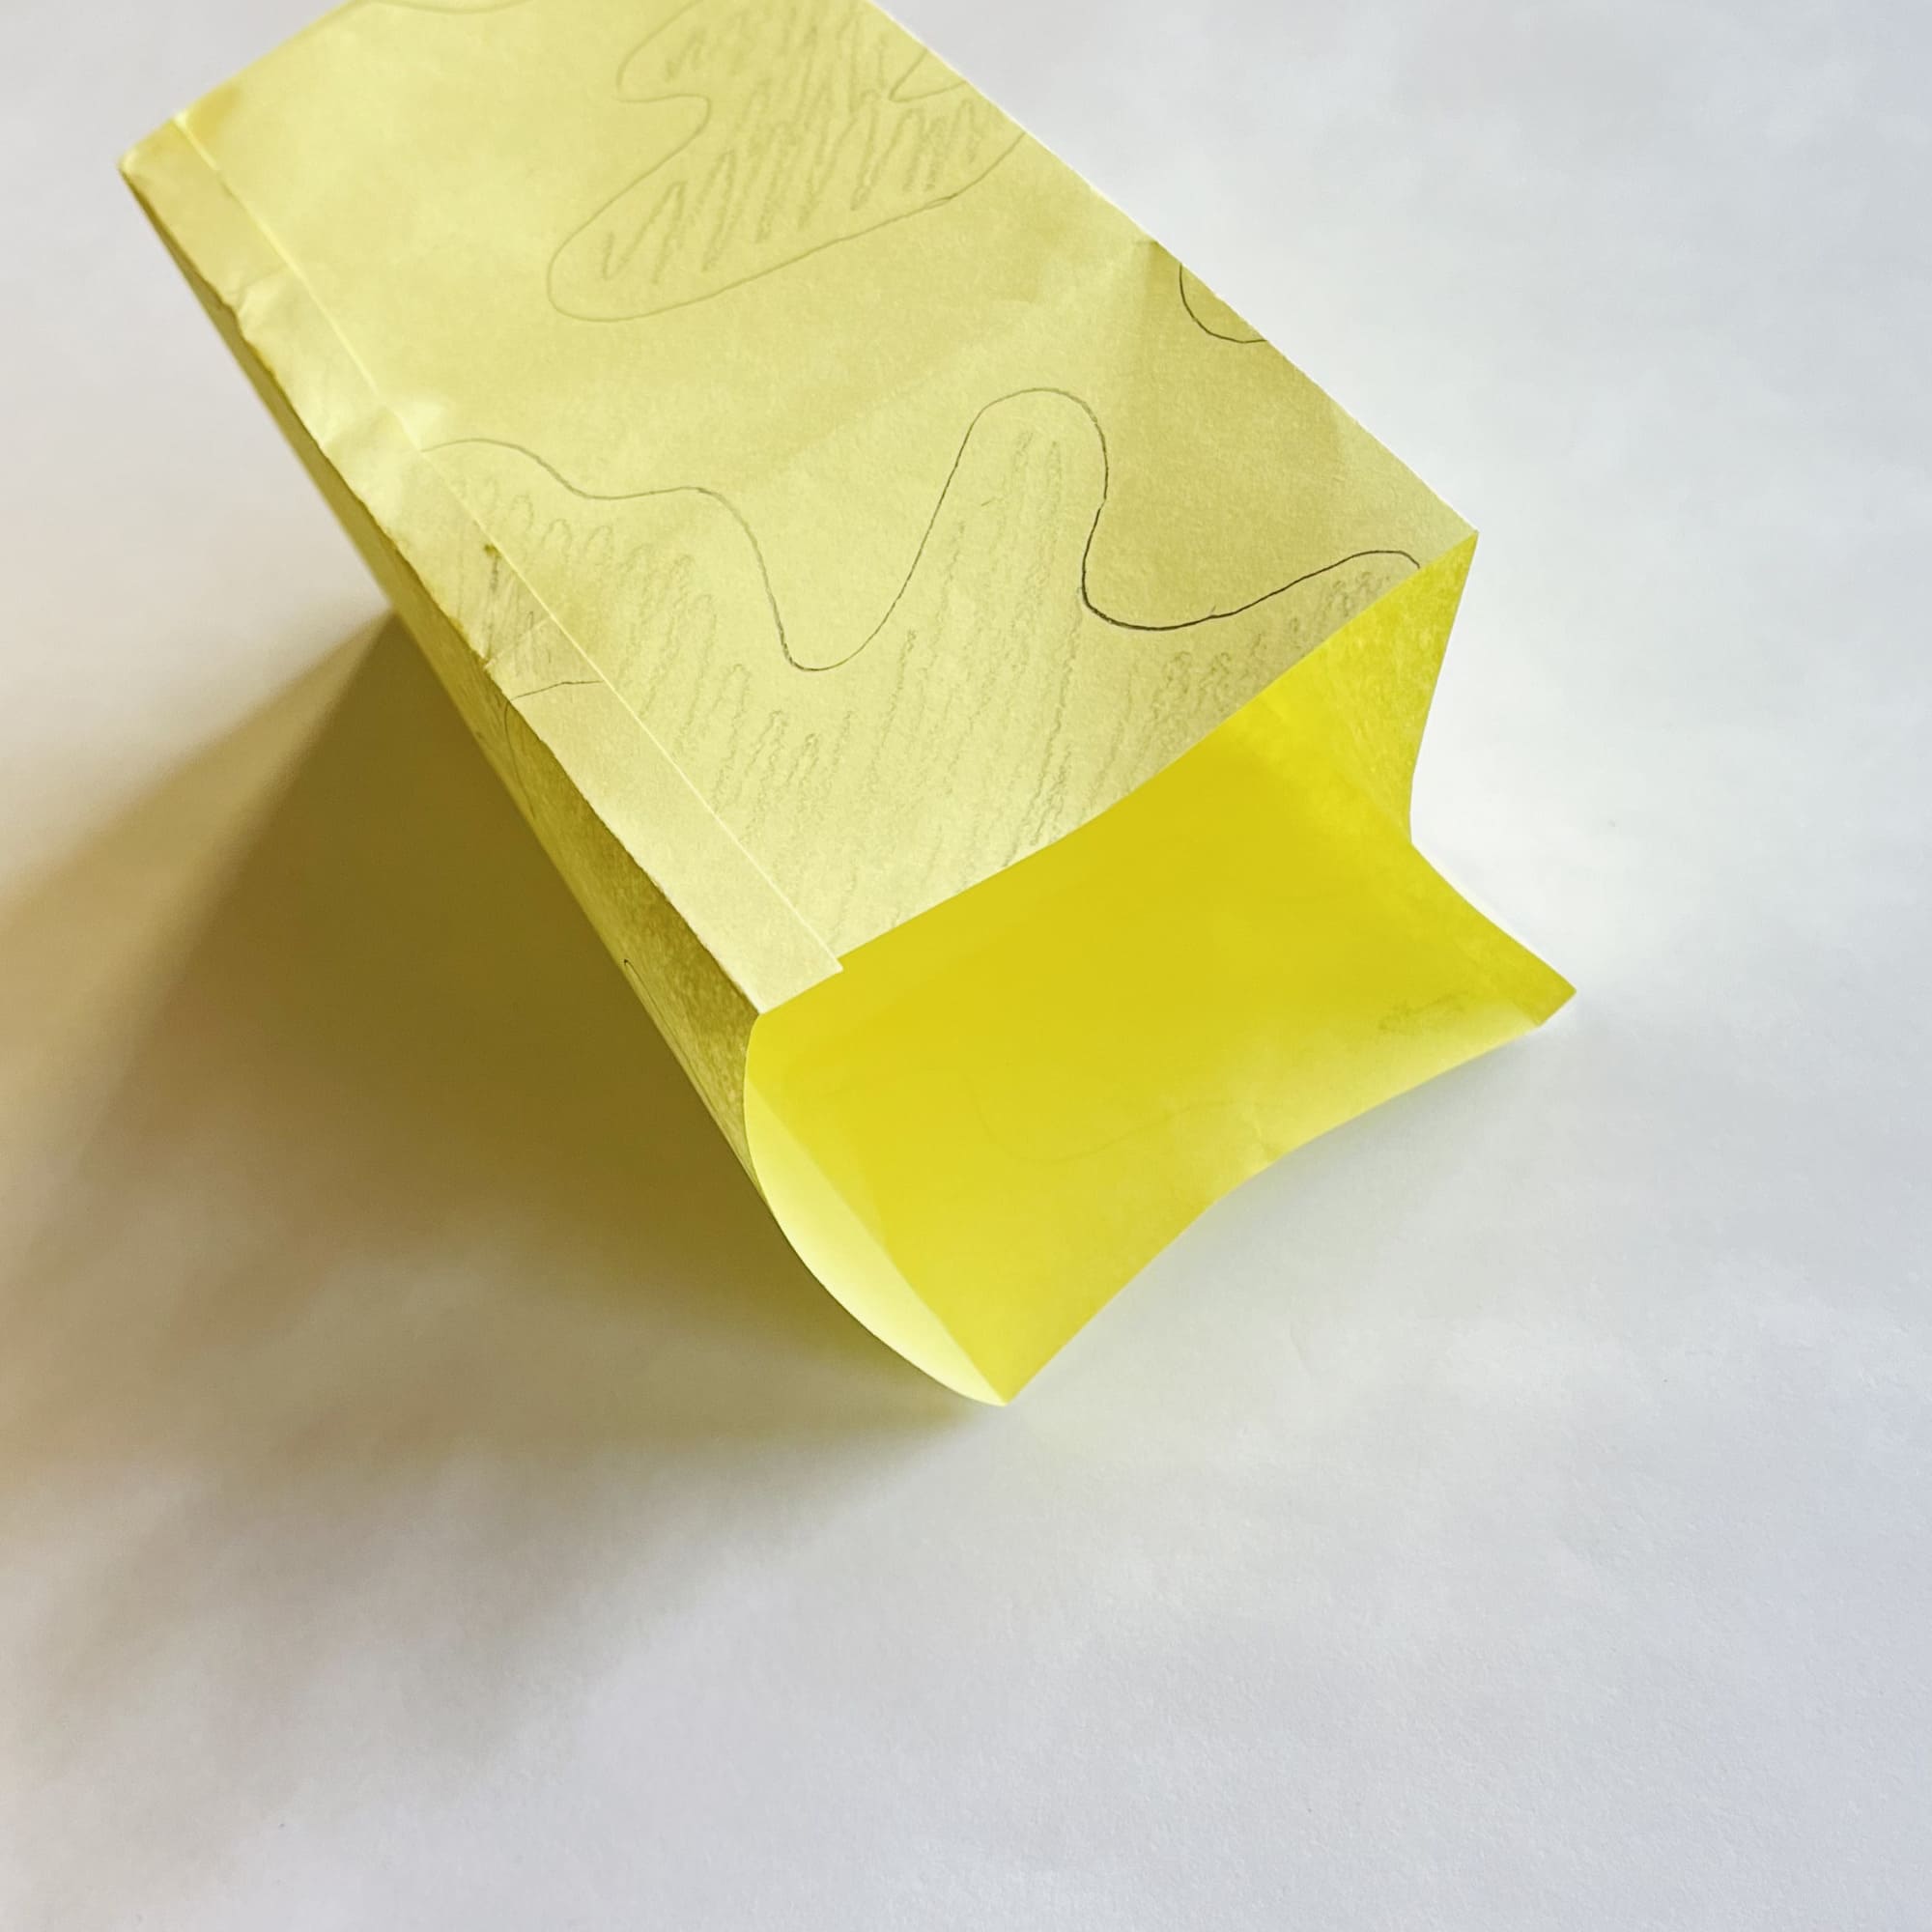
Fold the paper like an accordion as shown in the photo, then glue the edges.
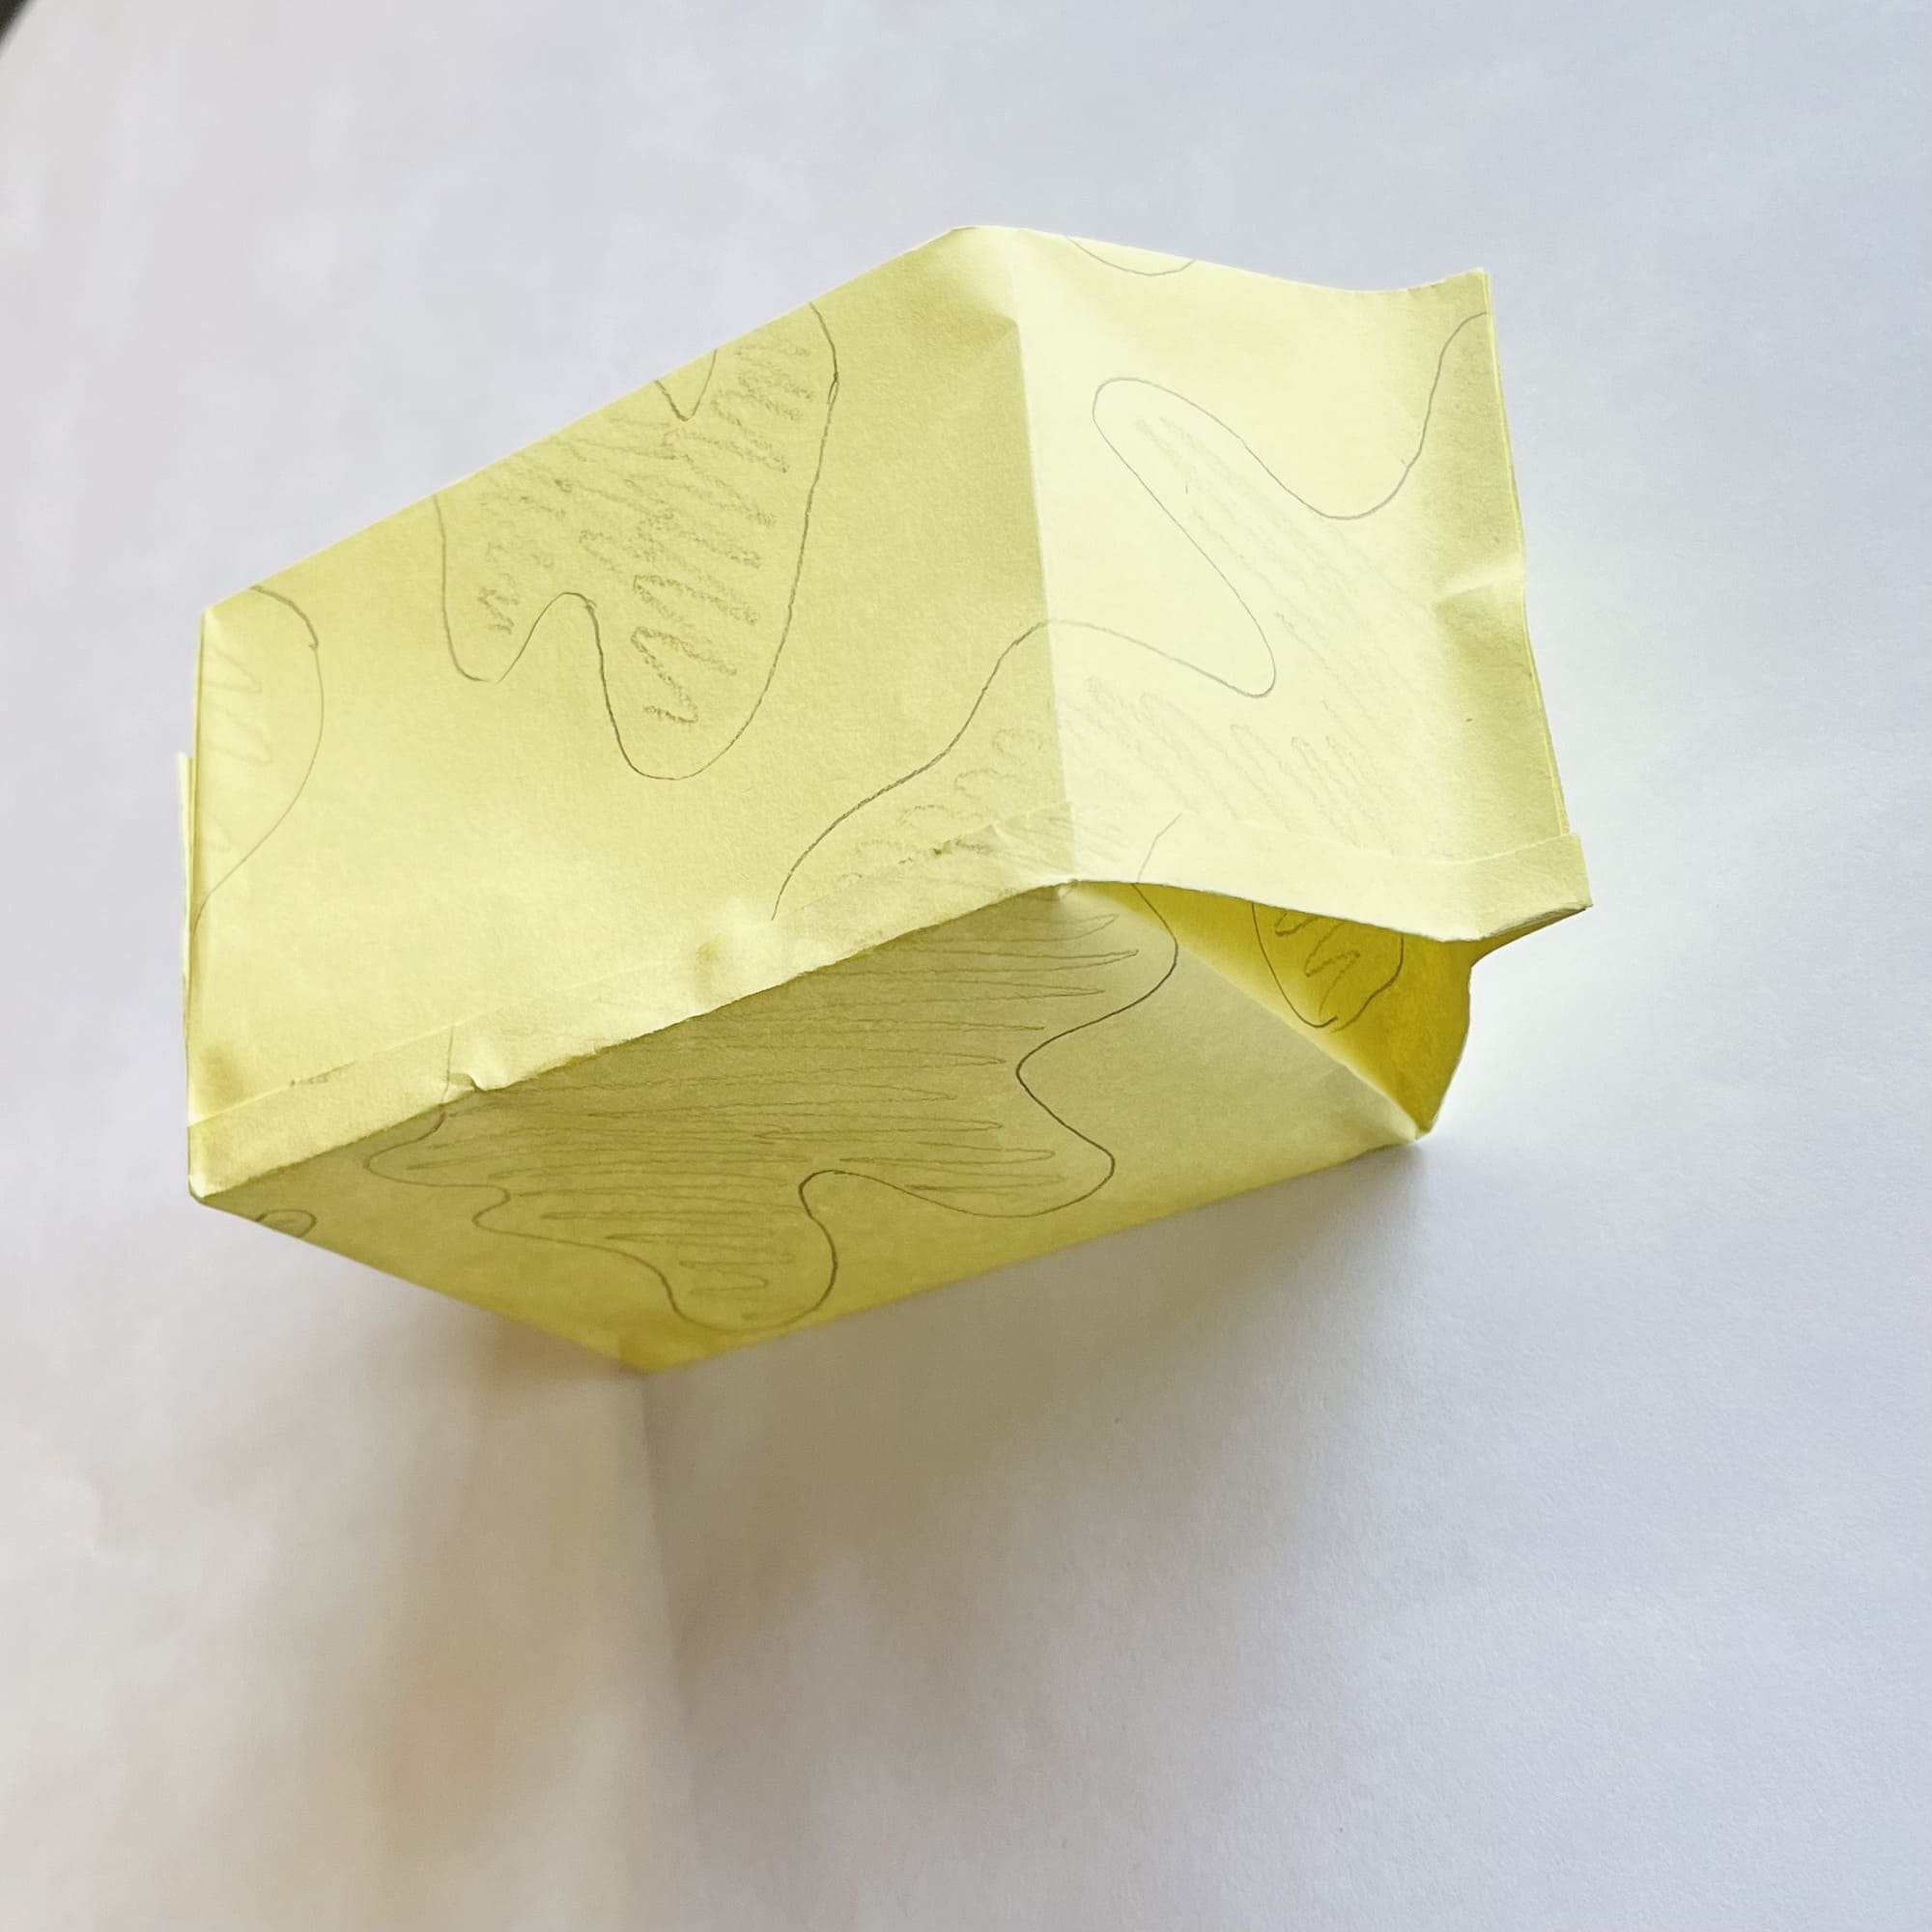
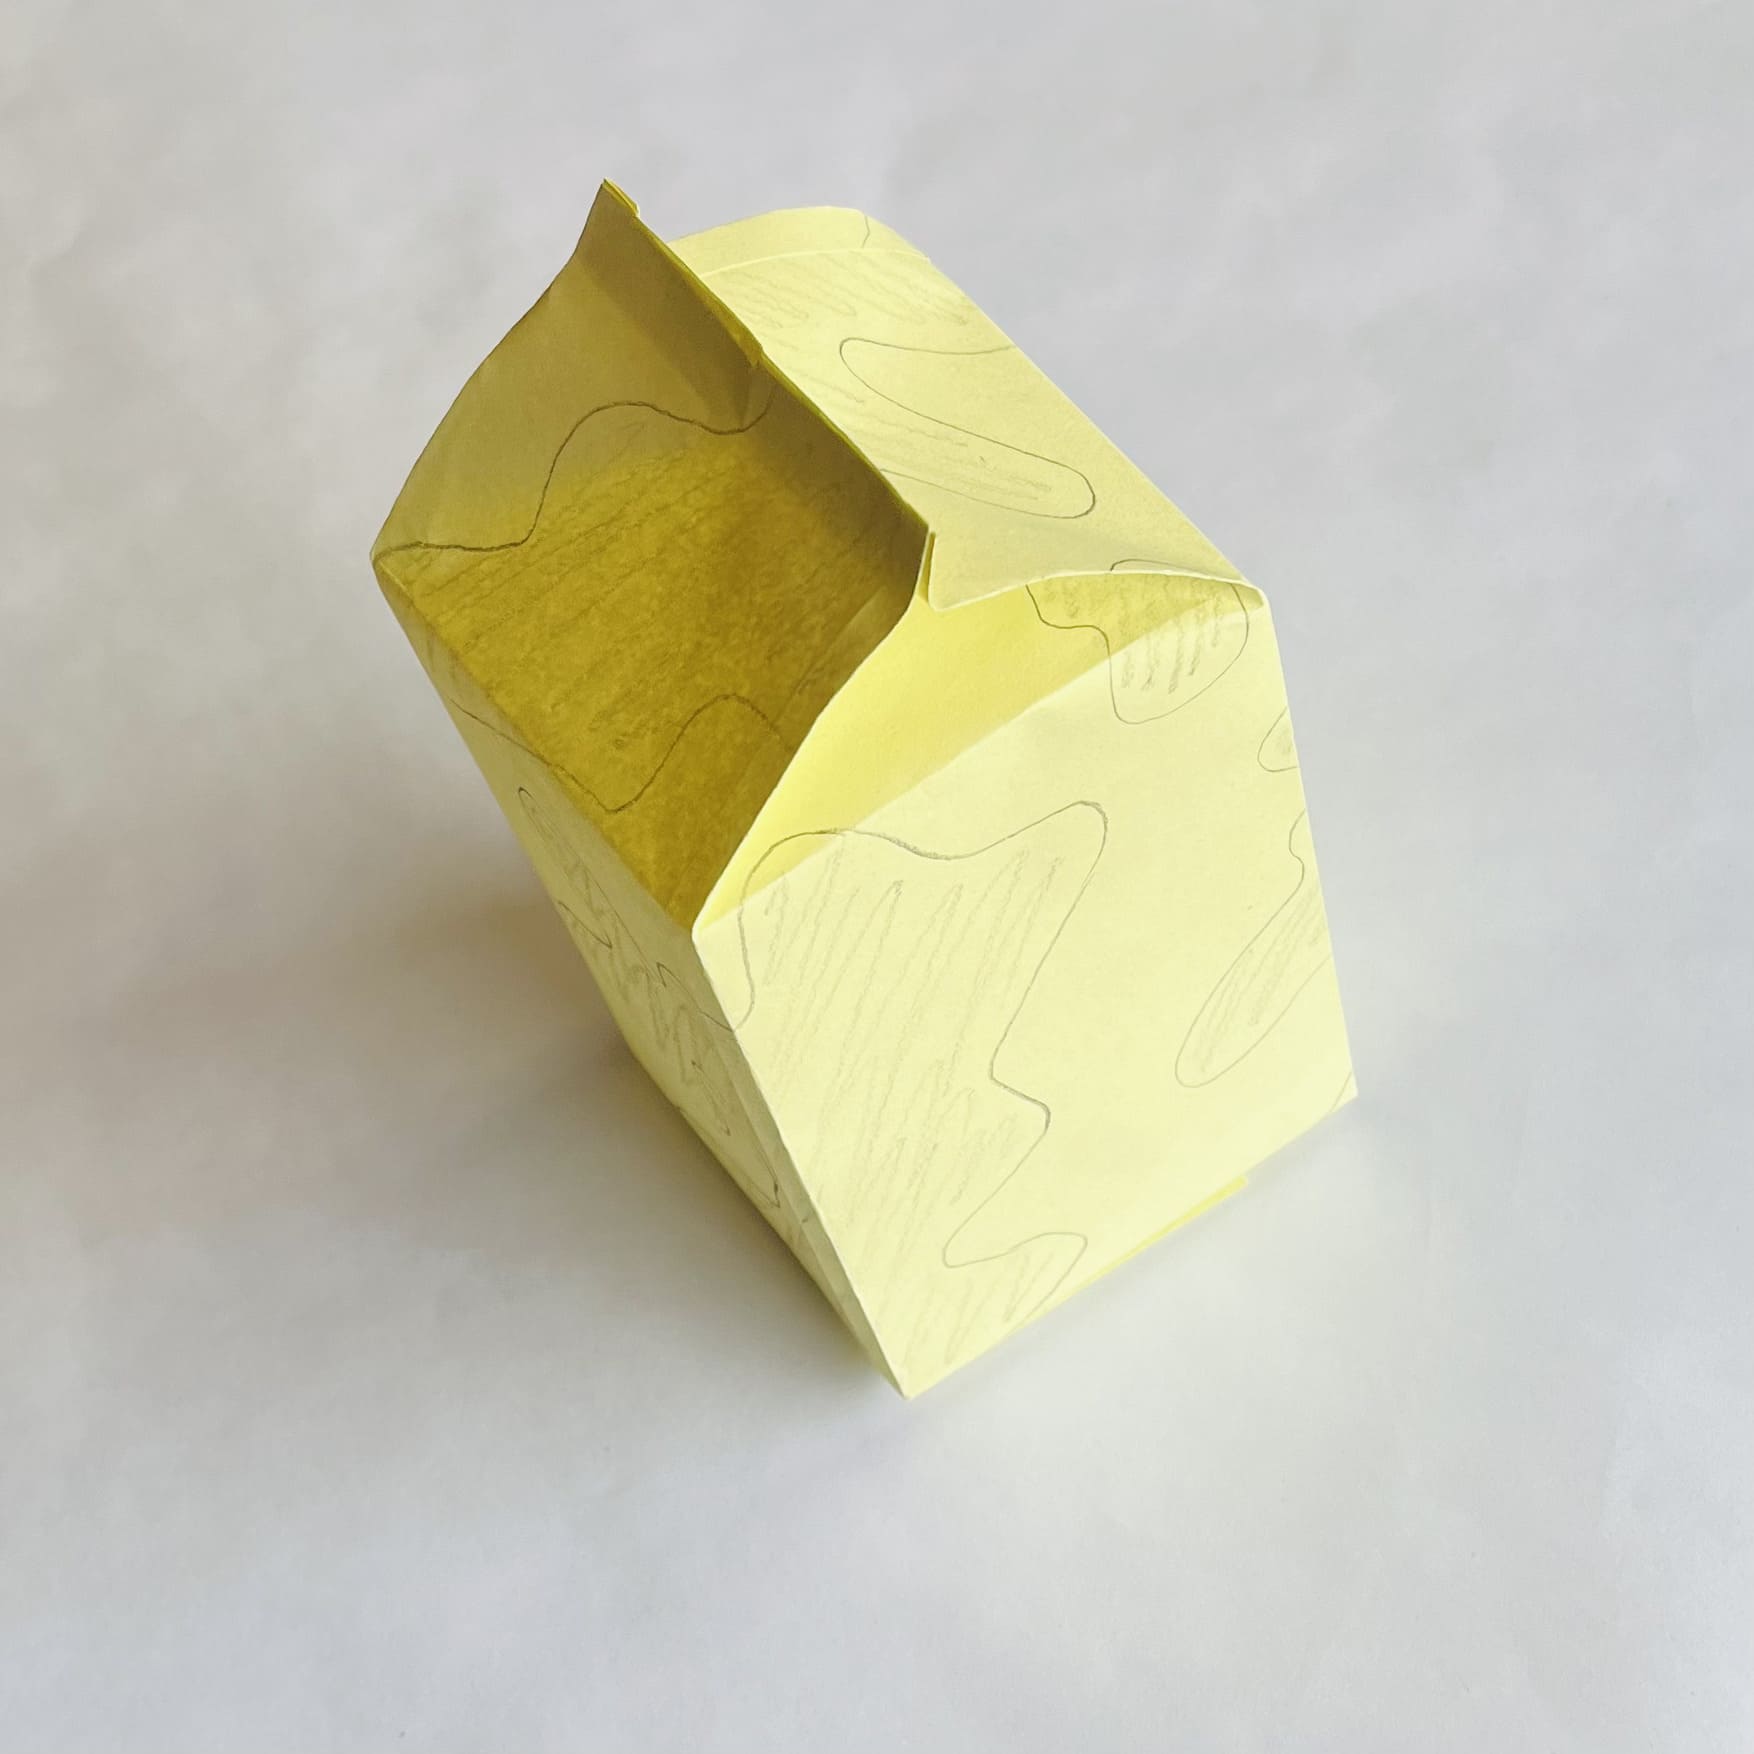
The box is ready!
Origami can be additionally colored with paints and pencils, but this must be done carefully so as not to wrinkle it.