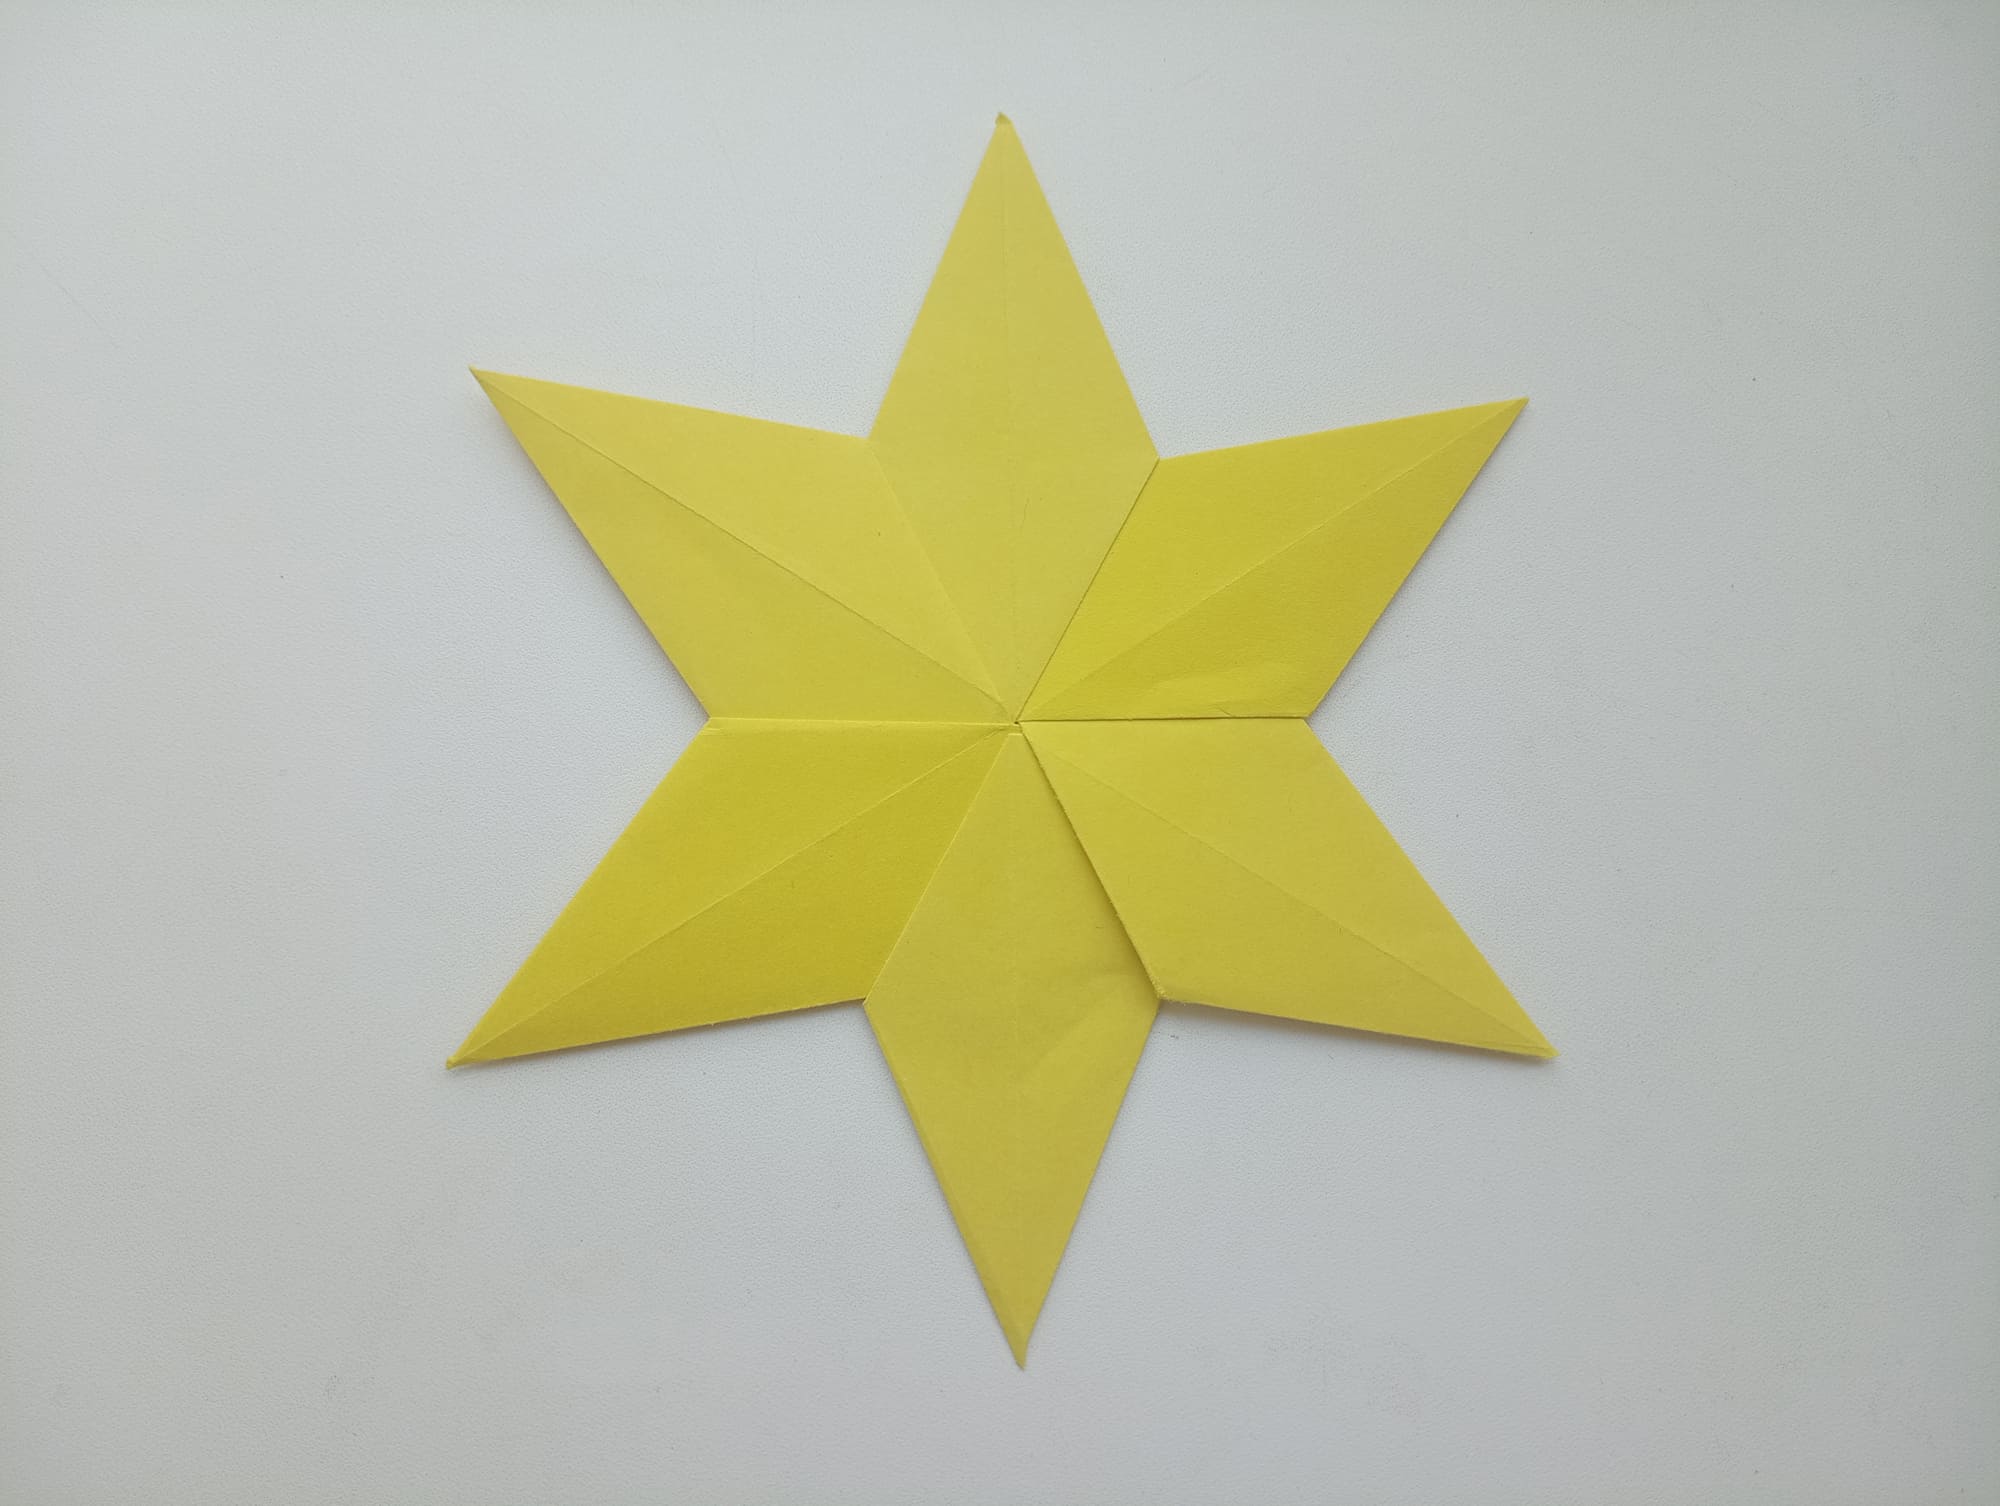
Origami Modular 6-Pointed Star
This beautiful six-pointed star was created according to instructions from Tomoko Fuse. In the process of folding, origami fans will be able to perform unusual steps that are typical for working with shapes. However, this will make the process even more interesting. To make a modular six-pointed star, you will need six square sheets of paper. The master class was made on the example of sheets measuring 10 by 10 cm for each part. If desired, the size of the sheets can be increased, and the result will be a huge star.
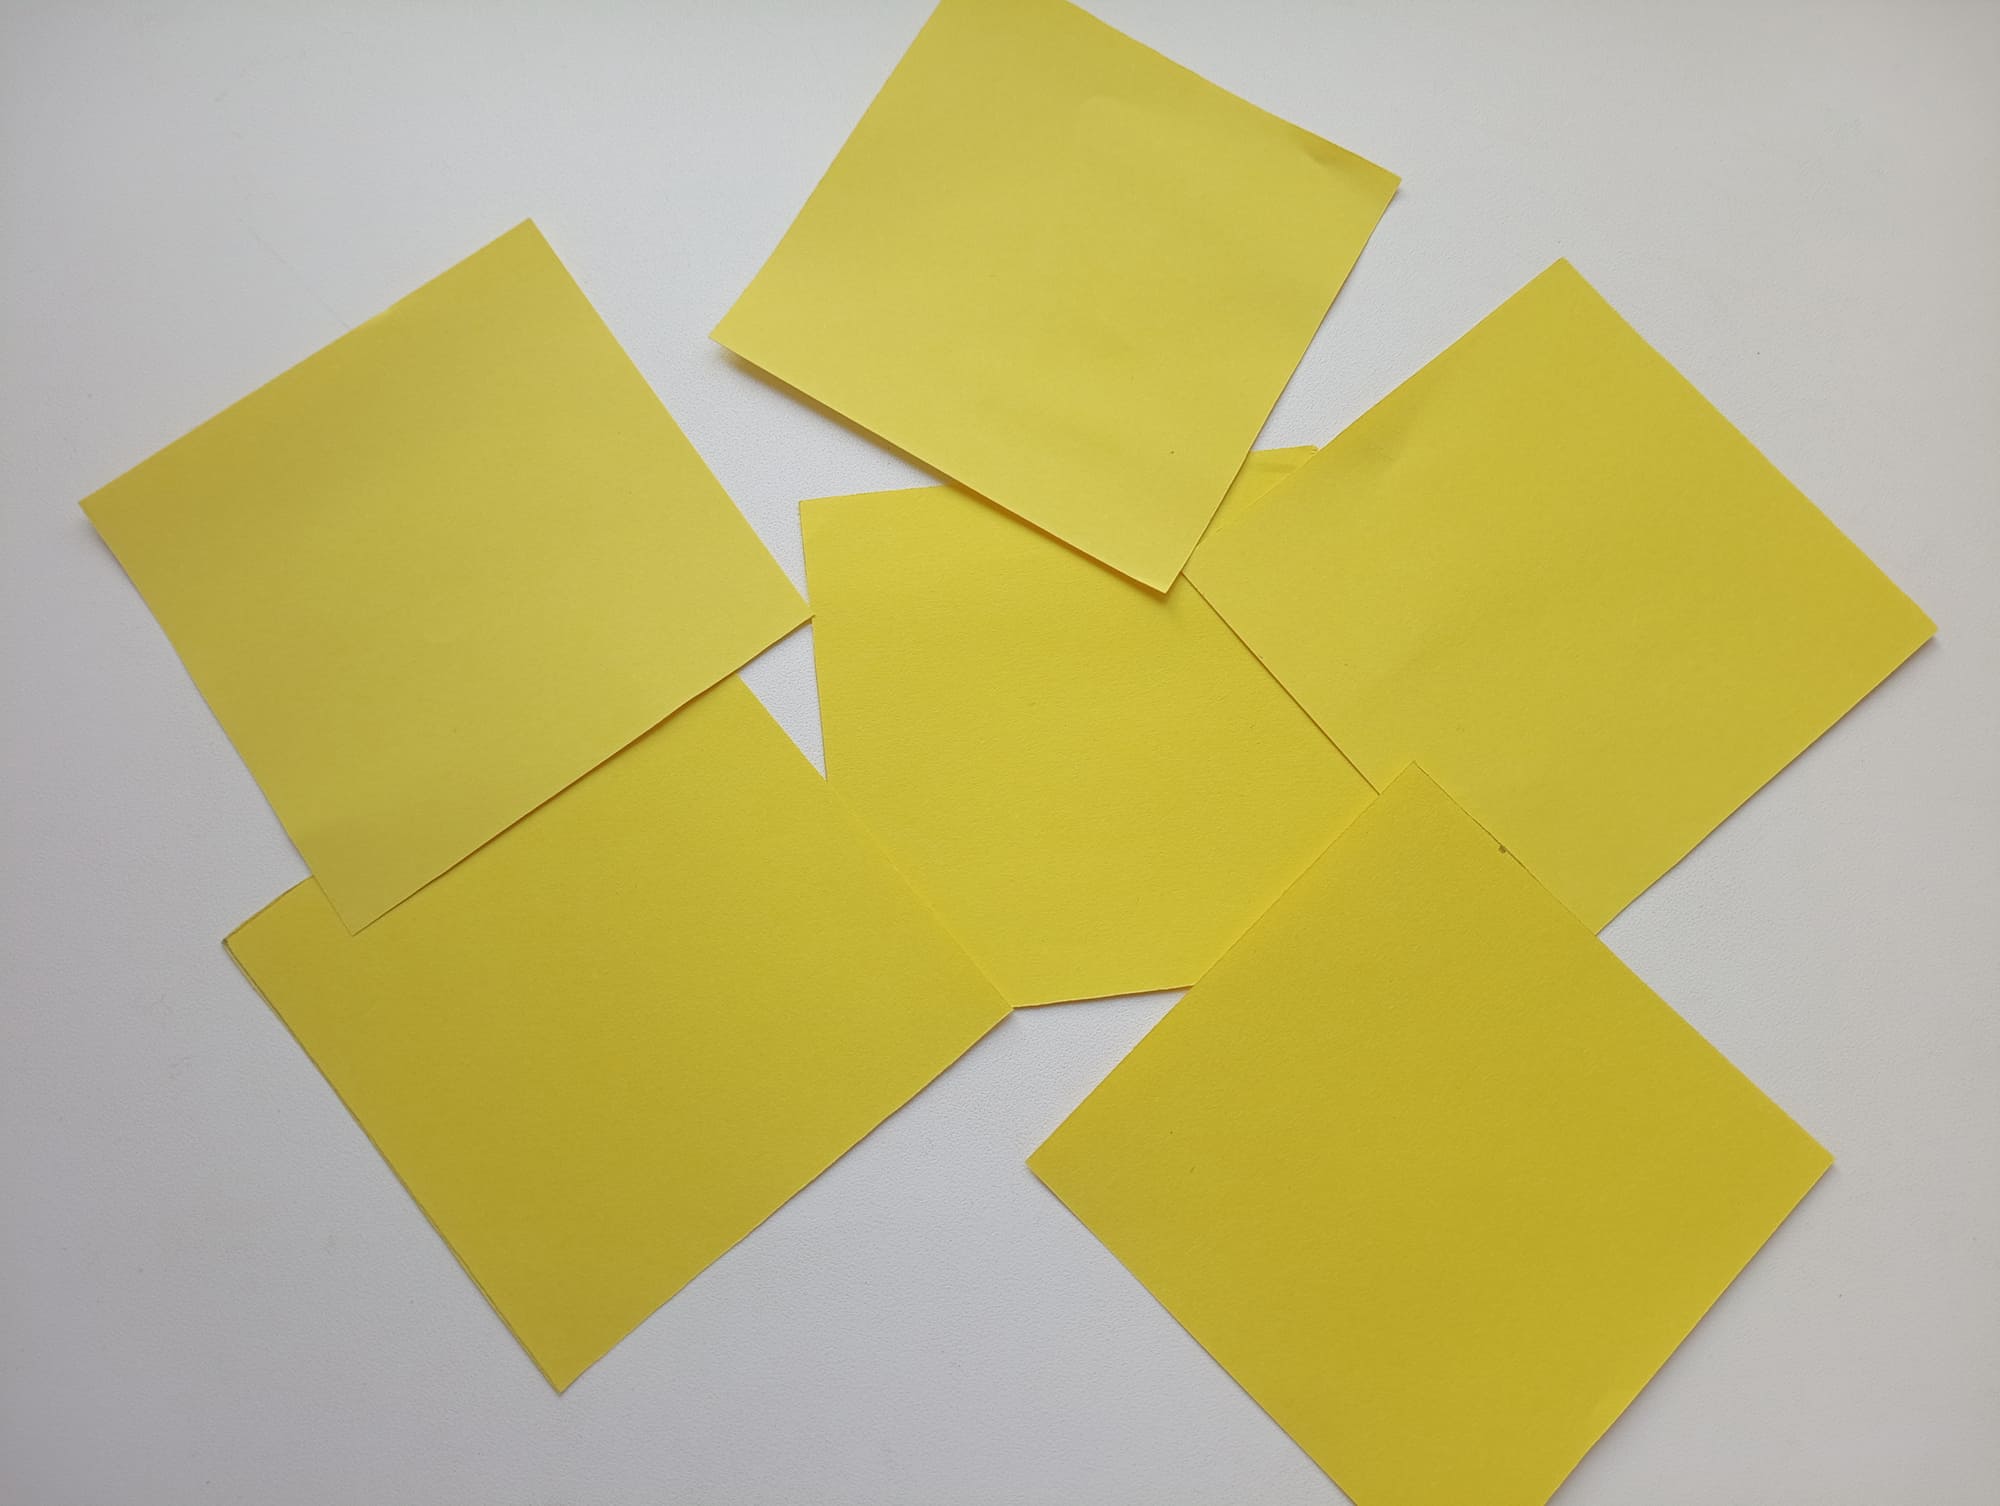
For origami, plain printer paper that is cut to a size of 10×10 cm is selected. The color is the same on both sides. You need six identical parts.
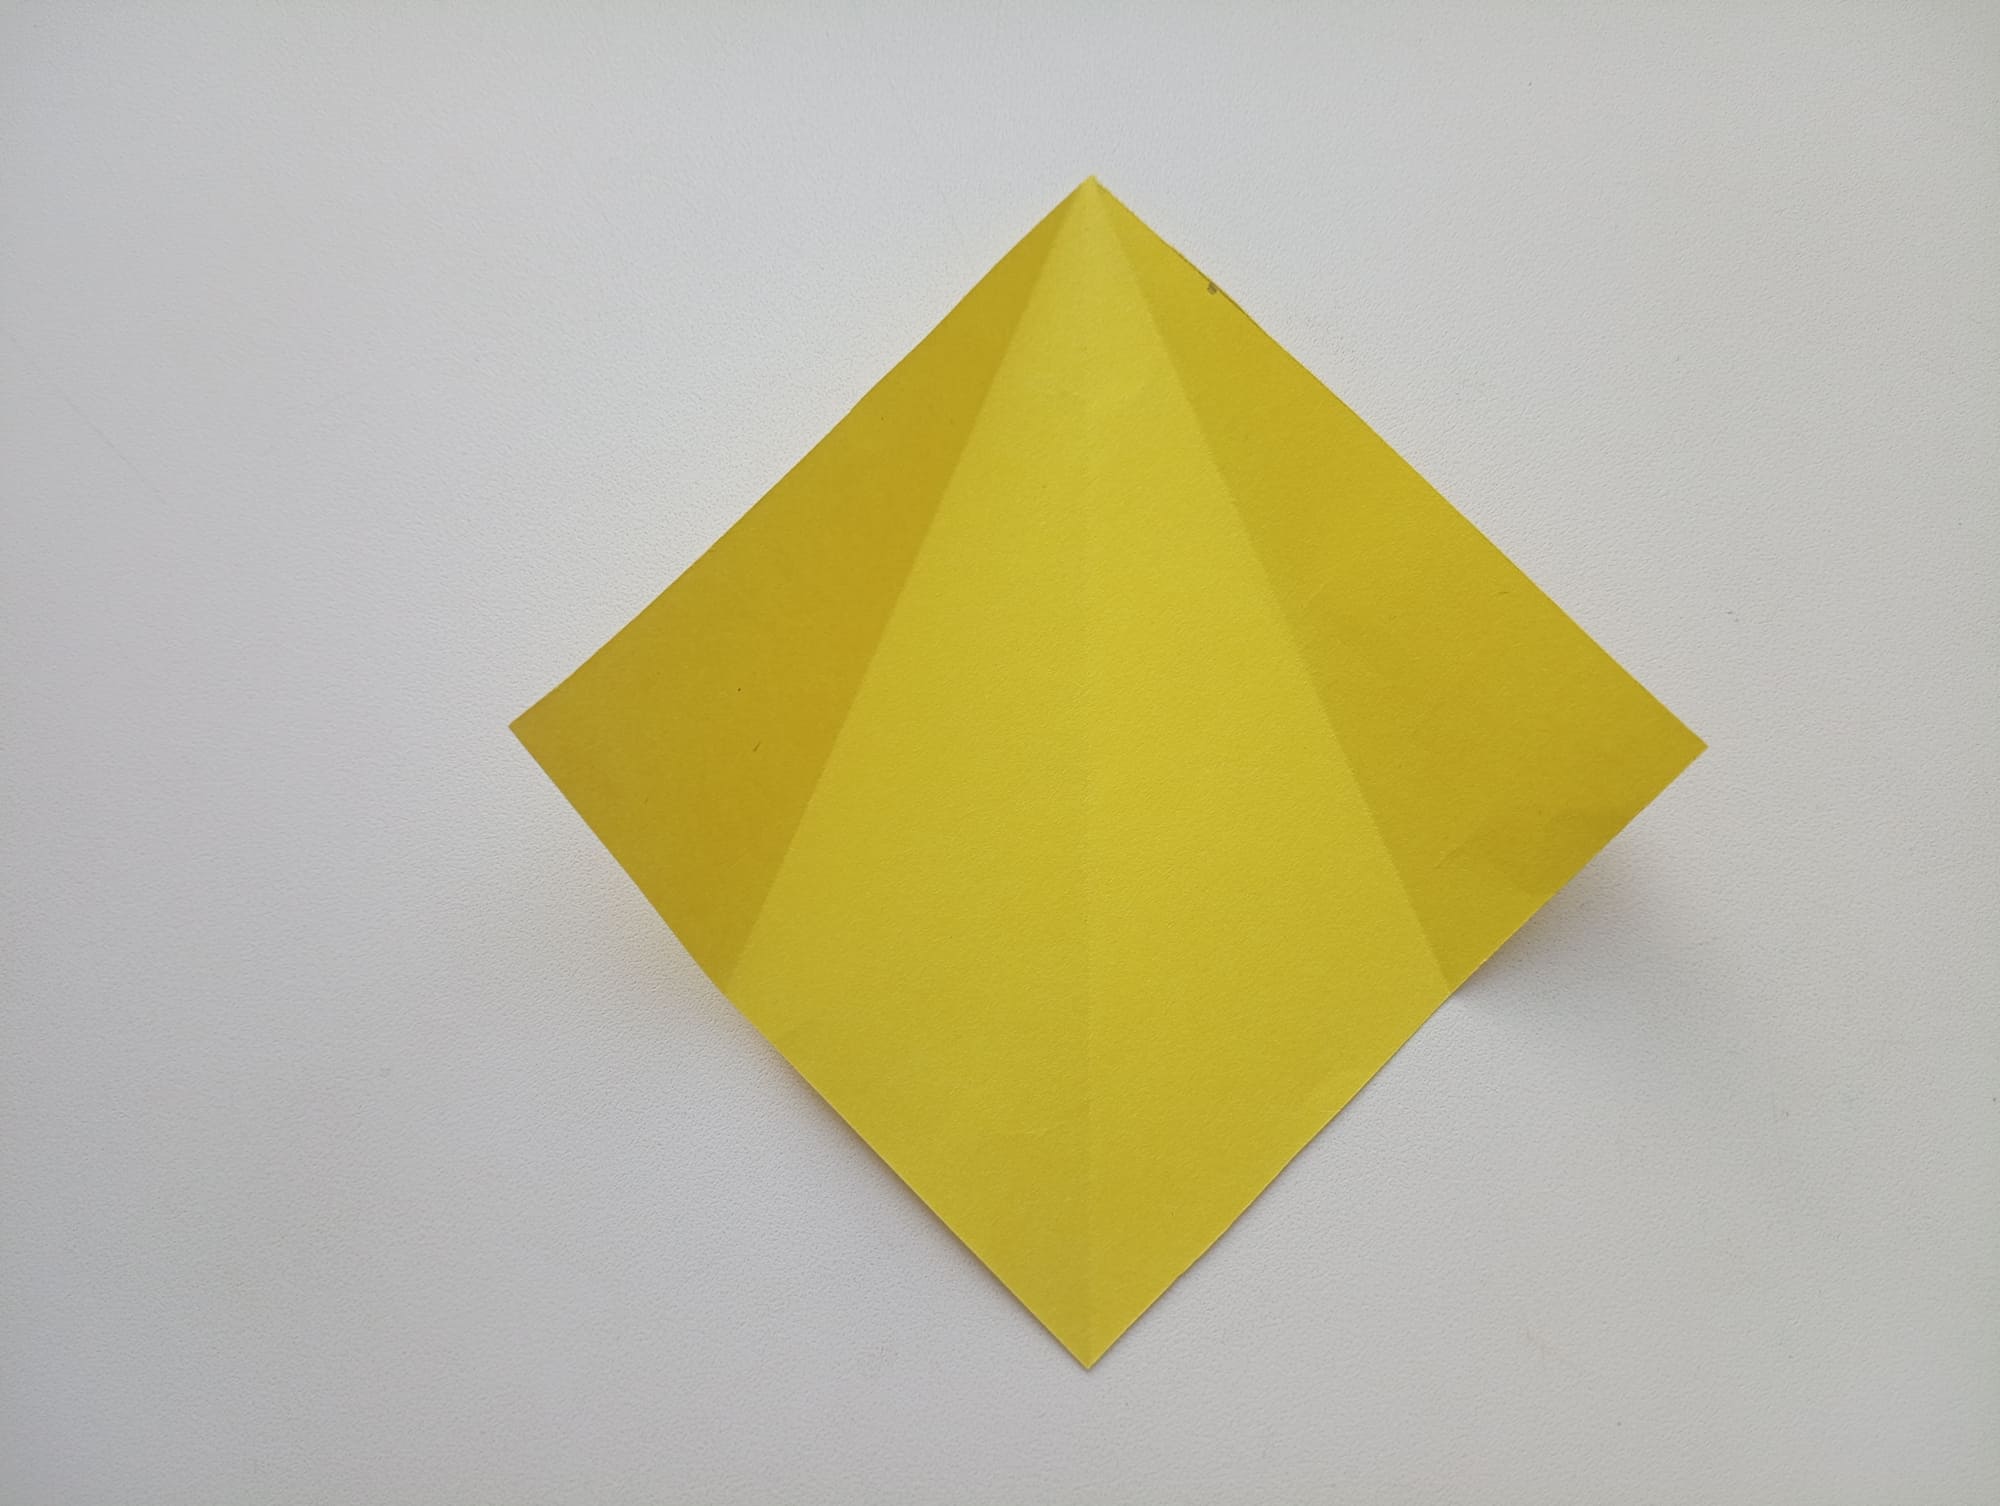
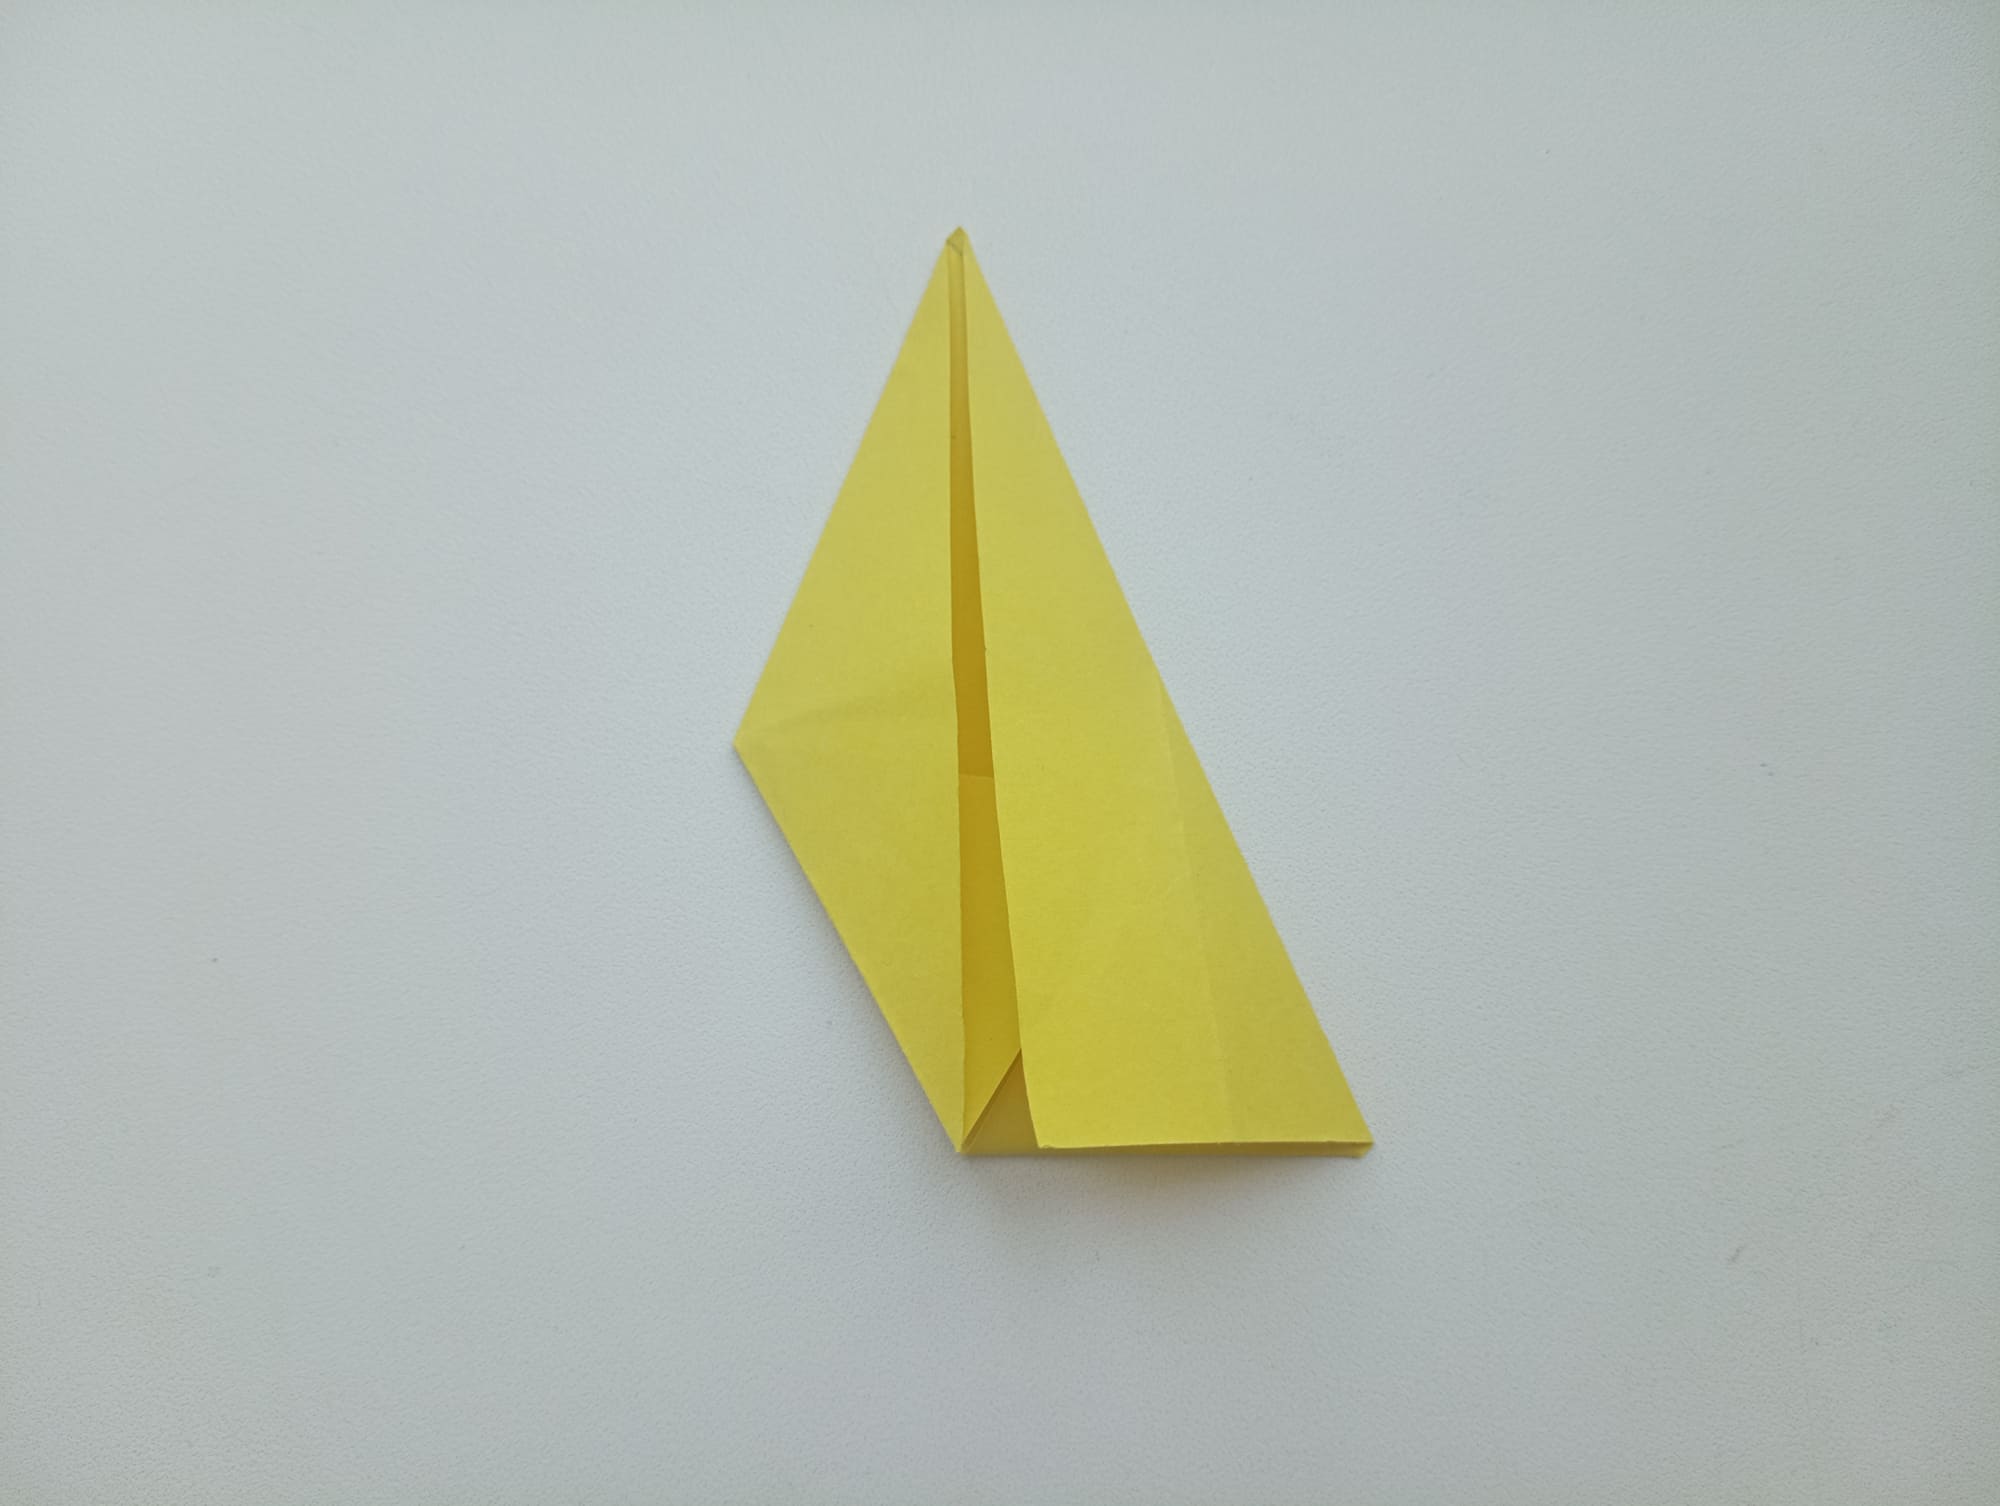
Start working with each part separately. Fold a piece of paper in half vertically.
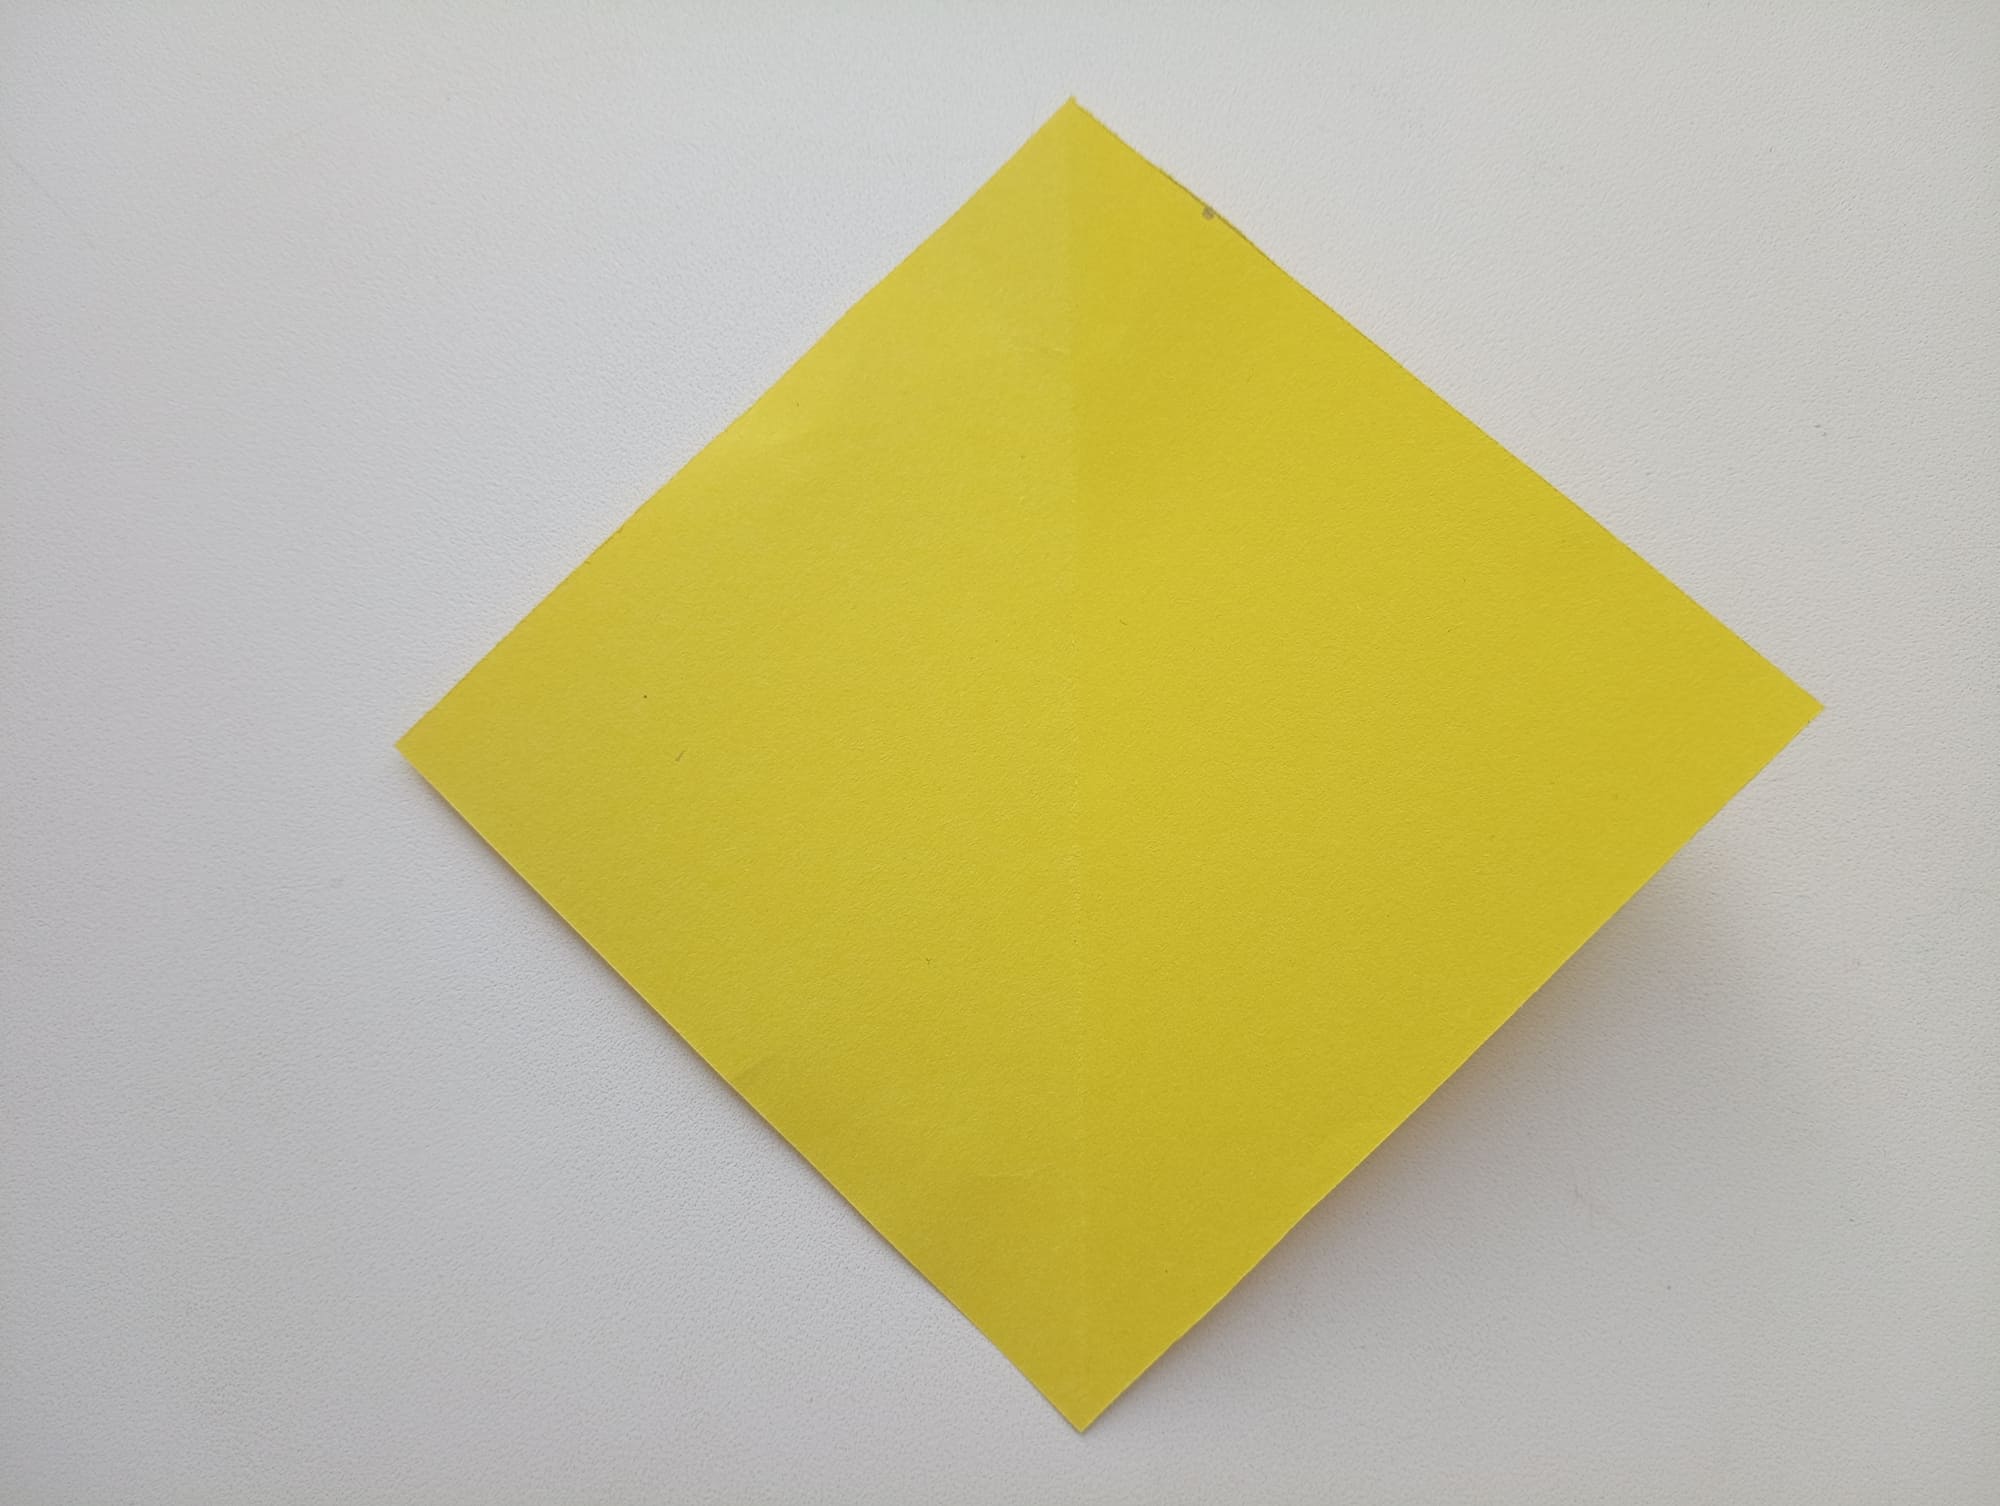
Open a sheet of paper. A fold line will appear in the middle.

Bend both sides towards the center, so that they meet at a vertical line. Crease the new folds well with your fingers.
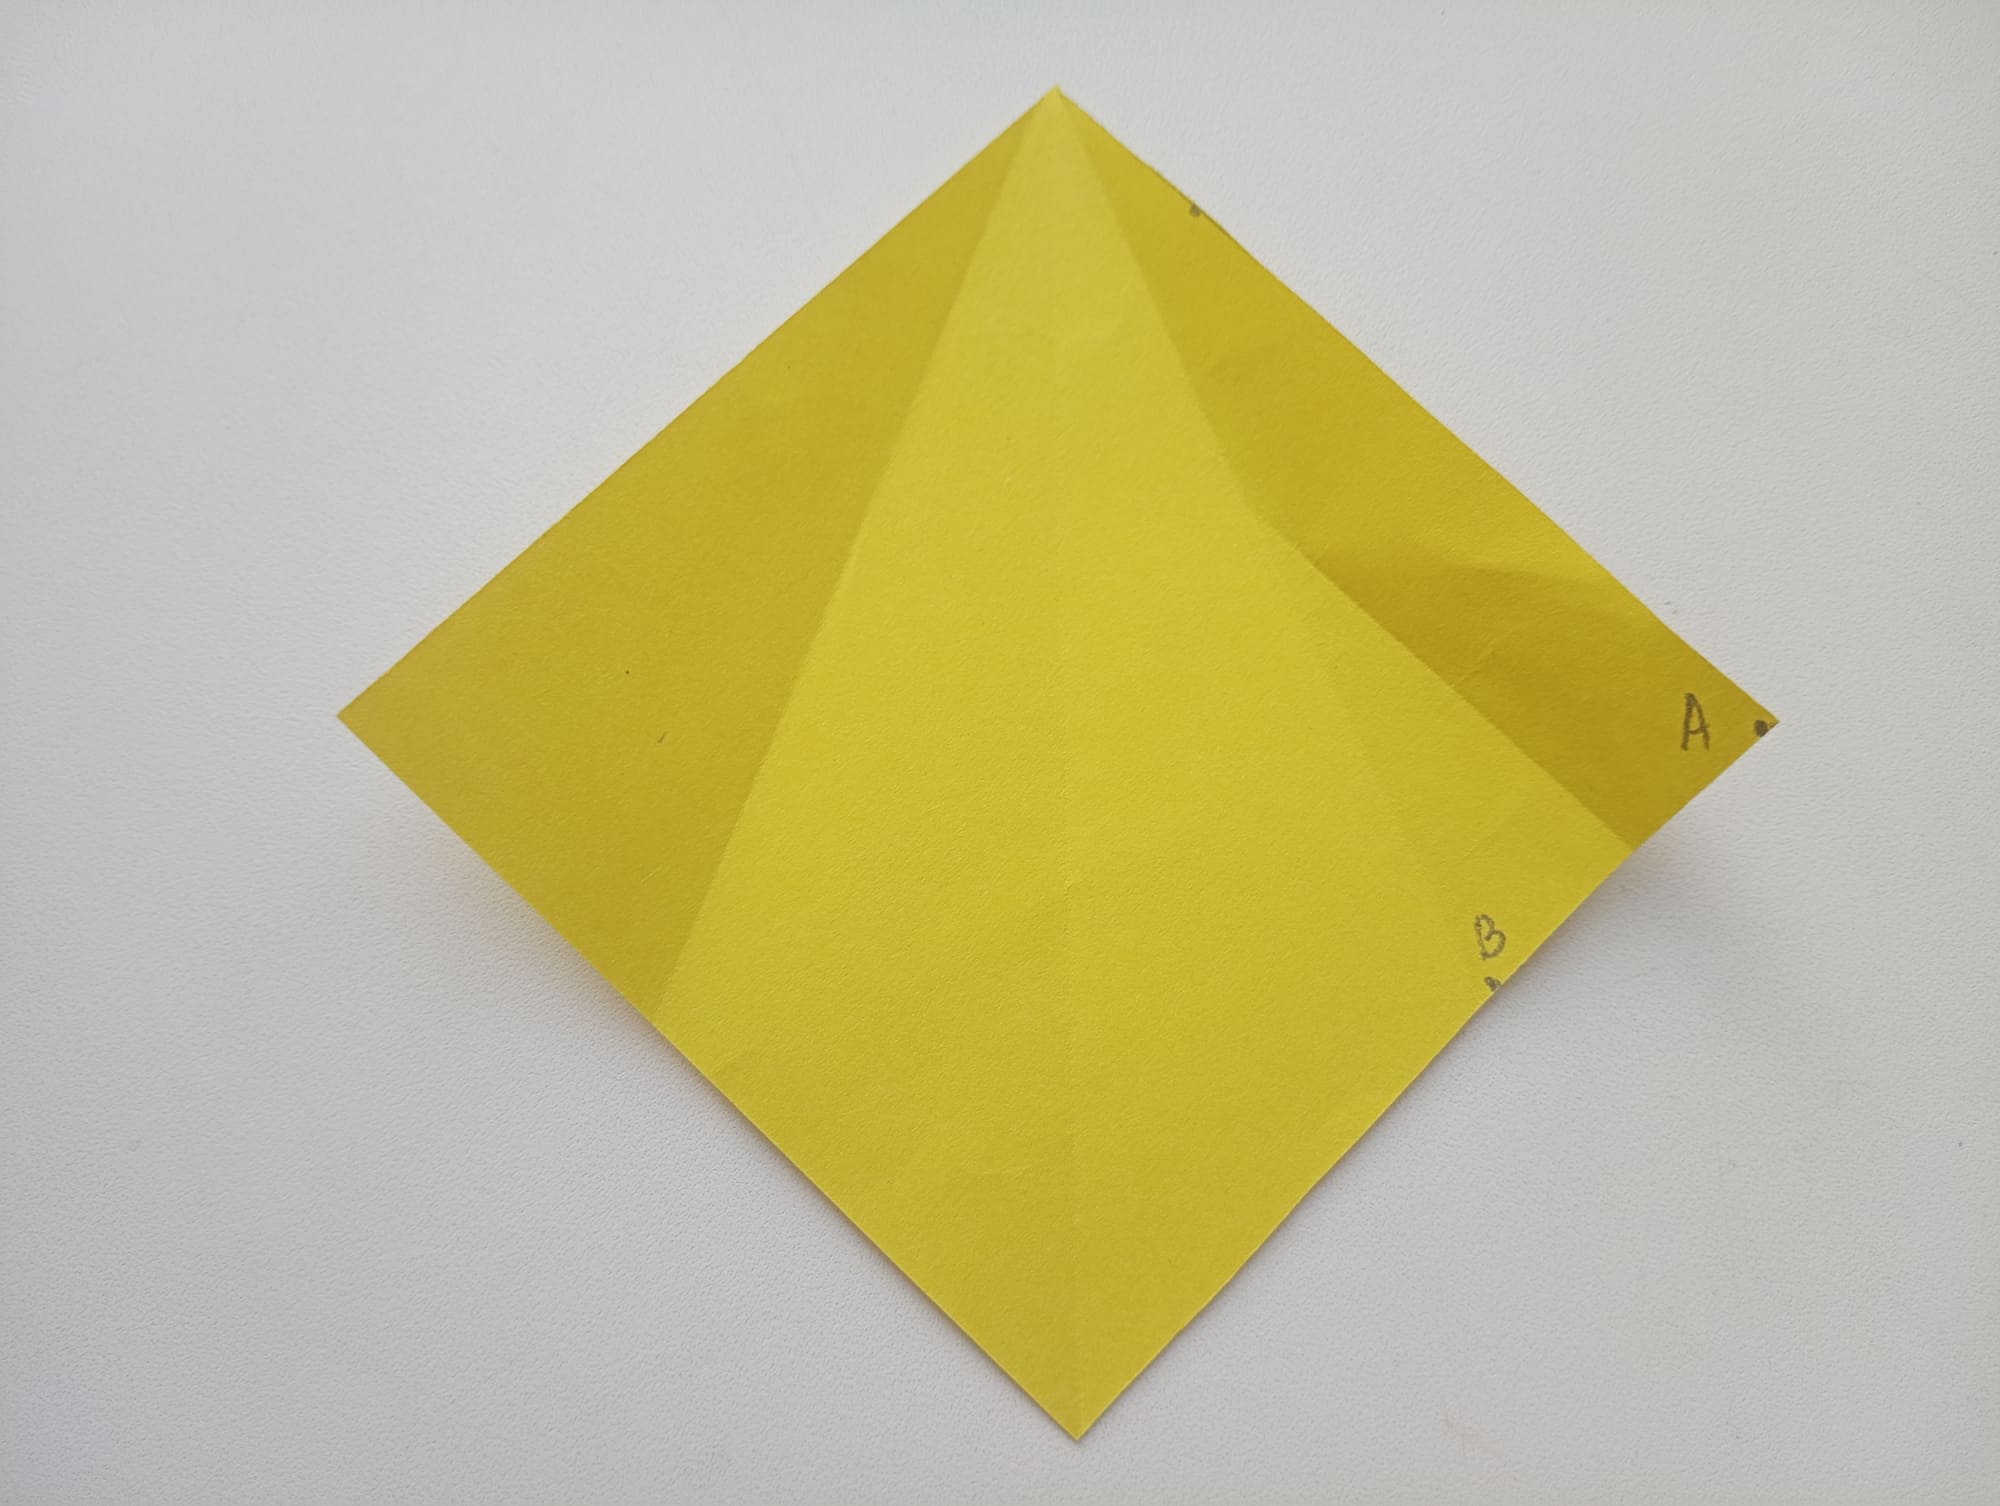
Unfold a sheet of paper.
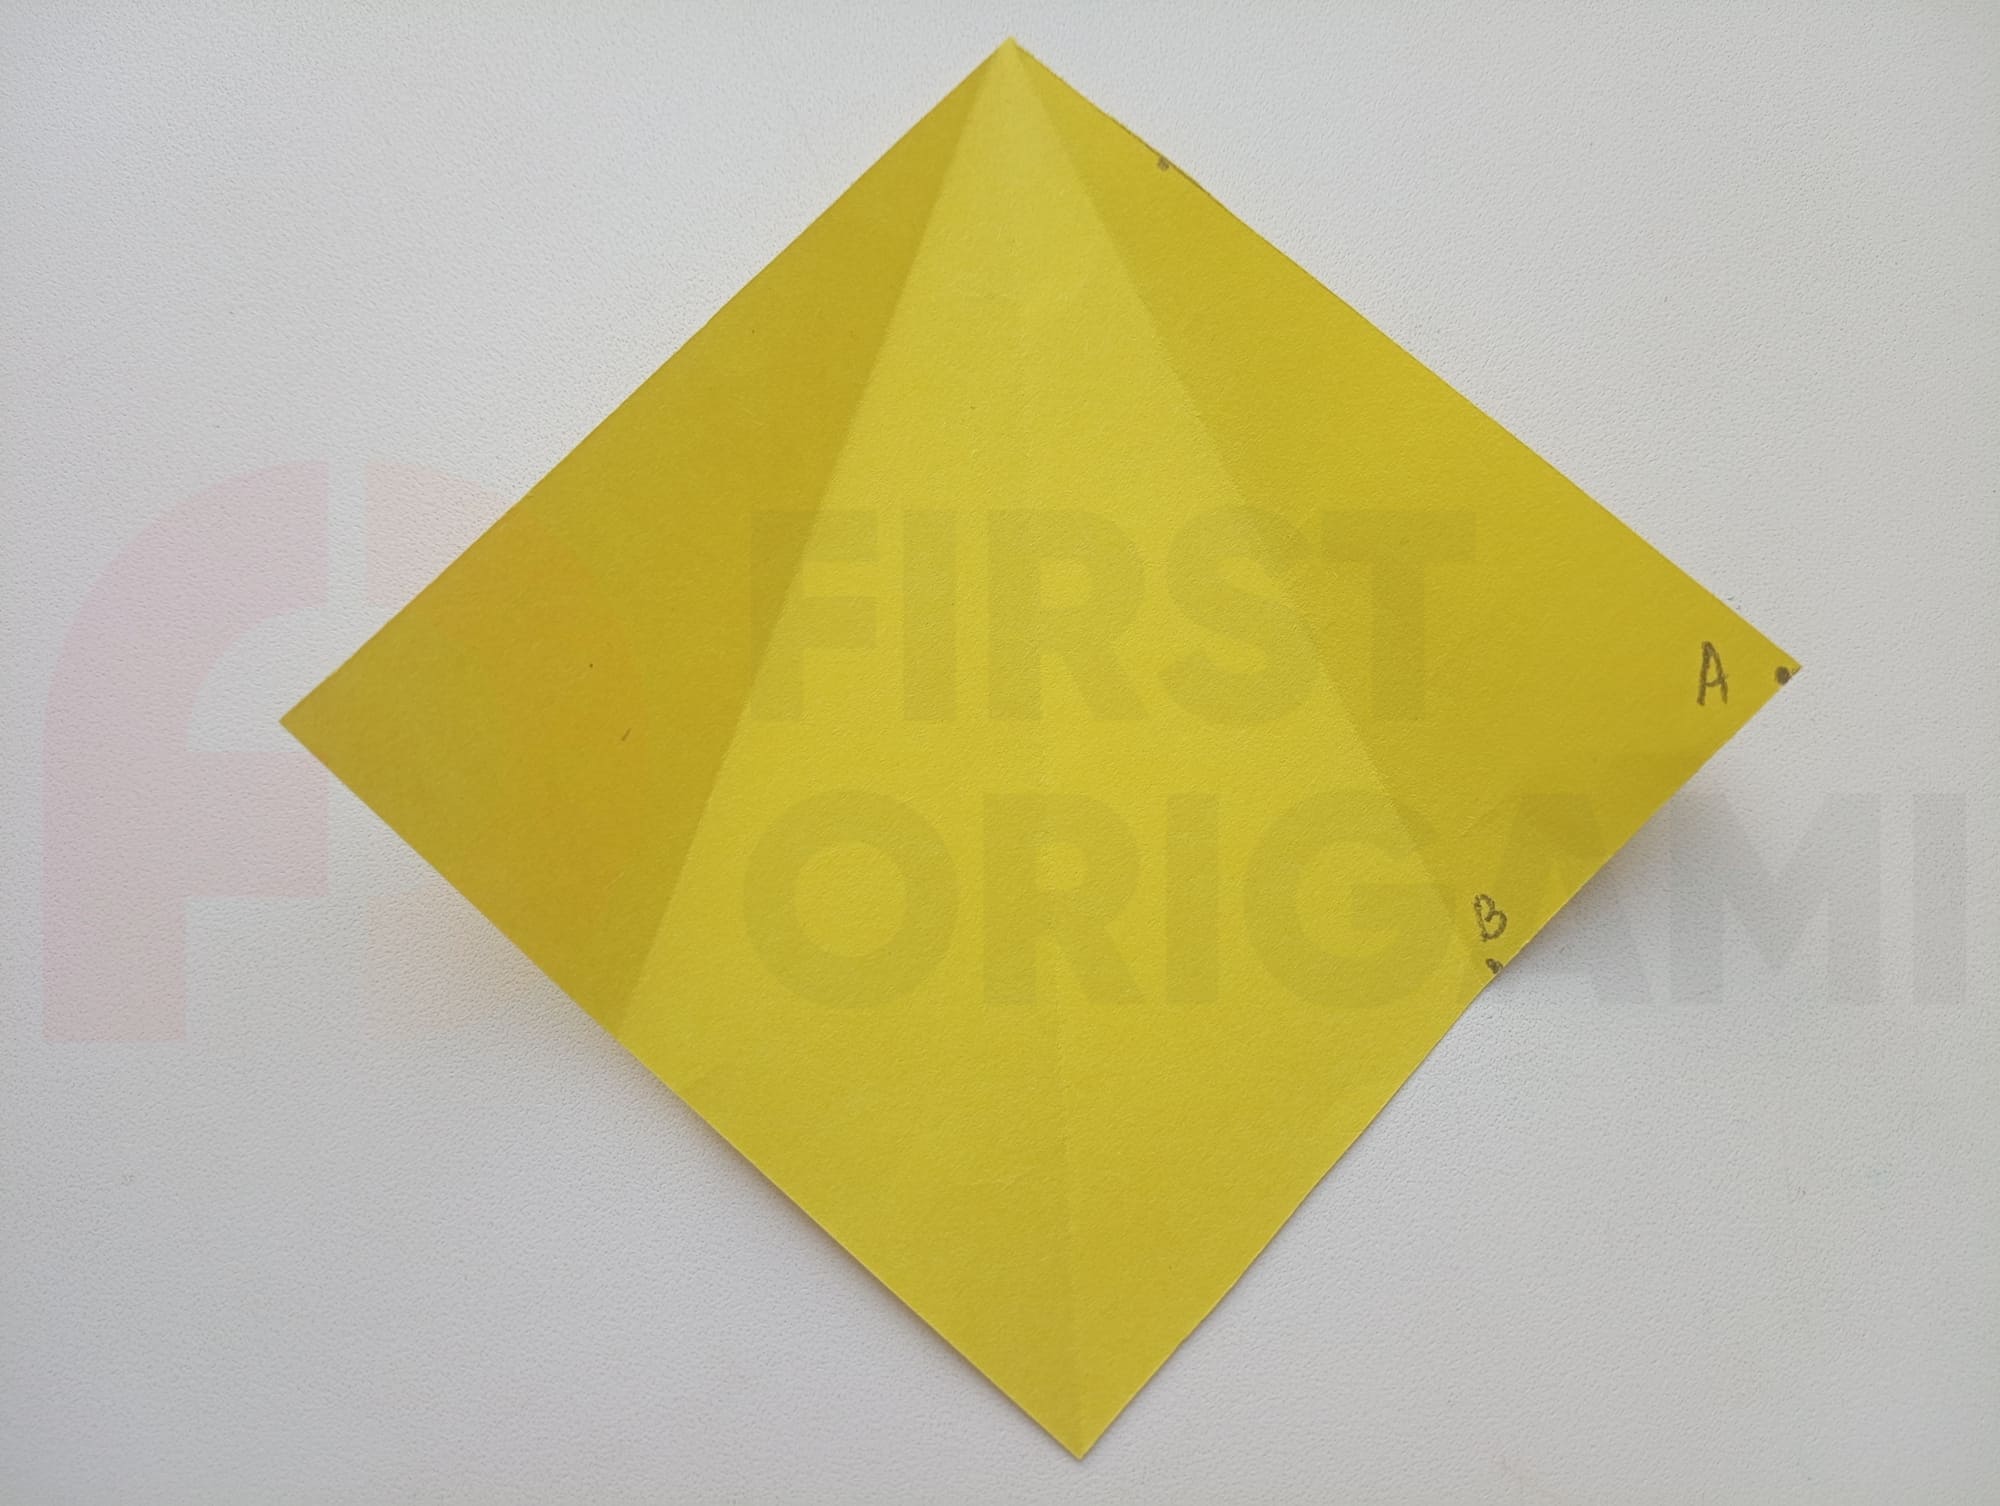
Connect point A to point B, marked on the diagonal crease made in the previous step.
Open the diagonal crease and you will see another crease.
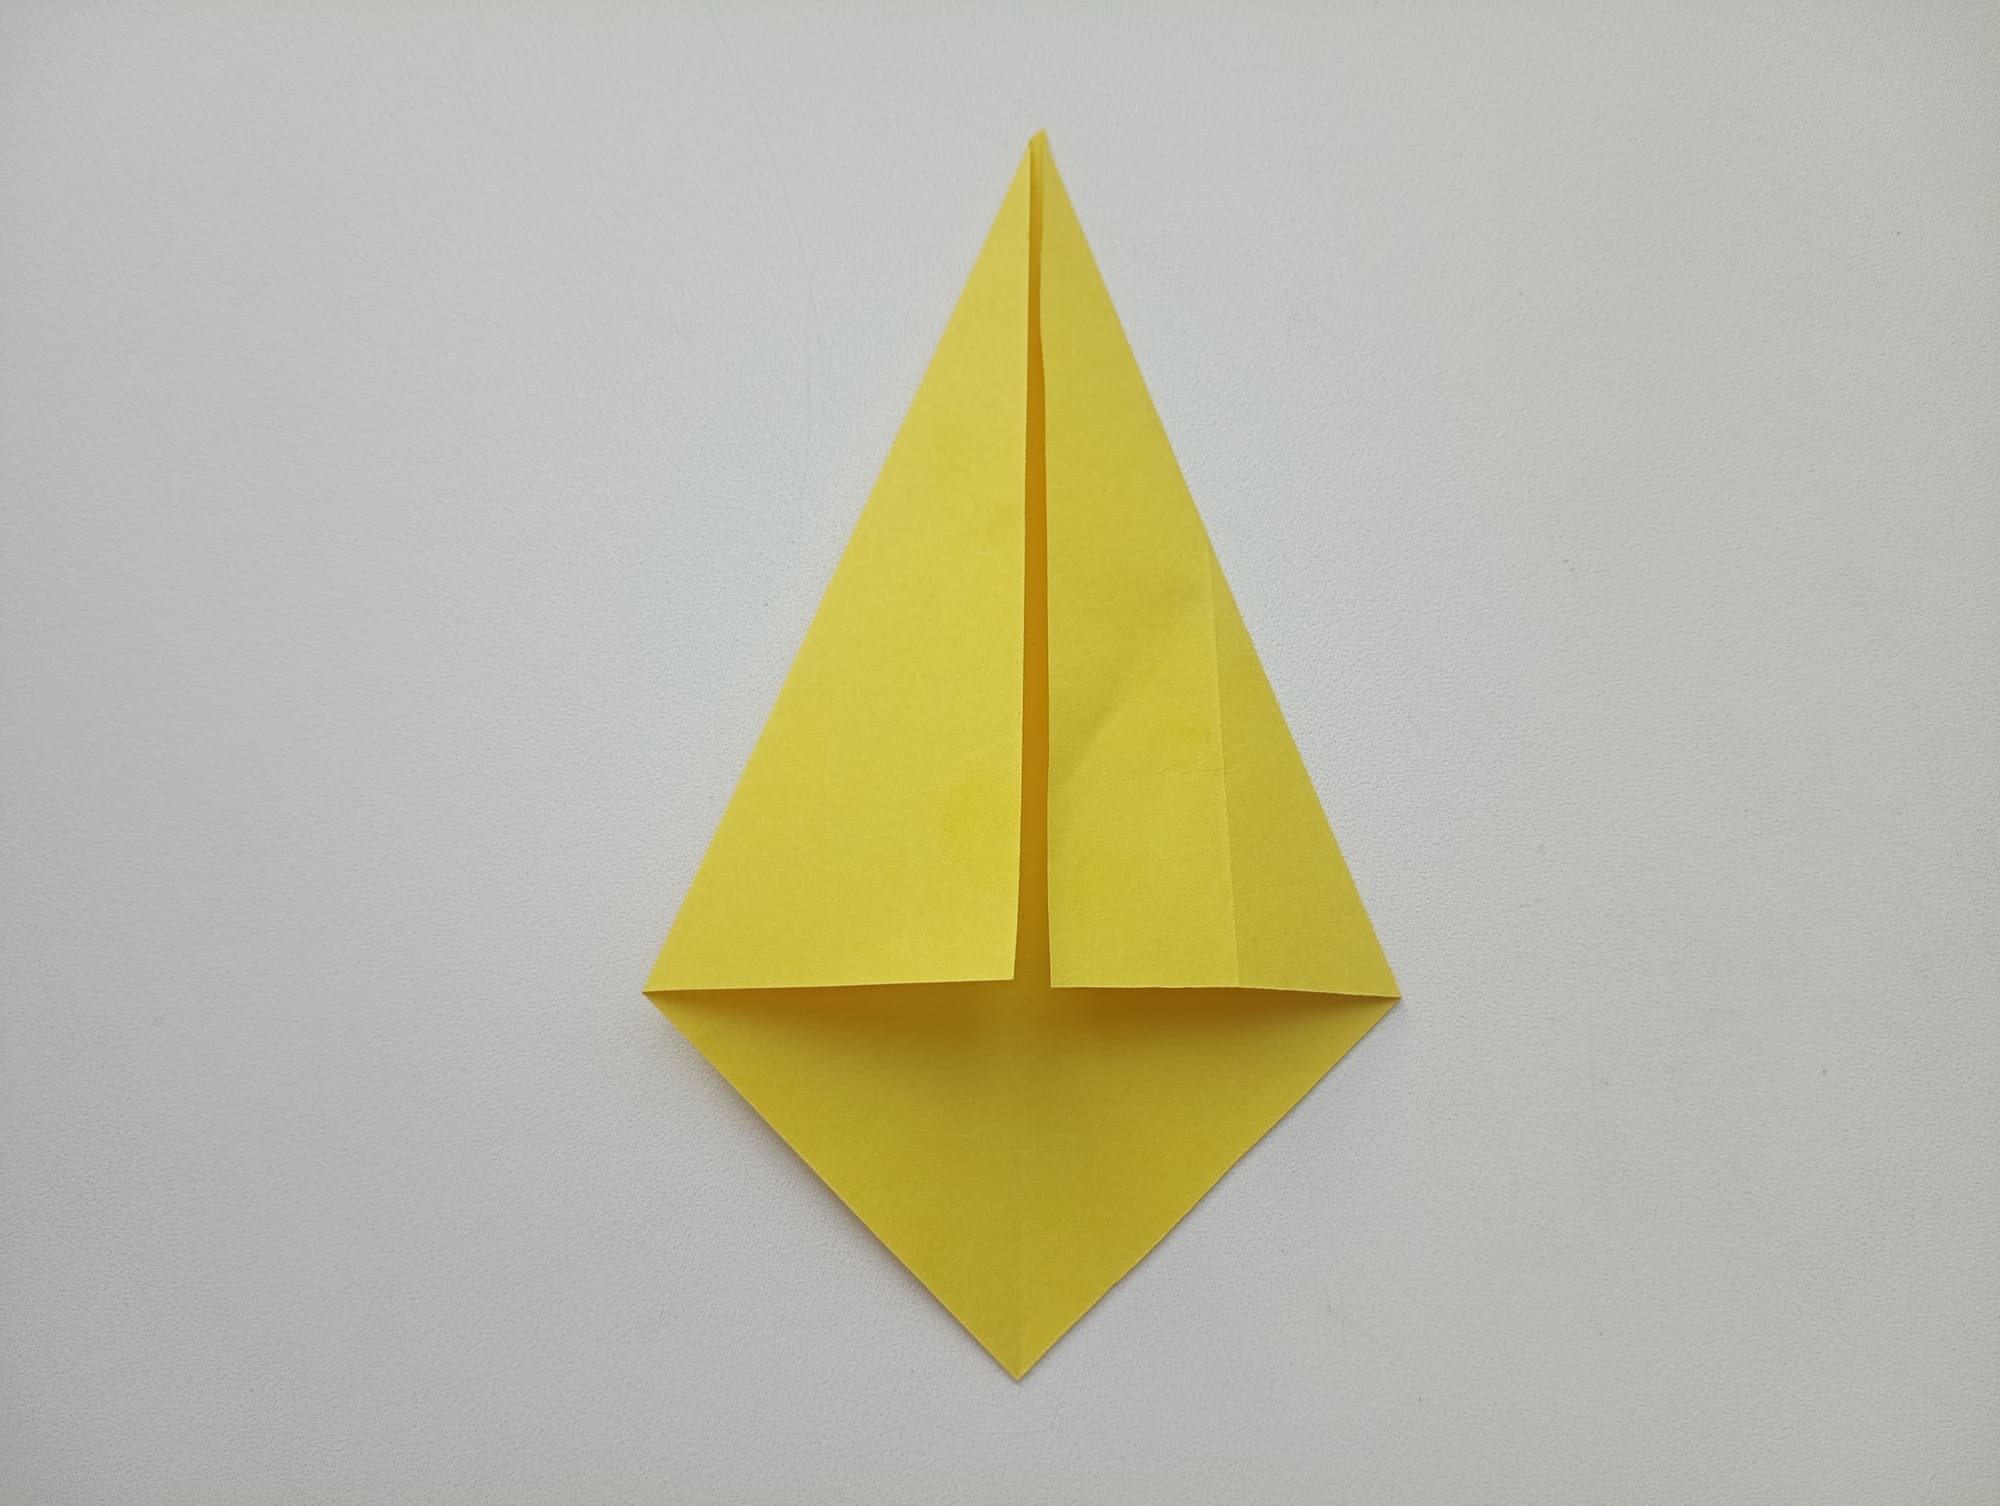
Connect the sides again in the center.
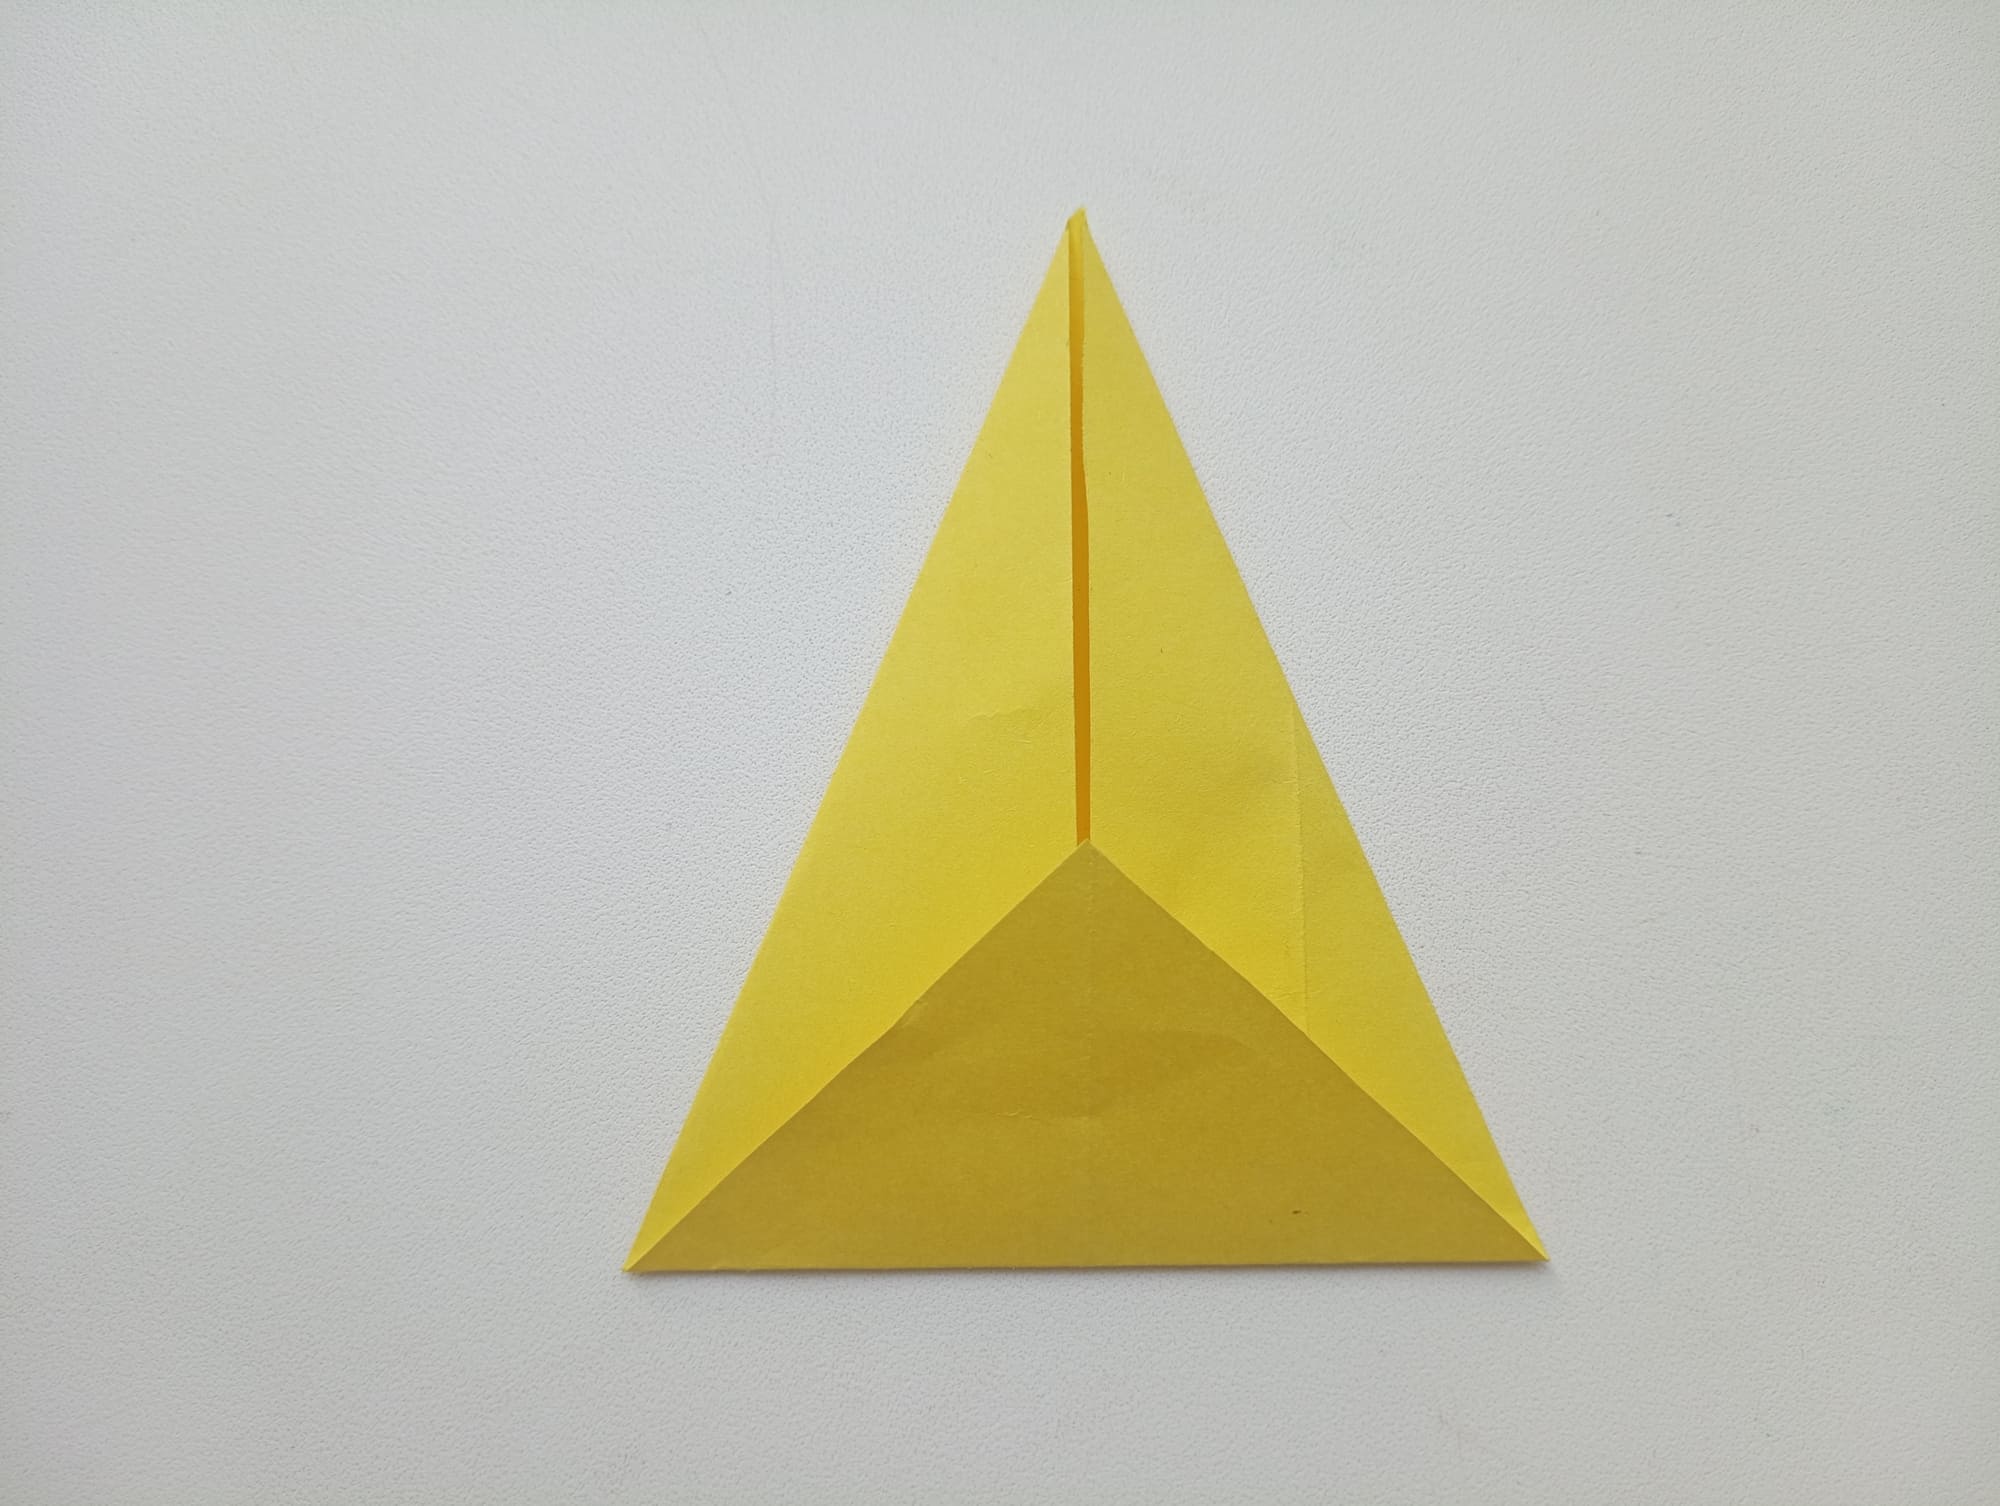
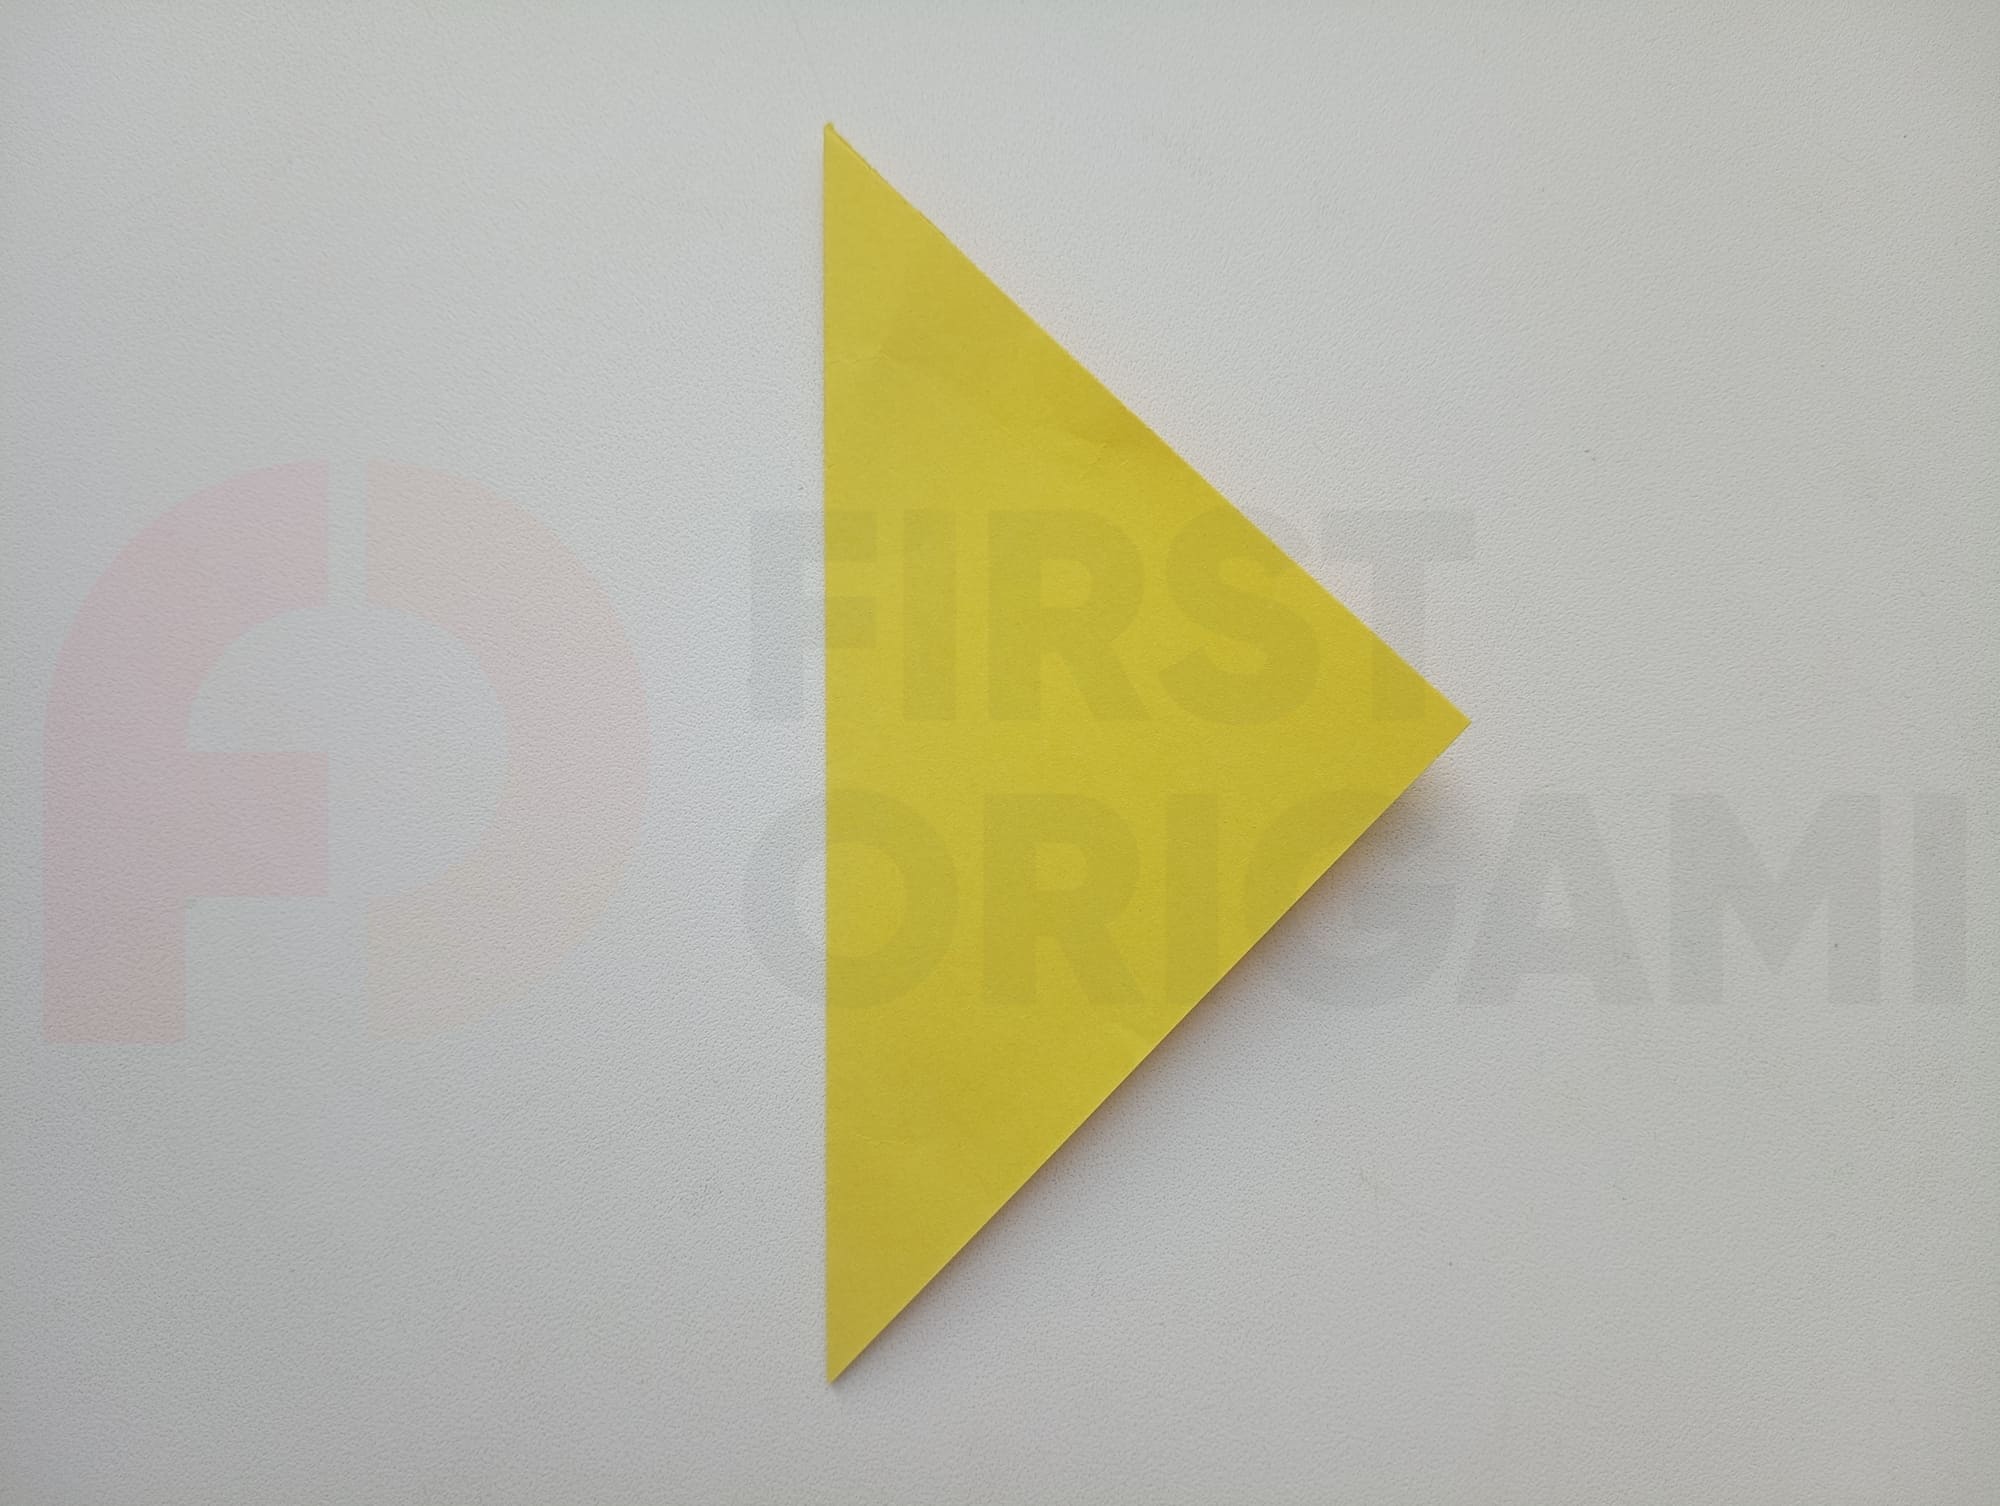
Raise the bottom tip, as in the photo.
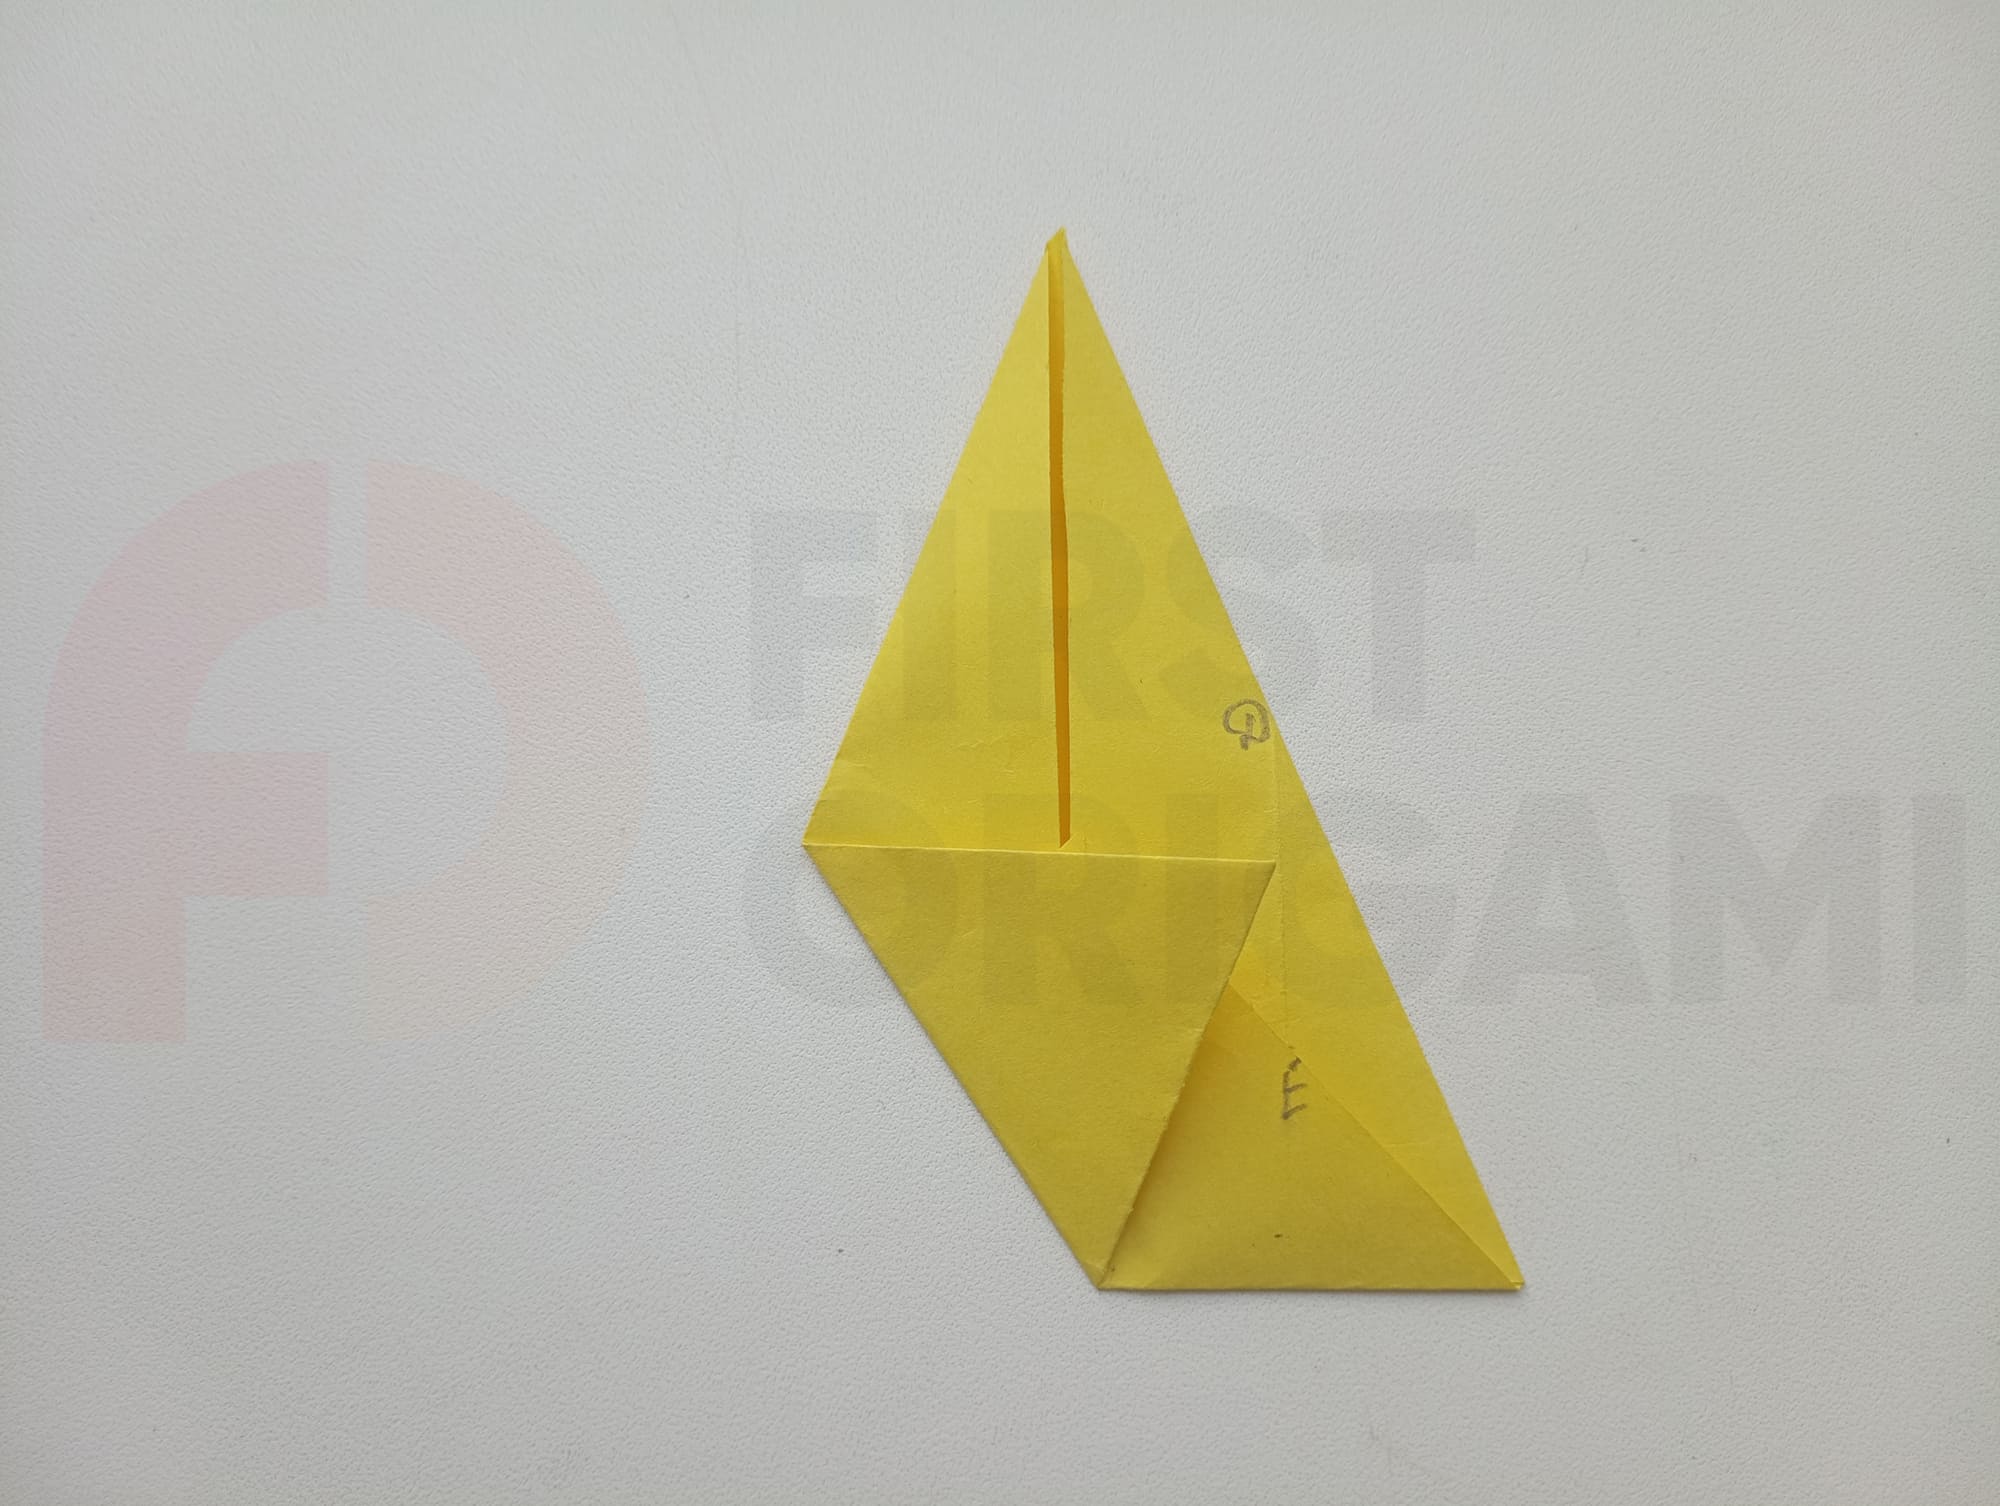
This is a non-standard move for origami. Bend the lower left corner to the line formed along the ED axis. After the fold, the new line should extend from the center crease to the left side of the paper.

Unfold the figure completely.
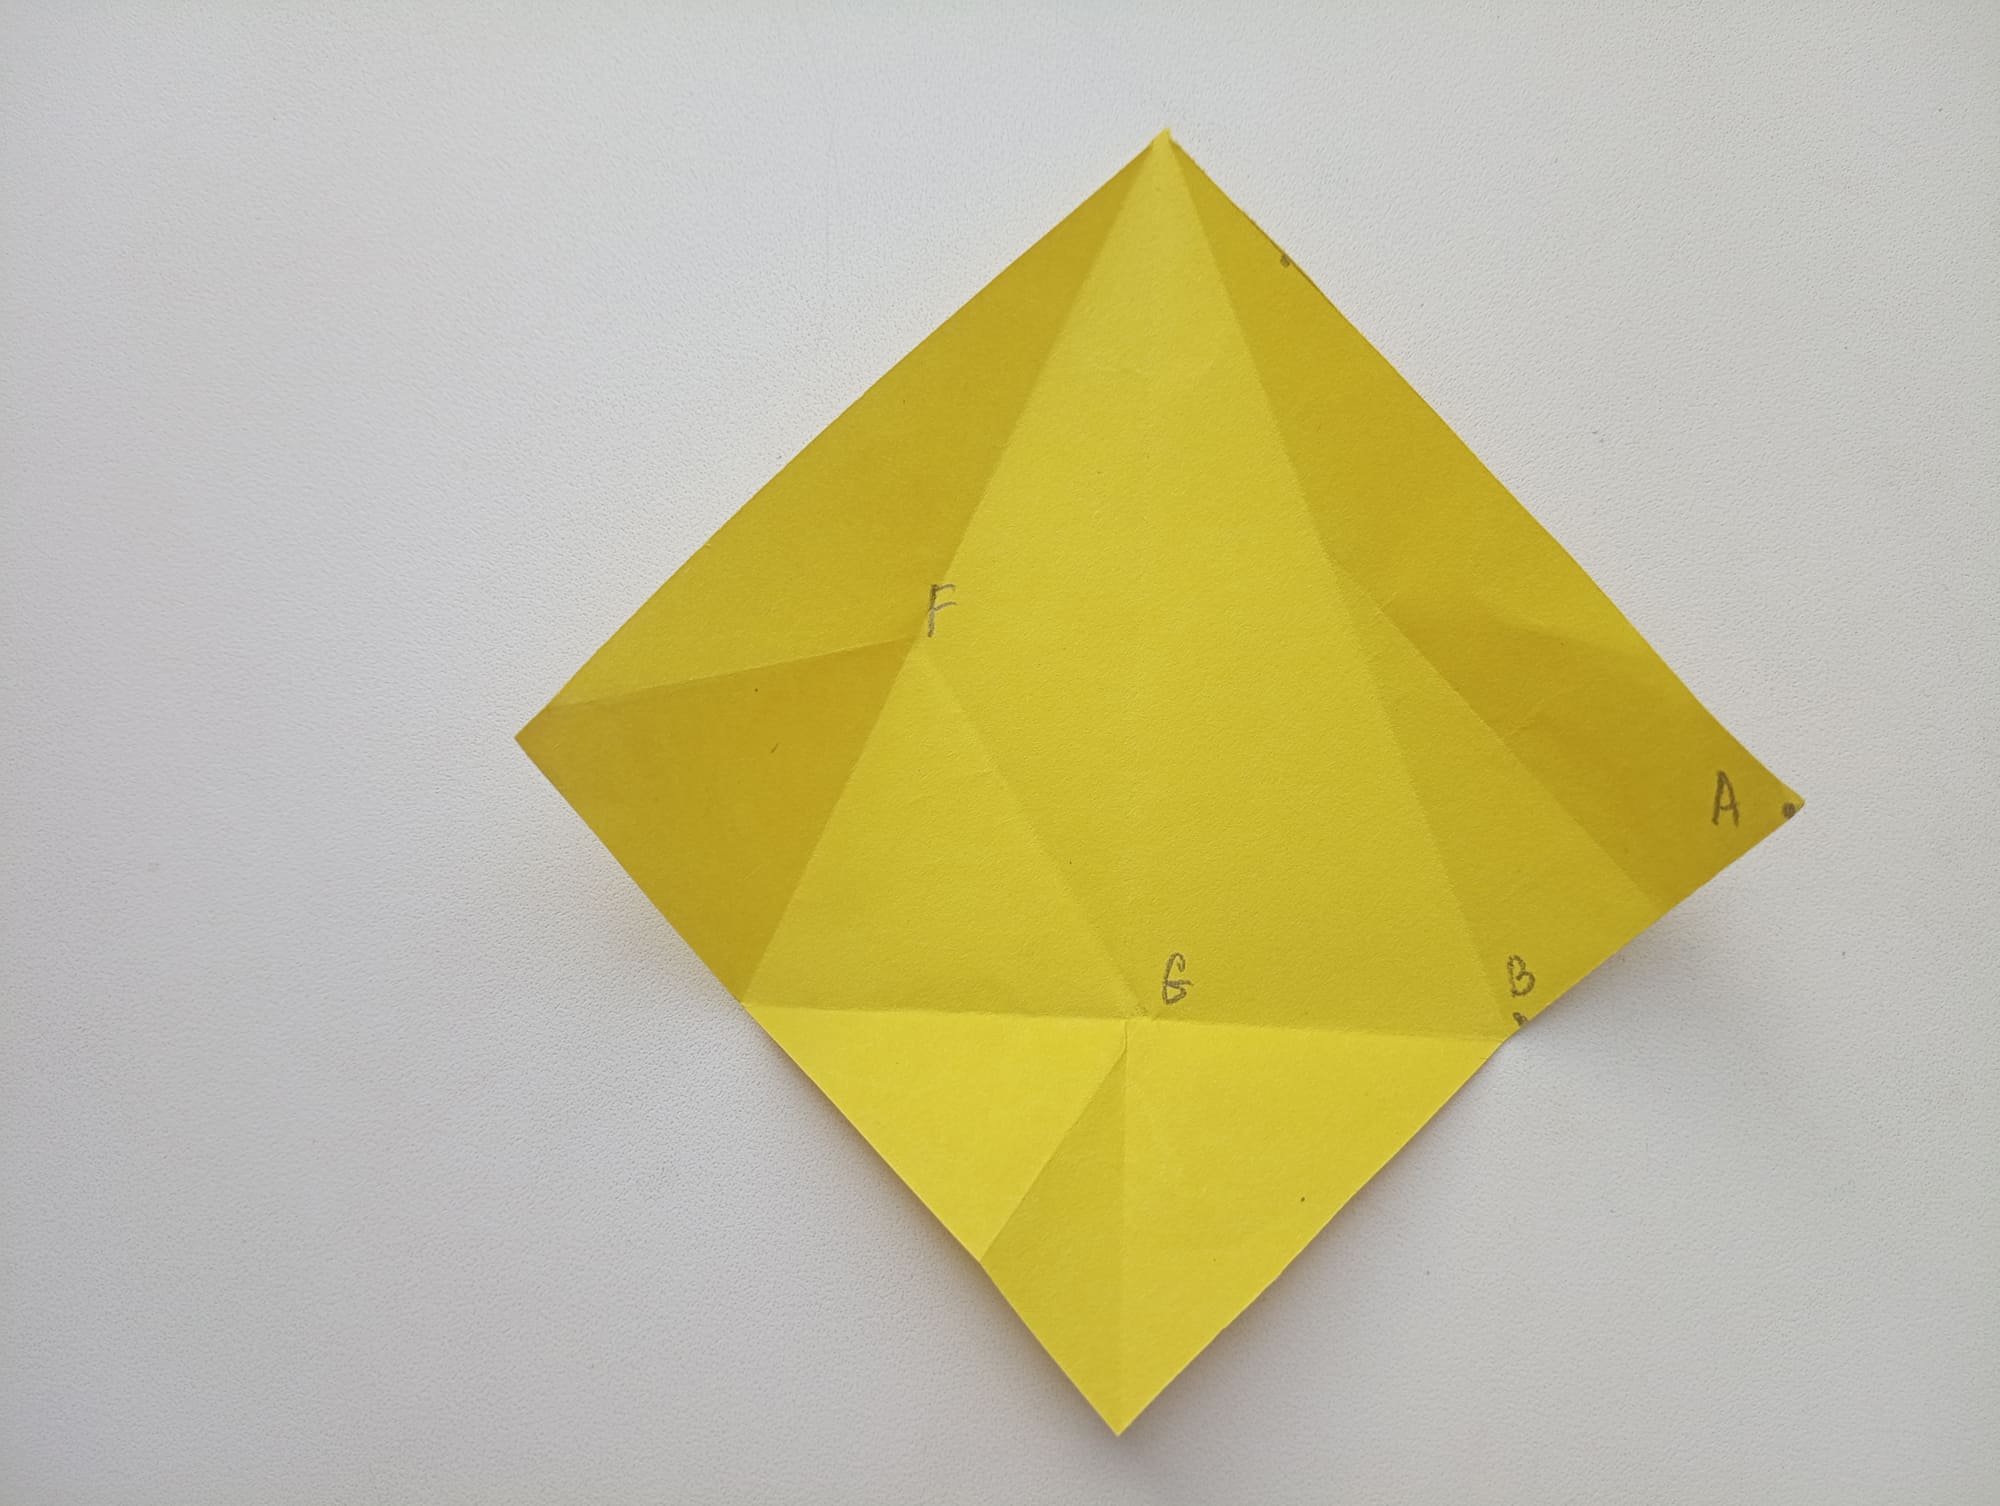
The second unusual technique for origami. The FG line must be extended with a fold to the bottom edge. To do this, perform a fold.
Without opening the sheet of paper, mark the X and Y points.
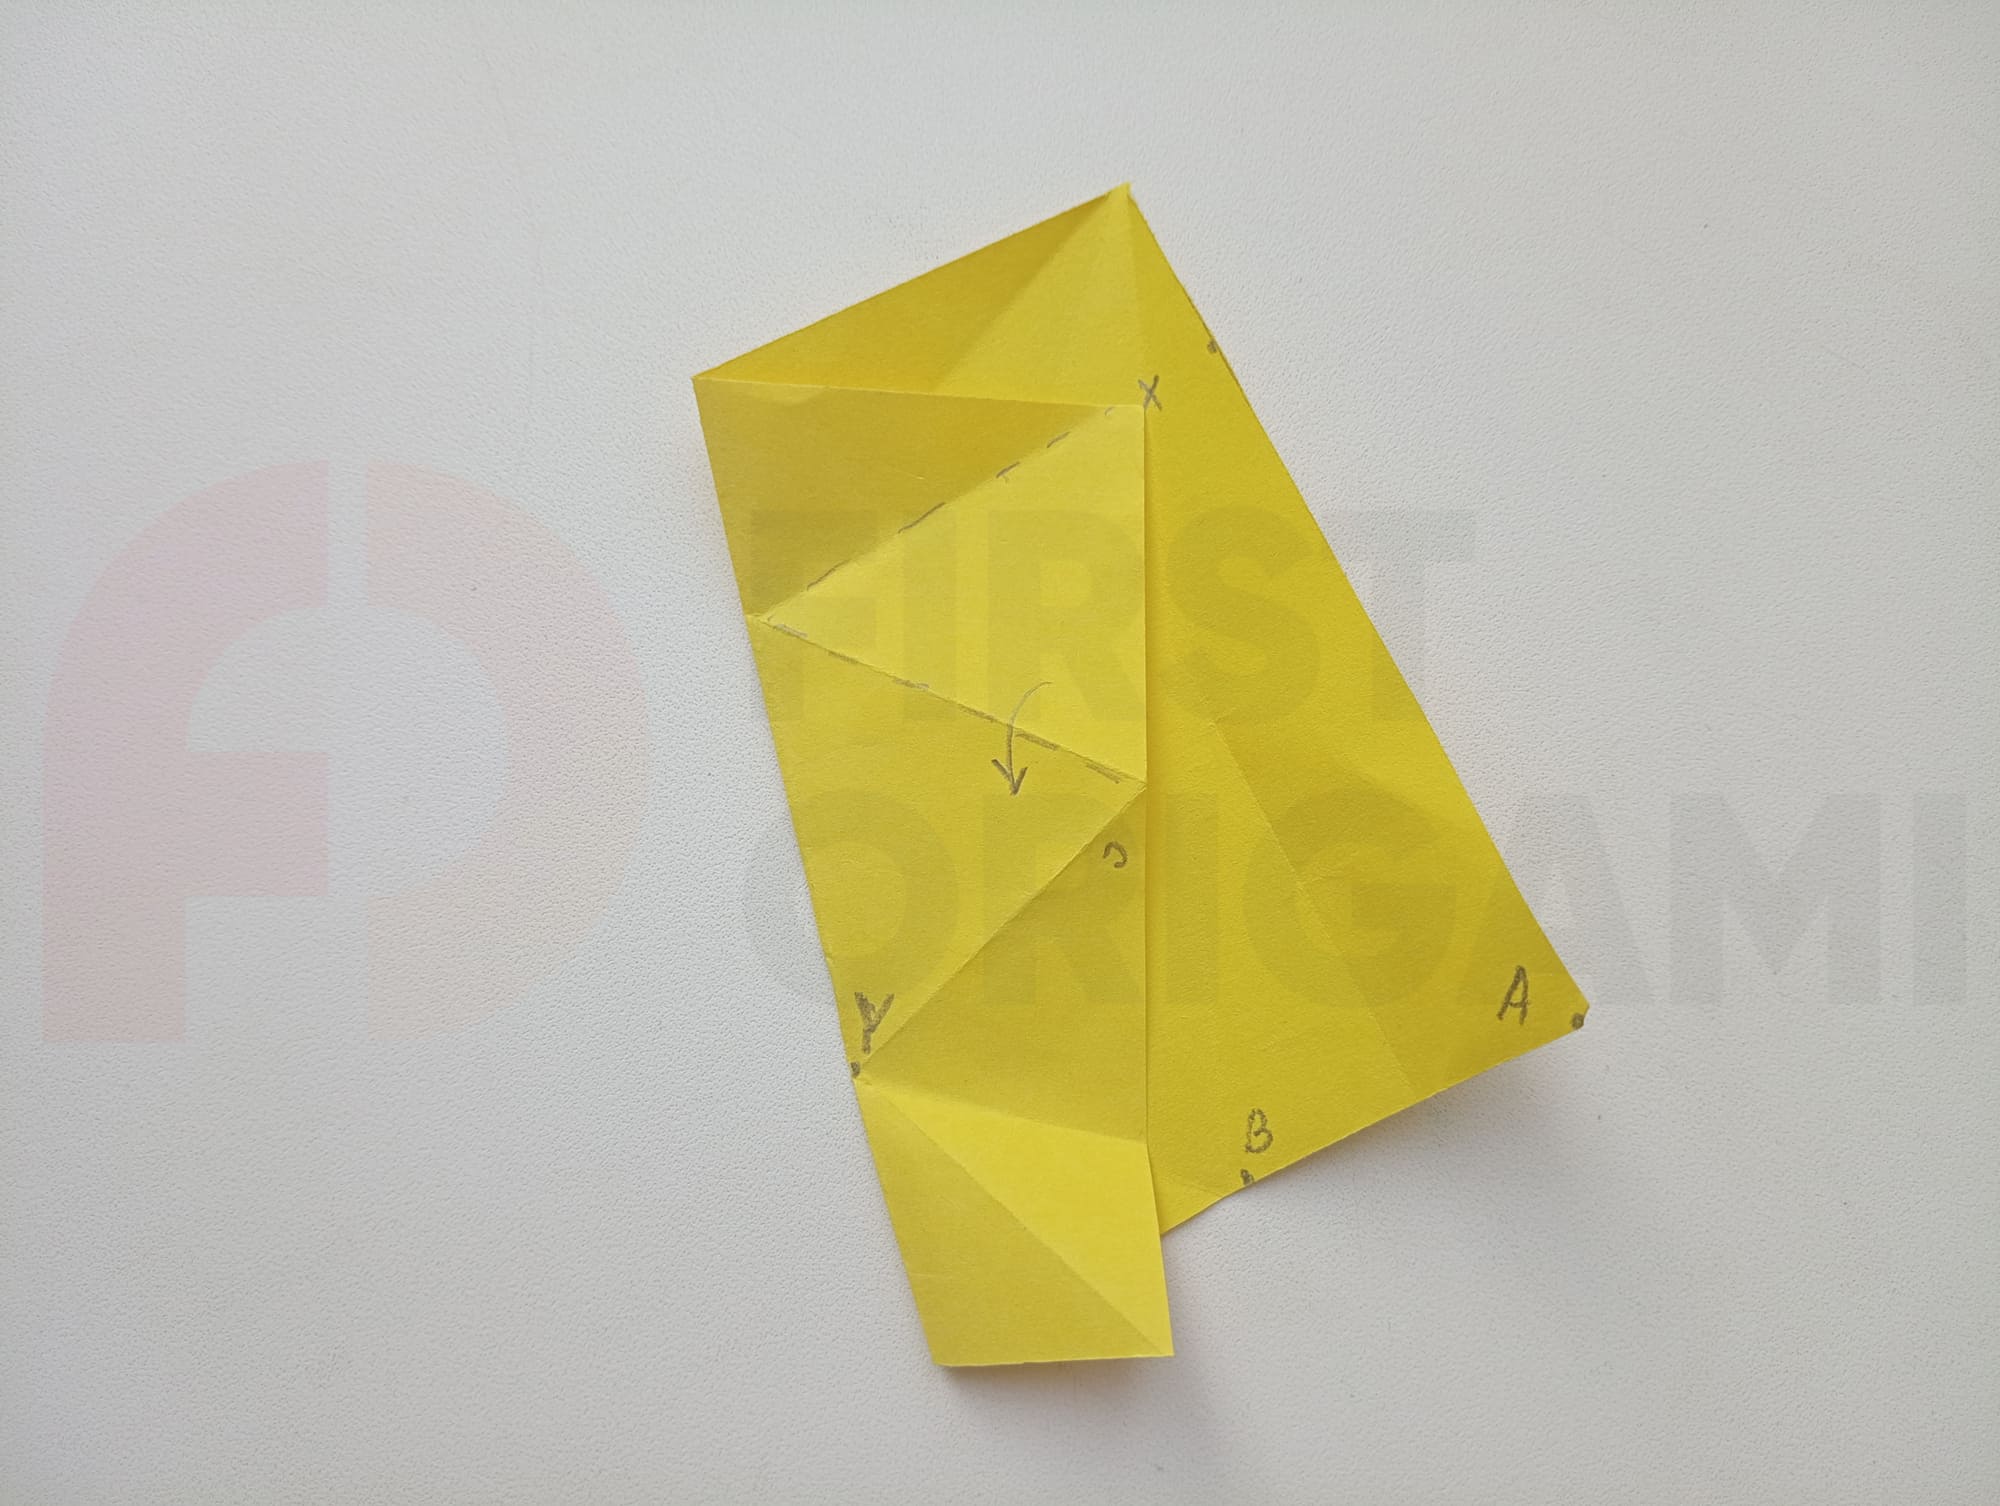
Folds will need to be made along them. The folds will follow the dotted lines (see photo).
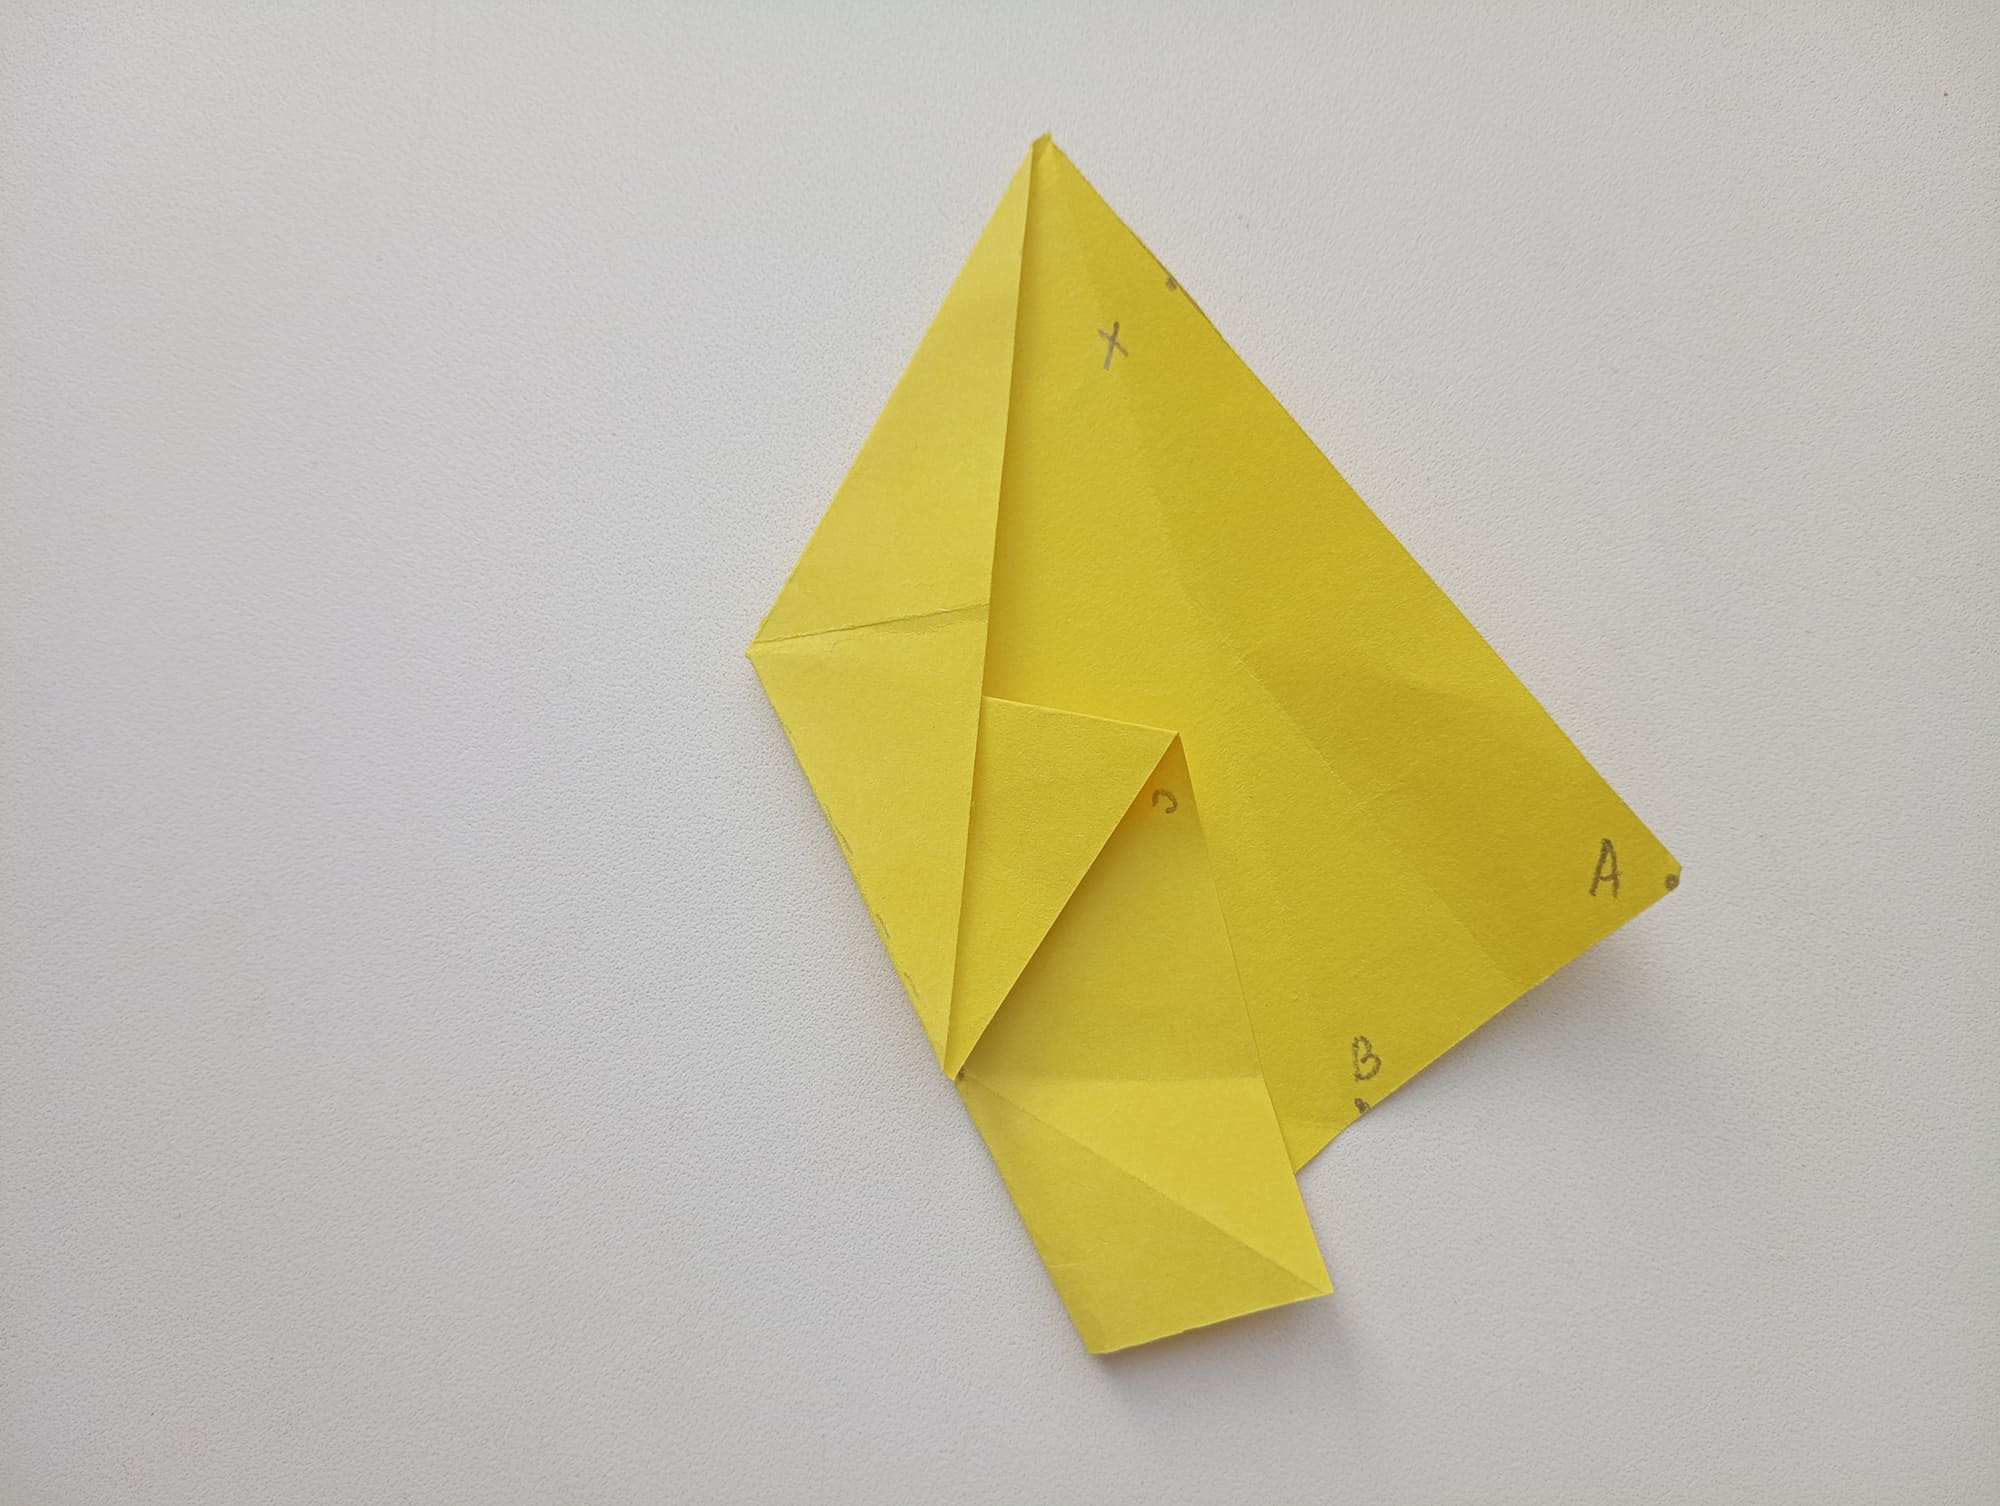
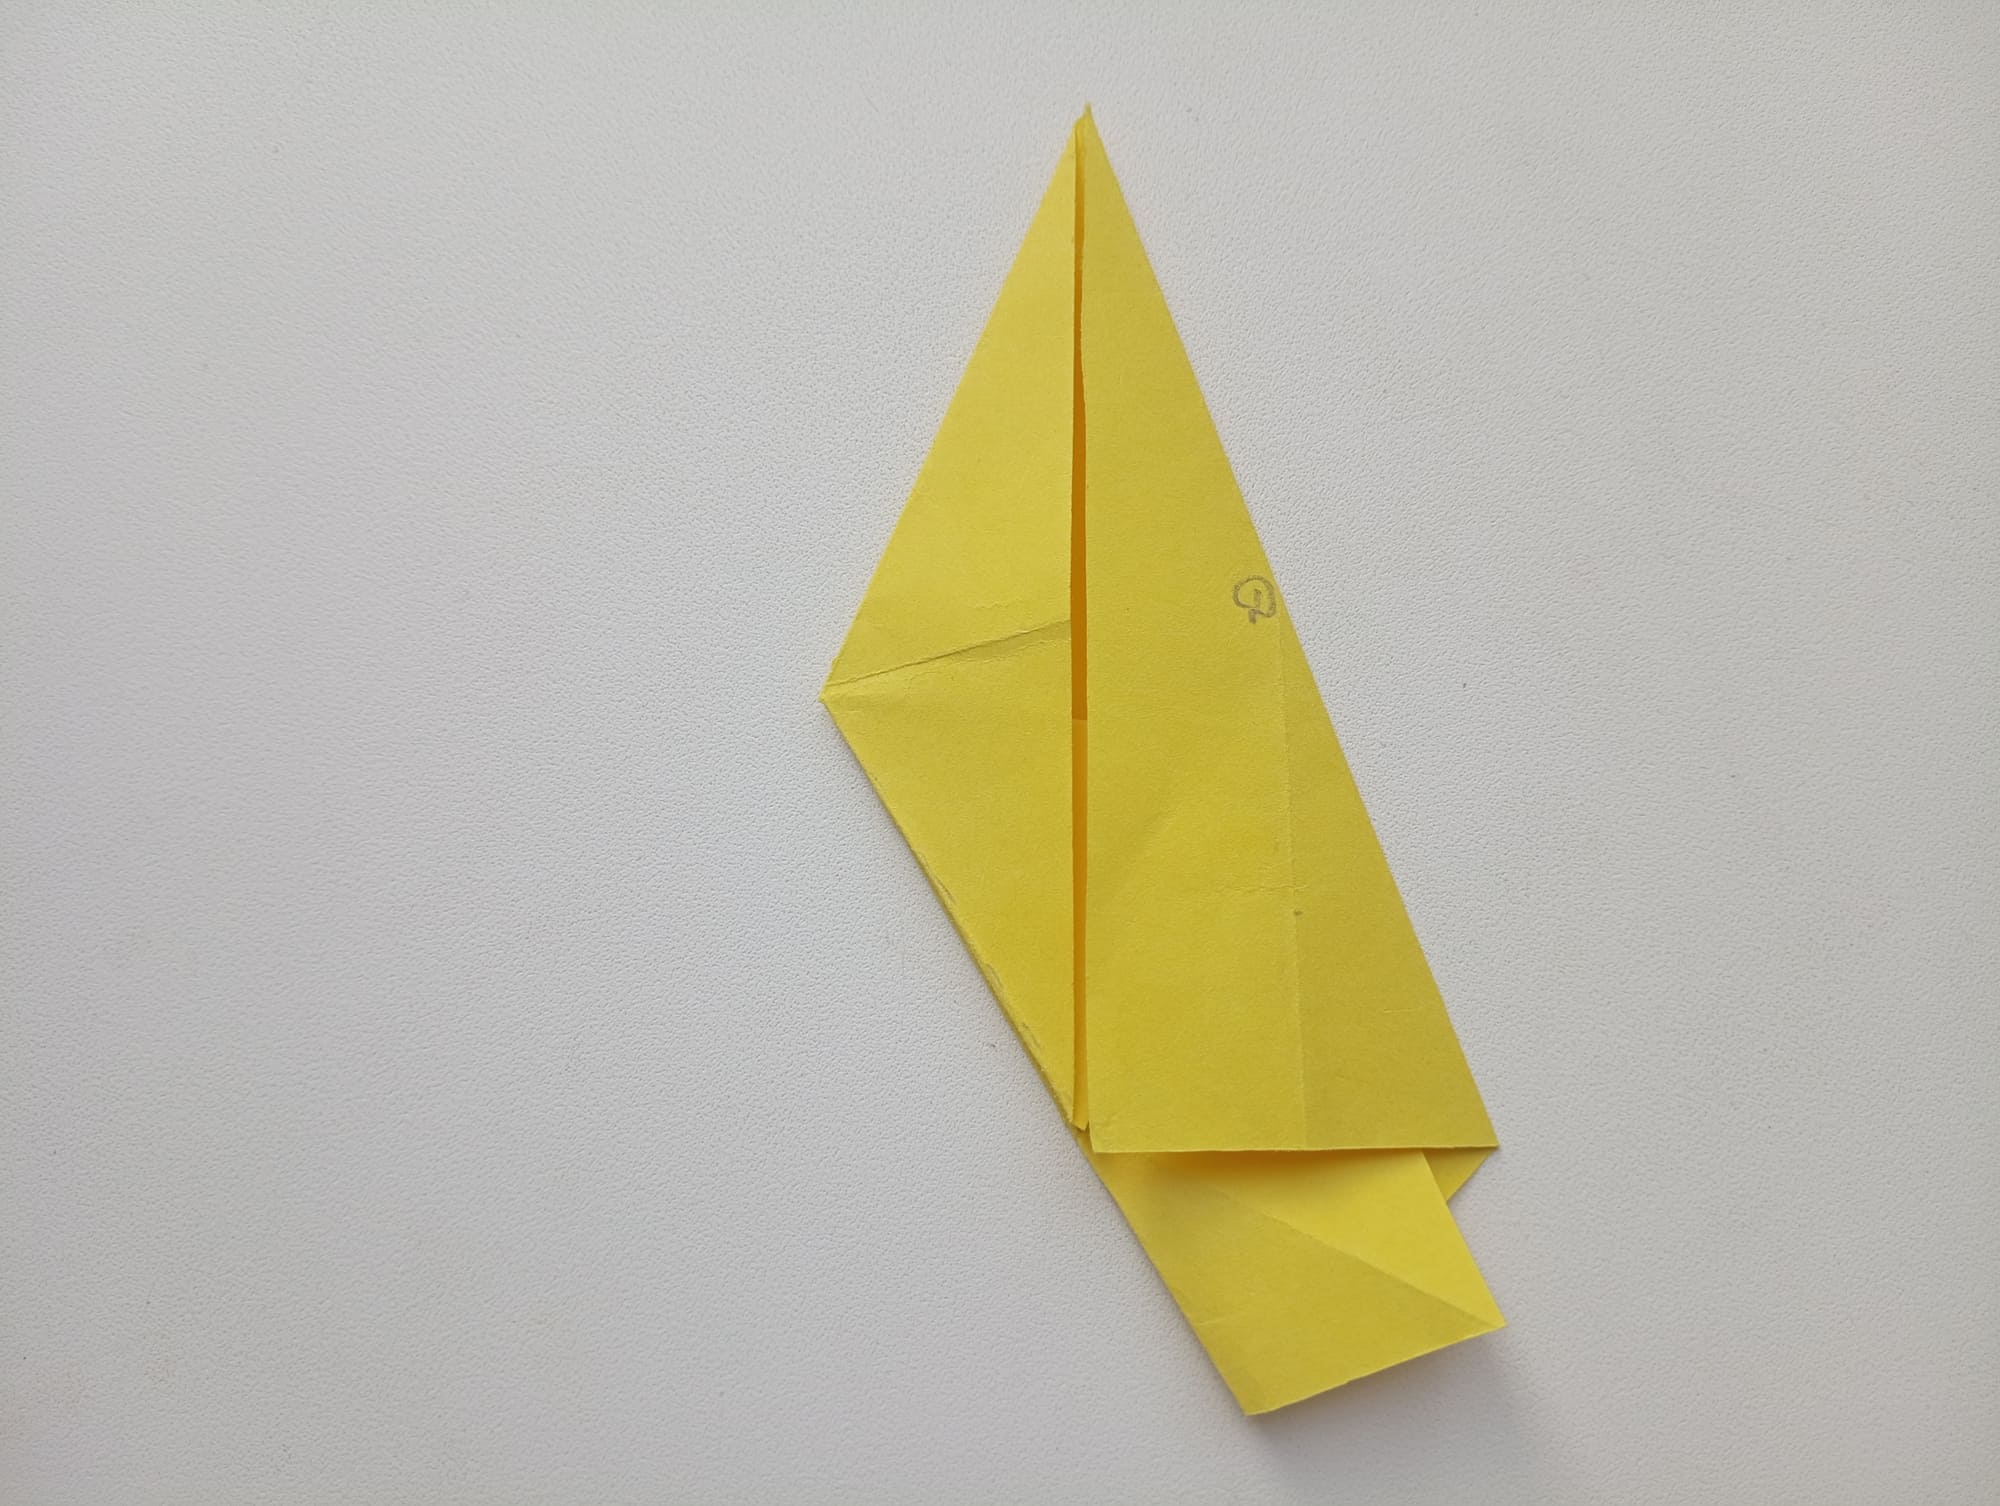
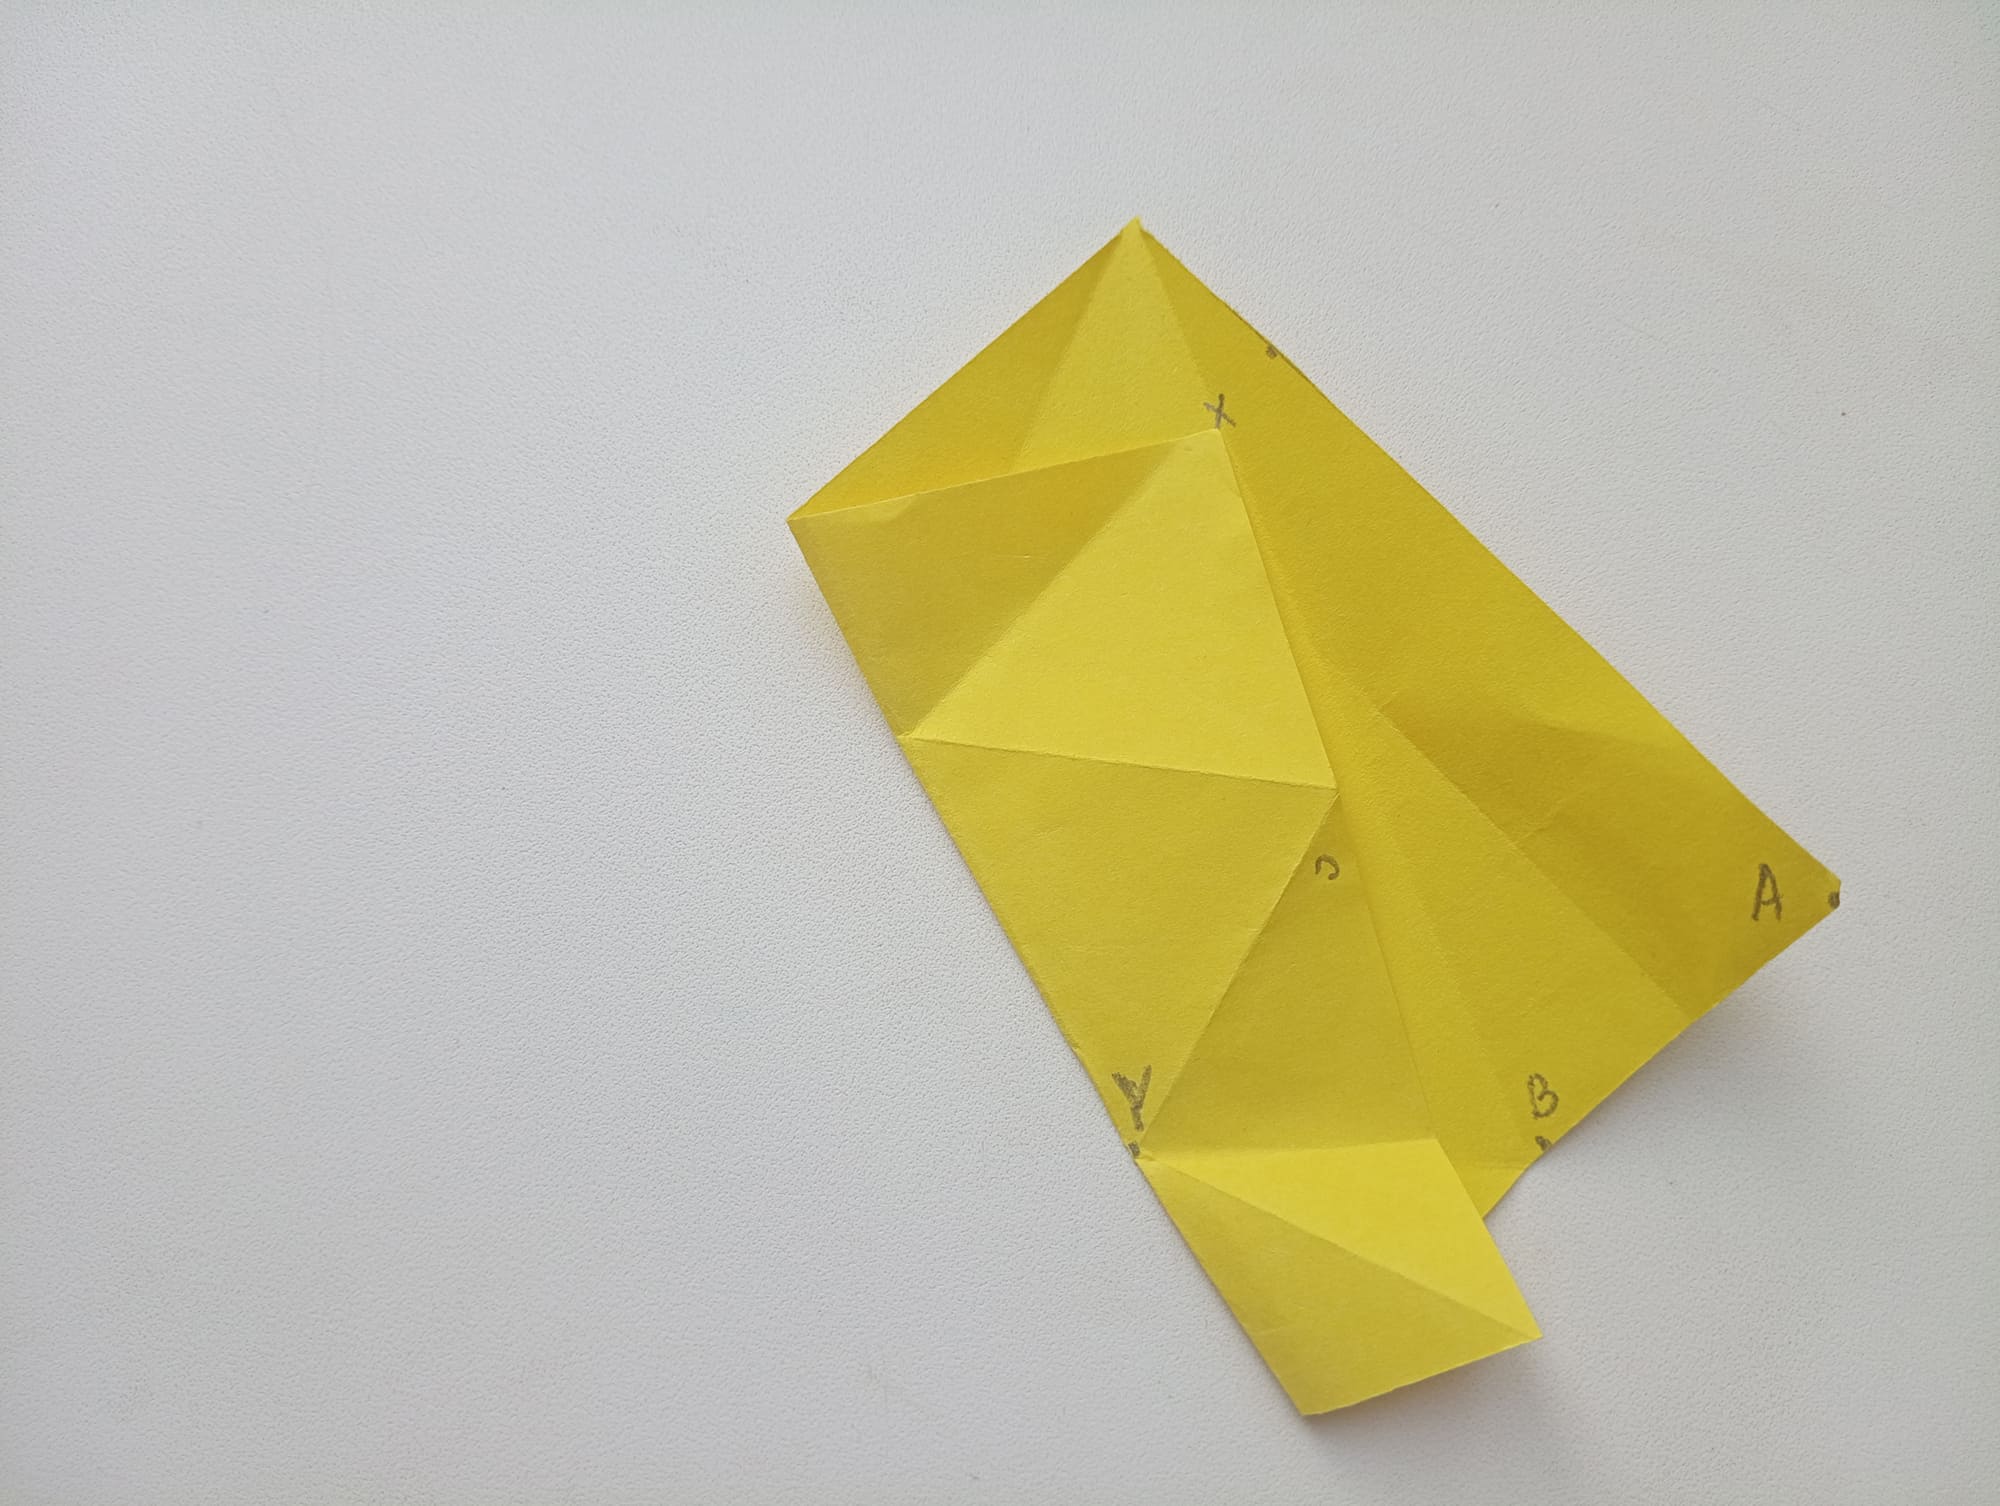
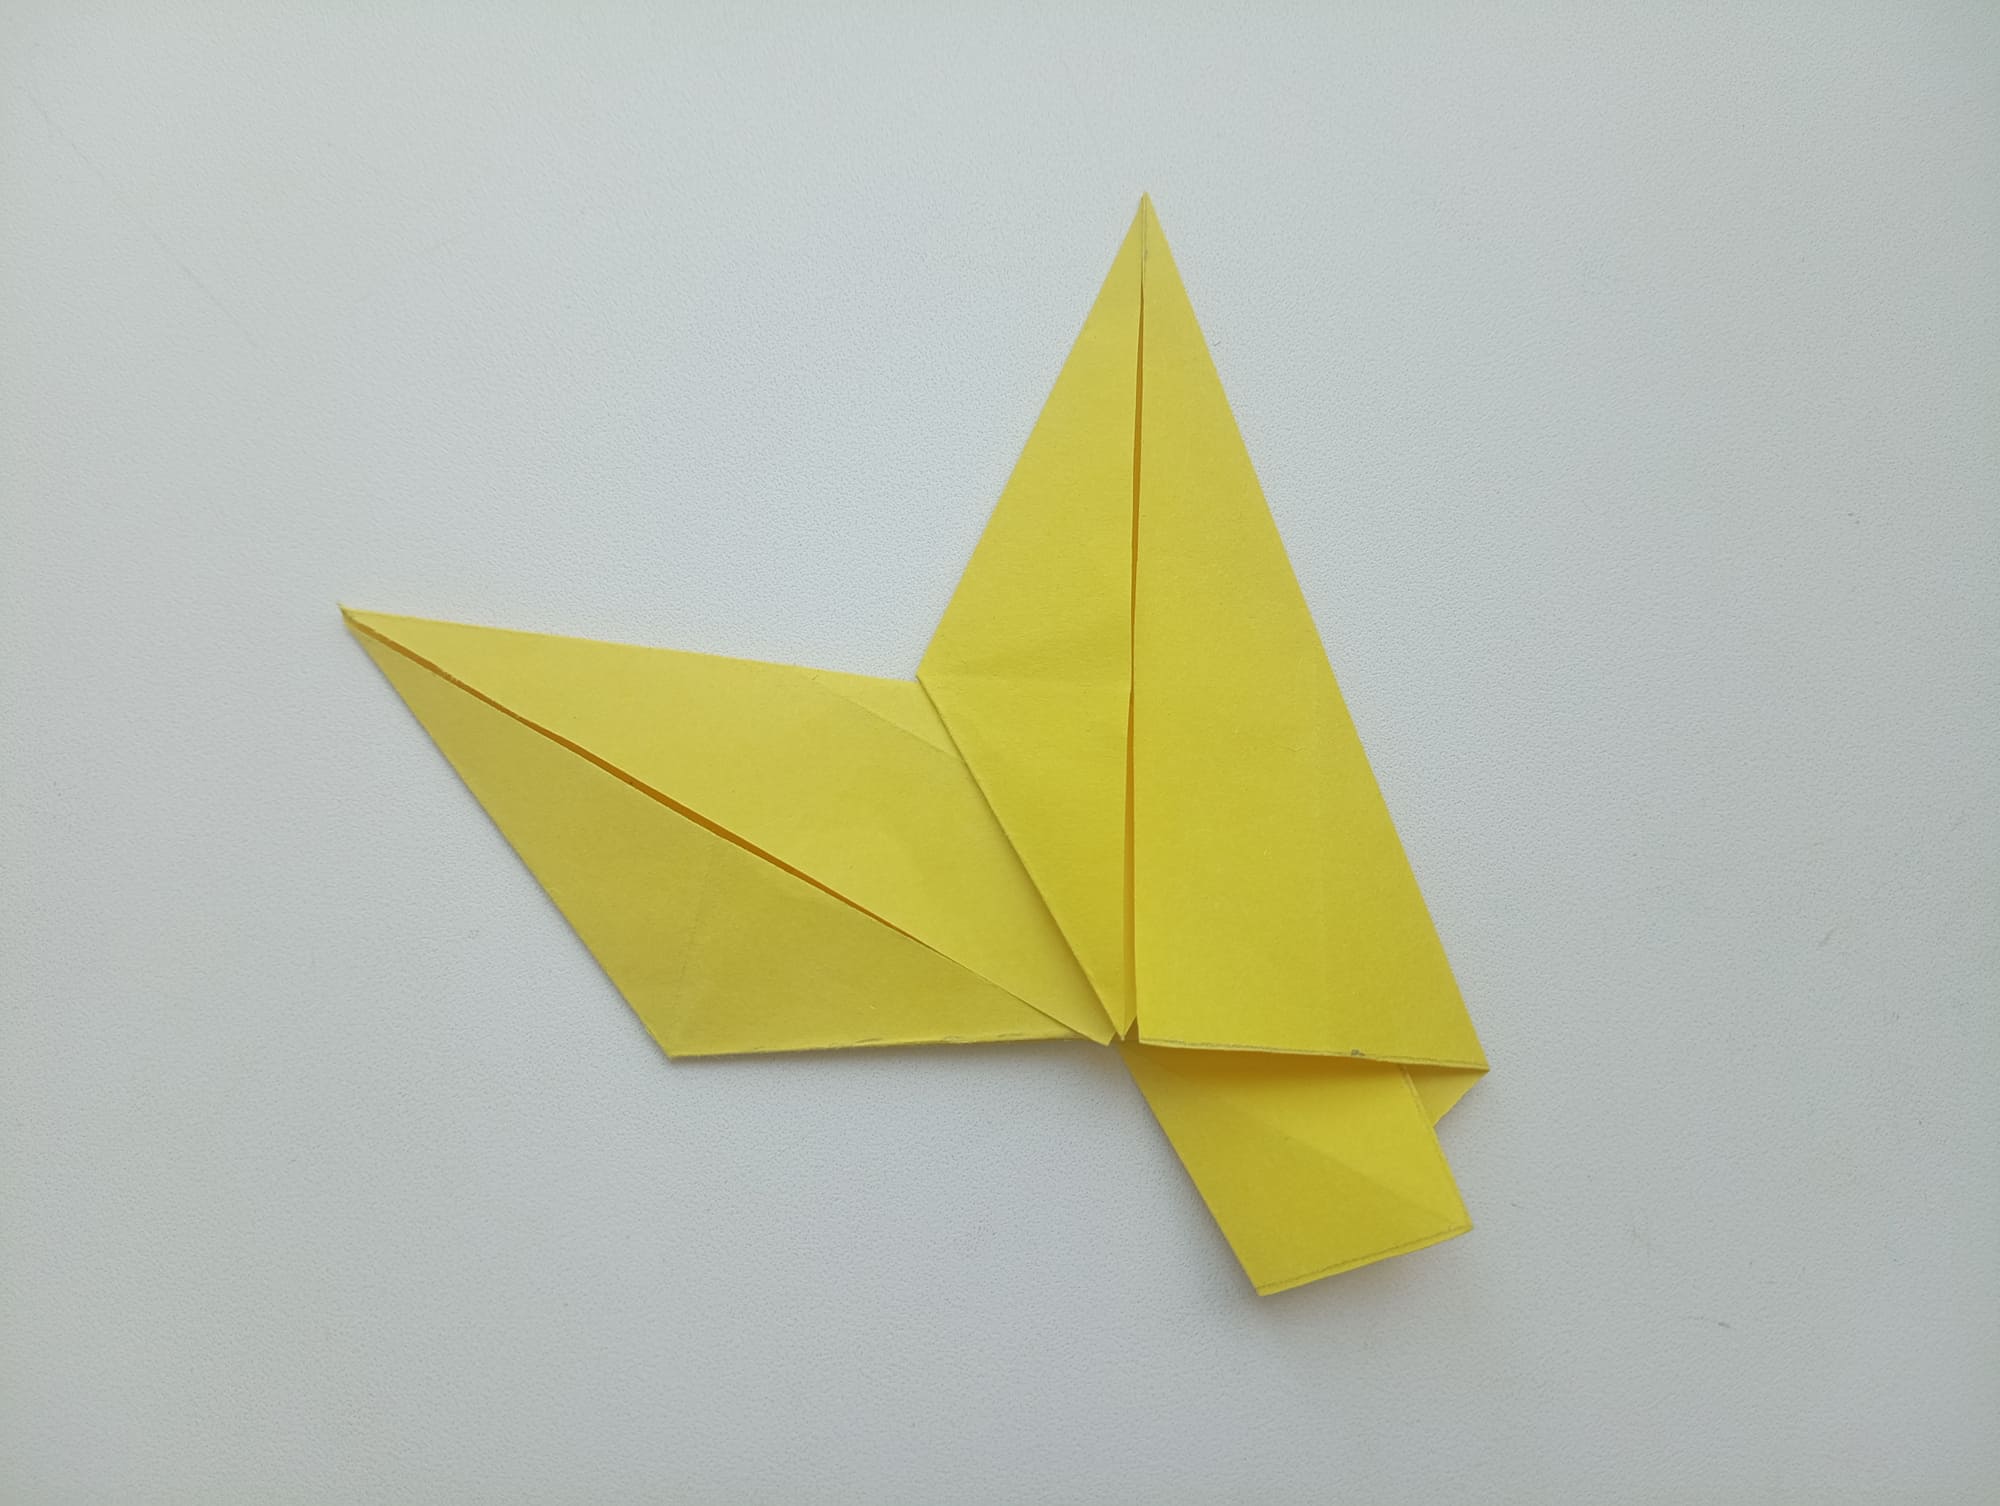
Connect the right side to the left in the center. One part is ready.
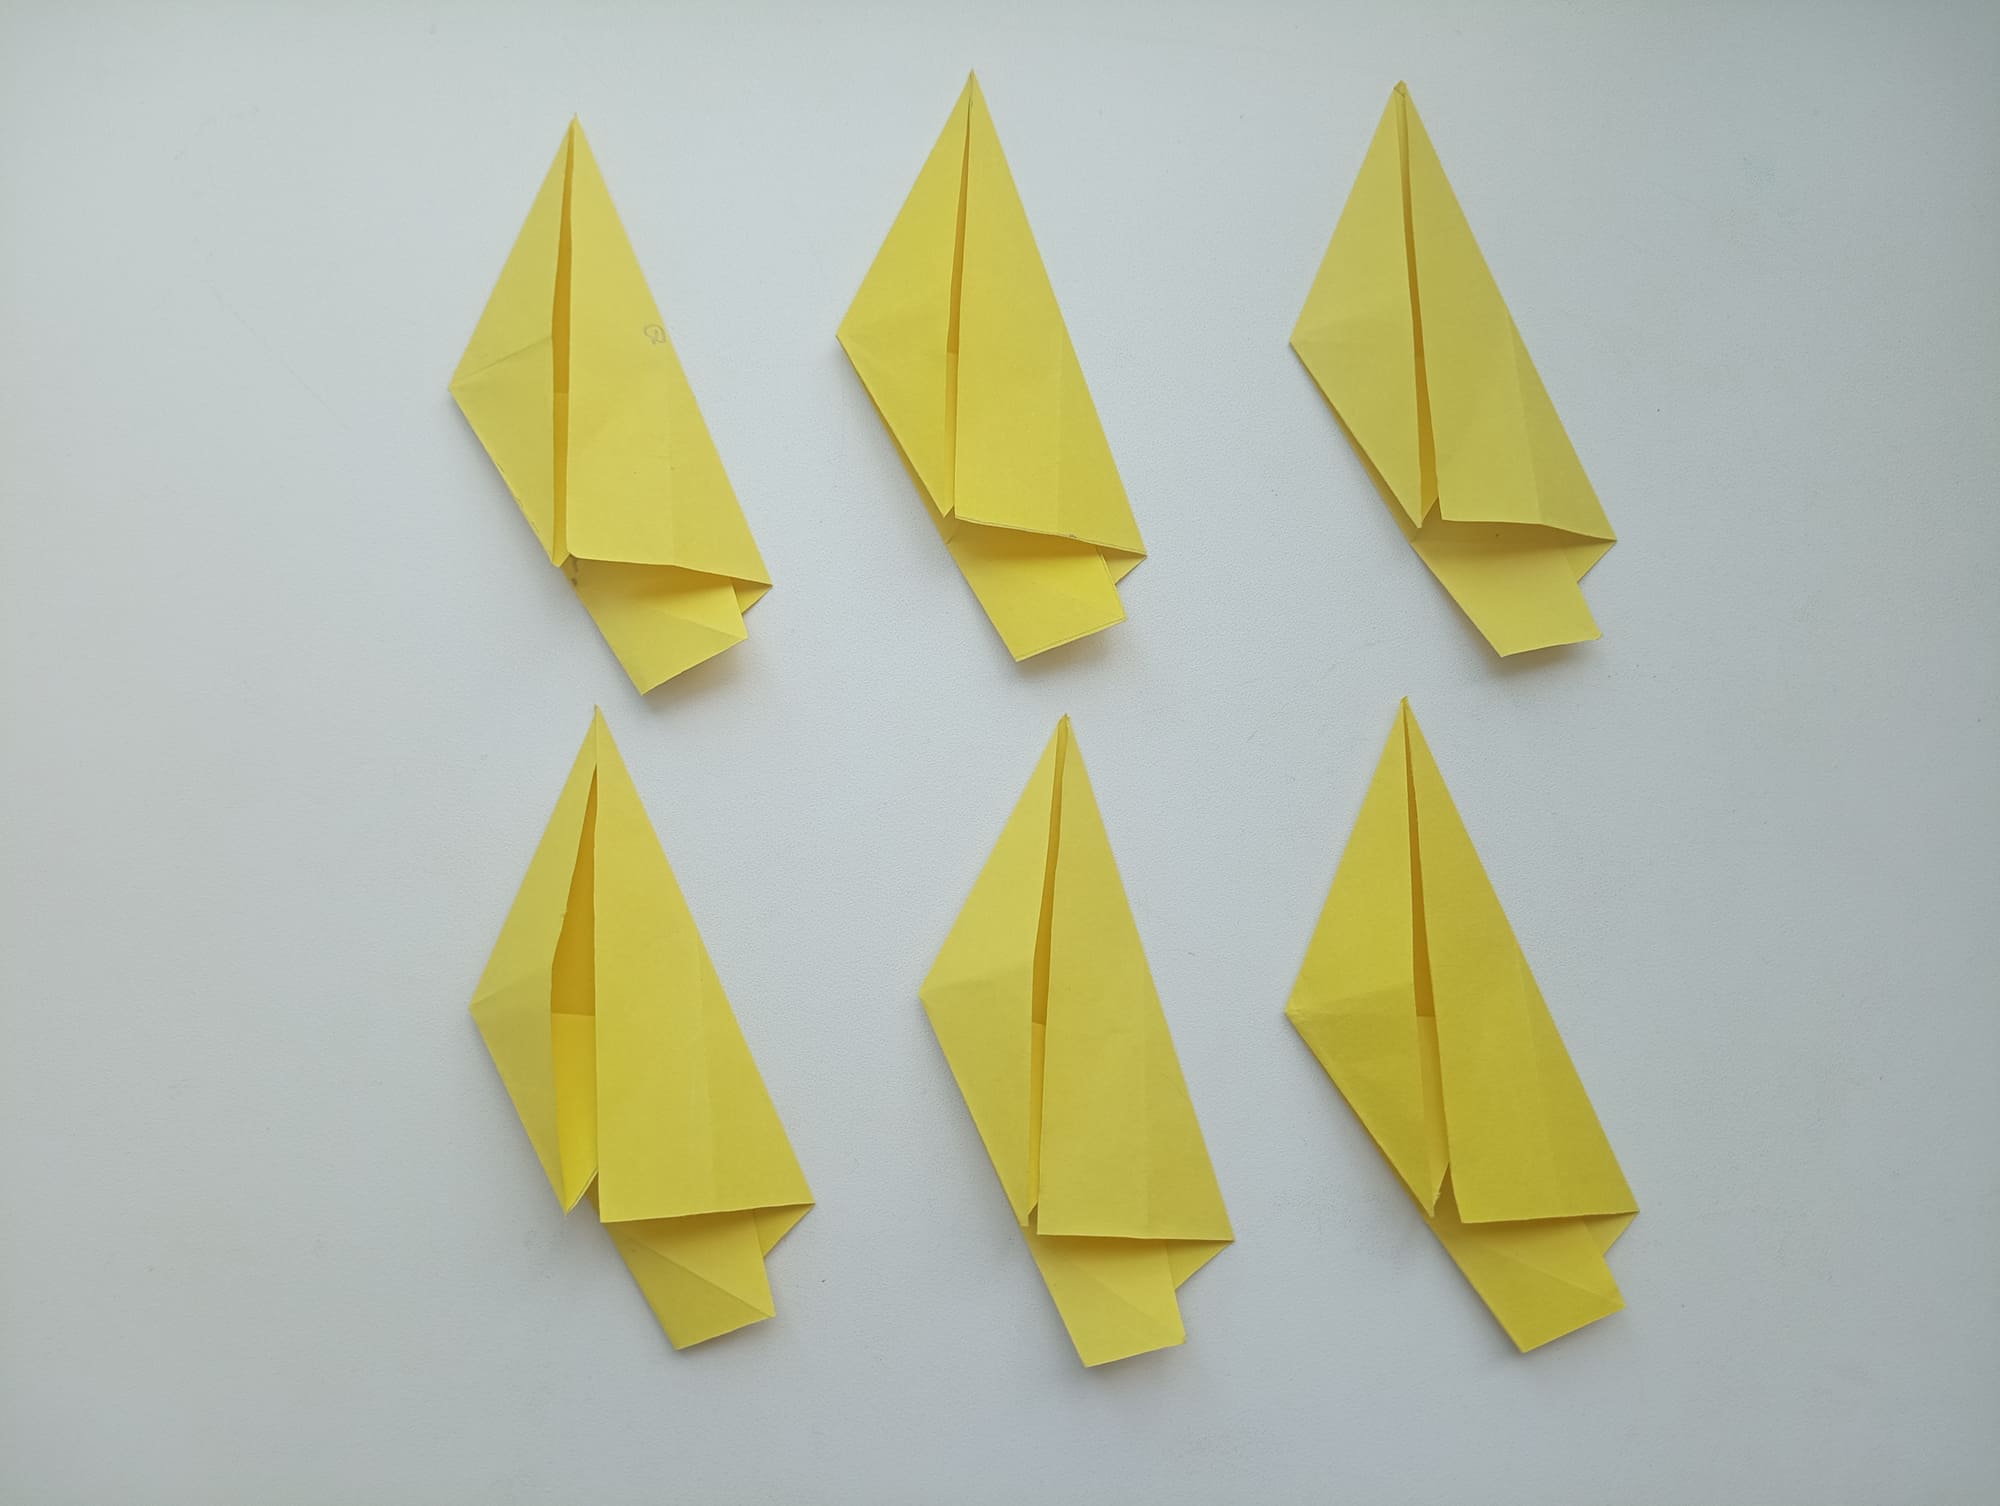
Repeat the folding process with the rest of the star. There should be six identical parts in total.

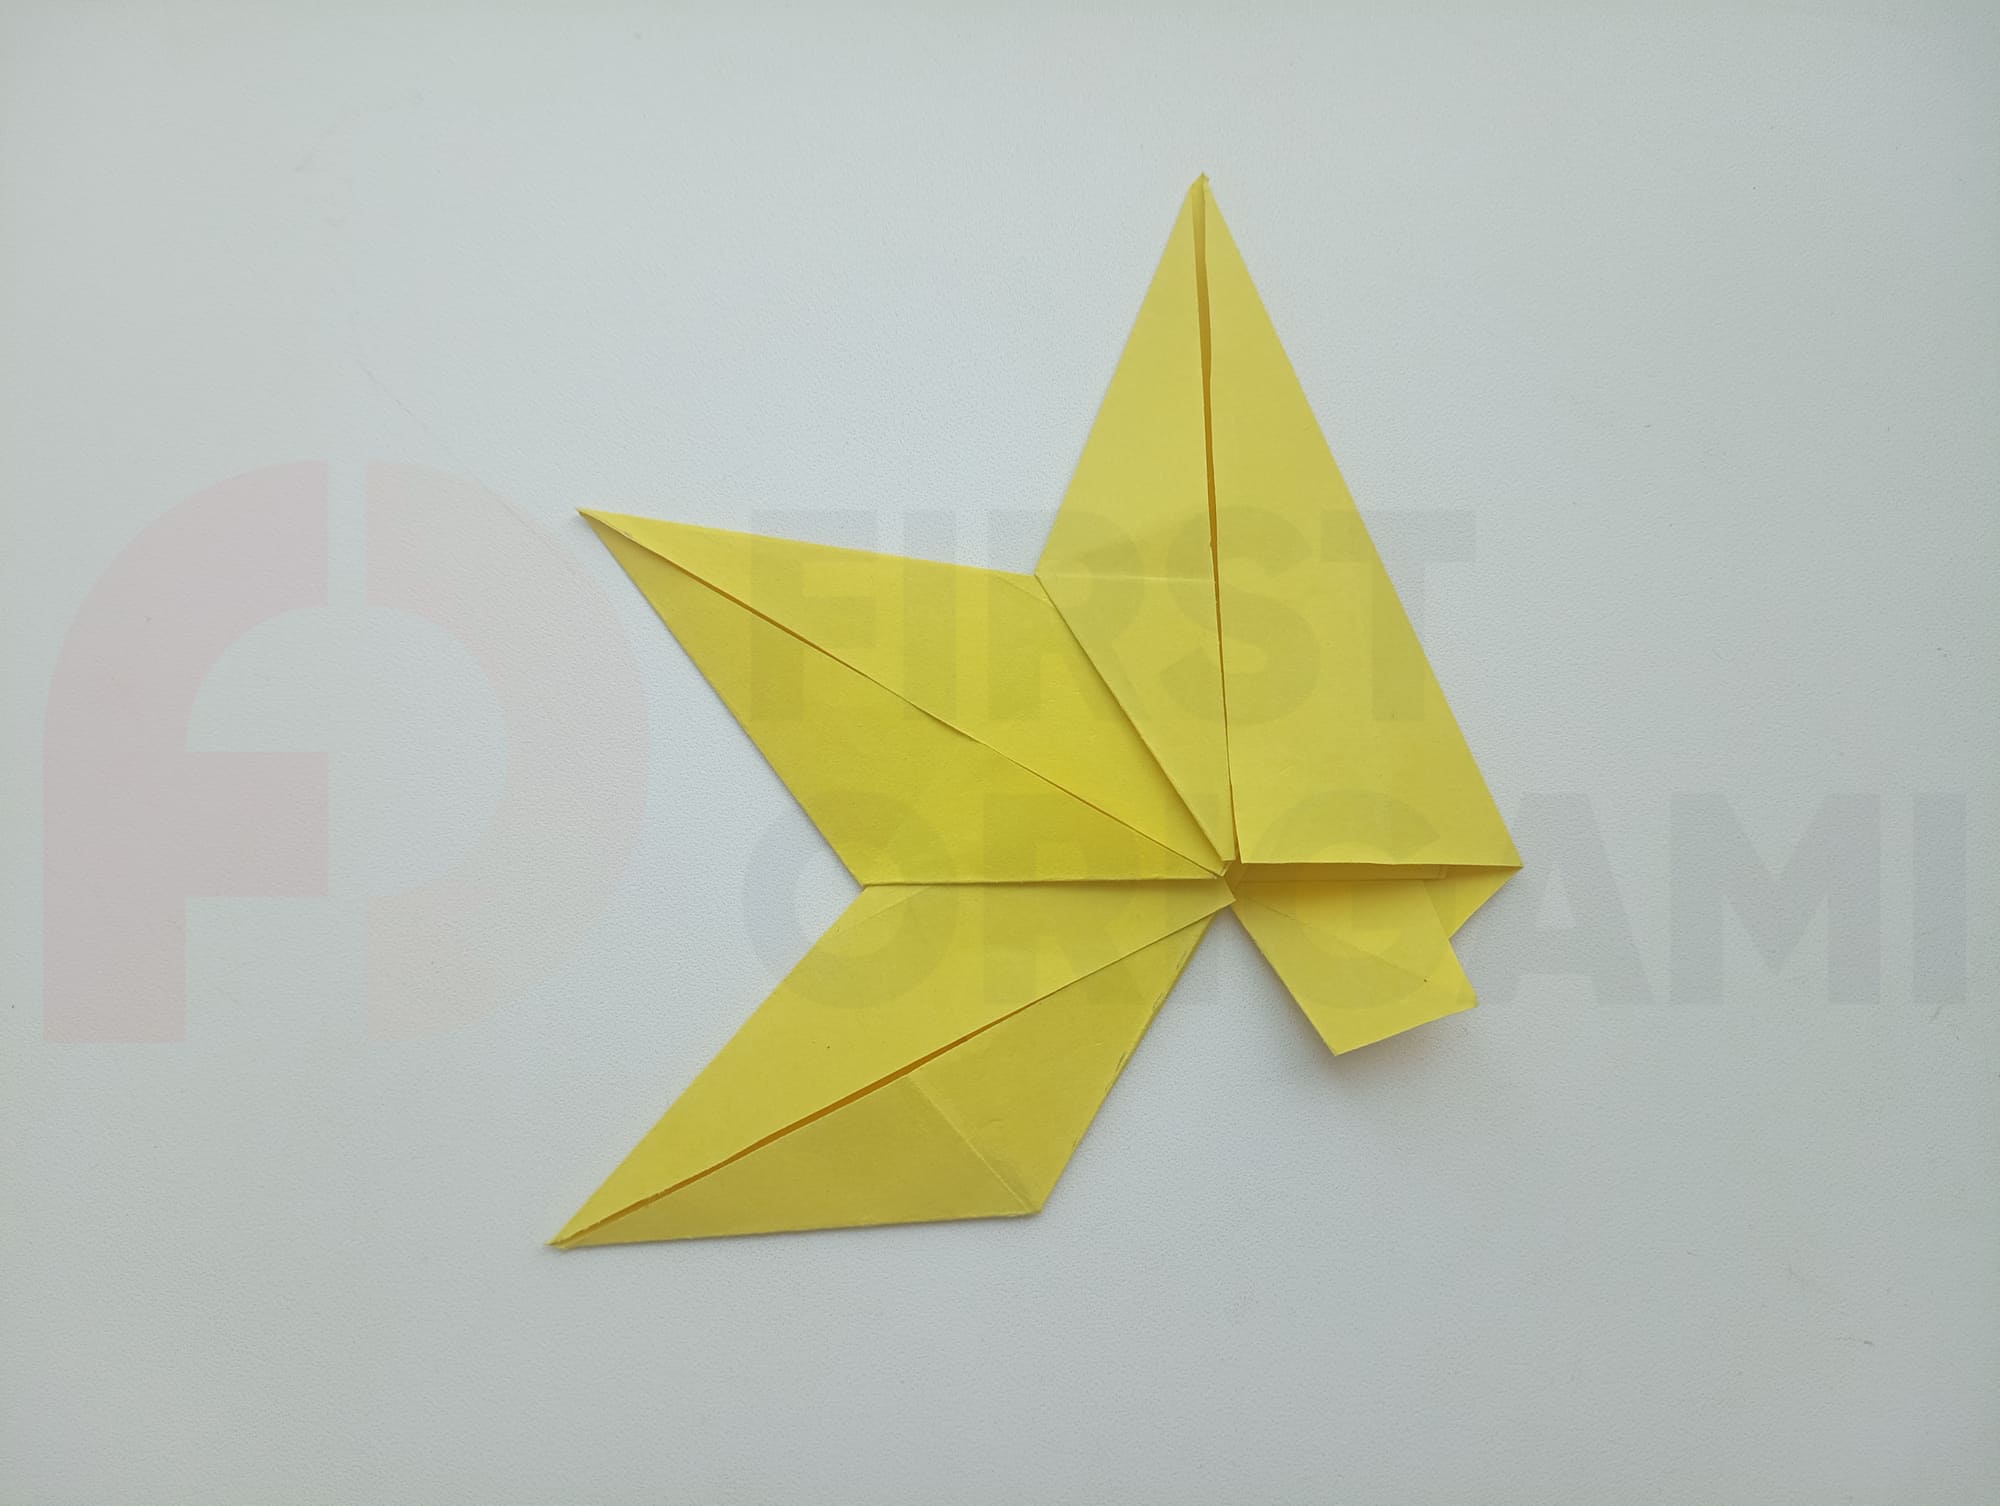
Let’s start assembling the star. To do this, you need to open one of the parts and put the edge of the second part into the resulting pocket.
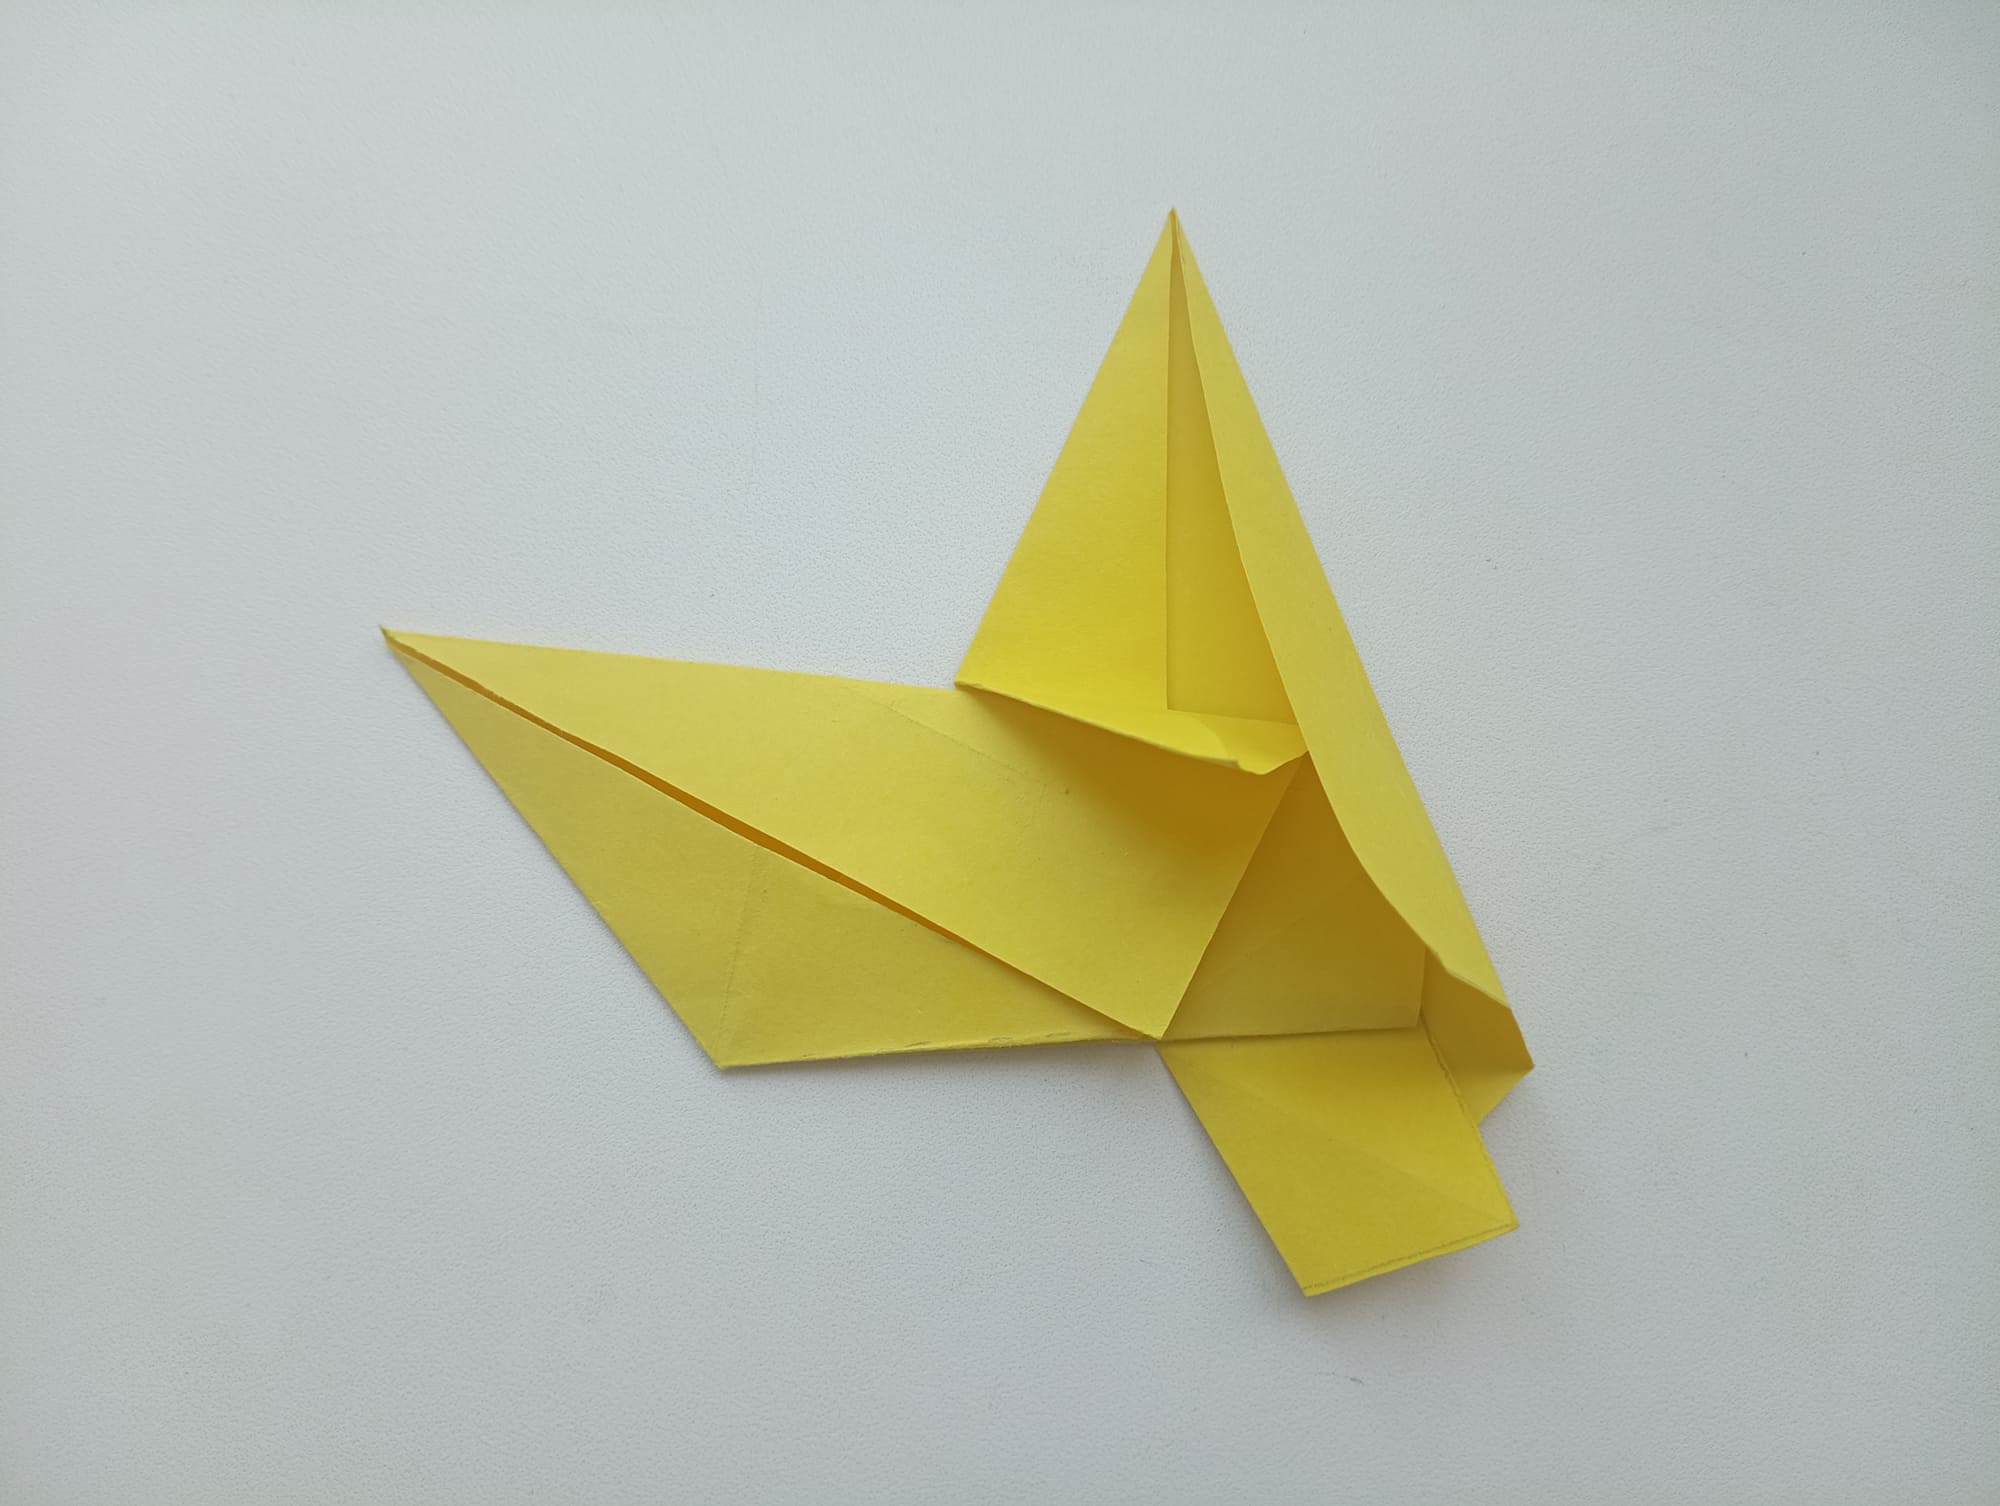
The procedure is illustrated on the photo.
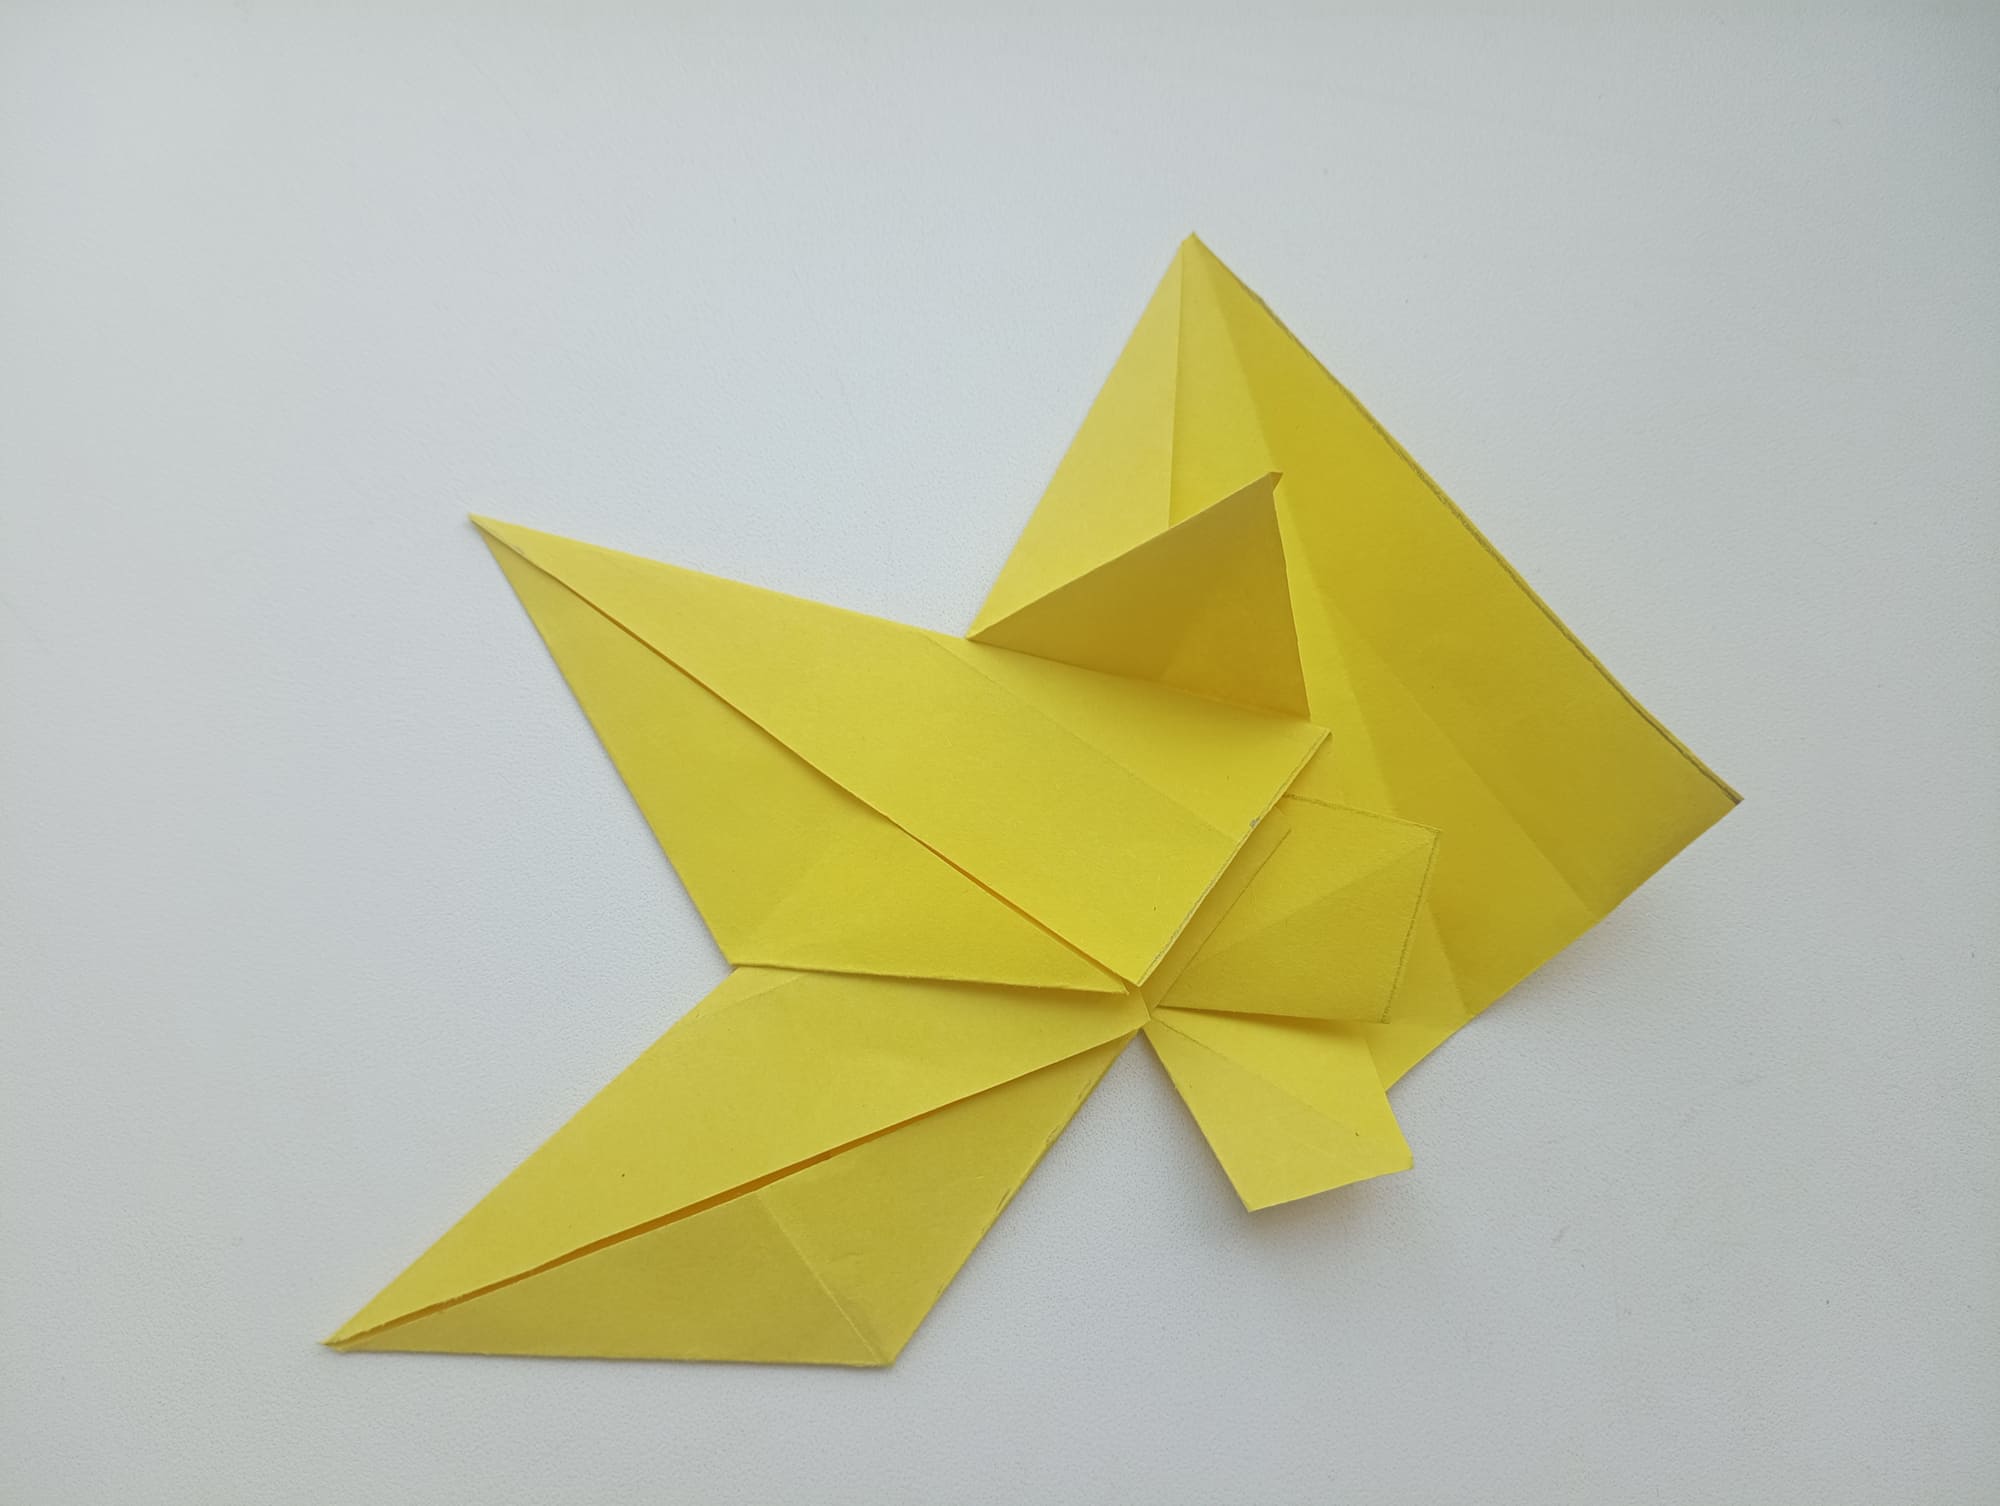
Continue the assembly and attach the third part in the same way as the second.
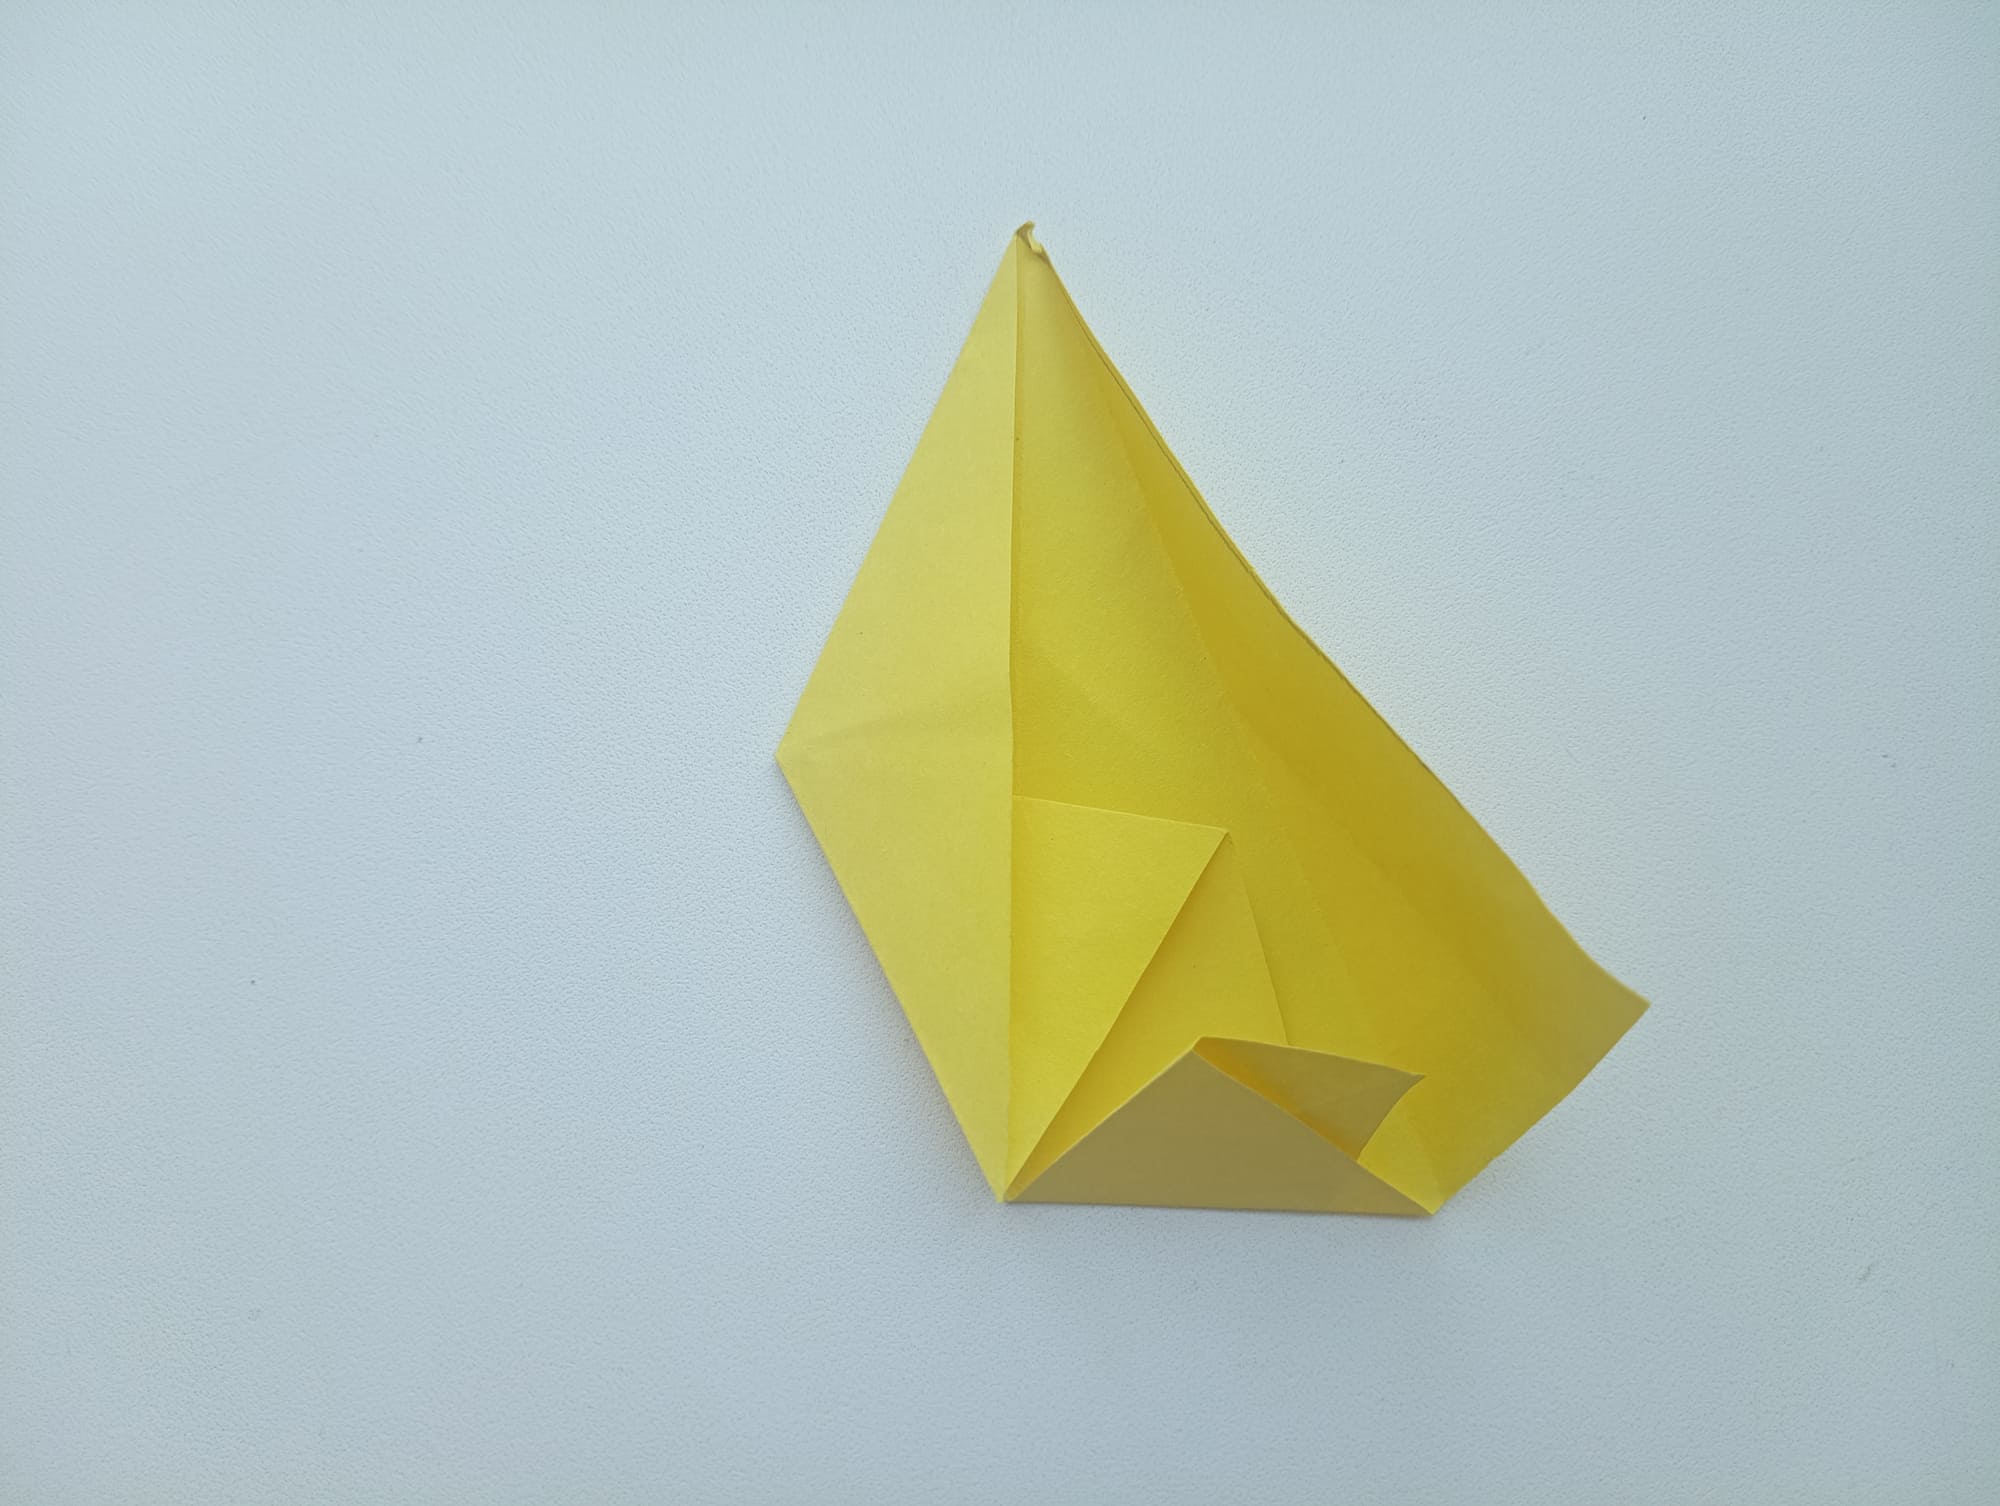
The final sixth part is prepared in a different way. To begin with, the lower right edge must be folded and tucked into the other shape.
The last part is connected to the star in the same way as the previous ones. Notice the edge stays on top of the star.
It must be inserted into the valve of the first part. The result is on the photo.
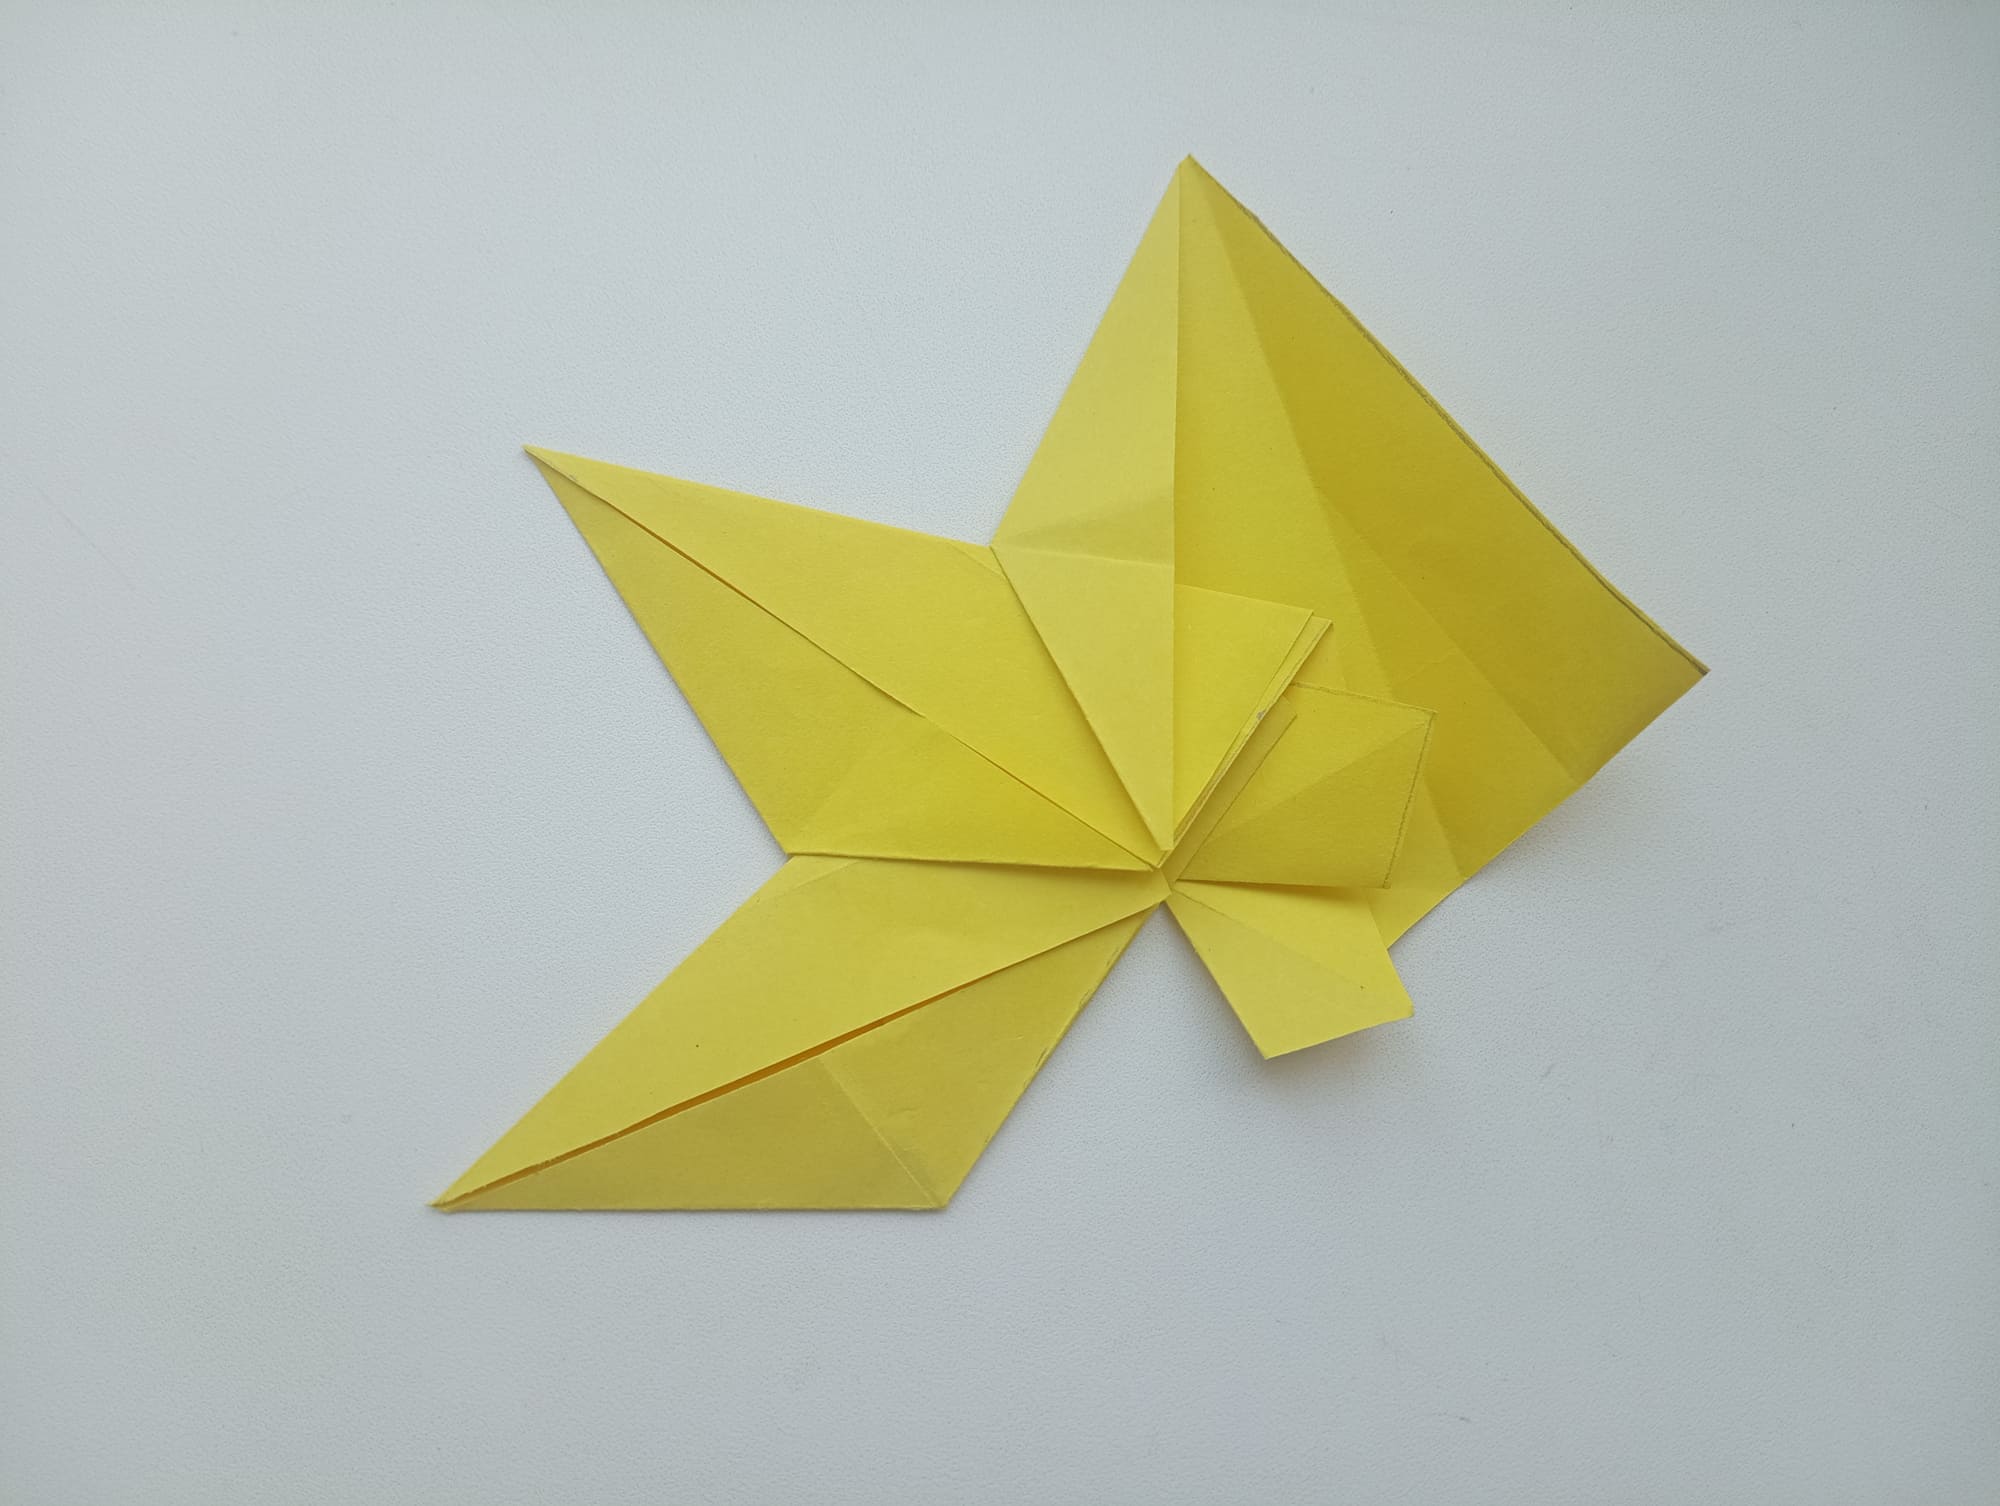
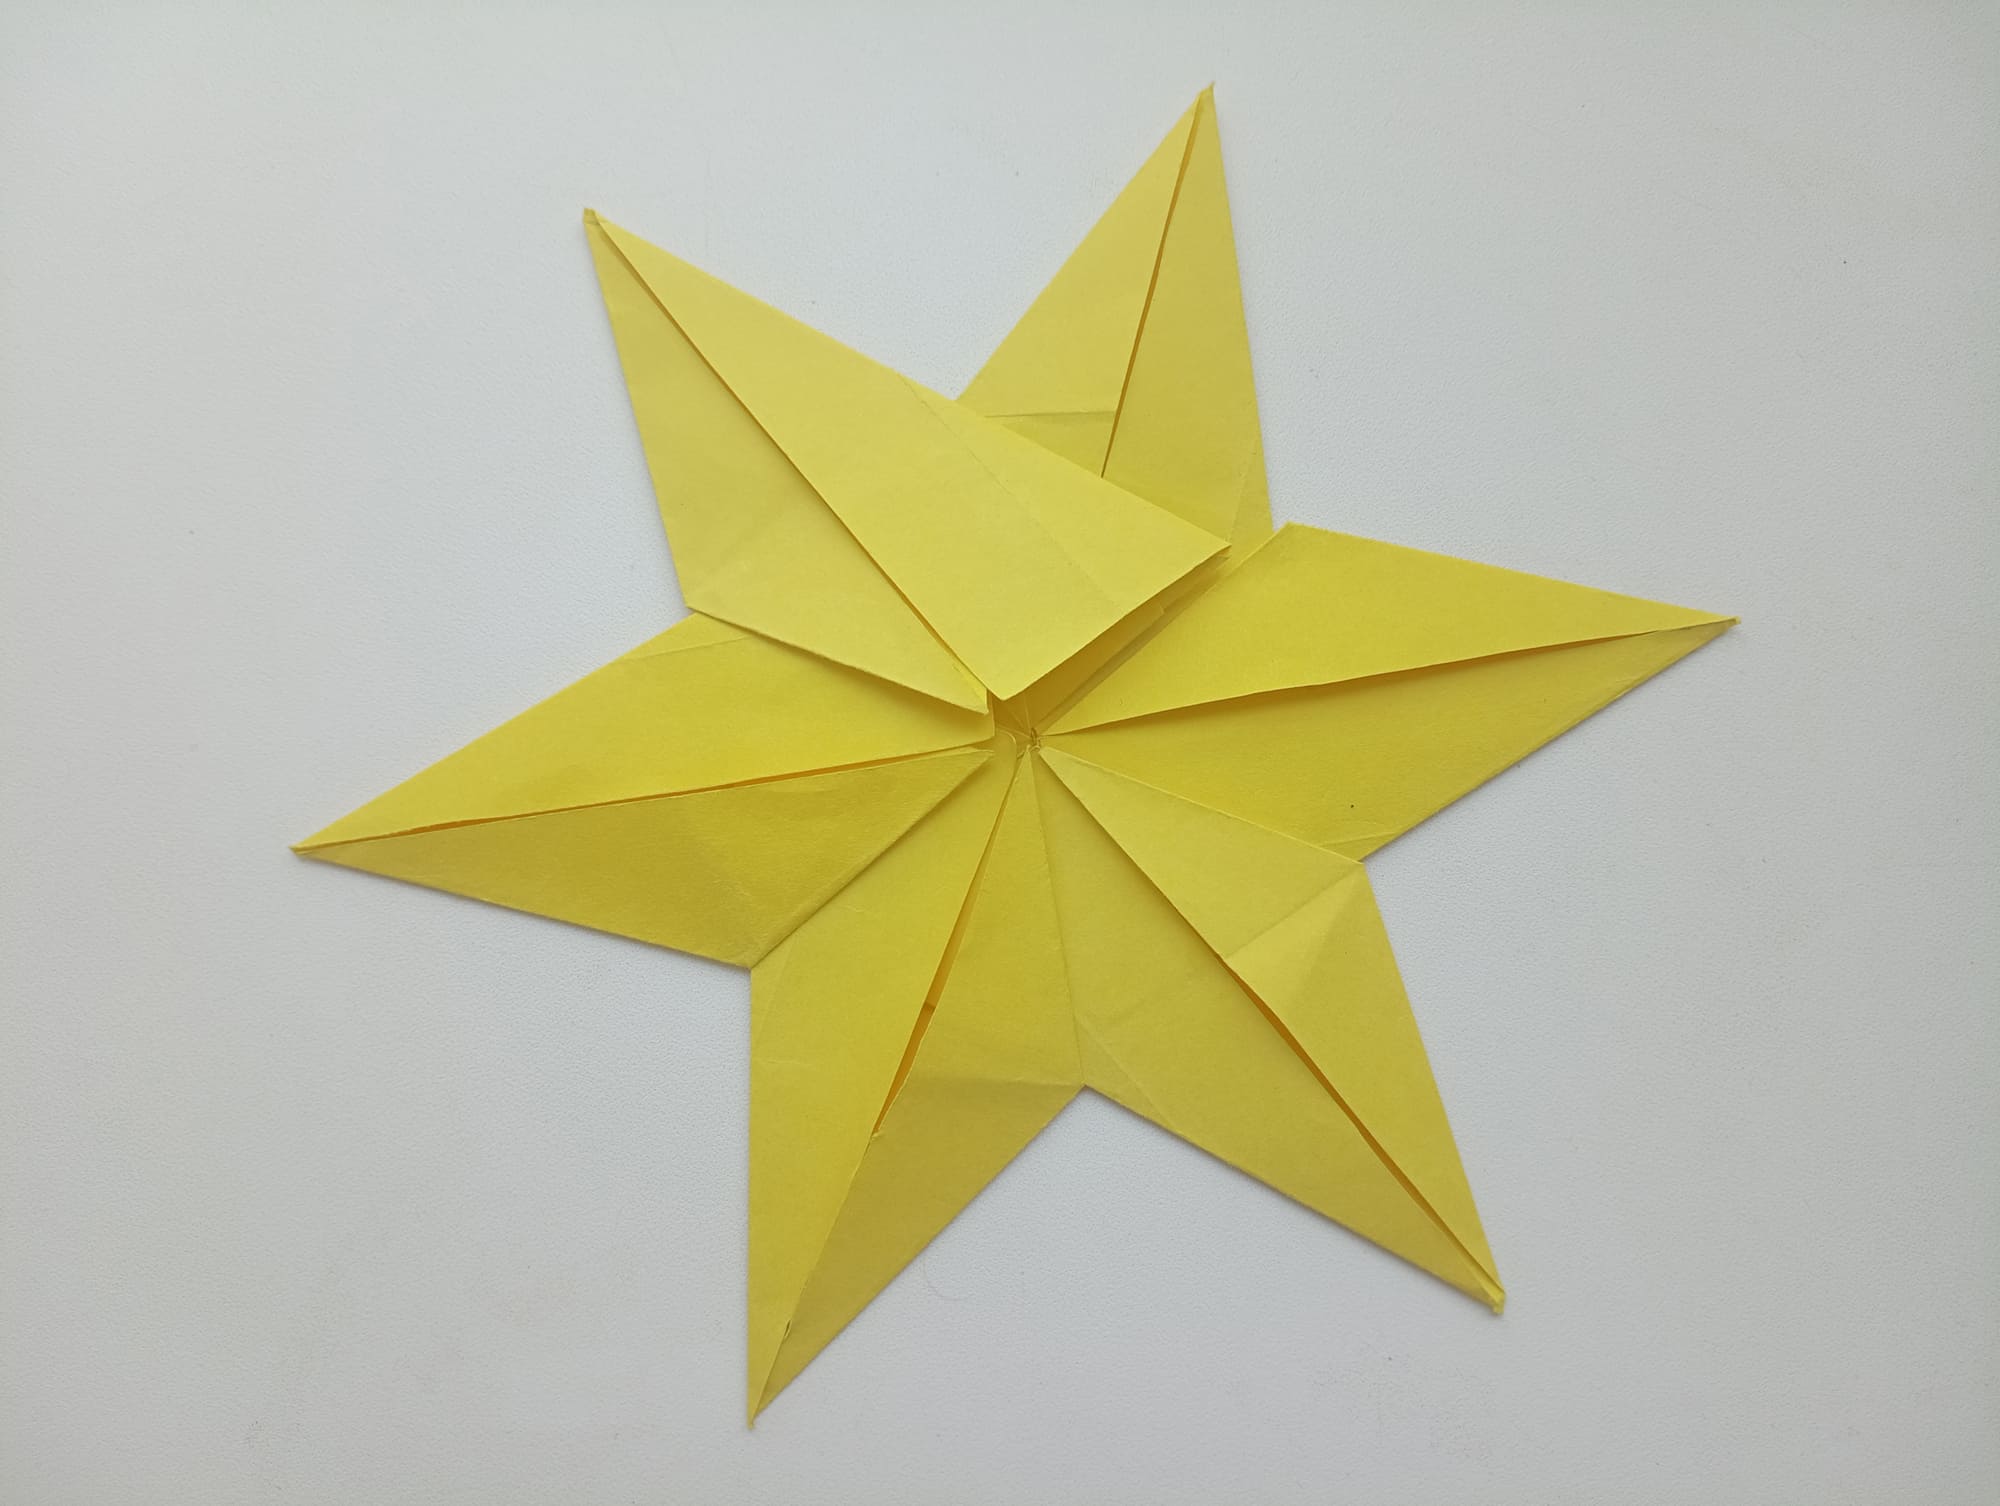
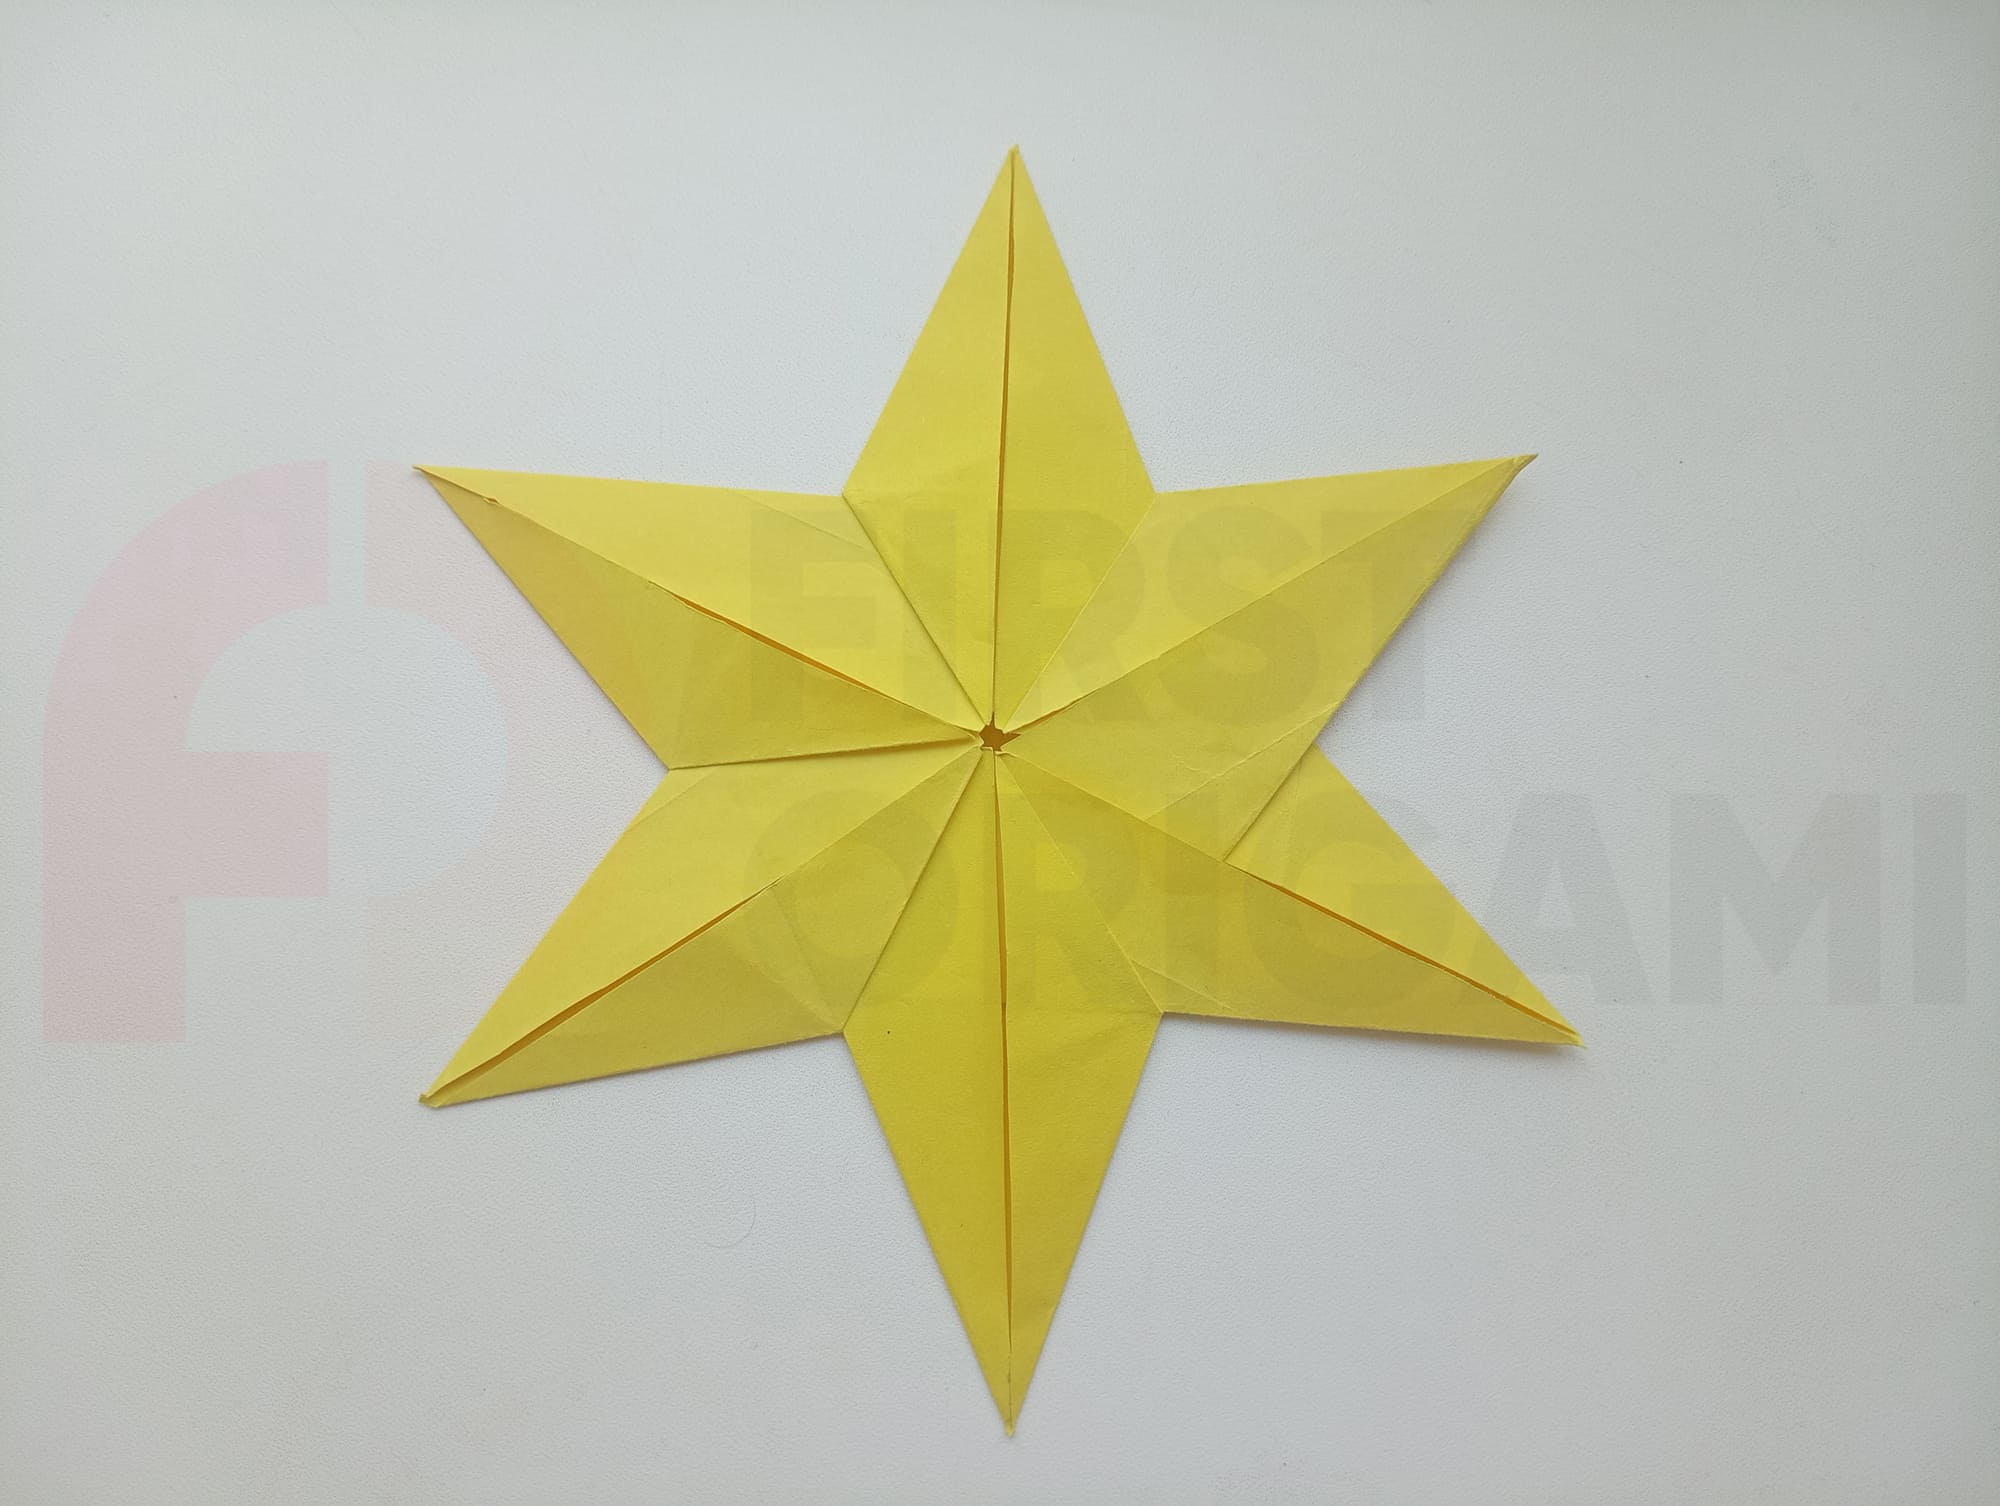
Flip the star to see the final result. The six-pointed star is ready!
If you need a more stable figure, it is better to take thick paper or cardboard. However, the folding will require more effort. If you have double-sided paper, then before assembling the figure, lay it with the colored side down. Then, the star will turn out to be a single color. The master class is interesting for its features, but you will definitely like it just like the result.


