Origami modular eight-pointed star, part 1
There are a lot of star figures, possible to create in the origami technique, and today we are going to show you a method of folding the right-pointed star, the one that symbolizes the star that led the Magi to baby Jesus. But apart from the religious meaning, this is a very elegant figure, which will make up a beautiful decoration for your room or a Christmas tree.
With these instructions, you will be able to make one of its parts. No glue or tape is needed to attach them.
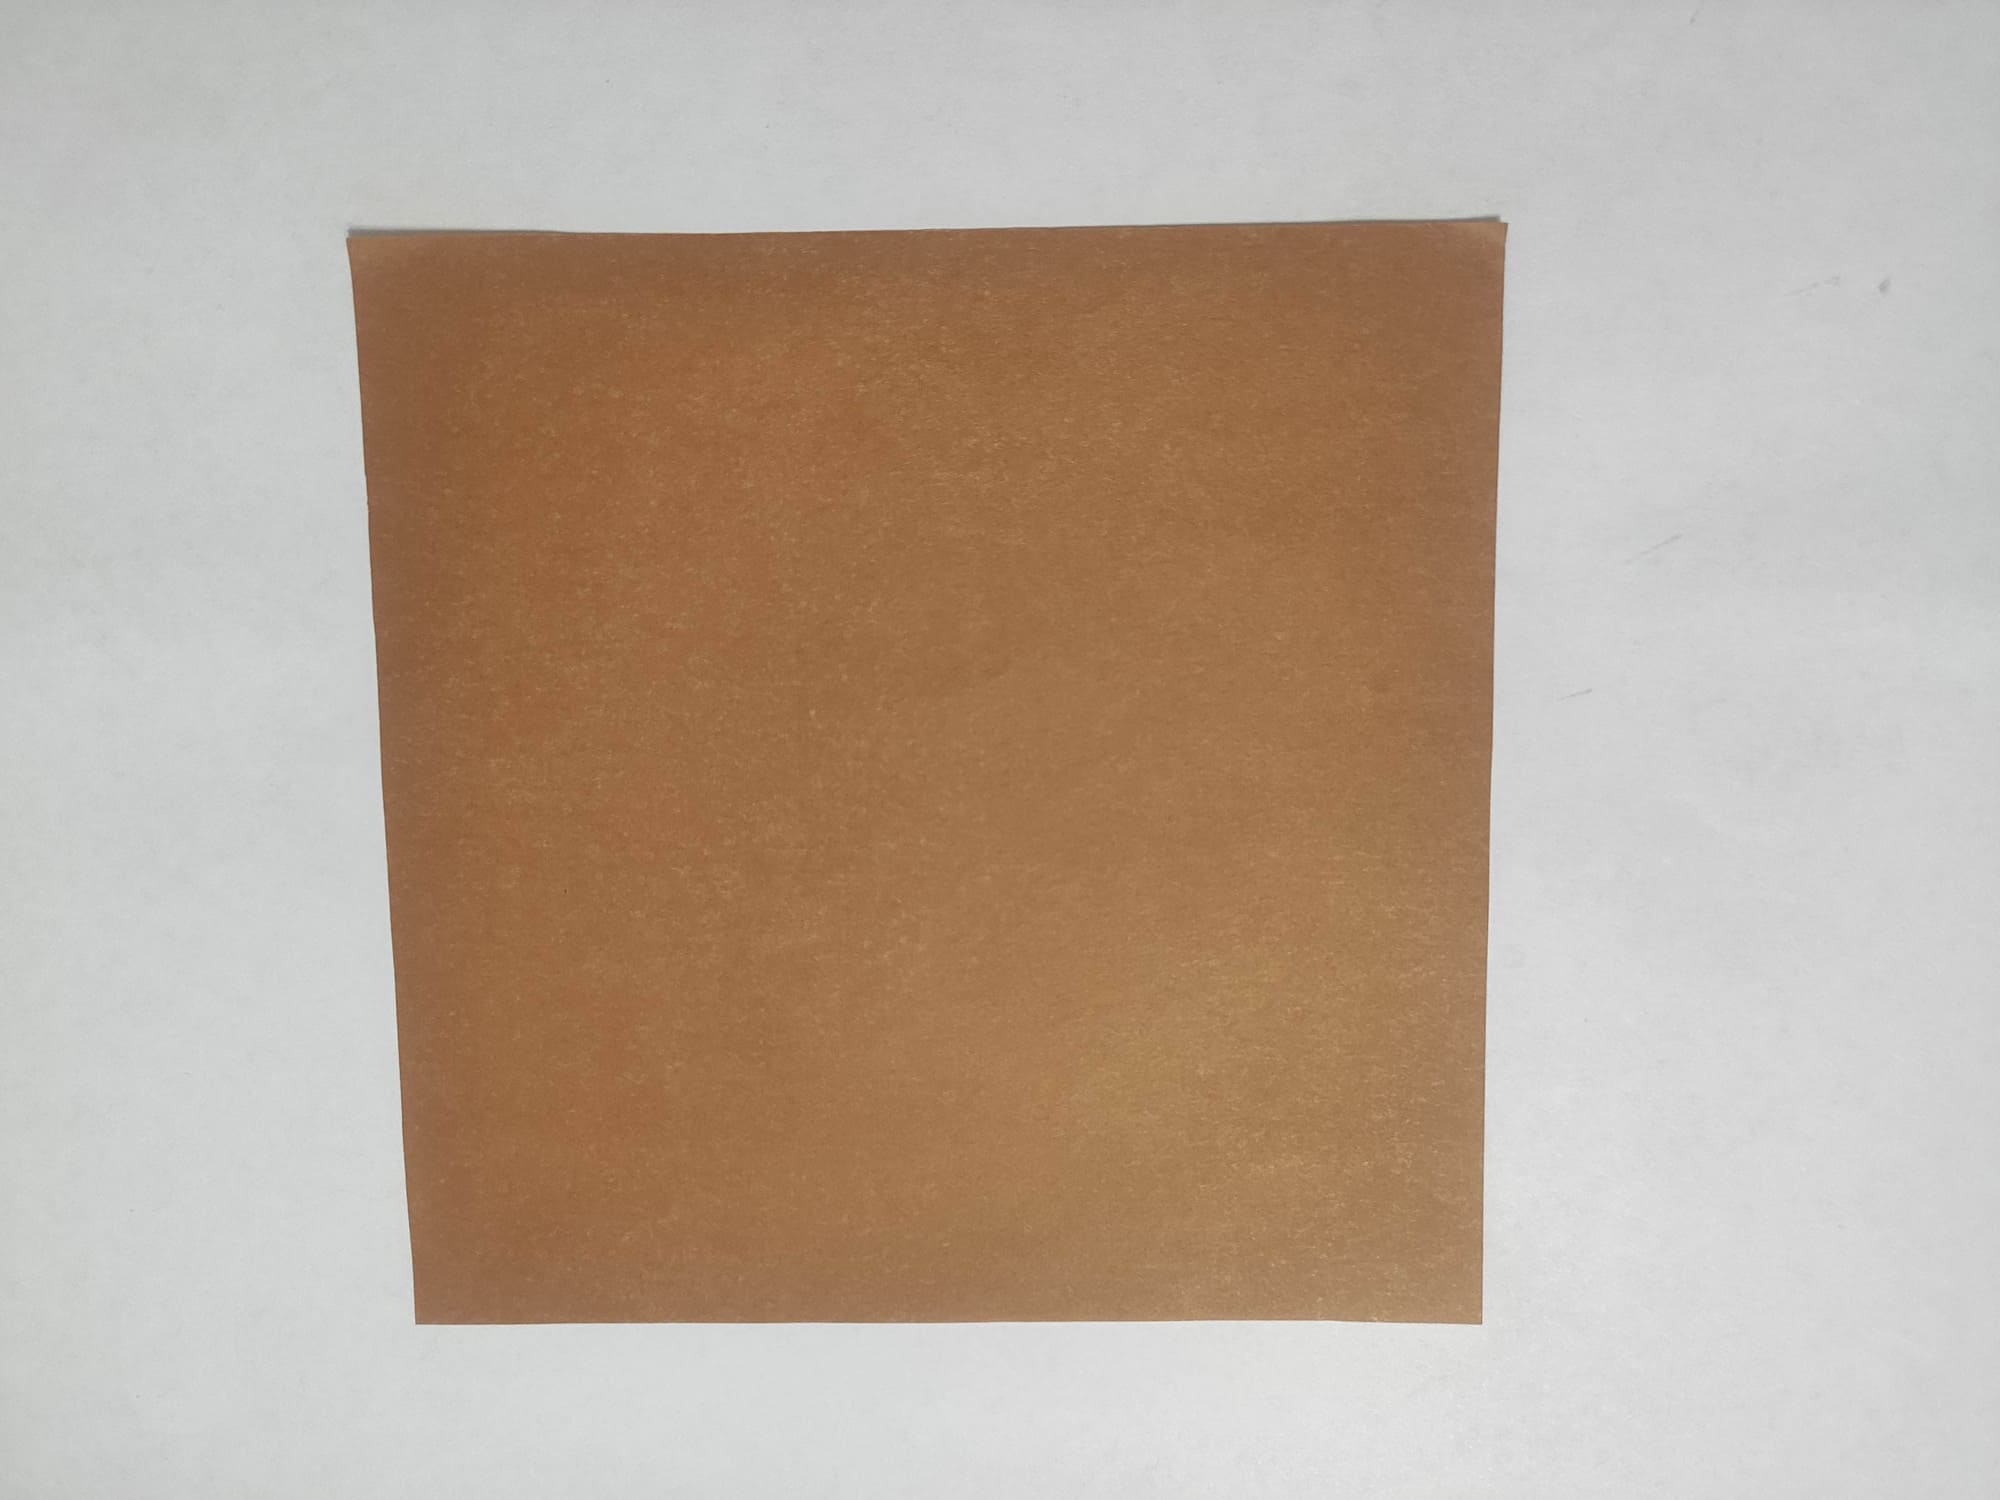
Take a square of origami paper or regular 15×15 cm single-sided colored paper of any color. Lay the paper with the colored side up.
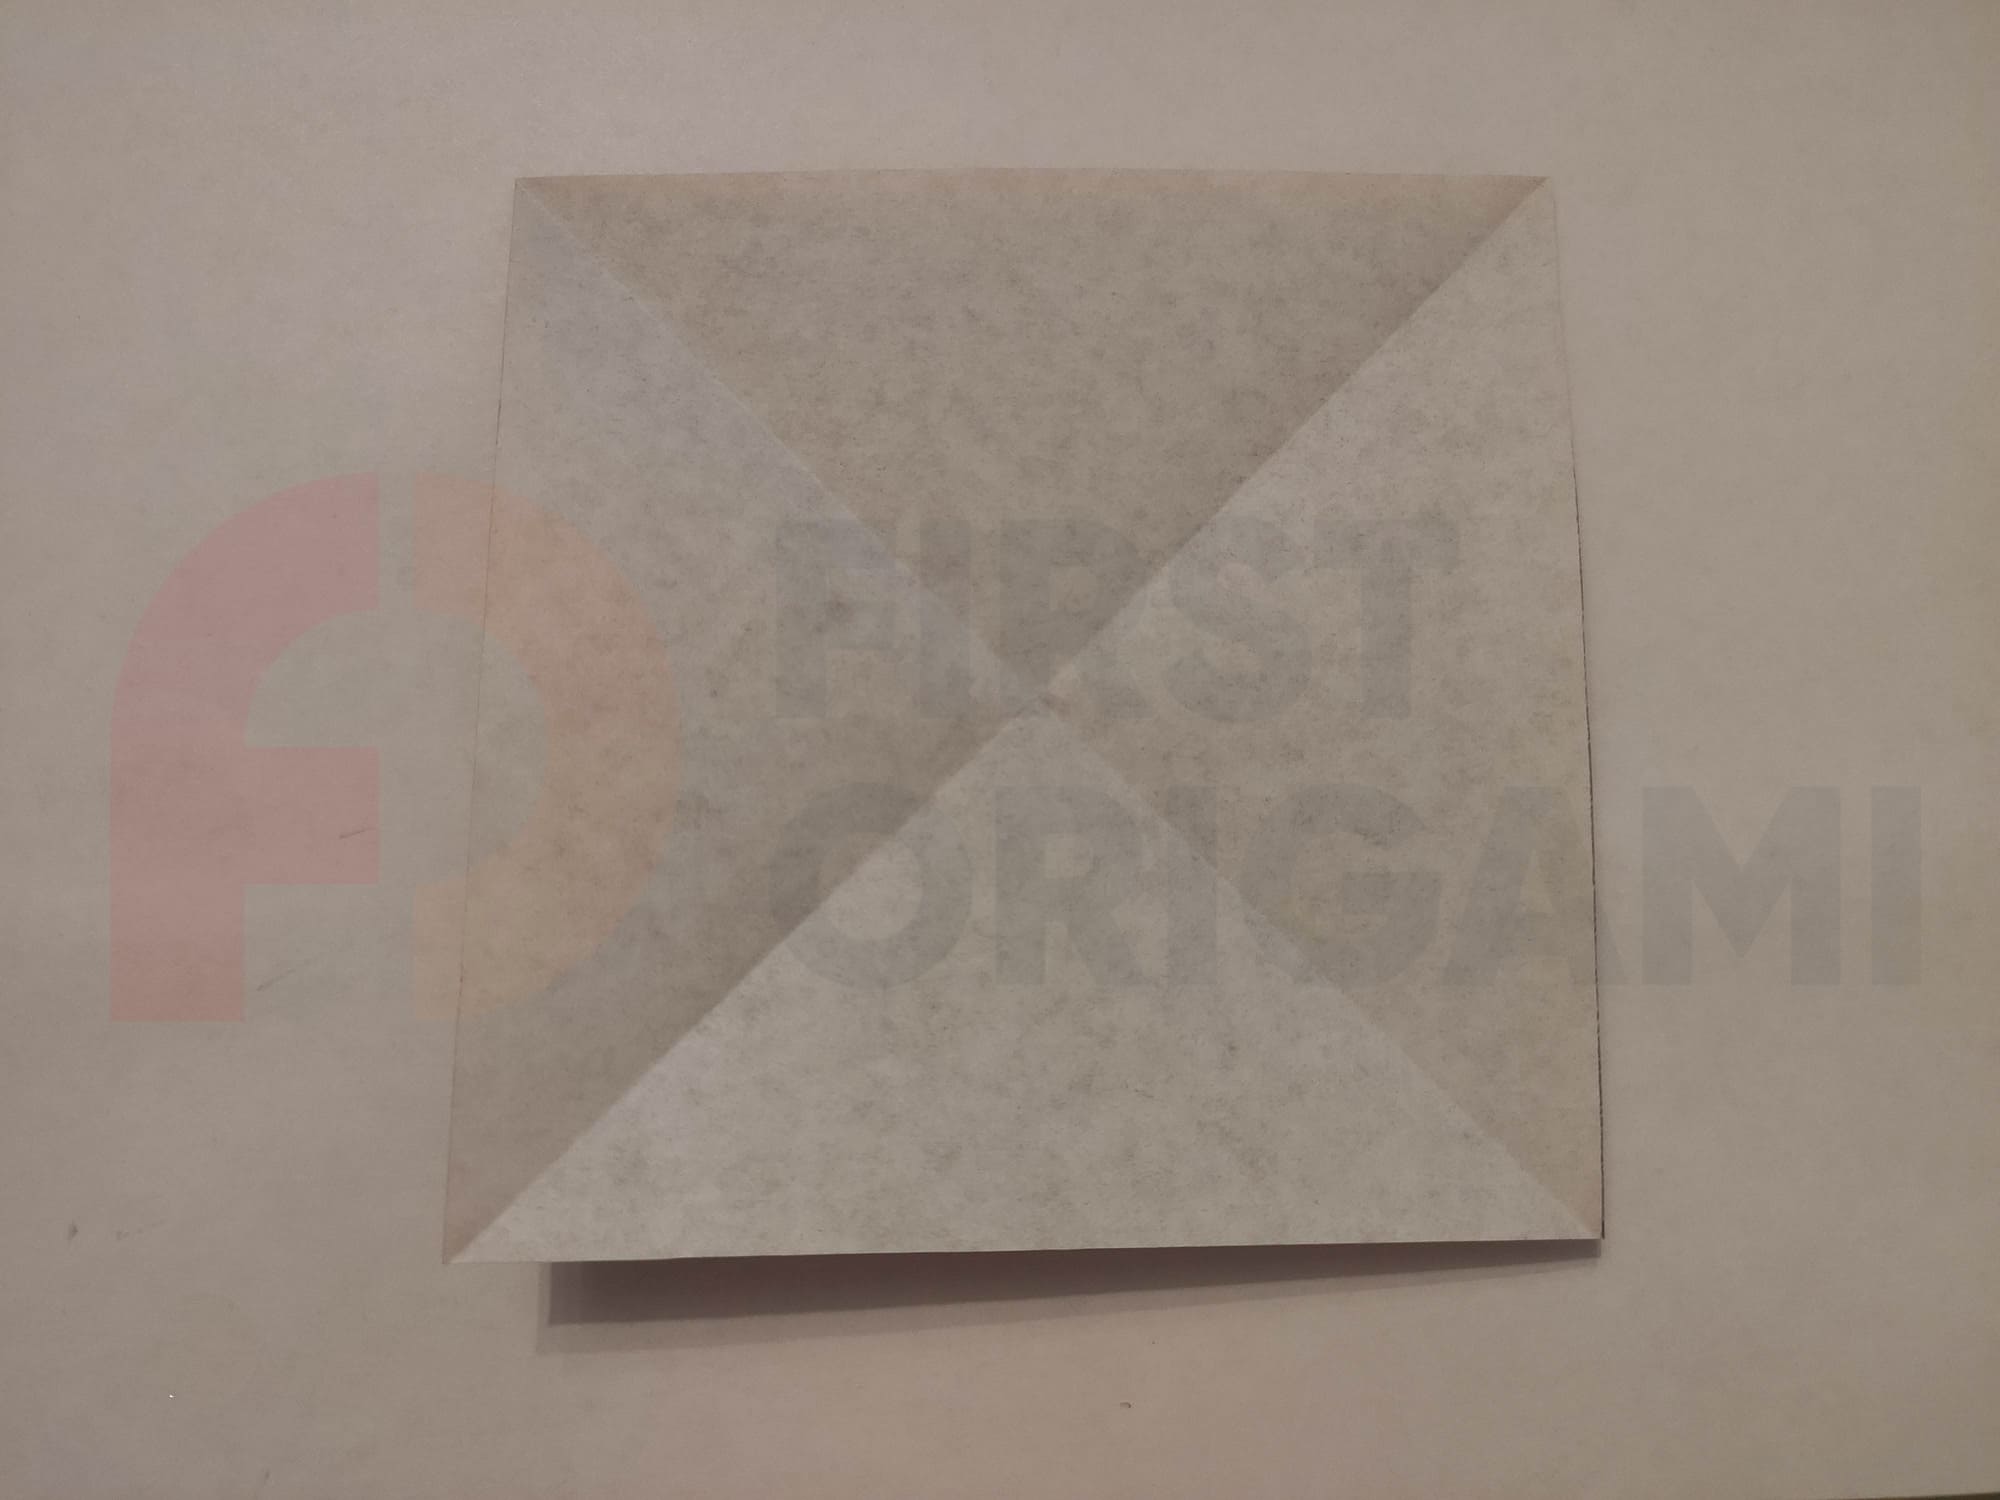
Make folds along the two diagonals of the square.
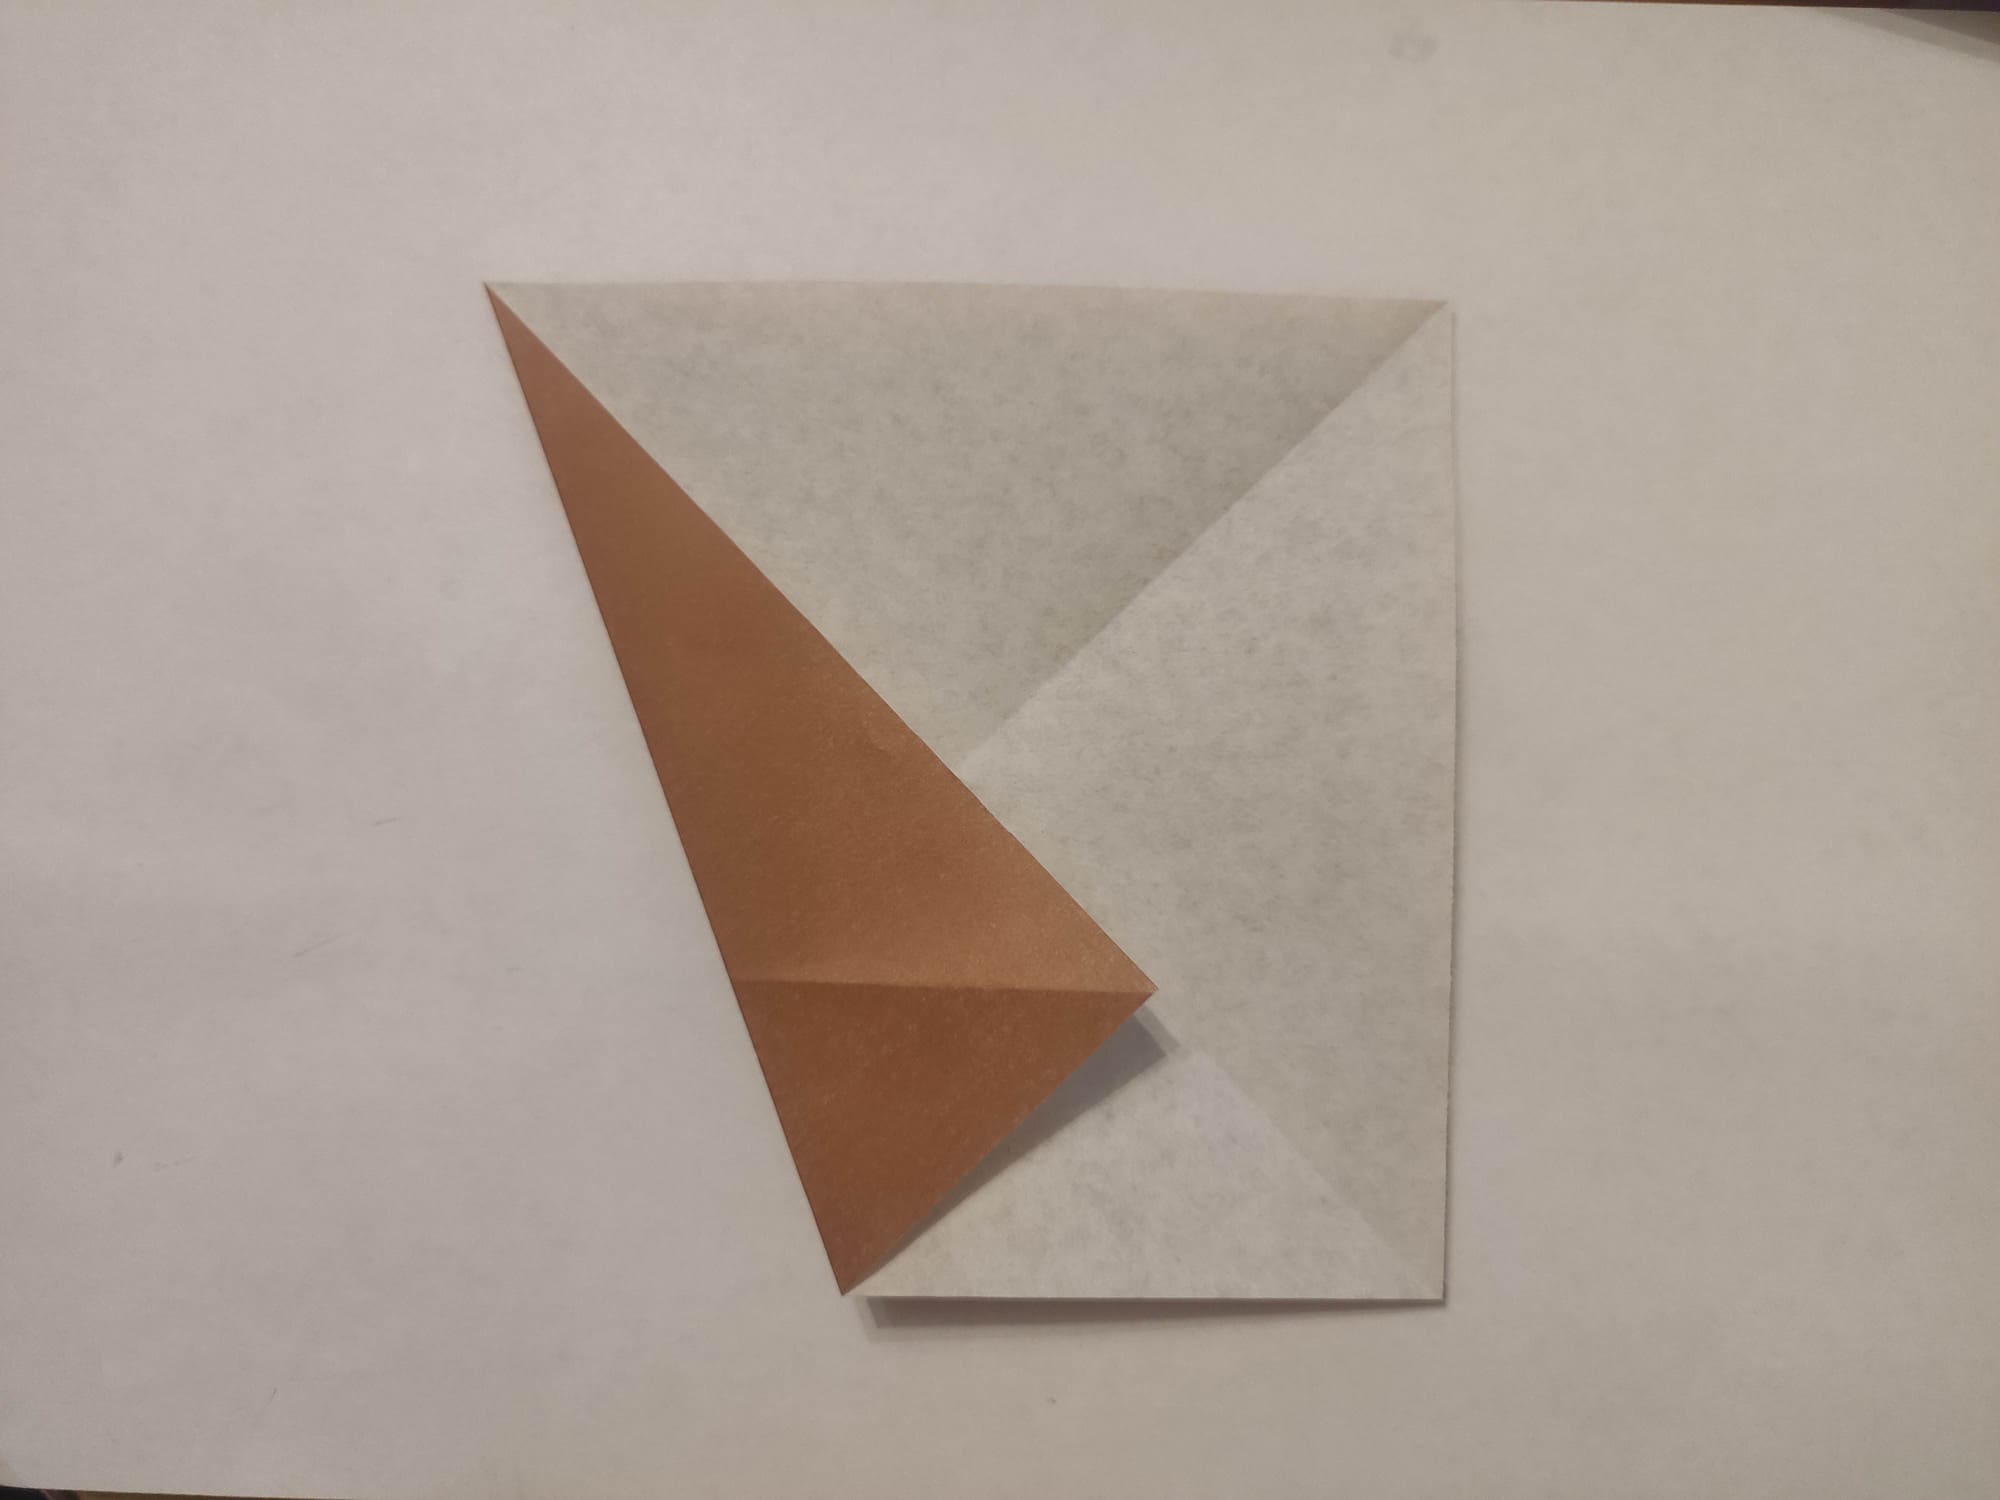
Fold the bottom triangle in half to the center fold line.
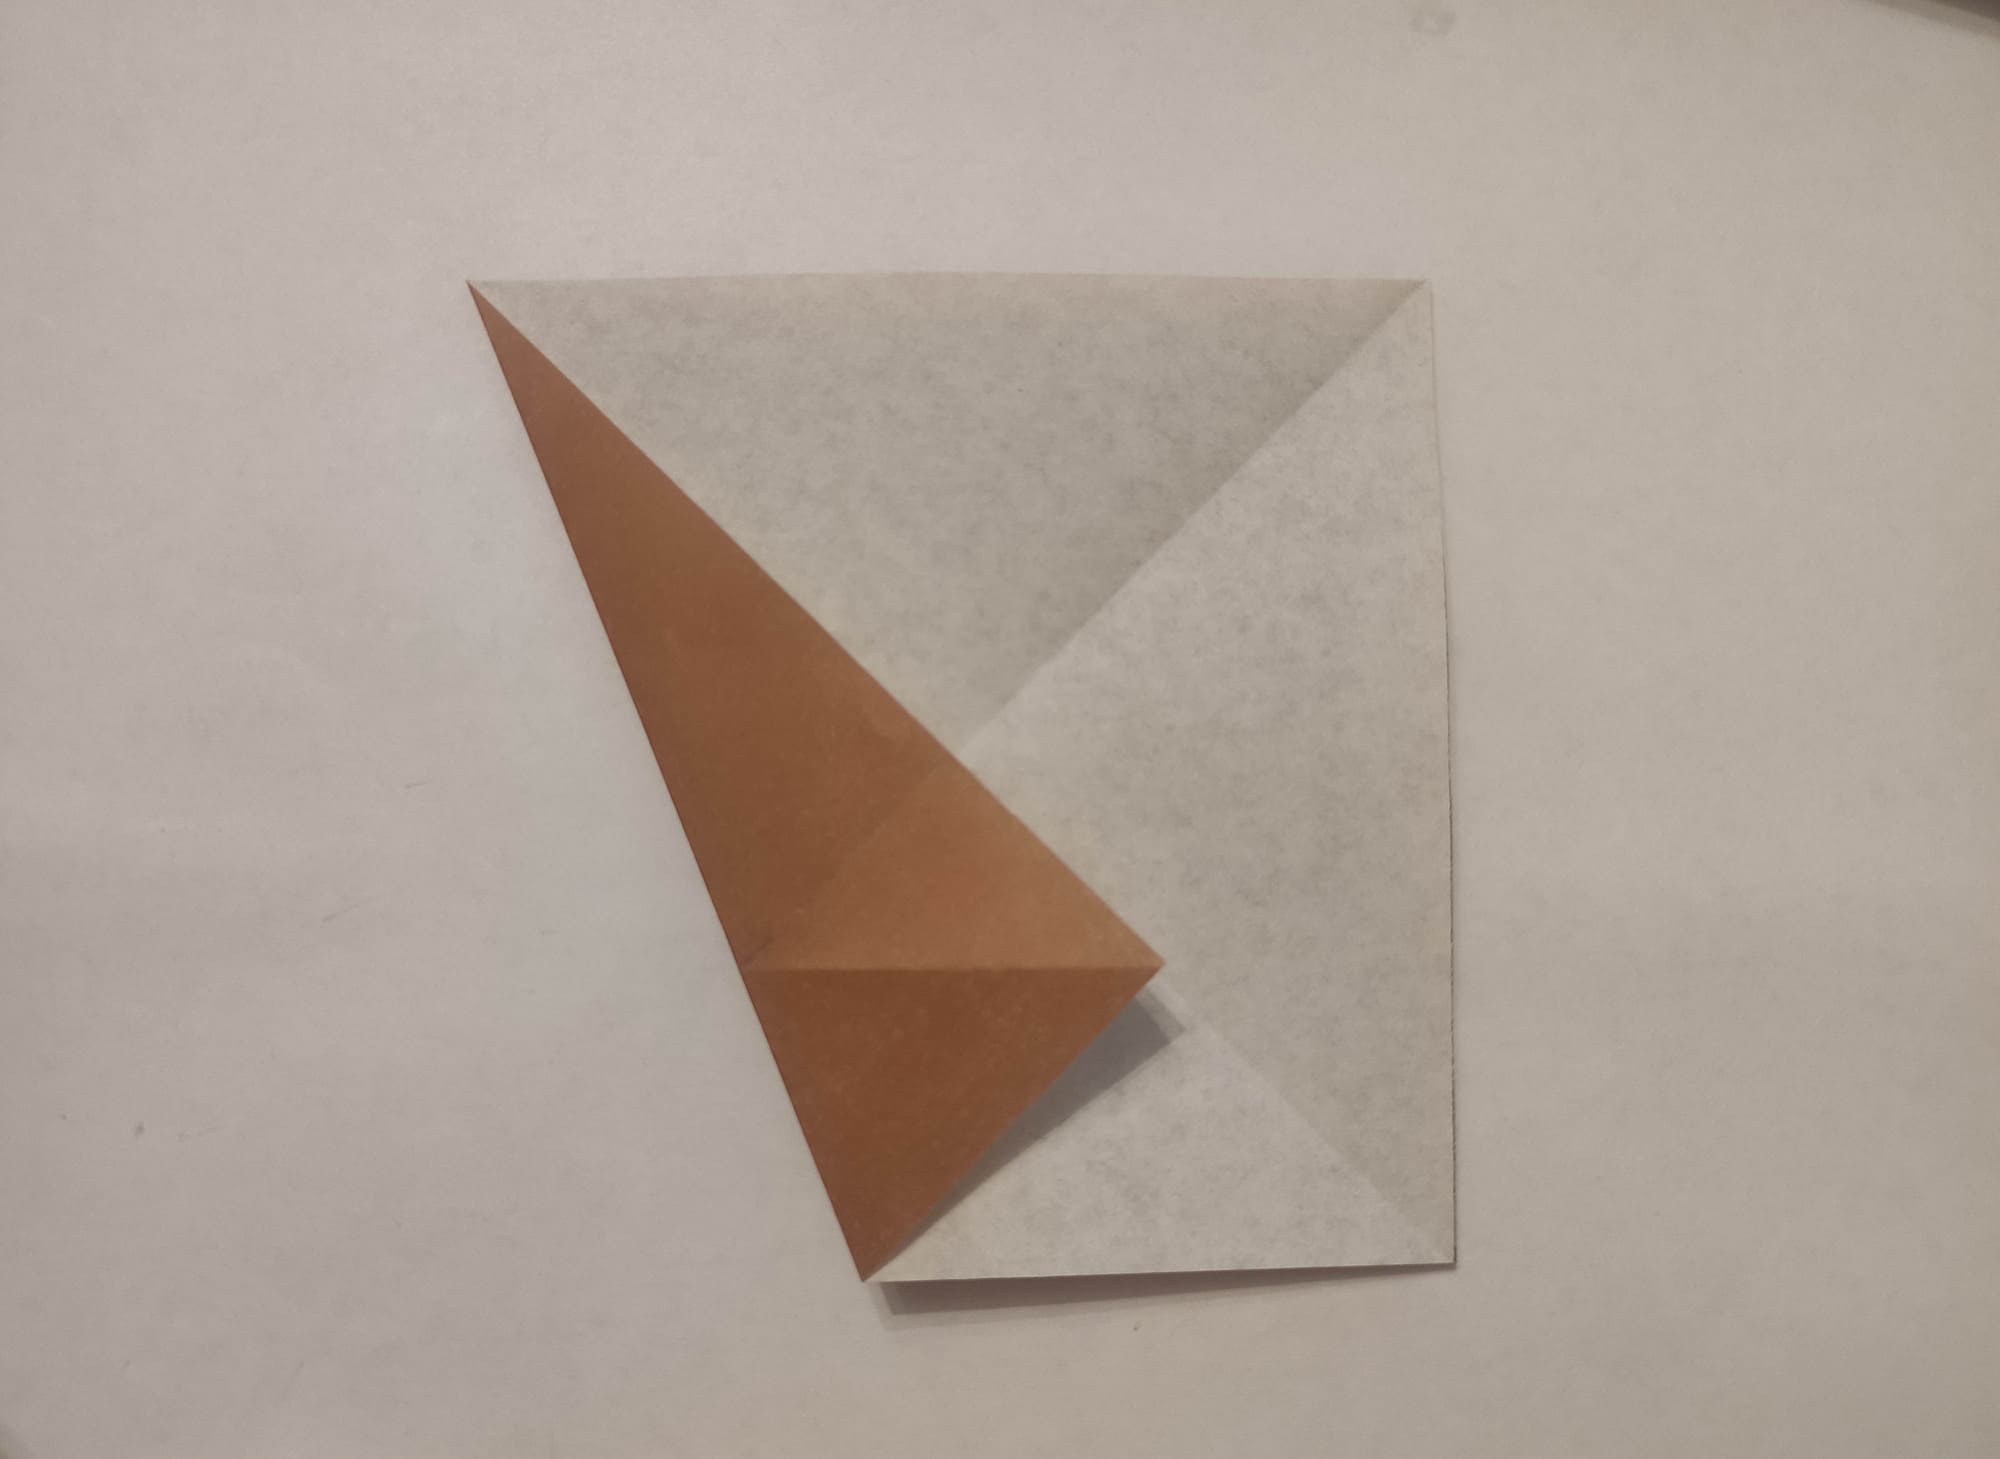
Iron all the folding lines thoroughly. Bend the upper right corner to the center and unfold it.
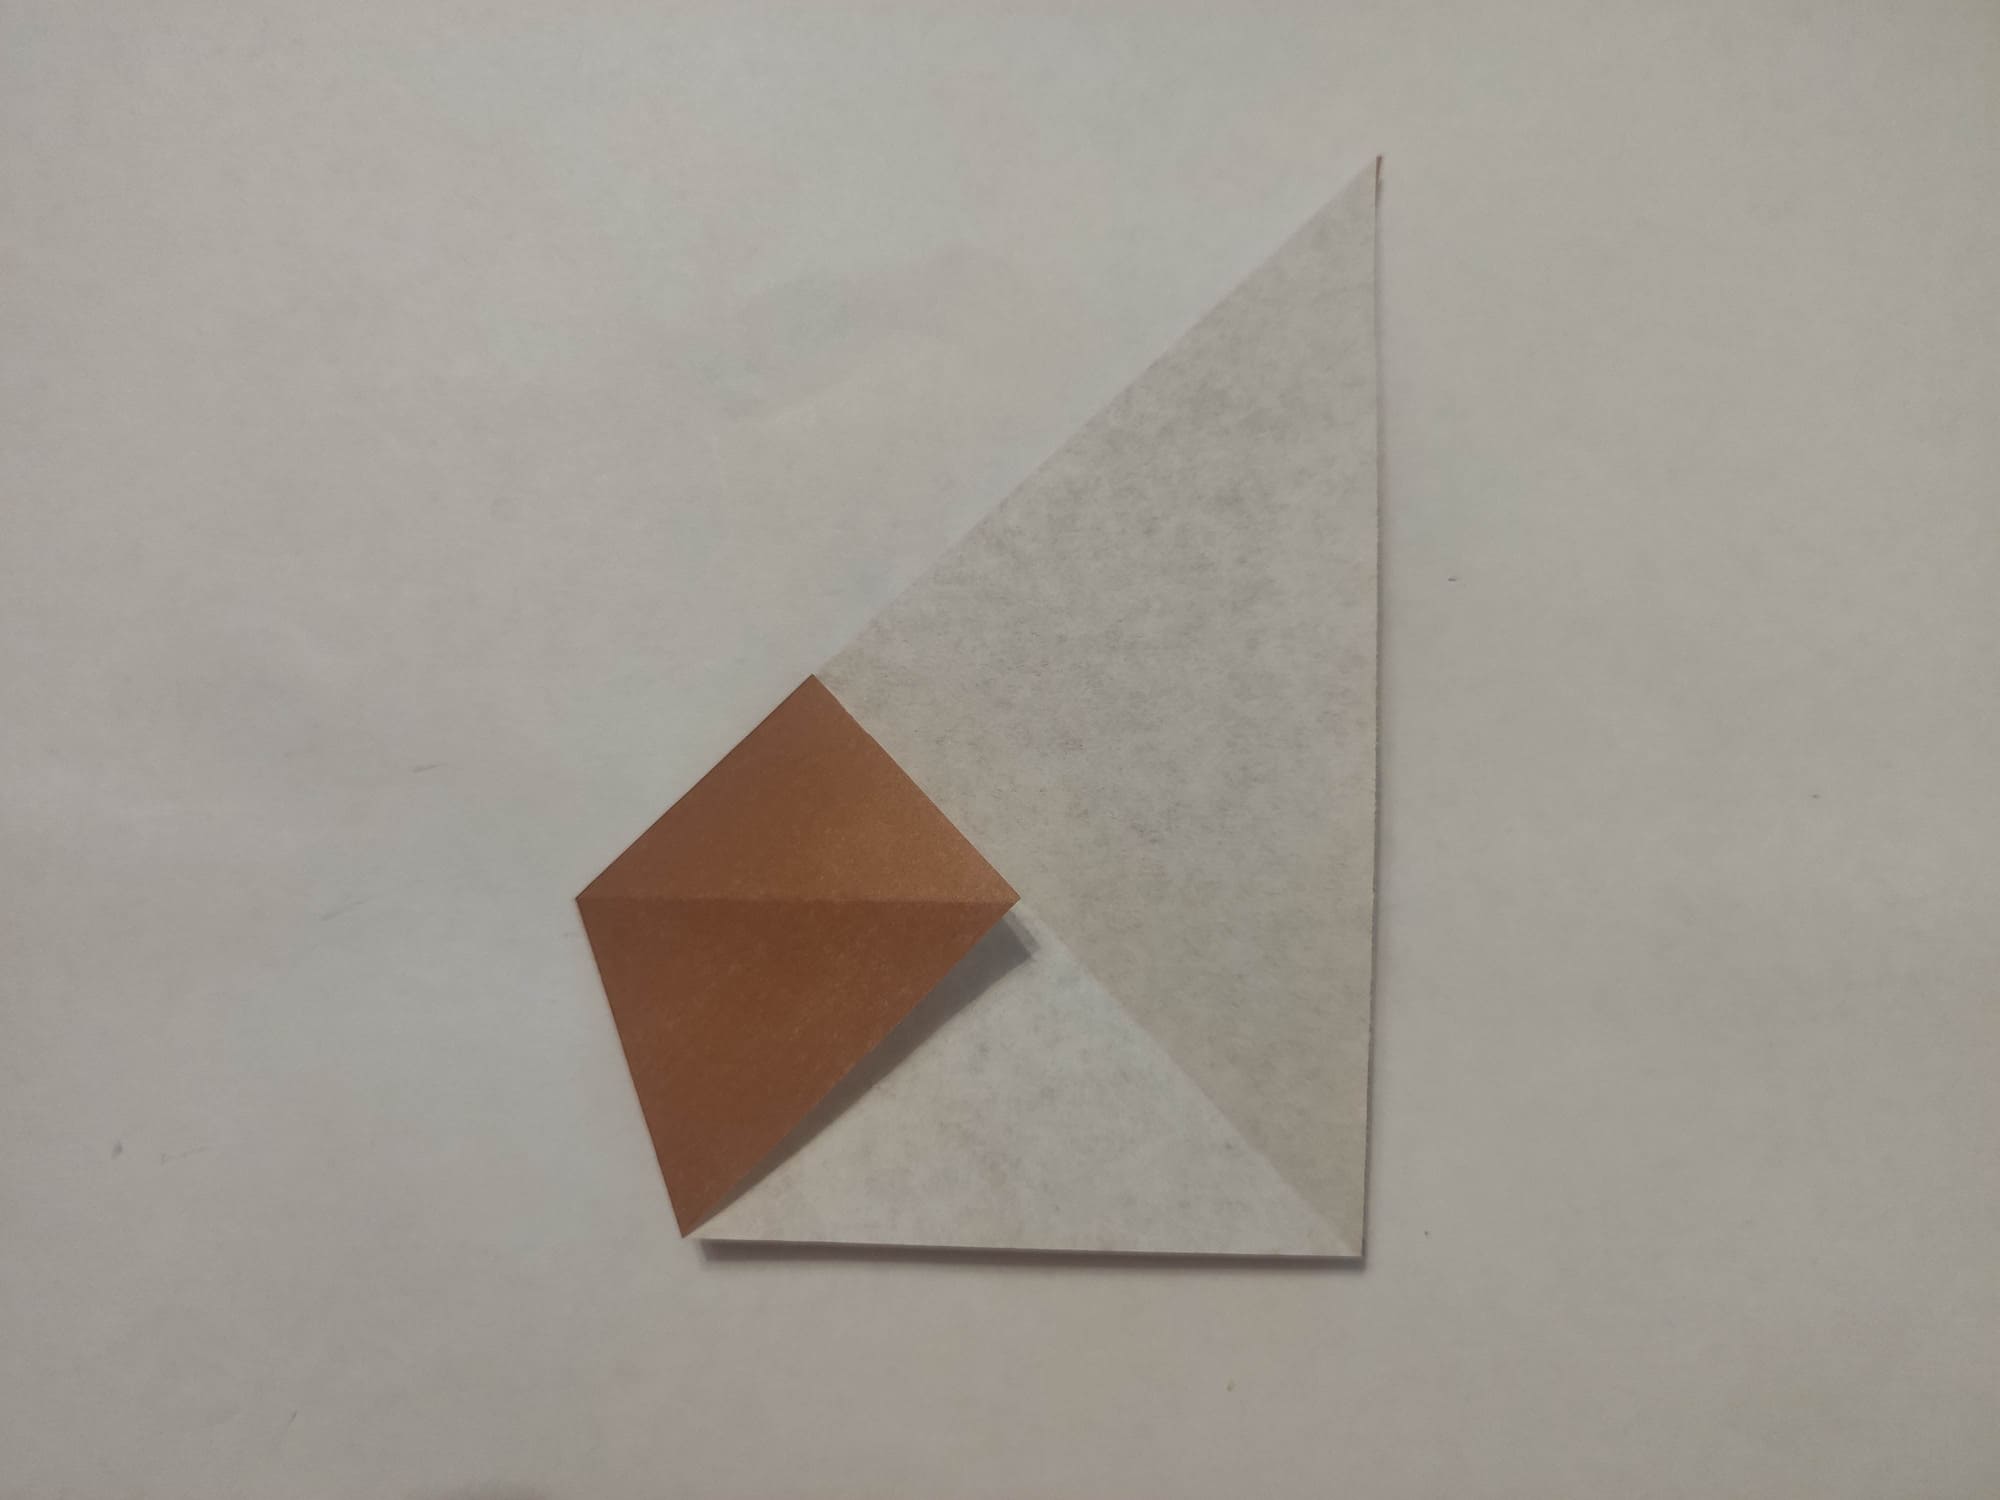
Draw a continuation of the second center fold line and fold the figure outward along it.
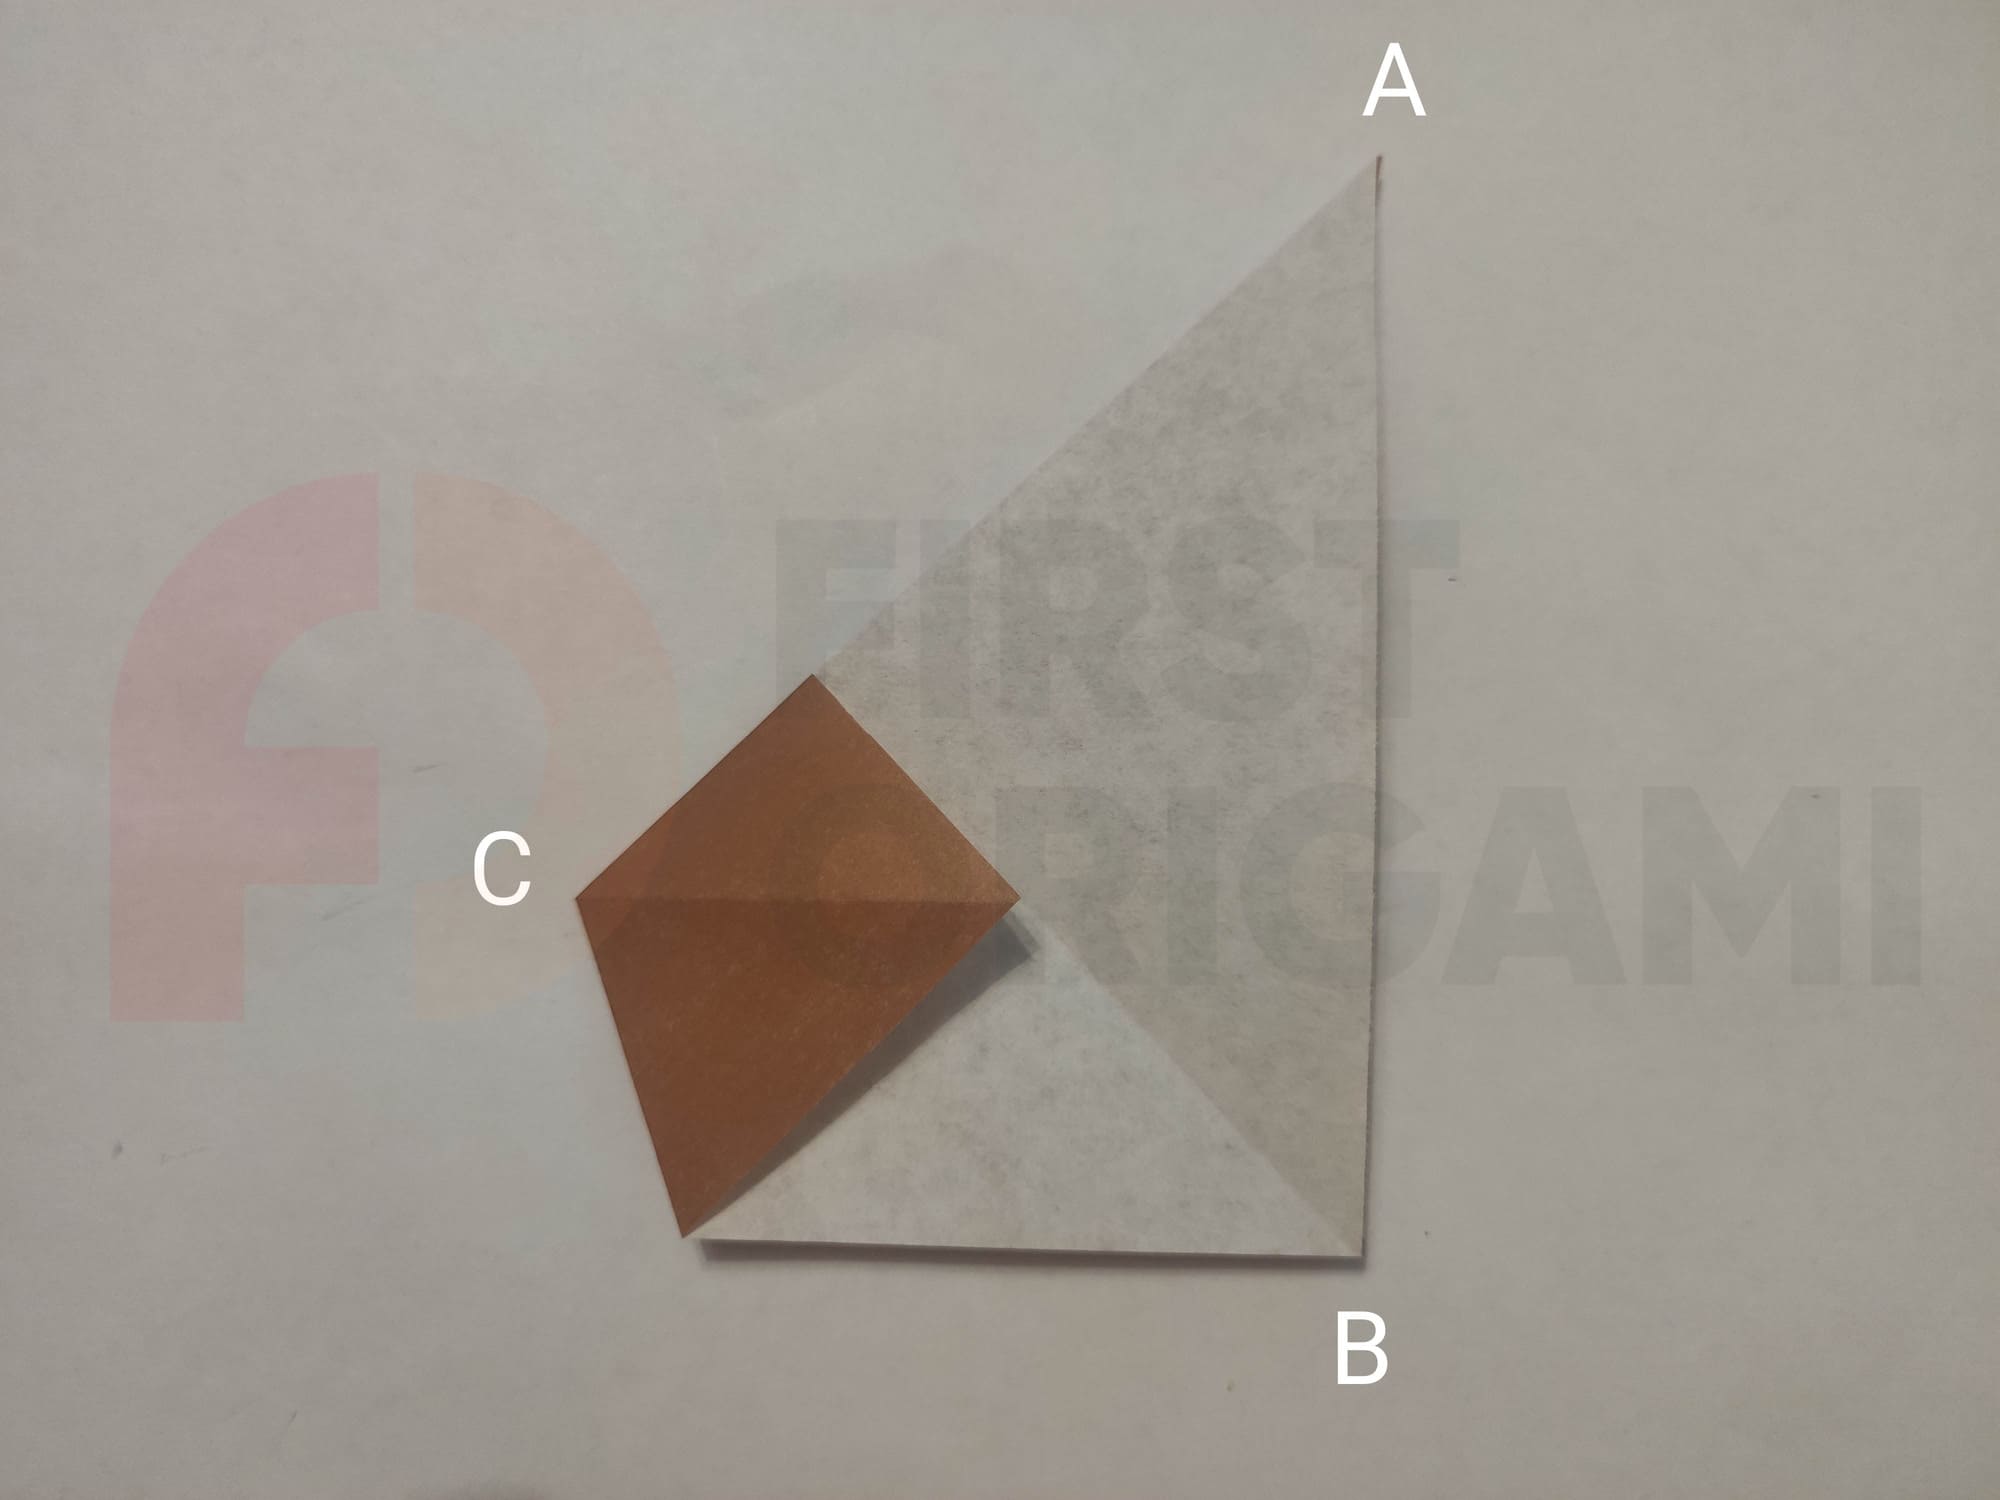
Now you have a polygon with vertices A, B, C, and D.
Now fold the top of the figure so that line AC meets line AB.

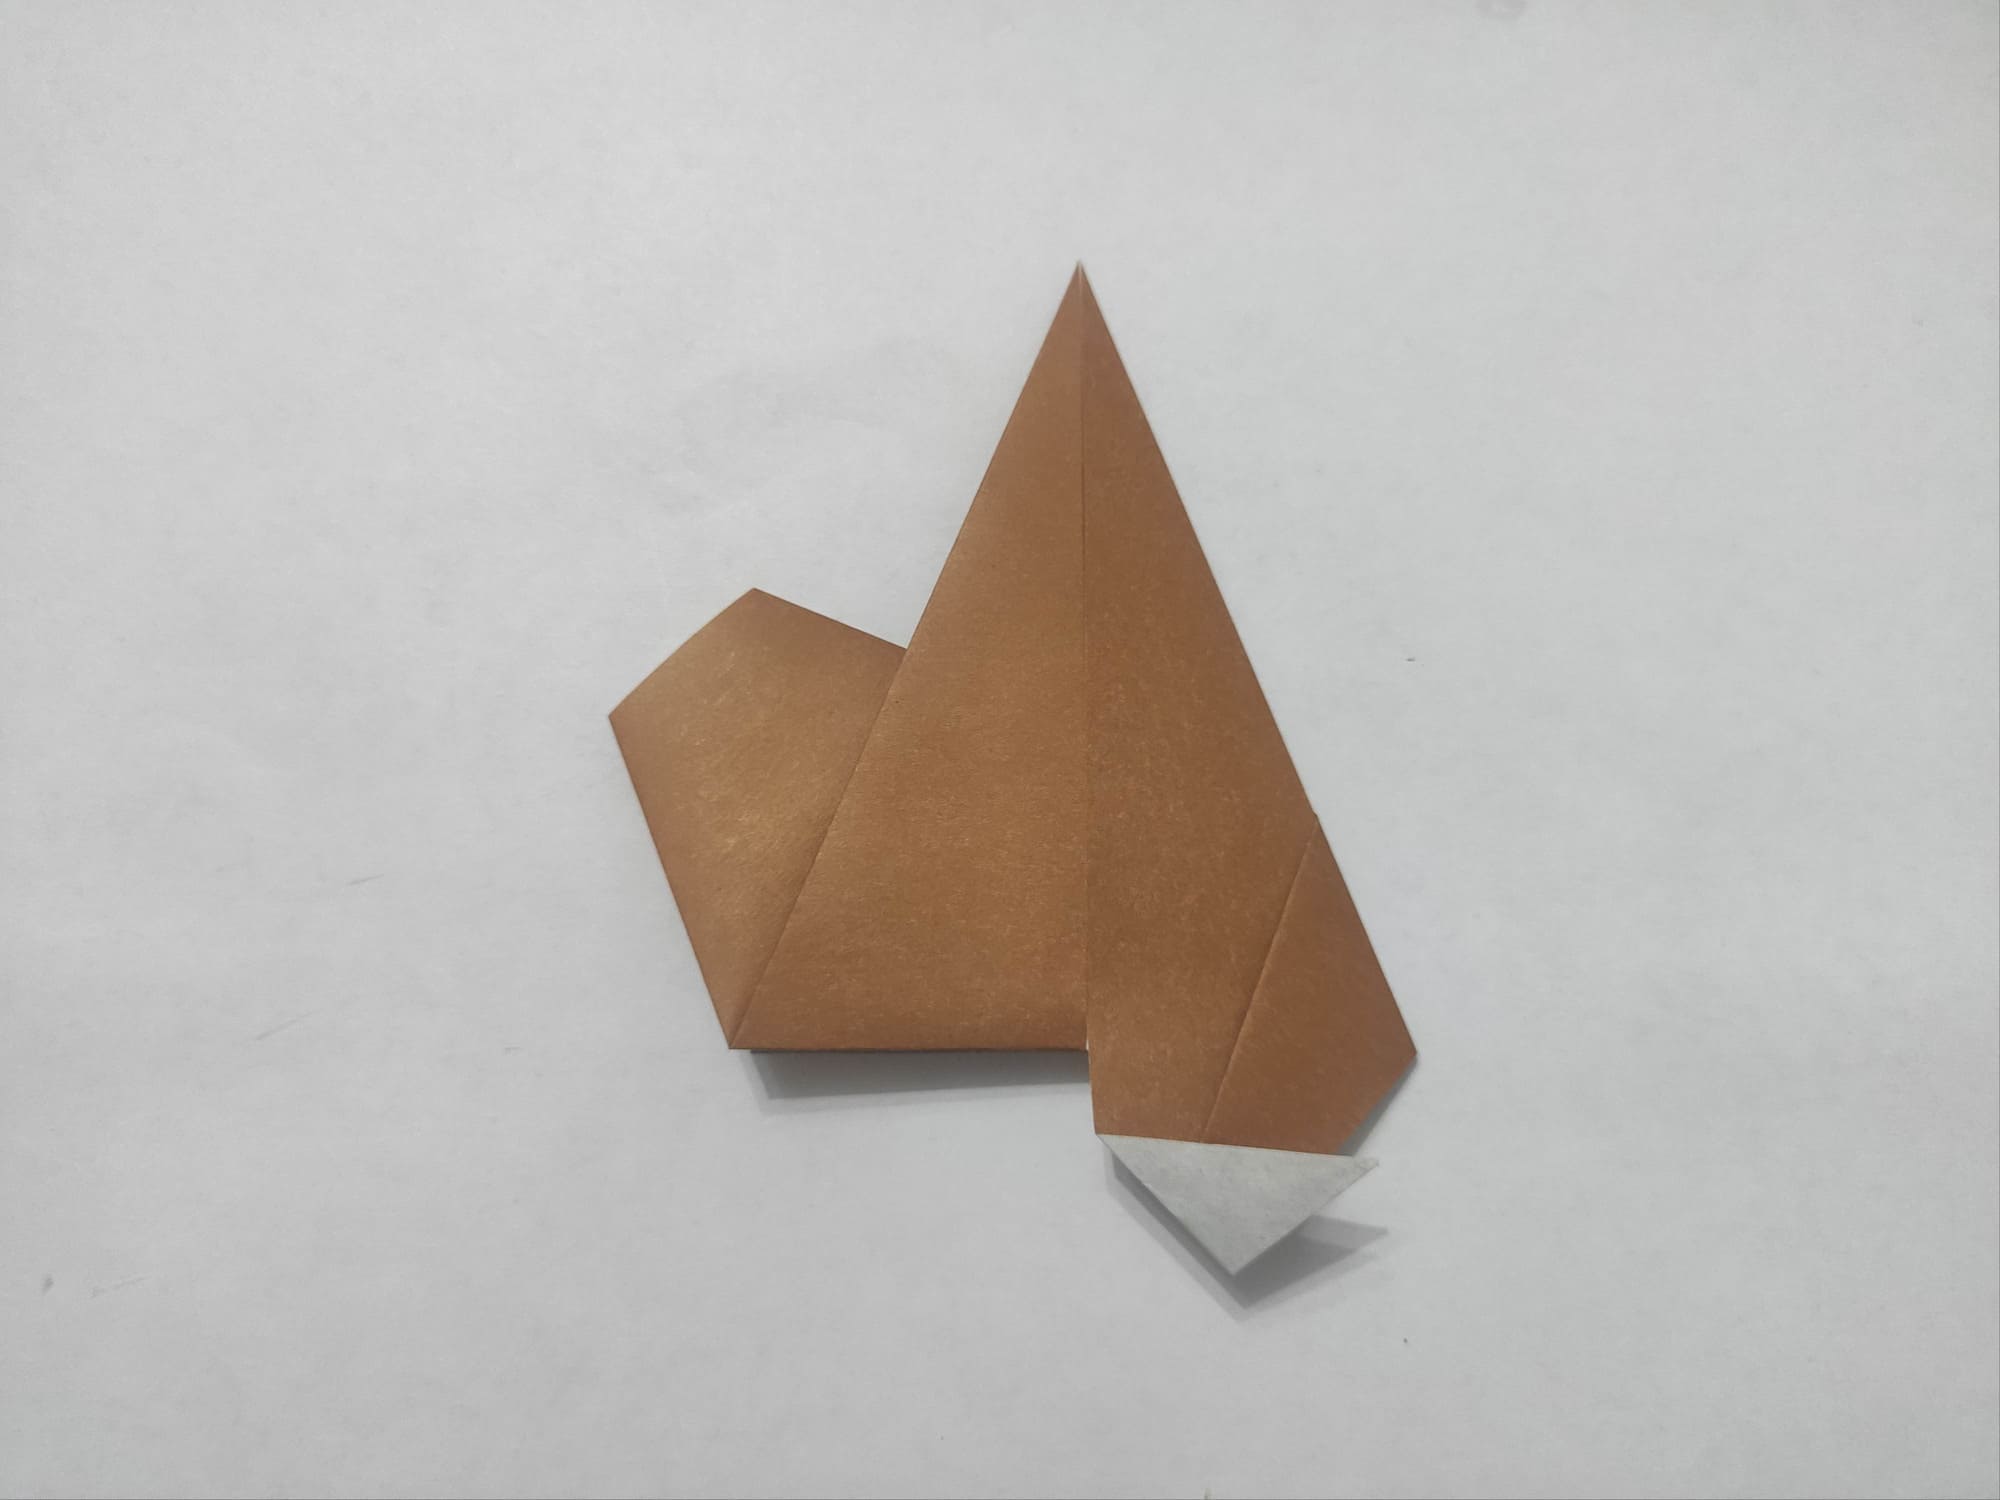
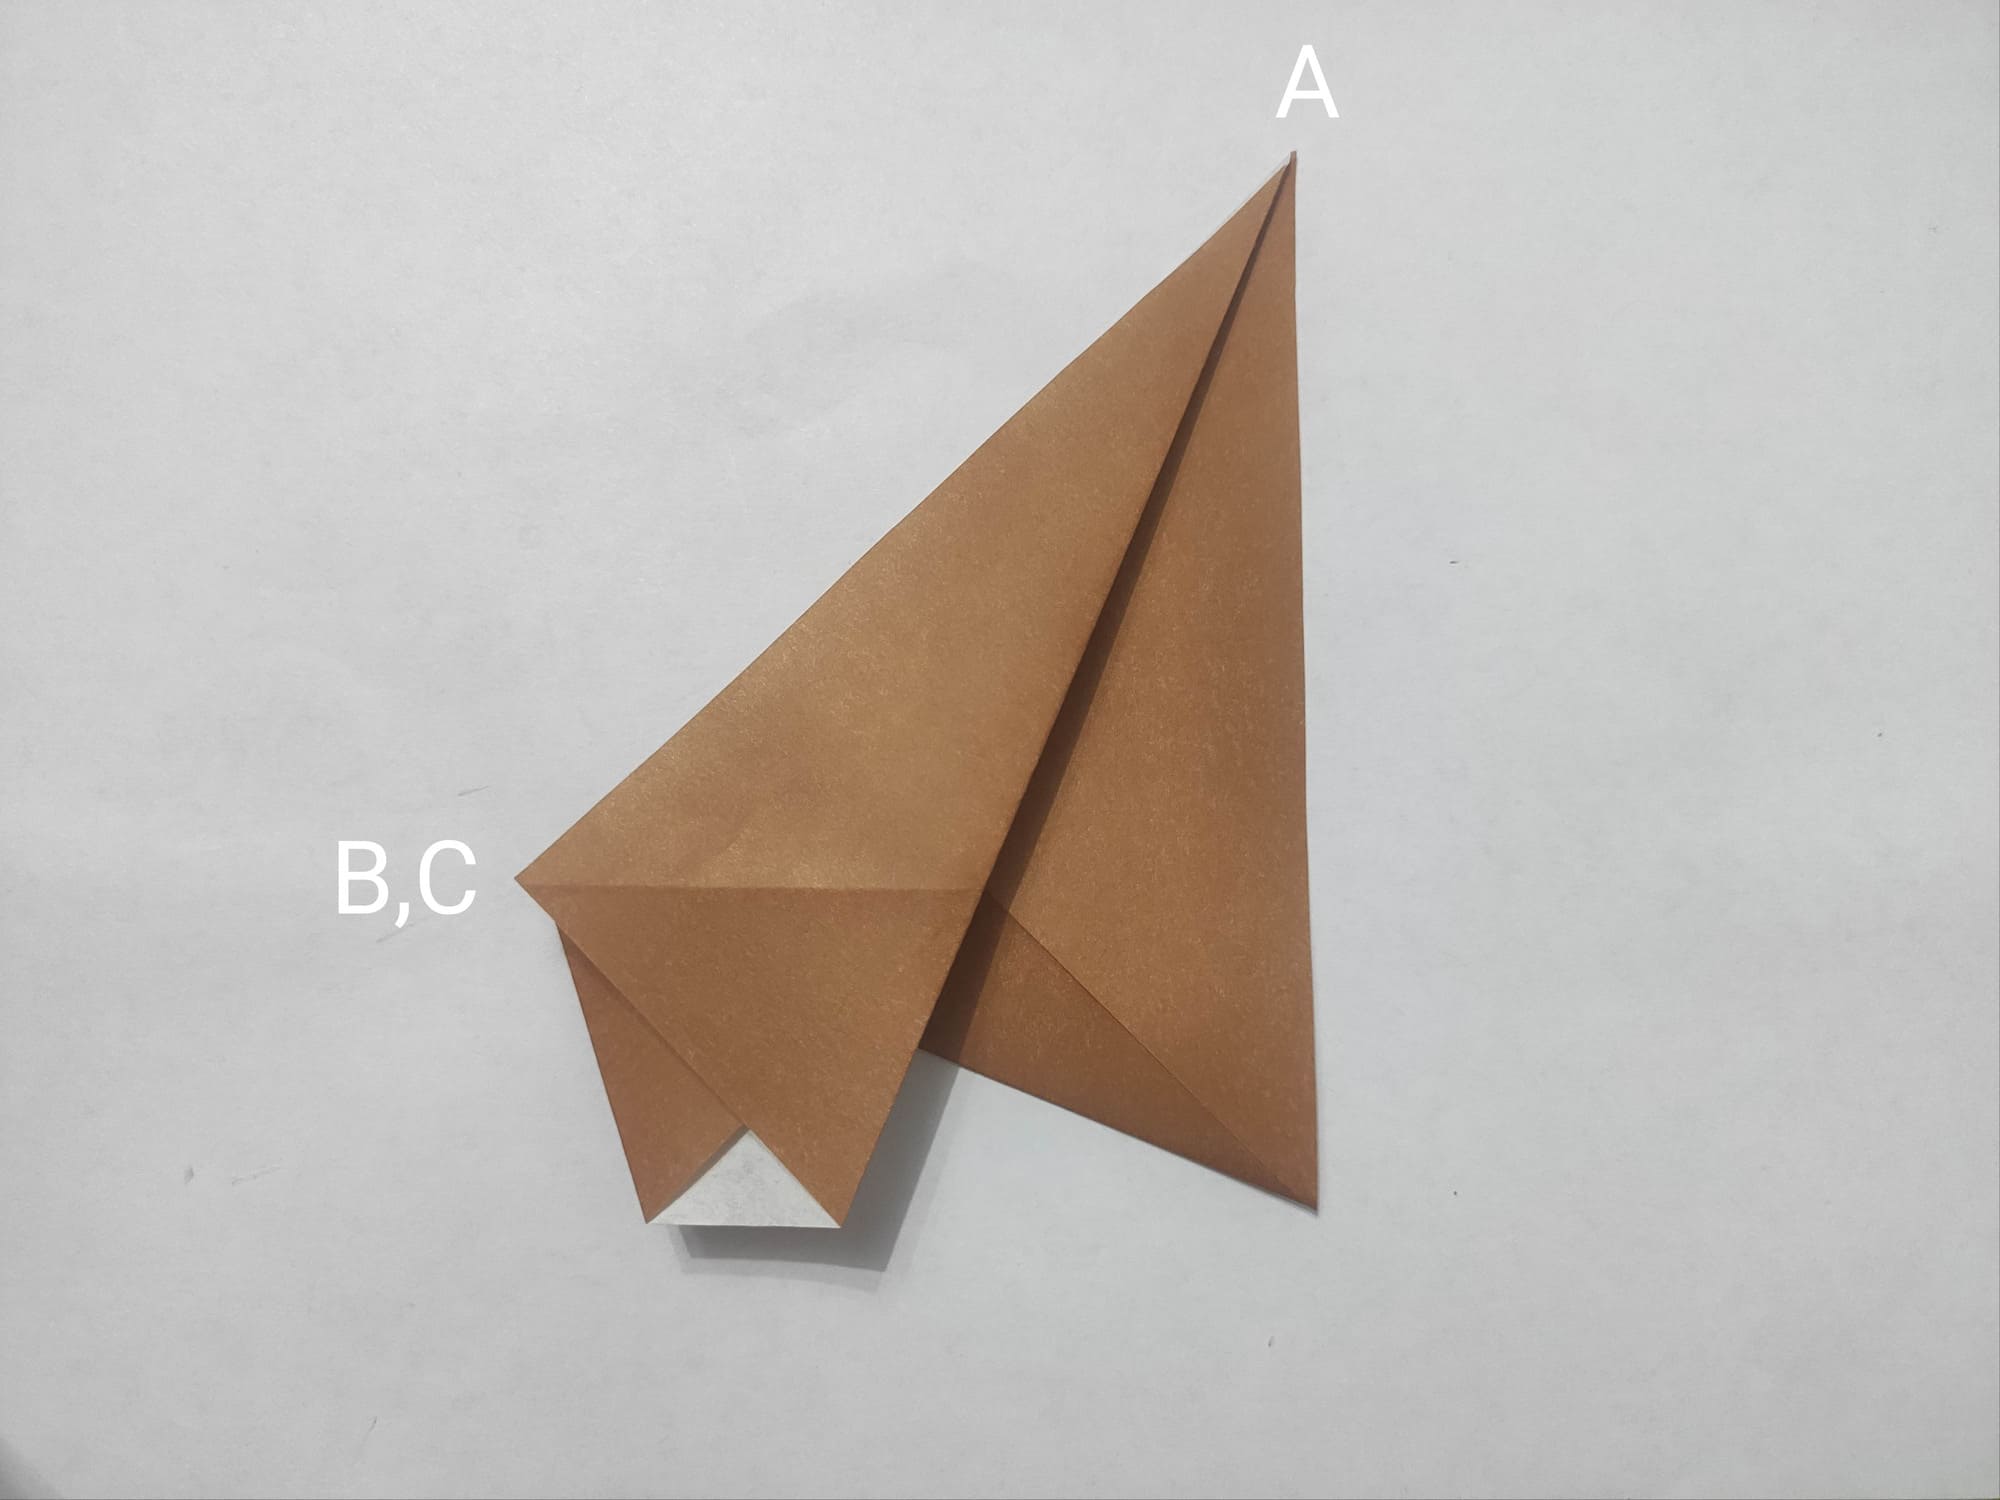
Turn the figure over to the position shown in the photo and bend the second part of the figure downwards.
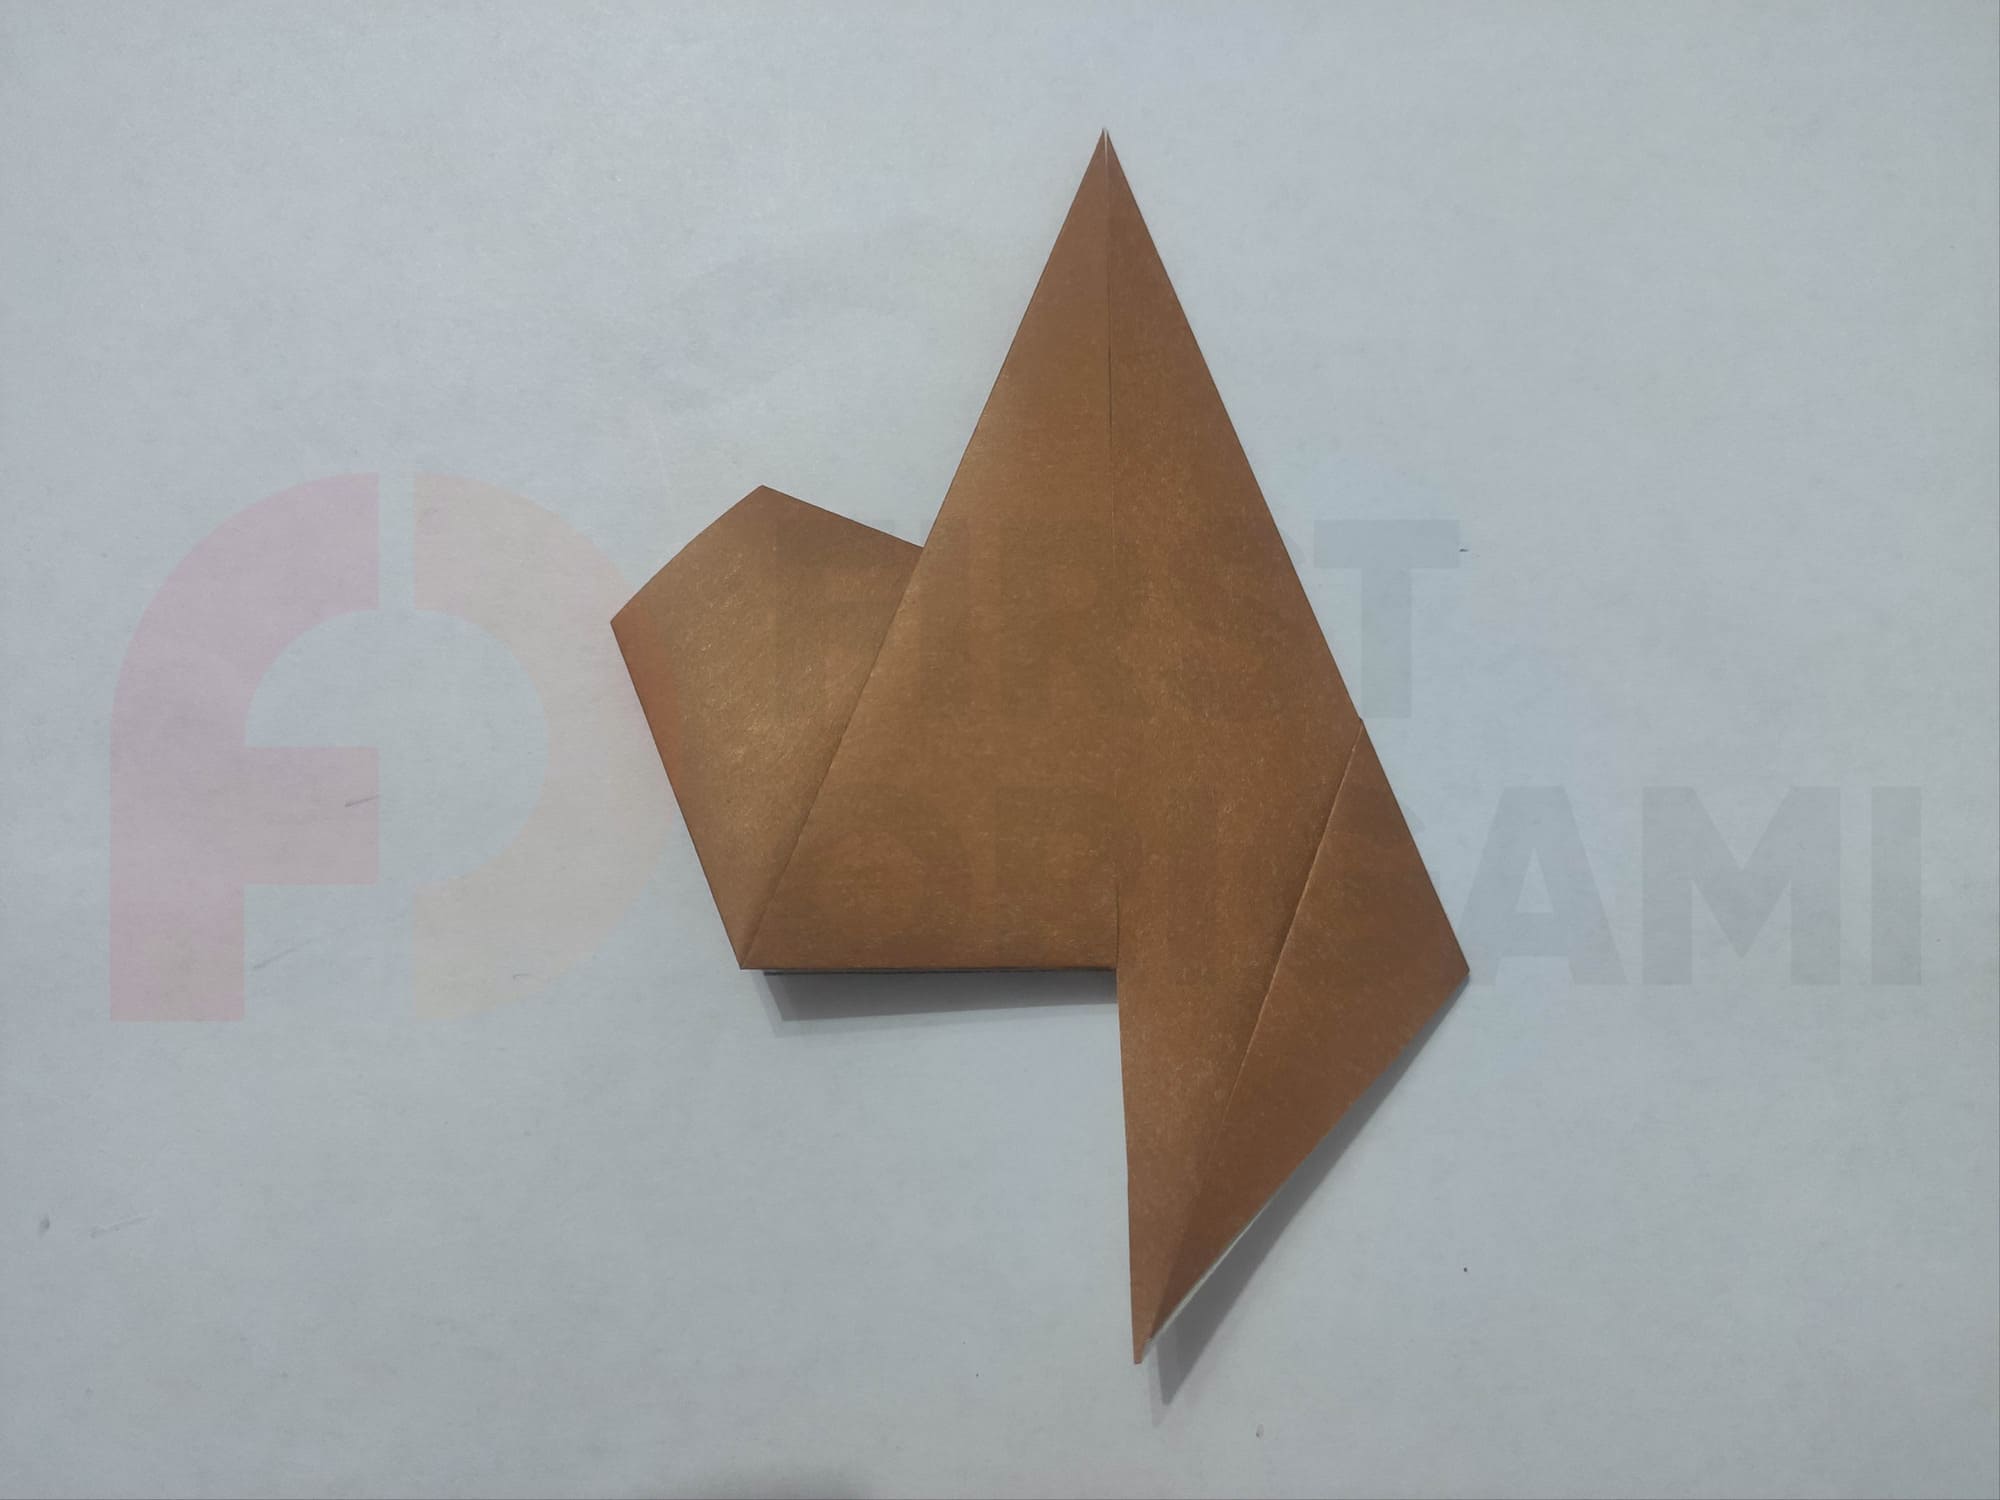
Now bend the lowest corner diagonally to the right upwards.
One of the parts of the eight-pointed star is ready.
To create a whole star you need to make seven more of the same parts. And in the second part we will show how to properly assemble a whole star.


