Origami Nakamura Airplane
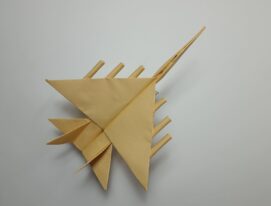
One of the classic paper airplane models is named after the author. The word “castle” is present in the name because of the bow: when it is folded, the opposite corners are fastened together as if in a castle.
Such an origami plane turns out to be quite fast and strong. If you choose a model for a one-time fun activity, then it definitely deserves your attention.
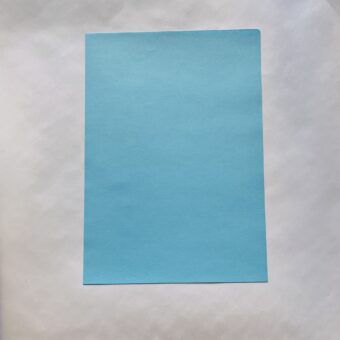
Classically, origami planes are made from A4 paper (21×28 cm). However, if you wish, you can take a sheet larger or smaller with the same aspect ratio.
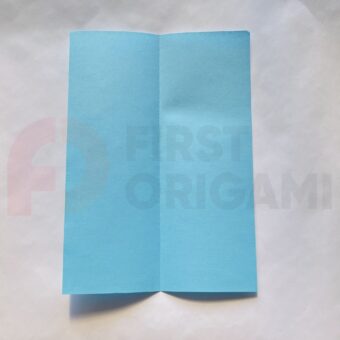
First, you need to fold the paper in half from left to right, which is the simplest fold you can make.
Now, you need to carefully crease the fold and unfold it to use it as a guide in the next steps.
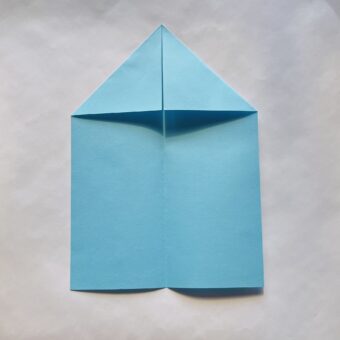
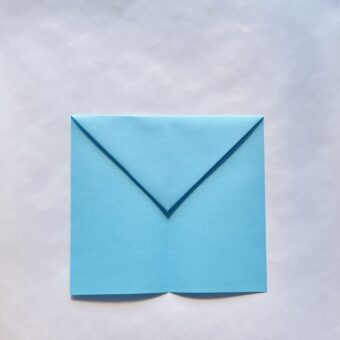
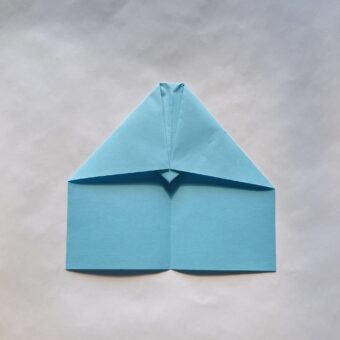
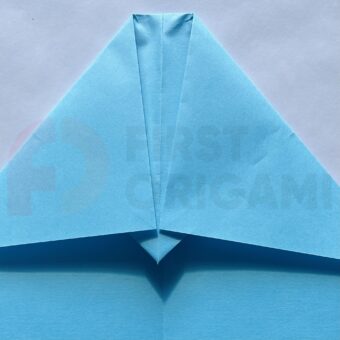
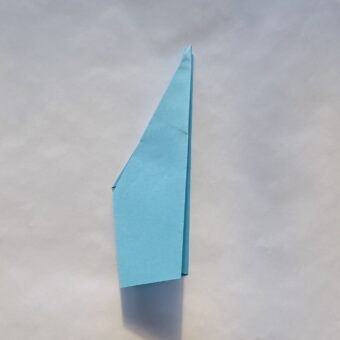
After unfolding, you need to fold both top corners inward so that they meet at the center fold line.
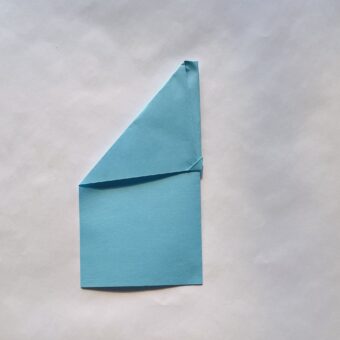
Now, you should carefully check the instructions in the photo. As you can see, you would fold the top two side corners inward without creating a sharp point at the top.
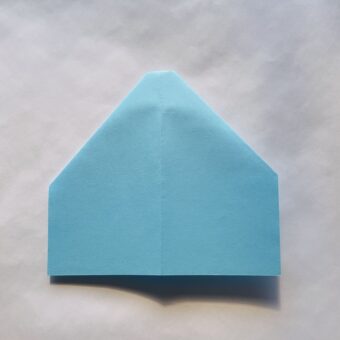
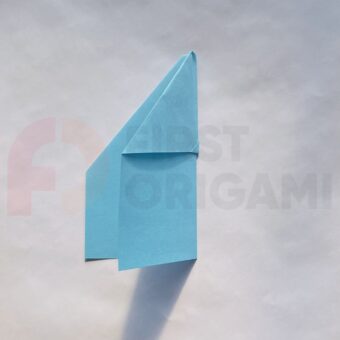
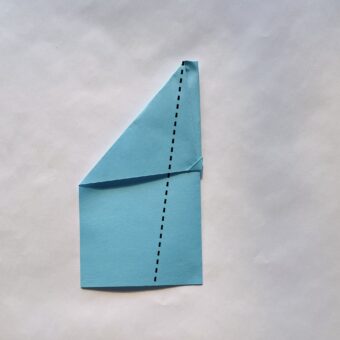
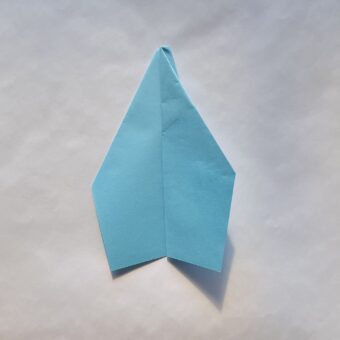
Let’s proceed to the formation of the wings of the aircraft. For this, you would bend the paper along the dotted line to make the curve of the wing.
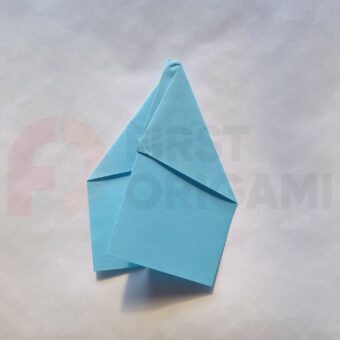
Finally, you need to turn the shape over and repeat steps 11-12 on this side so that the wings are symmetrical.
It remains to learn how to fly it. Ready? You should open the wings a little so that they are perpendicular to the body – a general rule for all aircraft. Next, you would hold your aircraft by the body with two fingers. It is important to place your fingers in the place where you made the castle in the form of a small triangle. Finally, you can launch the plane straight ahead, not at an angle, to see how smoothly it flies.

