Origami Outside Reverse Fold
These are small techniques that are often used in origami. You can find them in instructions for making different animals, where they help to make a head or tail.
This fold is not complicated at all but can be intimidating to those who encounter them for the first time. Learning how to fold the inner and outer folds will make it easier to understand the instructions and you will be able to make many different origami without much trouble.
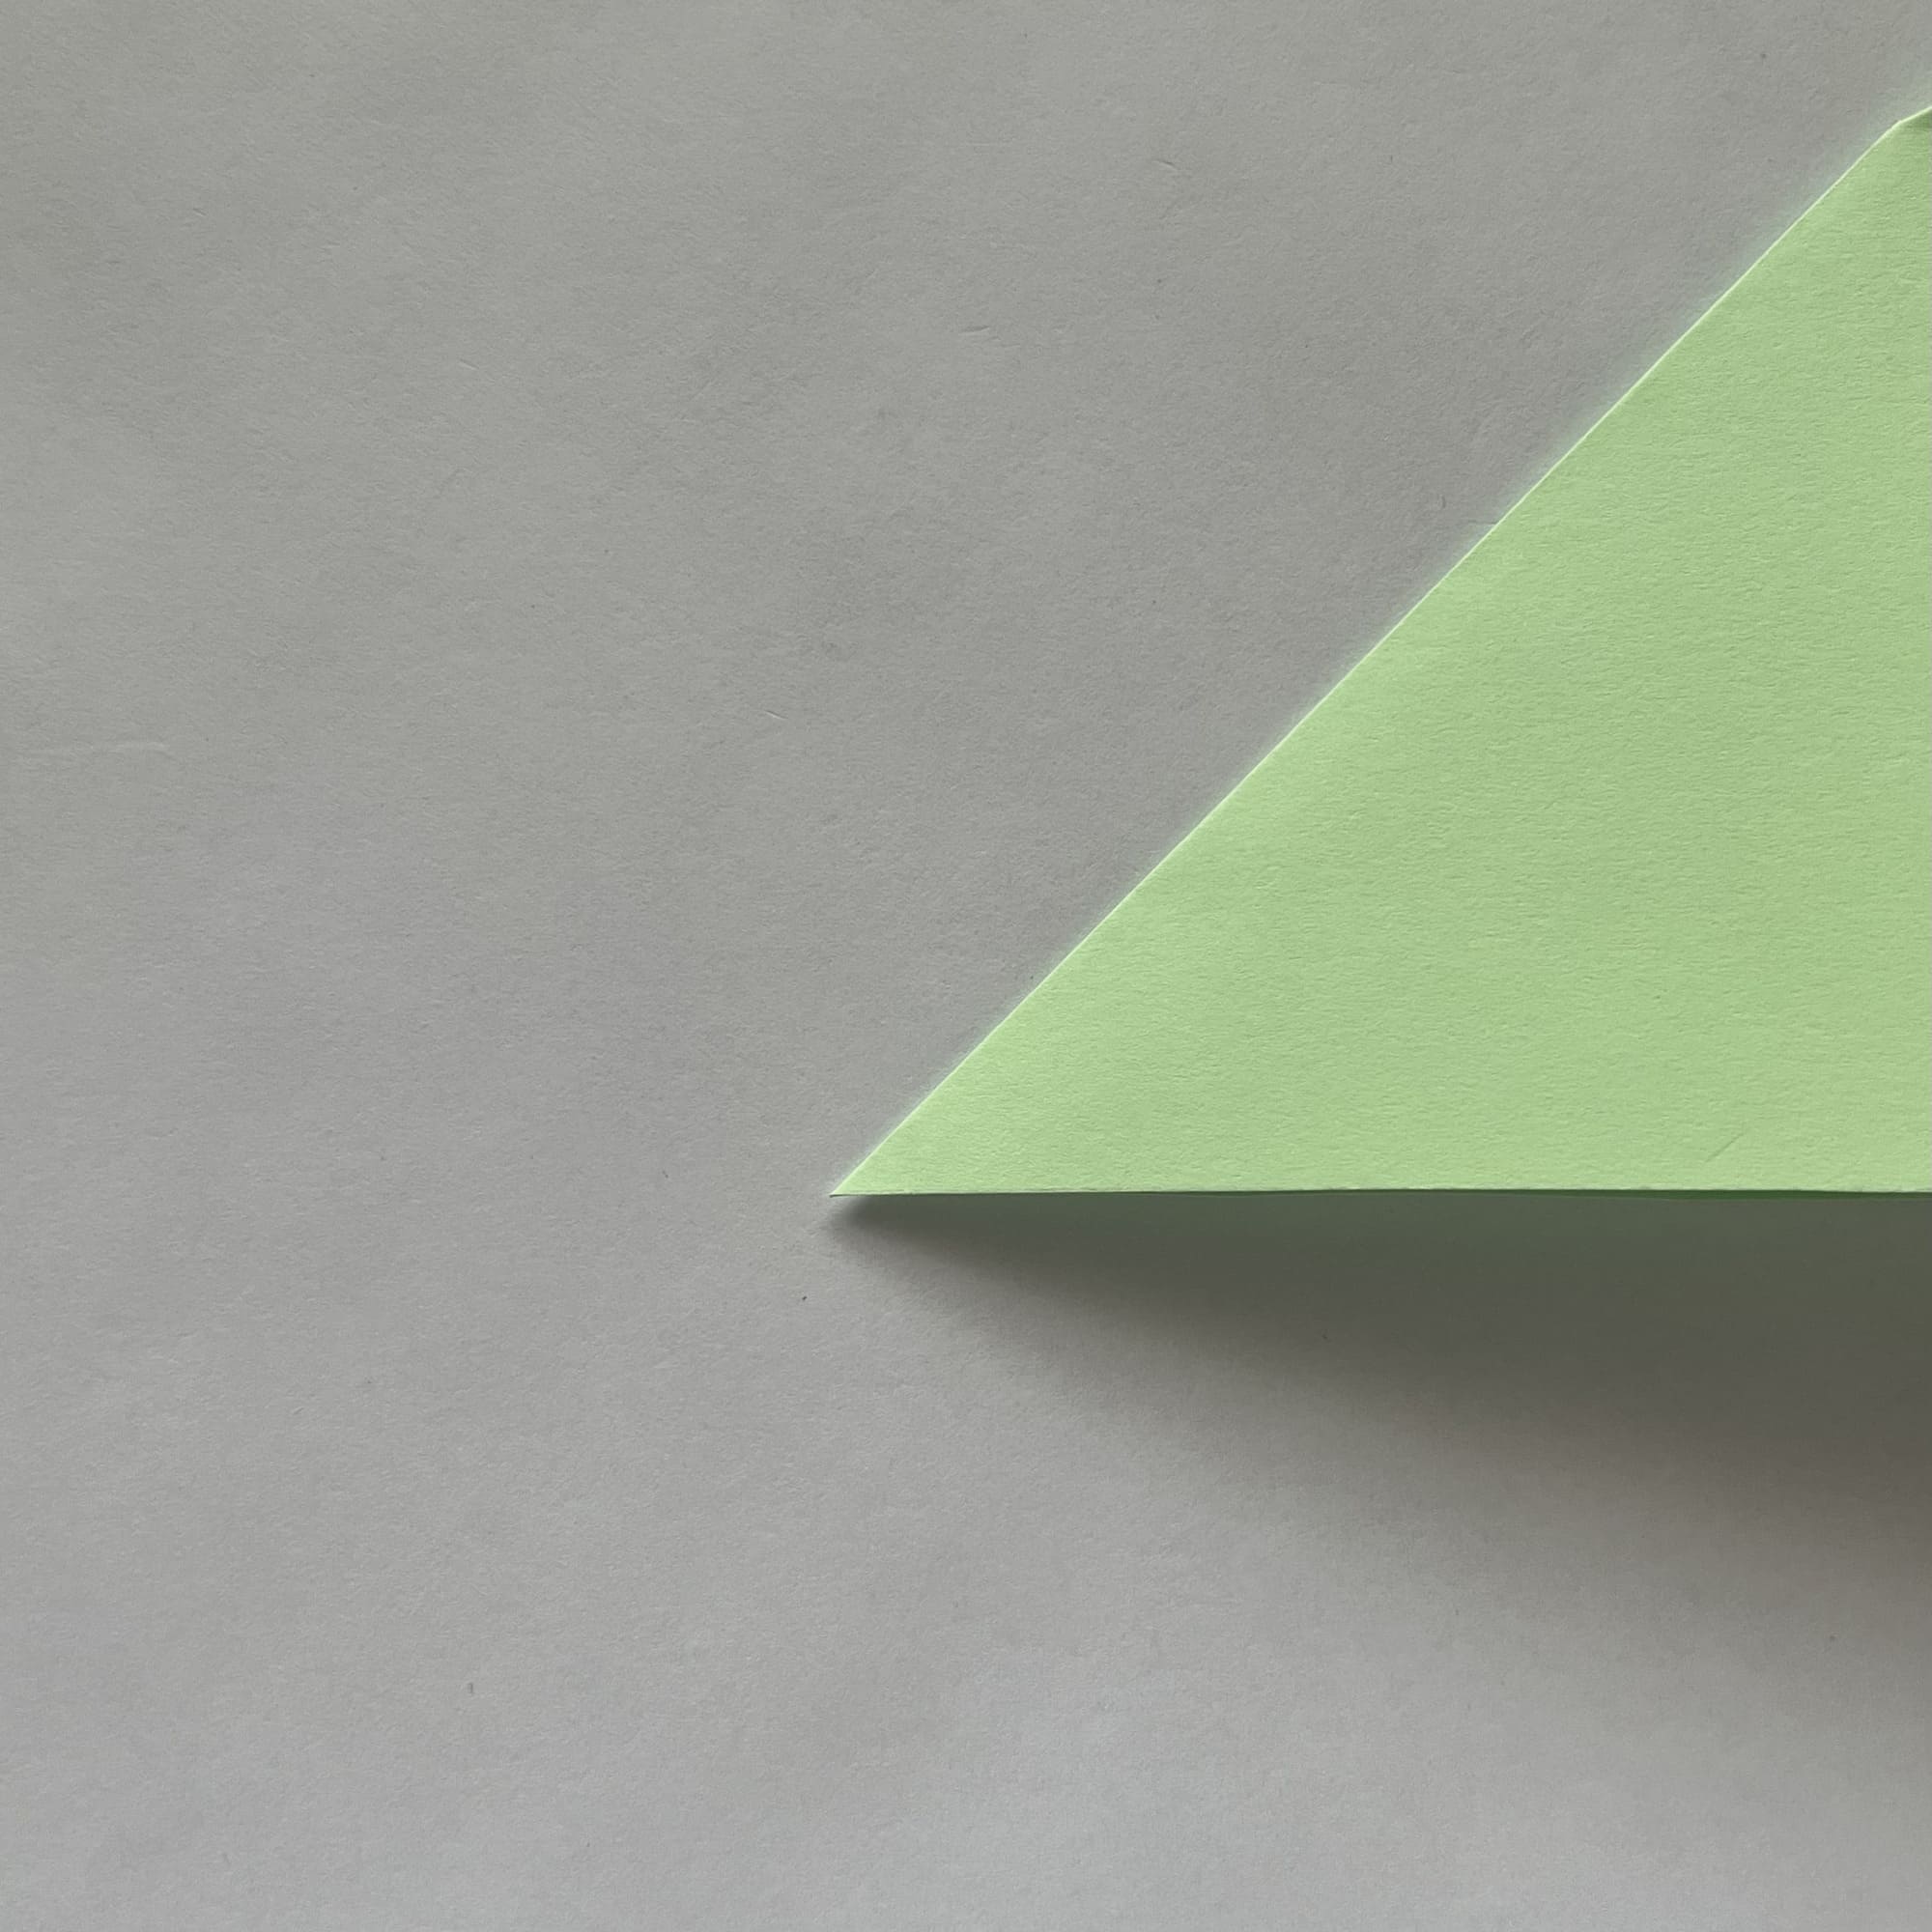
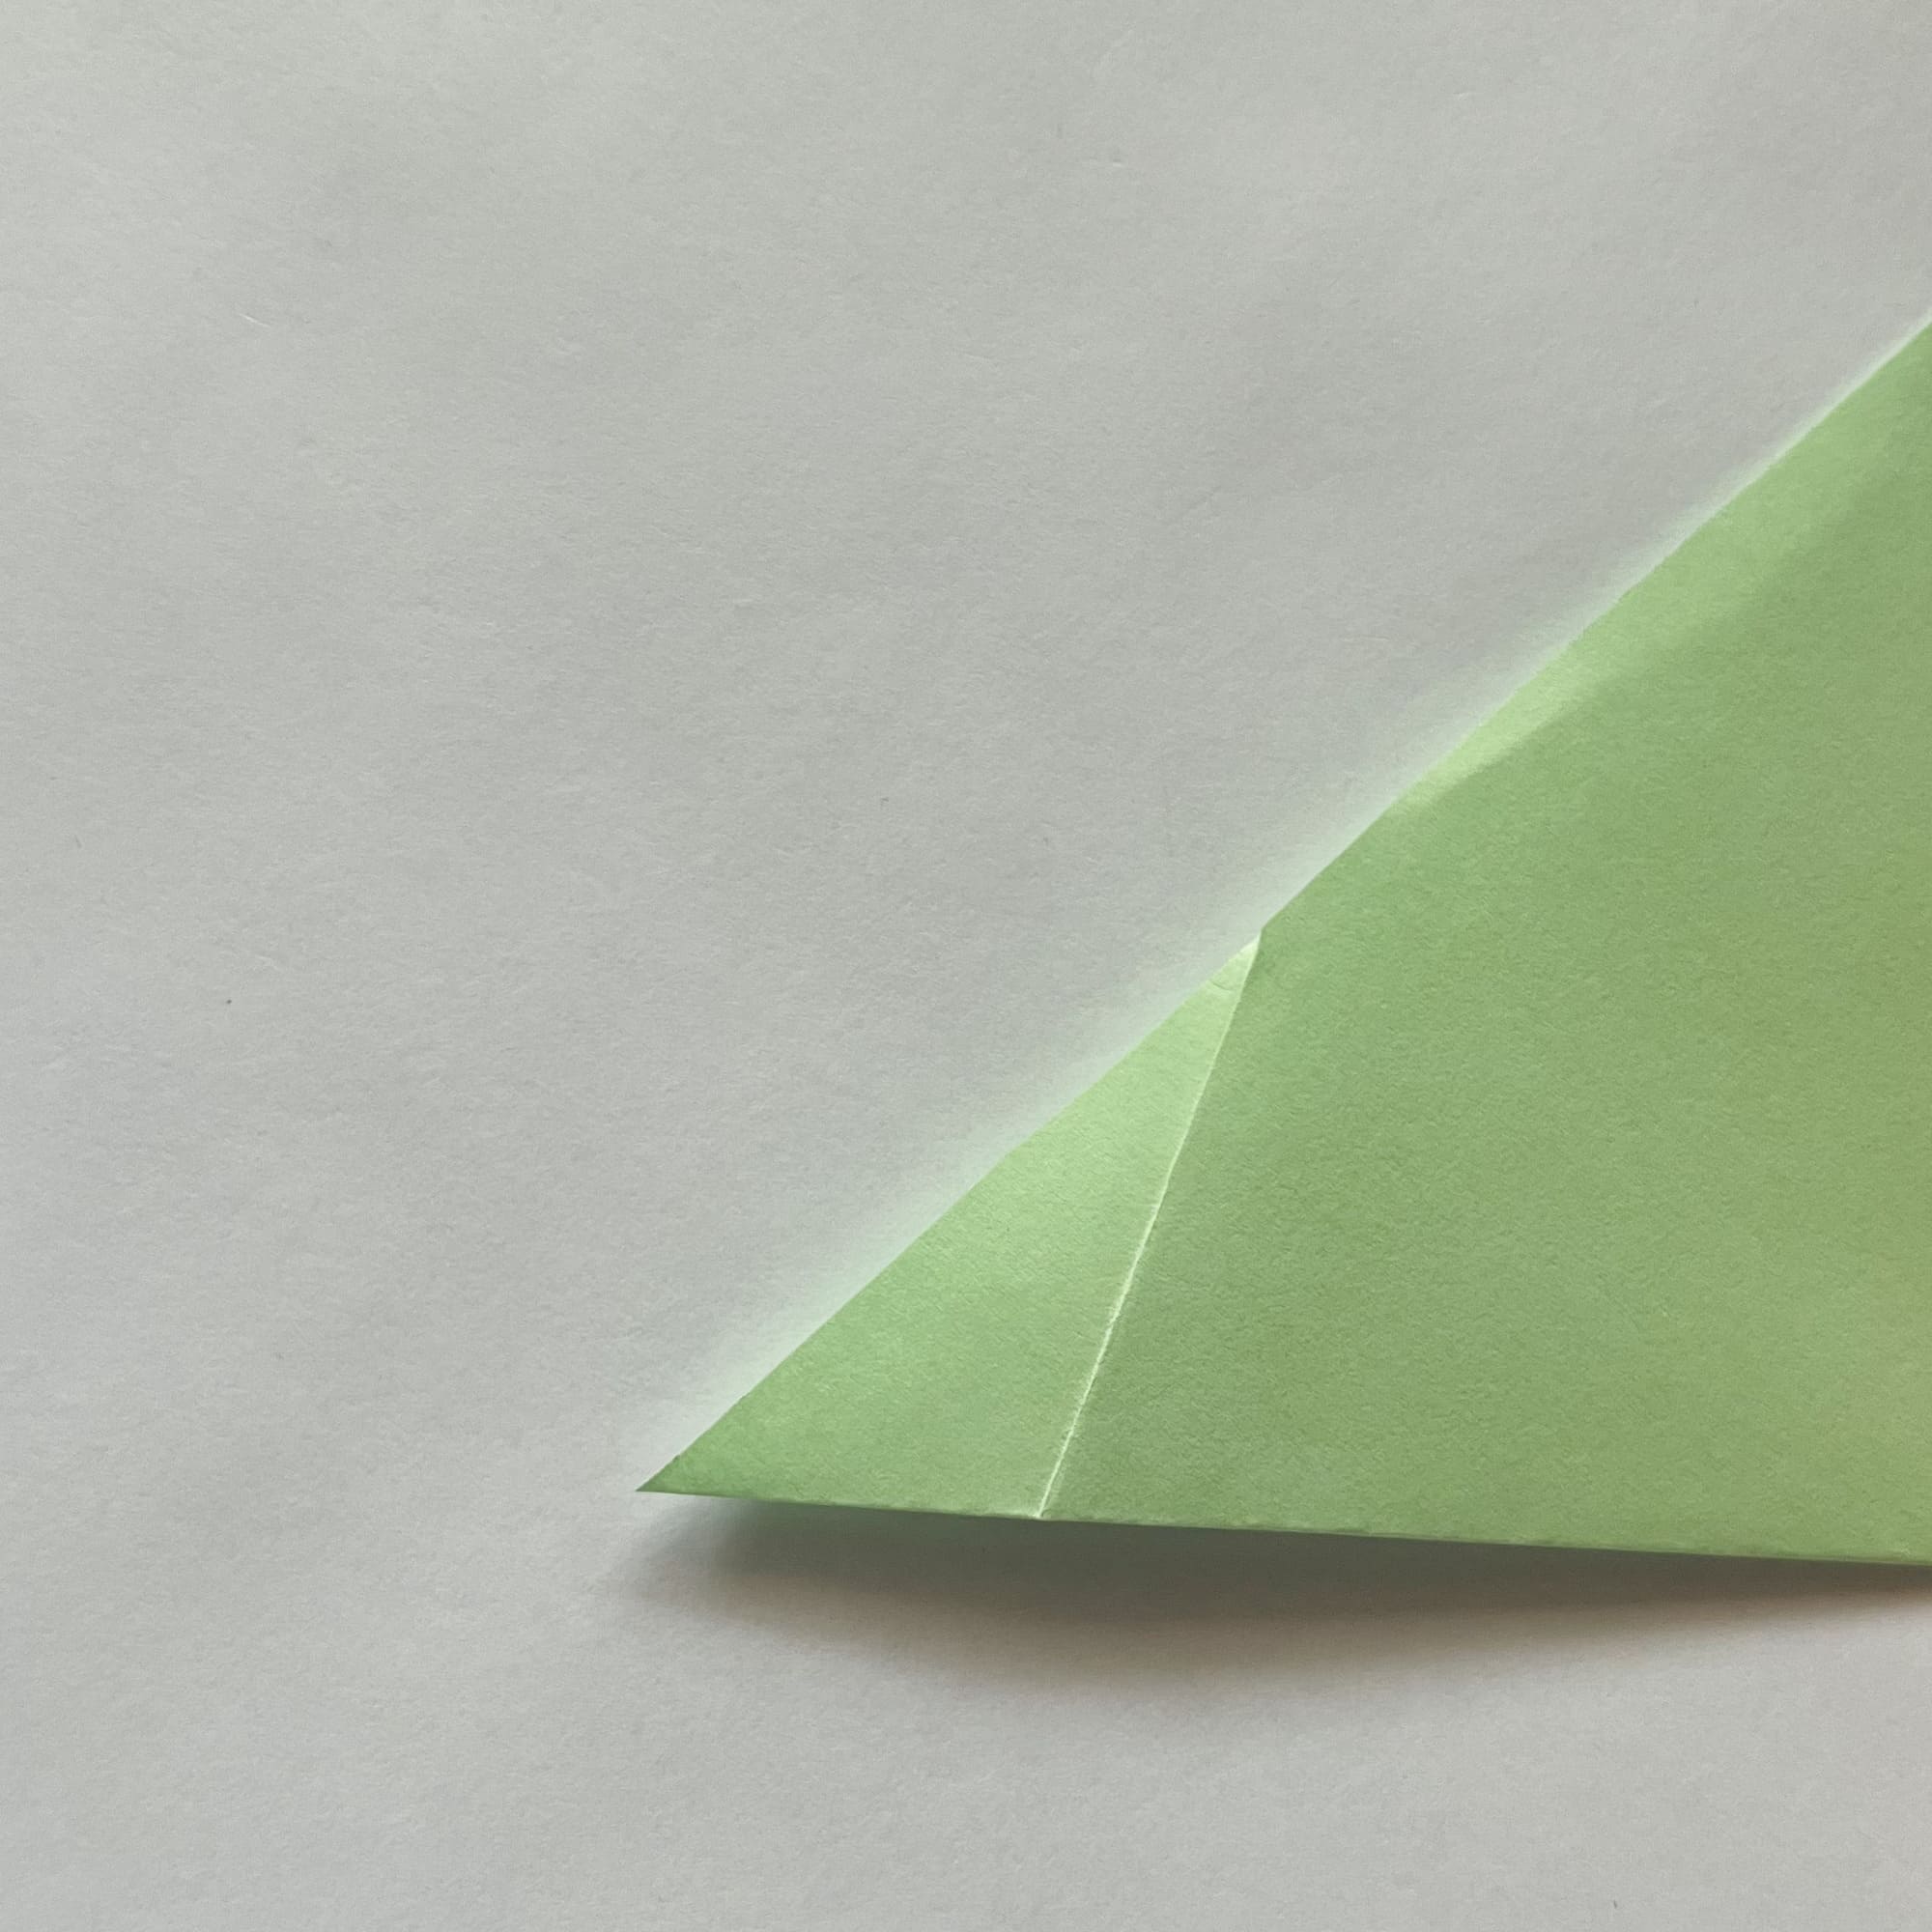
Prepare a square piece of paper, fold it diagonally.

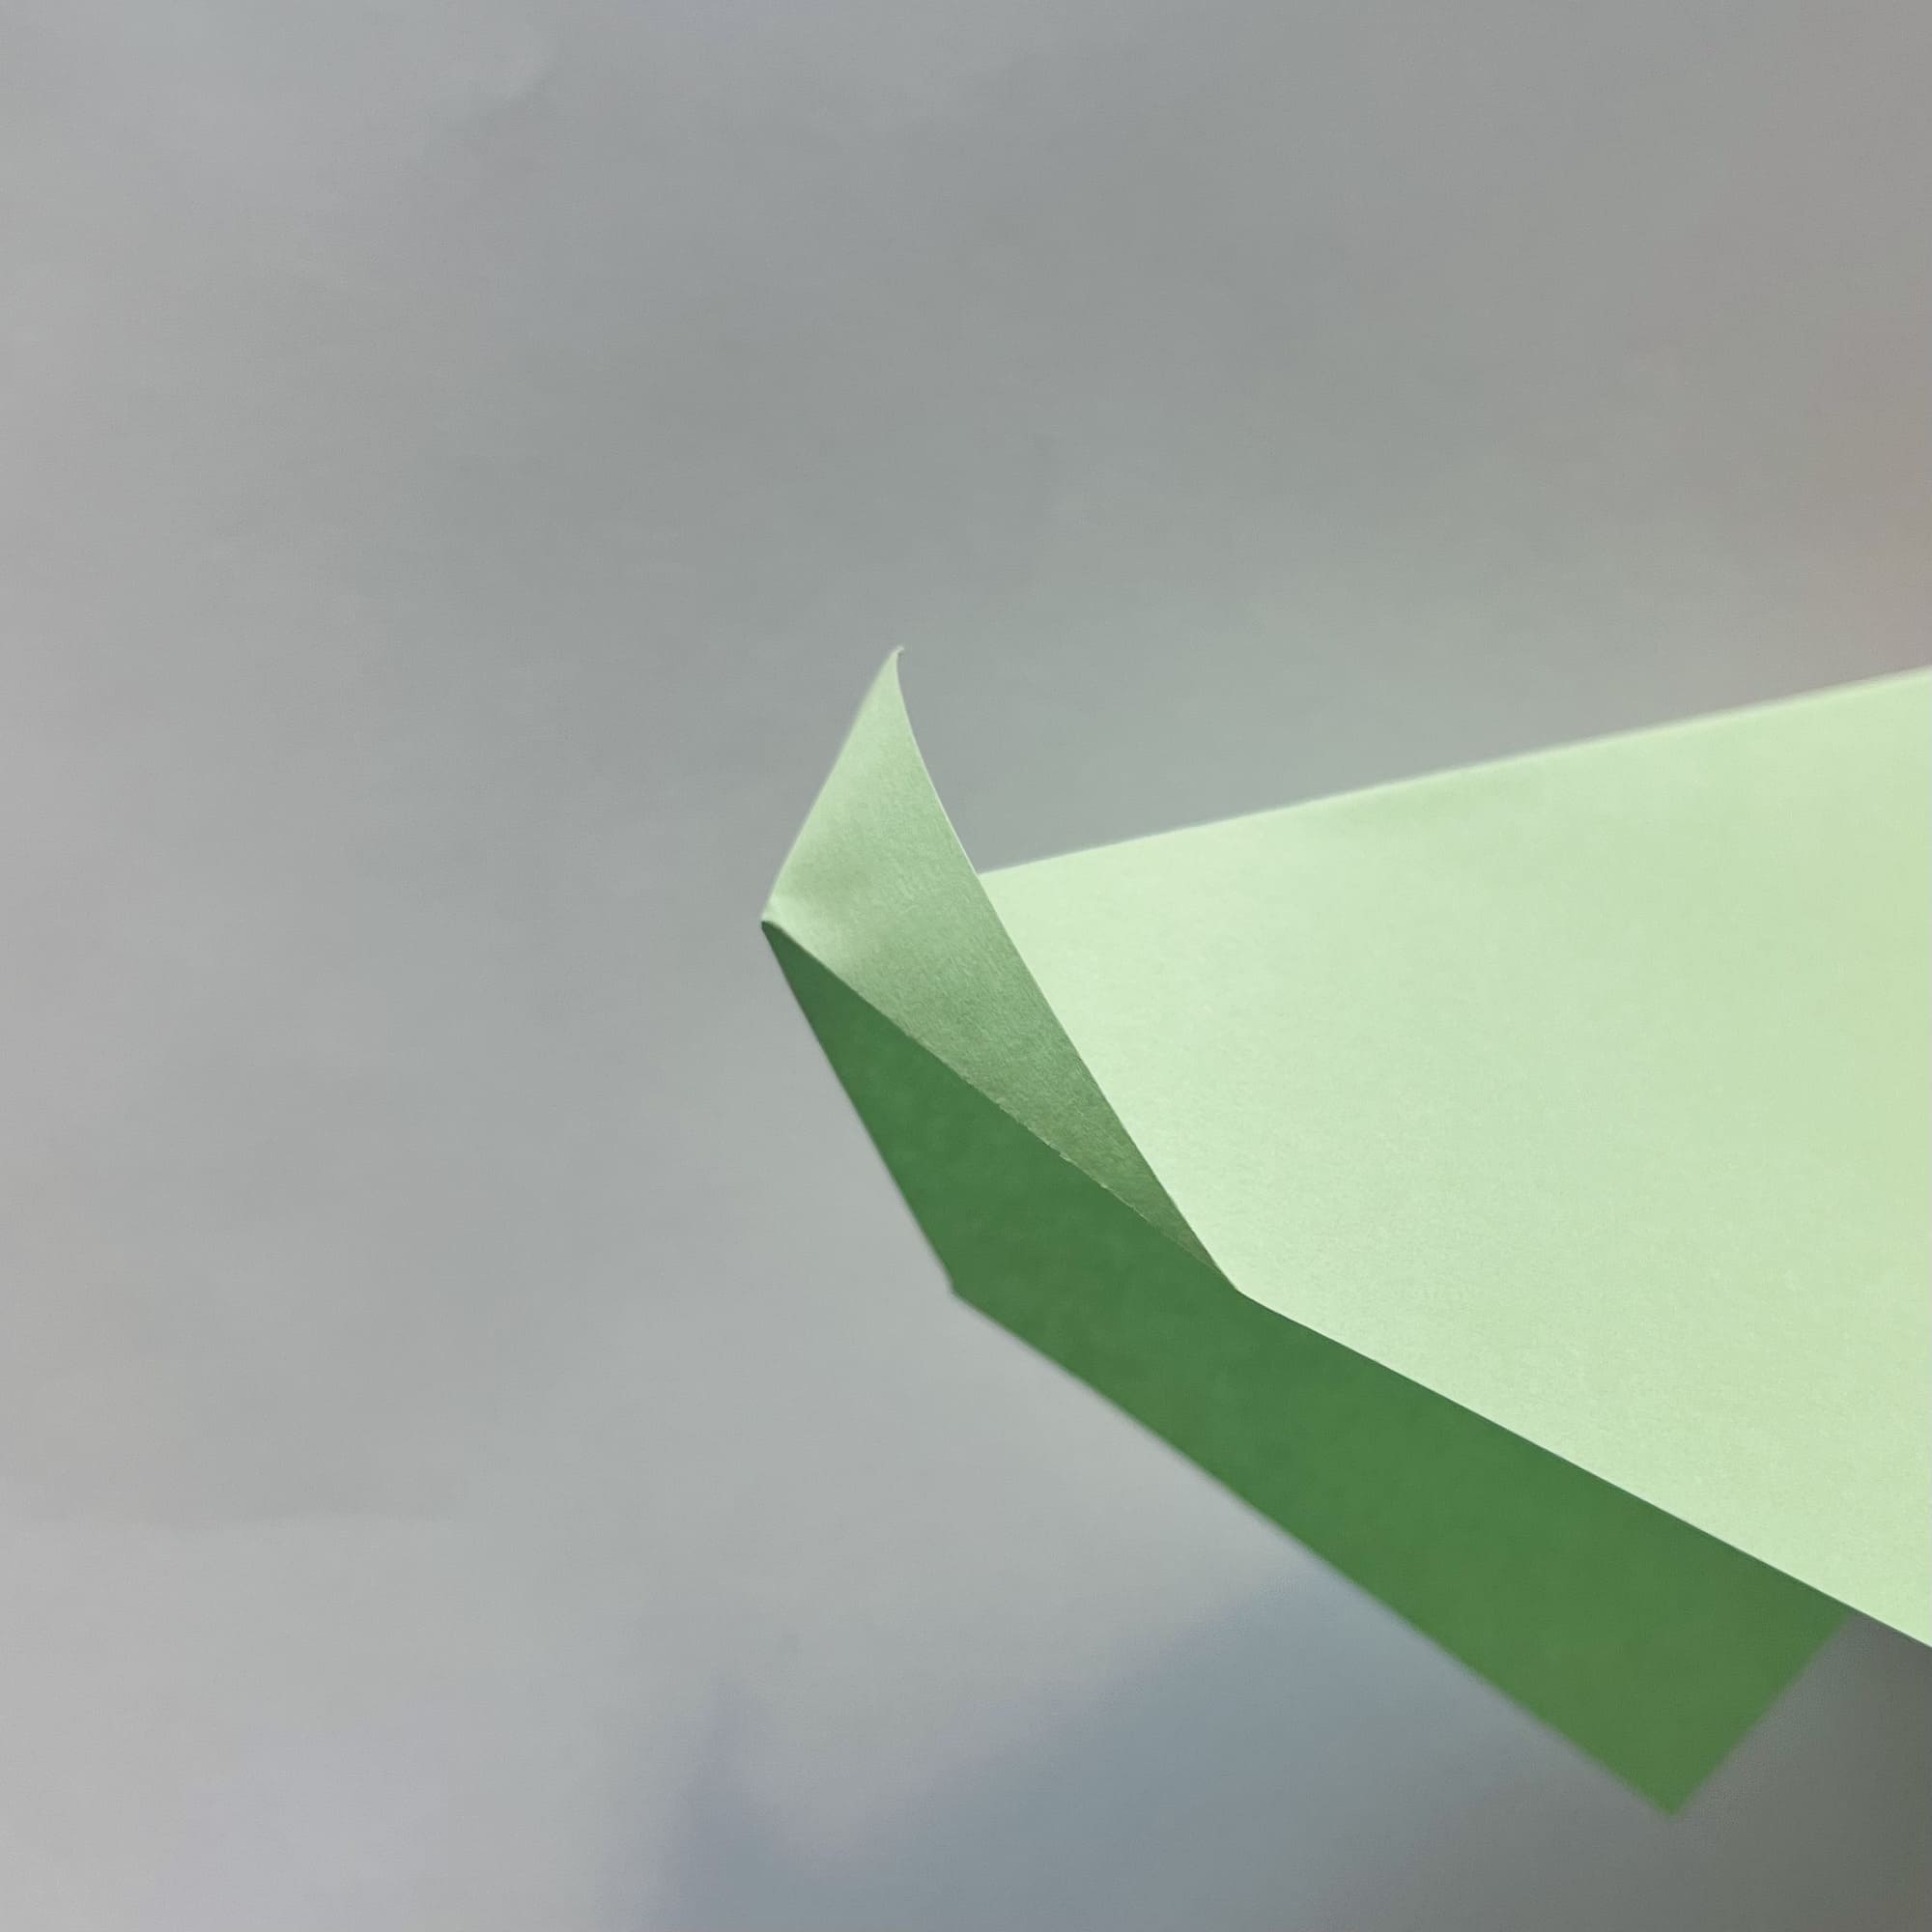
Fold the corner along the dotted line to the outside. Important: do this with the top layer only.
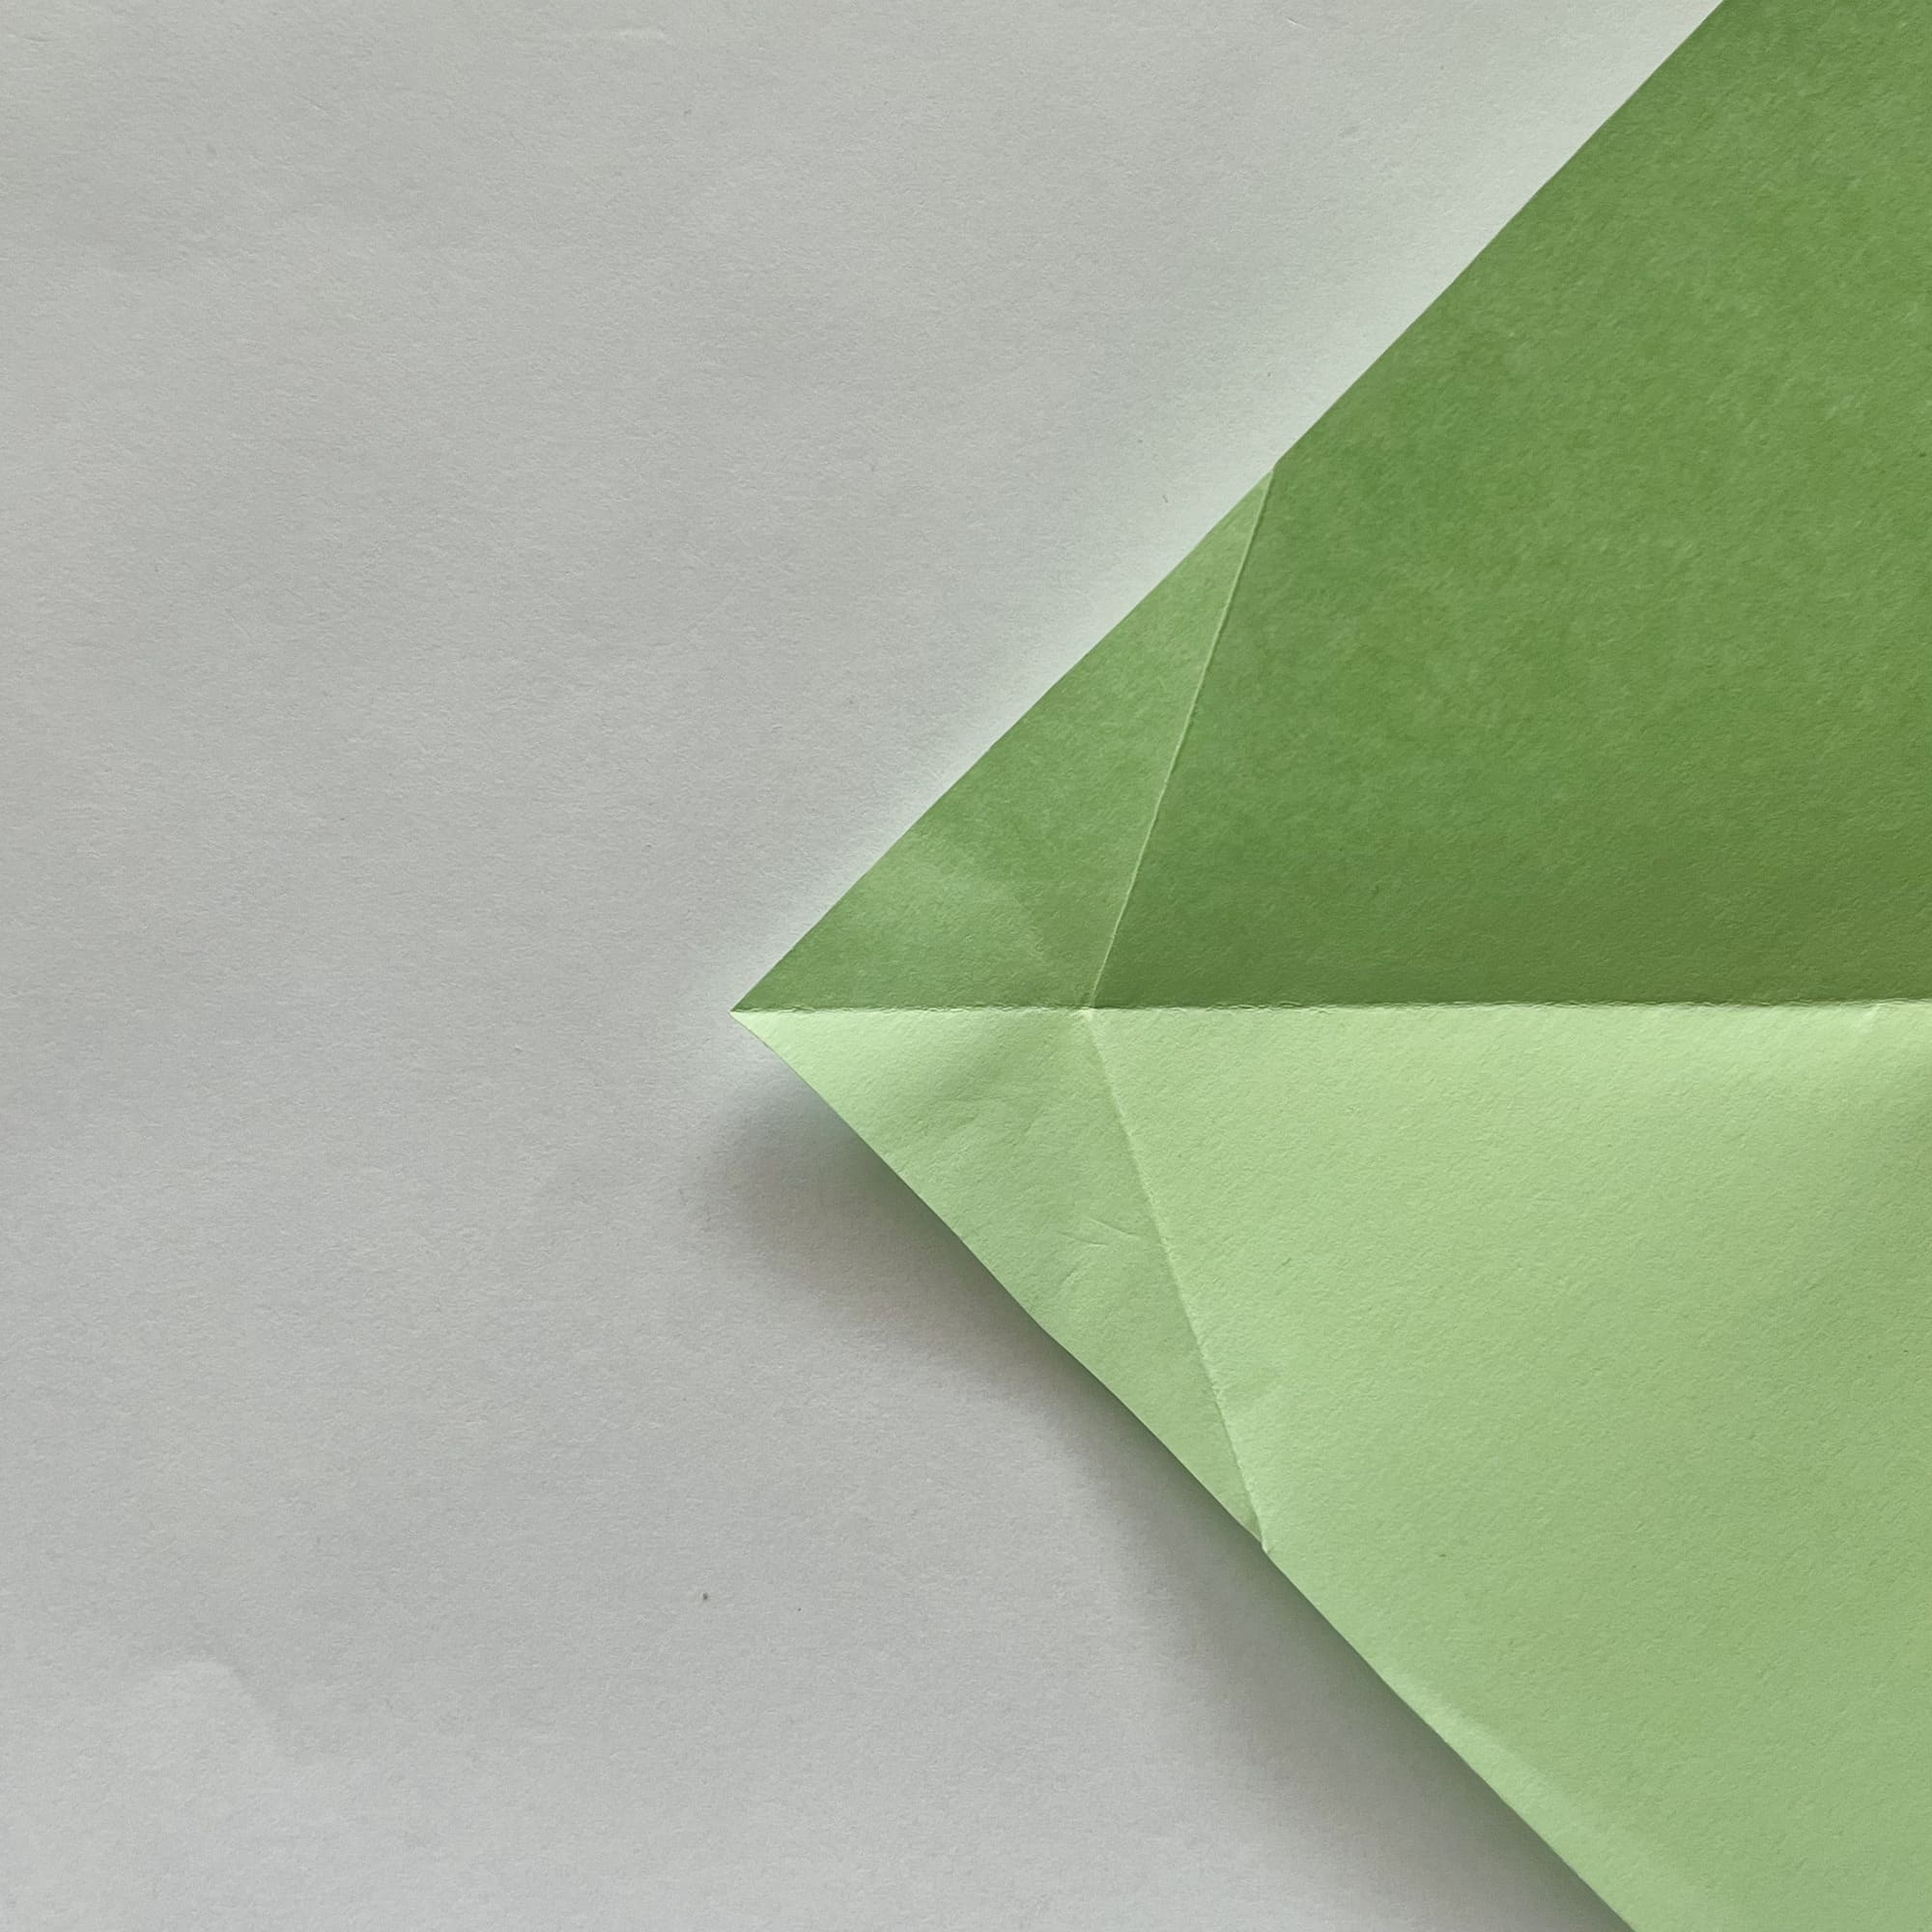
You should get a small triangular pocket, just like in the photo.
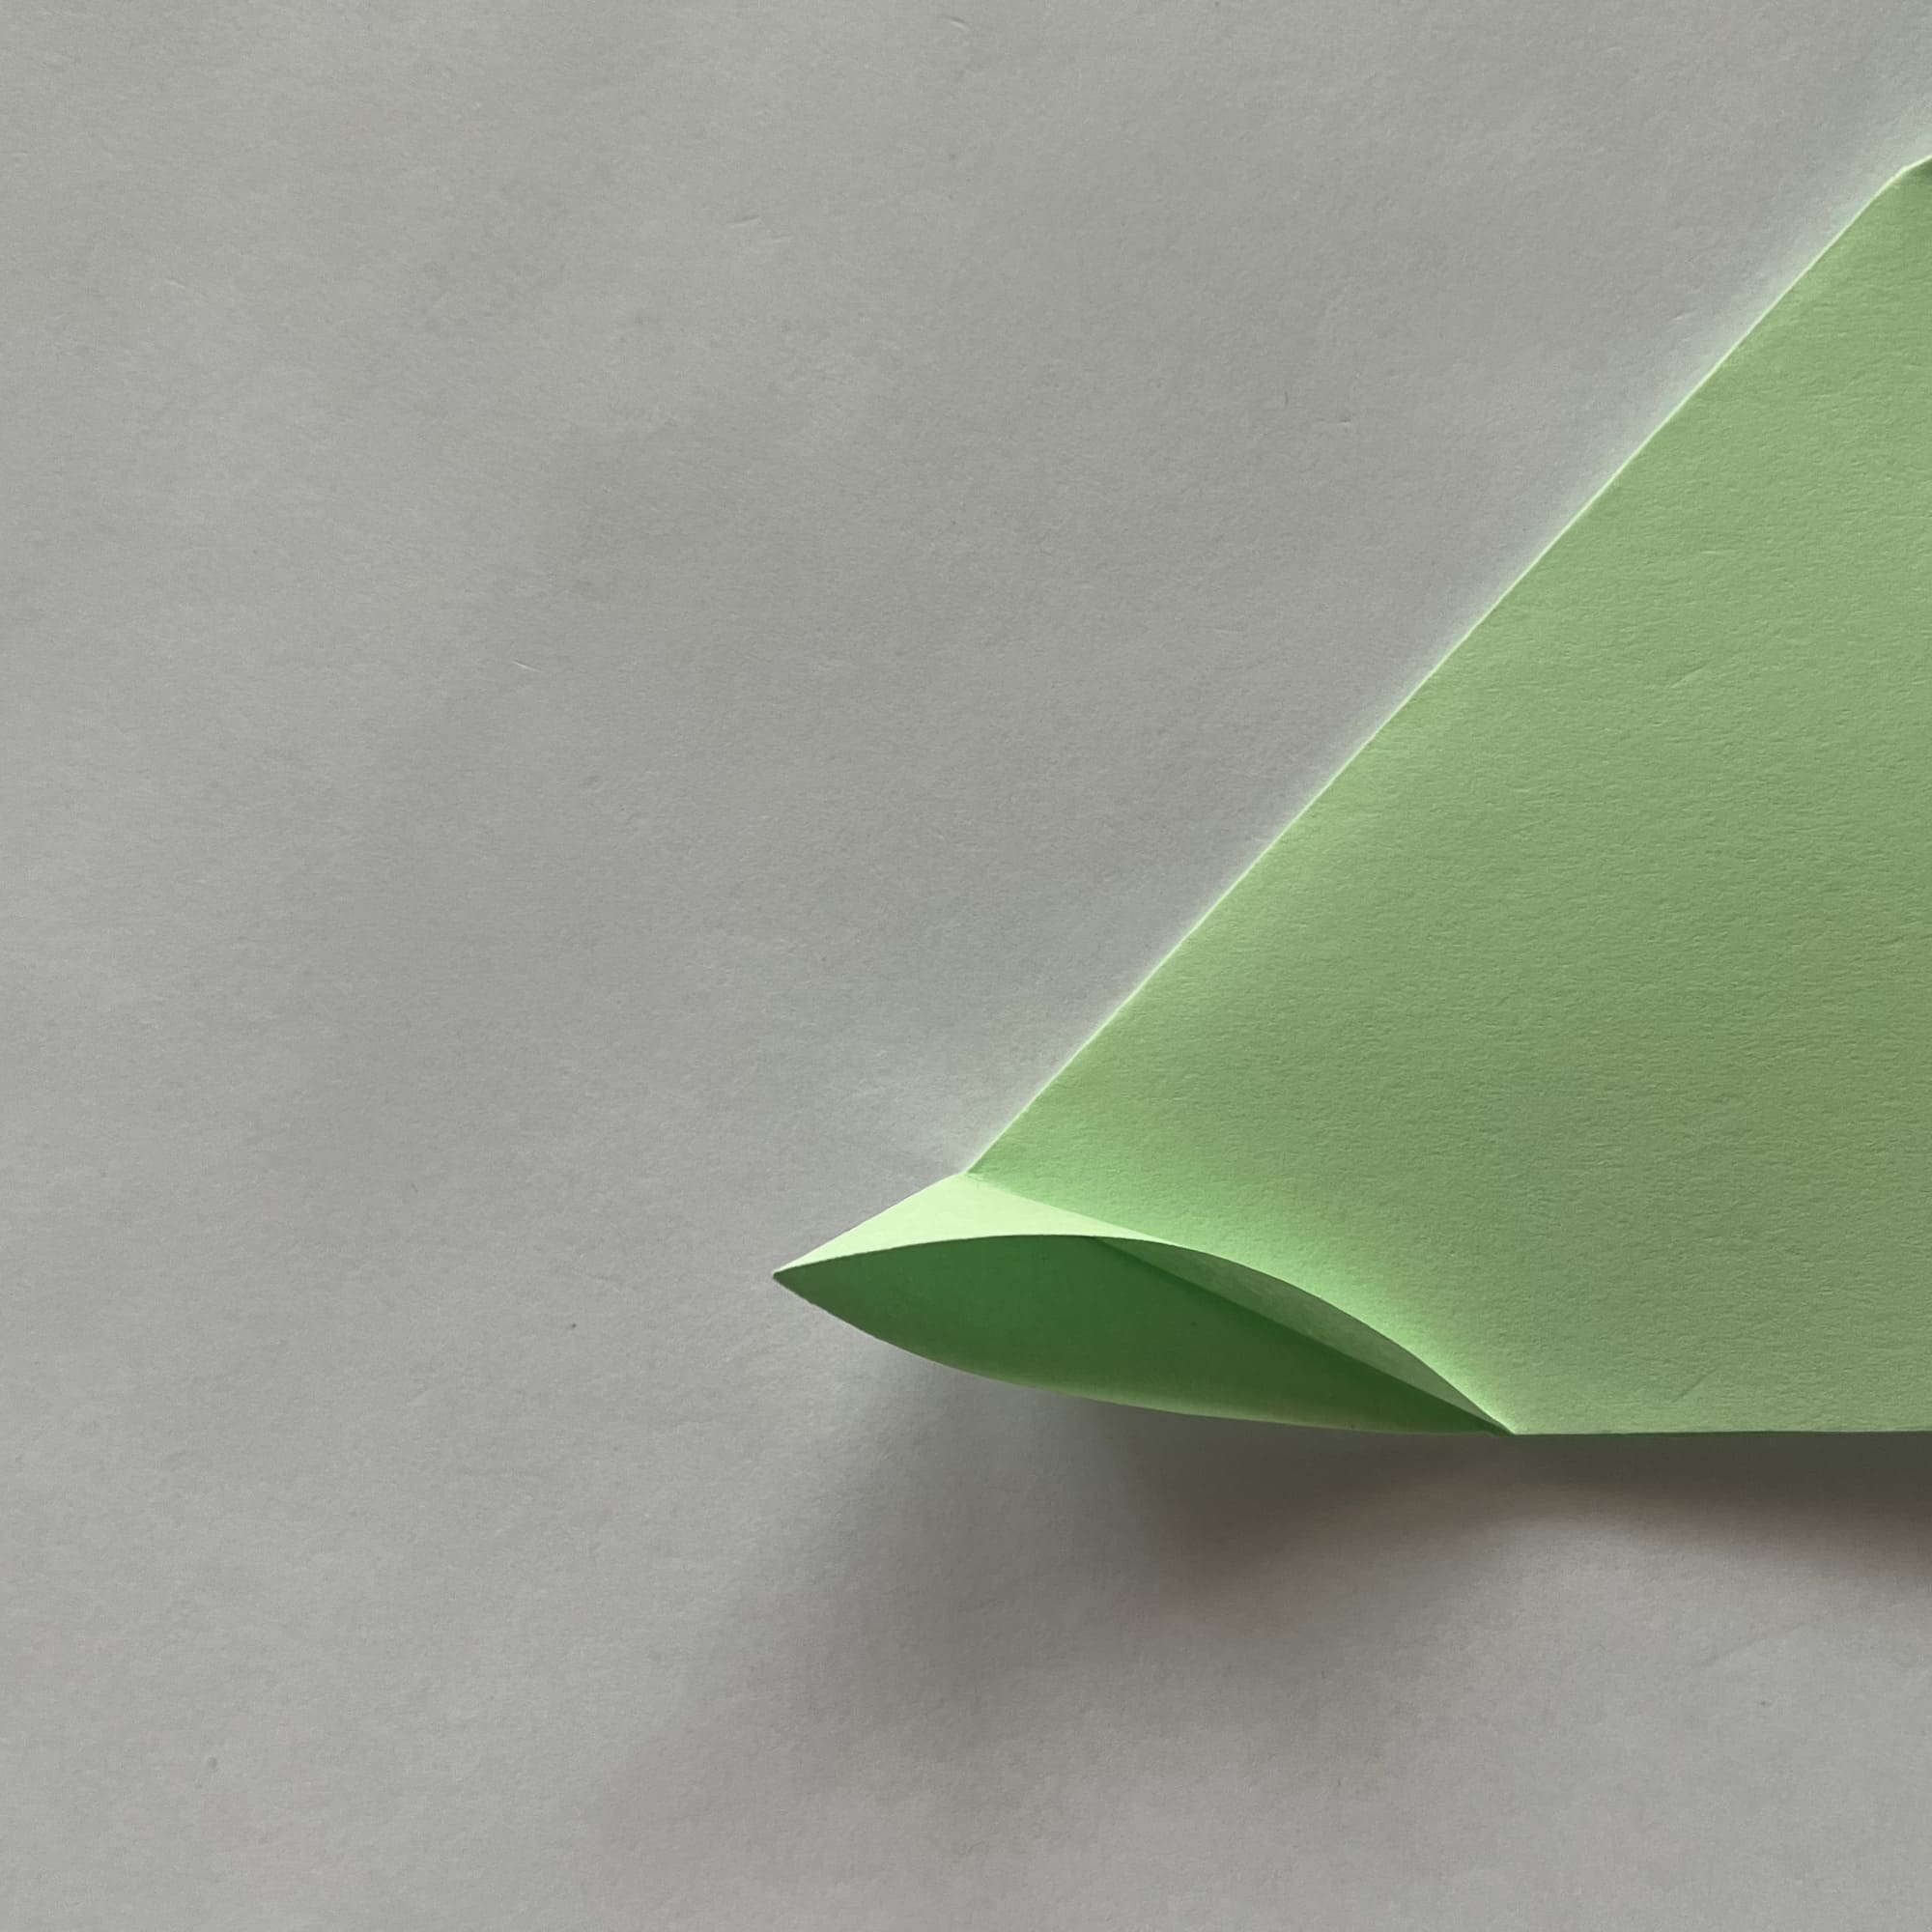
Bend it more and open it up to the sides.
Now iron the fold thoroughly.
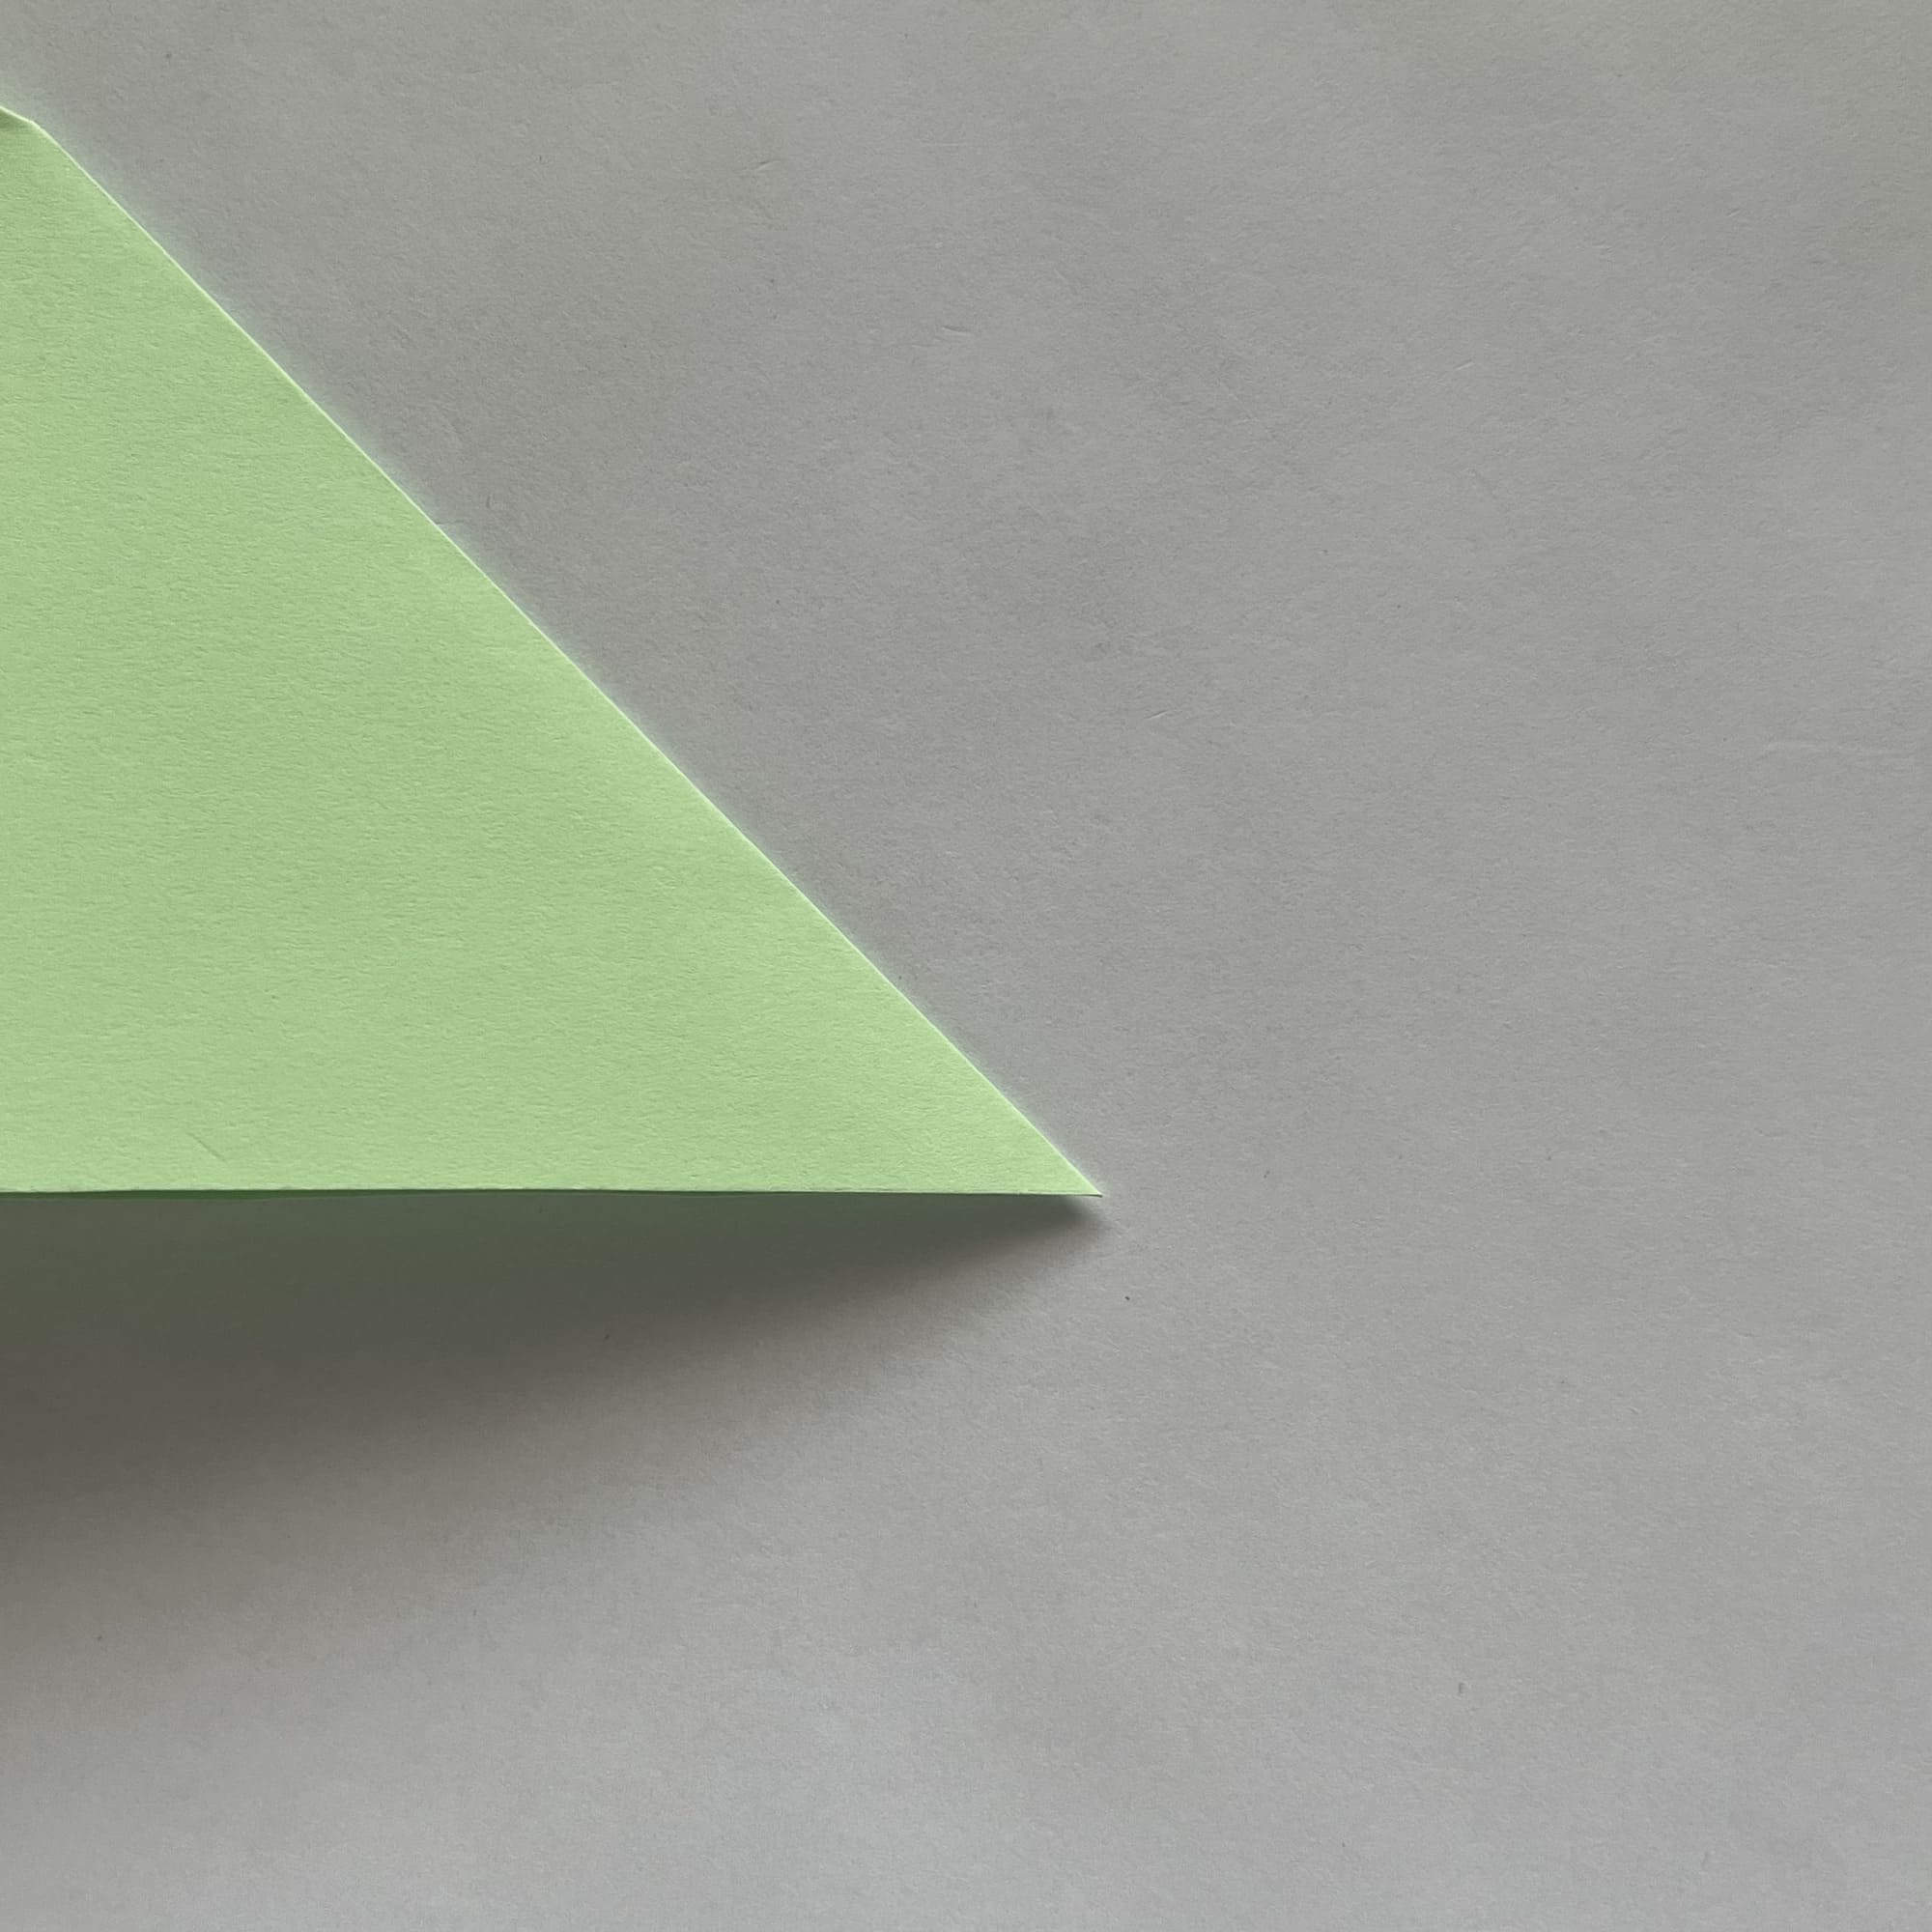
Turn the paper over.

Fold the top layer of paper diagonally outward again.
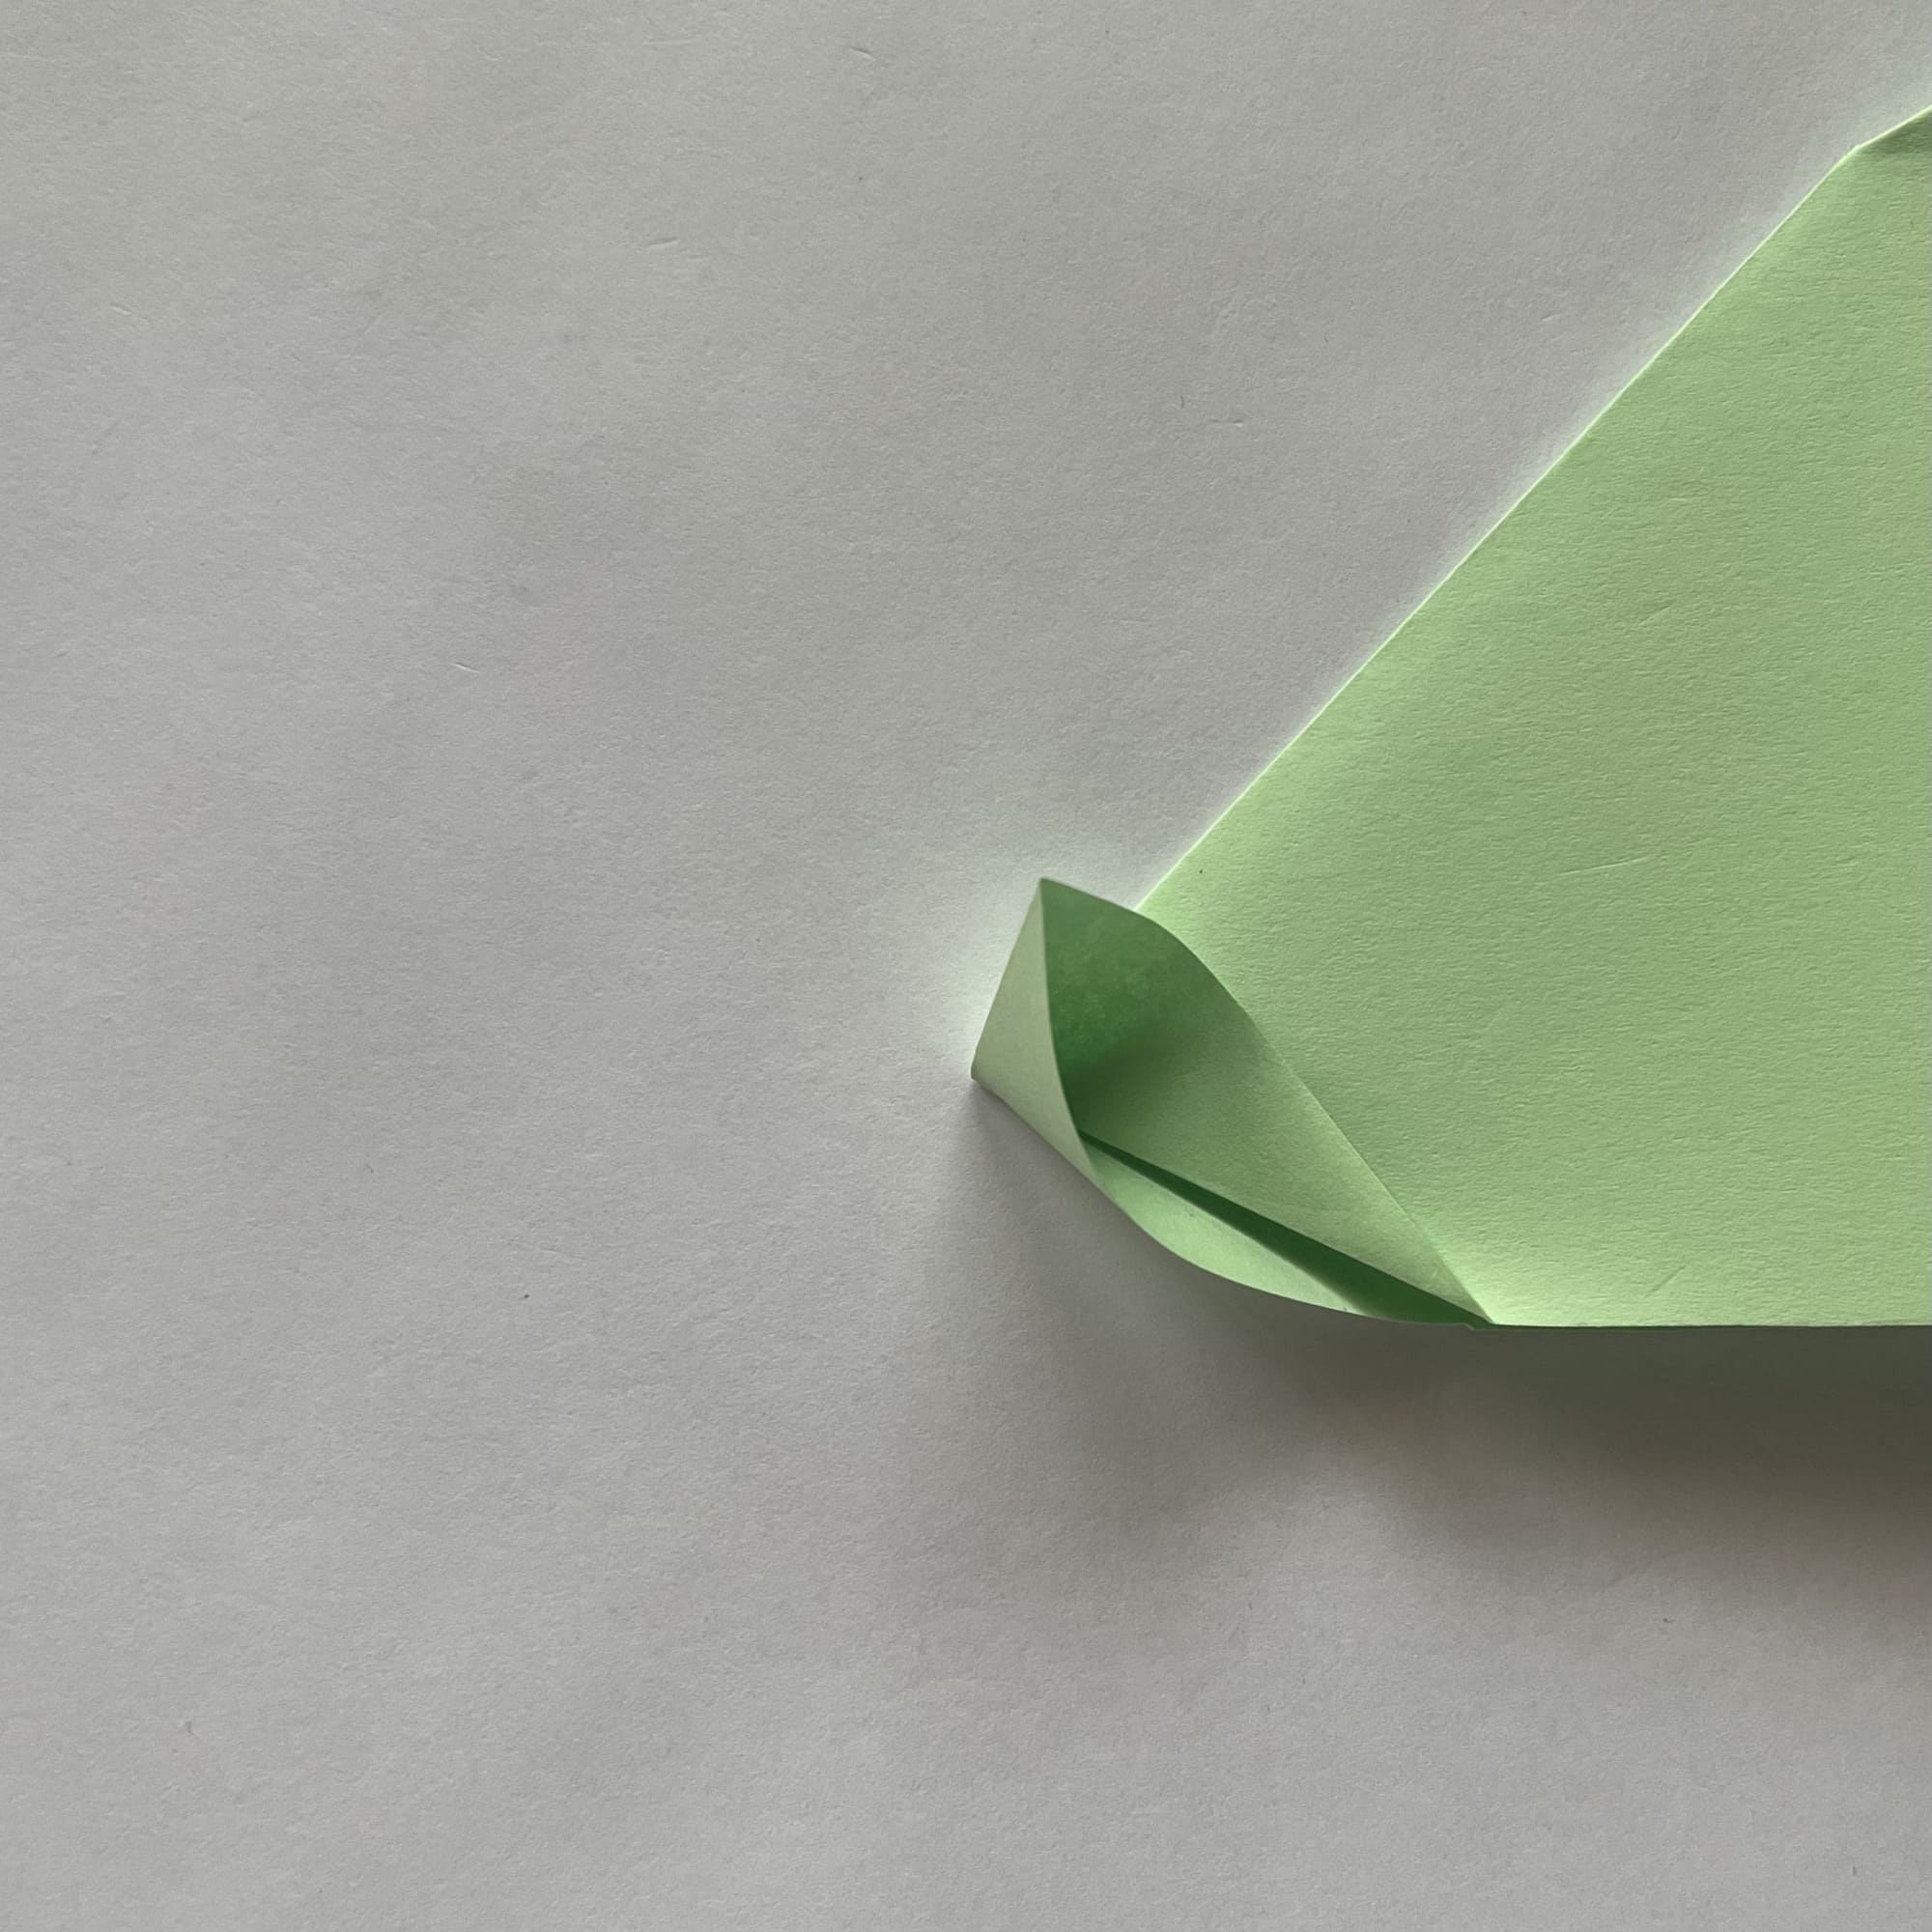
Open the paper and press the corner on the inside of the paper so that it folds outward on both sides.
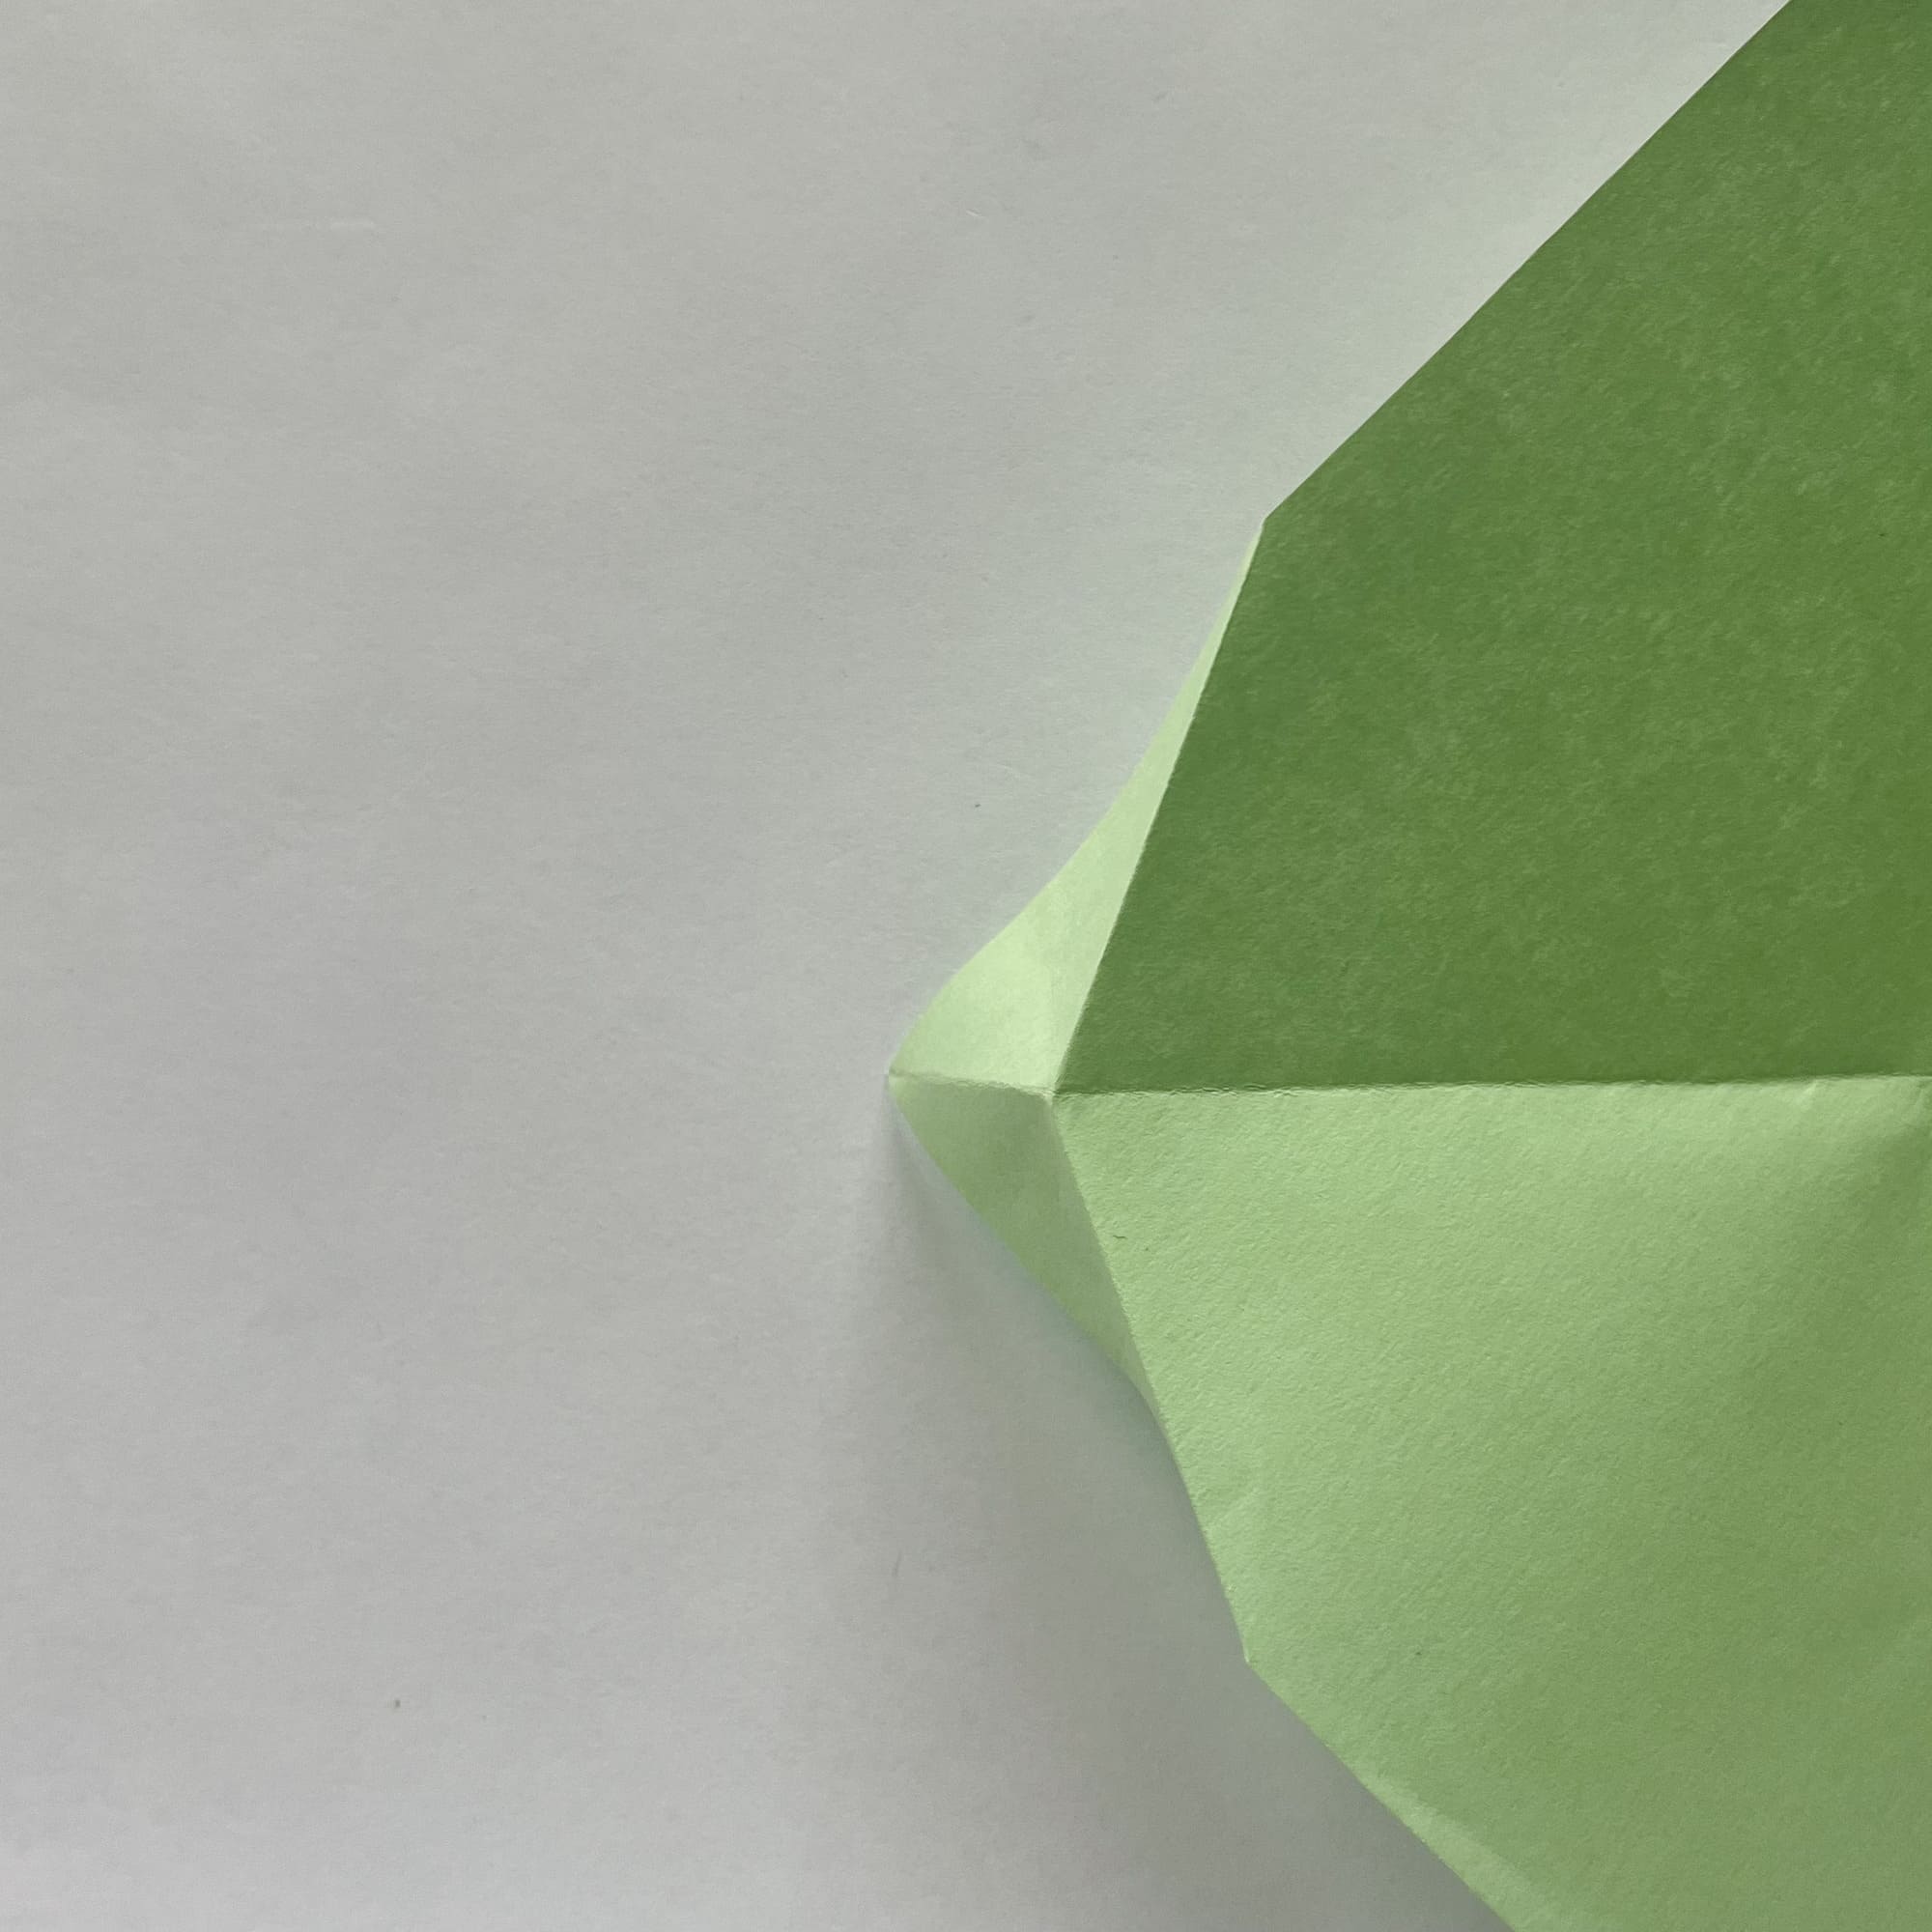
You should get a claw-like element, pointing up.

Smoothen the sides of the resulting elements.
That’s it, you’re doing great. Now you are armed with knowledge and you will not be frightened by such origami terms as “reverse inner fold” or “reverse outer fold”. Go ahead, master the art of origami!


