Origami Owl

The image of an owl is associated with enlightenment. It is believed that souvenirs and talismans with the image of a wise bird help students easily learn the material and solve difficult problems. In origami, there are many patterns for creating an amazing bird. Three-dimensional figures, real sculptures with many small details are obtained as a result of hundreds of bends and folds. Only experienced craftsmen who skillfully master the technique of paper folding can handle them. Simple, uncomplicated bird models are within the capabilities of novice origami lovers.
We propose to bring to life the project of creating an owl from one sheet of paper. Despite the ease of assembly, the figure will convey the main distinctive features inherent in a nocturnal bird: a large body with a deep-set head, a wide beak, prominent eyes, and small wings pressed to the body. The classic instructions without cuts and measurements are suitable for joint creativity with children.
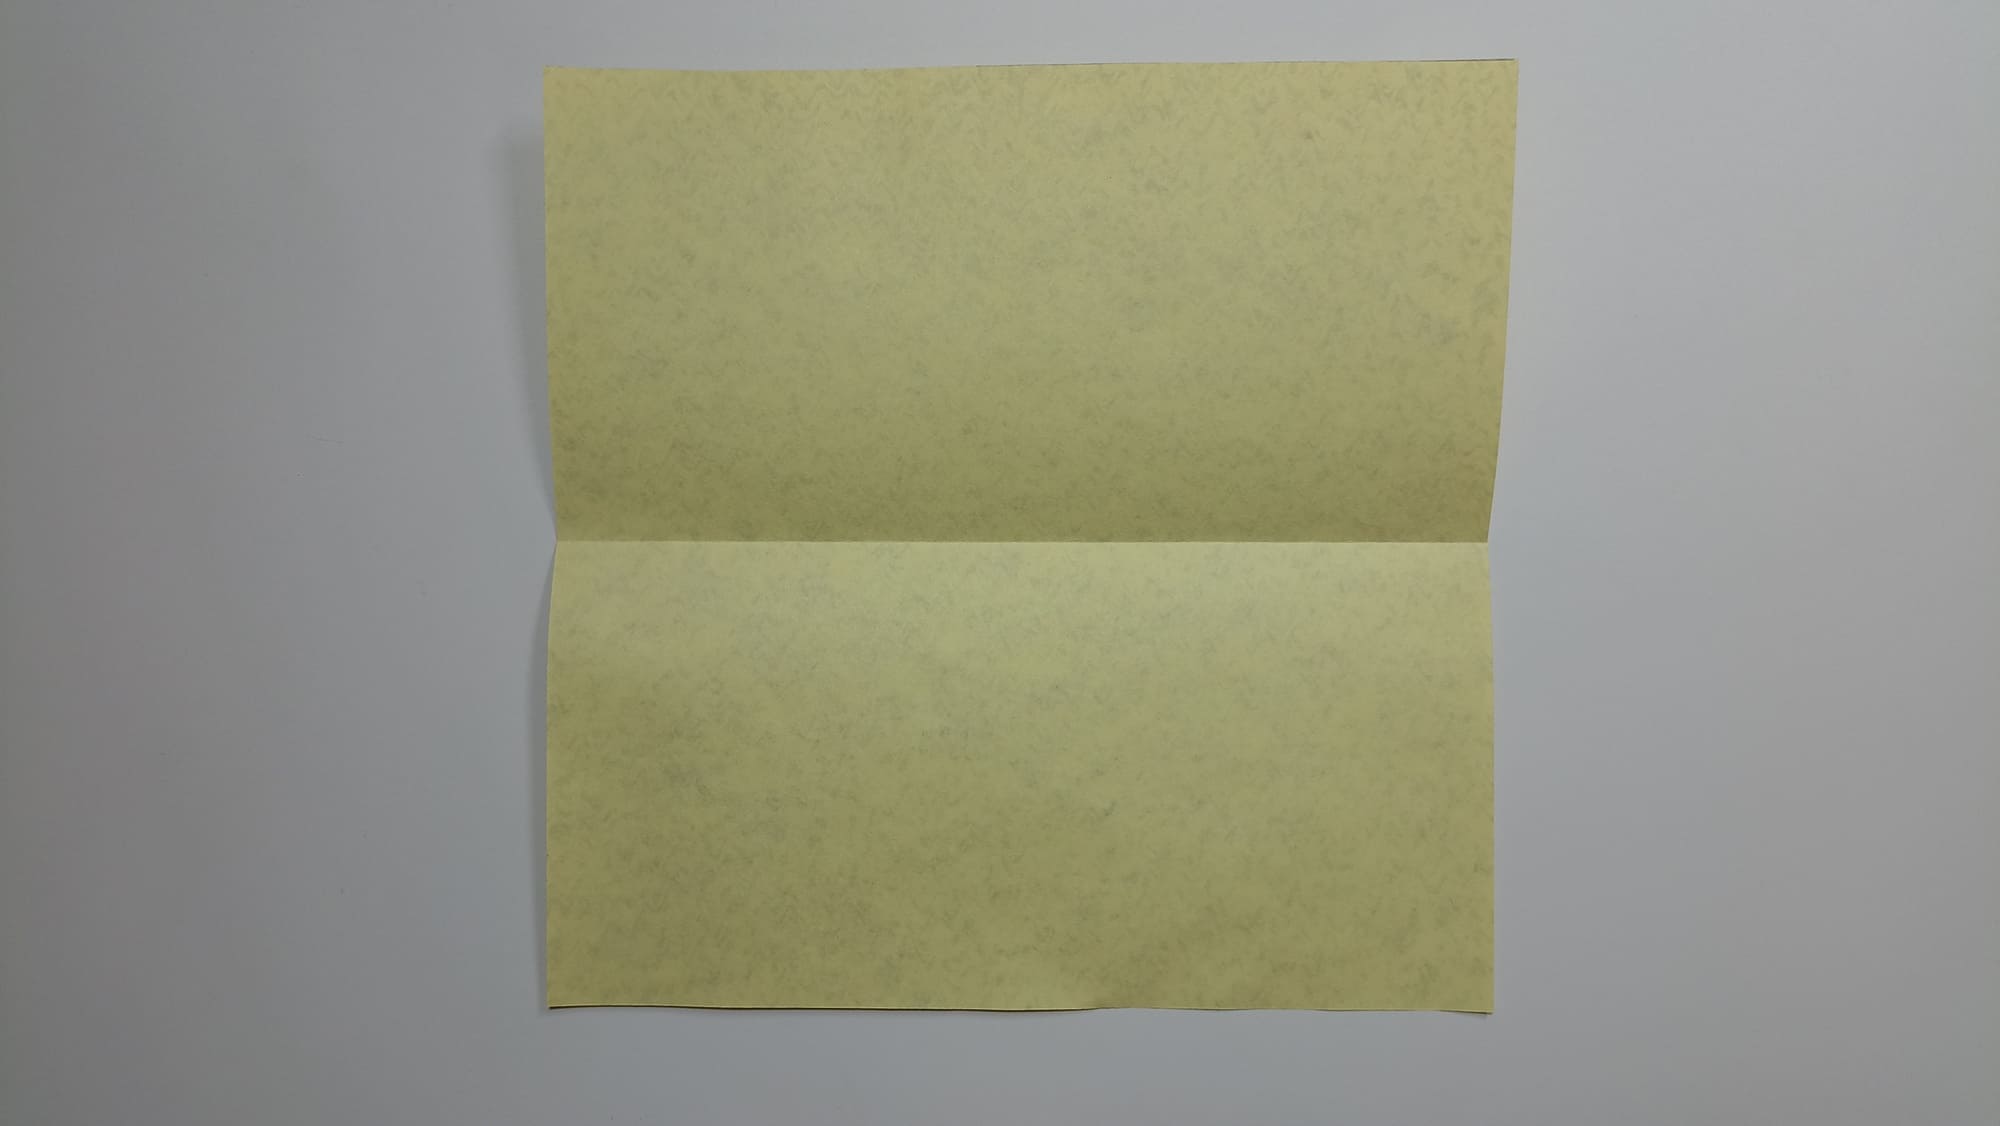
Place the paper with the wrong side facing you. Mark the middle line.
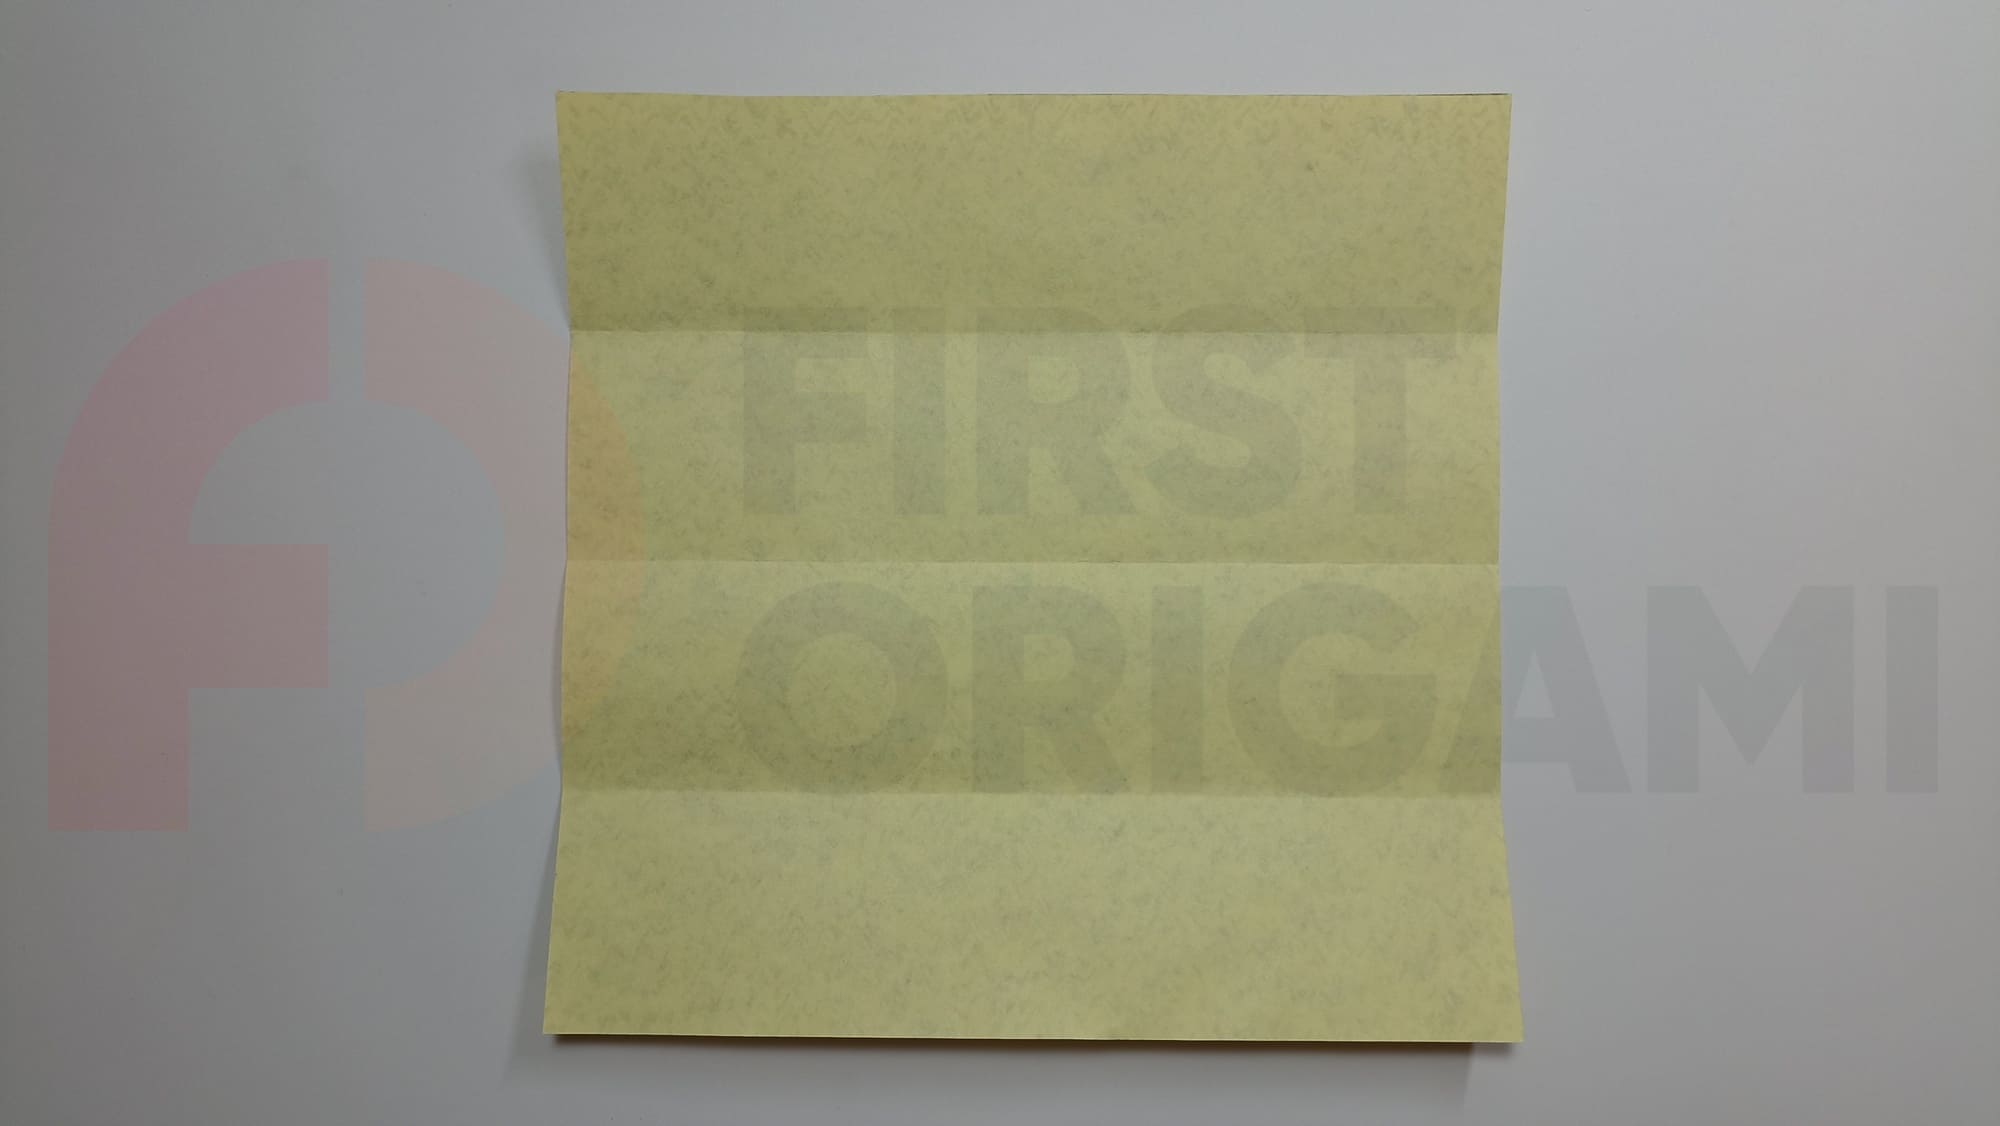
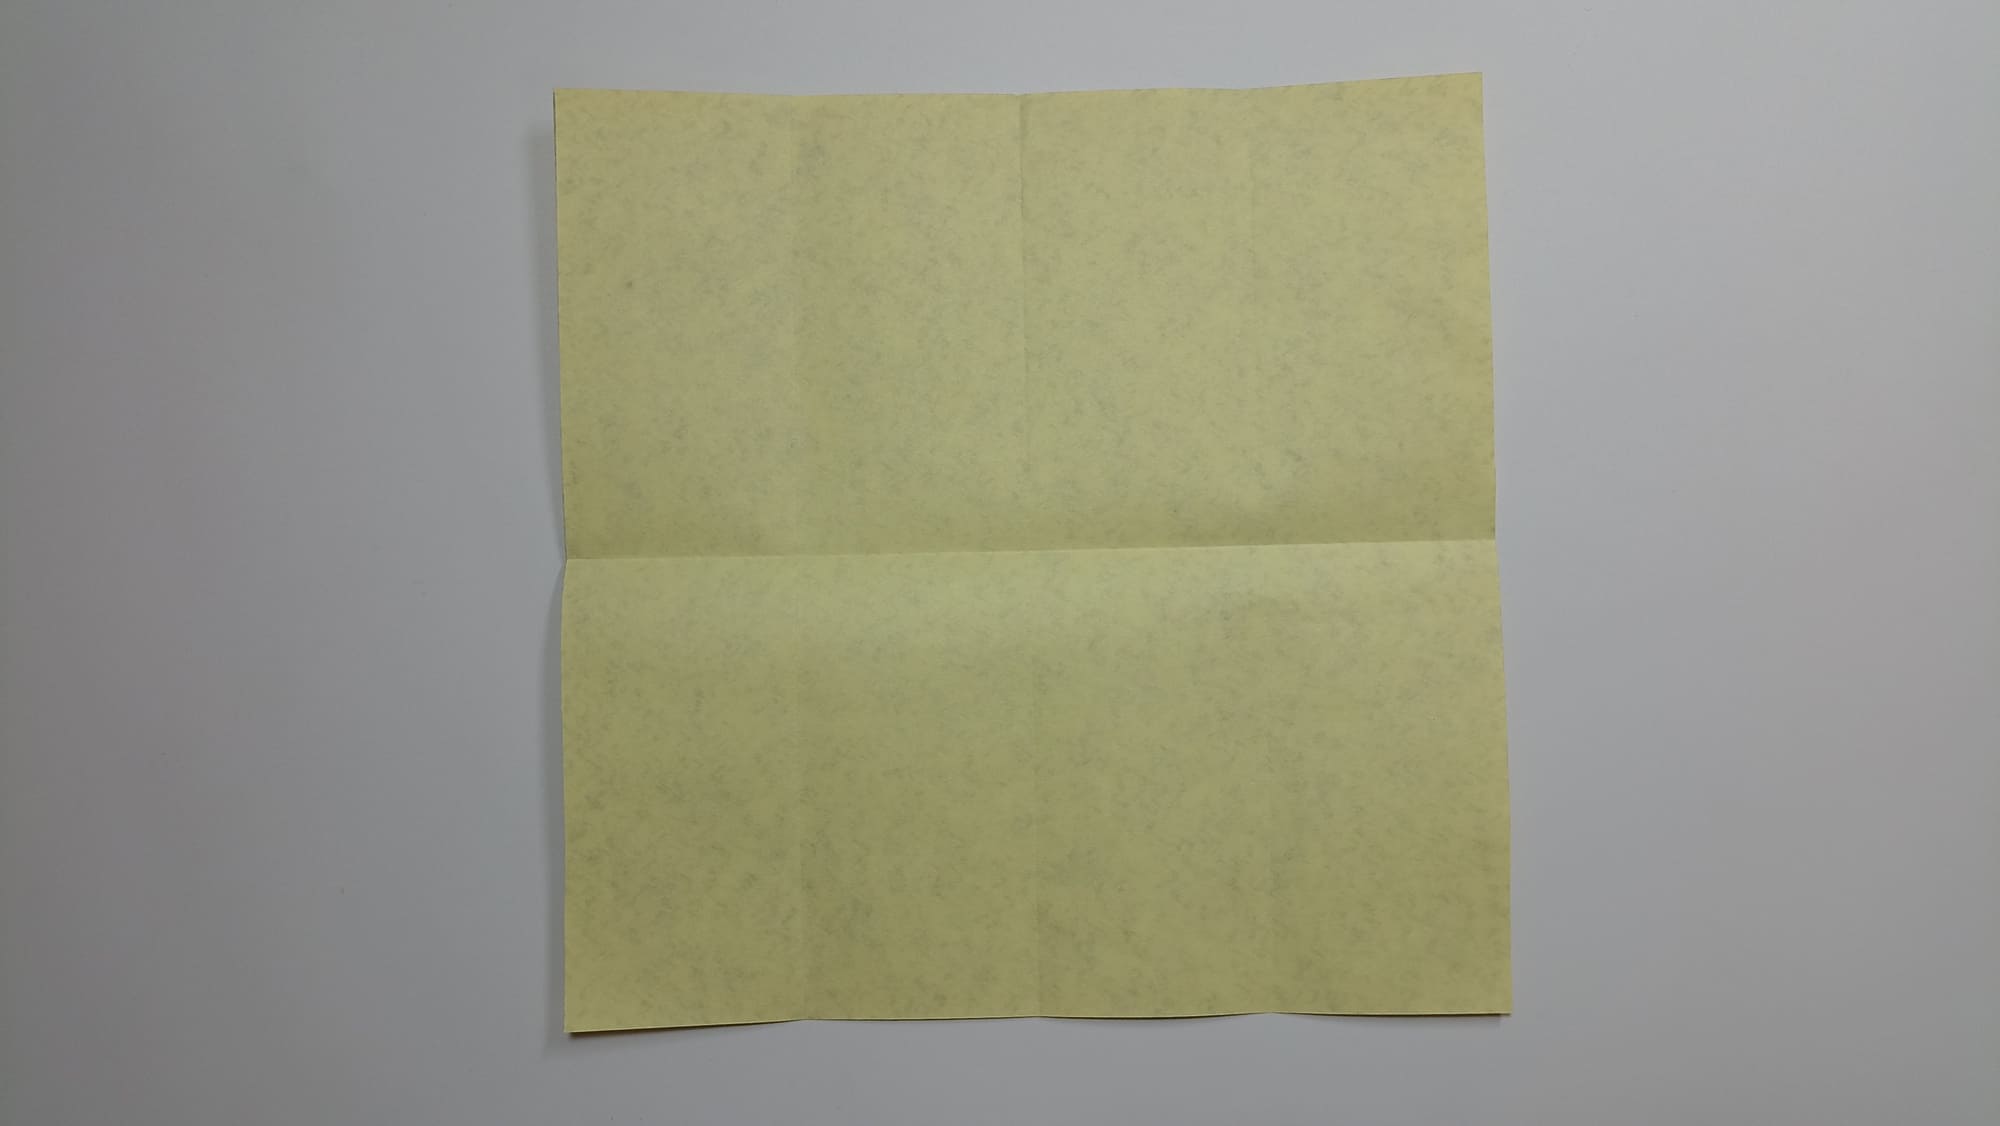
Draw lines dividing each half of the square into two equal parts. Align opposite sides in the middle.
Rotate the paper. Draw another middle line.
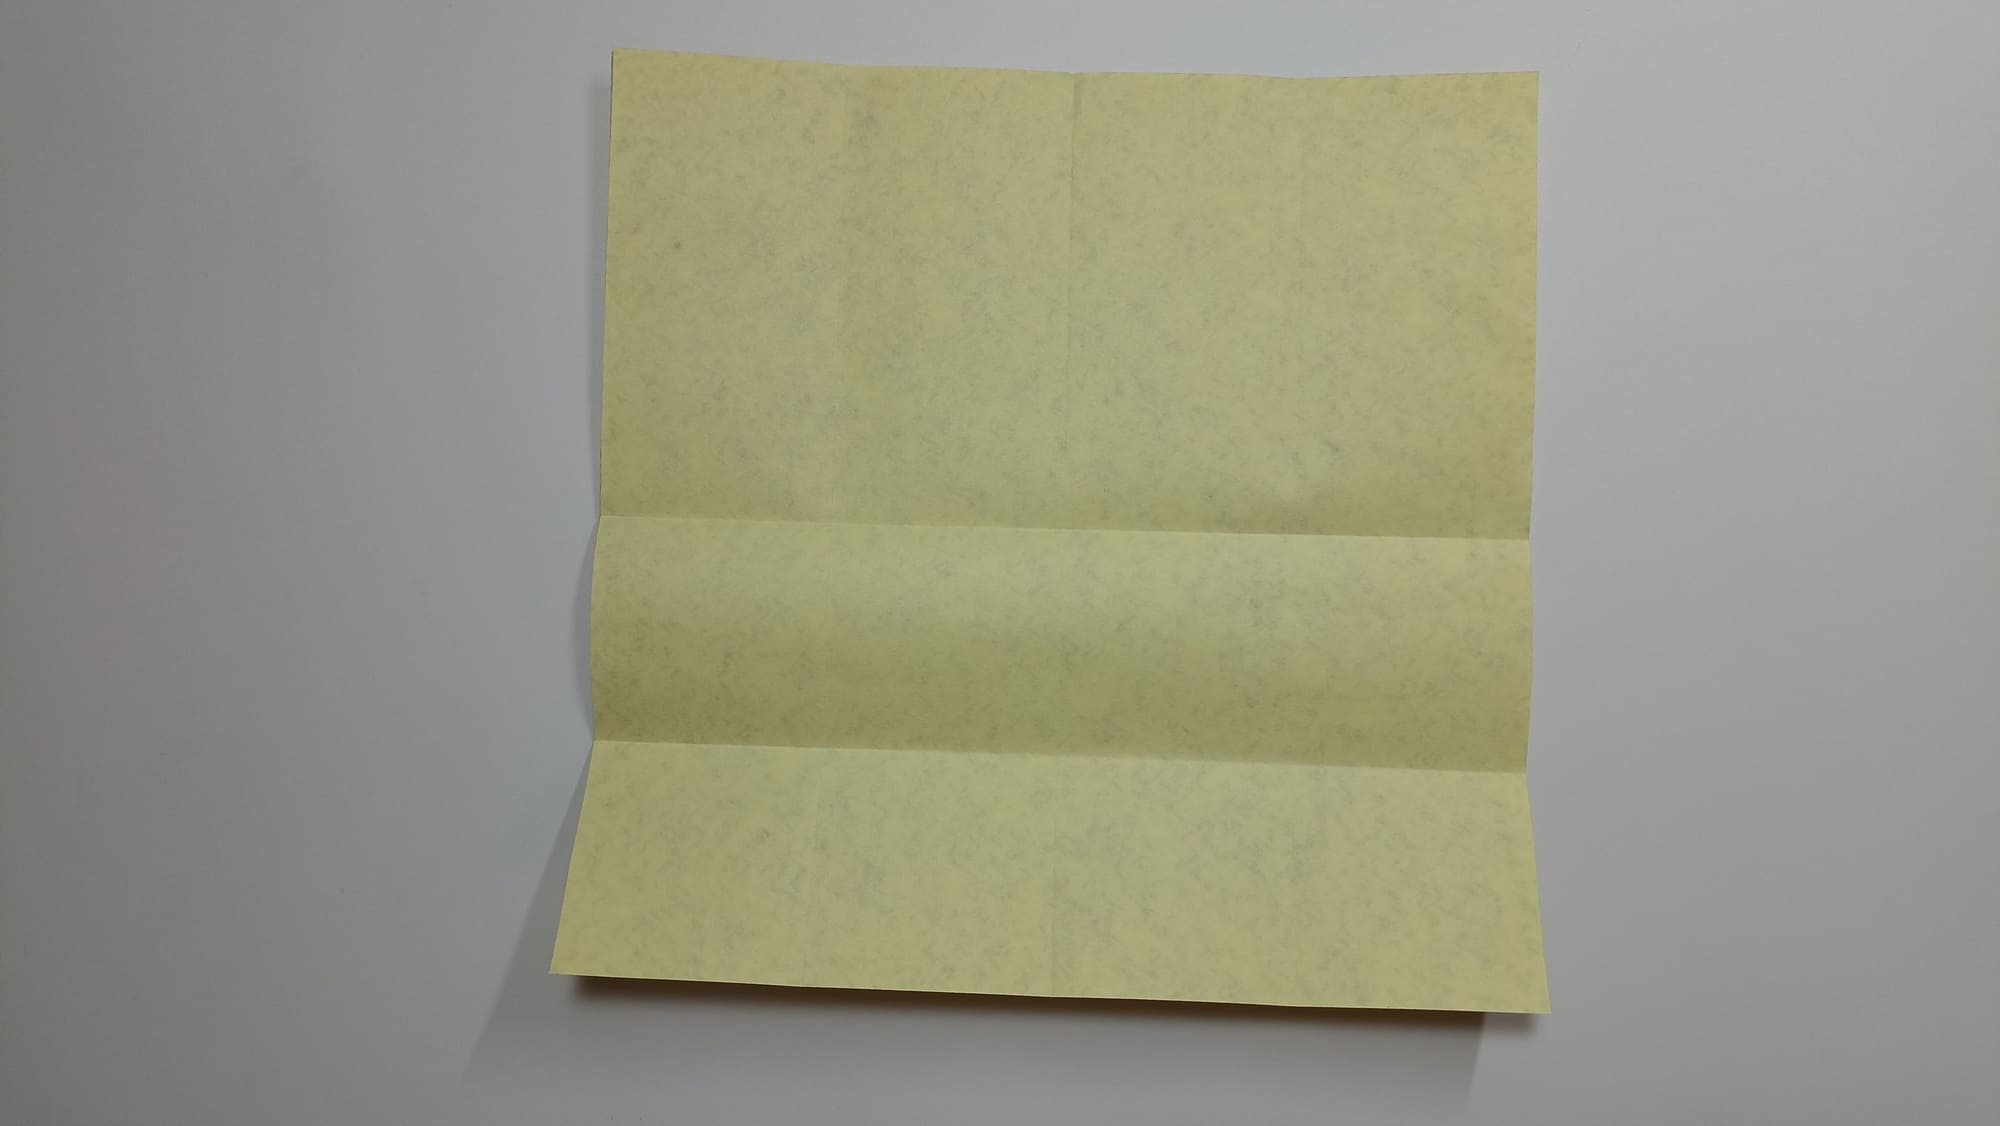
Align the bottom edge with the middle line. Unfold.
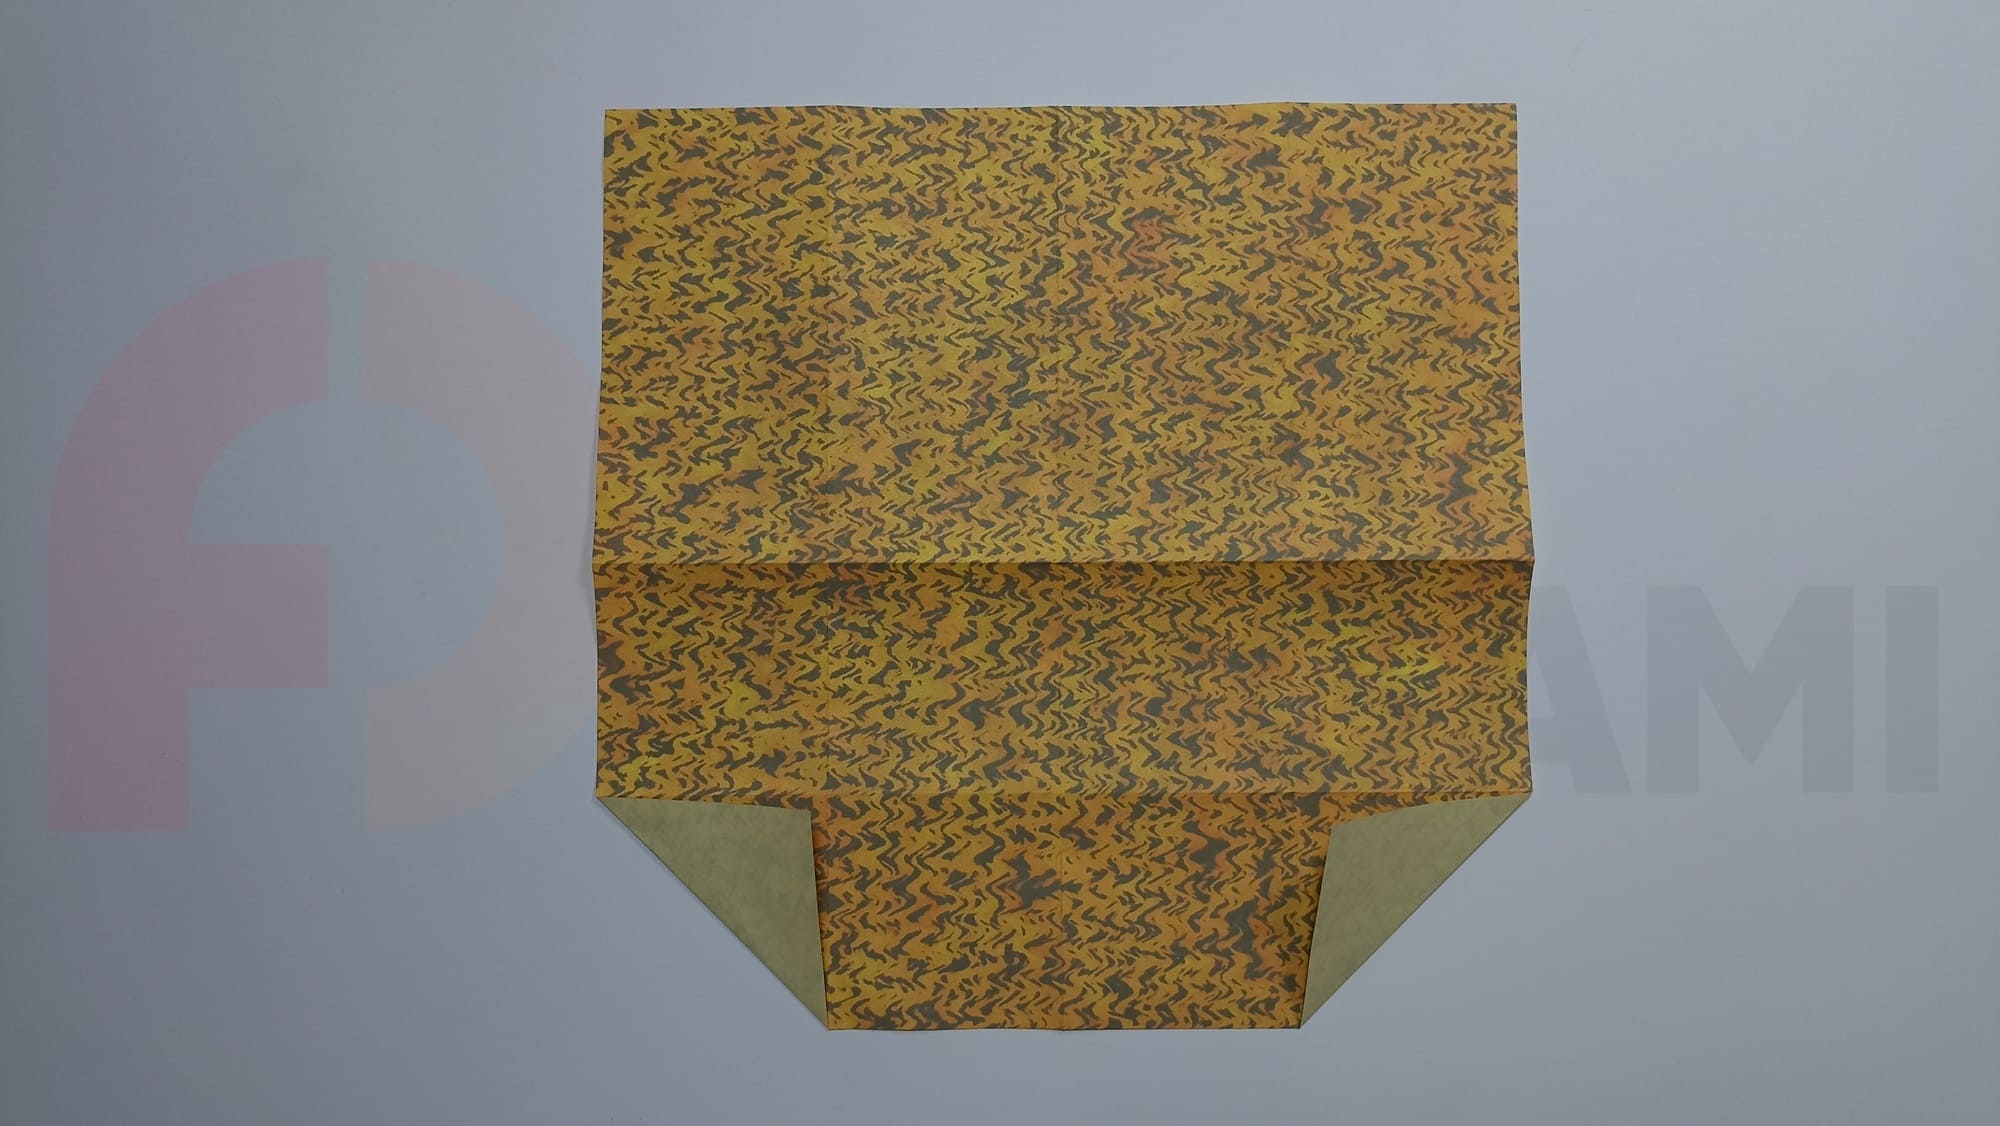
Turn the sheet of paper over. Fold the bottom corners of the square.
Turn over. Fold the bottom piece of paper to the first fold line.
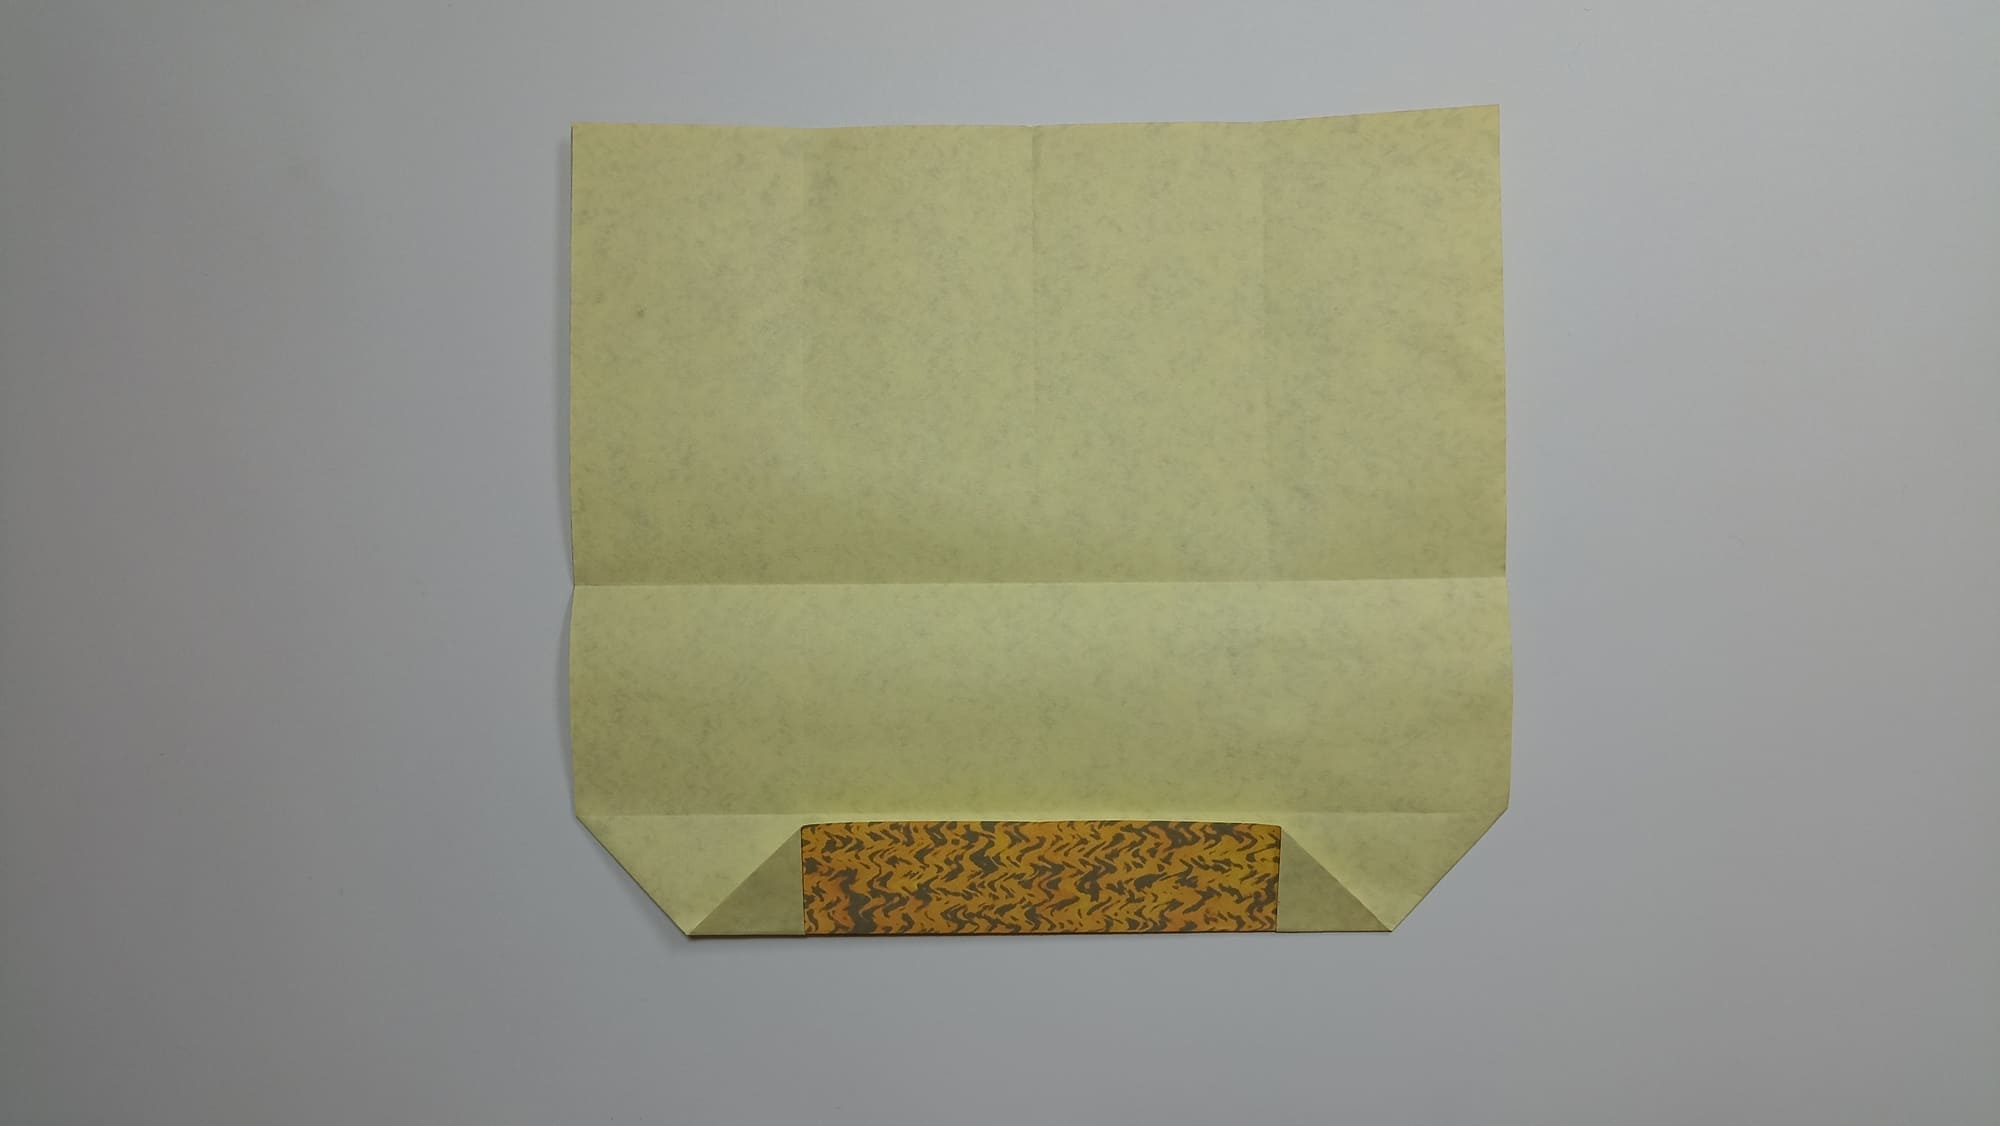
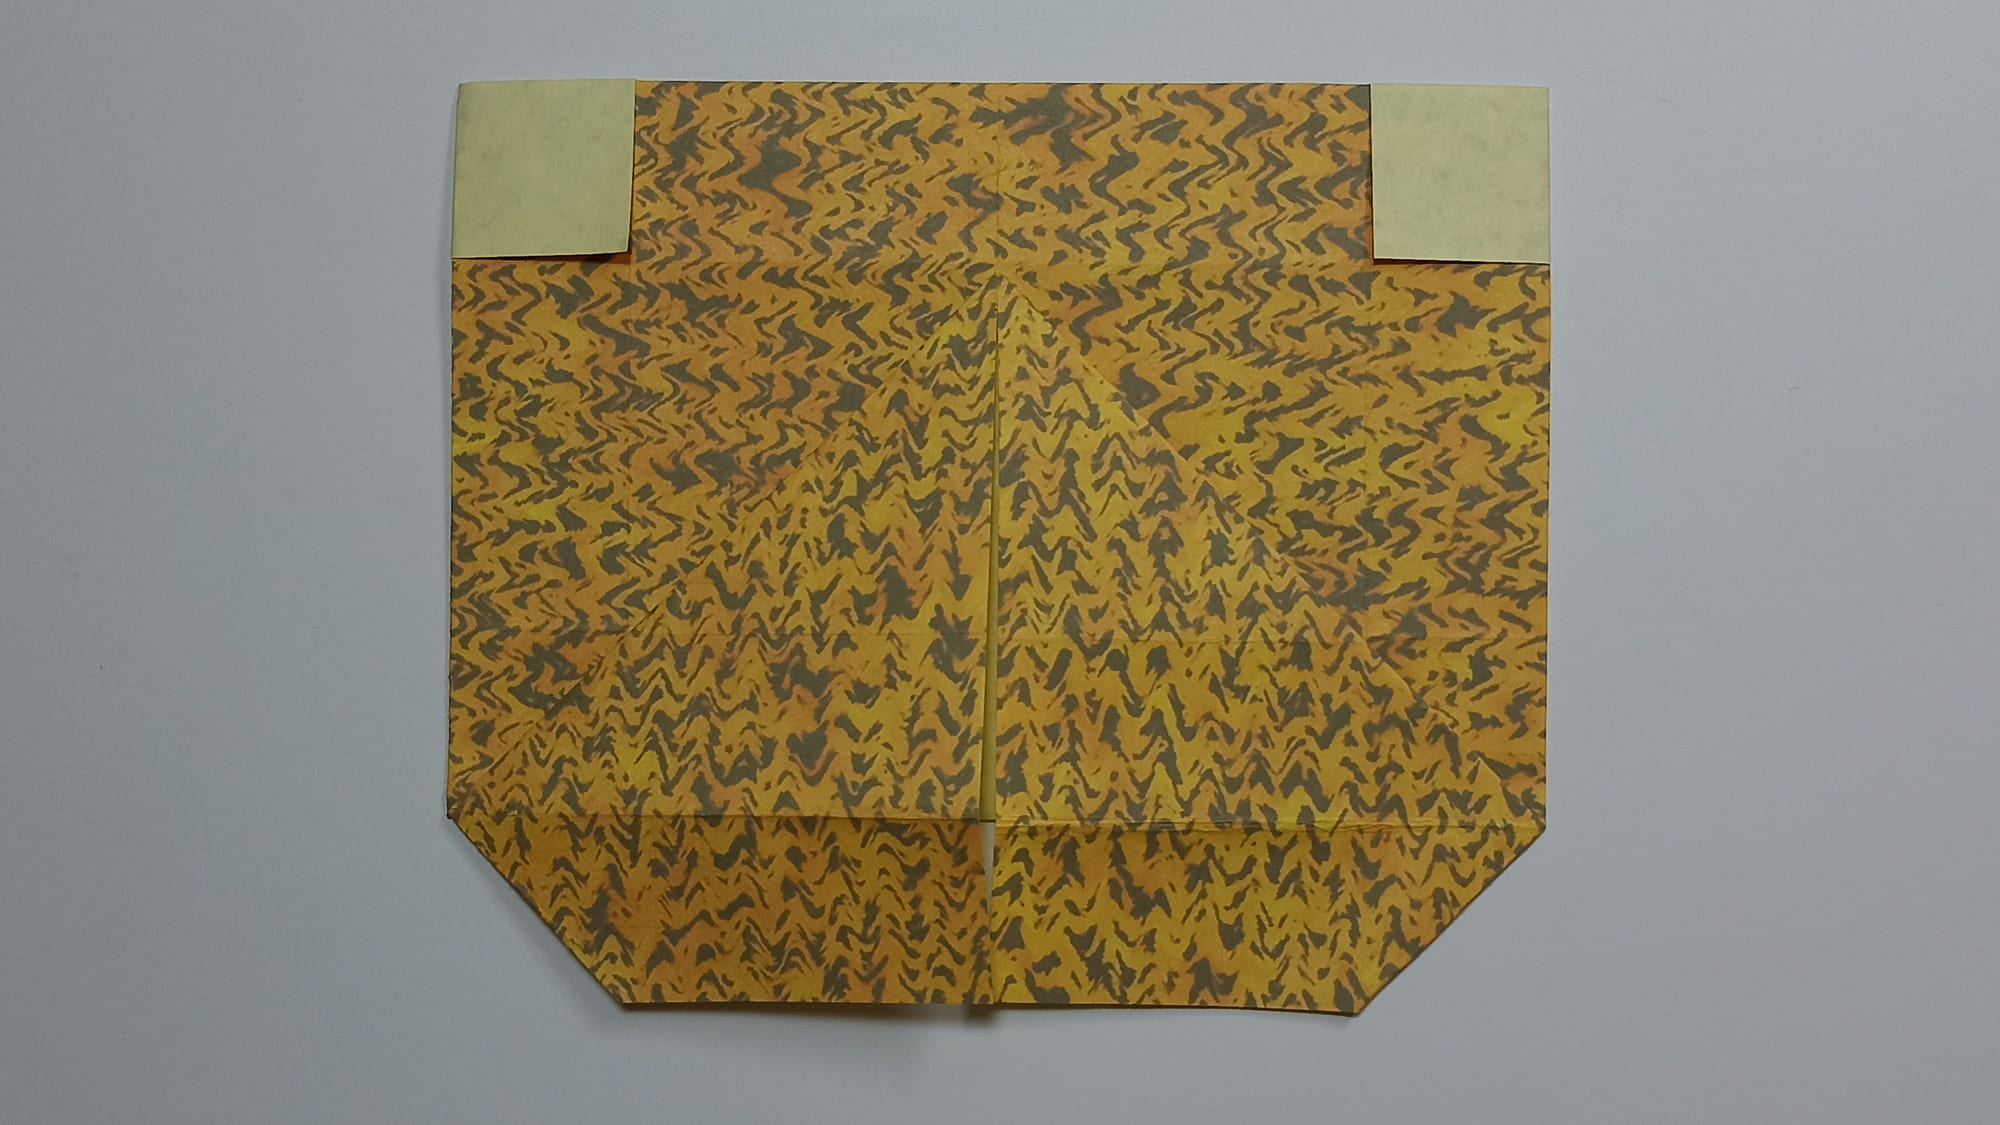
Fold the paper on both edges, aligning the lines in the corners.
Turn the shape over. Align the free edge with the sides of the small squares in the corners of the figure.

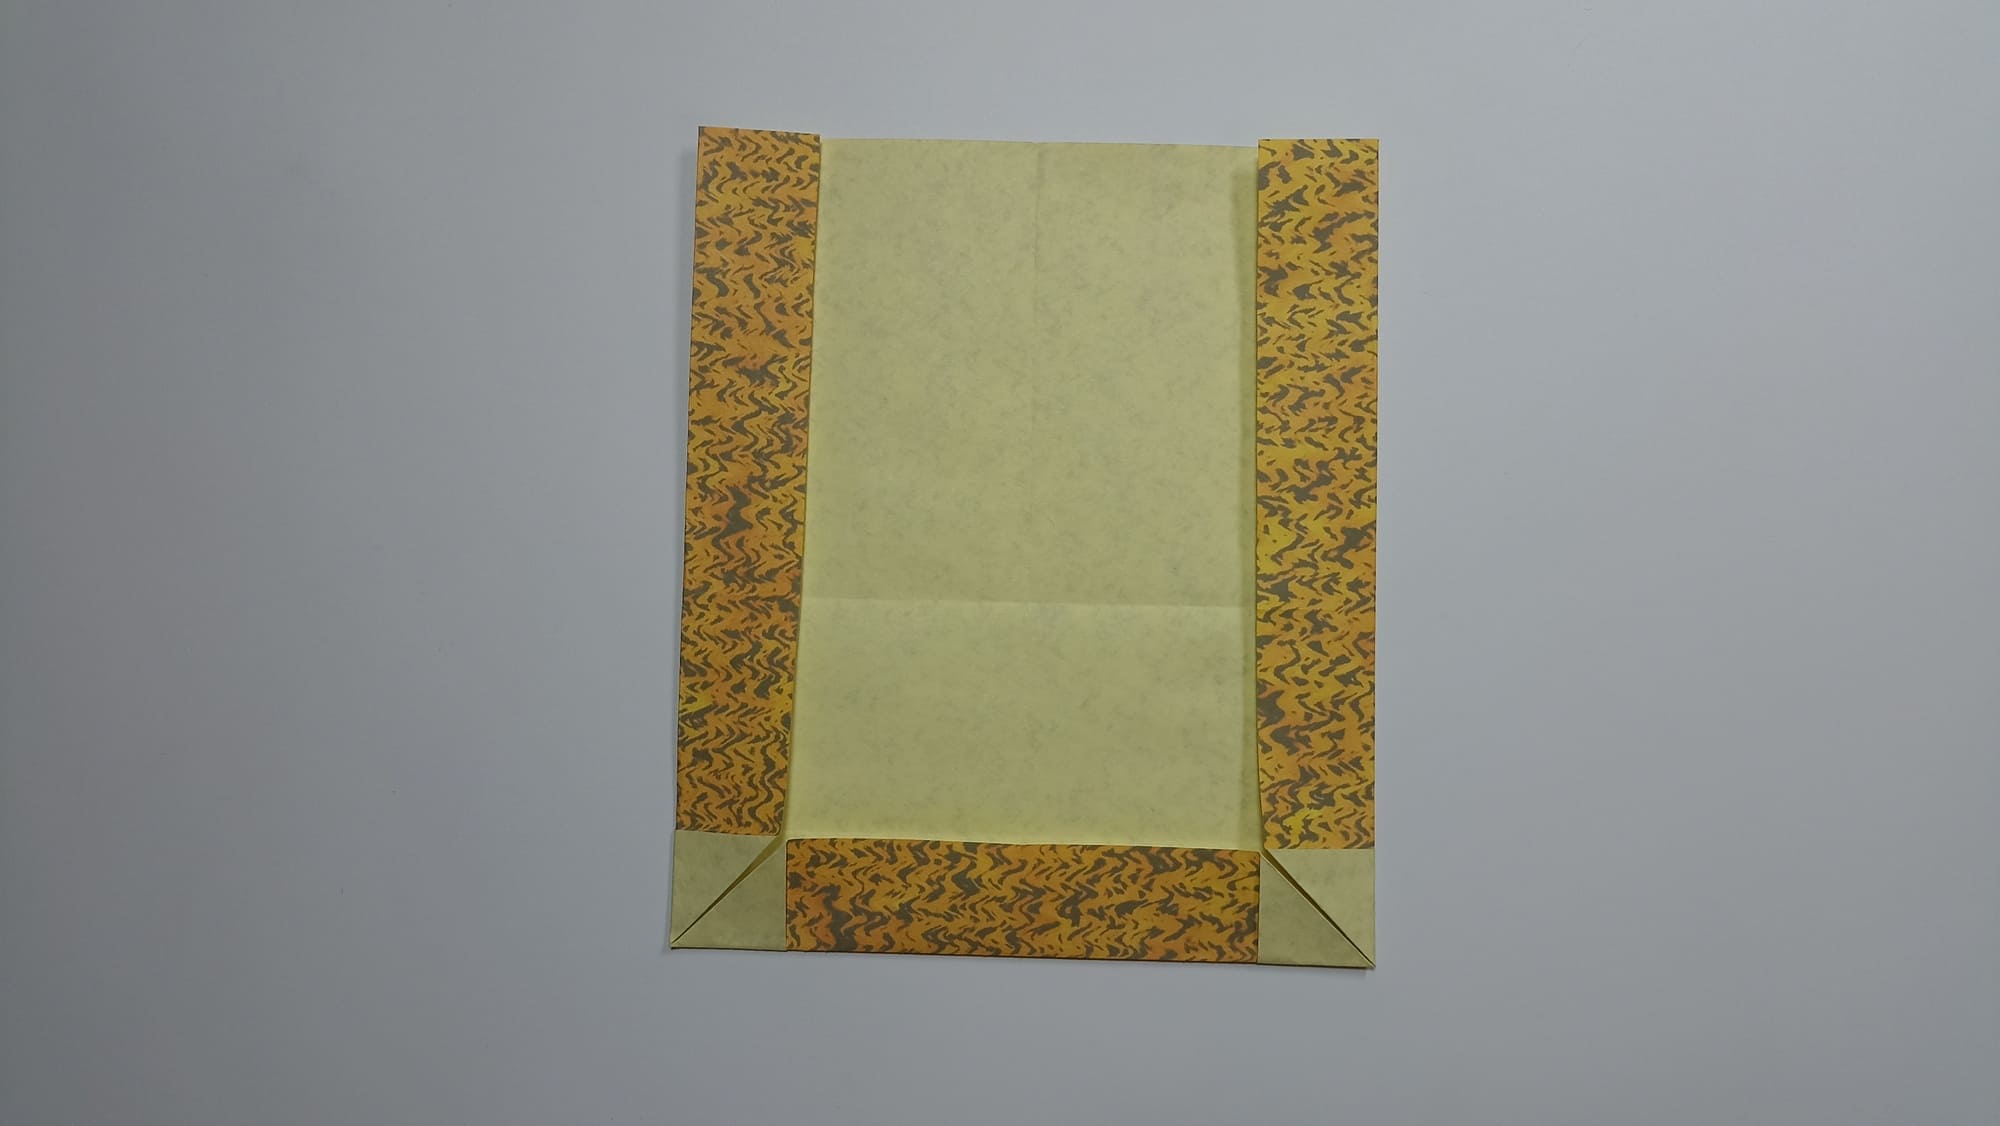
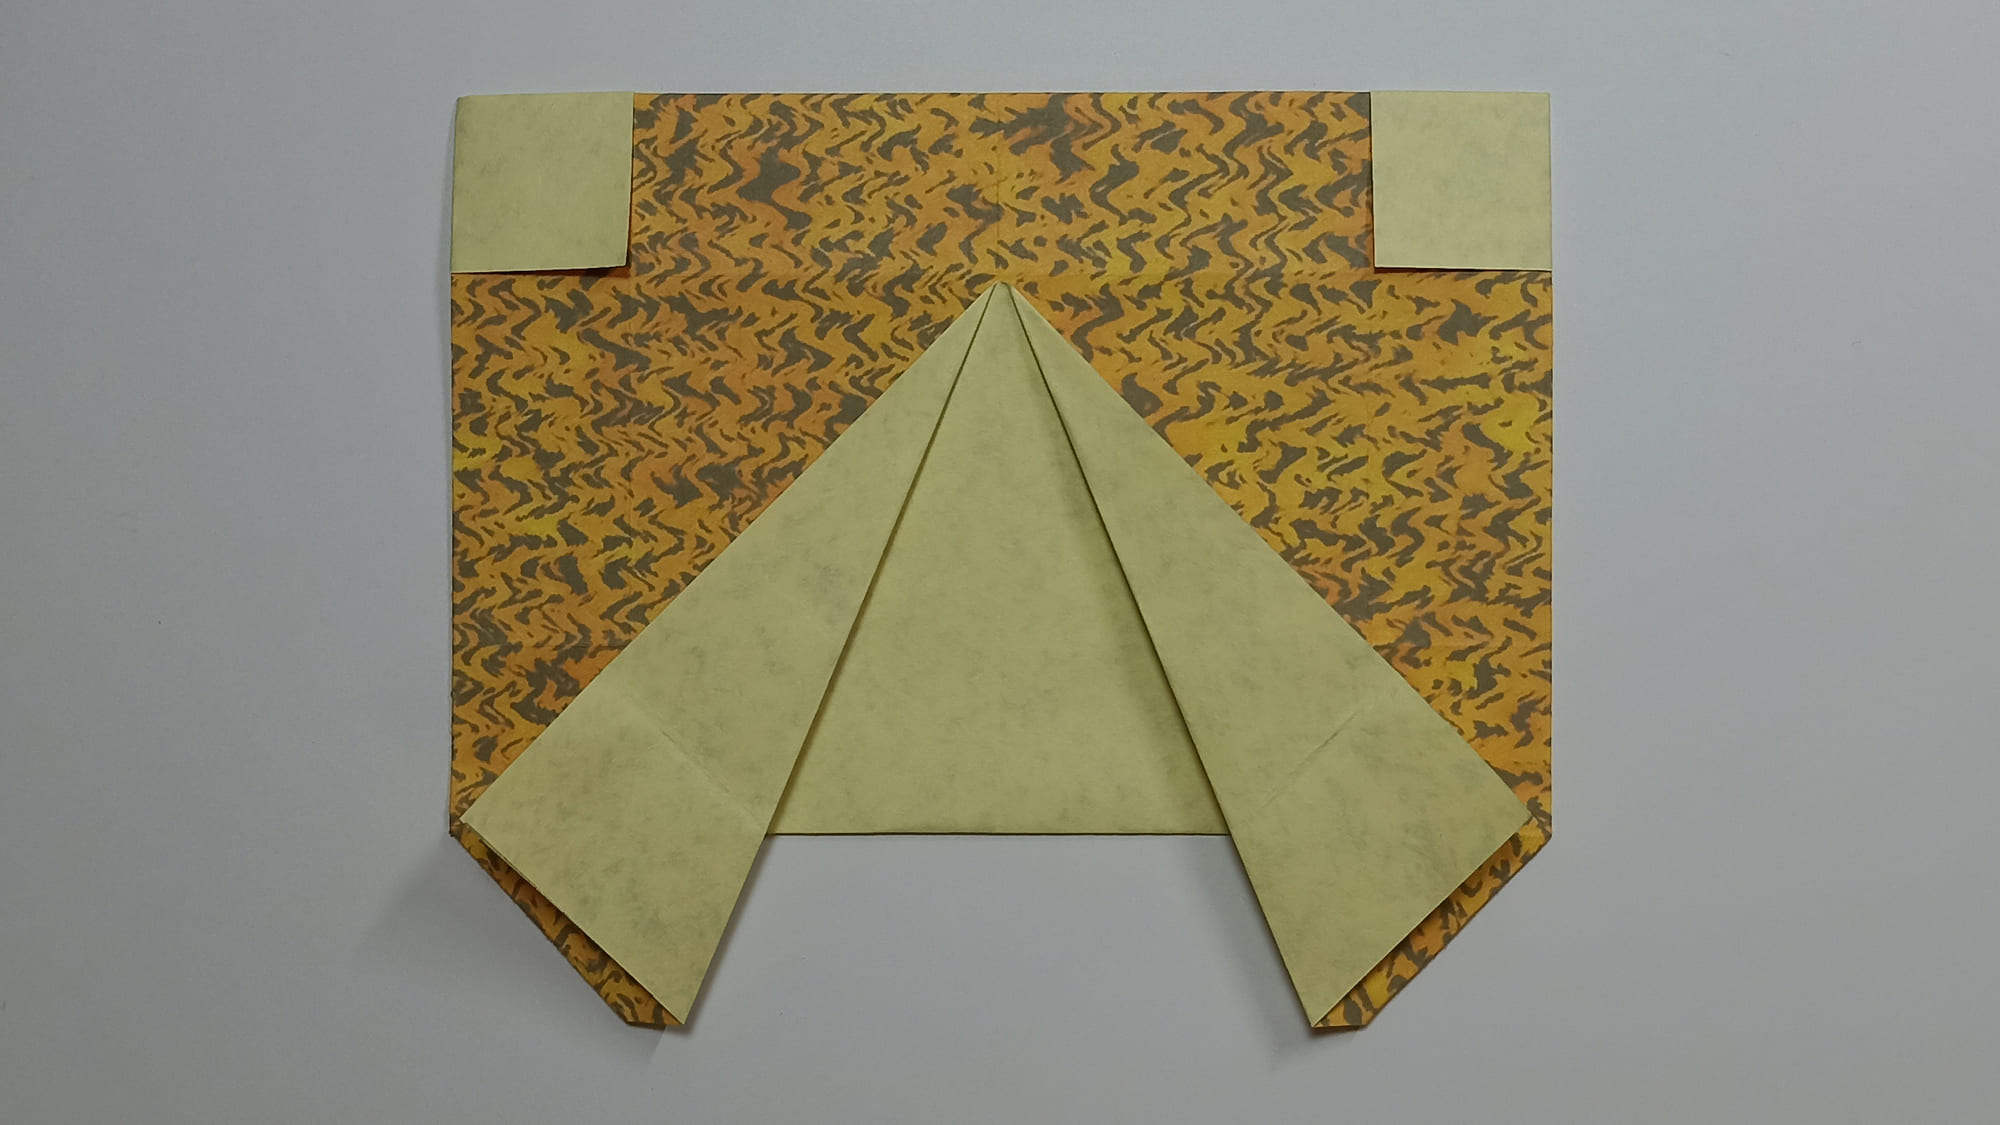
Fold the top edge towards the middle.
Straighten the bottom edge of the folds outward.
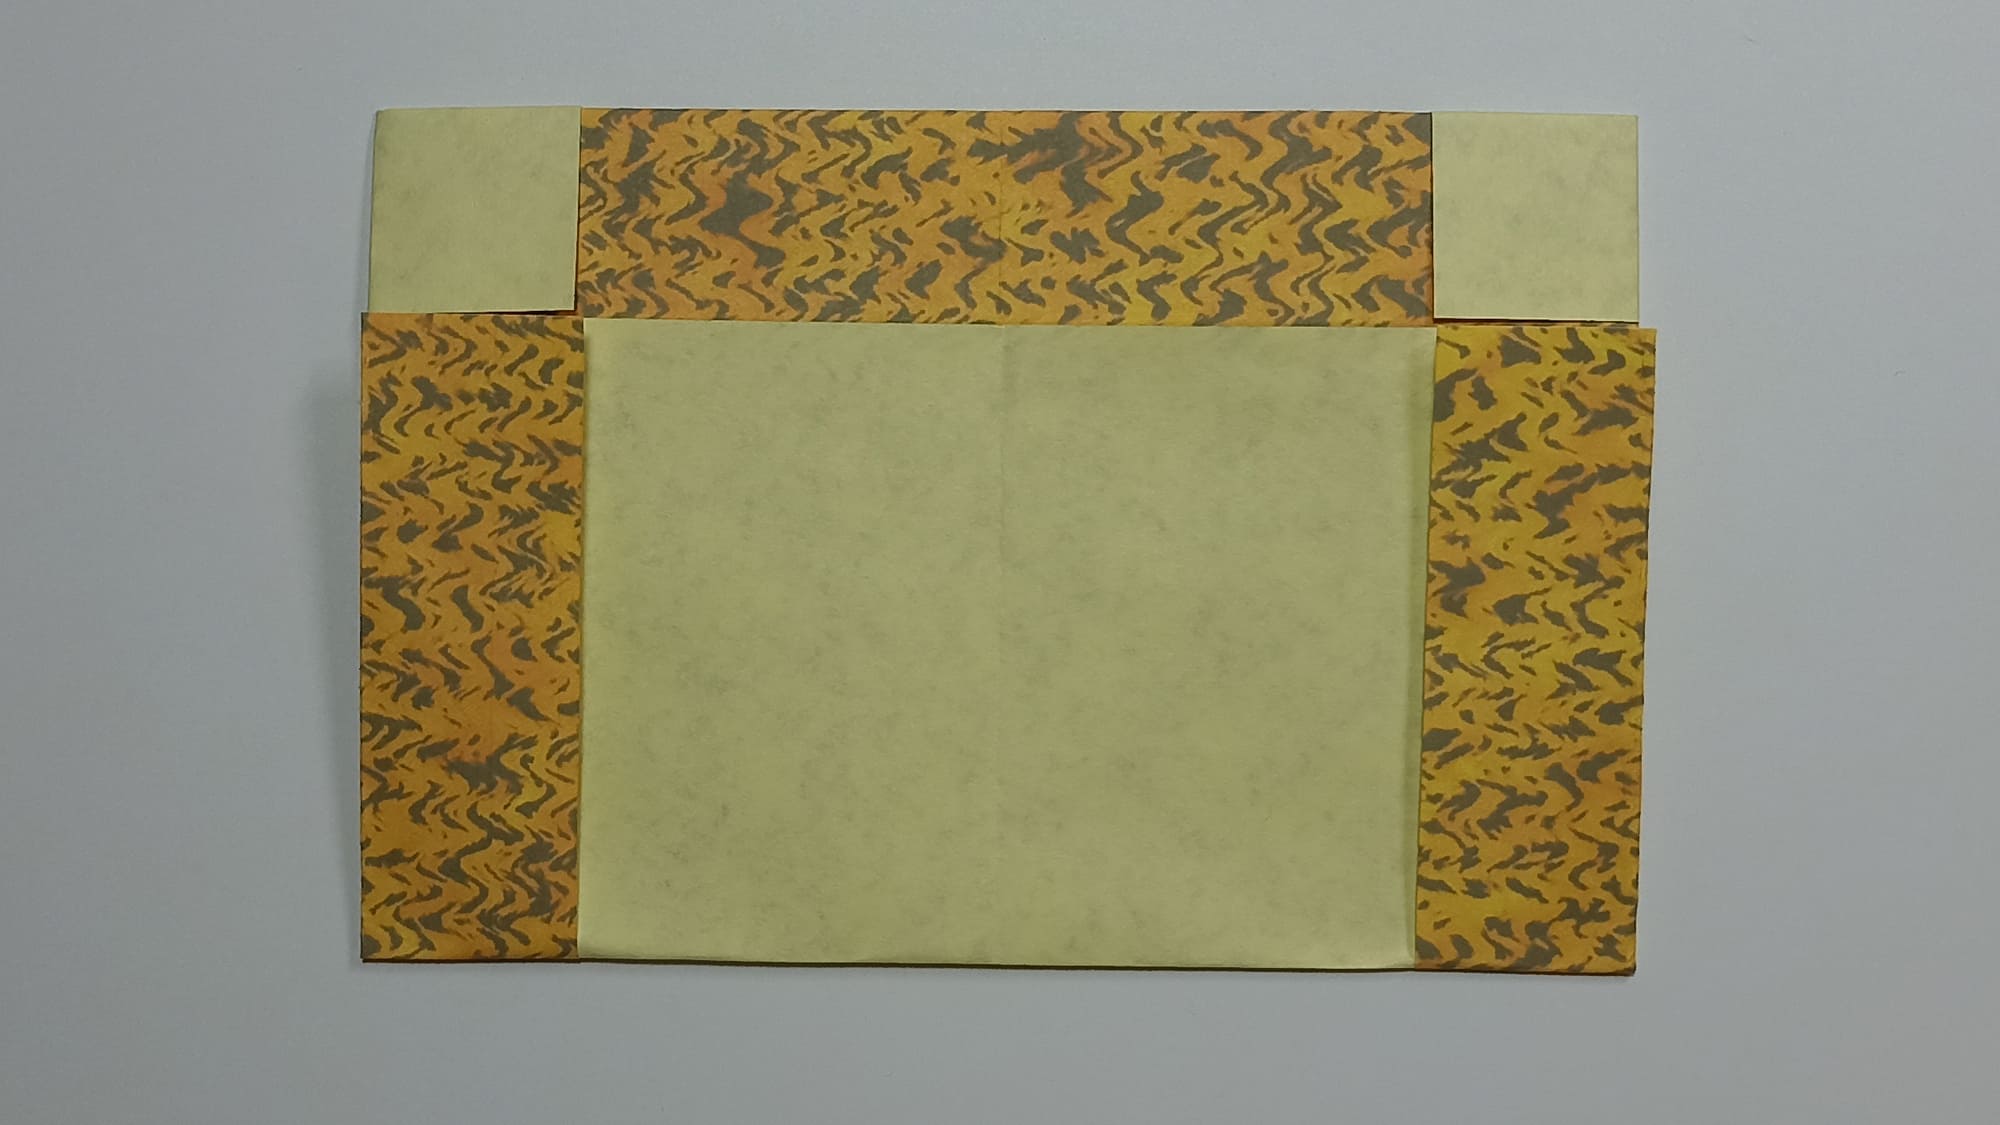
Bend the edges of the paper in the middle to the sides towards the marked lines.
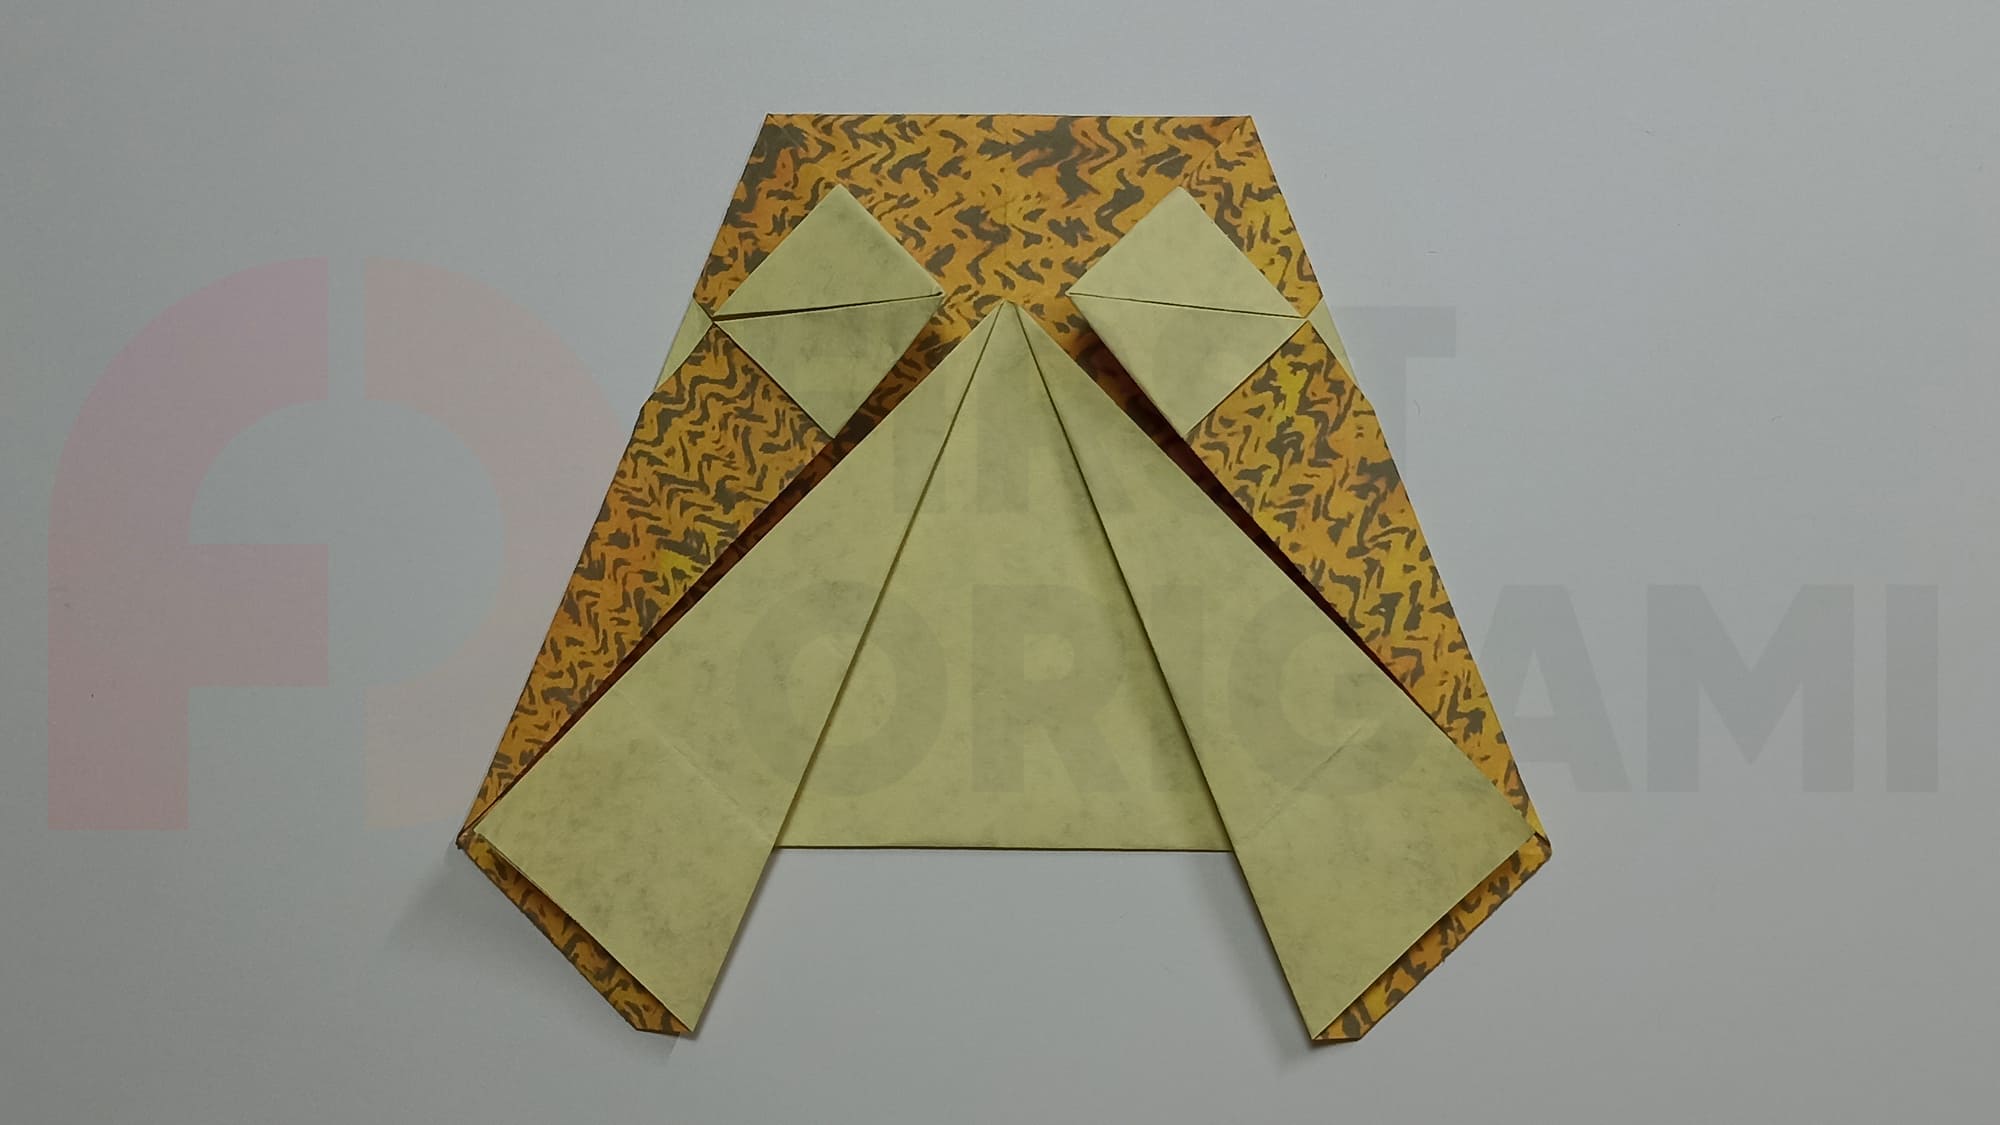
Fold the sides of the figure, aligning them with the side edges of the previous fold.
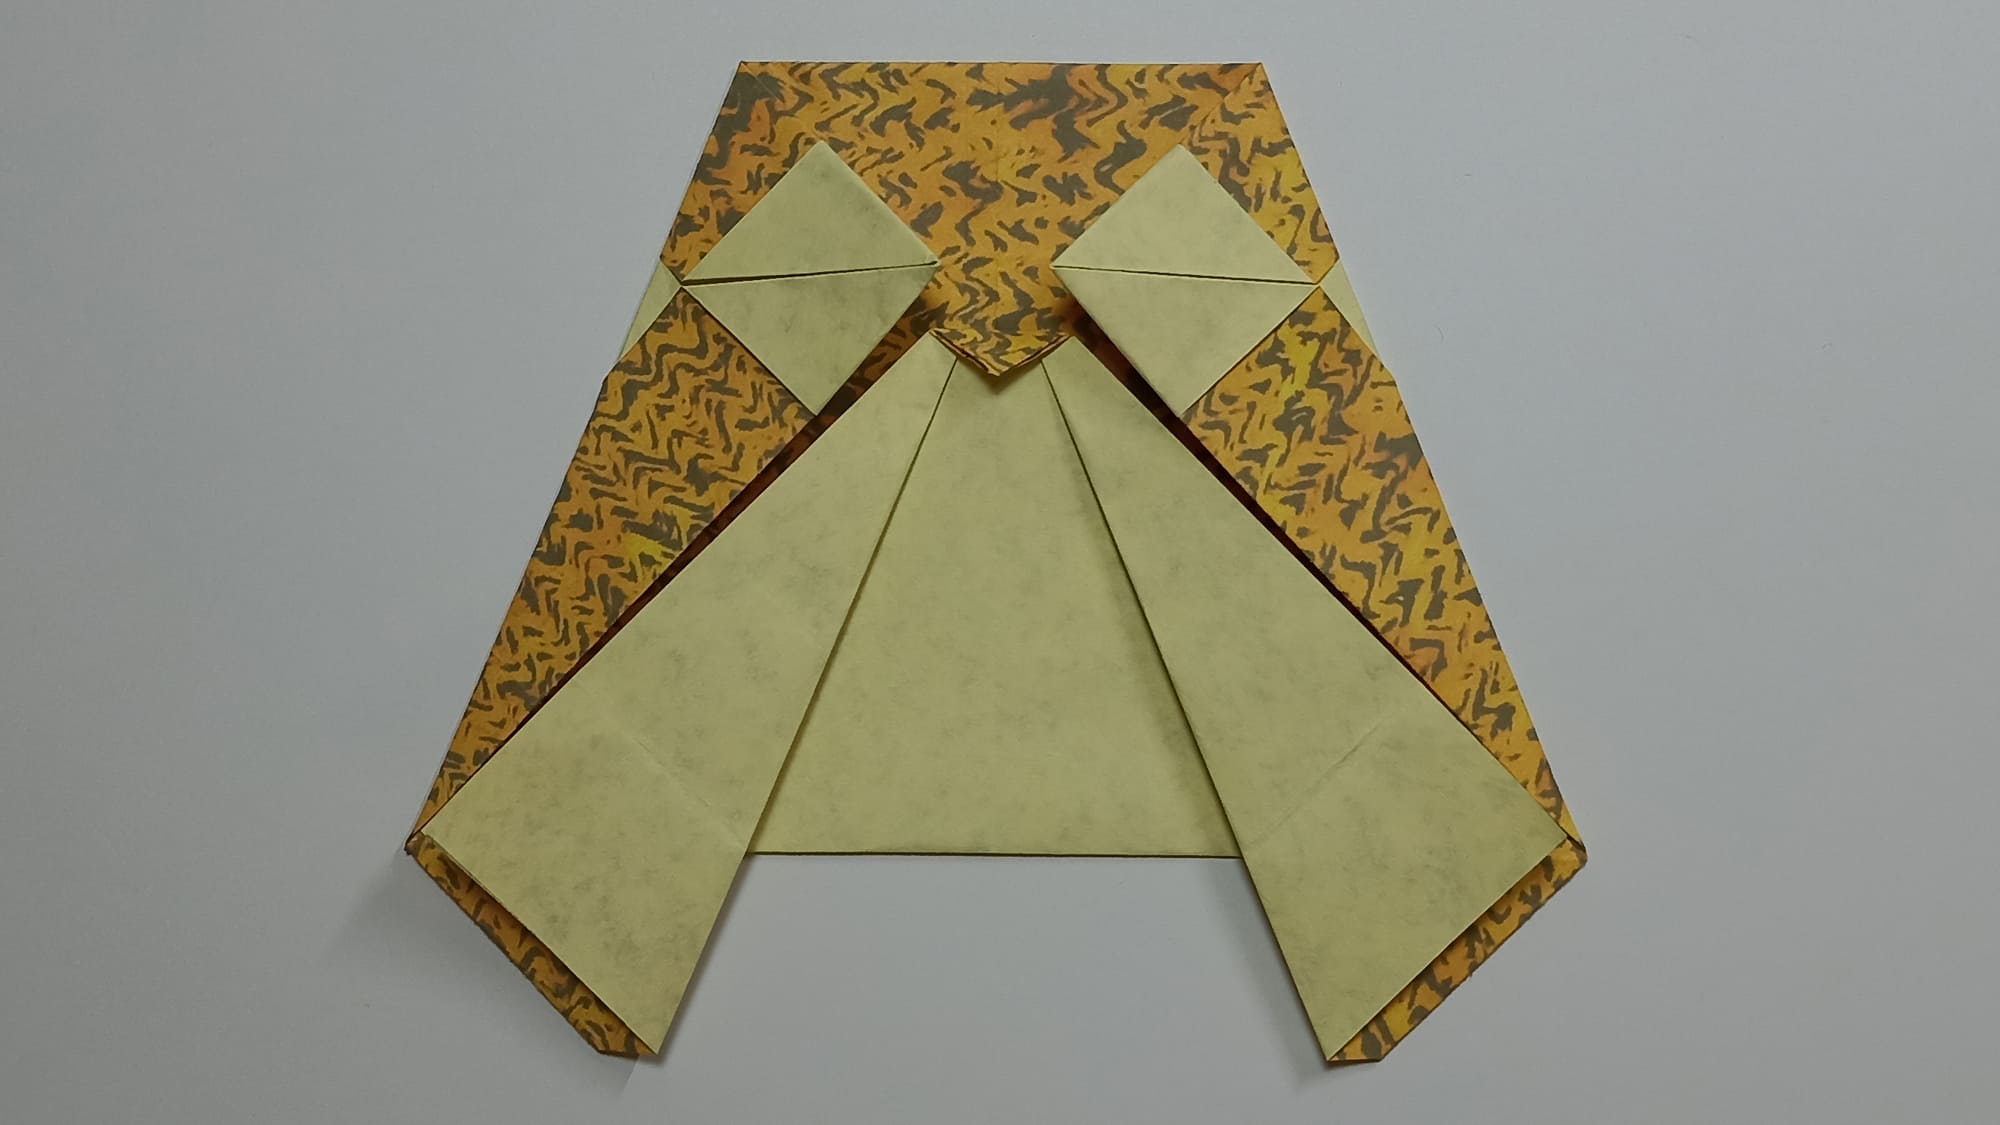
Bend the top of the corner towards you.
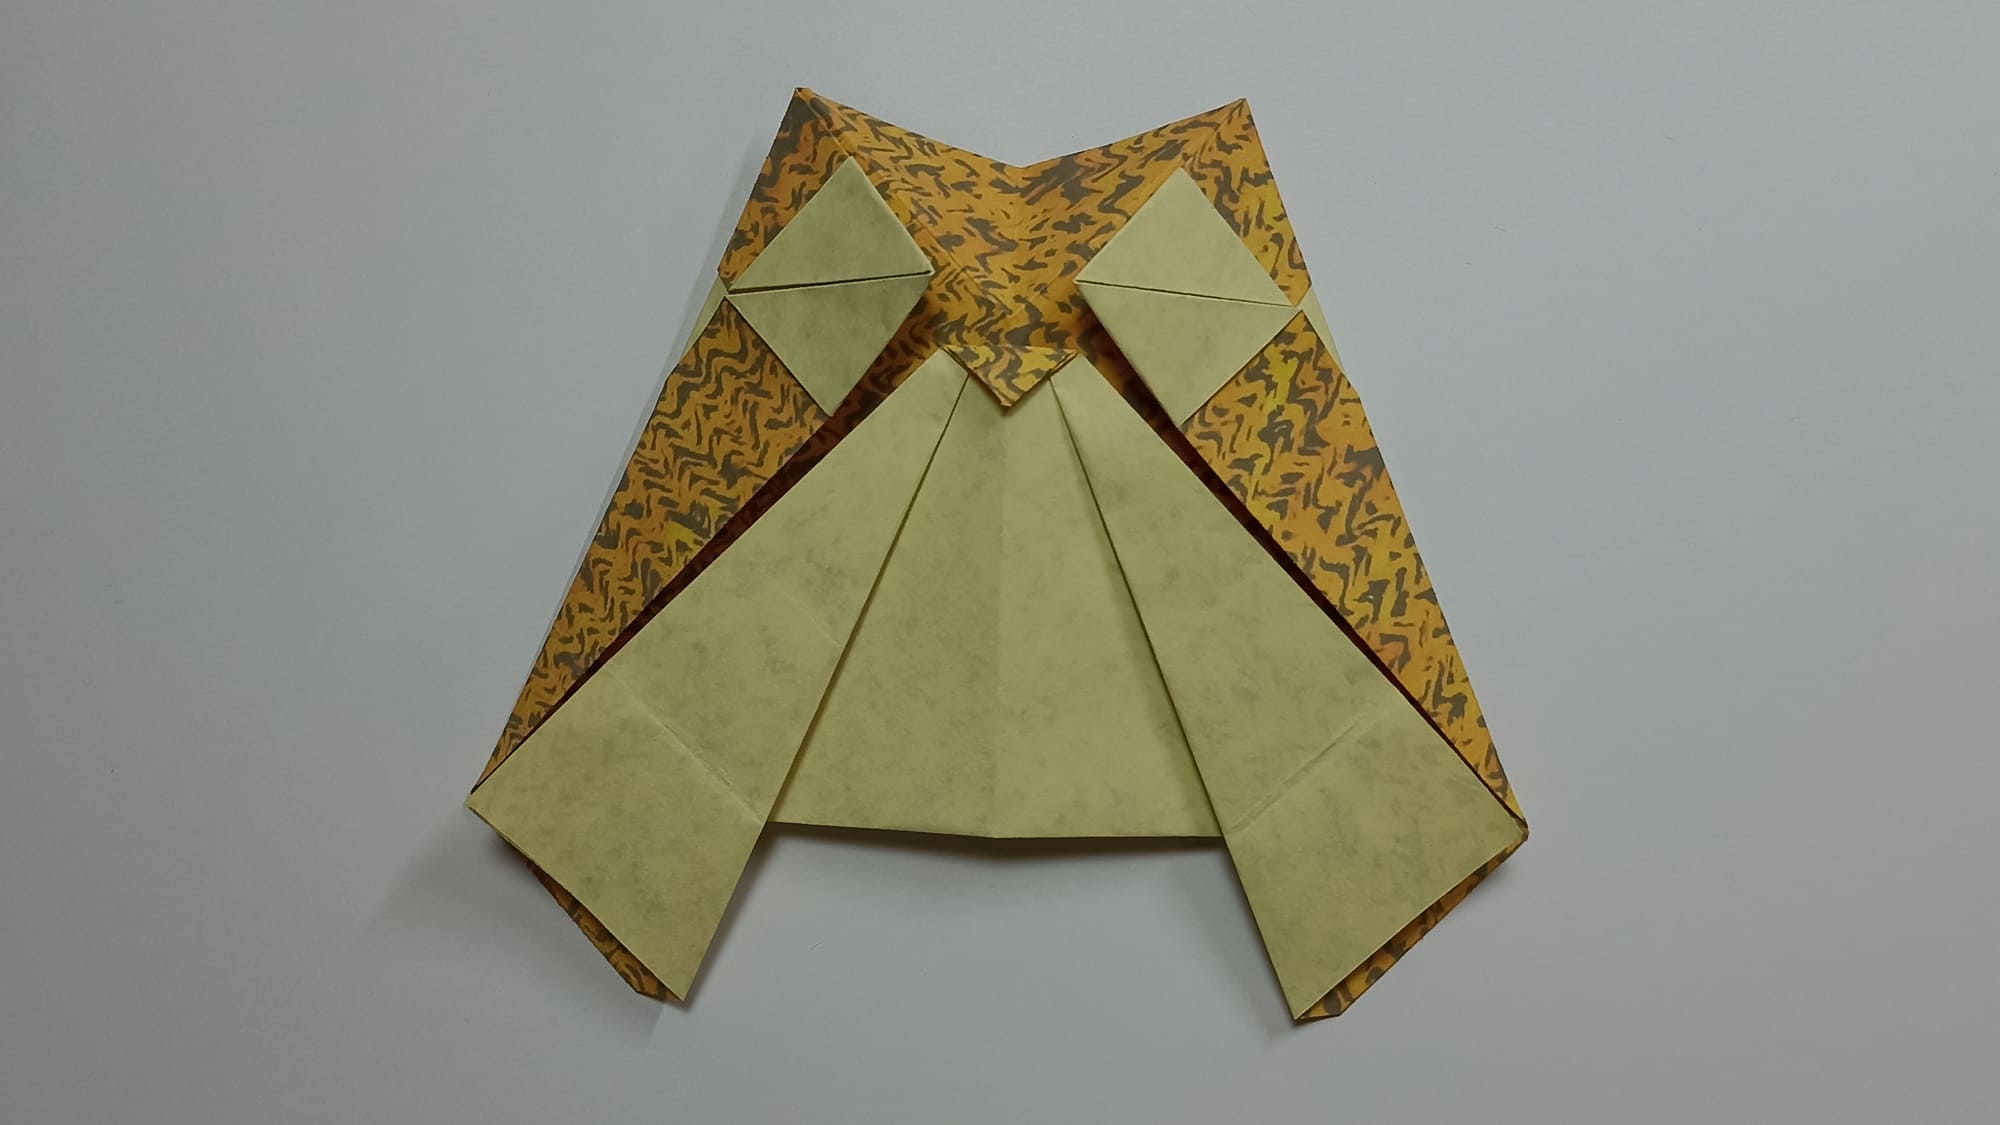
Mark the mountain folds along the inside of the small rhombuses. The valley fold is in the center.
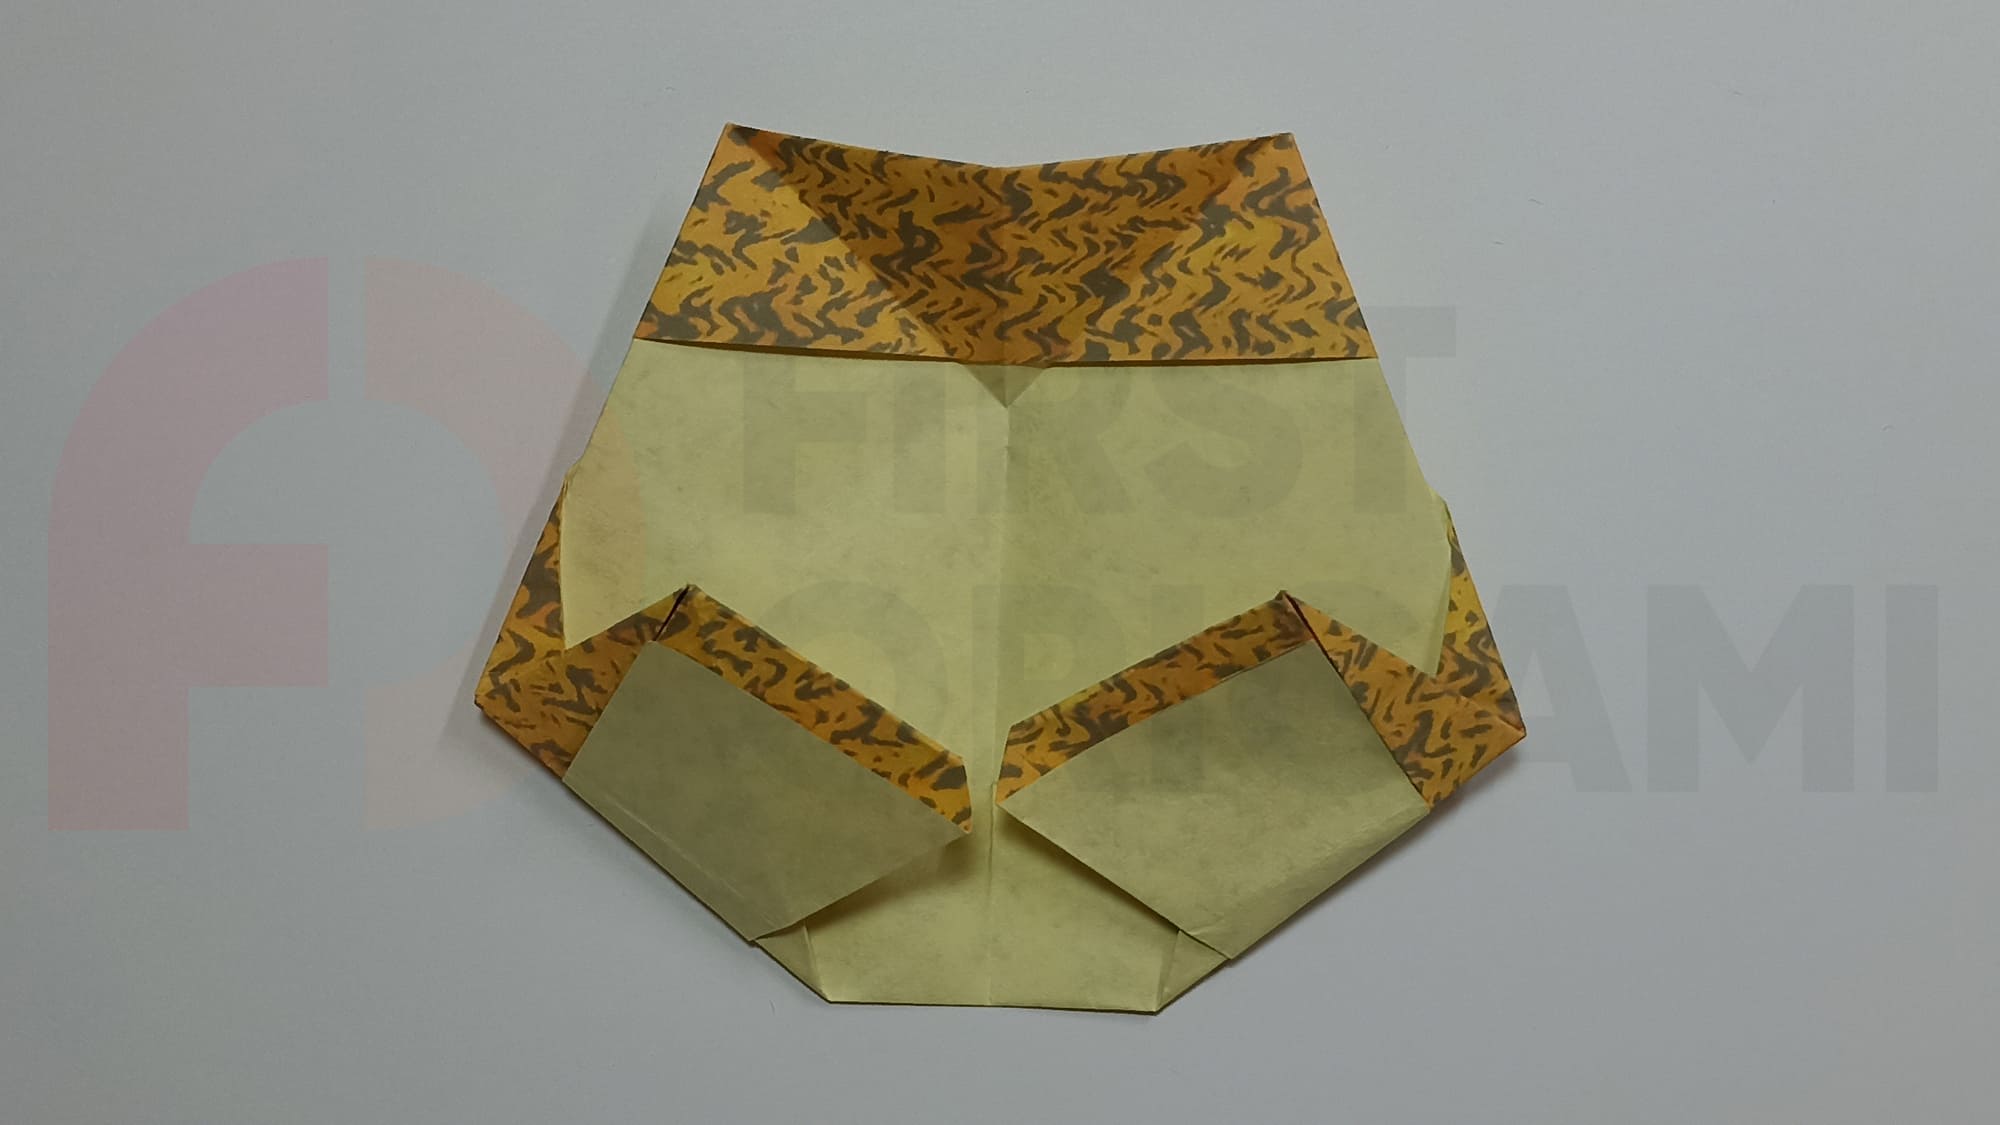
Turn the shape over. Bend the bottom corners of the figure, aligning them in the center.
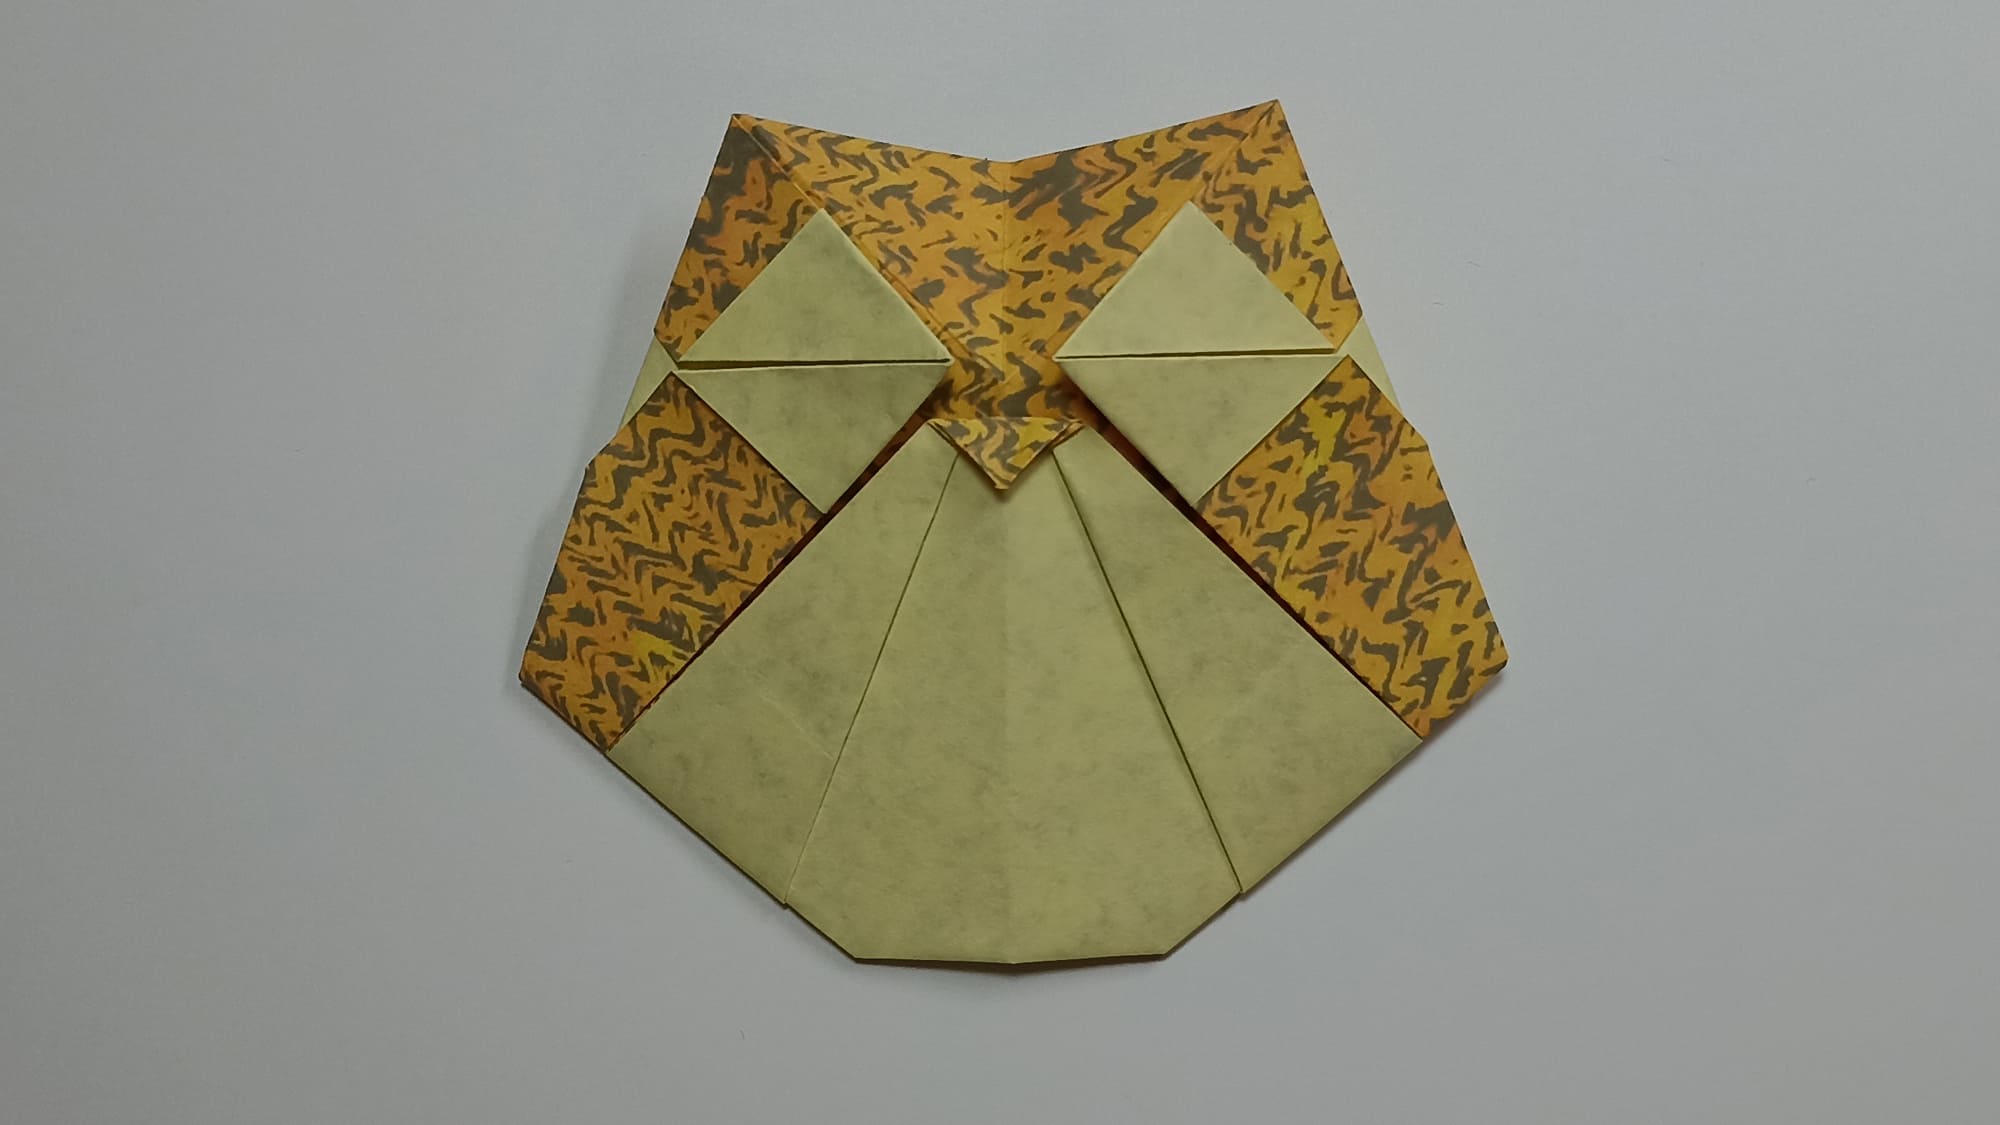
Turn over. The owl is ready!
All that remains is to draw the eyes and feathers.
How about you support a student you know by gifting this fun pre-exam craft? You can create fun rituals for learning success and encourage them to follow. It is also possible to place the owl figure under the top right corner of your pillow the night before an exam or place it on page five of your textbook after reading a paragraph. Care and attention when creating a talisman will certainly convey good energy and have a positive effect on the result of an exam or test.


