Origami Parrot
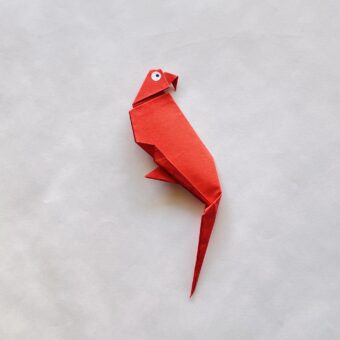
A miniature and cute figure of a parrot will decorate your origami collection. How to use it? Everything is limited only by your imagination! It can become a bookmark, part of the decor, table setting, addition to a gift, and much, much more!
This origami can be classified as an average level of complexity. However, if you already have experience “communicating” with paper, then our instructions will be quite easy for you. In any case, results and fun are guaranteed!
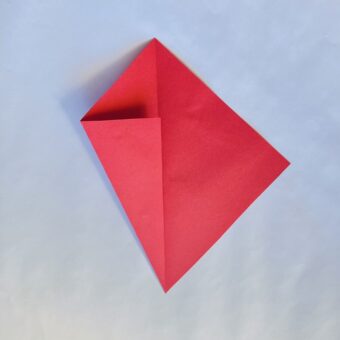
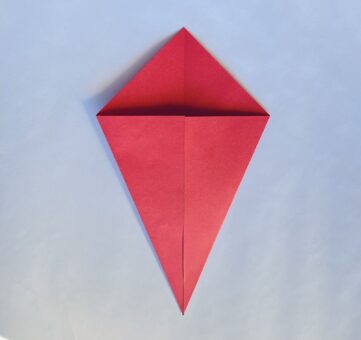
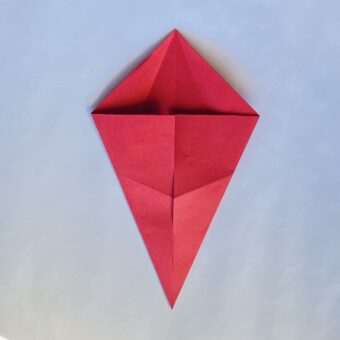
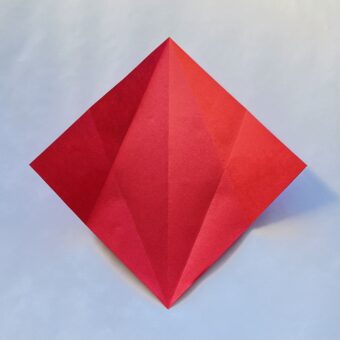
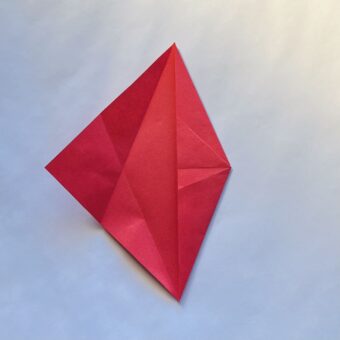
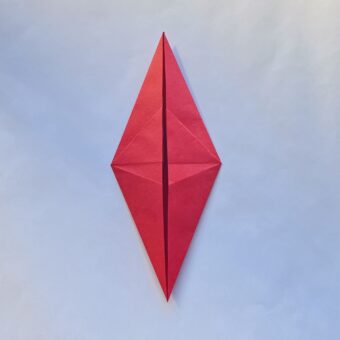
Alternately fold the bottom sides with the side corners to the center line so that they join on it.
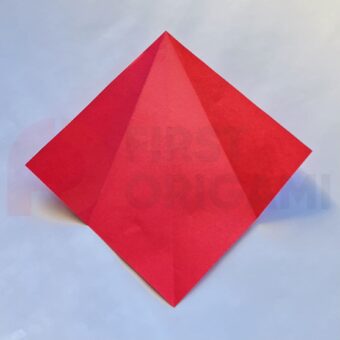
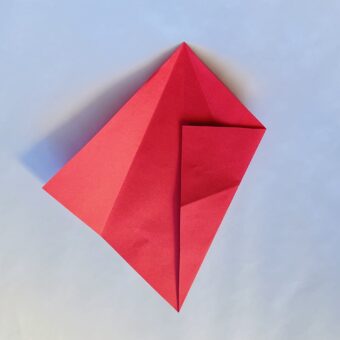
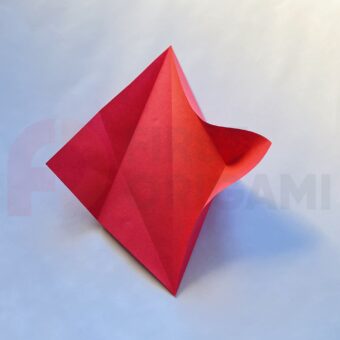
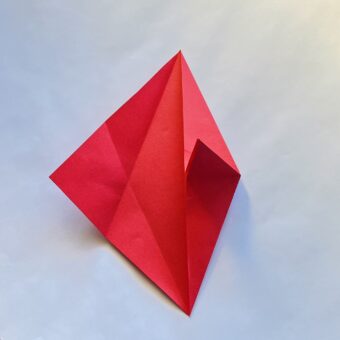
Carefully follow the instructions in the photo and fold the paper along the indicated folds.
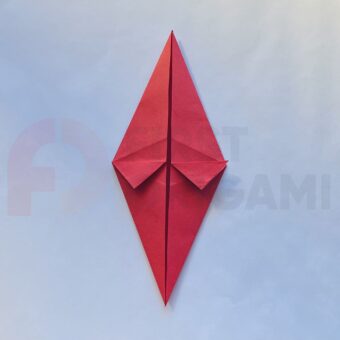
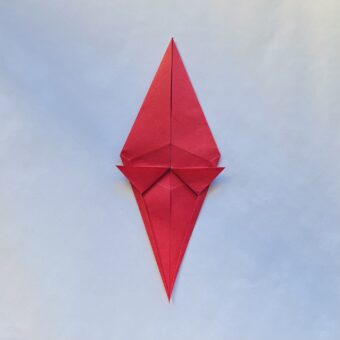
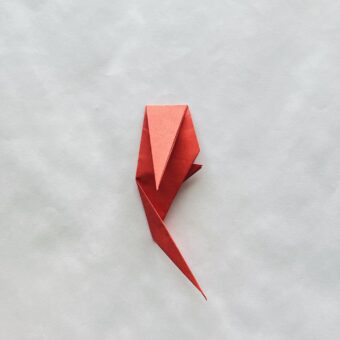
Bend the two tails in the central part down and bend the corners of these tails to the sides, as shown in the photo.
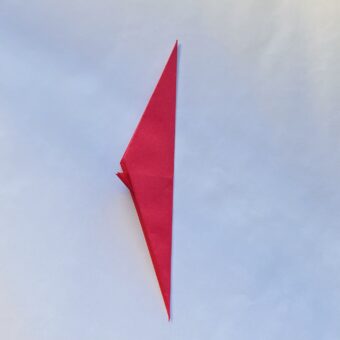
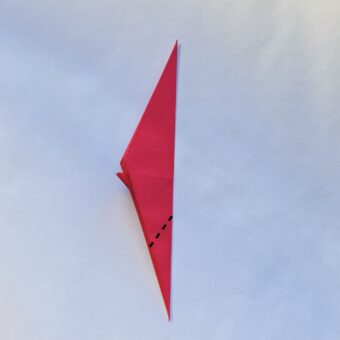
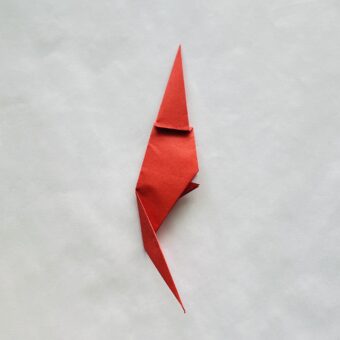
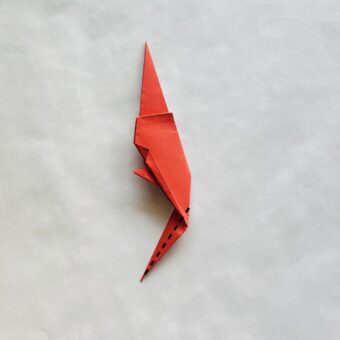
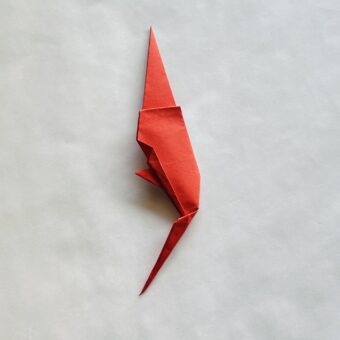
Fold the bottom corner back along the dotted line so that it peeks out from behind the figure.
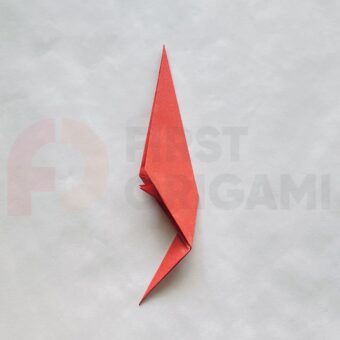
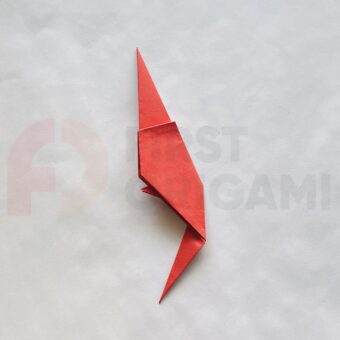
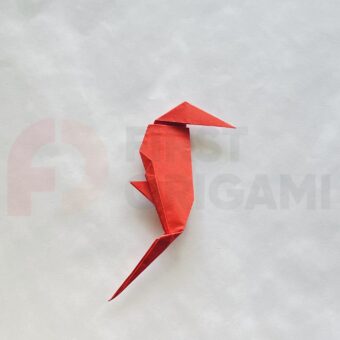
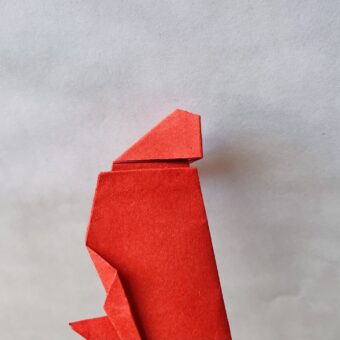
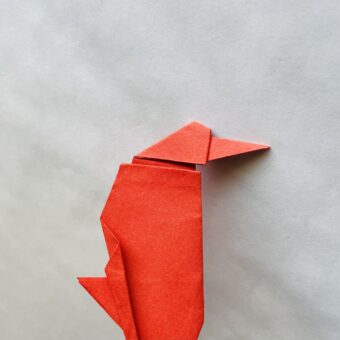
All you have left to do is create the parrot’s head. Start by folding the top corner to the right.
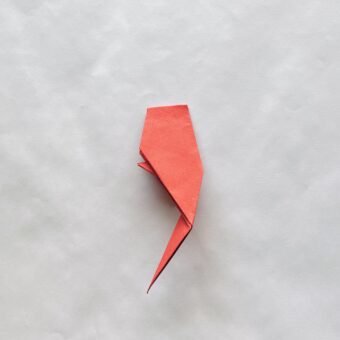
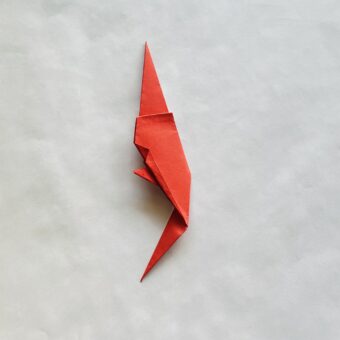
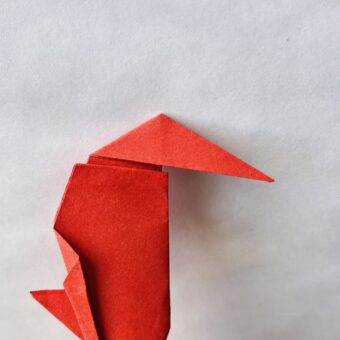
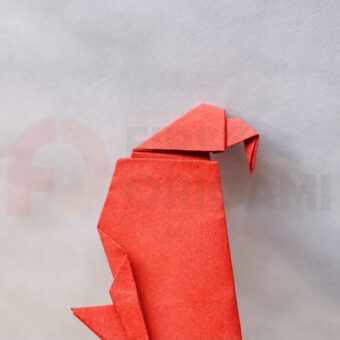
17. Now, let’s create the beak: bend the tip of the corner back and down, as shown in the photo.
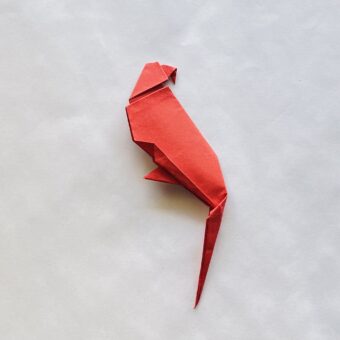
What a beautiful parrot you have created! If you liked the process, you can take a few more sheets of paper in different colors and create a whole flock!
