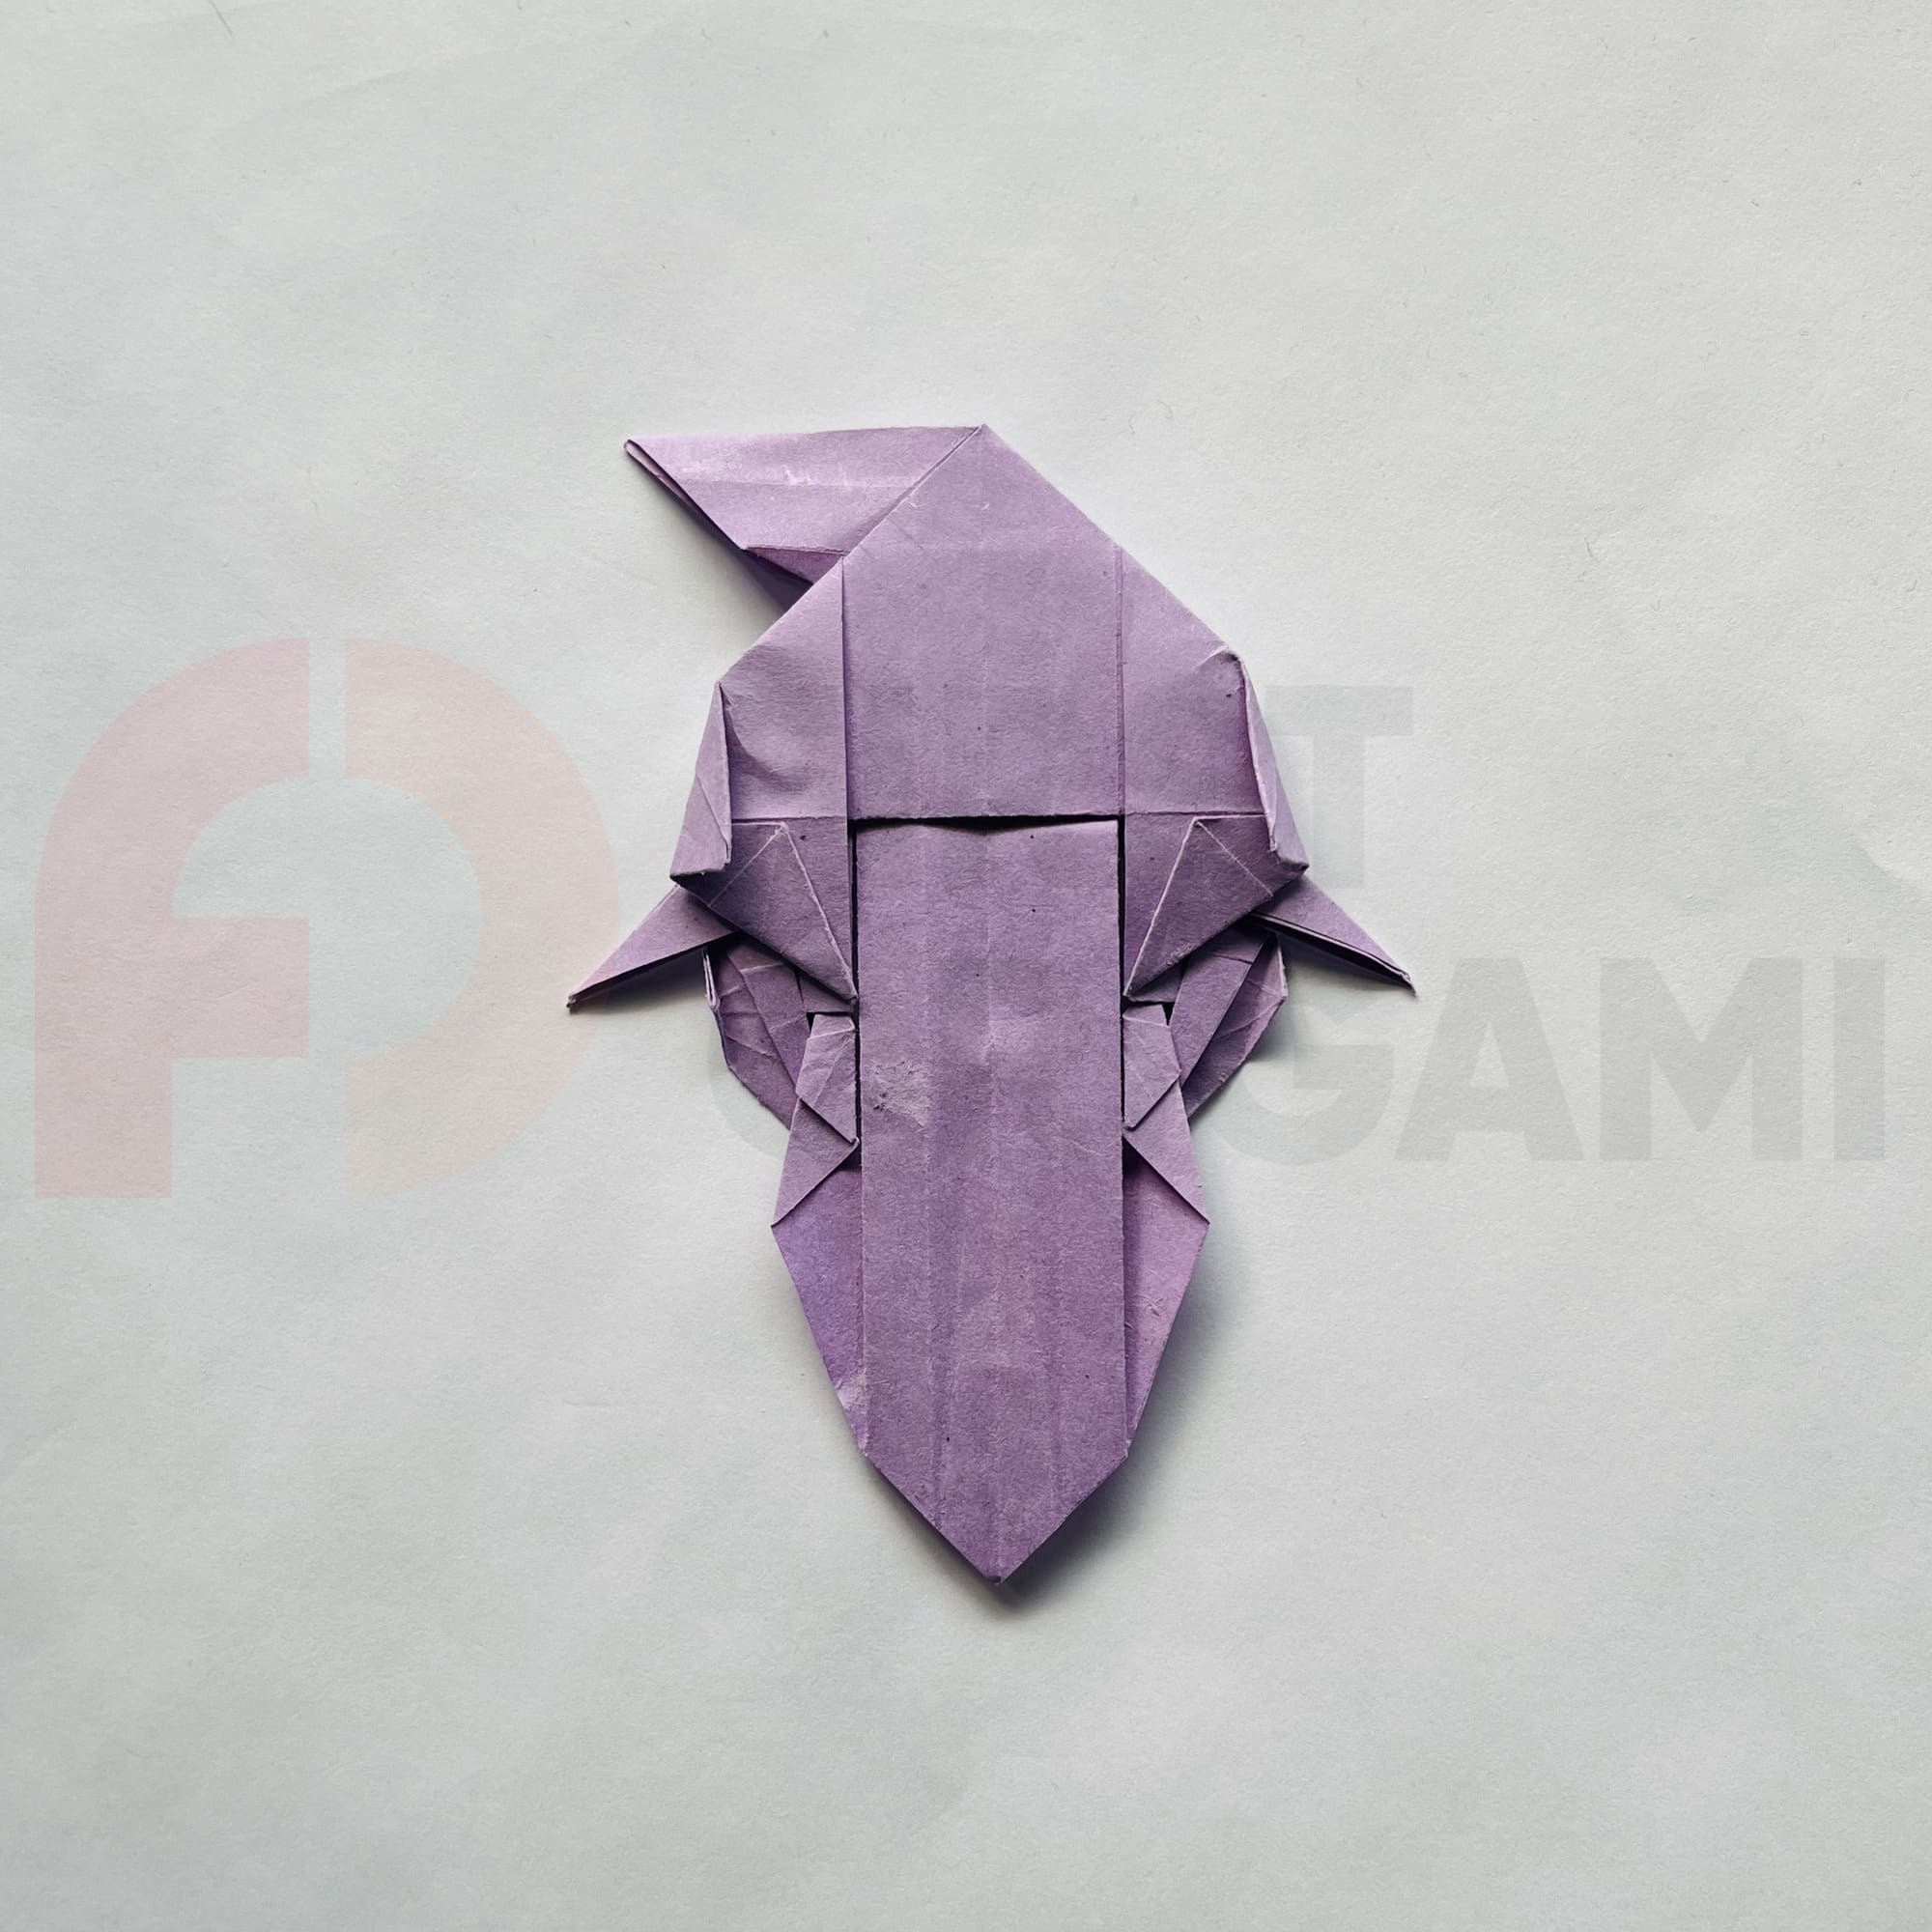
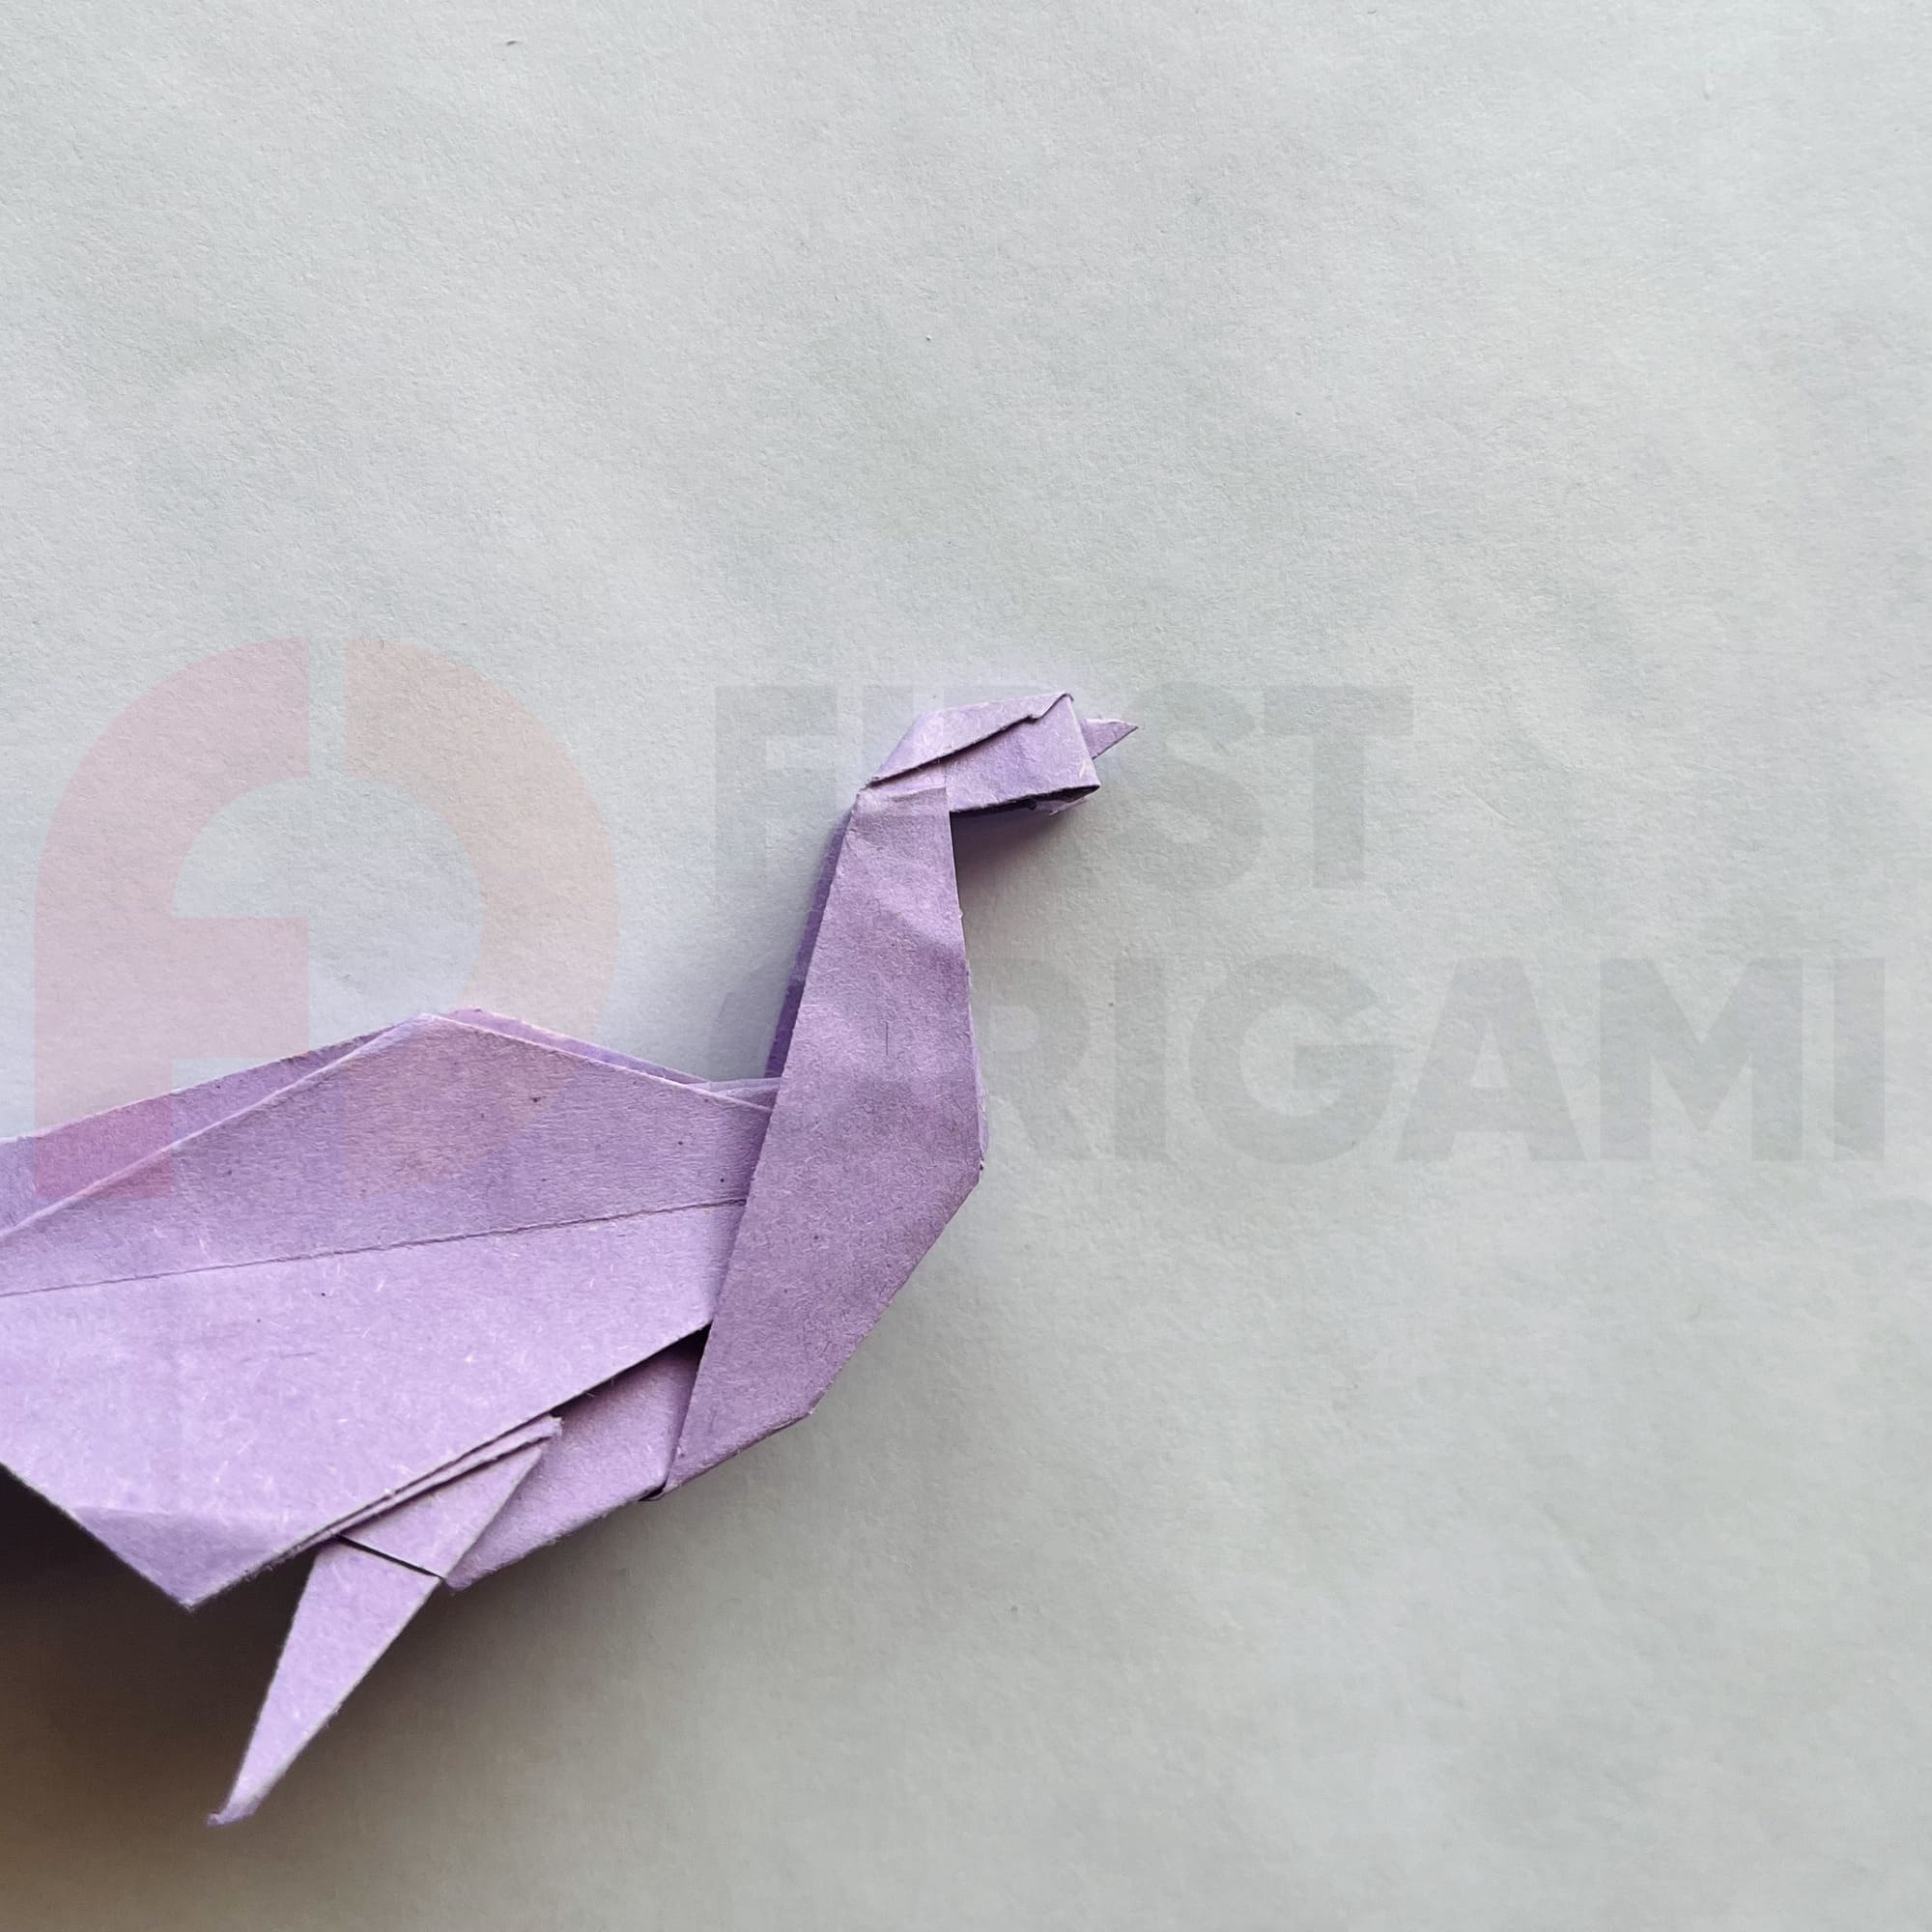
Origami Peacock
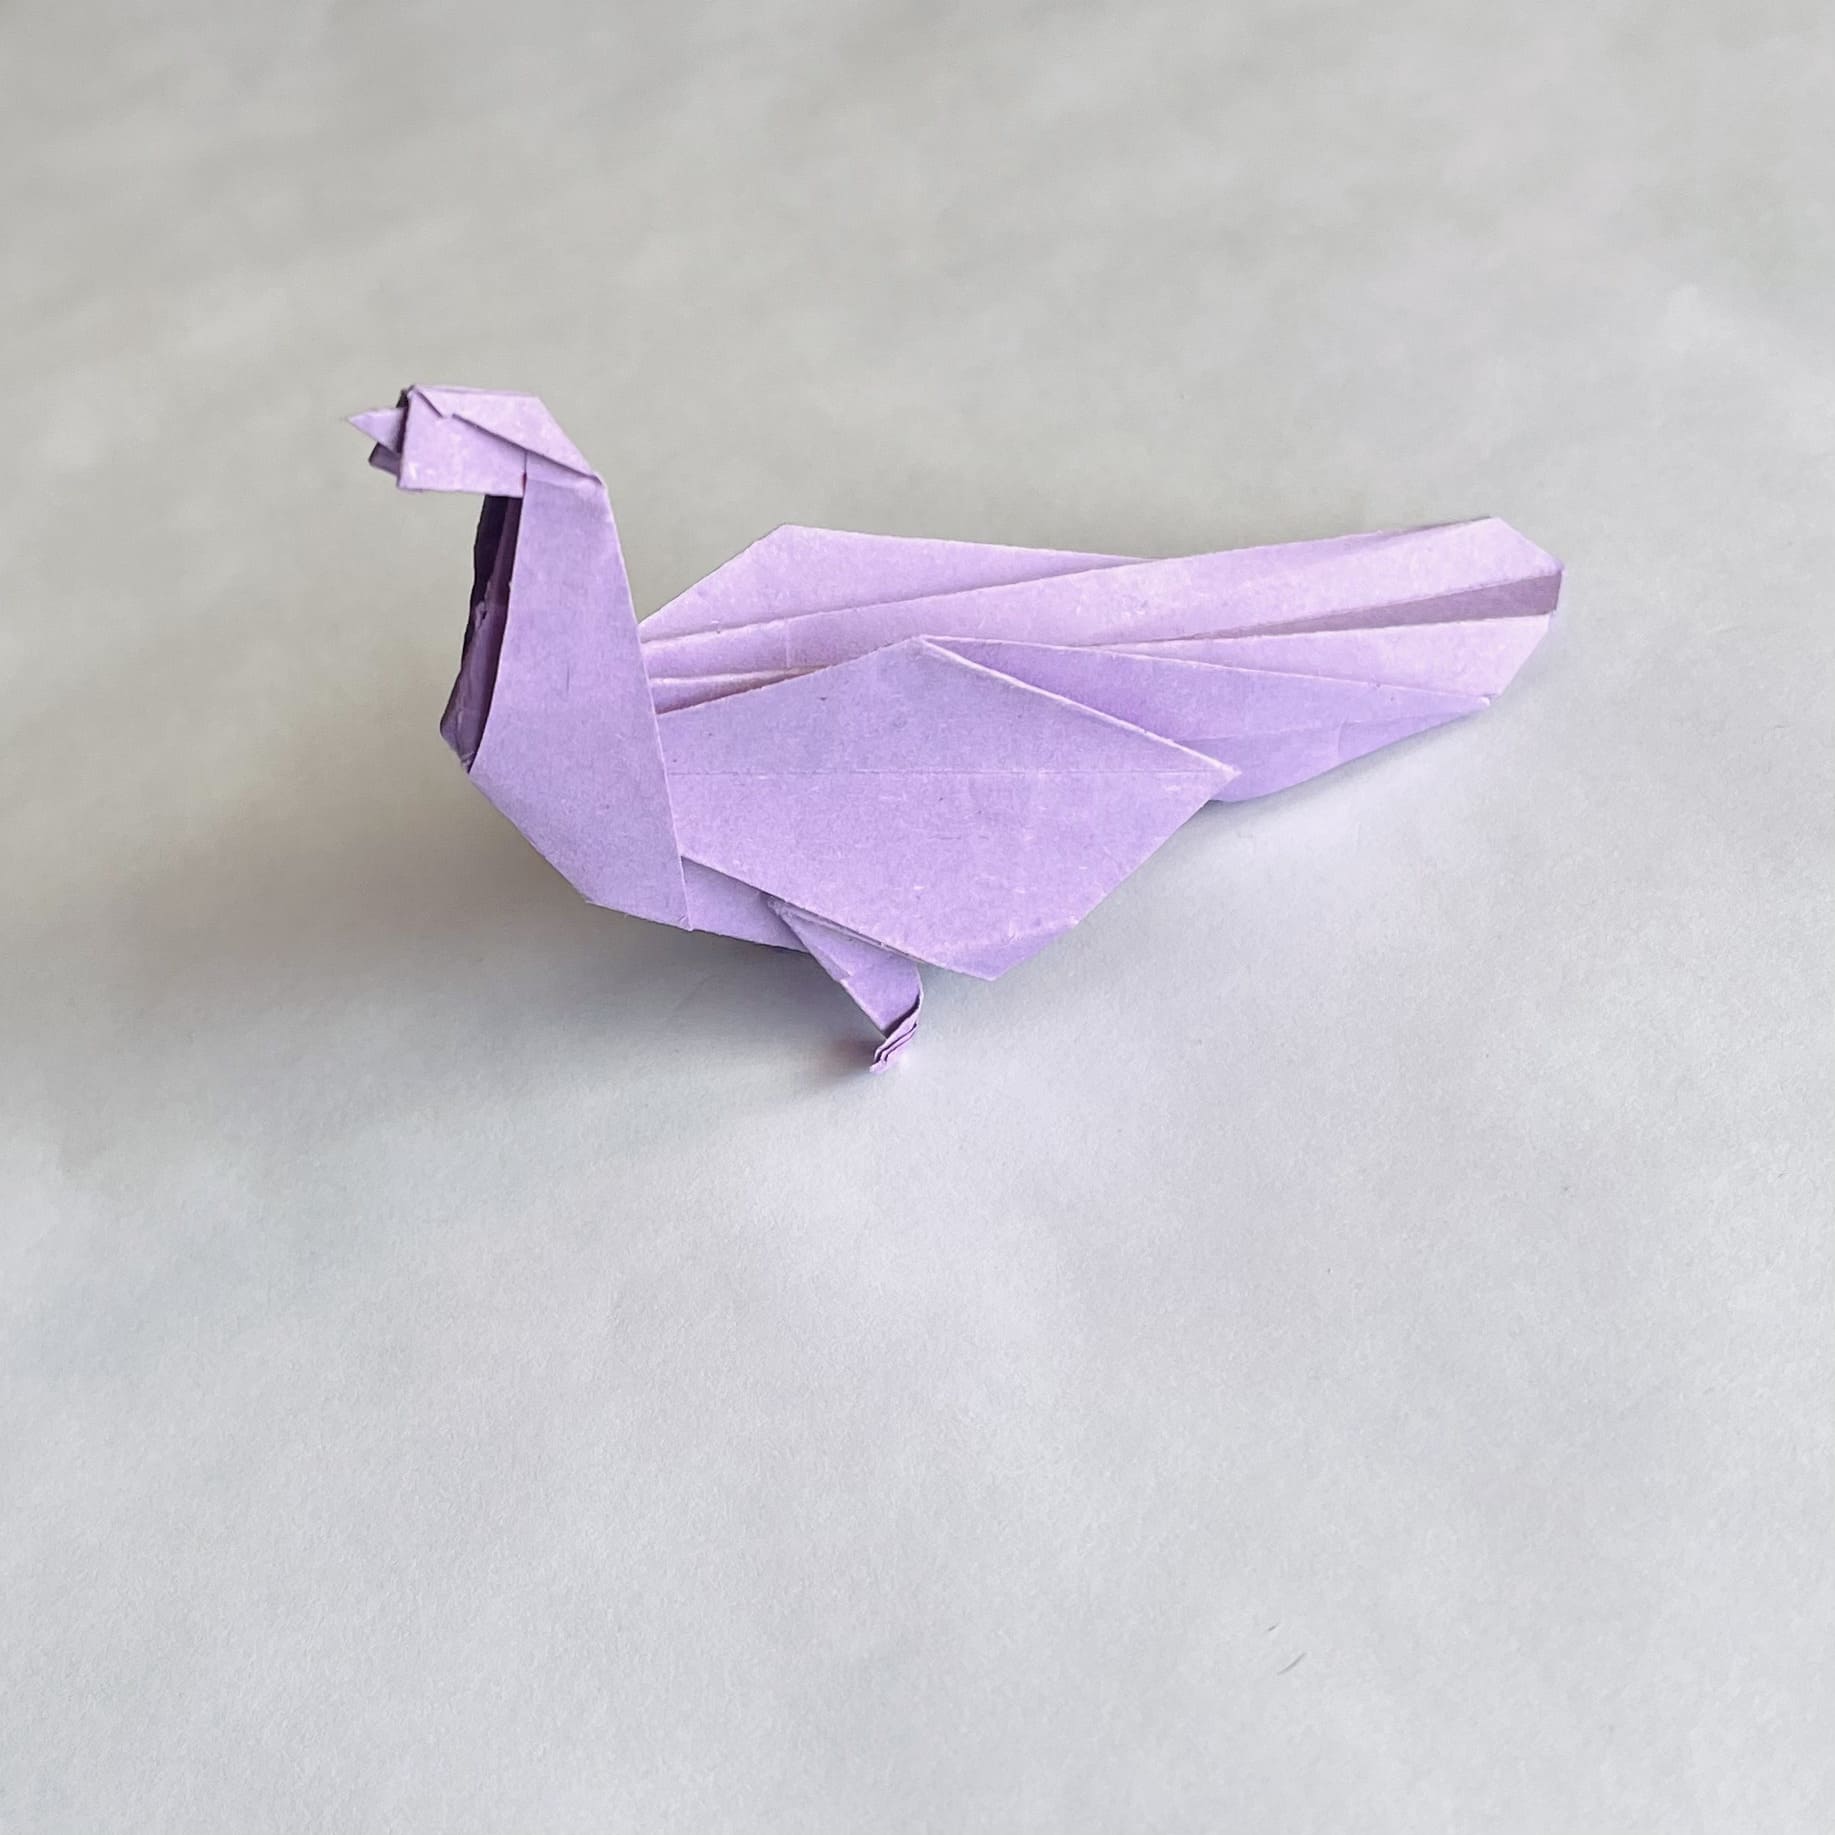
This is a very beautiful and elegant origami model that will decorate your home! Of course, the main feature of the peacock is its bushy tail. In this figure, the authors tried to reflect this feature as much as possible, and it seems to us that they succeeded.
Origami “Peacock” can be classified as an average level of complexity. There are practically no difficult steps, but you need to fold the paper many times. For this figure, you will need 15×15 cm origami paper. It can be single-sided or double-sided.
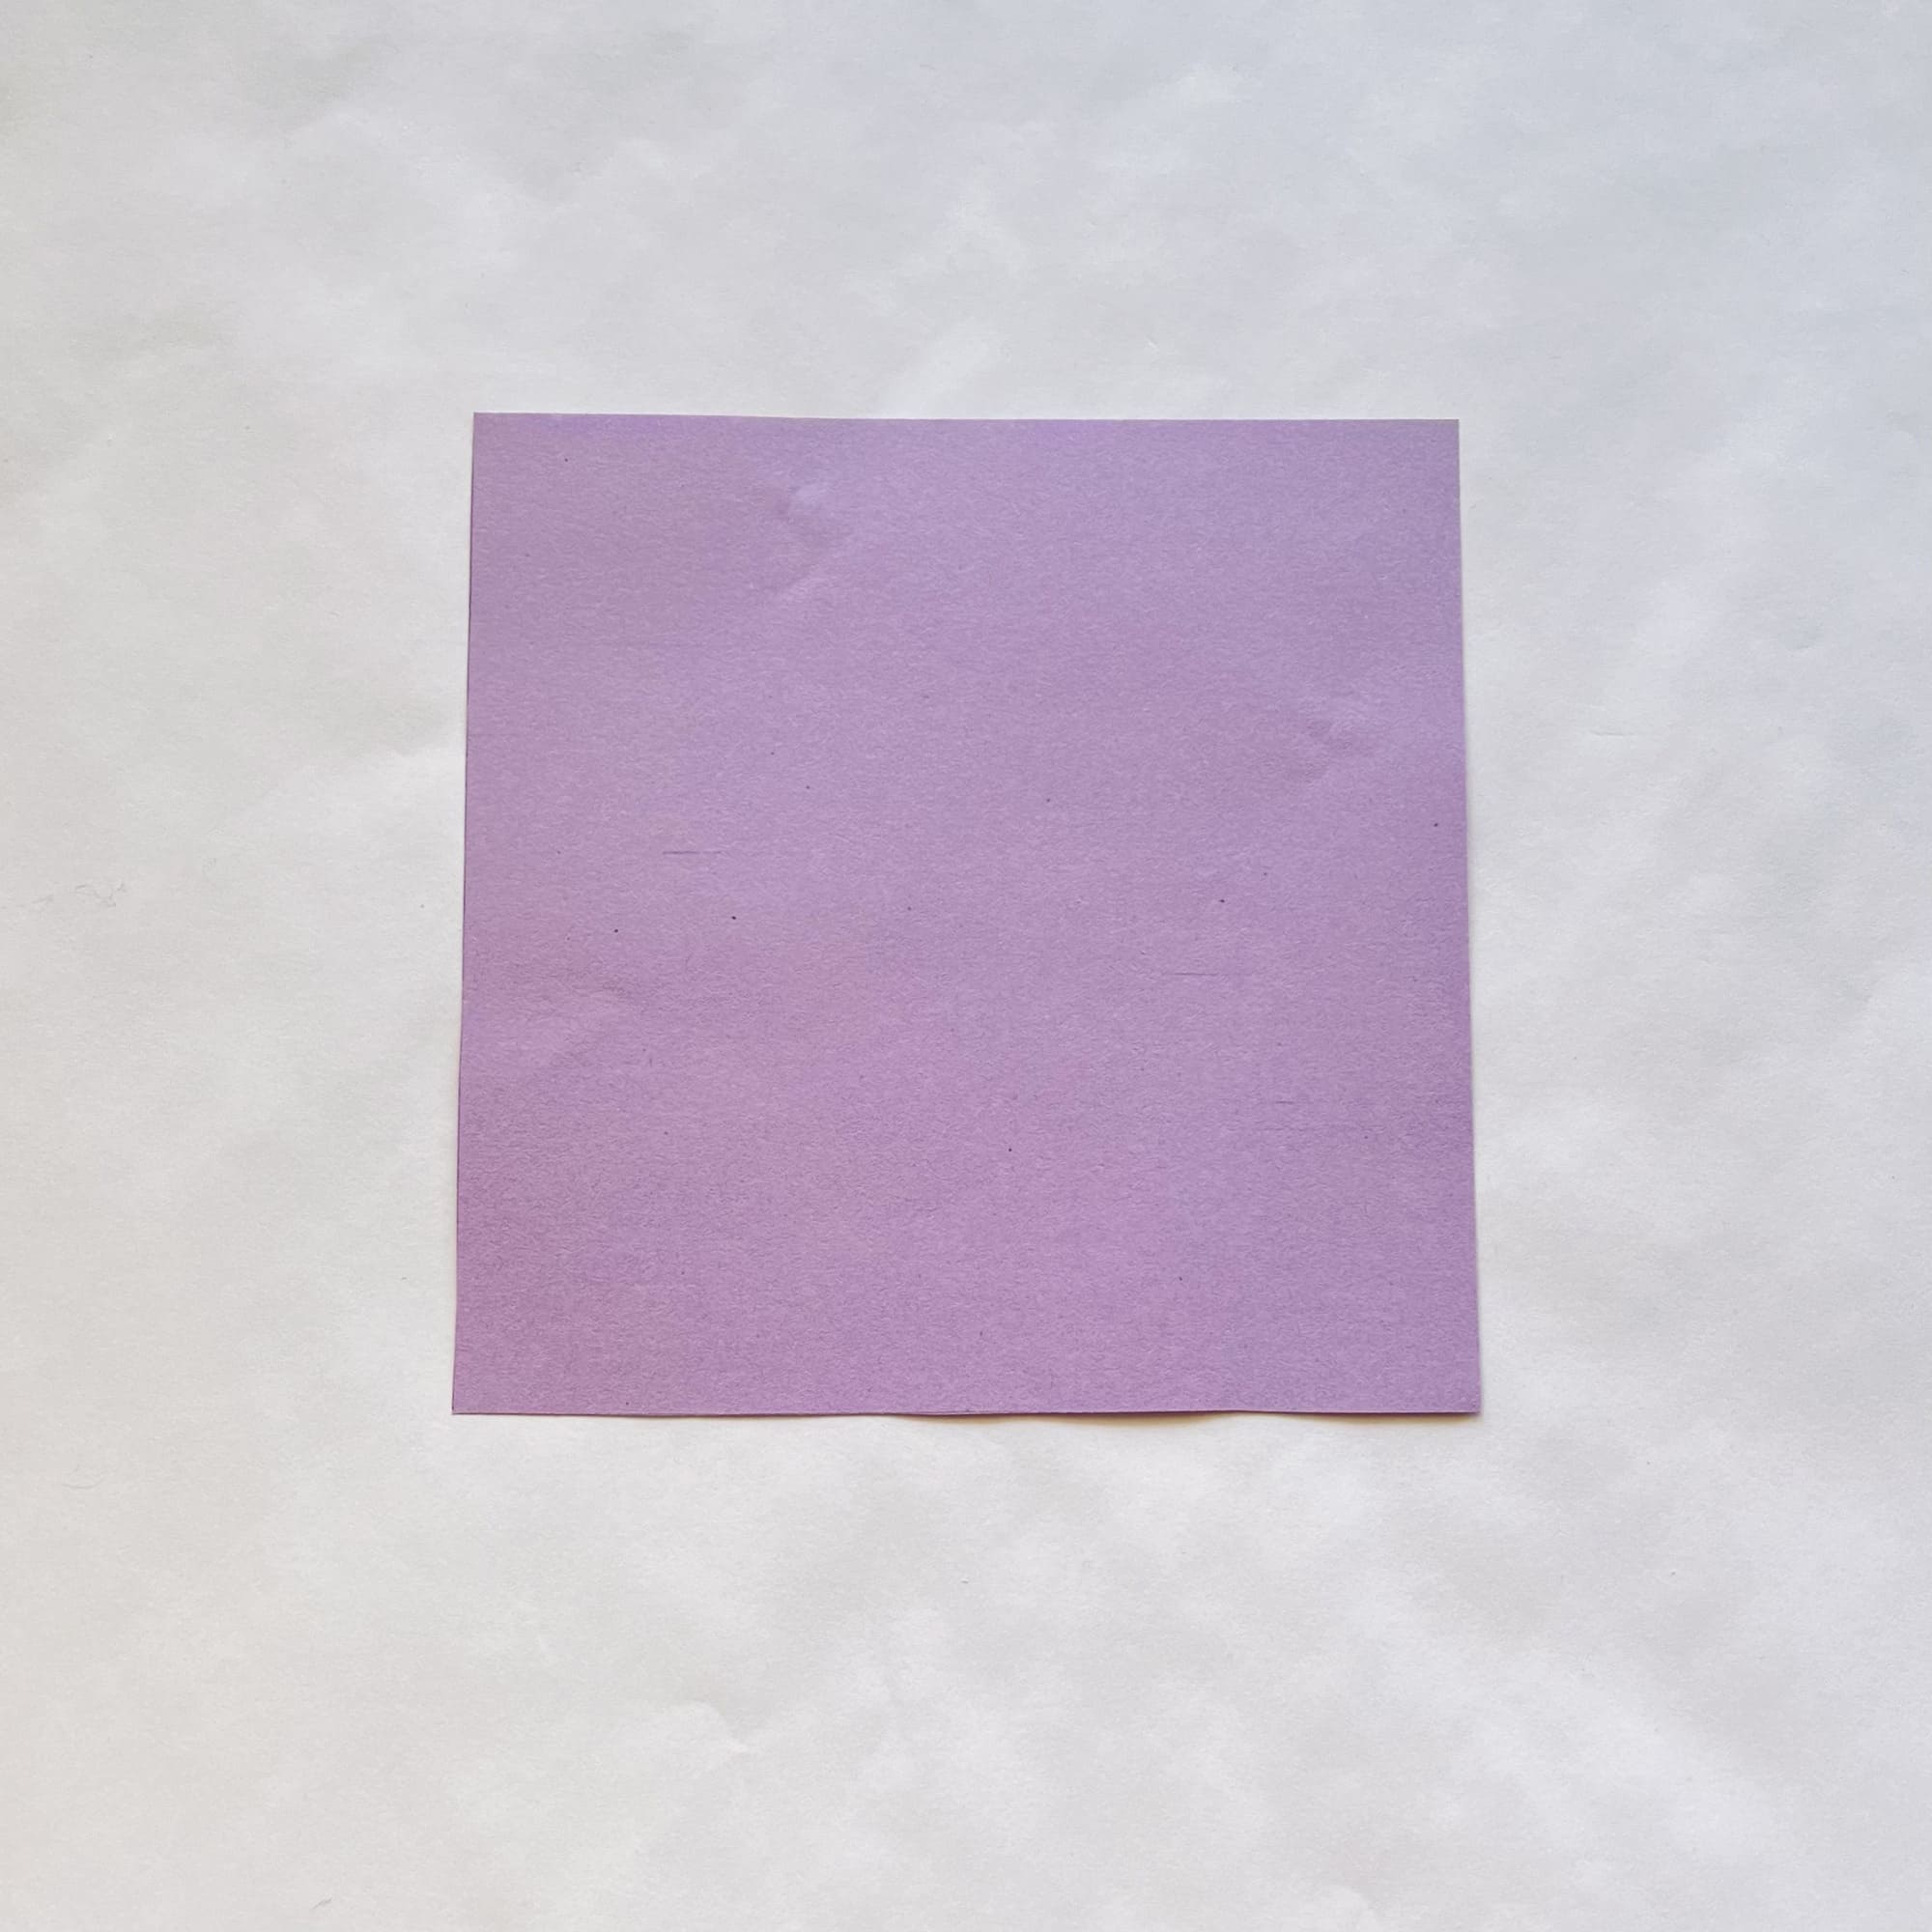
Prepare a sheet of paper, if it is single-sided, then the colored side down.
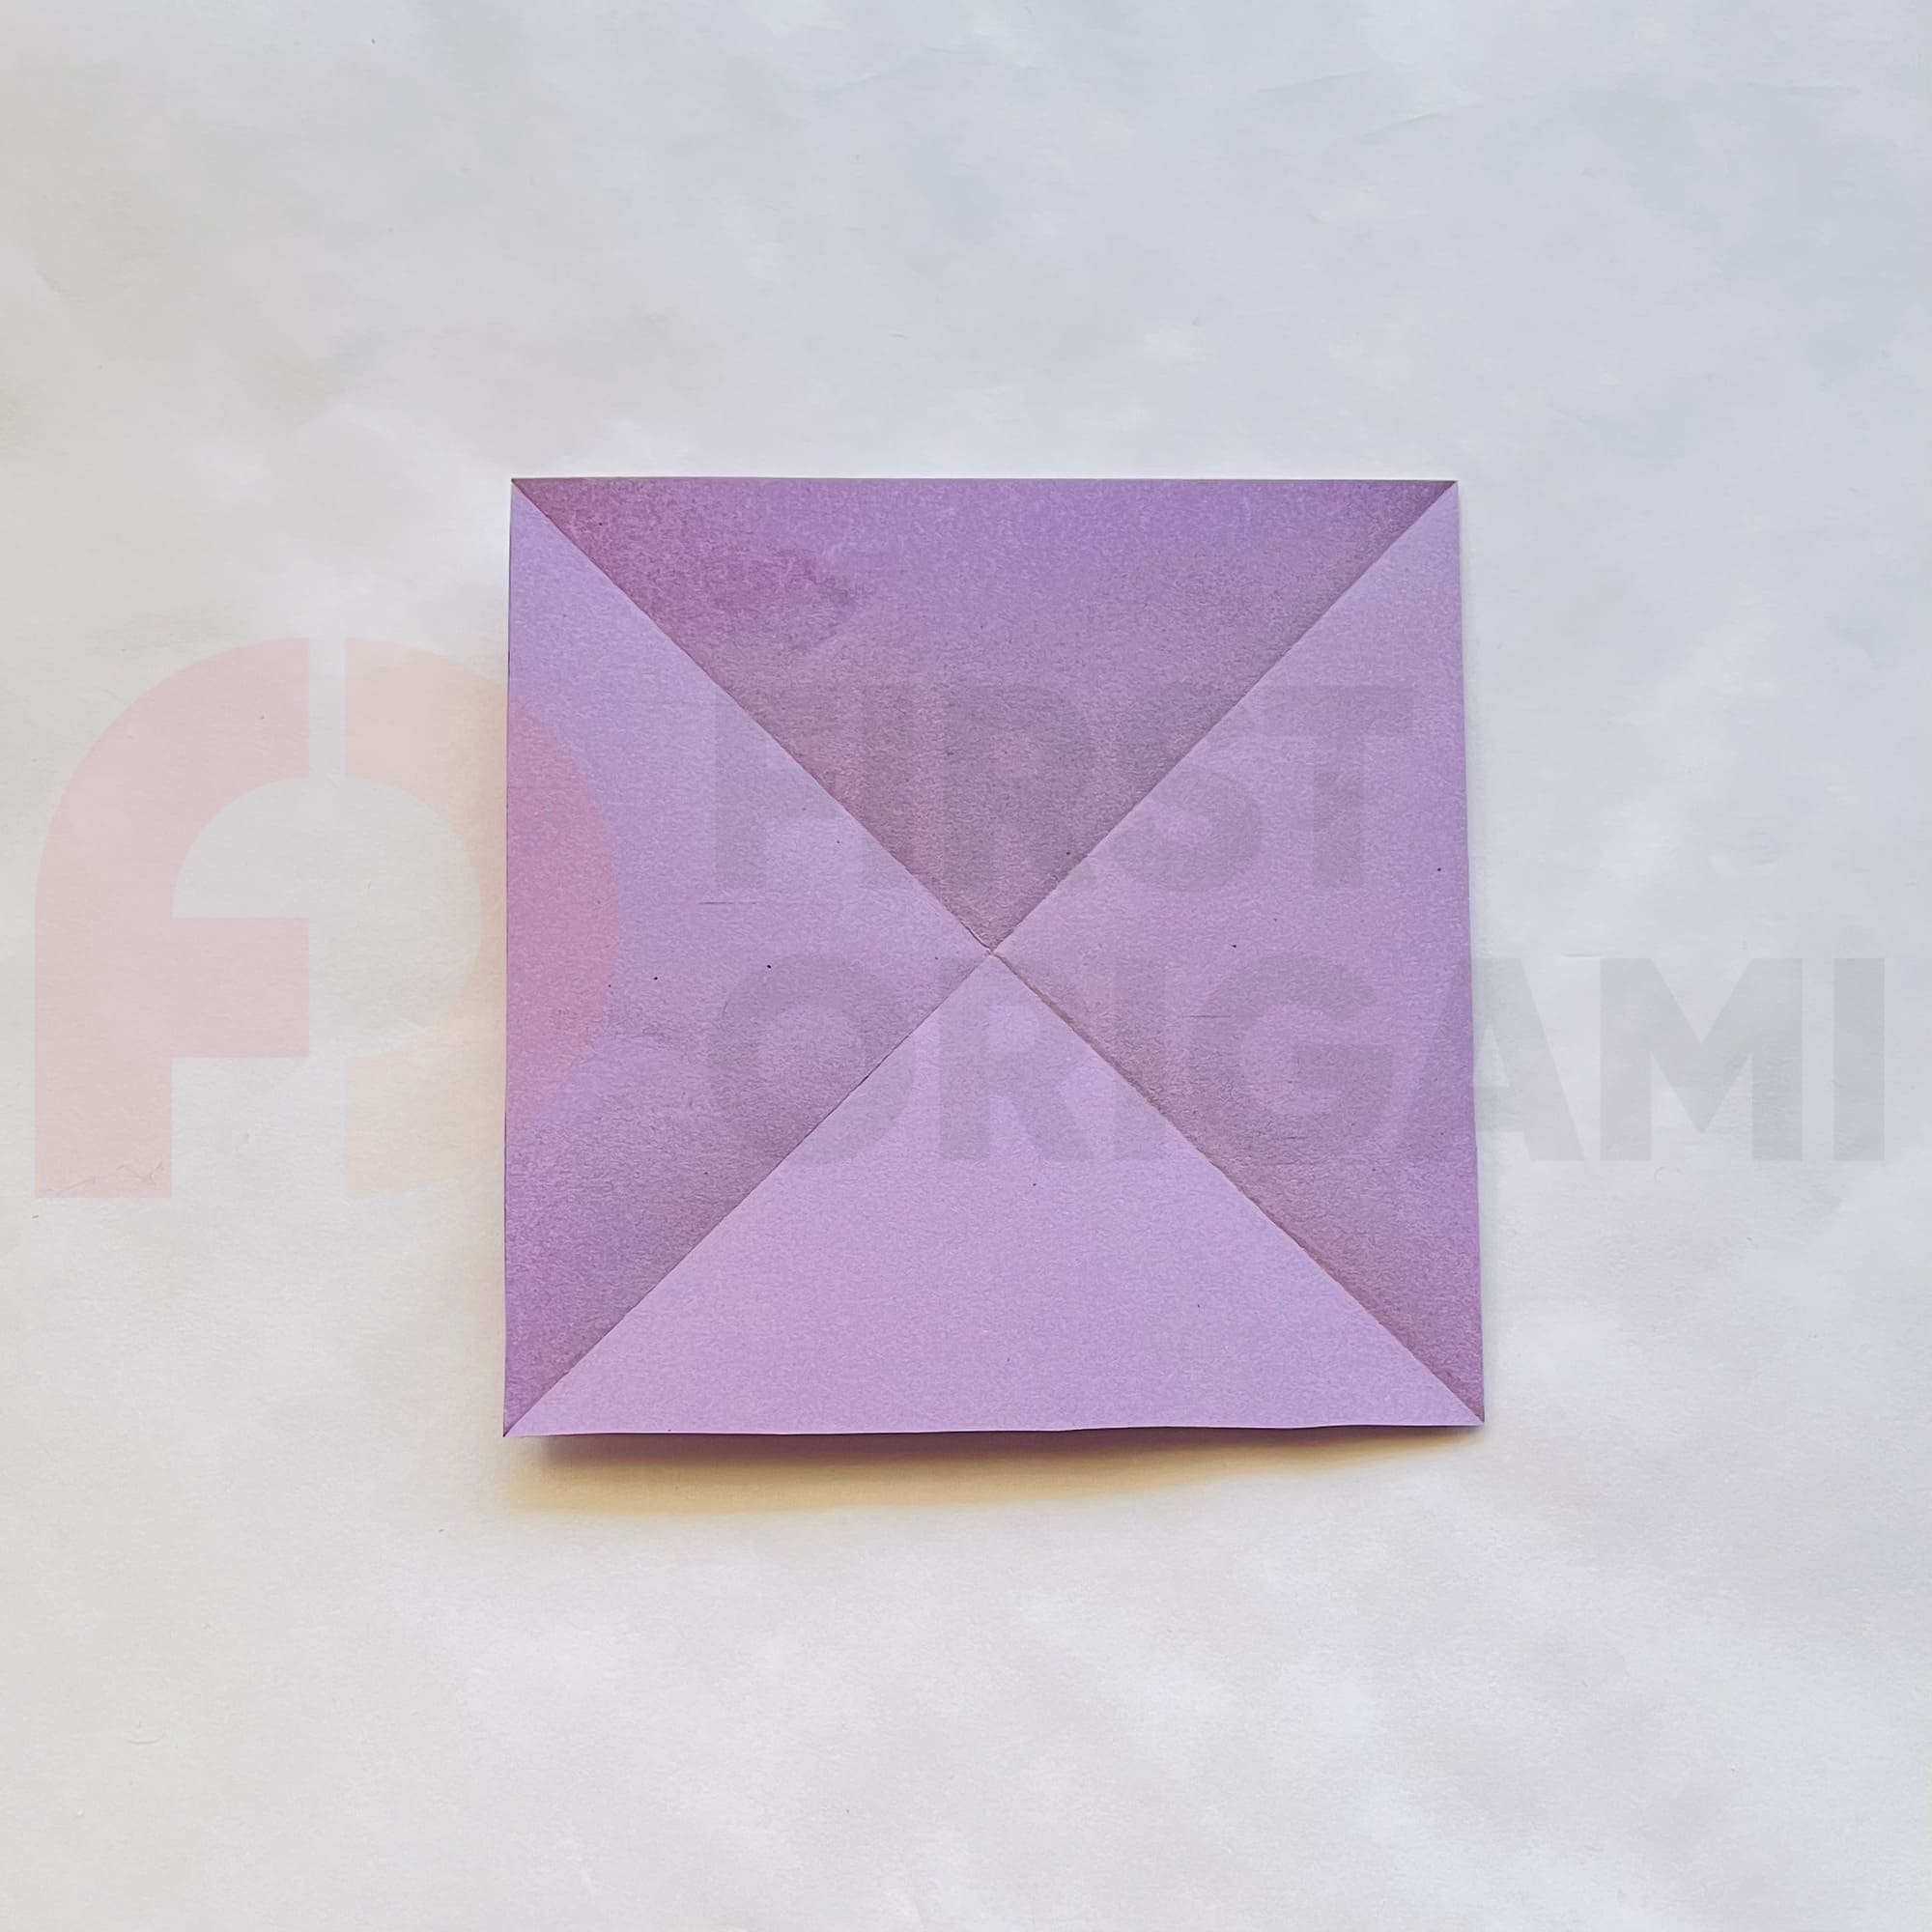
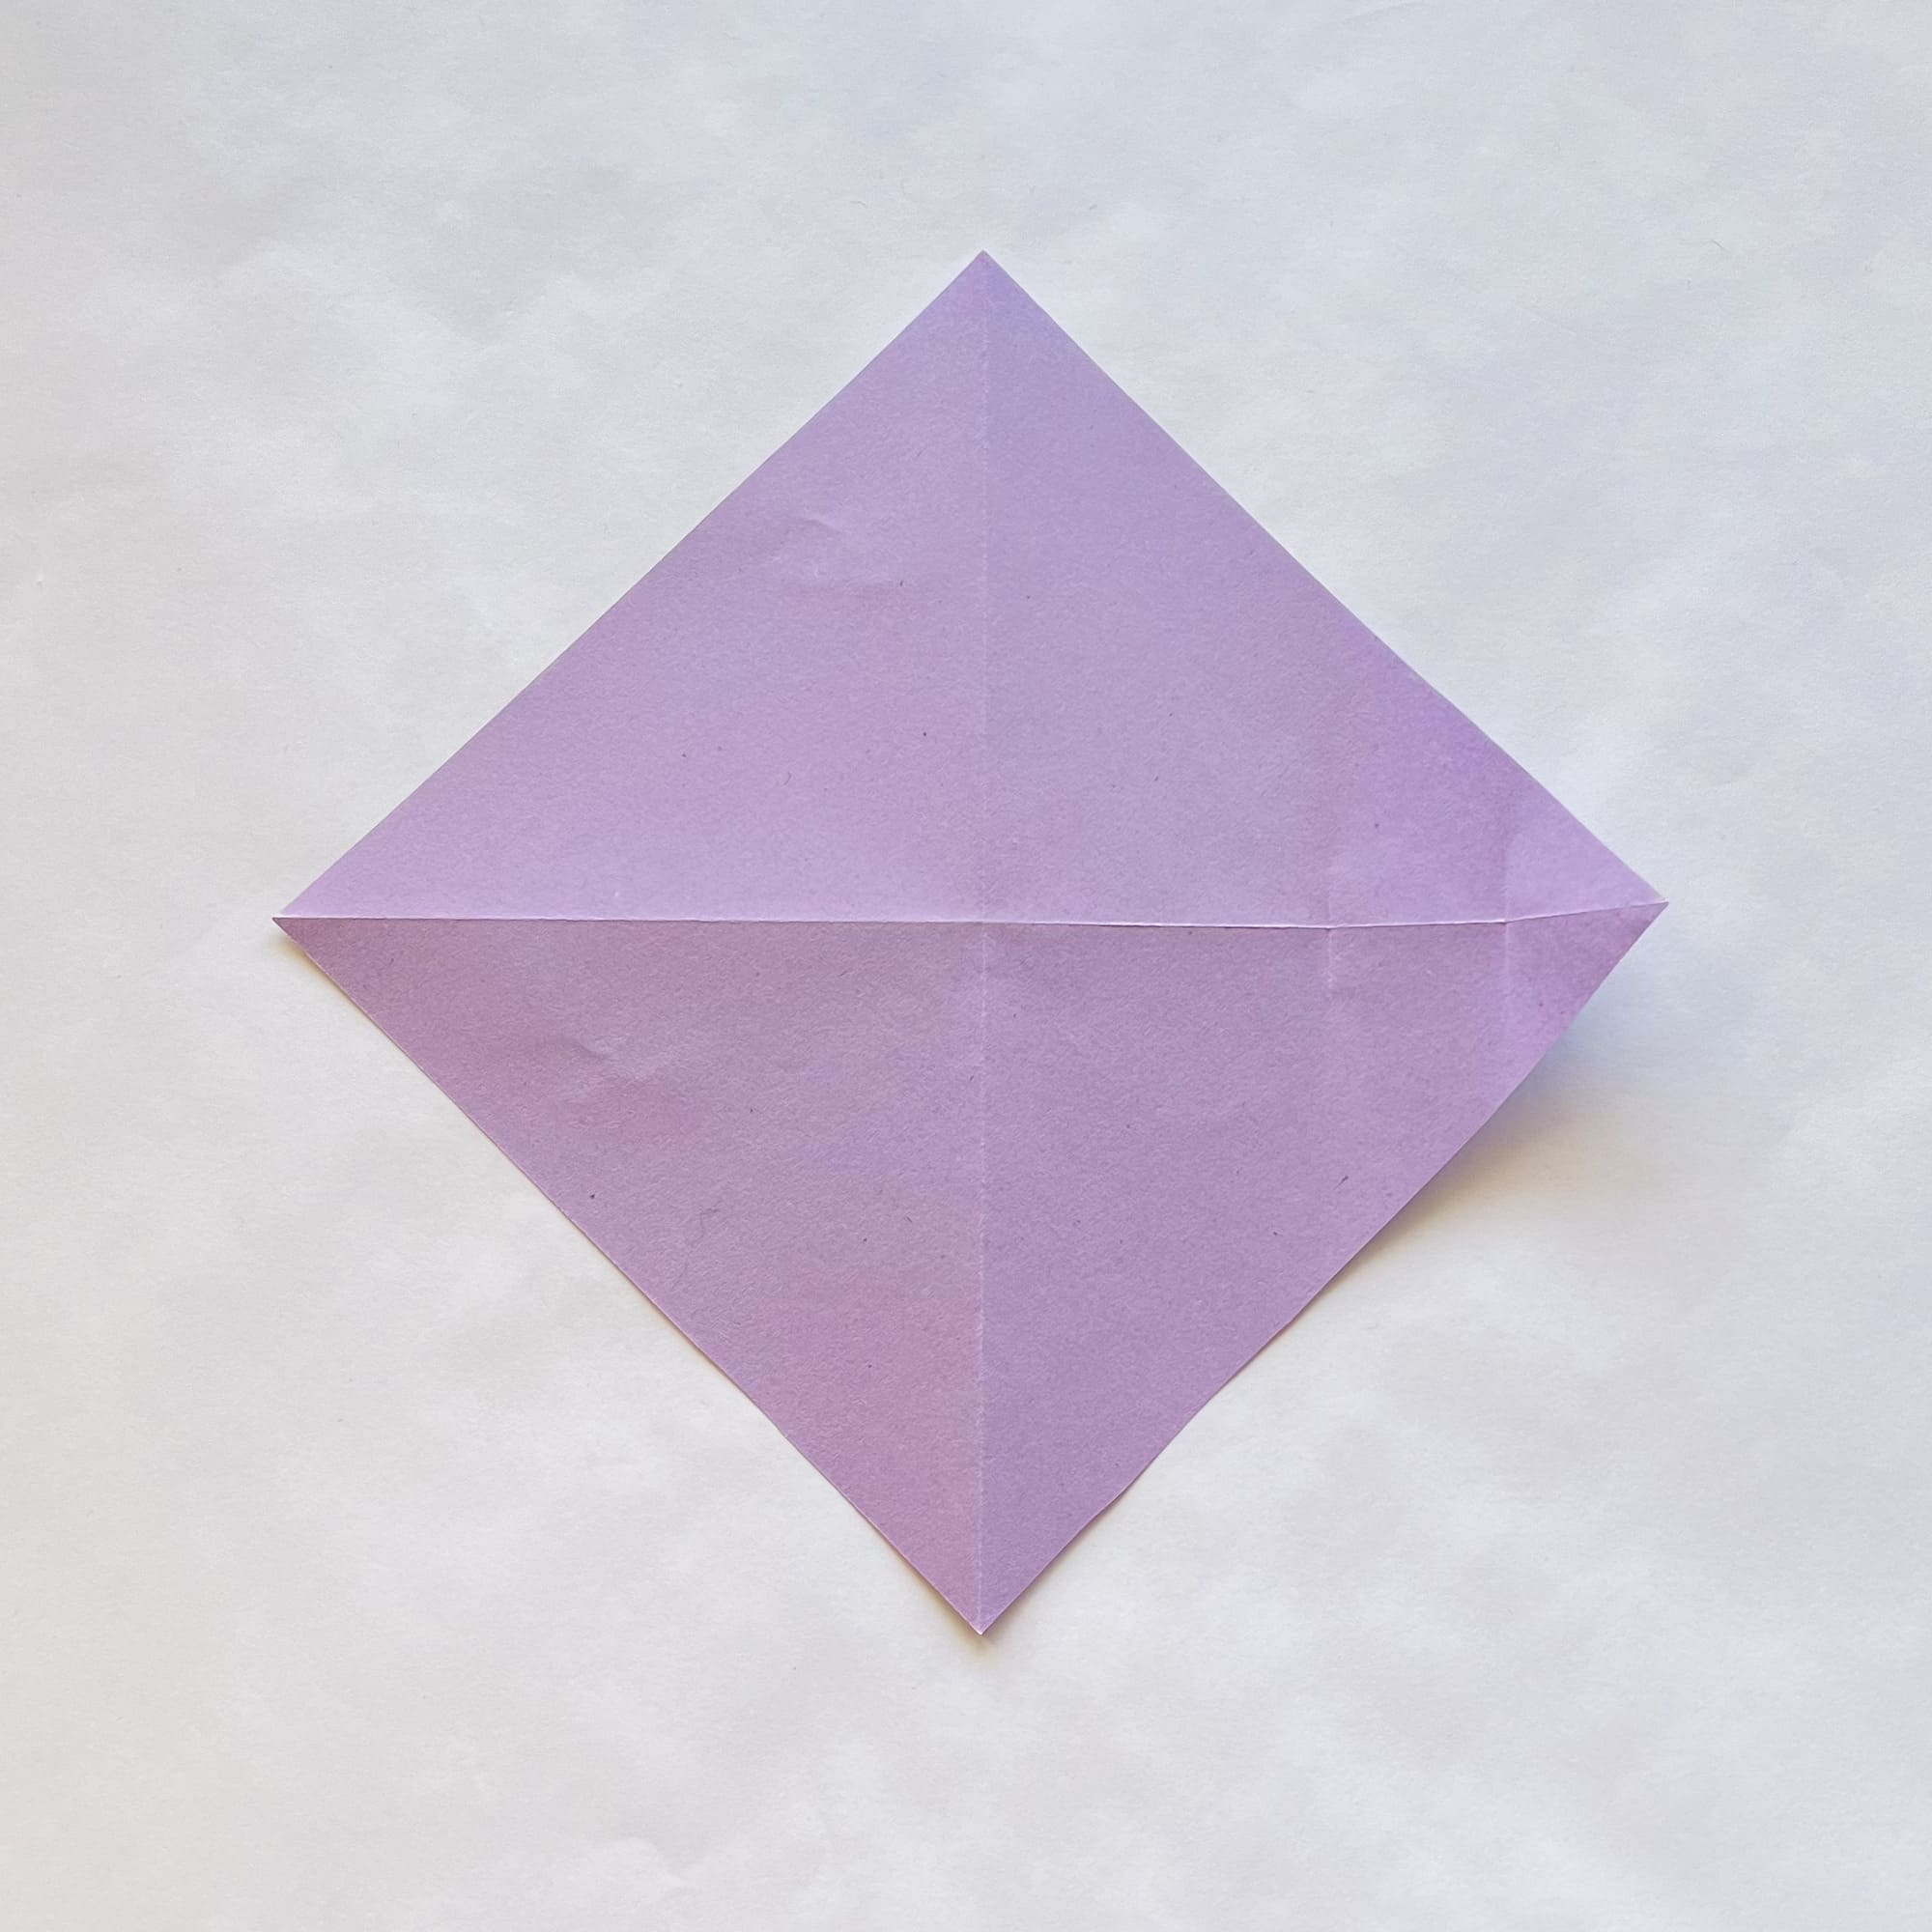
Fold it along two diagonals, carefully crease the folds and unfold.
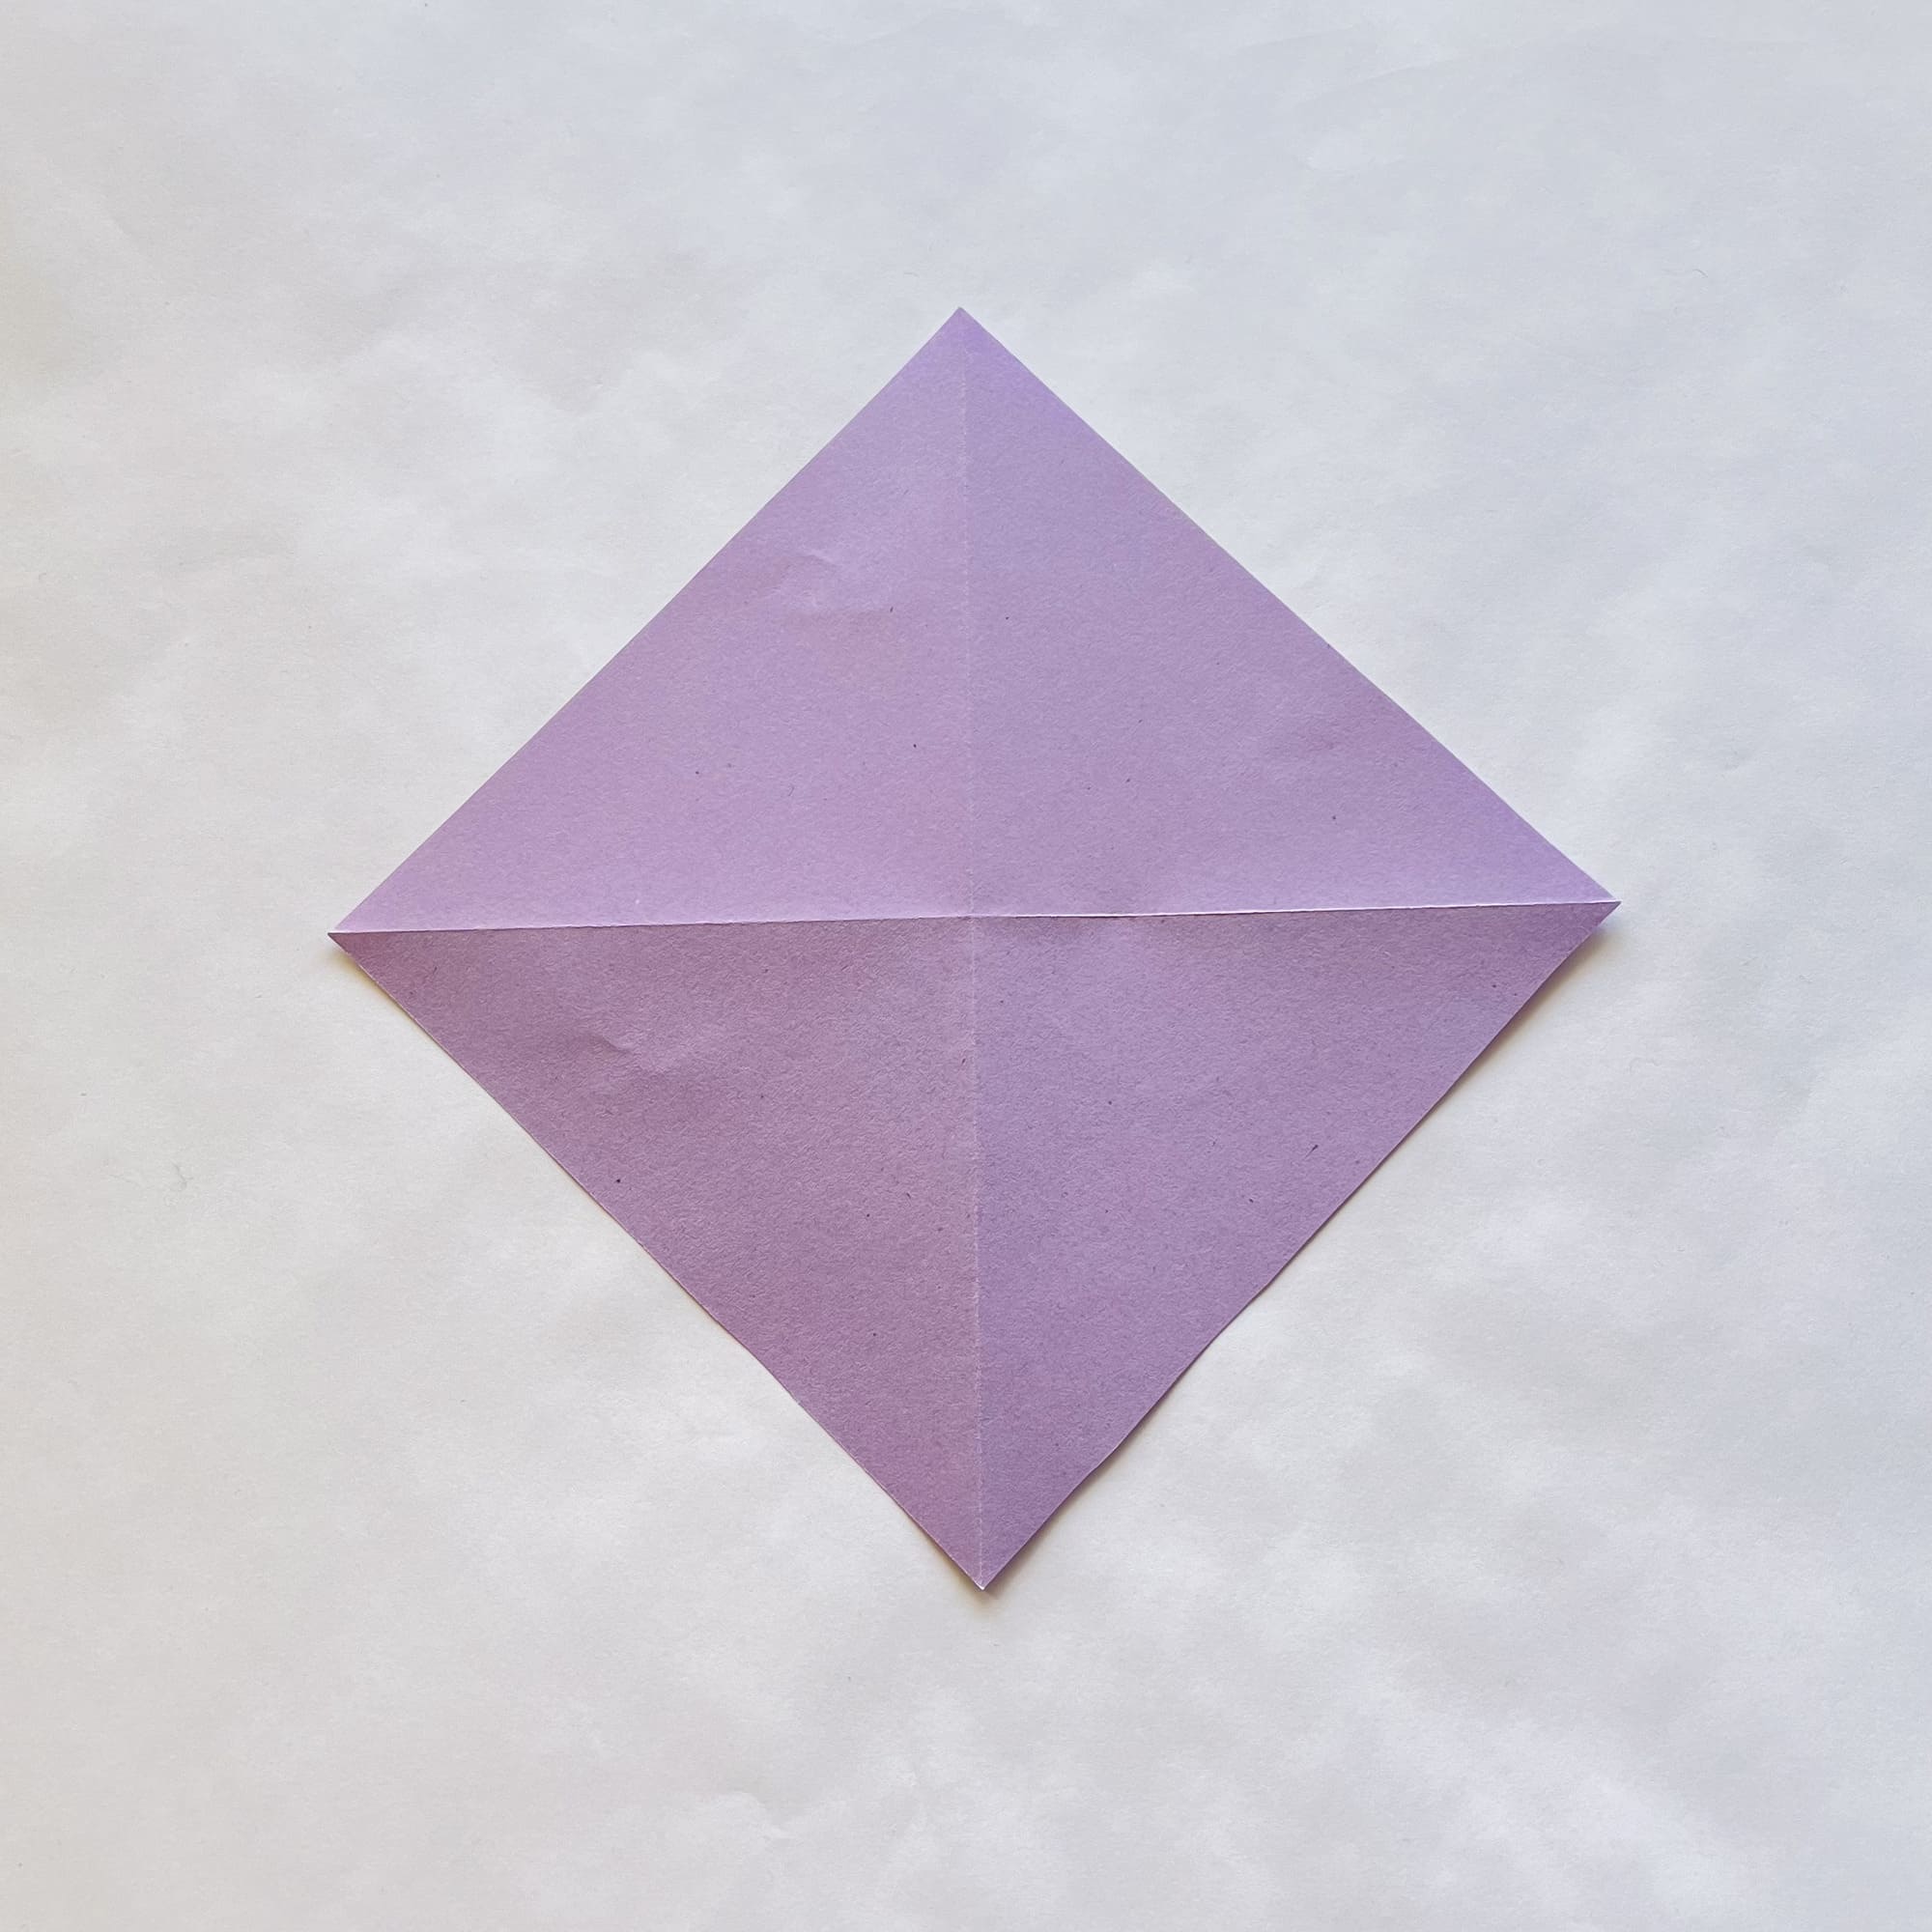
Turn the paper over.

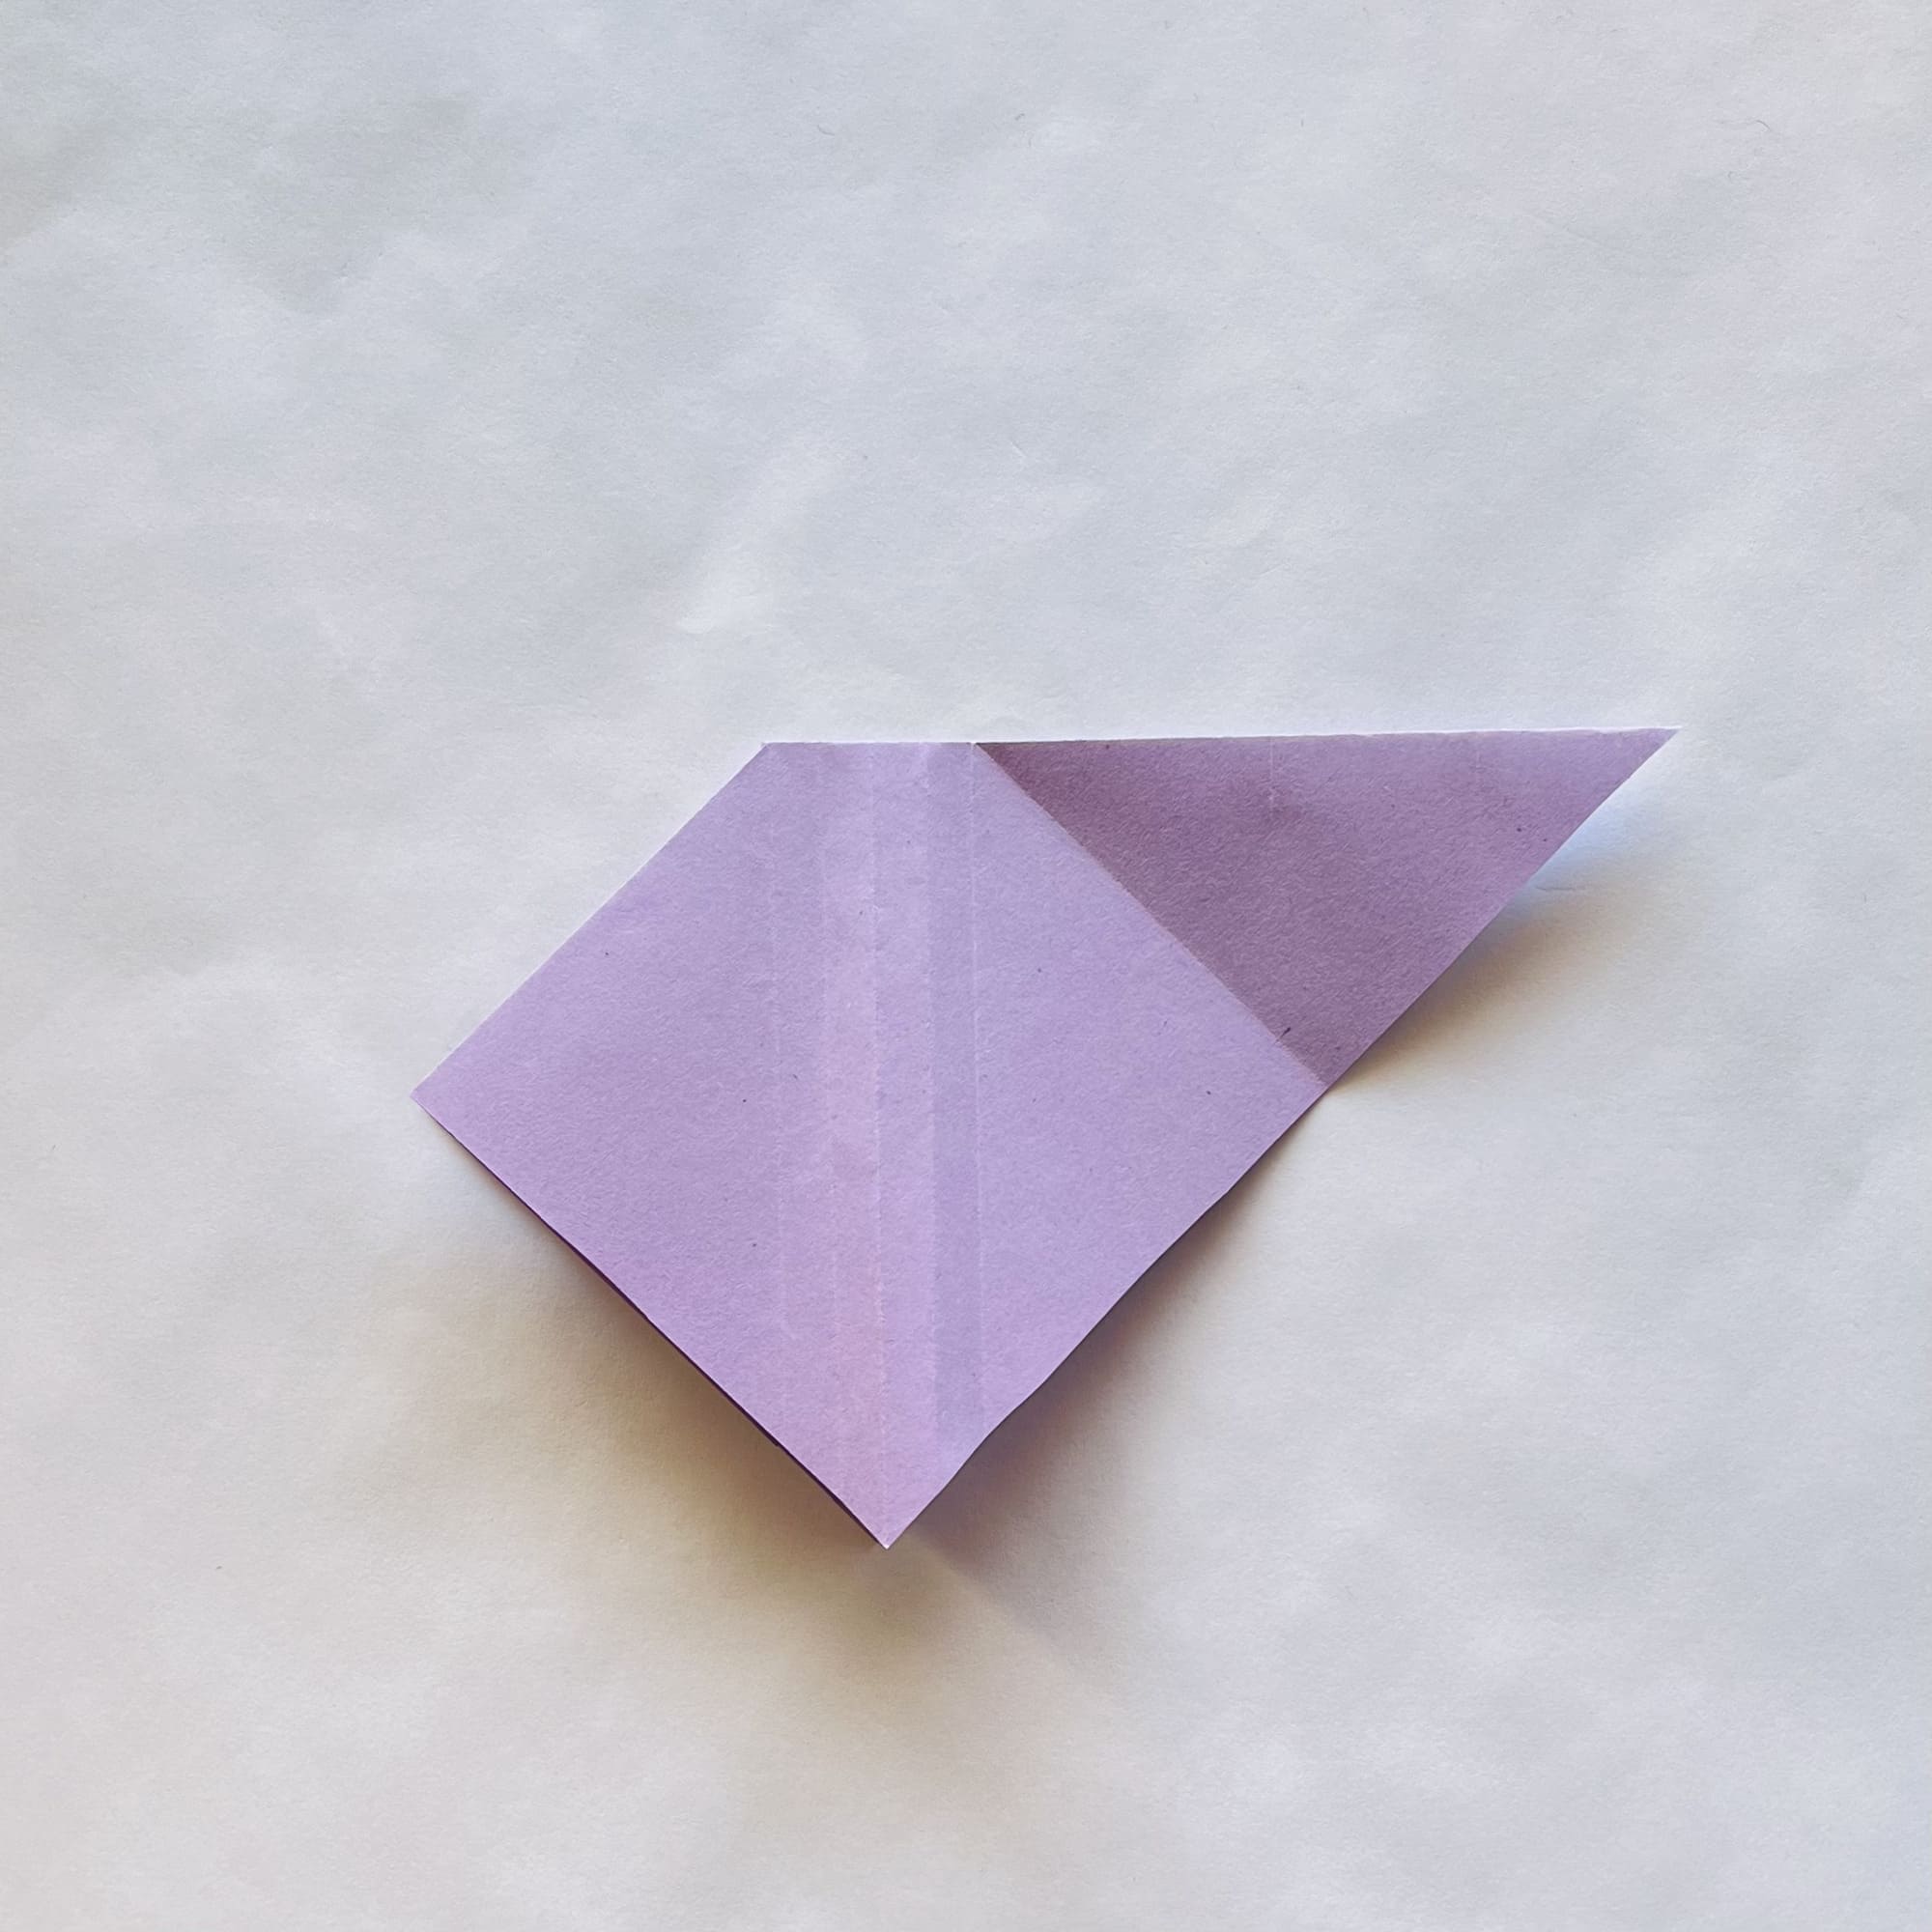
Fold the right corner to the center point, mark the fold, and unfold.

Now, fold the same corner to the fold, then unfold it.

Fold the left corner to the last fold marked.
Turn the paper over.
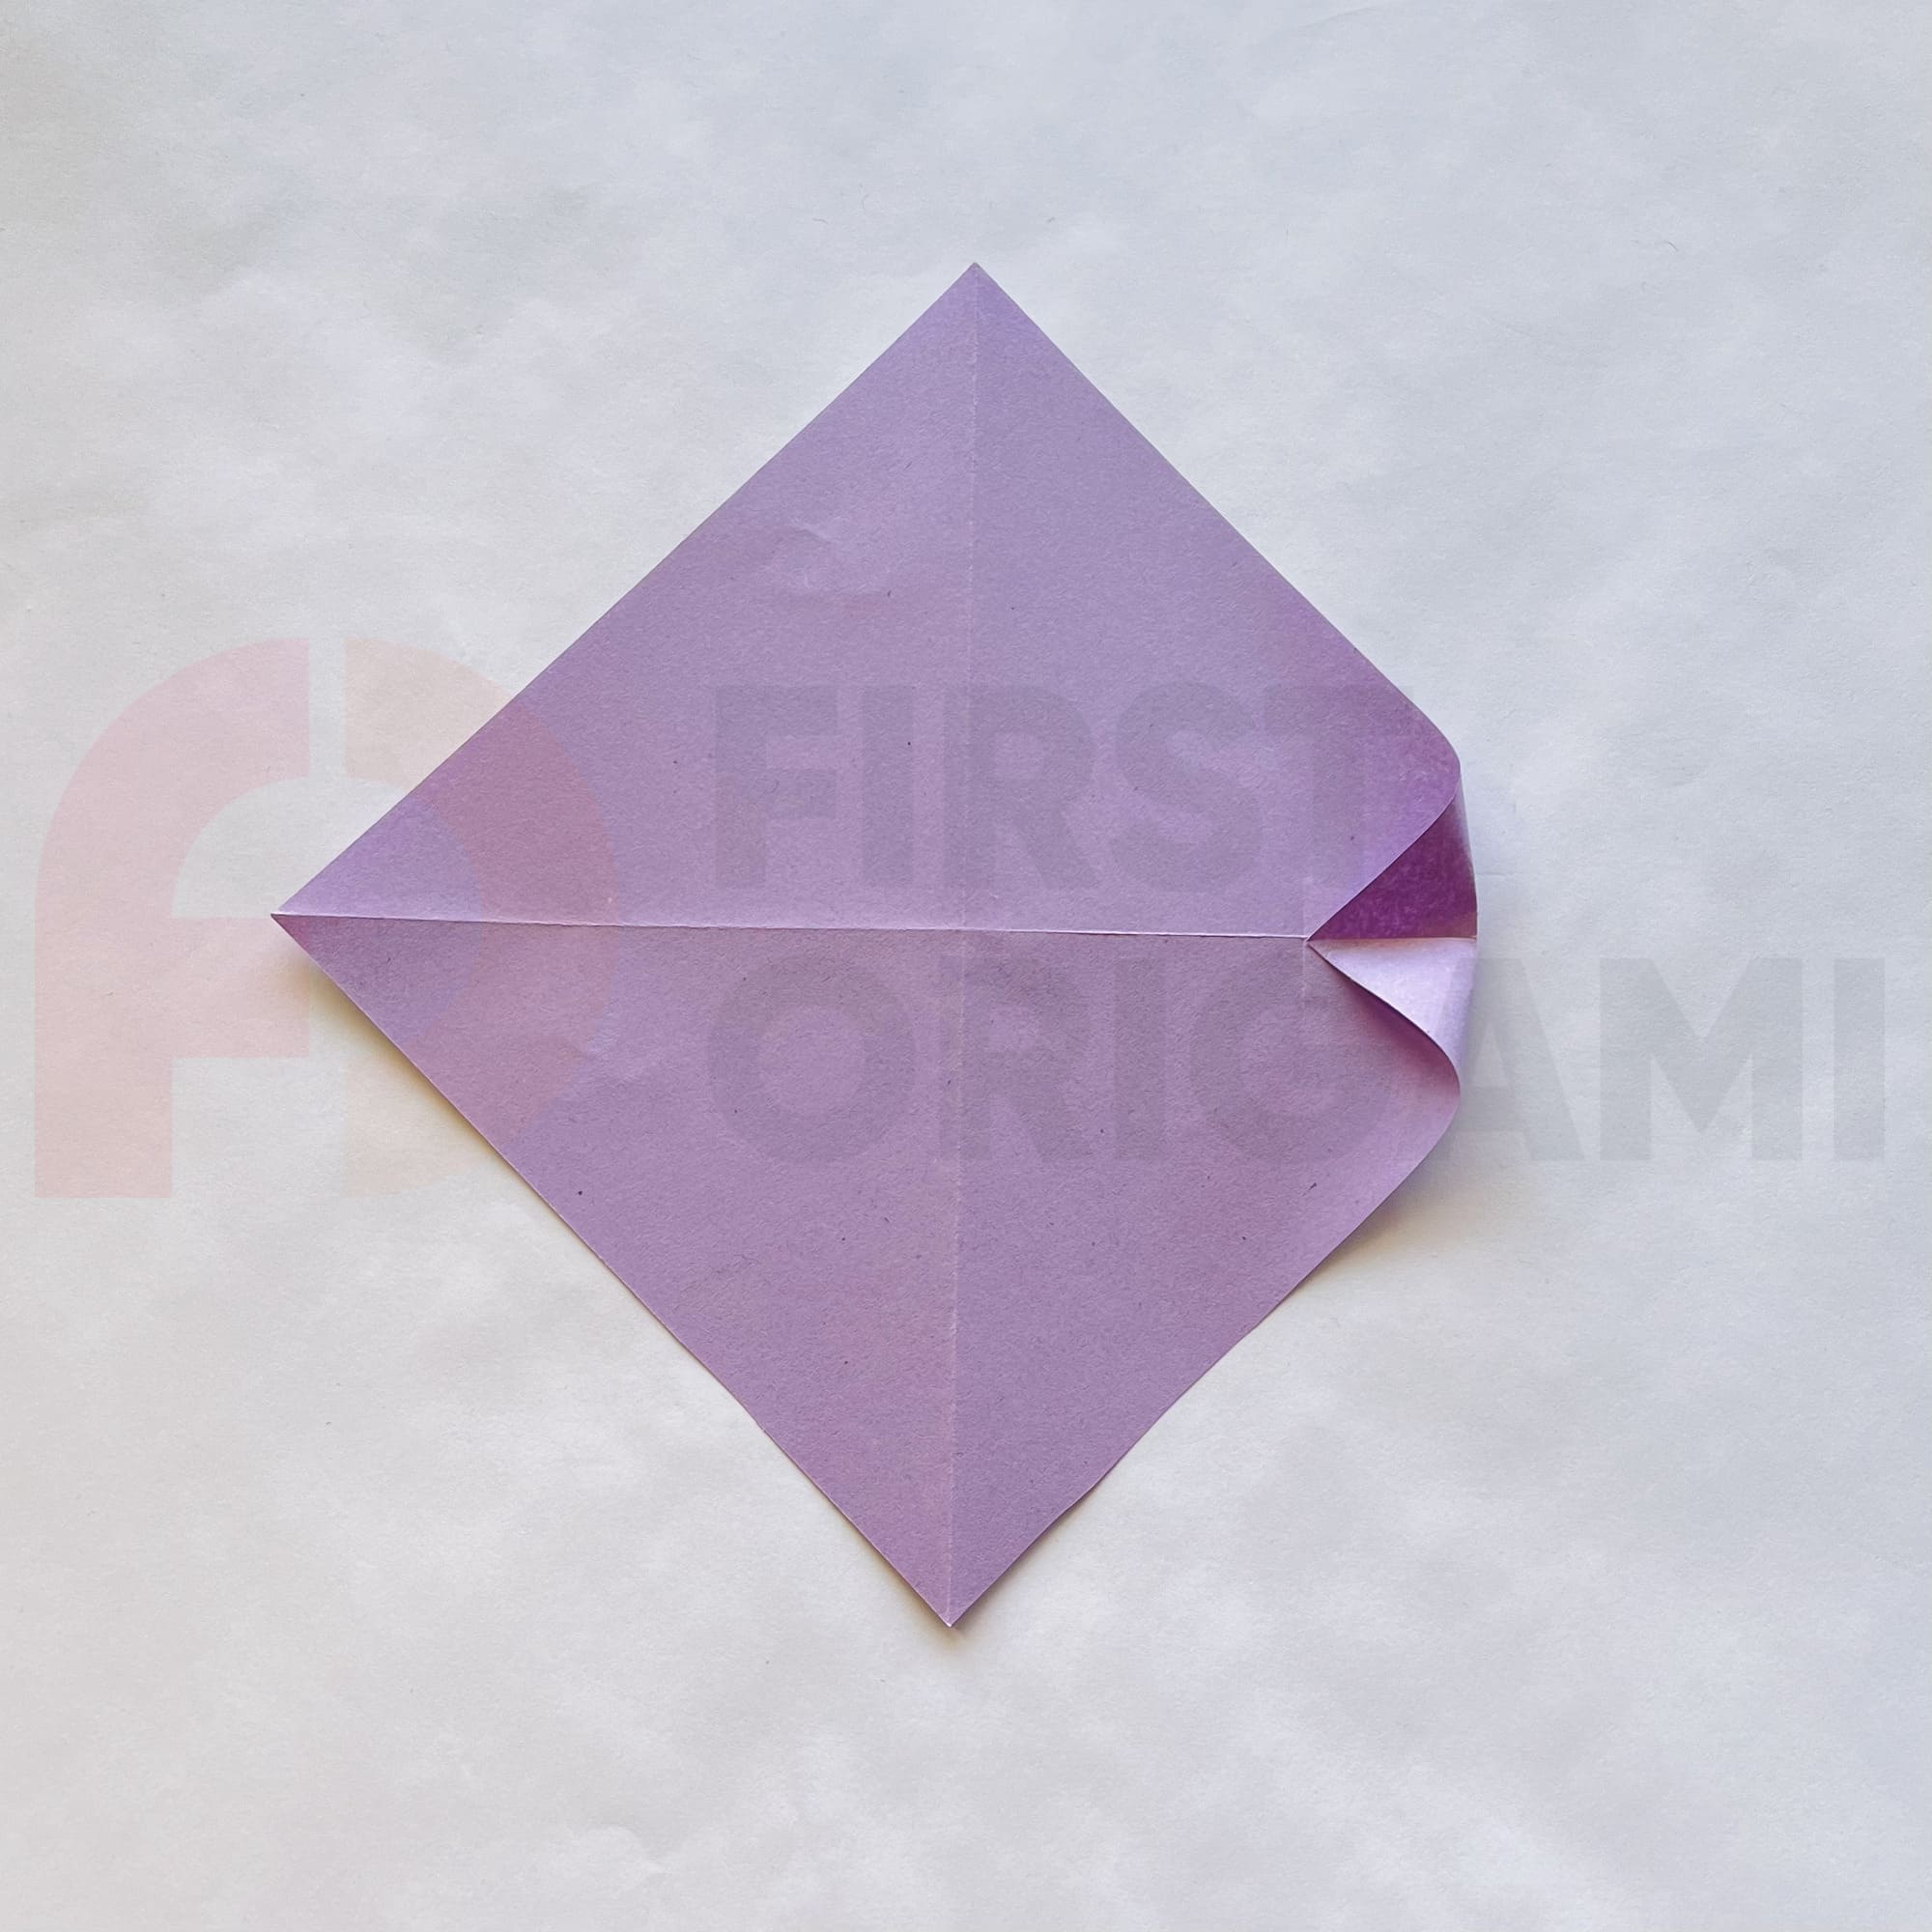
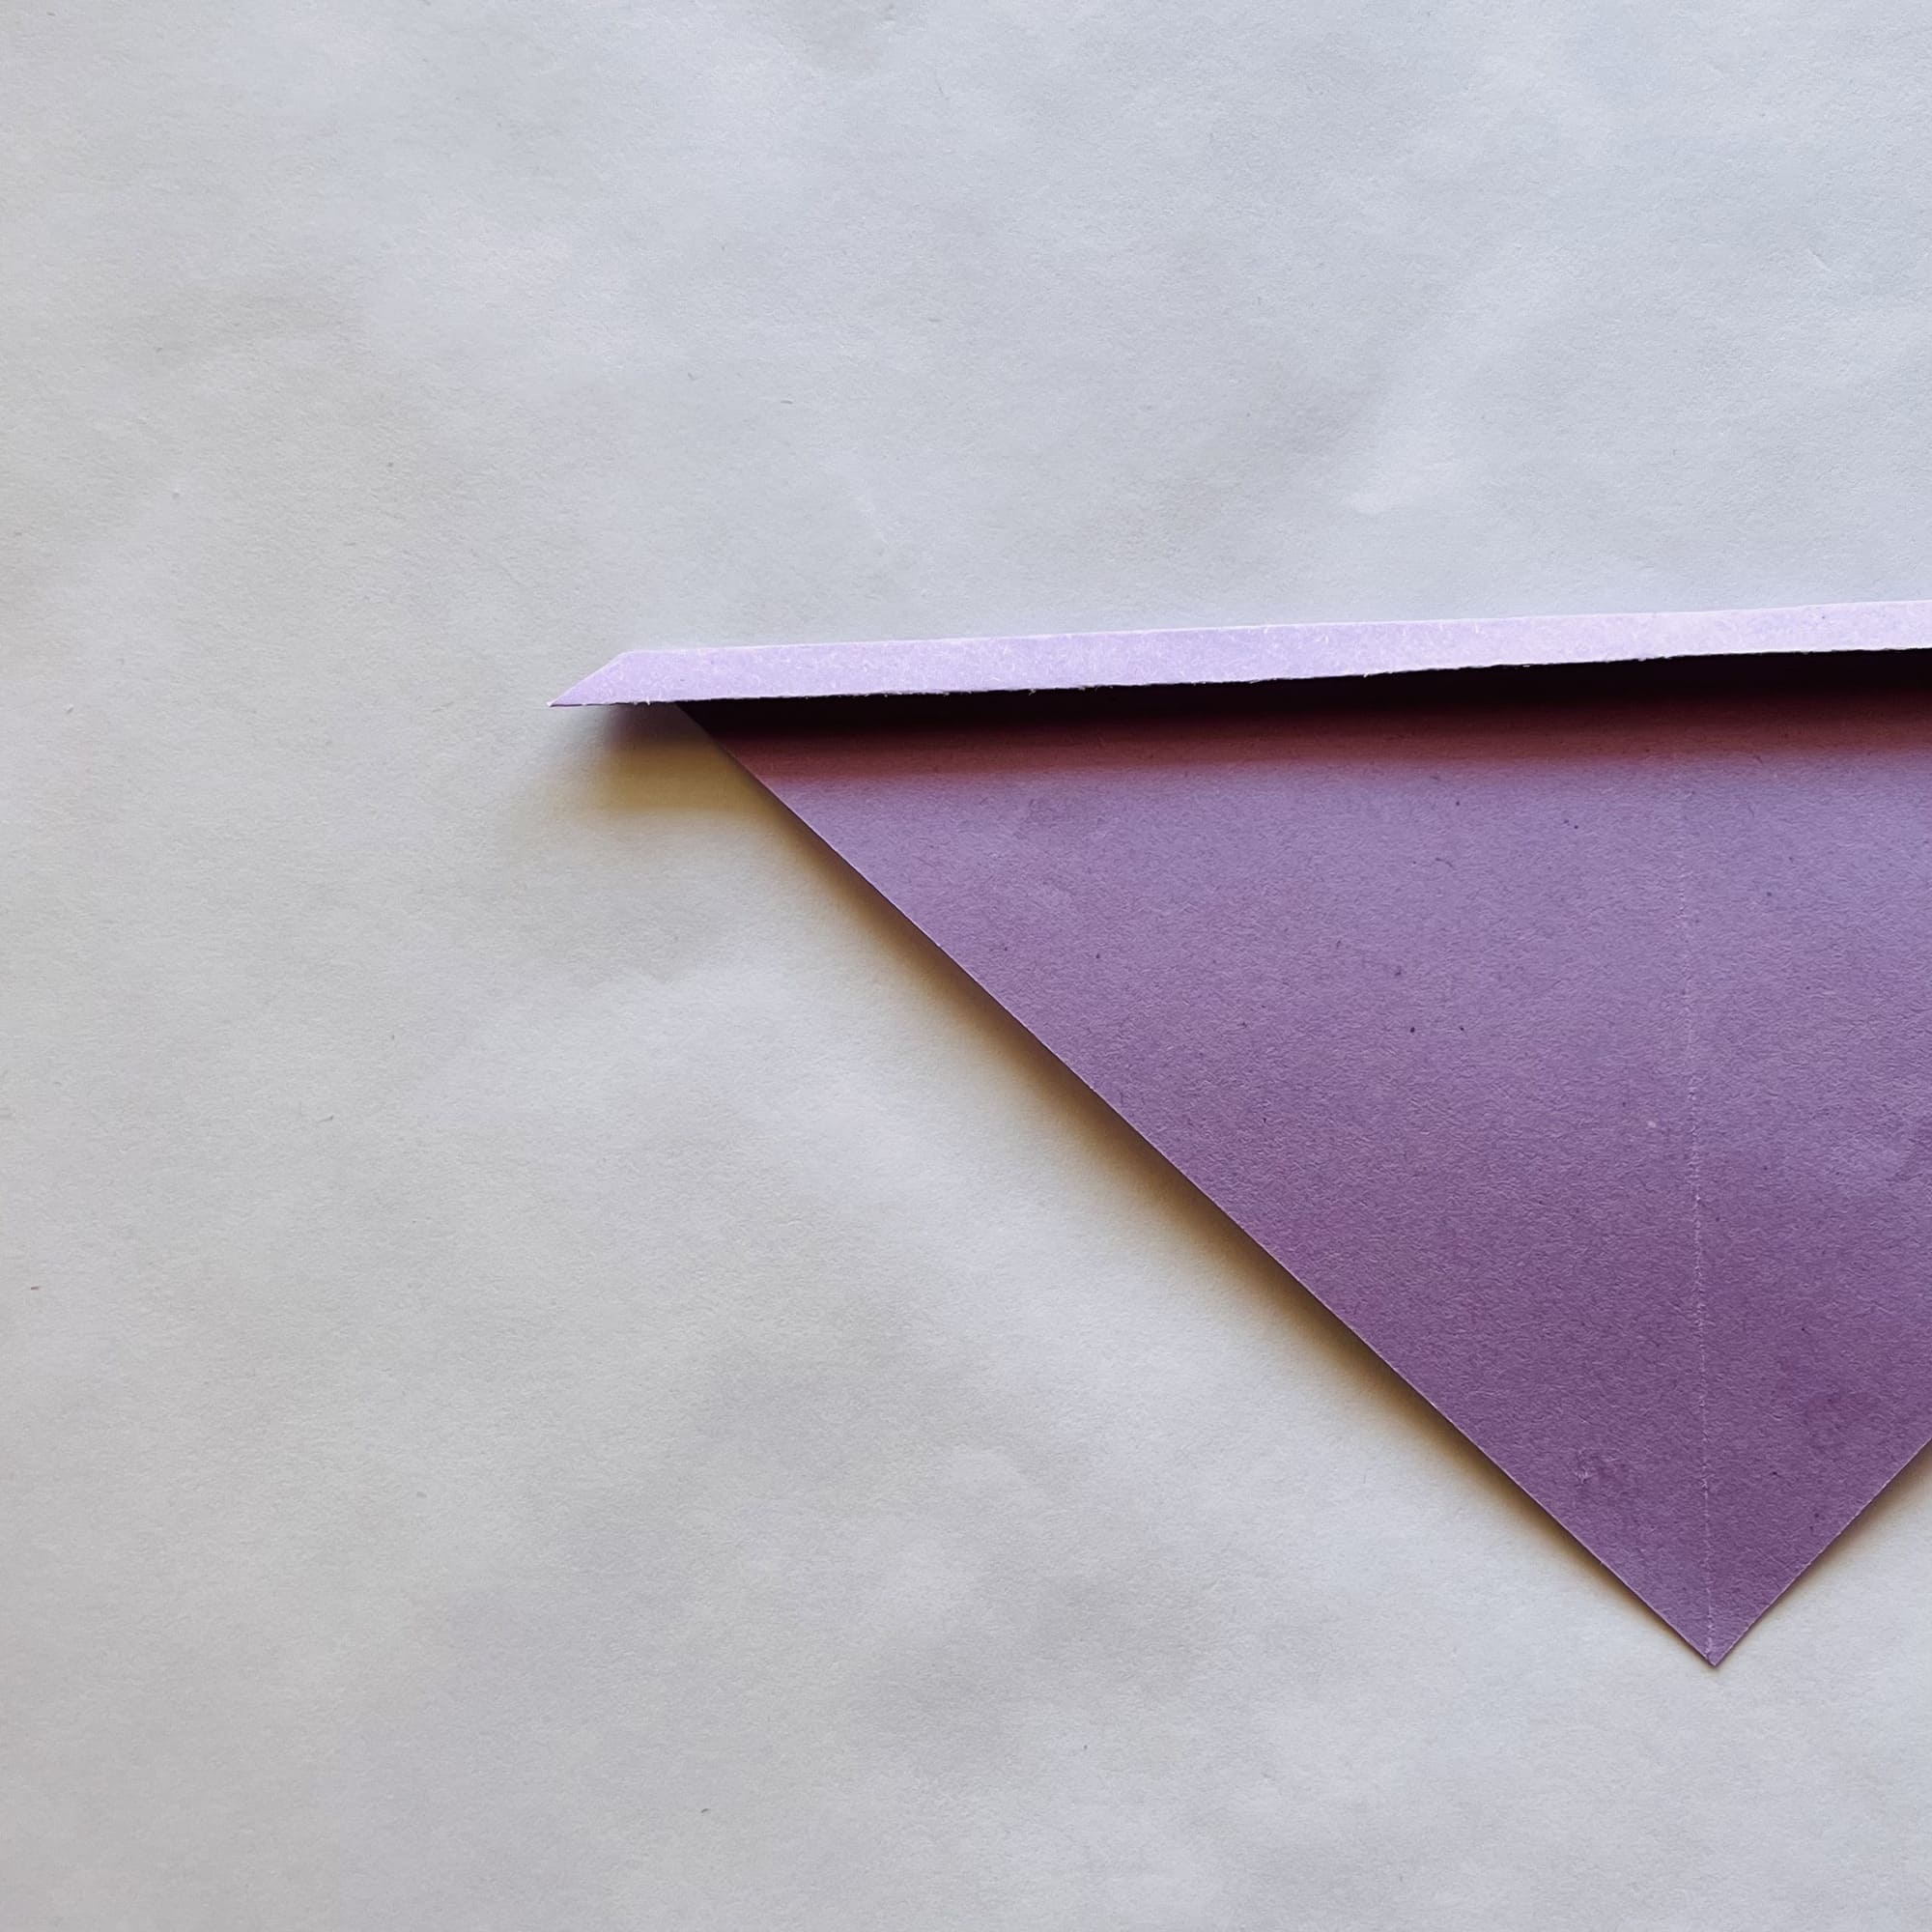
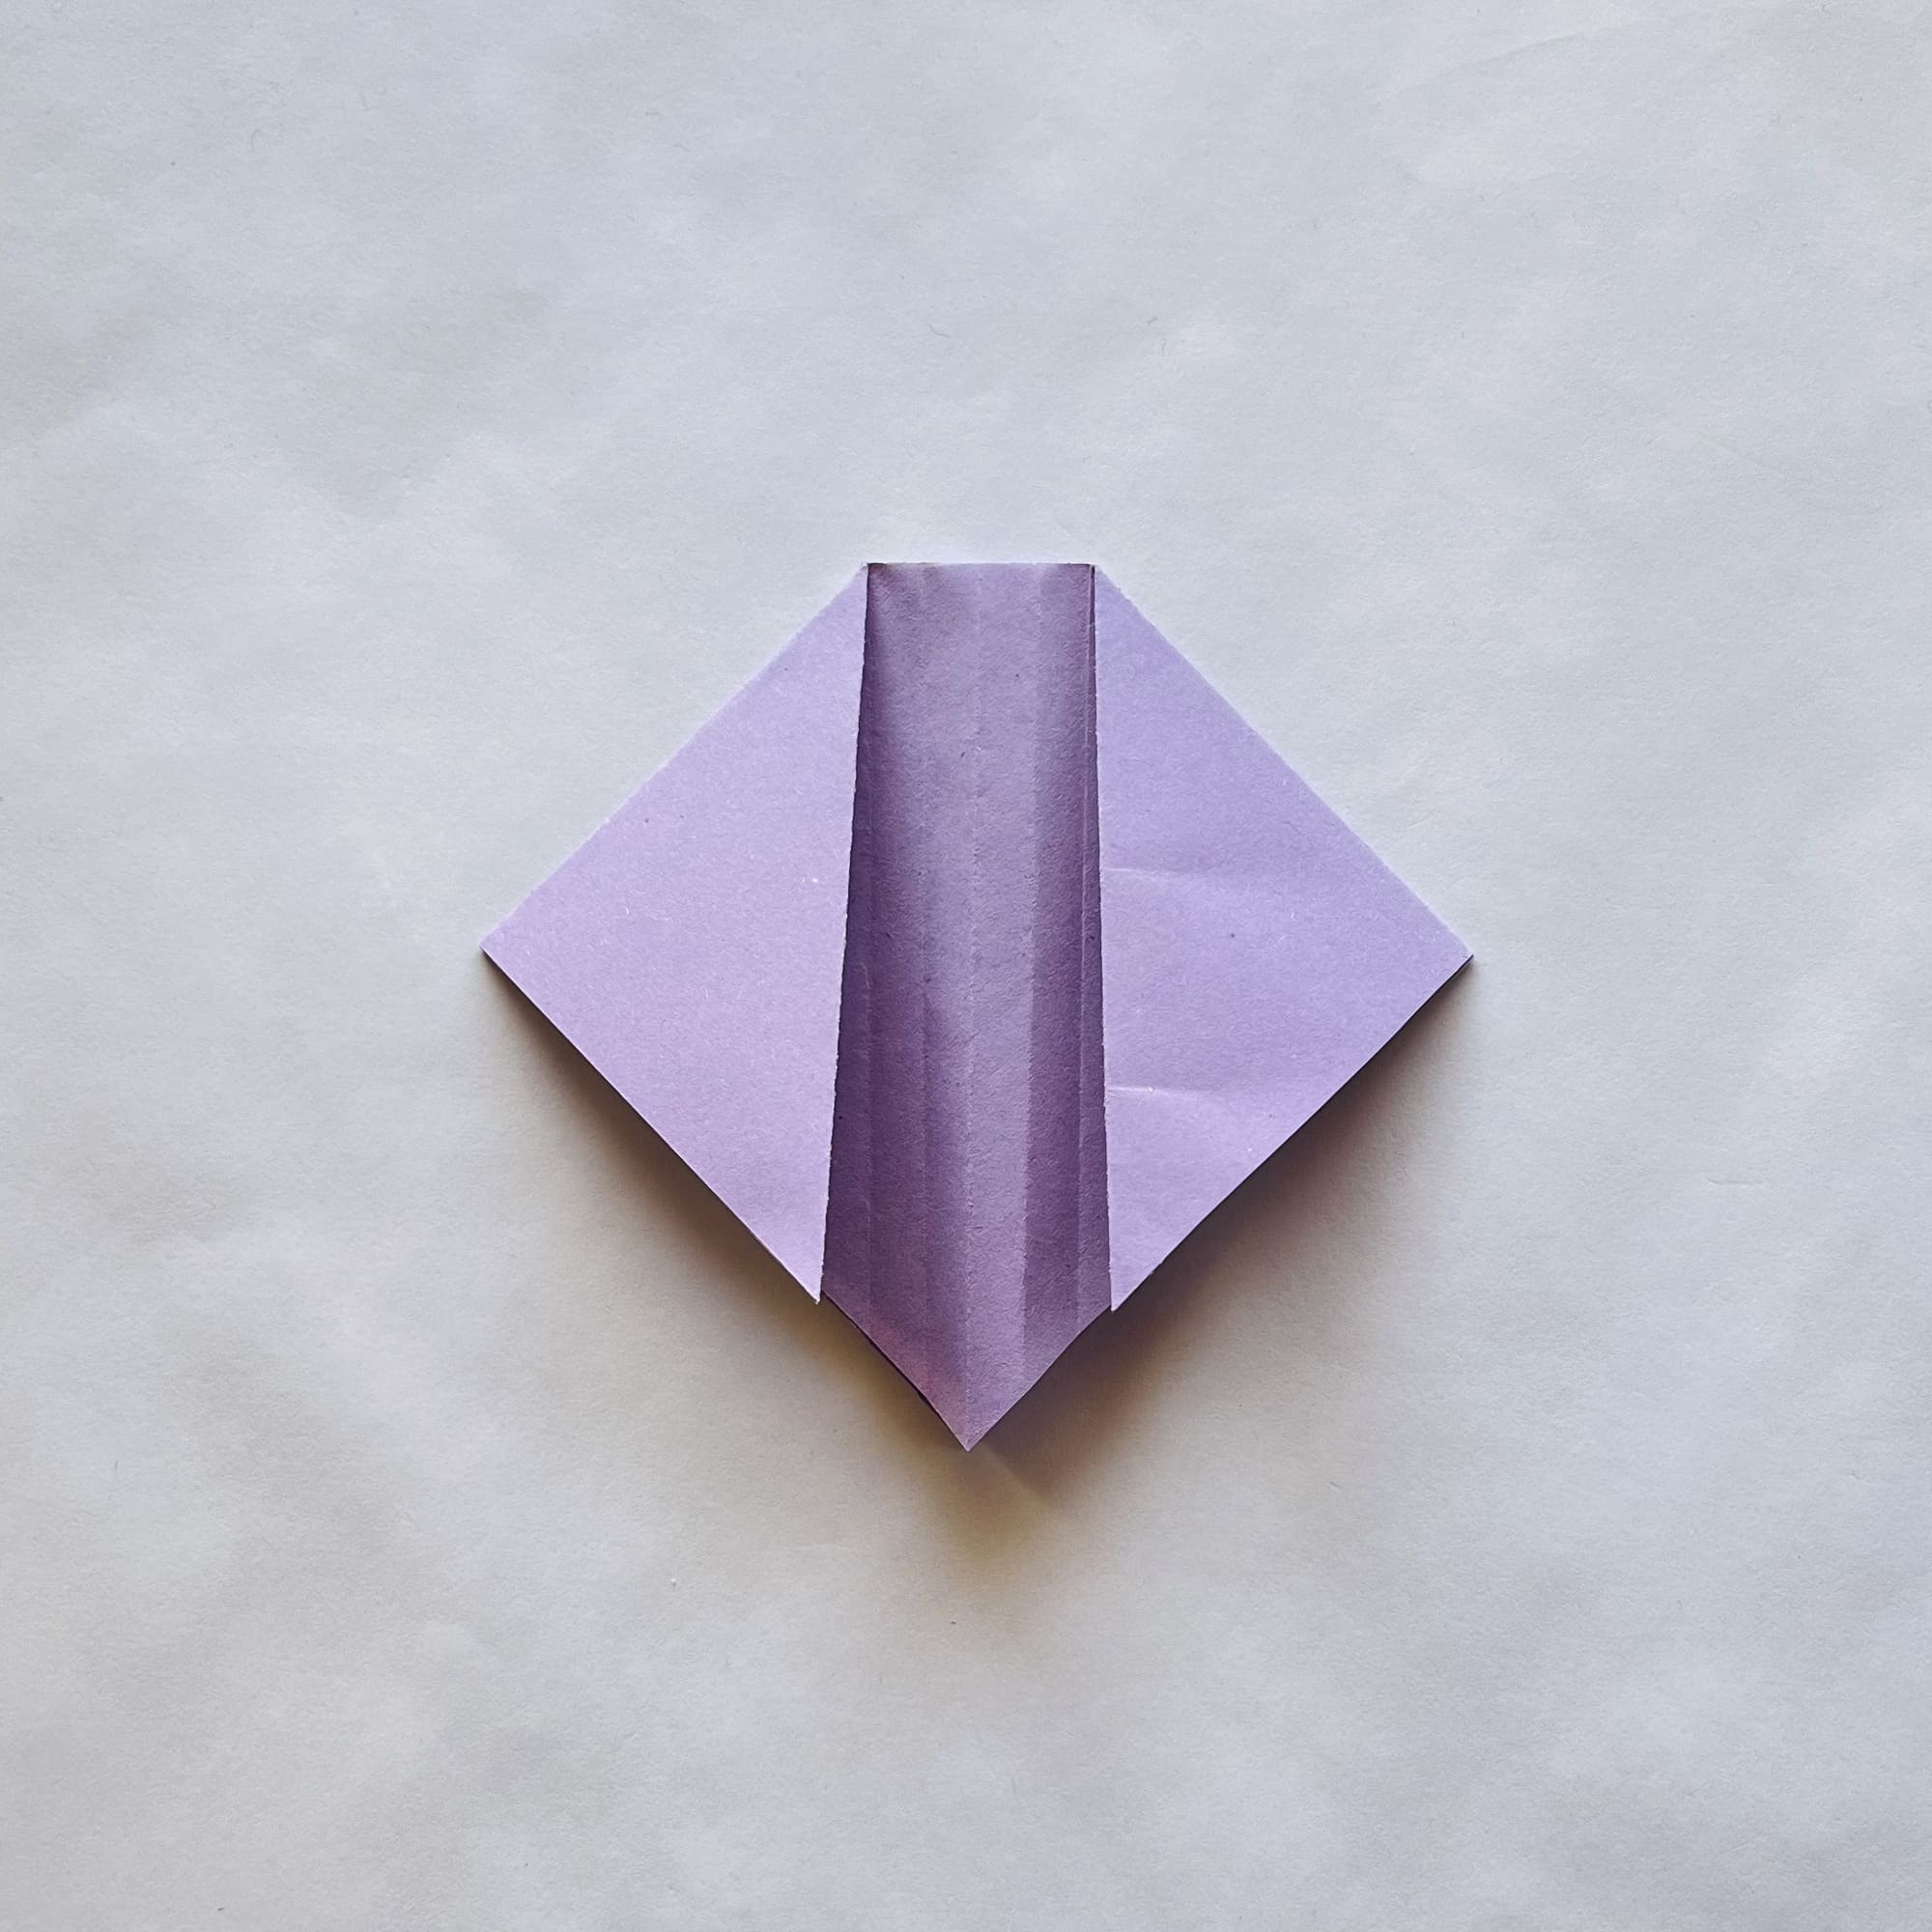
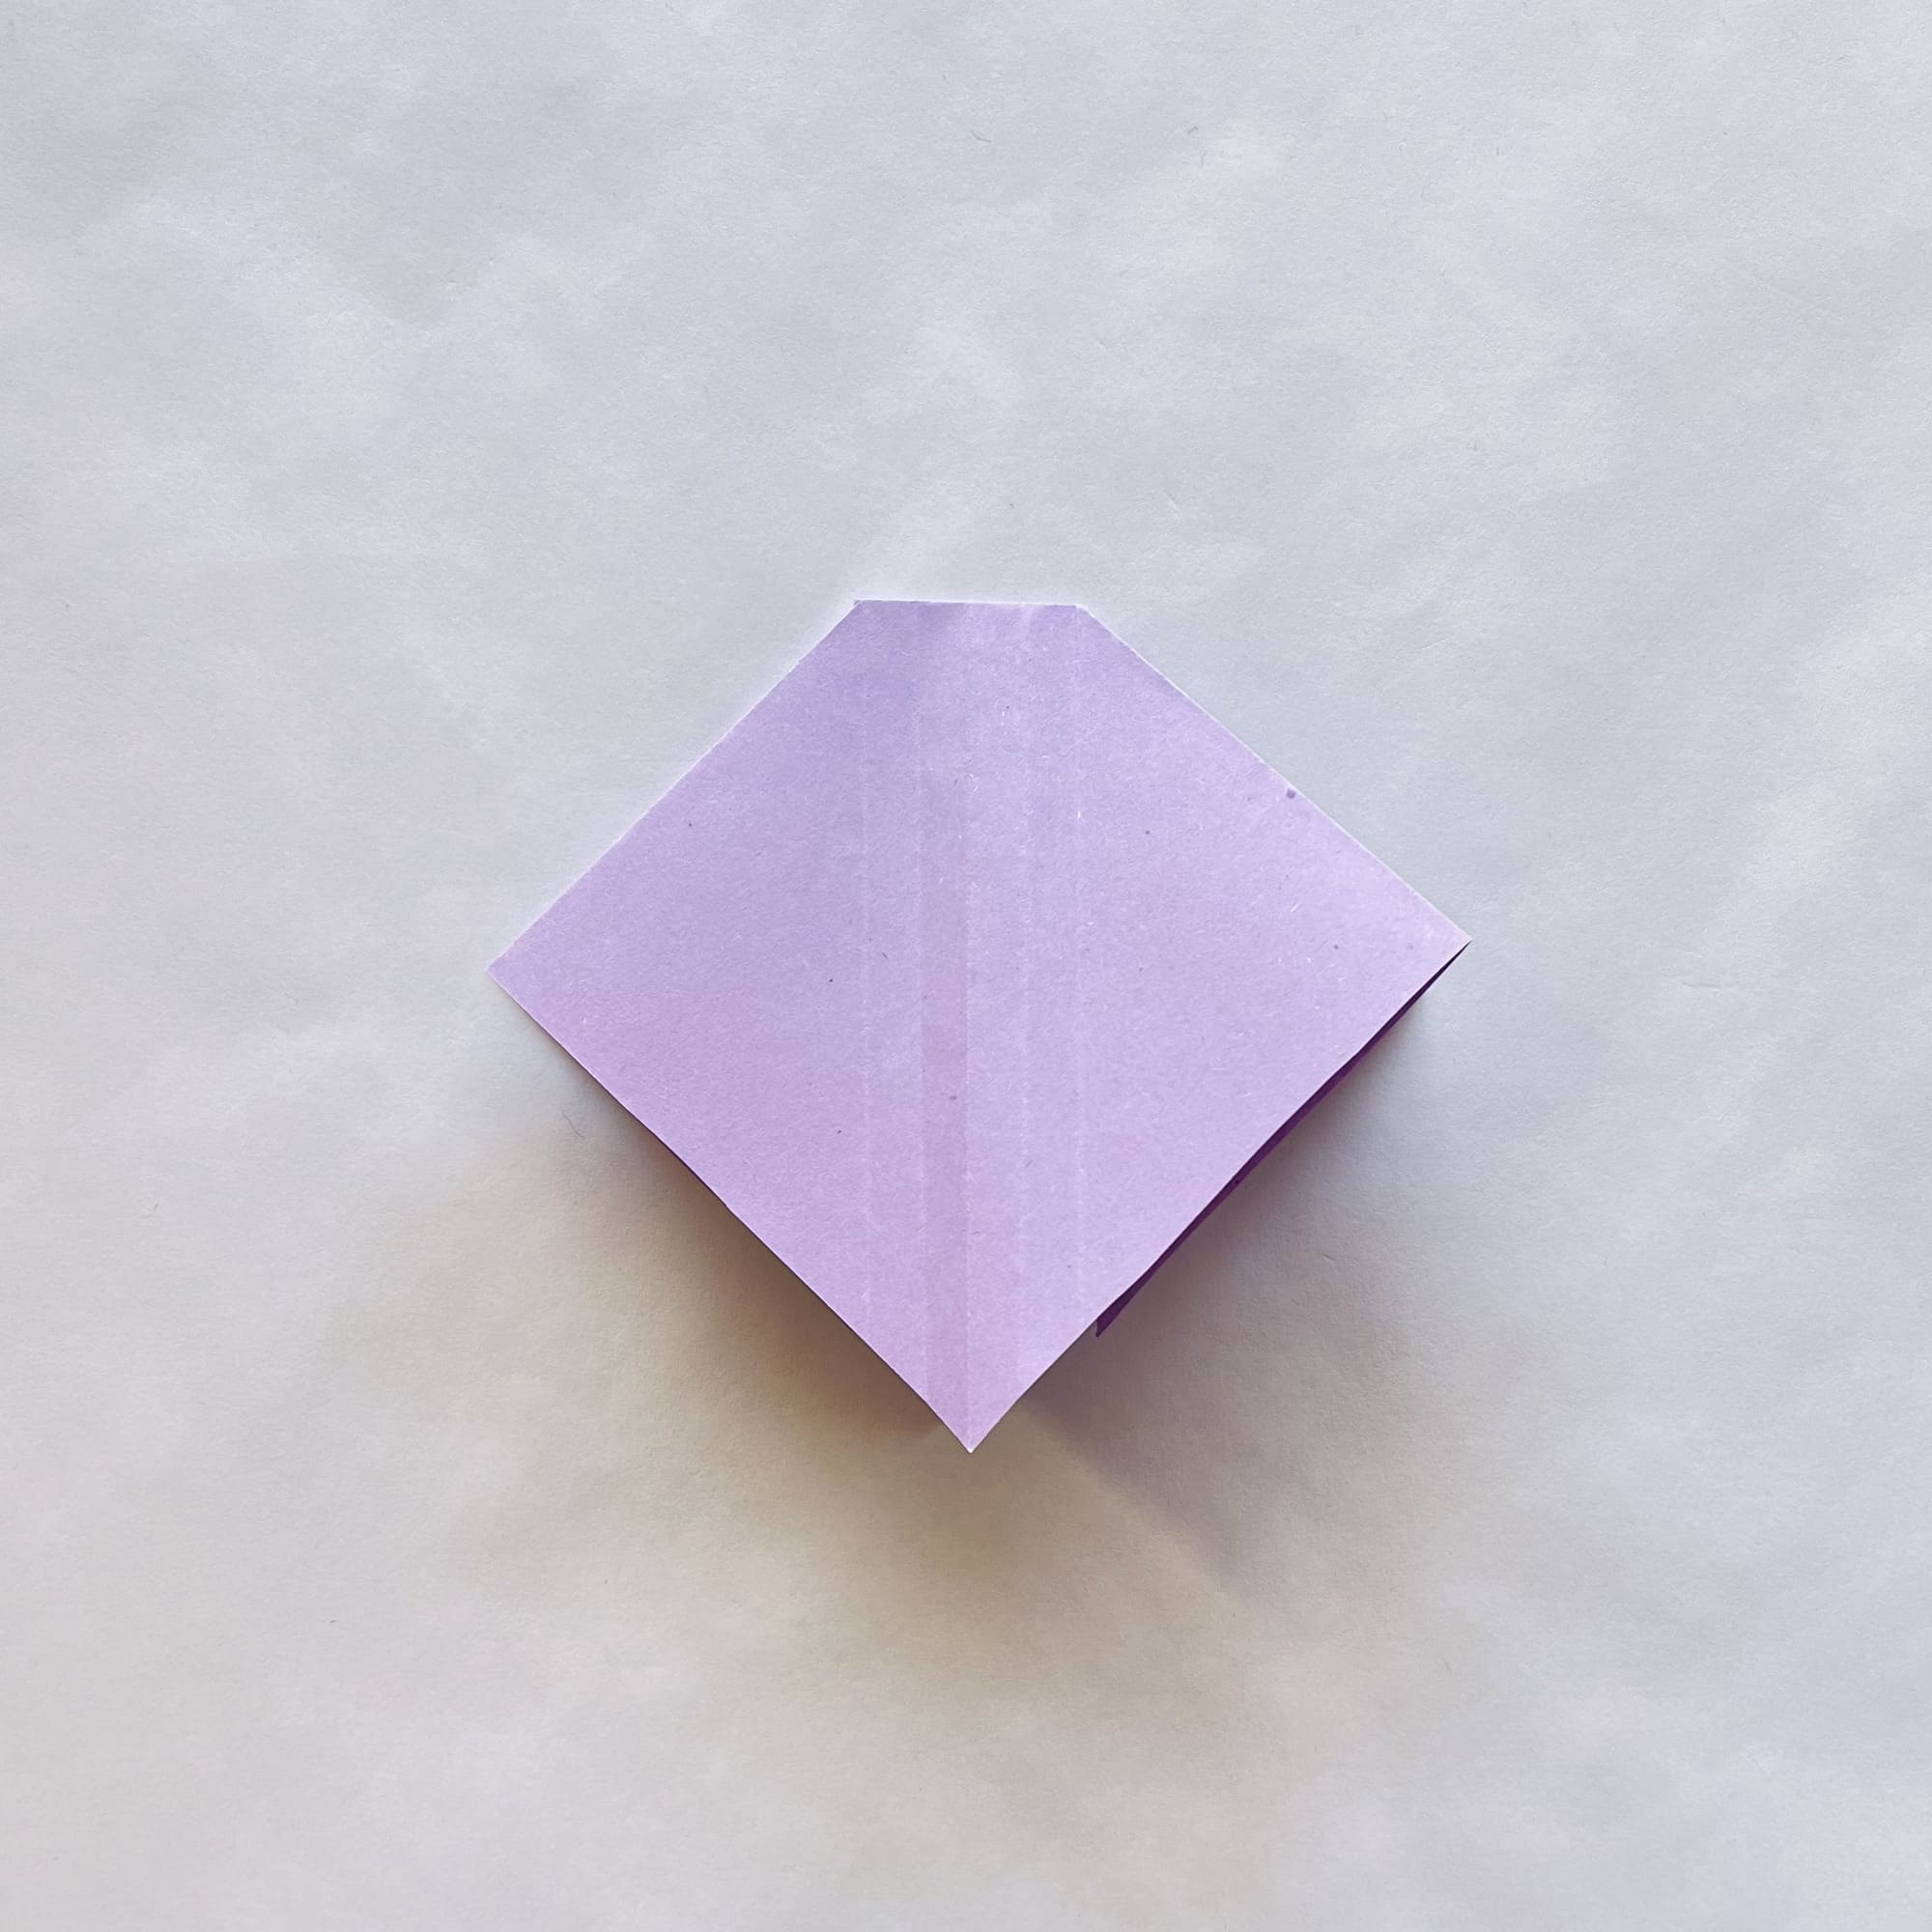
Fold the left corner of the square to the right along the fold line.
Now, fold the same corner to the right so that it becomes symmetrical with the corner on the left side.
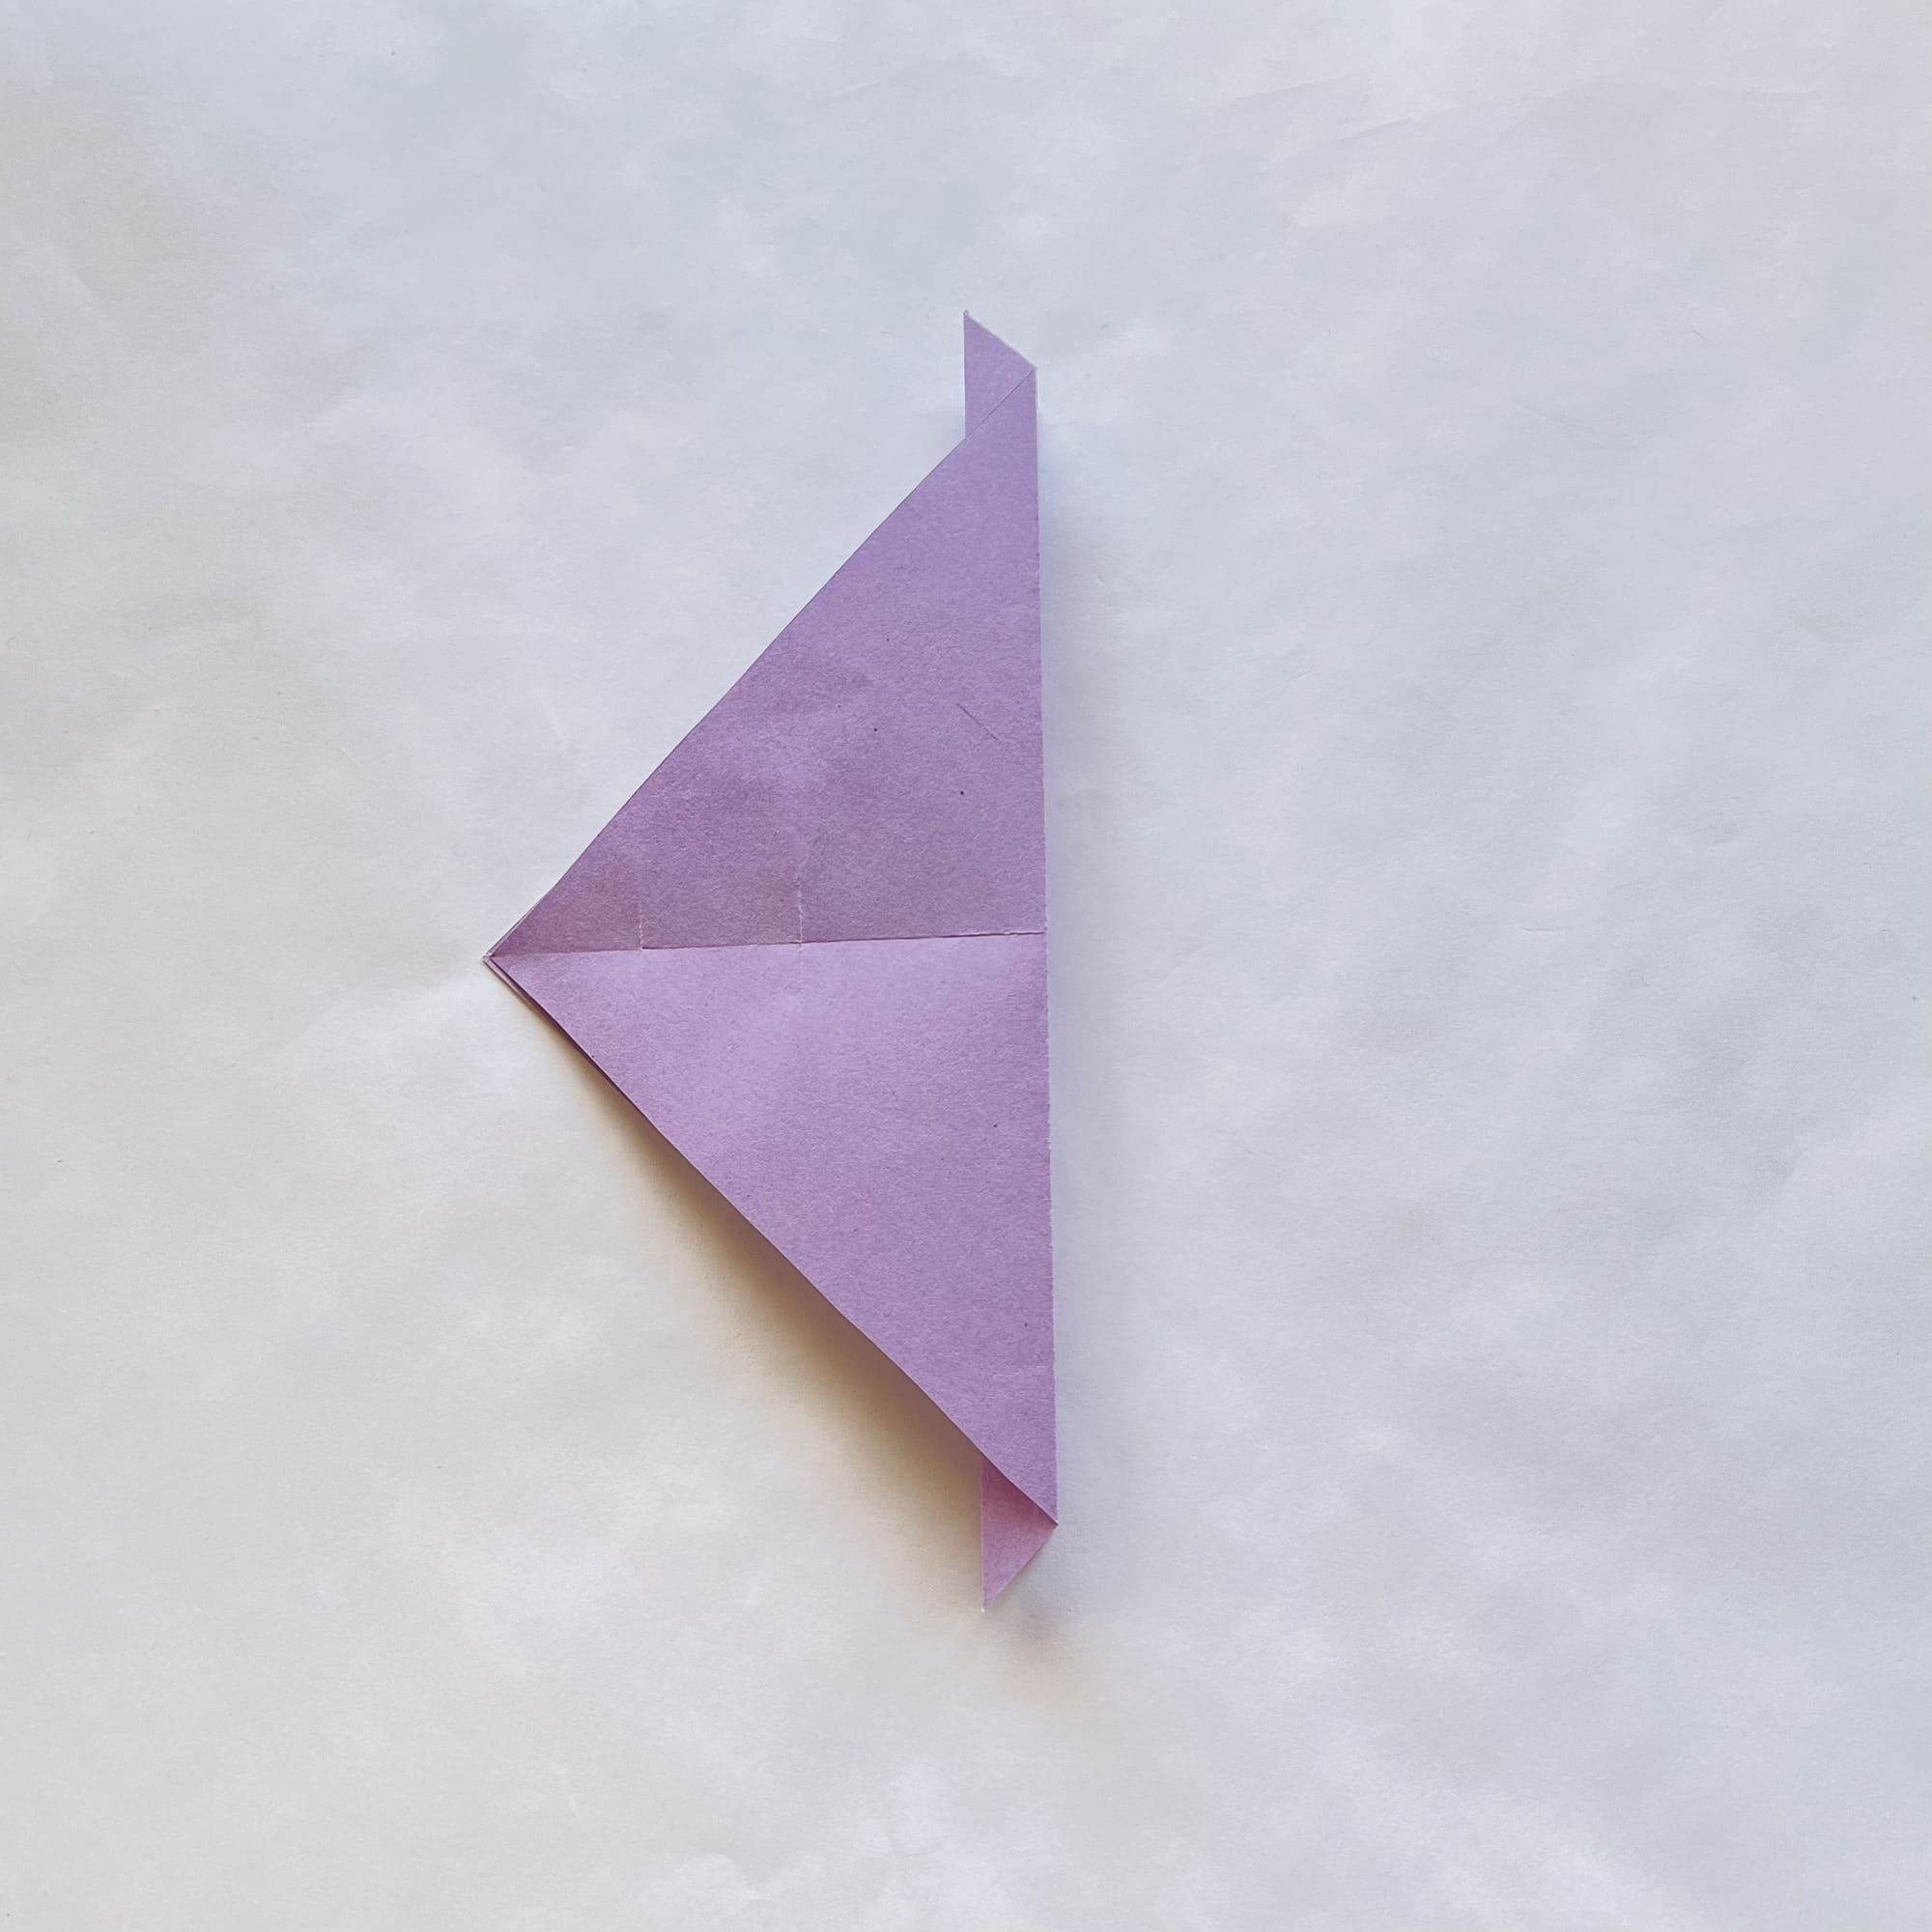
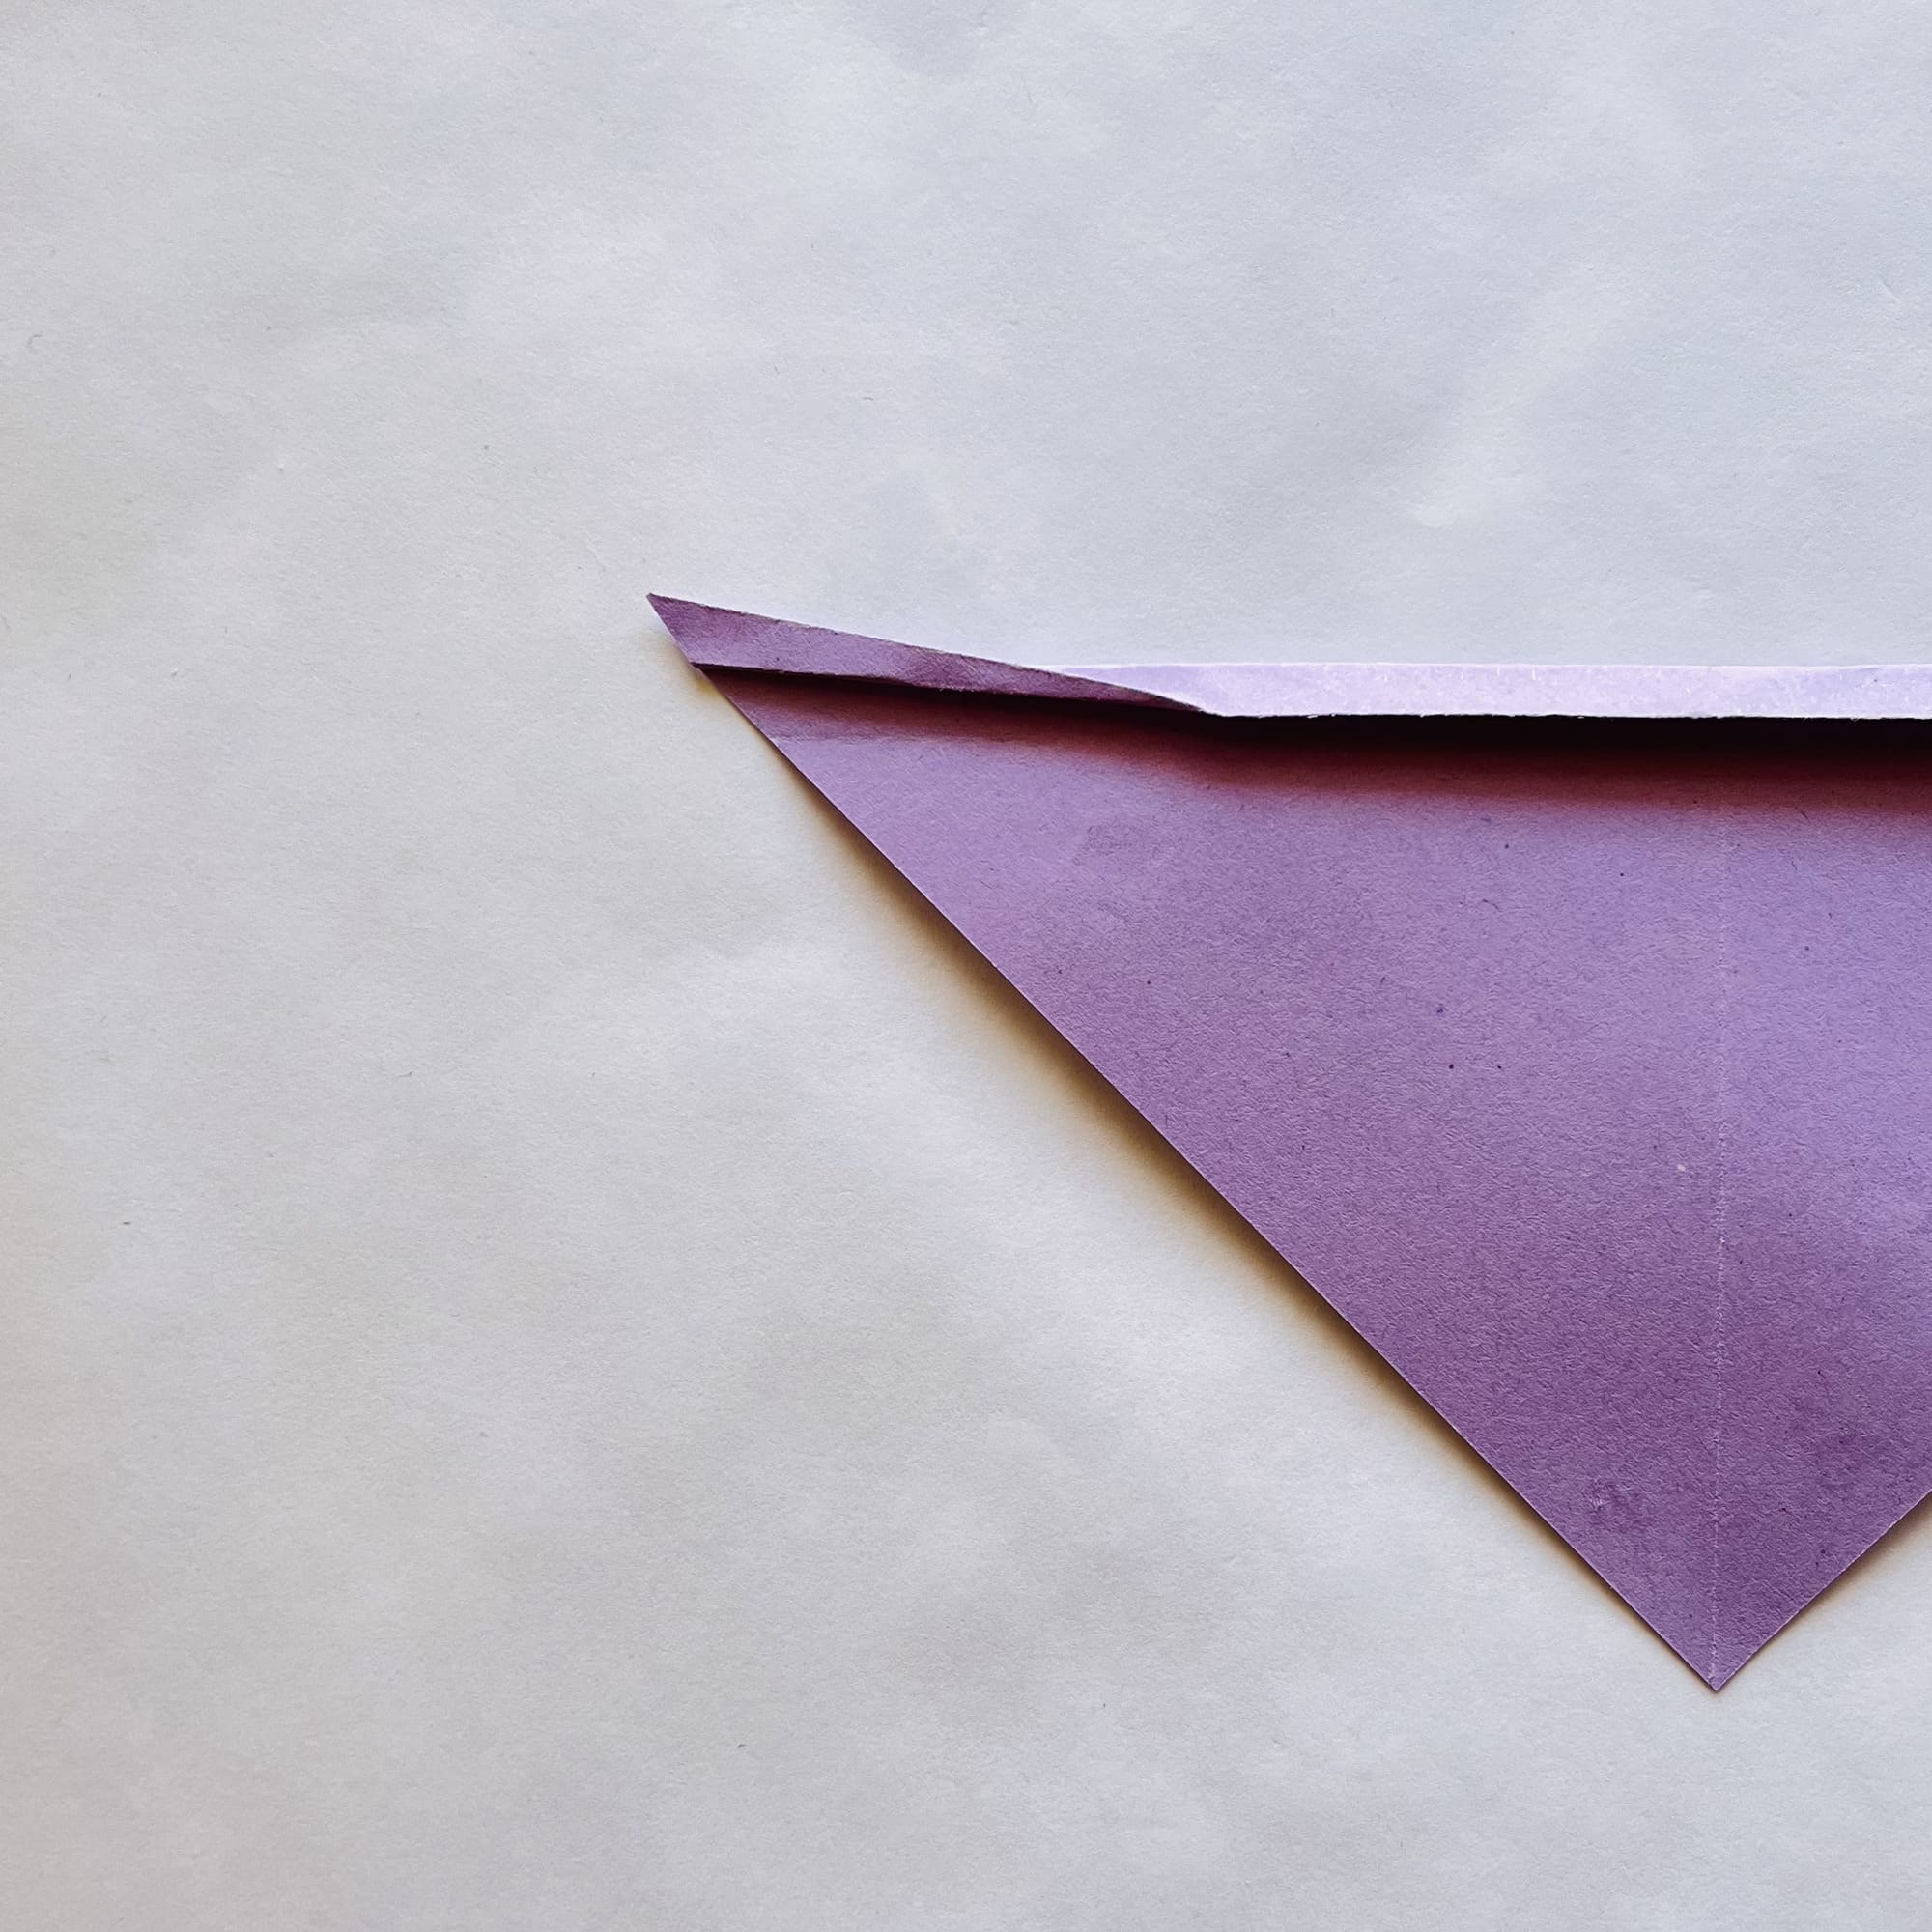
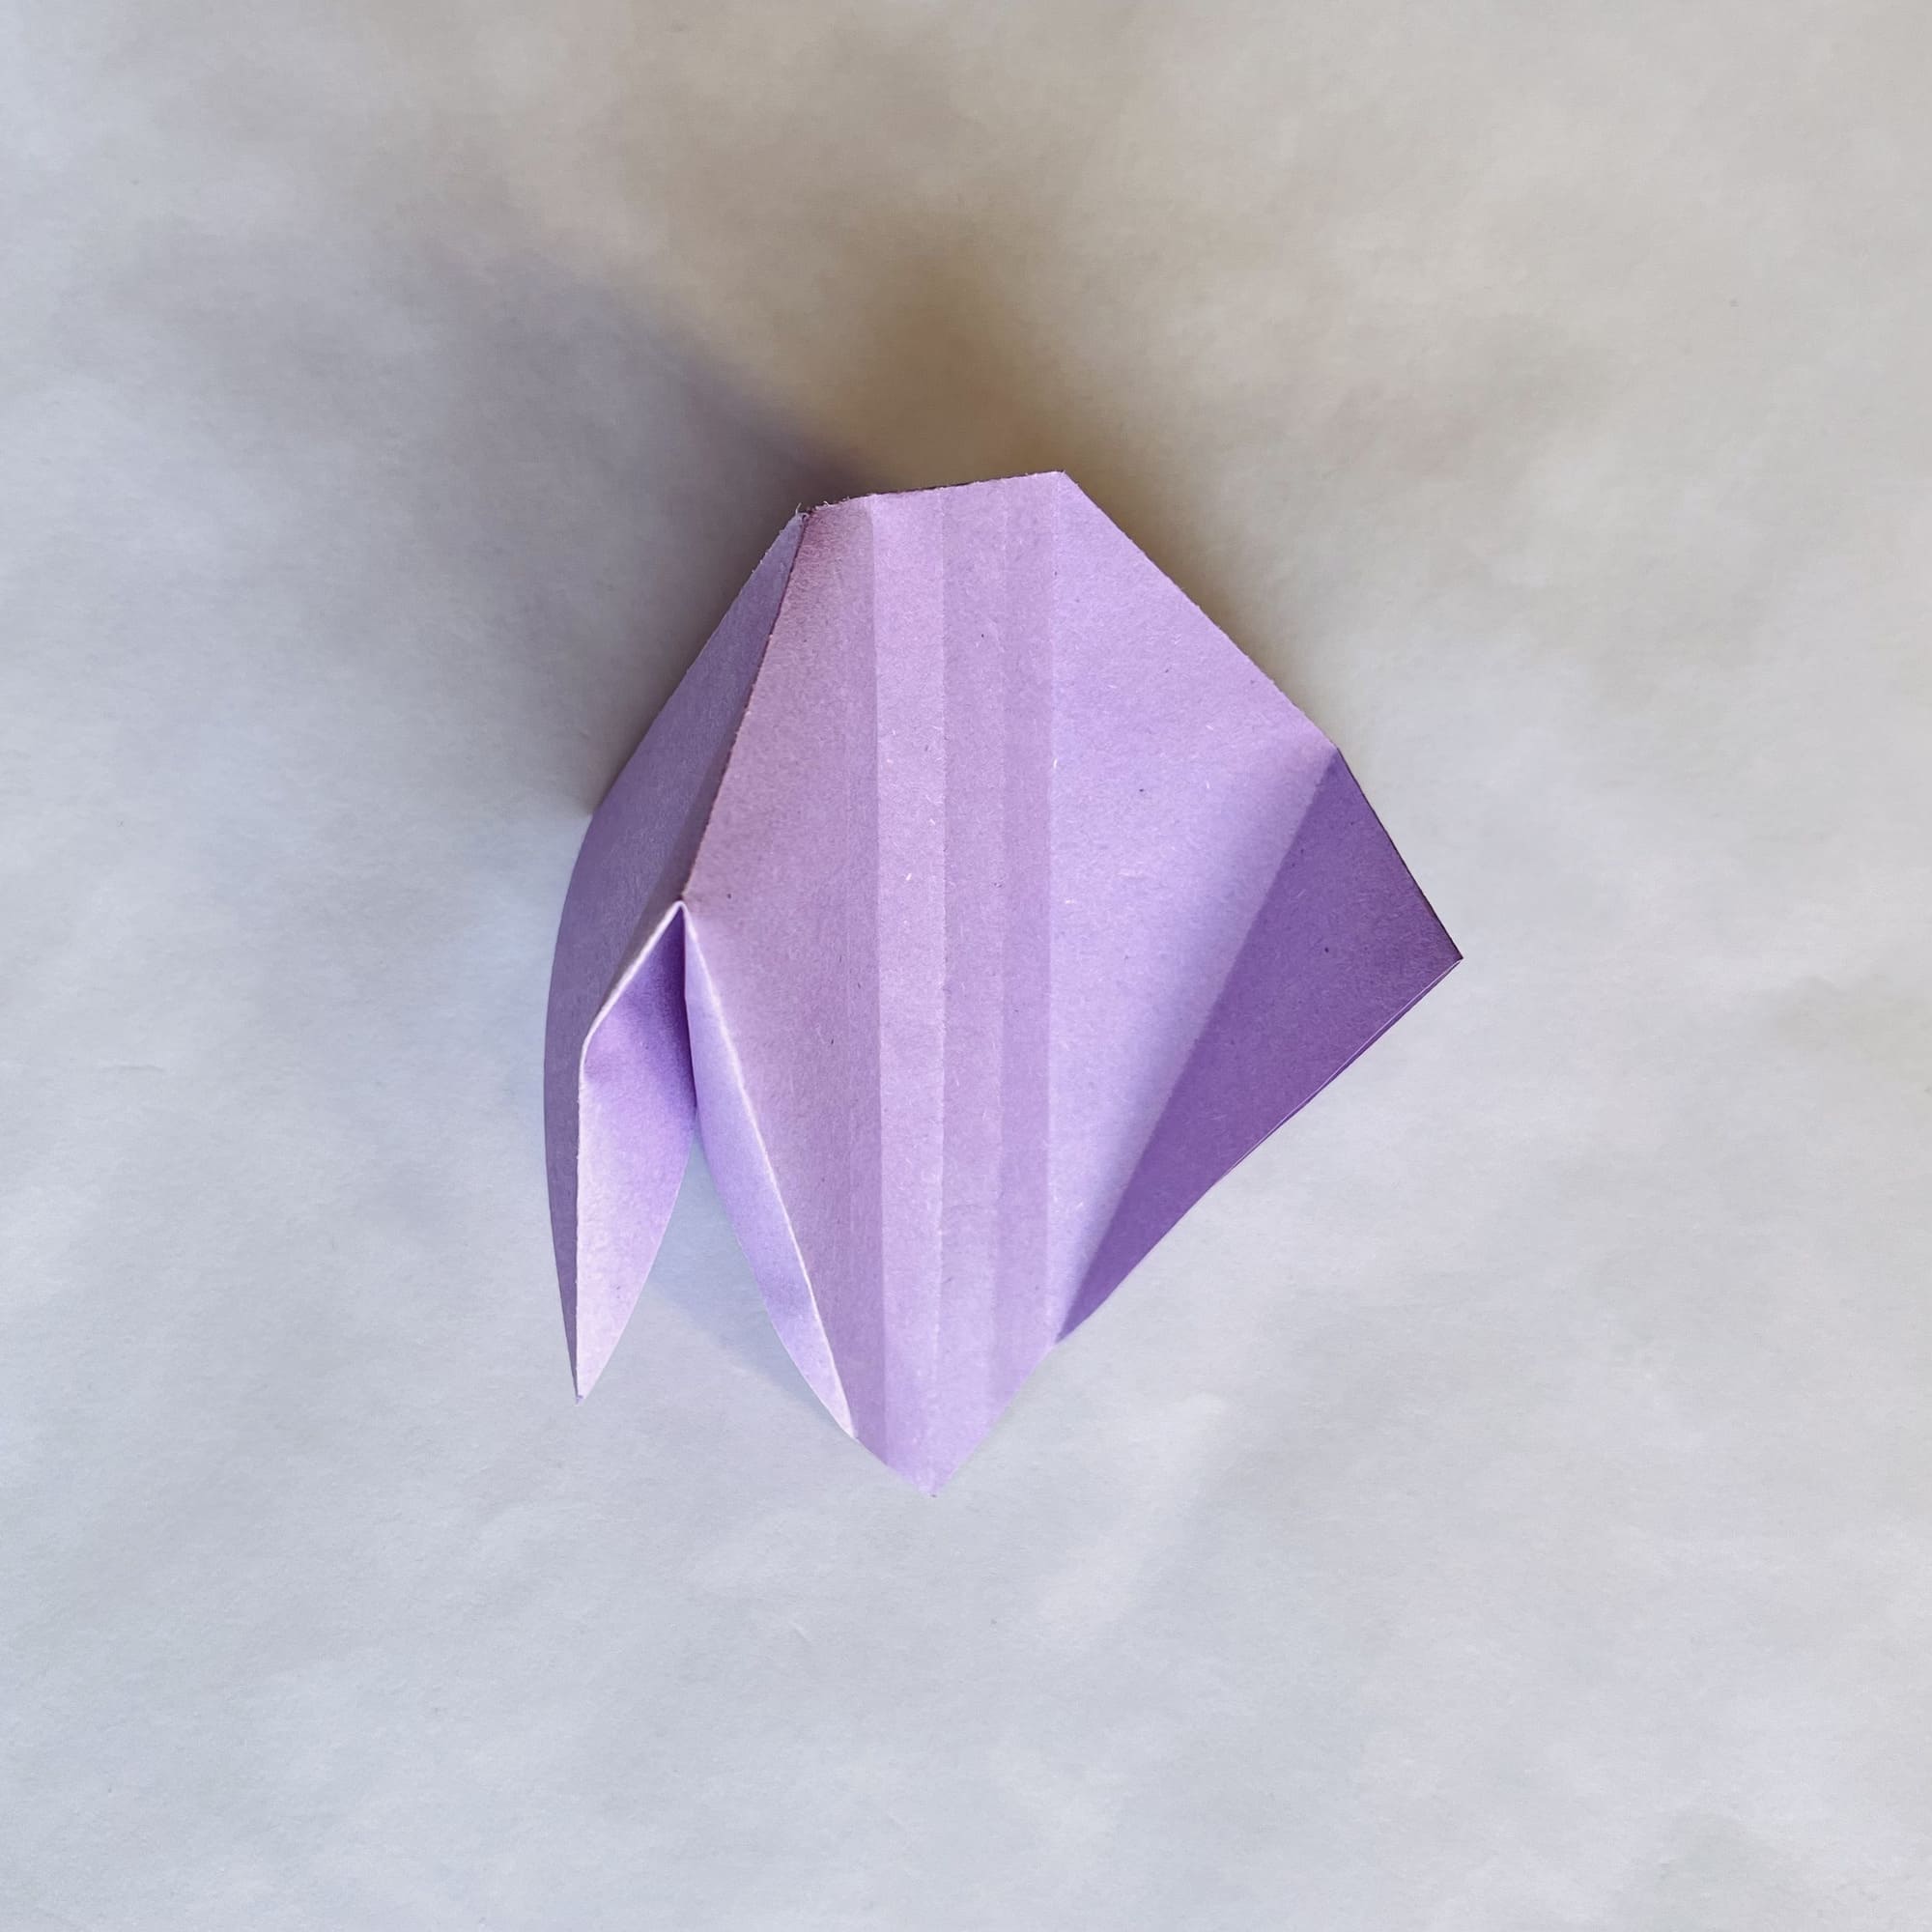
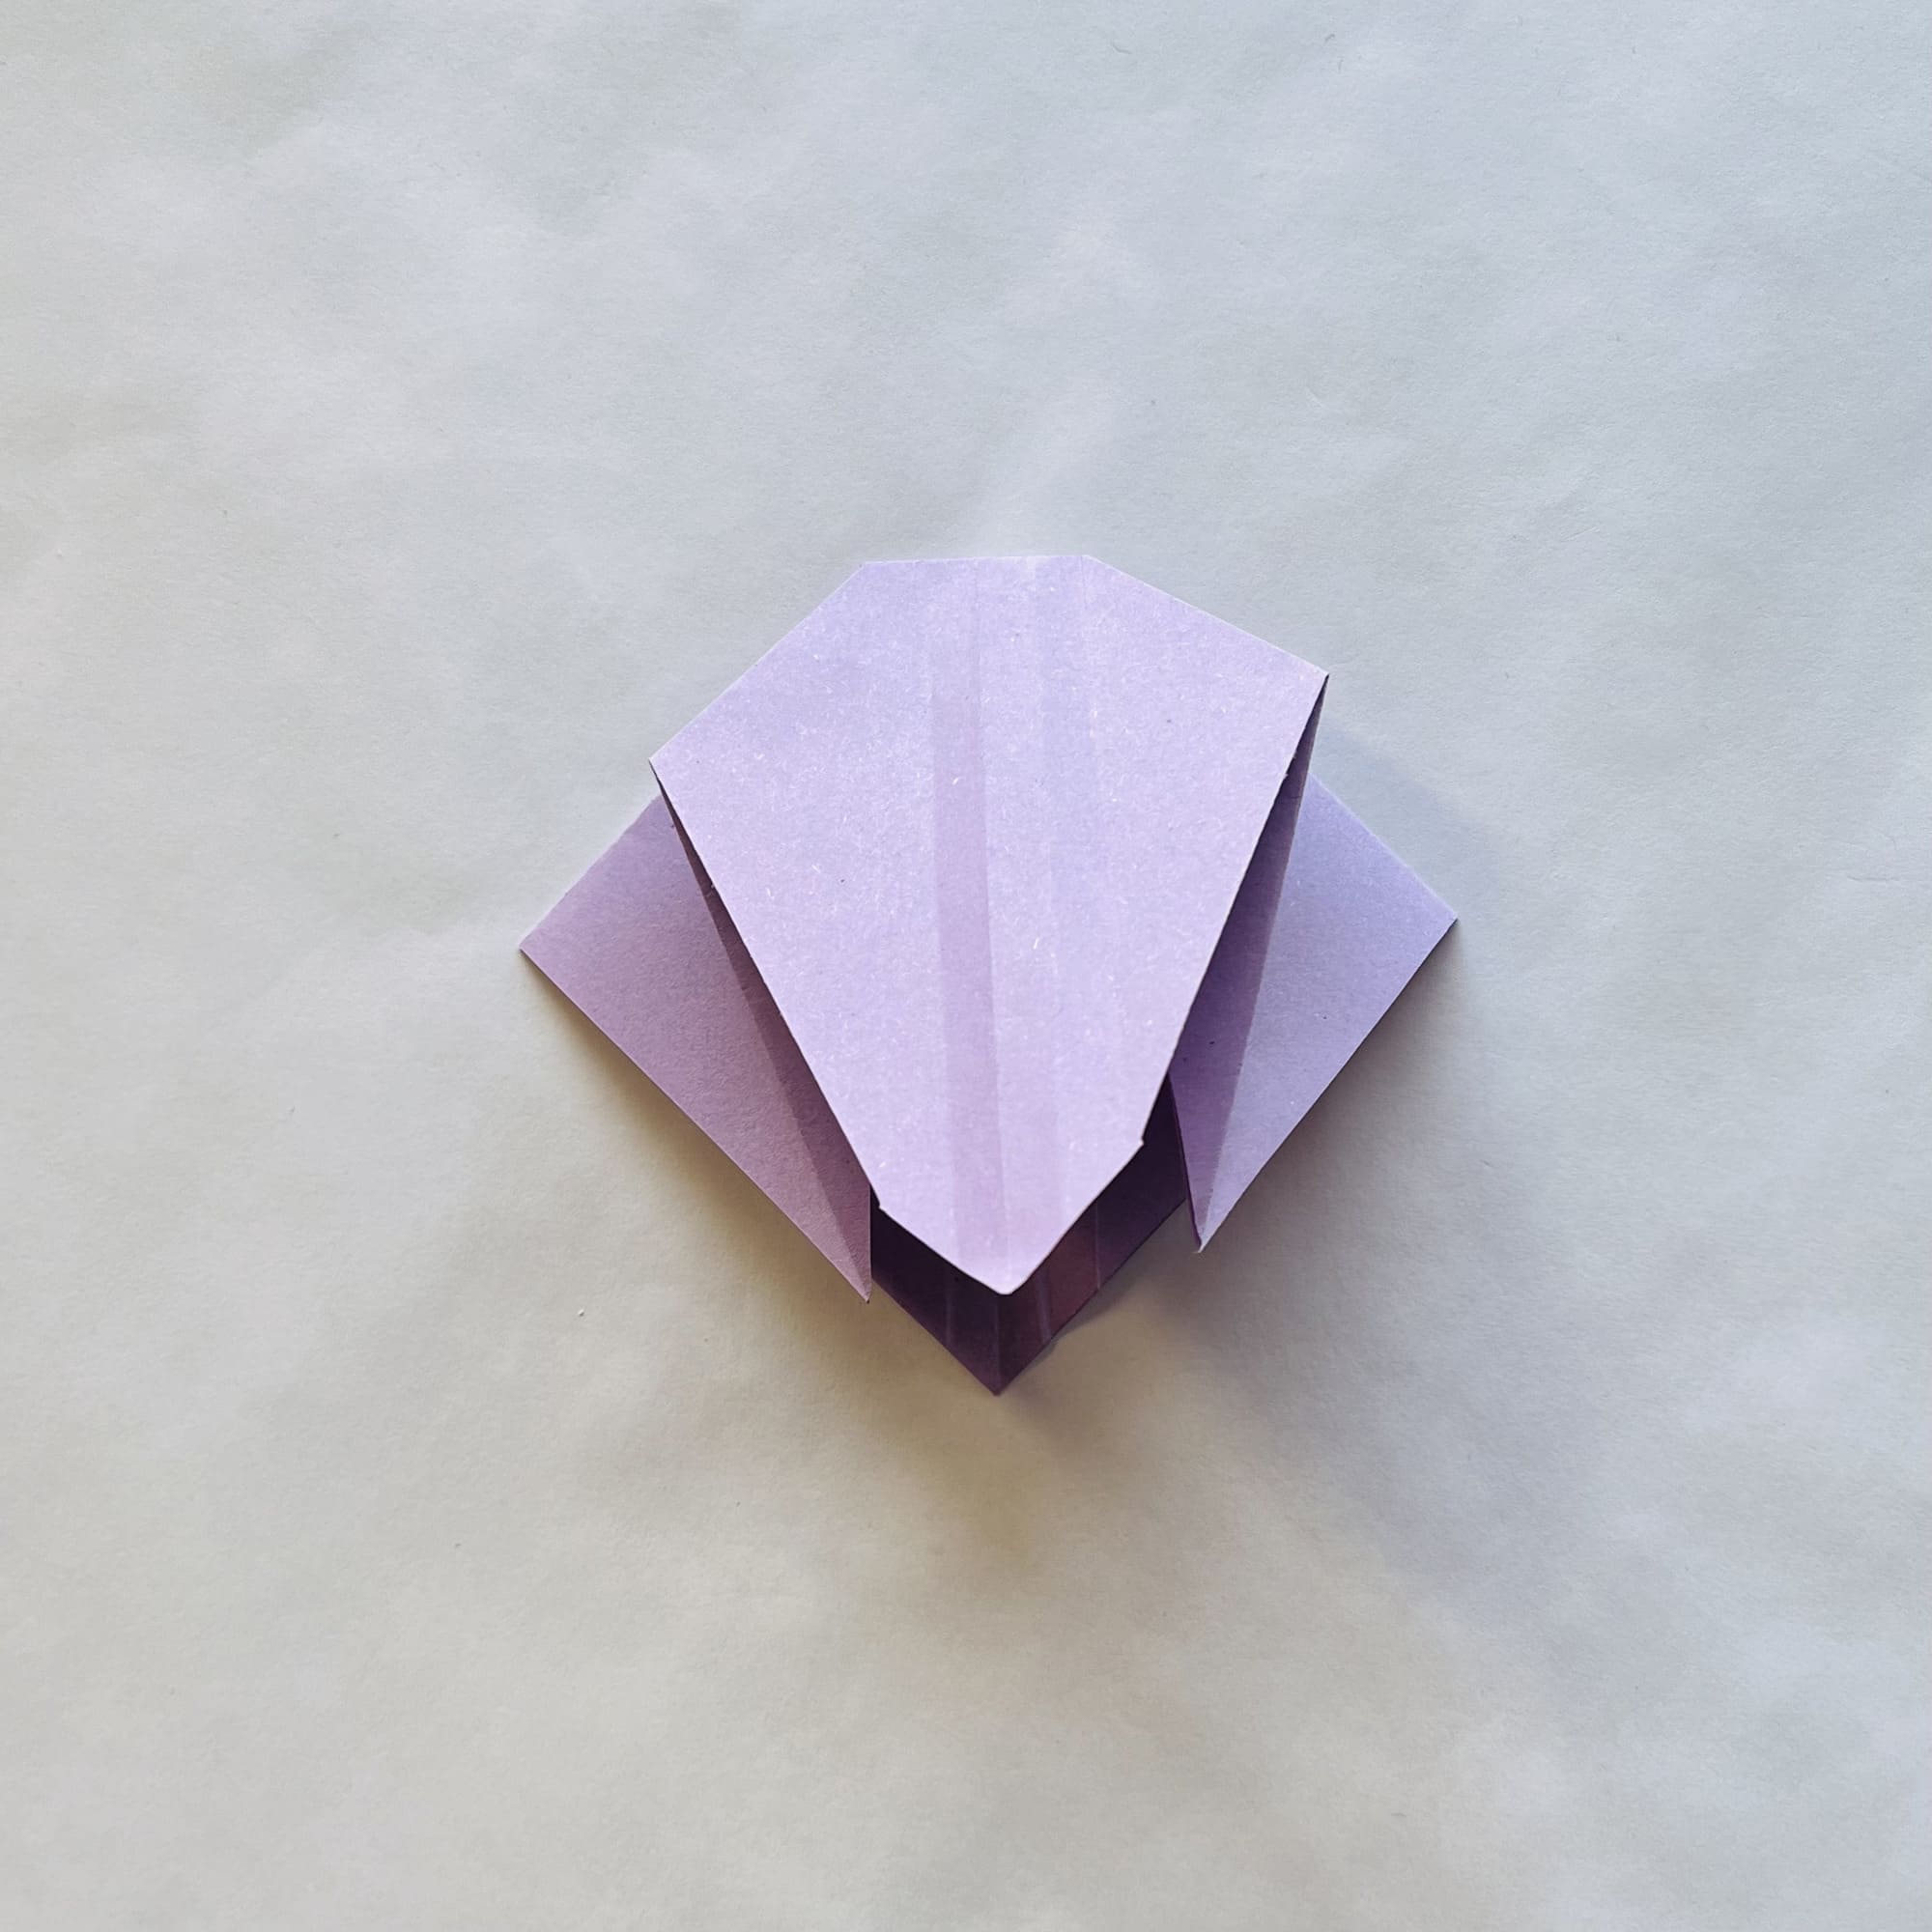
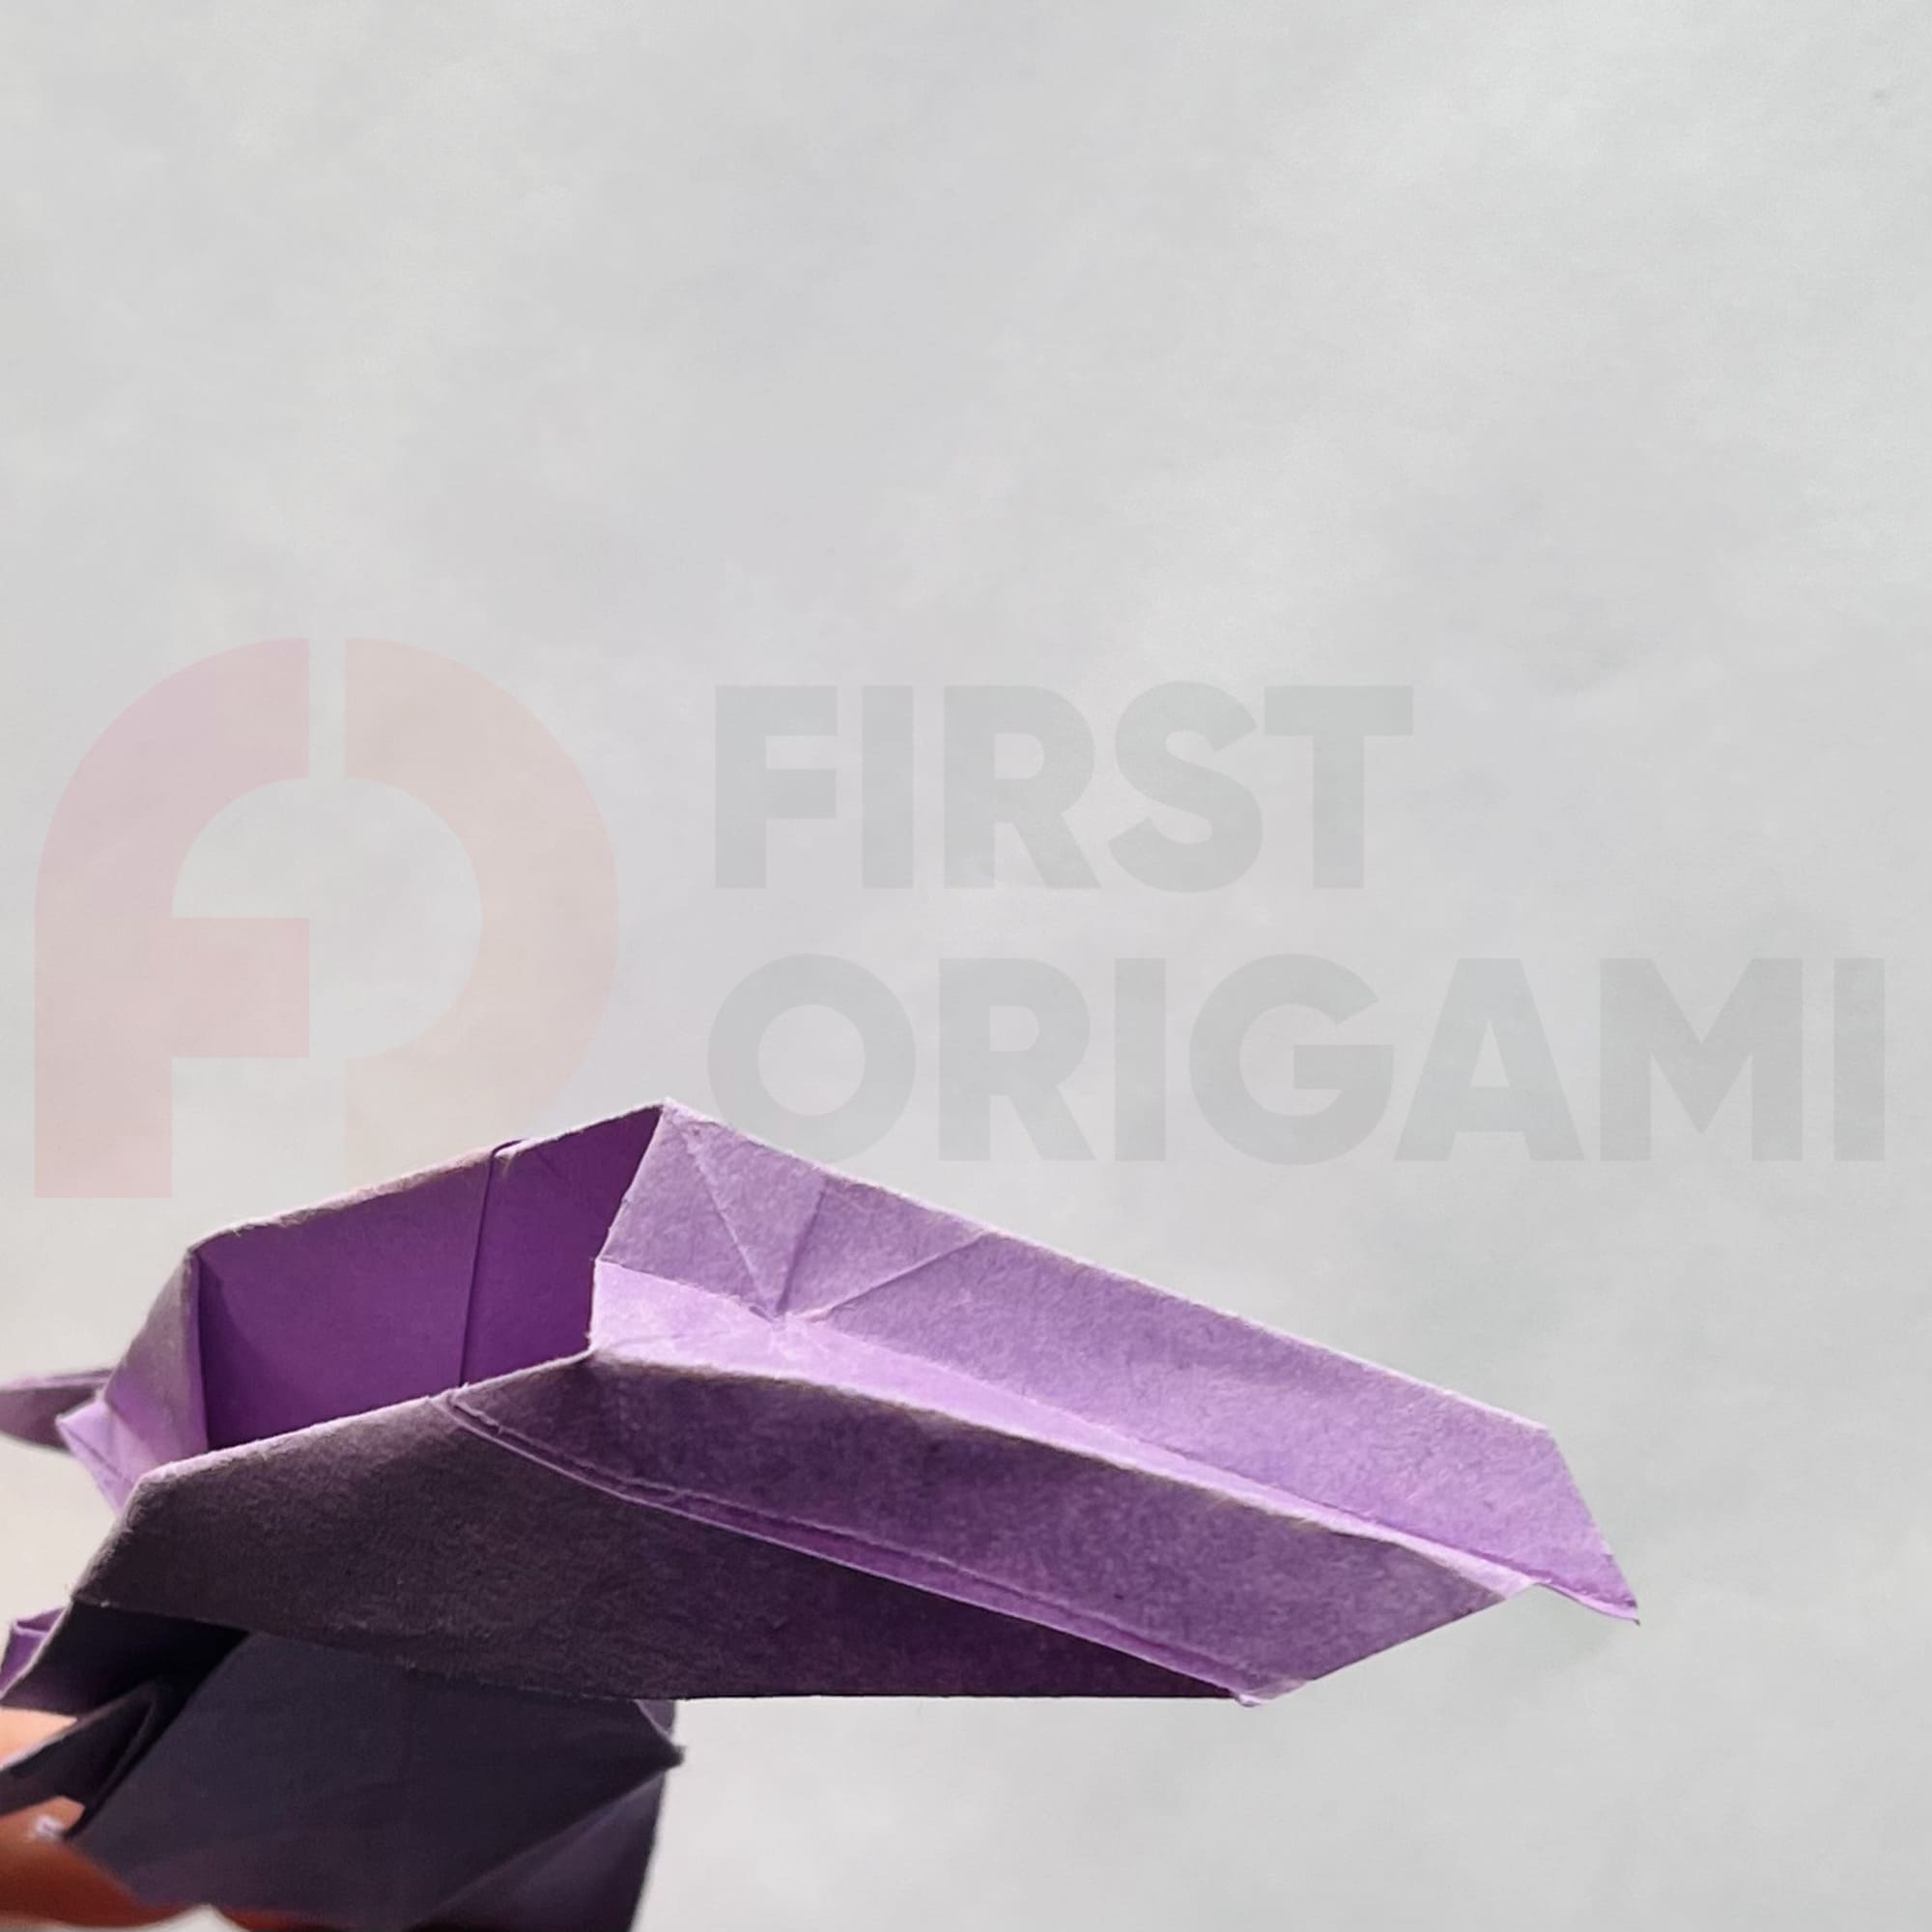
Unfold the paper as shown in the photo, then fold half of the narrow strip of paper inward.
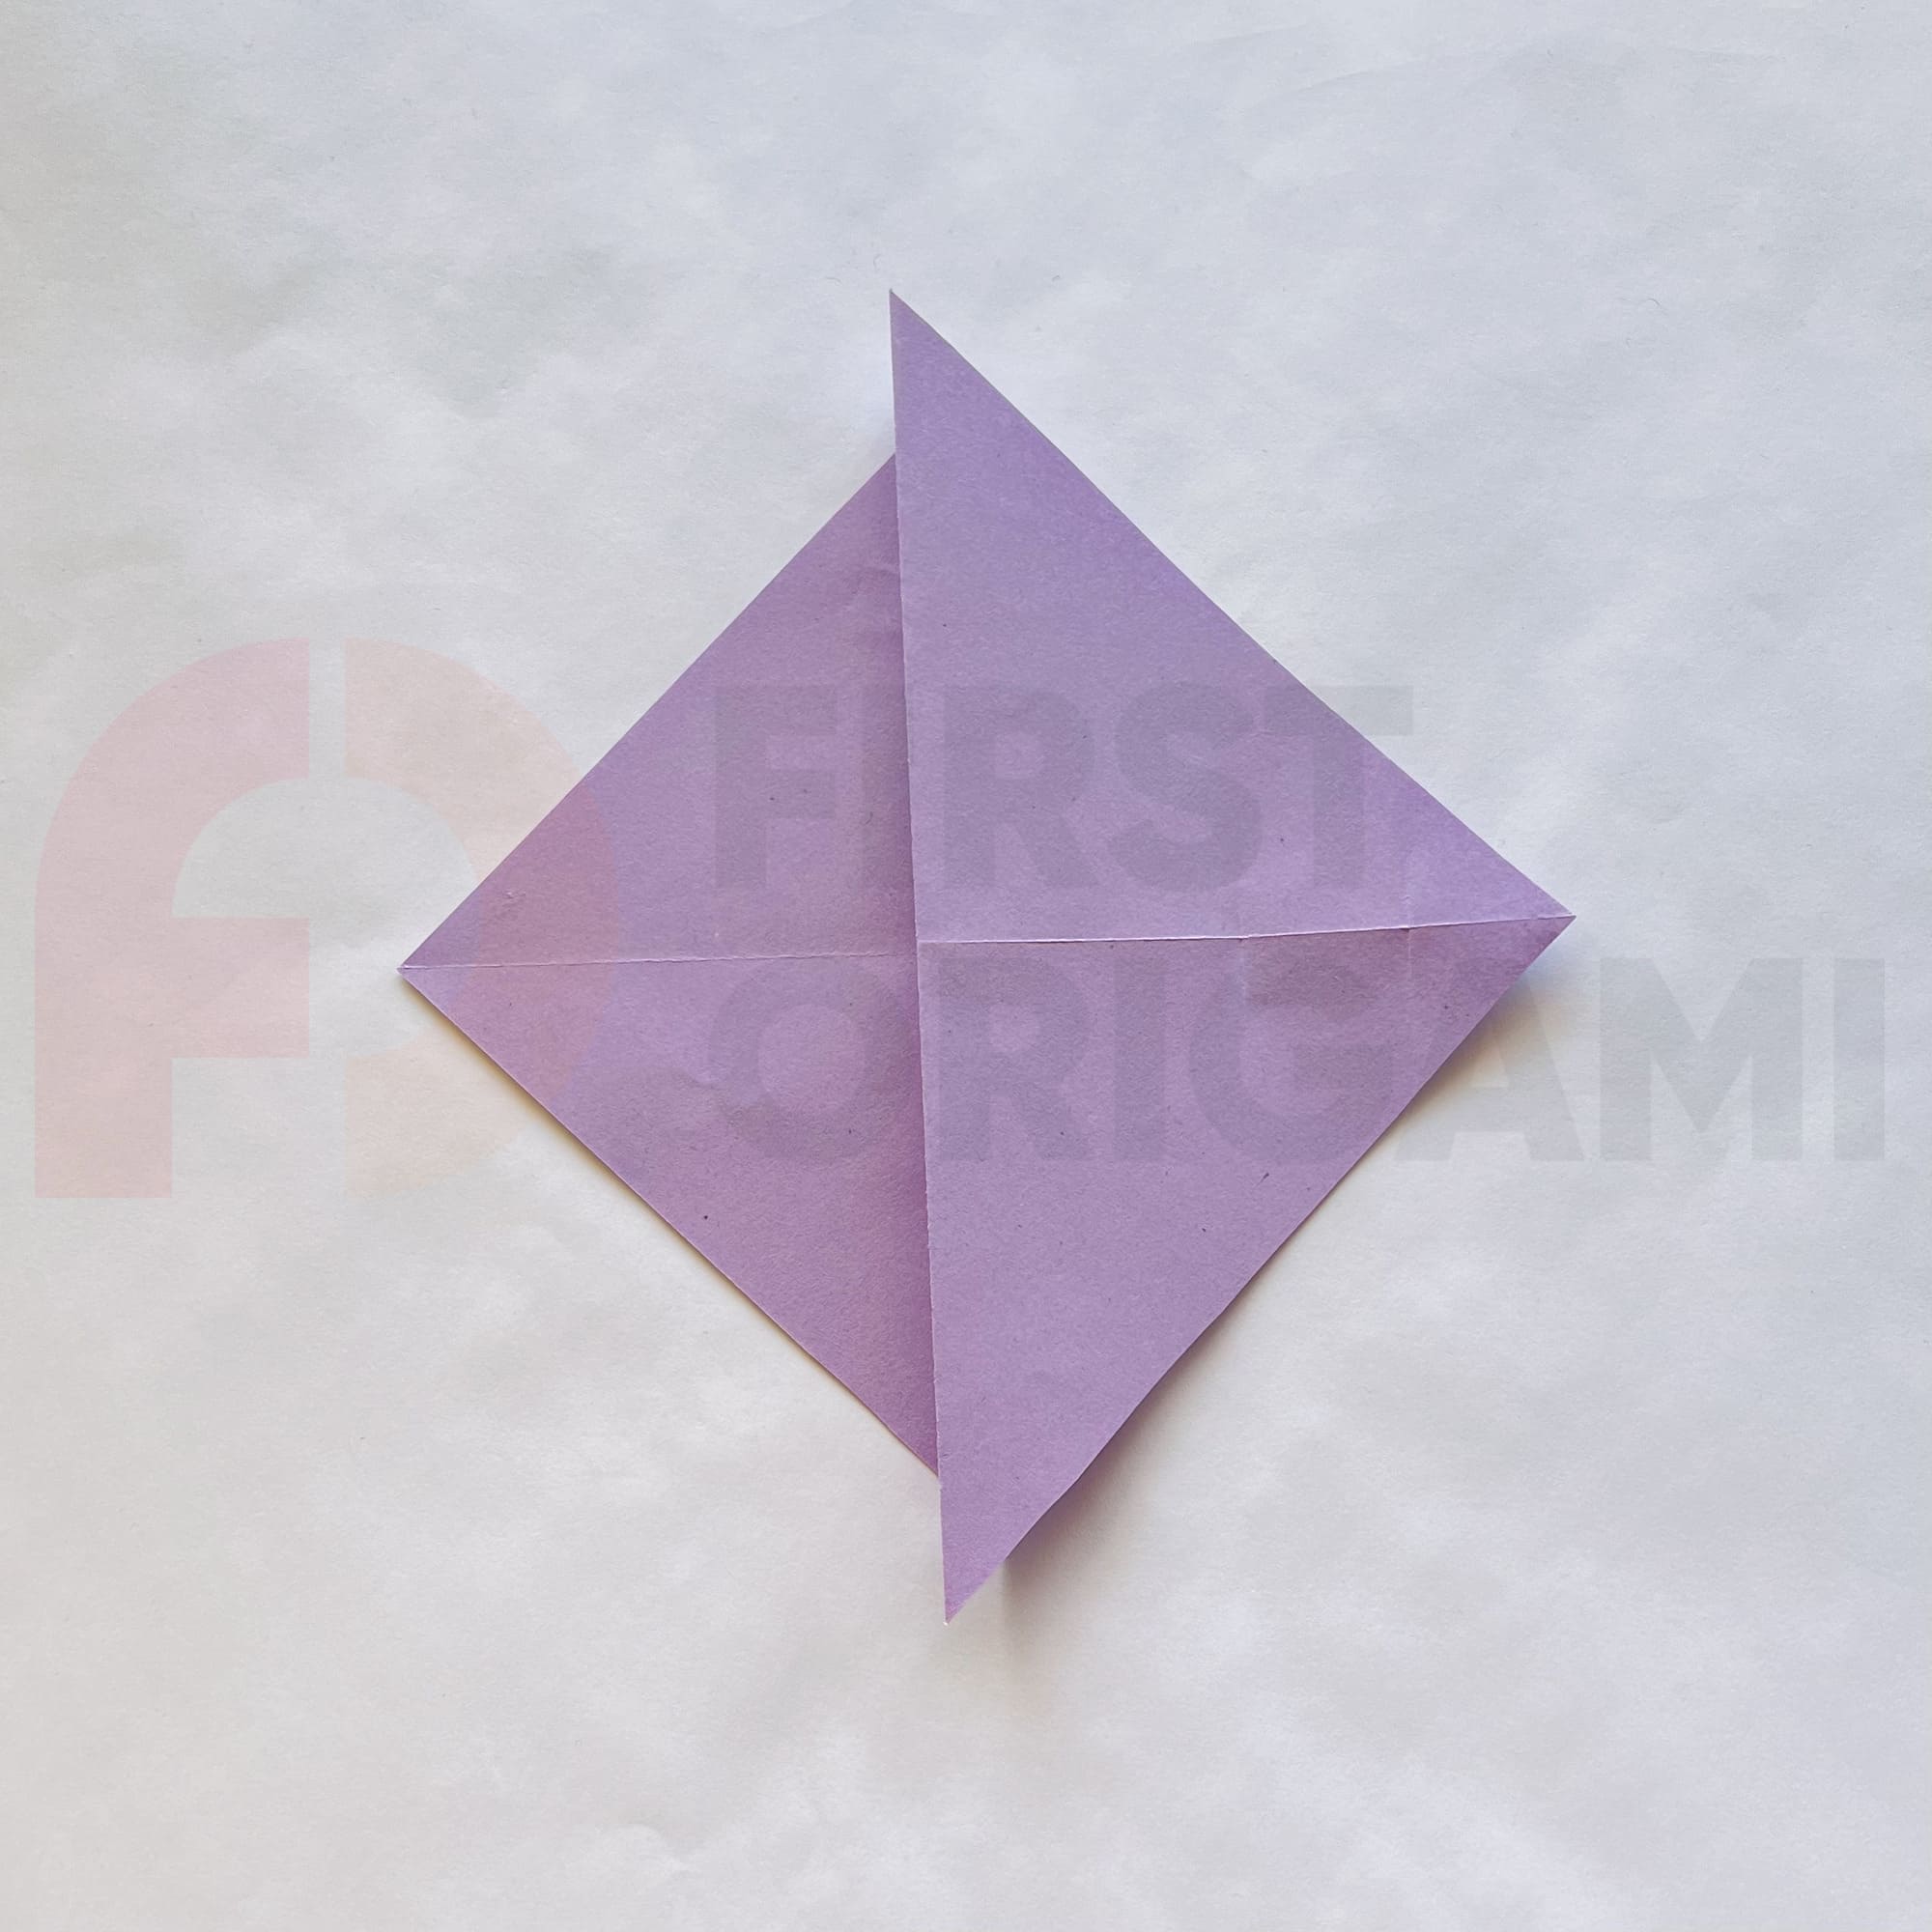
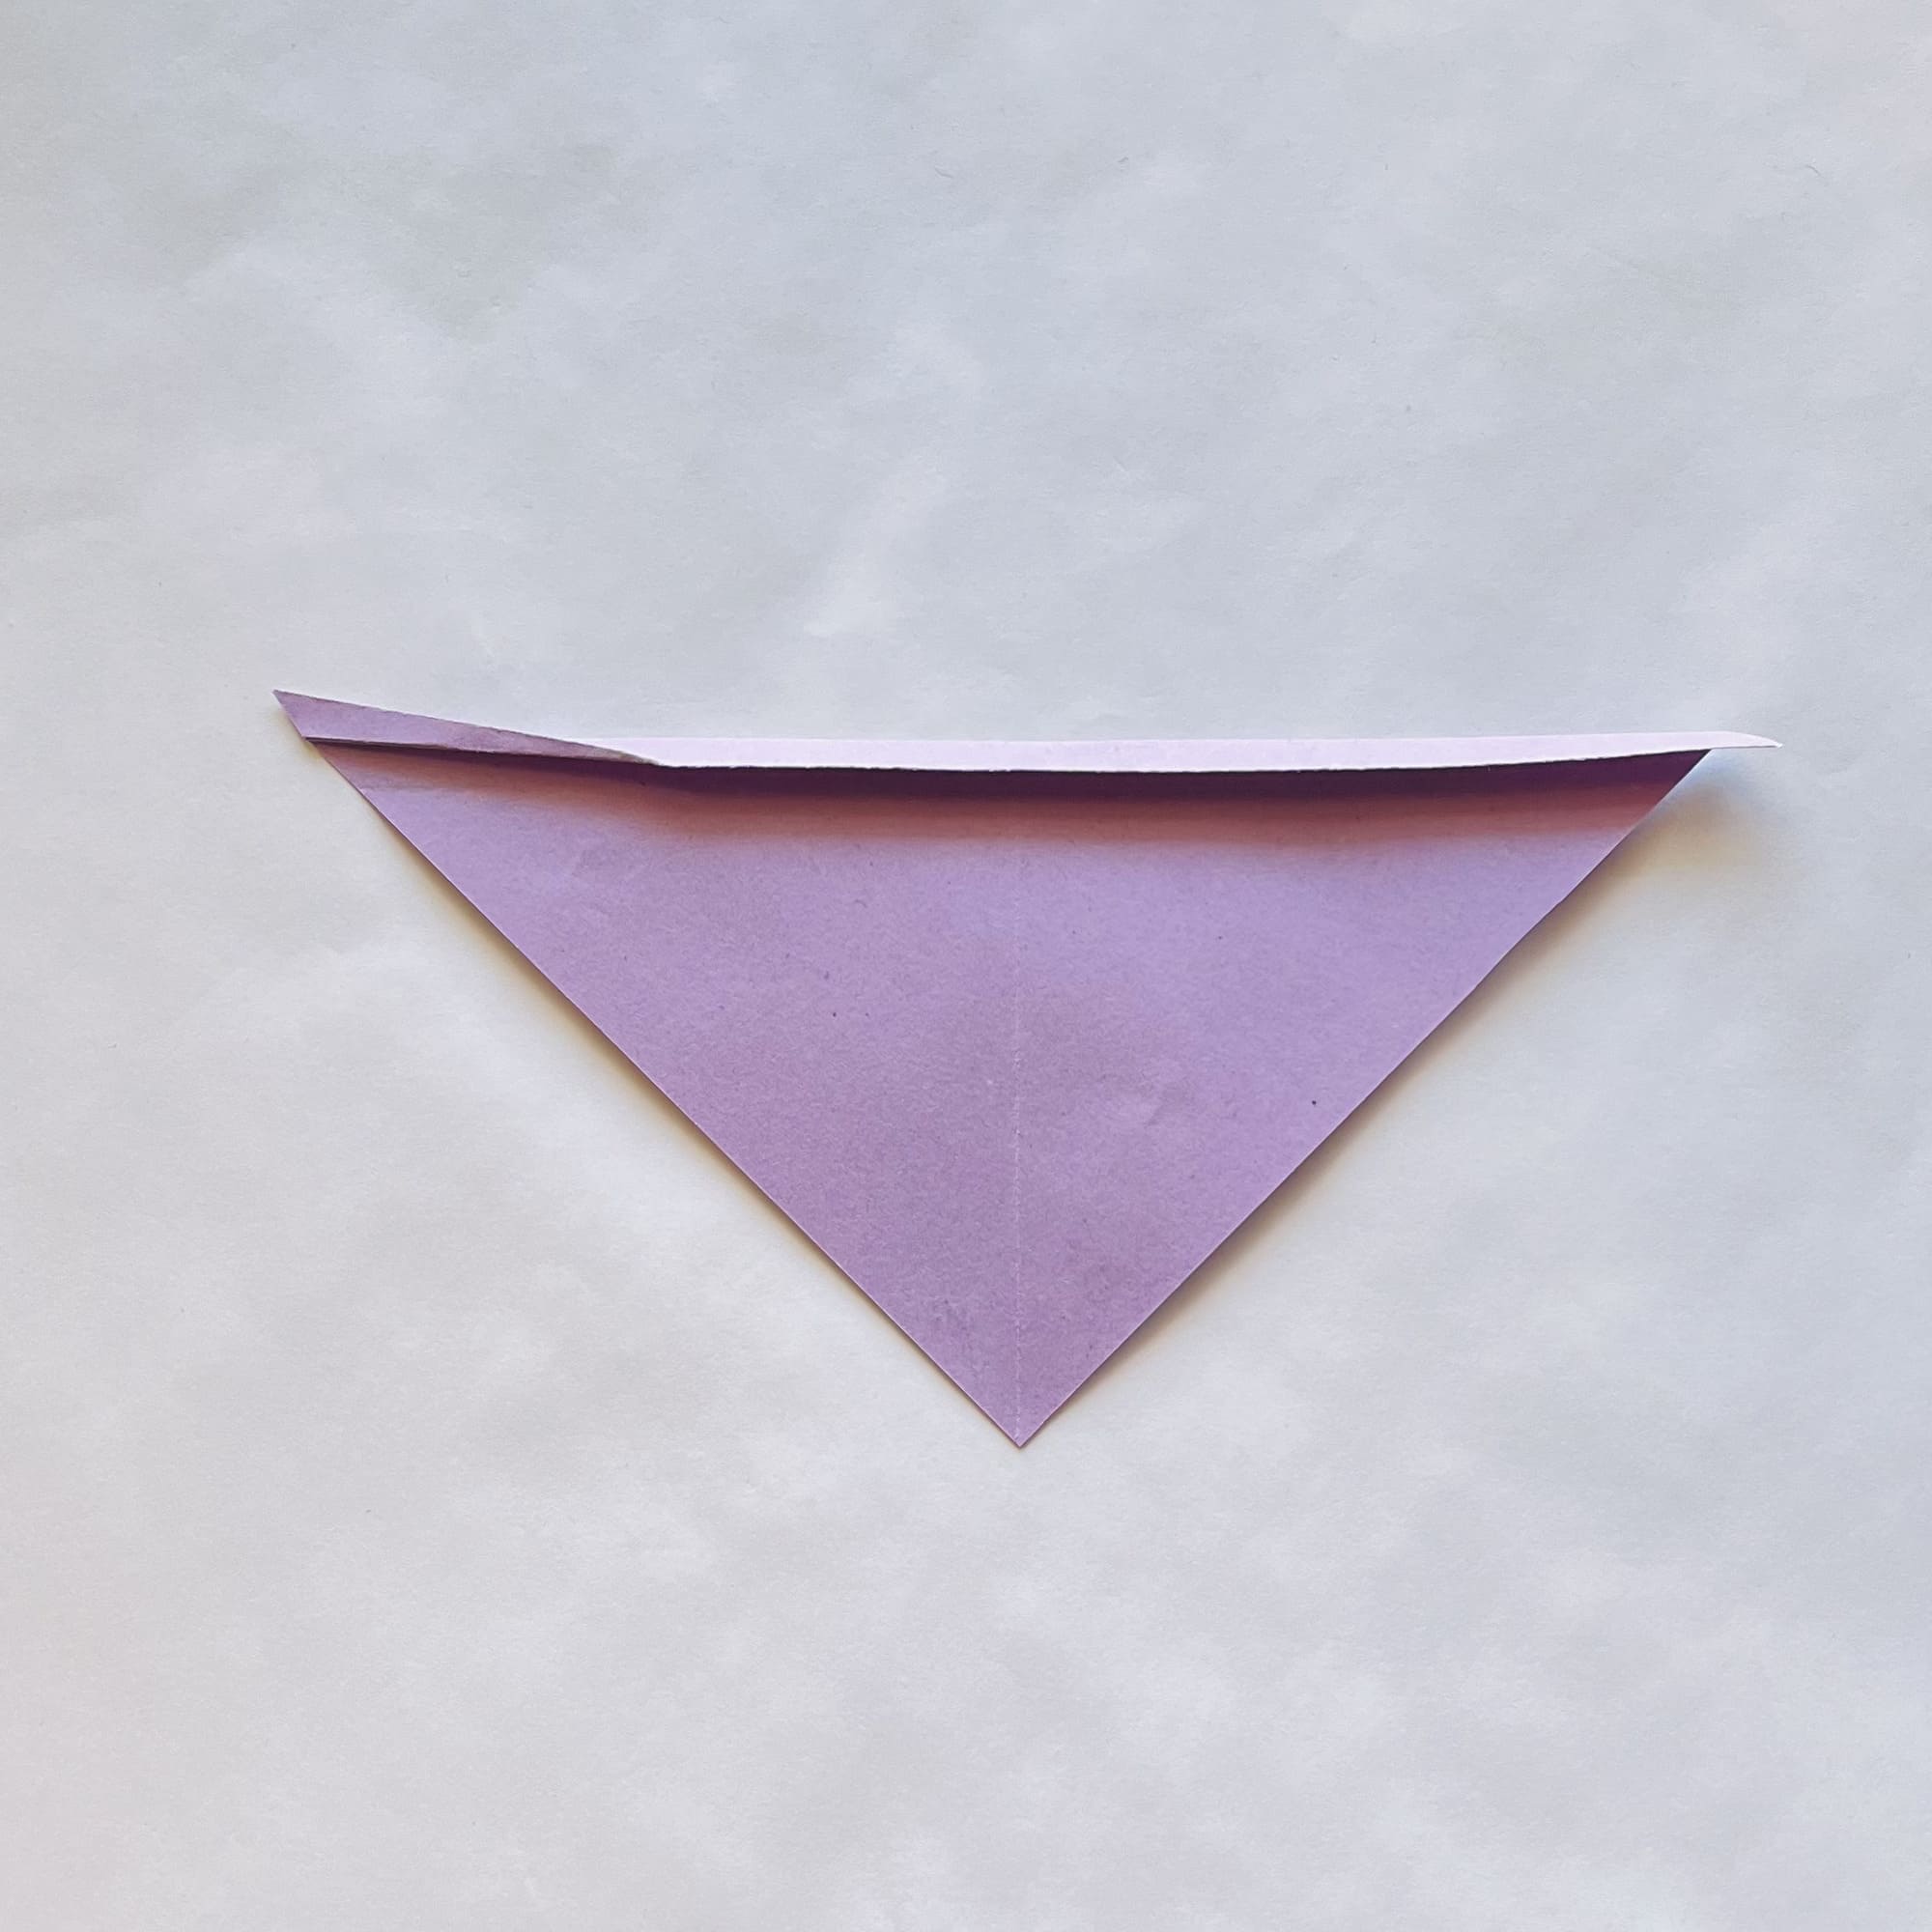
Turn to the left corner at the top and bend it up.
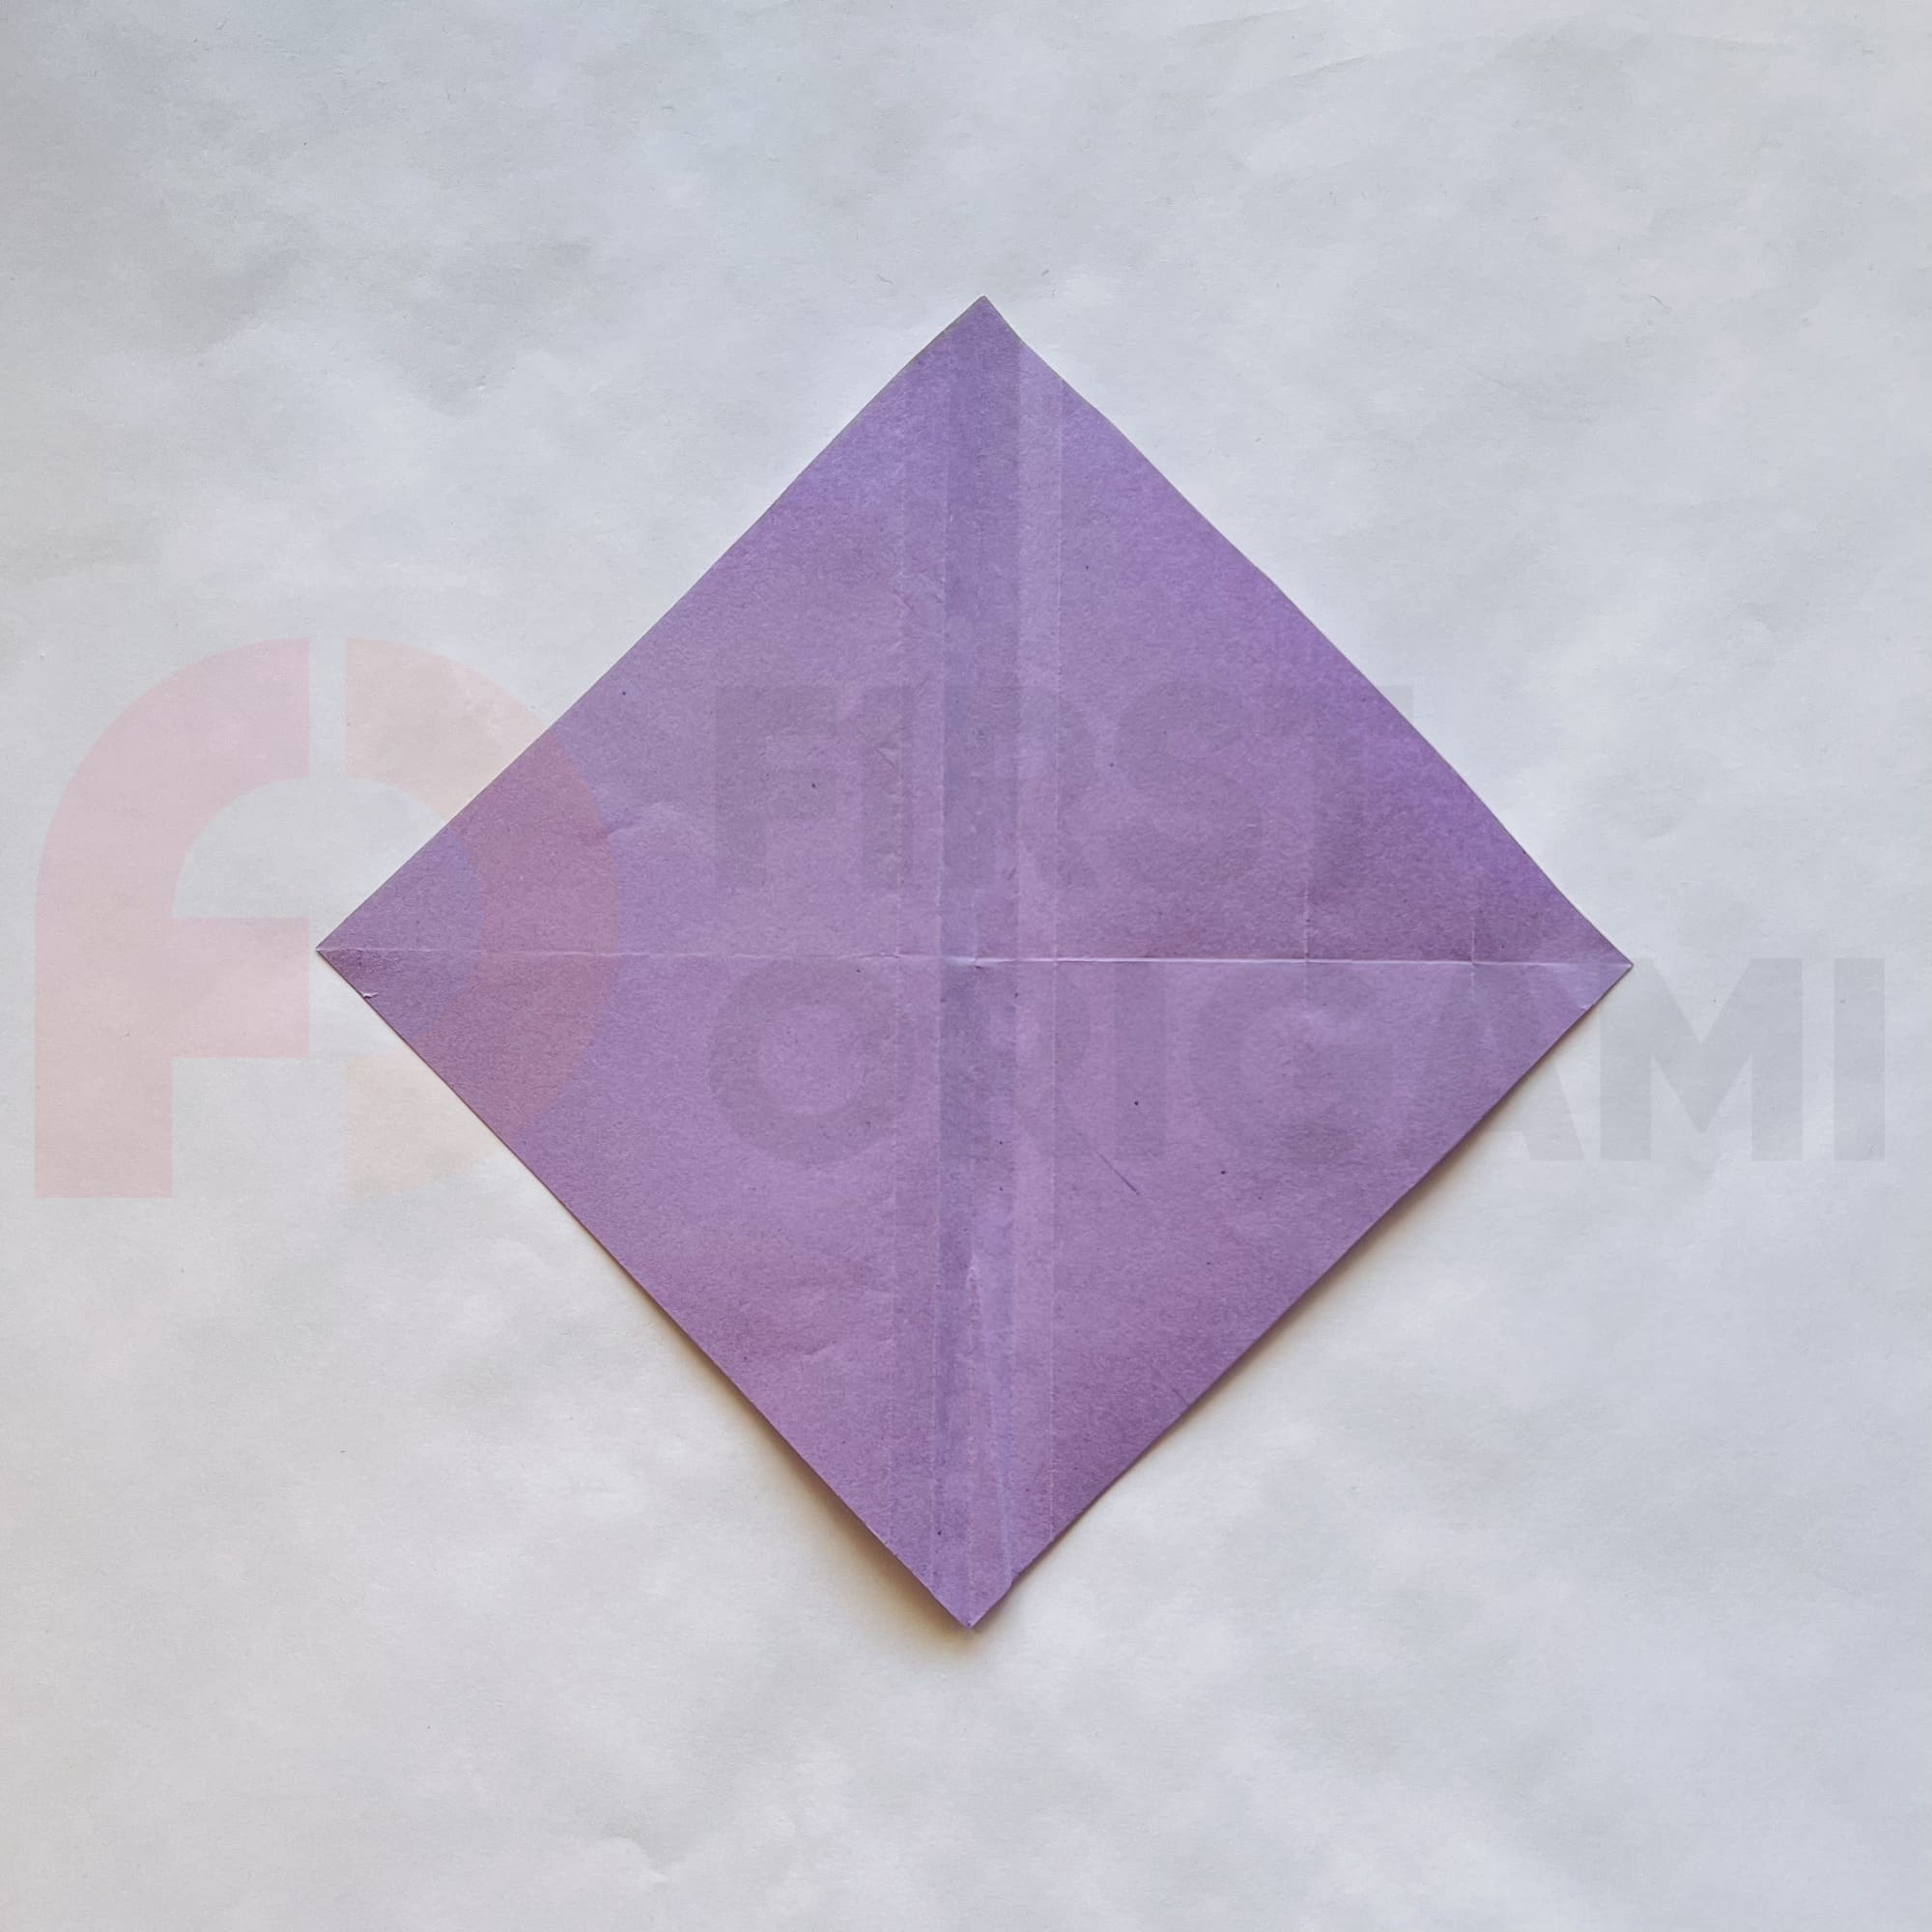
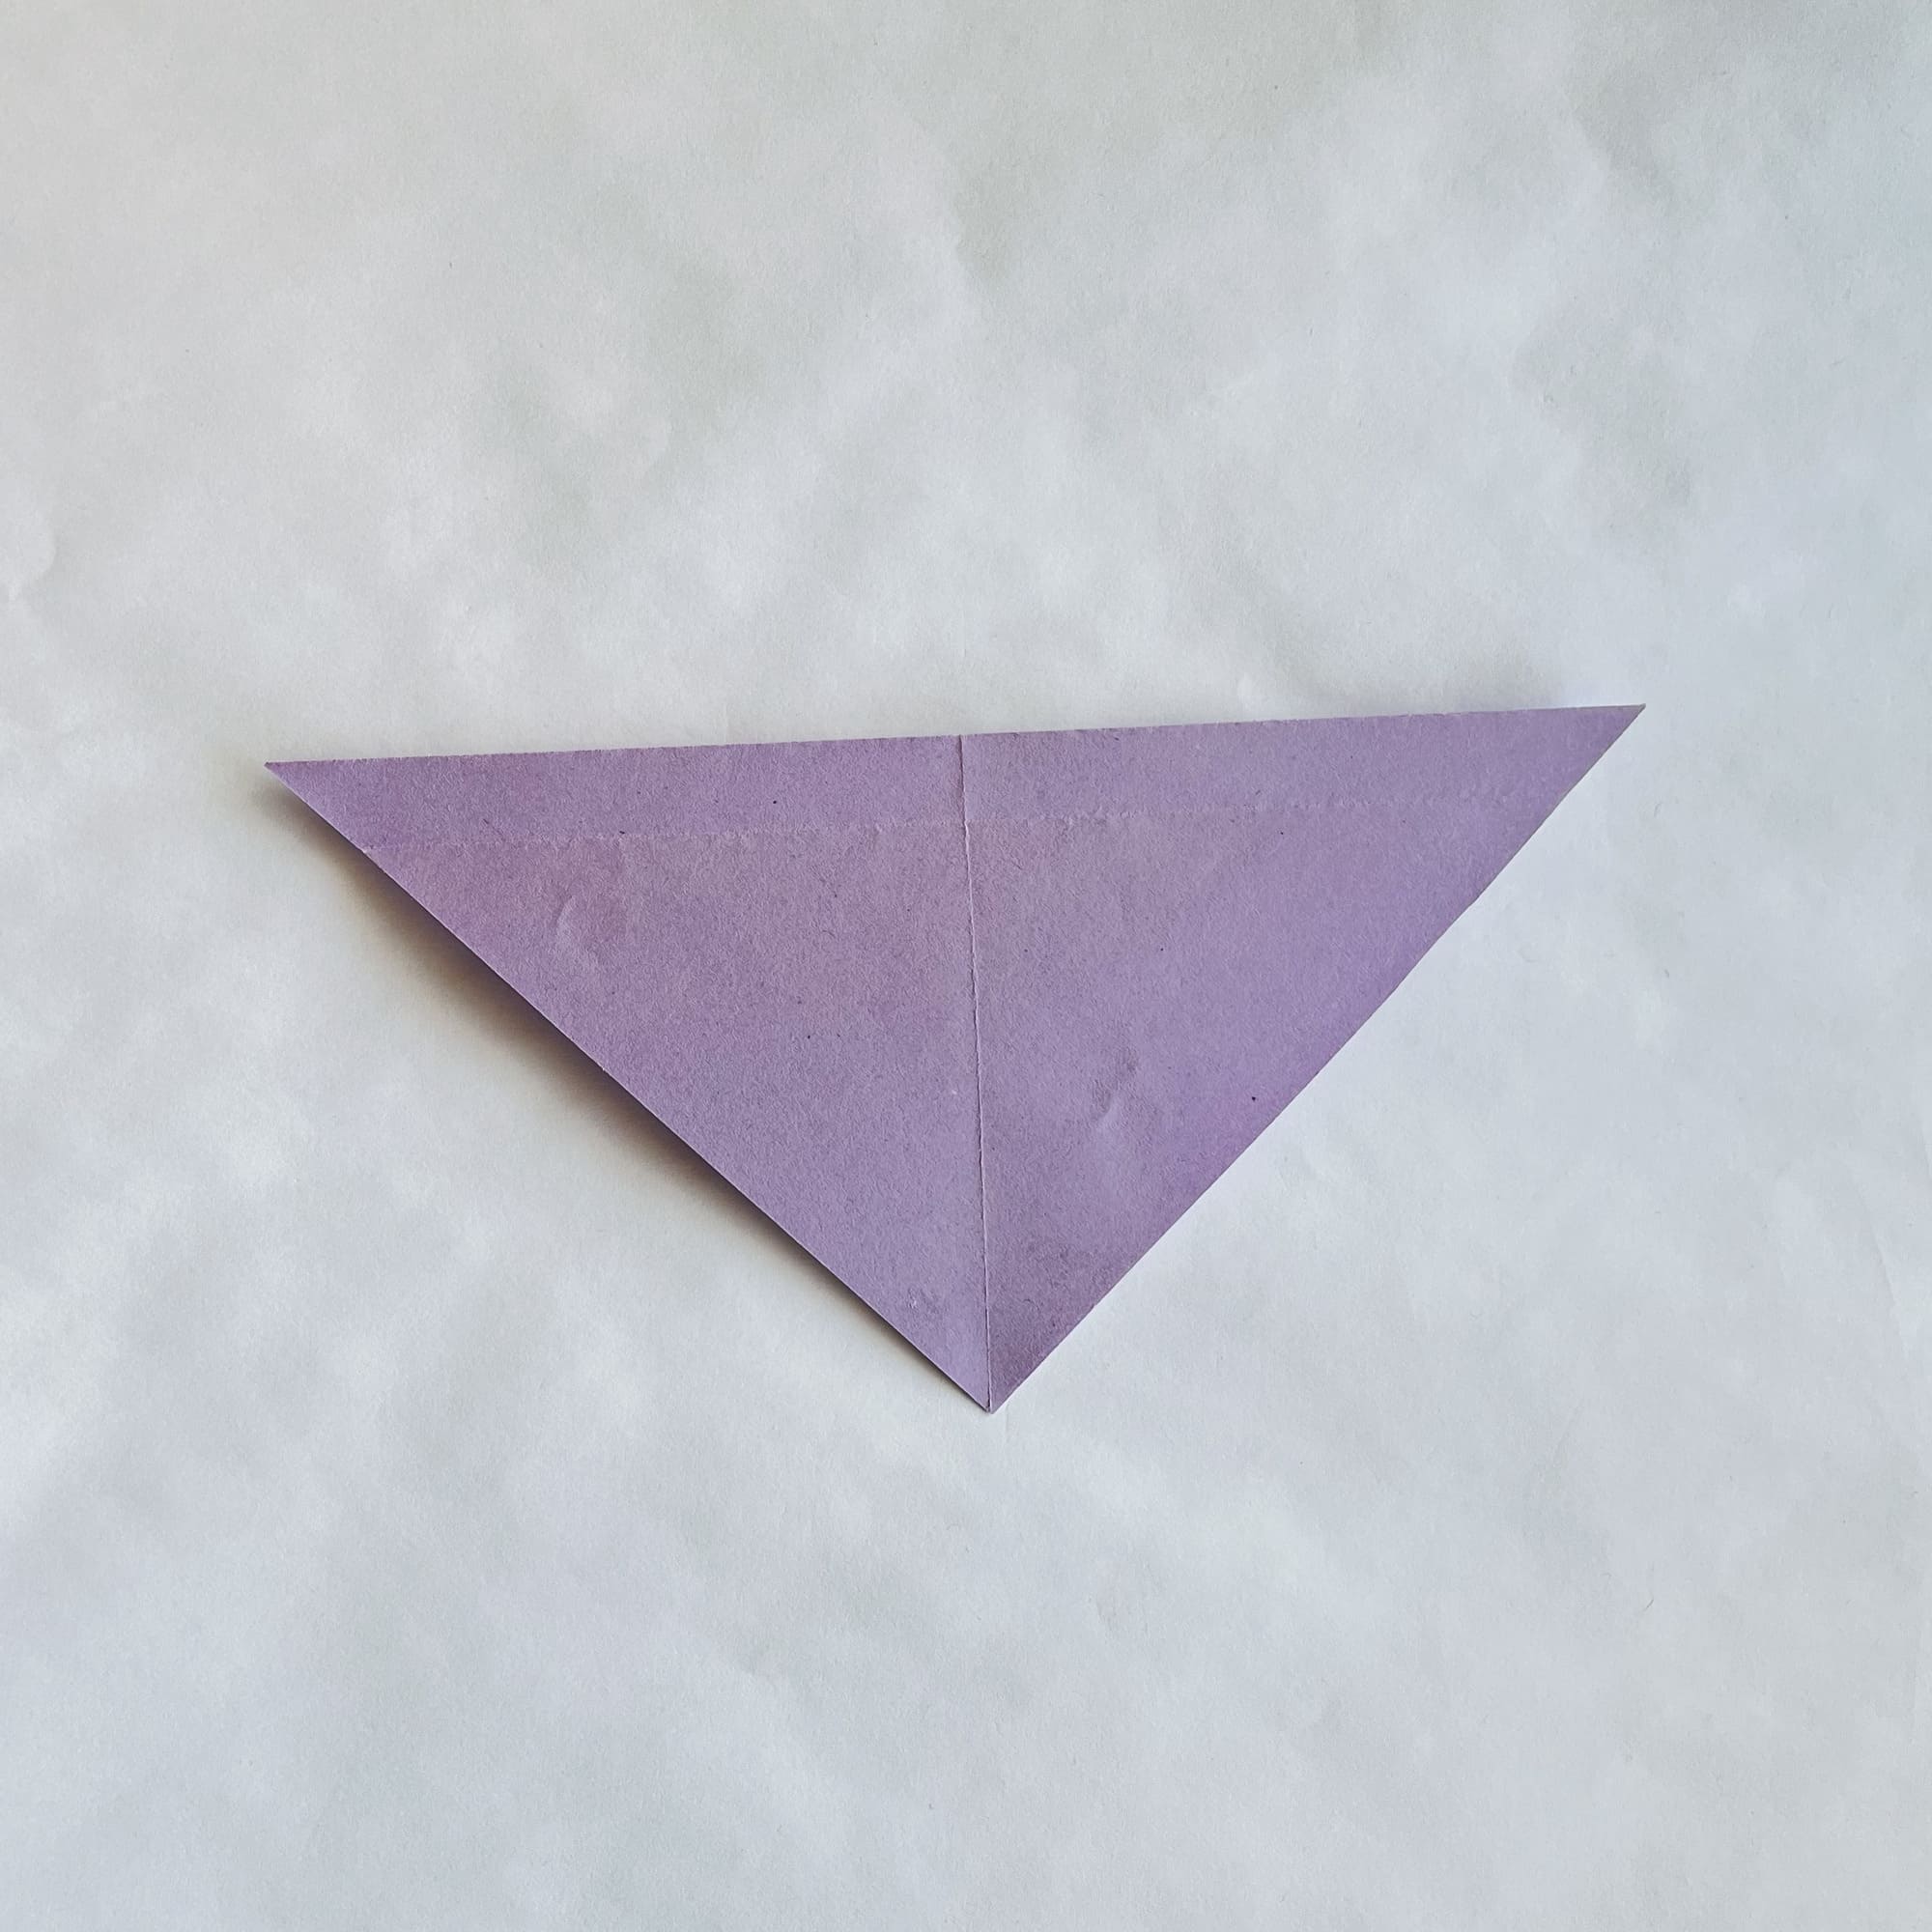
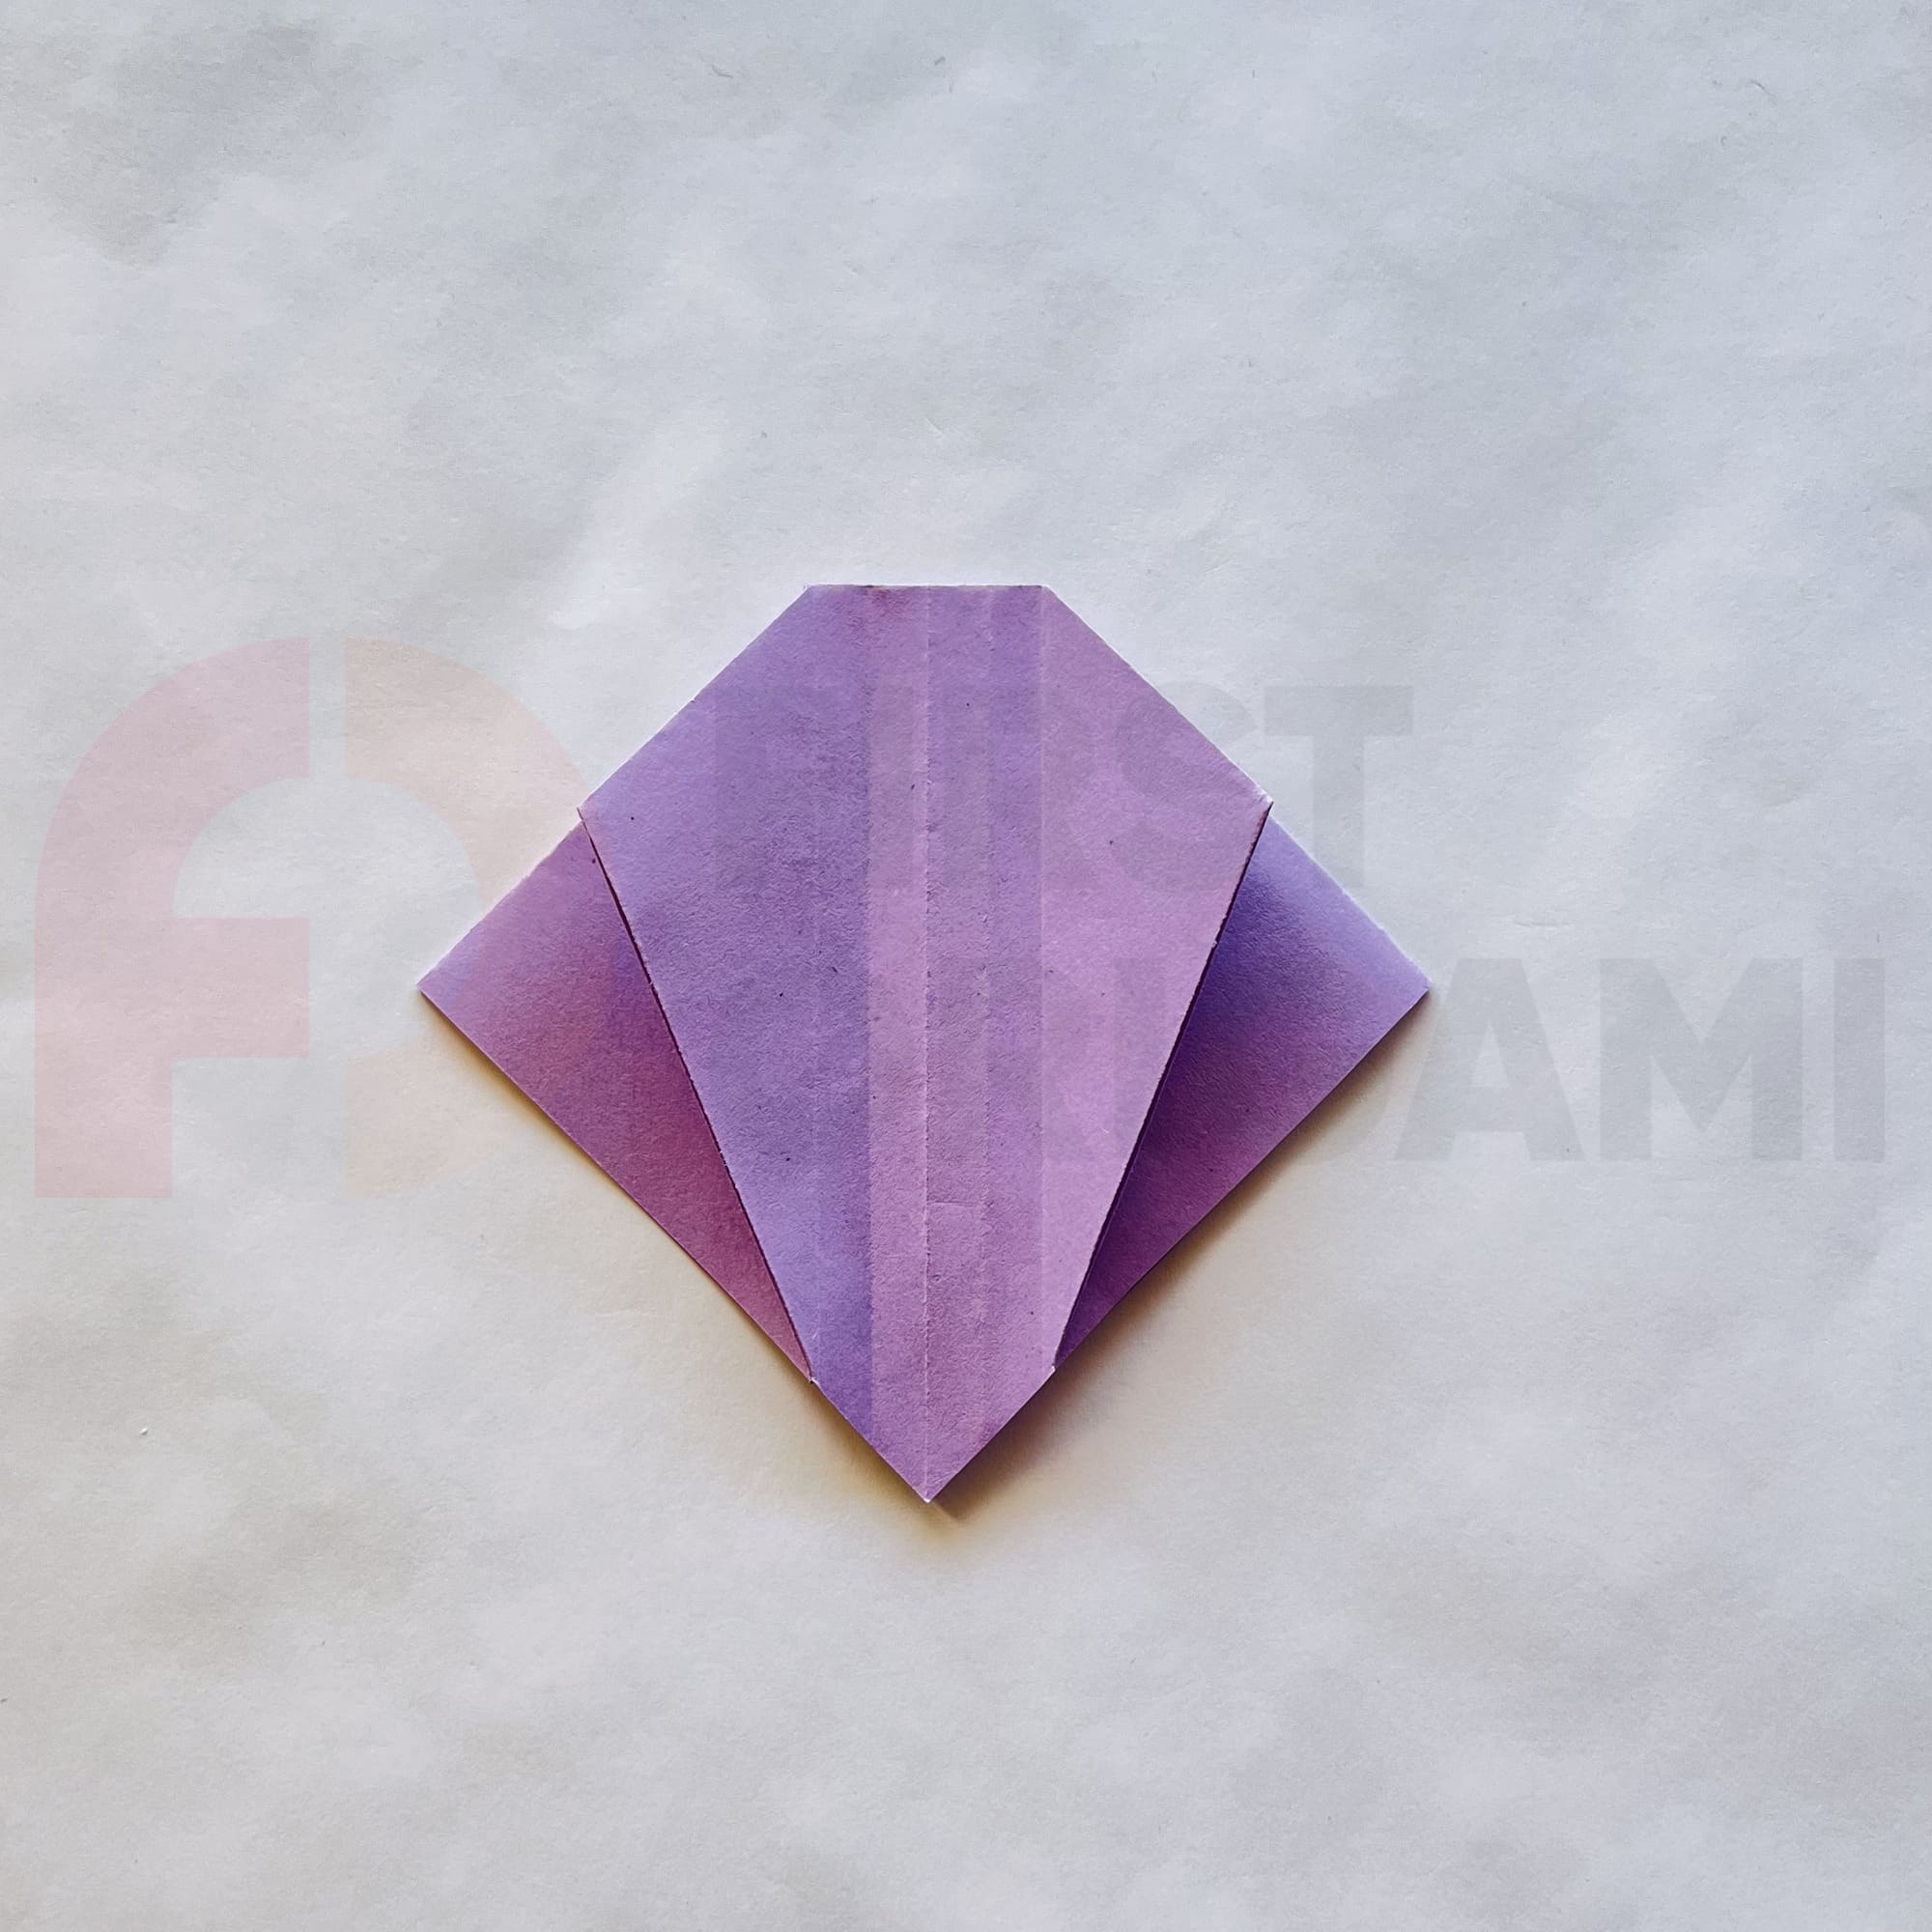
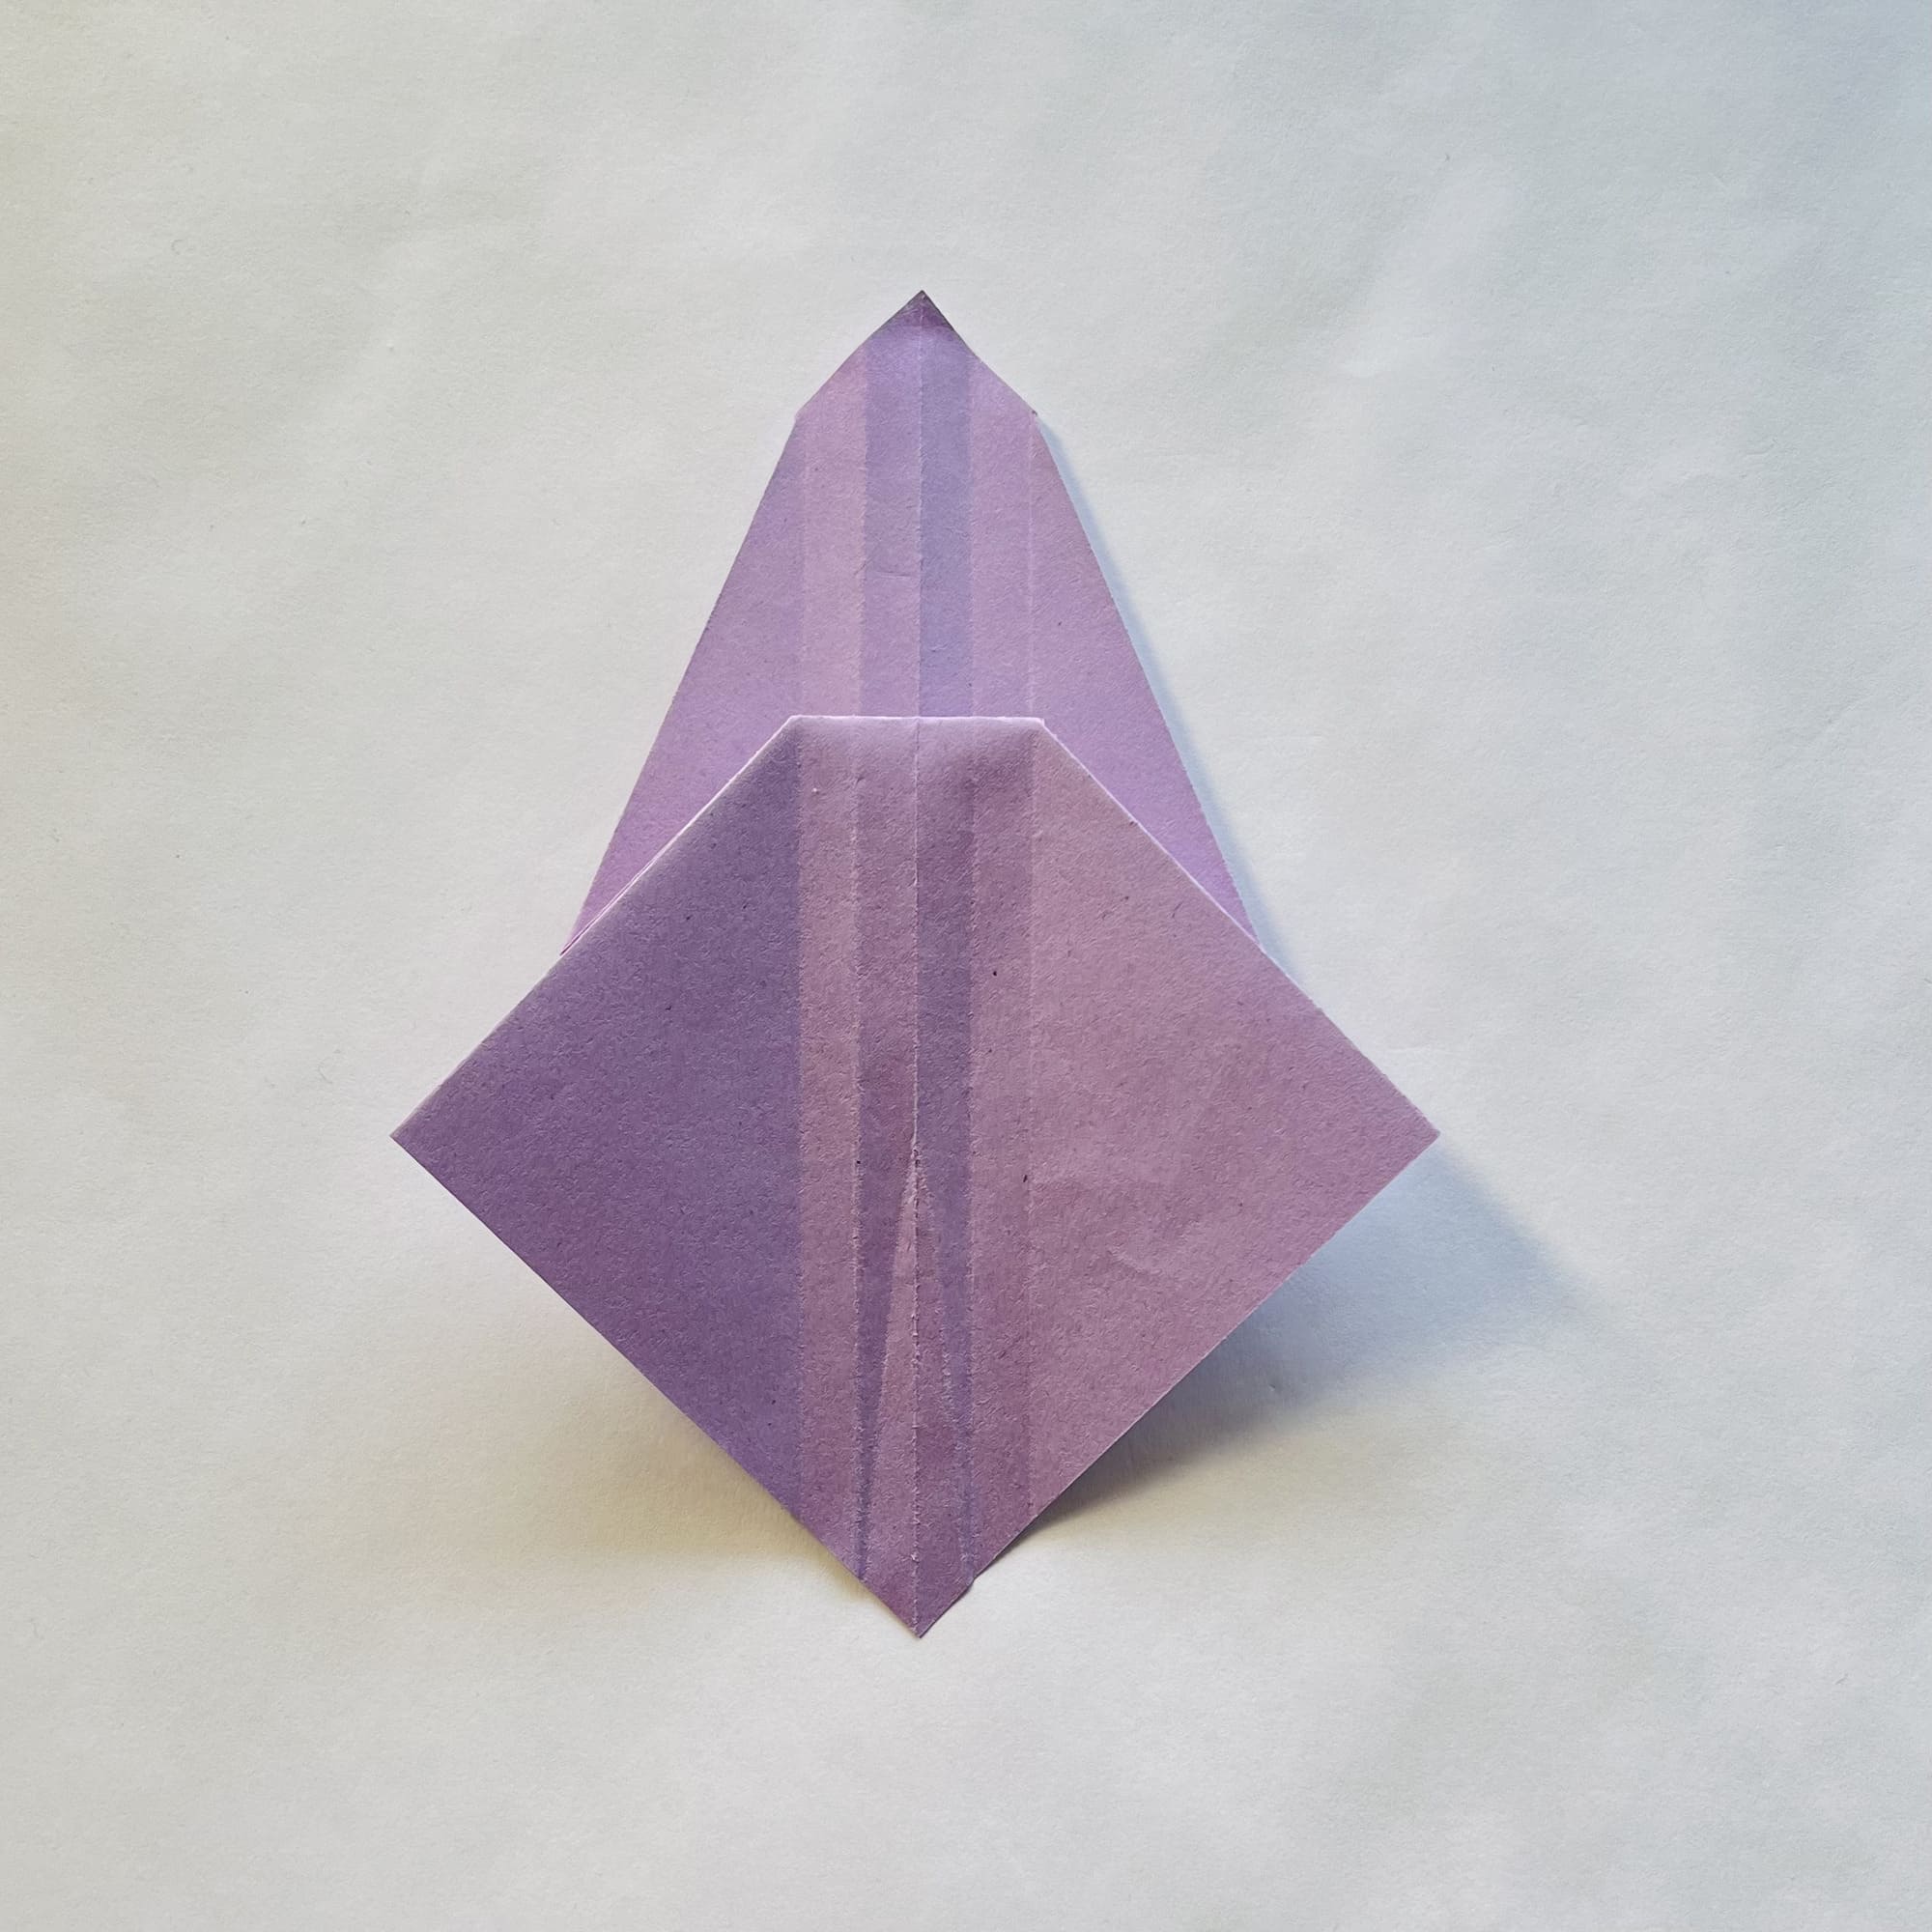
Unfold the paper completely and position it as shown in the photo.

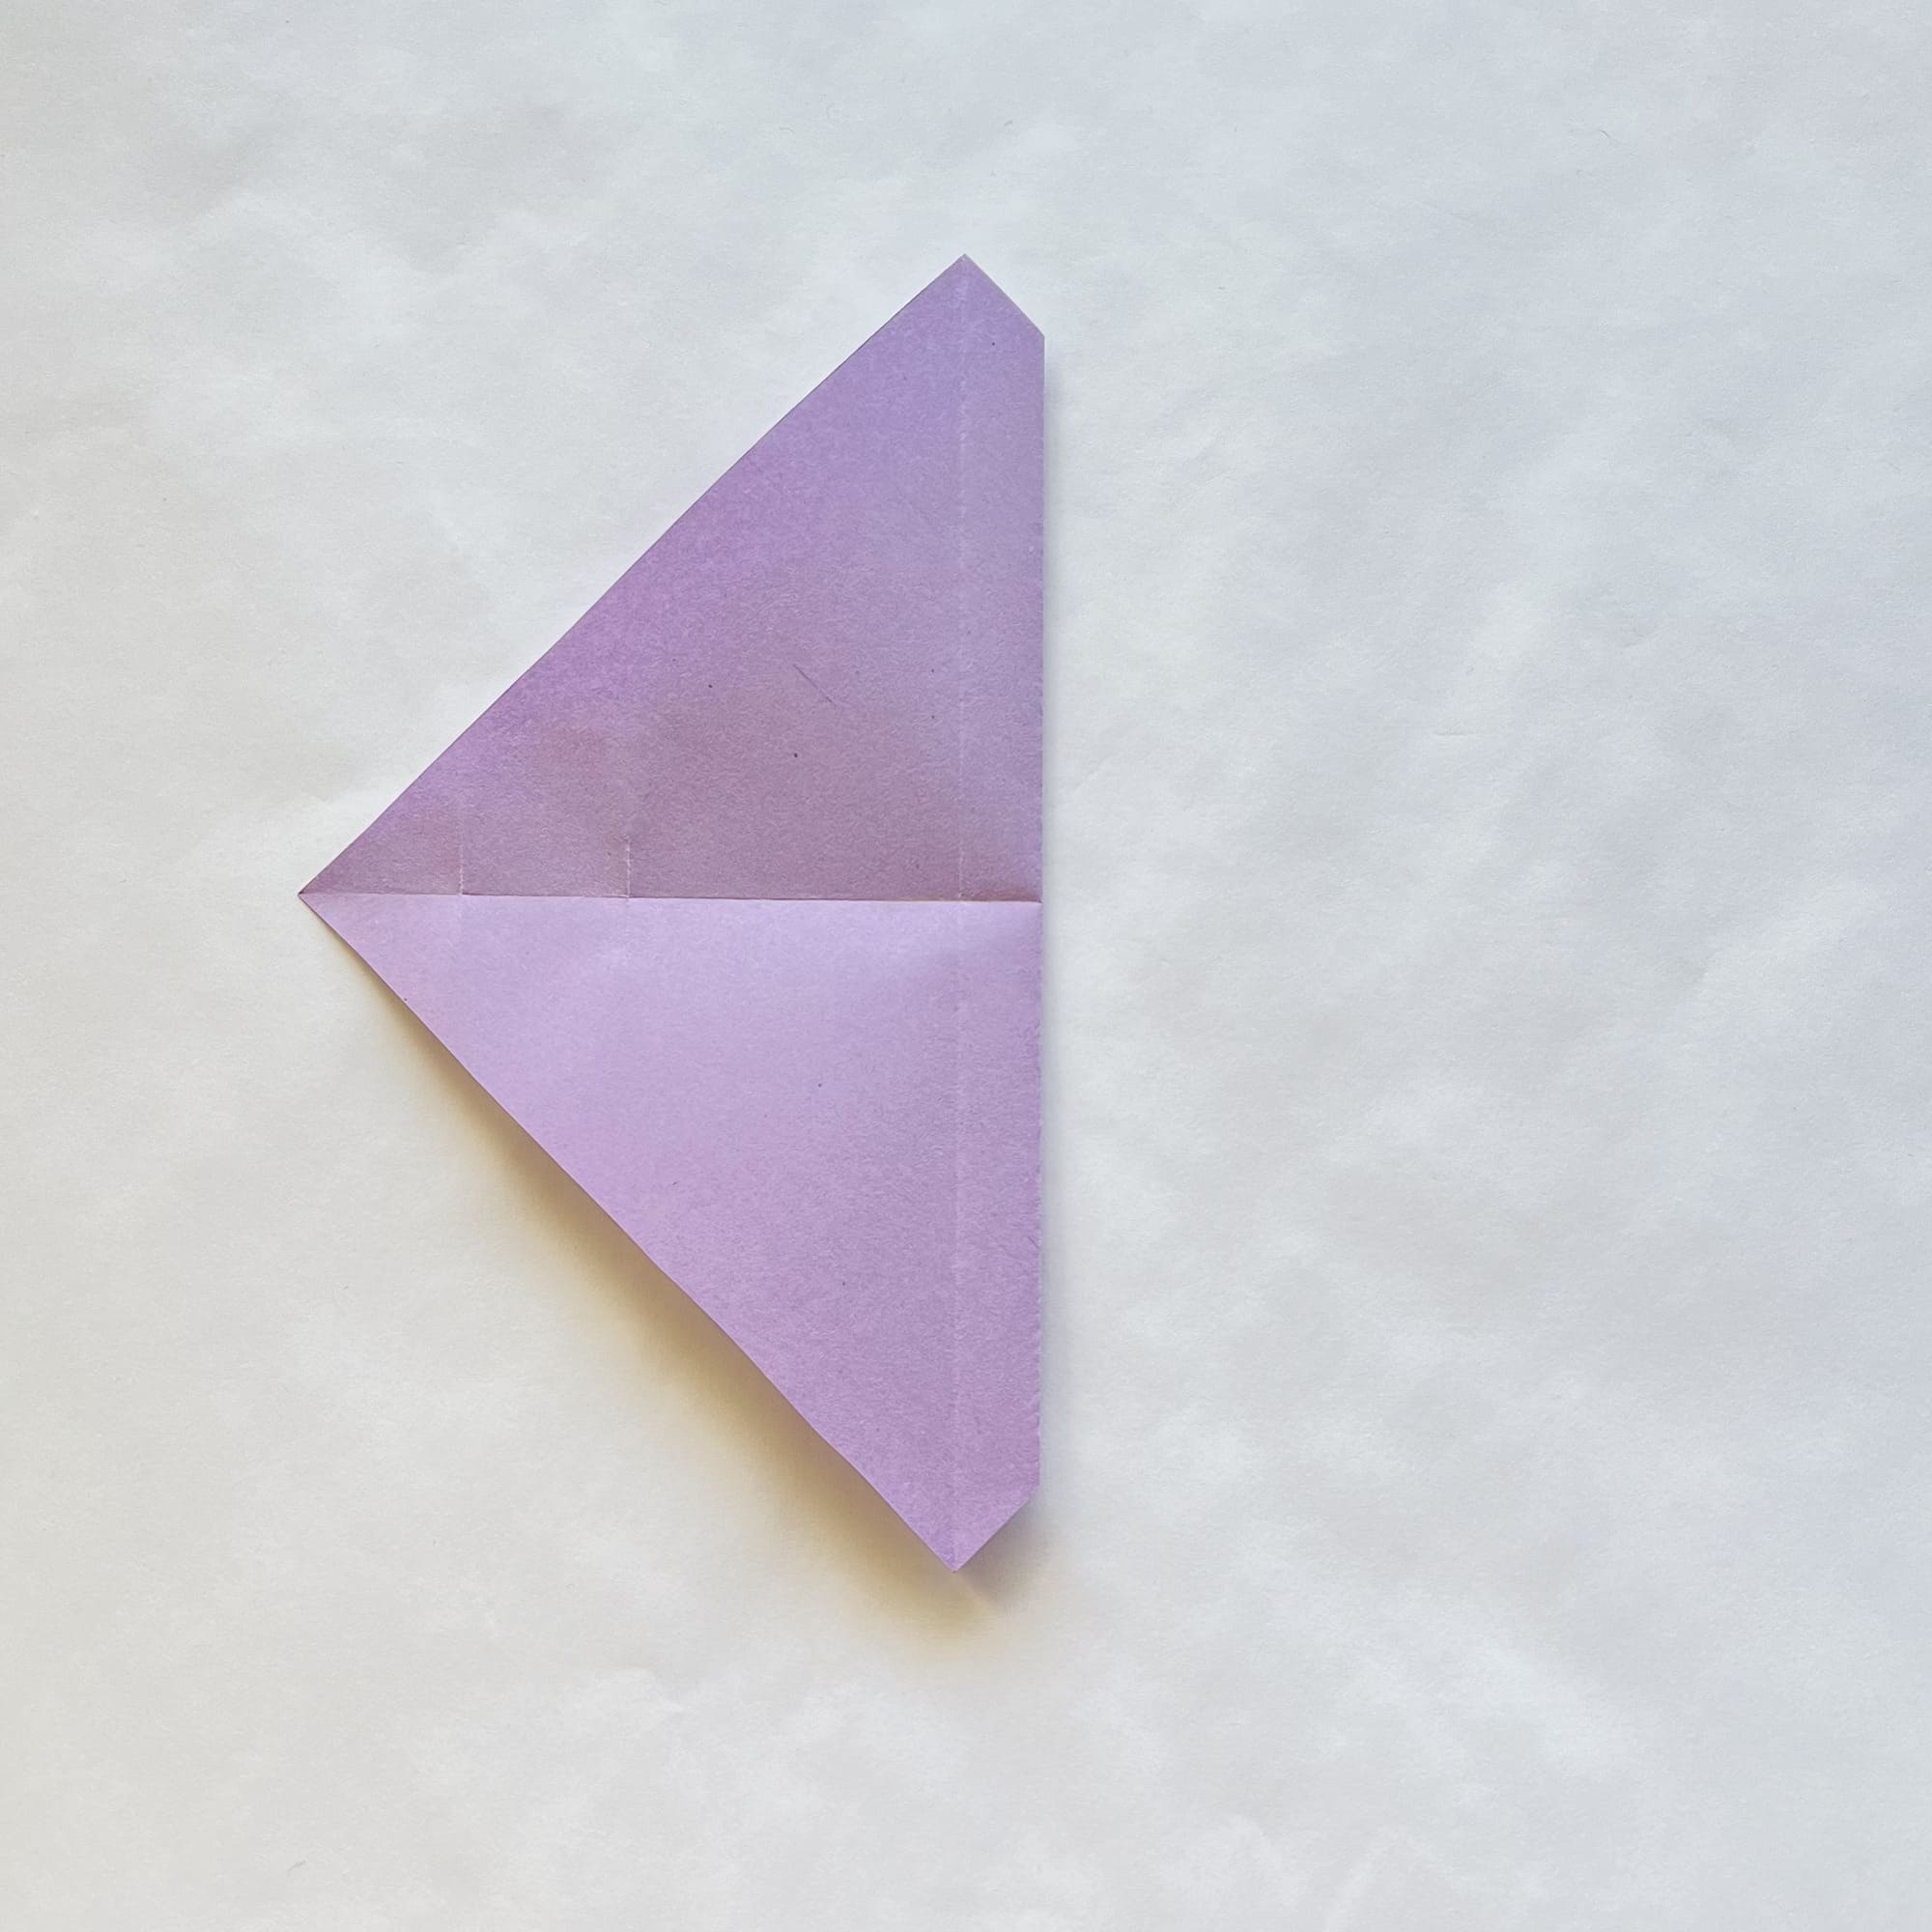
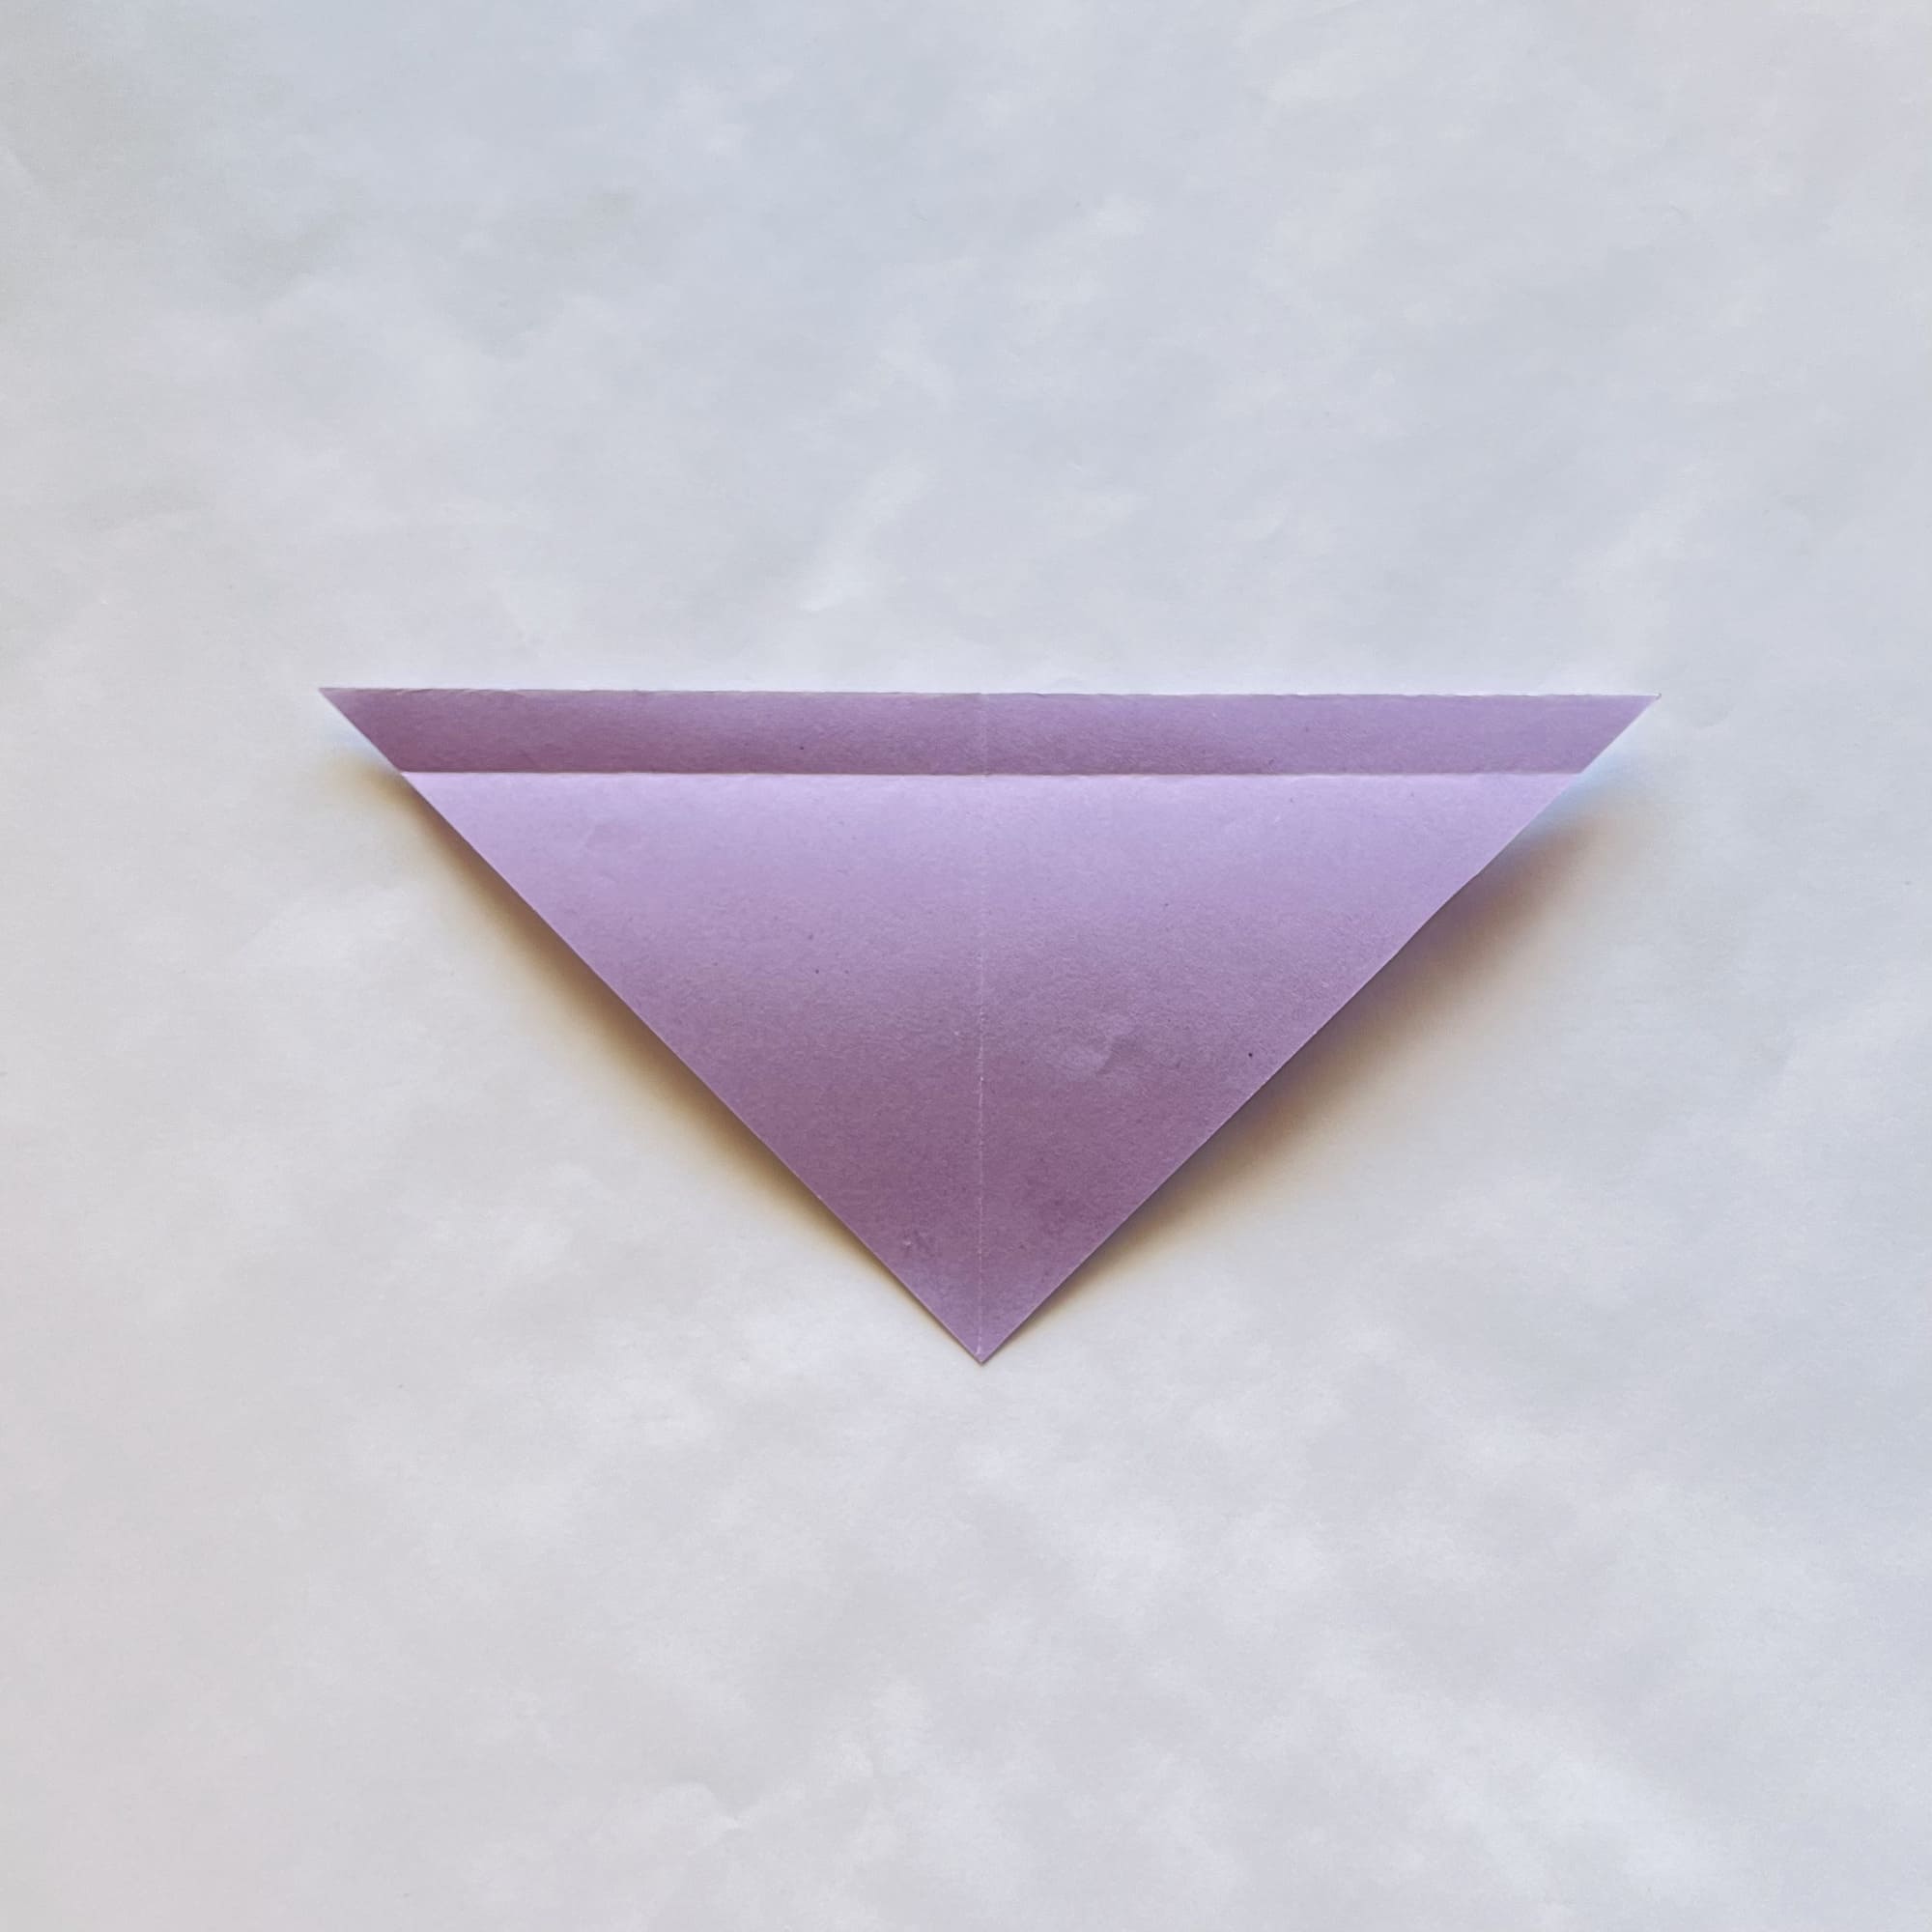
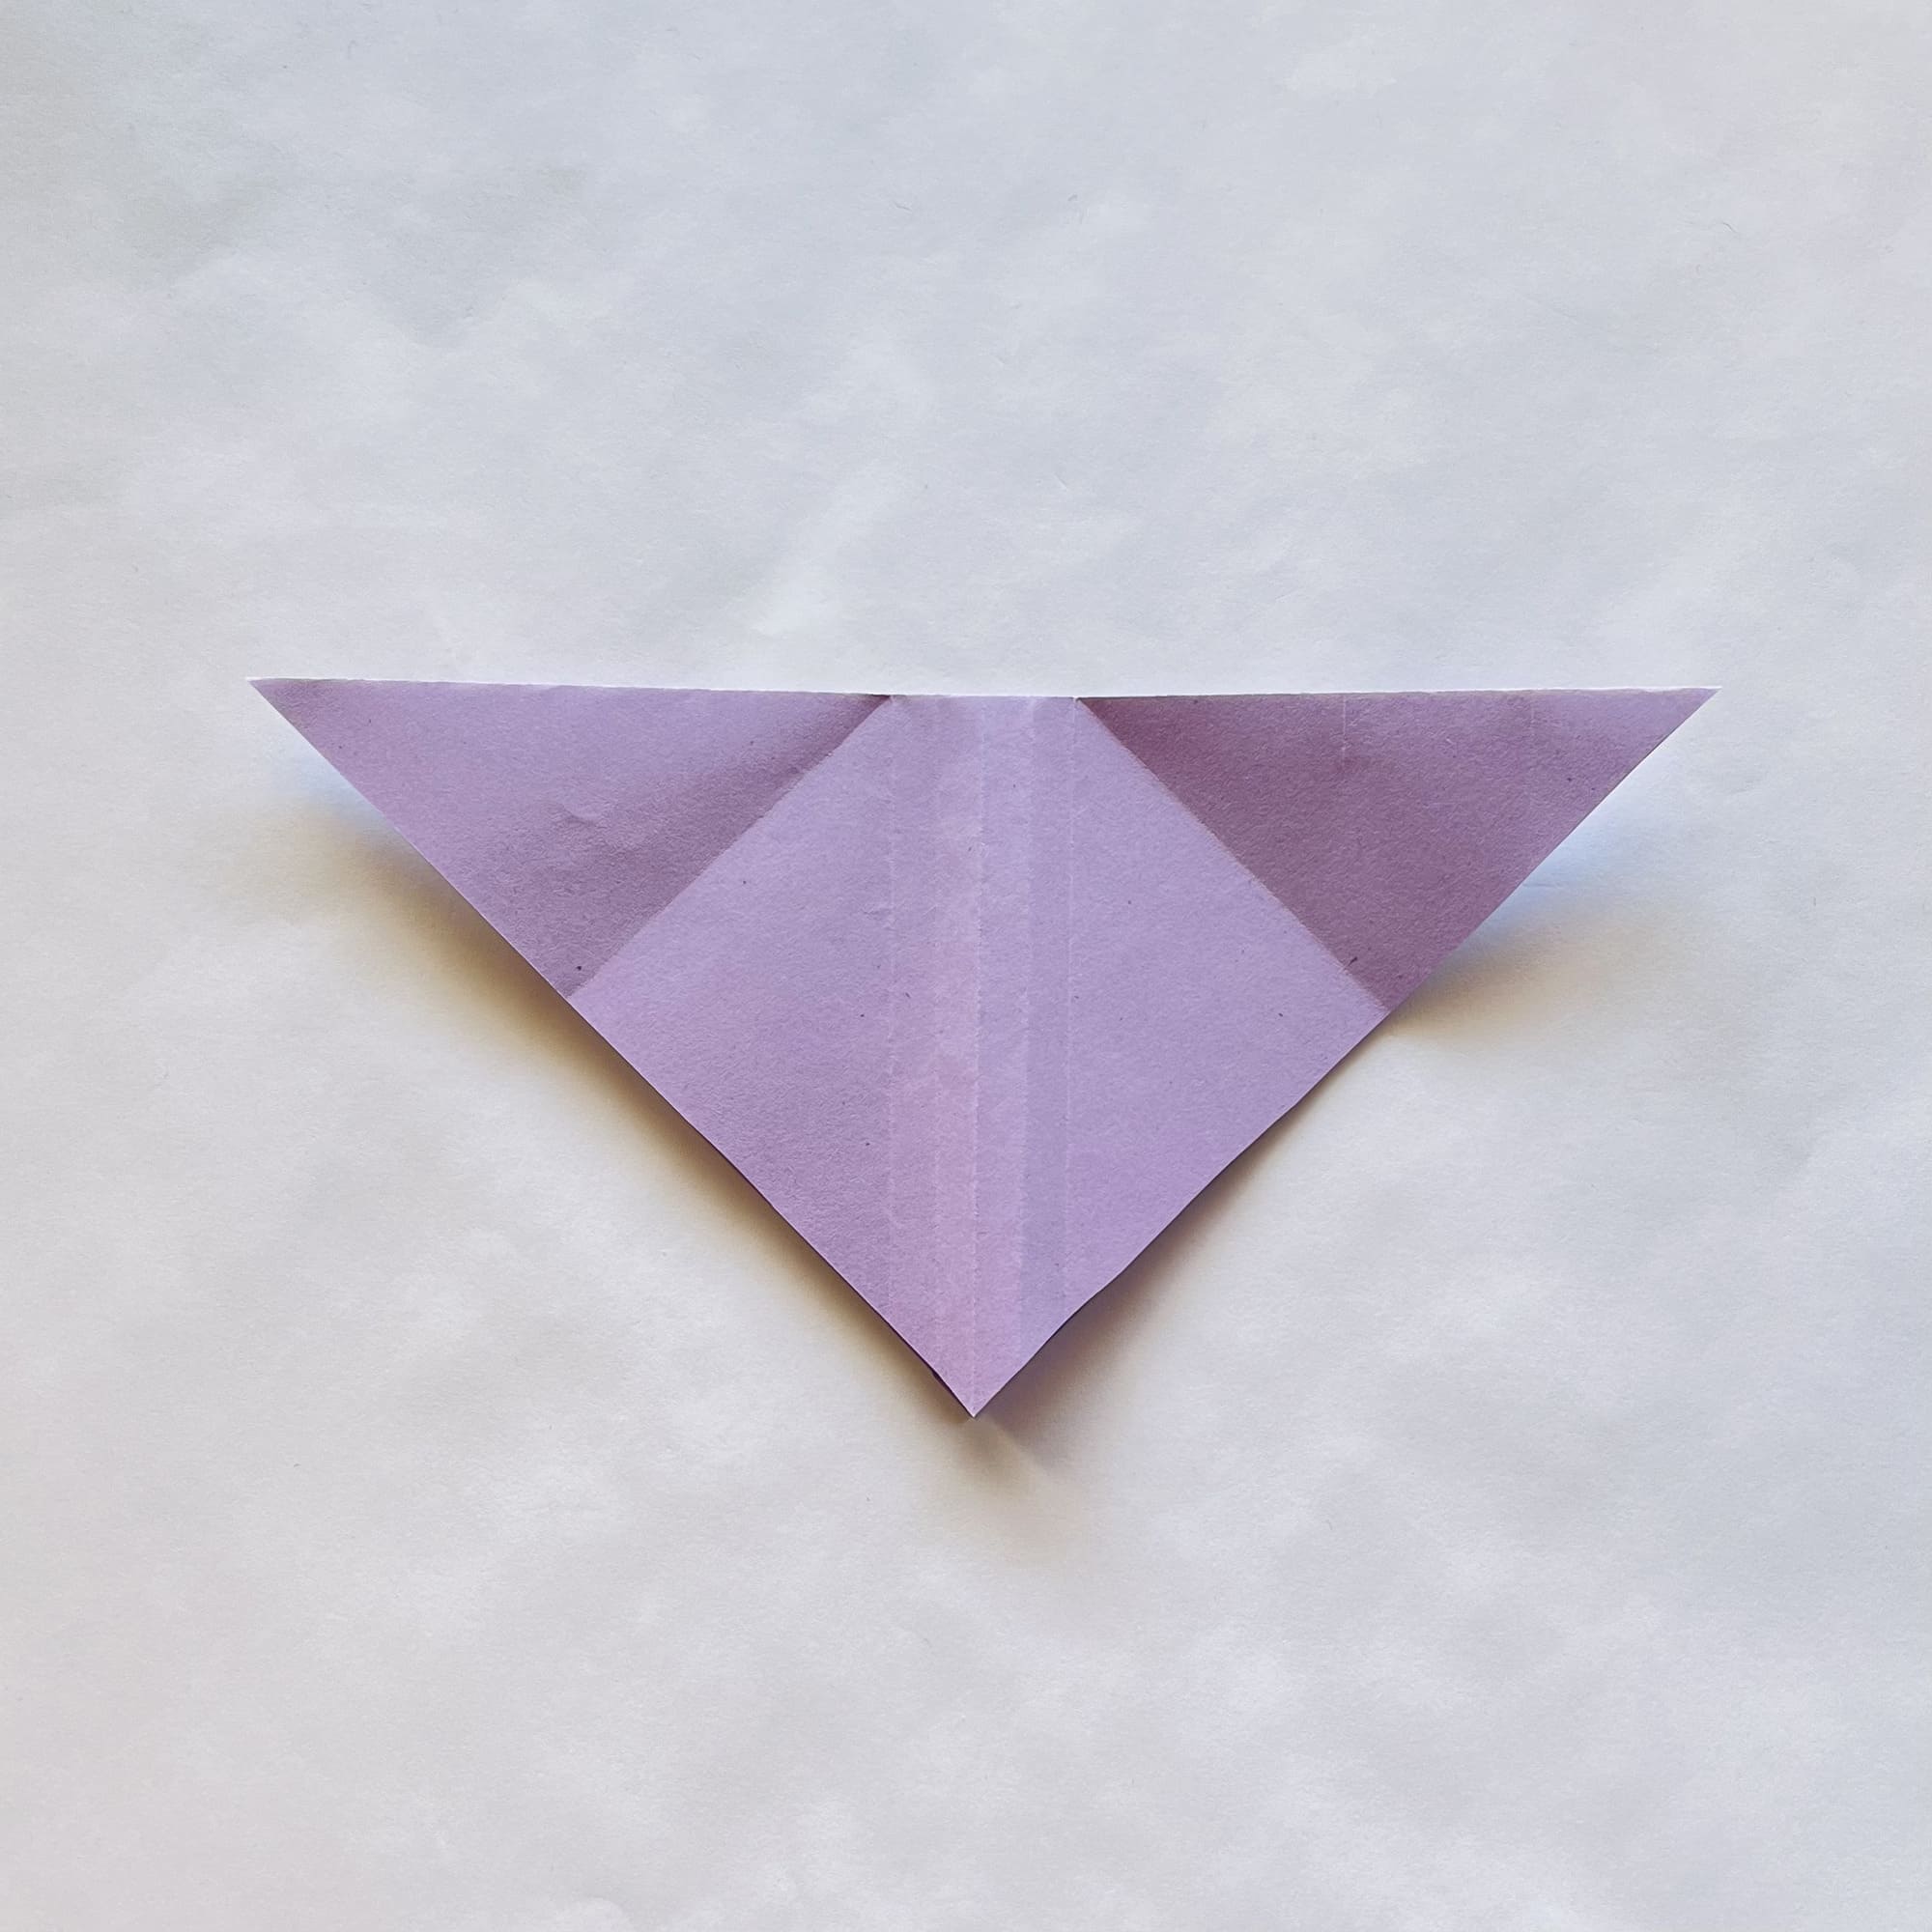
Fold in half lowering the top down.
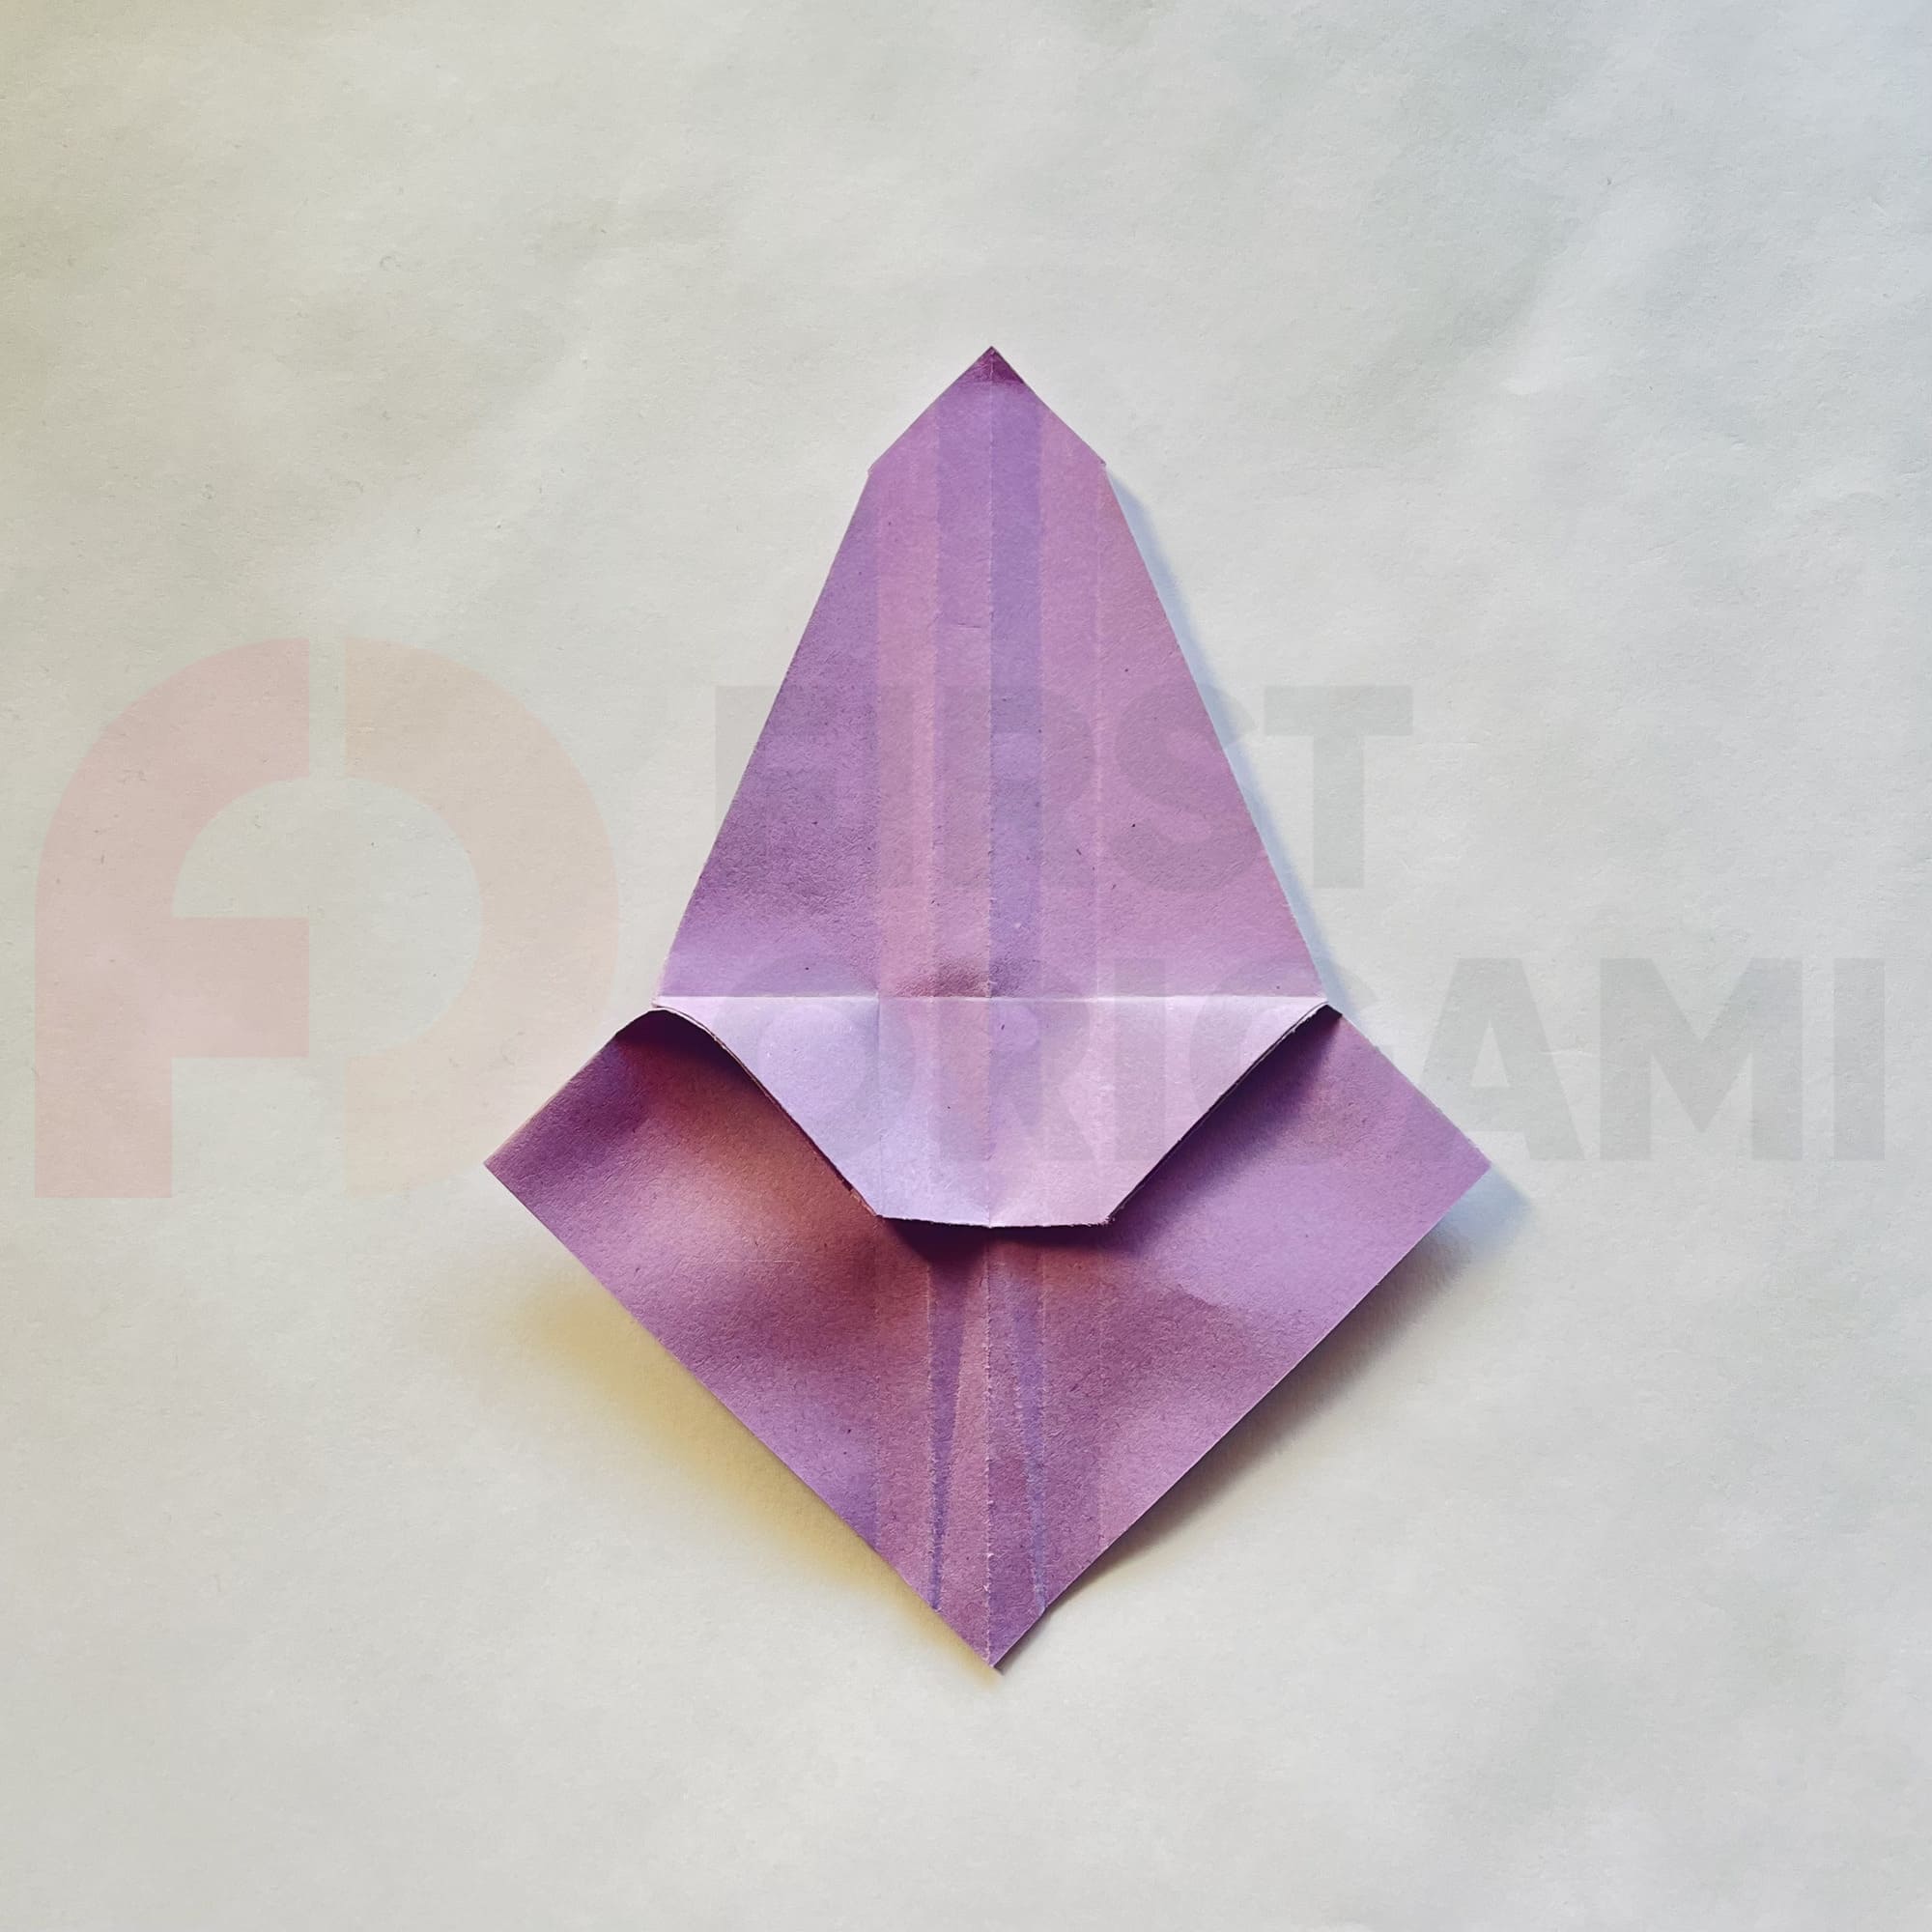
Fold the side corners down one by one, crease the fold lines, and unfold.
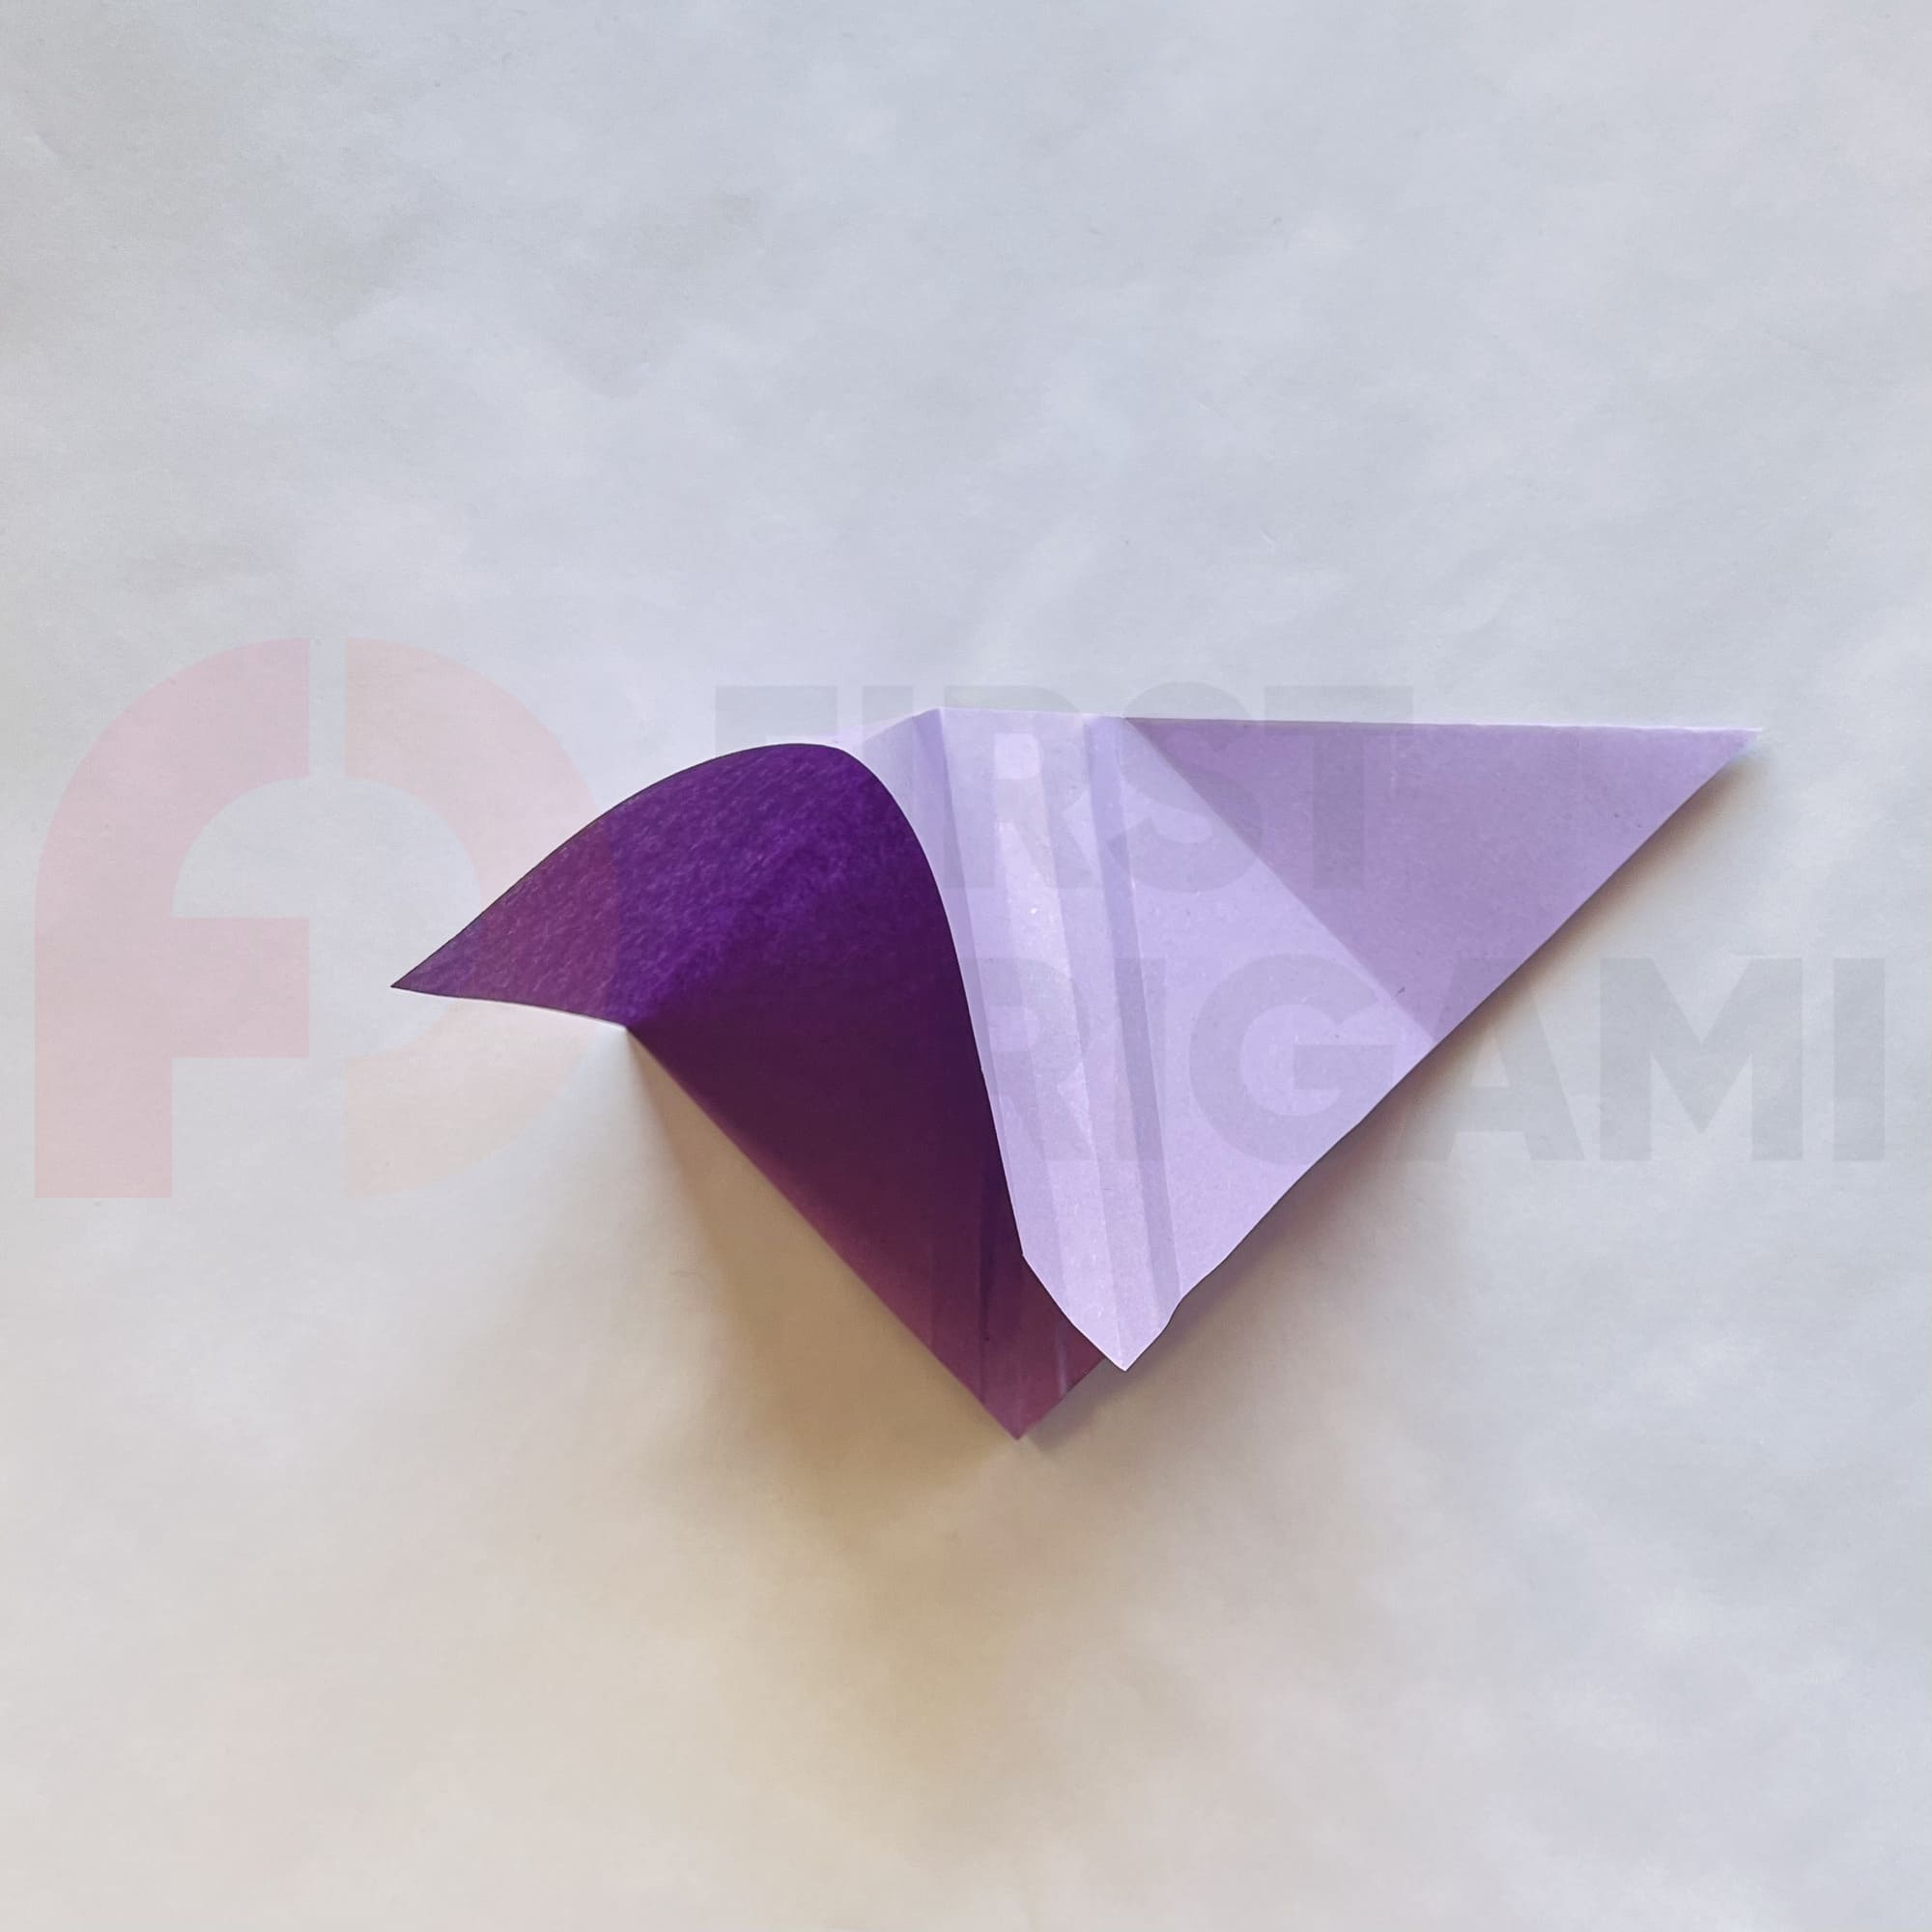
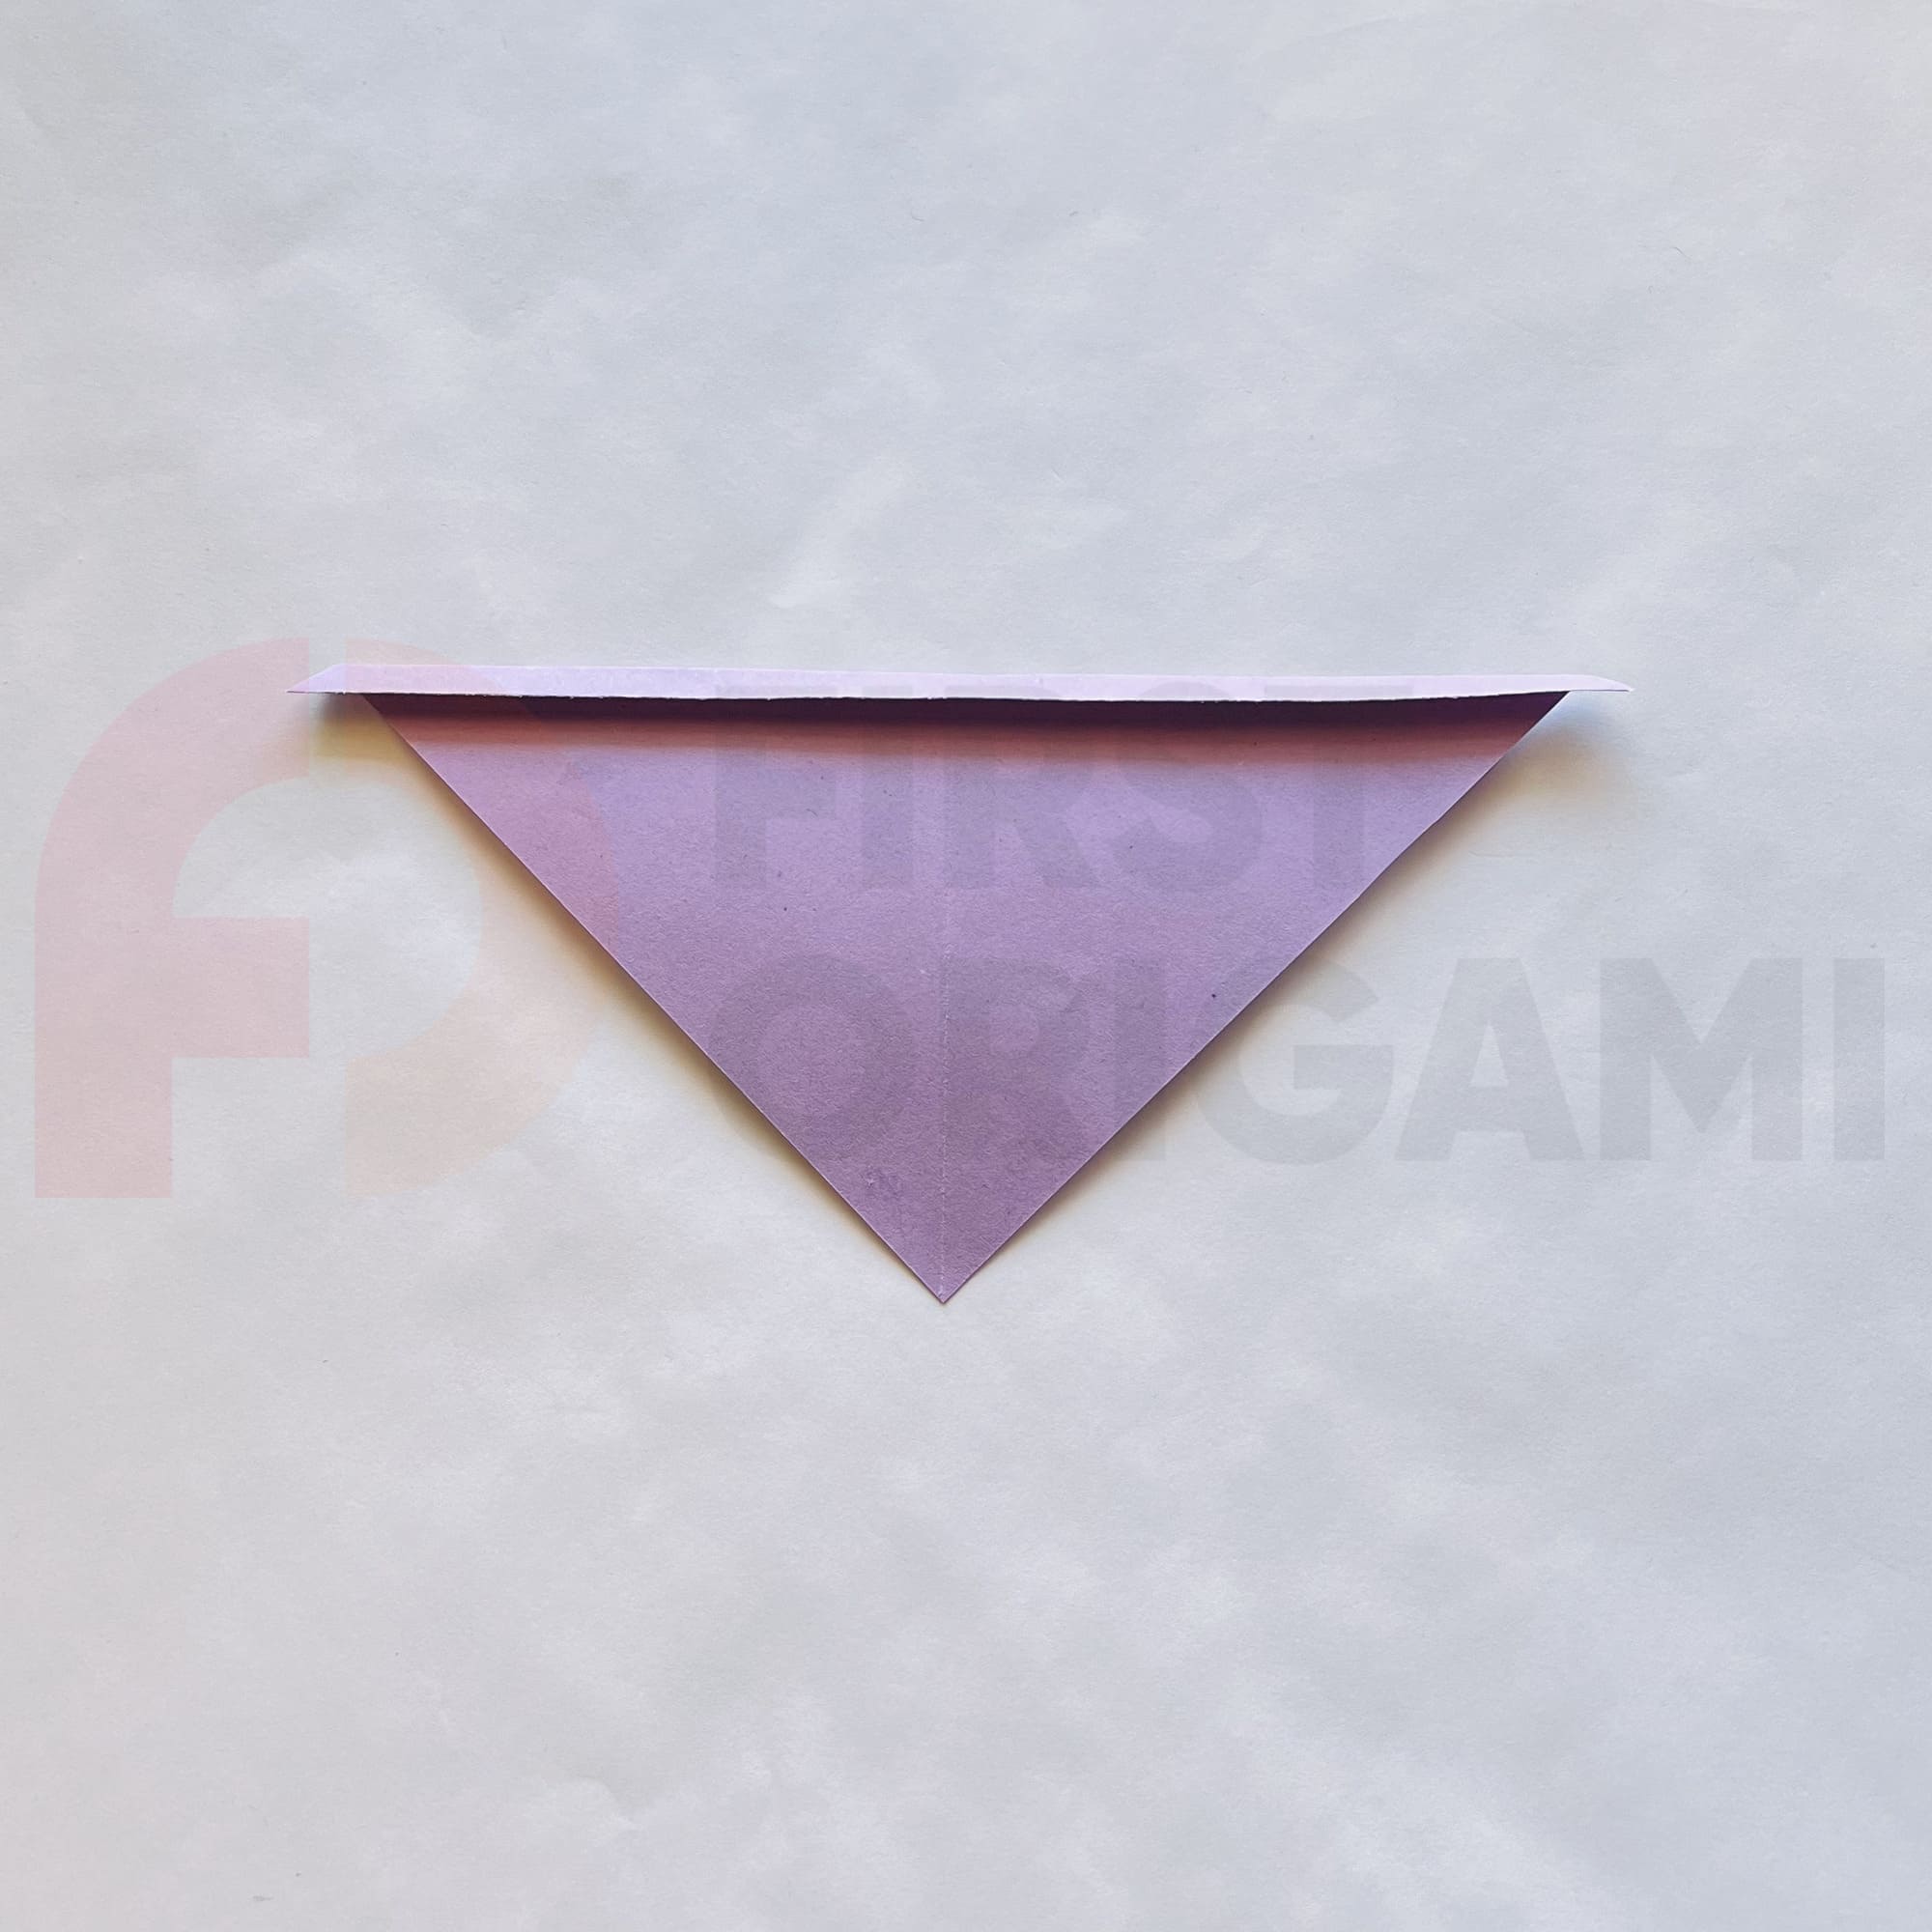
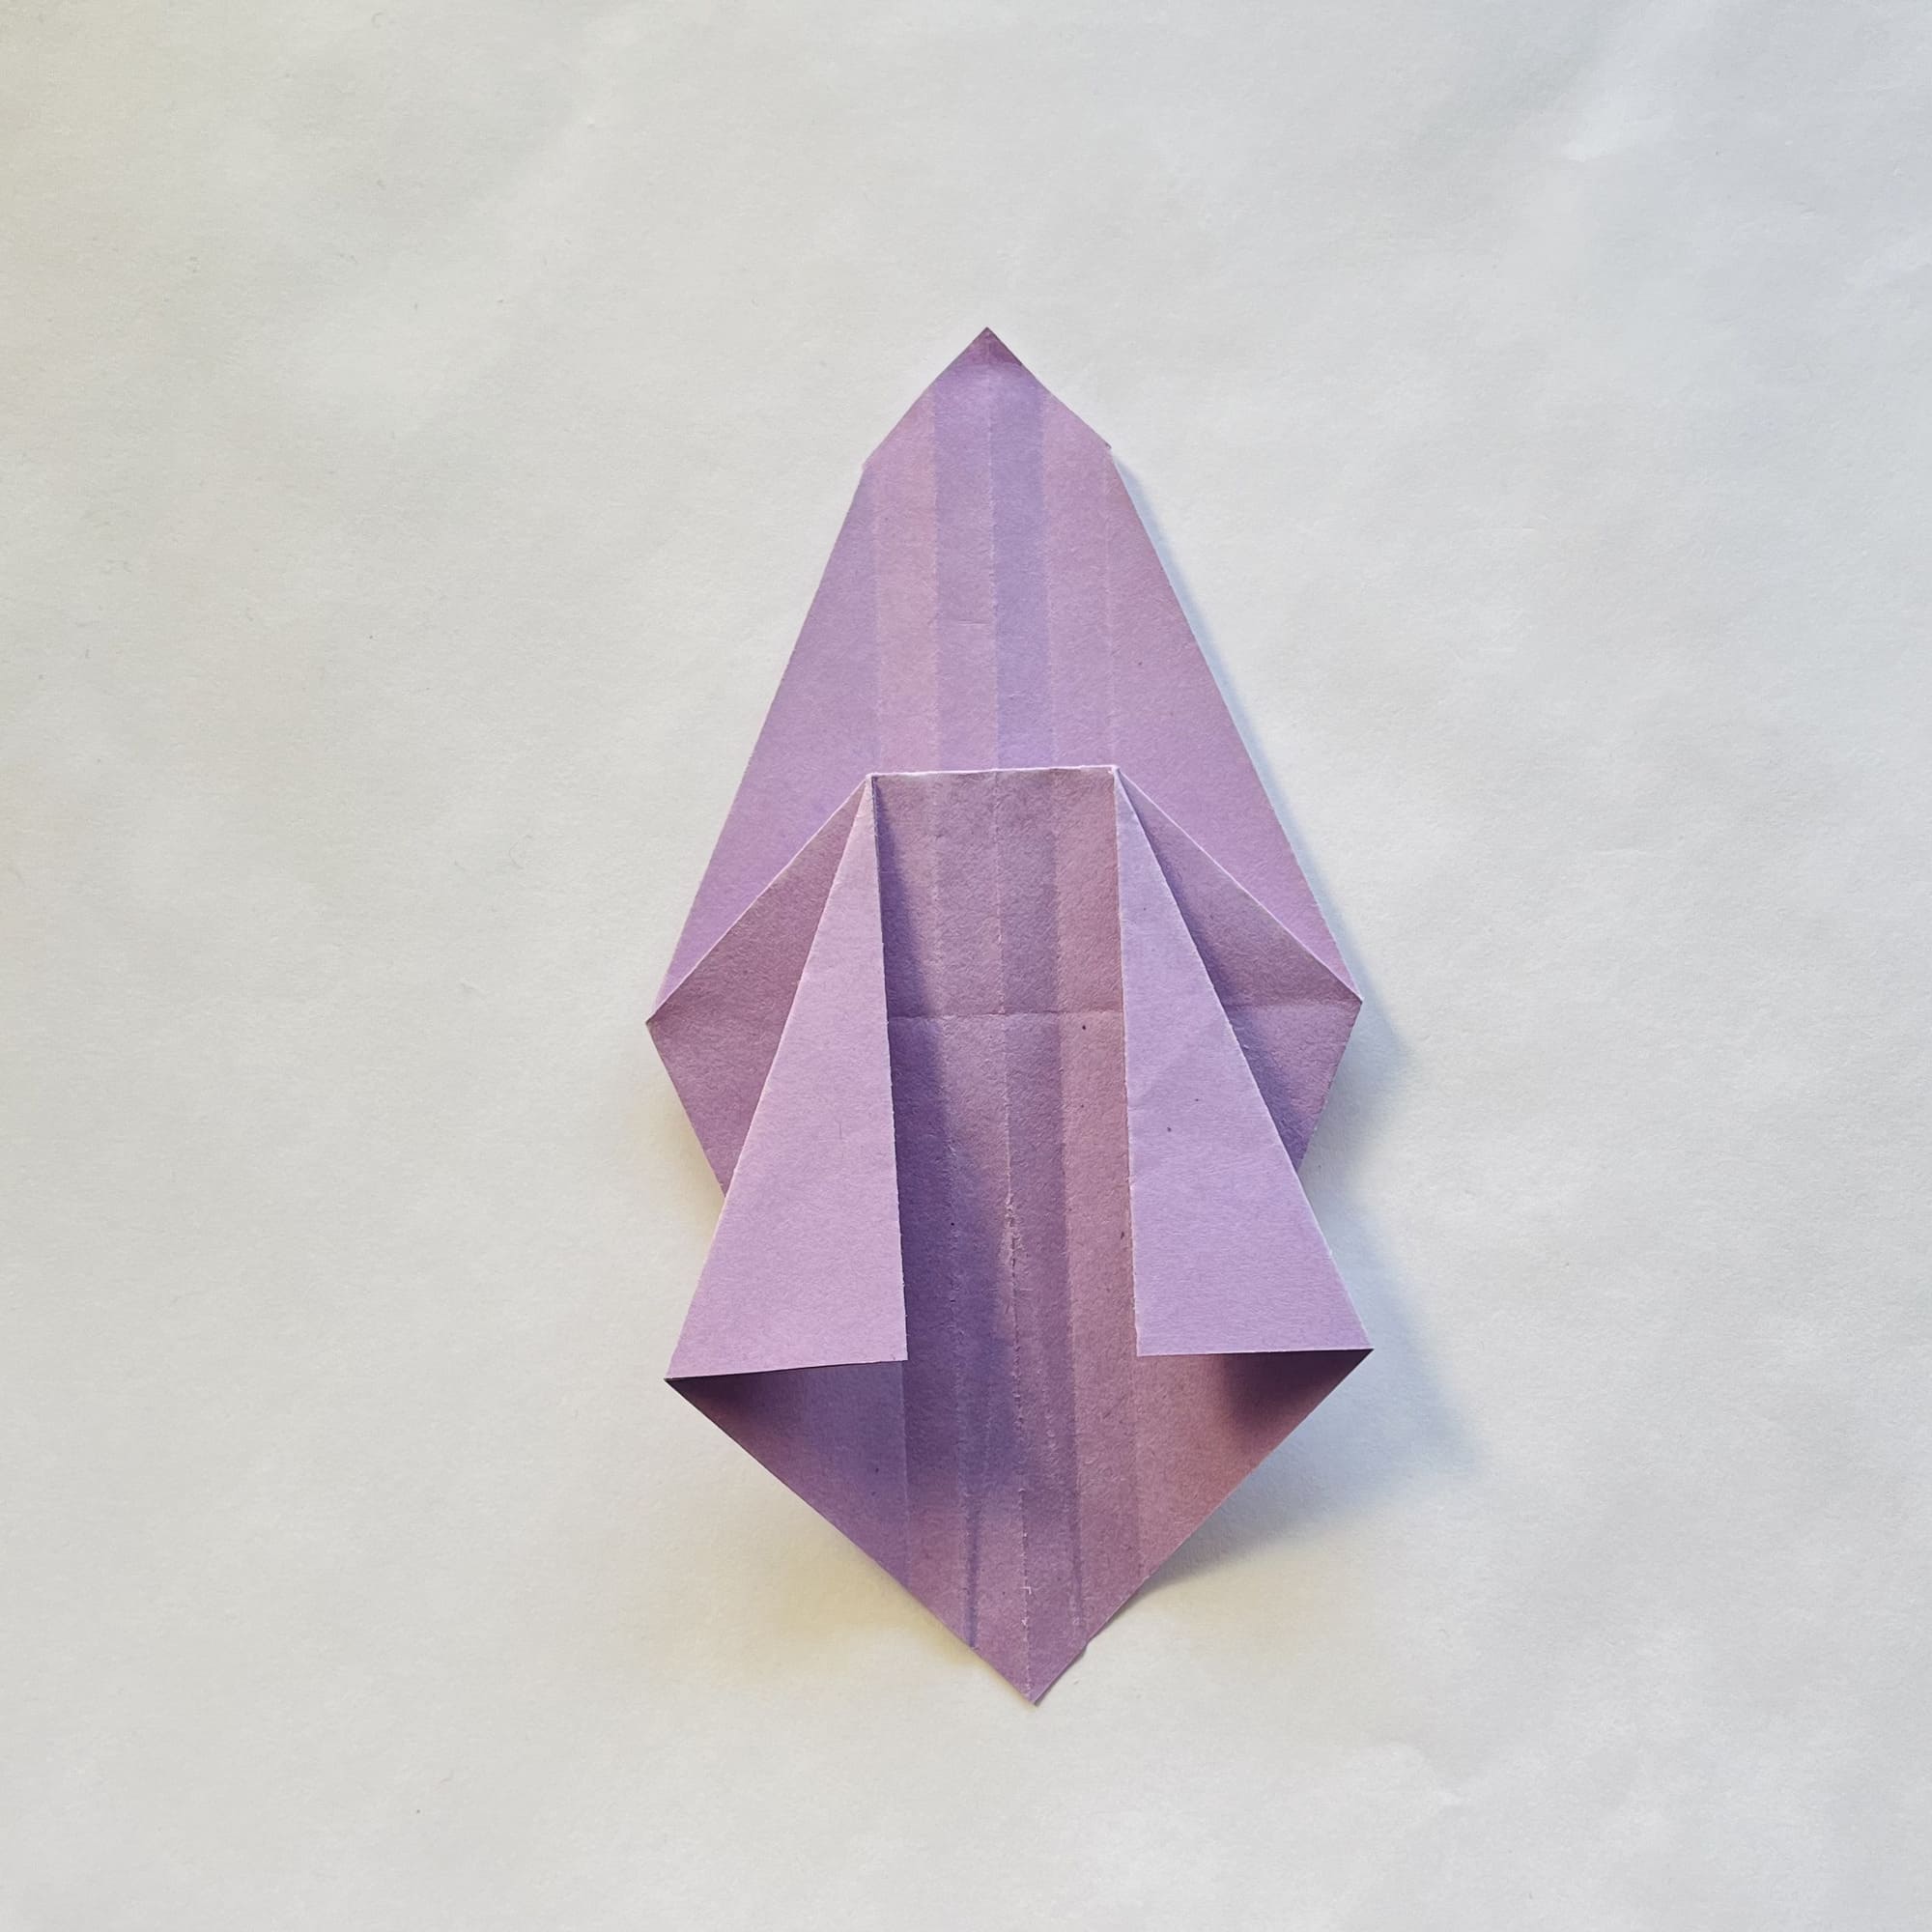
Open the paper slightly on the left side and fold it accordion-style inward.
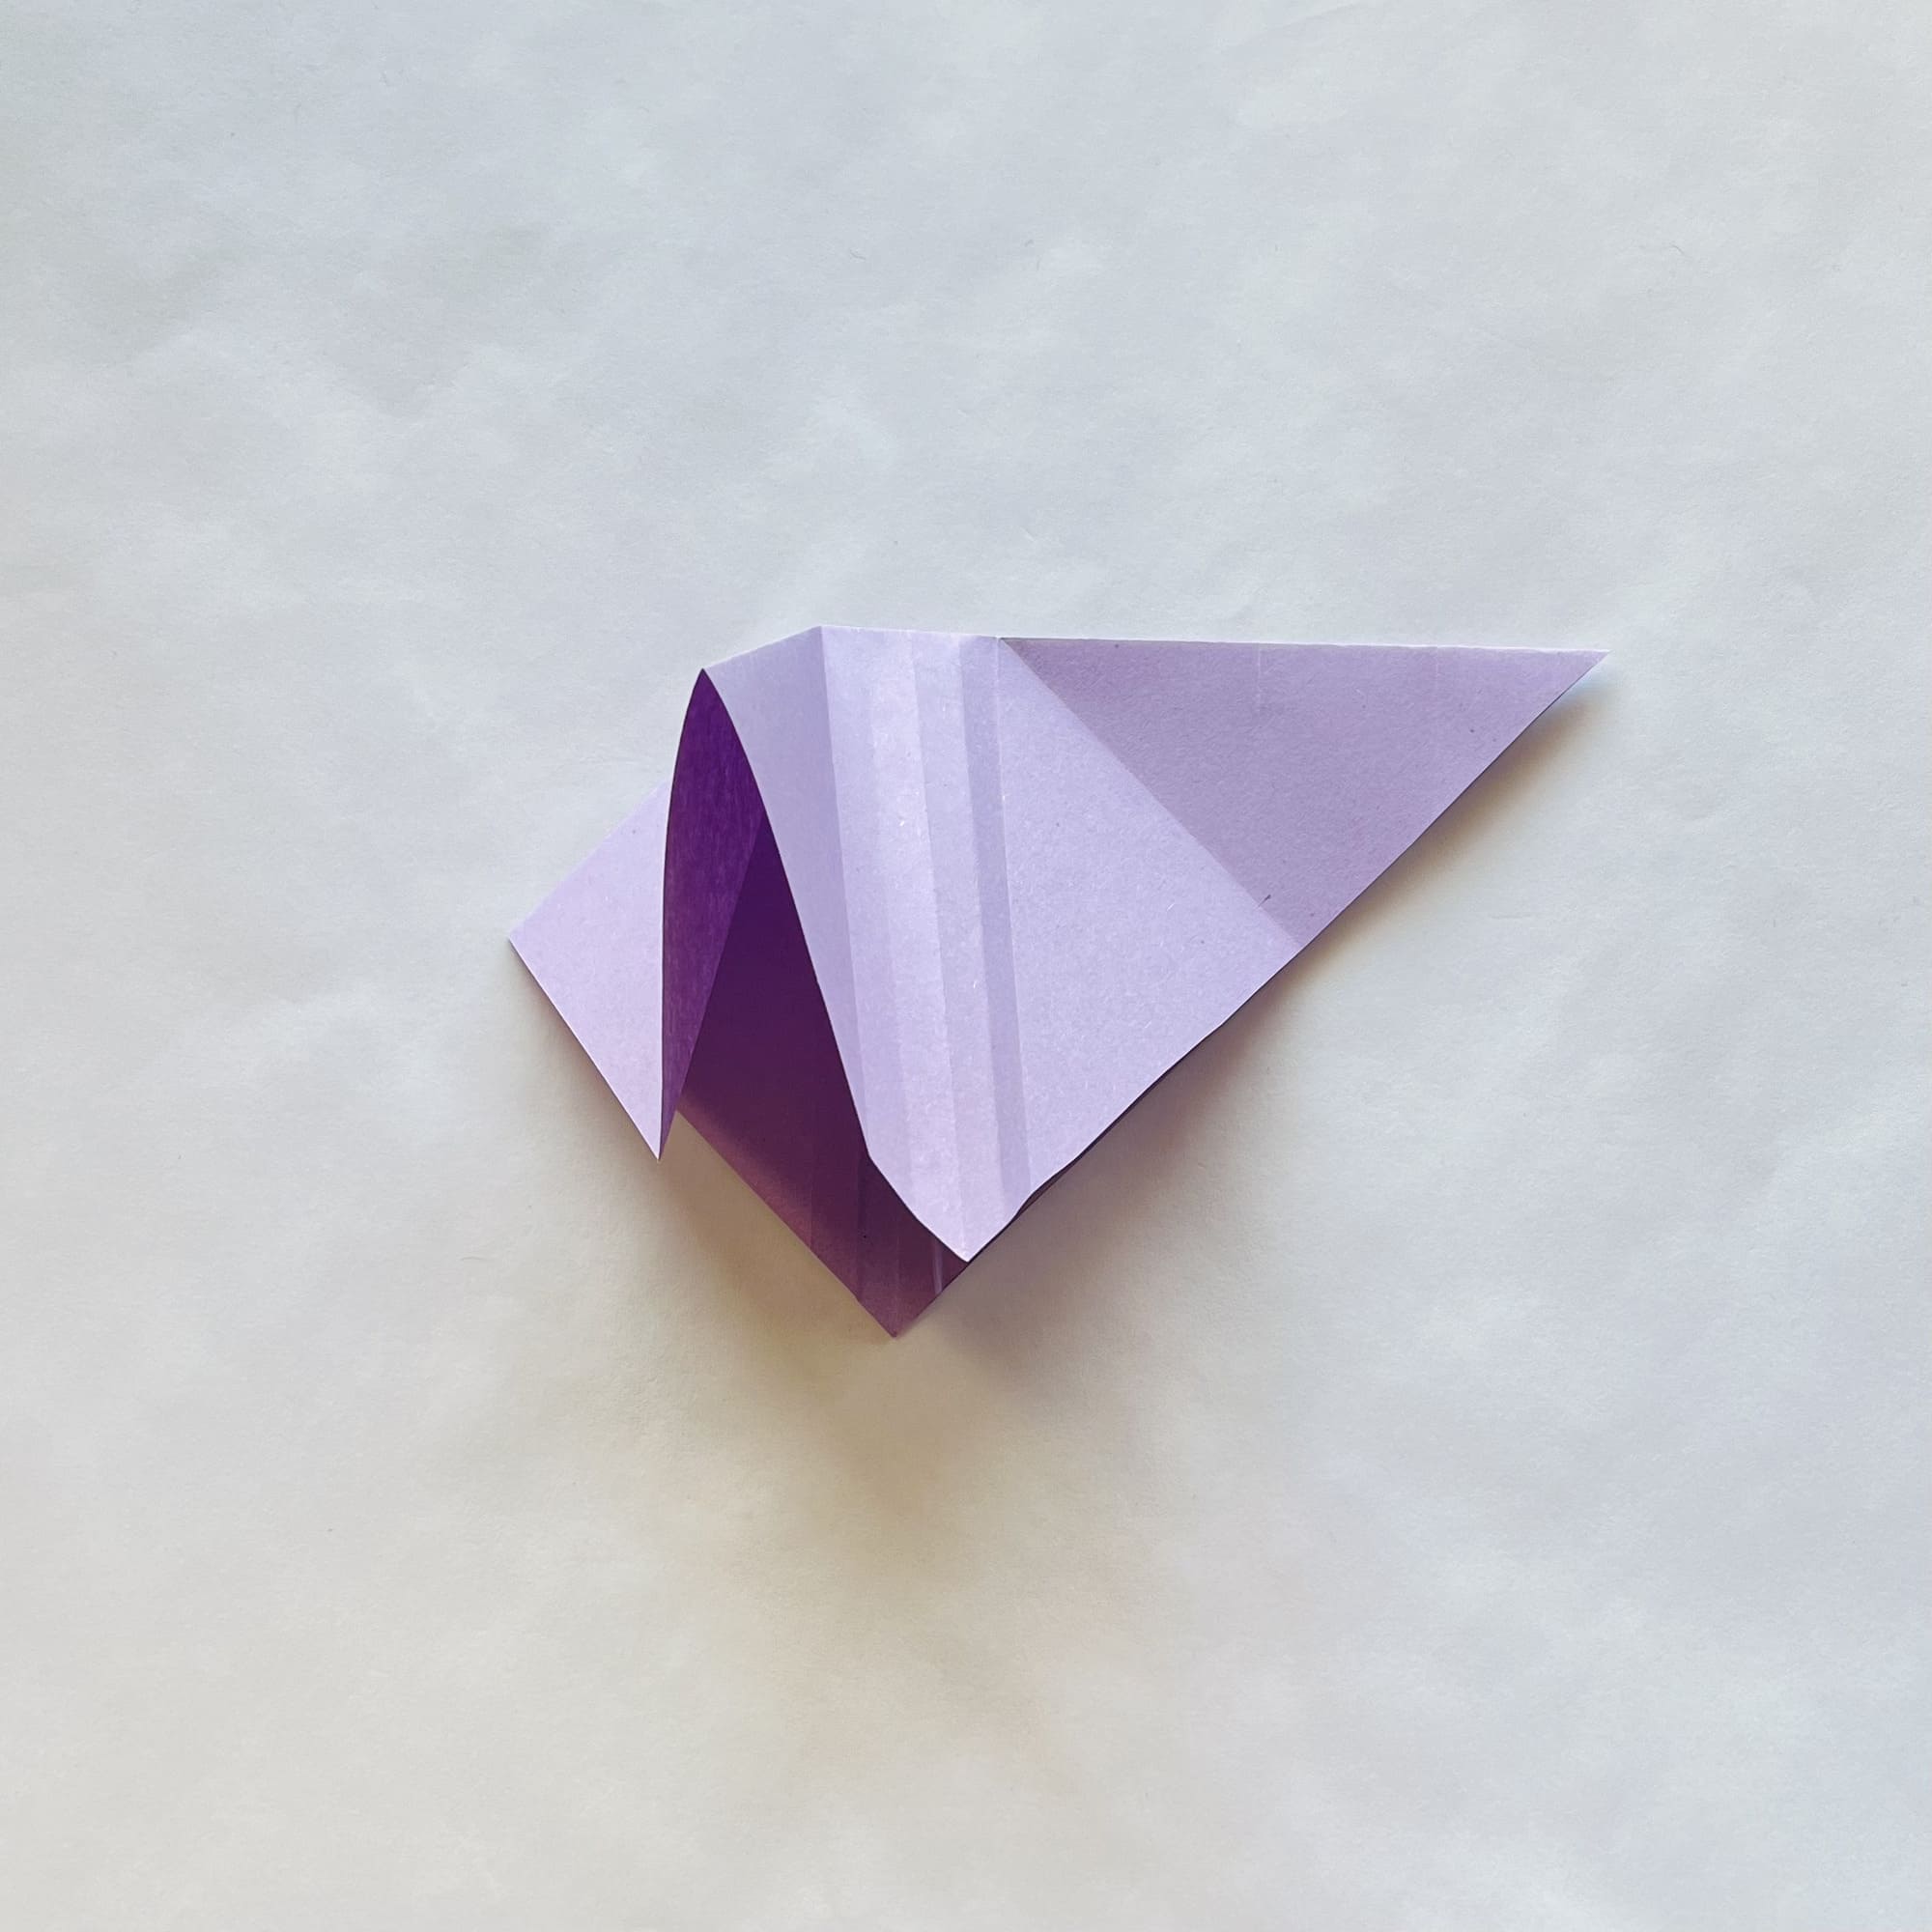
Repeat steps 22-23 on the right side.

Now, bend the side corners inward to the first fold line, crease the folds, and unfold.

Open these corners a little and fold them inward like an accordion as well.

At the bottom, grab the top layer, lift it, and straighten the paper on the table.

Turn the figure over.
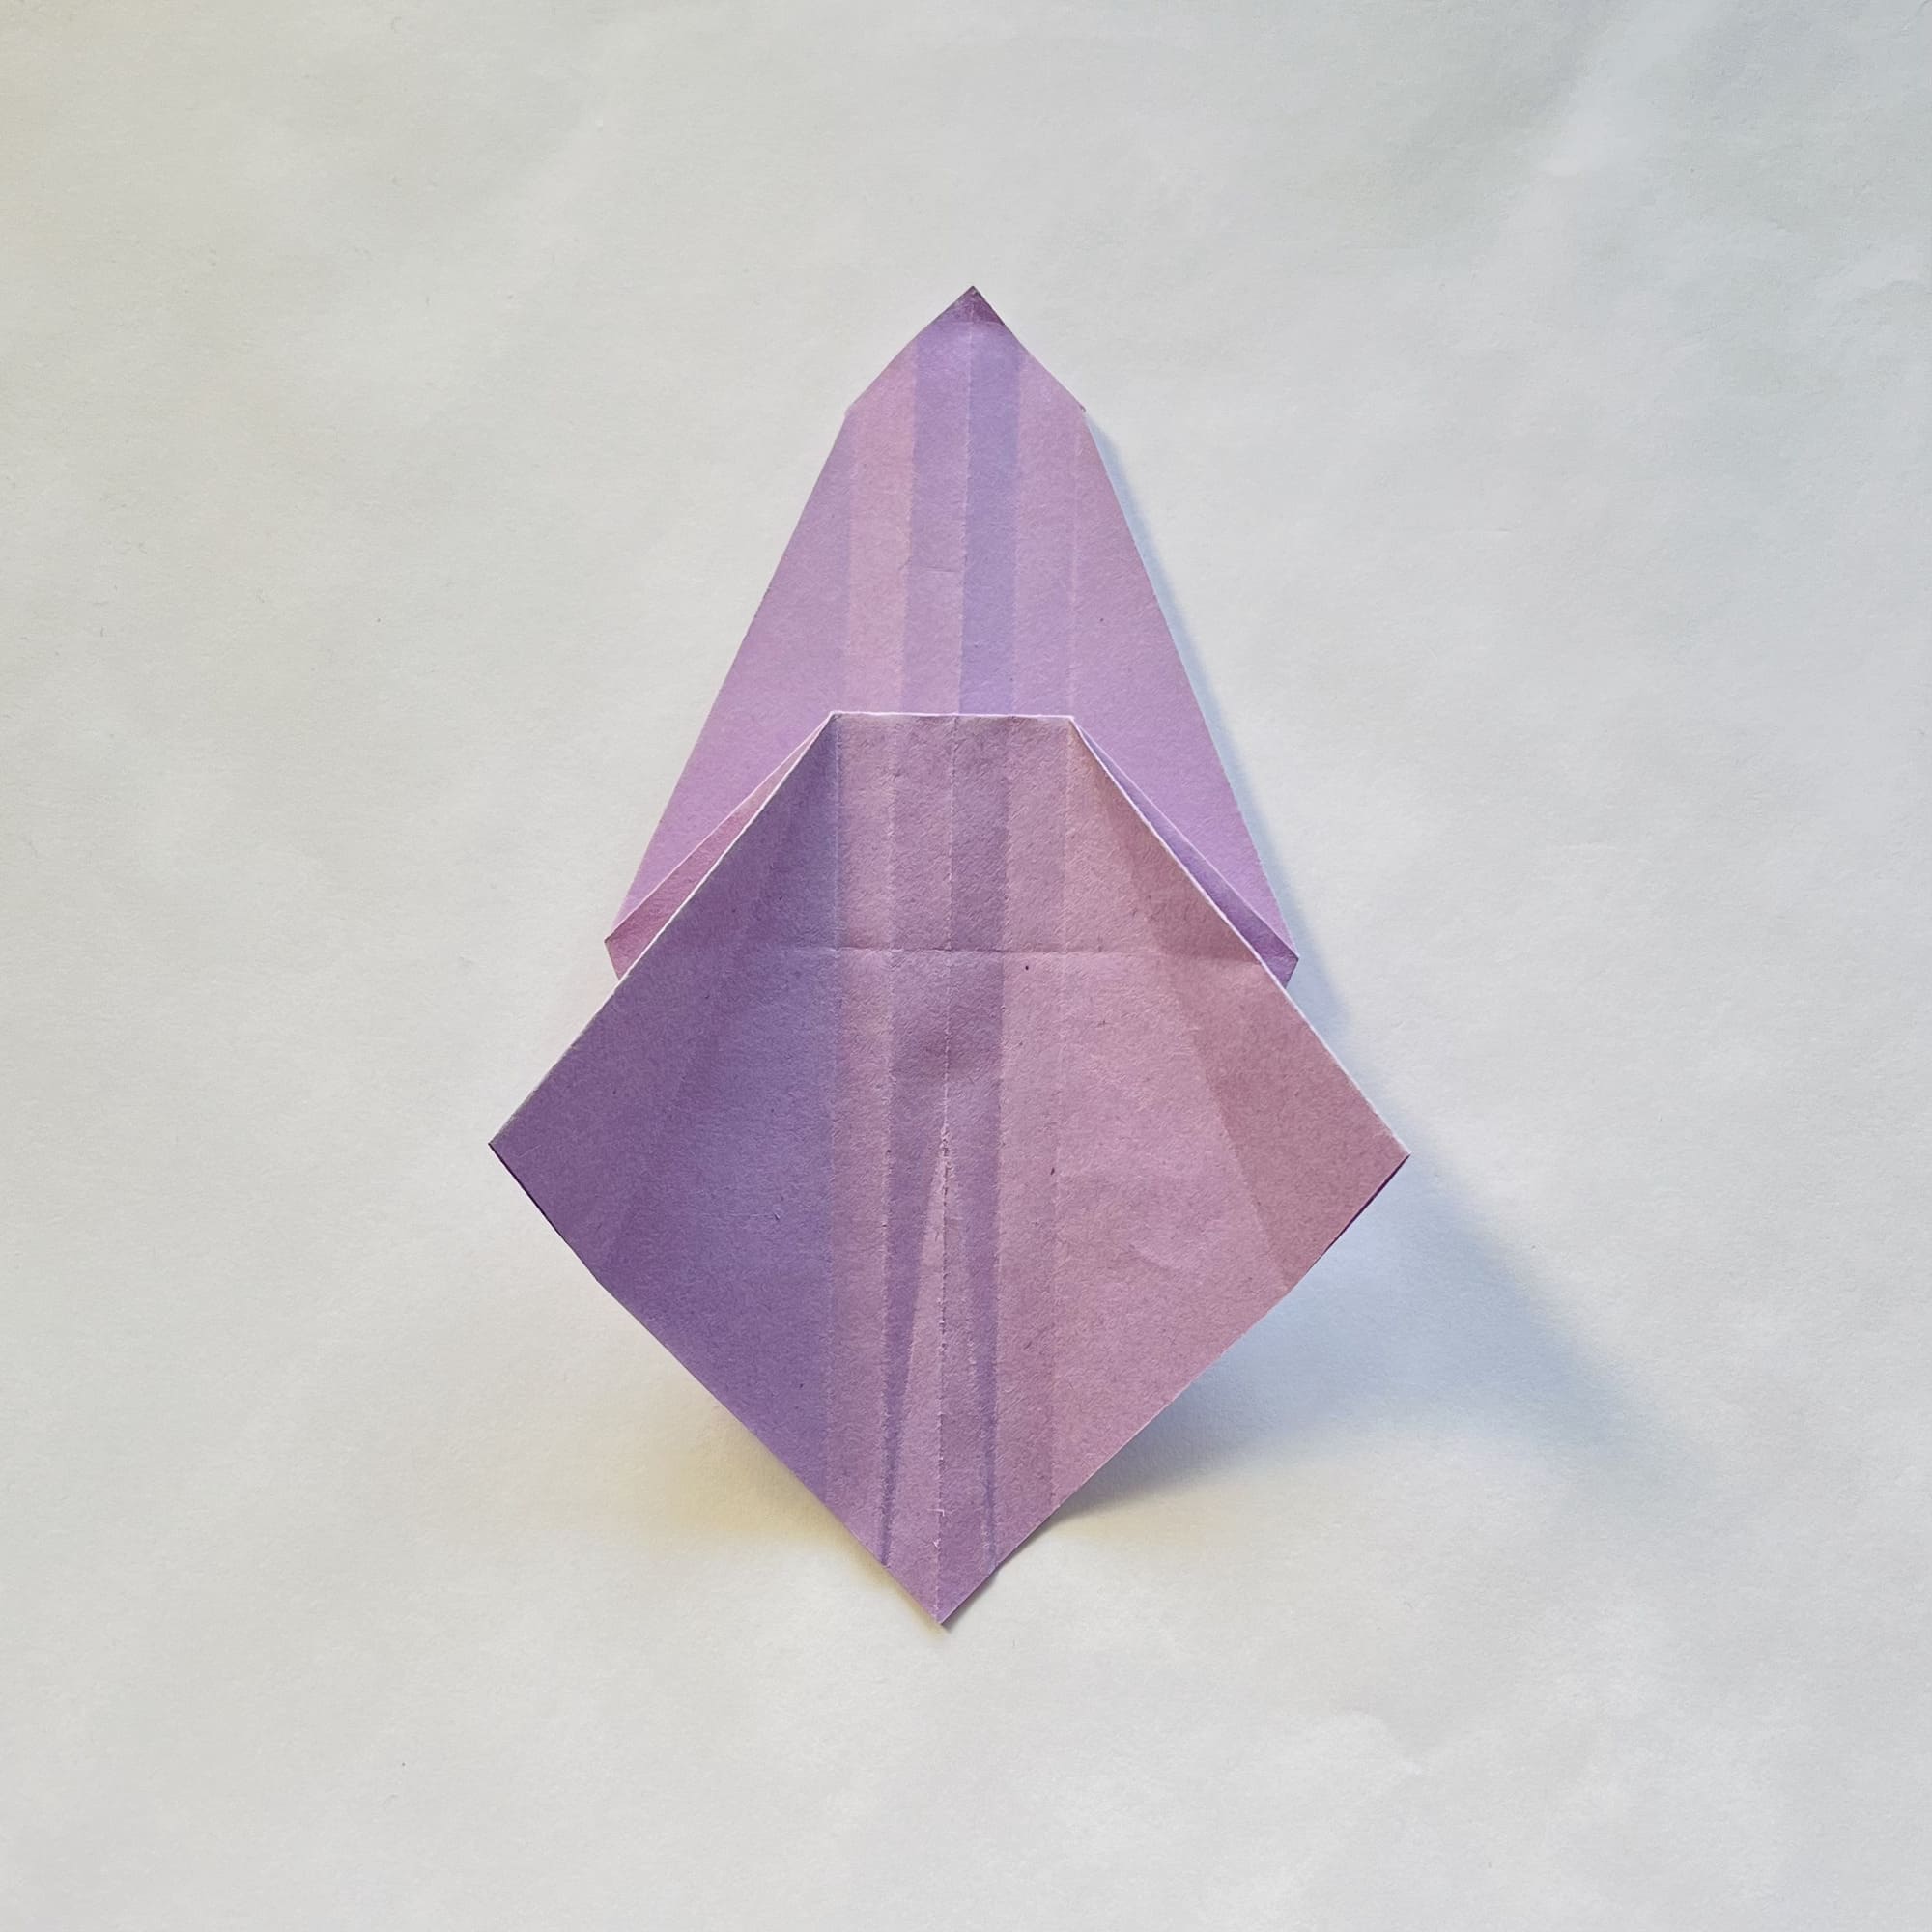
Fold the central trapezoidal part down, crease the fold, and unfold.
Fold the side corners at the bottom inward to the first fold line, crease the fold, and unfold.
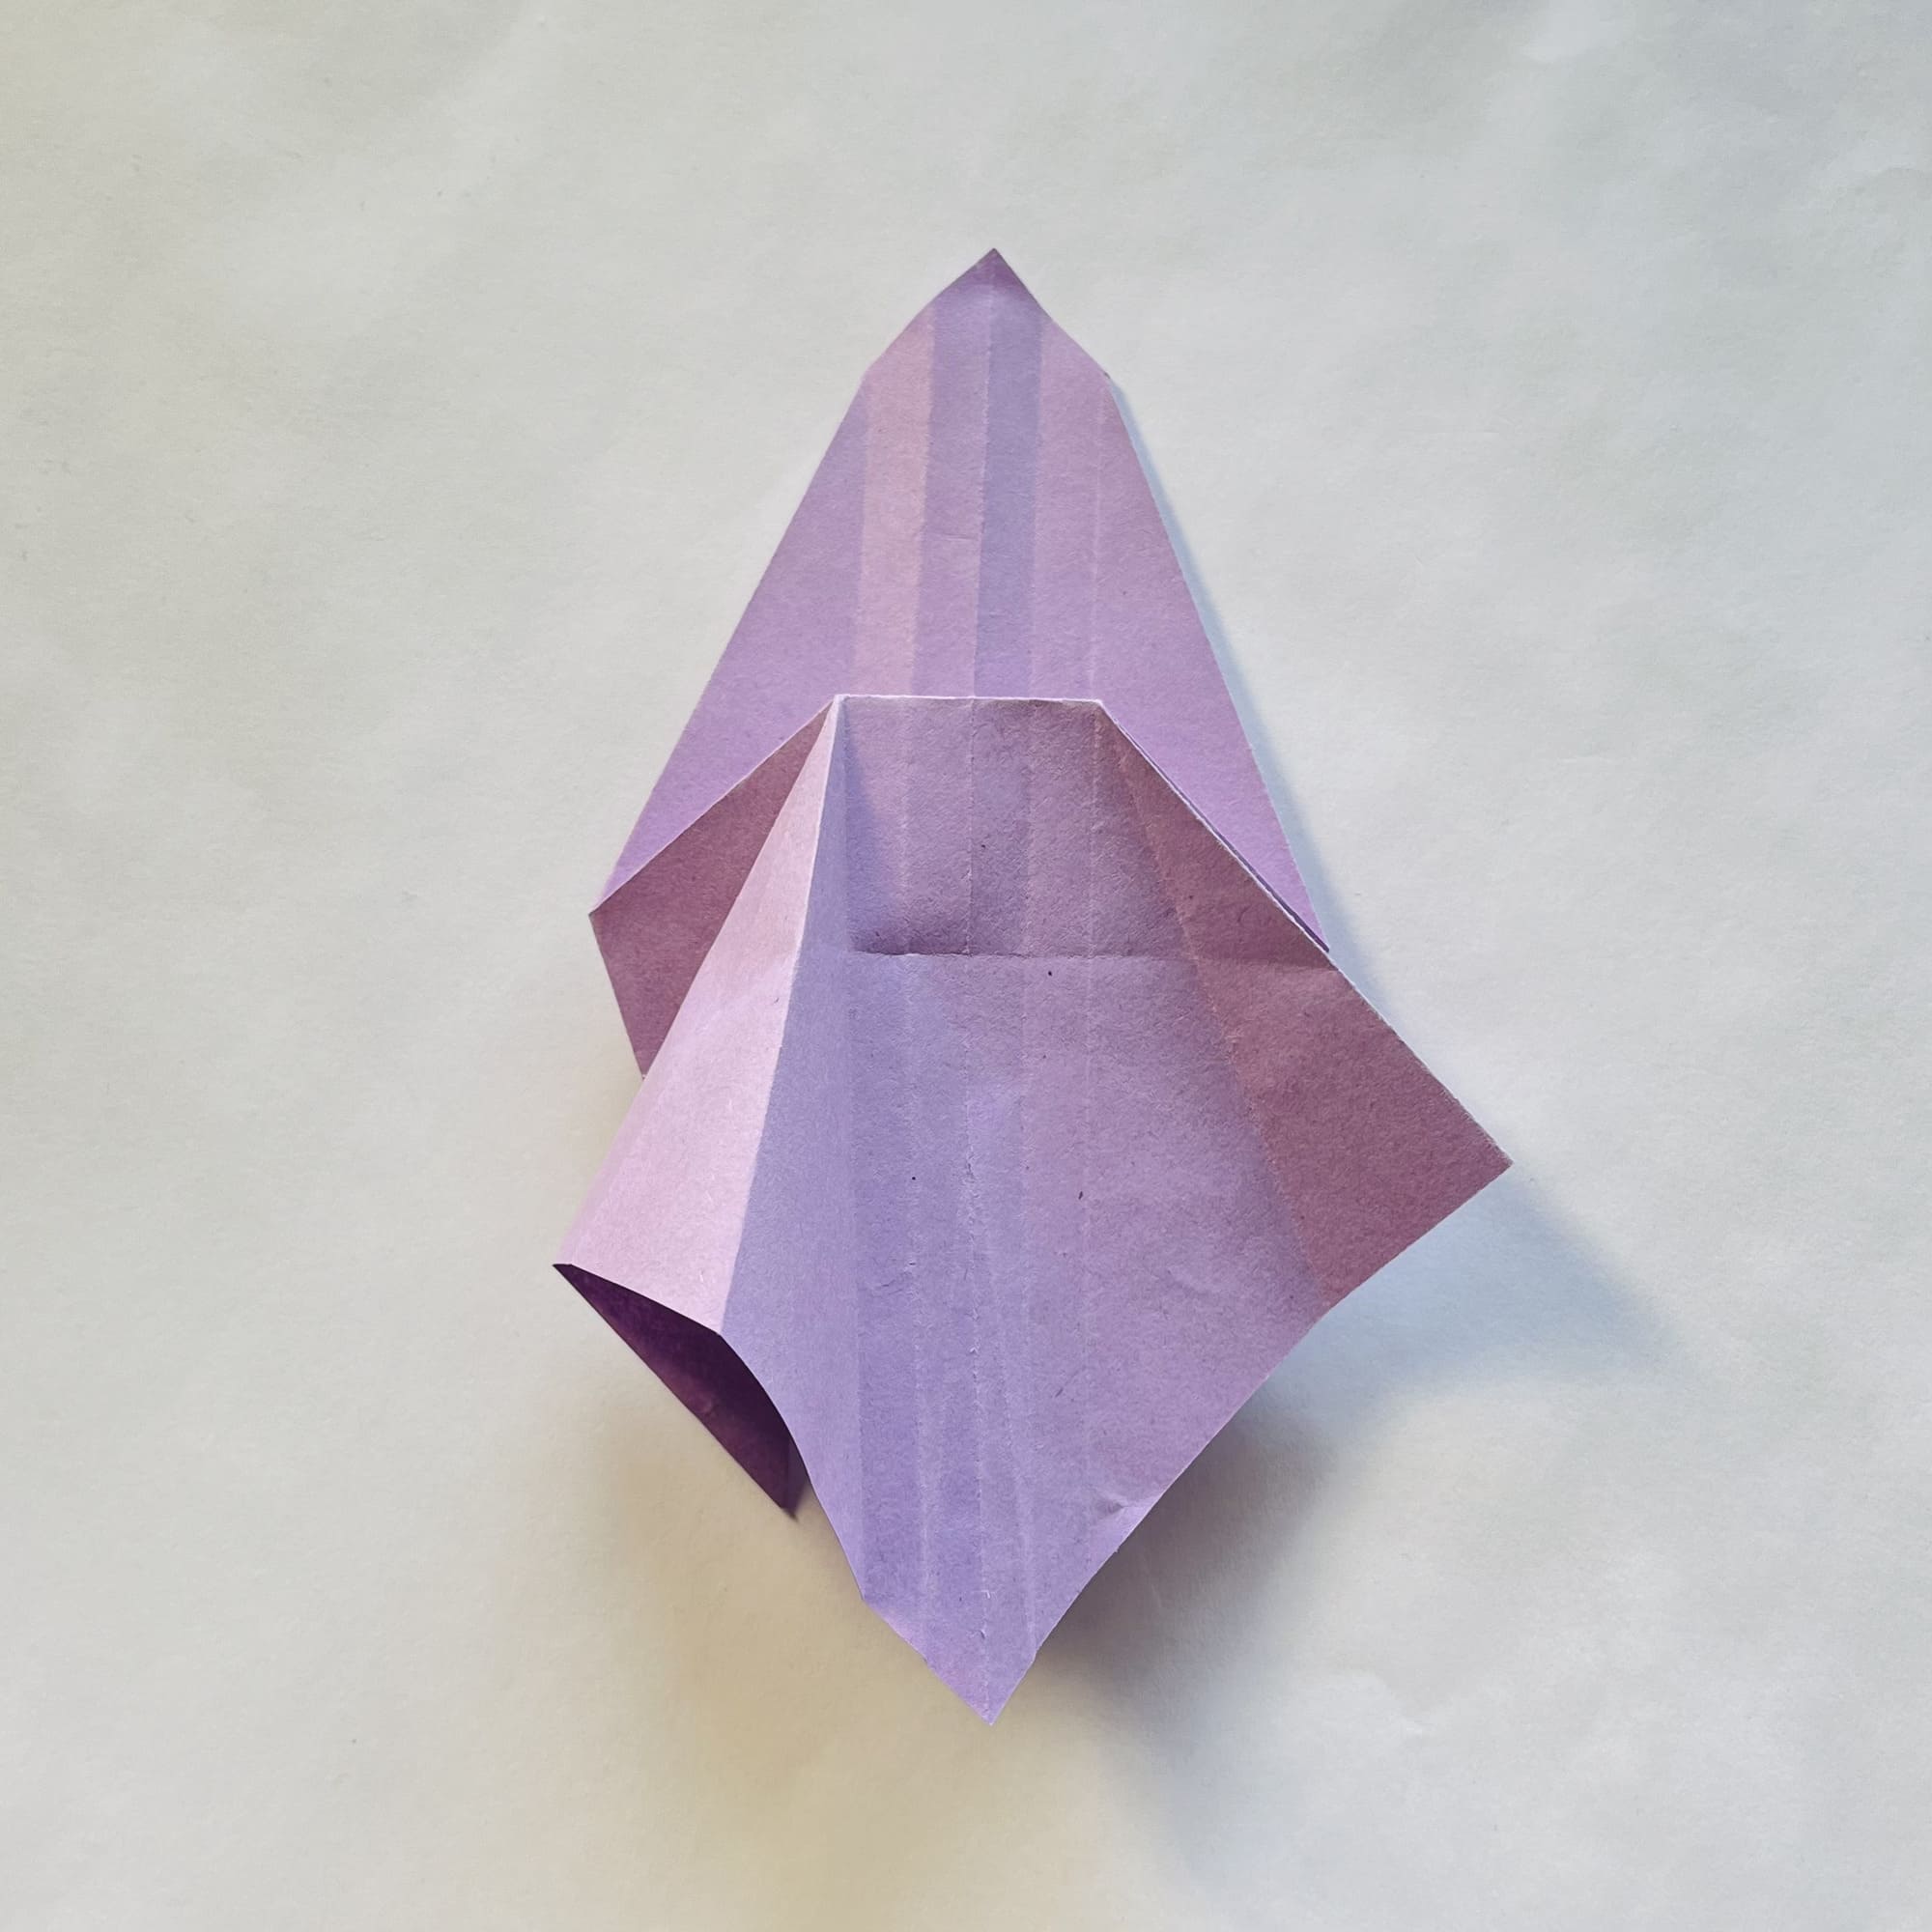
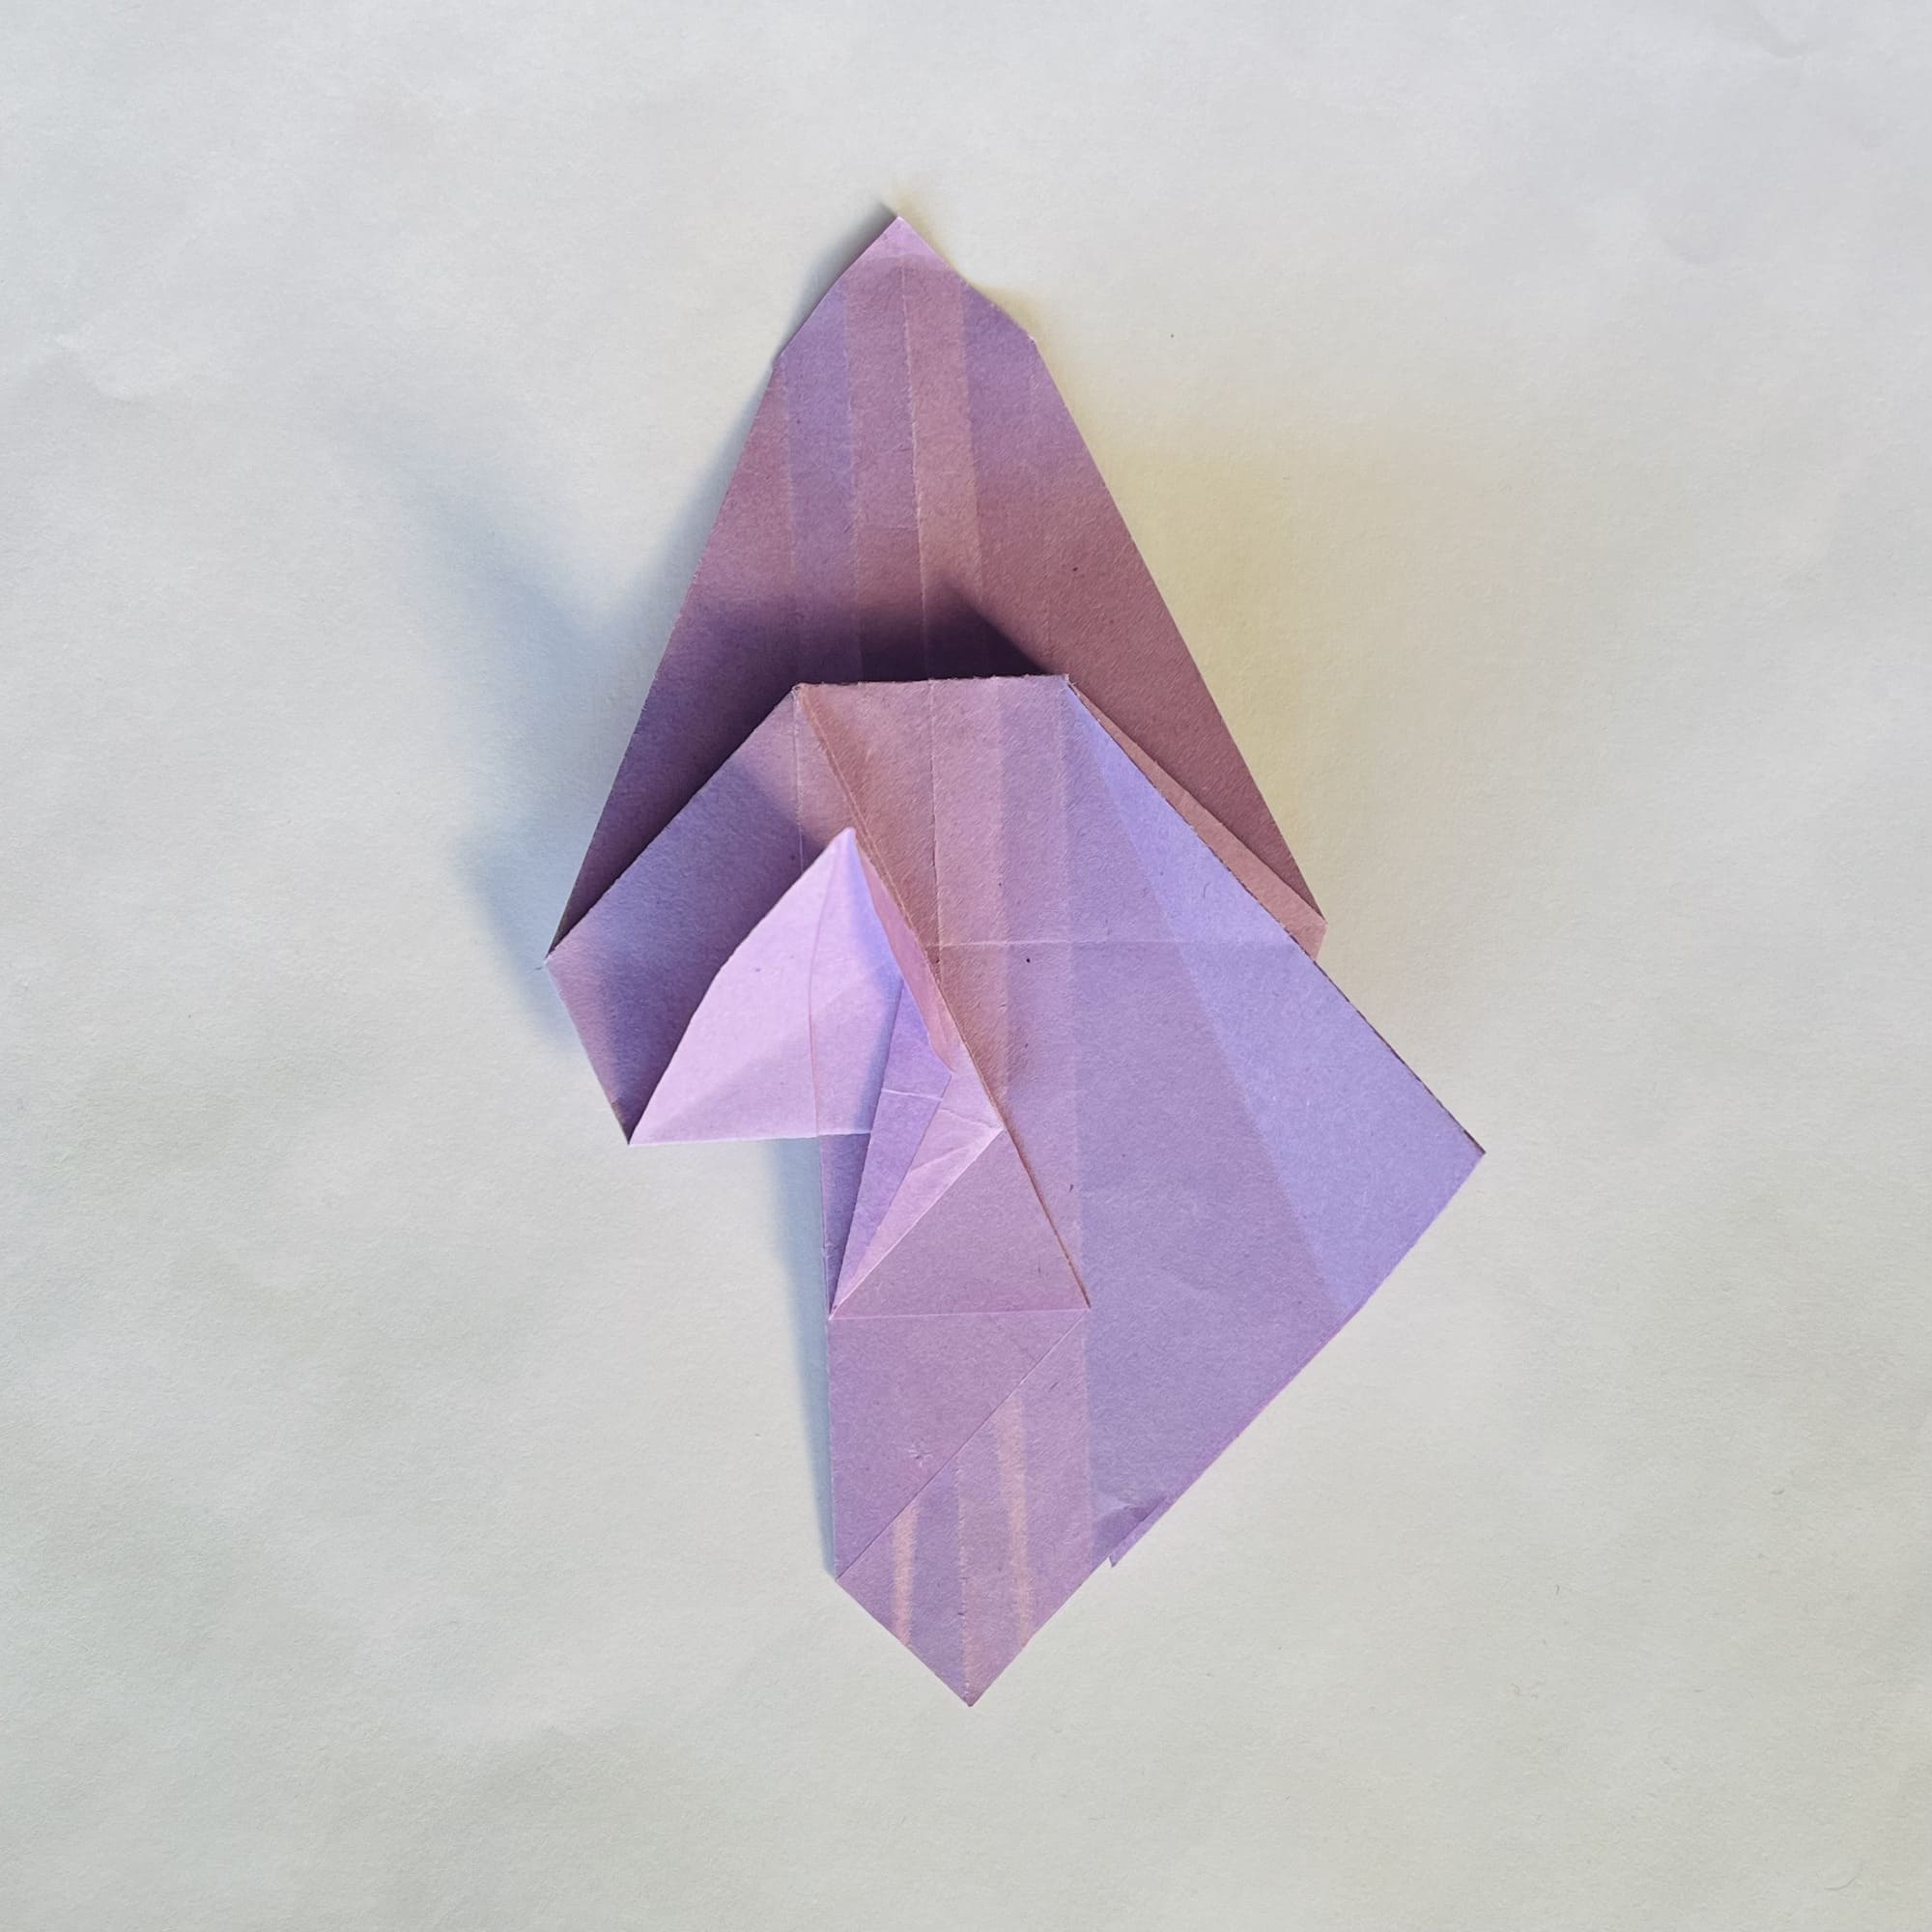
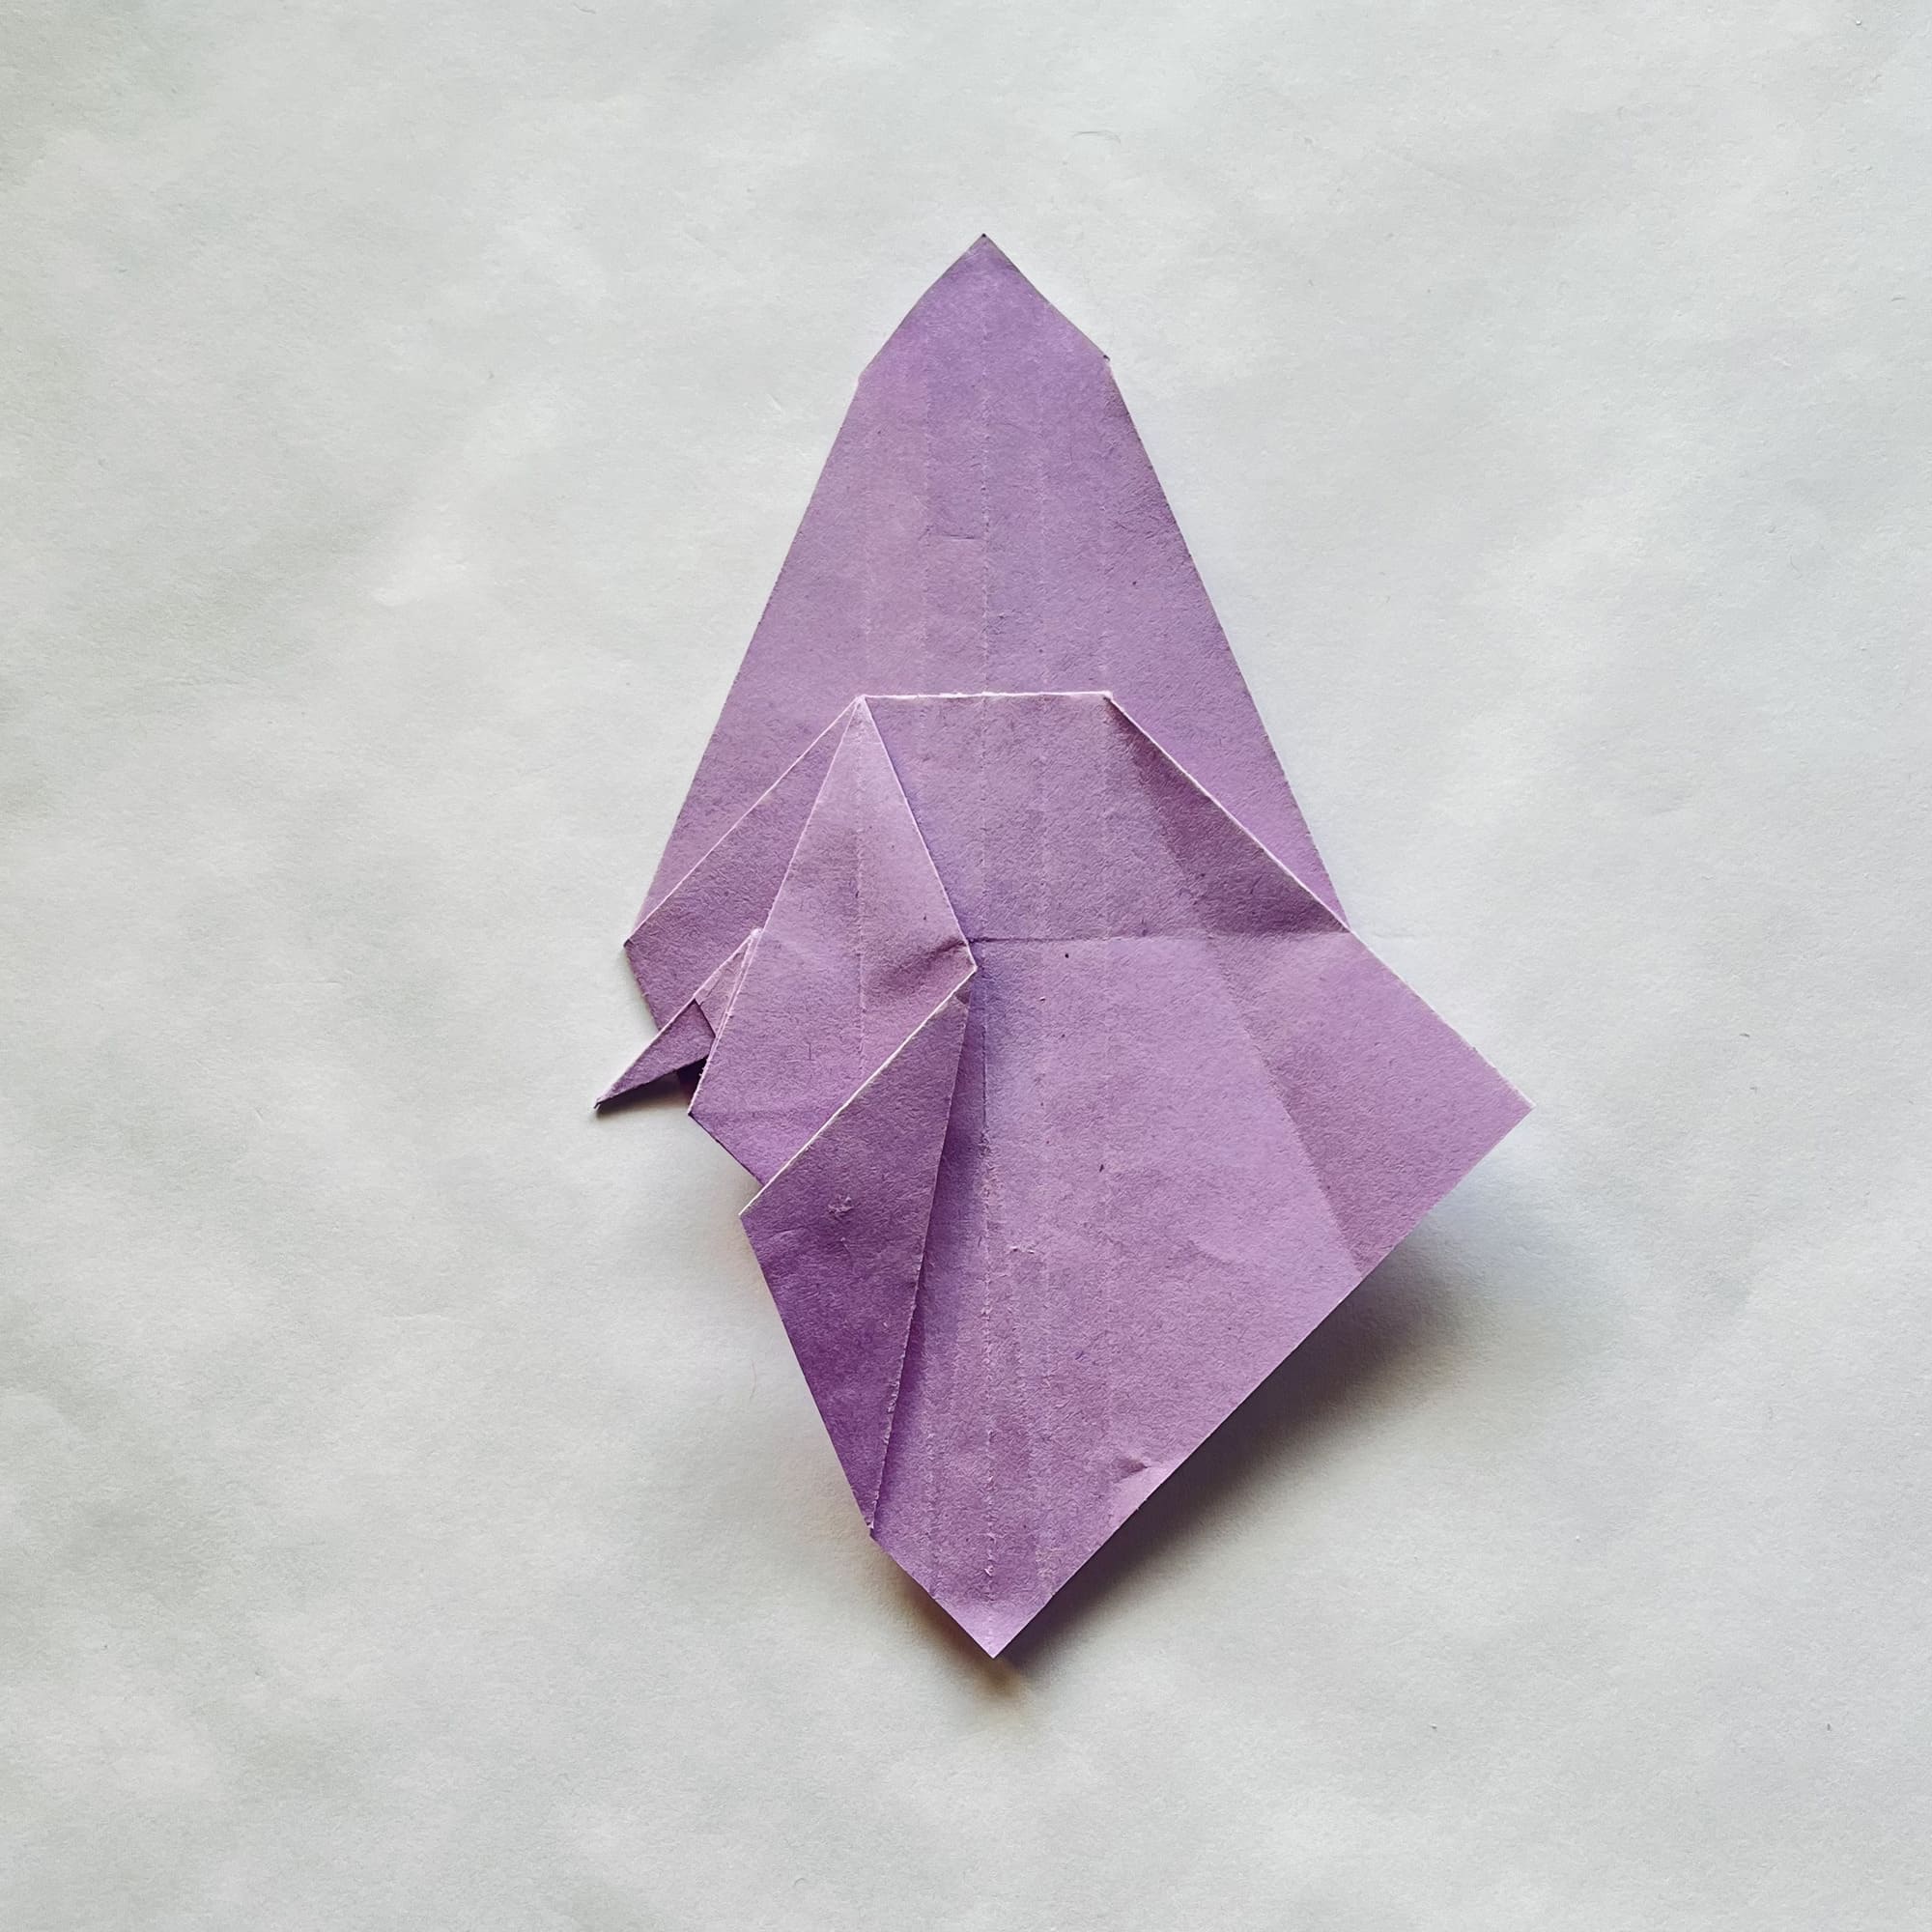
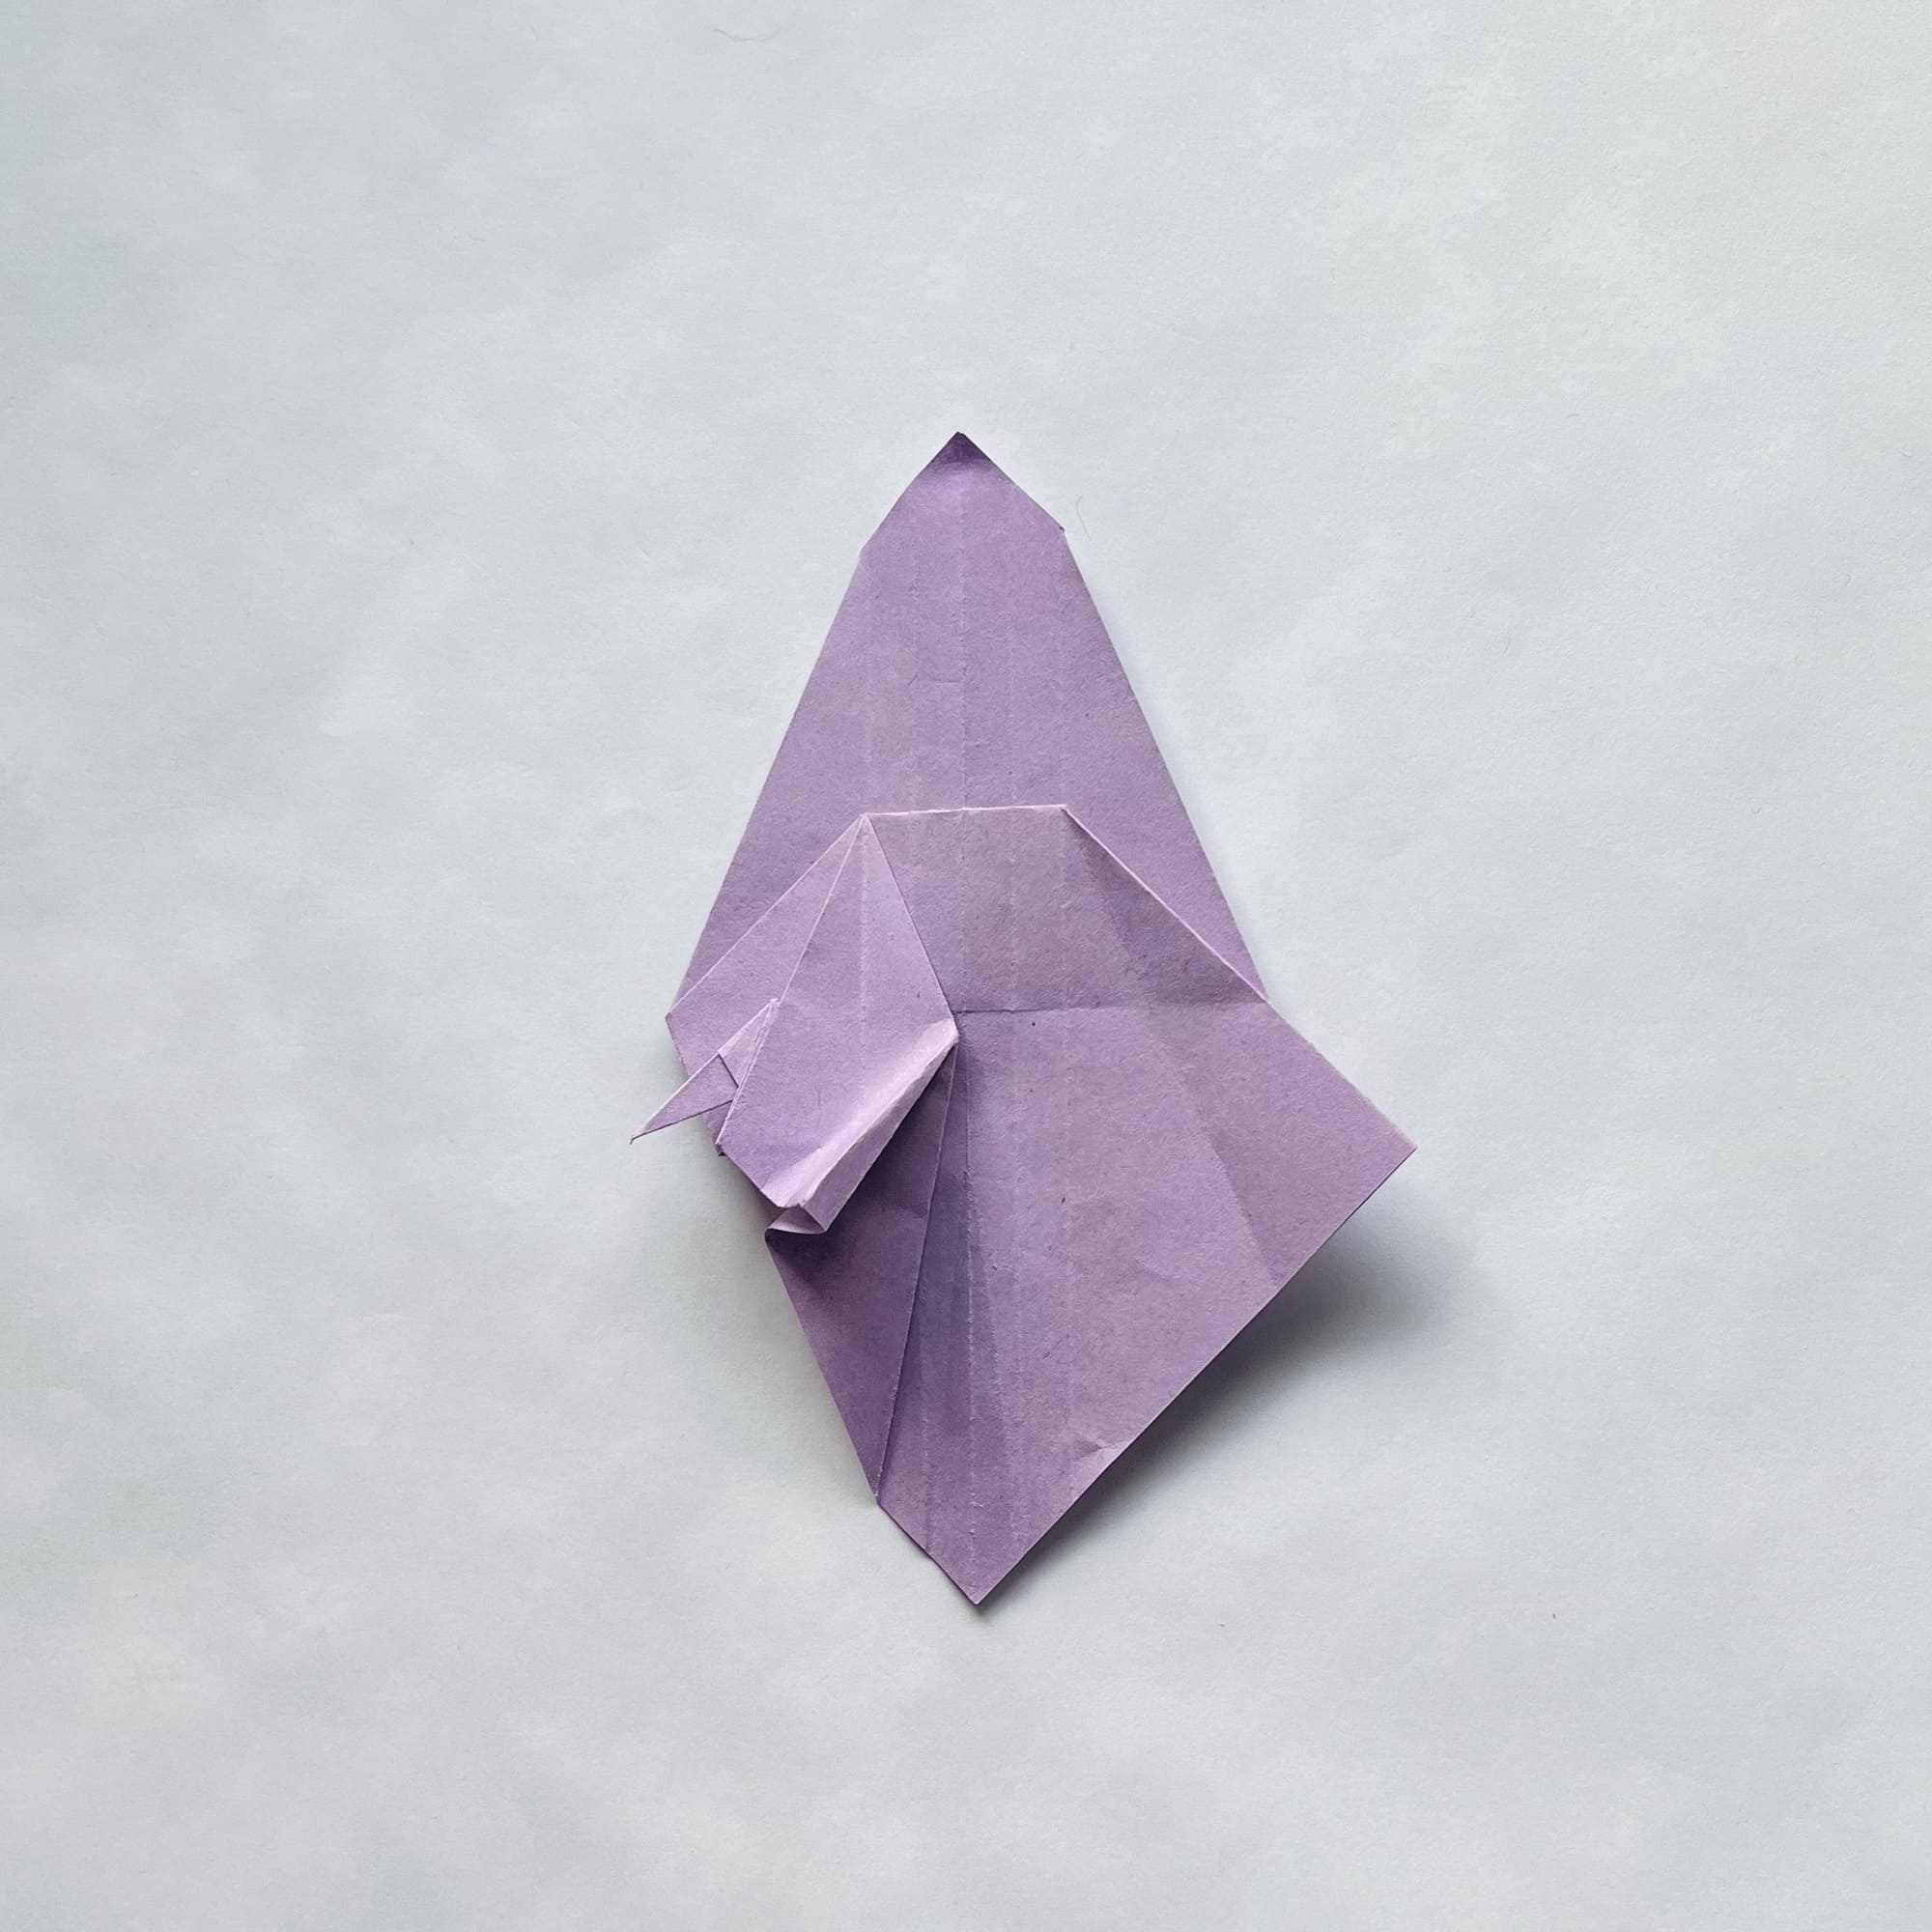
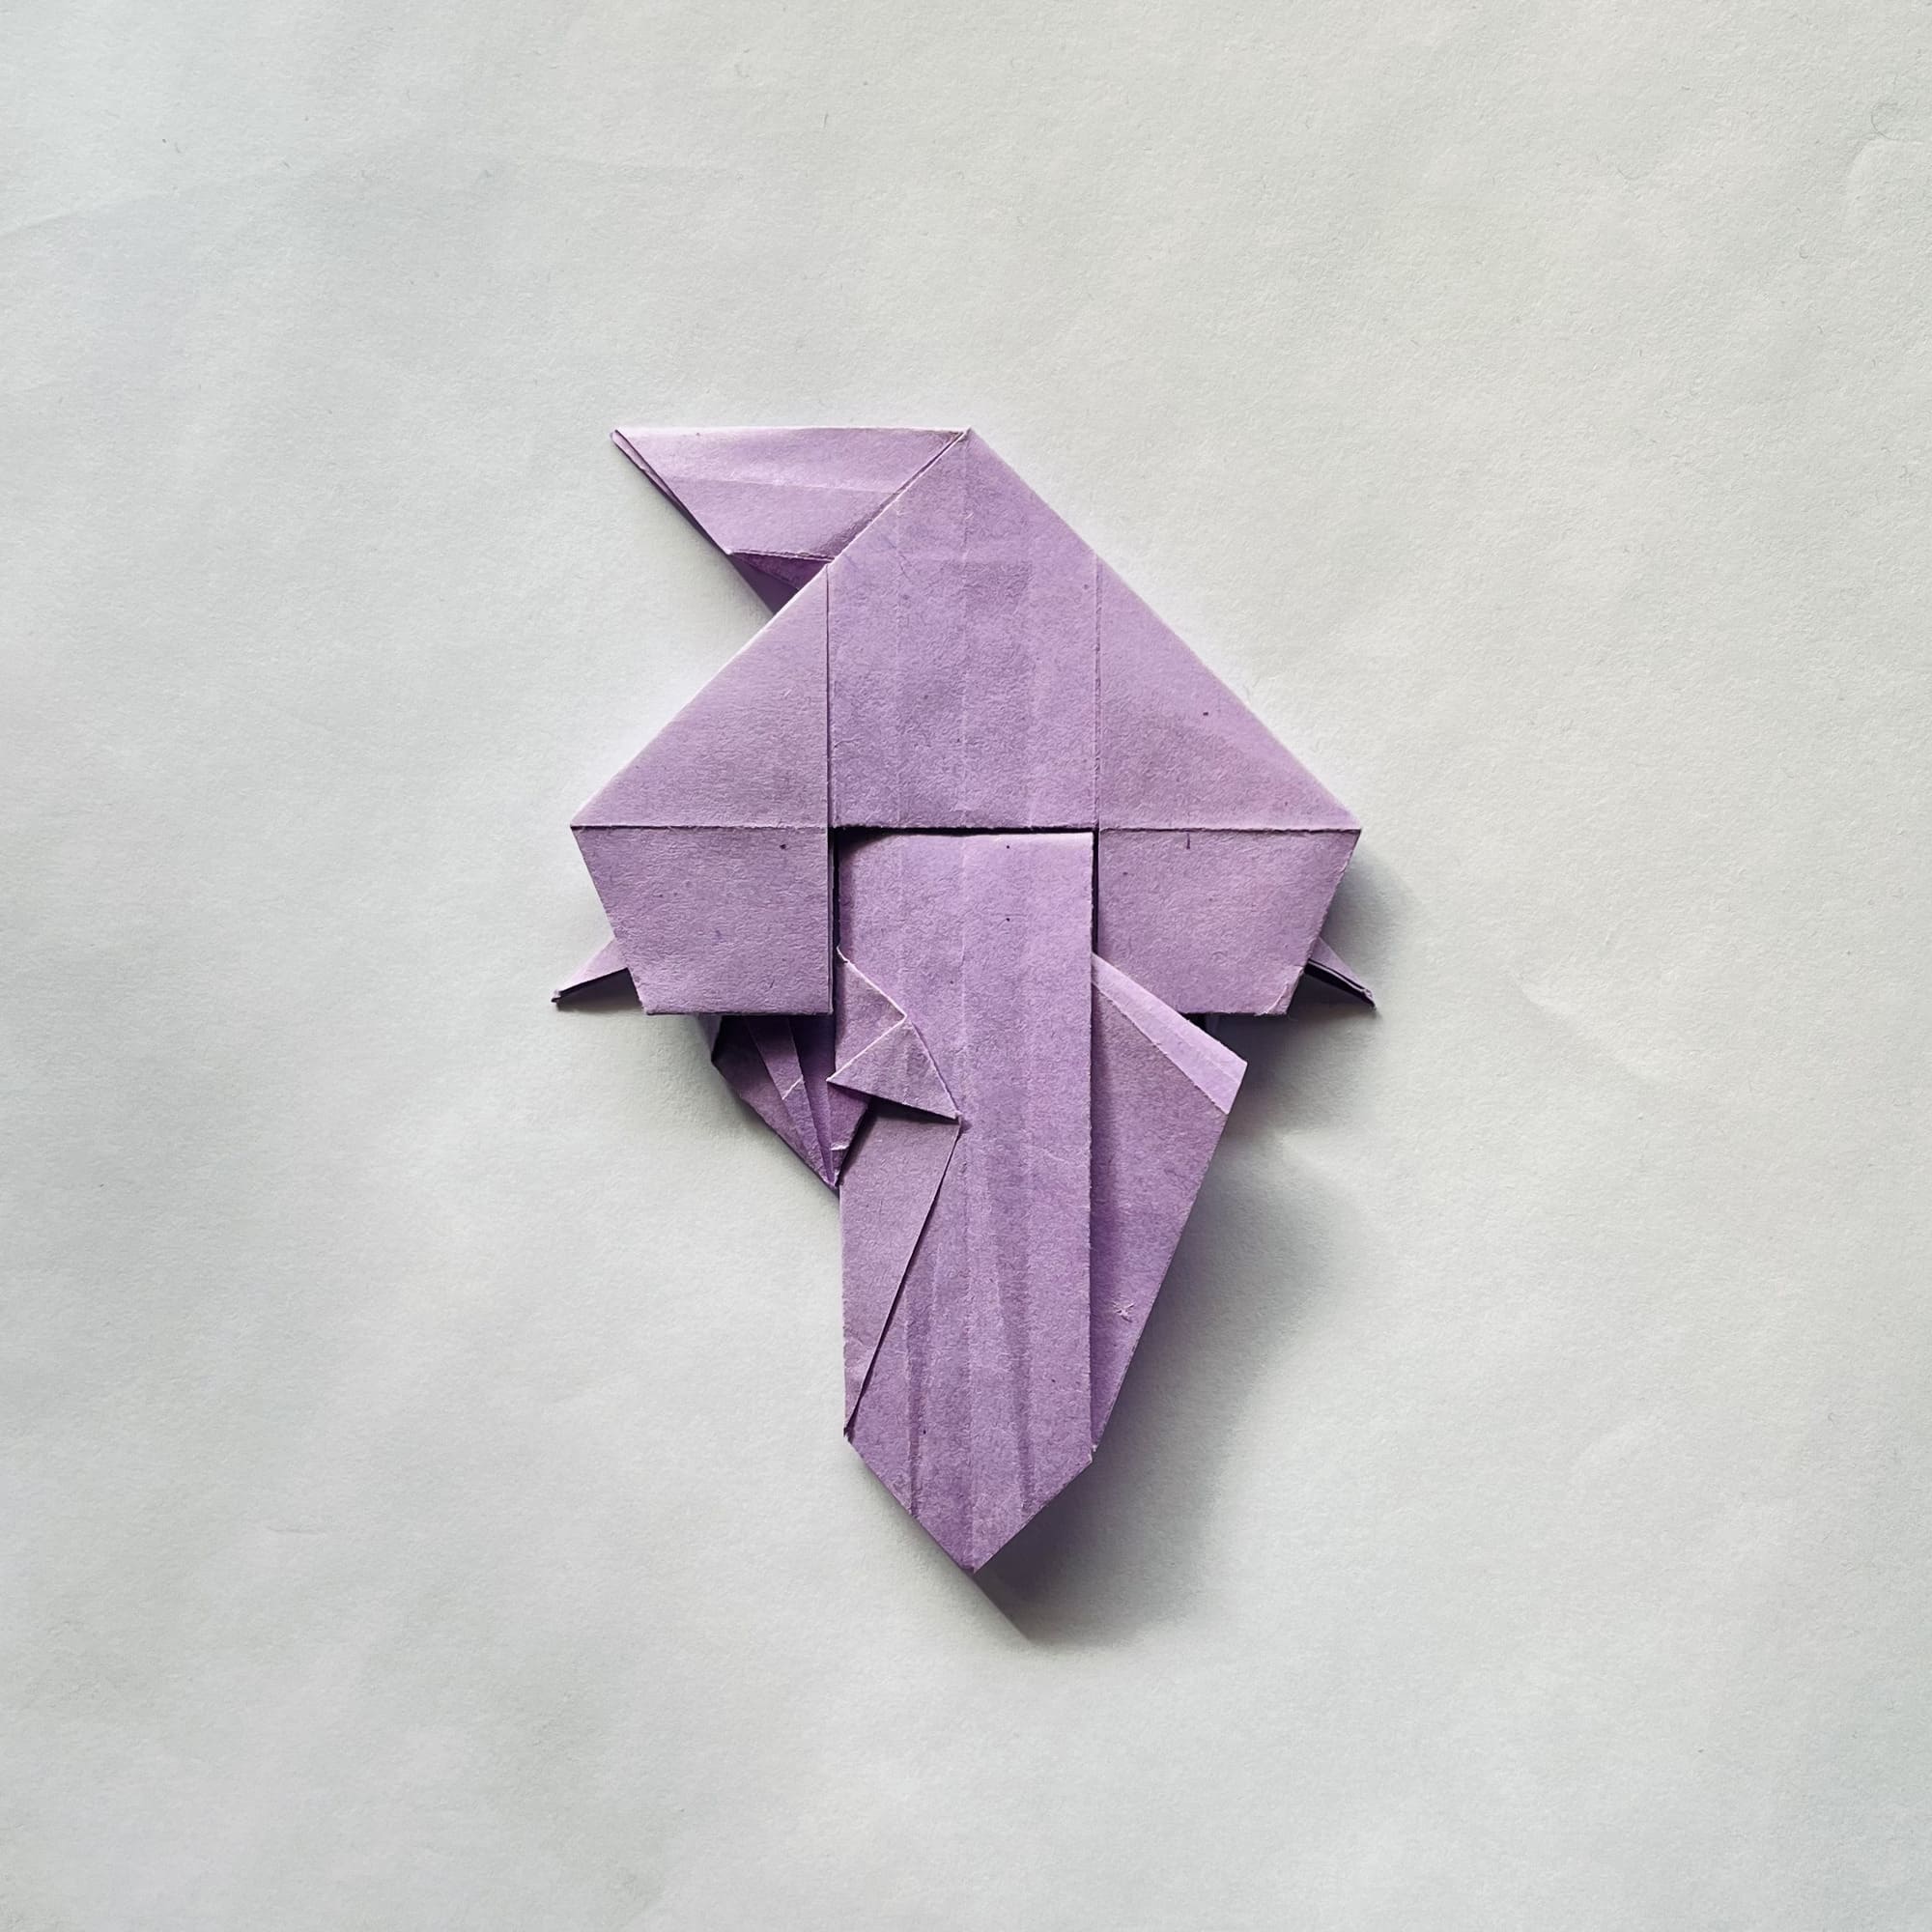
Let’s work on the left side of the figure: open the paper a little and make a flattening fold along the fold lines.
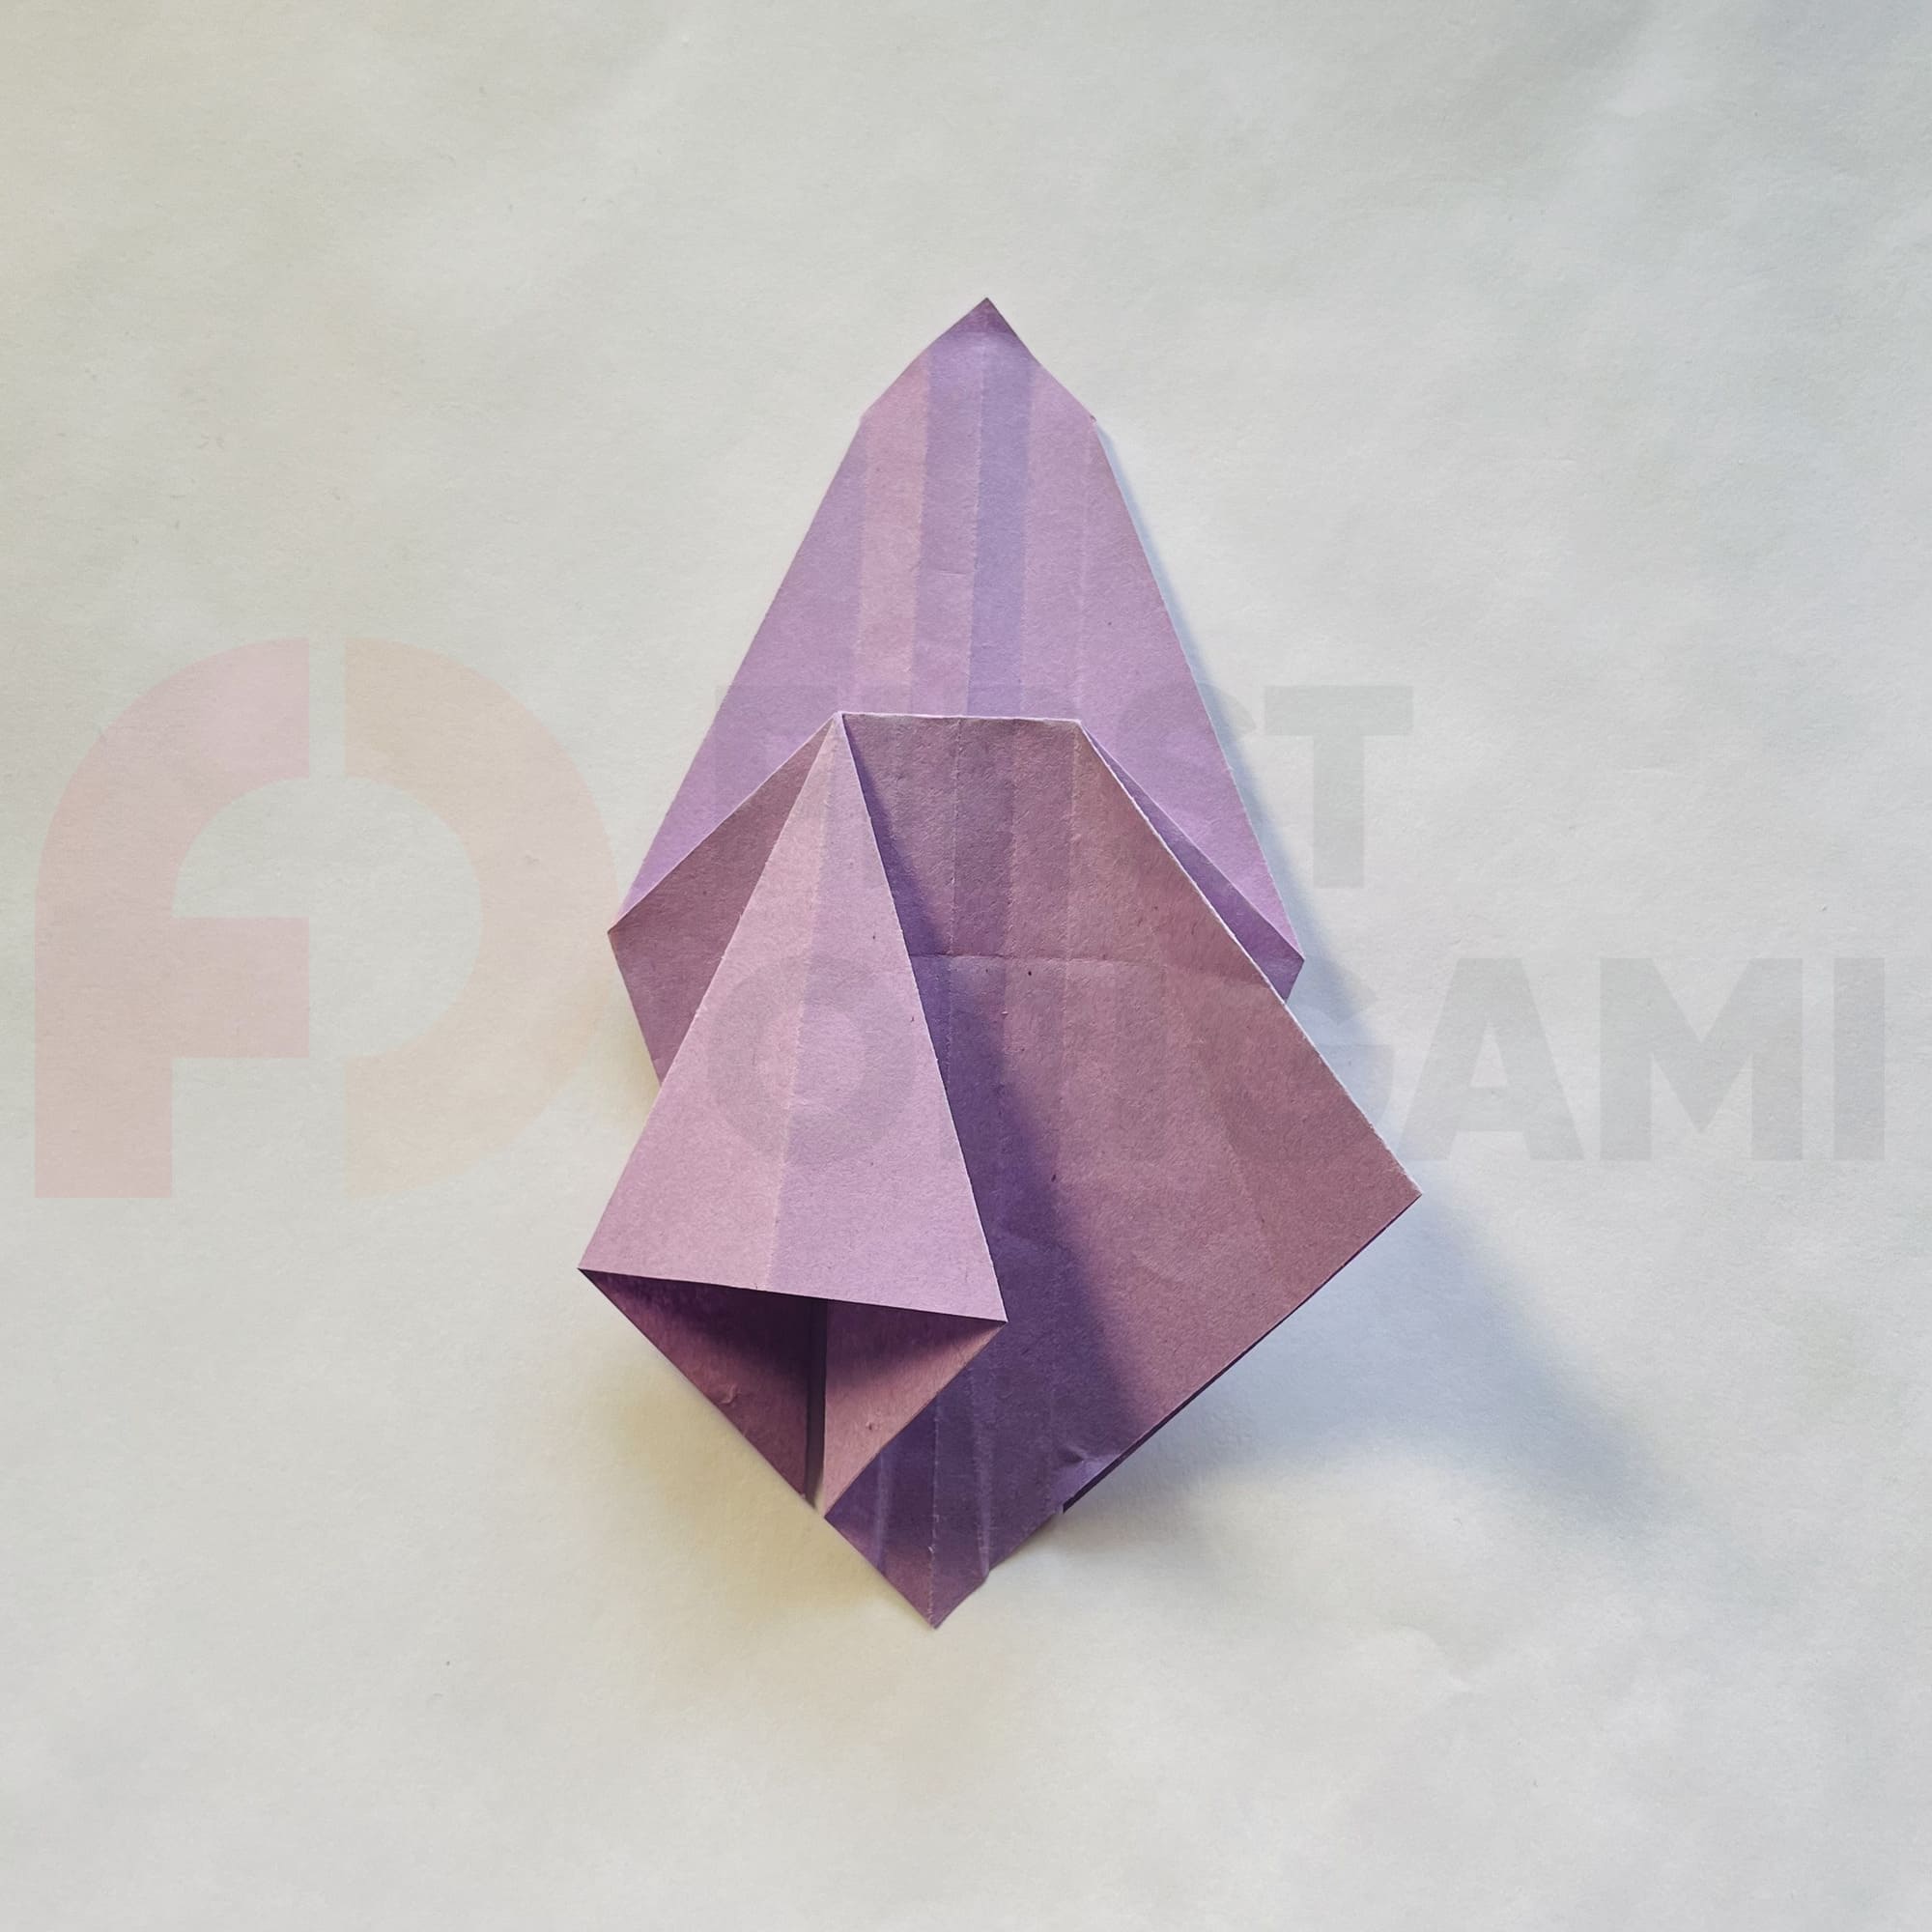
Fold the corner indicated by the arrow inward so that it does not stick out. Carefully work out the fold and unfold.
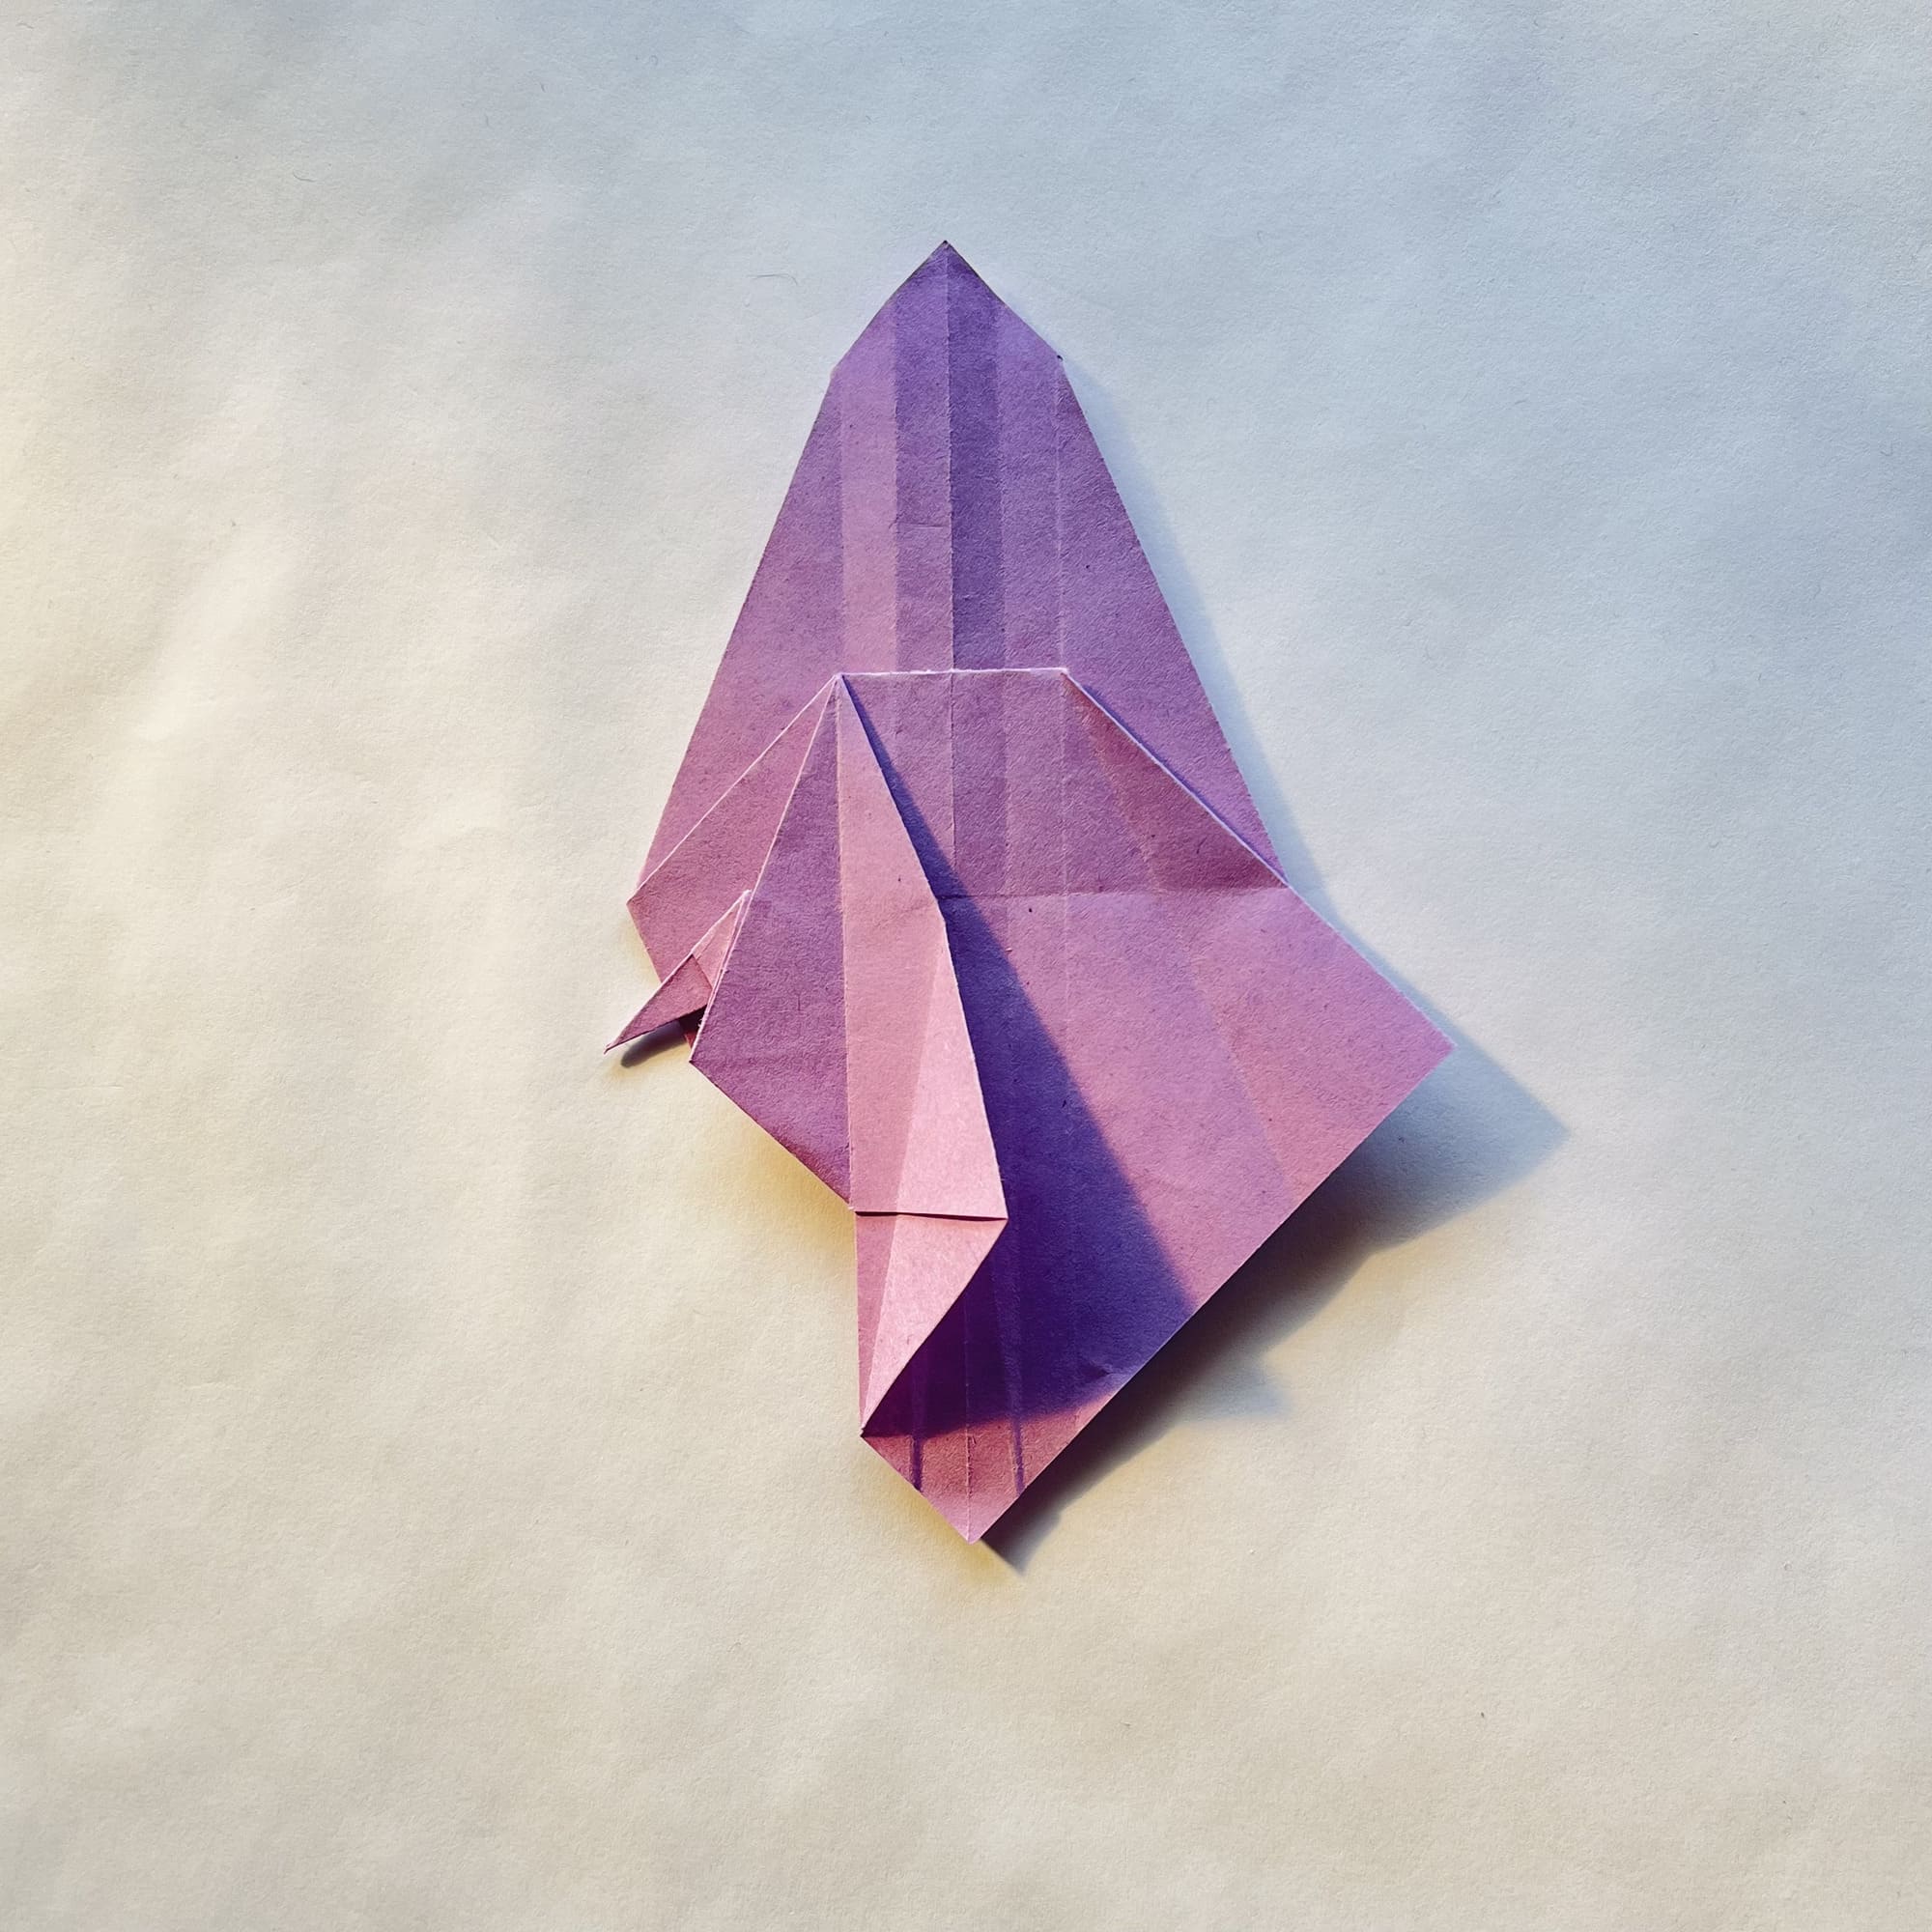
Open the paper a little and press this corner inward.
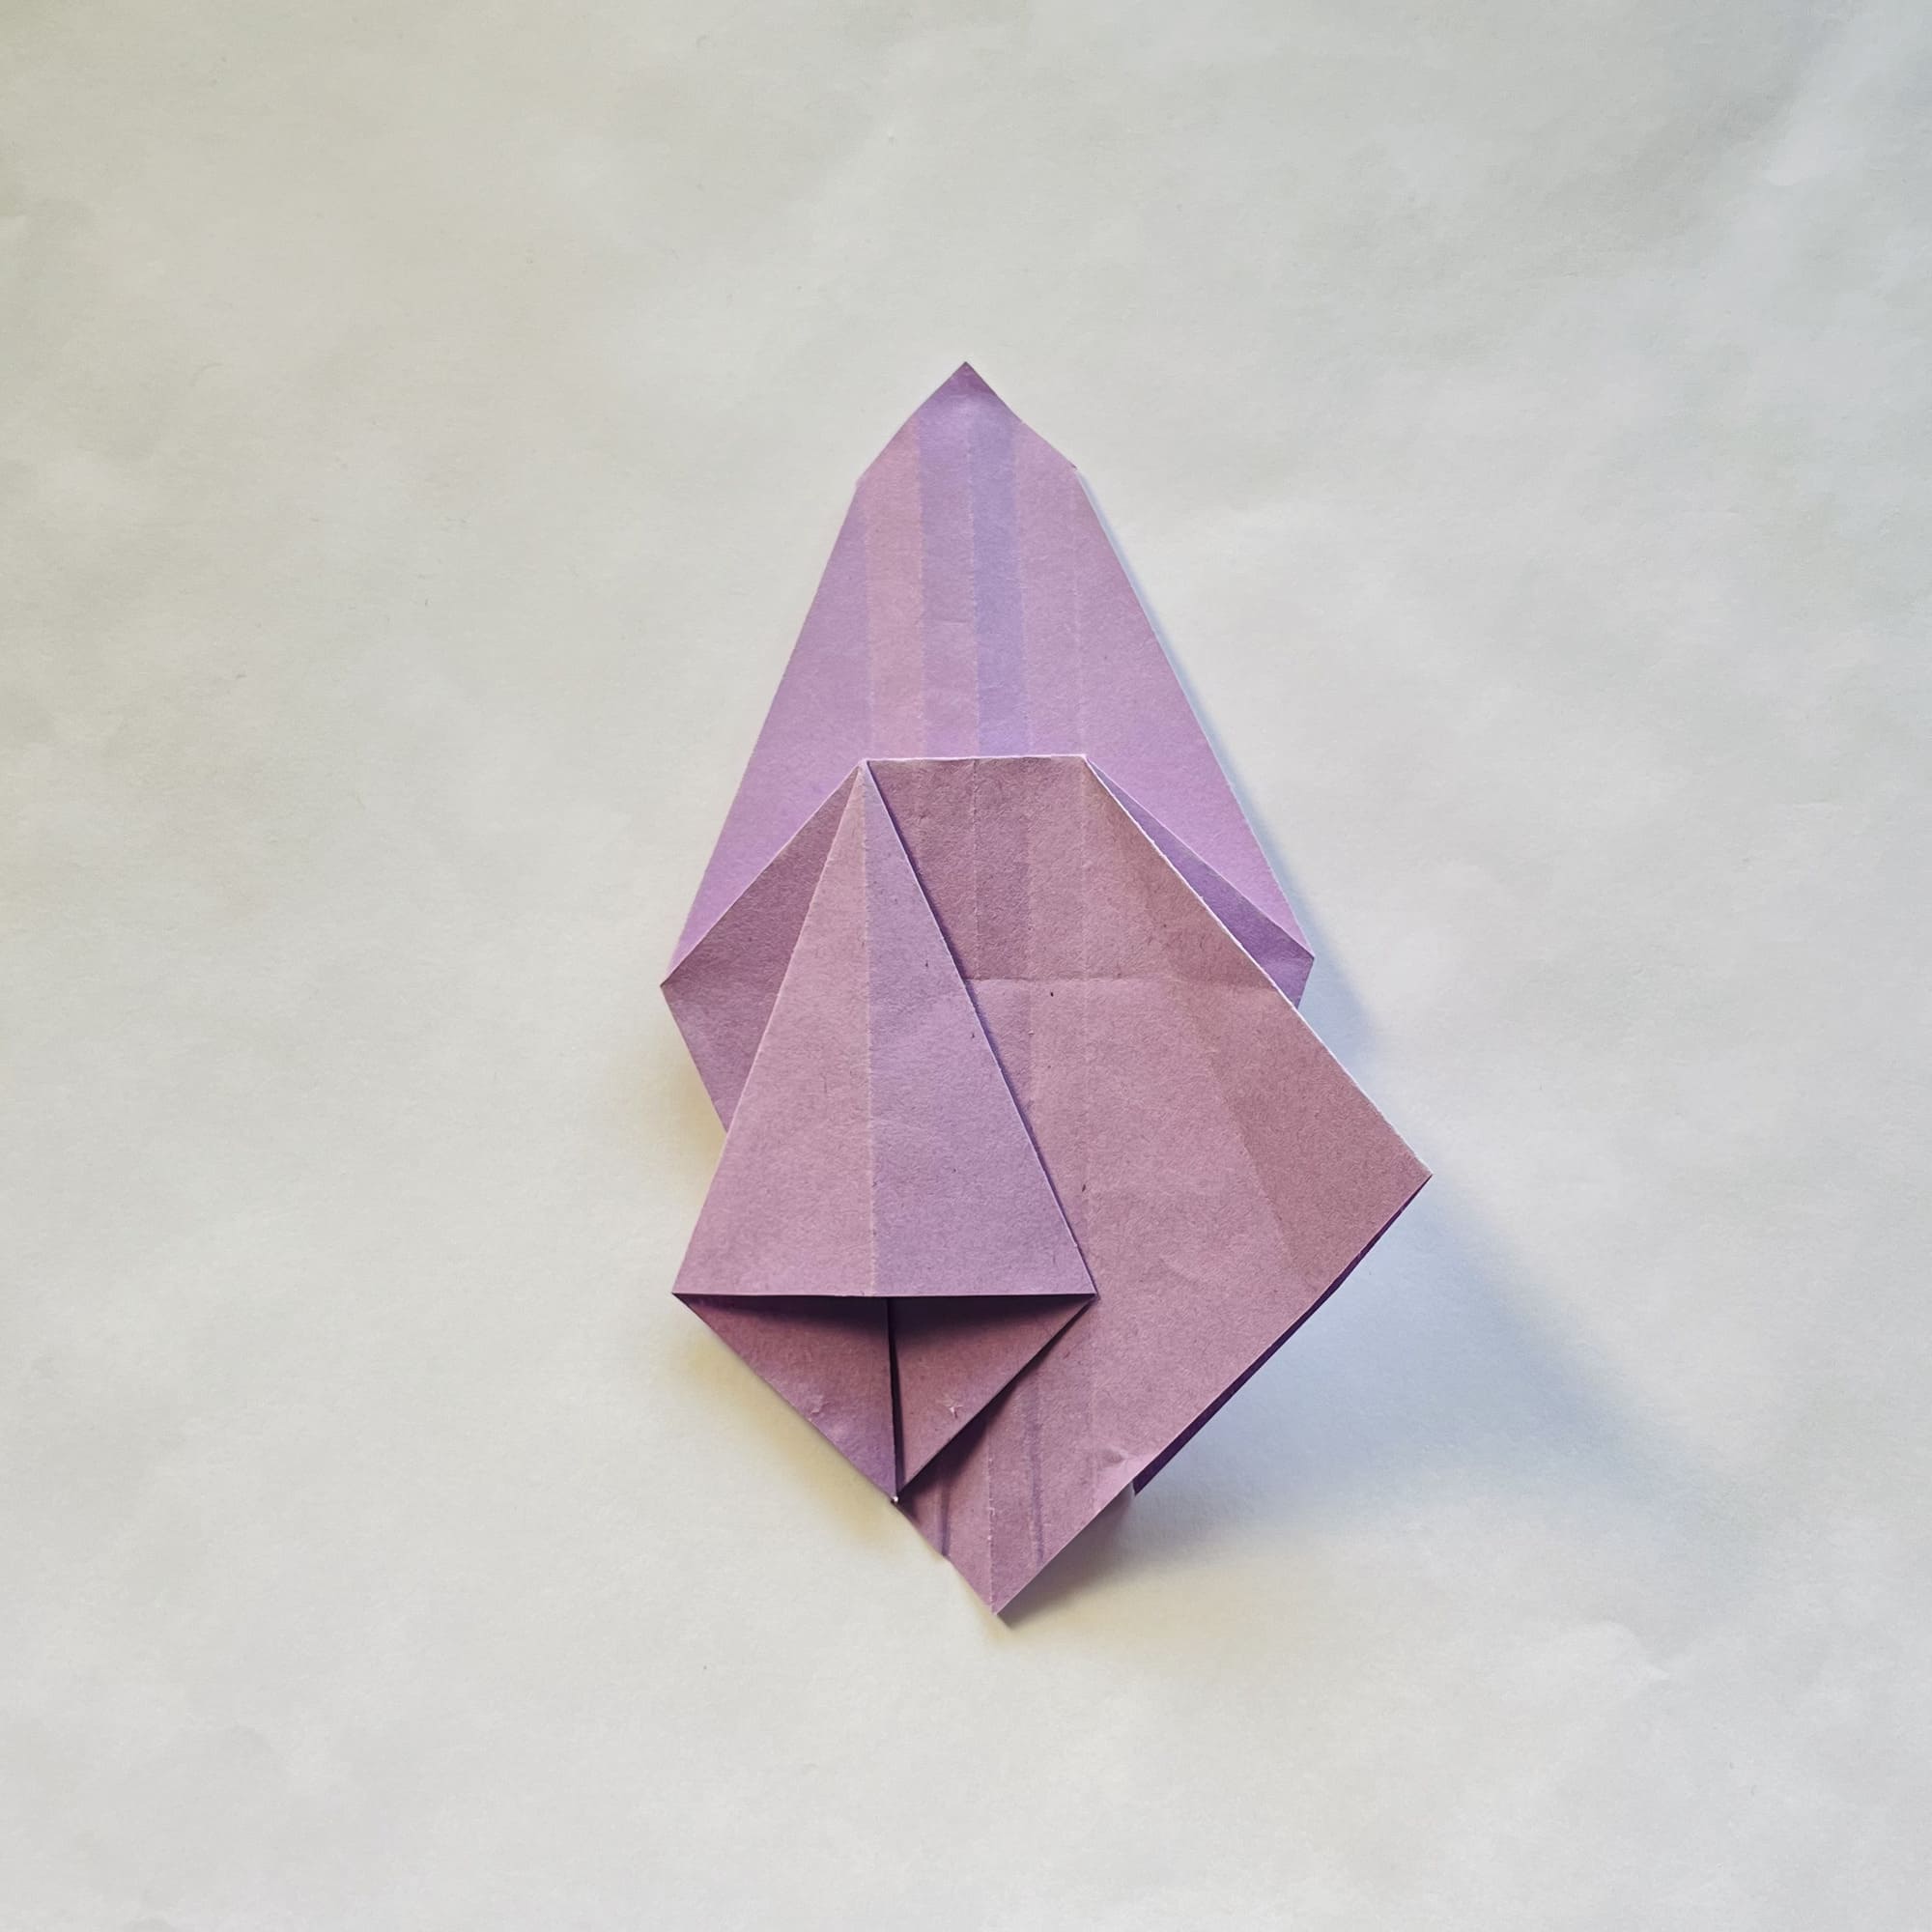
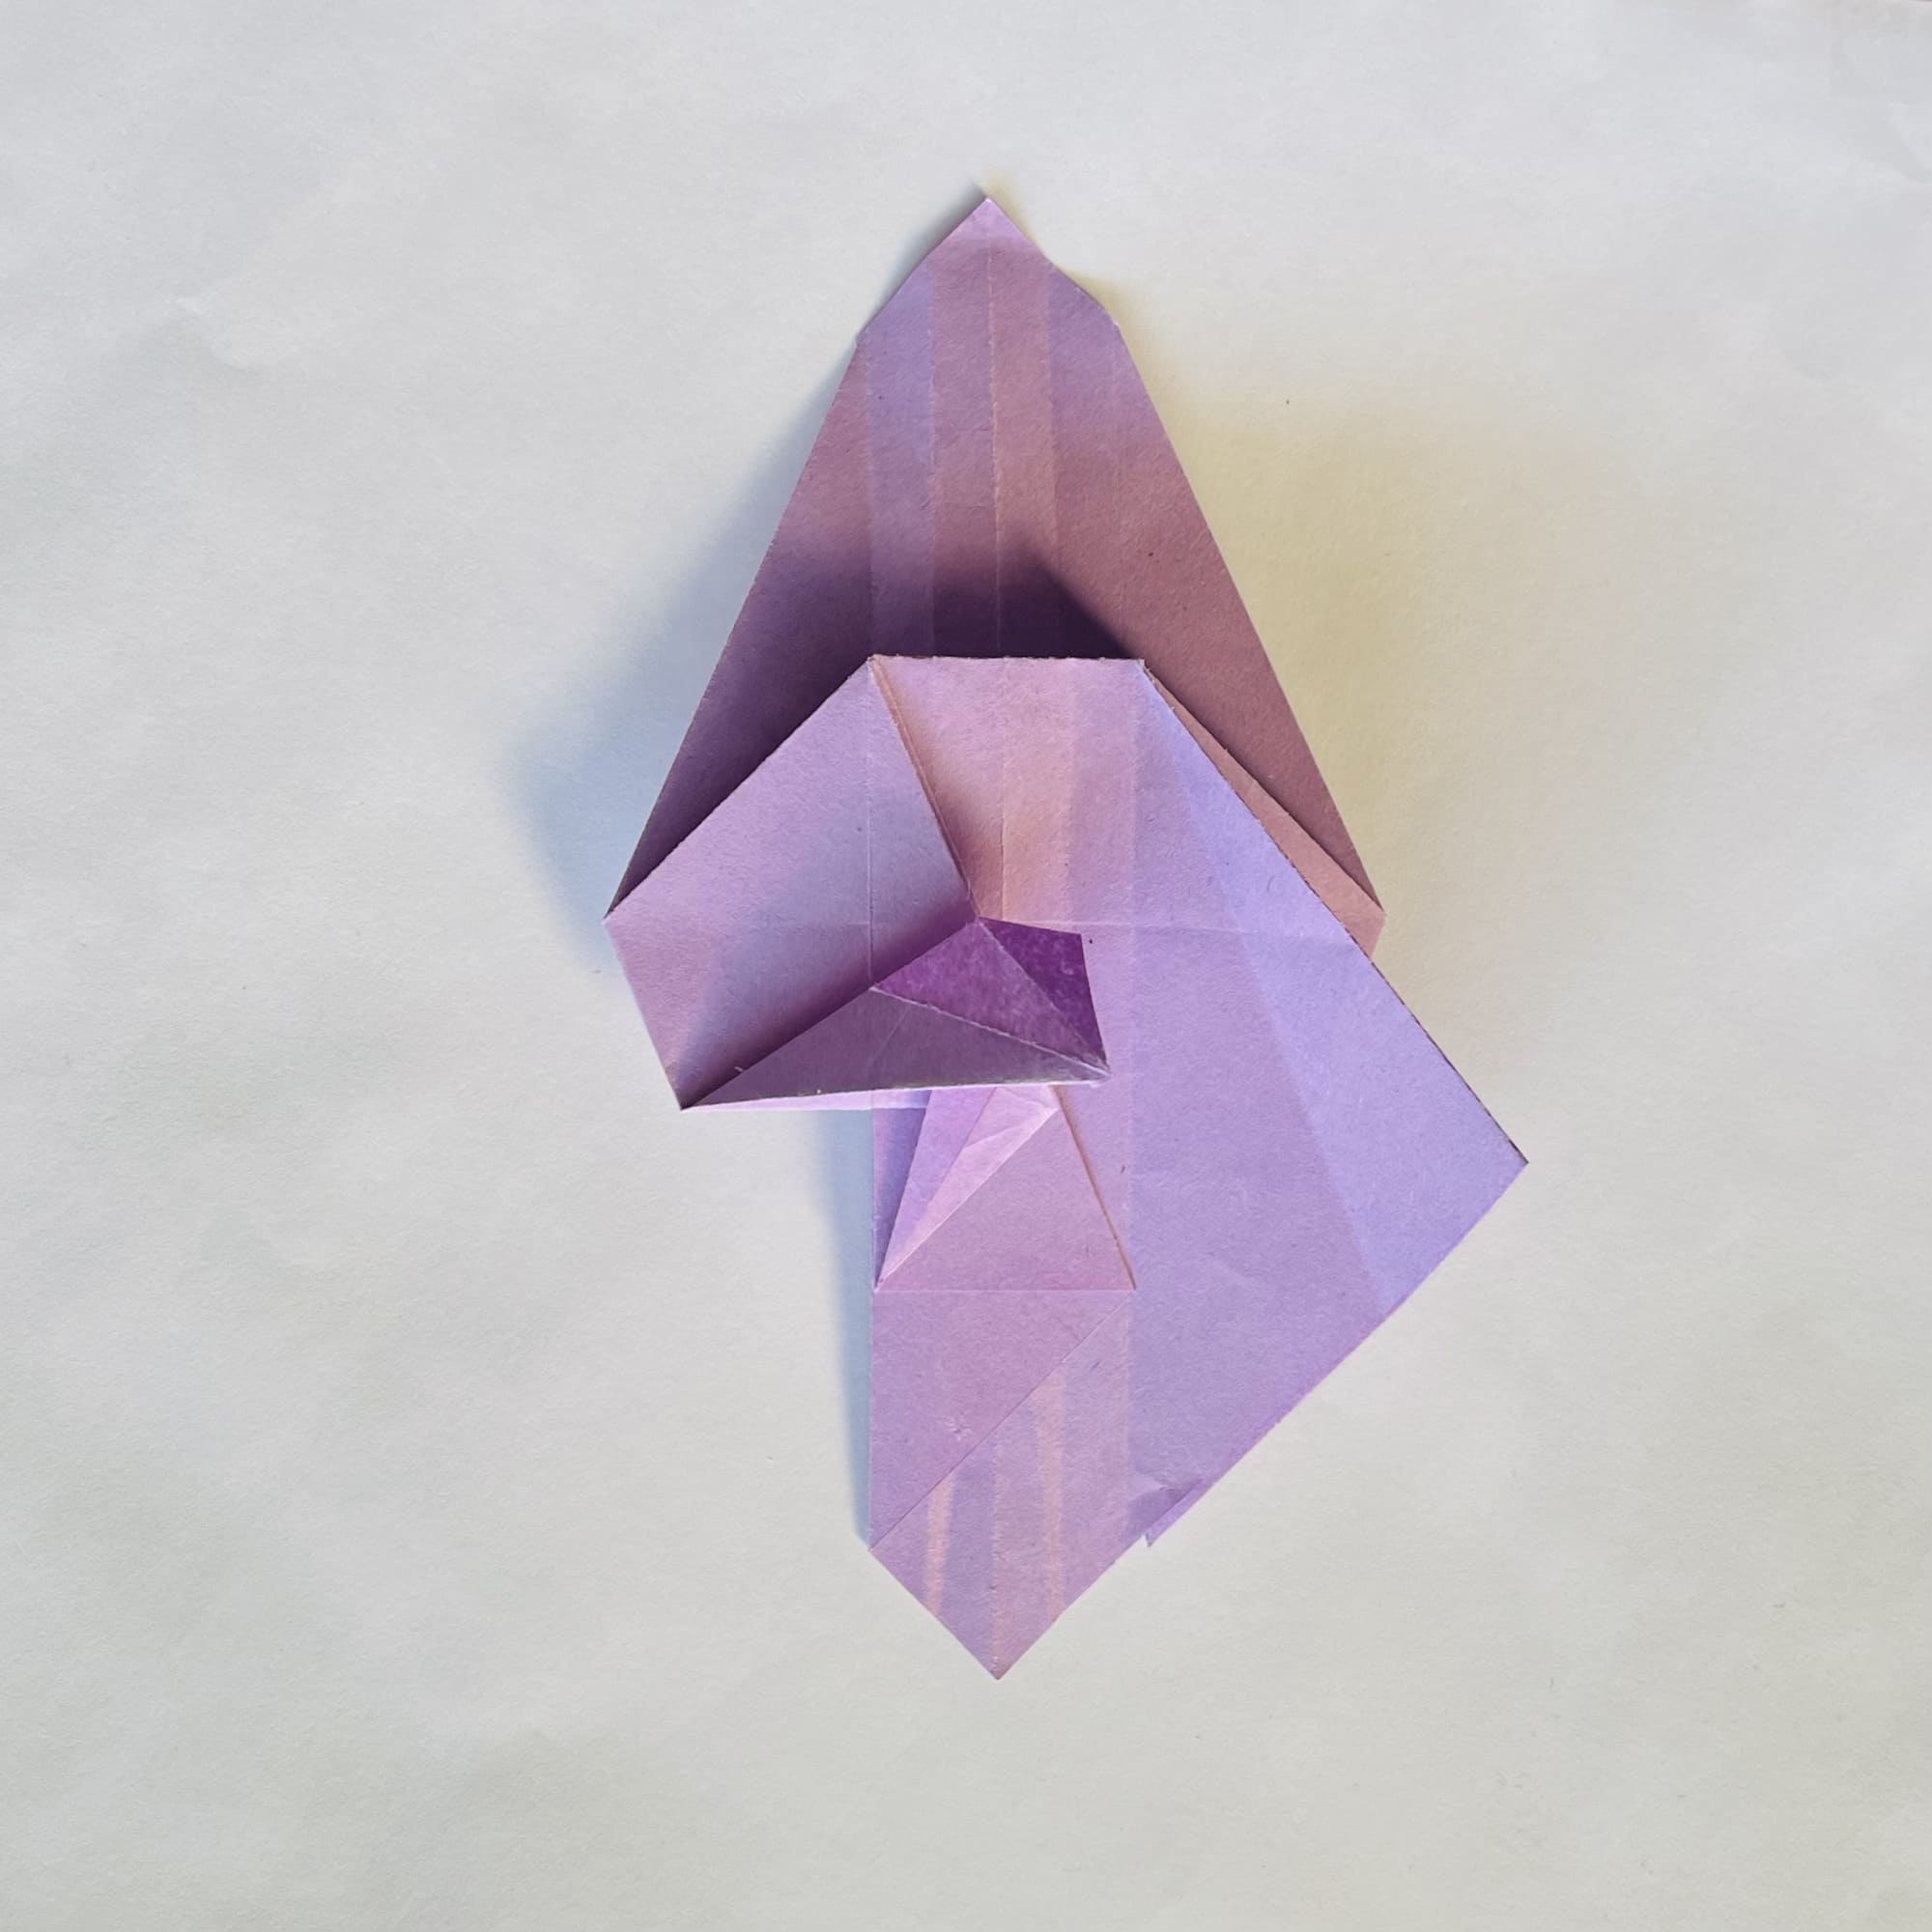
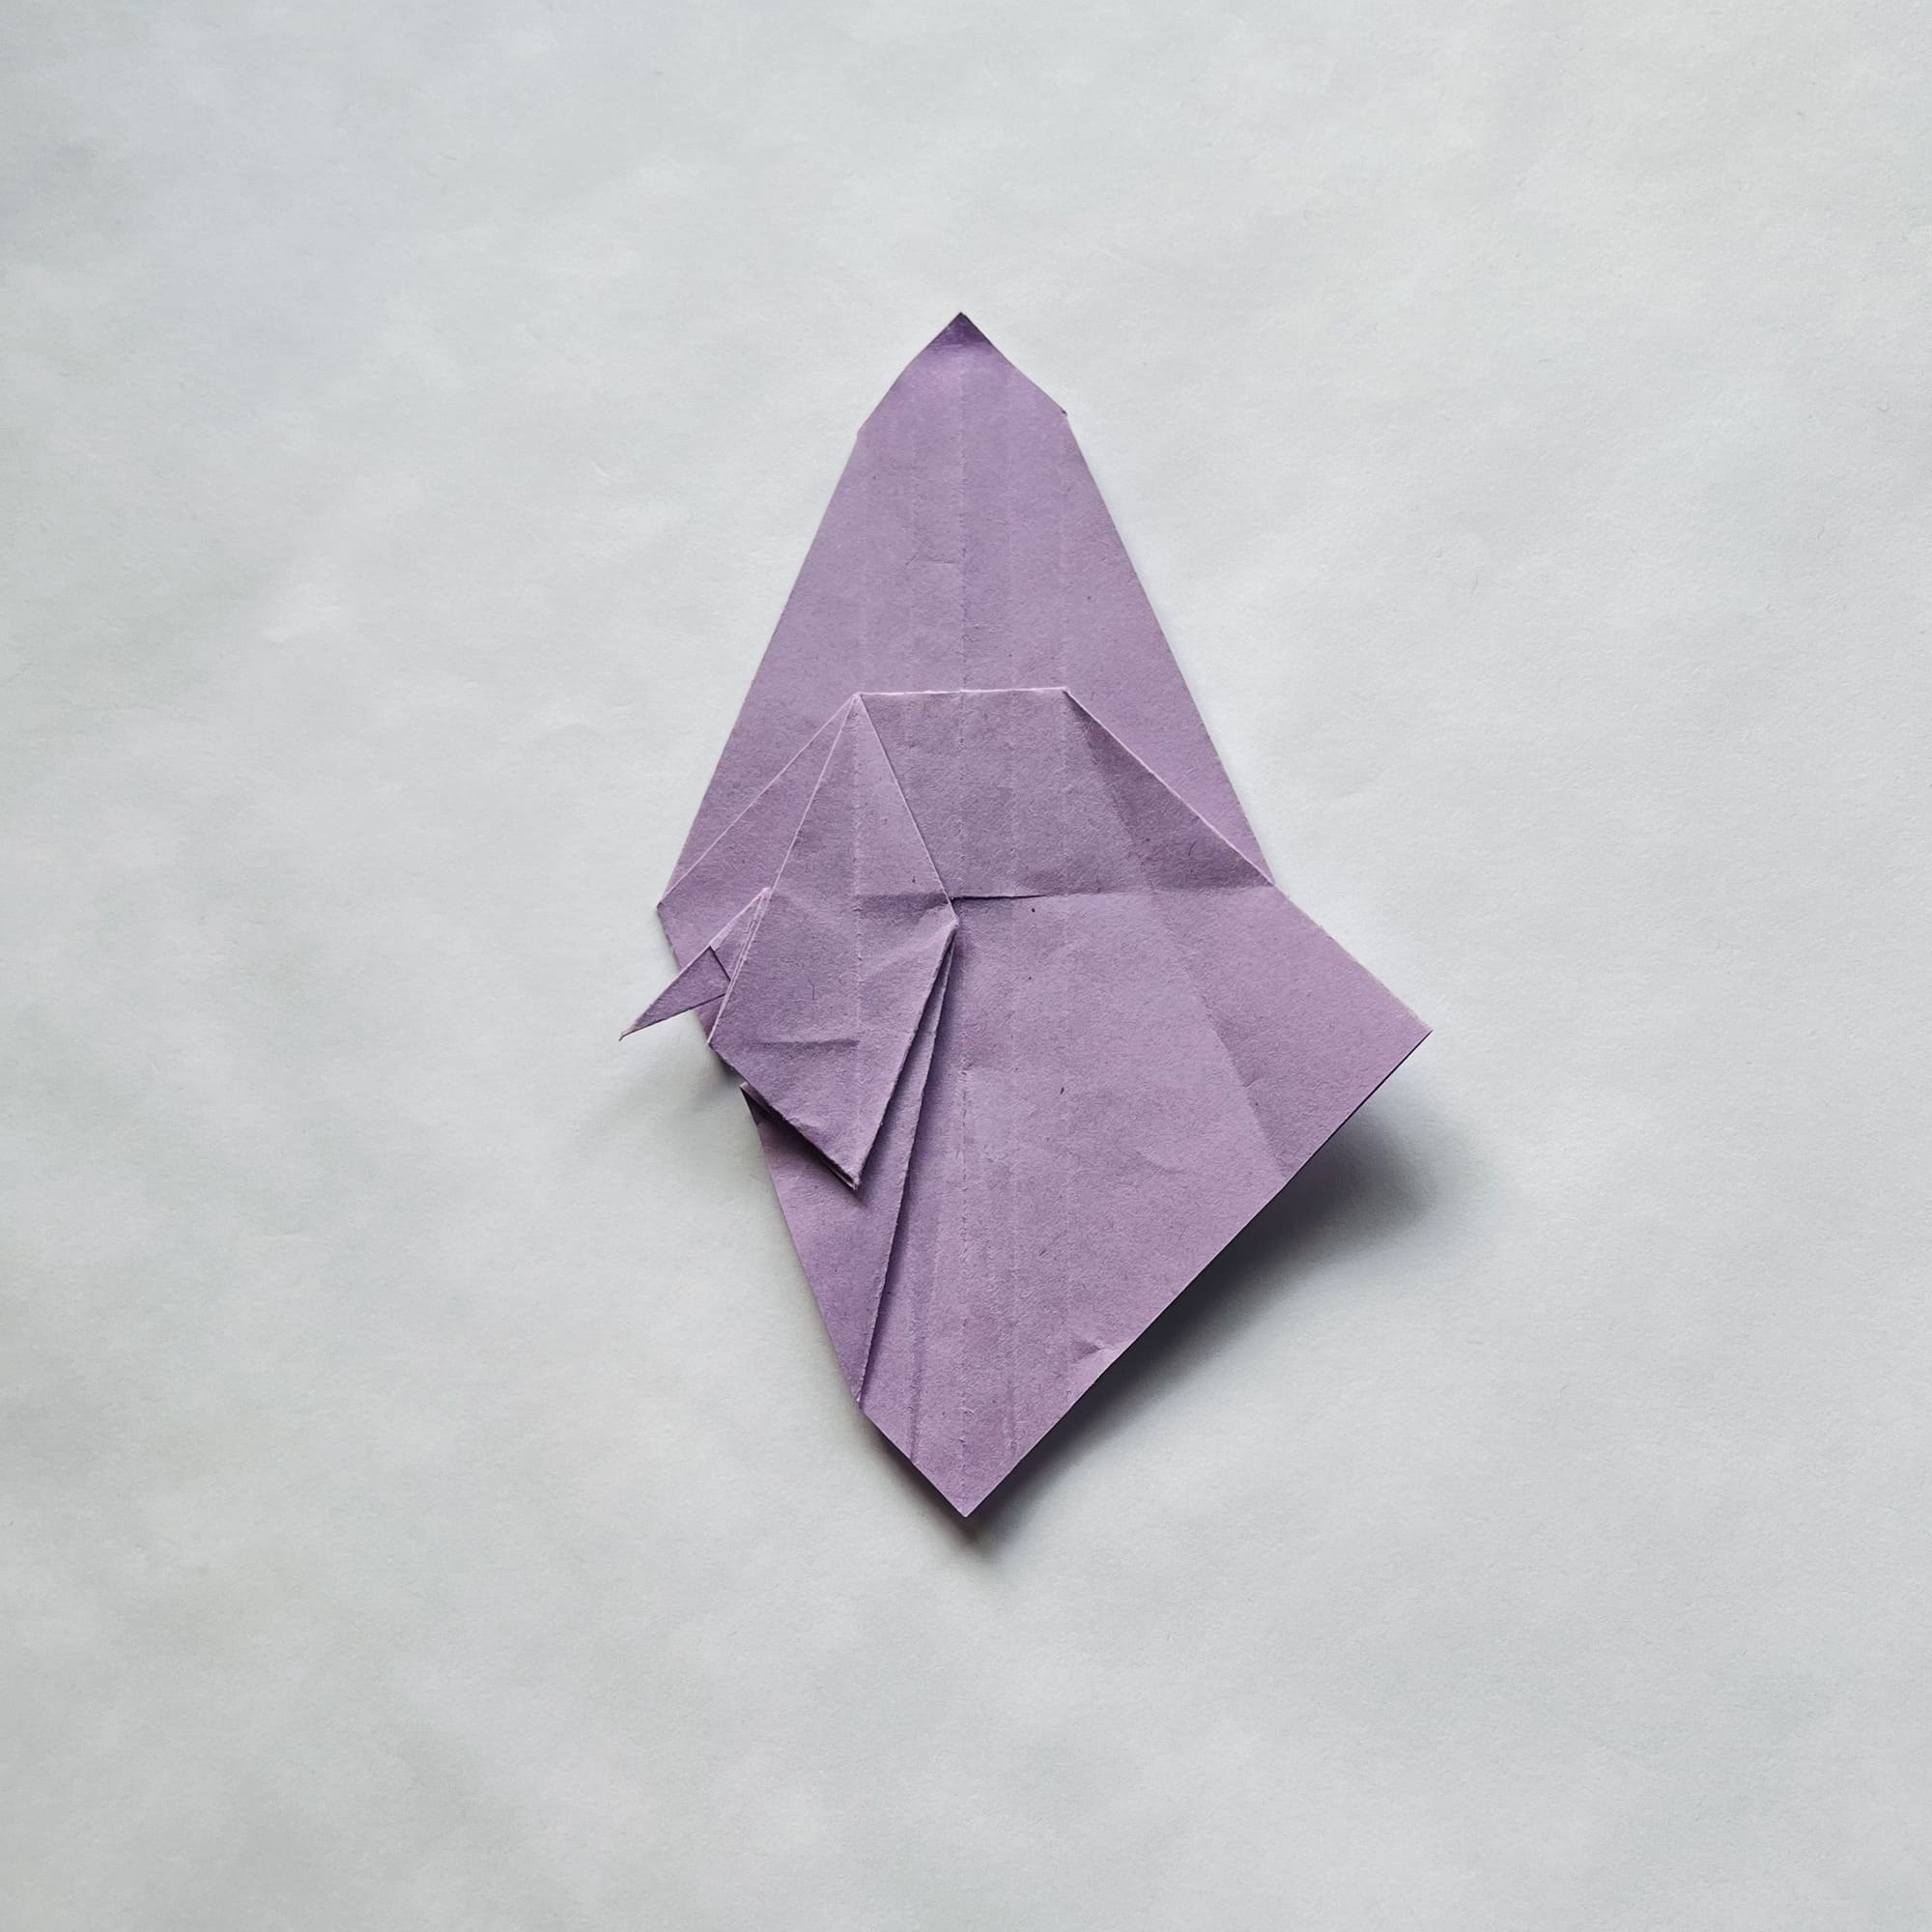
Fold this layer of paper inward.
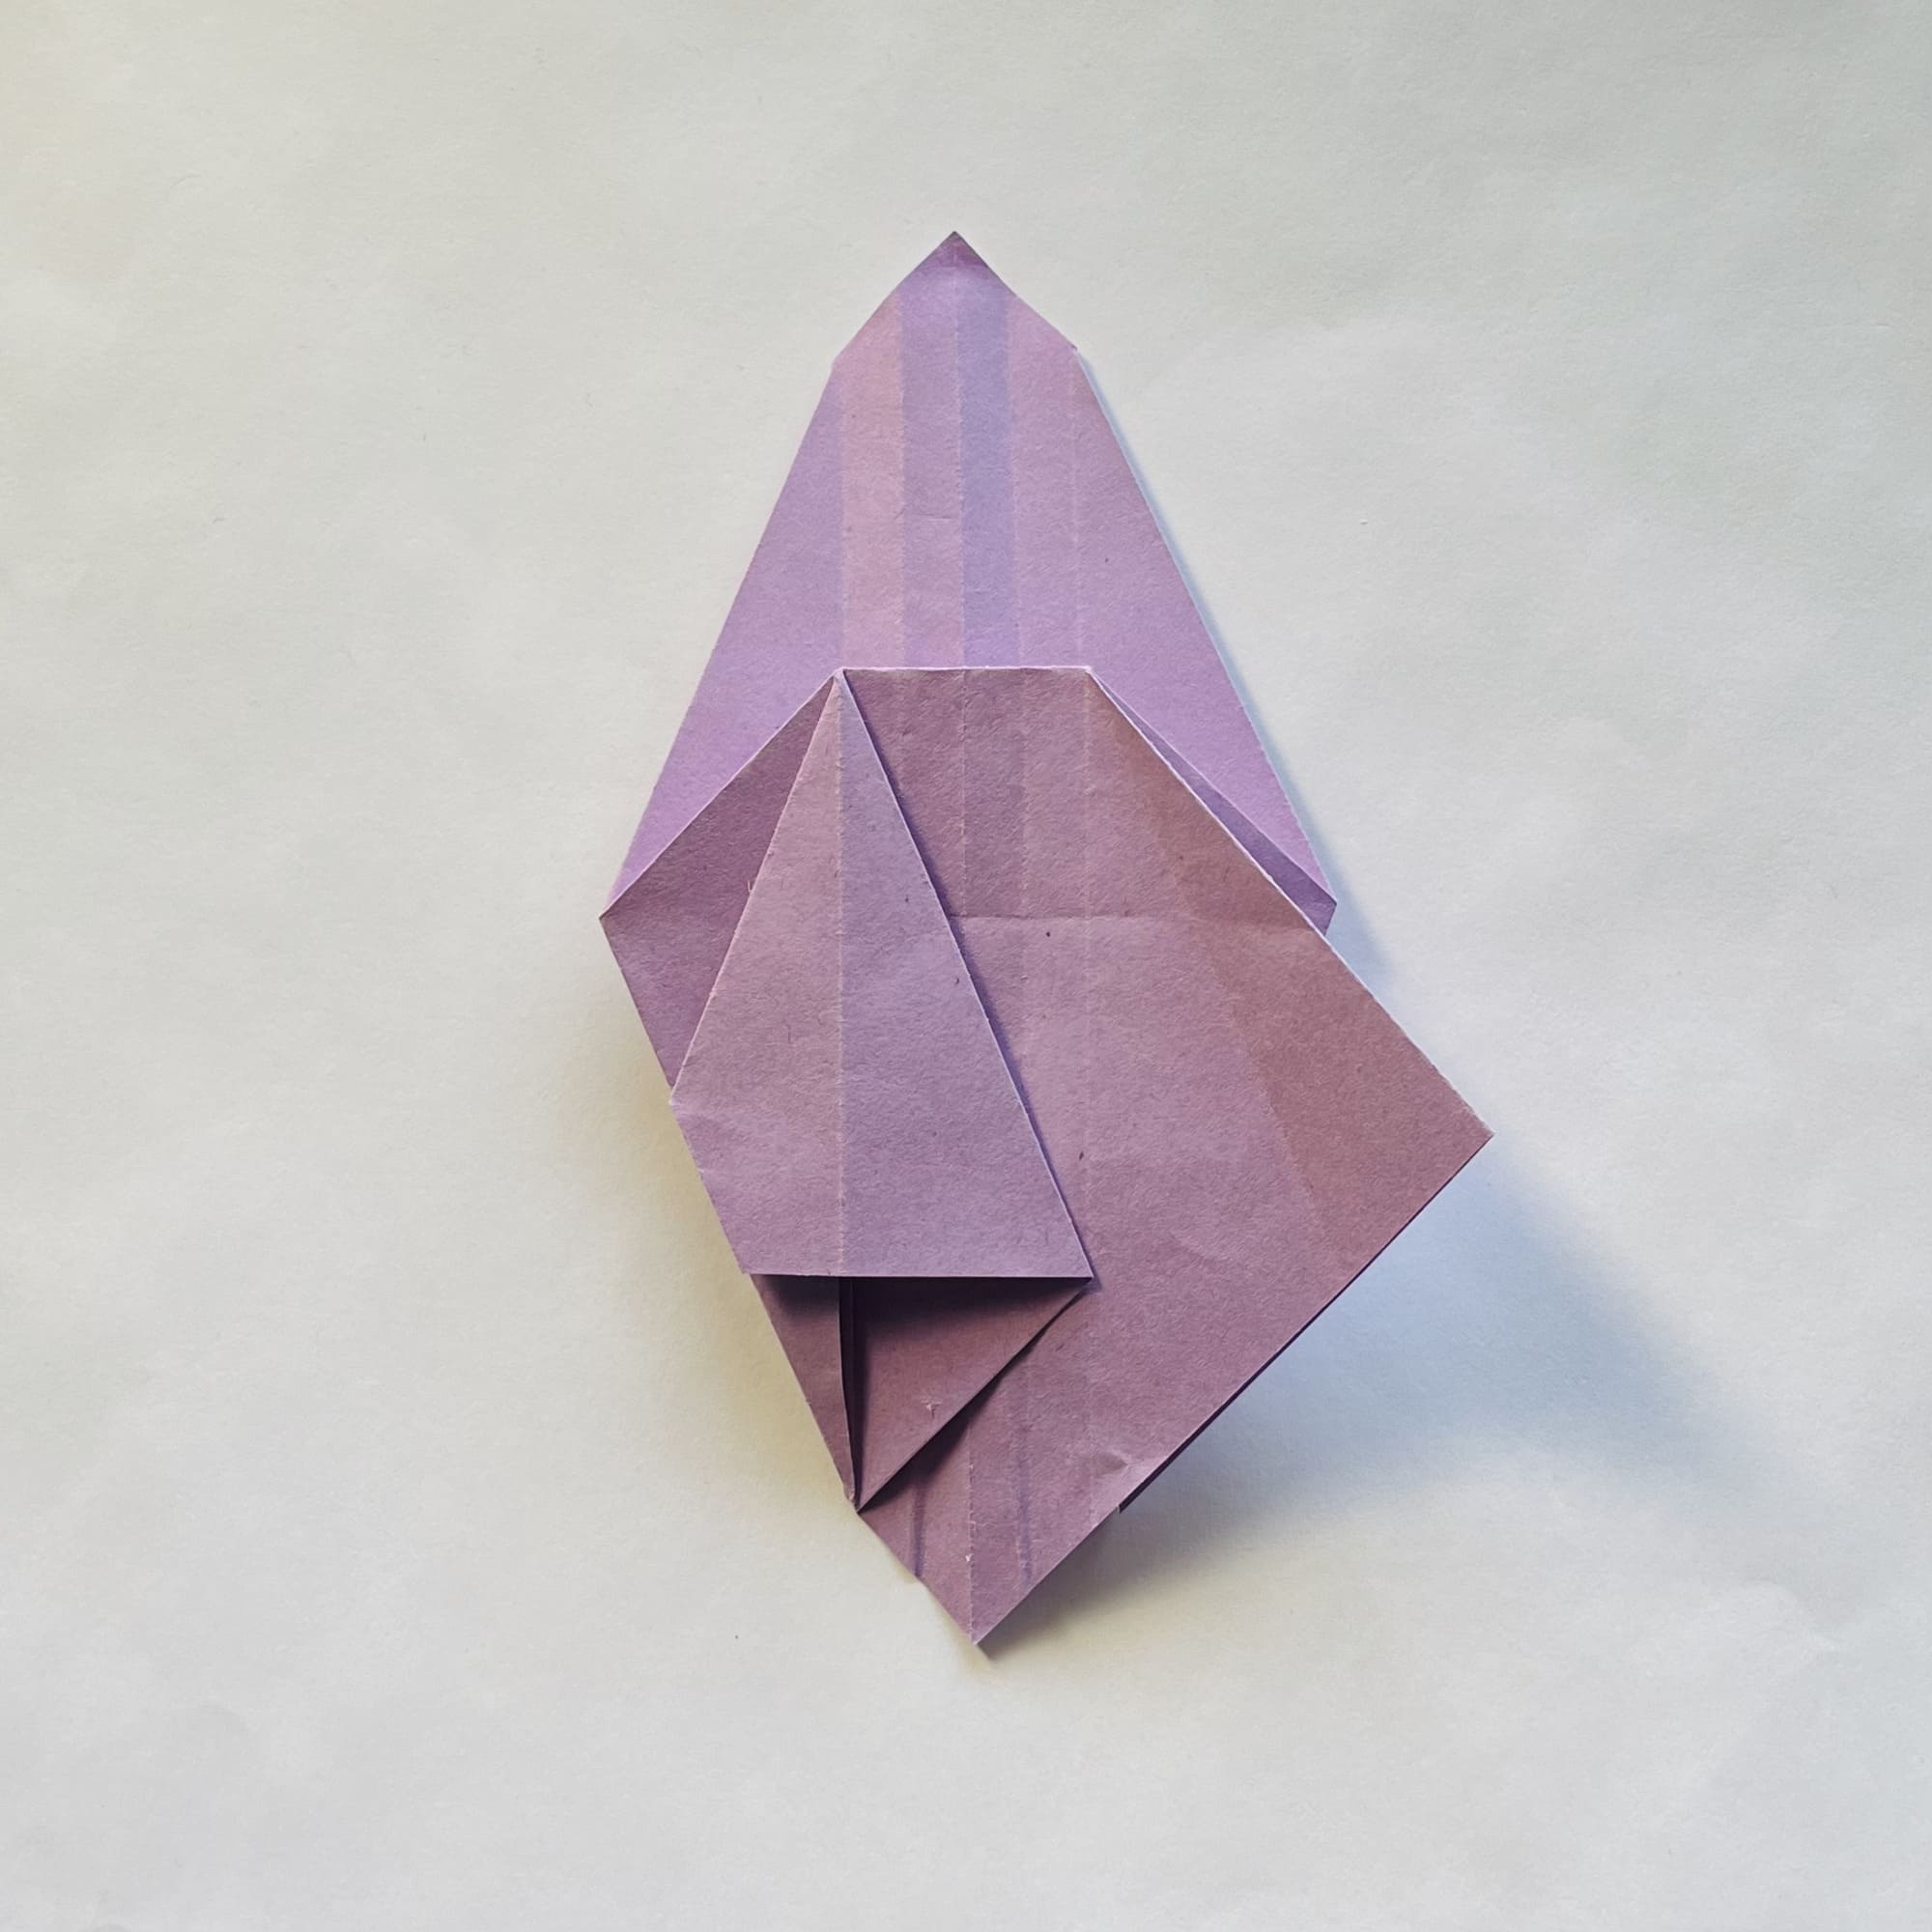
In the same part of the figure, lift the first layer up.
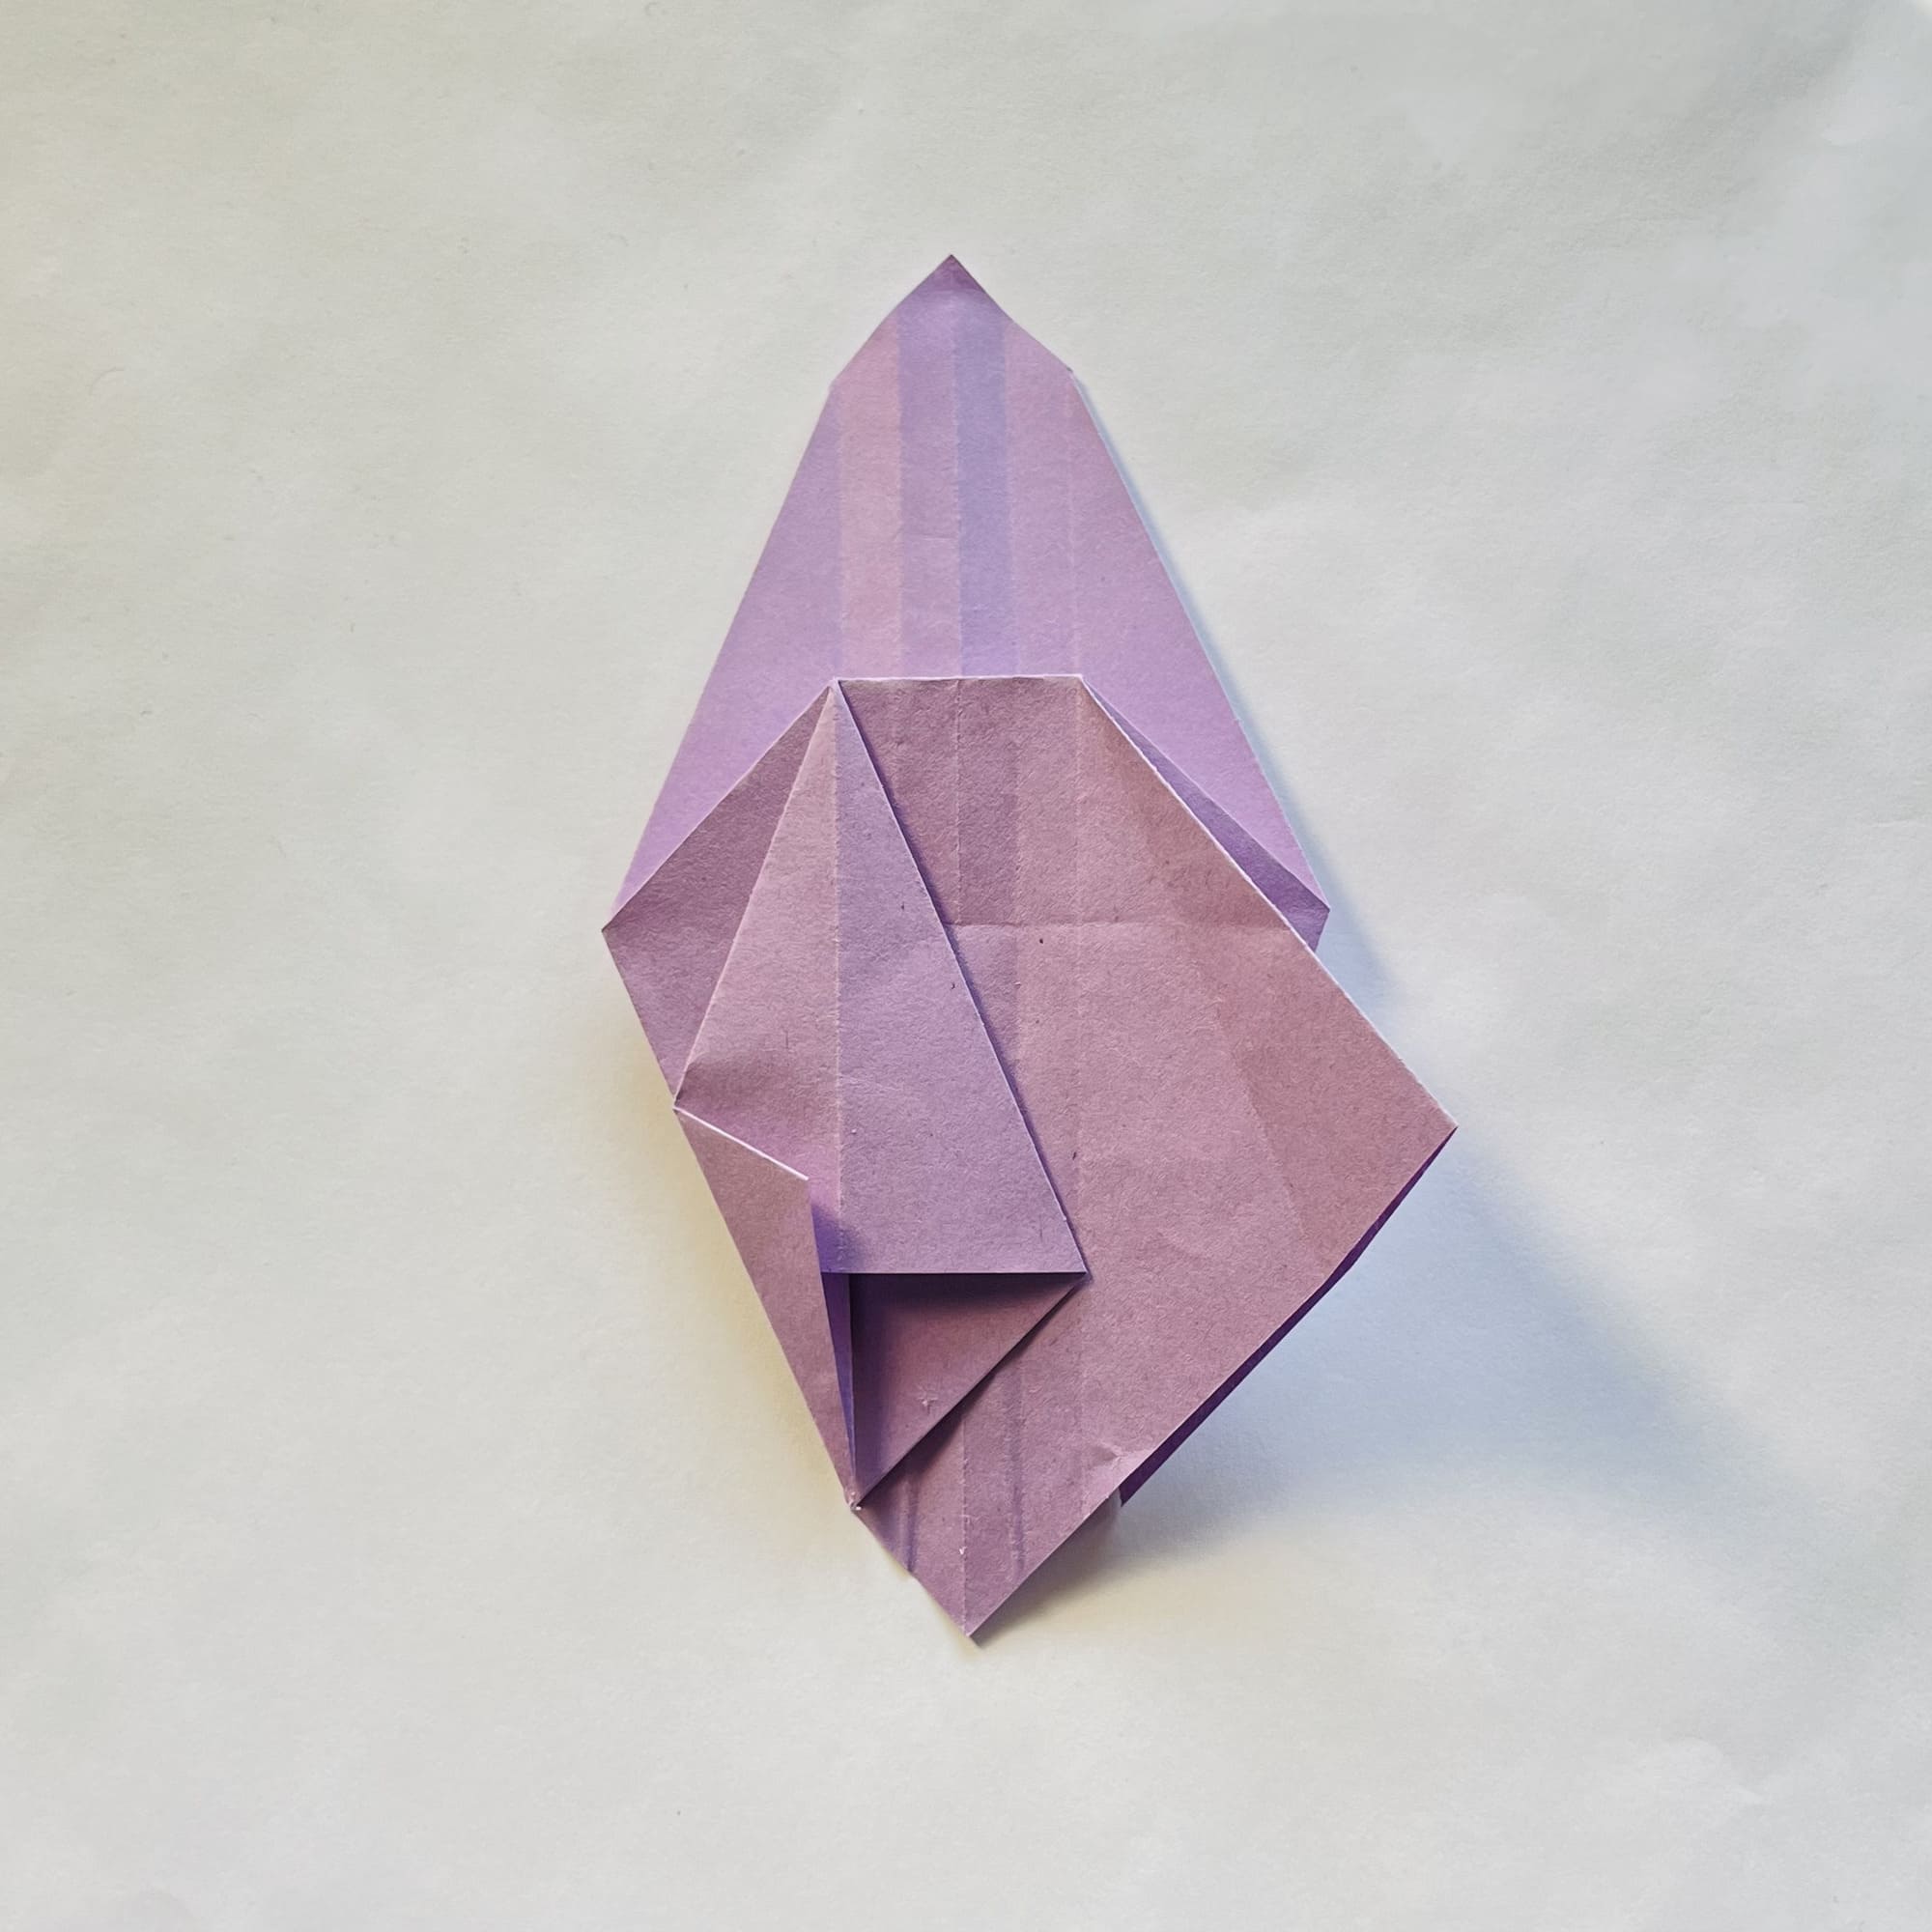
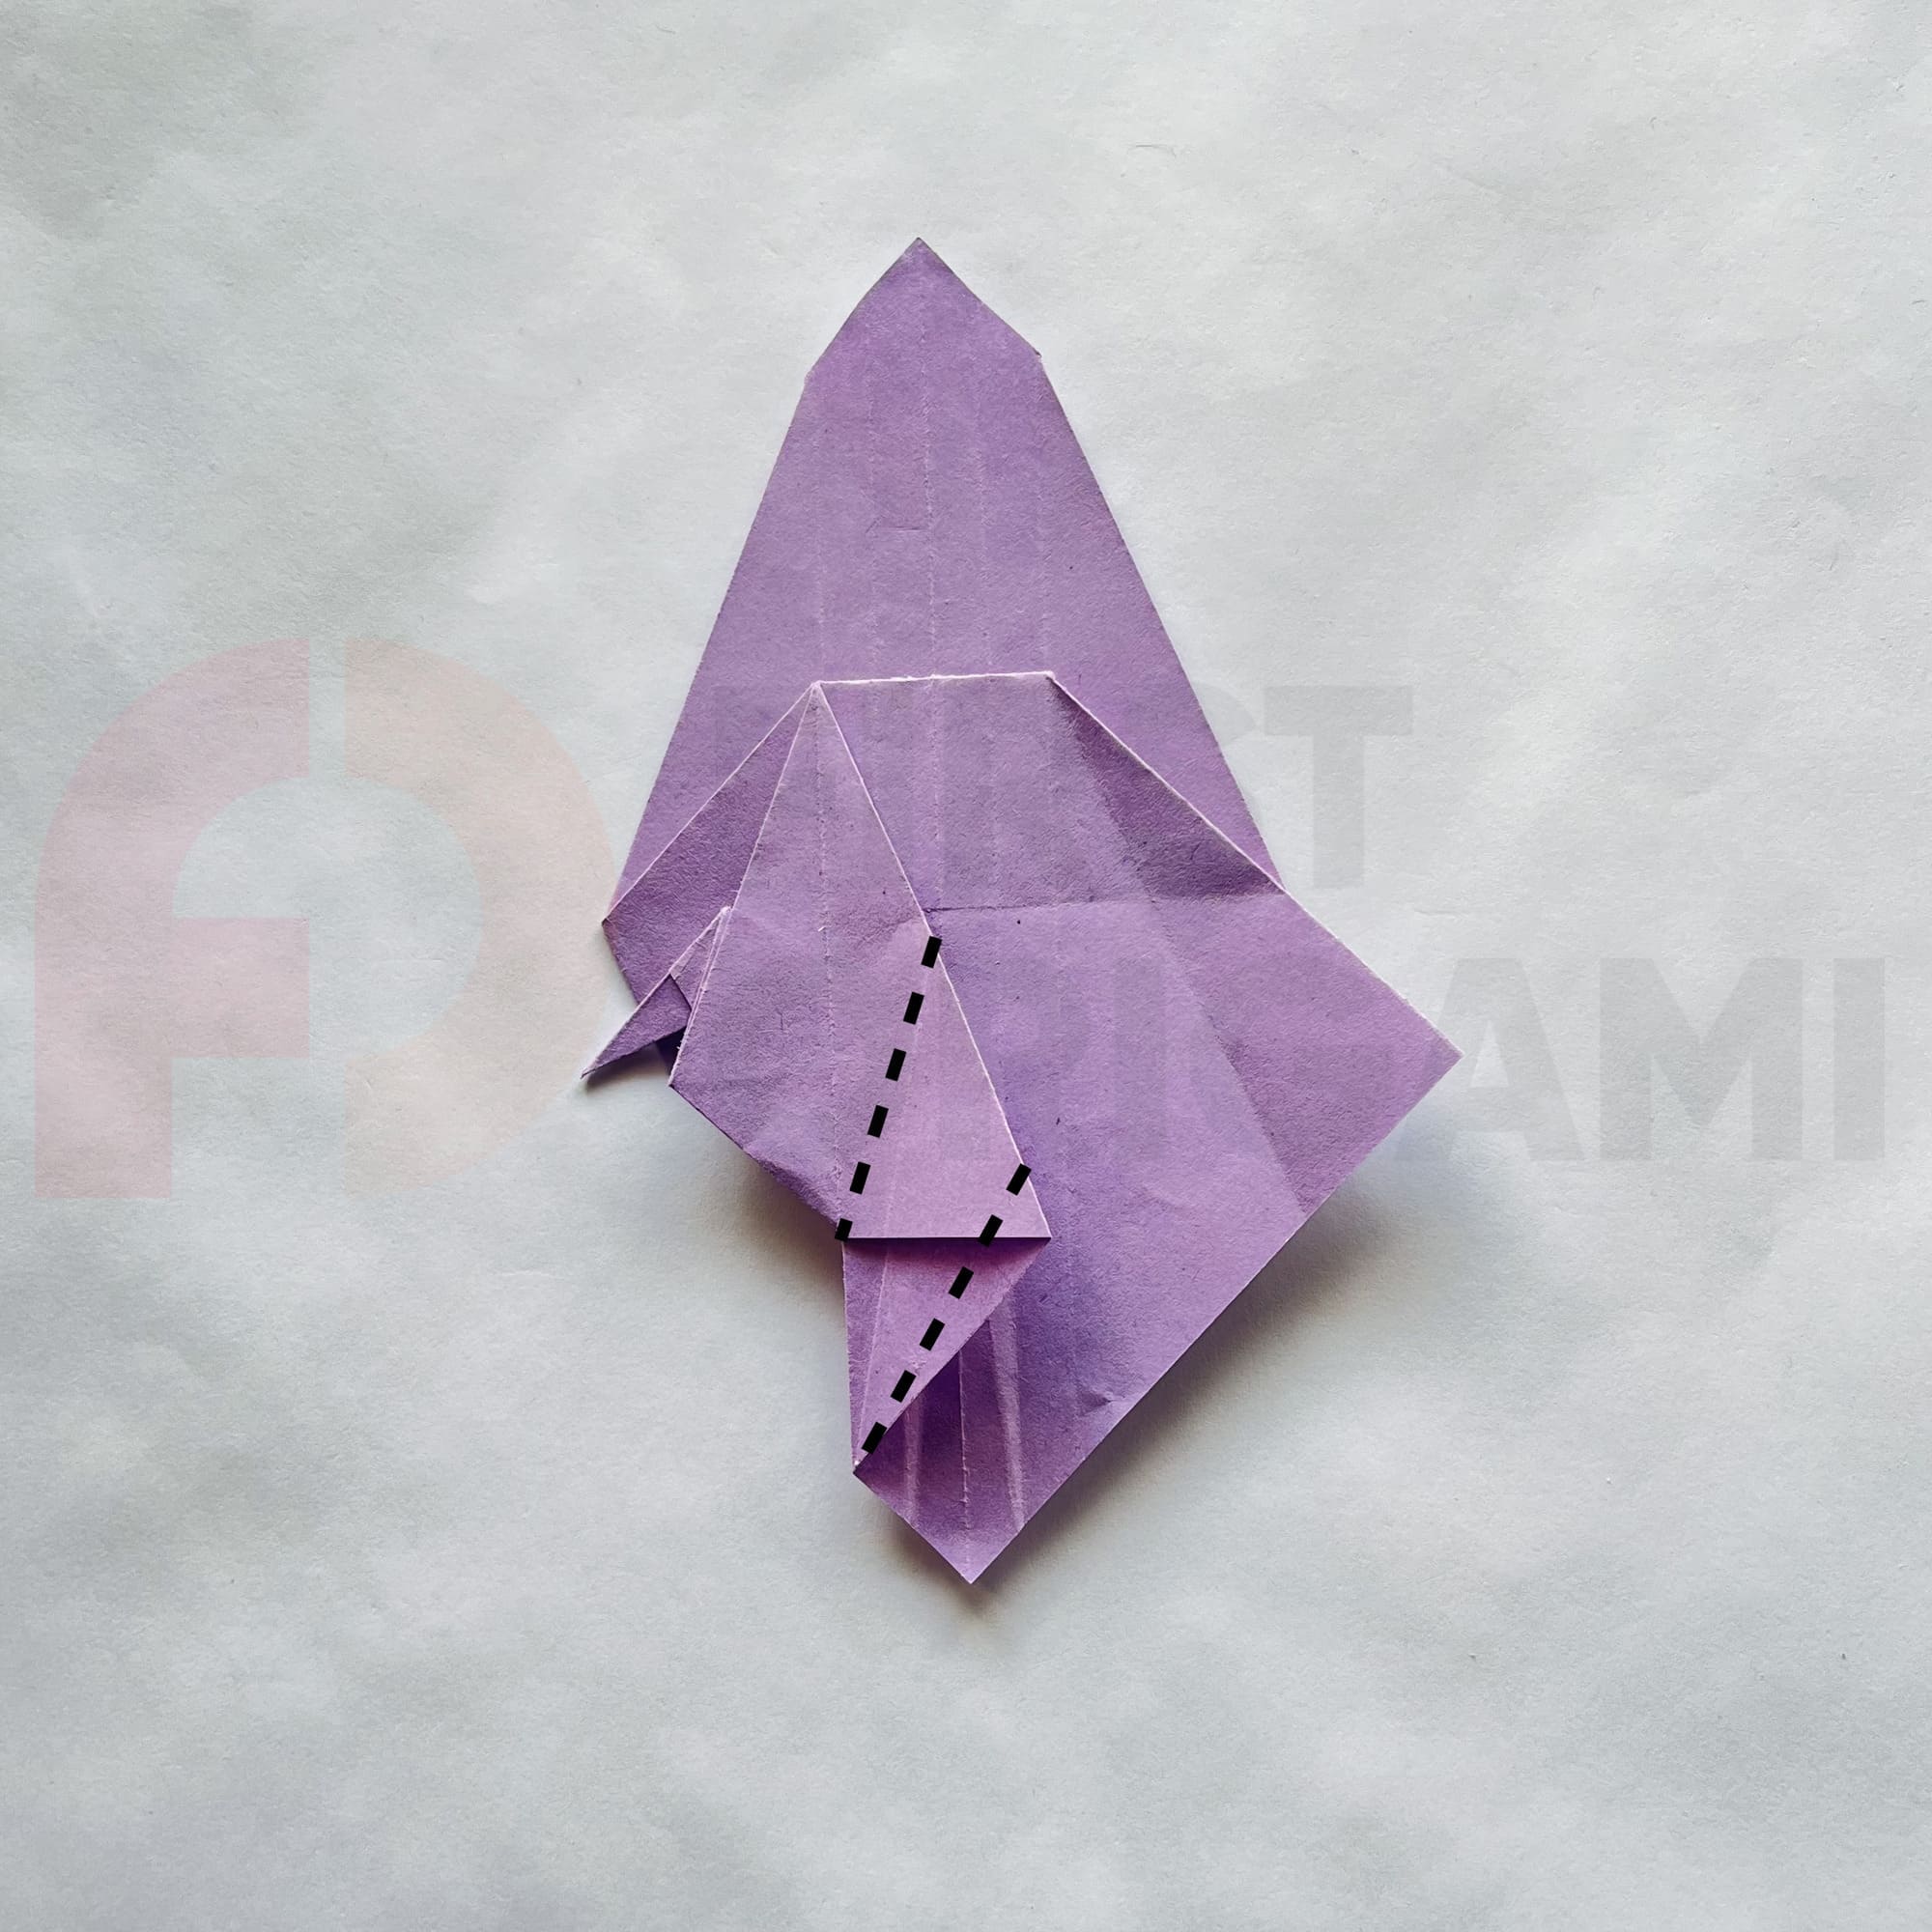
Fold the top corner down and to the right along the dotted line.
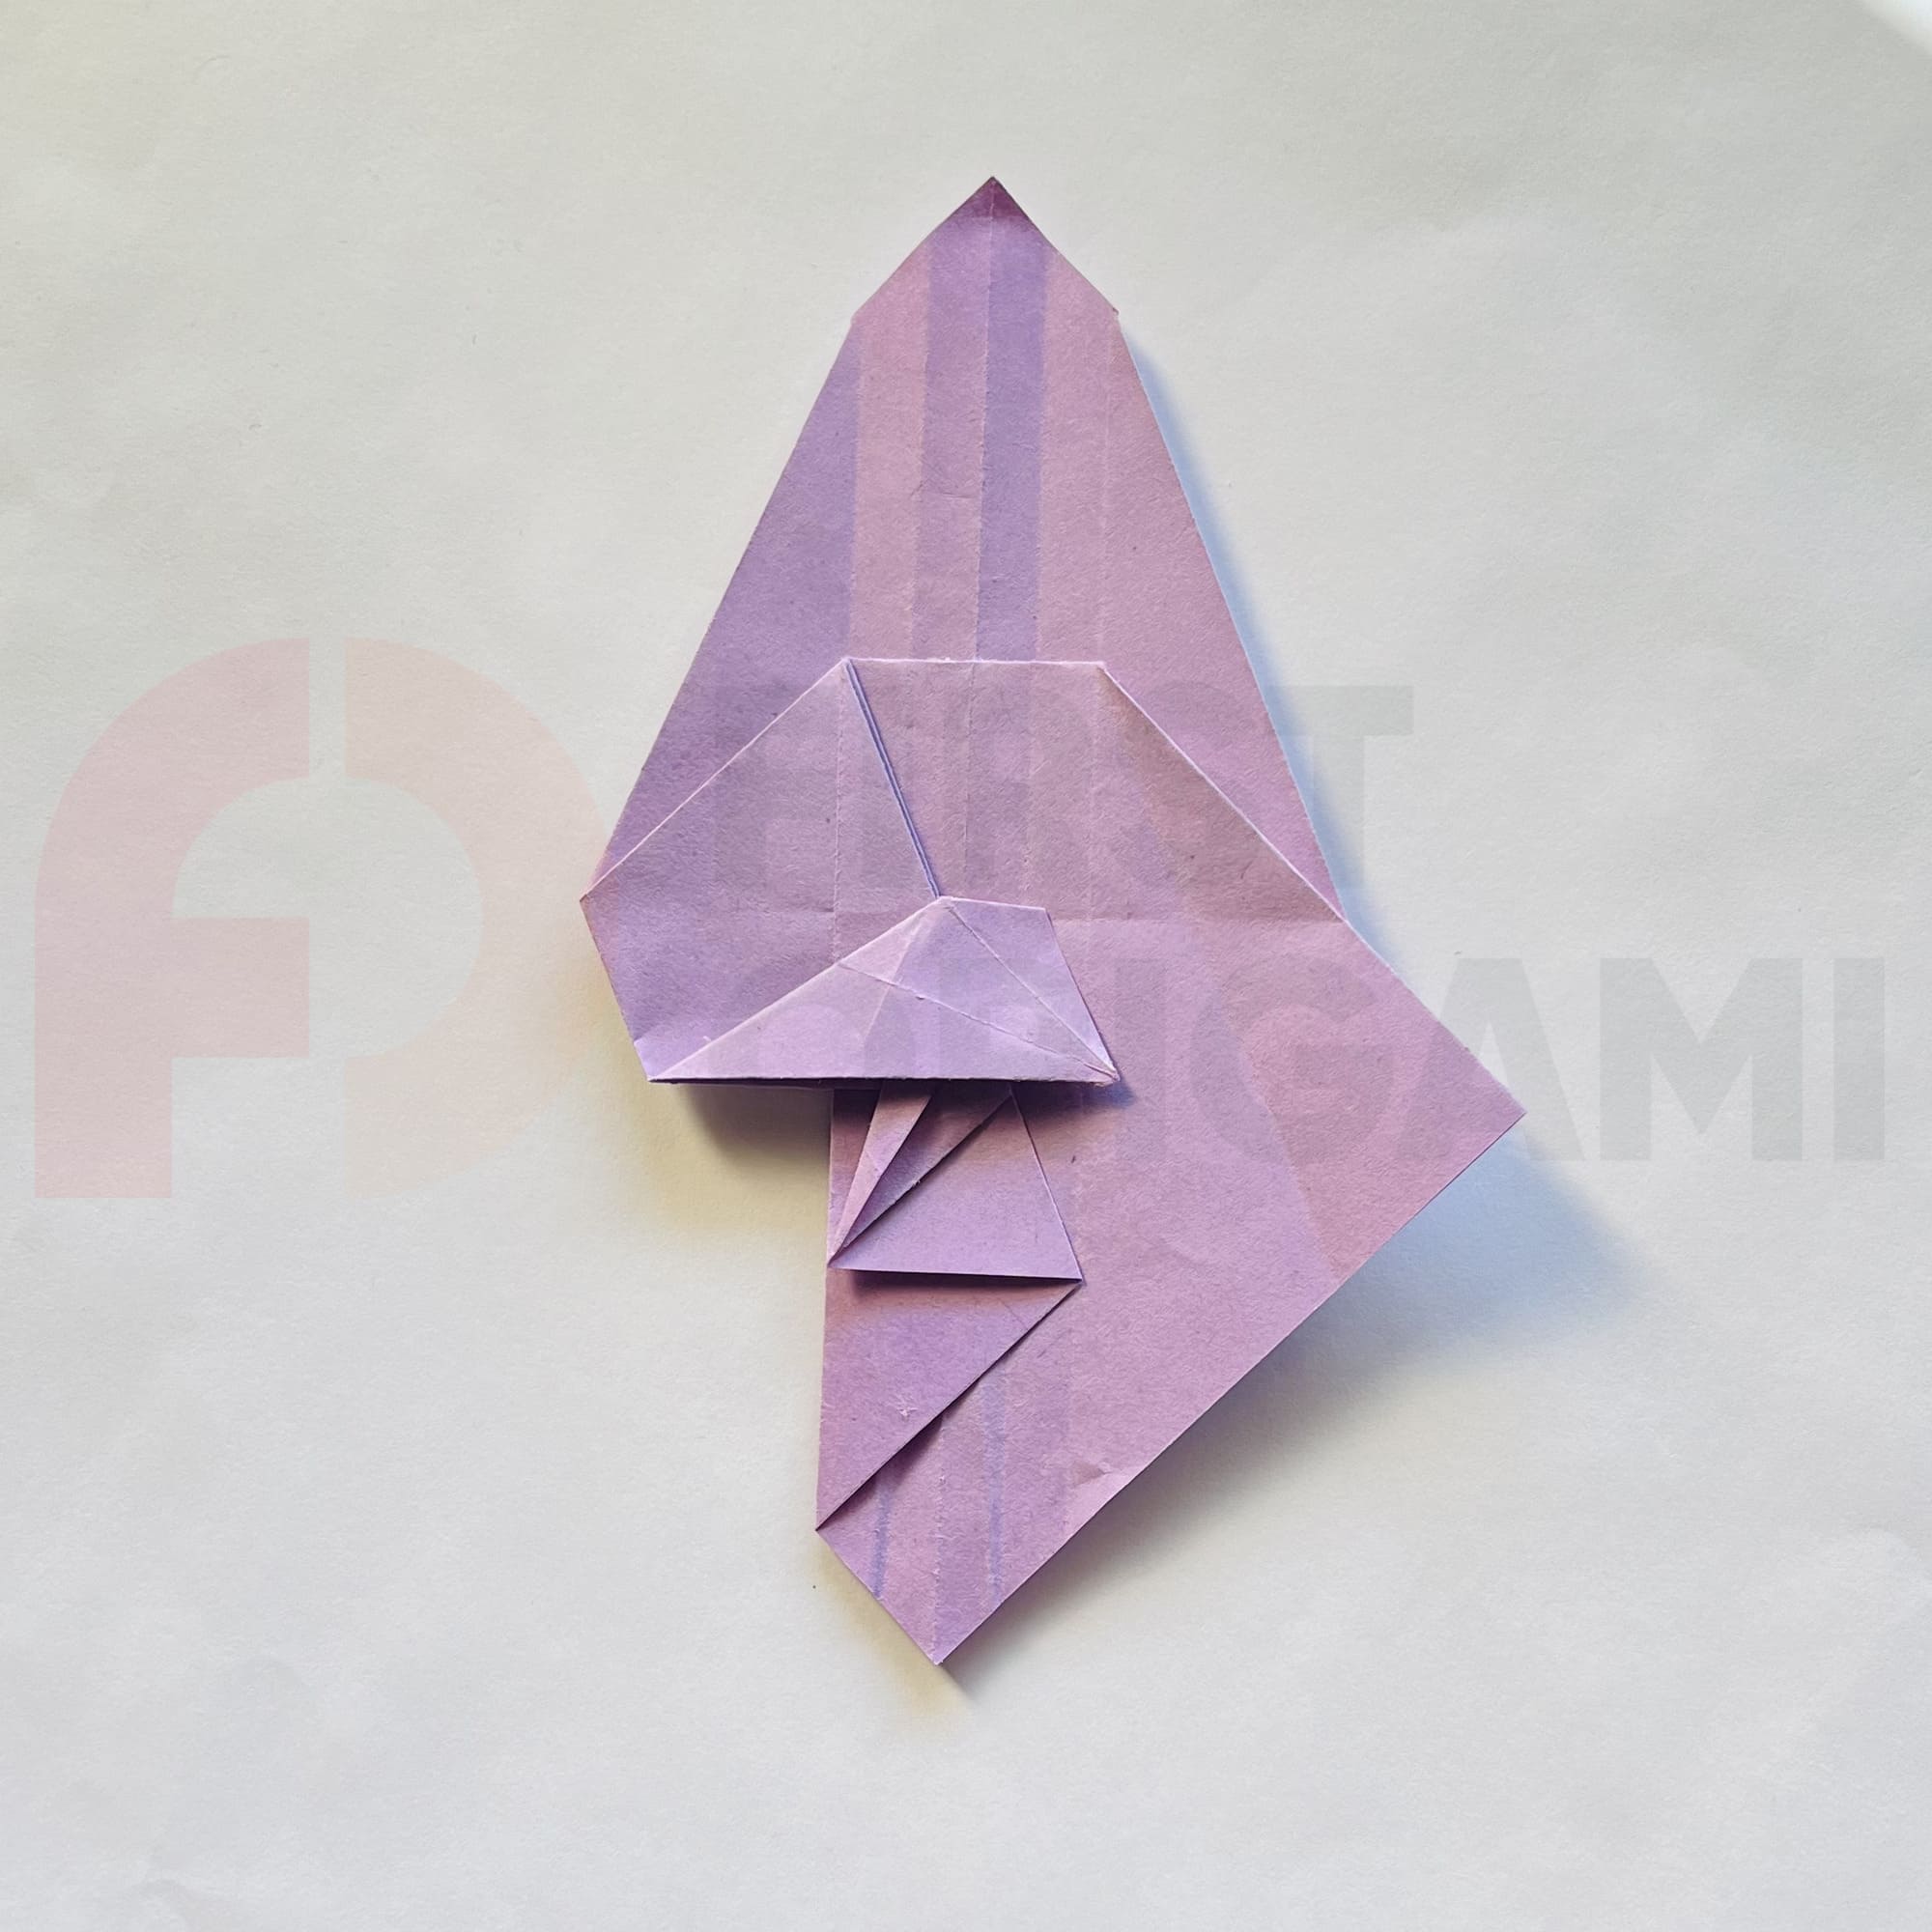
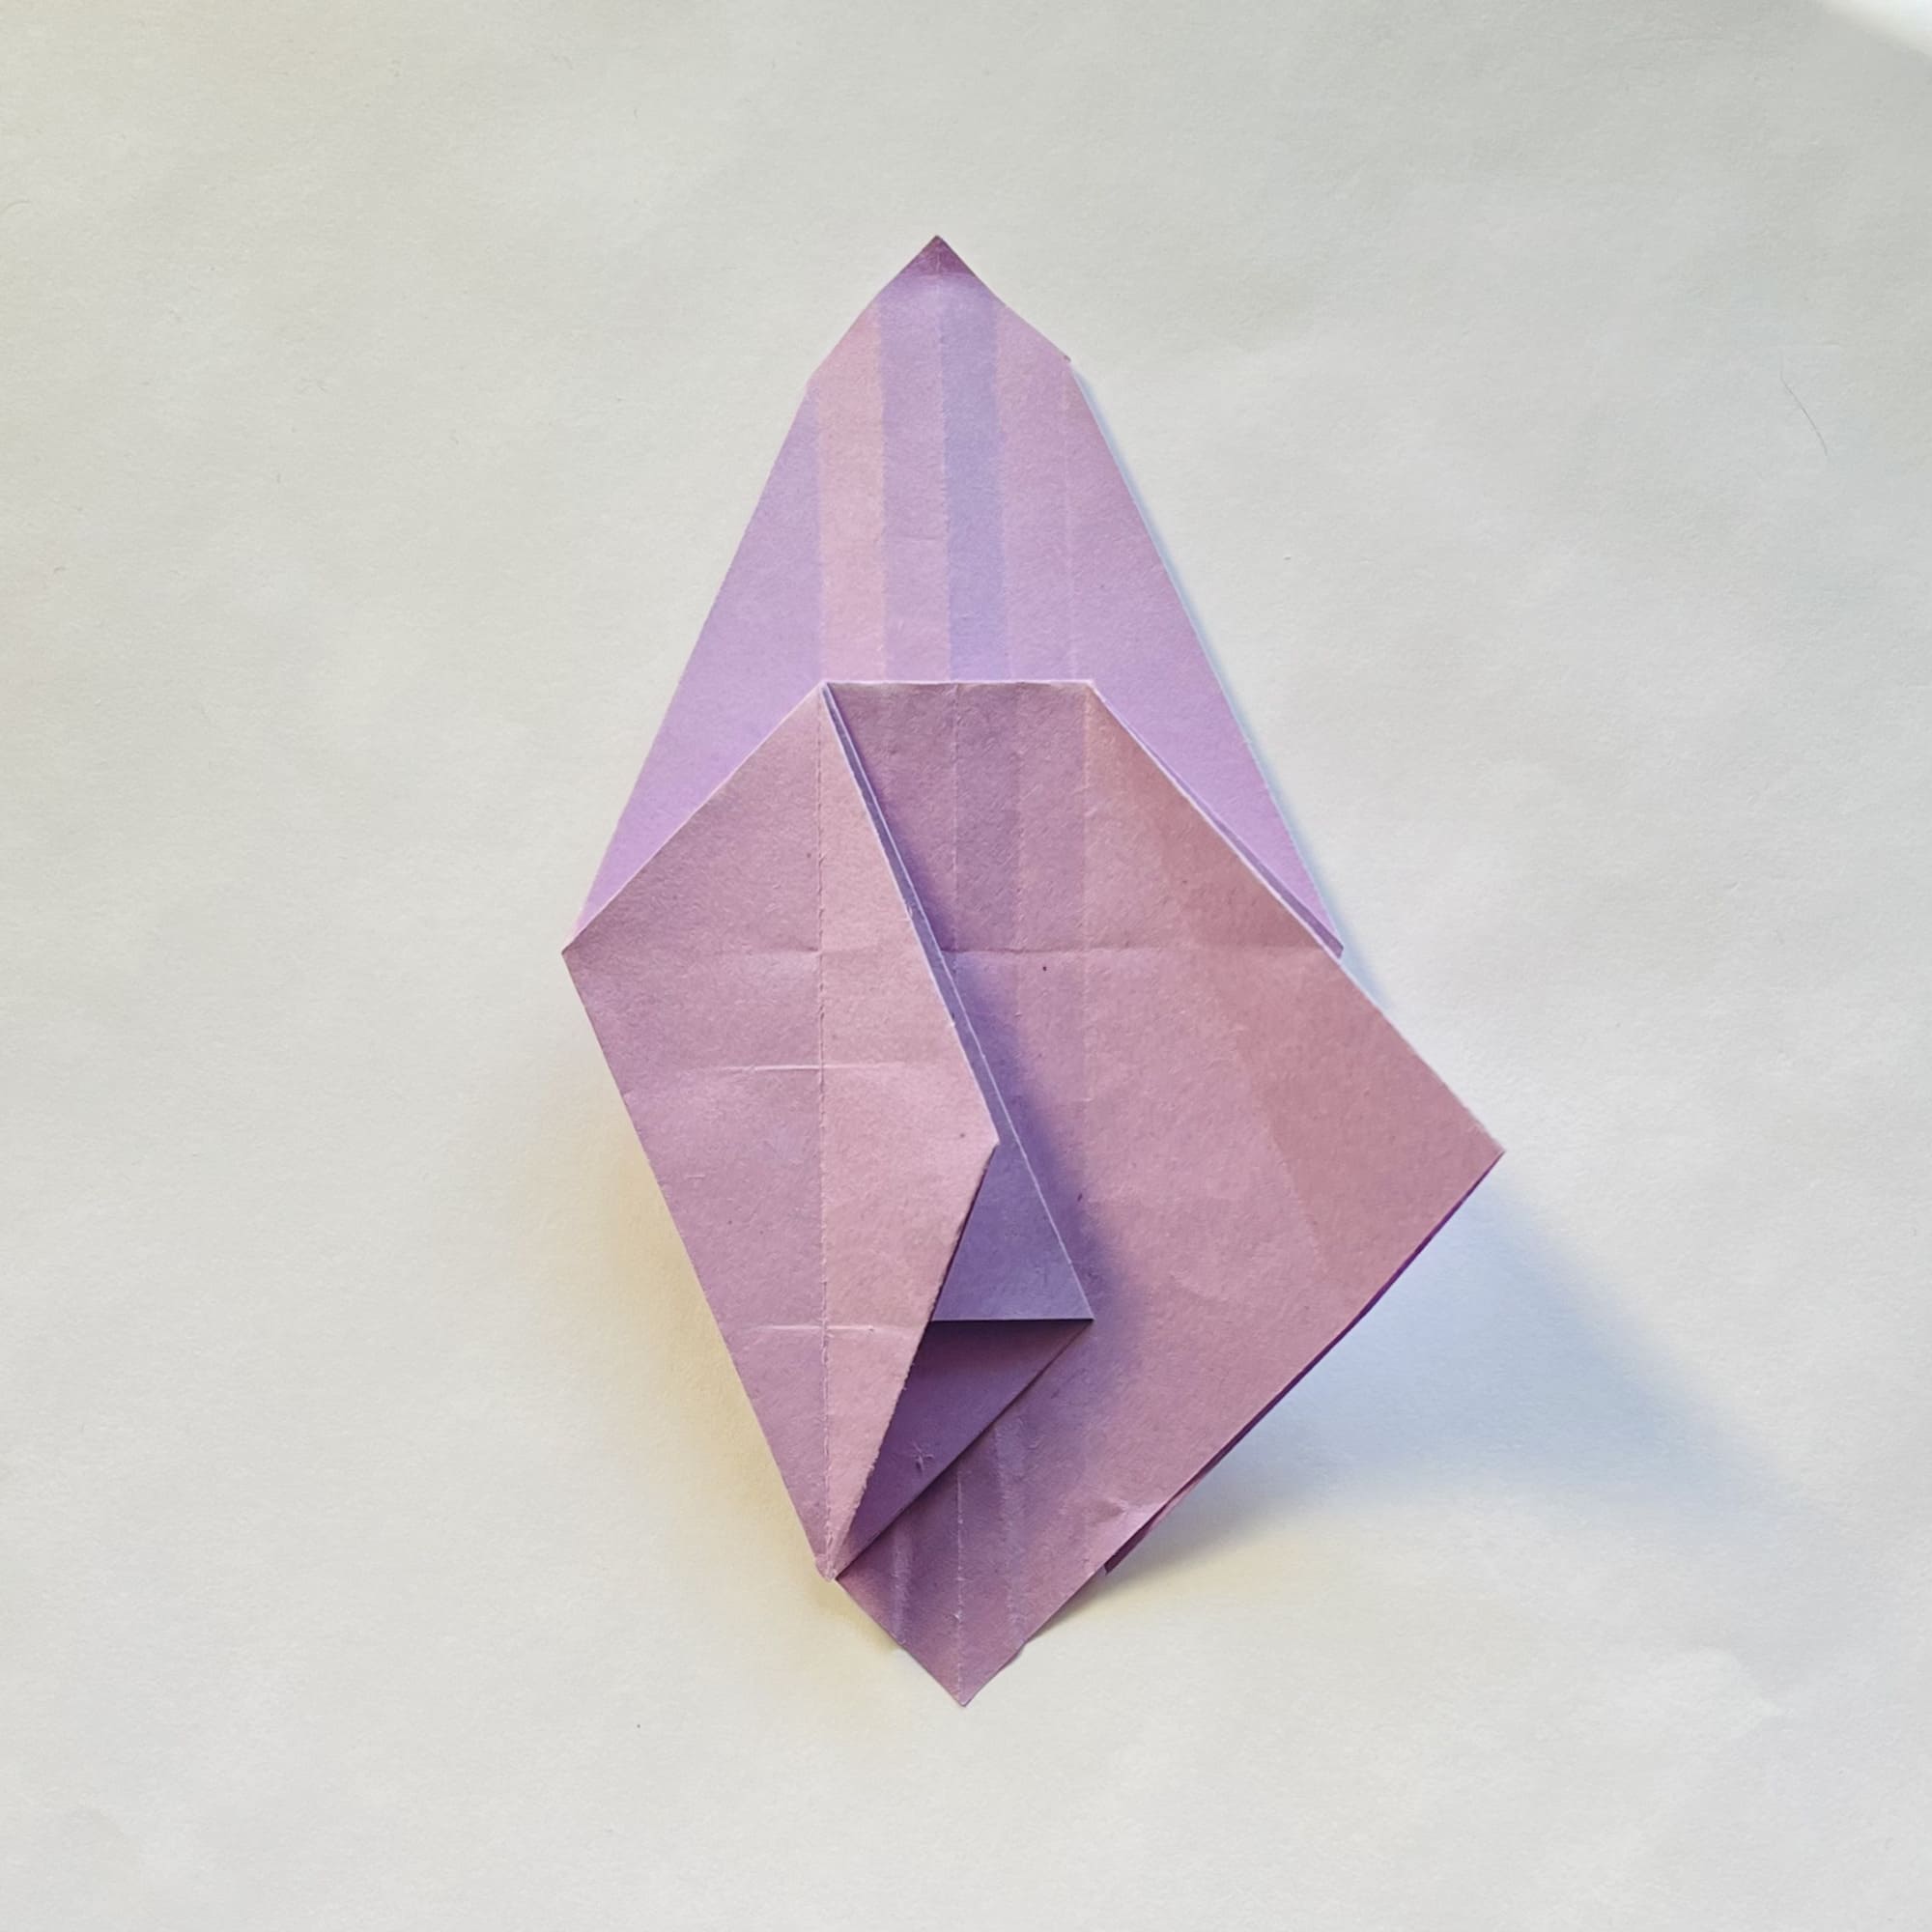
Crease the fold.
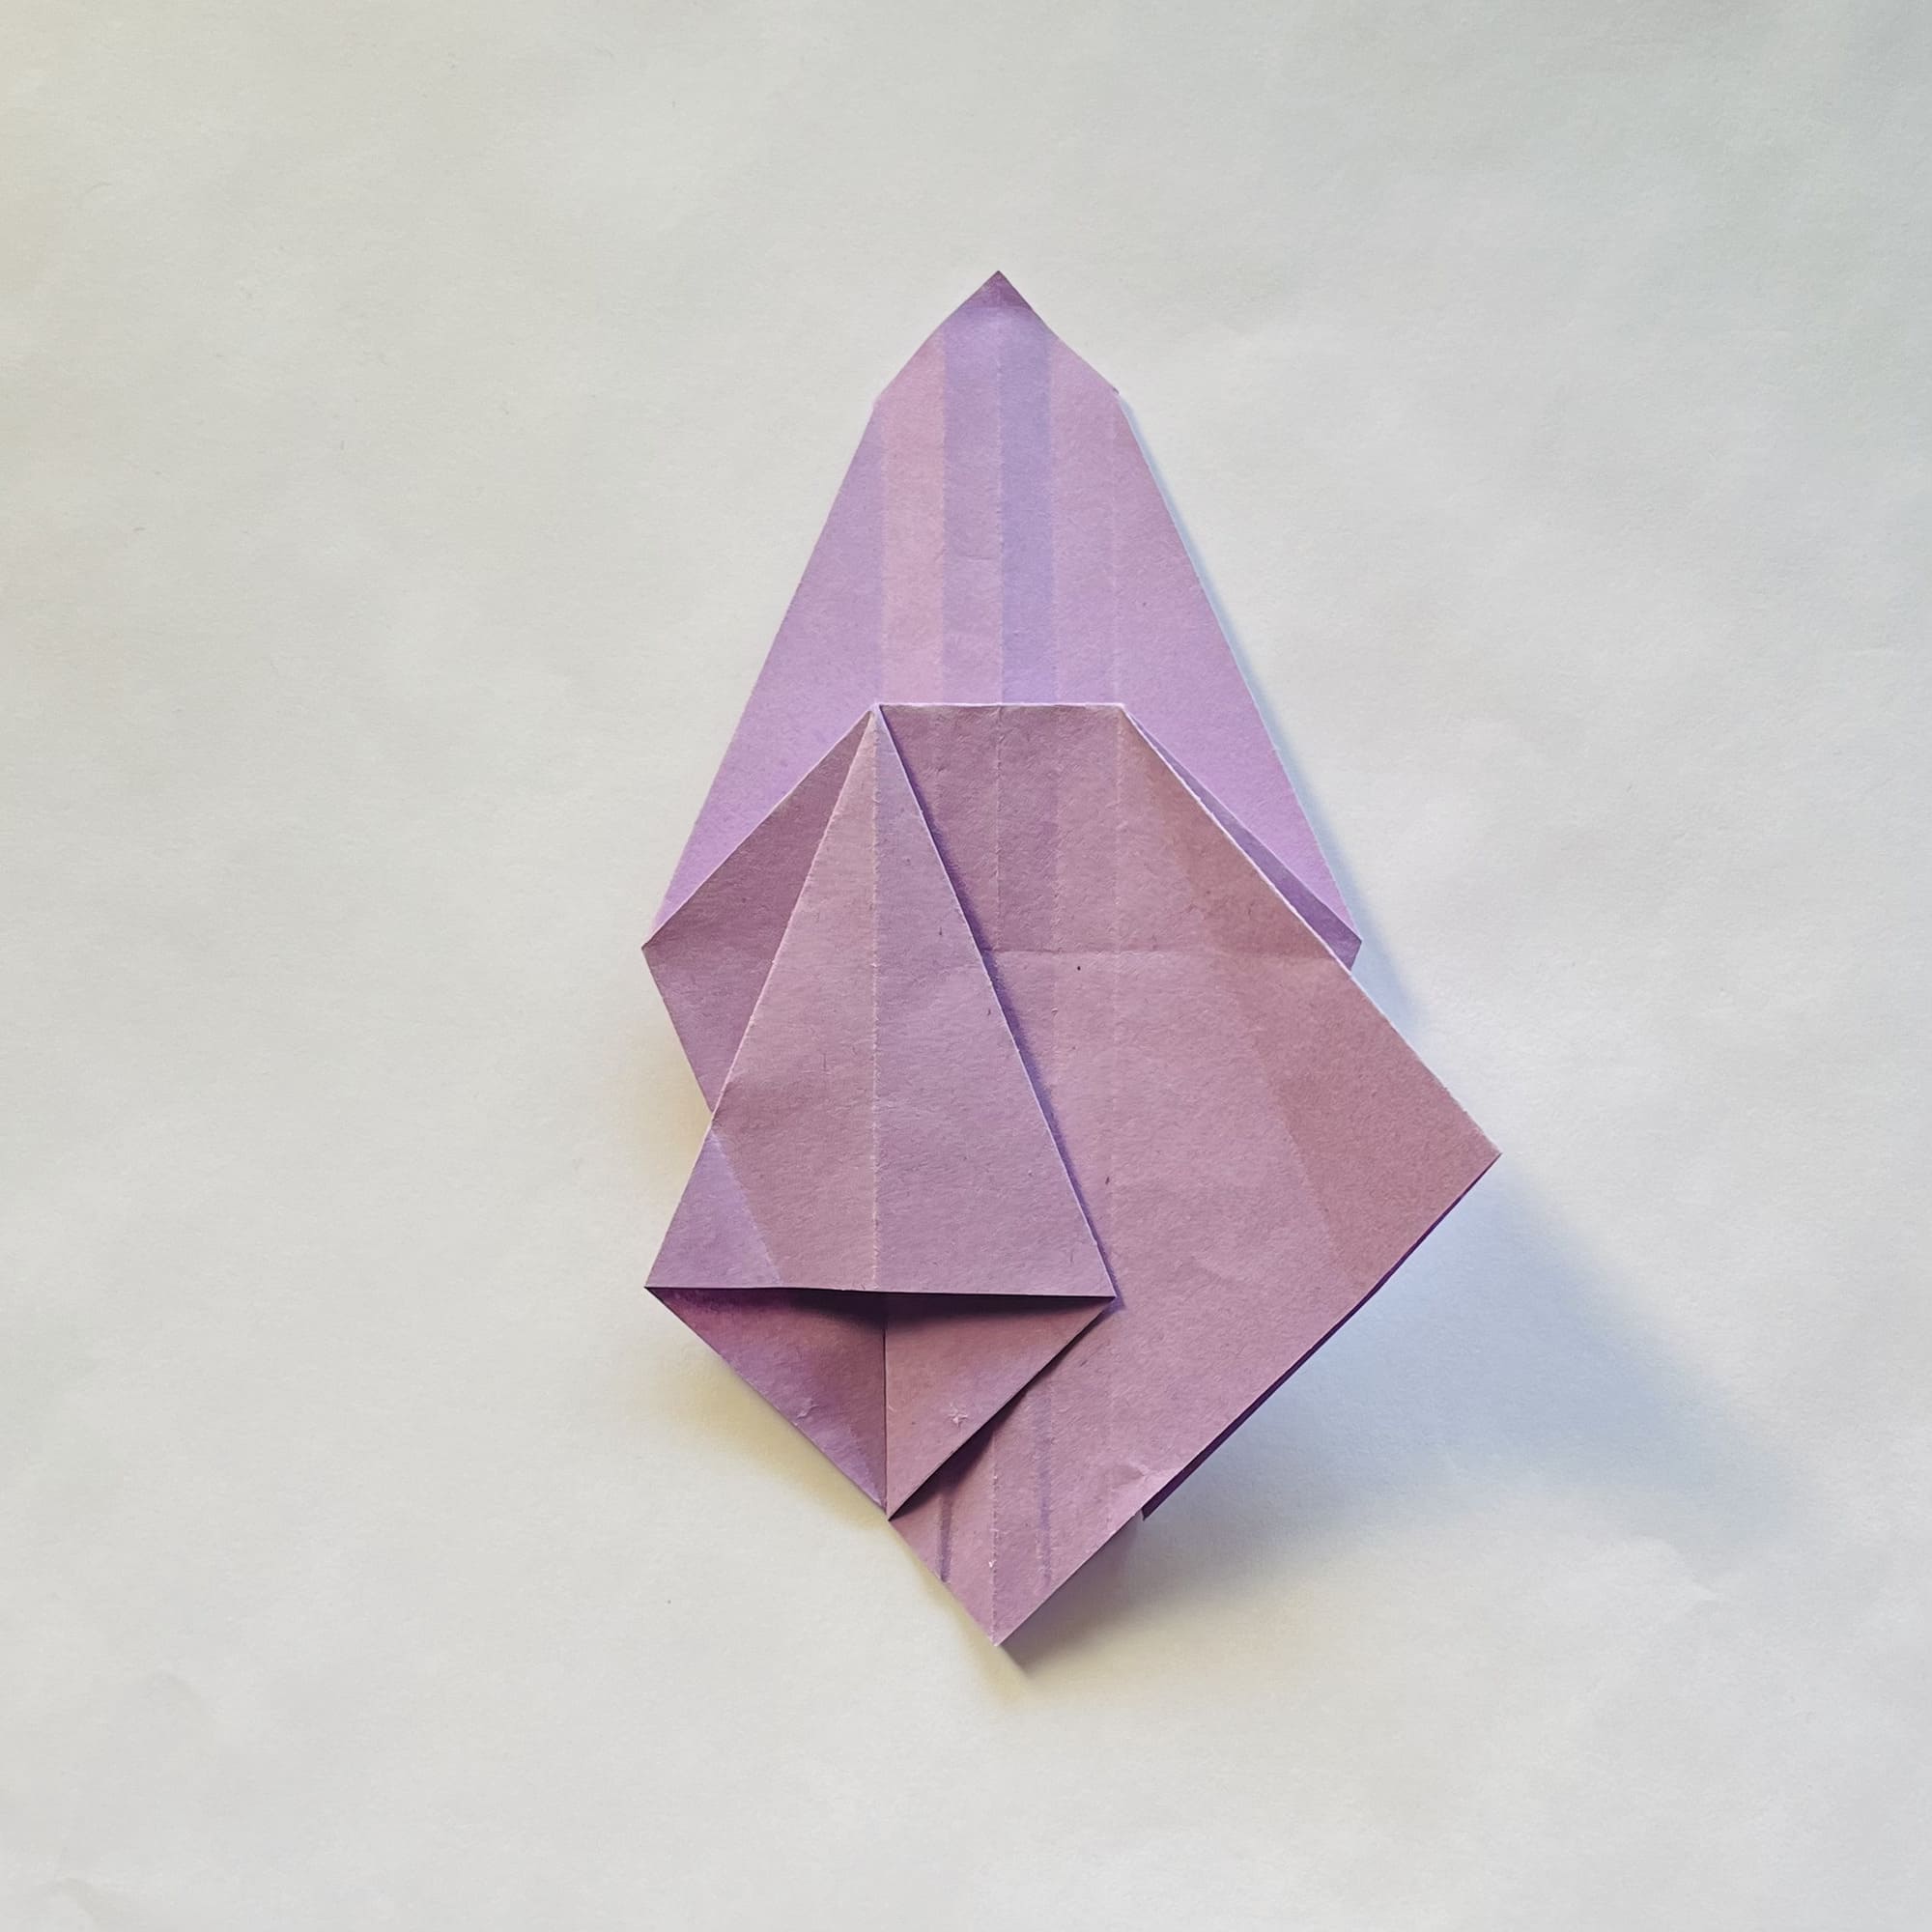
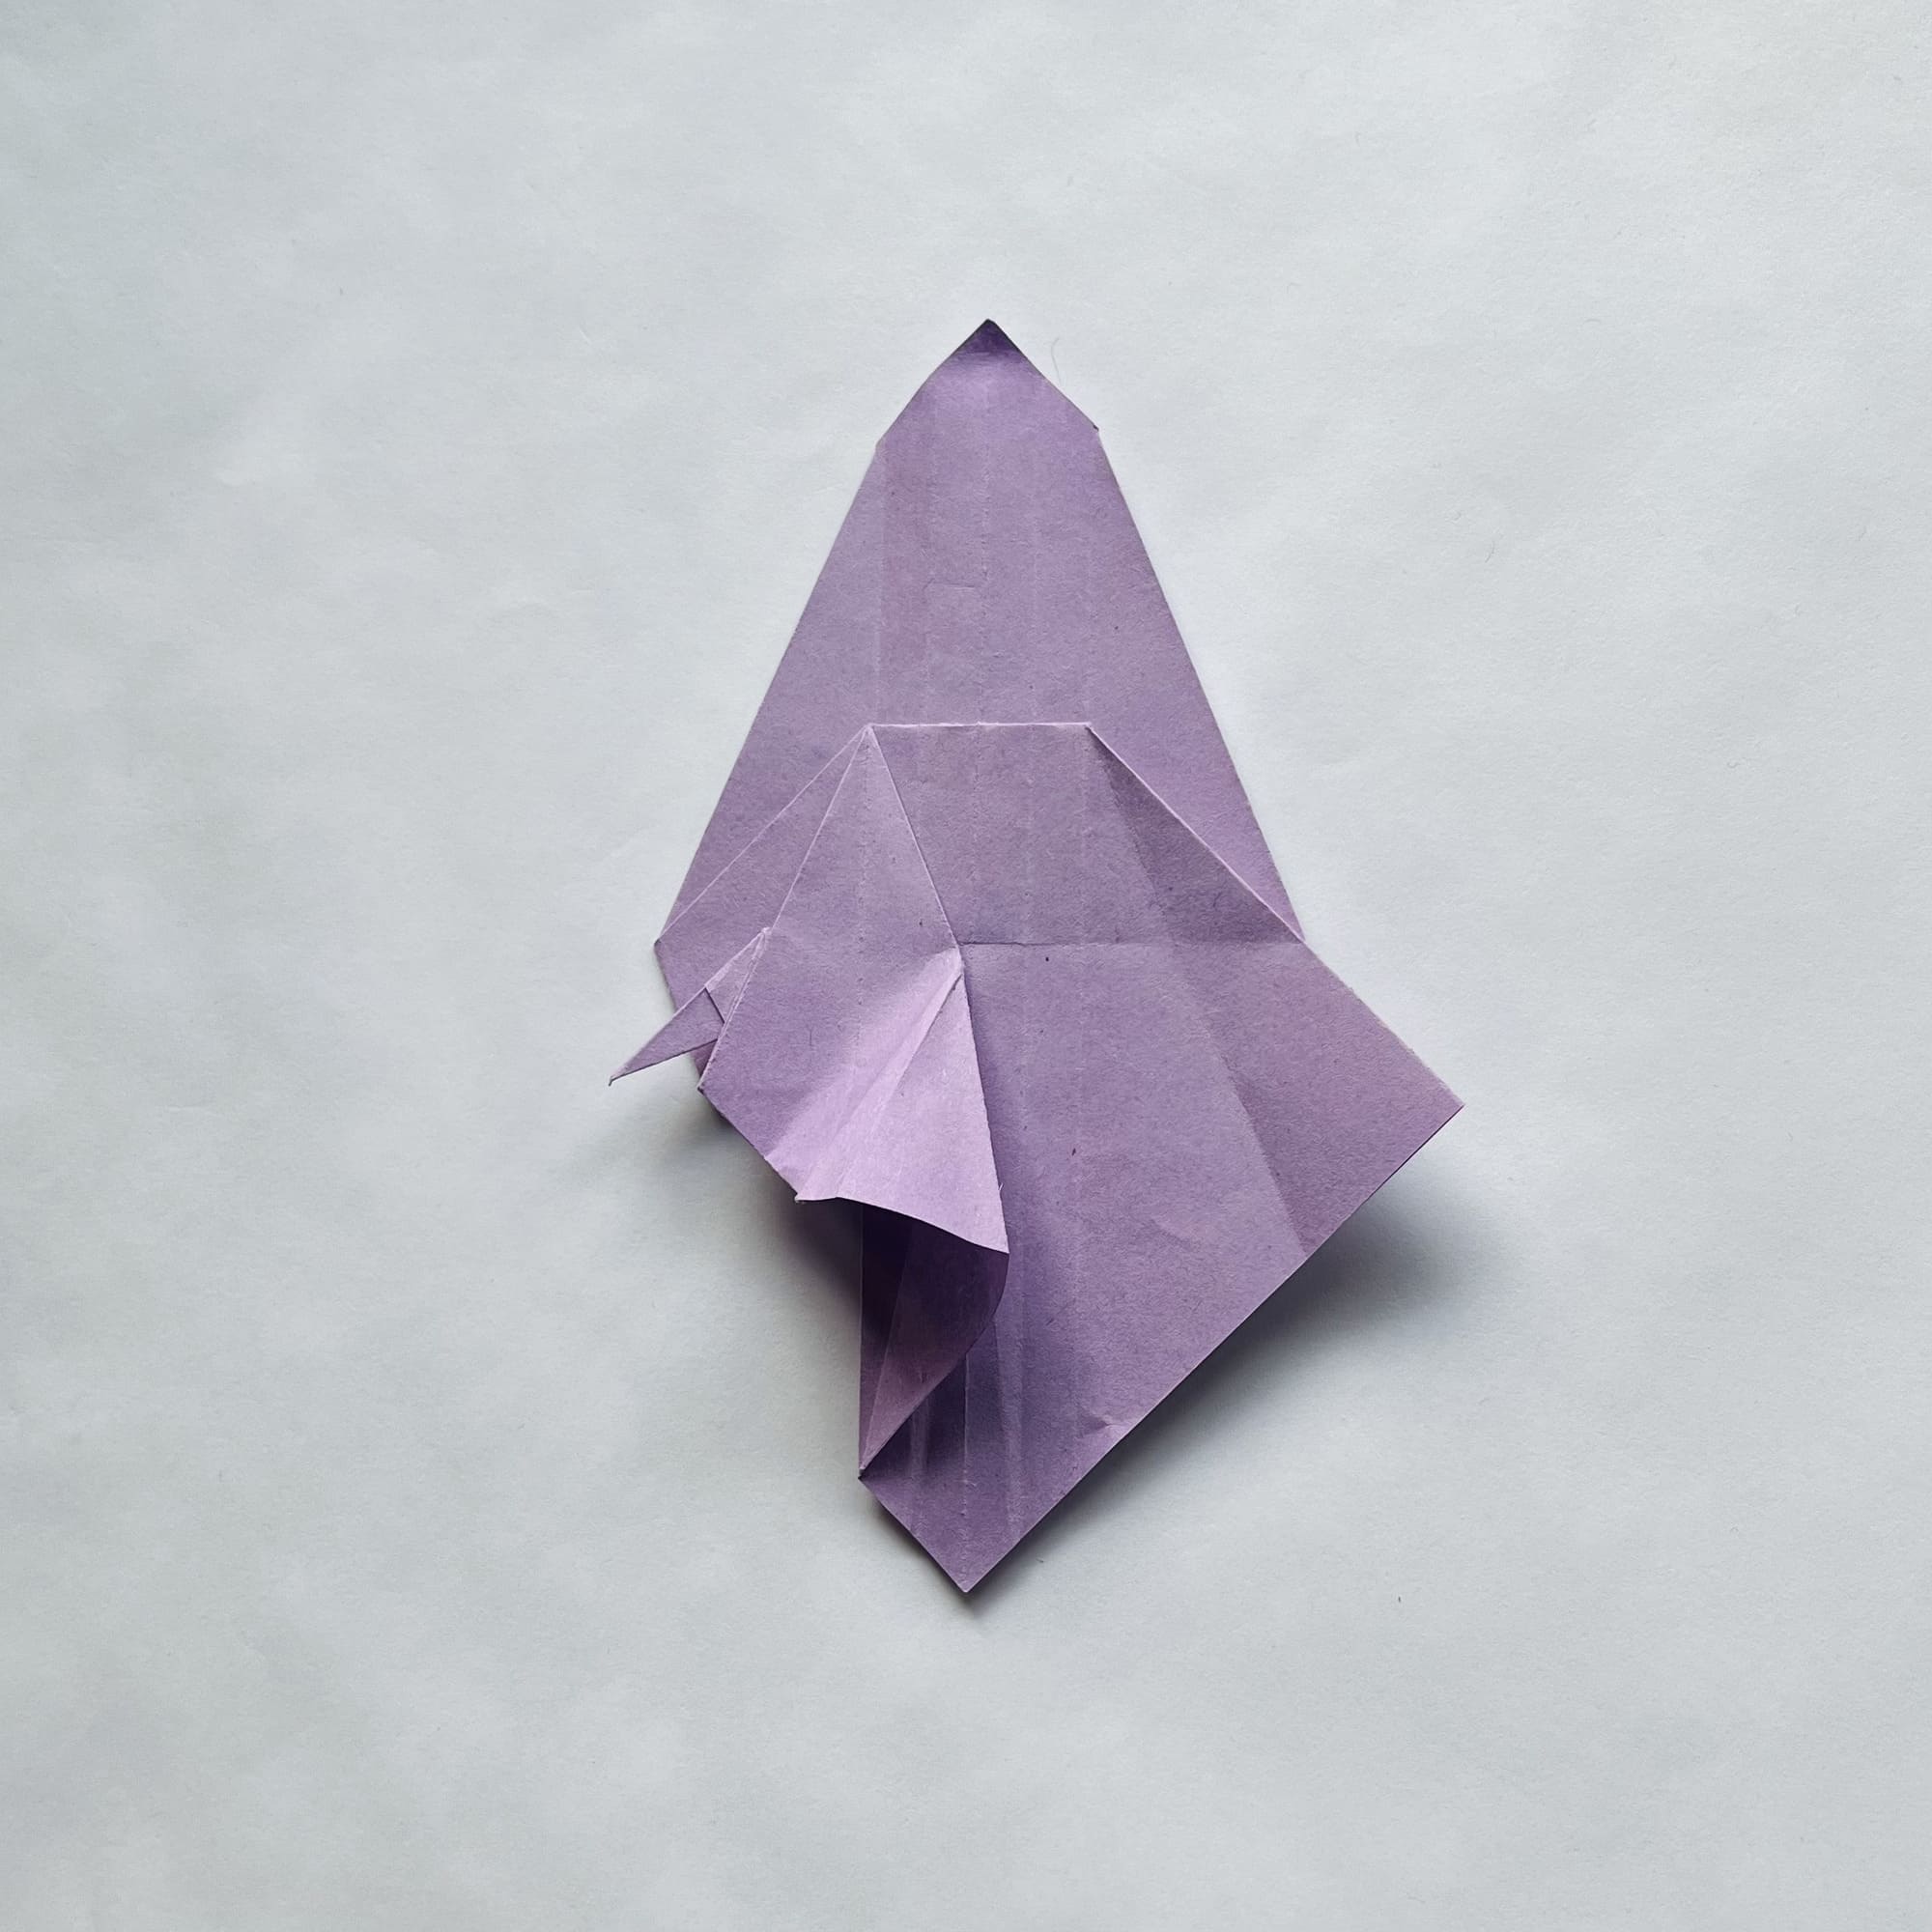
Flip the top layer of paper in this part to the left, folding the paper along the previously marked fold lines.
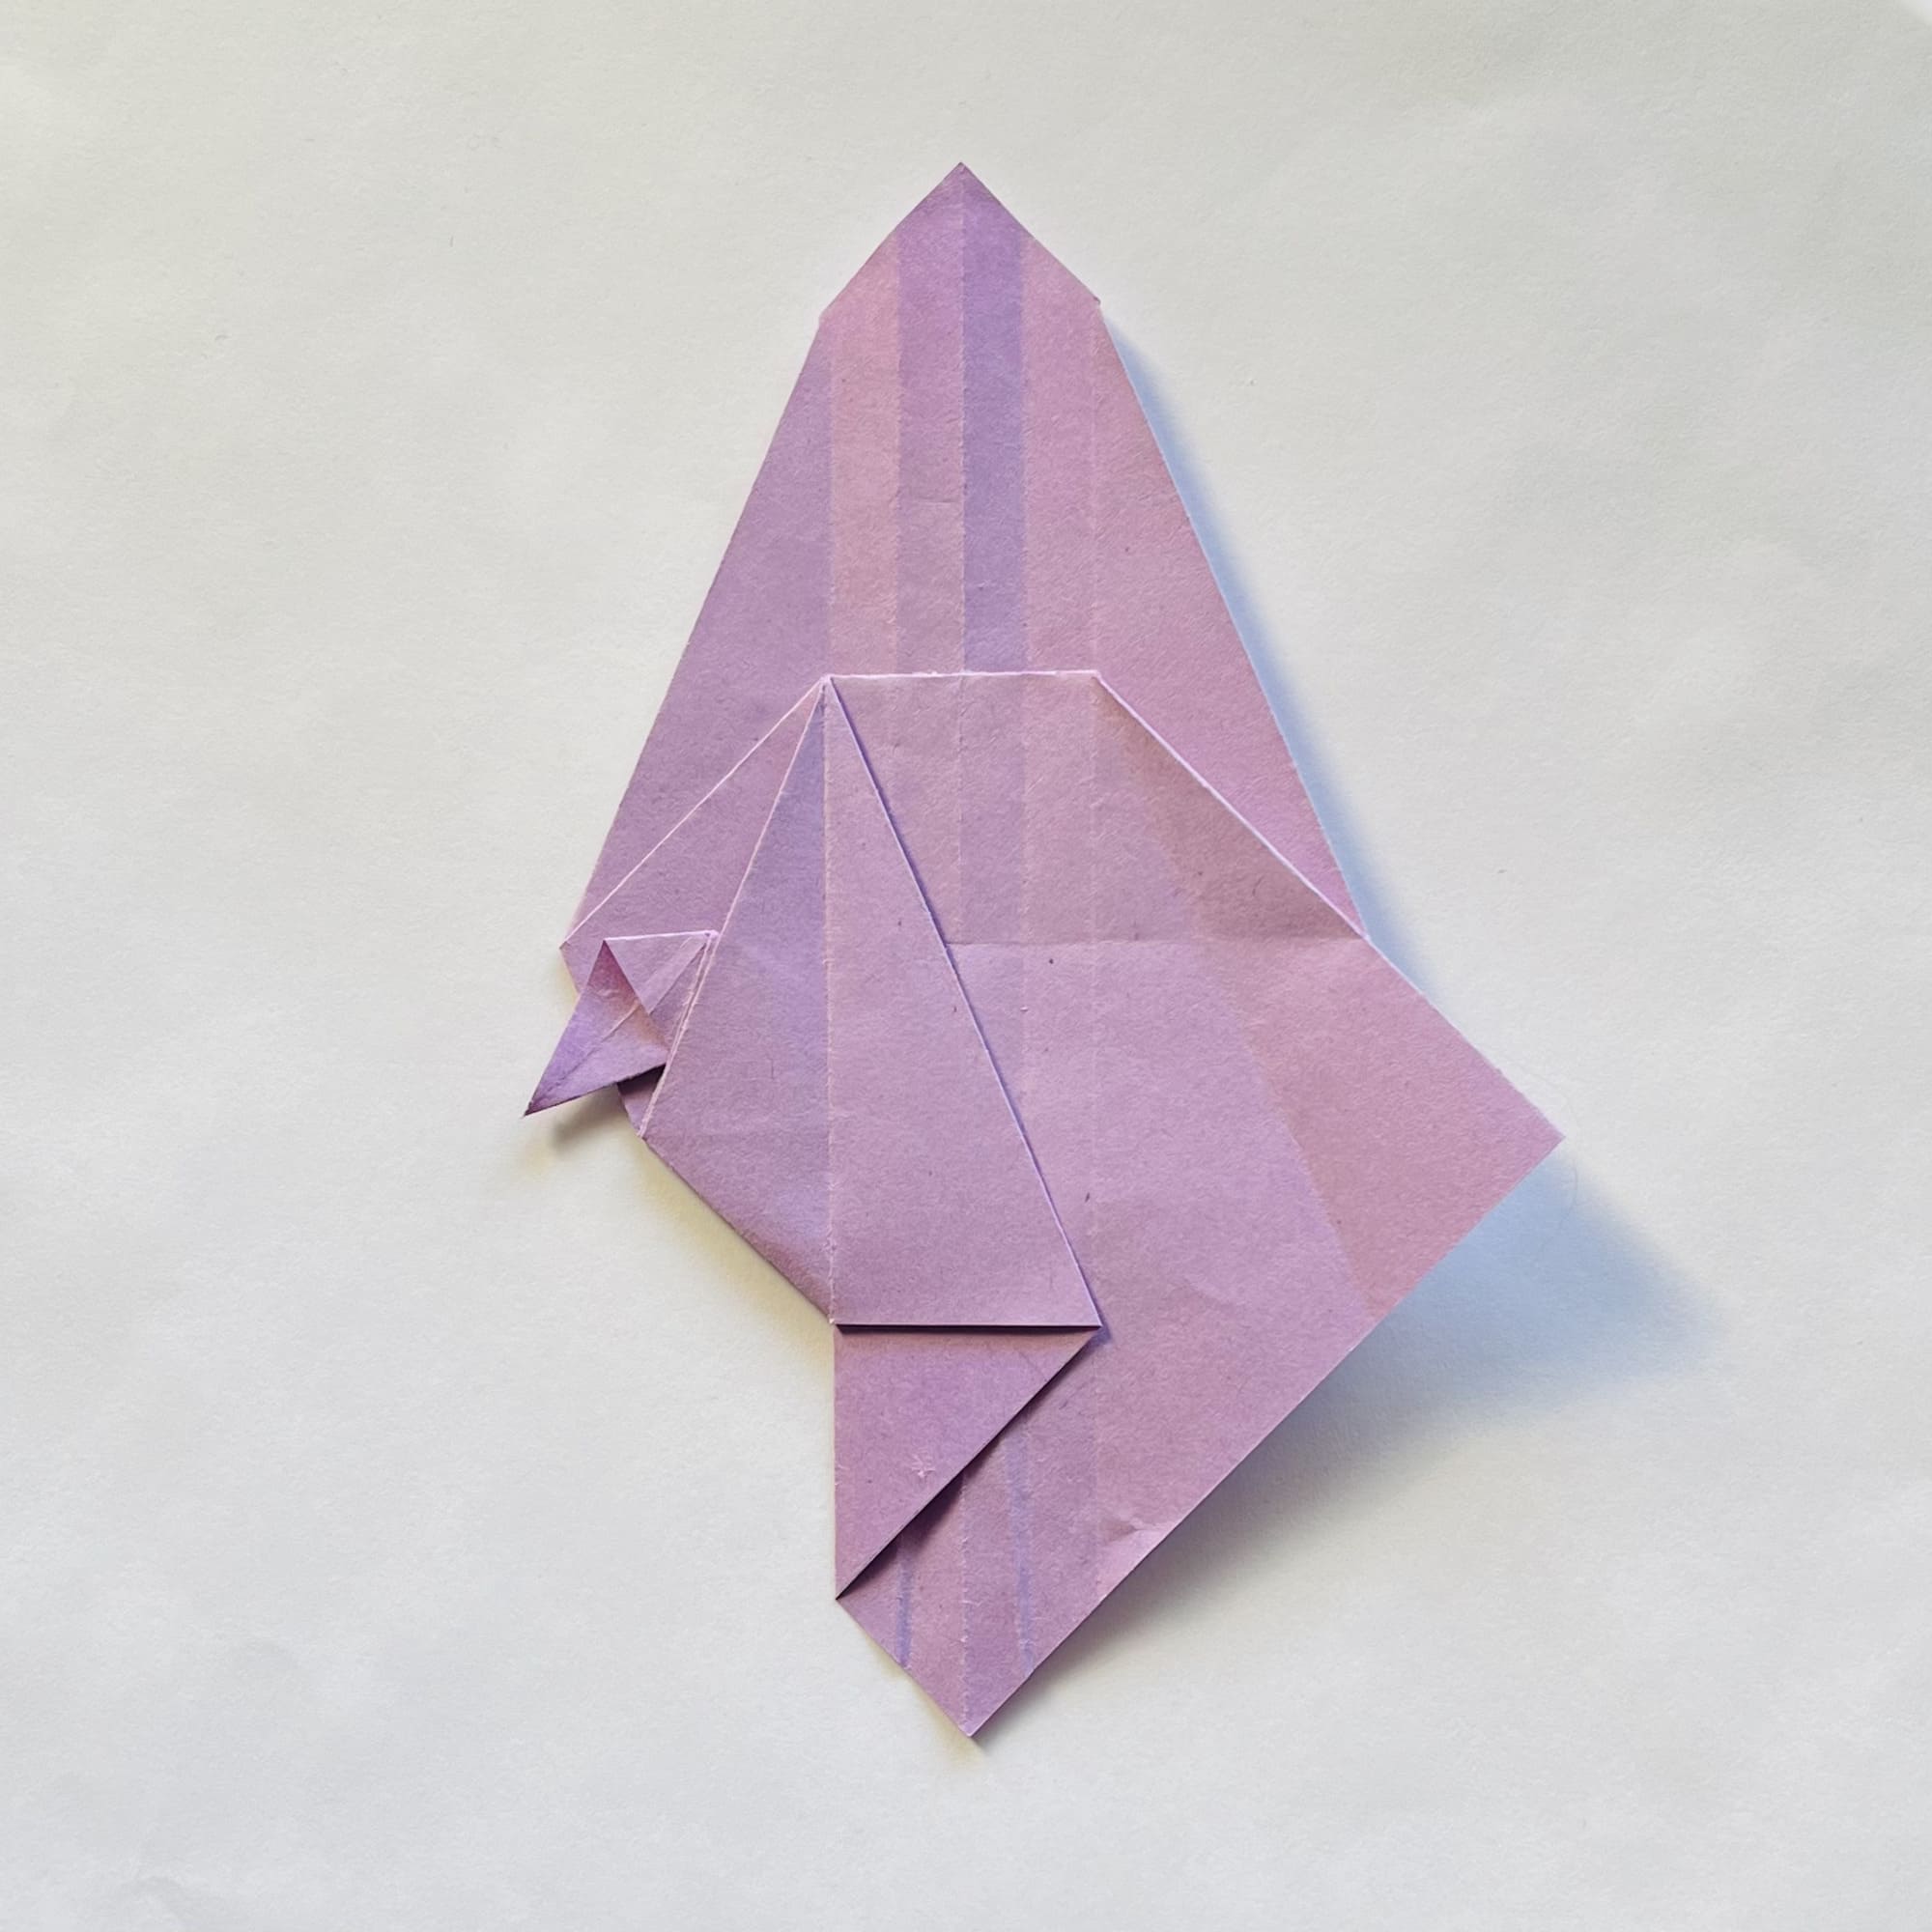
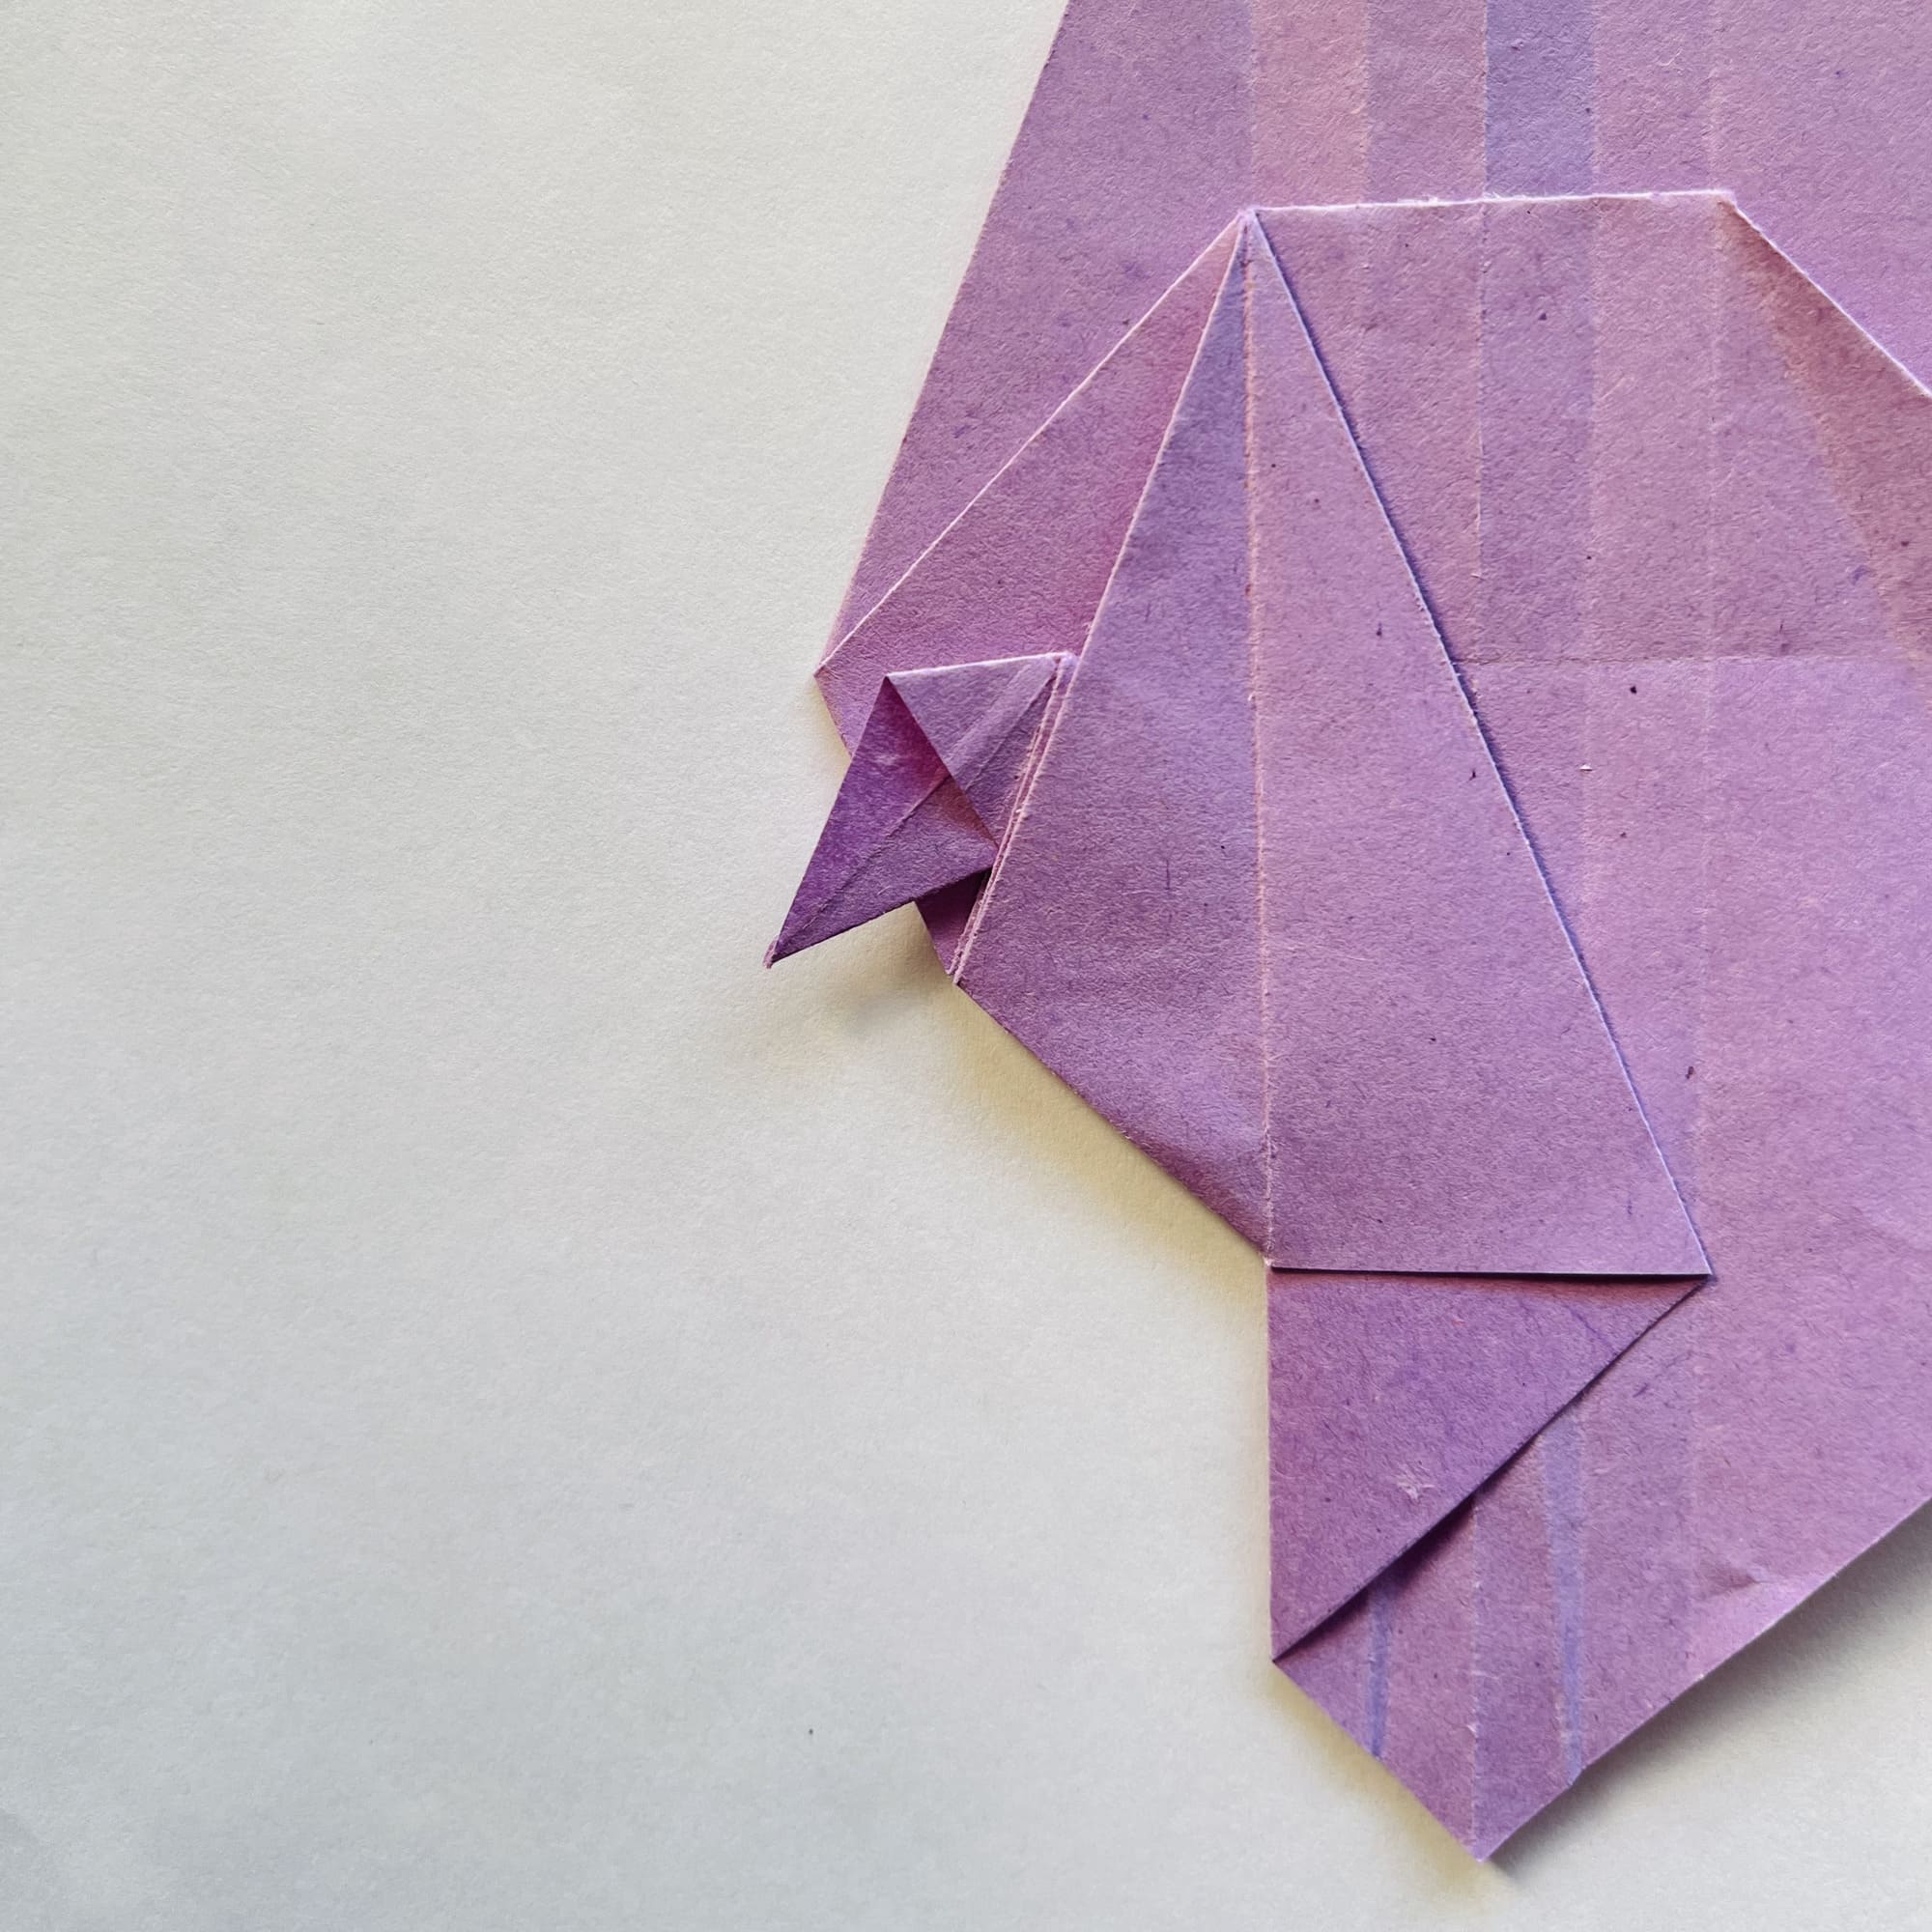
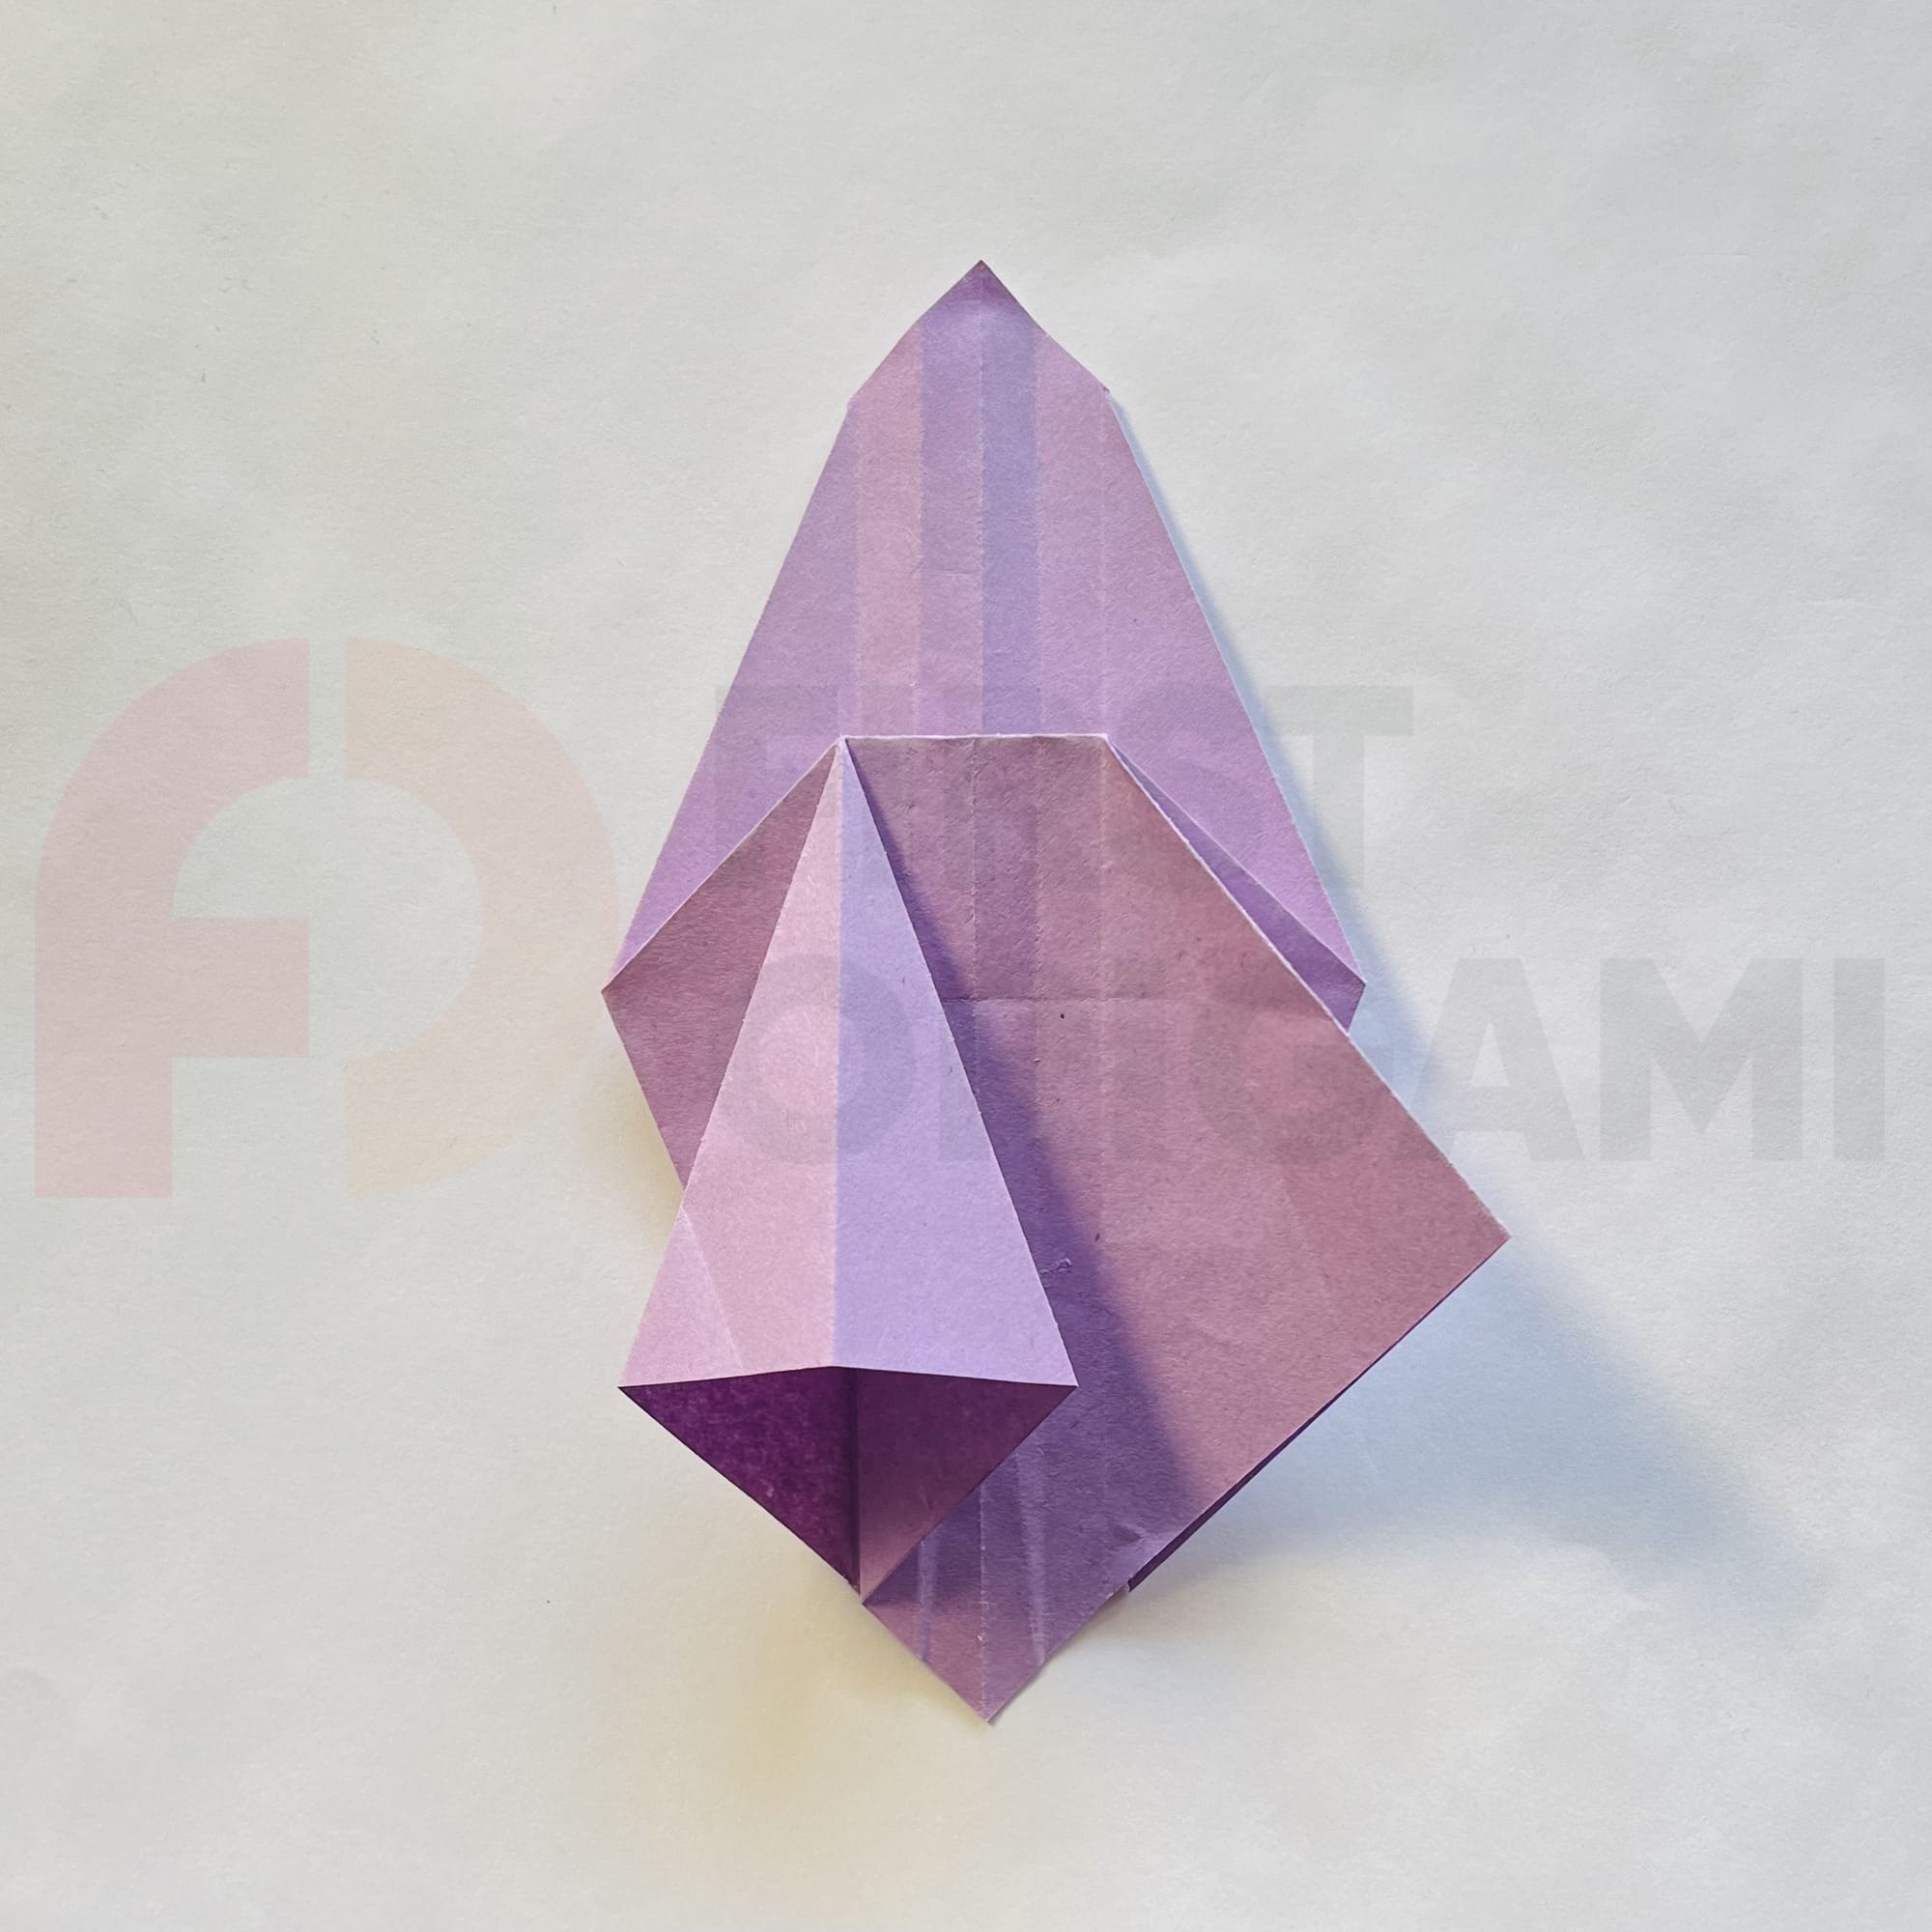
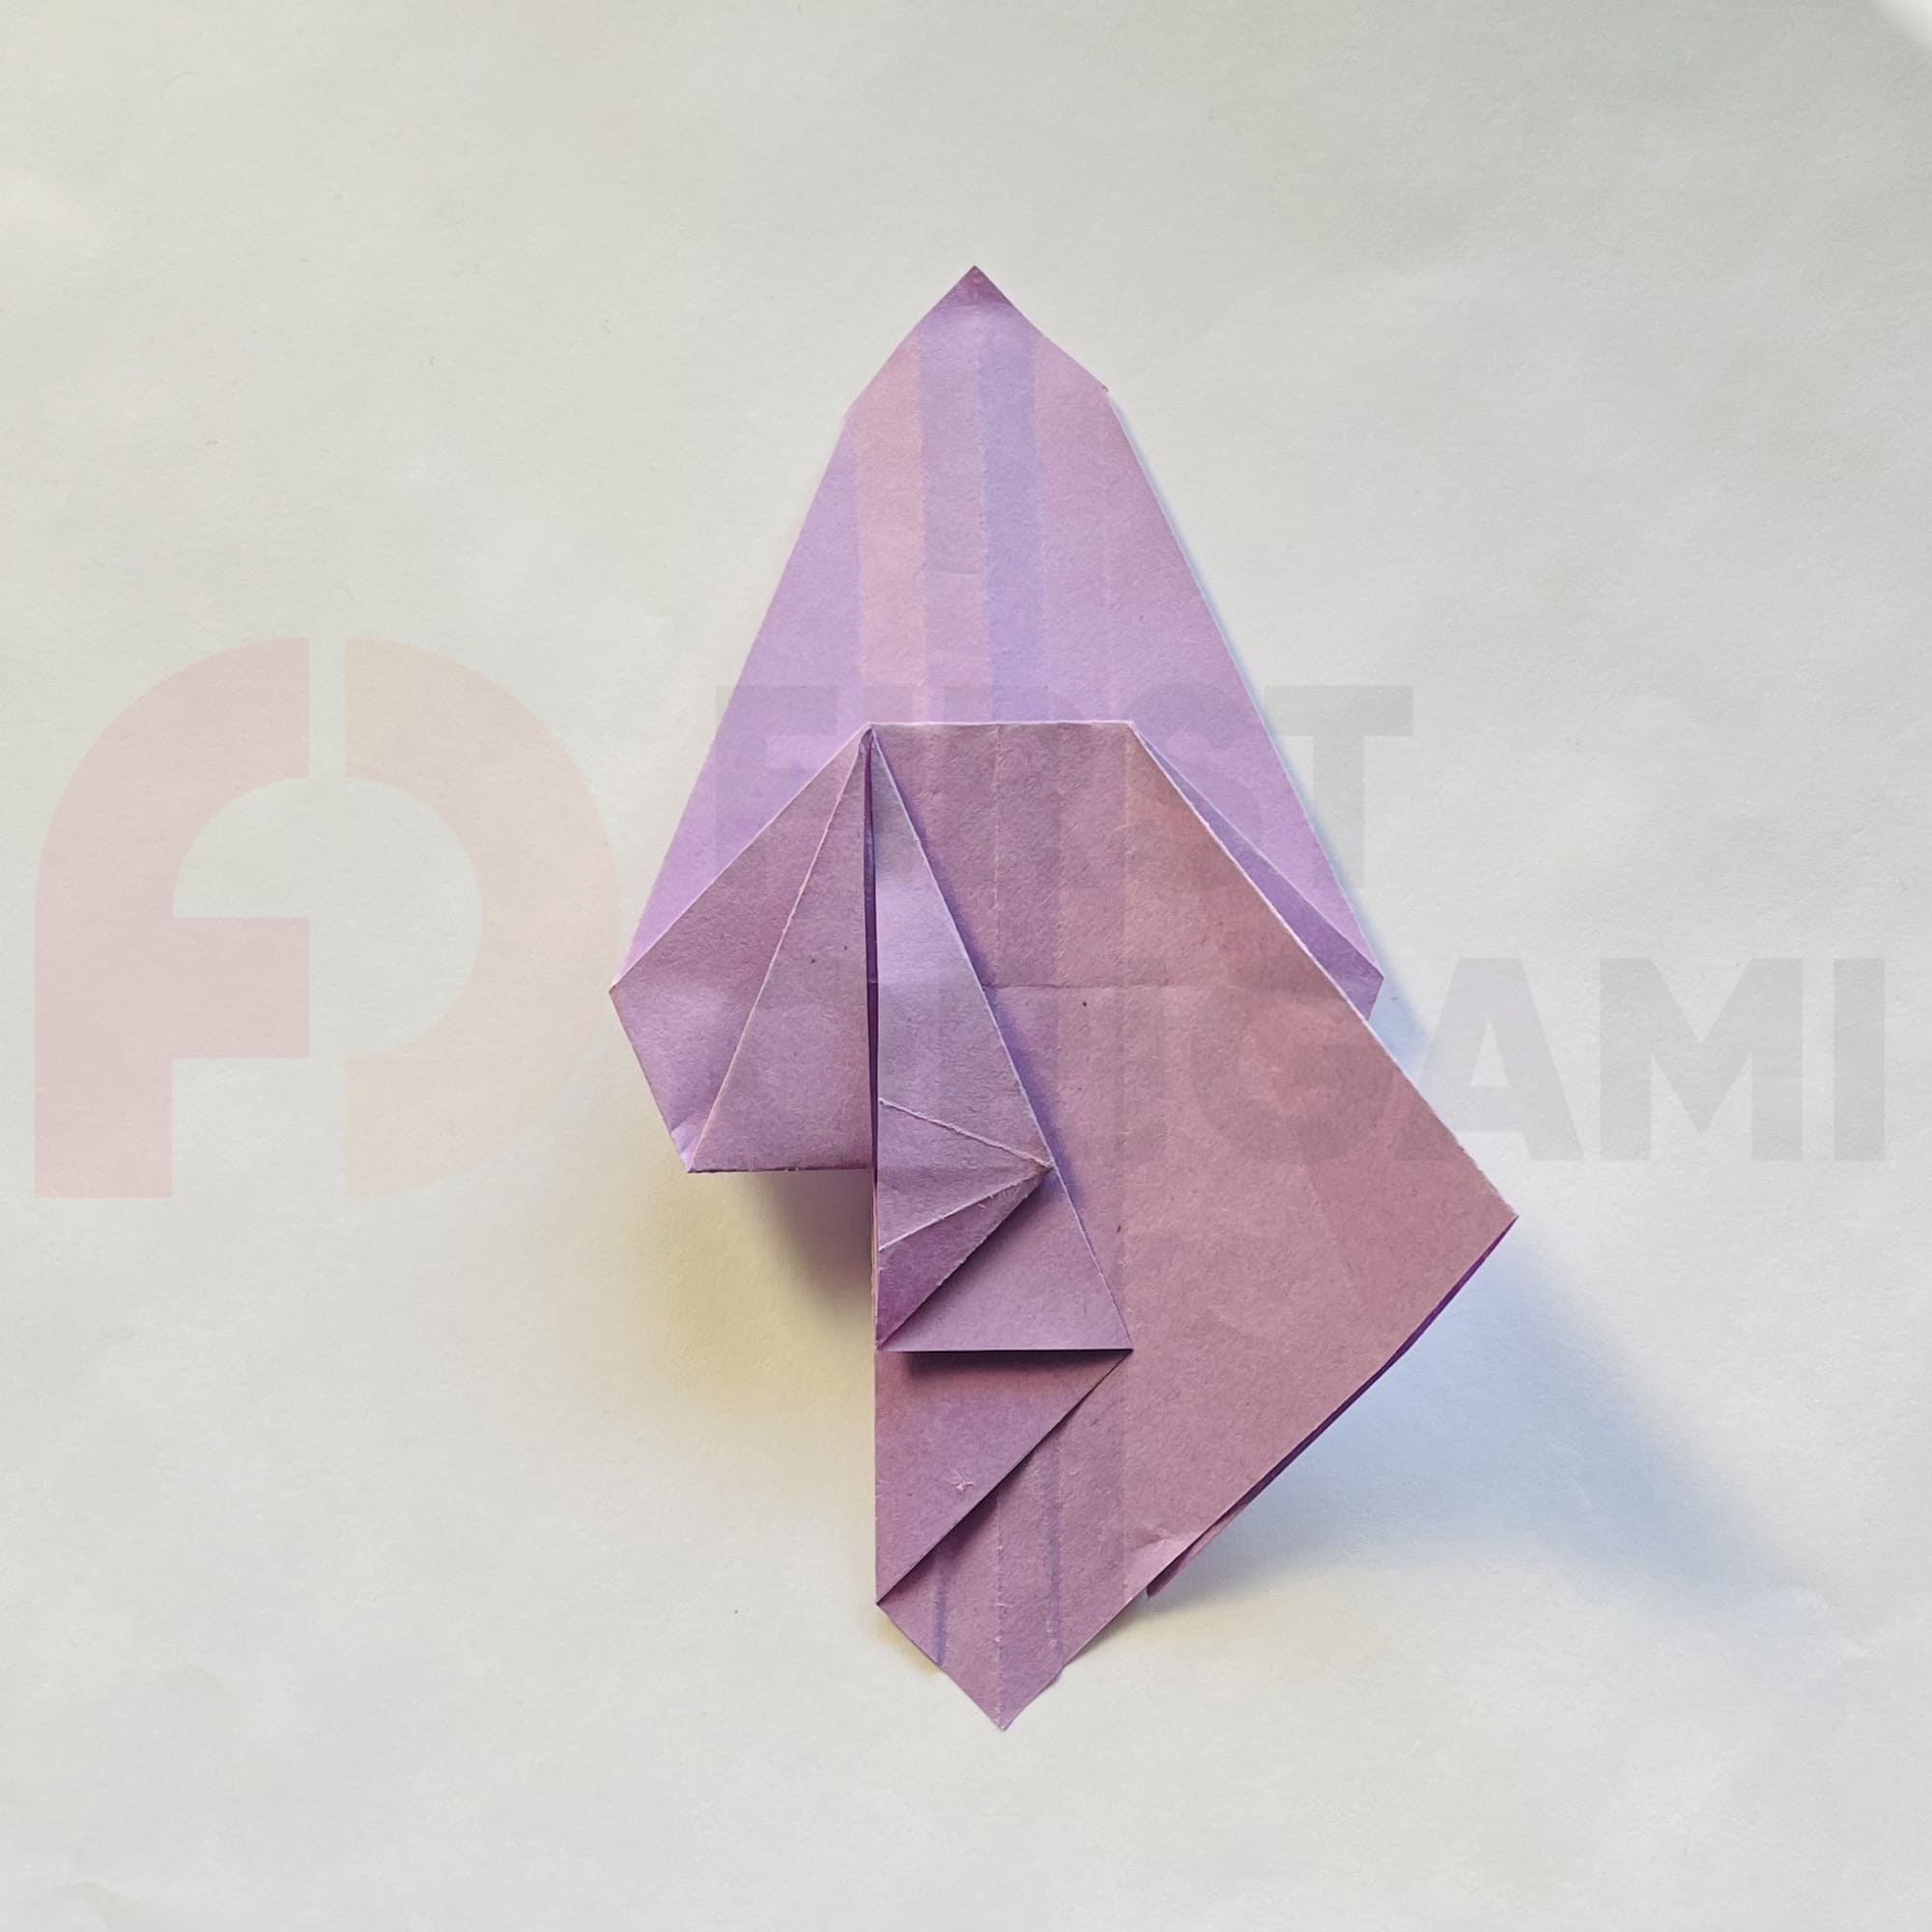
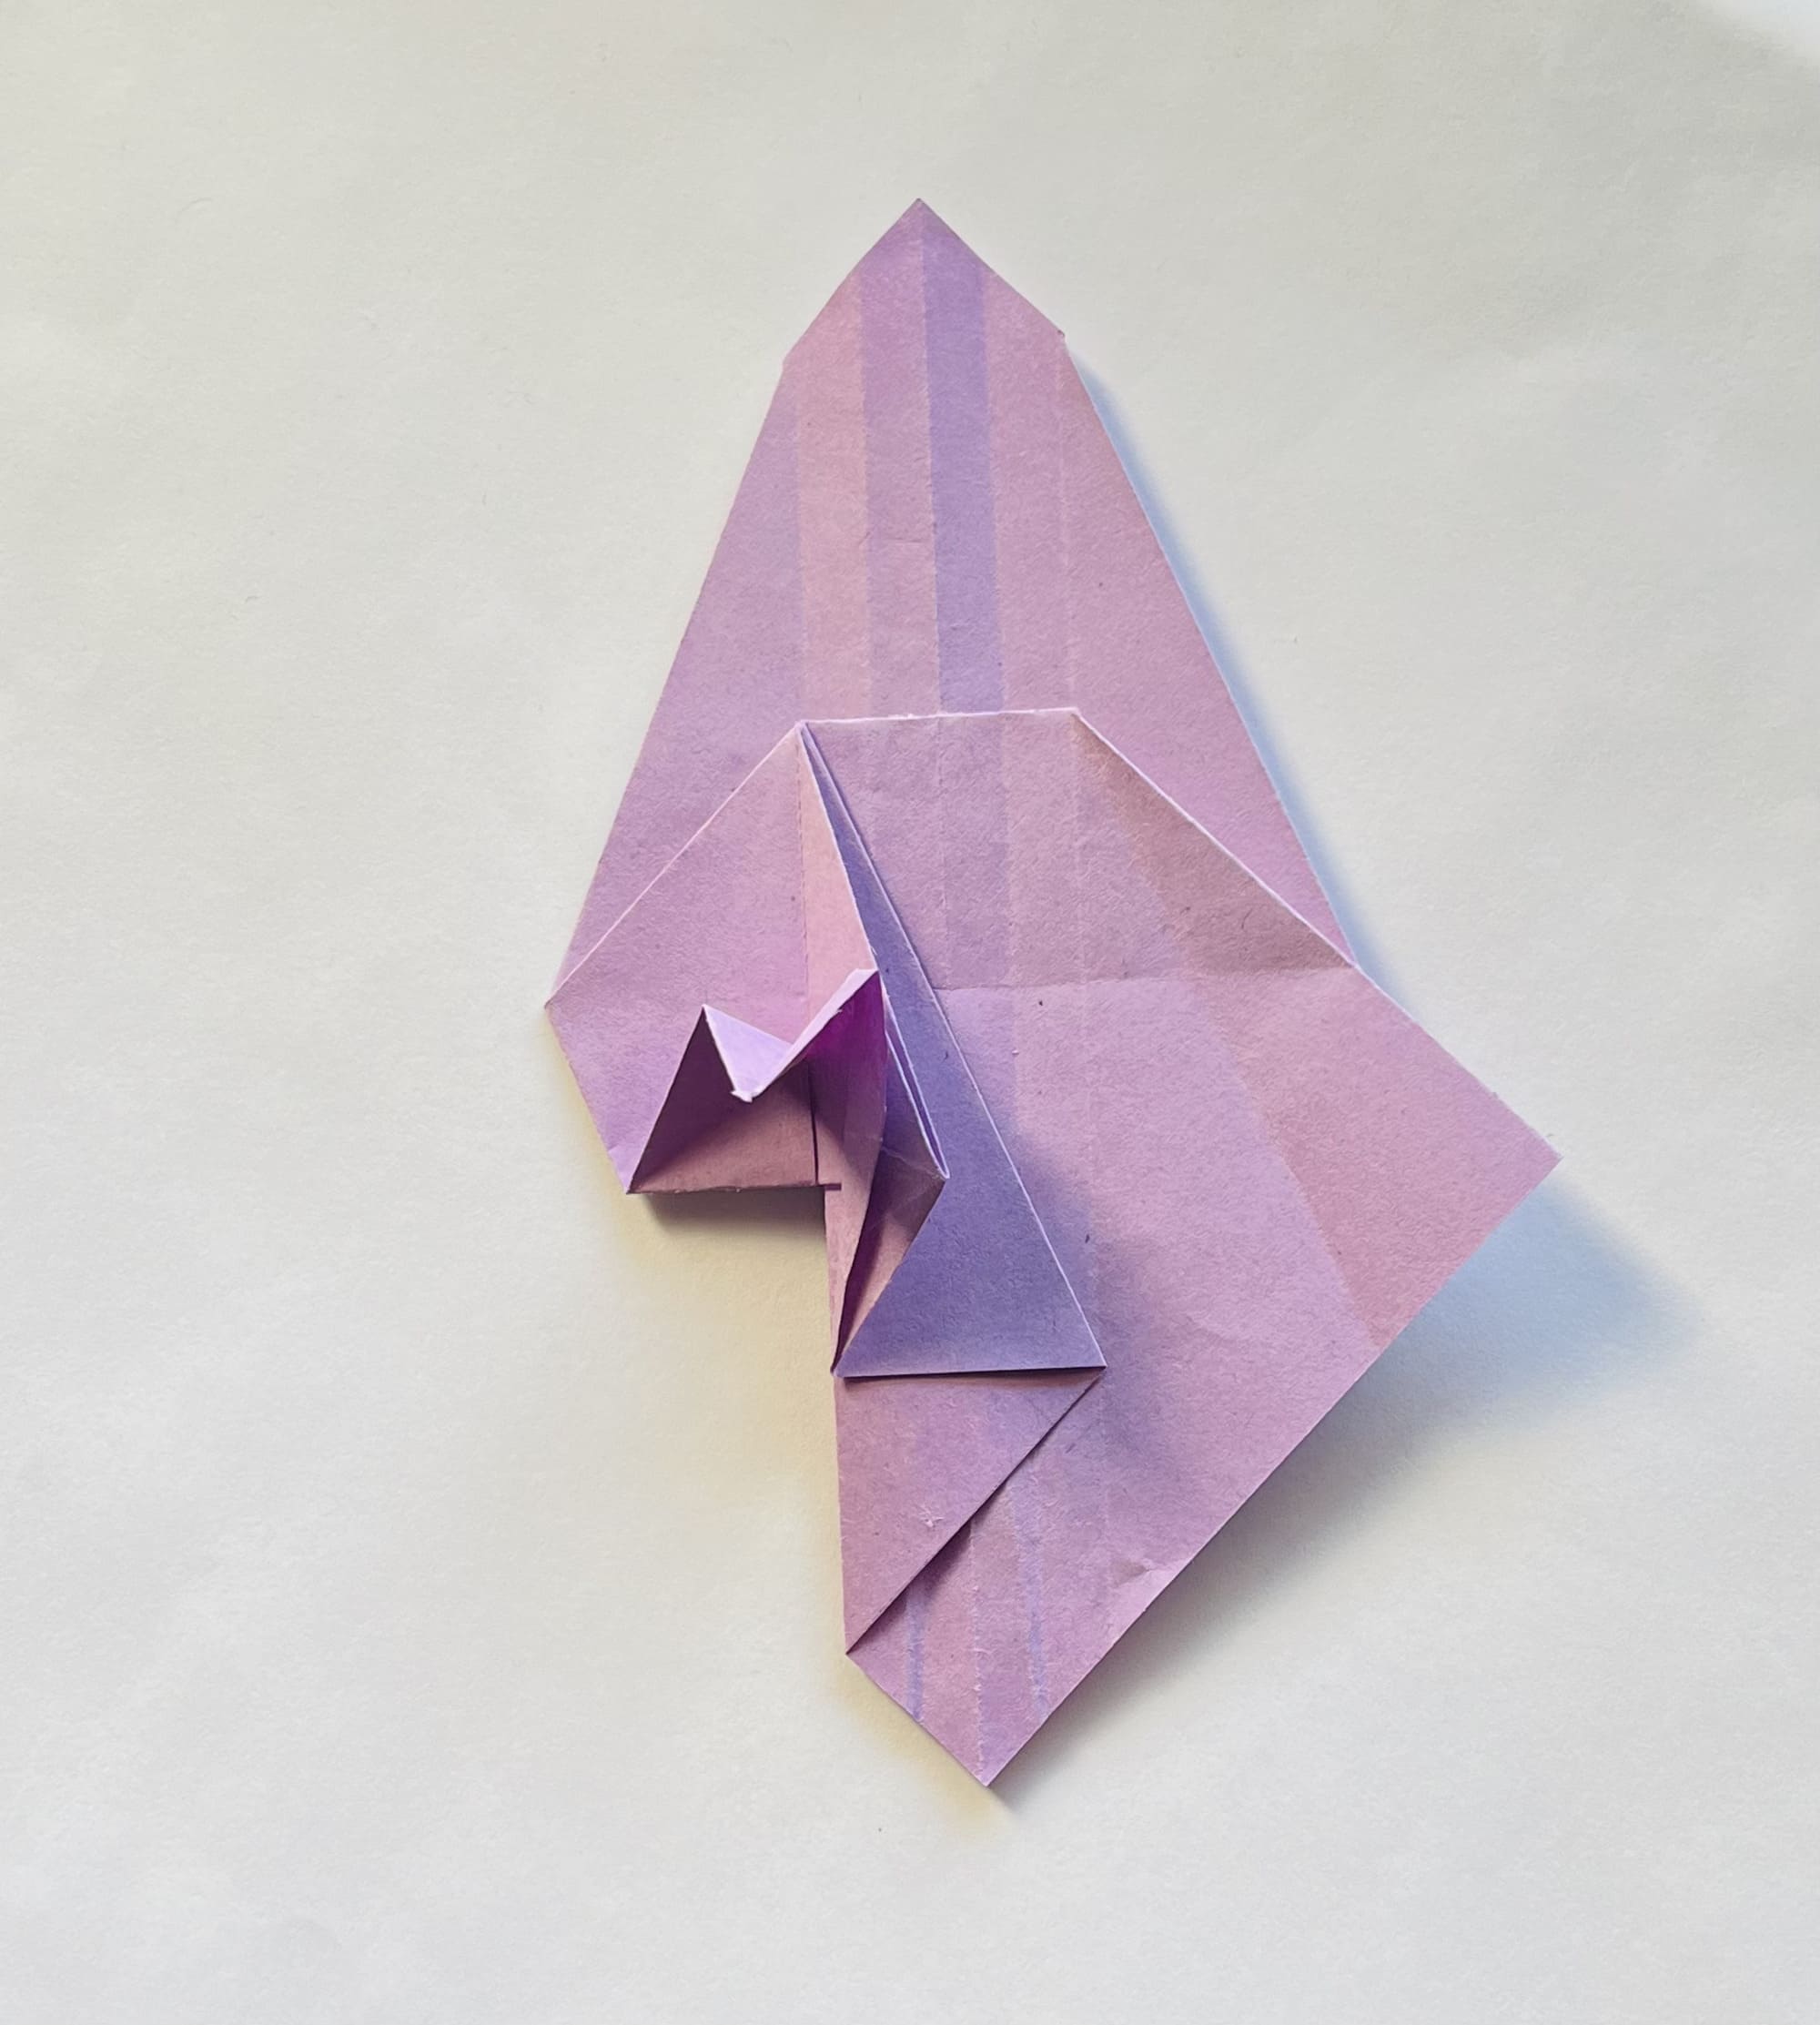
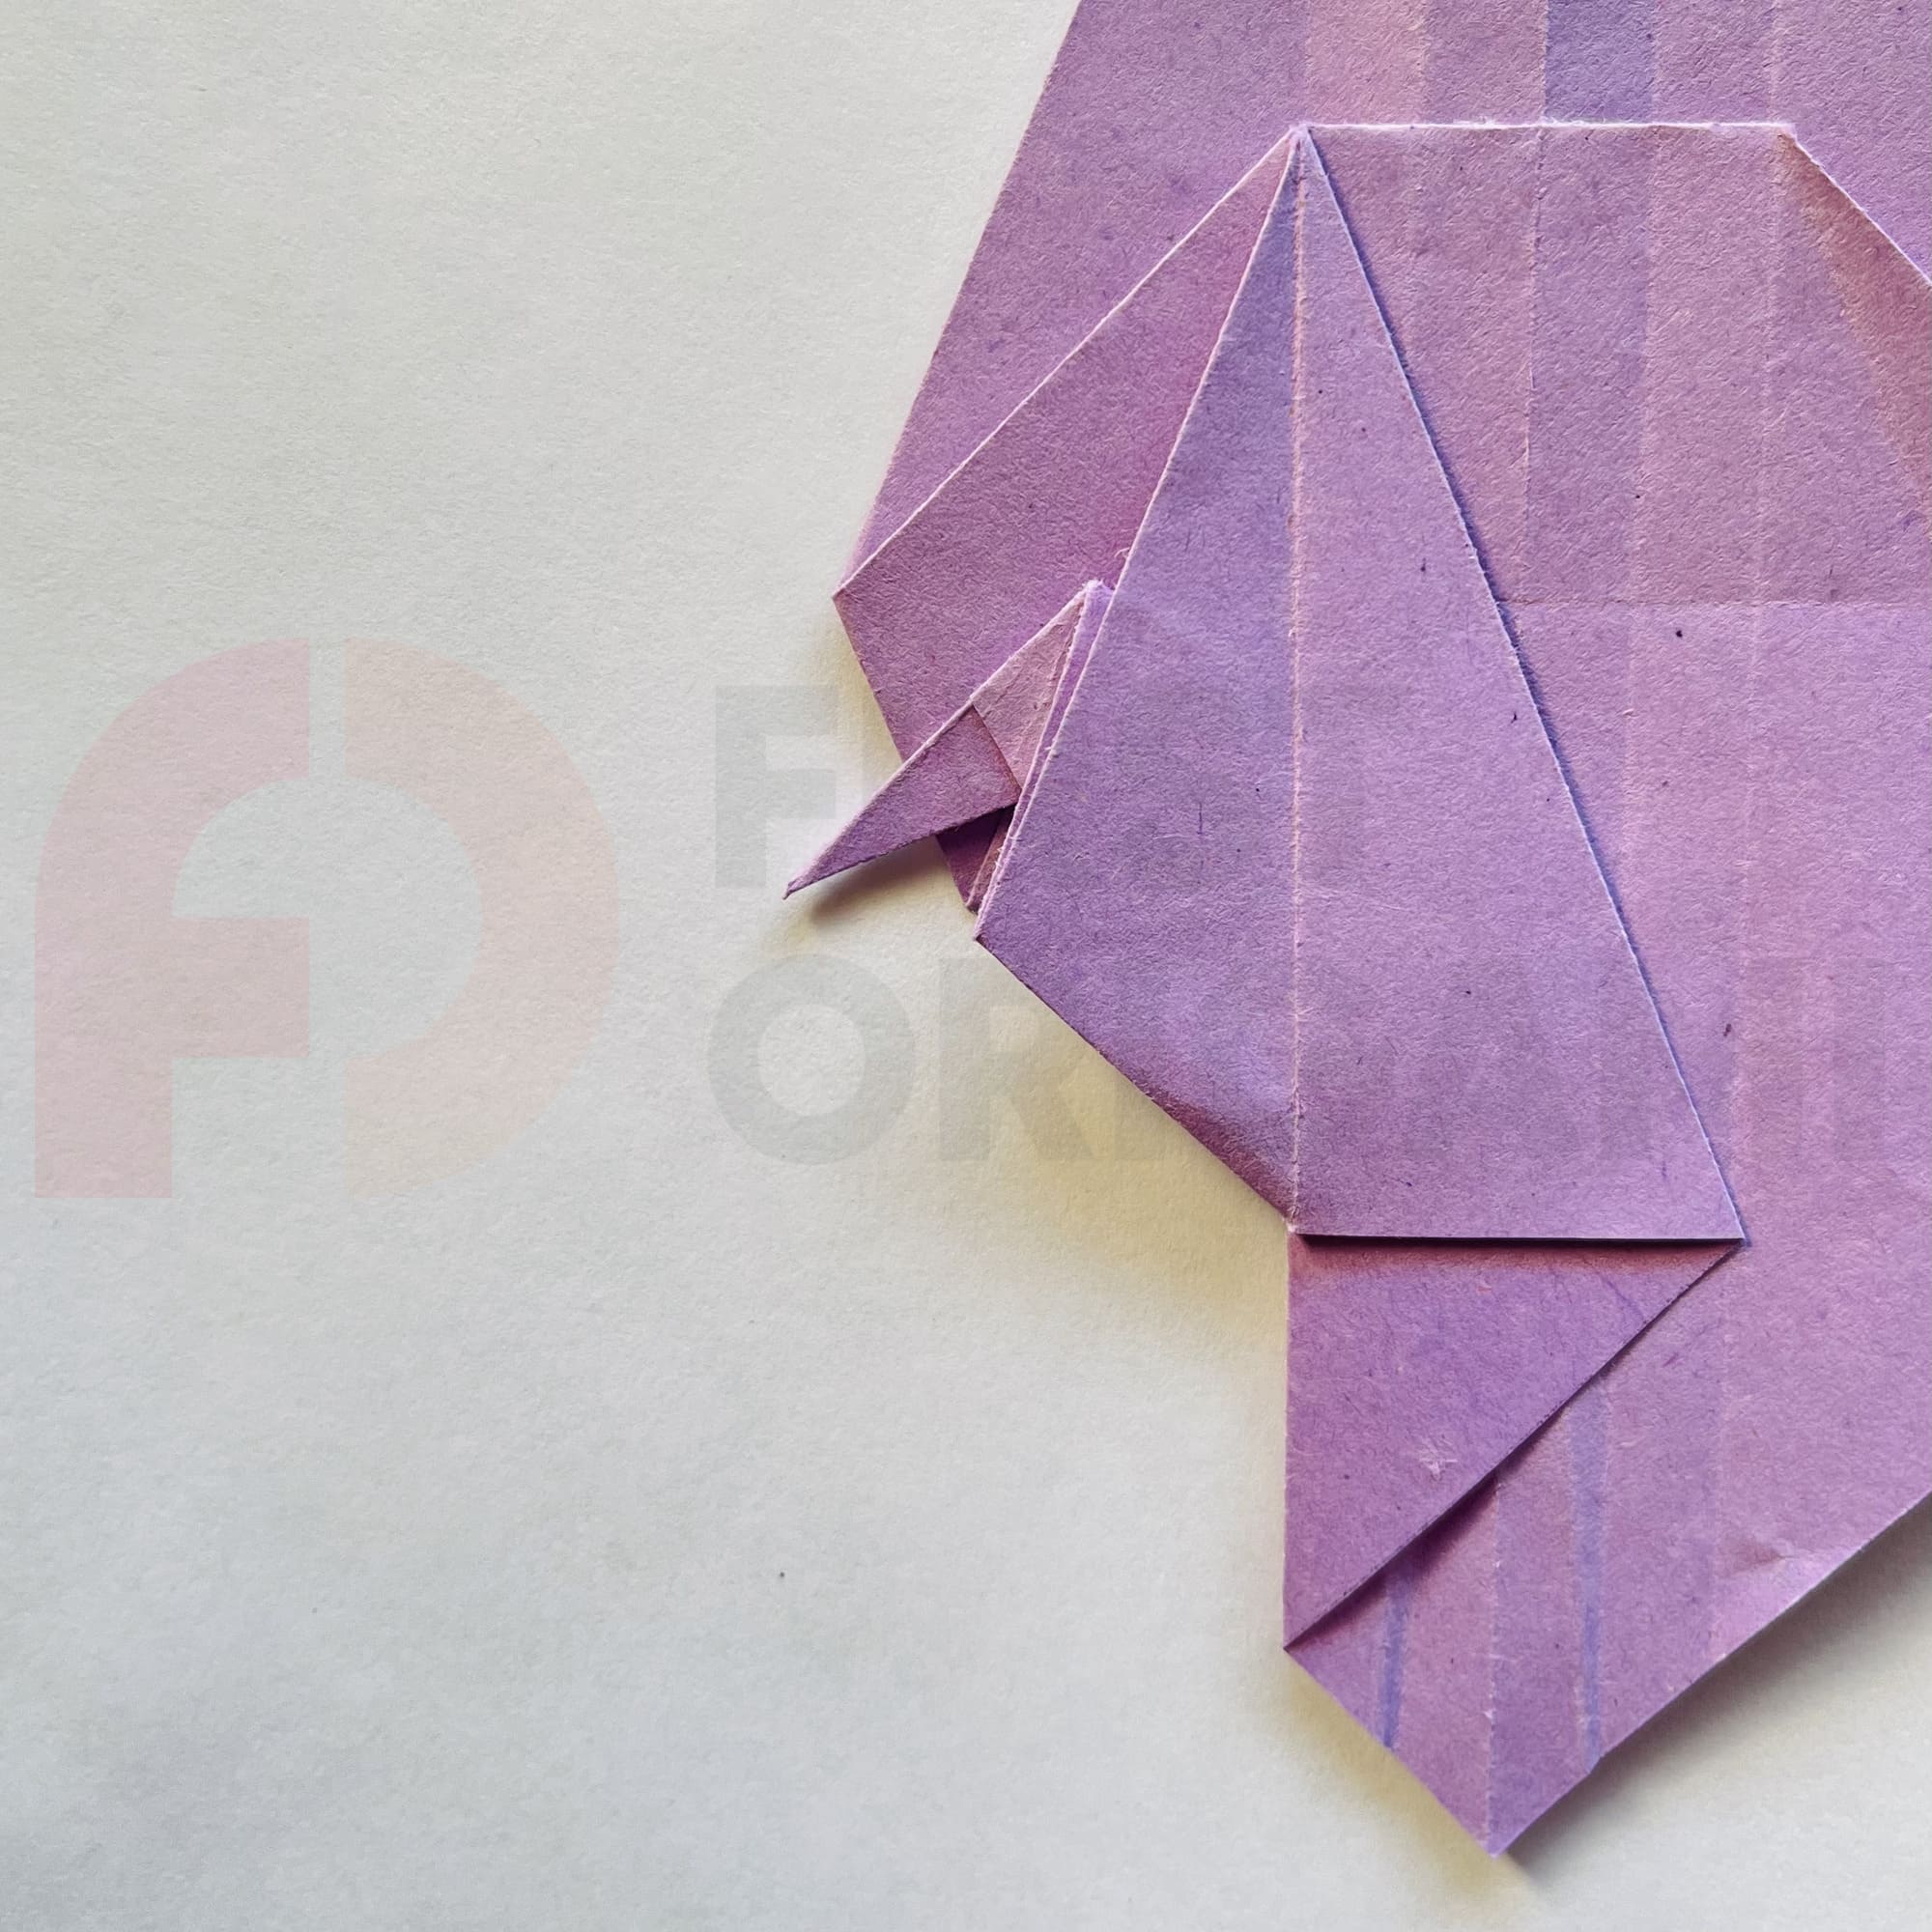
On the left, you should get a small diamond. Bend its upper half back.
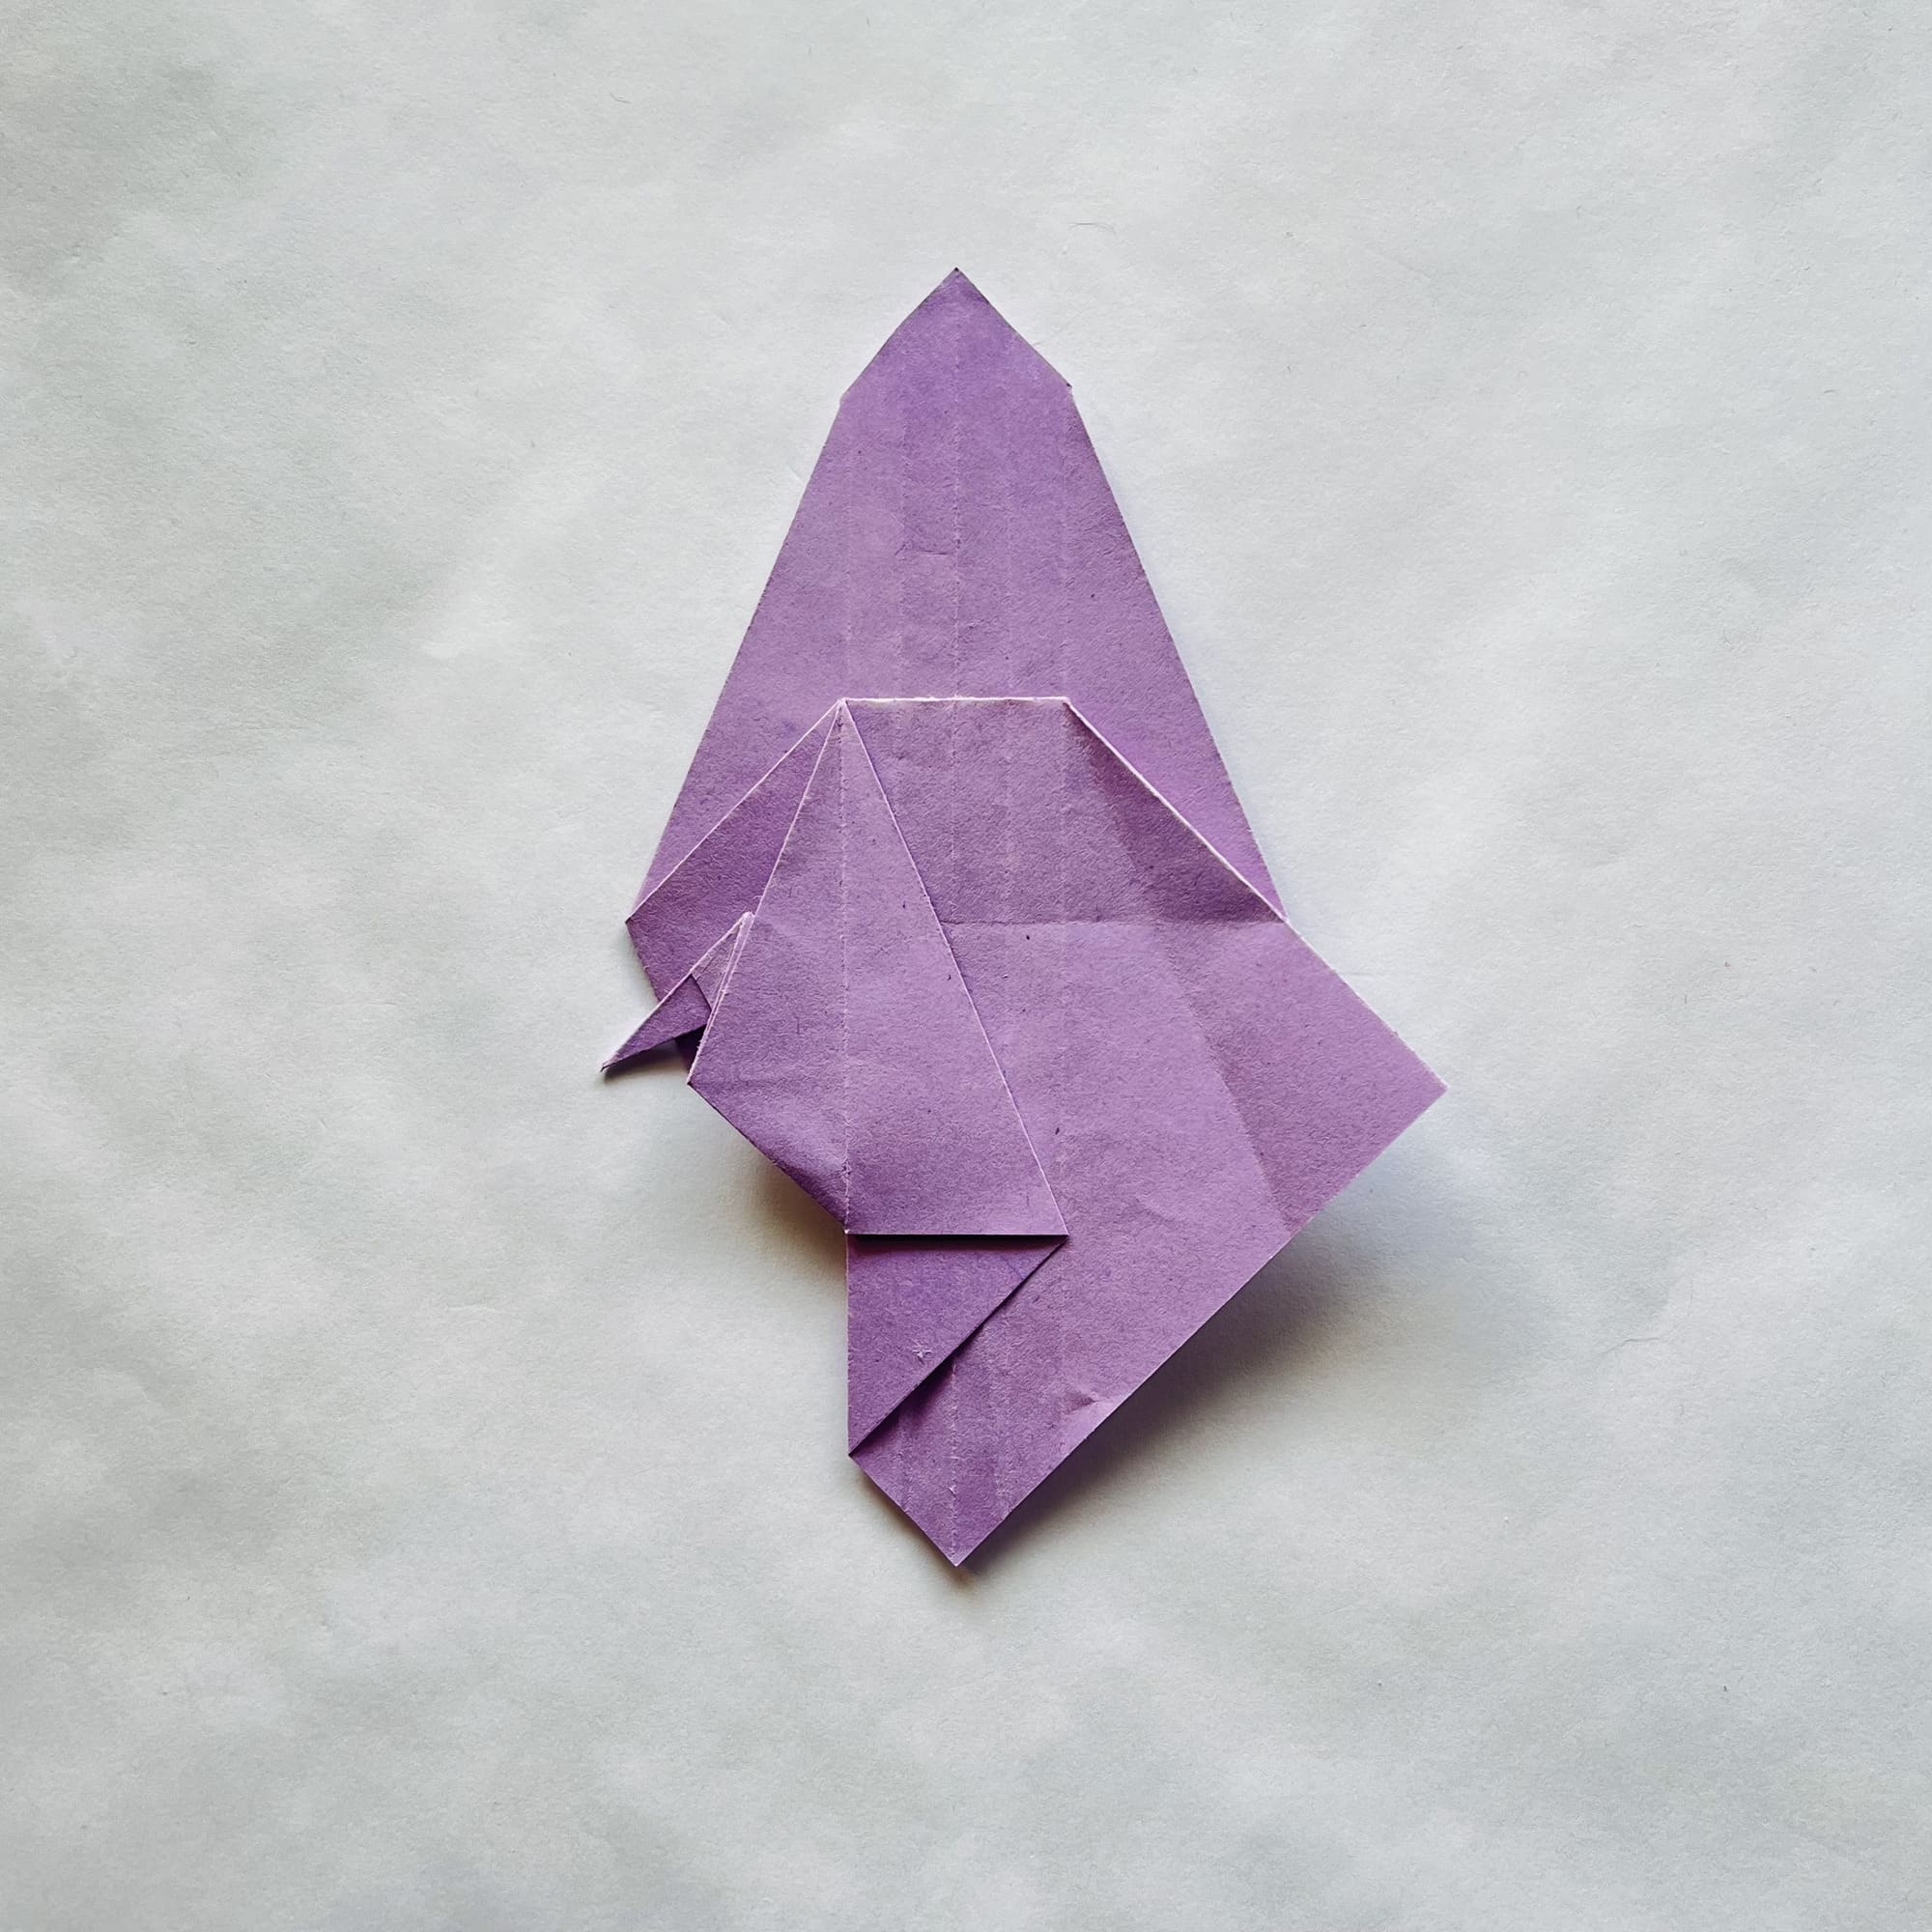
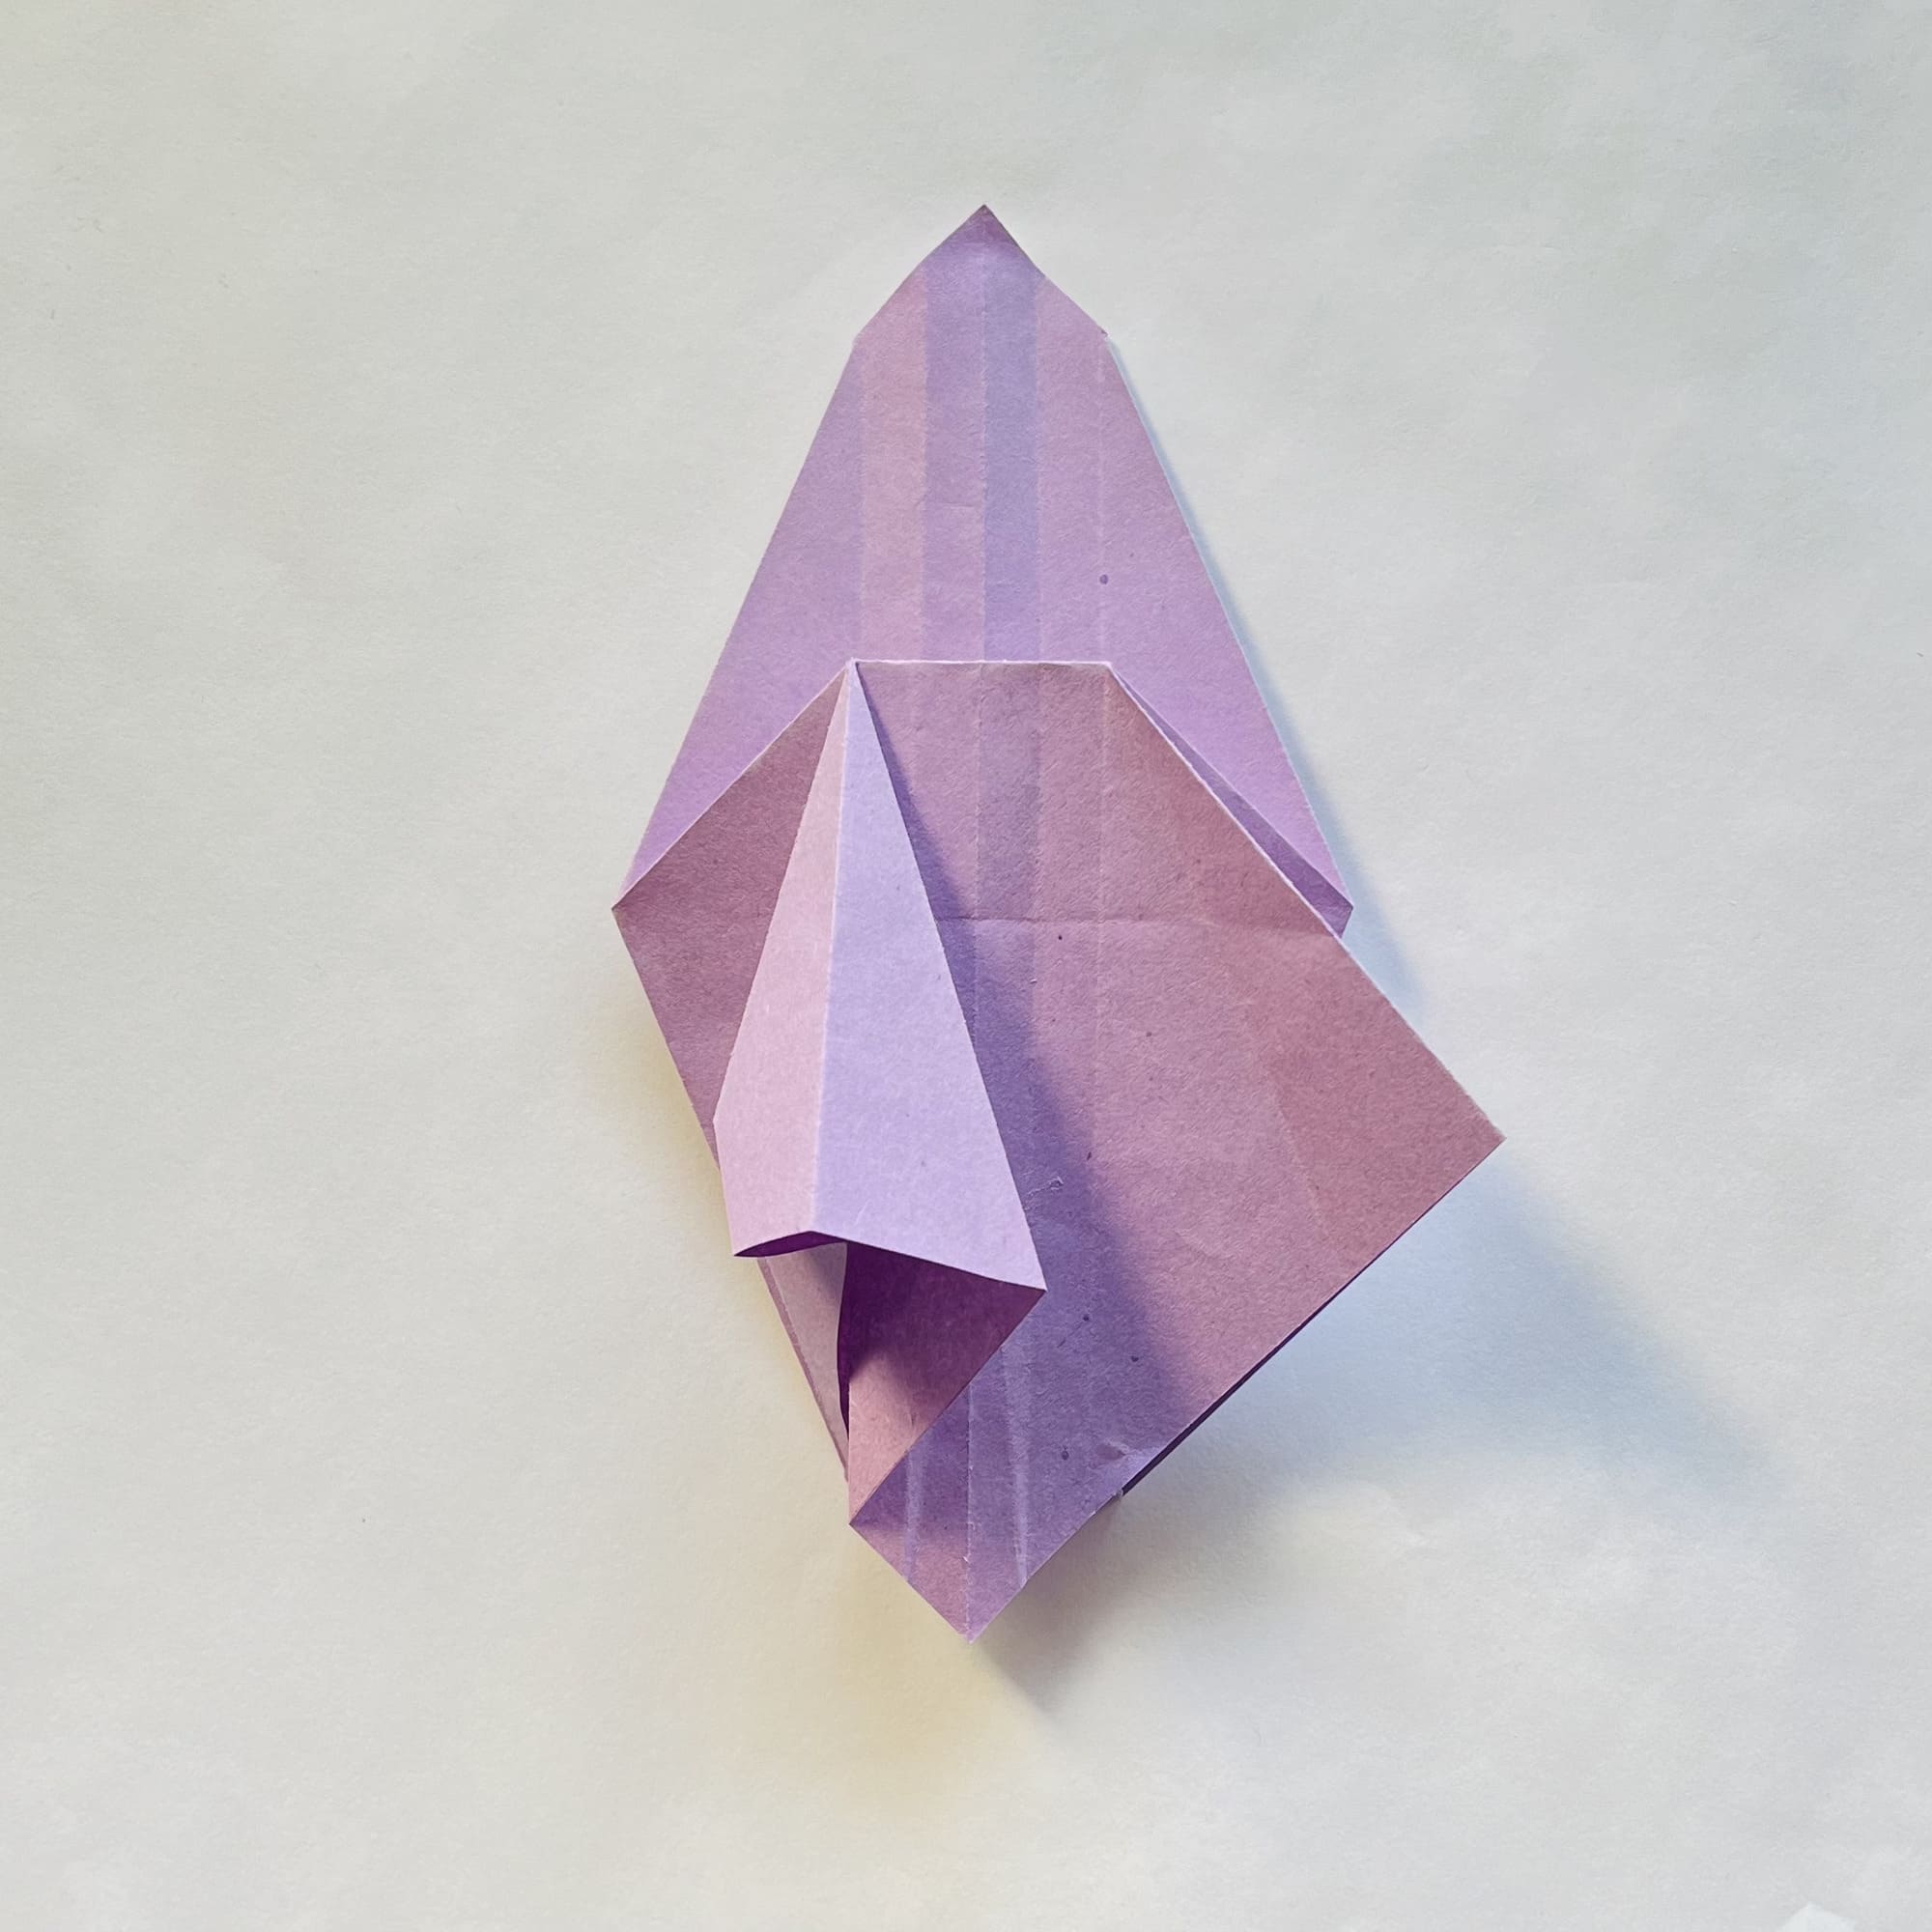
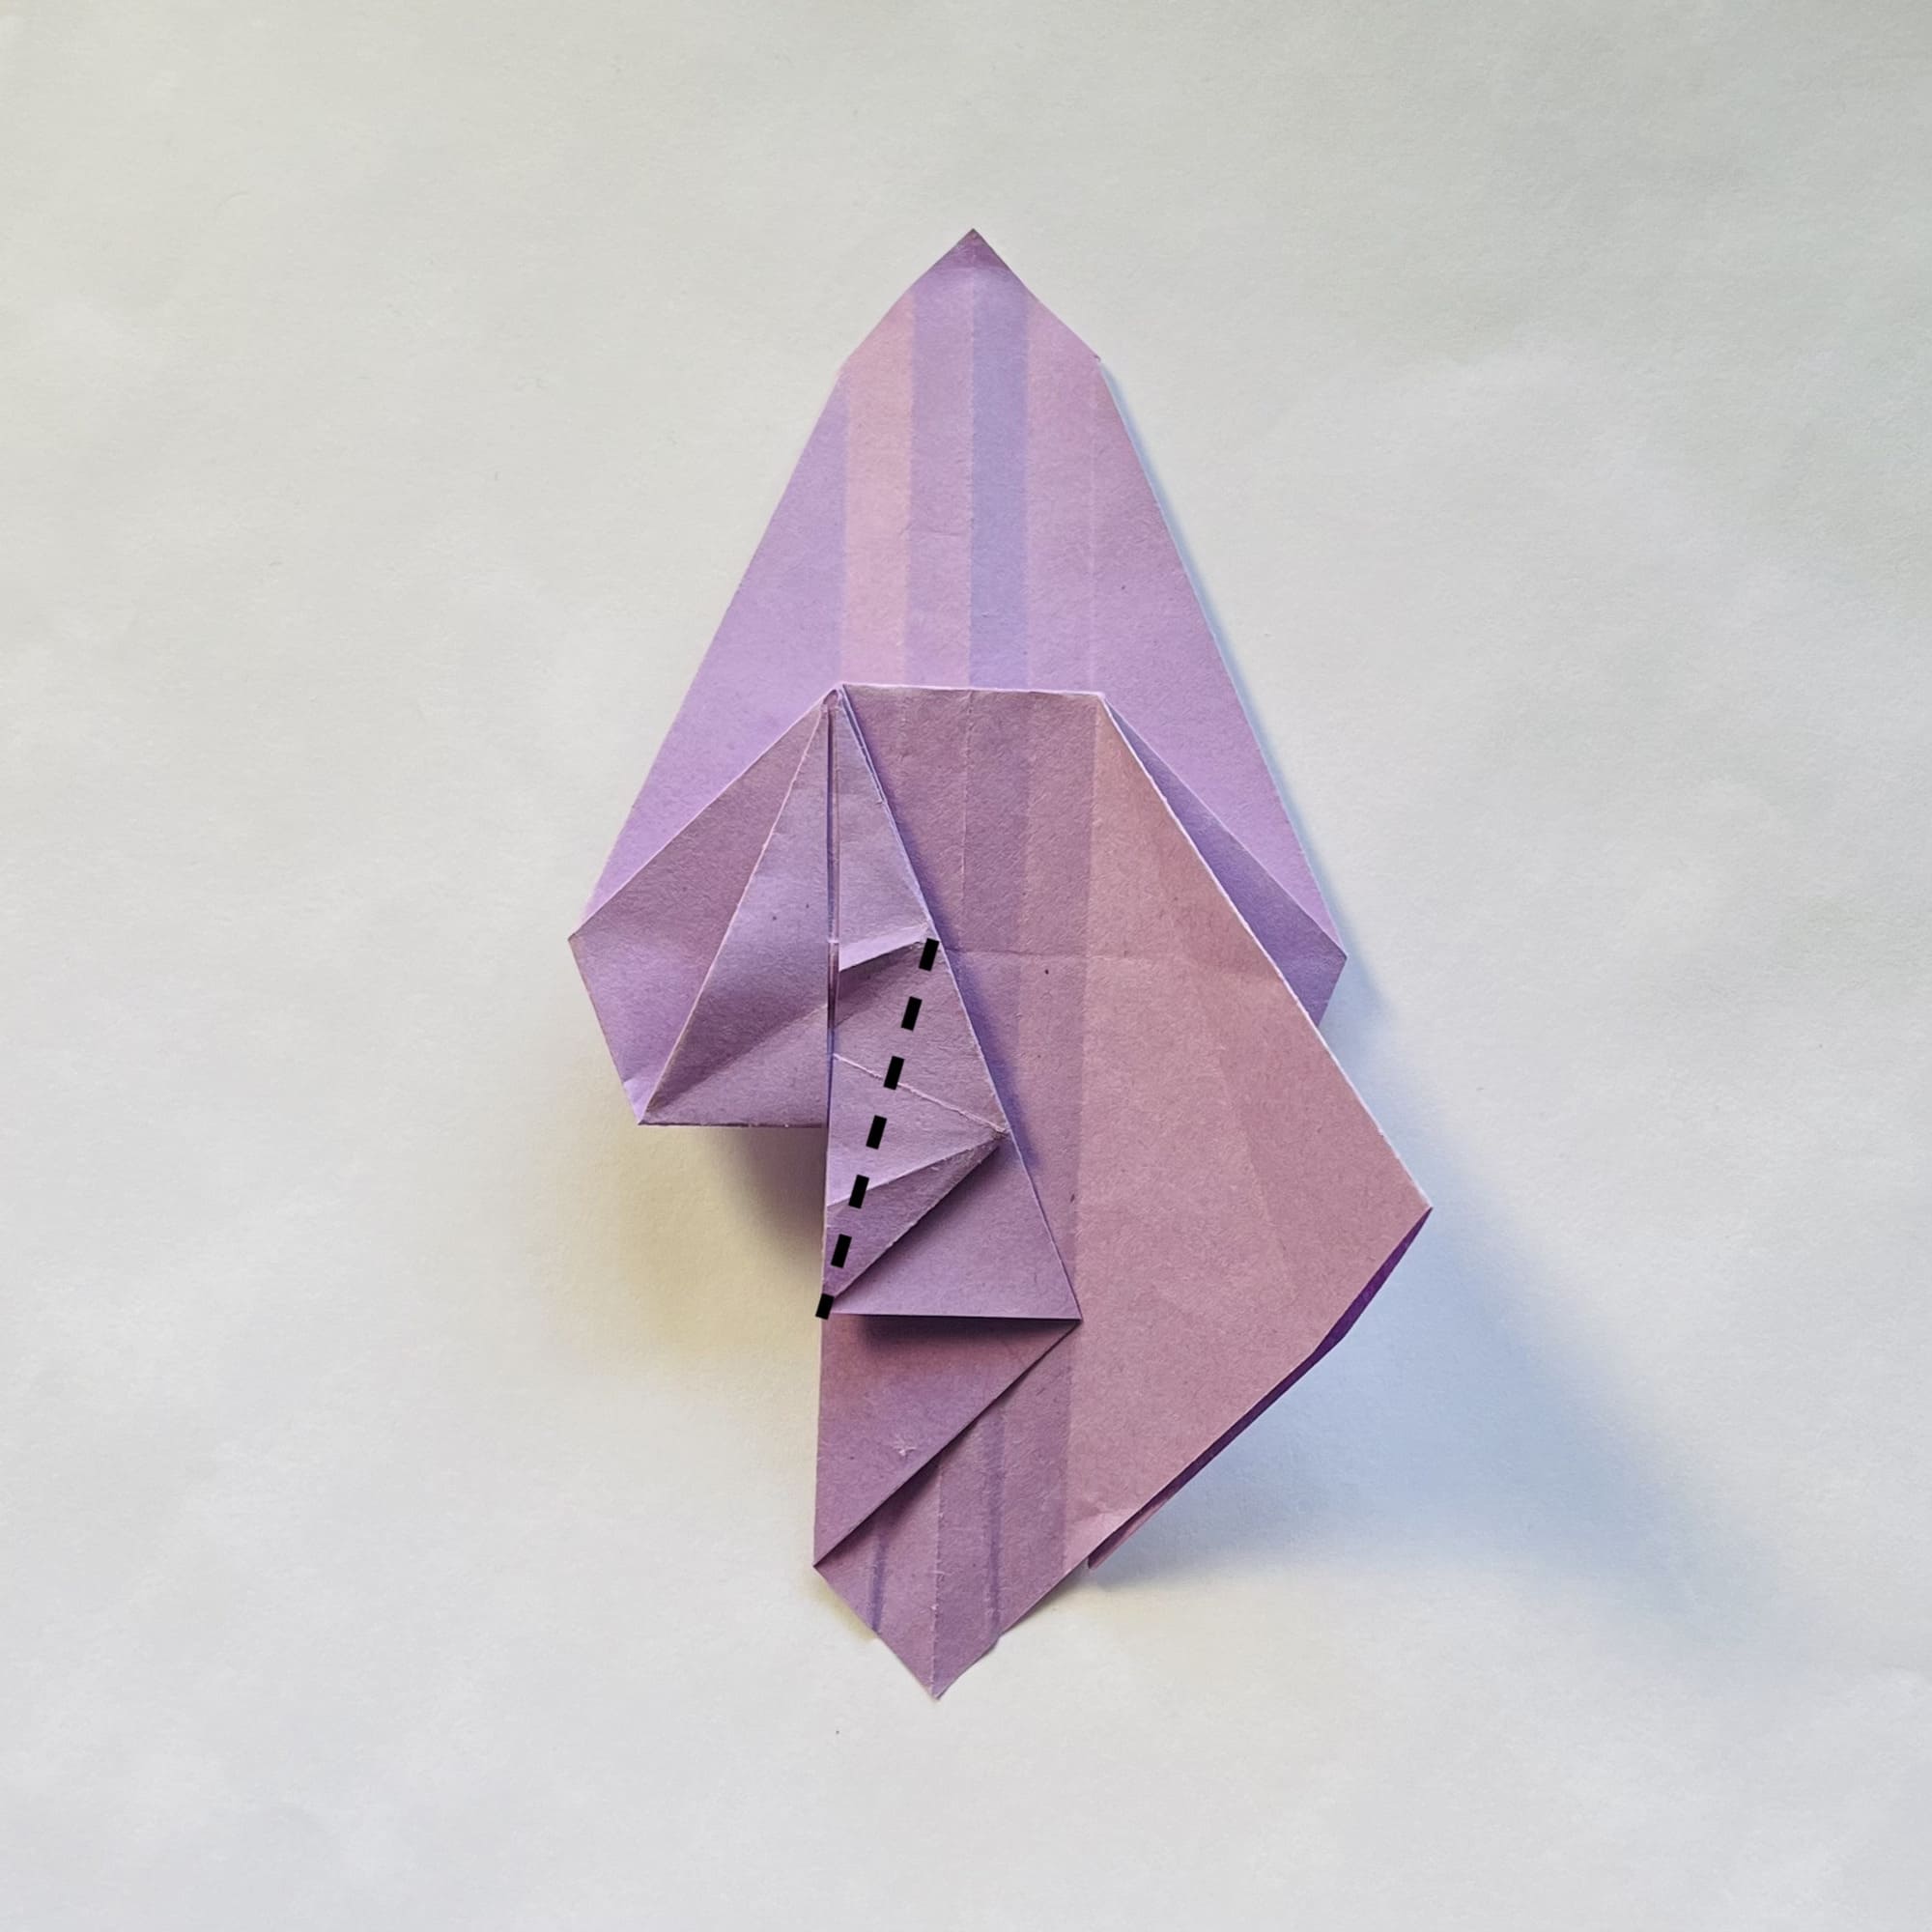
Fold the right corner to the left so that the fold line runs at the level of the horizontal fold line and through the bottom point.
Crease the fold and unfold.
Unfold the paper a little on this side and fold it inward so that the paper folds along the dotted lines.
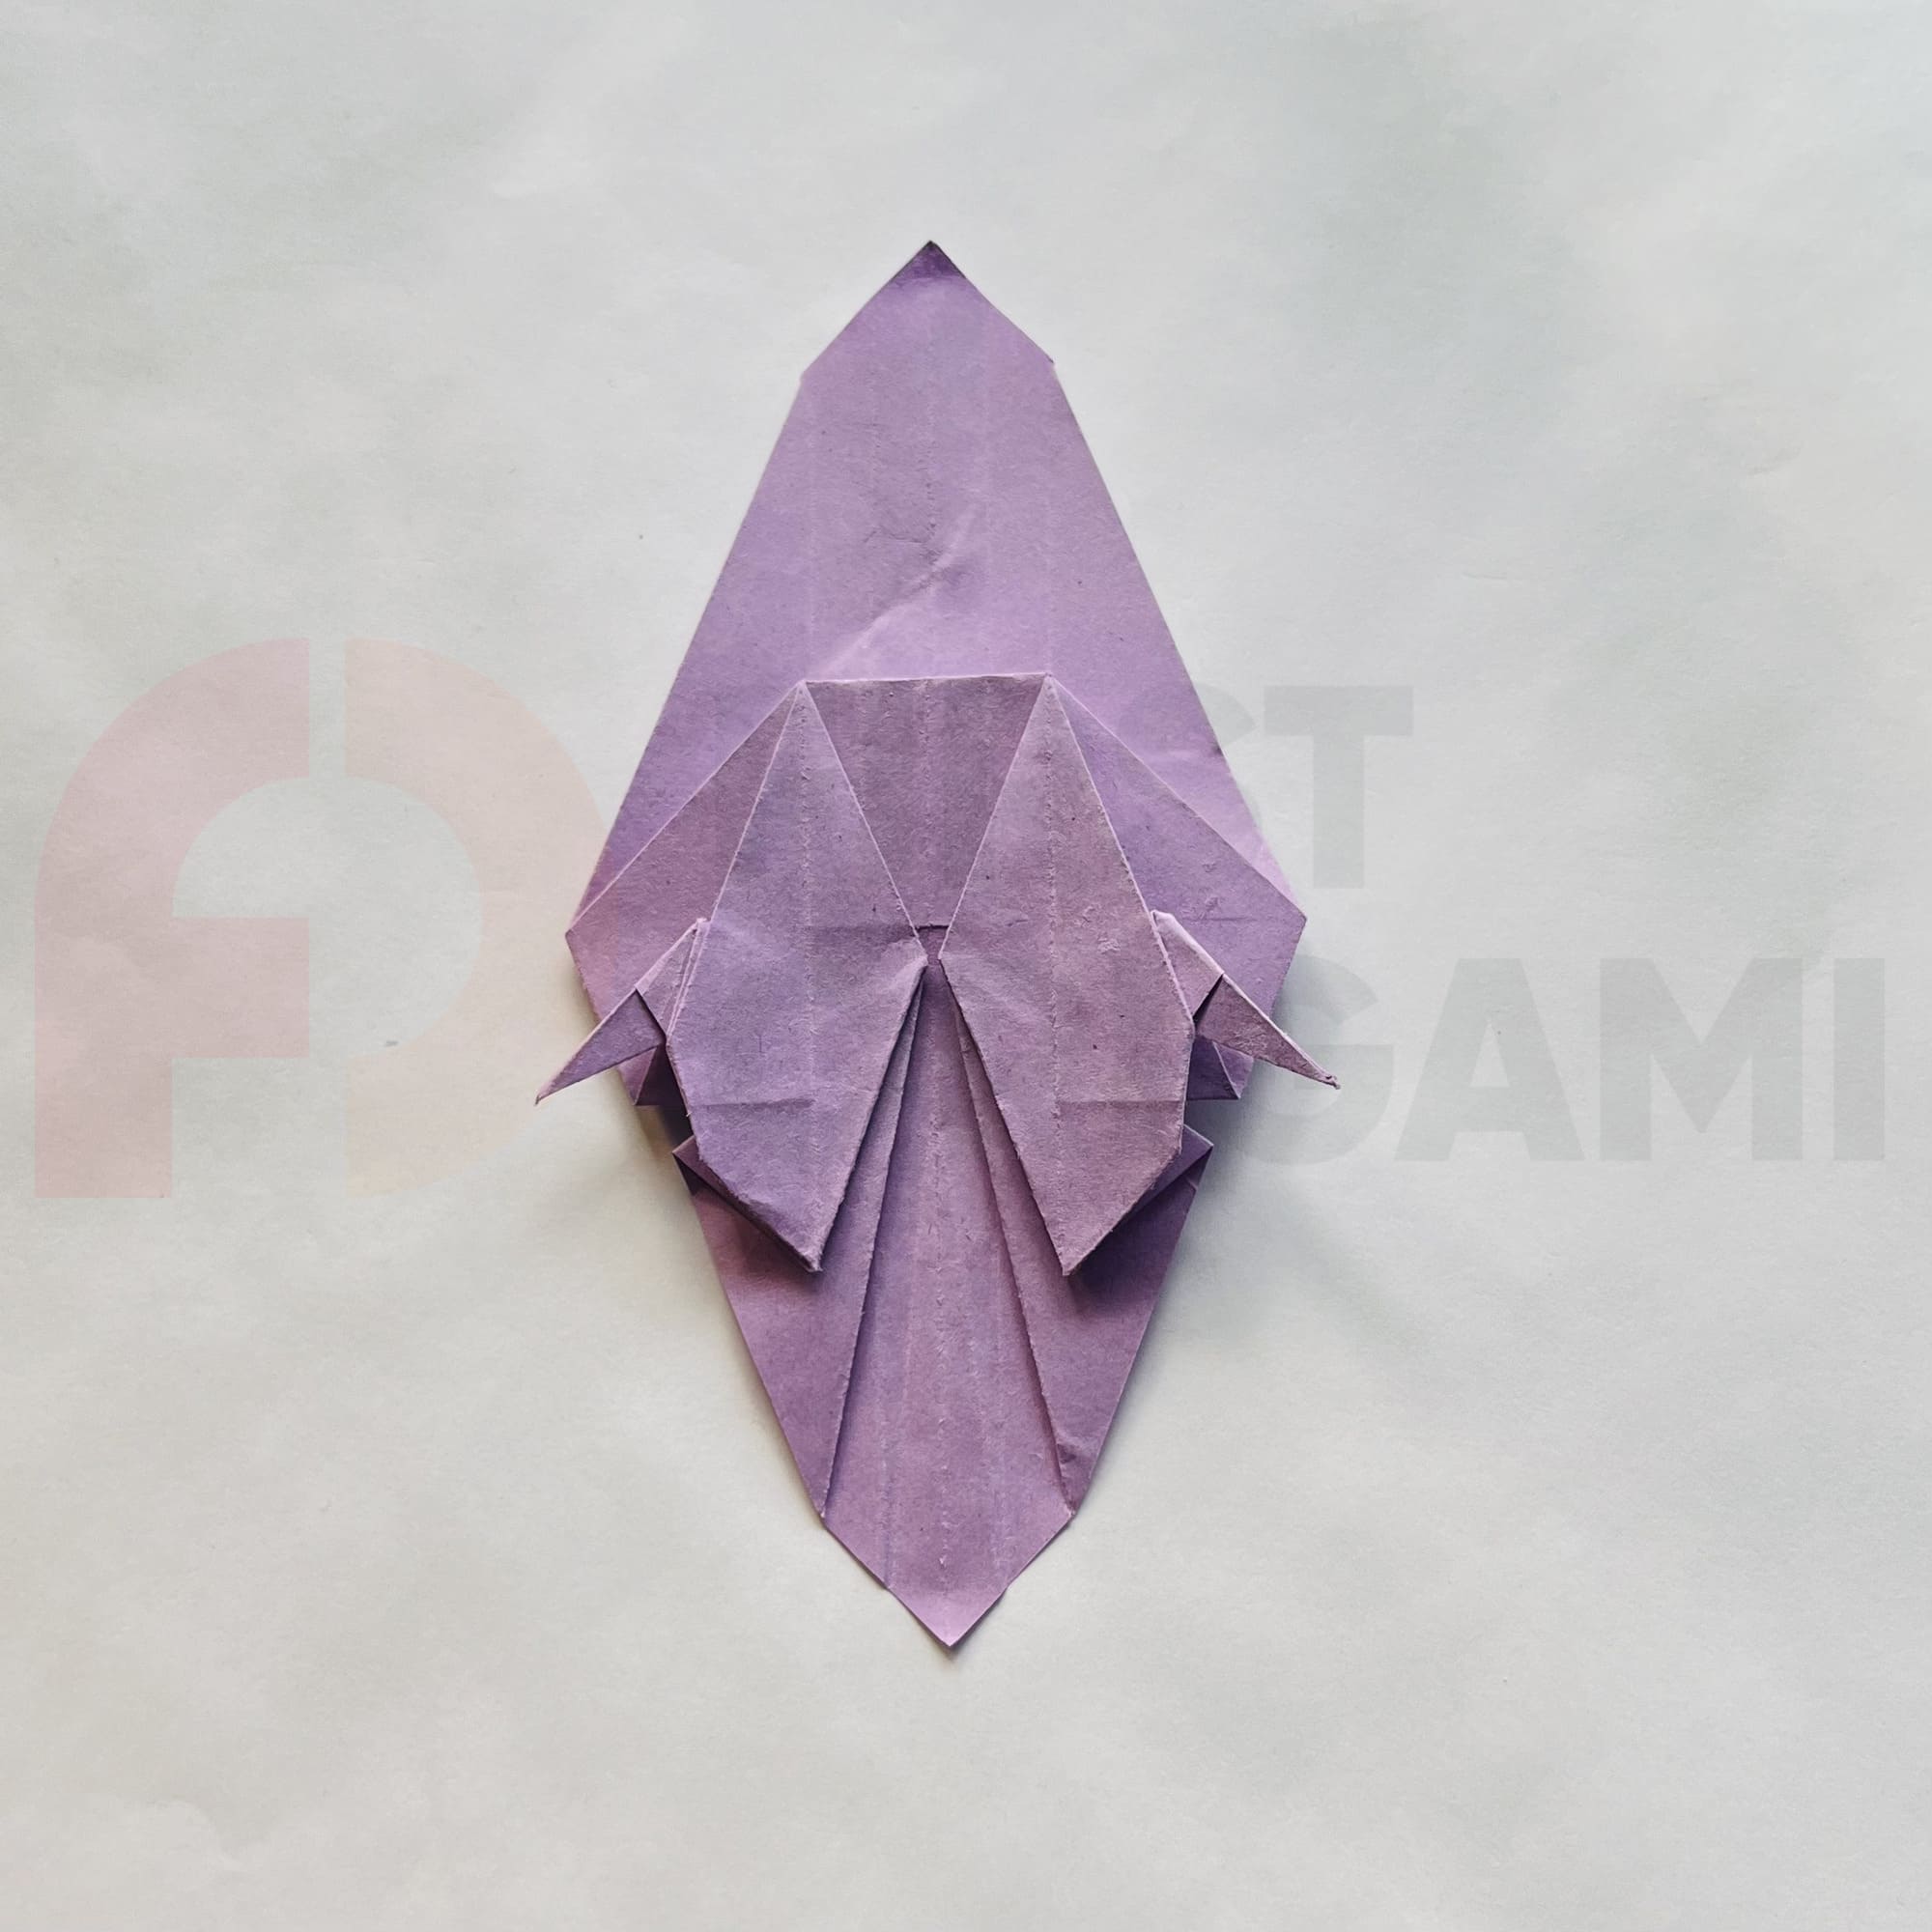
Repeat steps 37-61 on the right side of the figure.
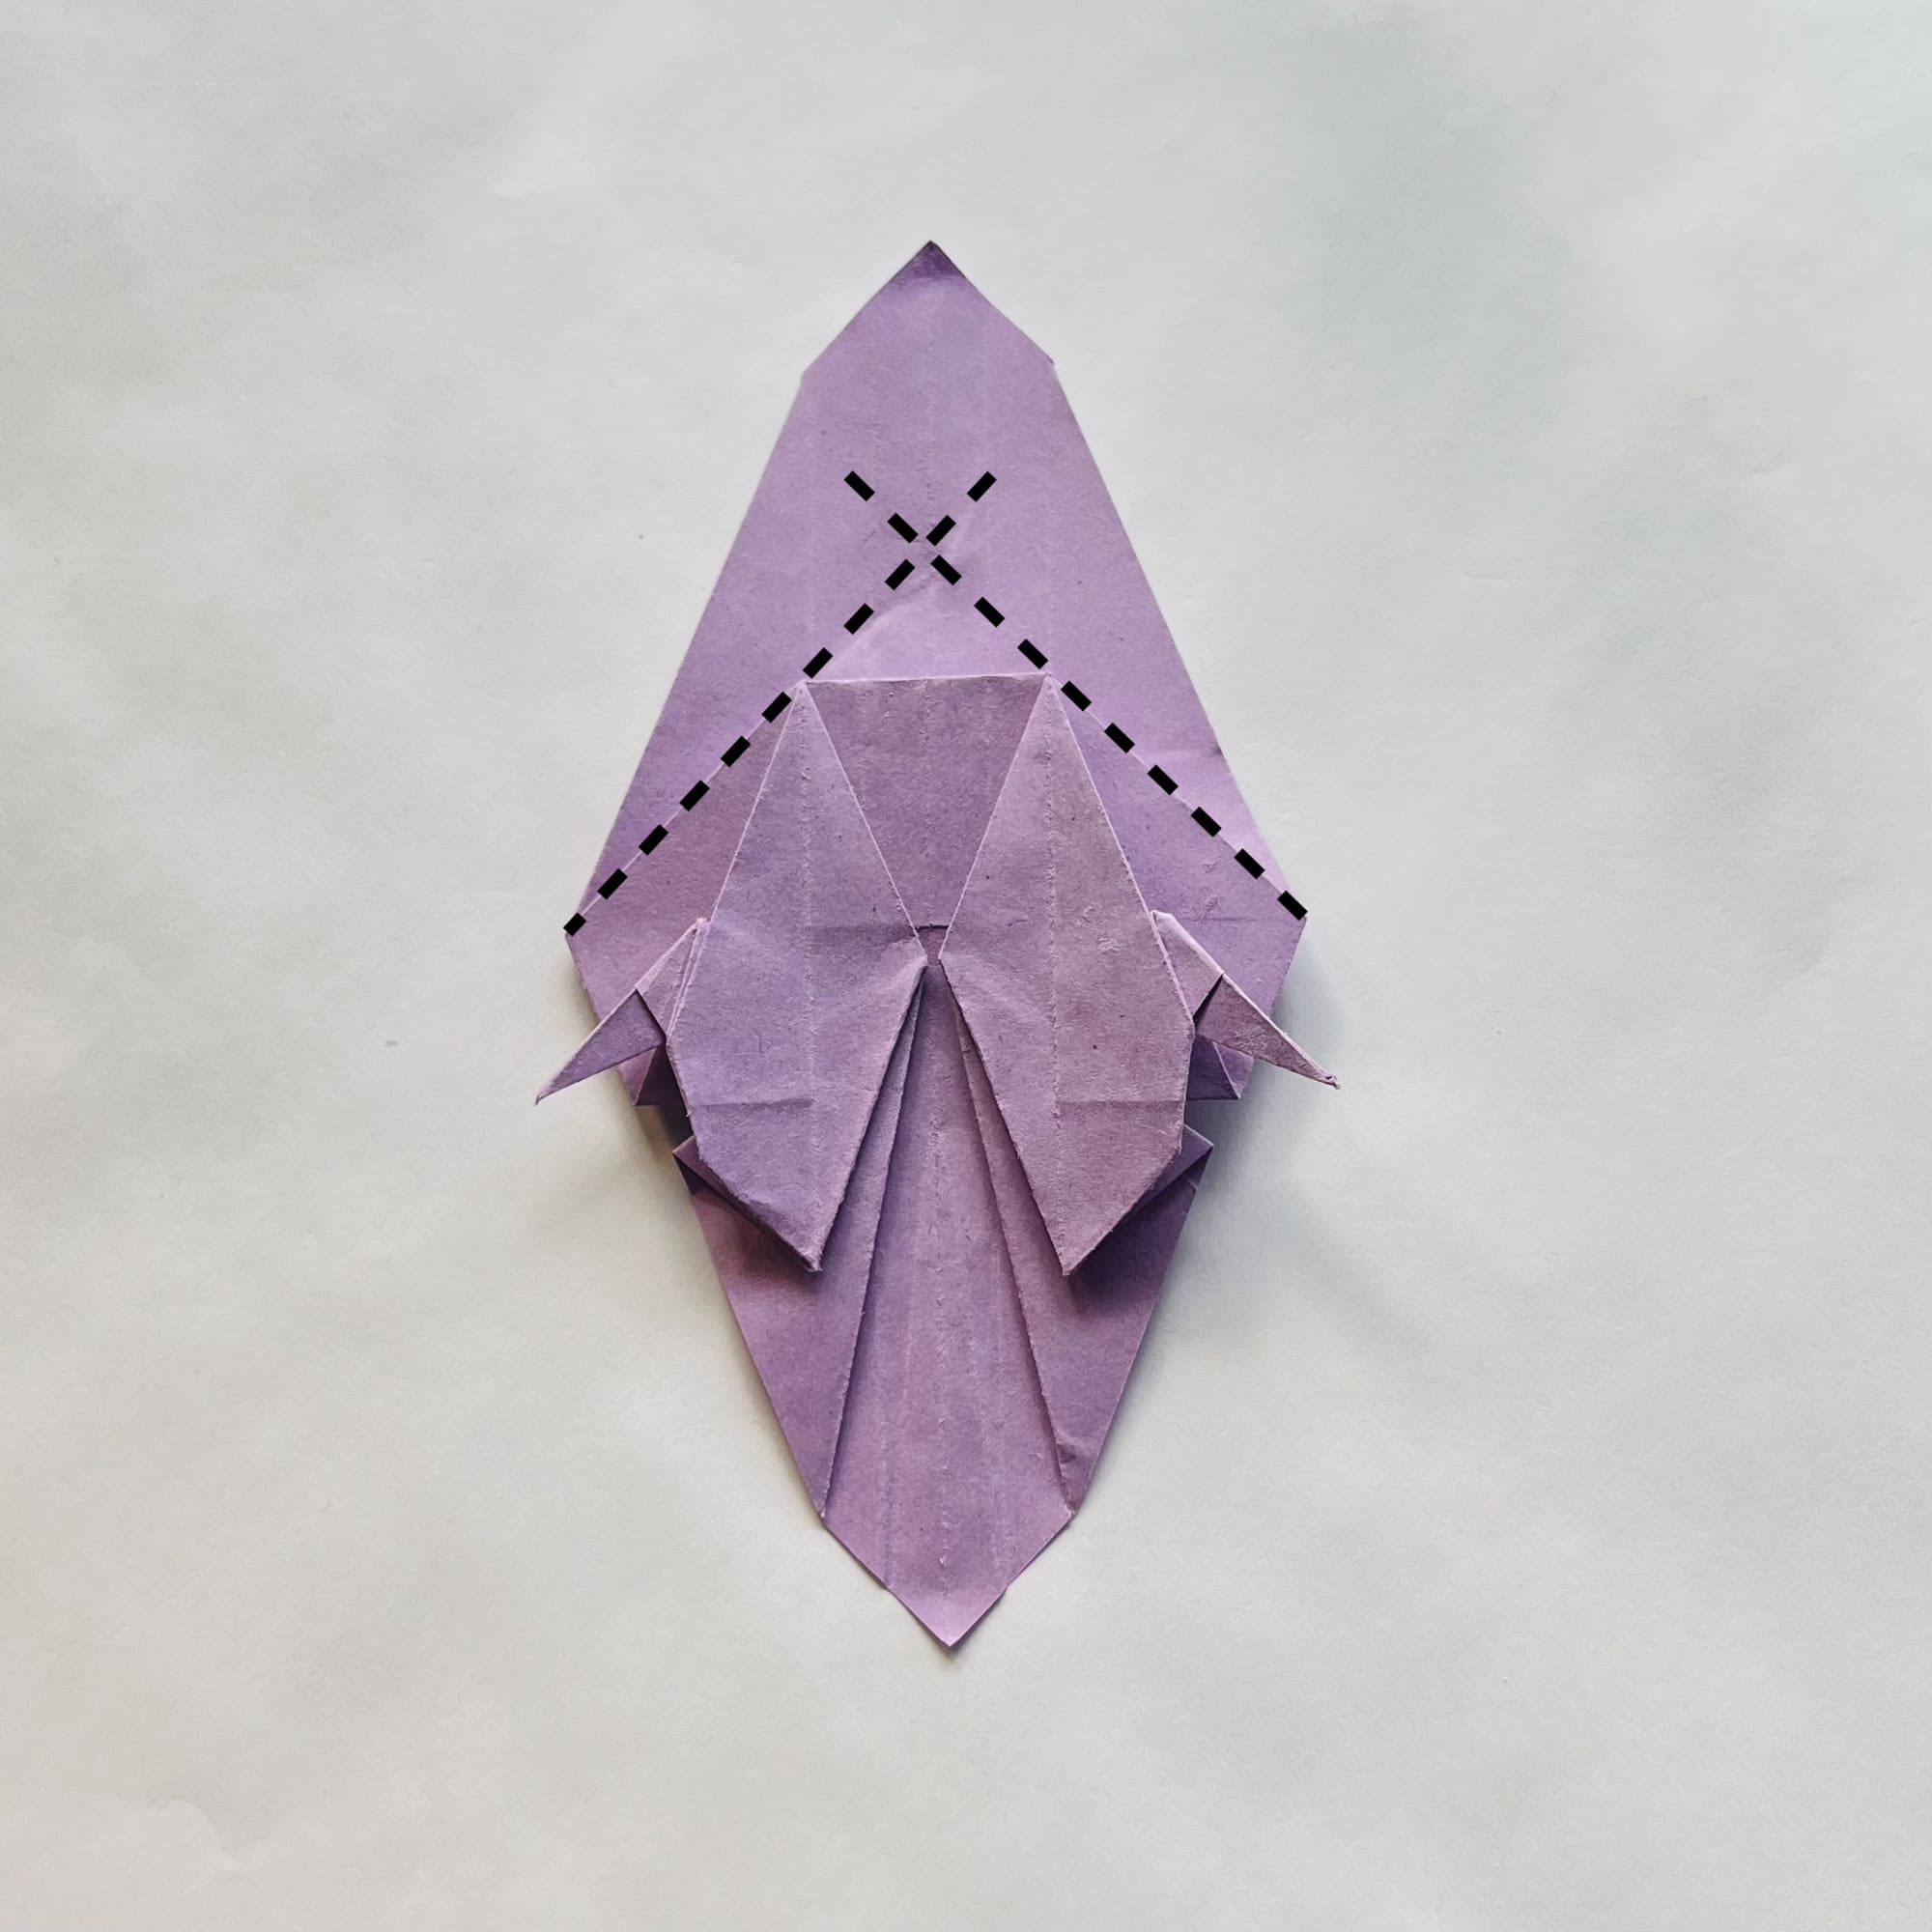
Alternately fold the paper along the dotted lines, marking a cross at the top of the figure.

Fold the top halves together and then fold them over to the right.
Turn the figure over.
At the bottom, bend the left wing inward.
Make a flattening fold out of this wing.
Repeat step 39 on the right.
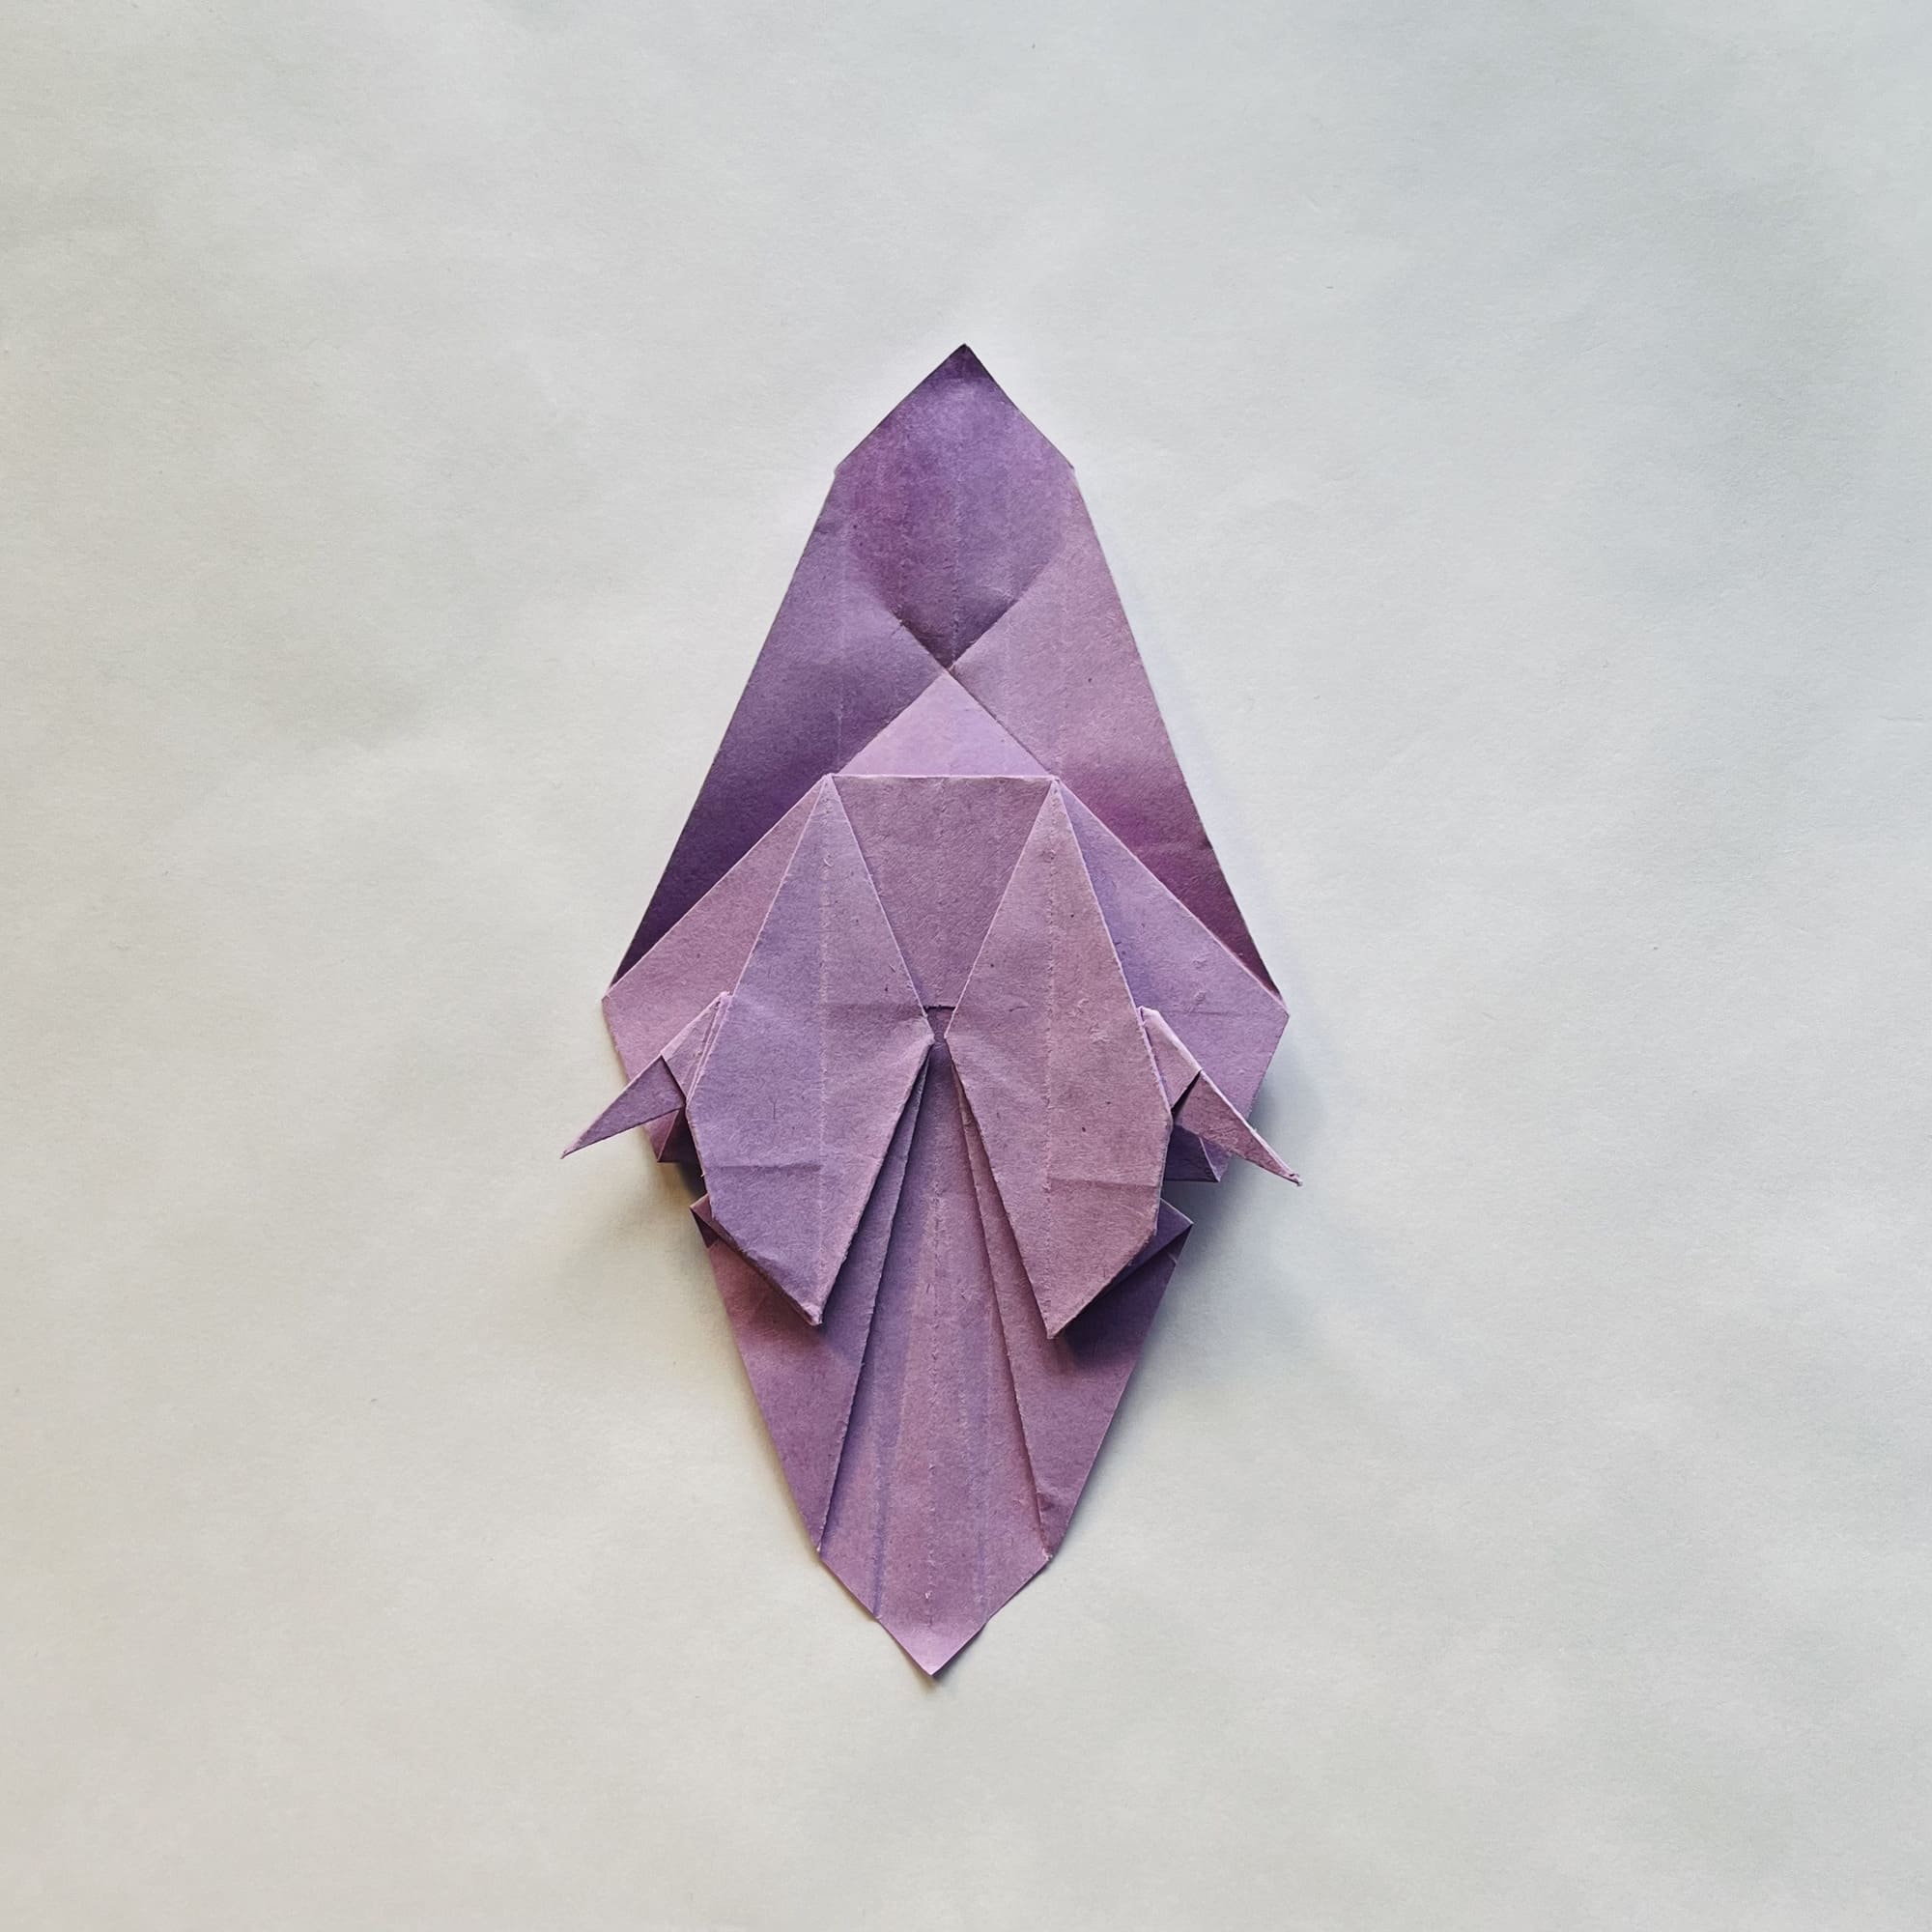
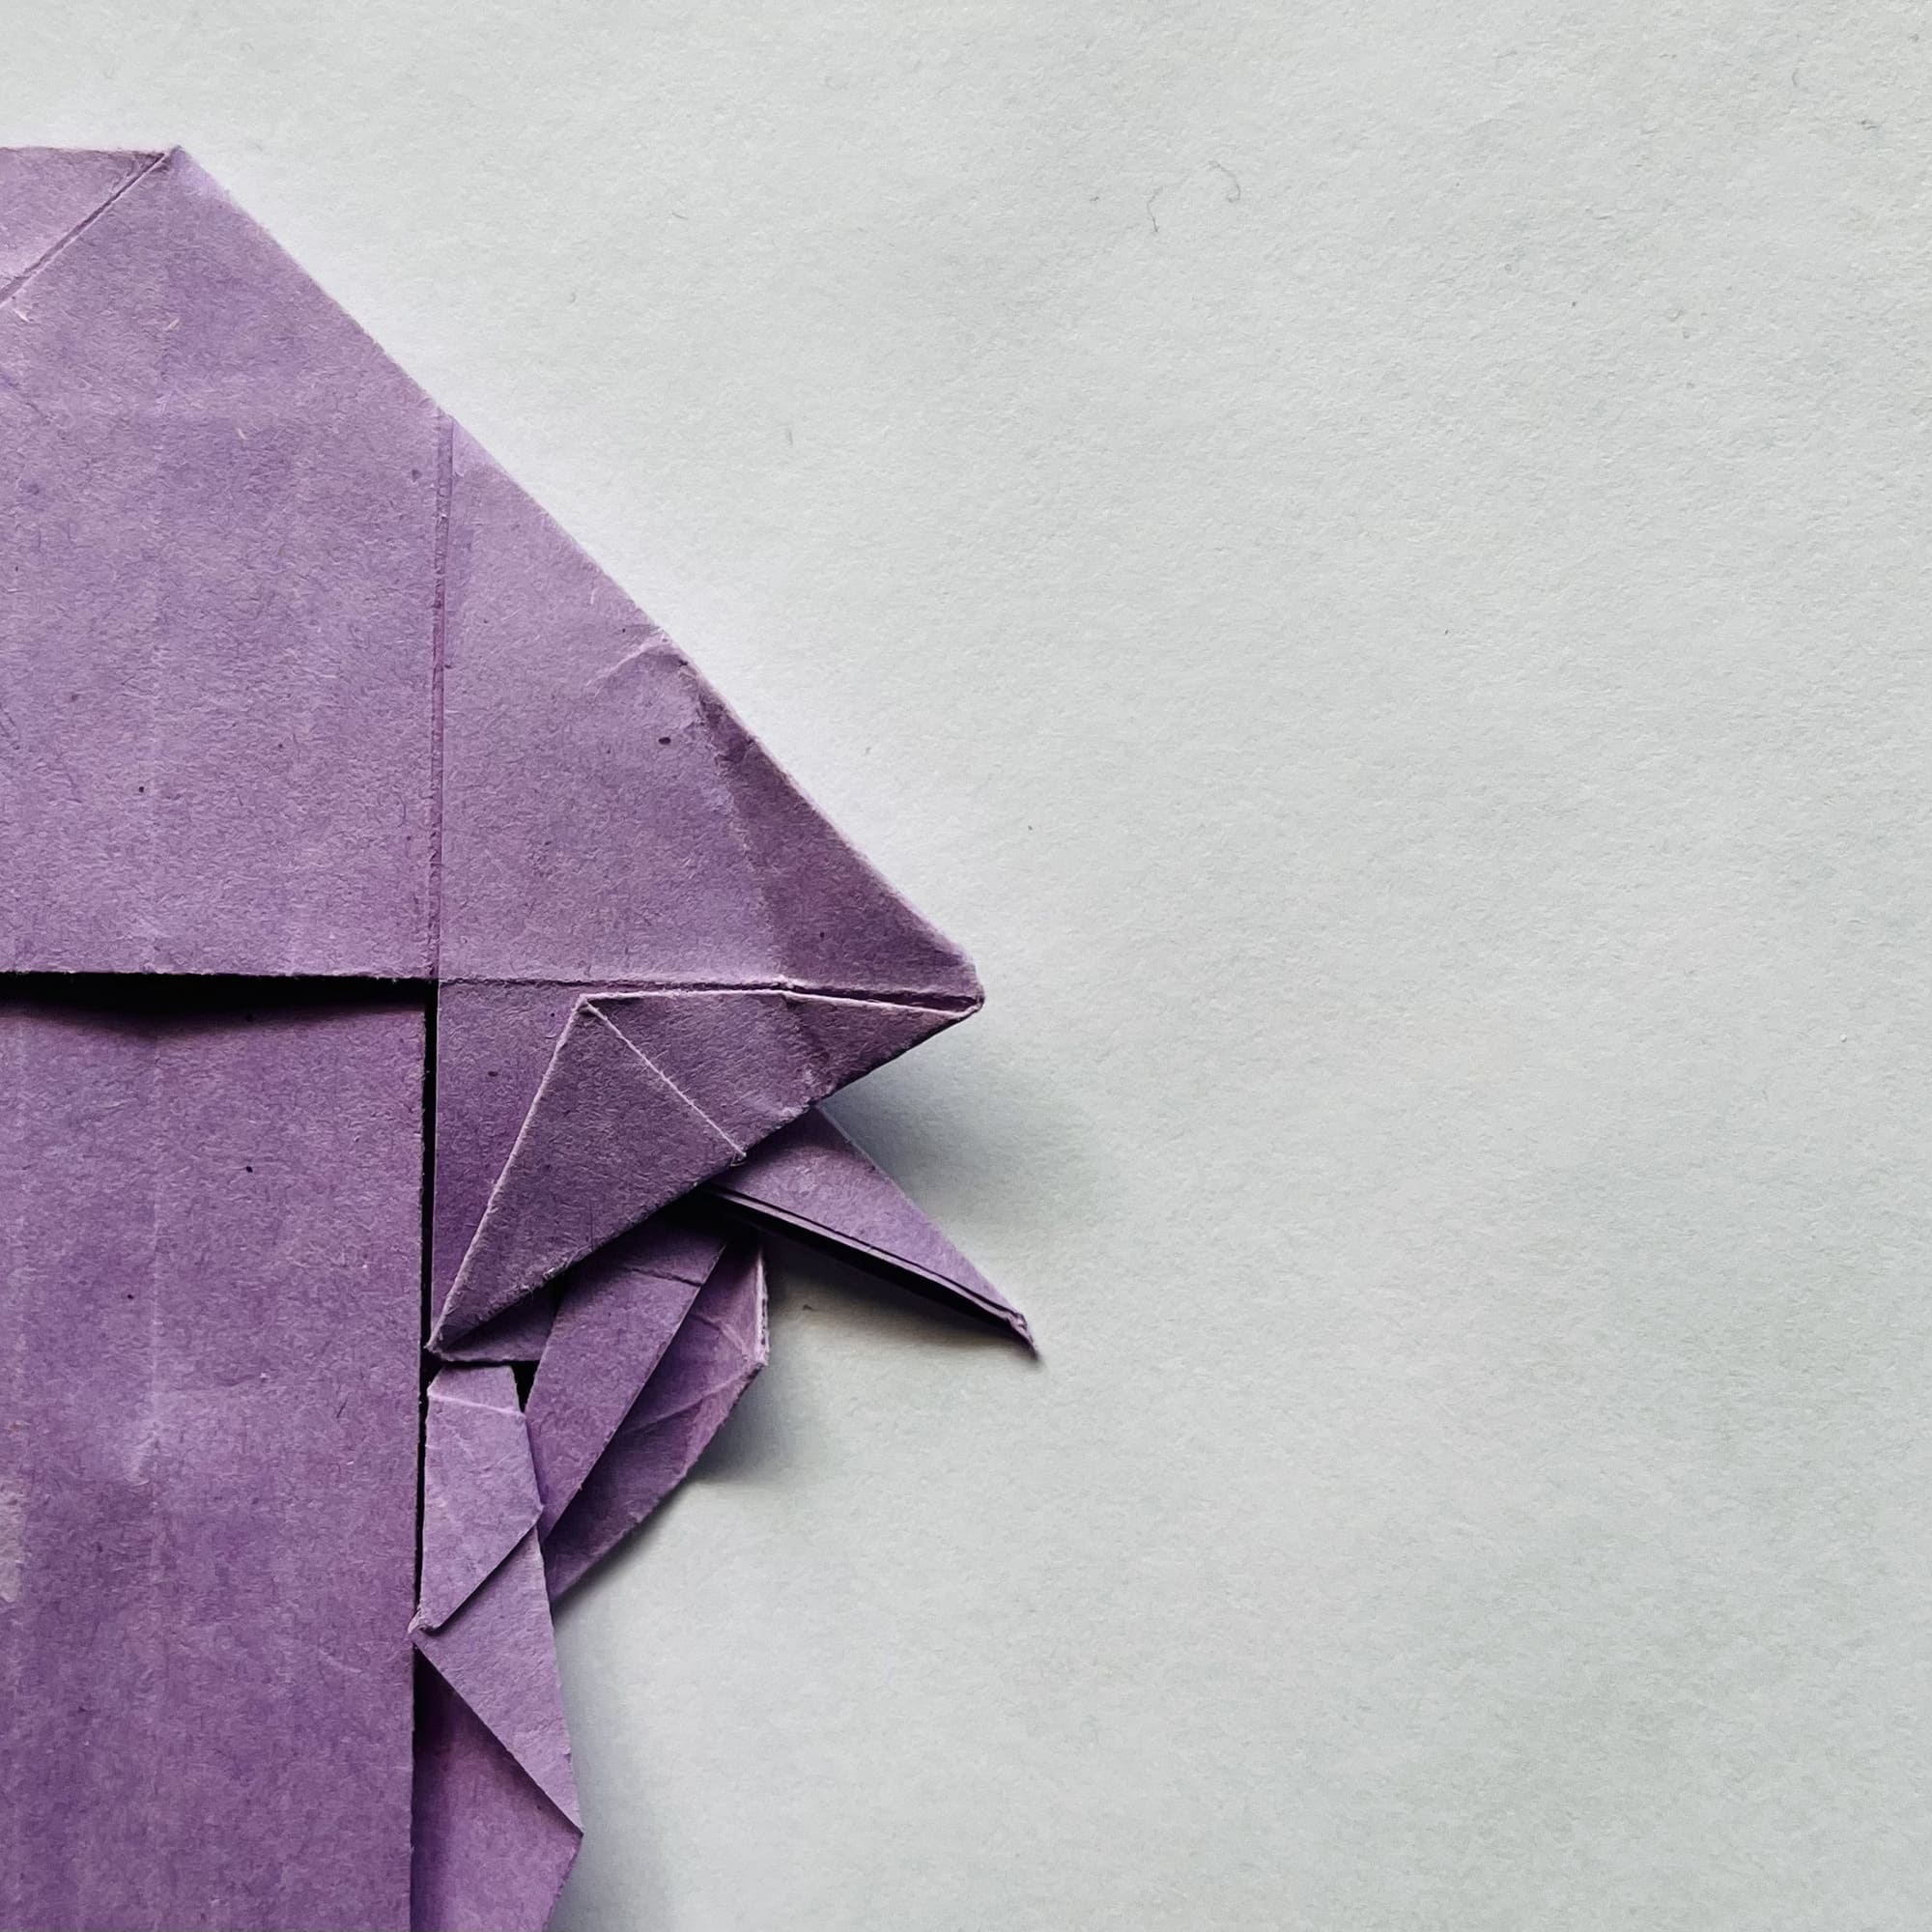
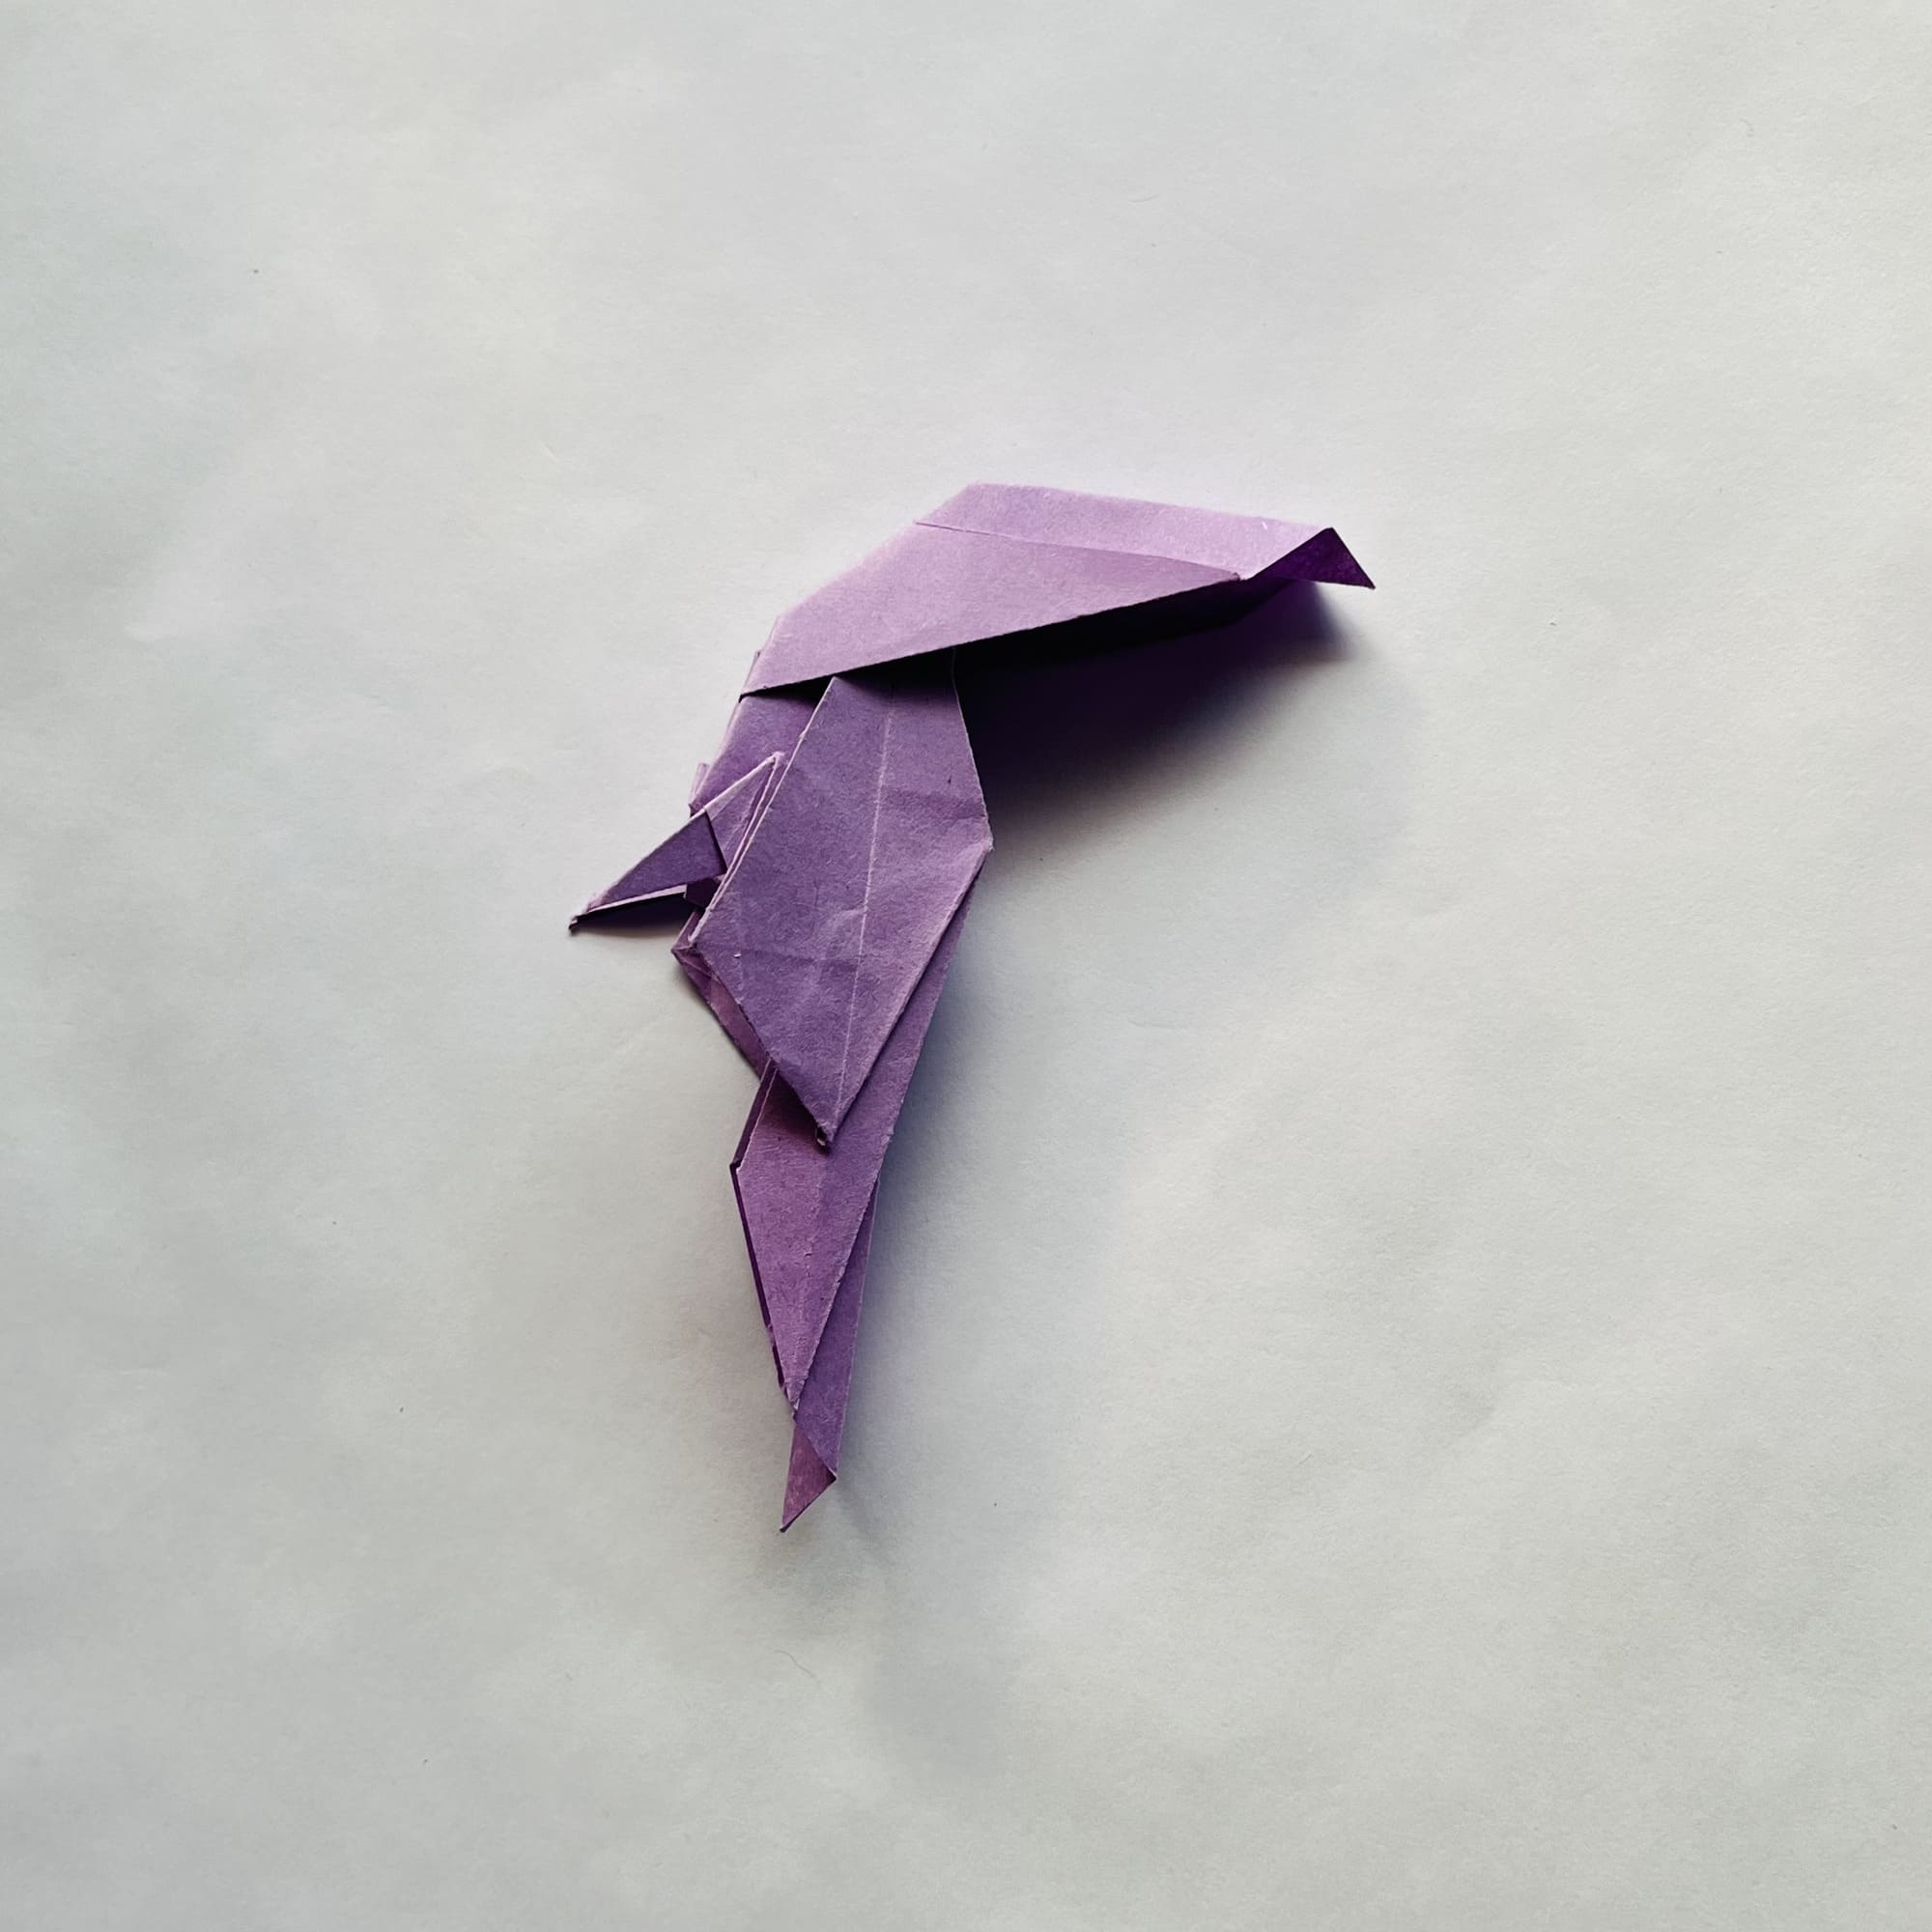
Open the wings and then fold their edges inward.
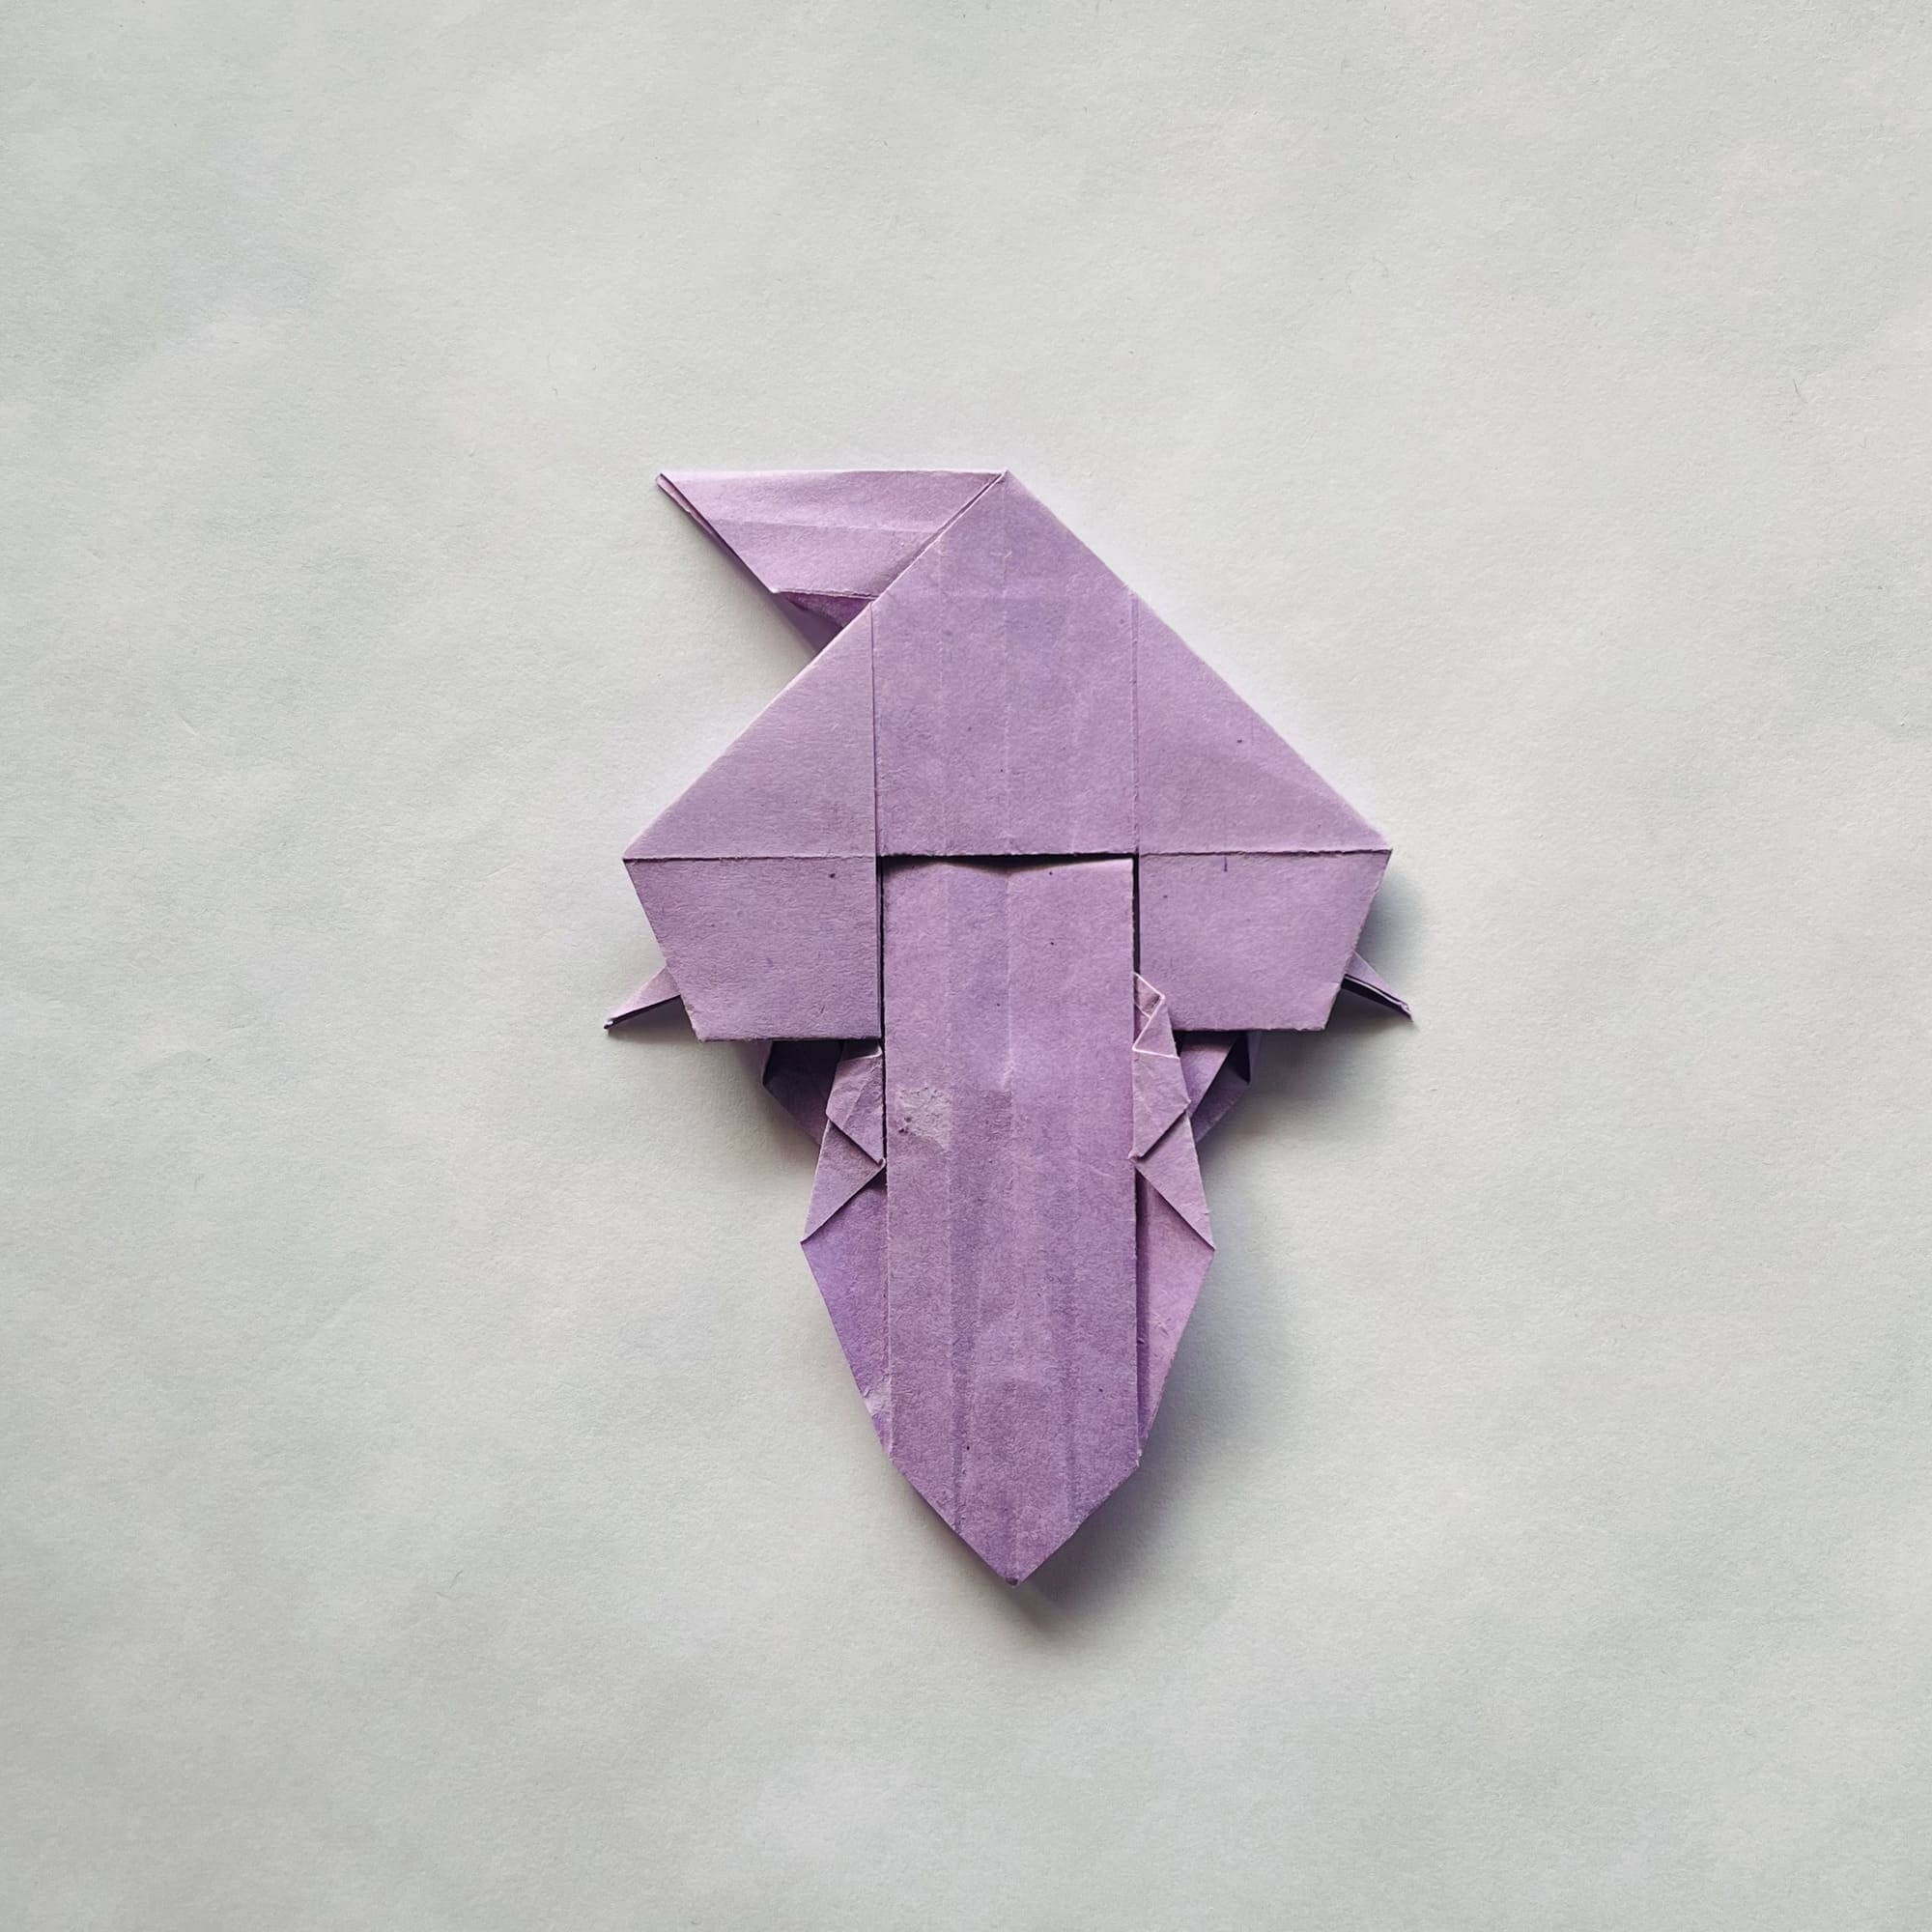
Alternately hide the upper edges of the wings under the body of the figure.
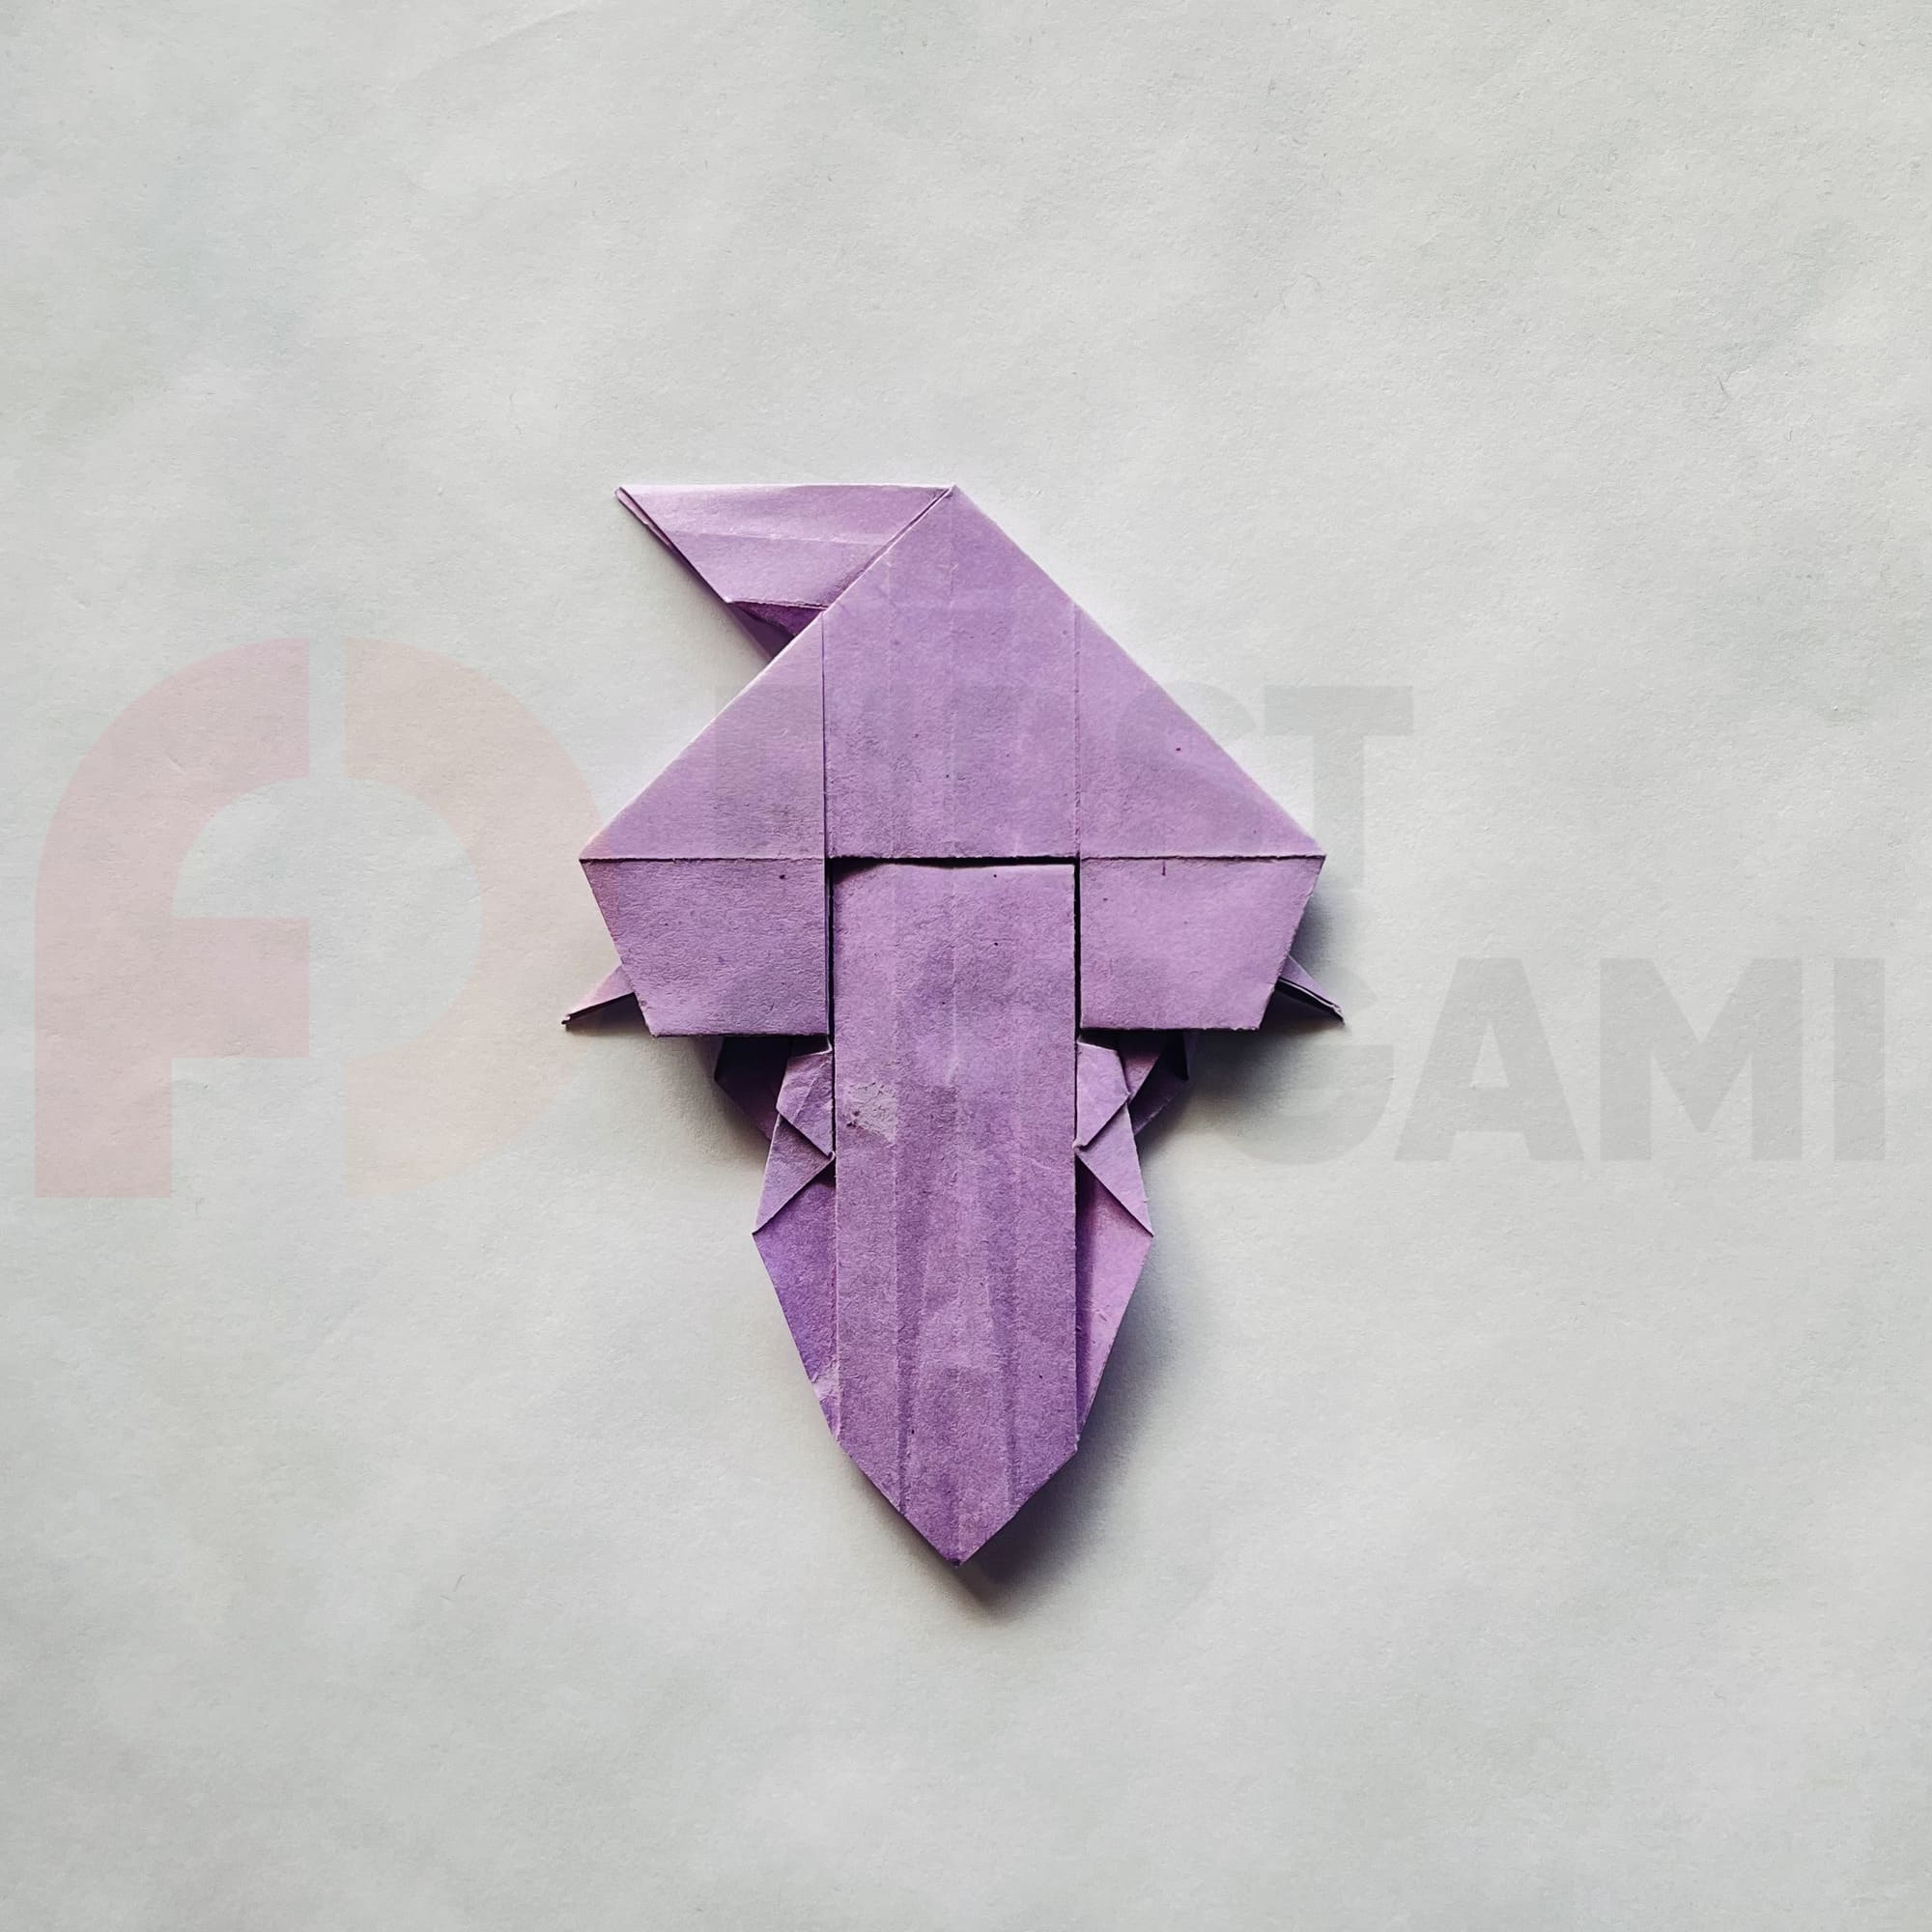
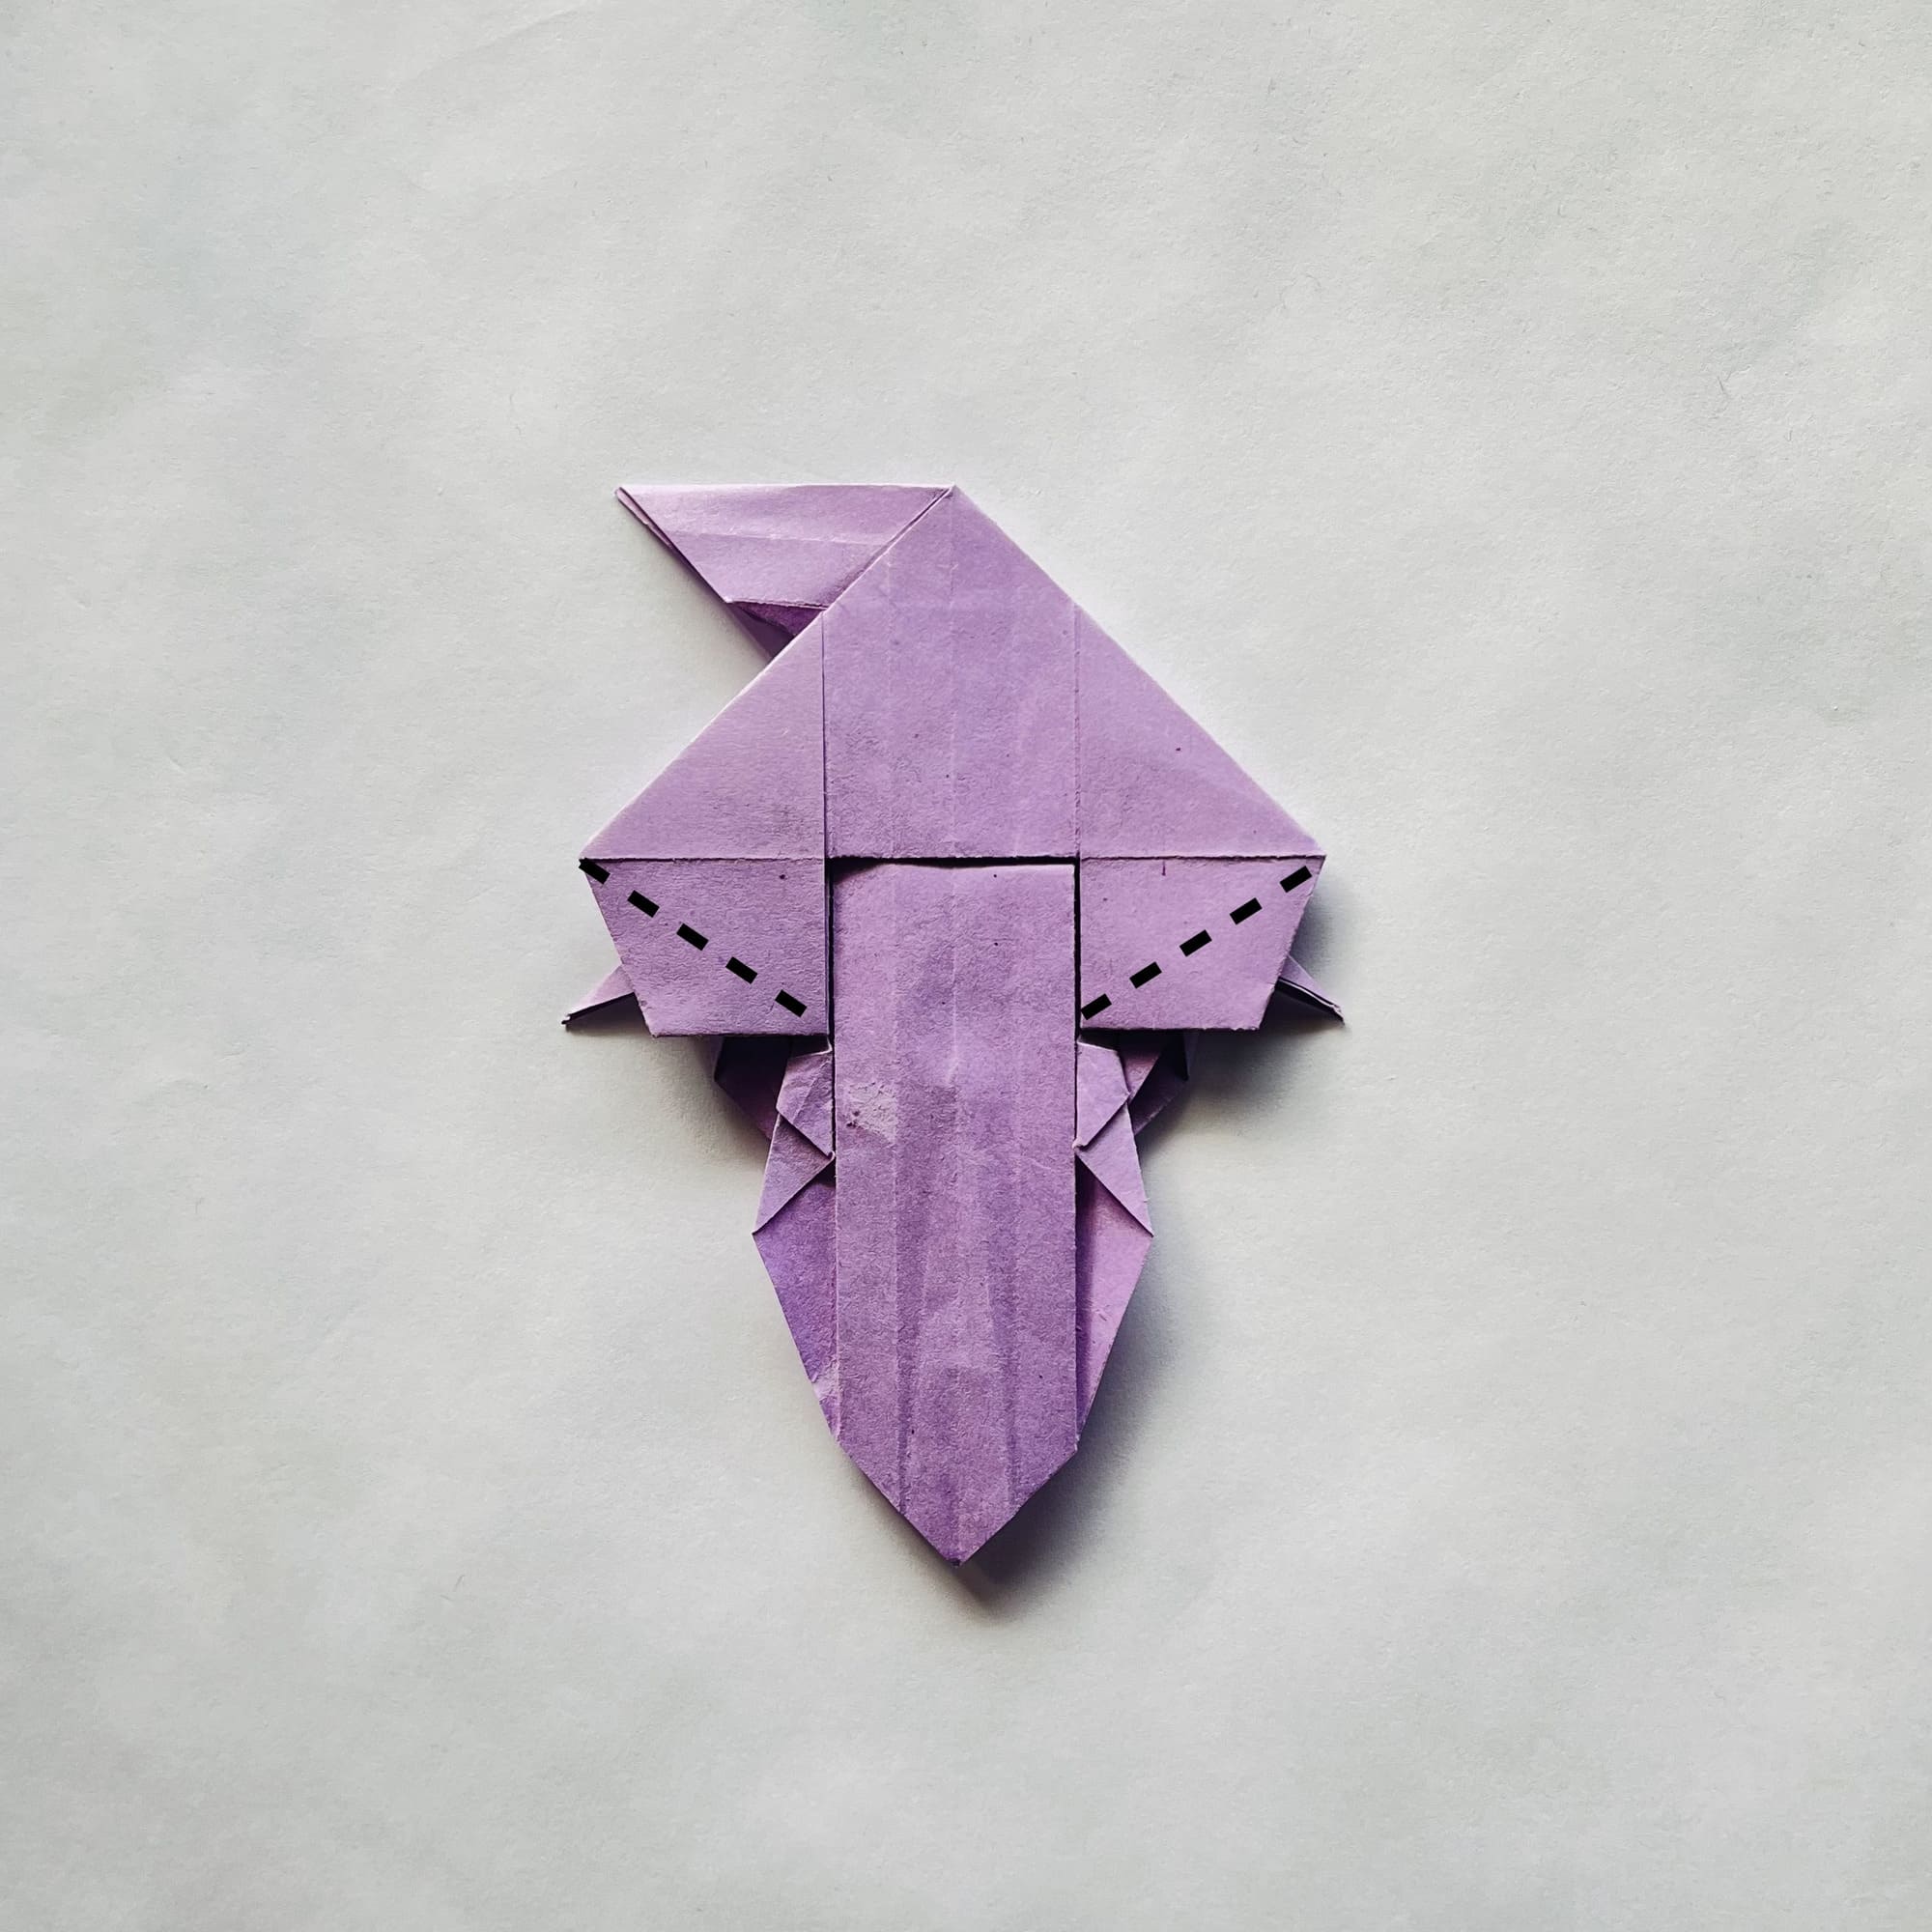
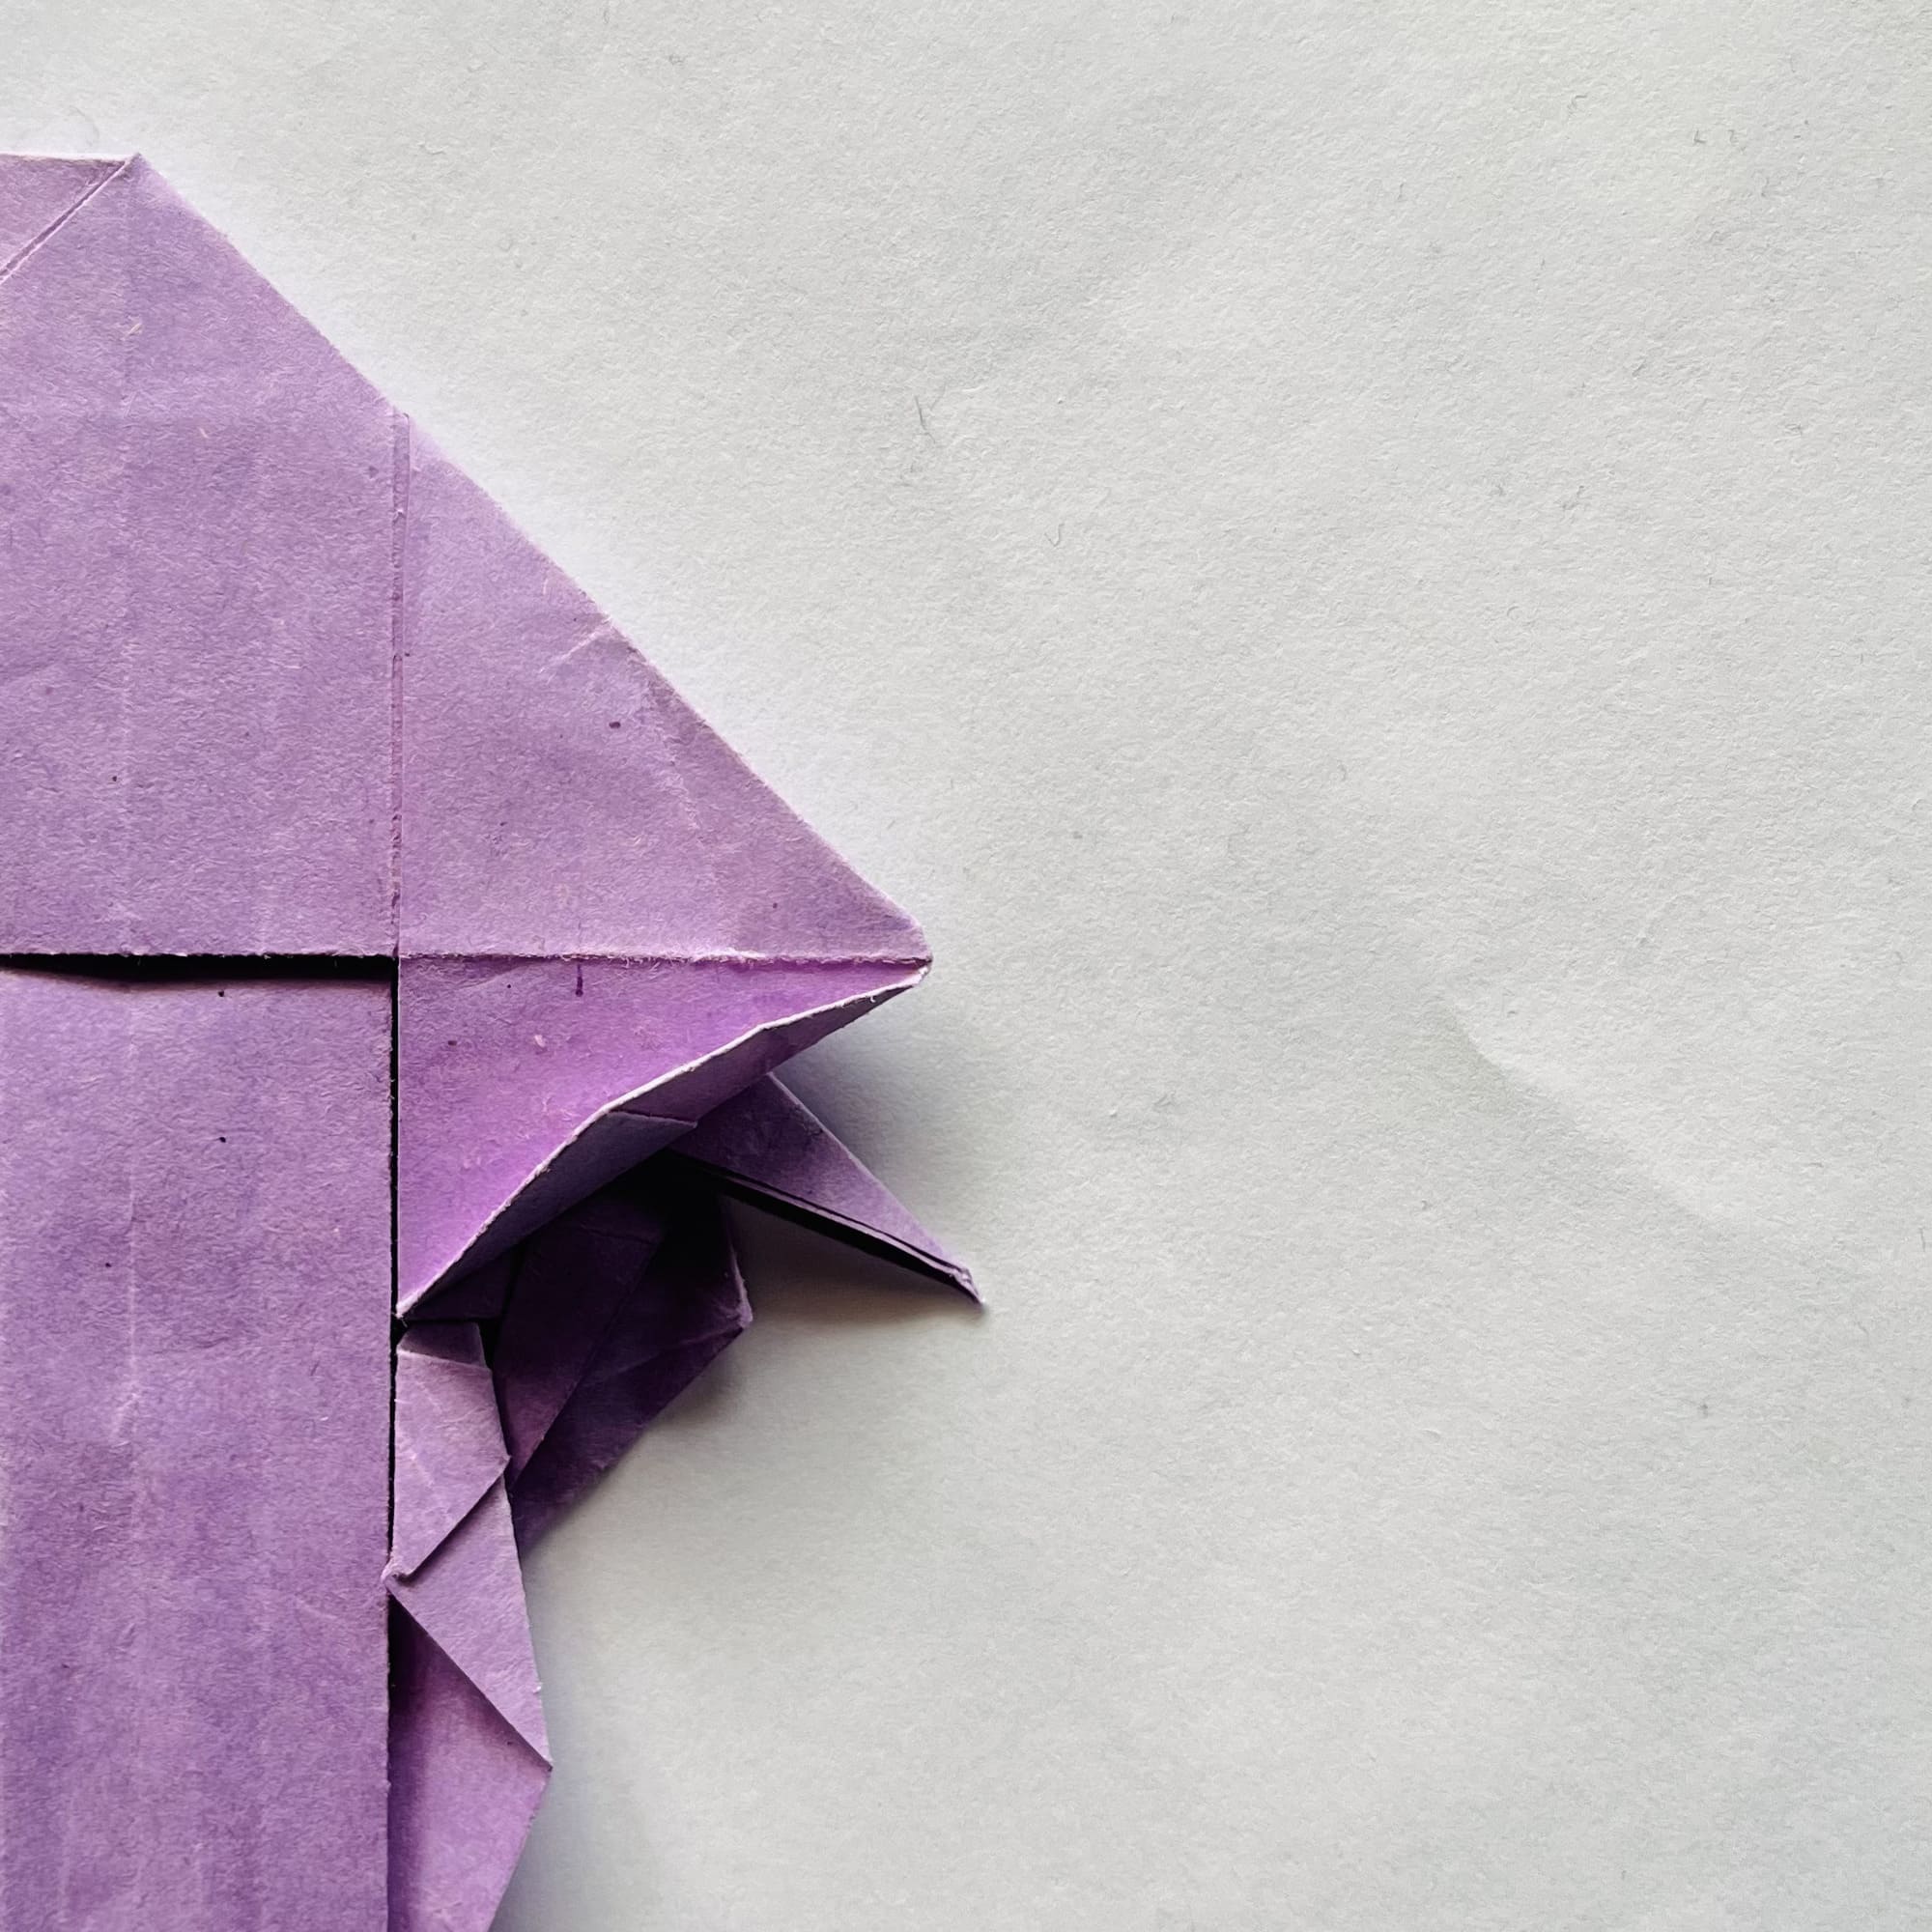
Fold the corners inward along the dotted lines.

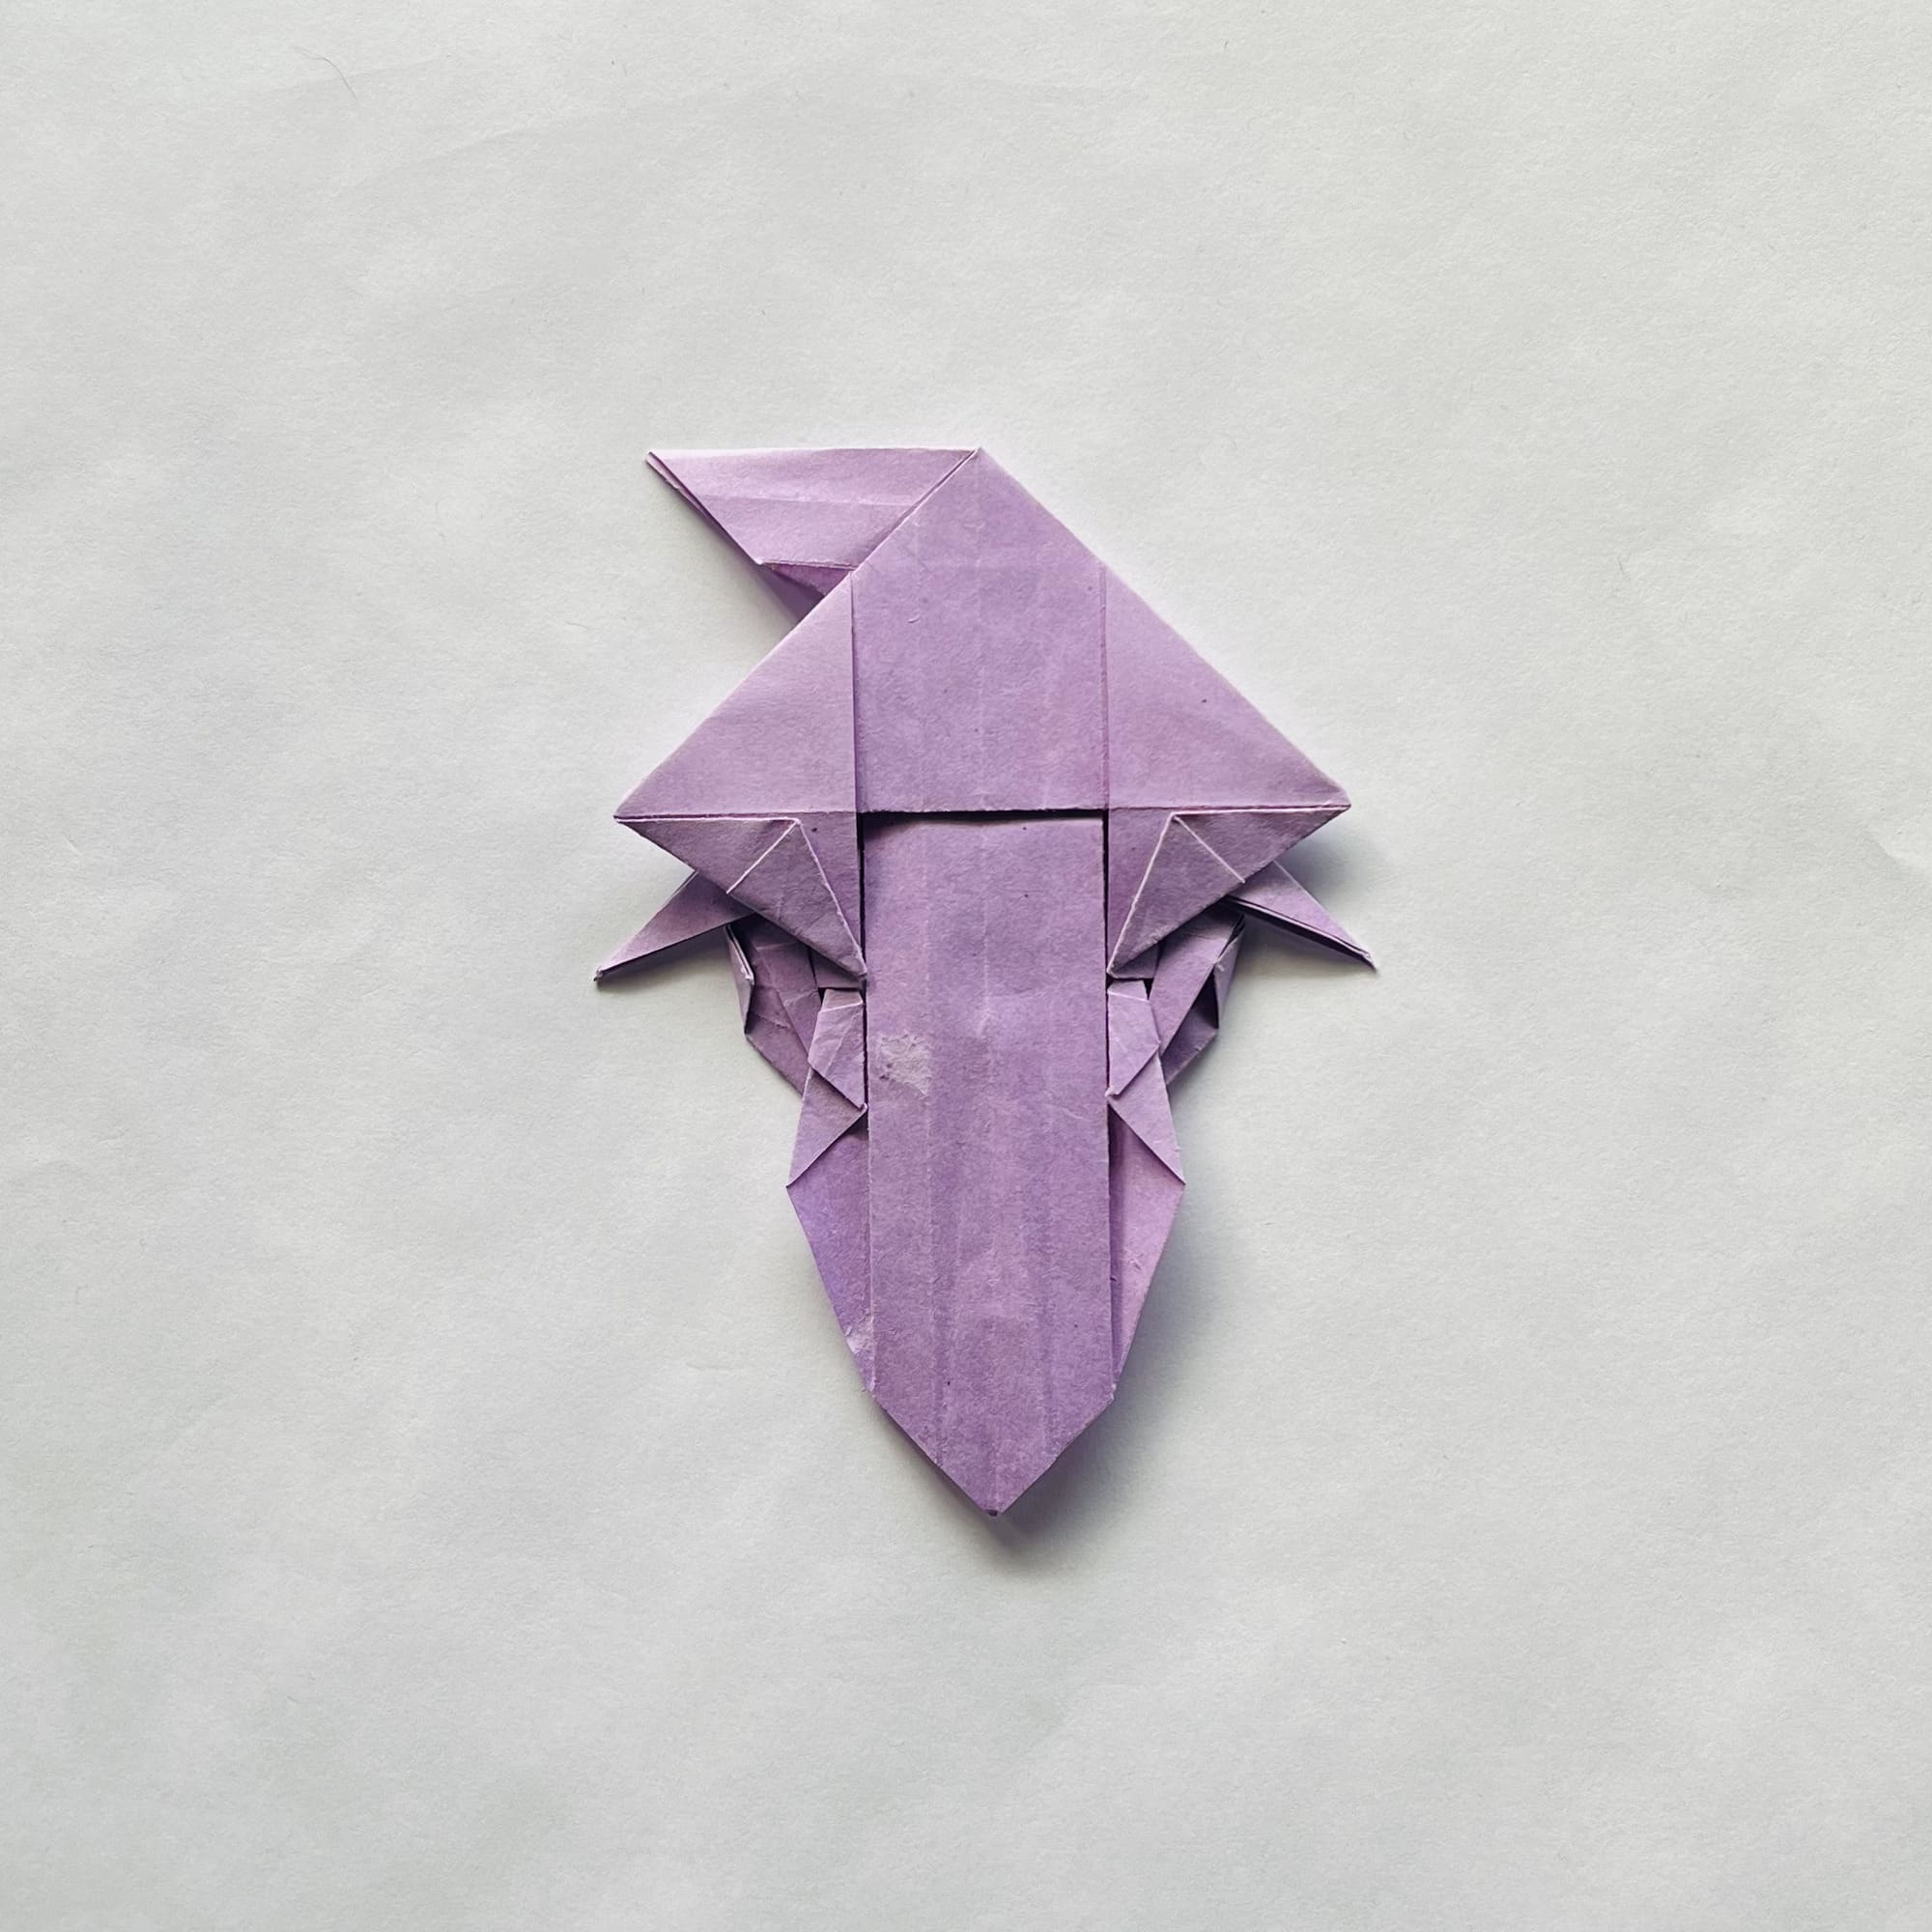
Fold the side corners in the central part inward.
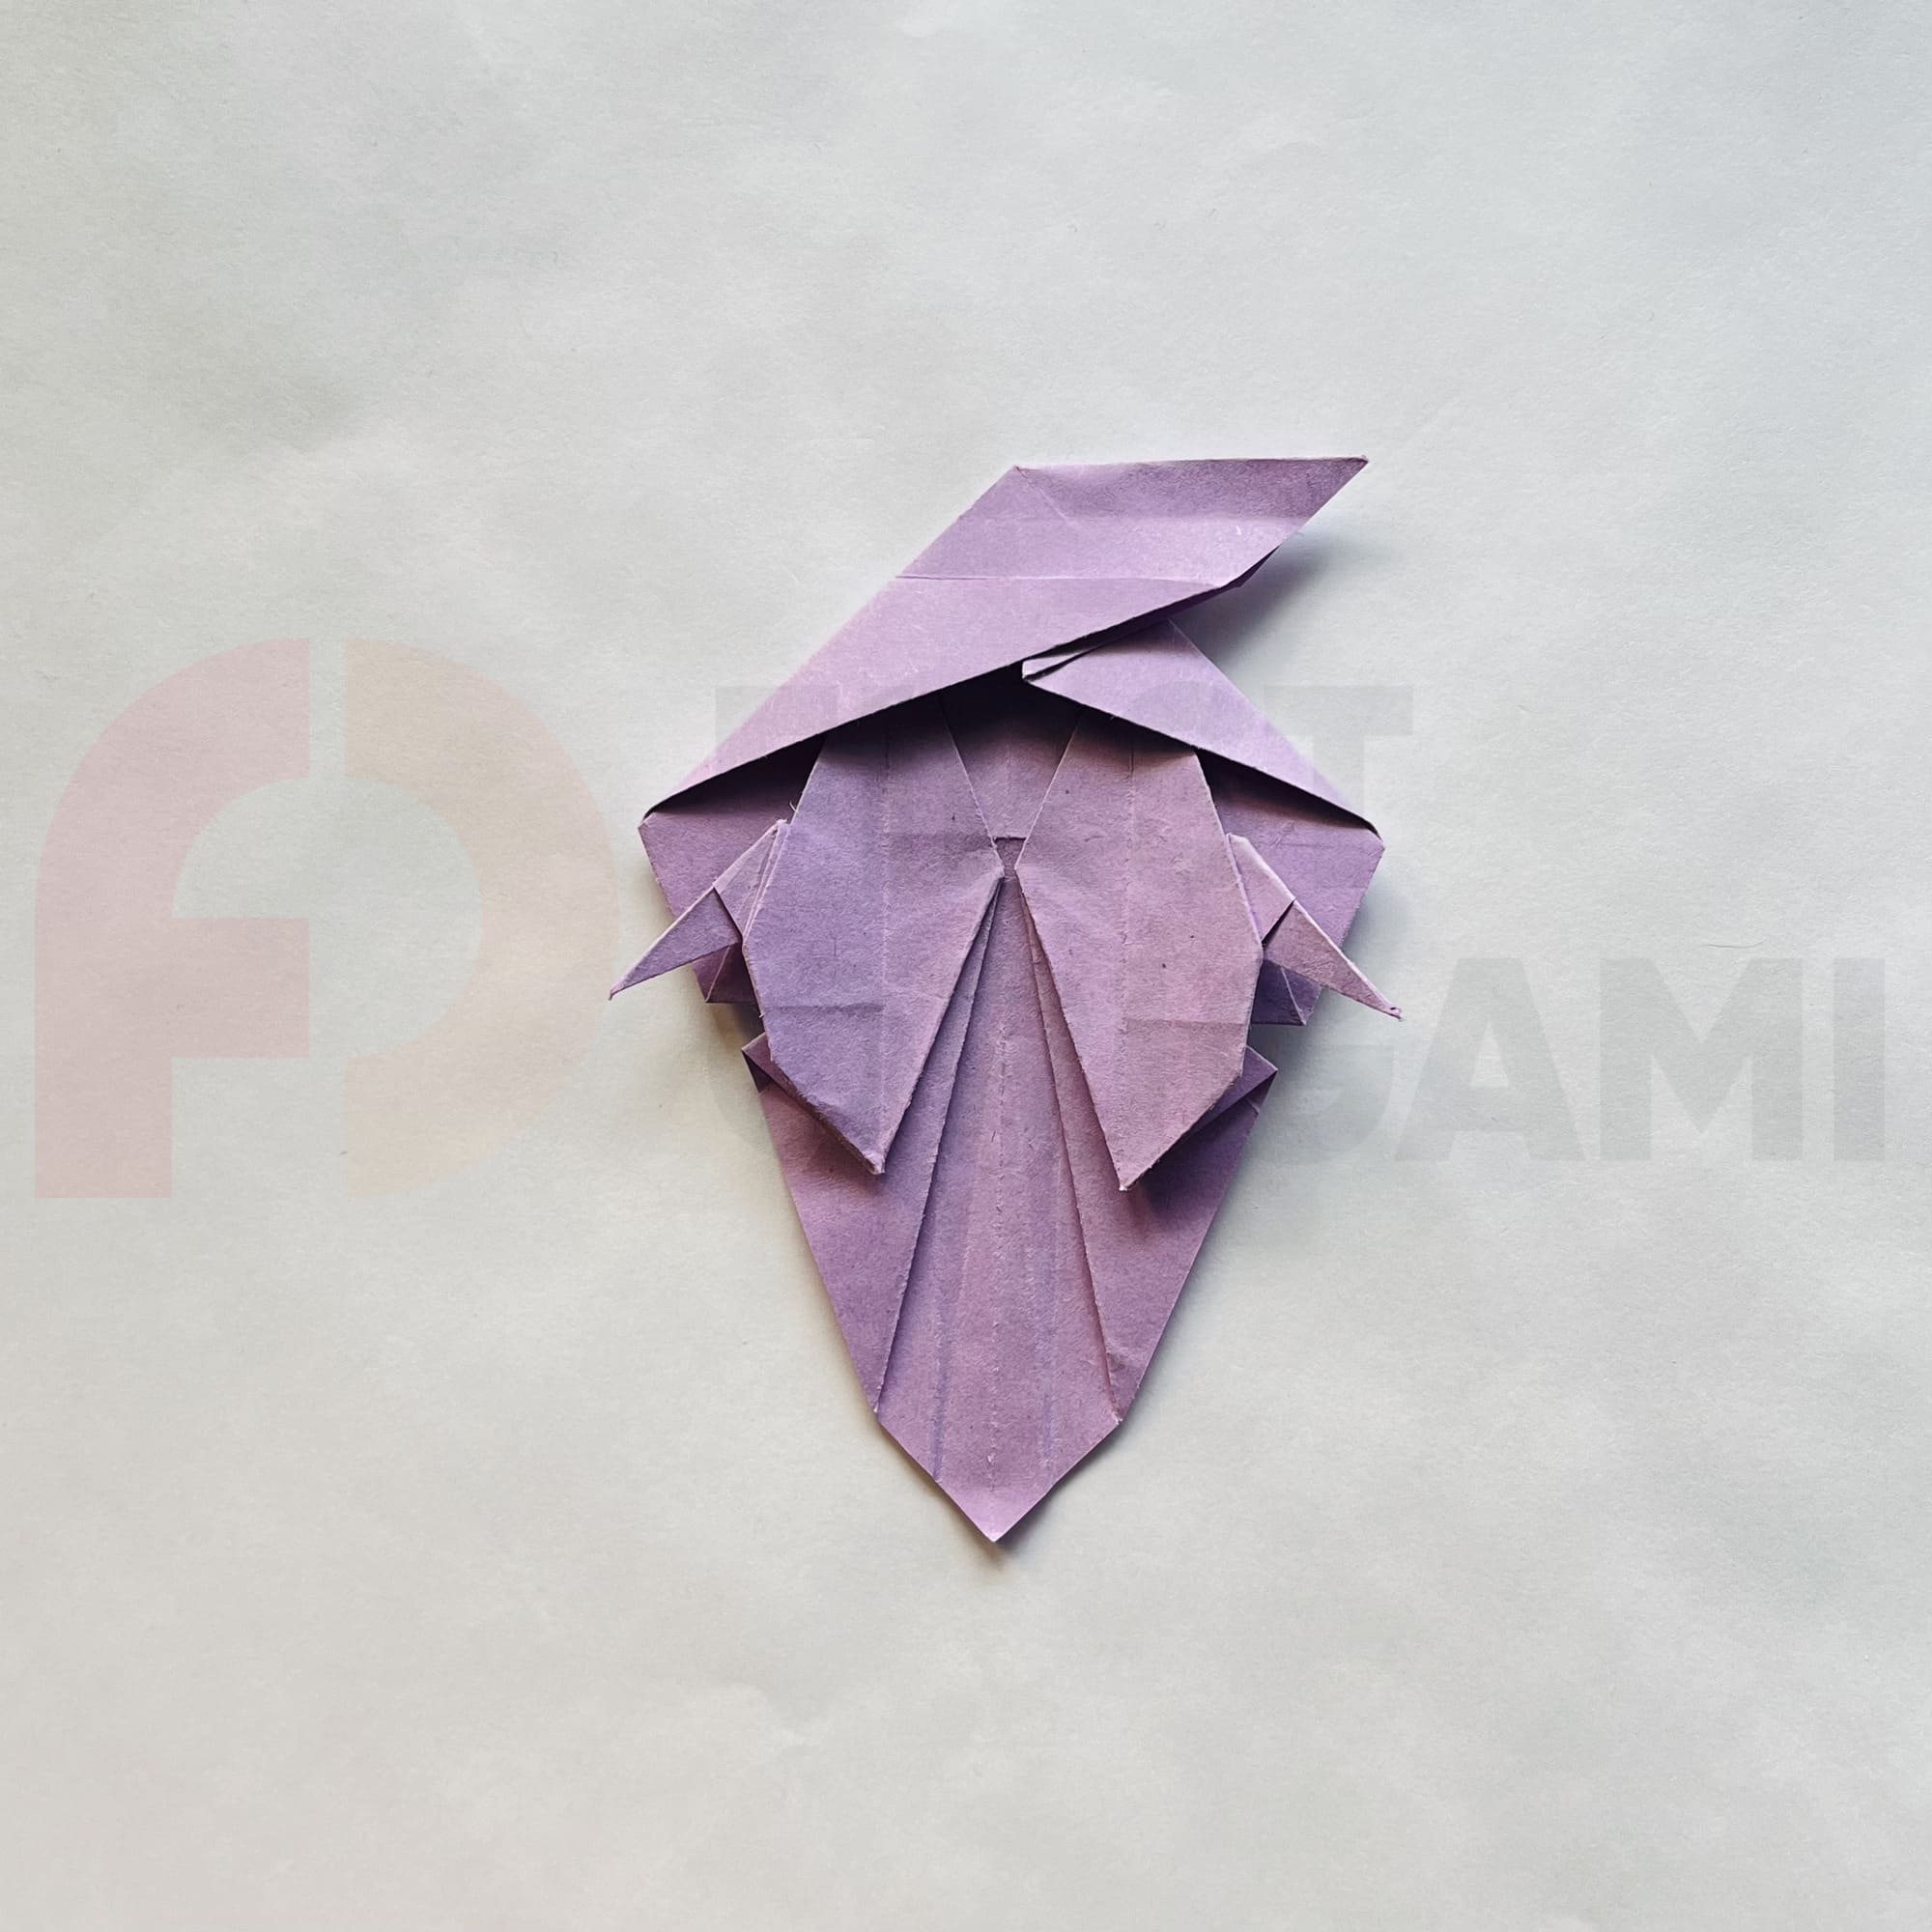
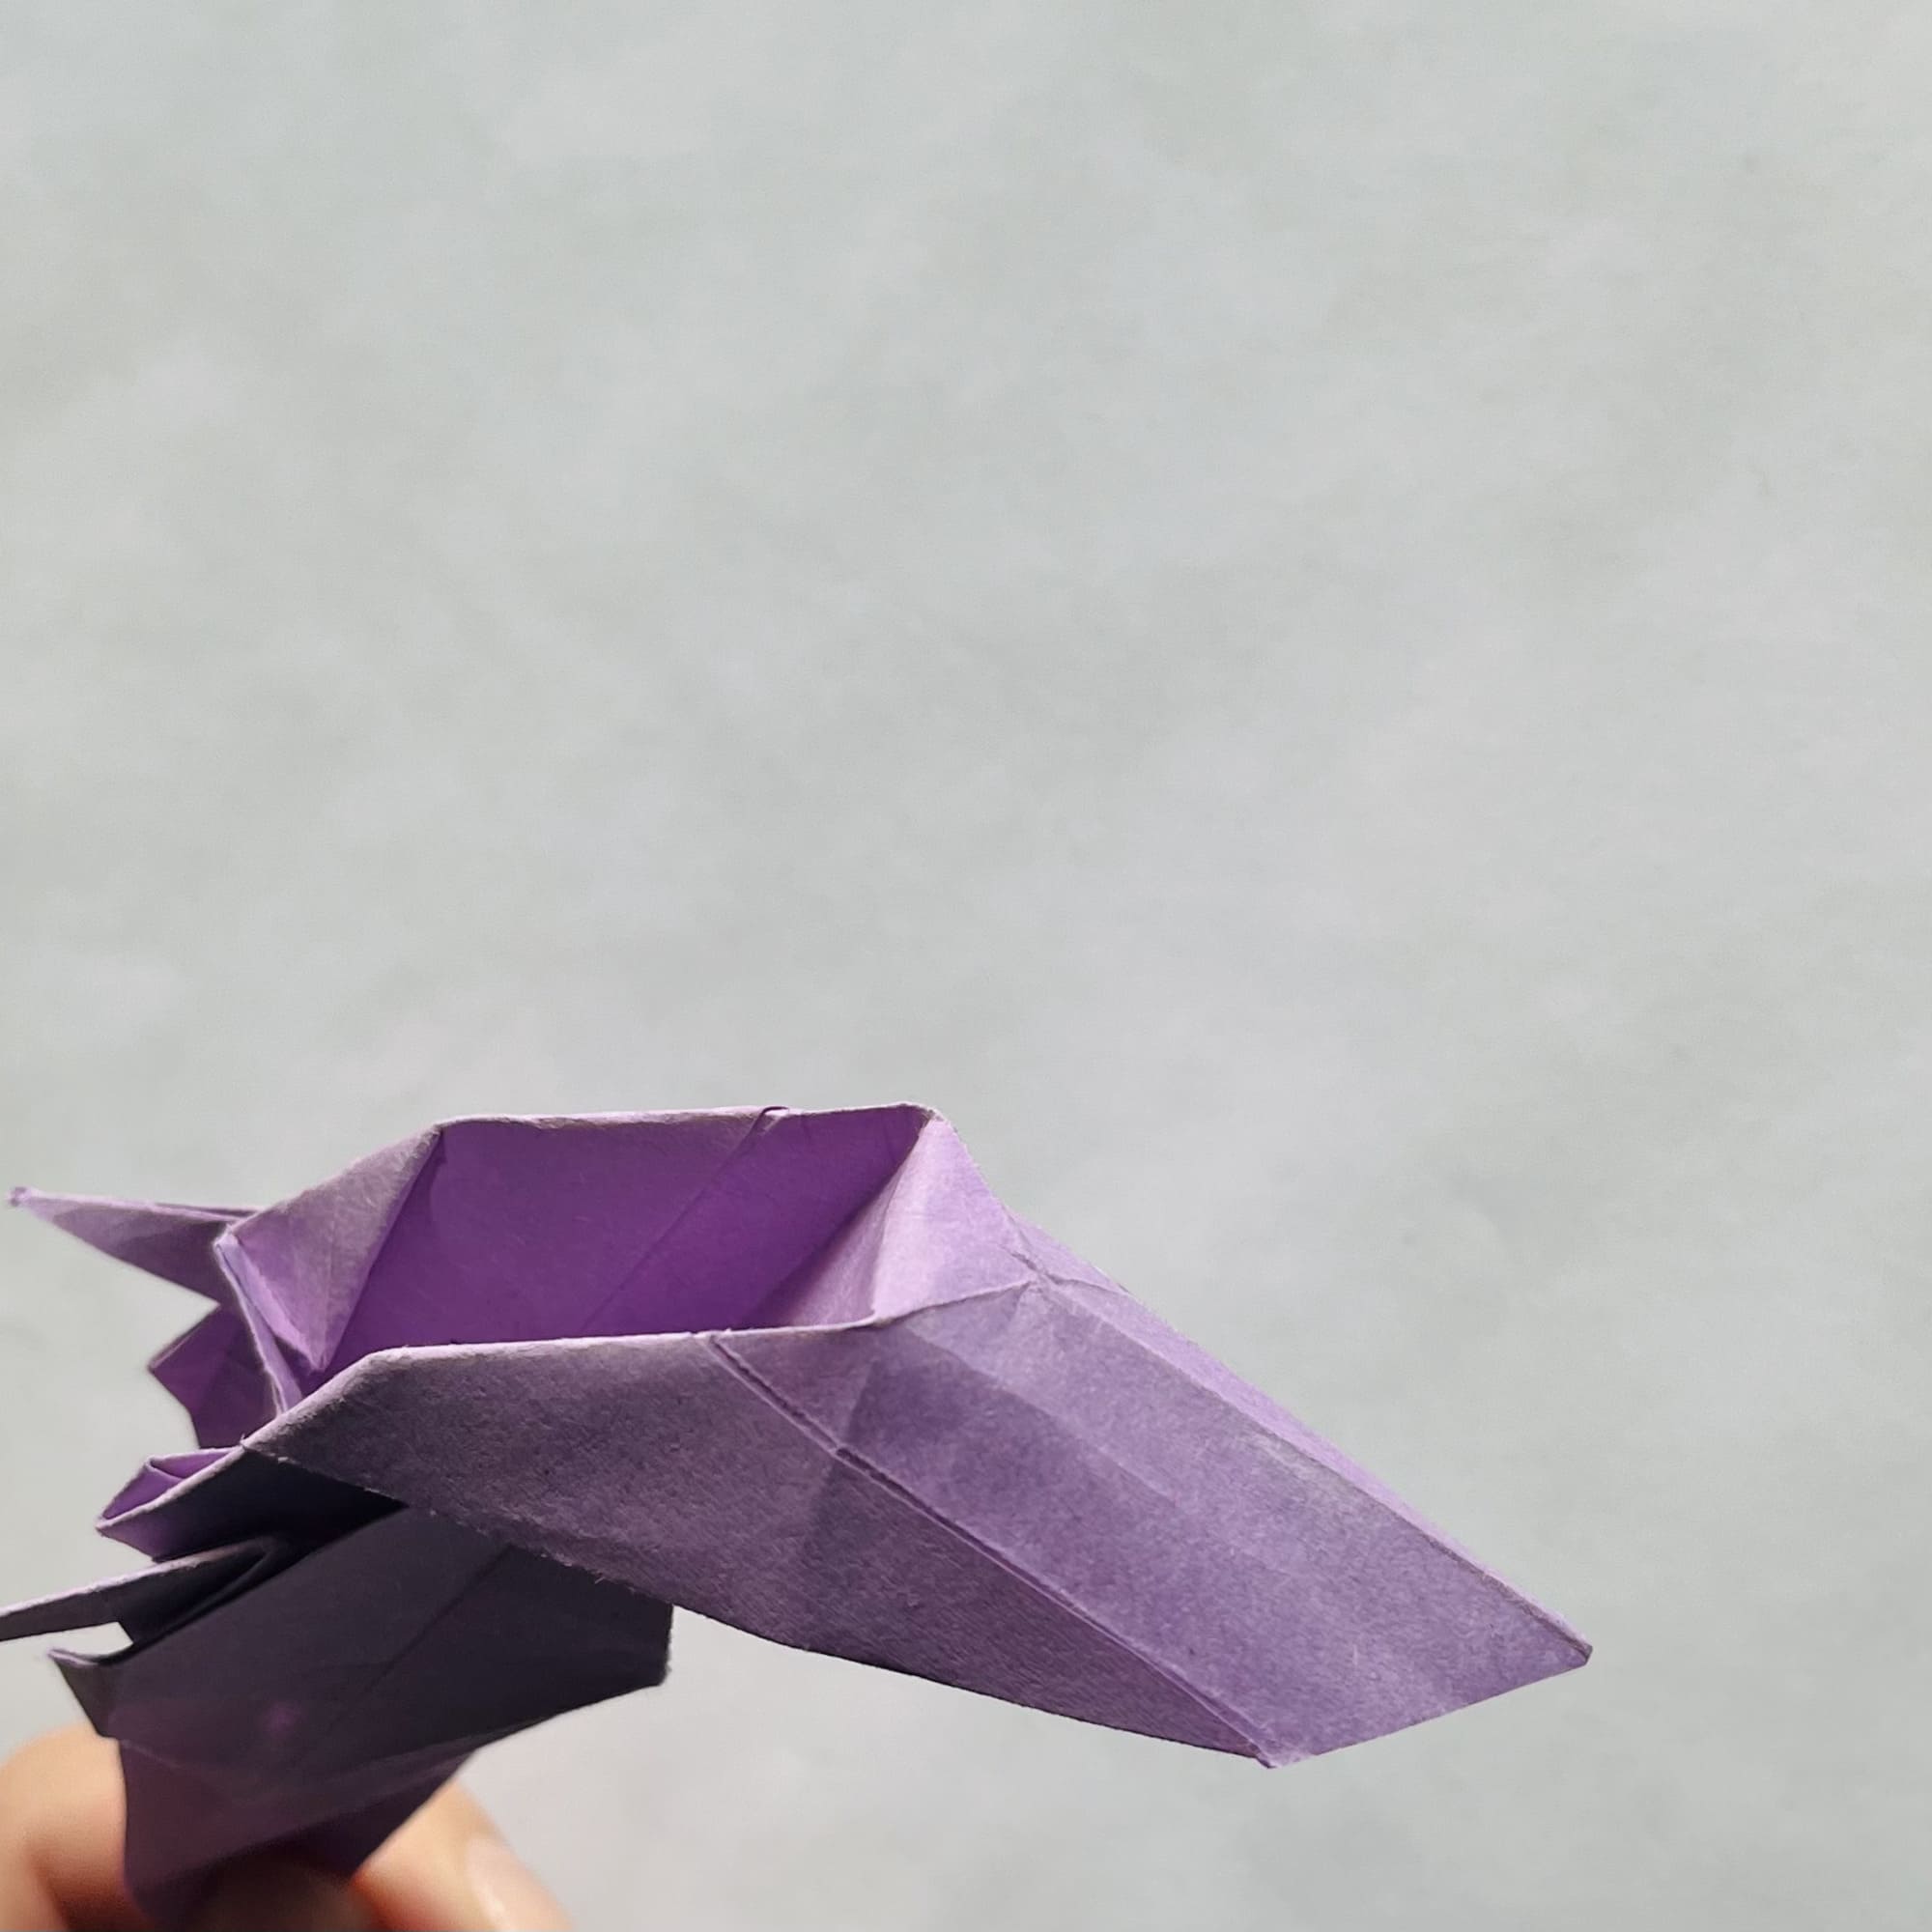
On one side, unfold the last two folds, tuck the corner inward and close.
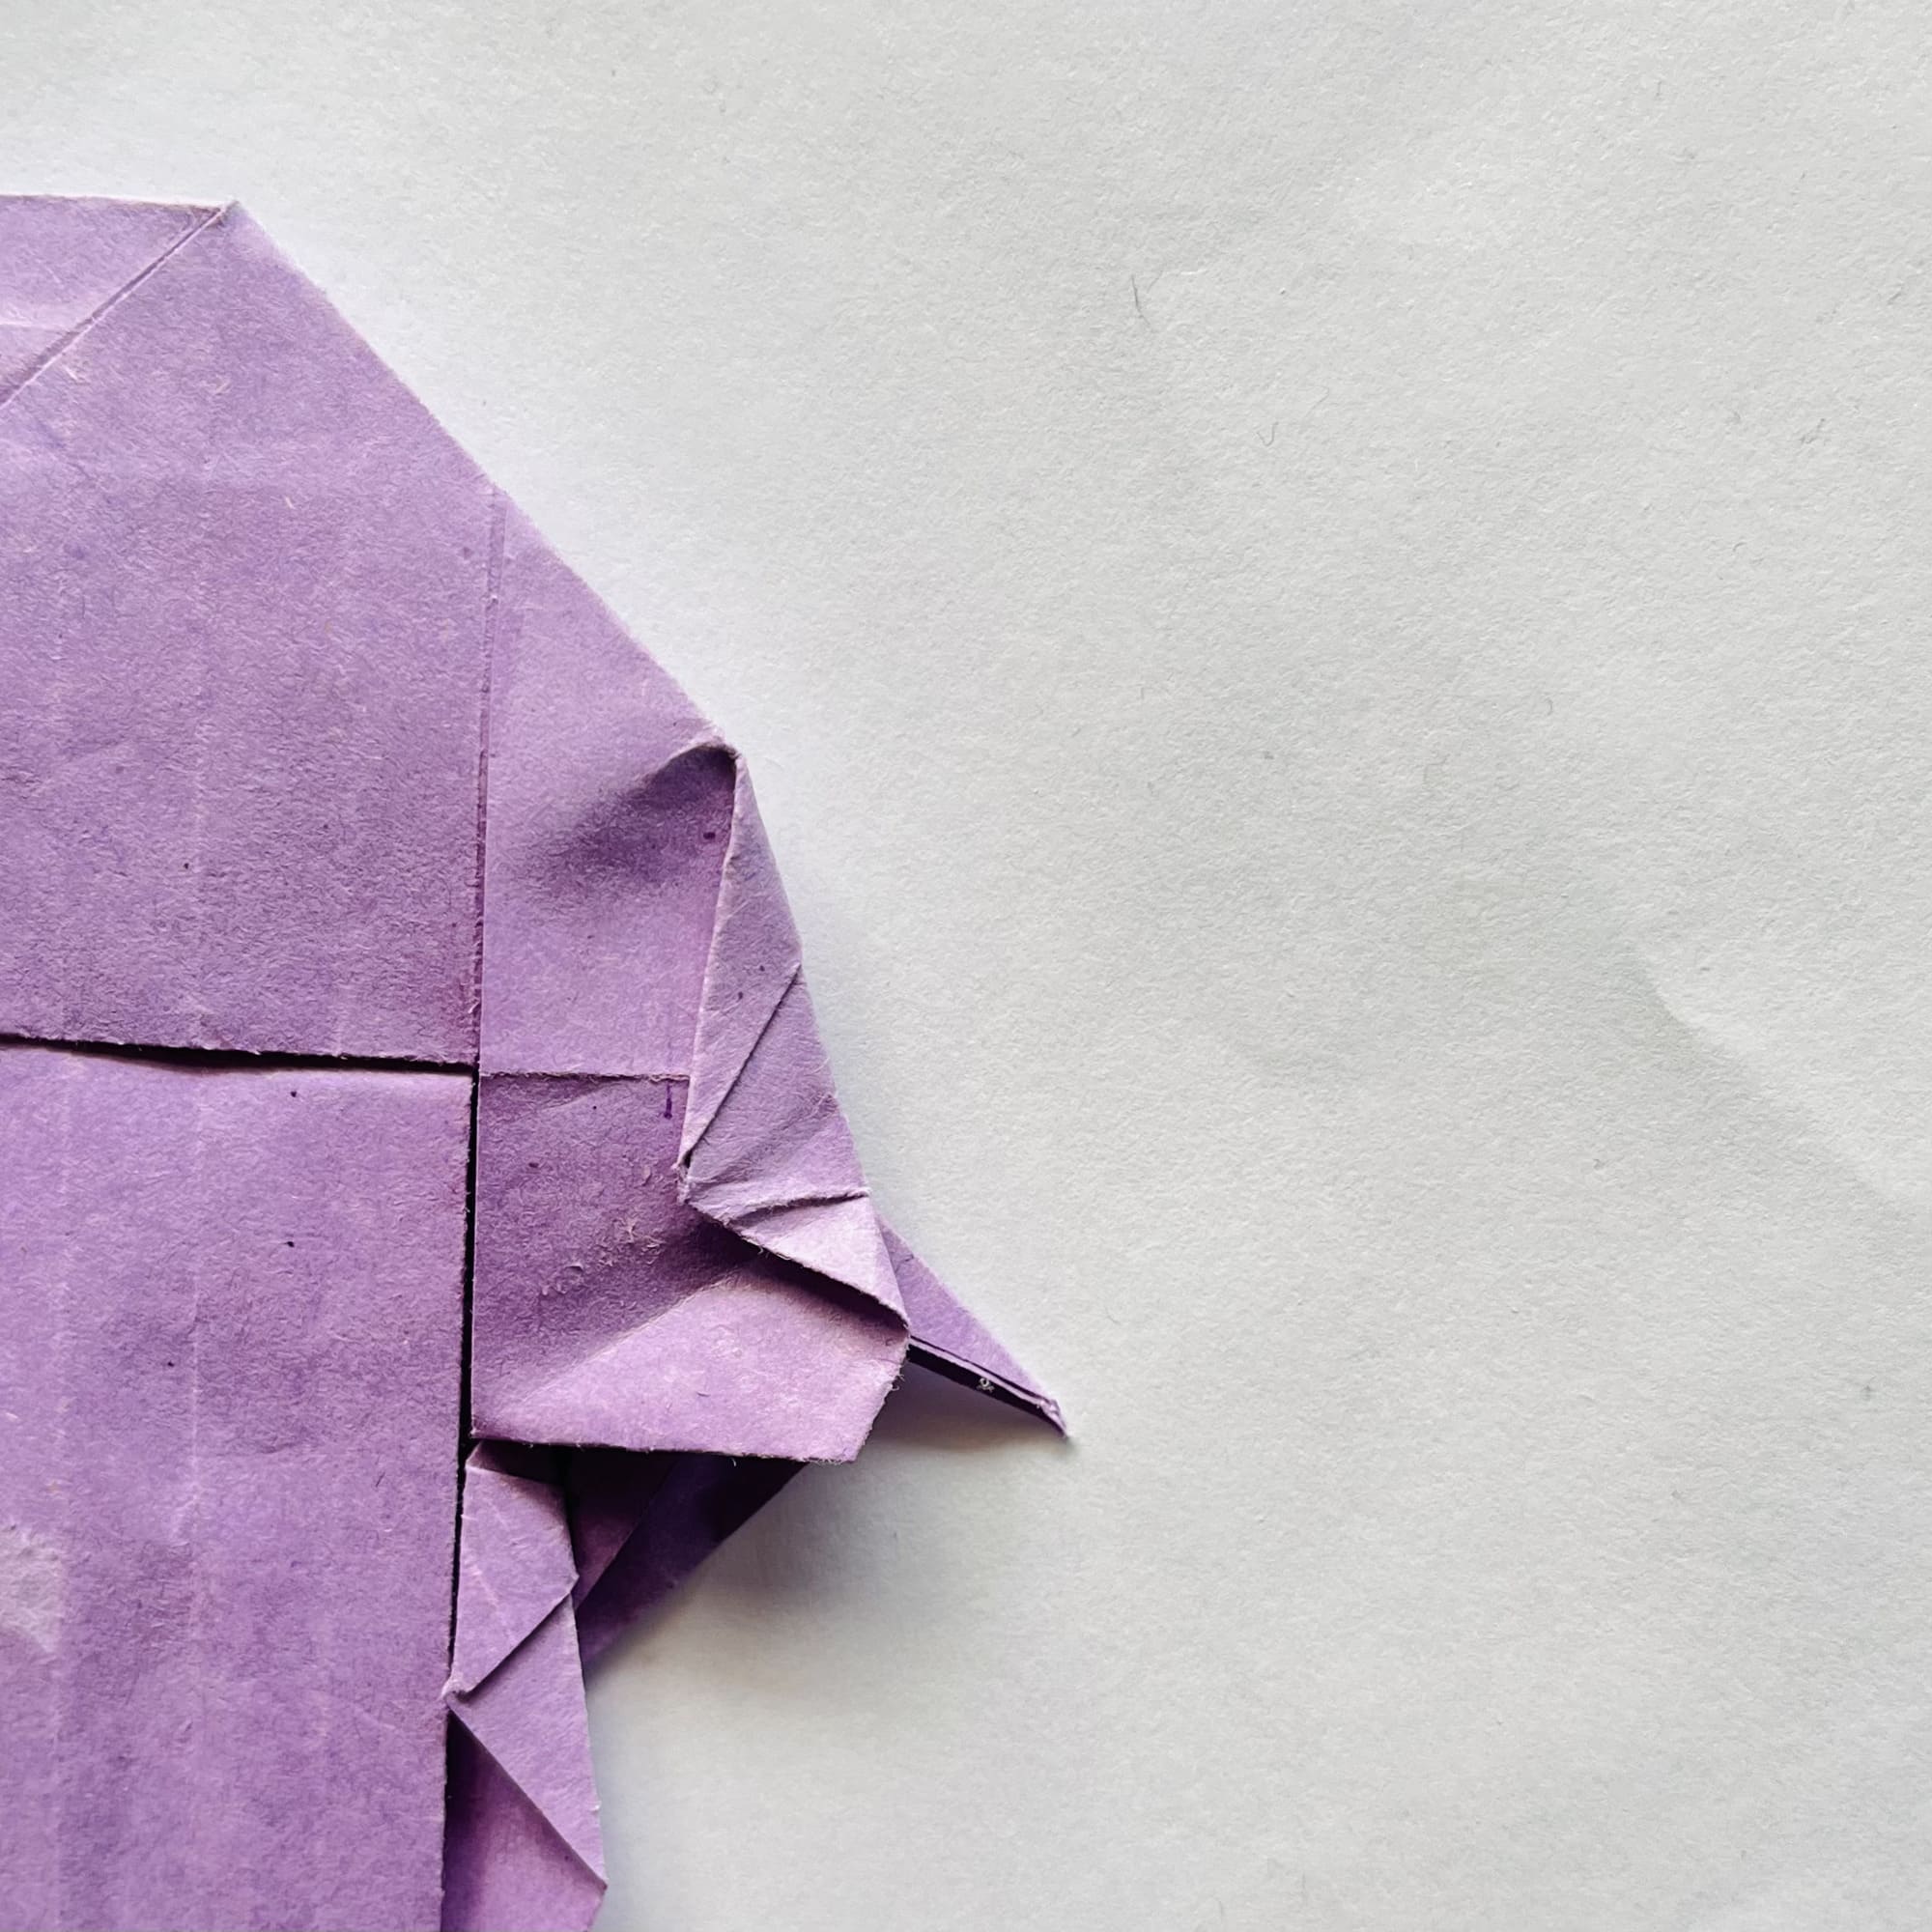
Using the previously marked folds as a guide, fold the shape so that it becomes flat.
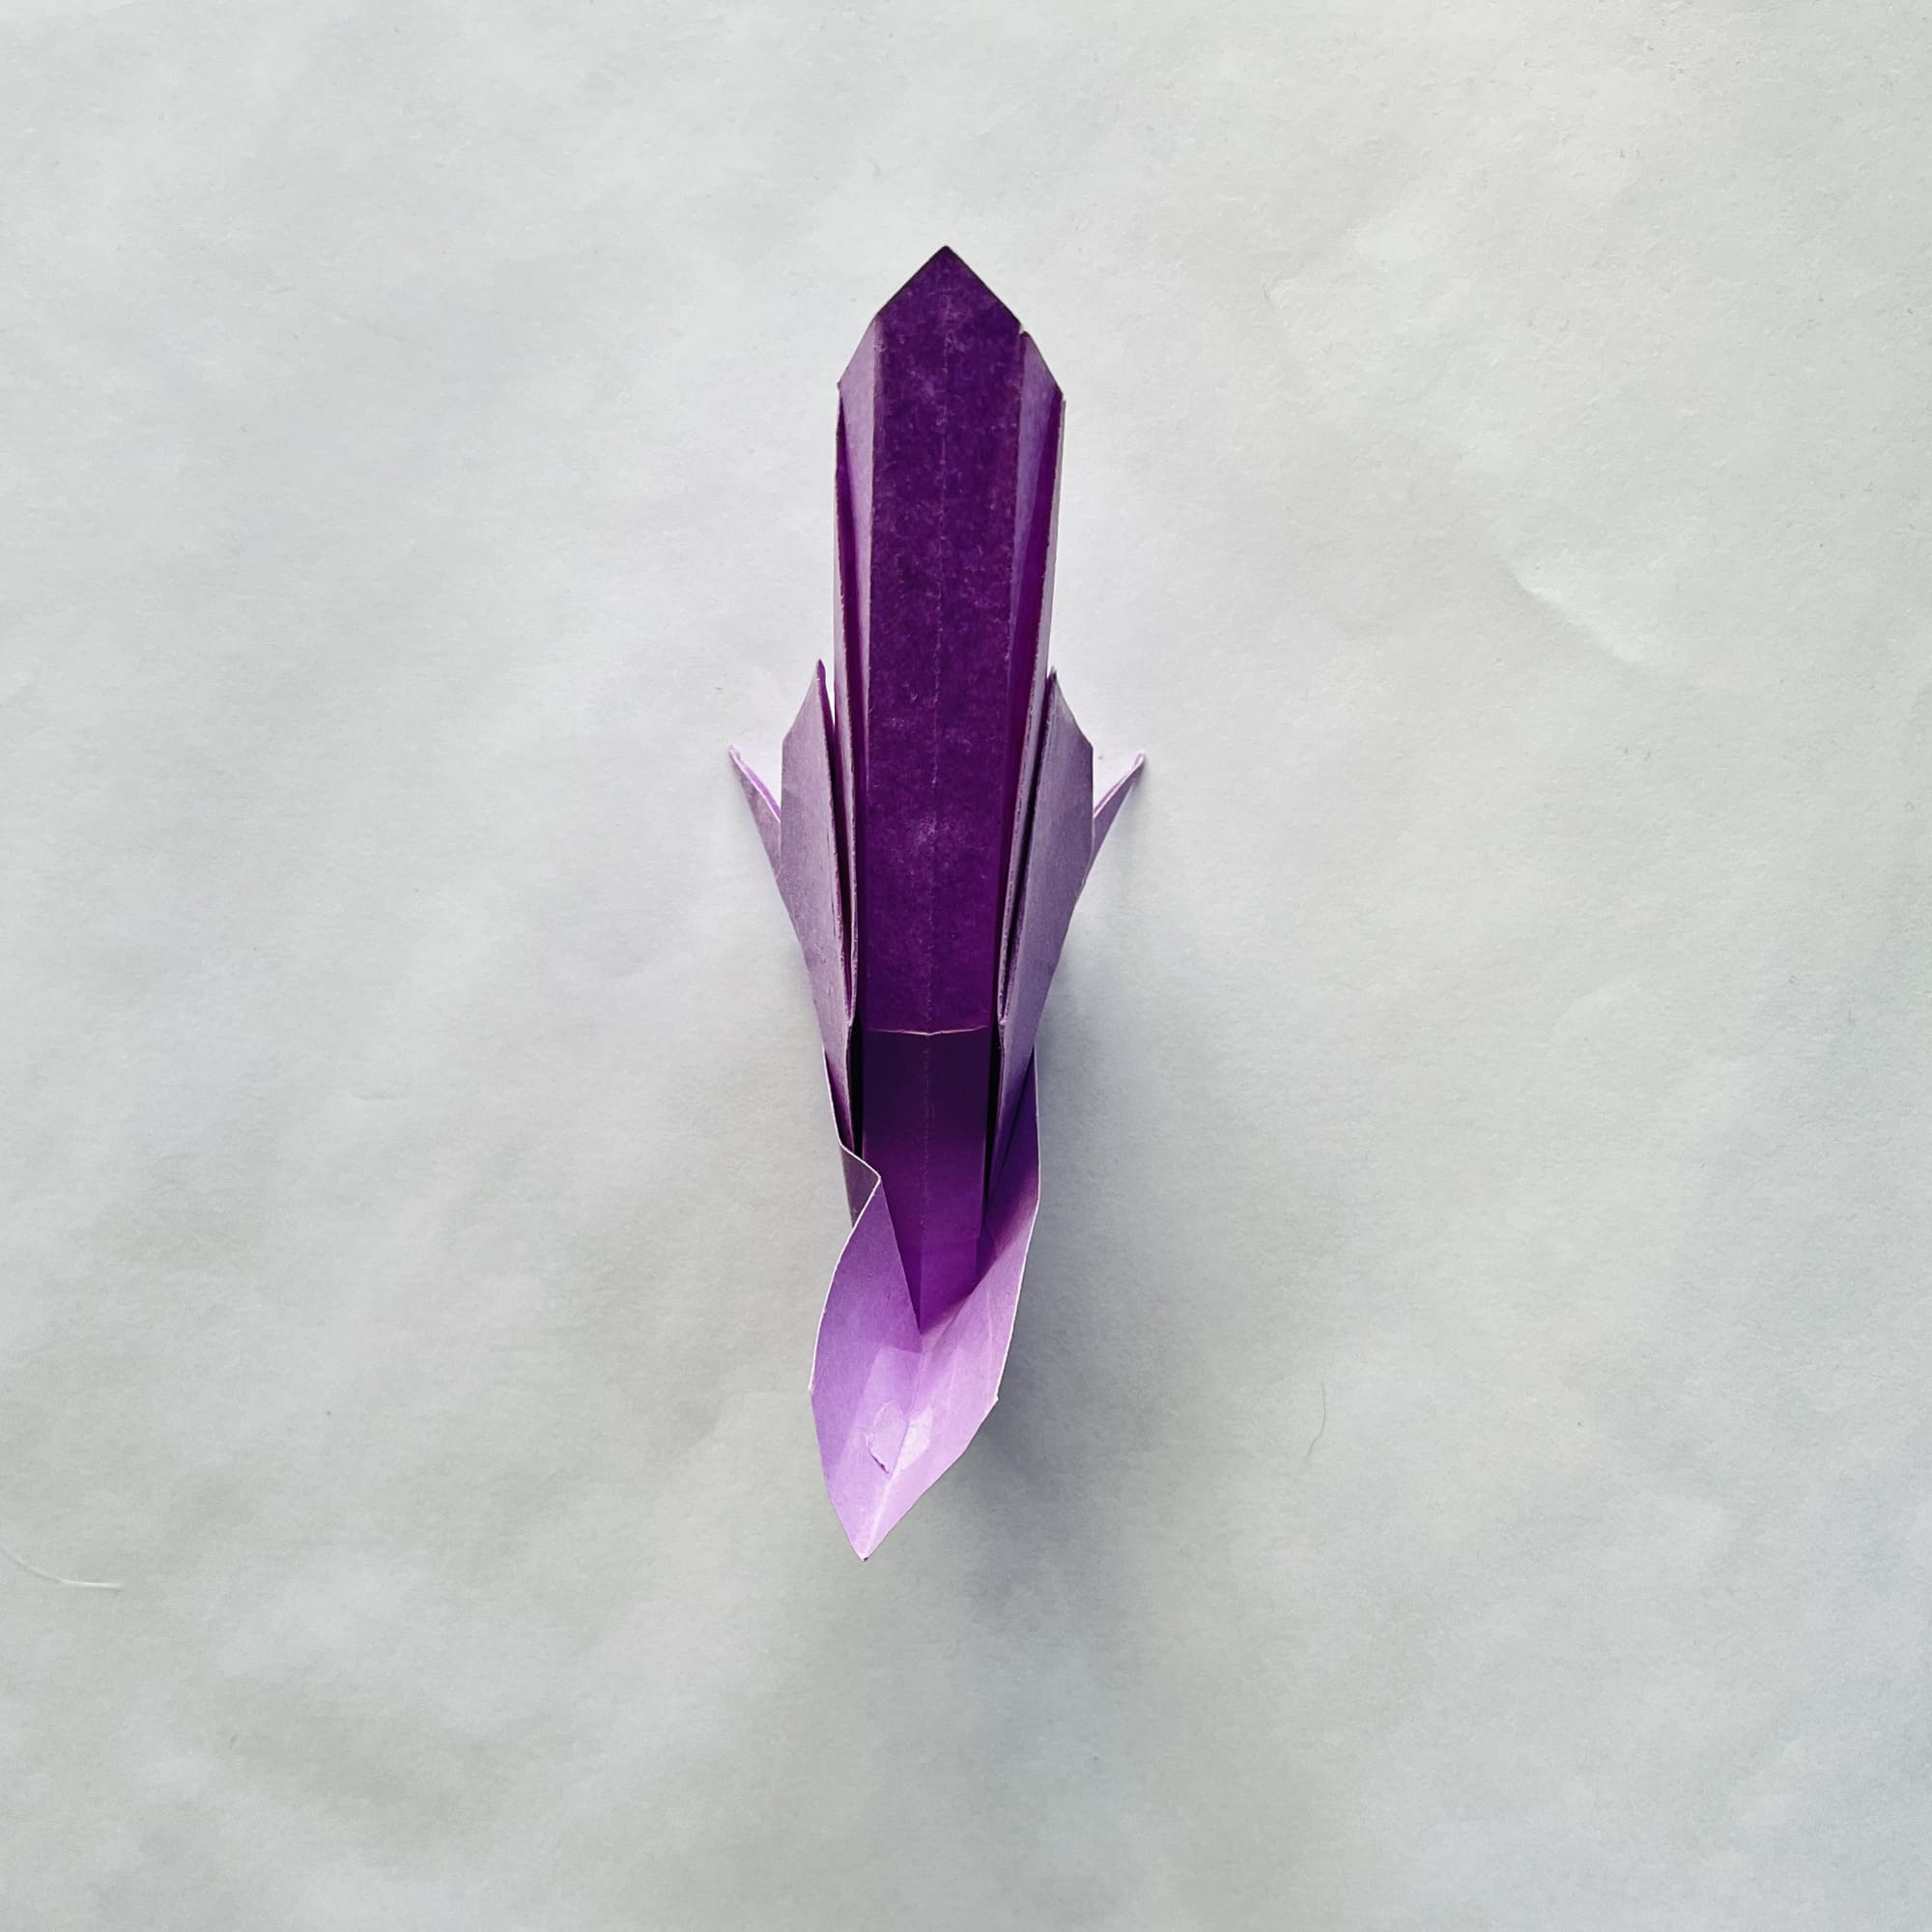
From the inside, fix the two elements into a lock, as shown in the photo.
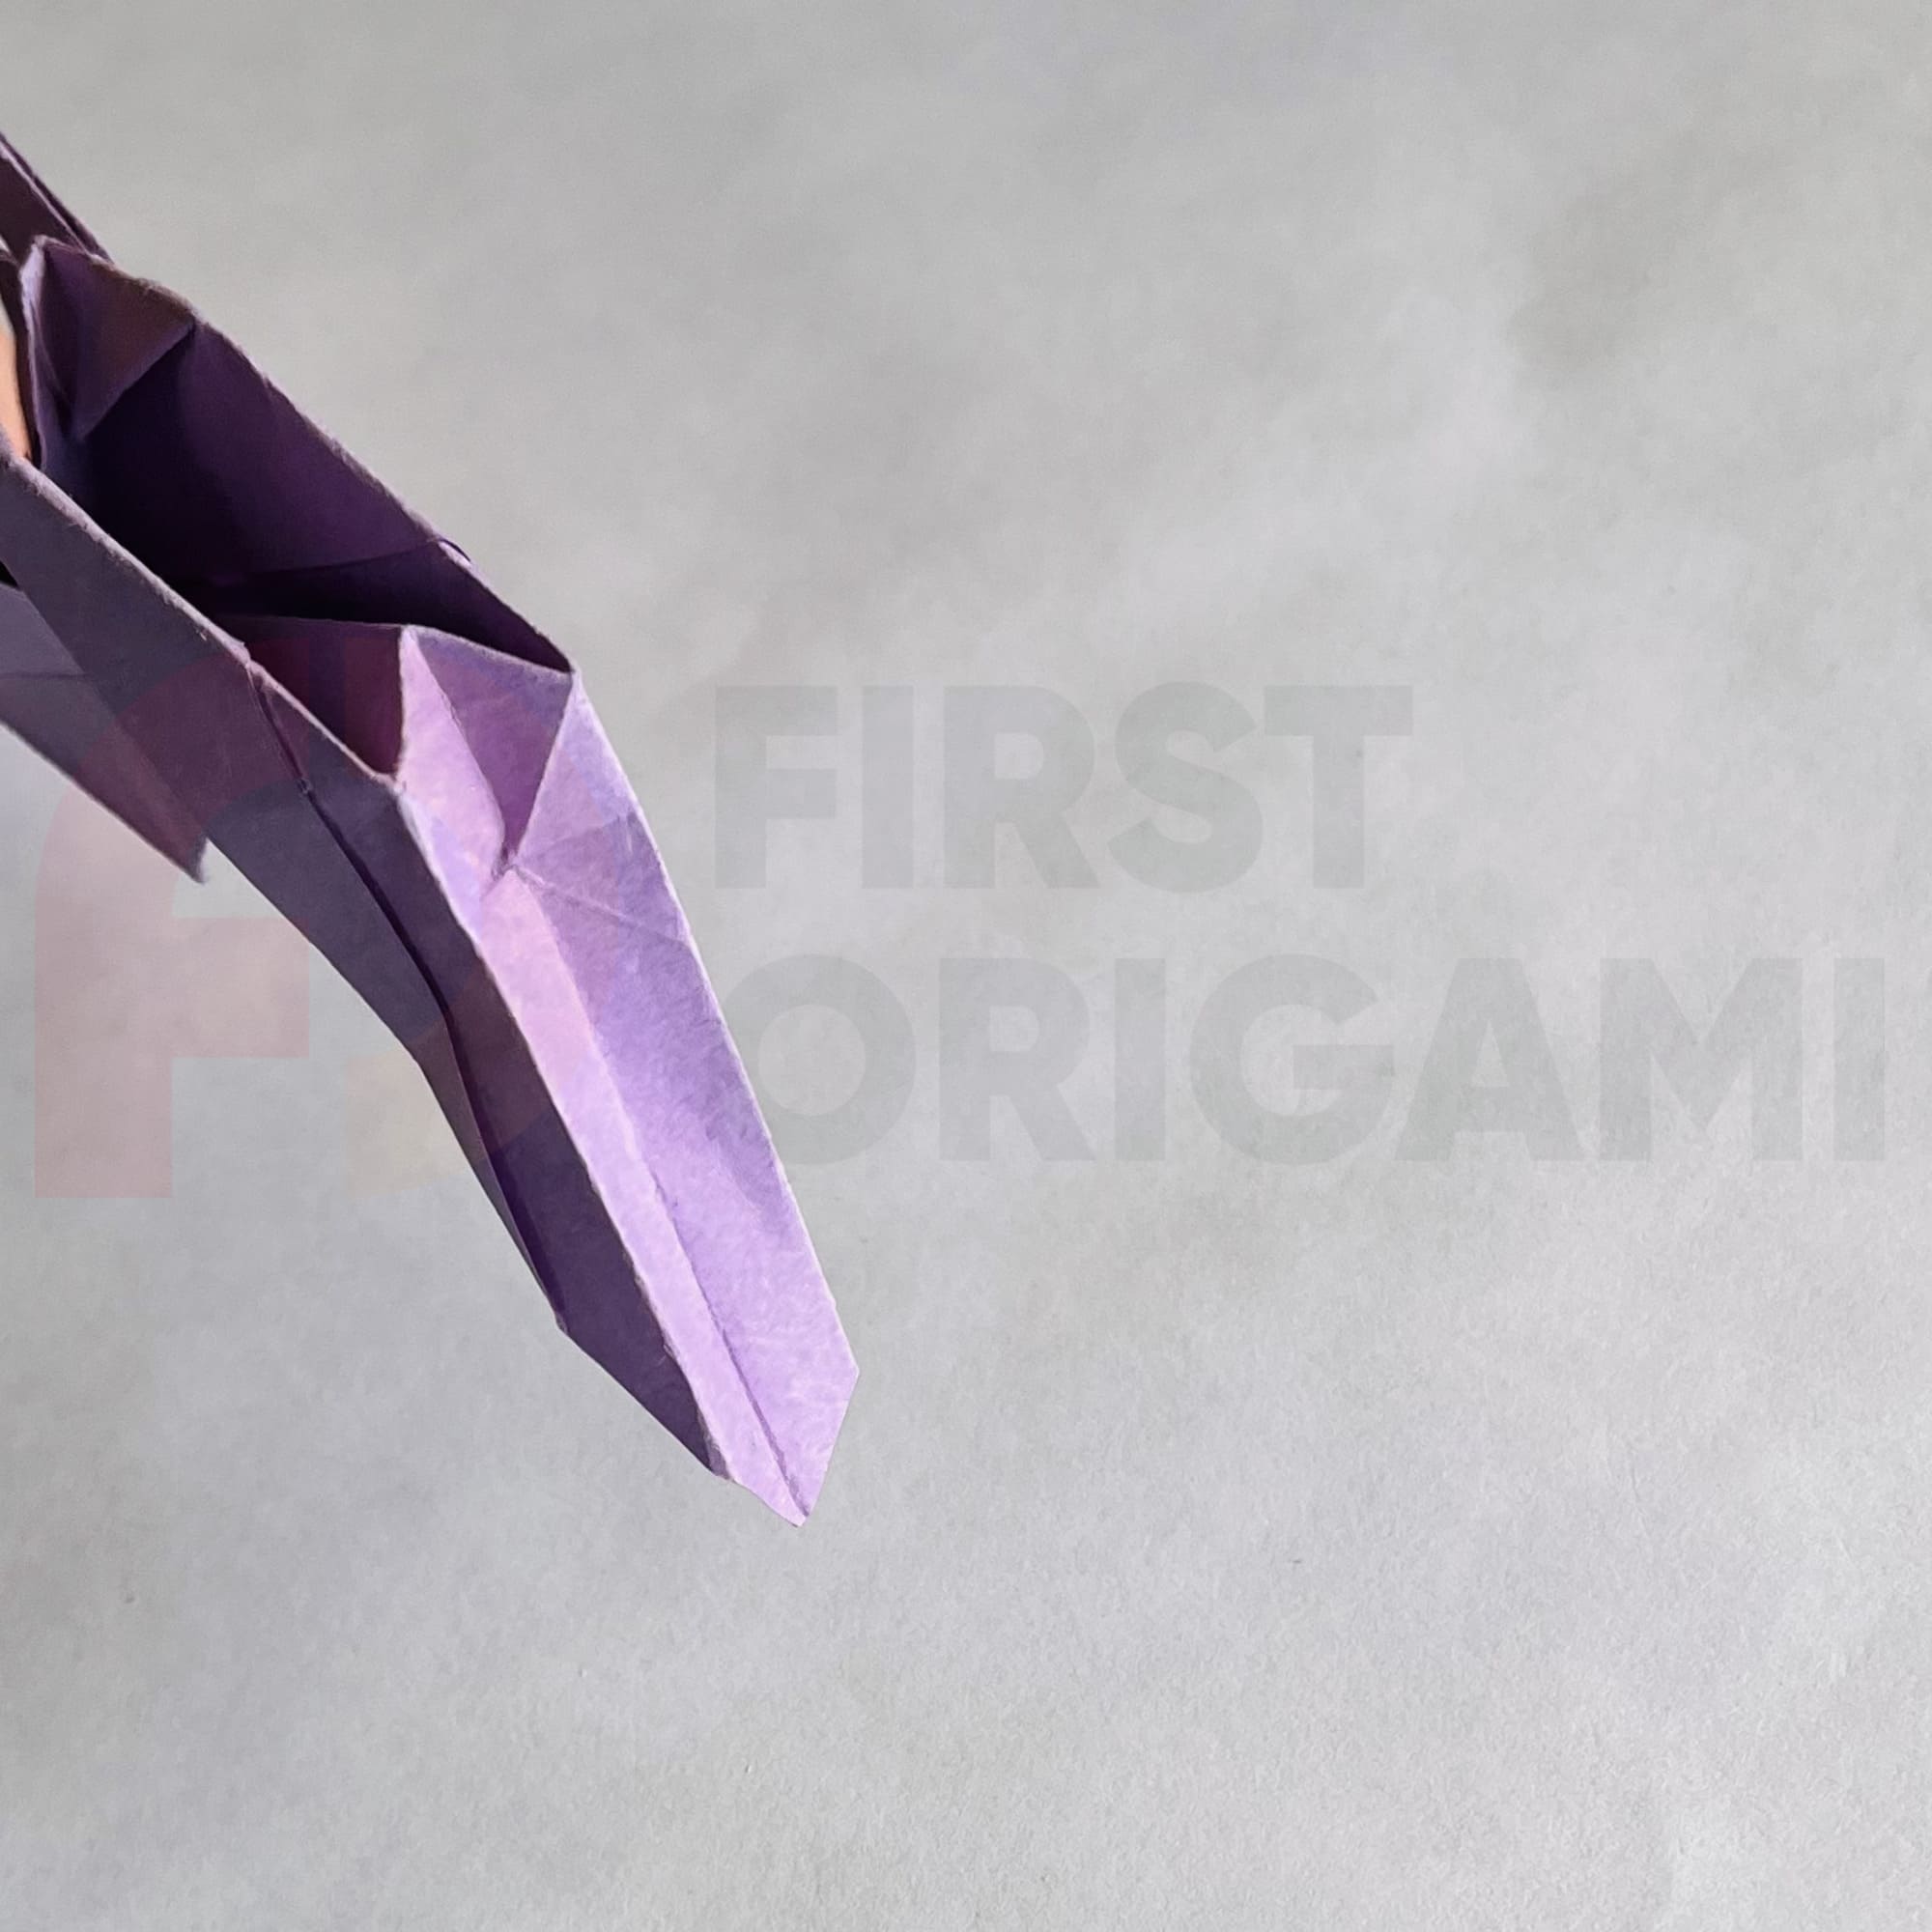
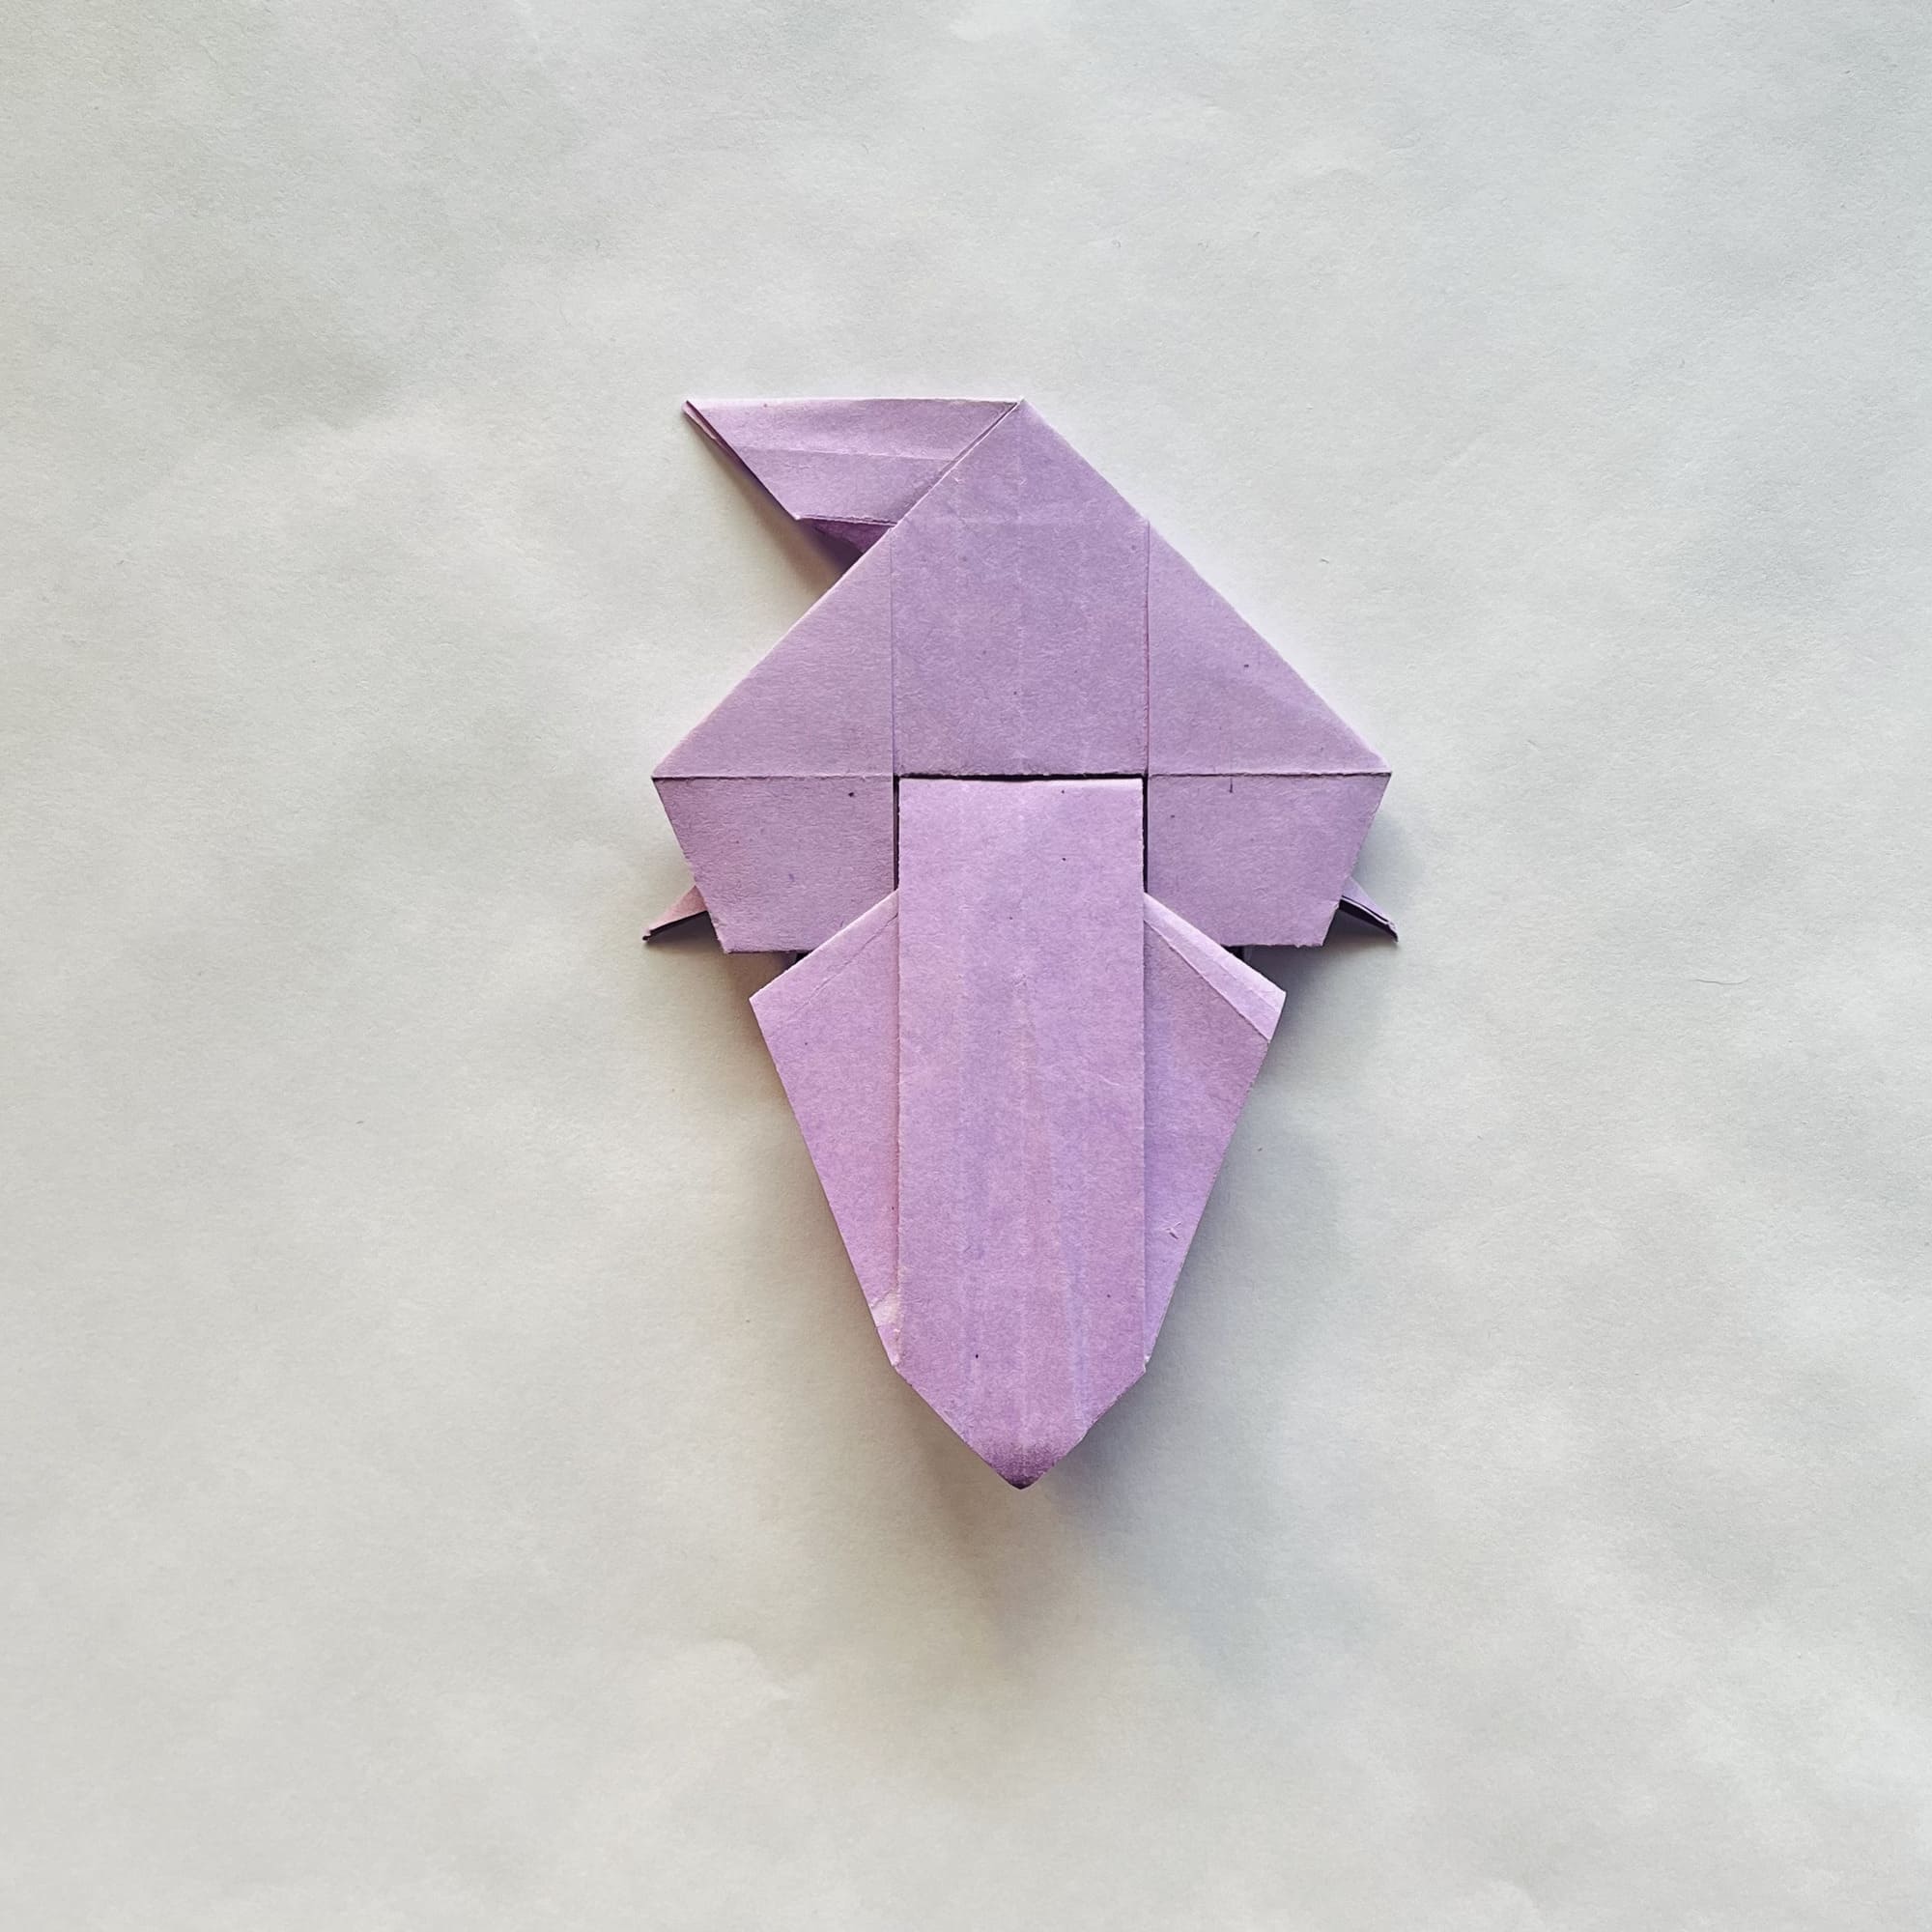
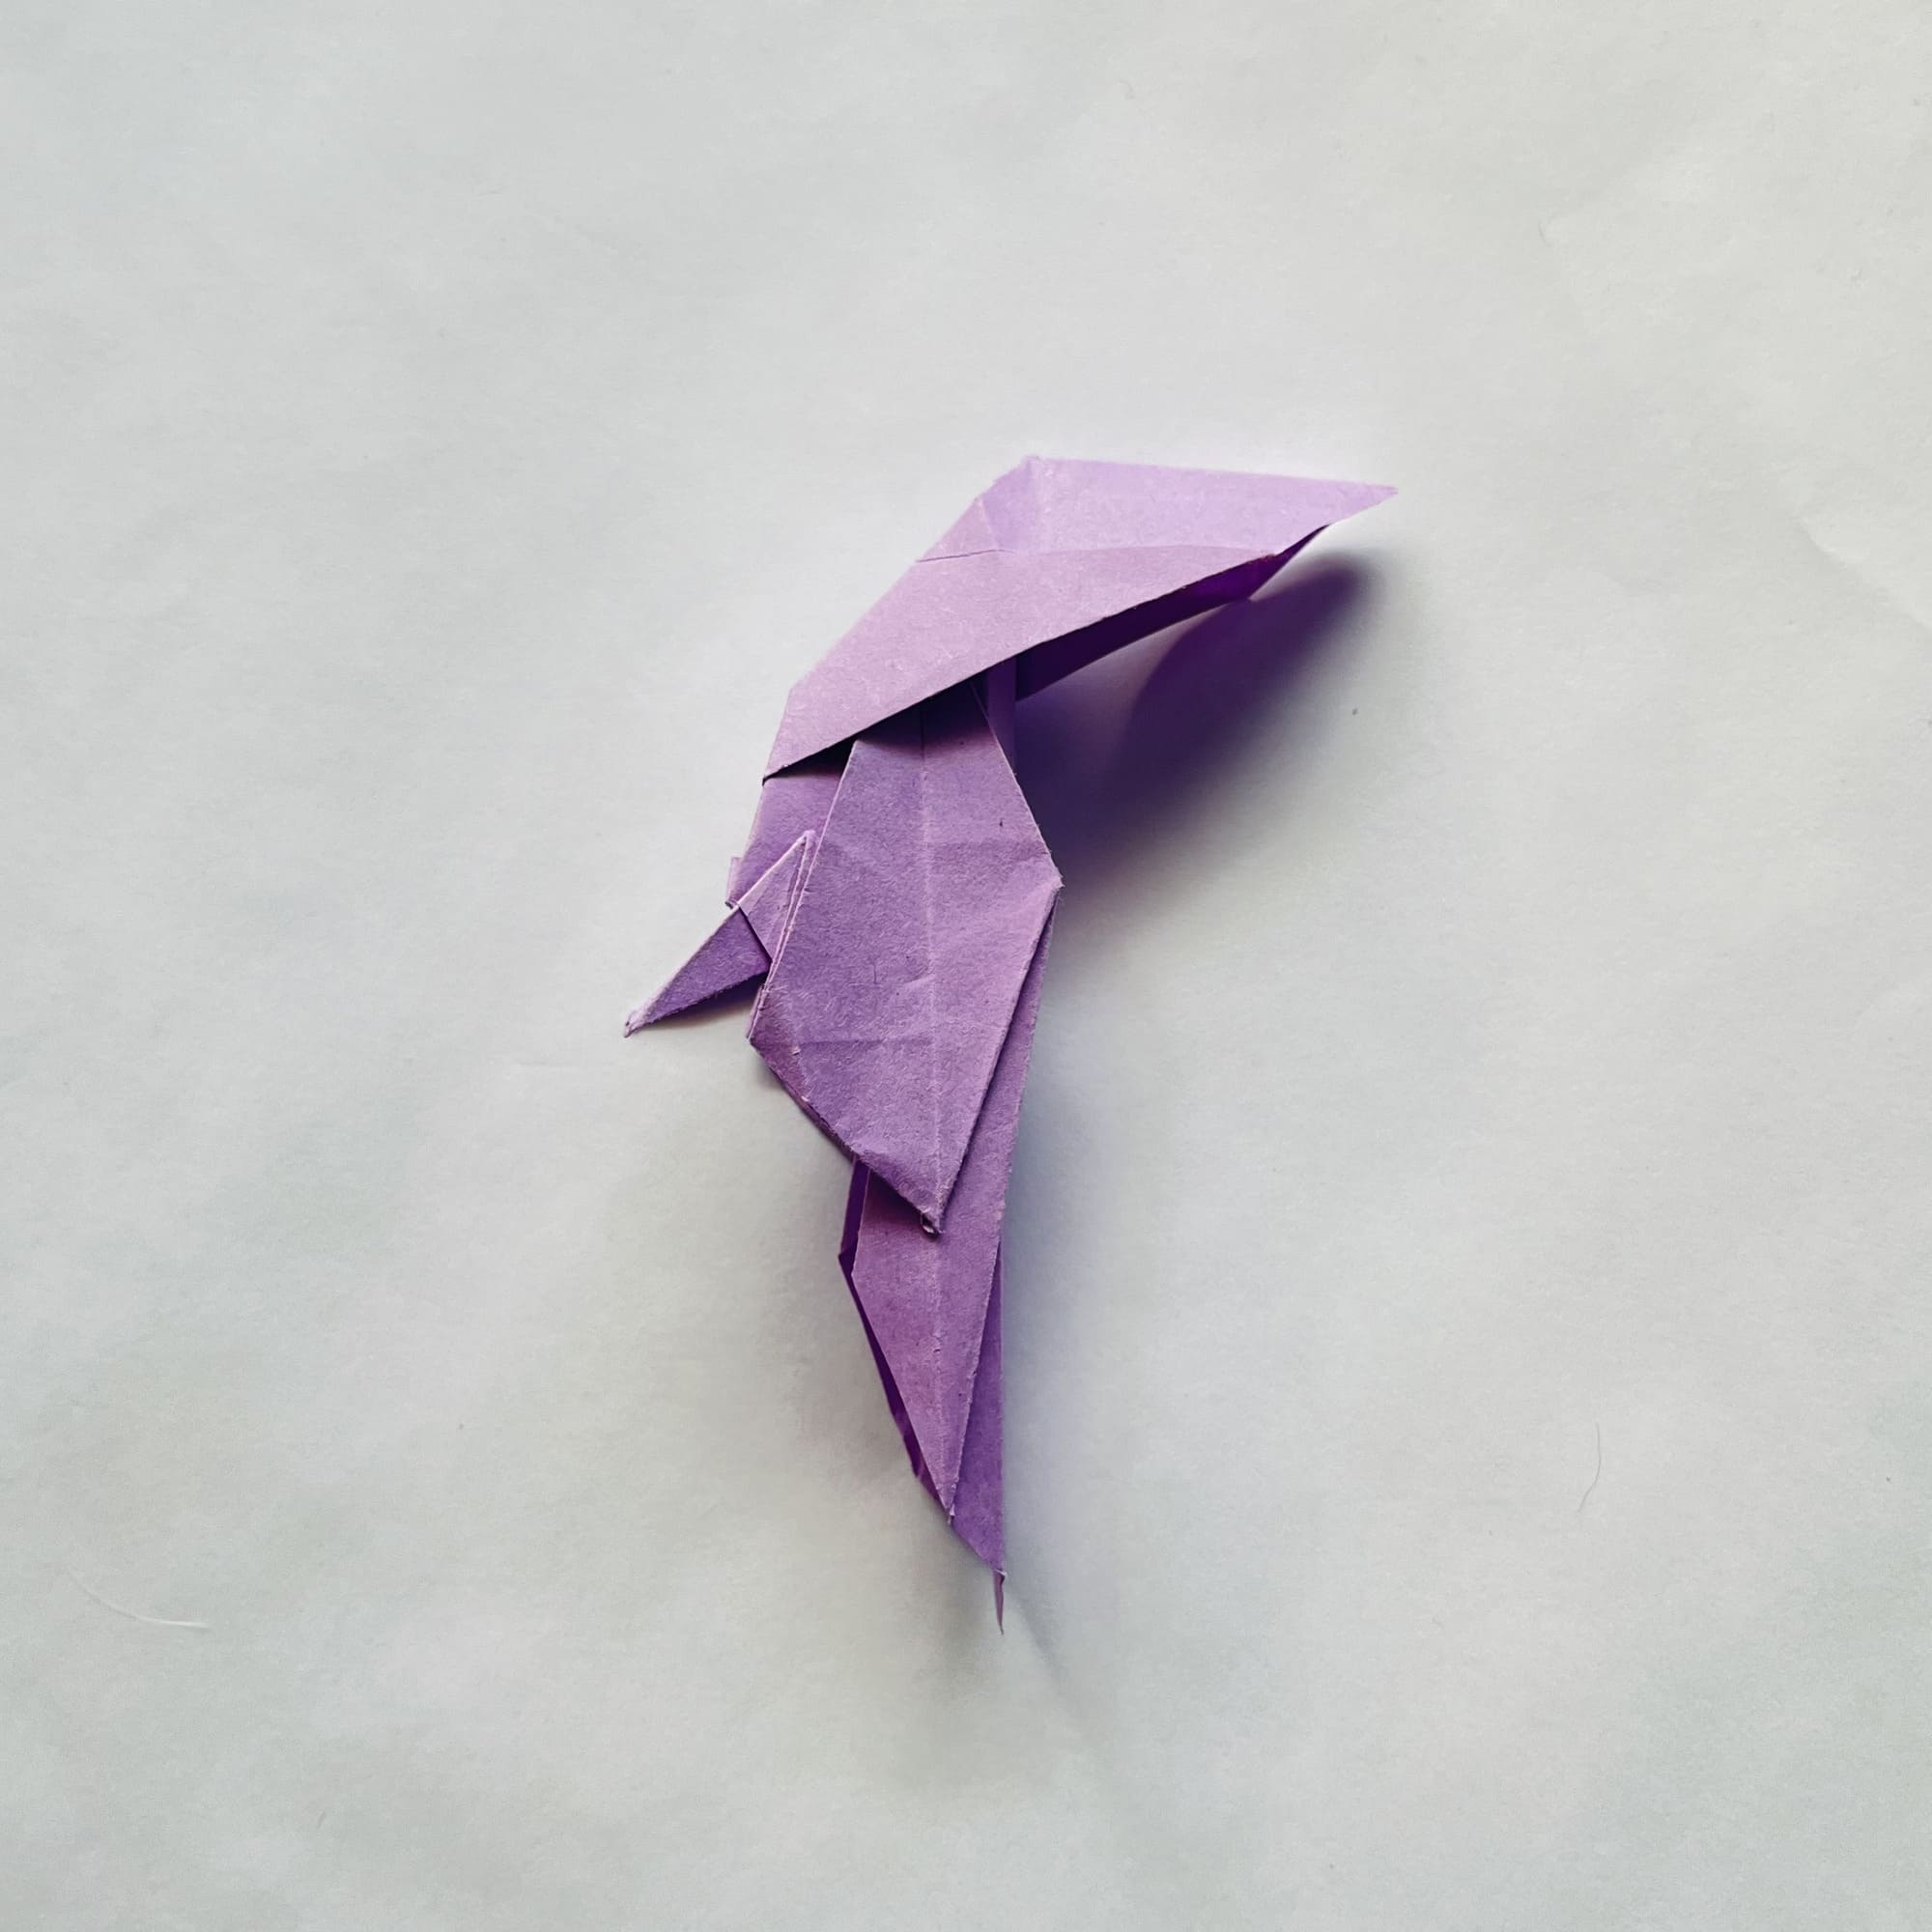
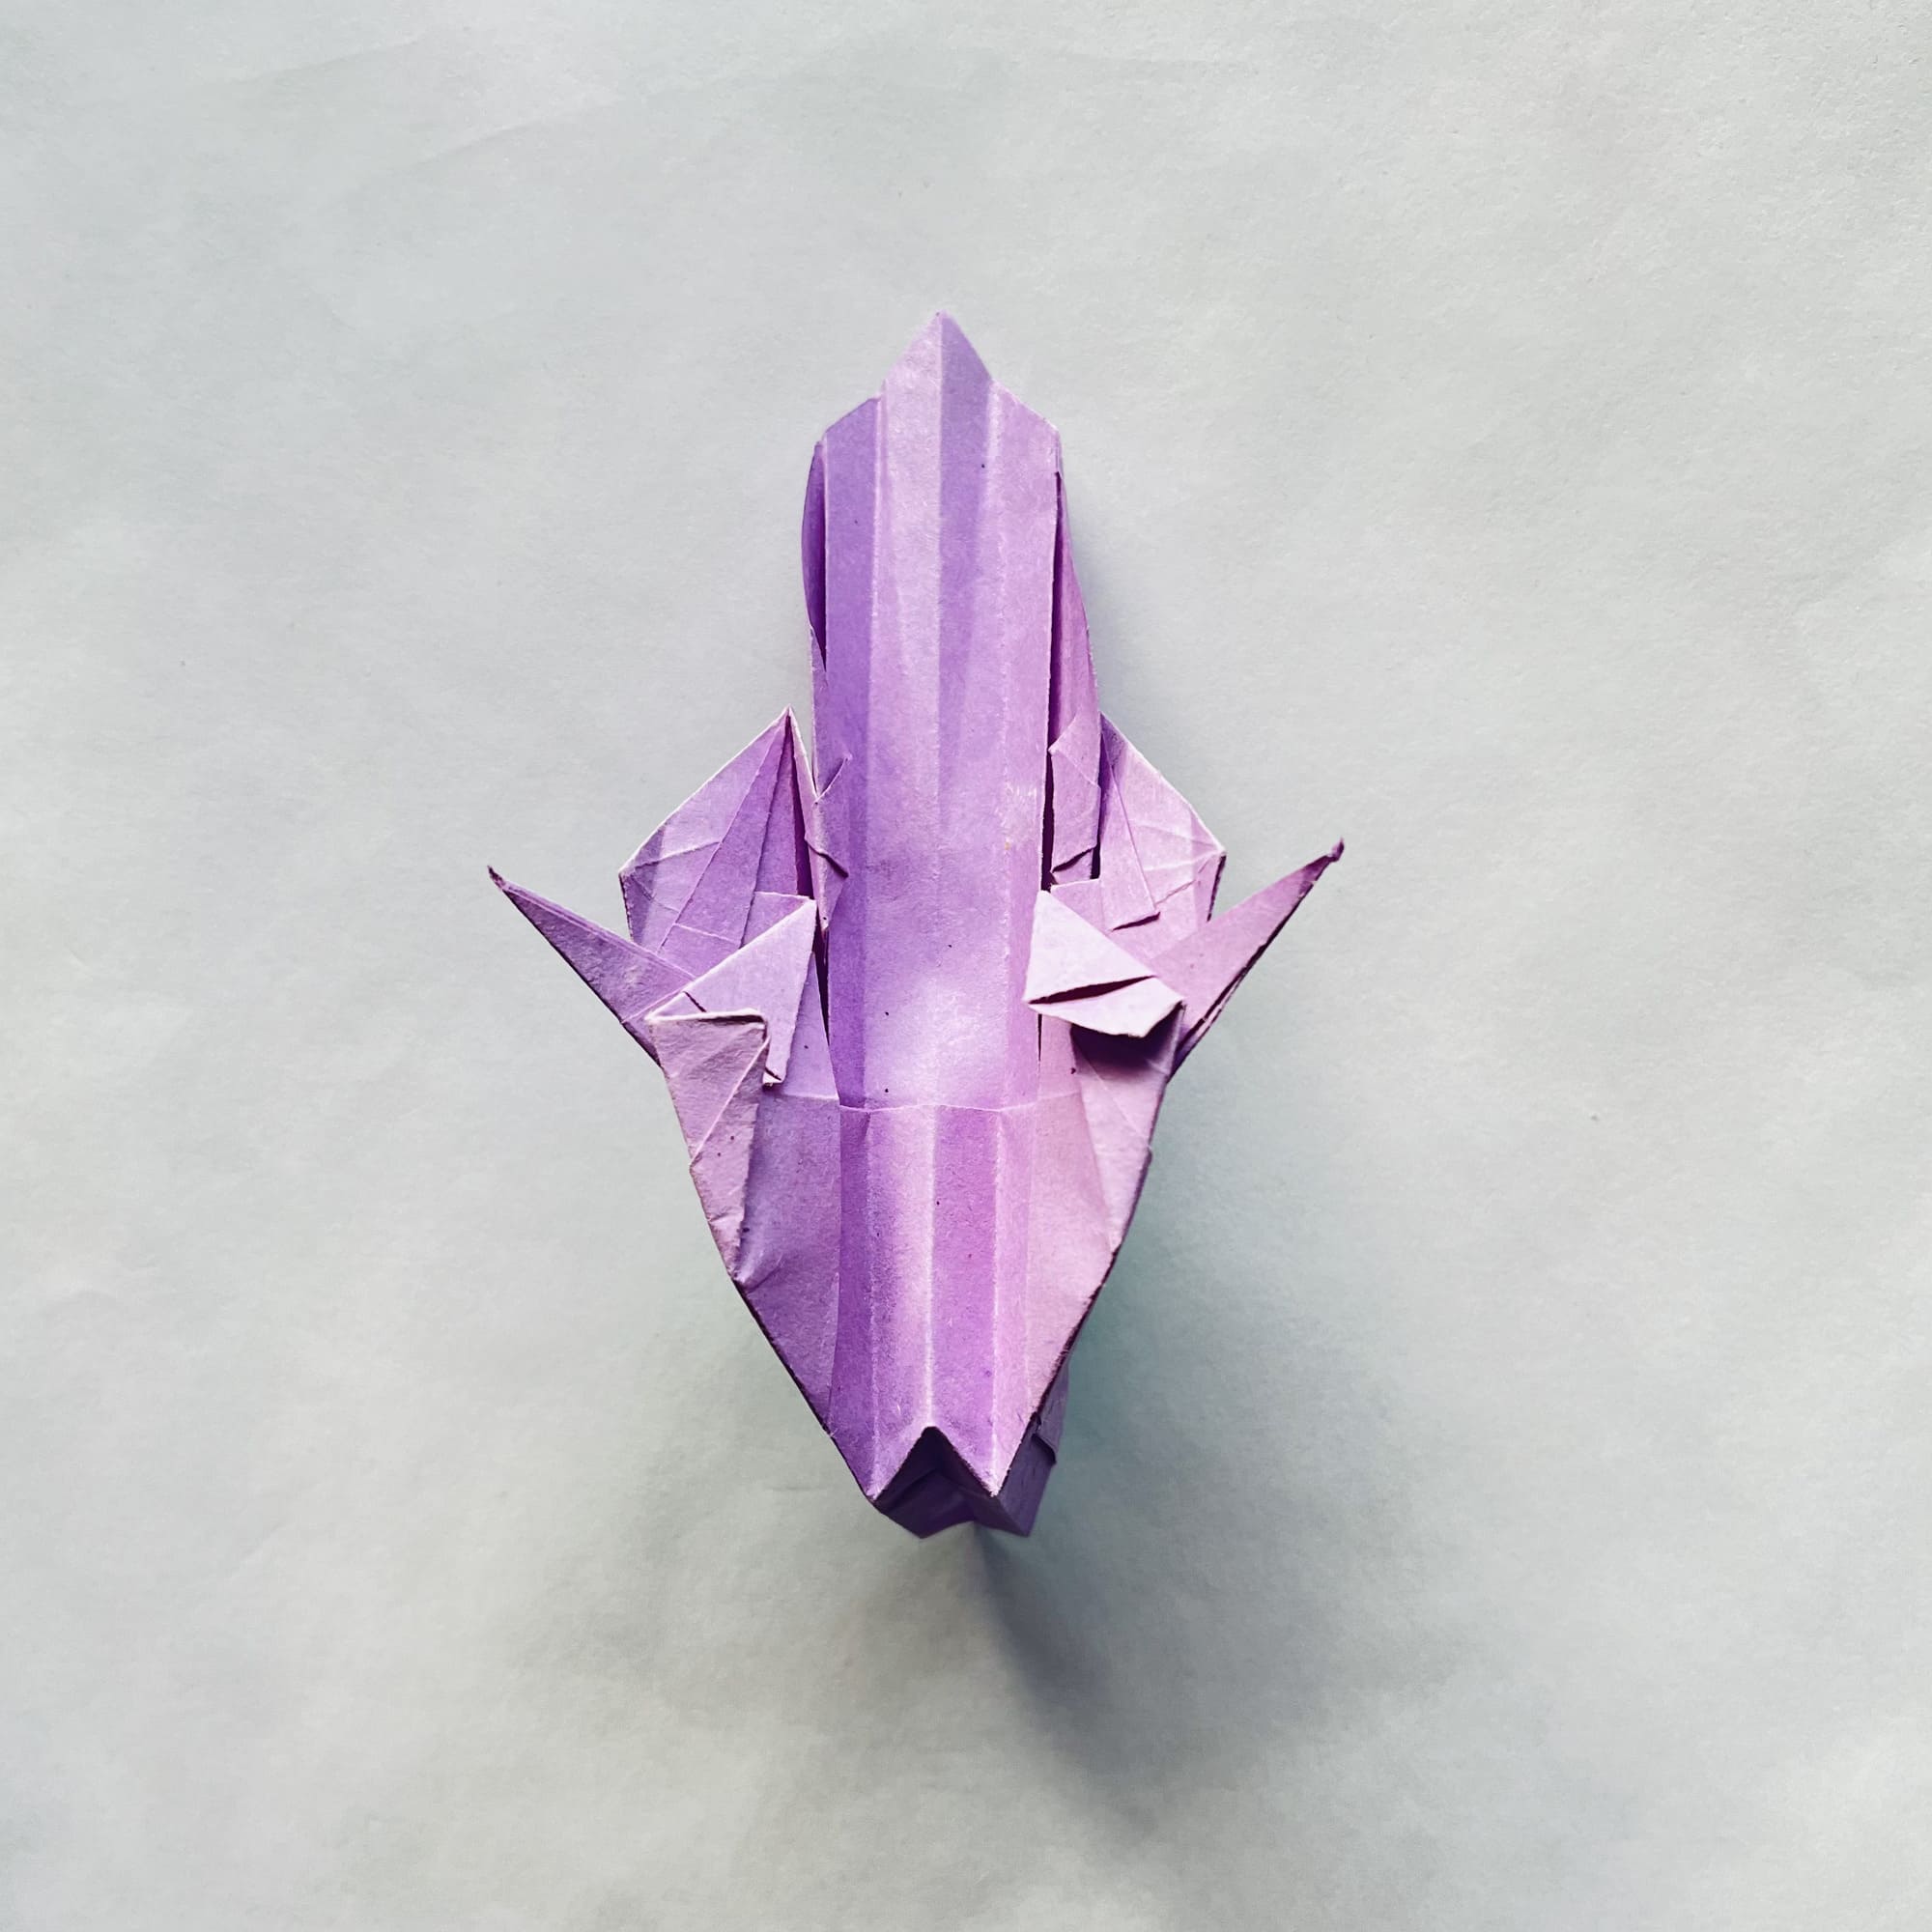
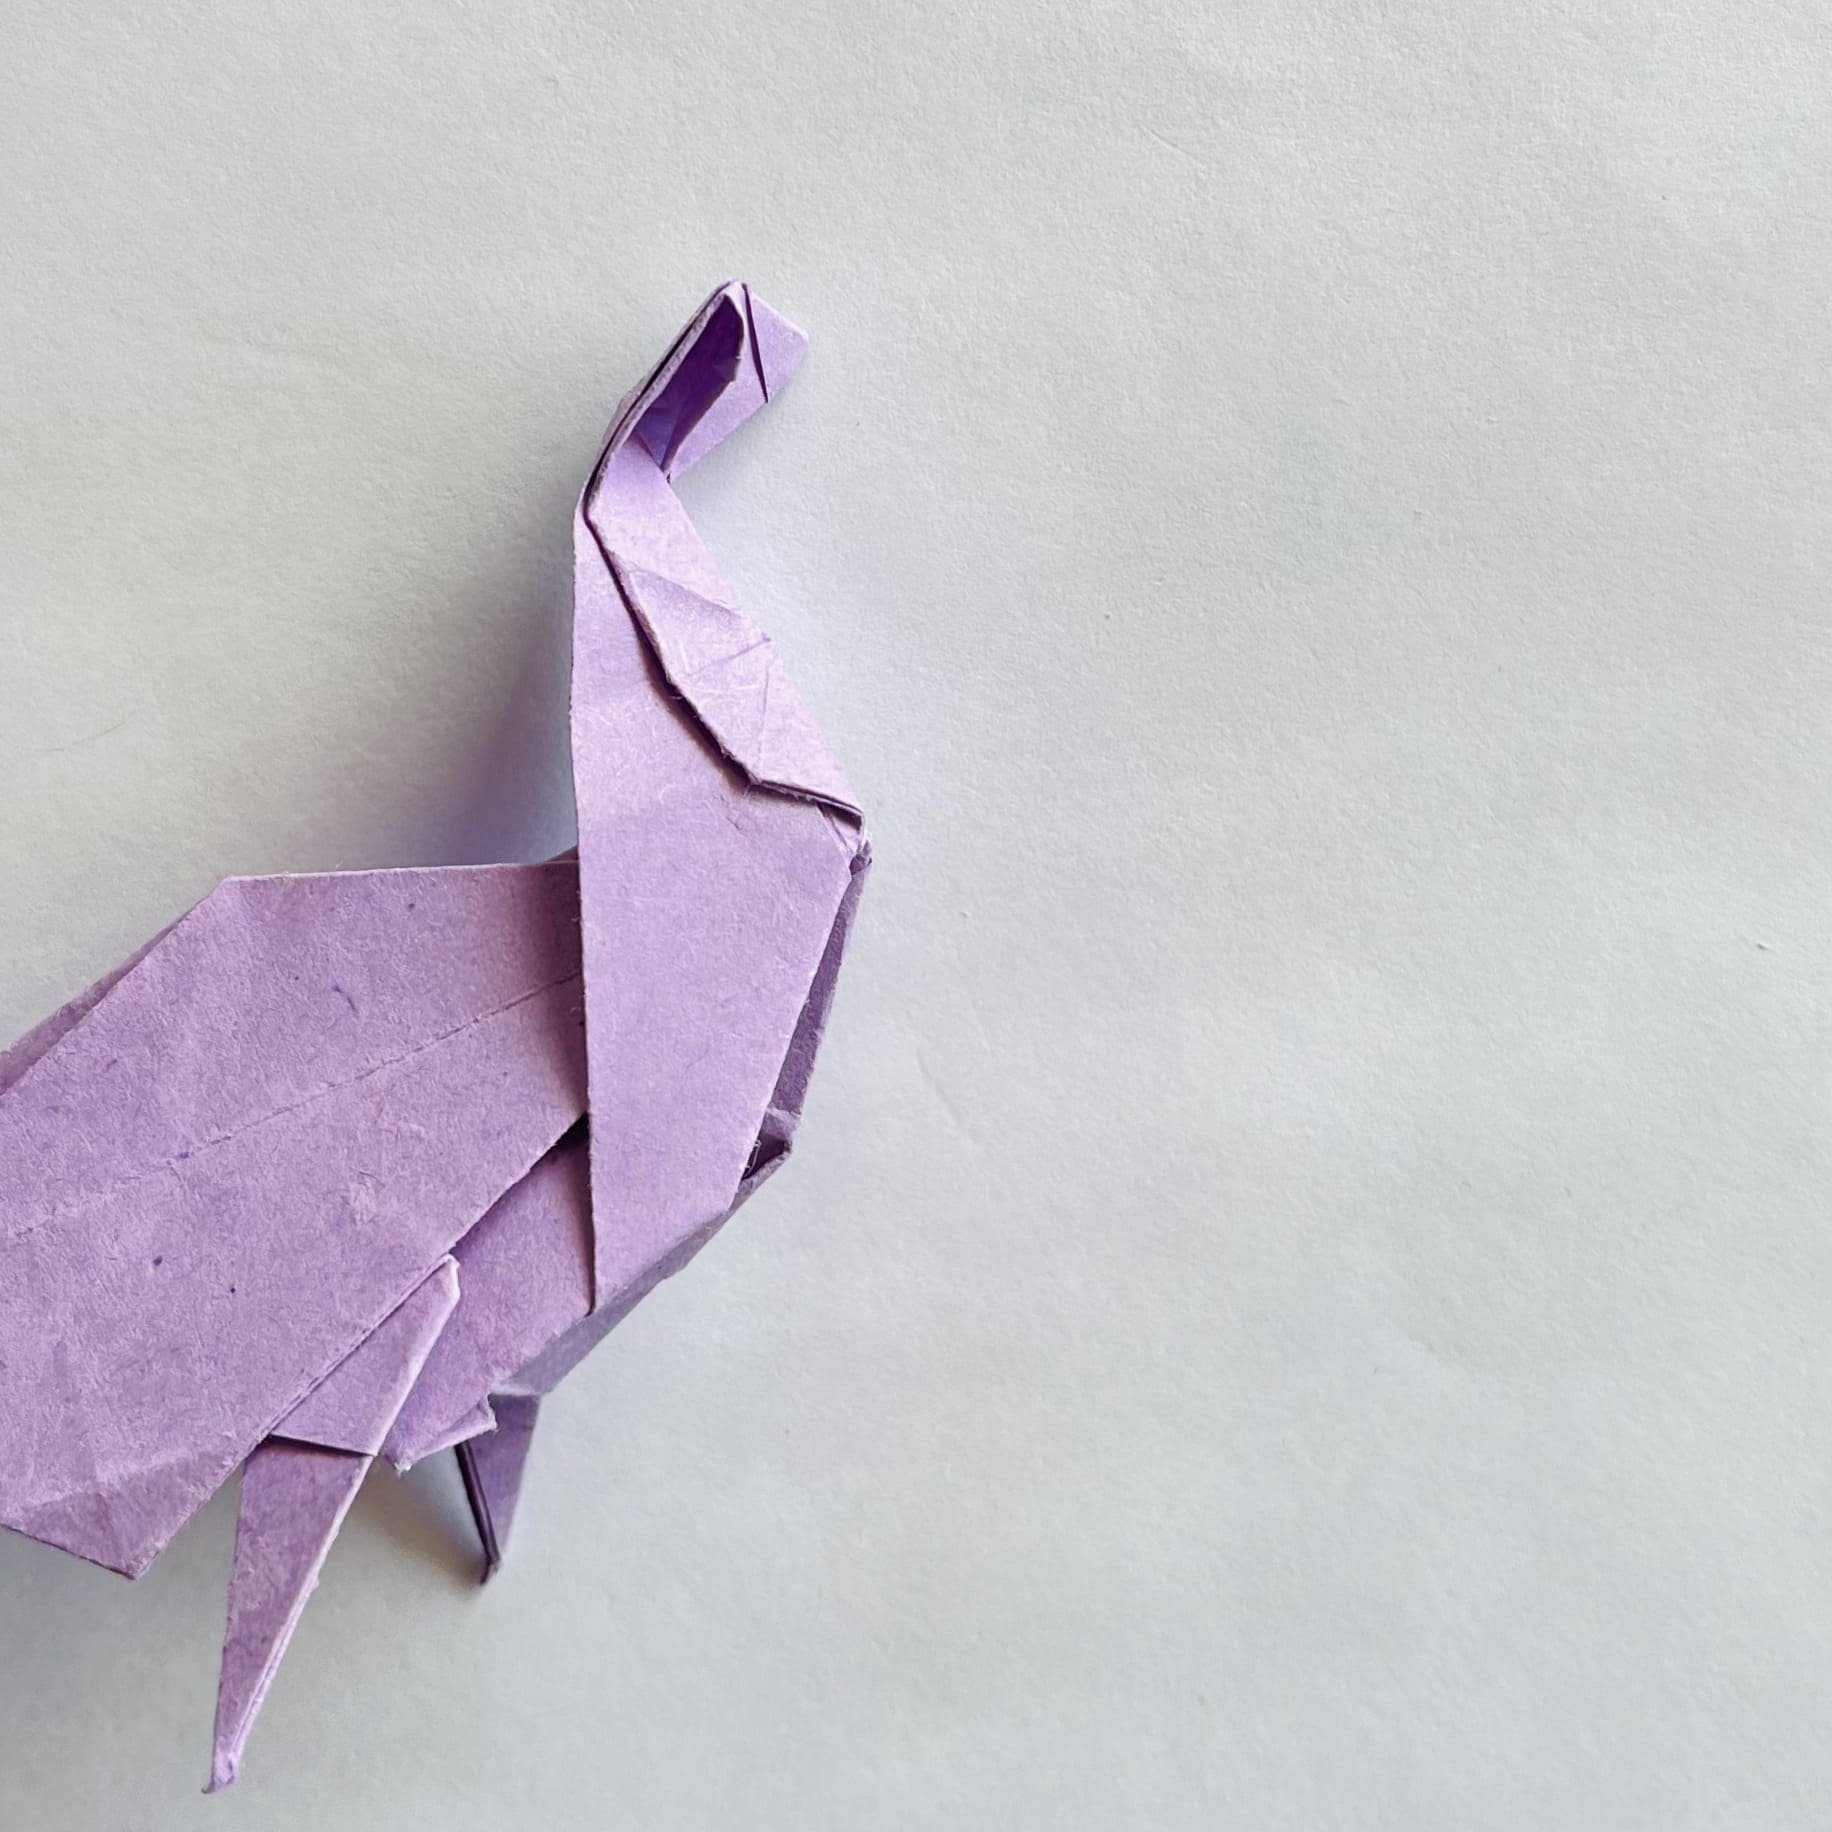
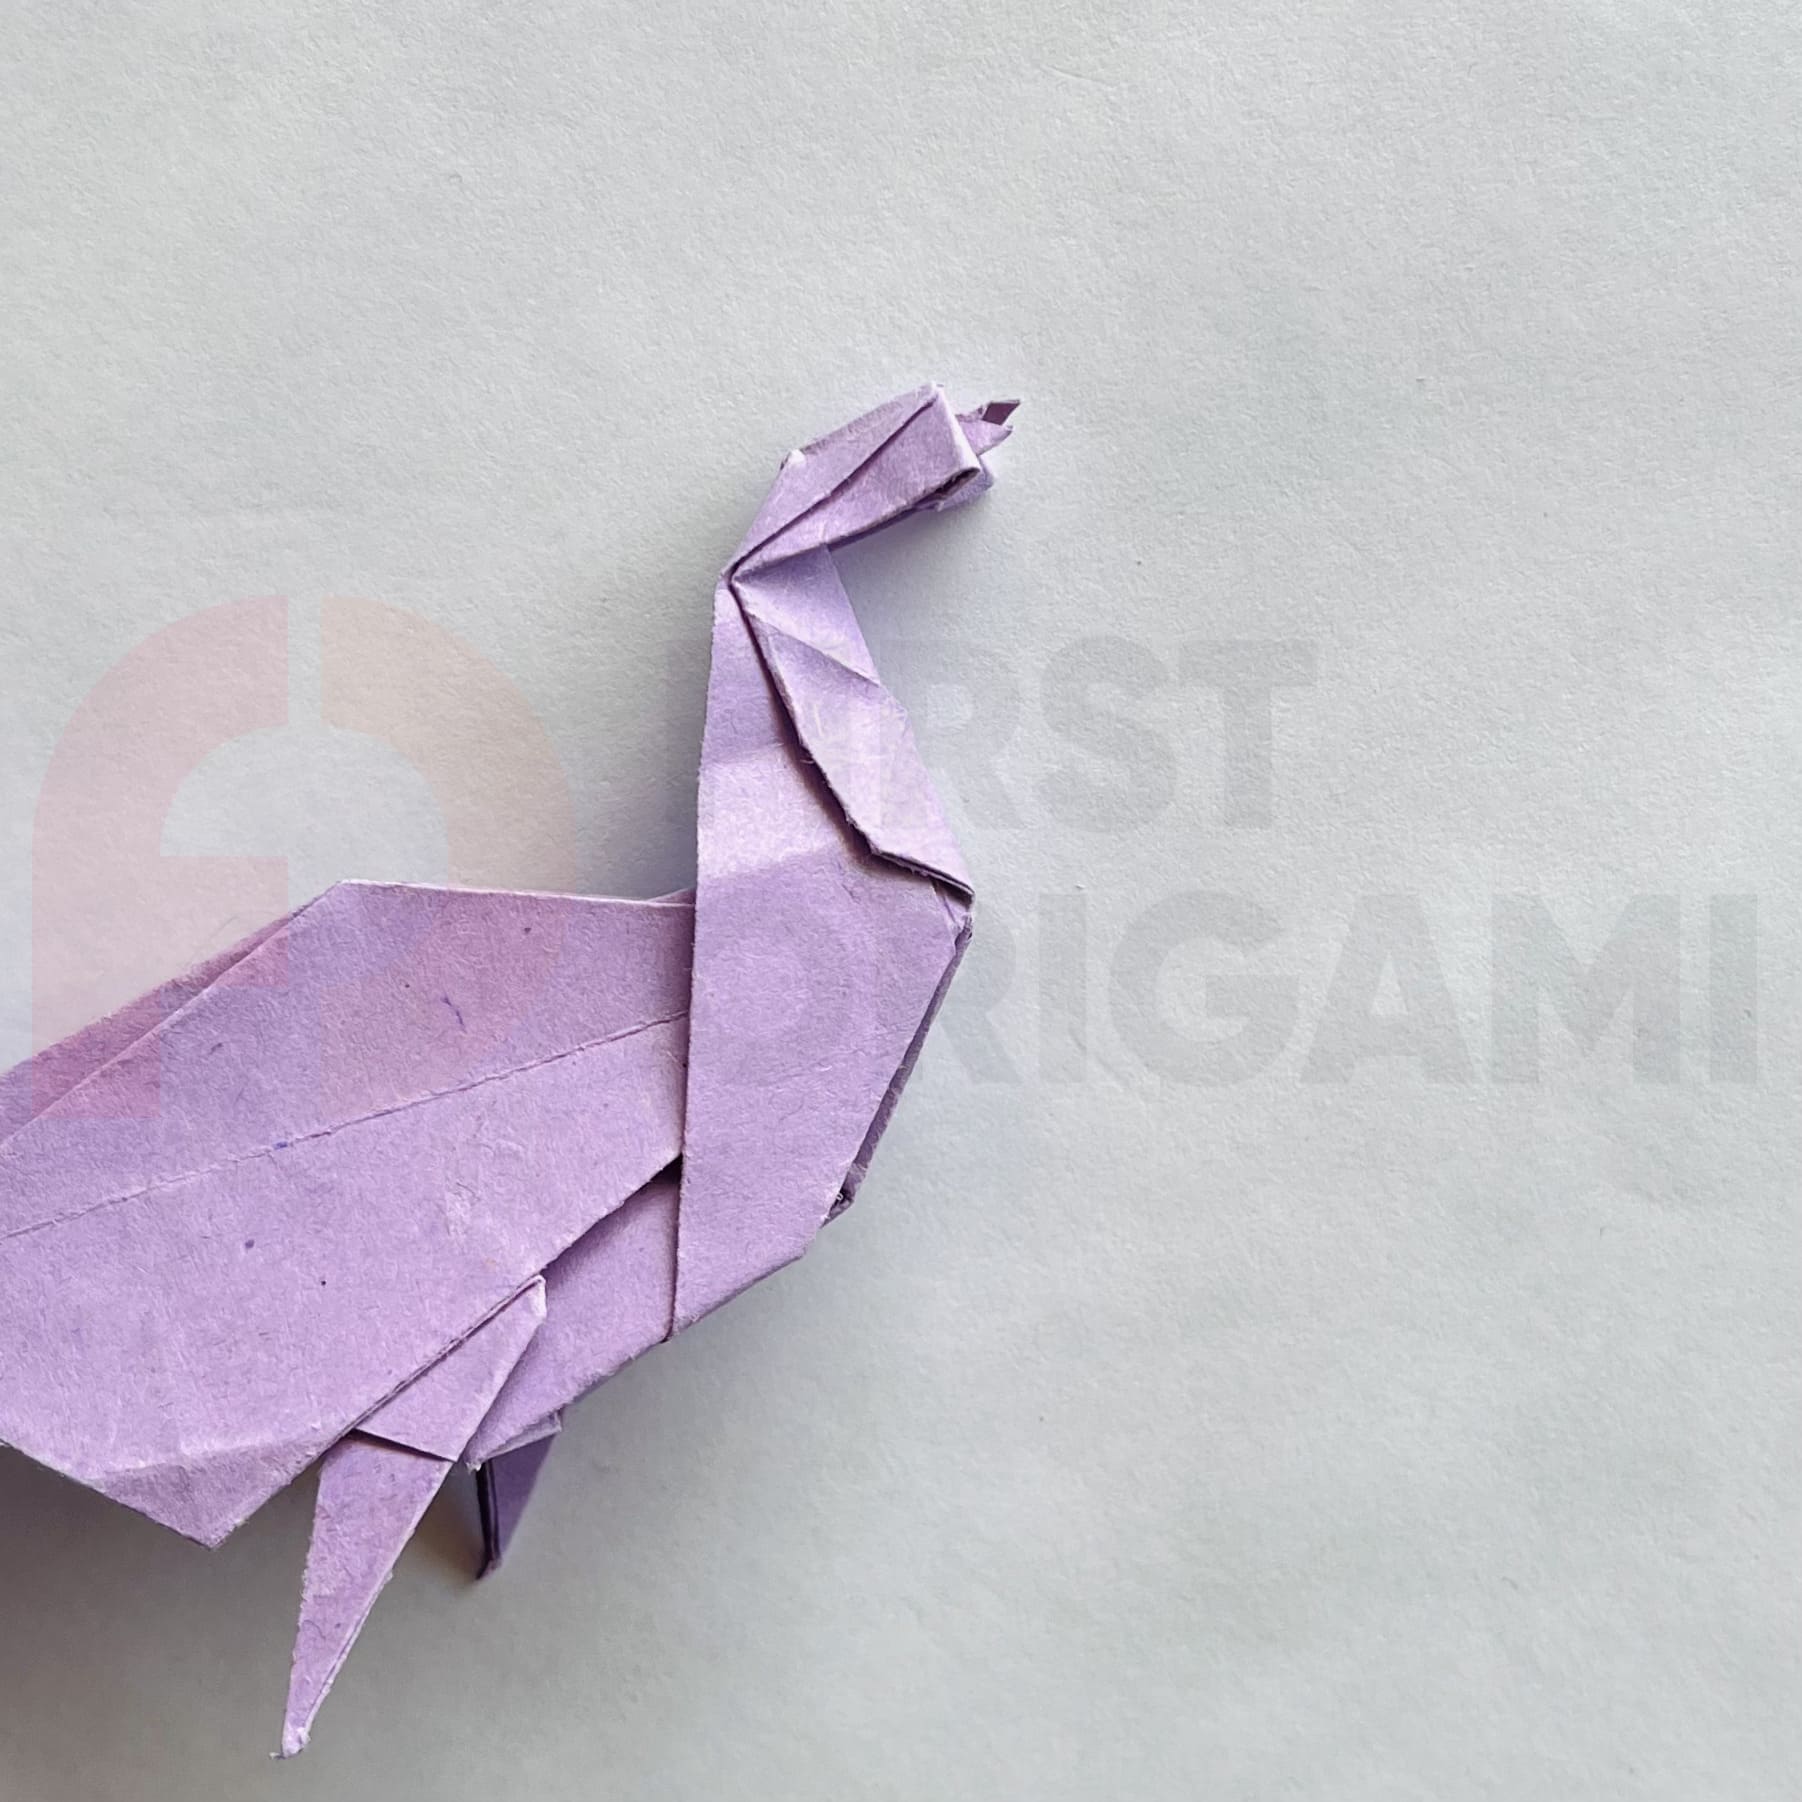
Now, let’s create the peacock’s head: fold the top of the shape along the fold lines so that it becomes flat.
At the edge, fold the bottom corners up on both sides.
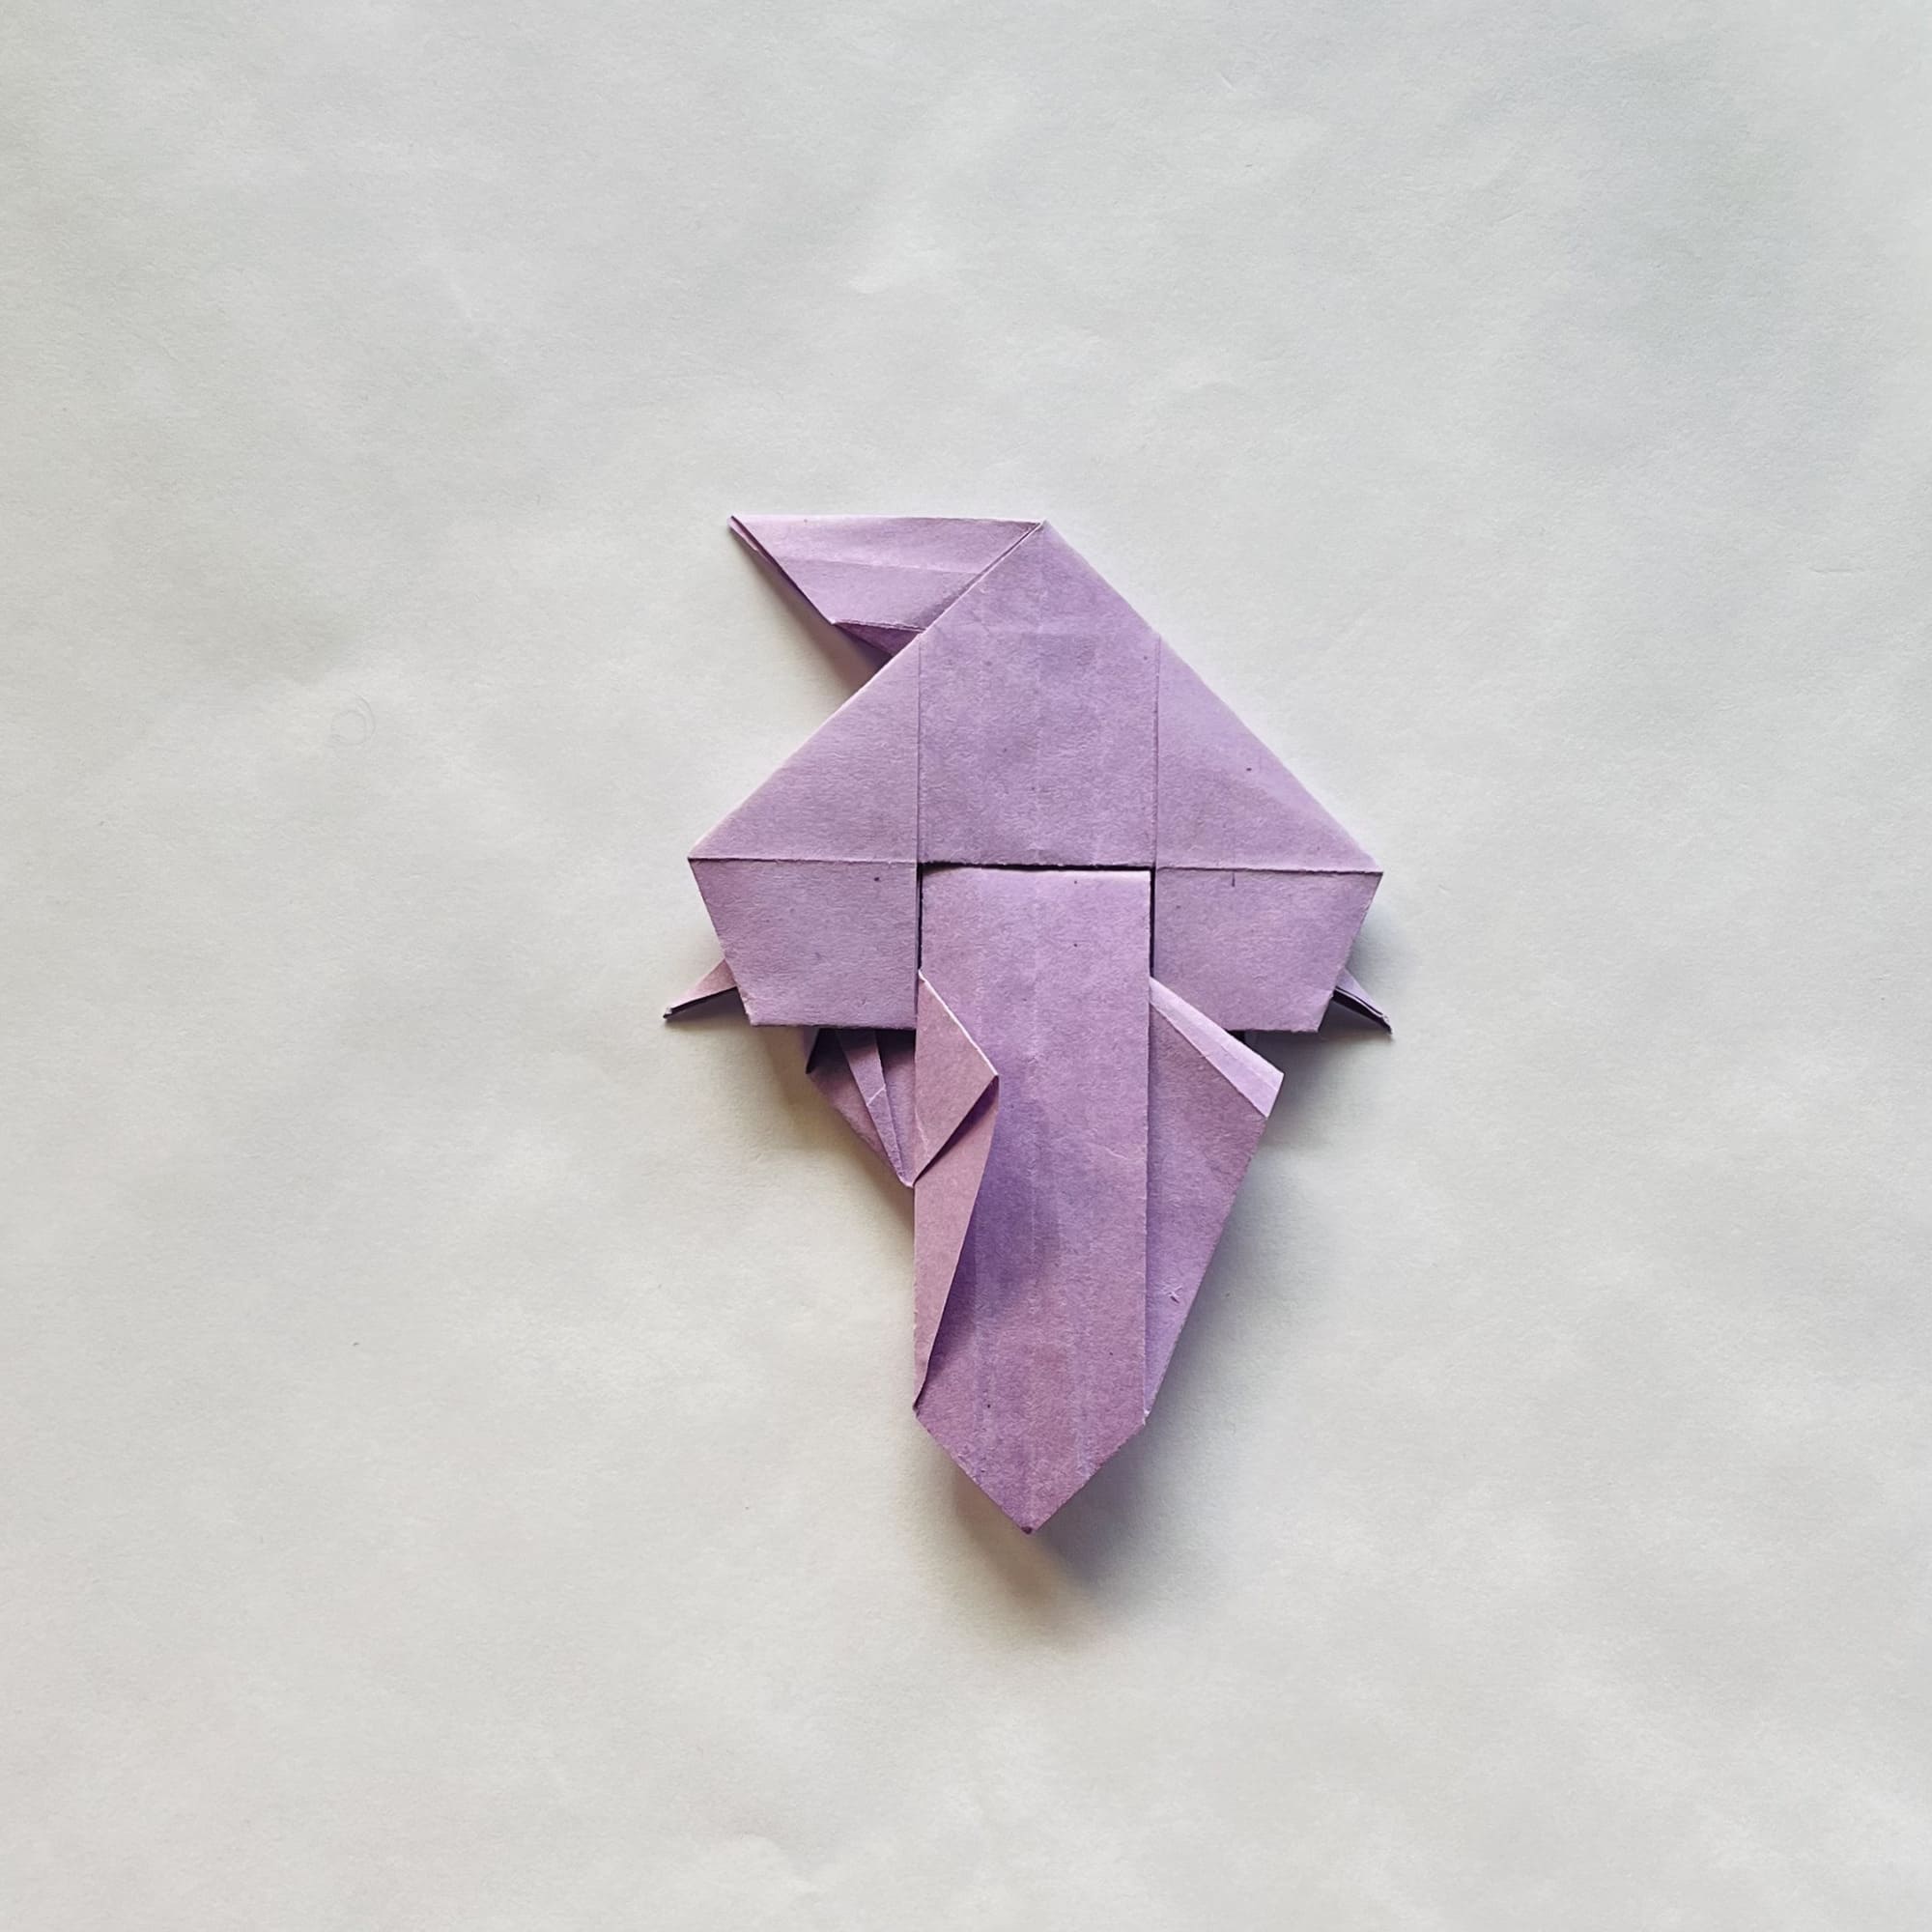
Turn this part of the figure inside out.
If necessary, use video instructions.
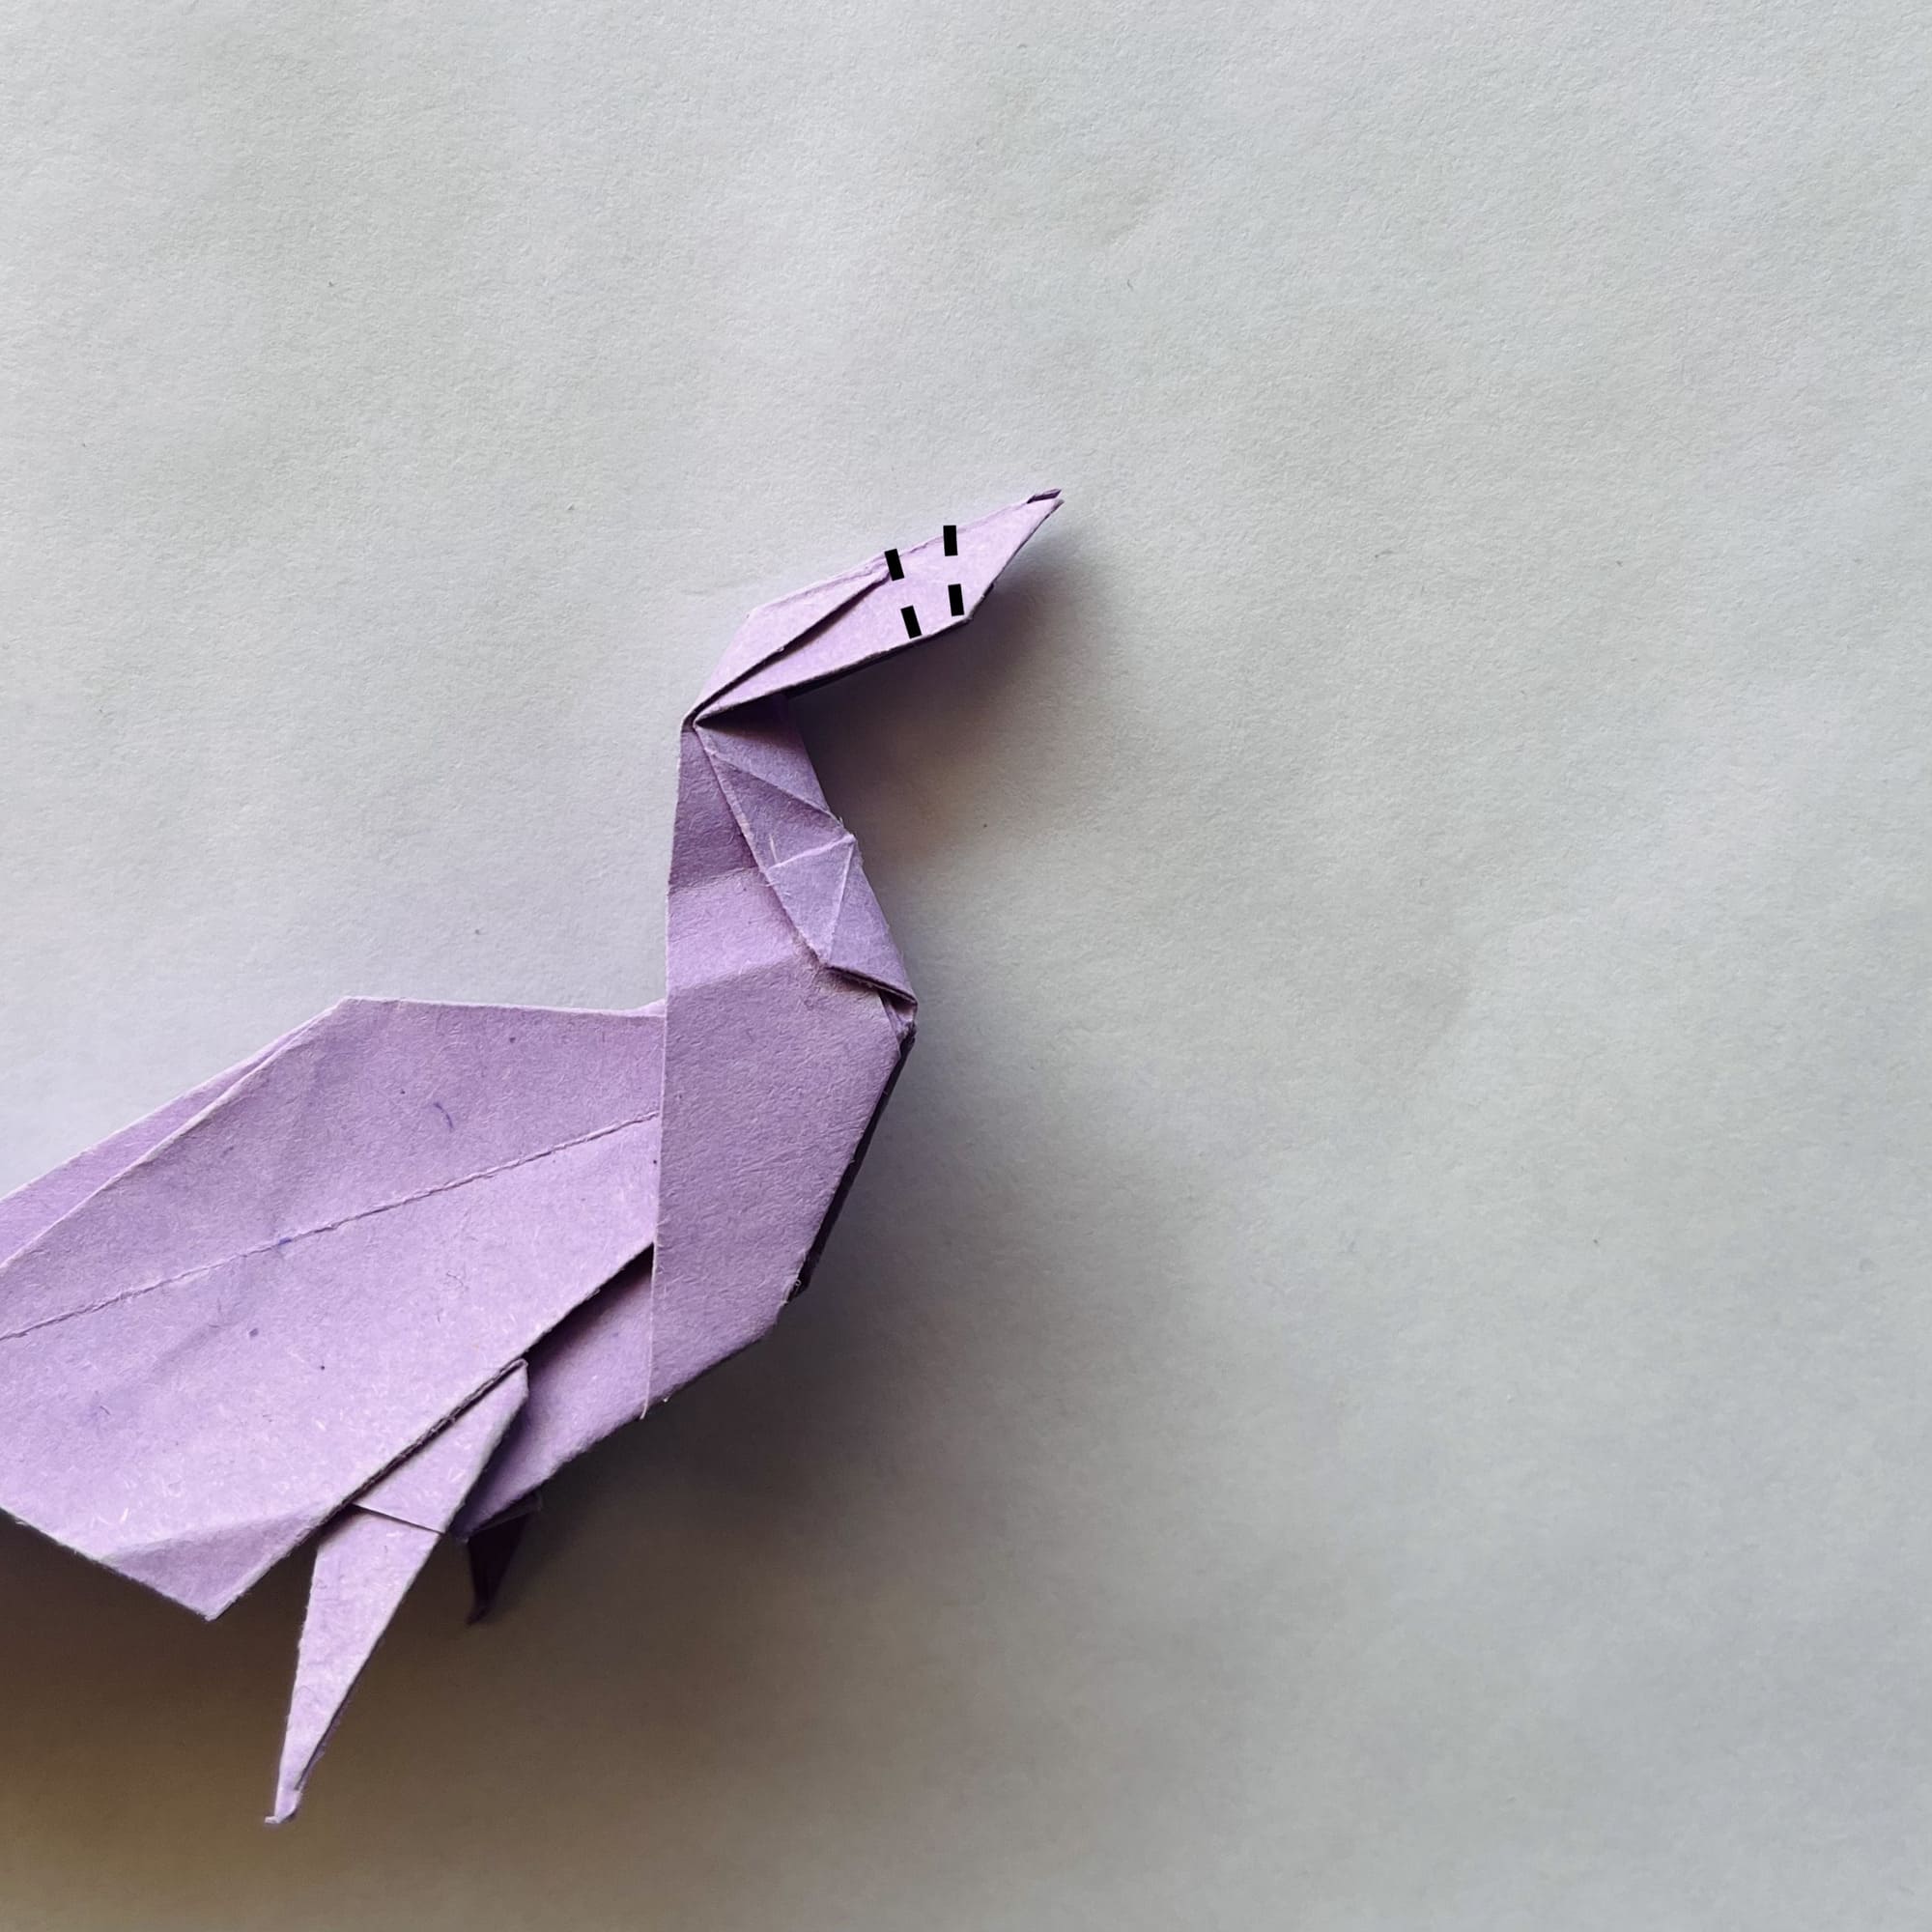
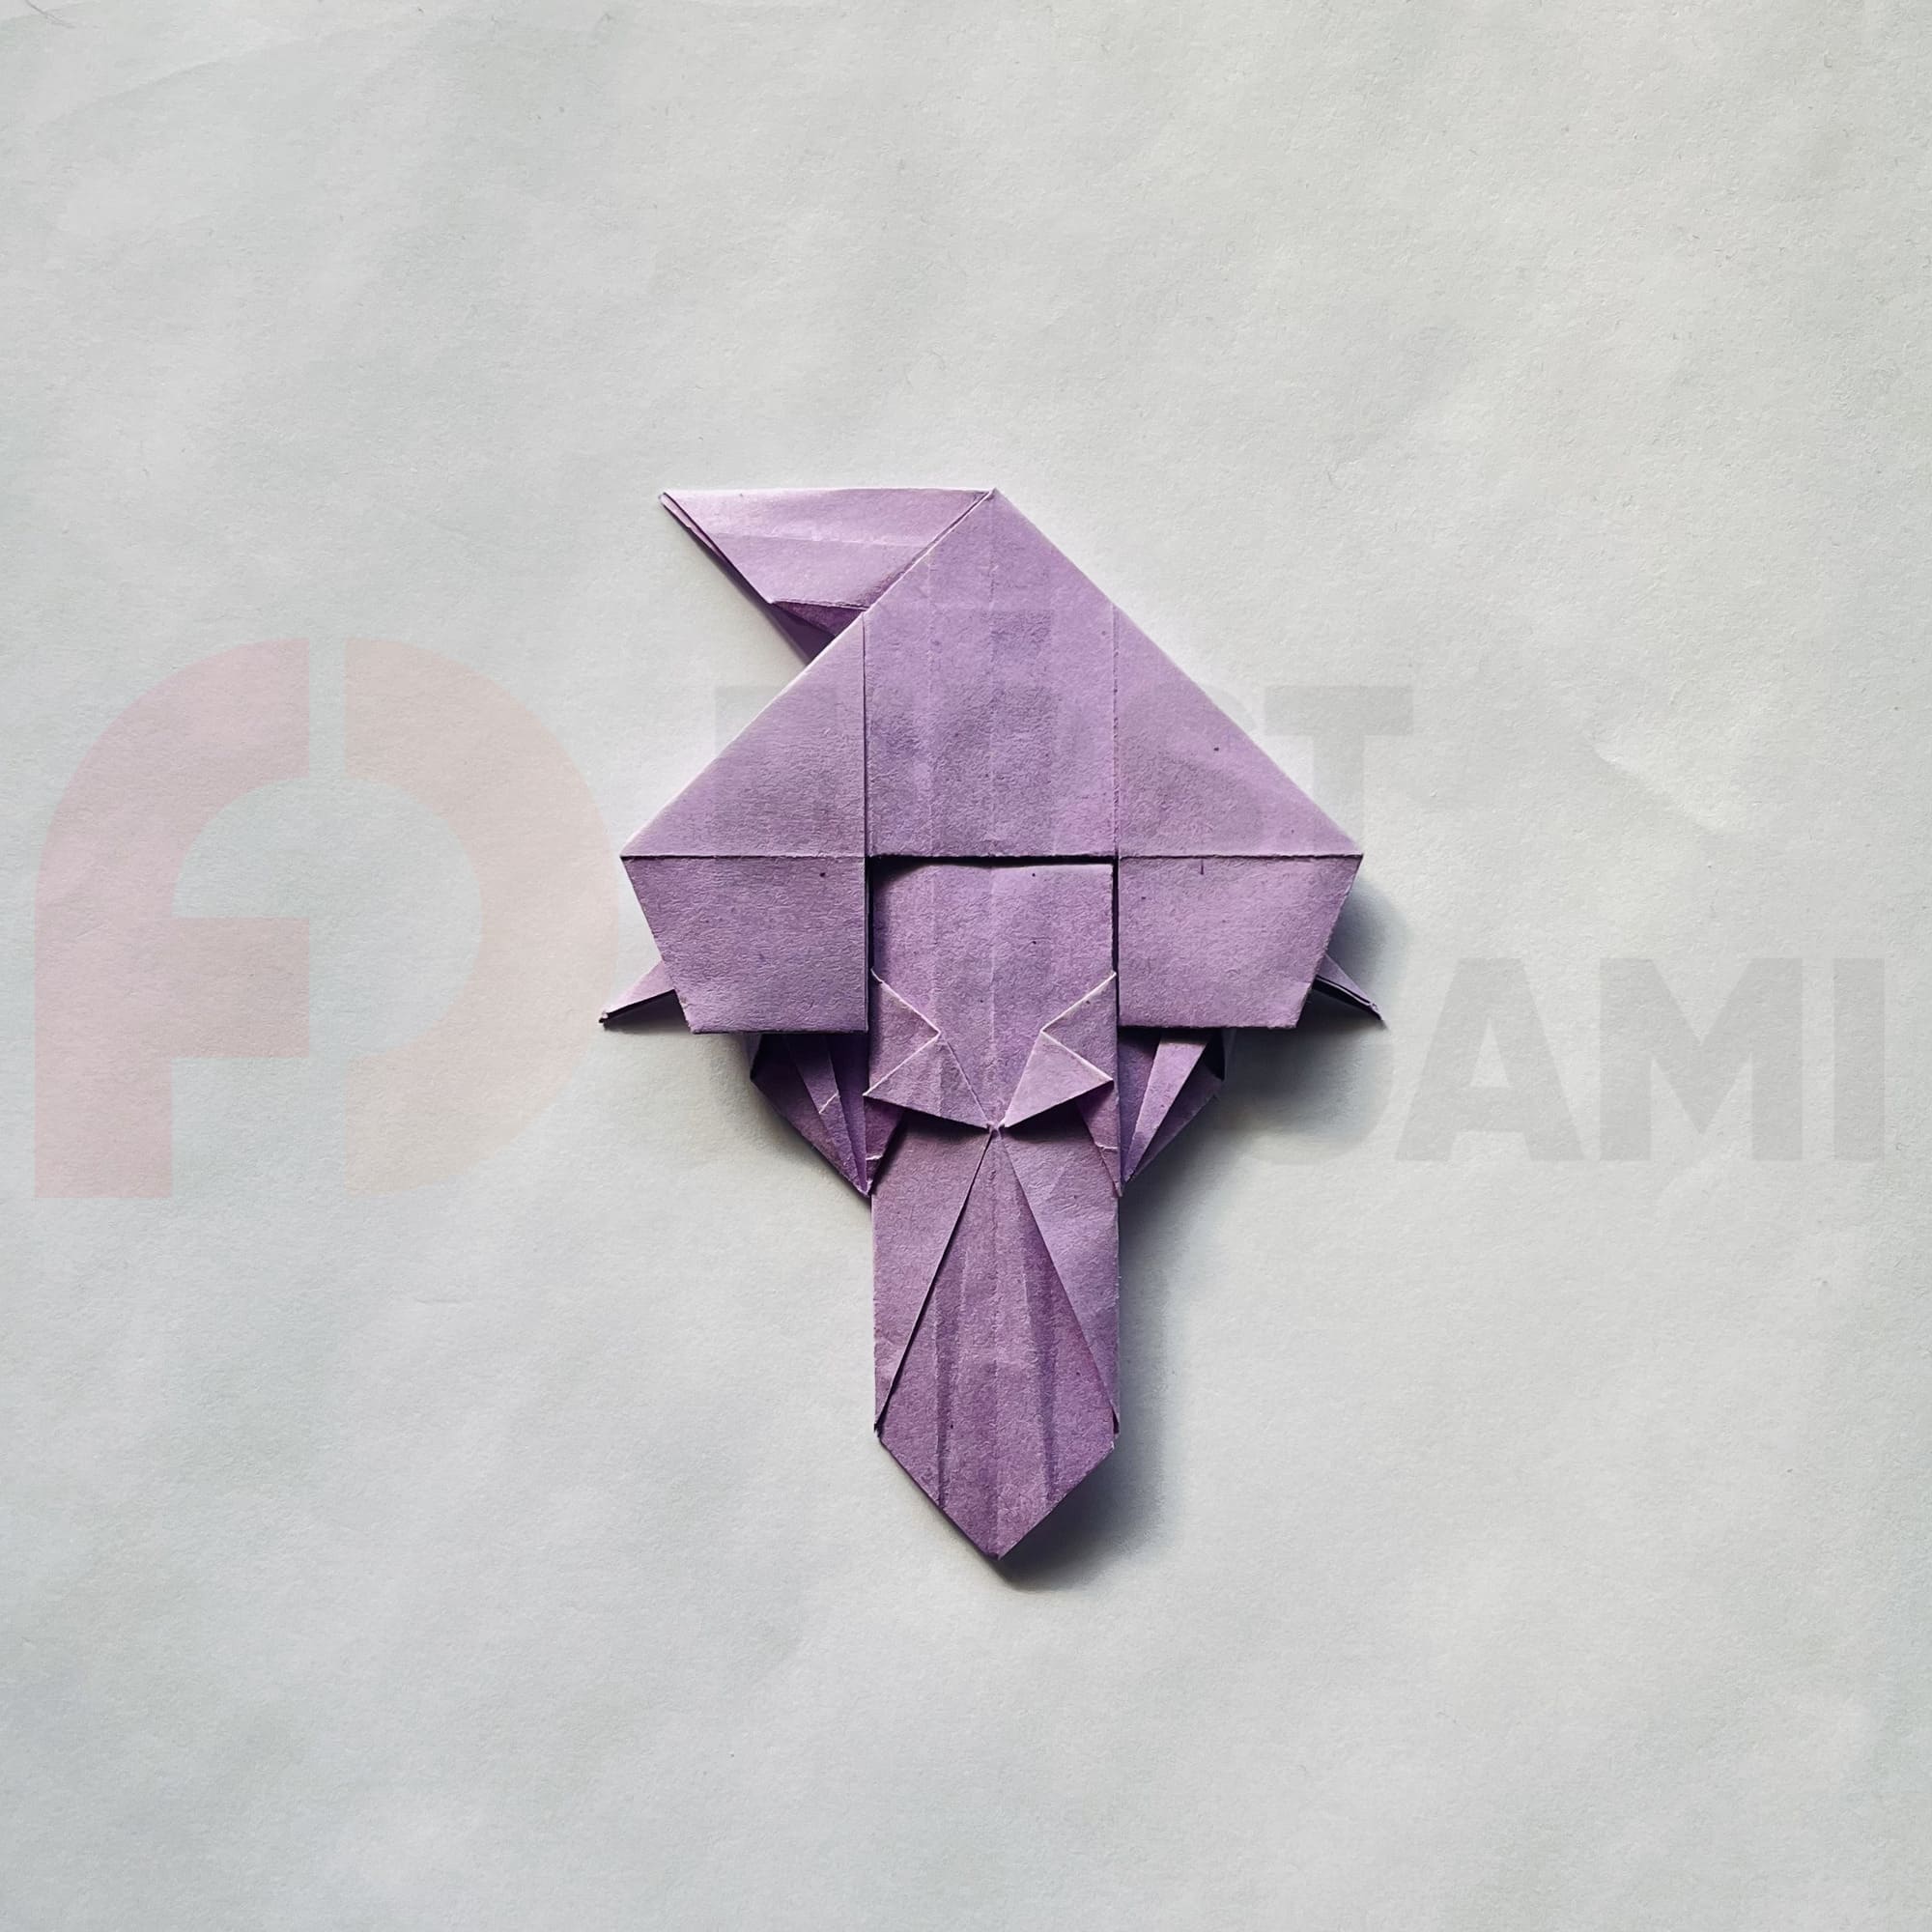
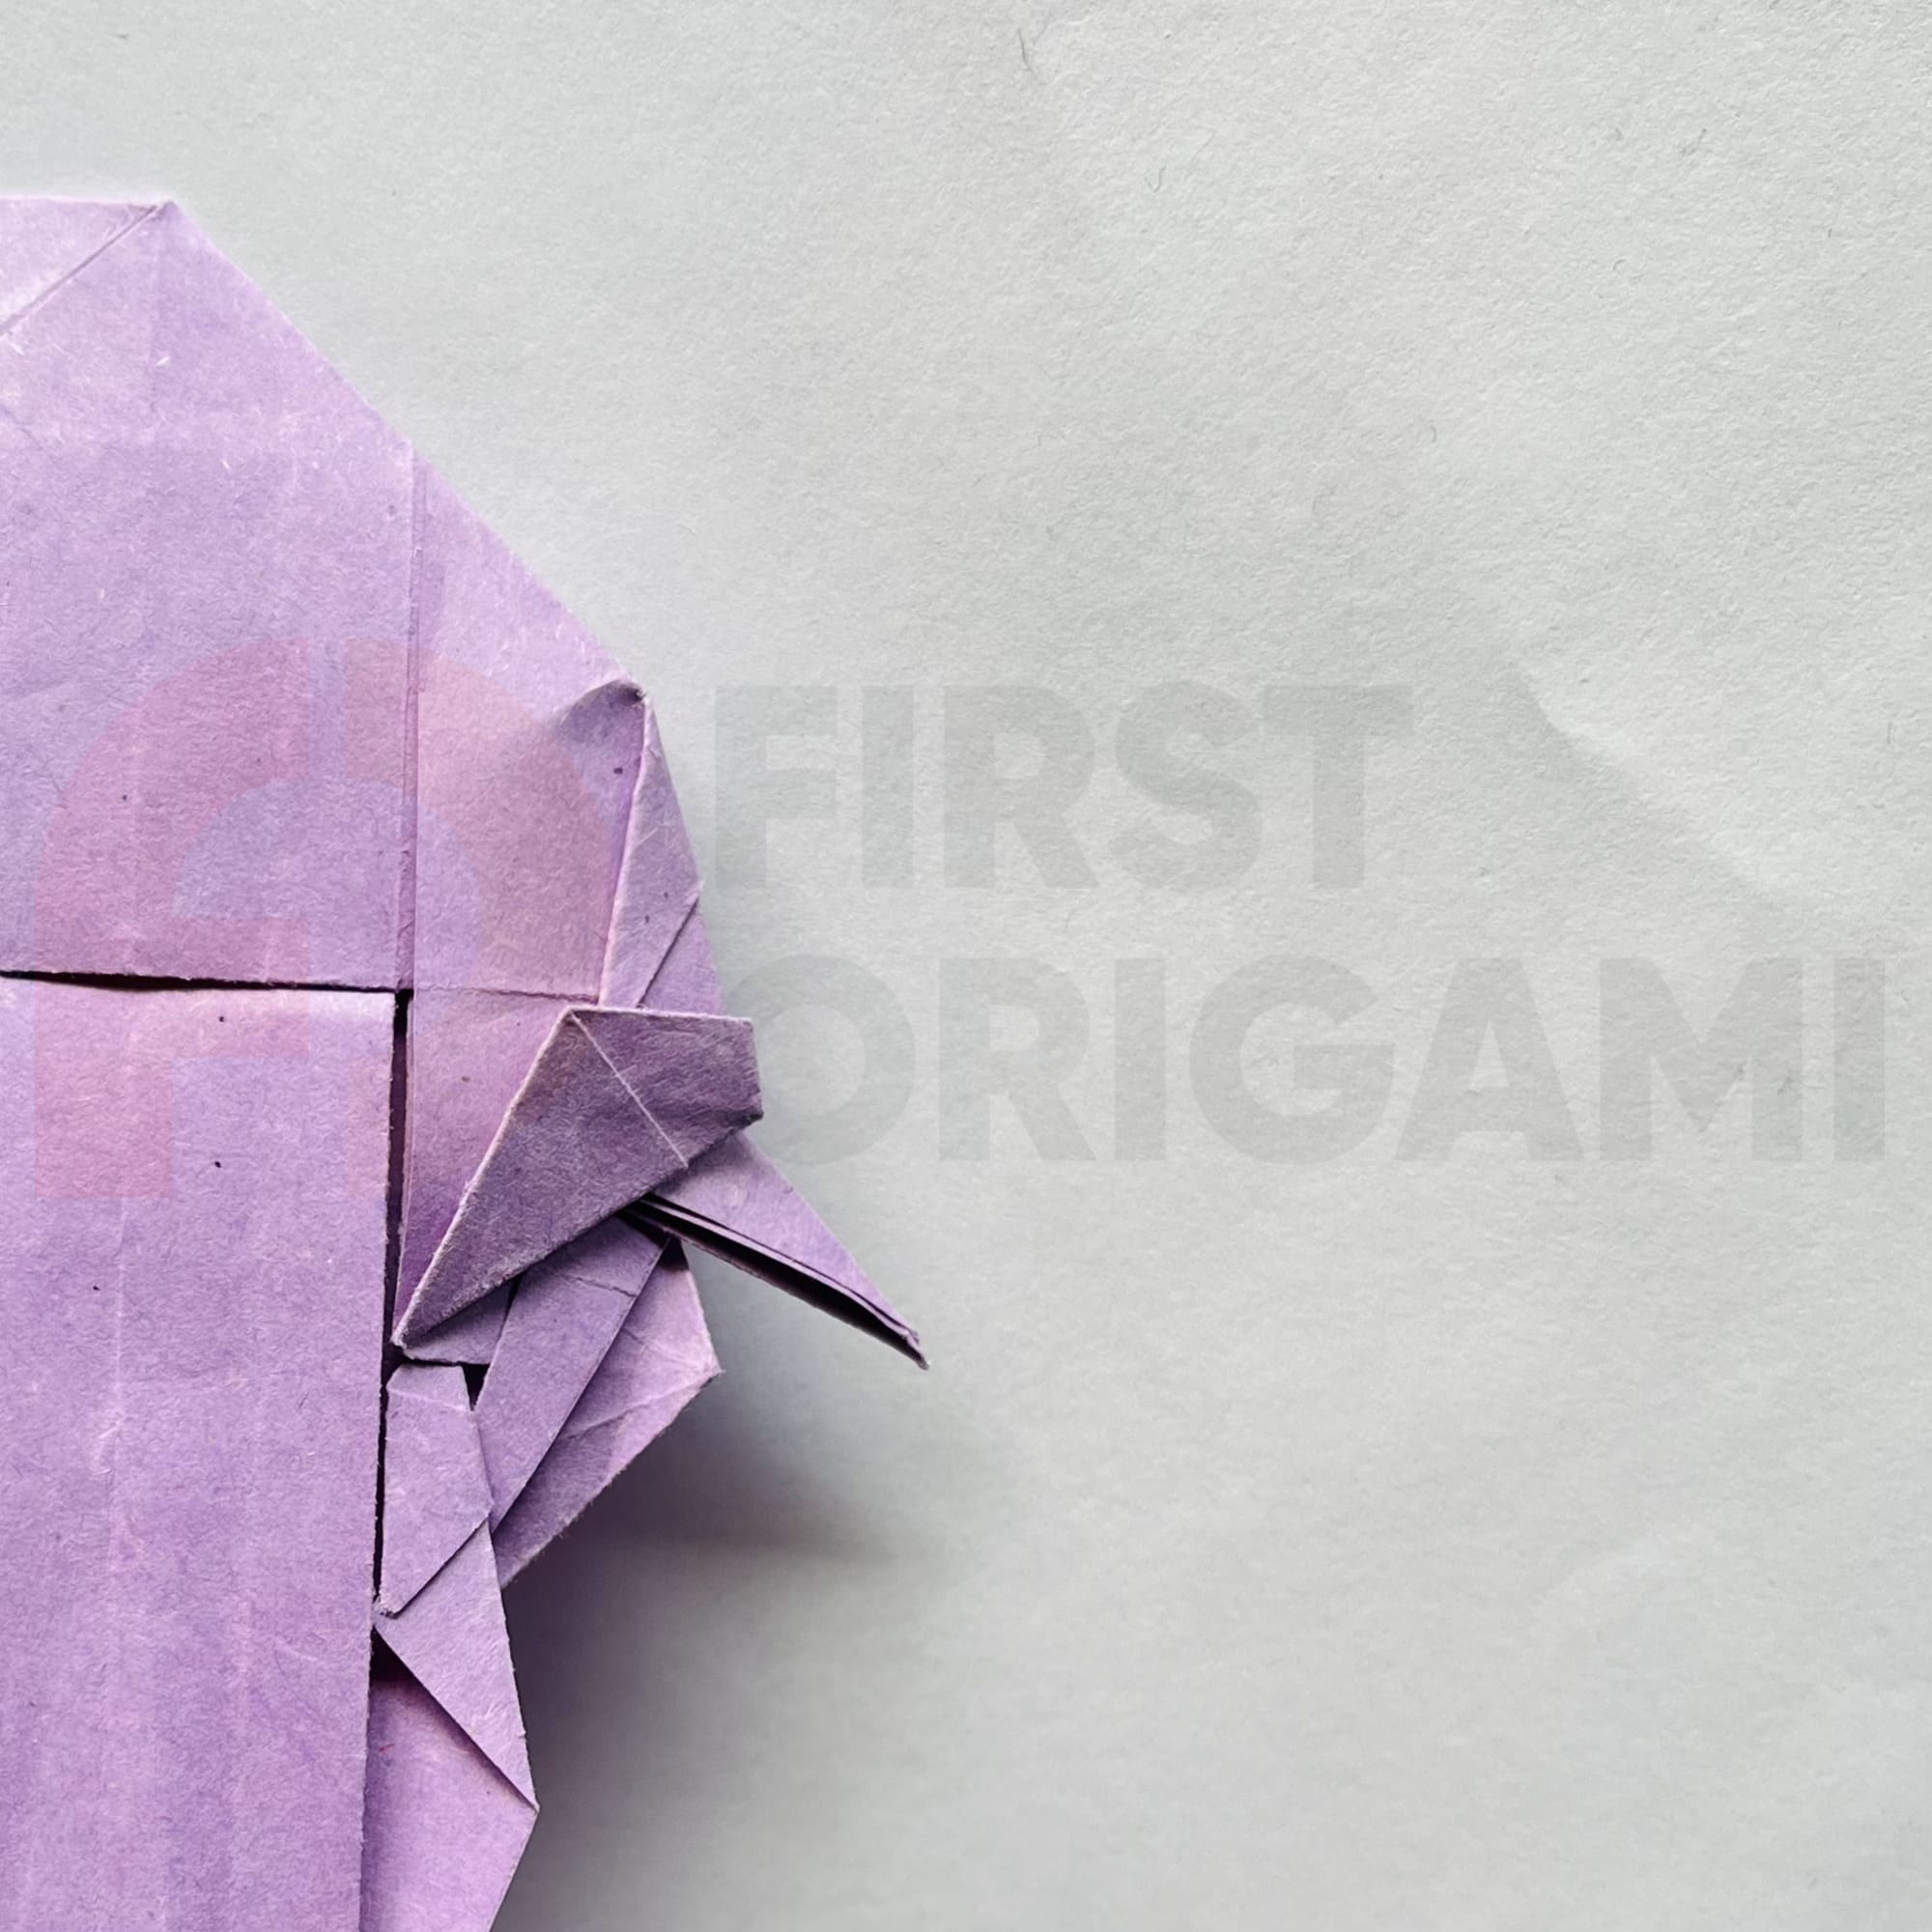
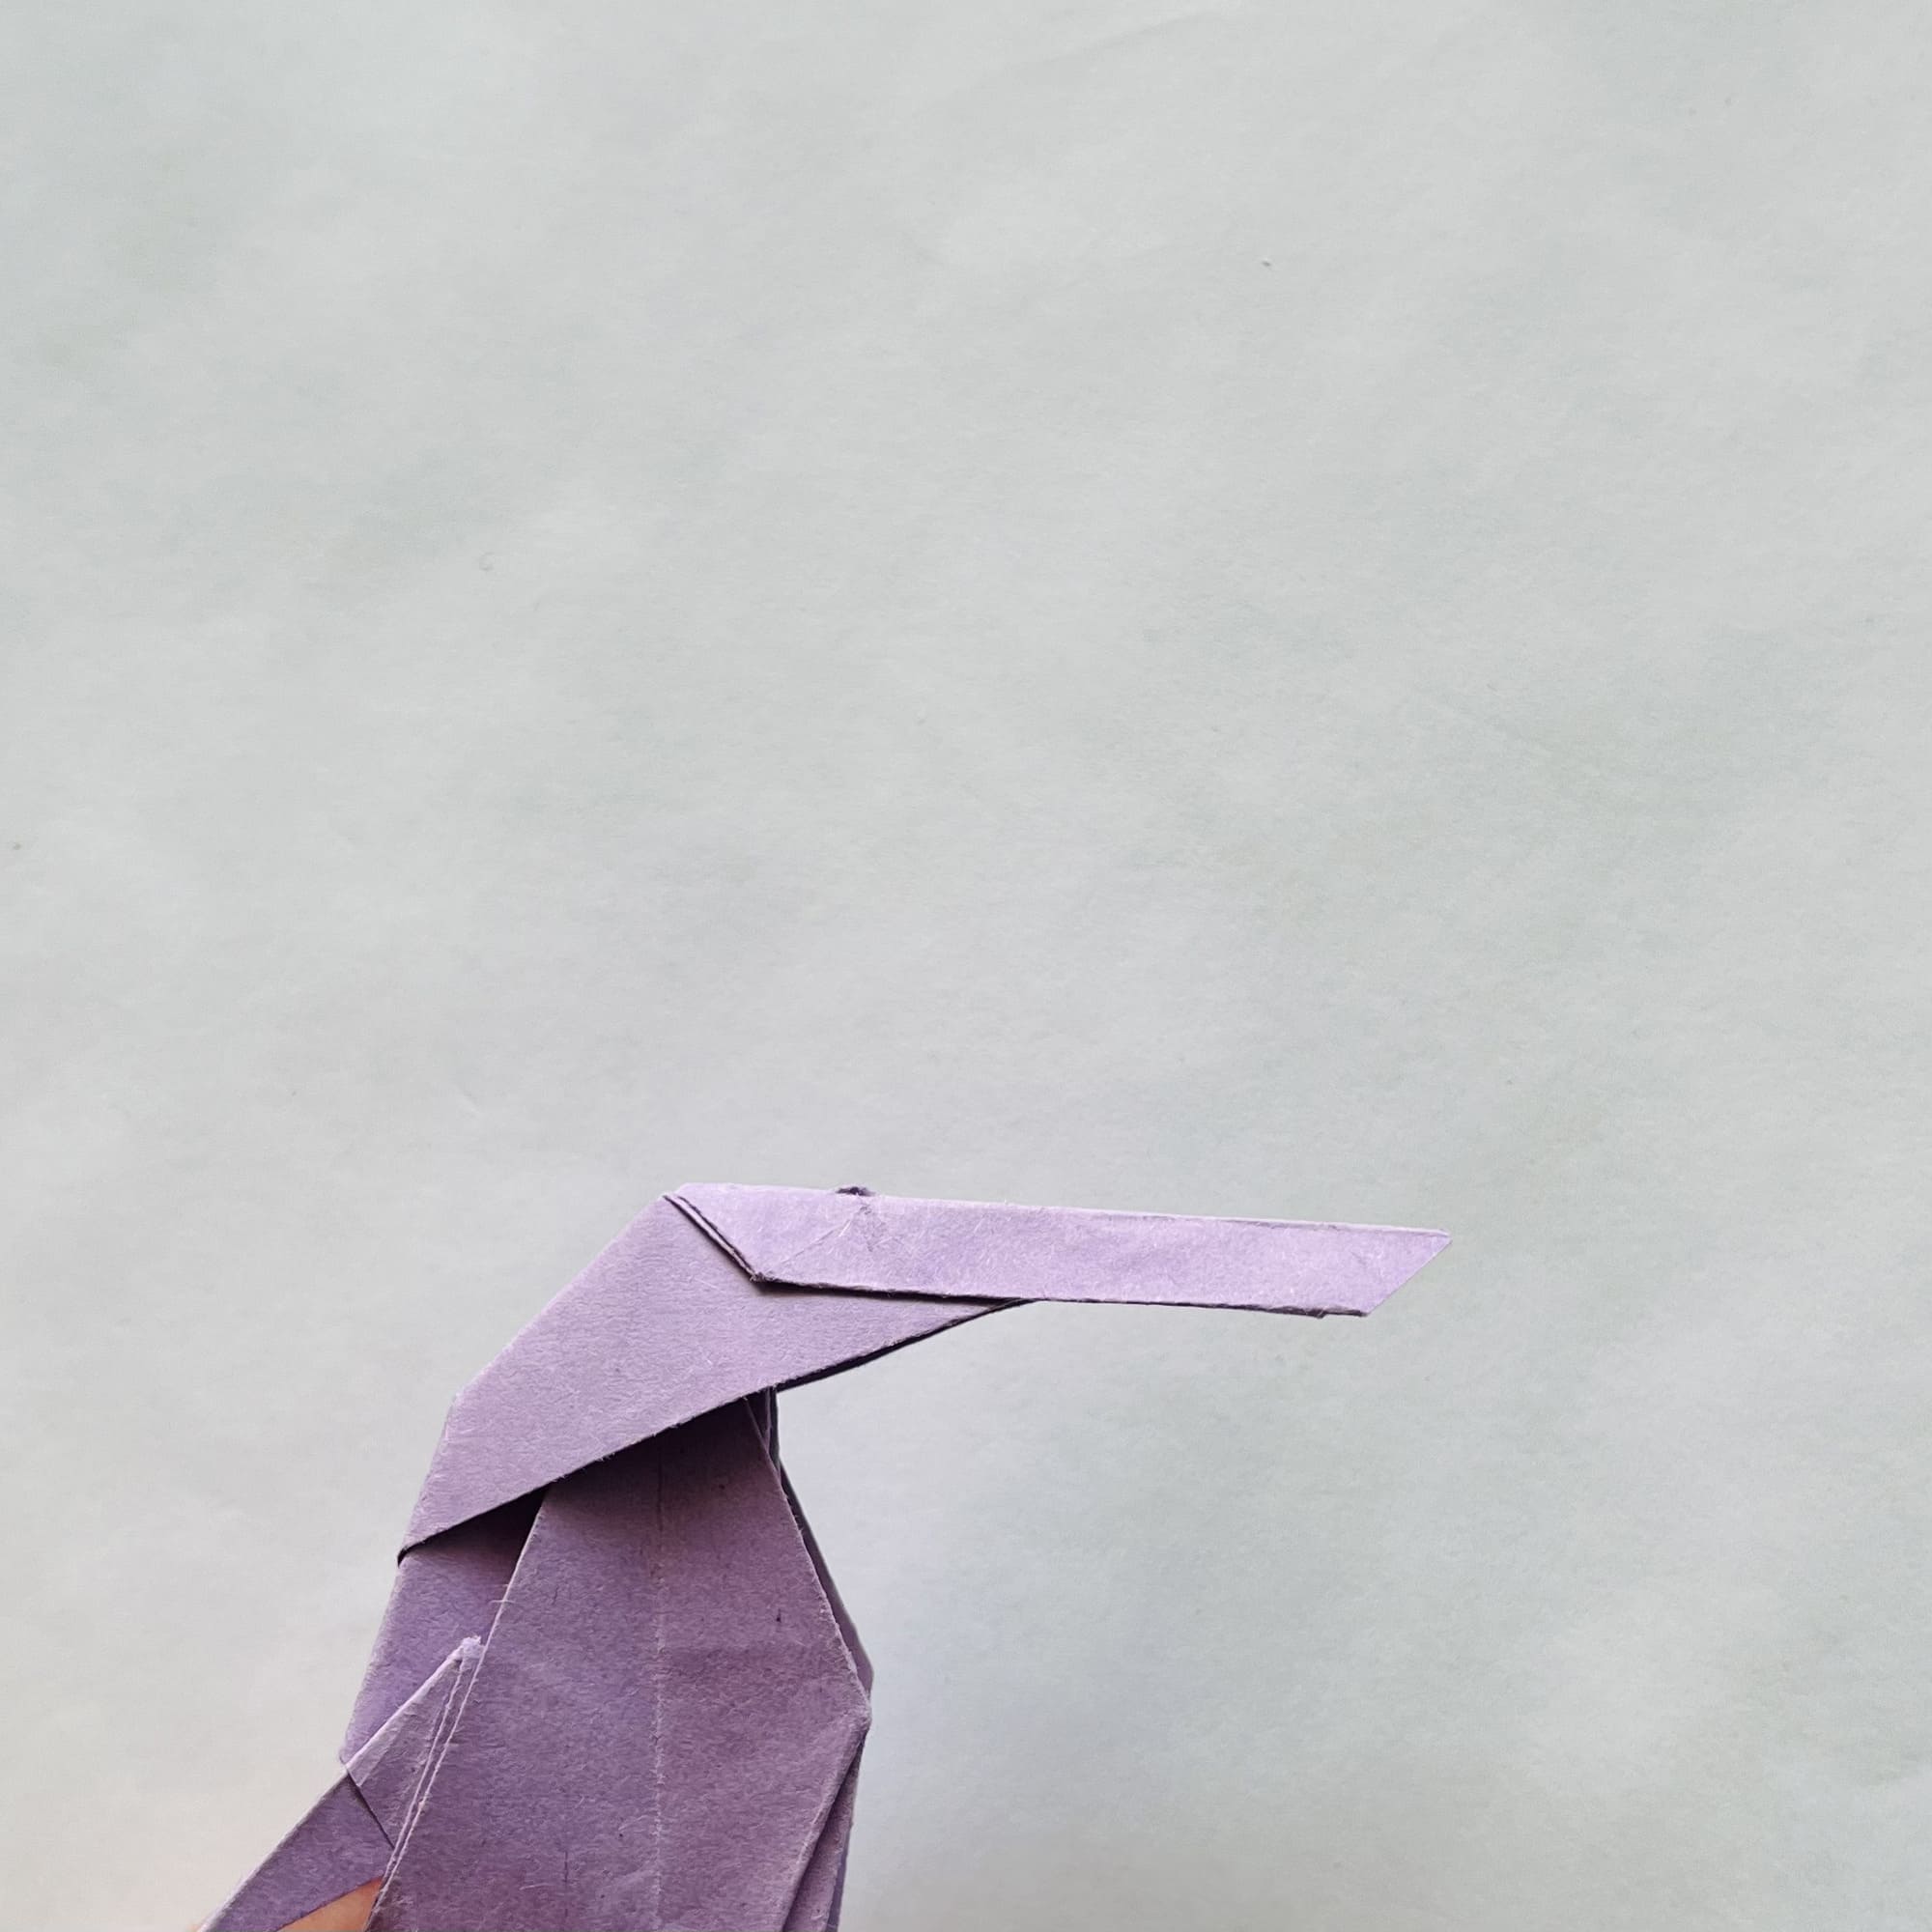
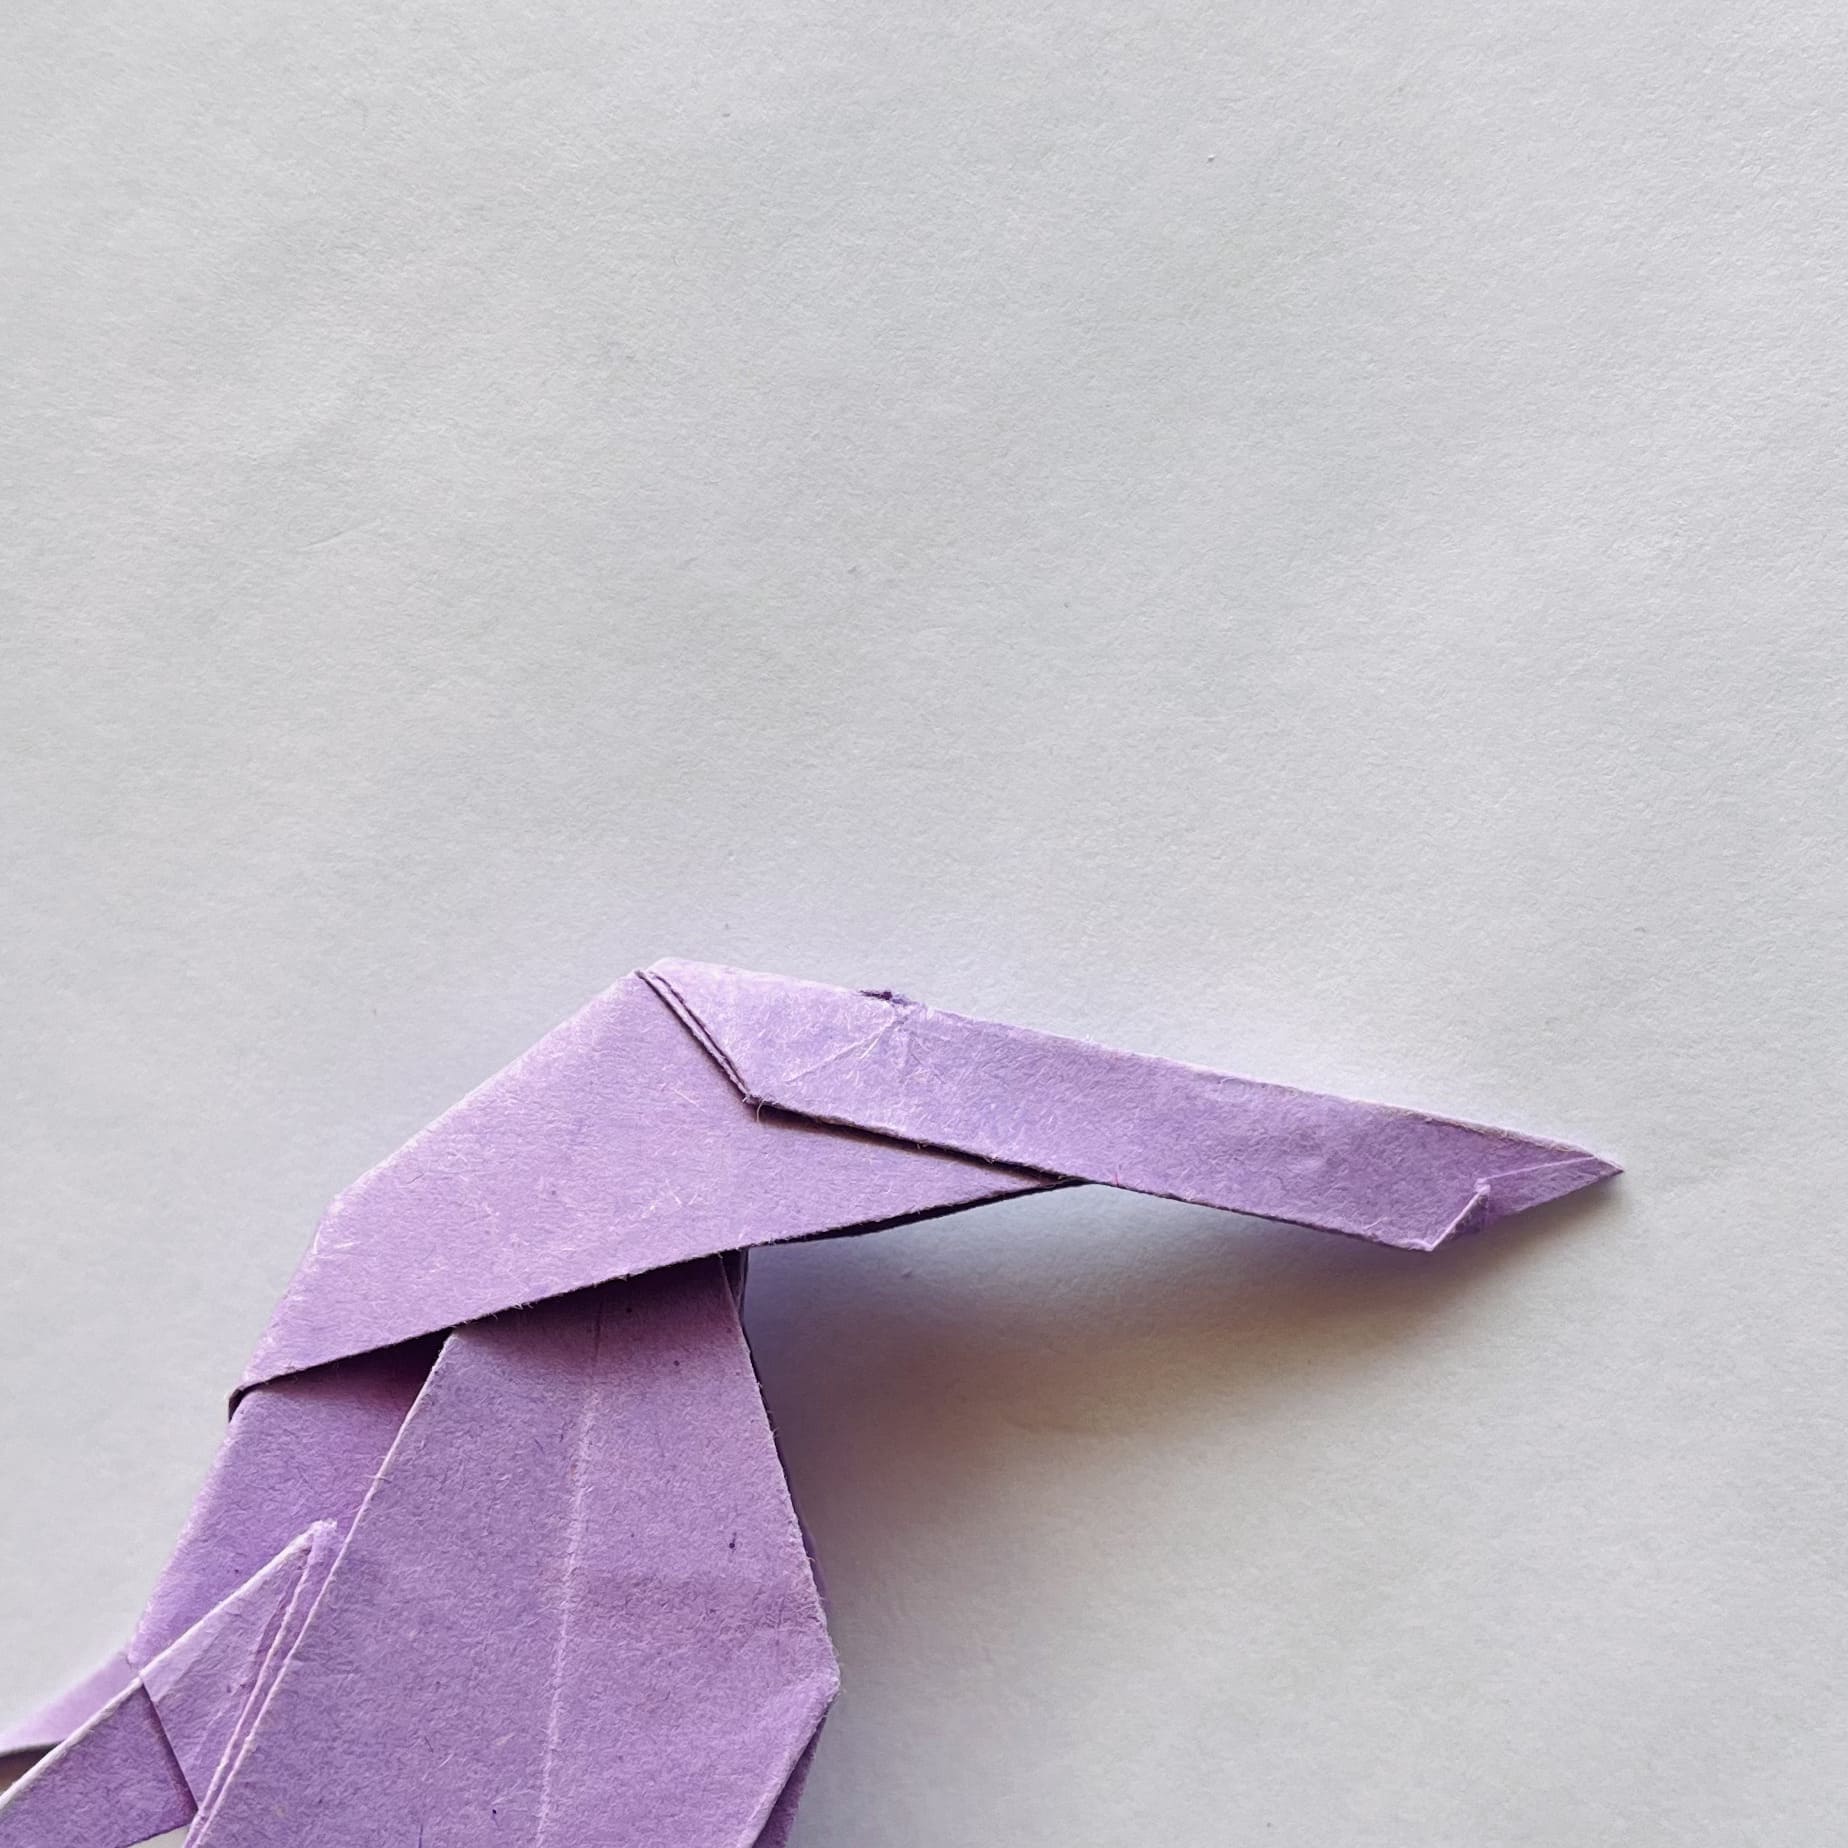
Bend the beak in a zigzag along the dotted lines.
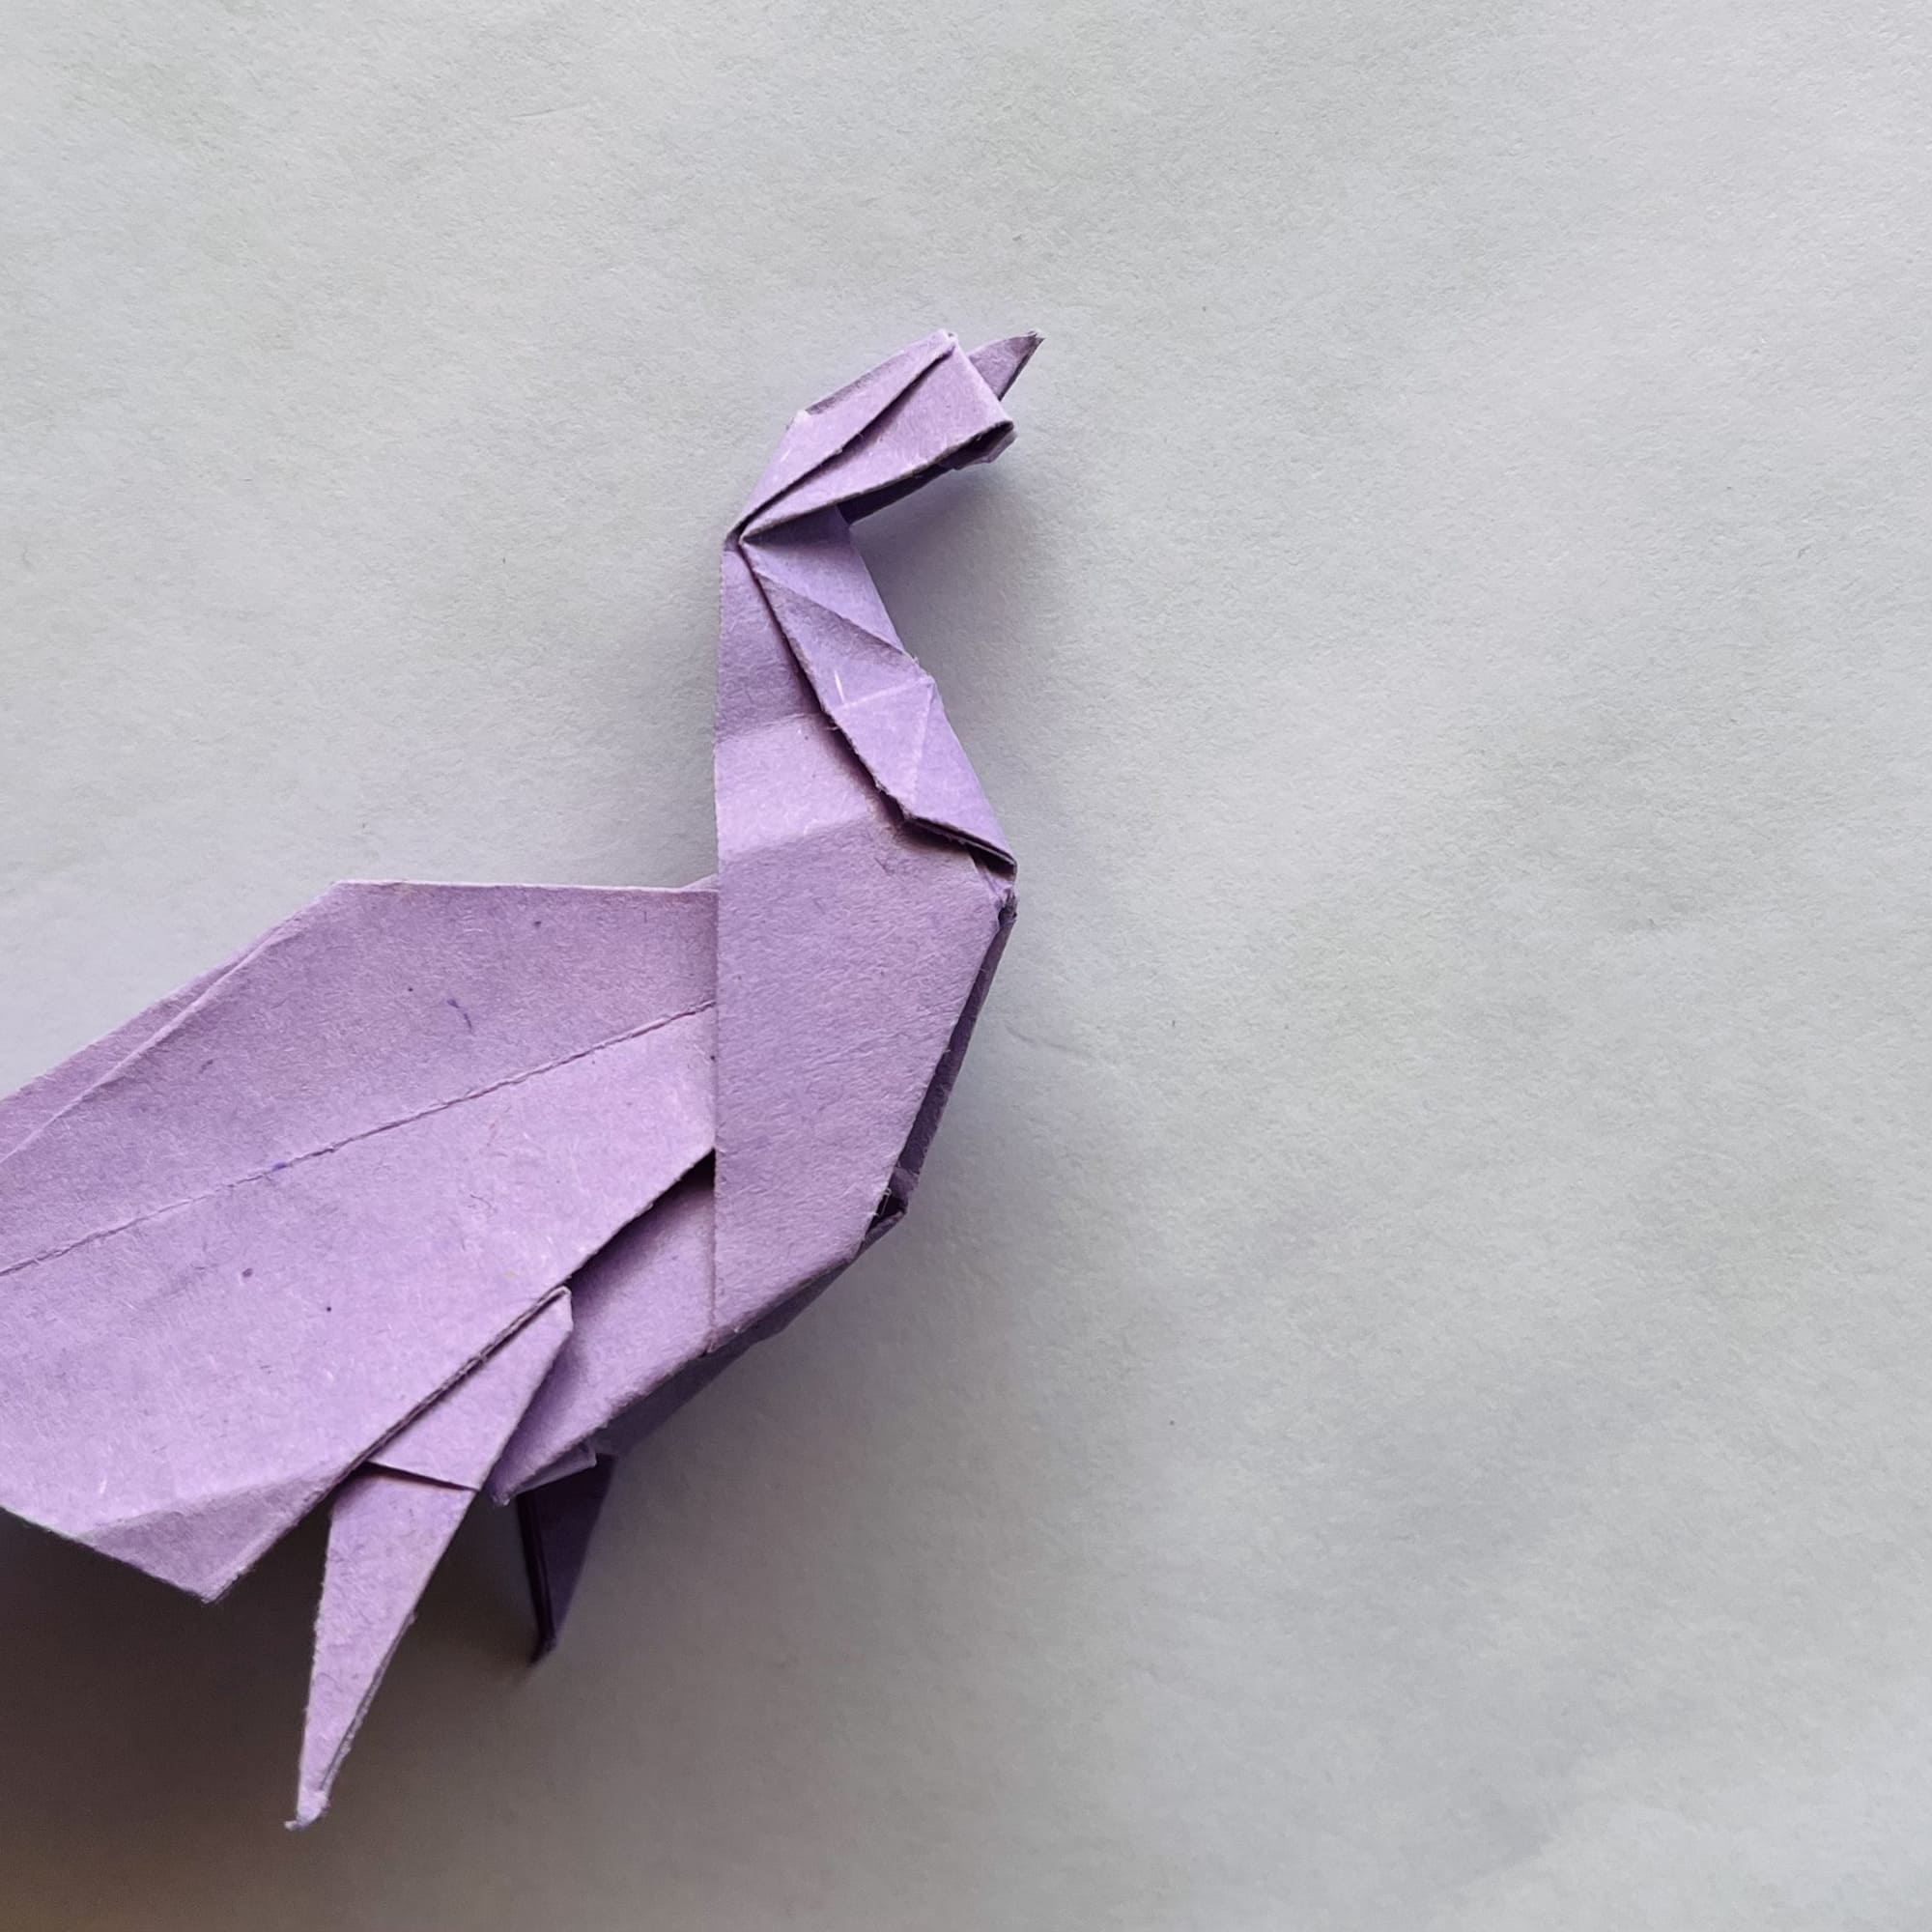
Now, fold the top layer of paper into the inner pocket on both sides.
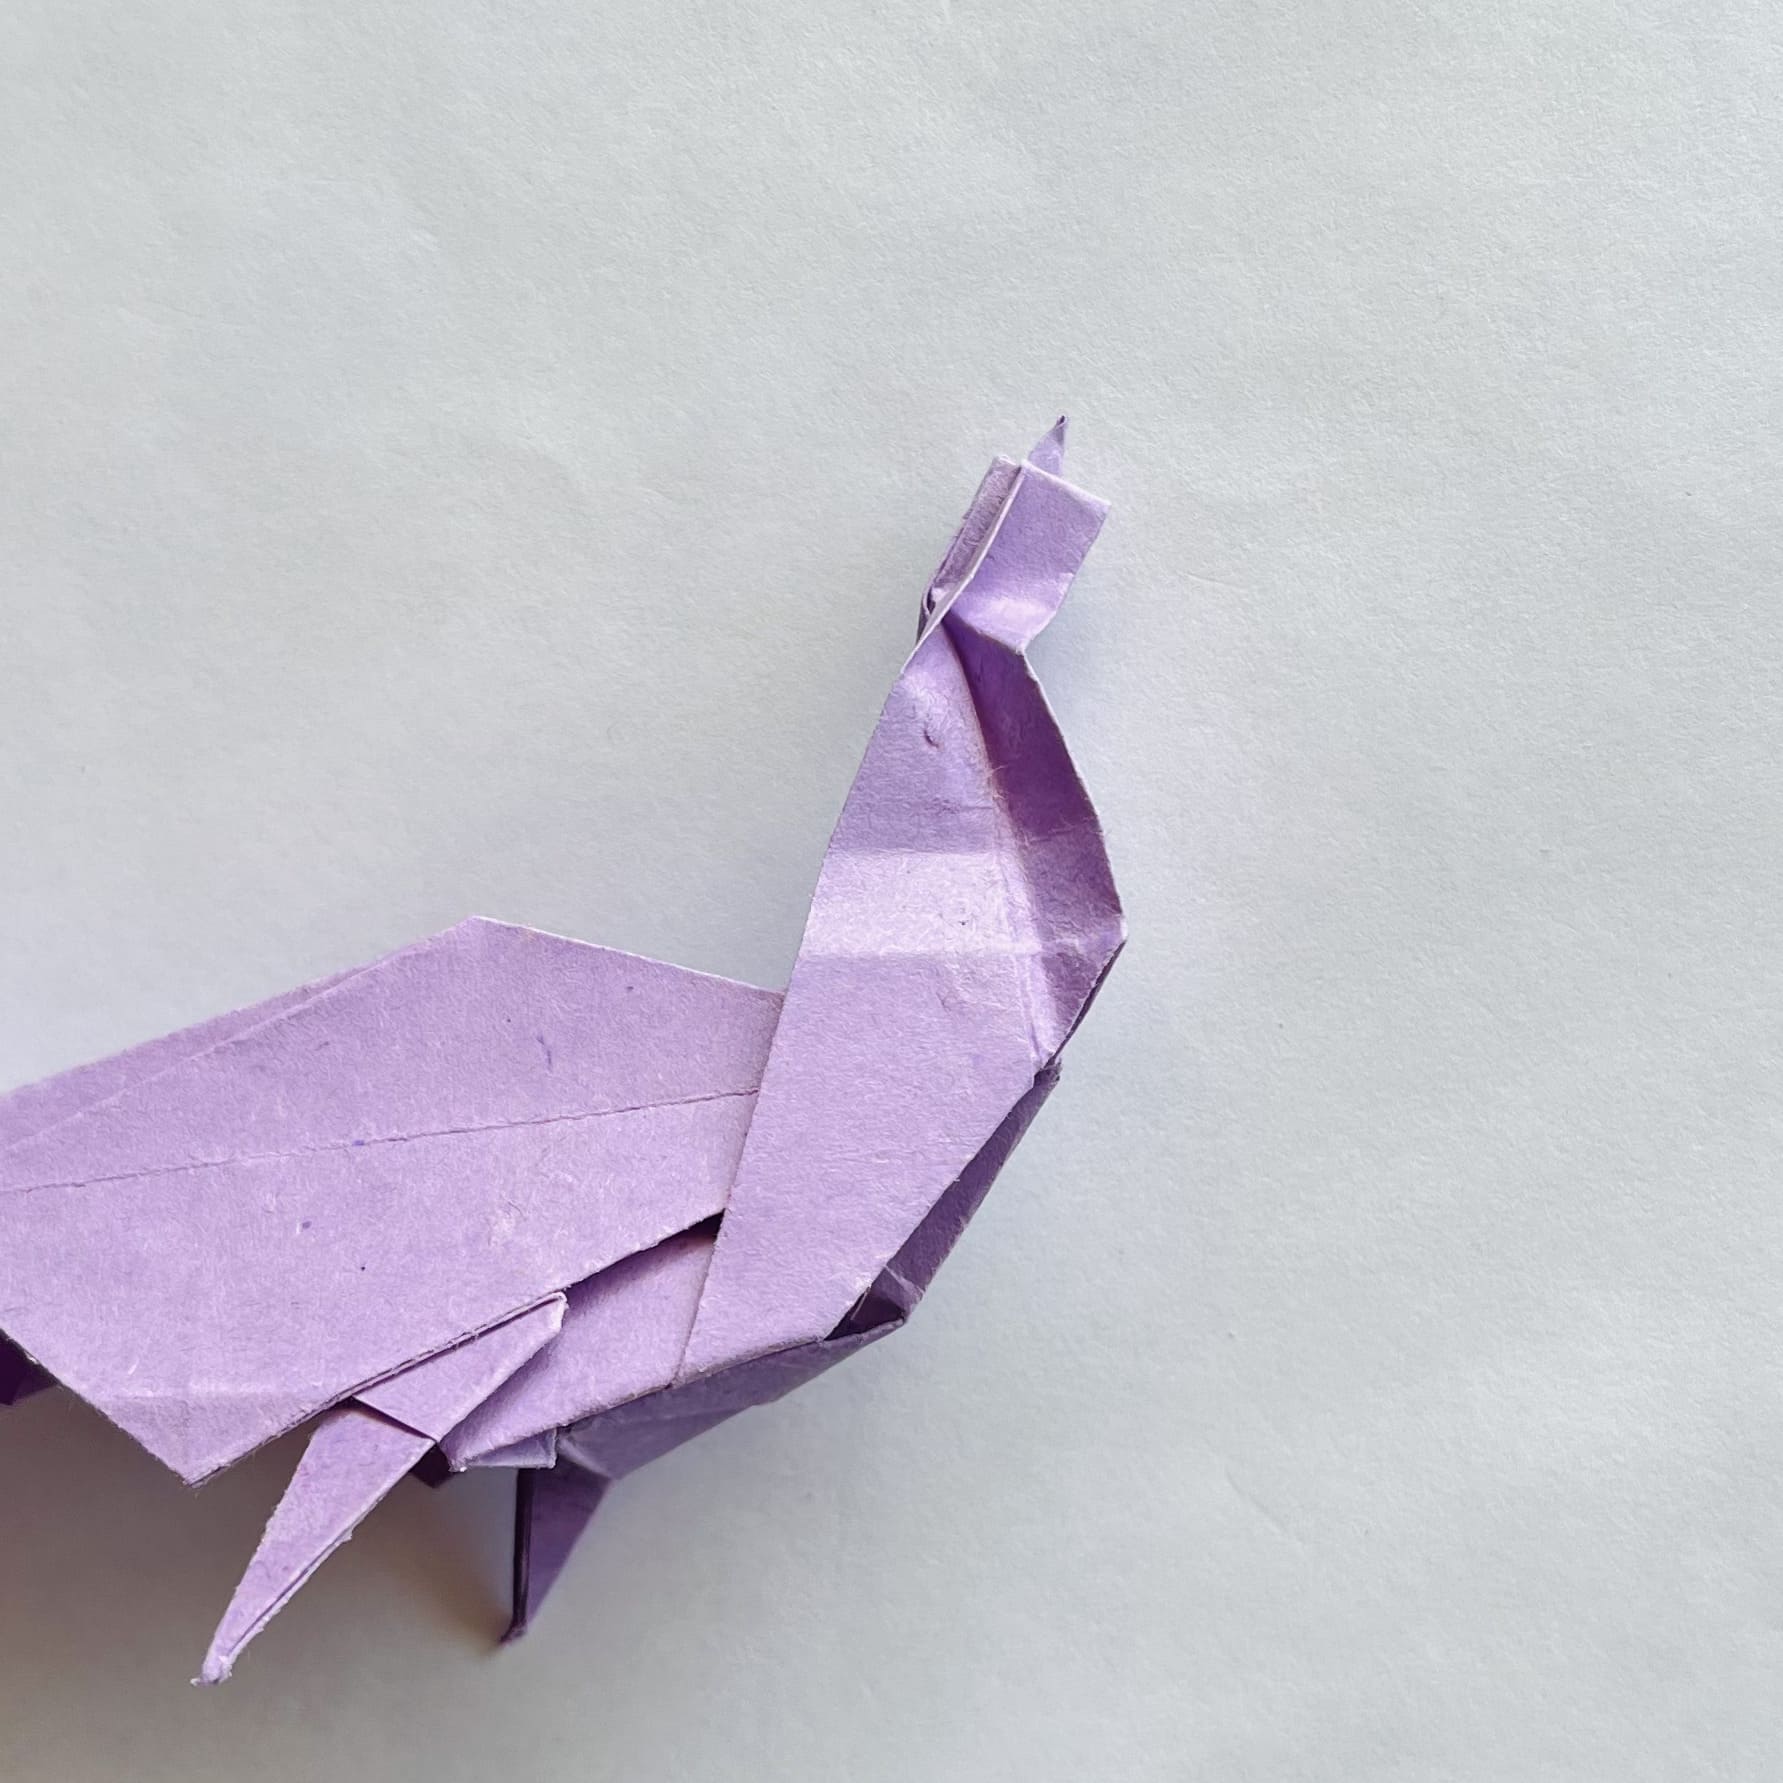
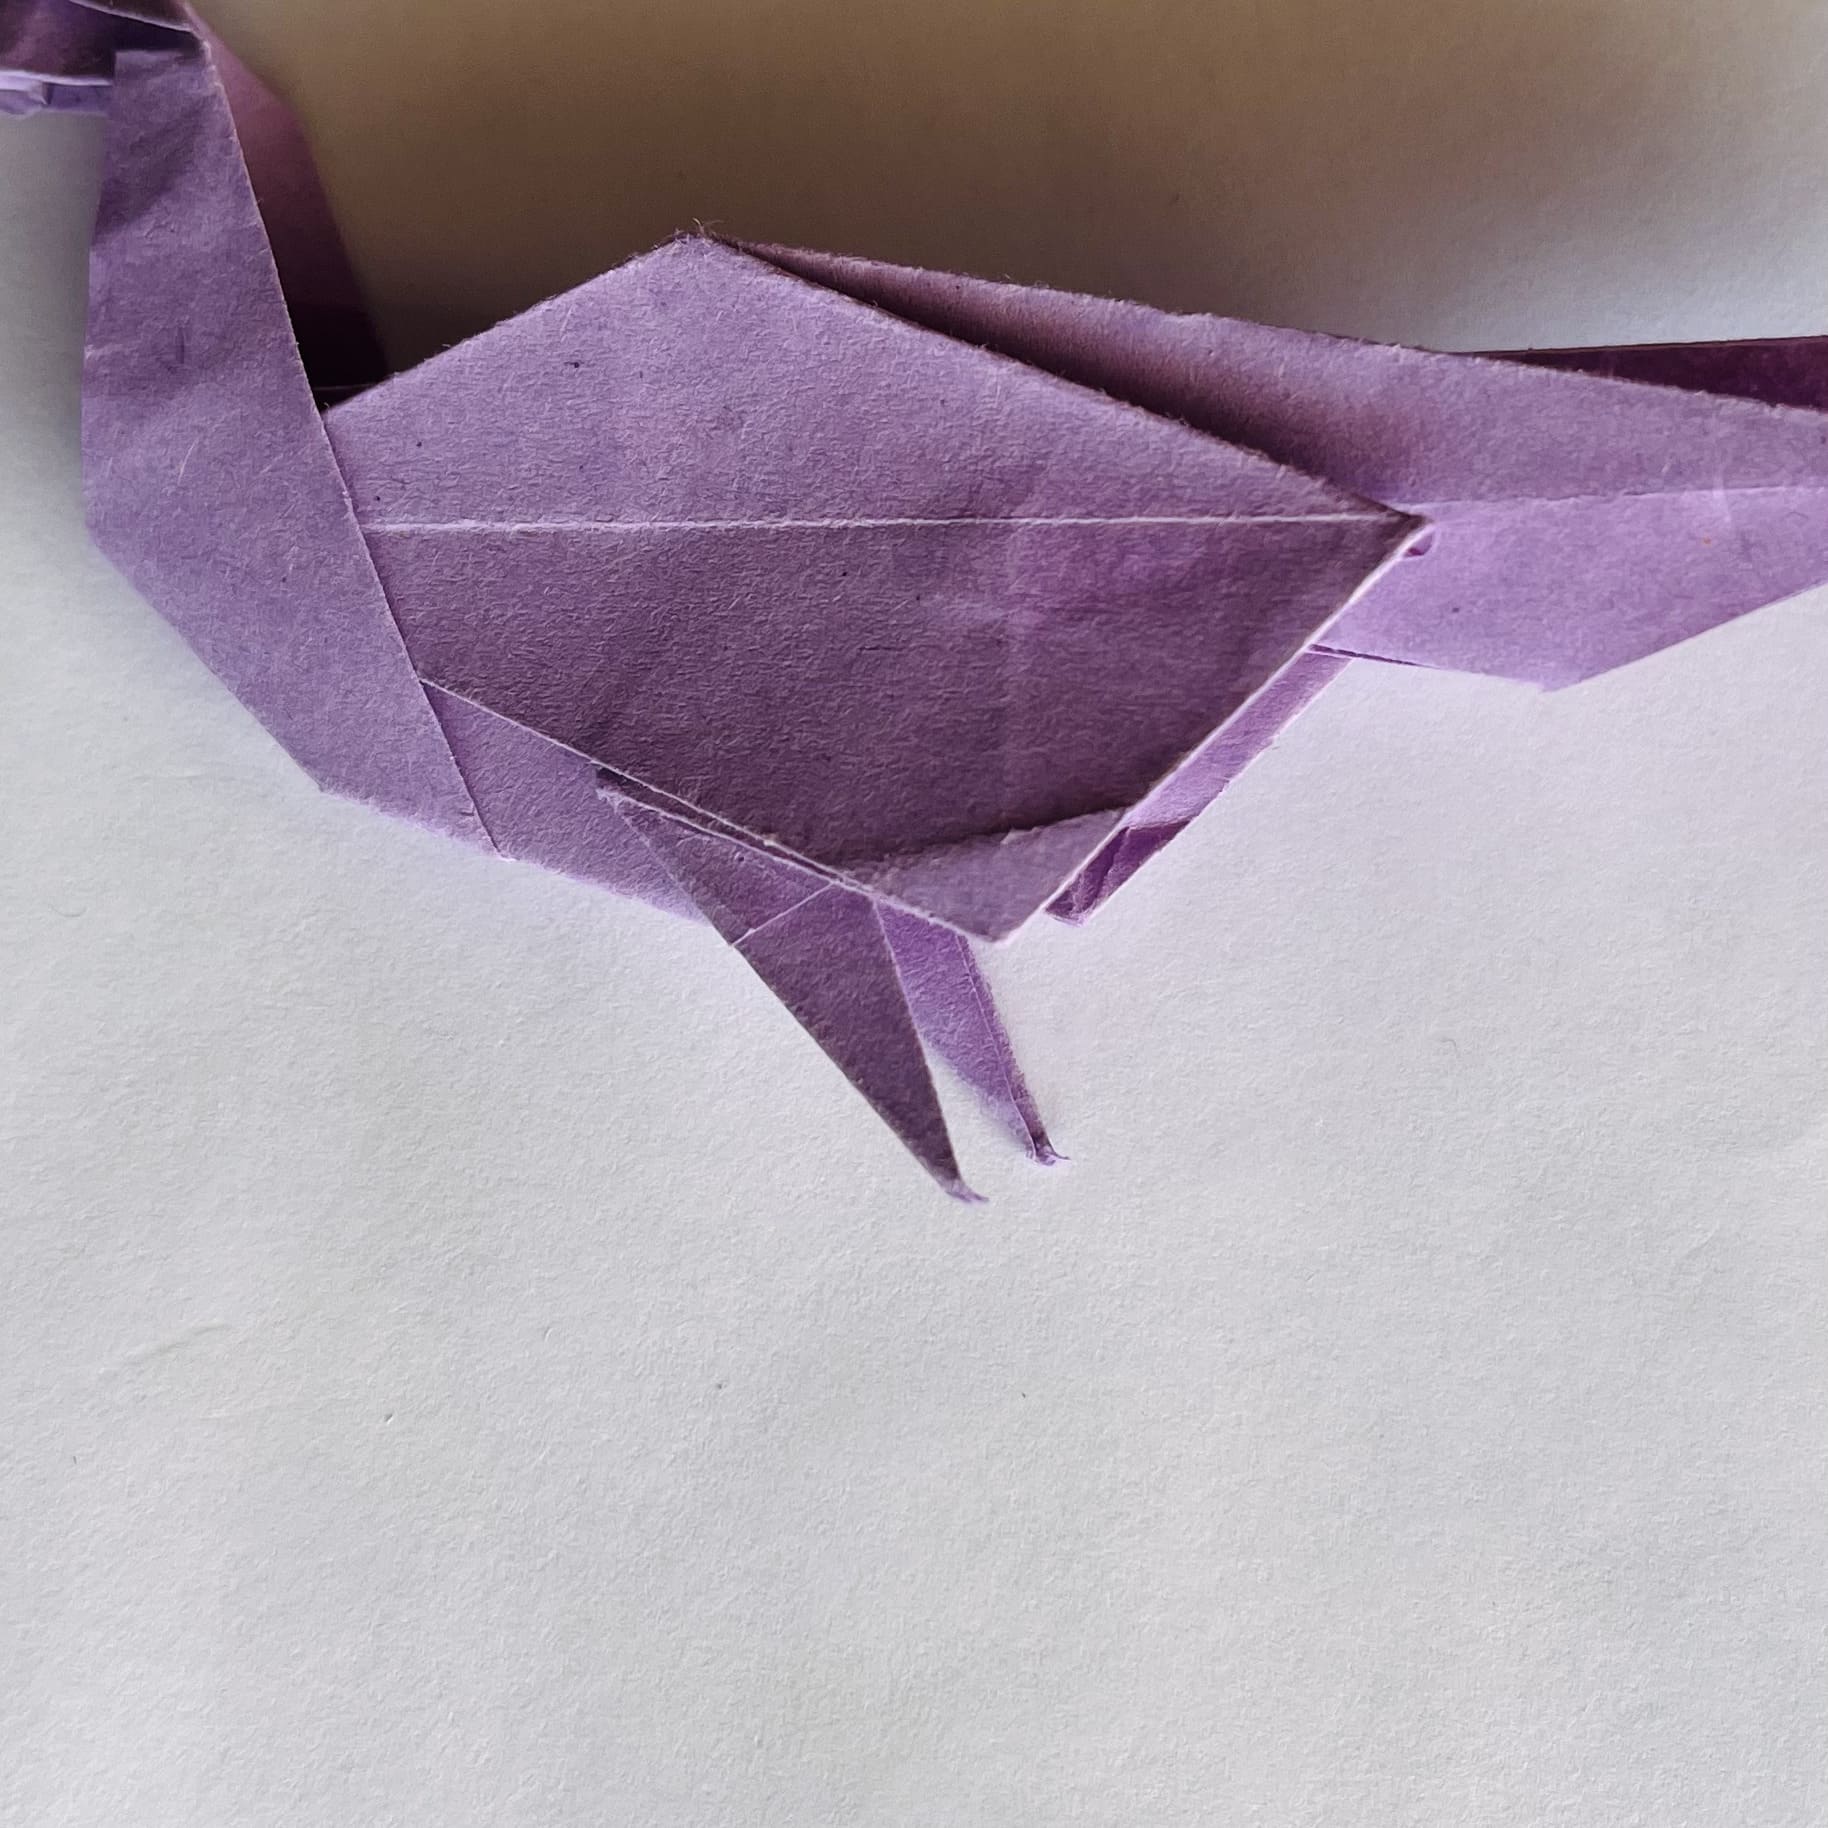
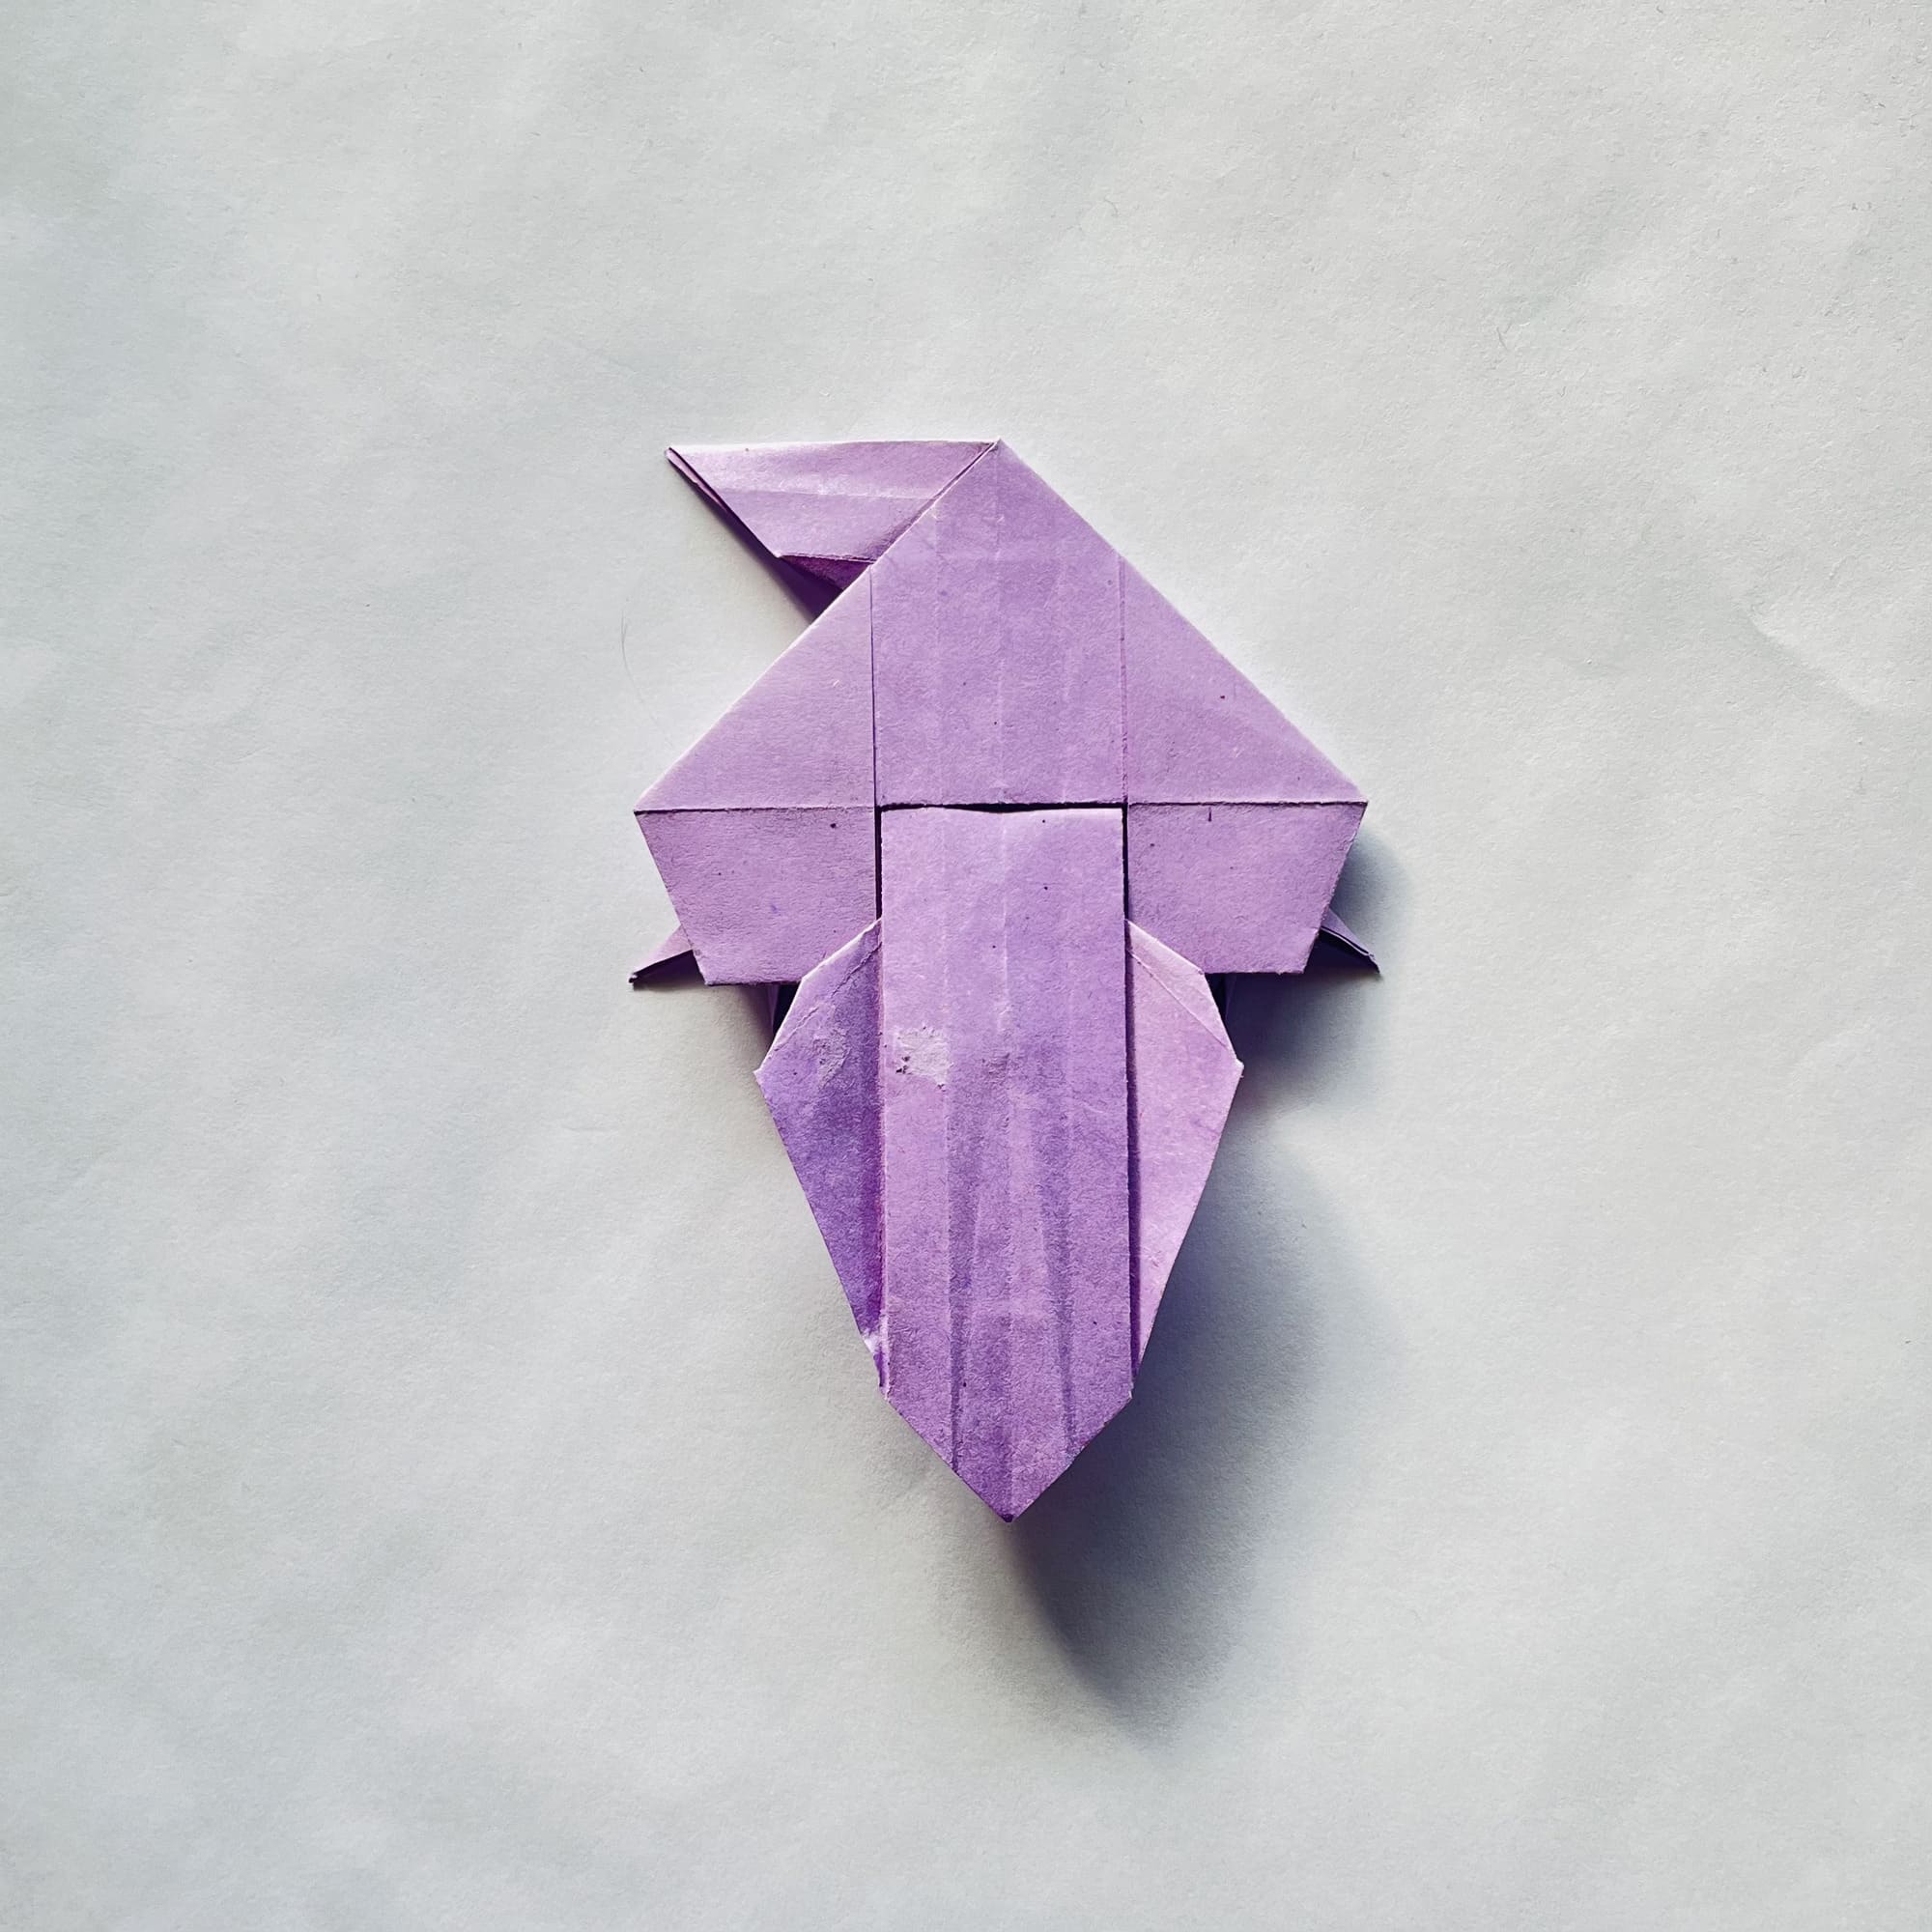
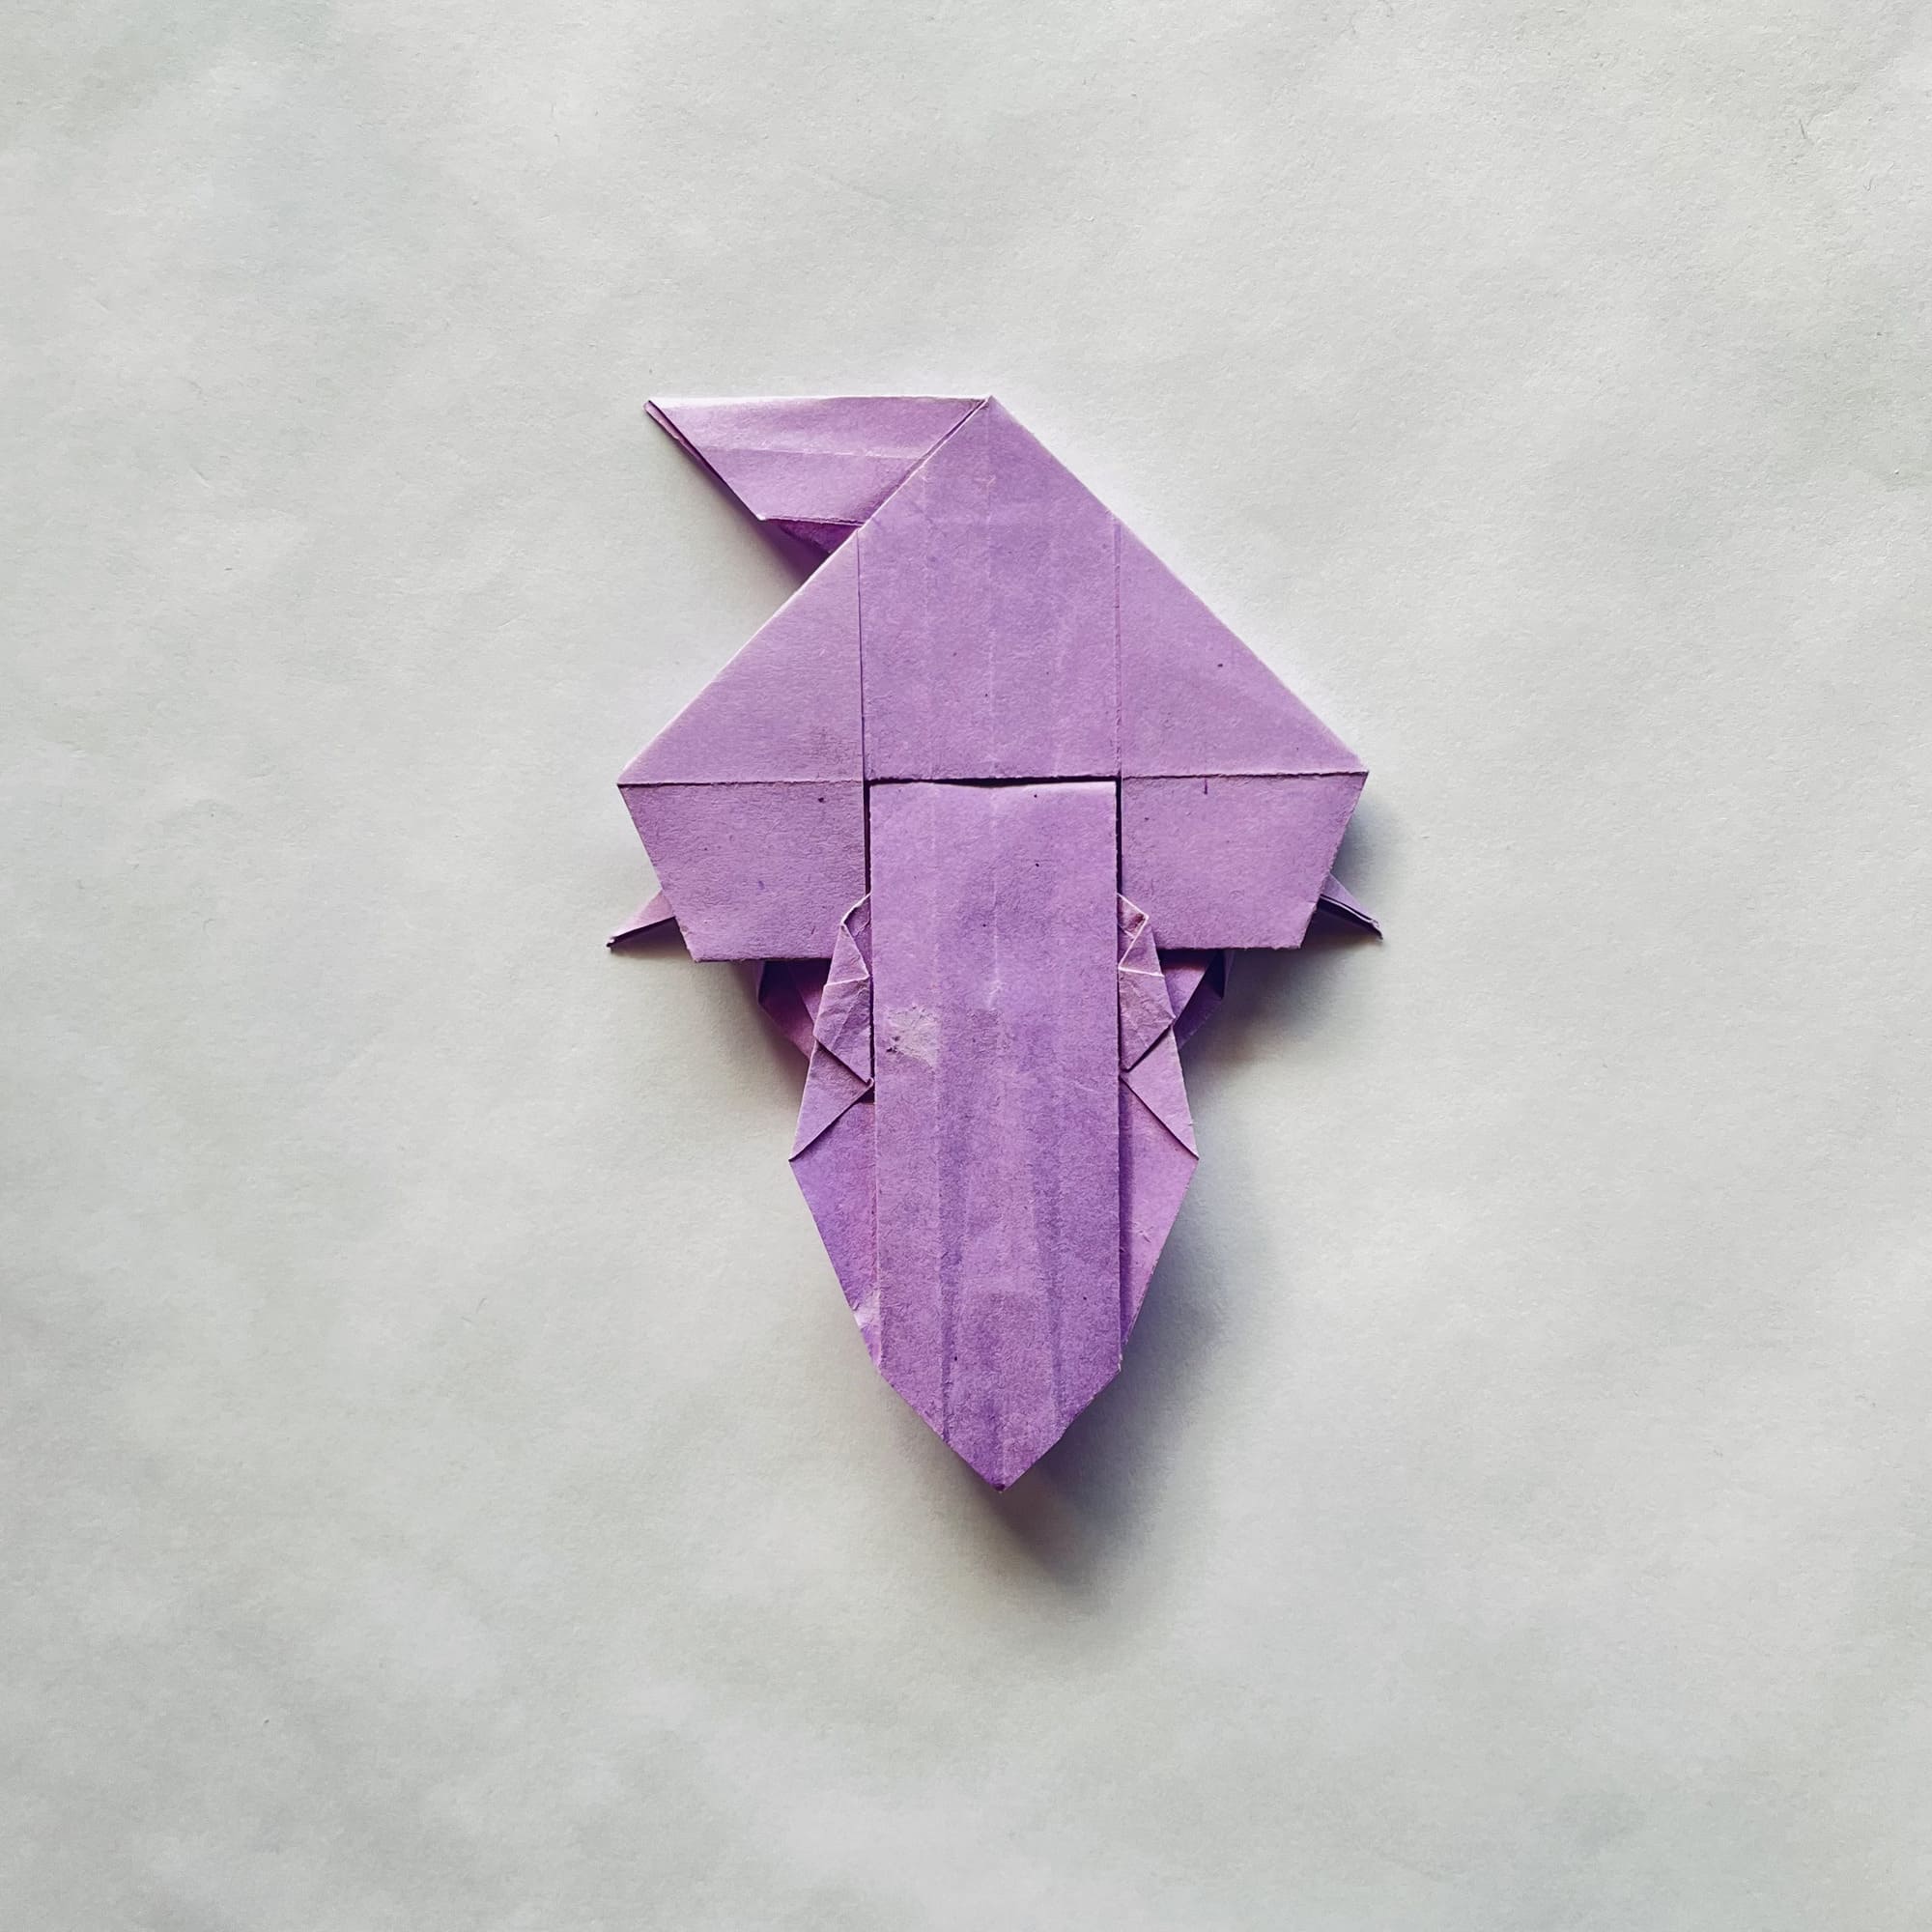
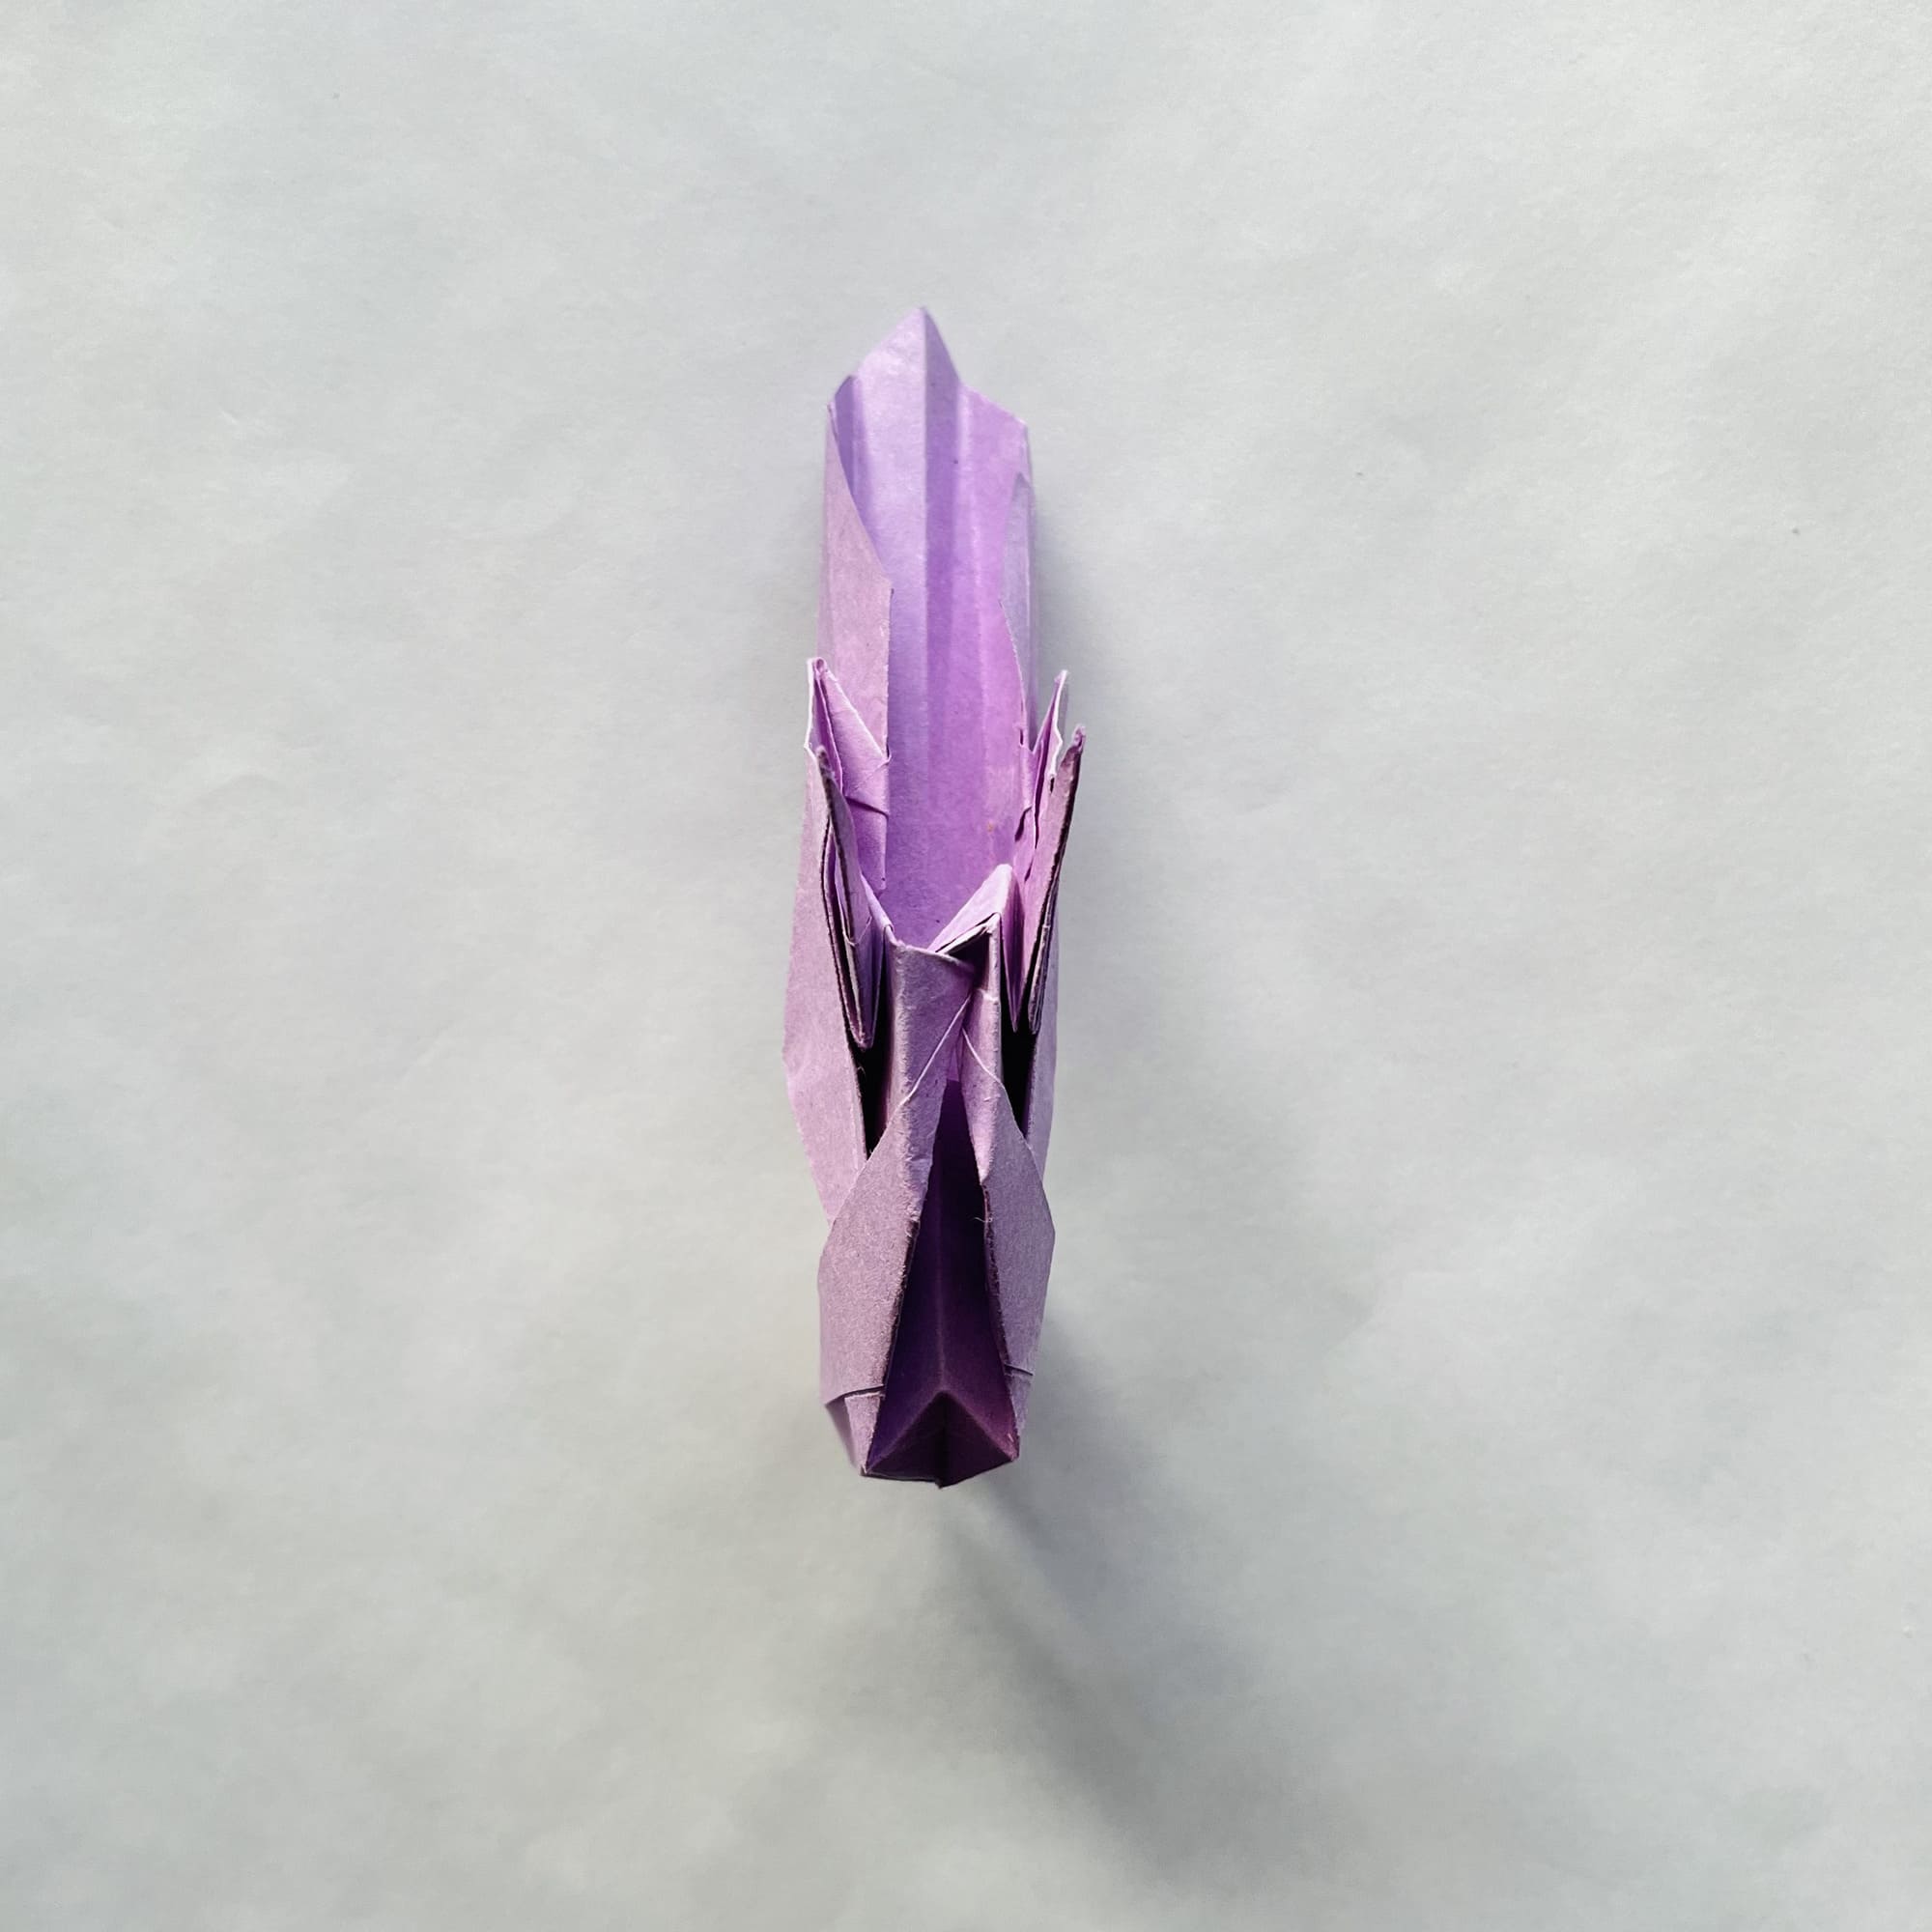
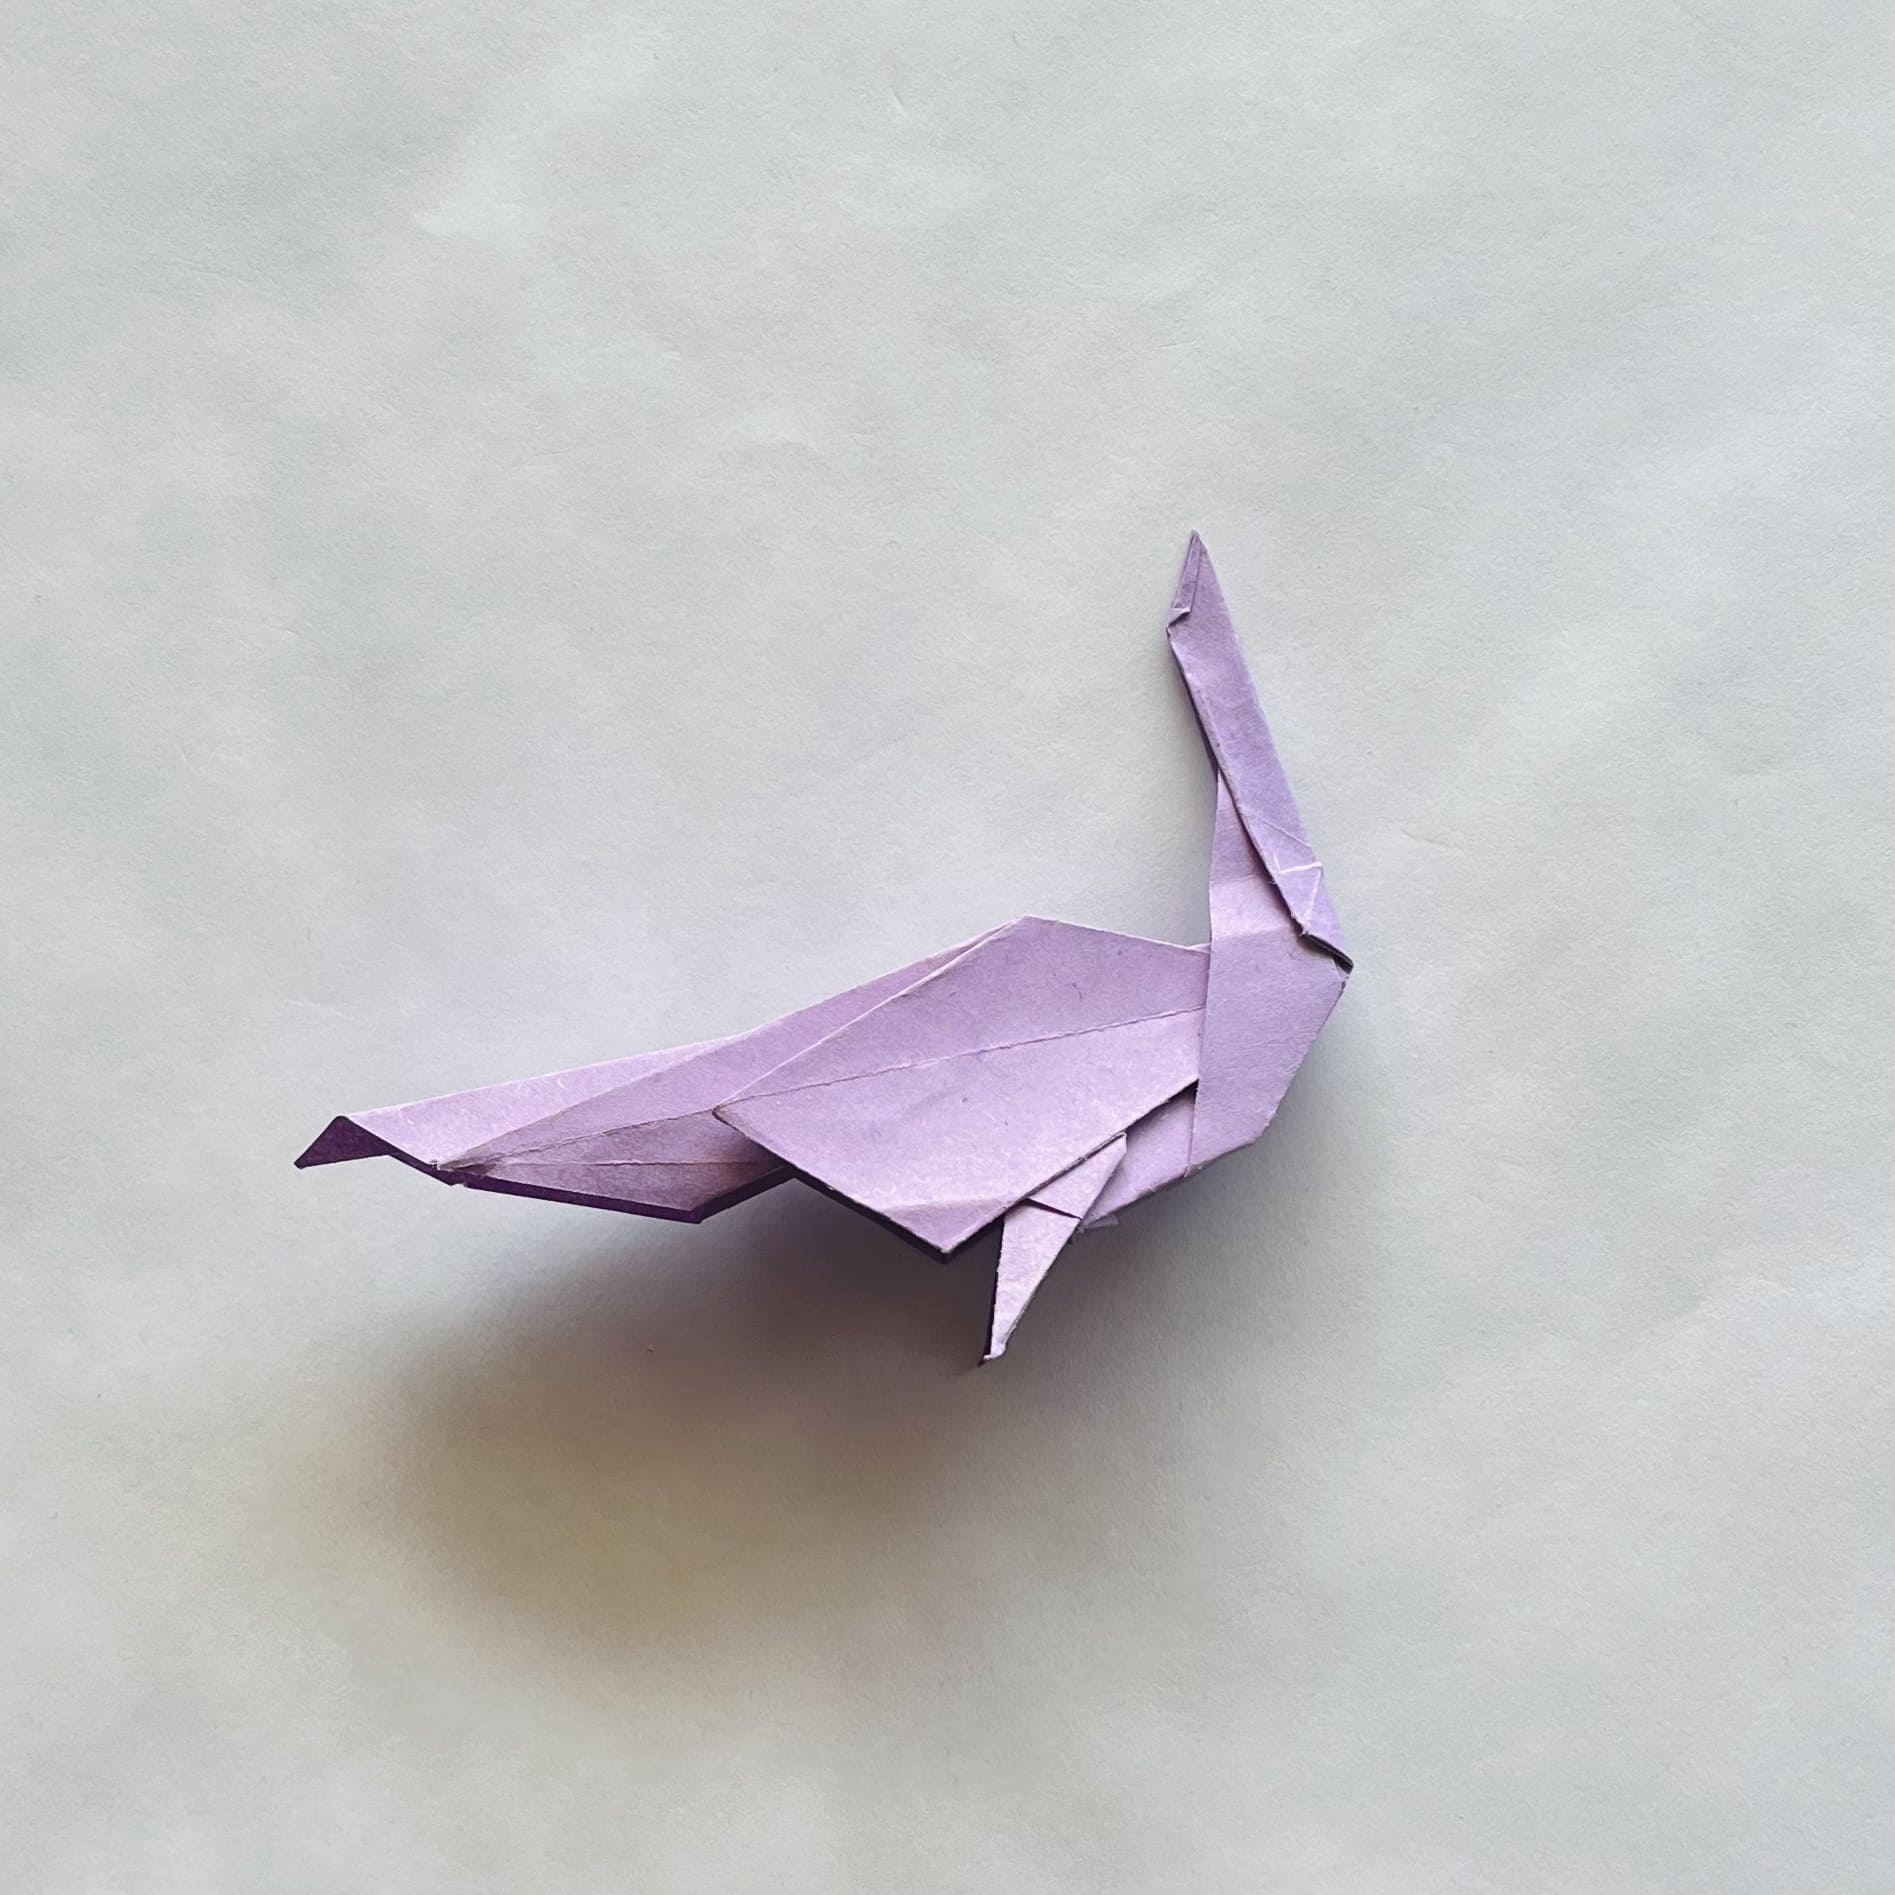
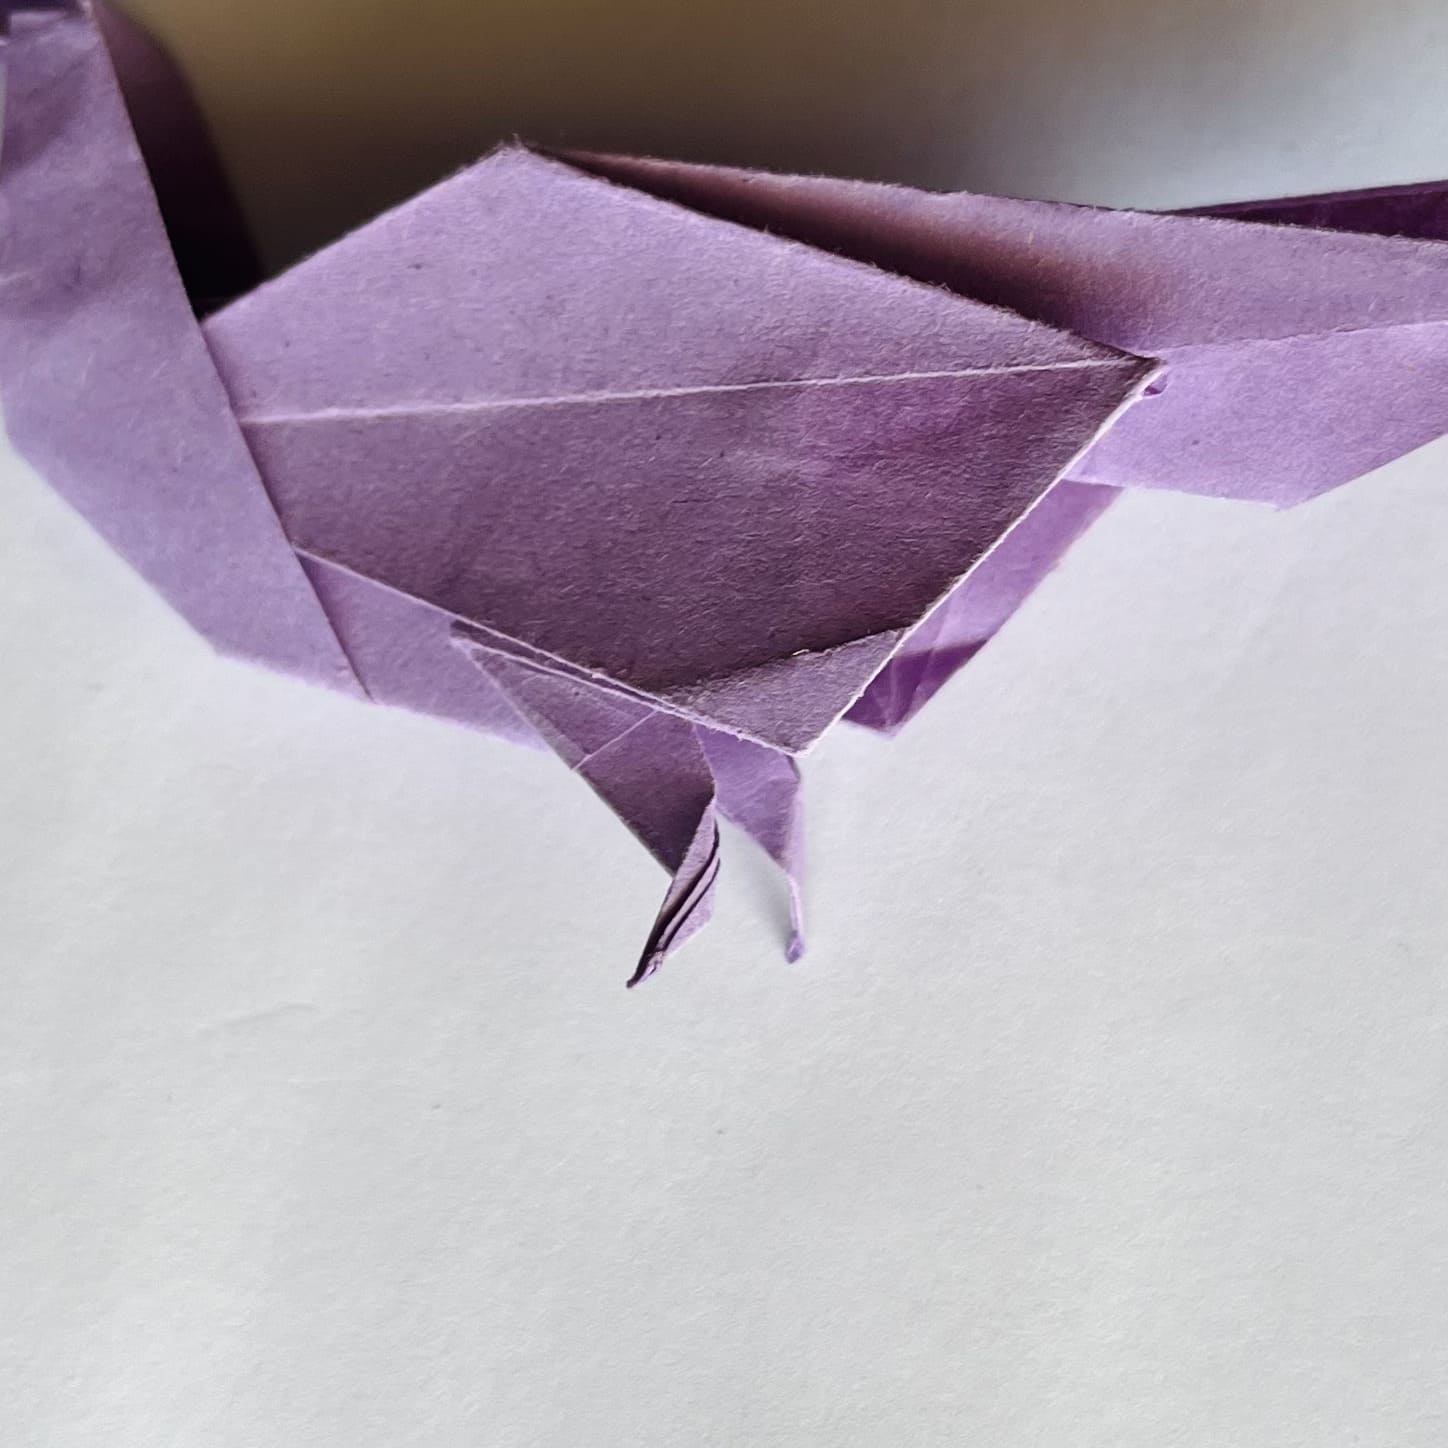
It remains to finalize the legs: bend them as shown in the photo.
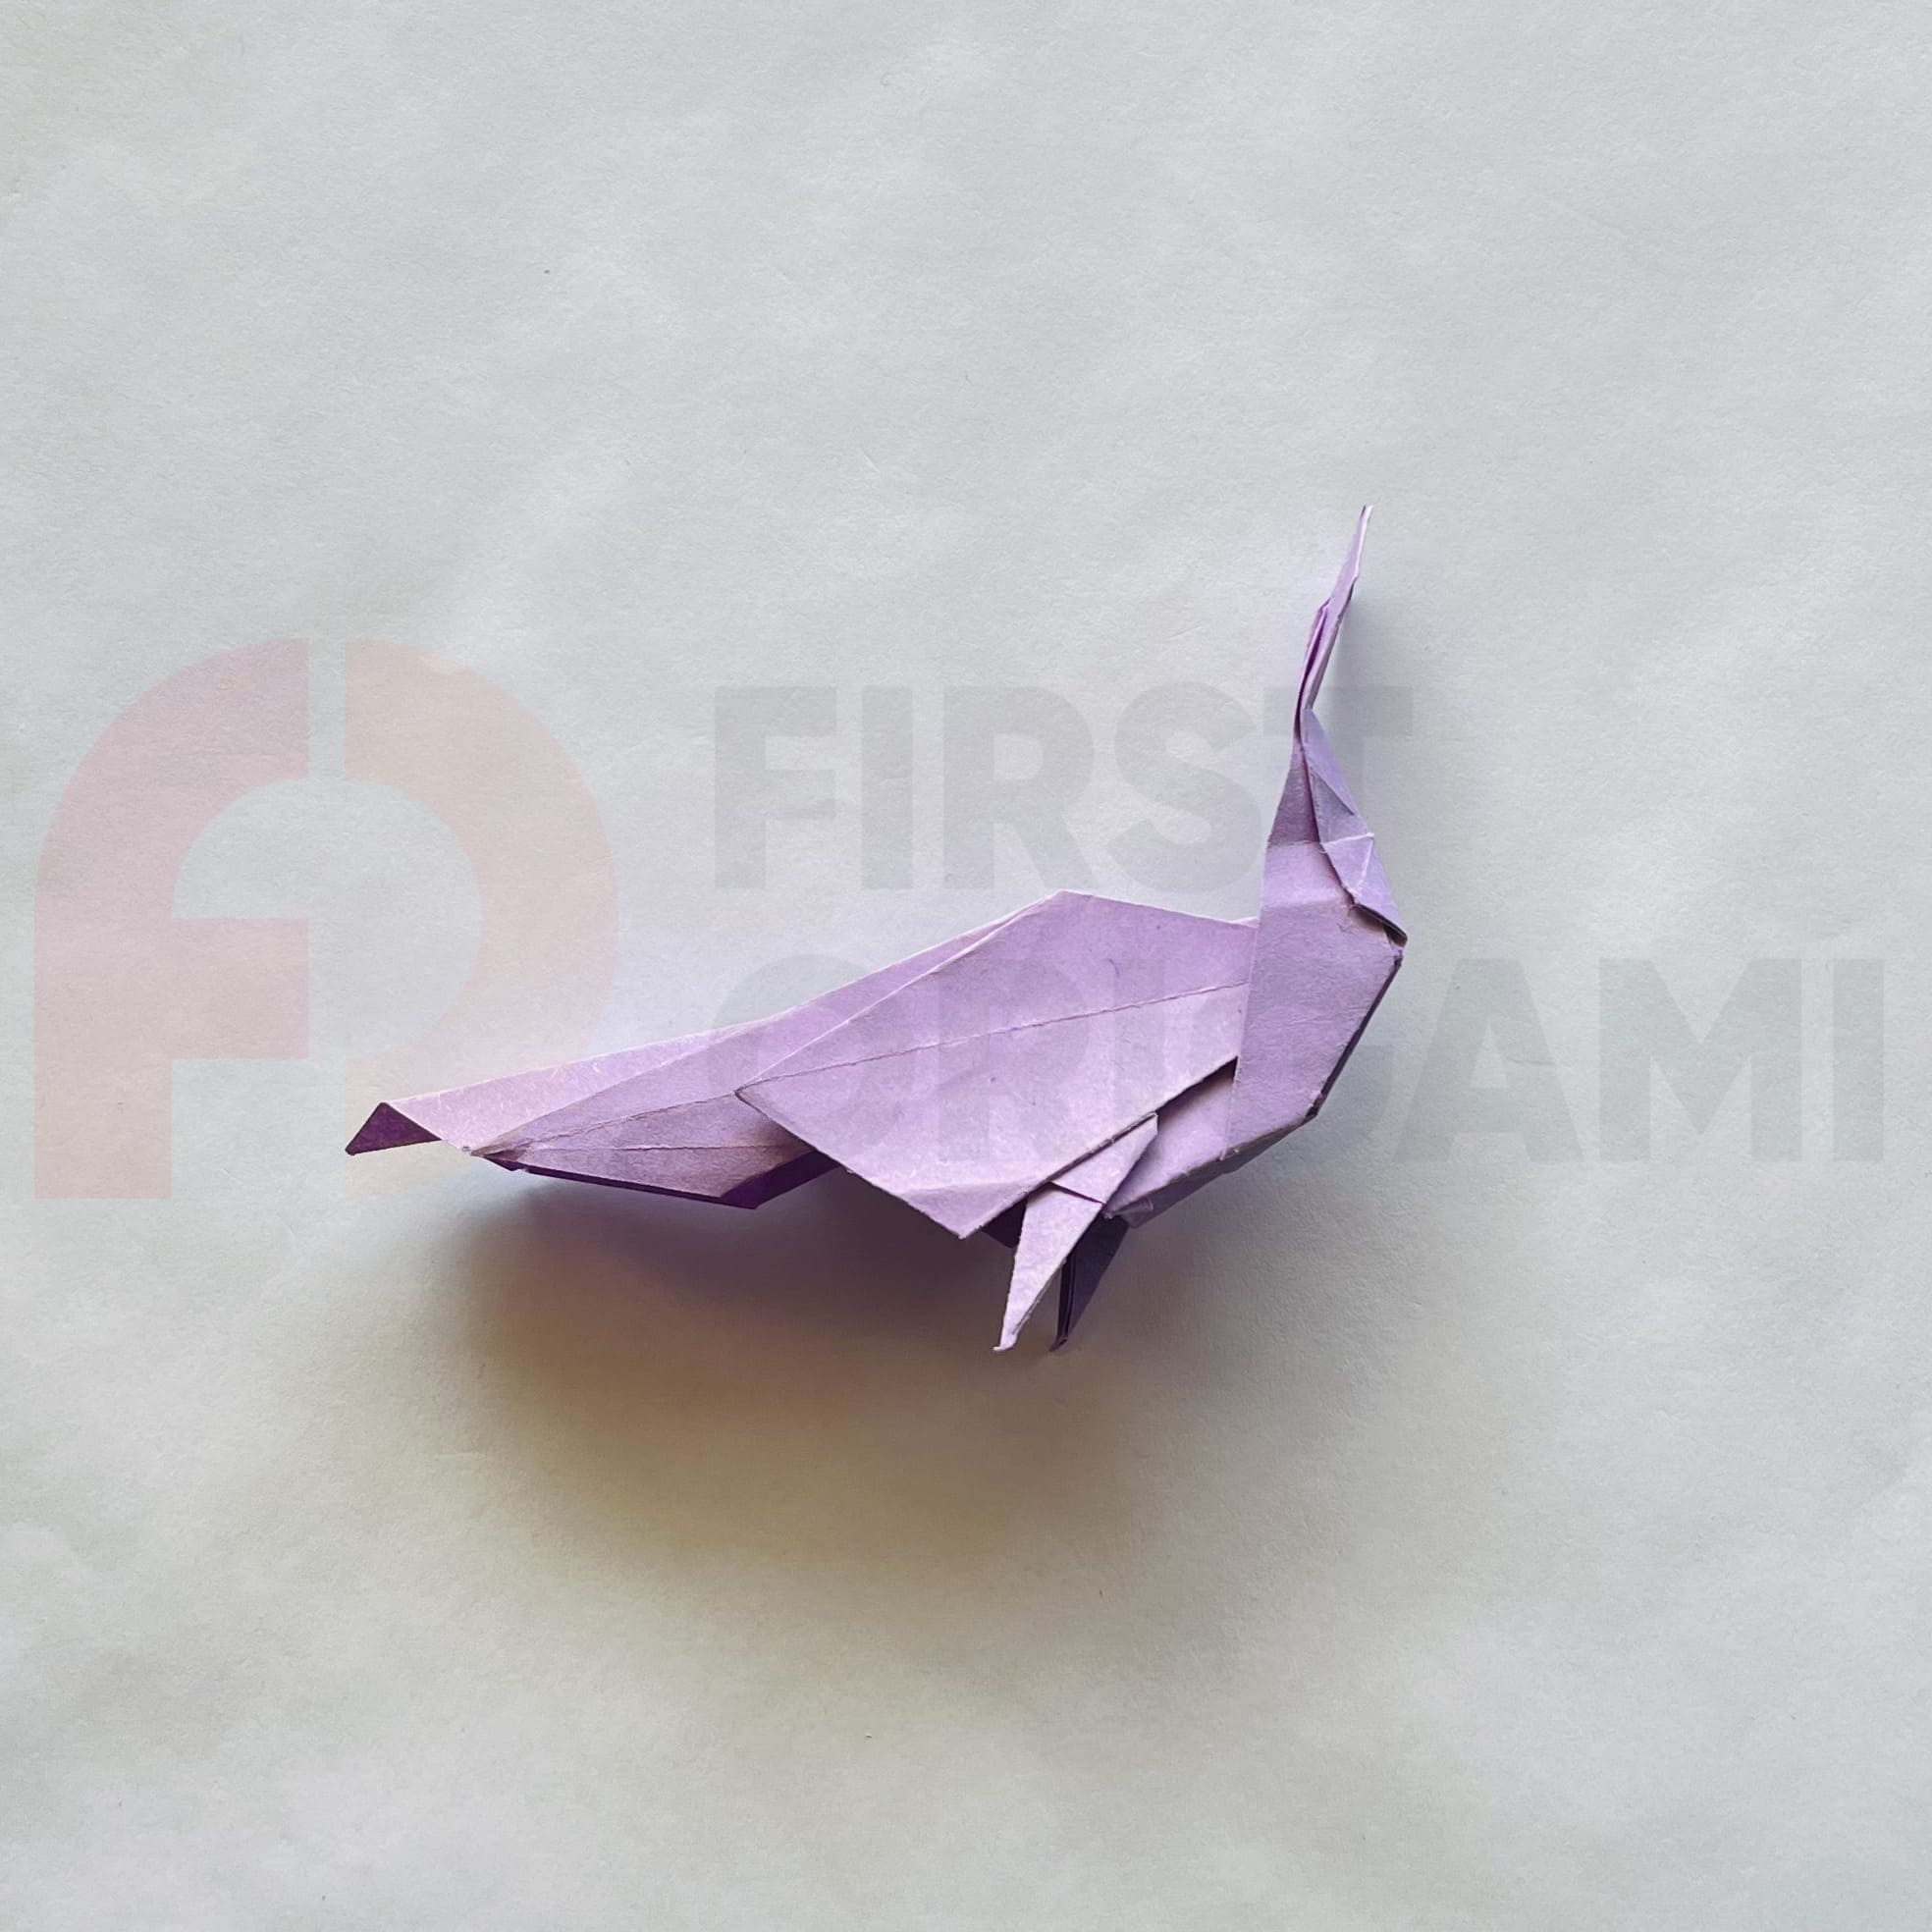
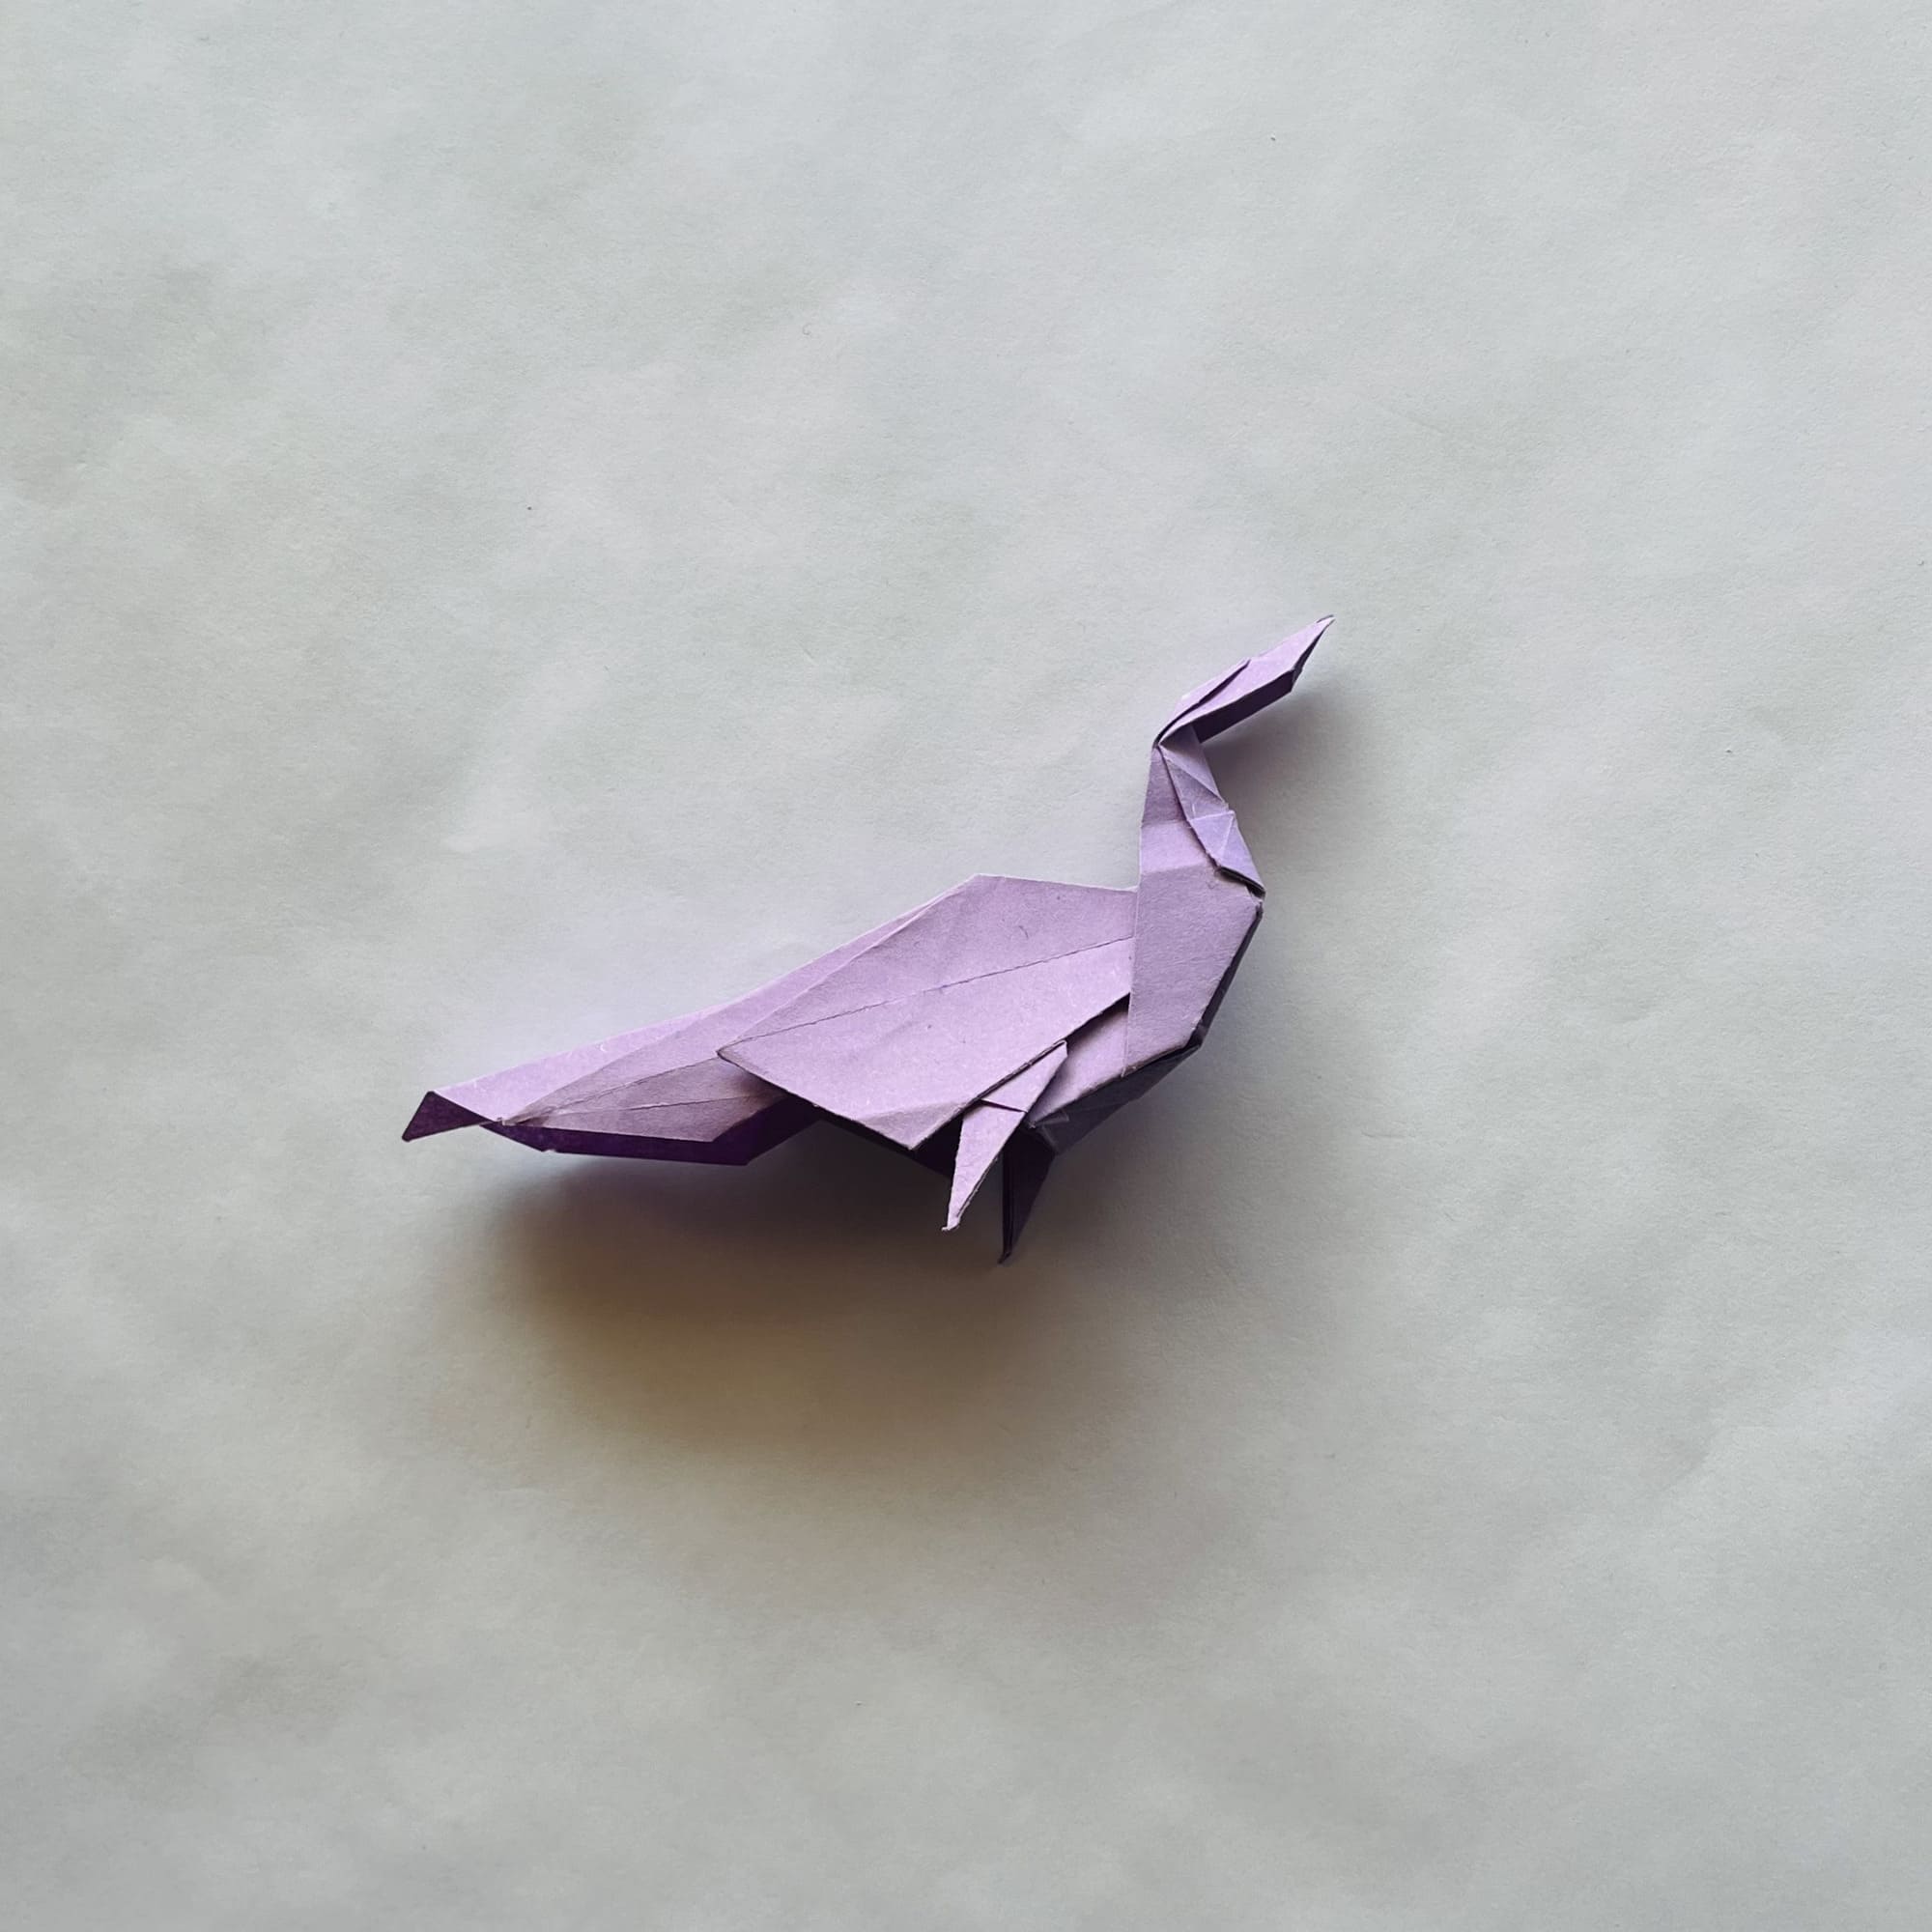
Congratulations, you did it!
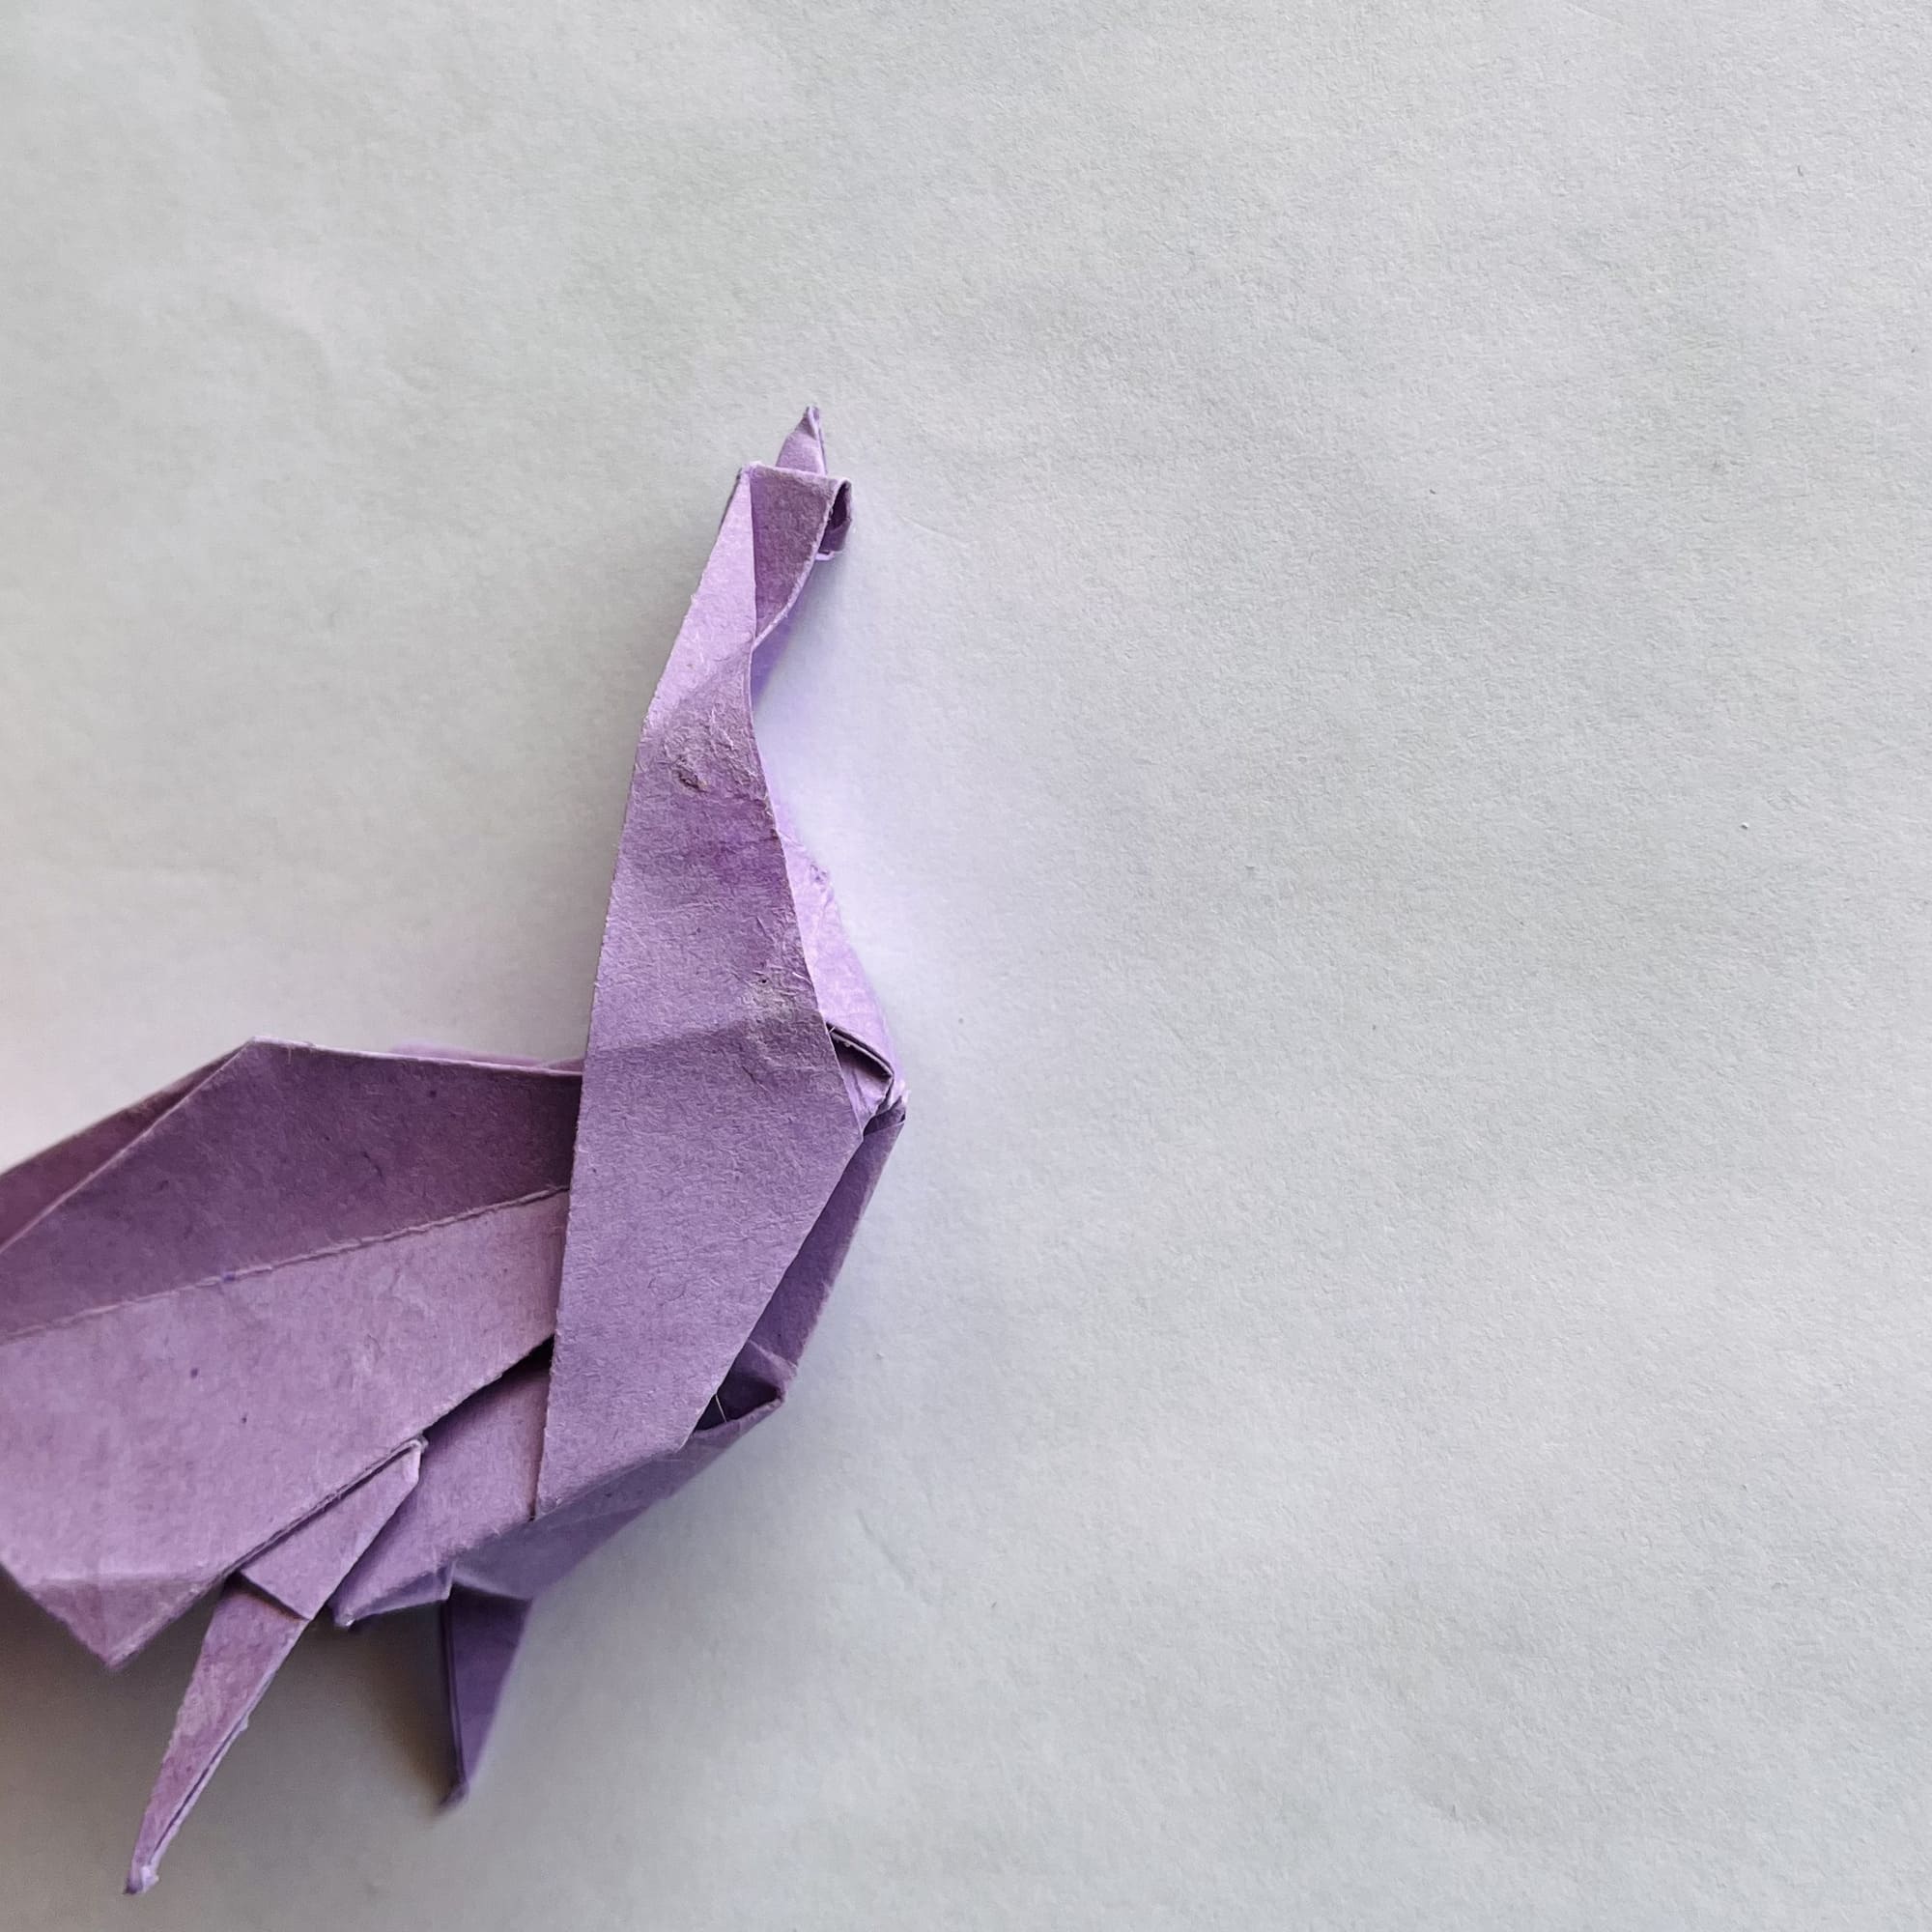
Look what a wonderful and delicate peacock you have made. Place it in a prominent place and enjoy the result of your work!