Origami Penguin
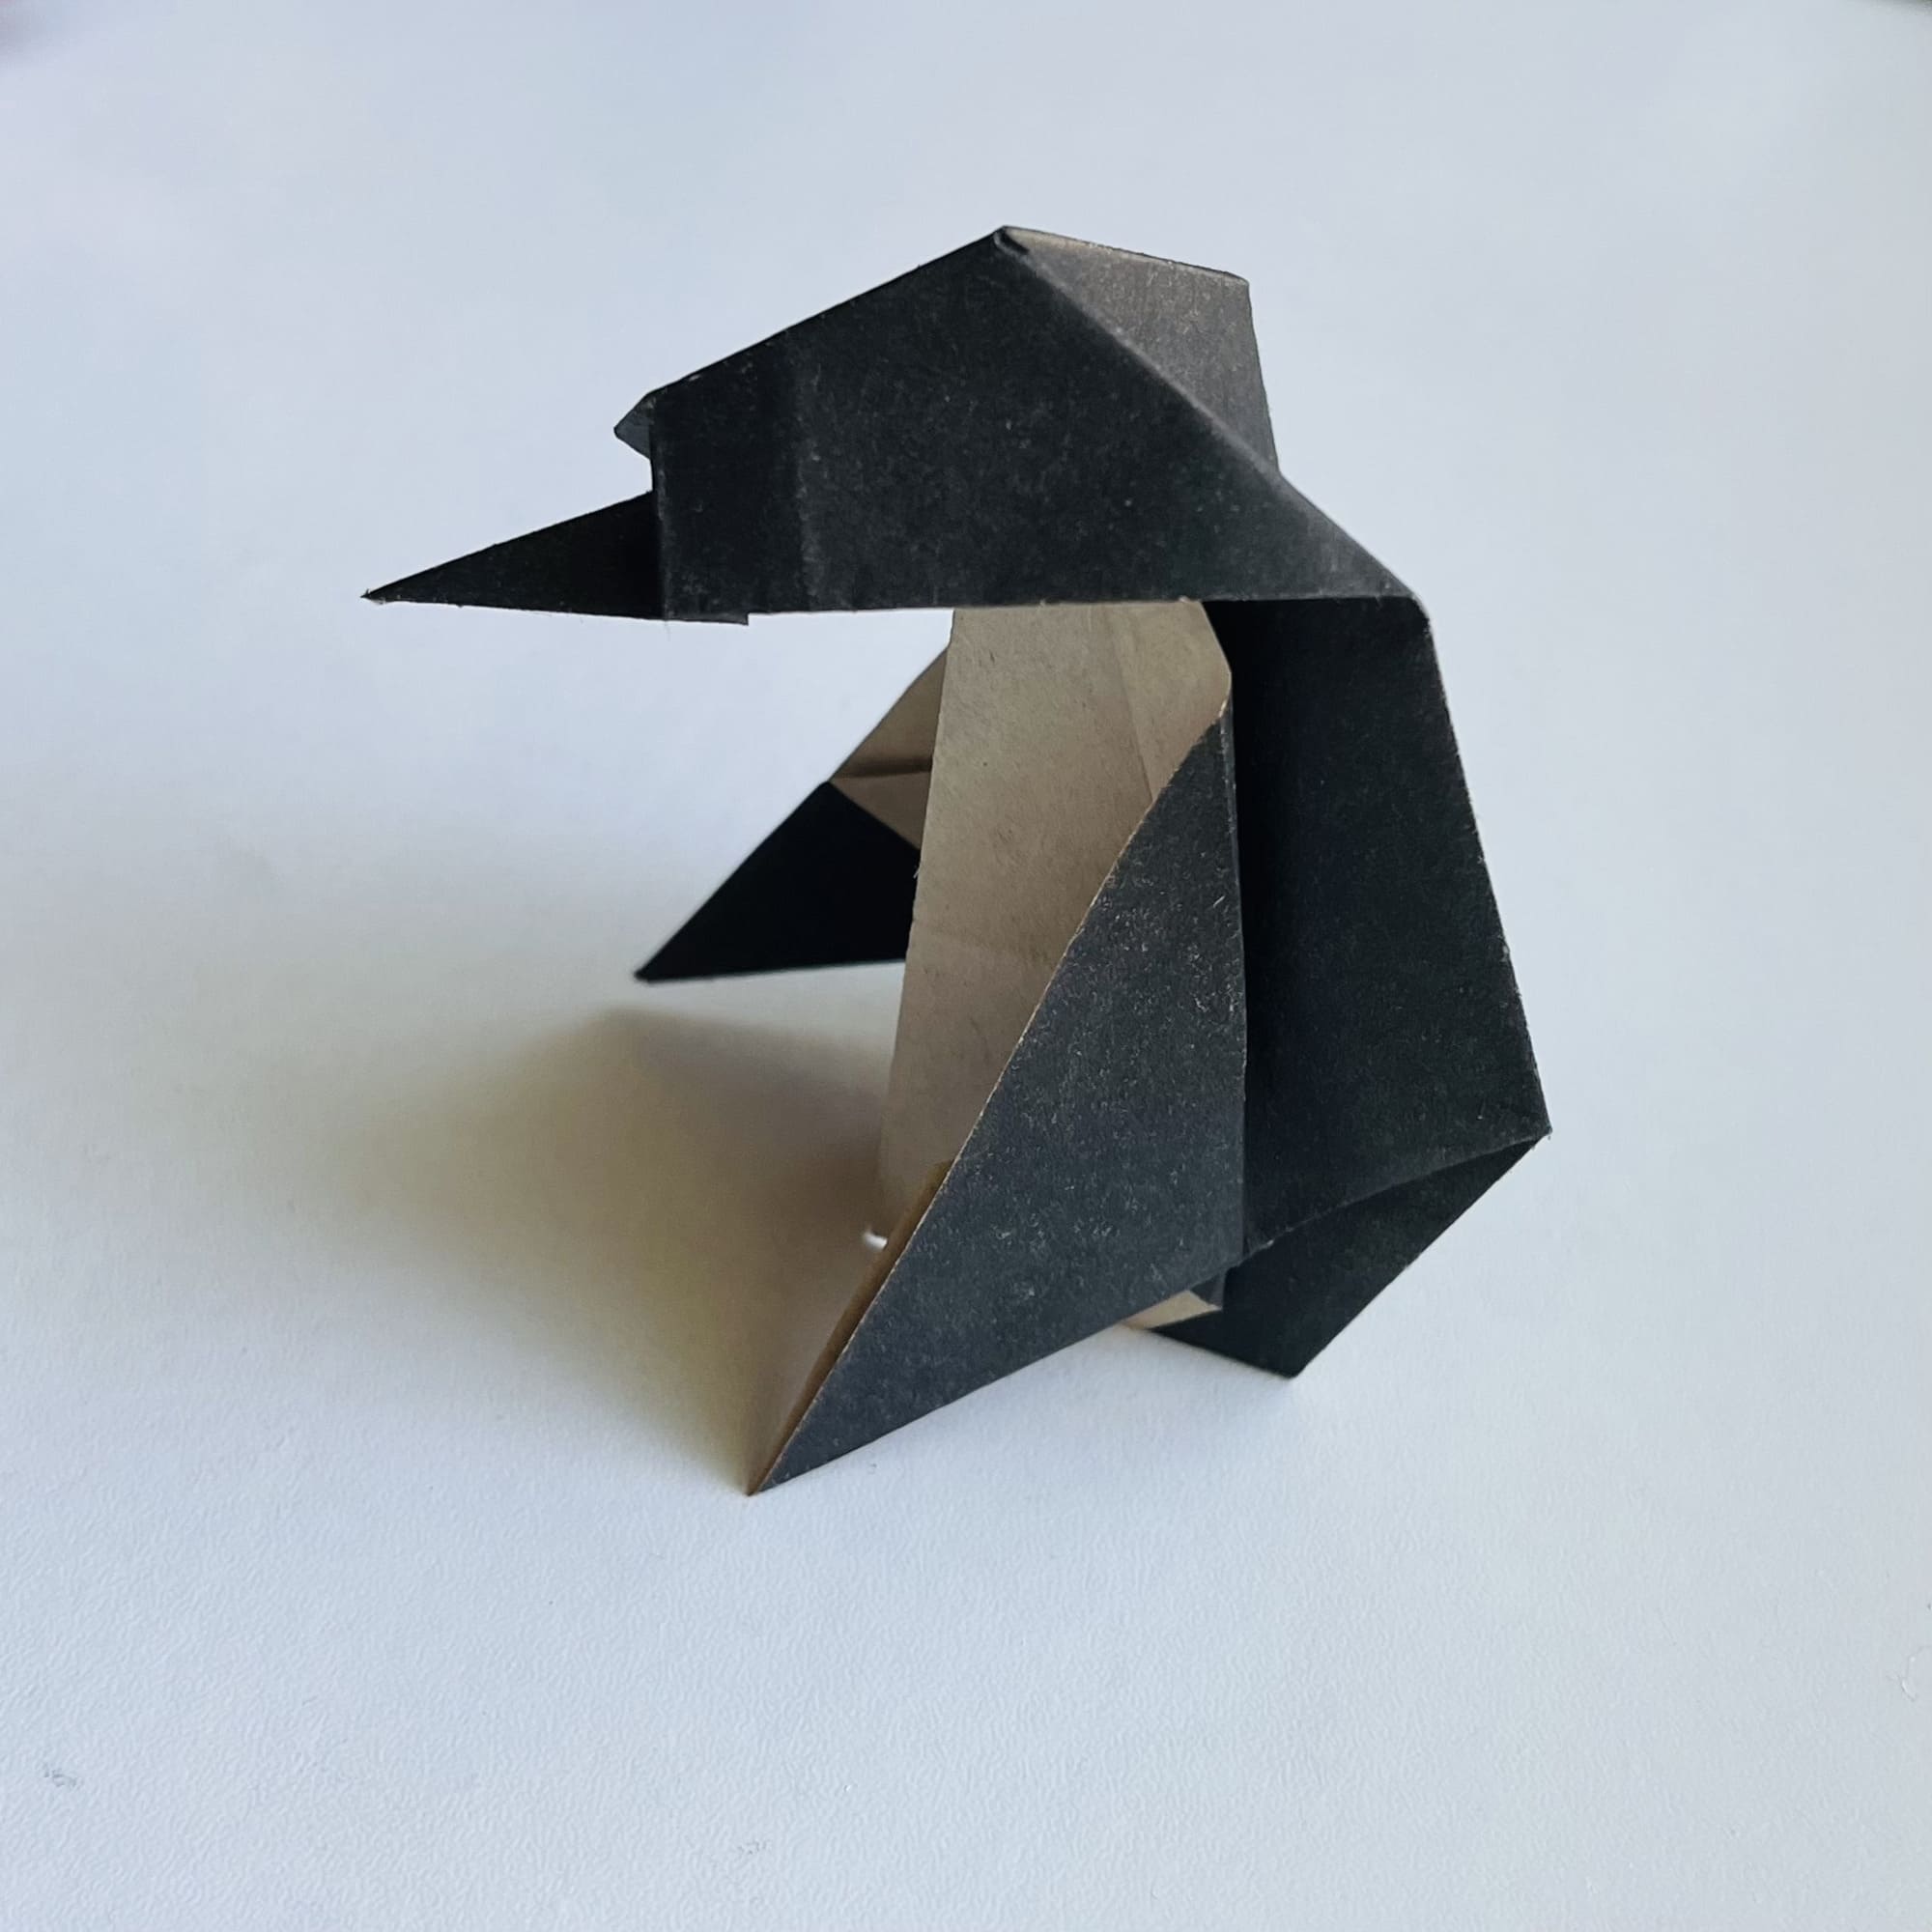
Today we are going to show you how to create a super cool voluminous penguin figure in the origami technique. This origami is a little tricky to make but definitely worth it! Making several of such penguins, you will be able to create a beautiful polar composition with white ice for your kids.
Make sure to carefully follow all the steps in the instruction provided below, and check your folds with the pictures given, as this penguin is not the easiest to craft! Start with taking a black-and-white origami paper.
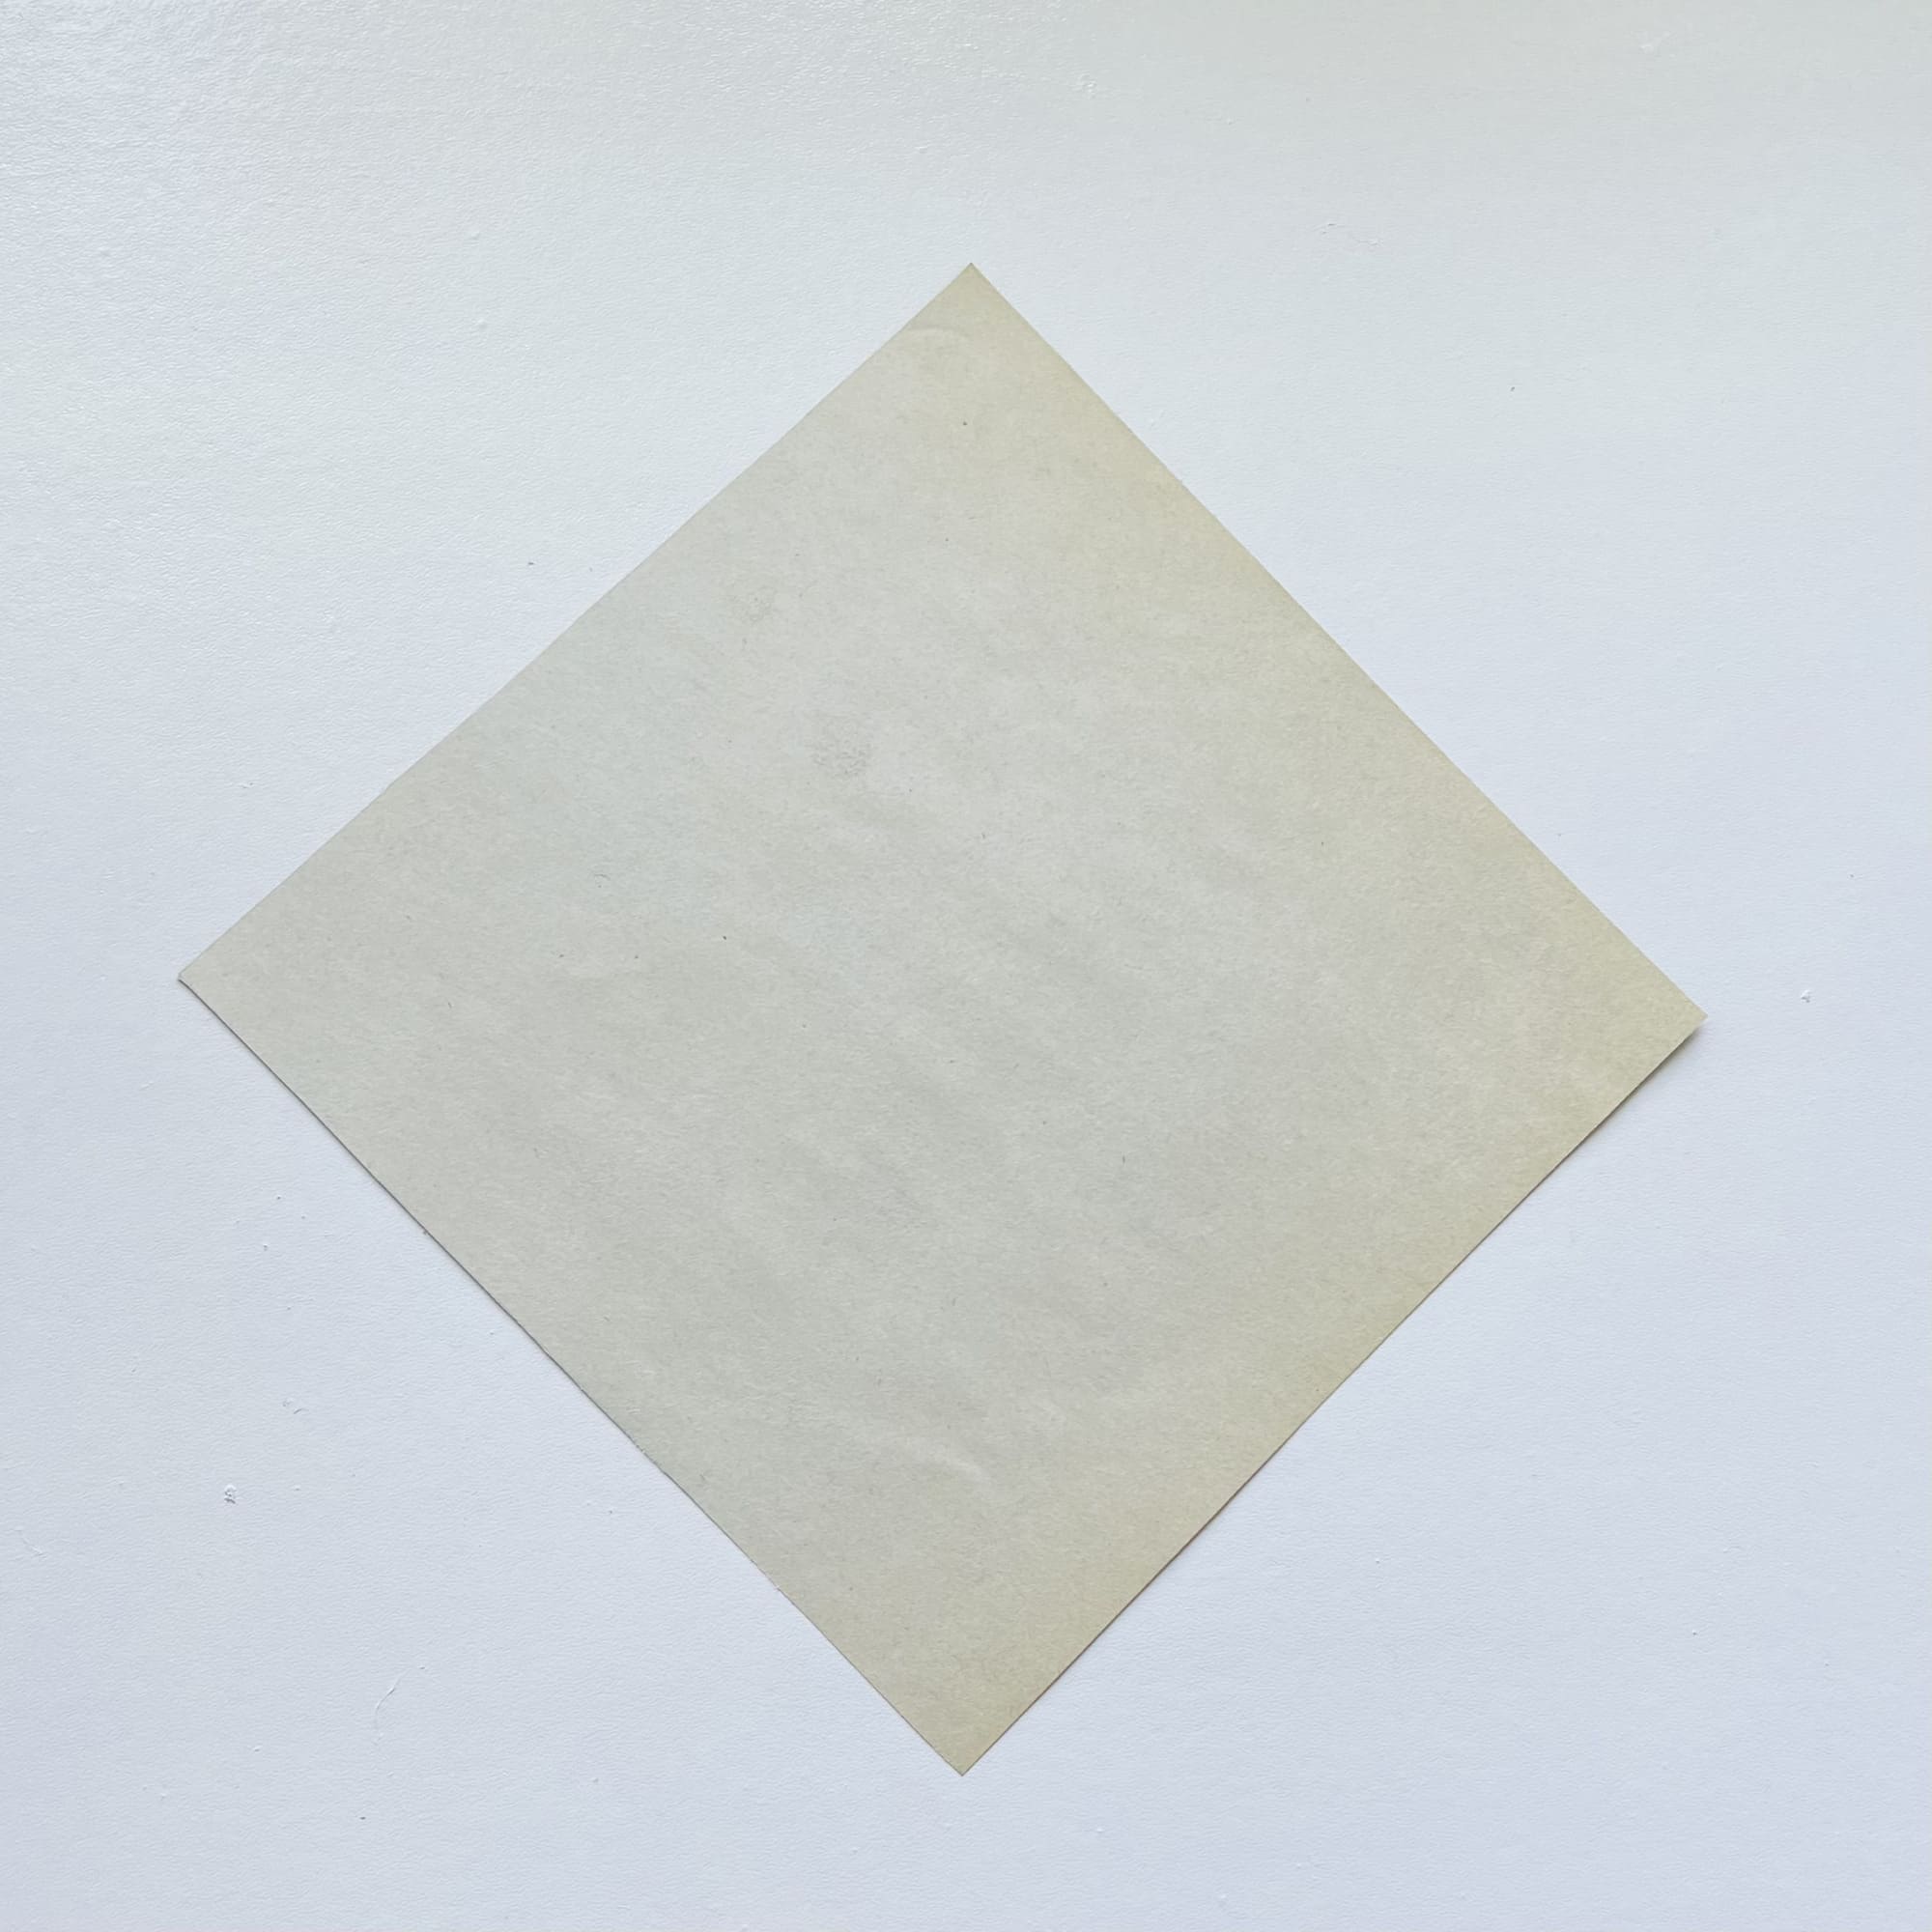
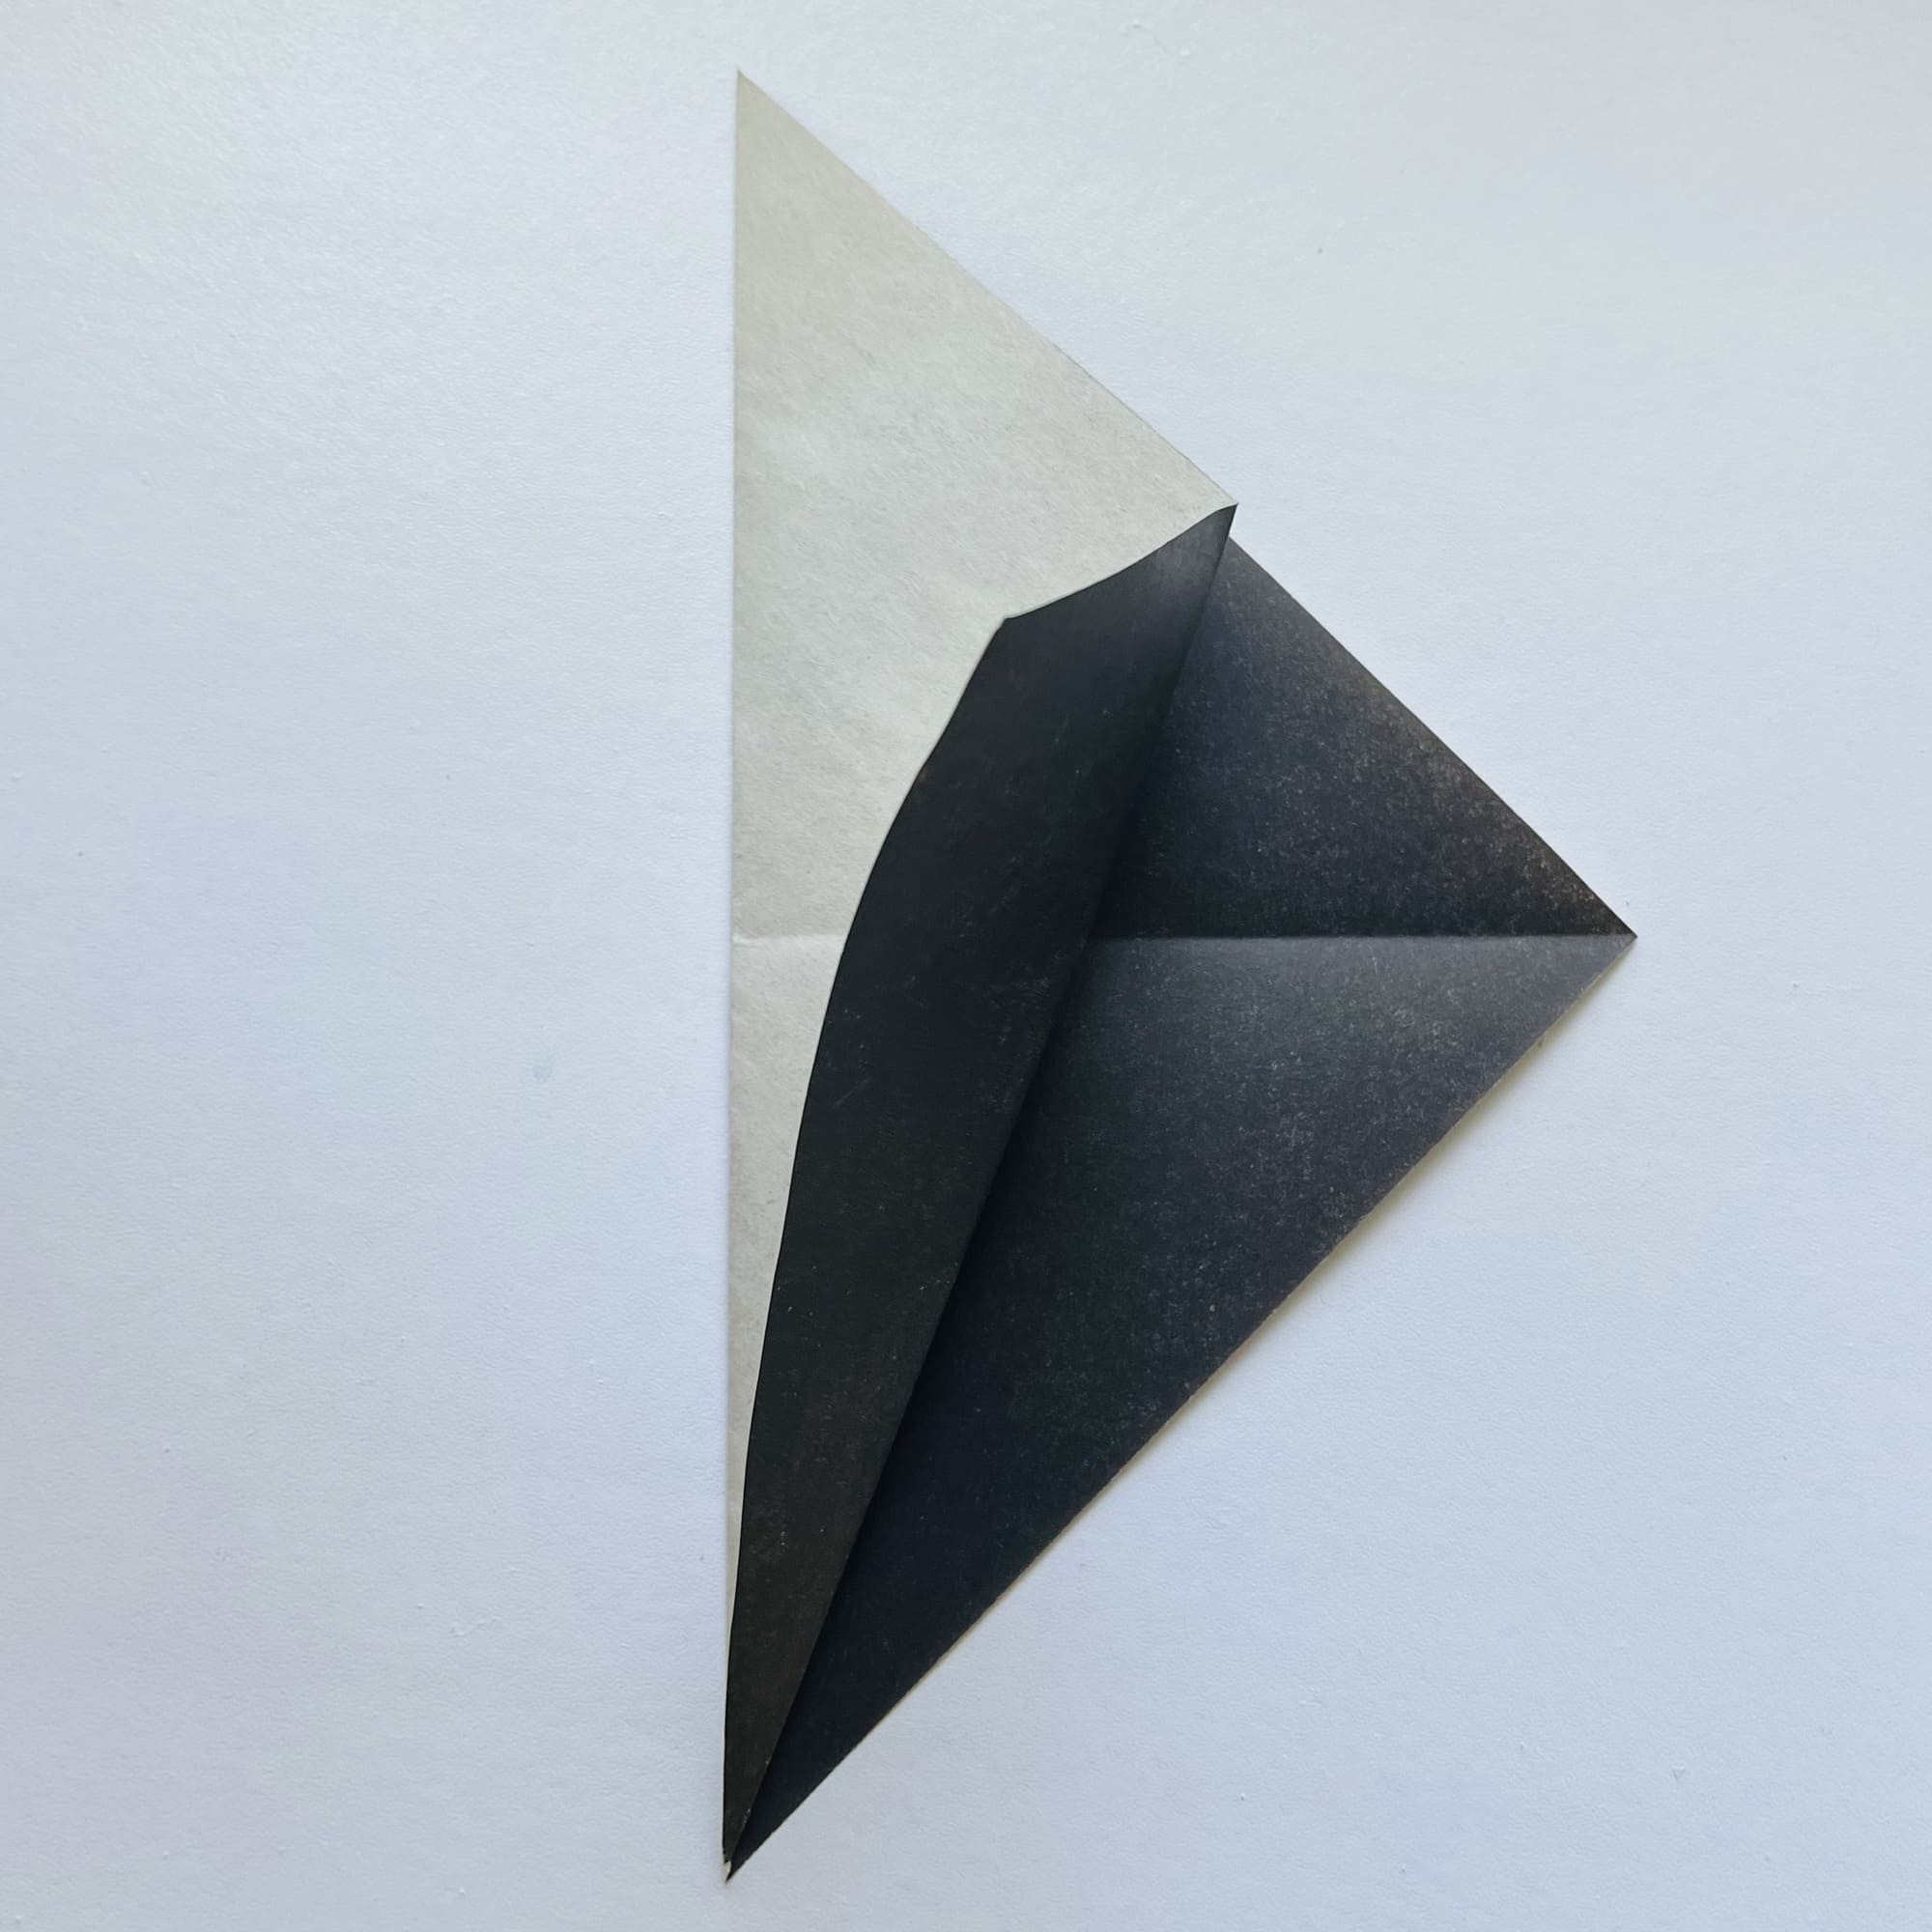
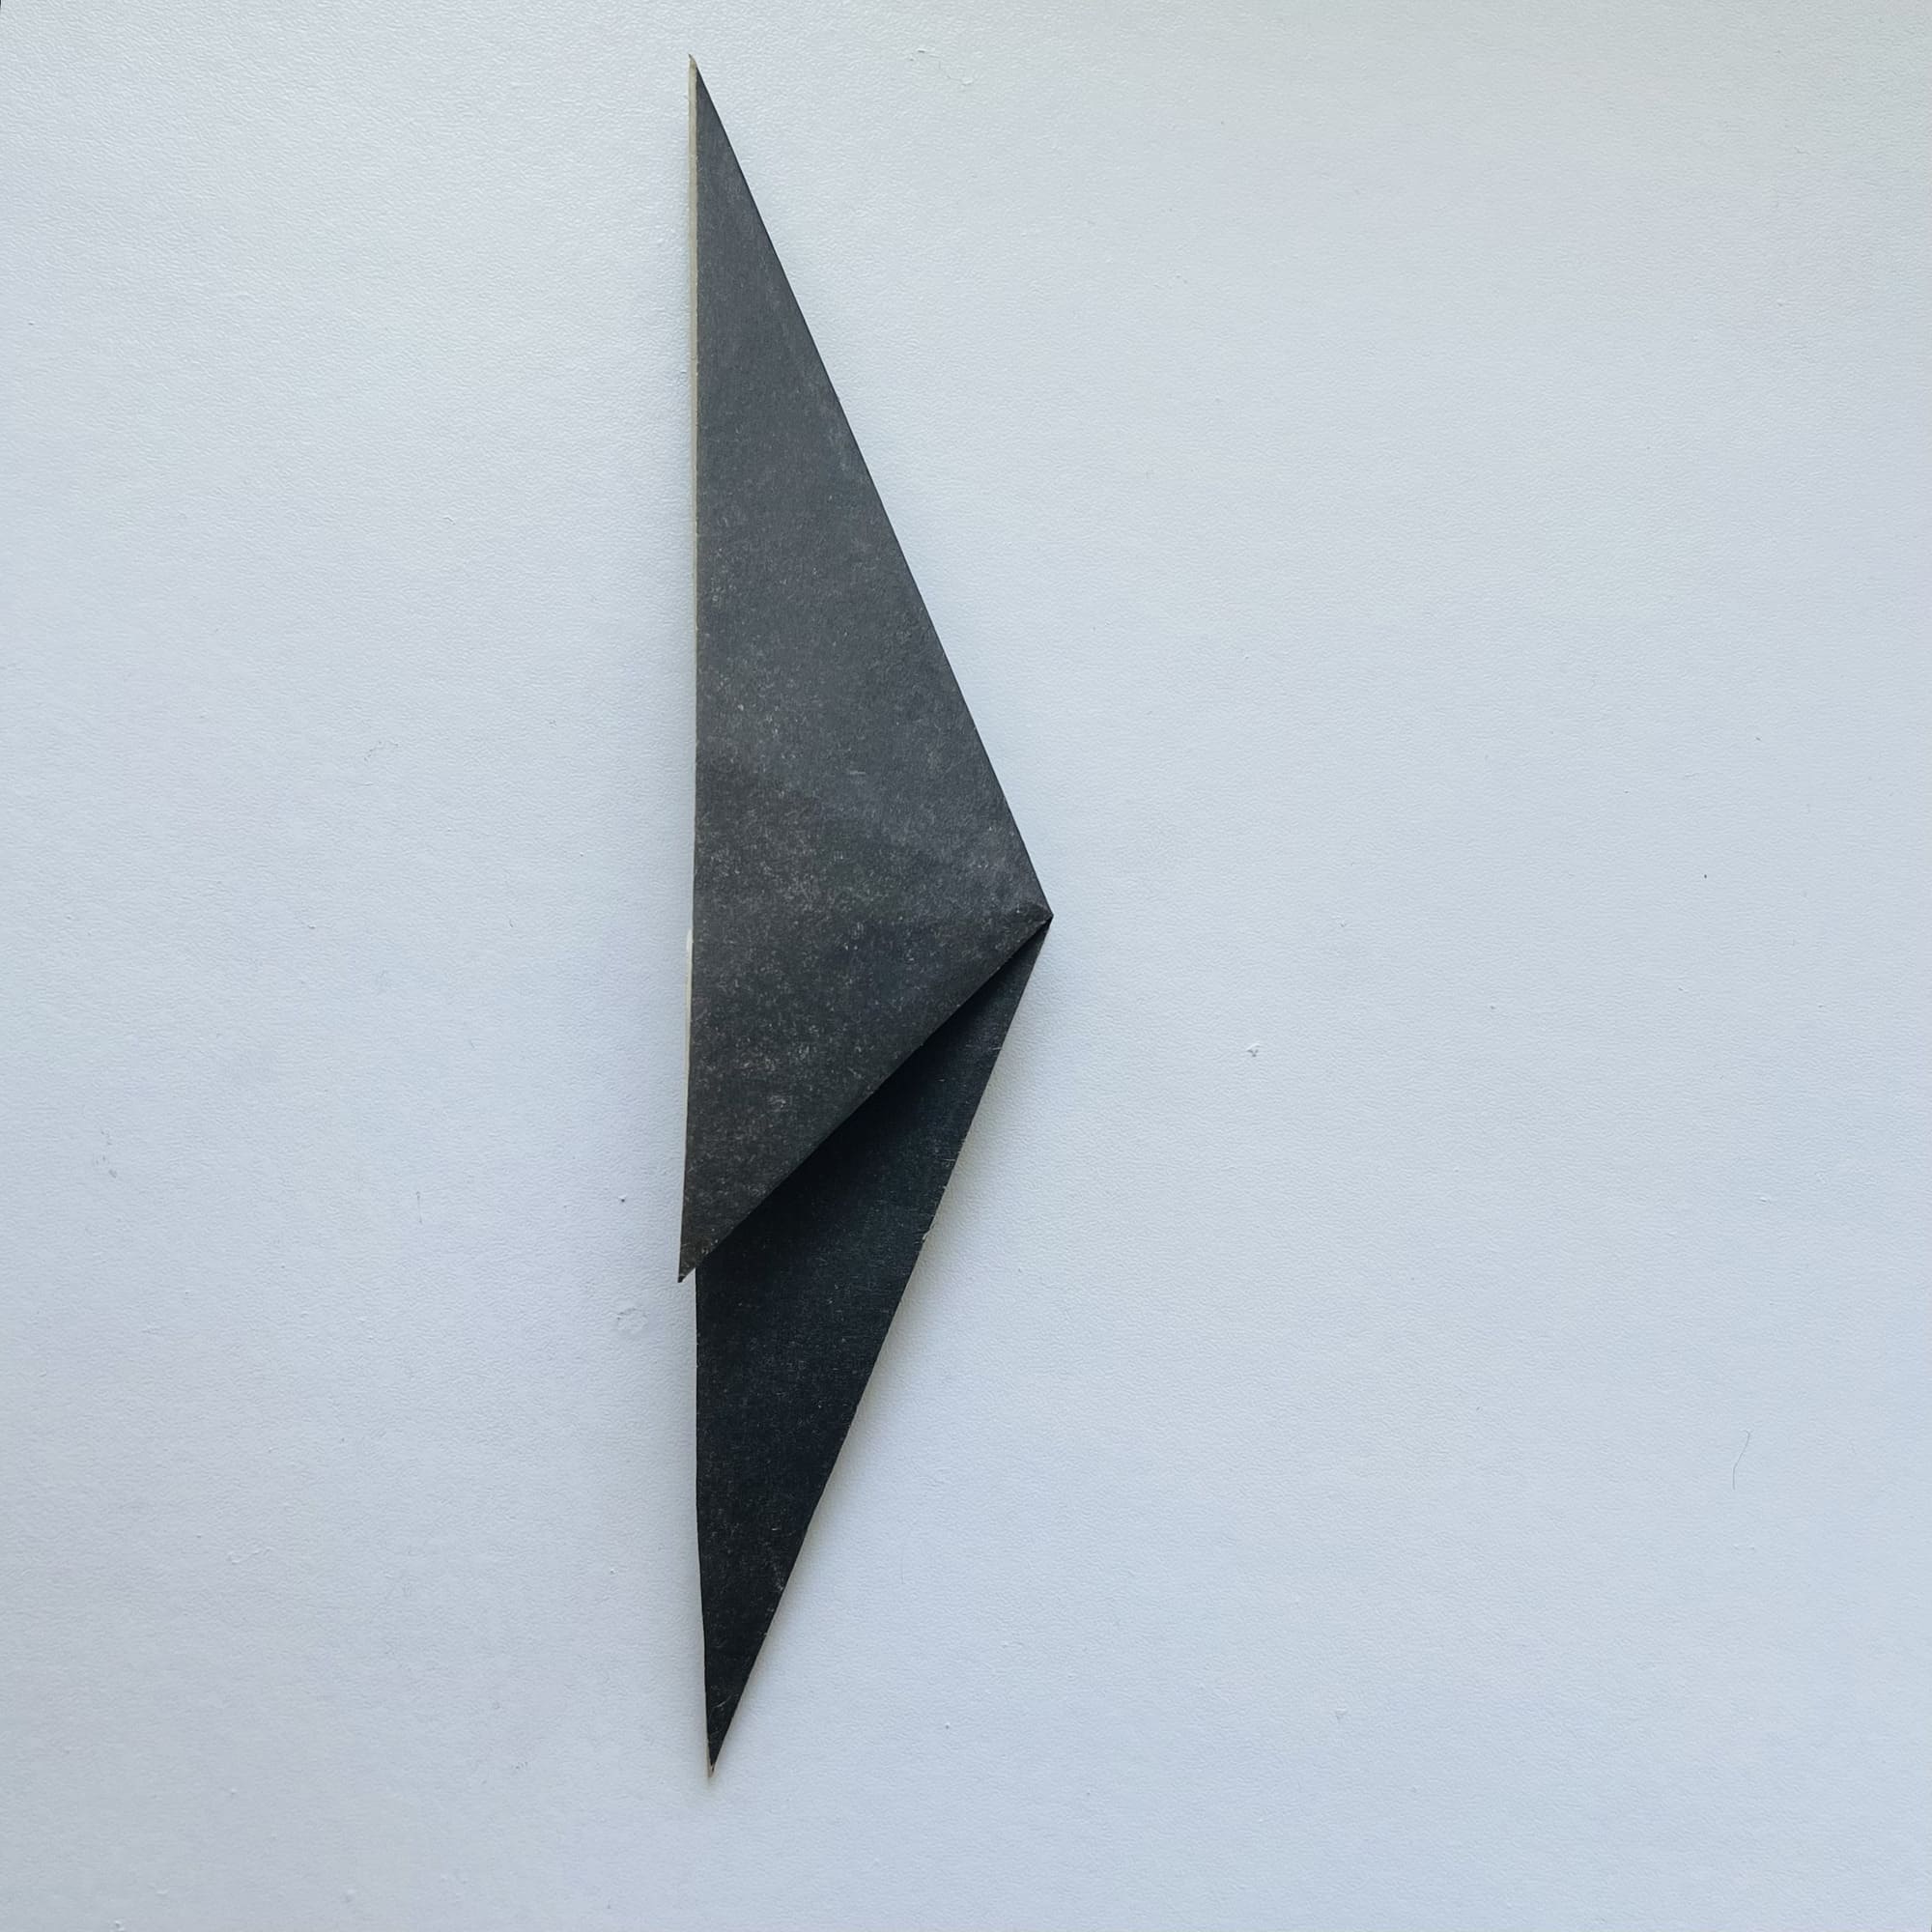
Prepare a square piece of paper. One of its sides should be black. Fold the sheet along the vertical diagonal with the black side inside.
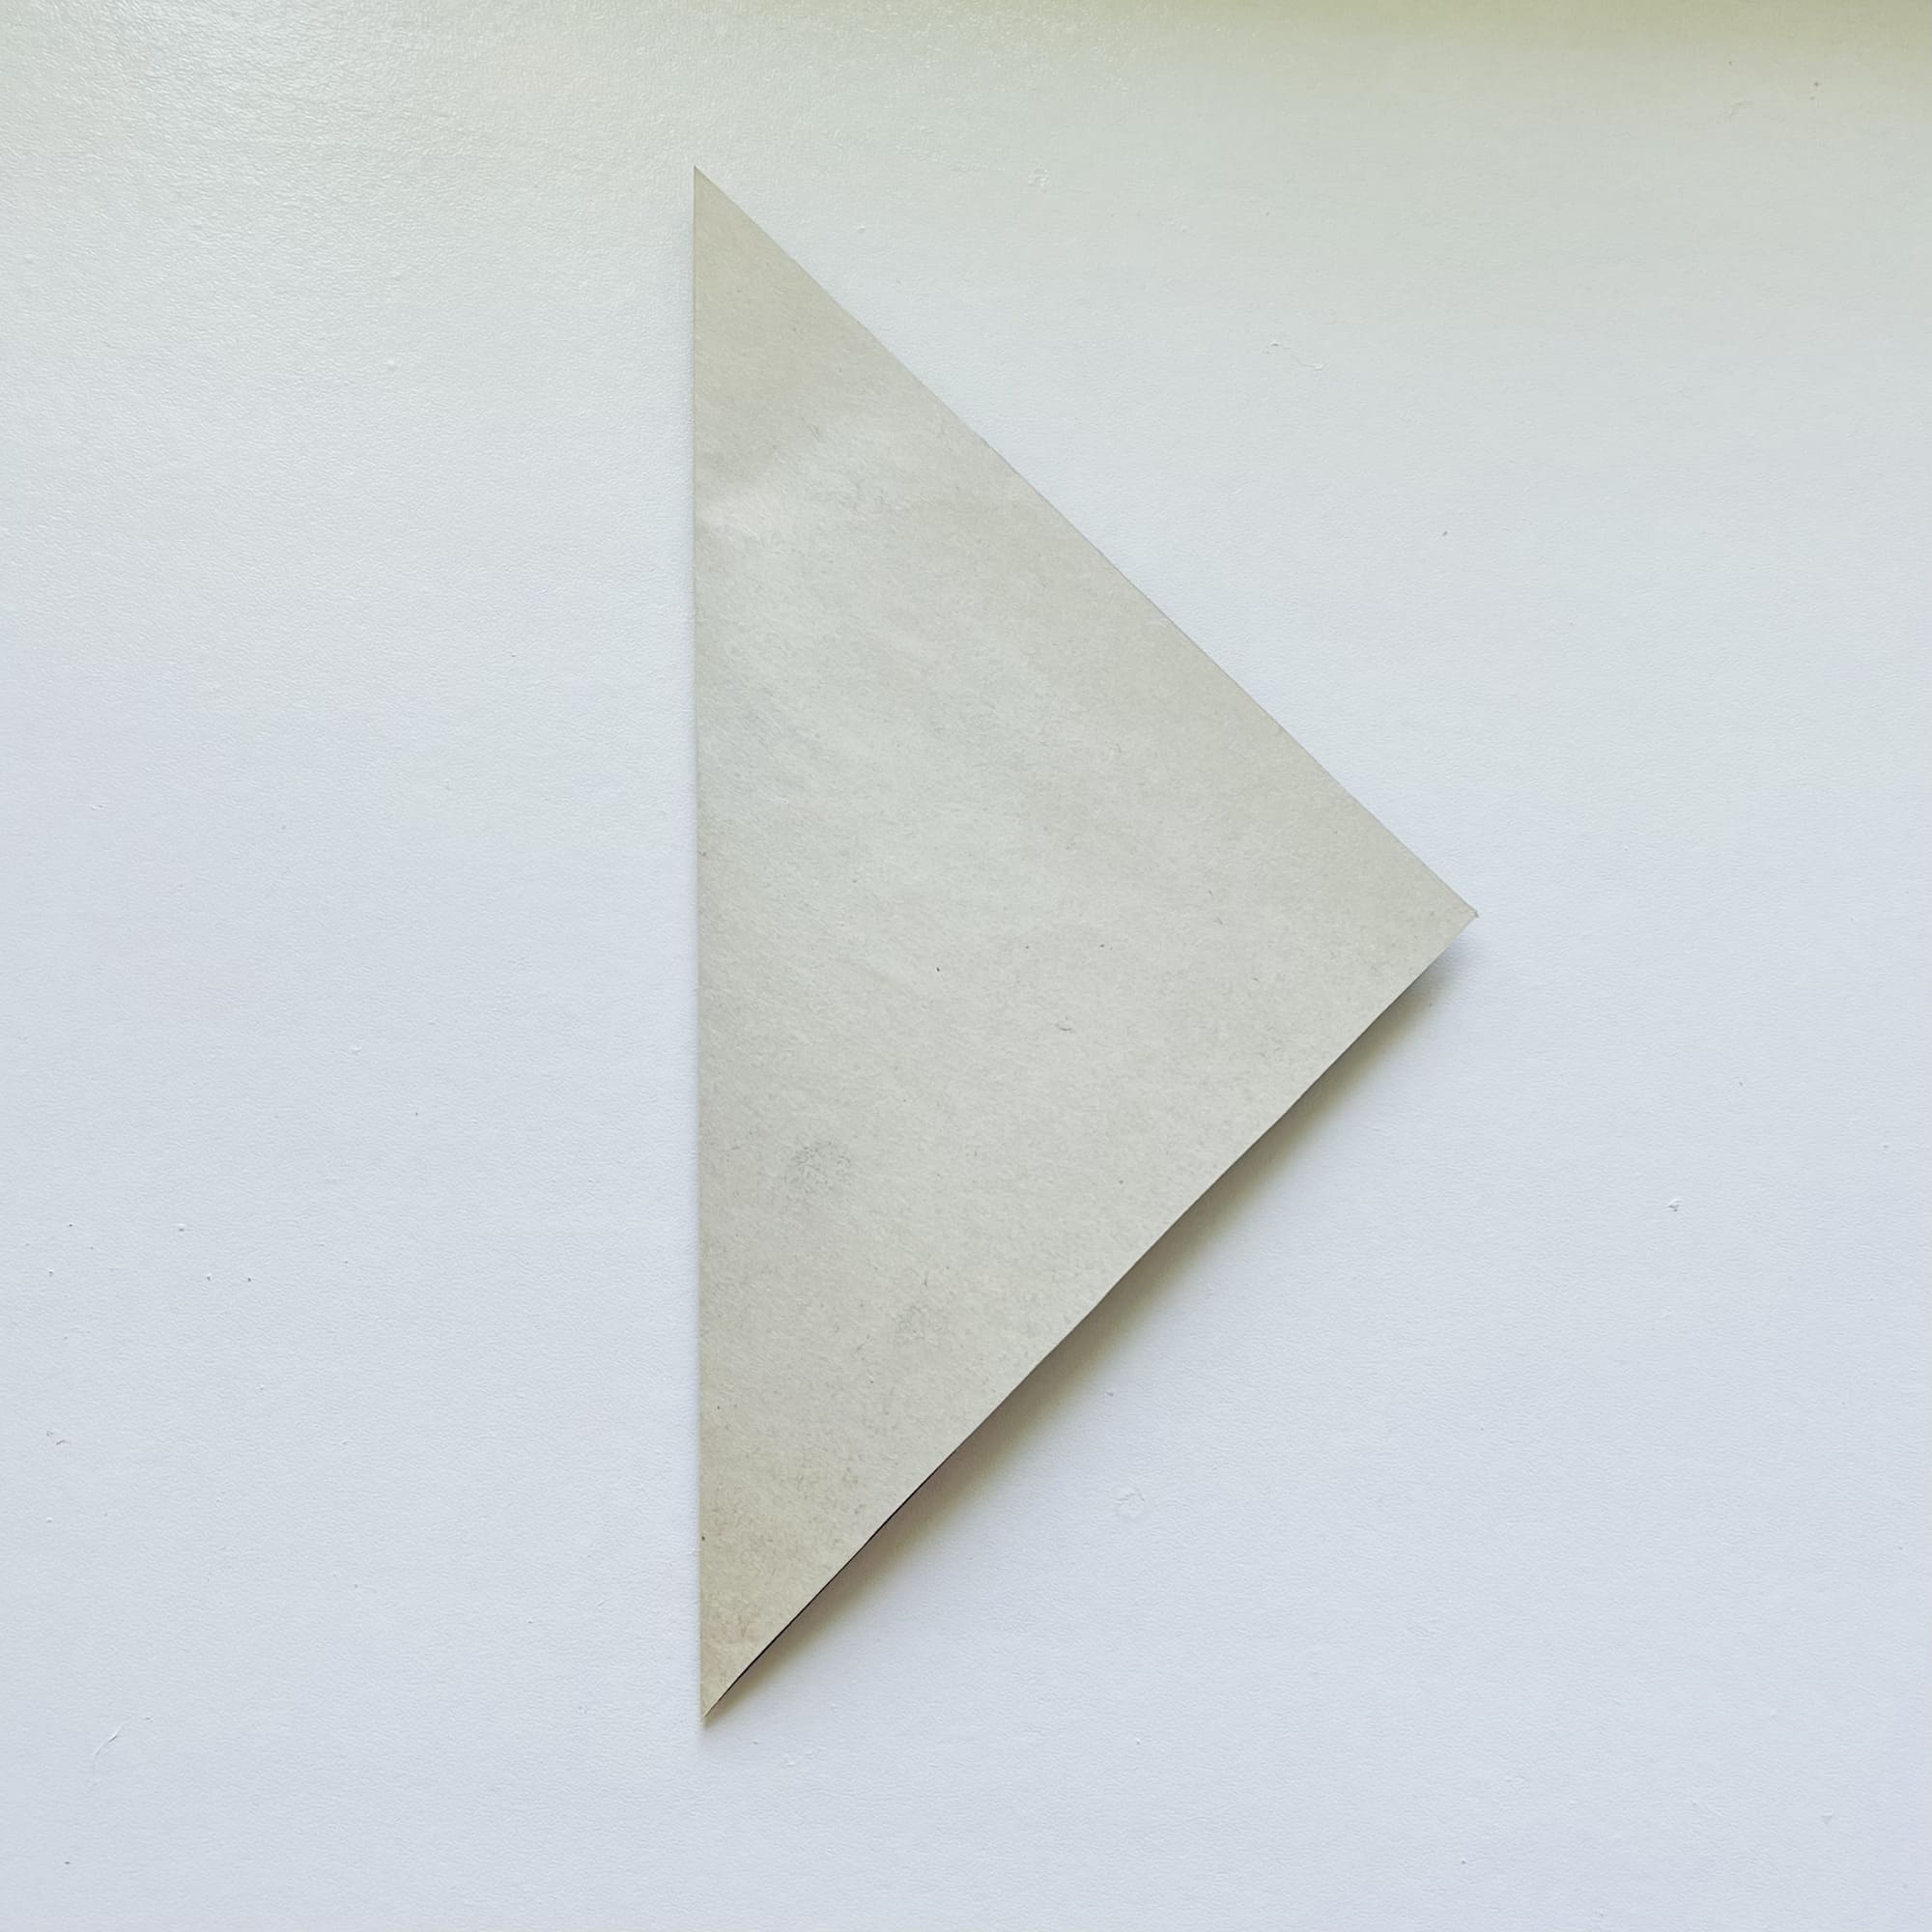
You should get a triangle with its peak pointing to the right.
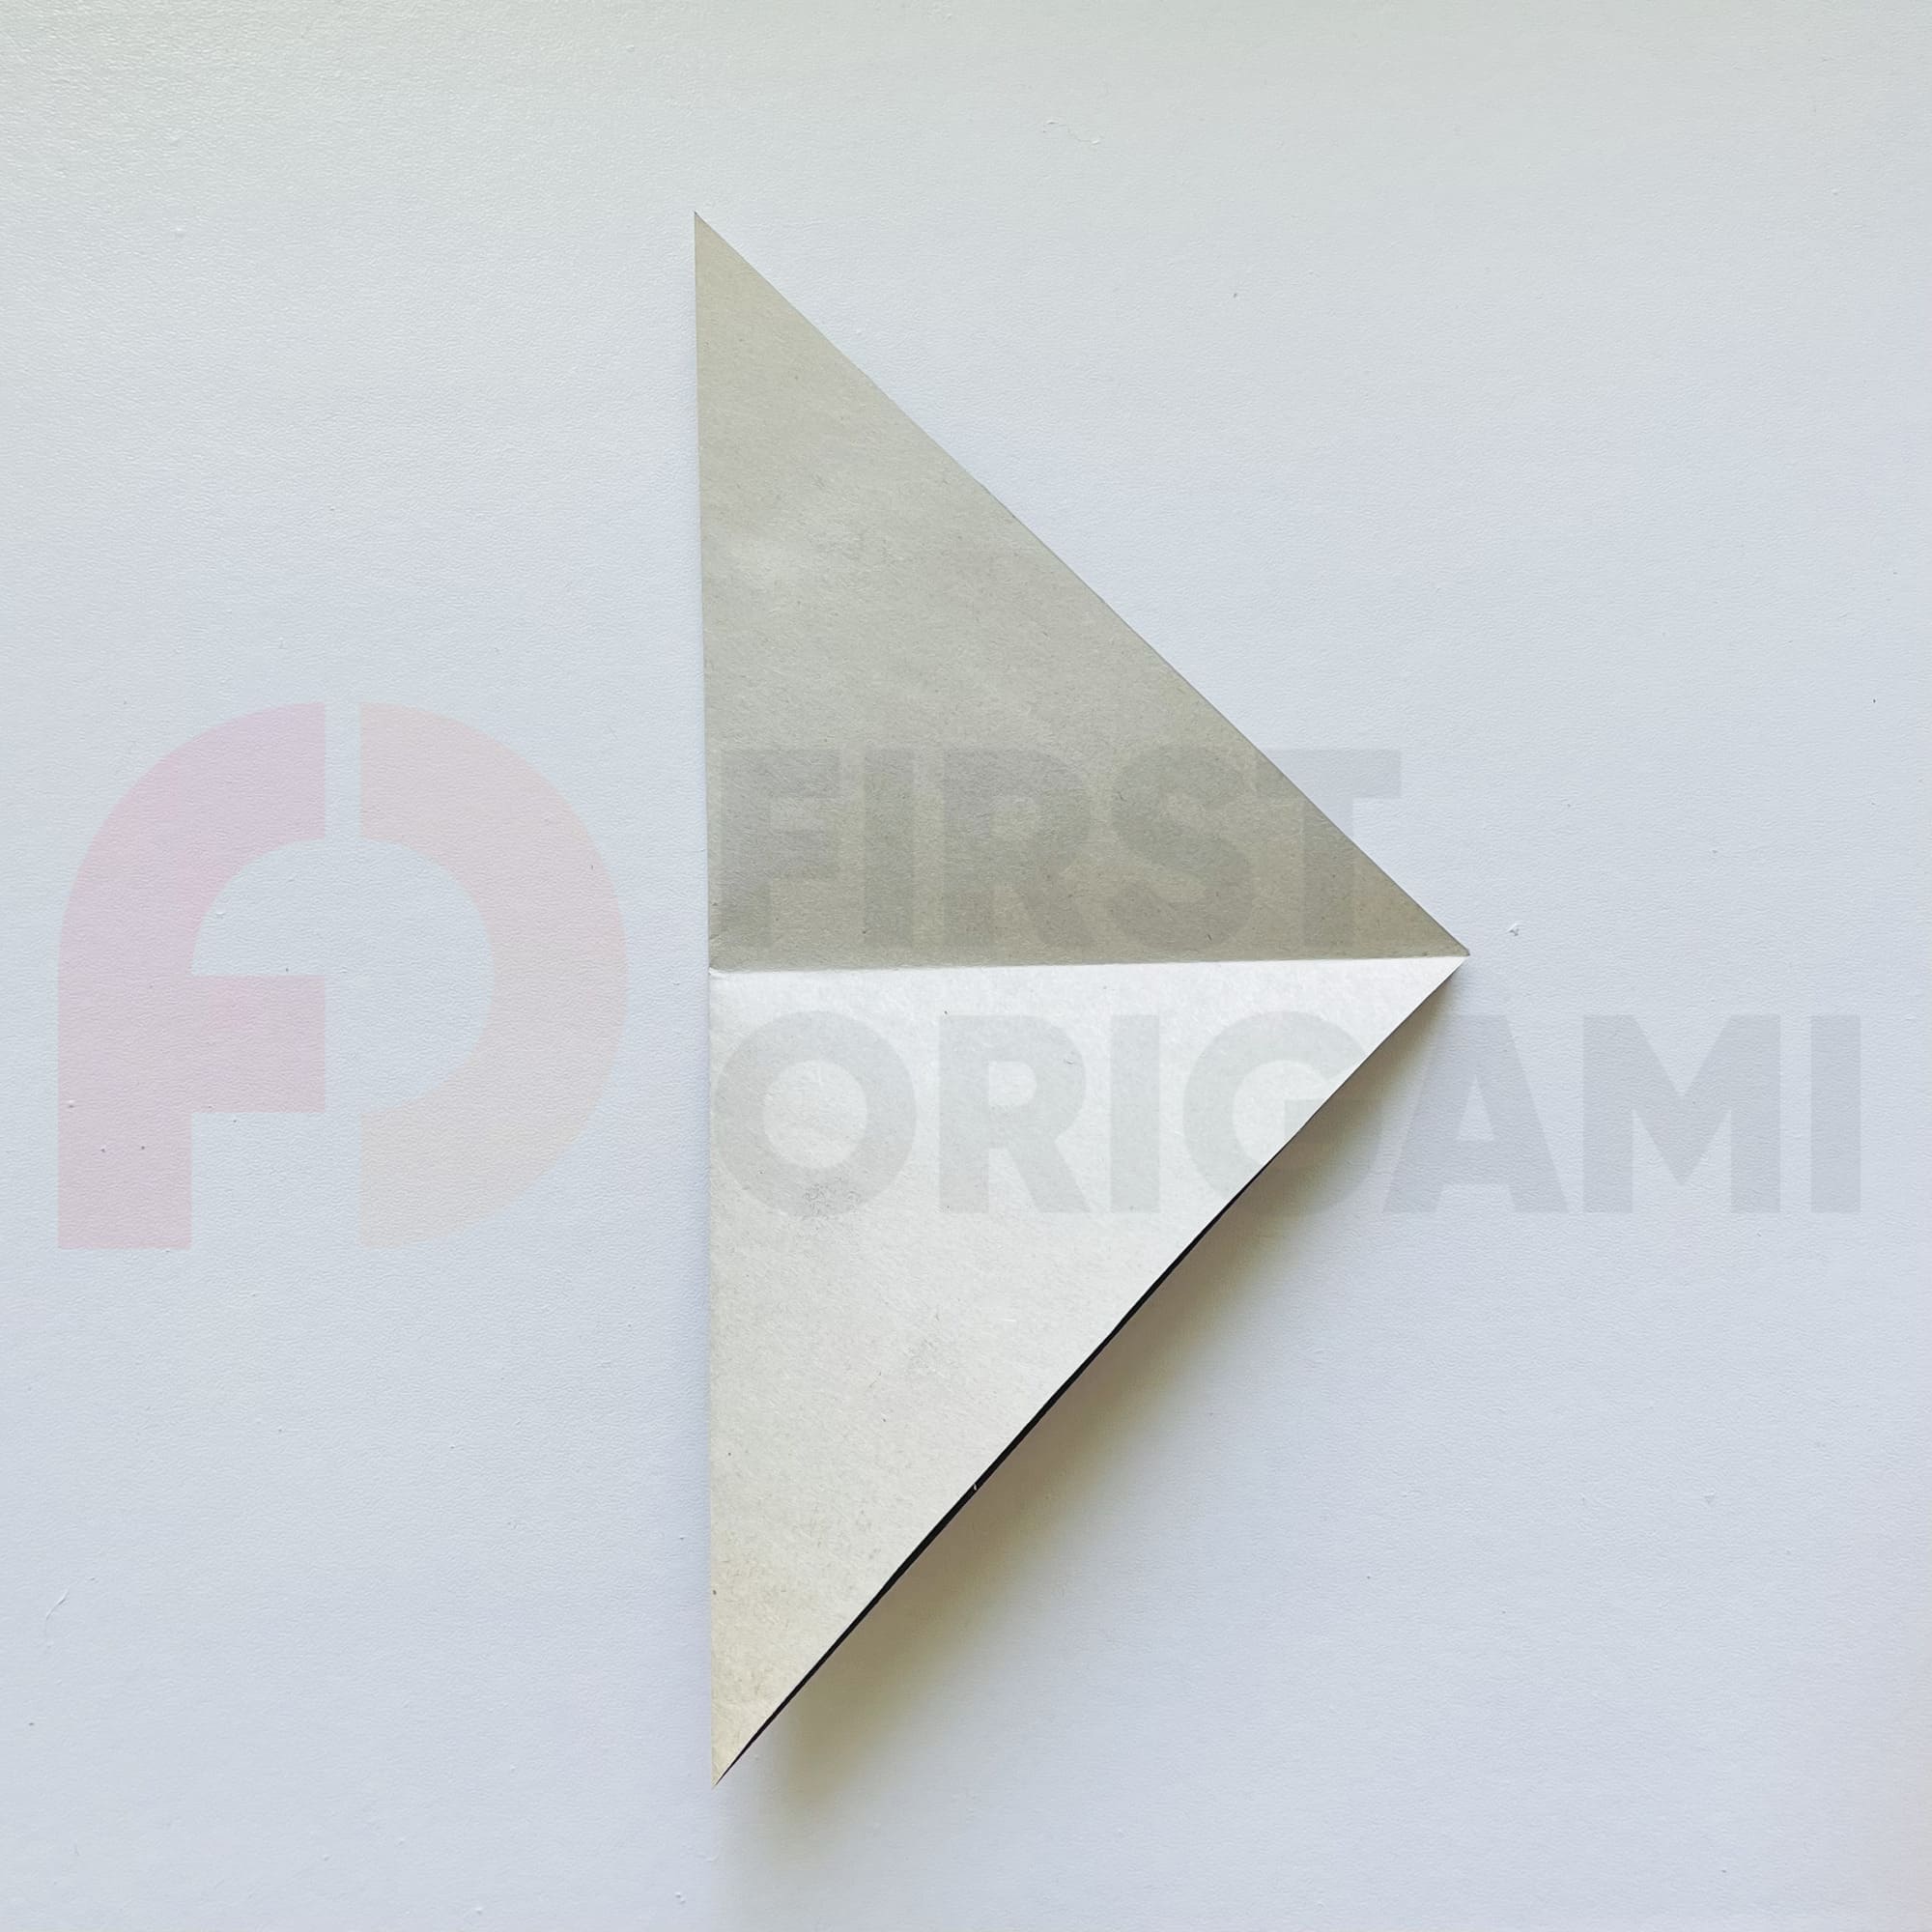
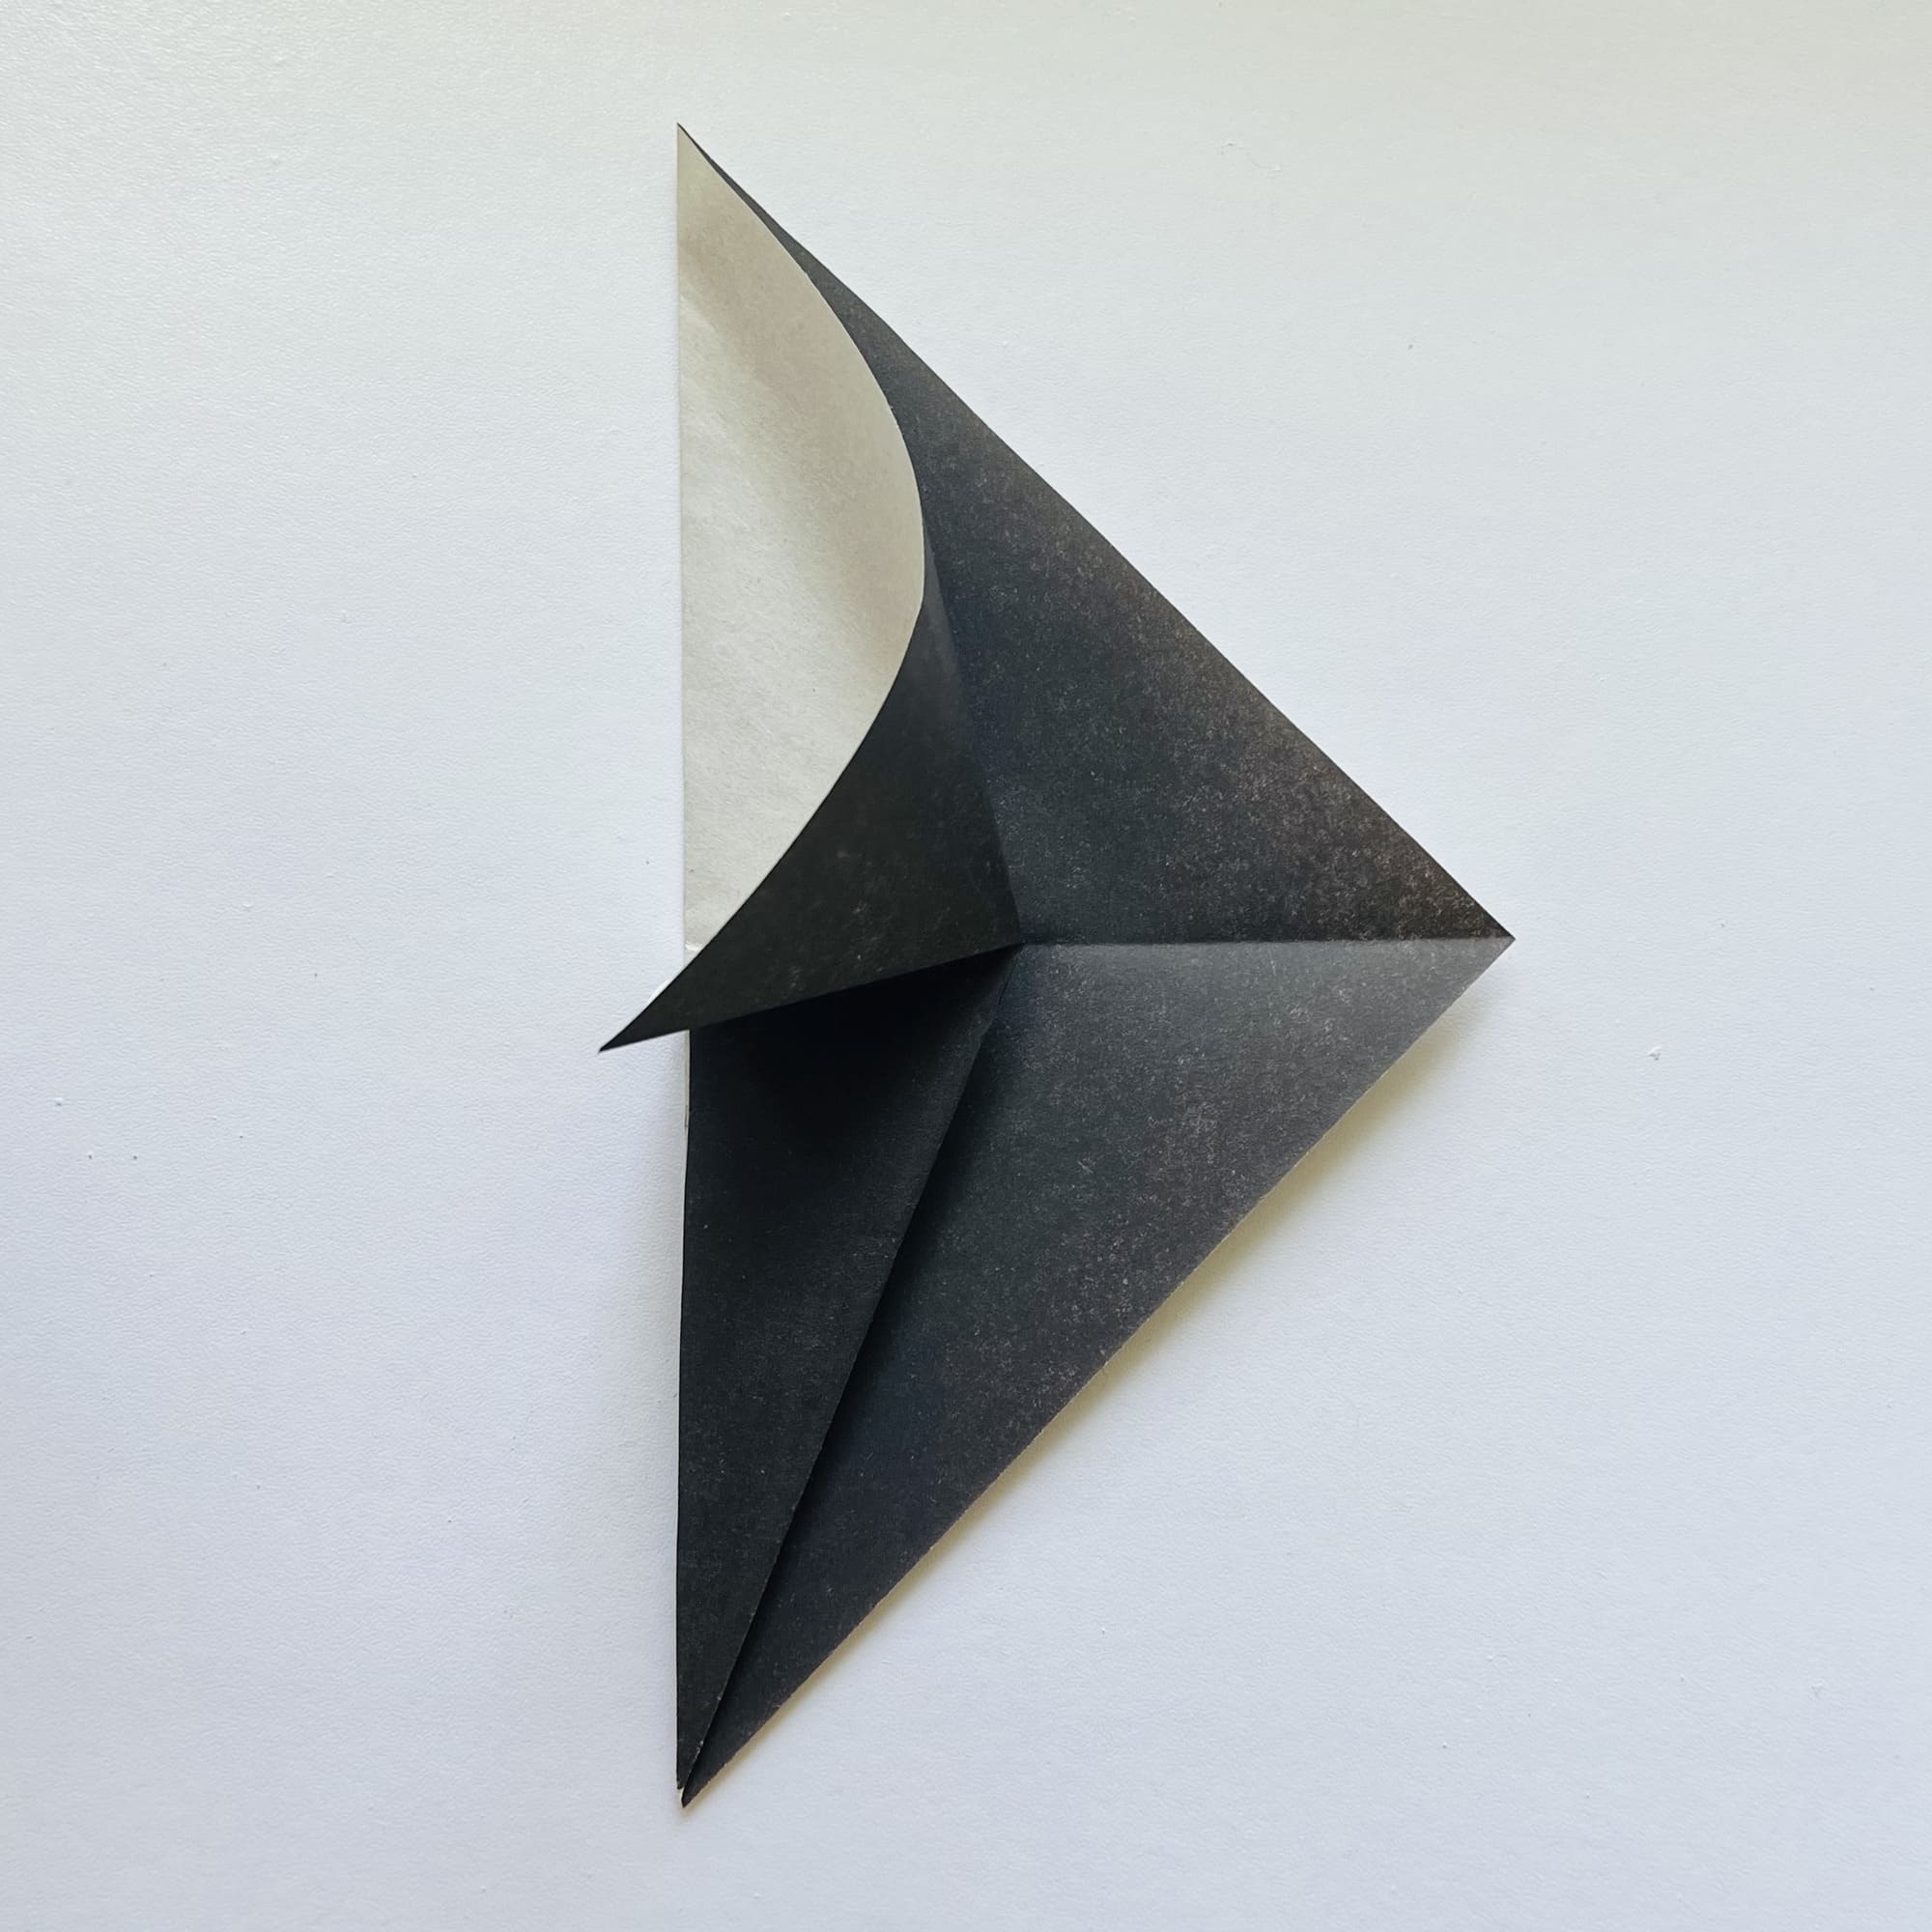
Fold the resulting triangle in half, lowering the upper corner to the lower one. Work out the fold, unfold.
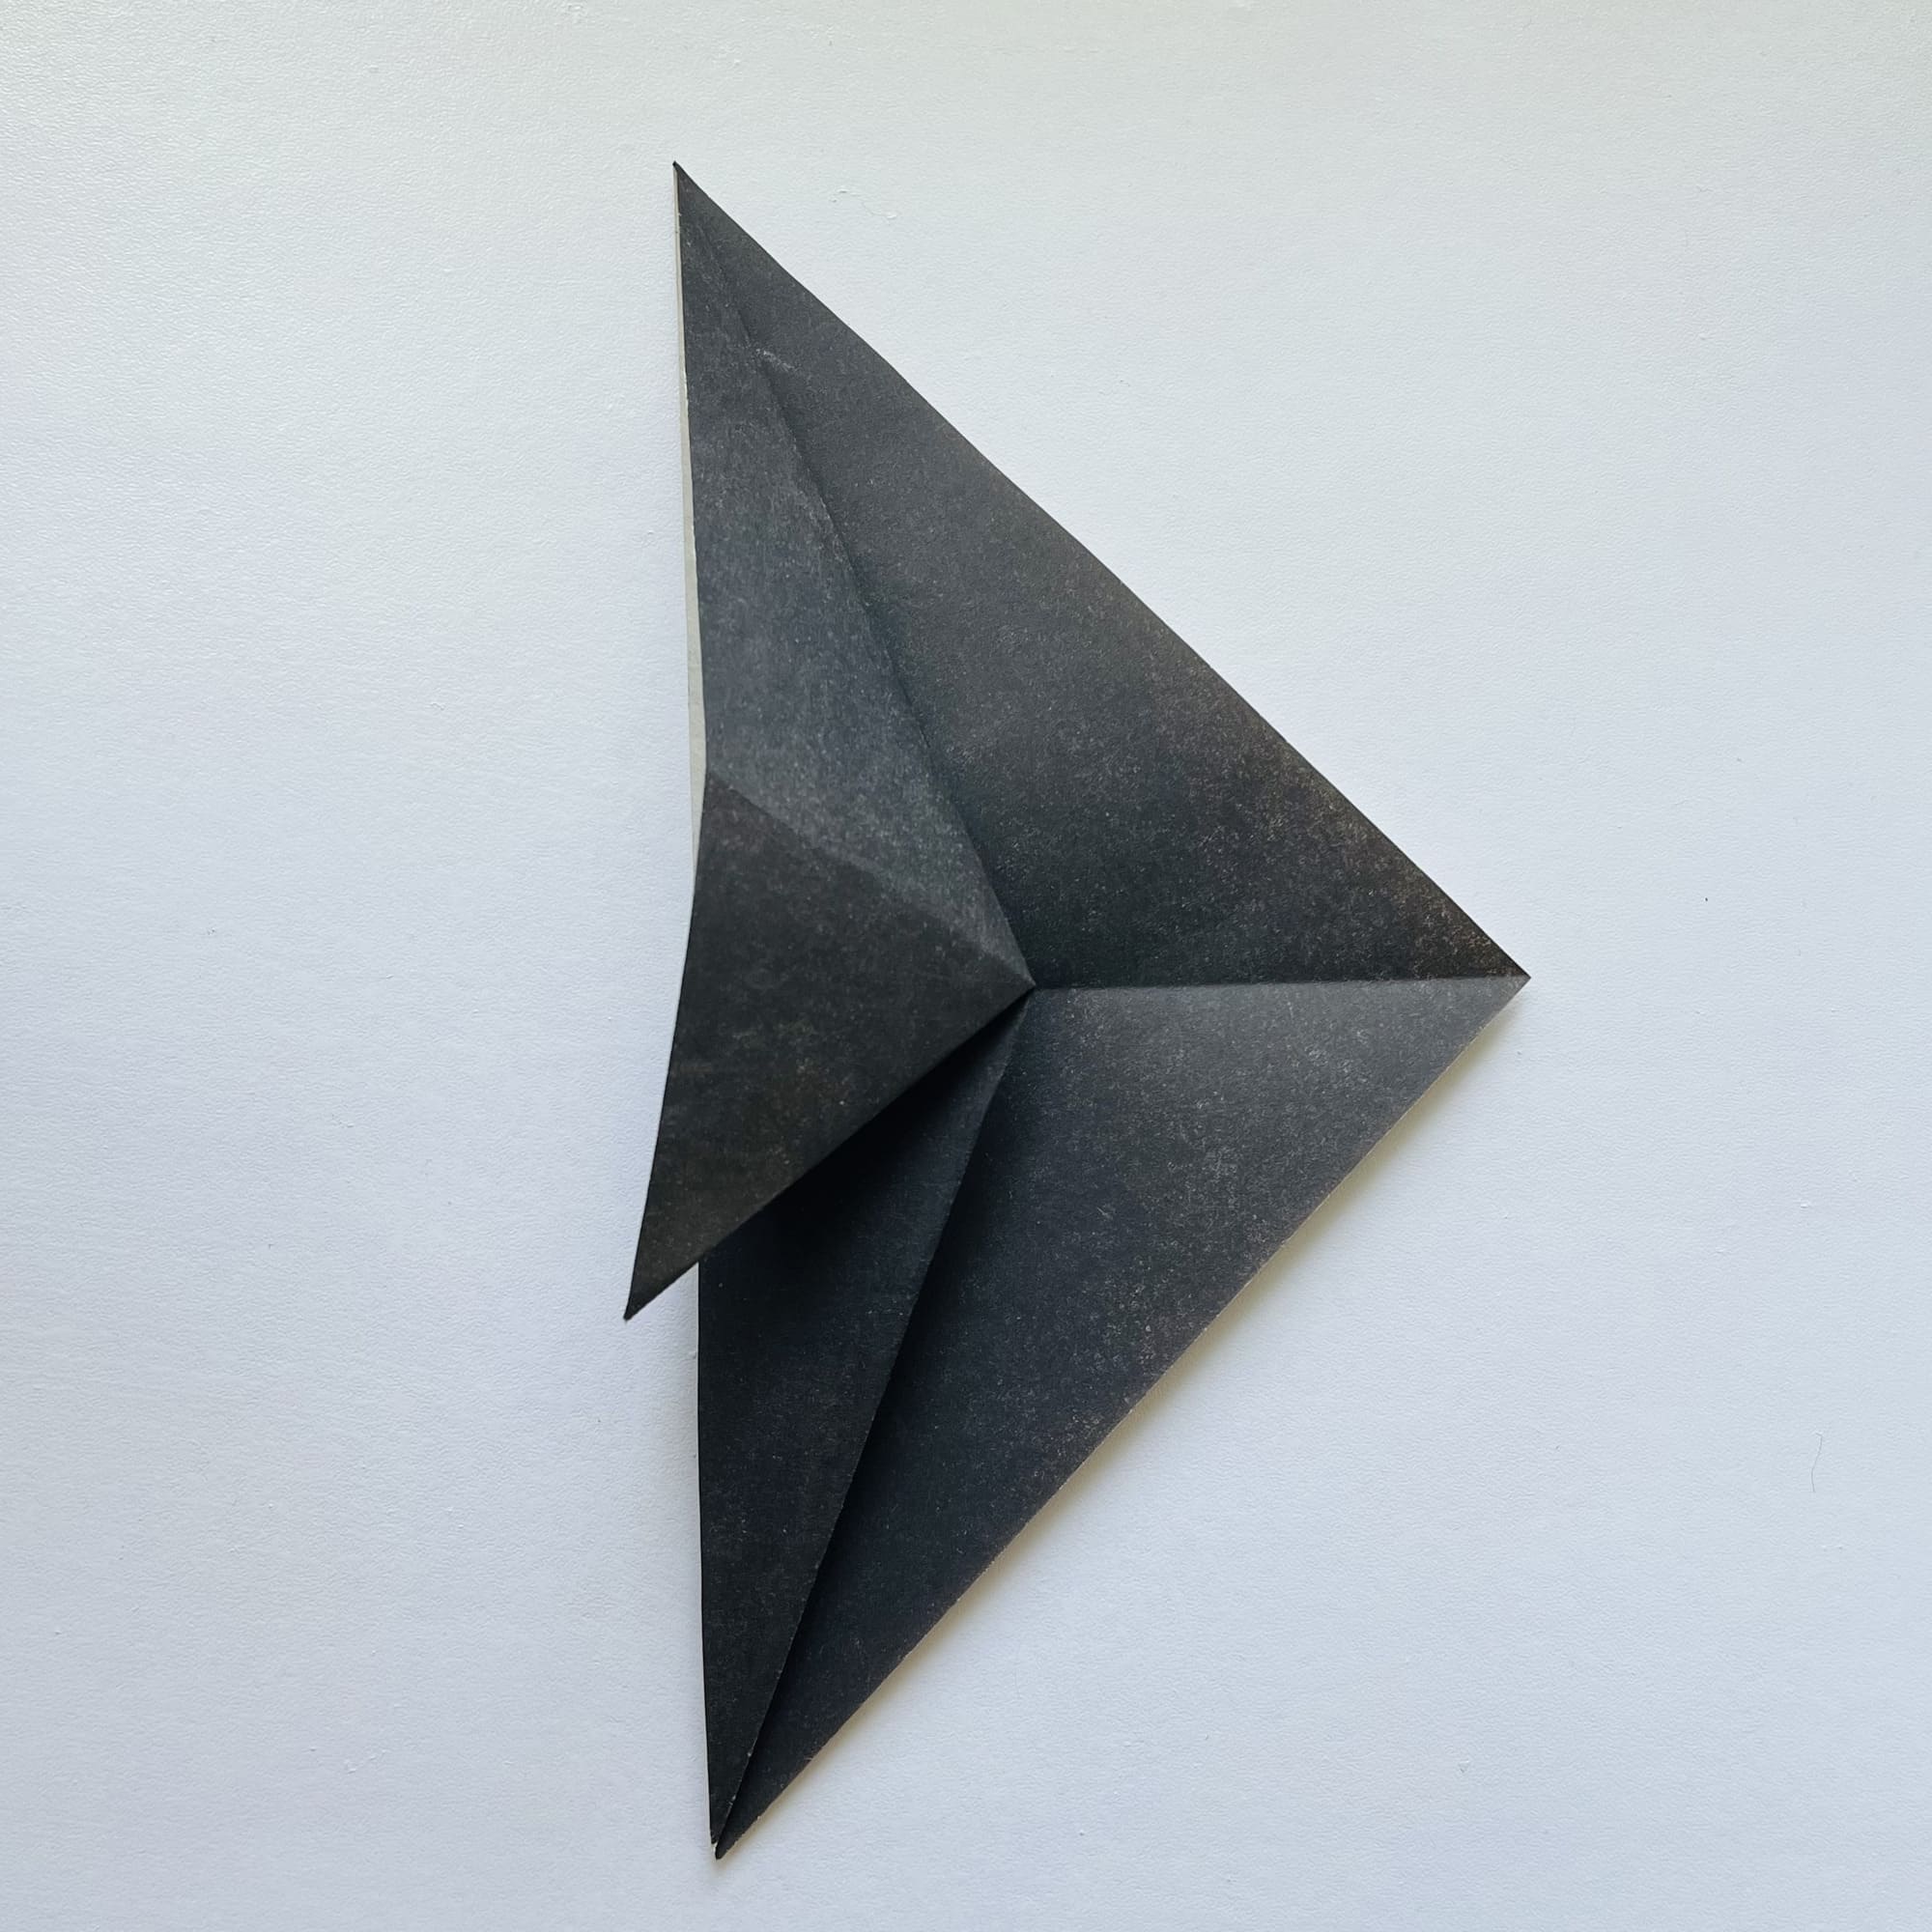
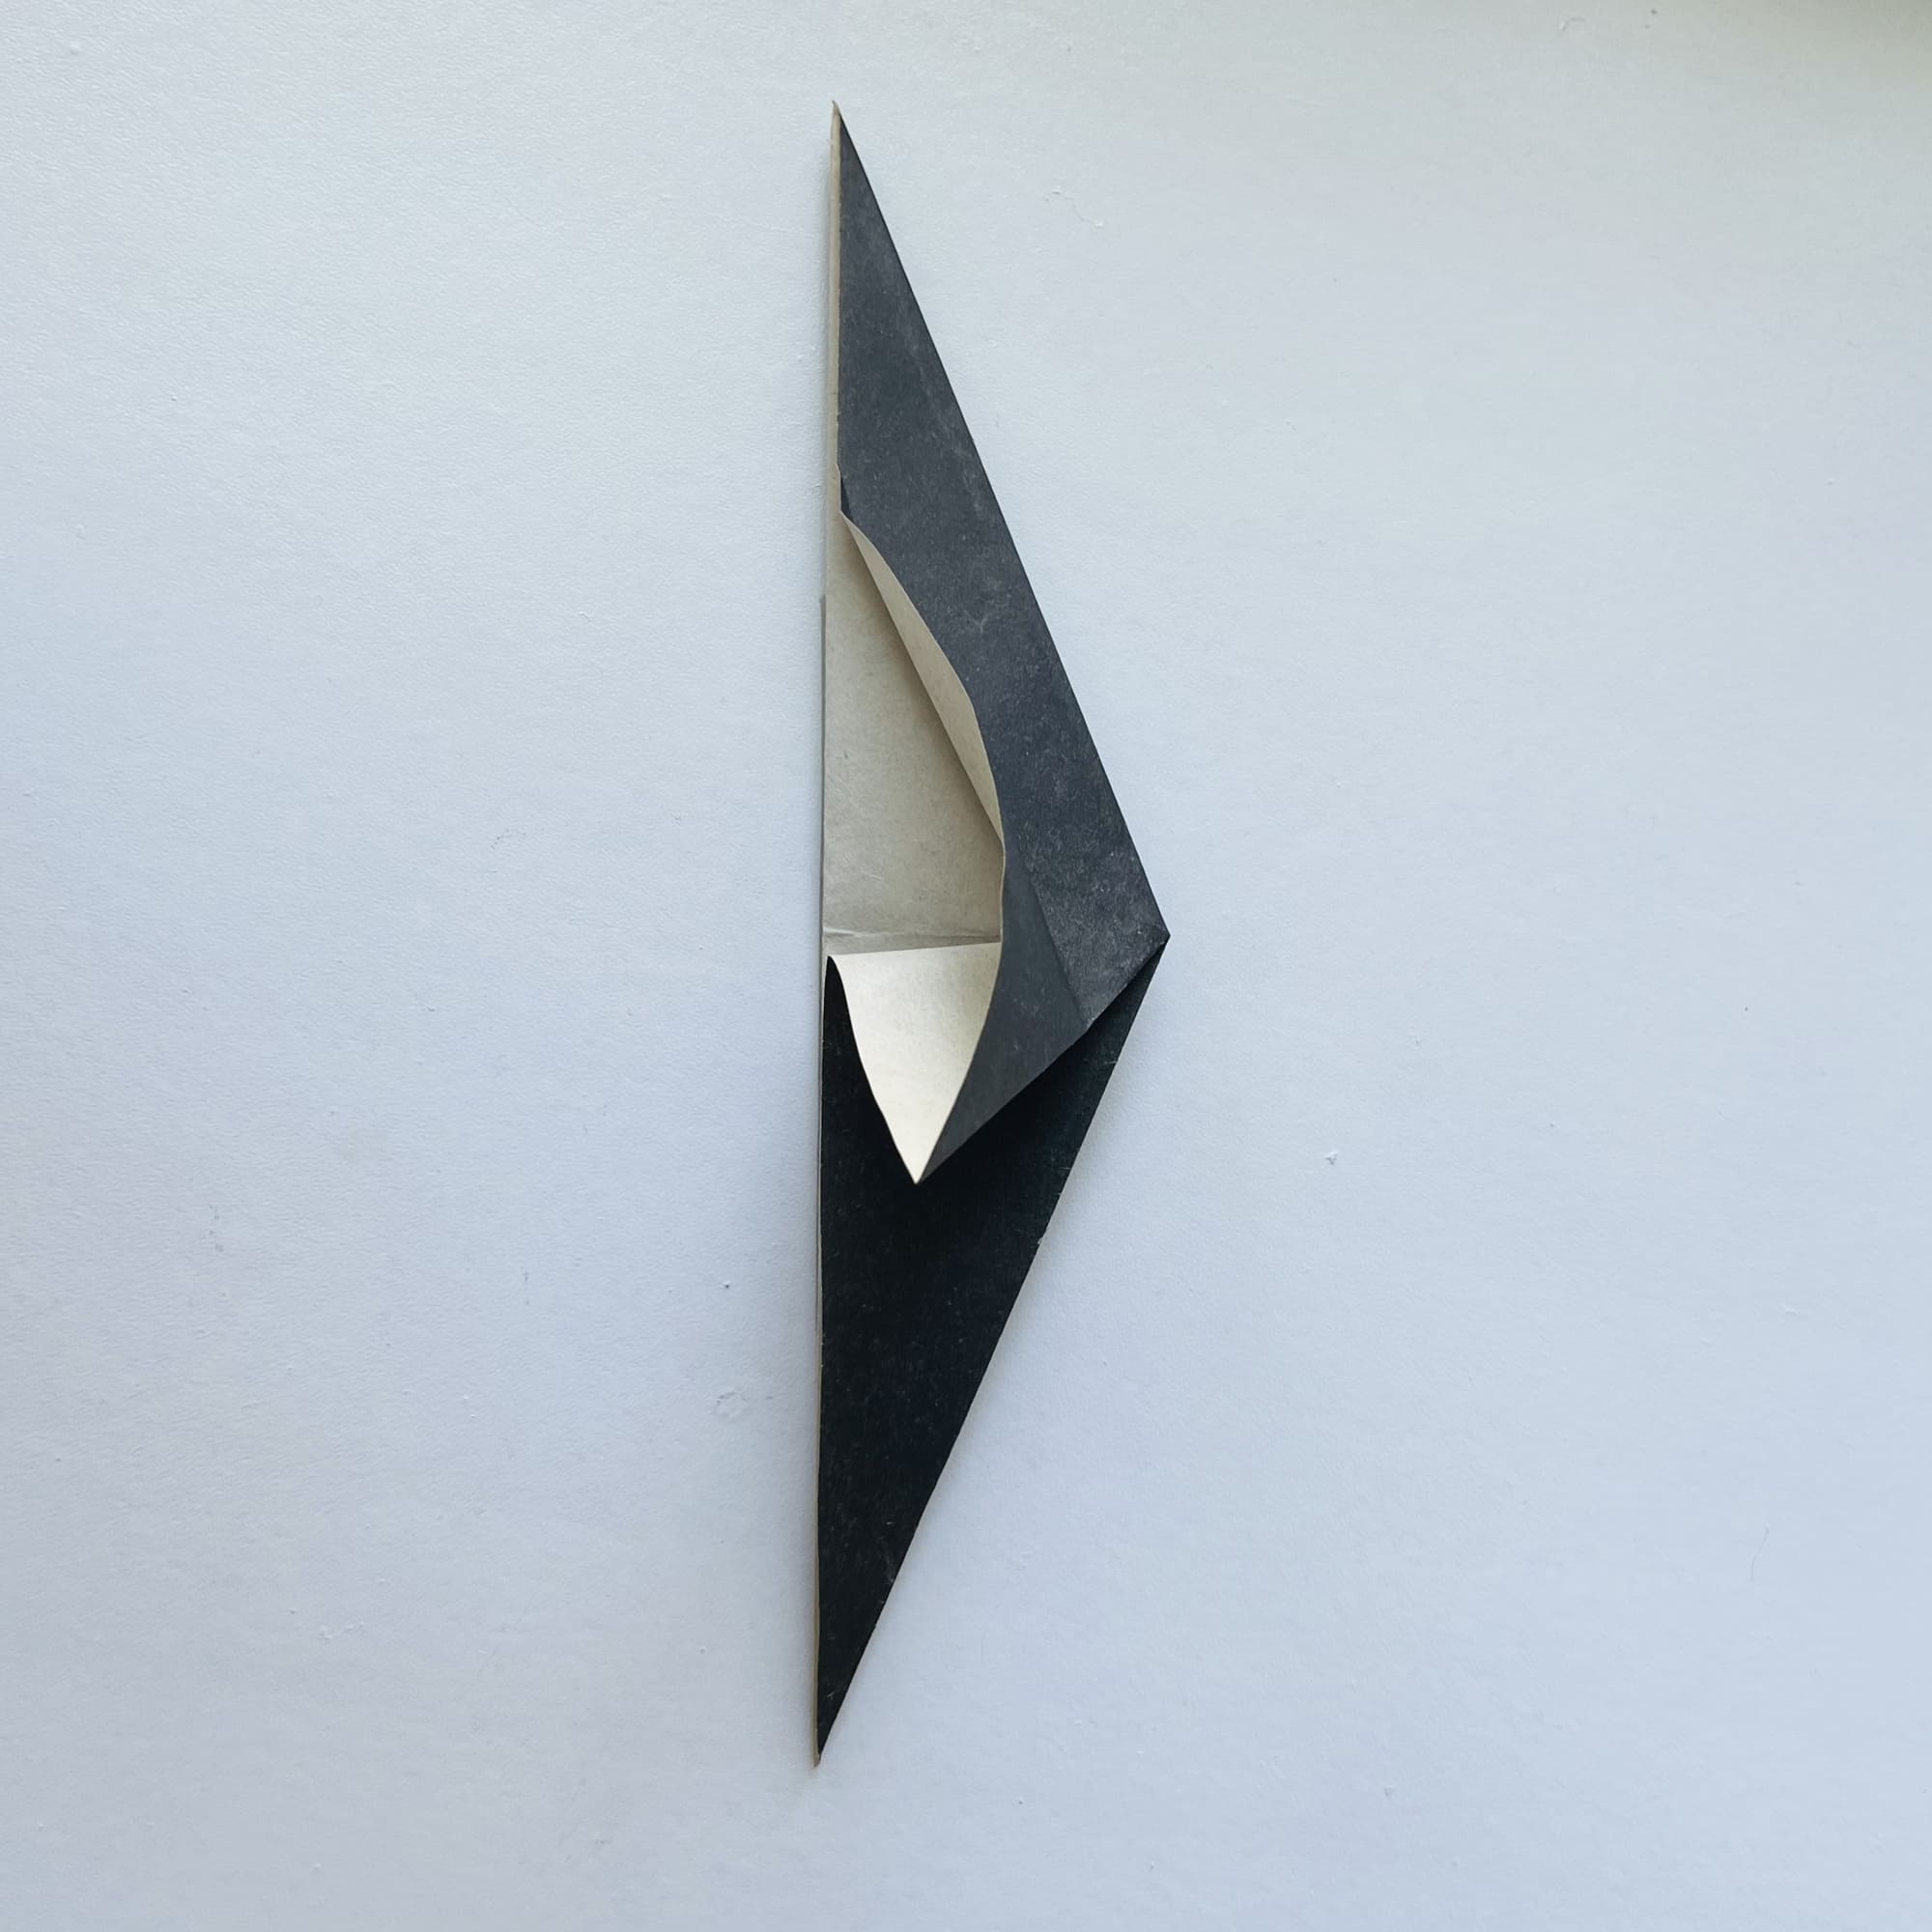
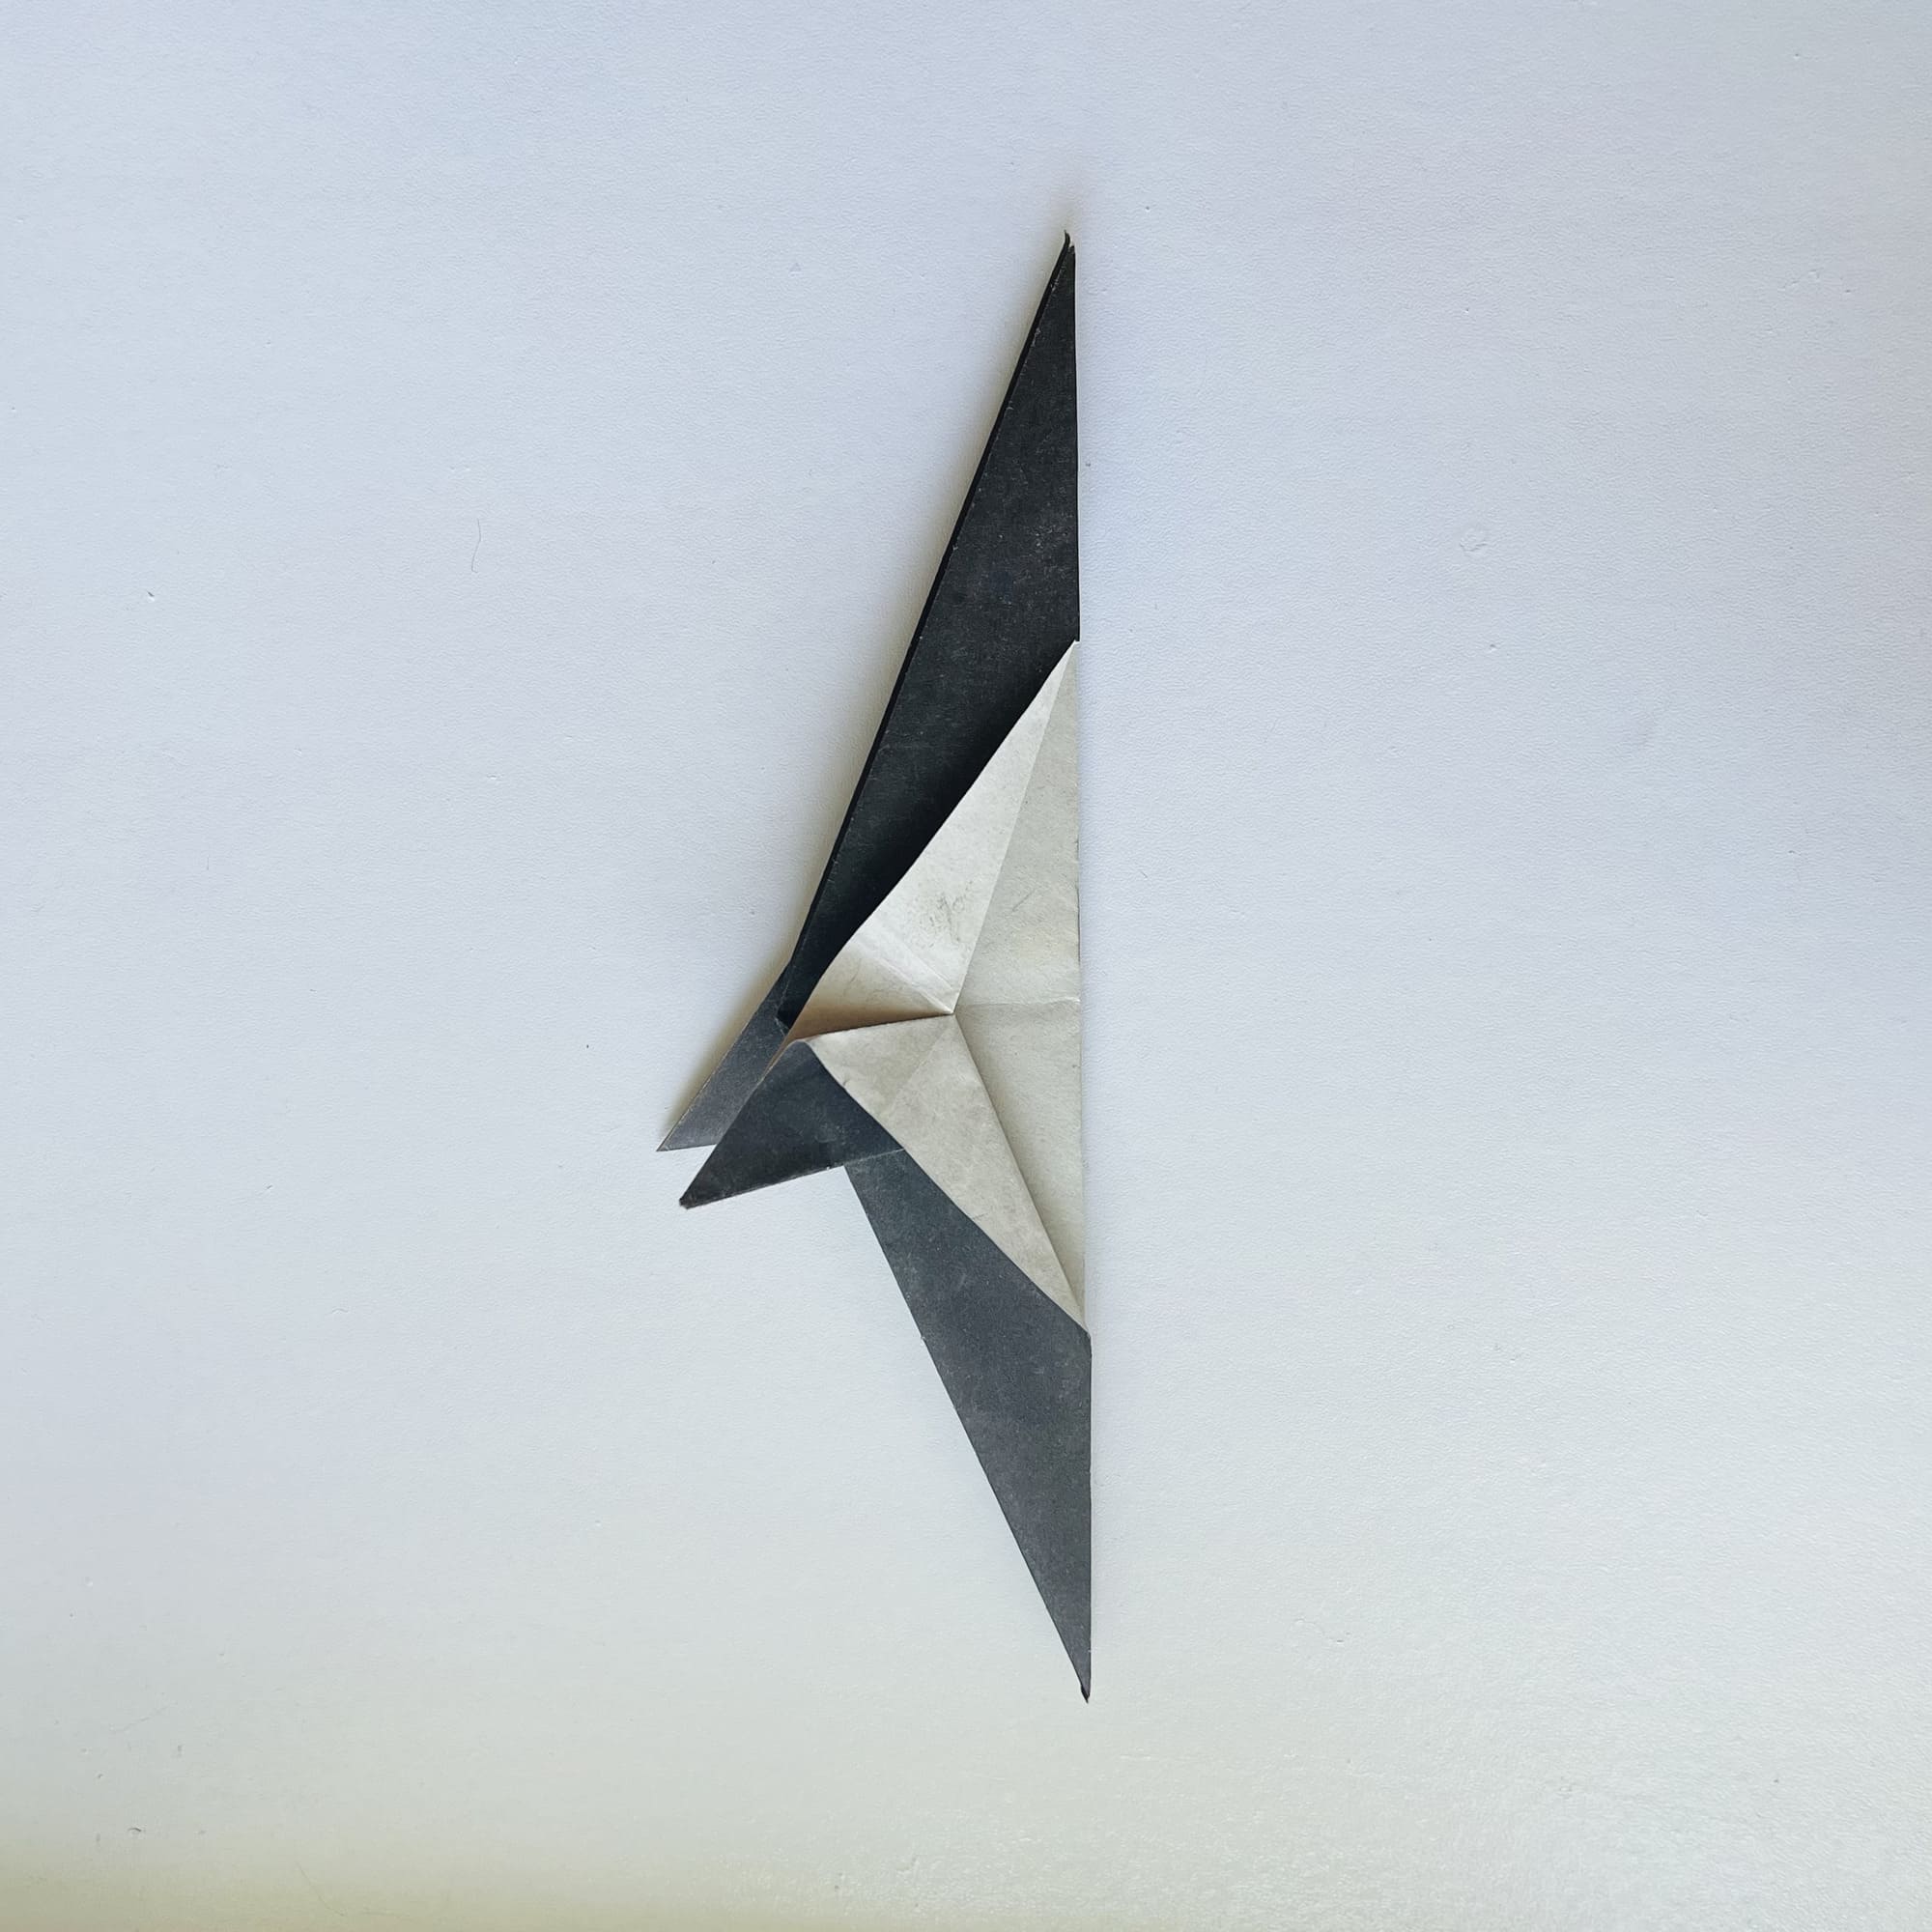
Carefully following the instructions on the photo, make “squash folds” on both sides.
Check with the photos, you should have an open “pocket” first on one side of the figure.
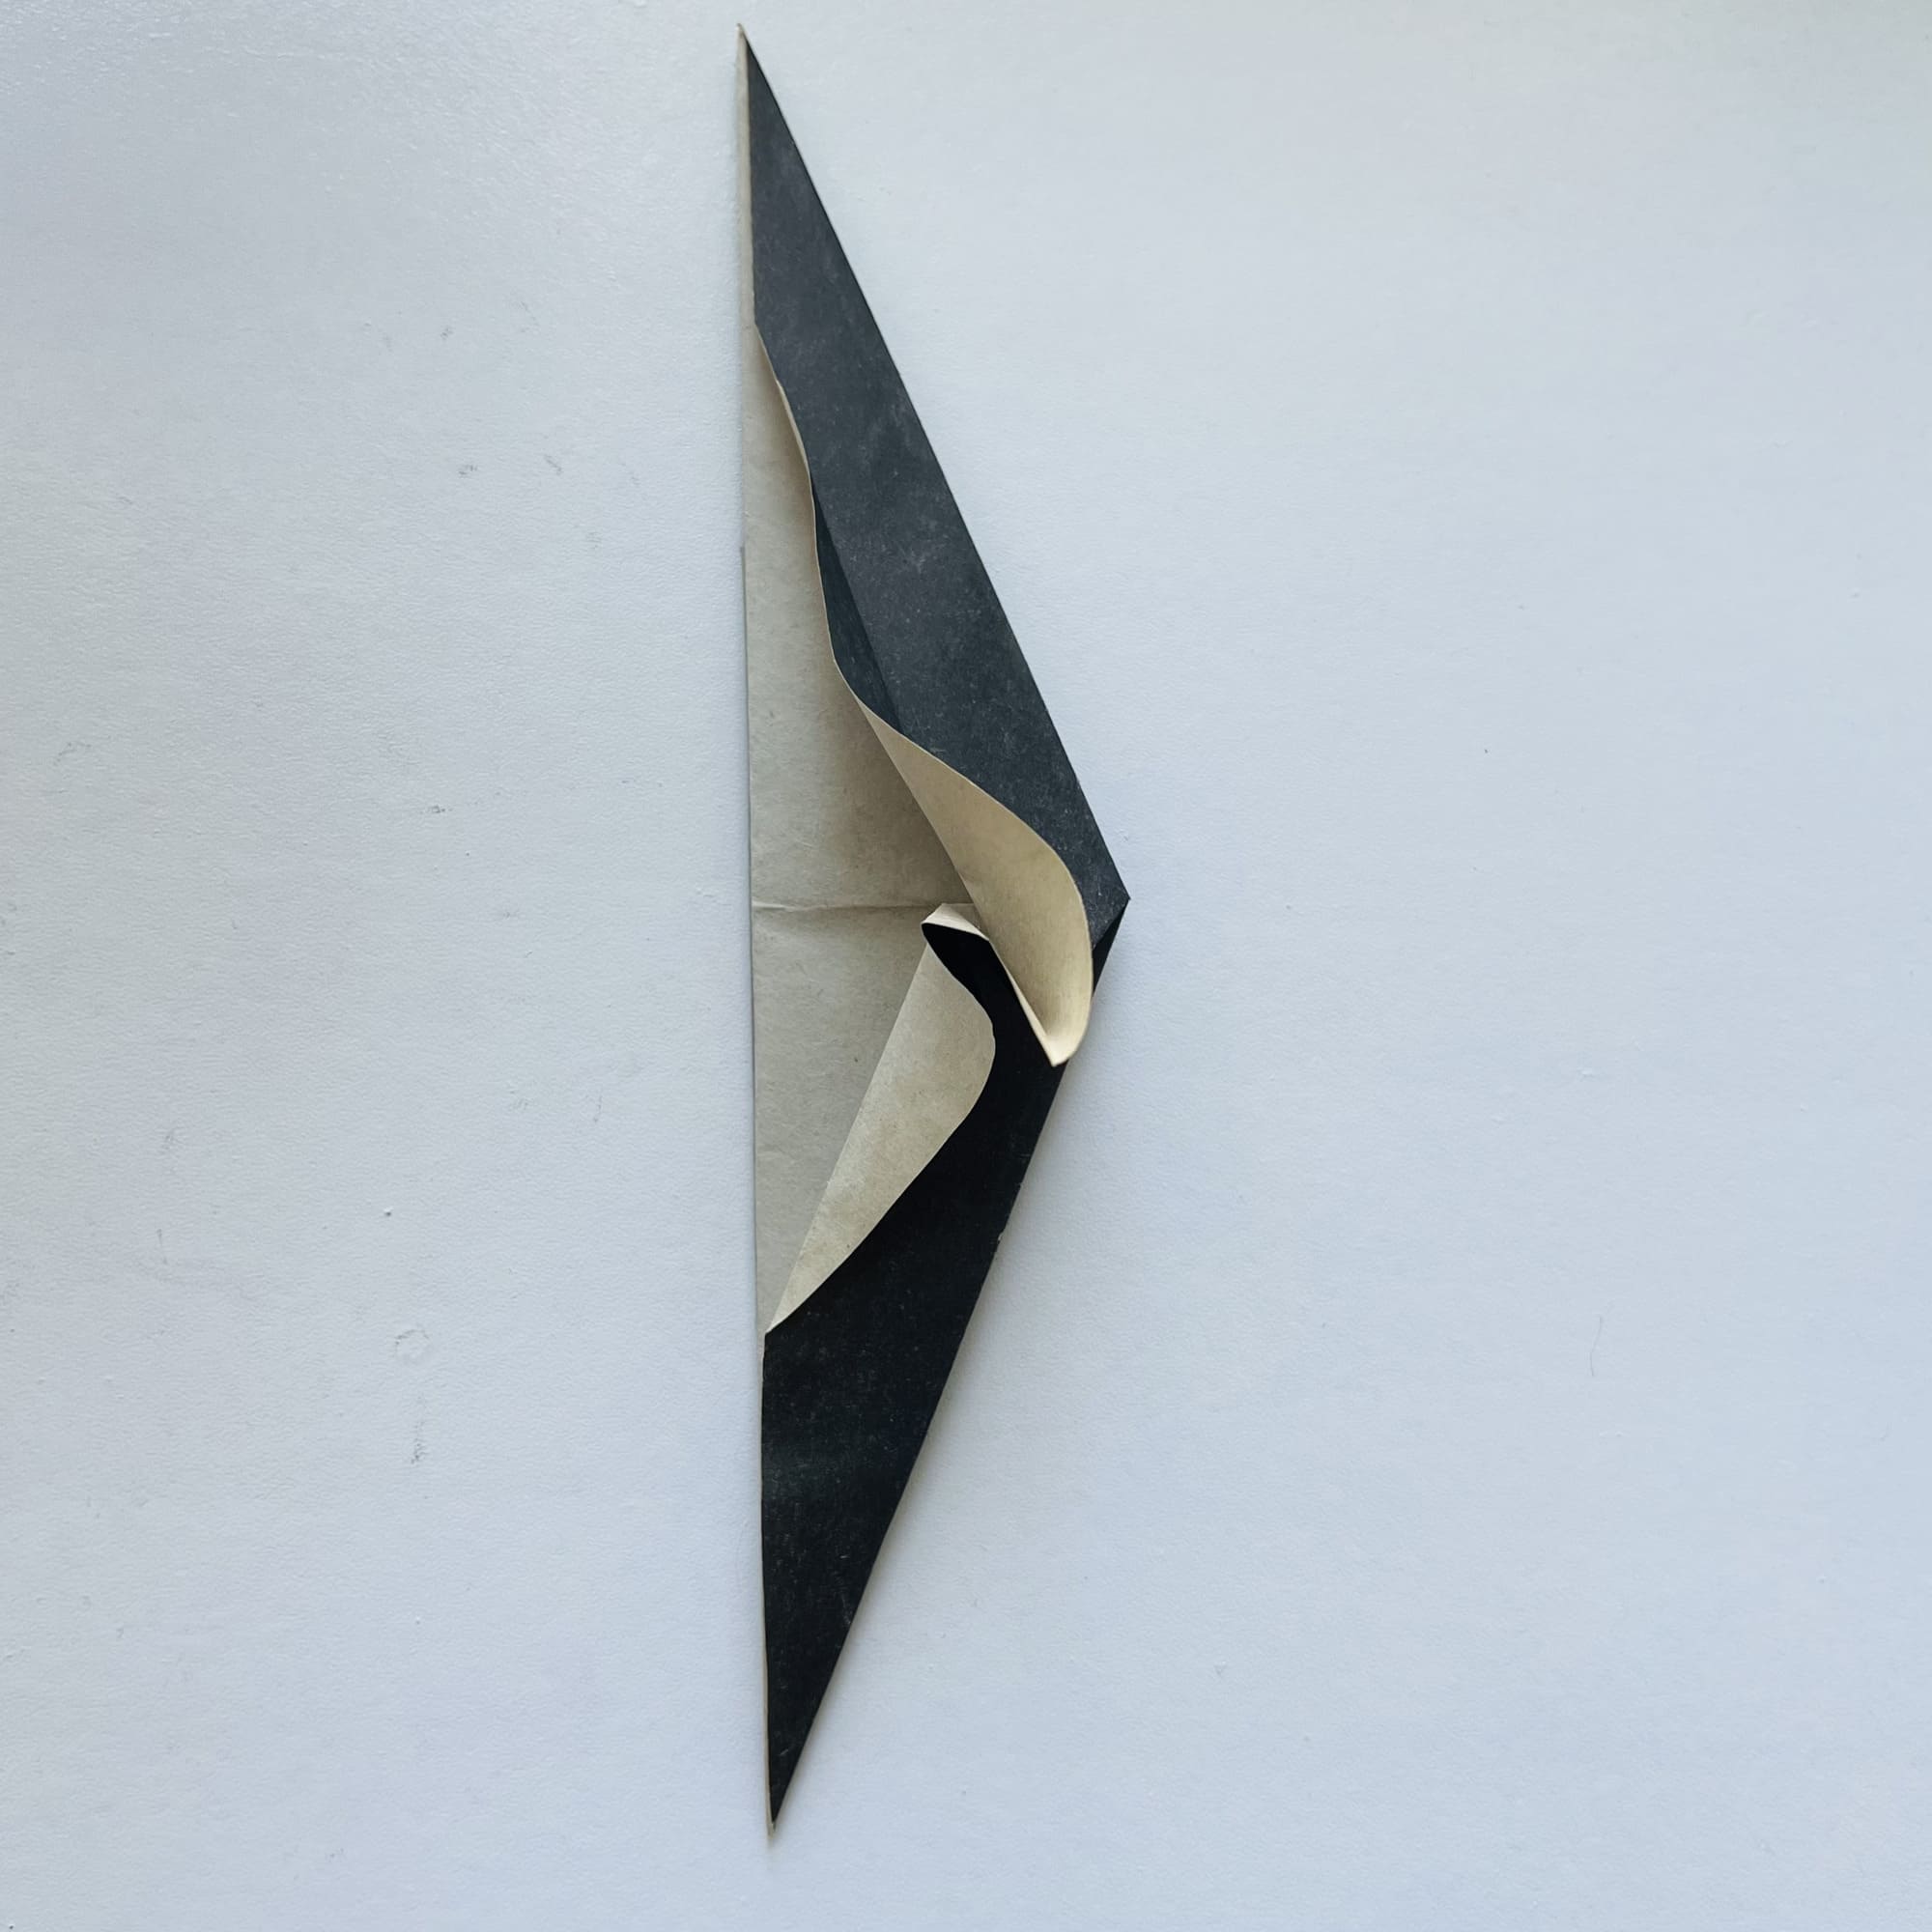
Then on the other side.
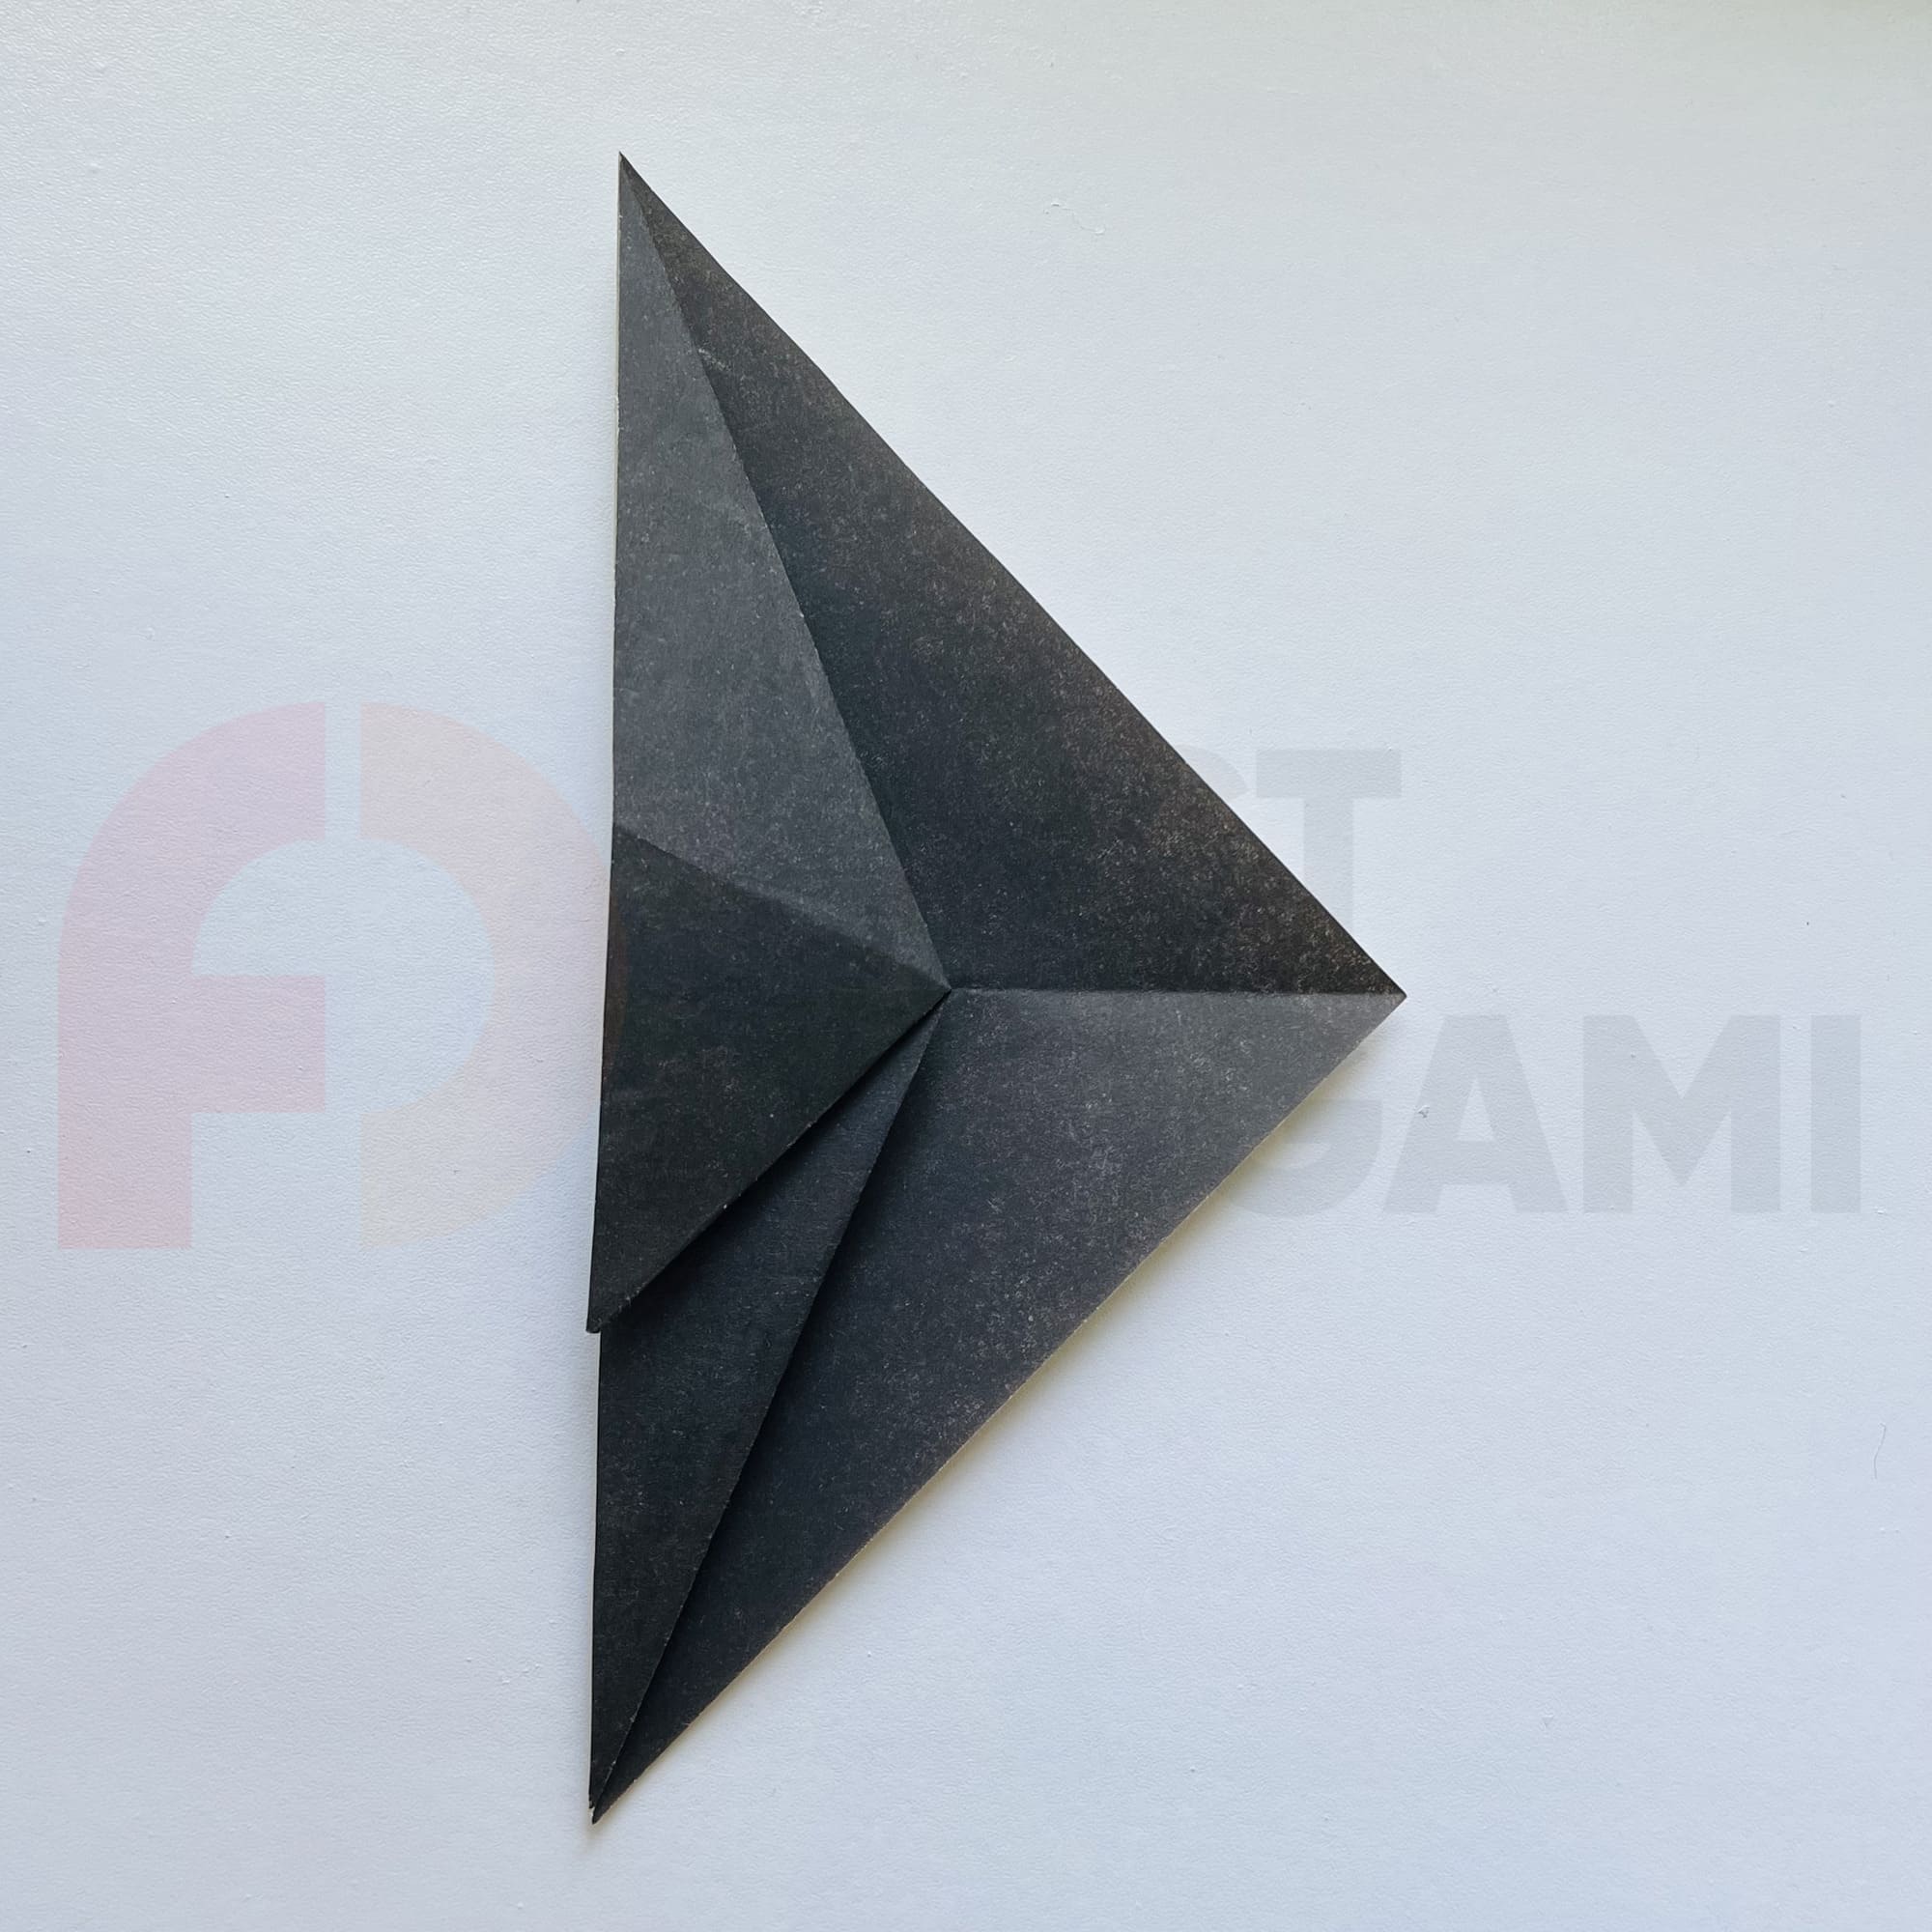
Work out all the folding lines carefully.
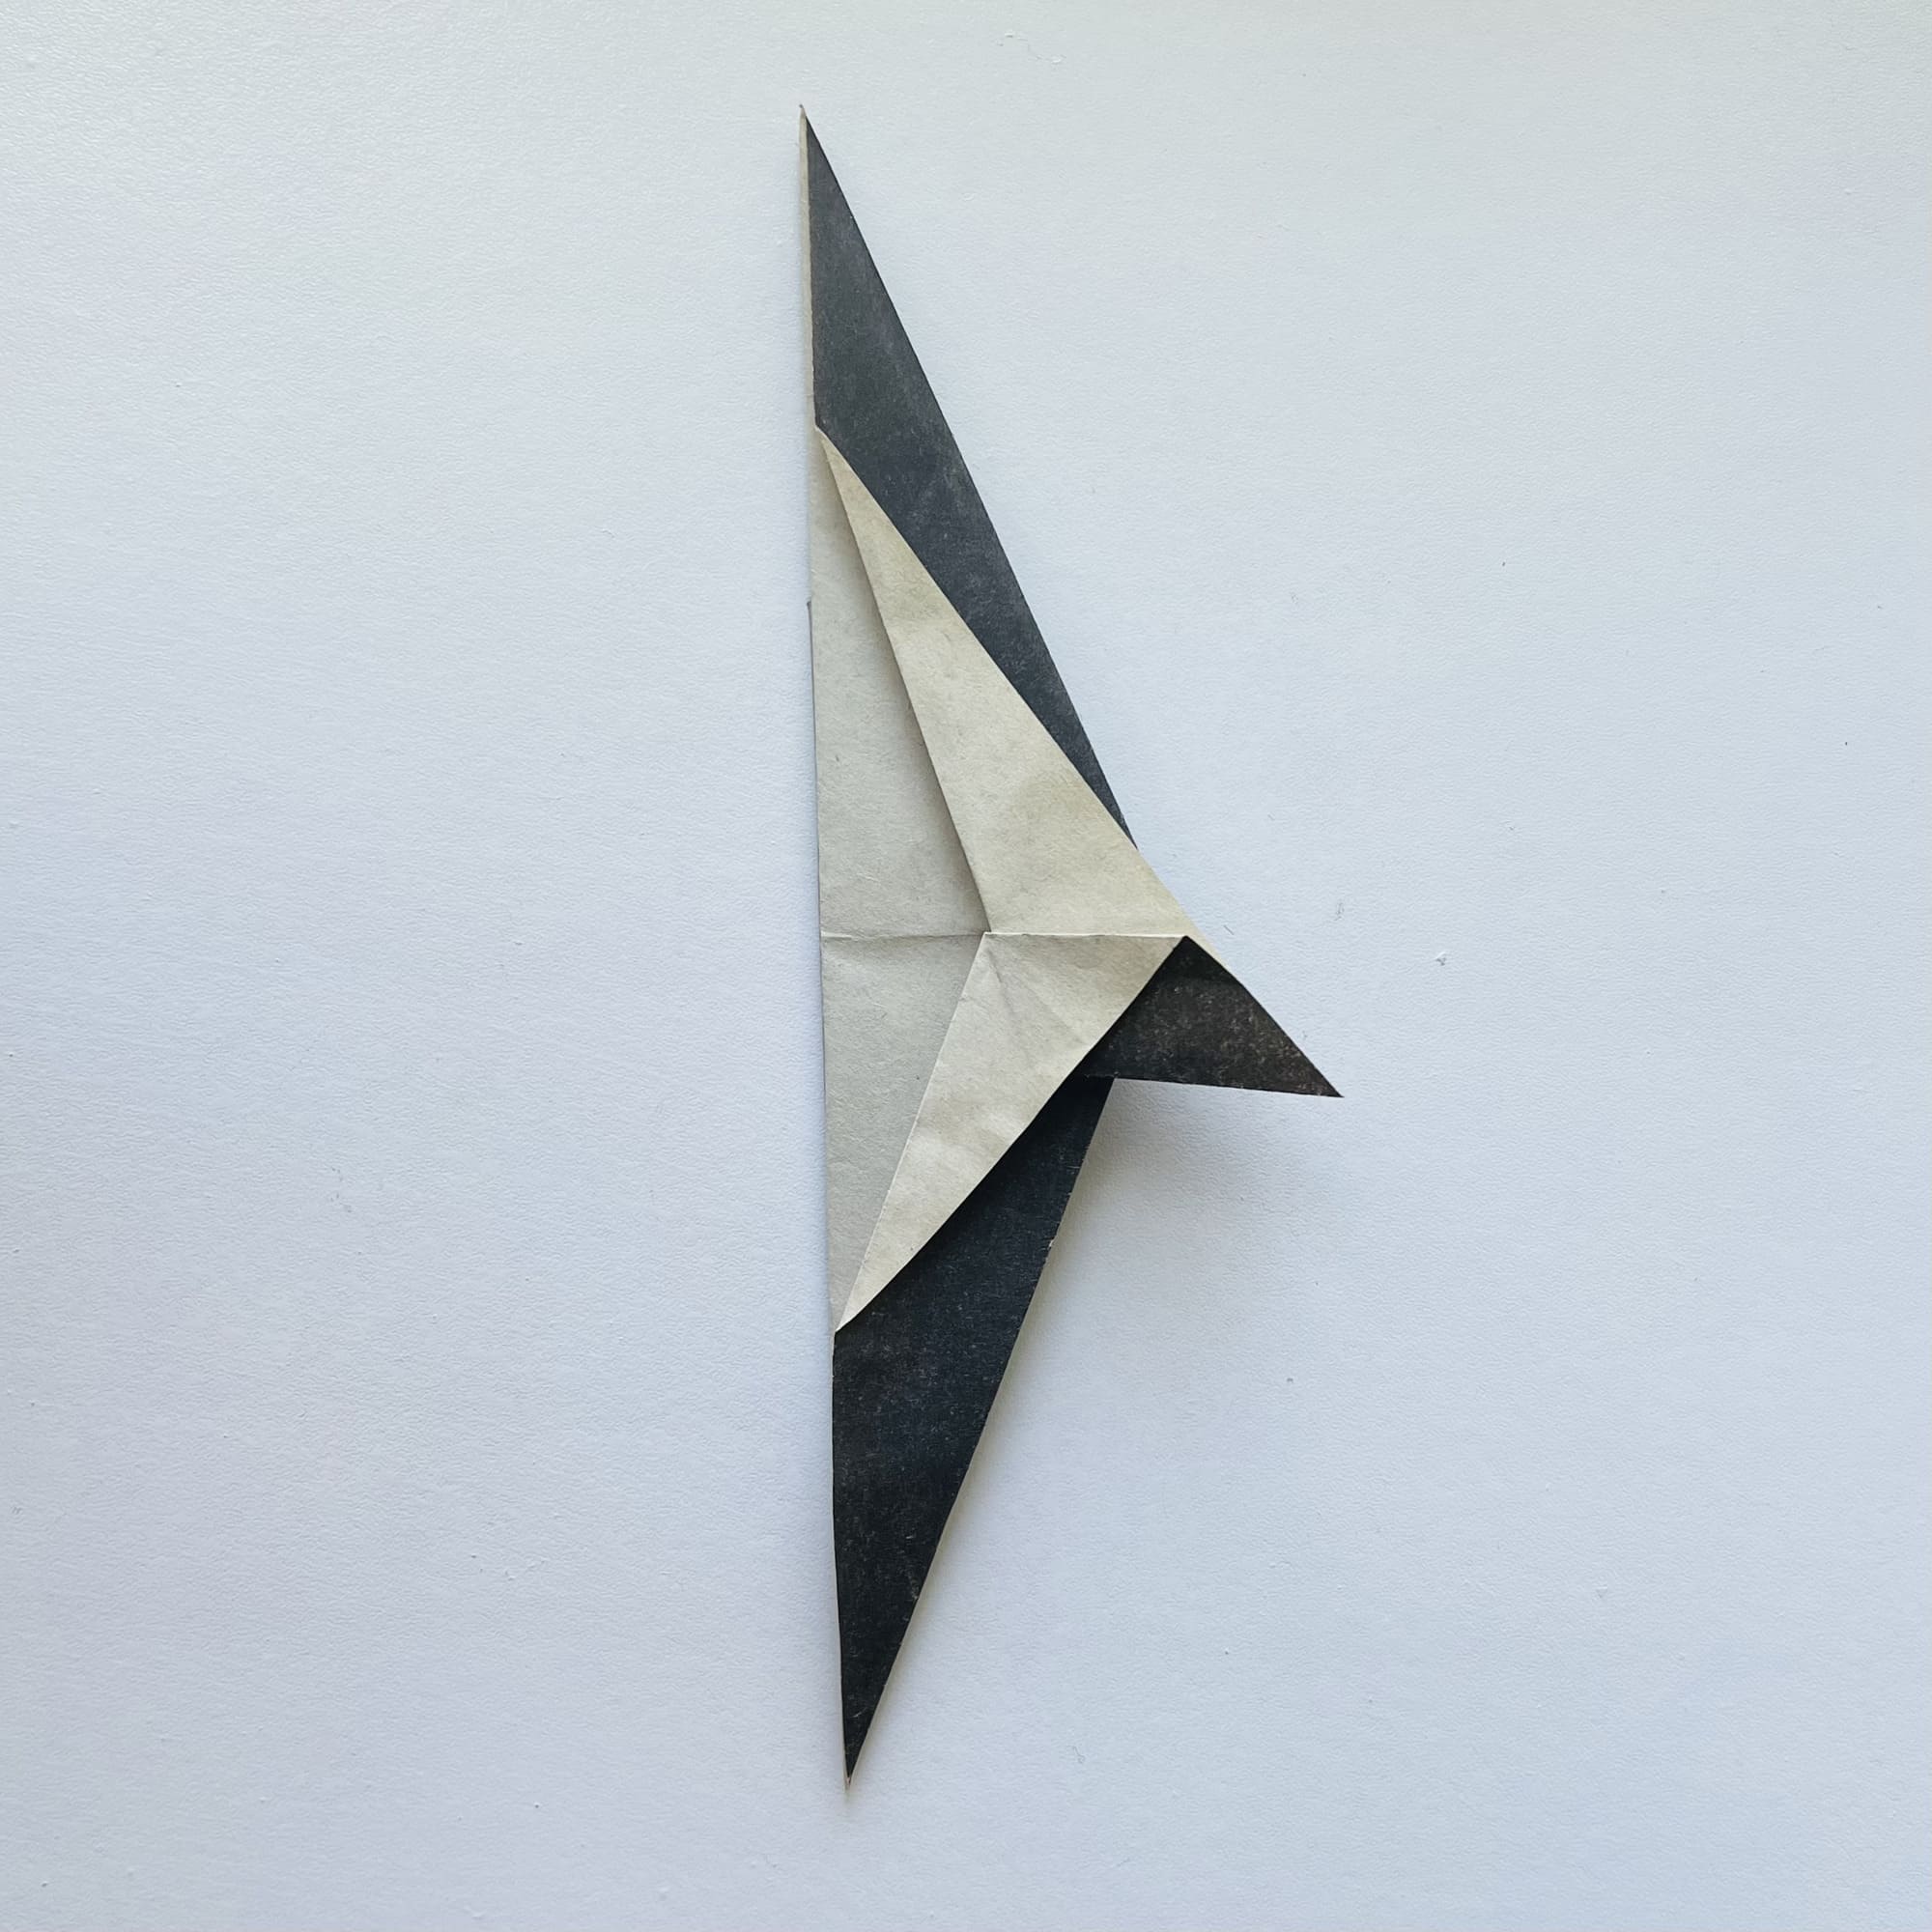
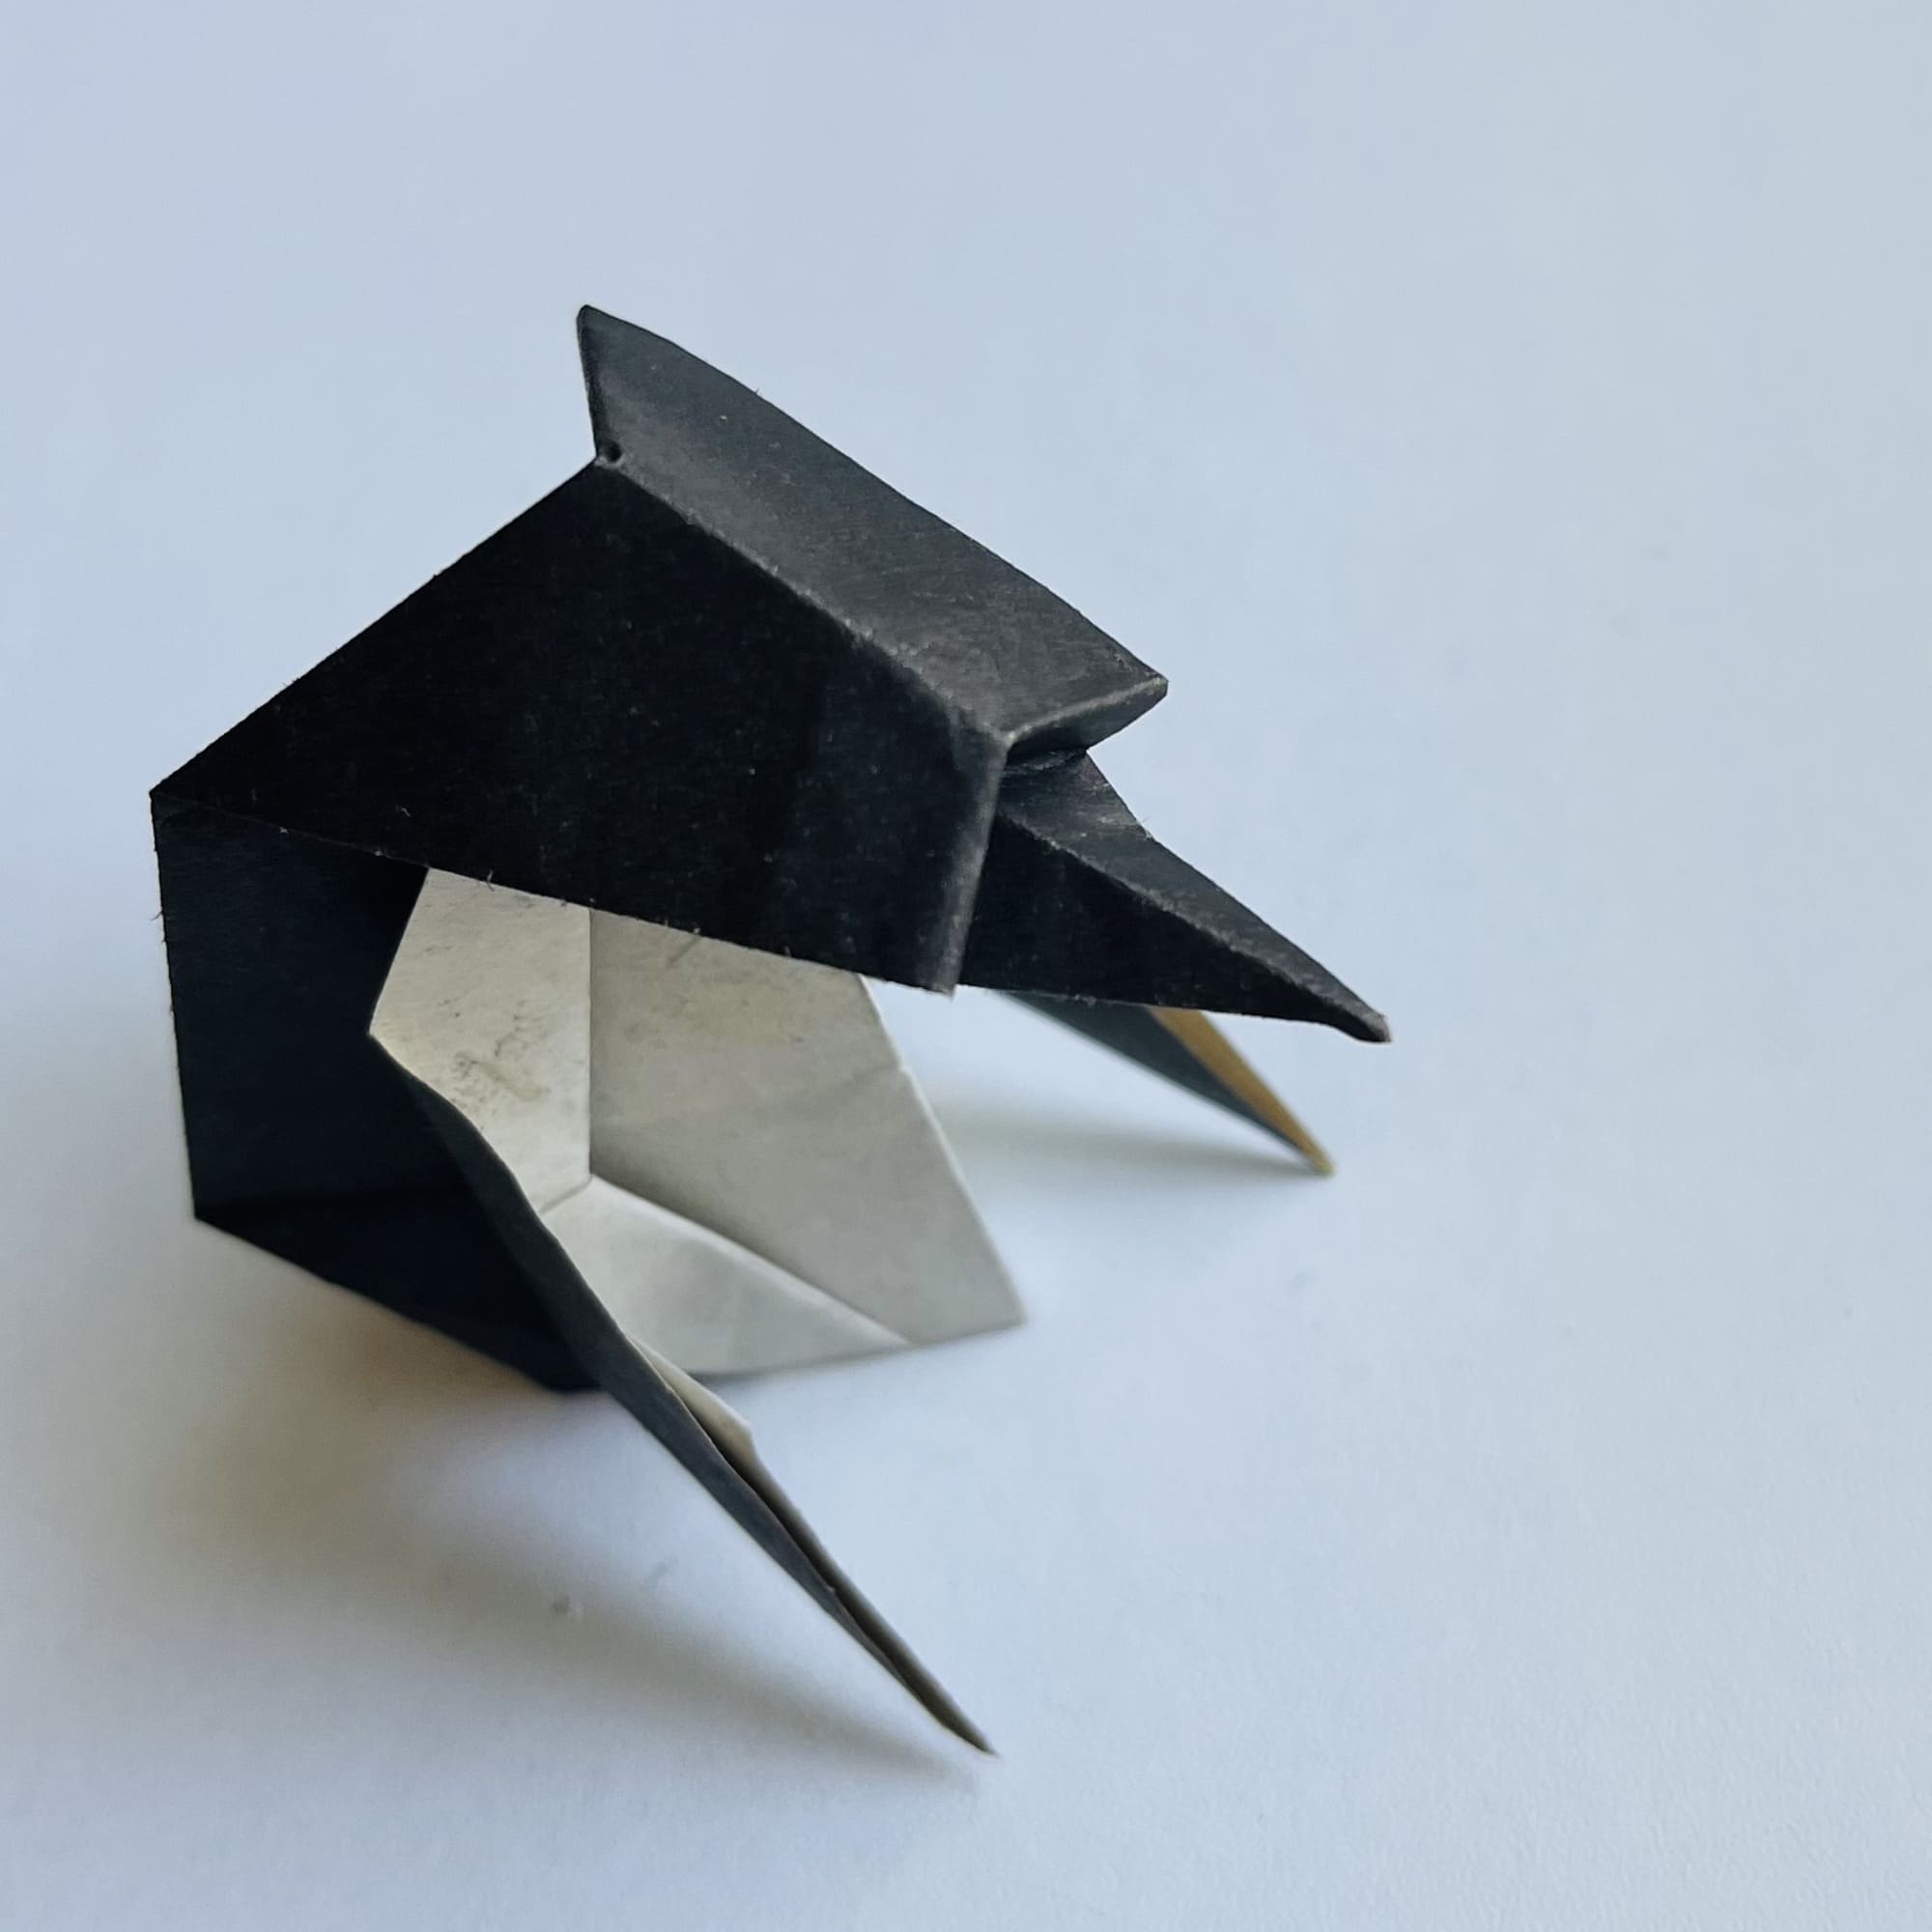
This is how the figure should look at this stage.
Make similar folds on both sides, this time turning the corners outward.
Start opening up the pockets you just made.

Flatten and sharpen the triangular elements of the figure.
Press the folds to the surface and iron them with your fingers.
Repeat all the steps with the other side of the figure.
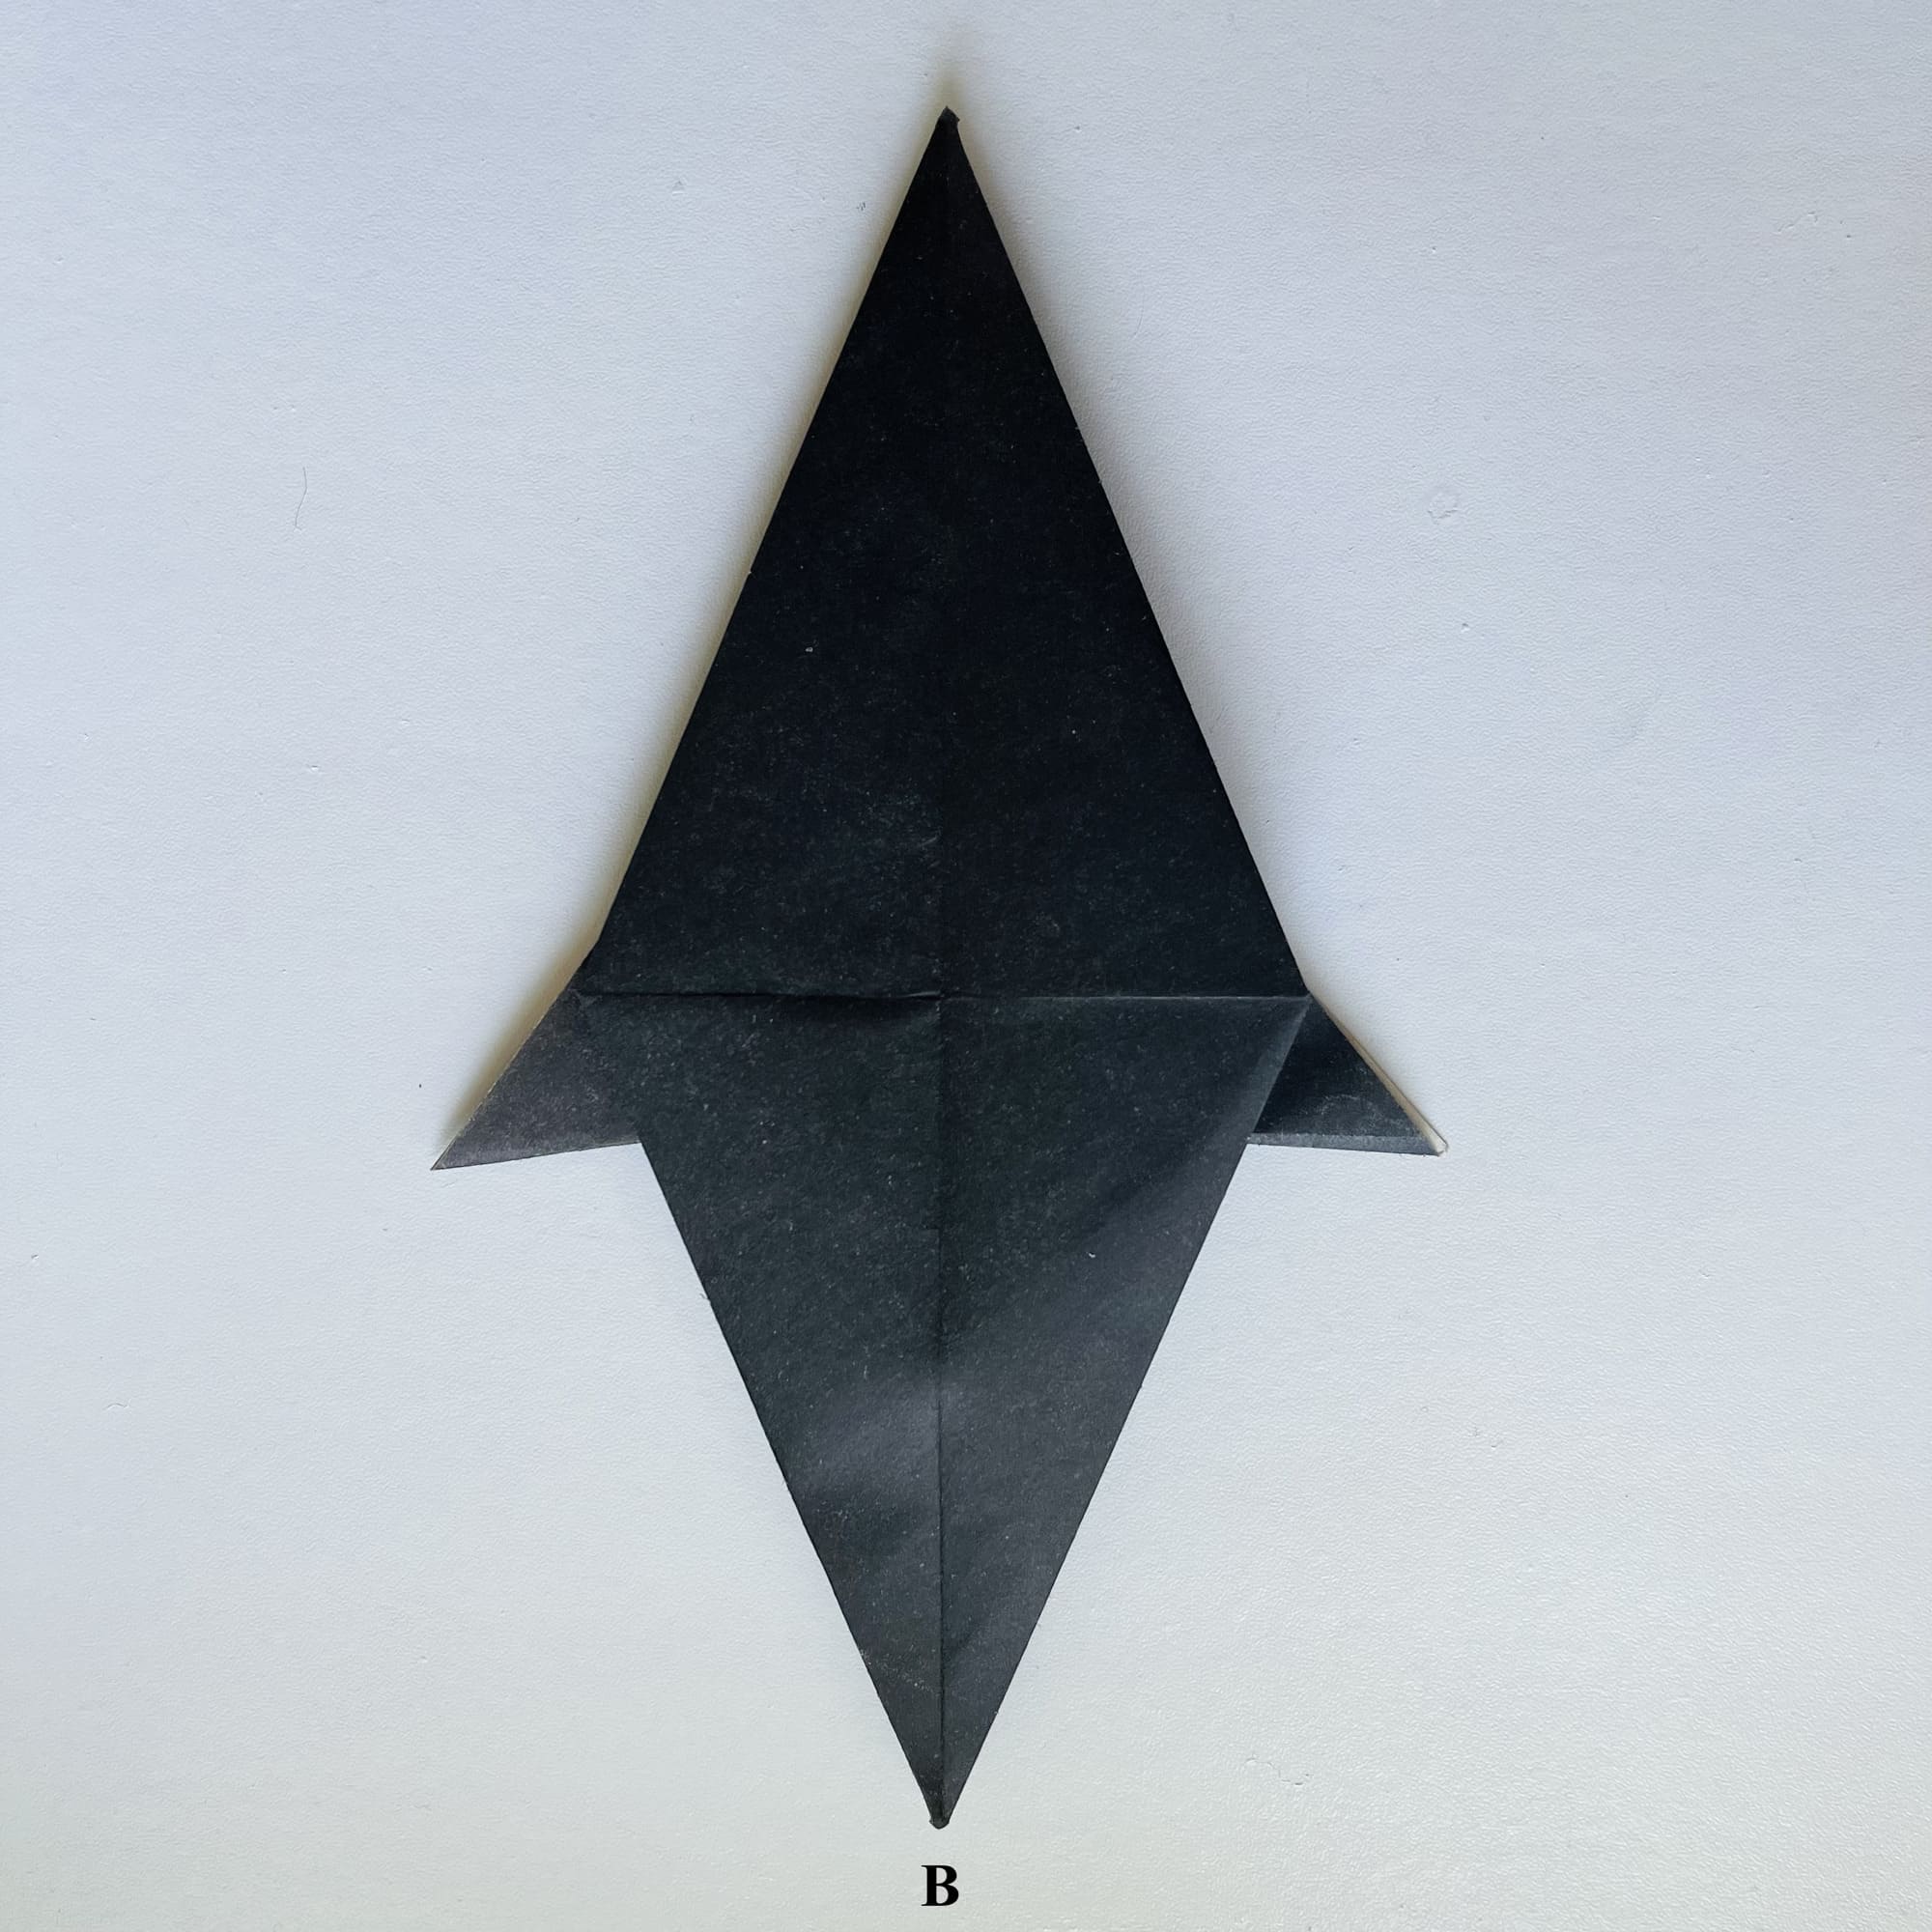
Unfold the figure by grasping the small corners sticking out in the center of the figure.
Fold inward the corner labeled B.
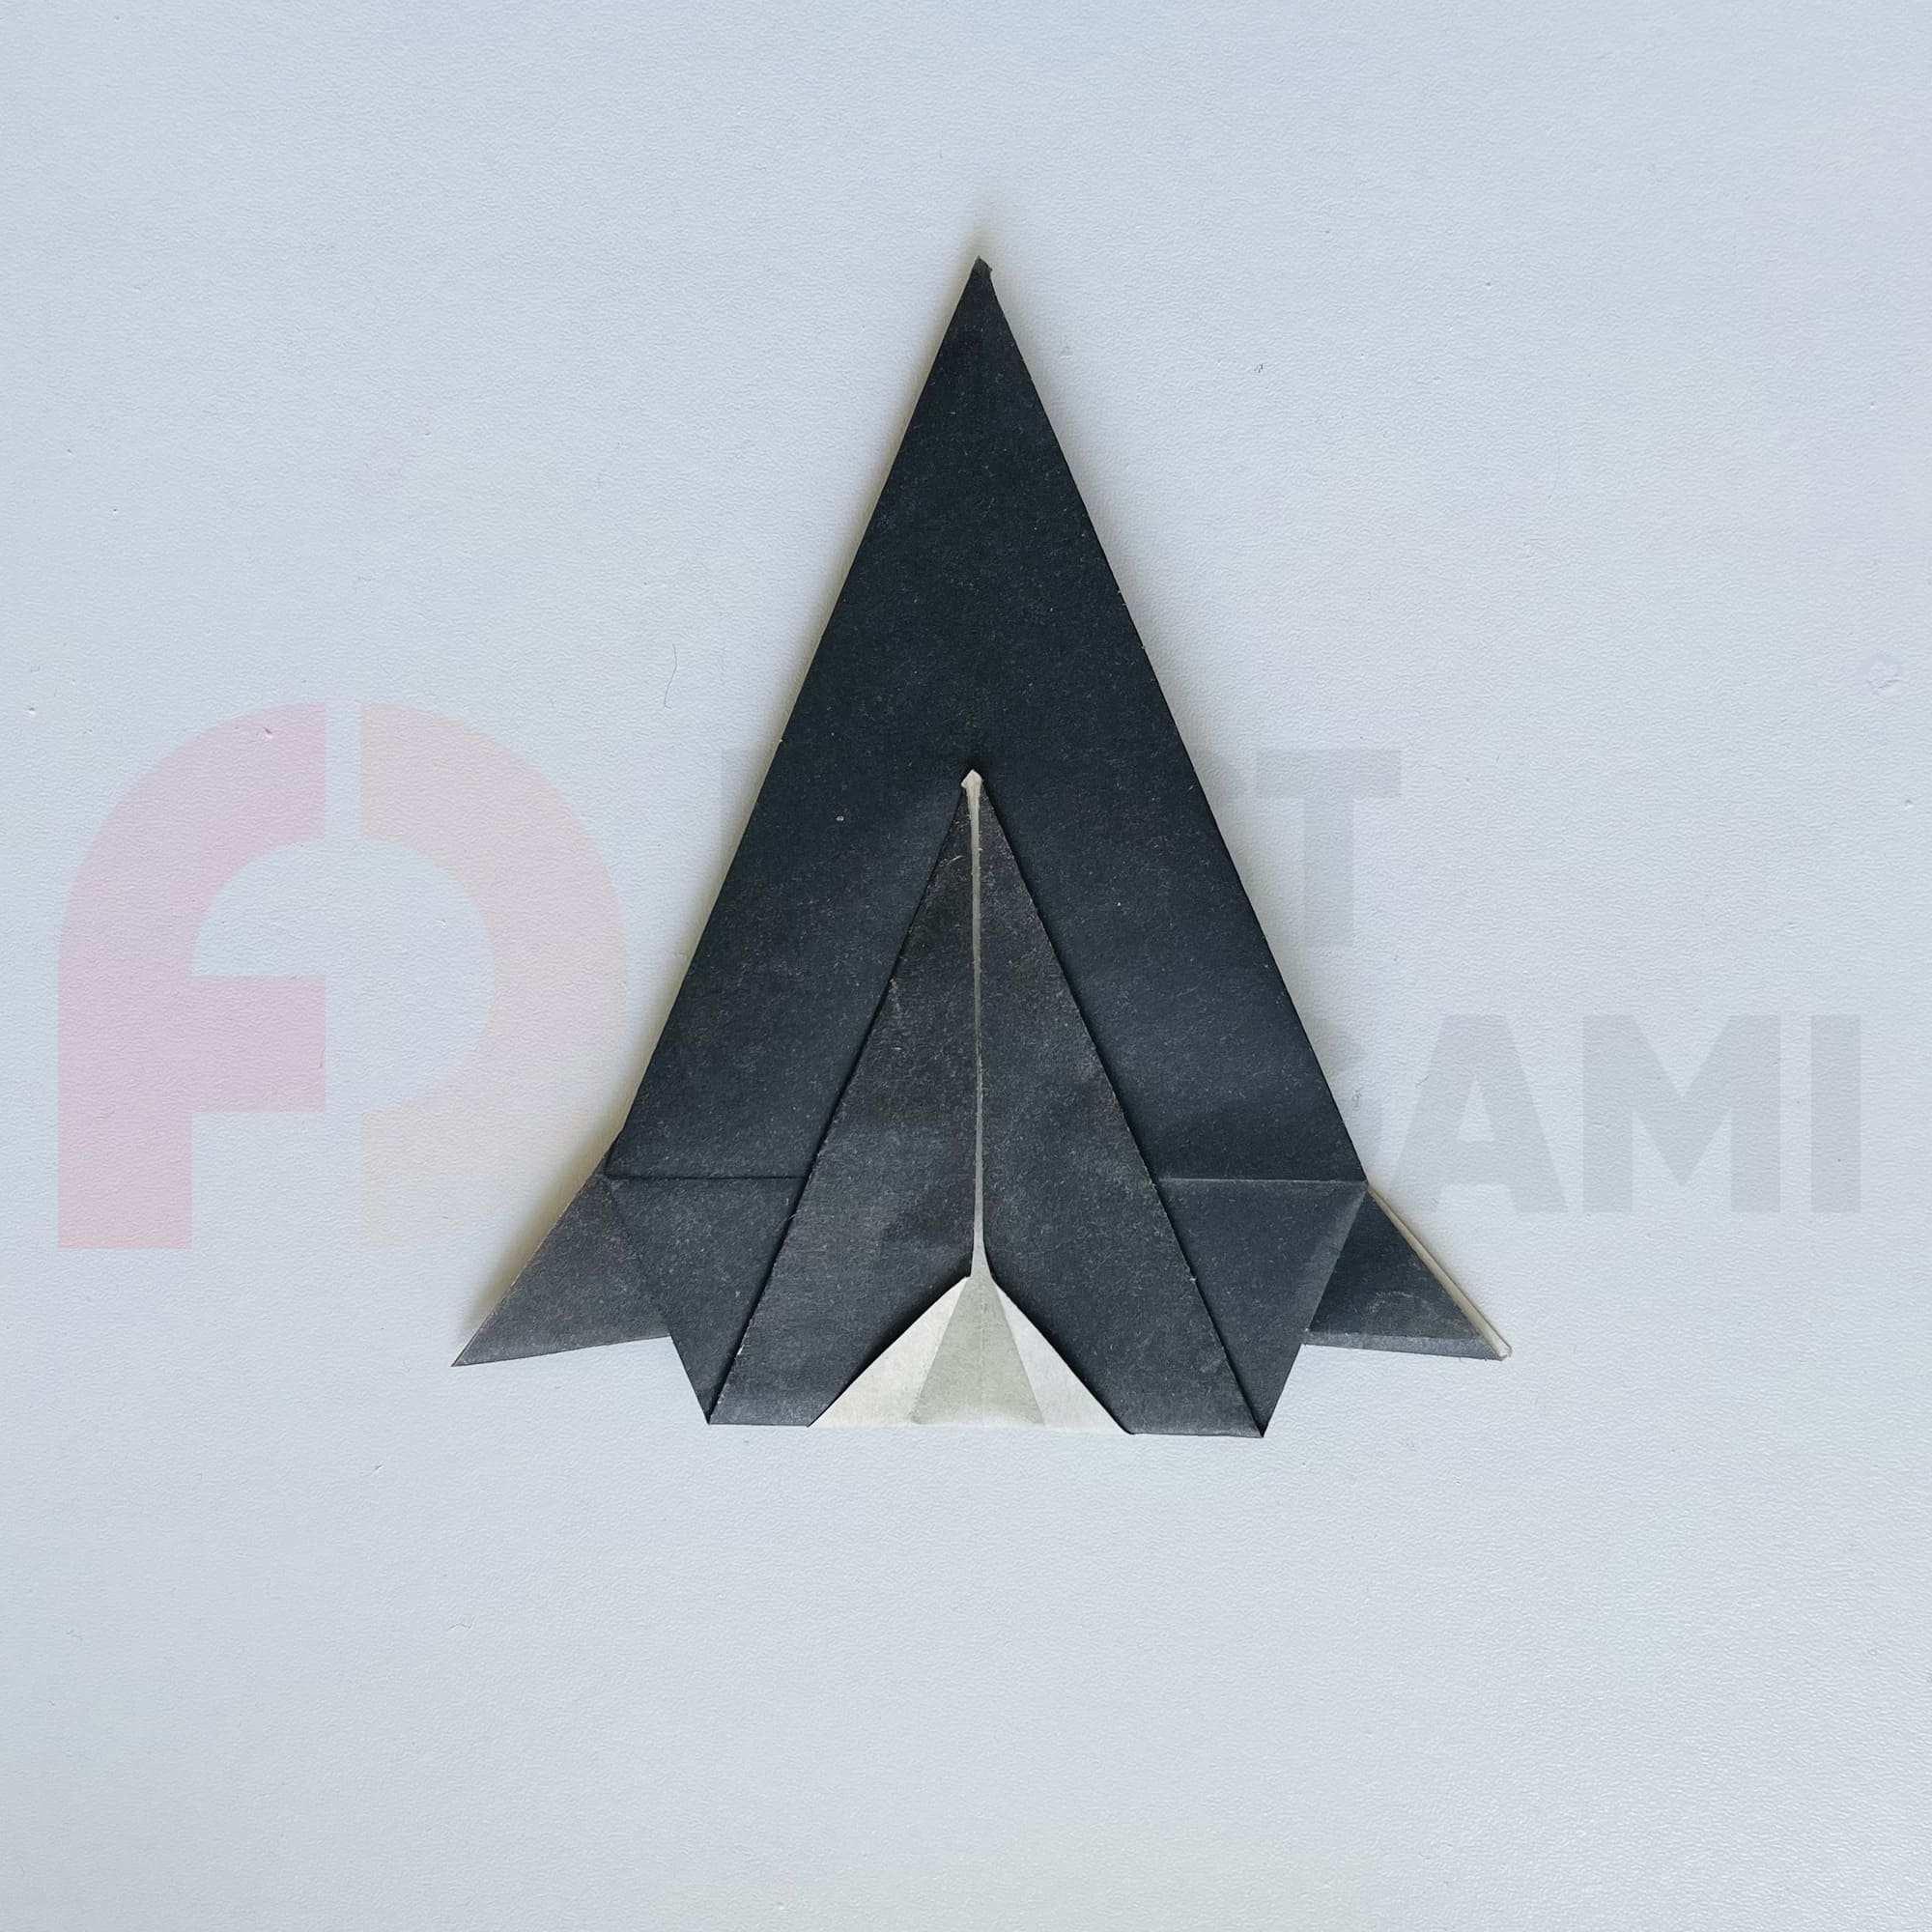
Fold the figure in half along the longitudinal axis.
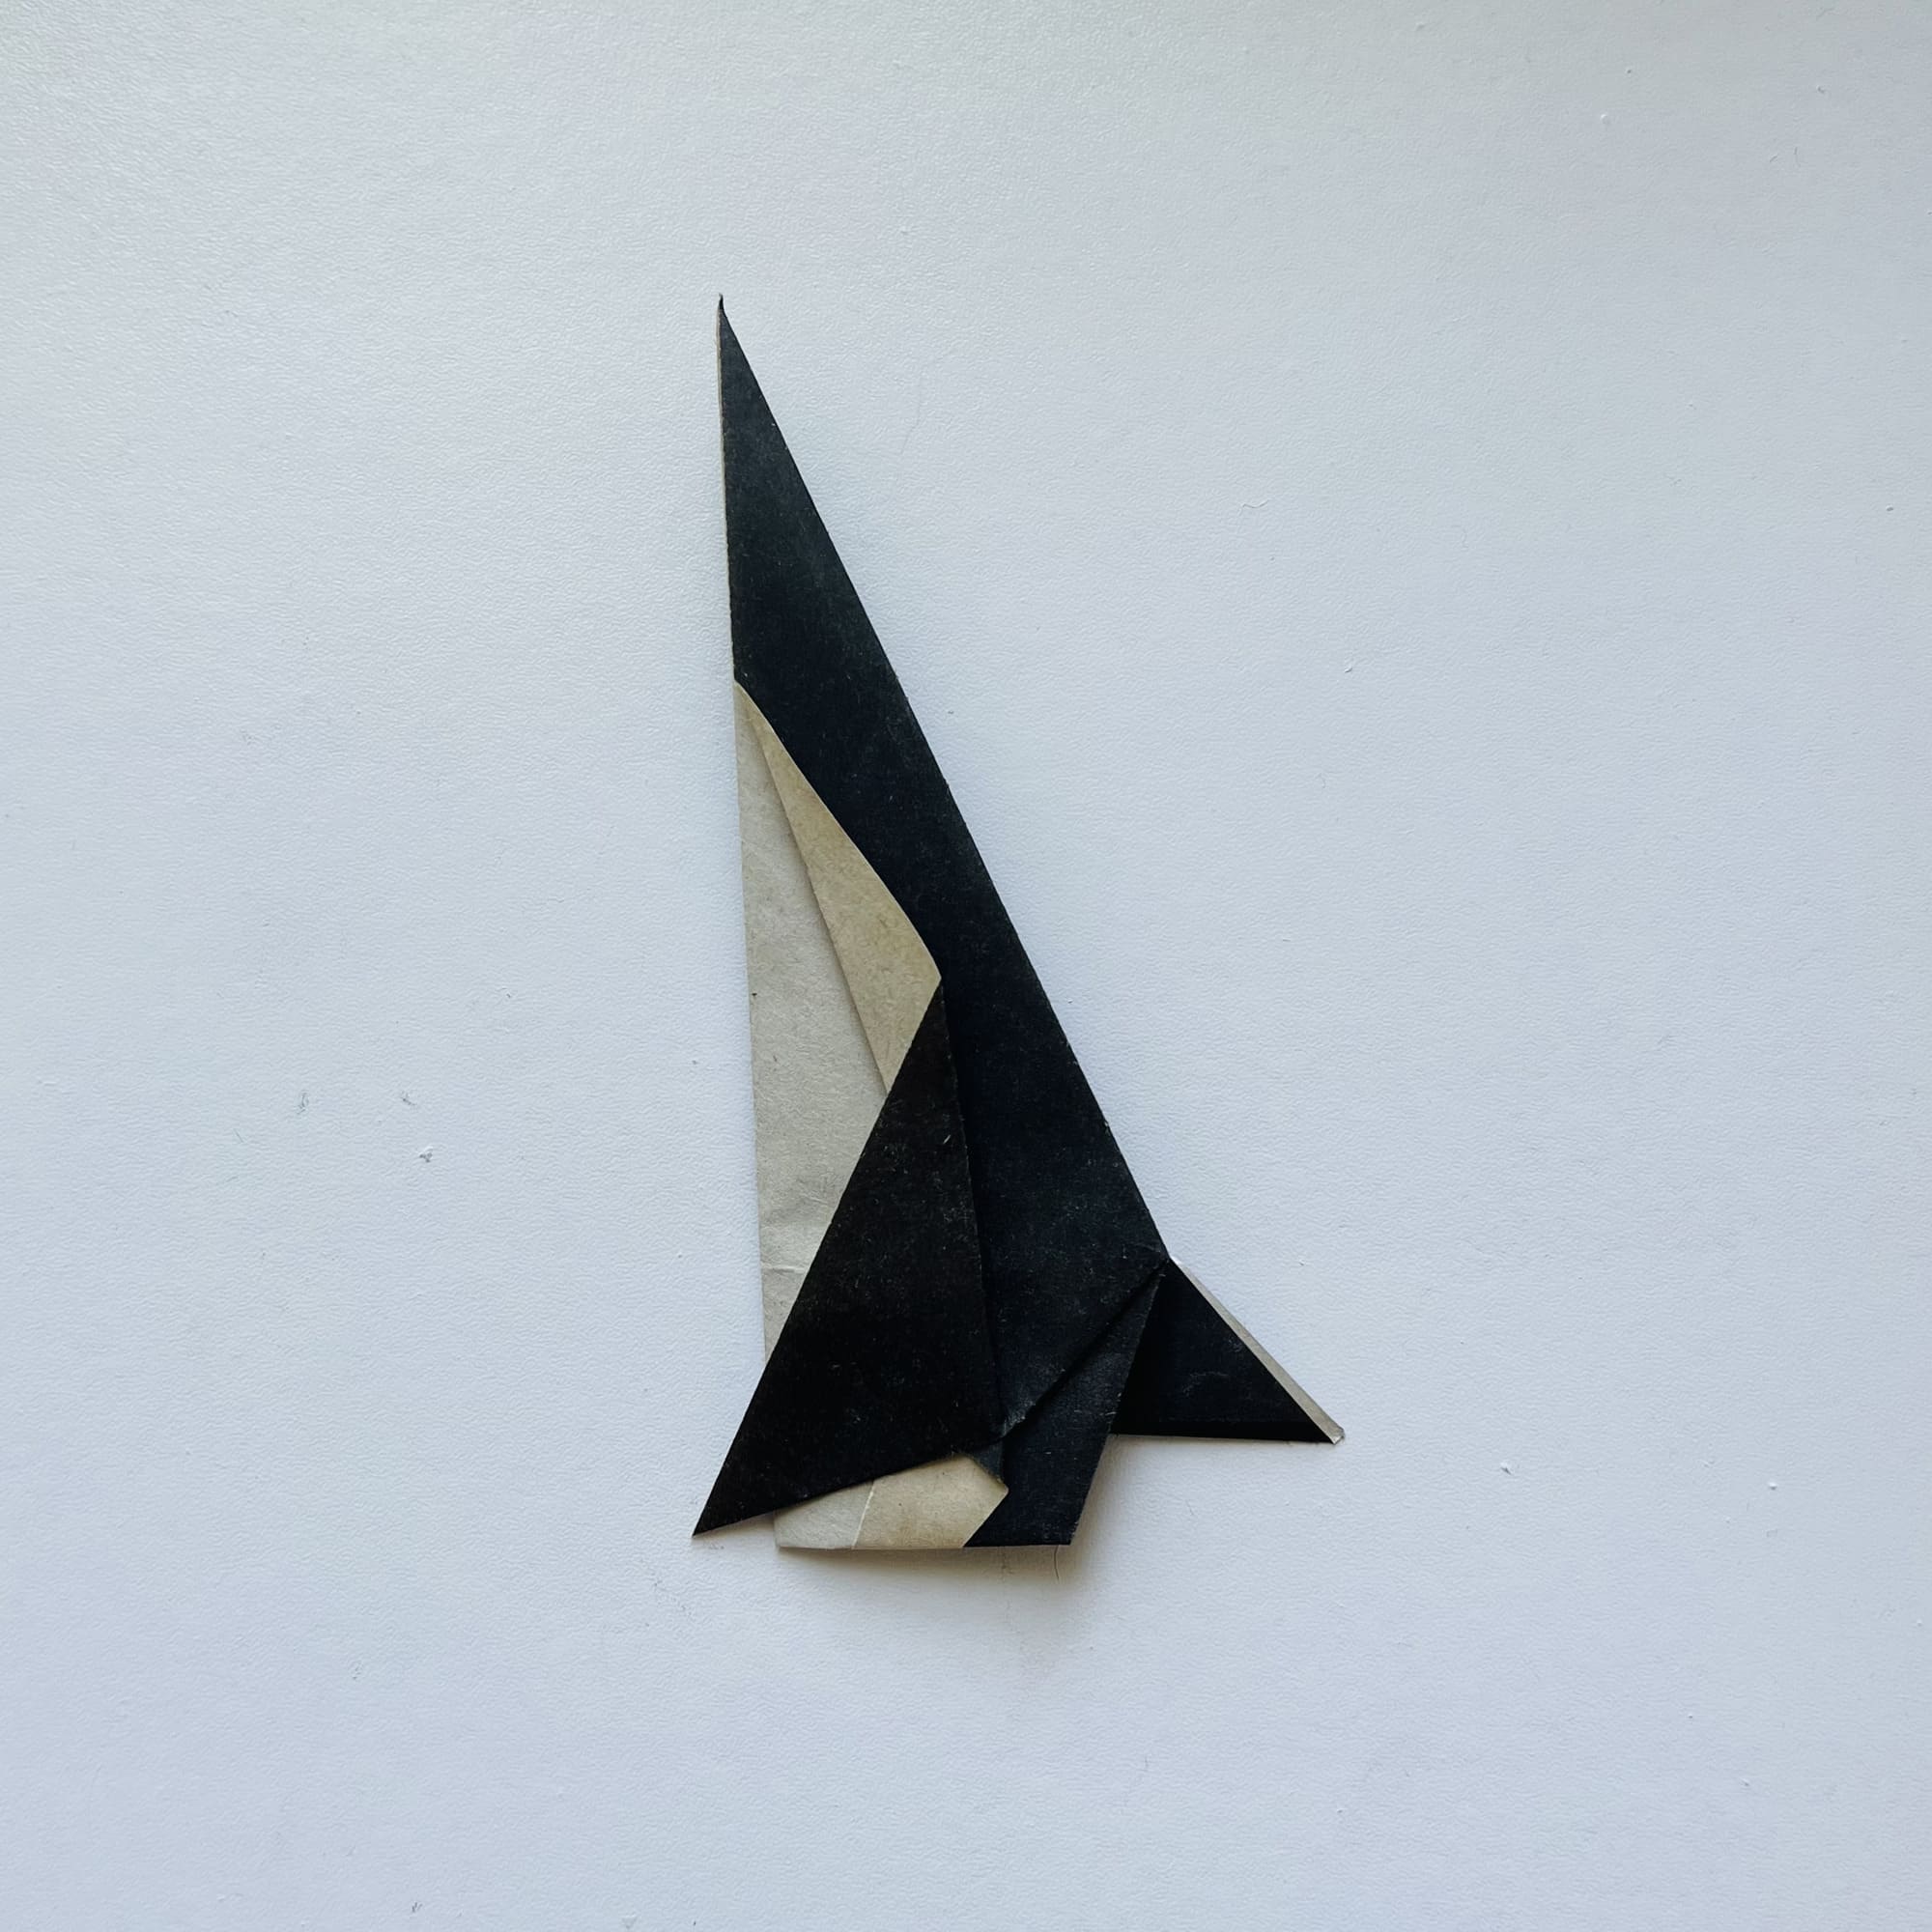
The resulting figure should look like a triangle. The protruding corners should be bent in the opposite direction to get the fins of the future penguin.
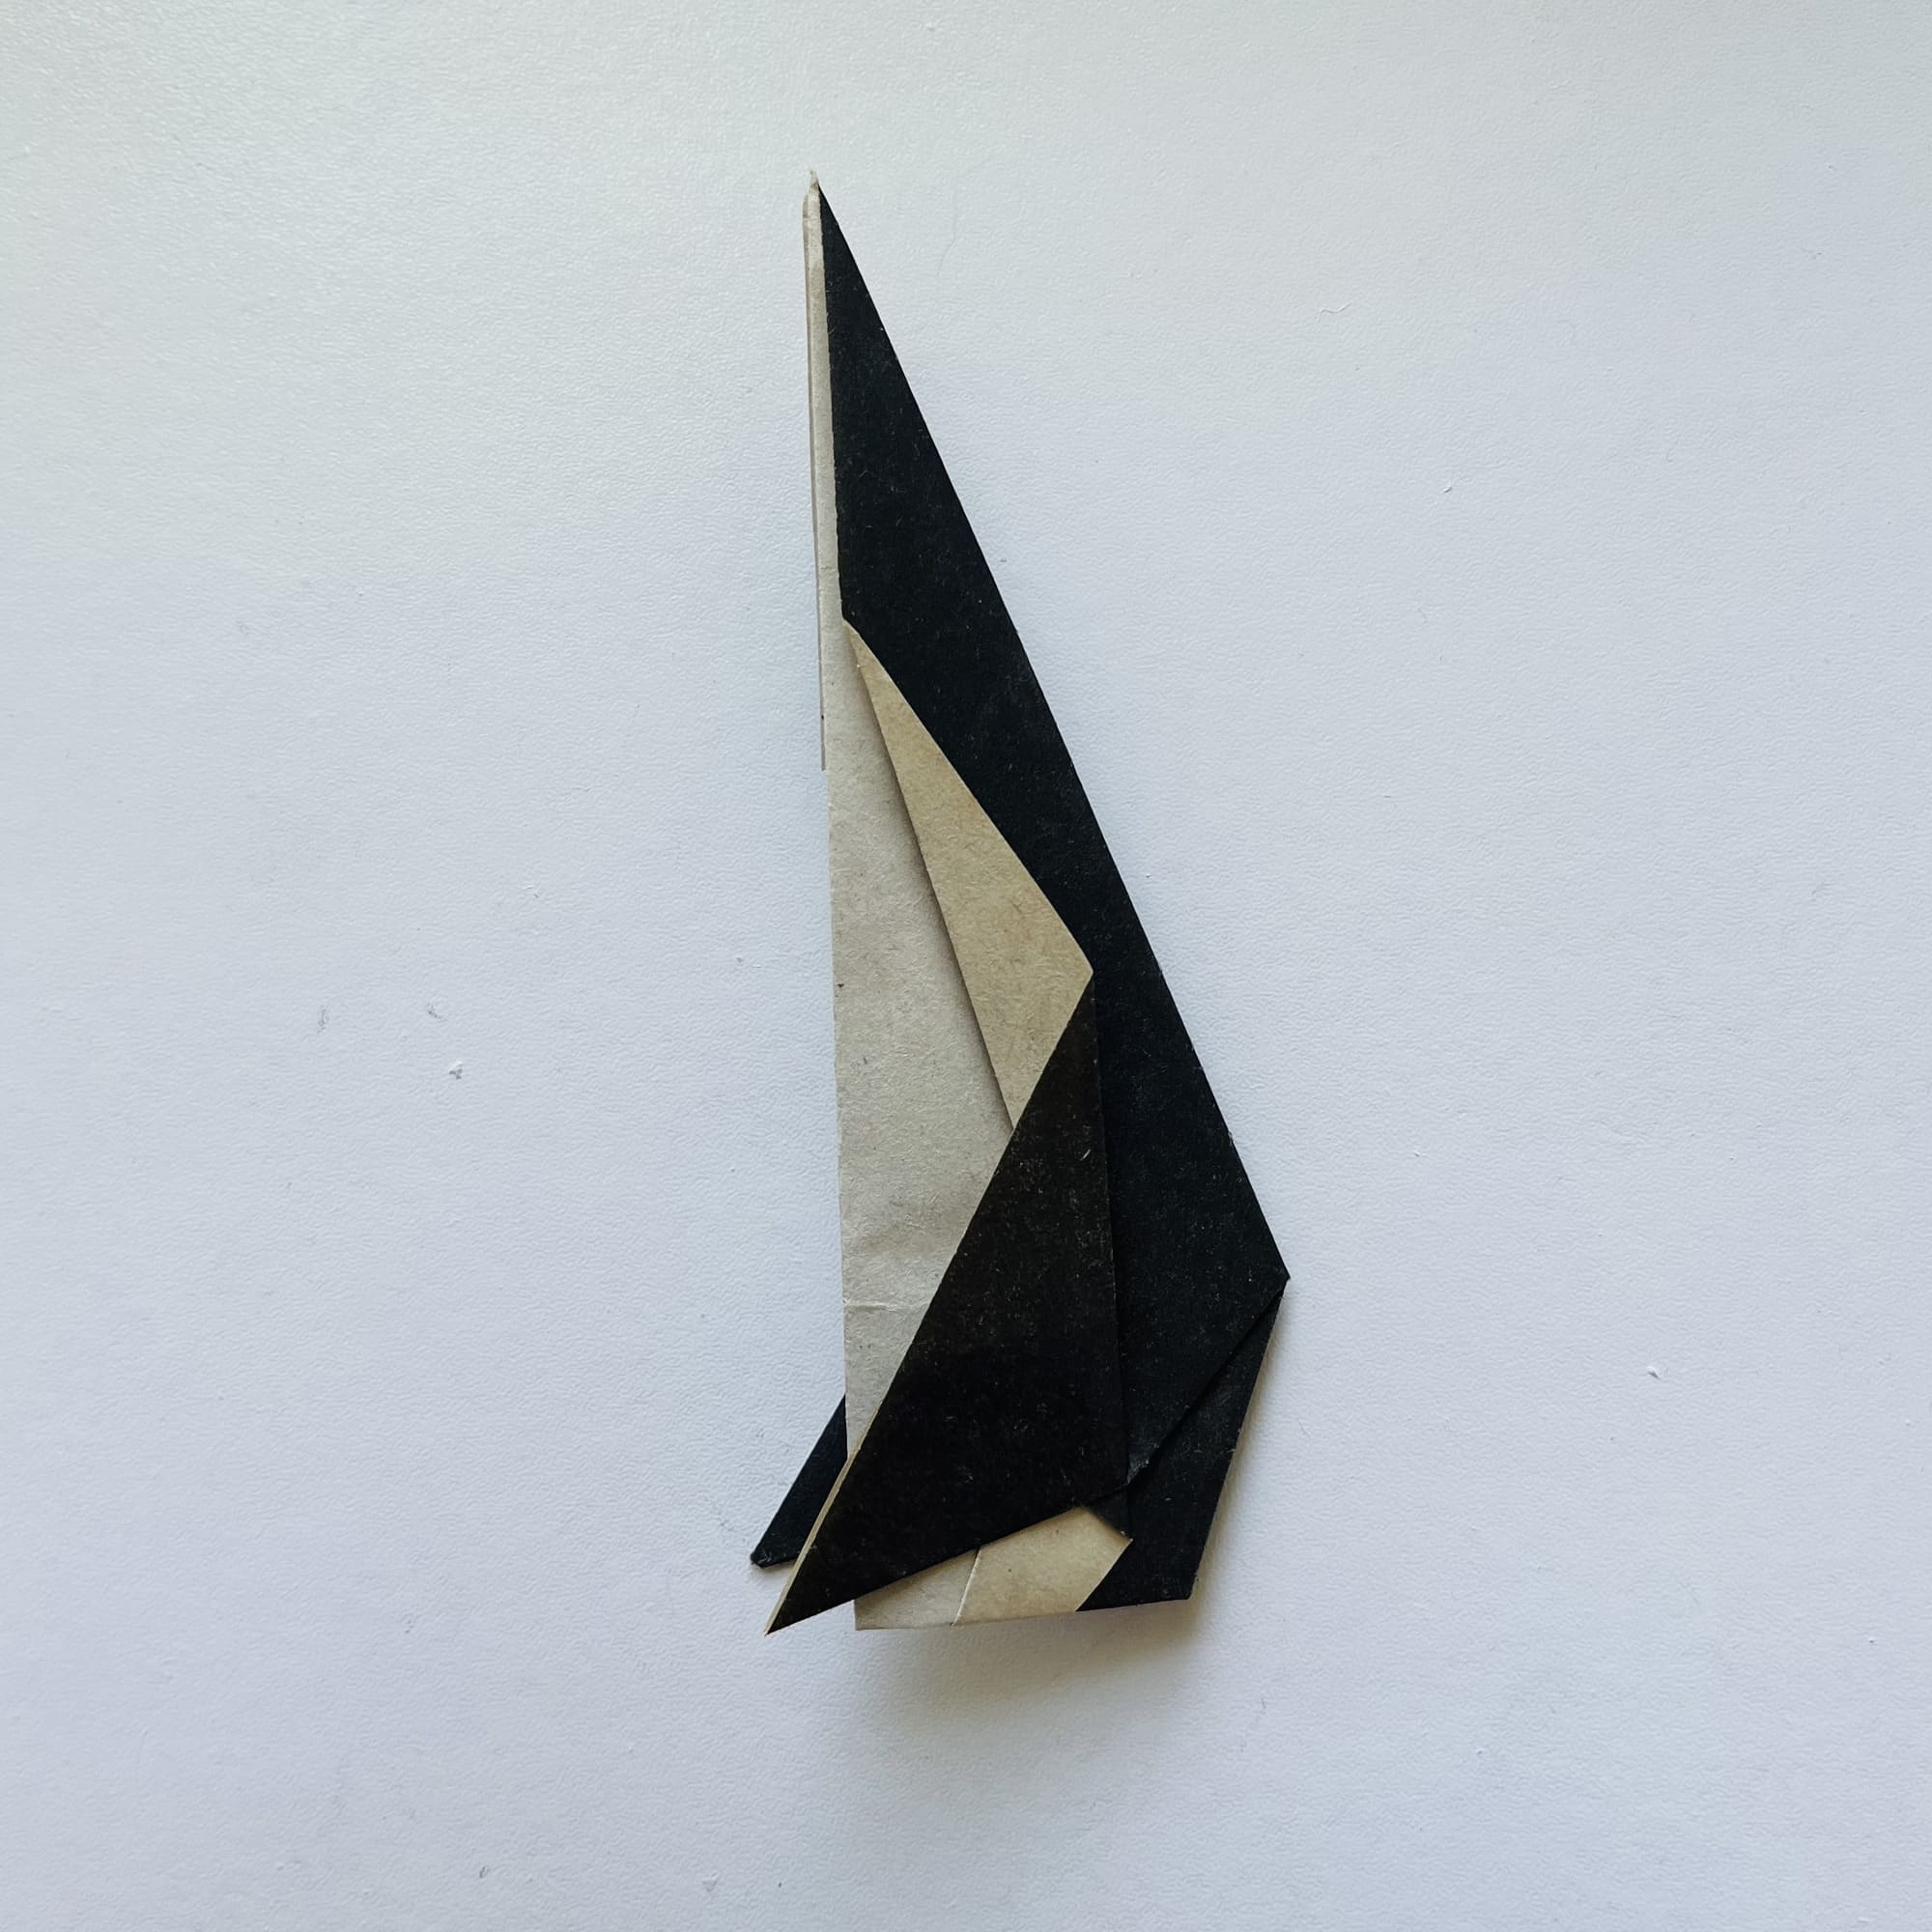
Start with forming the fins and placing them parallel to each other.
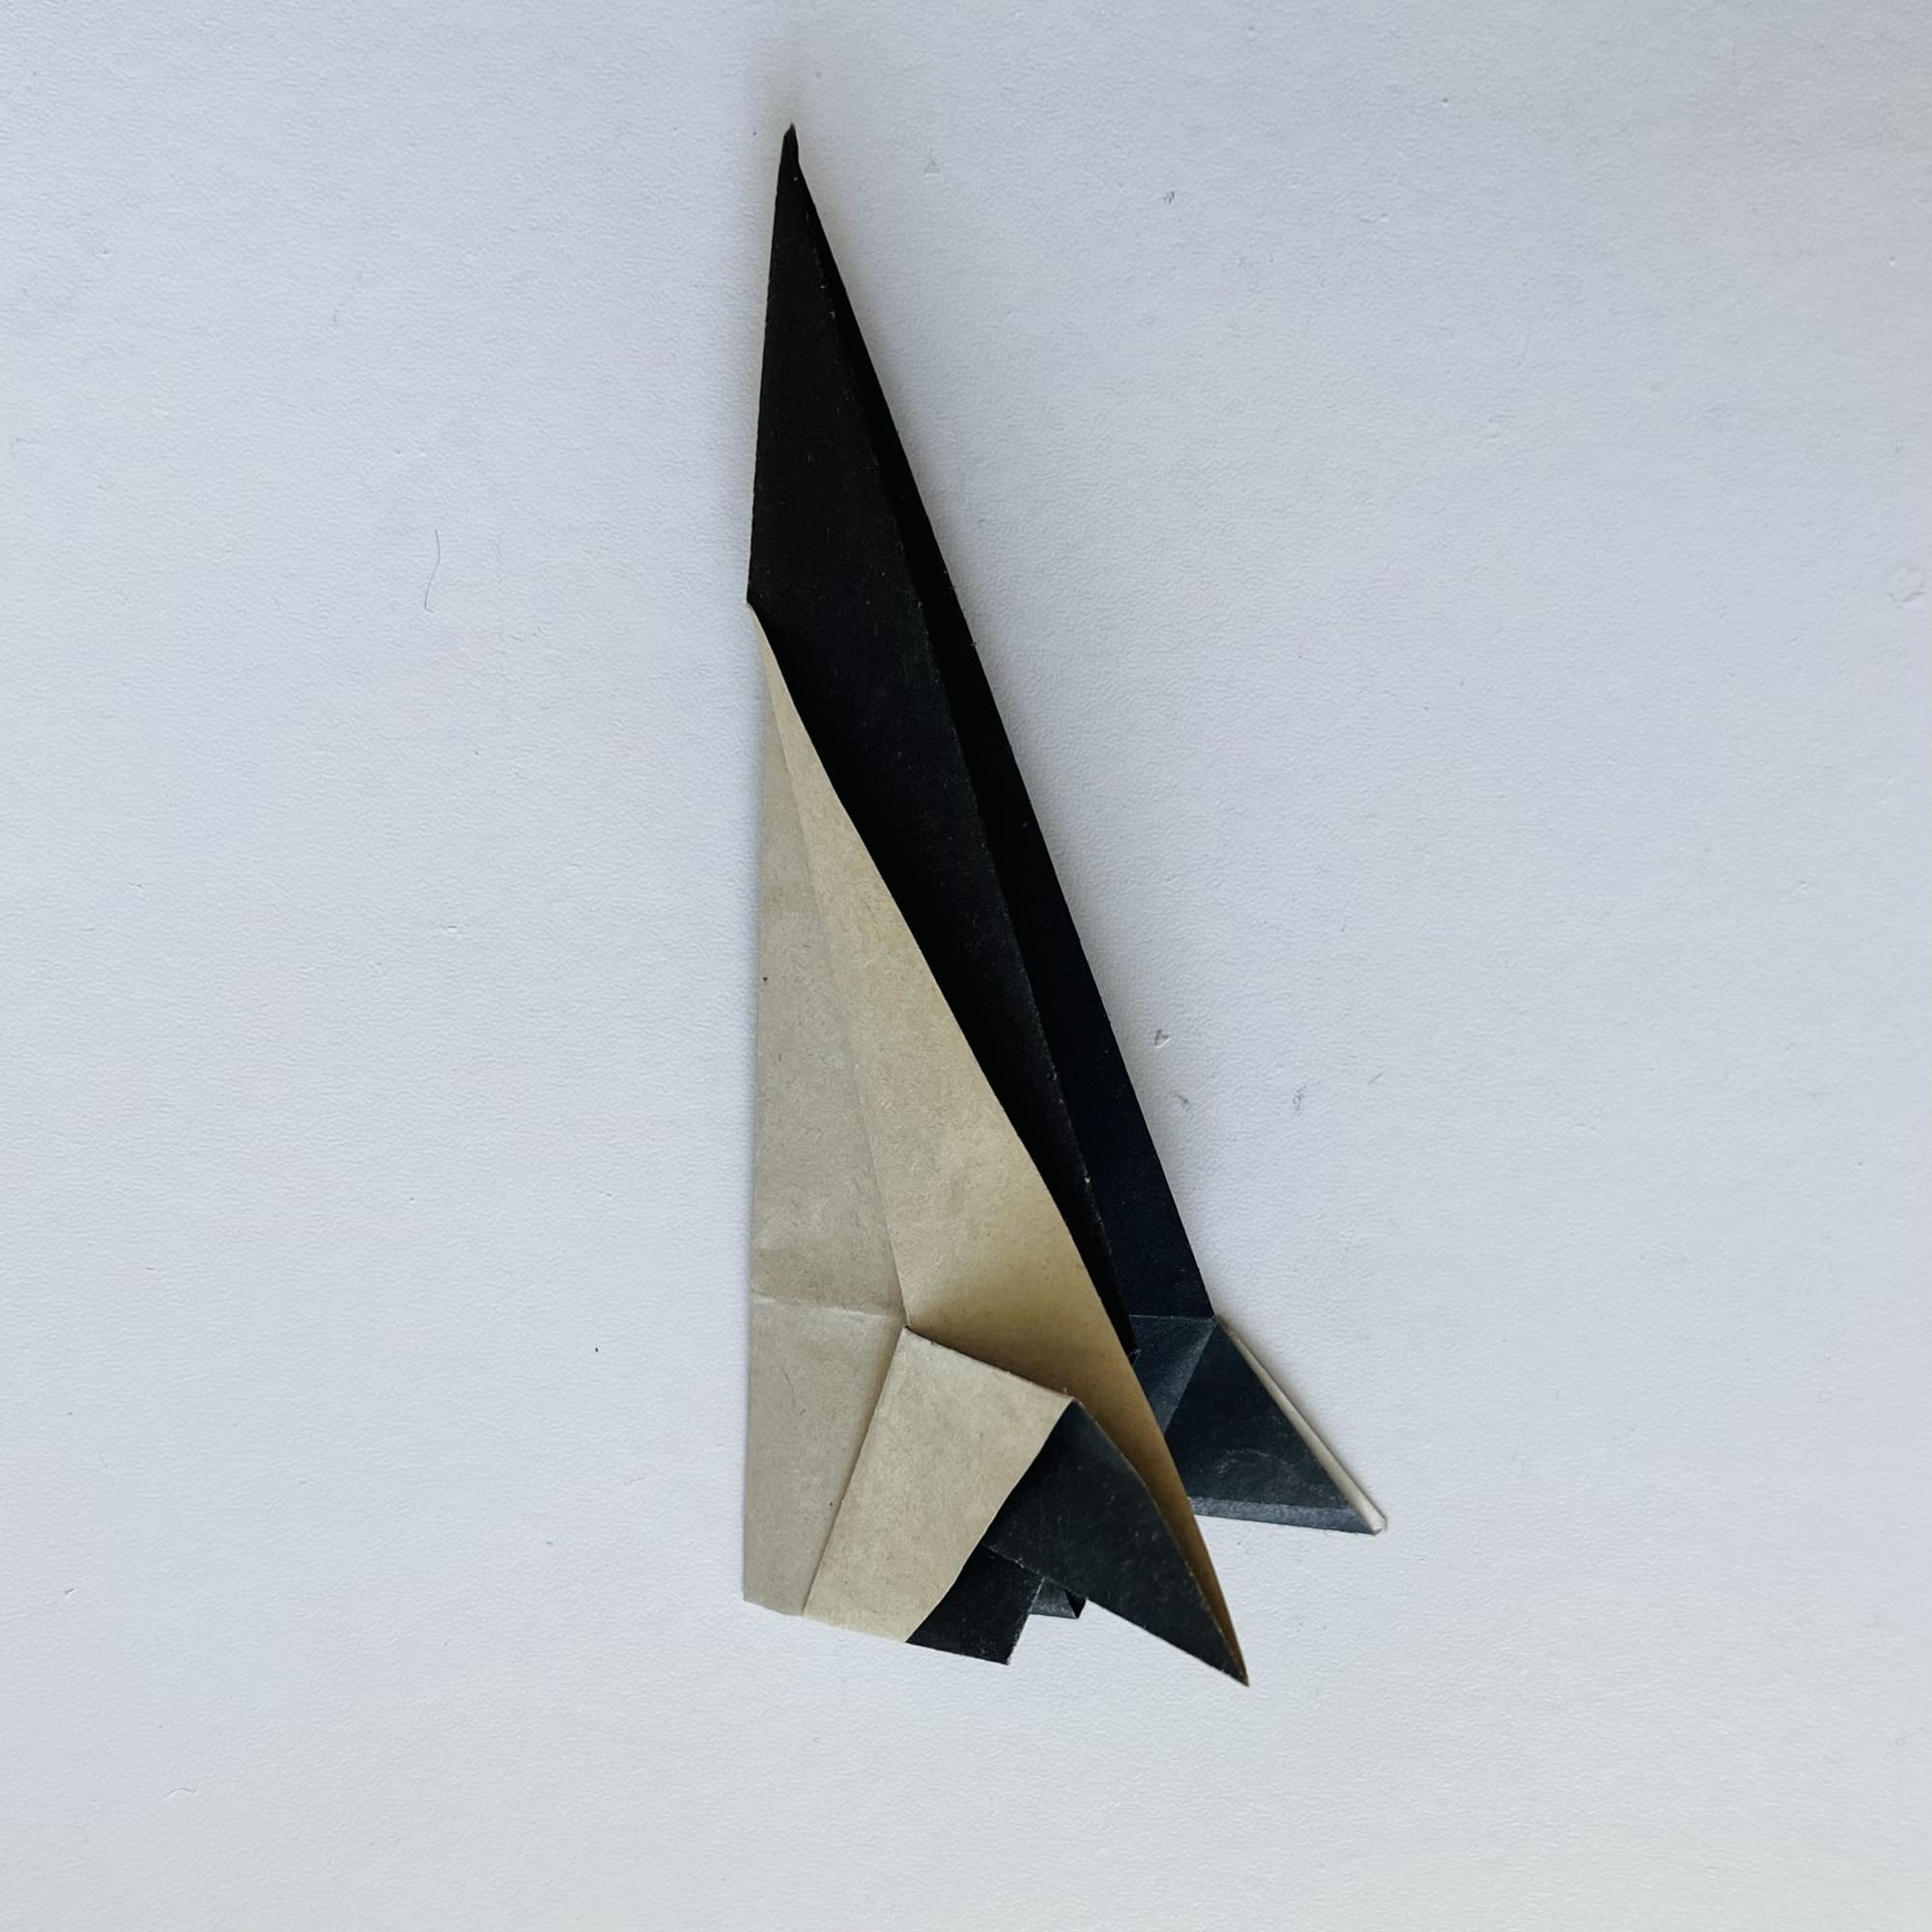
Bend the remaining sharp corner inside. Make the outer fold: open the figure a little, bend the cornerback, and carefully press it inside.
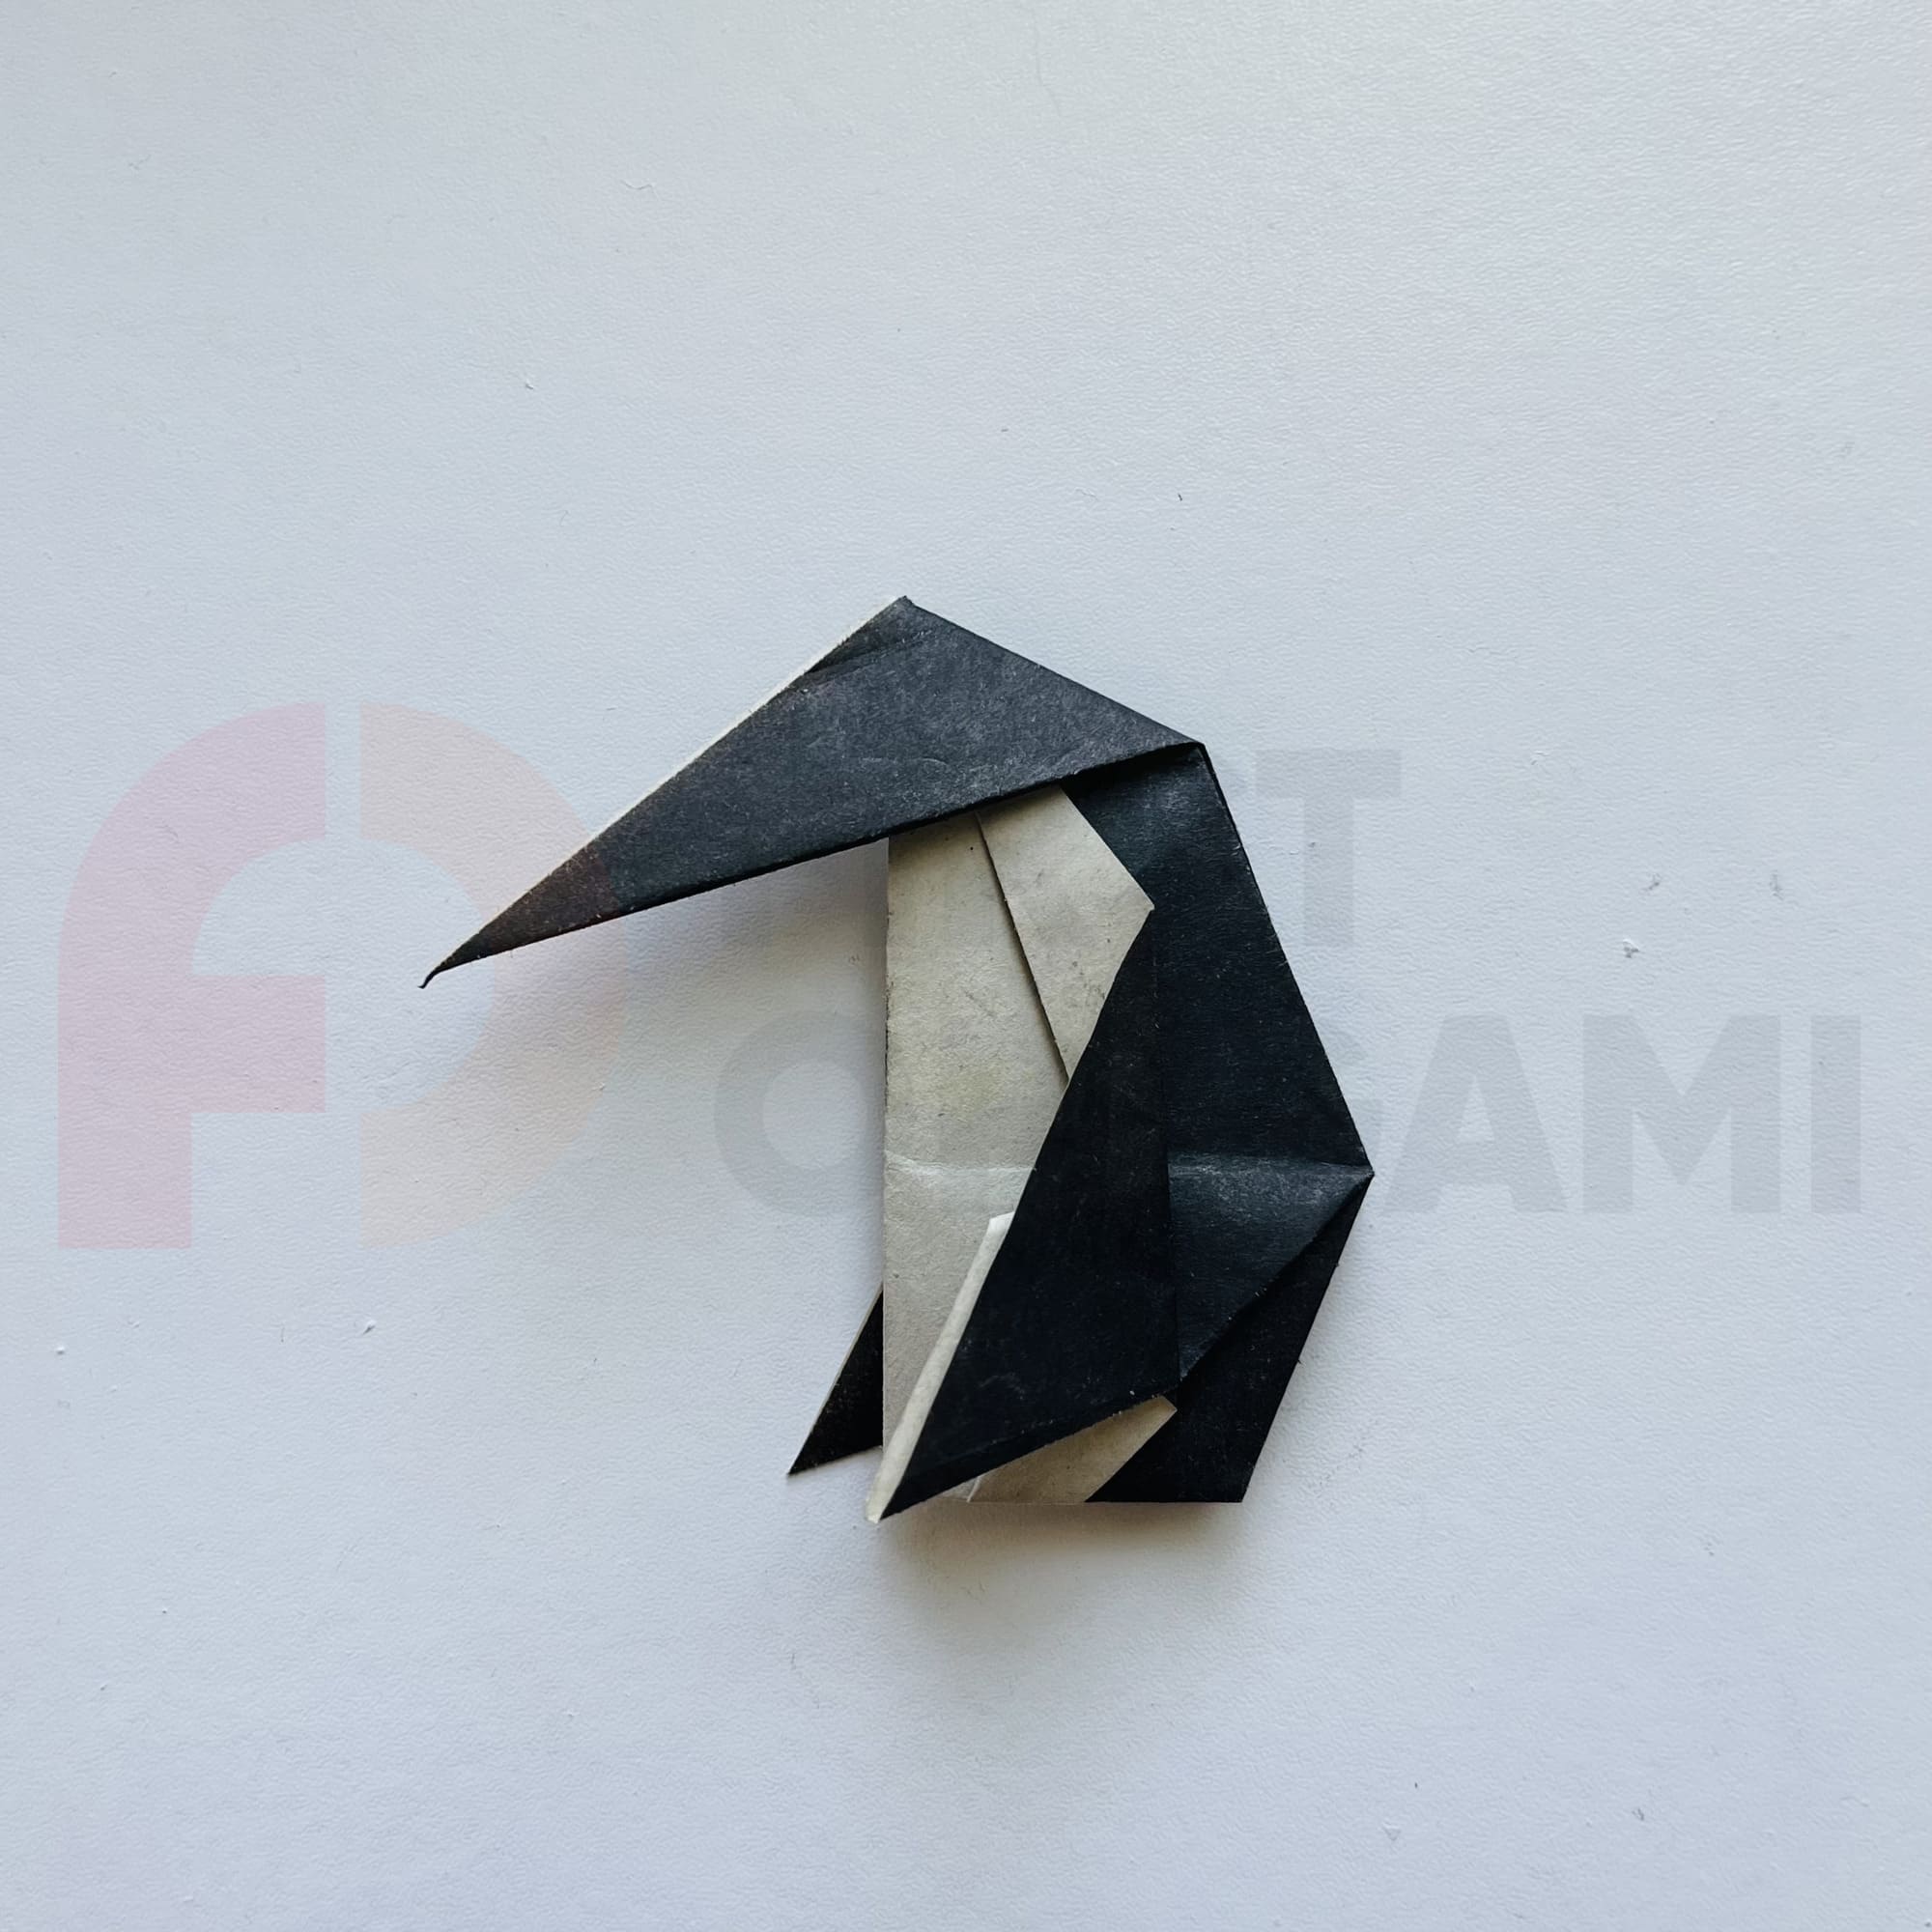
Make sure for the penguin’s head to be voluminous enough, for a more realistic look.
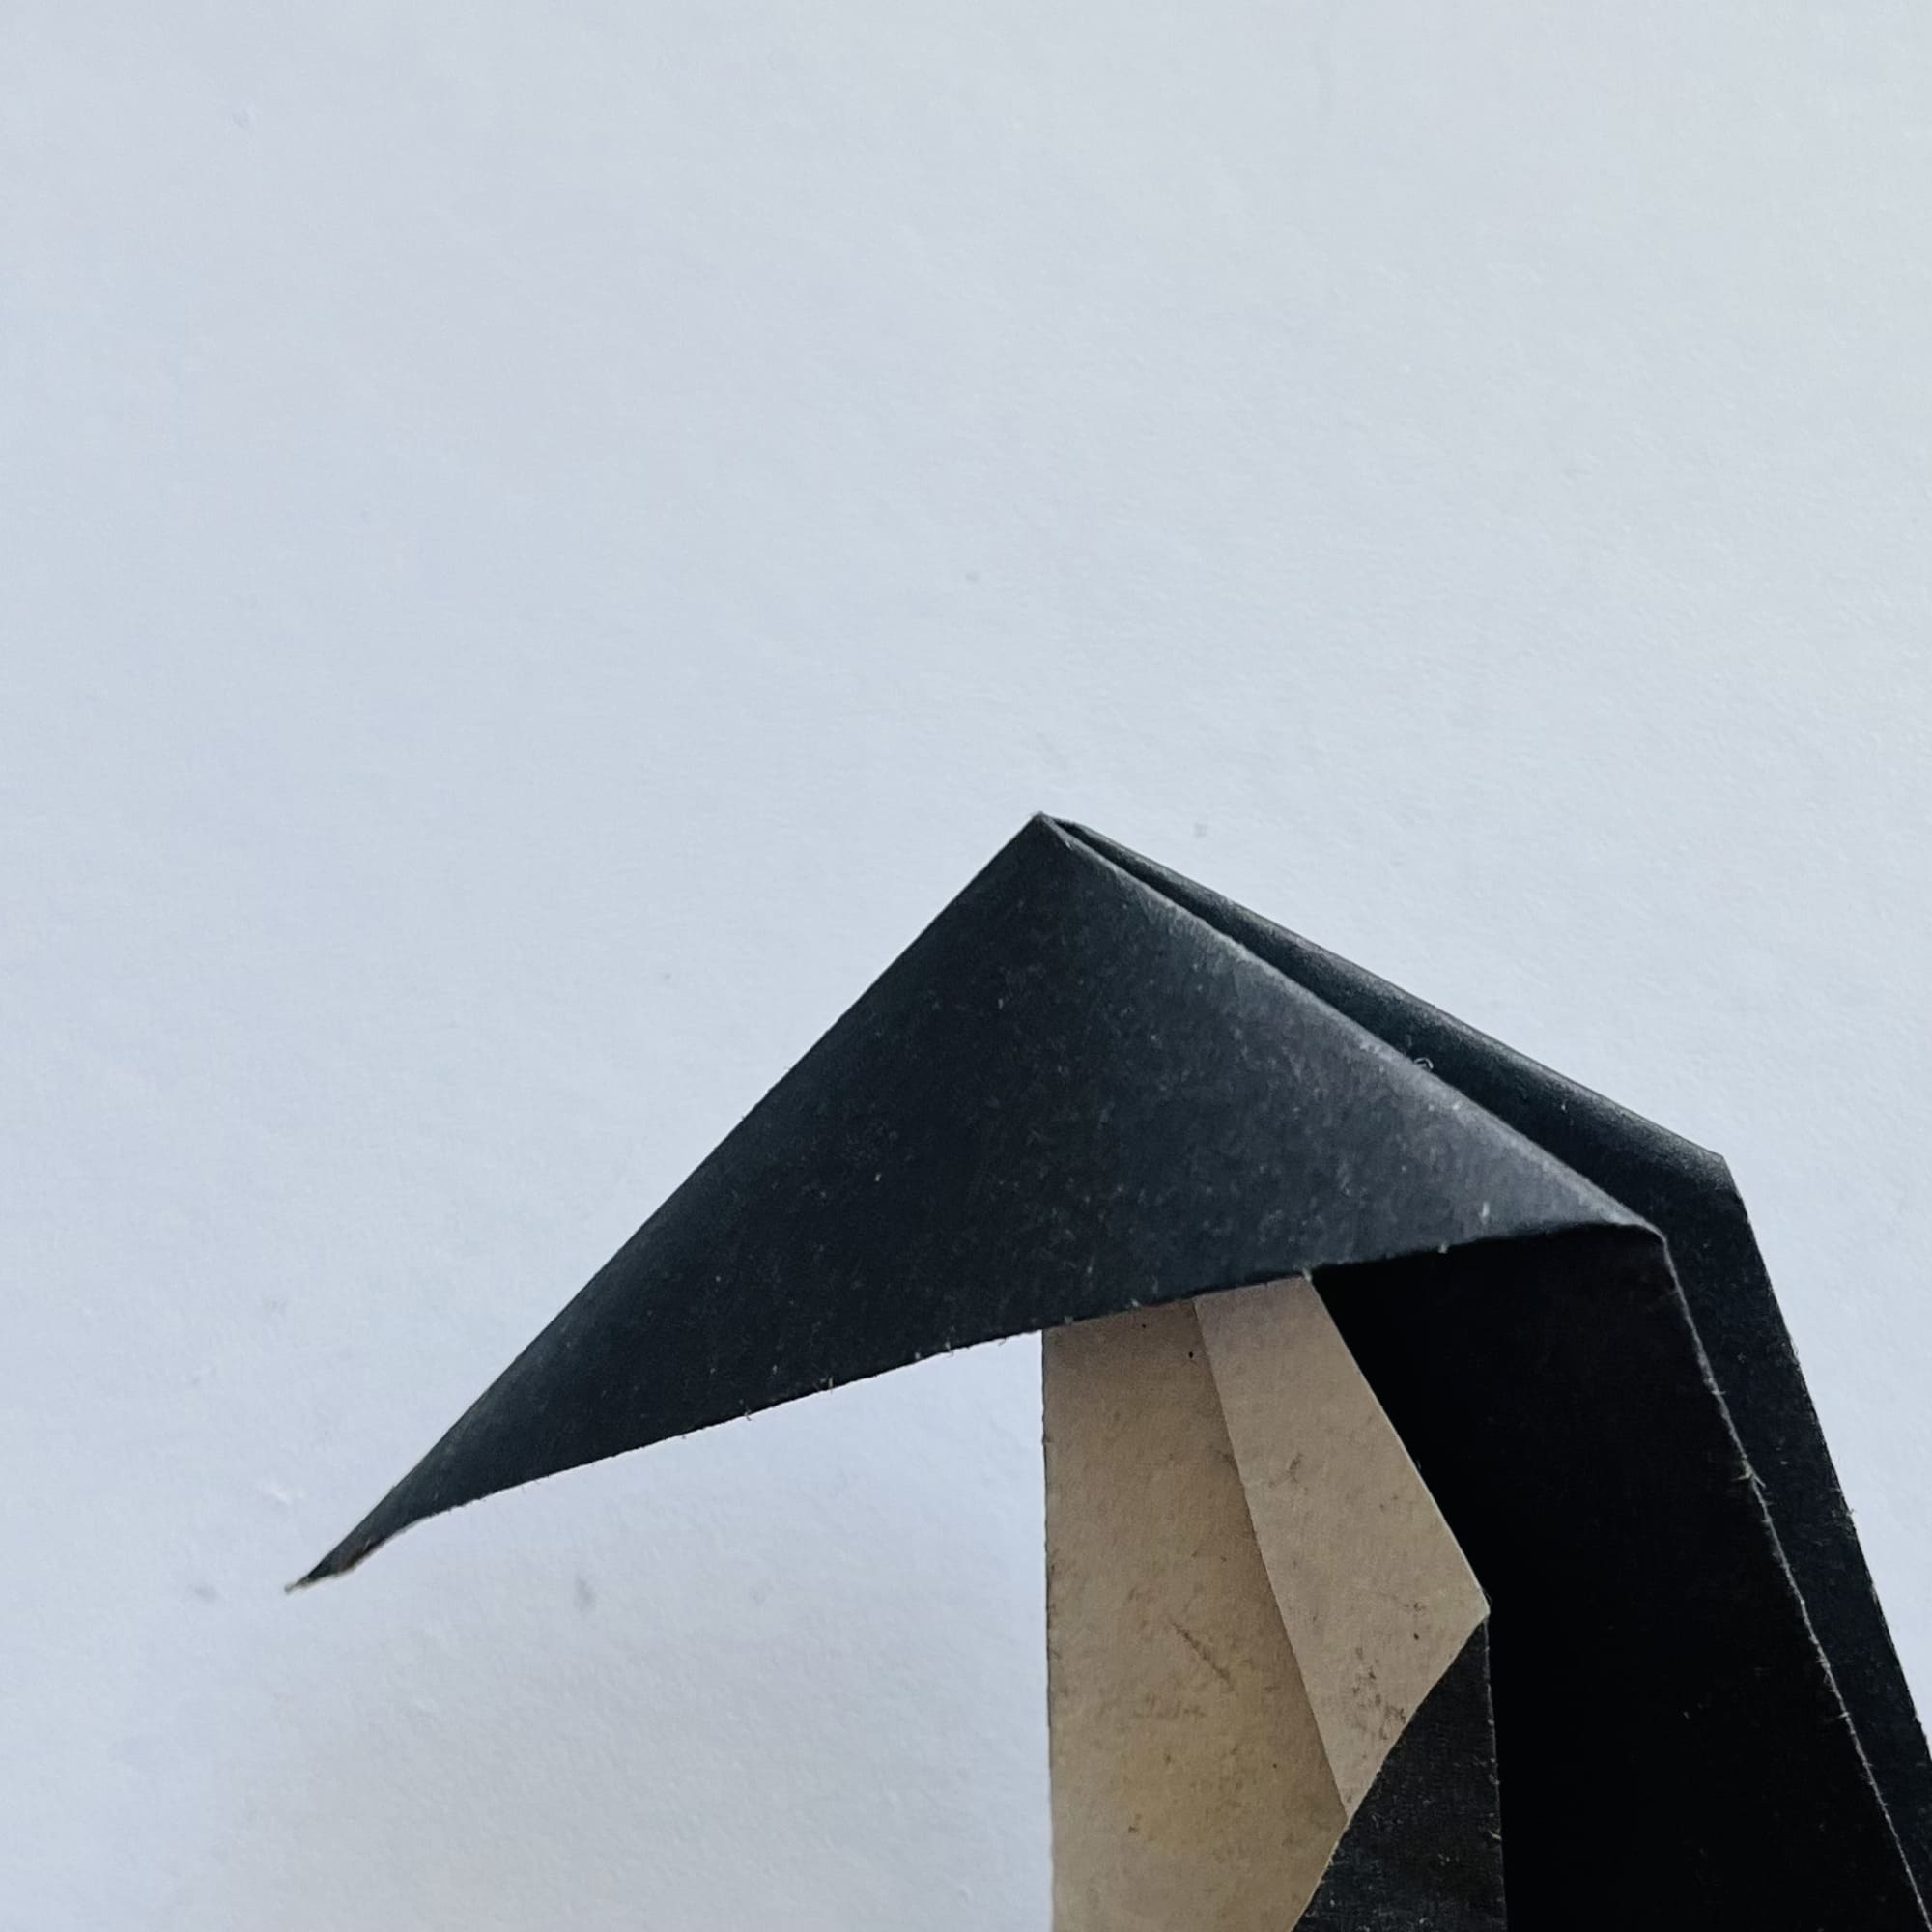
Make two reverse folds closer to the tip of the beak.
Your pretty penguin is ready!


