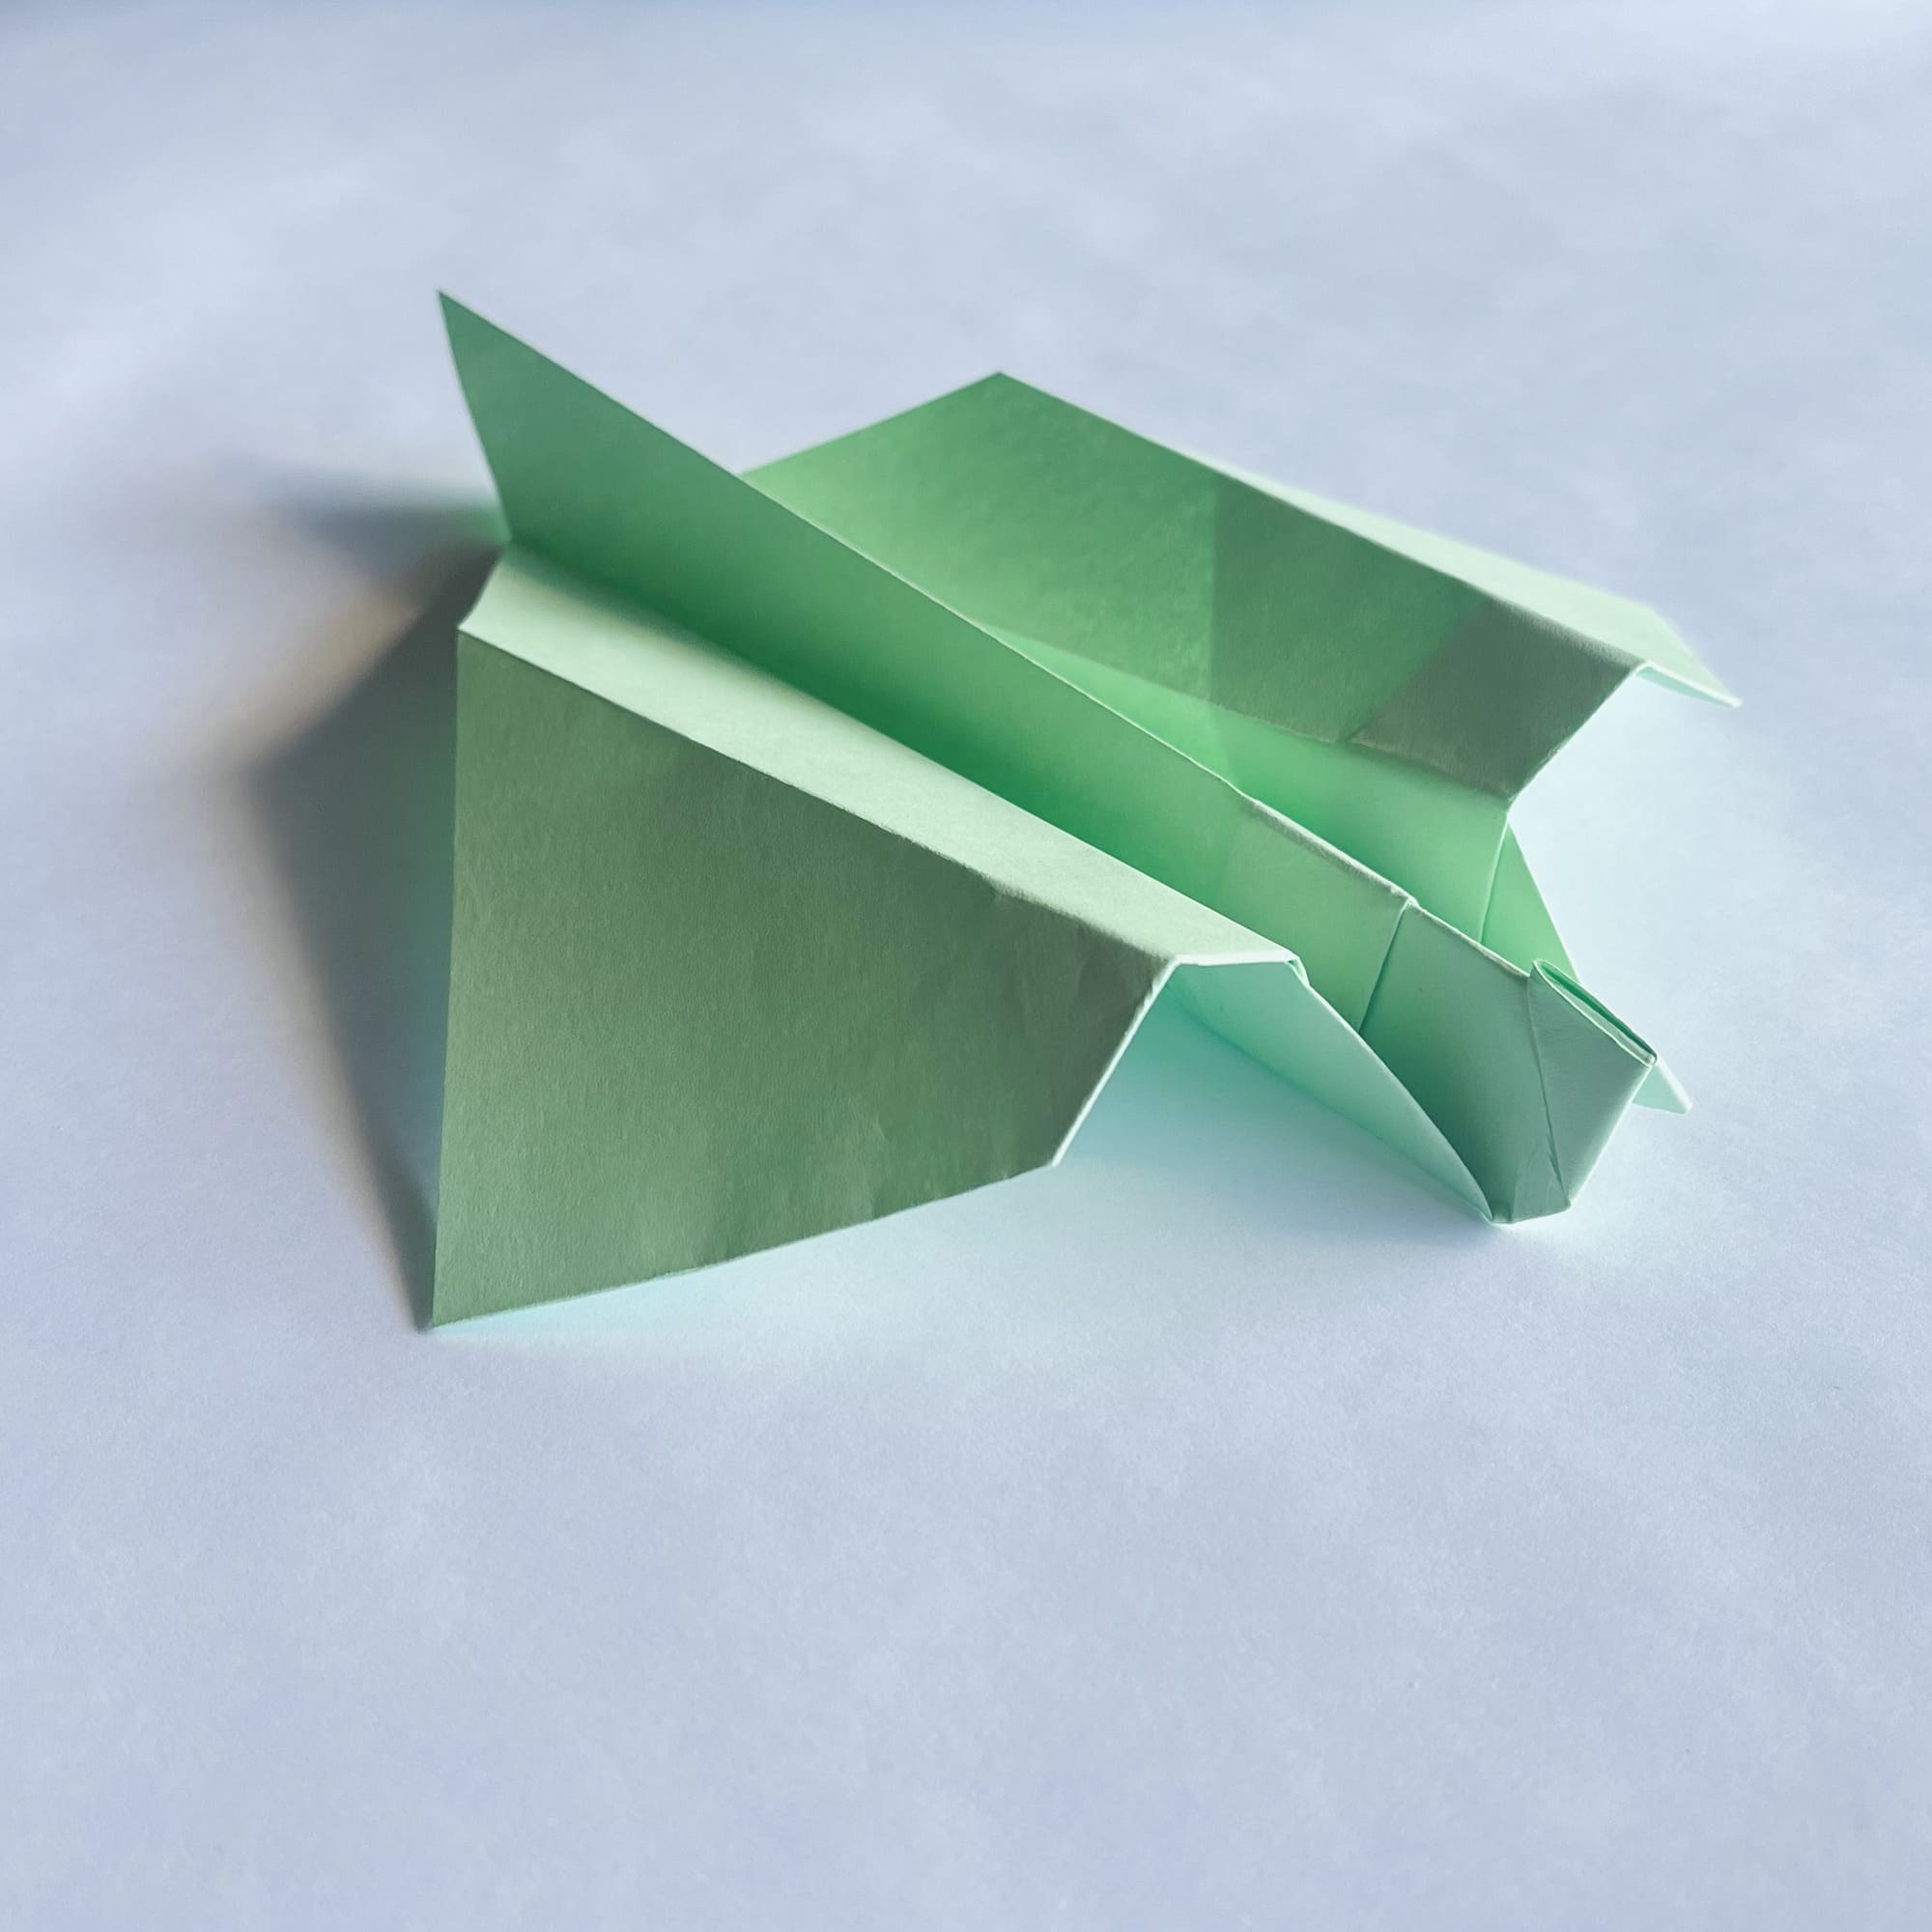
Origami Pet Dragon Airplane
There are many different options for folding an origami plane. All of them differ from each other not only in shape, but also in flight range, speed, and sometimes in their character.
The Dragon Pet does indeed have its own distinctive flight style, which is how it got its name. This plane does not fly far from its owner, but circles nearby, making beautiful pirouettes.
It was designed by one of the recognized origami masters – Eric Ha. You do not have to be an origami master to make your own dragon. All you will need is a regular sheet of A4 paper (21×28 cm).
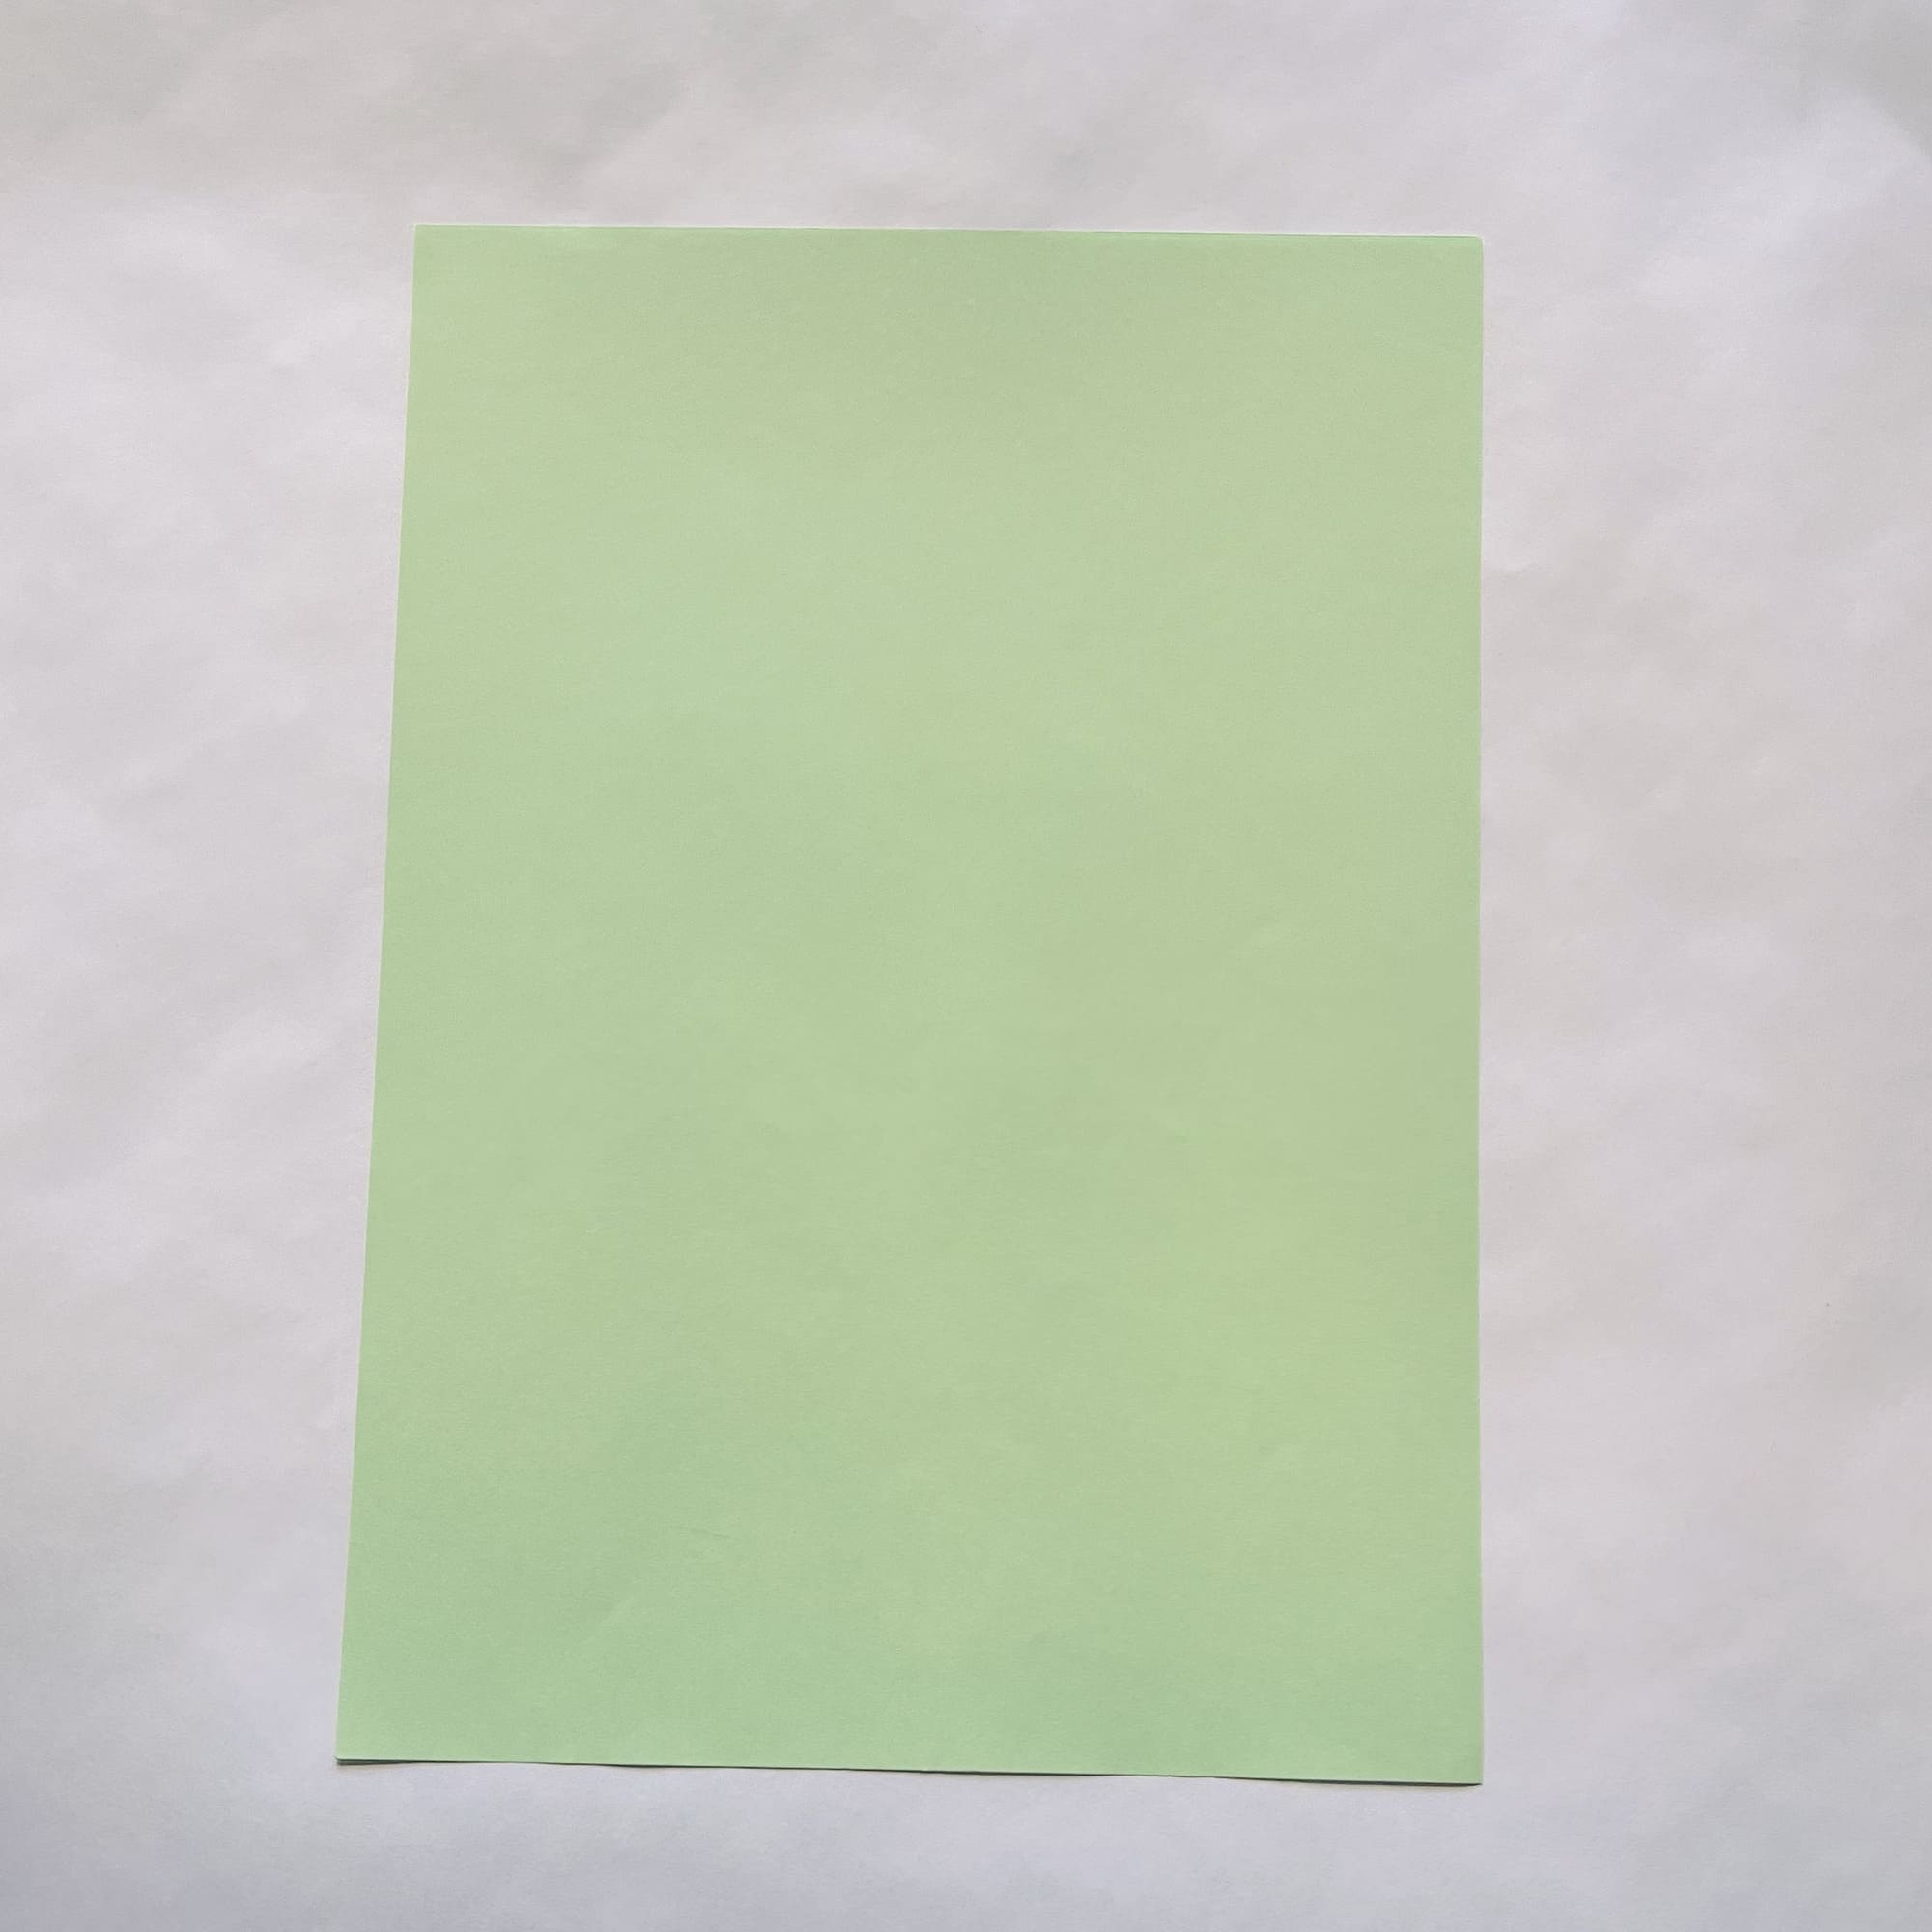
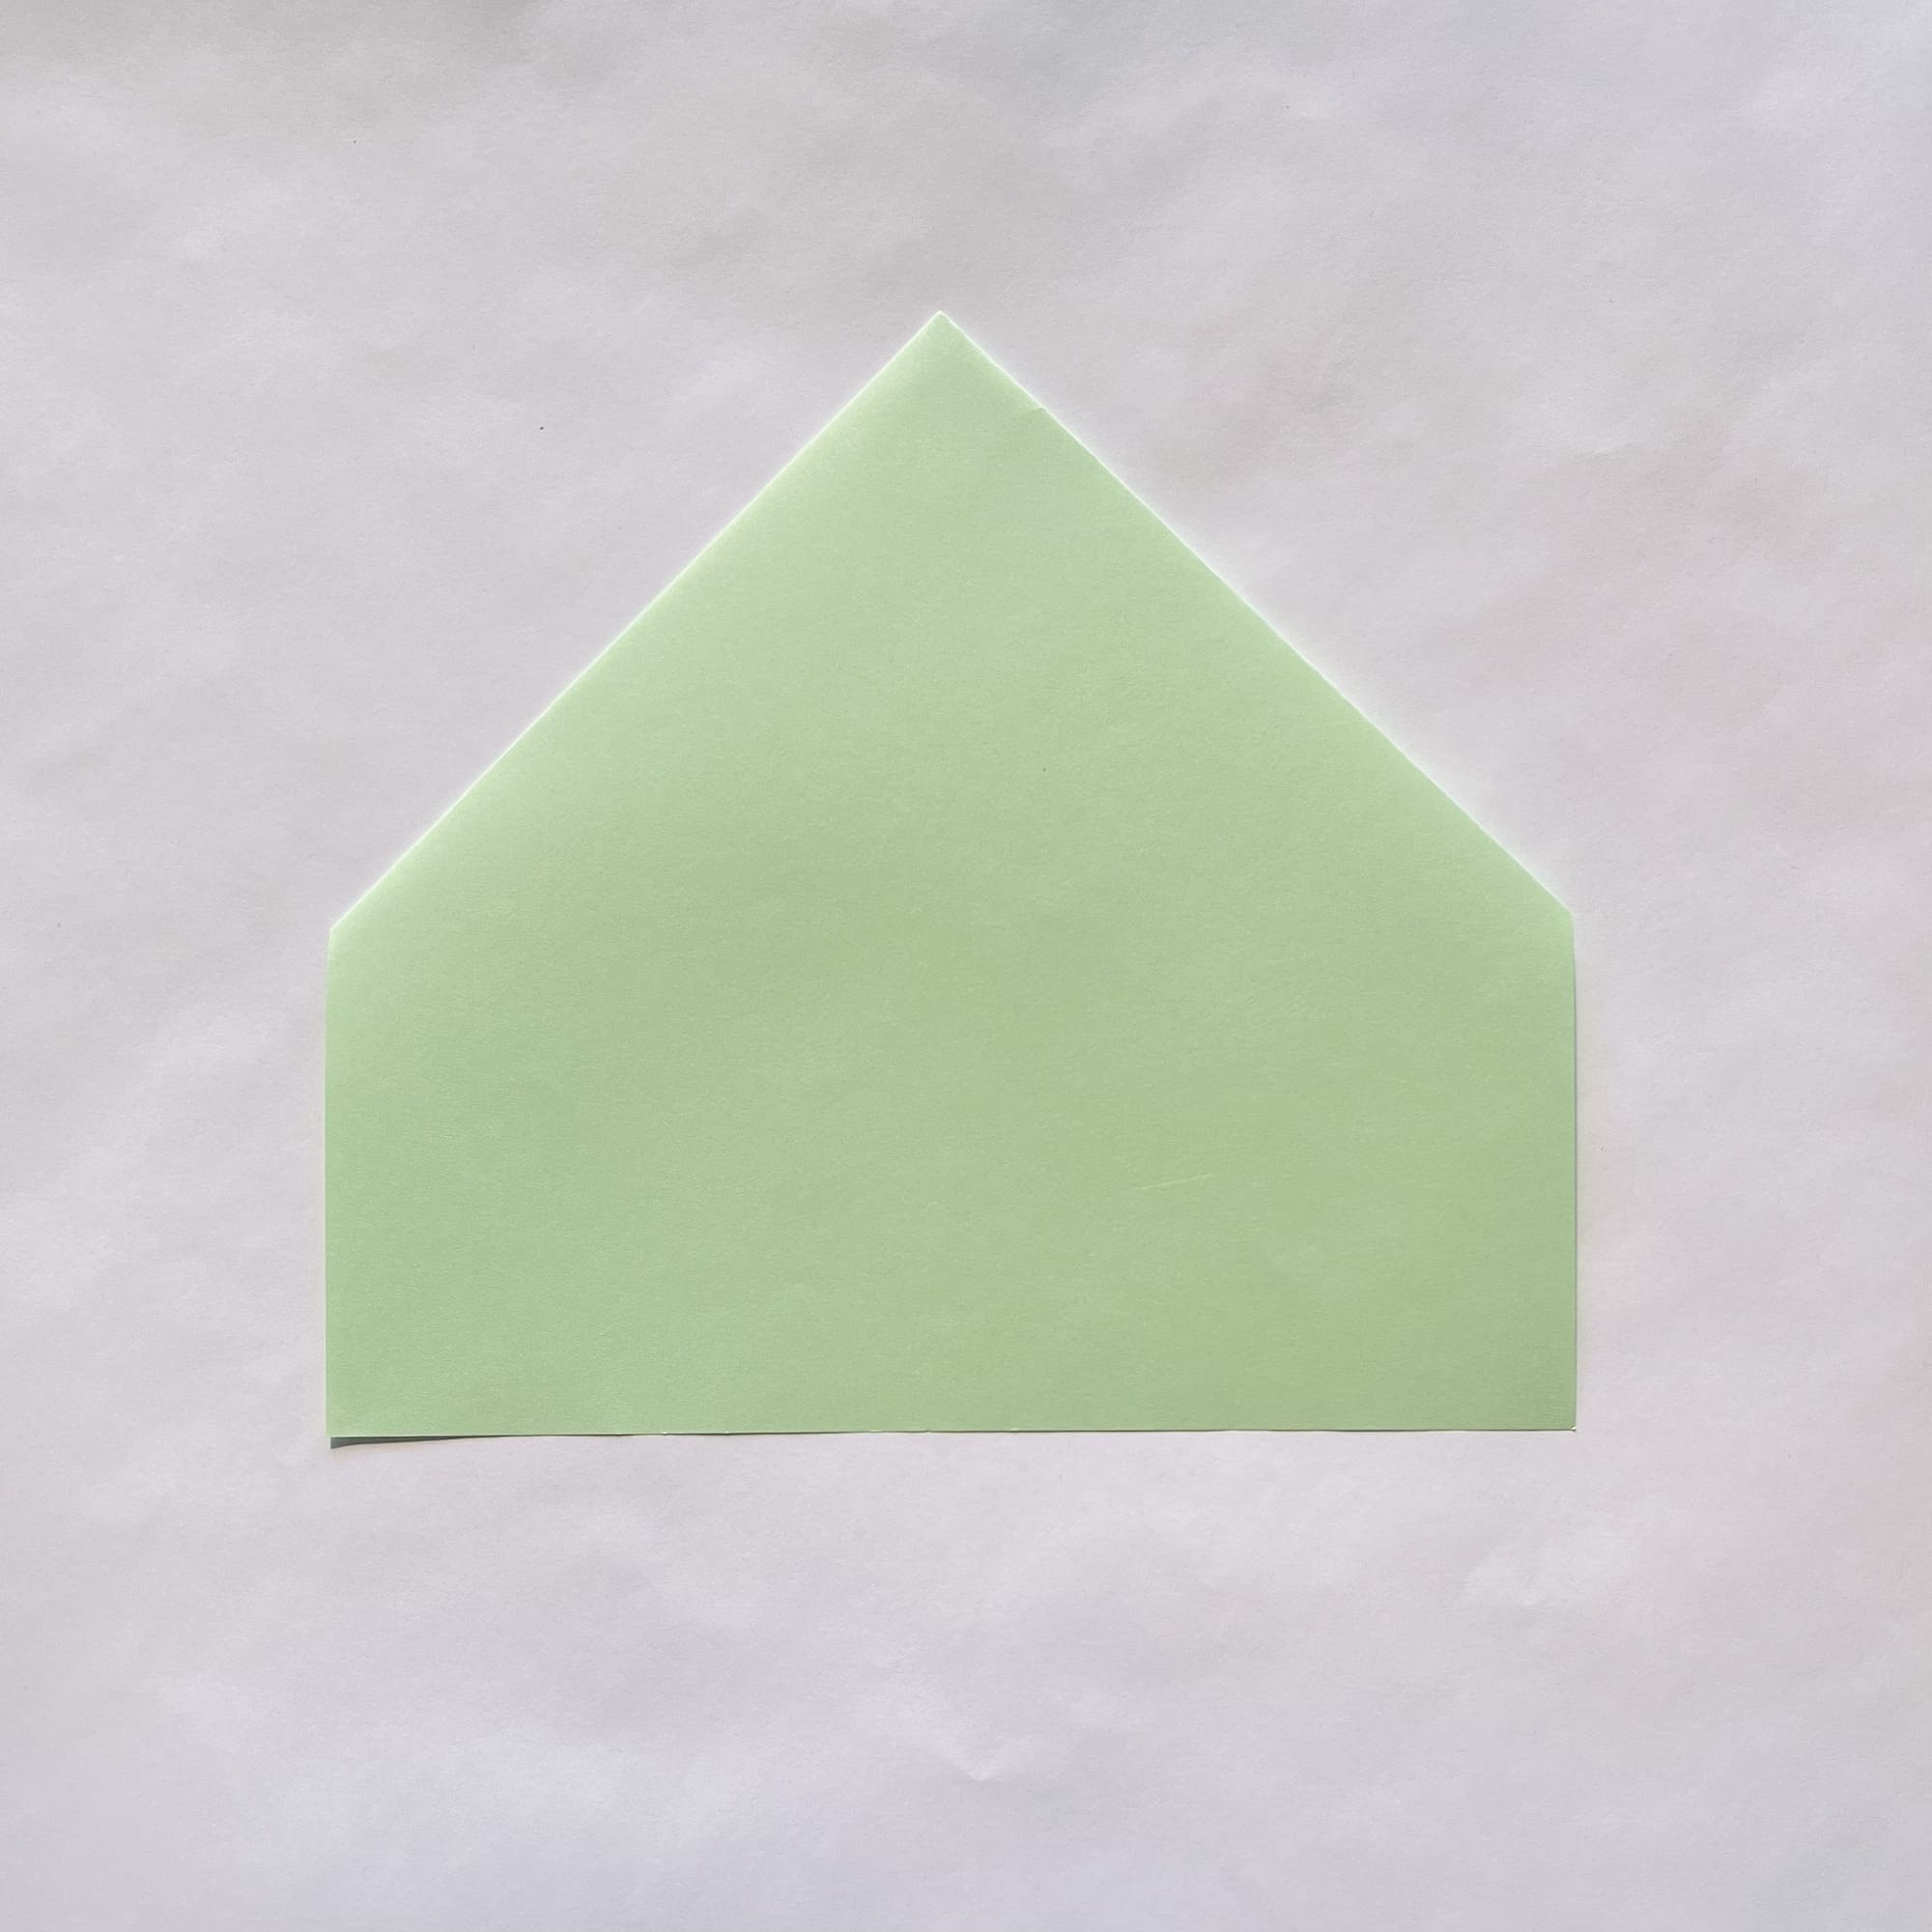
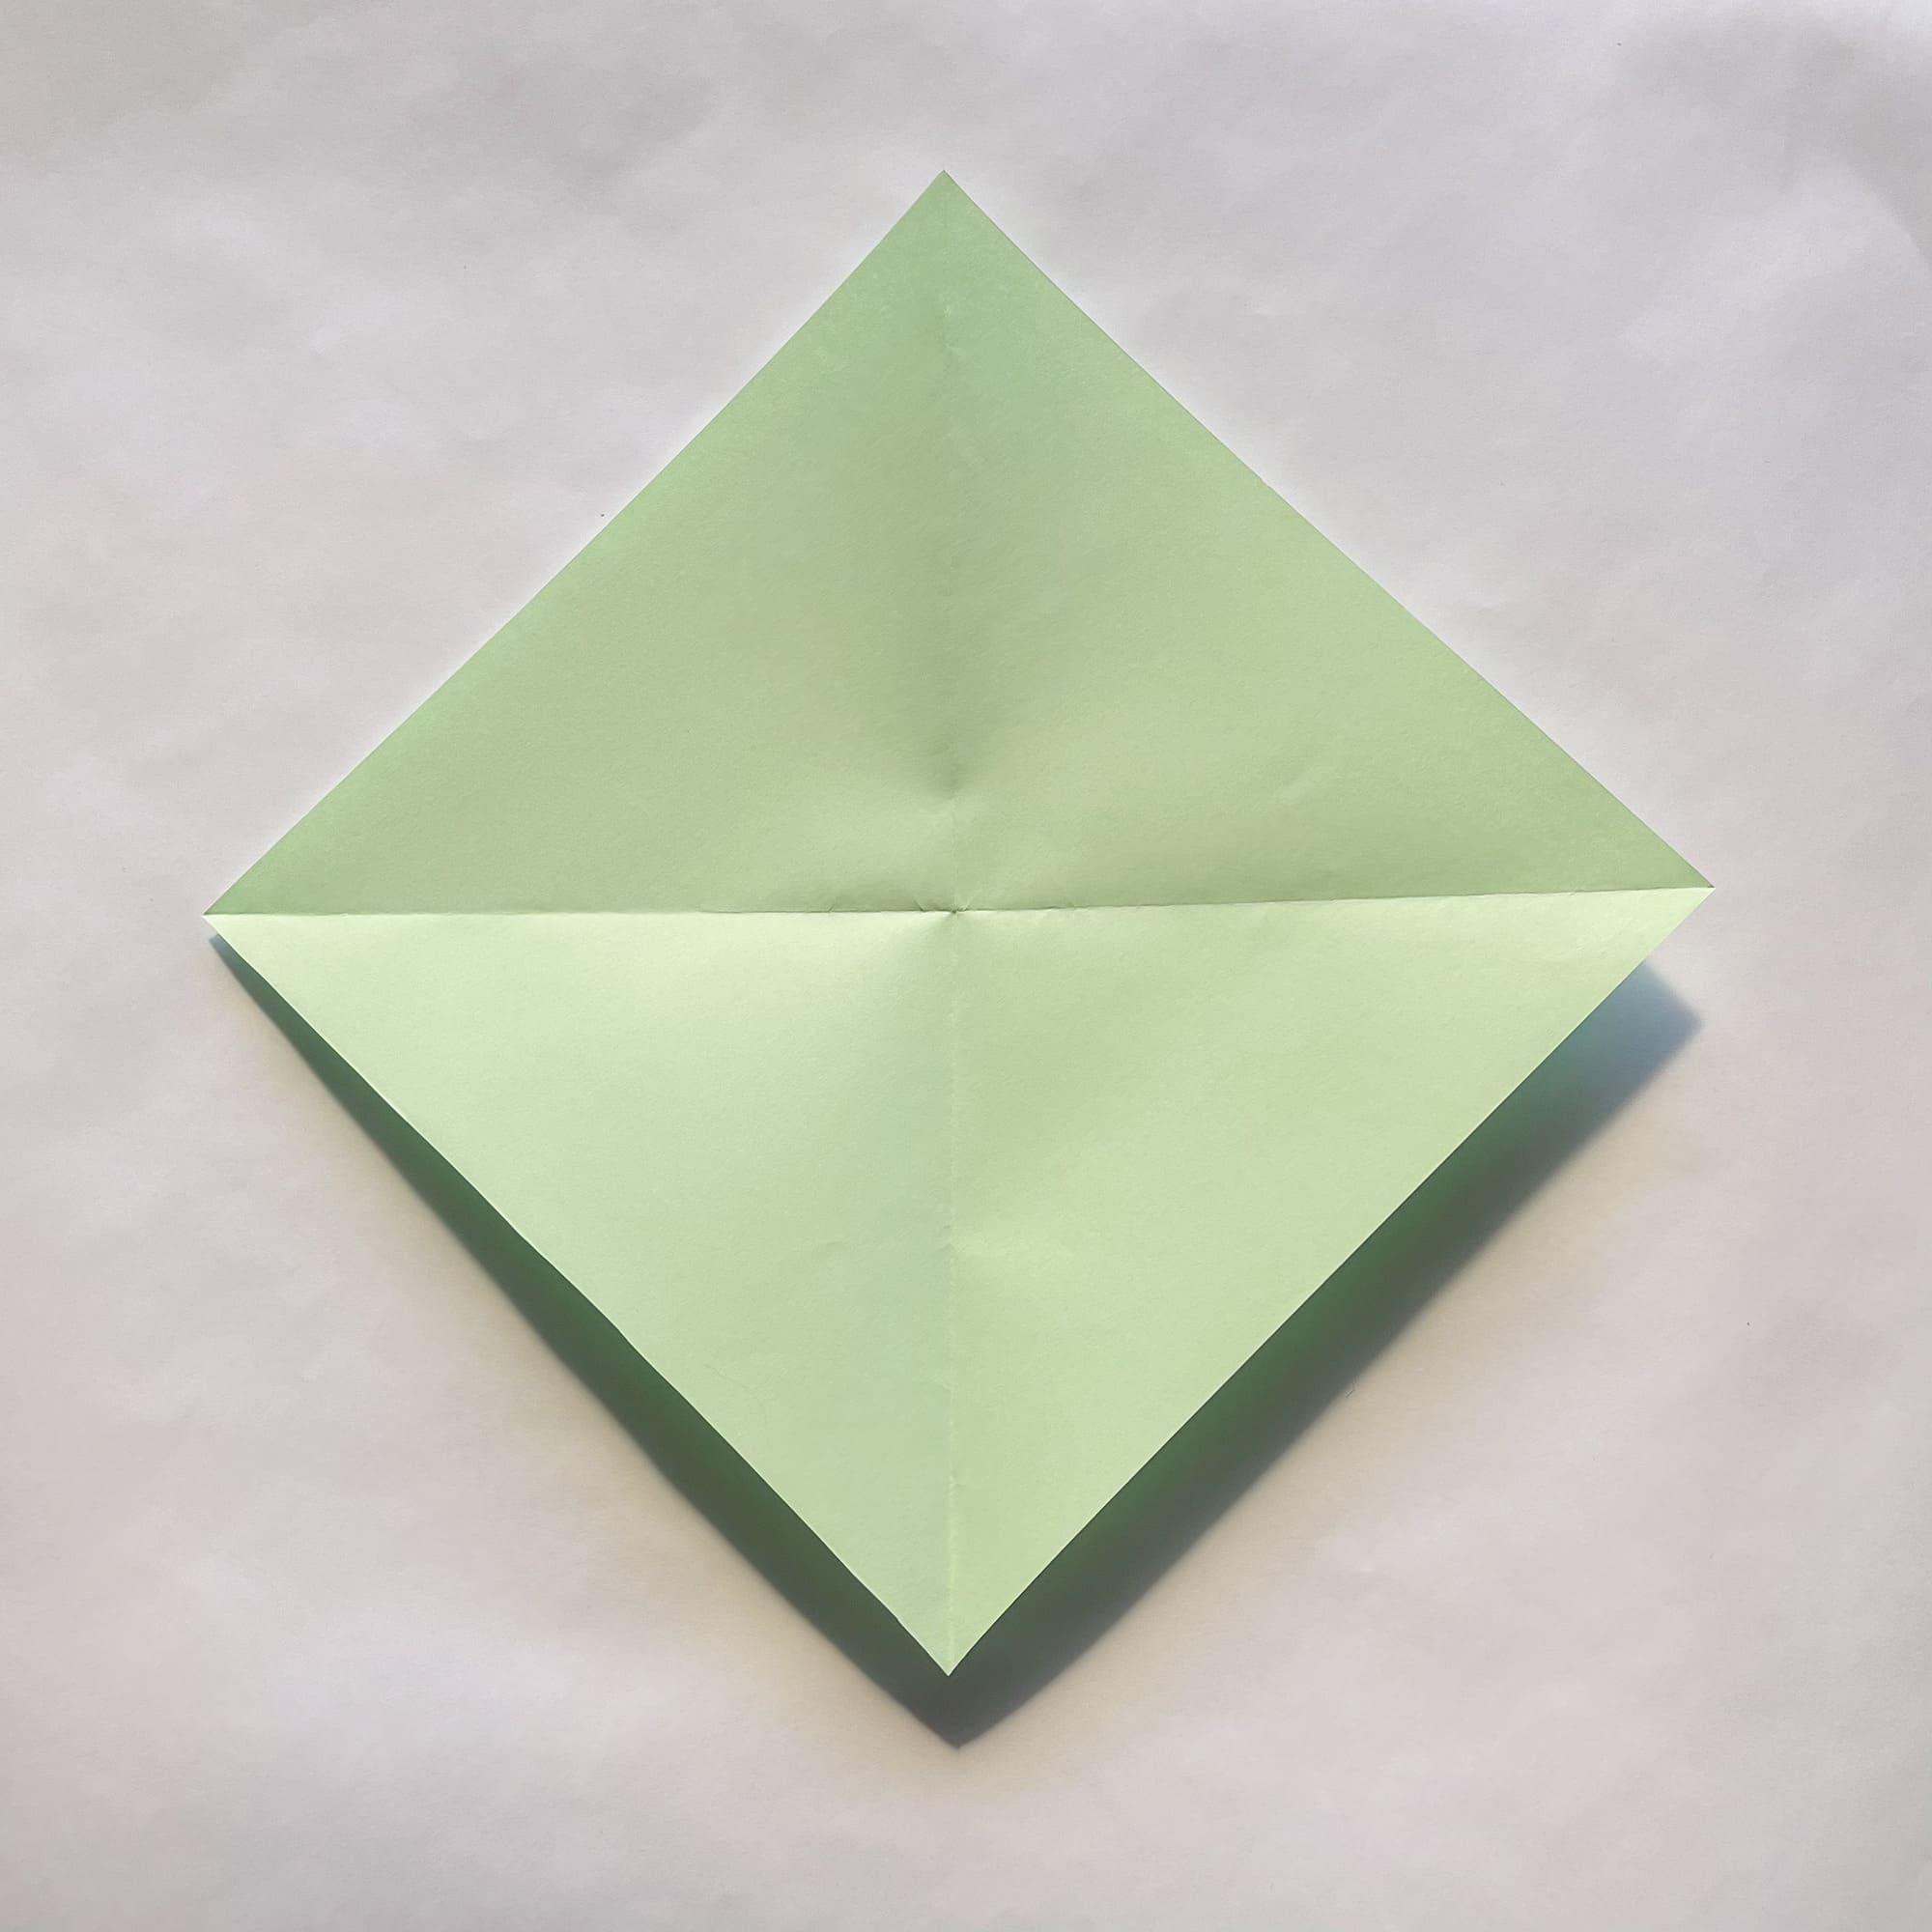
Your first step would be to prepare a paper of the specified size.
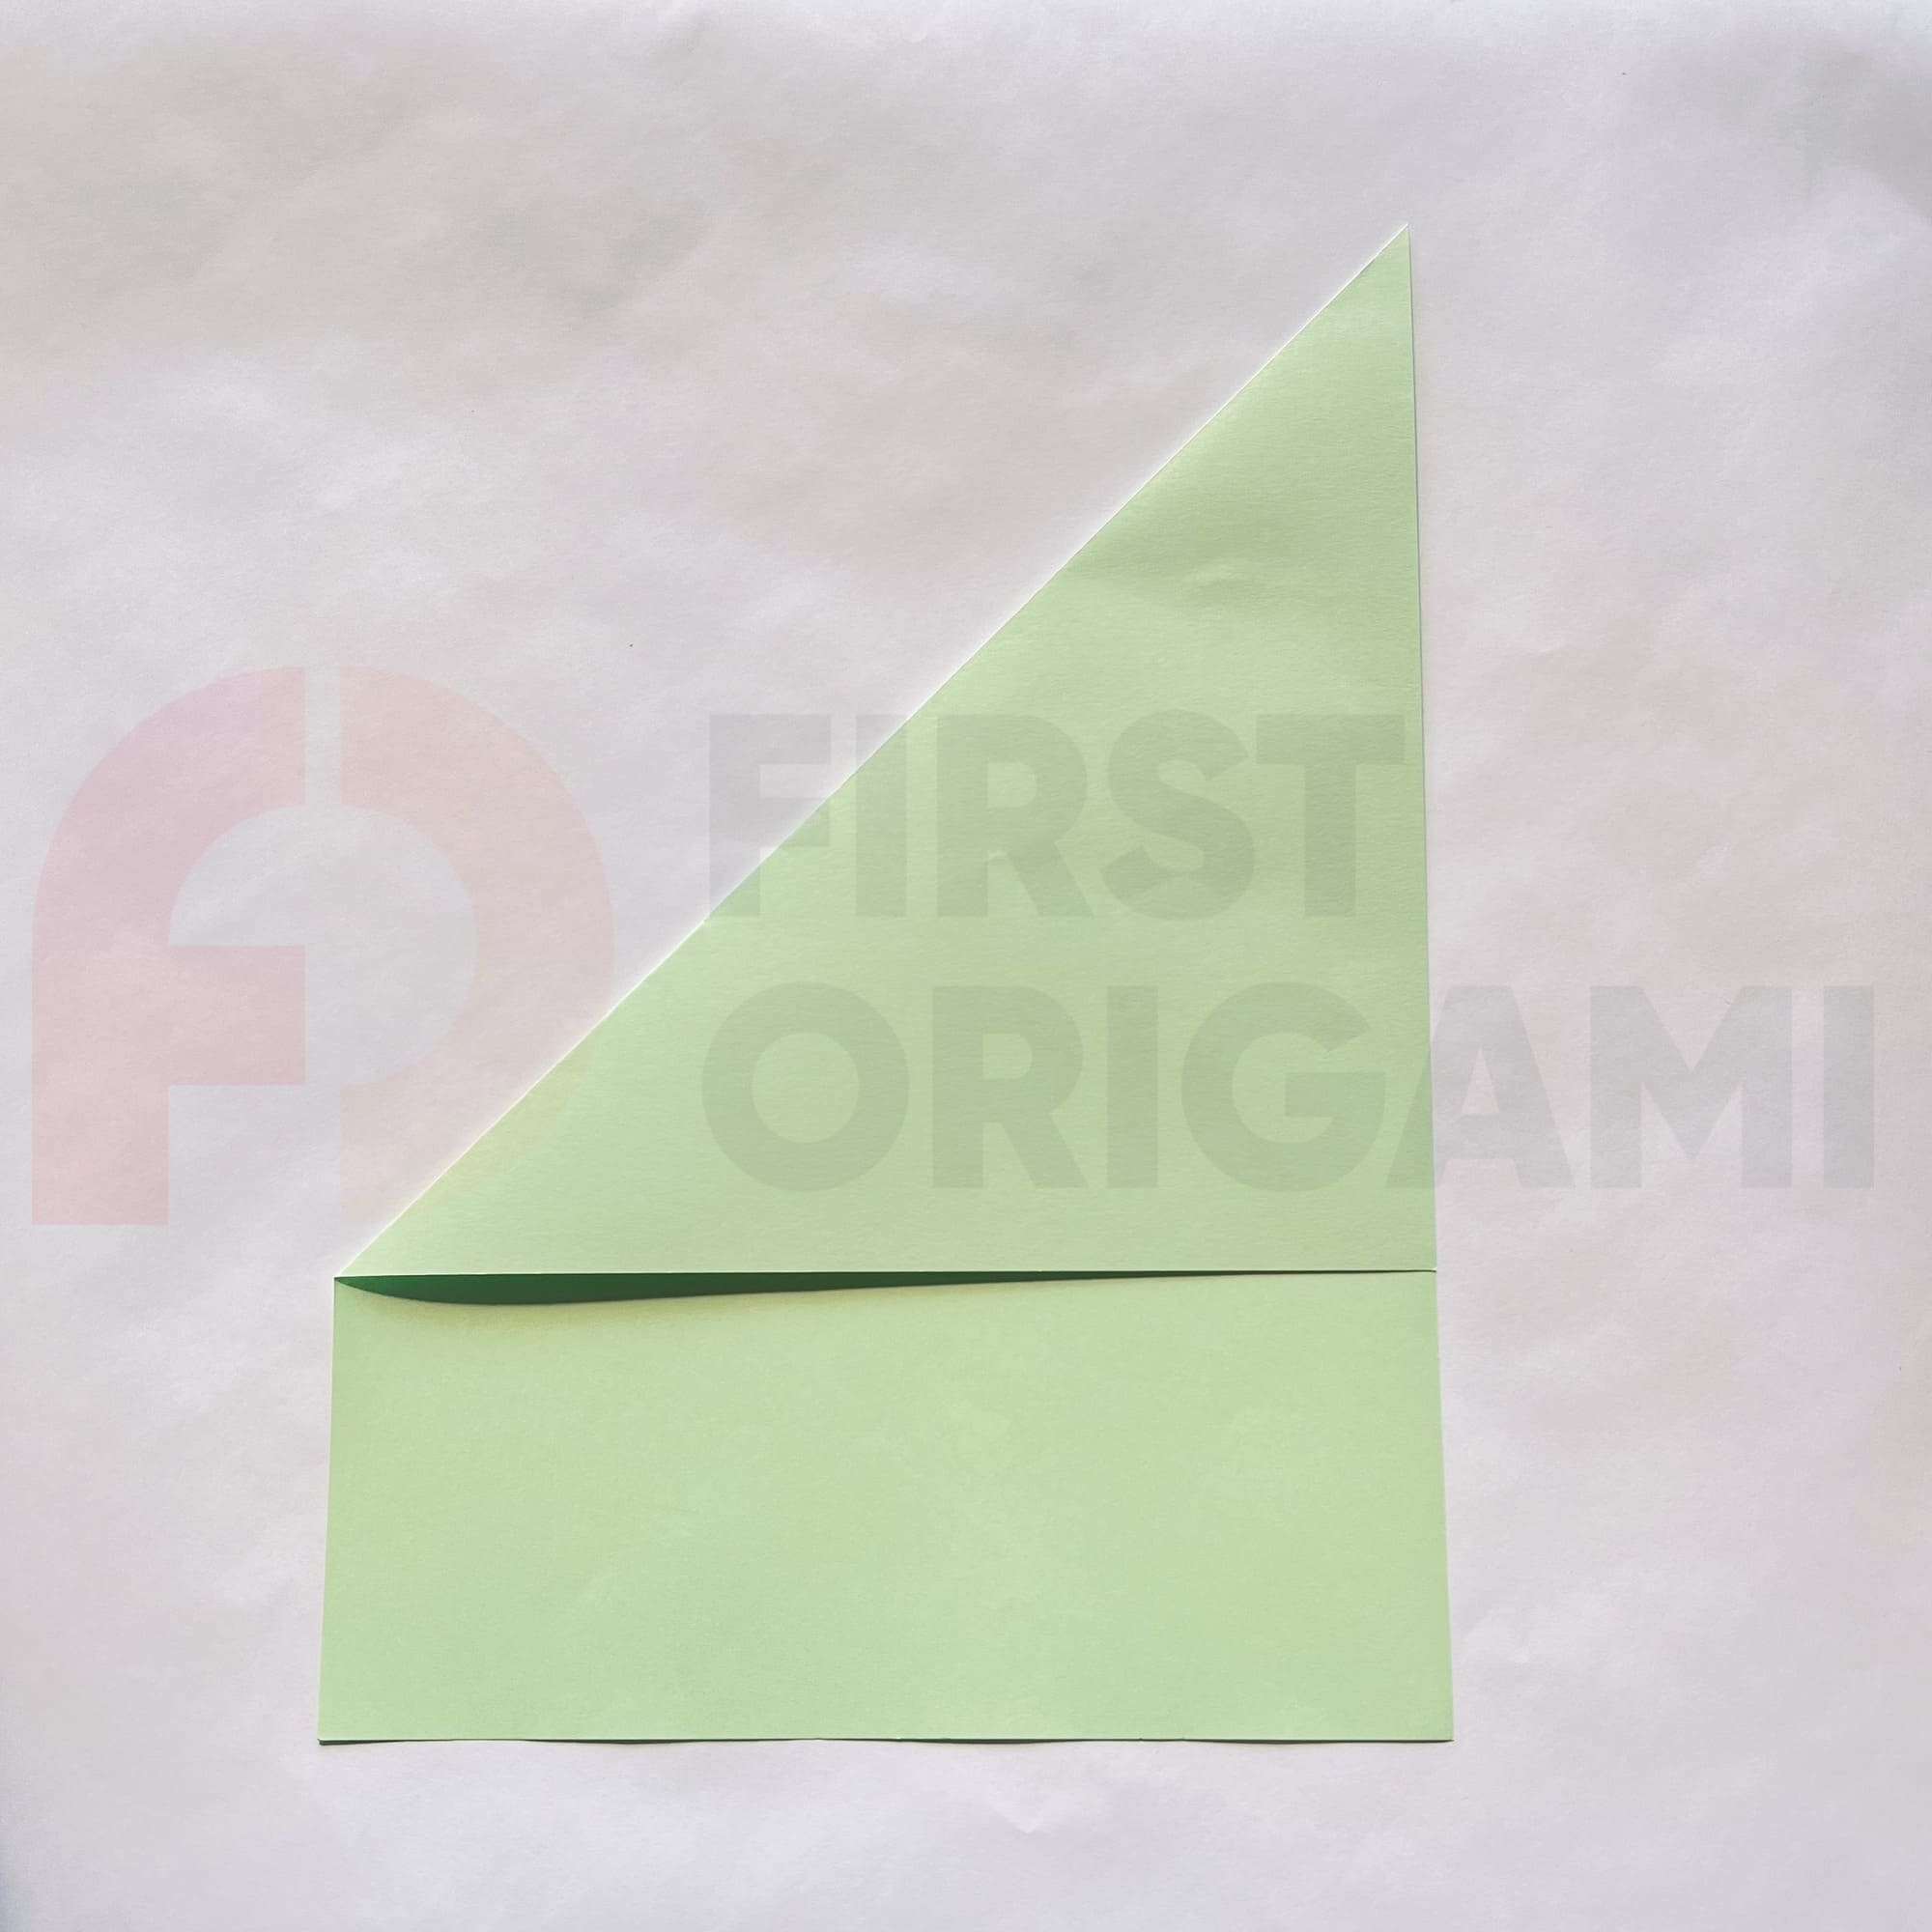
Now, you need to bend the upper left corner to the right so that the fold passes through the upper right corner.
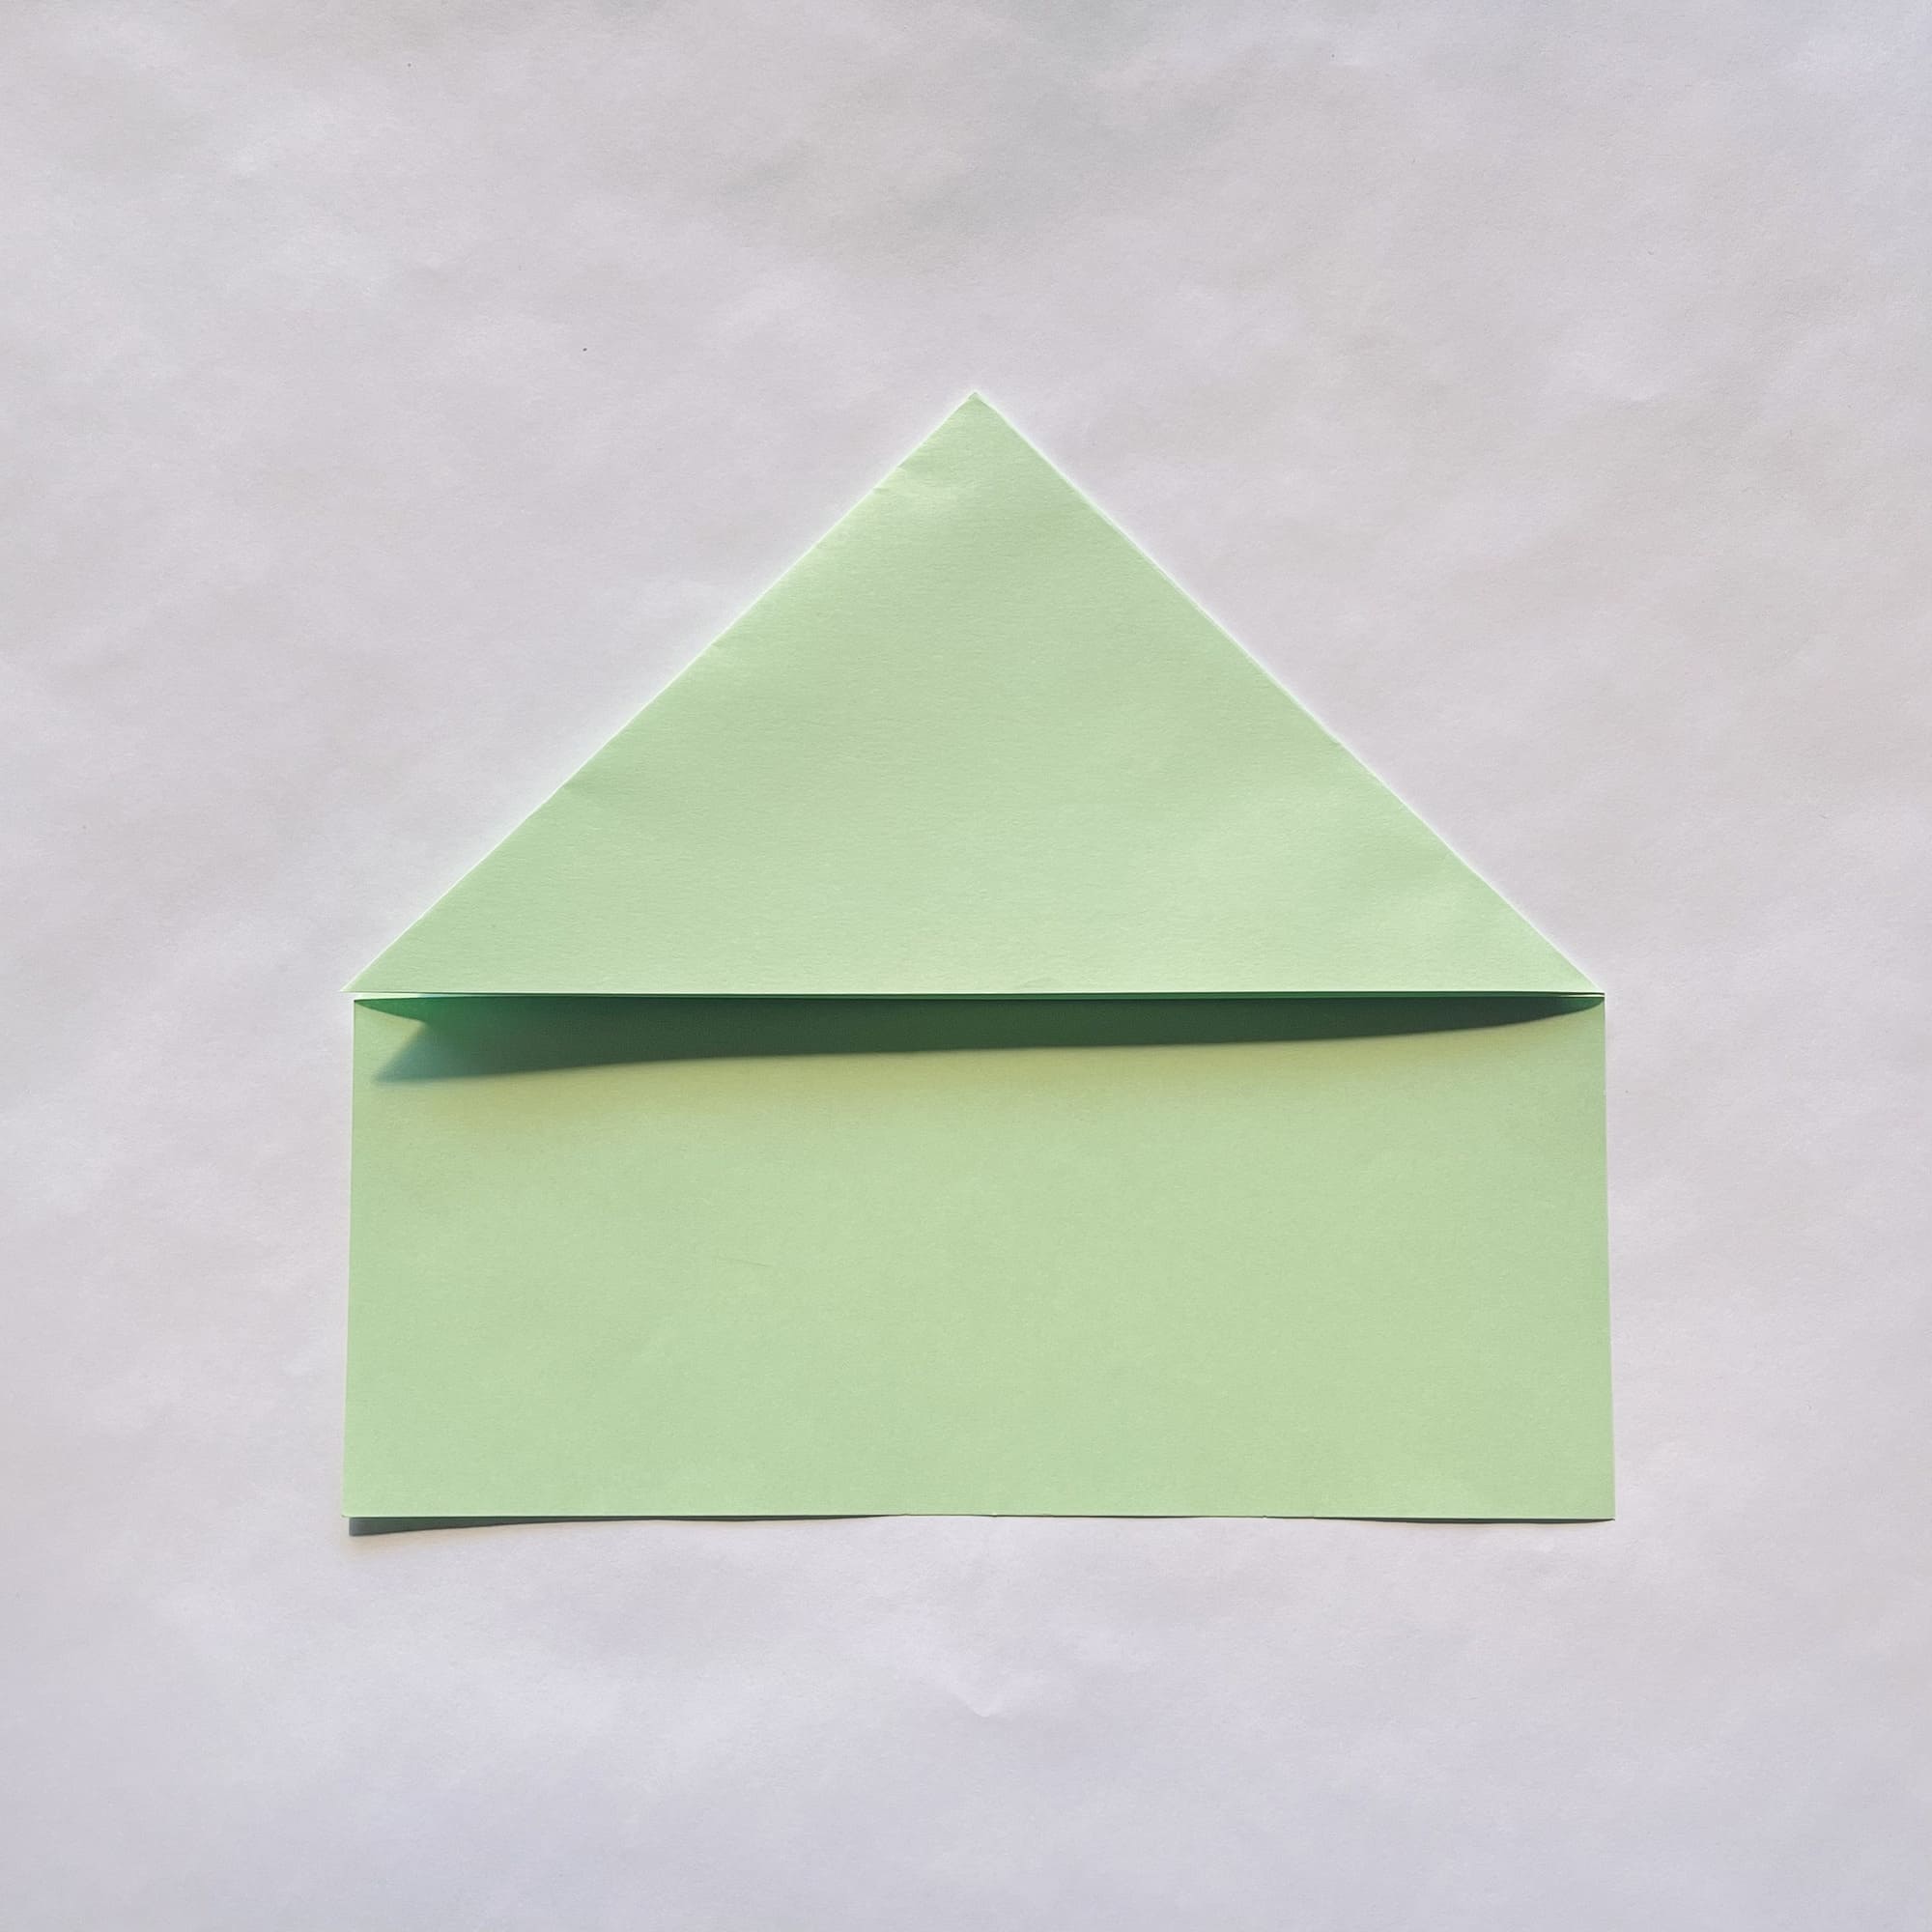
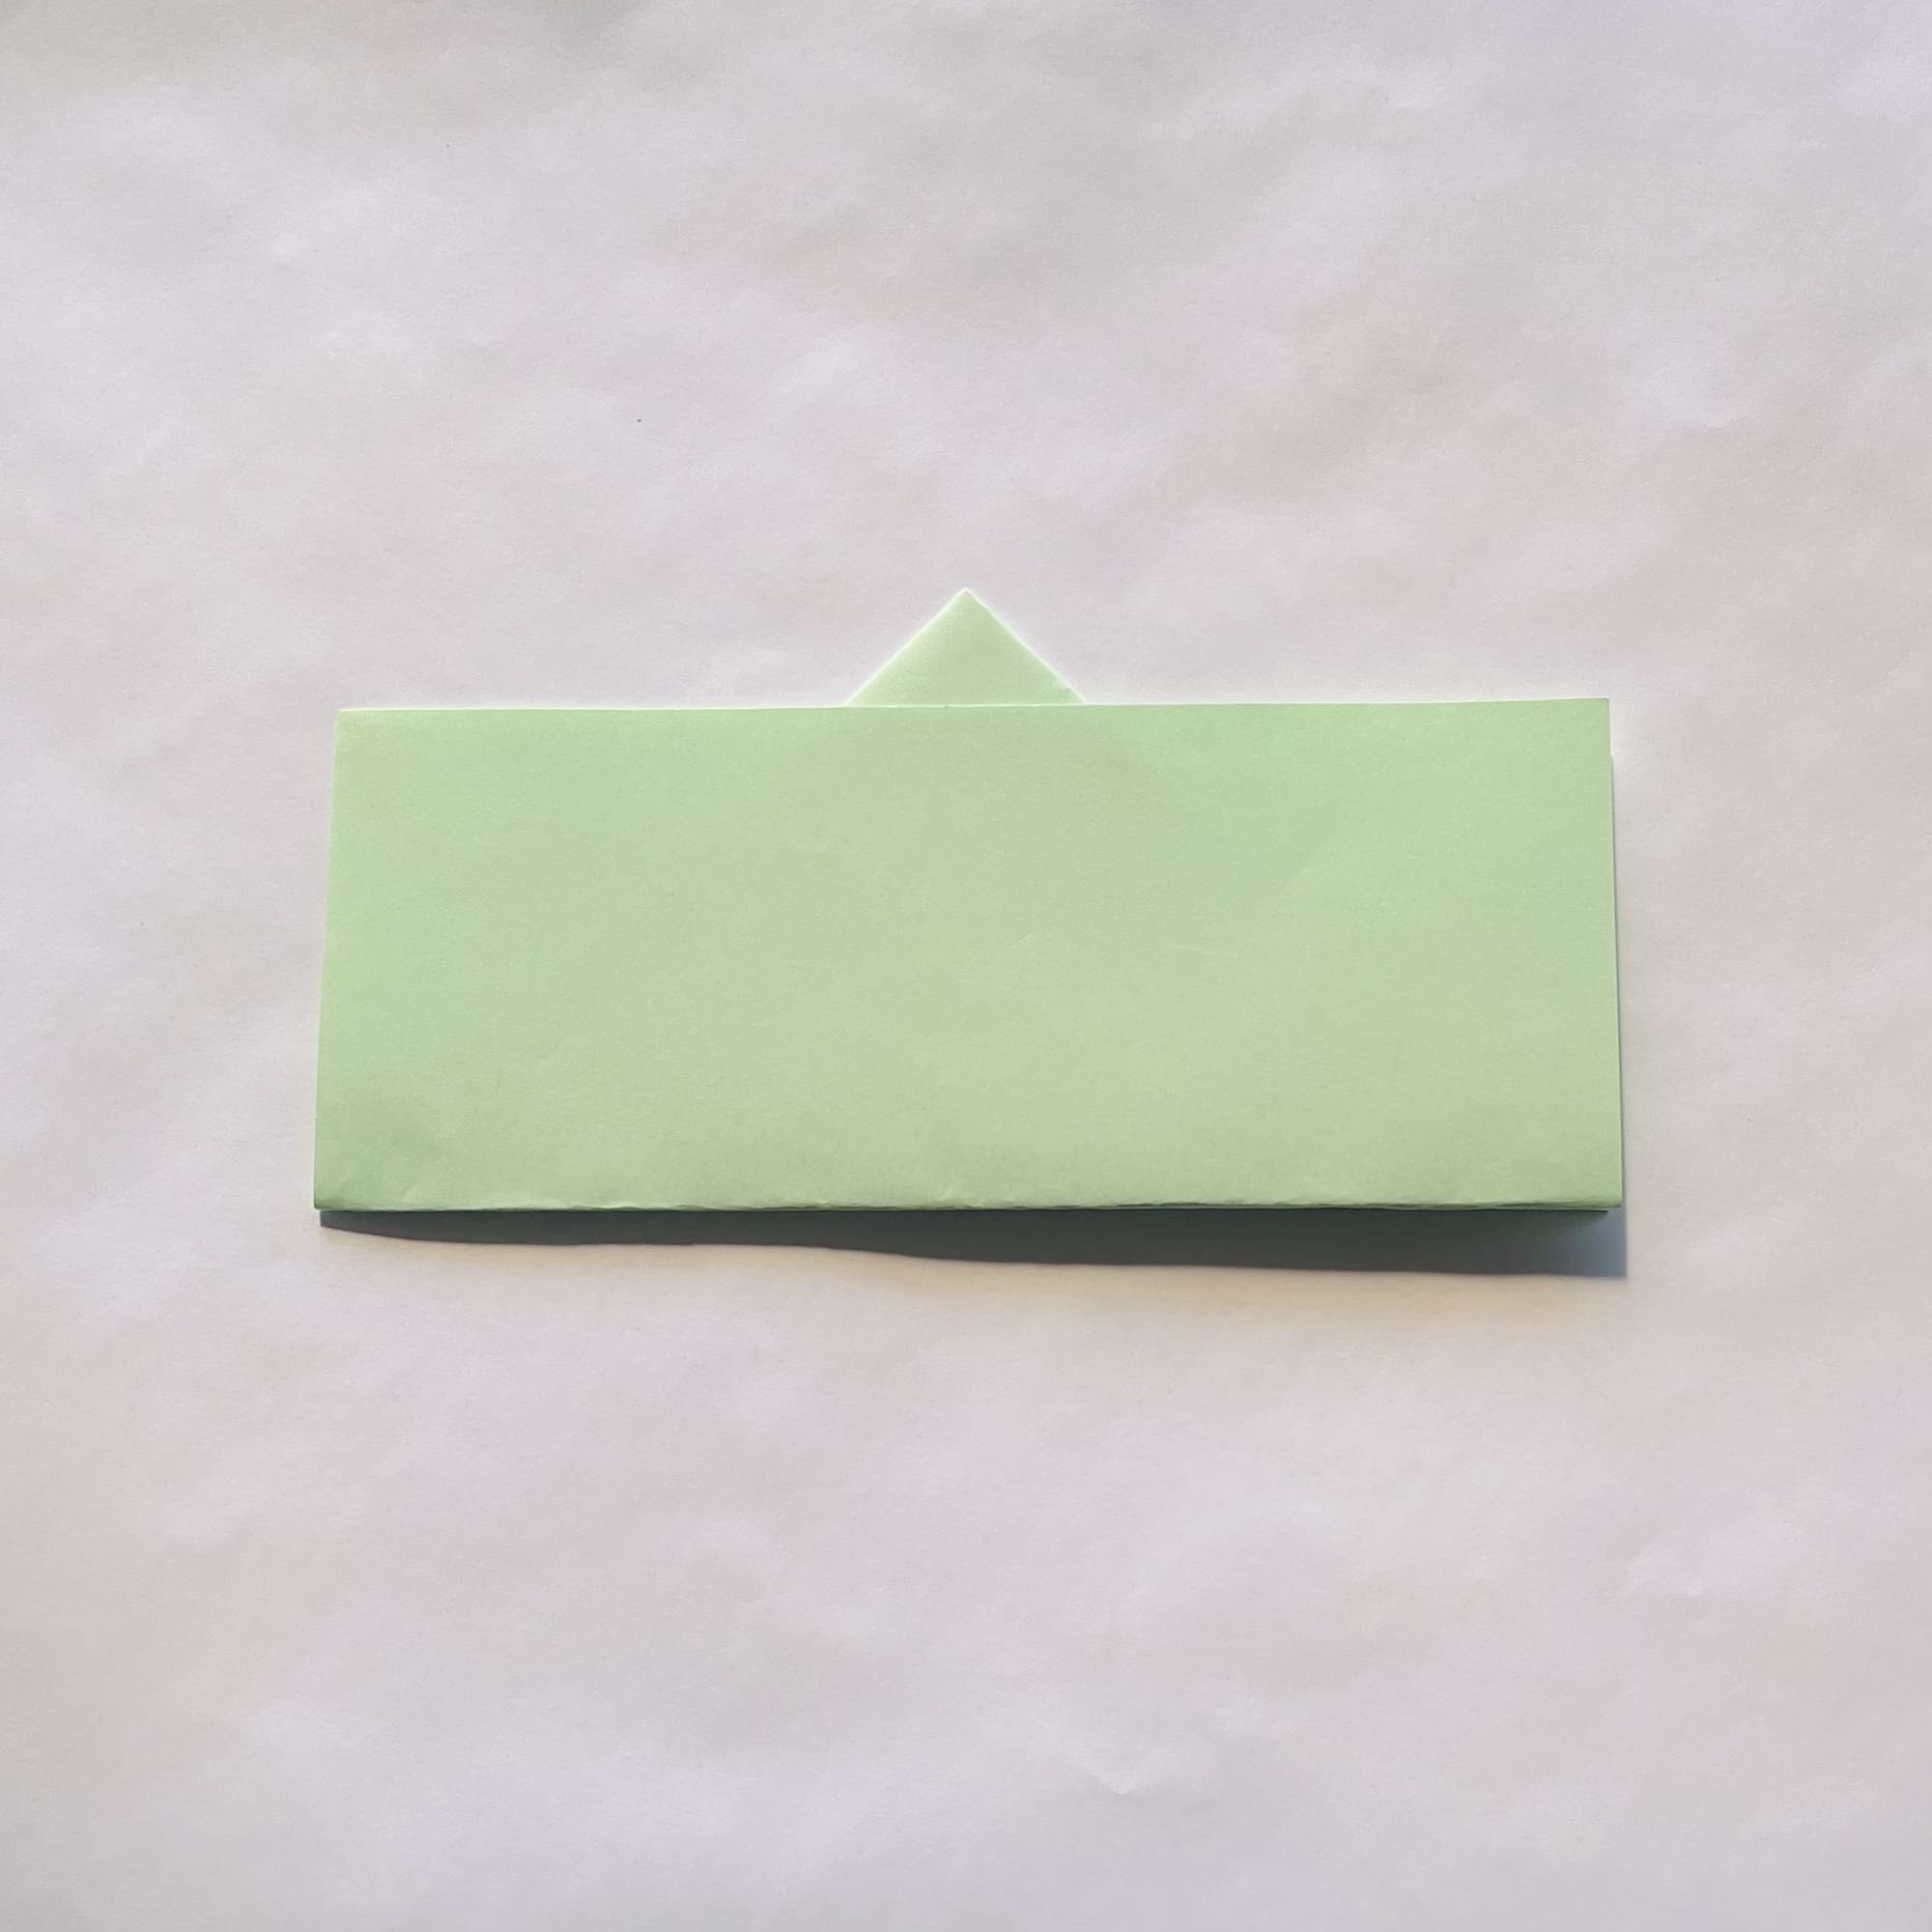
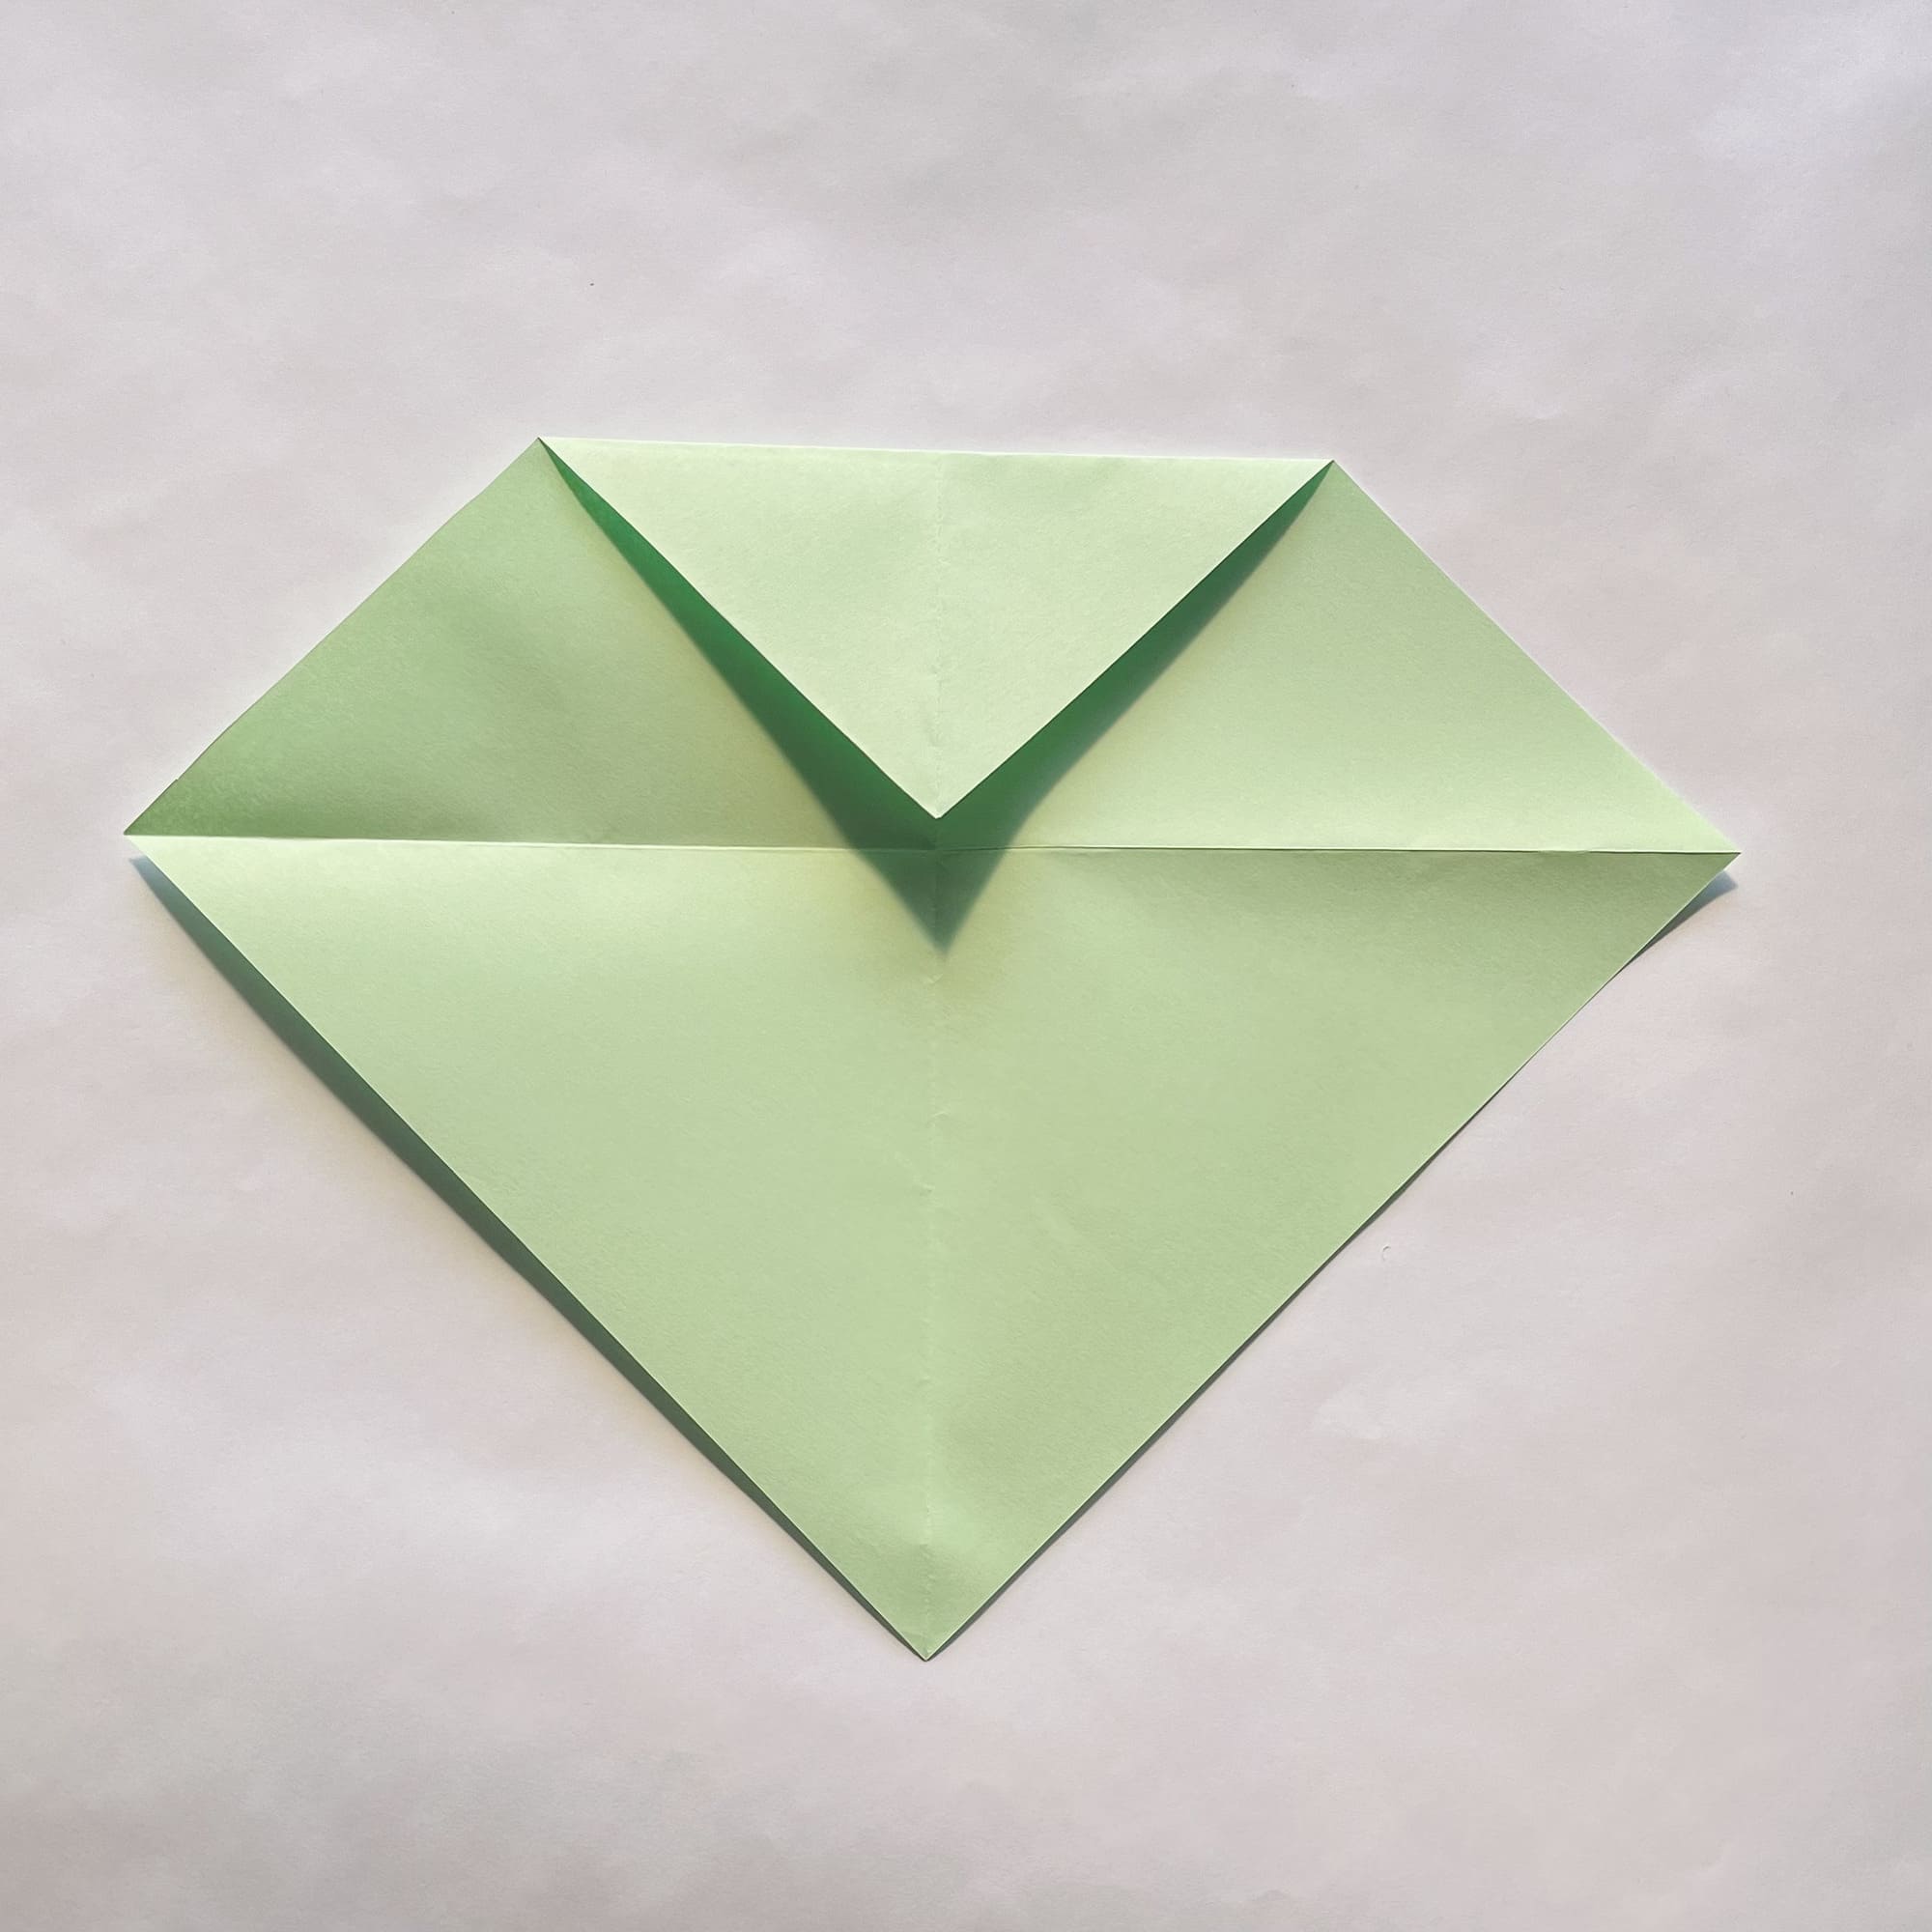
Next, you simply bend the upper corner down and to the left. As a result, you get a triangle at the top of the figure.
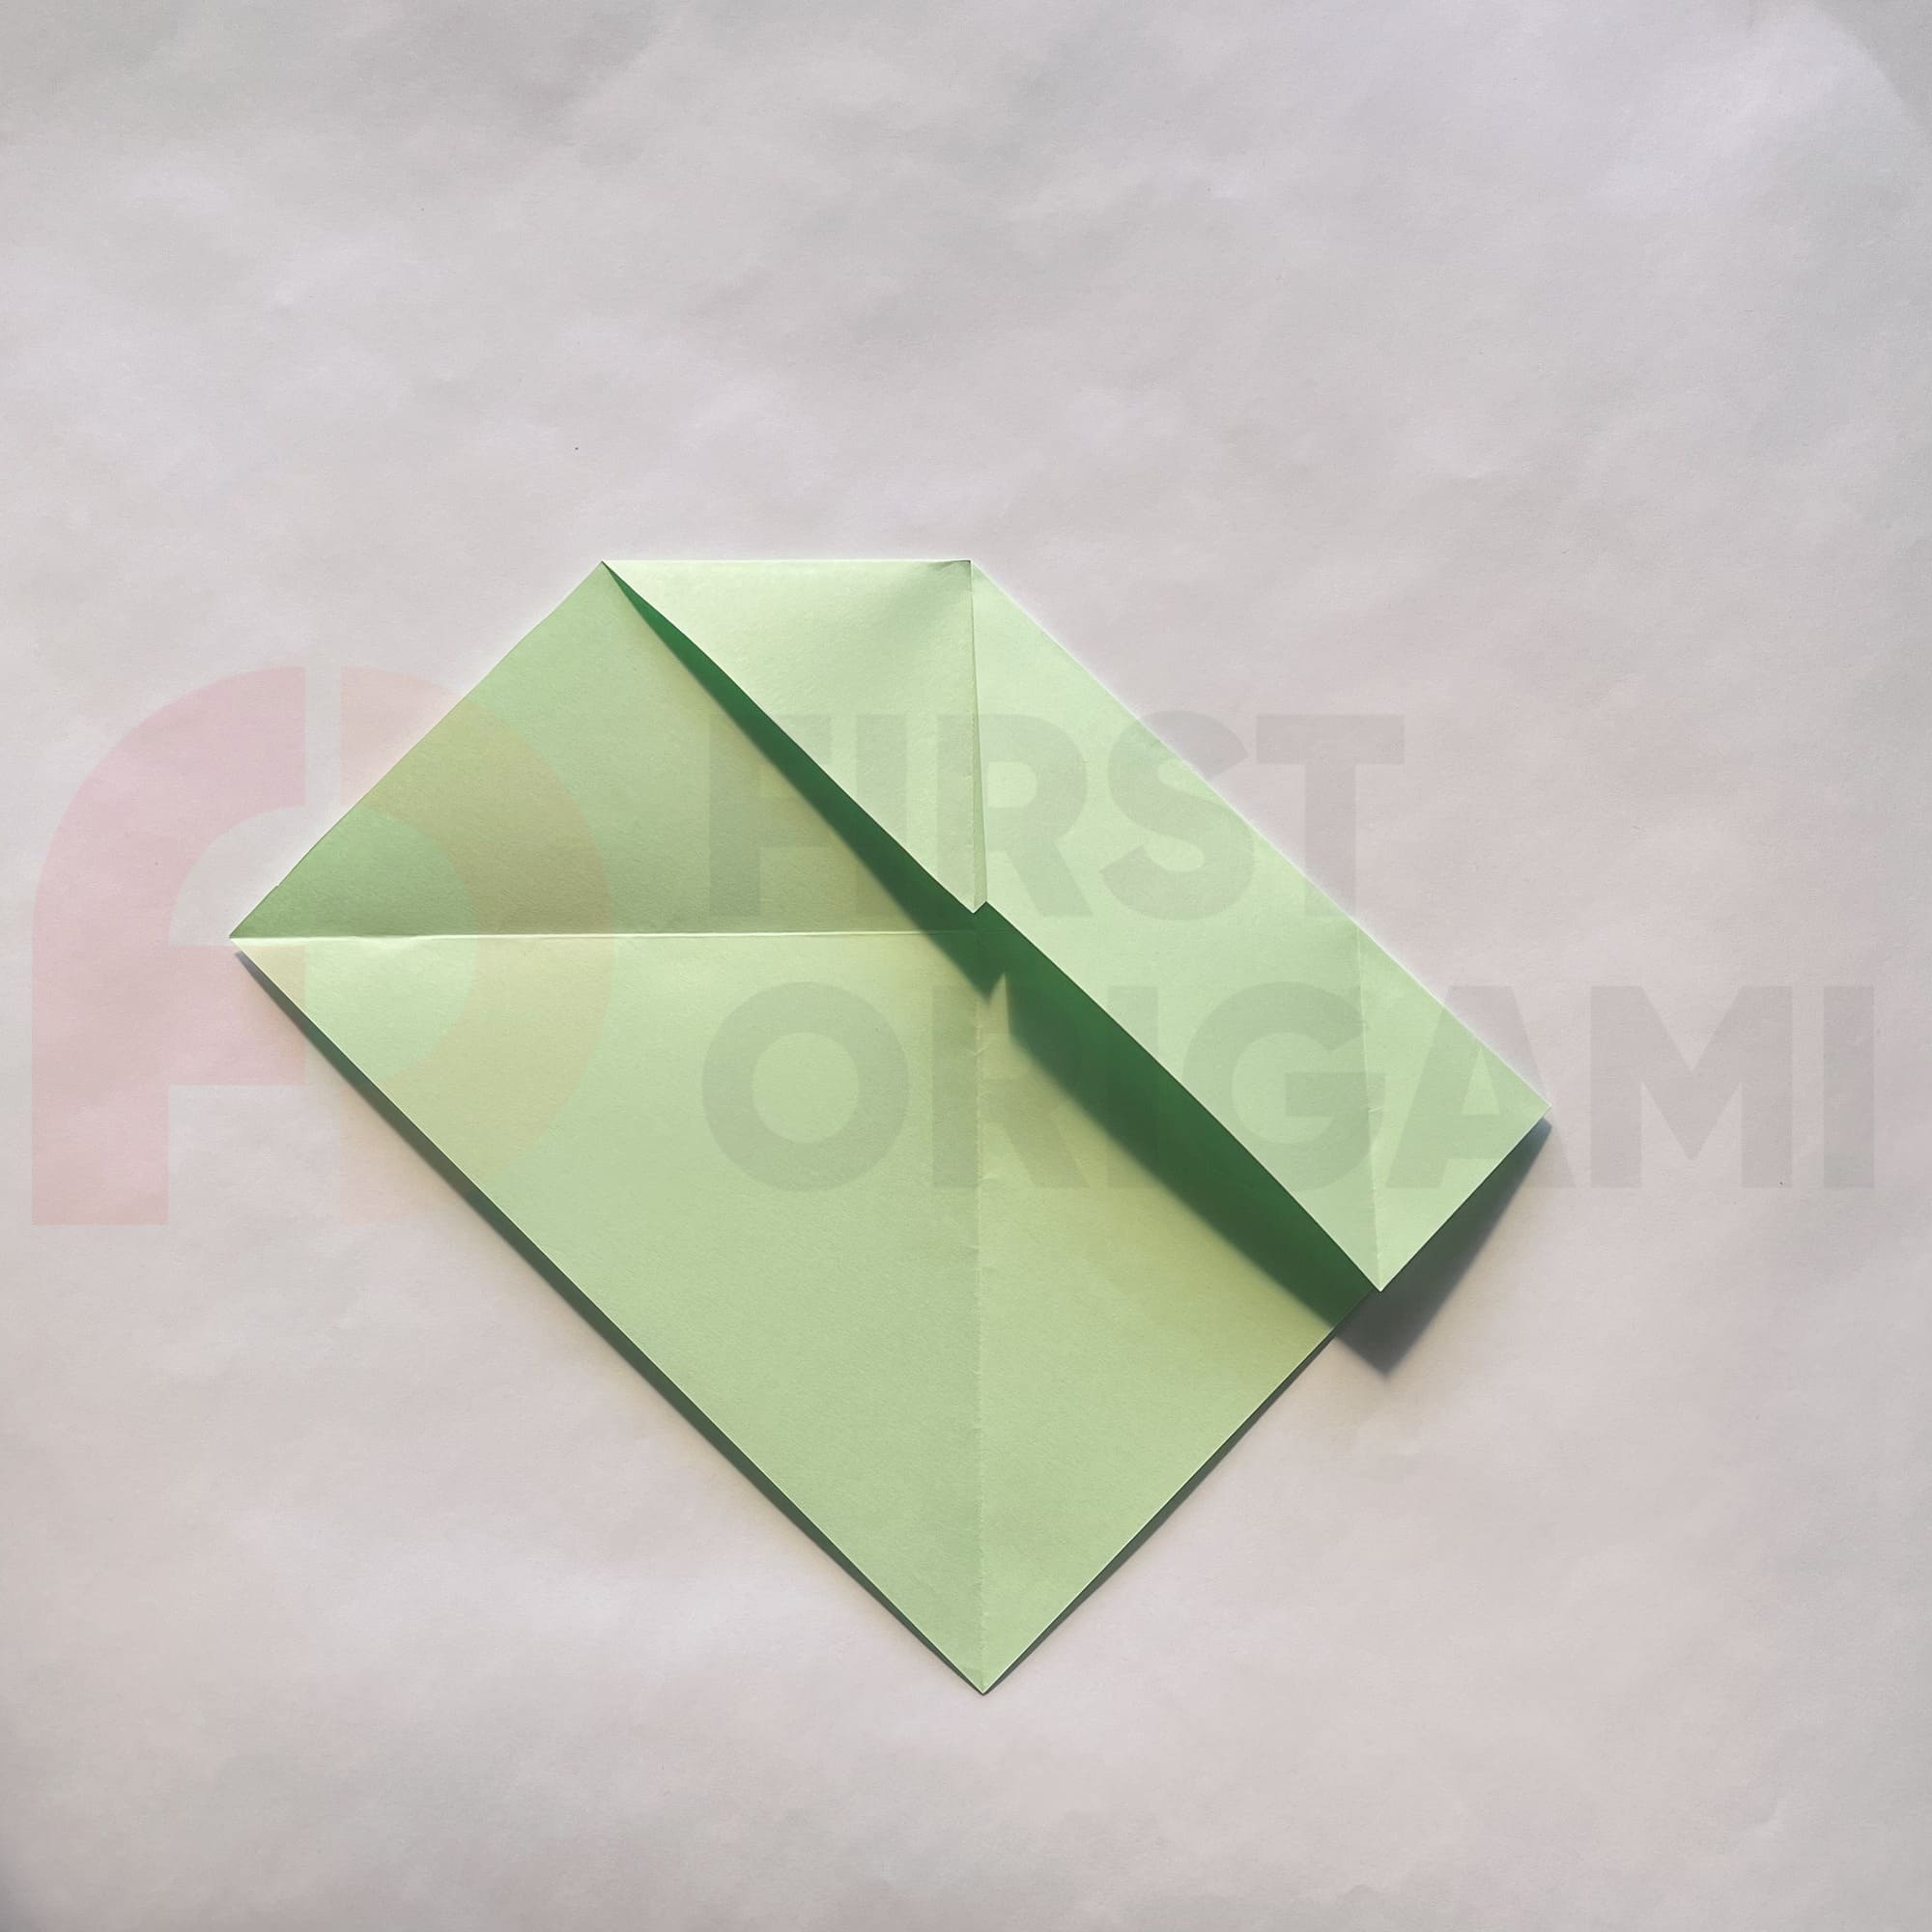
To perform the next bend, you need to turn over the paper.
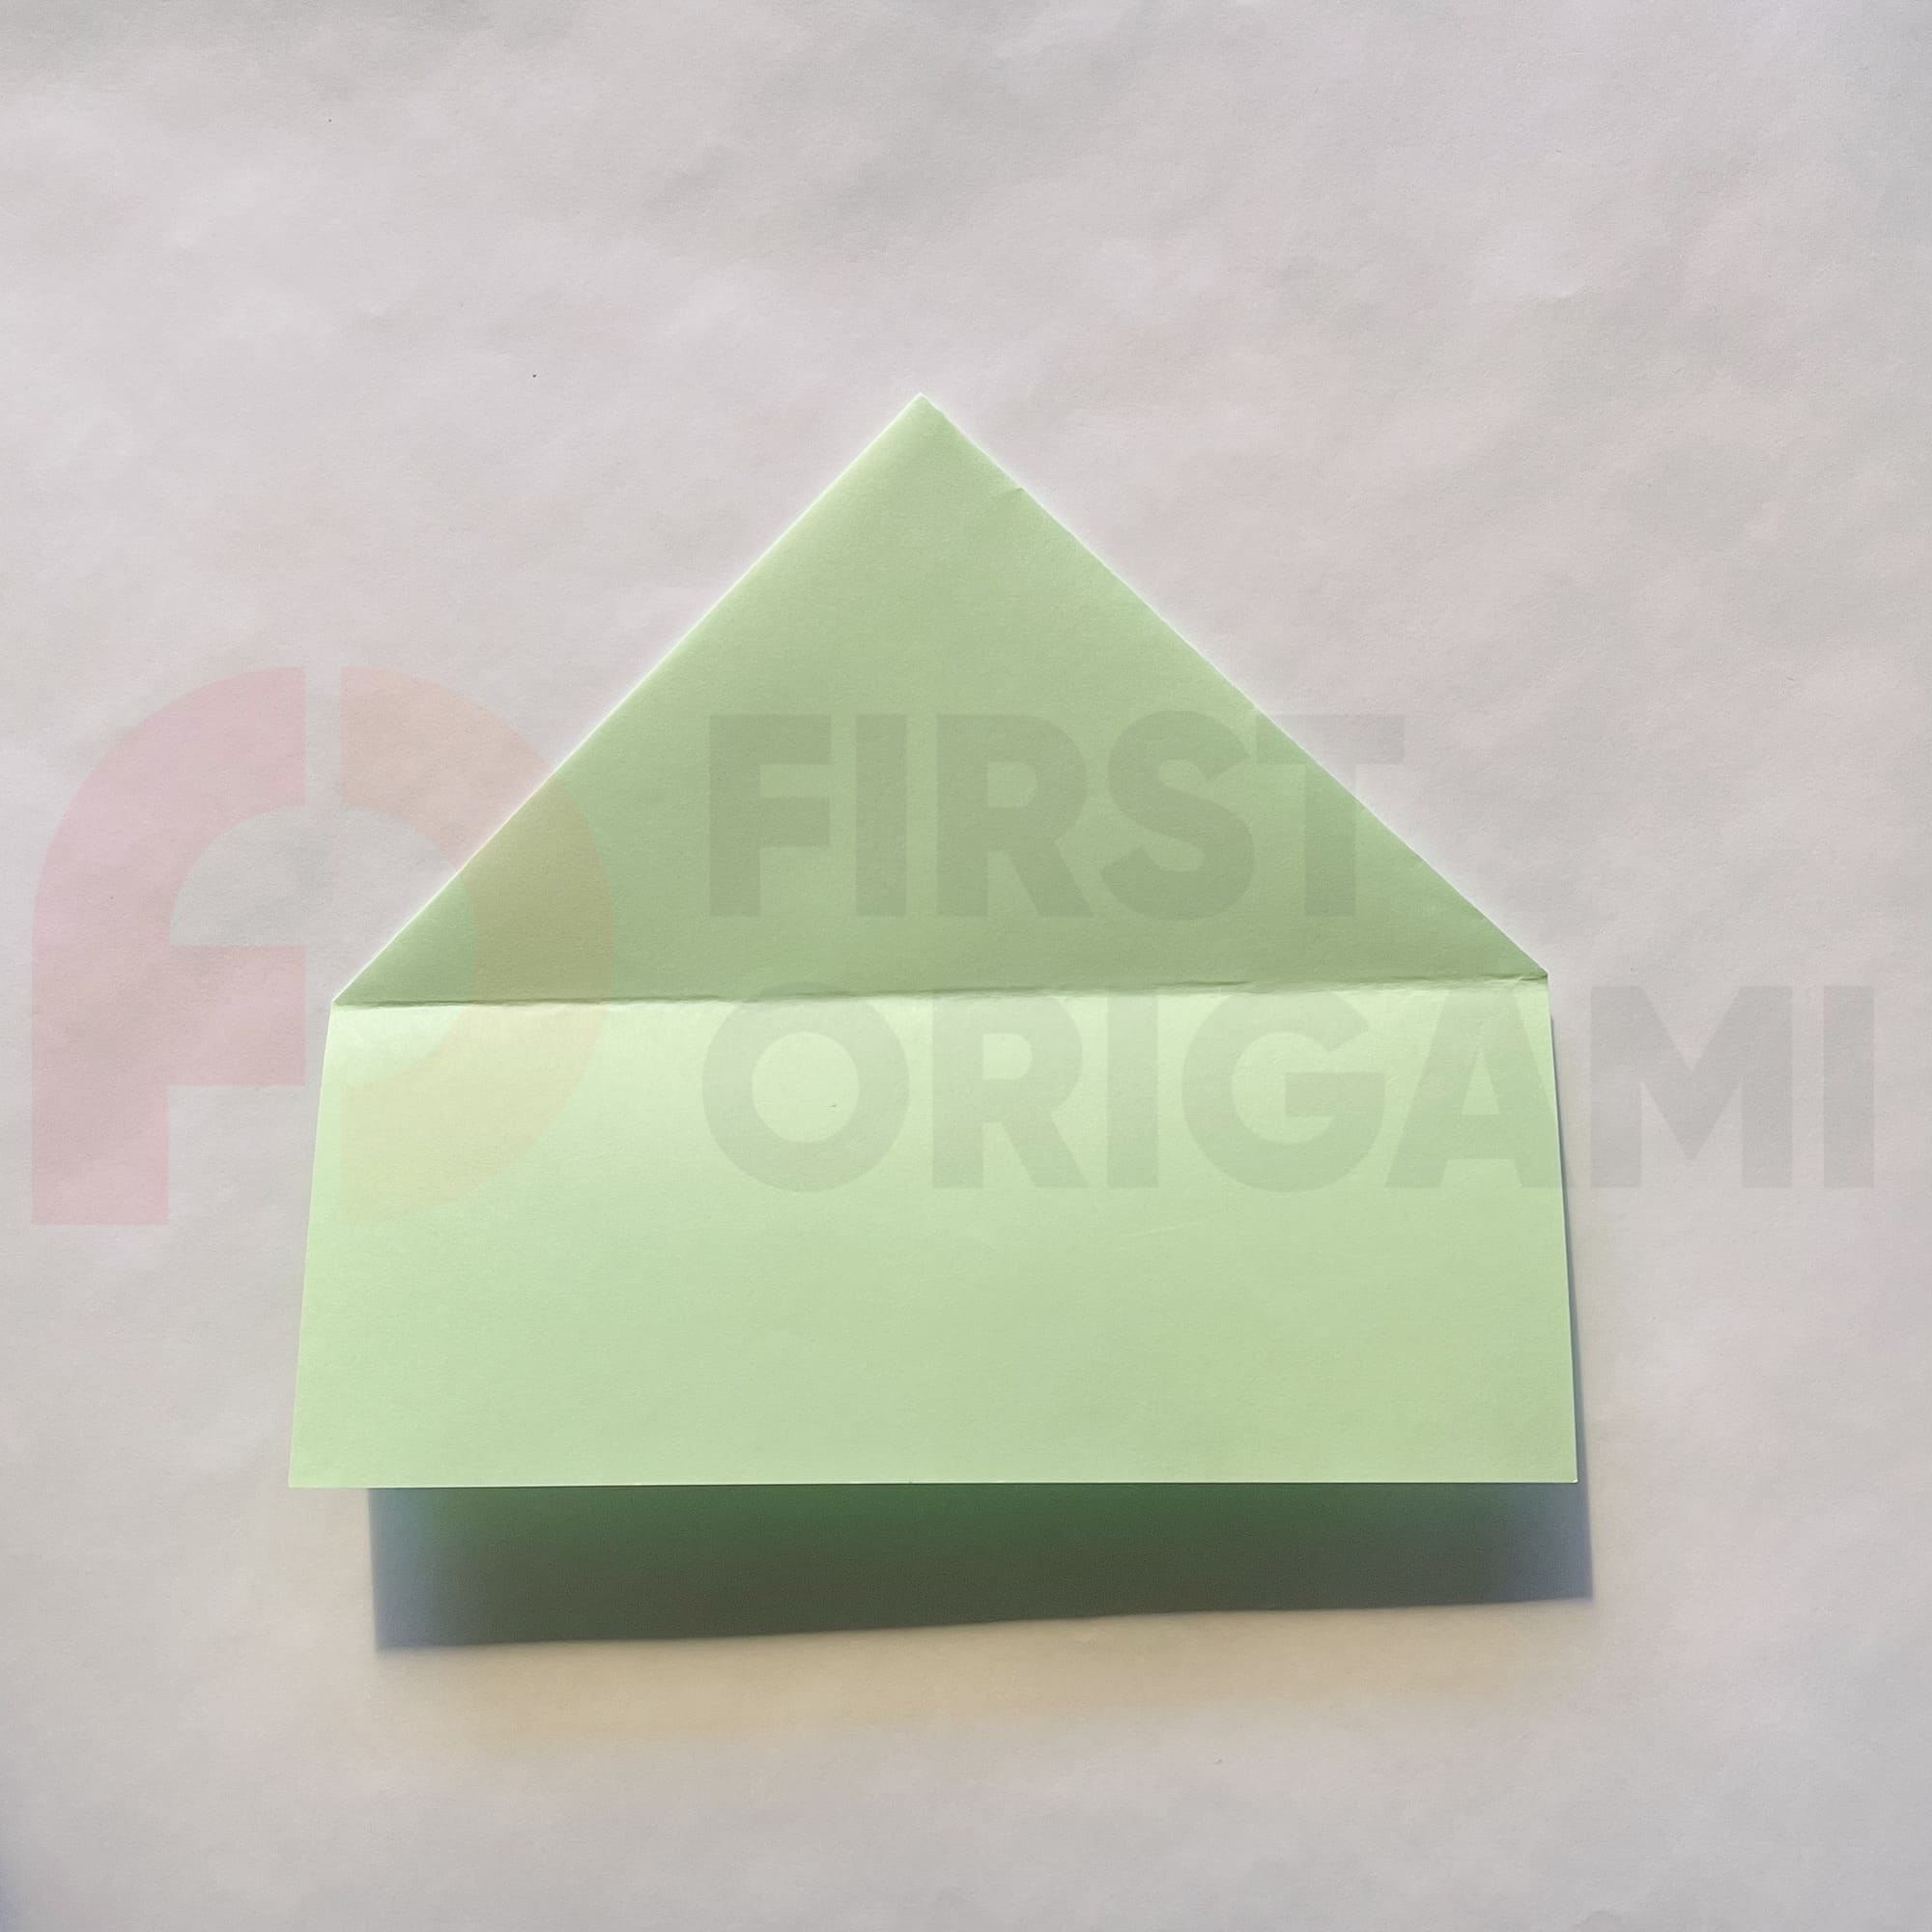
Now, you can bend the bottom rectangular part up.
You need to tear or cut this part along the fold line.
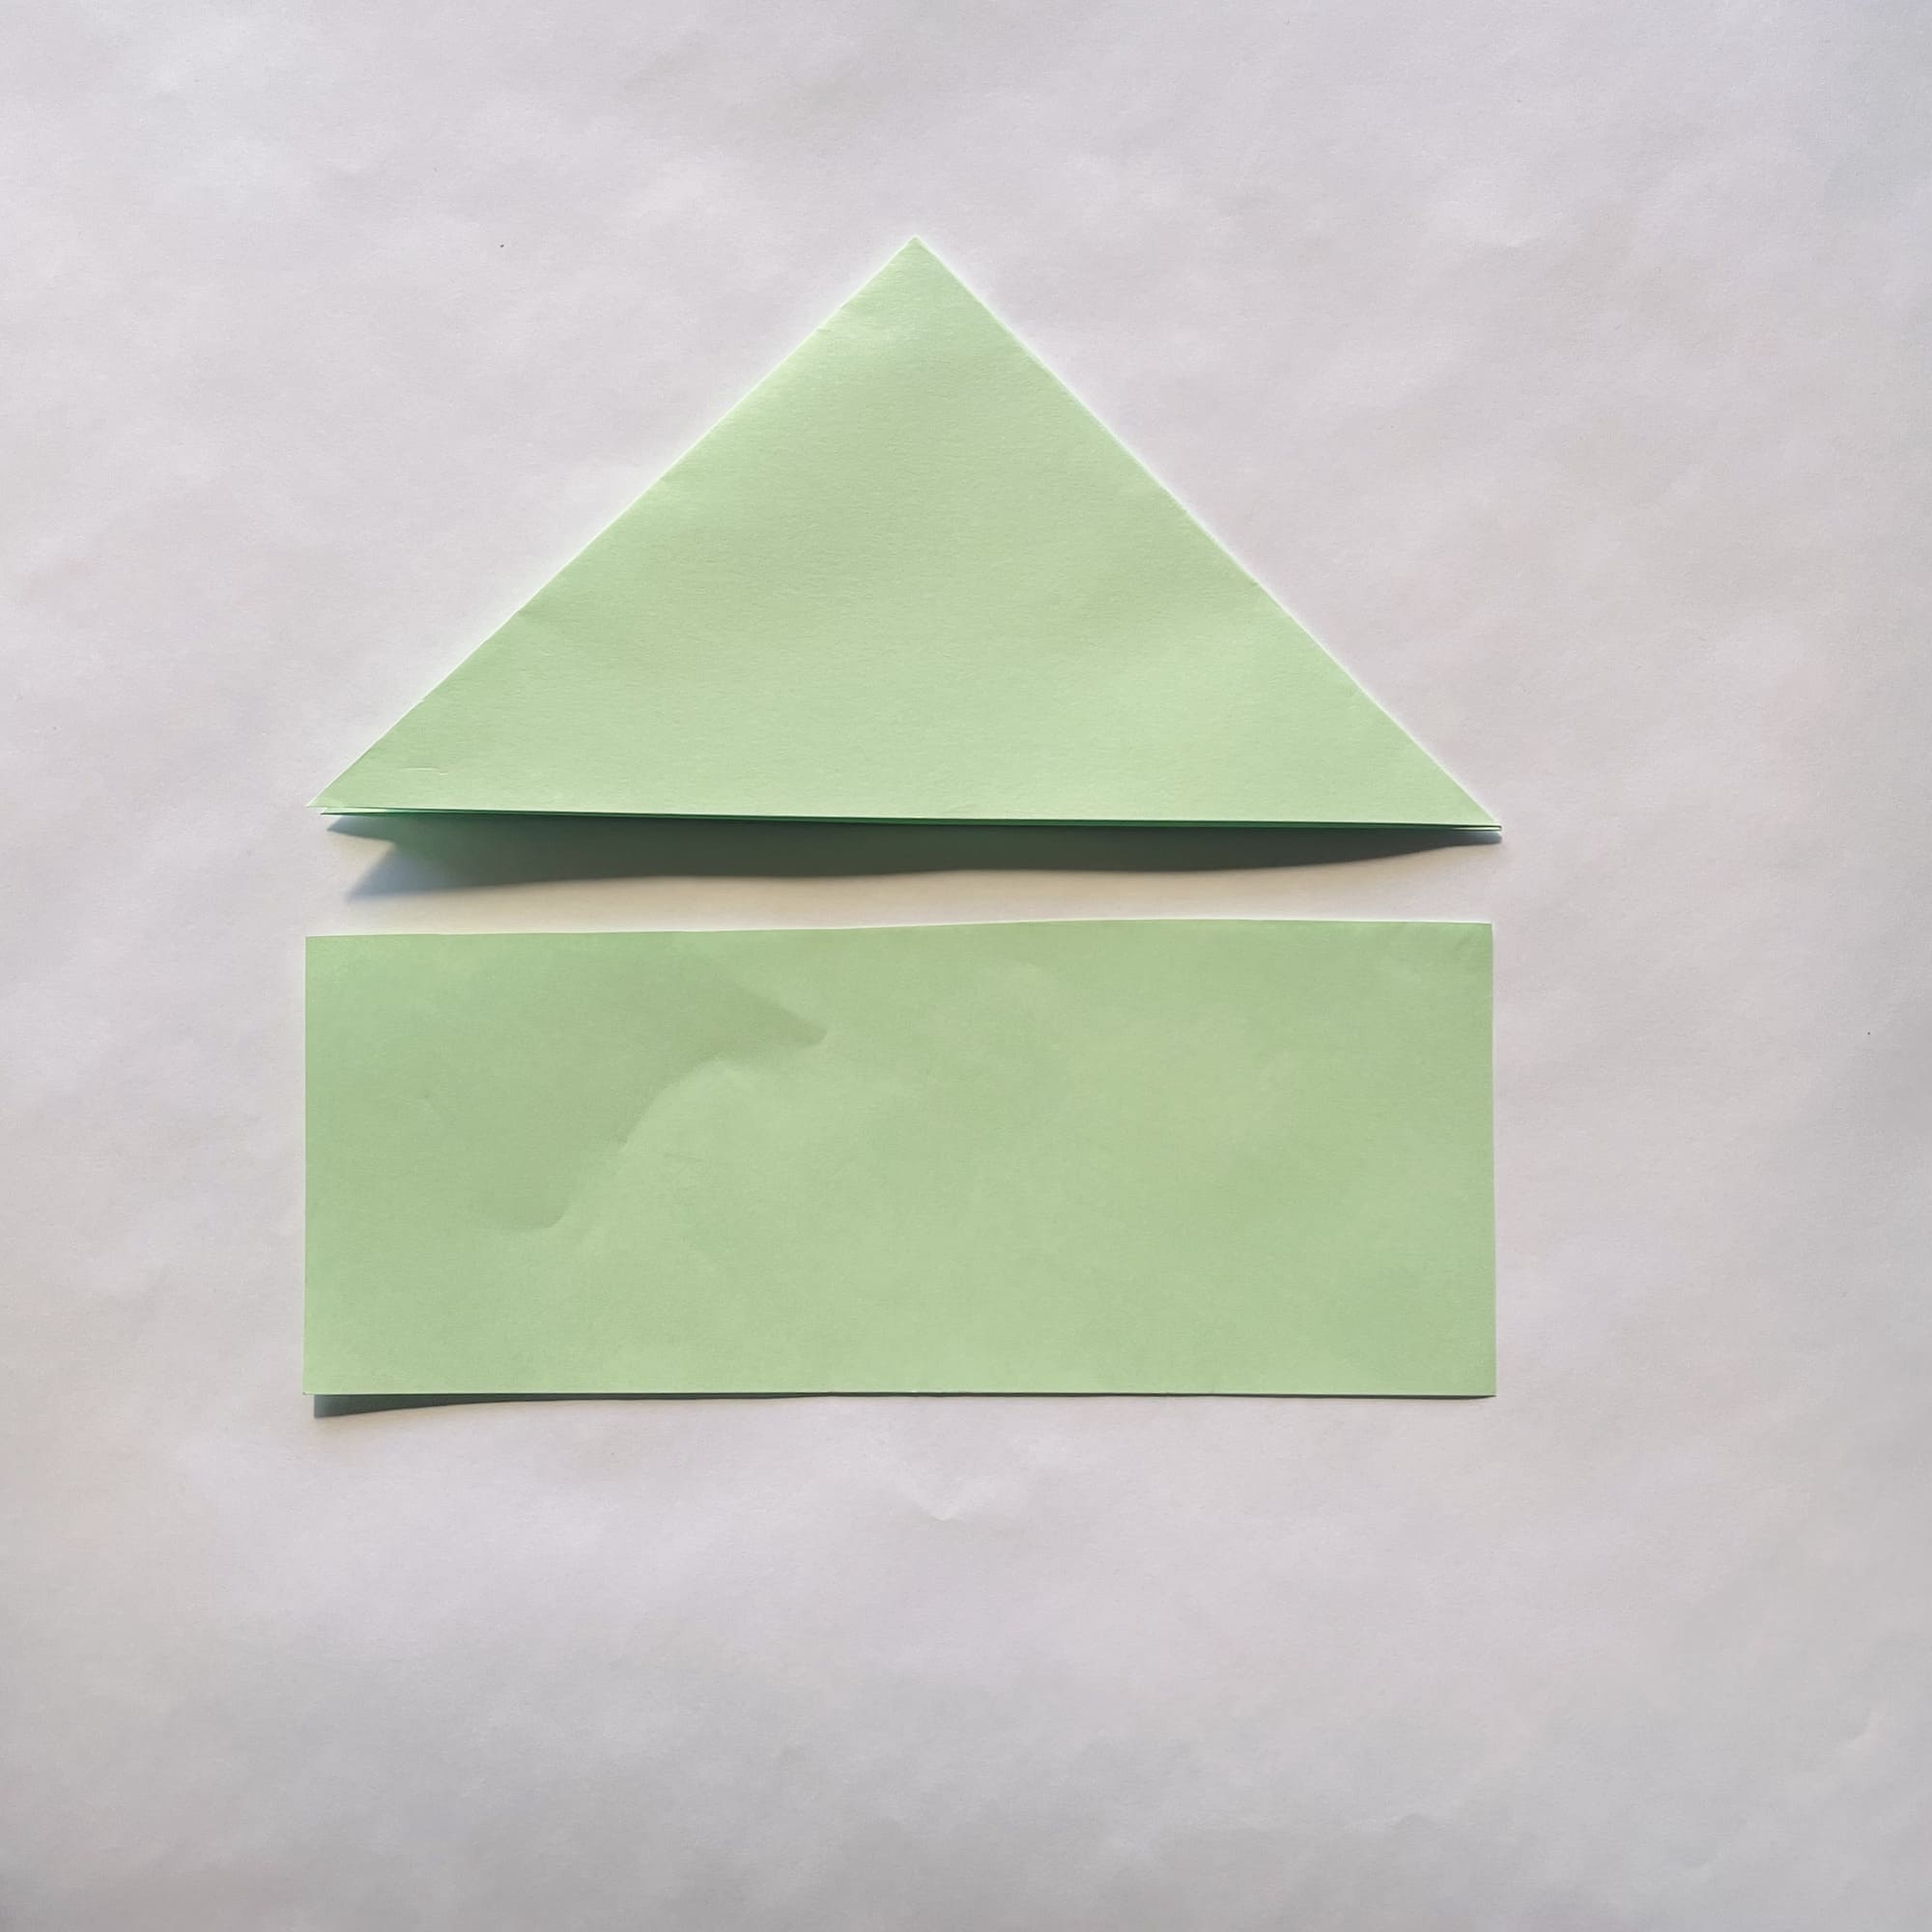
If you do not have scissors, make sure to crease the fold very well.
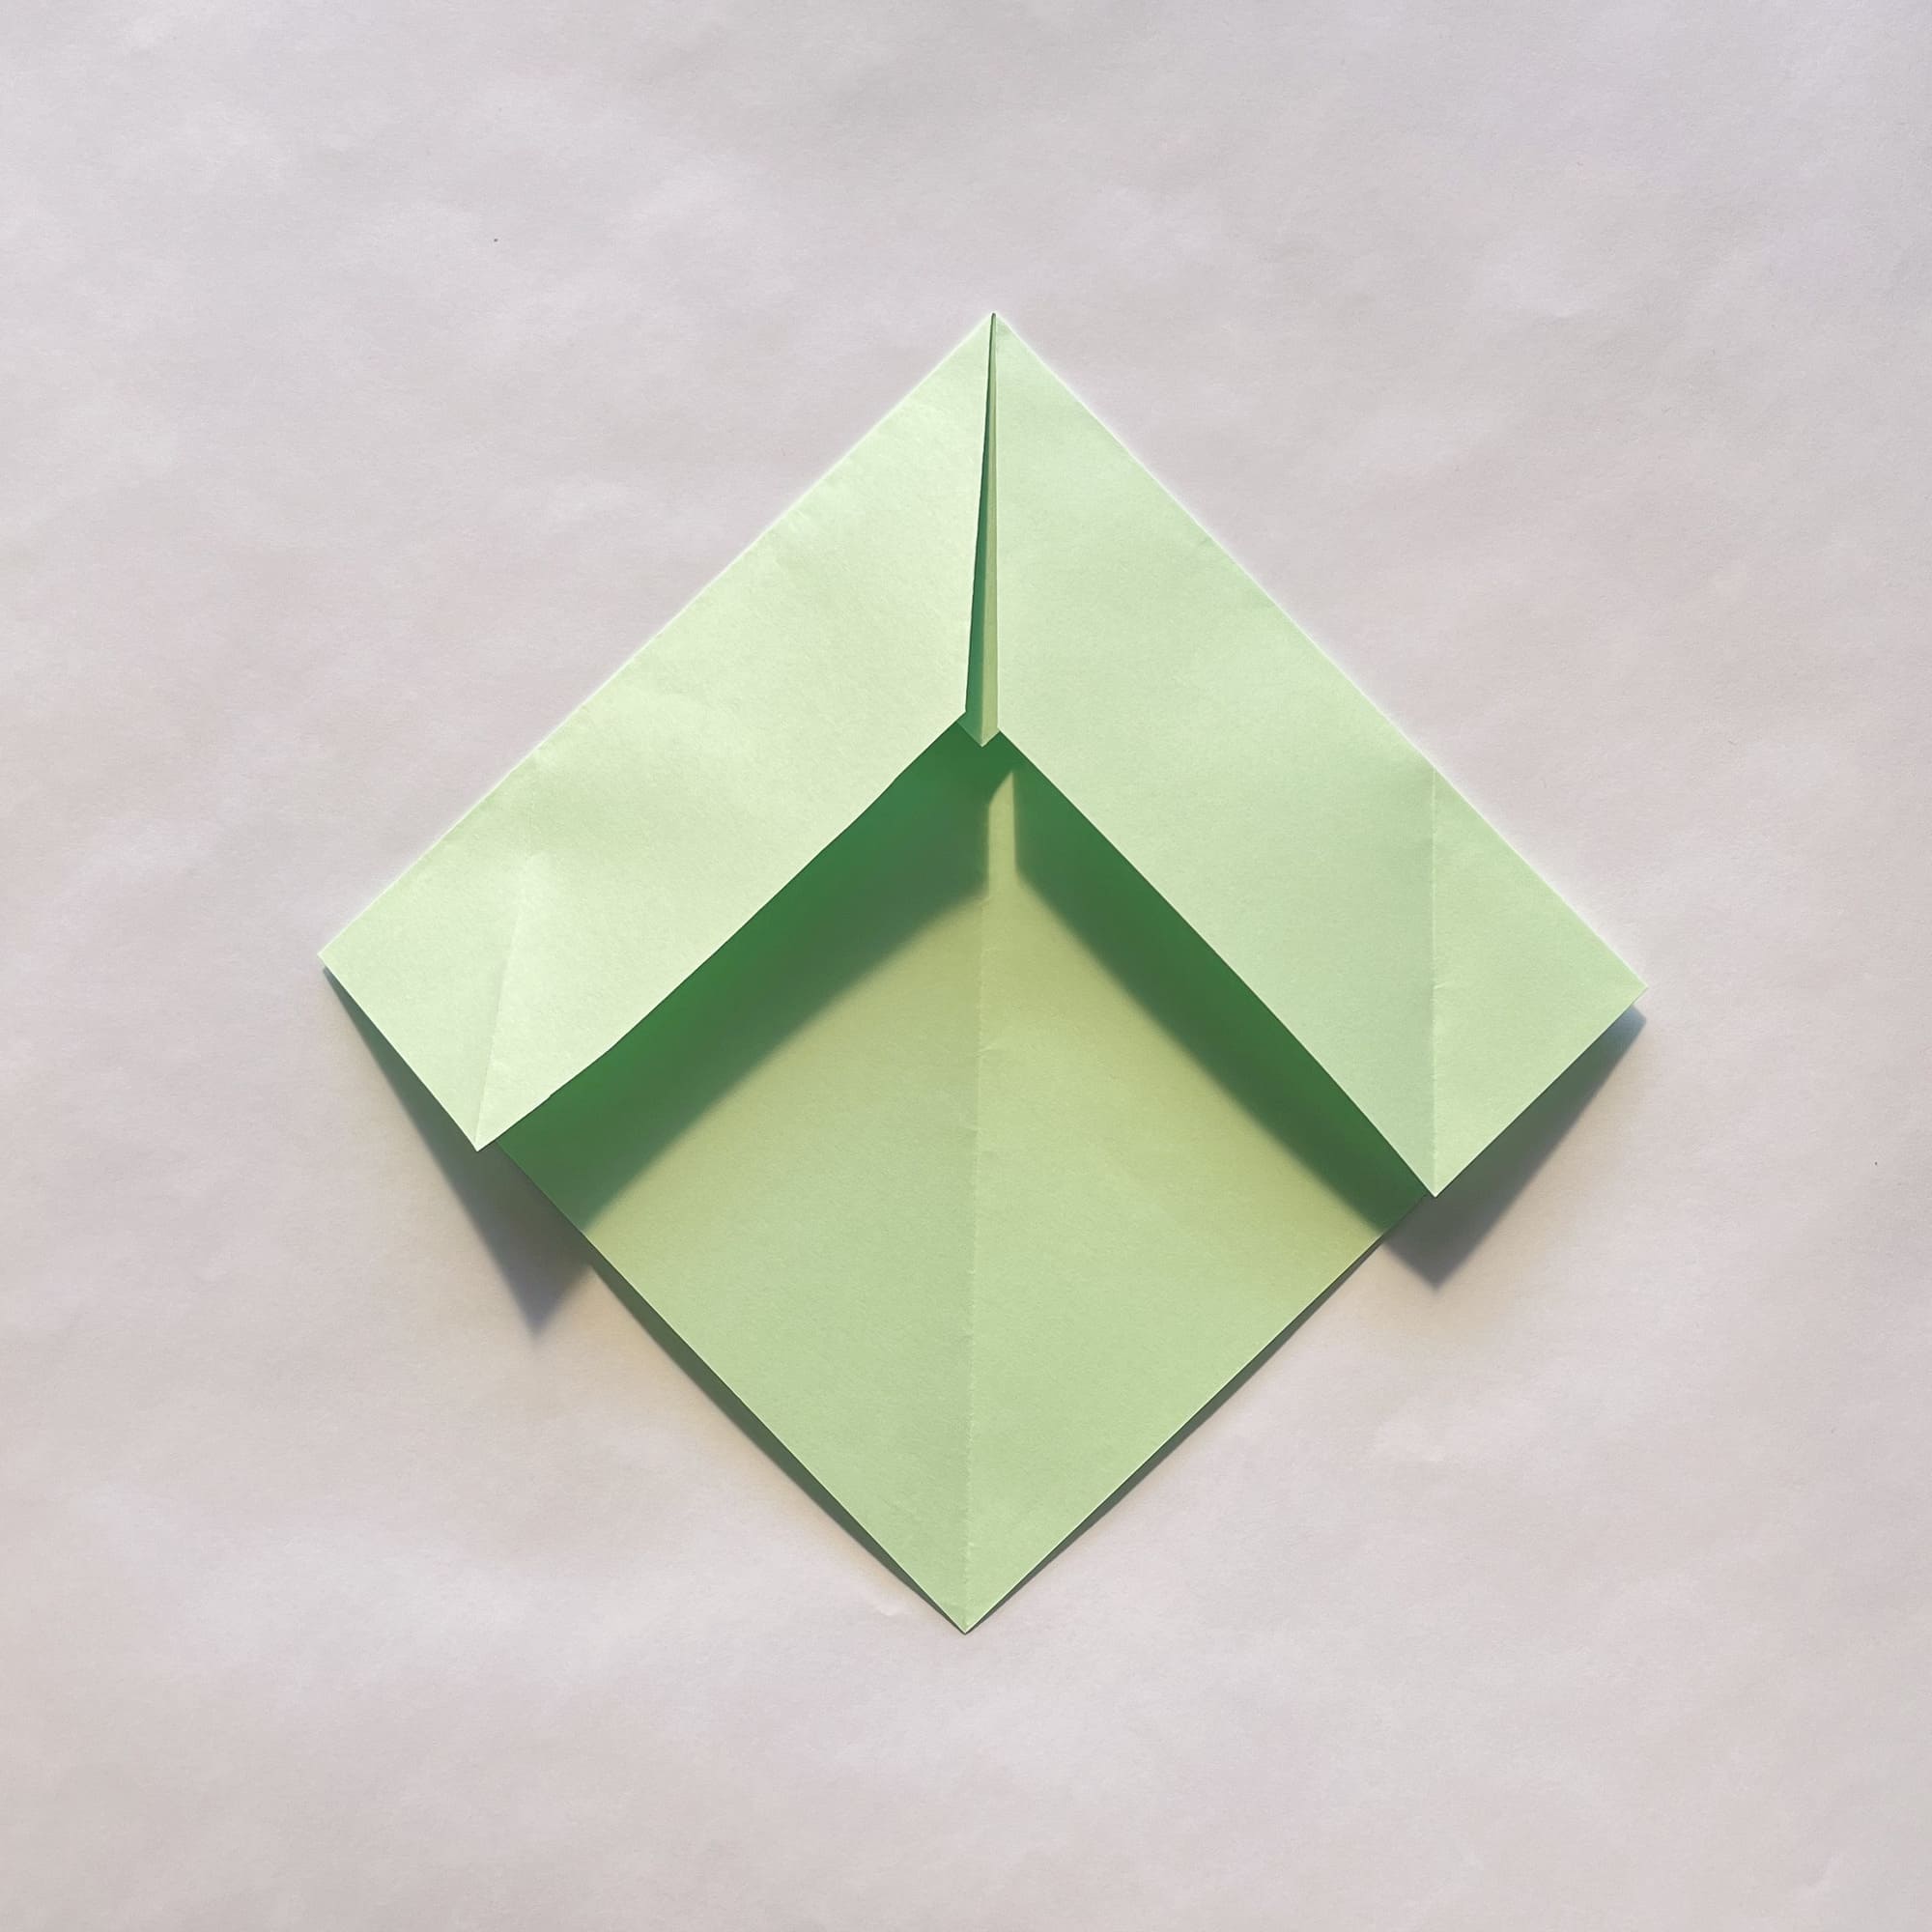
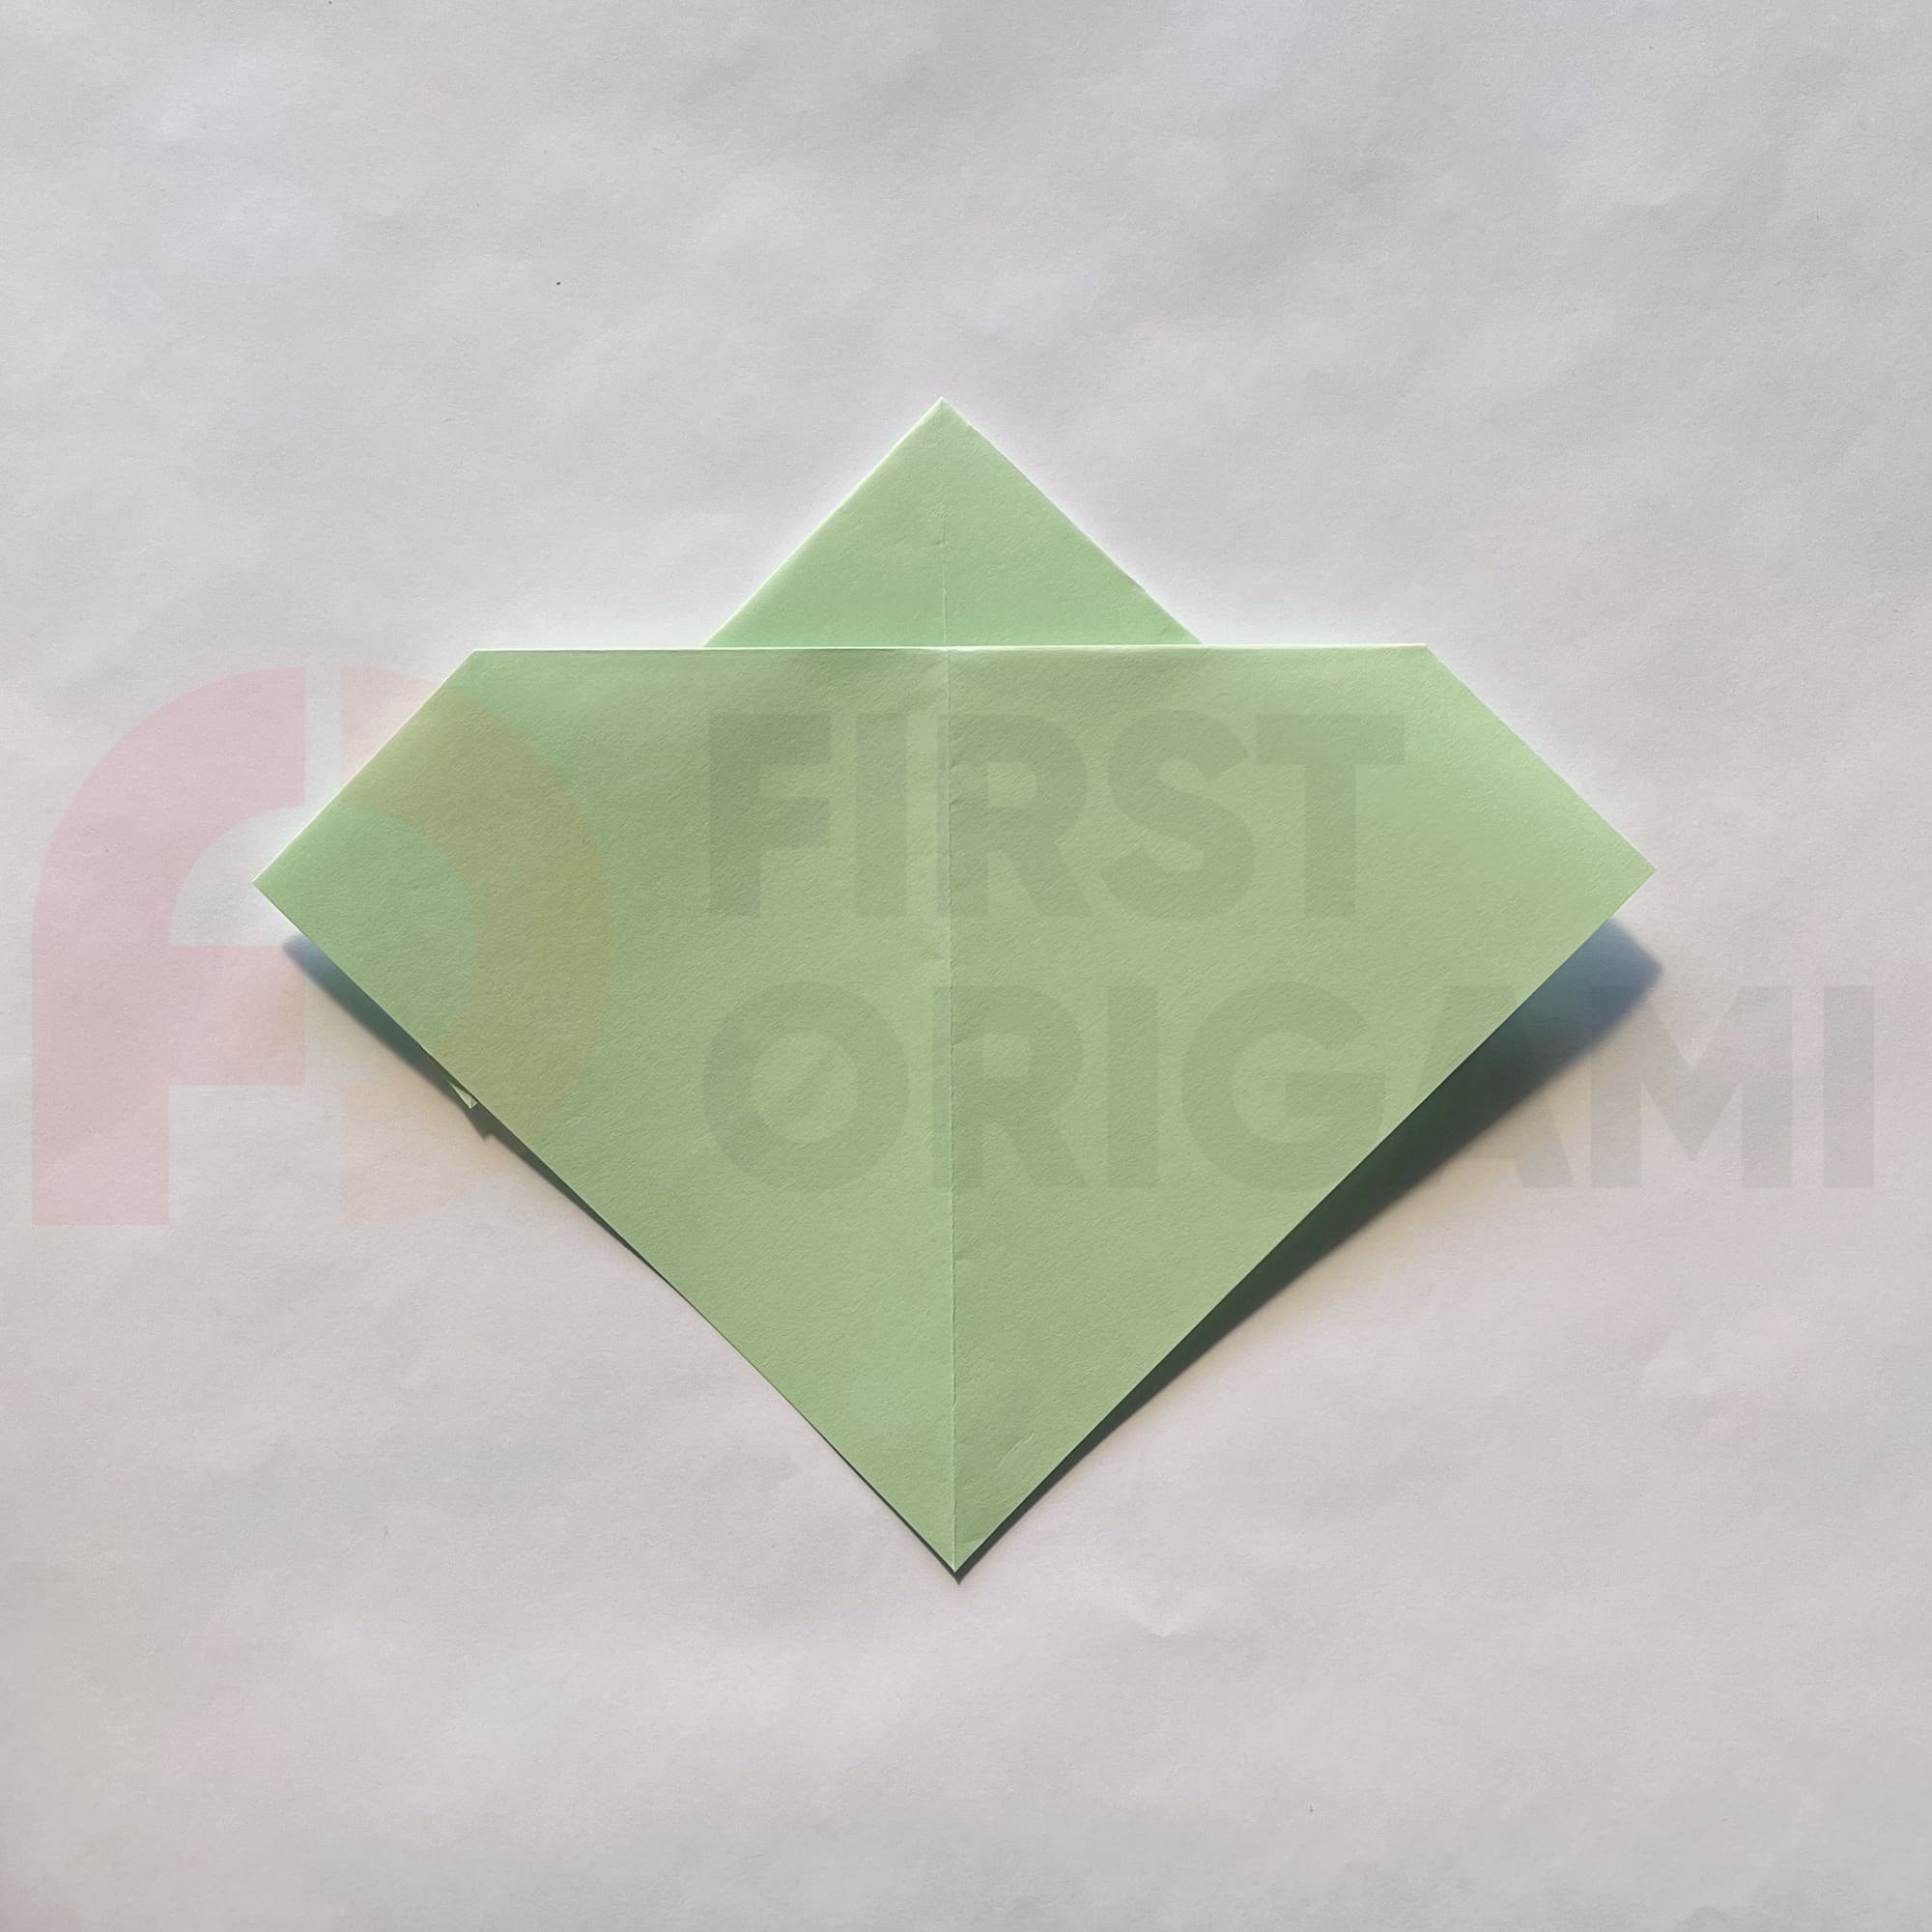
You can unfold the paper and position it as shown in the photo.
Your next step would be to fold the top corner to the horizontal fold line.
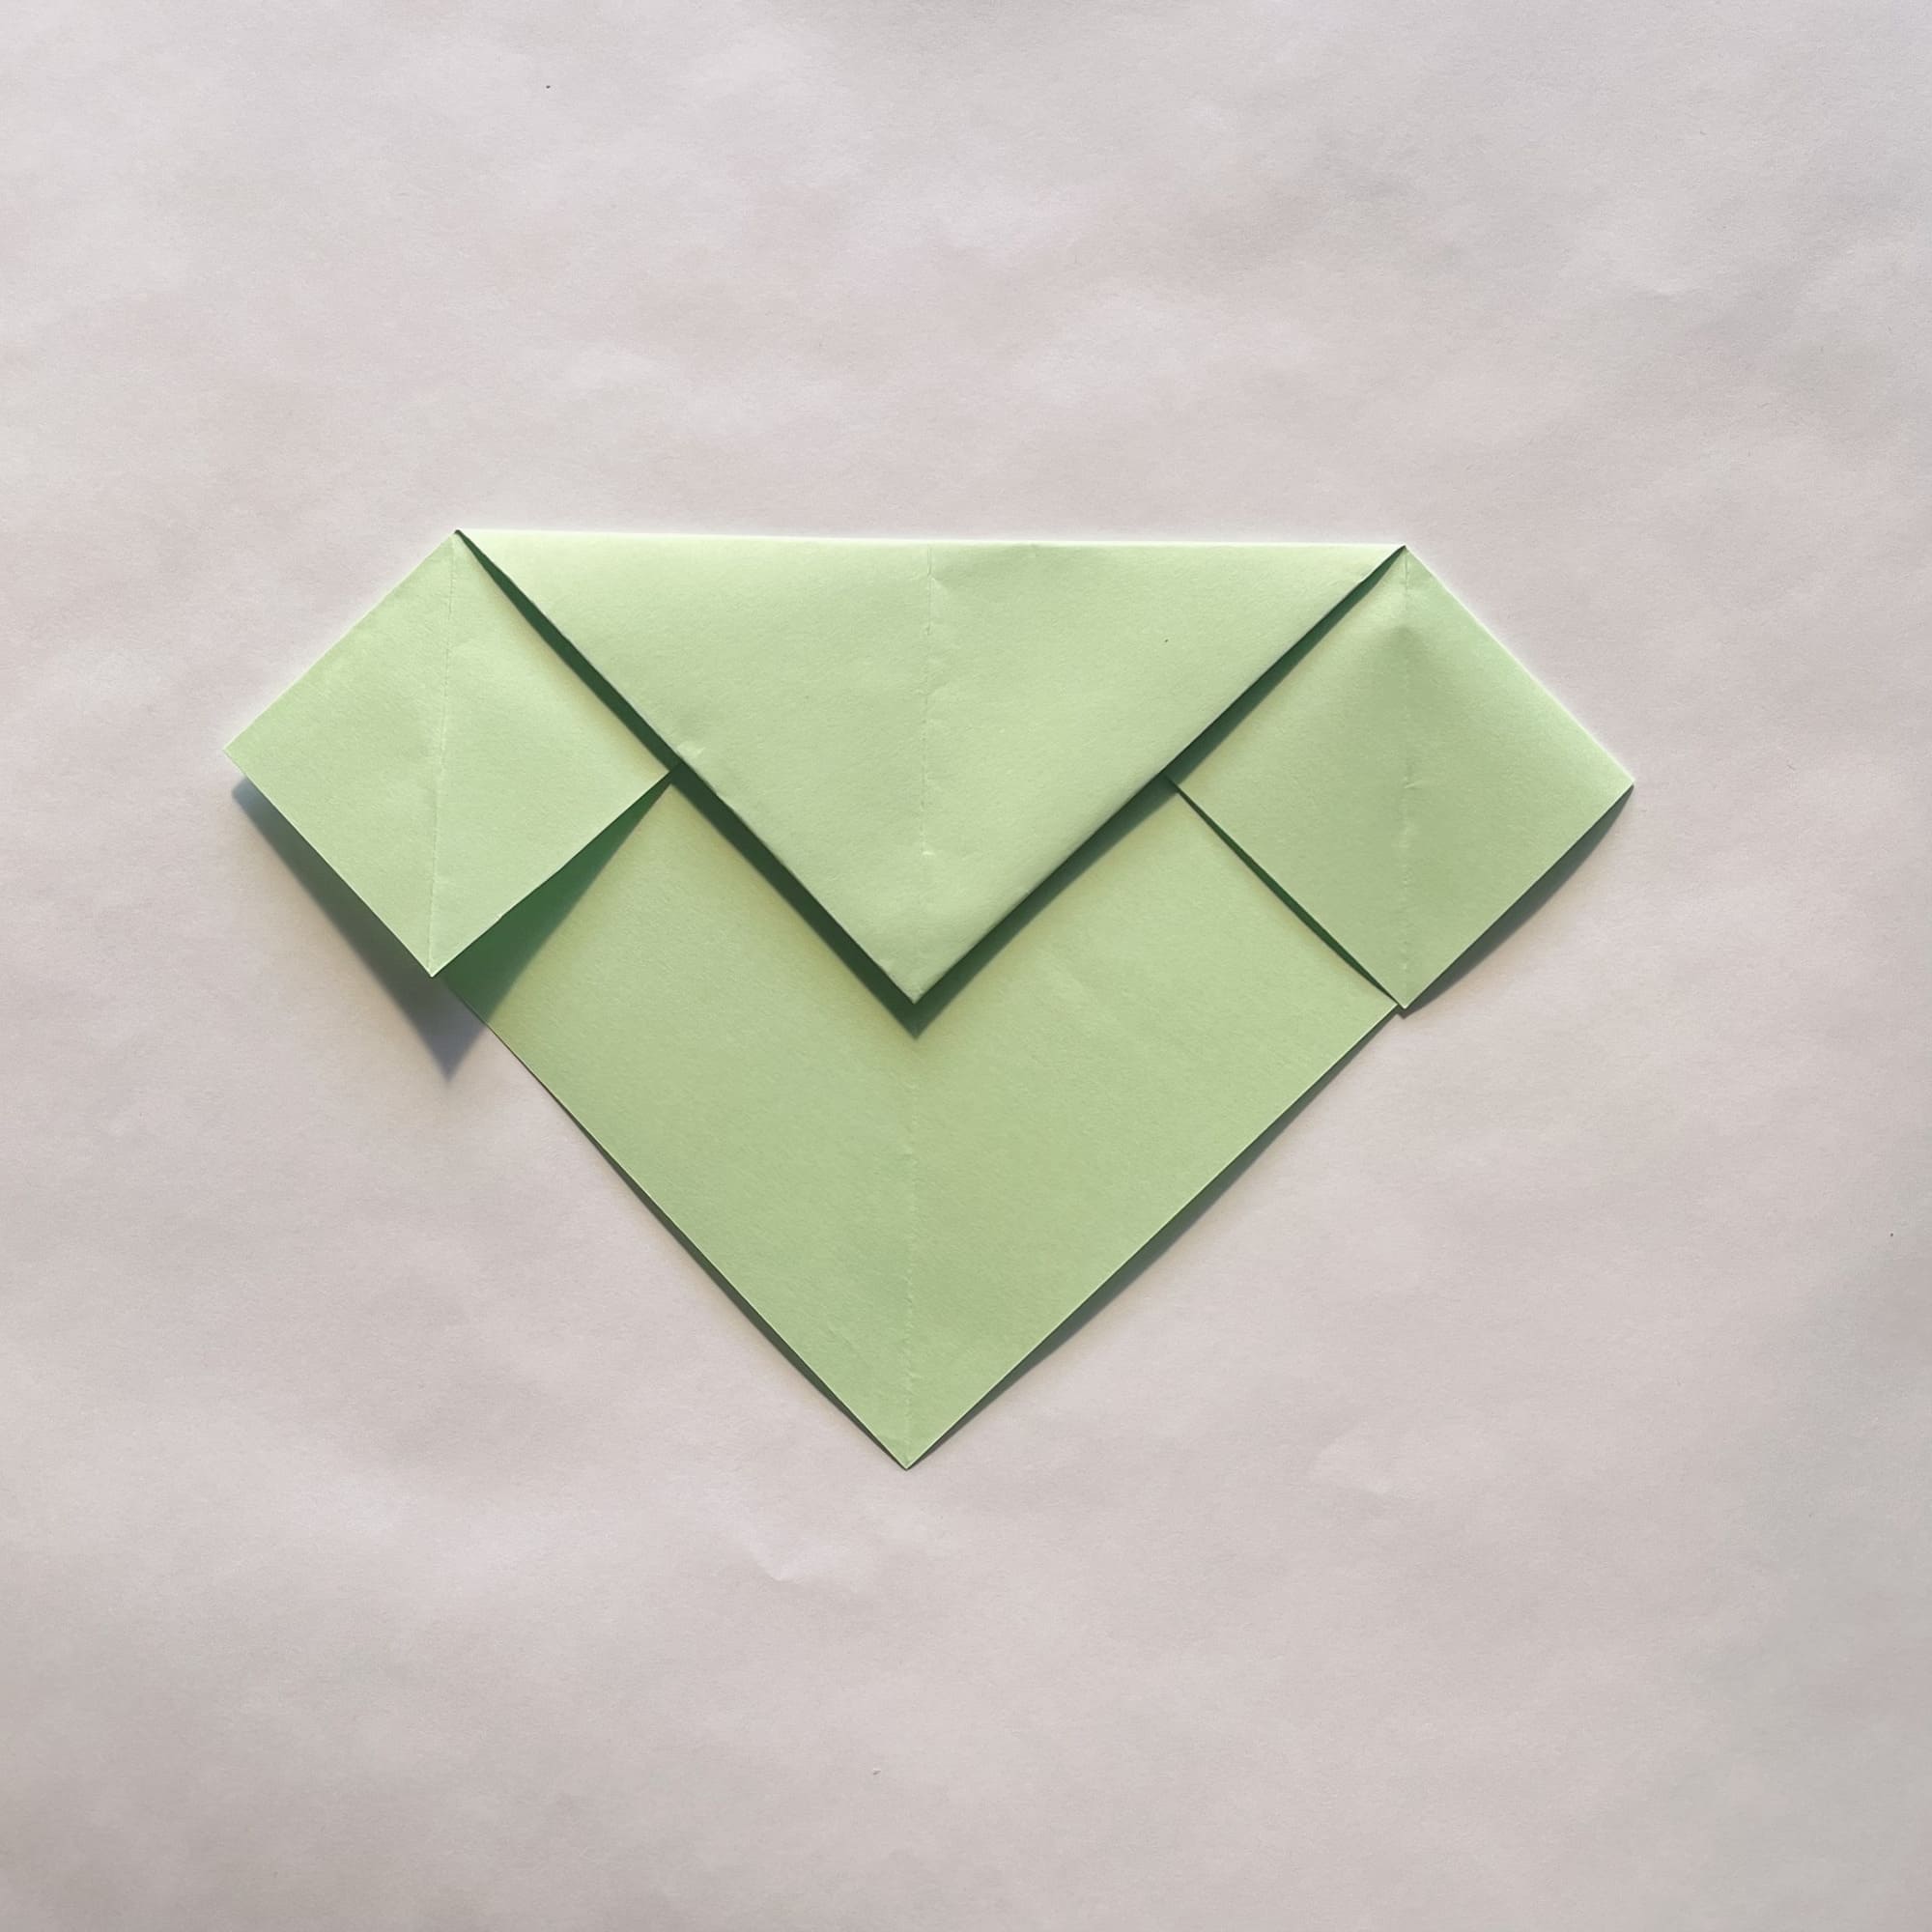
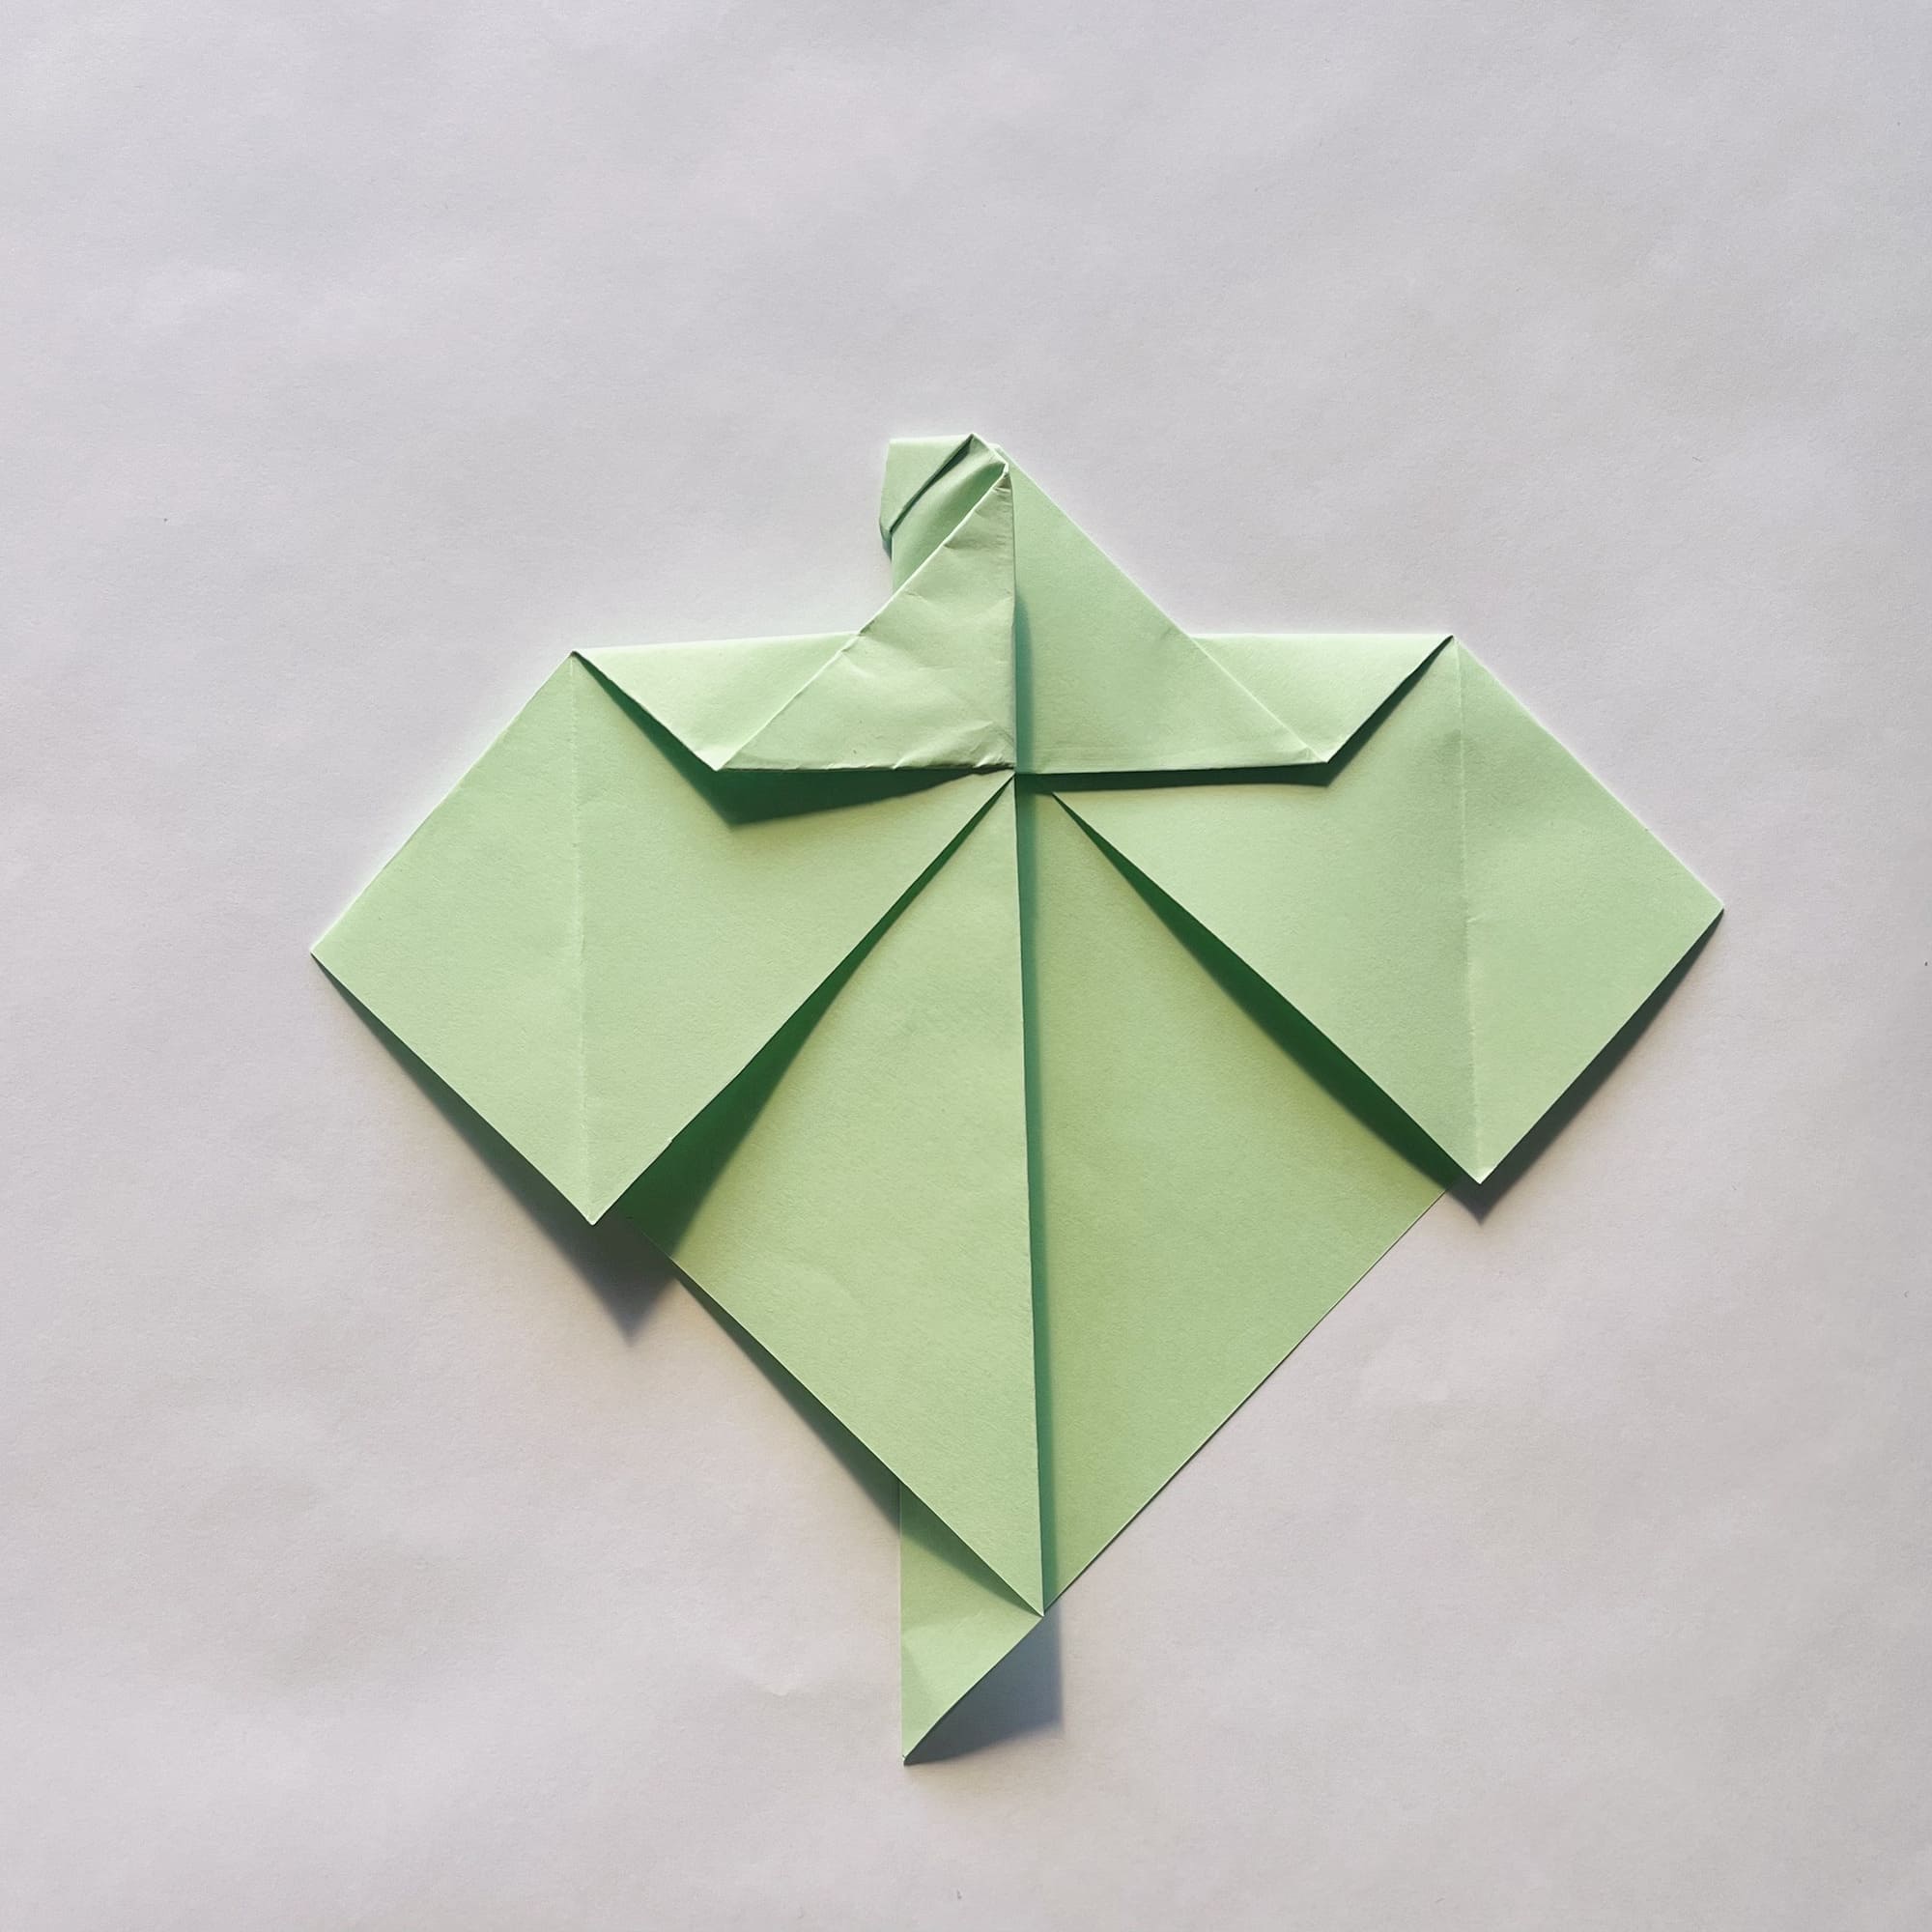
In the resulting figure, you would fold both upper corners inward.
Their top faces should coincide with the central vertical line.
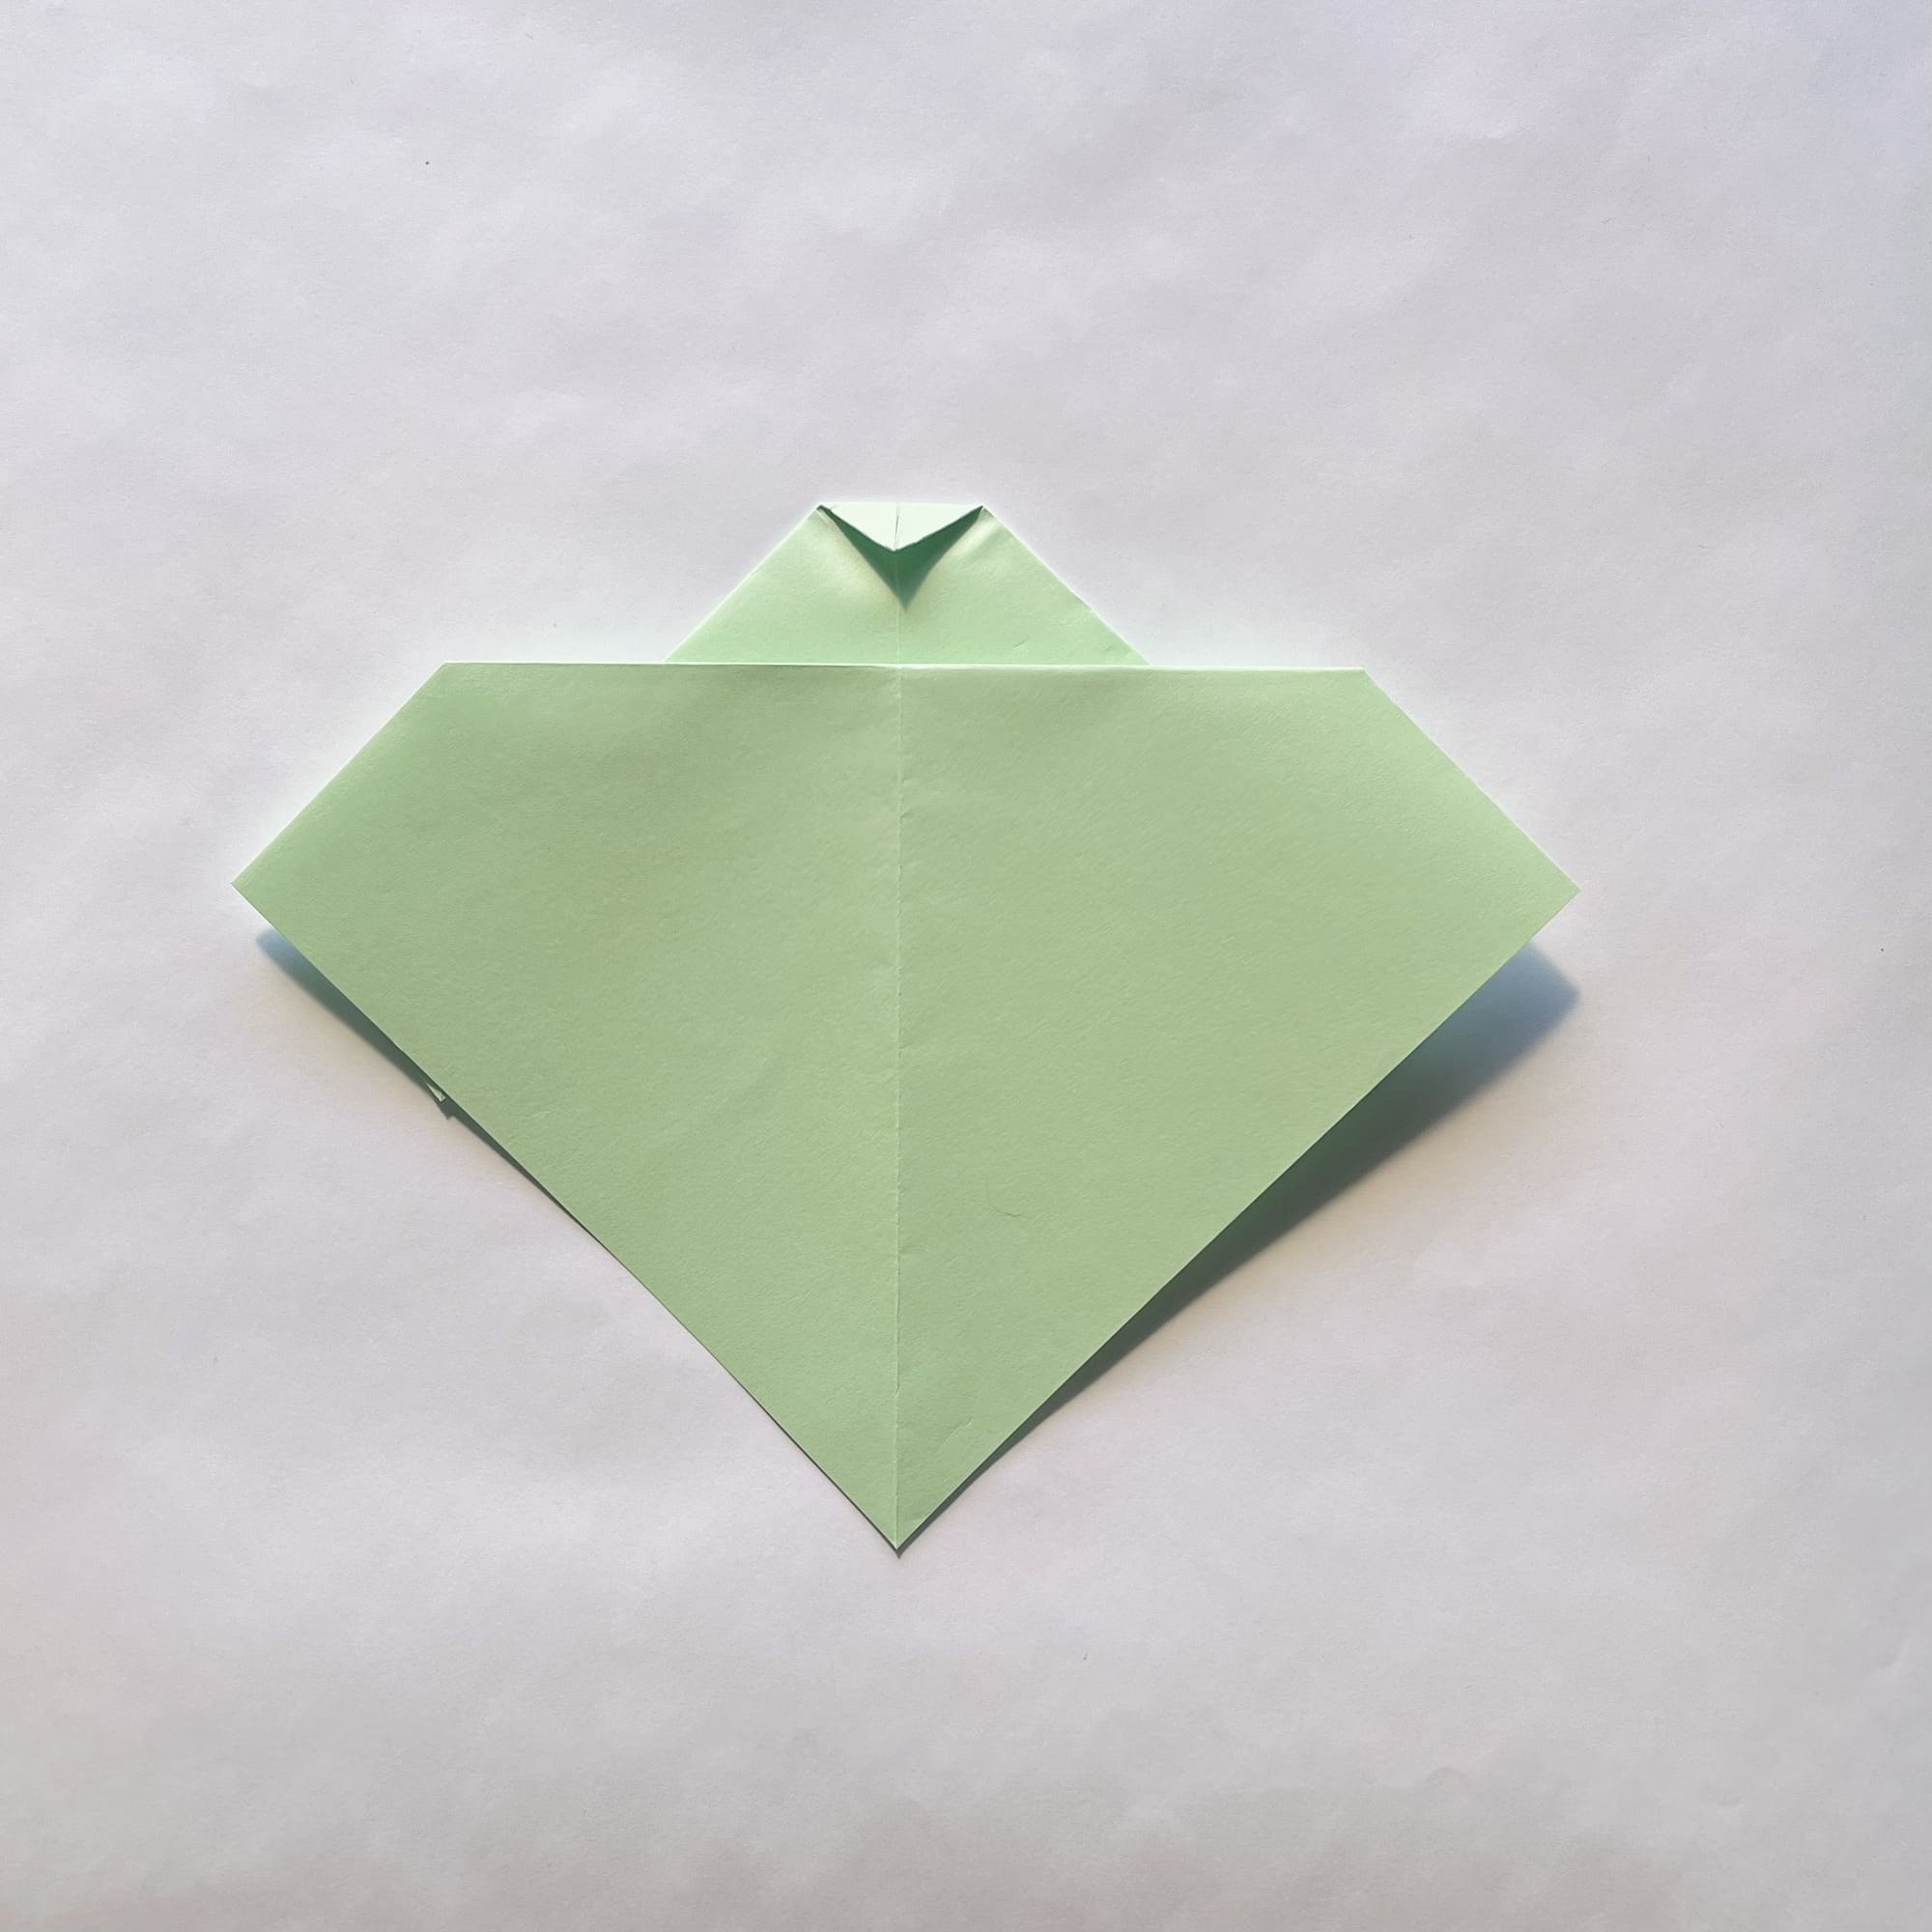
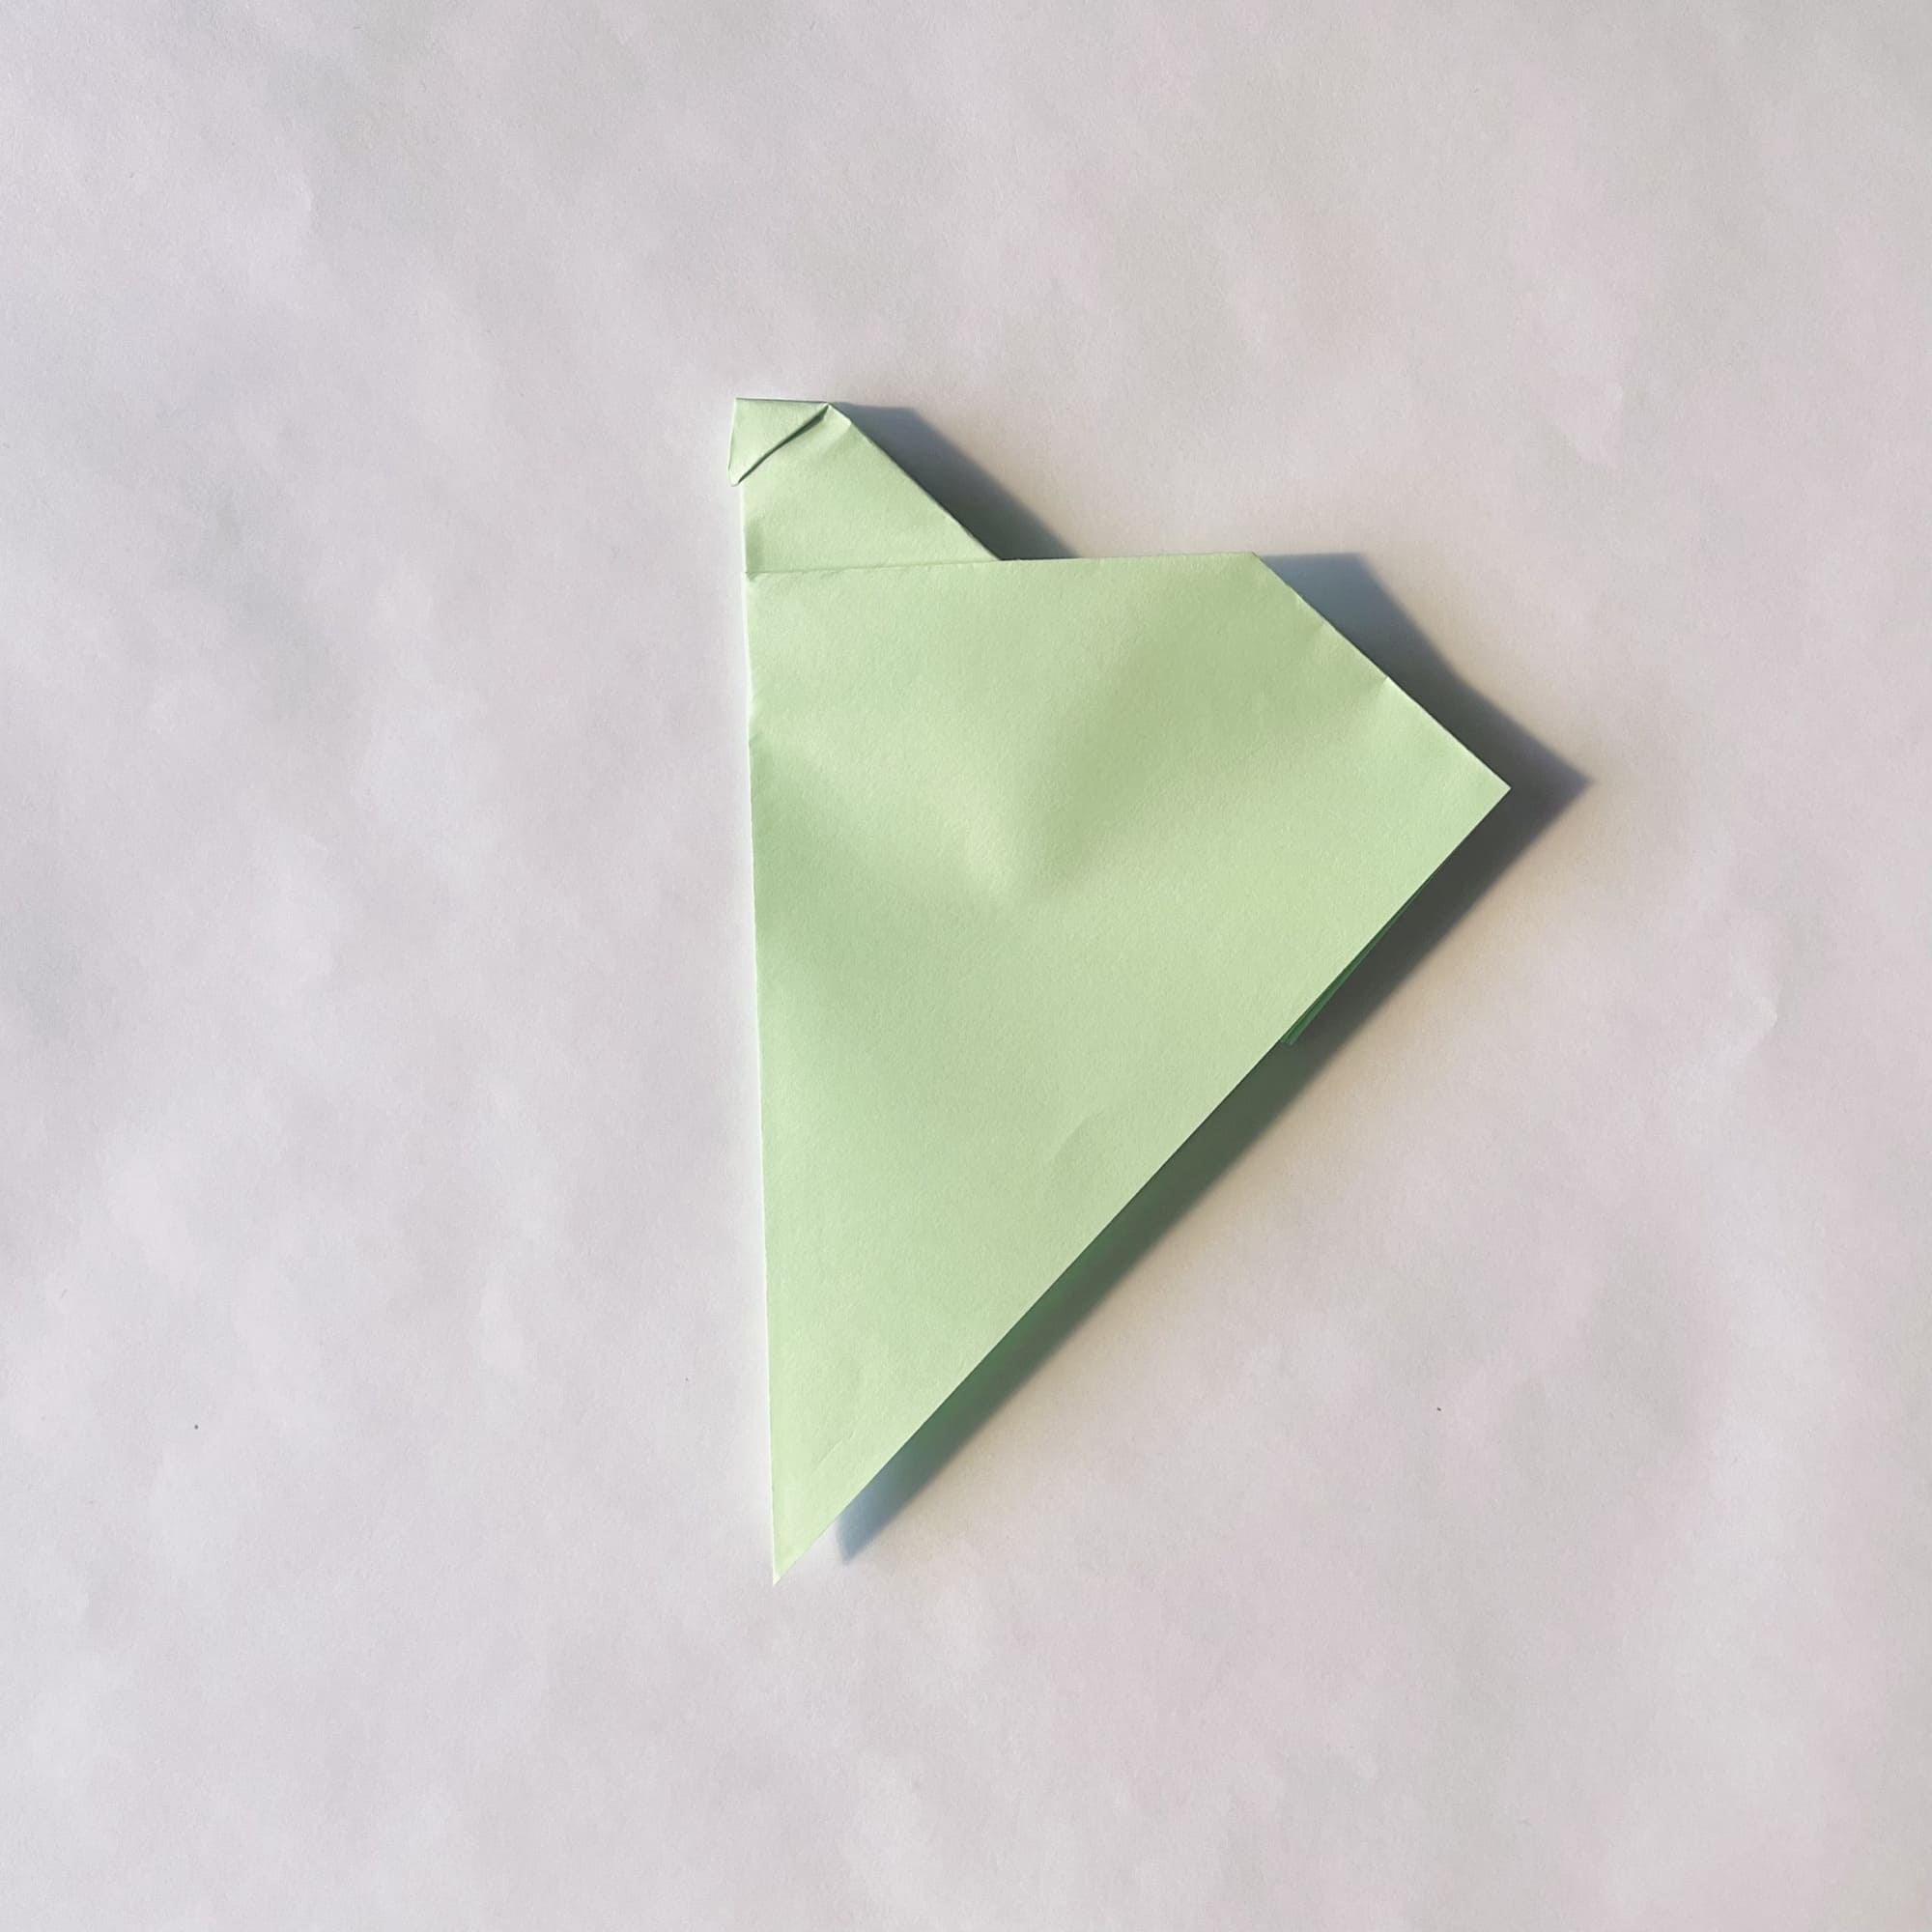
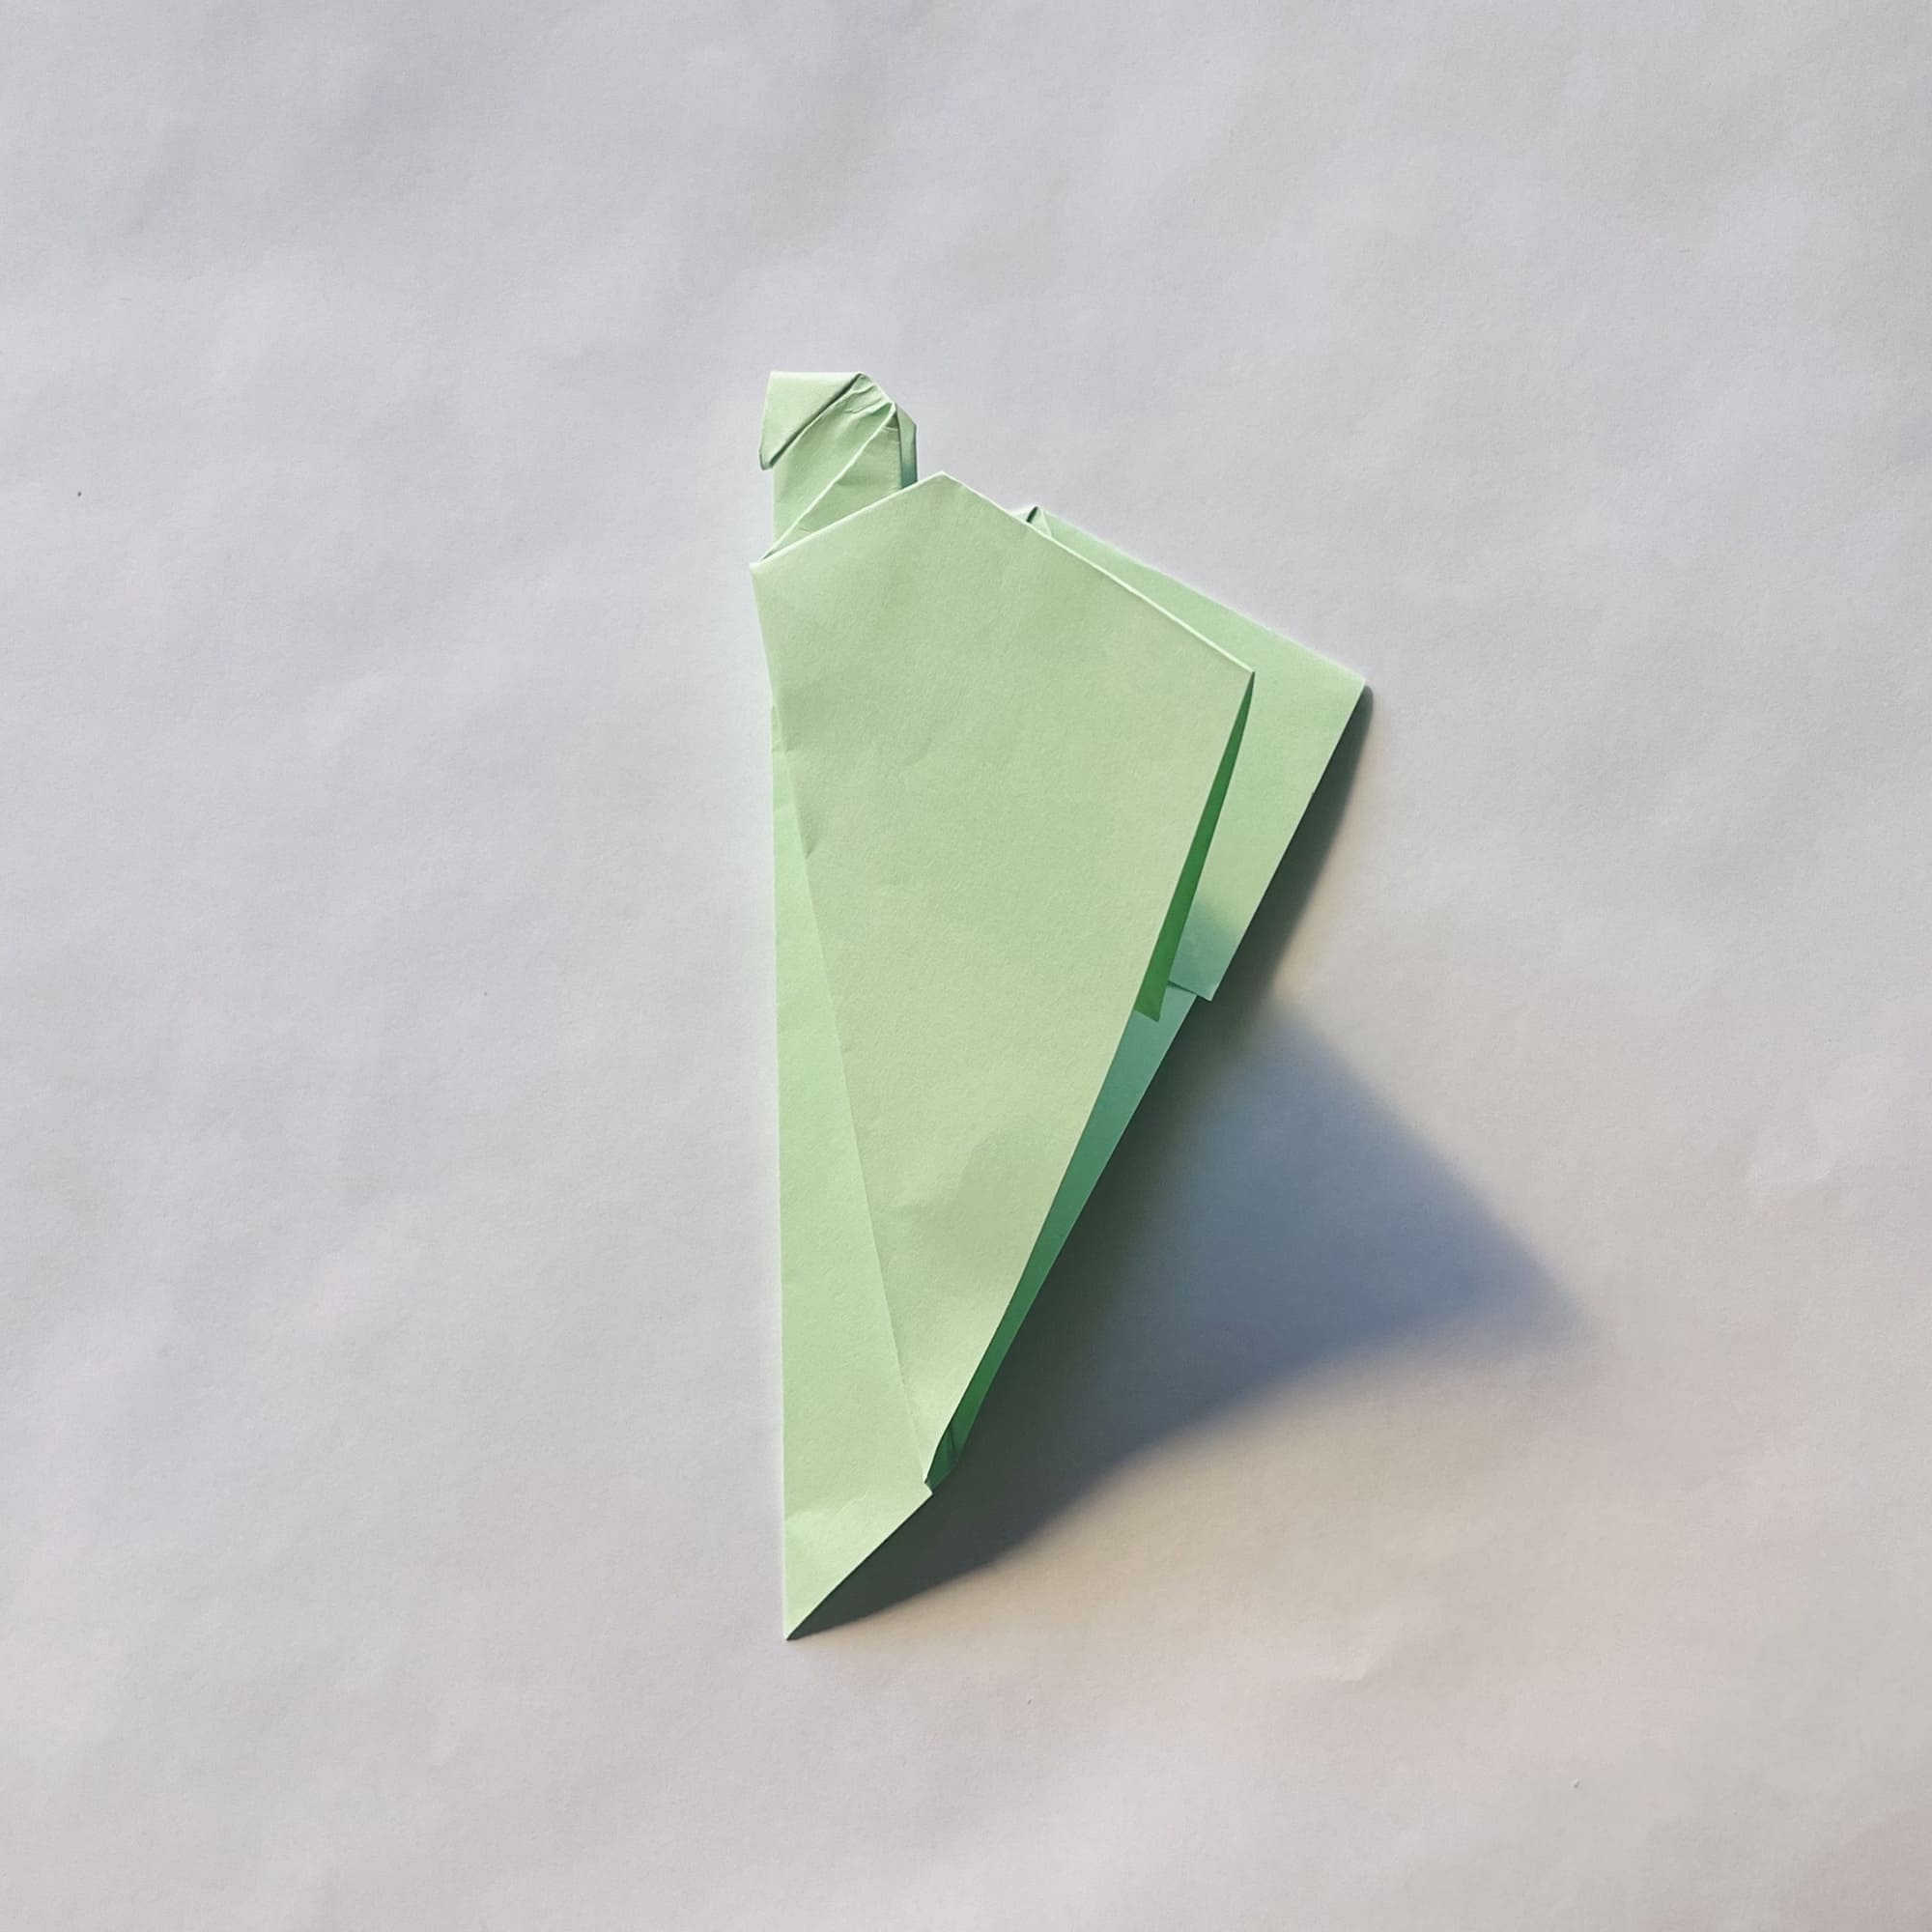
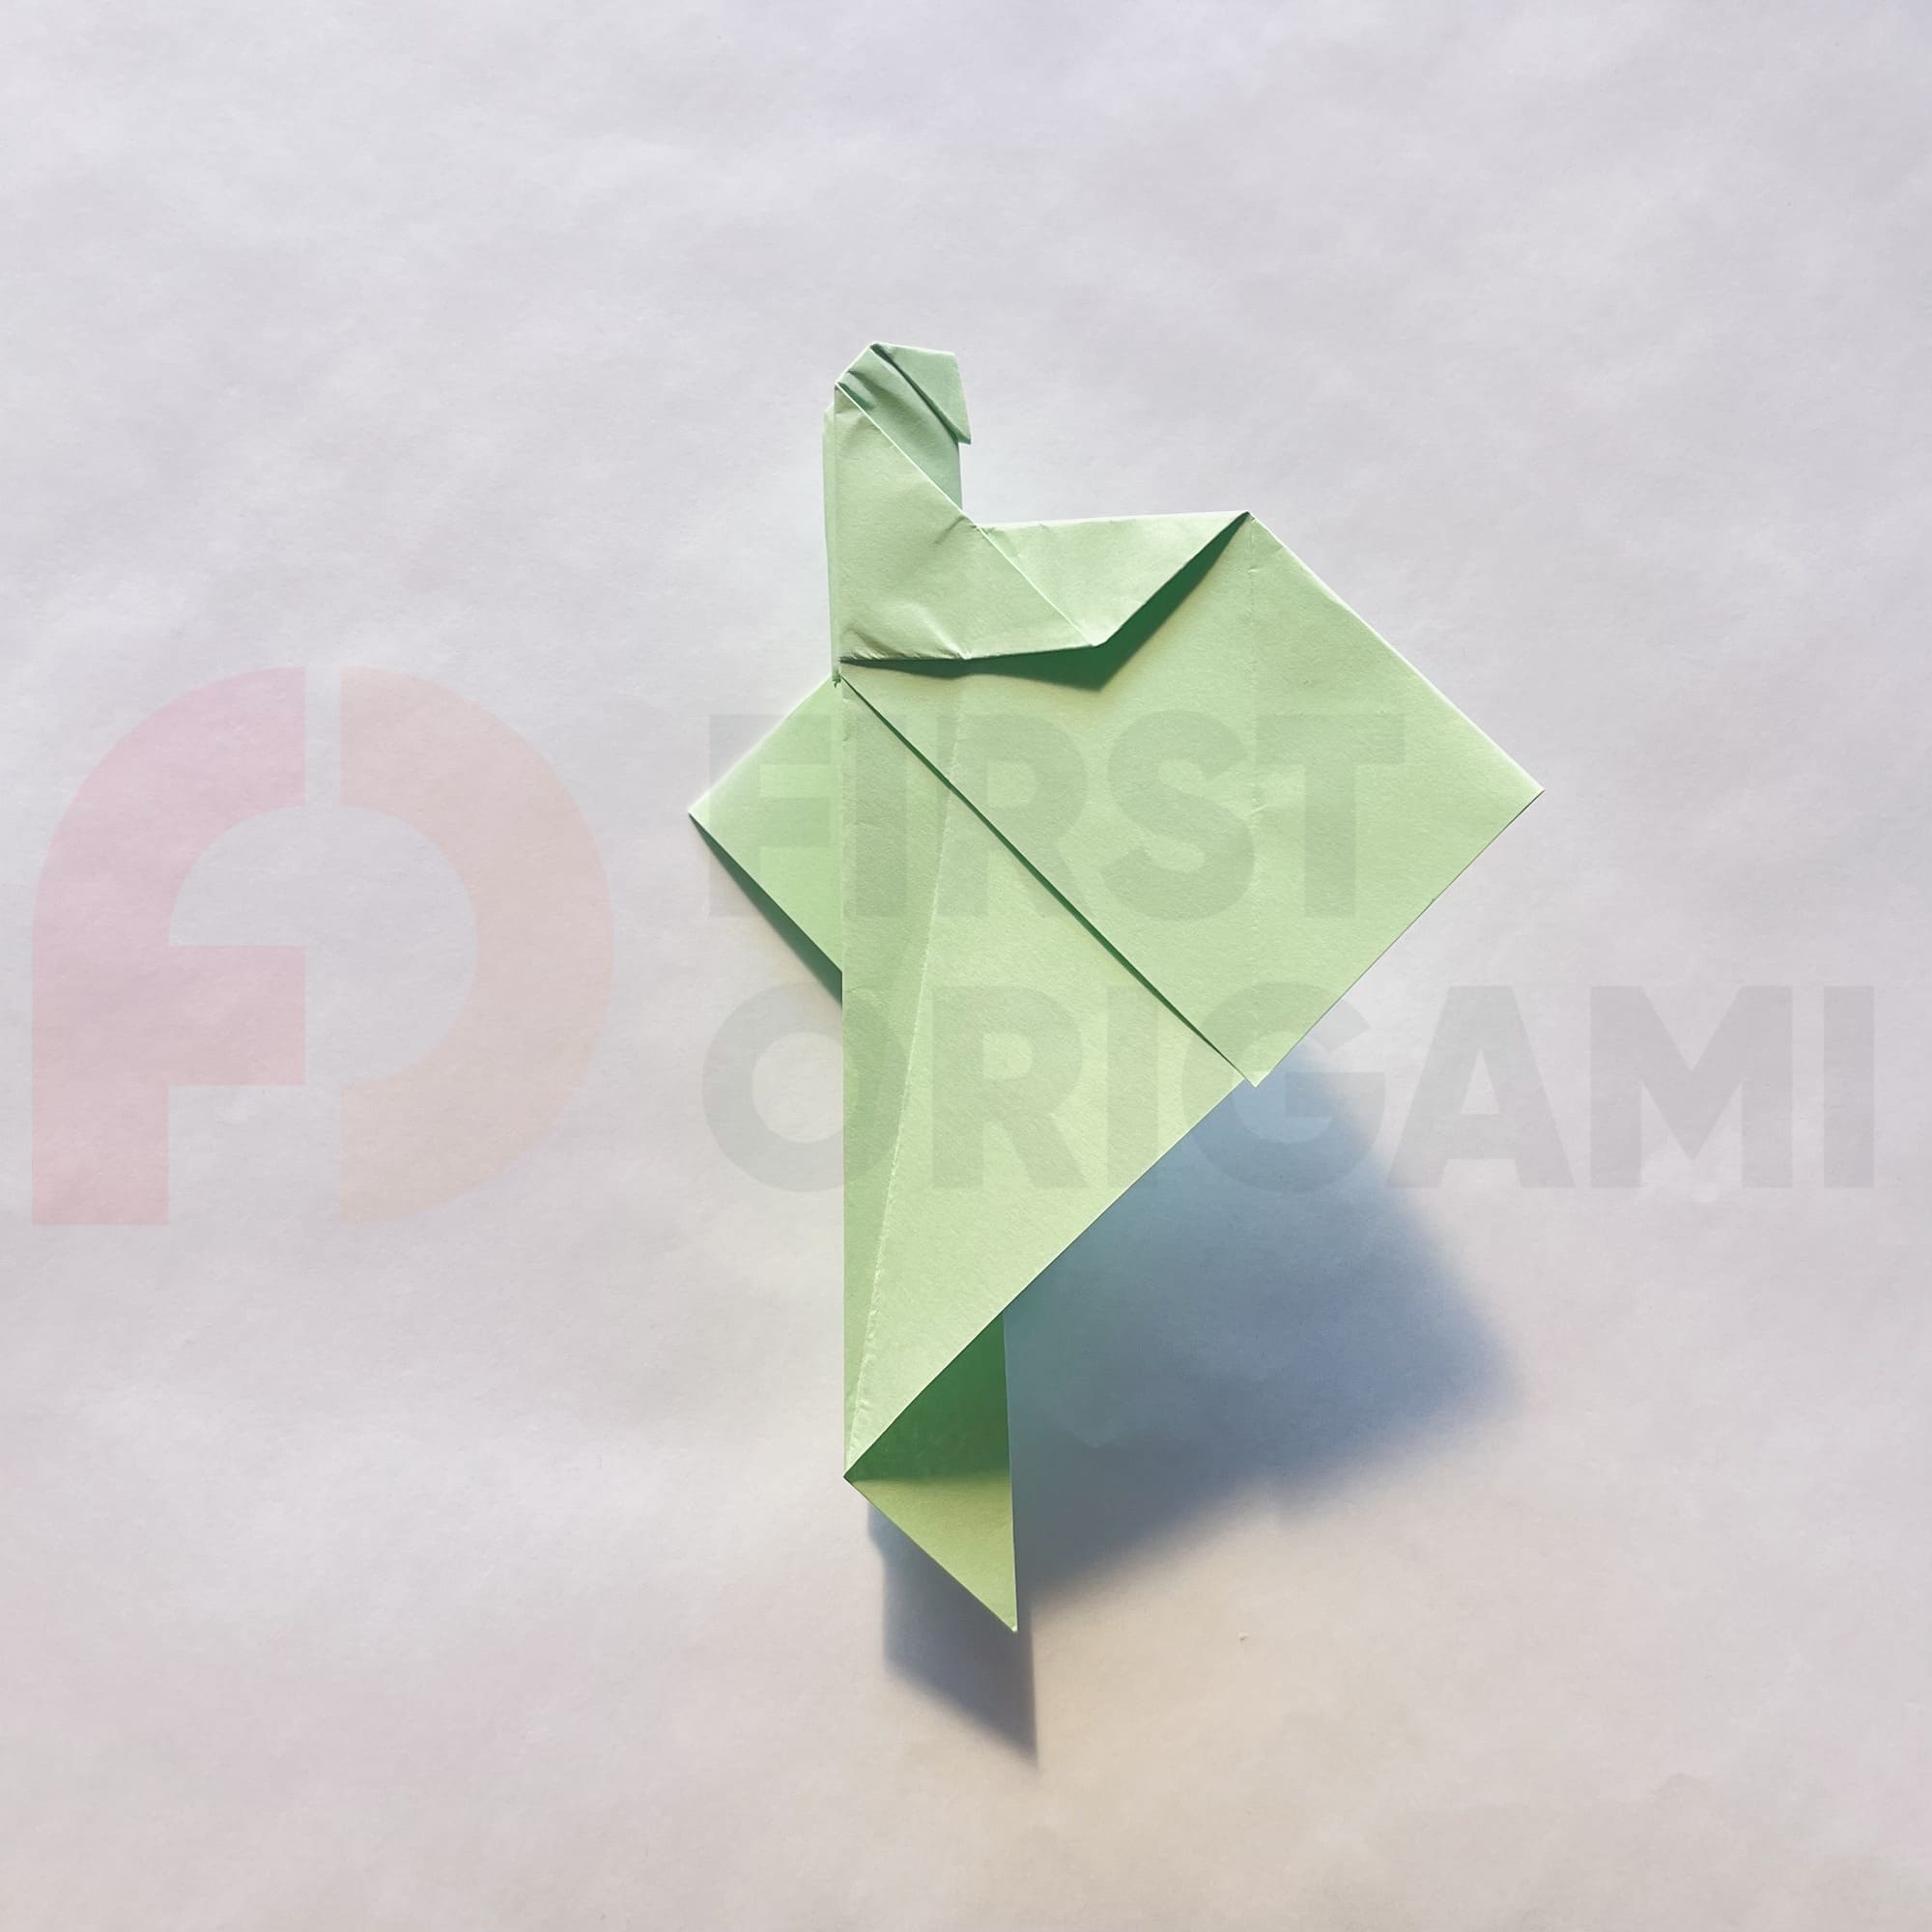
Next, you should fold the top corner inward, focusing on the fold line created on the reverse side.

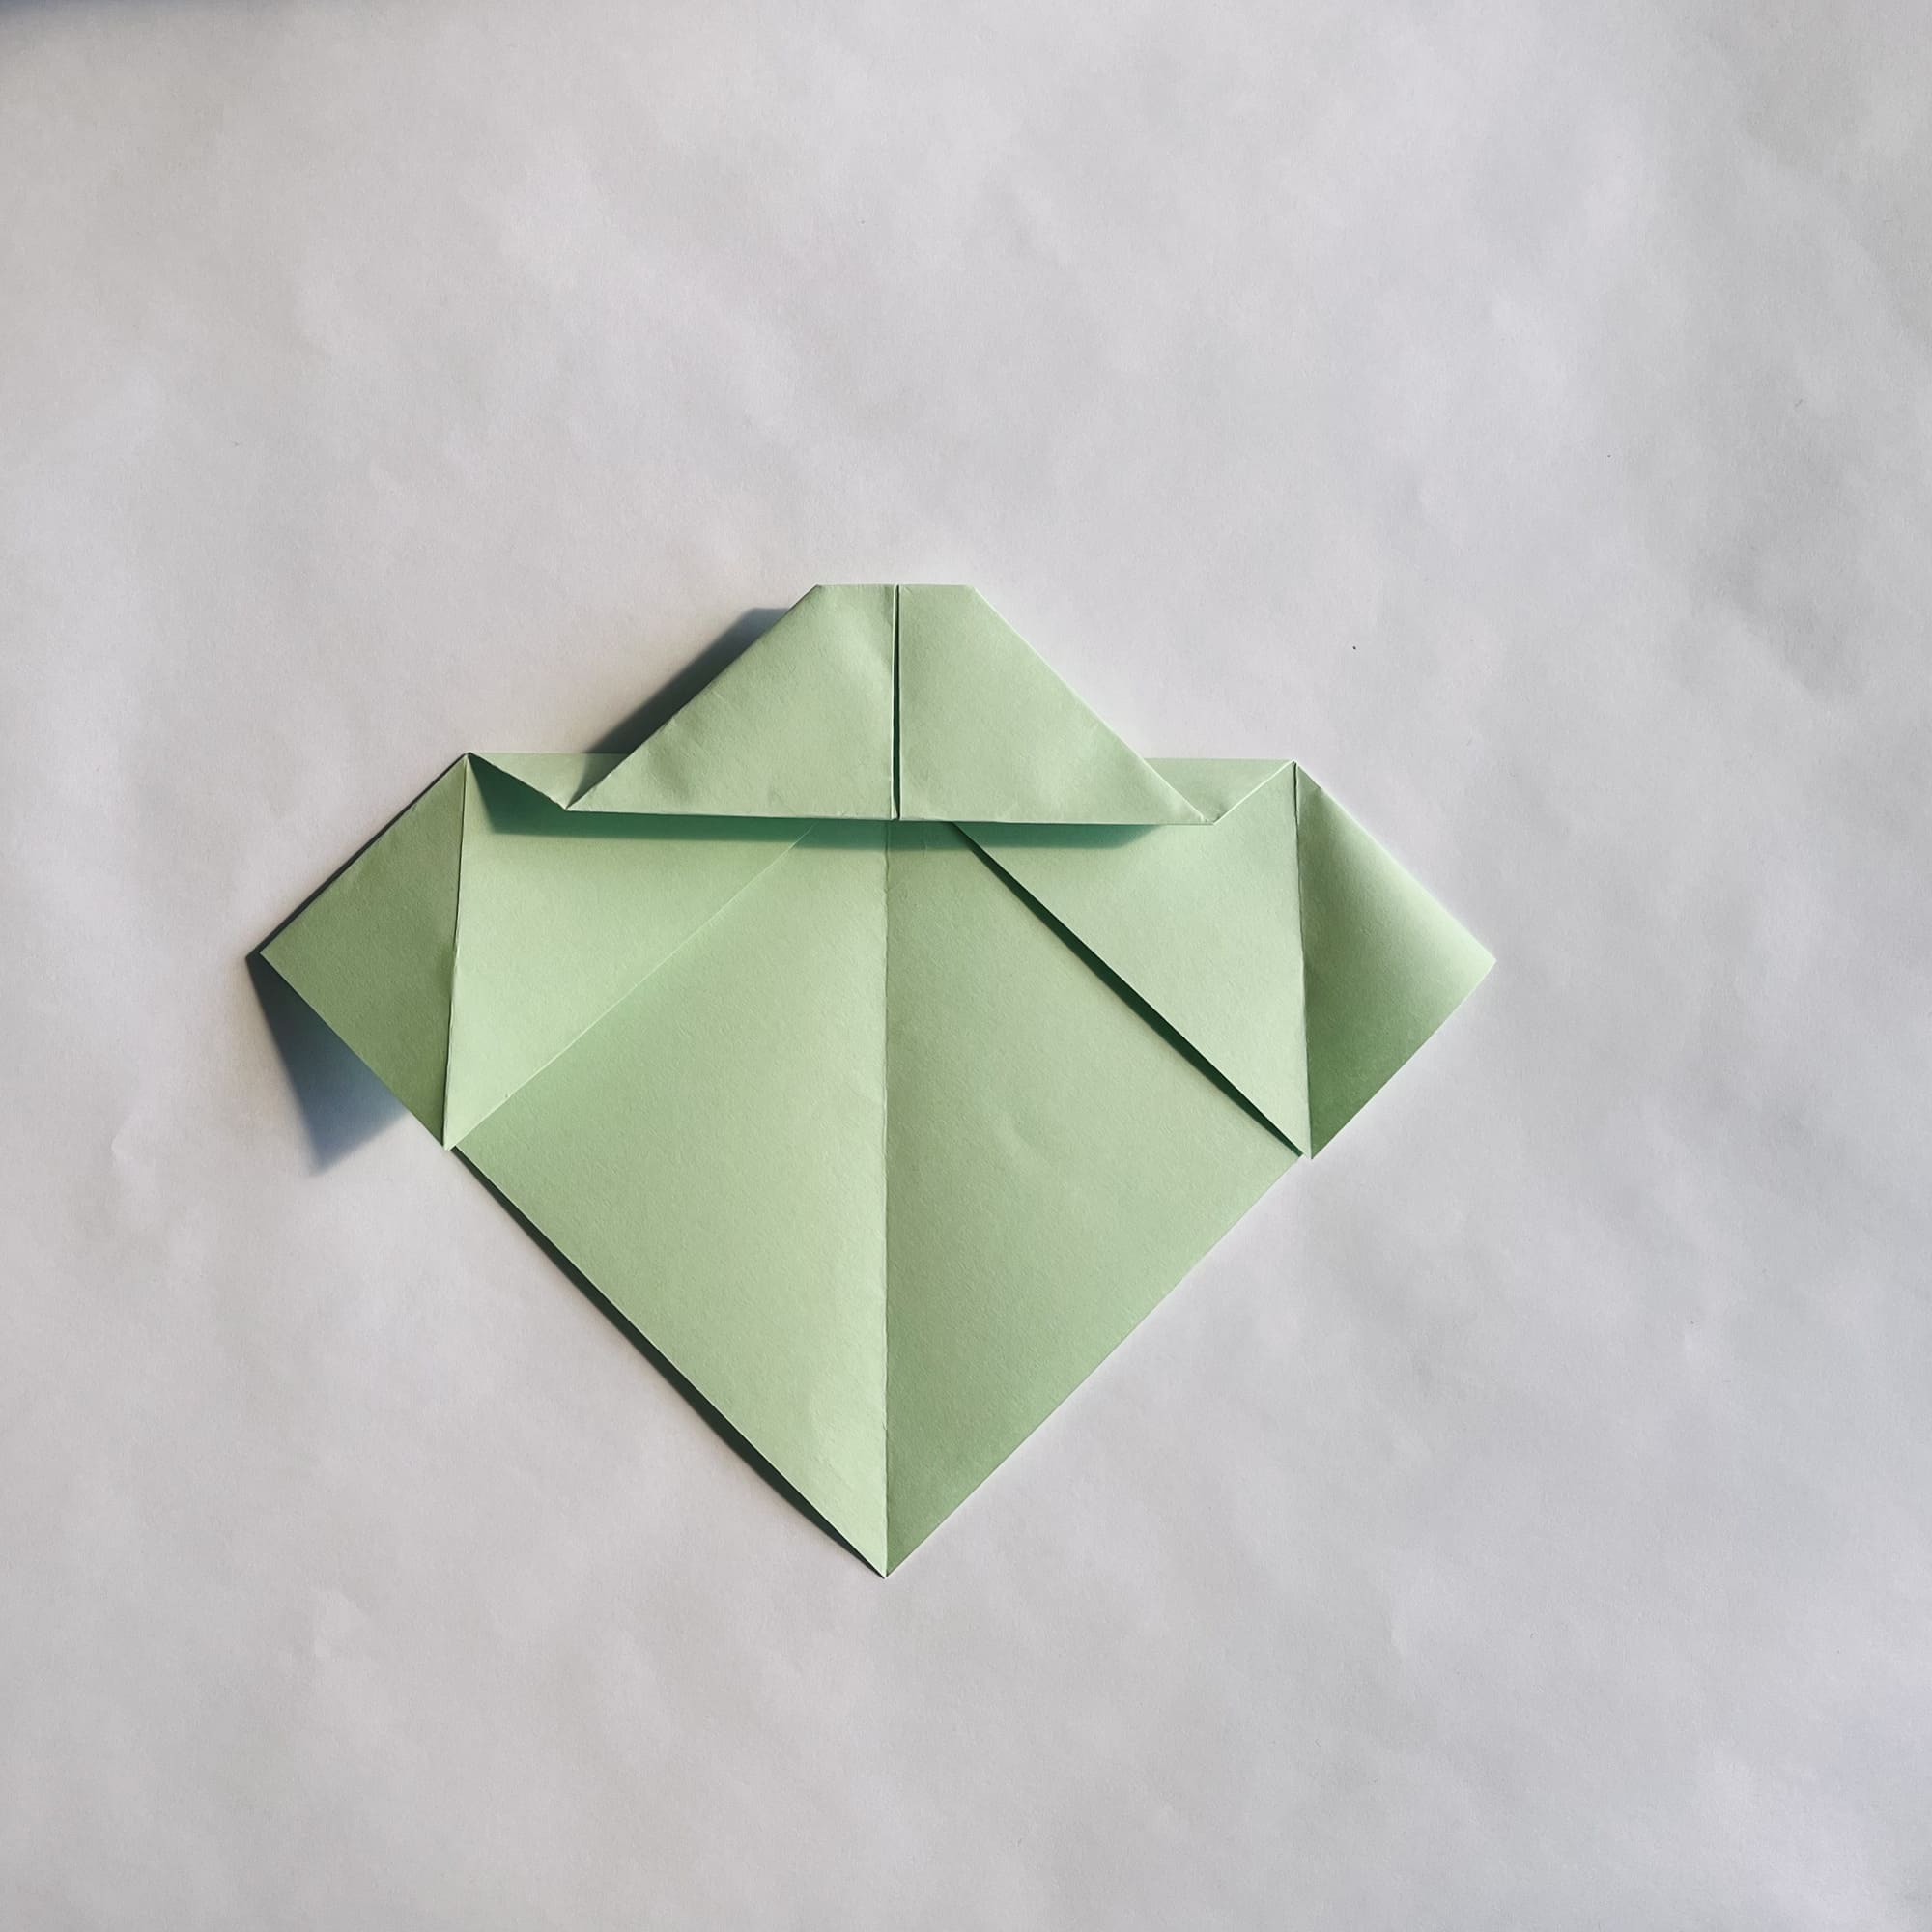
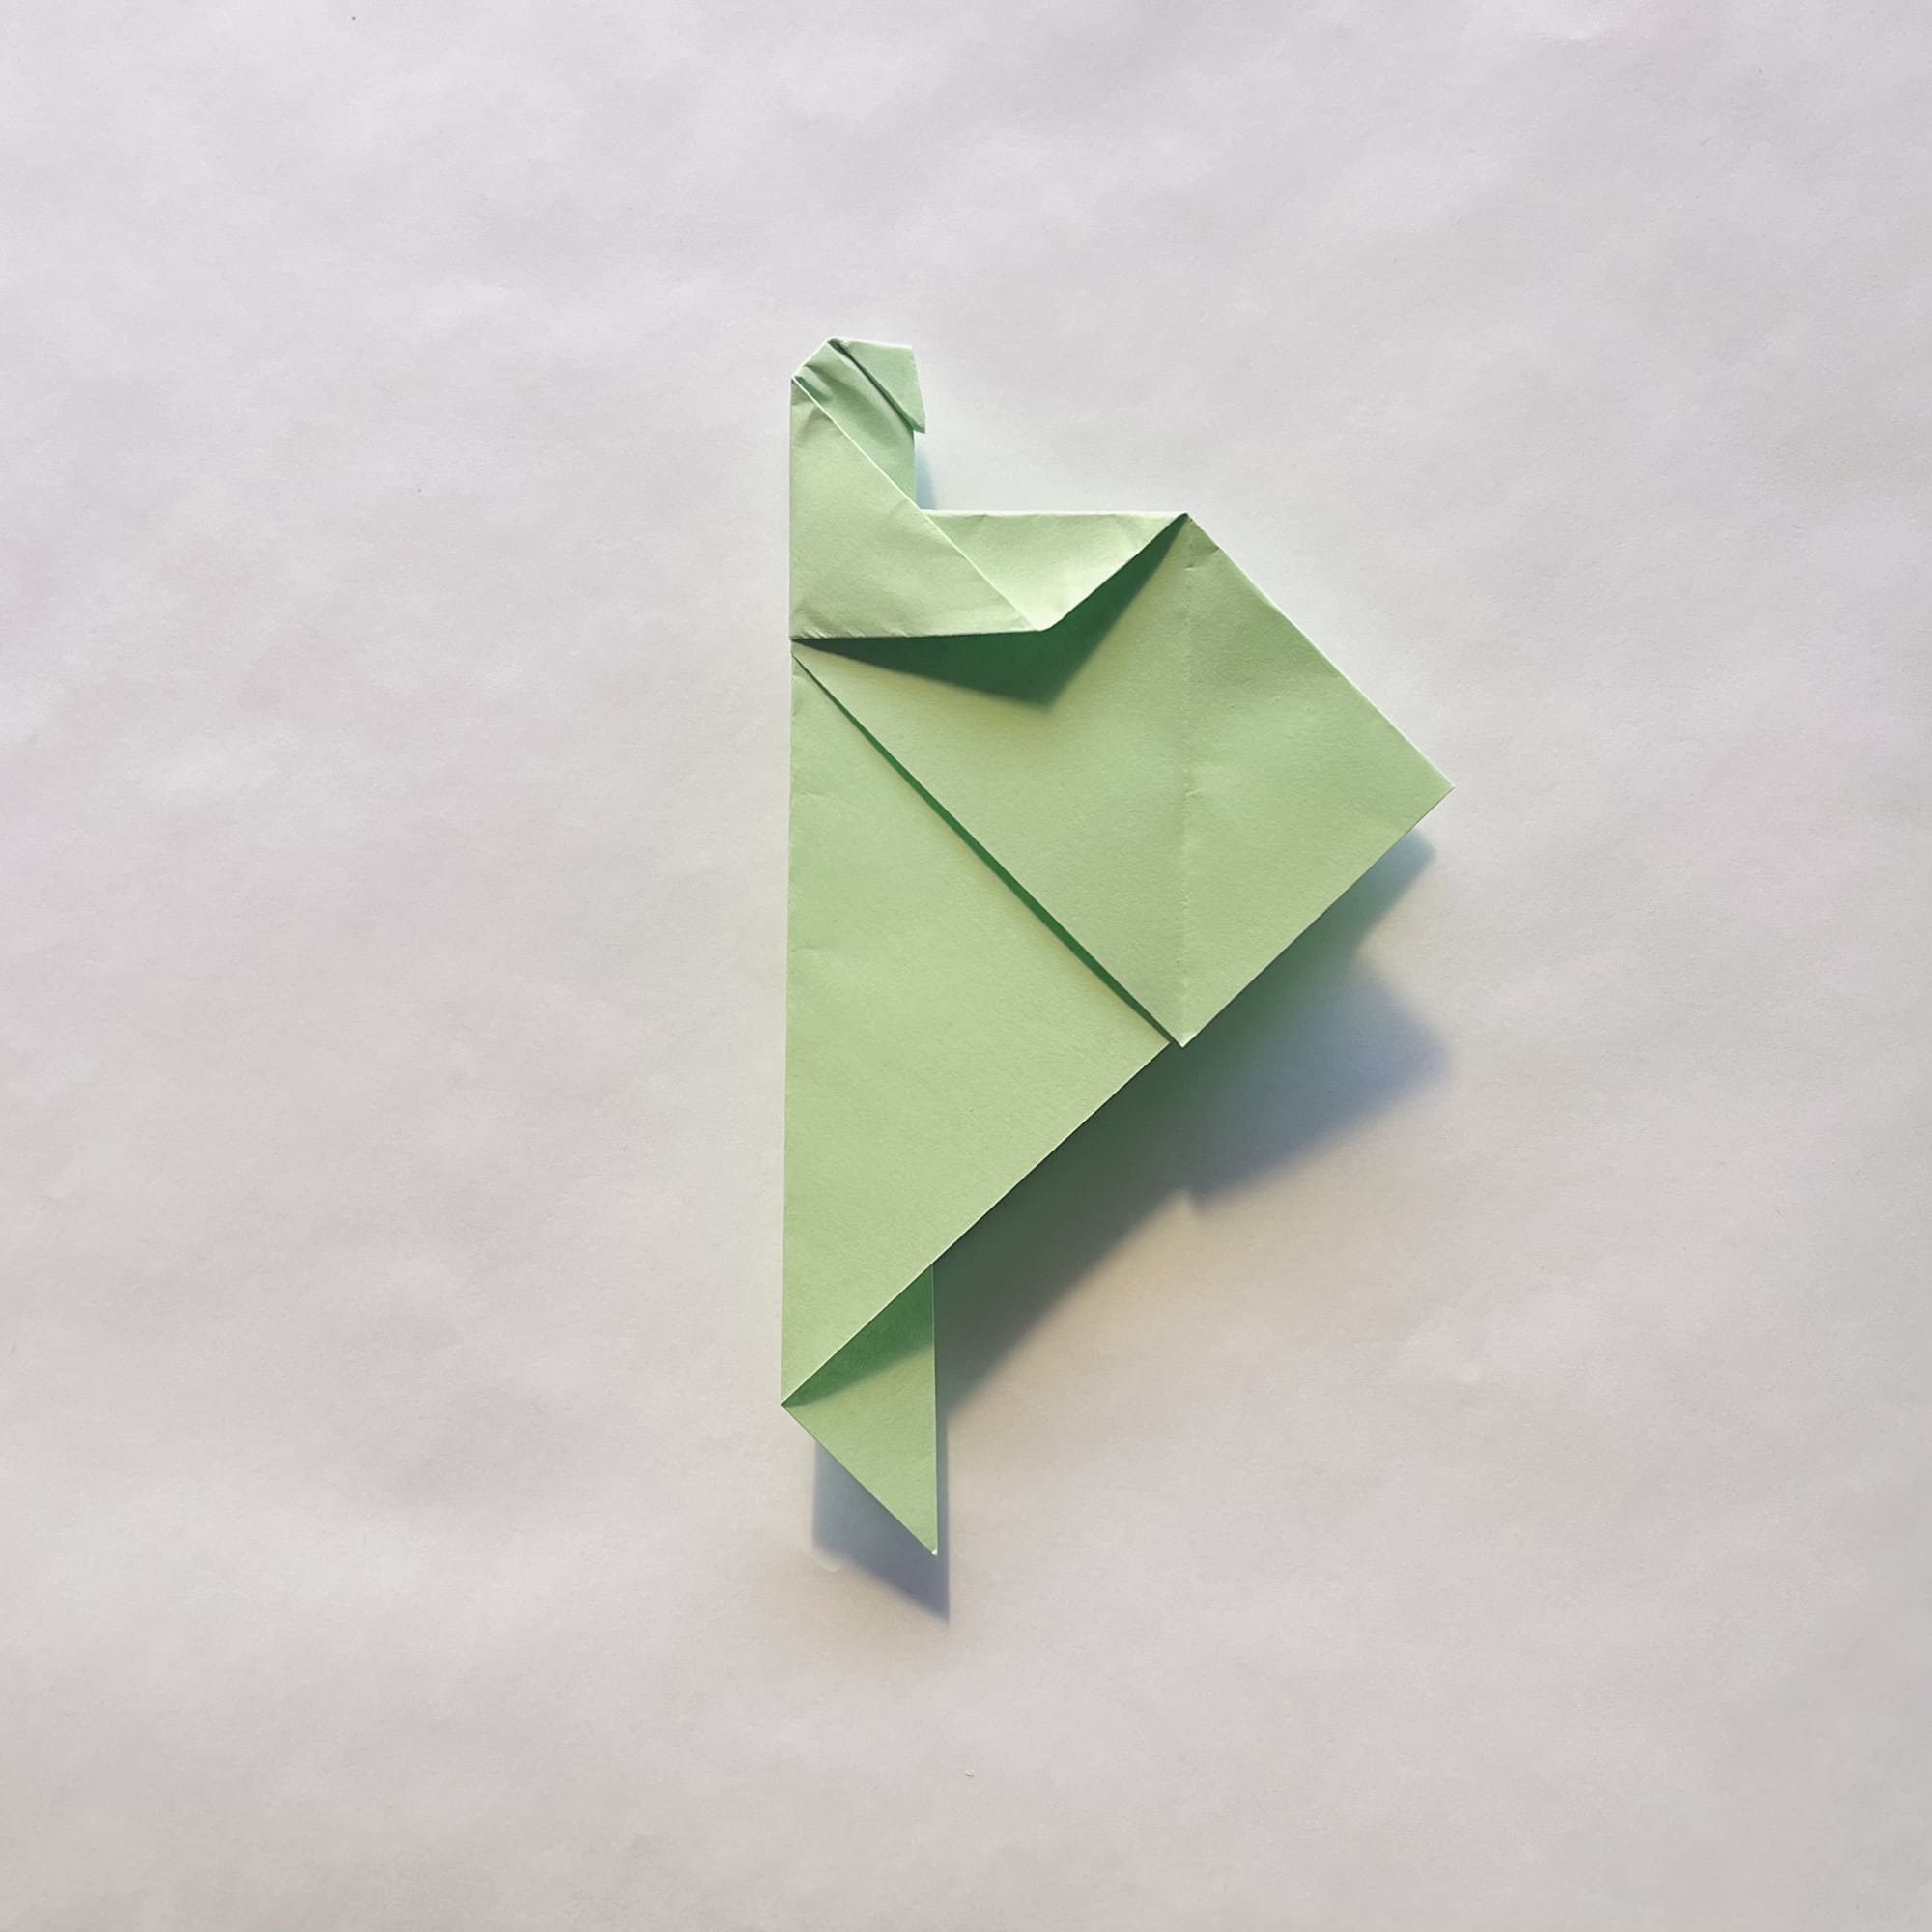
Now, you need to bend the same corner up, stepping back from the top edge about 1.5 cm. Although it is not obvious now, your dragon will take shape in just a few minutes!
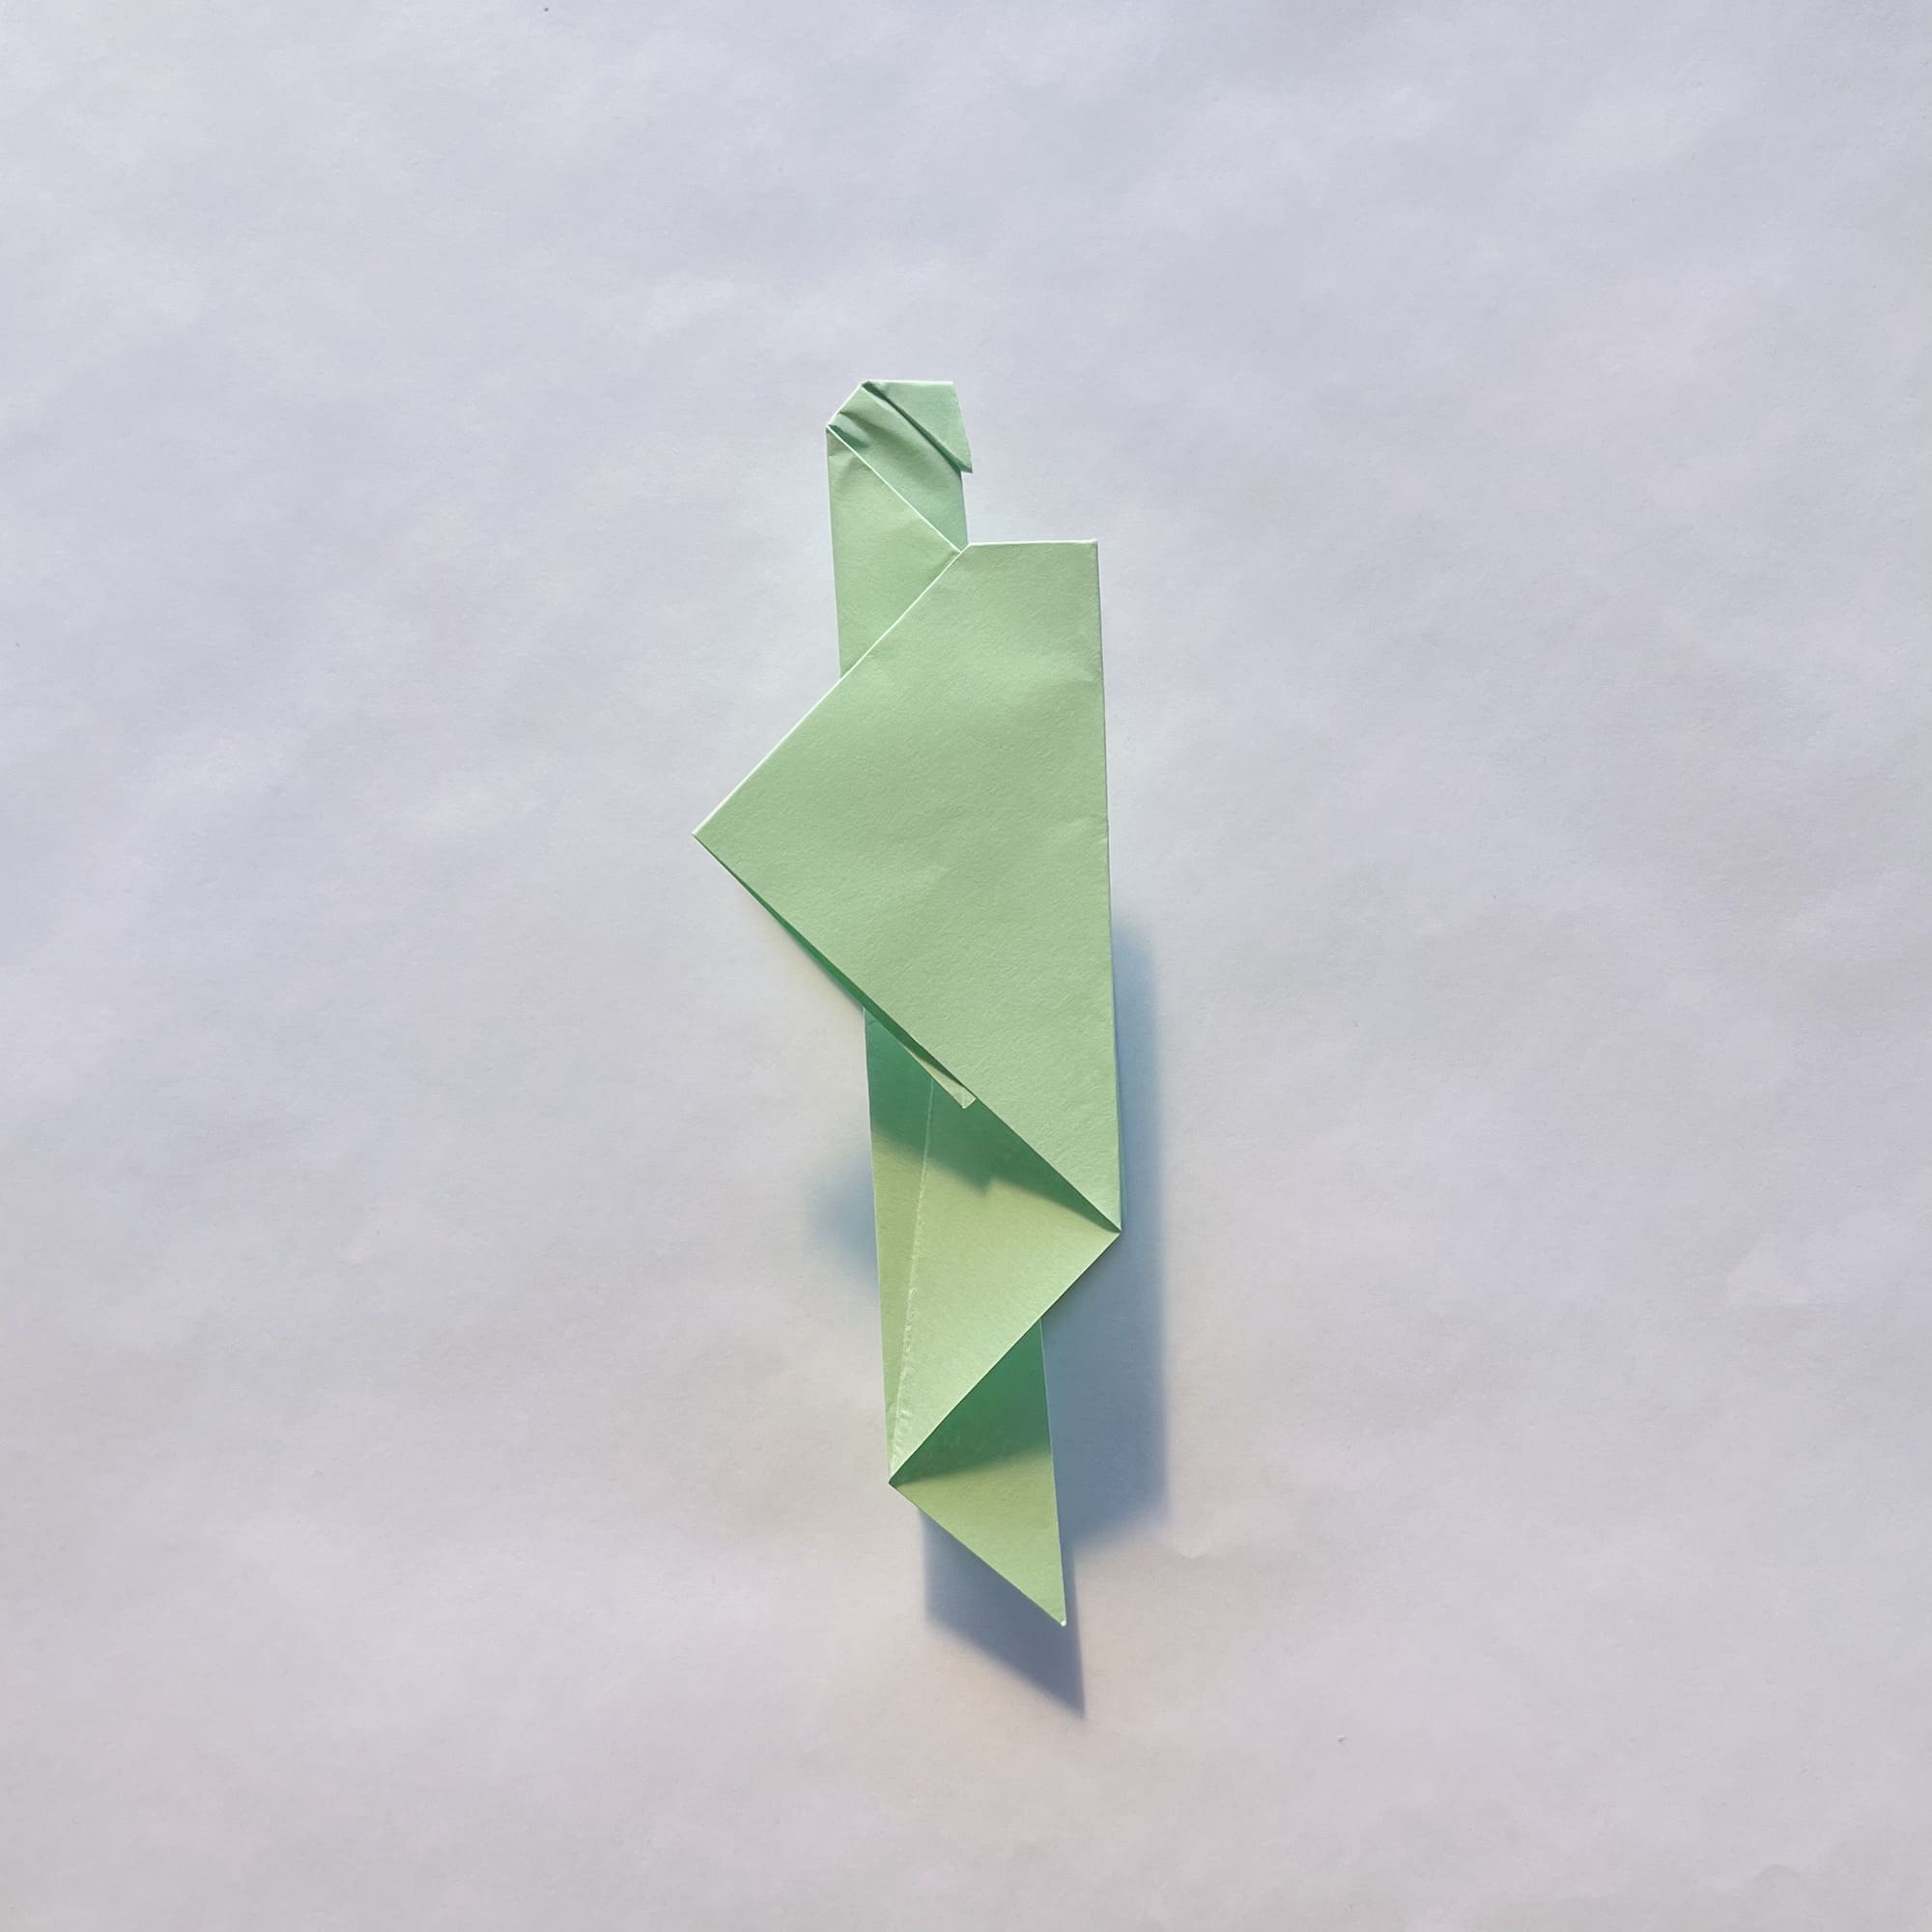
Before performing this next fold, you have to flip the shape.
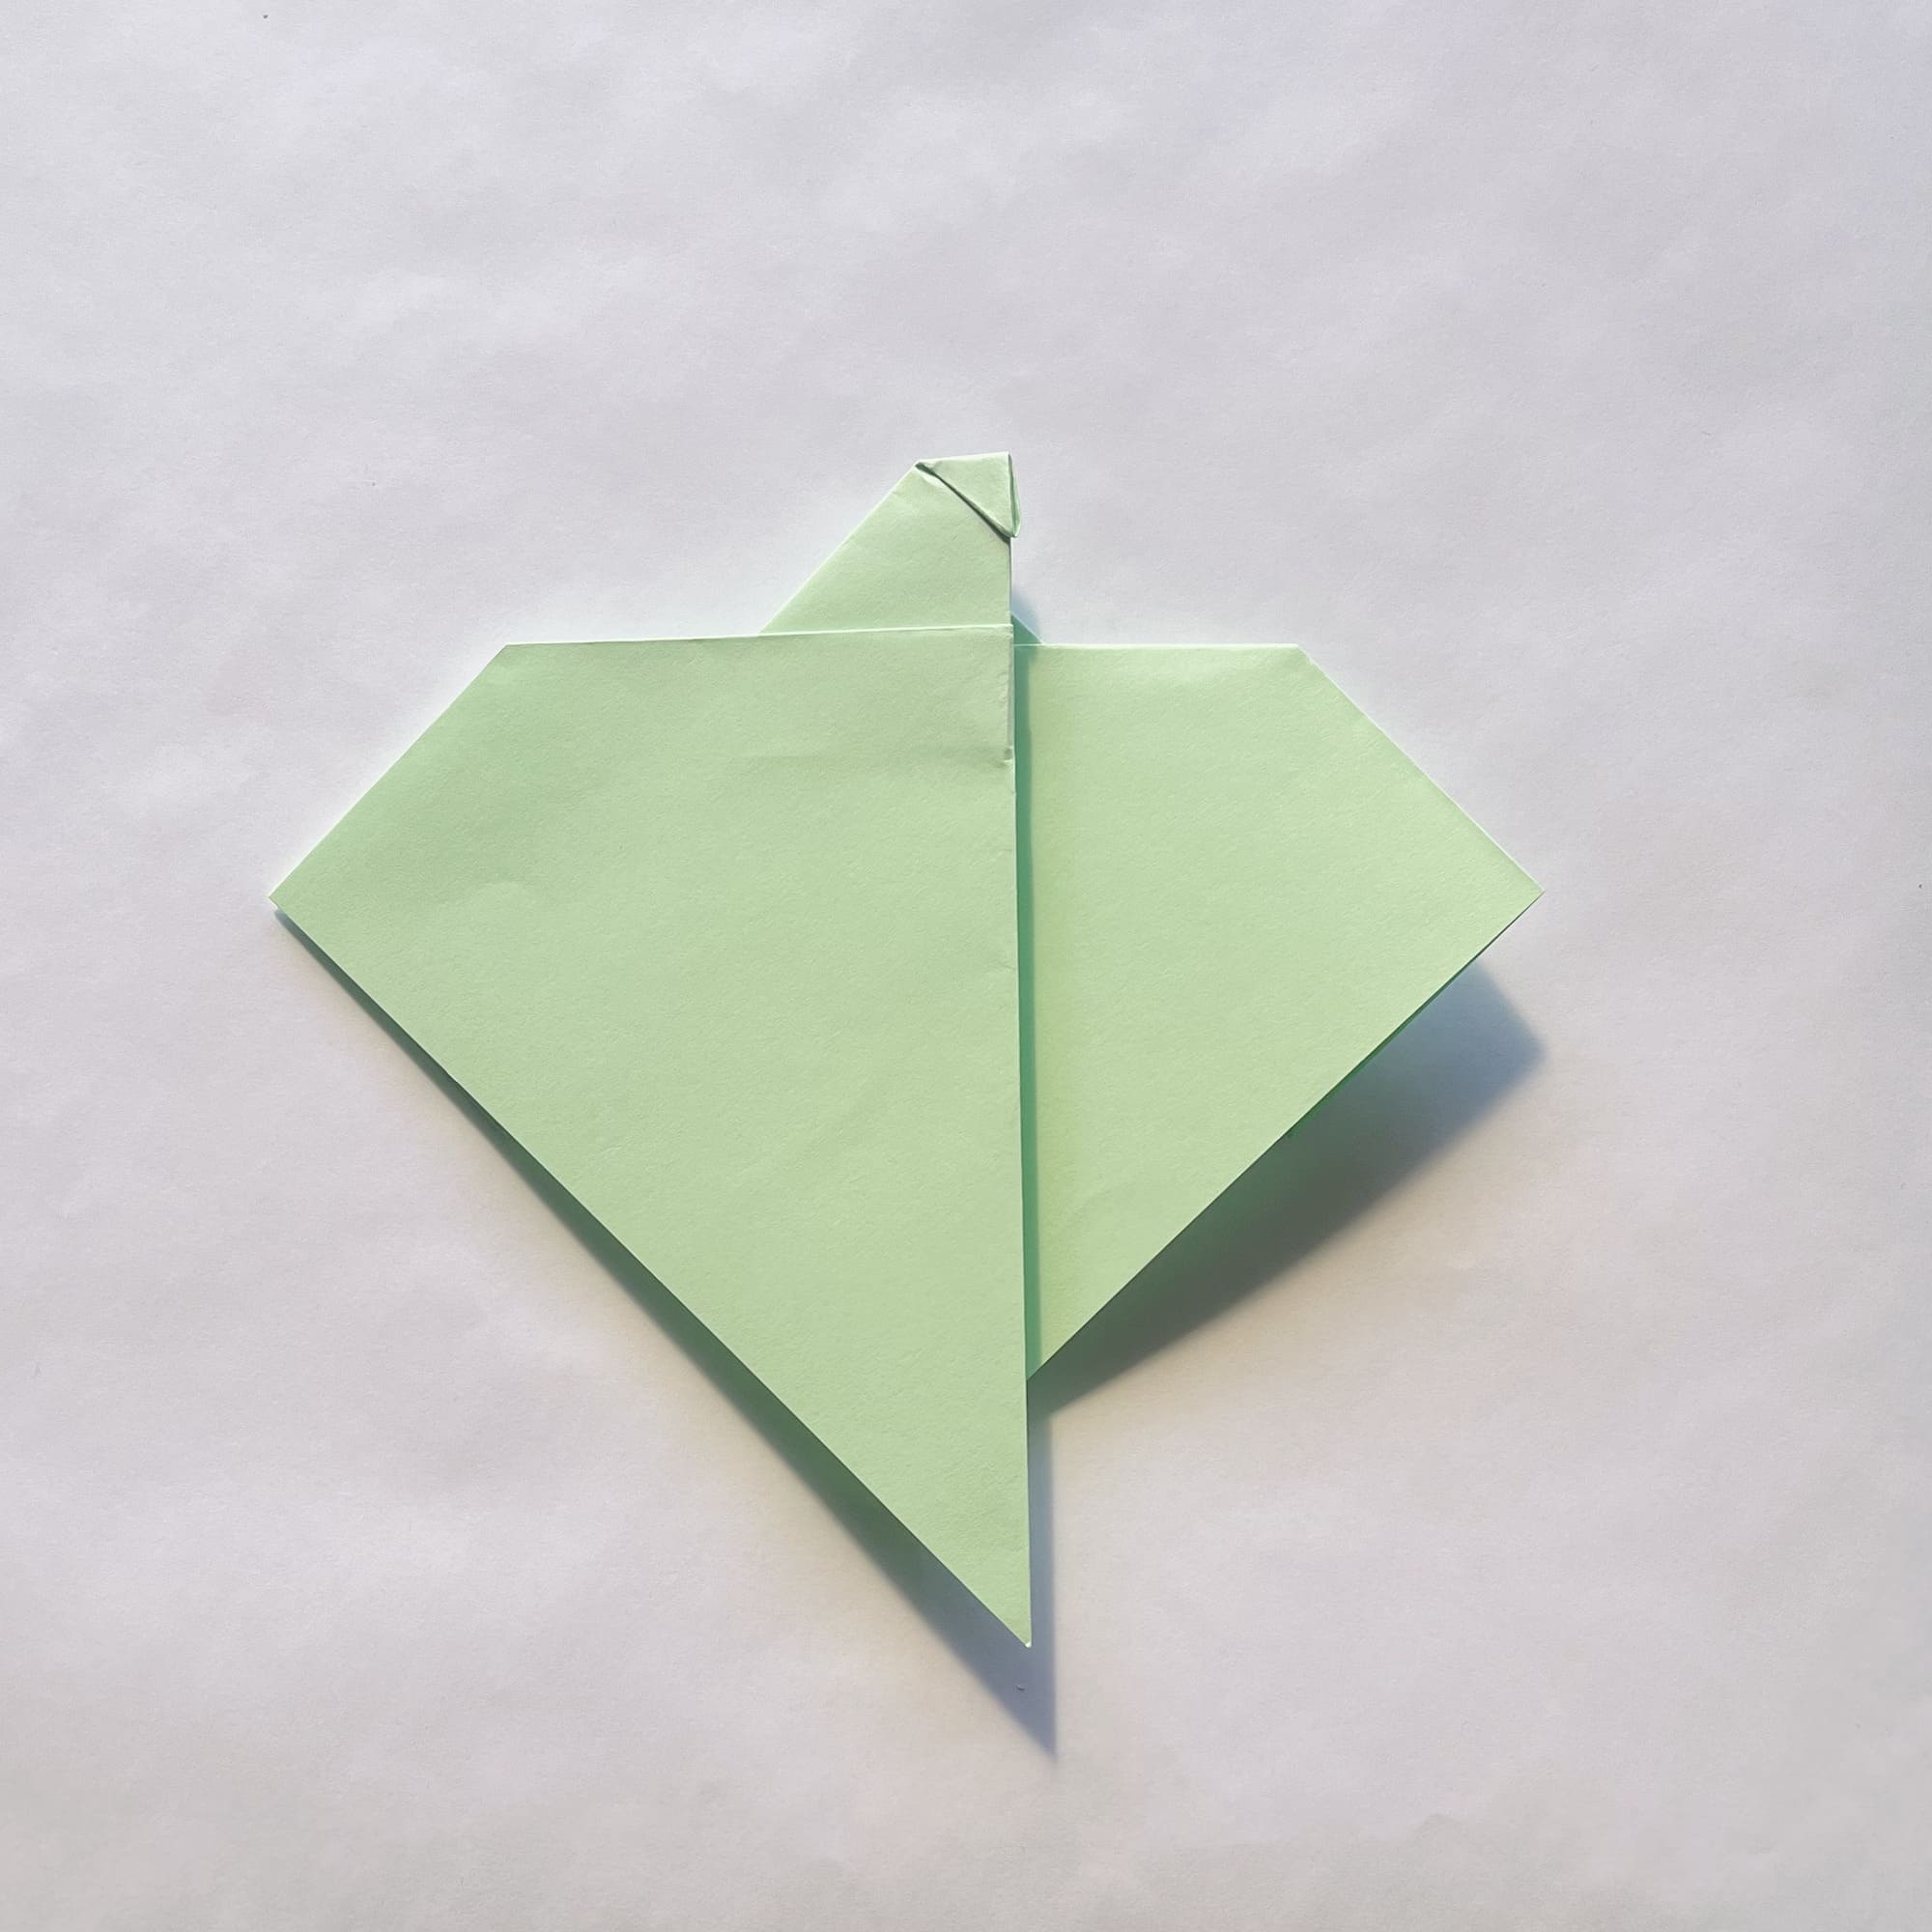
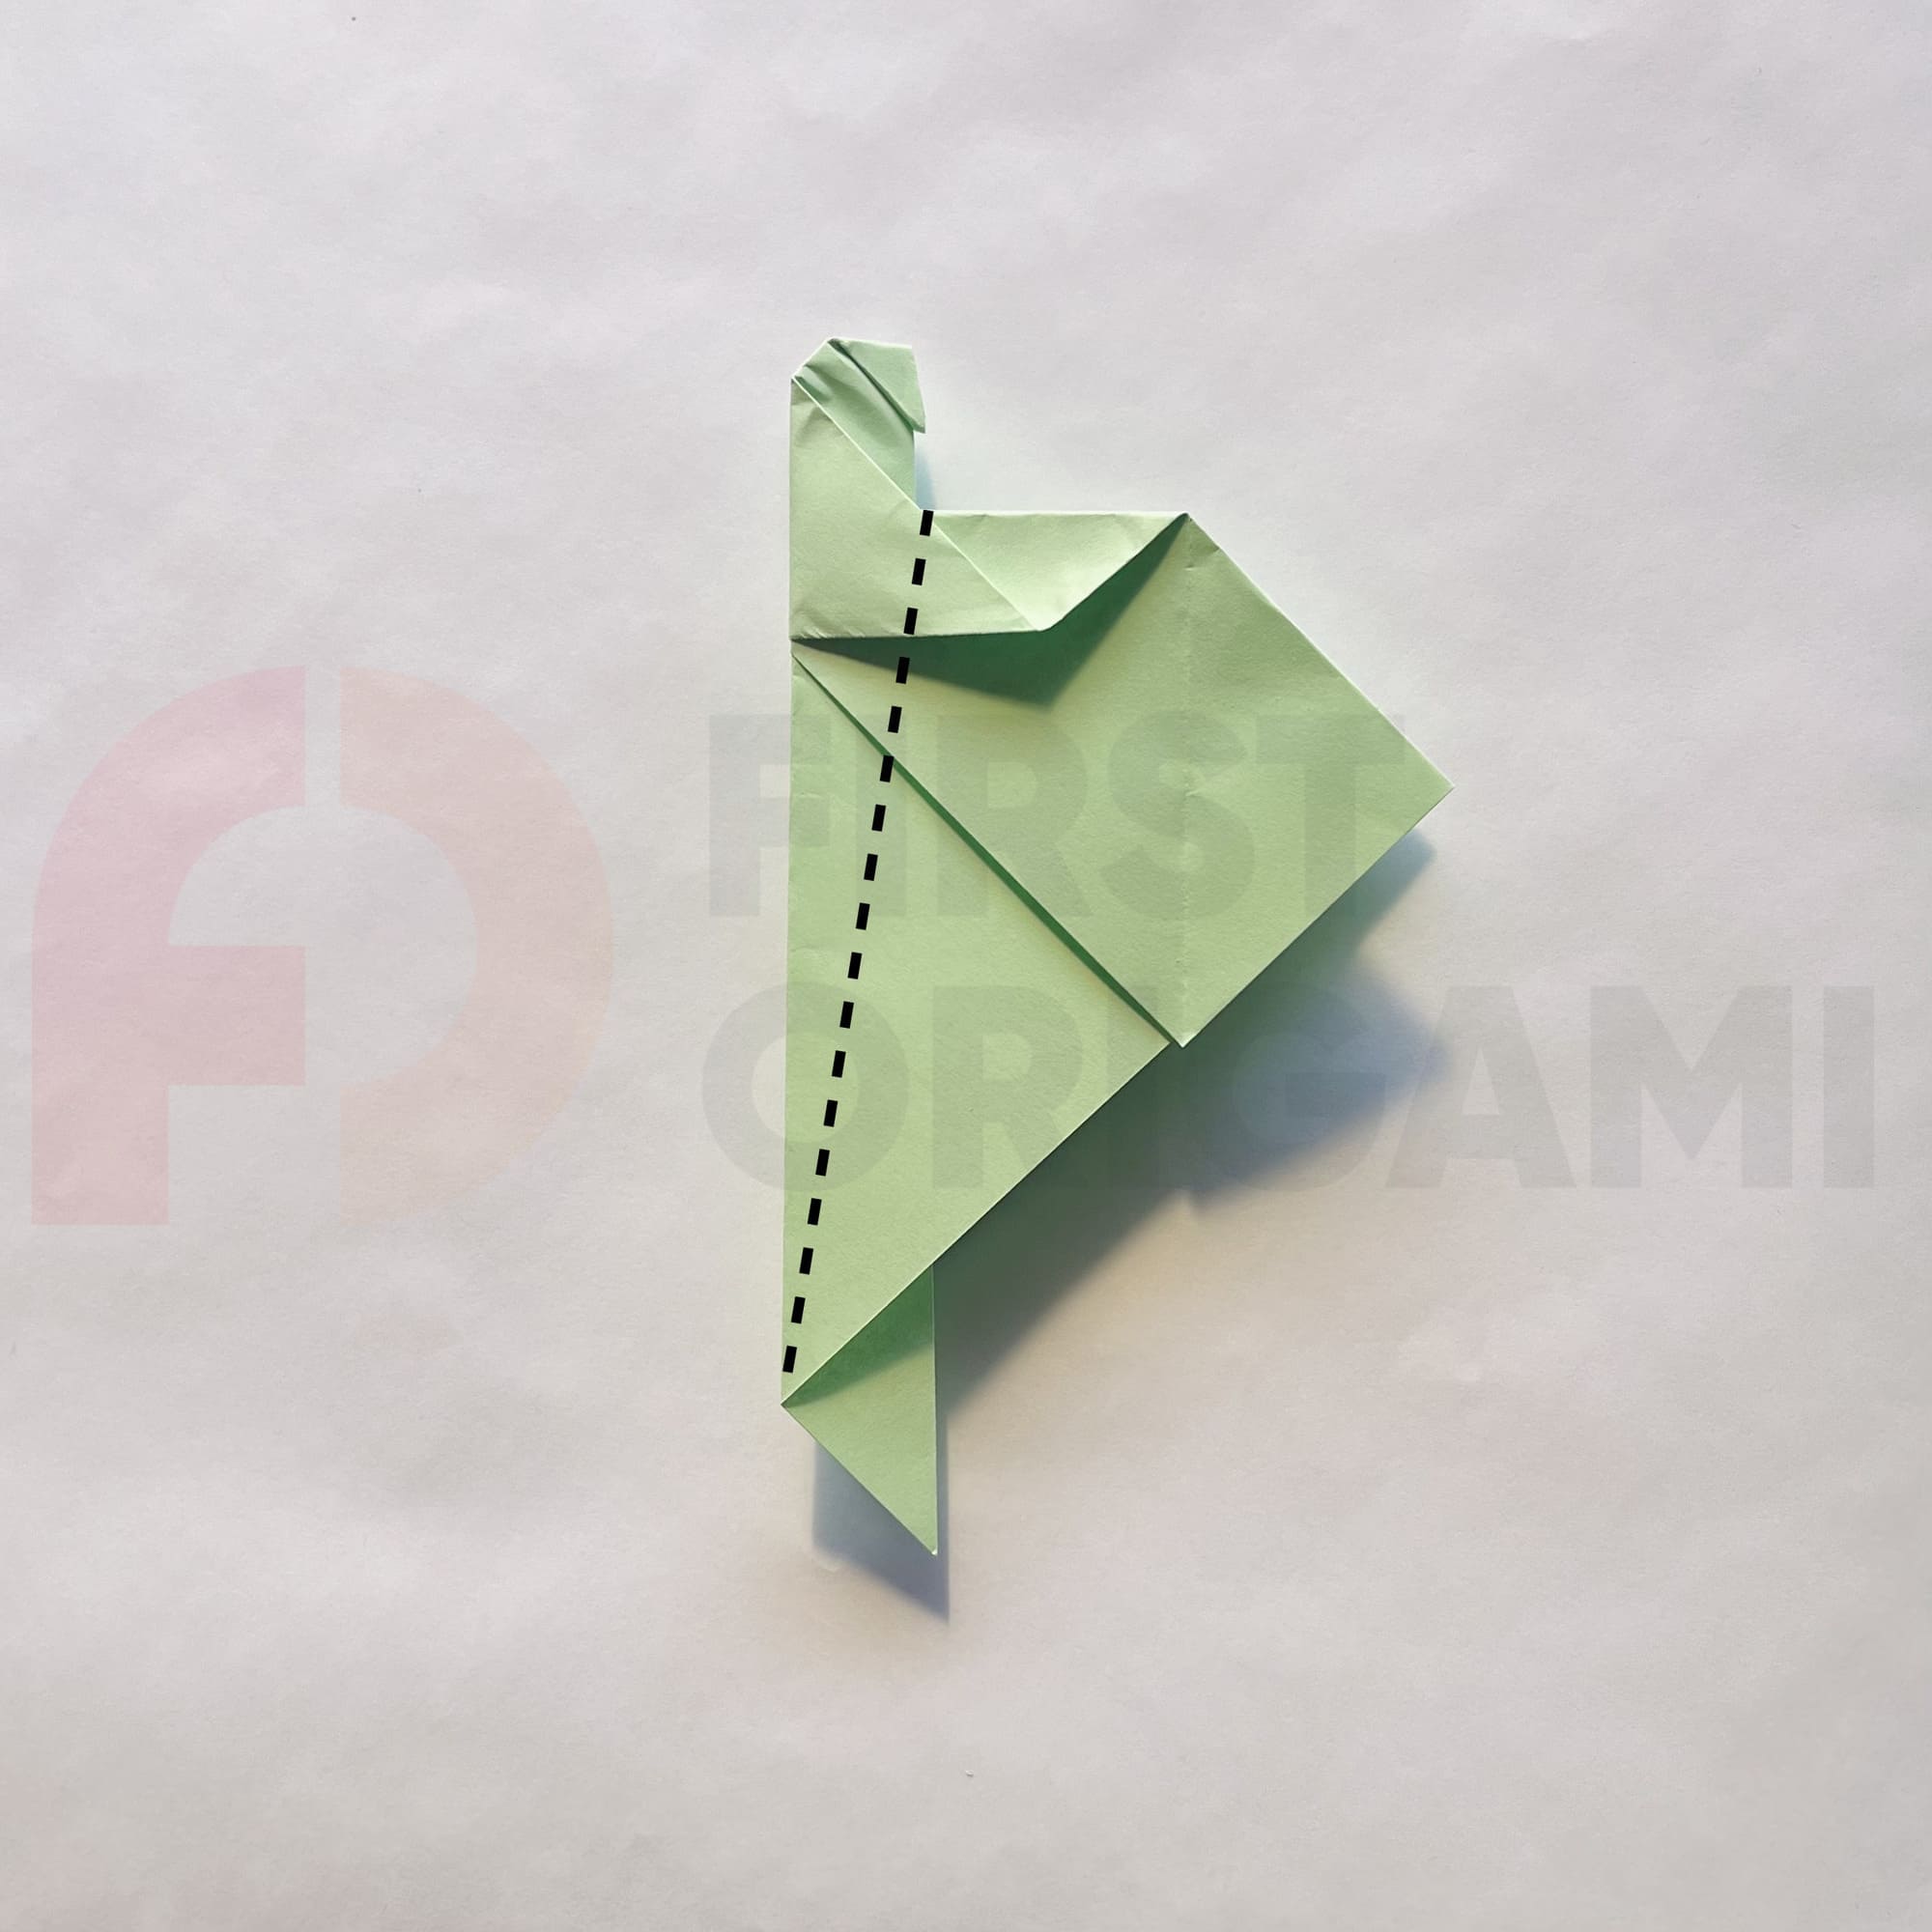
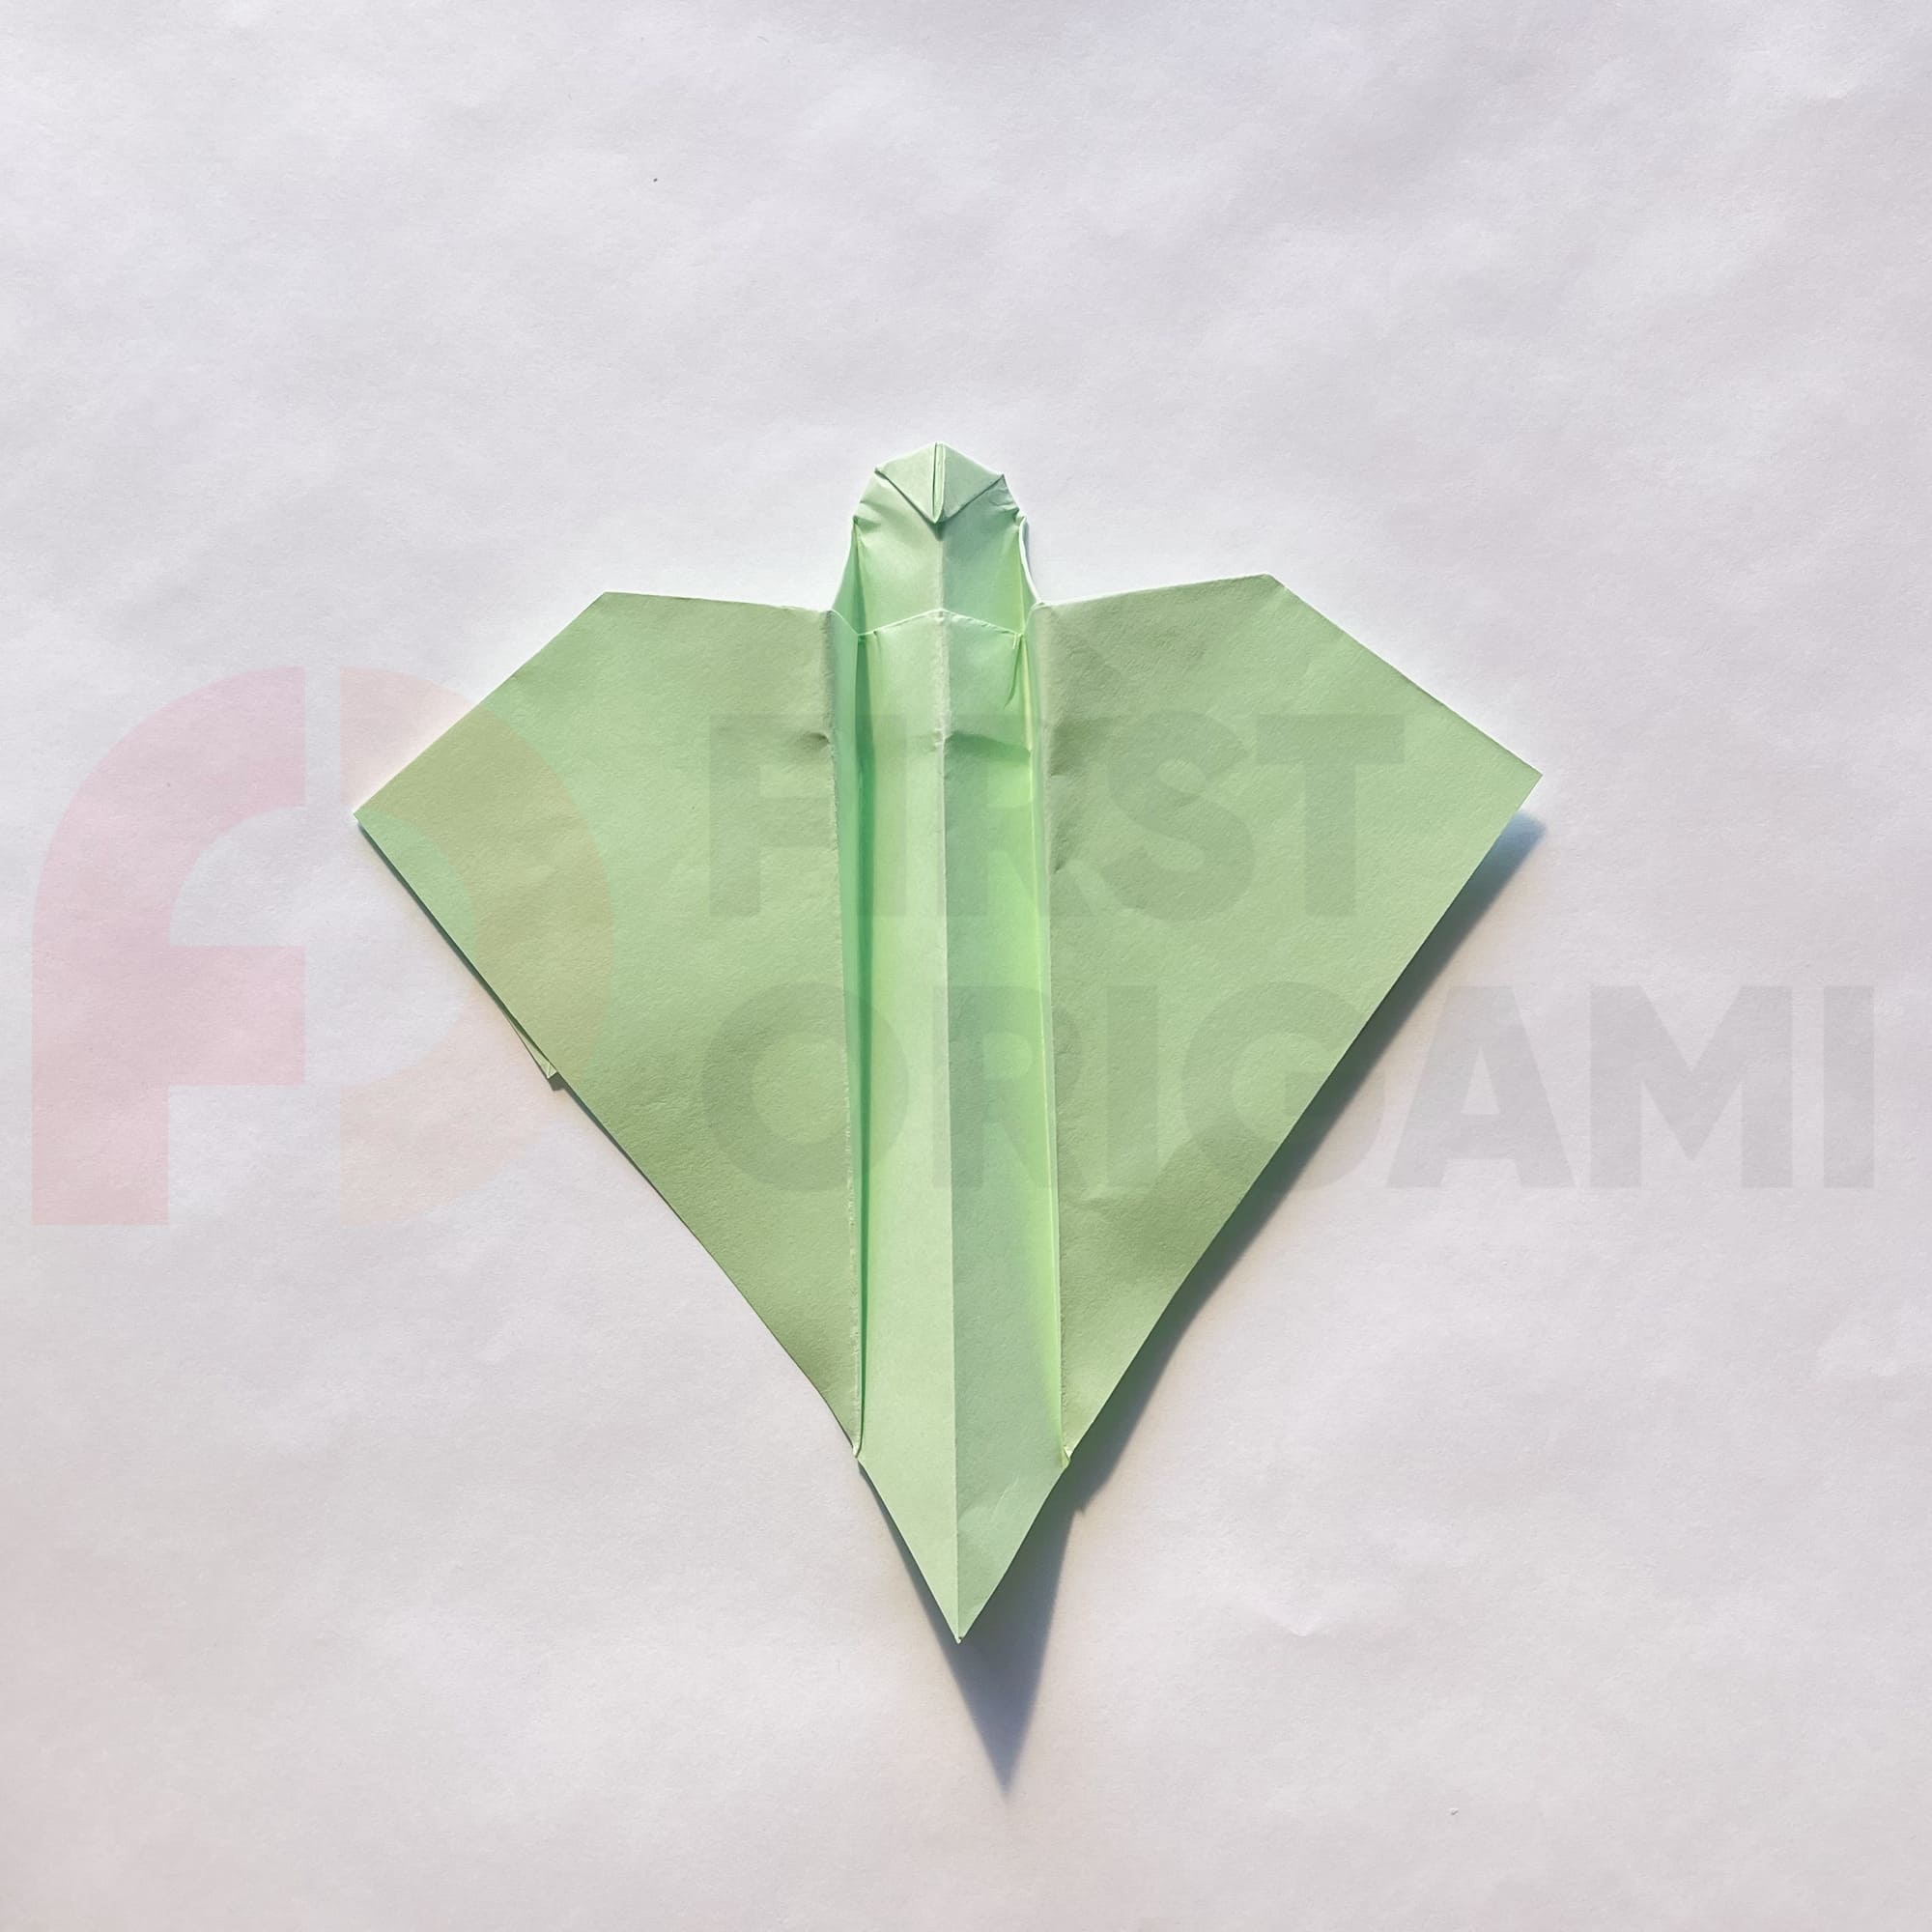
Now, you can bend the top corner inward – this will be the “horn” of our dragon.
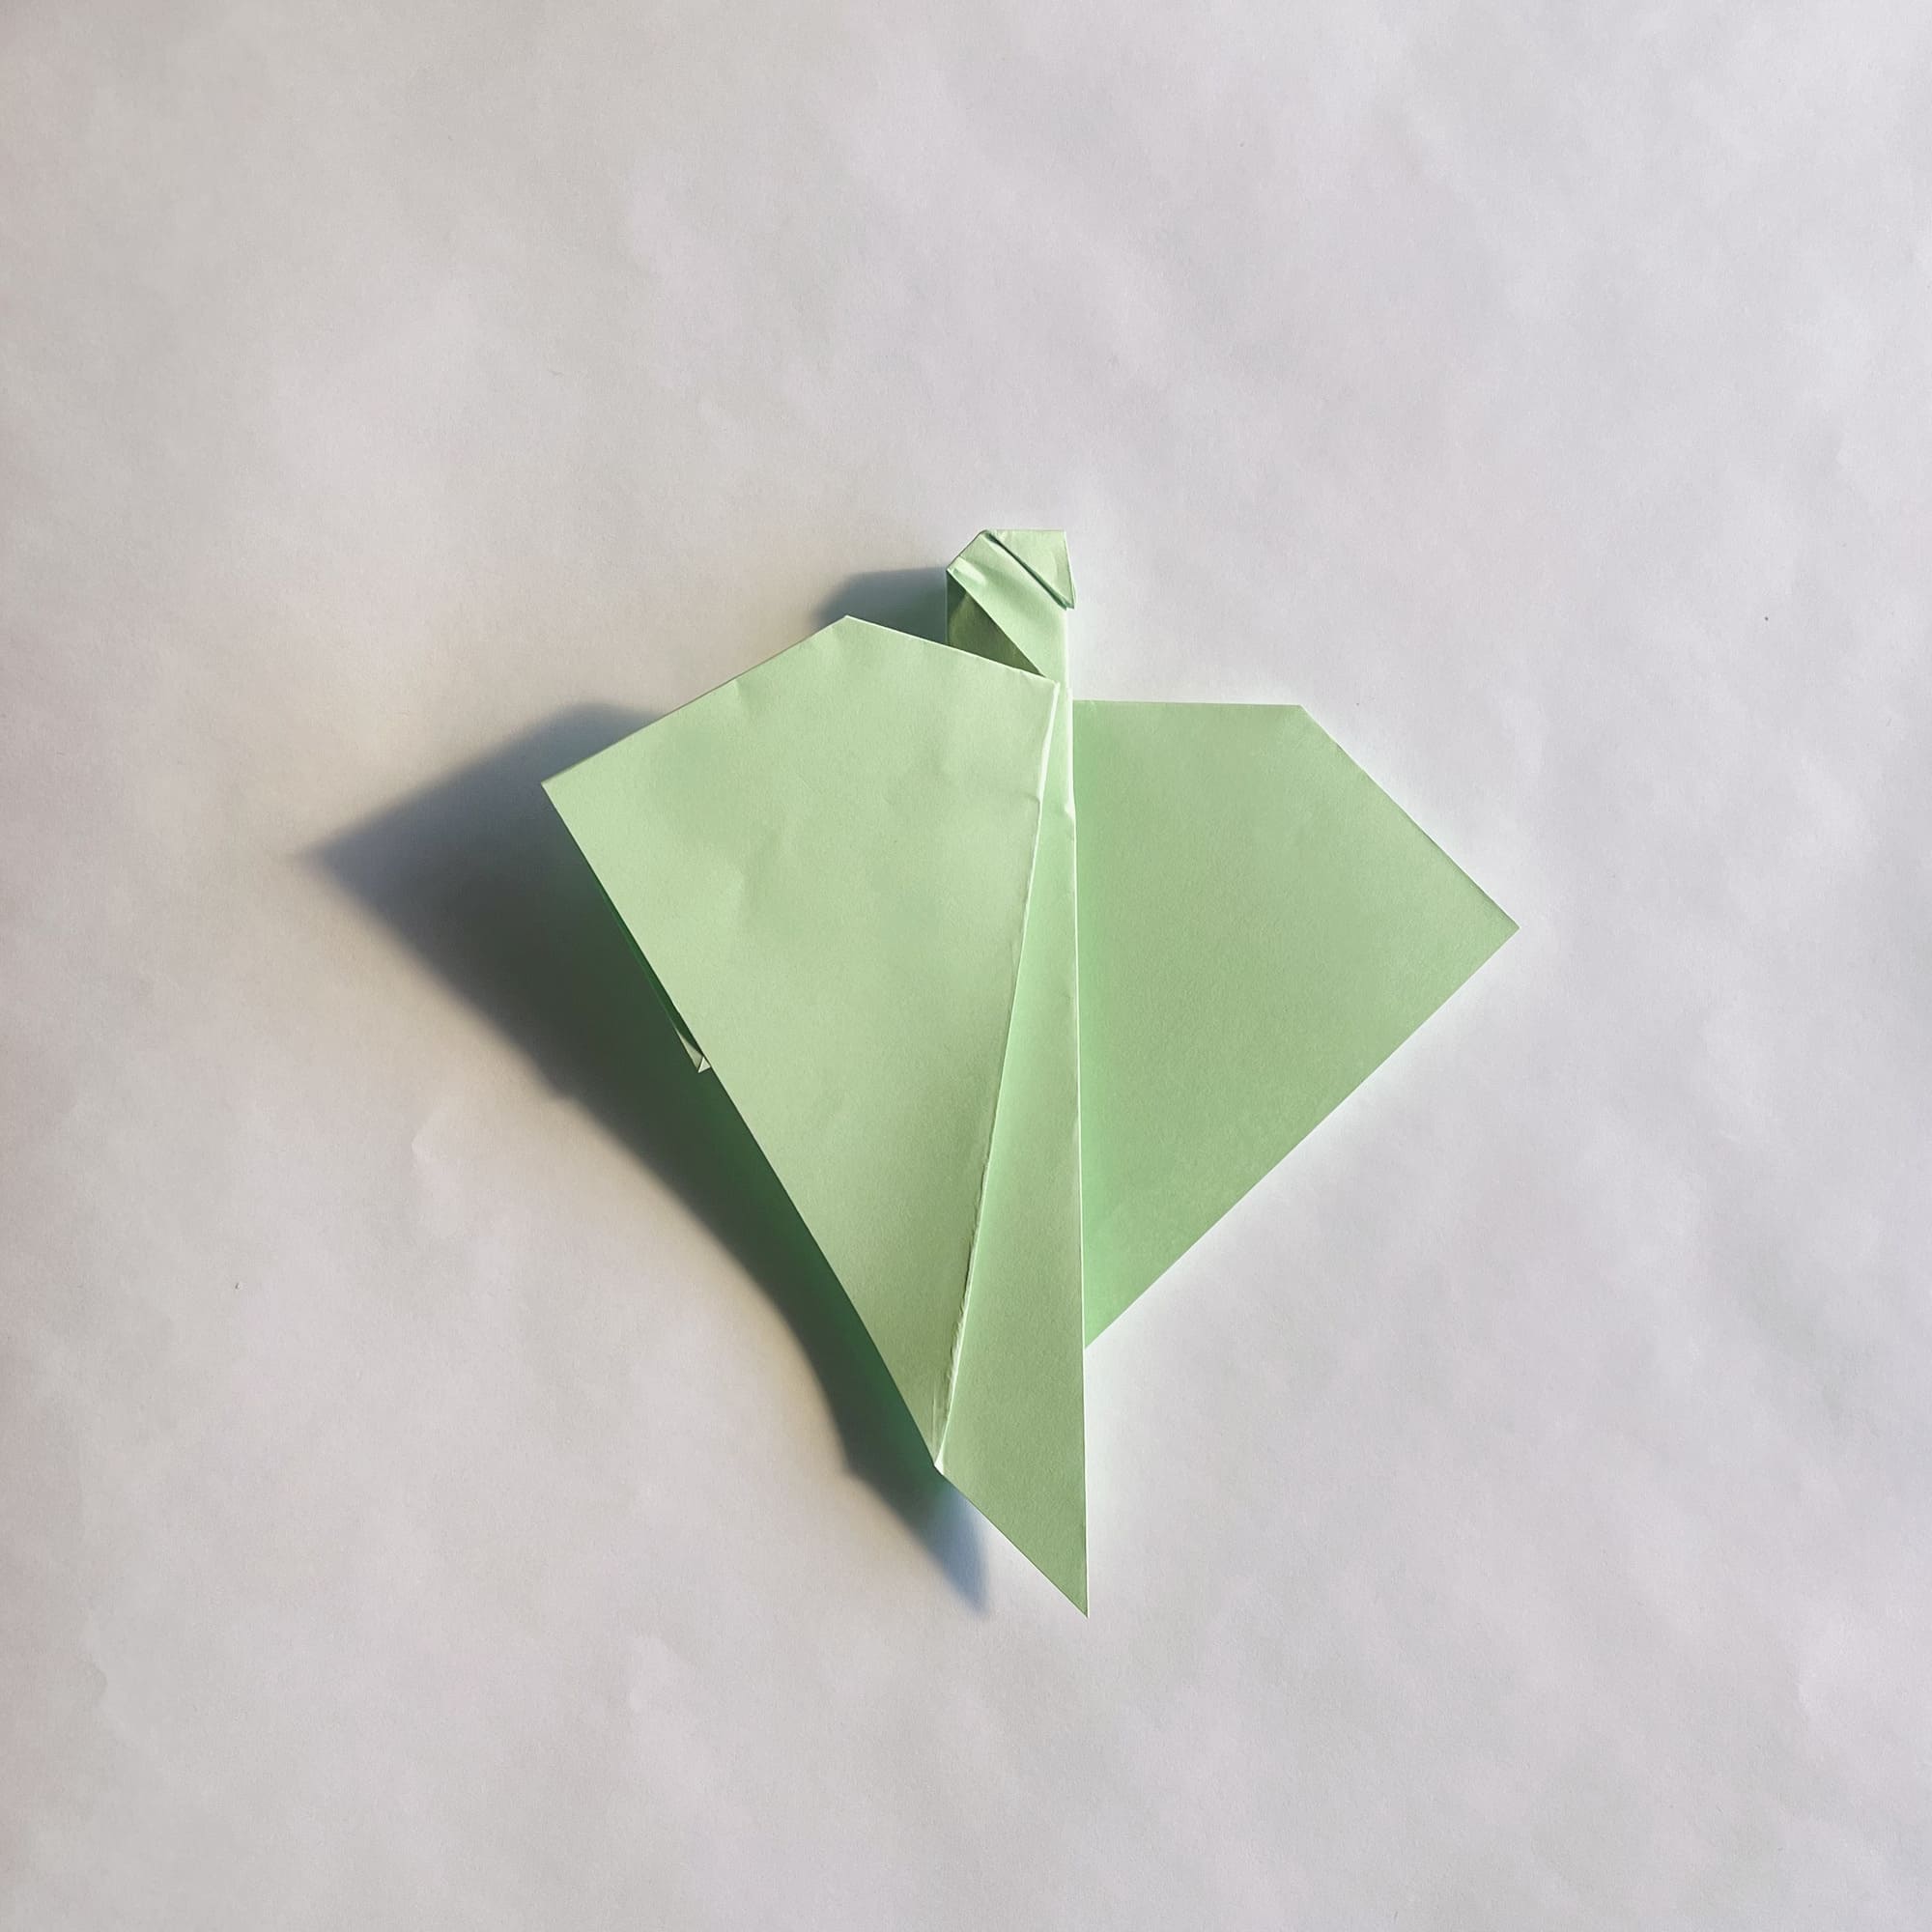
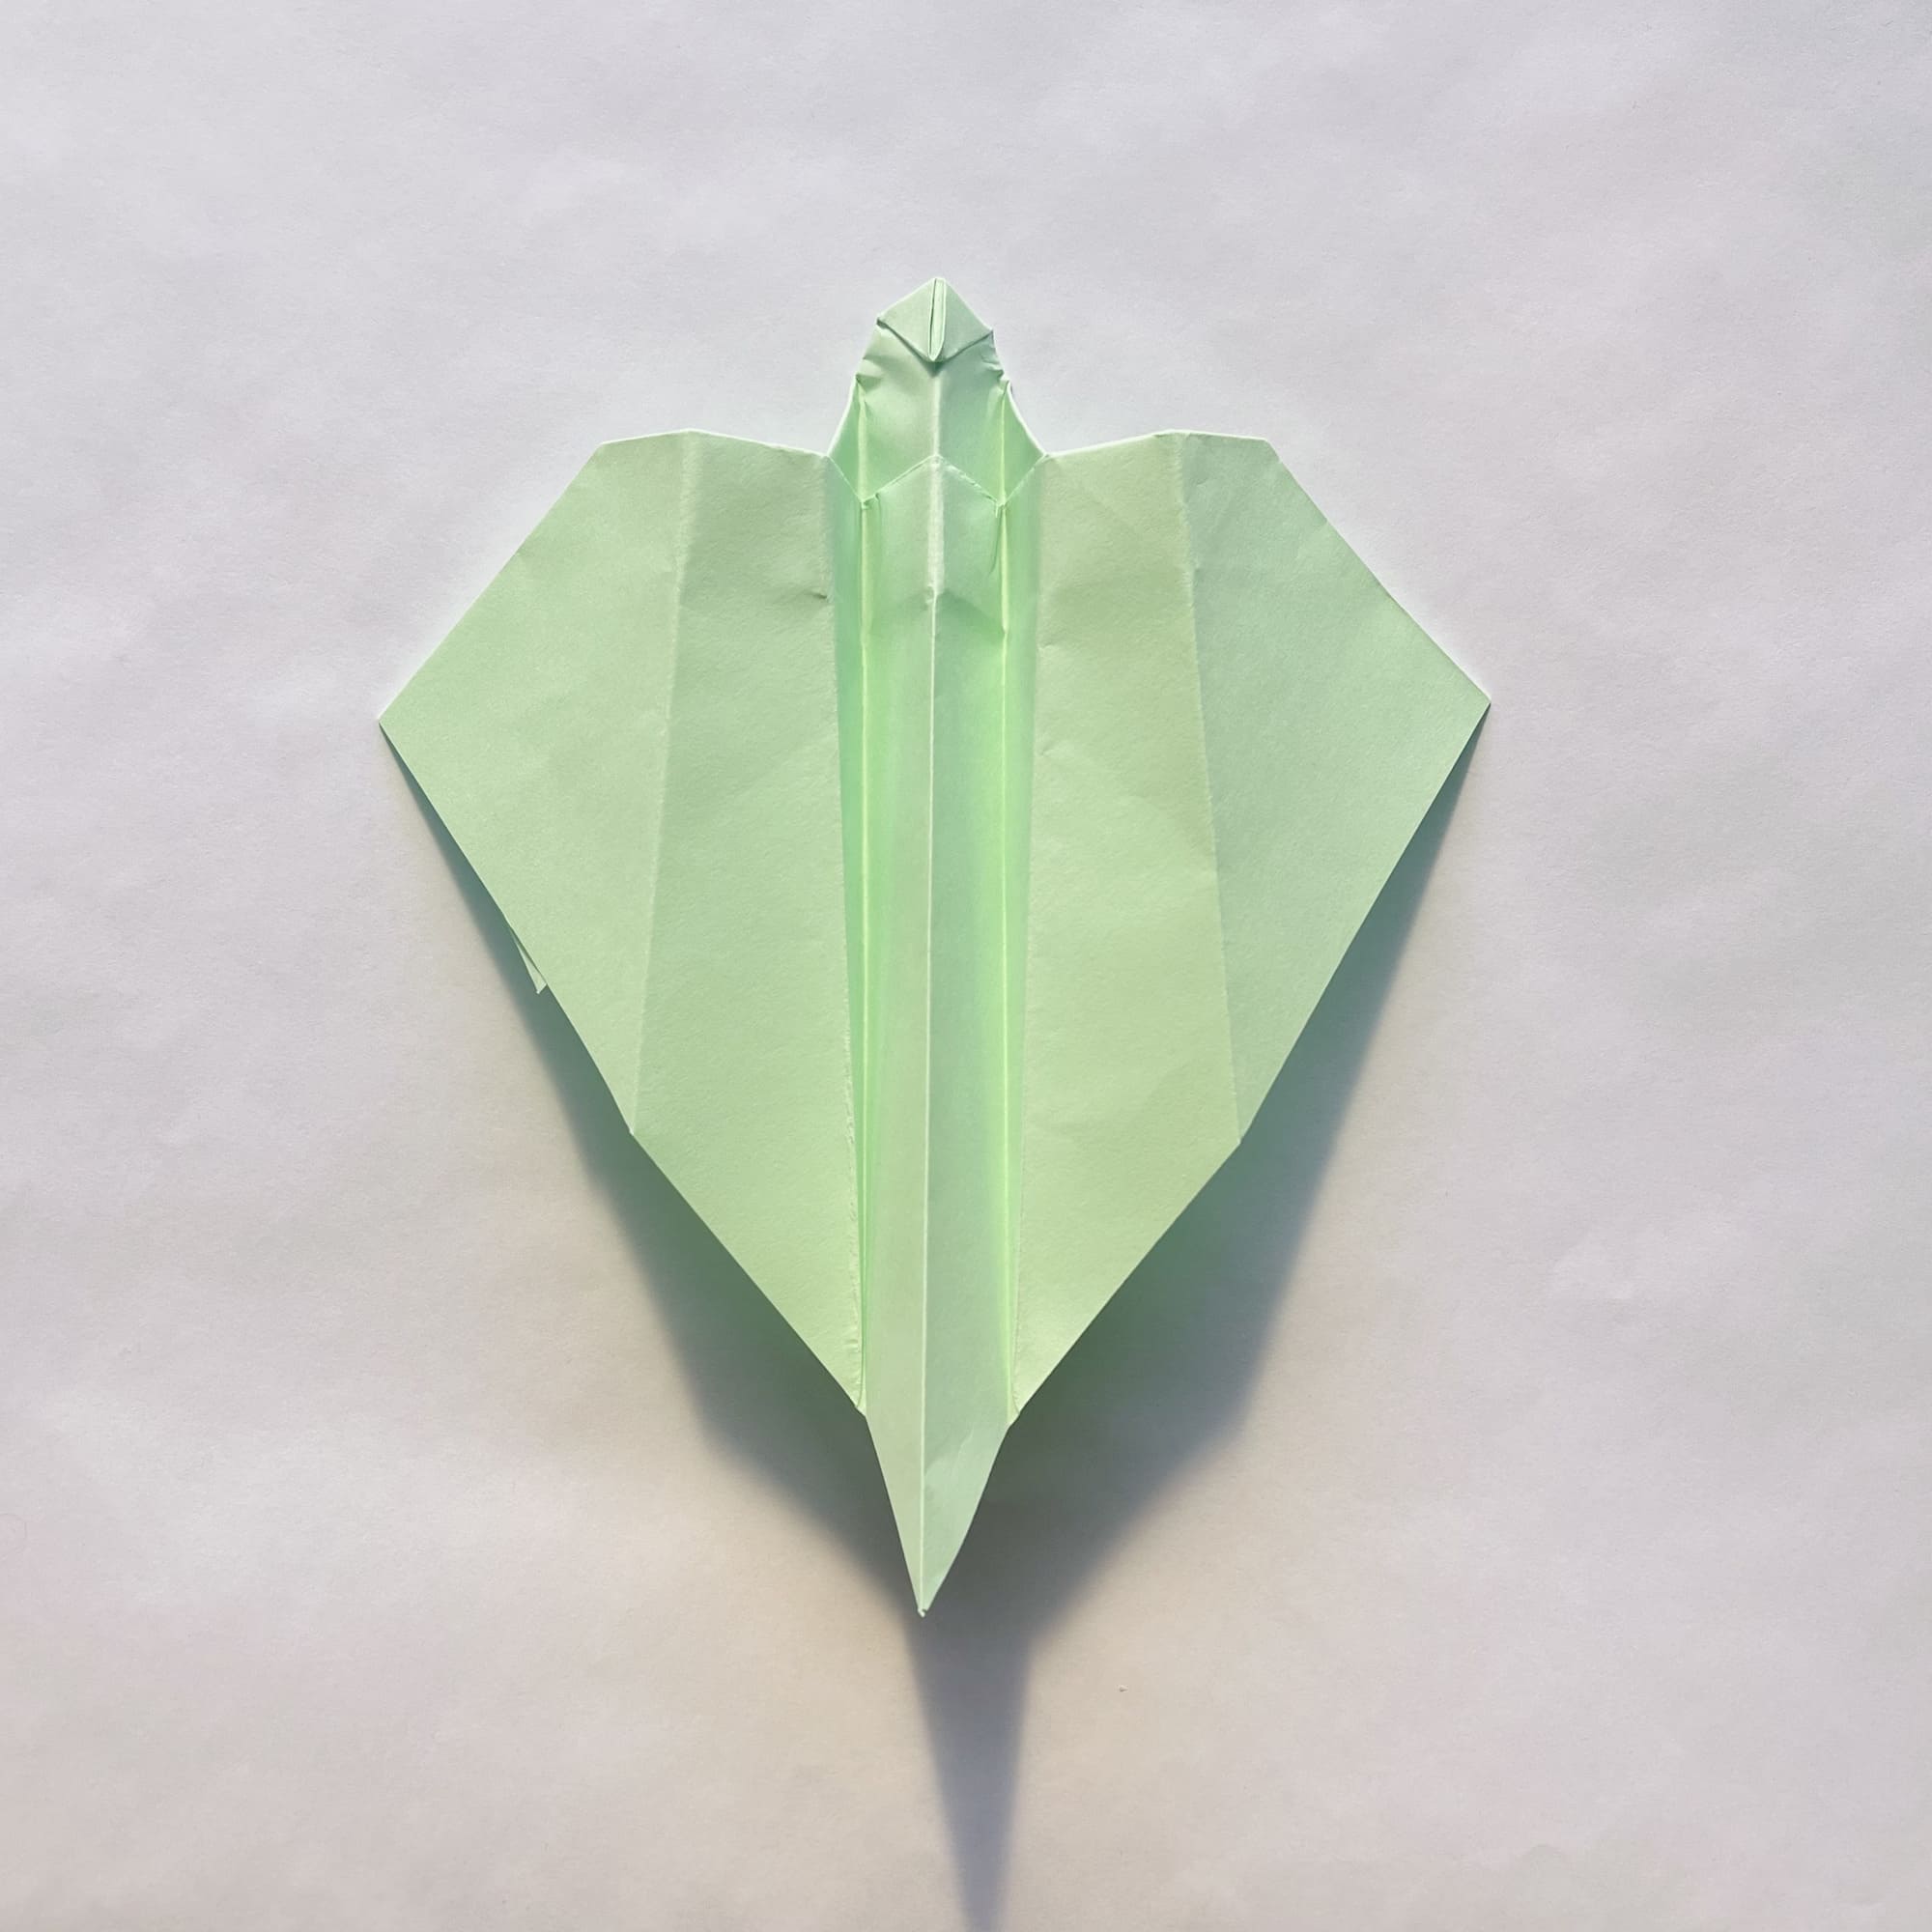
You need to turn the paper over again and fold it in half, connecting the left side with the right.
That was easy!
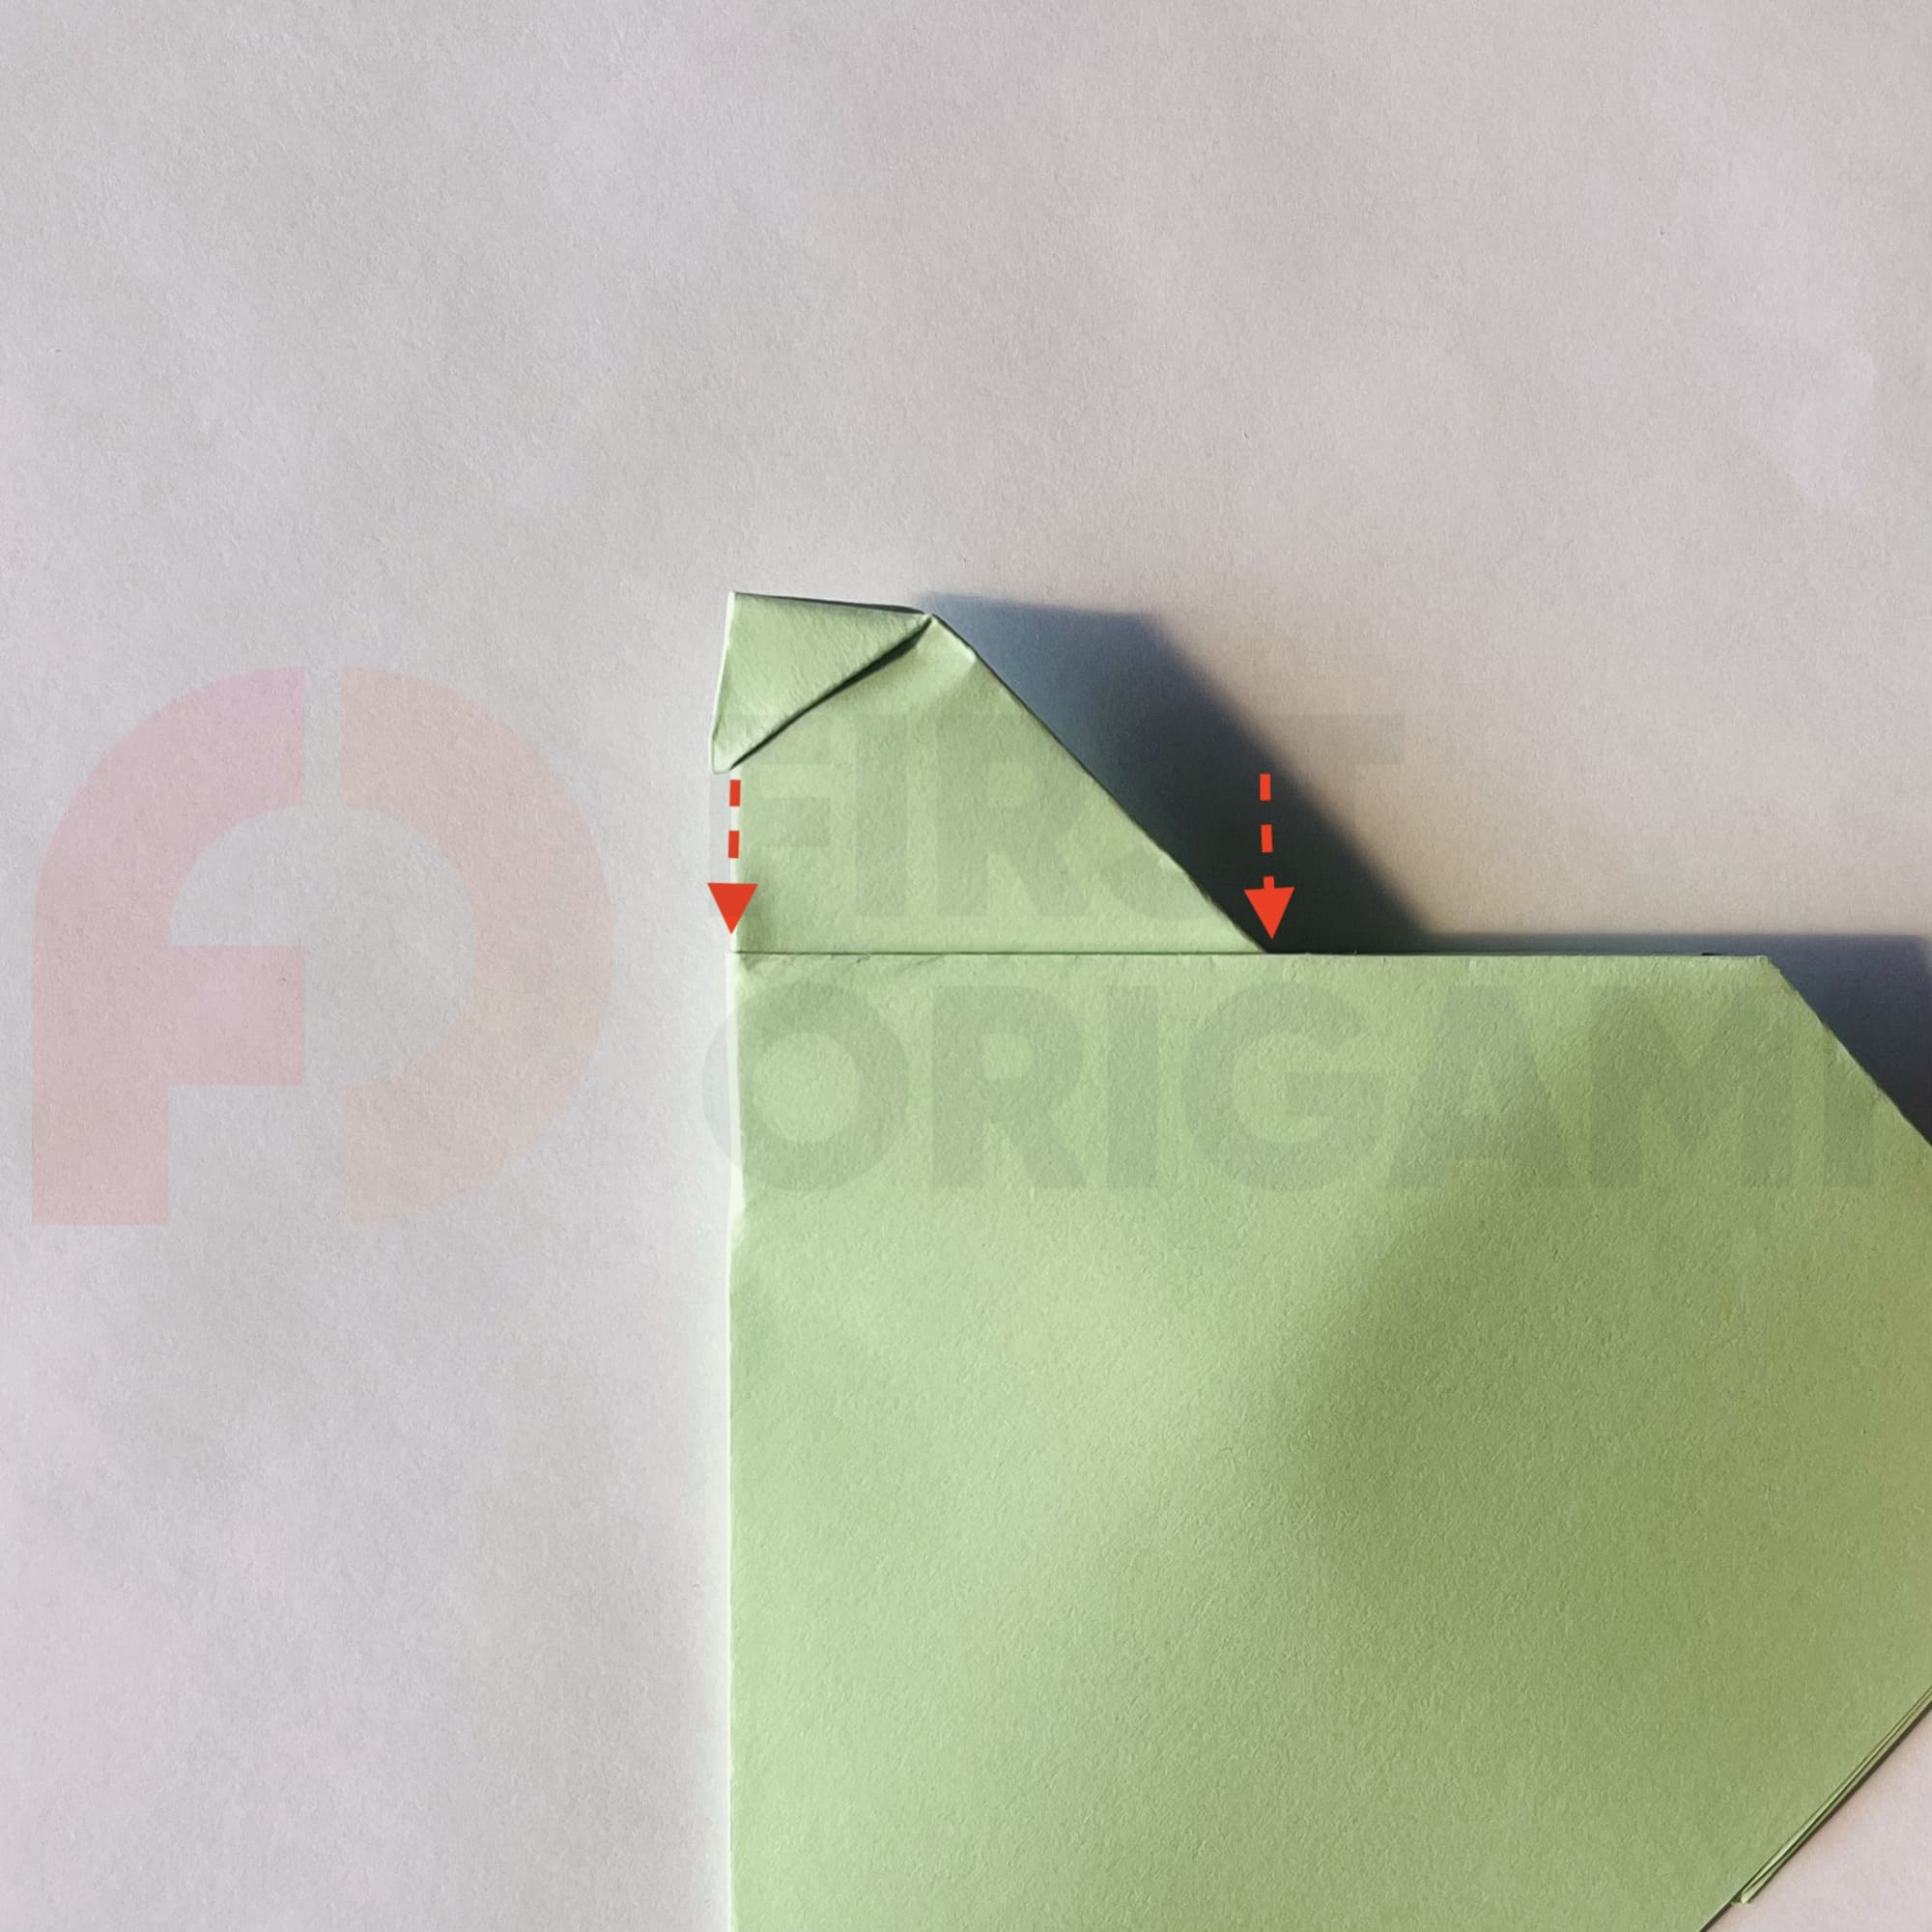
You can move on to creating the wing – fold the wing by connecting the dots marked with red arrows.
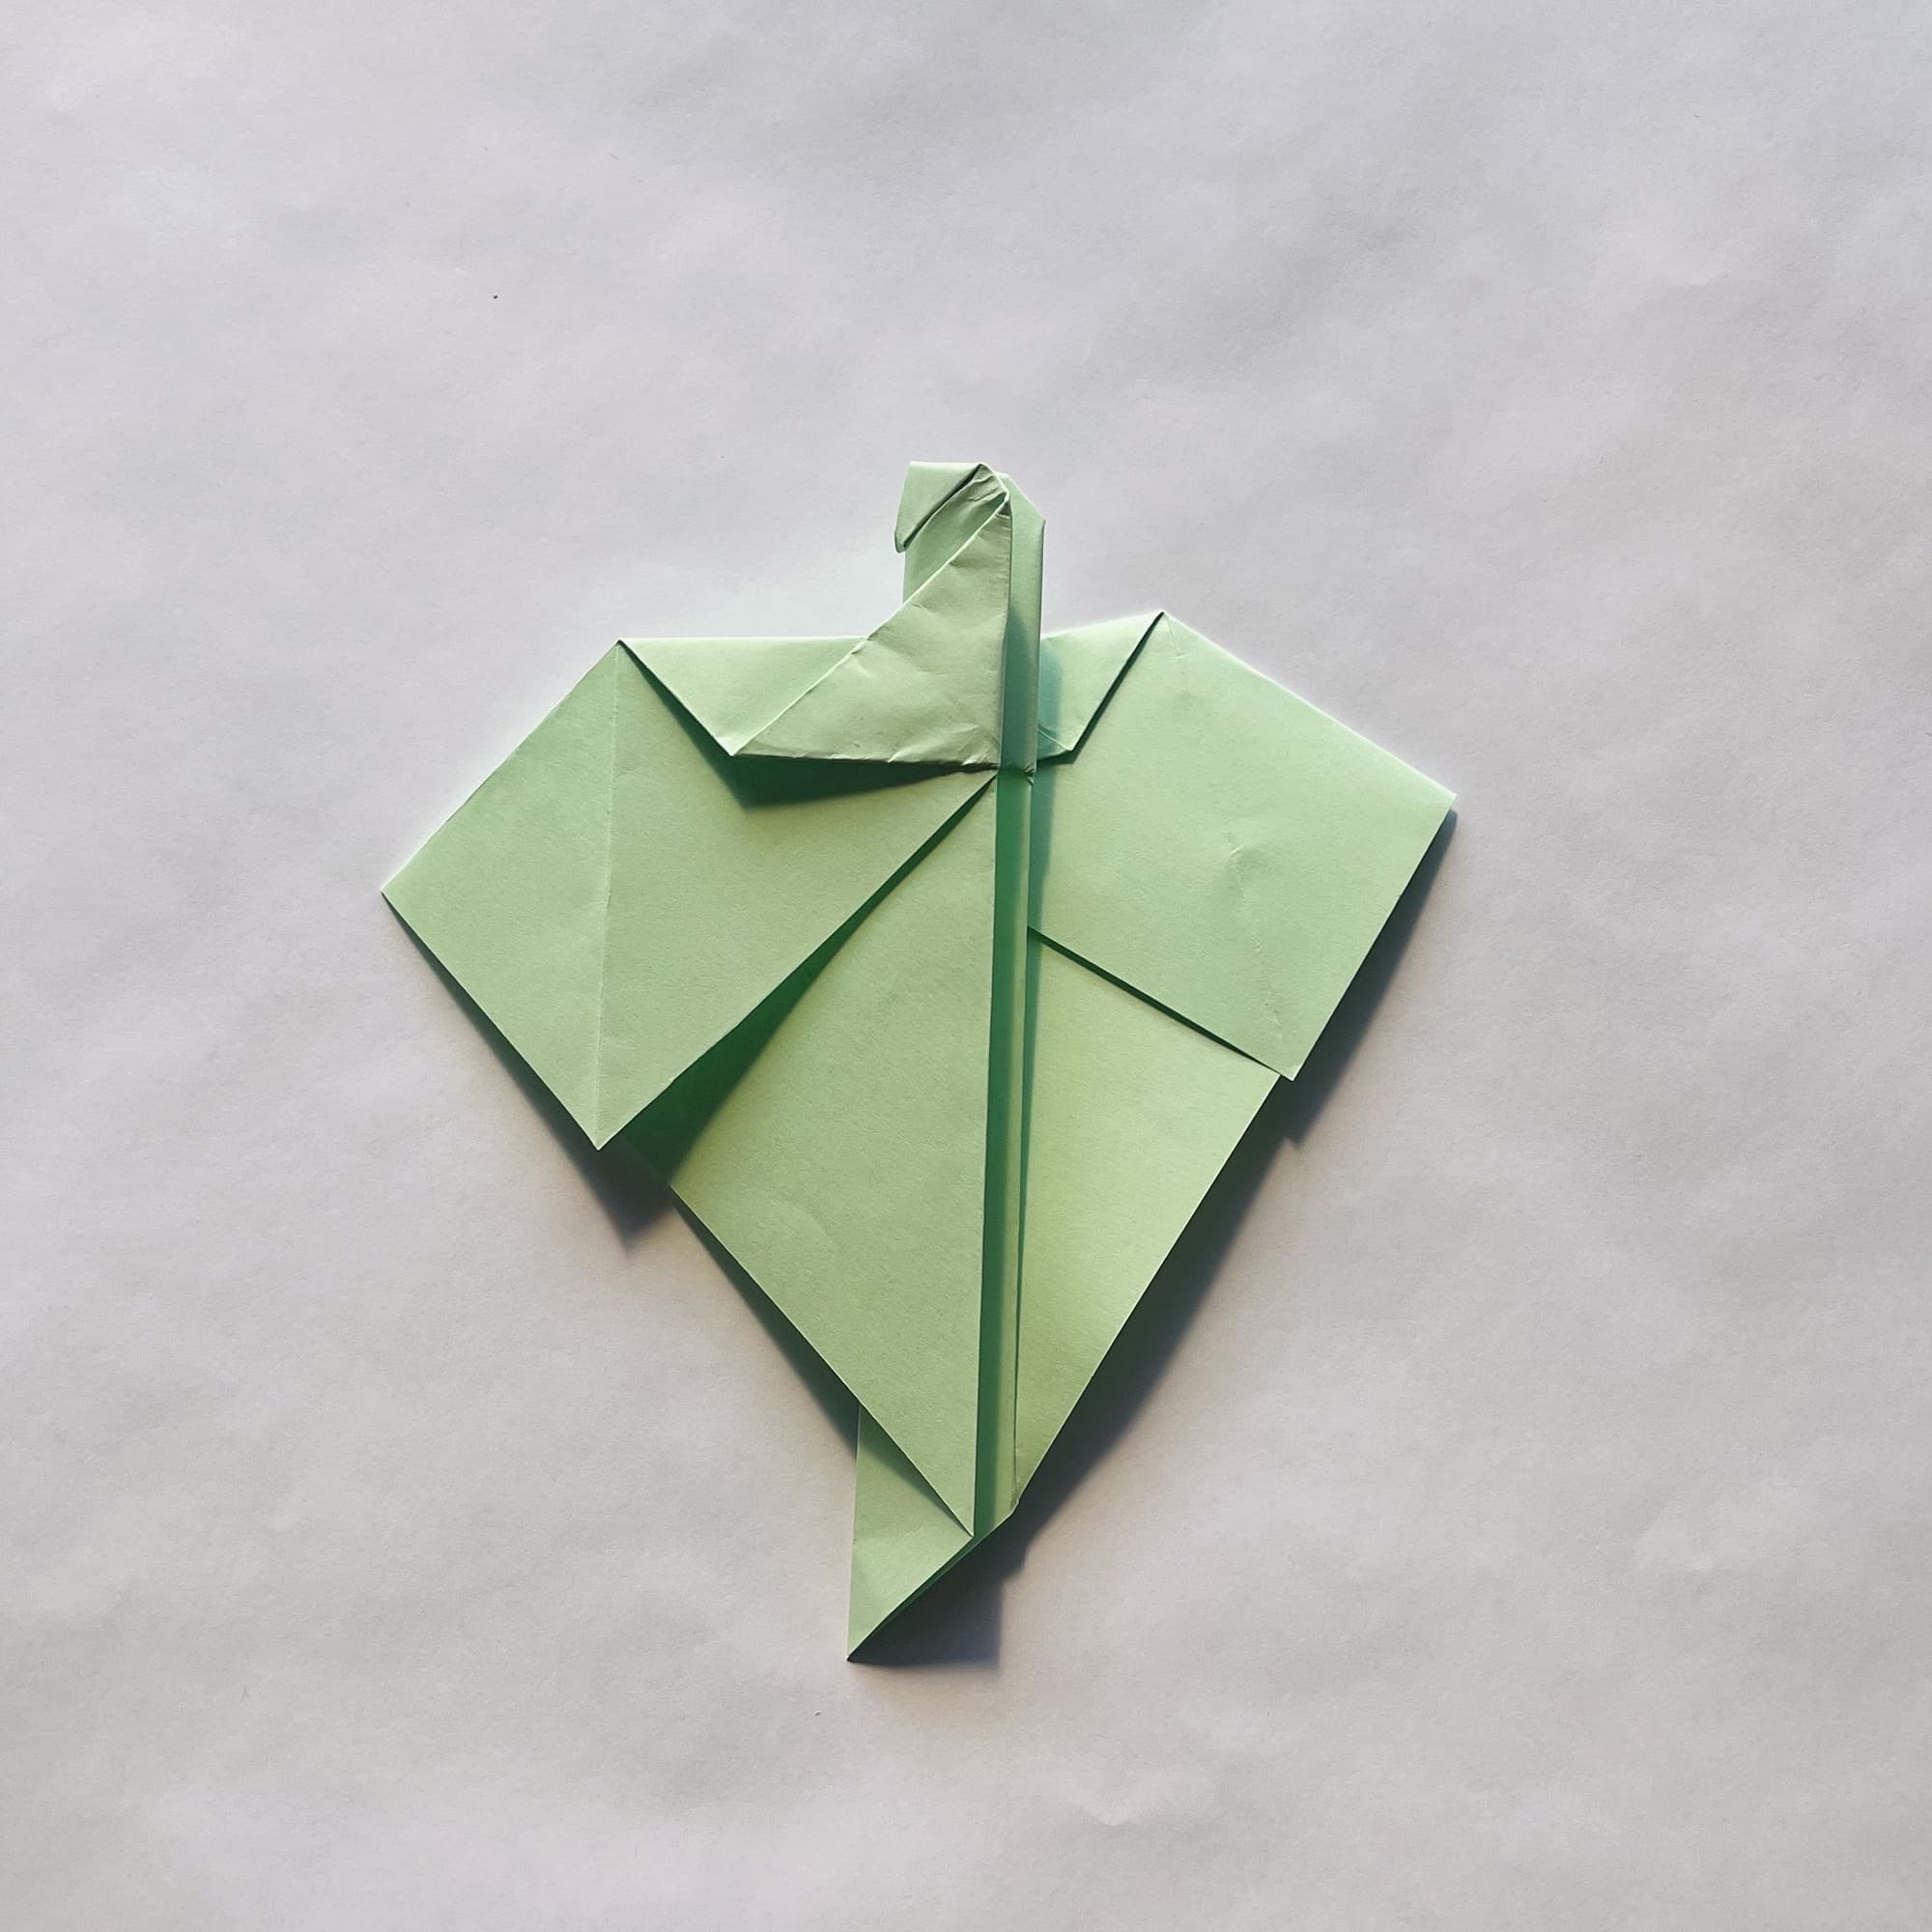
This is the last time you would need to turn the paper over.
This is necessary to fold the second wing symmetrically.
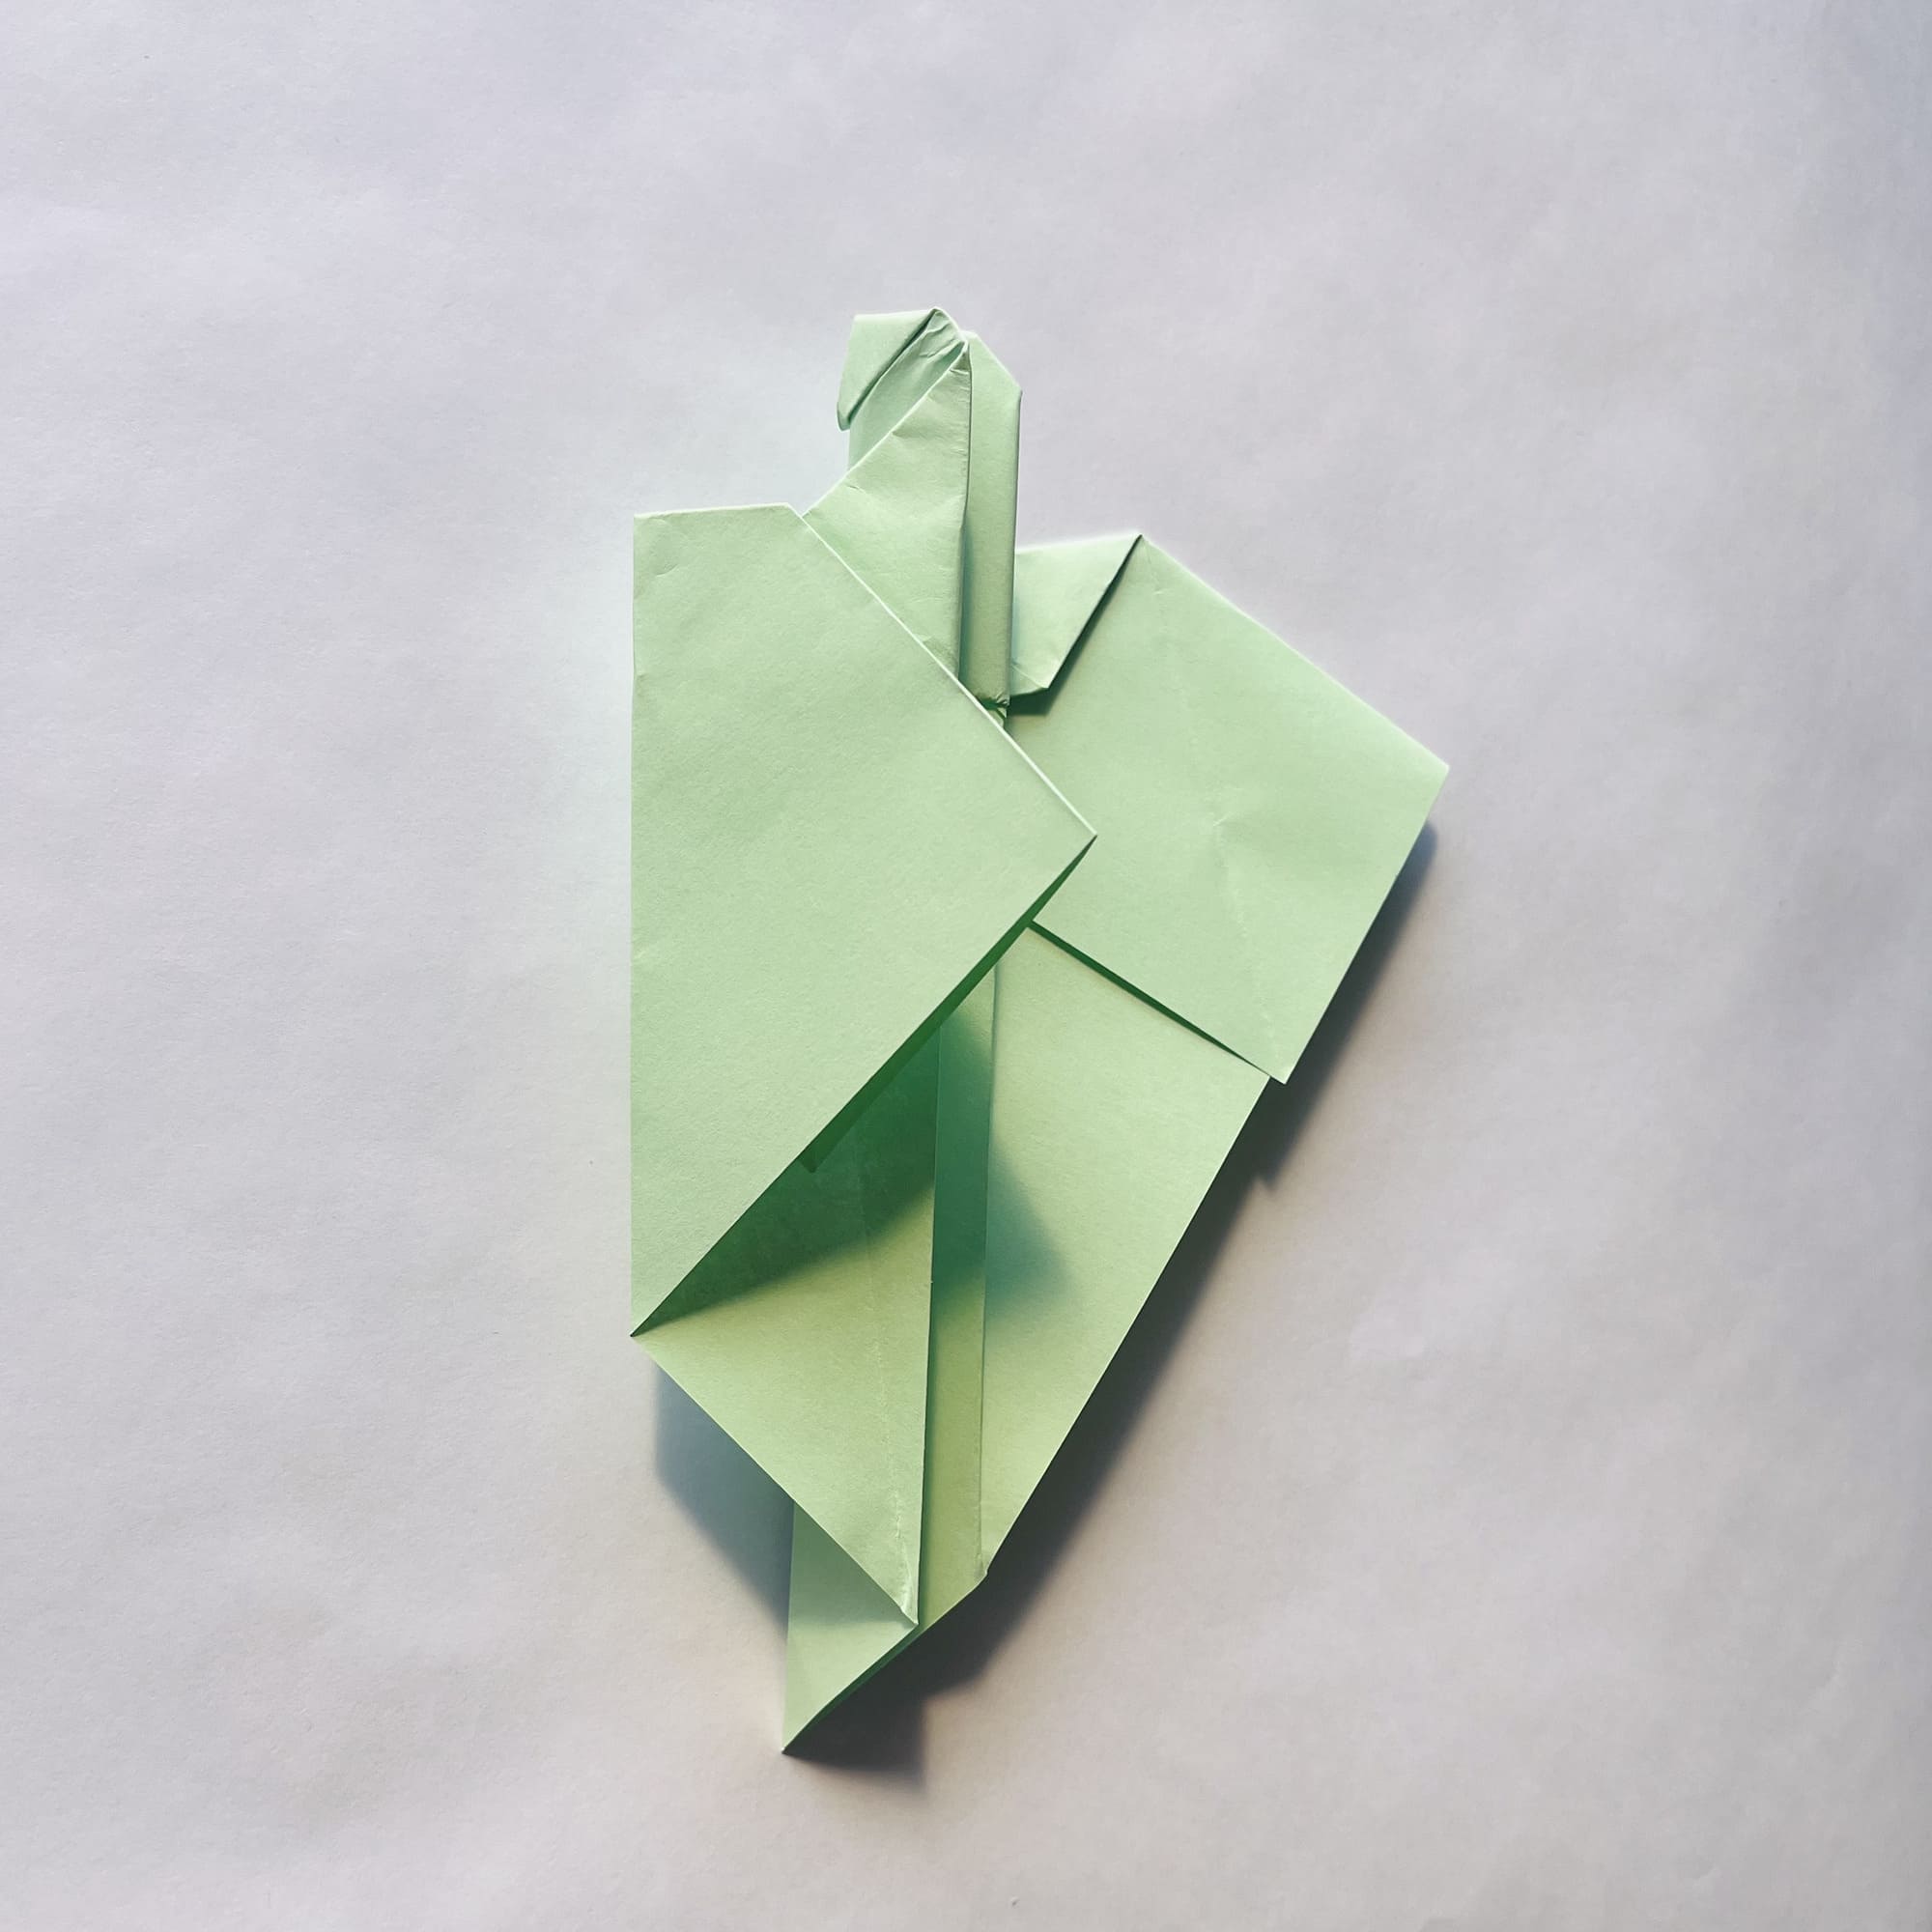
Your next step would be to bend the wing along the dotted line.
You should repeat this steps 22-23 on the other side.
Now, you can open the wing a little and make a fold by connecting points A and B.
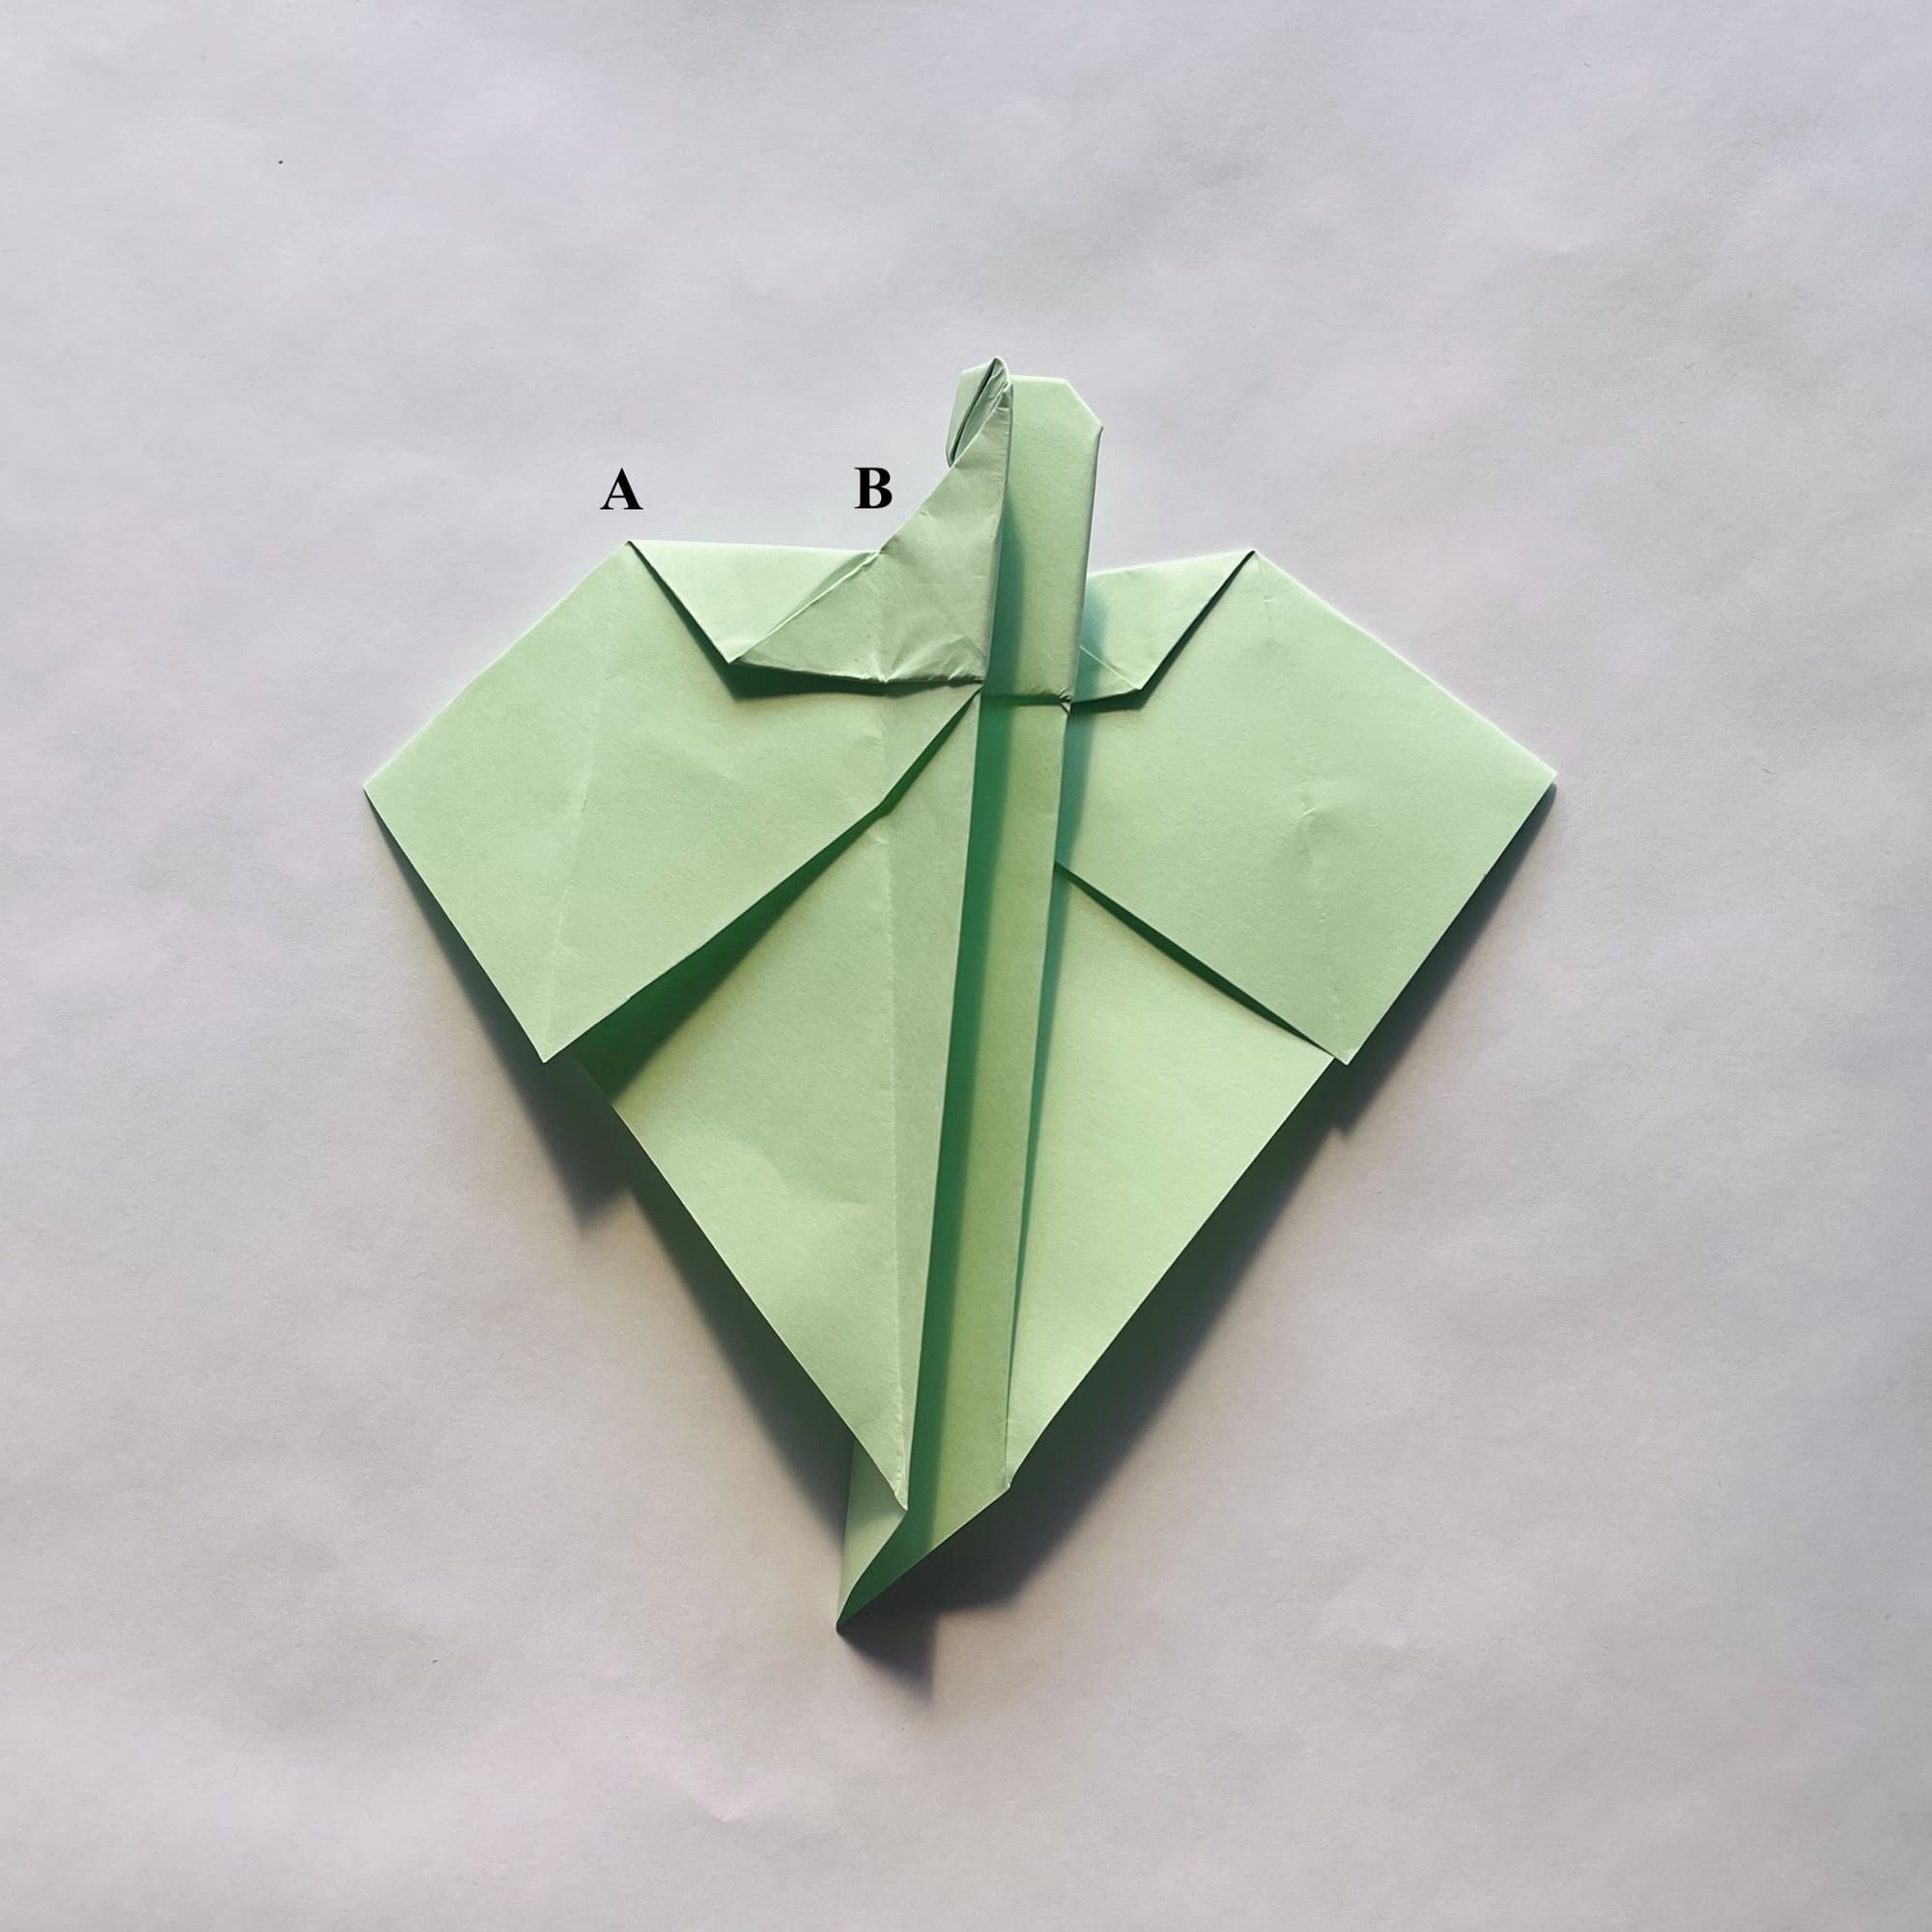
You are at the final step! You simply need to repeat steps 26-28 on the other side.
Your Hand Dragon is ready!
It’s time to test it in flight and see what it can do. To make it fly, you should take it by the base and launch it straight or at an angle into the air. Thanks to the special shape of the wings, the plane will always circle and land next to you. Your dragon is surely well-trained and loves its owner!


