Origami Pig Base
The base “Pig” is used to create other models, such as pigs and frogs. Learn how to assemble it – this skill will definitely come in handy in the future, especially if you are just starting to do origami. It is not difficult to assemble such a figure. The main thing is to follow our step-by-step instructions. You will certainly succeed!
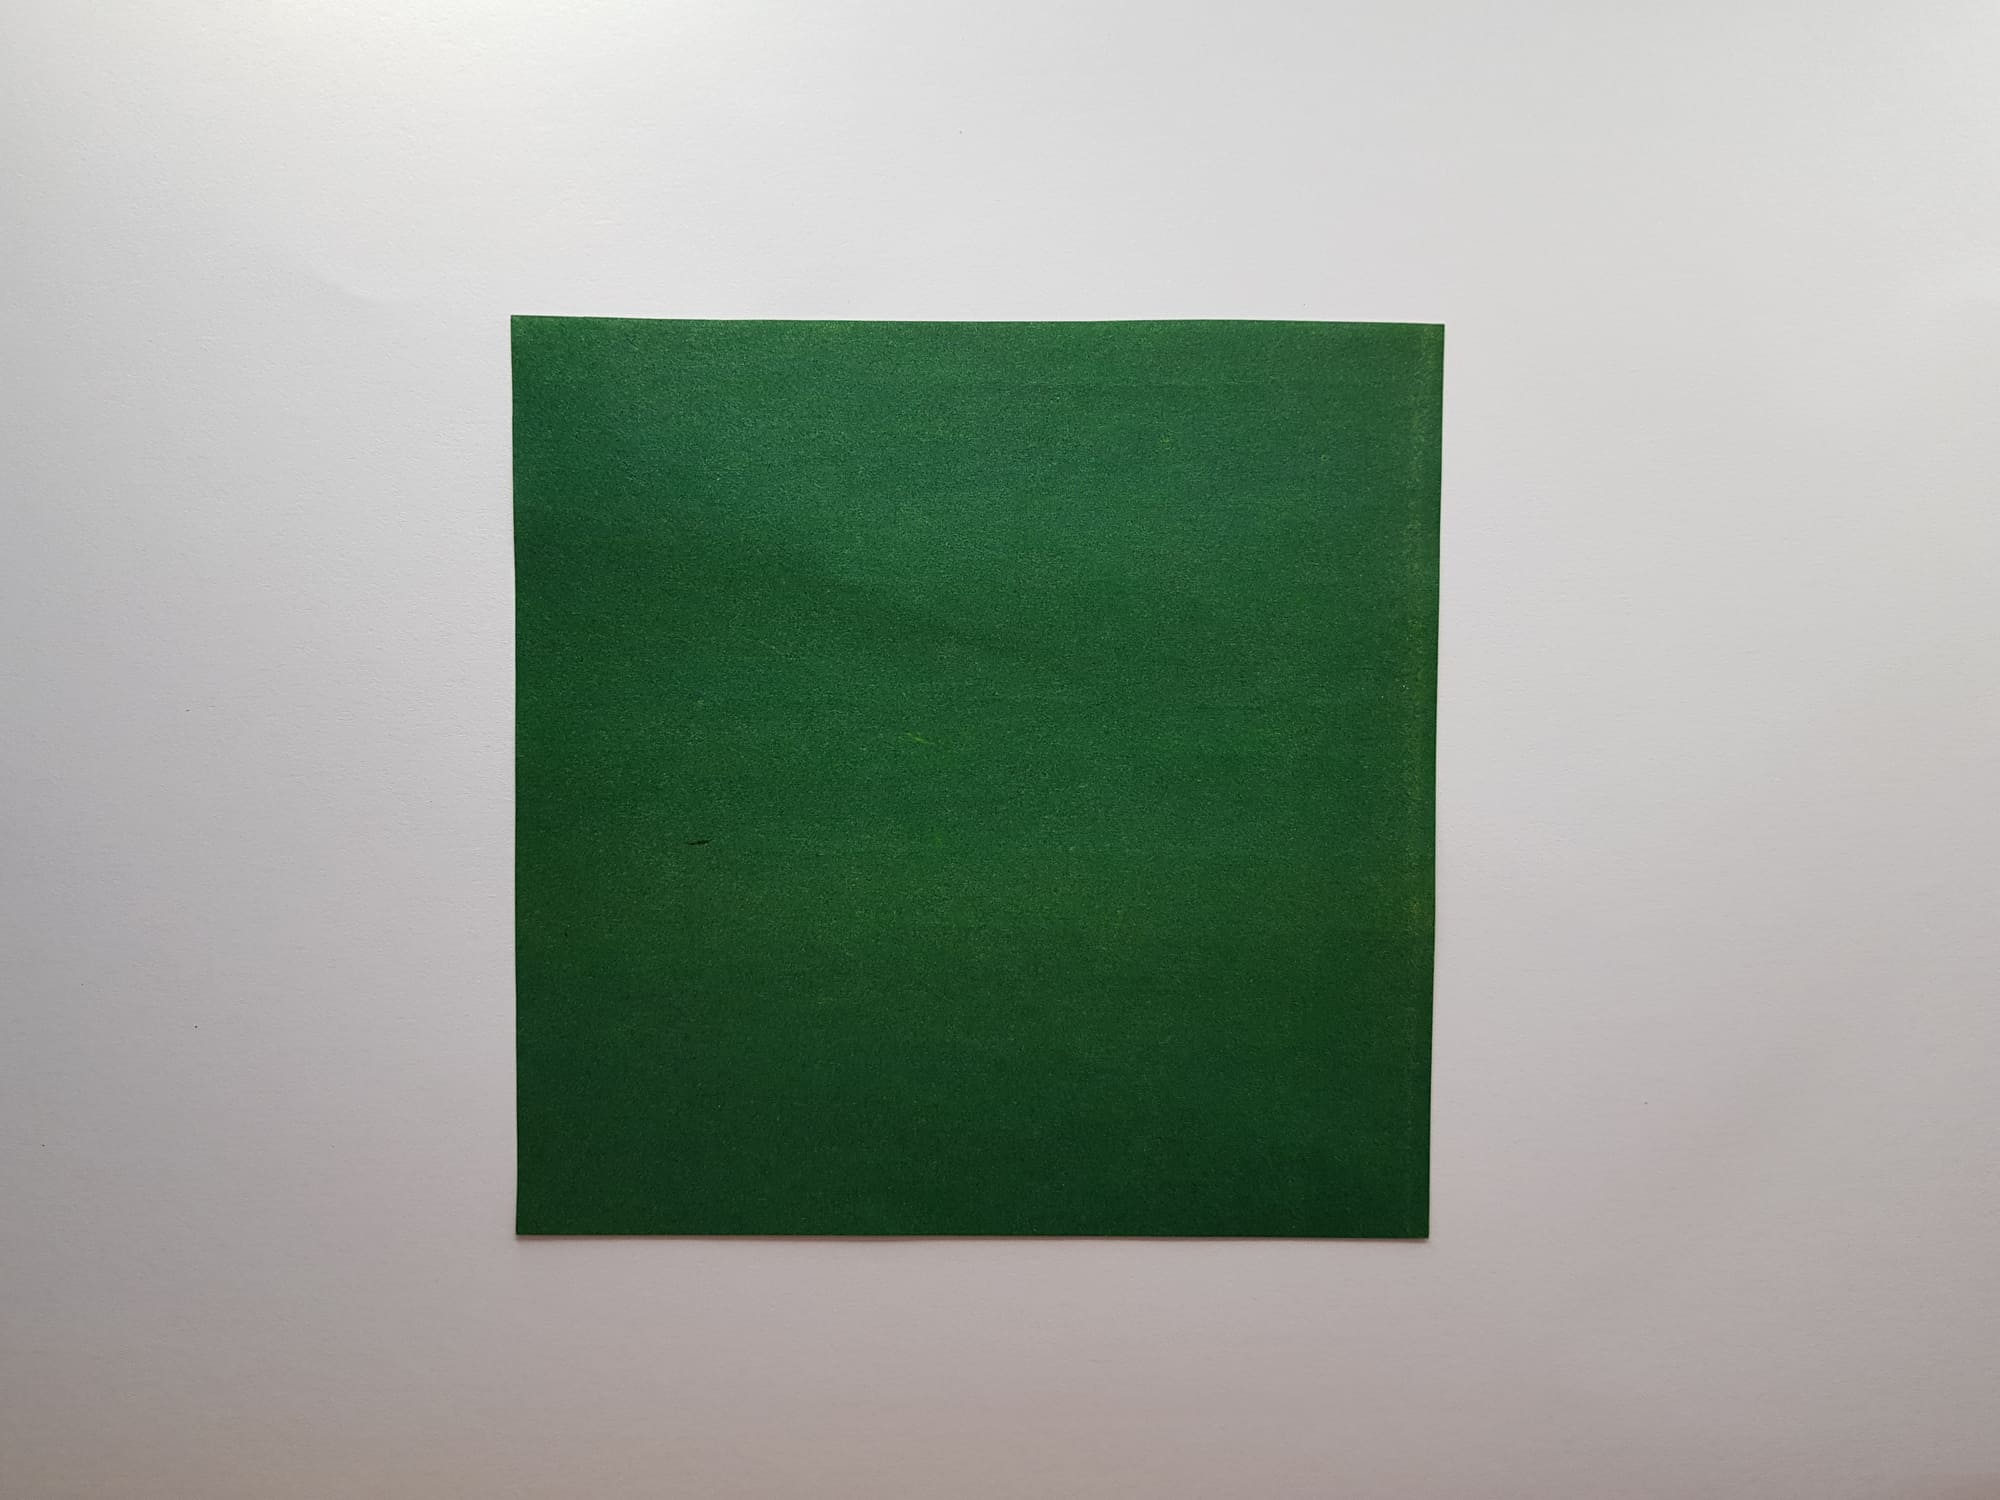
For starters, prepare a square of colored paper measuring 15×15 or it can be bigger or smaller.
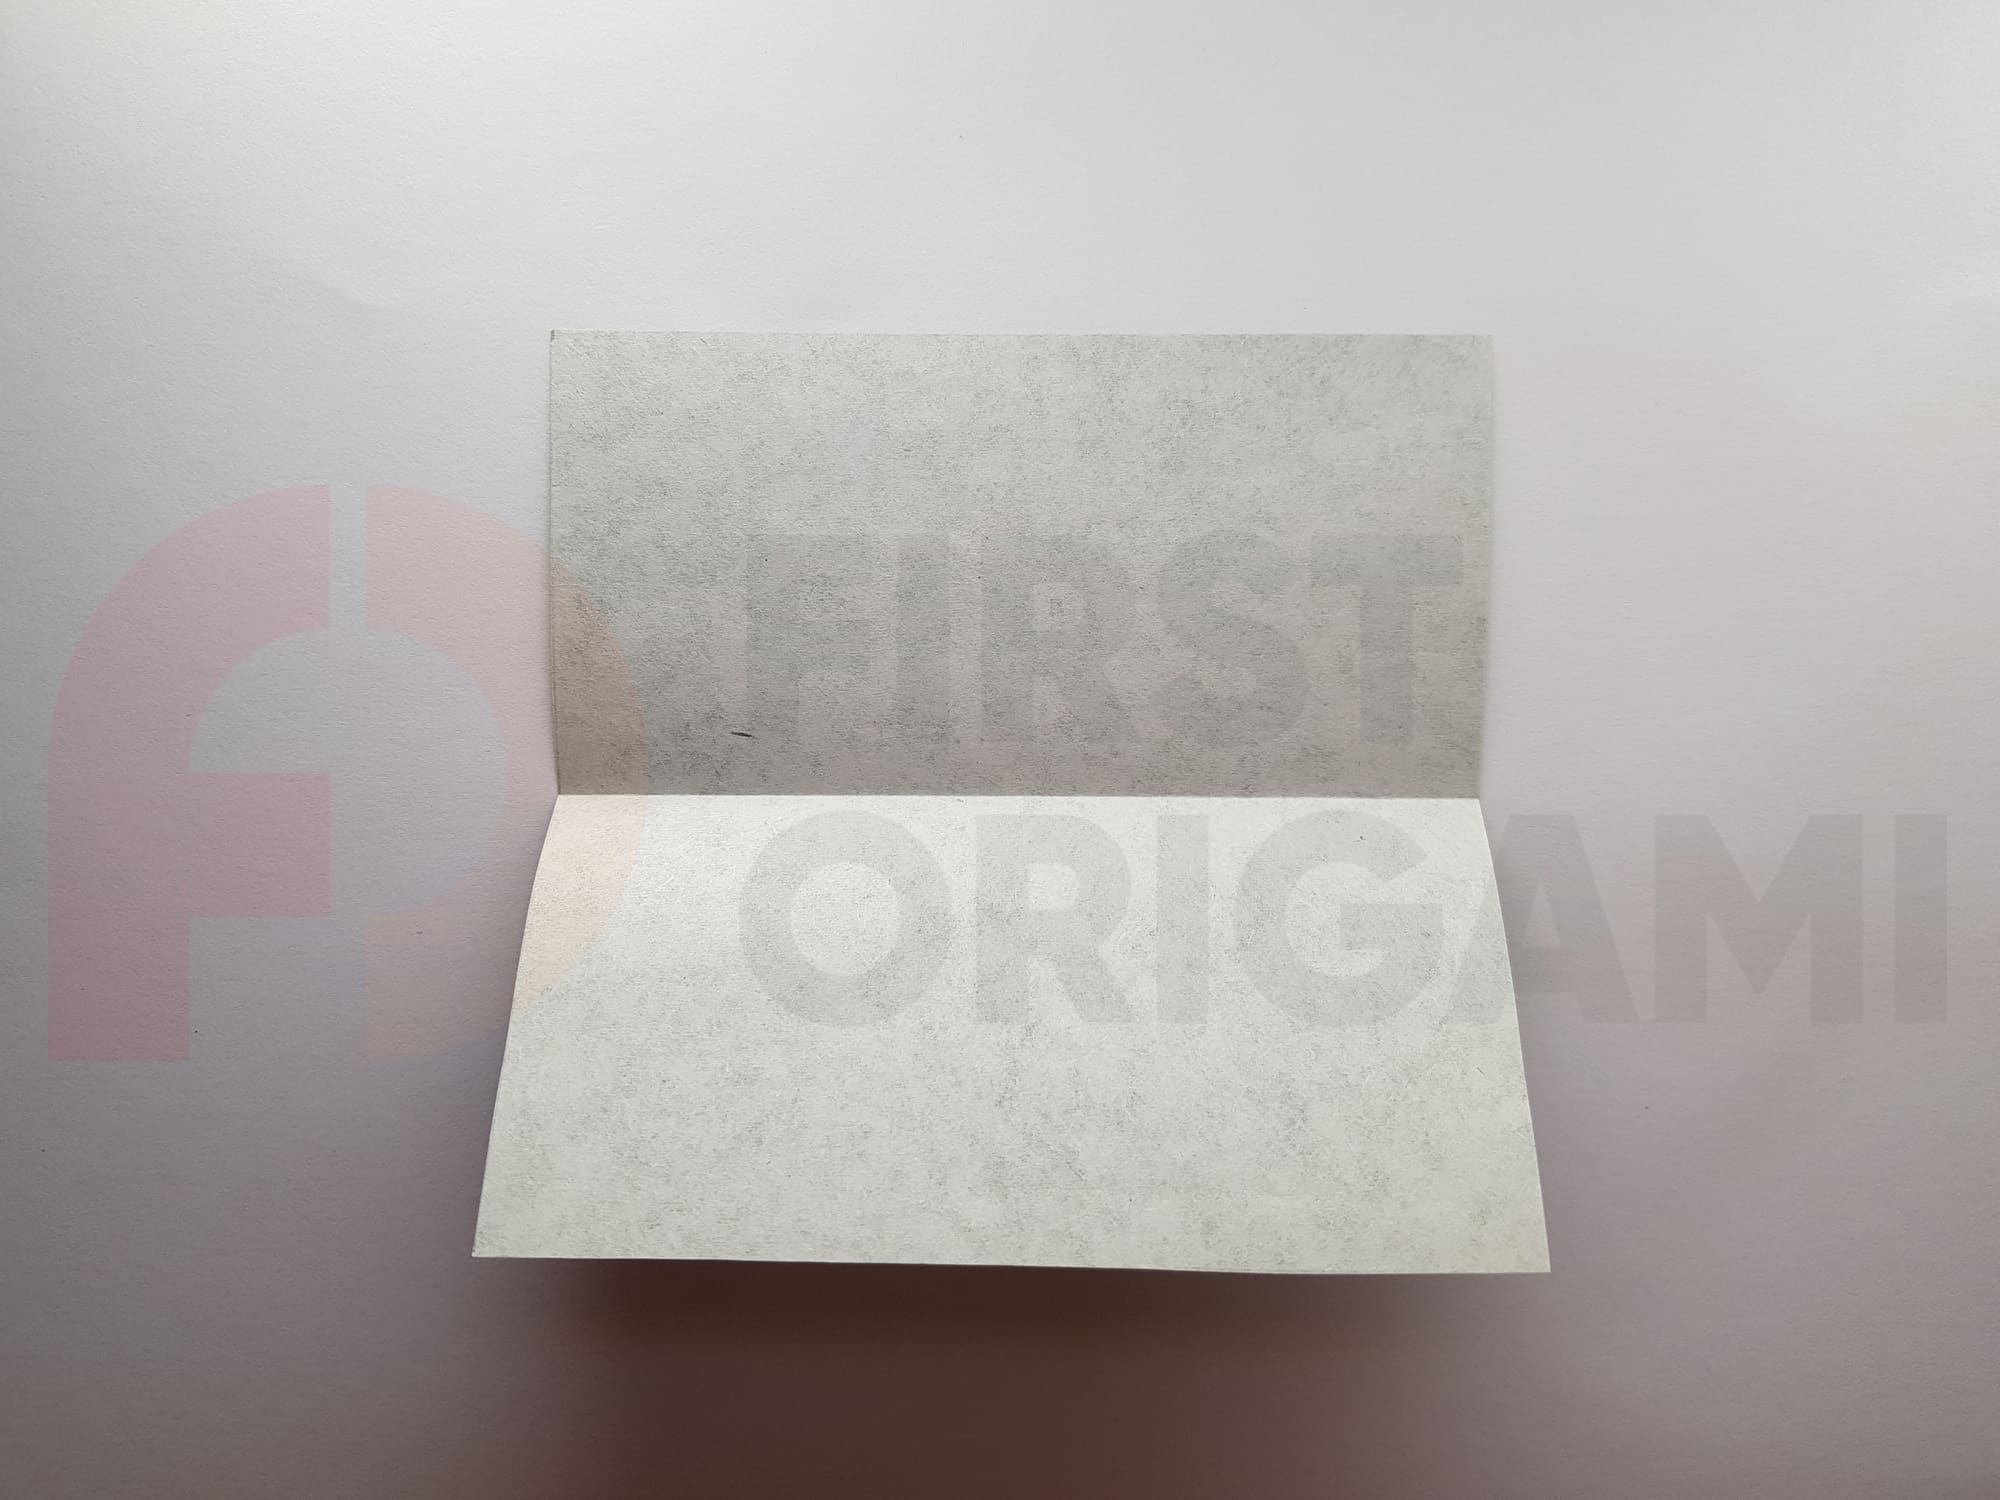
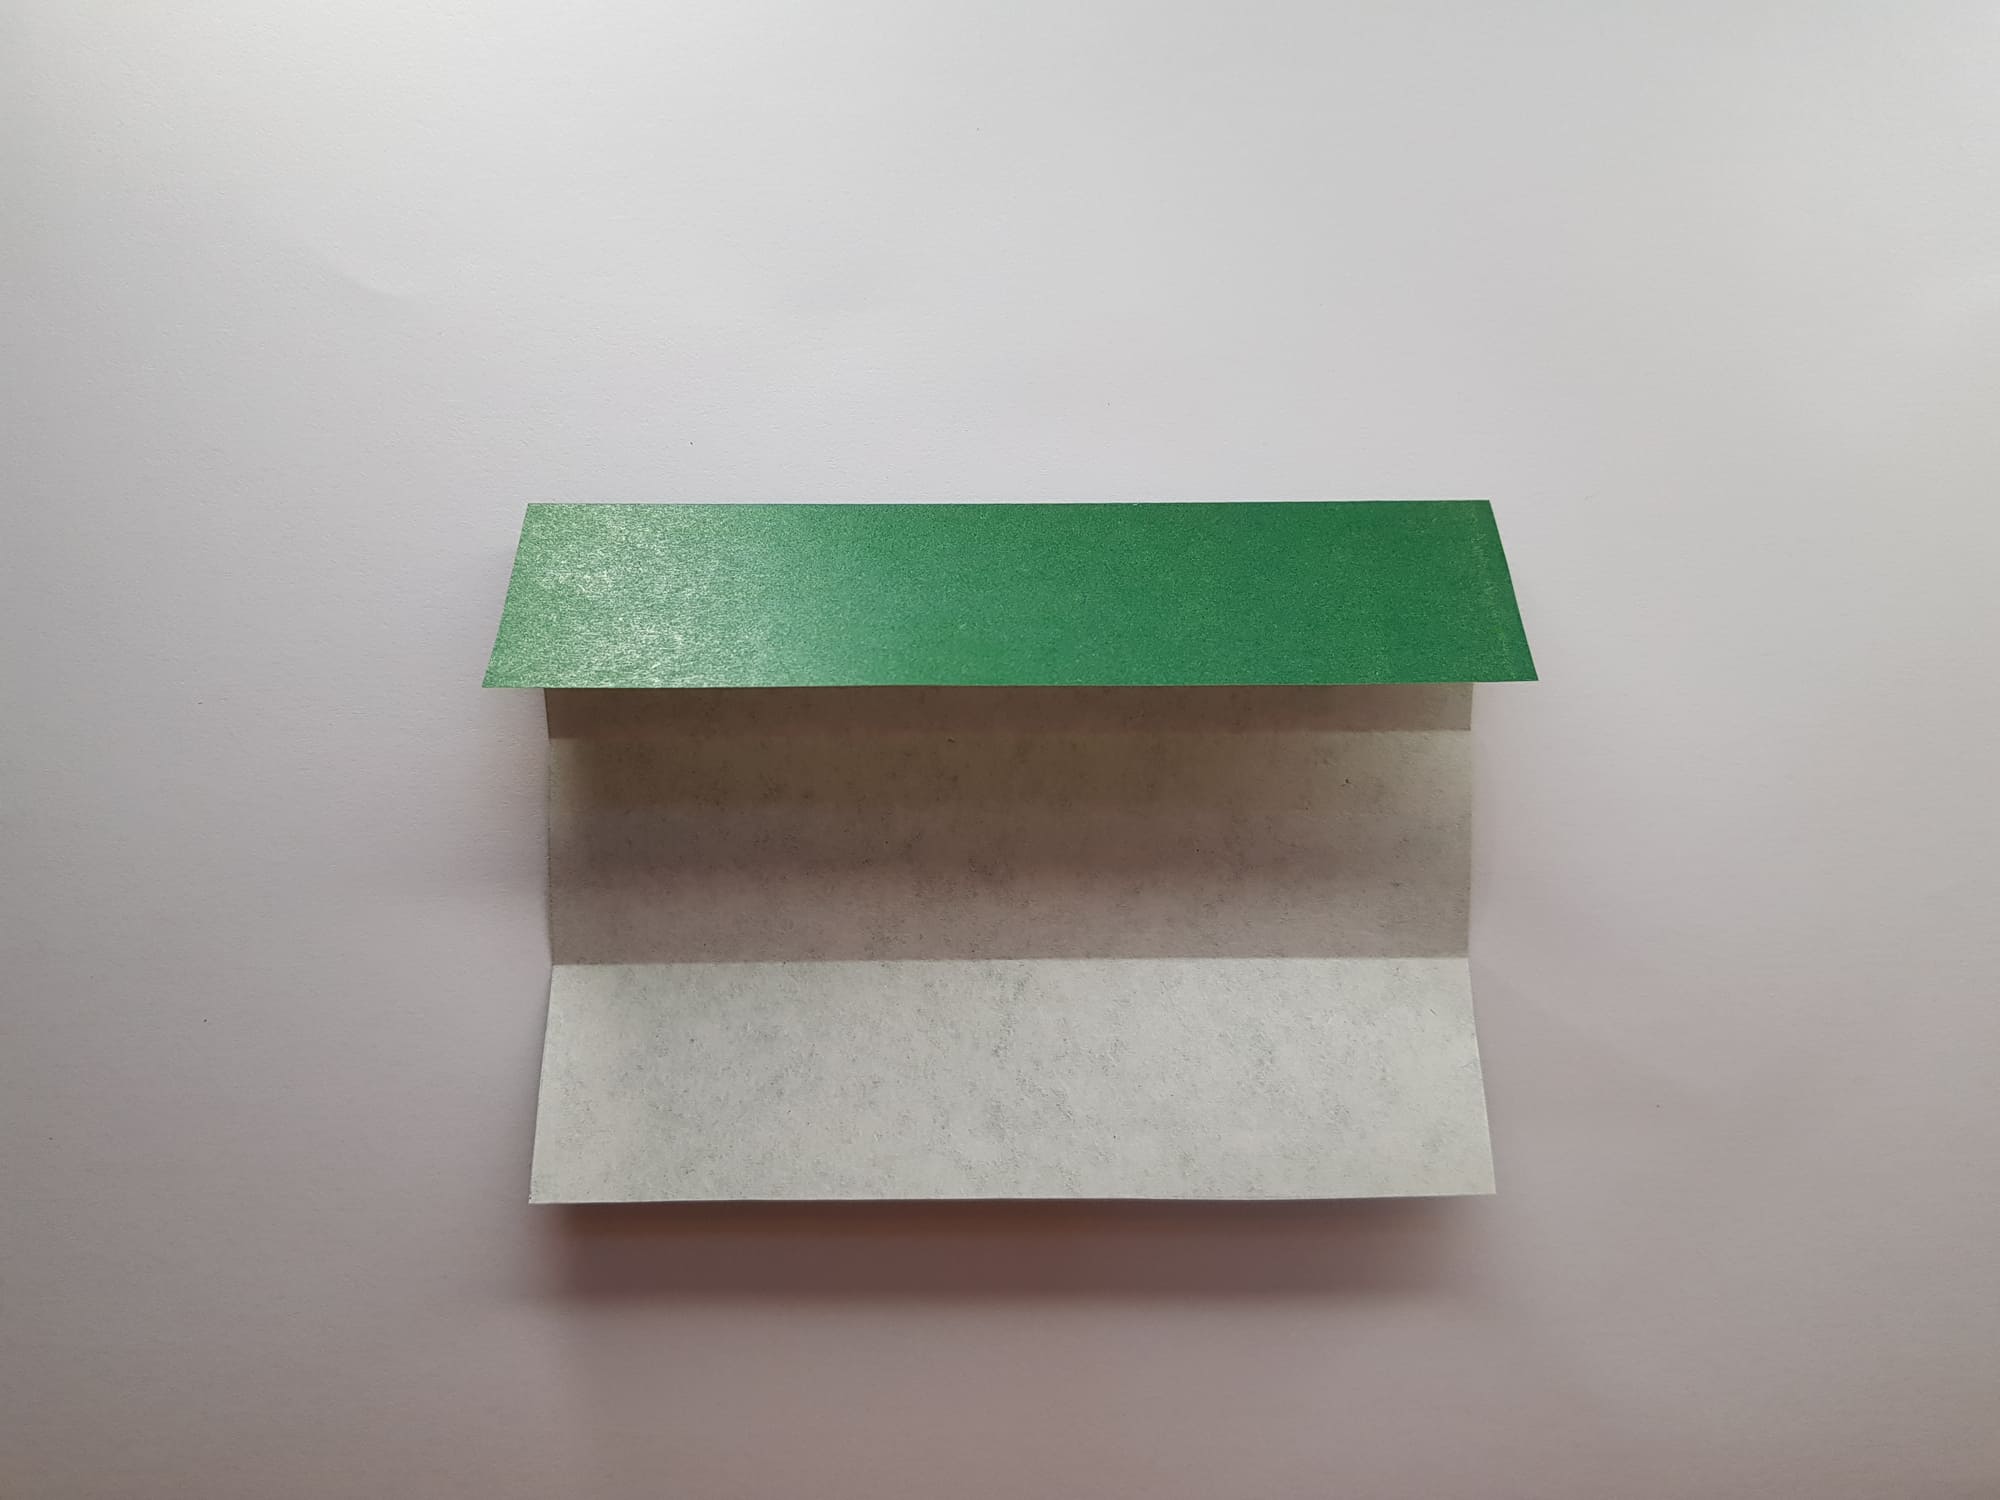
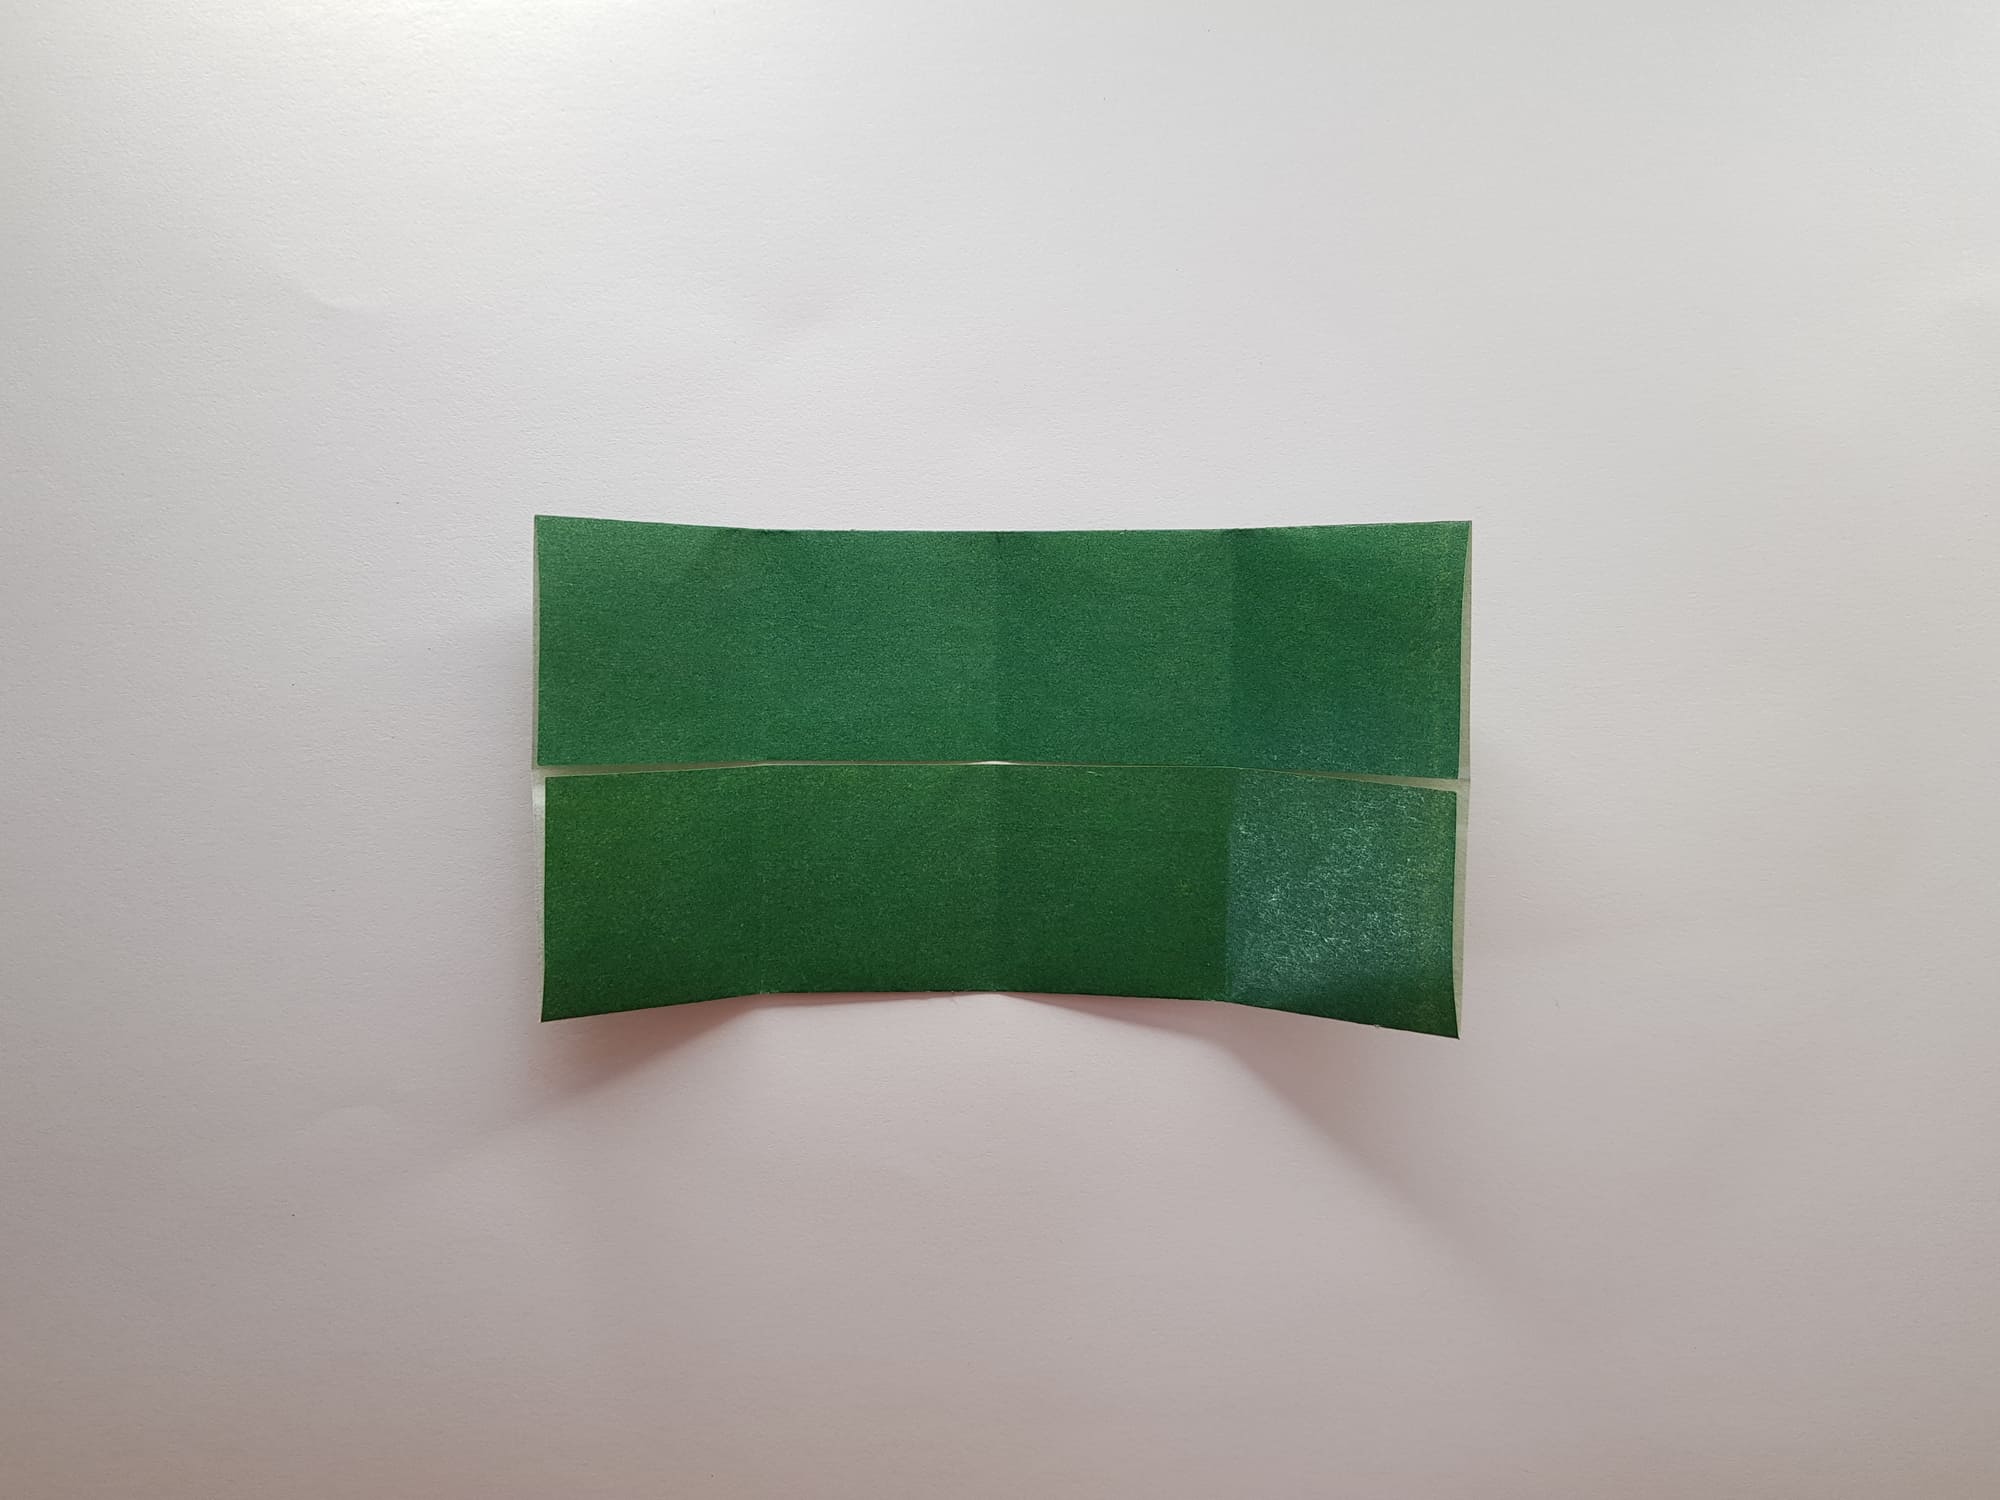
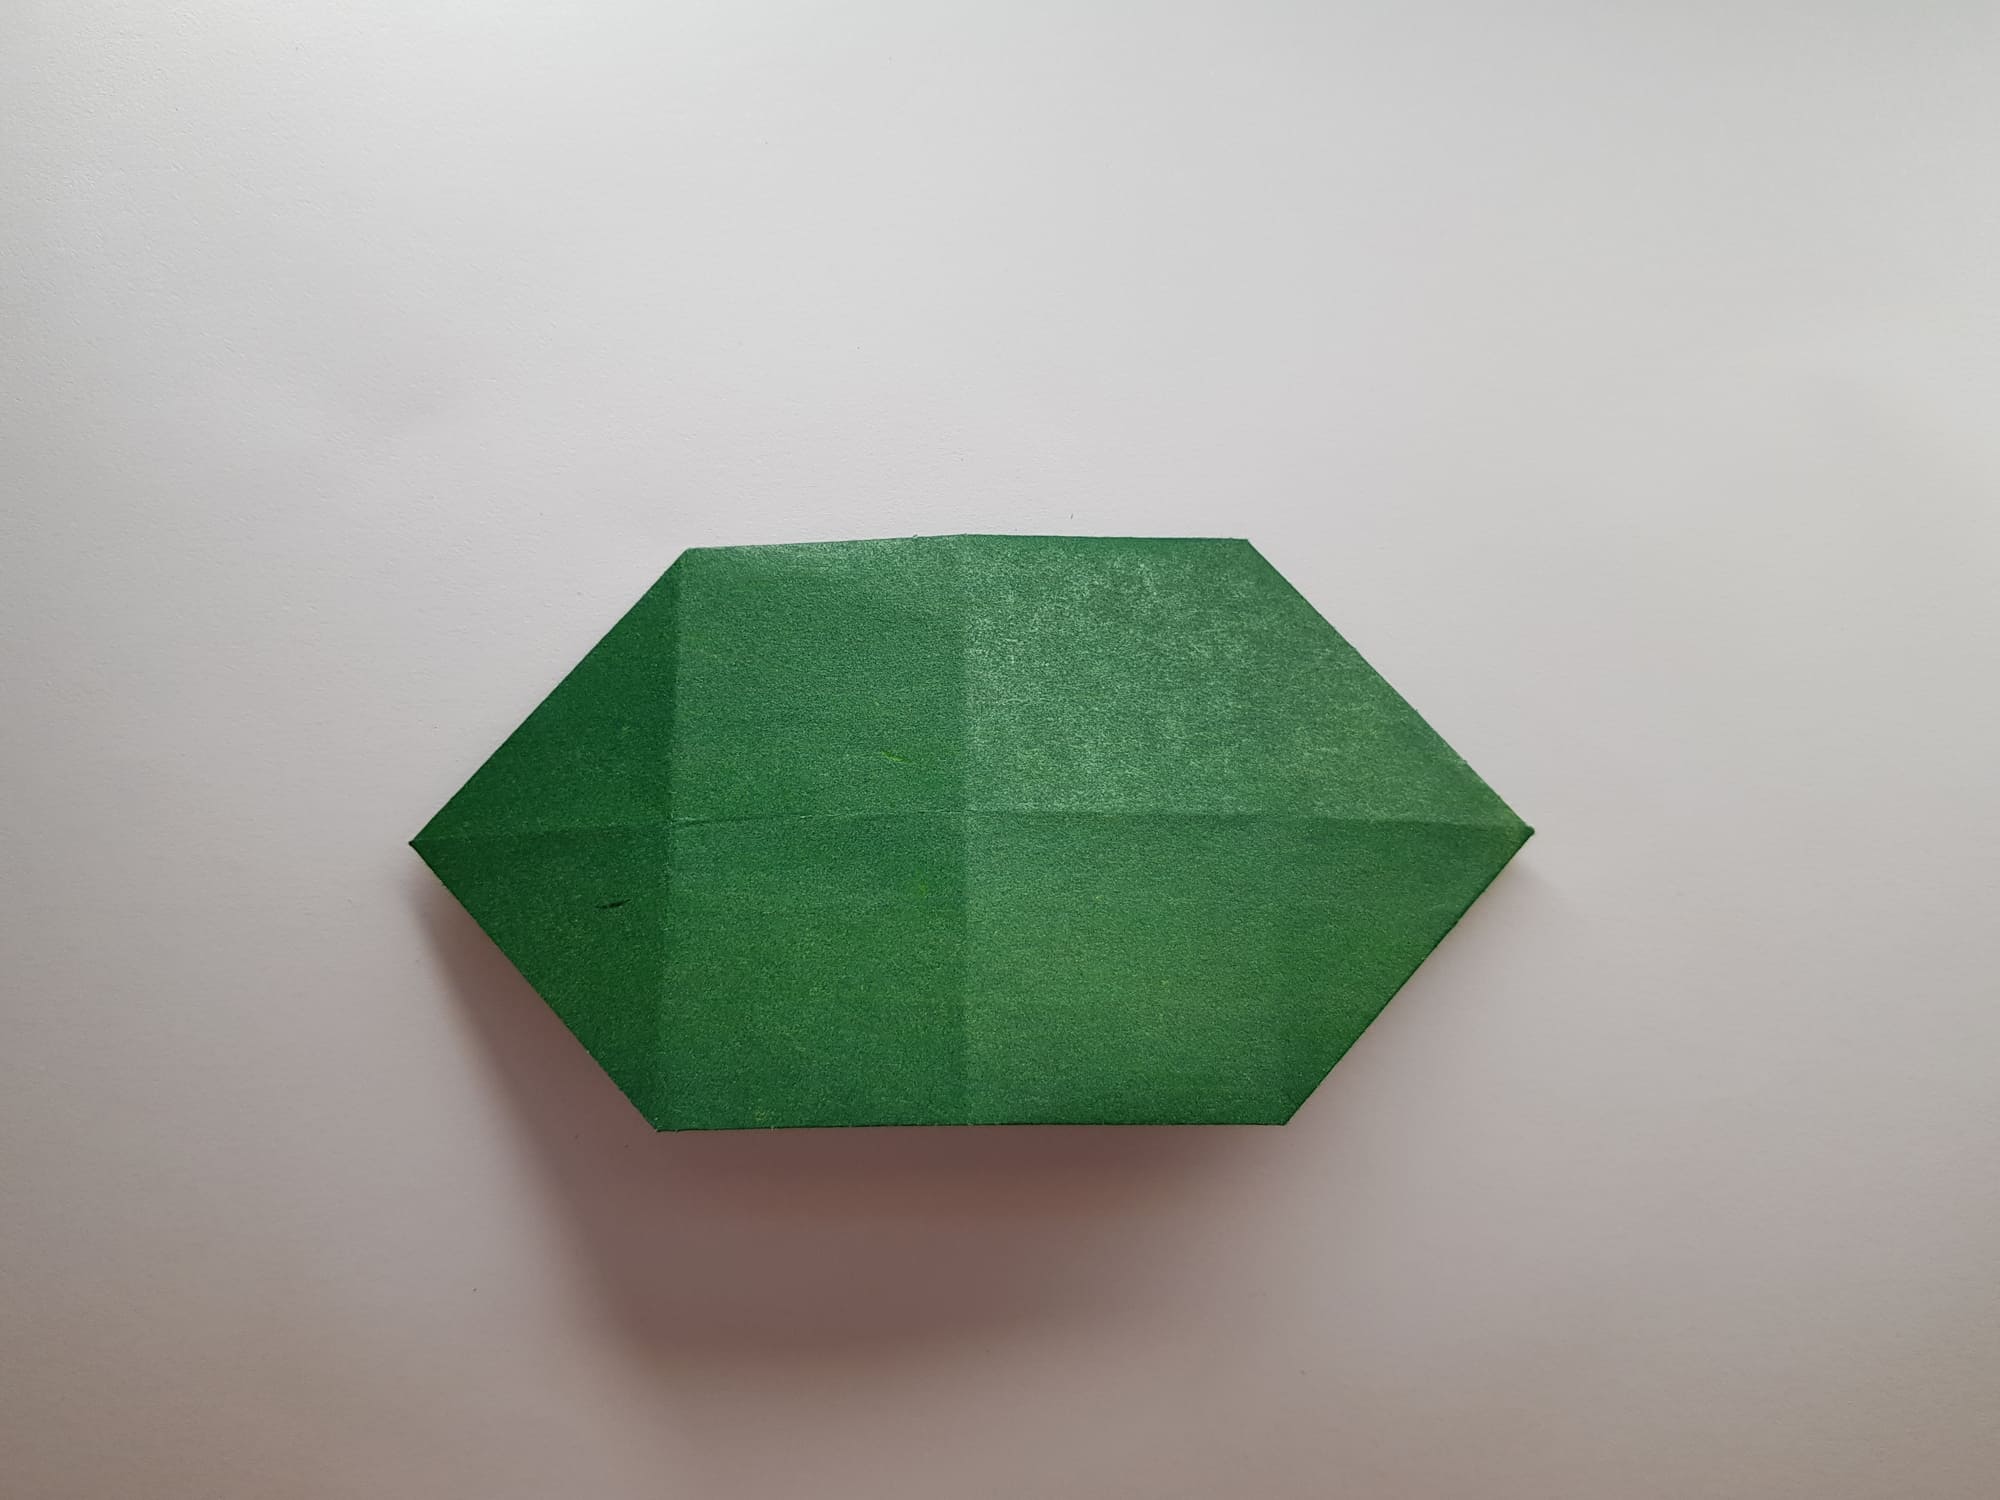
Place it face down and fold it in half horizontally.
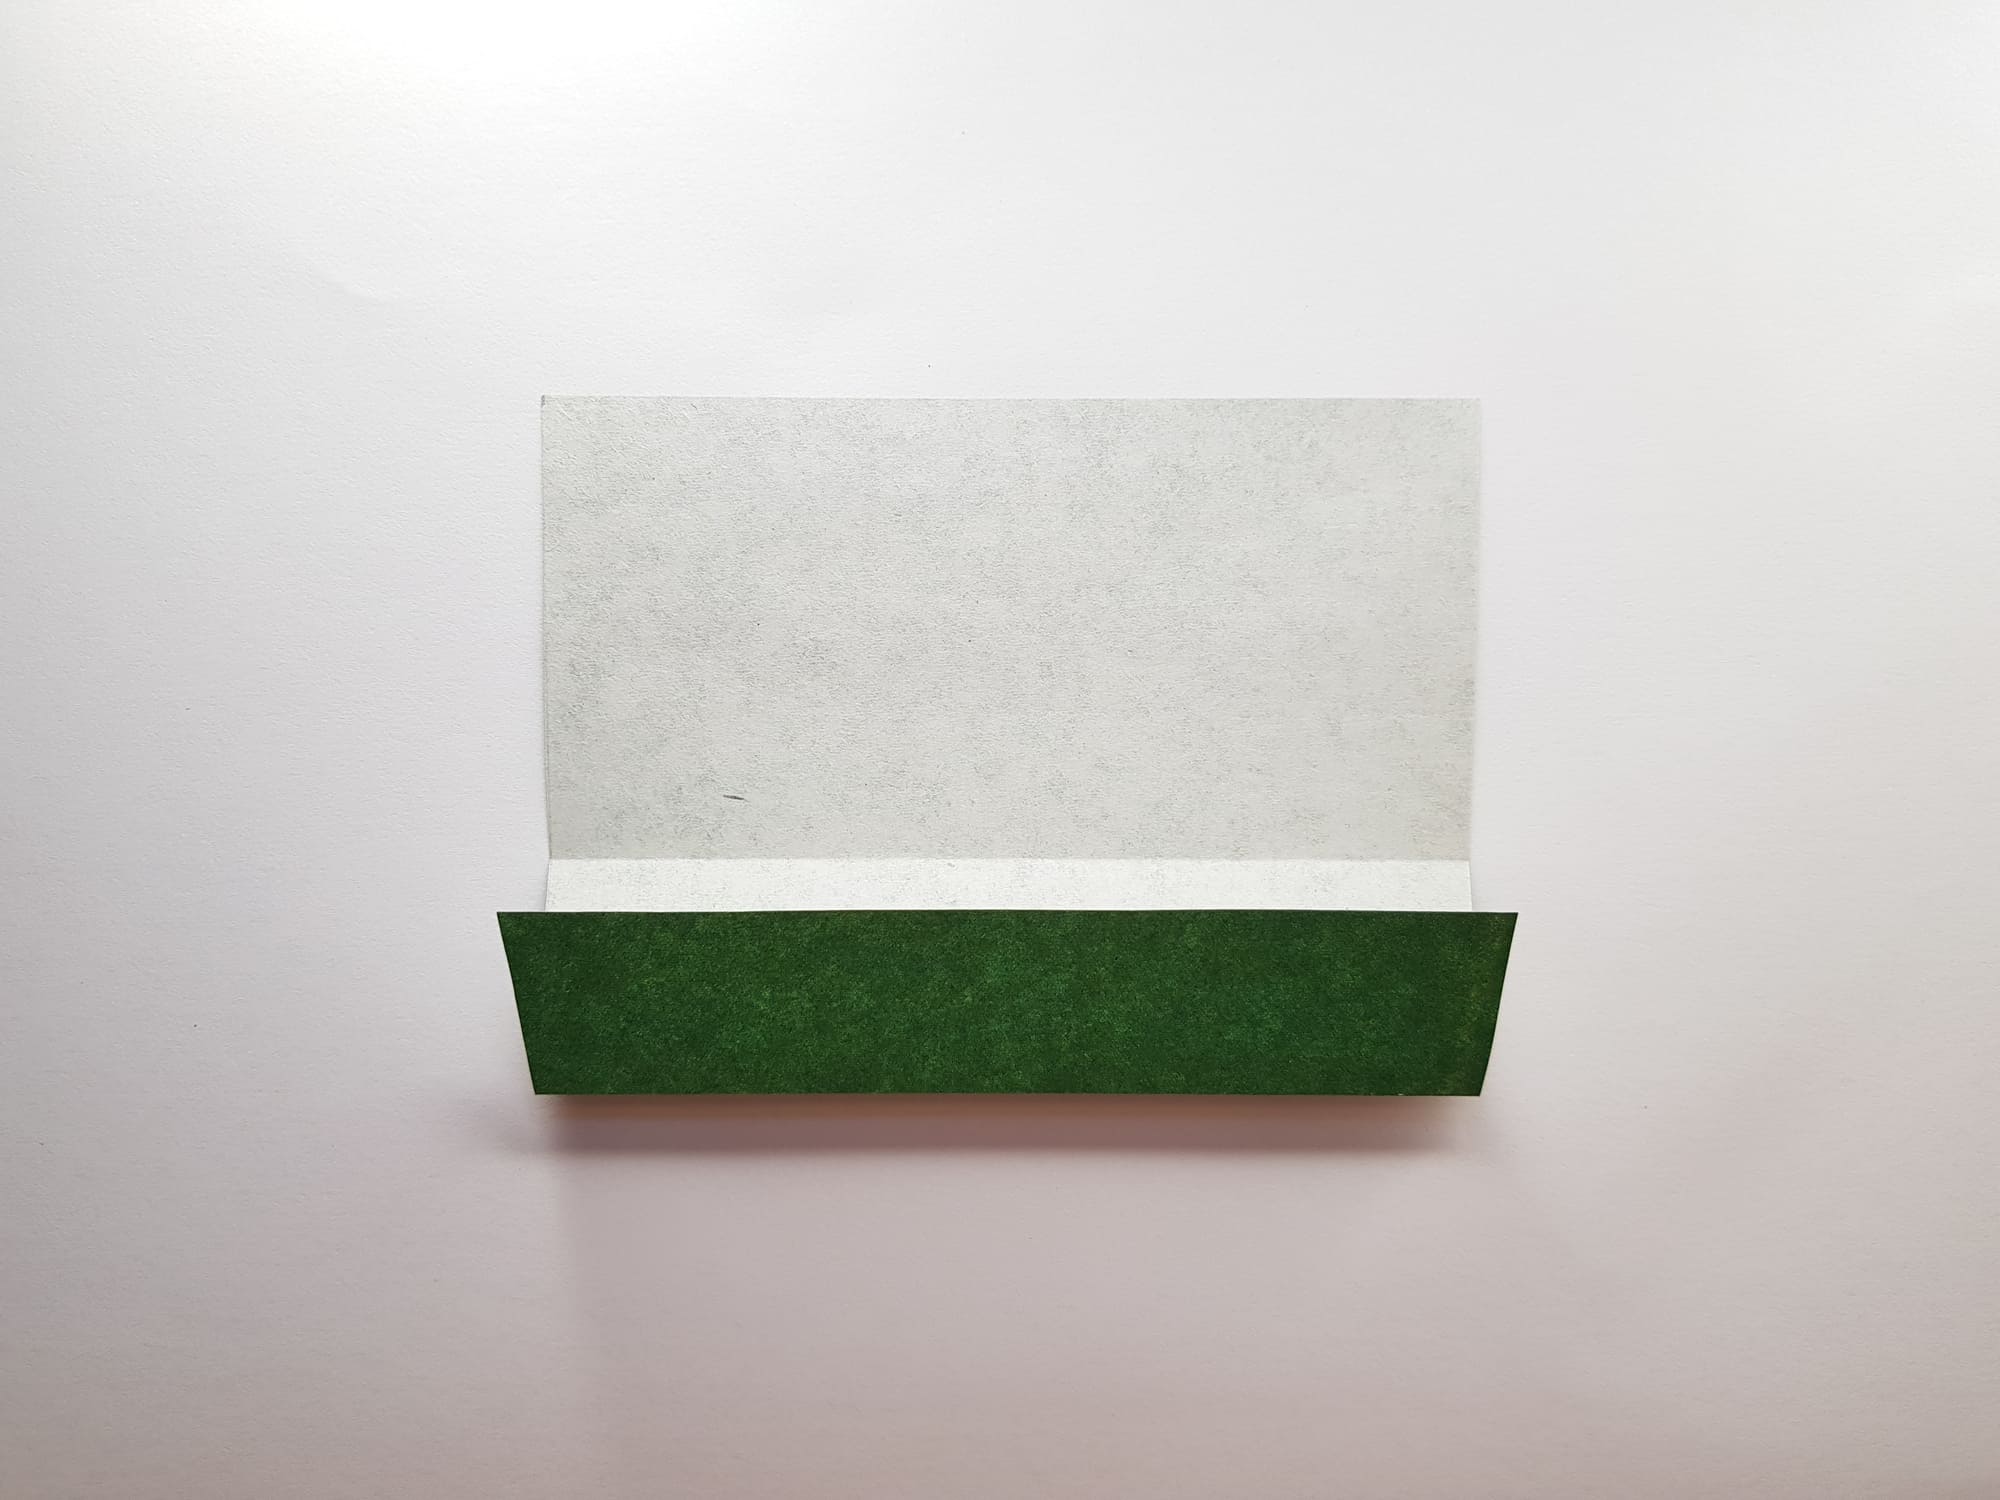
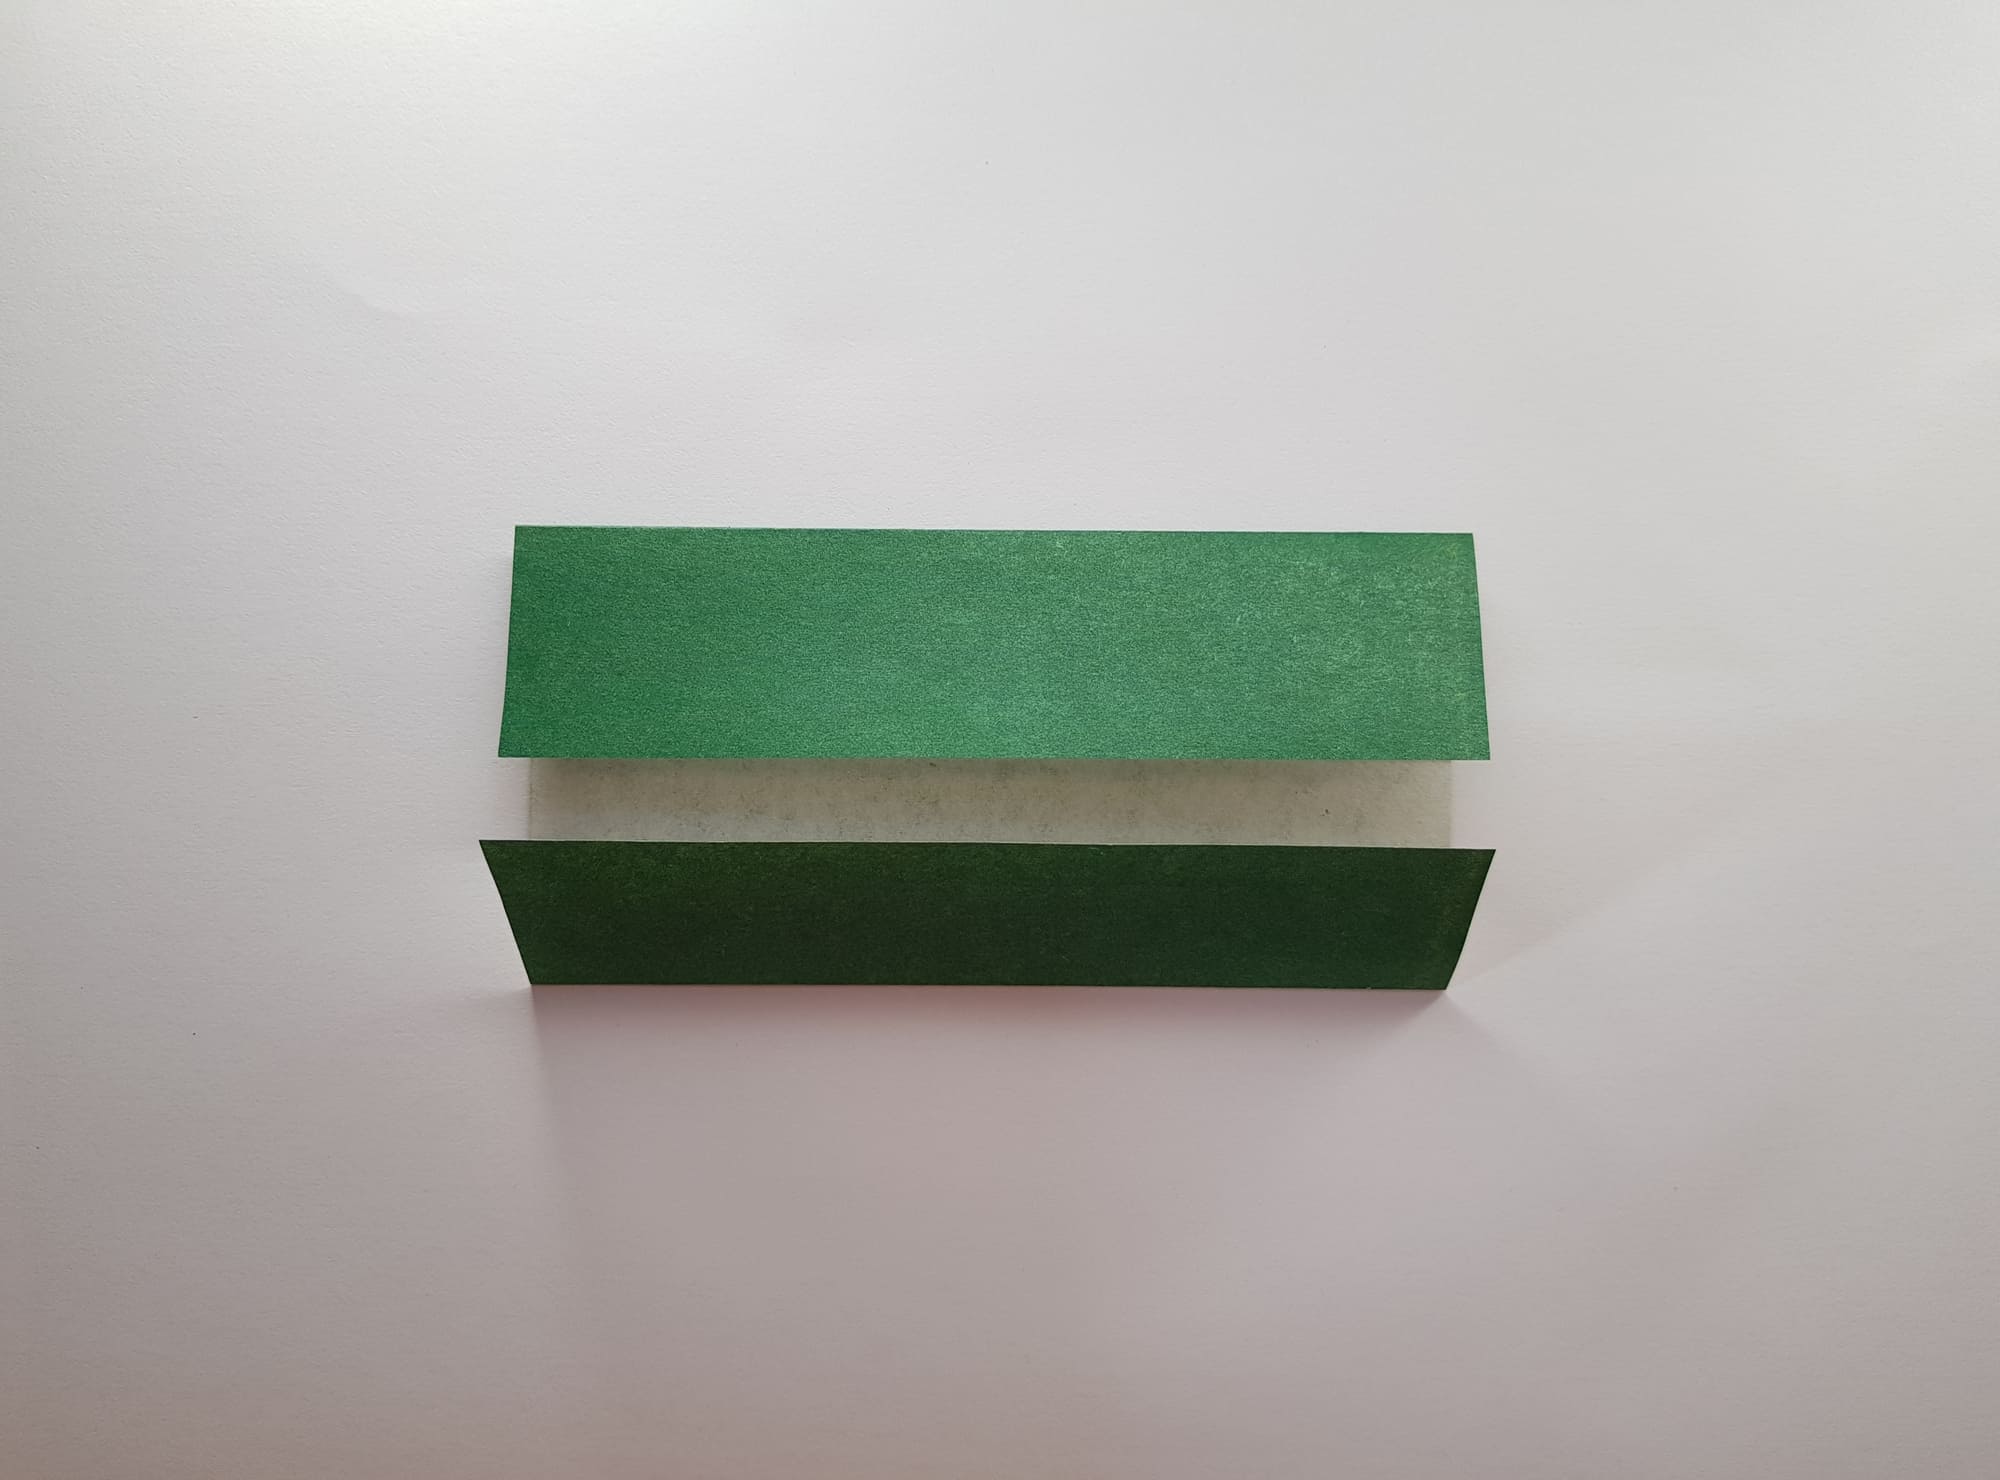
Fold the bottom and top of the square in half towards the center as well.
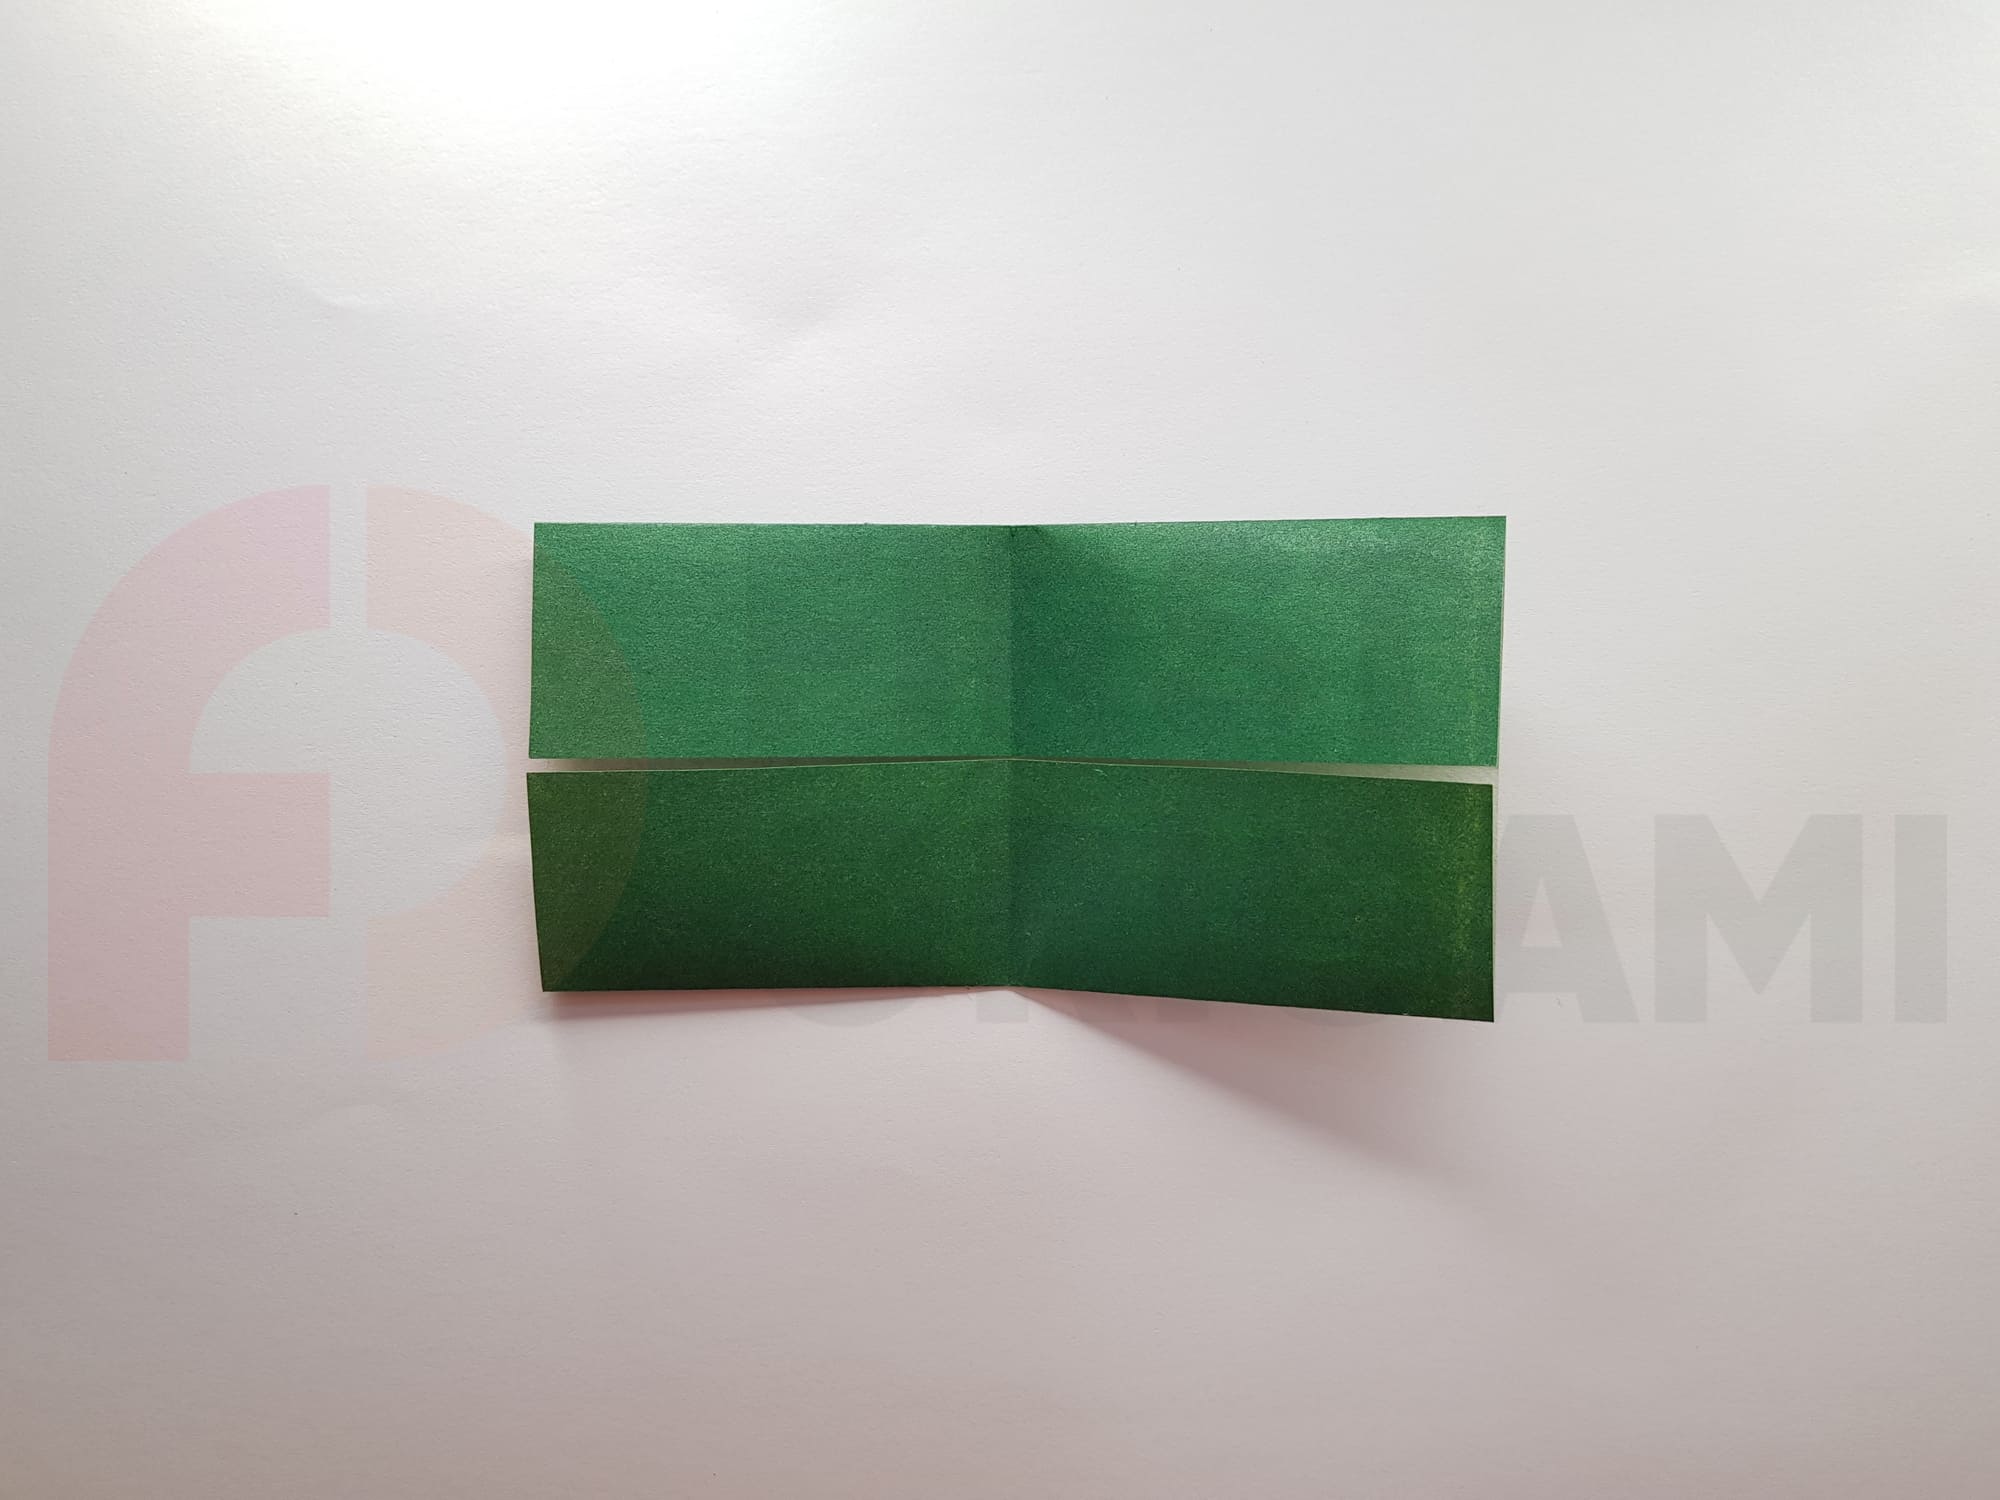
Fold the resulting rectangle in half vertically.
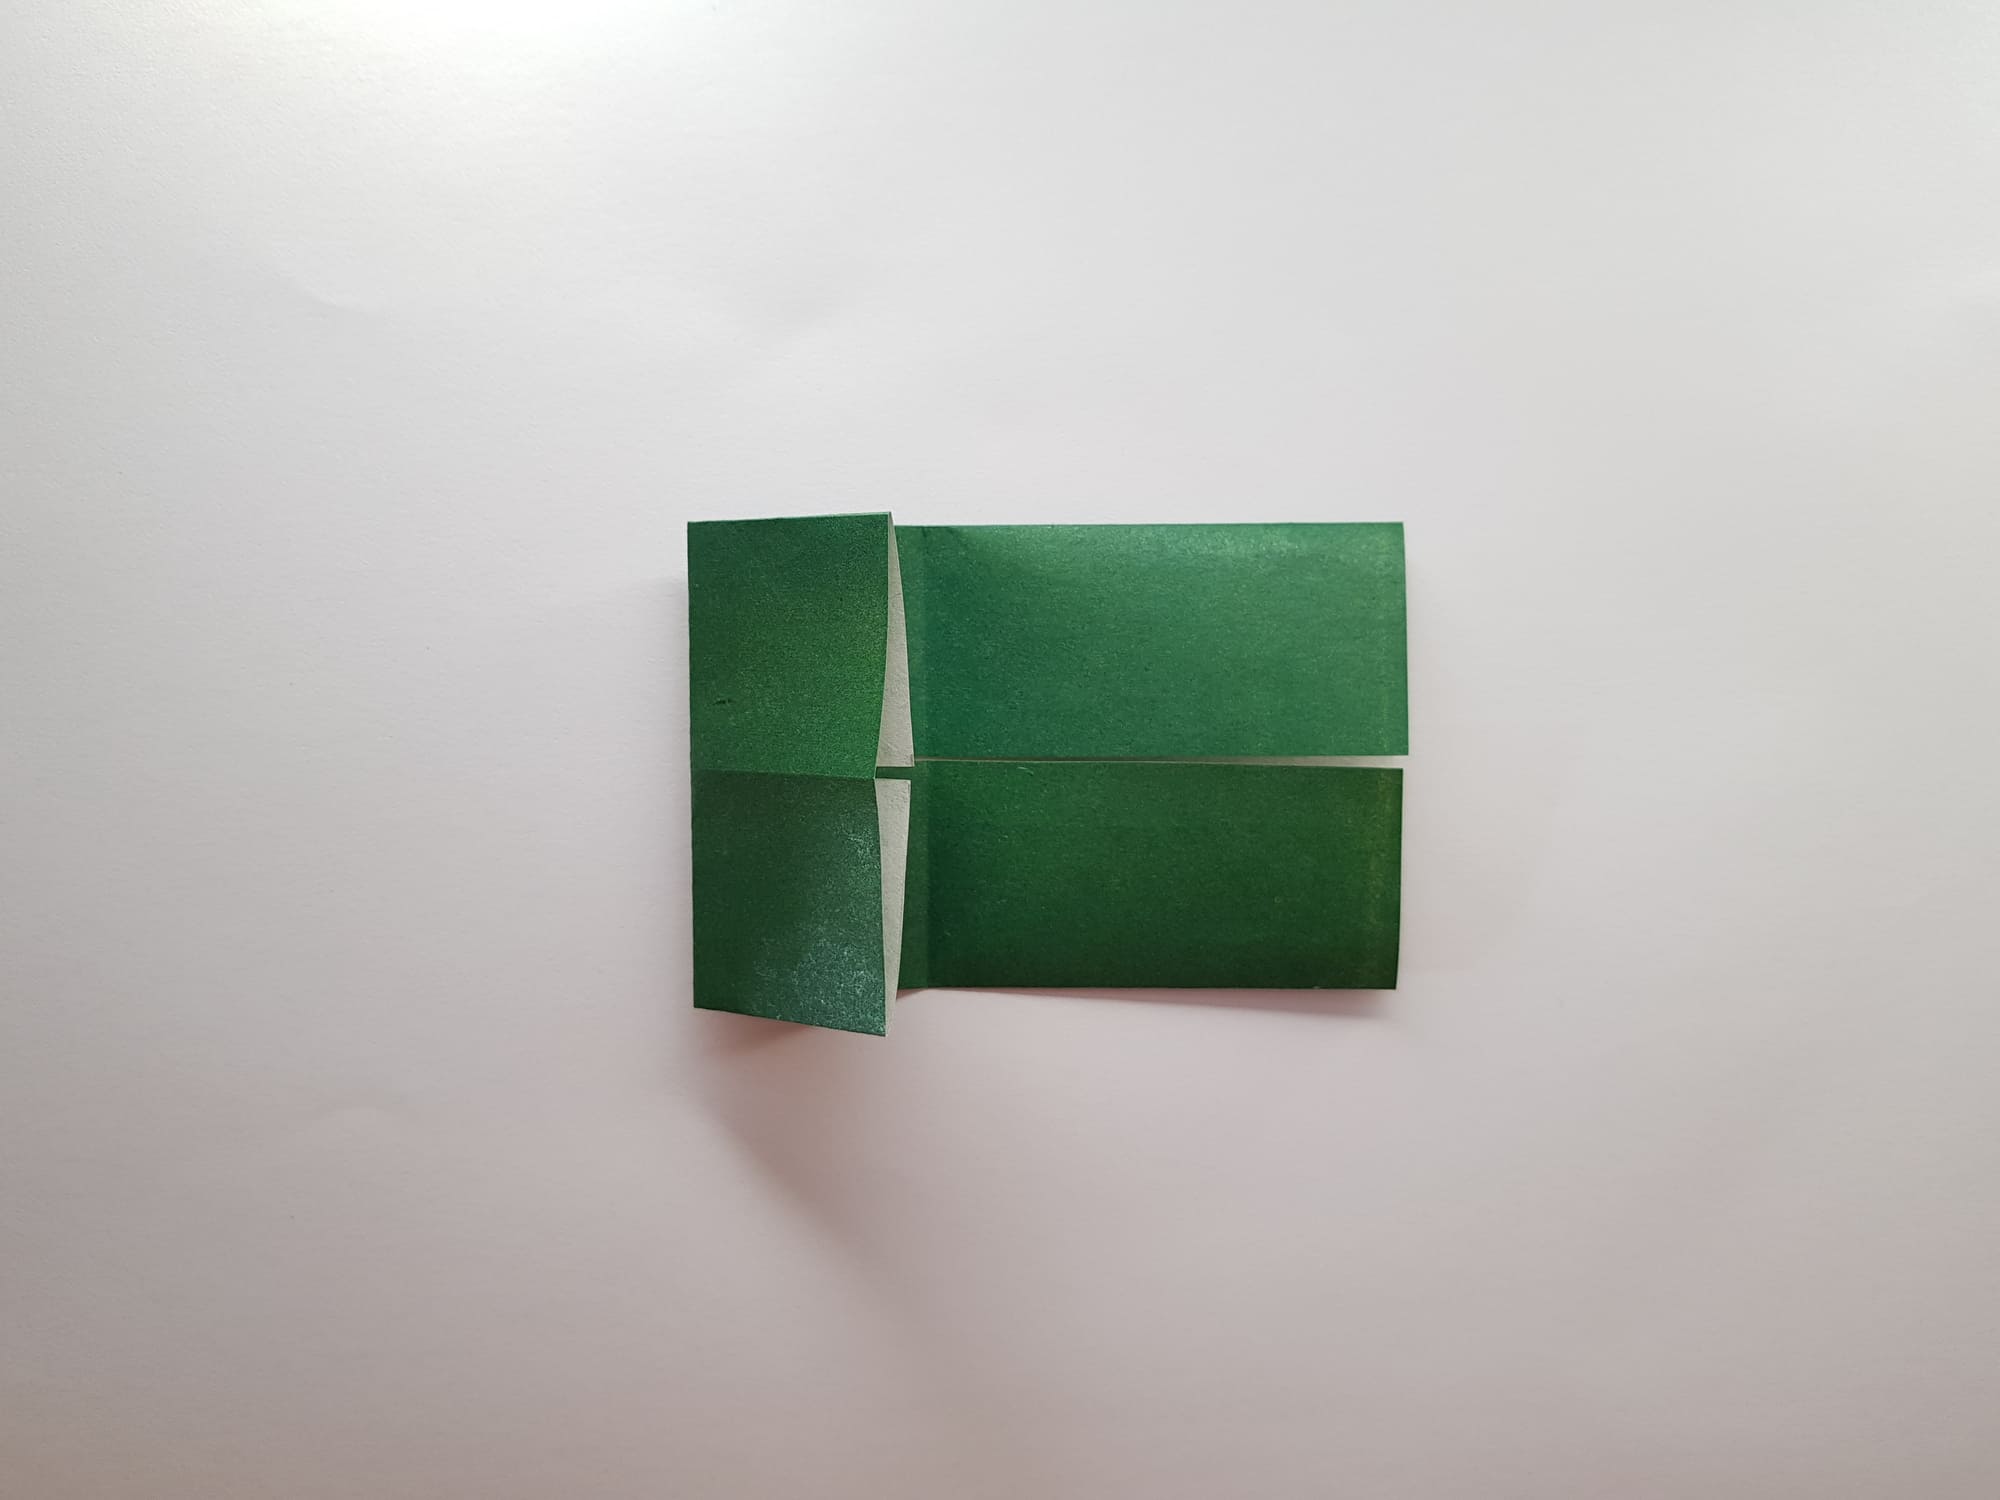
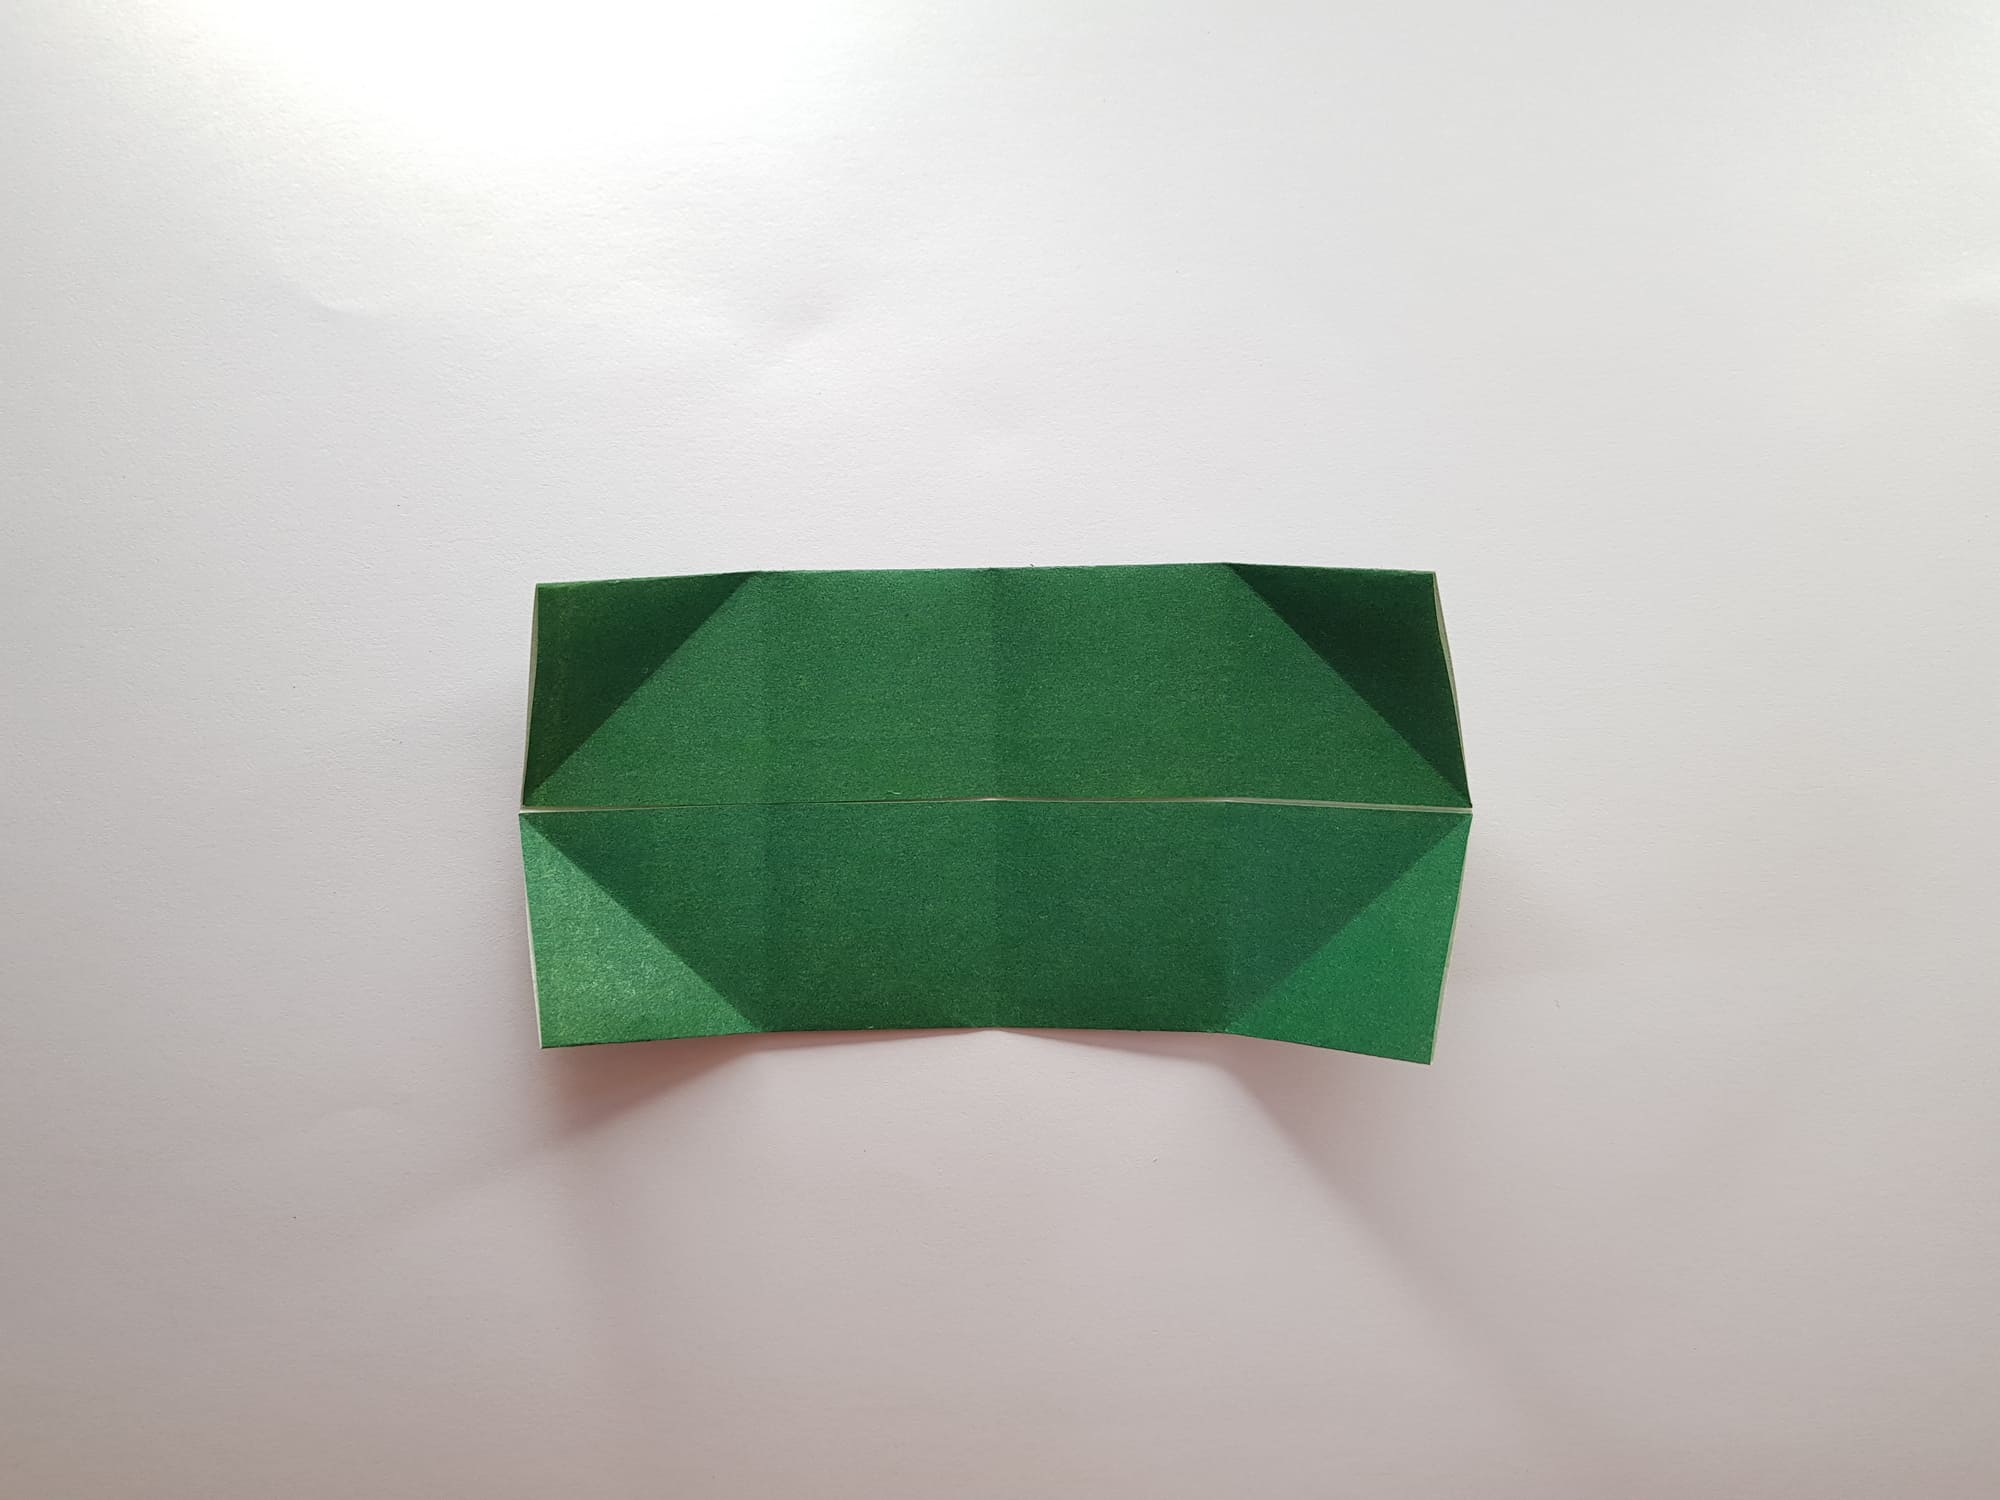
Fold the left and right sides of the rectangle in half towards the center to get 2 assisting folds.
Make 4 more small assisting folds.
To do this, bend the 4 corners of the rectangle, as shown in the photo.
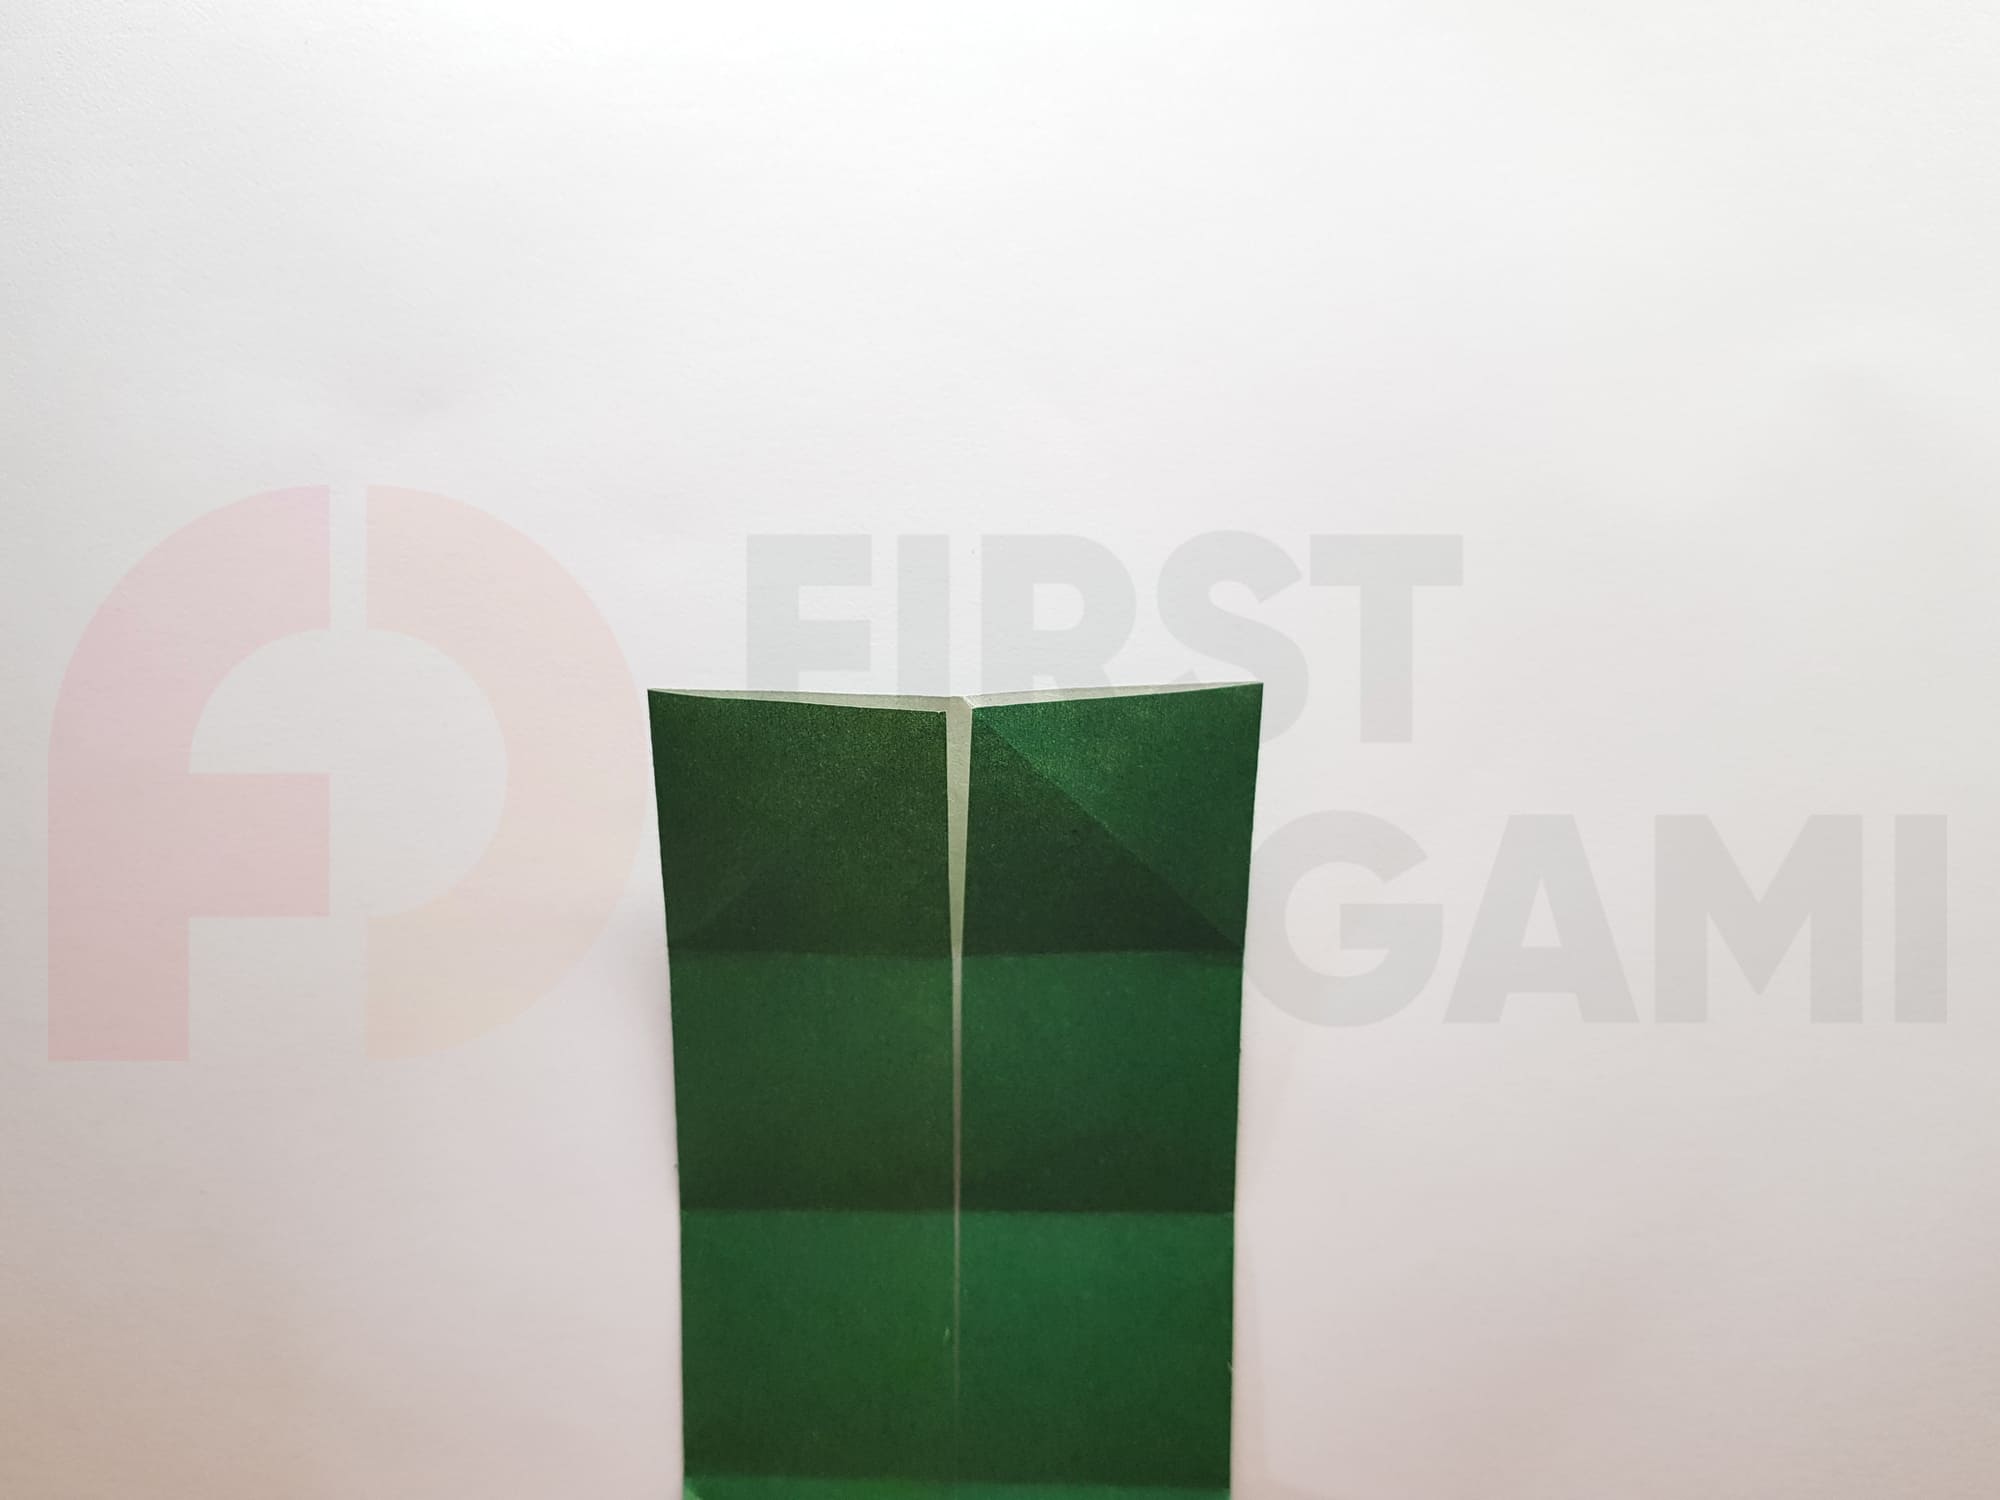
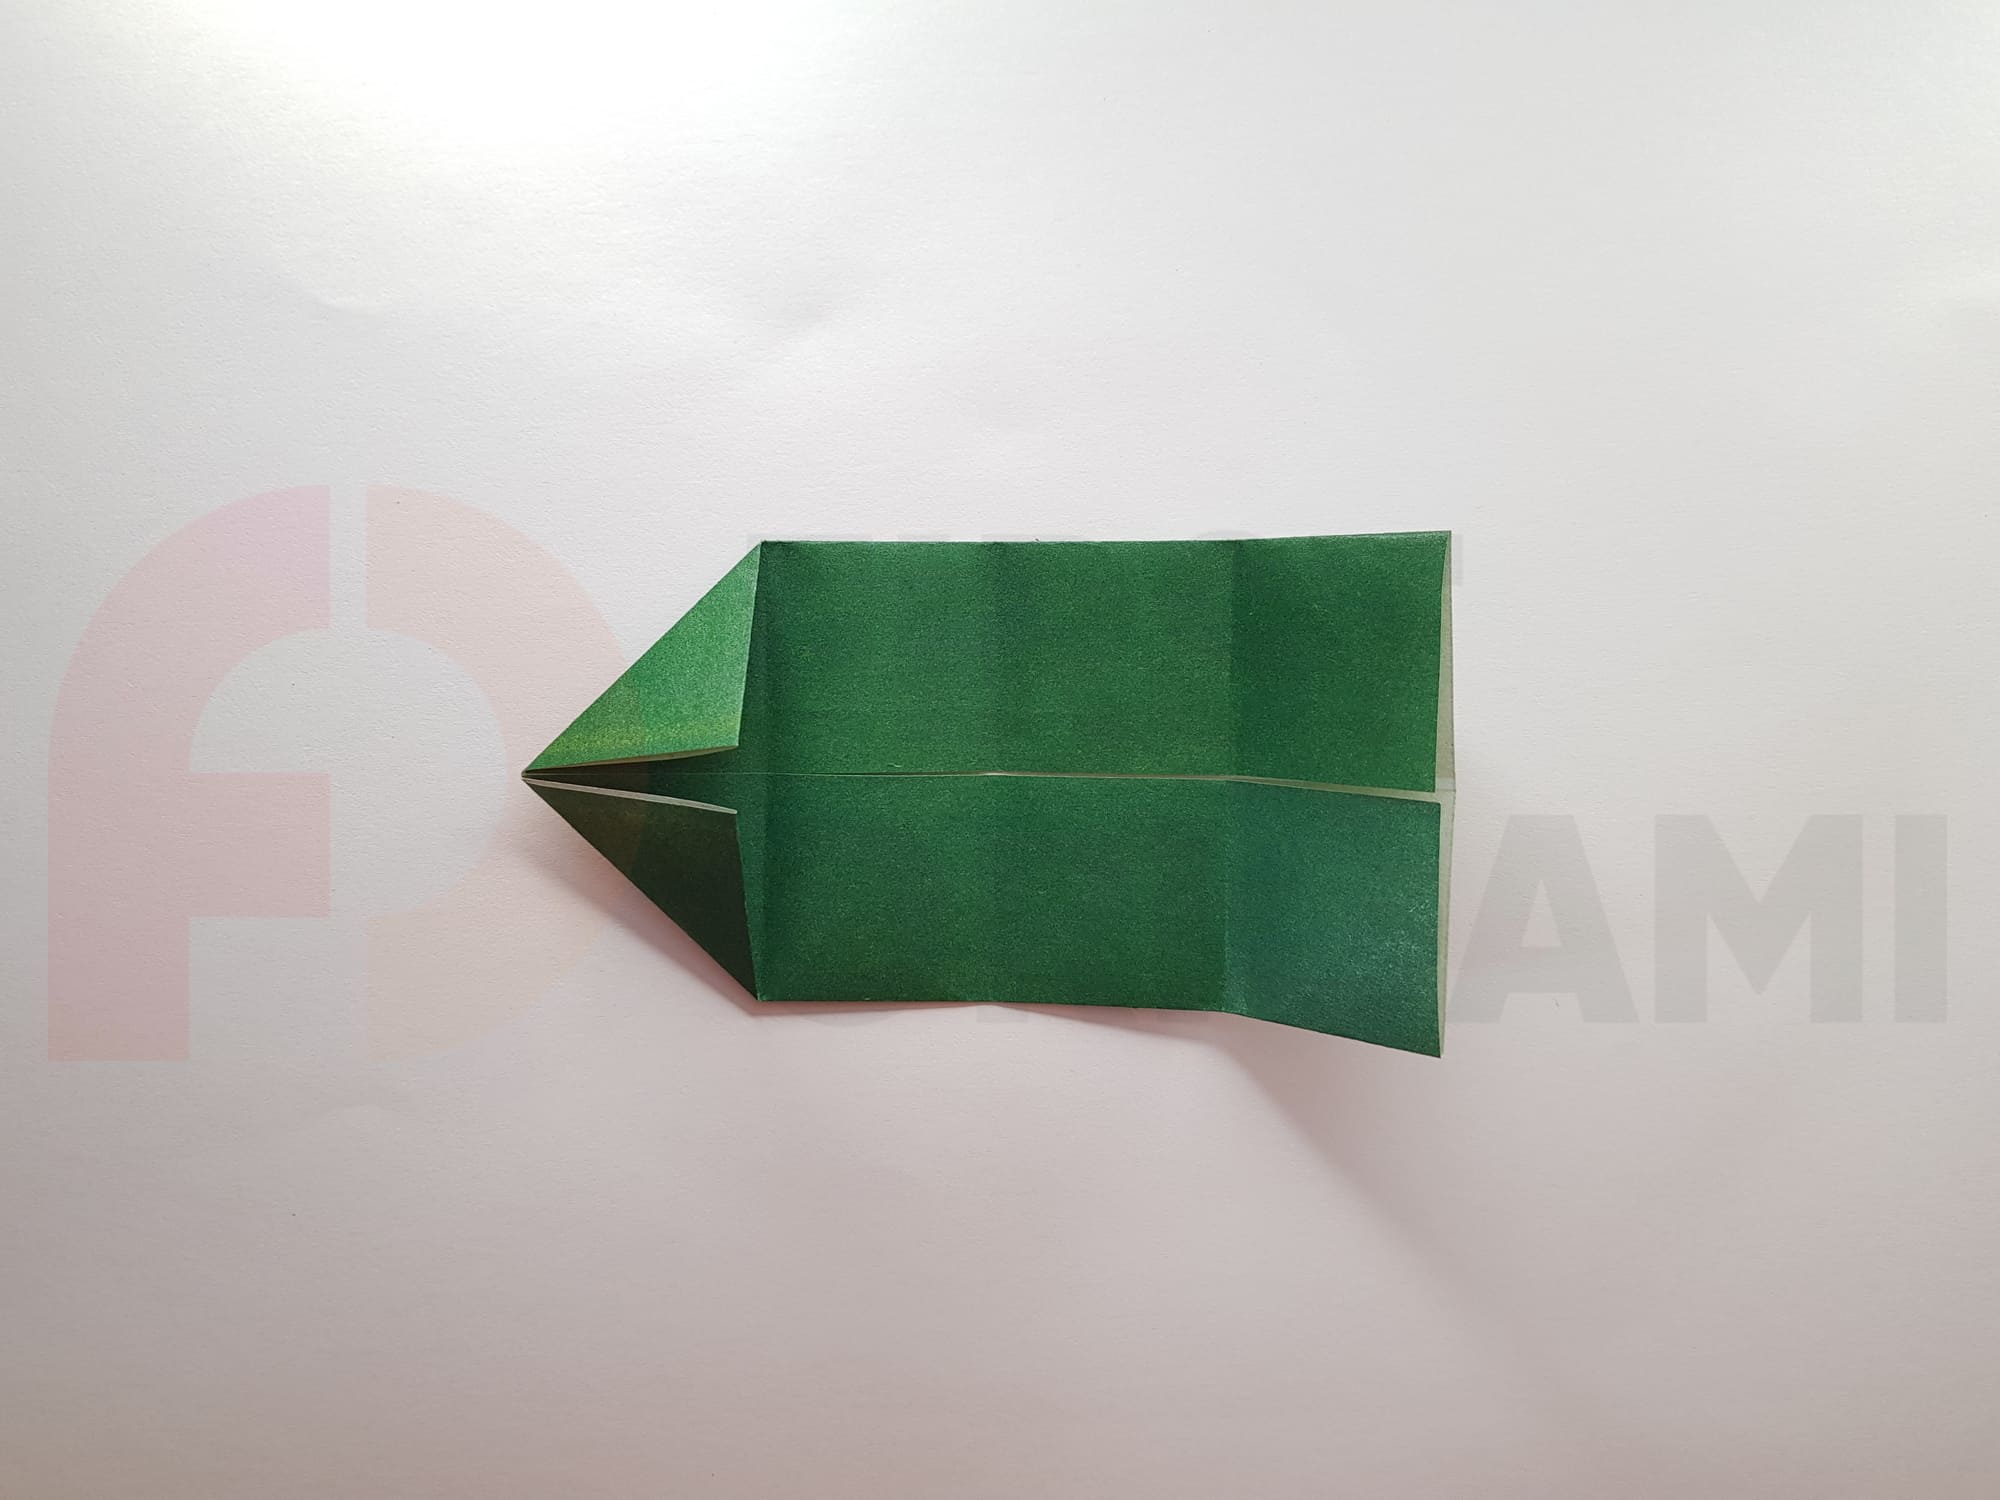
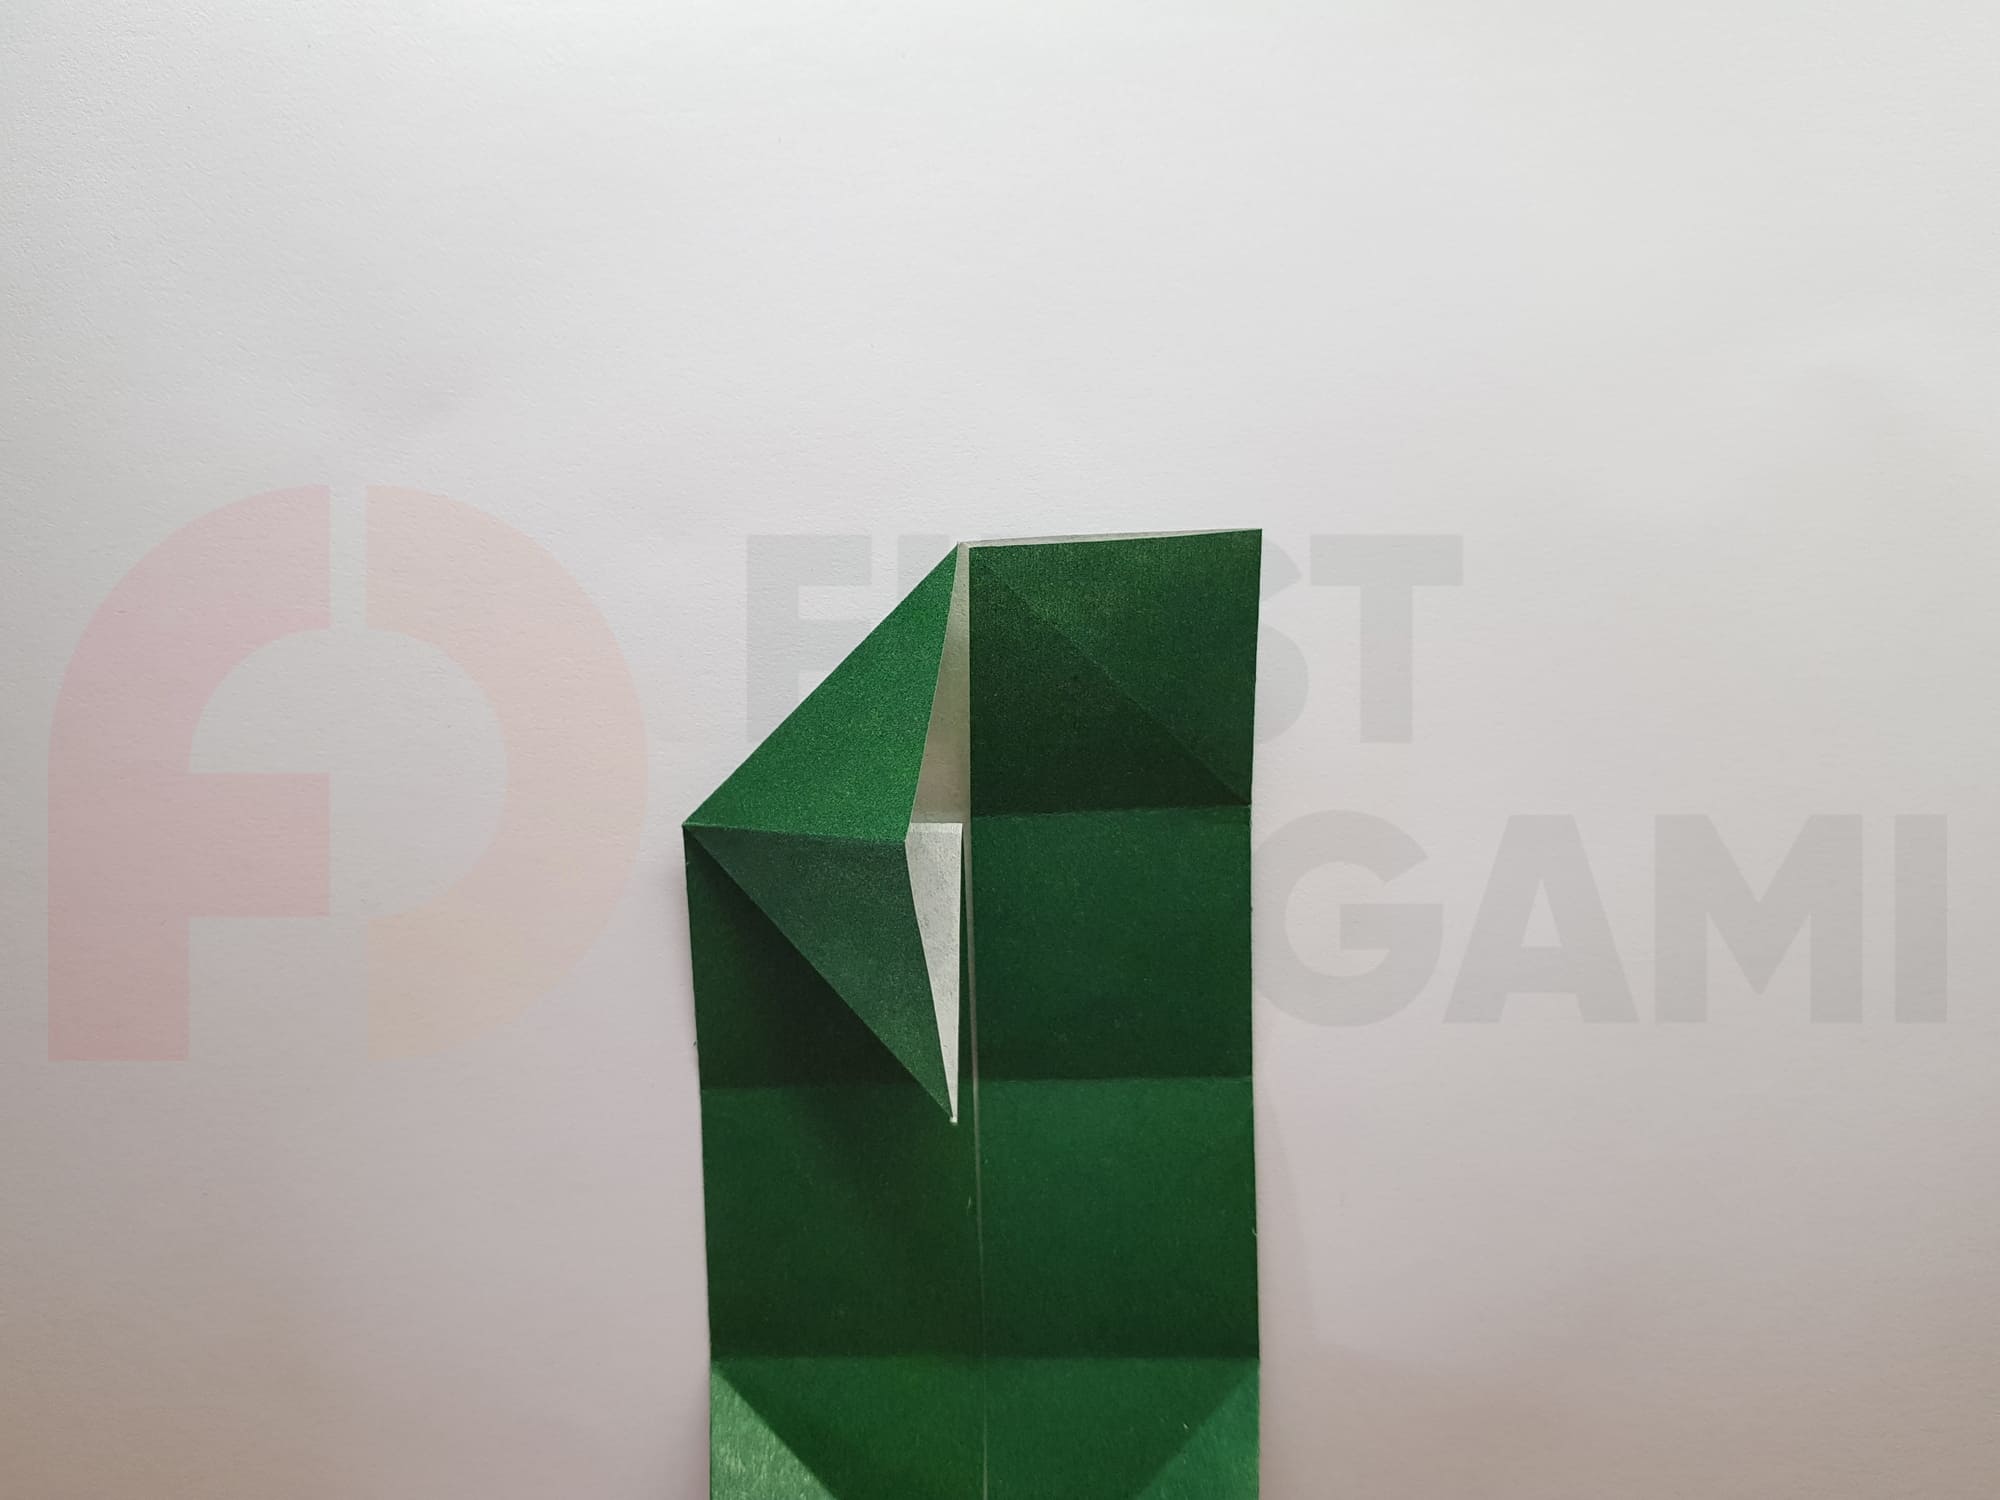
Next, work with each corner separately.
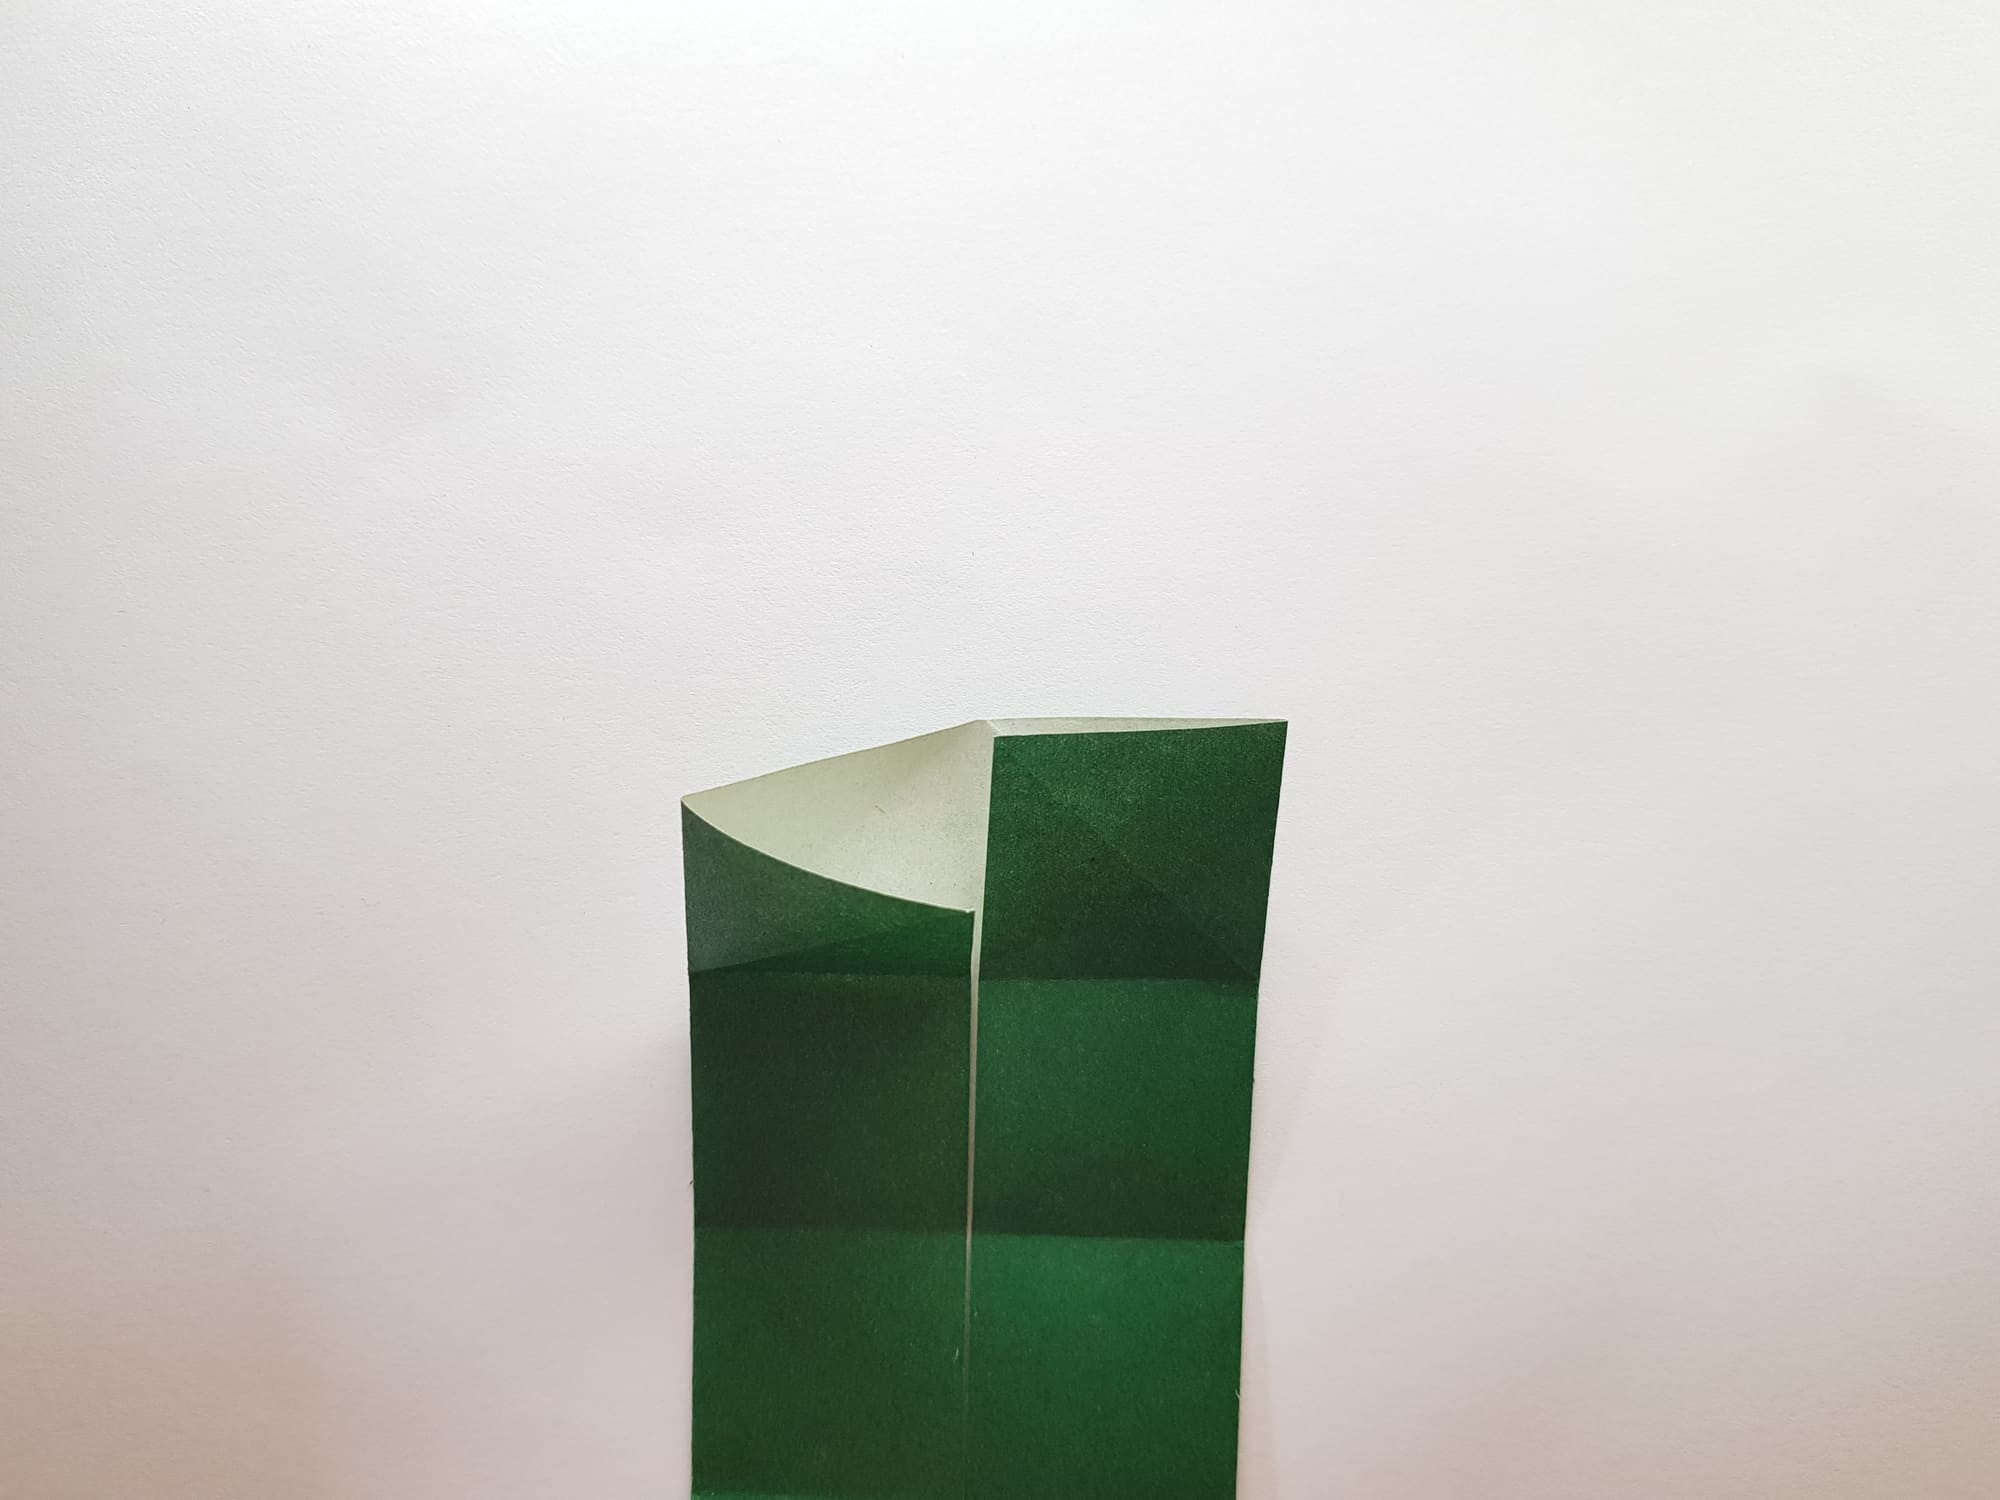
Start from the upper left: open it towards you in the direction of the shape center and press from above.
A triangular “pocket” should form, as in the photo.
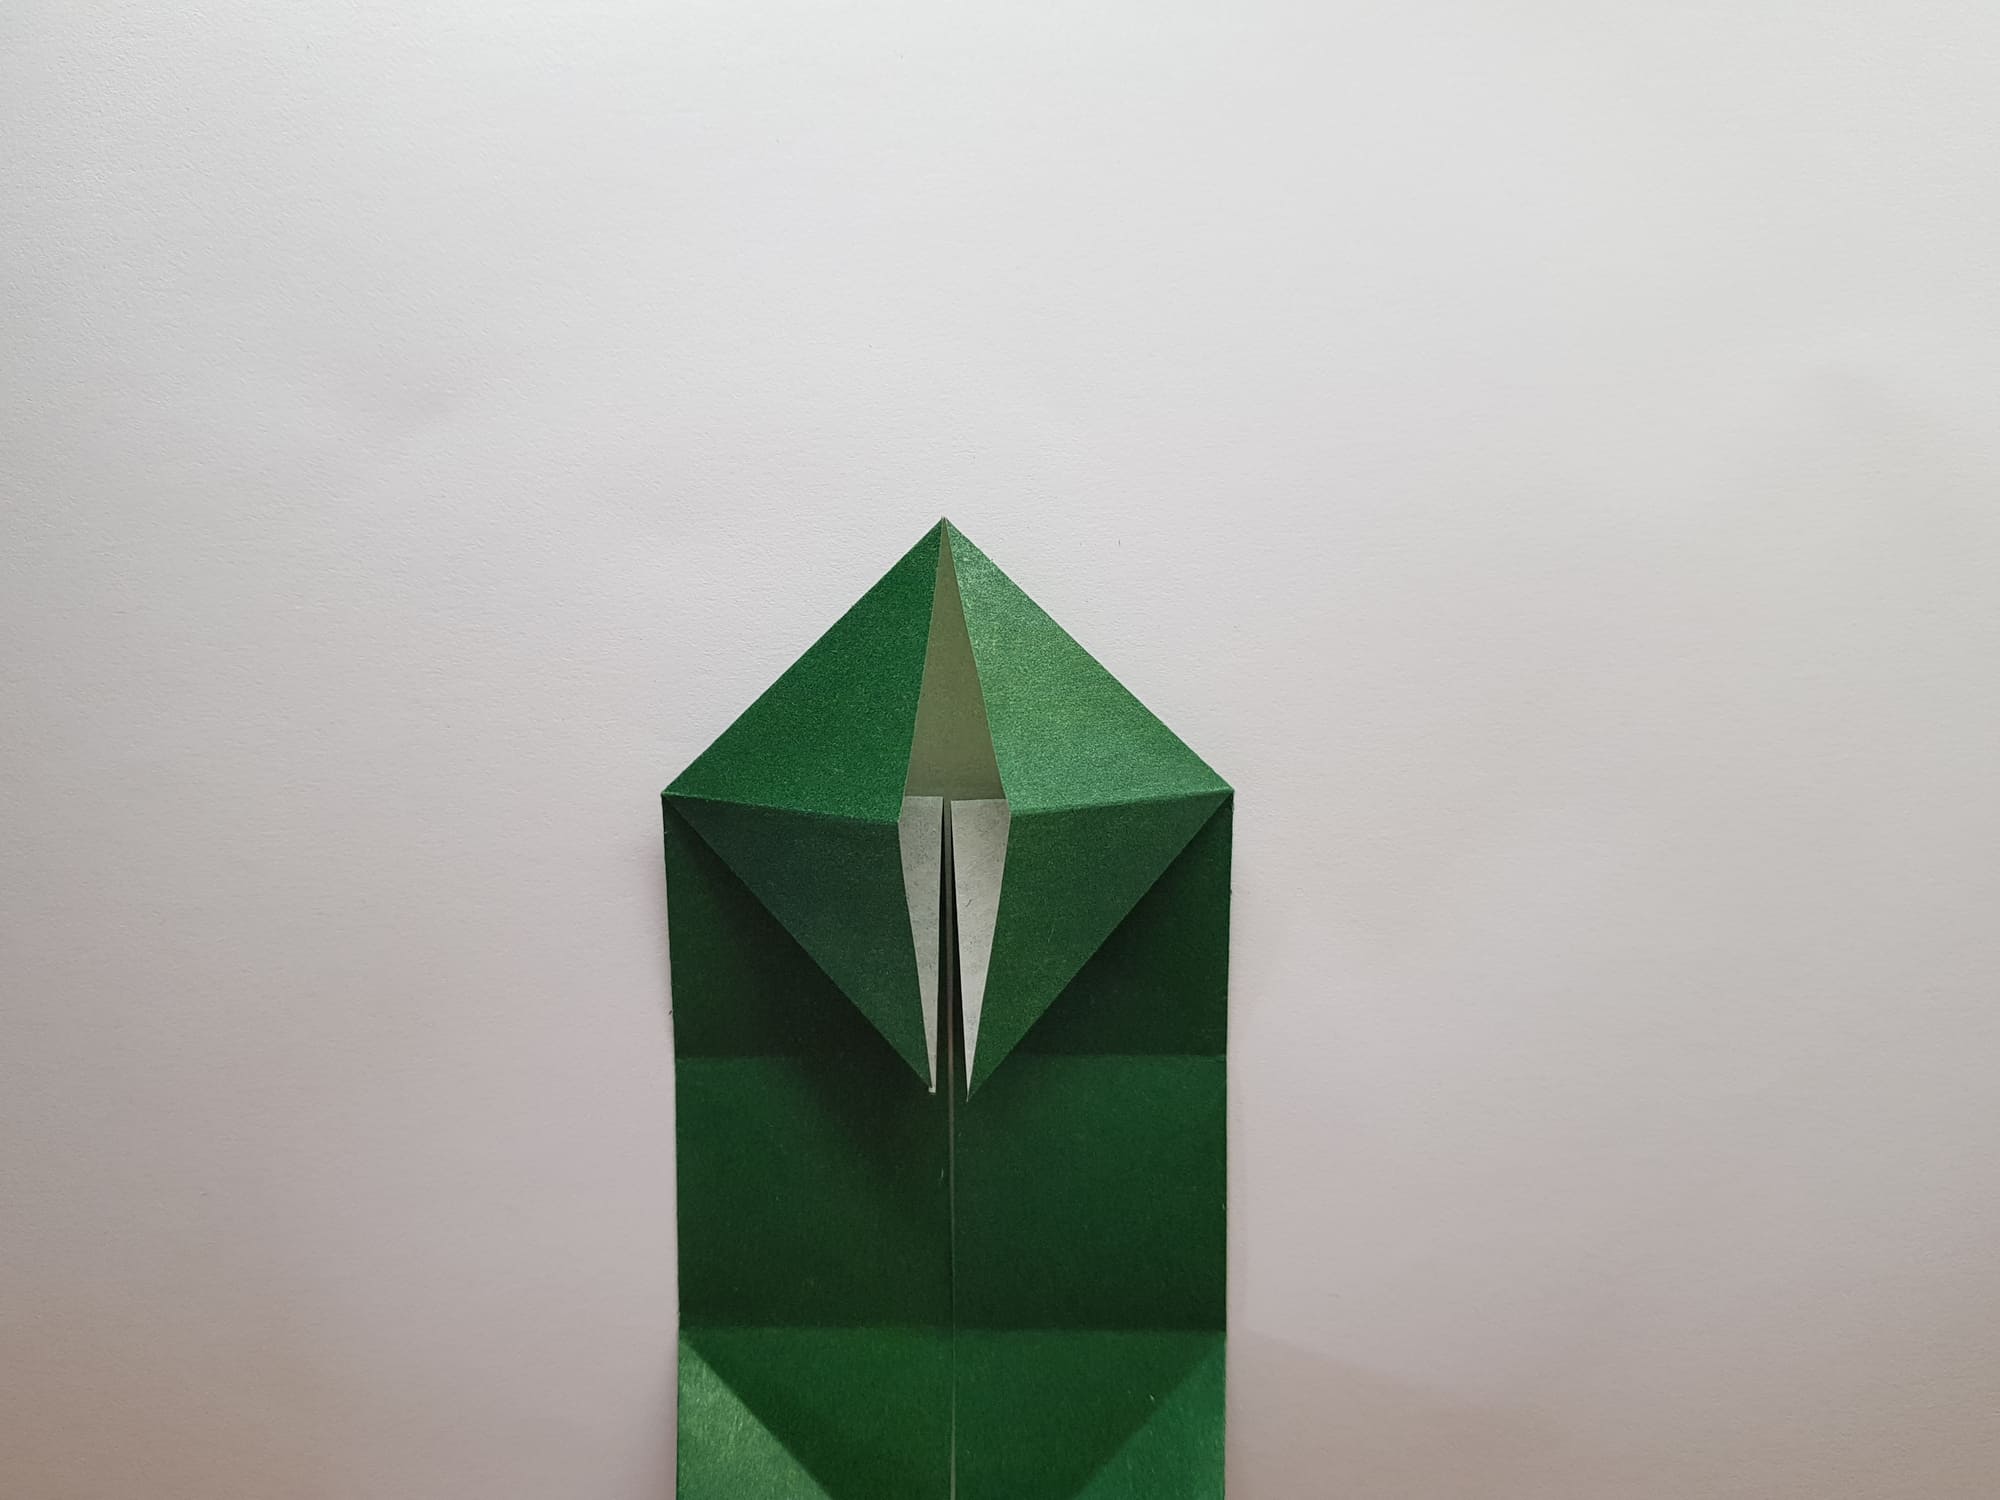
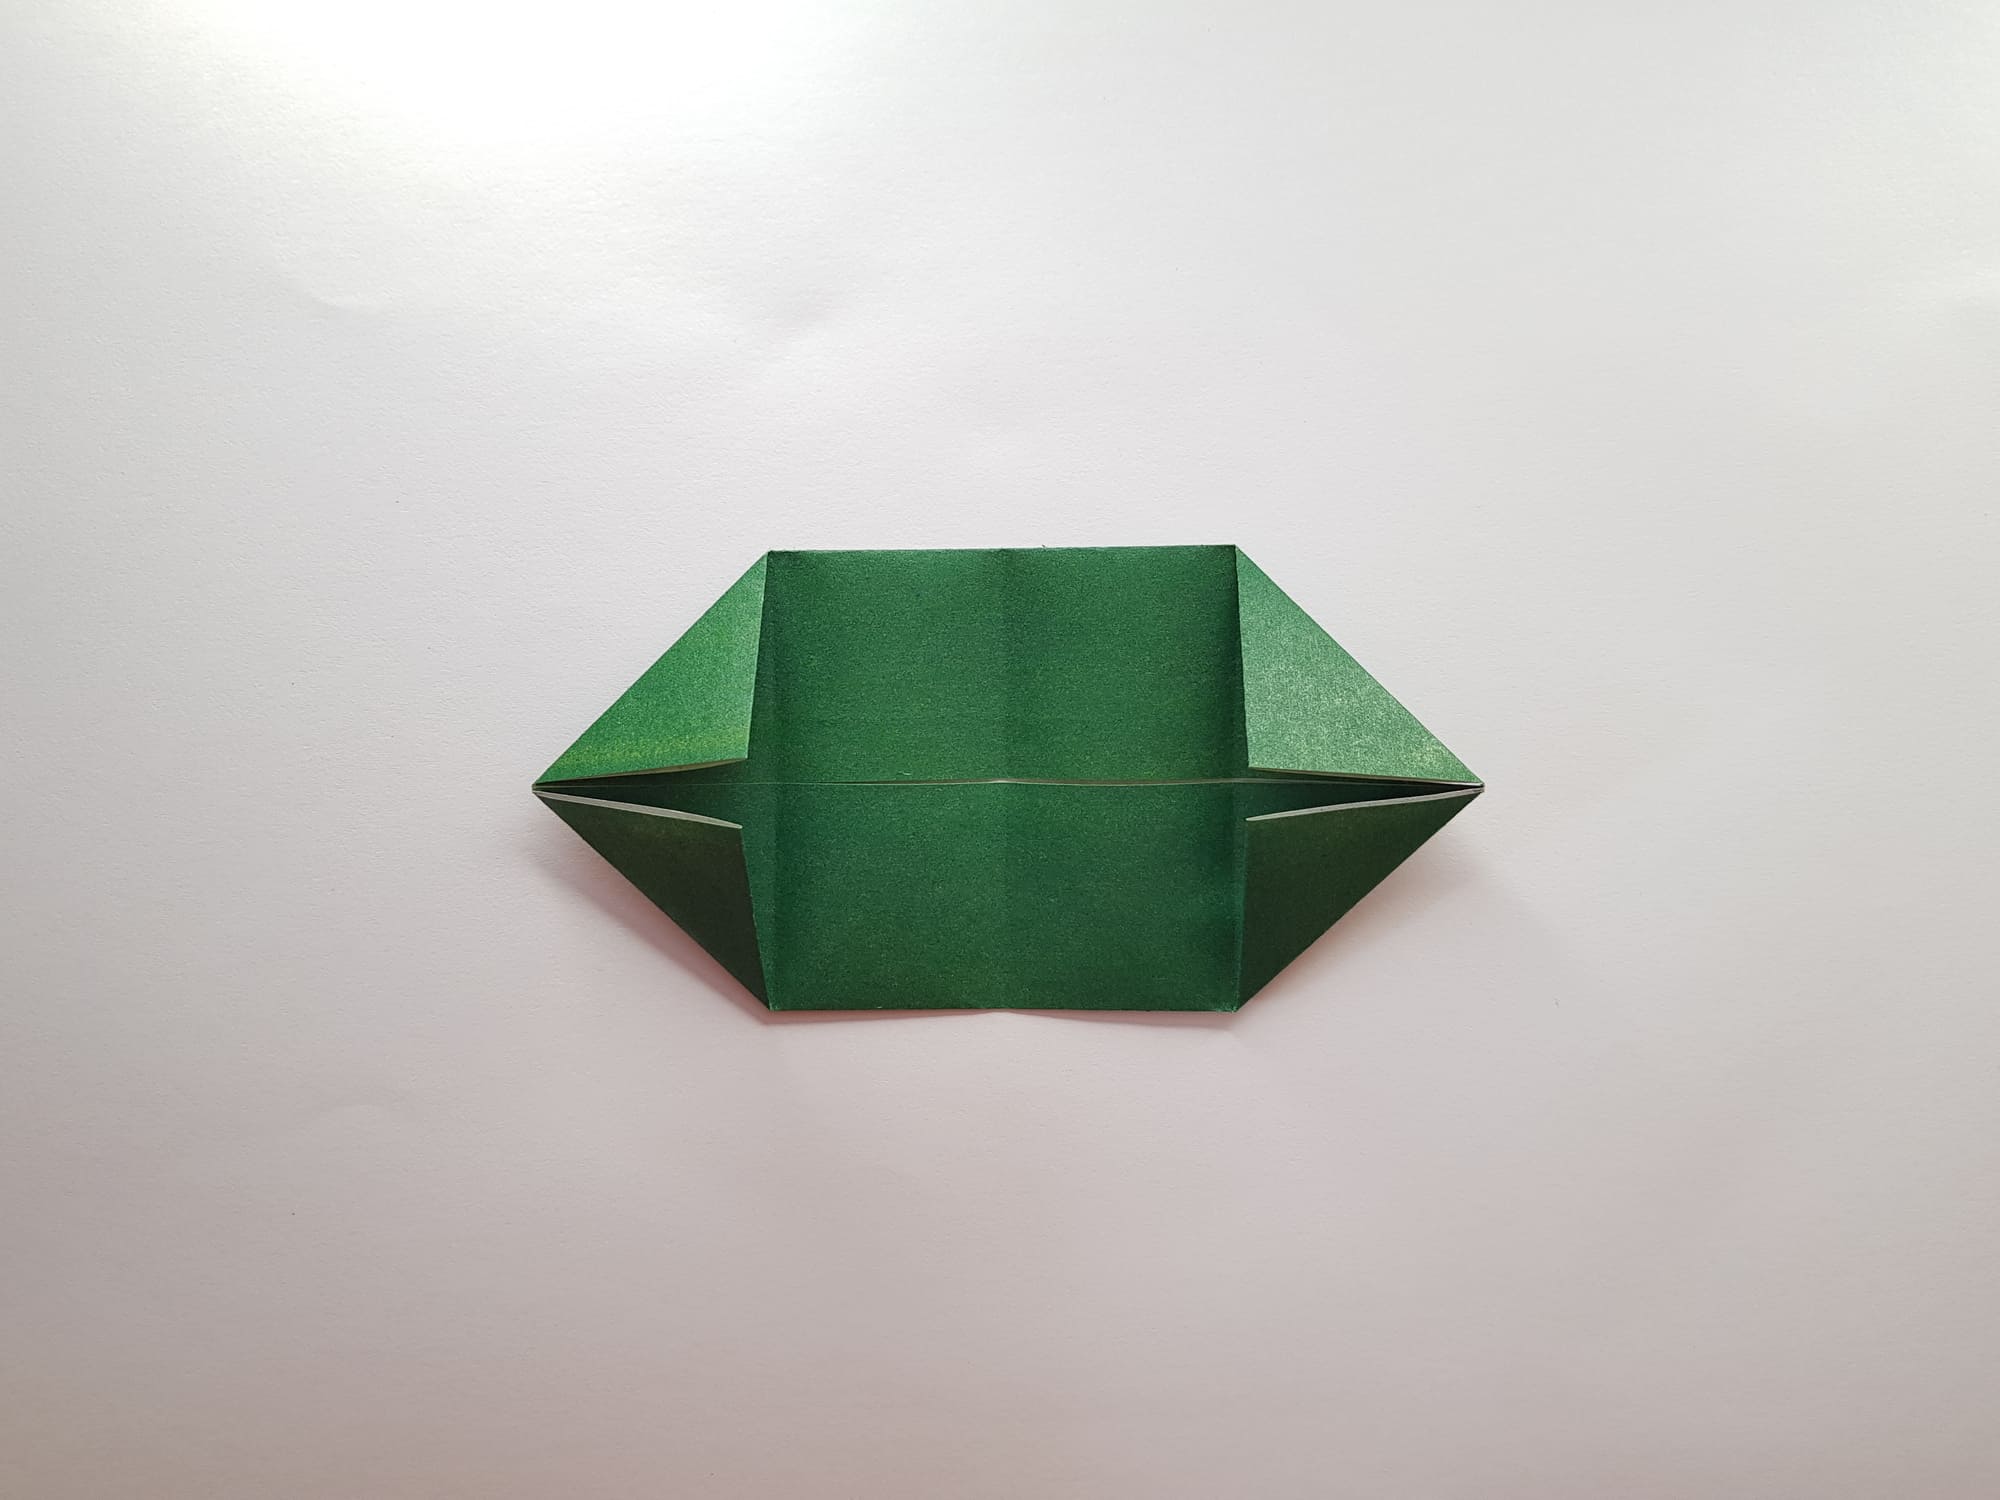
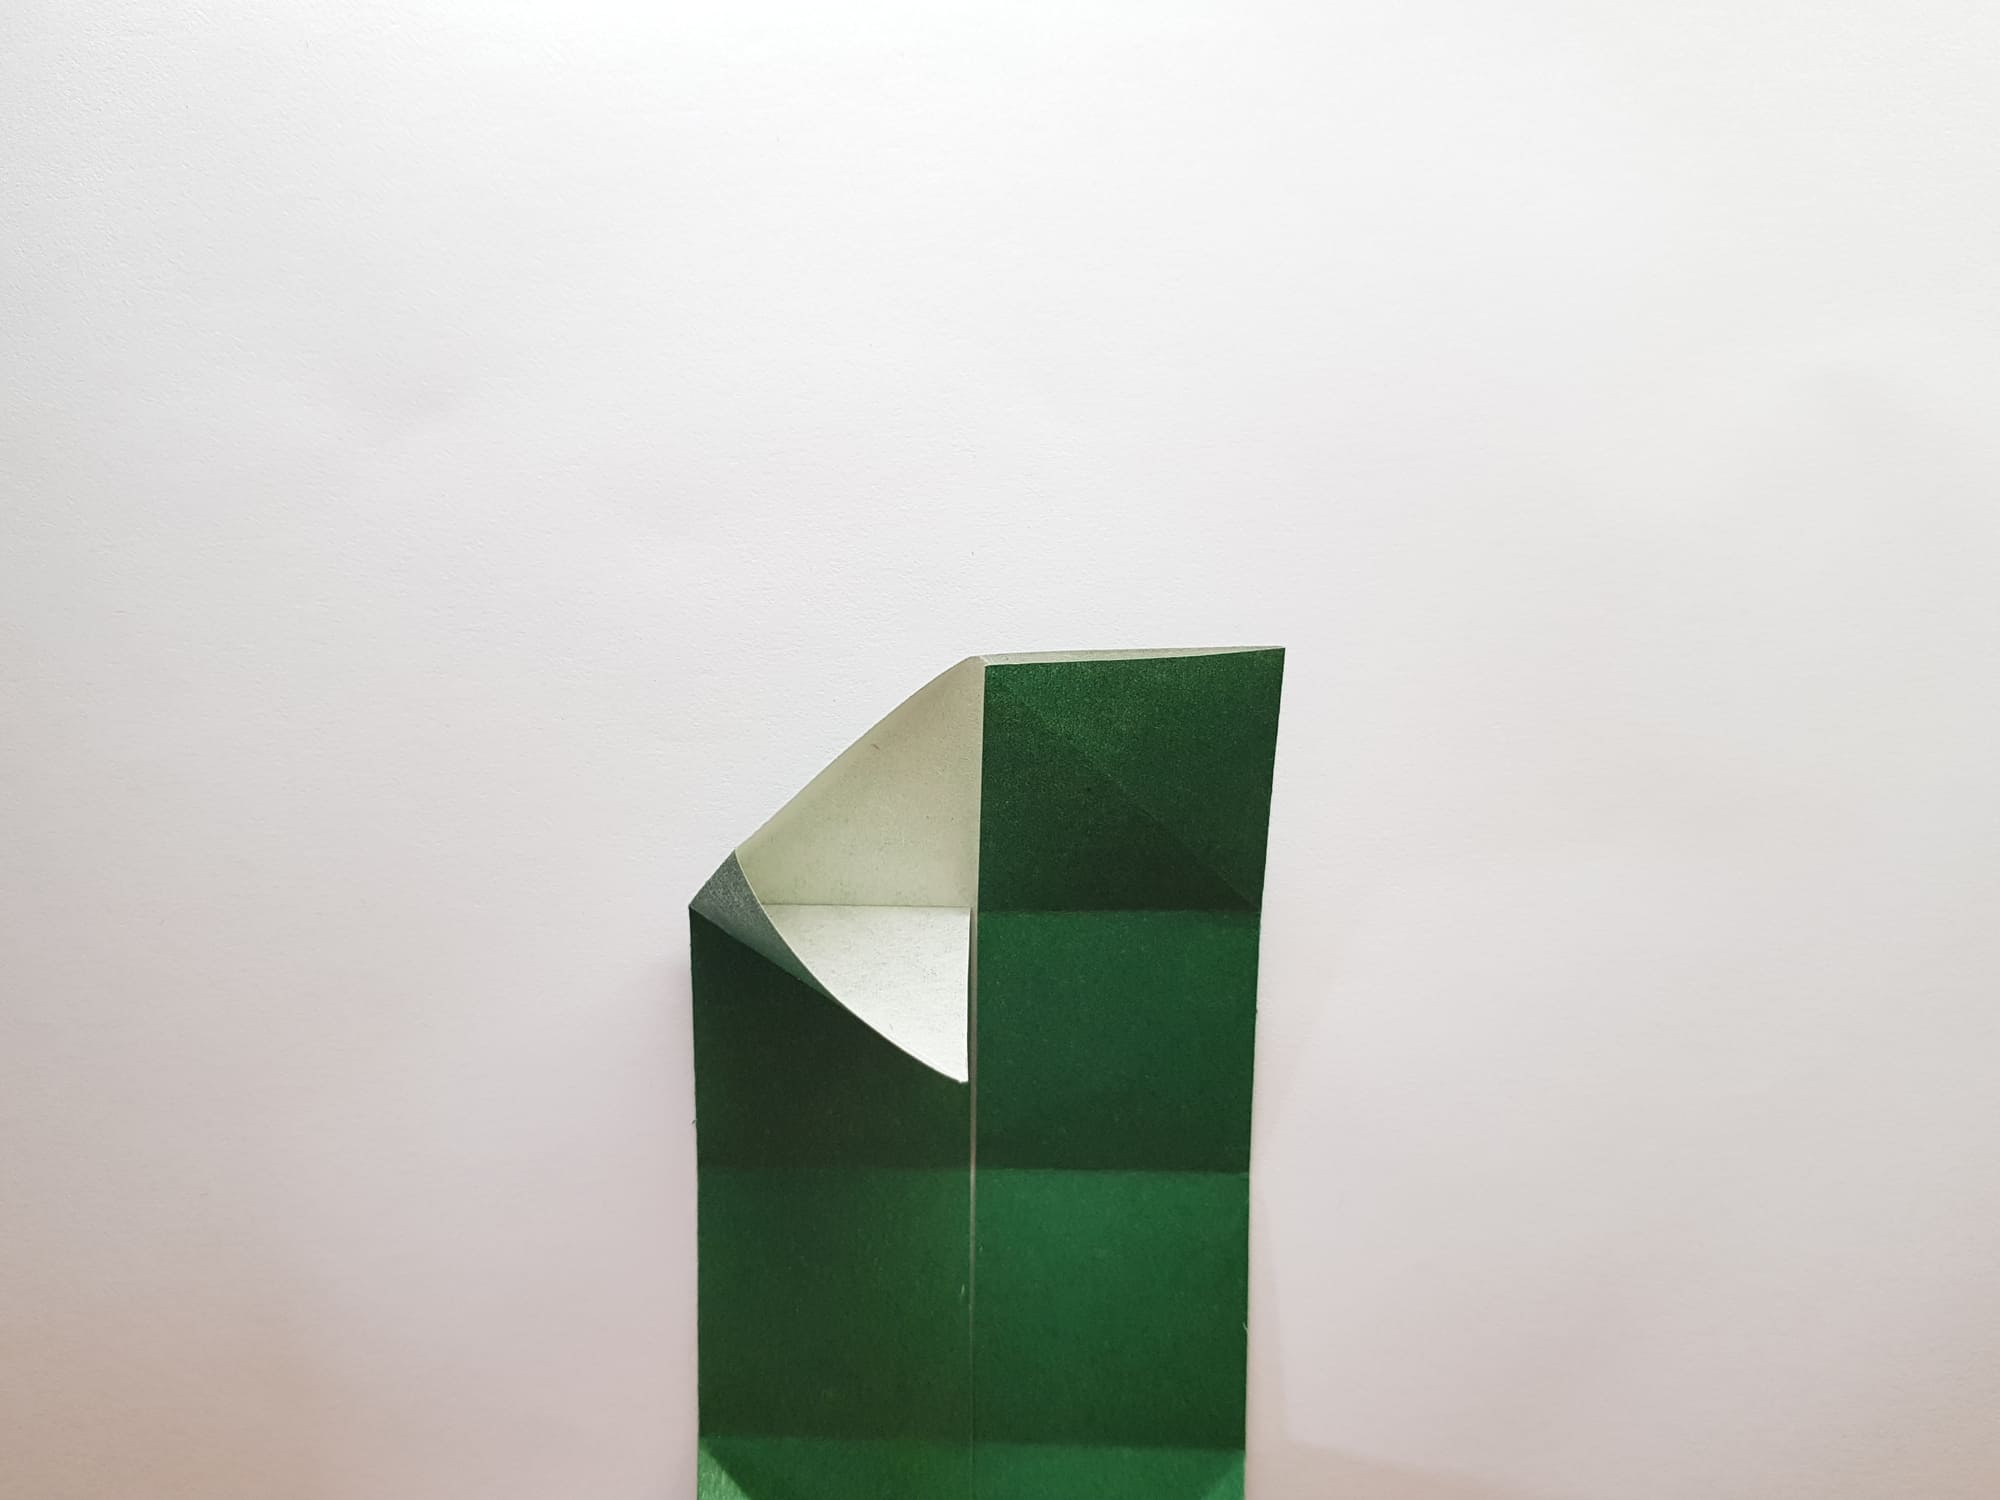
Do the same with the right corner.
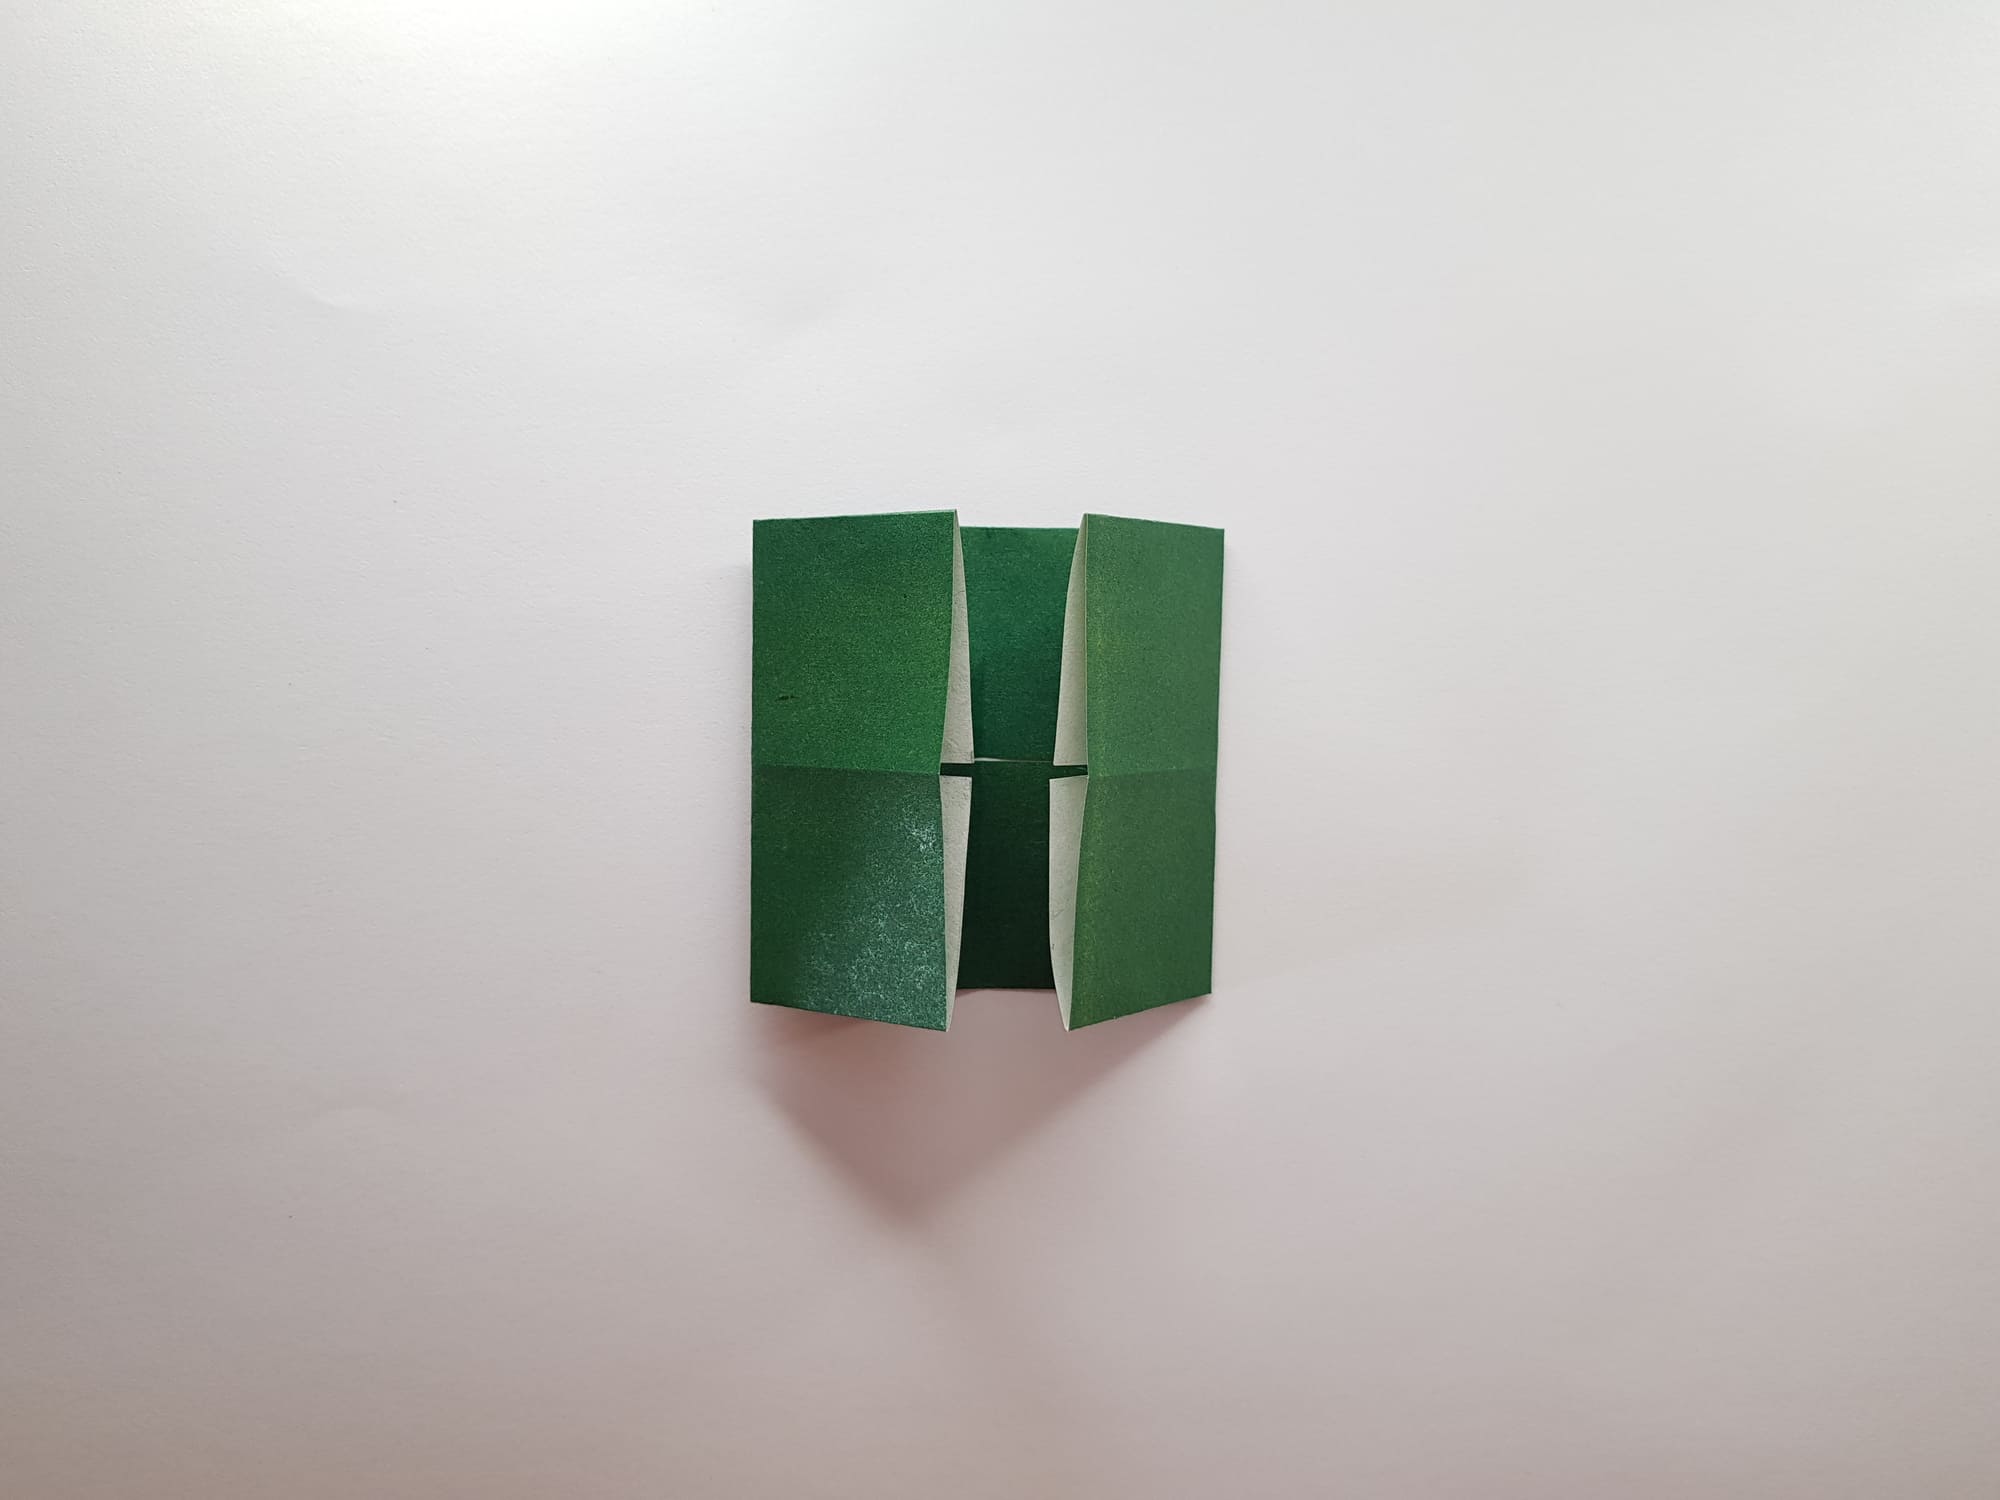
Repeat the action with the opposite side of the rectangle.
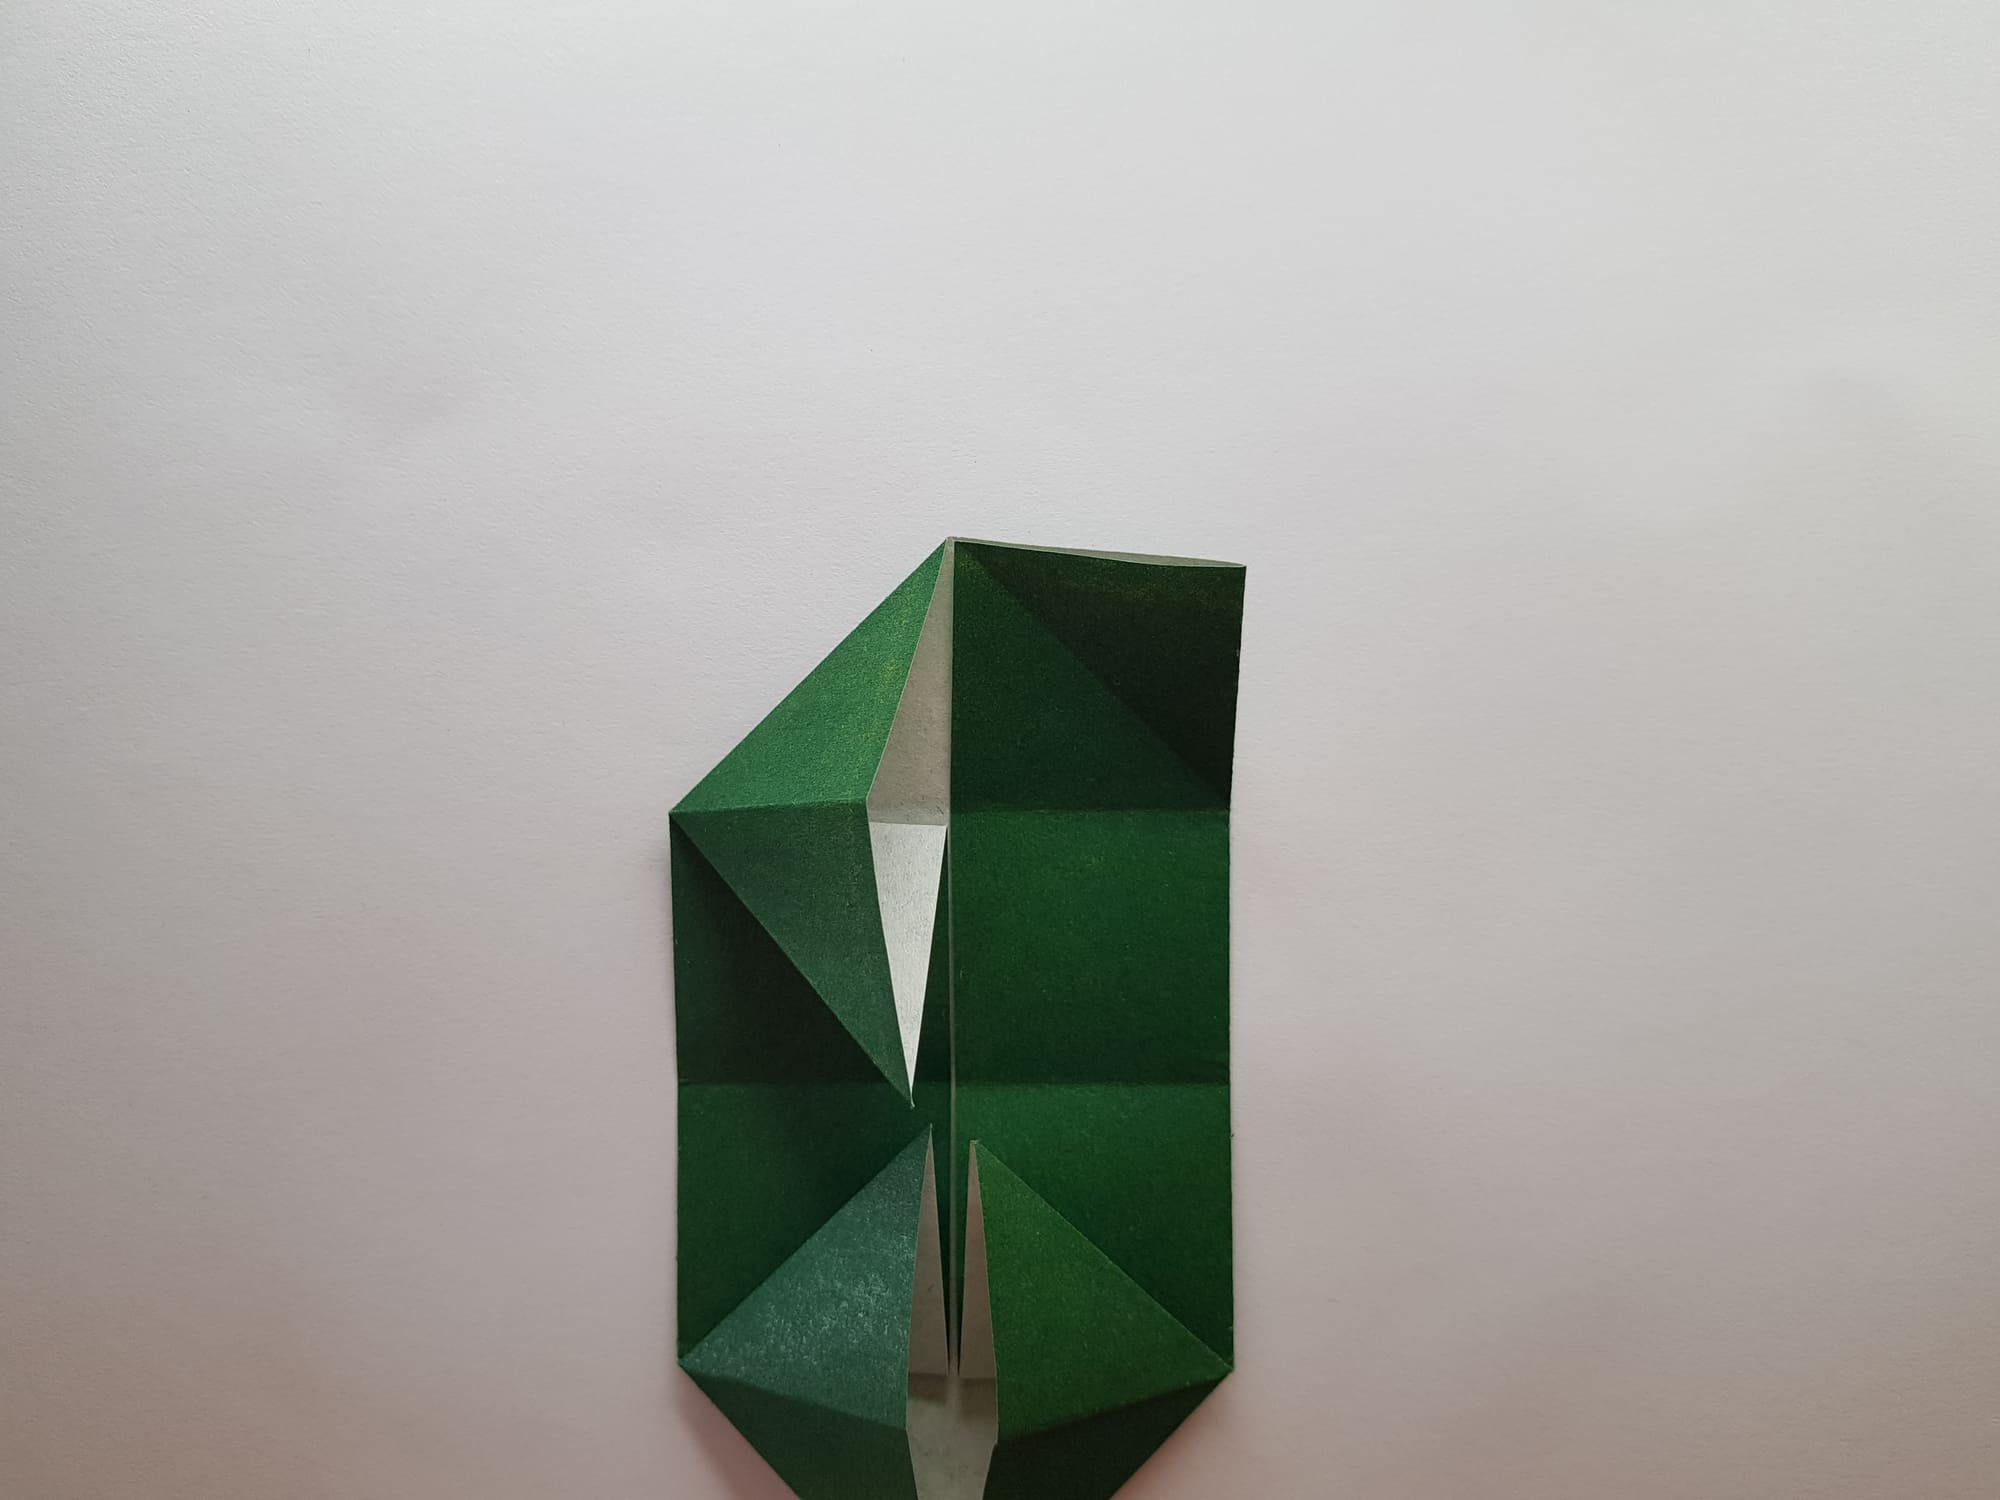
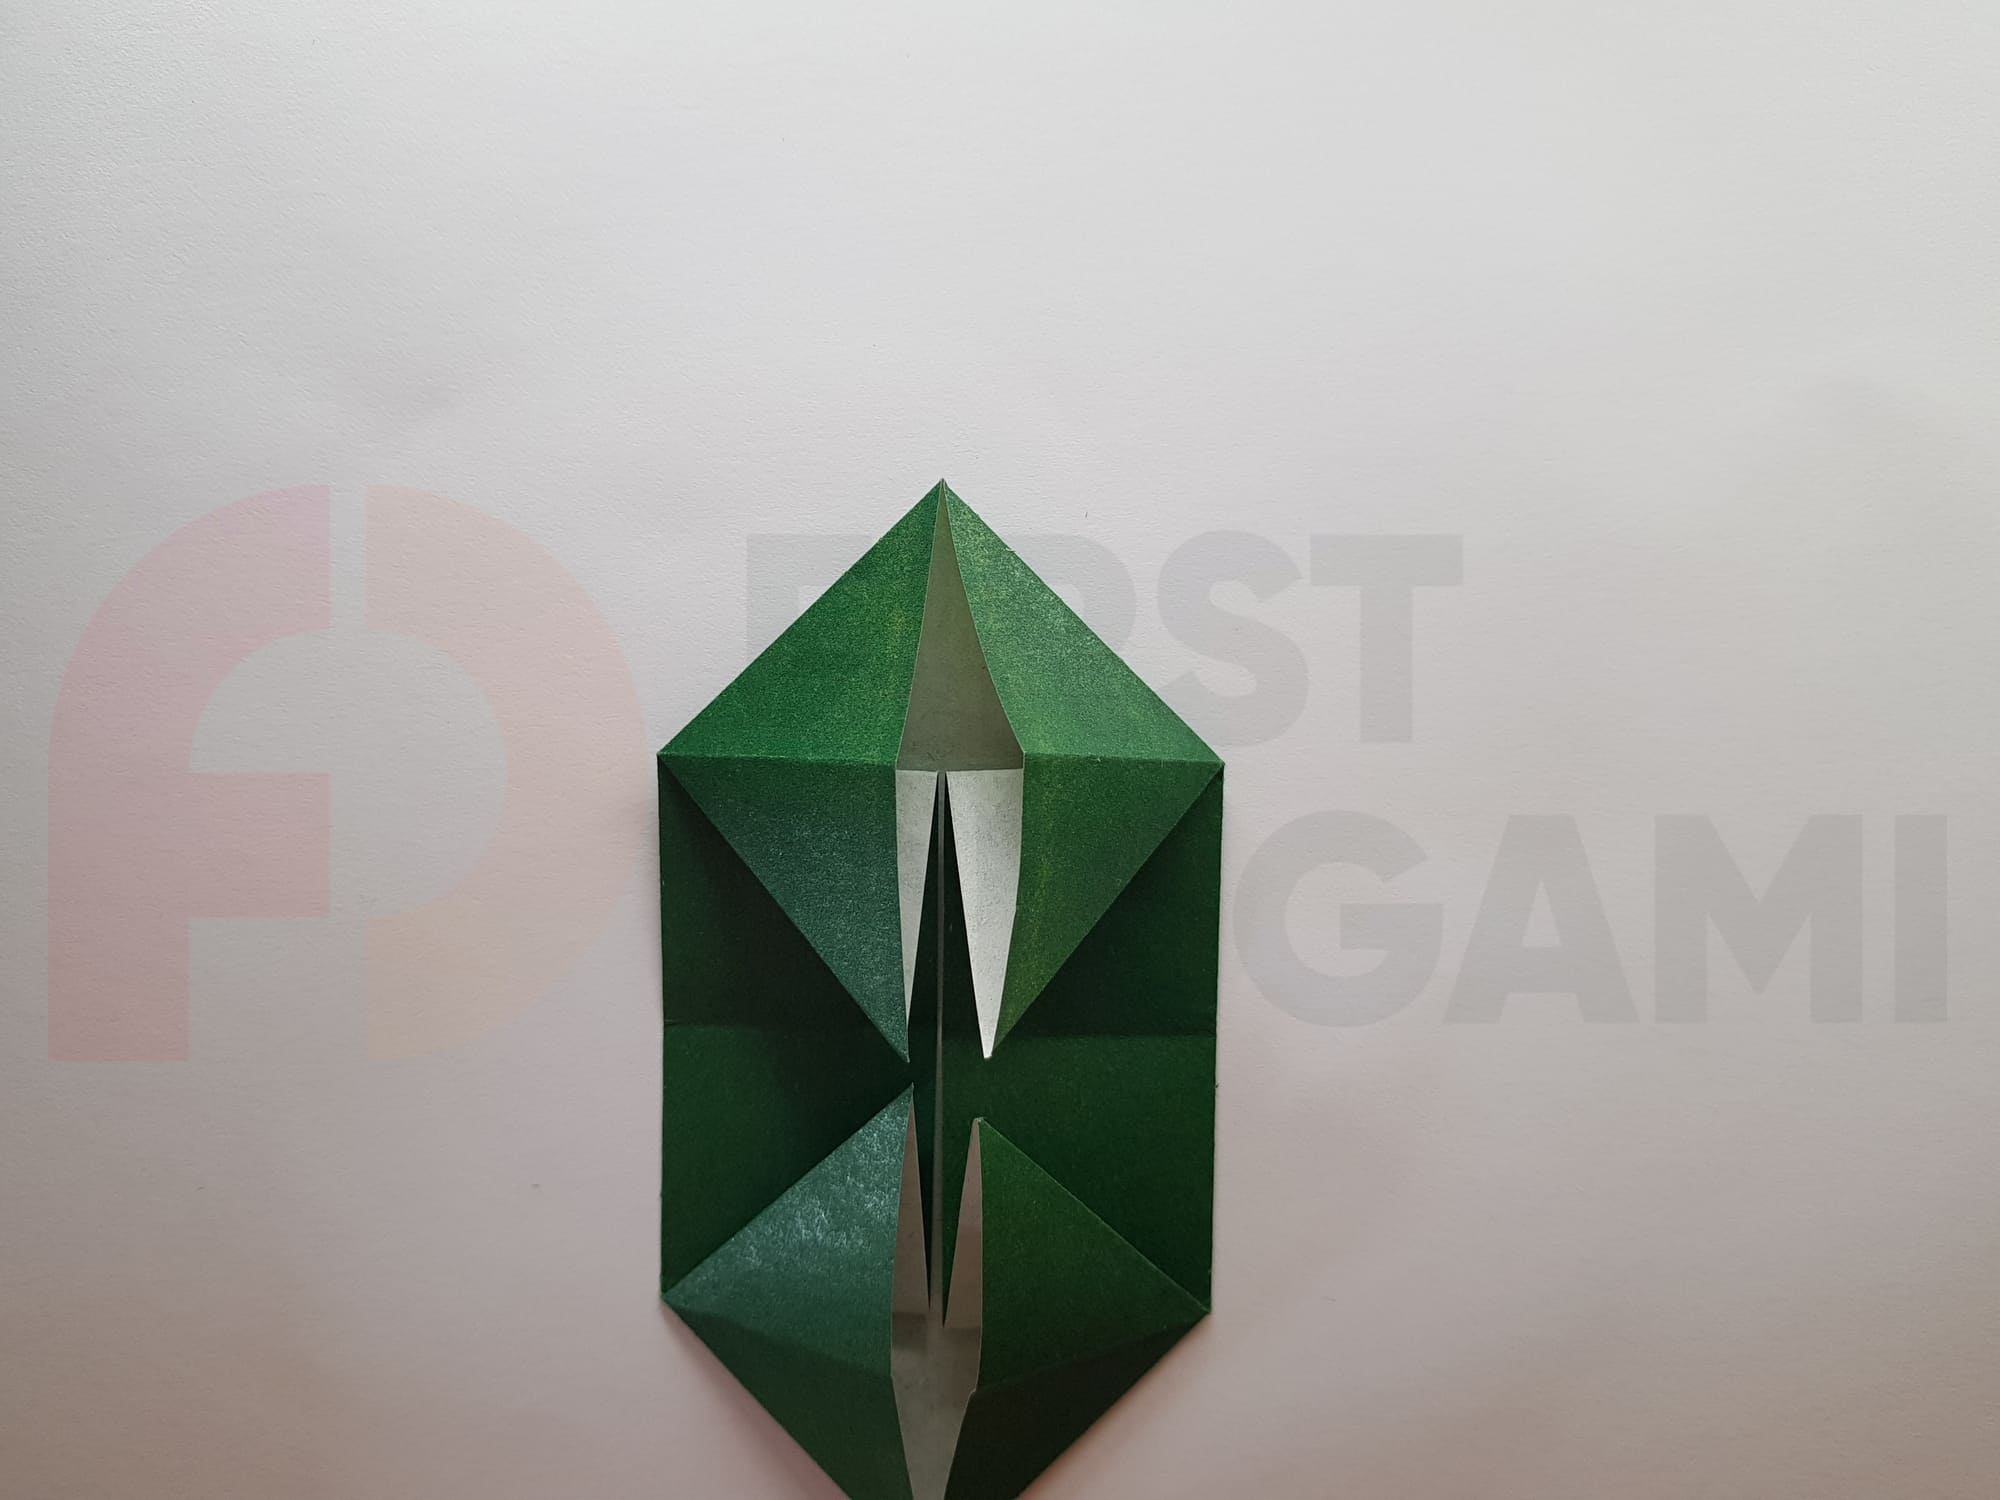
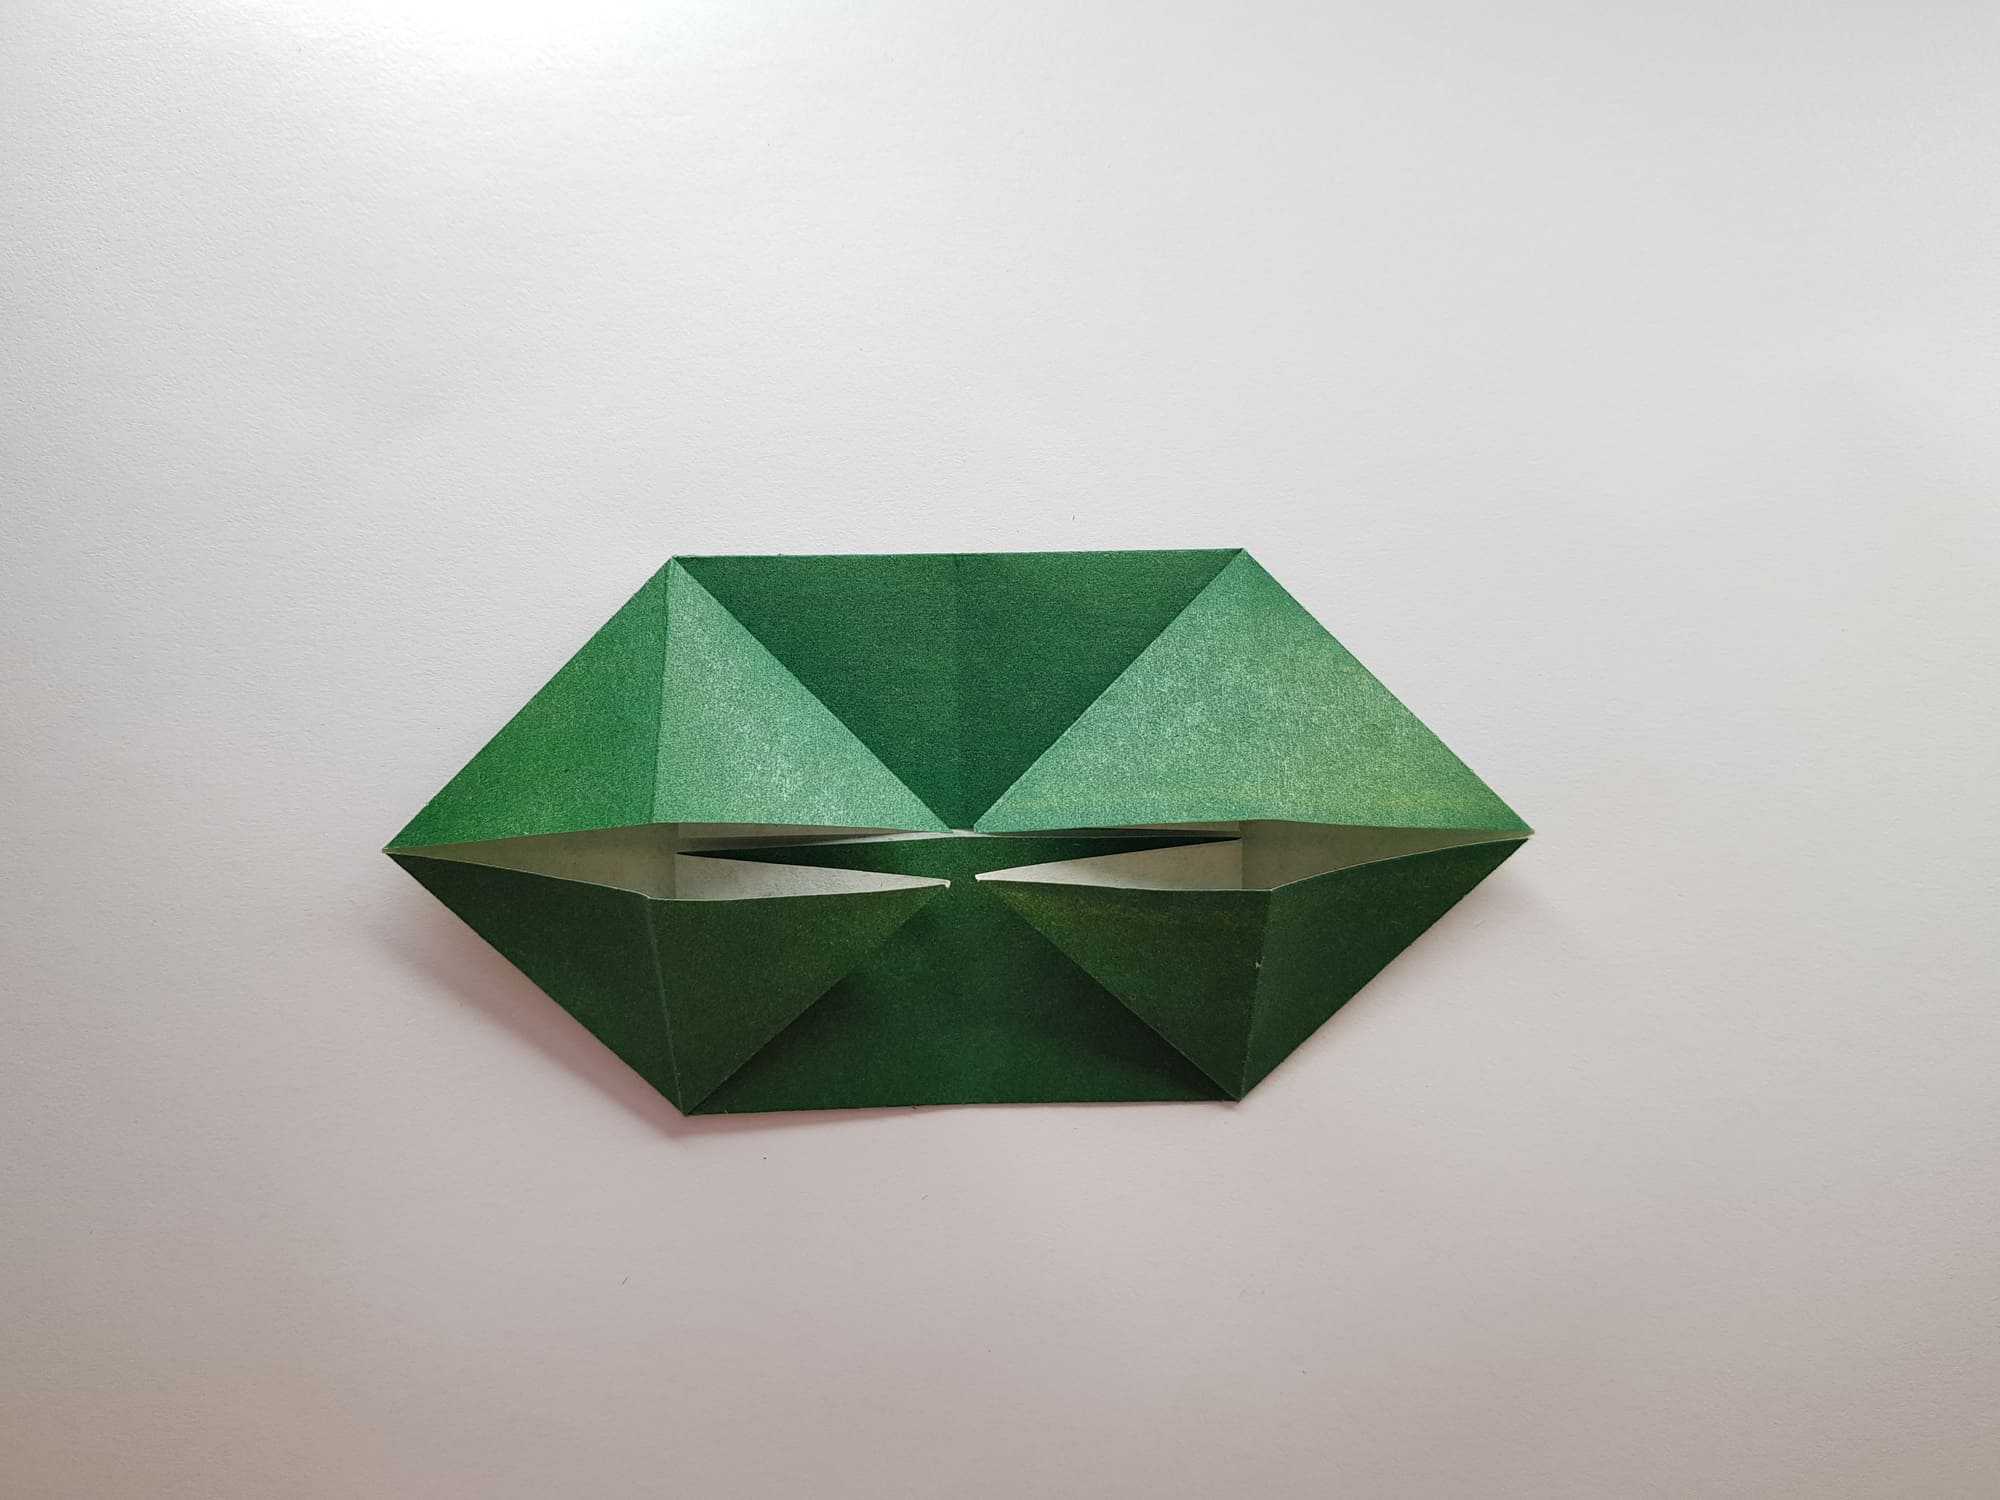
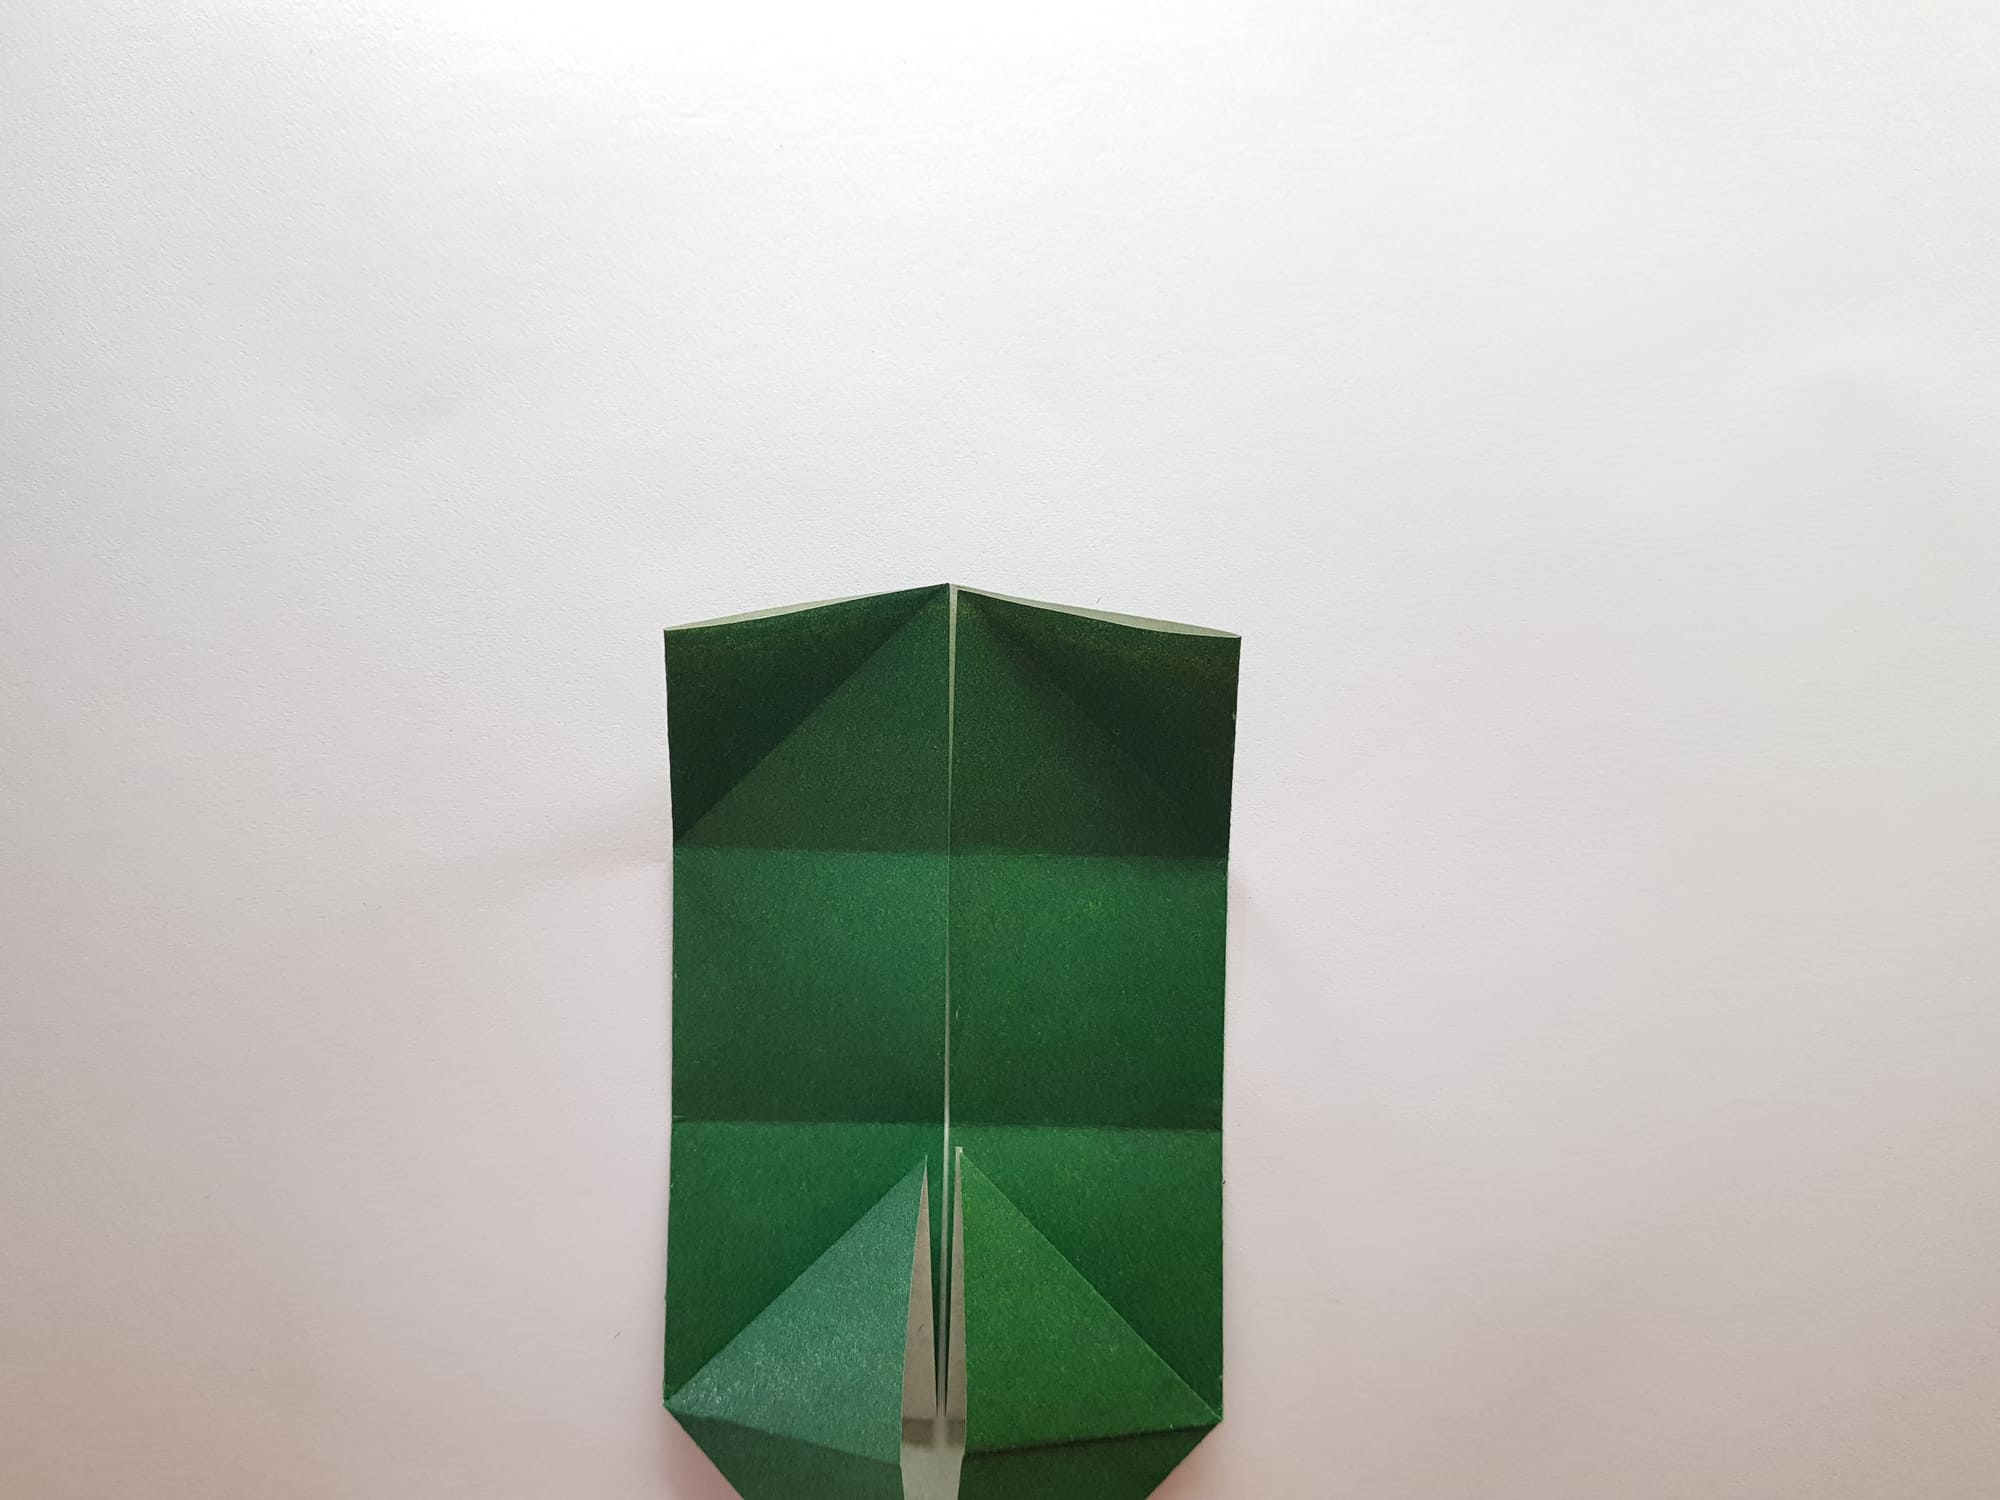
Crease the folds.
The base “Pig” is ready.
In this way, you can quickly make several models of different sizes and use them to assemble more complex origami. If you practice, then the whole job will take no more than 5 minutes. Choose the color of paper that you need to create a fun animal from the base.


