Origami Piggy
Every origami lover can have their own collection of animals, wild and domestic. If you do not have one yet, then you can start creating it with such a wonderful piggy. The proposed figure assembly instructions contain many steps and folds that require accuracy and precision. The result is very interesting and realistic.
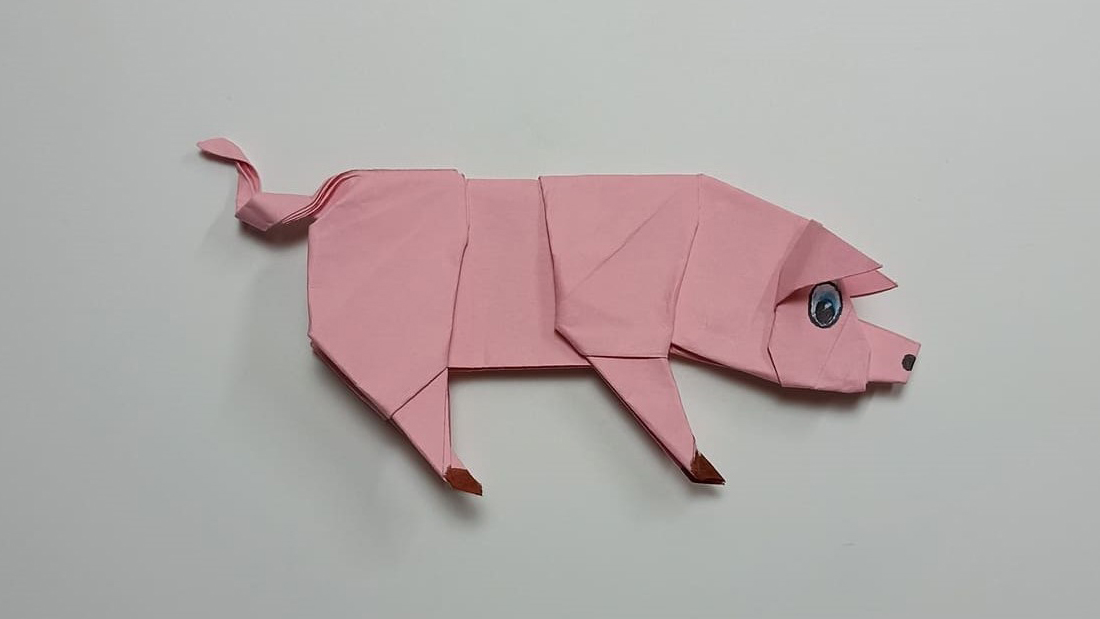
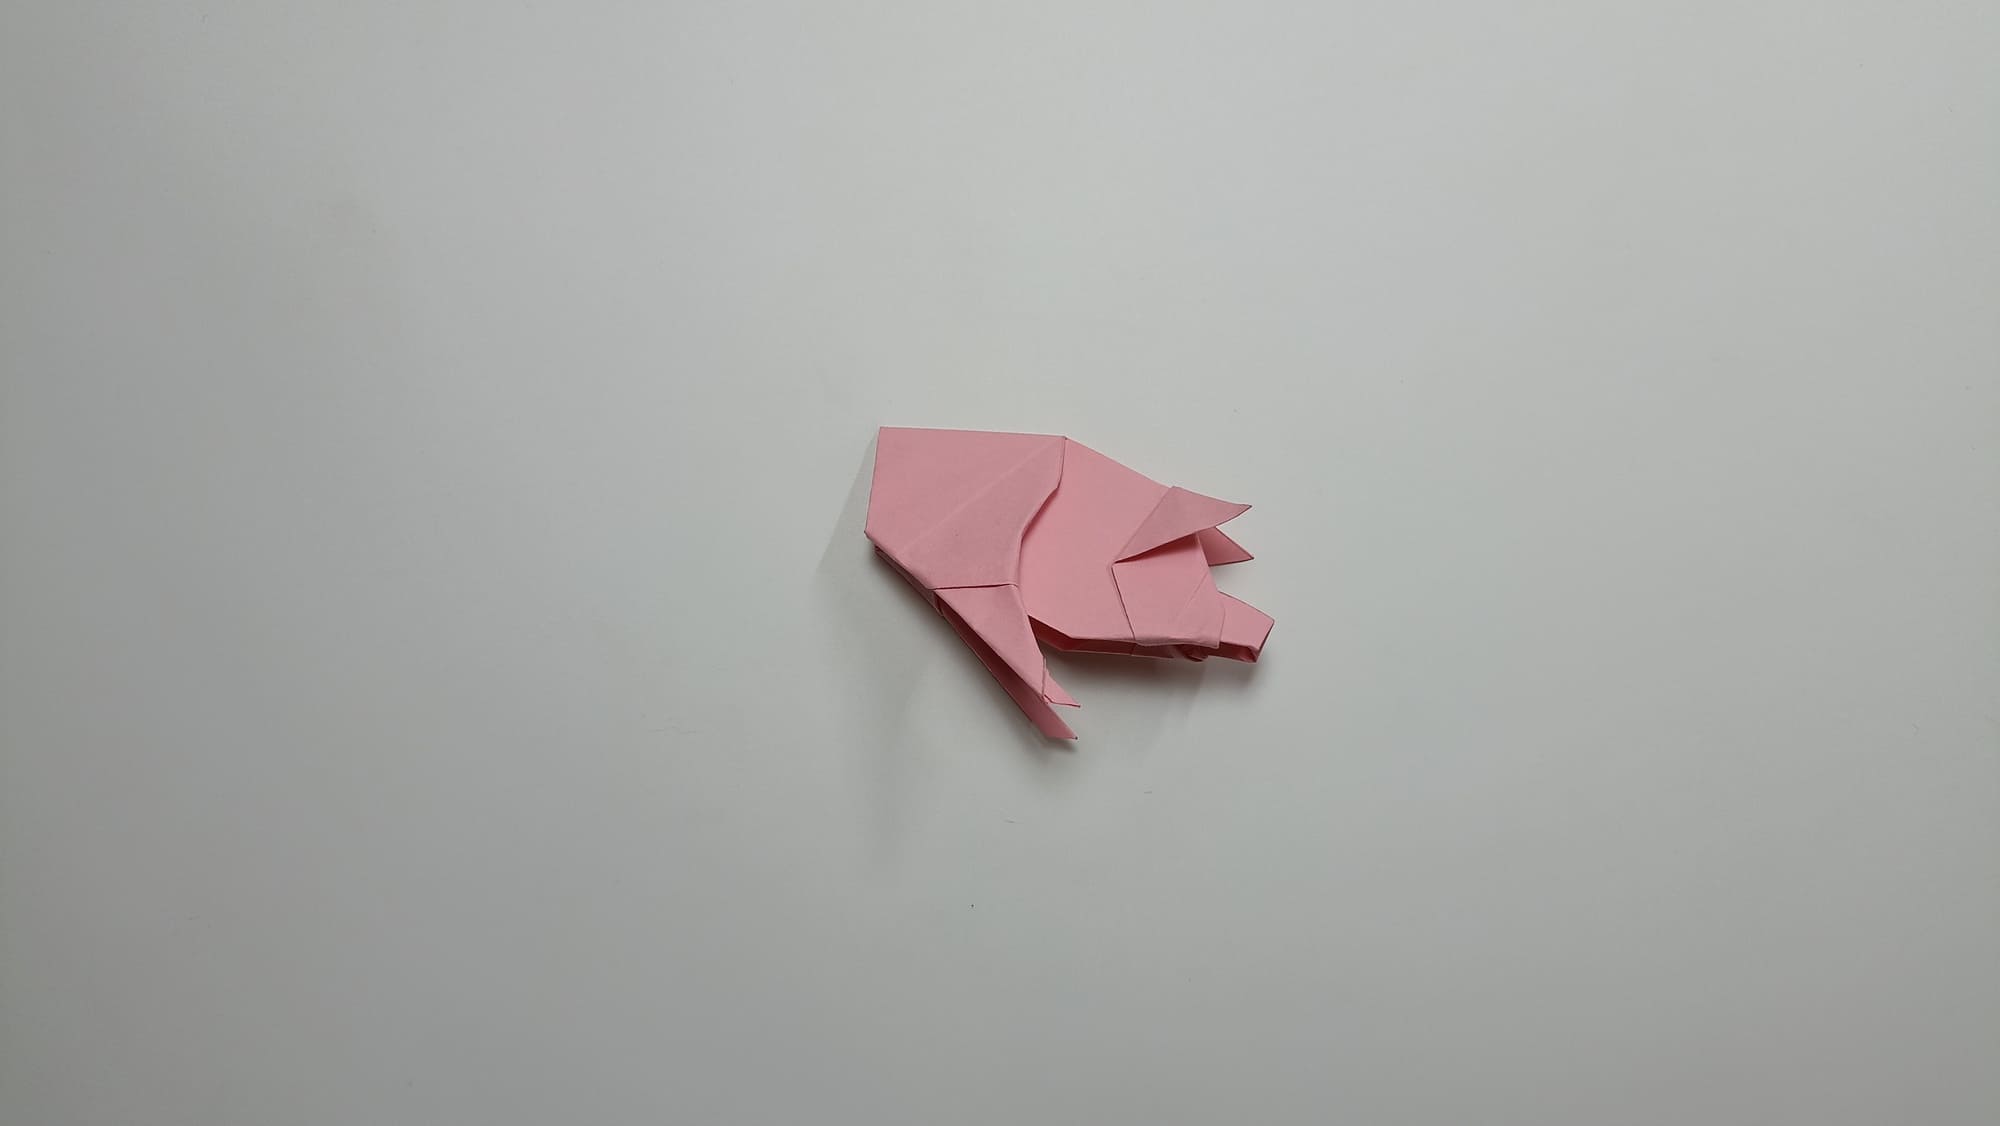
The finished figure can be seen with a hooked tail, drooping ears, a snout, and short legs with small hooves. The silhouette of the animal is characterized by smooth lines. The figure stands confidently on the surface without additional support. The craft is made from two identical-sized sheets of paper. The parts are connected using glue.
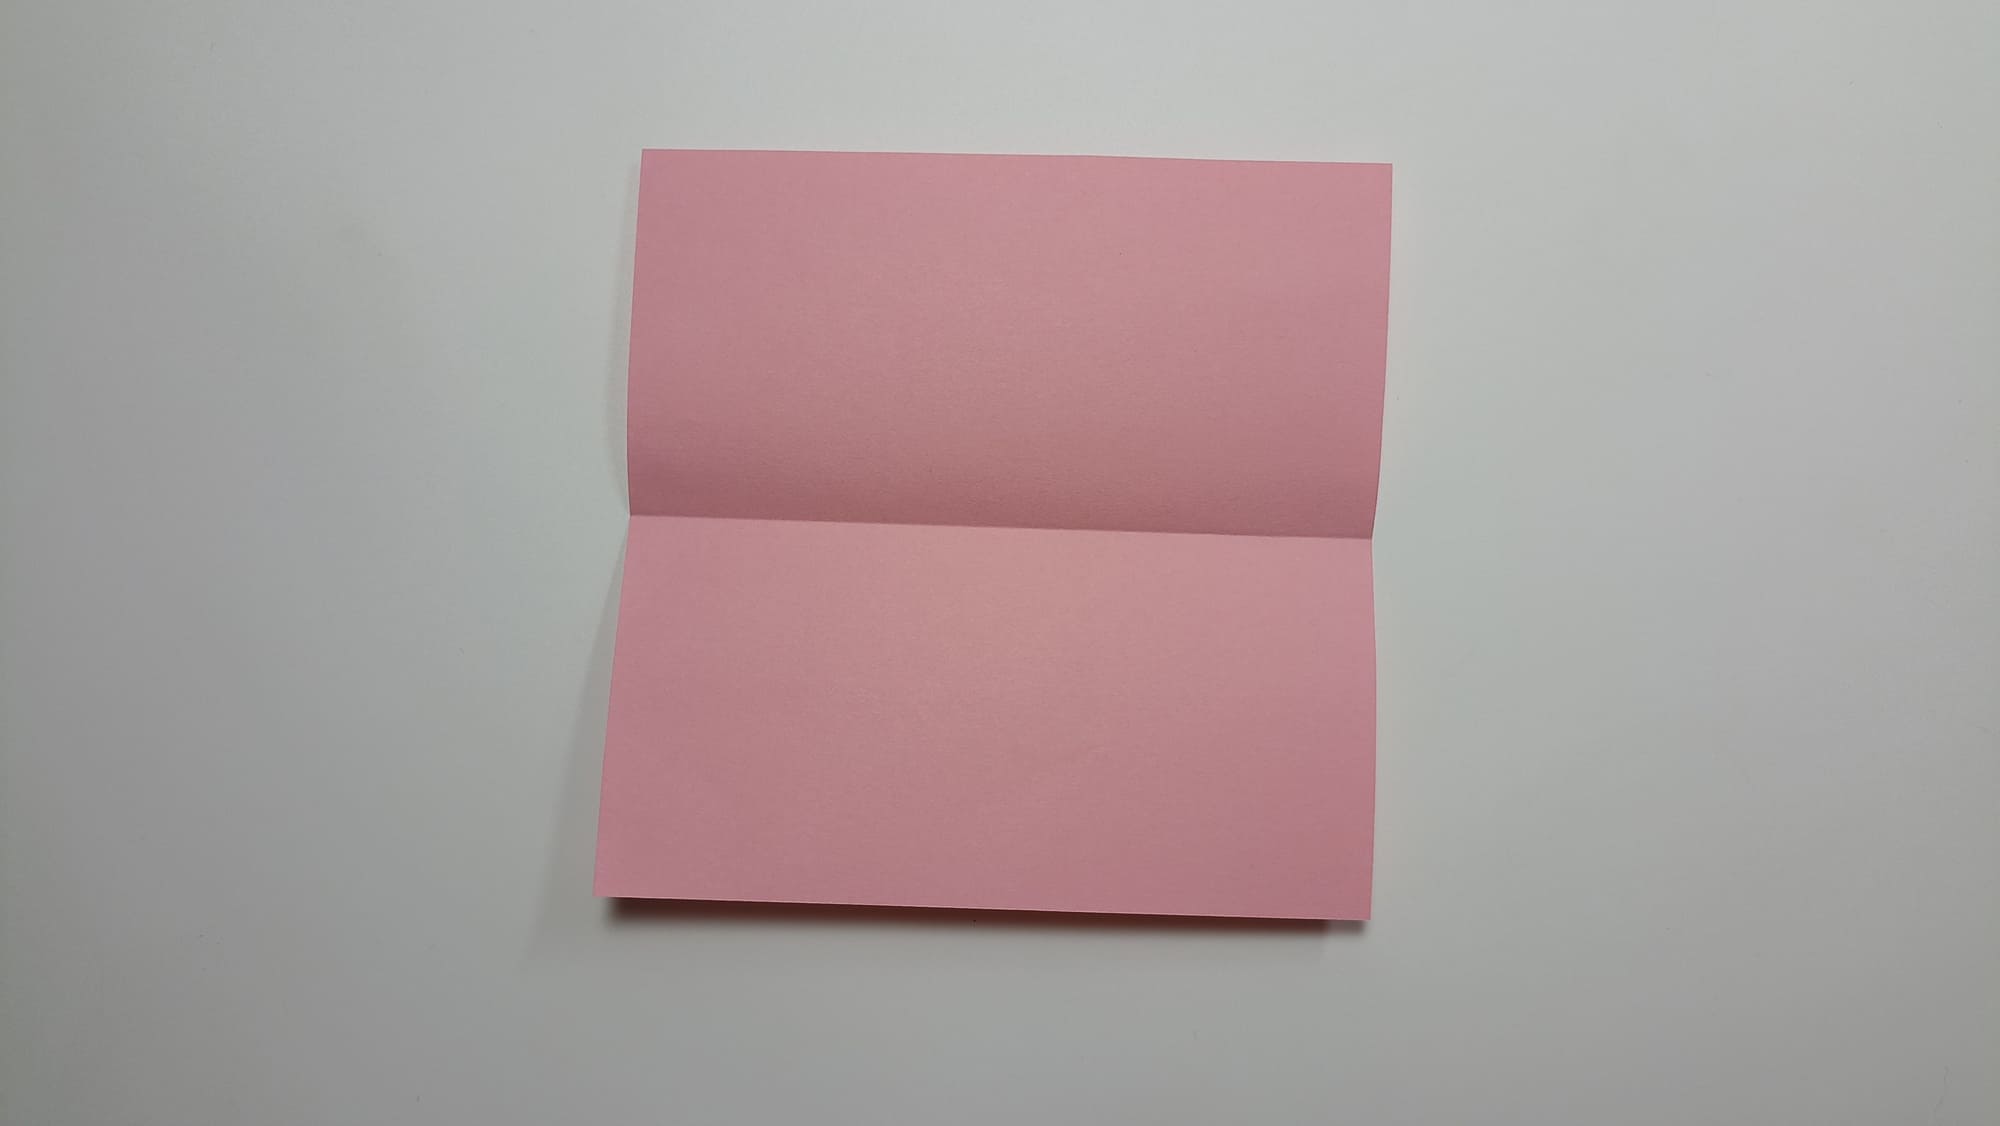
For the front part of the pig figure, mark the middle on a square sheet of paper, aligning the opposite sides.
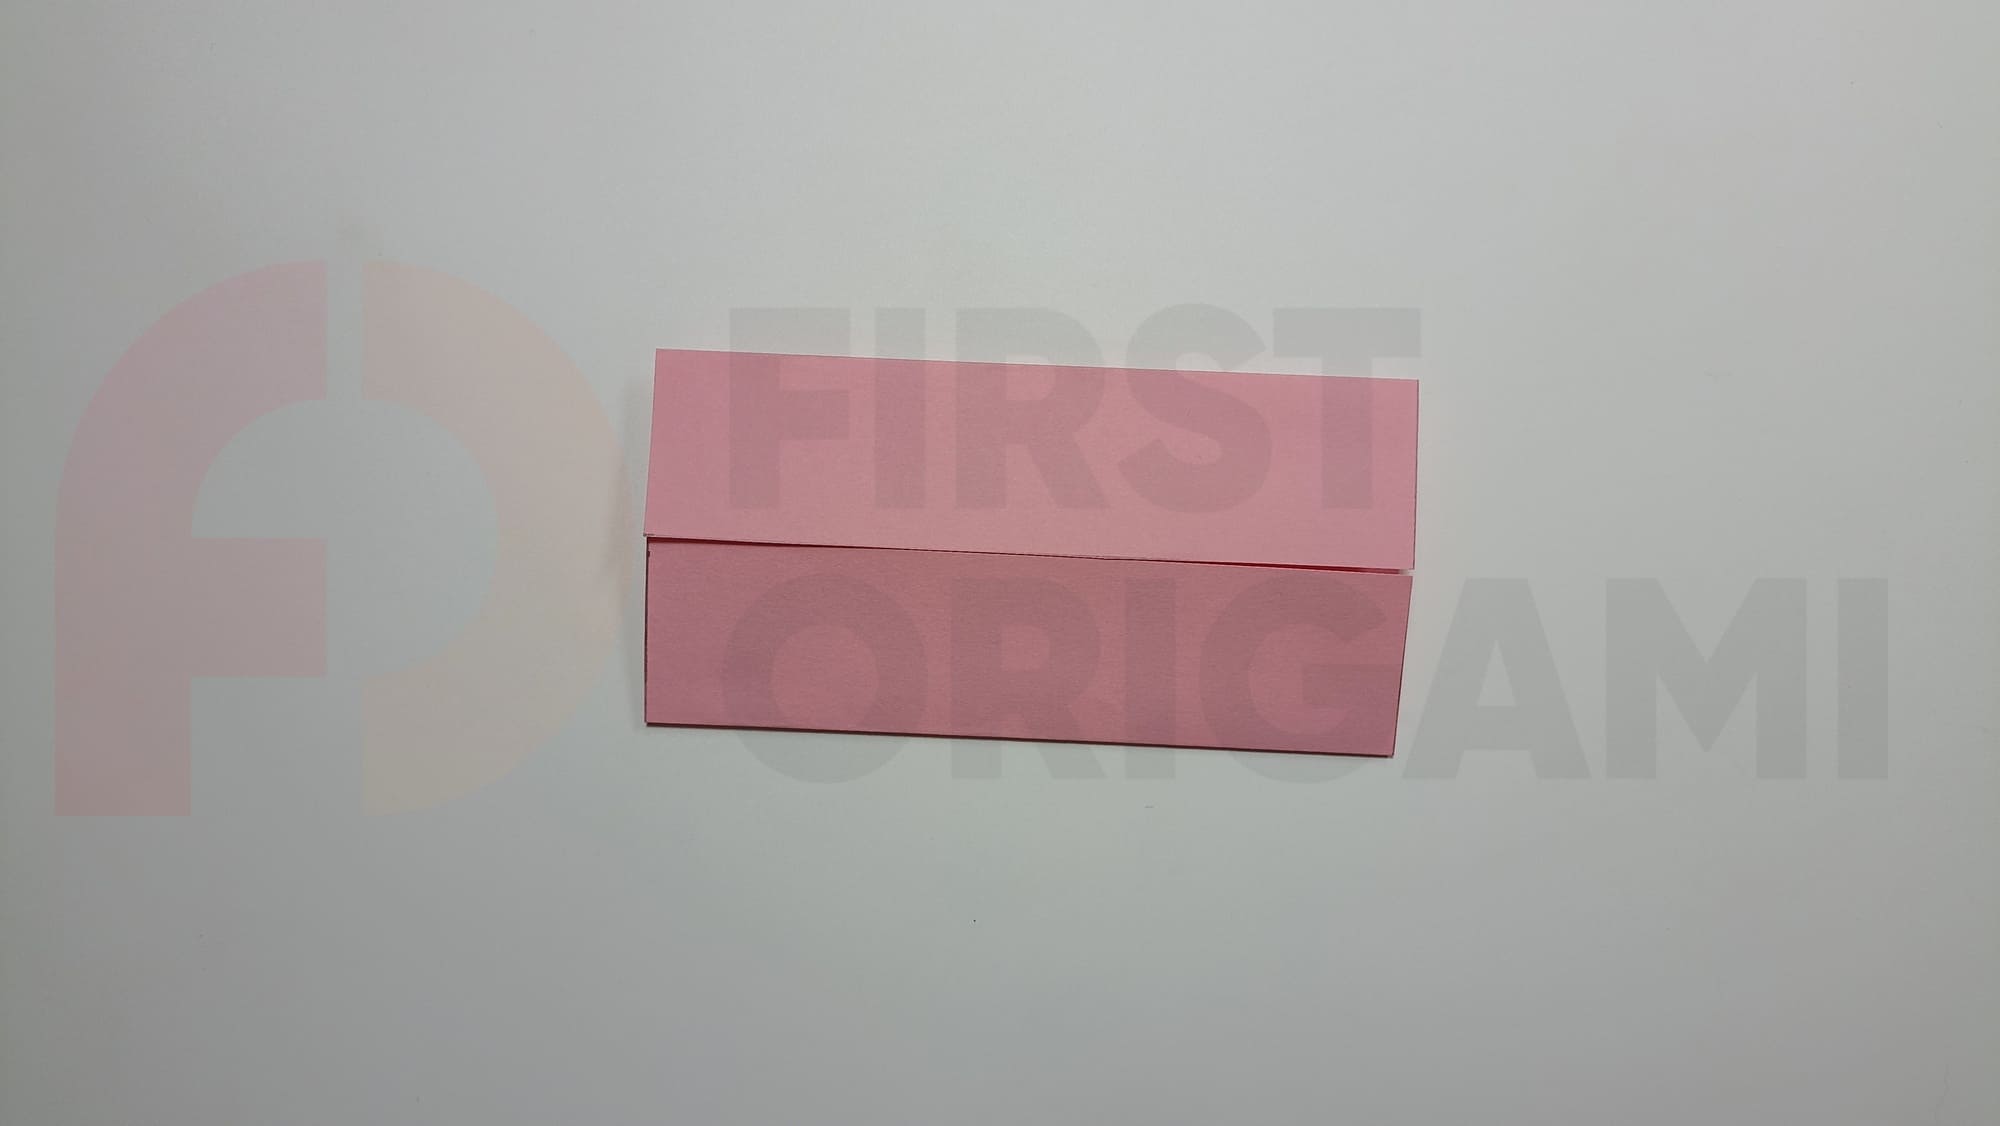
Fold the sides towards the middle.
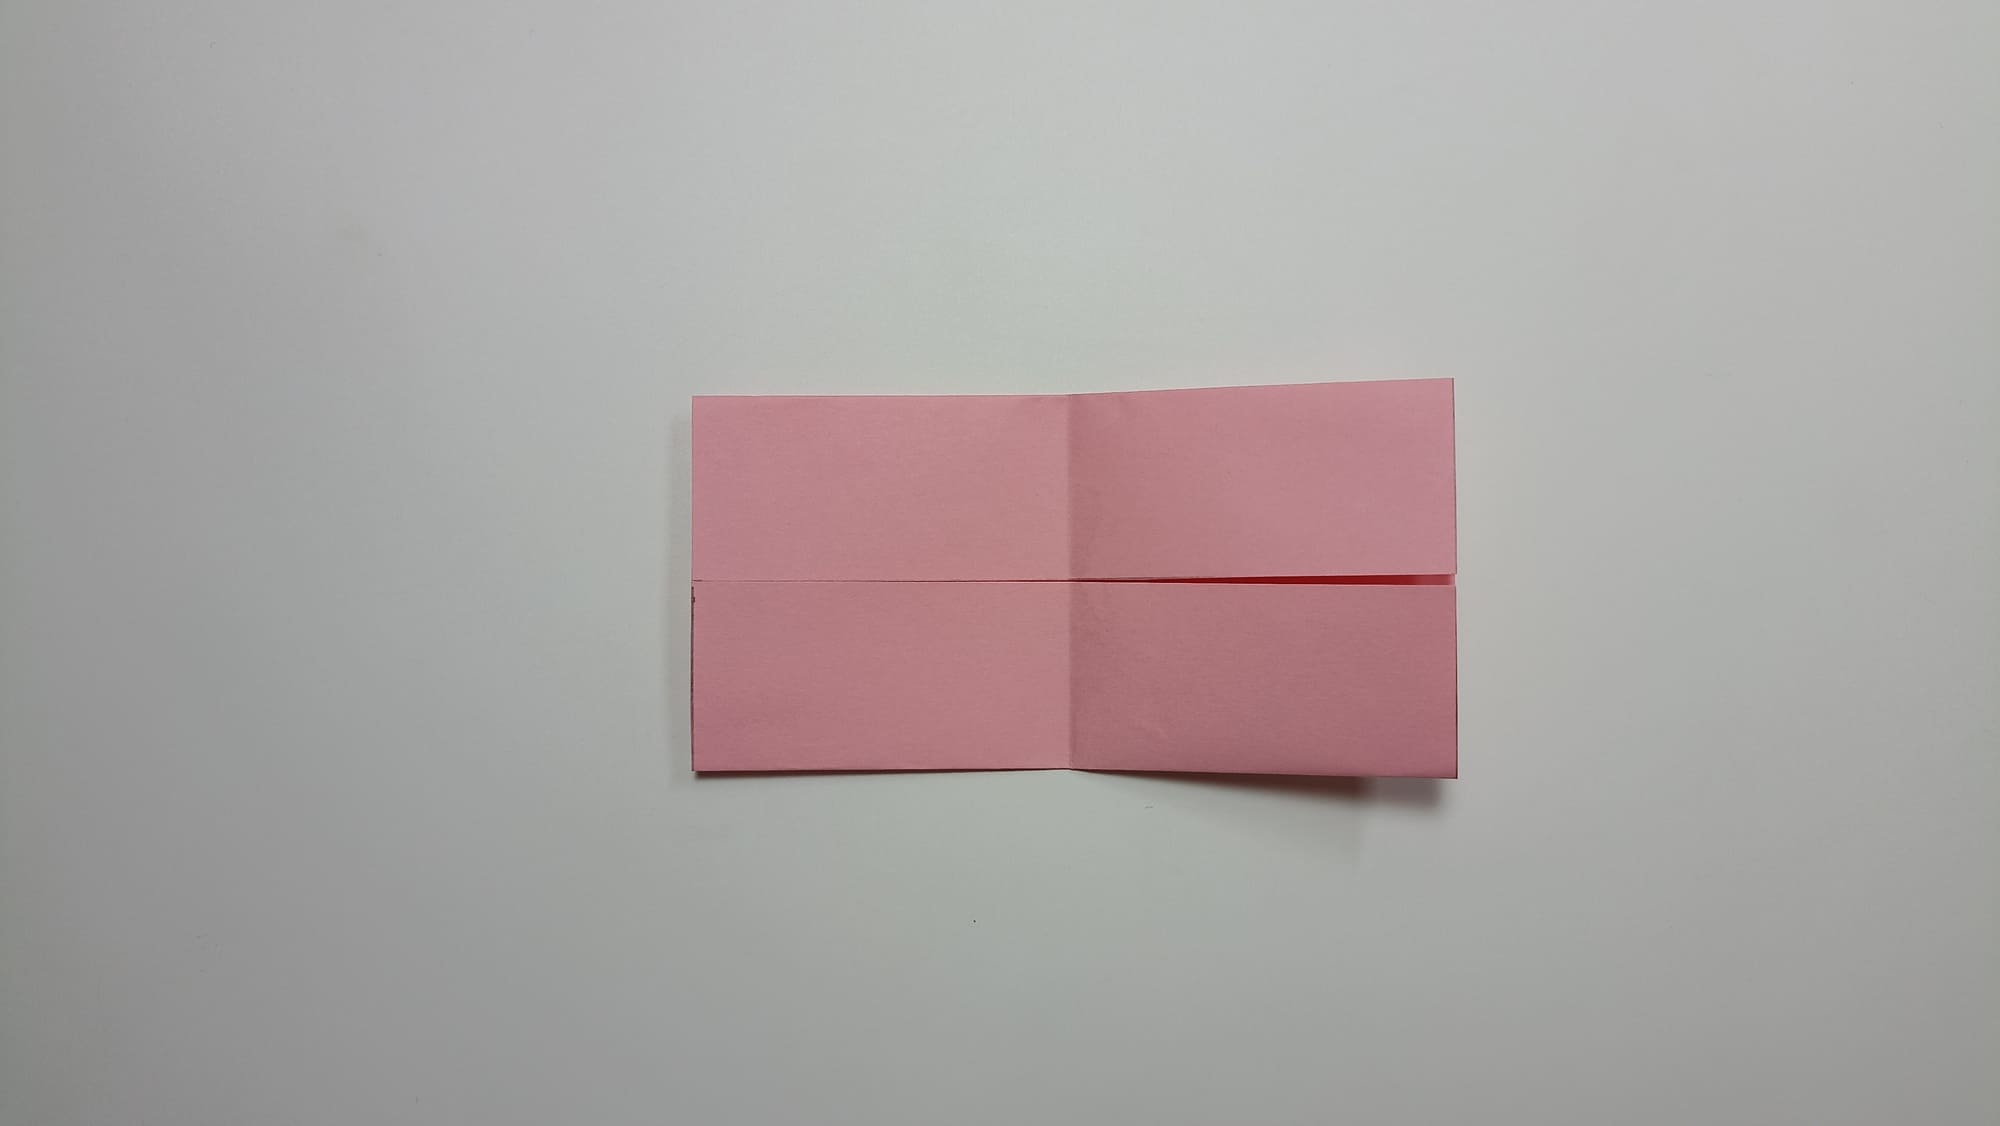
Mark the center line, matching the opposite short sides.
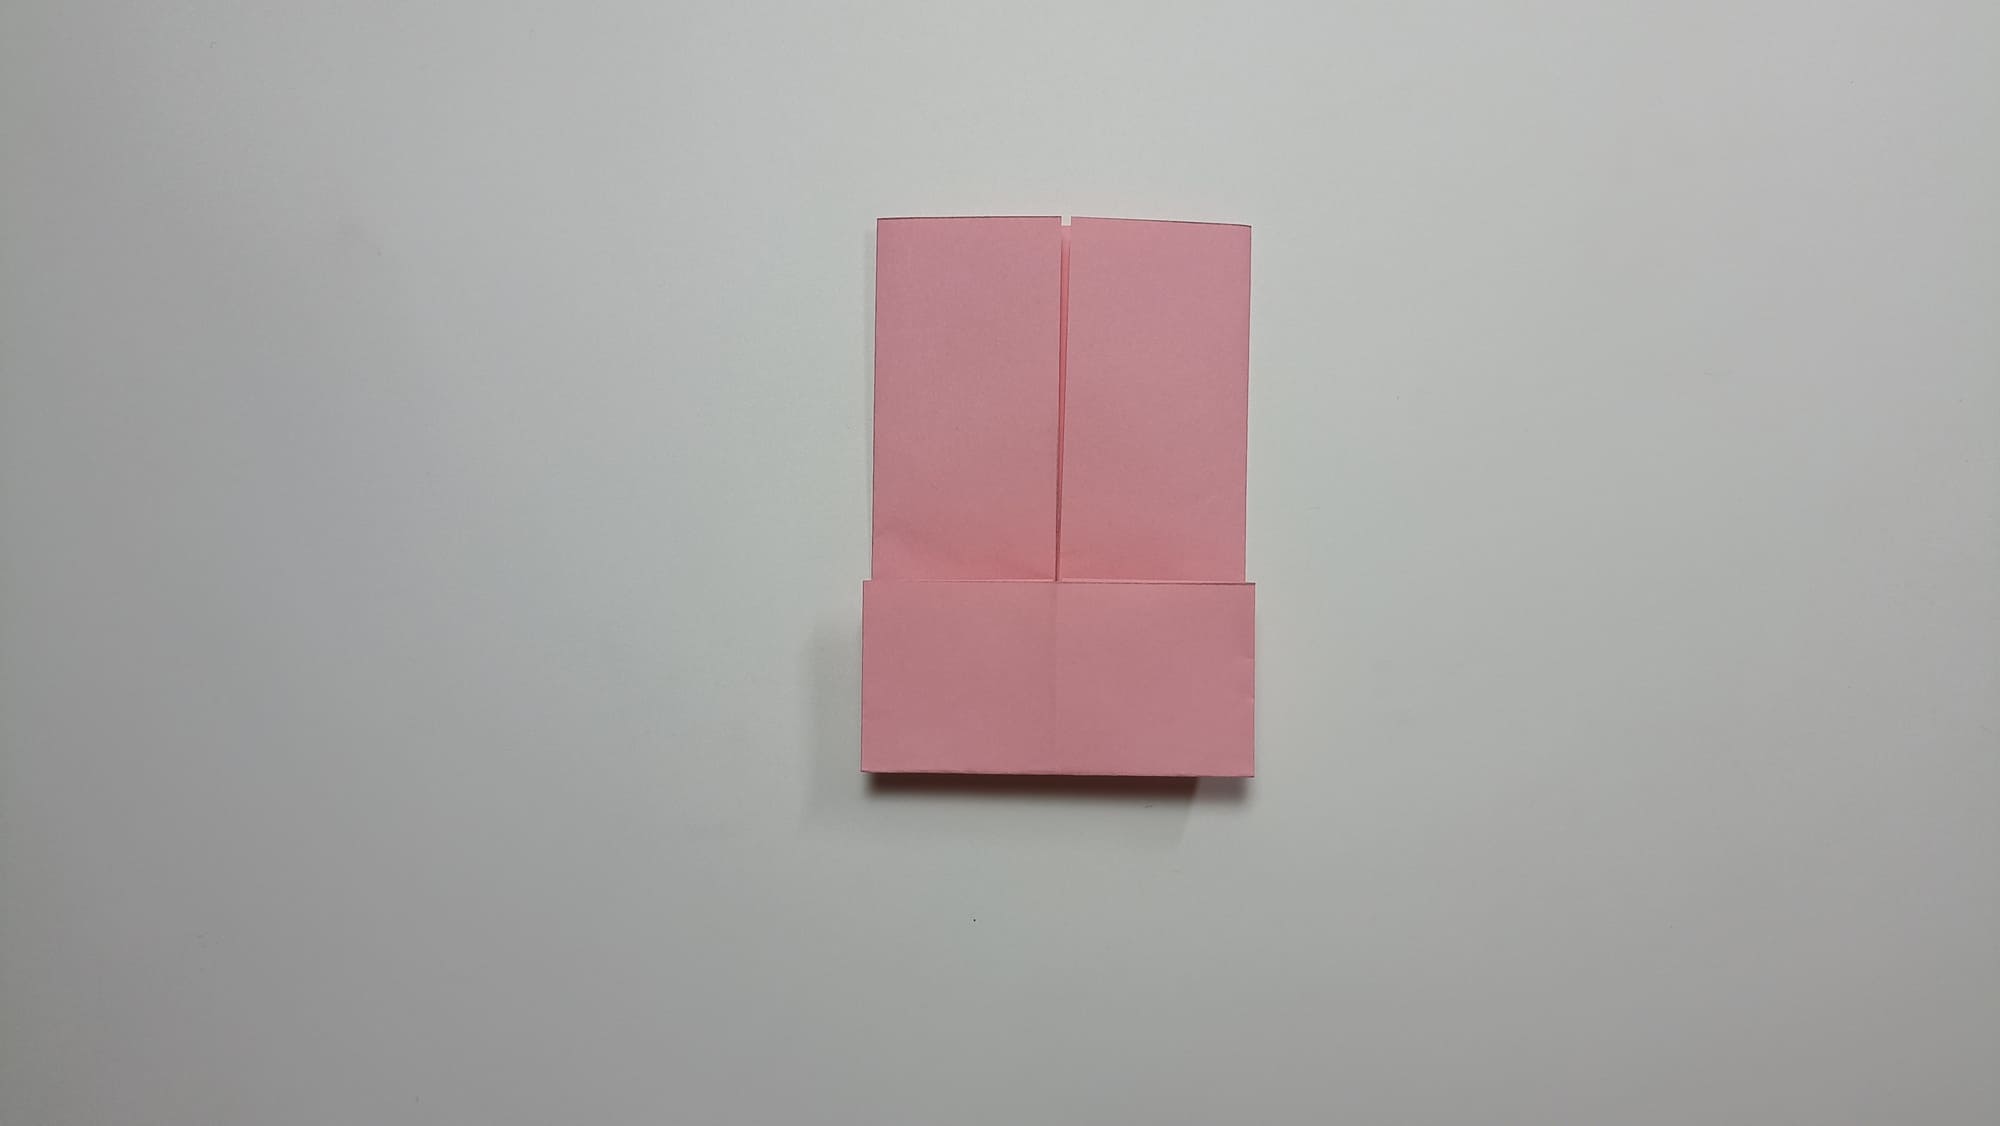
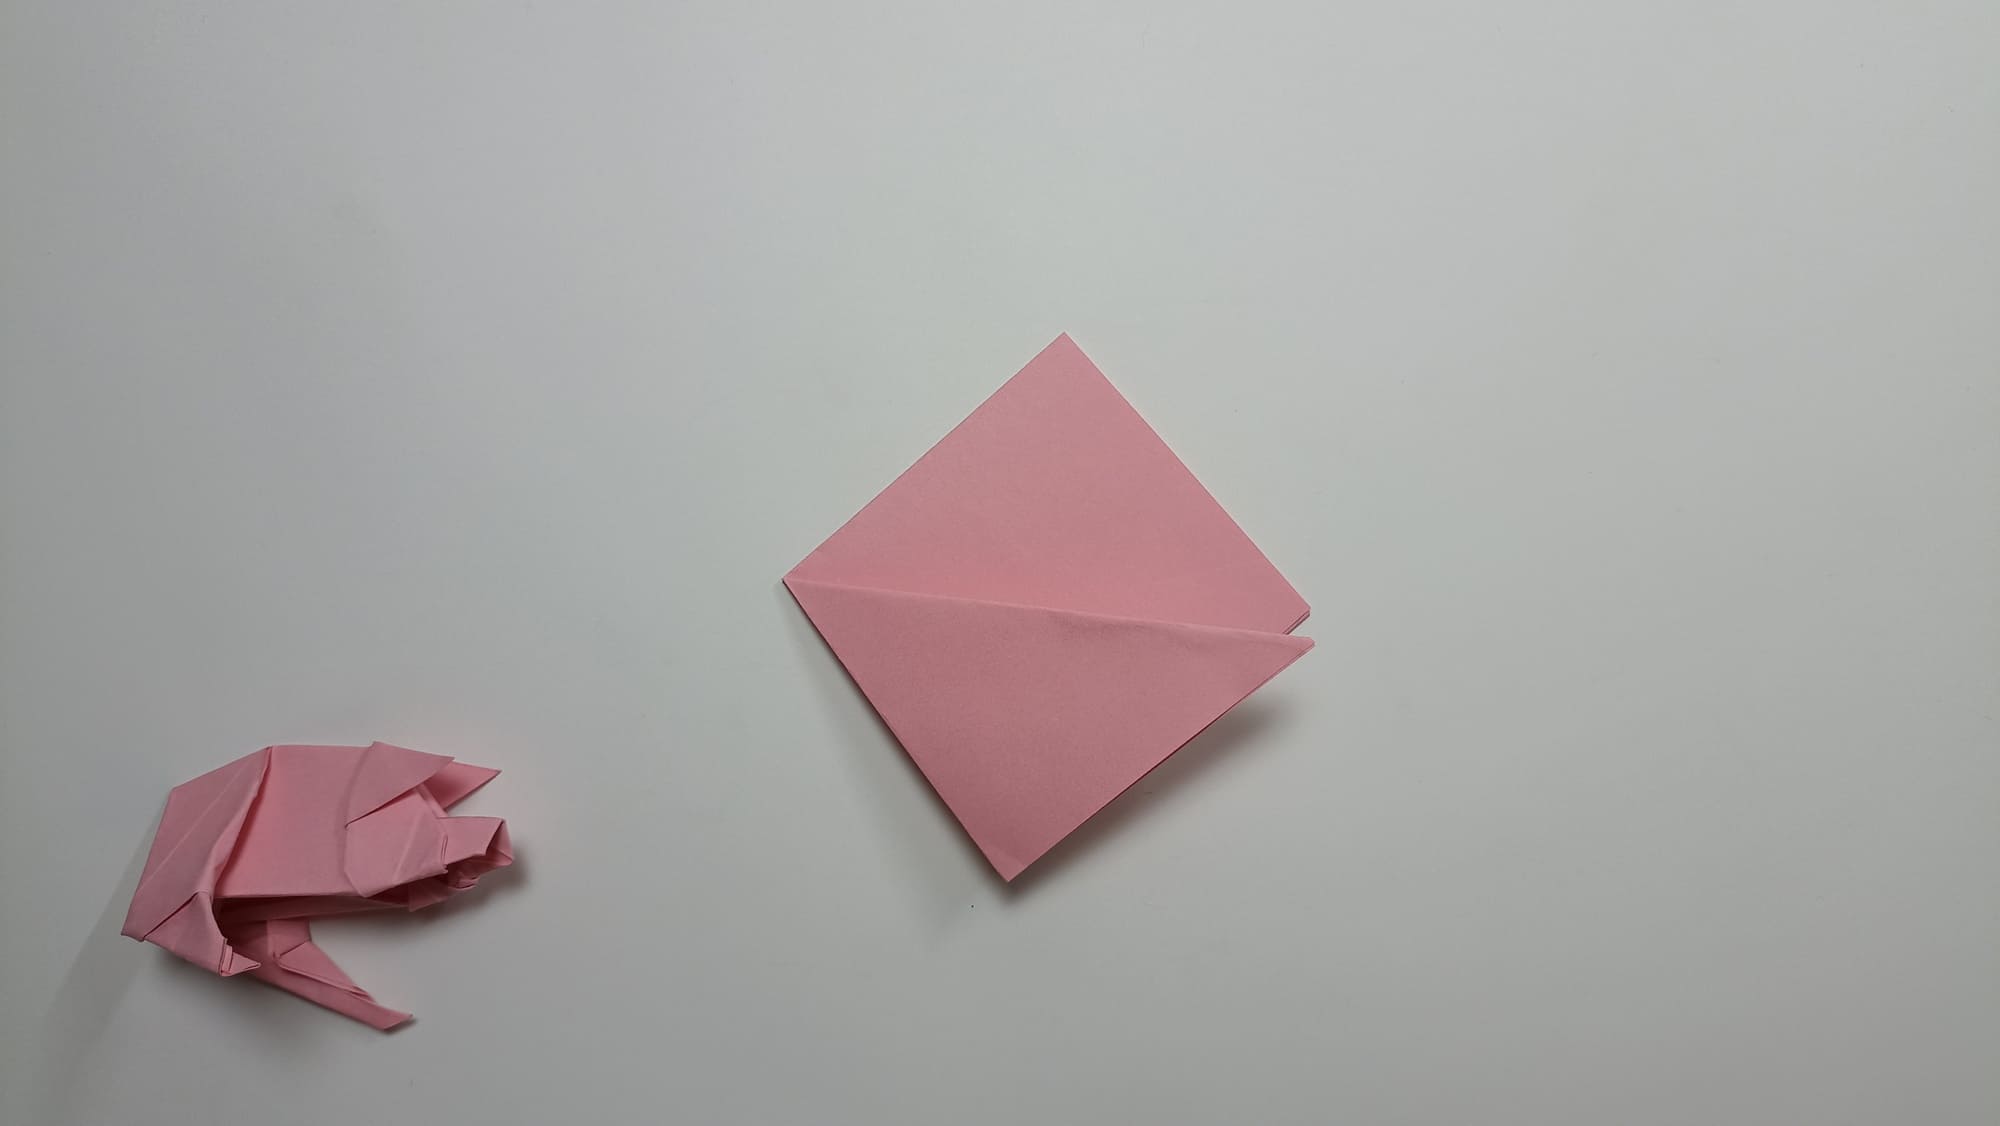
Bend the edge of the shape towards the center.
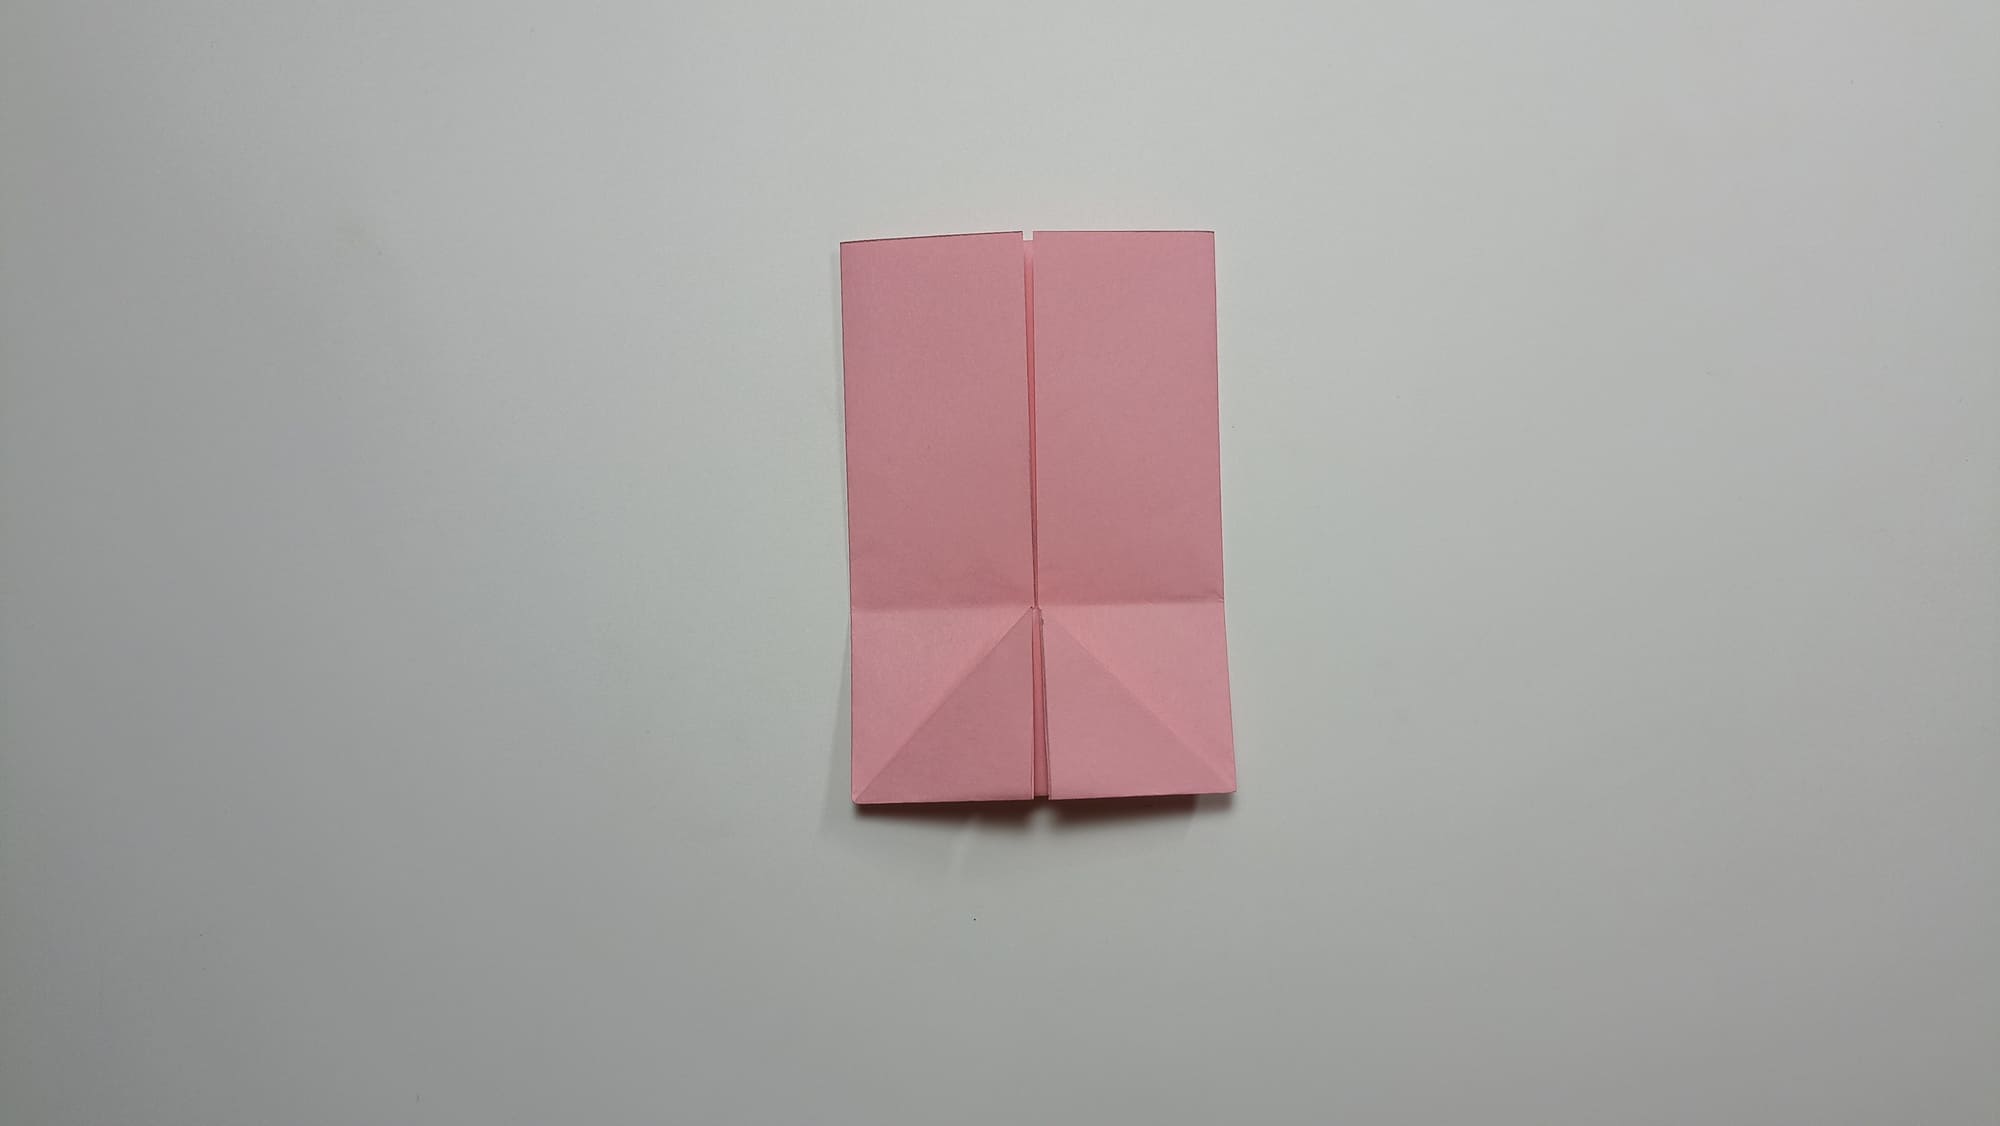
Form an angle.
Fold the triangles in, changing the direction of the folds.
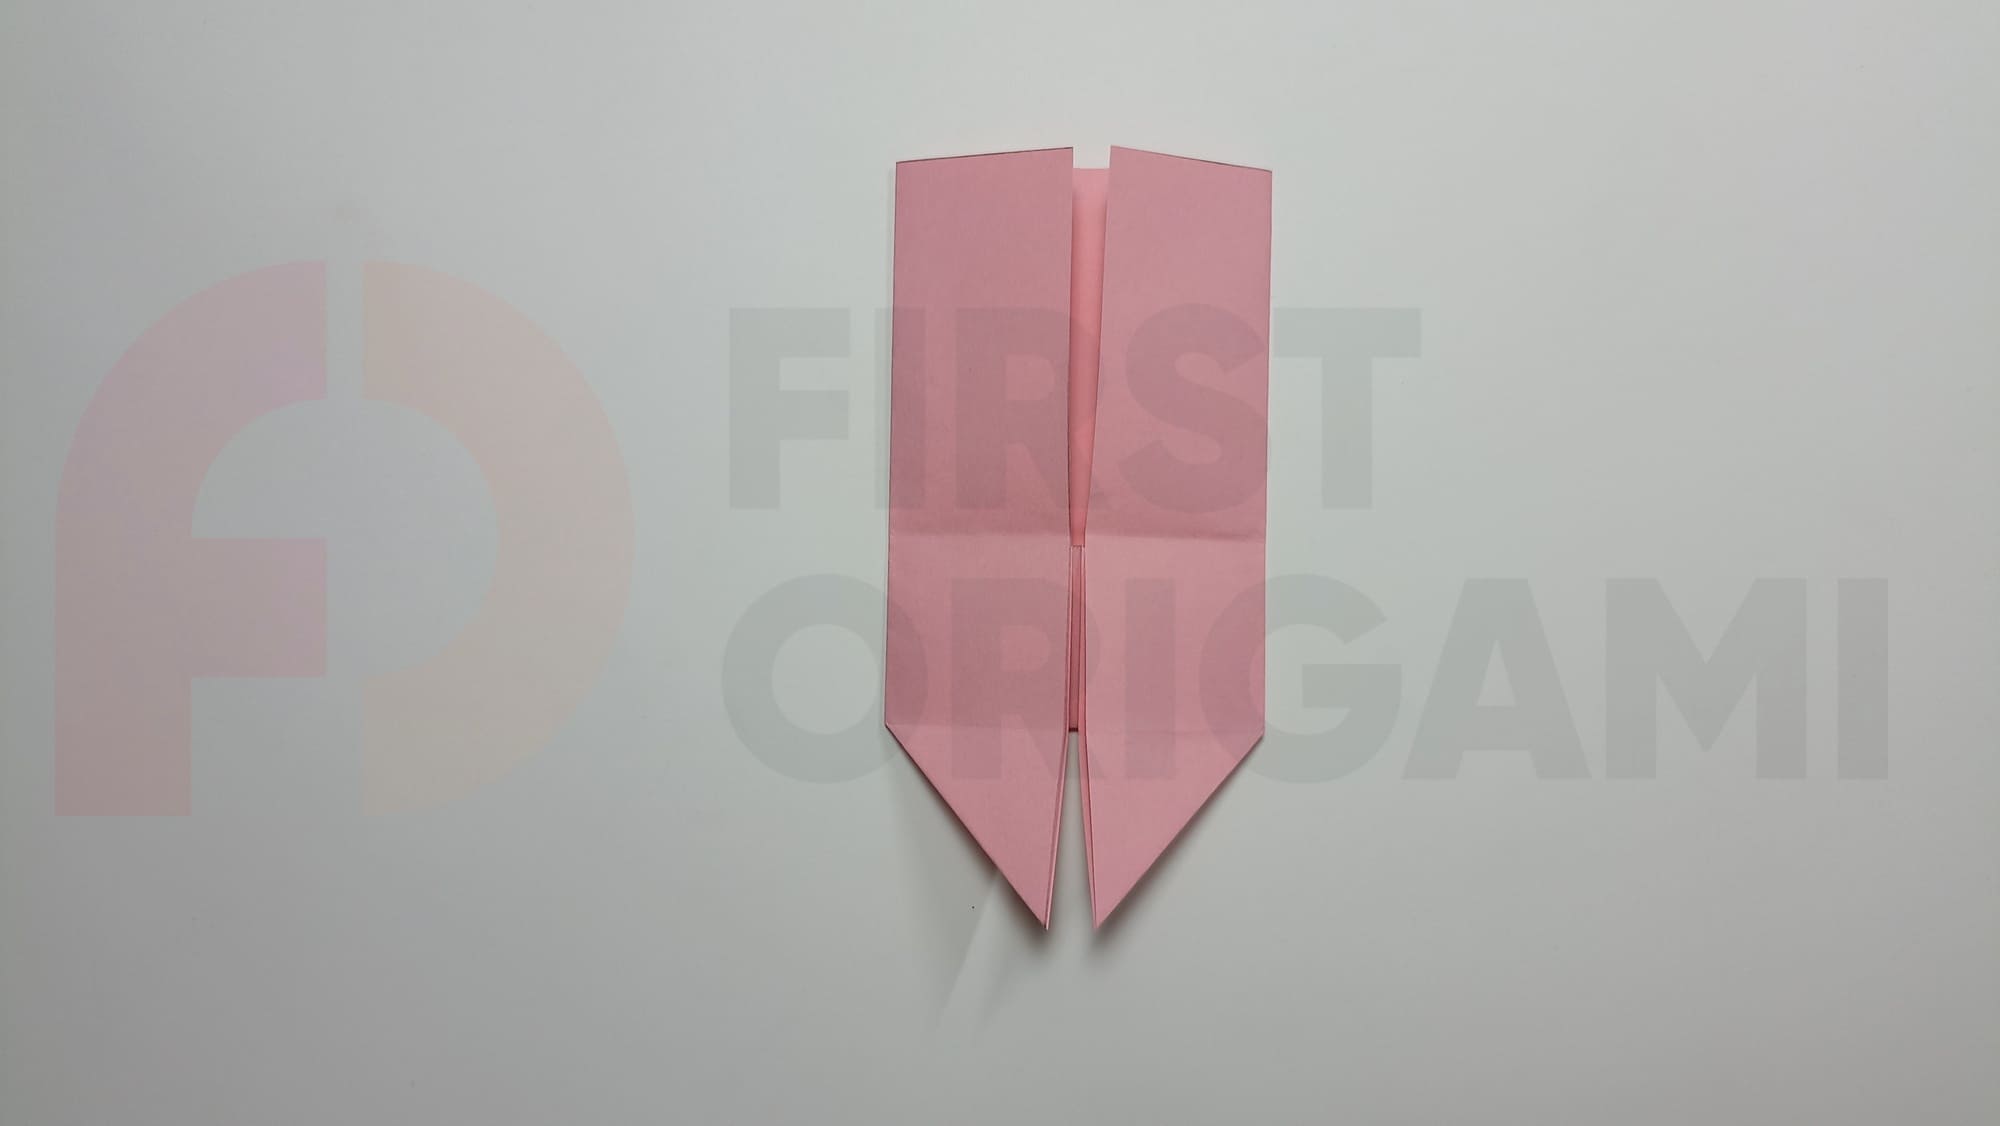
Bend the free lower corners of the folds to the sides along the middle line.
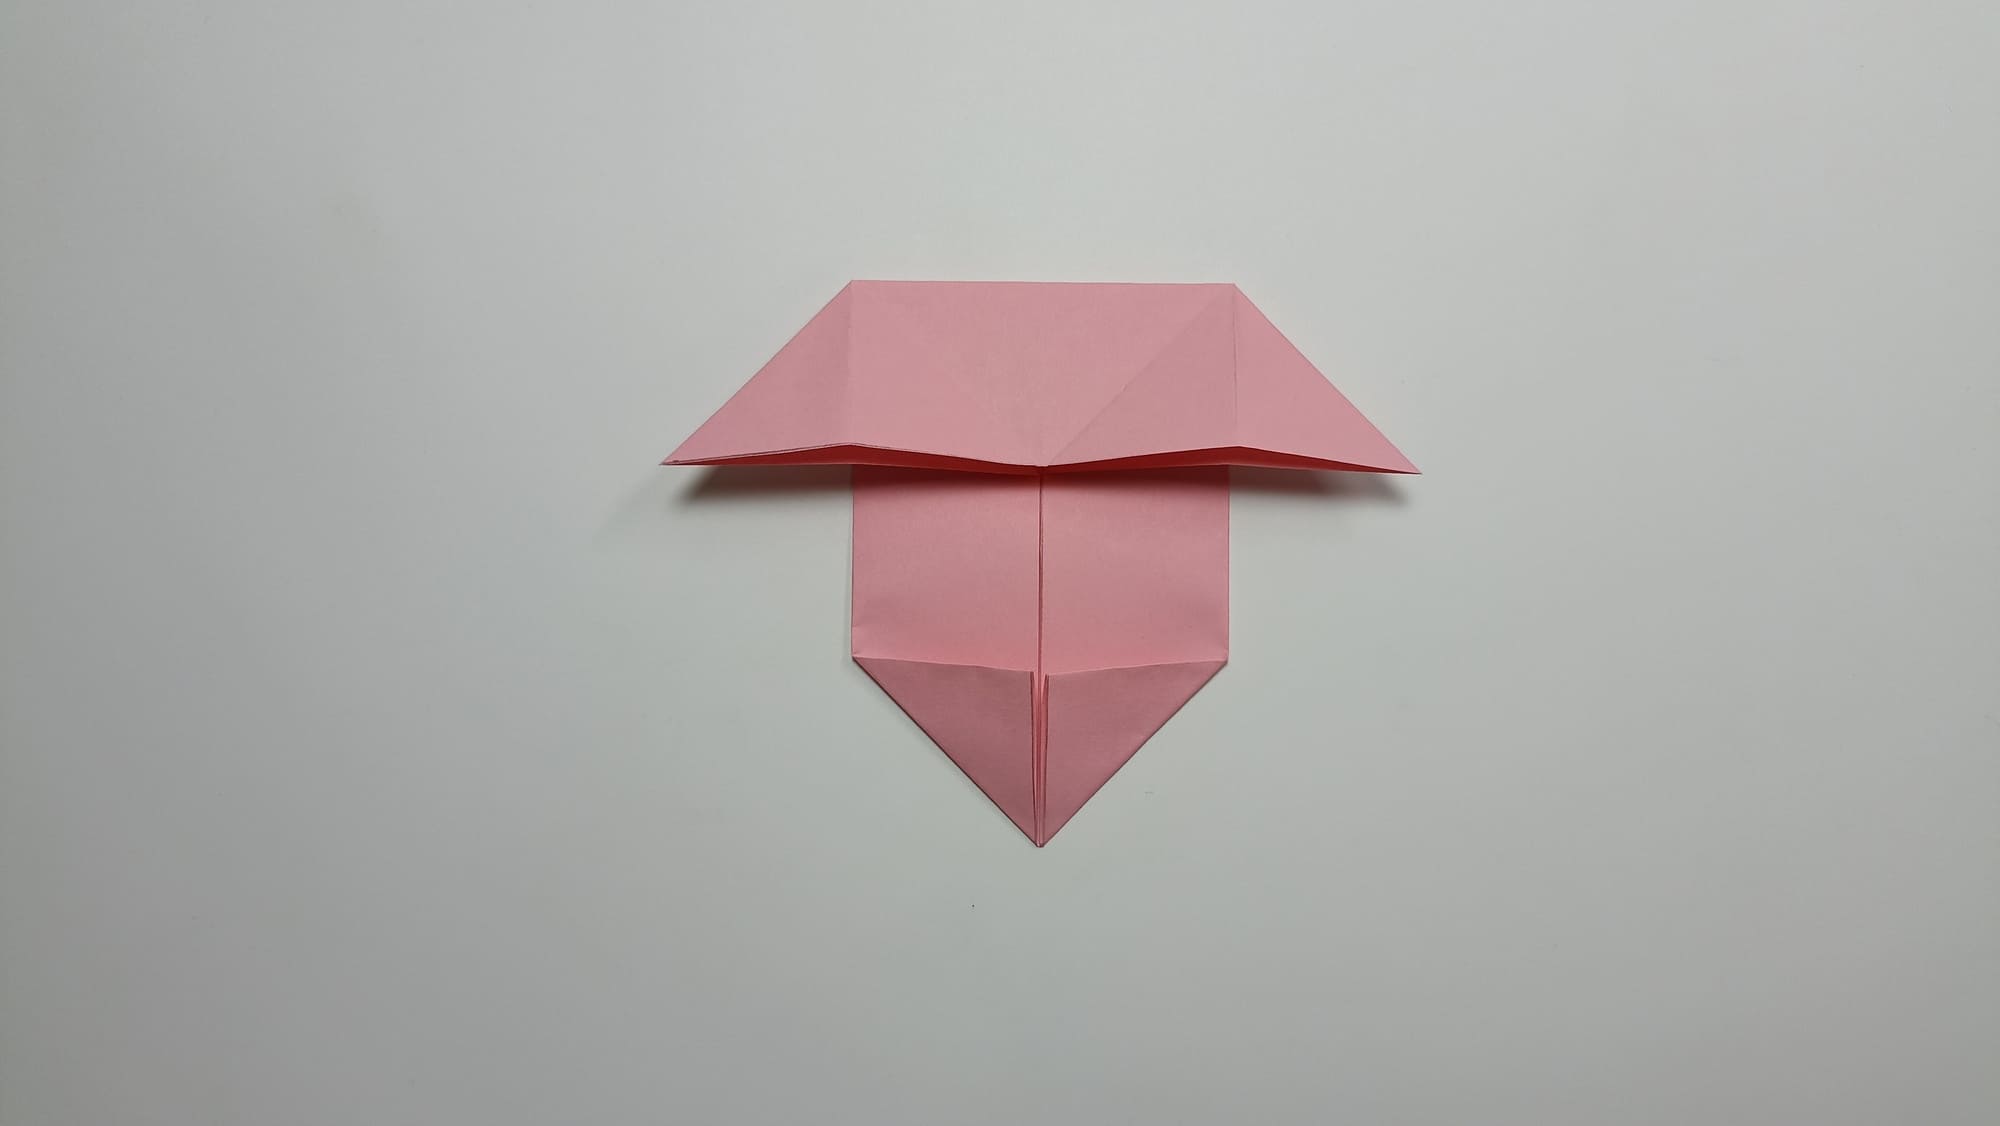
Fold the other side at an angle.
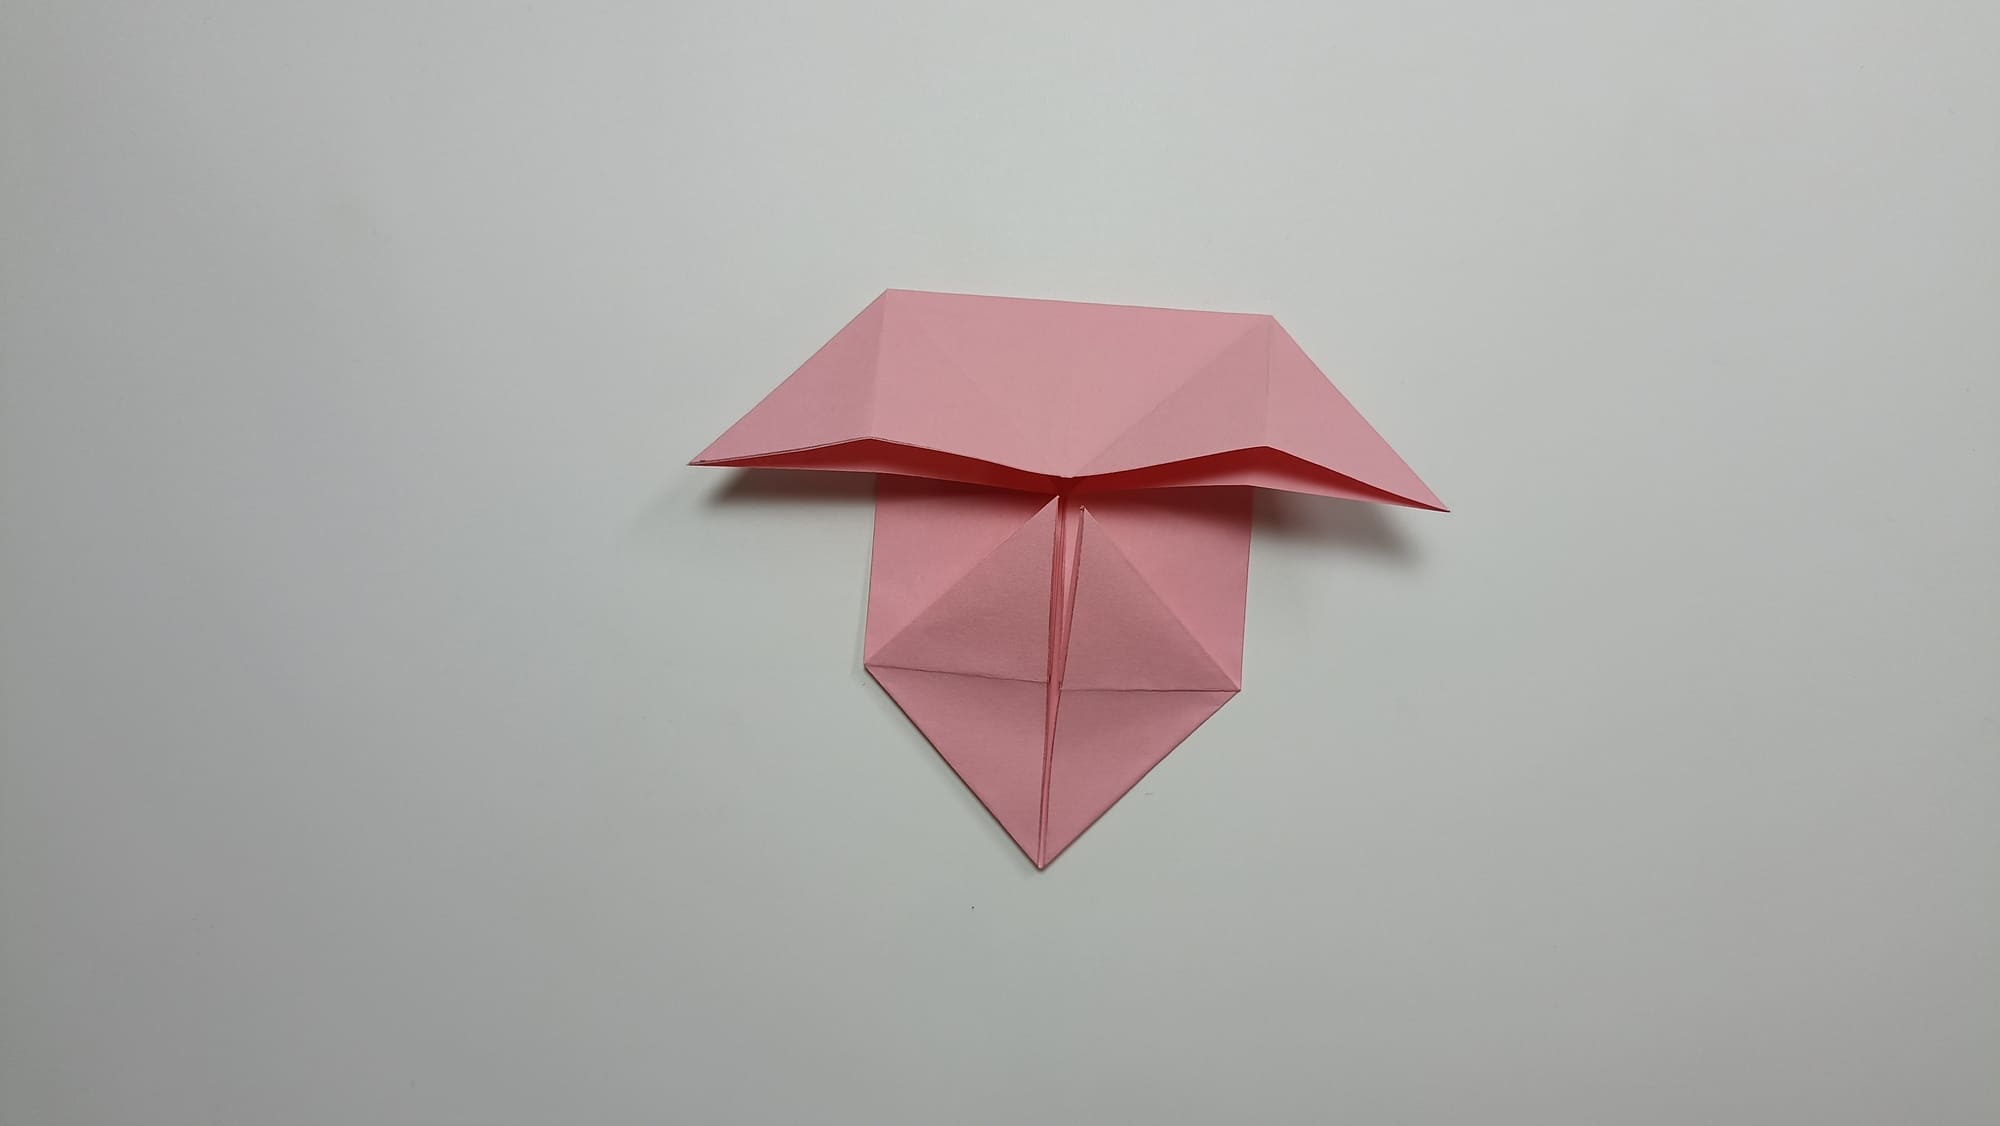
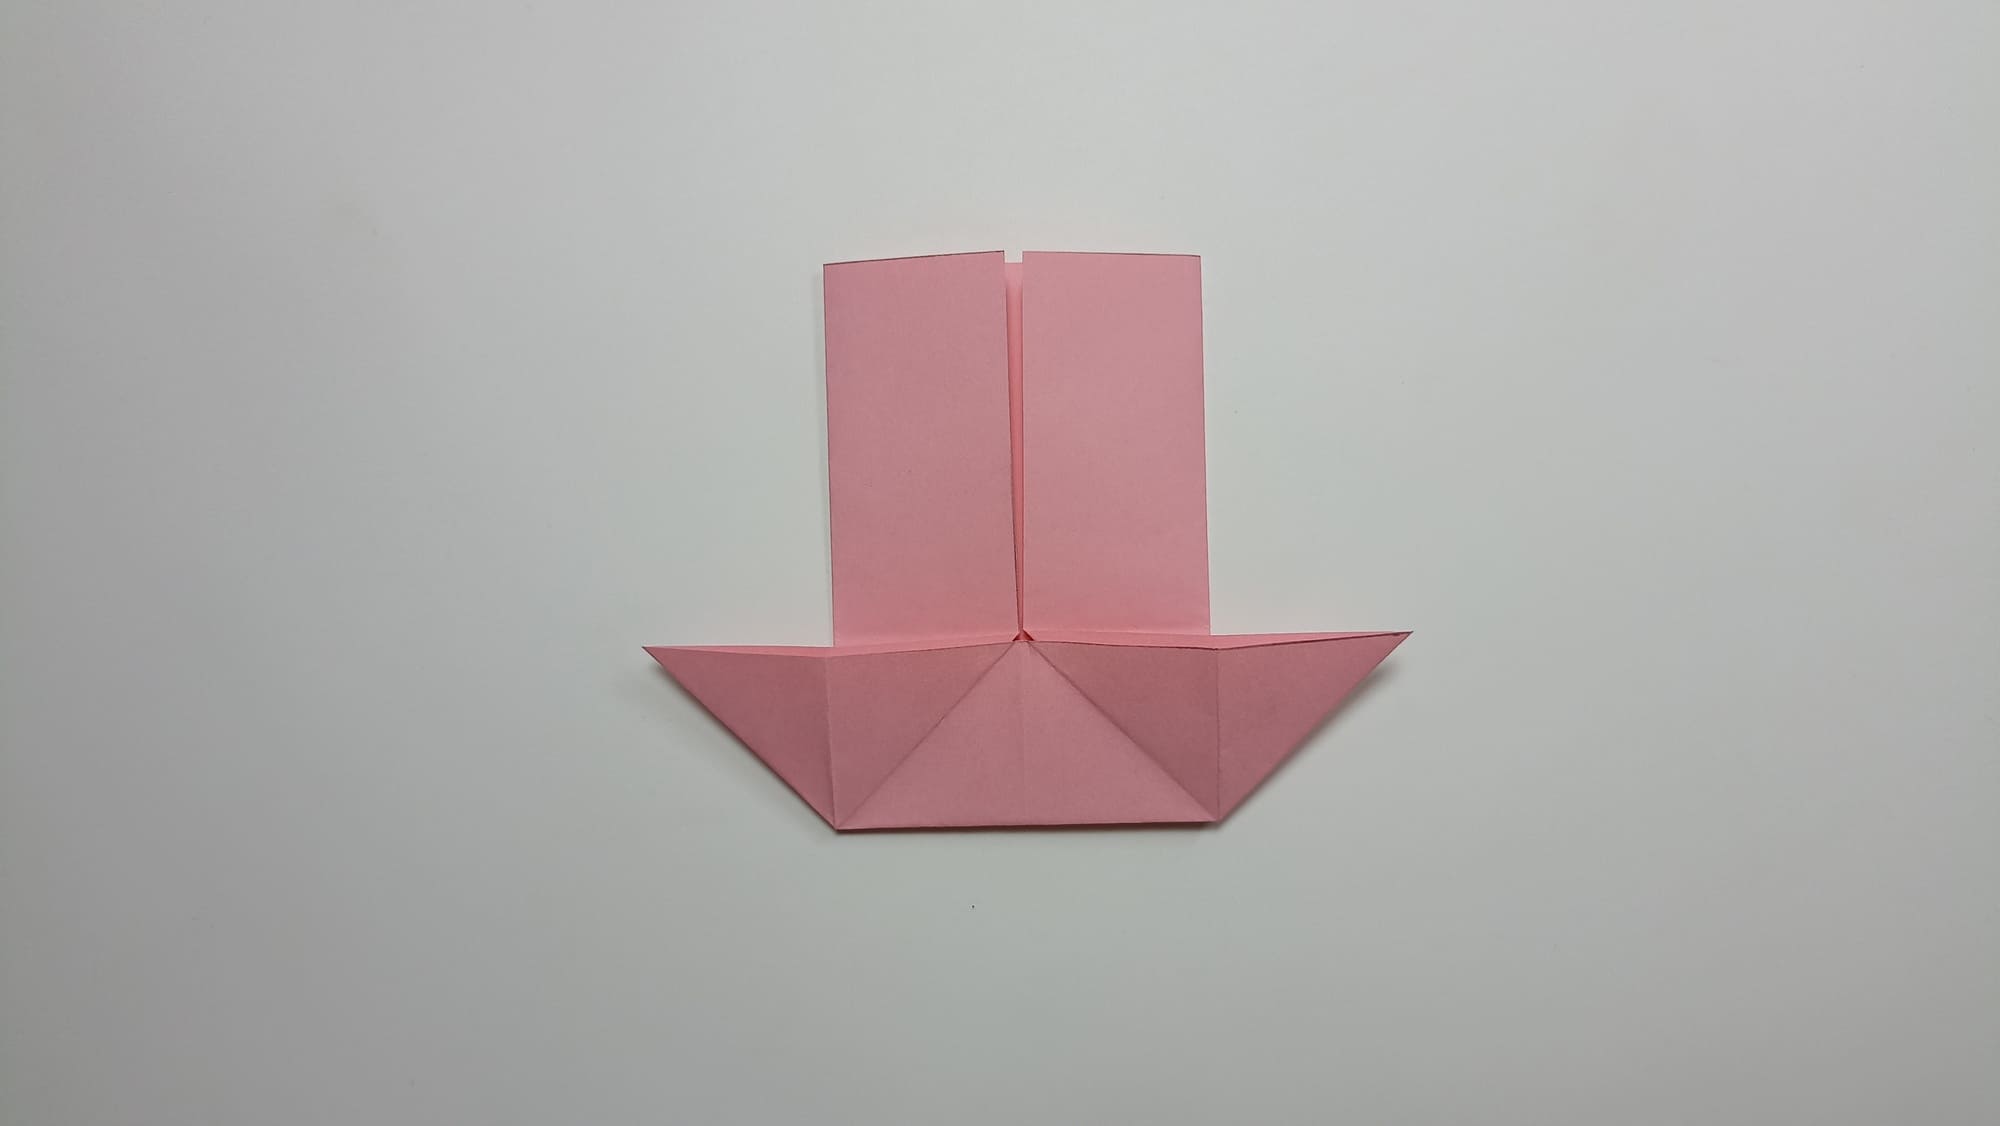
Tuck the folds inside. Point the corners up.
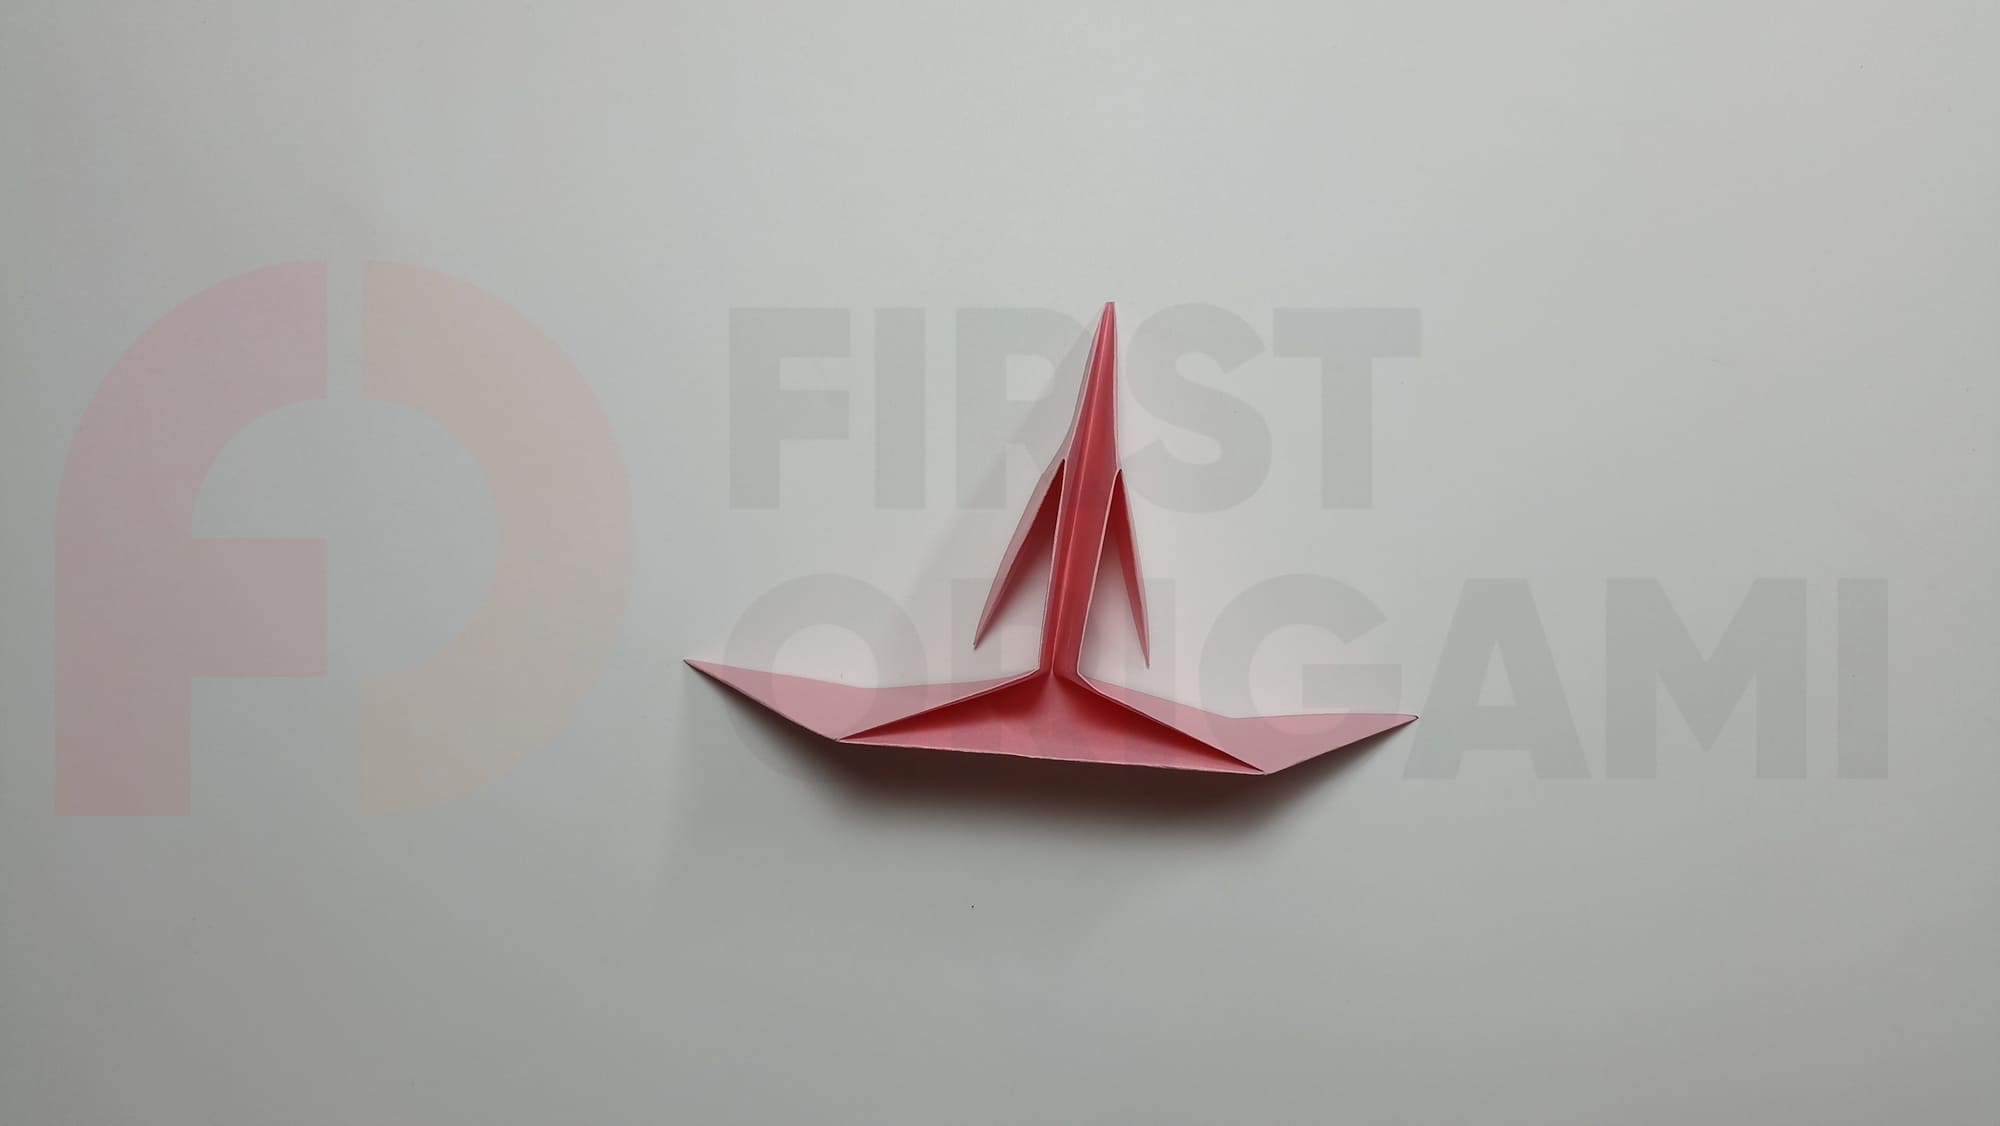
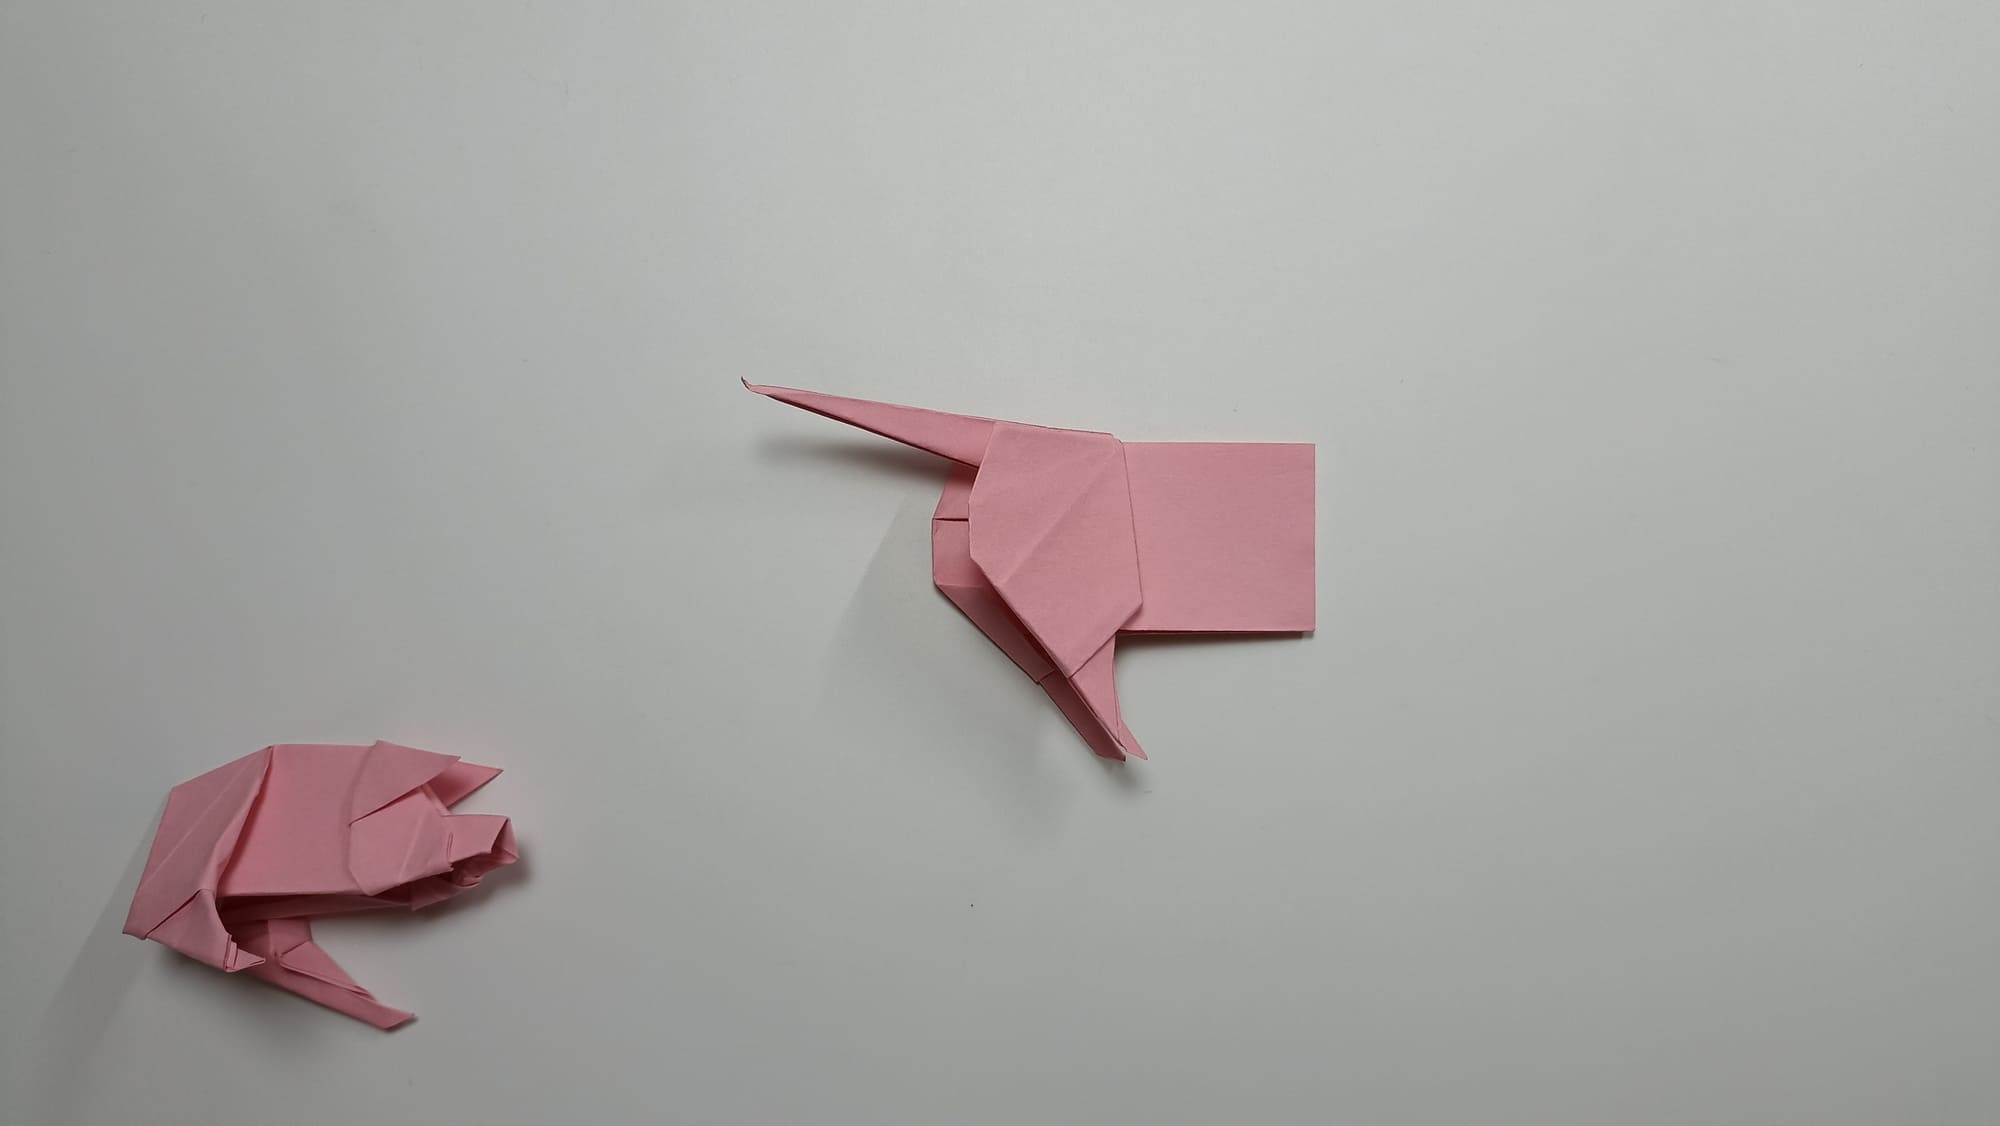
Fold part of the shape in half lengthwise. At the junction, form a perpendicular fold.
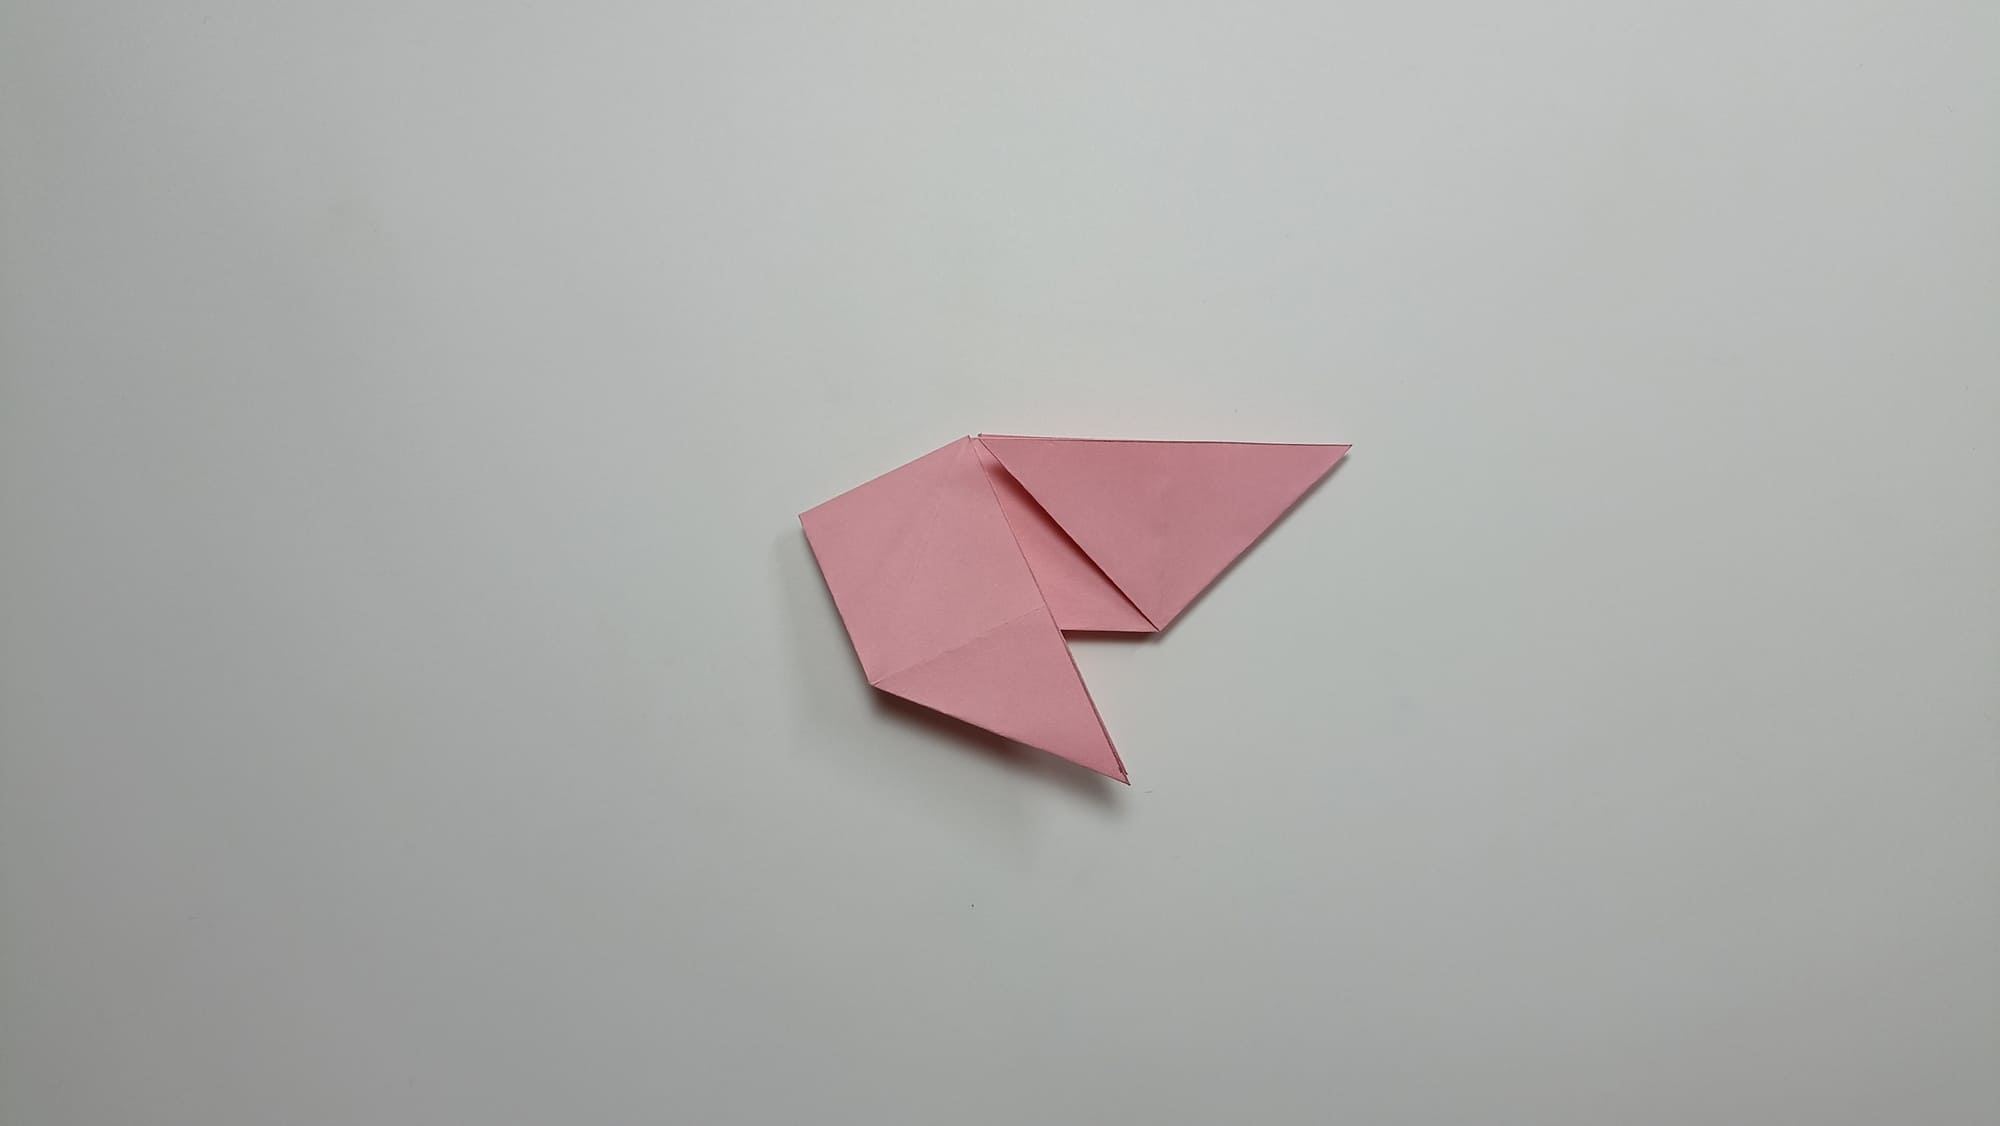
Bend parts of the resulting fold along the sides of a long rectangle with a slope.
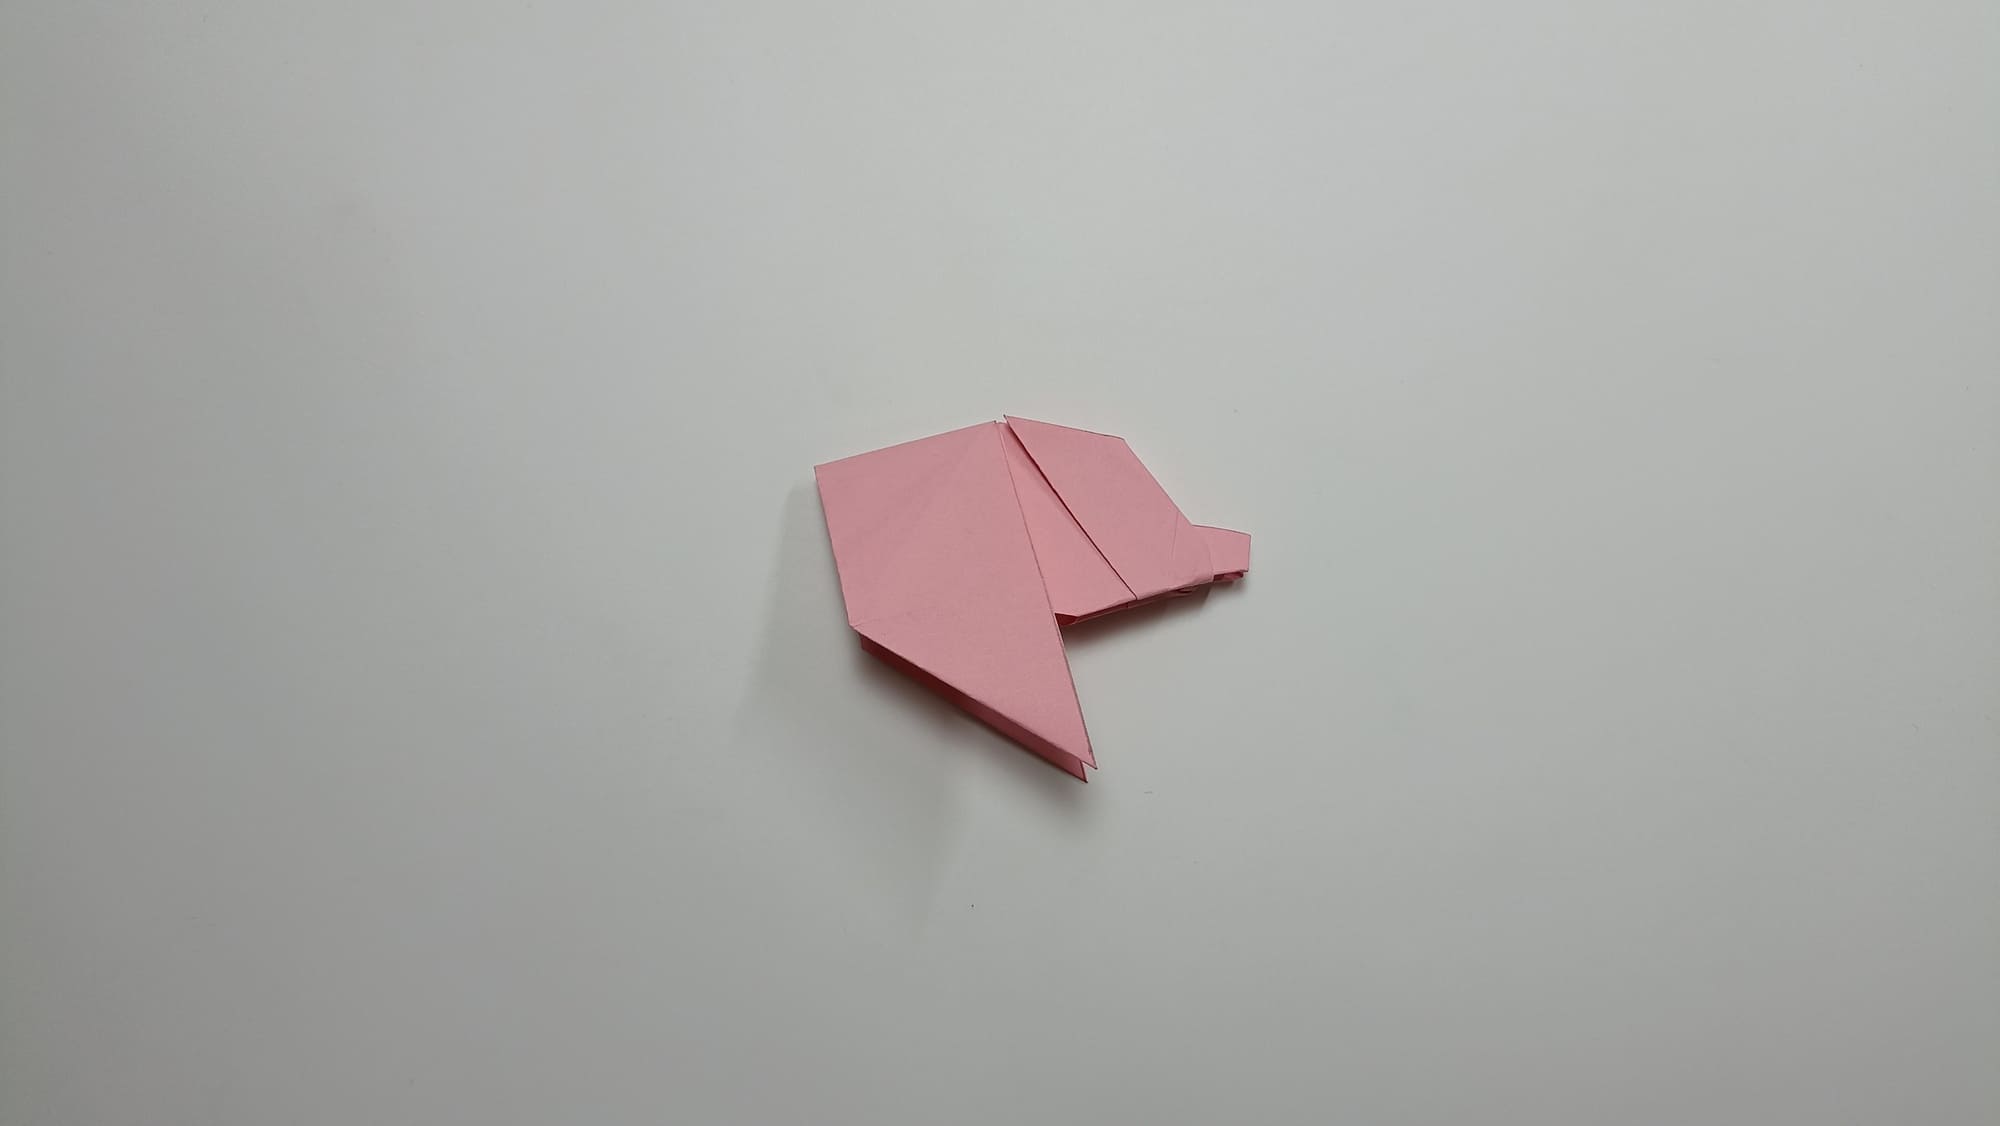
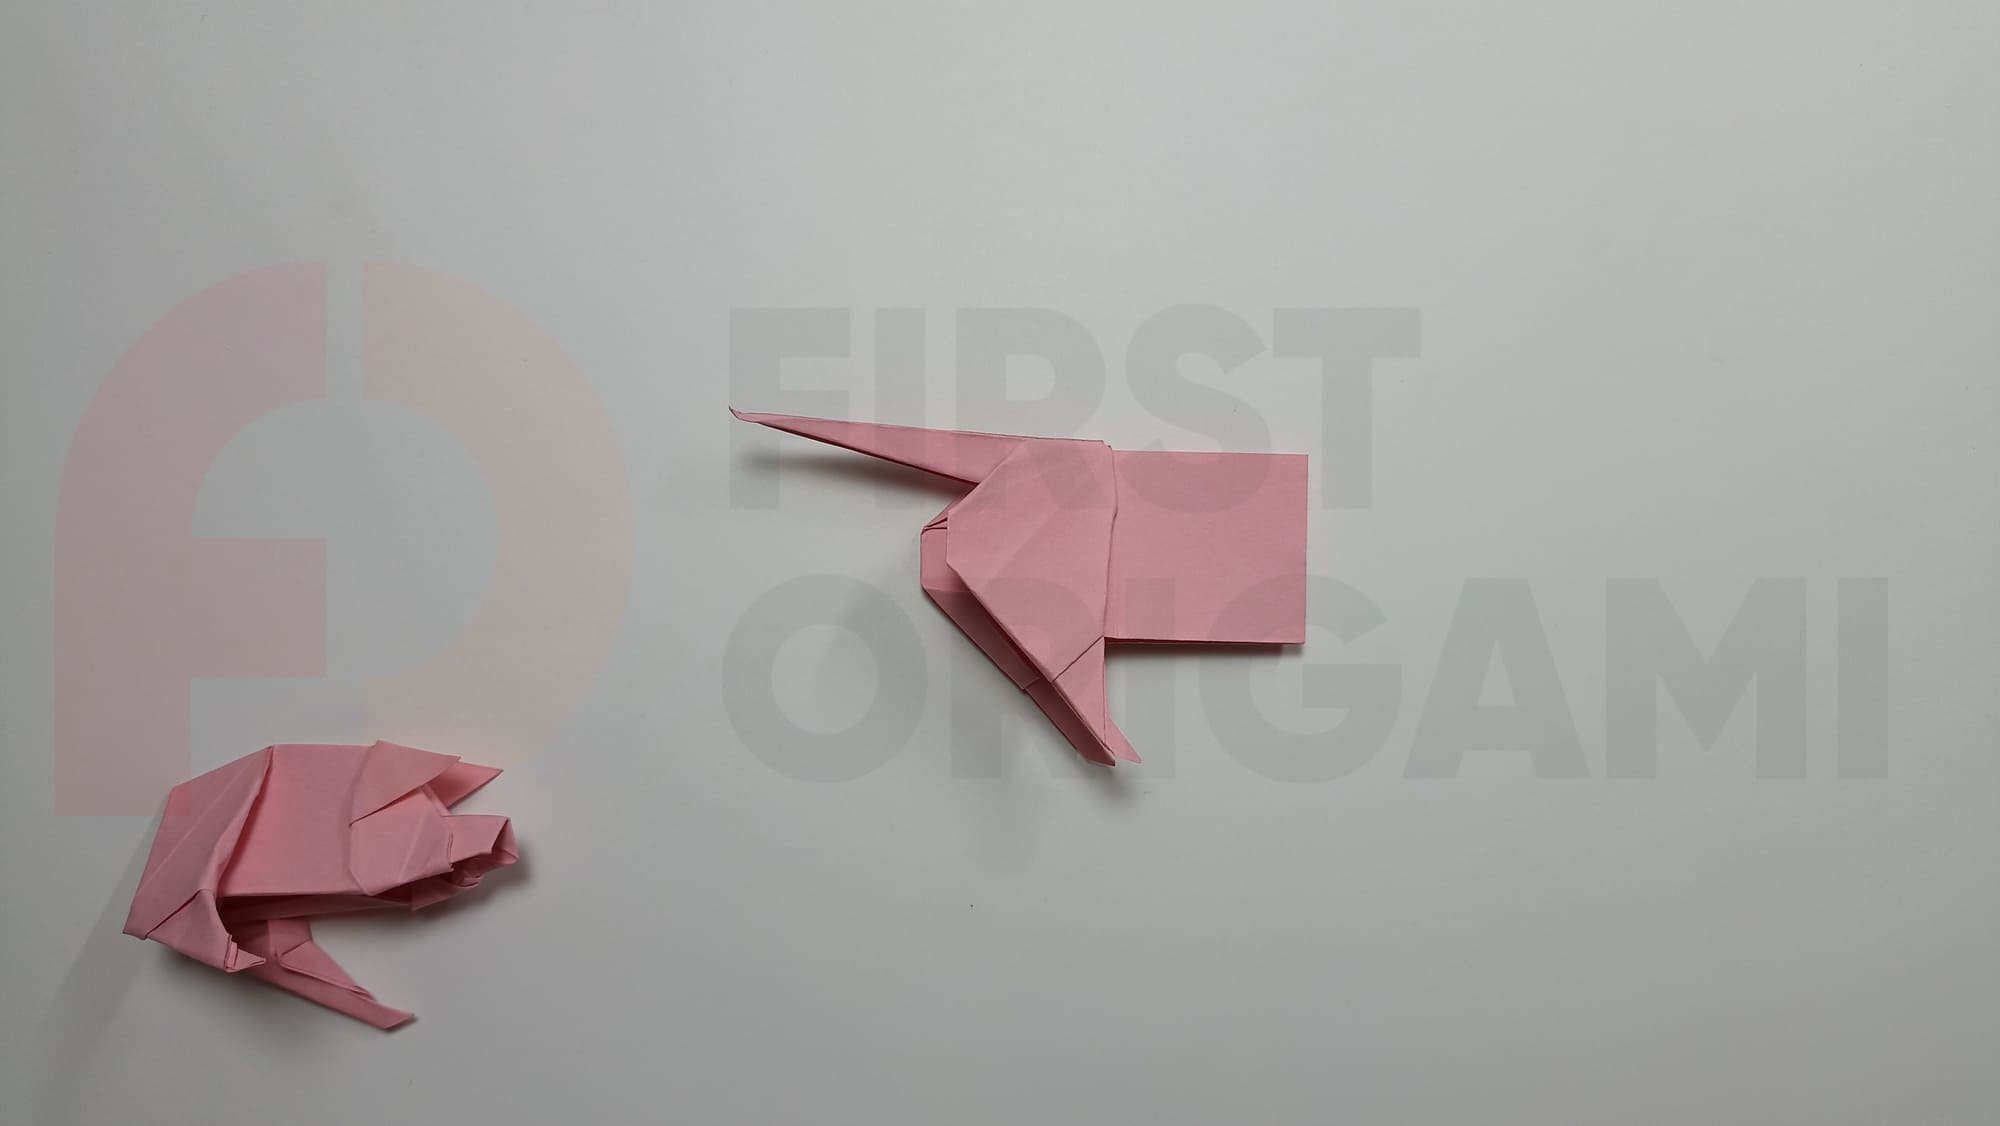
Bend the right corner of the shape inward.
Bend part of the folded fold back.
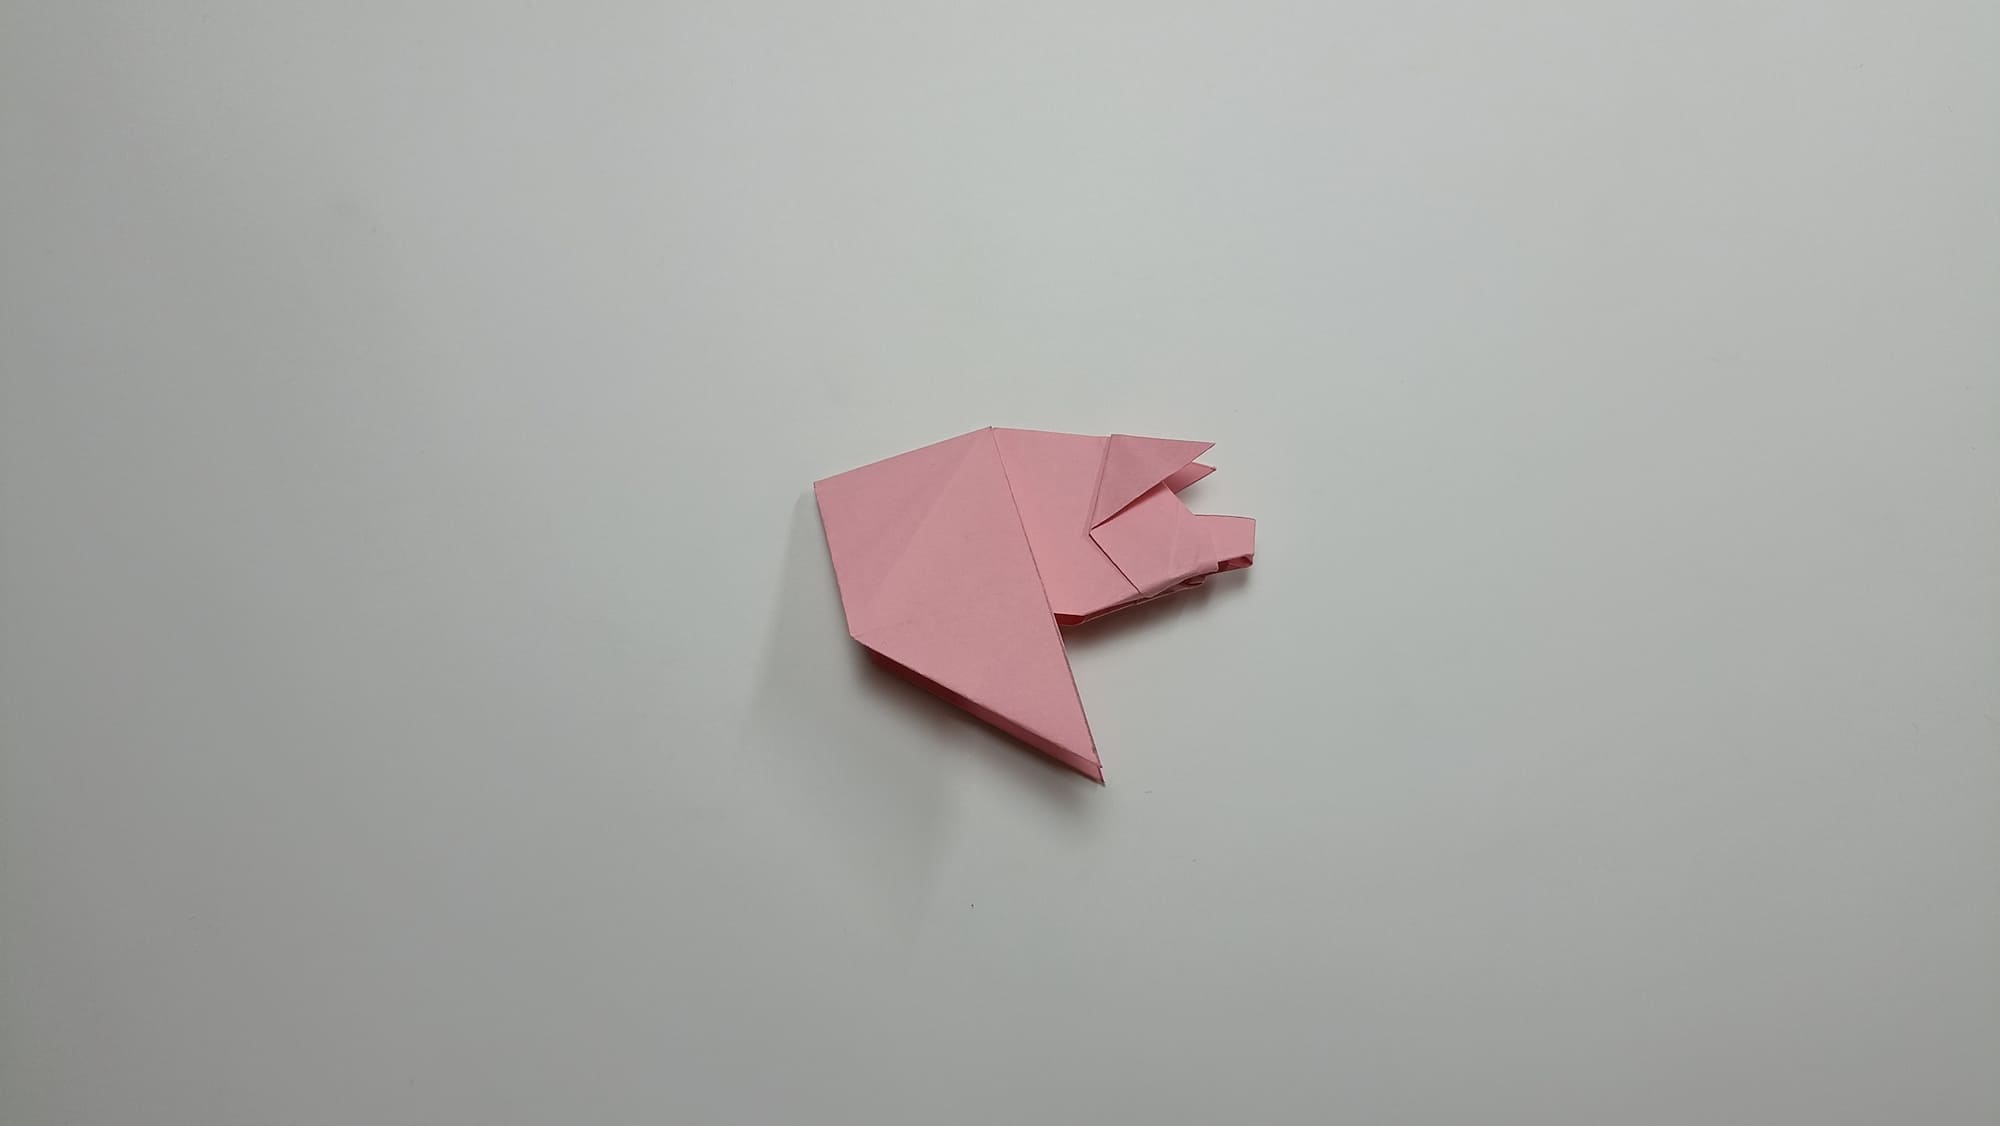
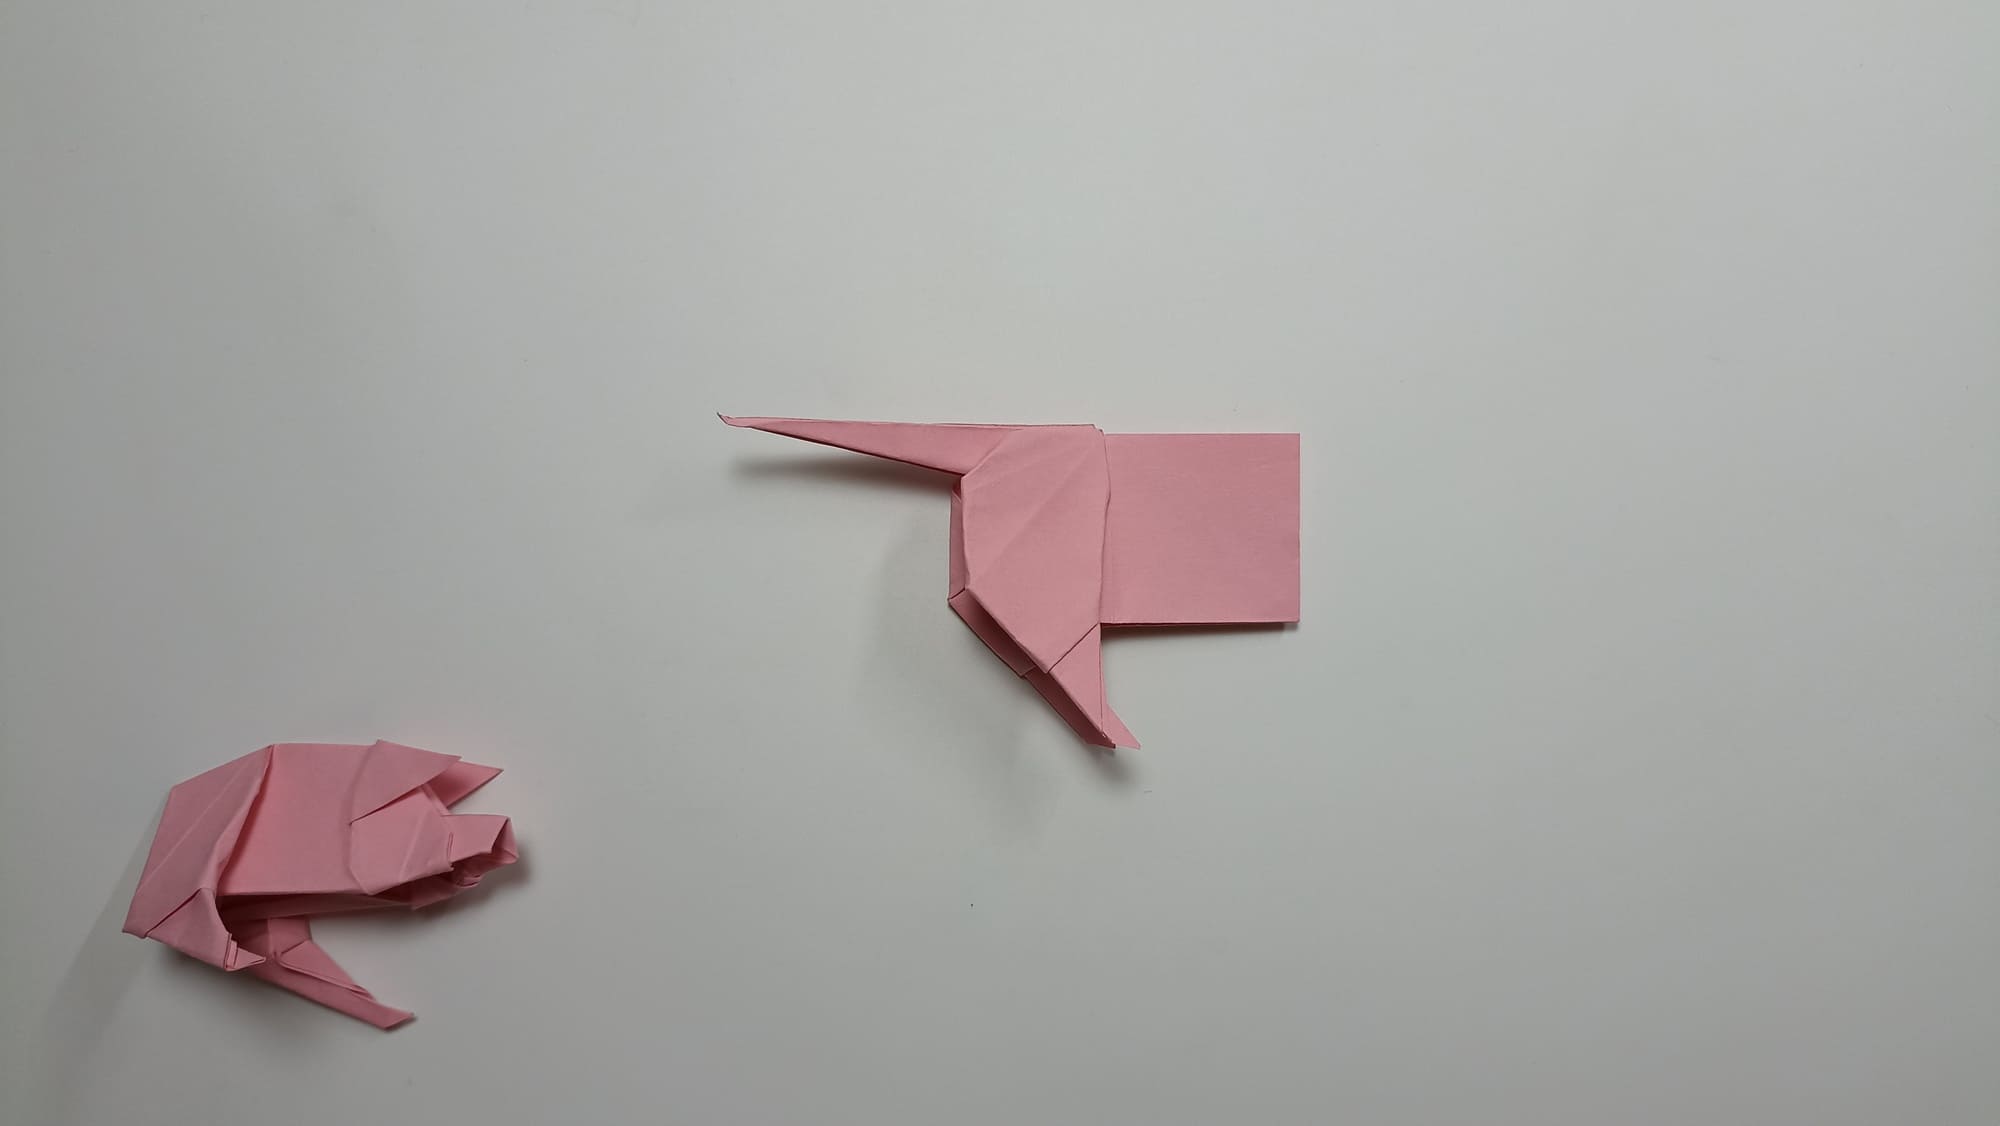
Bend the corner inward.
Fold under the edges of the shape at the bottom of the pig’s nose.
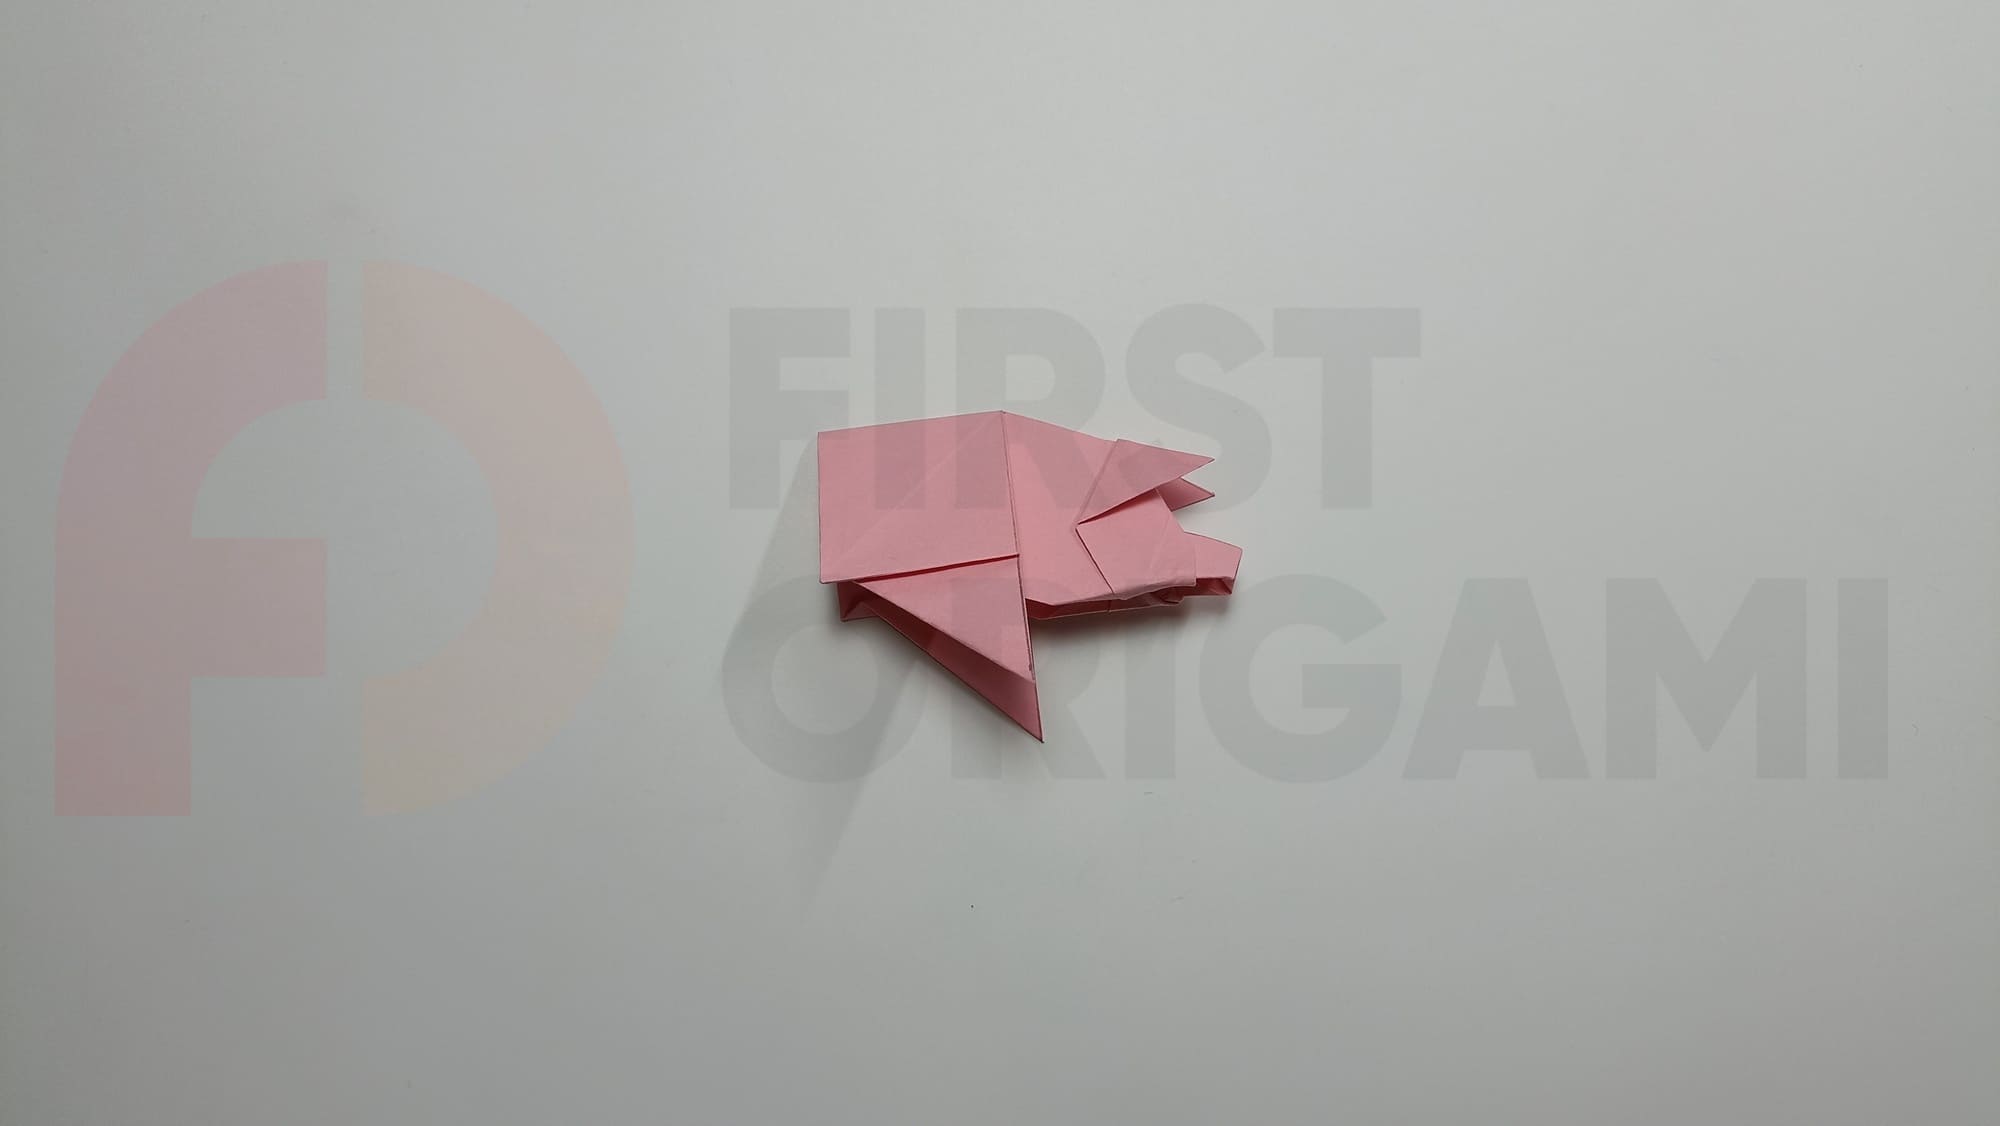
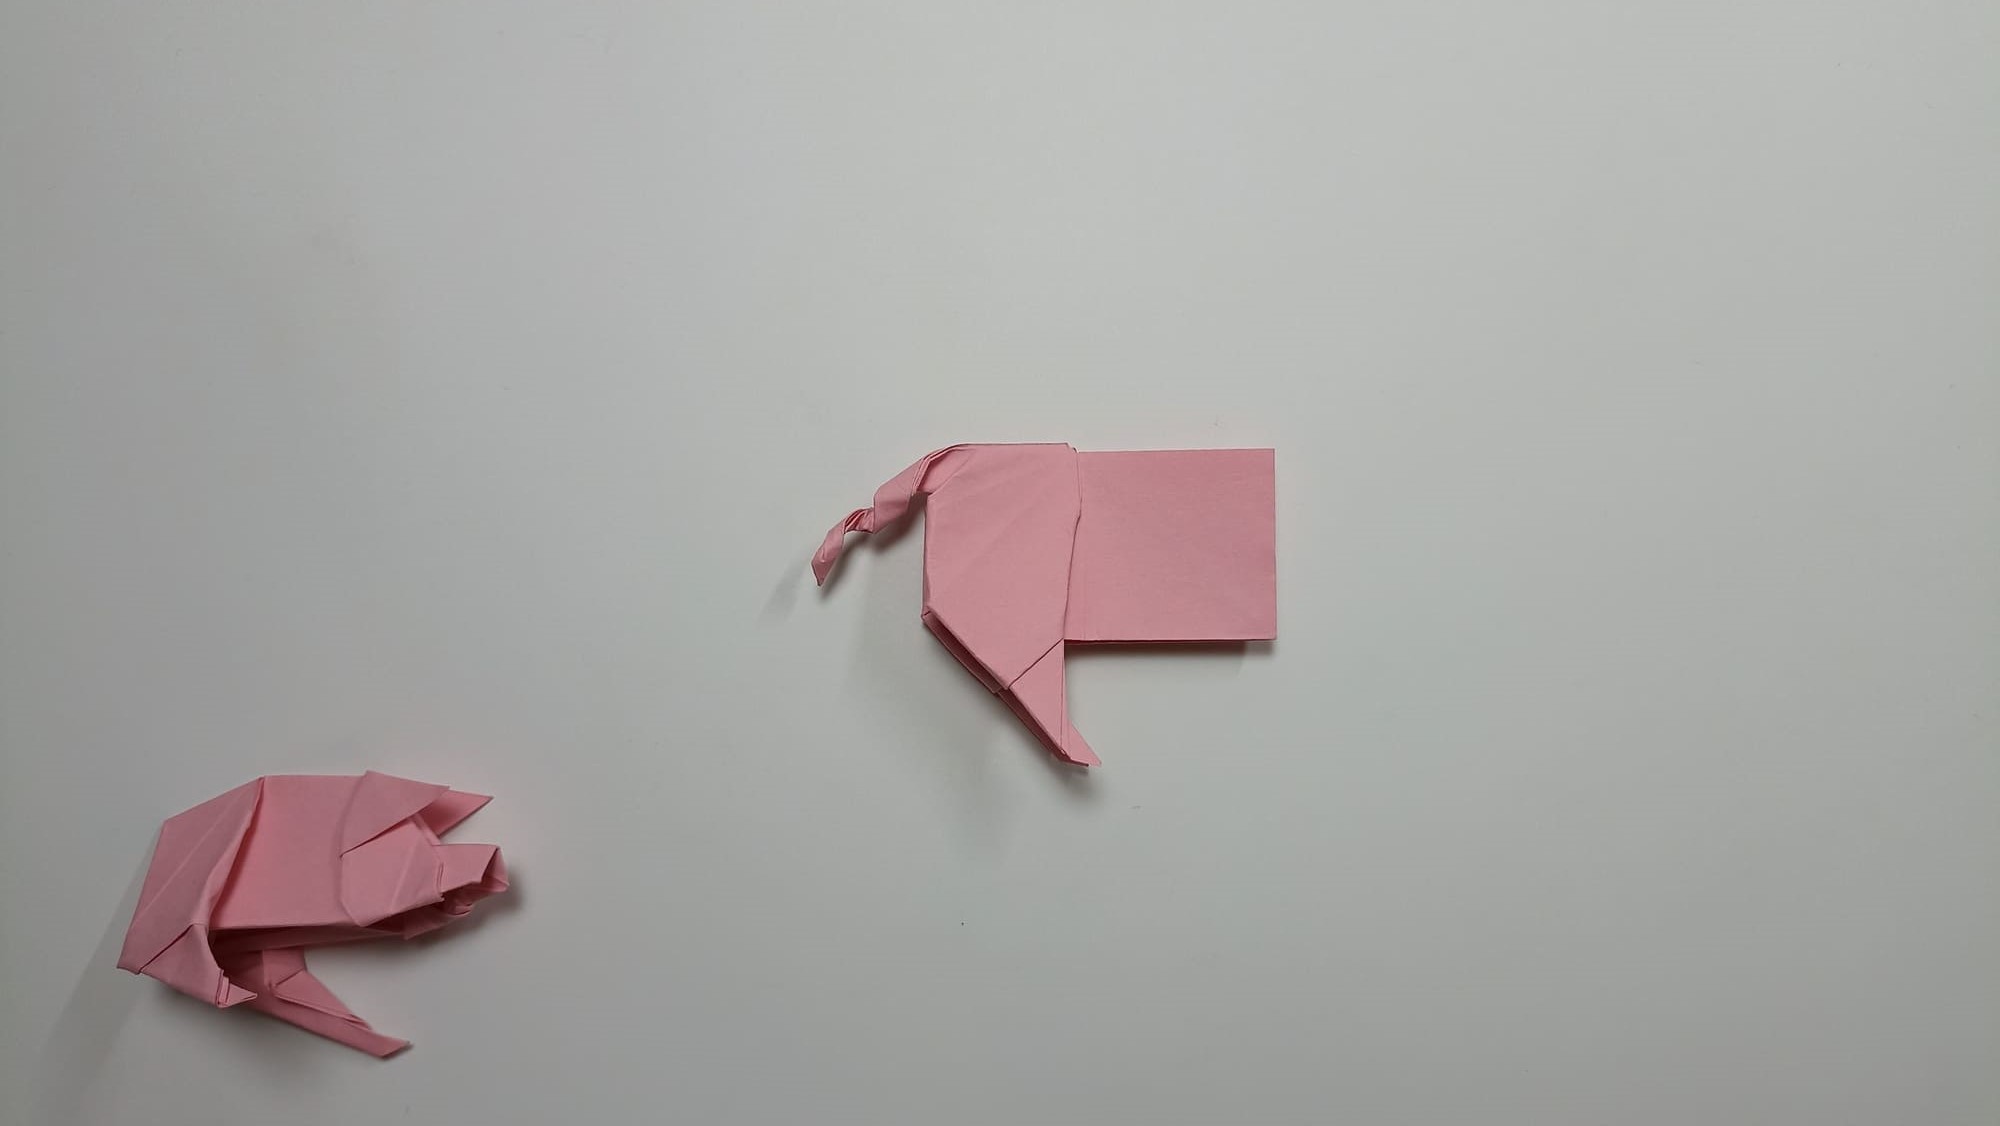
Fold under the bottom edge of the head on both sides.
Bend the triangles at the top of the head, pointing them forward. Shape the ears.
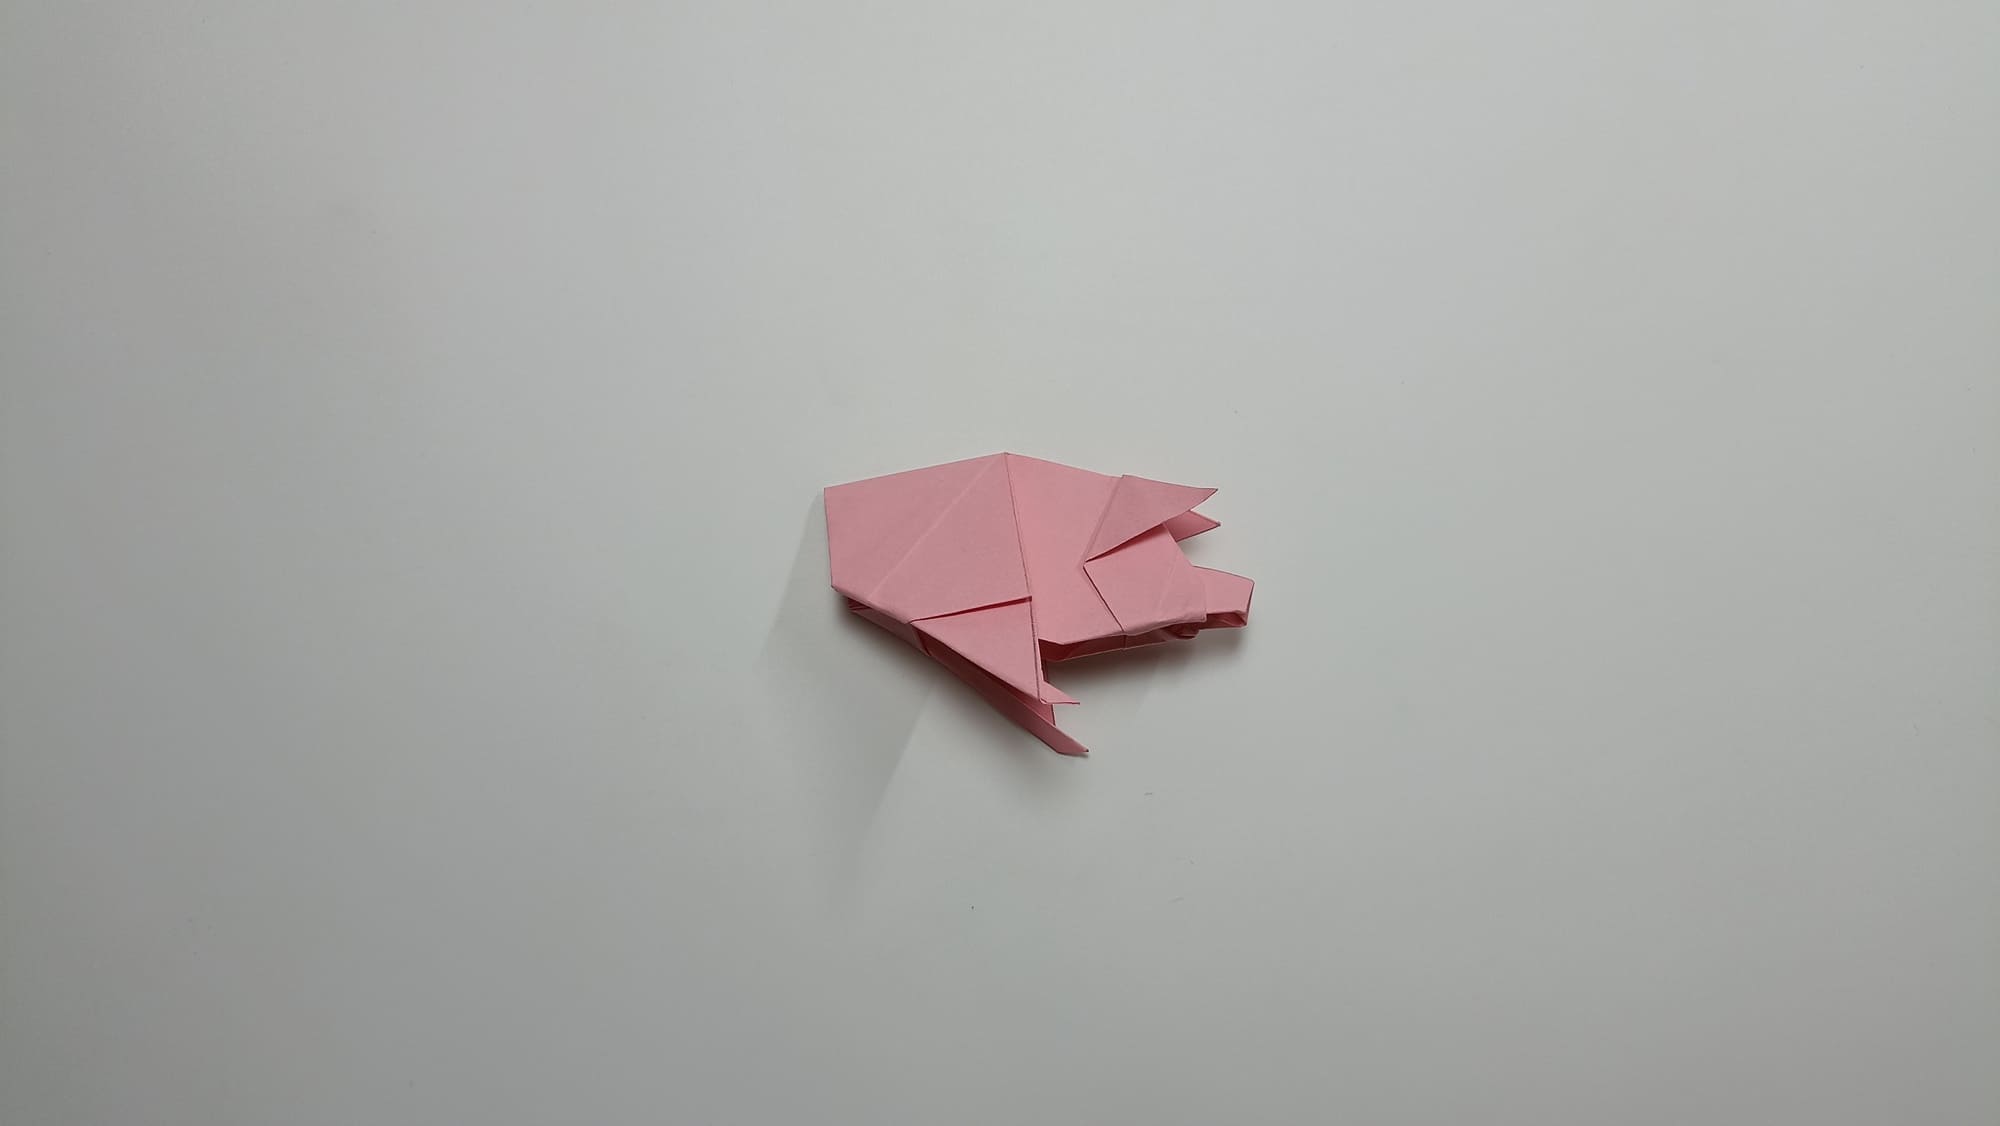
Form legs from the bottom of the figure. Make an accordion fold on both sides.
Fold the edge of the back side of the legs inward.
Fold the edge of the front side of the legs.
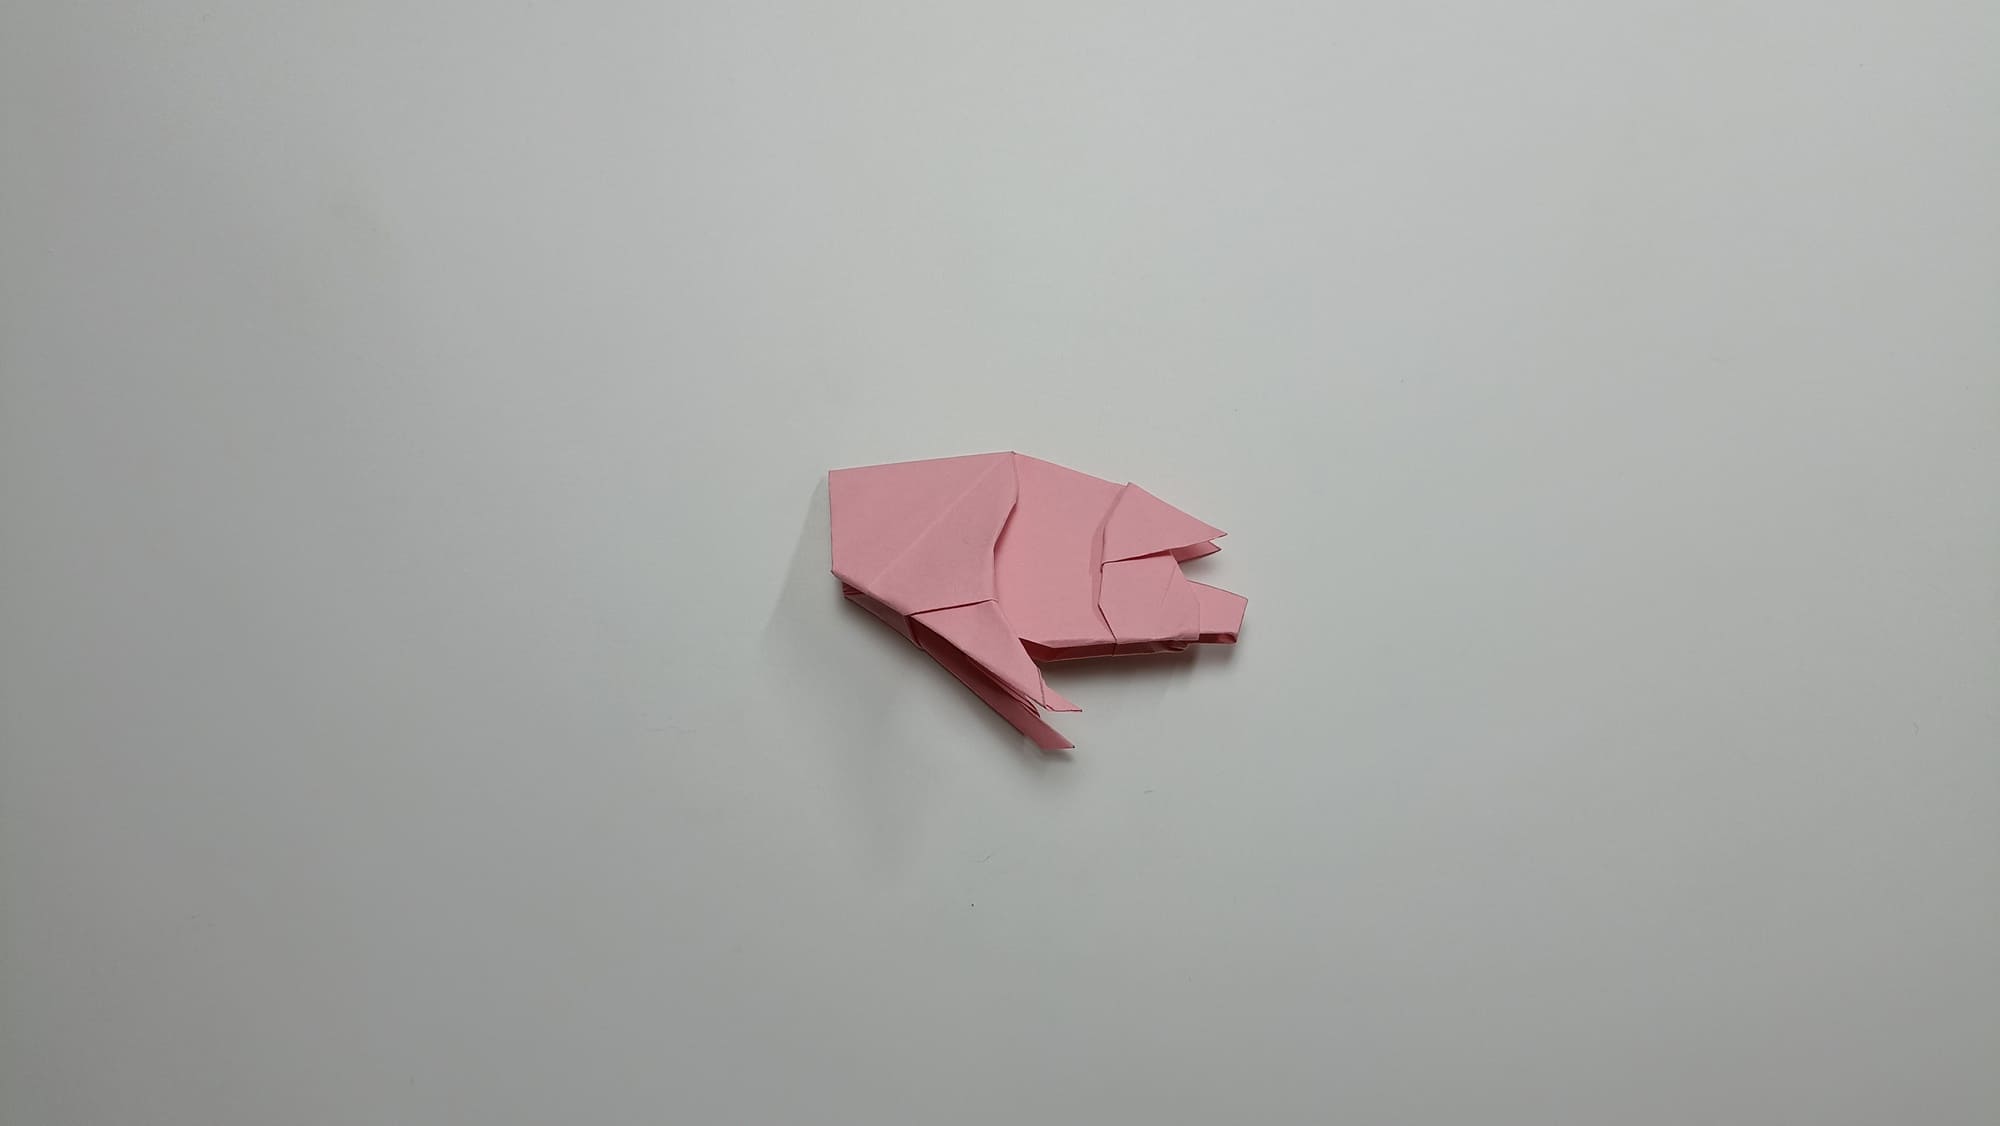
Round the outline of the head. Fold the corners inside the folds on both sides.
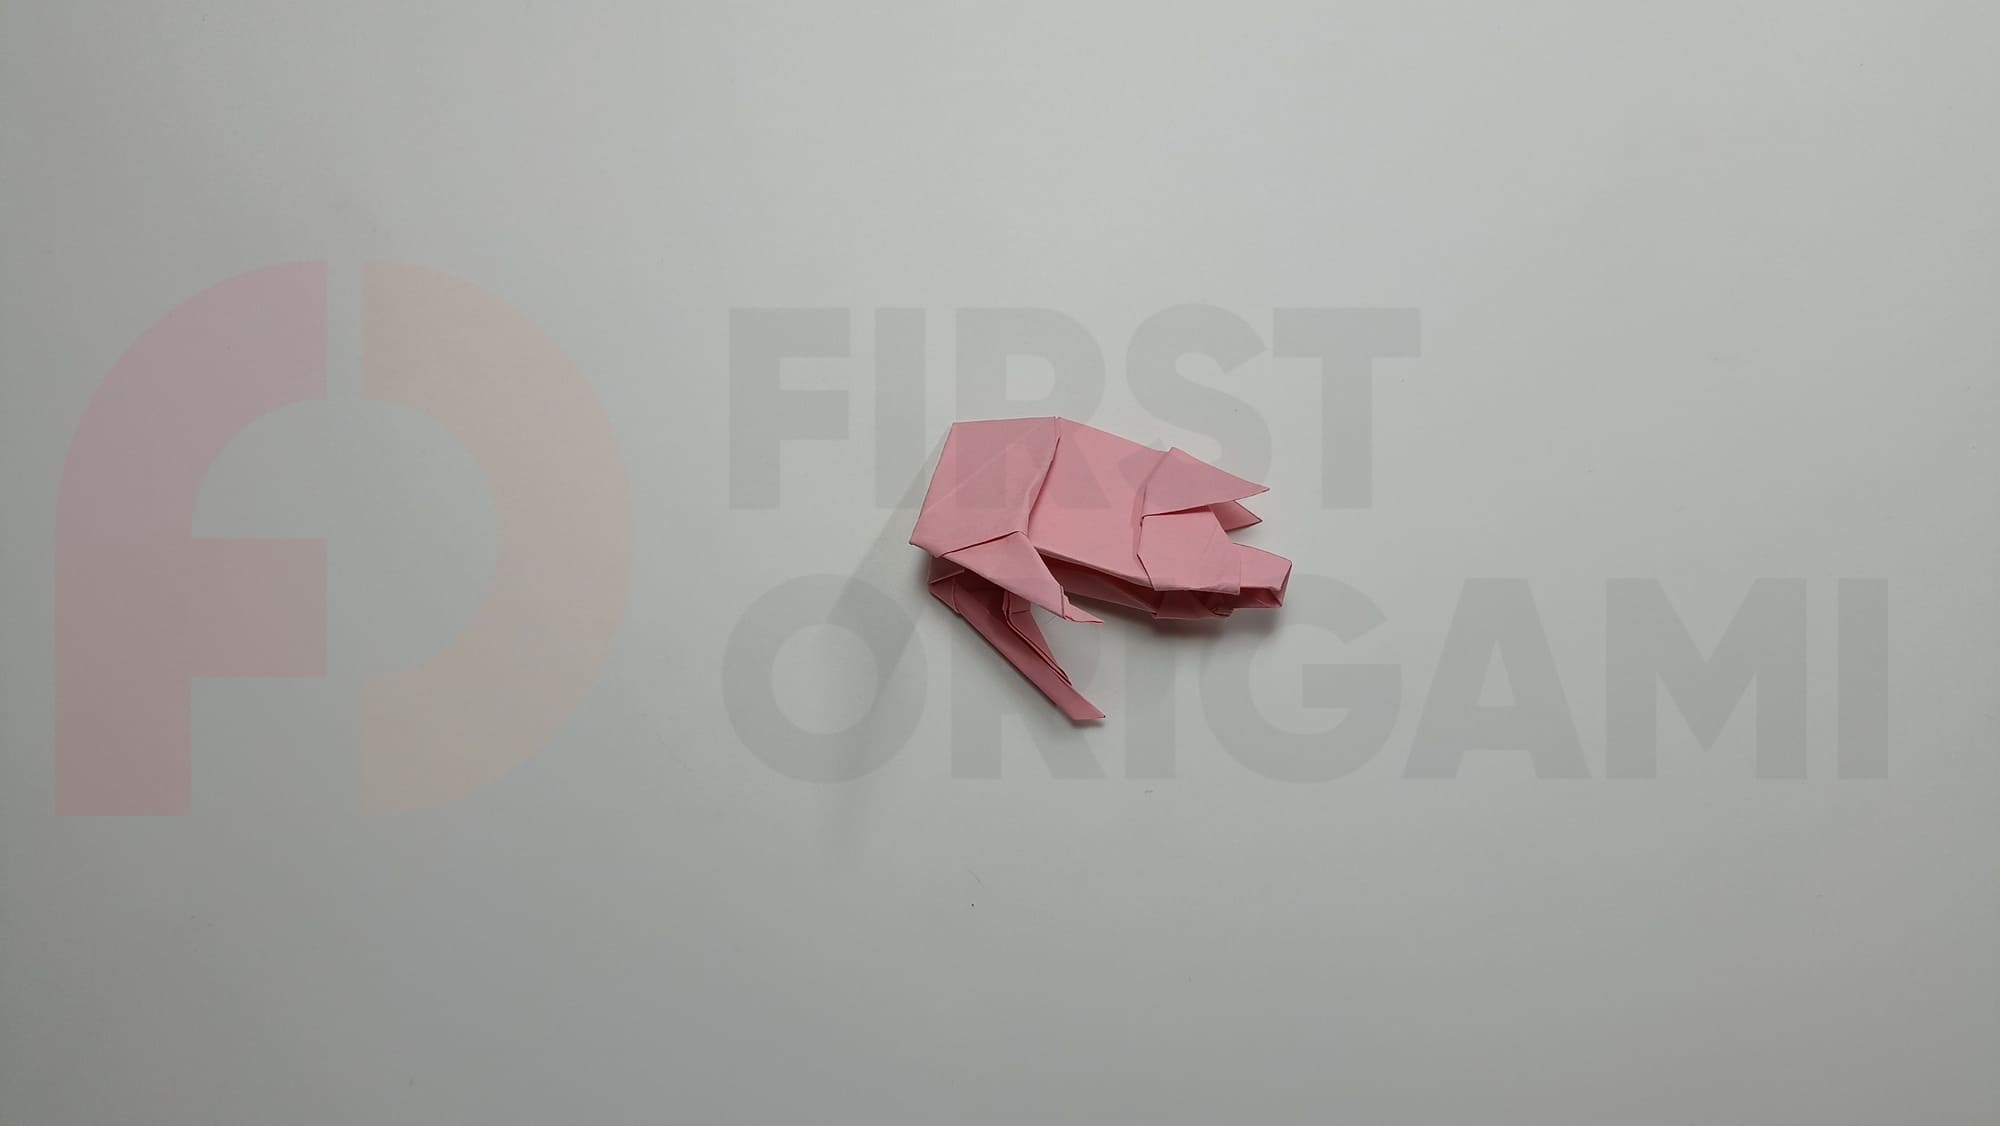
Fold the edge of the middle of the body base inward. The front assembly is complete.
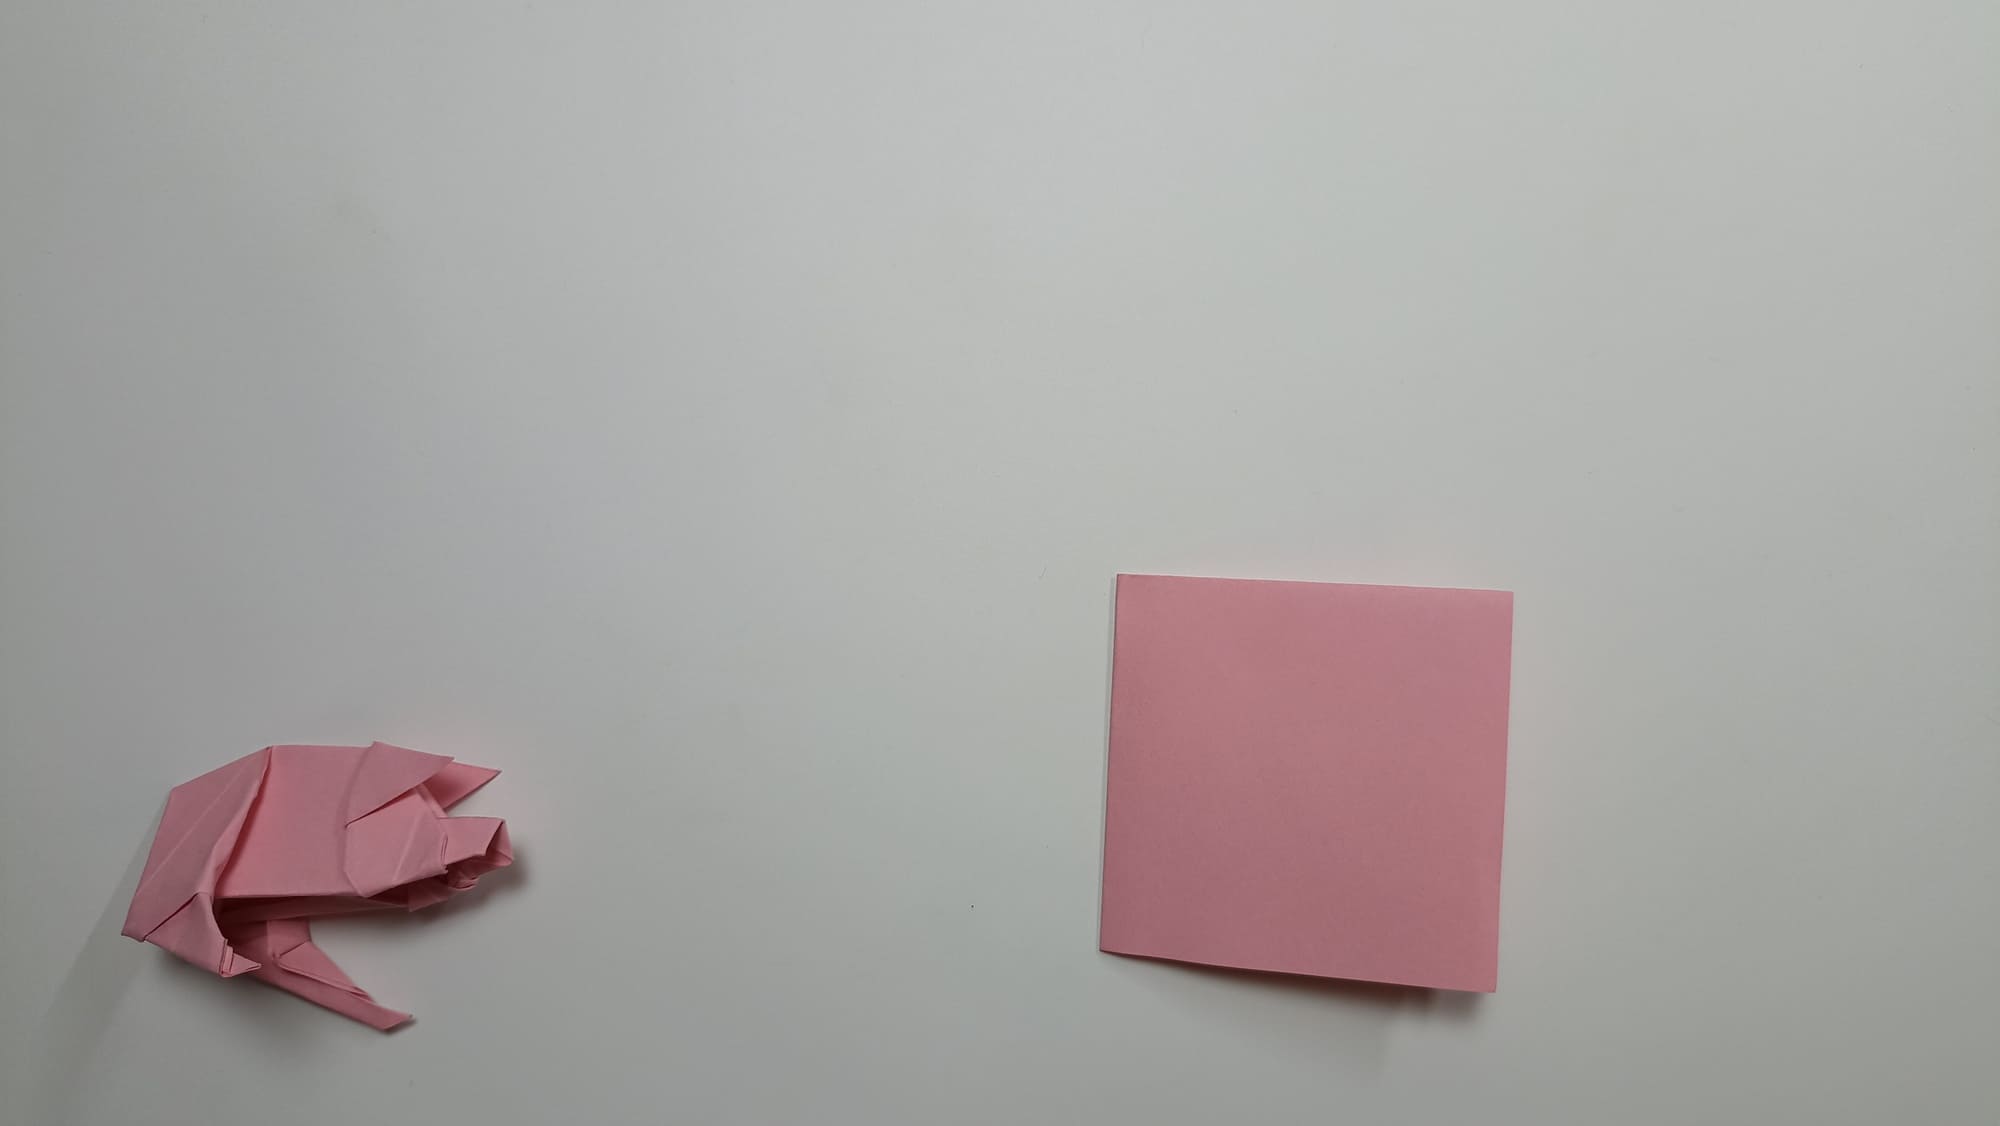
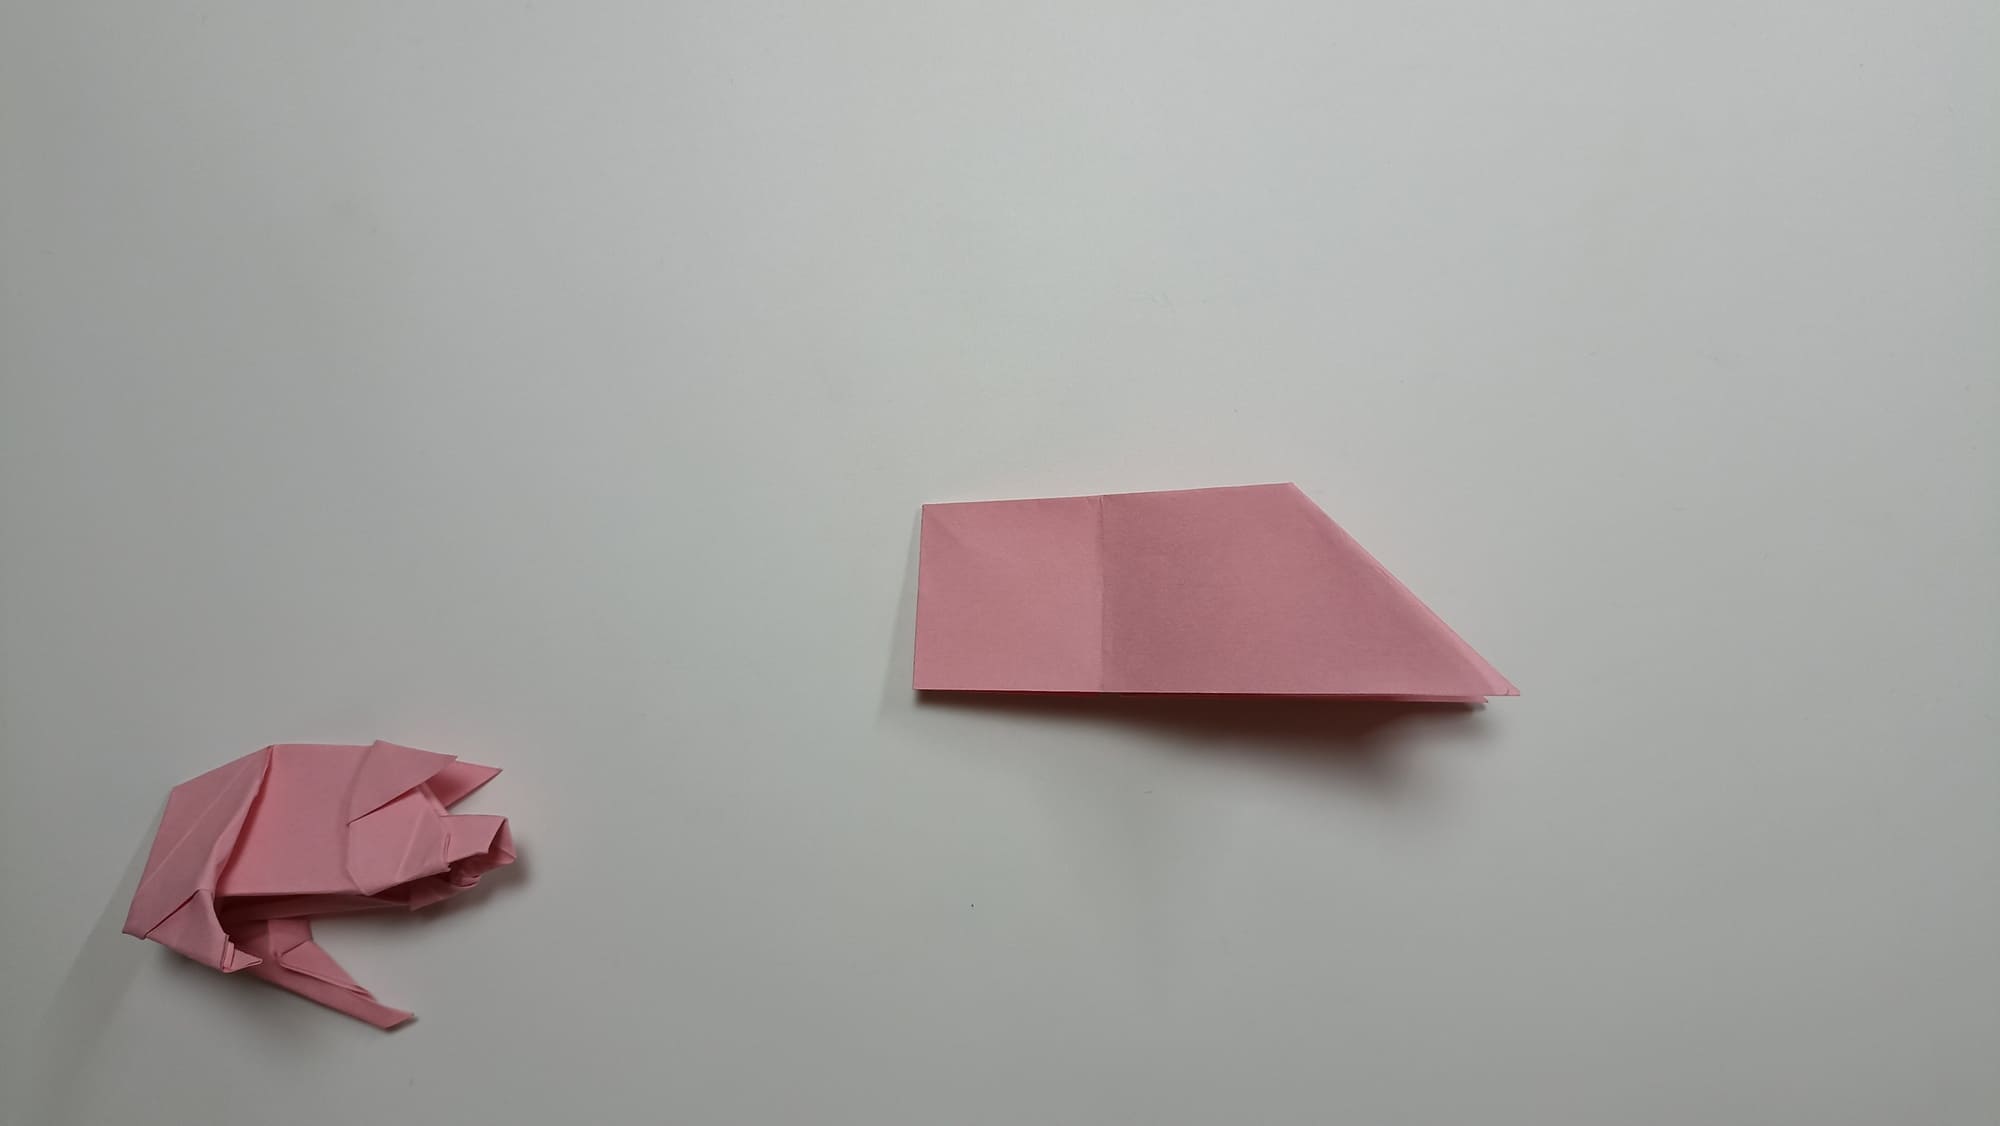
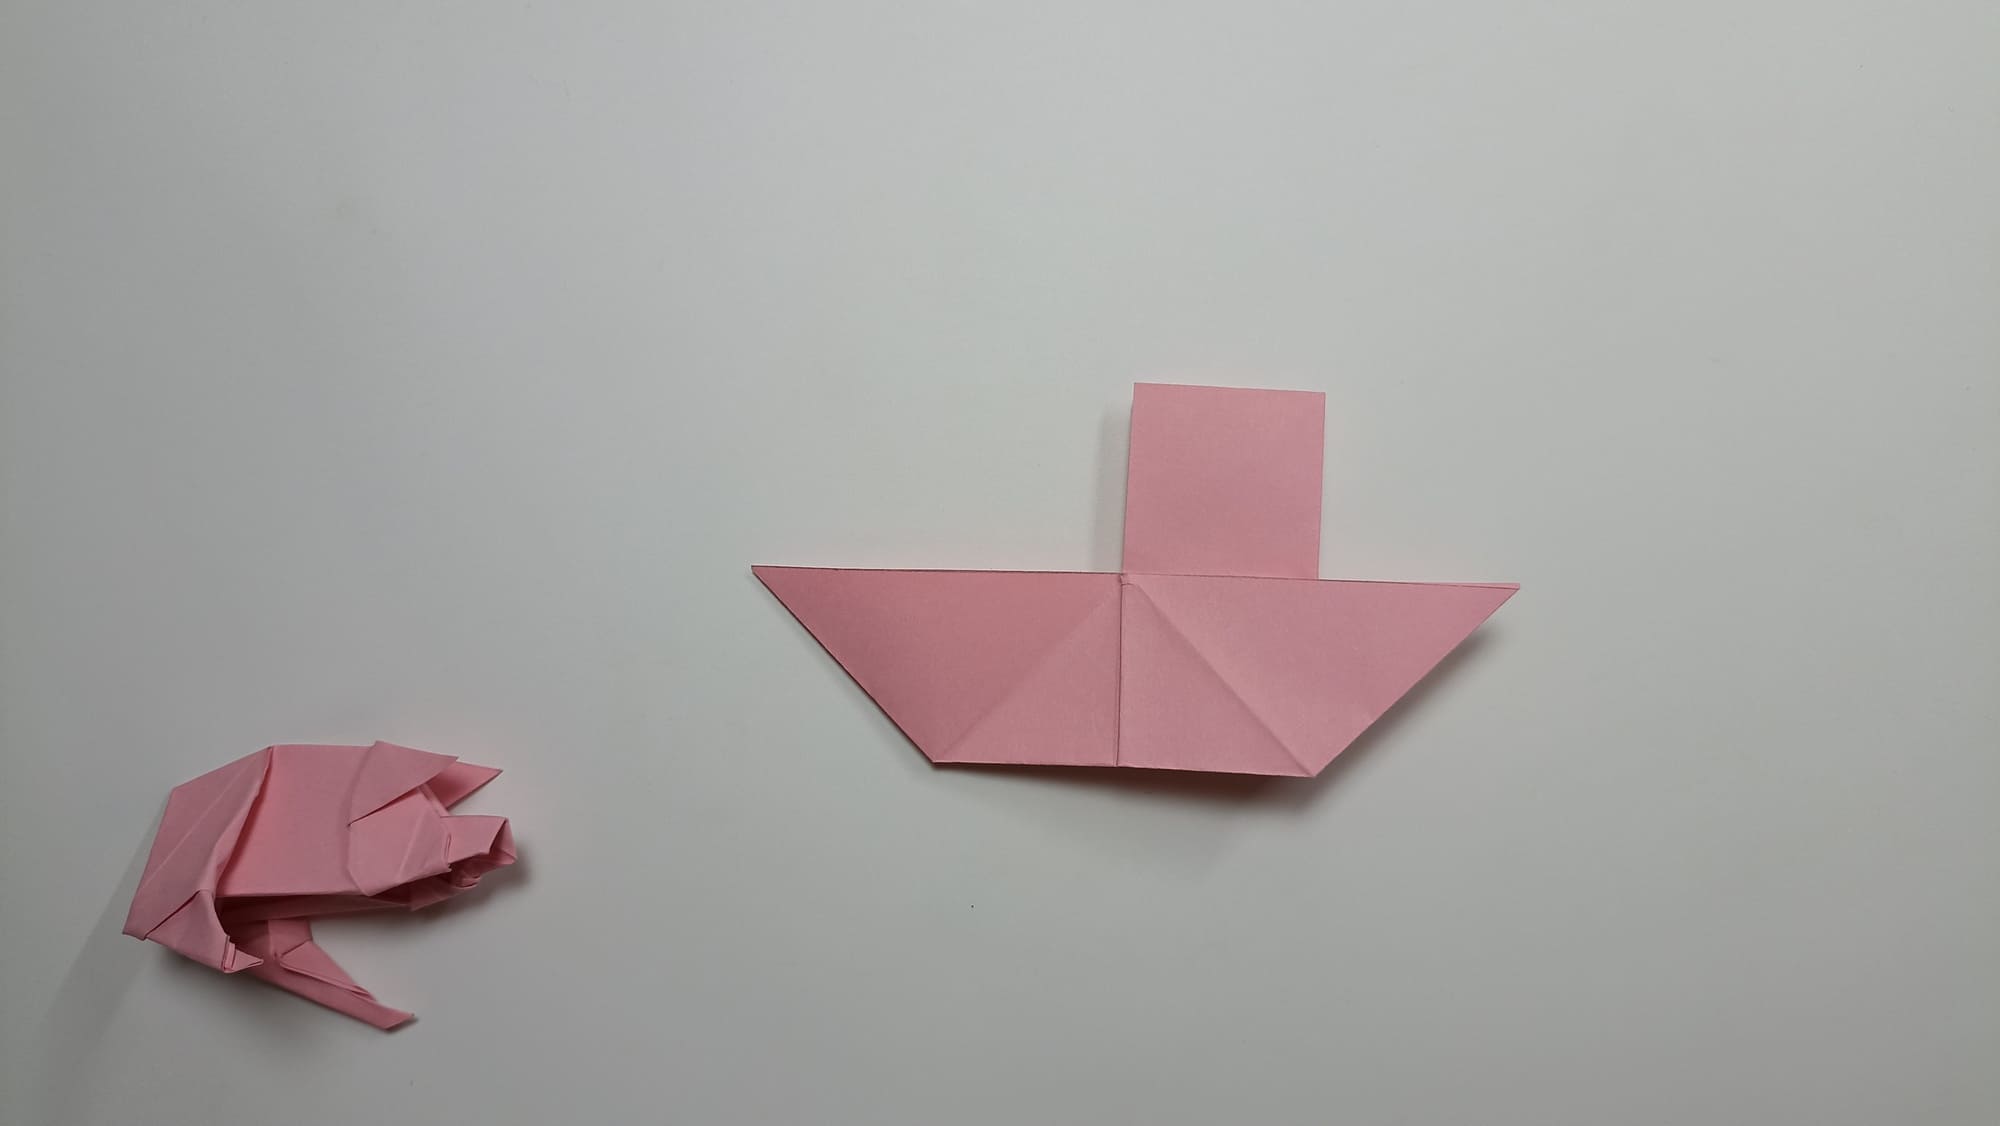
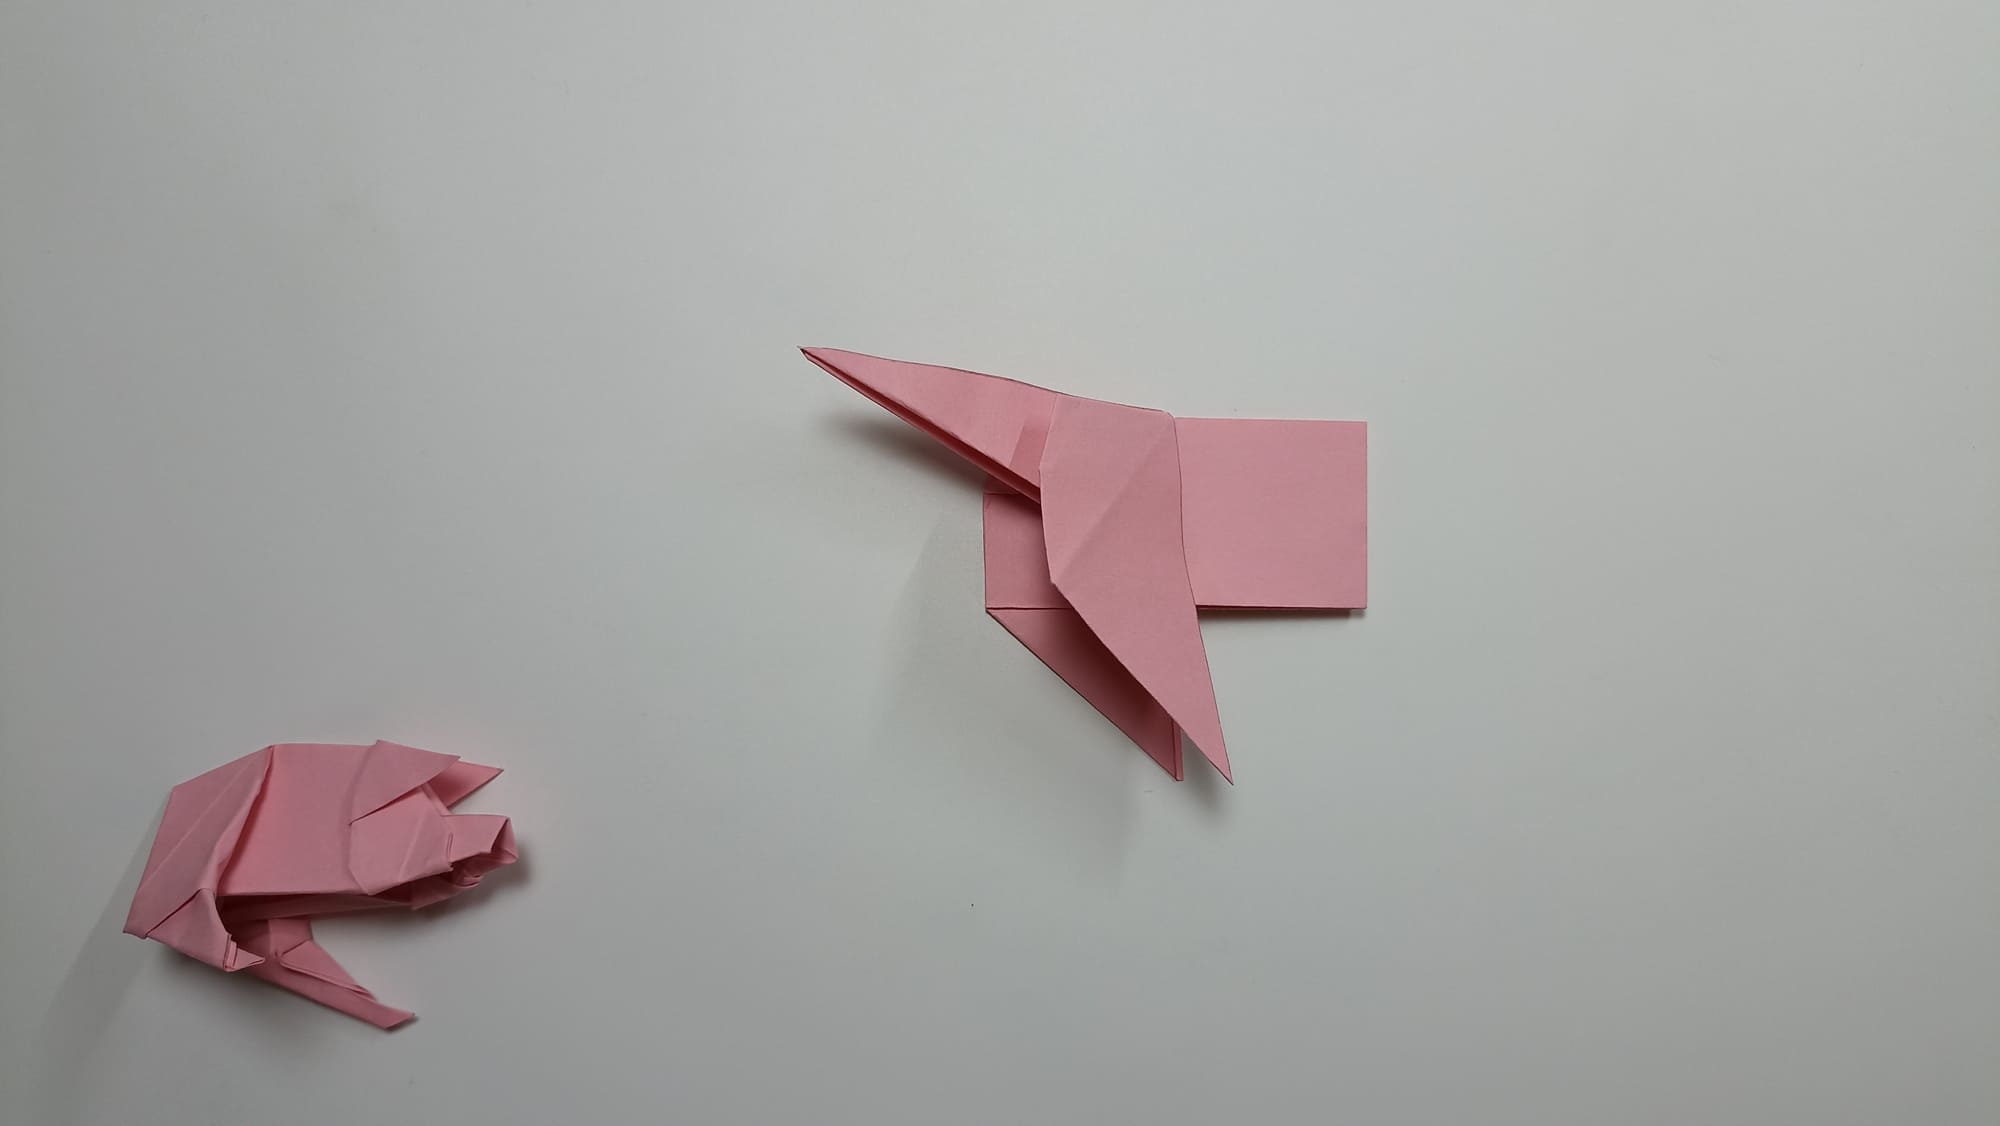
For the back of the pig figure, fold a sheet of paper in half lengthwise and crosswise.
Fold the small square diagonally.
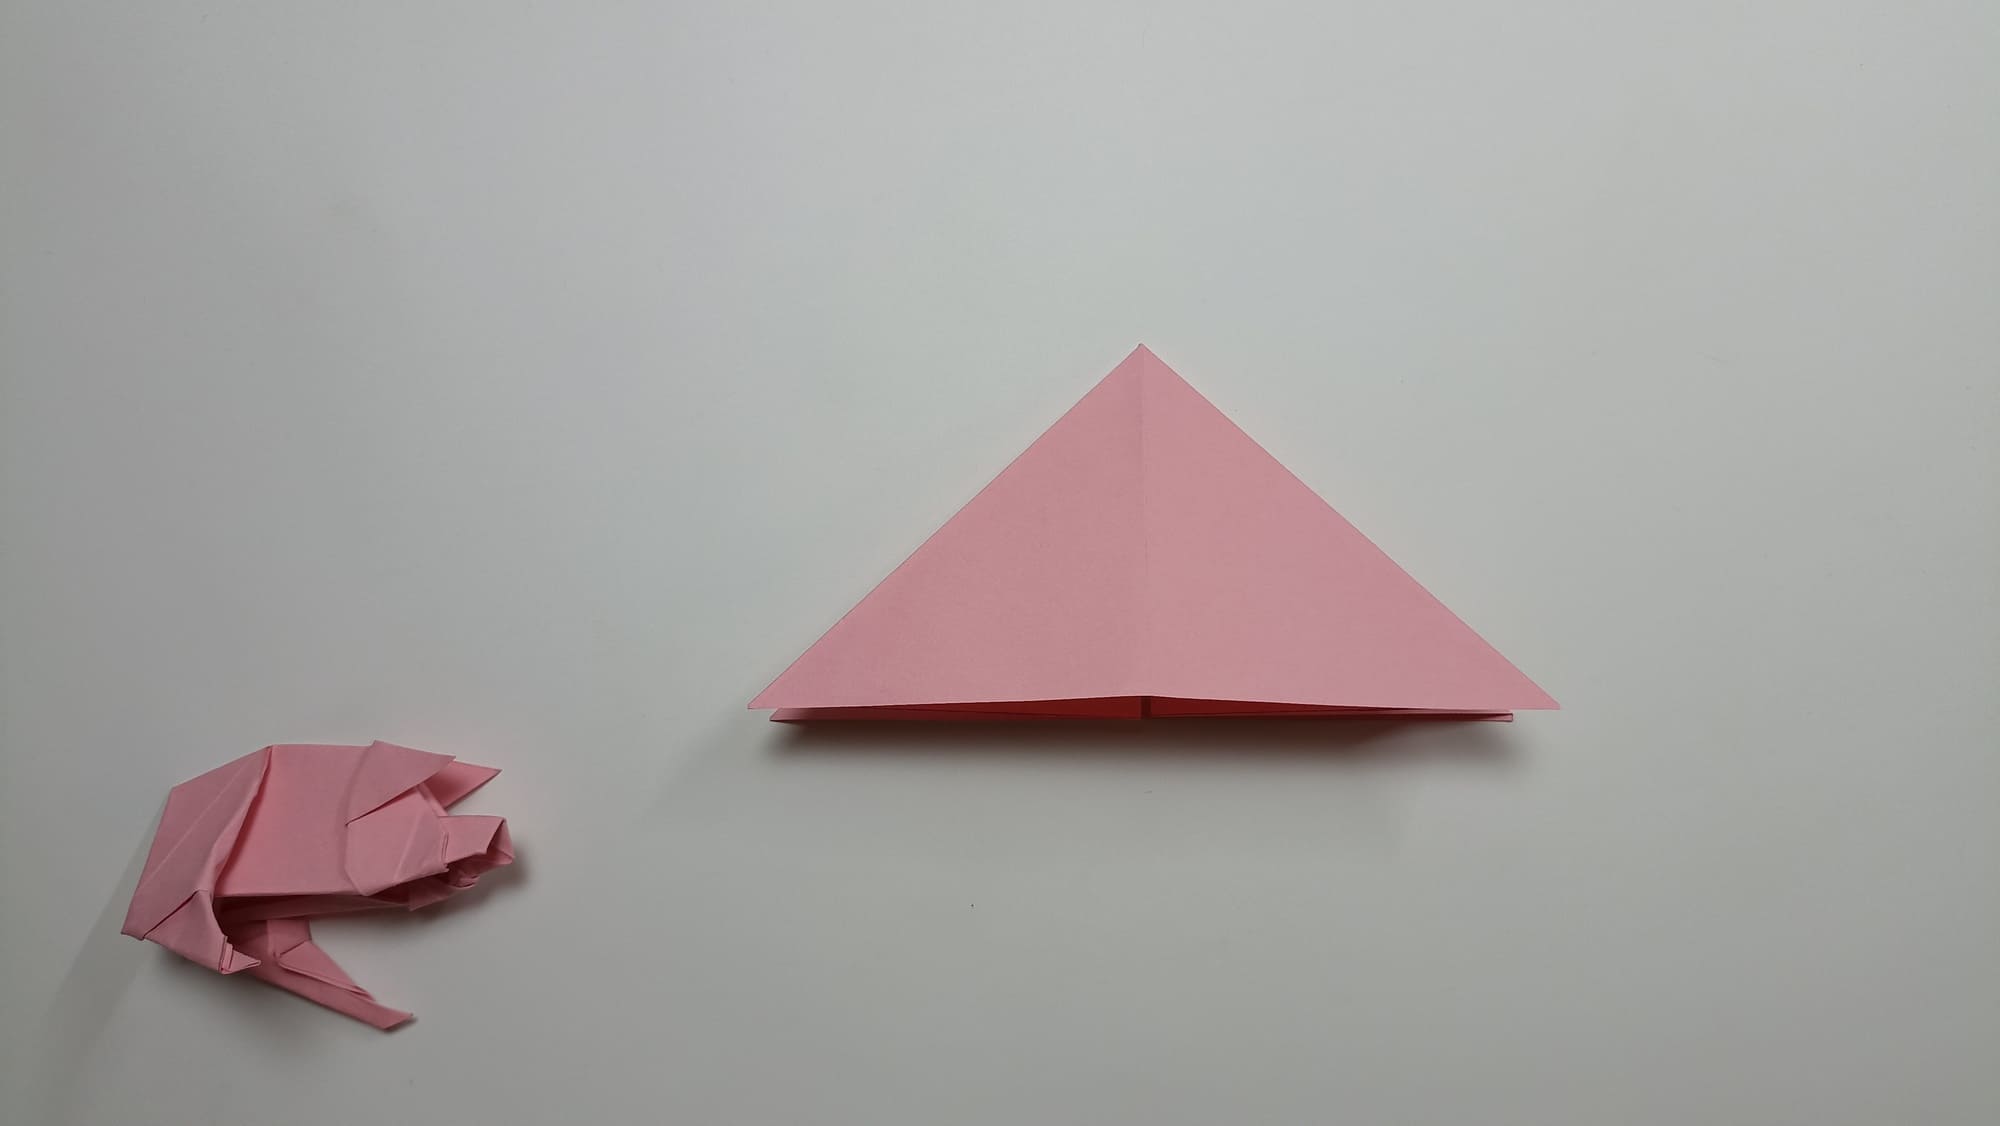
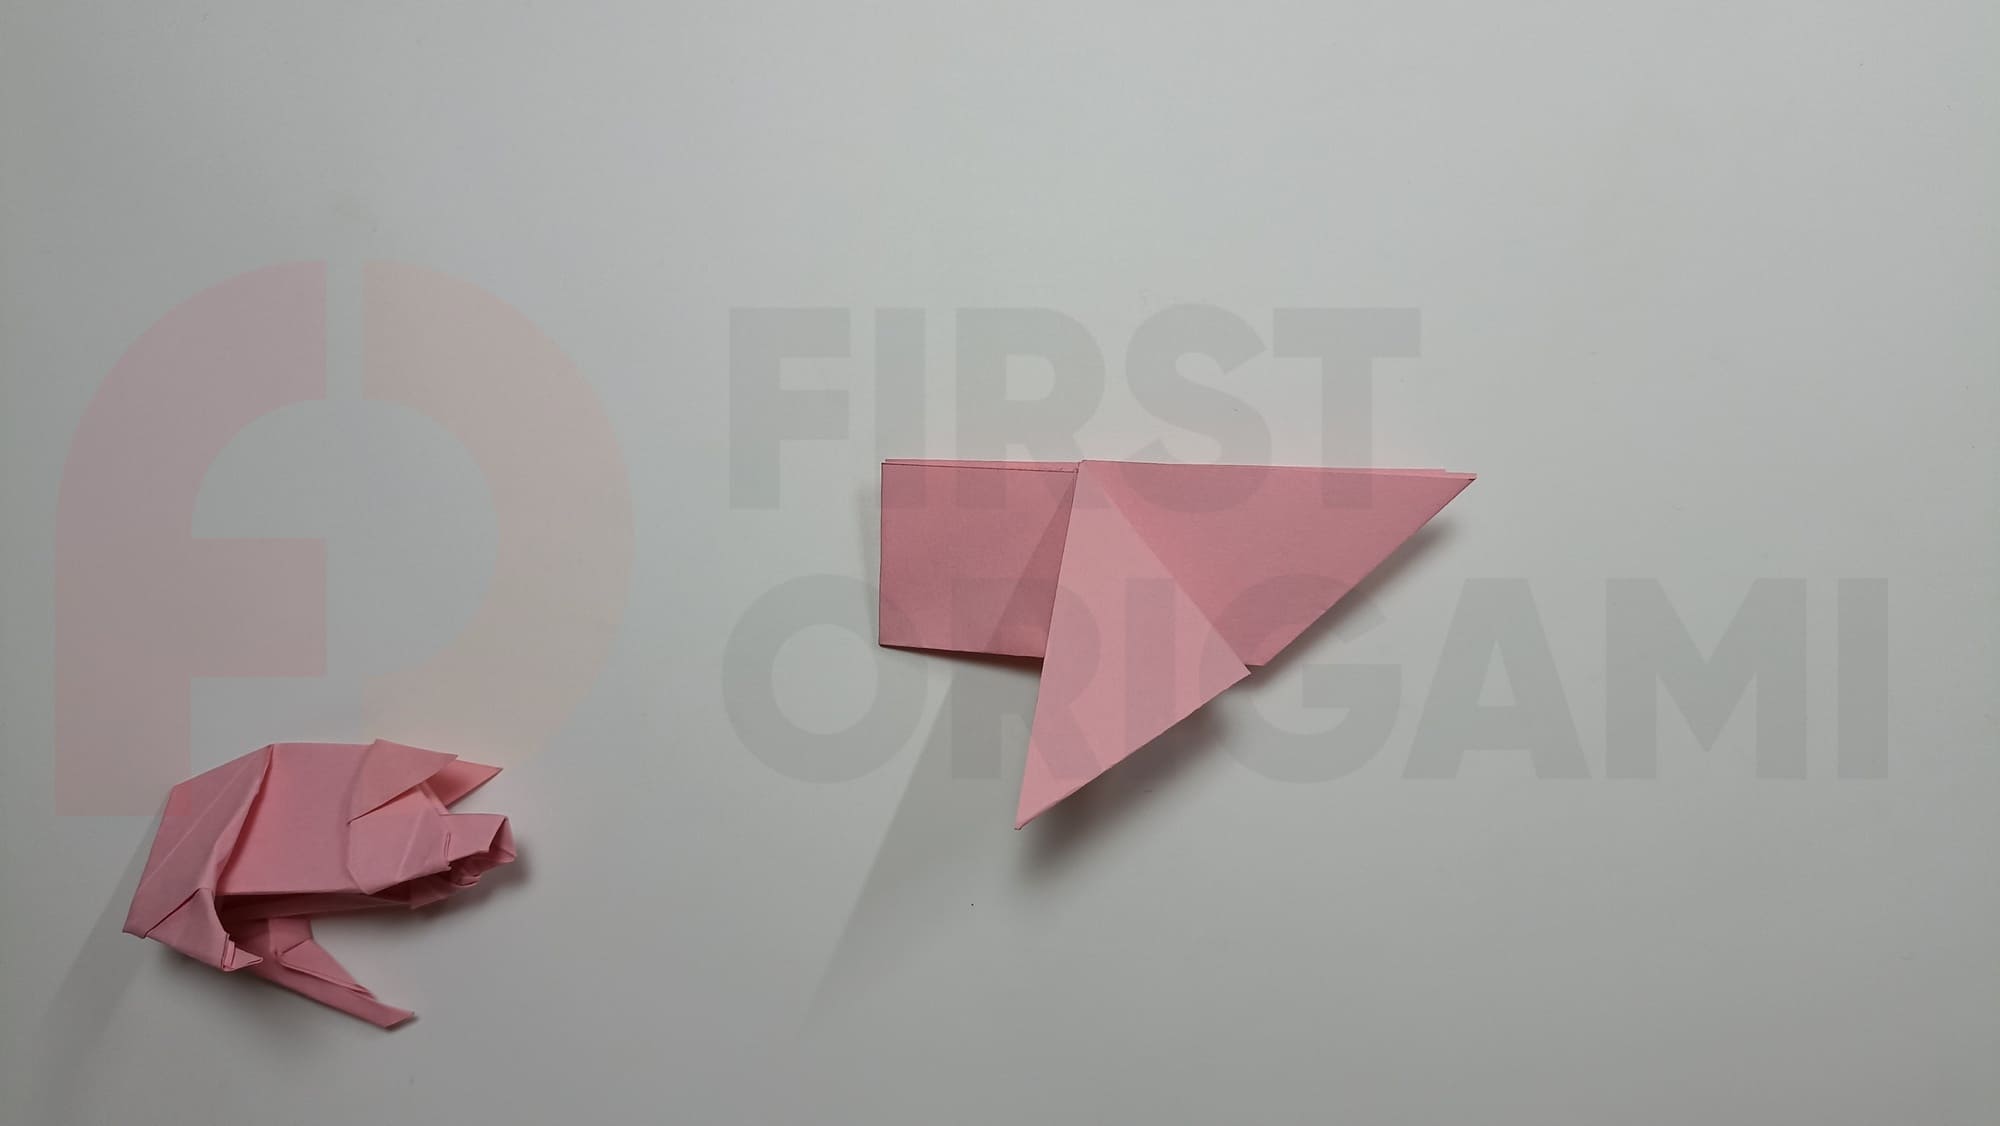
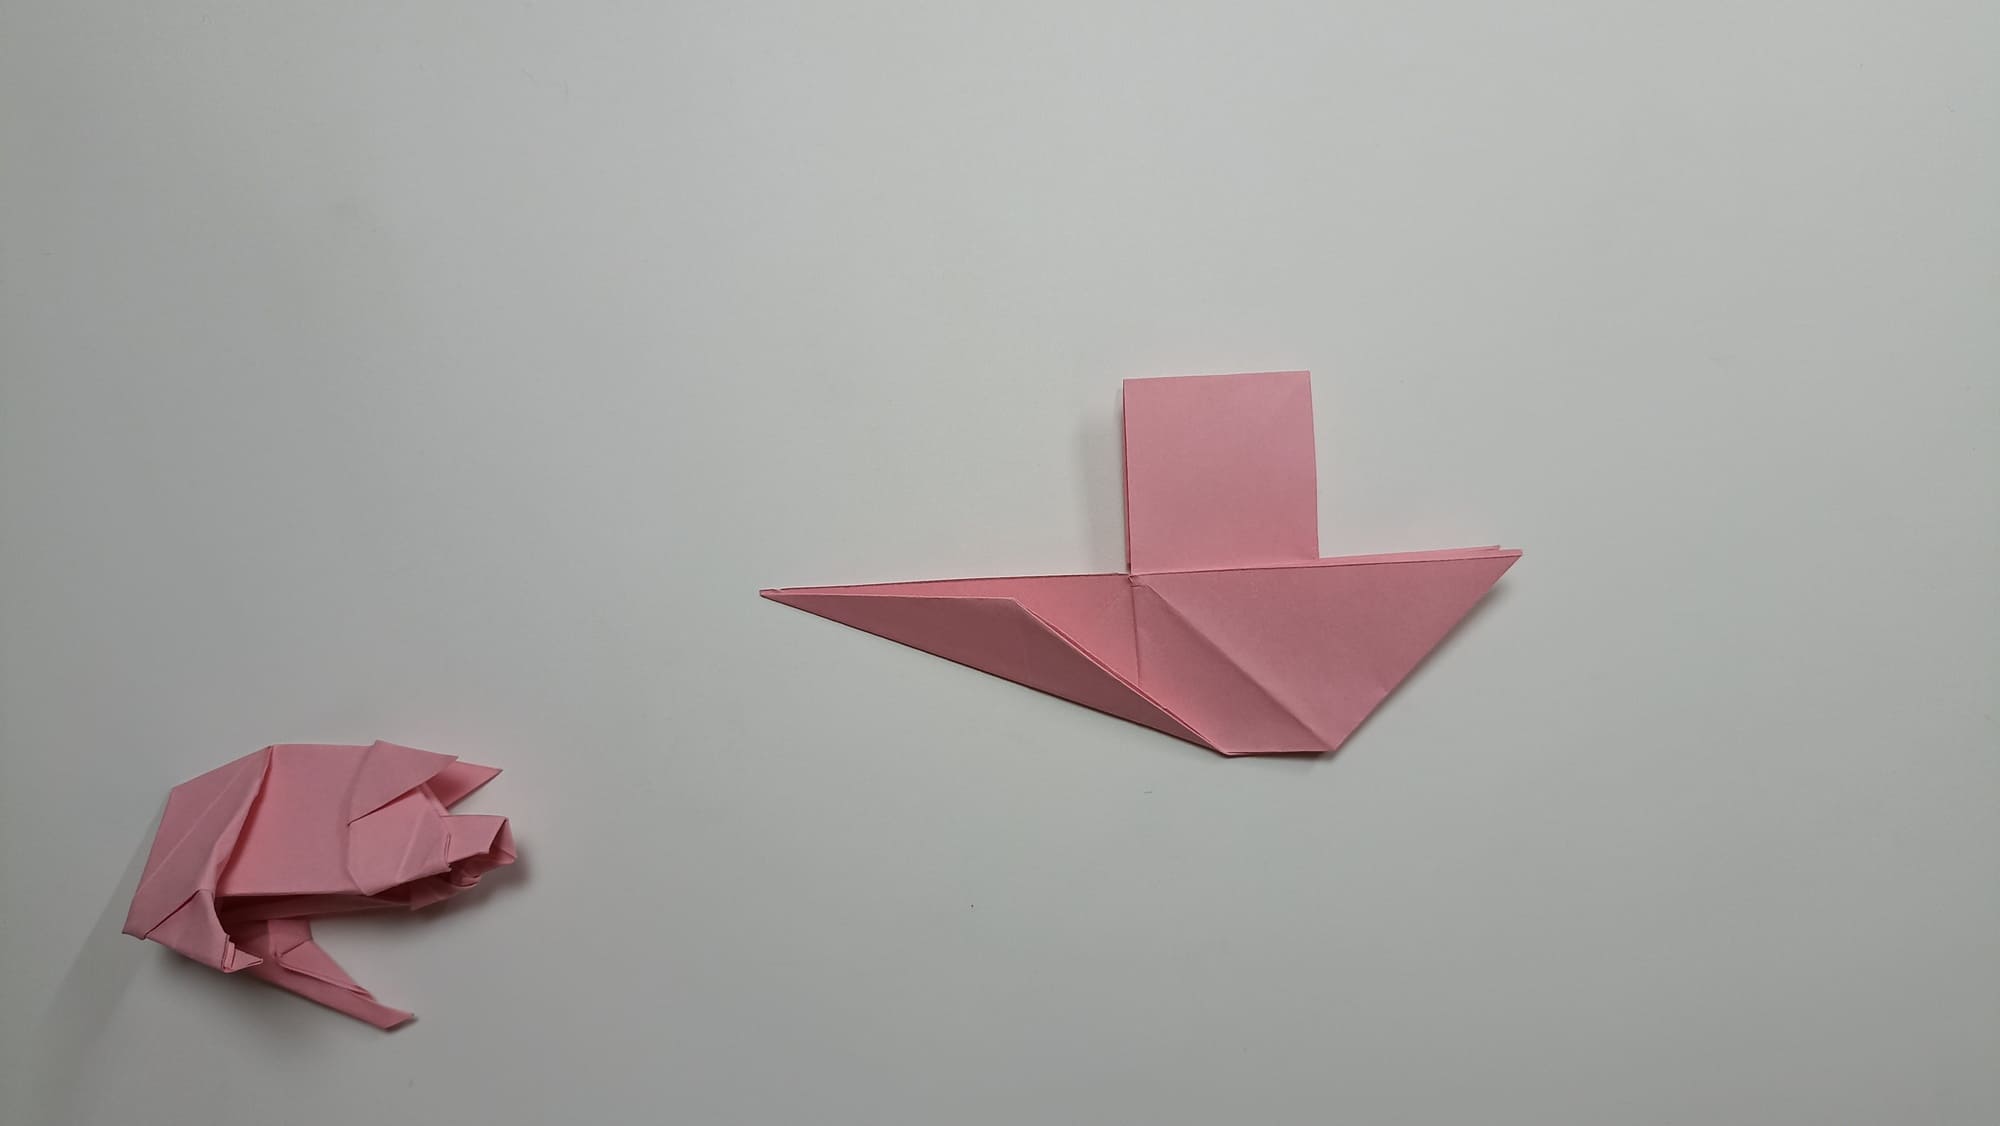
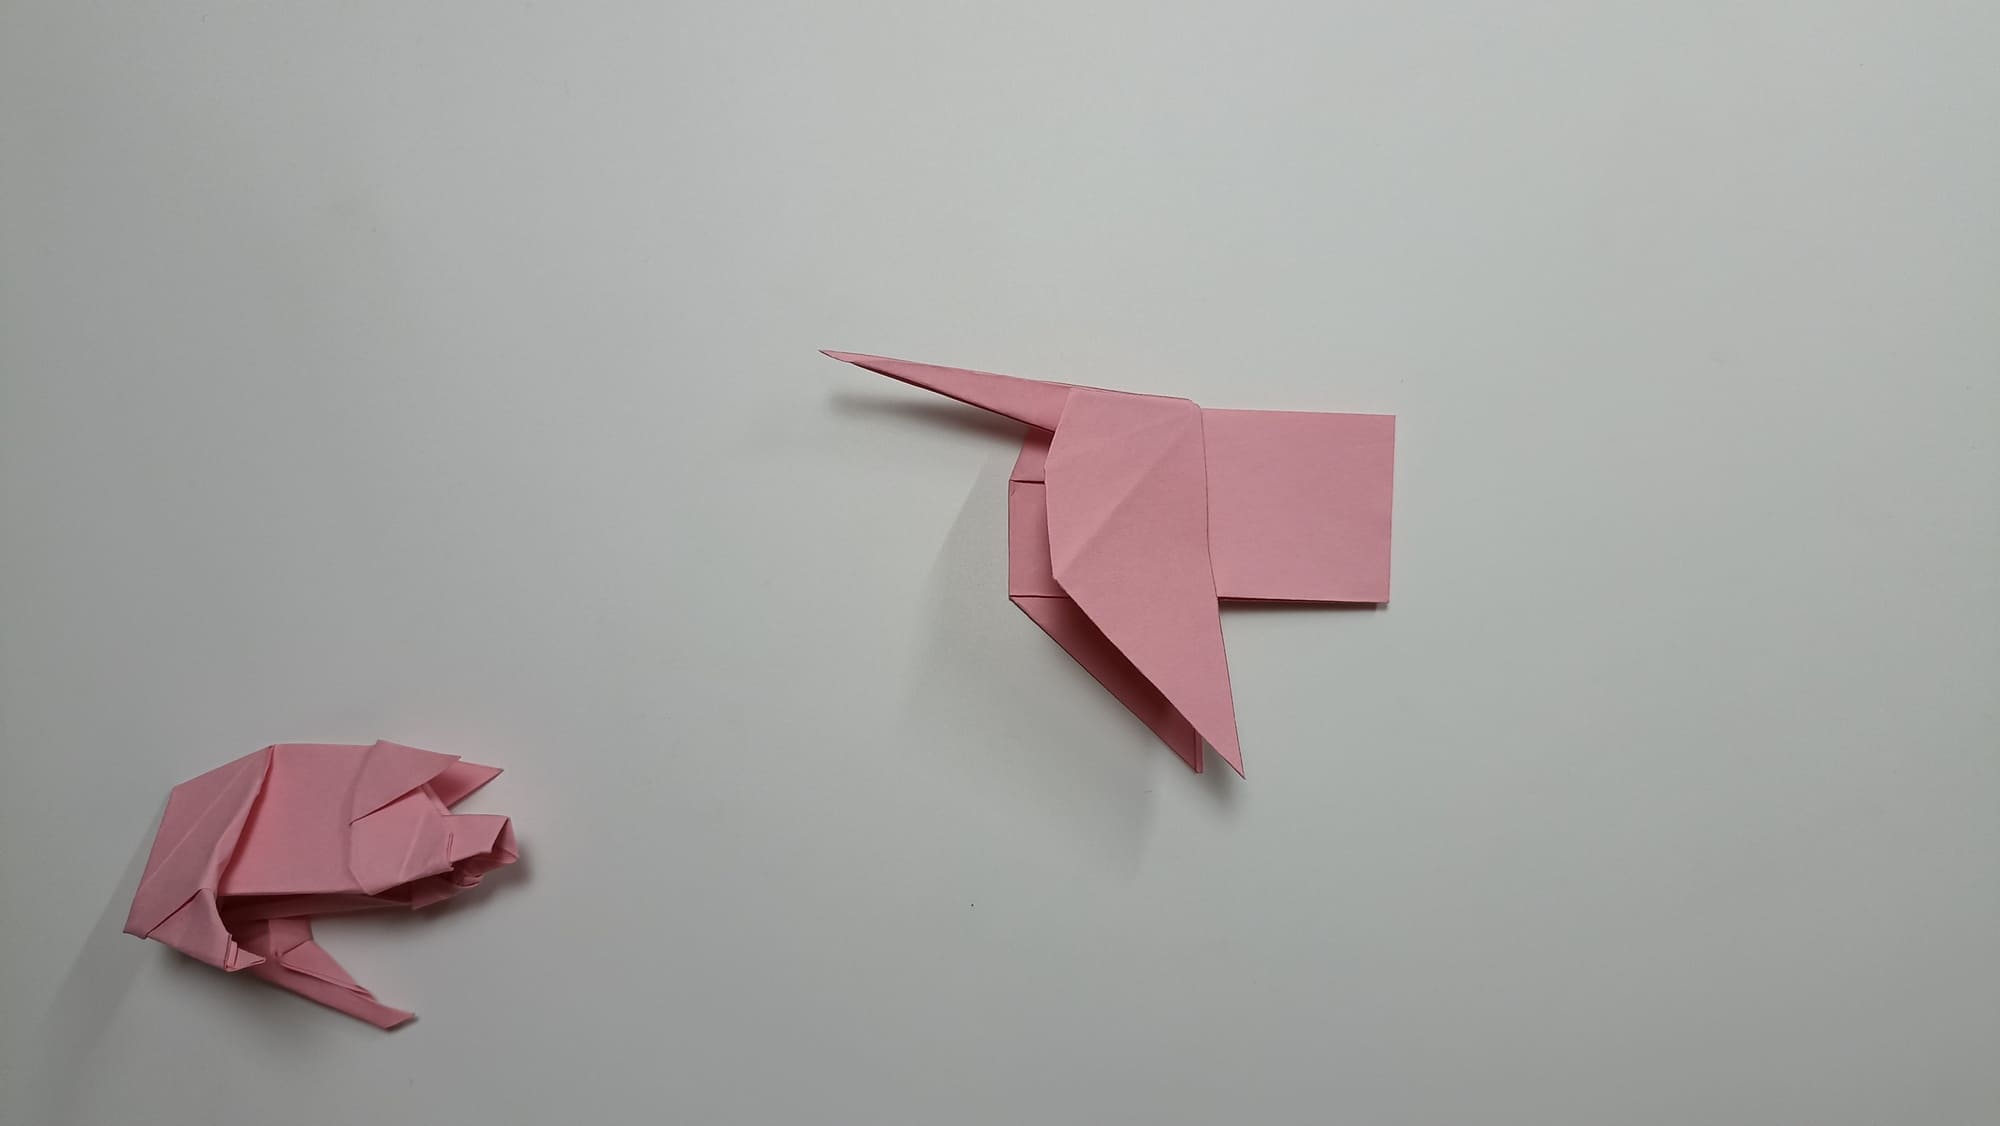
Expand the figure. Fold a double triangle along the marked folds.
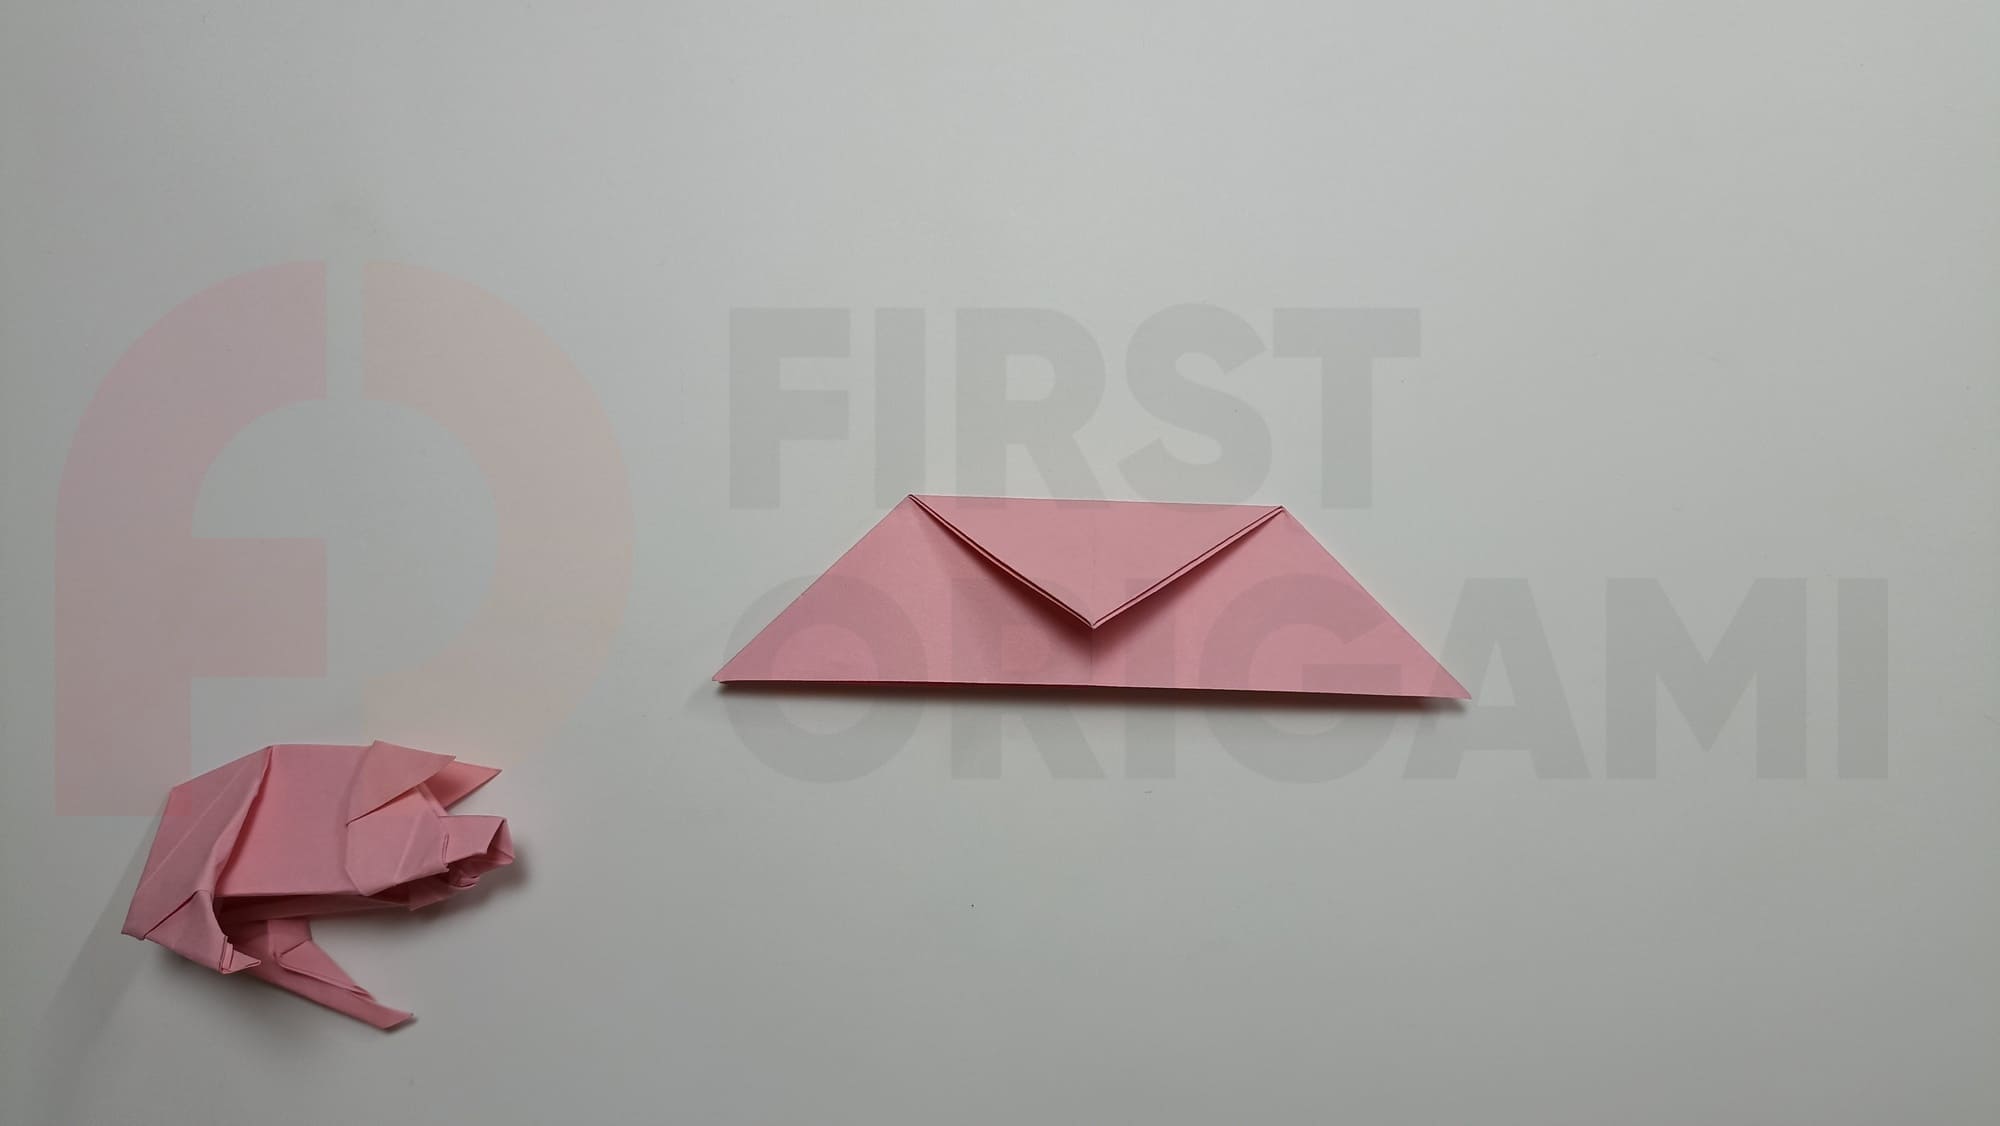
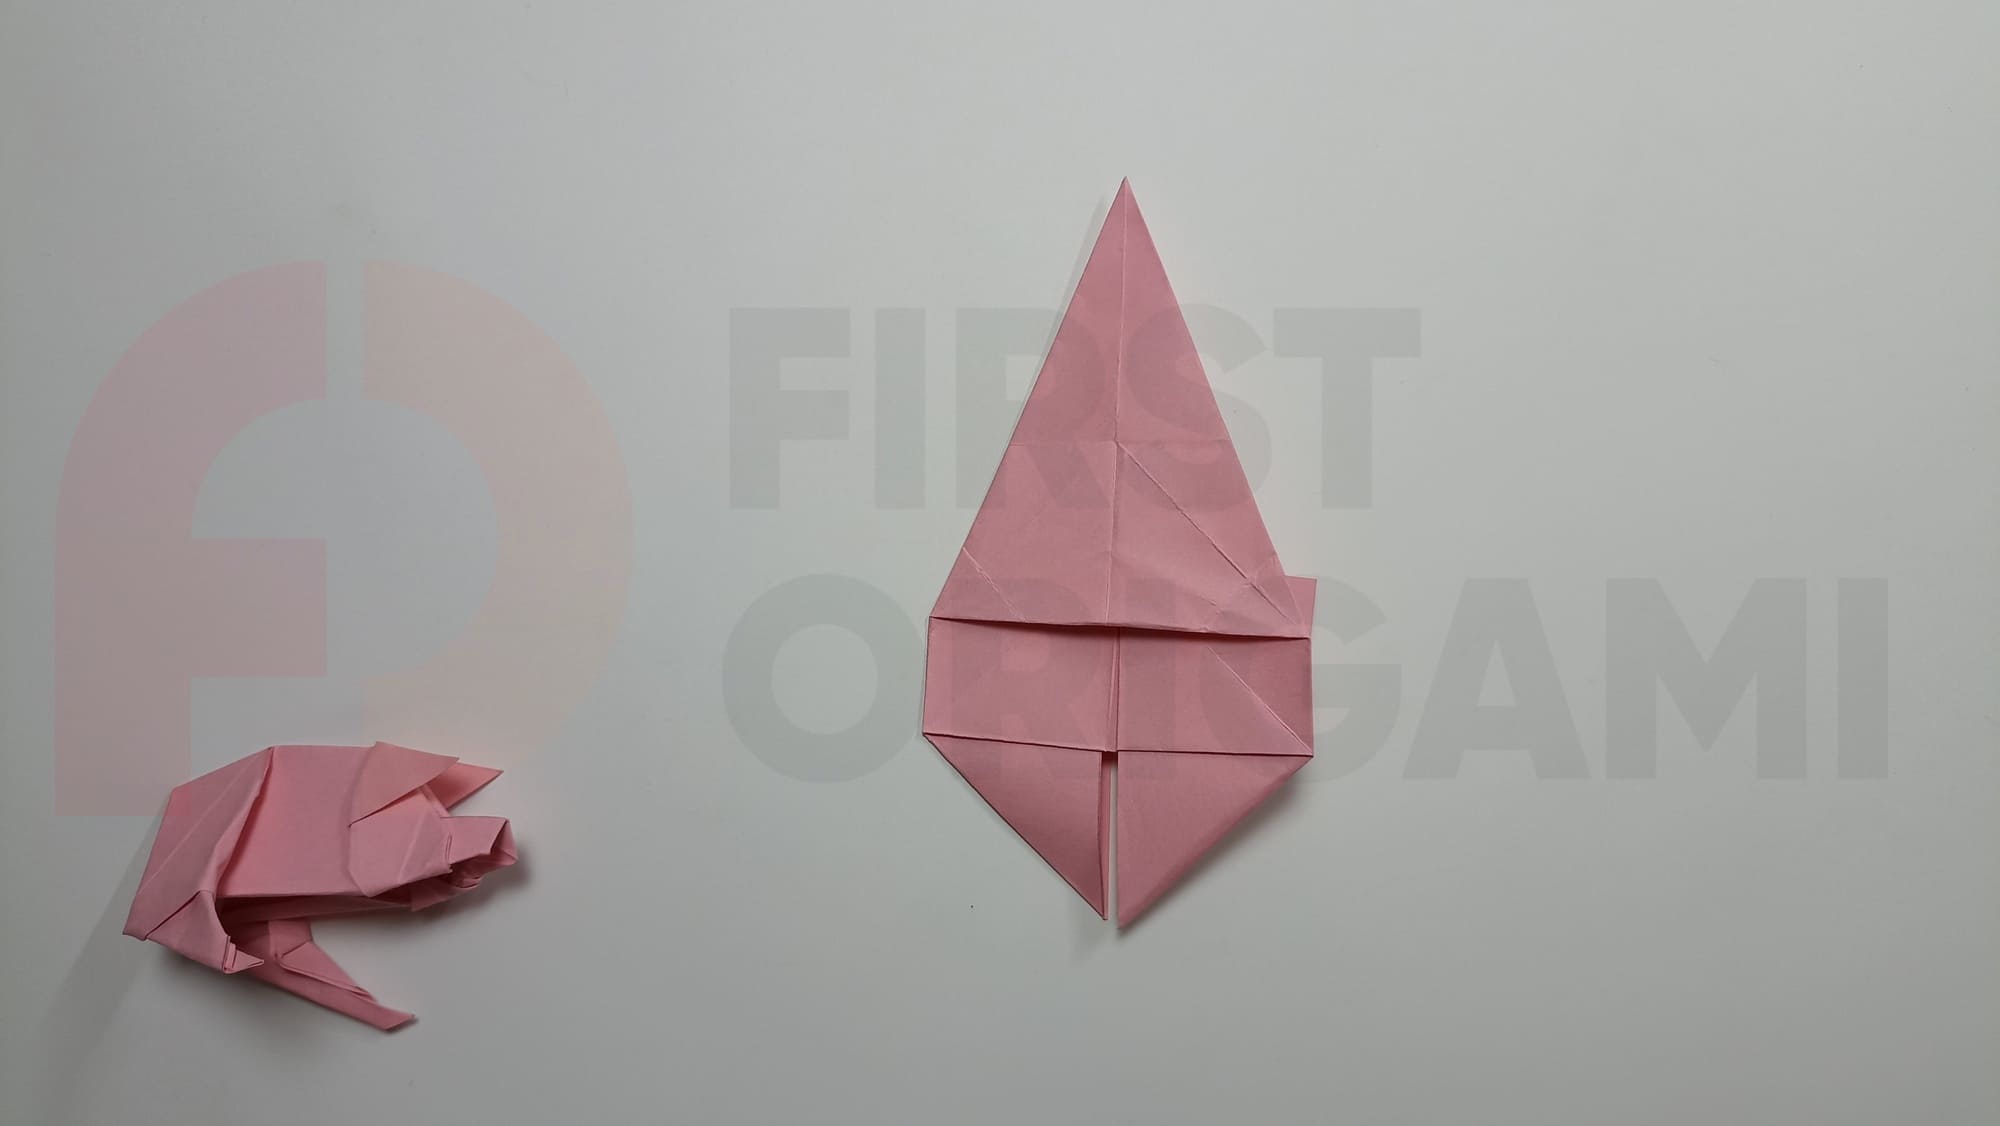
Bend the triangle in half.
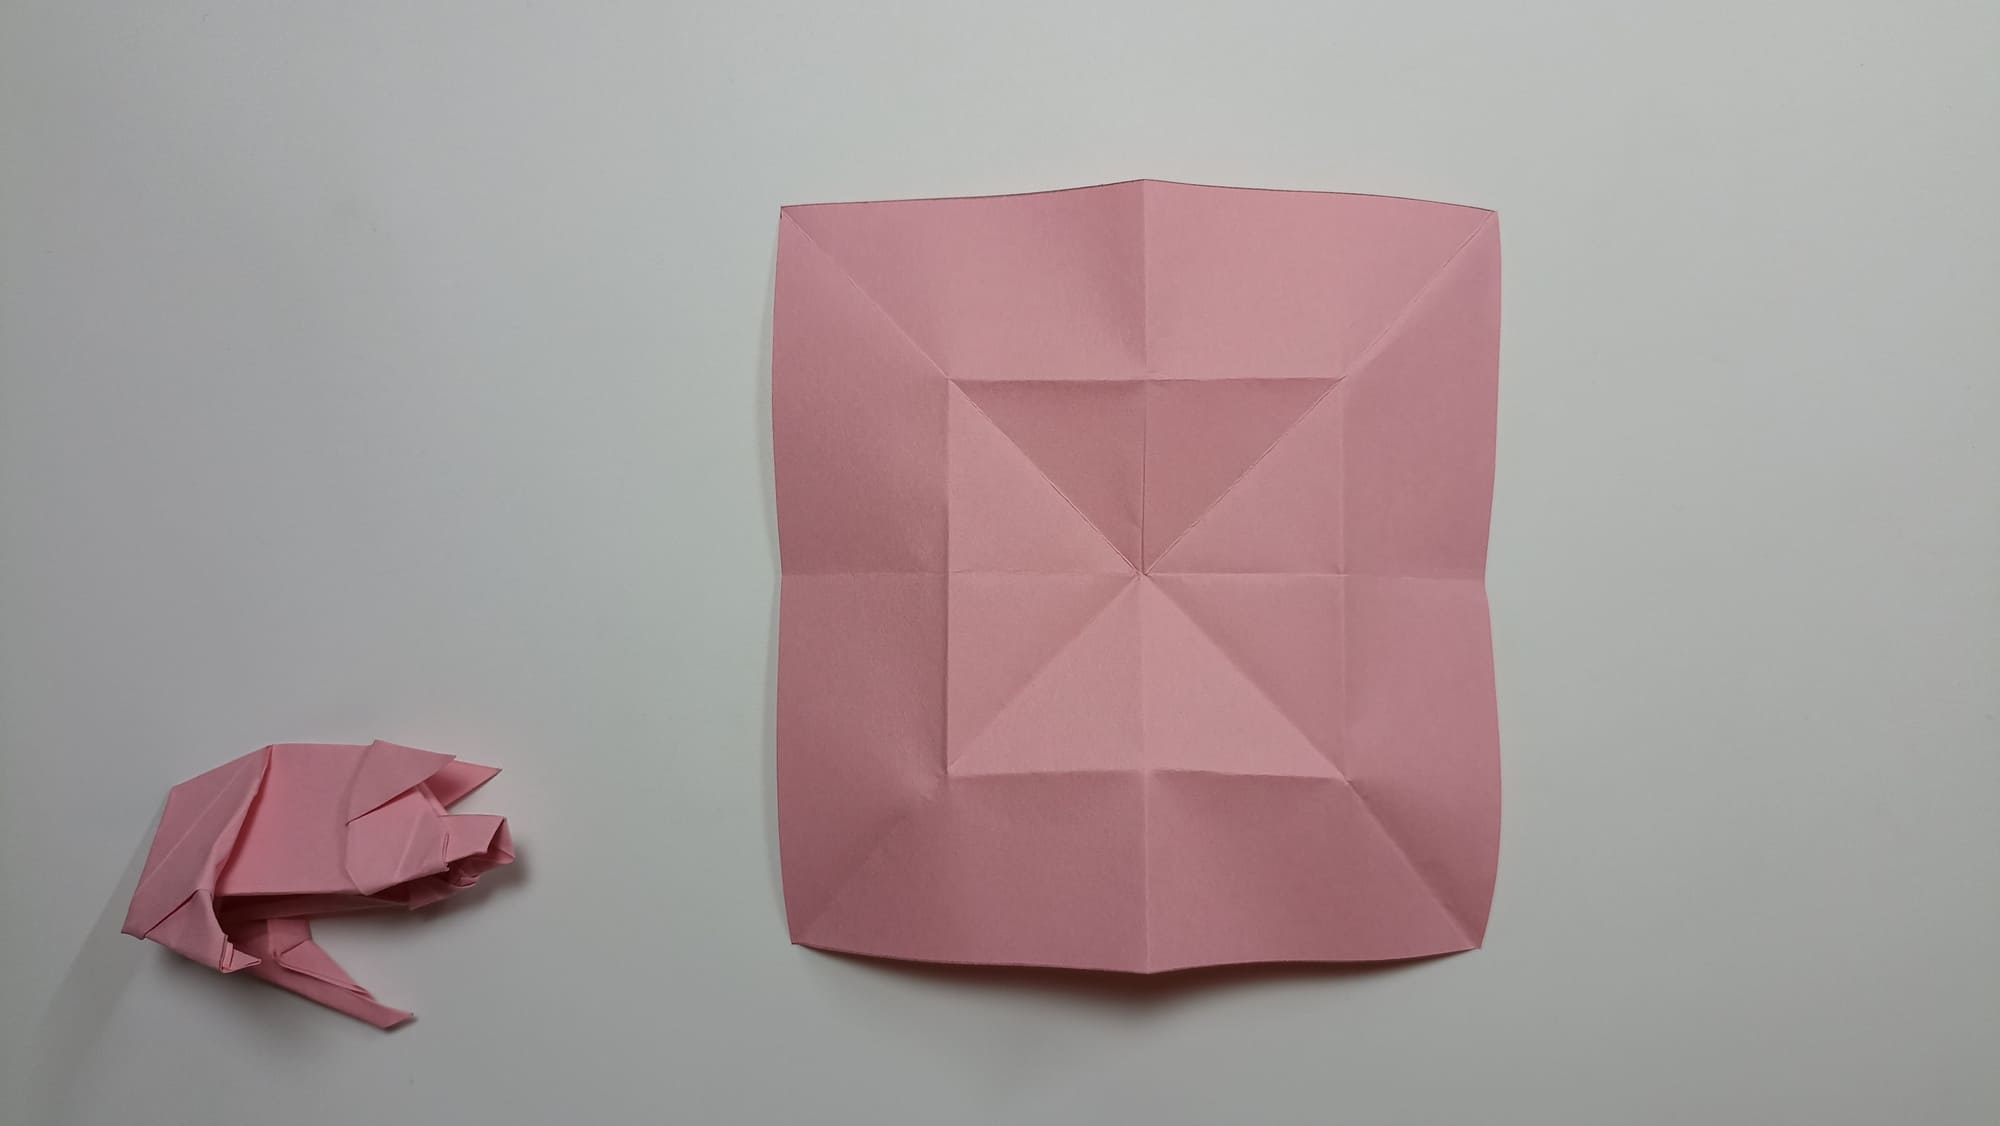
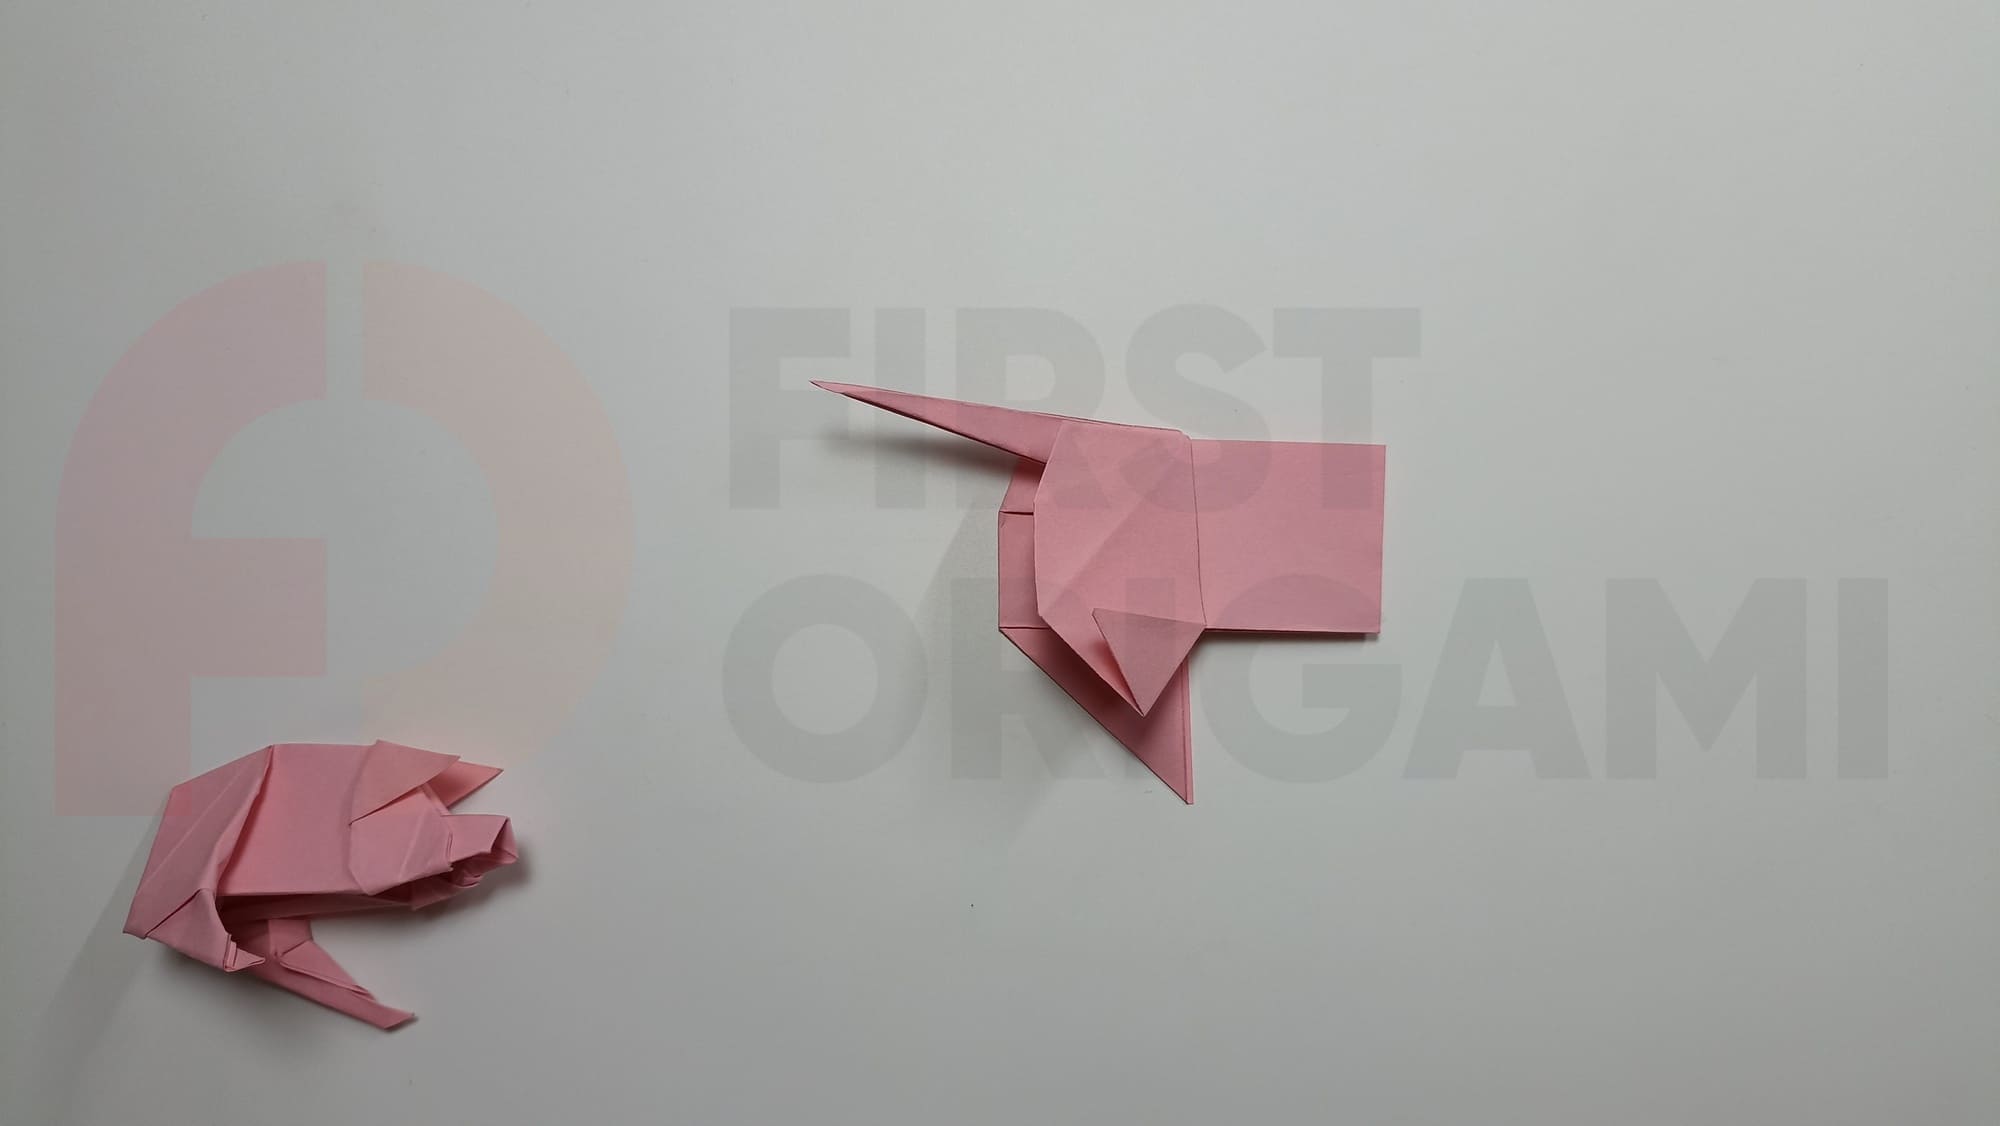
Straighten out all the folds. Bend the outlined lines forming a square into a mountain around the perimeter.
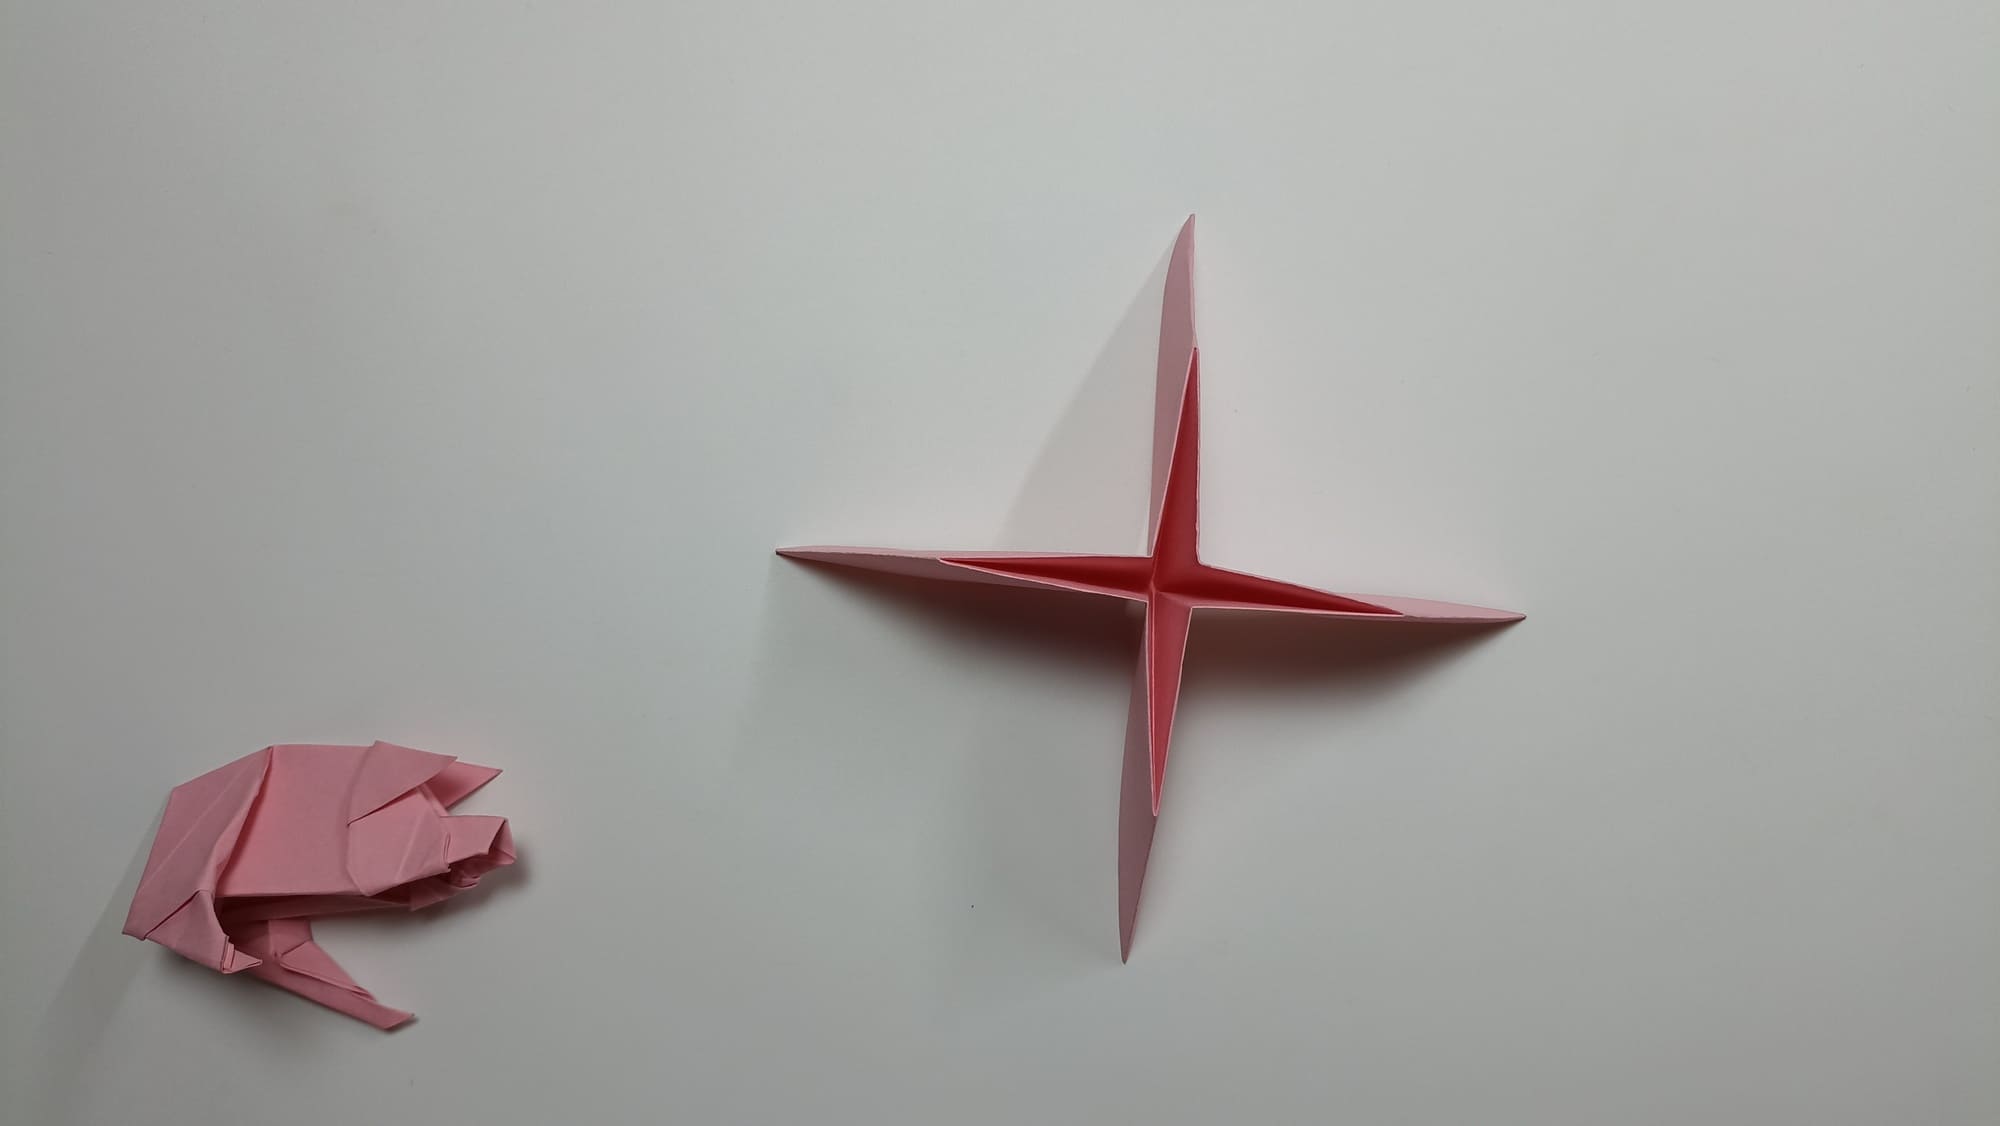
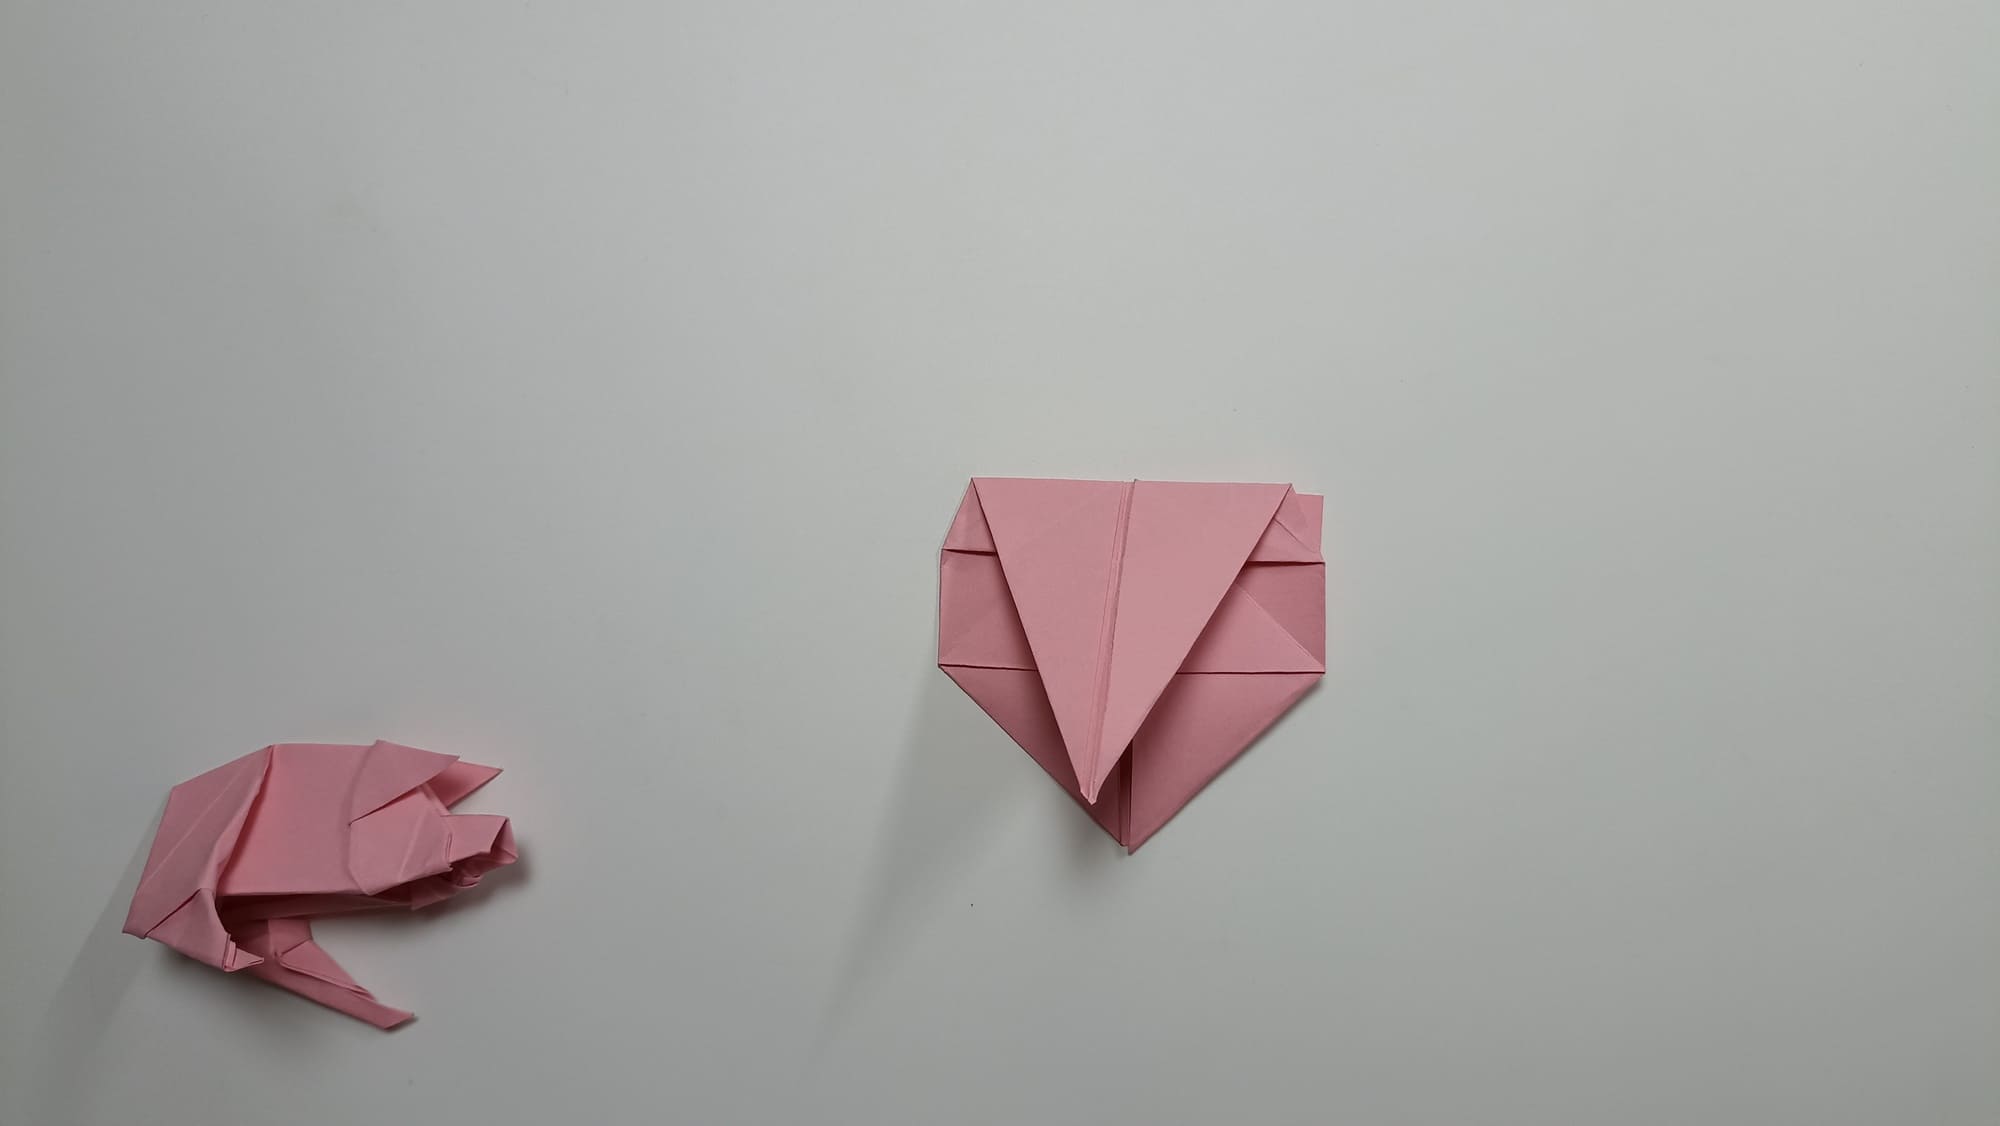
Press the corners of the resulting square to create an internal fold.
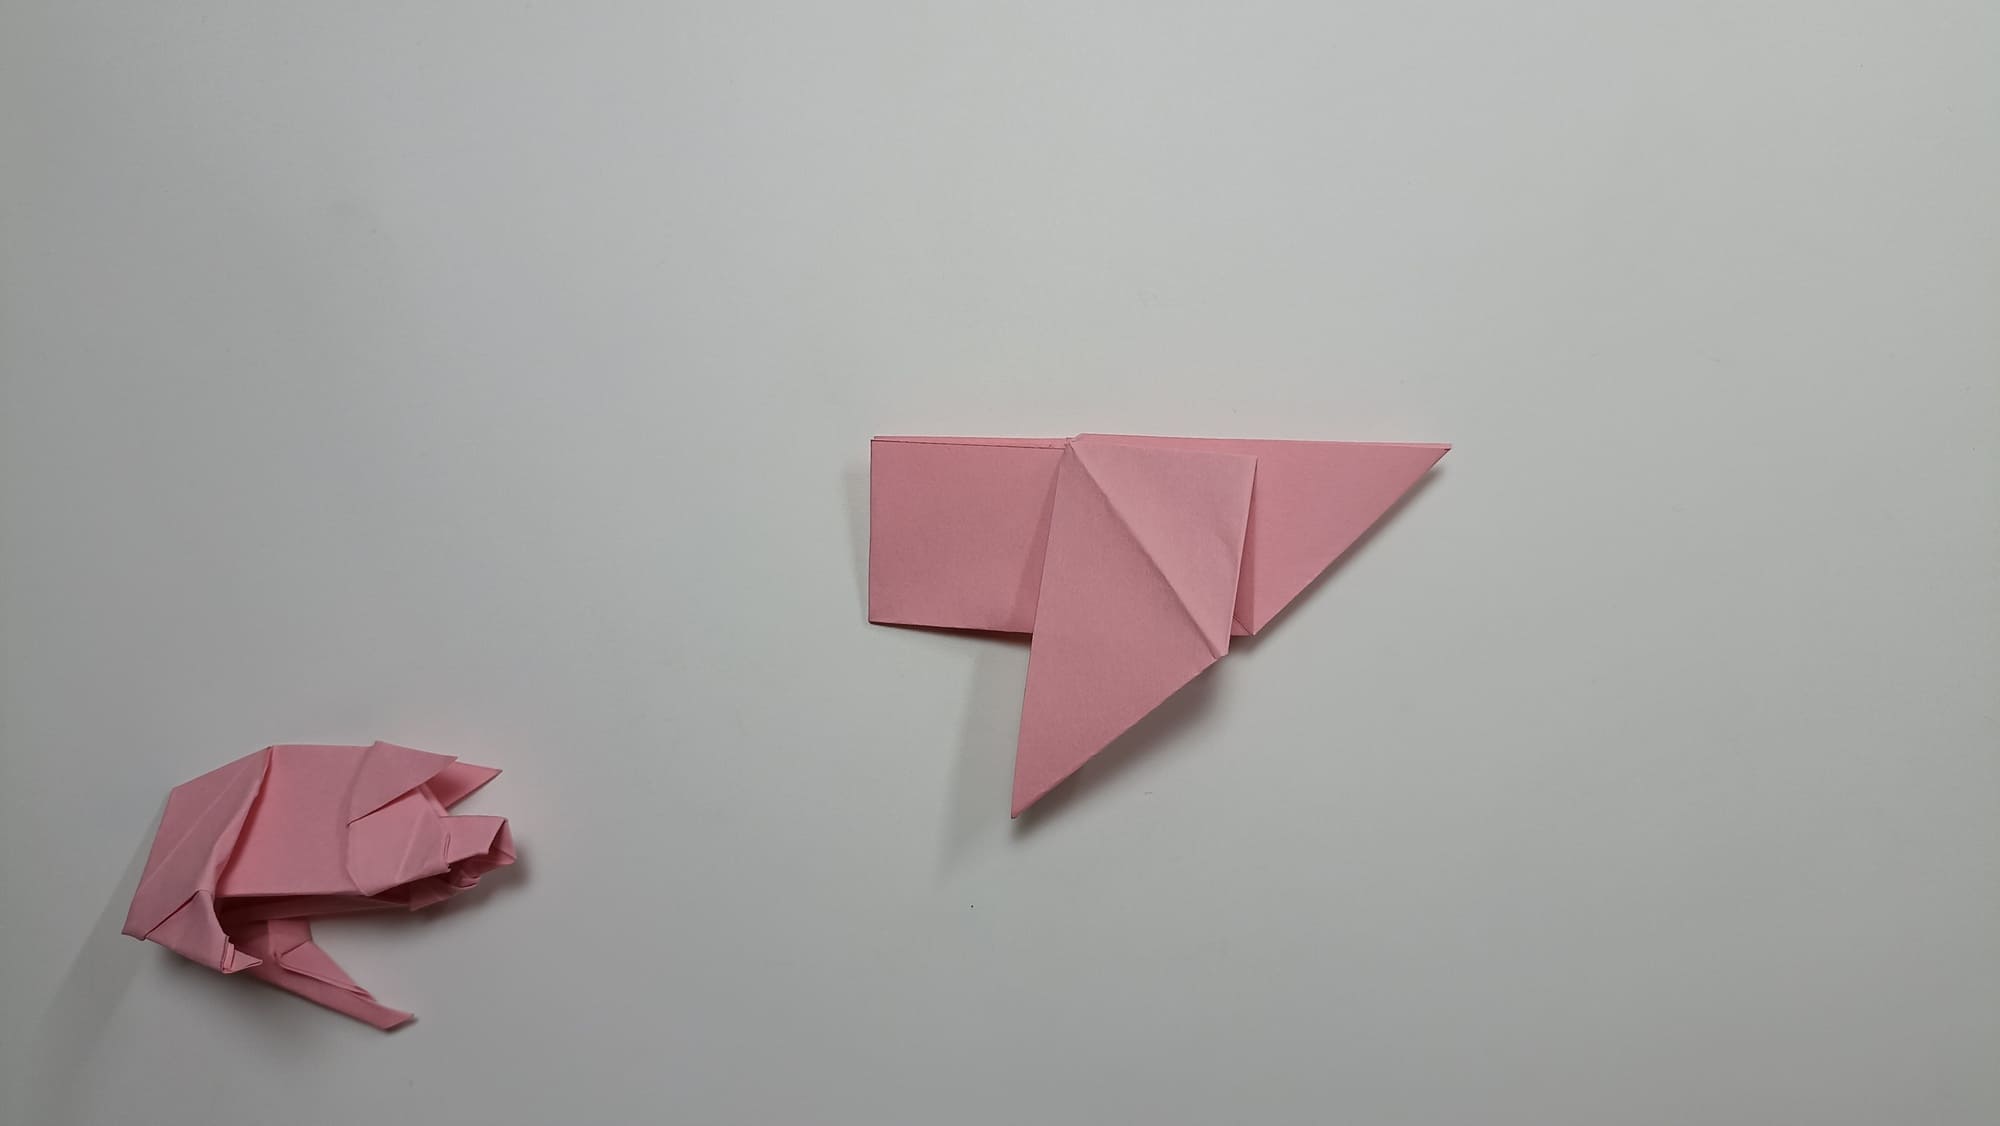
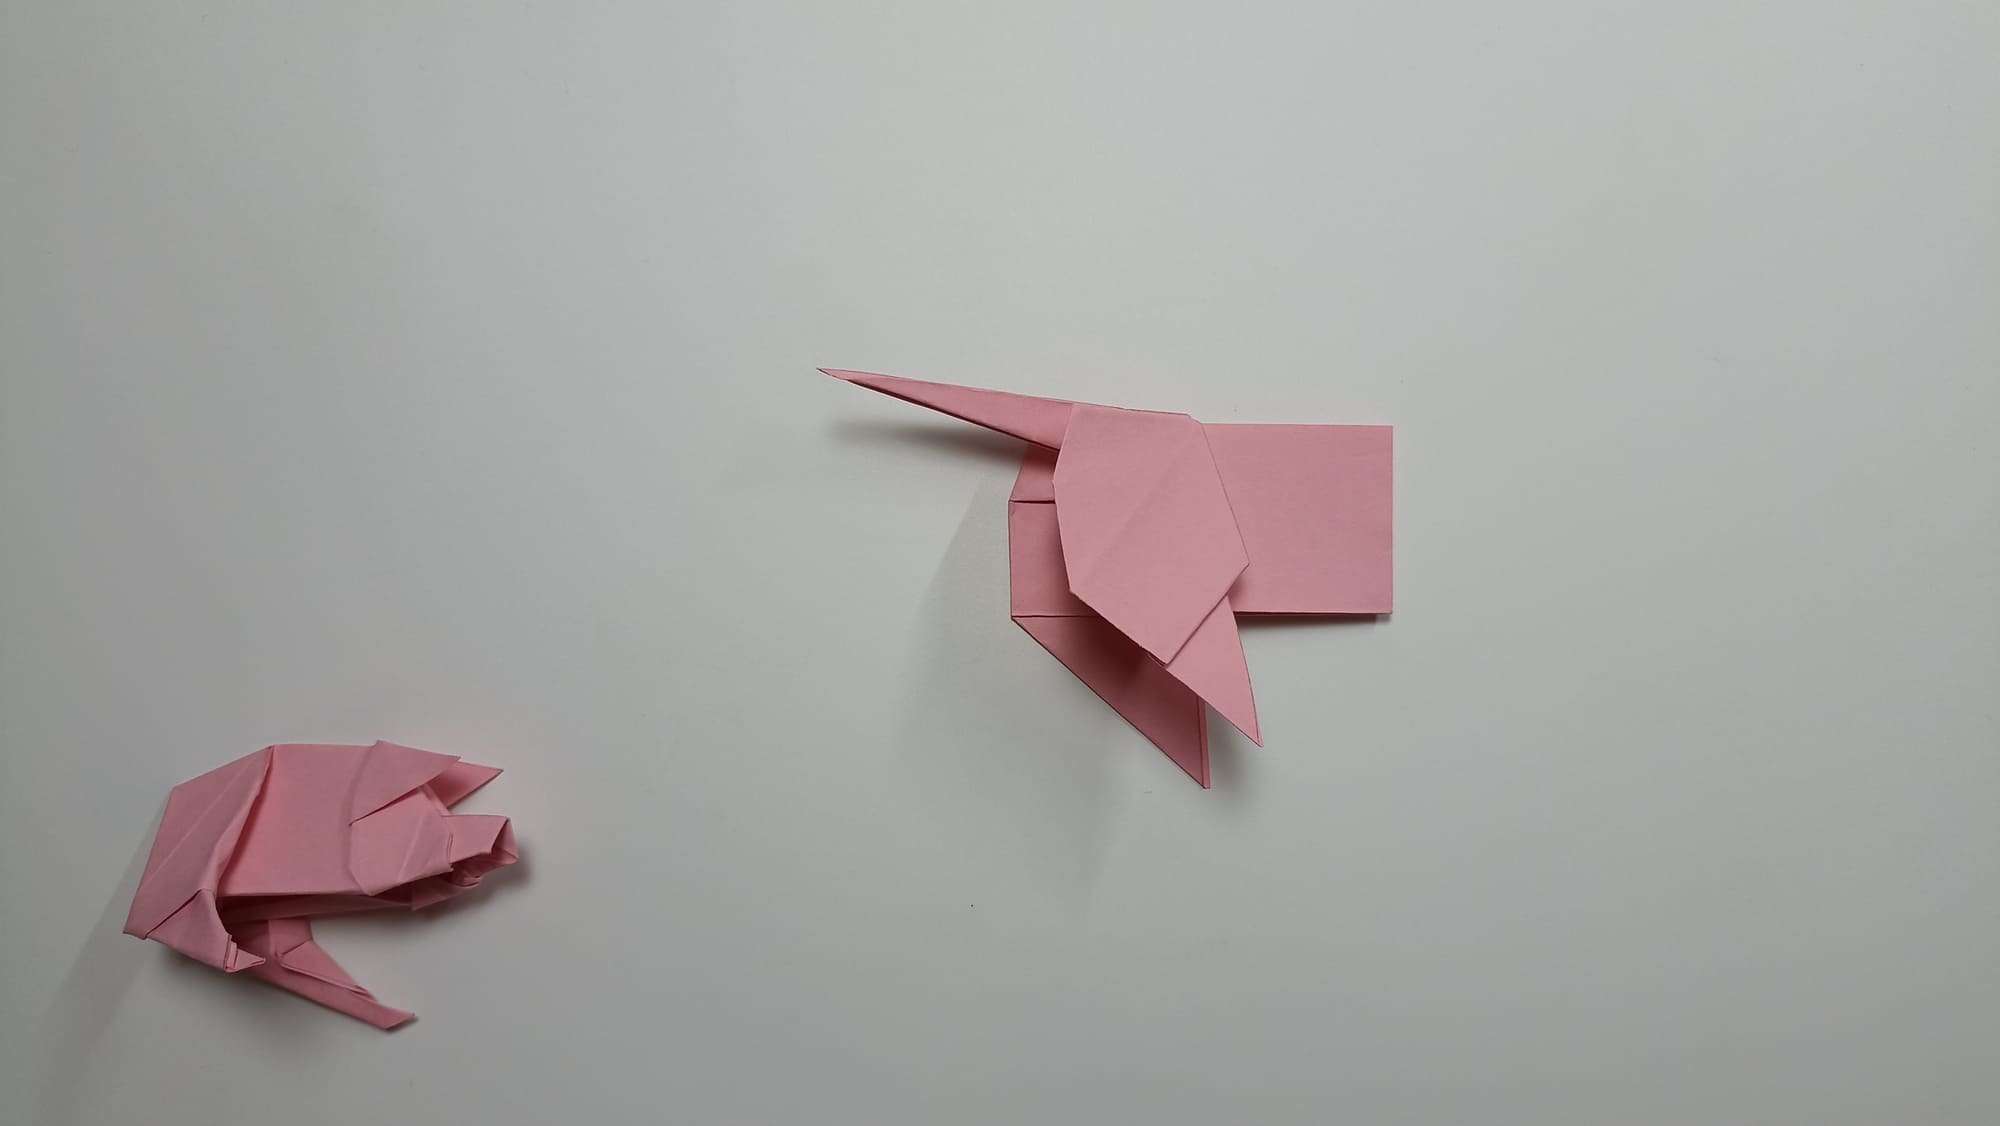
Align the three edges of the figure with each other. Bend the corner of the fourth part along a vertical line. Tuck the triangle inside.
Bend the right corner towards you. Repeat on the other side.
Straighten the inner fold outward.
Pull the outer corners of the figure so that the inner folds straighten out.
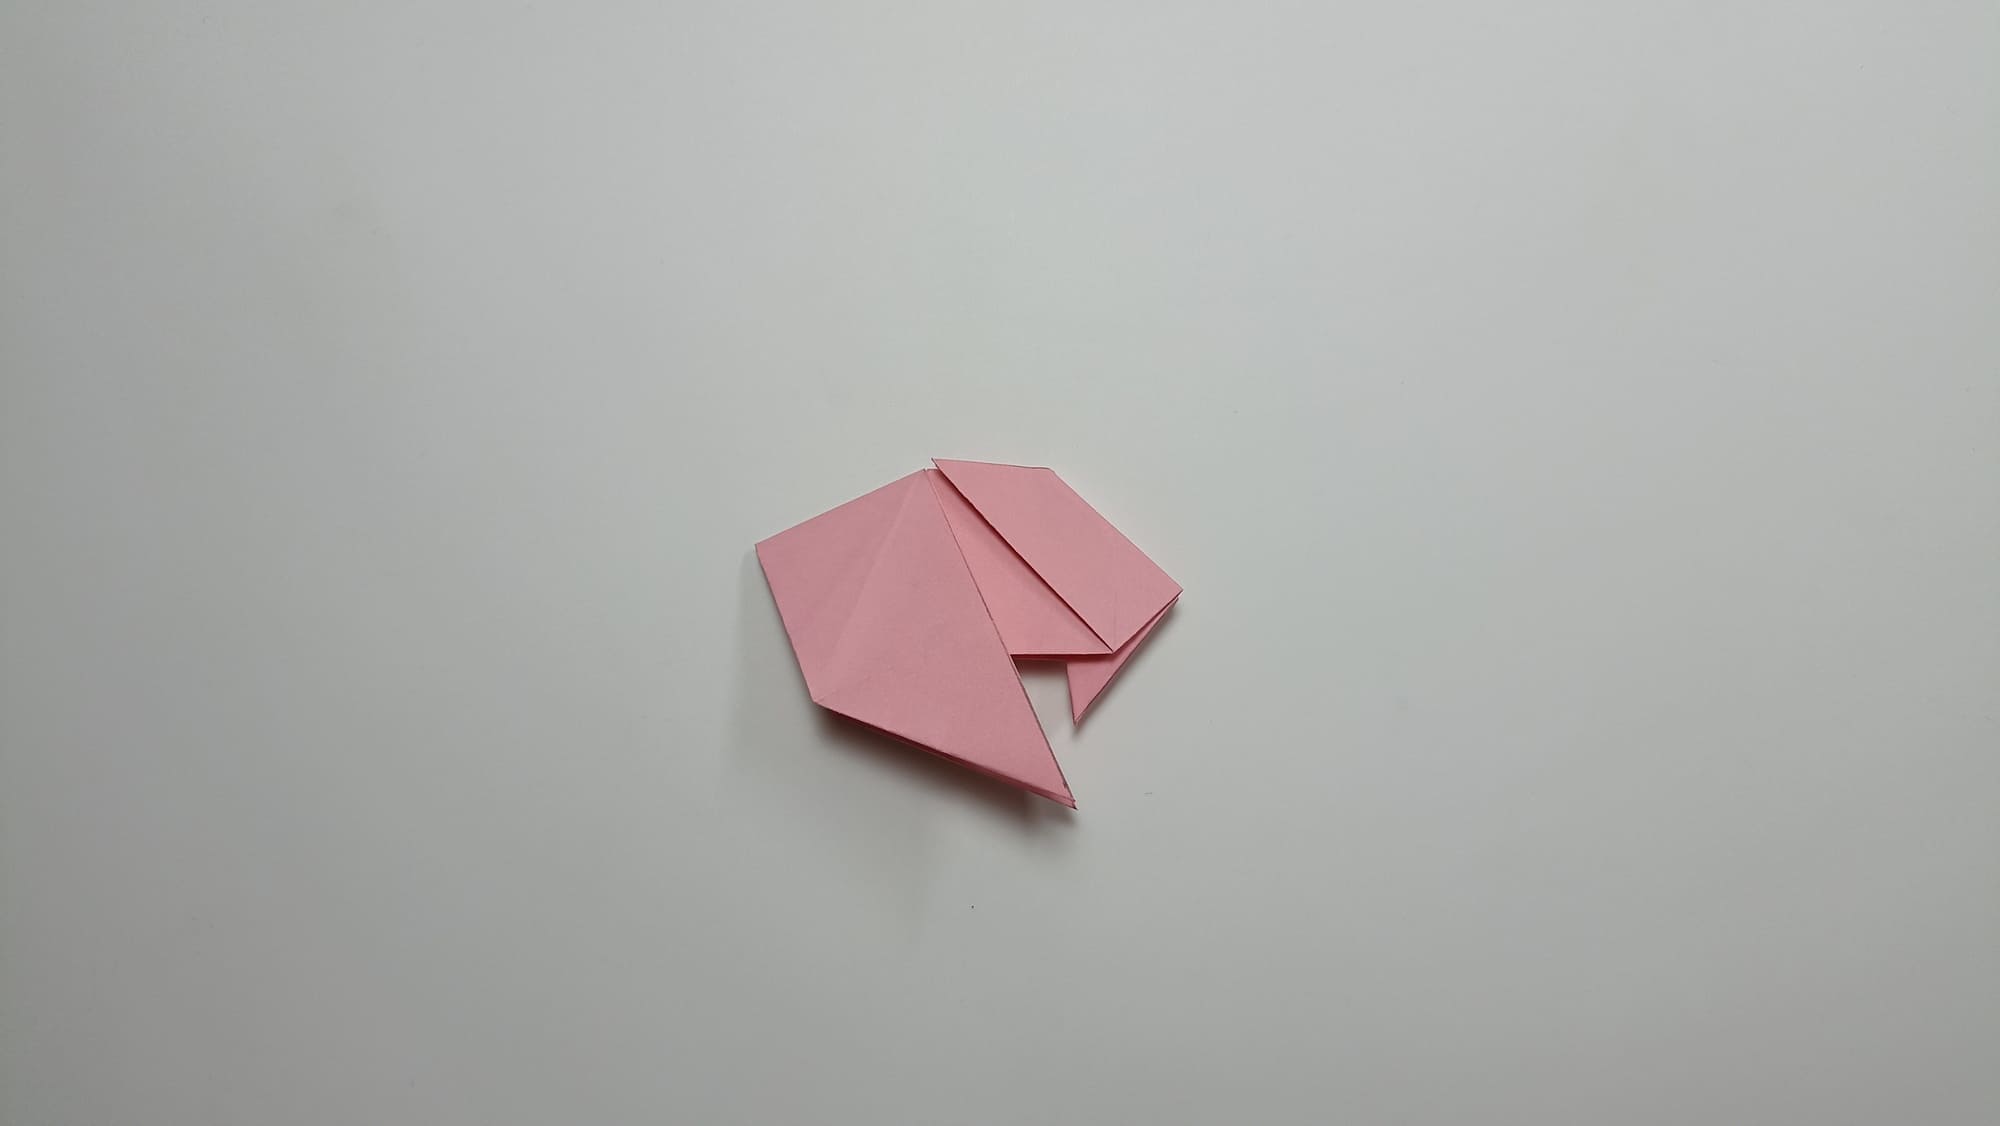
Fold the left corner in half.
Perform a complex combination of folds as in the example.
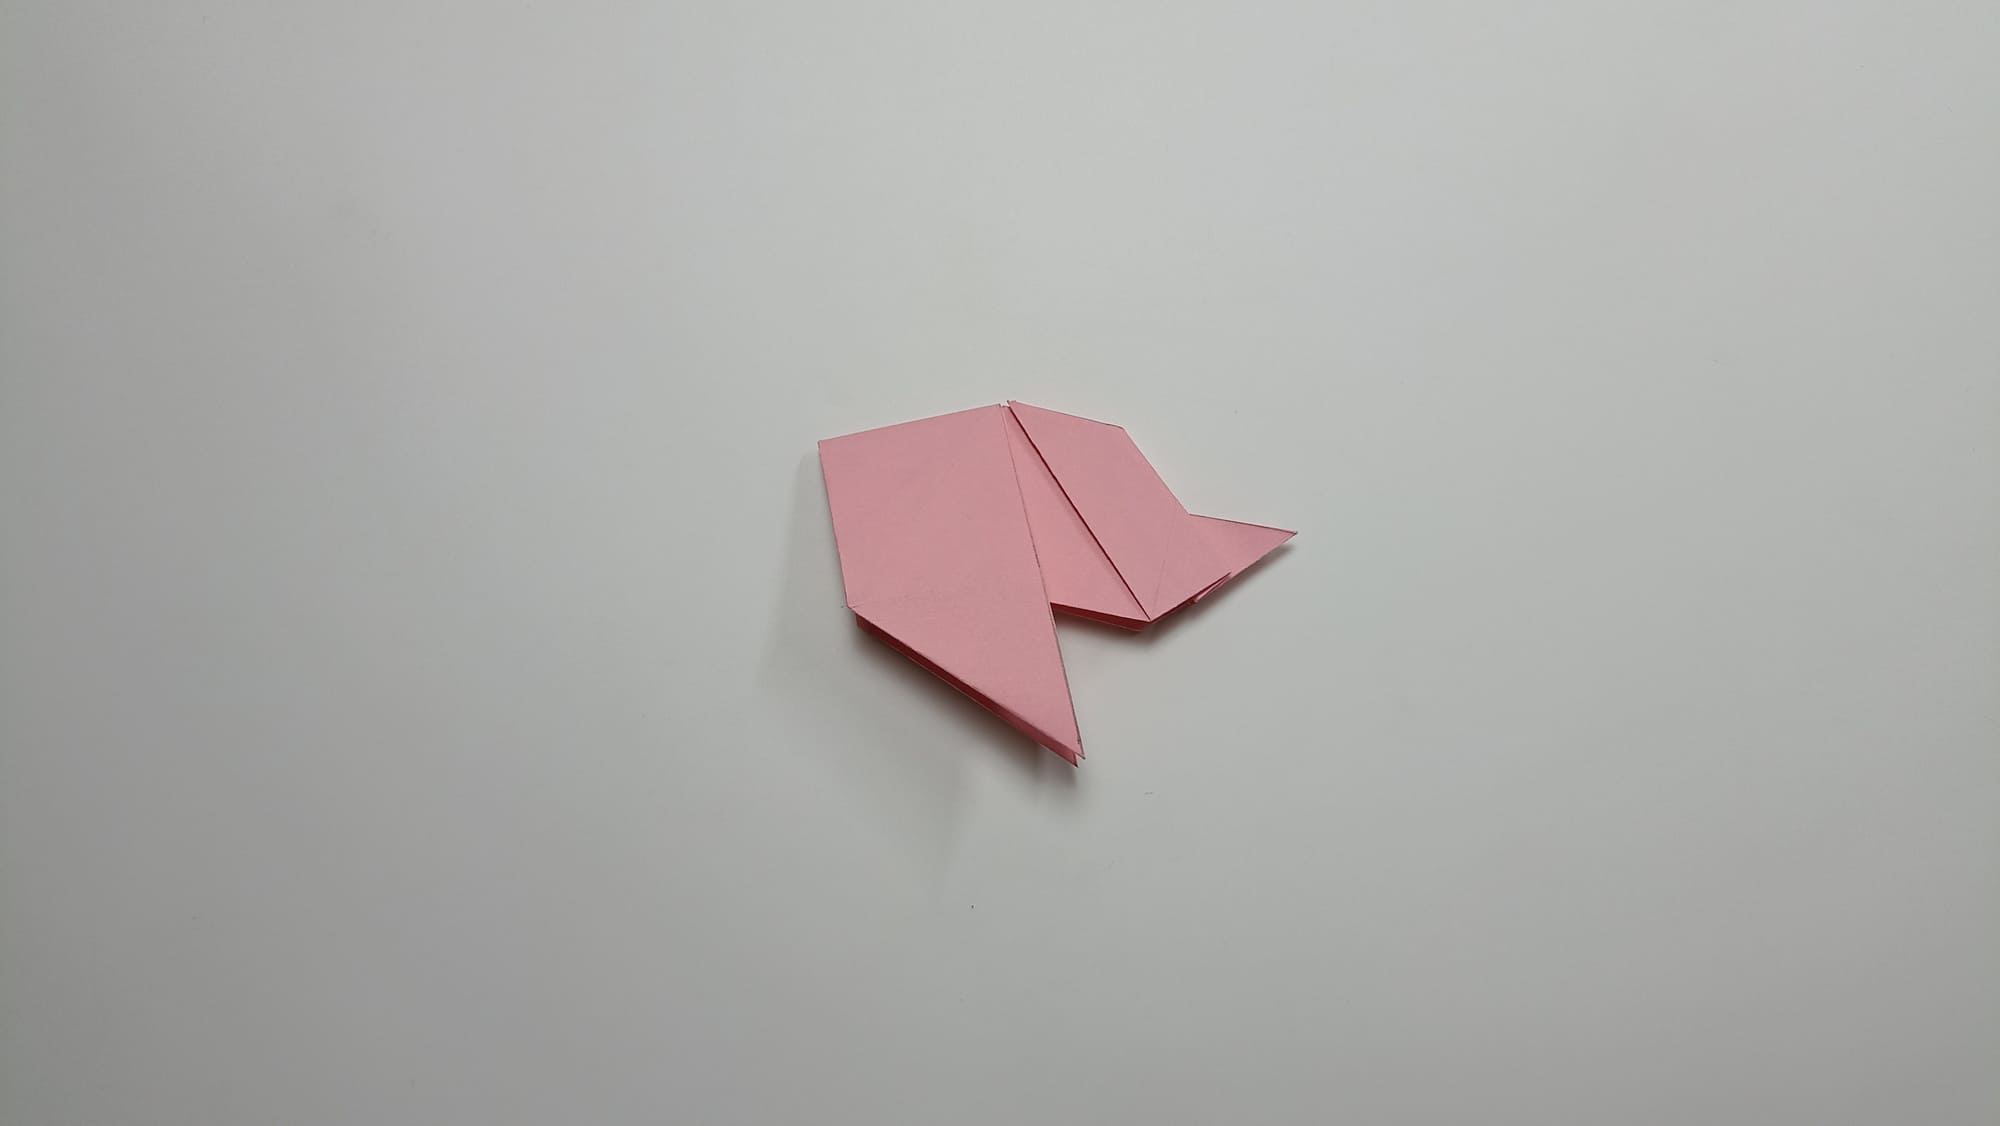
Bend the protruding corner towards you.
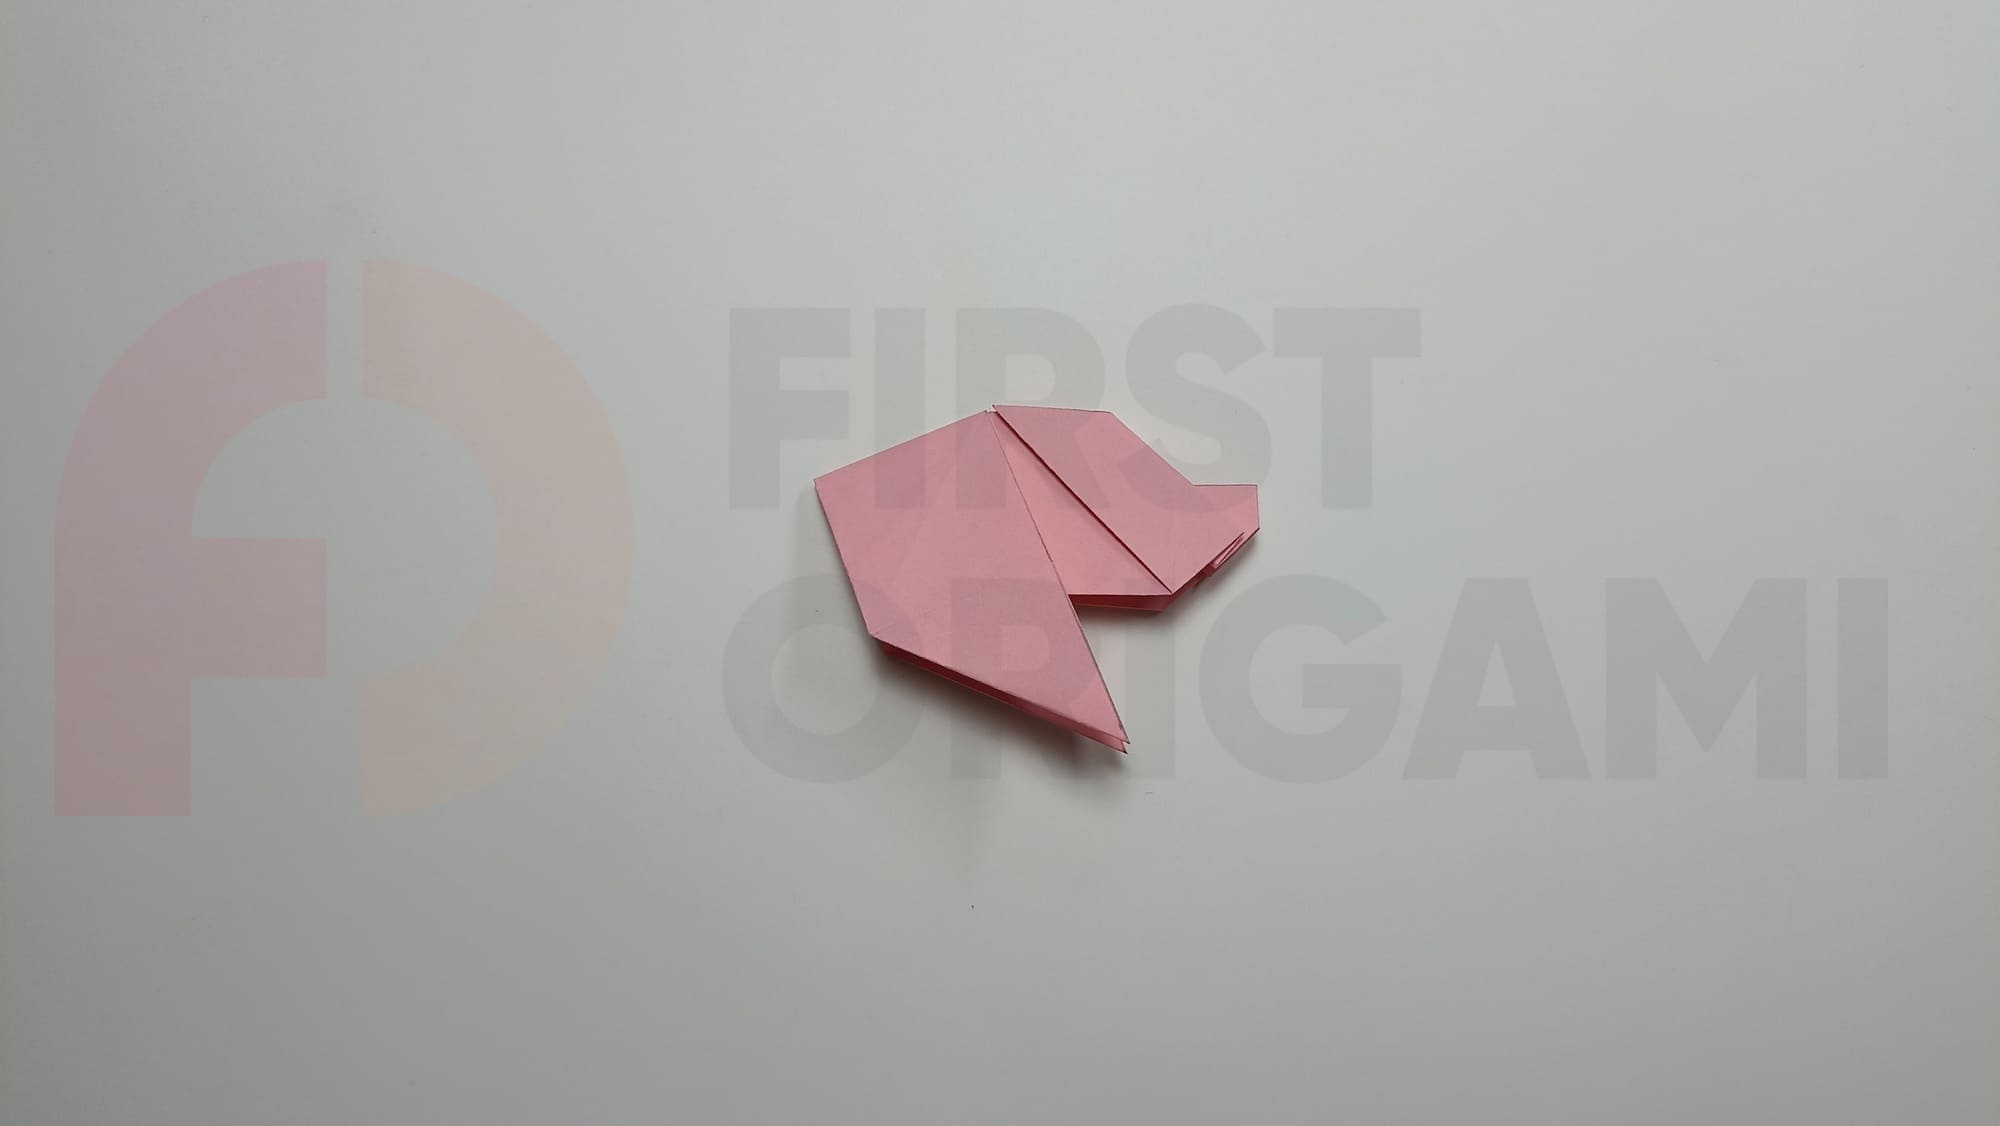
Squeeze part of the bent corner, pointing it to the left side, while simultaneously folding the shape in half.
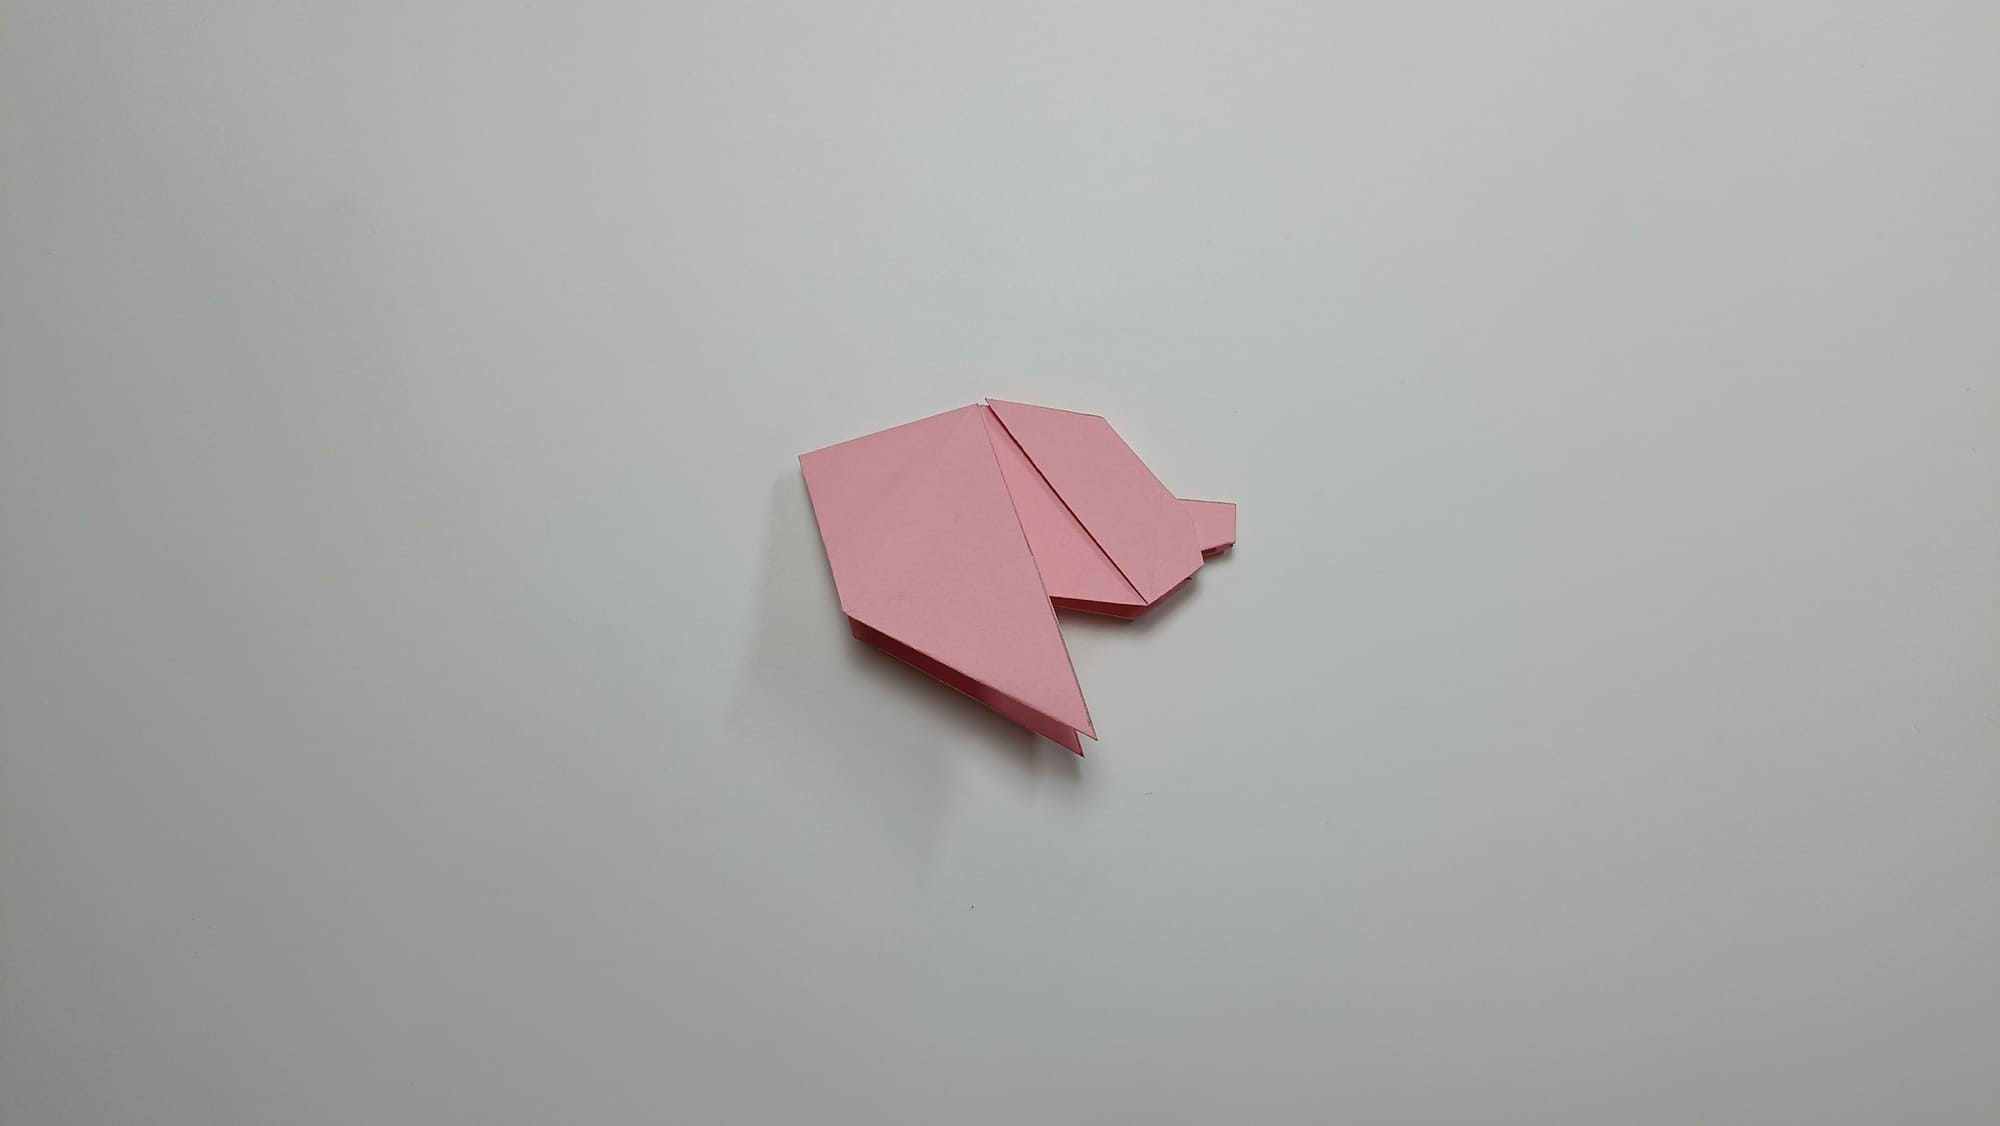
Fold the triangular folds on the left side of the figure in half, forming a tail.
Bend the bottom corner of the figure, aligning it horizontally.
Bend the fold line back with a slight indent. Repeat on the other side.
Fold the edge of the back of the legs inward.

Fold the edge of the front of the legs.
Fold the top edge of the back part of the body.
Fold the side edge of the back part.
Twist the tail into a spiral. The rear assembly is complete.
Connect the two parts of the body with glue. The pig figure is ready! All you have to do is show your imagination and add details.
The skin of pigs can be not only pink, but also black, white, and spotted. This may affect the choice of paper for making crafts.


