Origami Plane
Origami is without a doubt one of the most universal hobbies on the planet. Whether an adult or a child, everyone finds in Japanese paper art a way to escape from worries and use their creative abilities.
As for the design of aircraft in the format of paper miniatures, its history begins back in 1930, when the co-founder of Lockheed Corporation put forward a proposal to test designs by launching their downsized paper copies.
If you want to add a high-speed prototype with good maneuverability to your origami design collection, this article is for you. This airplane was designed by an experienced craftsman and, with some simple maneuvering, is capable of performing truly mesmerizing tricks.
The process of plane creation requires only a sheet of paper, scissors, and a couple of minutes of free time. We strongly encourage you to give it a try, and you’ll be blown away by this simple assembly method and the finished result!
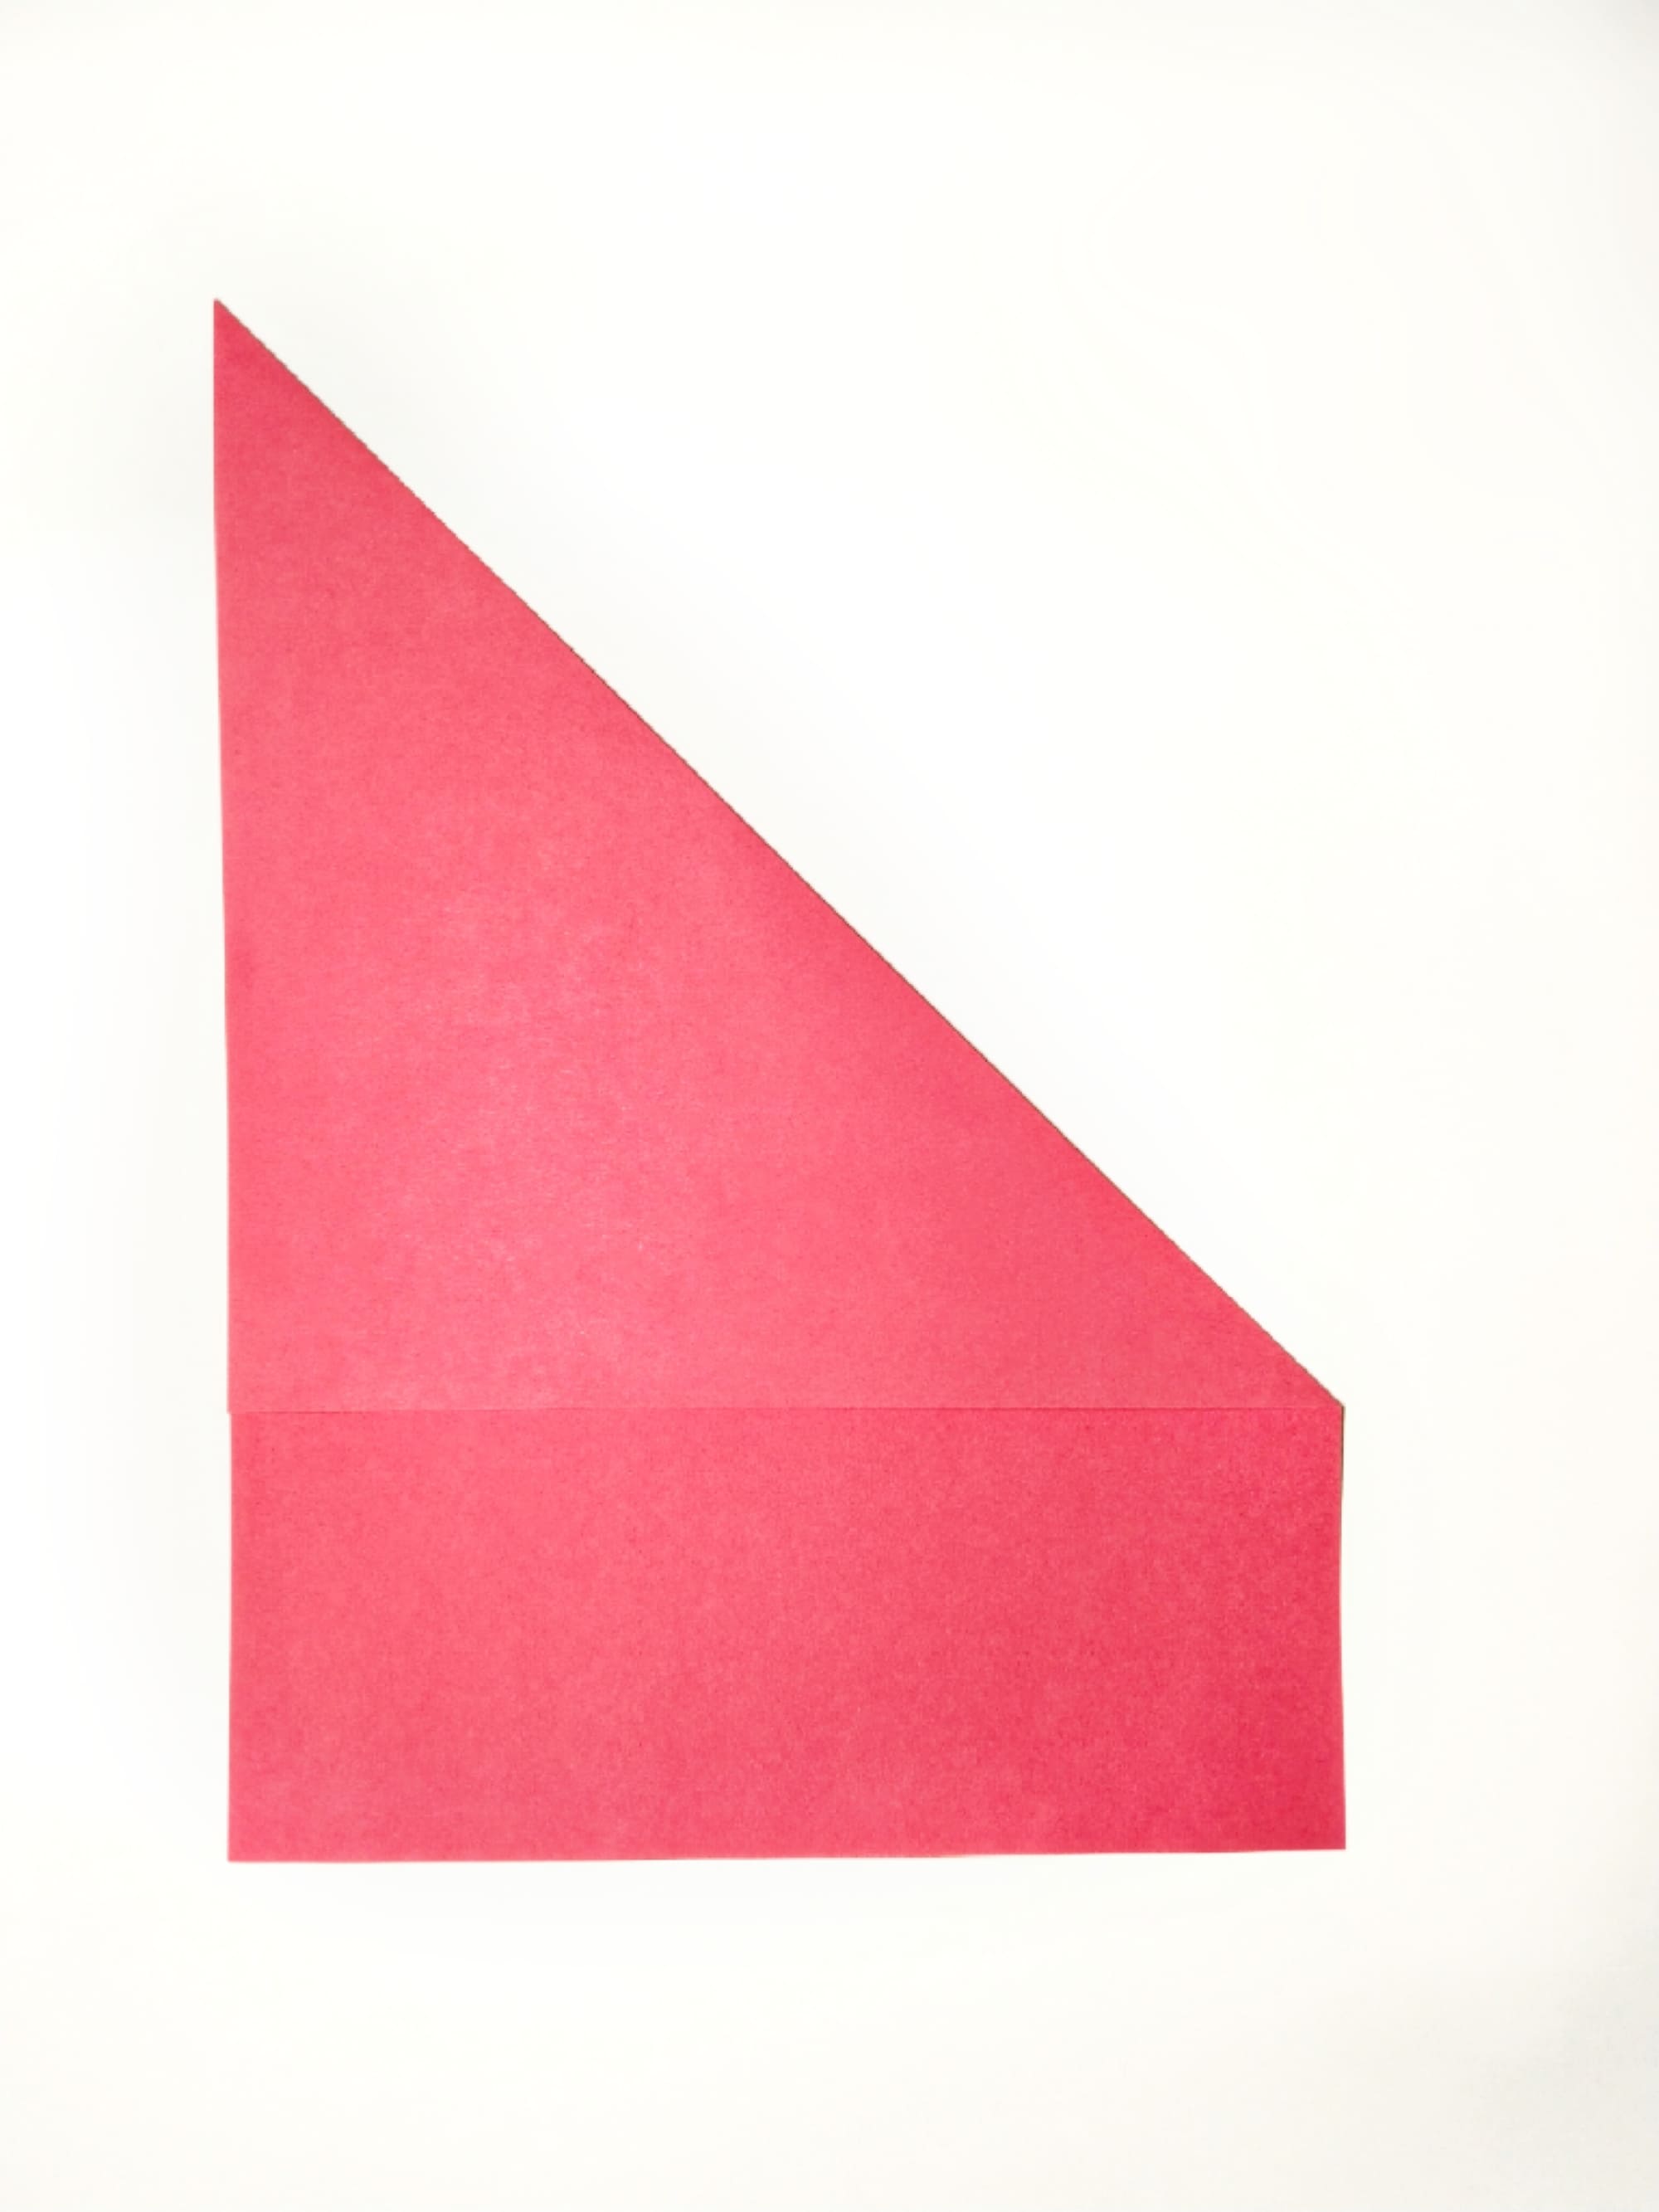
Bend the sheet of paper diagonally, so that the edges fit tightly one next to the other.
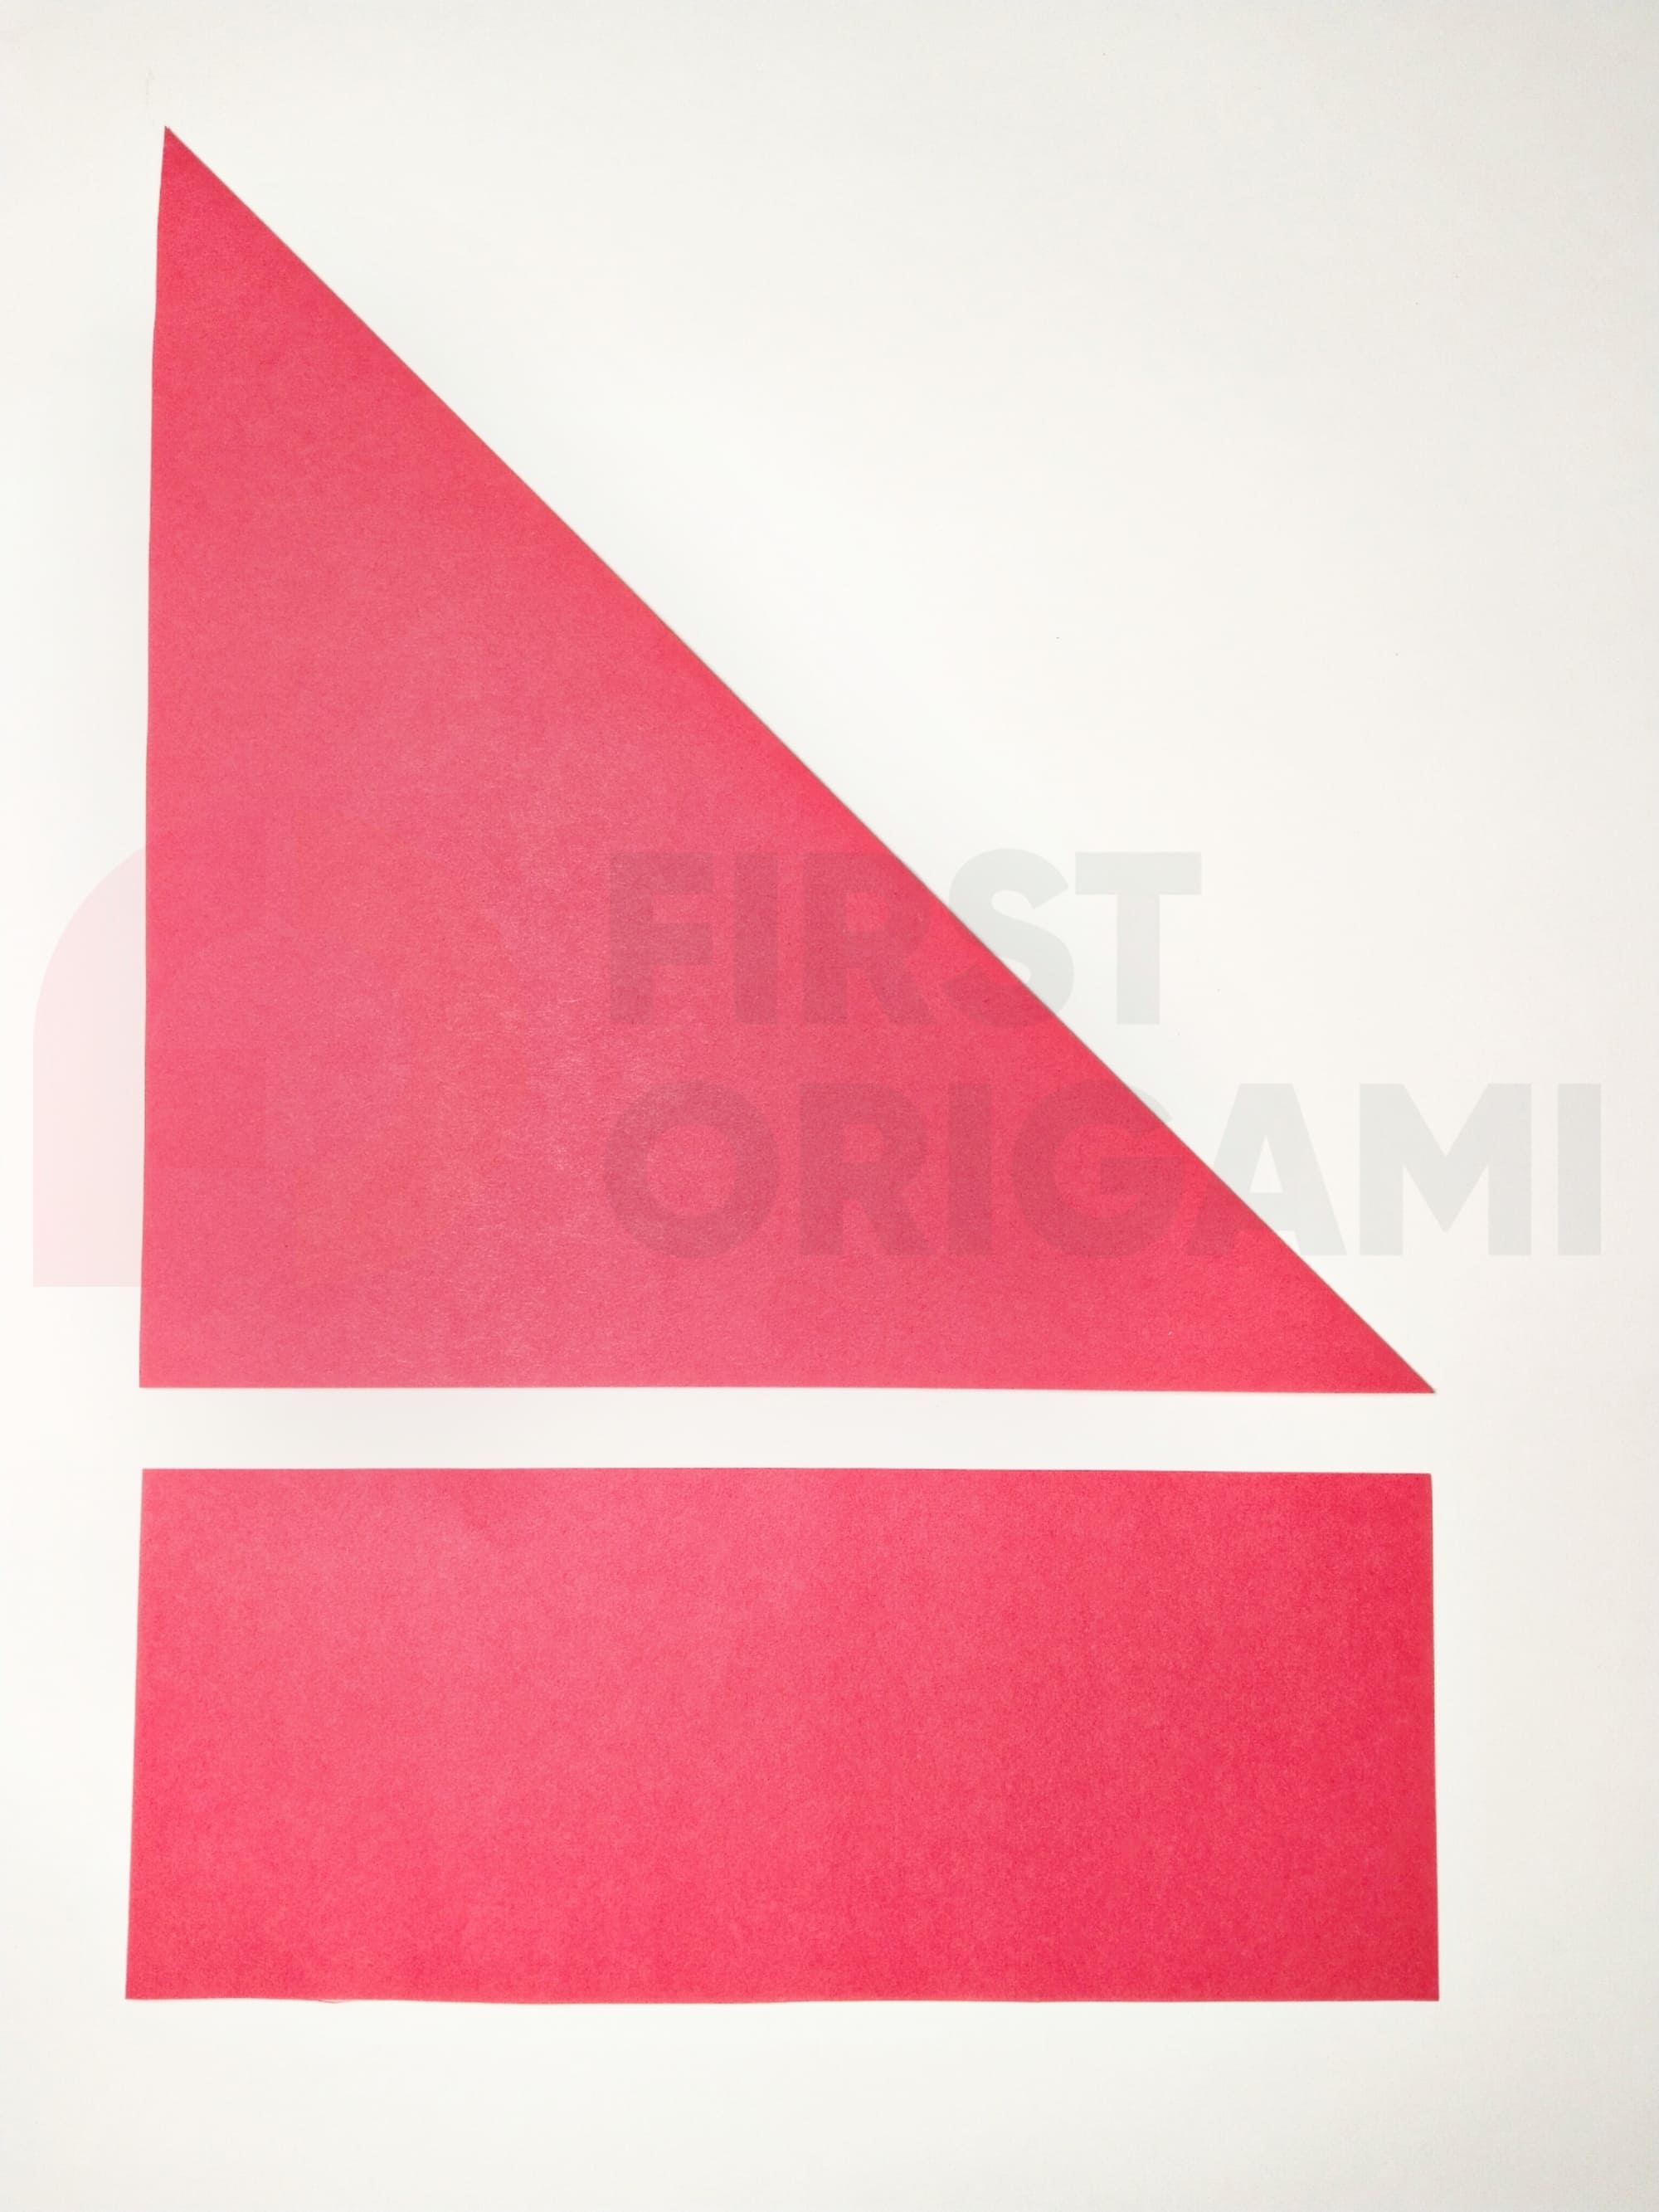
Using scissors, cut off a free rectangle along the line where the paper overlays.
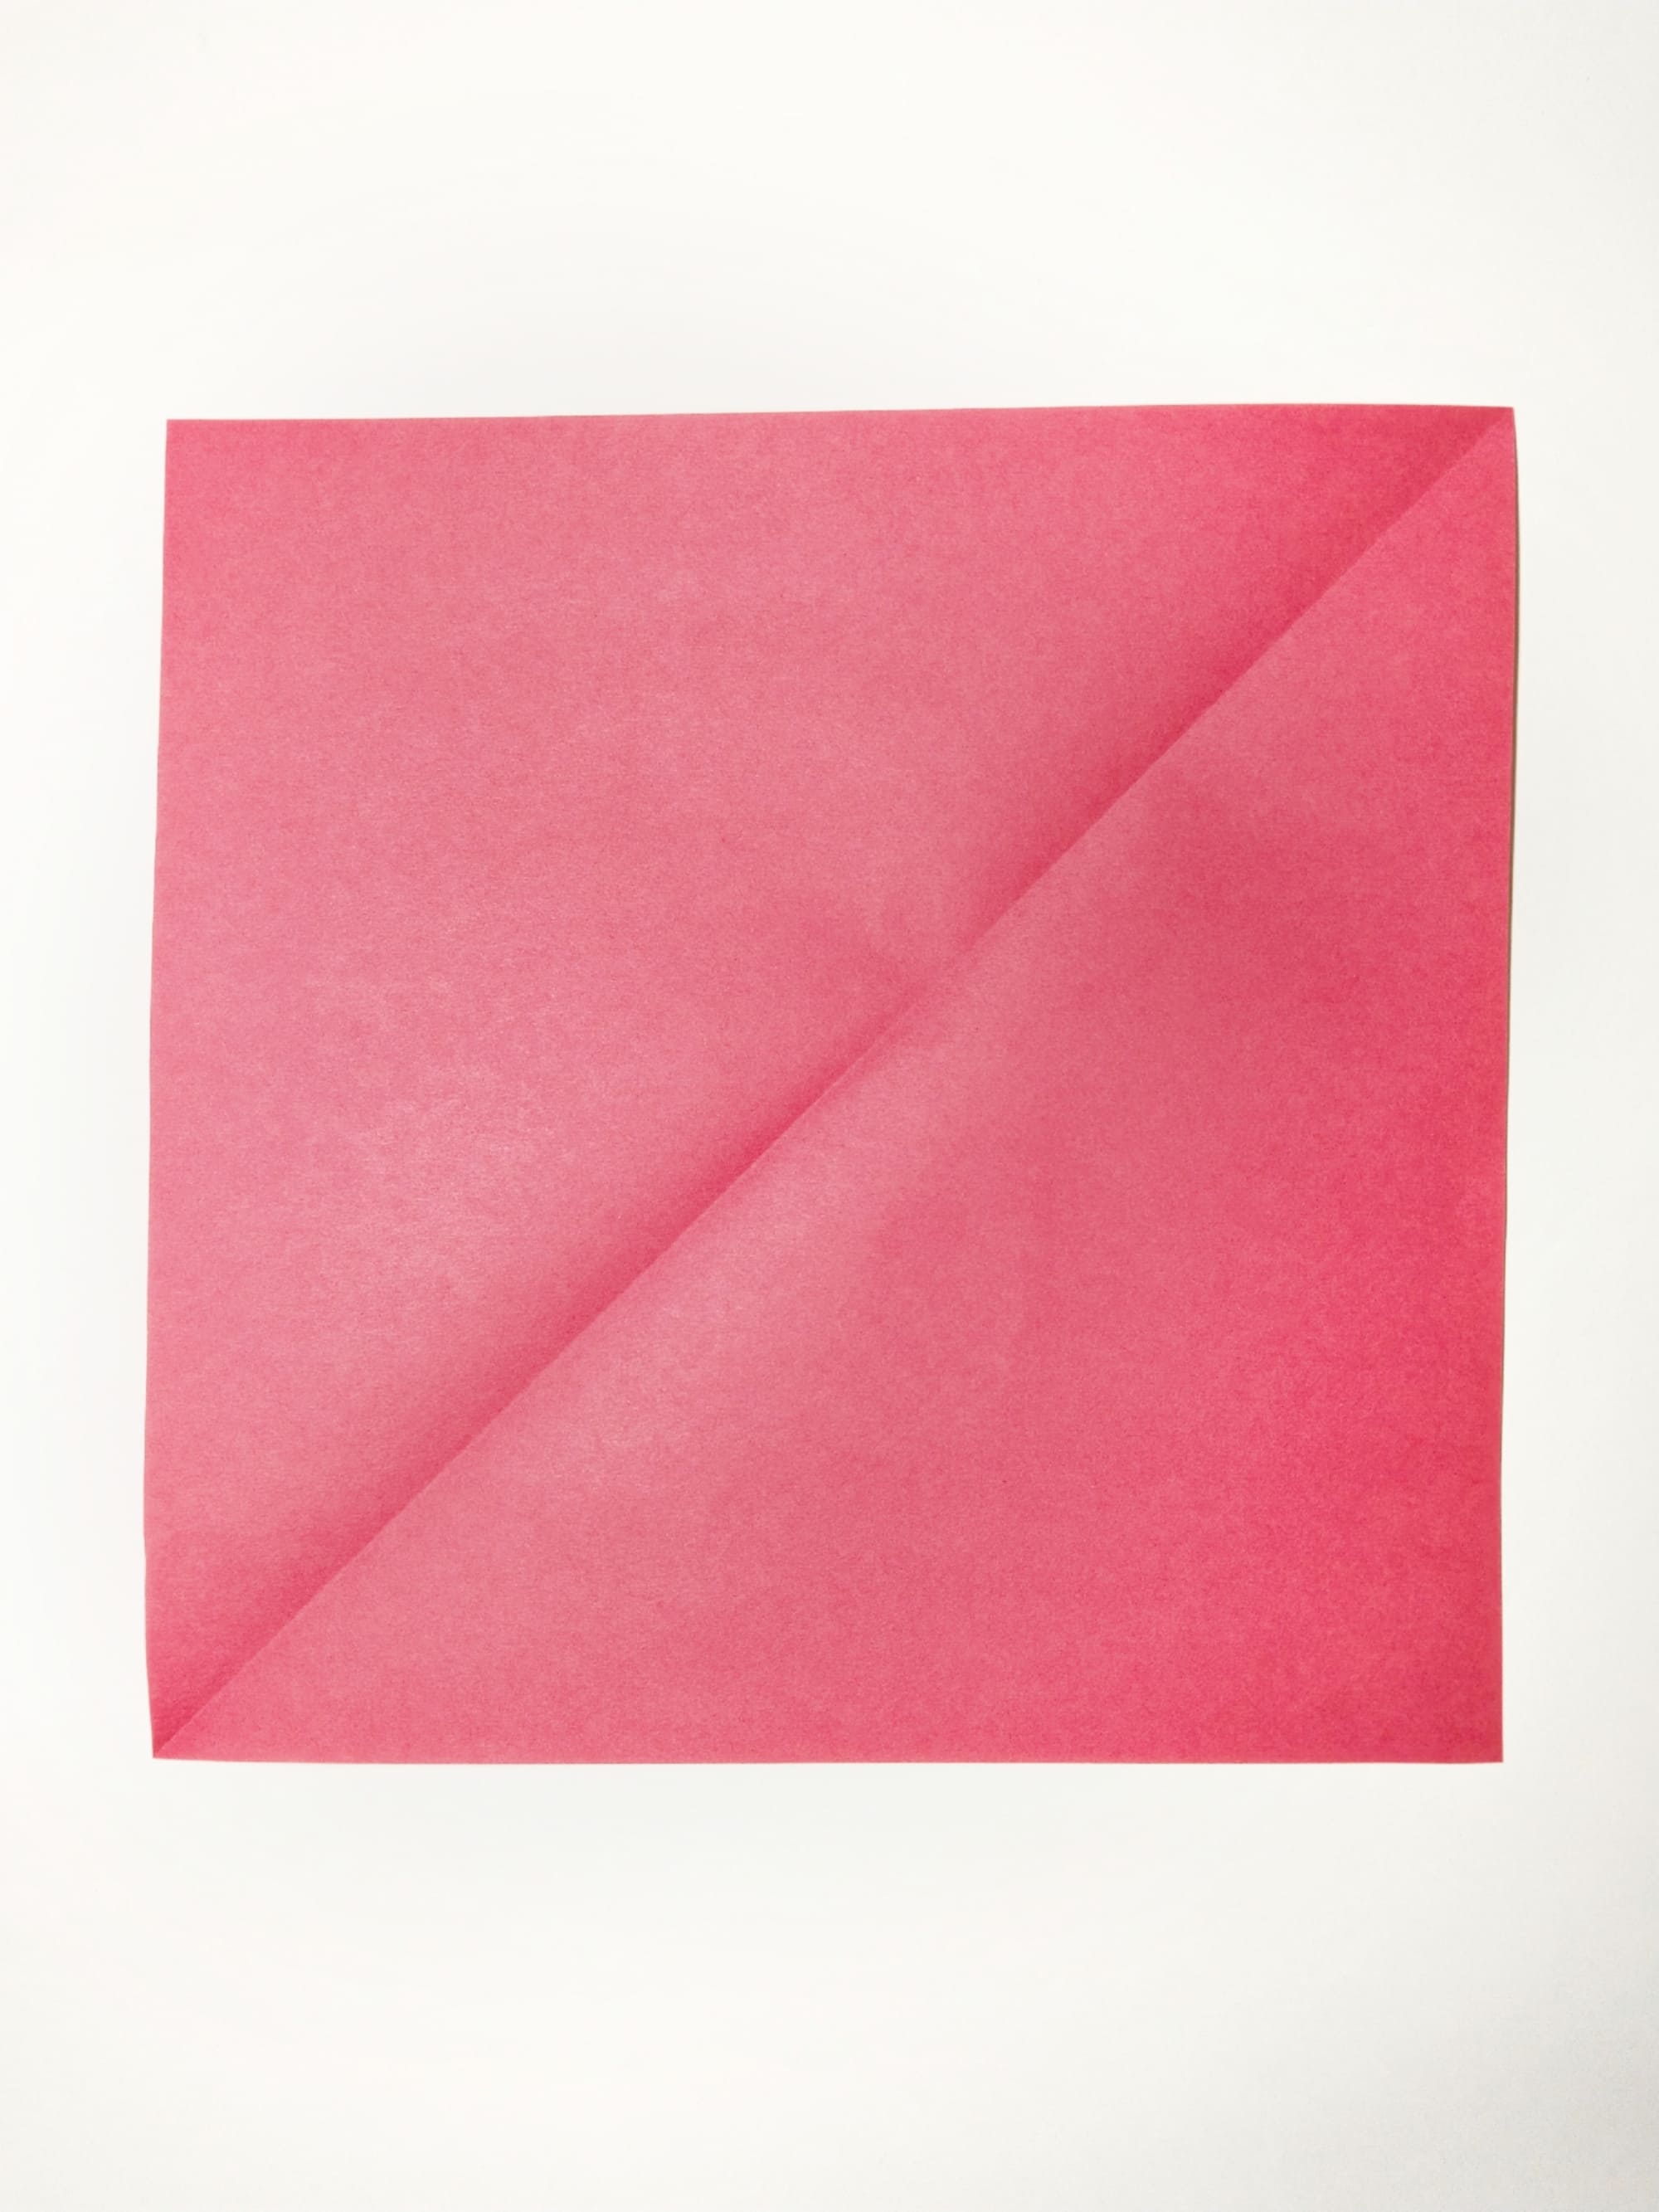
The figure should take the shape of a square.
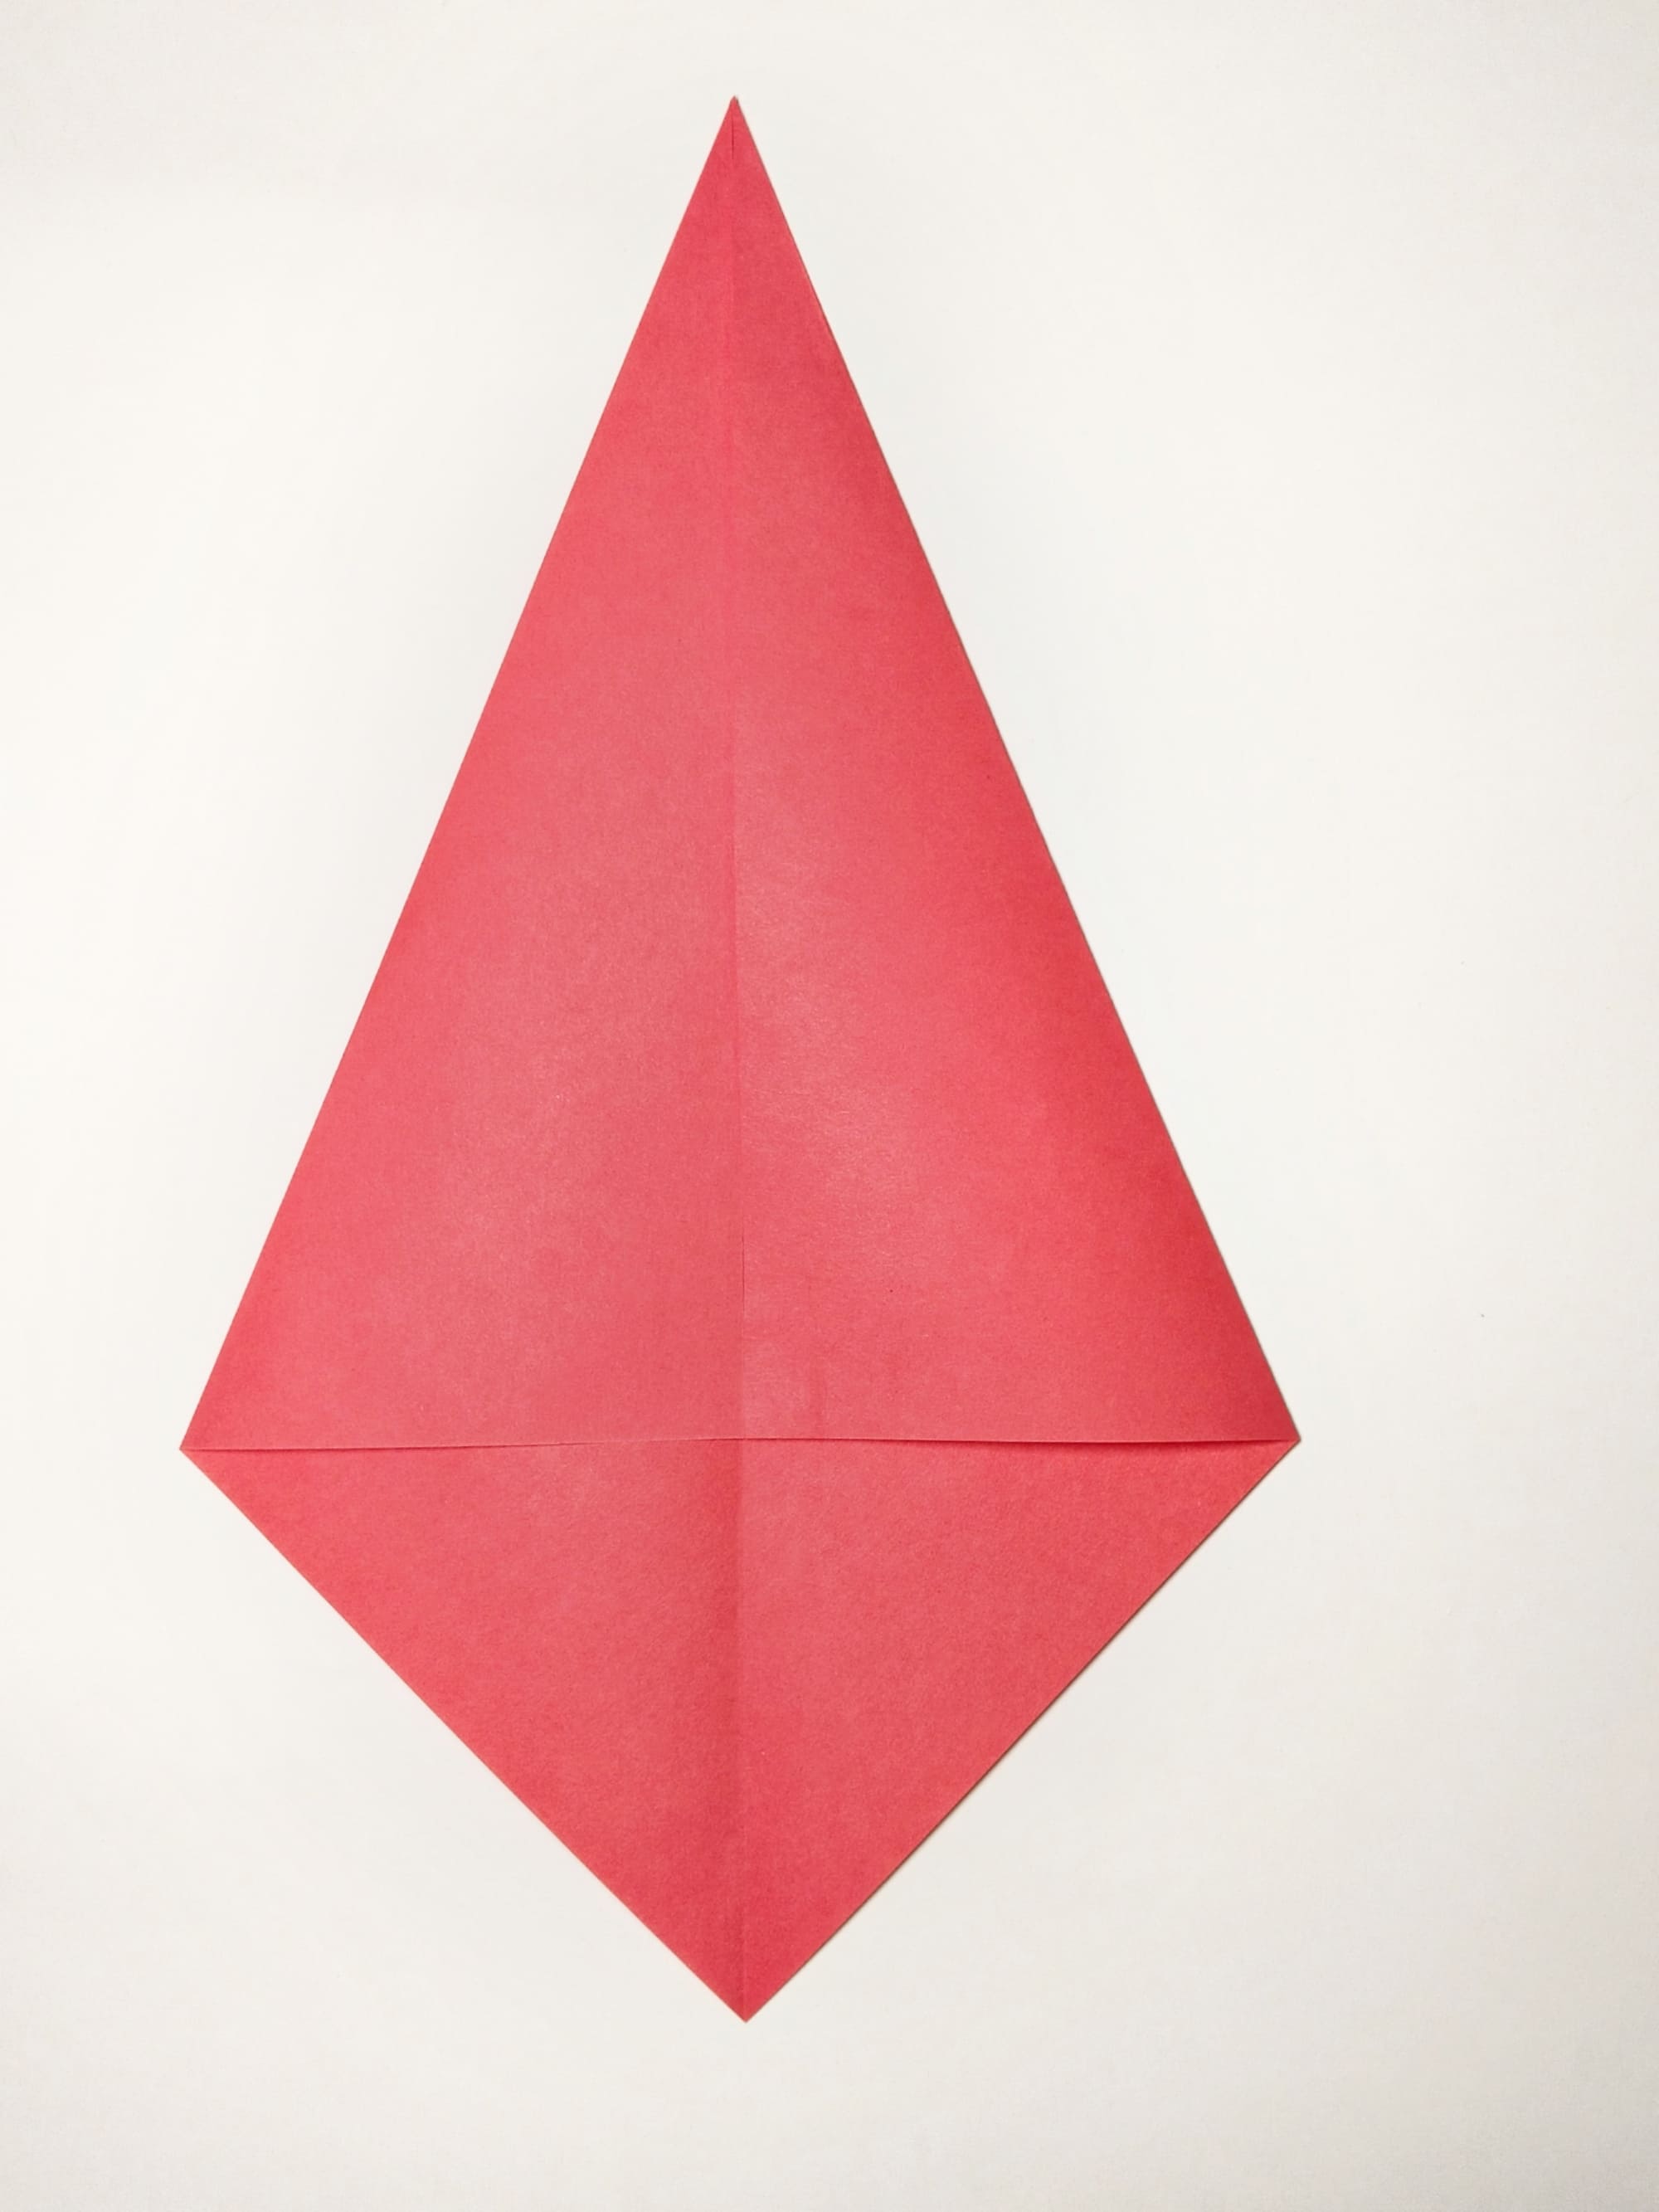
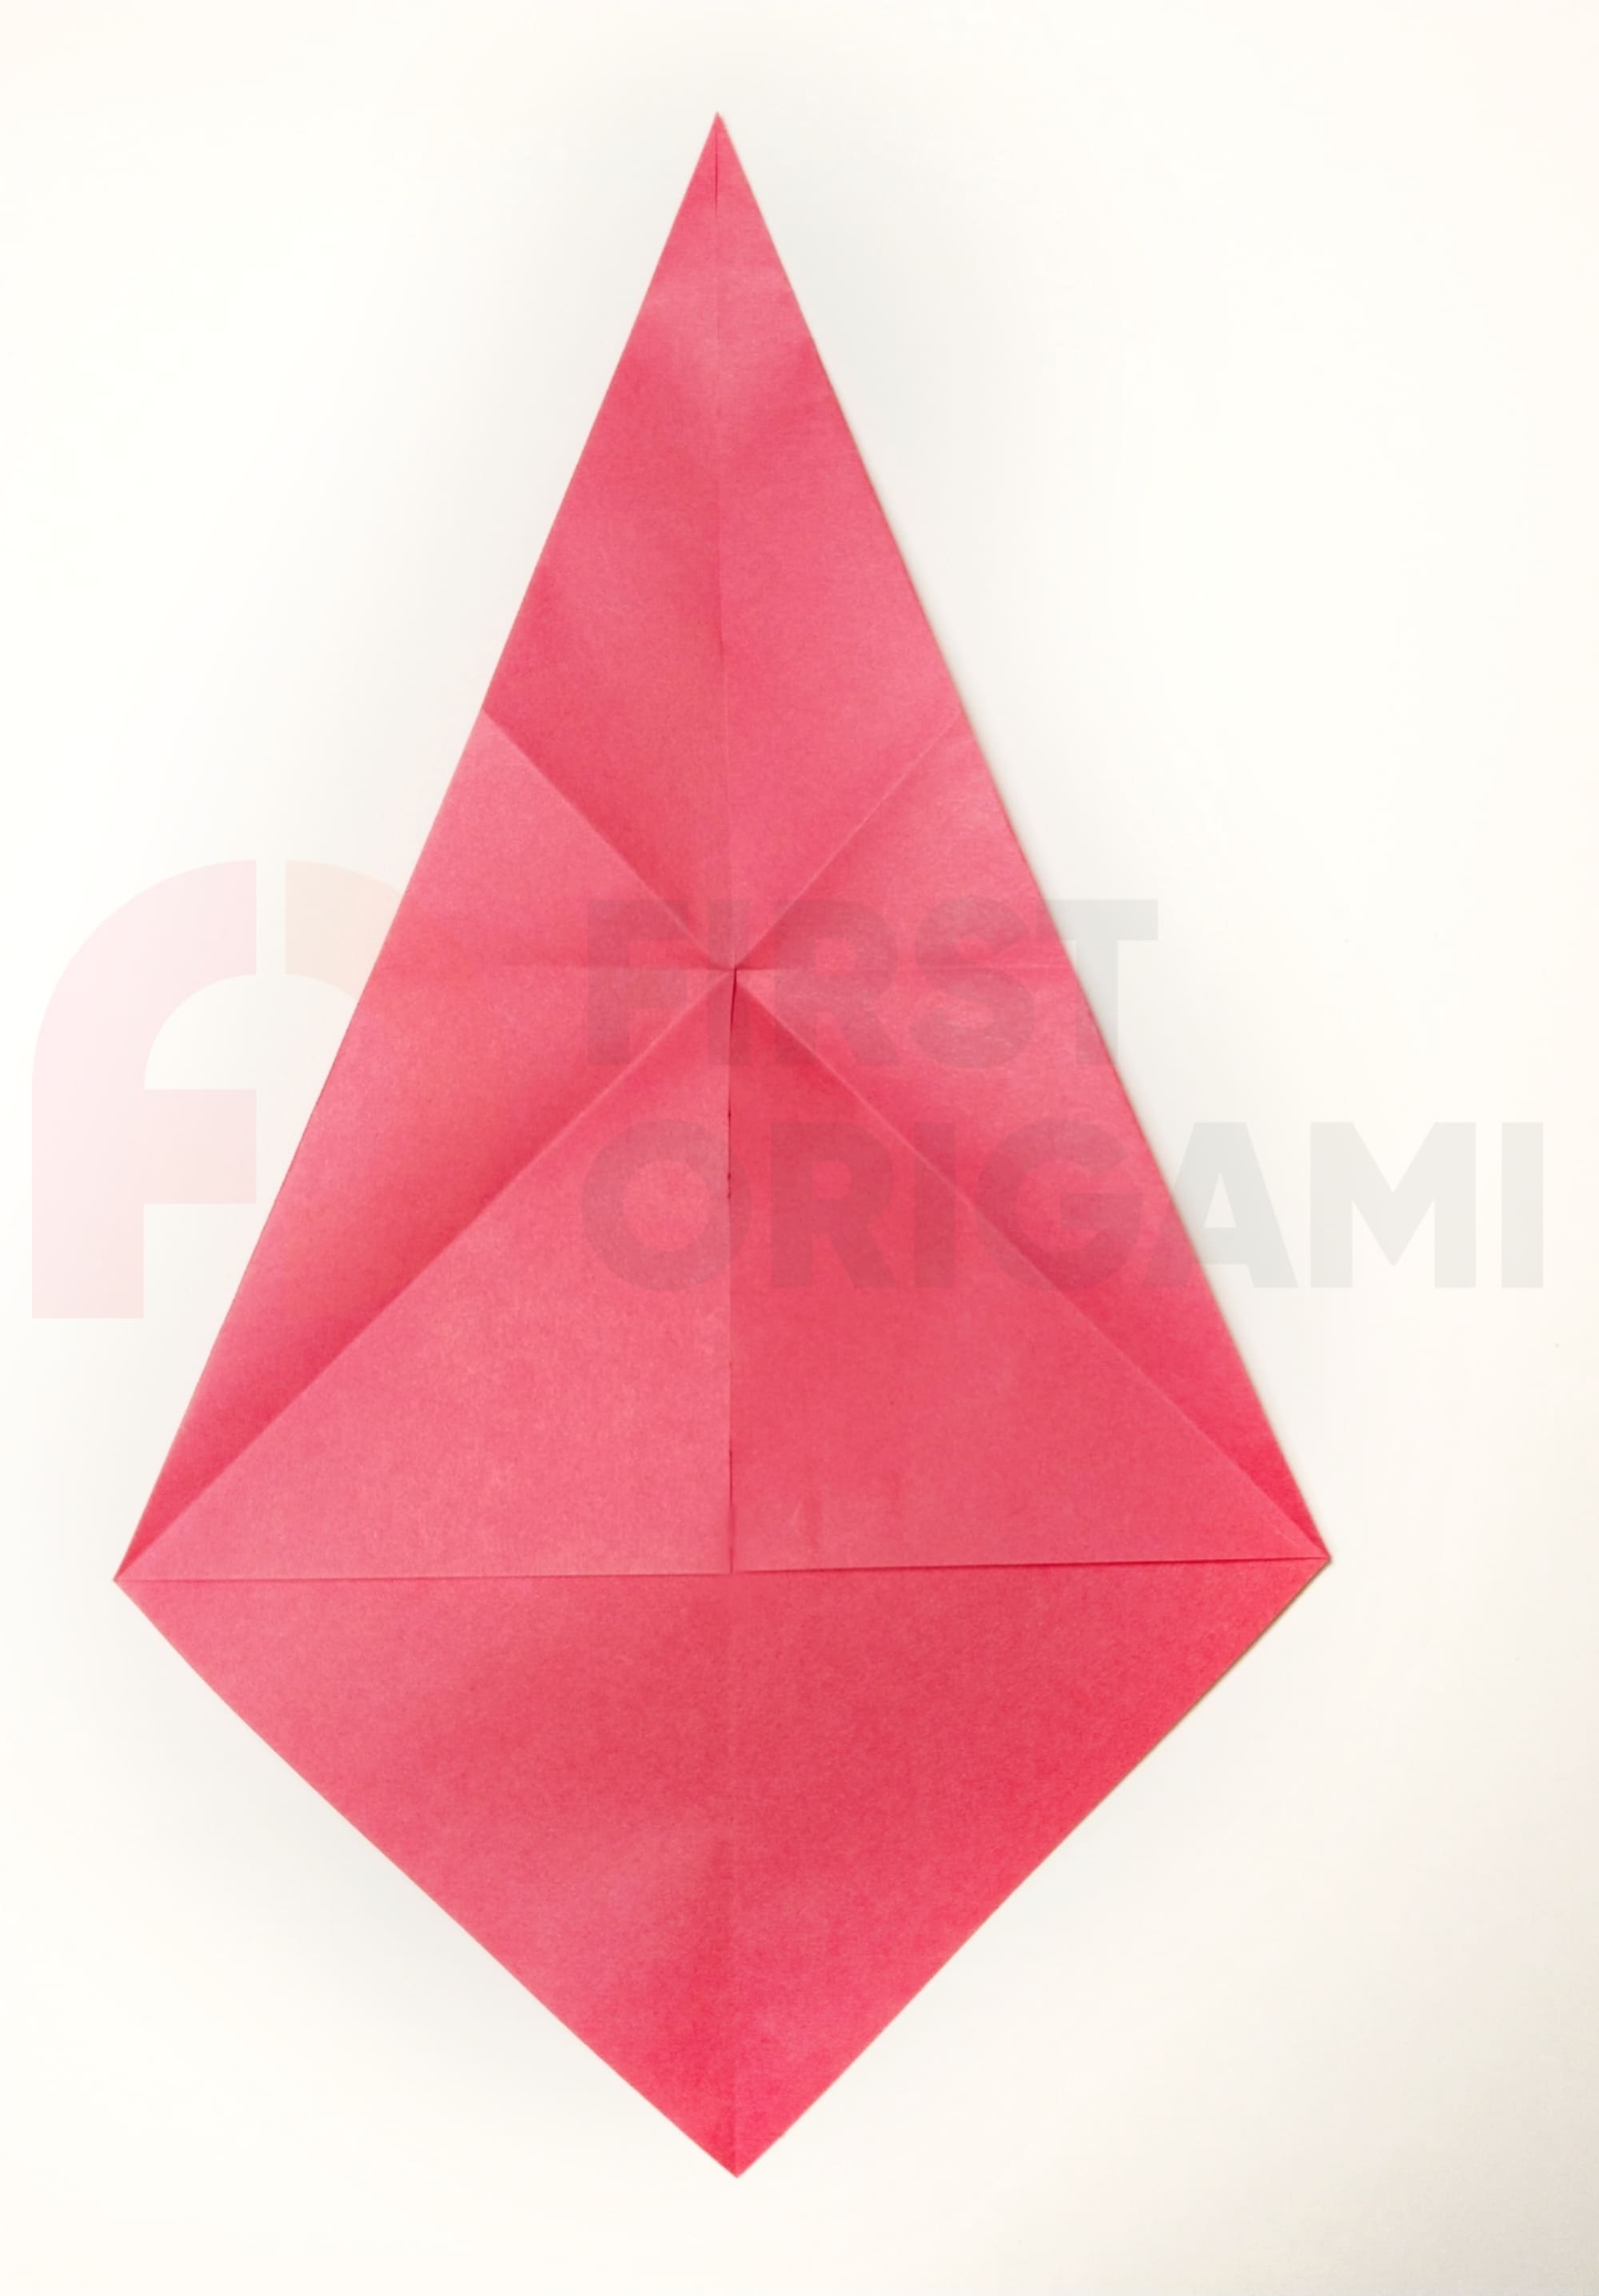
Turn the corner of the future plane upward and align the sides with the central fold.
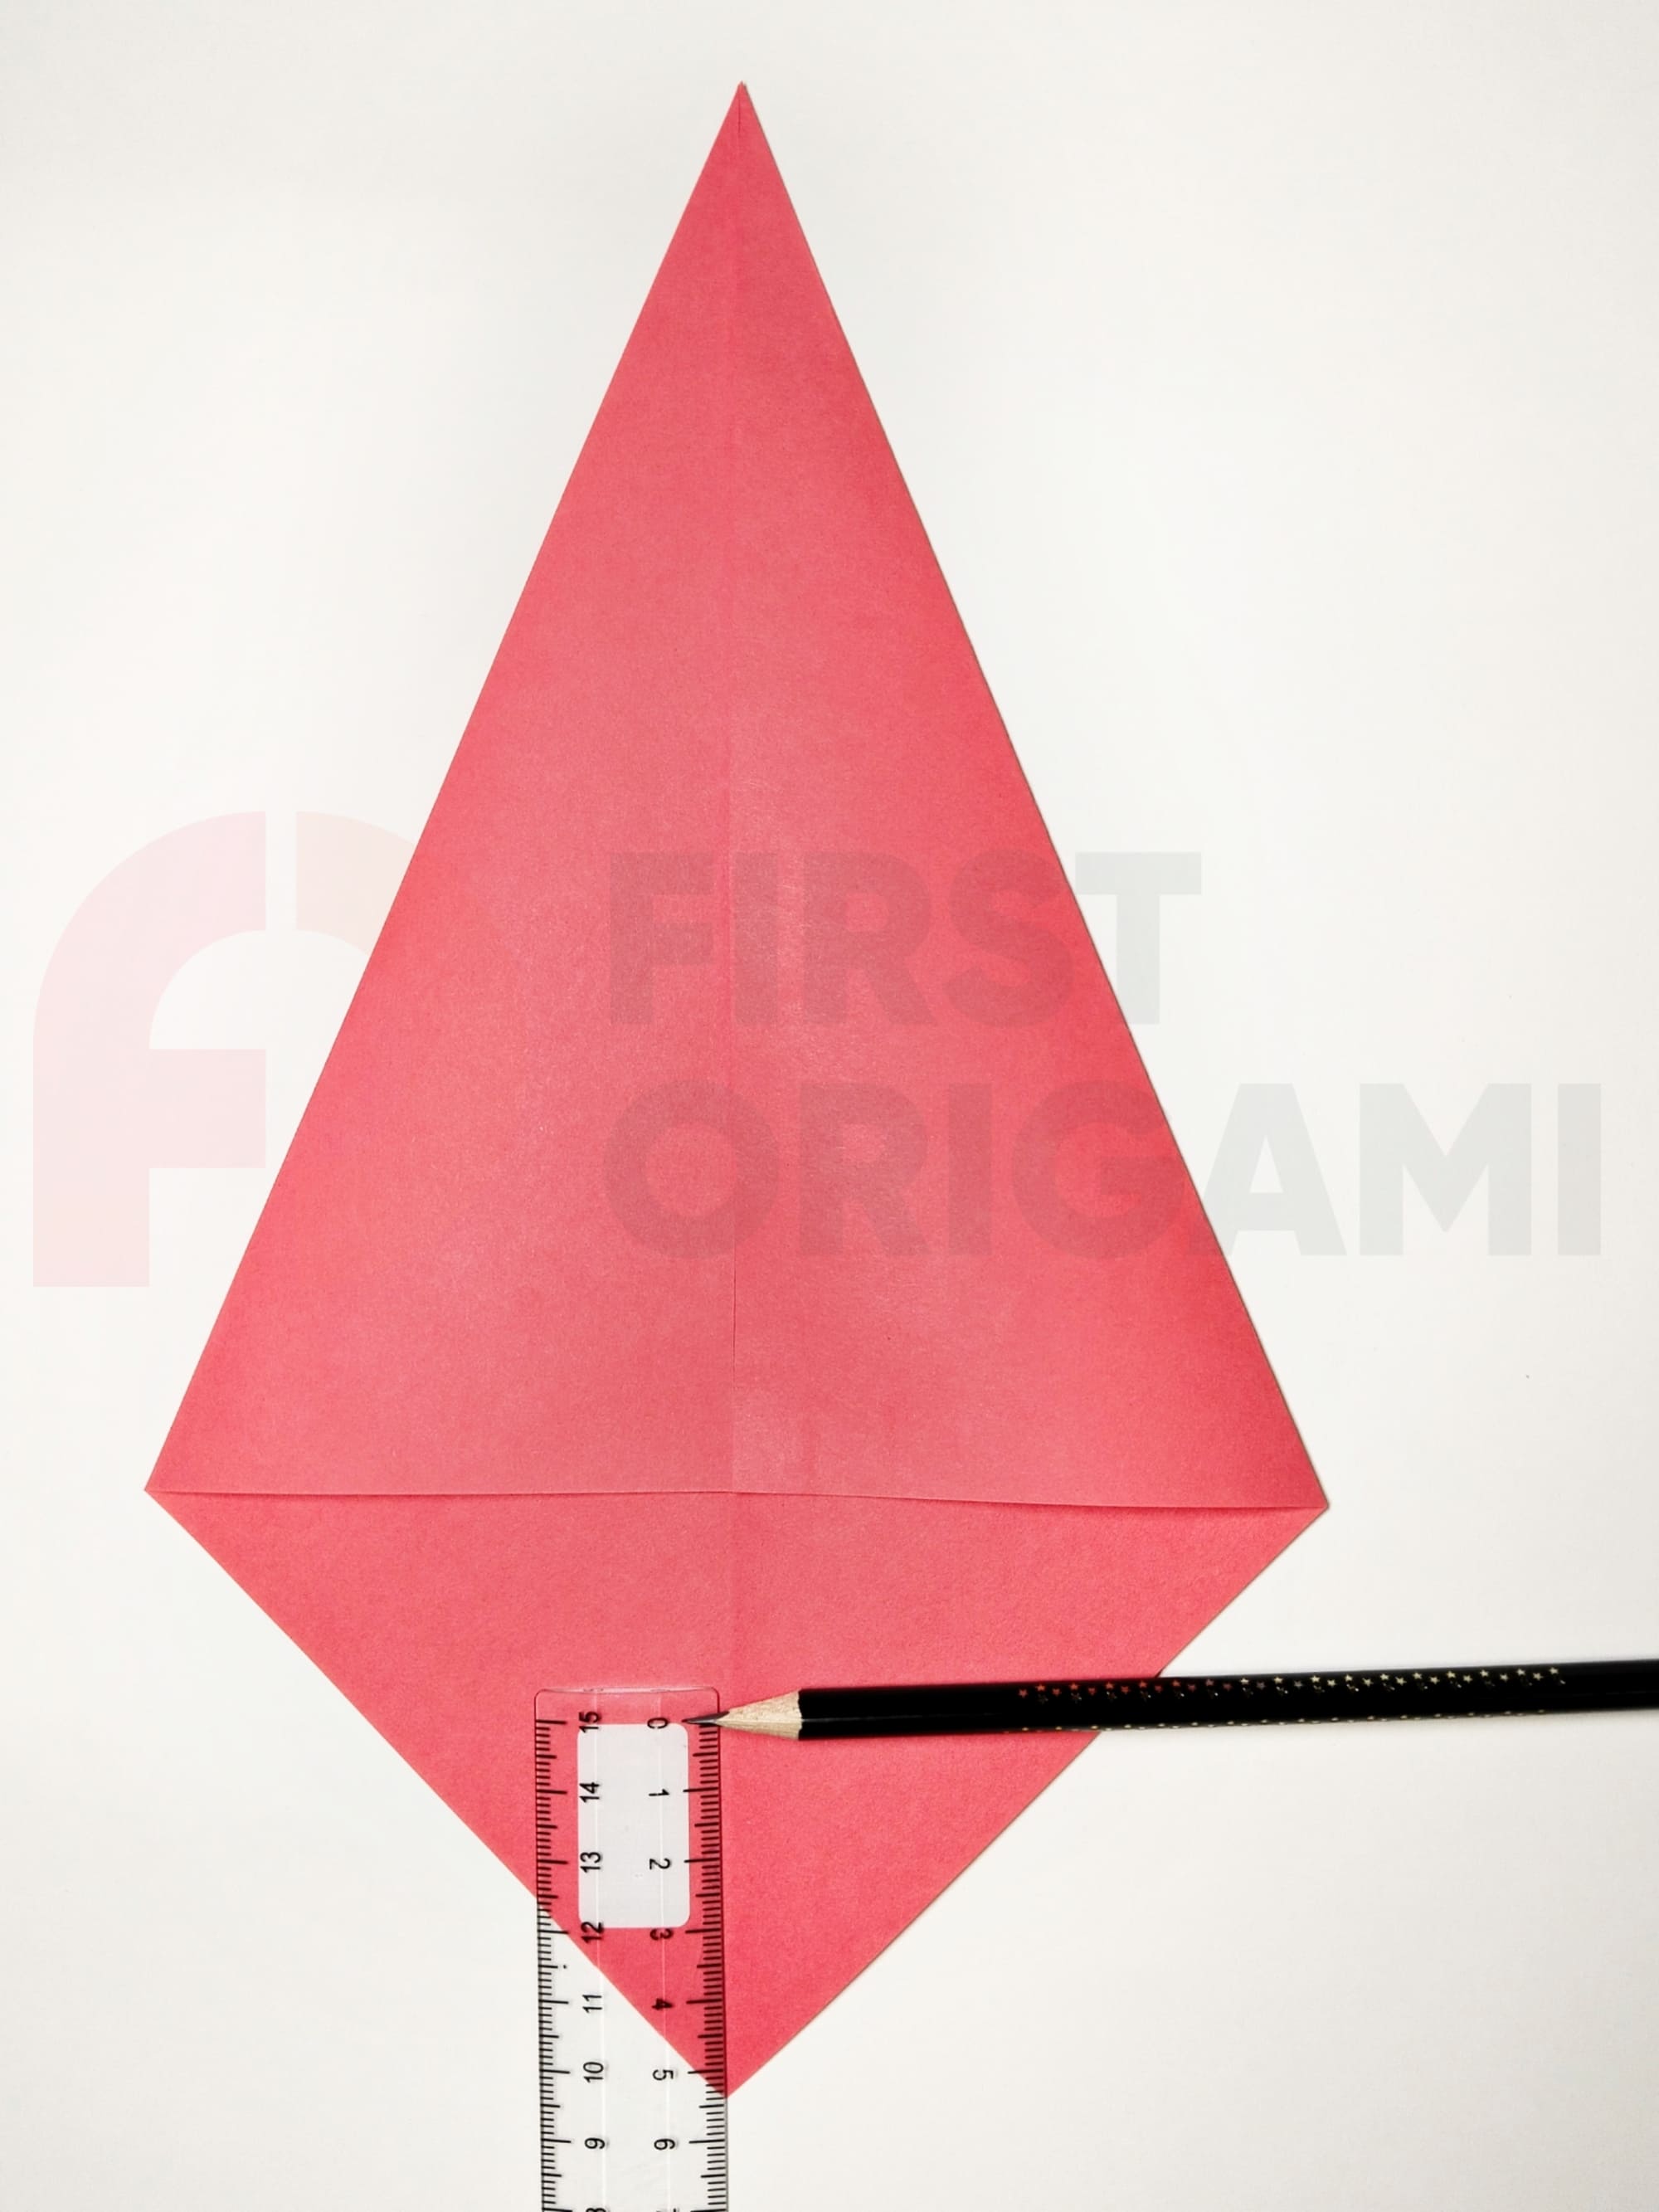
By eye, mark five and a half centimeters from the opposite corner. If desired, you can use a pencil and ruler.

Fold the figure so that the sharp edge overlaps the mark.
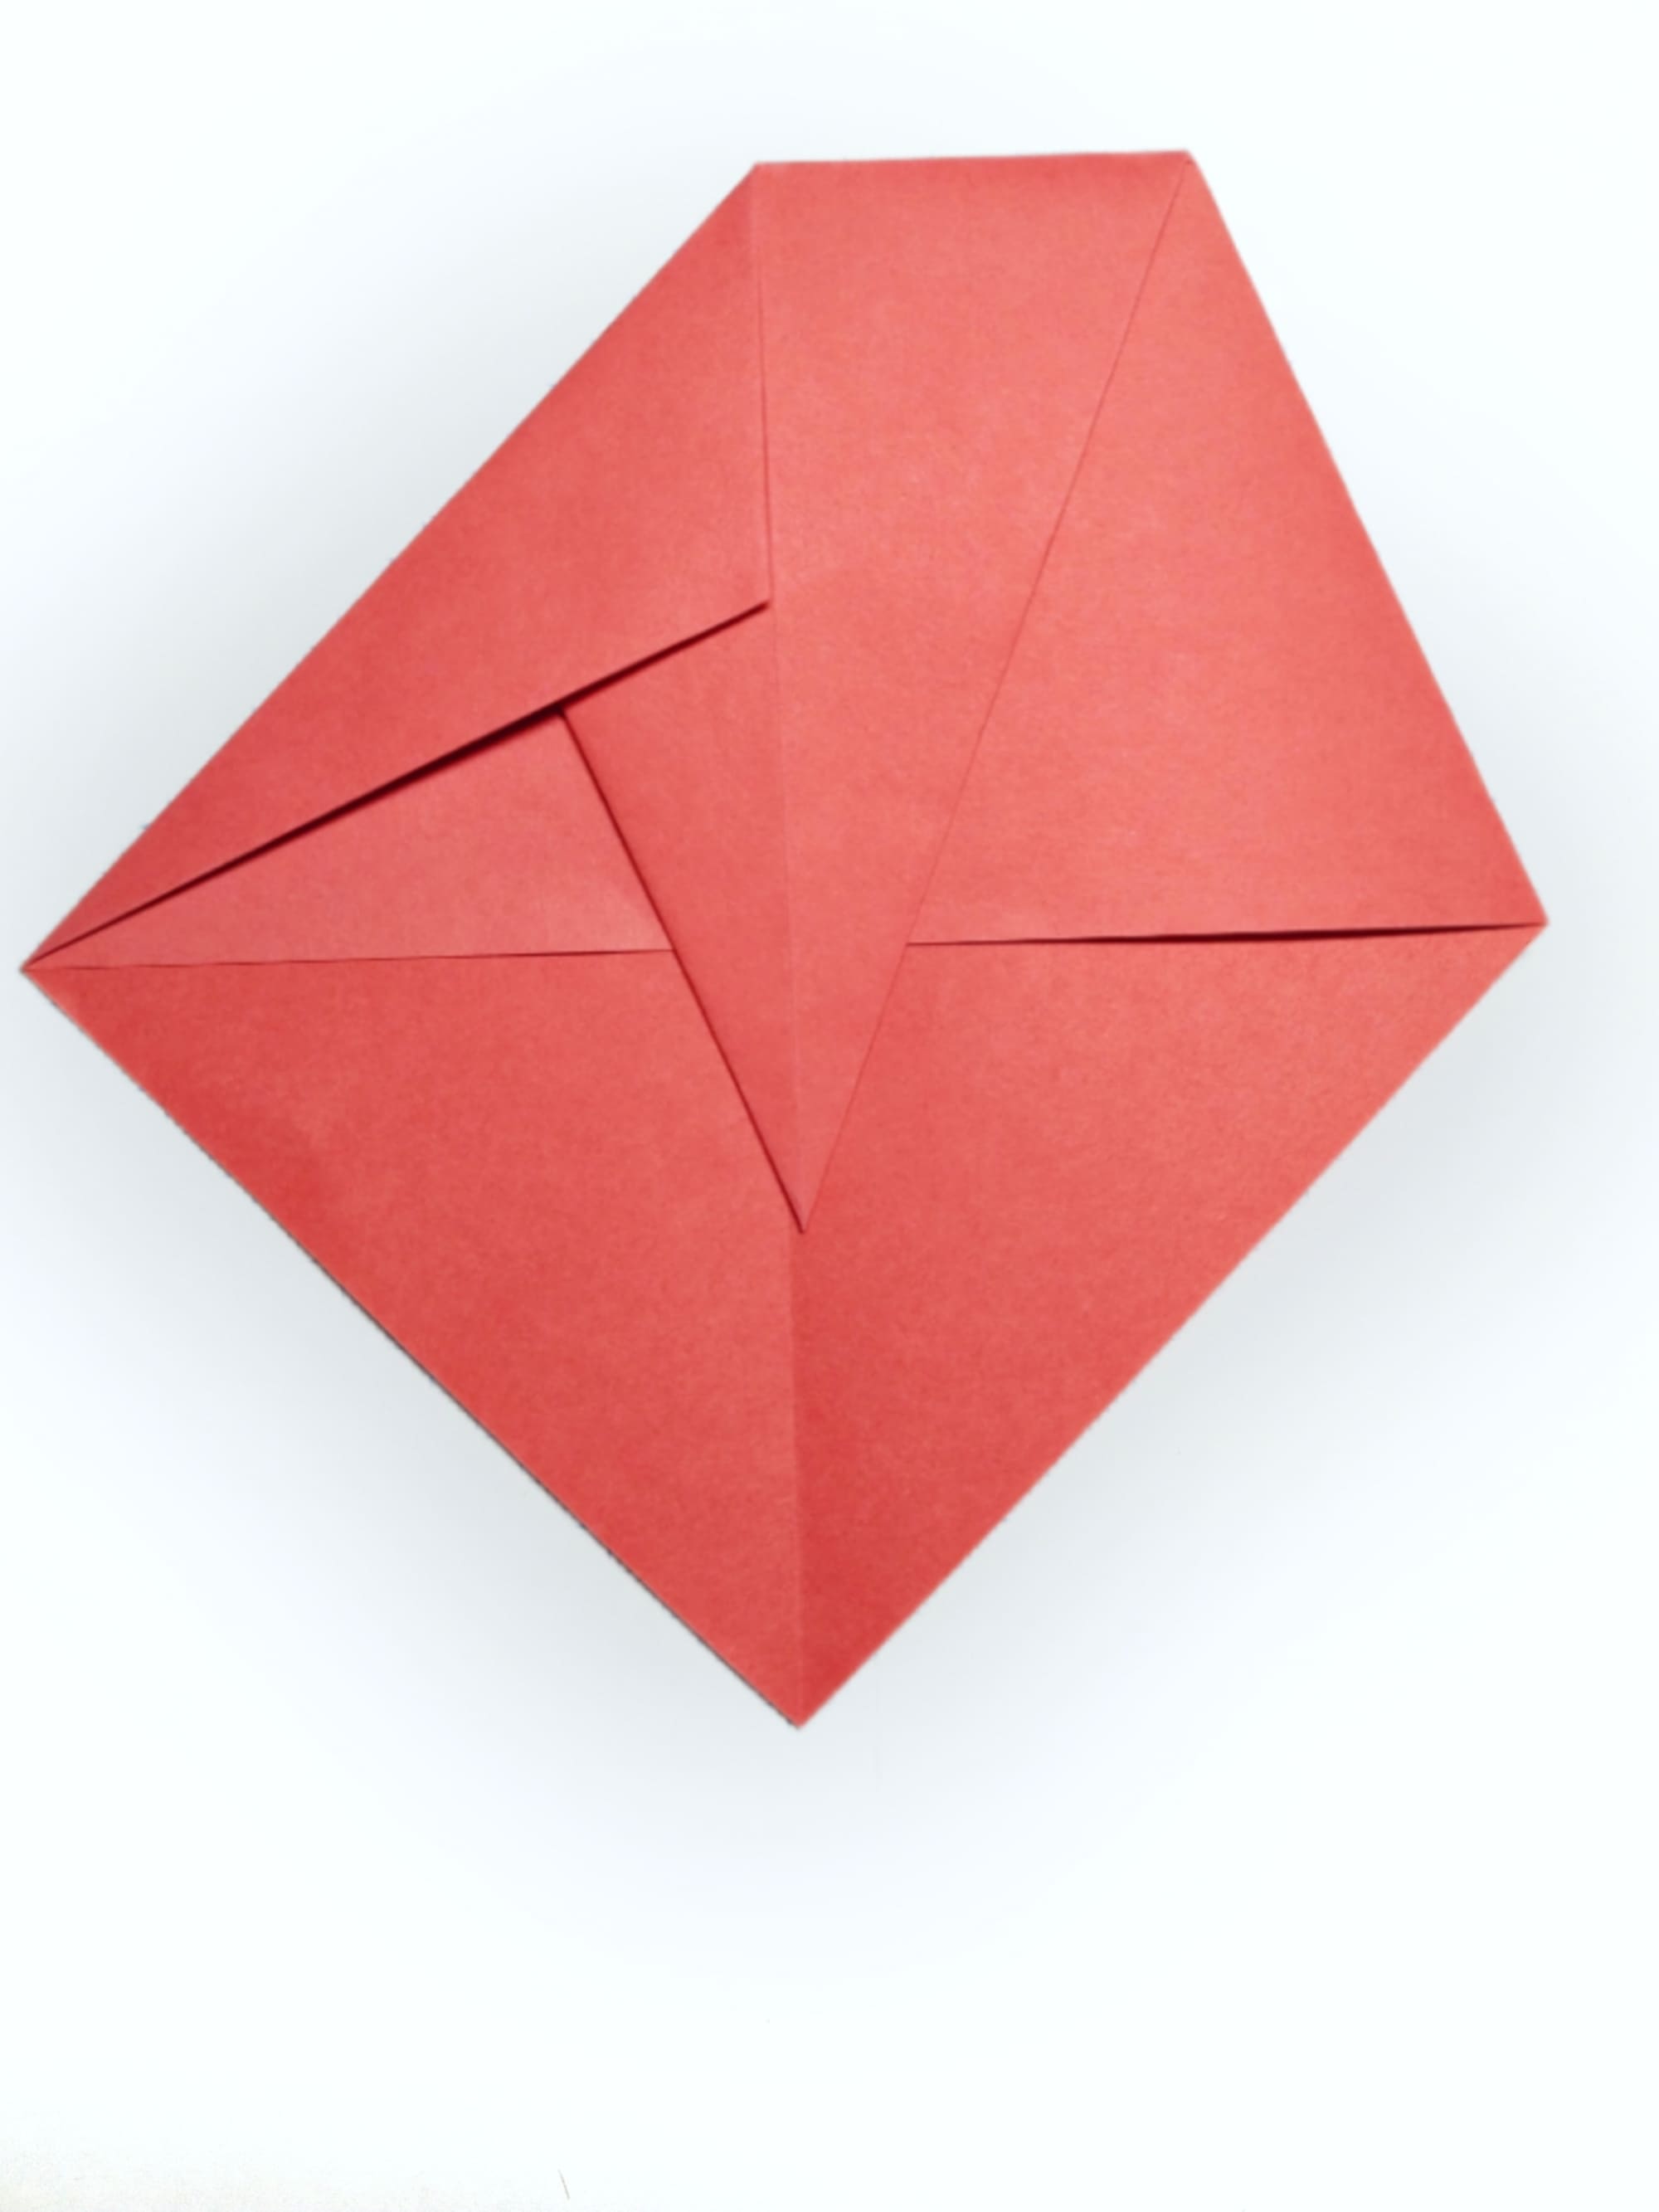
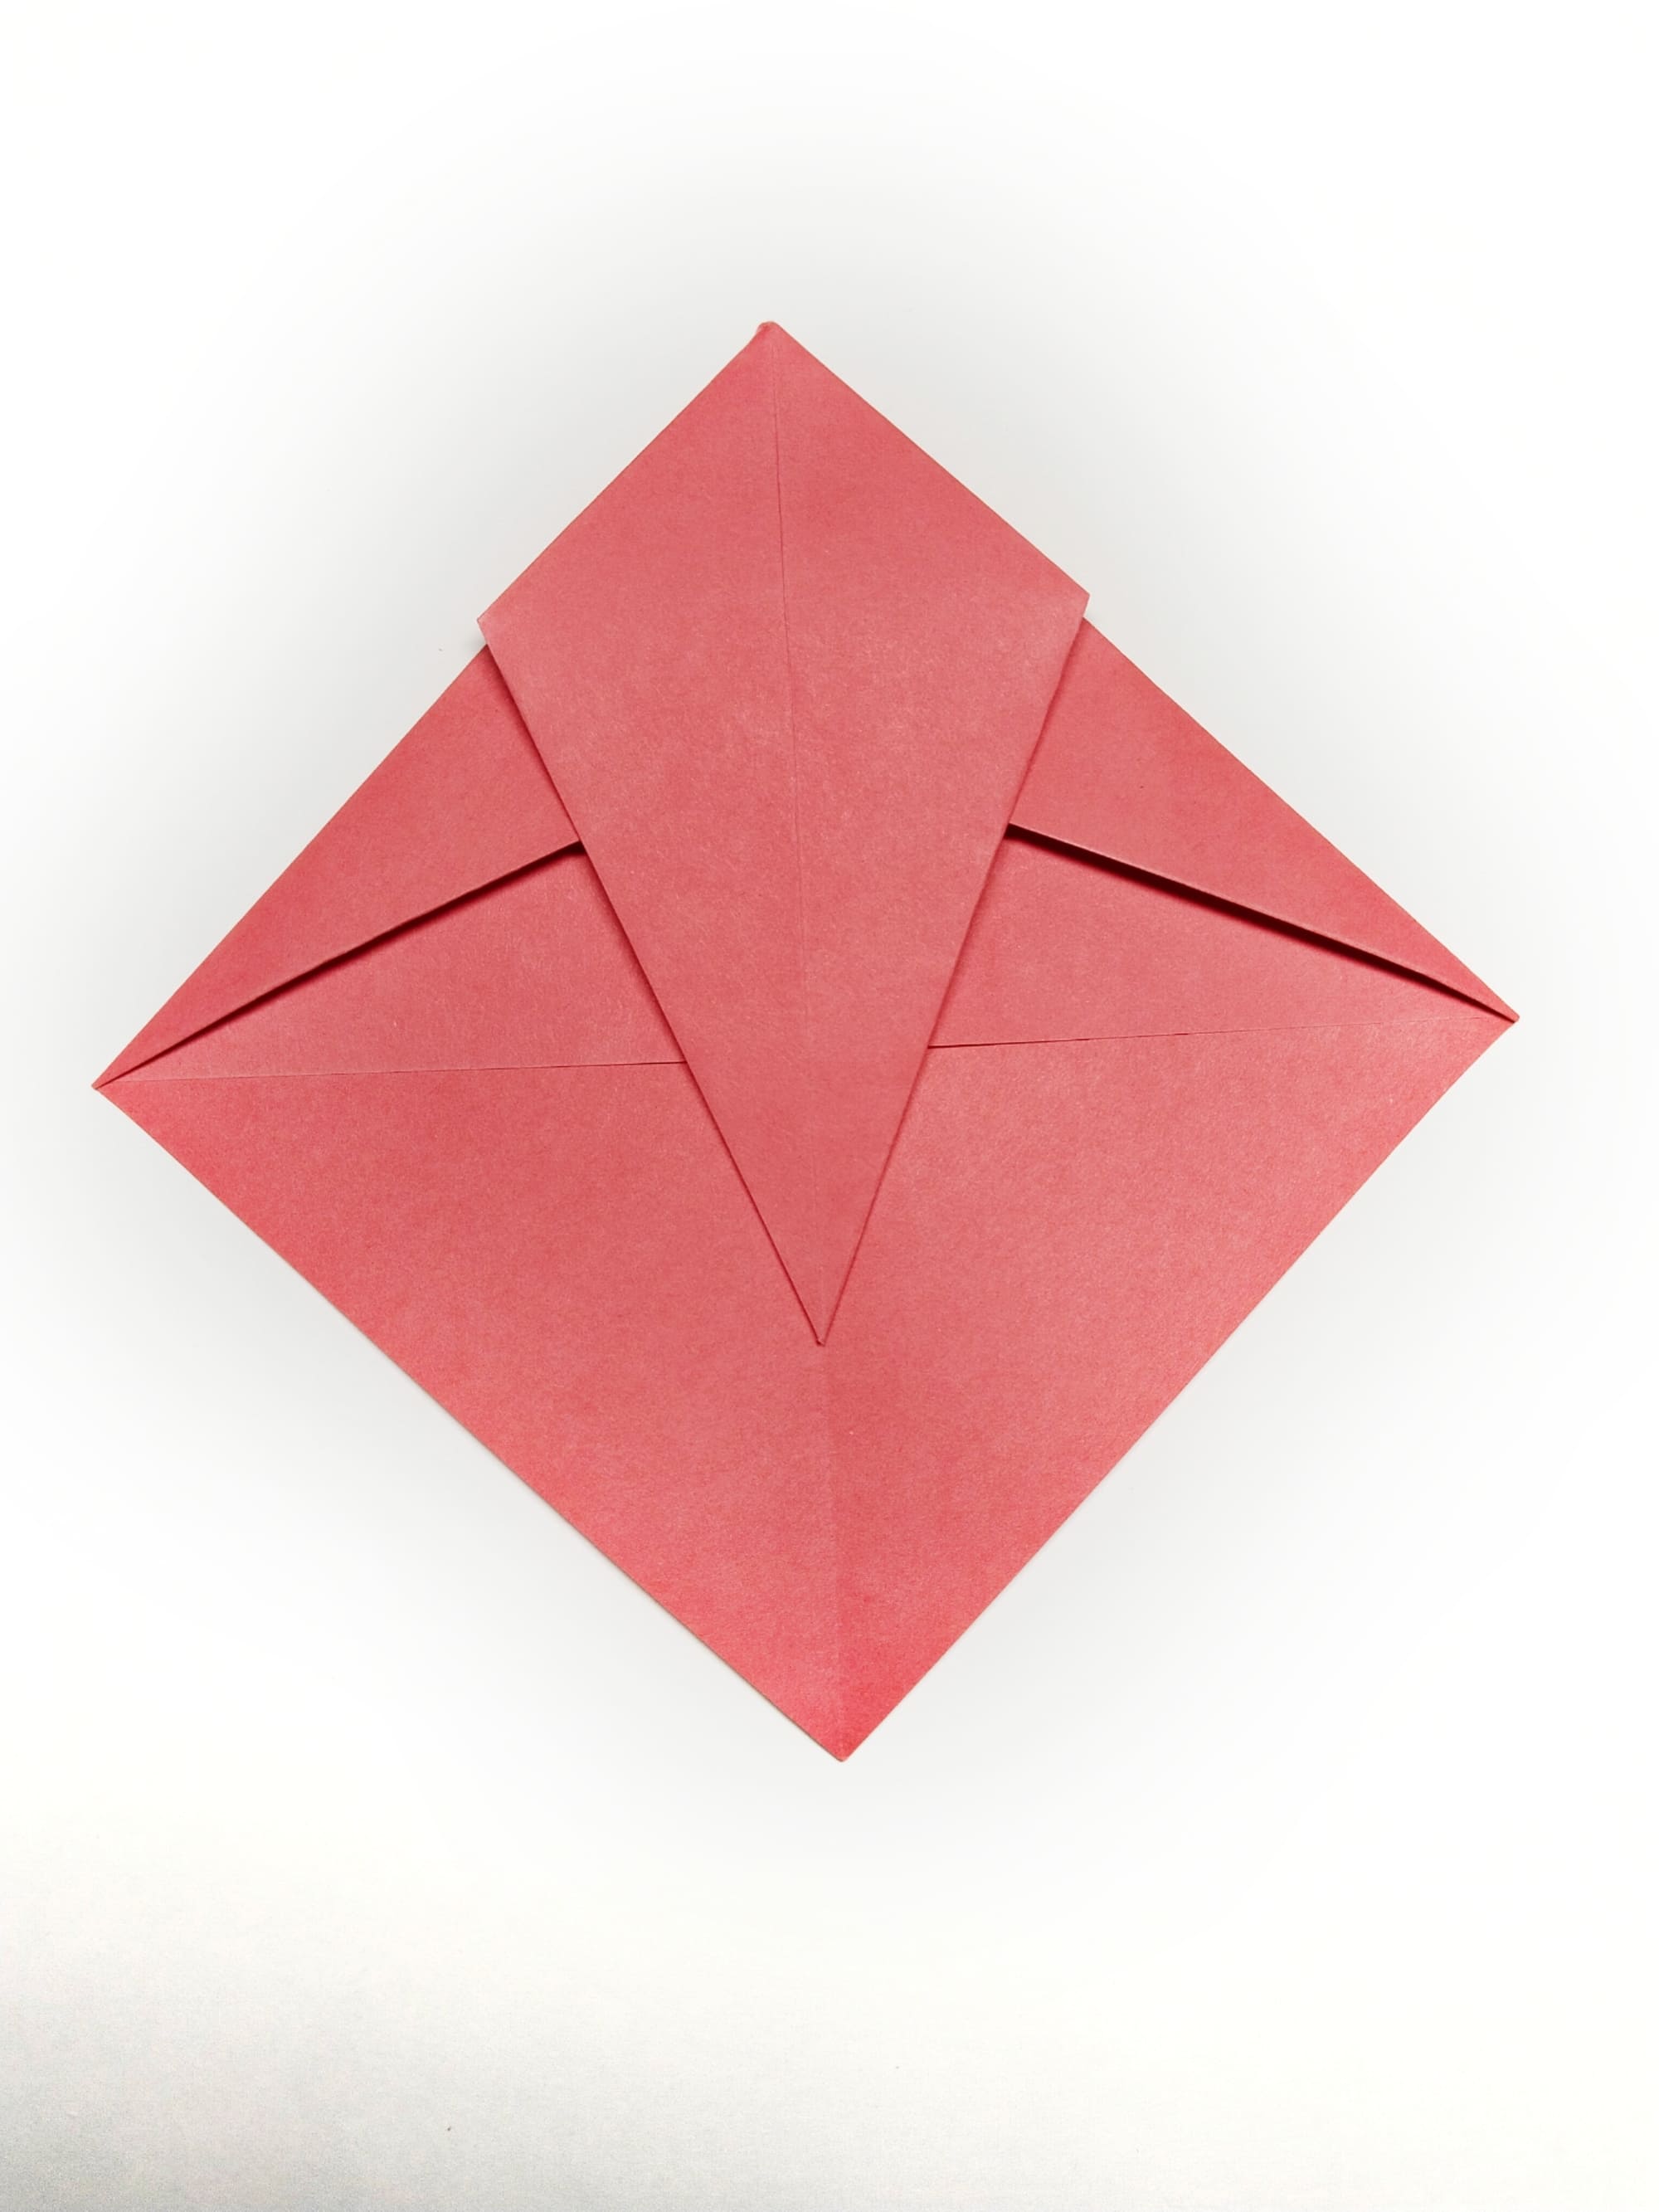
Fold the upper left corner towards the middle.
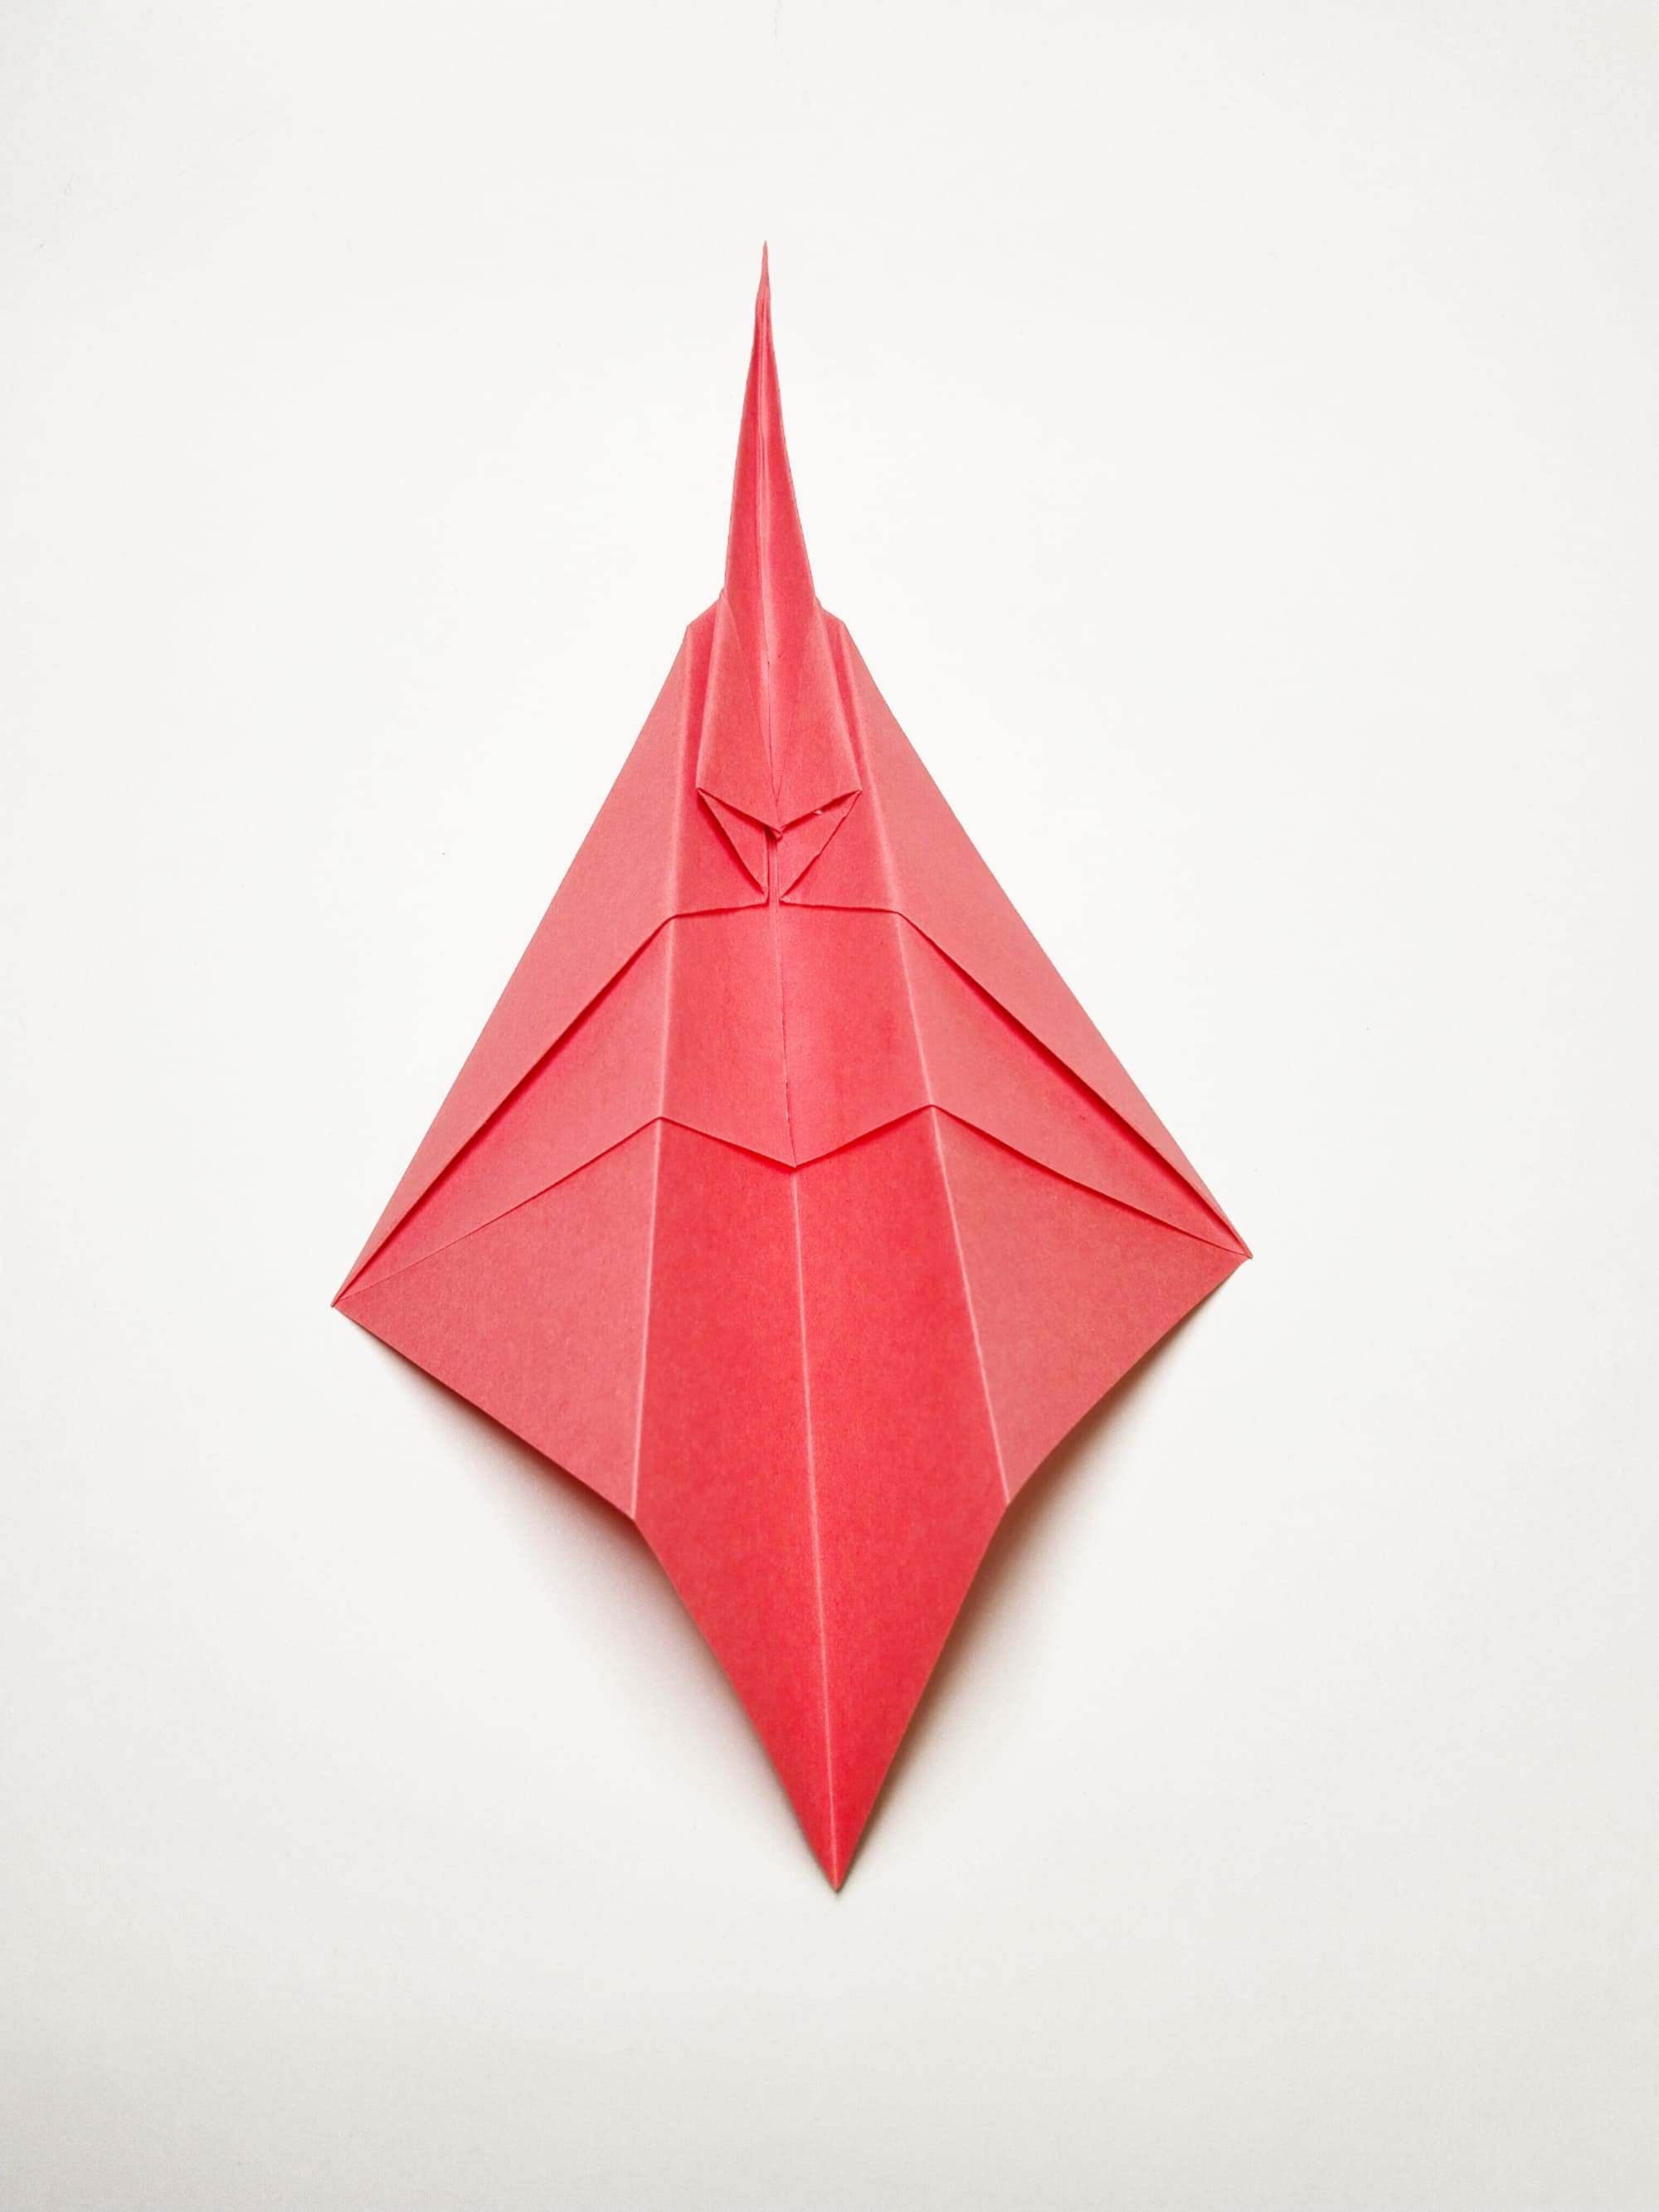
Perform a similar folding process on the right side. As a result, the side edges of the triangles should align, giving the figure the appearance of a rhombus.
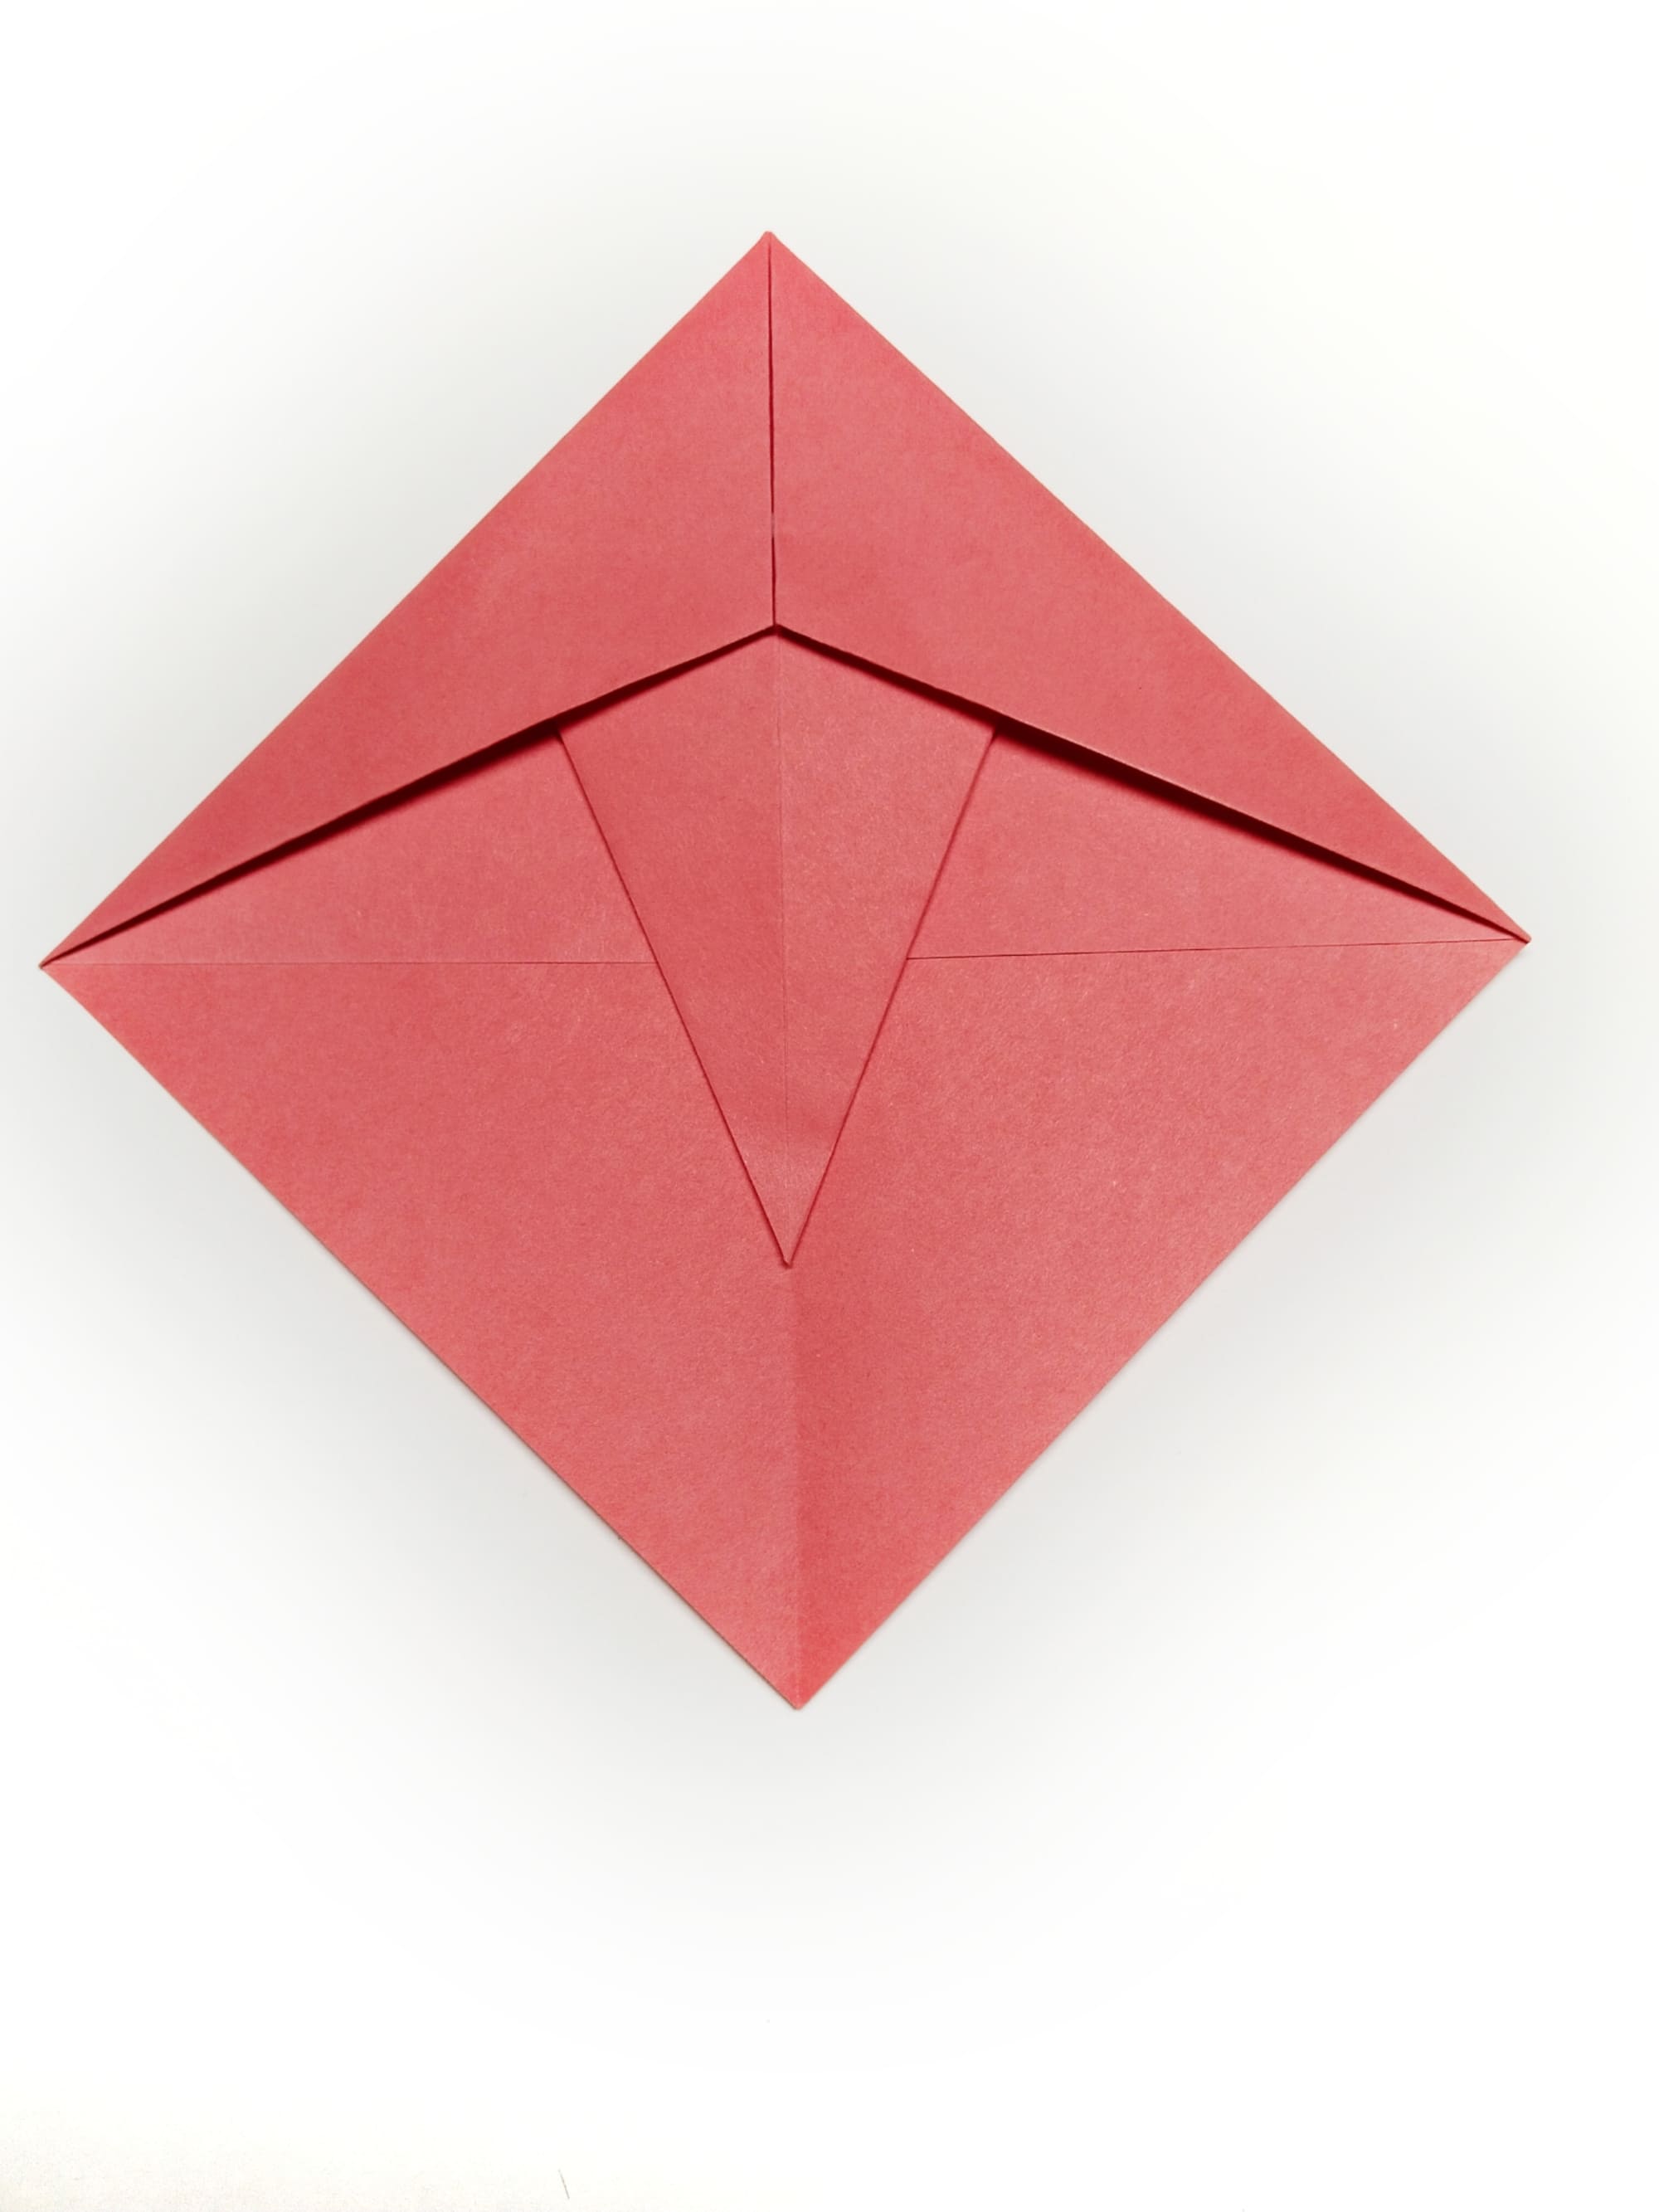
Unfold the paper to the shape described in step four.
Fold the sides along the fold lines, so that the corner of the square forms a standing triangle. Then, lower its top, as shown in the photo.
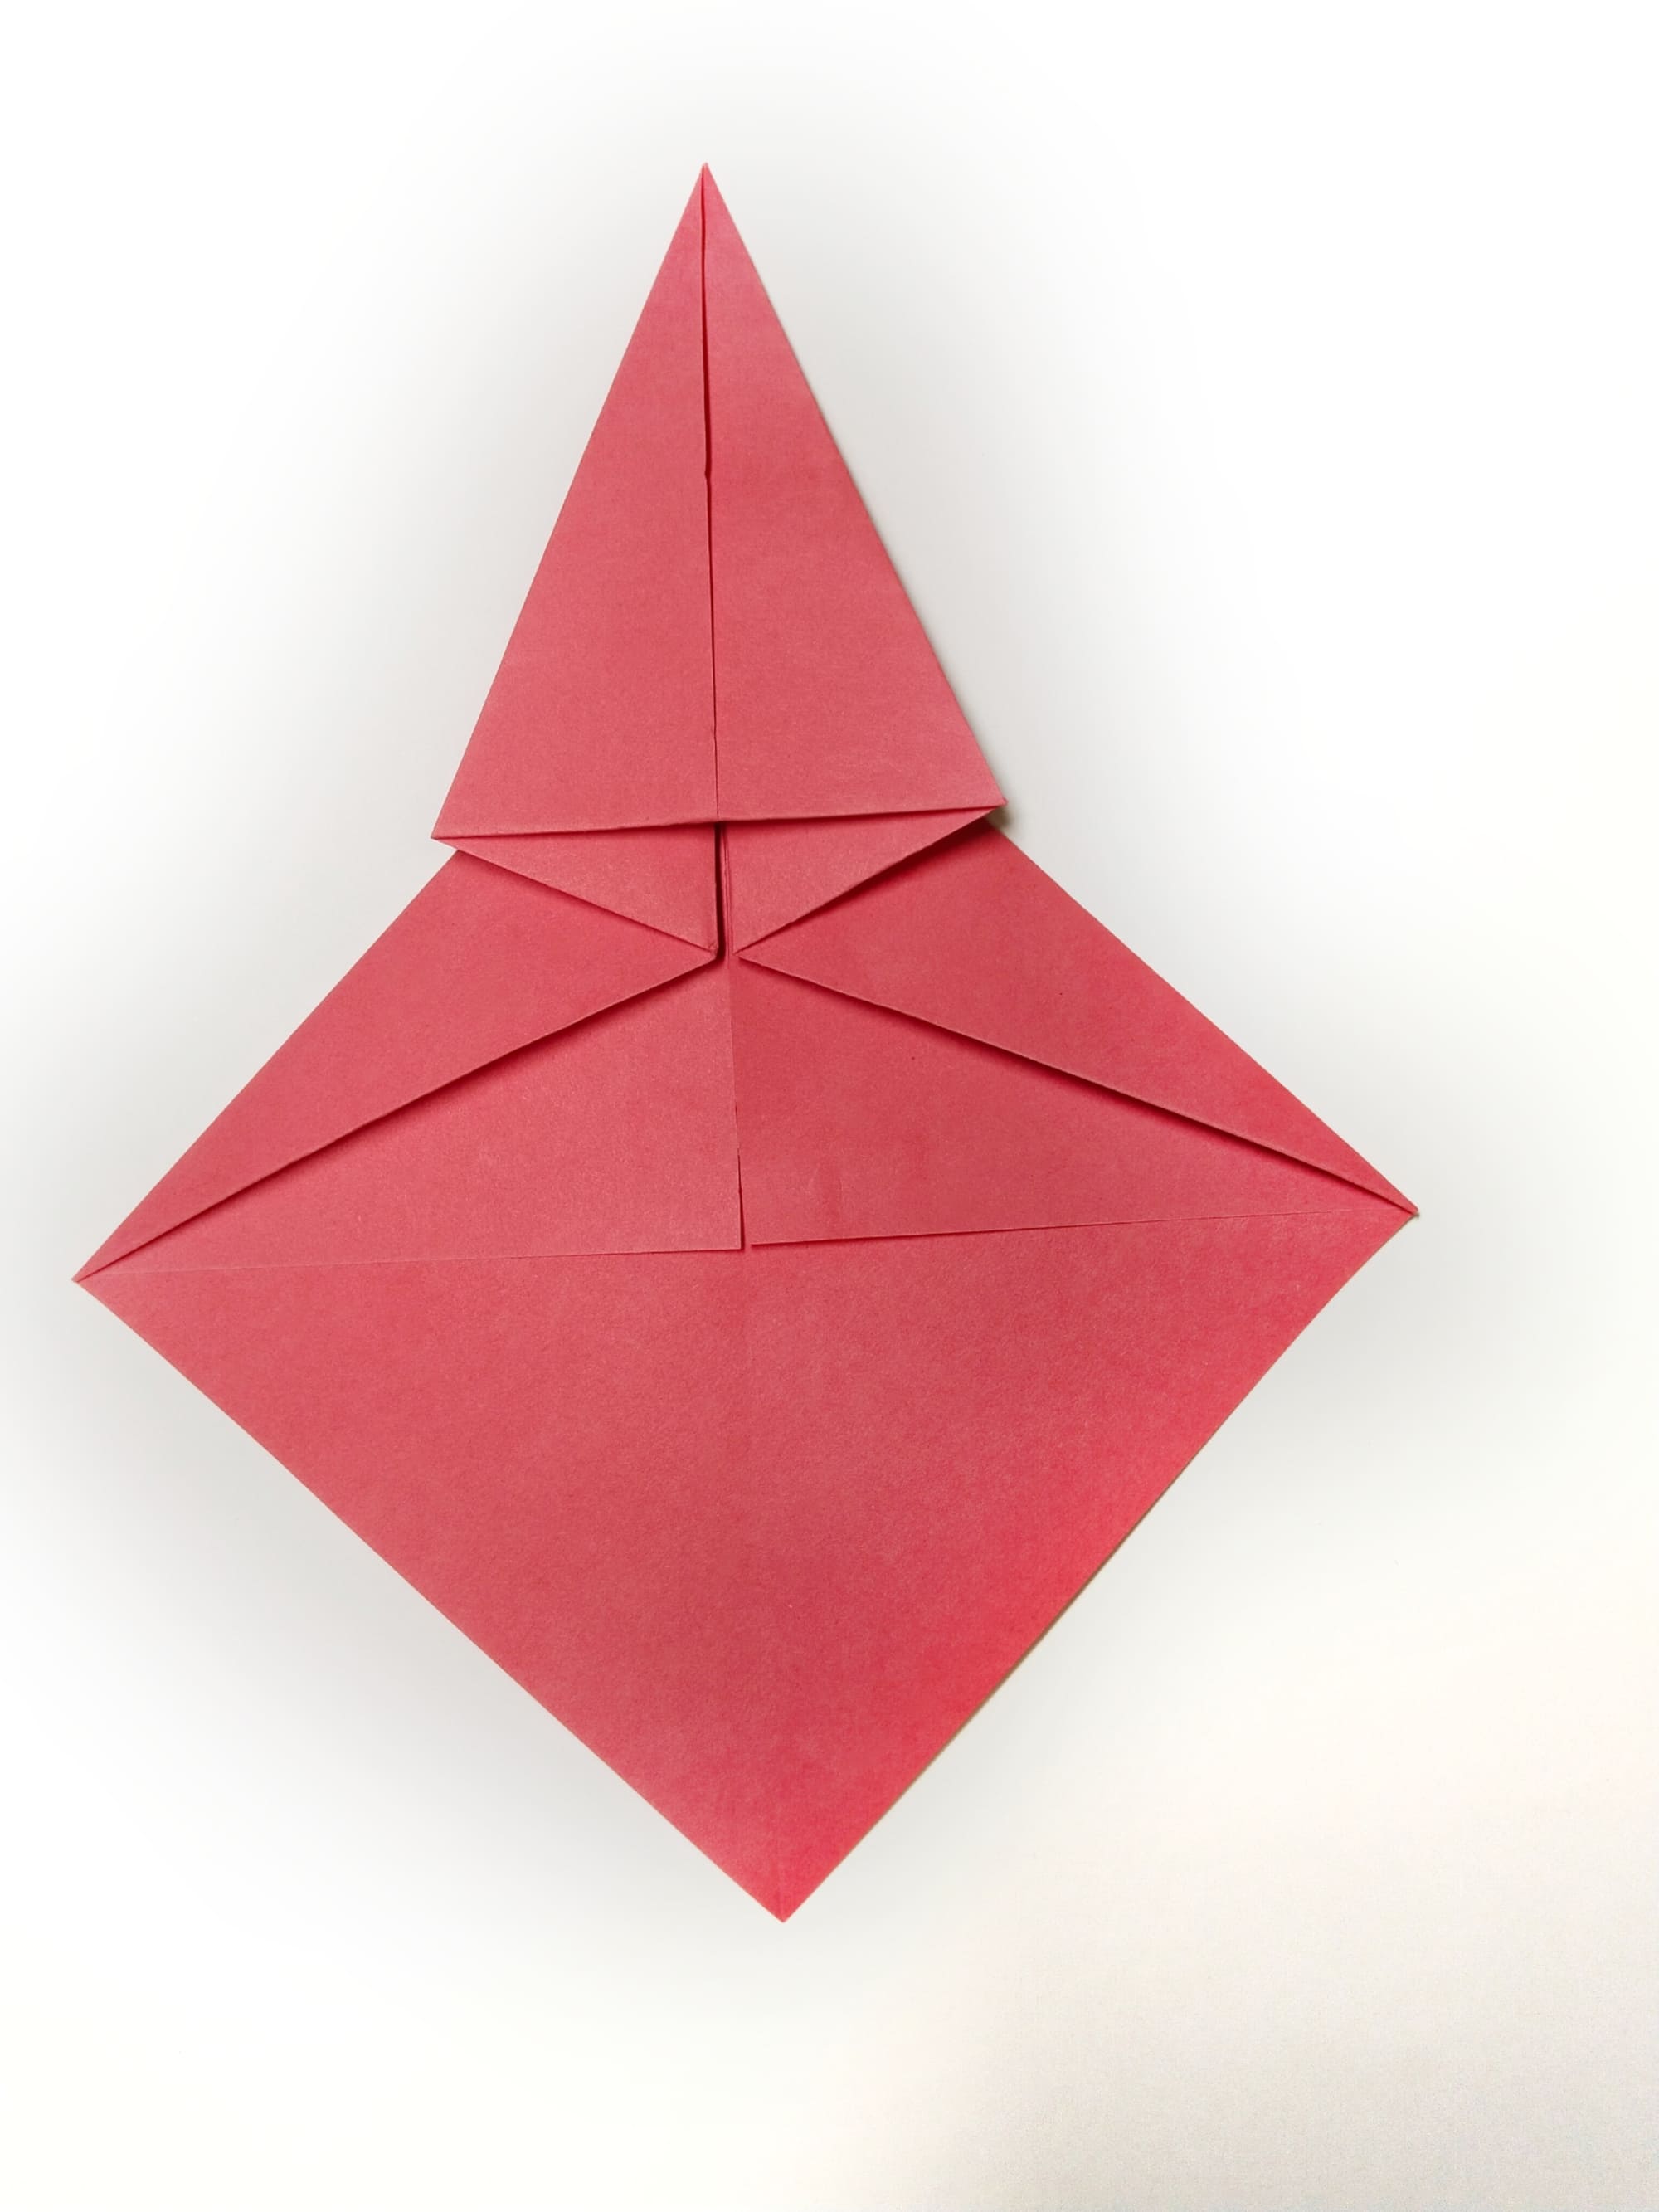
Bend the tip back, forming the cockpit of your model.

Align the outer sides of the resulting triangle with the center line, pressing the fold well.
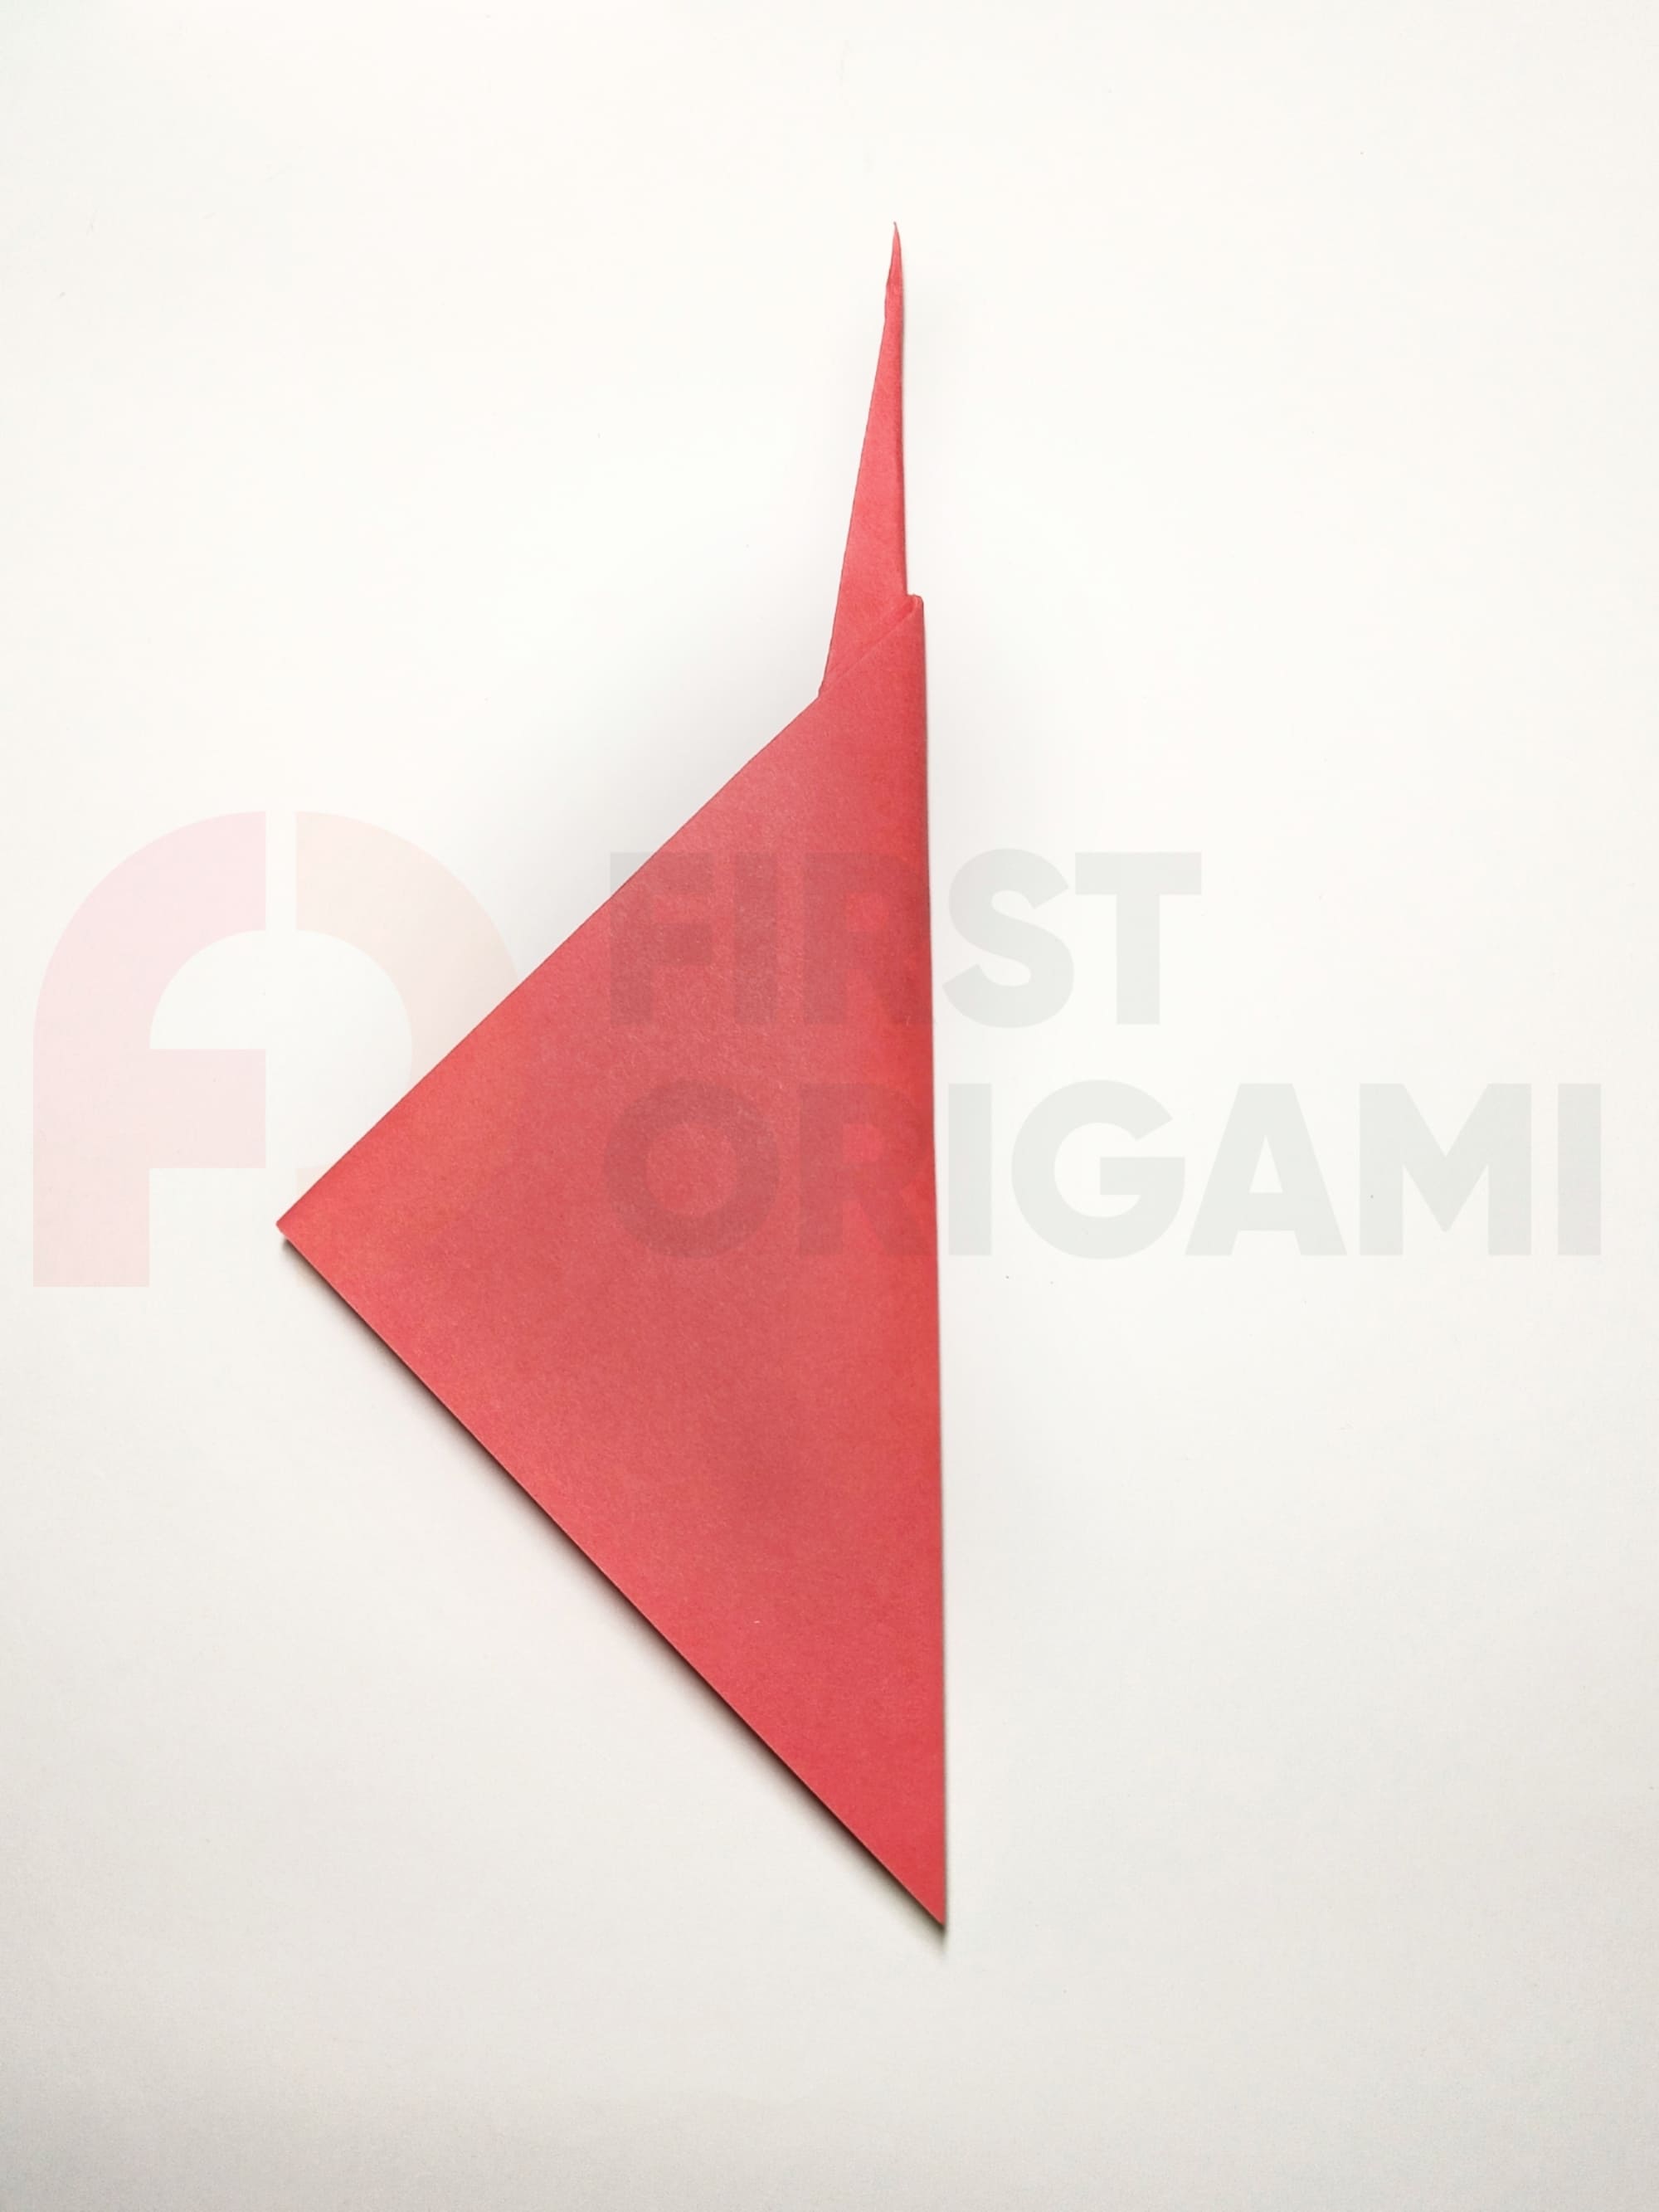
Fold the model in half.
Bend the wings of the plane down.
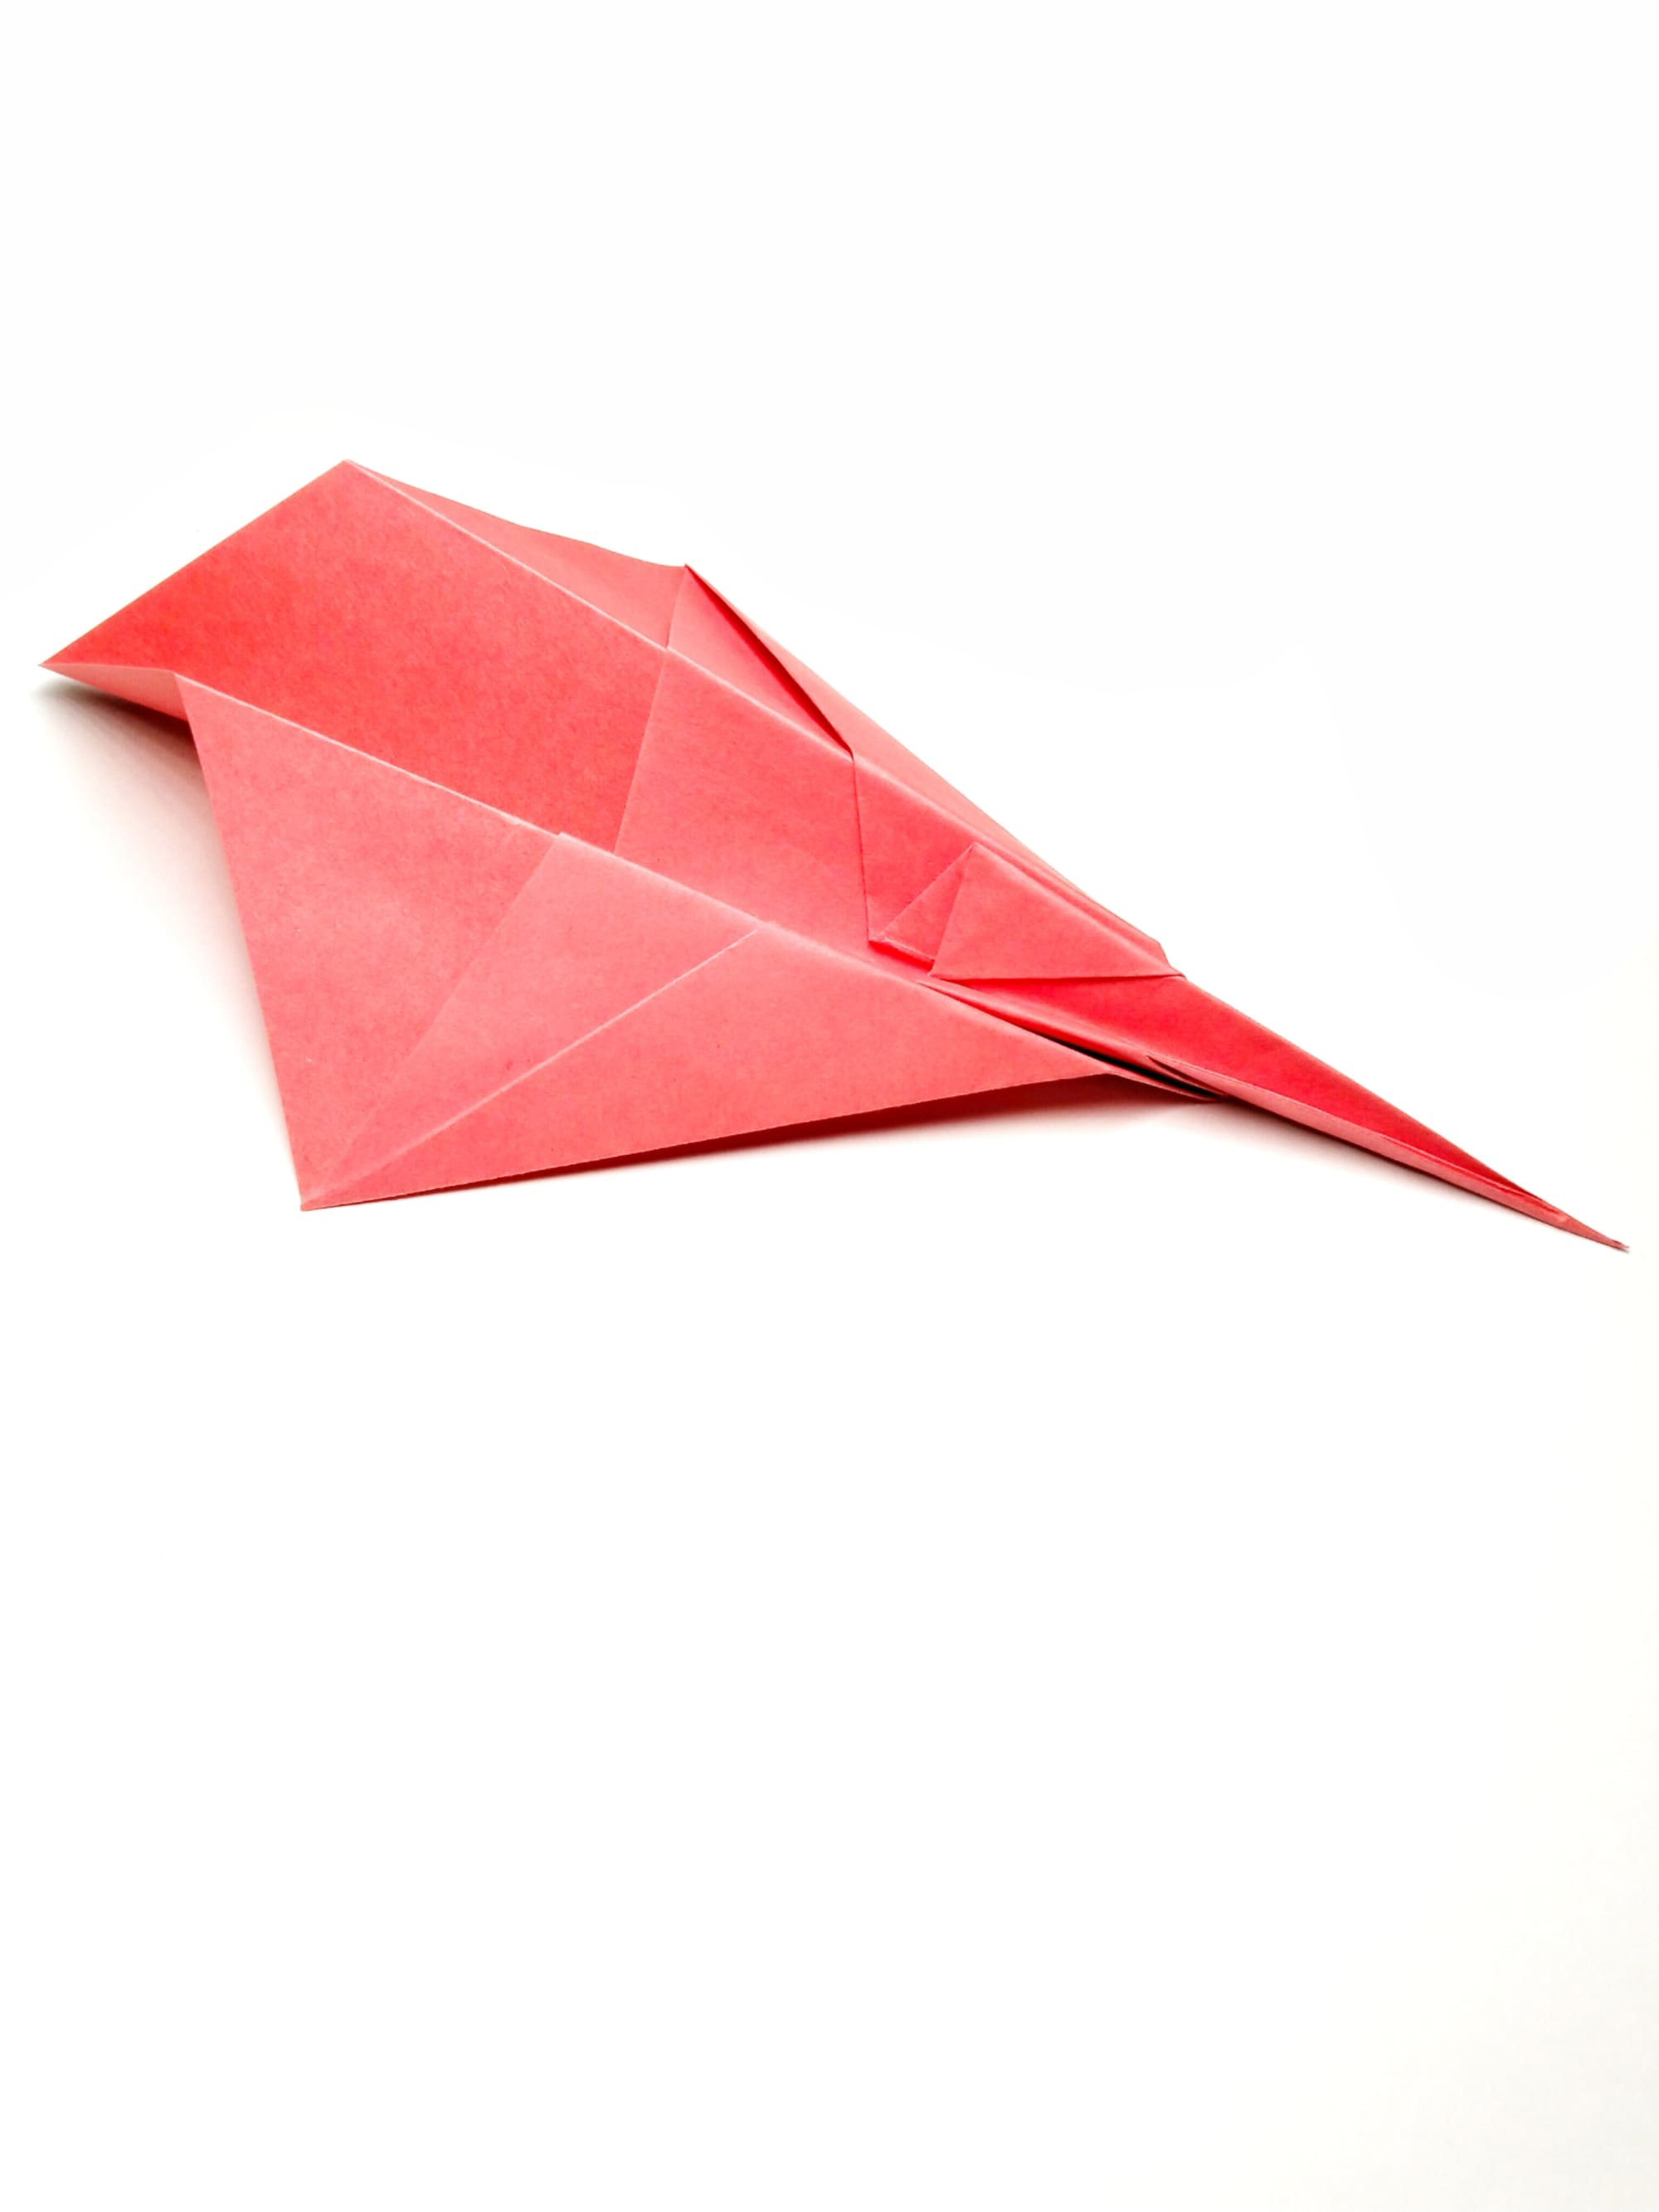
Completed view of the aircraft.
It’s time to launch your airplane prototype and enjoy the results of your labor. This model specializes in long stays in the air. By slightly adjusting the shape of the wings, you can achieve dead loops and planning along a circular trajectory. It might happen that you like it even more that way.


