Origami Polar Bear
The polar bear is a very cute animal. And thanks to our instructions you can make it with your own hands! You just need to draw a face and the real bear is ready.
Leave the photos and comments at the end of the page. We are always glad to receive new handicrafts and your impressions. Instructions for making a polar bear are below.
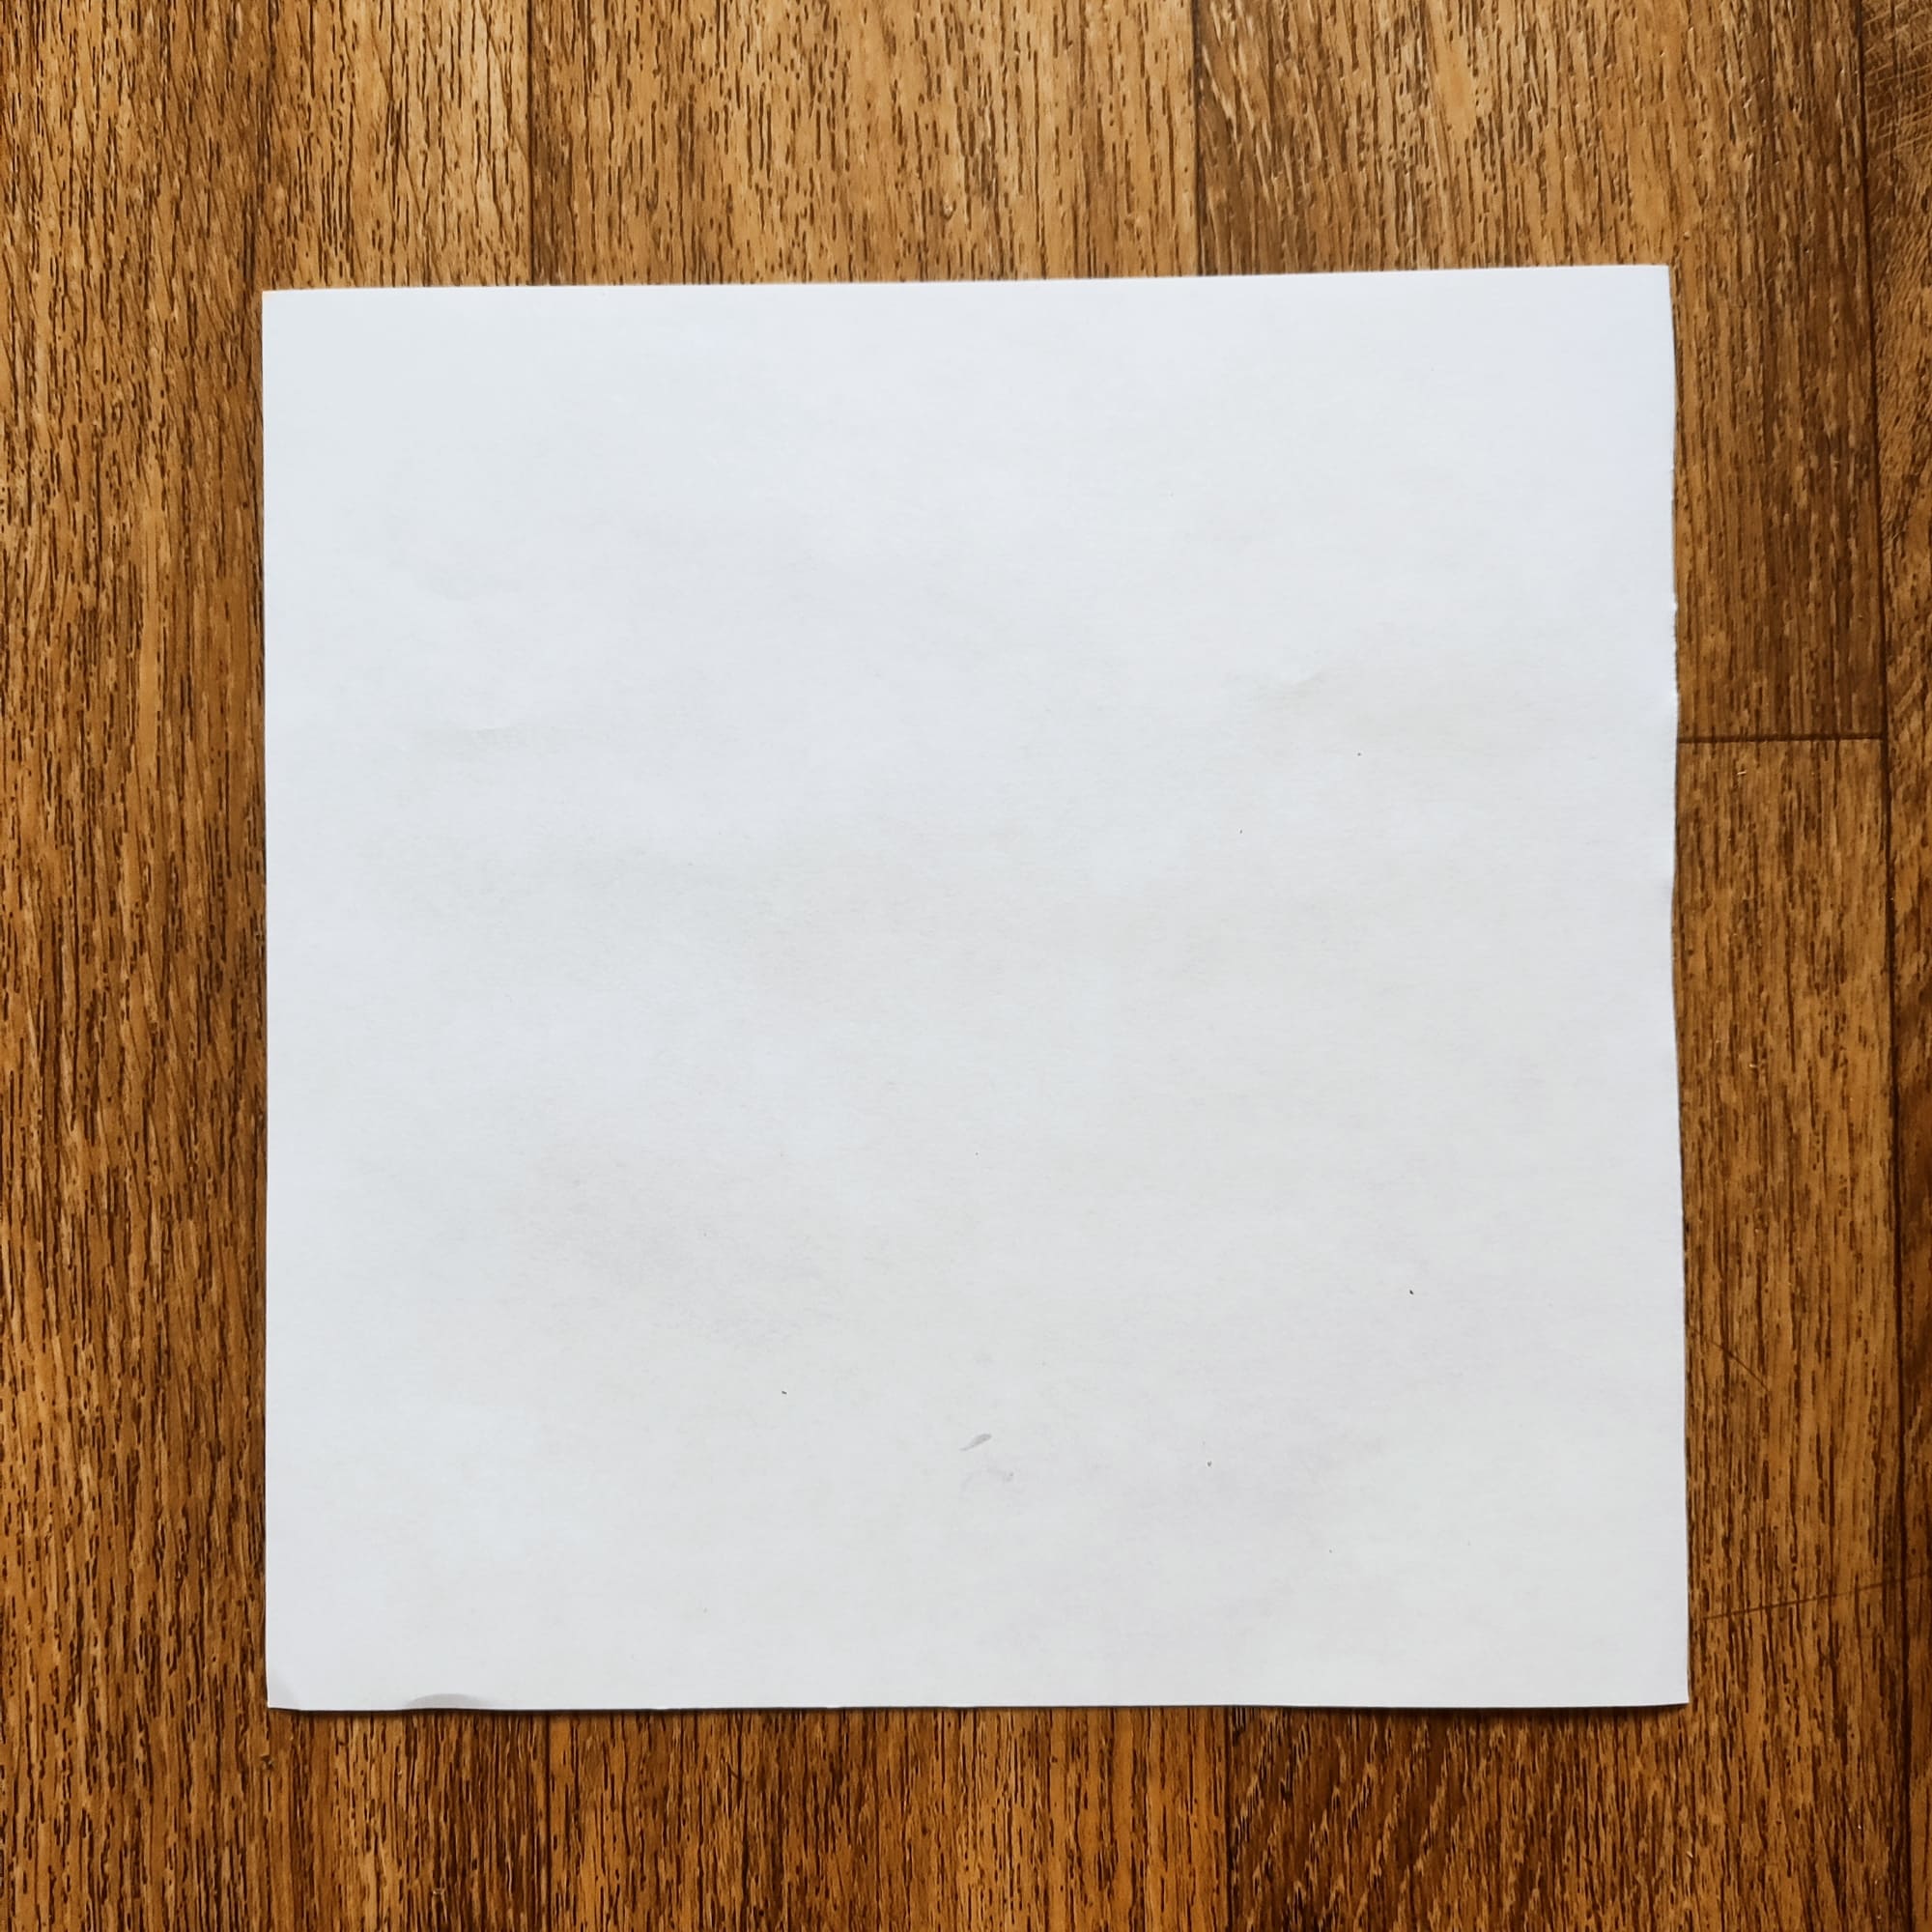
Take origami paper 15×15 cm.

Fold the paper in half on both sides so that you get a cross.

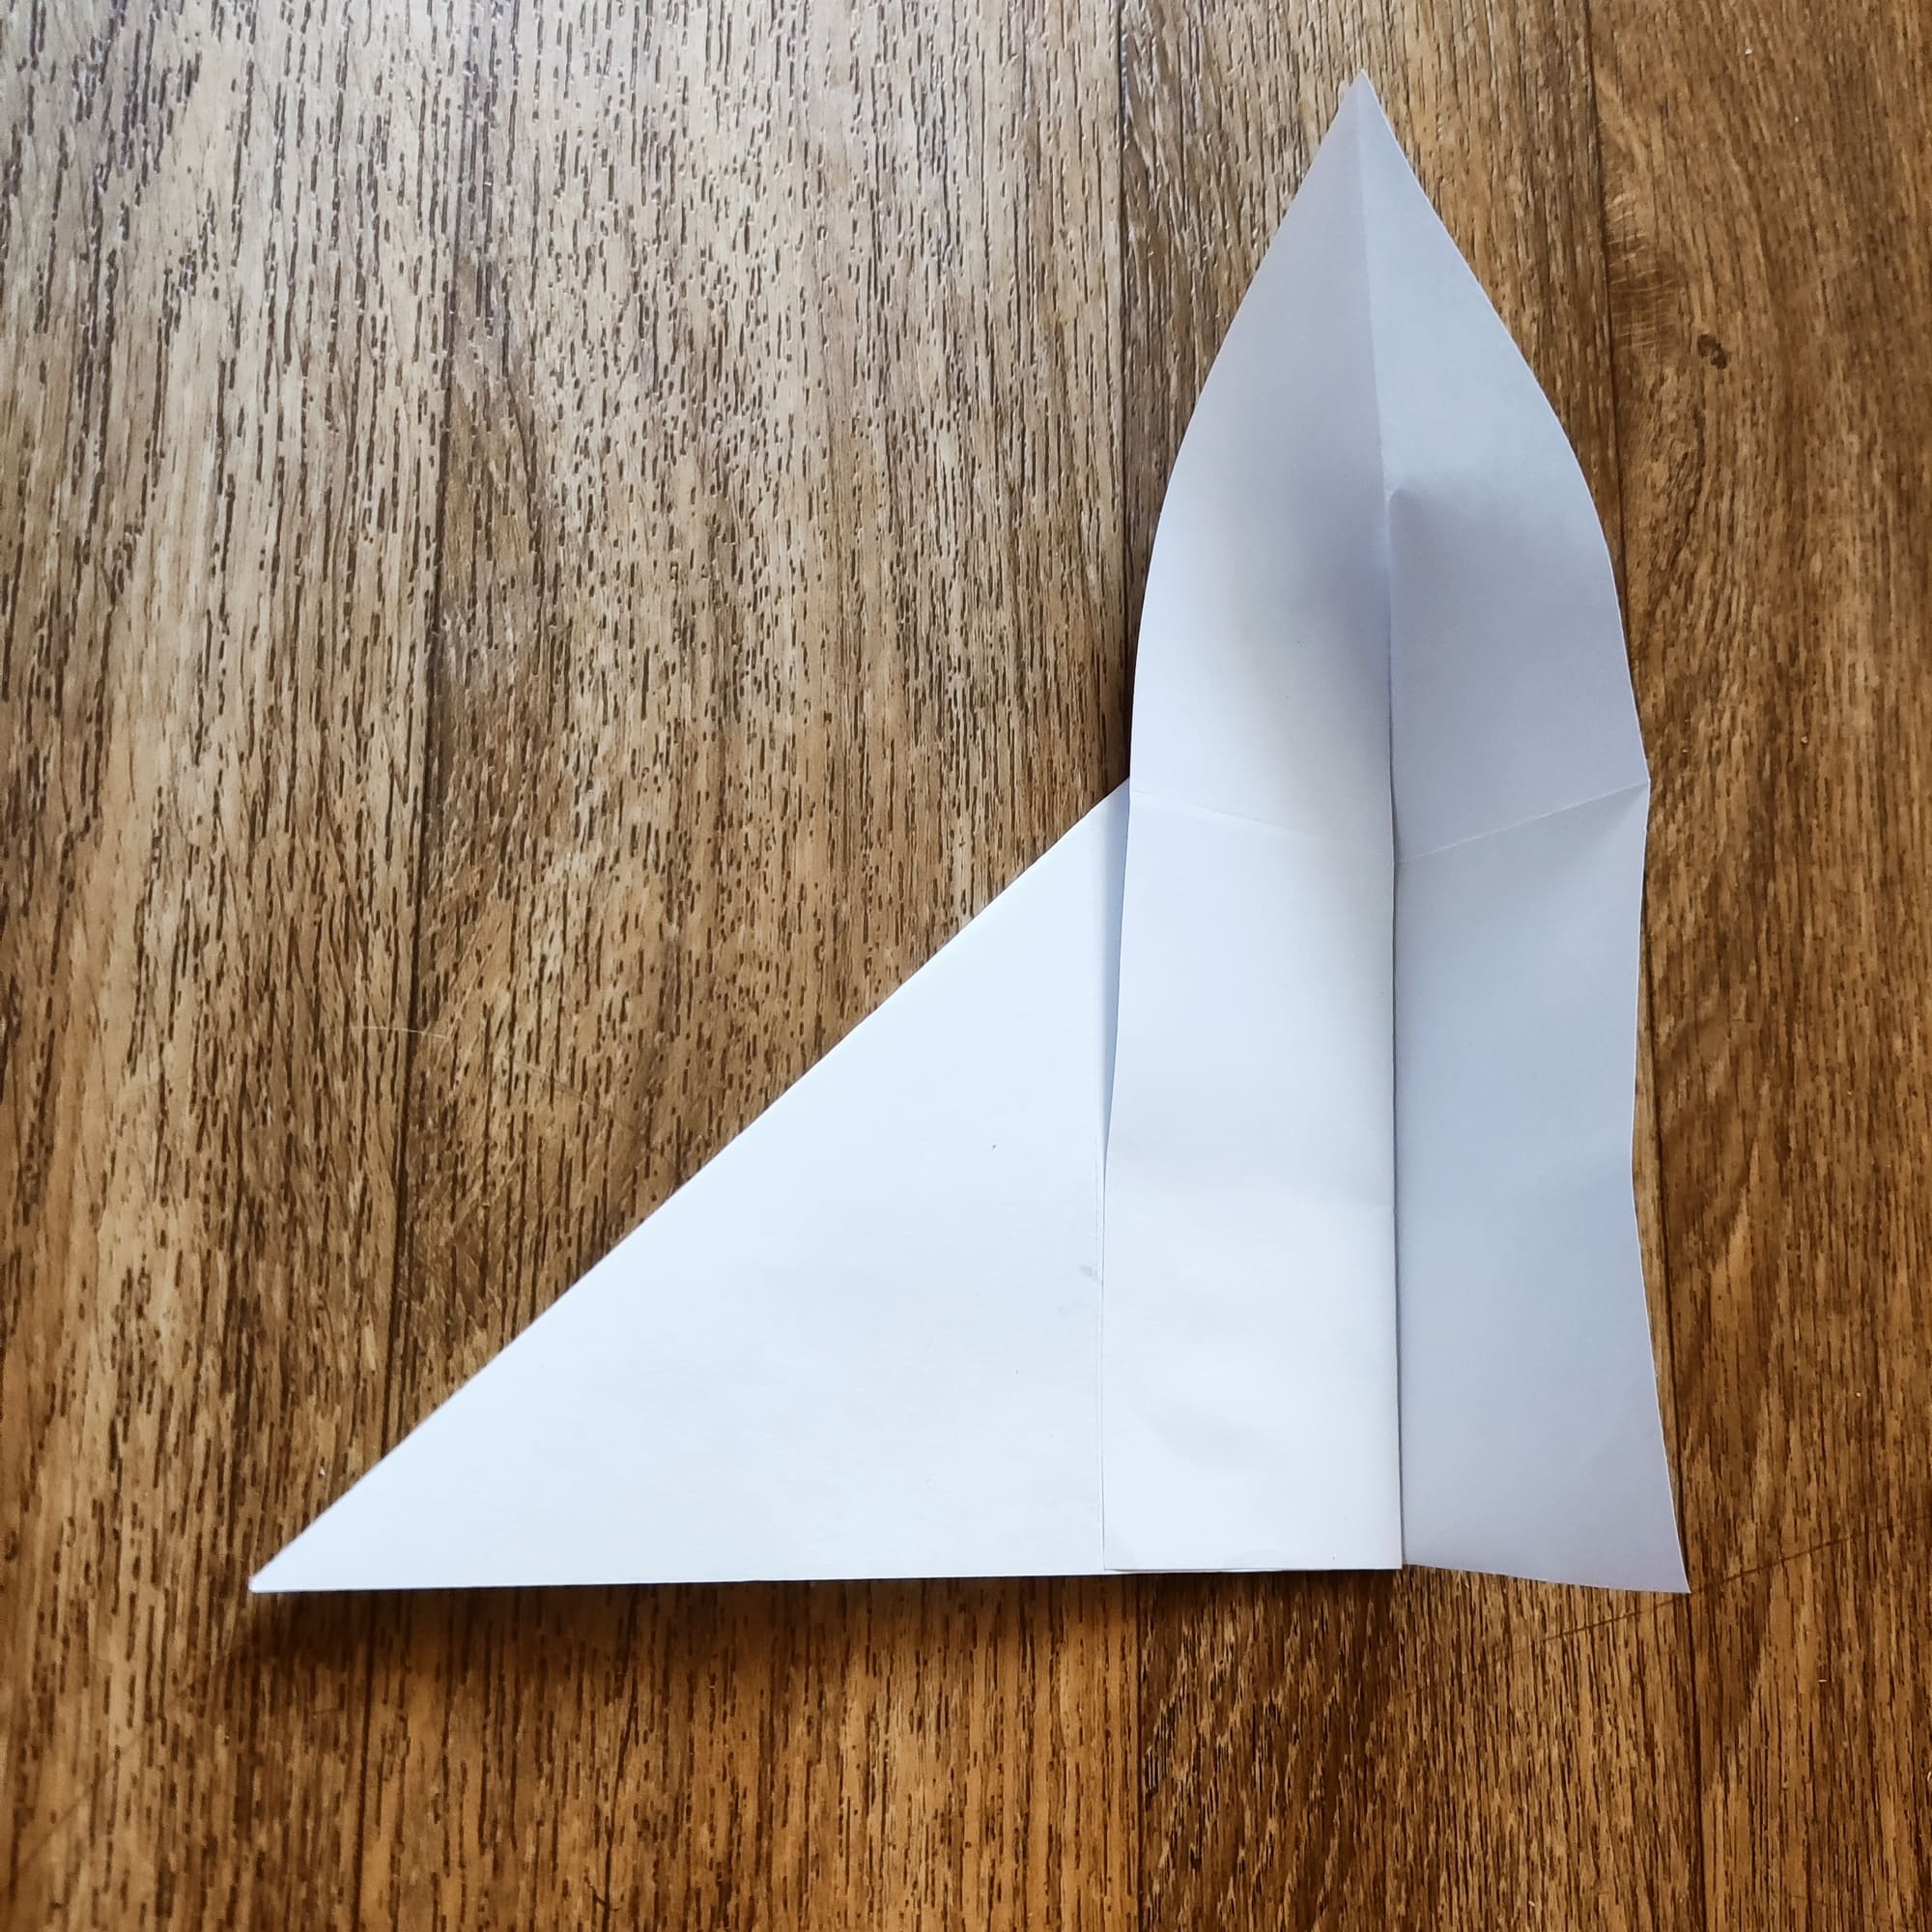
Make a diagonal fold from the top left corner to the bottom right corner.

Make a fold to the center line. Refer to the drawing for guidance.
Open the resulting pocket and press it down.
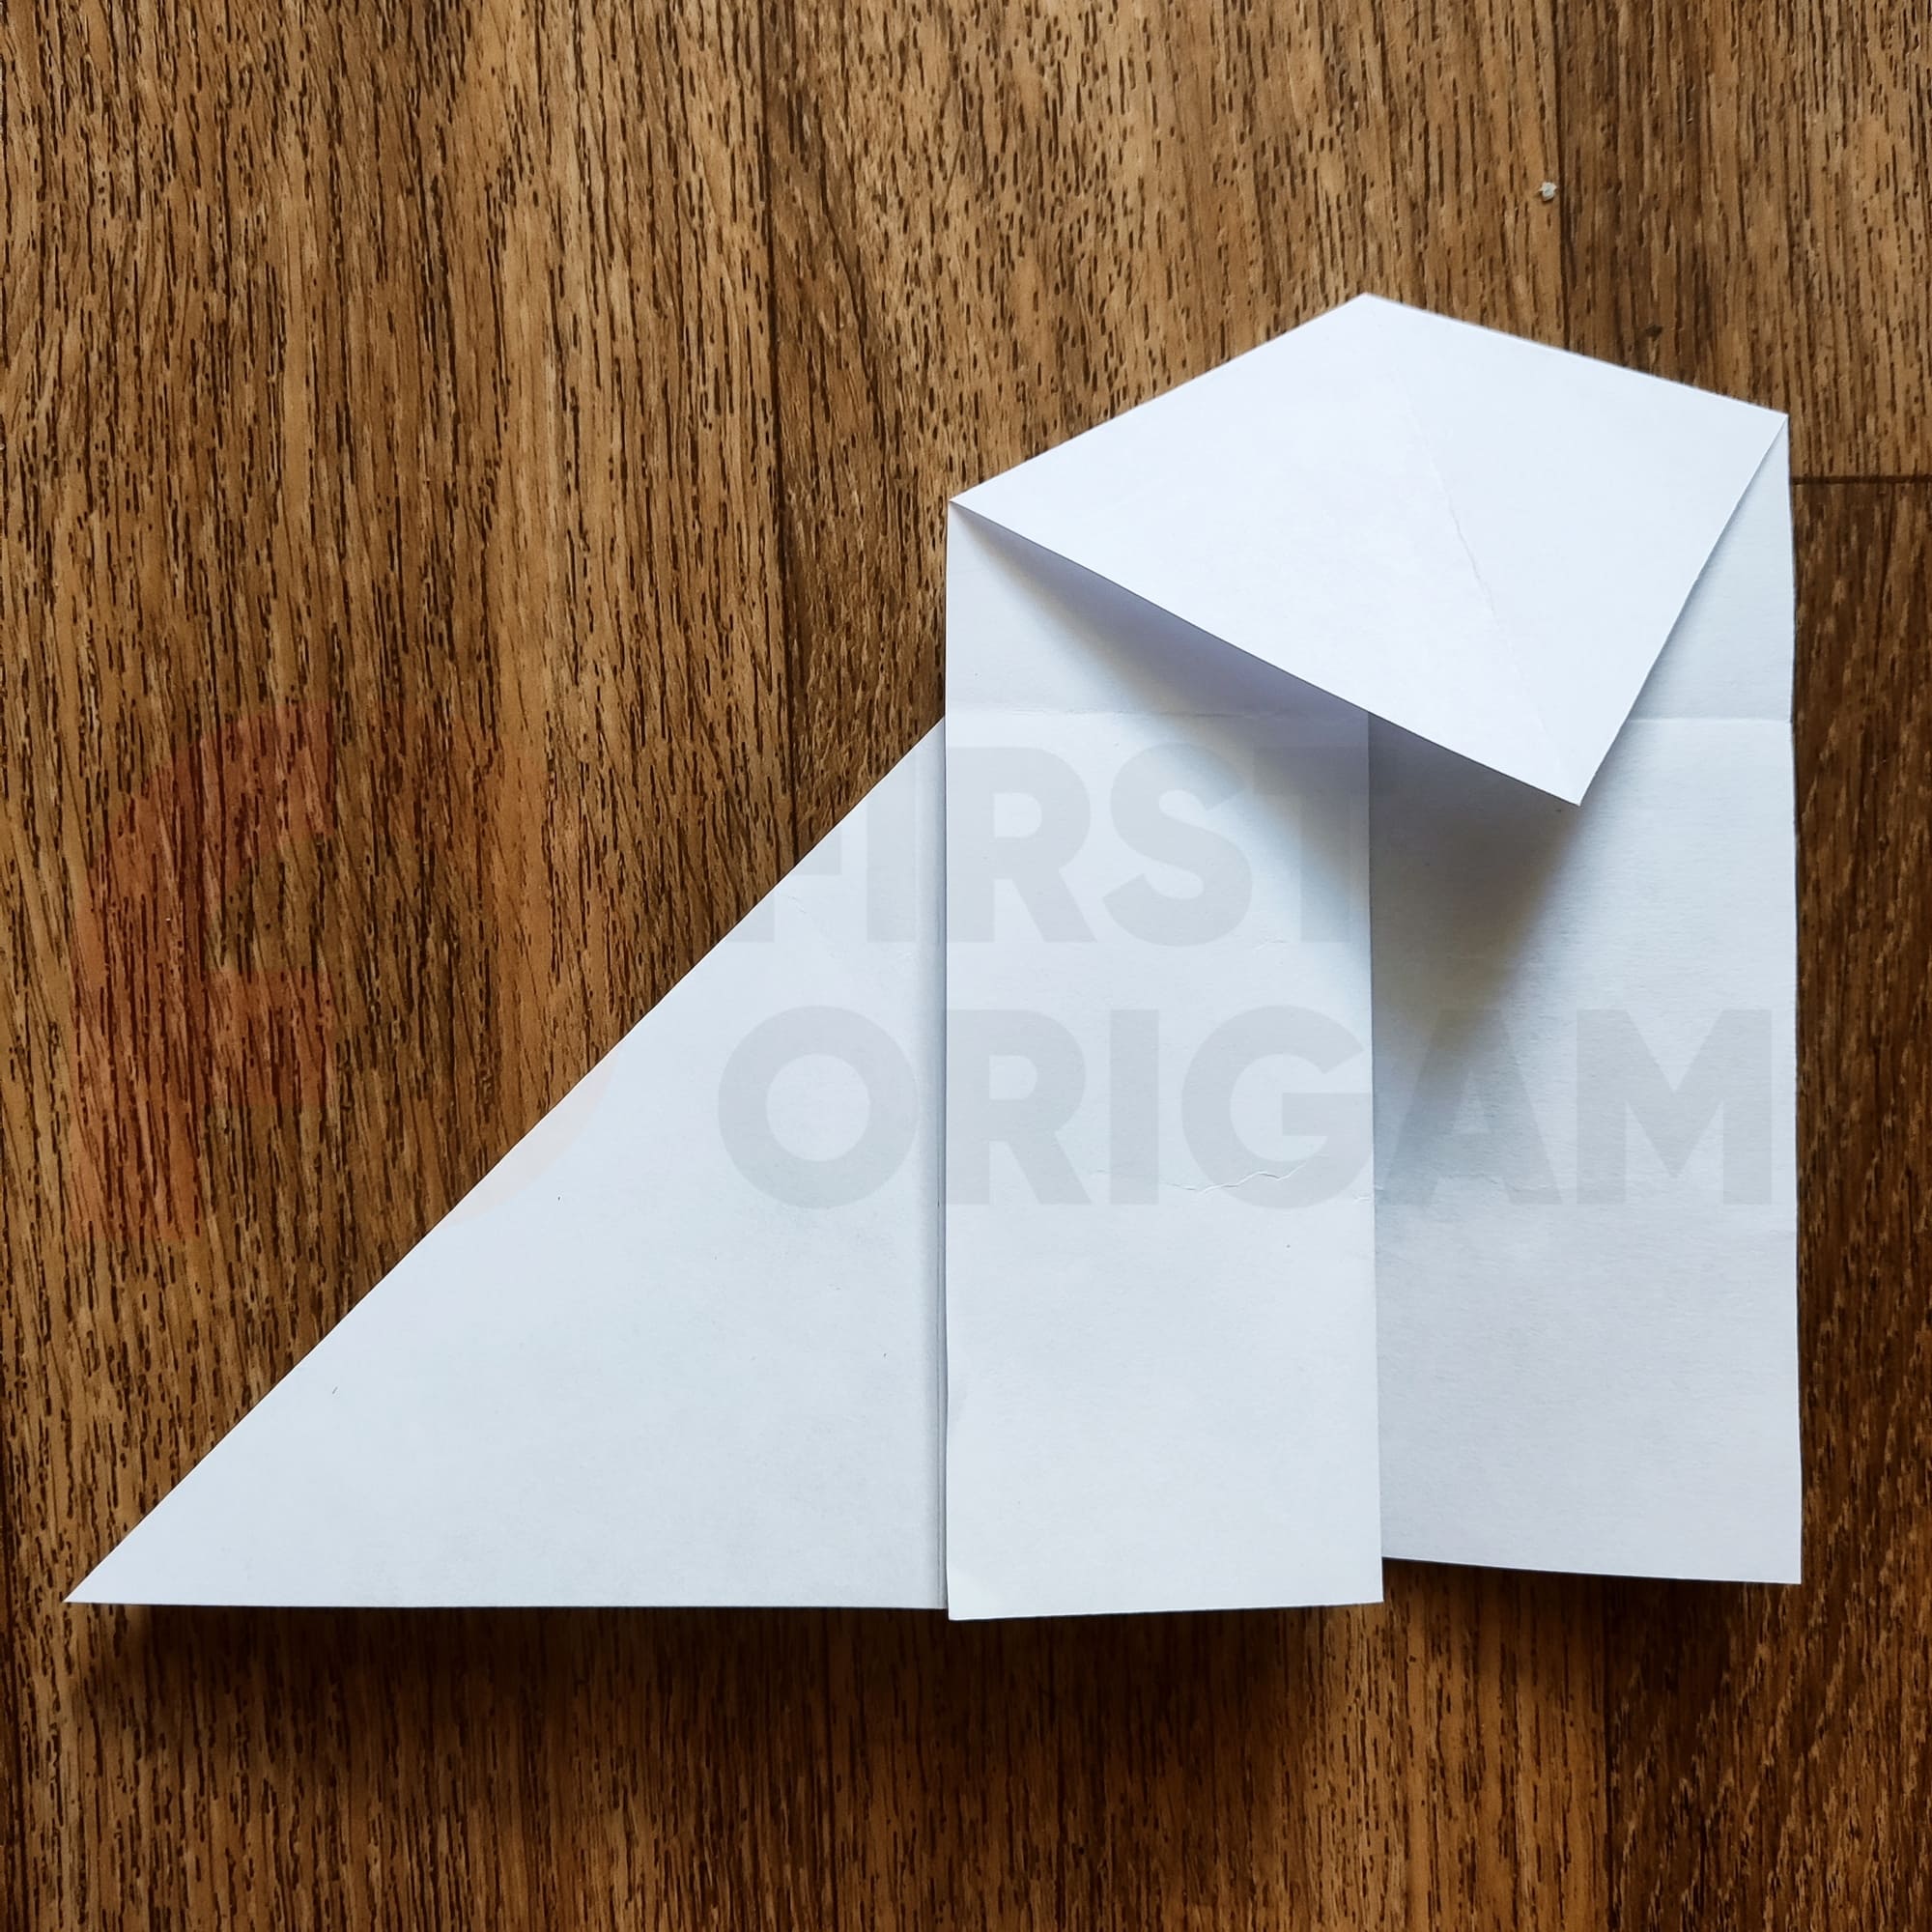
Flatten the head of the future bear and iron the folding lines well.
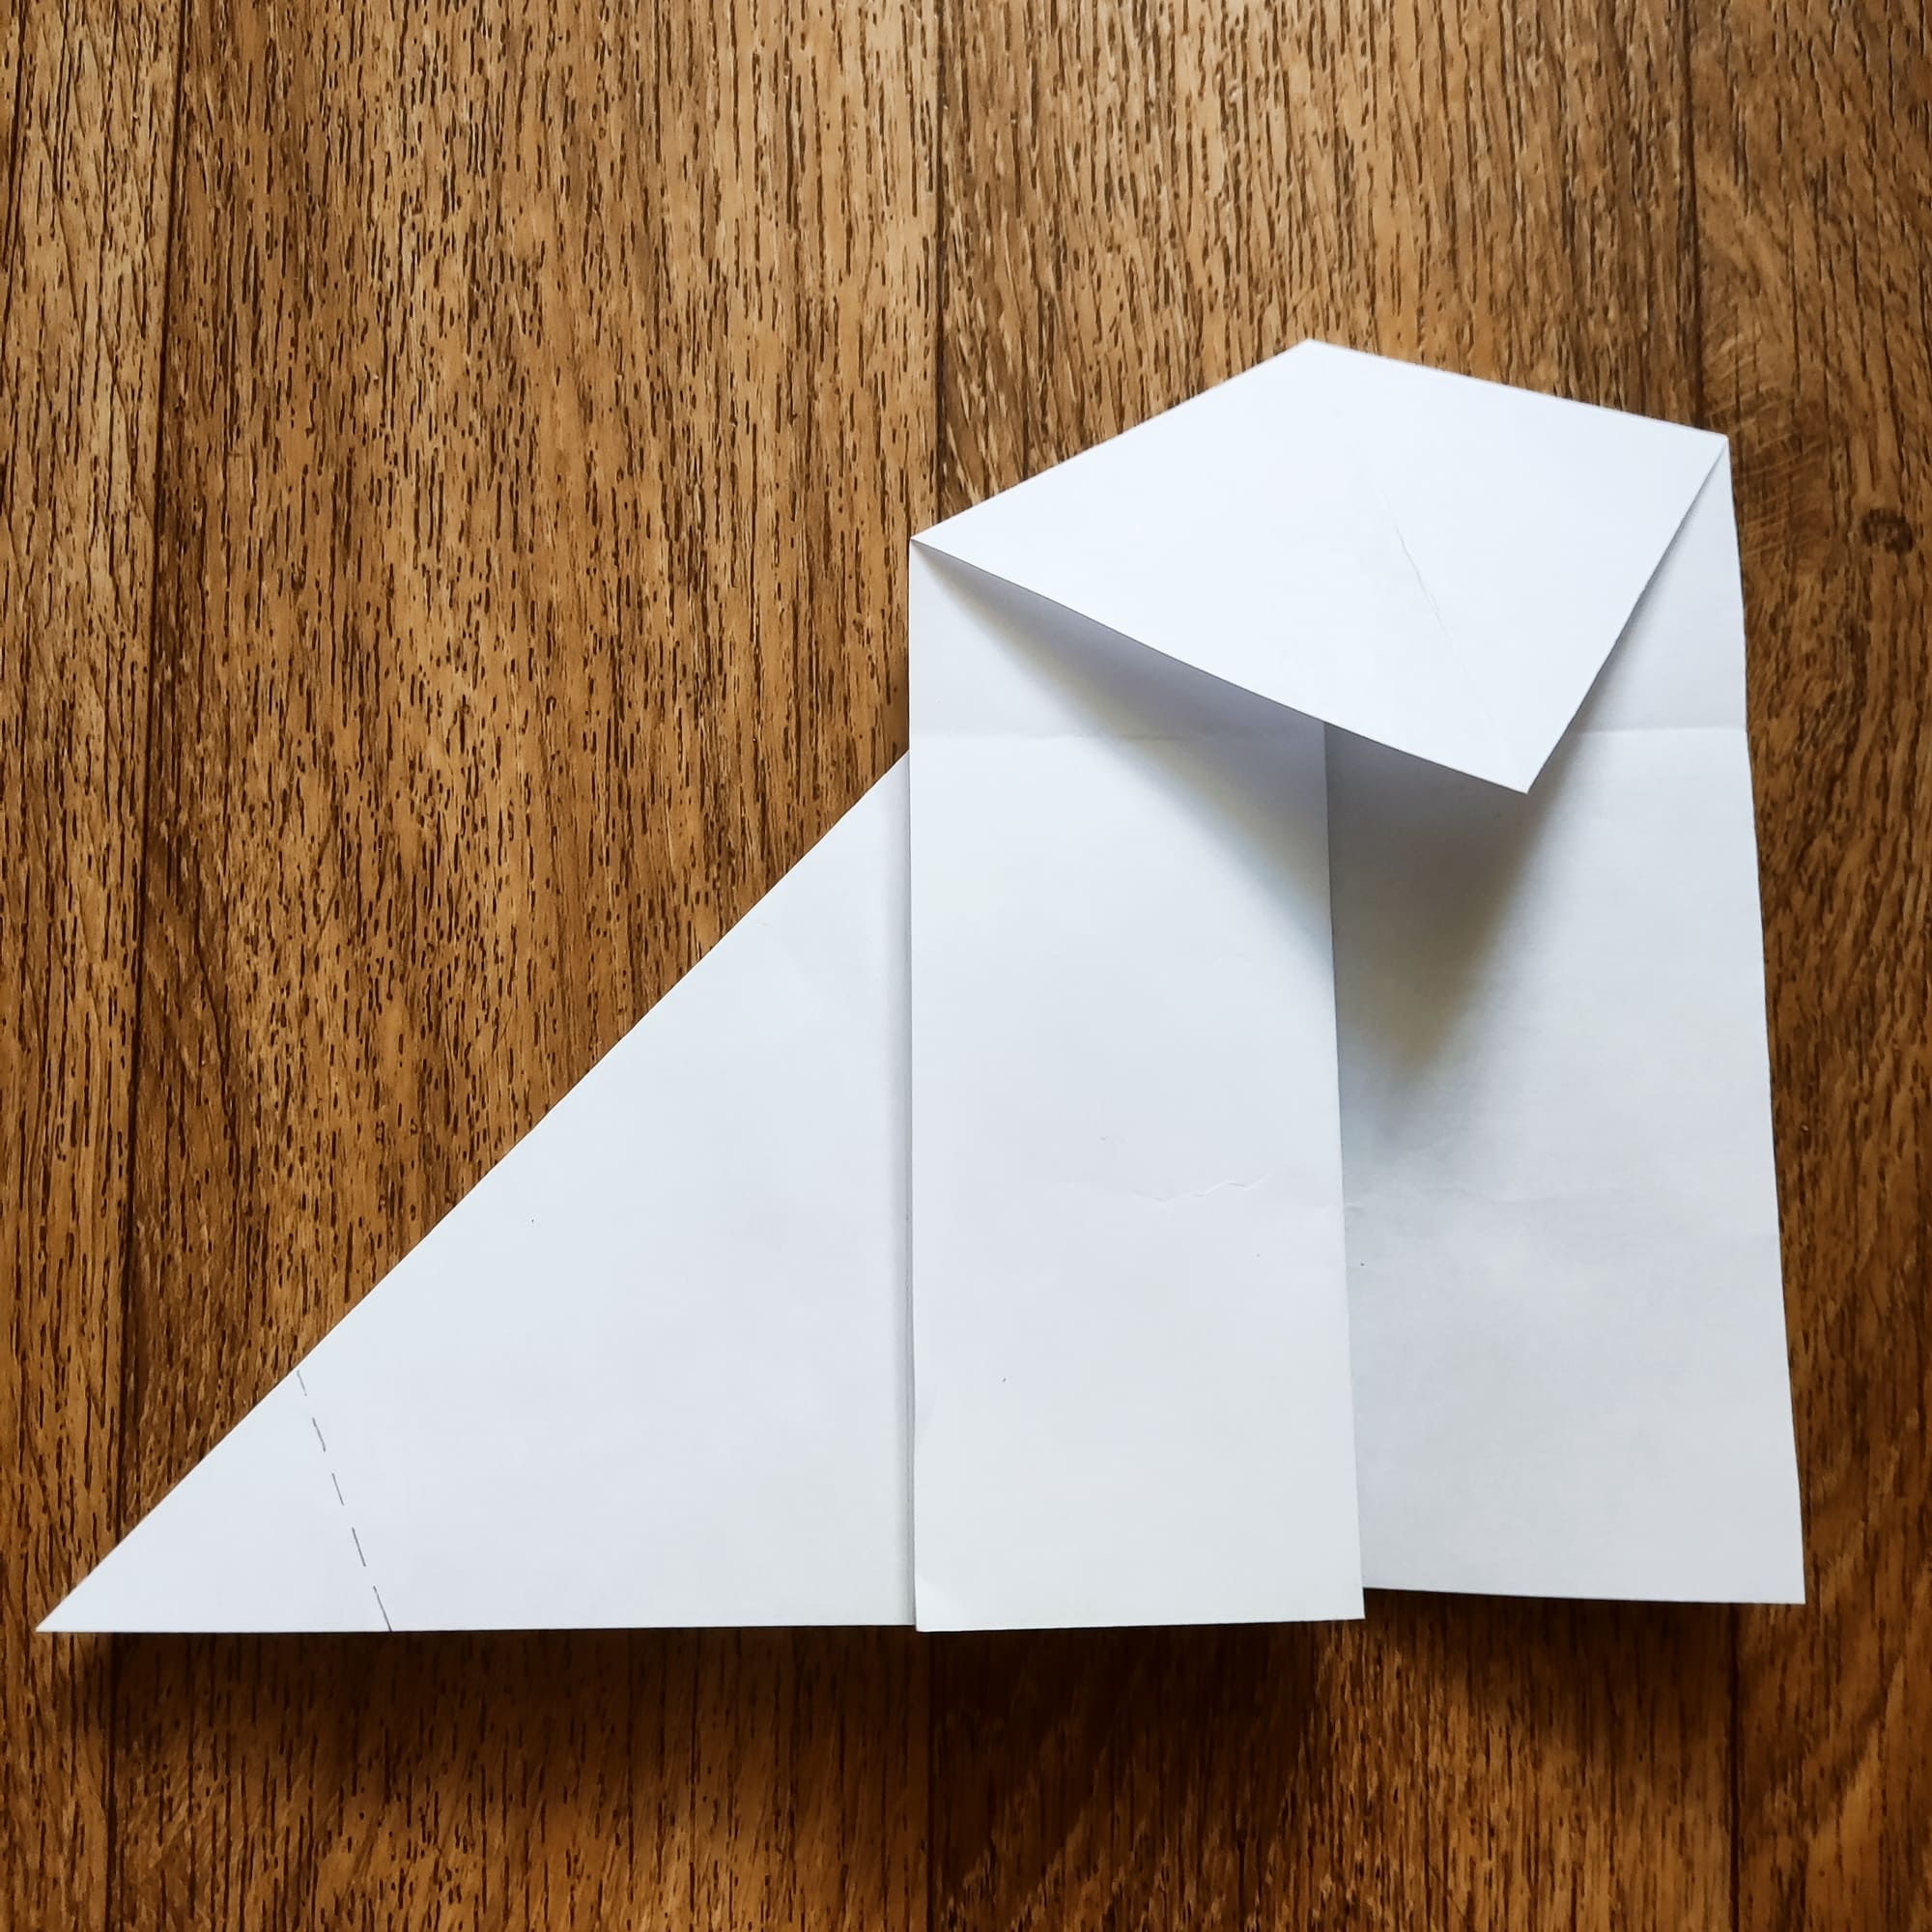
Make a fold in the left corner and straighten it out.
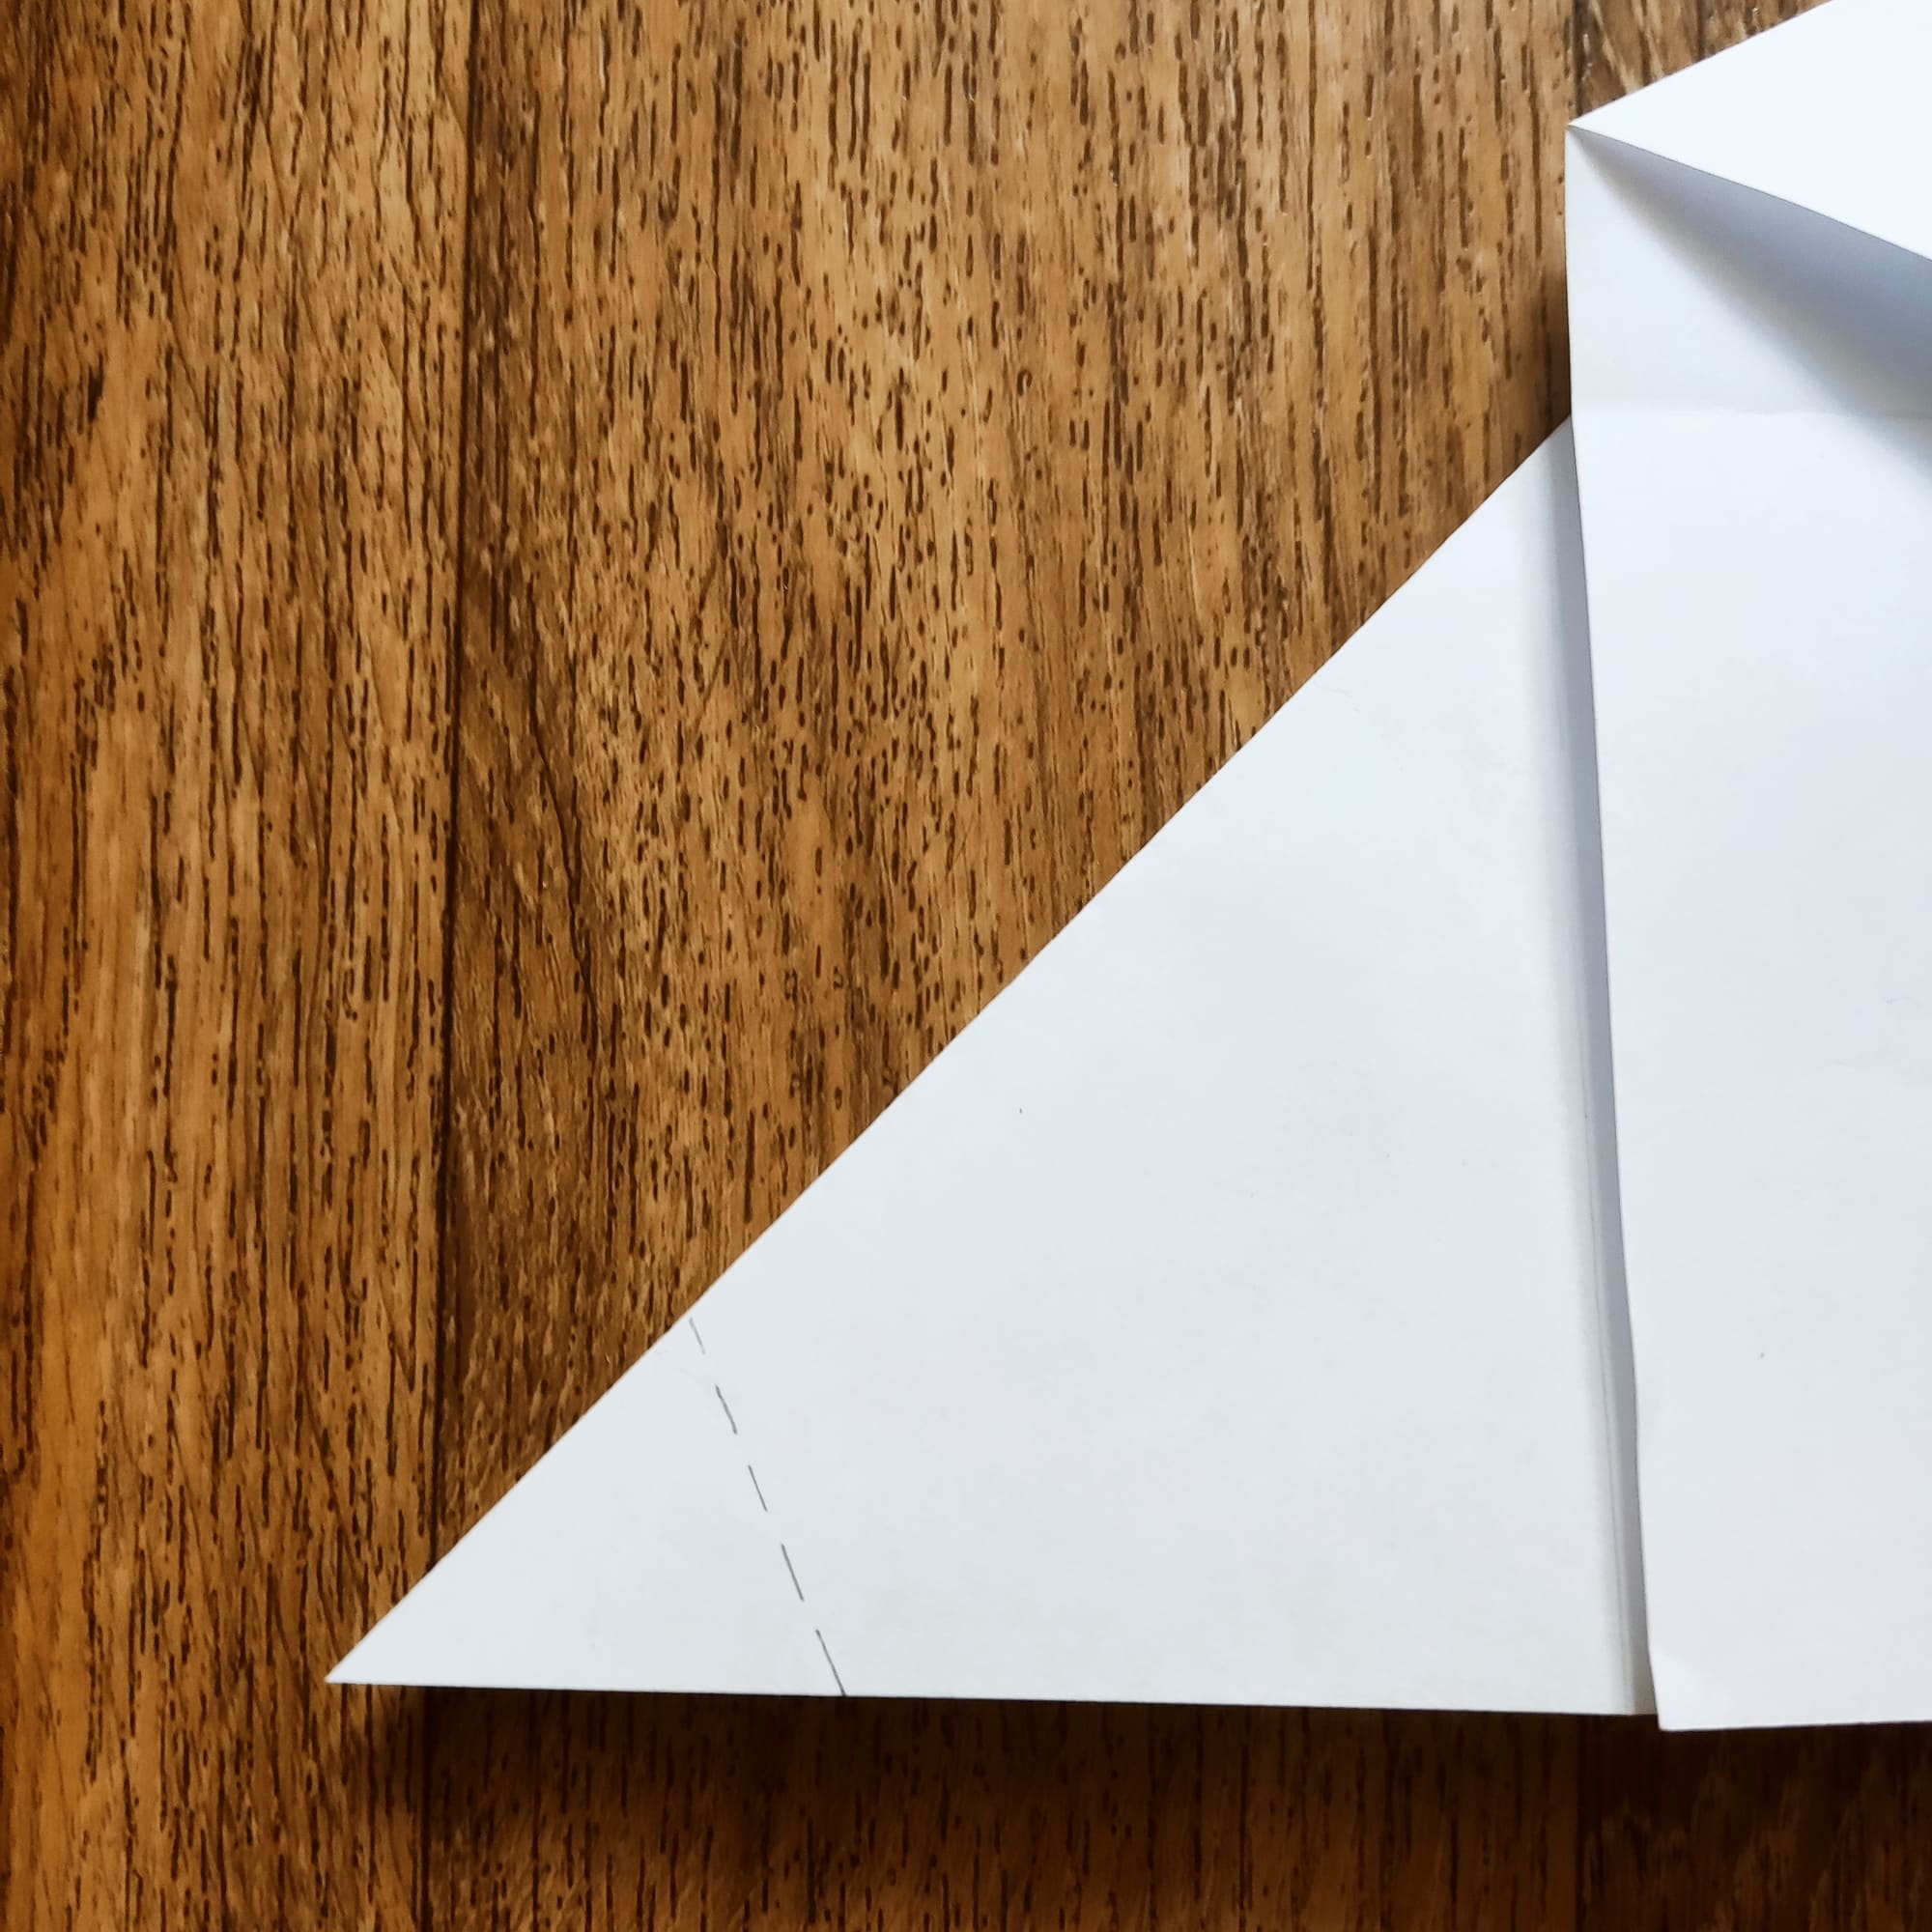
Follow the dotted line, shown in the photo.

Fold the left corner inward along the line.
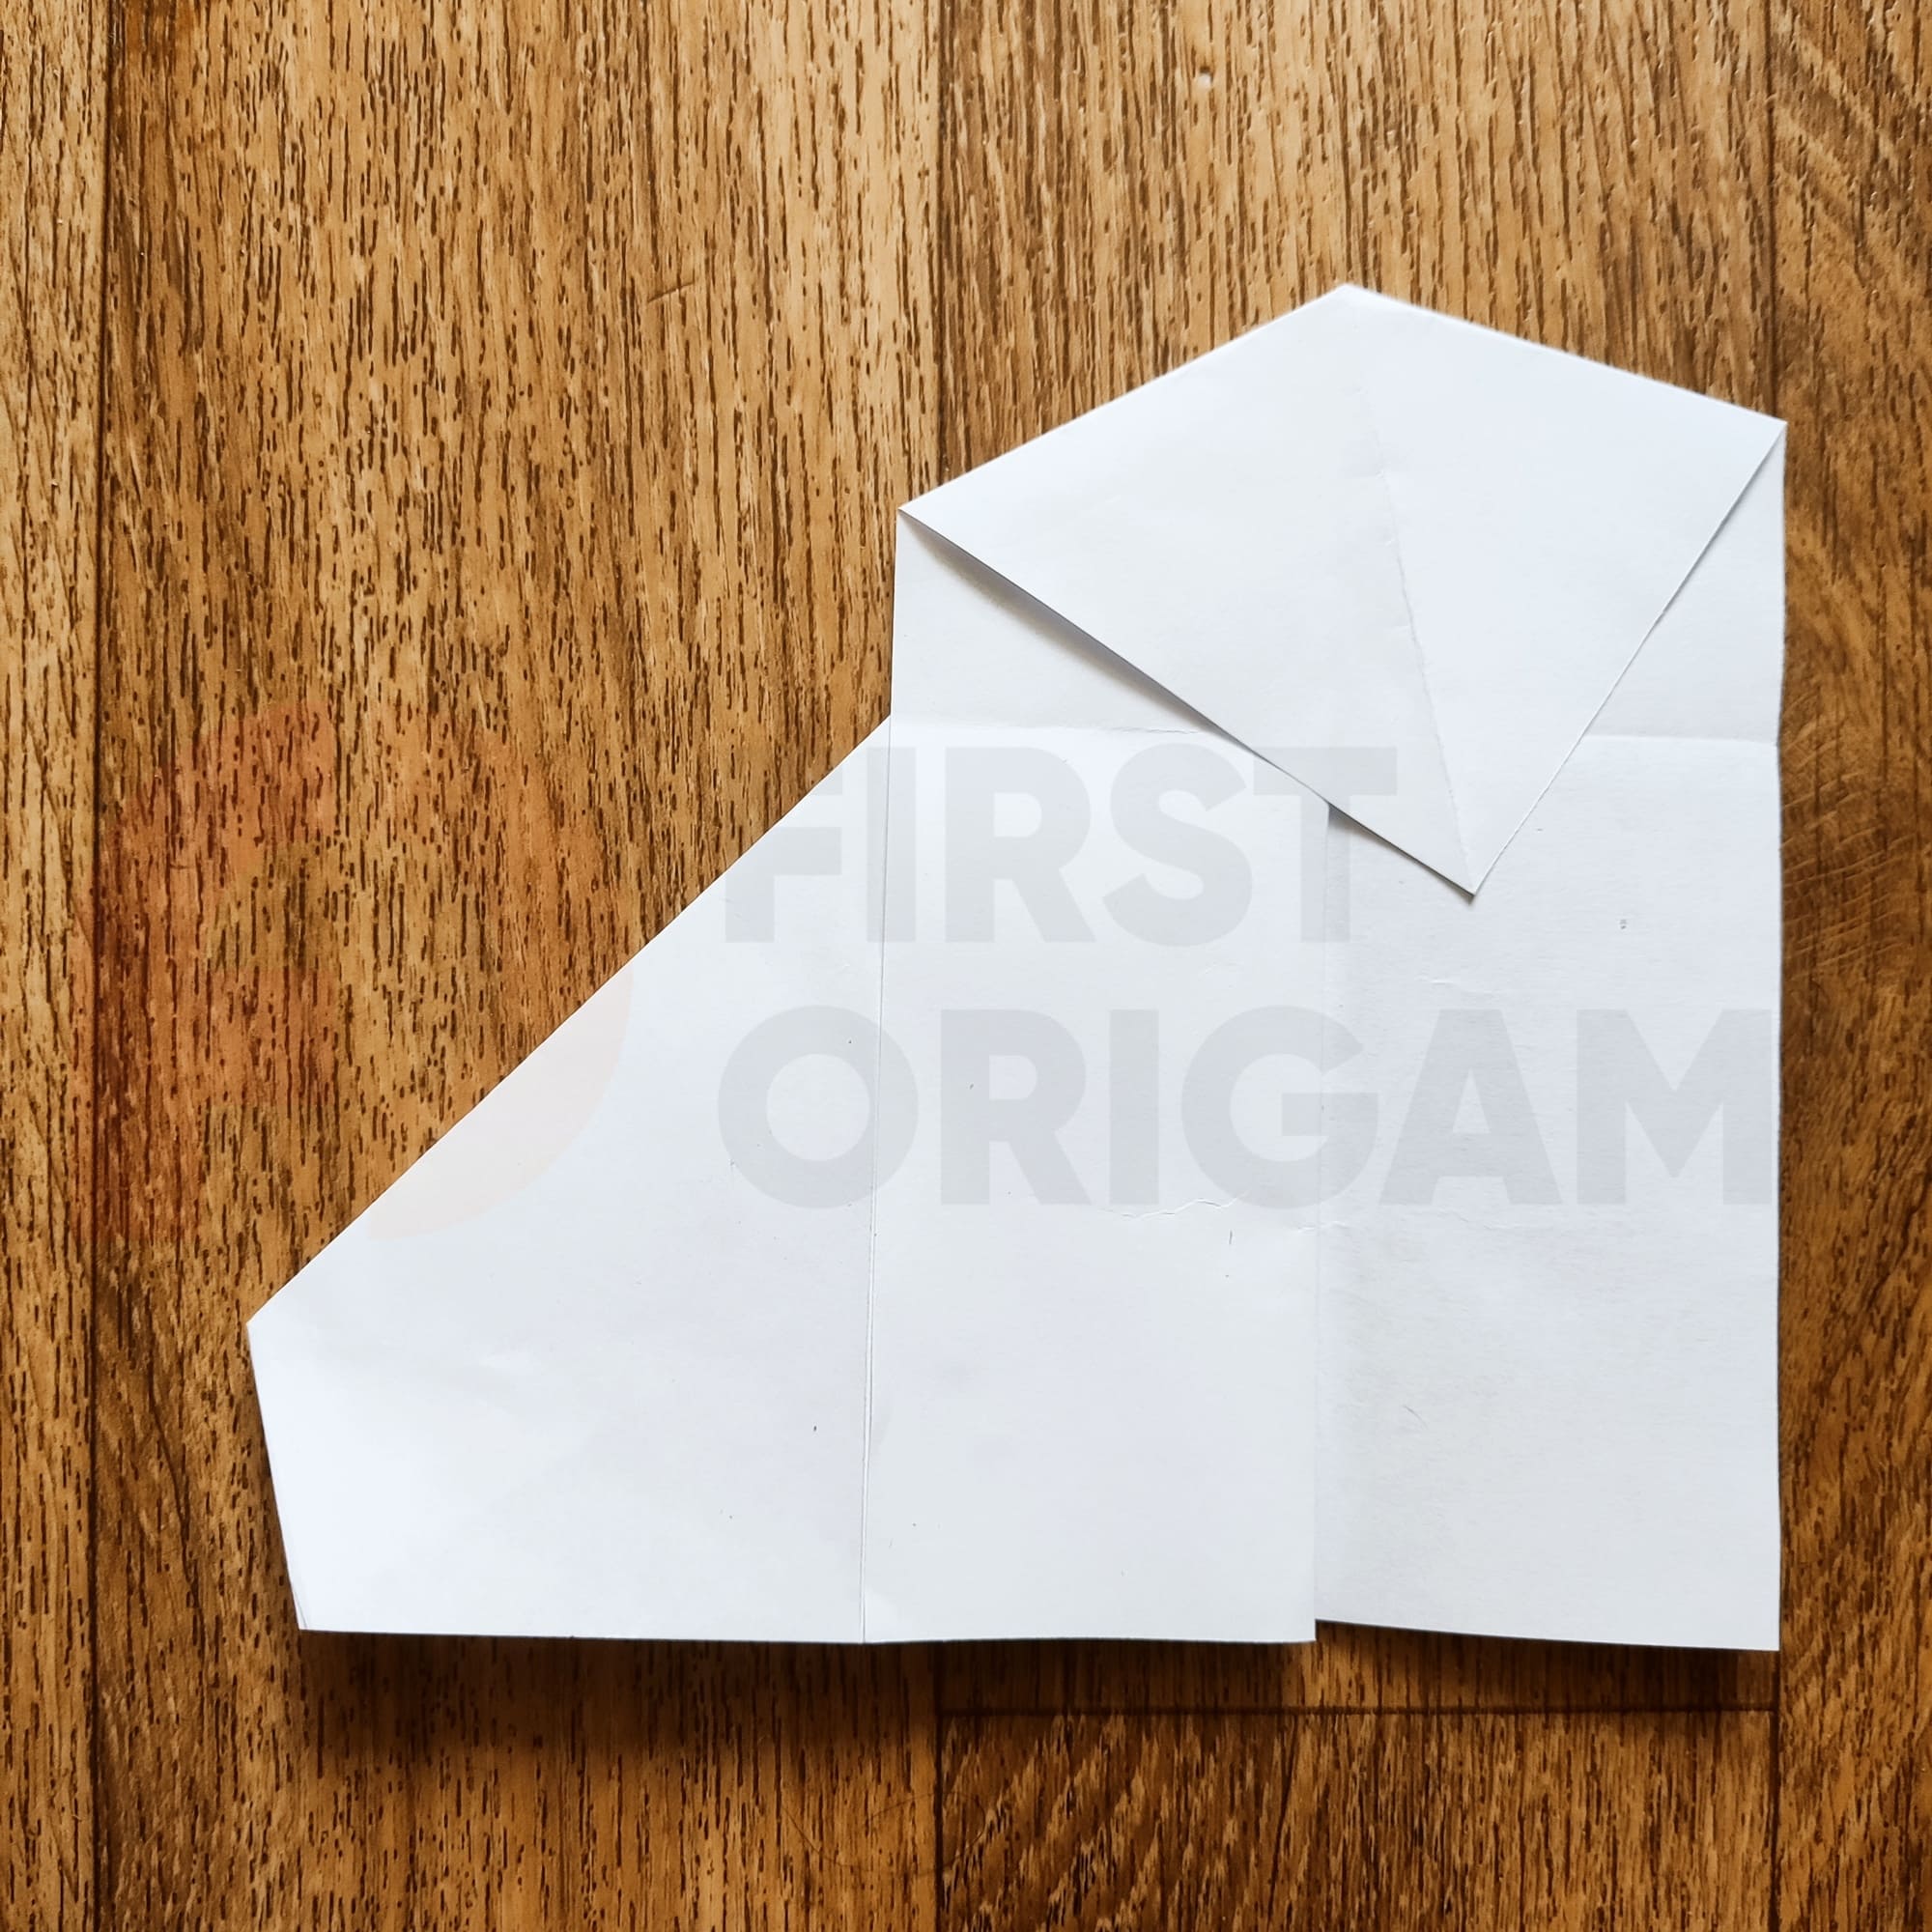
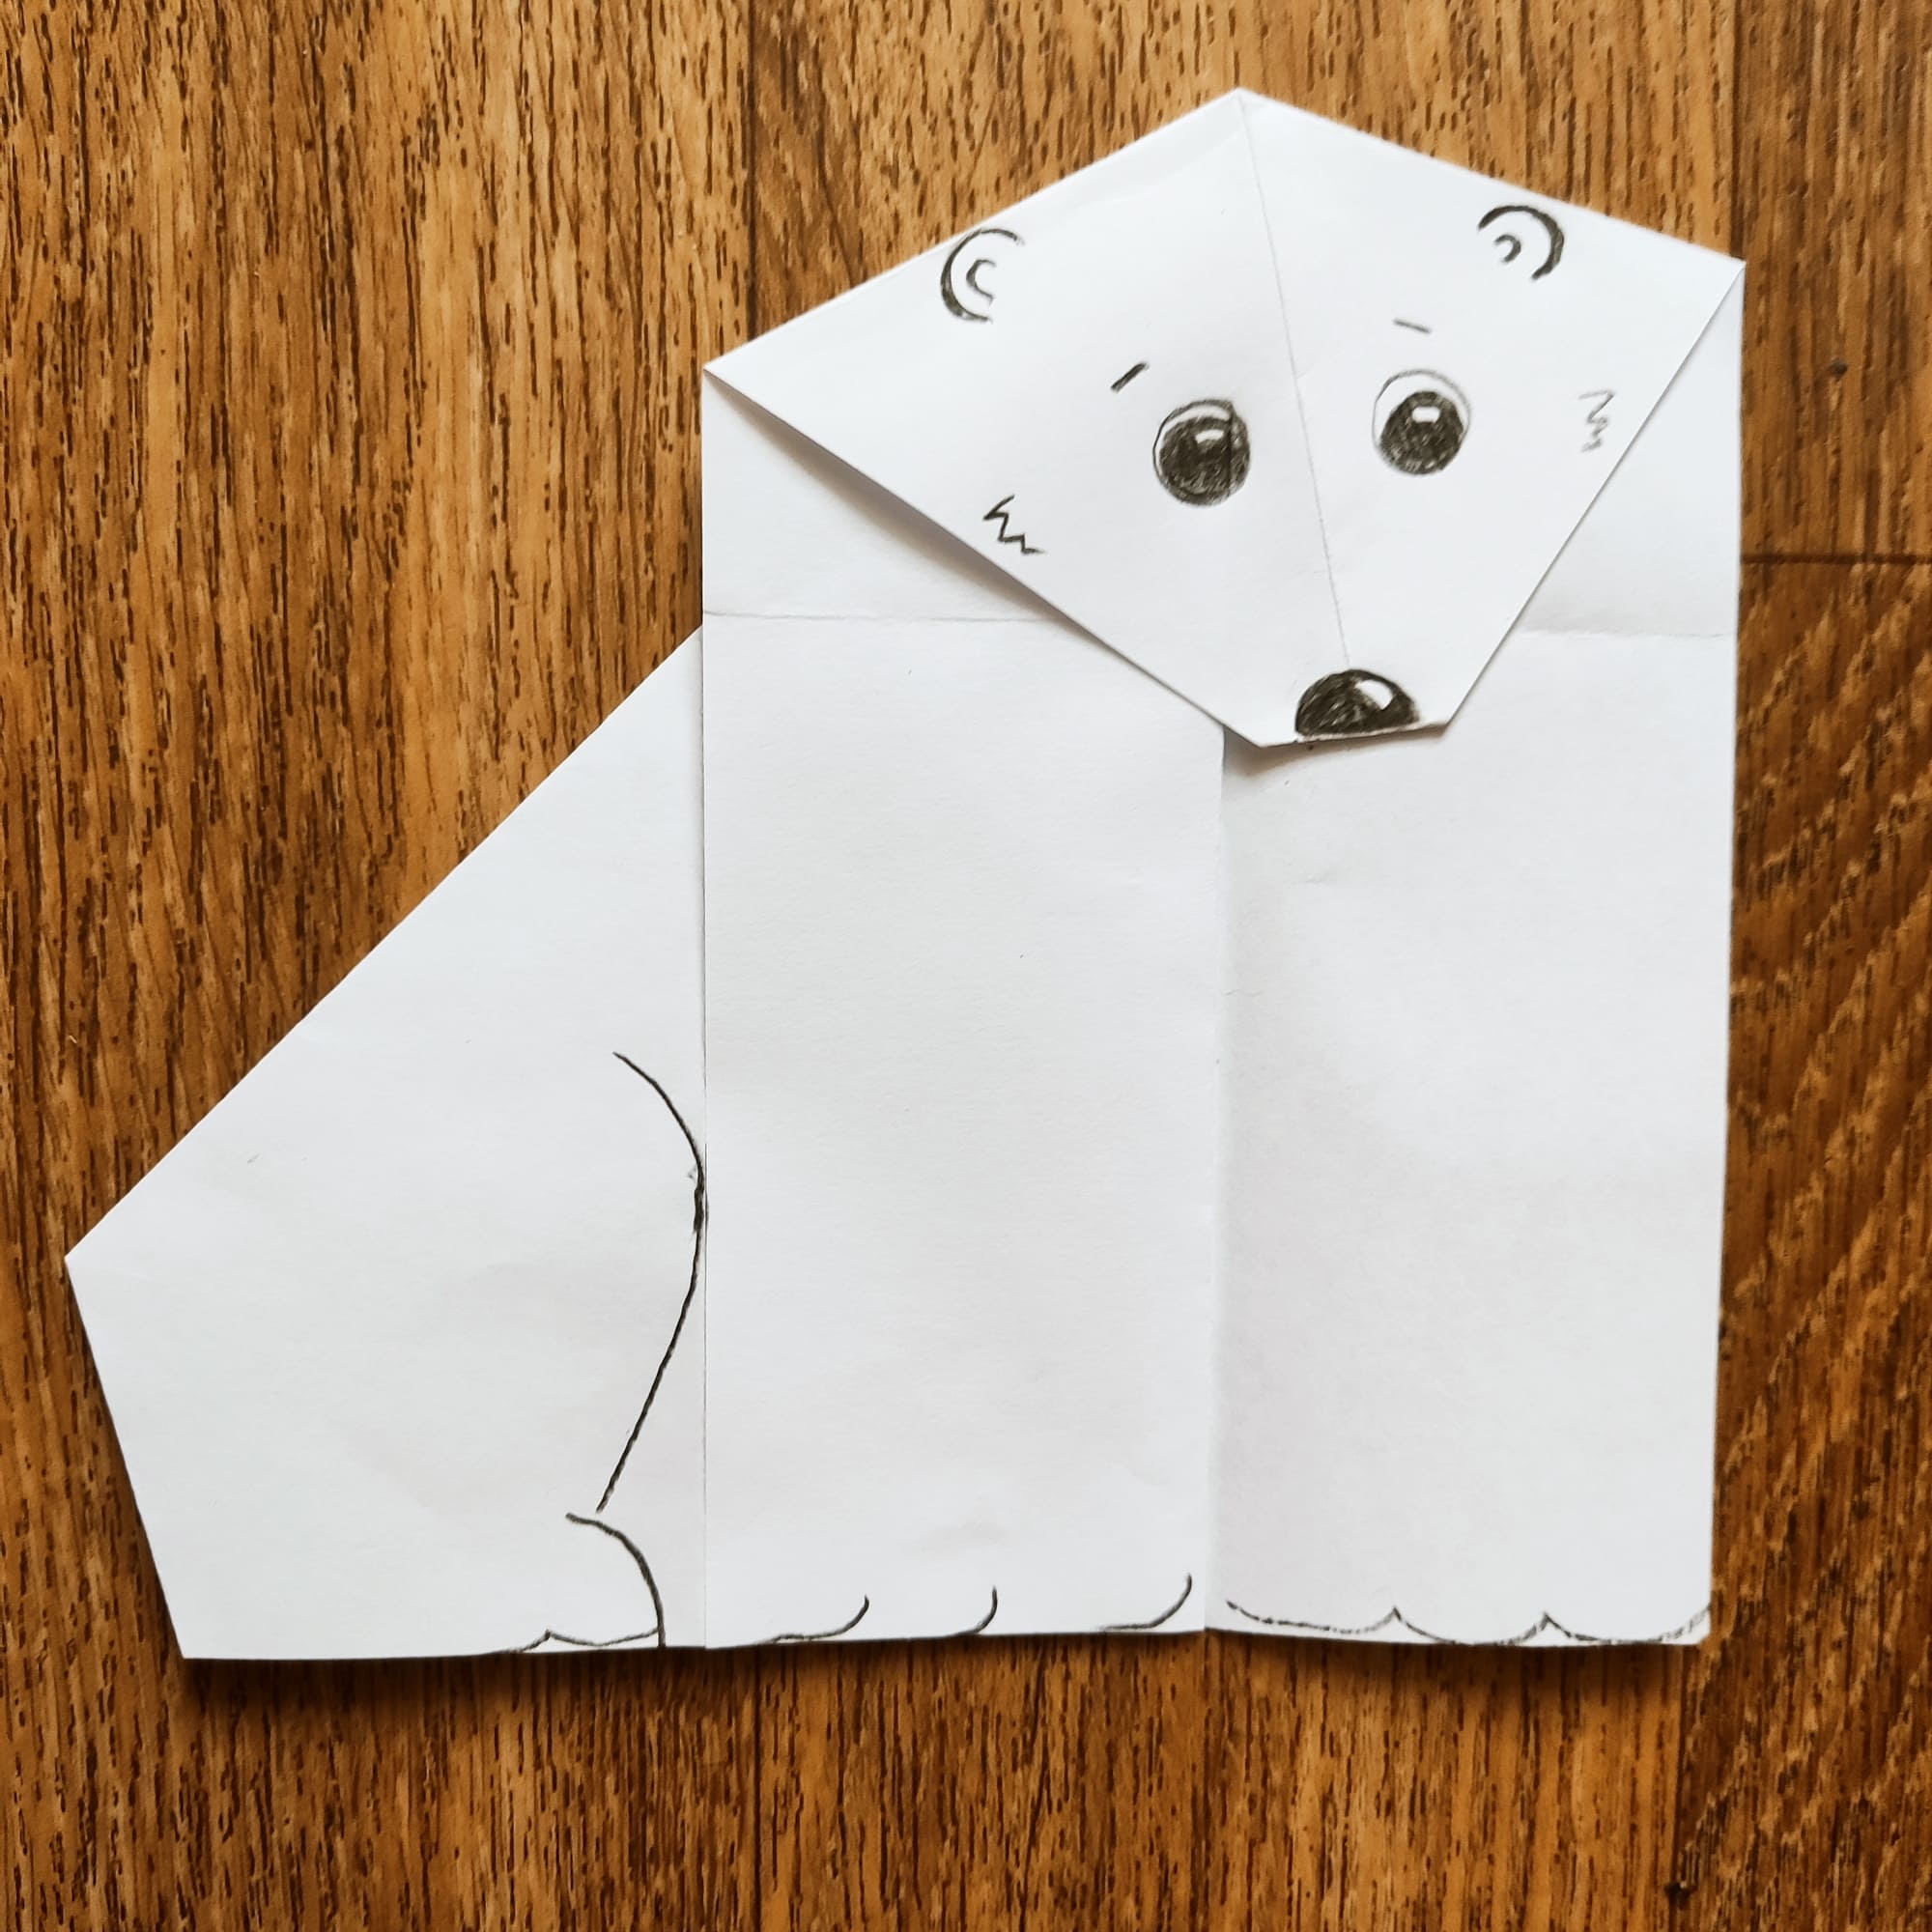
You should get a figure of the bear with a “hidden” tail, just like in the picture below.
Draw the polar bear’s face and eyes.
Note that the figure of the bear can be interpreted in different ways. Draw the animal’s face on the bottom left or the top right. Sometimes it is important not to think one-sidedly, but to be ready for discoveries and accomplishments.
Post photos of your crafts. Share new ideas in the comments. Have fun and exciting work!


