Origami Professional Airplane
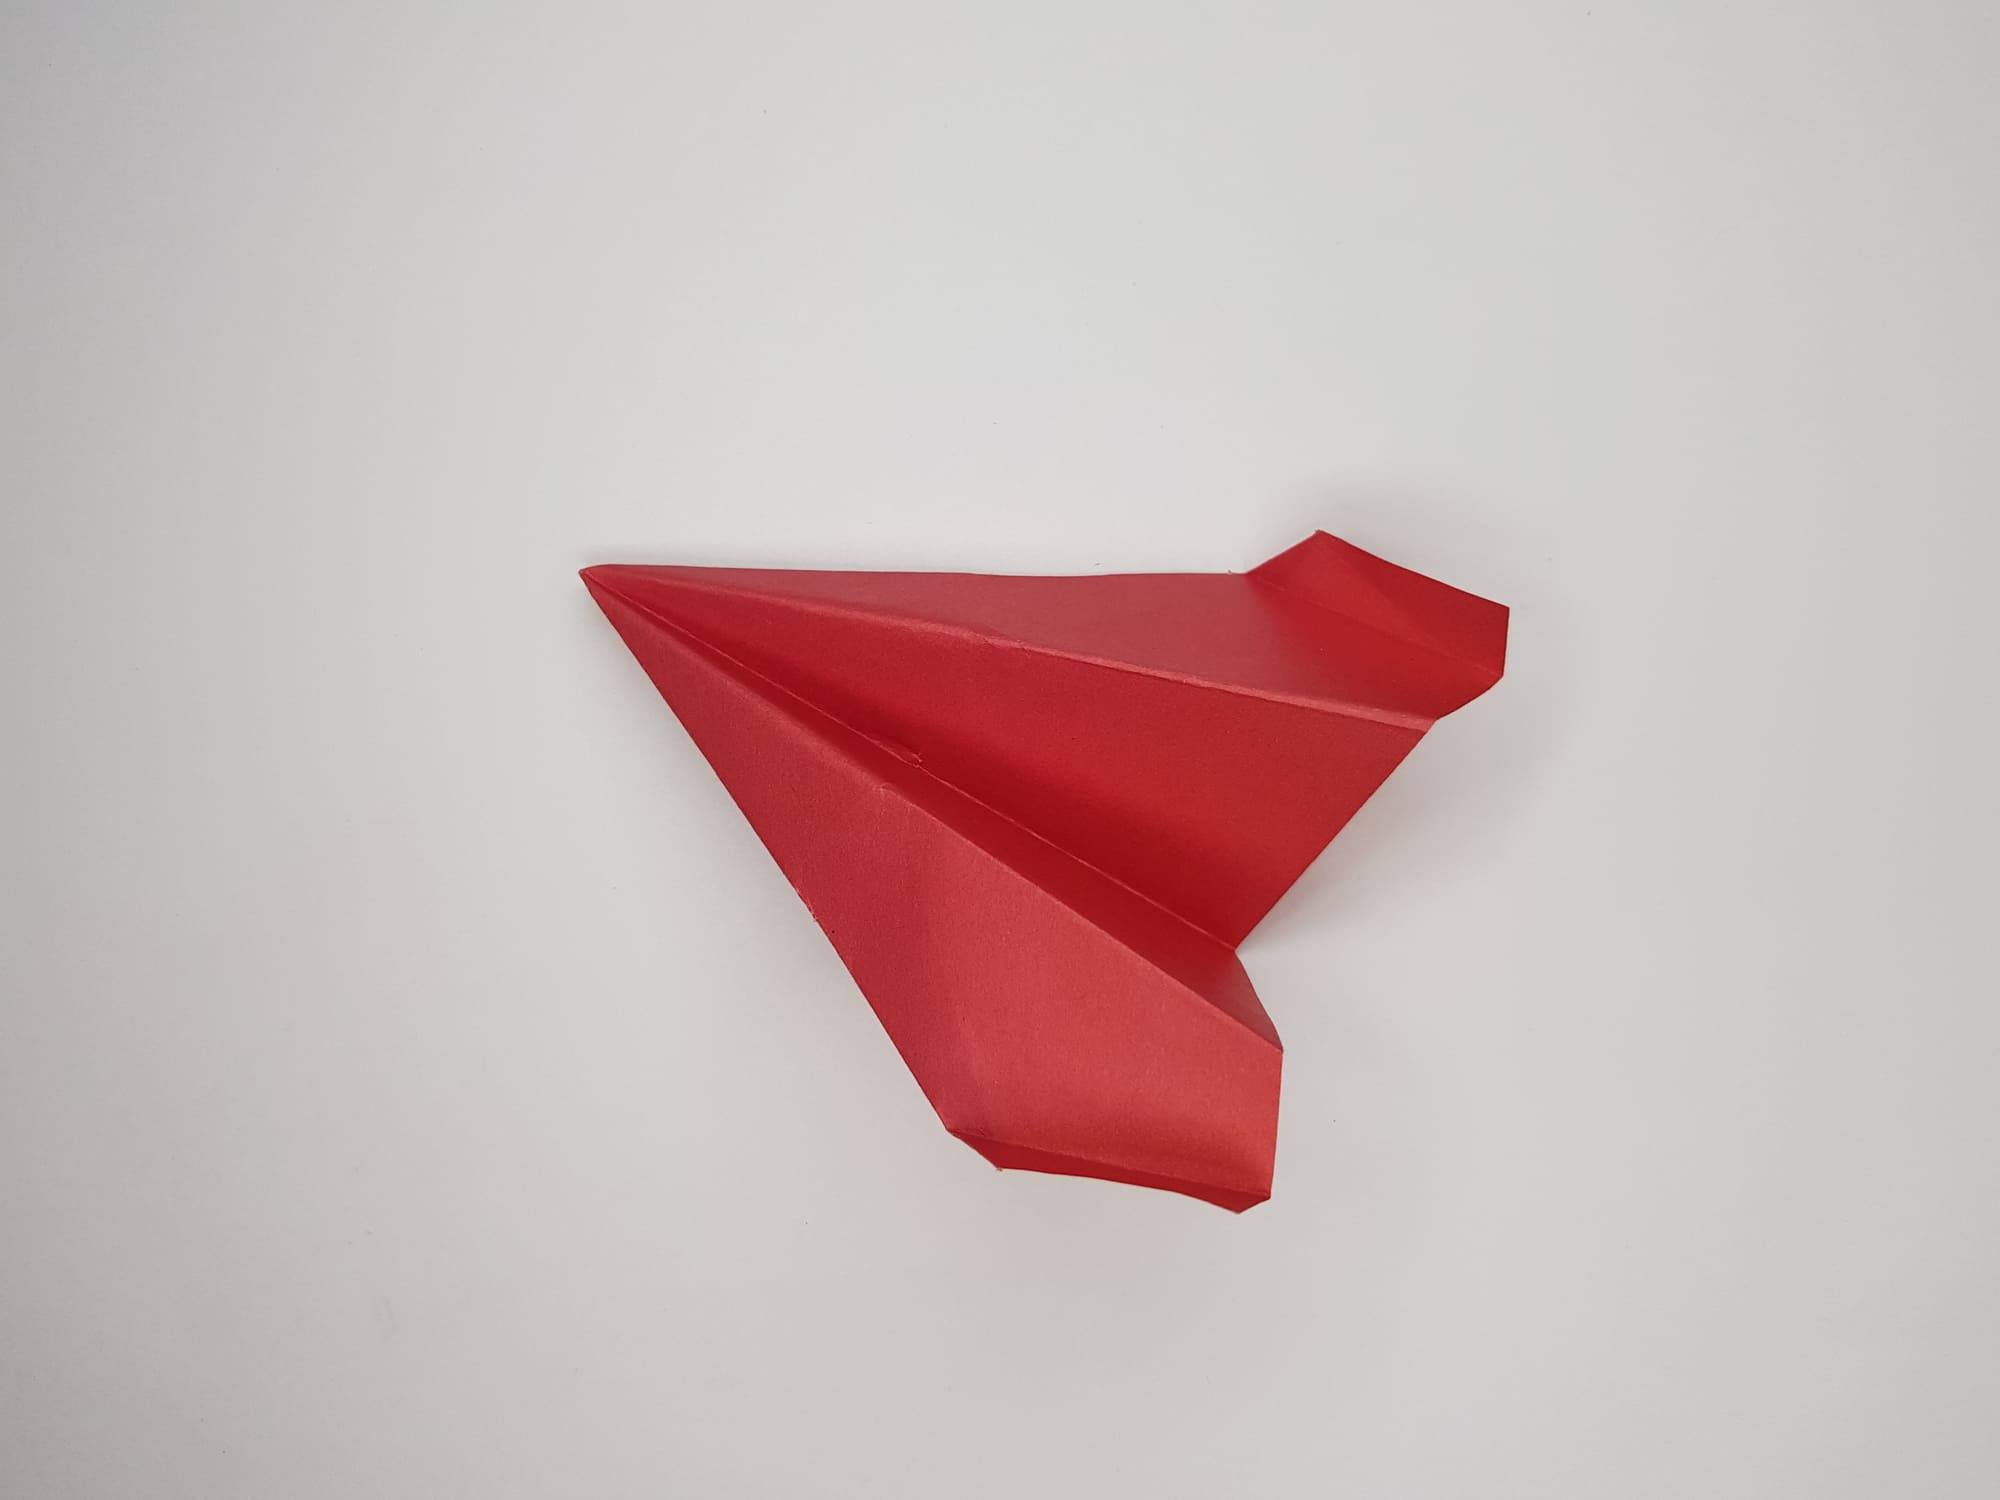
This little aircraft is a true professional. It flies well, picks up high speed, and makes different movements in the air. It all depends on how you make it and with what force you fly it.
To make such a model out of paper, you do not need to possess special skills. Even a beginner can handle it – just follow our step-by-step instructions.
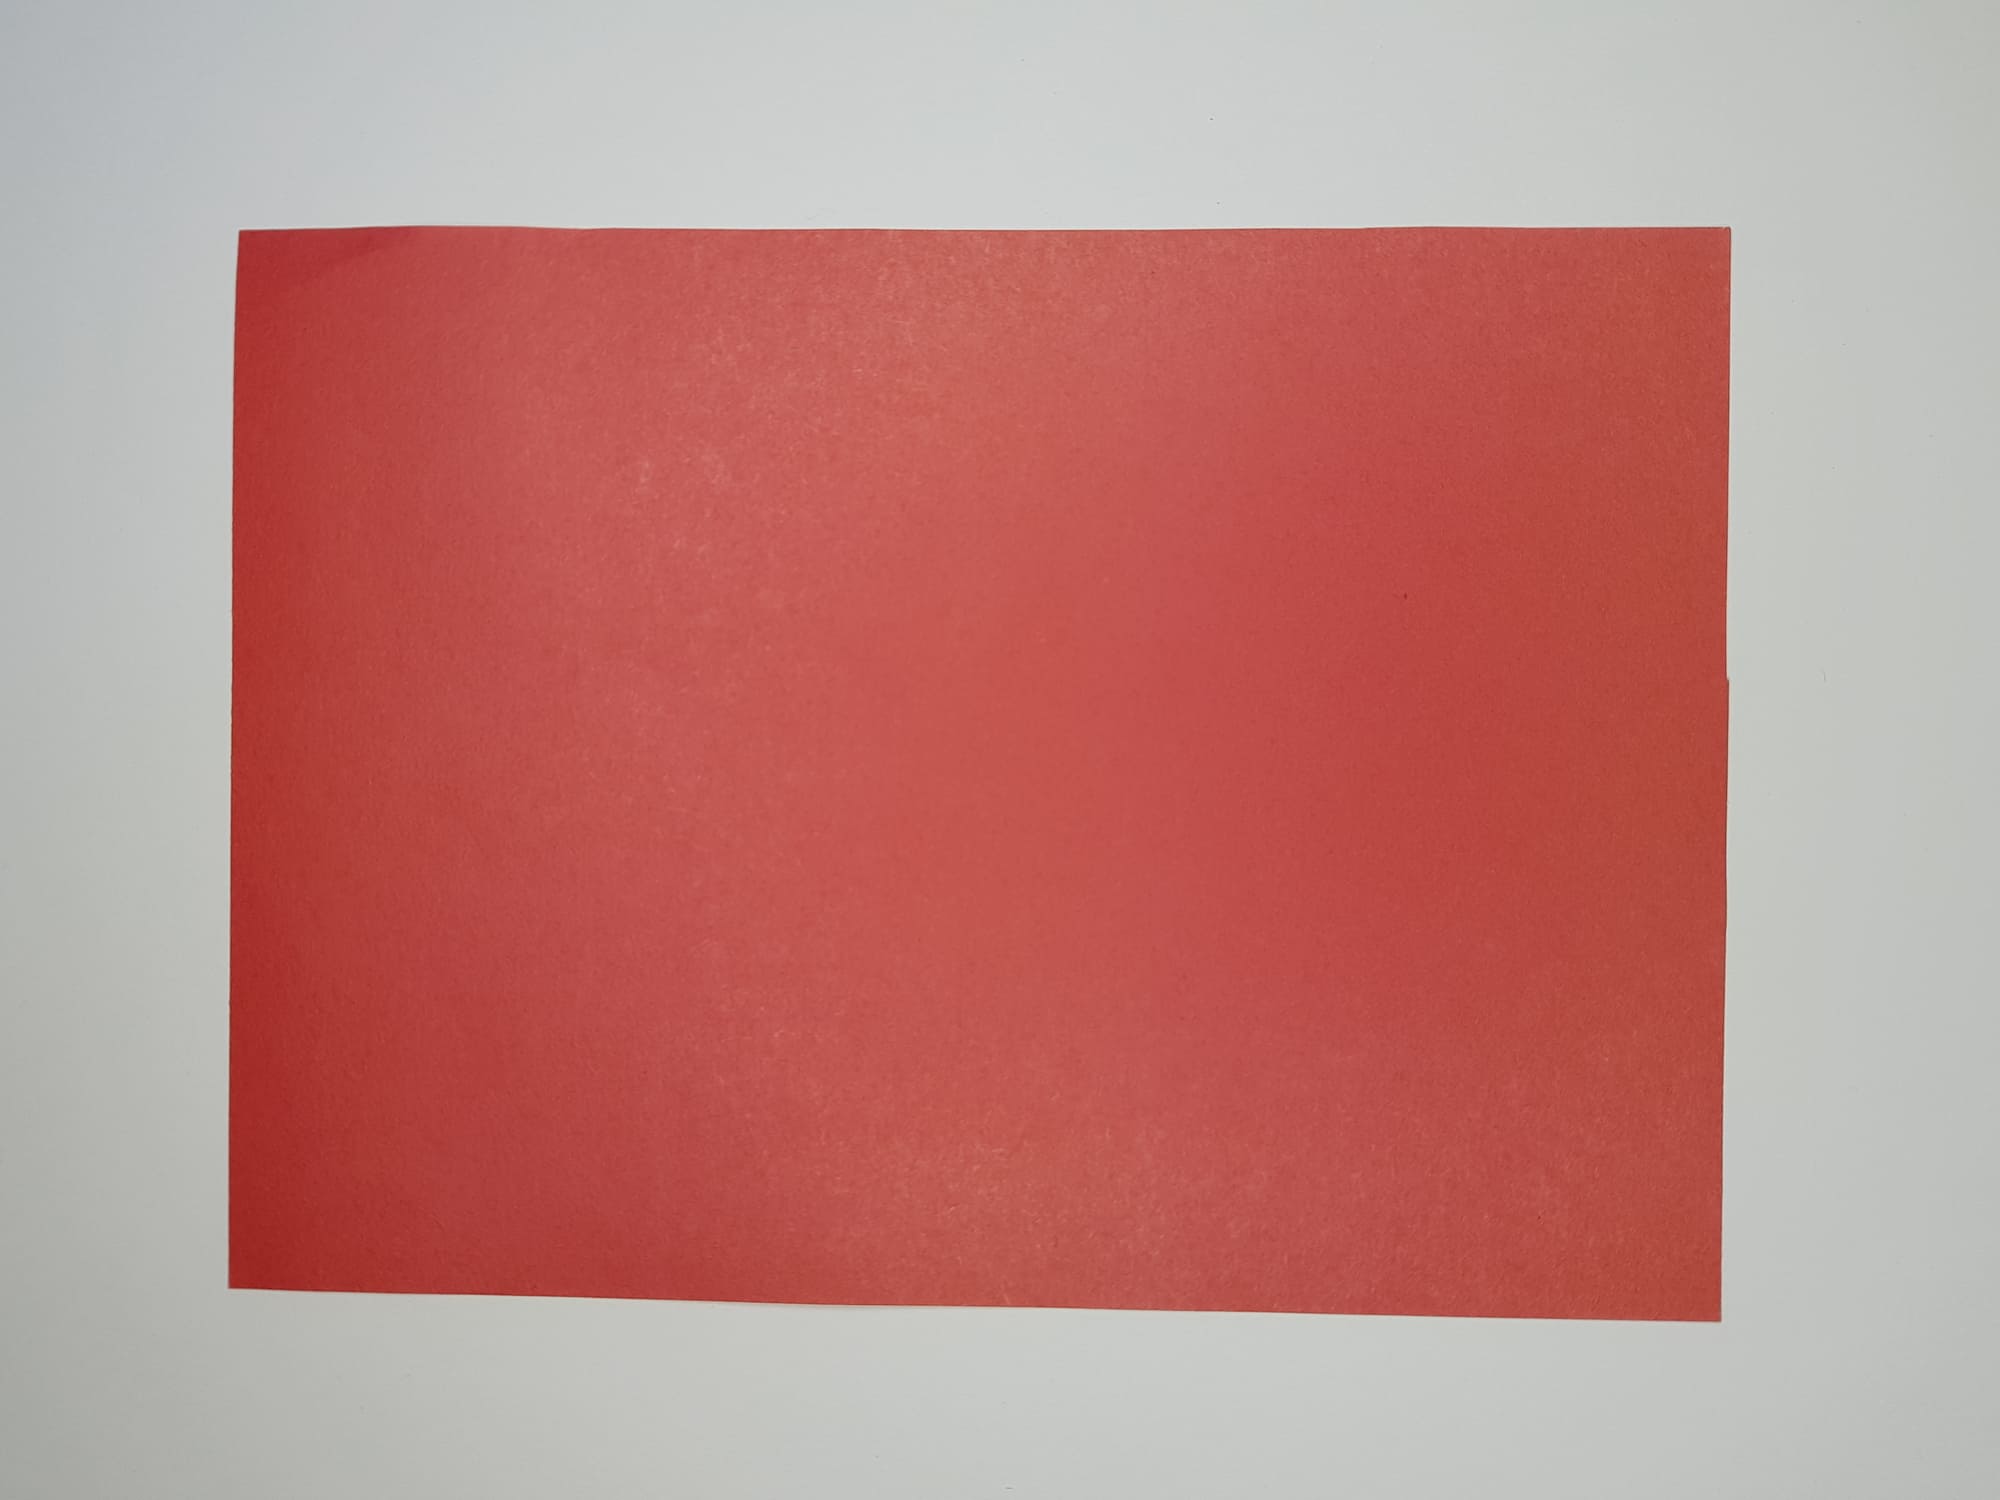
Prepare a sheet measuring 22×28 cm or any other, as long as the approximate aspect ratio is maintained.
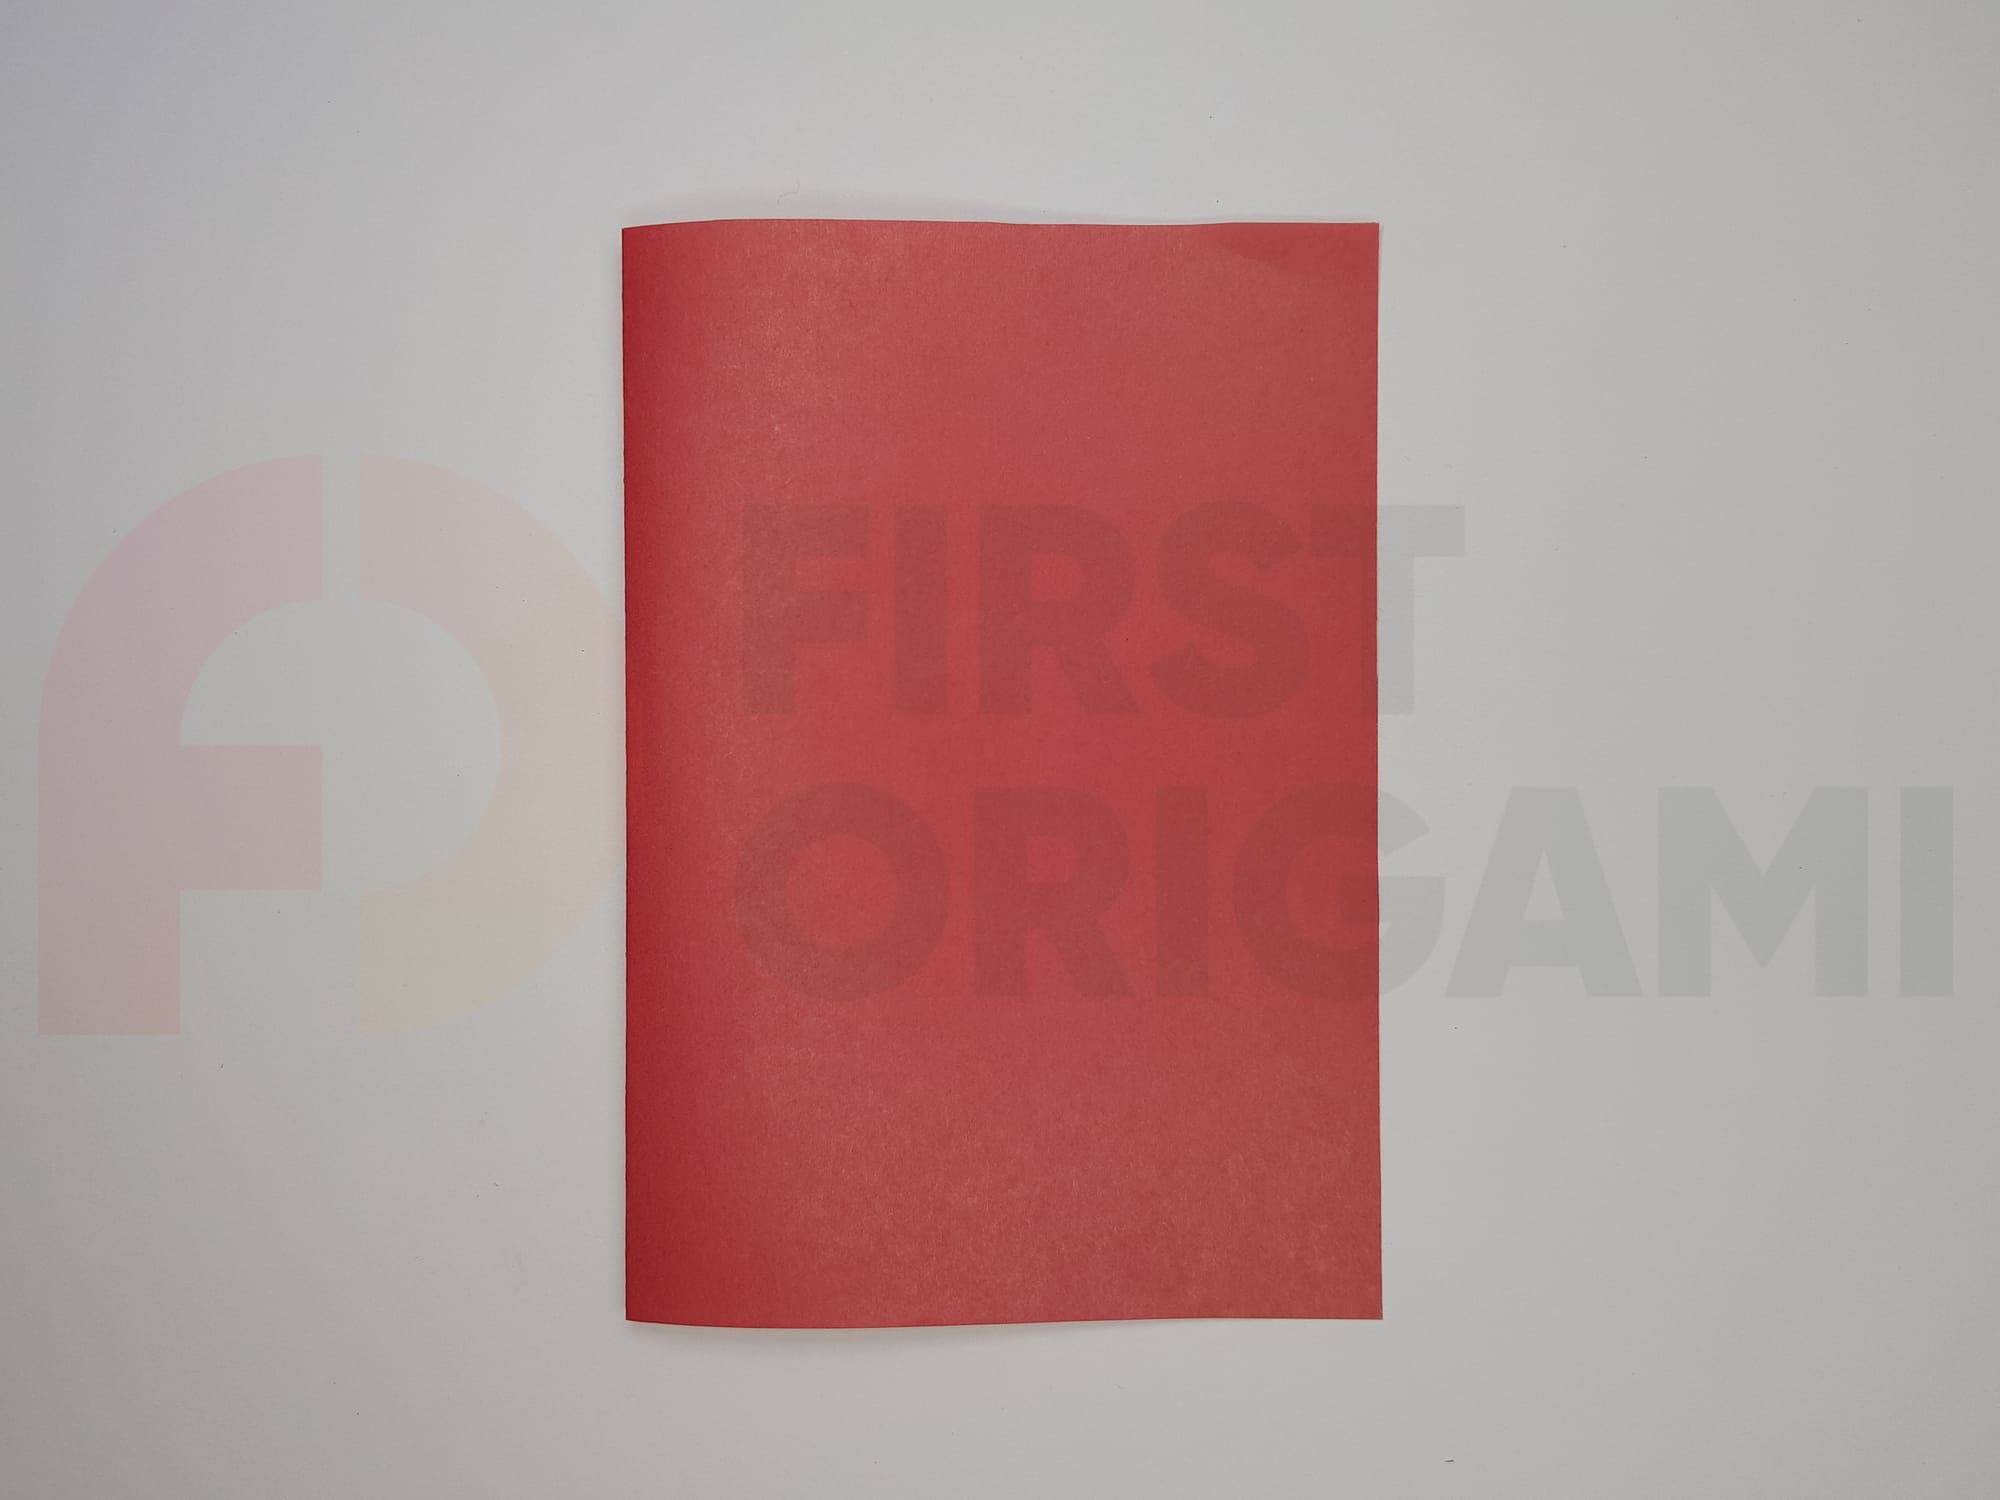
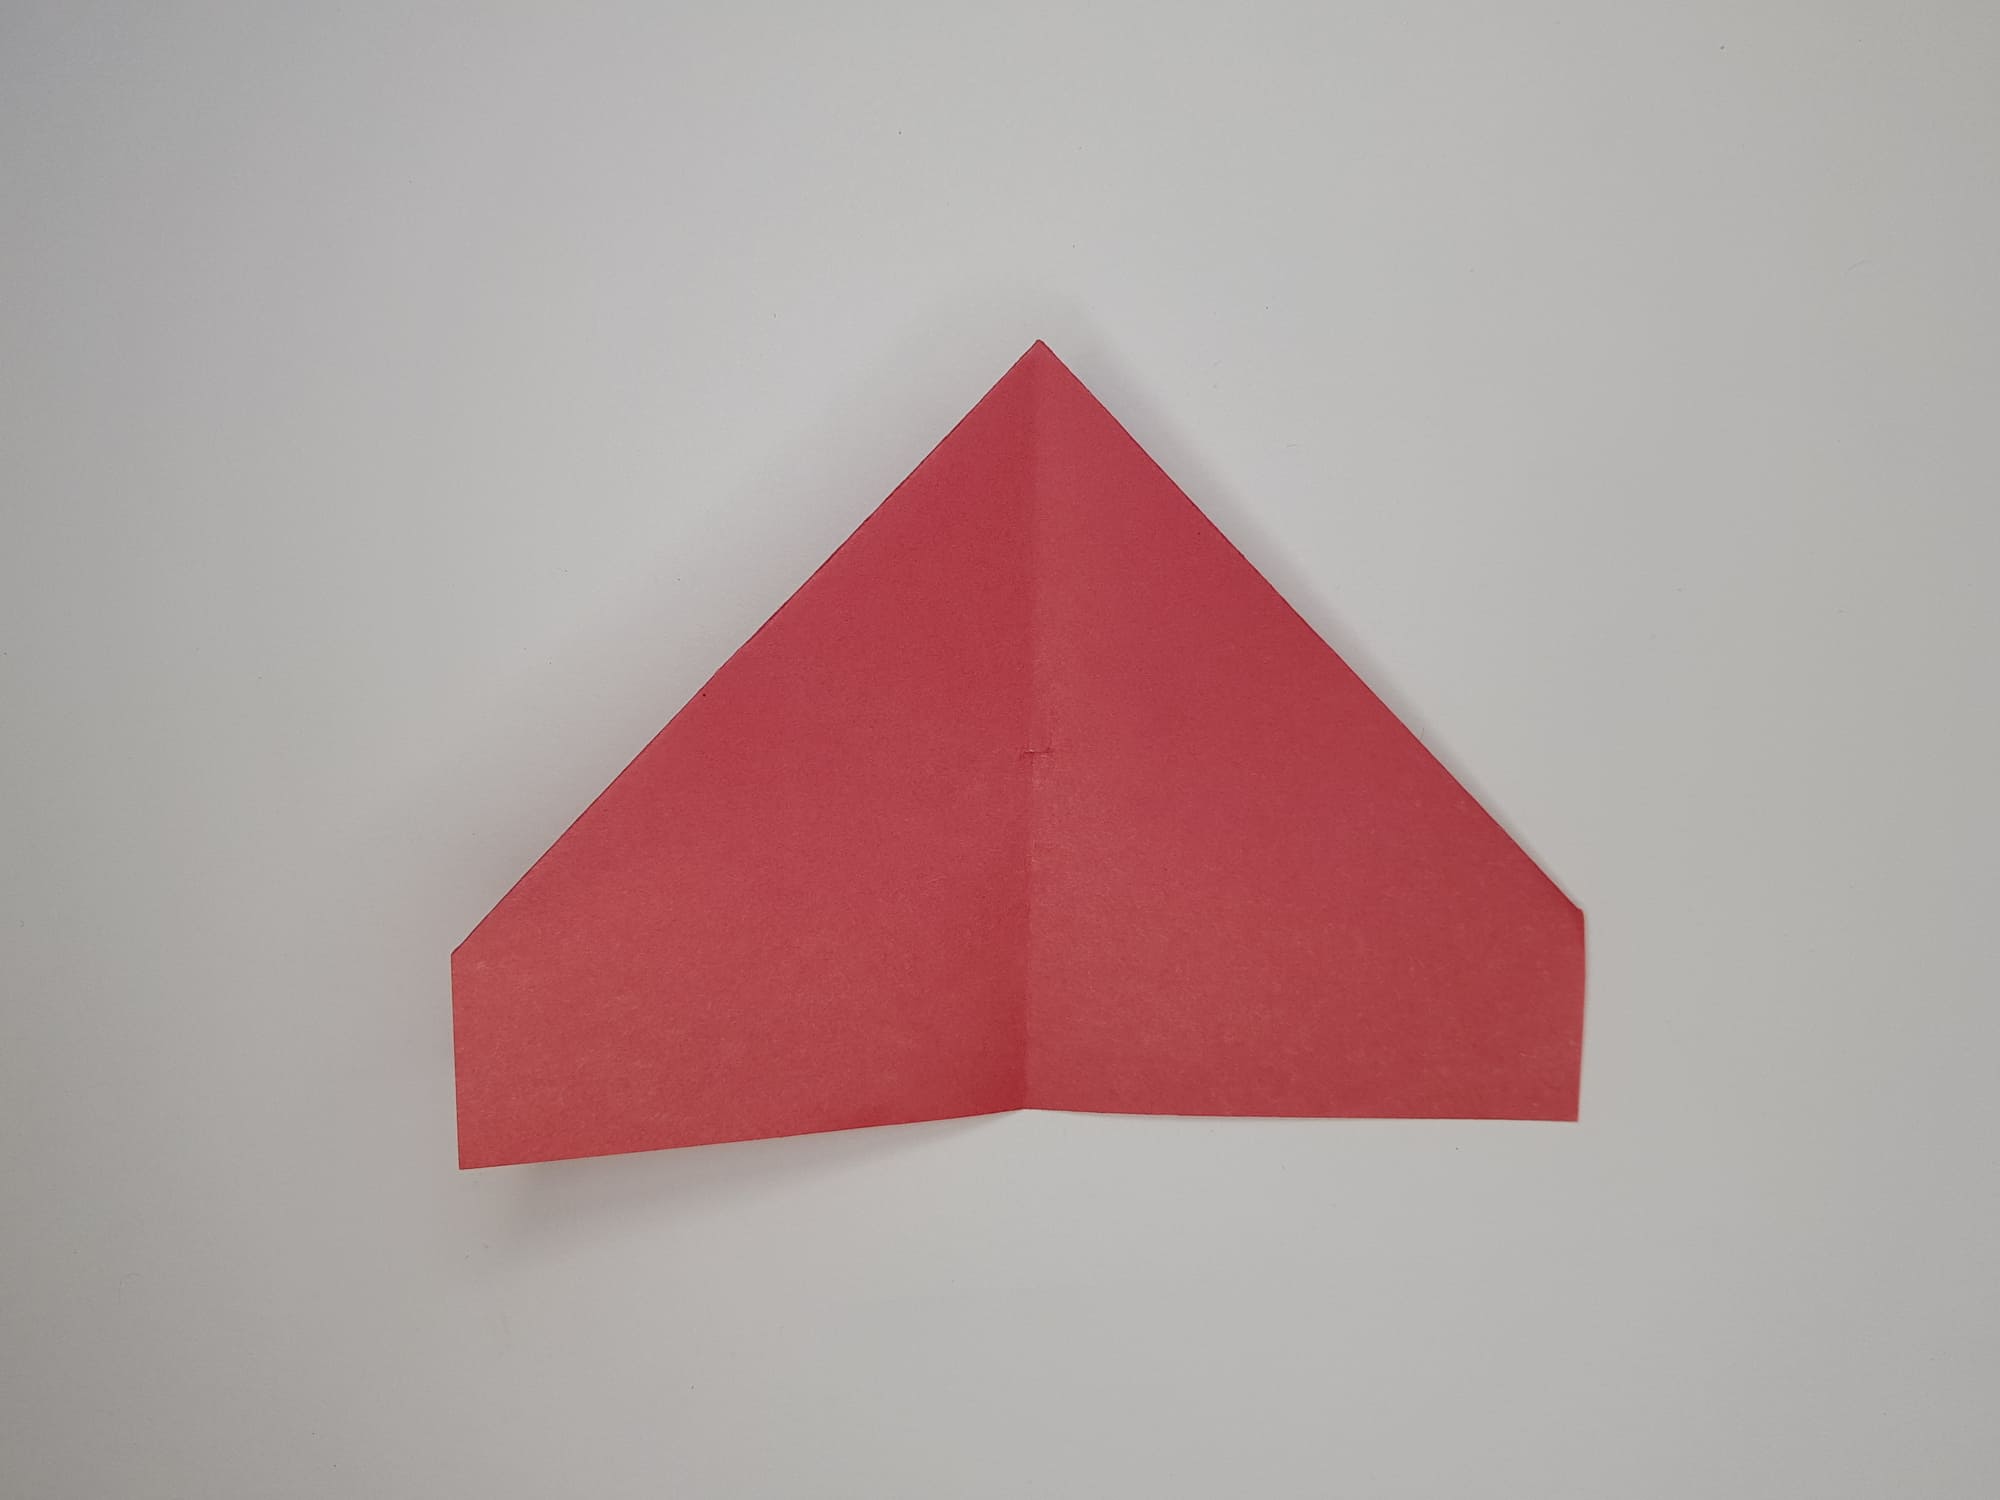
Place it on the table as shown in the photo. Fold in half along the vertical axis.
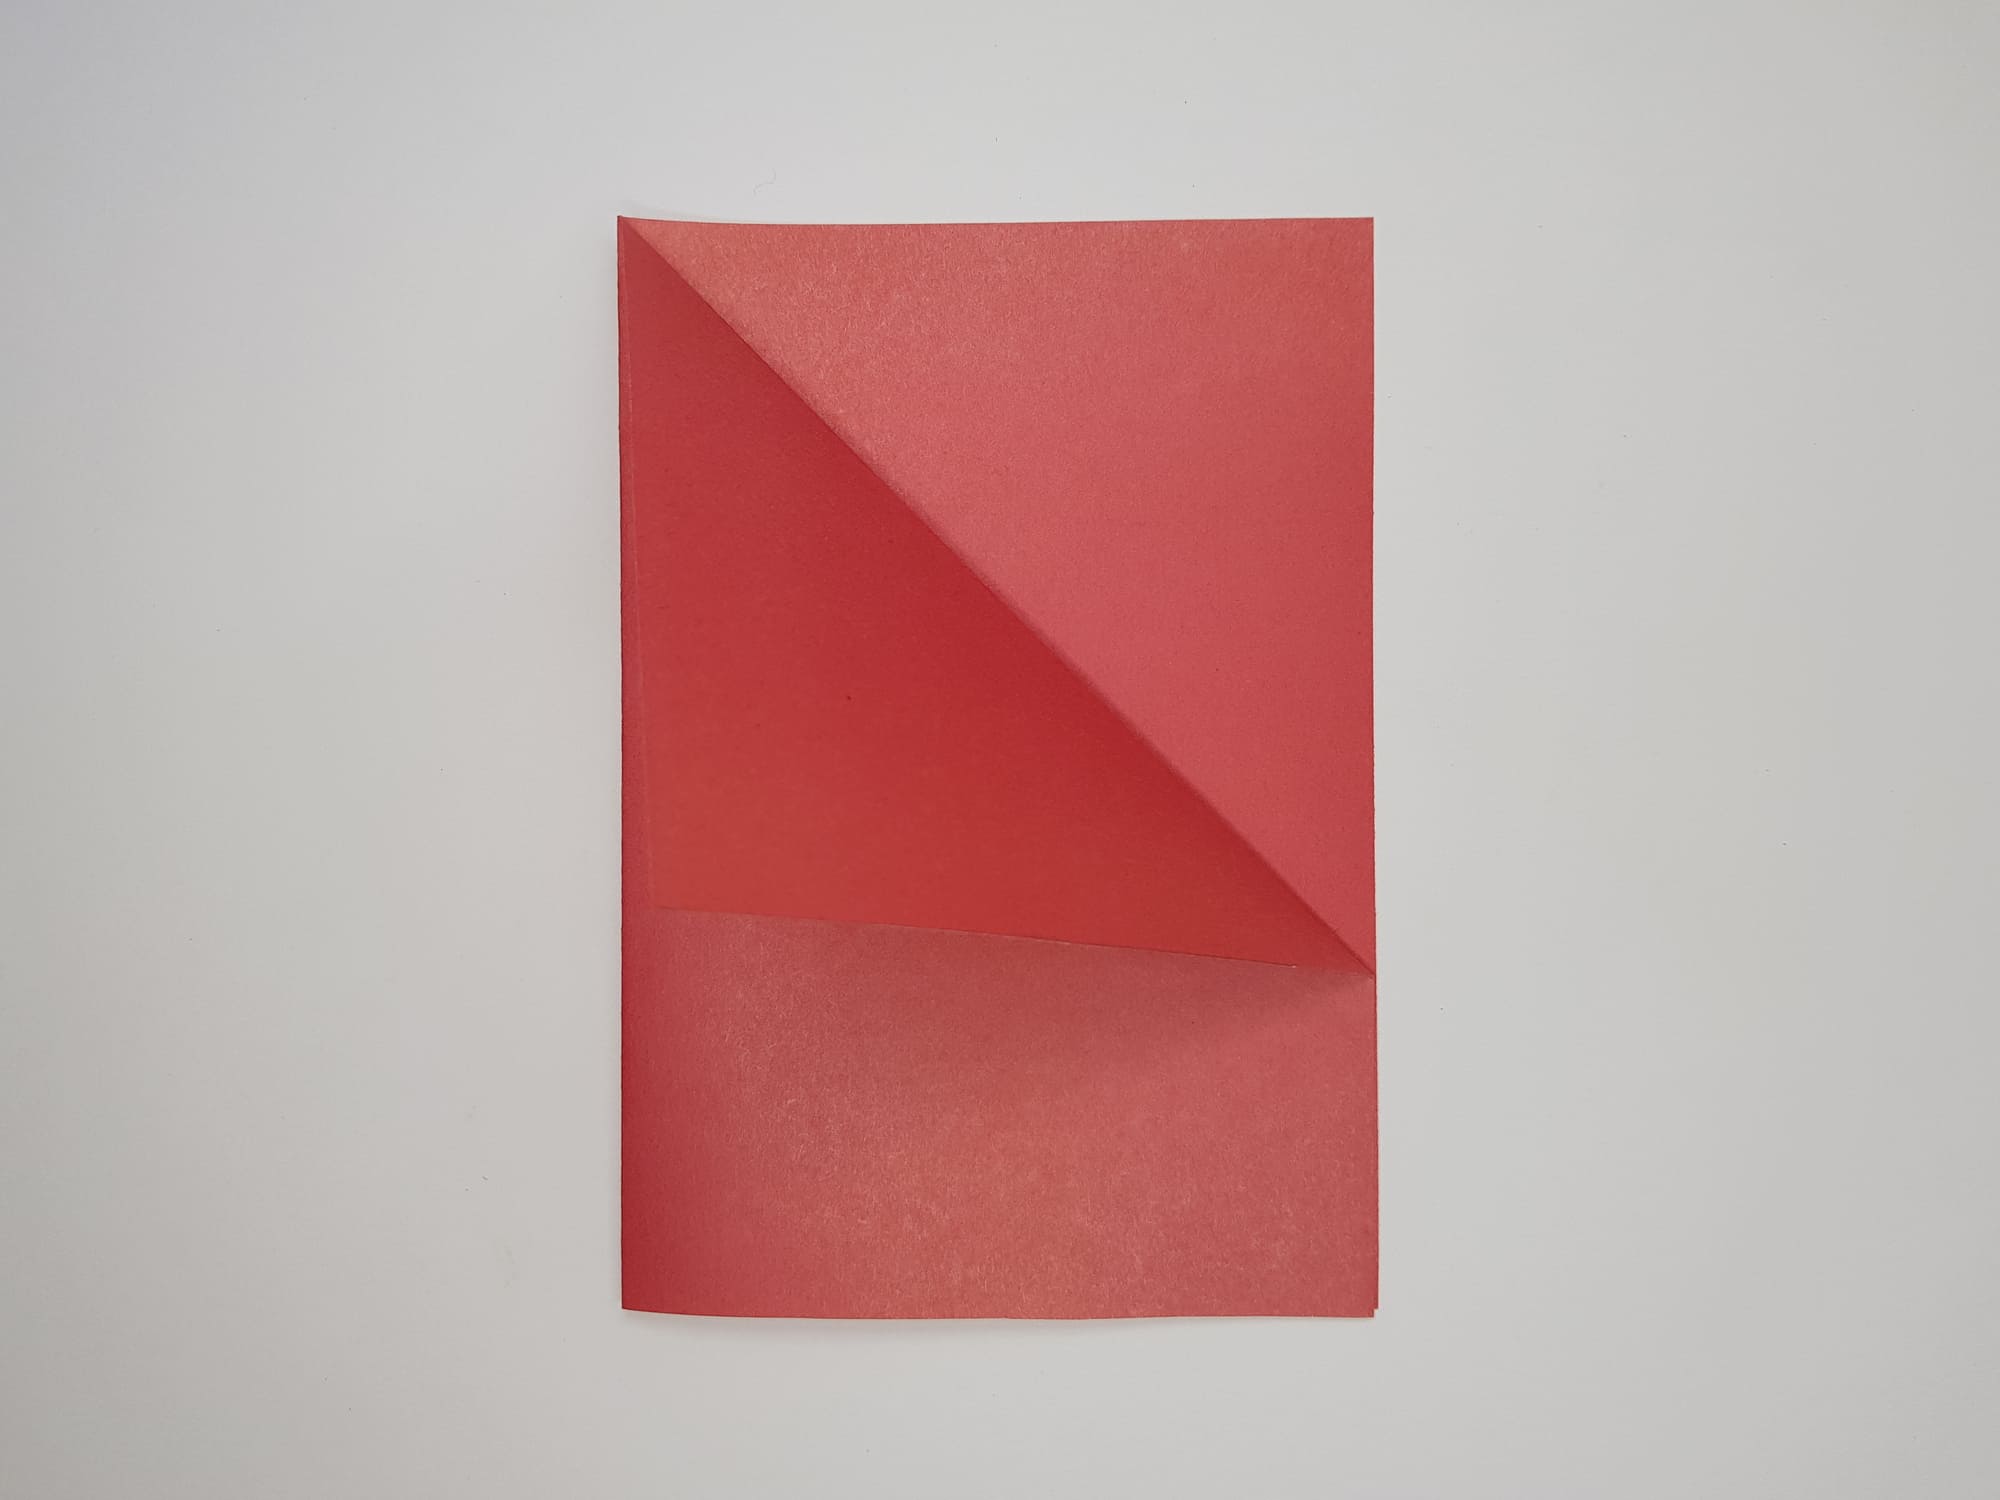
Next, work only with the front of the paper. Fold the top right corner towards the left side and crease the fold.
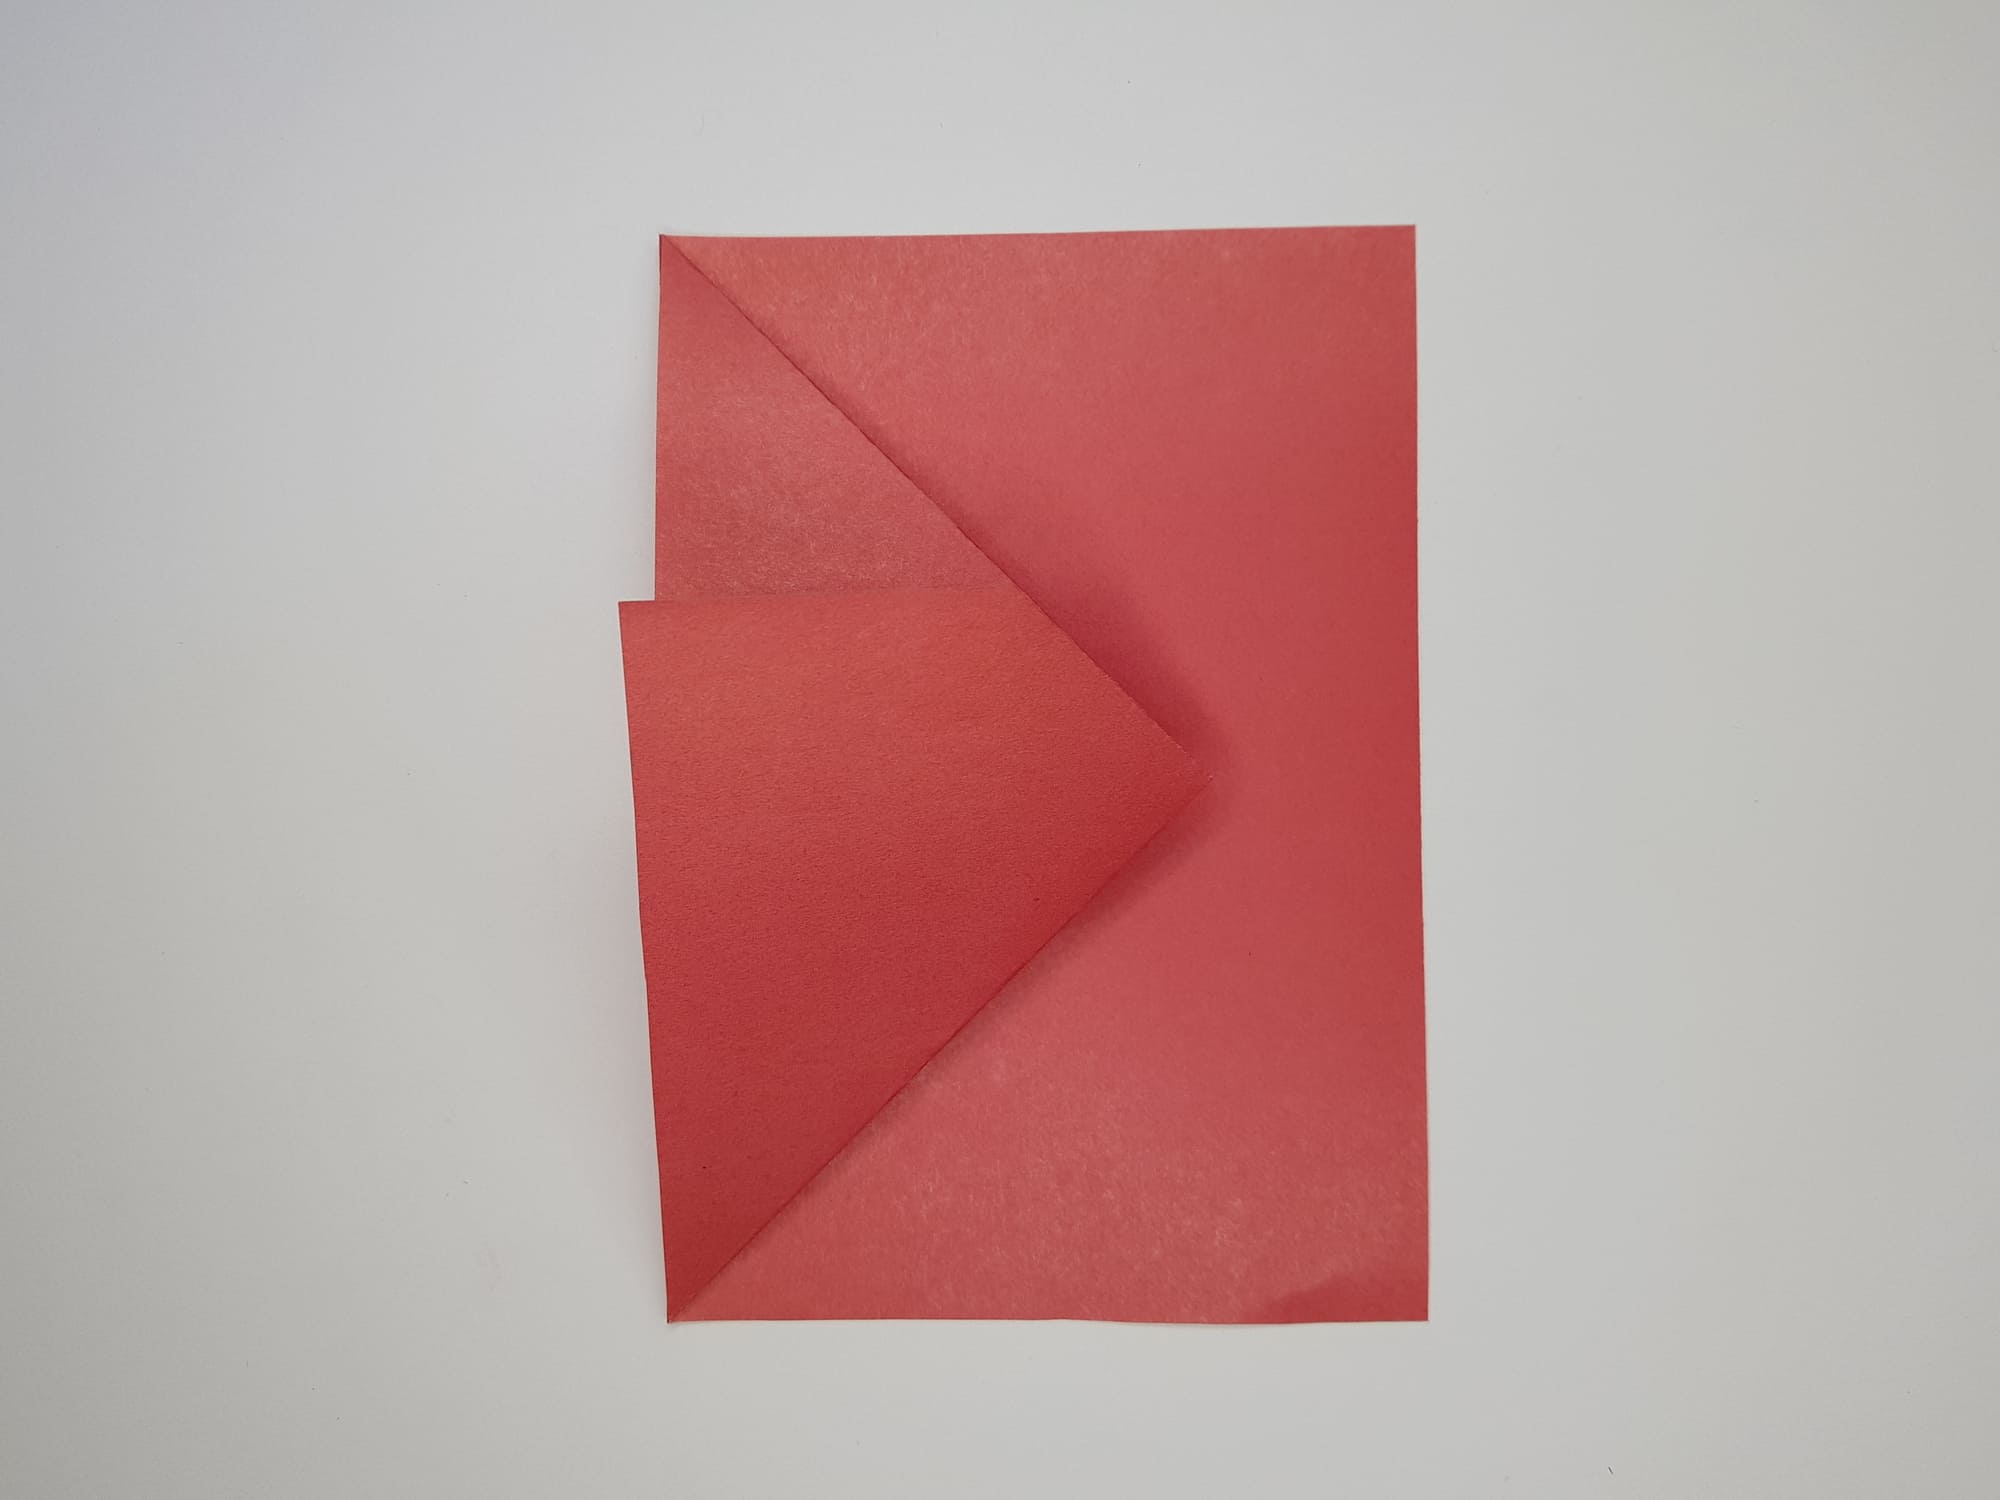
Fold the bottom right corner towards the left side. This fold should also be well-creased.
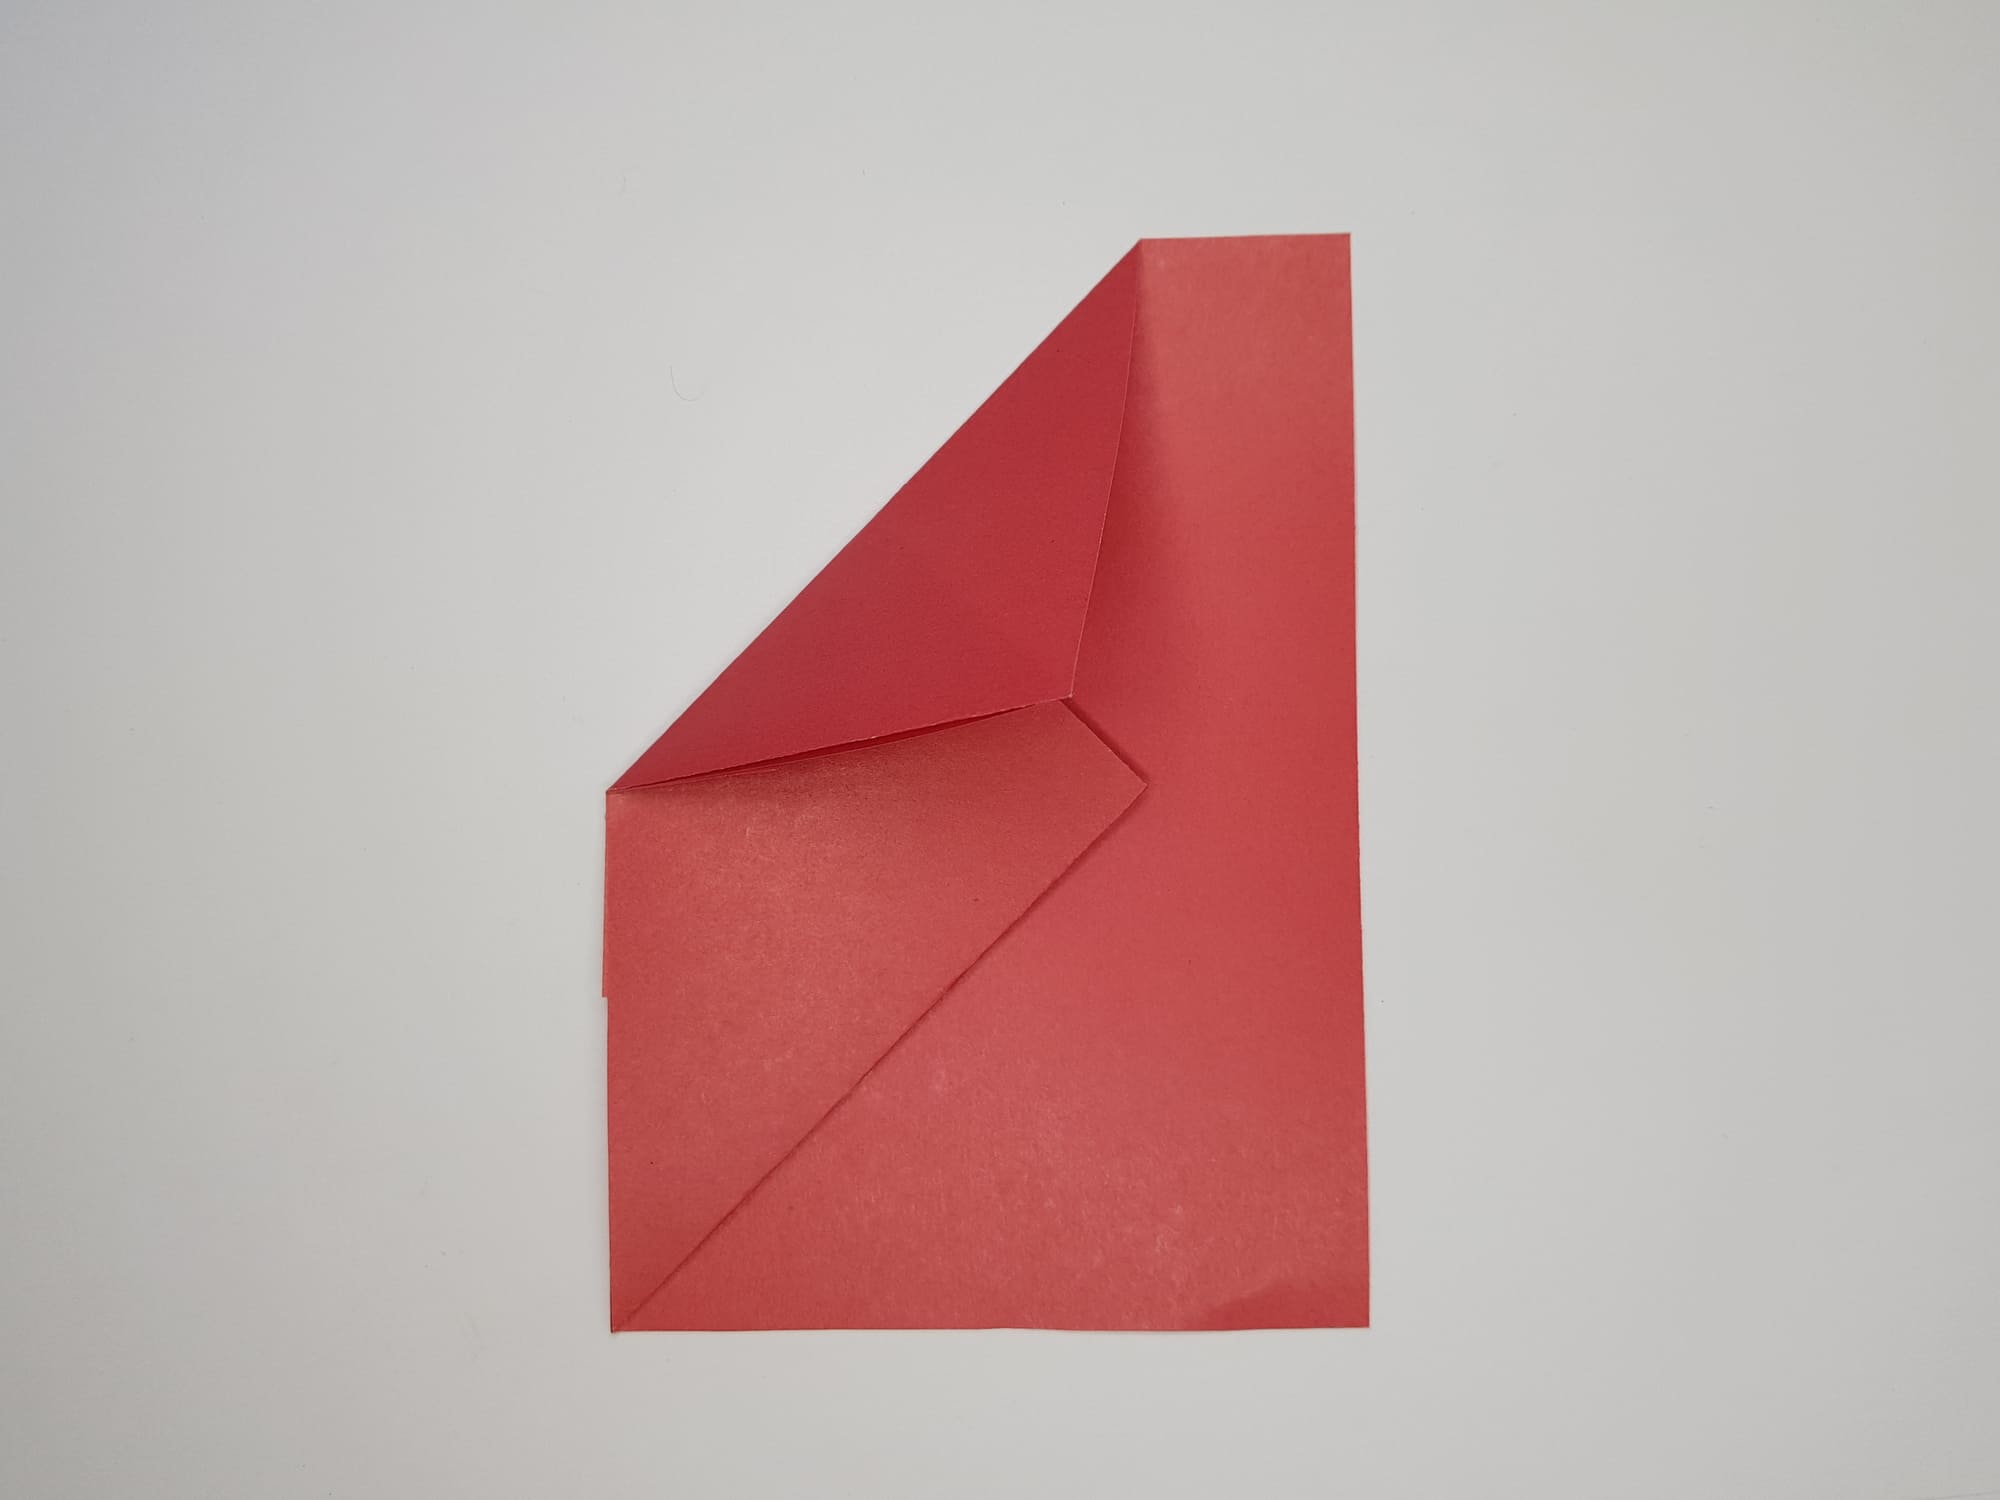
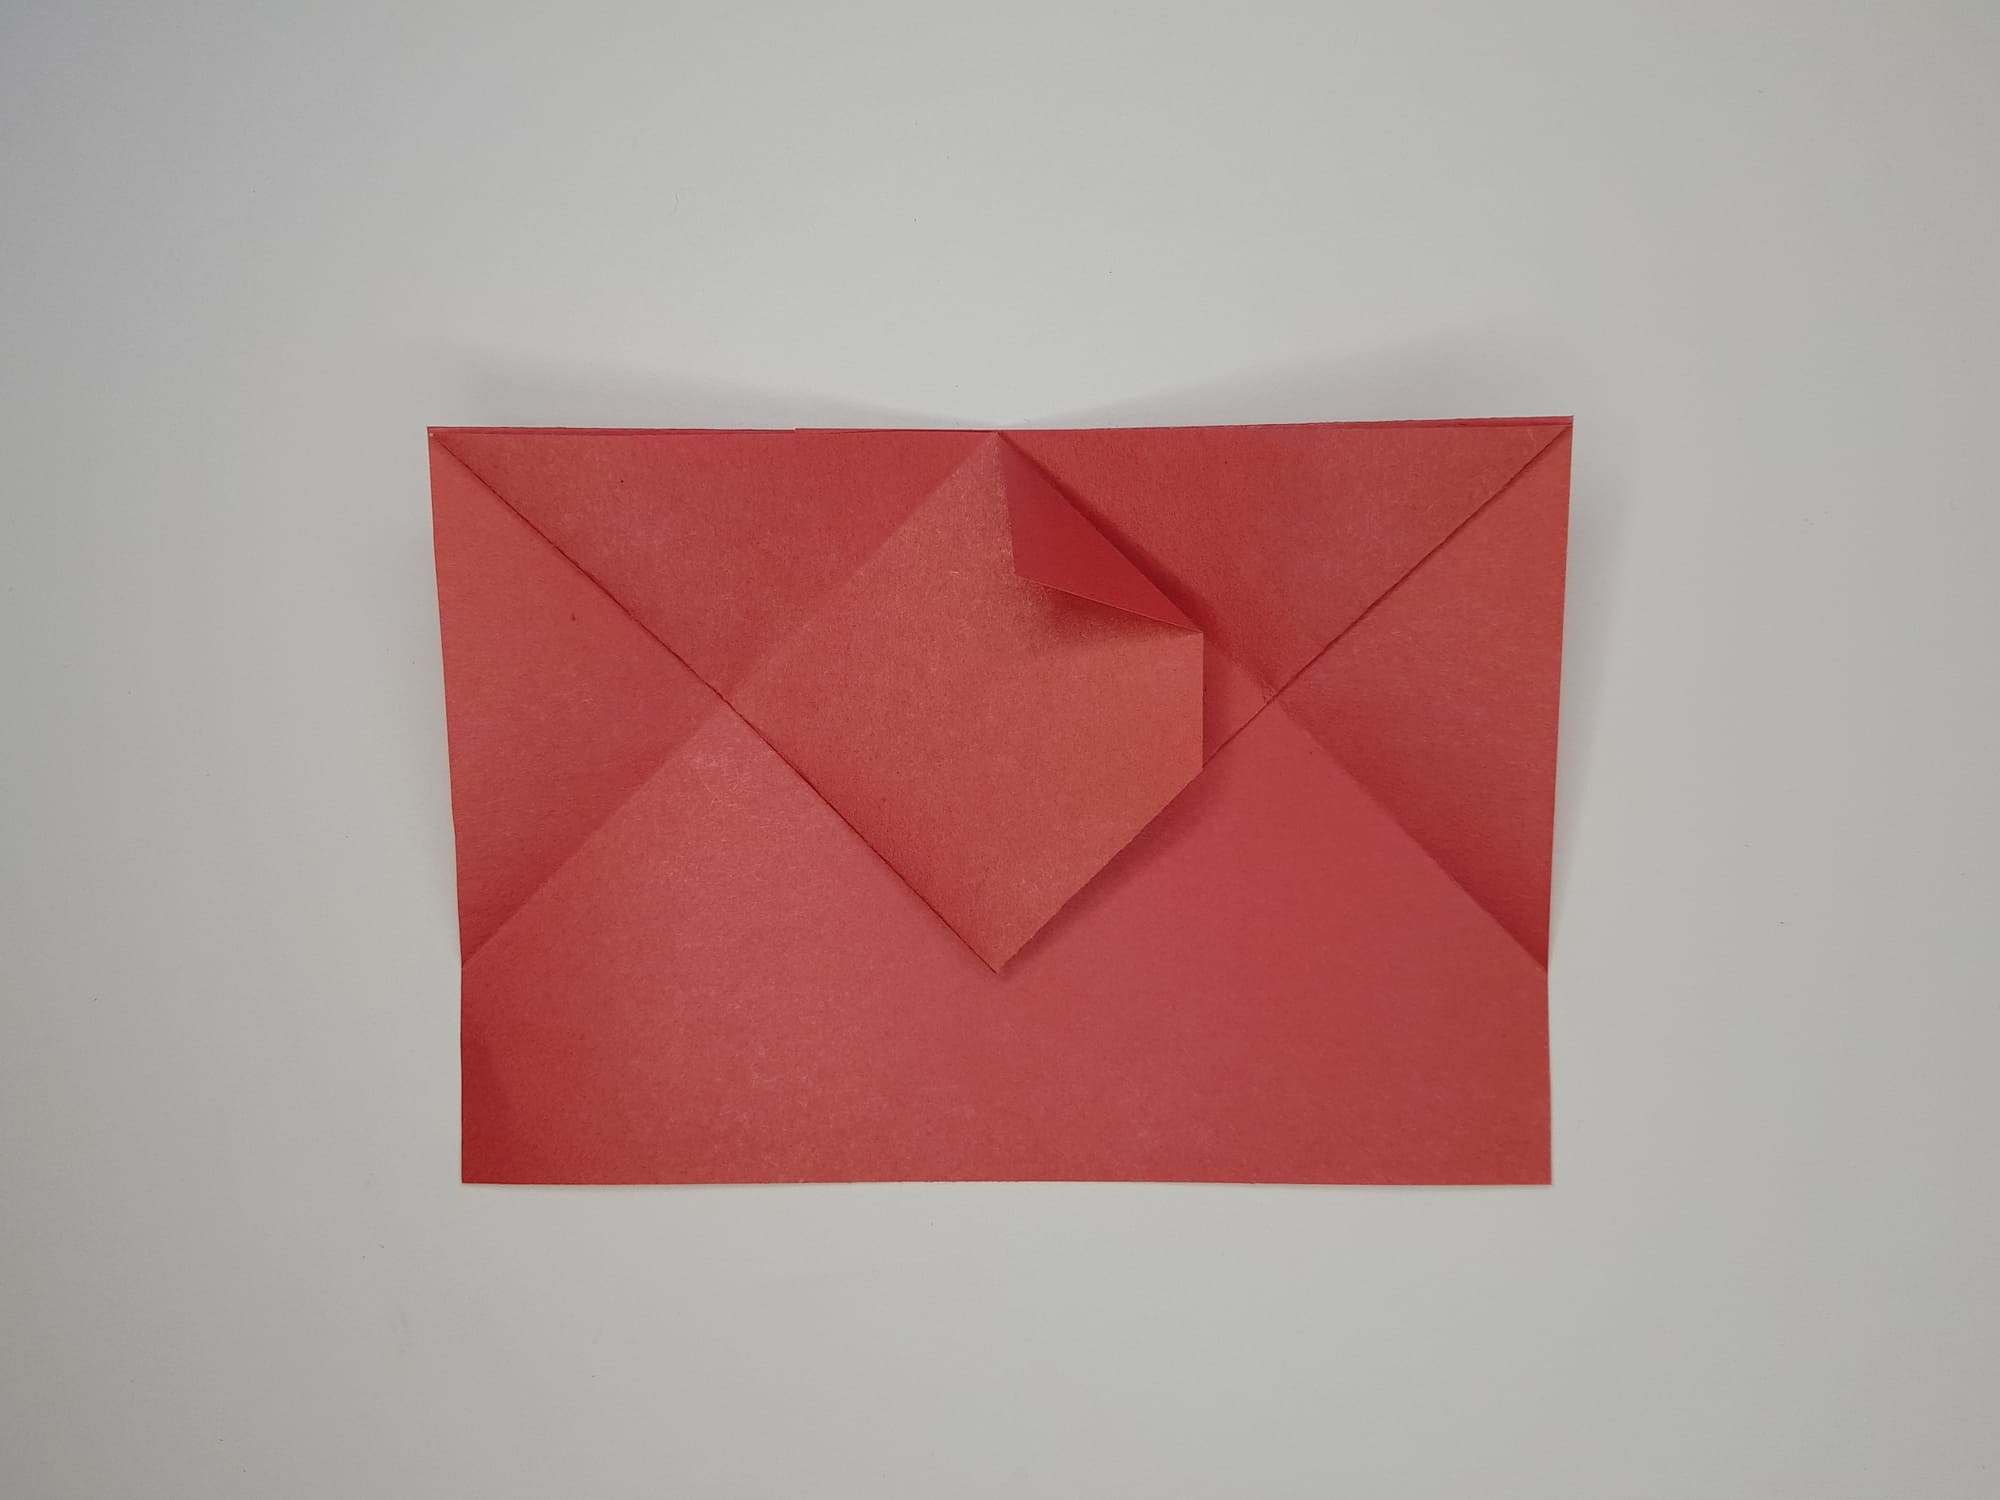
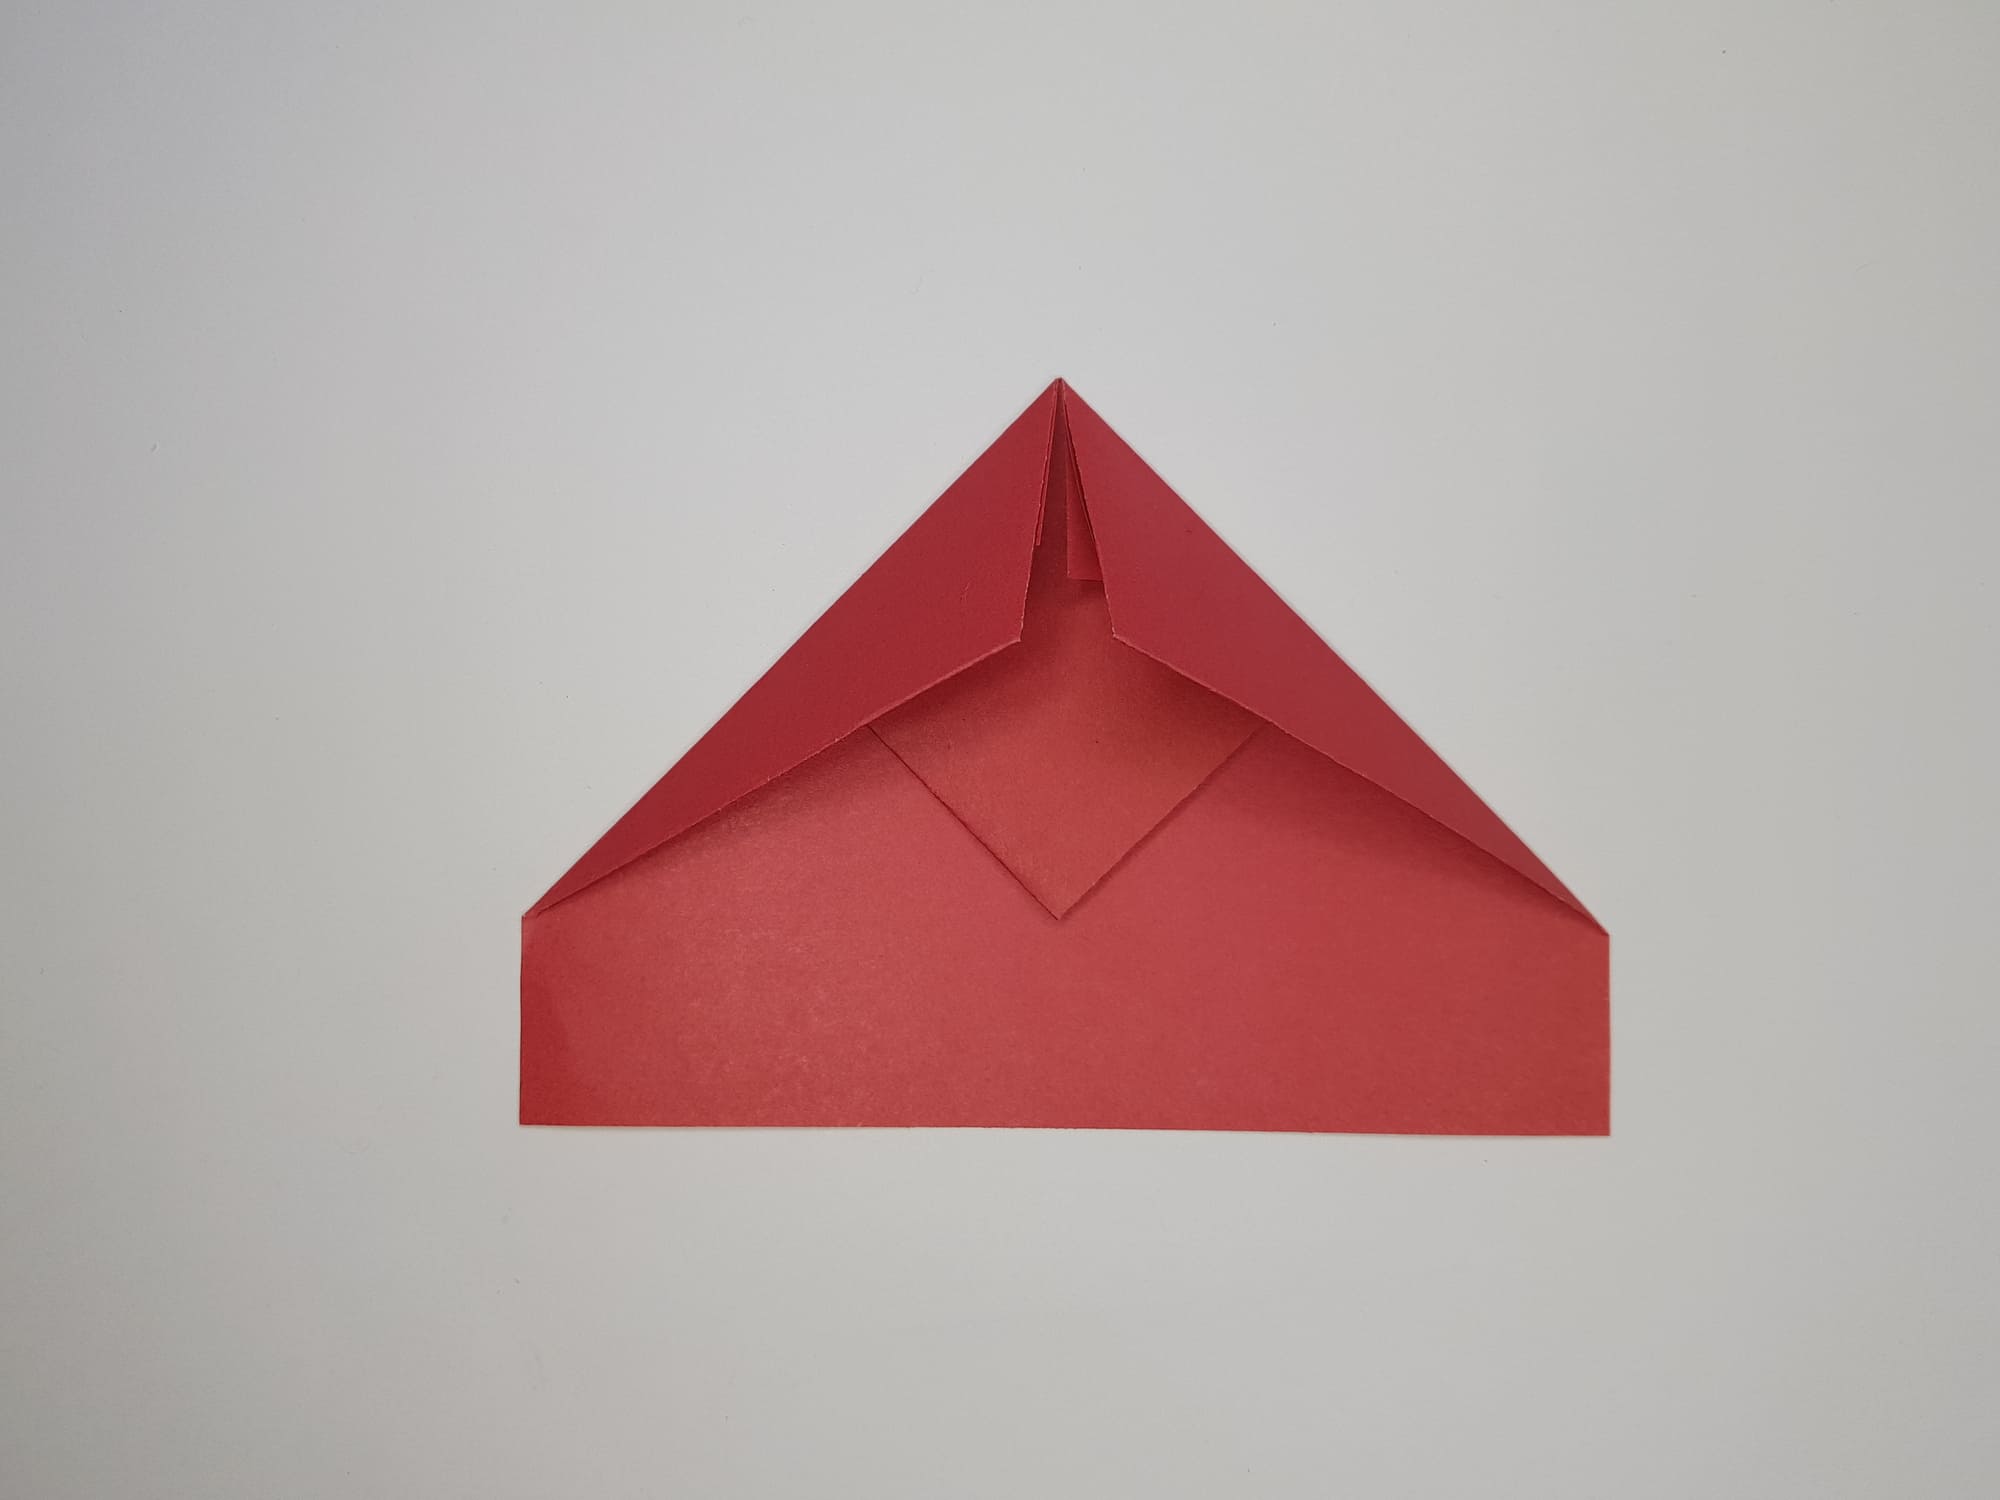
Bend first the top and then the bottom left corners of the figure so that they are in the center.
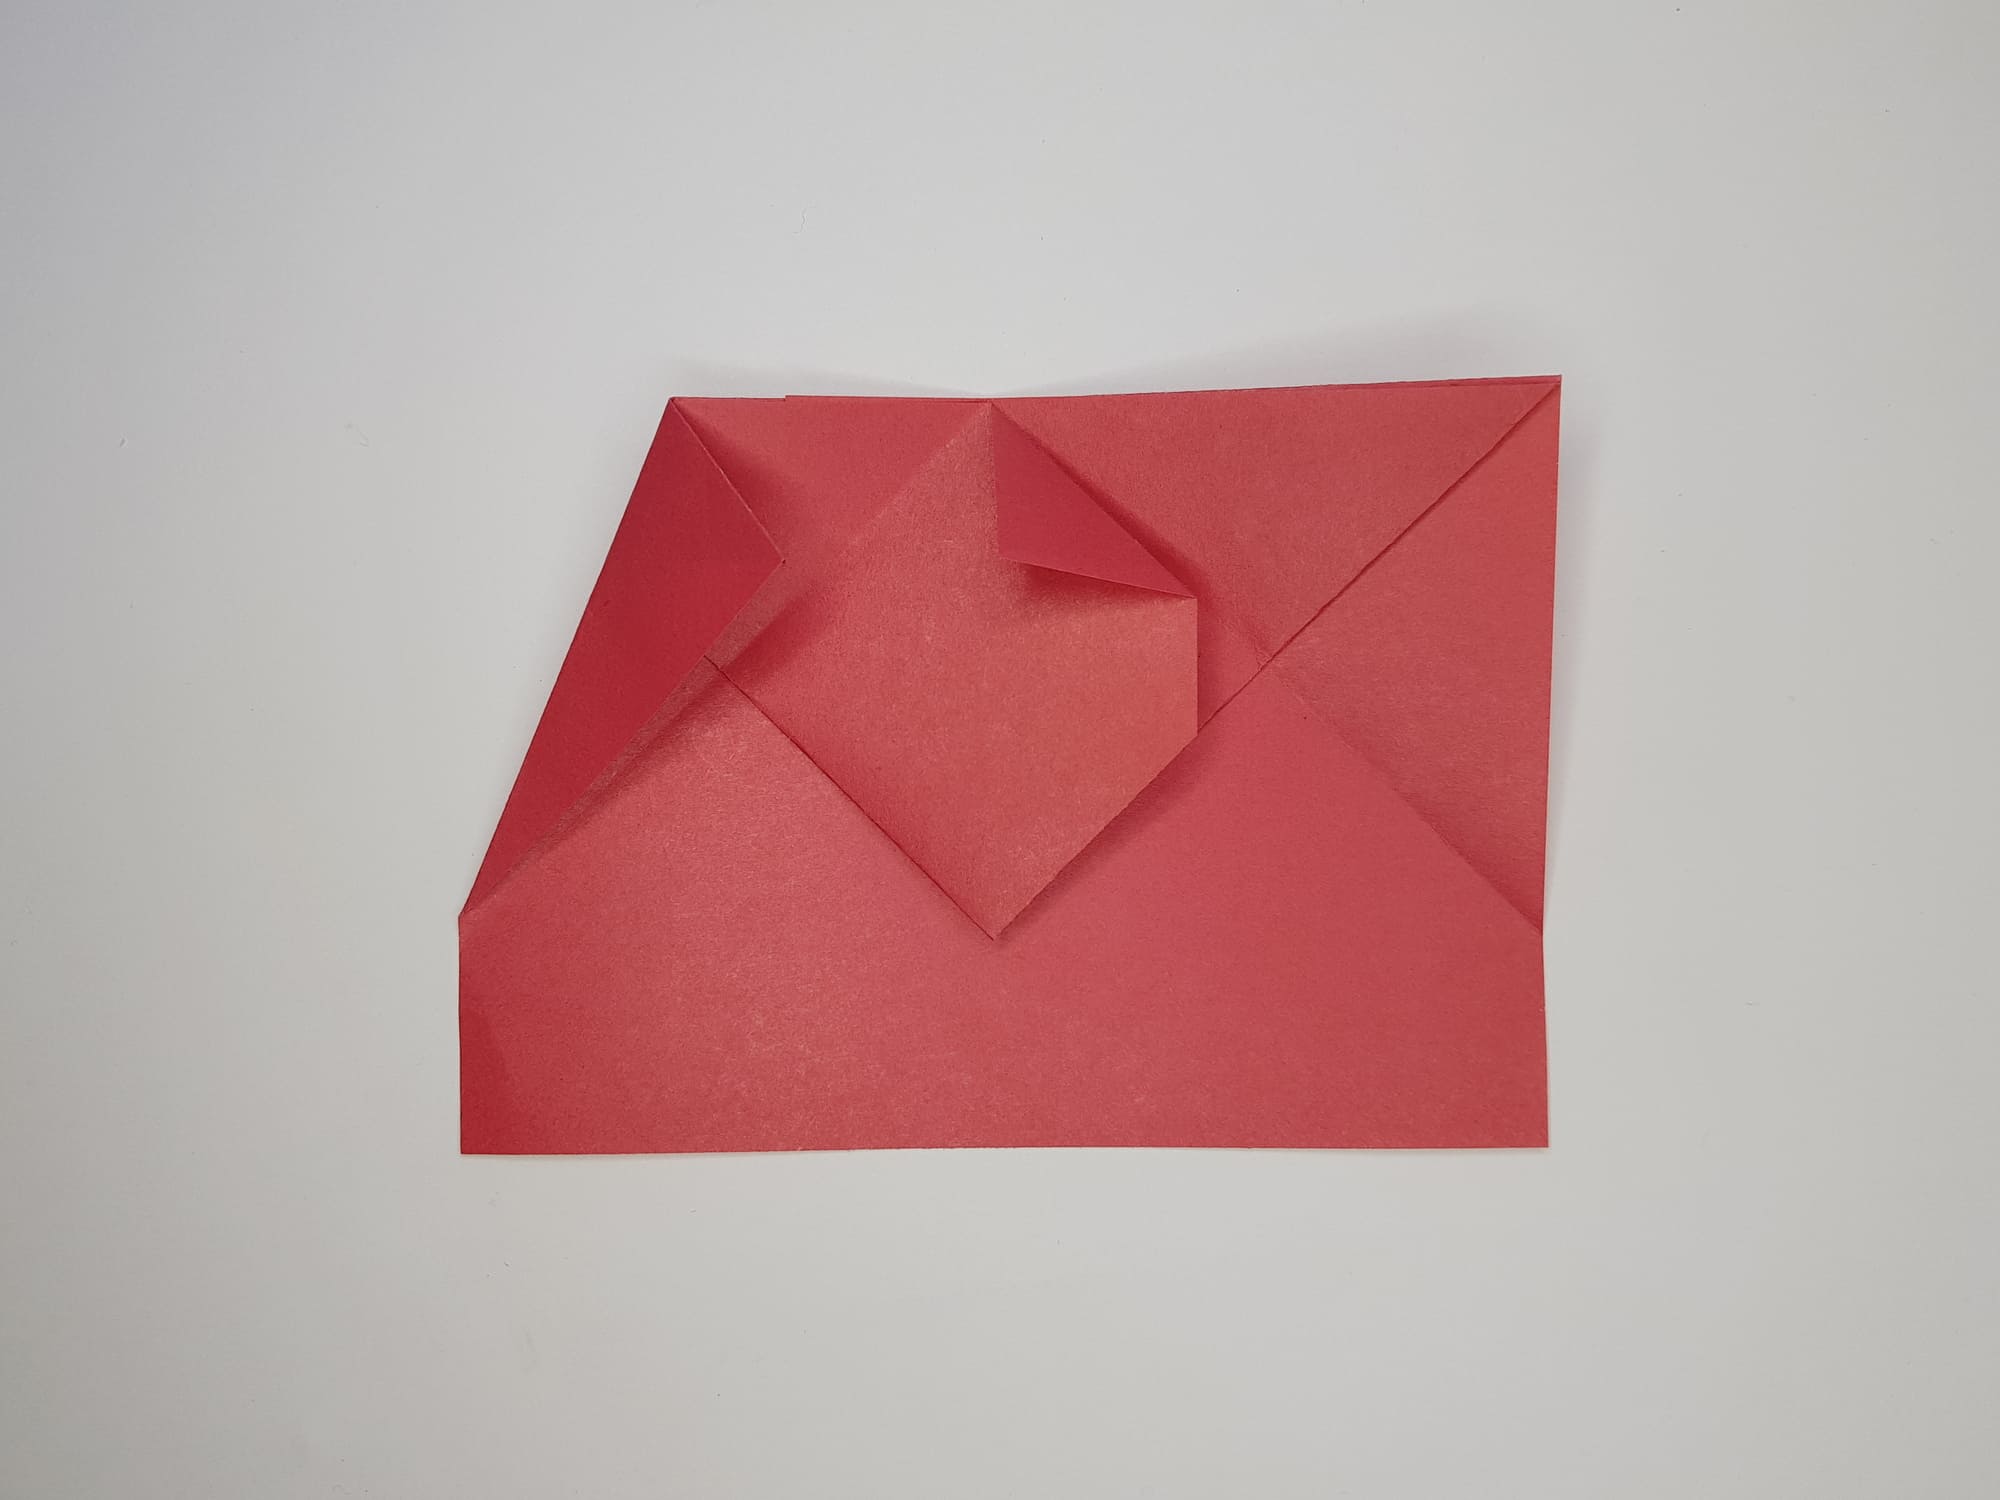
Unfold the paper as shown in the photo and open the folds made in the previous step.
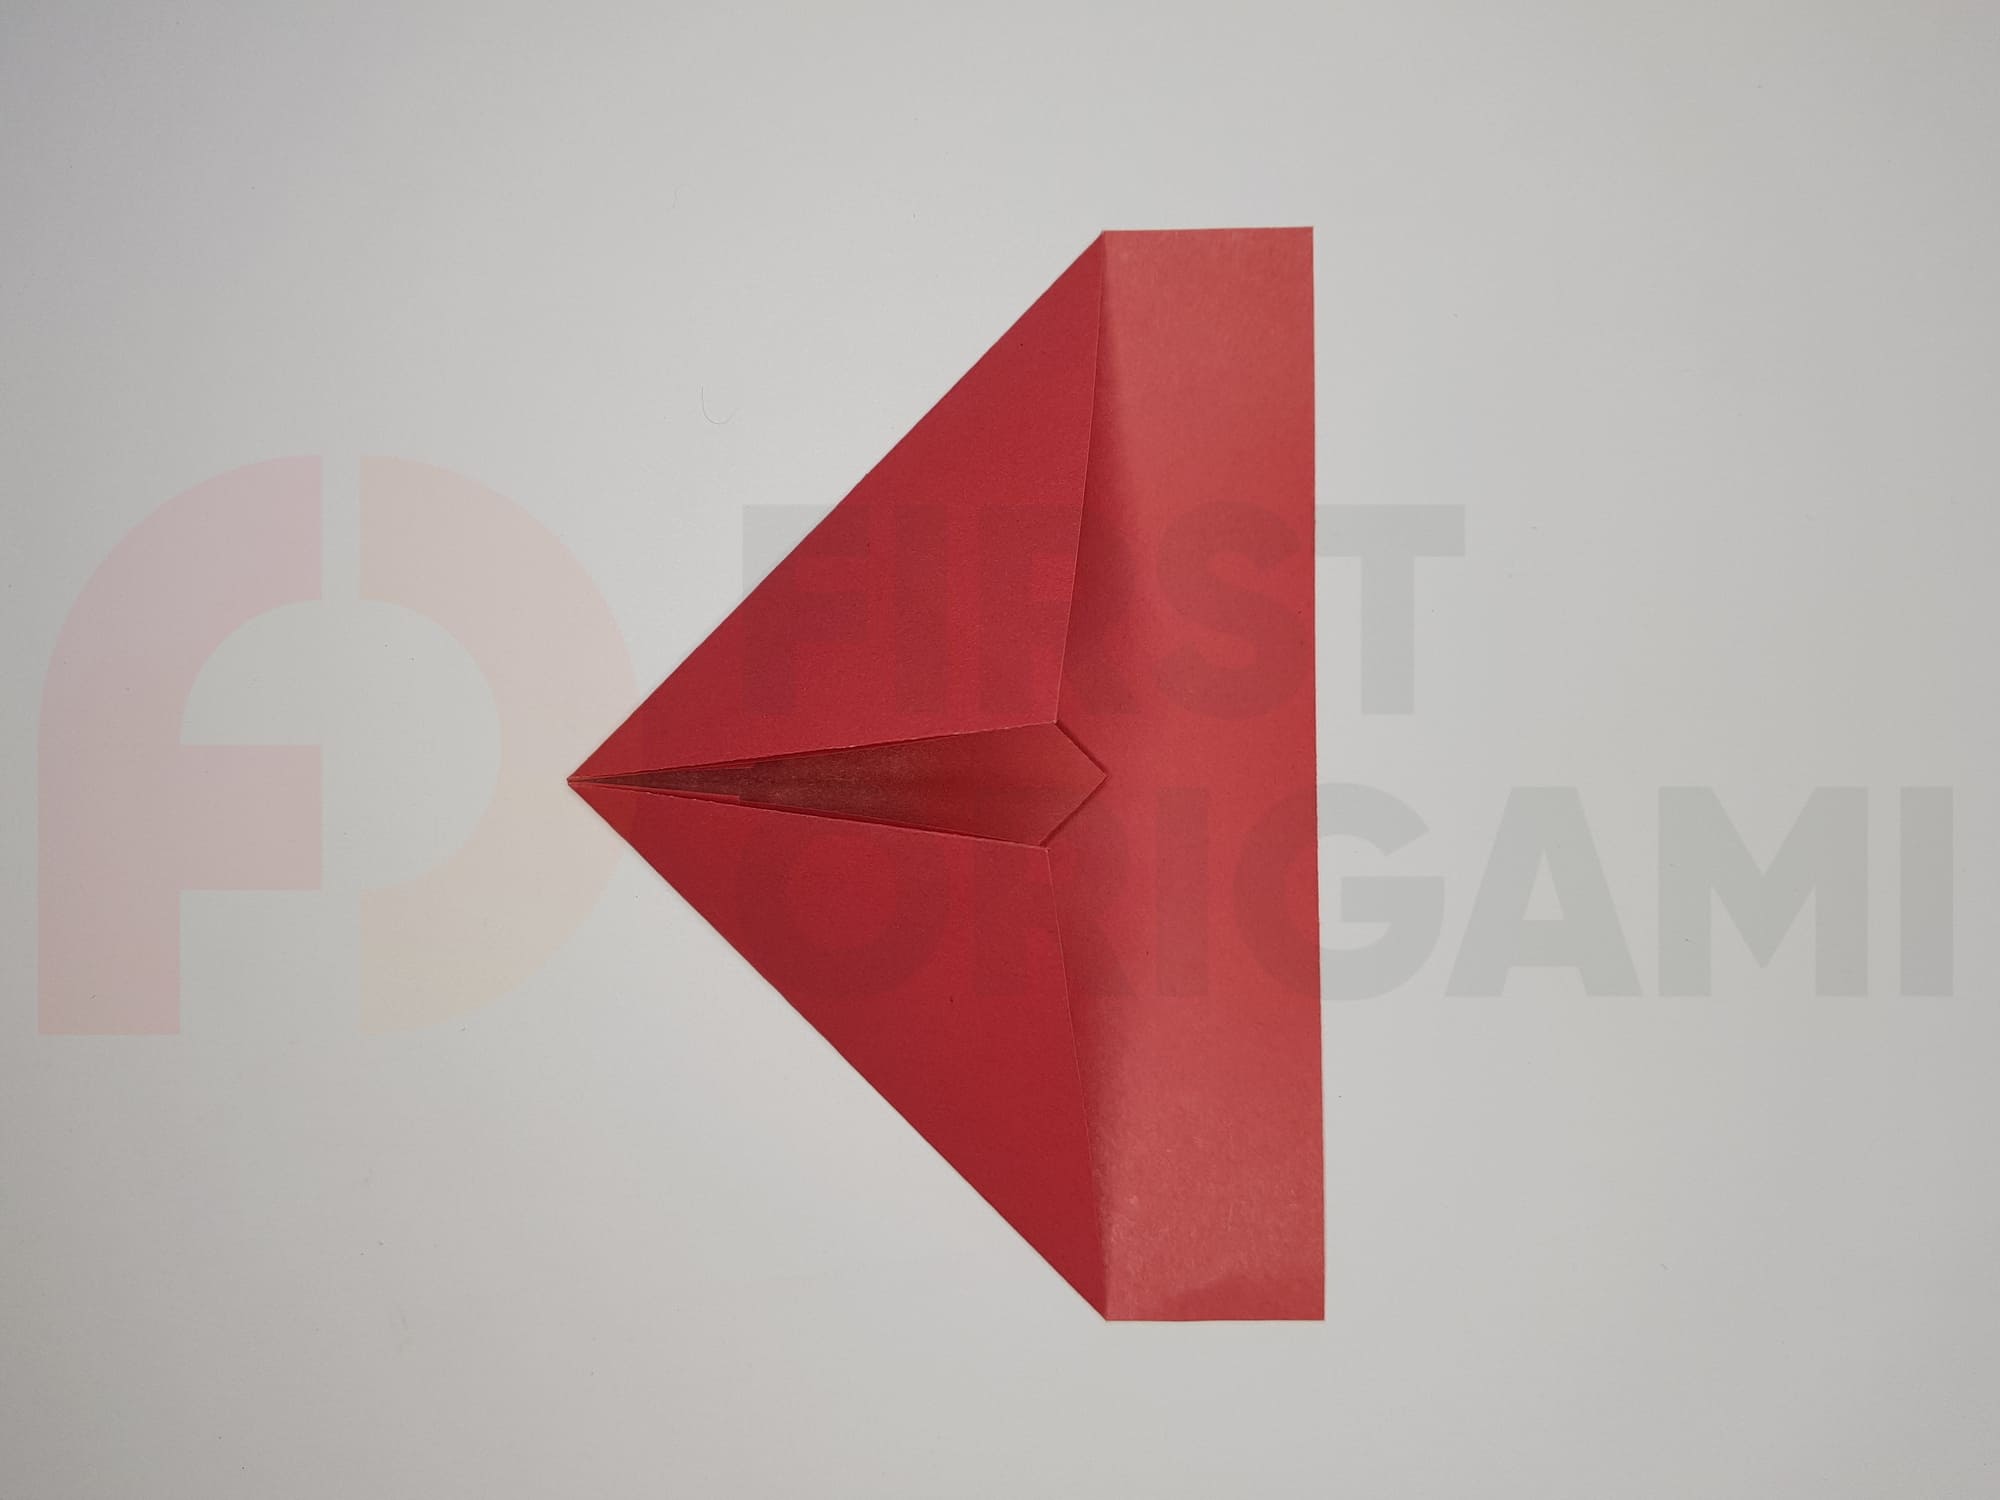
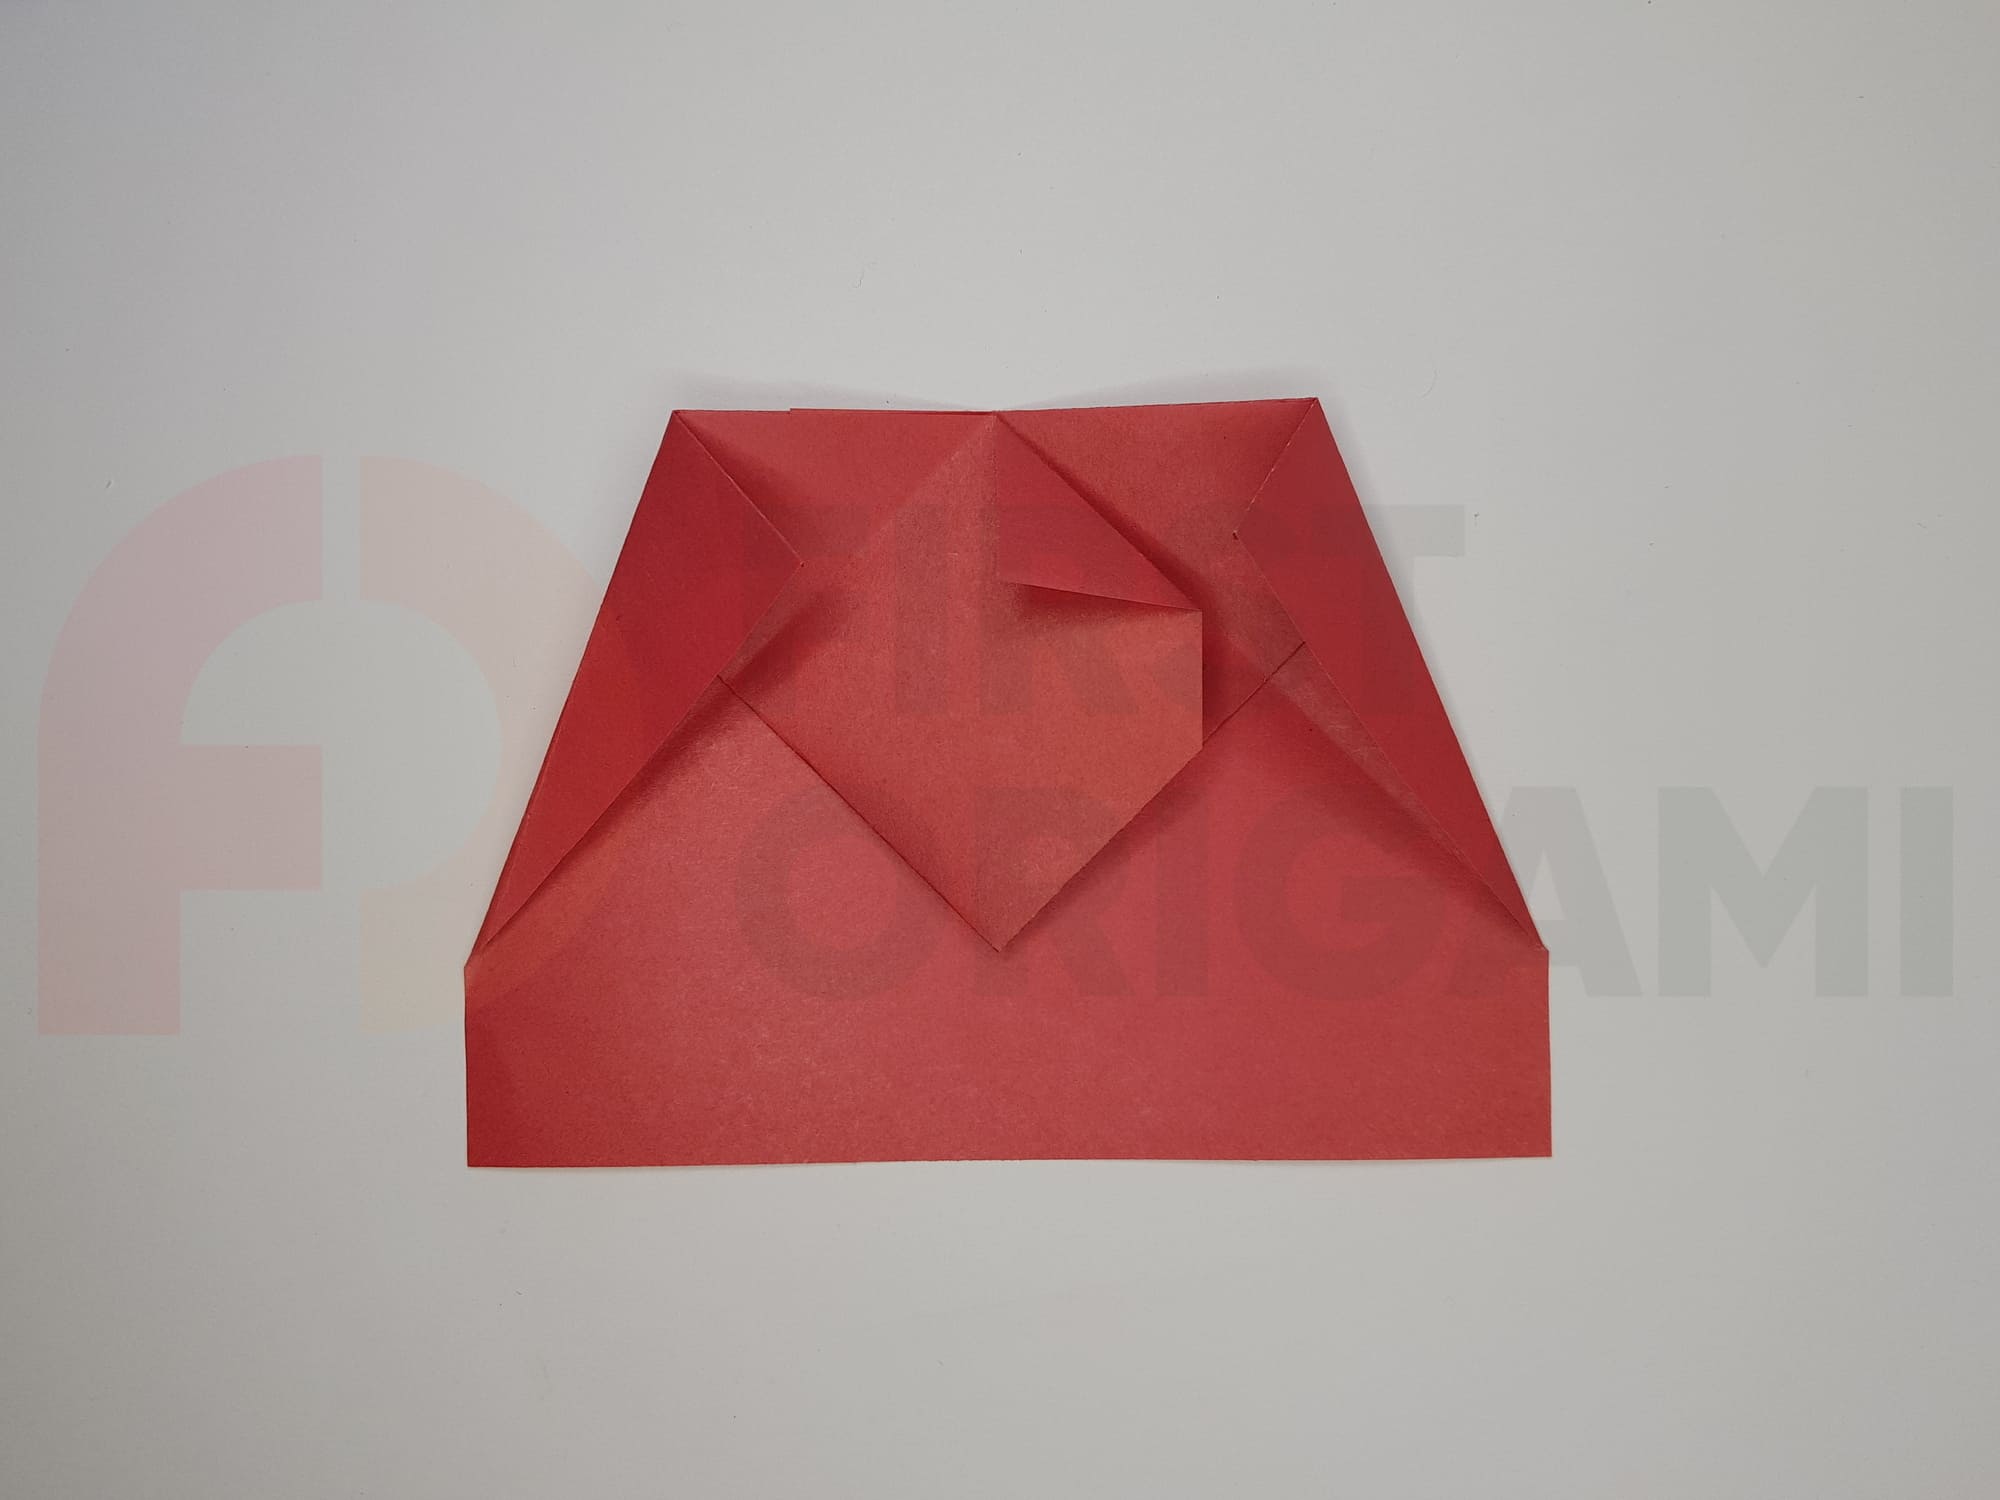
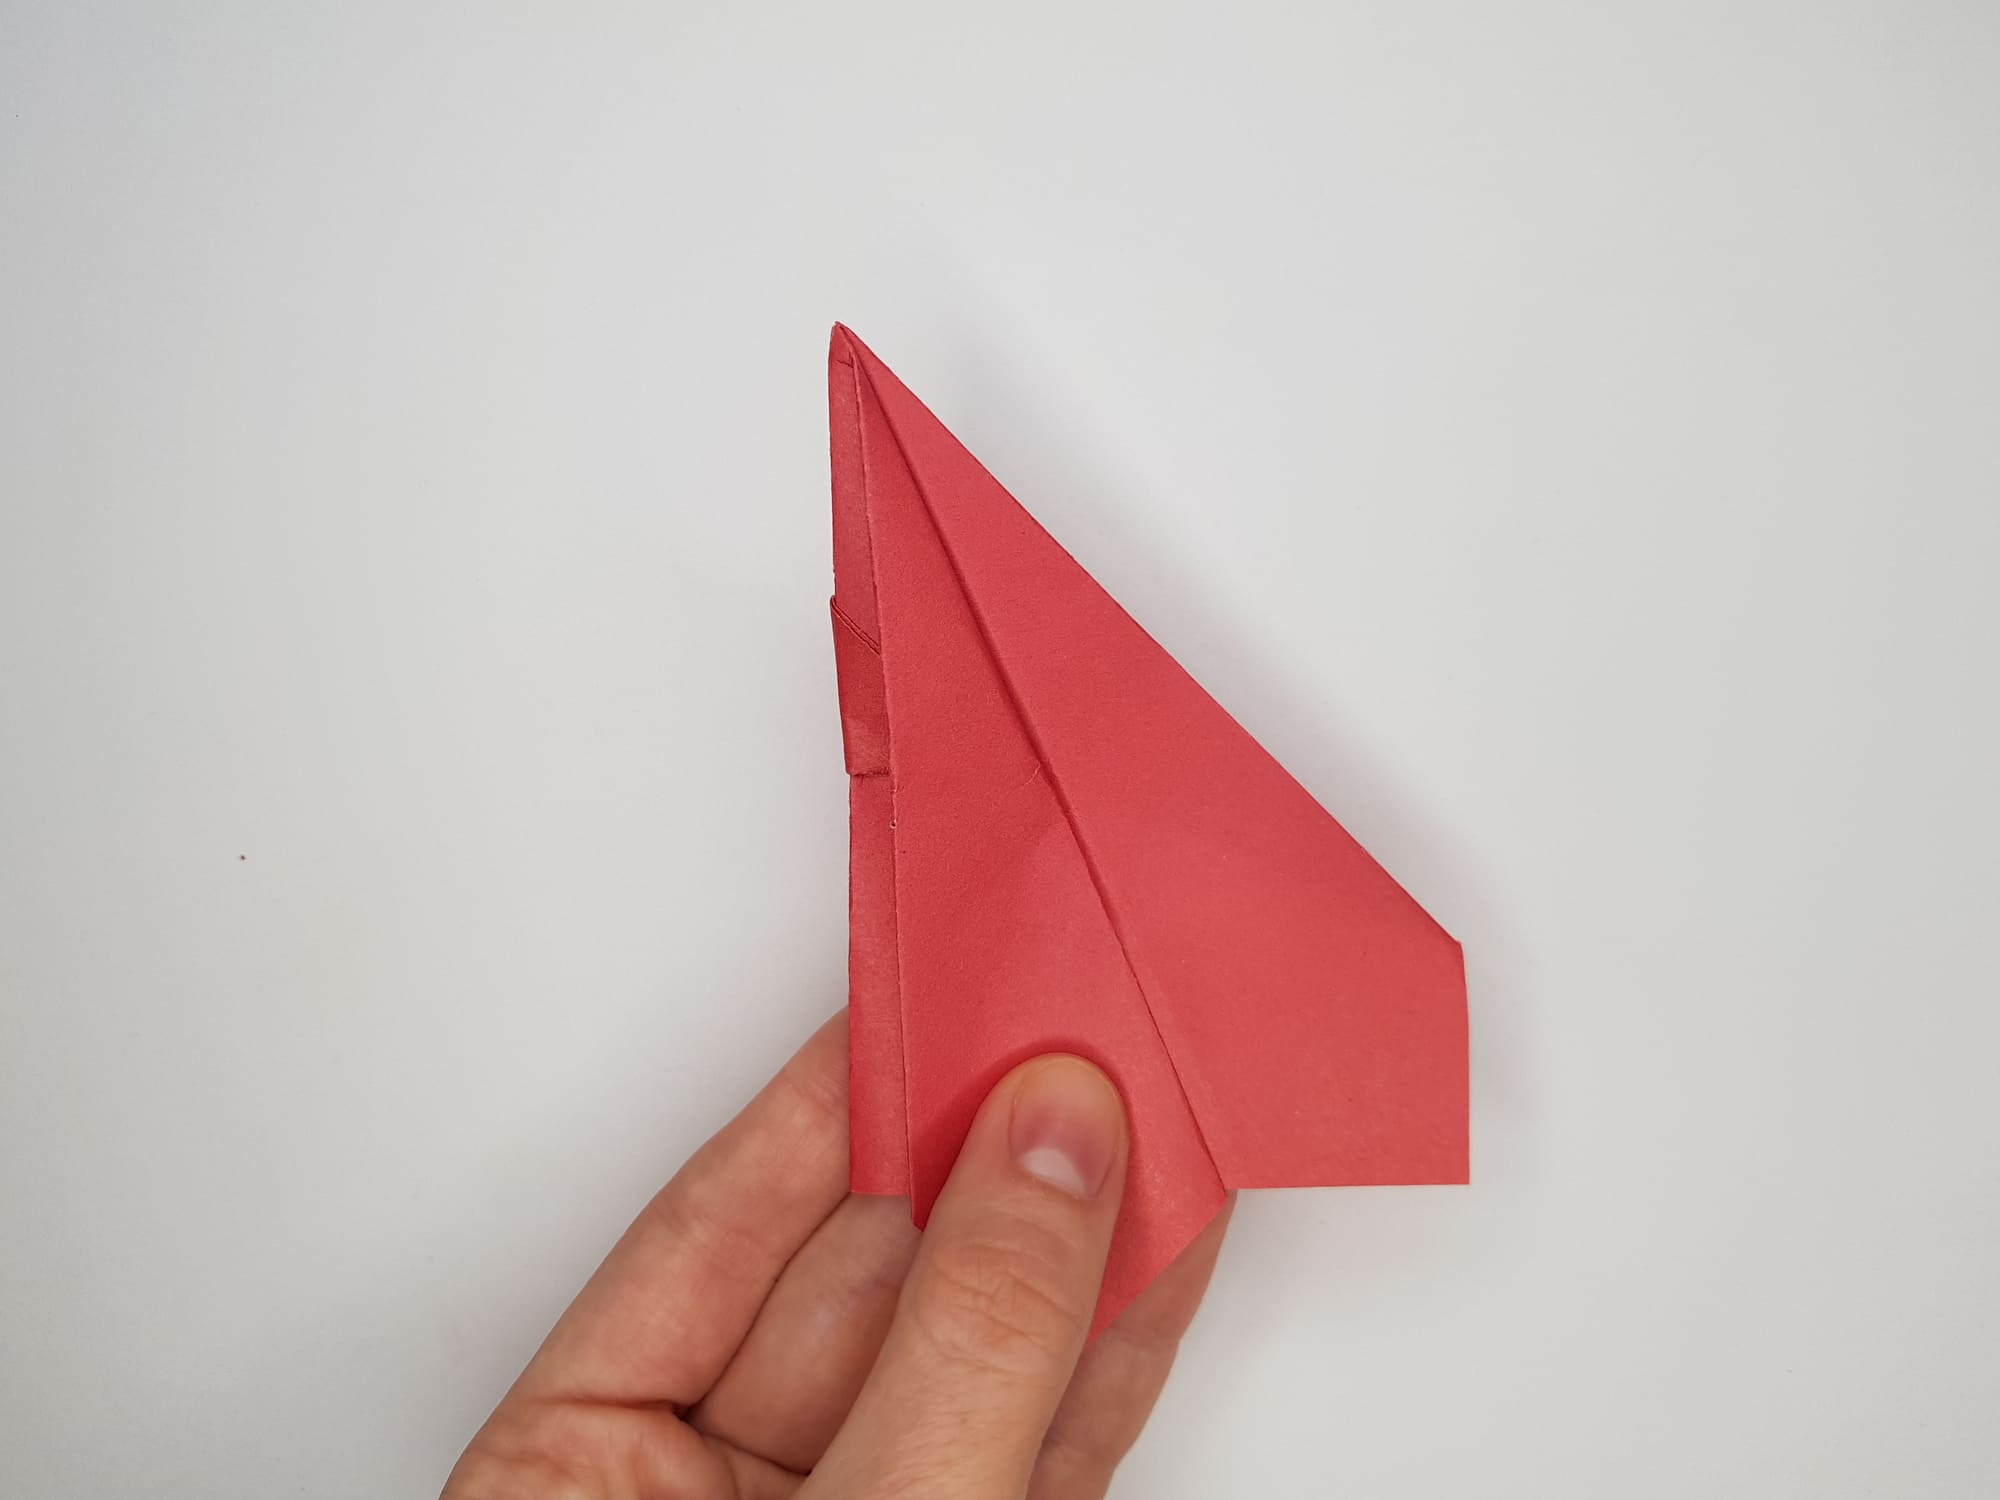
Bend the left and right corners of the figure so that their edges coincide with the fold lines.
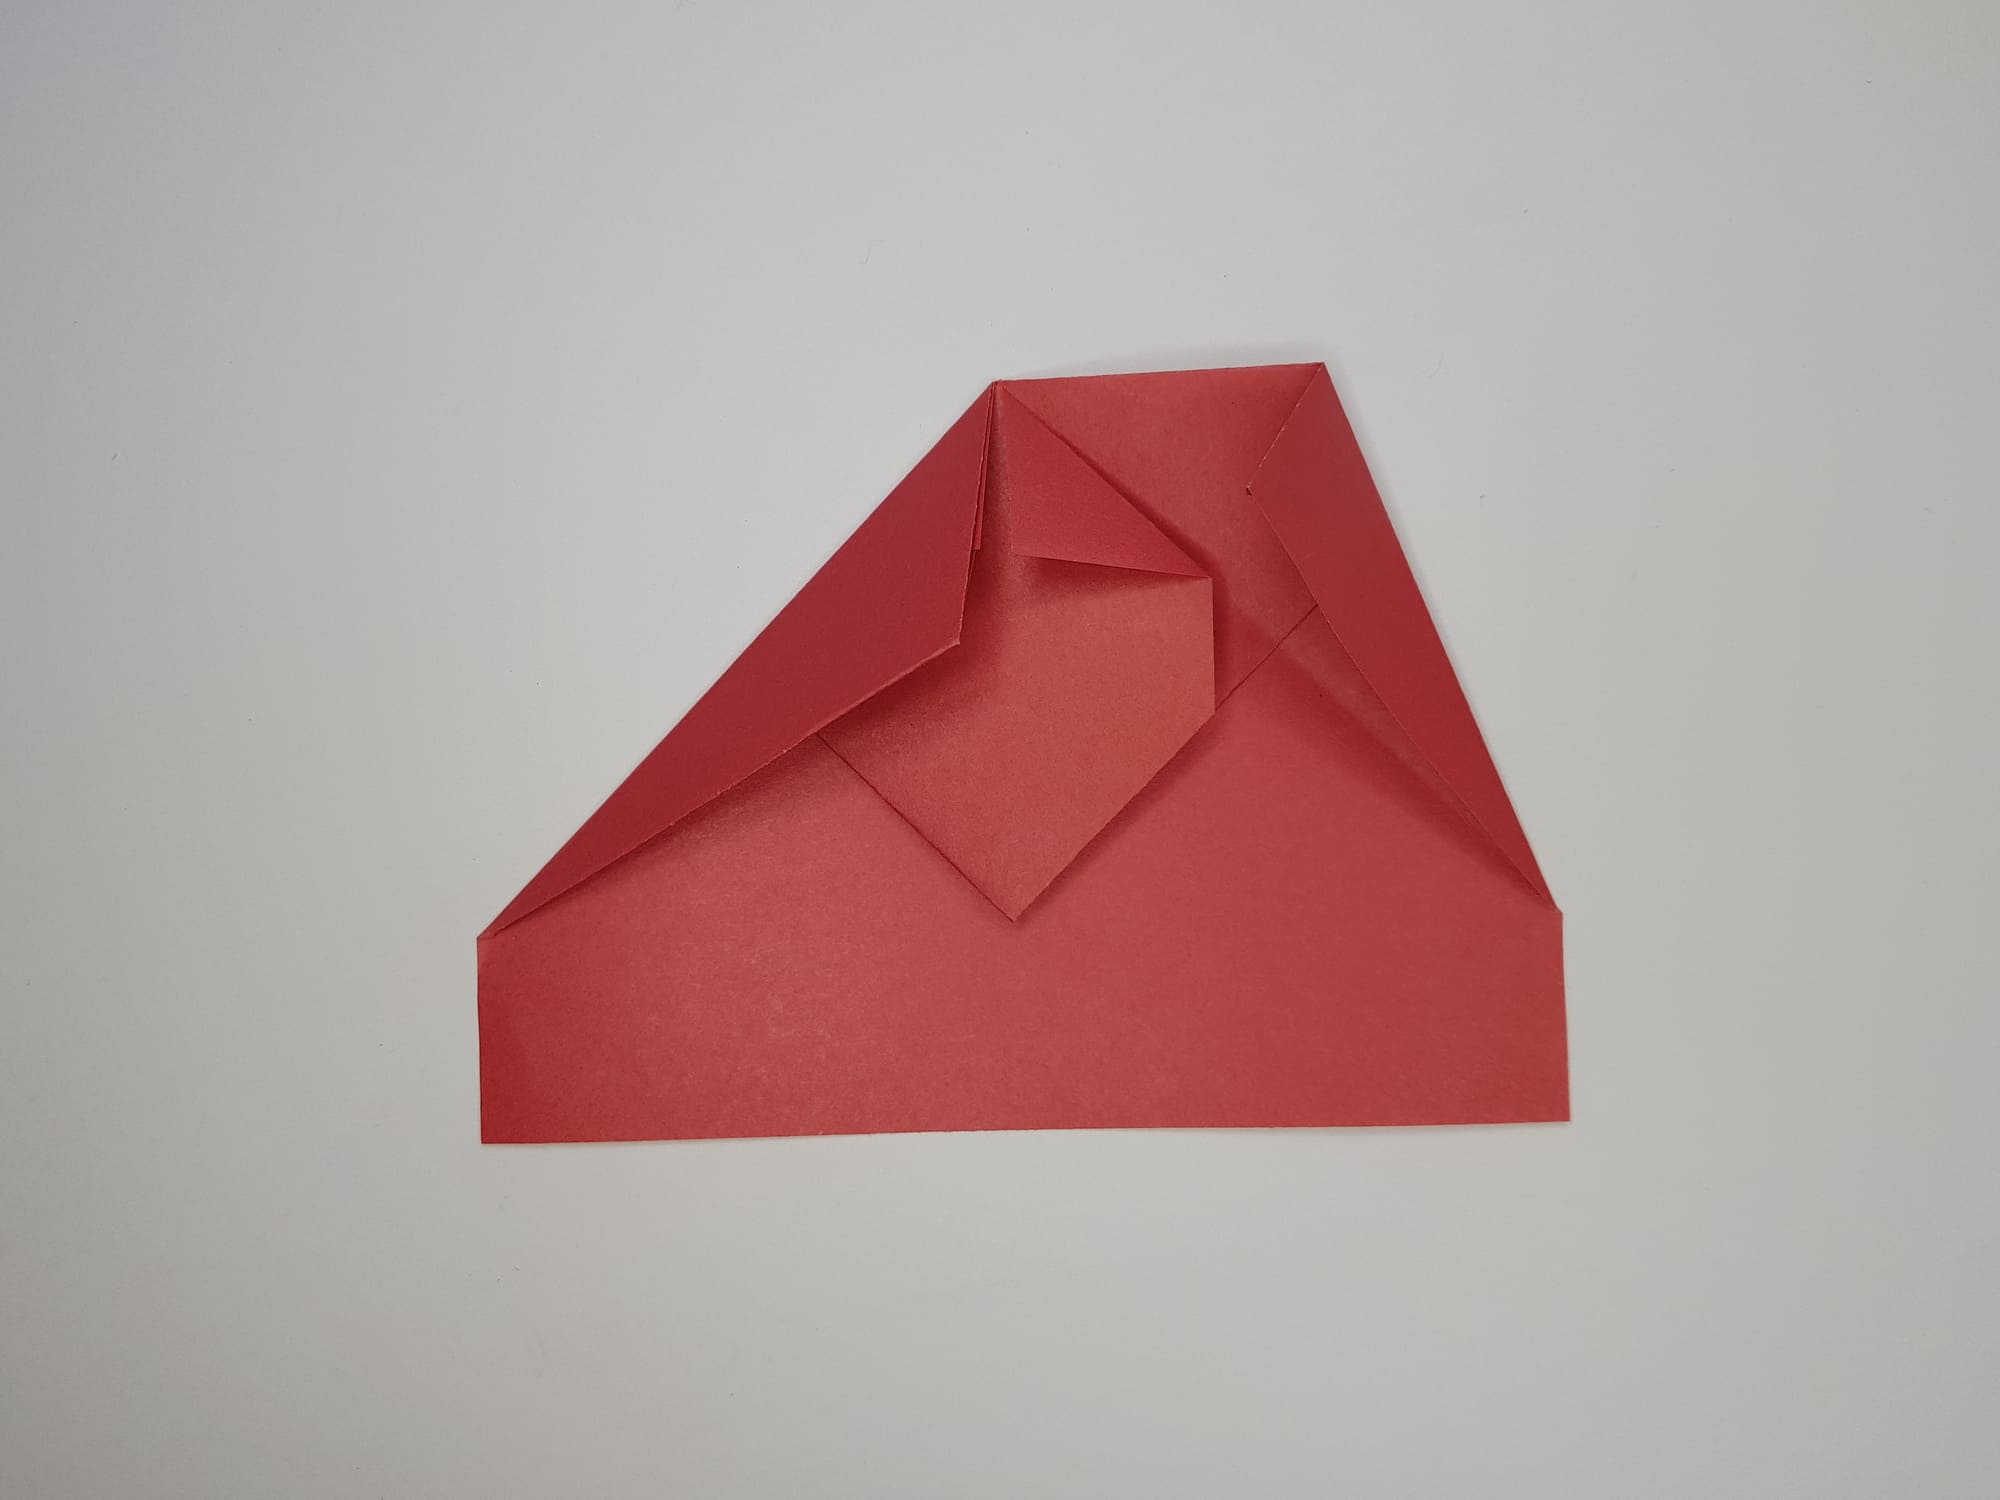
Make two more inner folds.
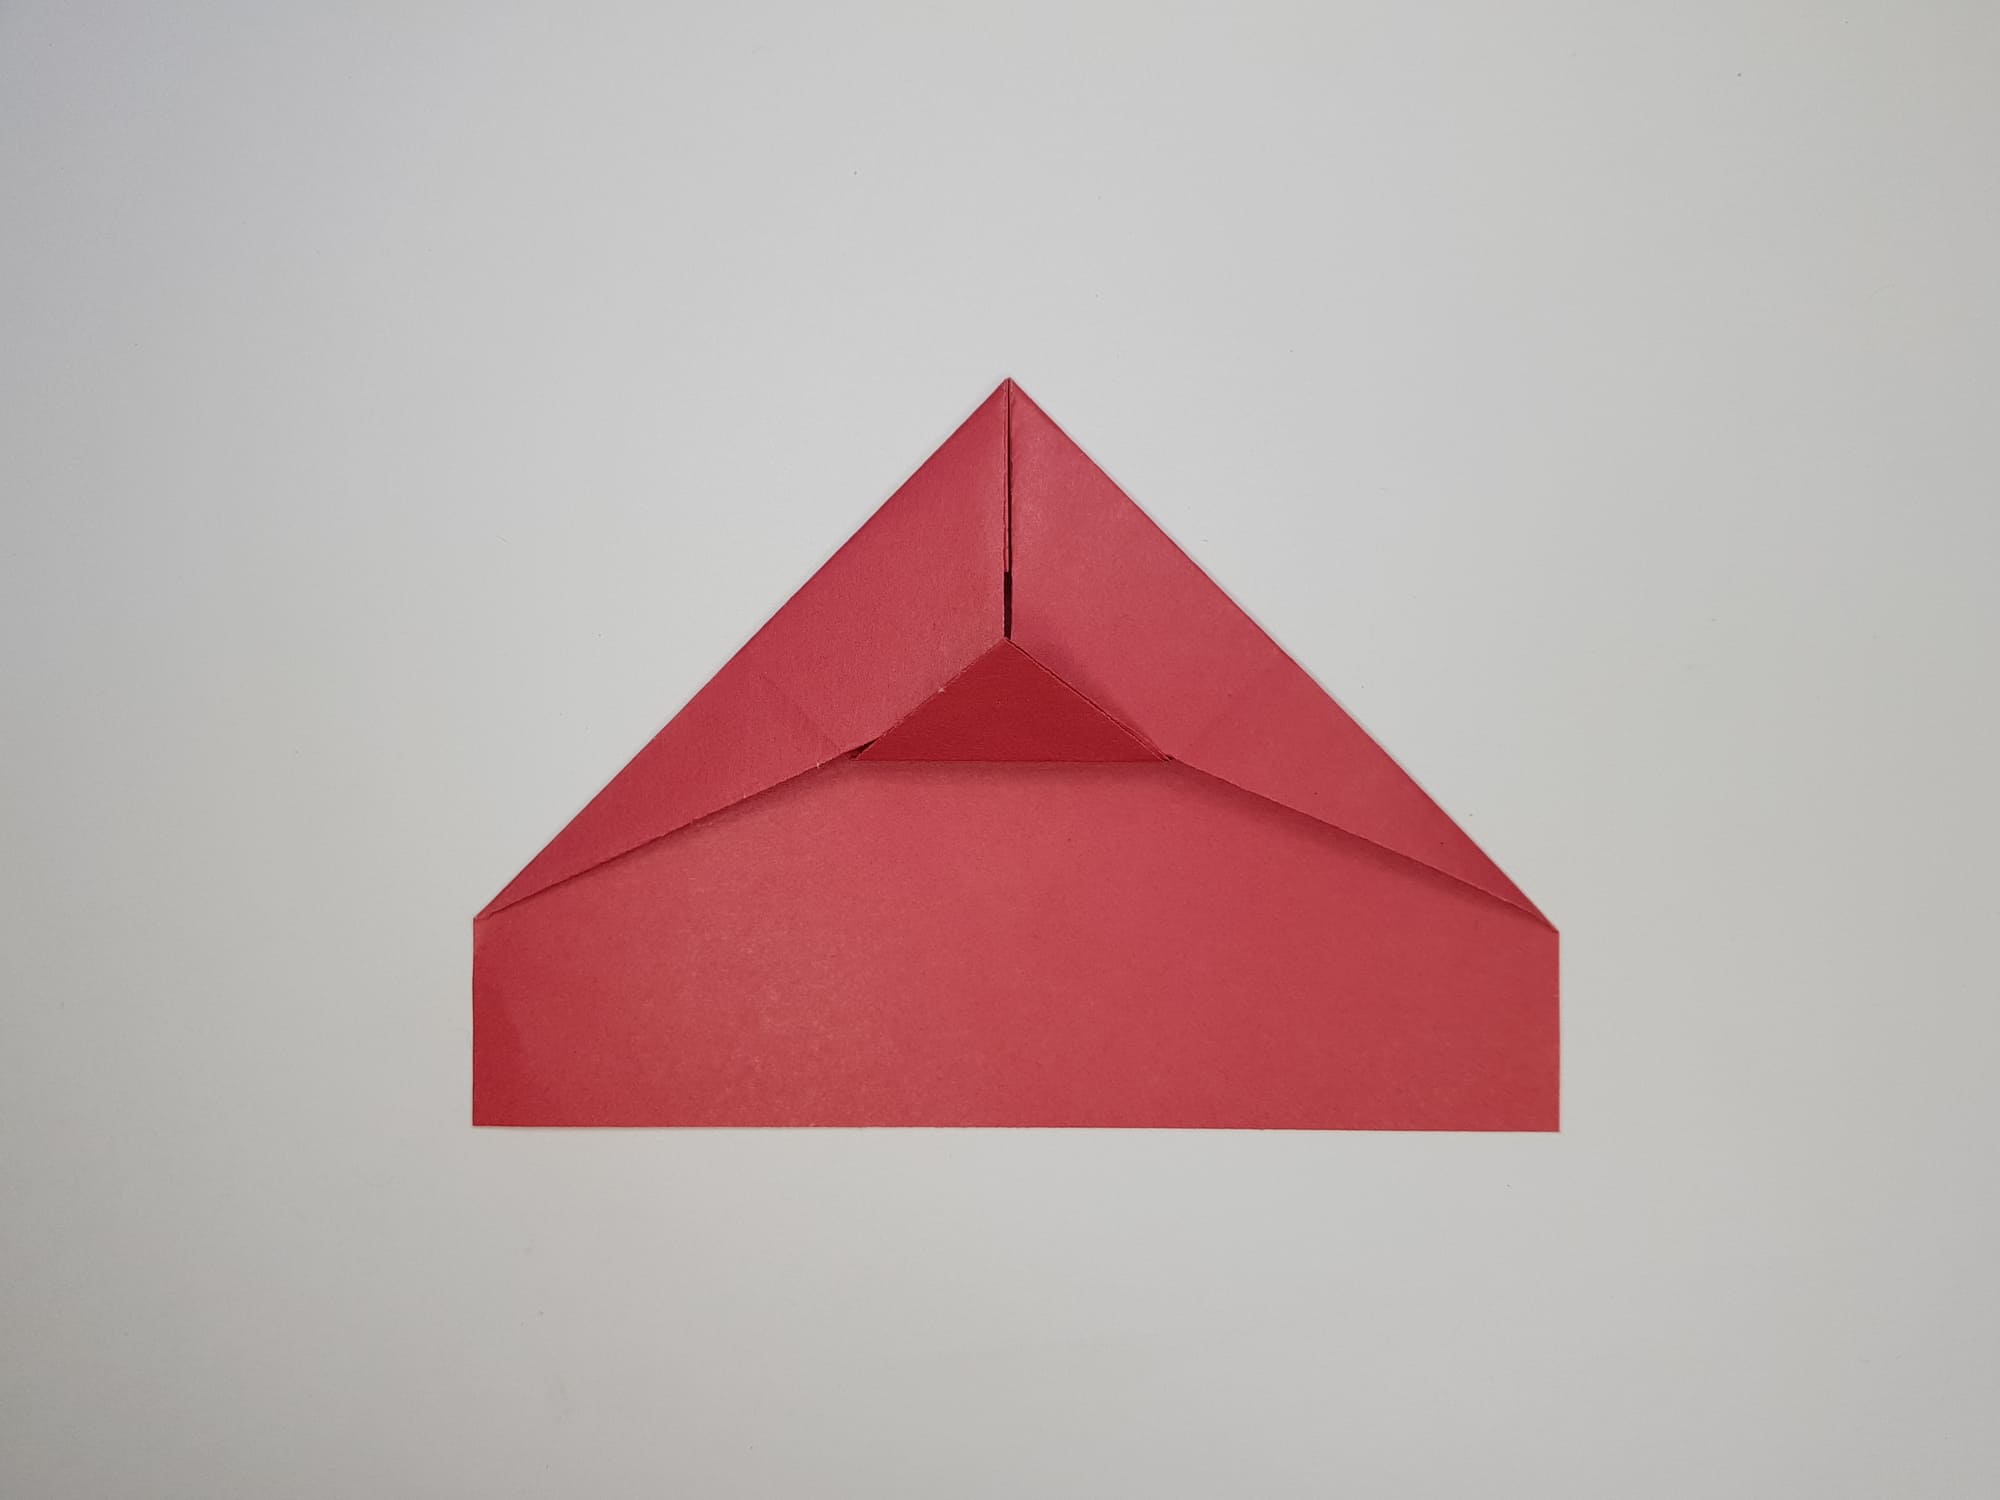
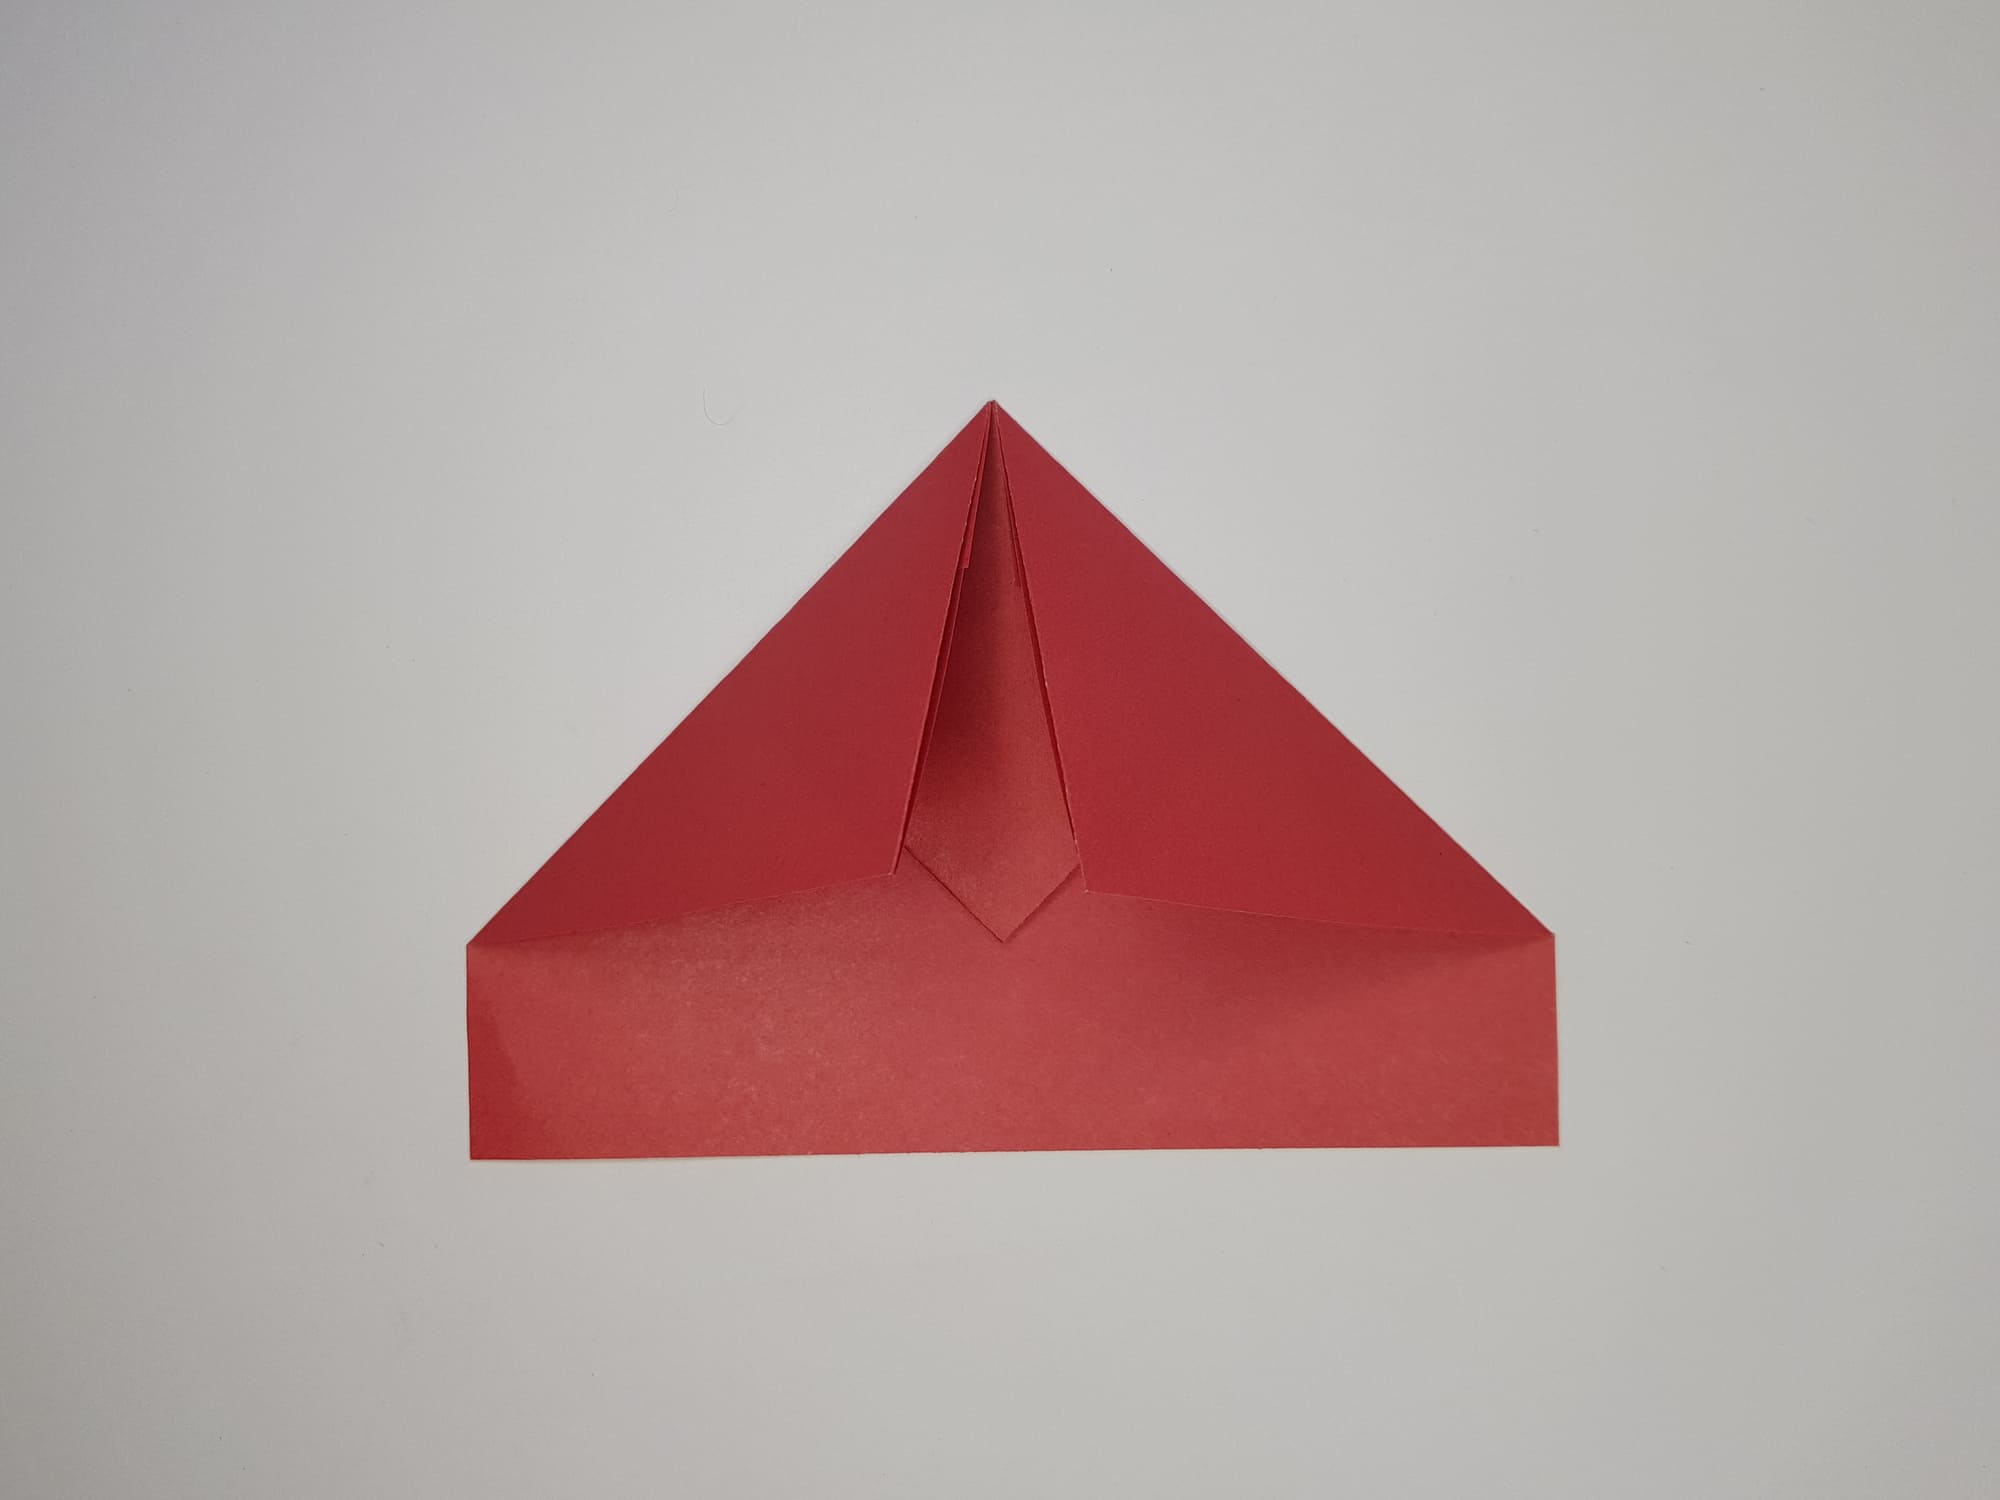
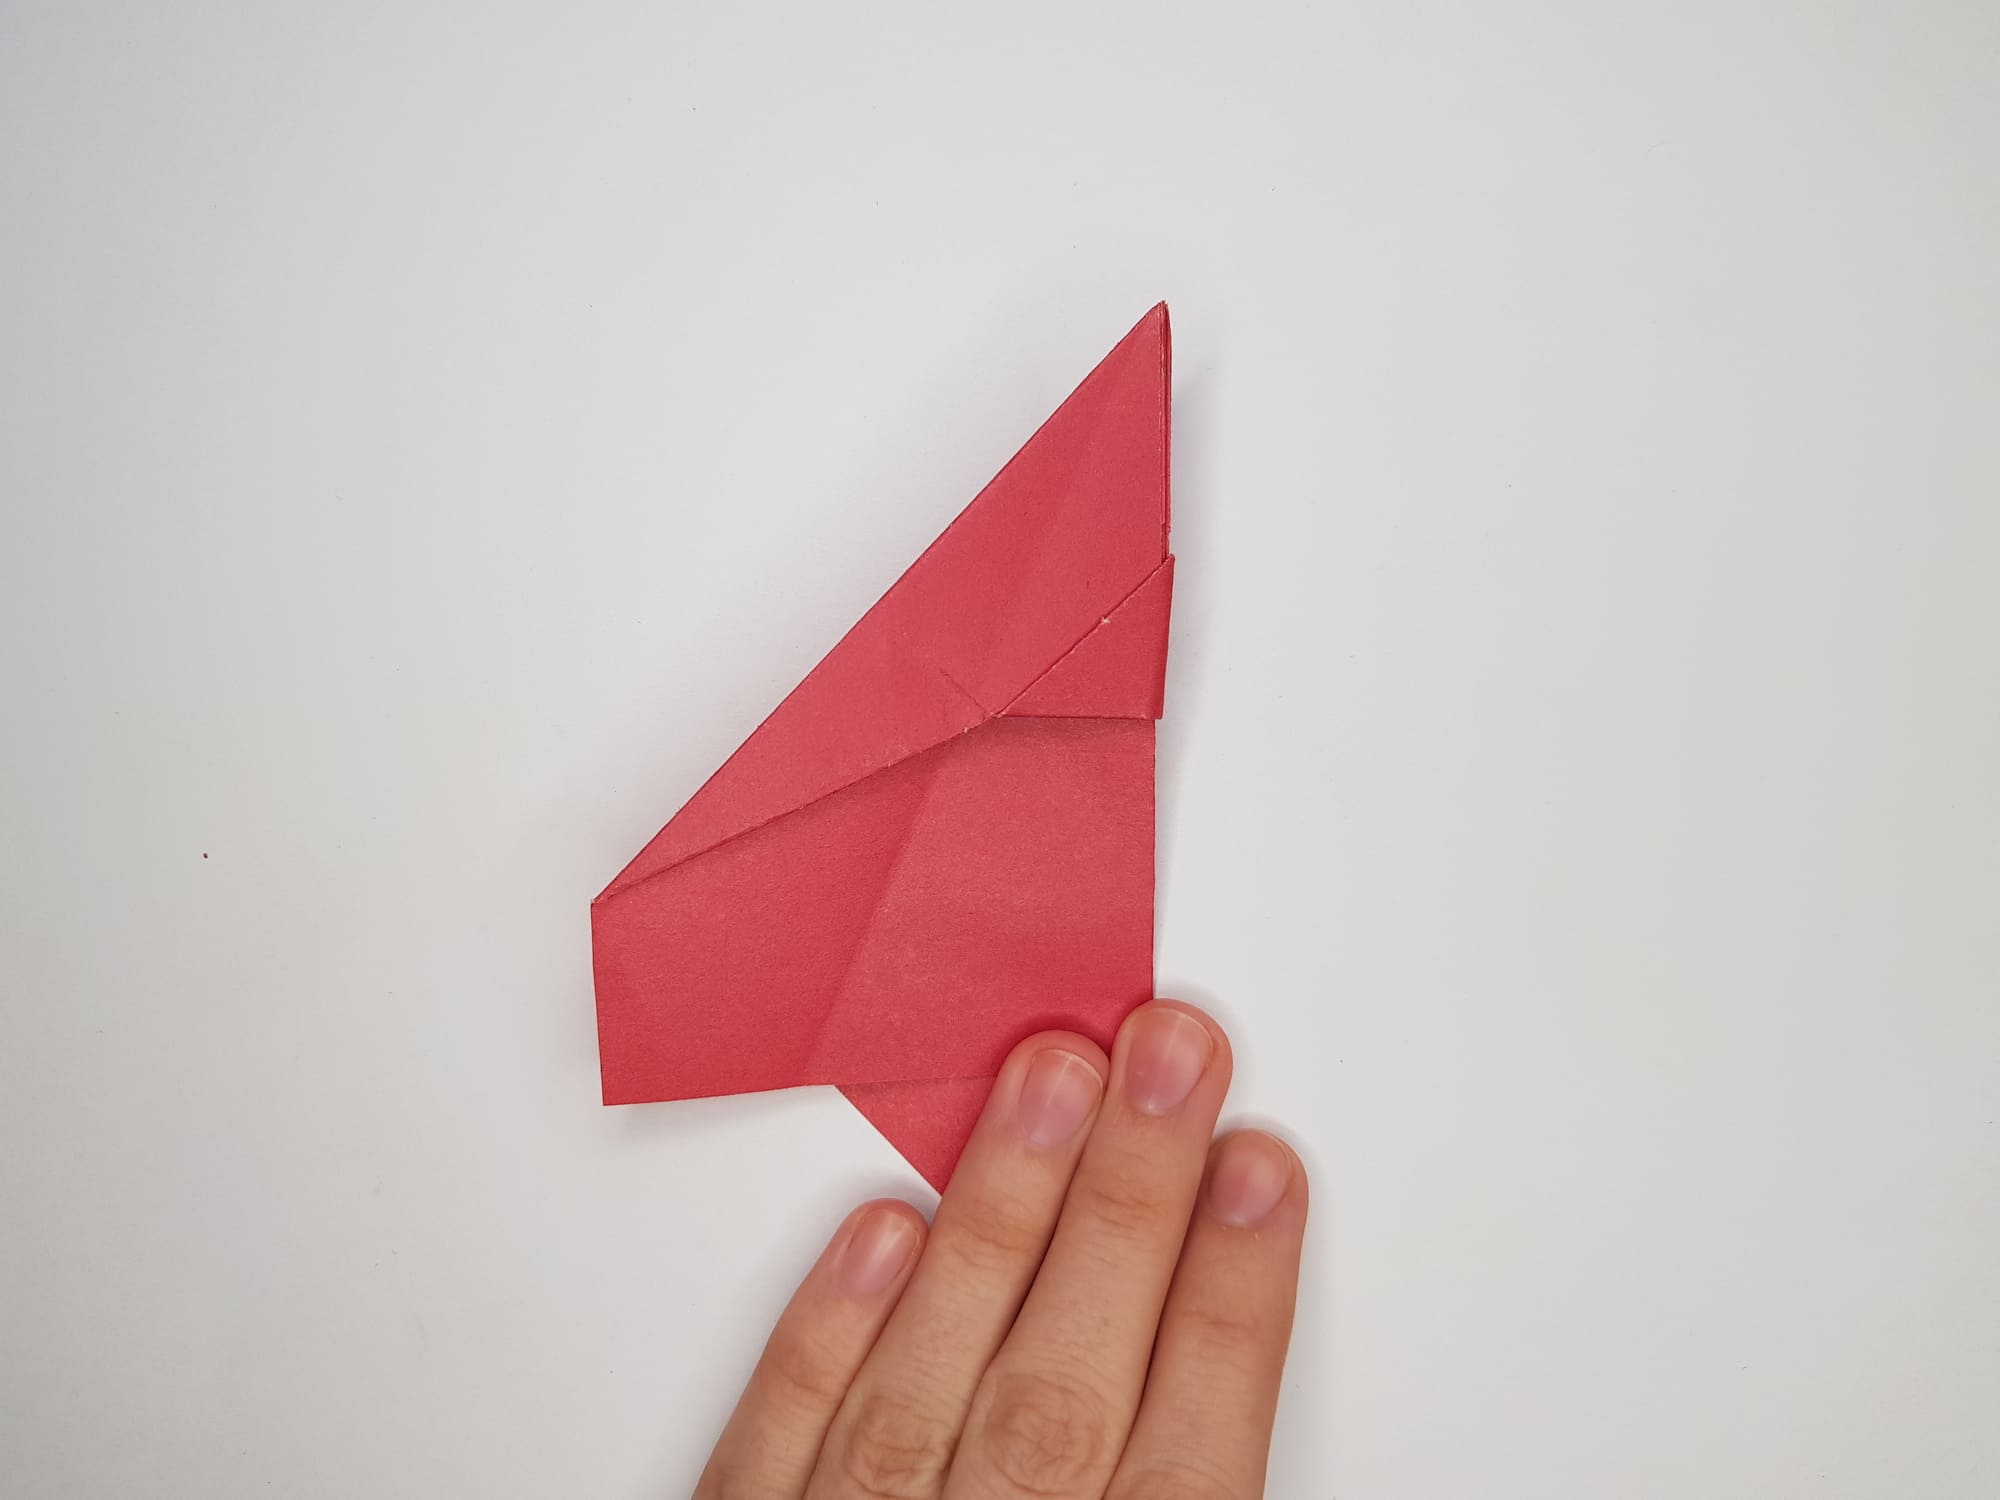
Bend the corner up, as if fixing the bent parts from steps 11 and 12.
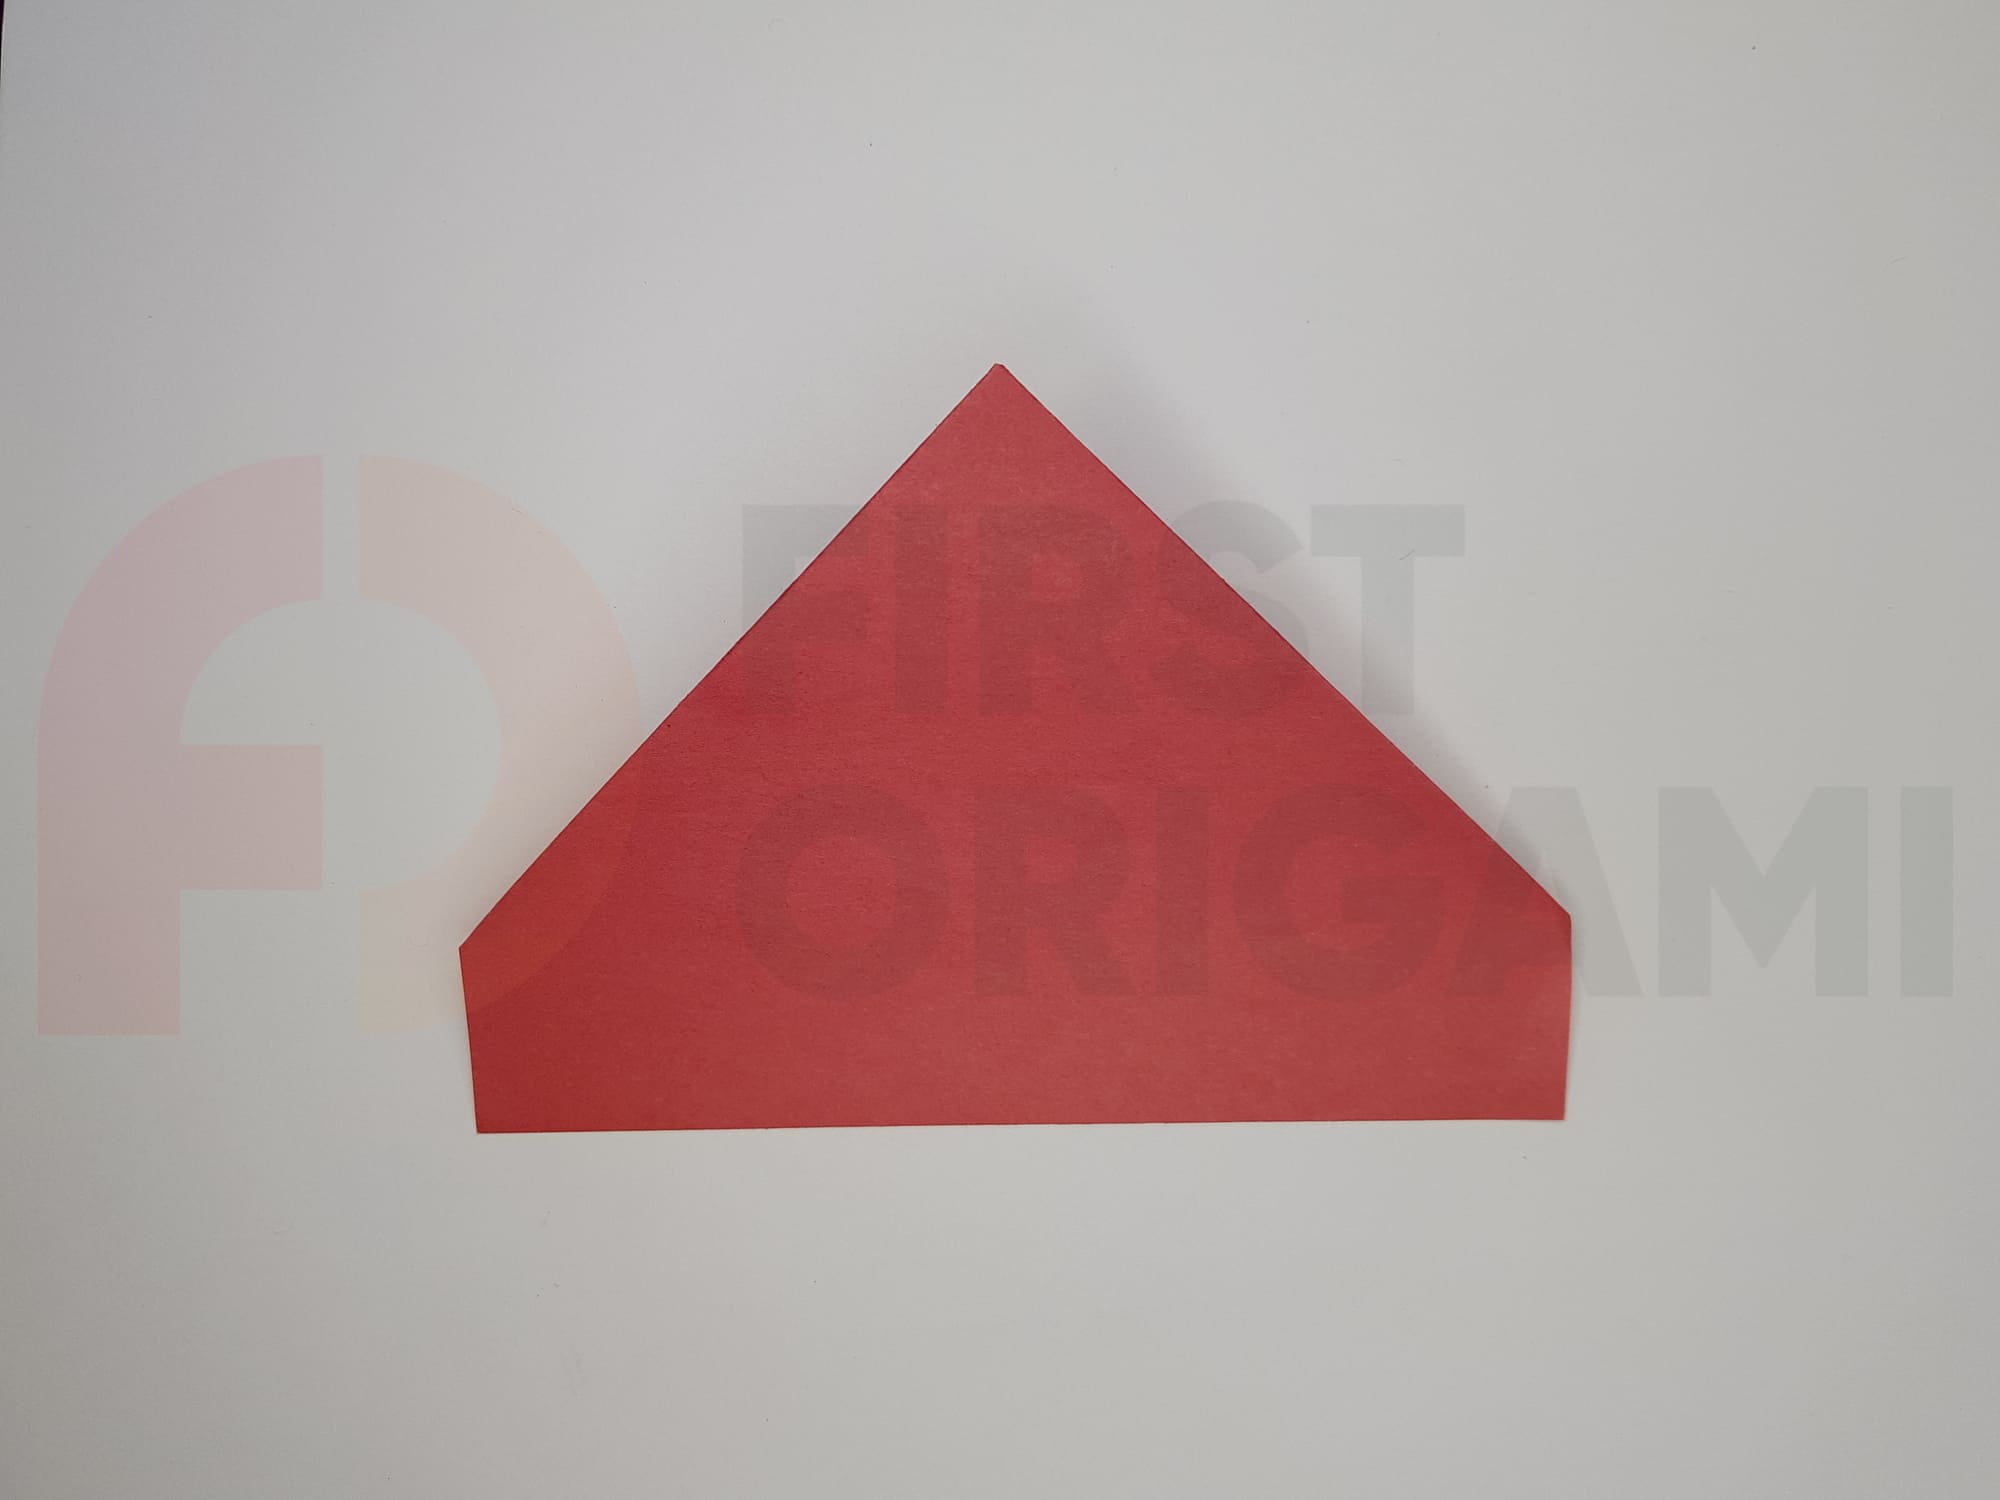
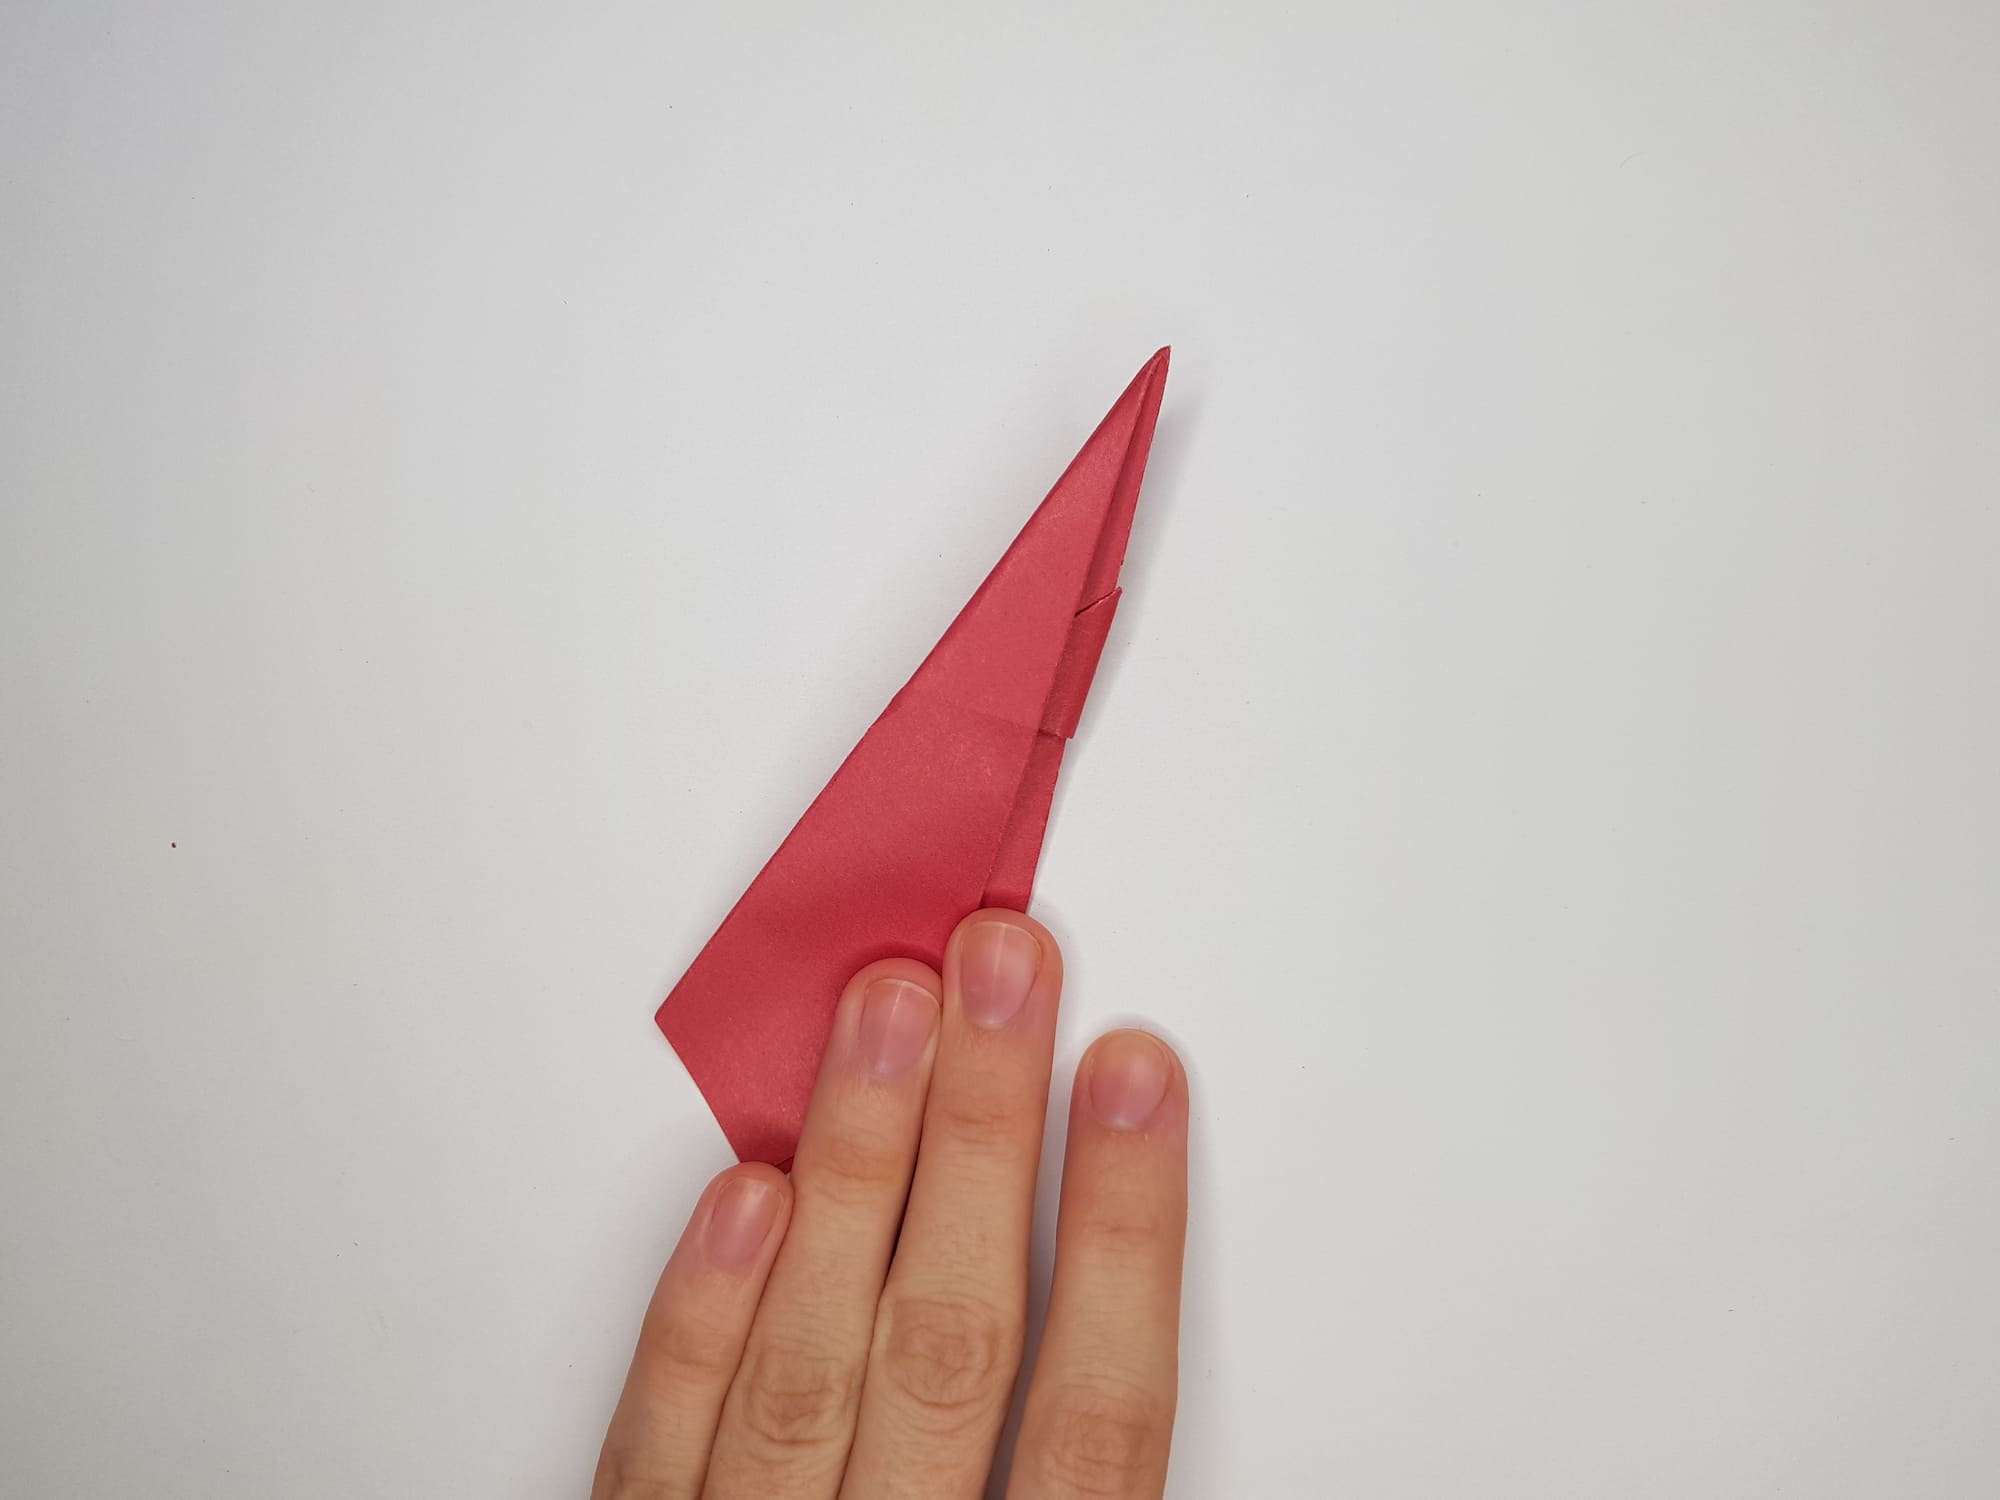
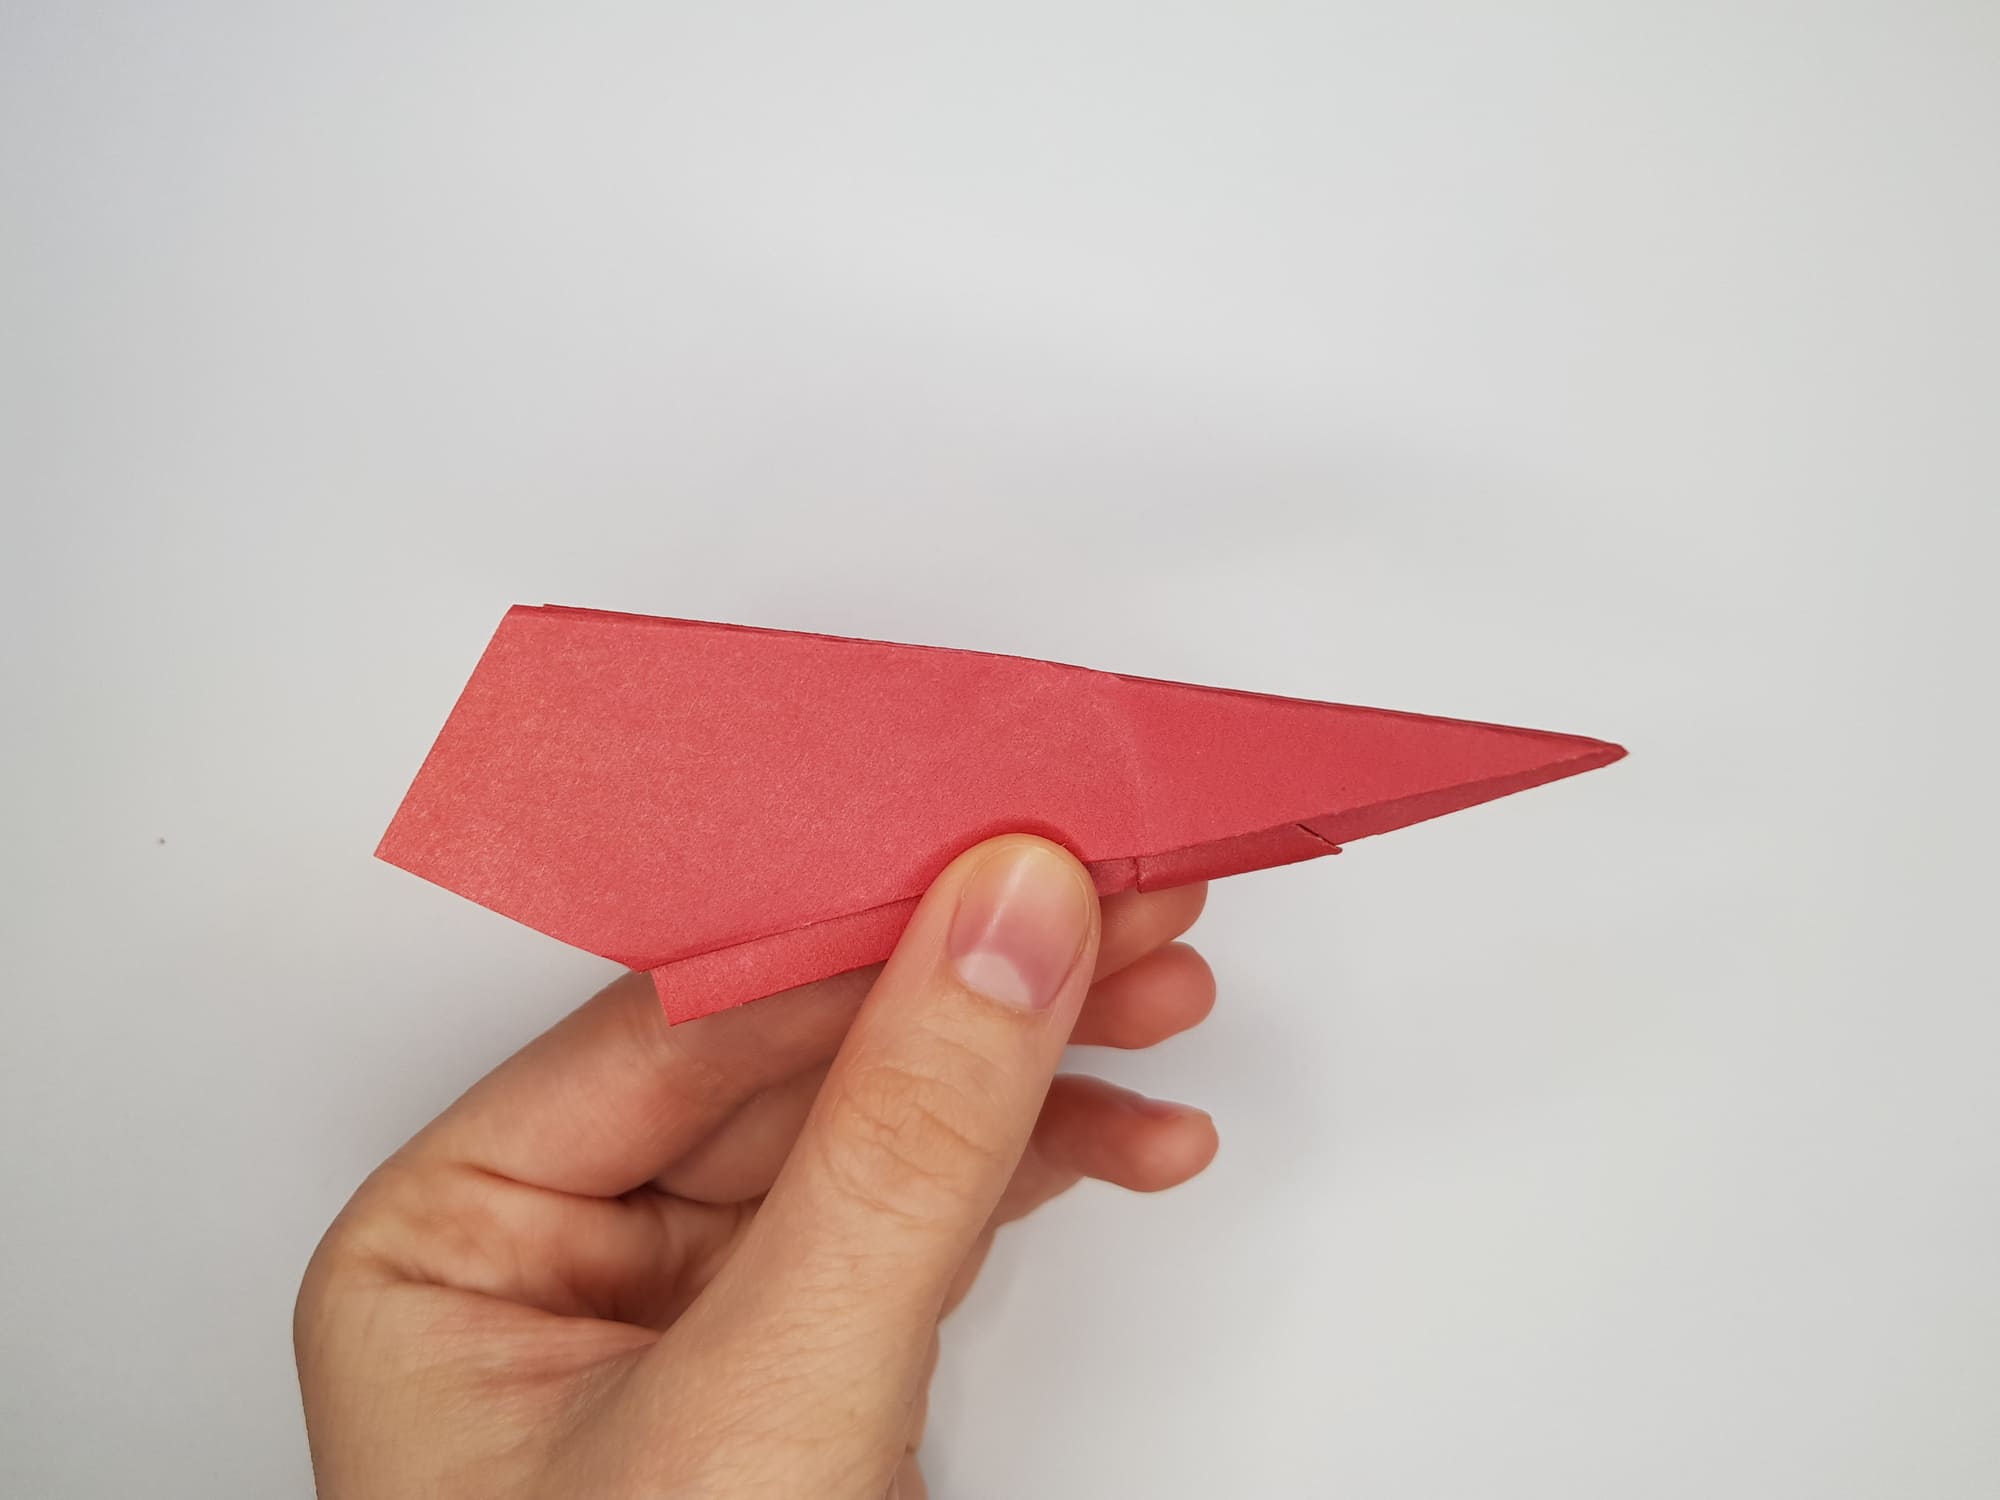
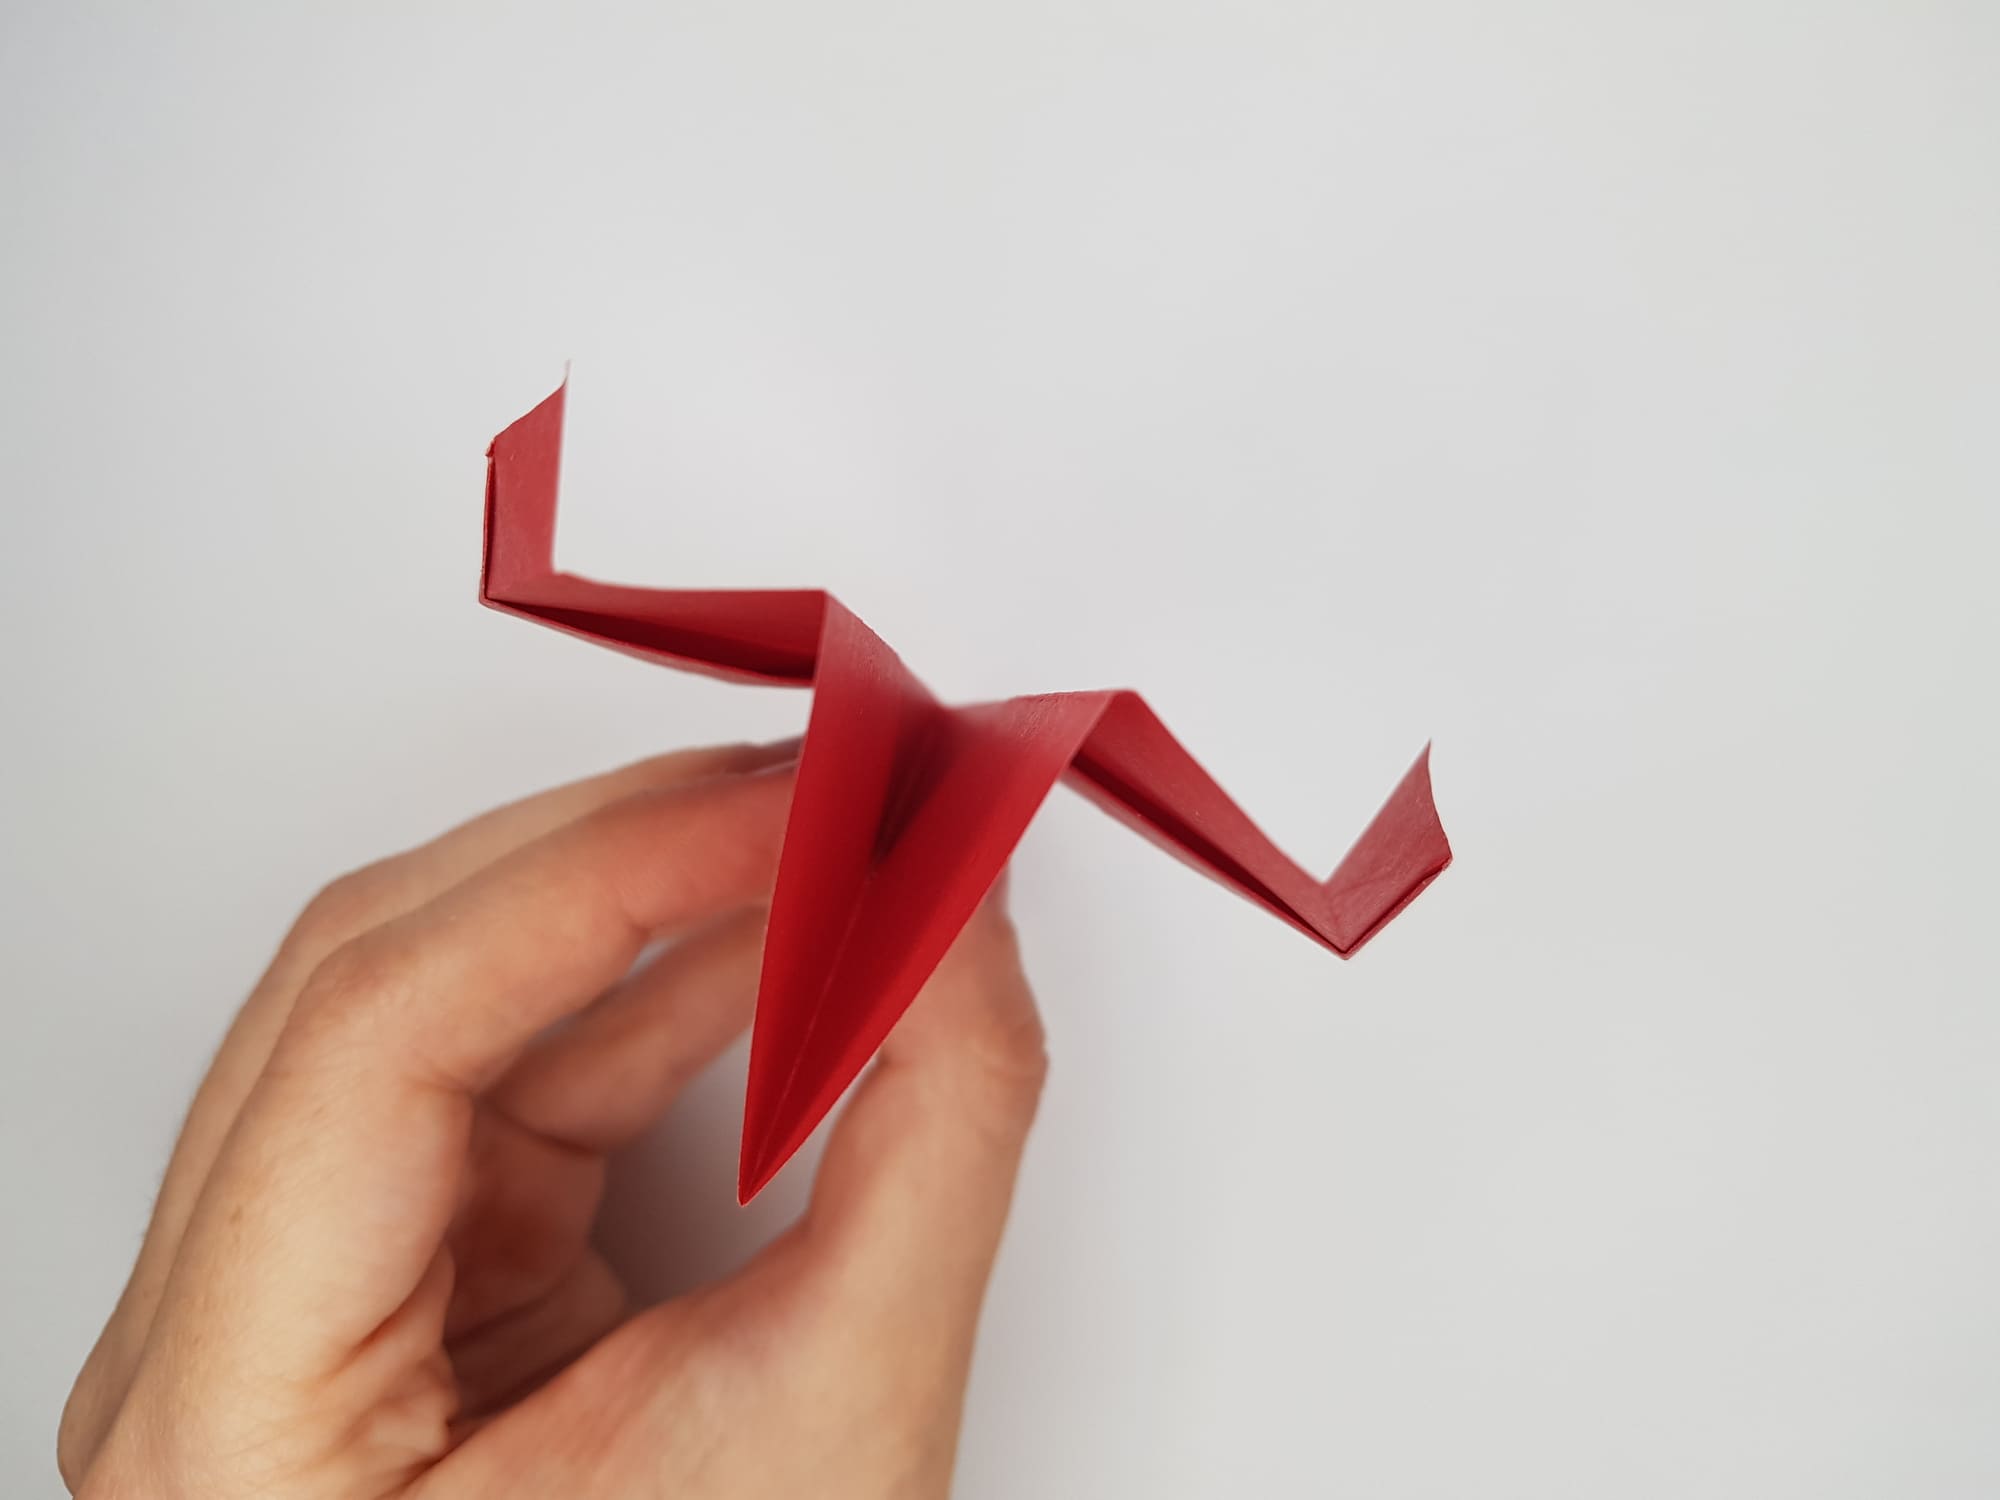
Turn the figure to the wrong side and fold it in half.
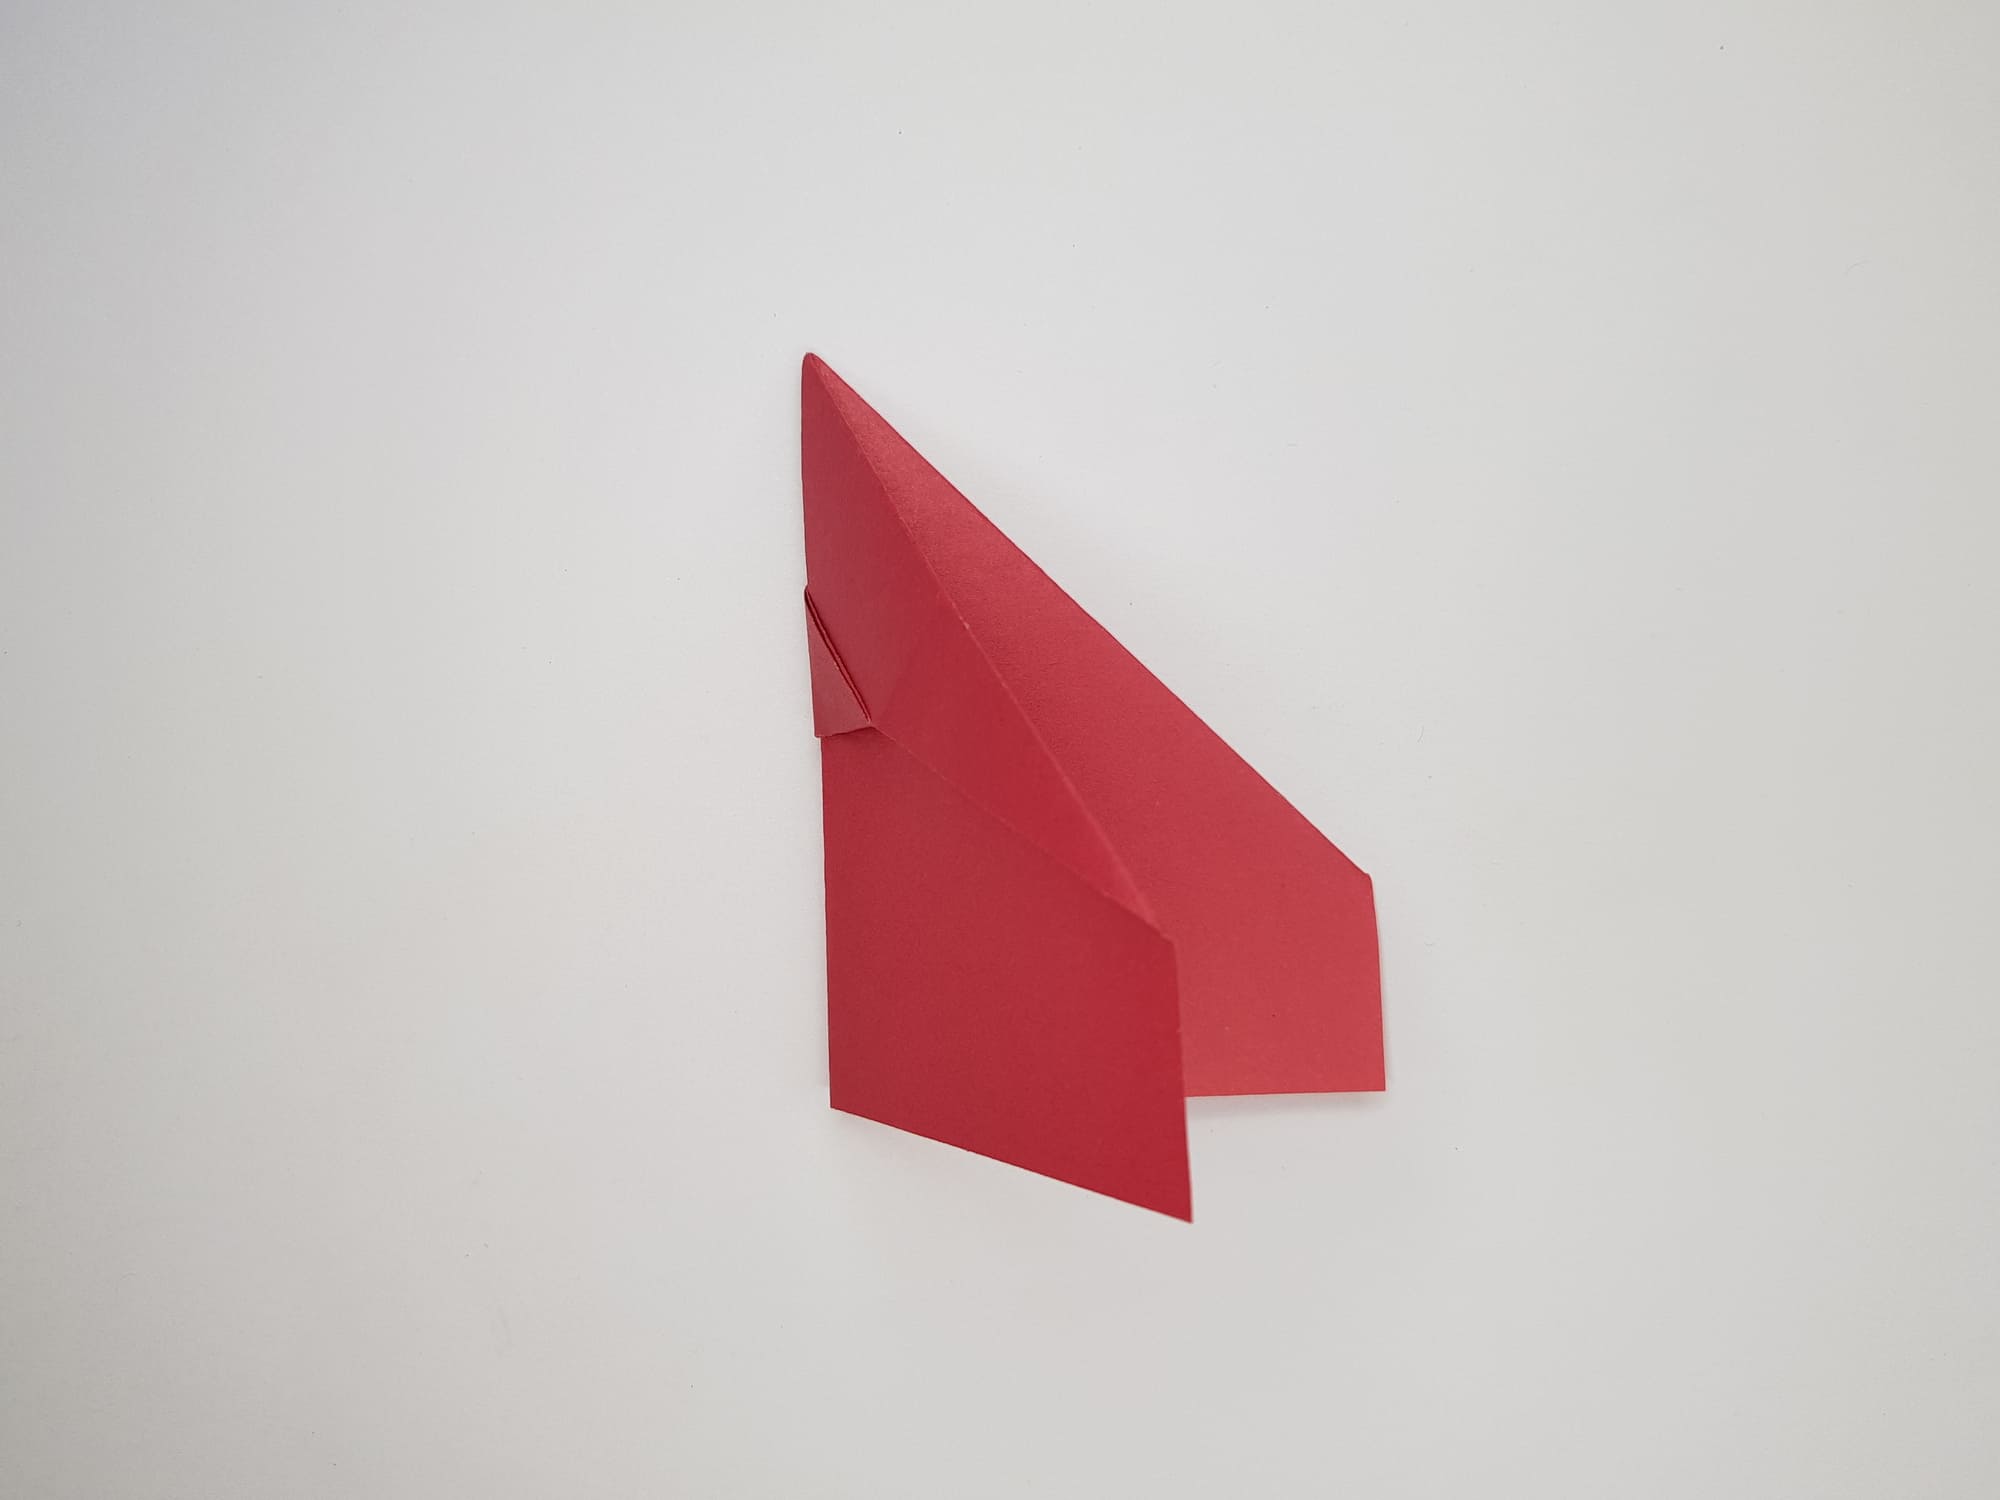
Fold one side of the figure in half.

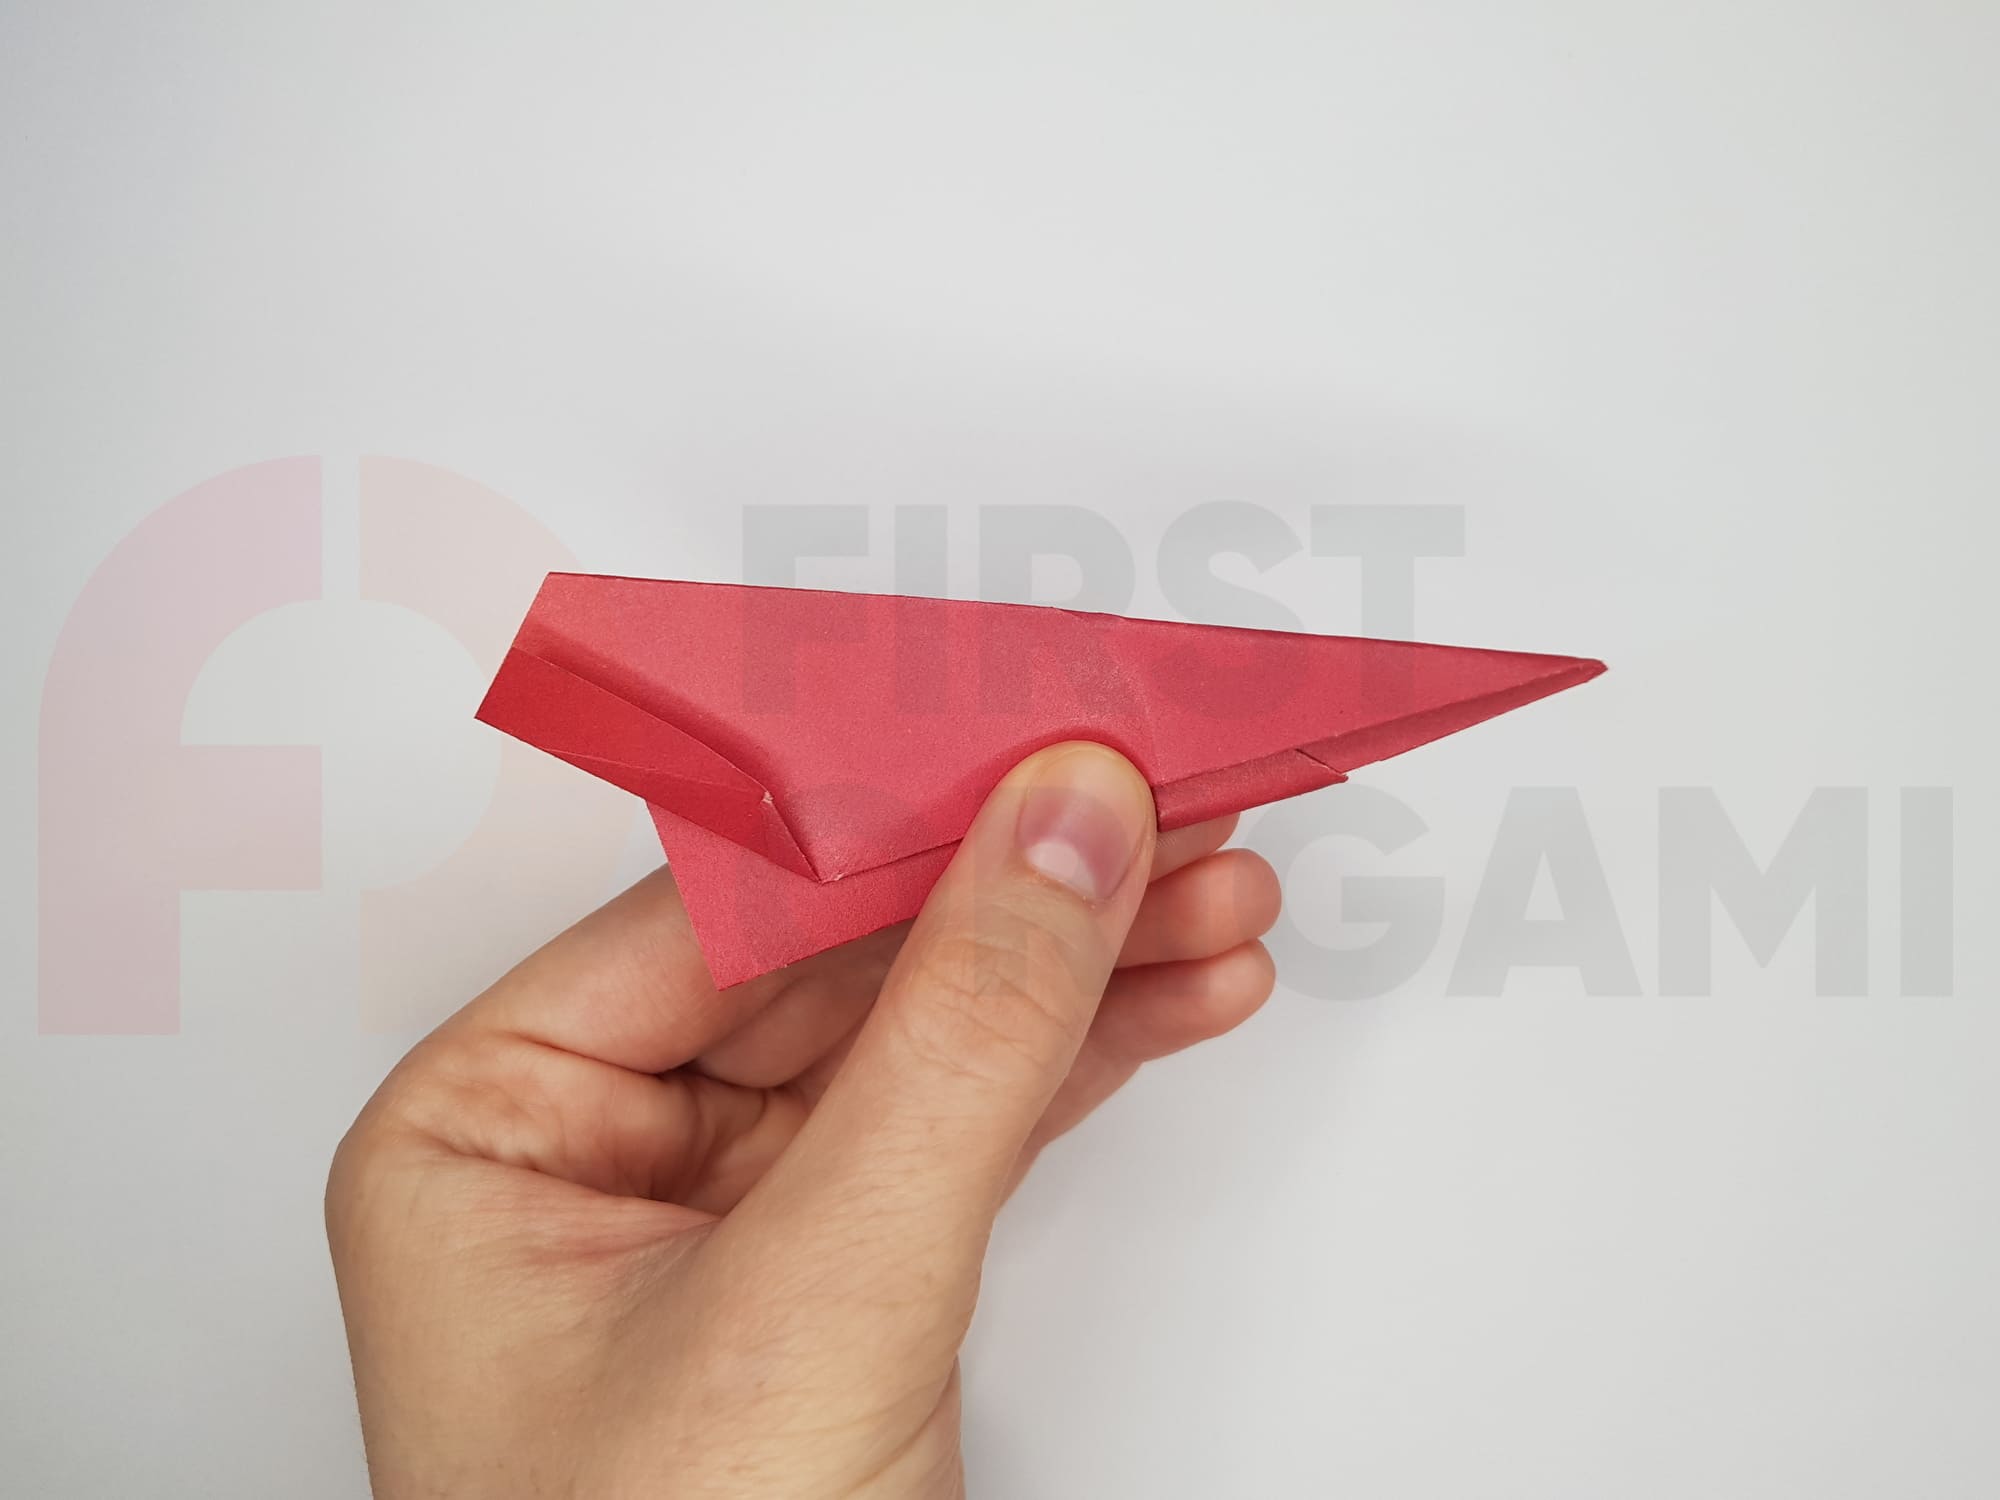
Repeat the same action with the other side.
Bend the edge of one wing as shown in the photo.
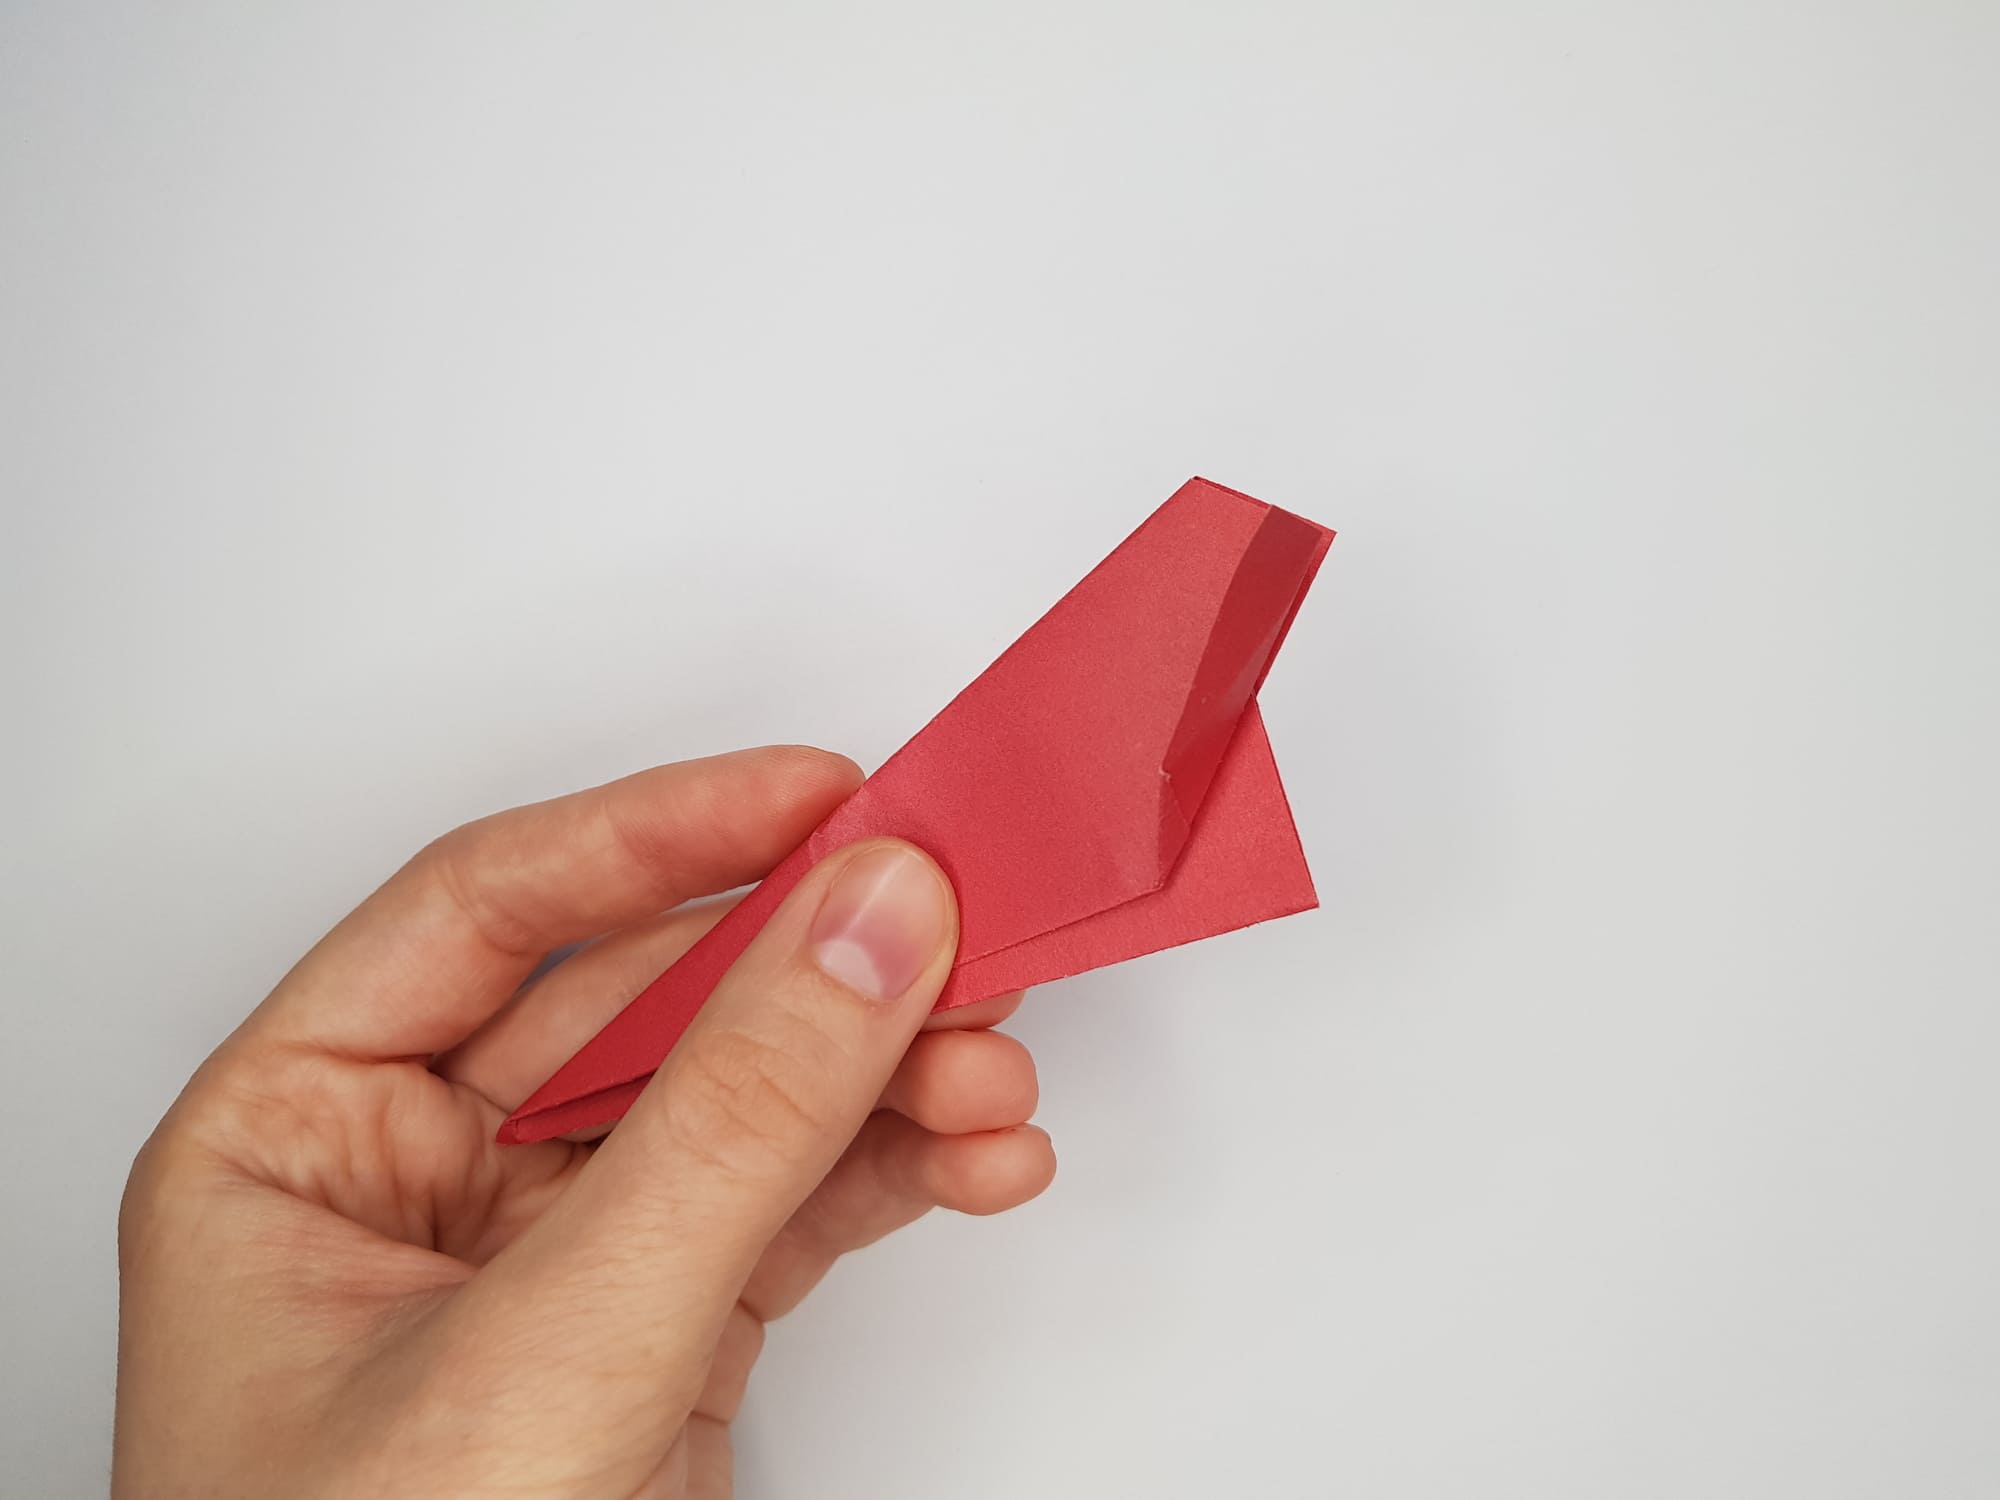
Do the same for the other wing.
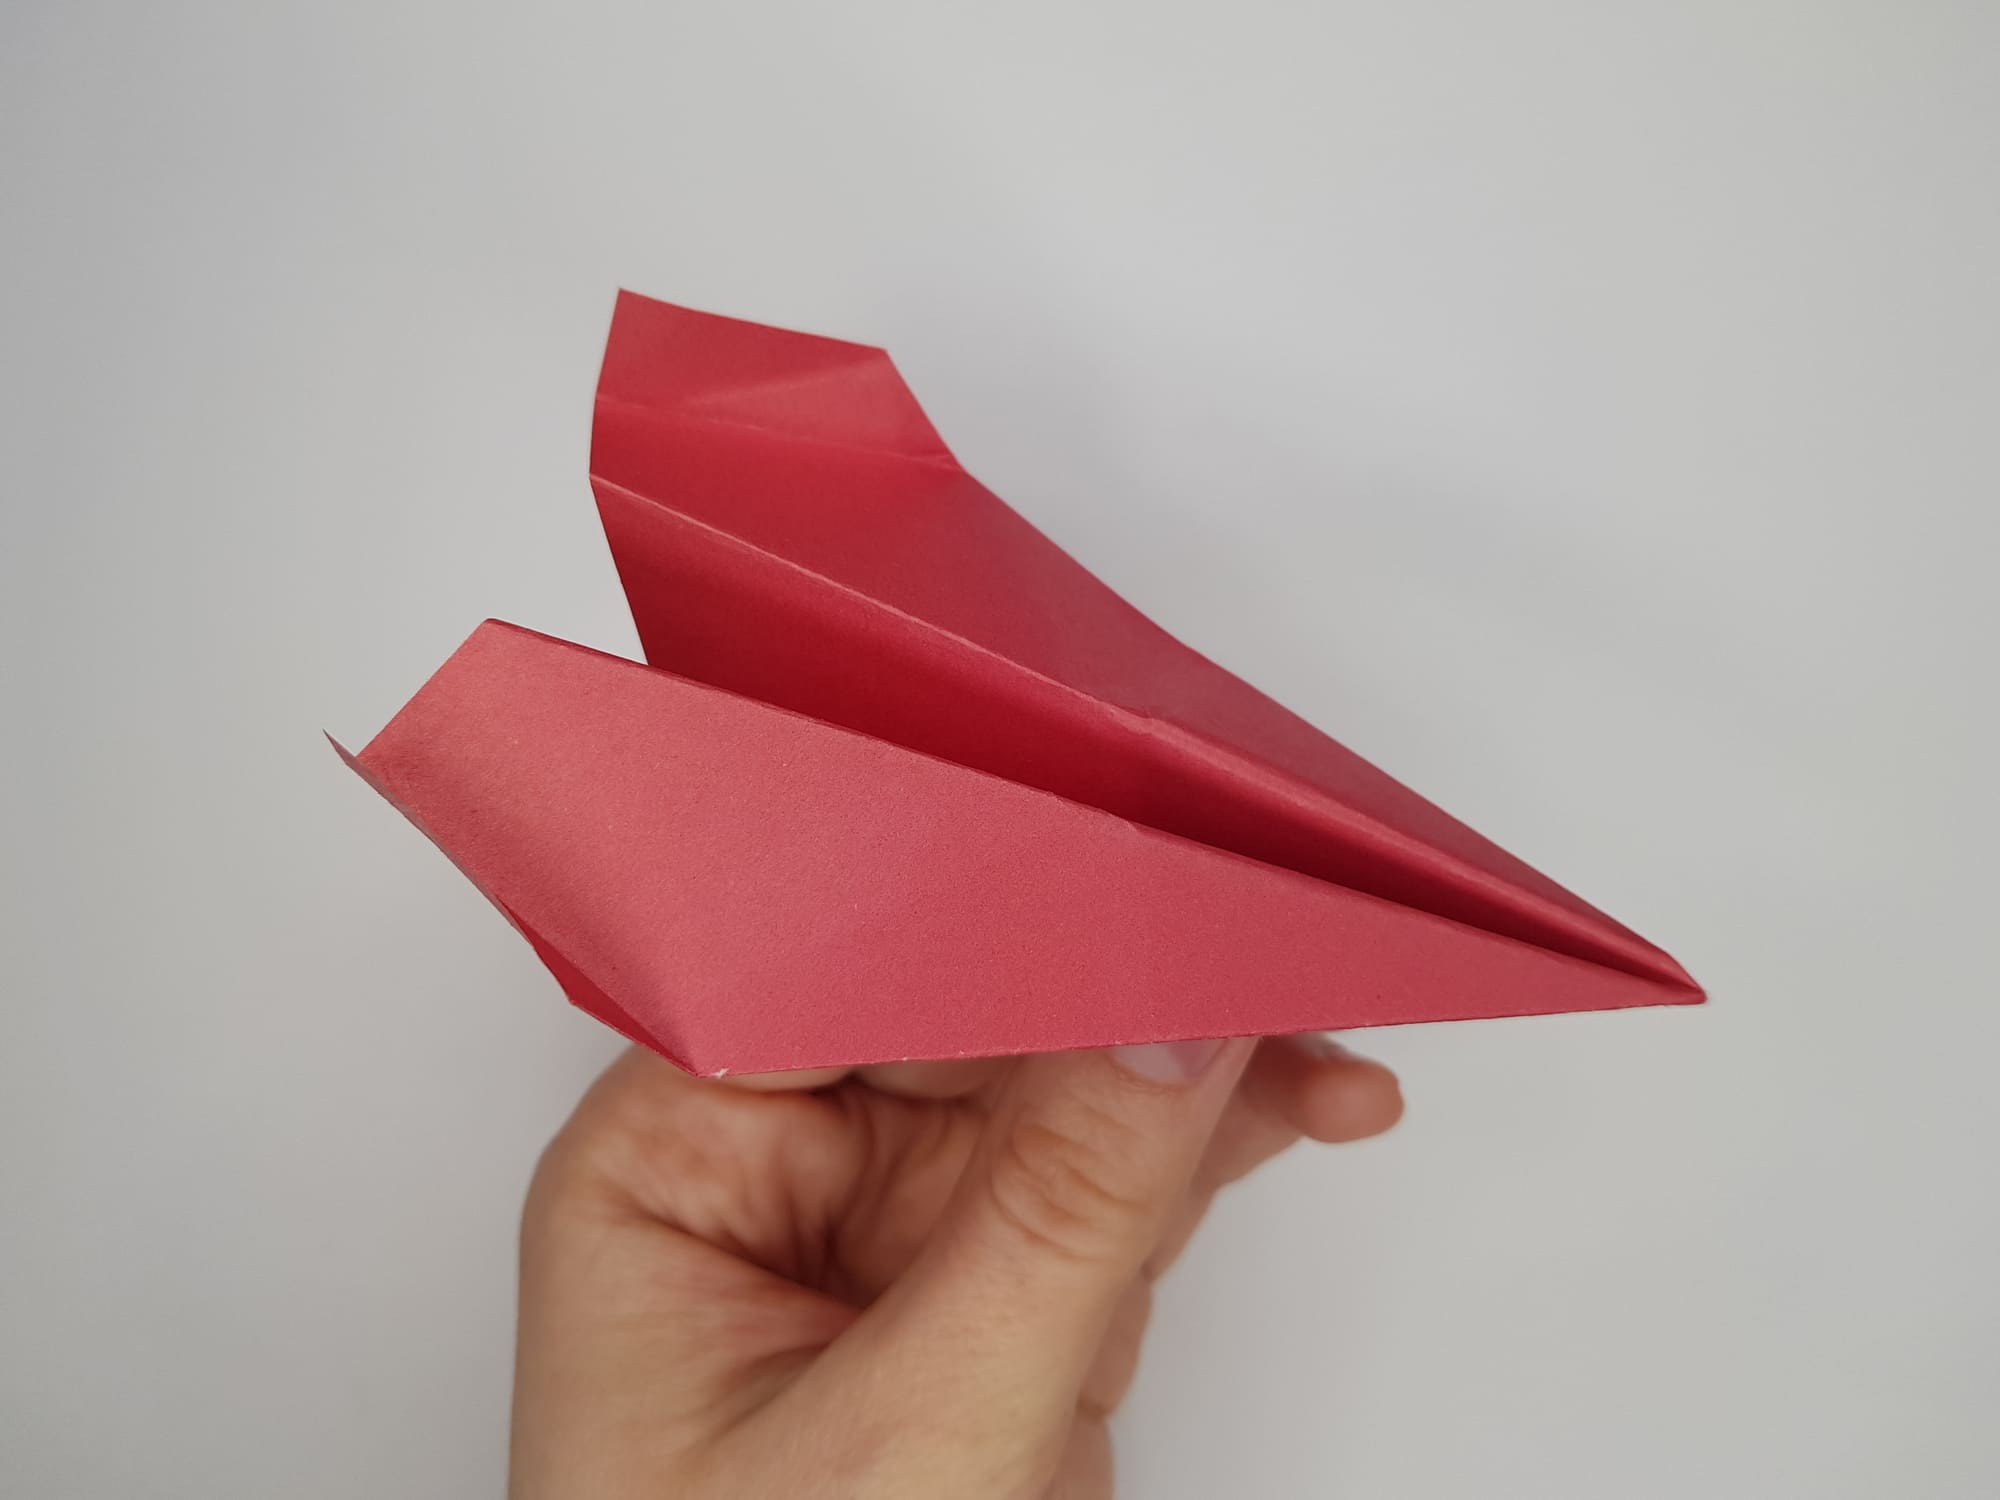
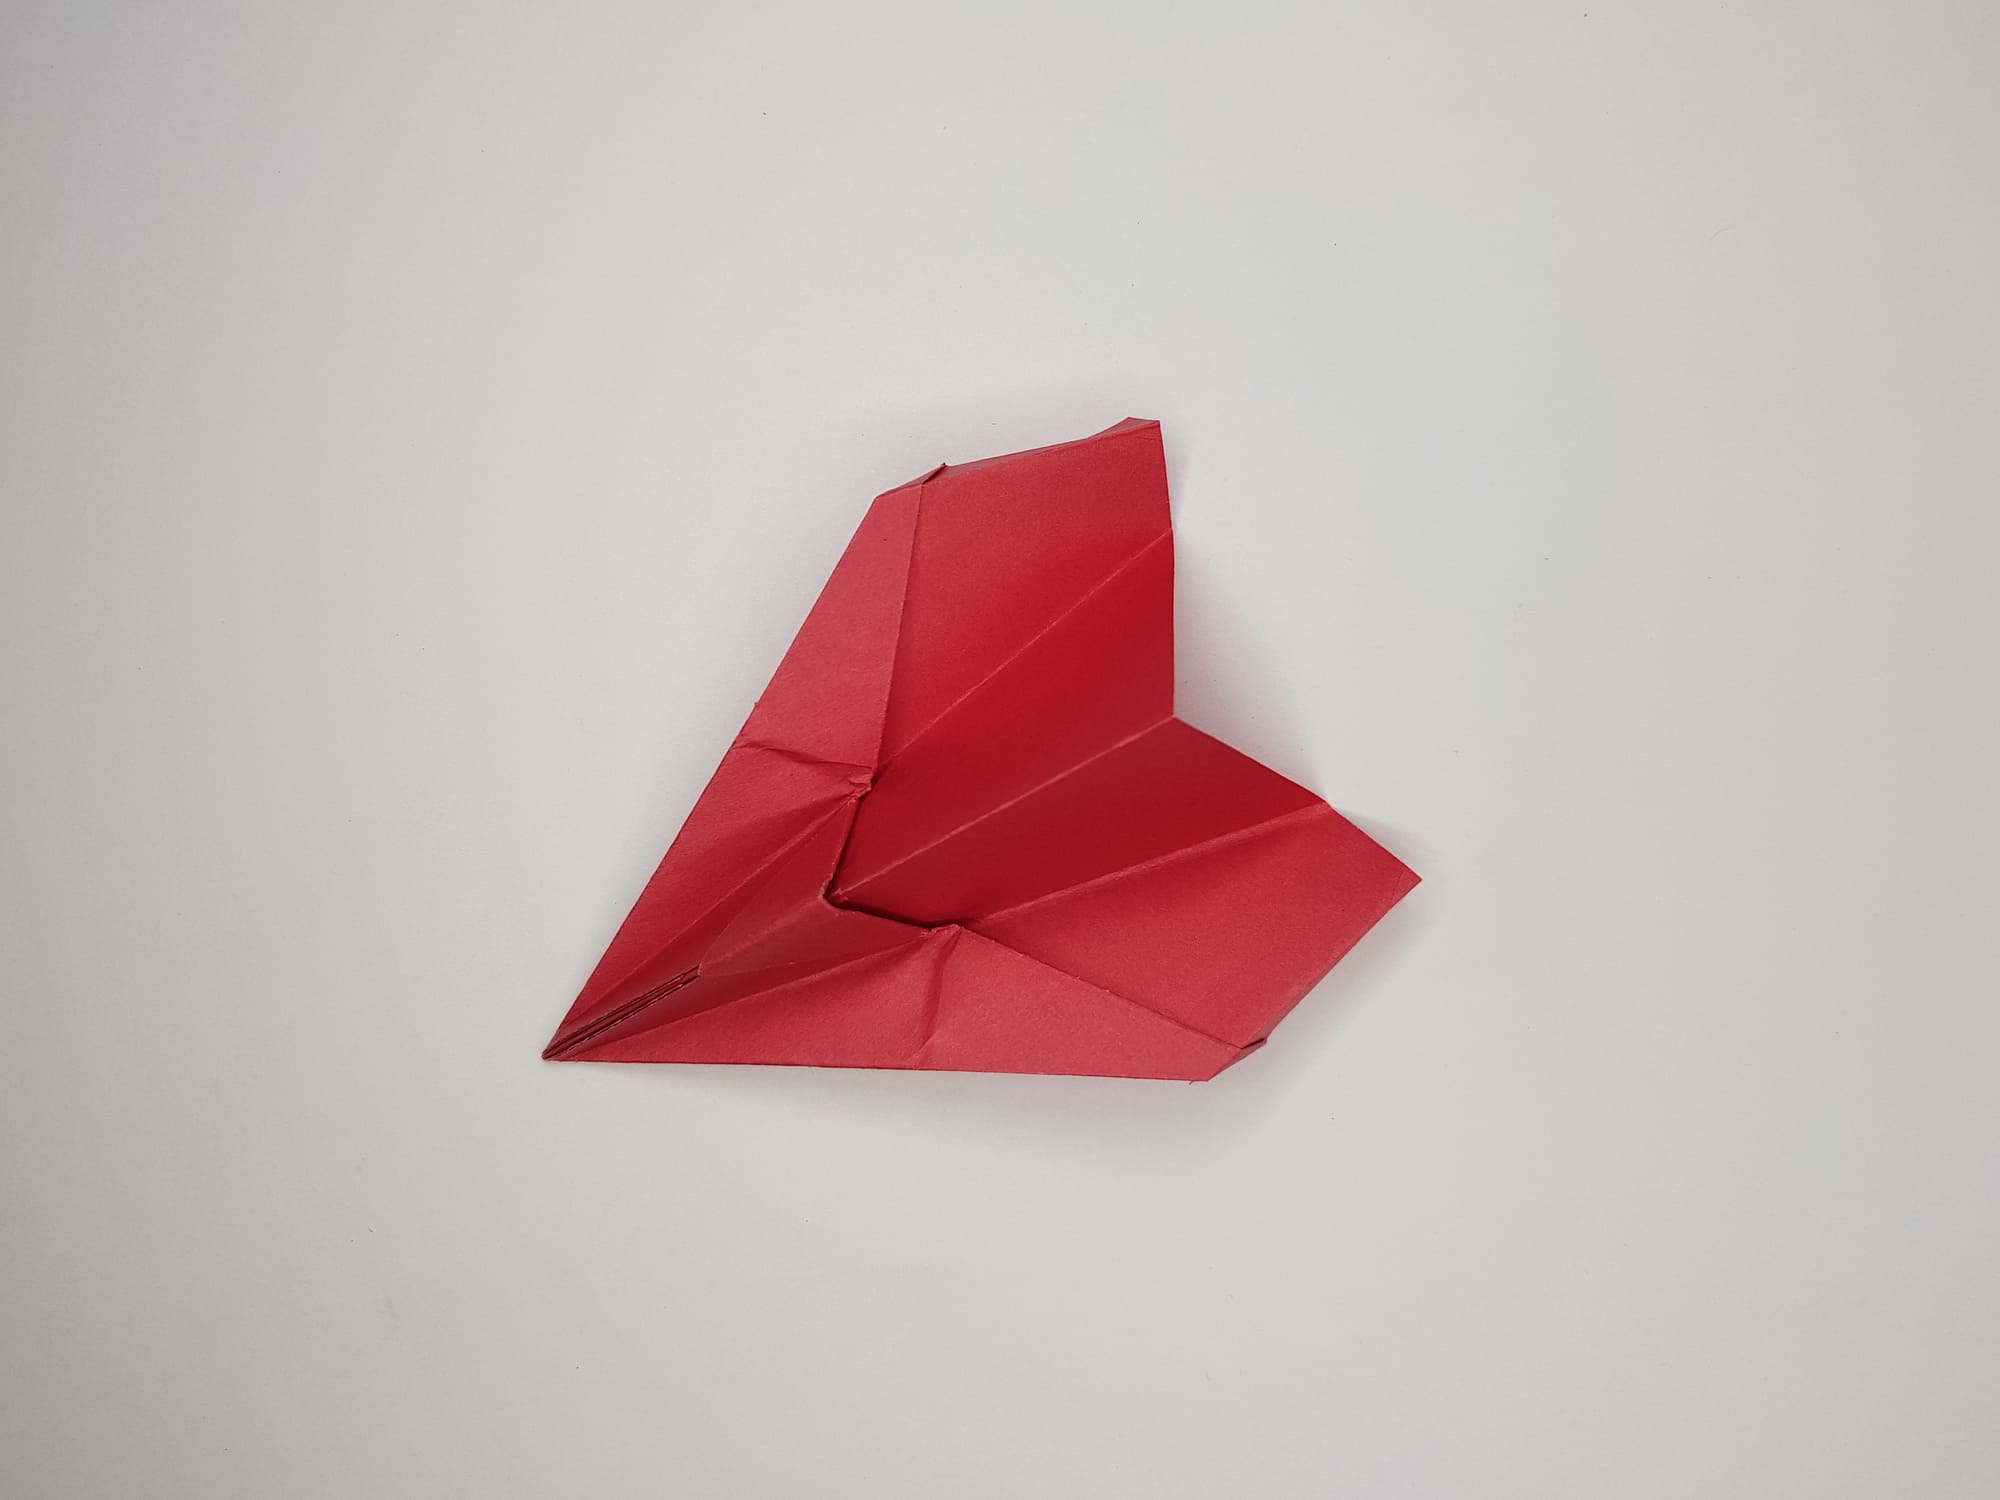
All done!

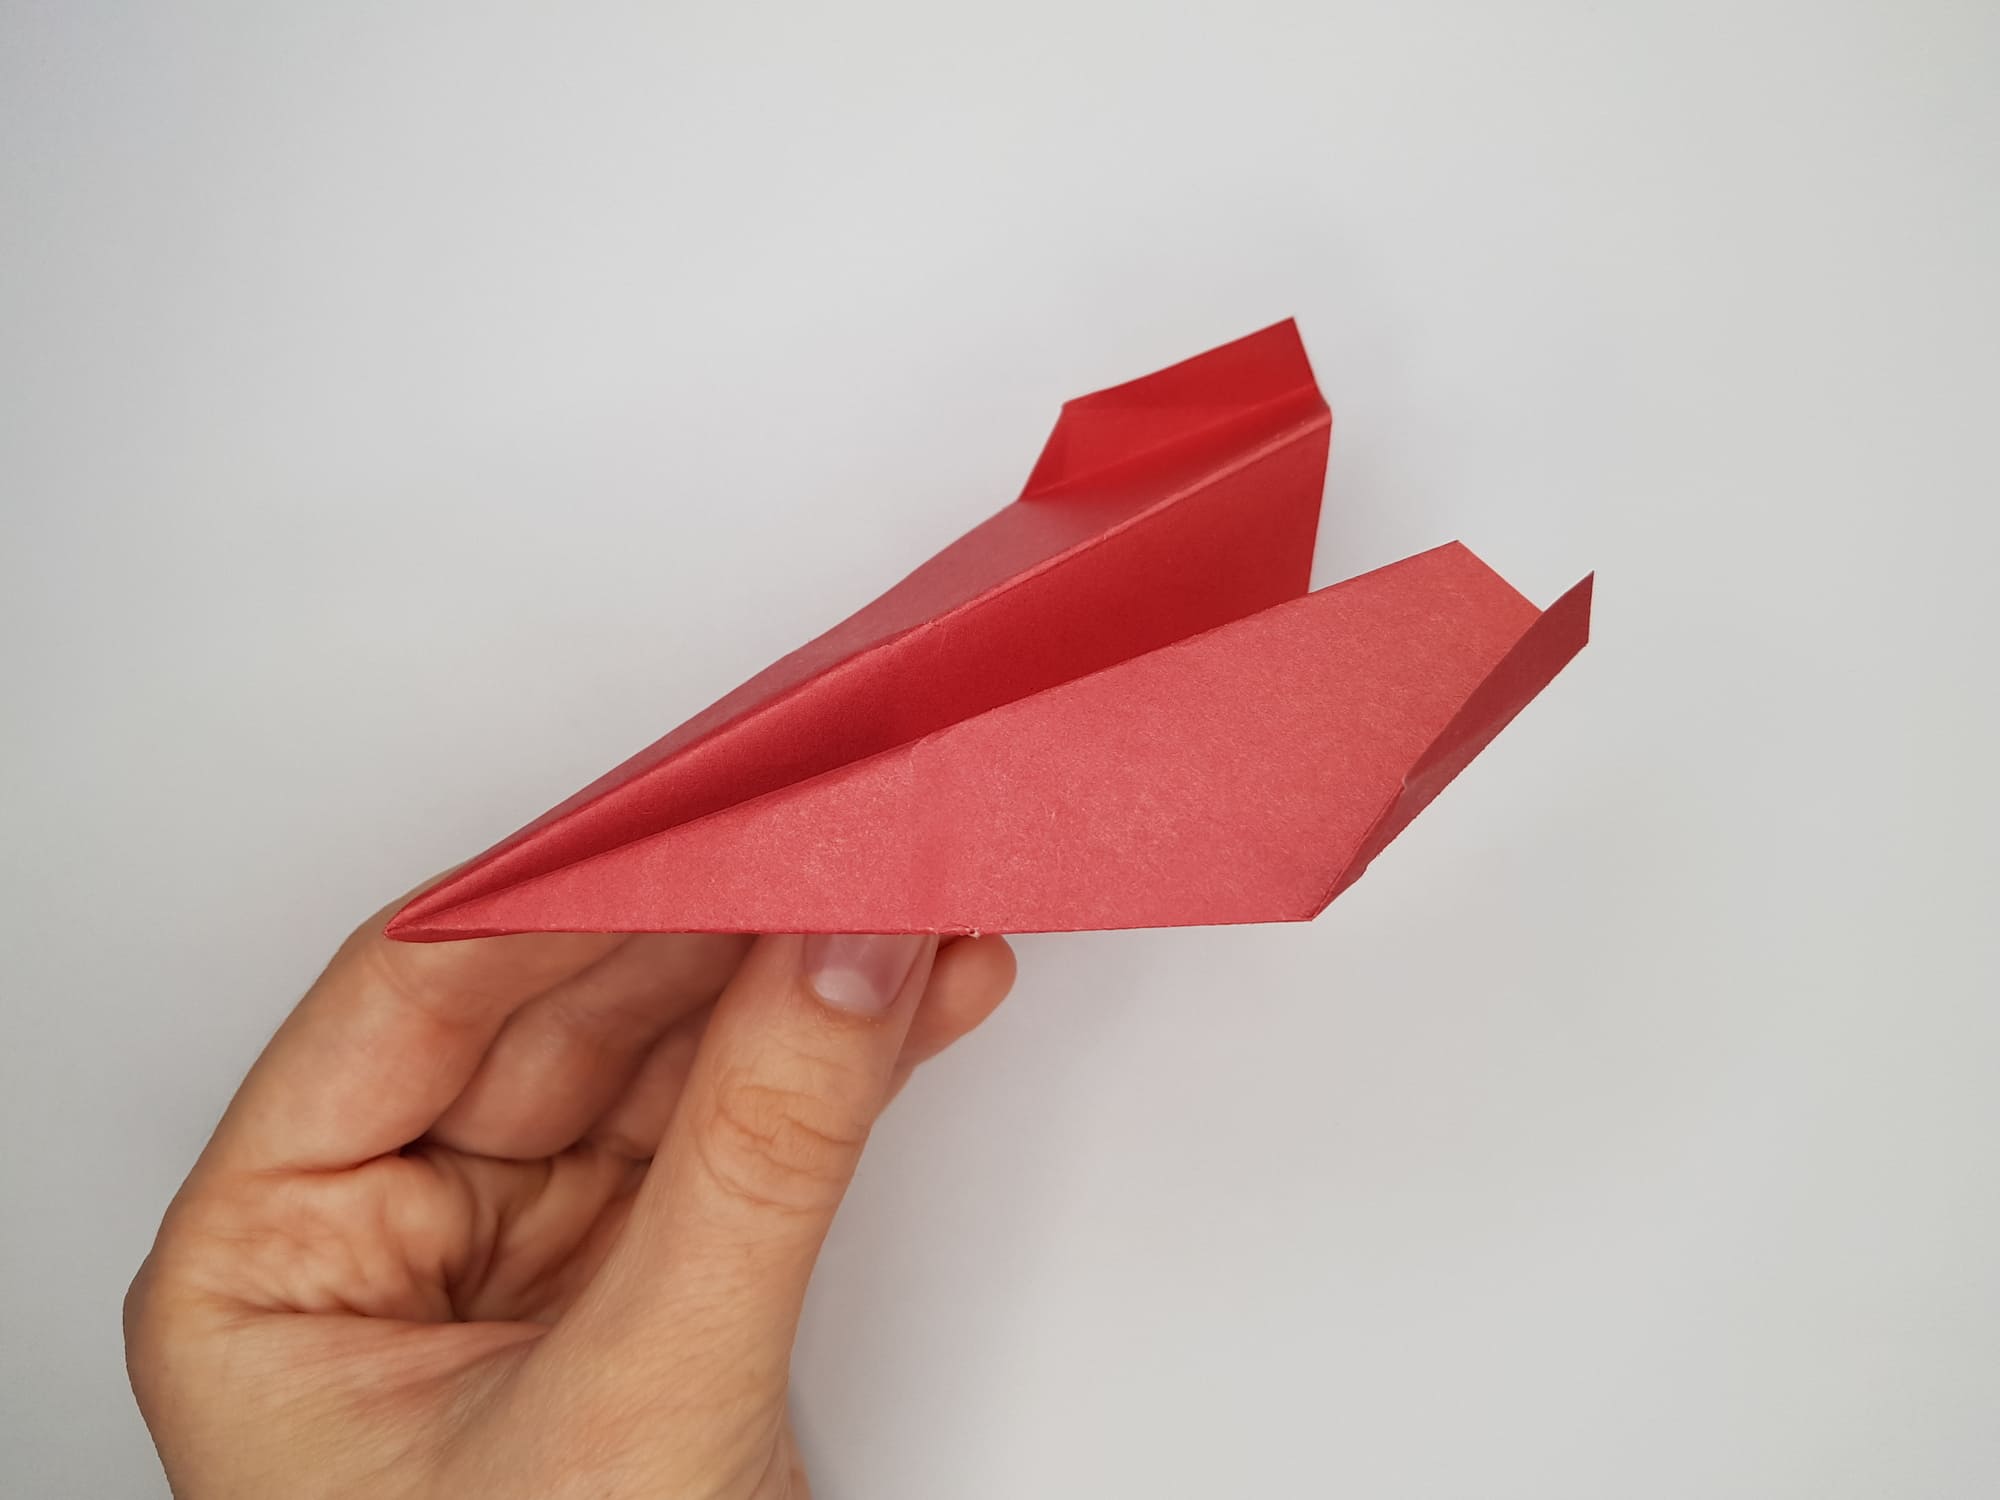
A compact, lightweight, and maneuverable paper aircraft is ready. It’s time to test it in practice – fly it and see how it moves in the air and knows how to catch the wind. We suggest you try to make a large and small model: compare which one flies faster and makes more turns.


