Origami Raven Airplane
The creators of this origami paper airplane did not give it its name because of its appearance, although its large wings may resemble those of a bird. It’s all about the peculiar manner of flying: it does not always fly straight. Sometimes, it begins to circle in one place and dive down. This is the beauty of such a wide variety of origami aircraft fleets: each model has its own character, external features, and flight characteristics.
“Raven” is very easy to make, so even a small child can do it. For such an airplane, you will need an A4 sheet (21×28 cm) in any color.
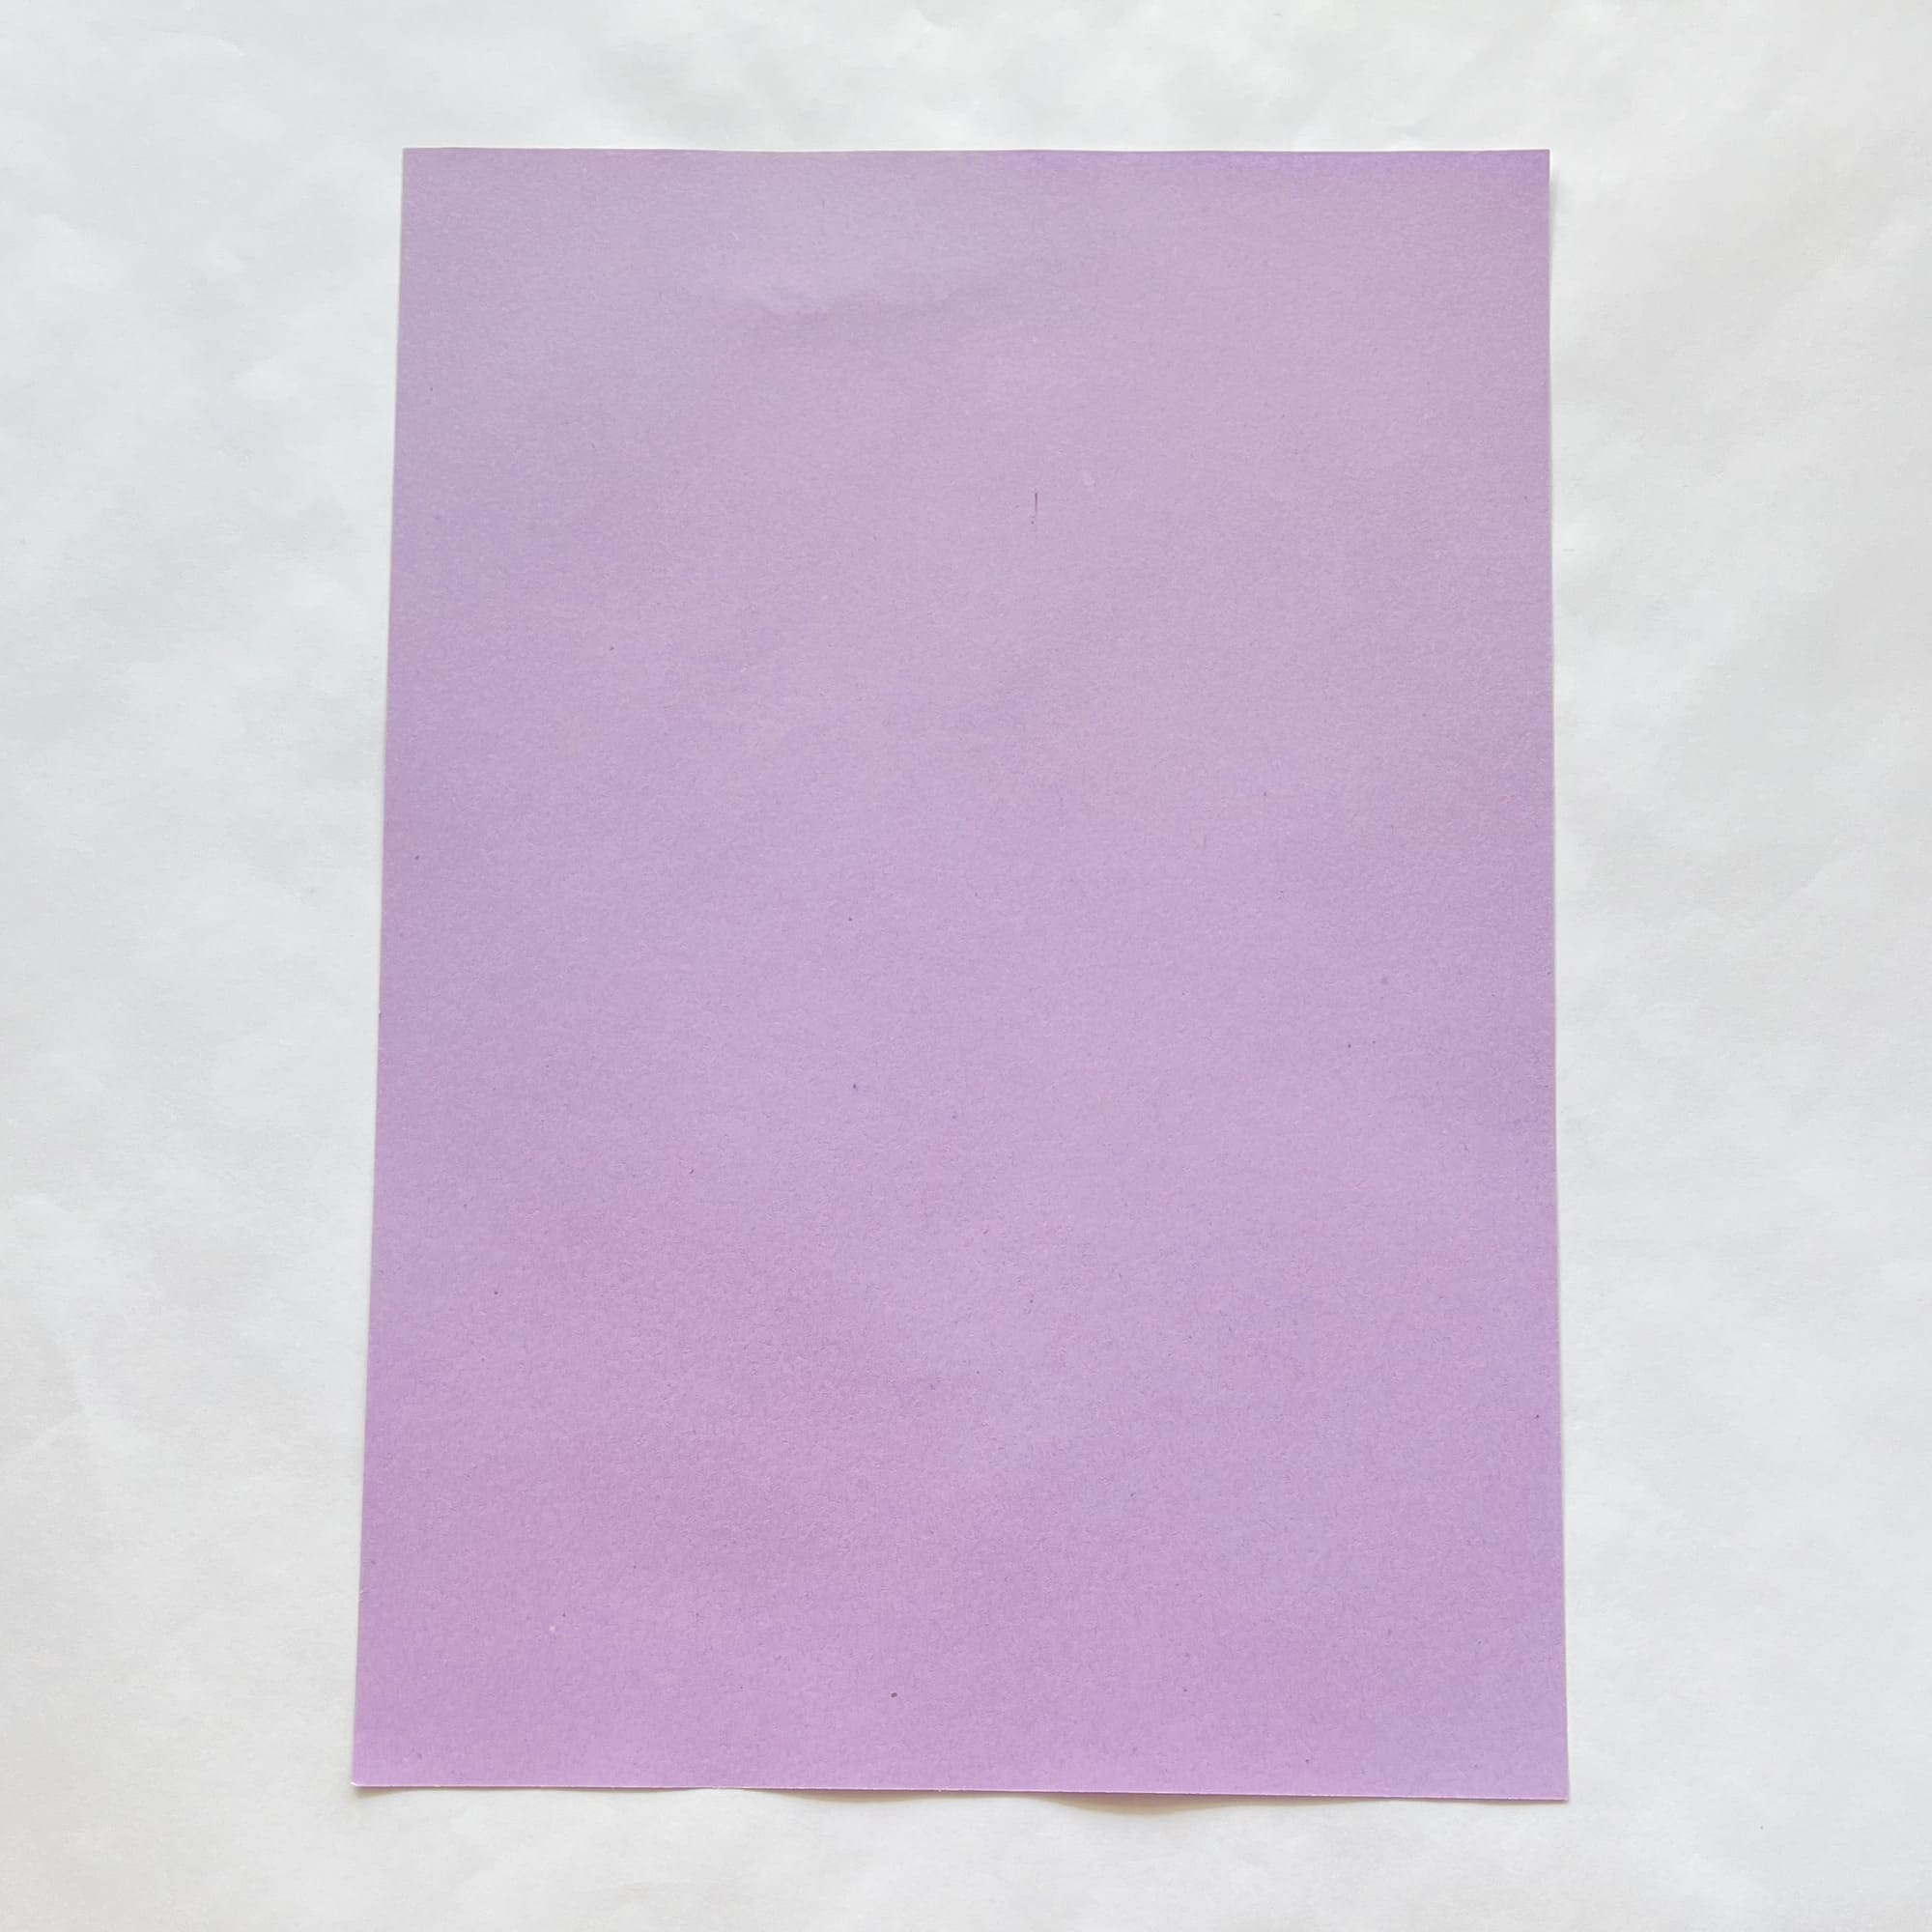
Prepare a sheet of paper and place it vertically.
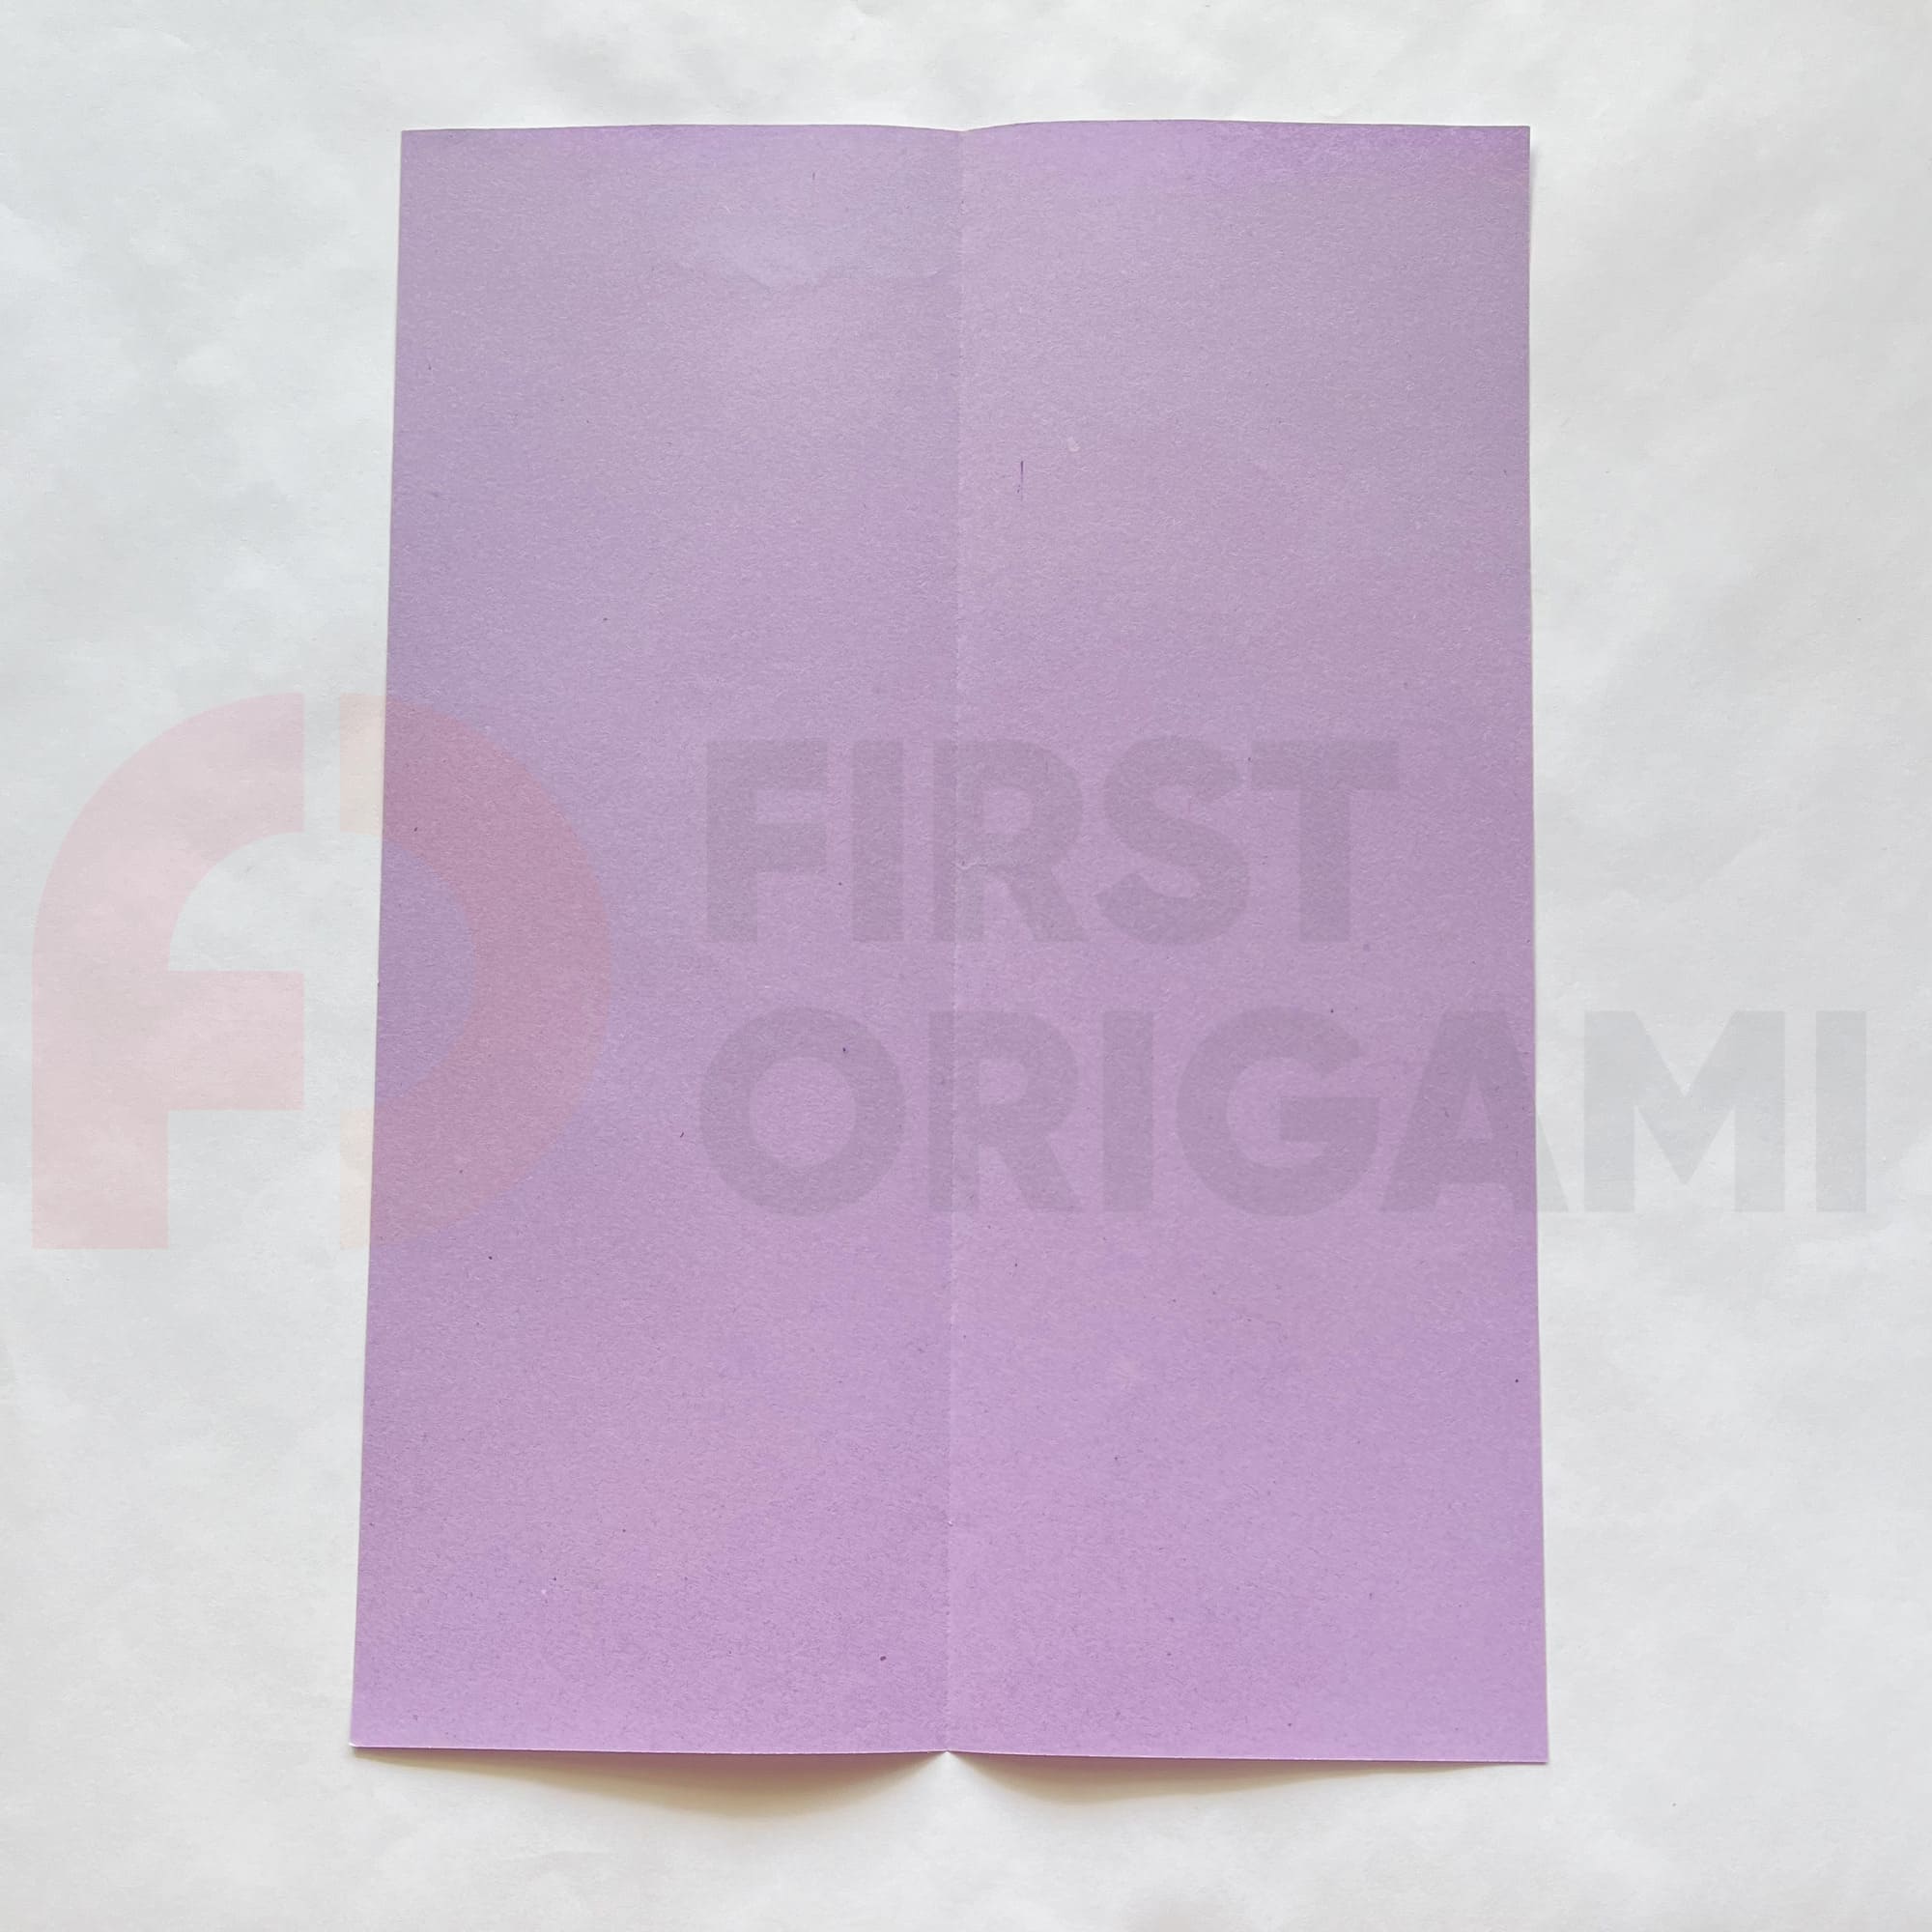
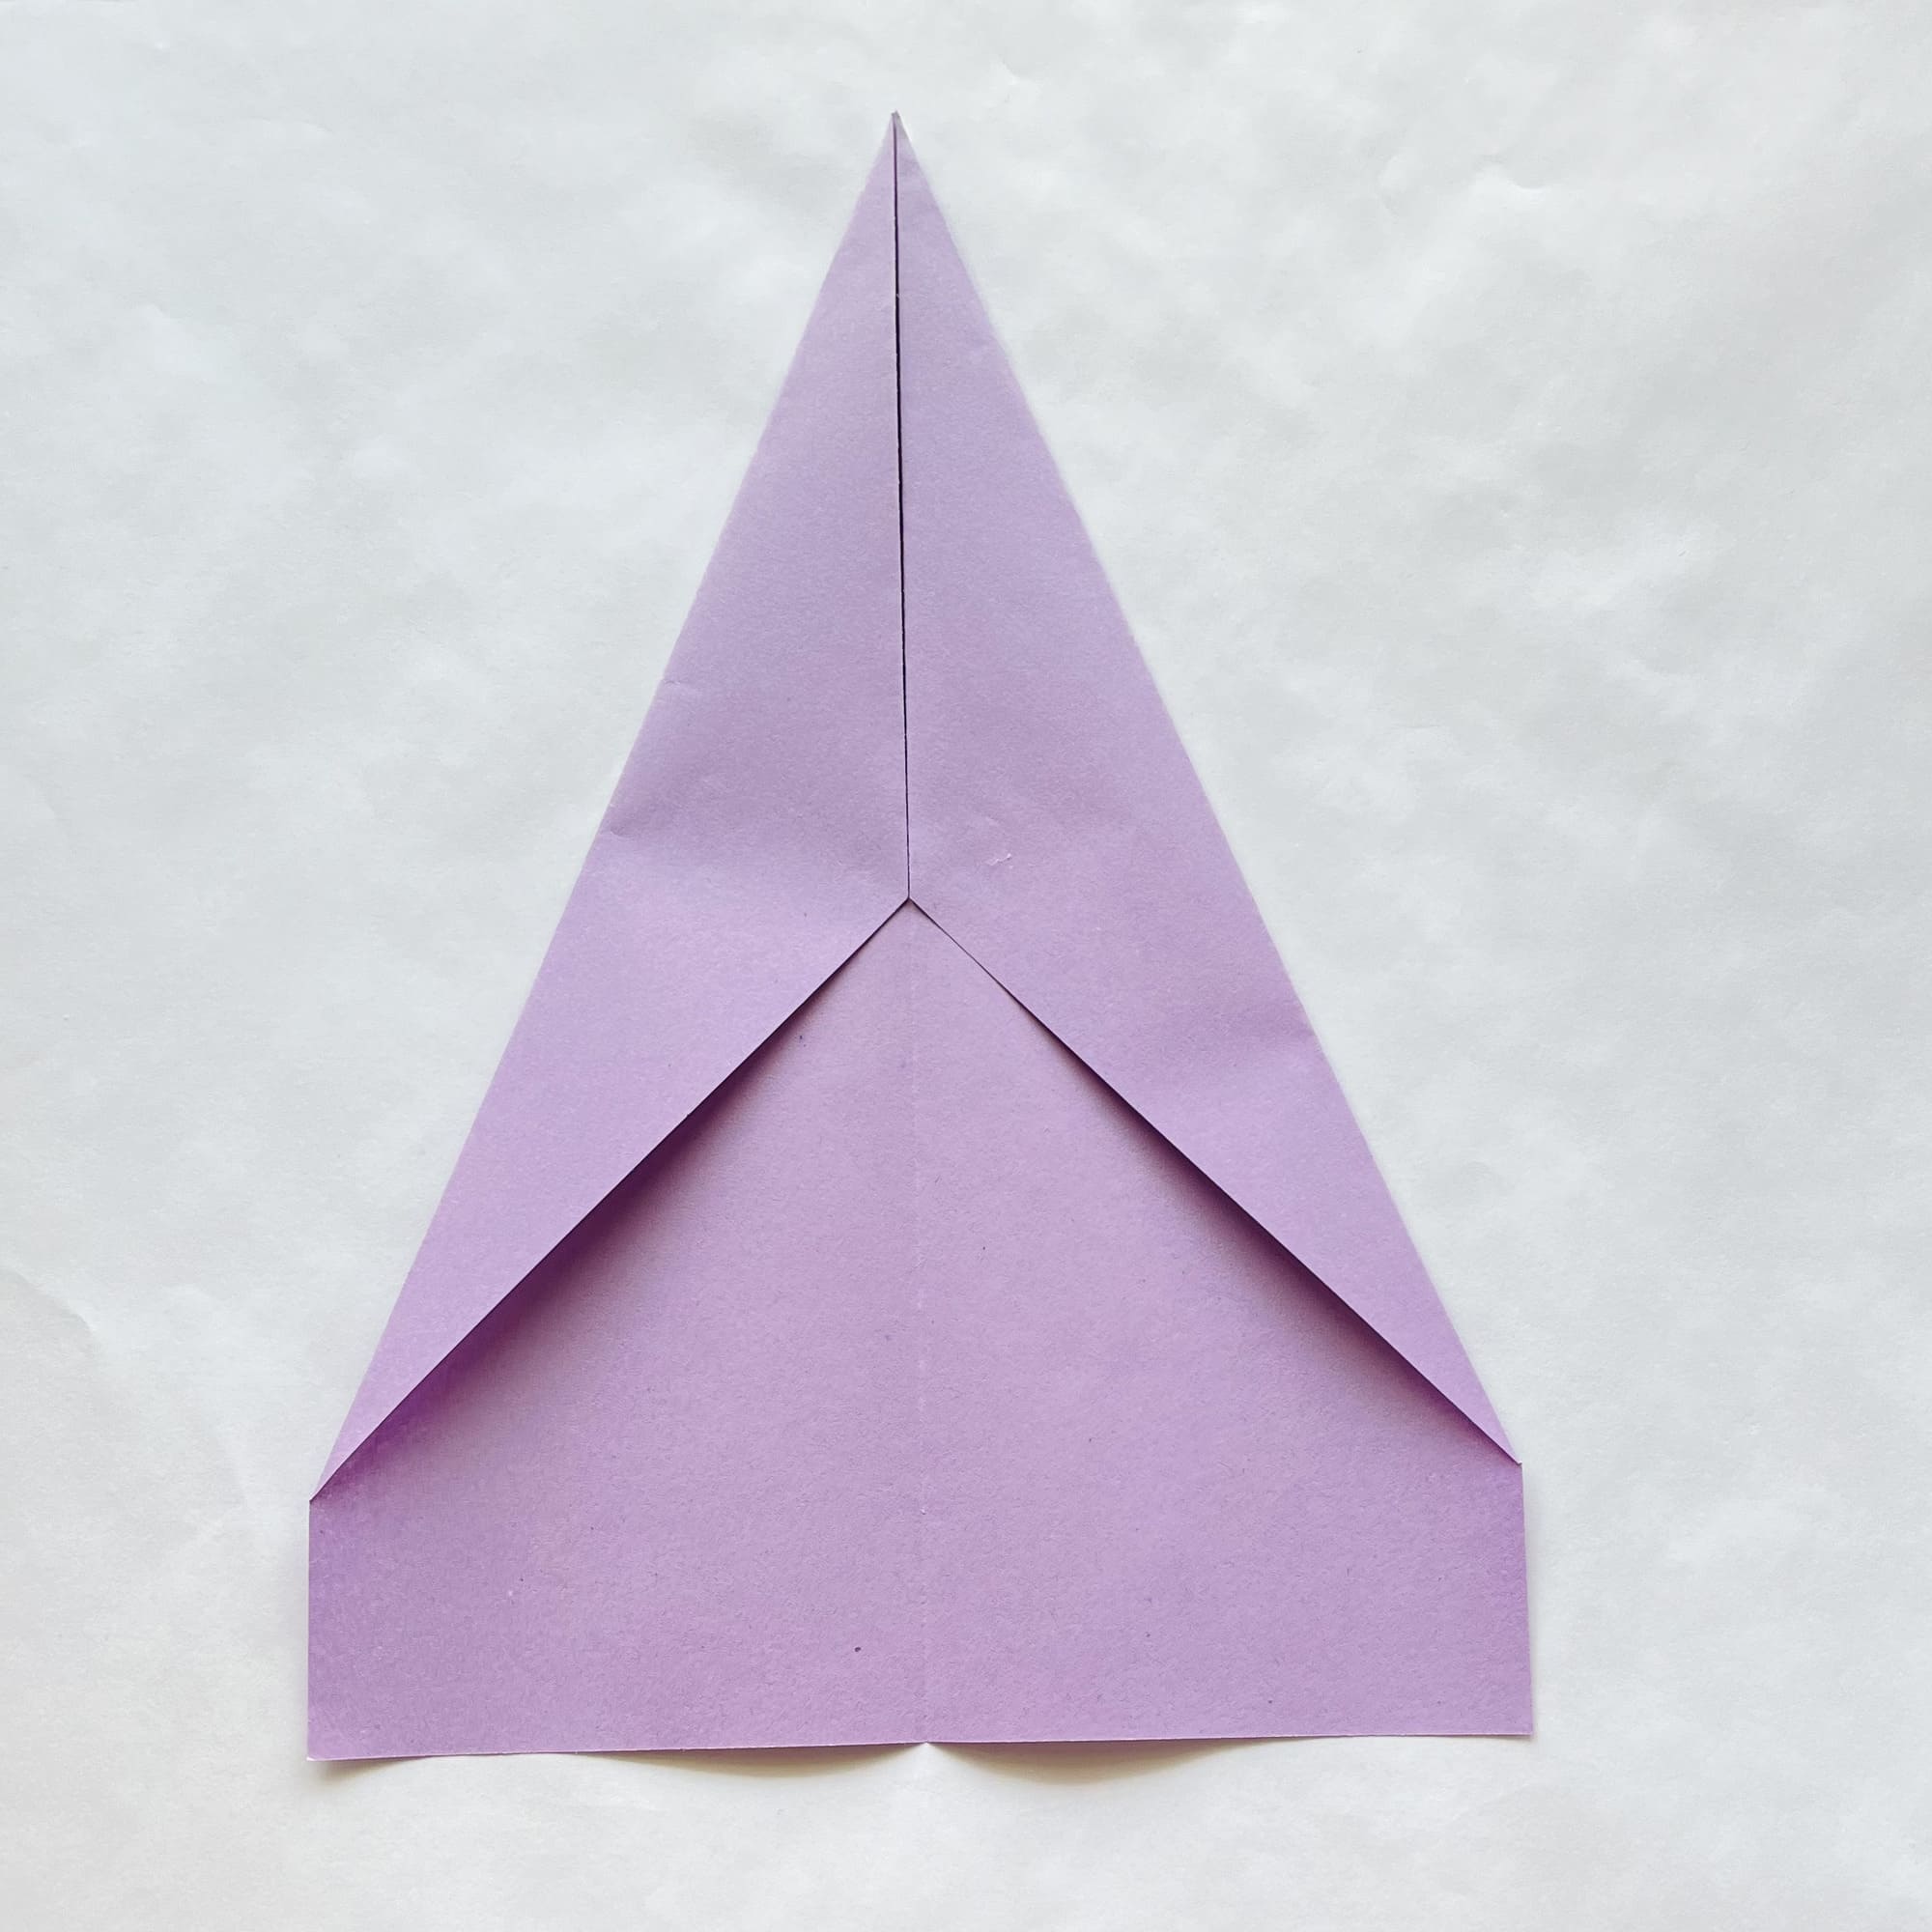
Mark the fold line by folding it in half vertically, carefully creasing it, and then turning it back.
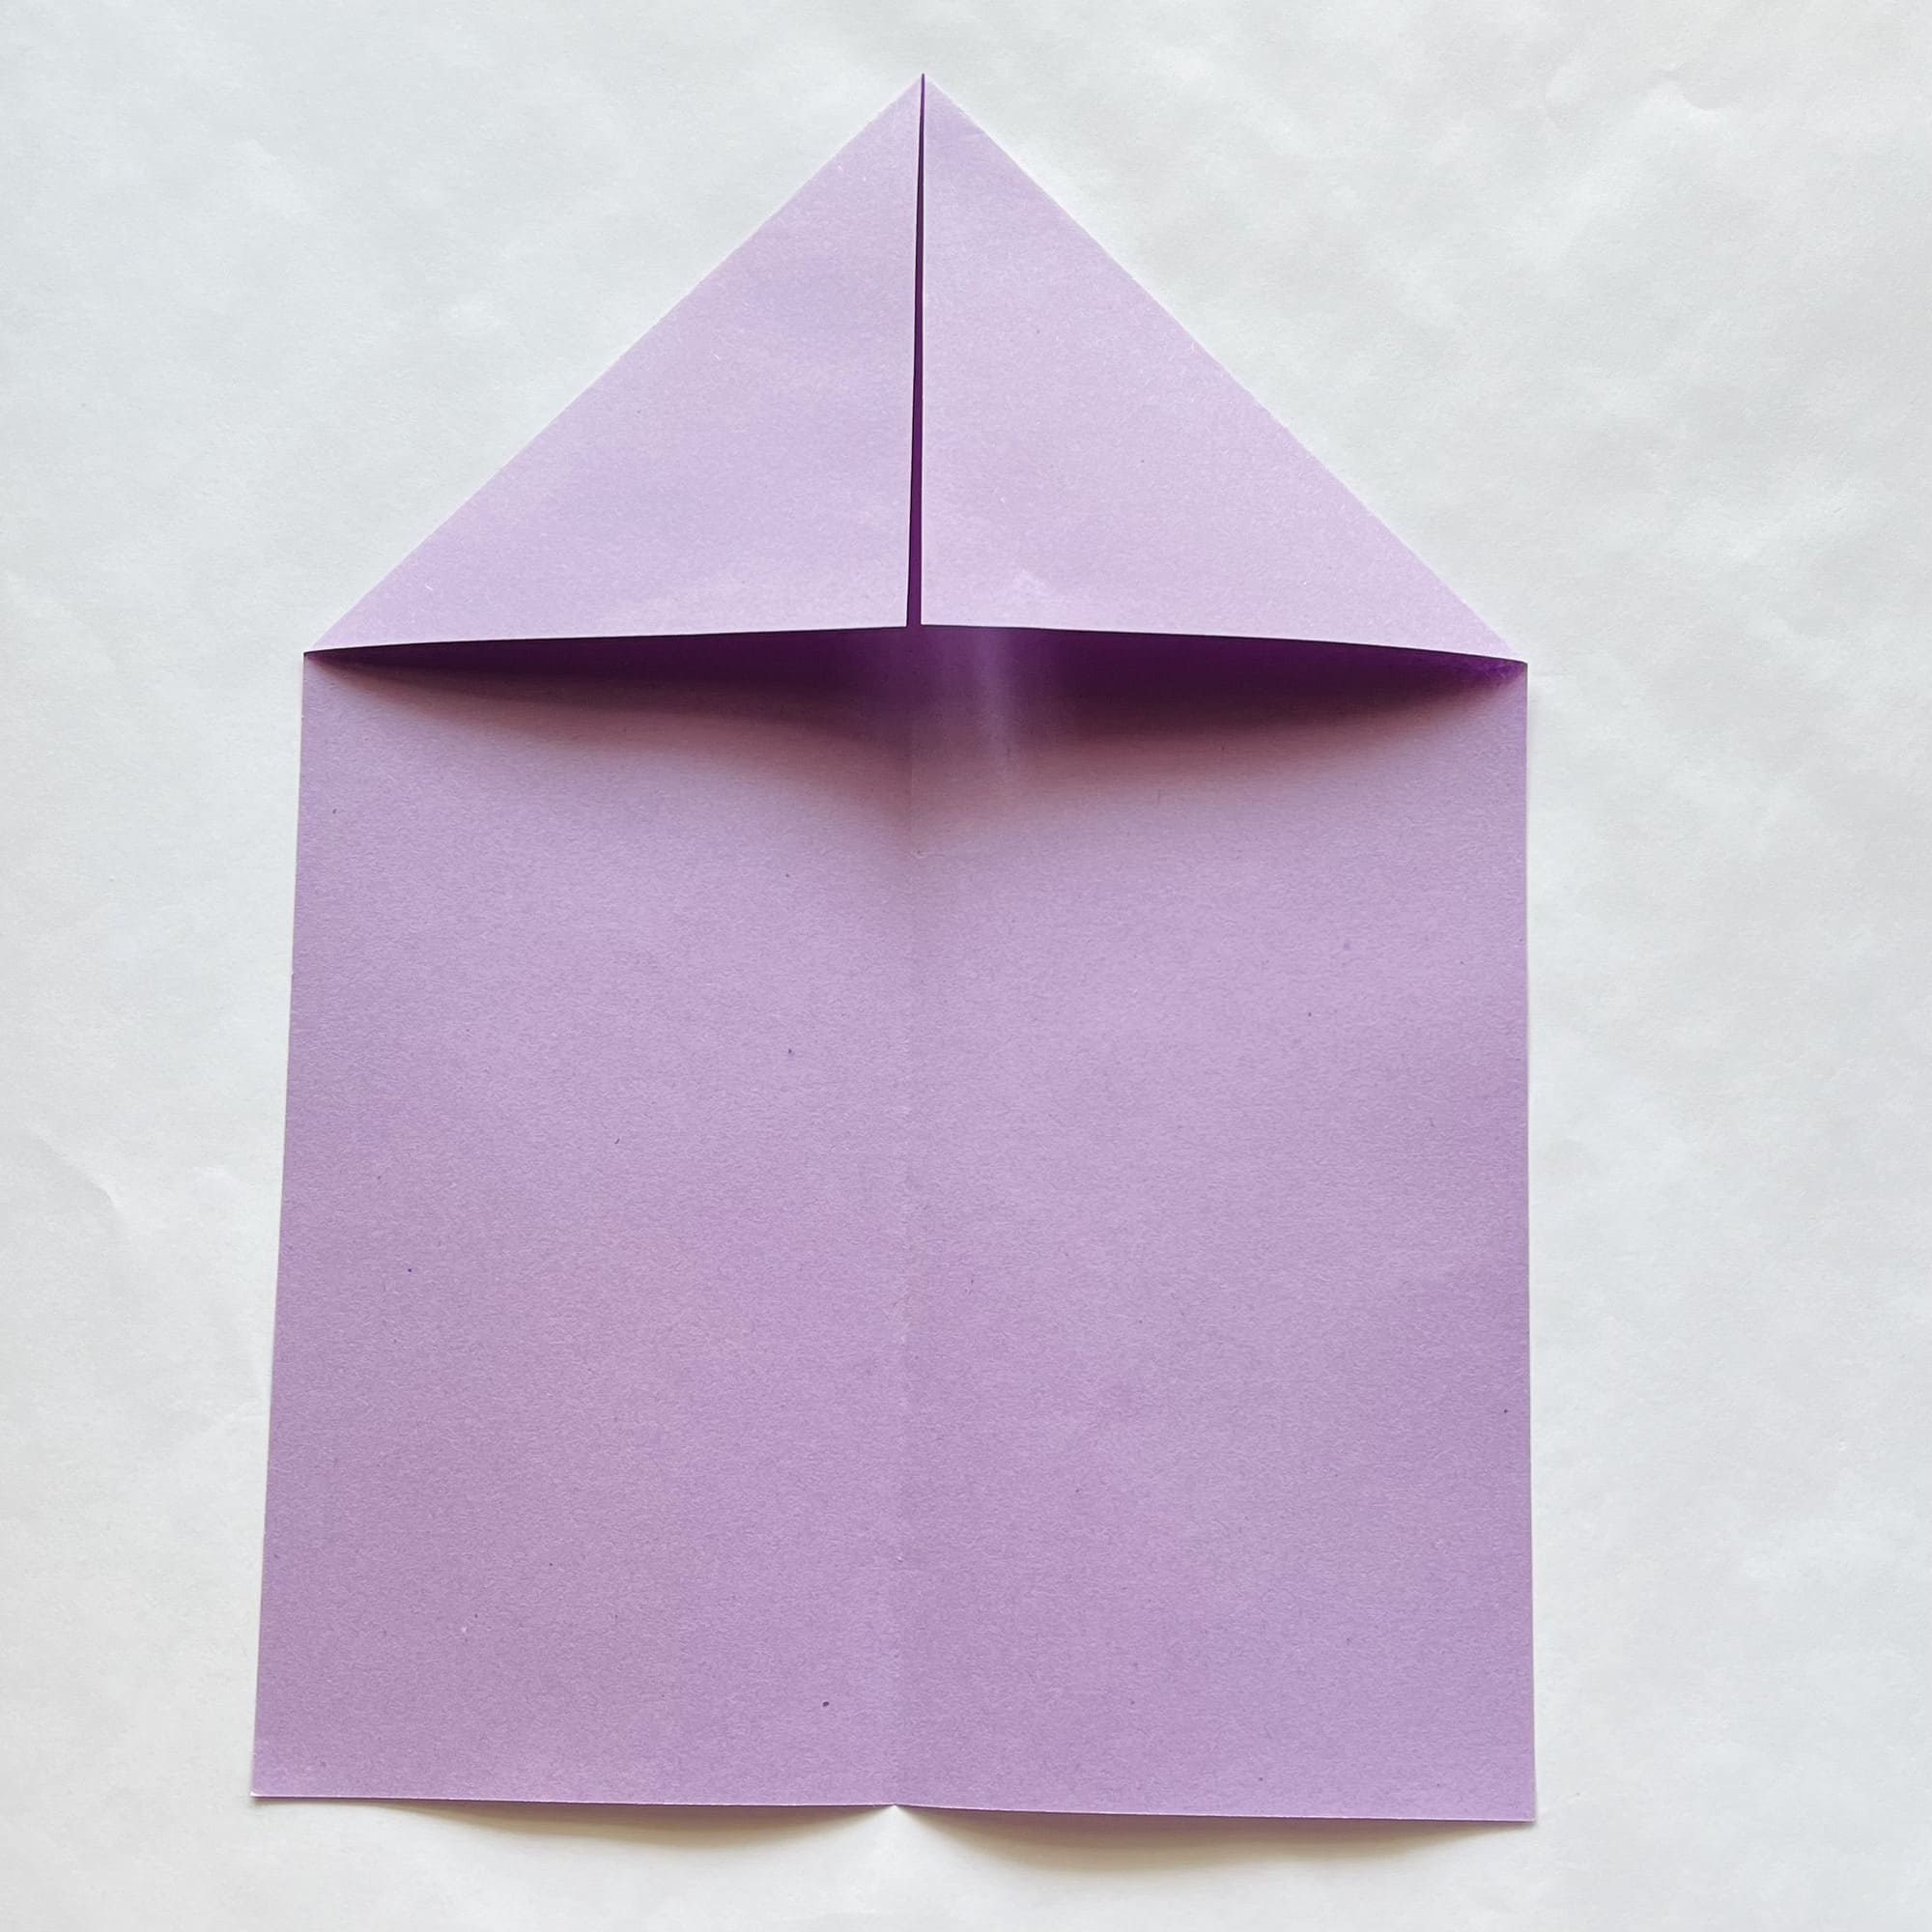
Next, bend the upper right and left corners inward towards the center fold line so that their edges join on it. You should get two small triangles.
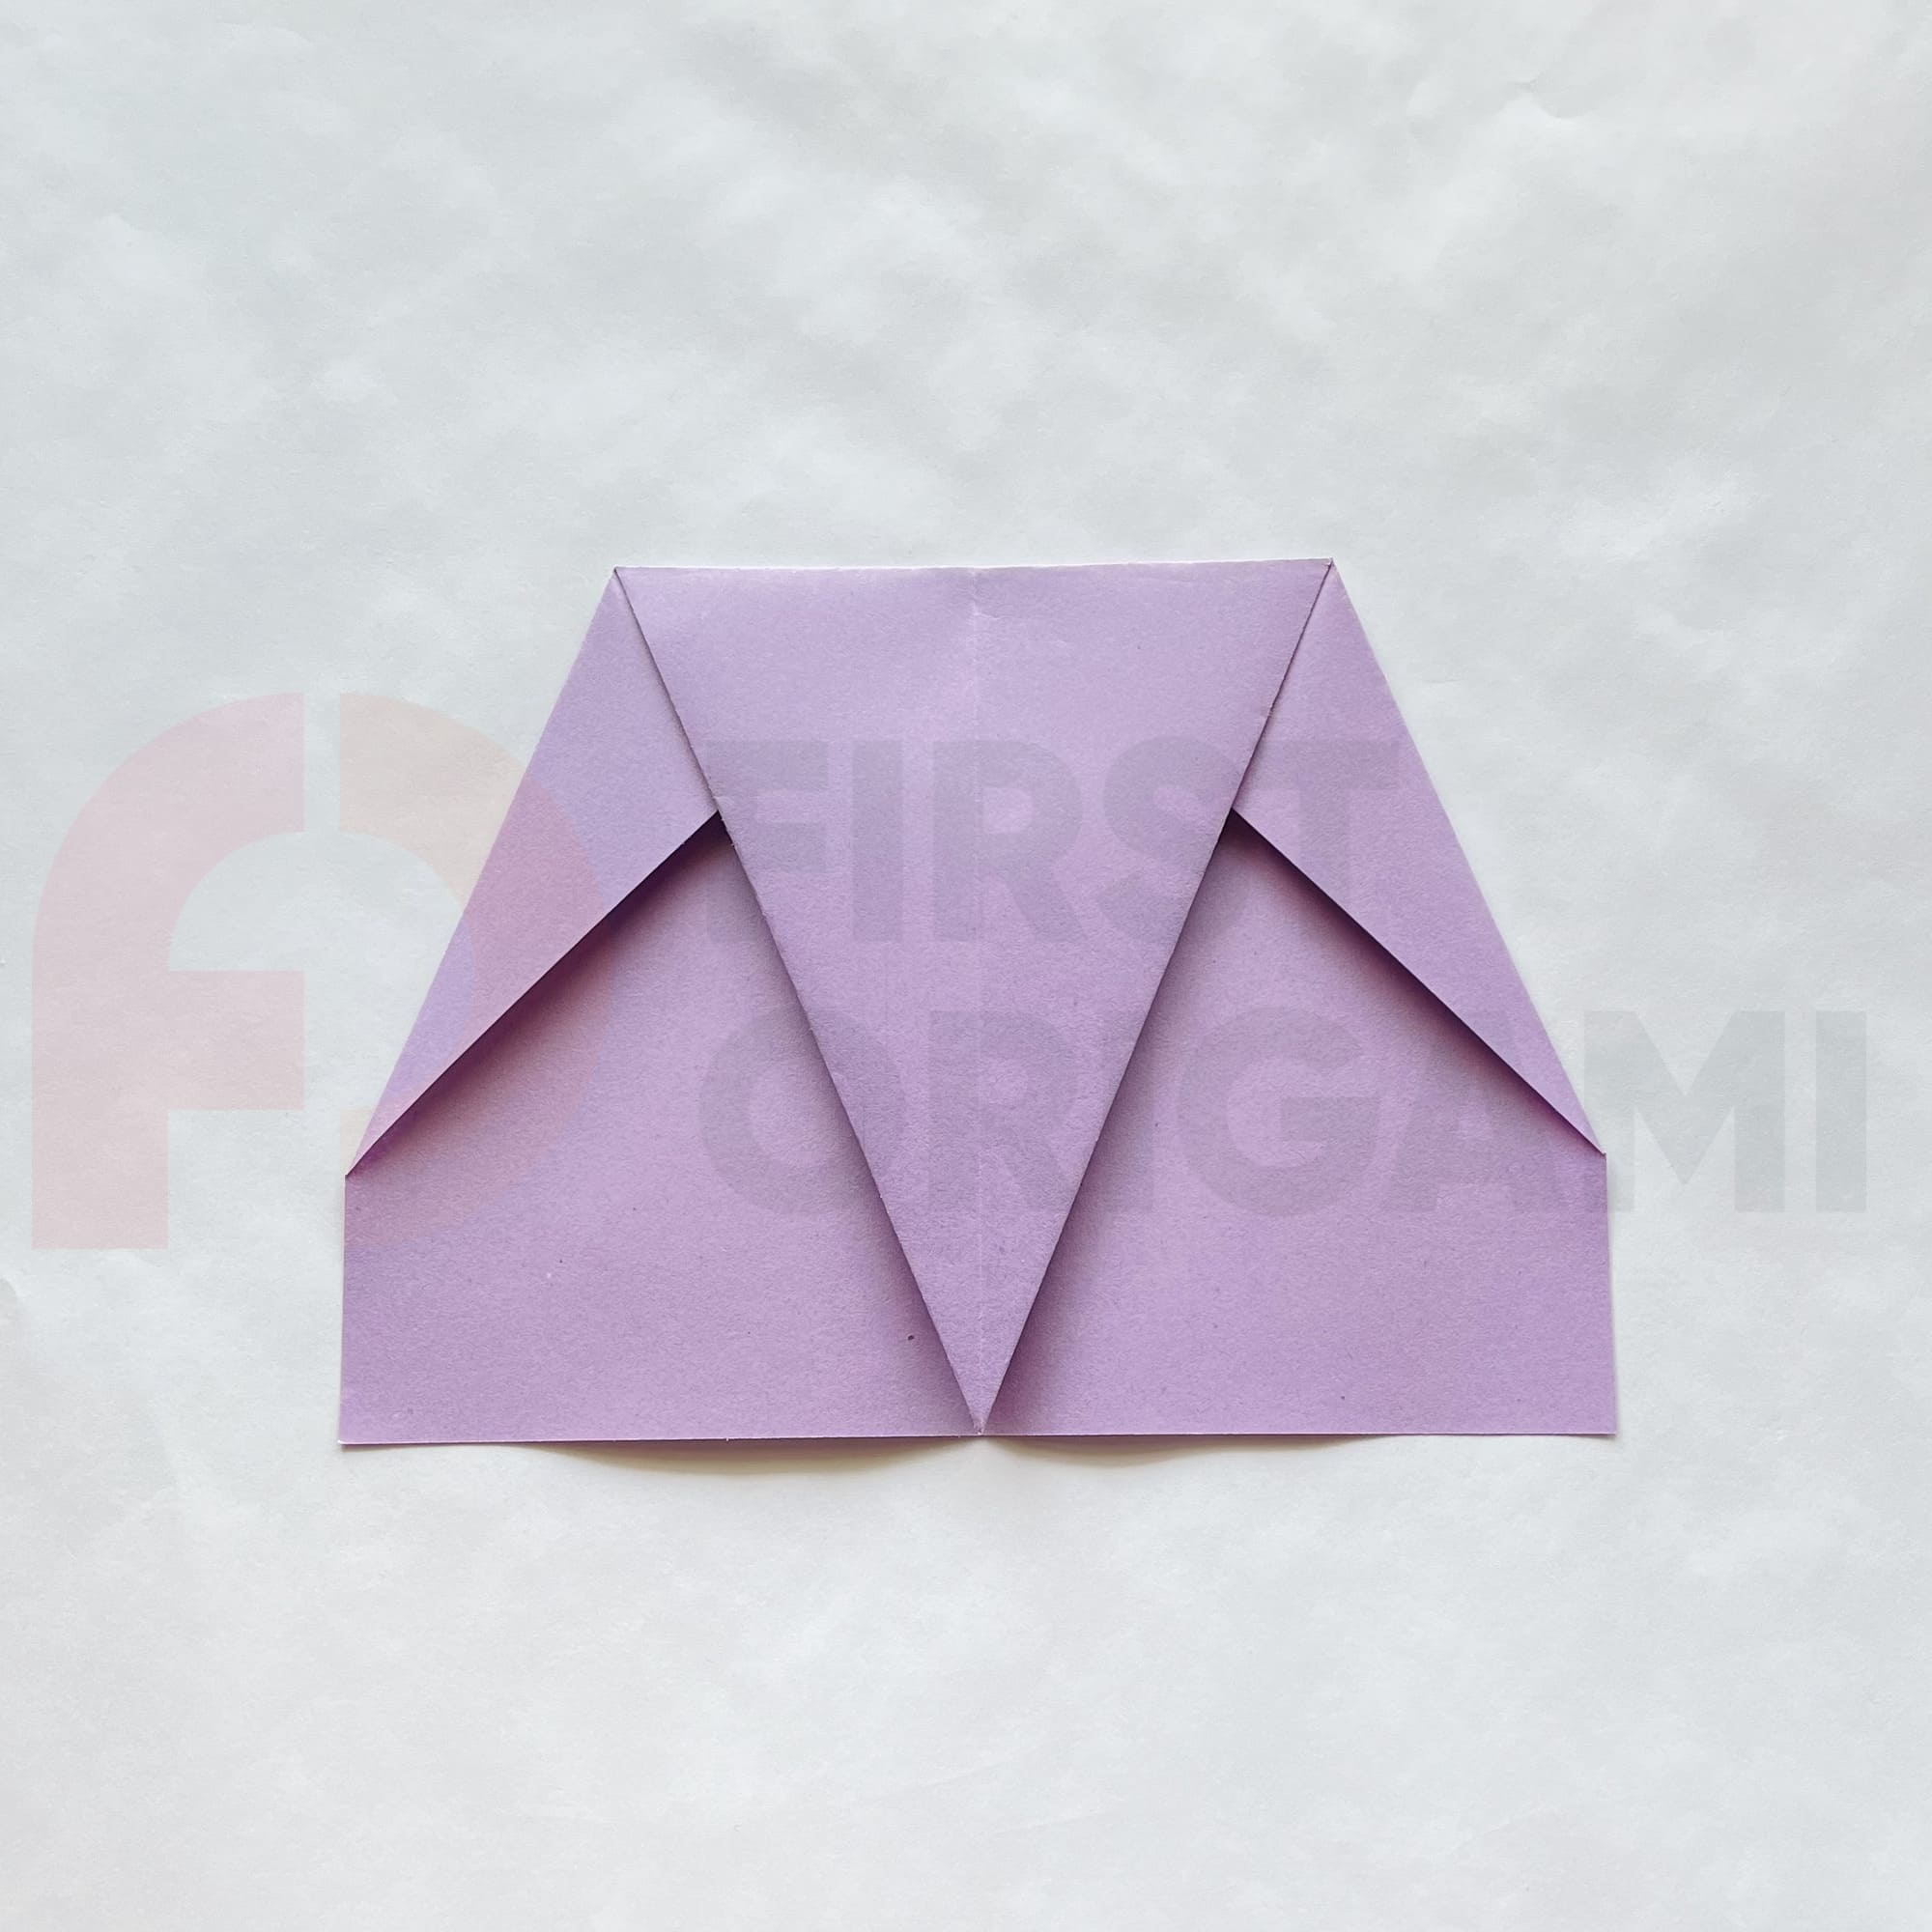
Now, fold the right and left parts of the figure inward so that they overlap the two inner triangles, and their edges meet on the midline.
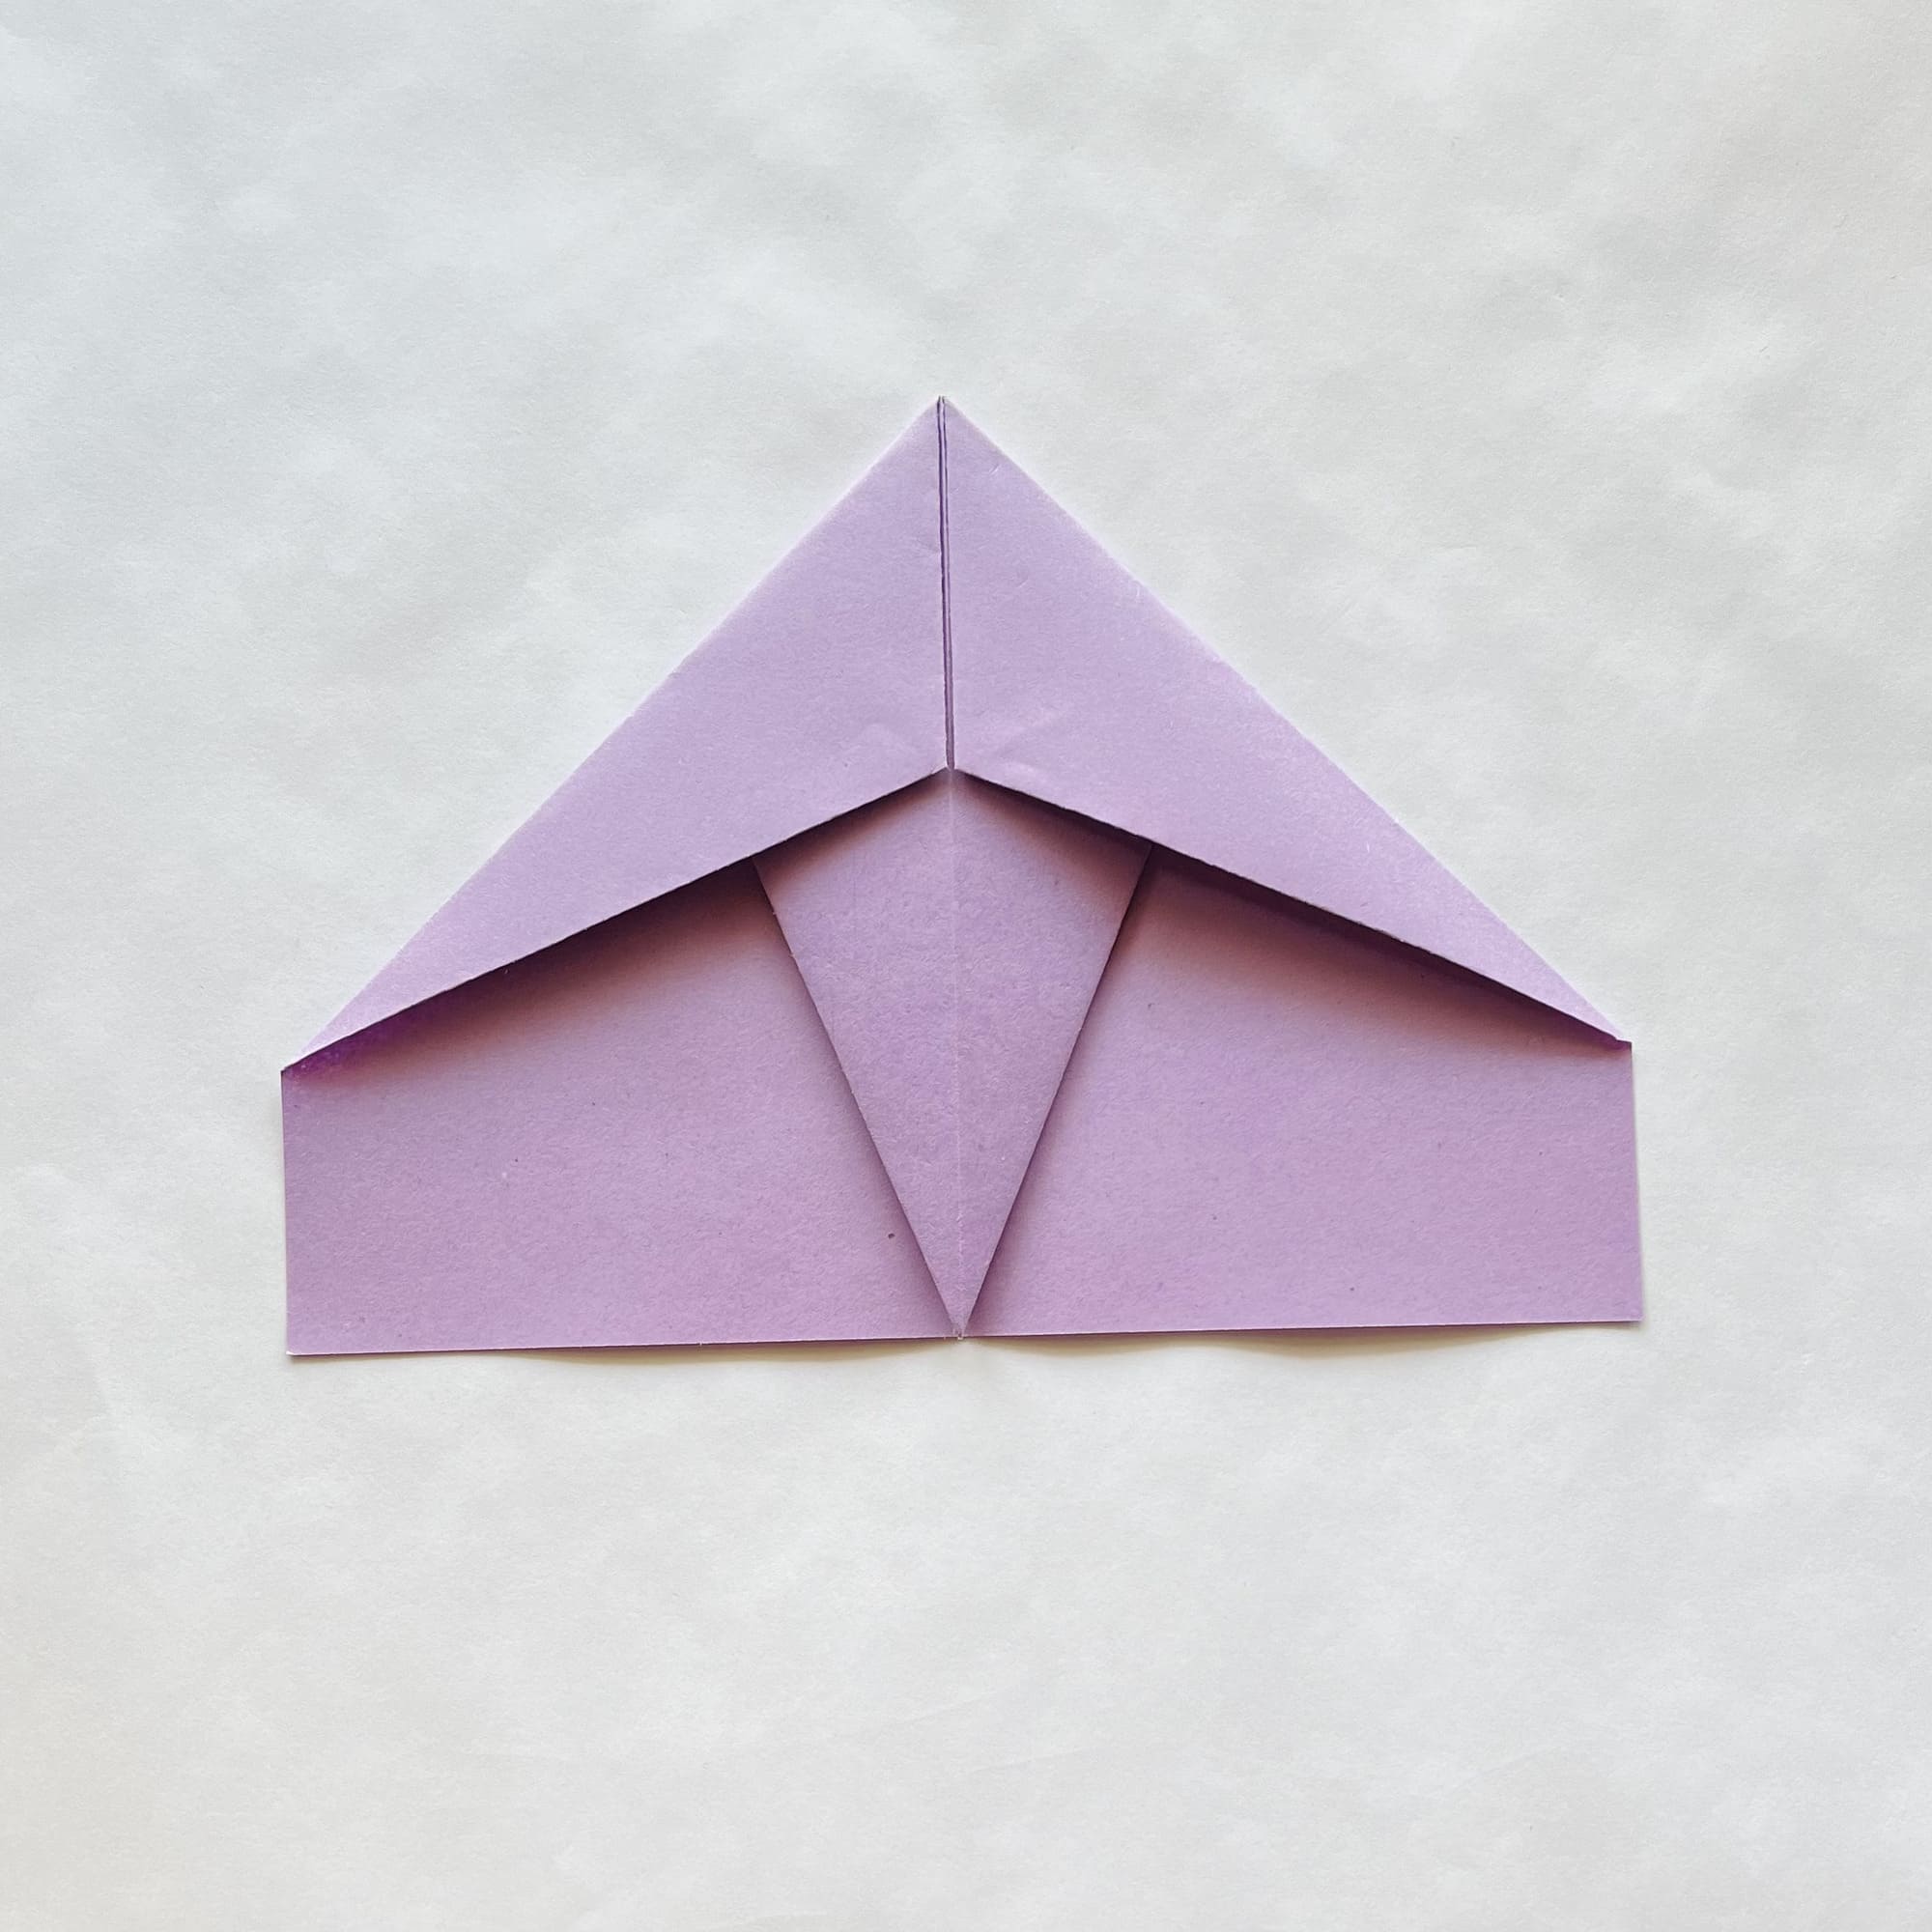
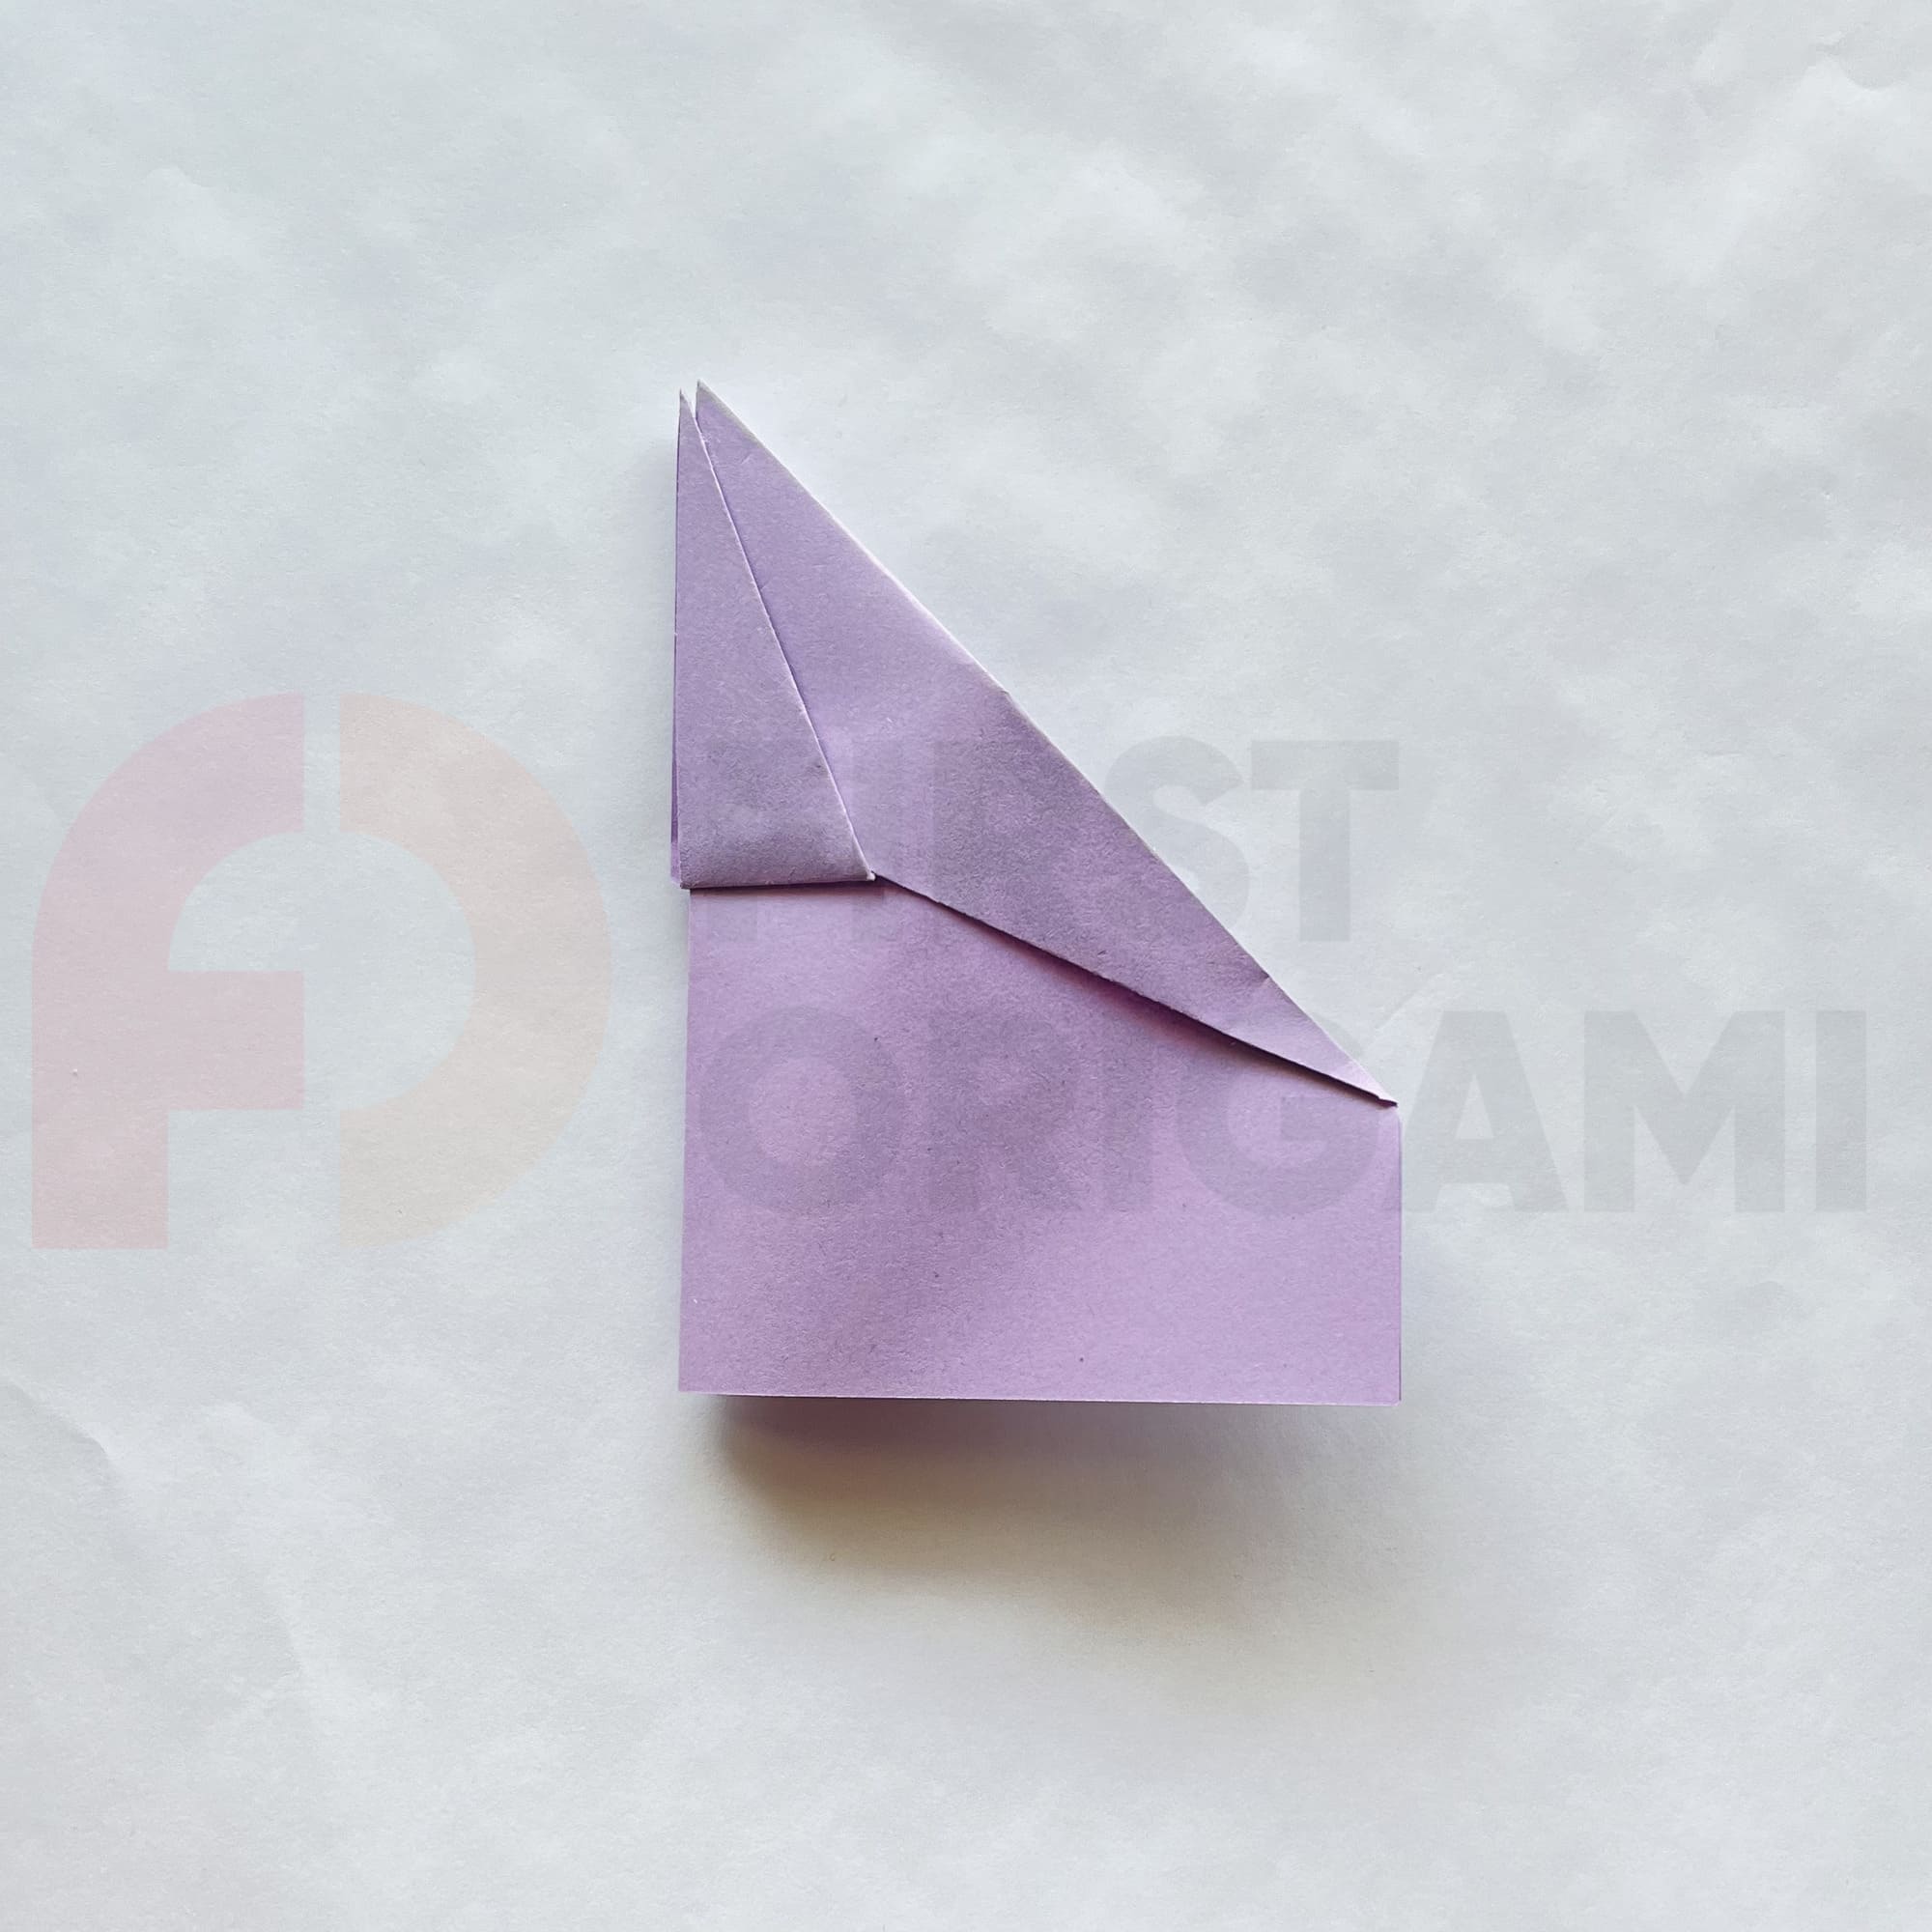
Fold the top sharp corner down so that its tip is centered on the bottom edge of the paper.
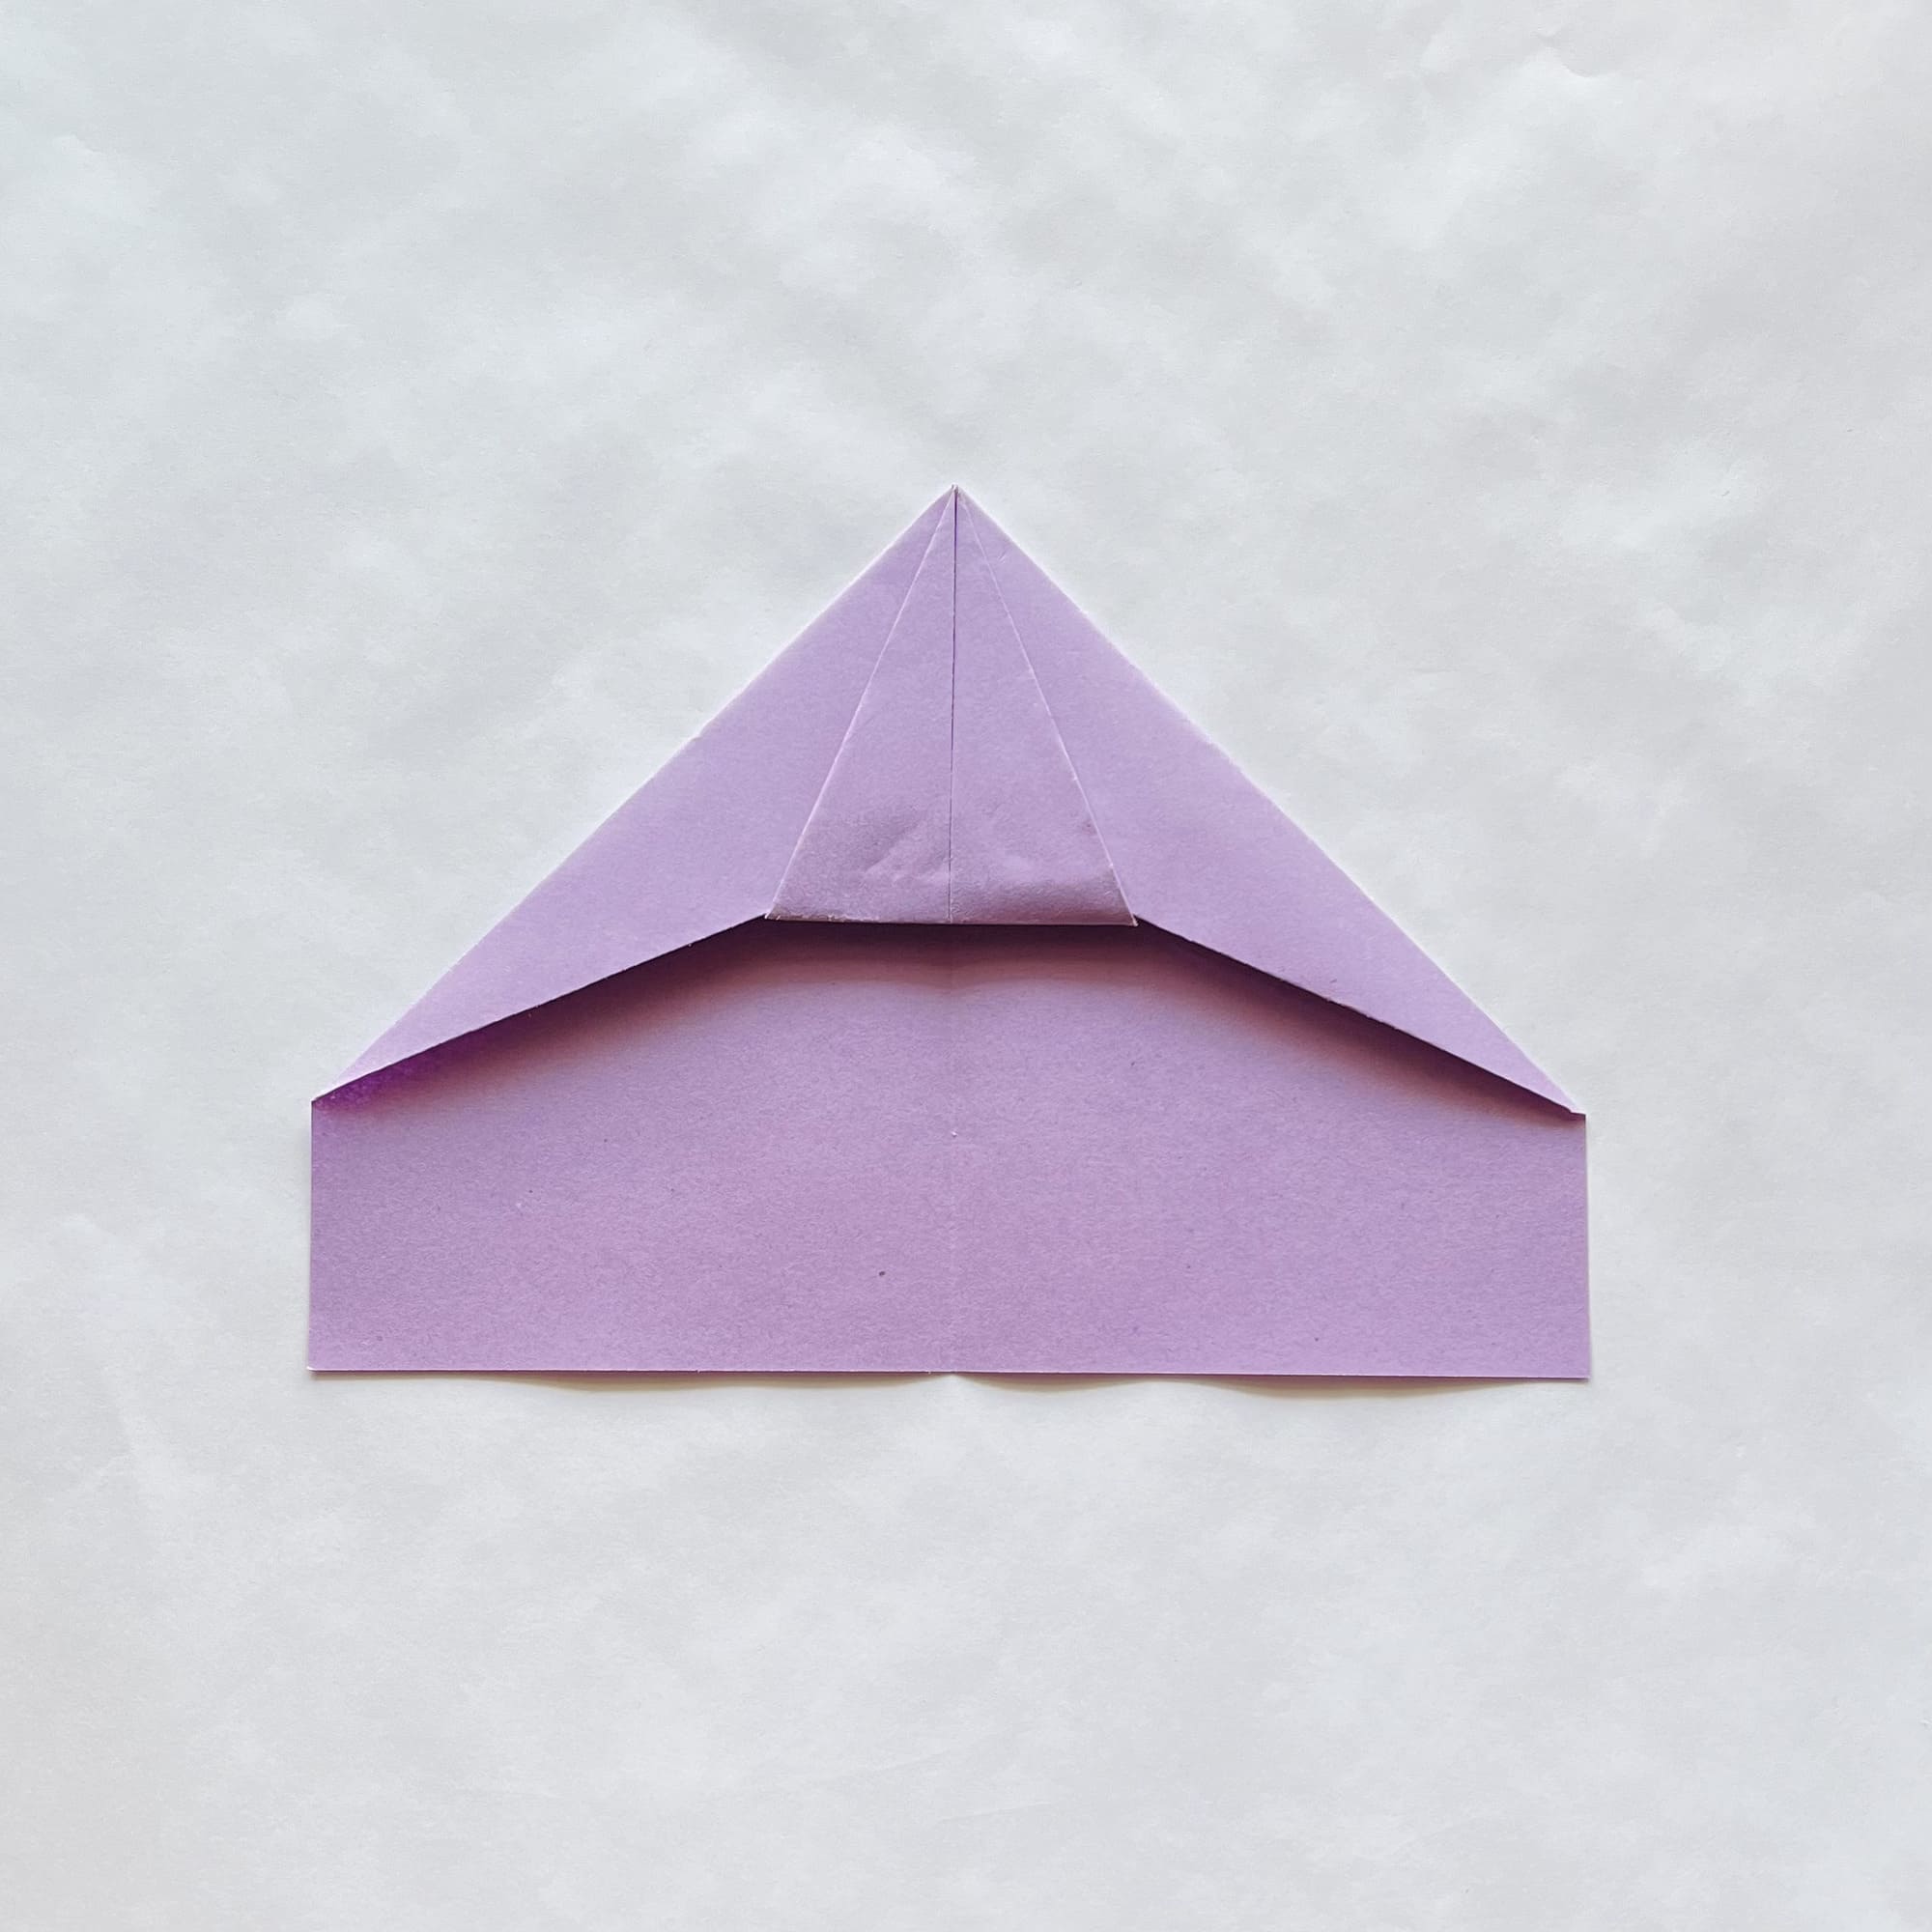
Alternately bend the upper right and left corners of the figure inward, as shown in the photo.
Now bend the sharp corner upward, thereby “sealing” and fastening the two corners that you folded inward.
Fold the figure in half, following the photo instructions.

Make two folds to represent the wings of your airplane.
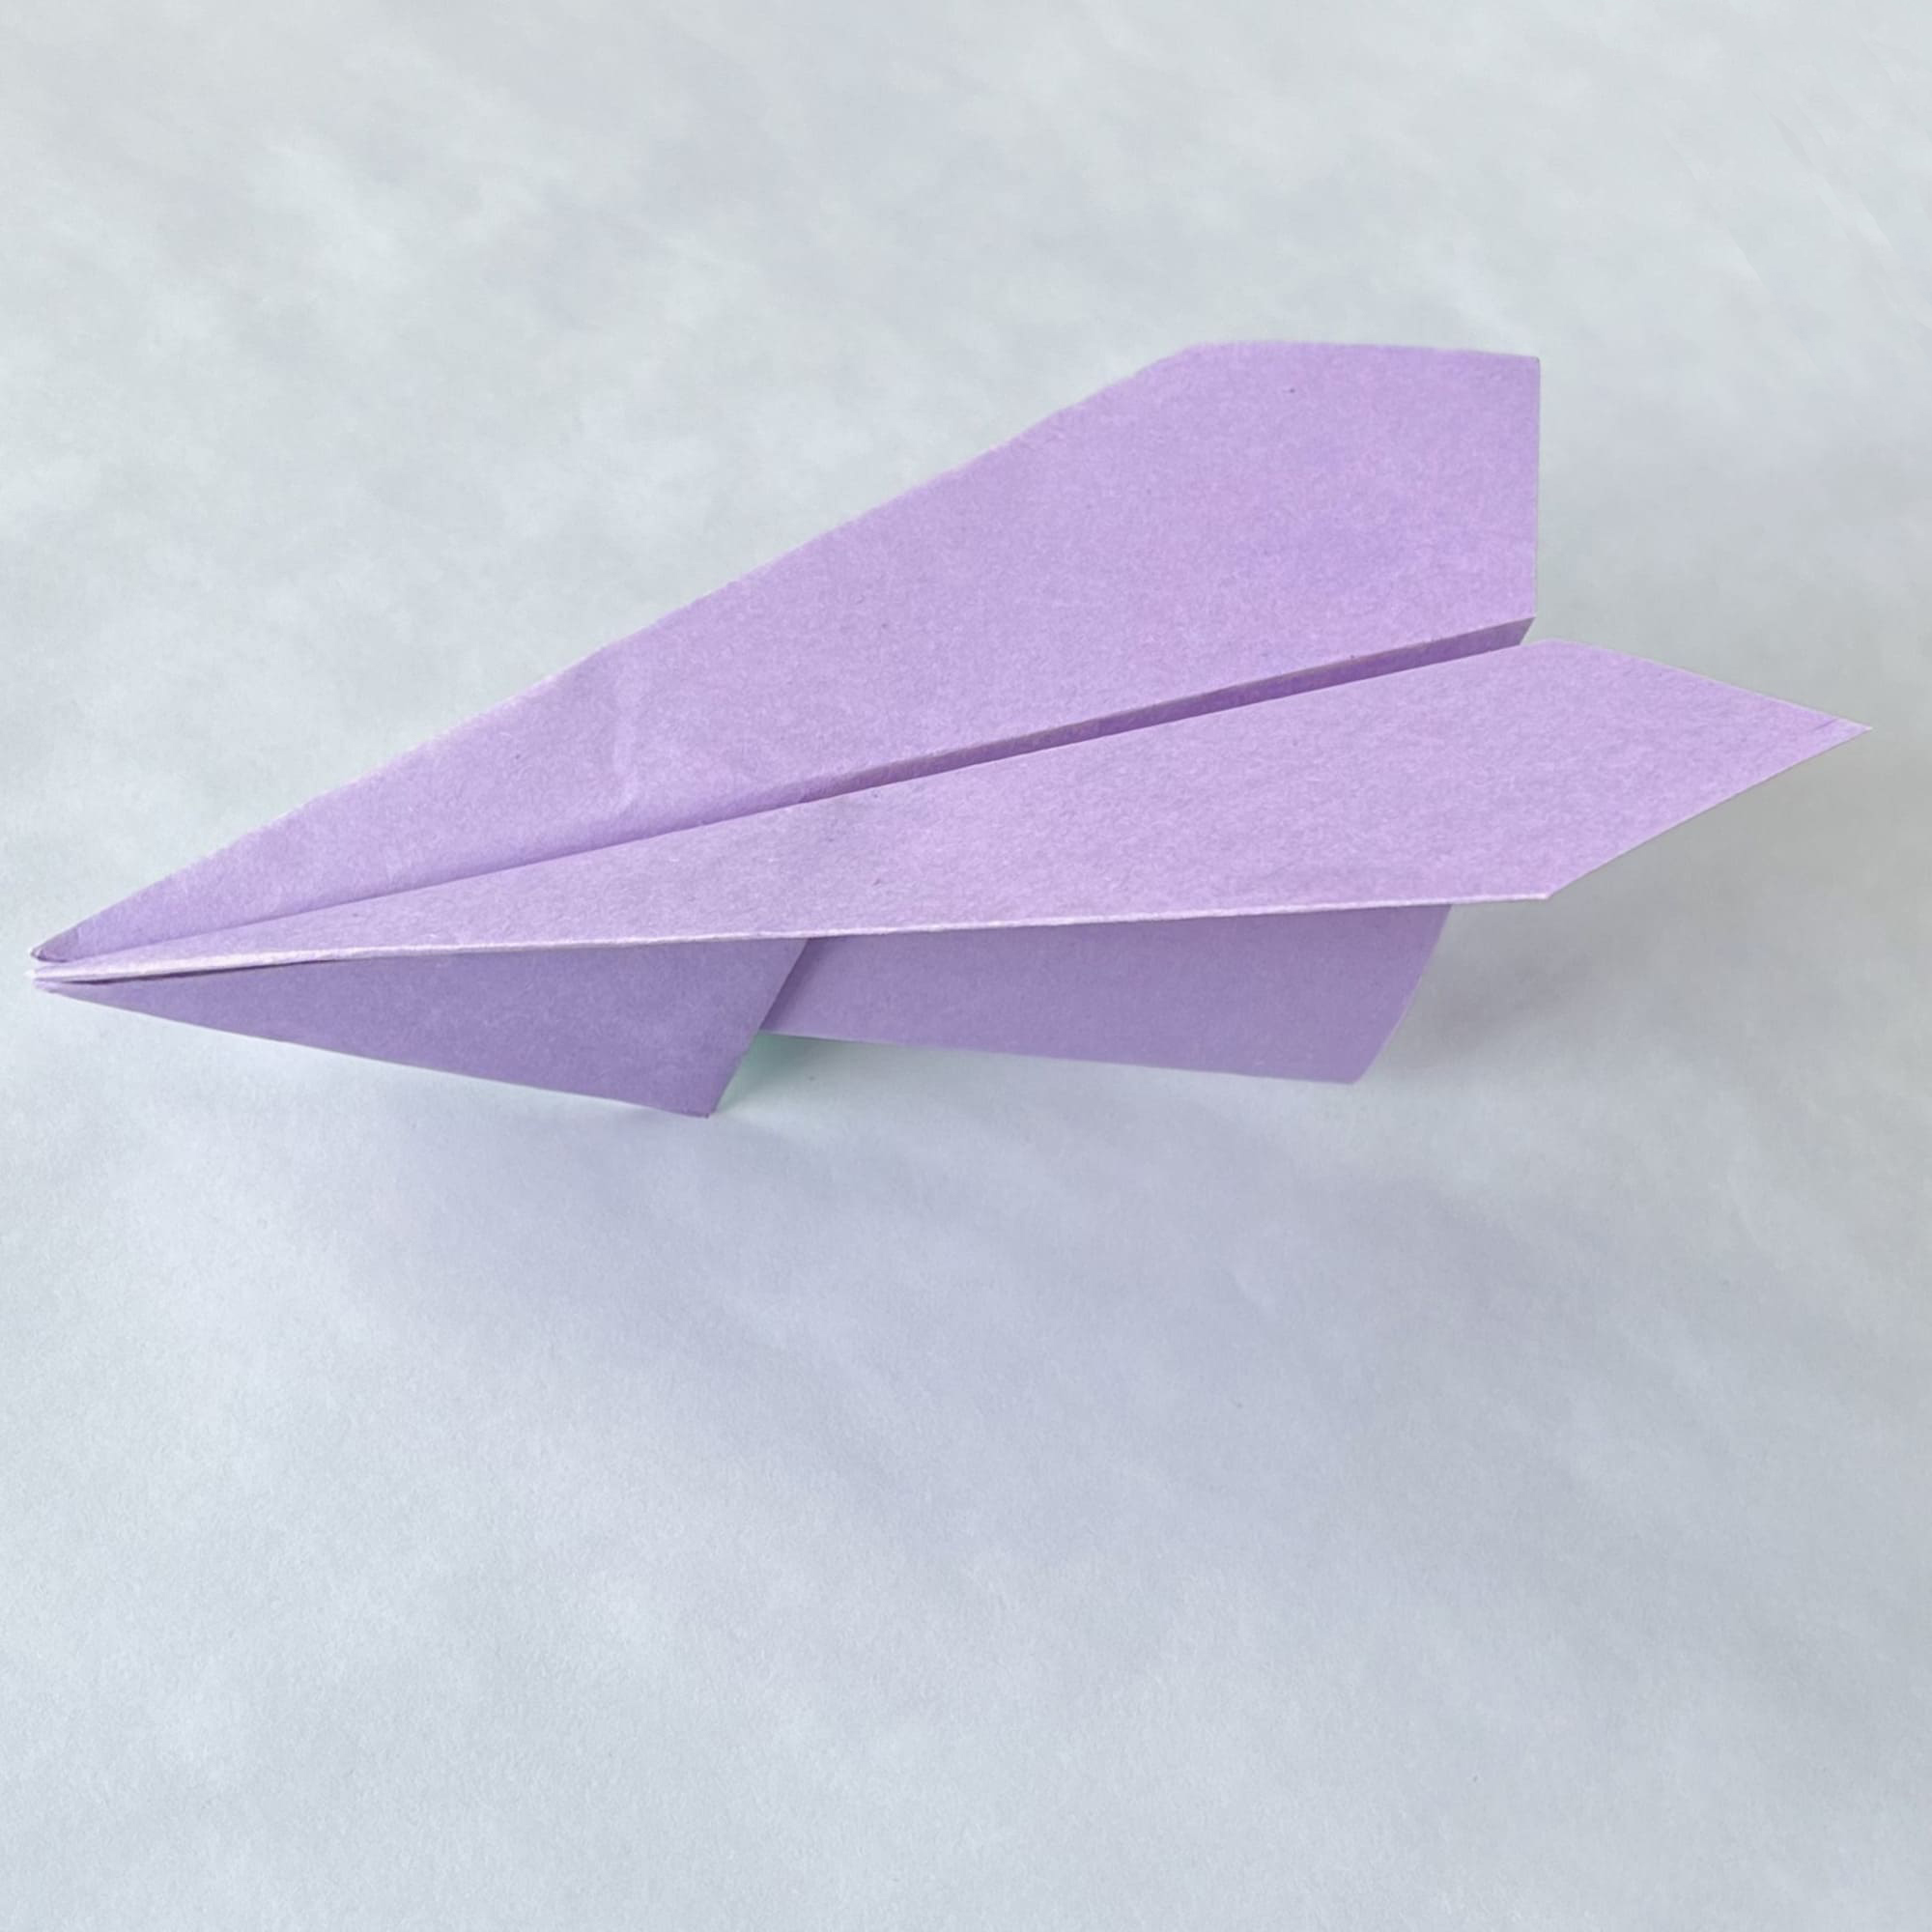
Cool, you did it! “Raven” will become your reliable and unique friend.
Don’t forget that there is always the opportunity to personalize your favorite paper airplane models. To do this, take colored pencils, markers, or paints and let your imagination run wild!