Origami Rectangle Box
A neat box is suitable for storing small items, especially those that usually lay around loose. Paper clips, small parts, flash drives, threads, and much more can be put in such a box. It can also be made from thick paper and used as a gift box. For starters, it’s worth practicing and doing it better on regular printer paper.
The wooden containers for measuring portions of rice, “Masu”, which were used extensively in Japan during feudal times, are reflected in various origami models of boxes. Paper products, of course, have a different function: they serve as packaging for small gifts, stationery, or sweets. However, the external resemblance to the wooden prototype remains.
On the basis of a square masu box, you can make several varieties – rectangular, triangular, and even a heart-shaped box. But below we are sharing with you one of the most universal diagrams — a rectangular origami box.
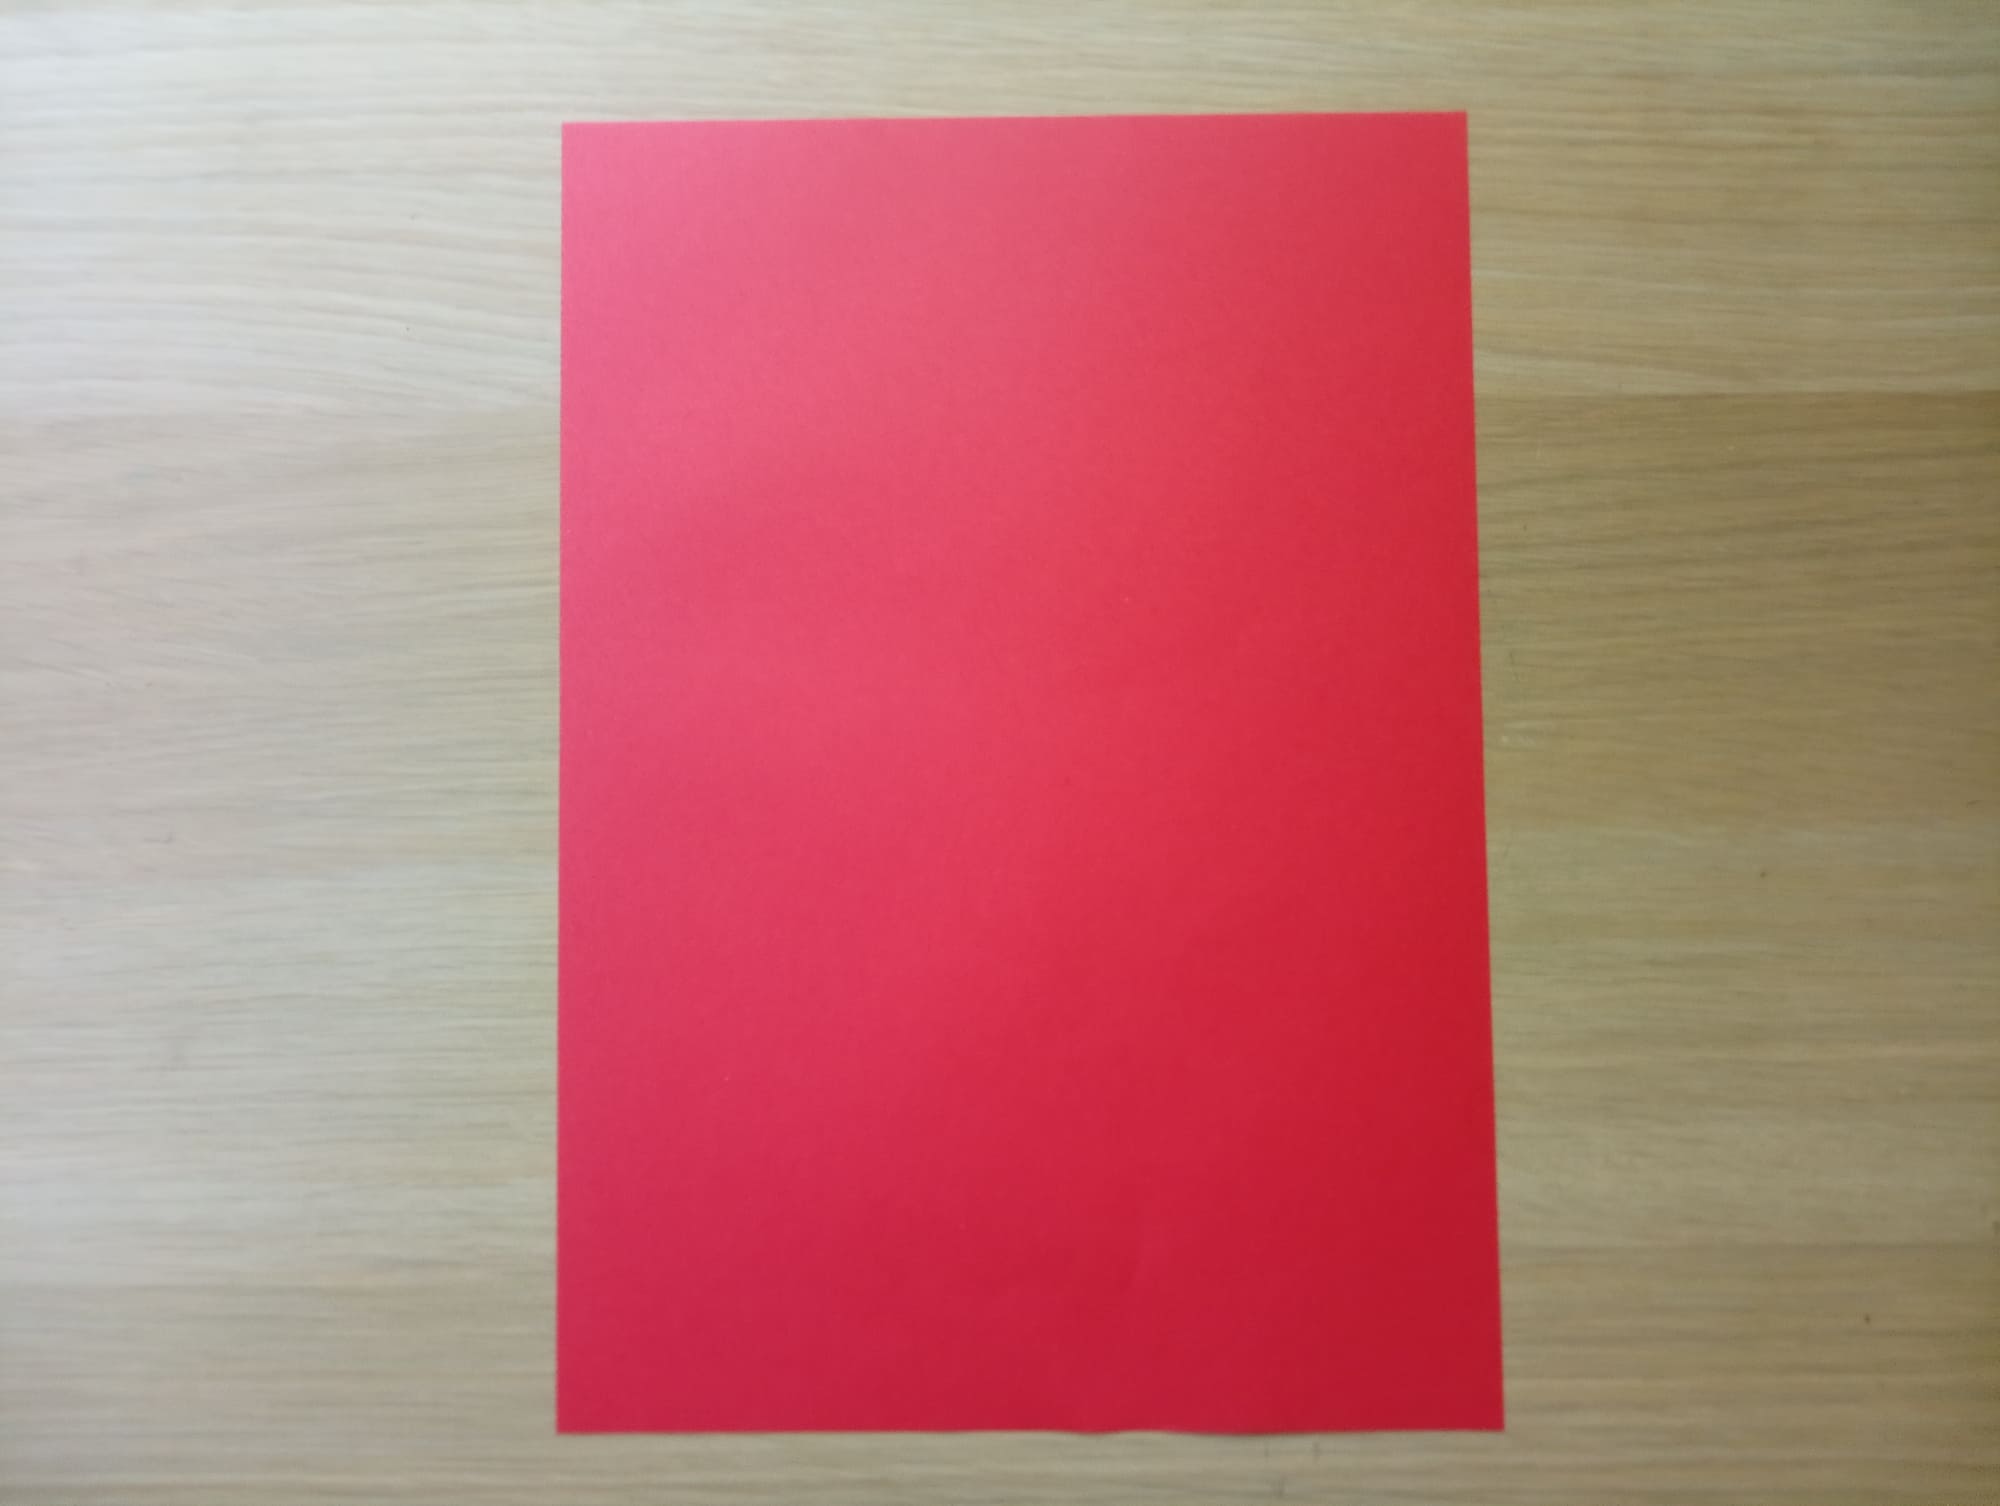
Get a piece of printer paper.
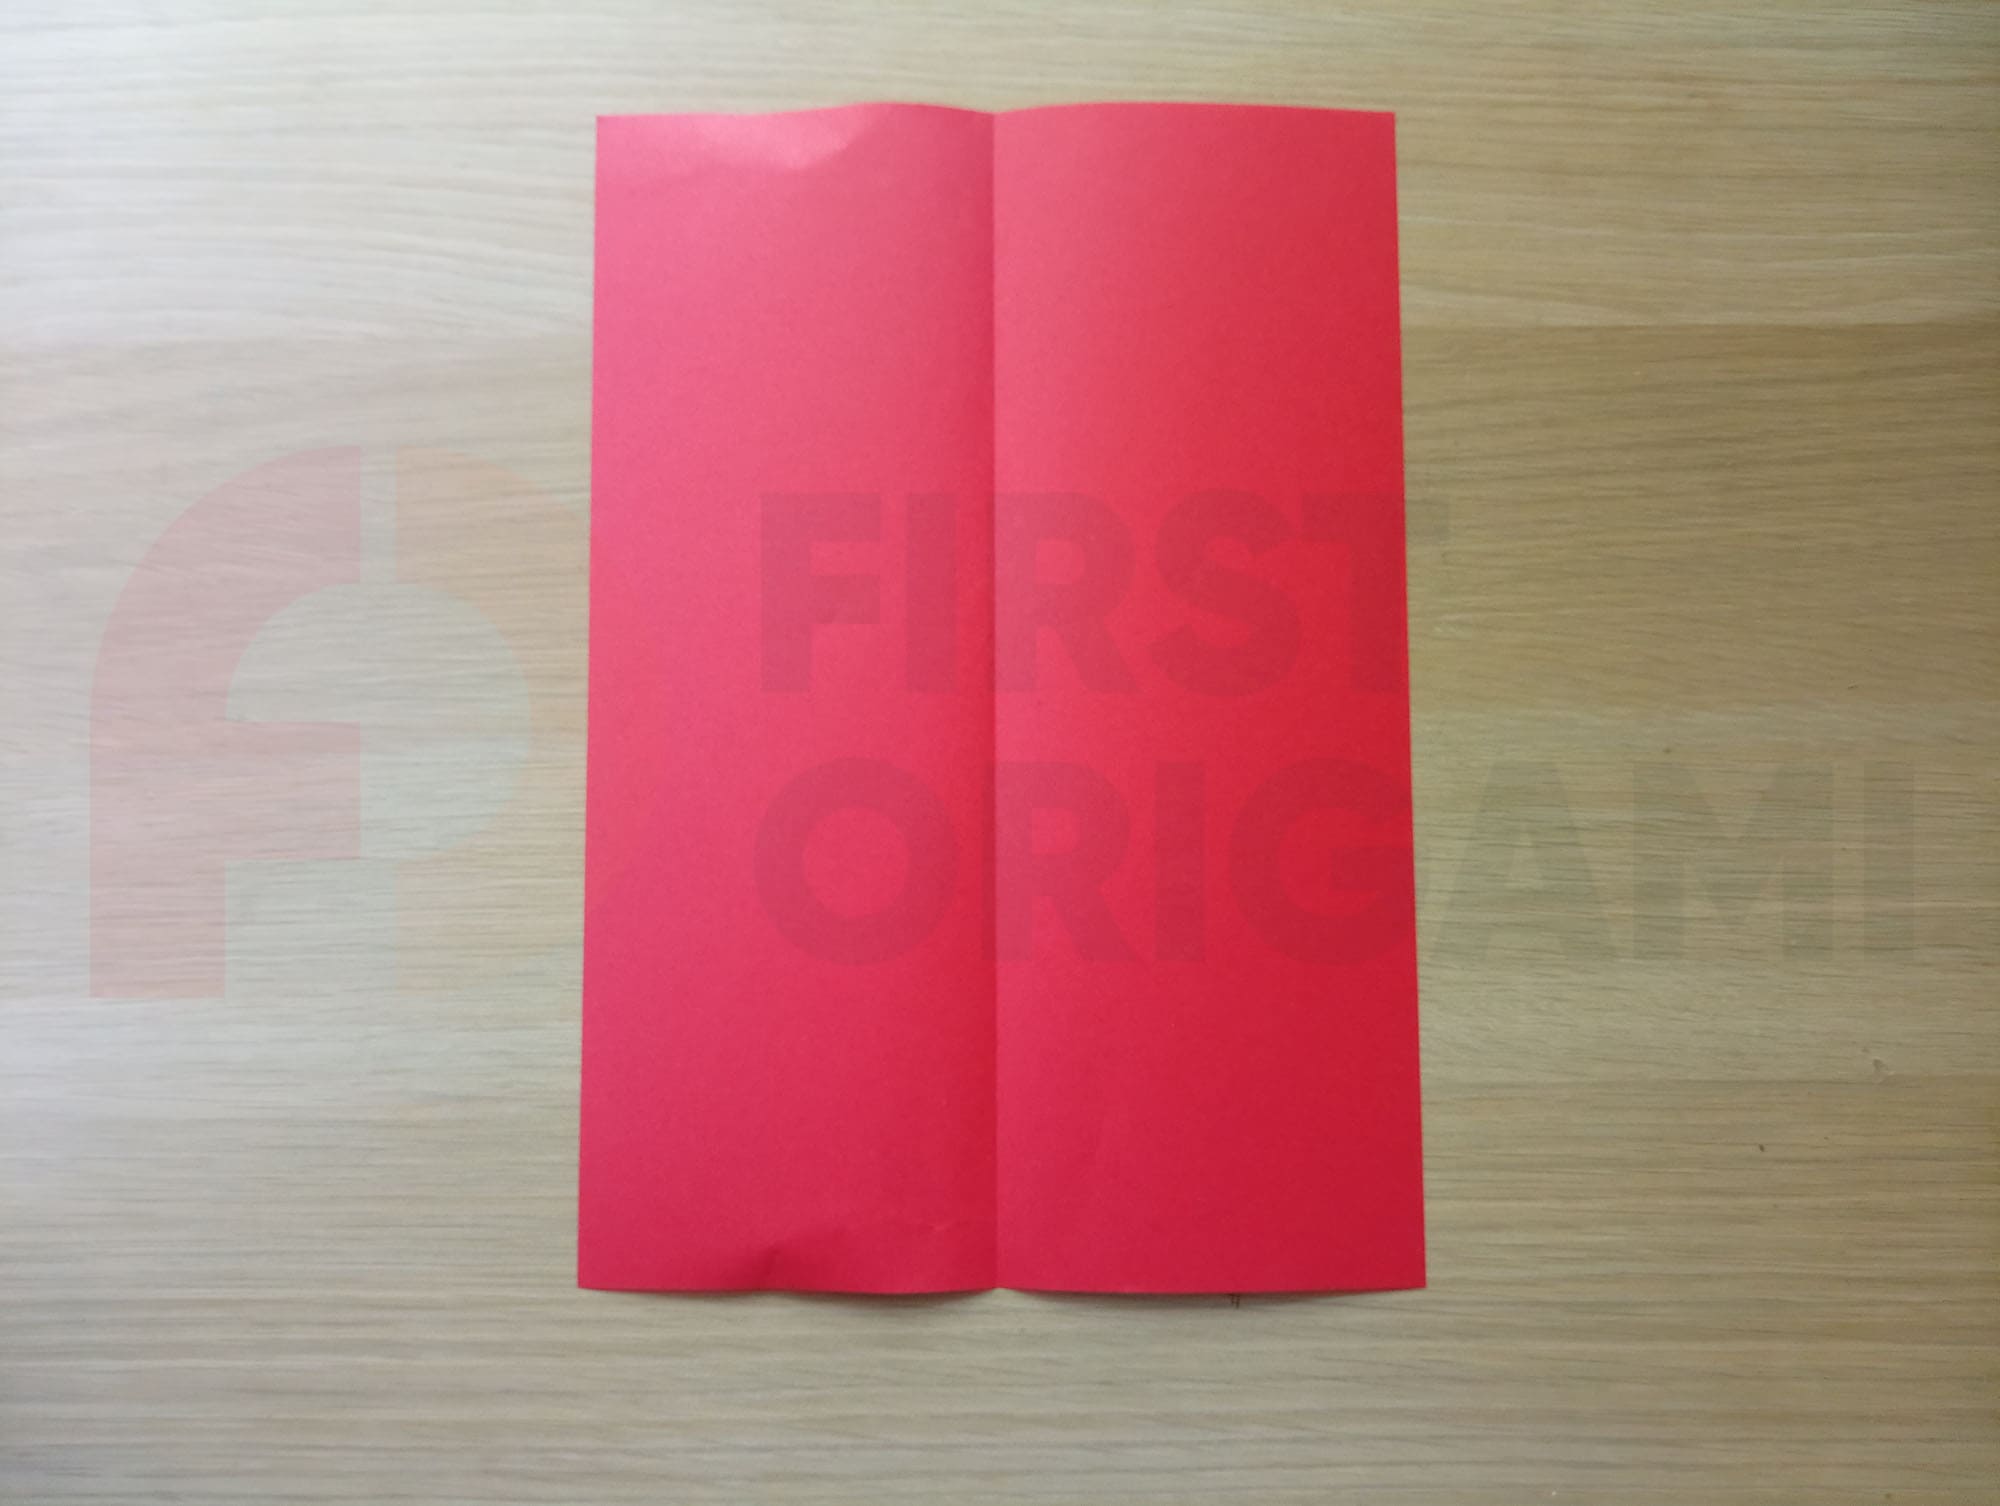
Fold it in half lengthwise.
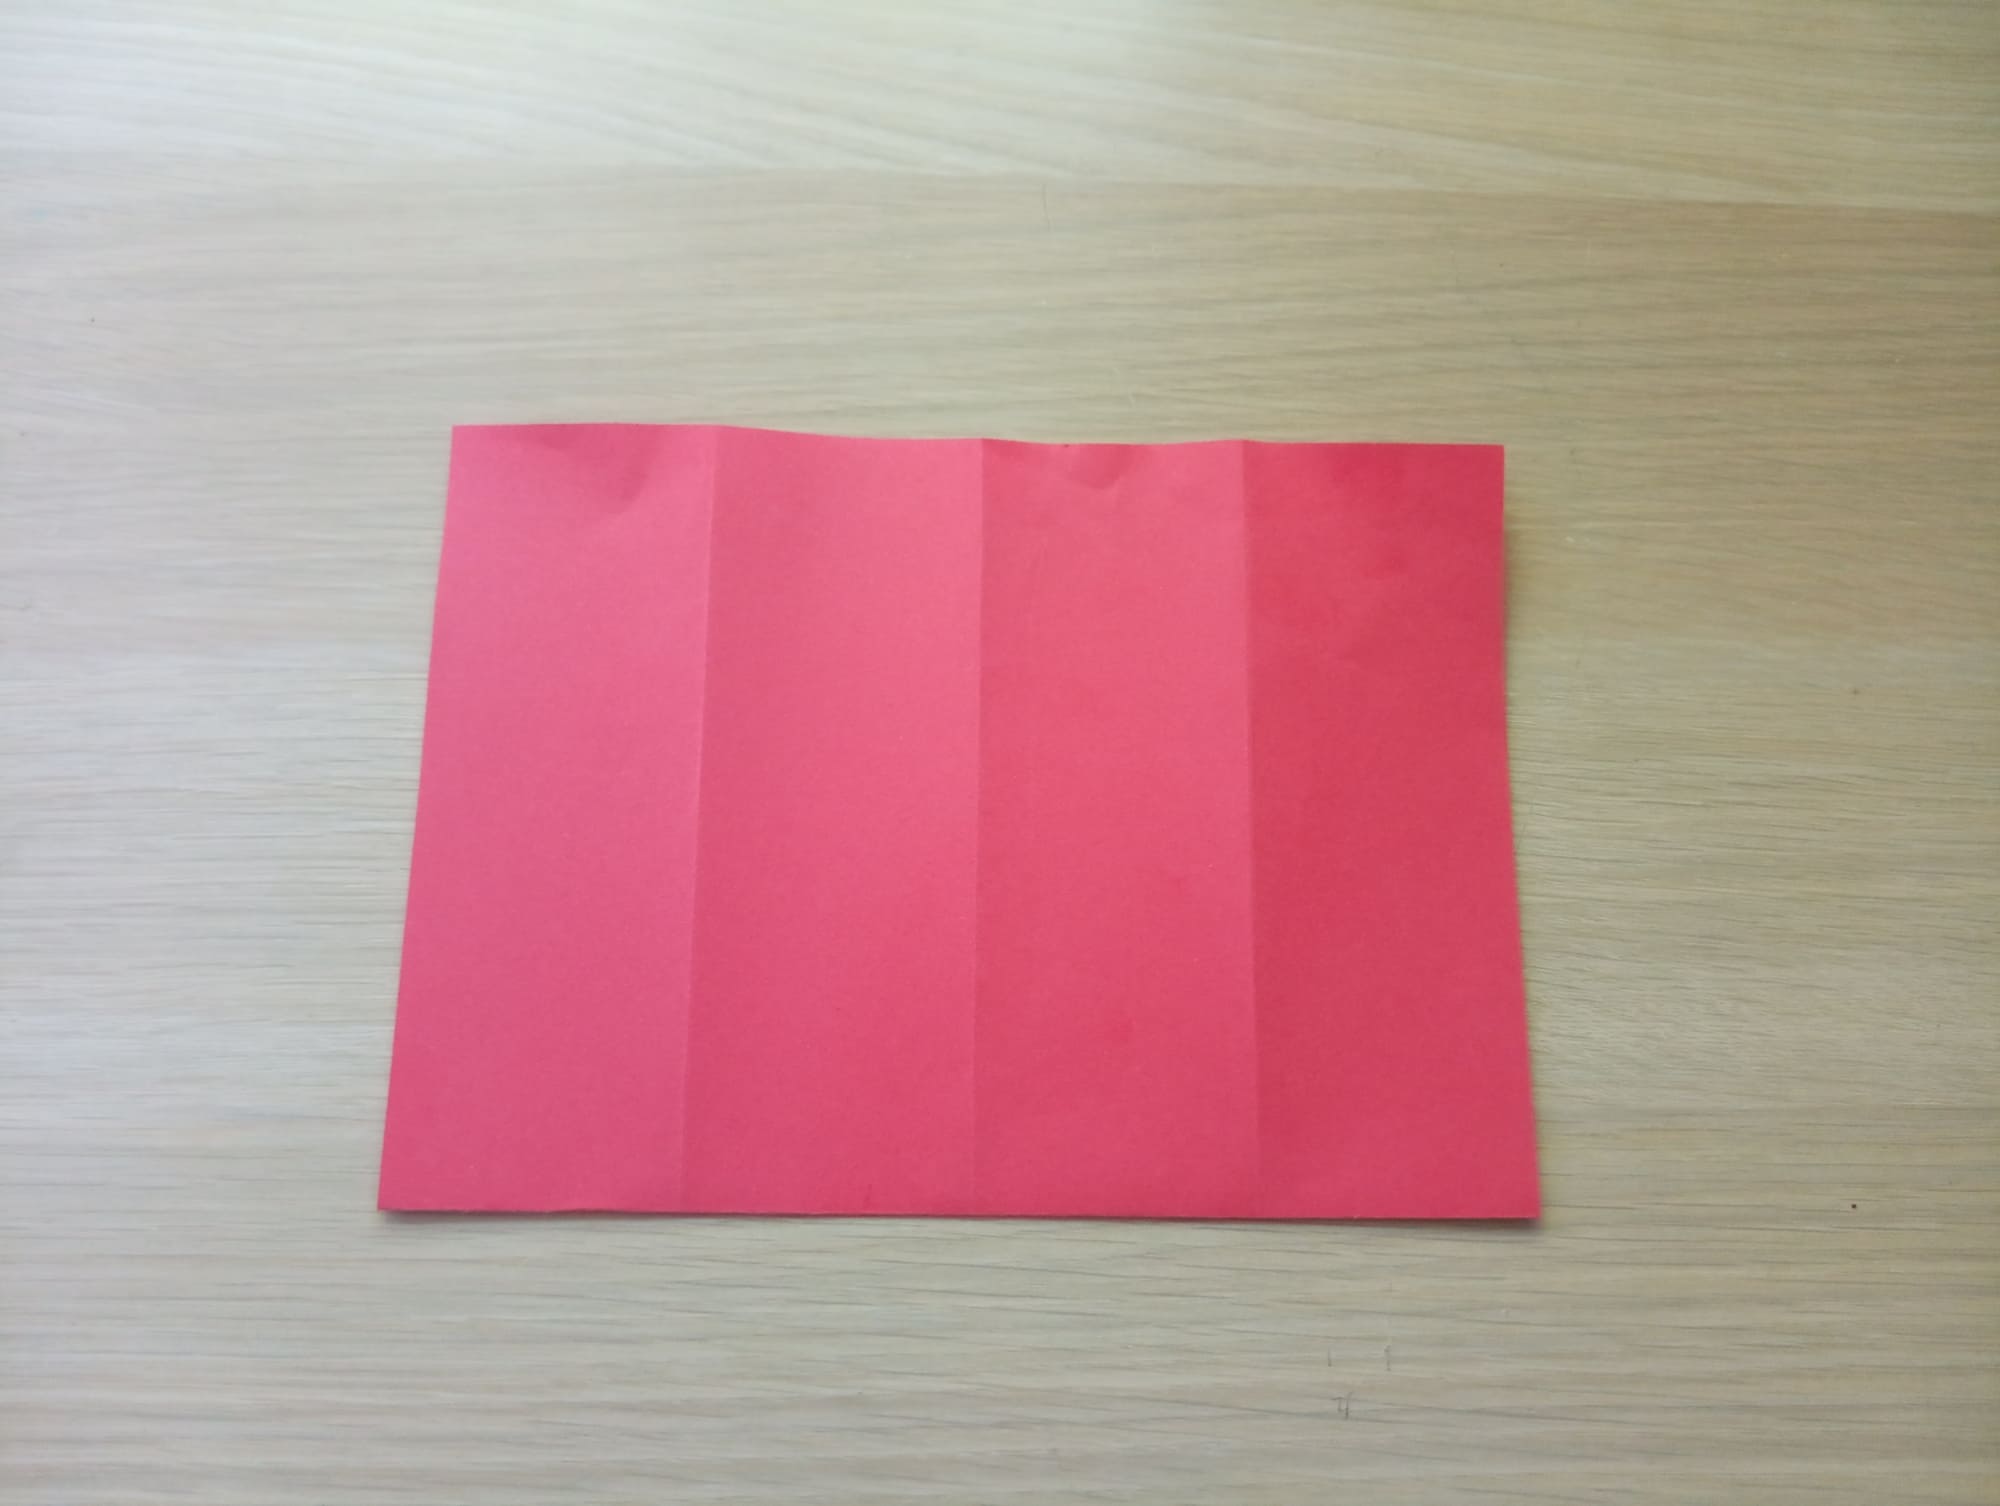
Open a sheet of paper and fold each edge towards the middle.
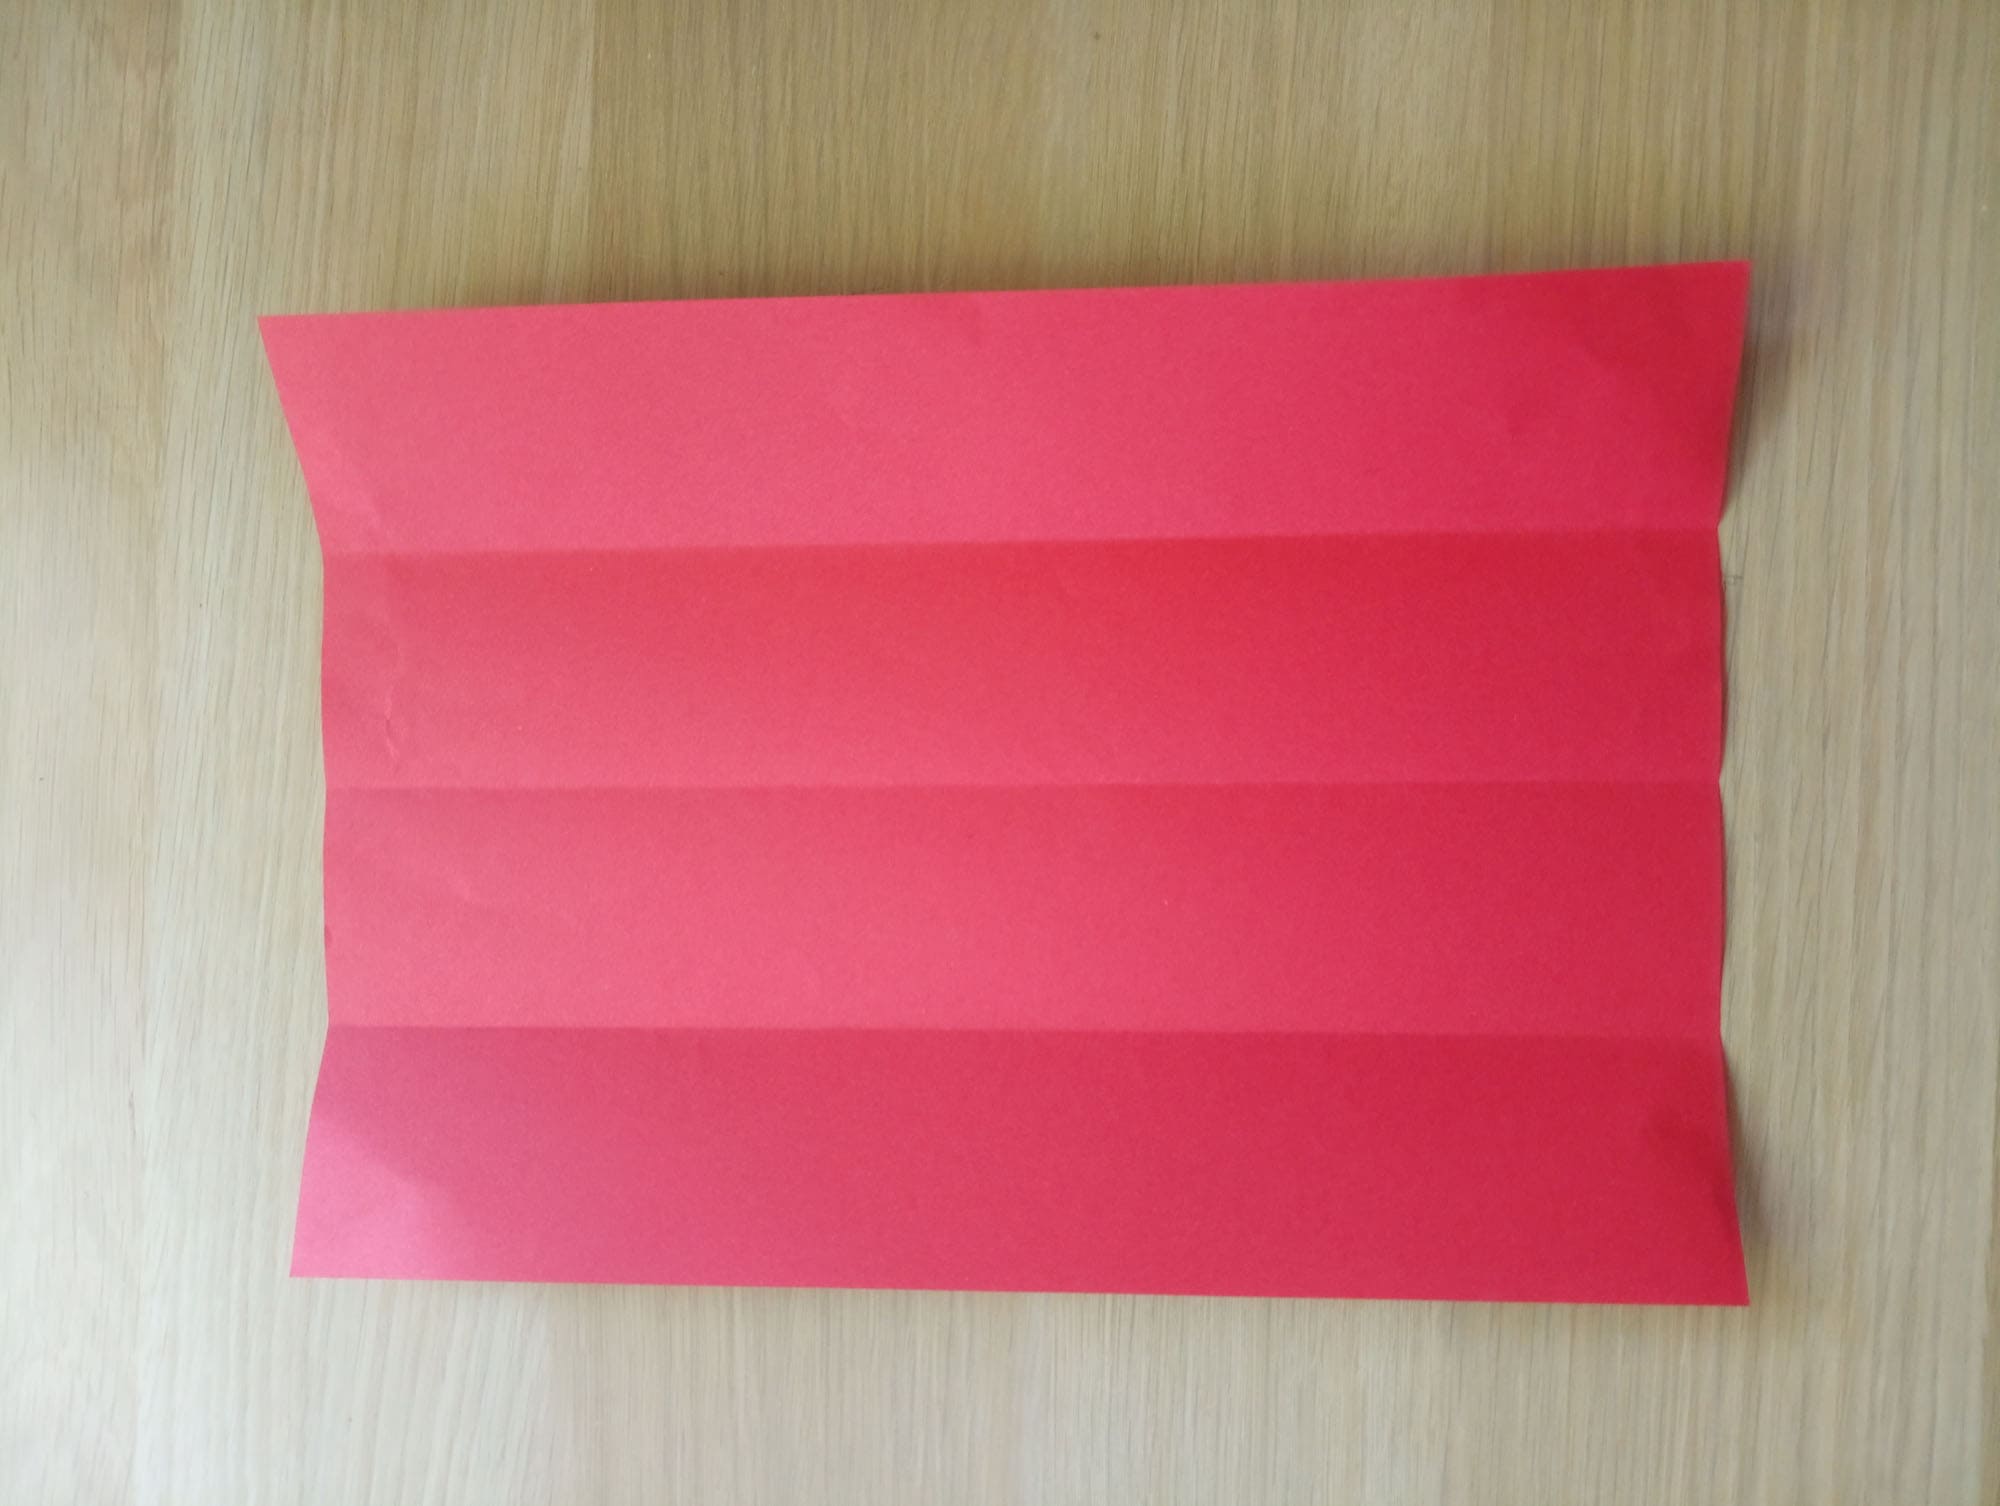
Open the sheet again.
Fold a sheet of paper in half horizontally.
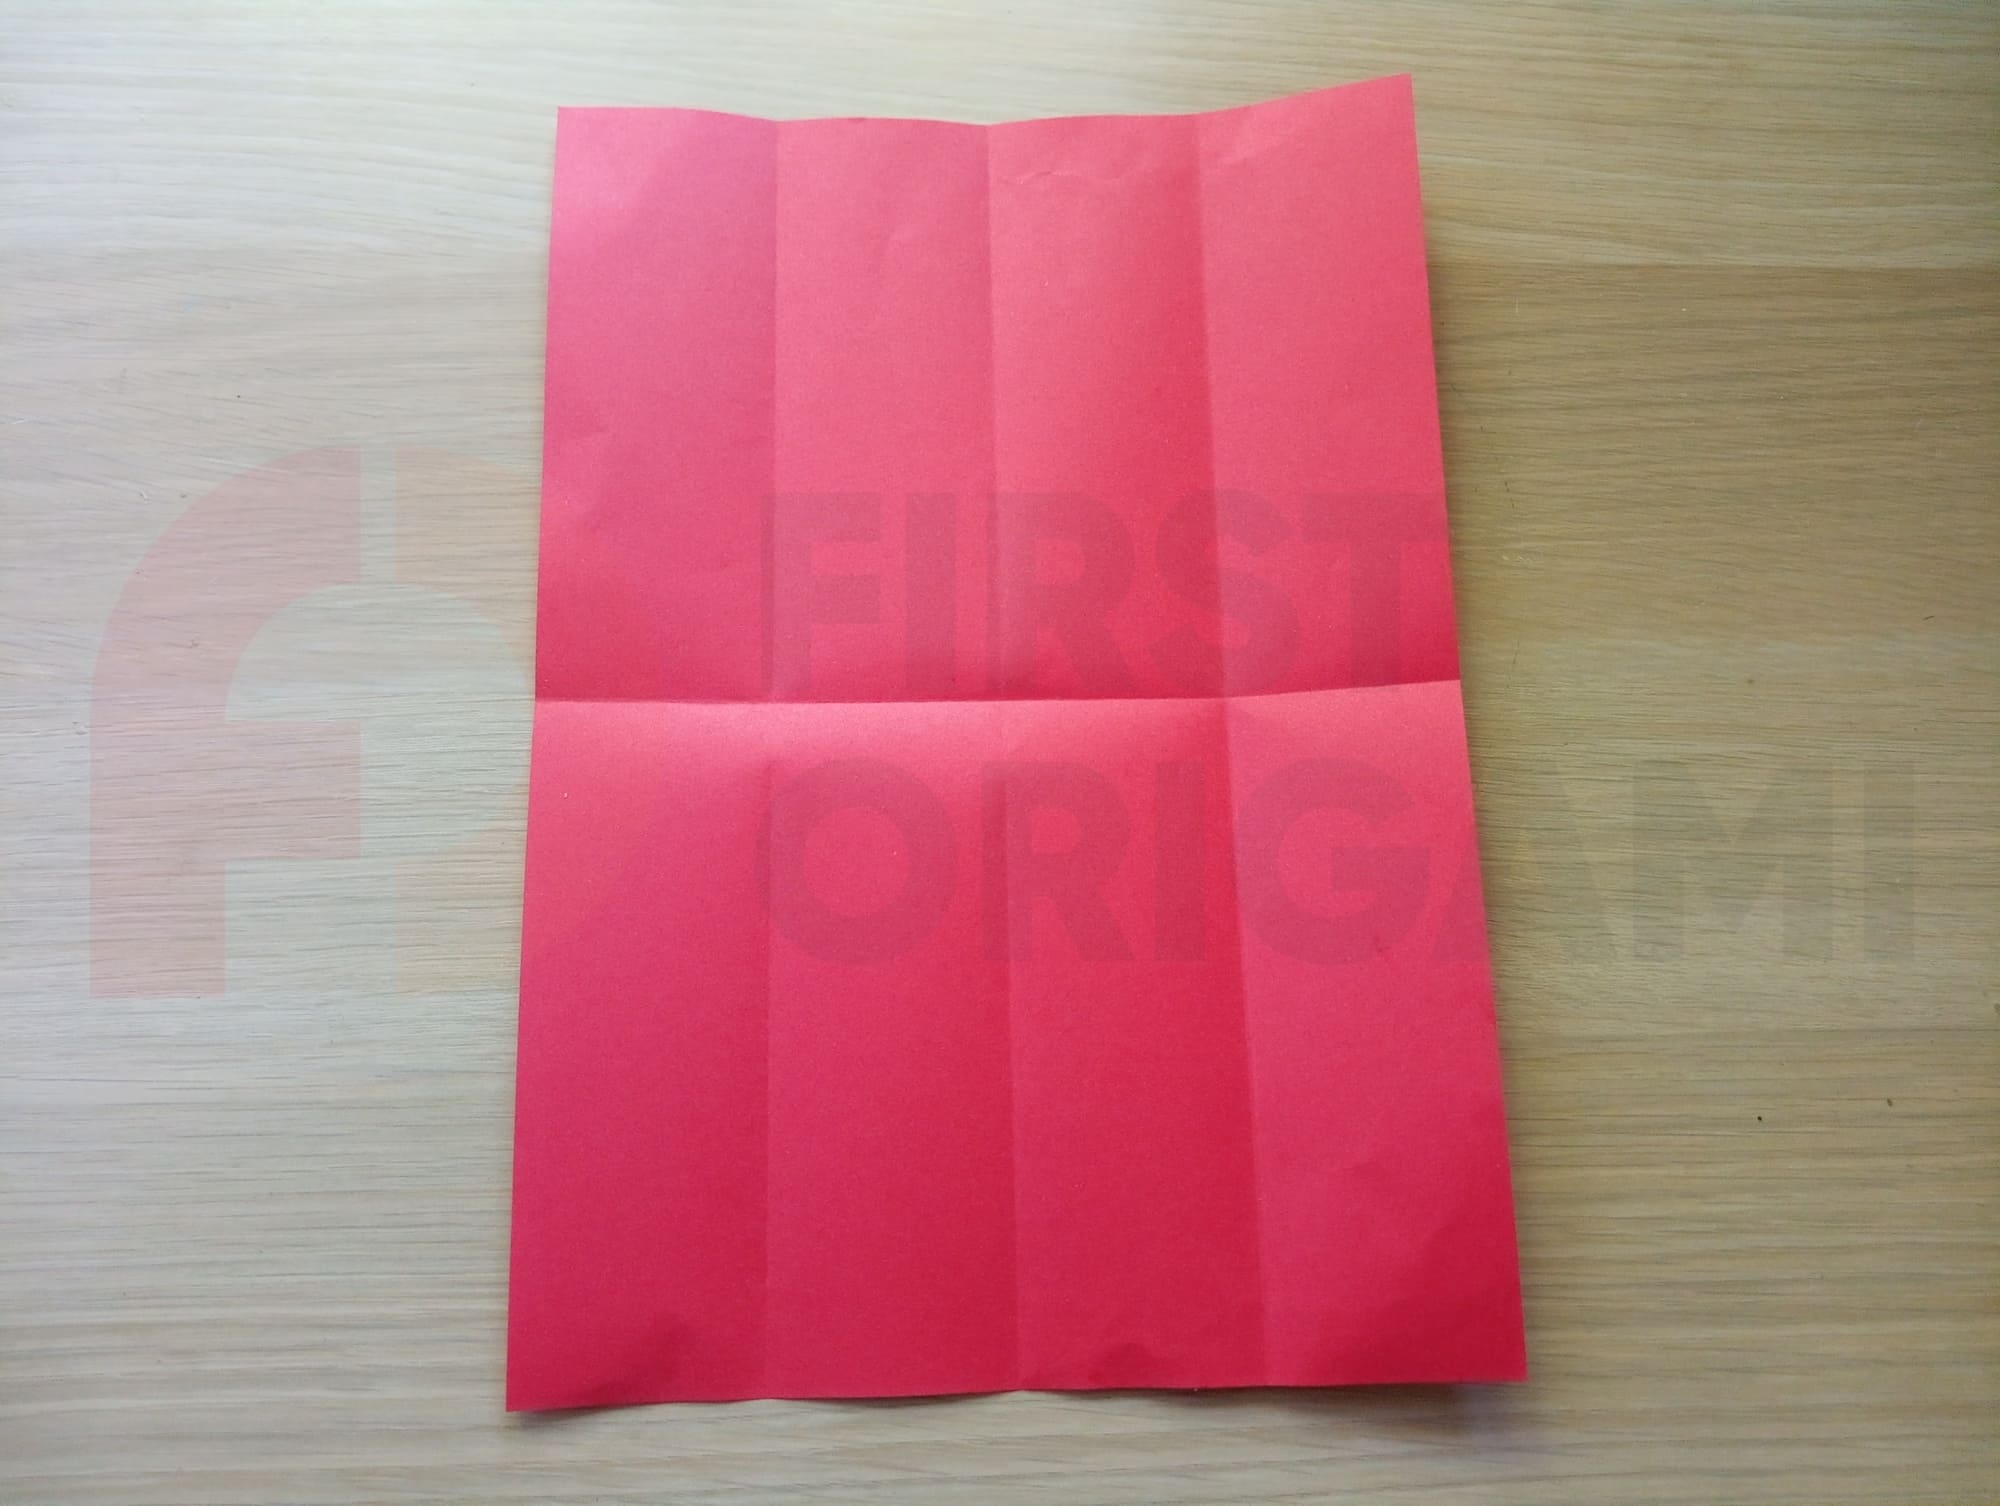
Open the sheet again. Look at the folds.
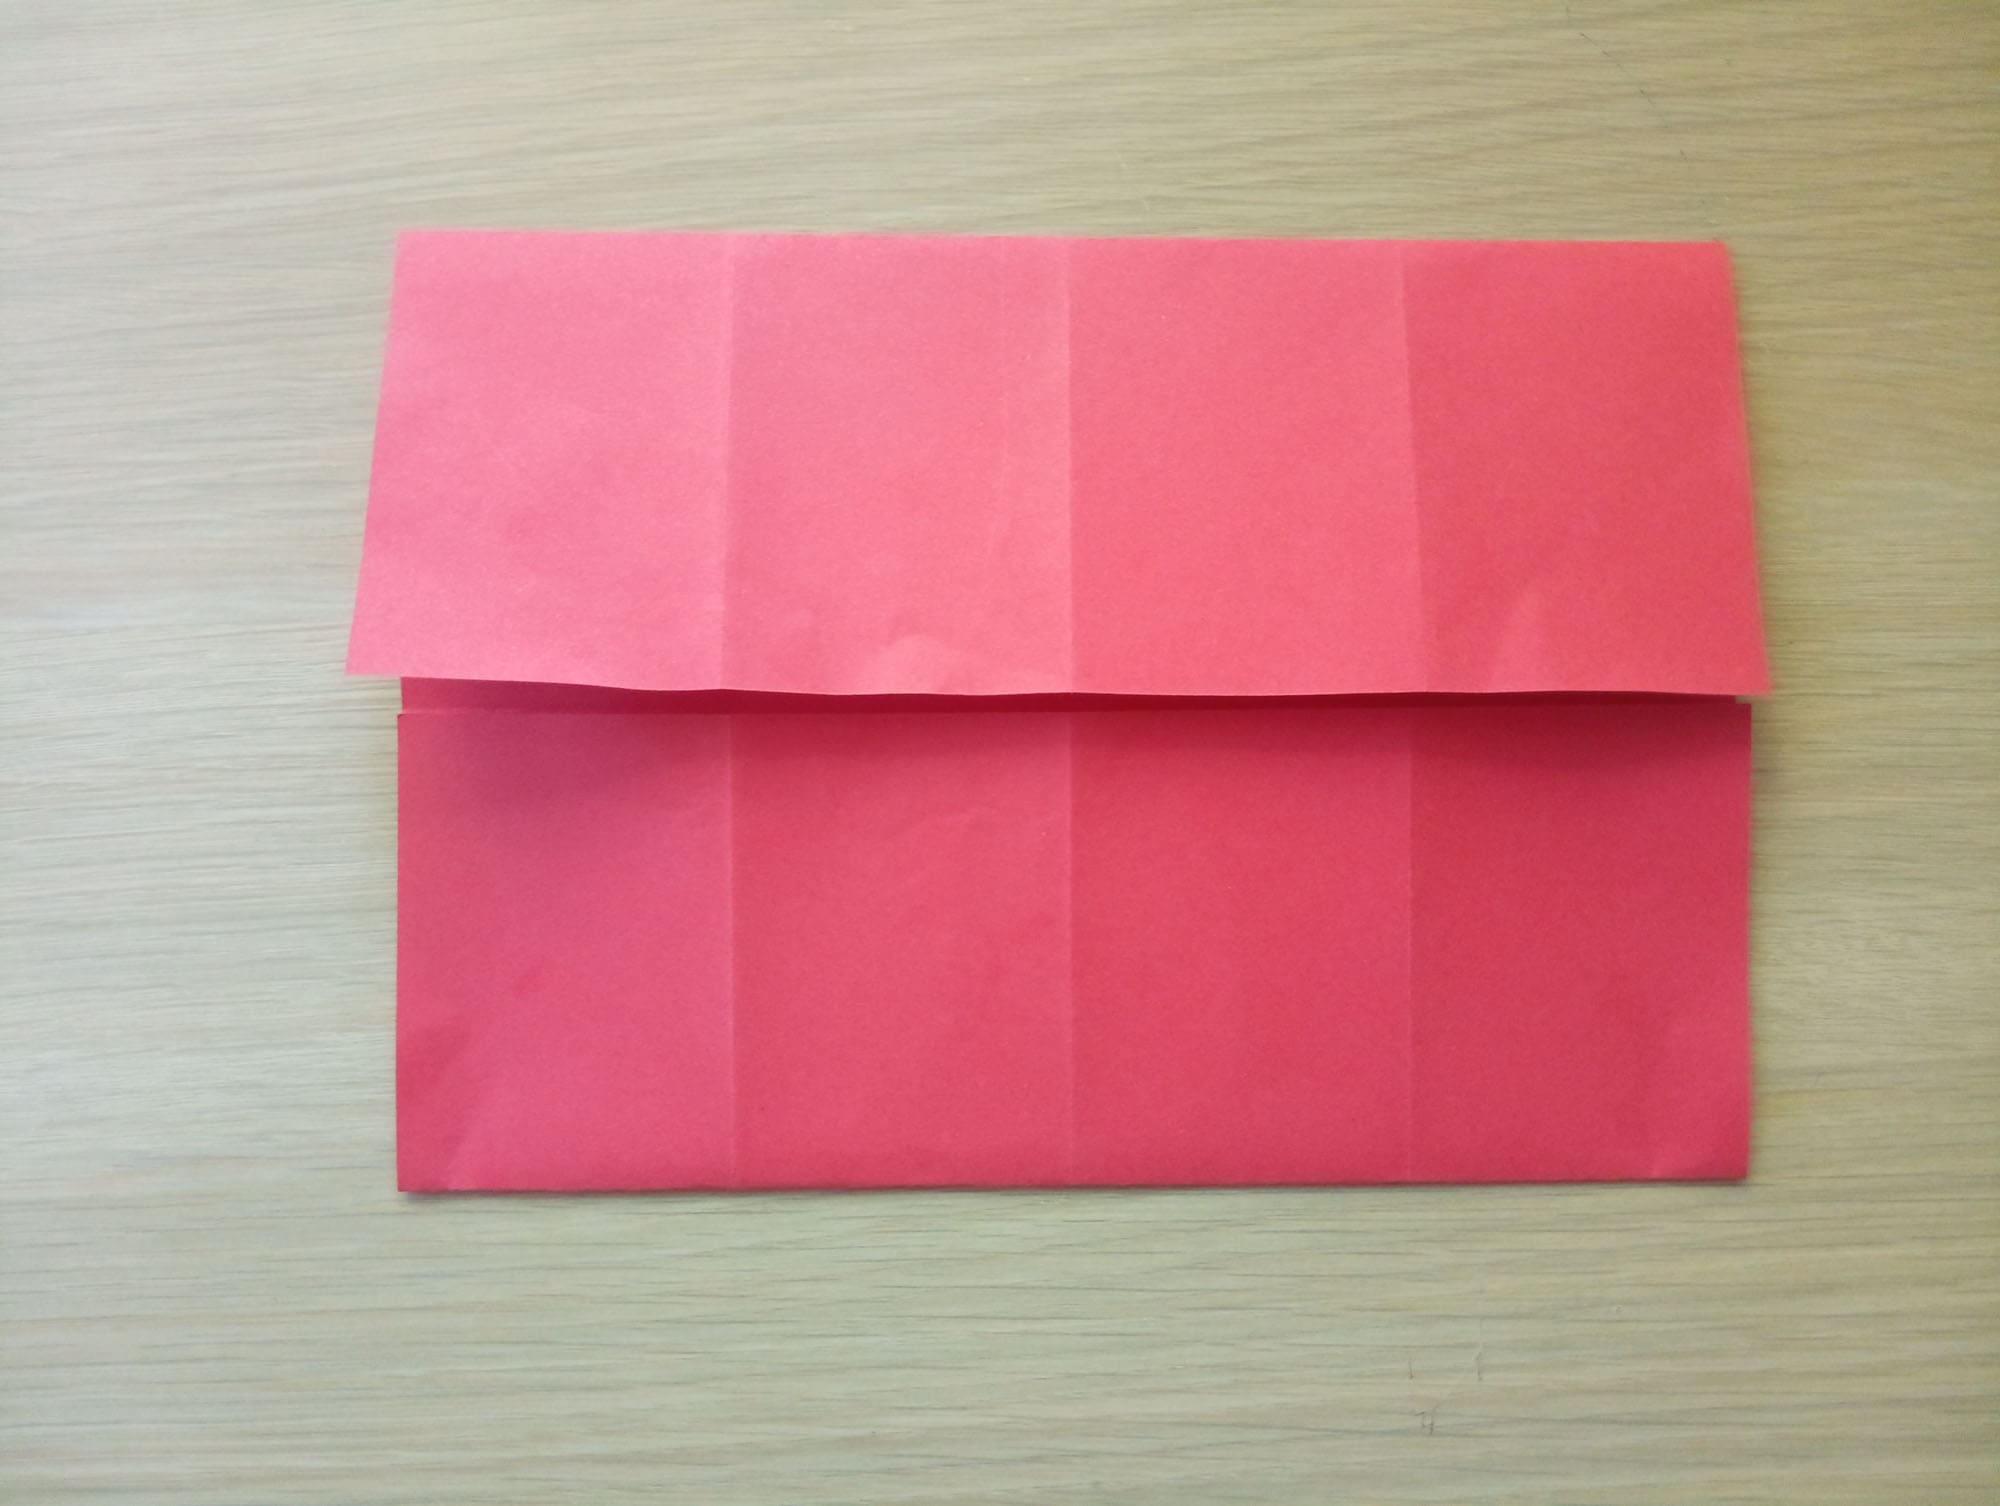
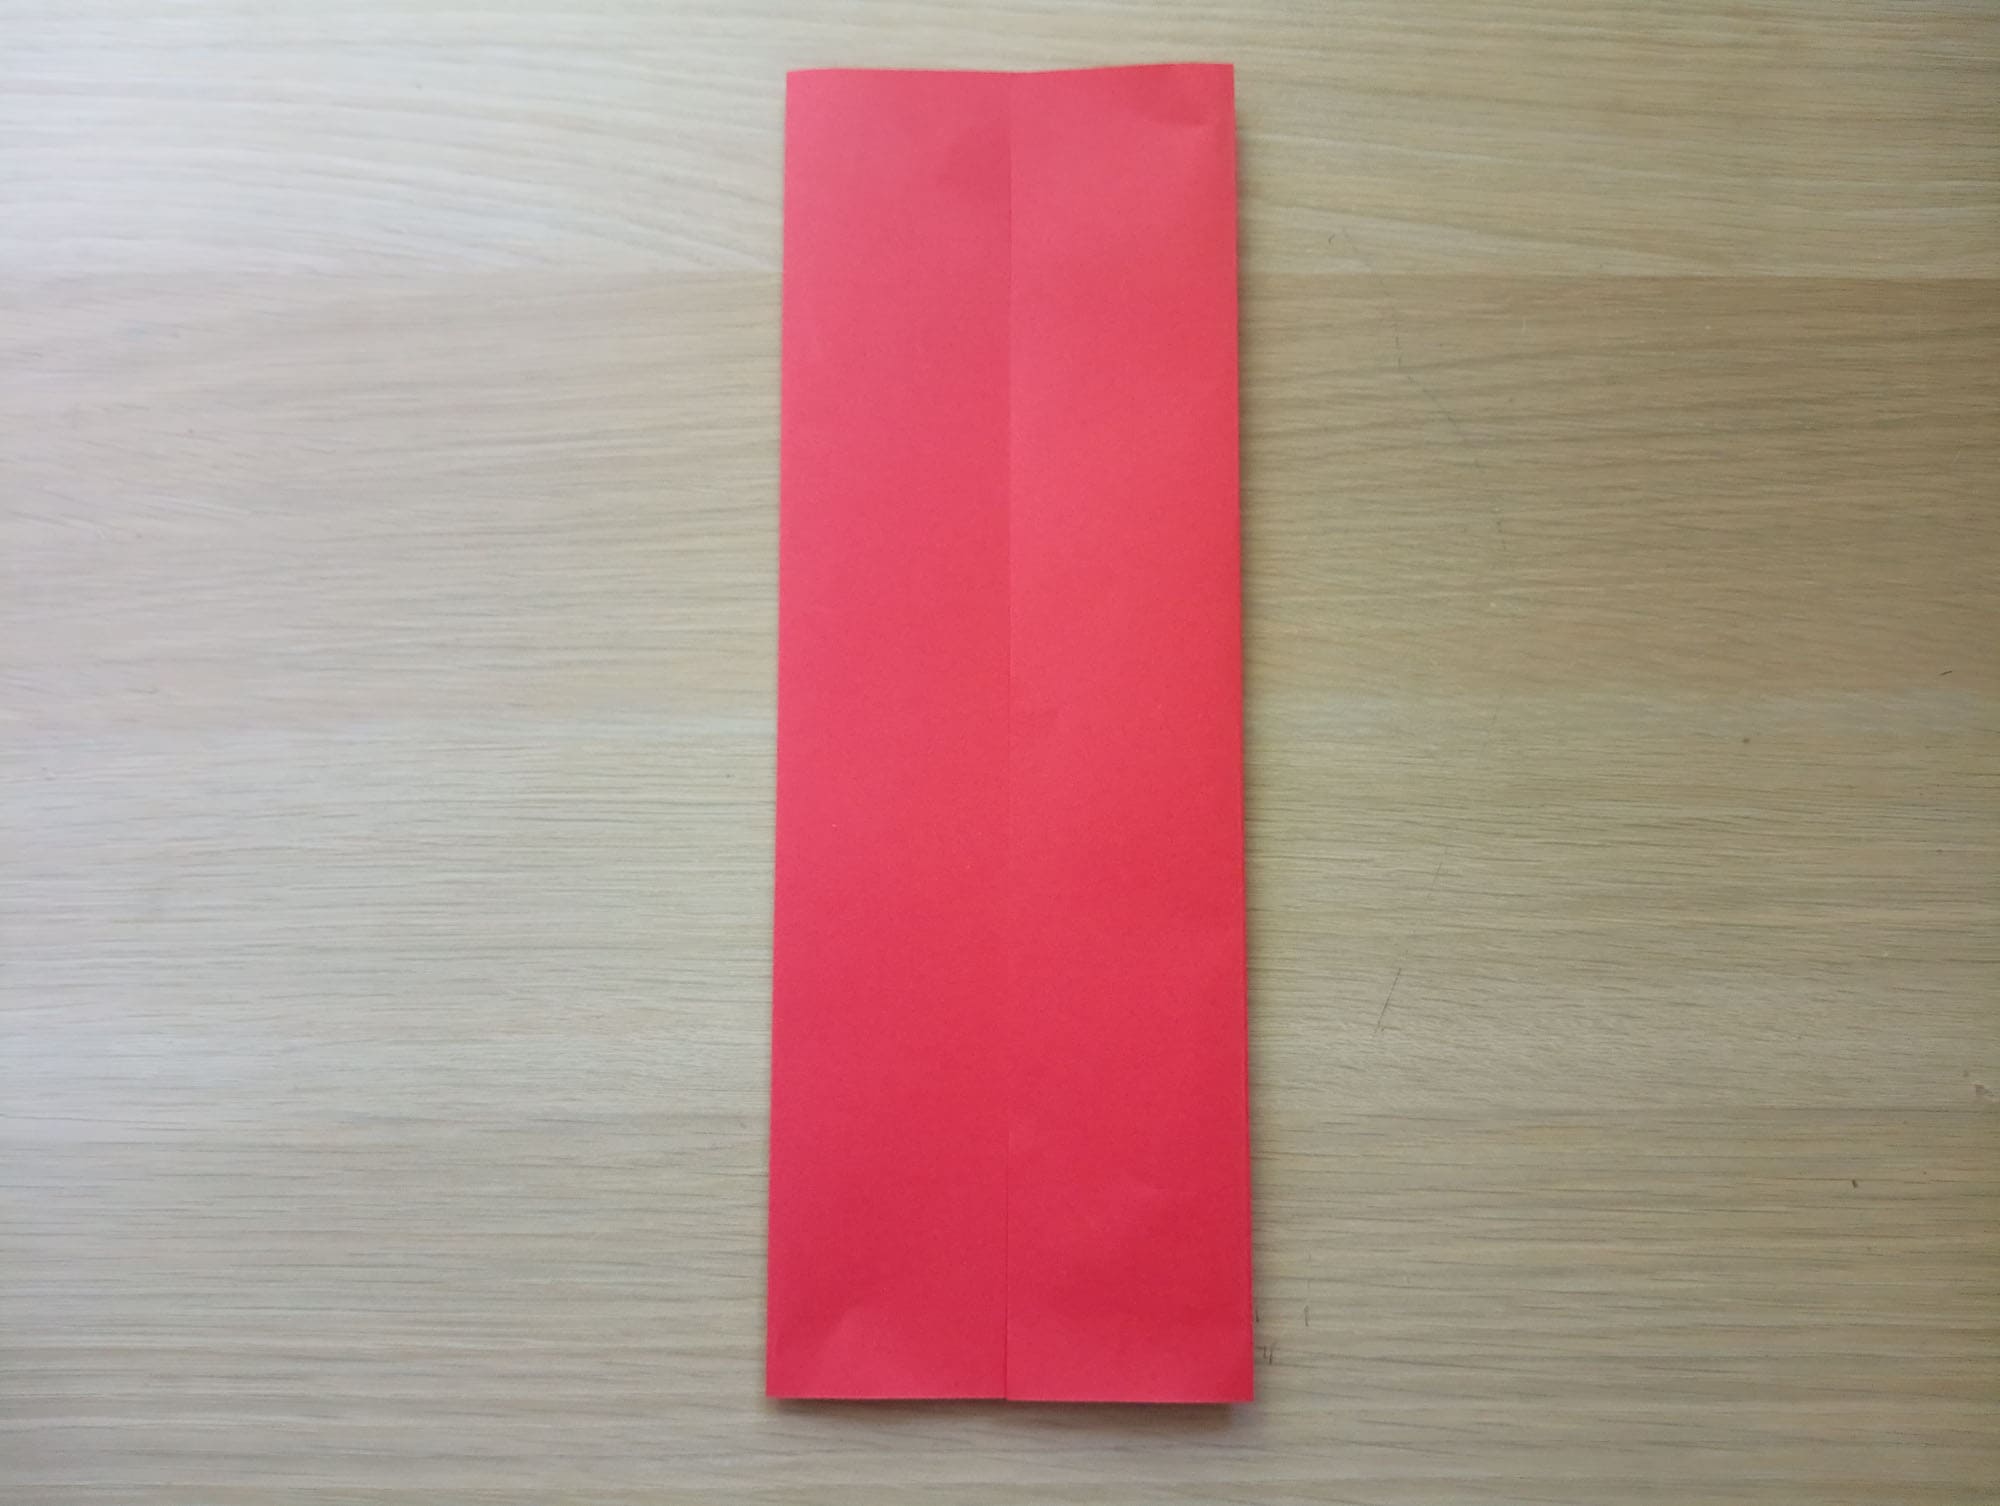
Fold the side edges to the middle fold line.
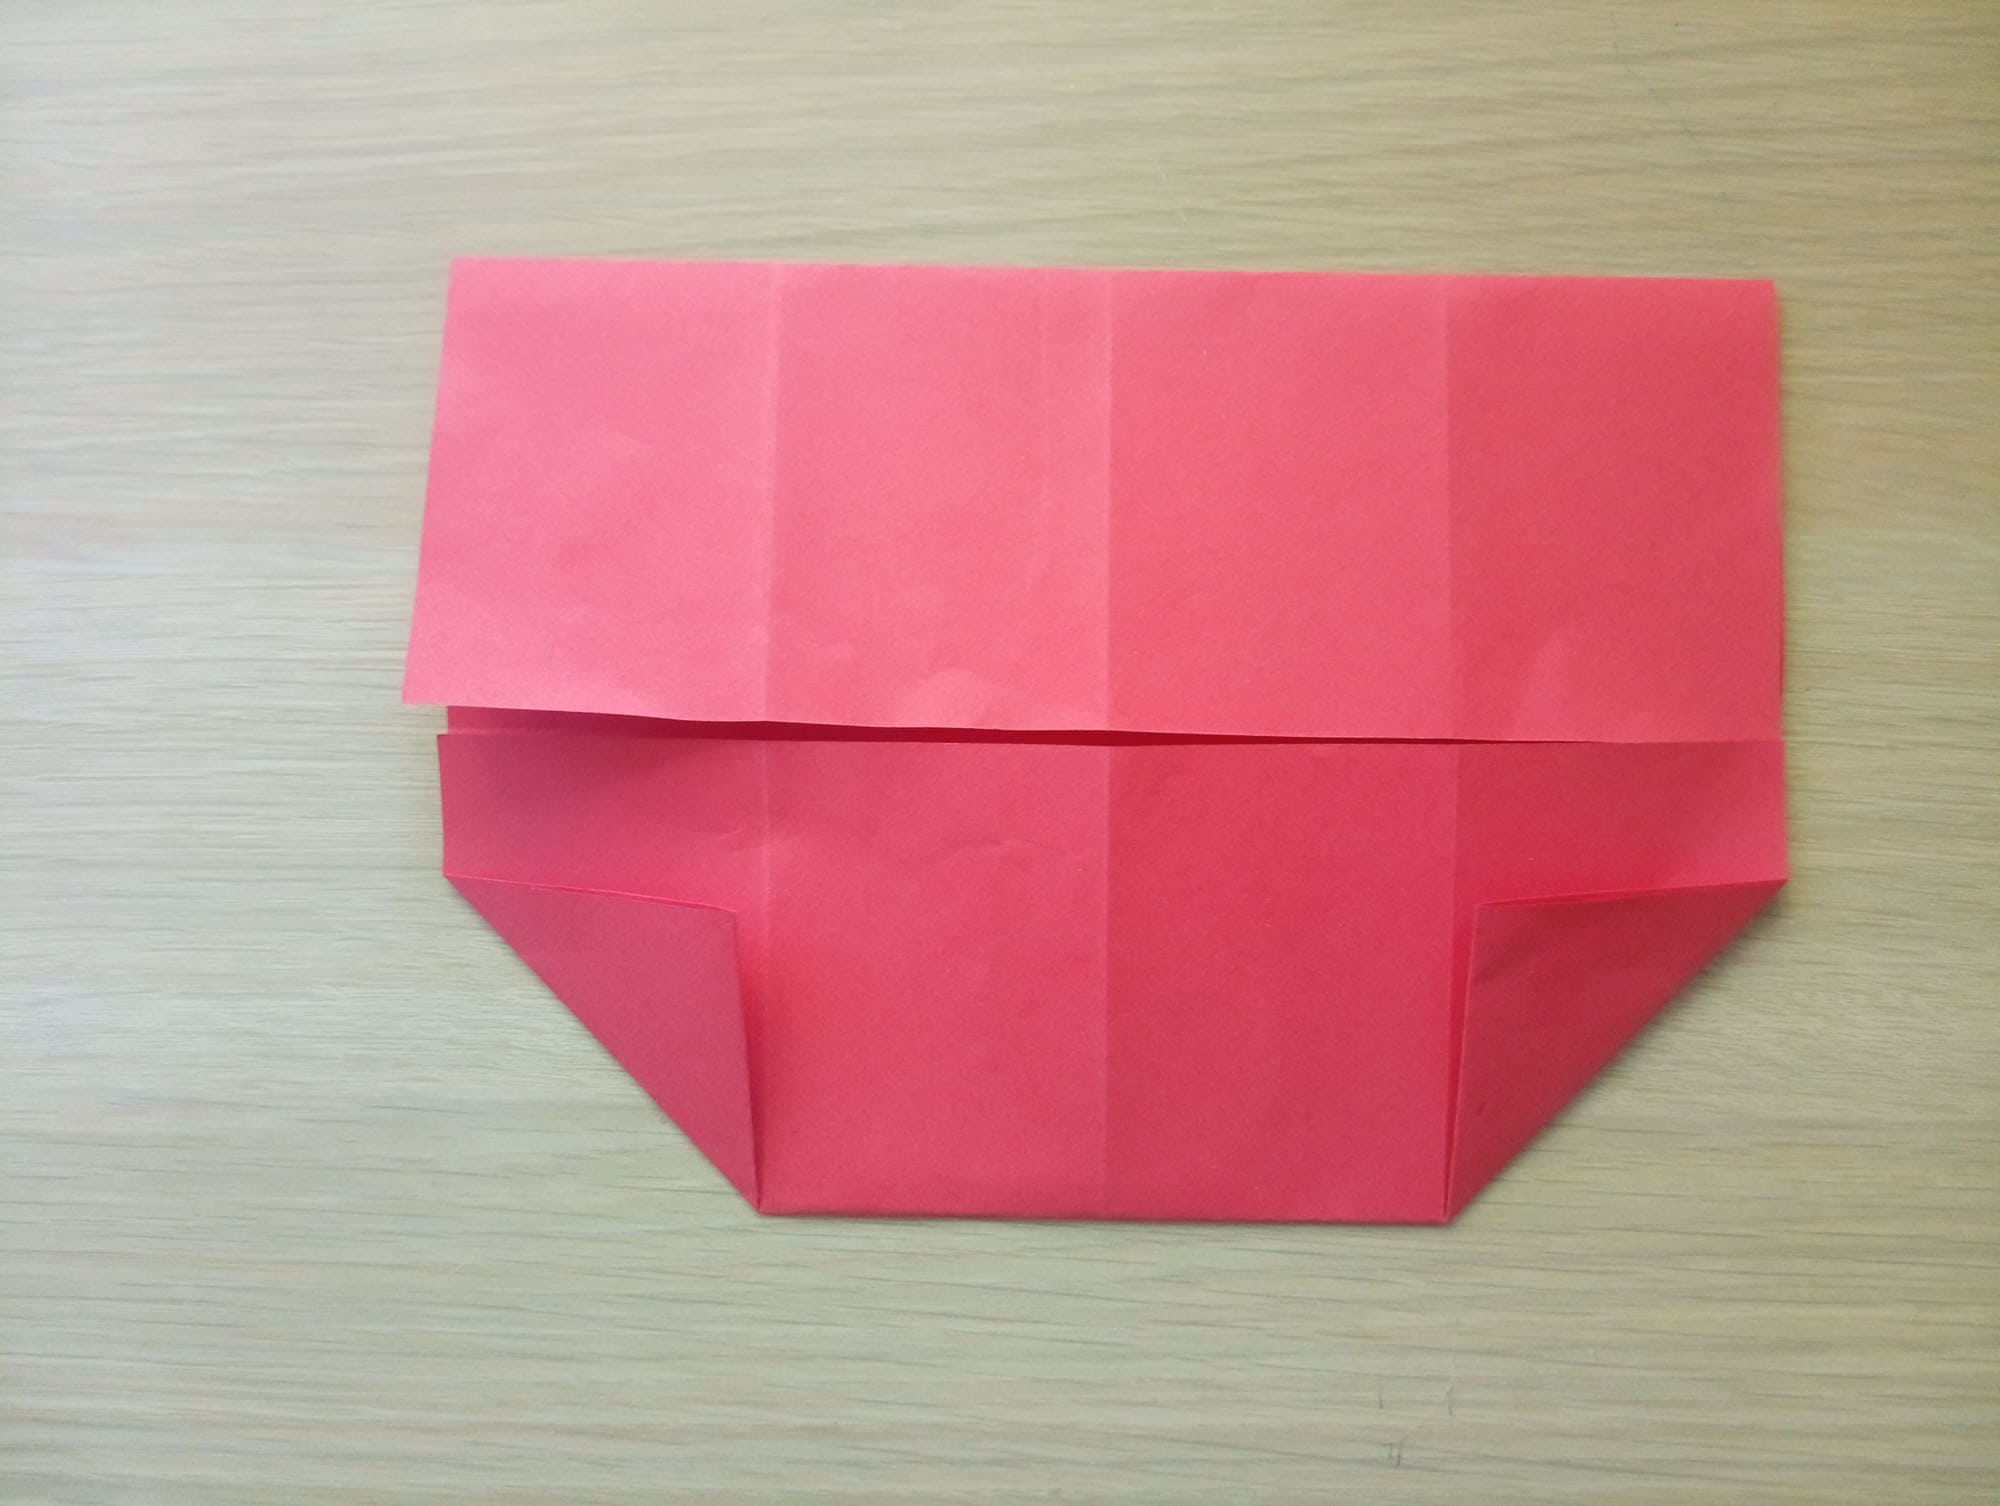
Bend the lower left and right corners to the first fold.
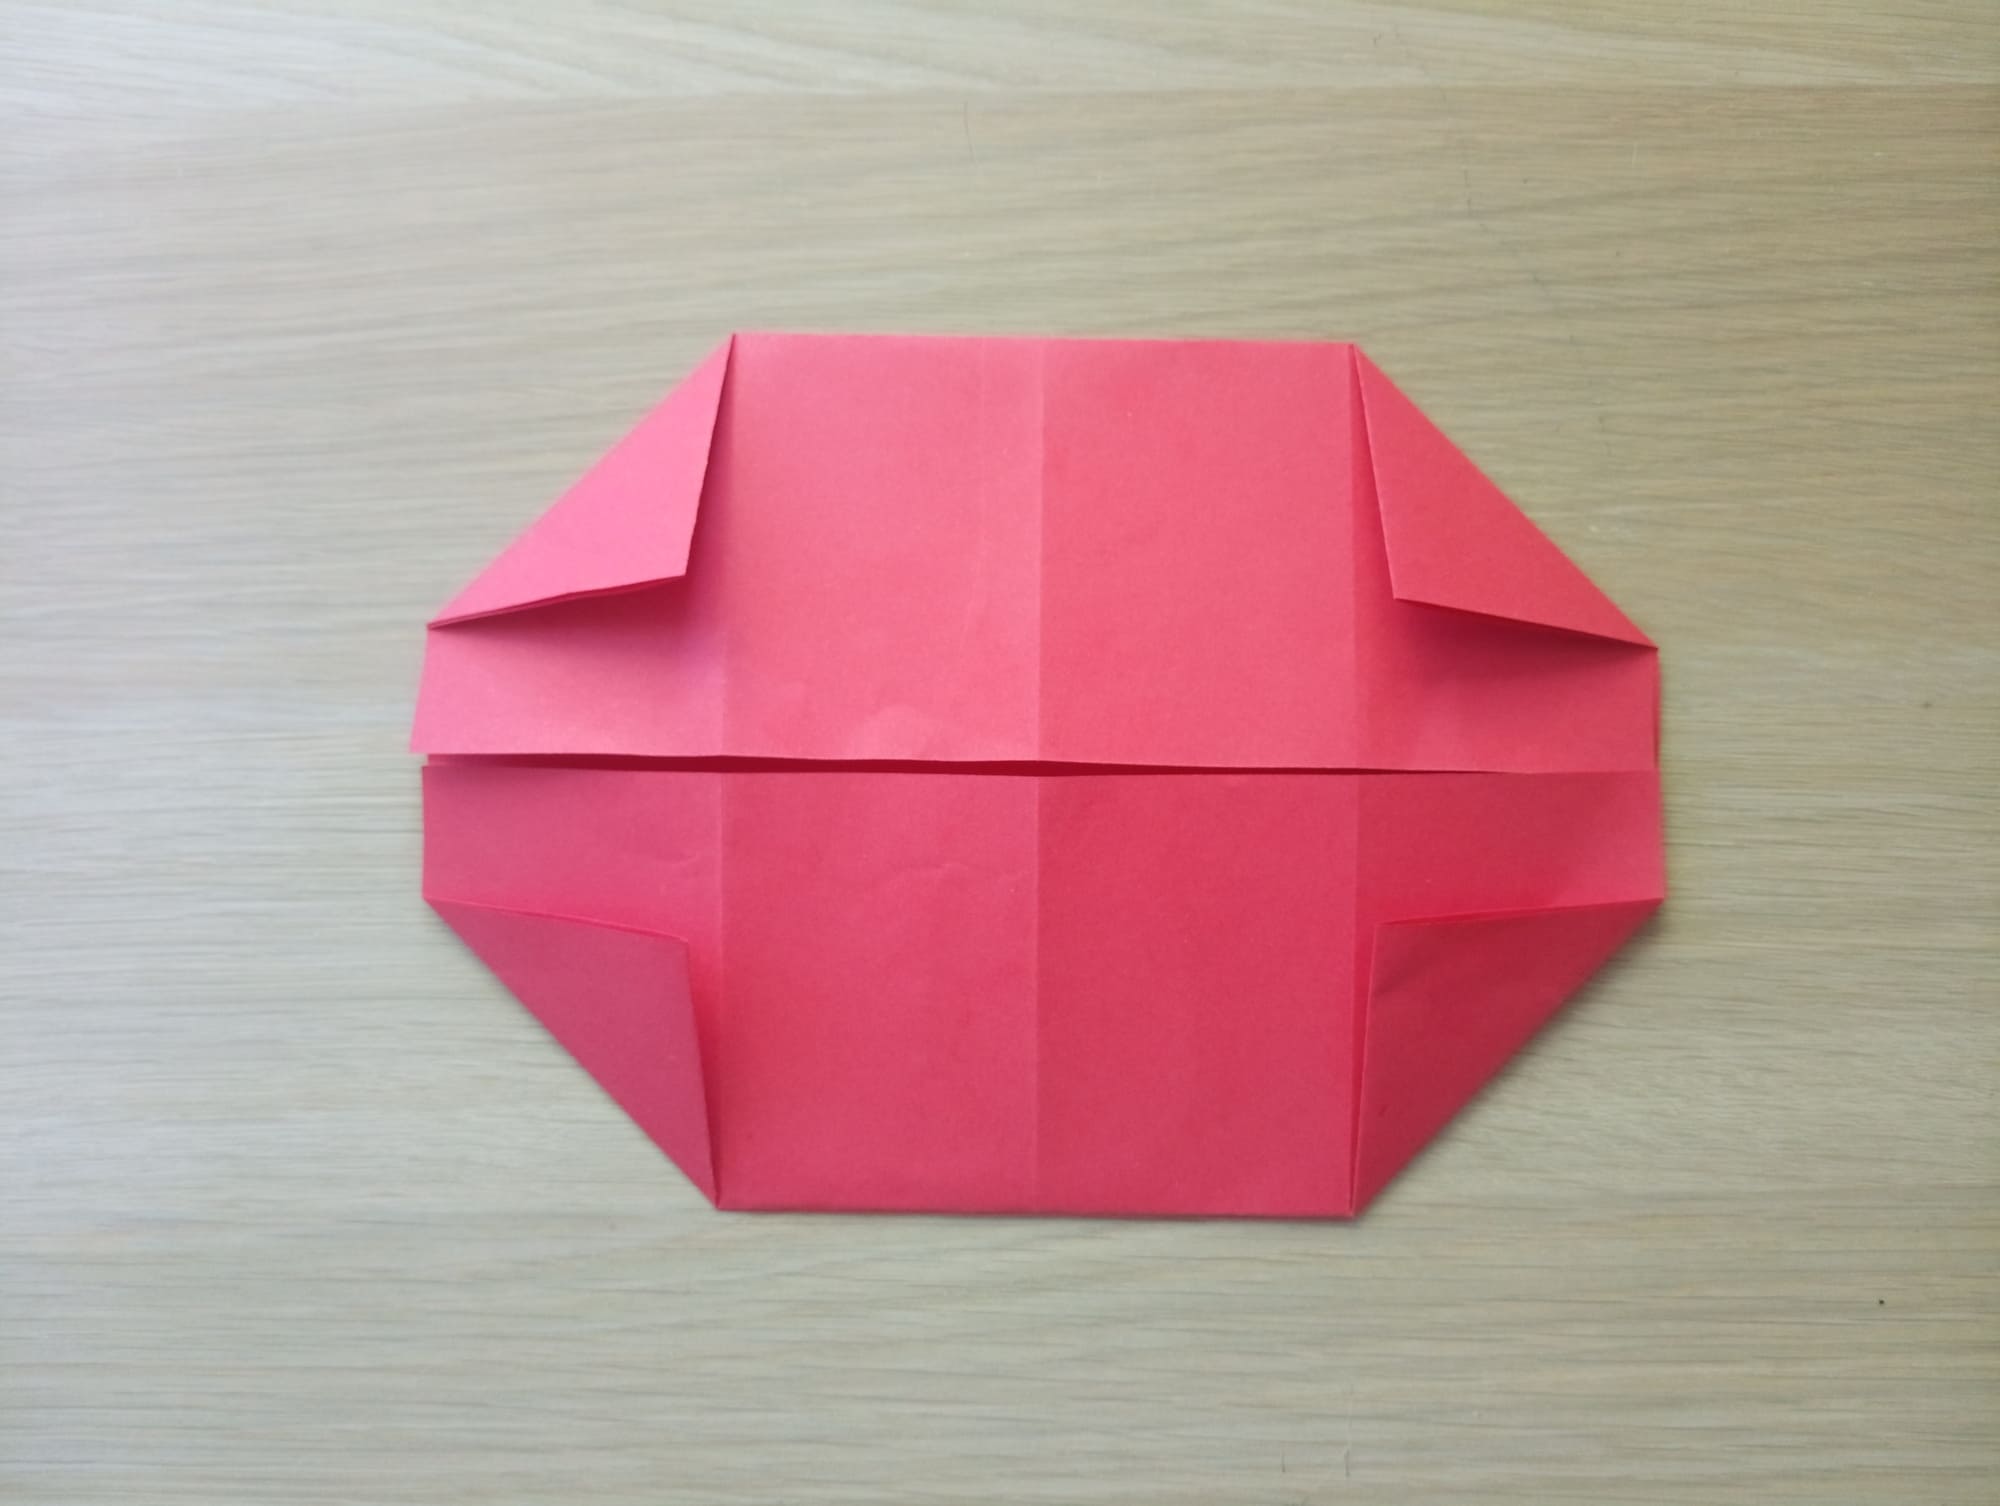
Repeat step 8 for the top corners.
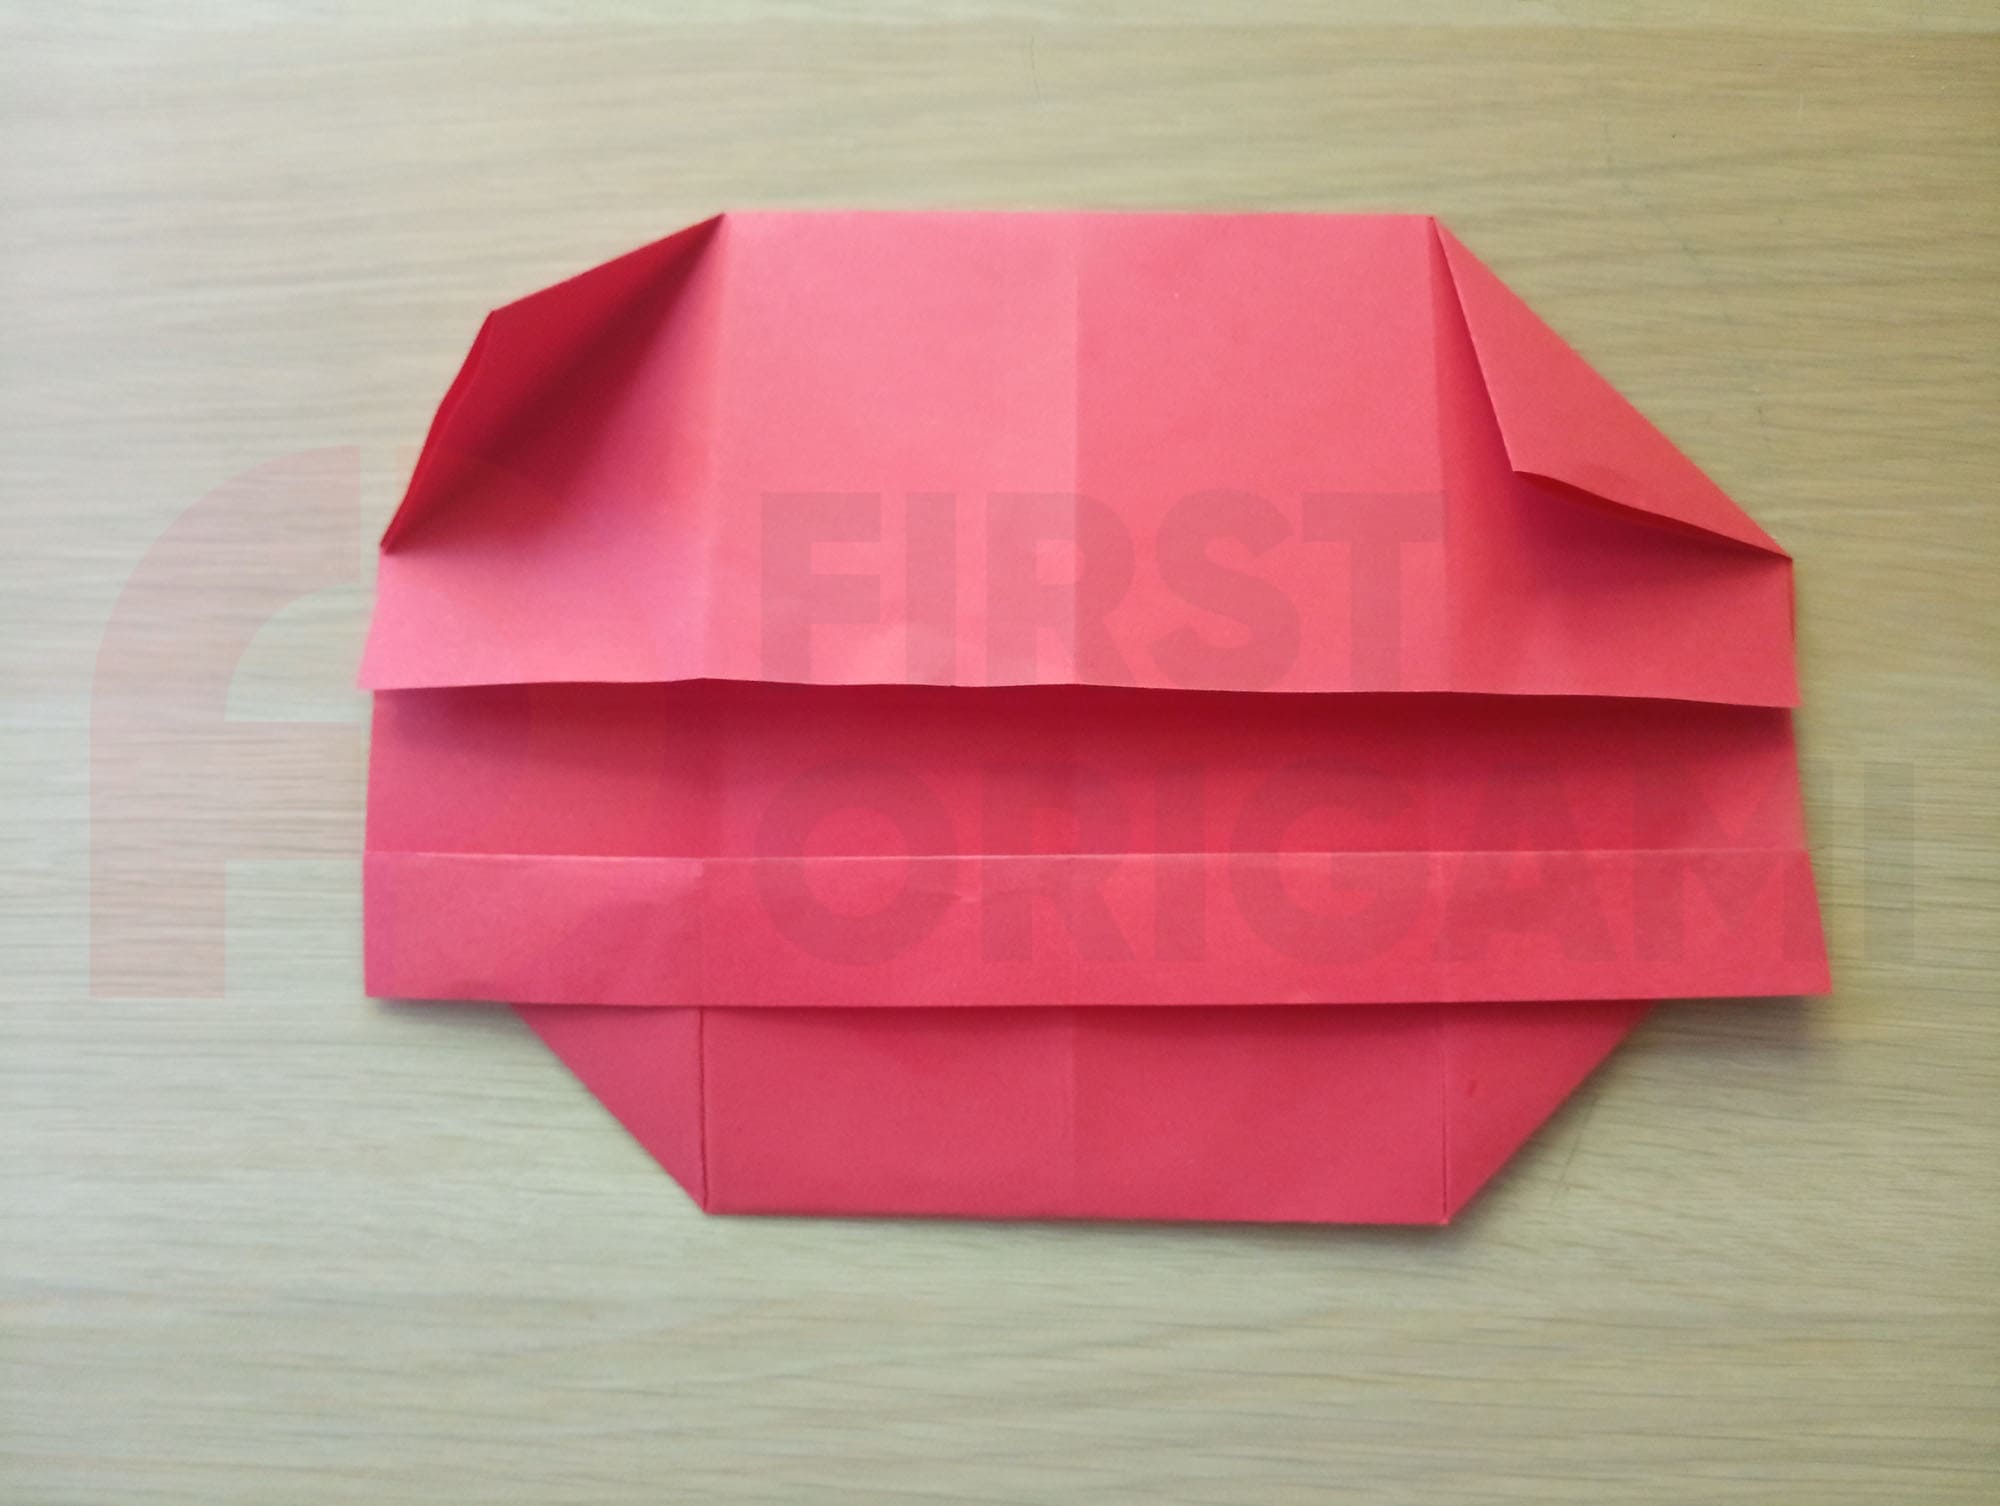
Tuck the edge of the paper from the middle to the corners and crease.
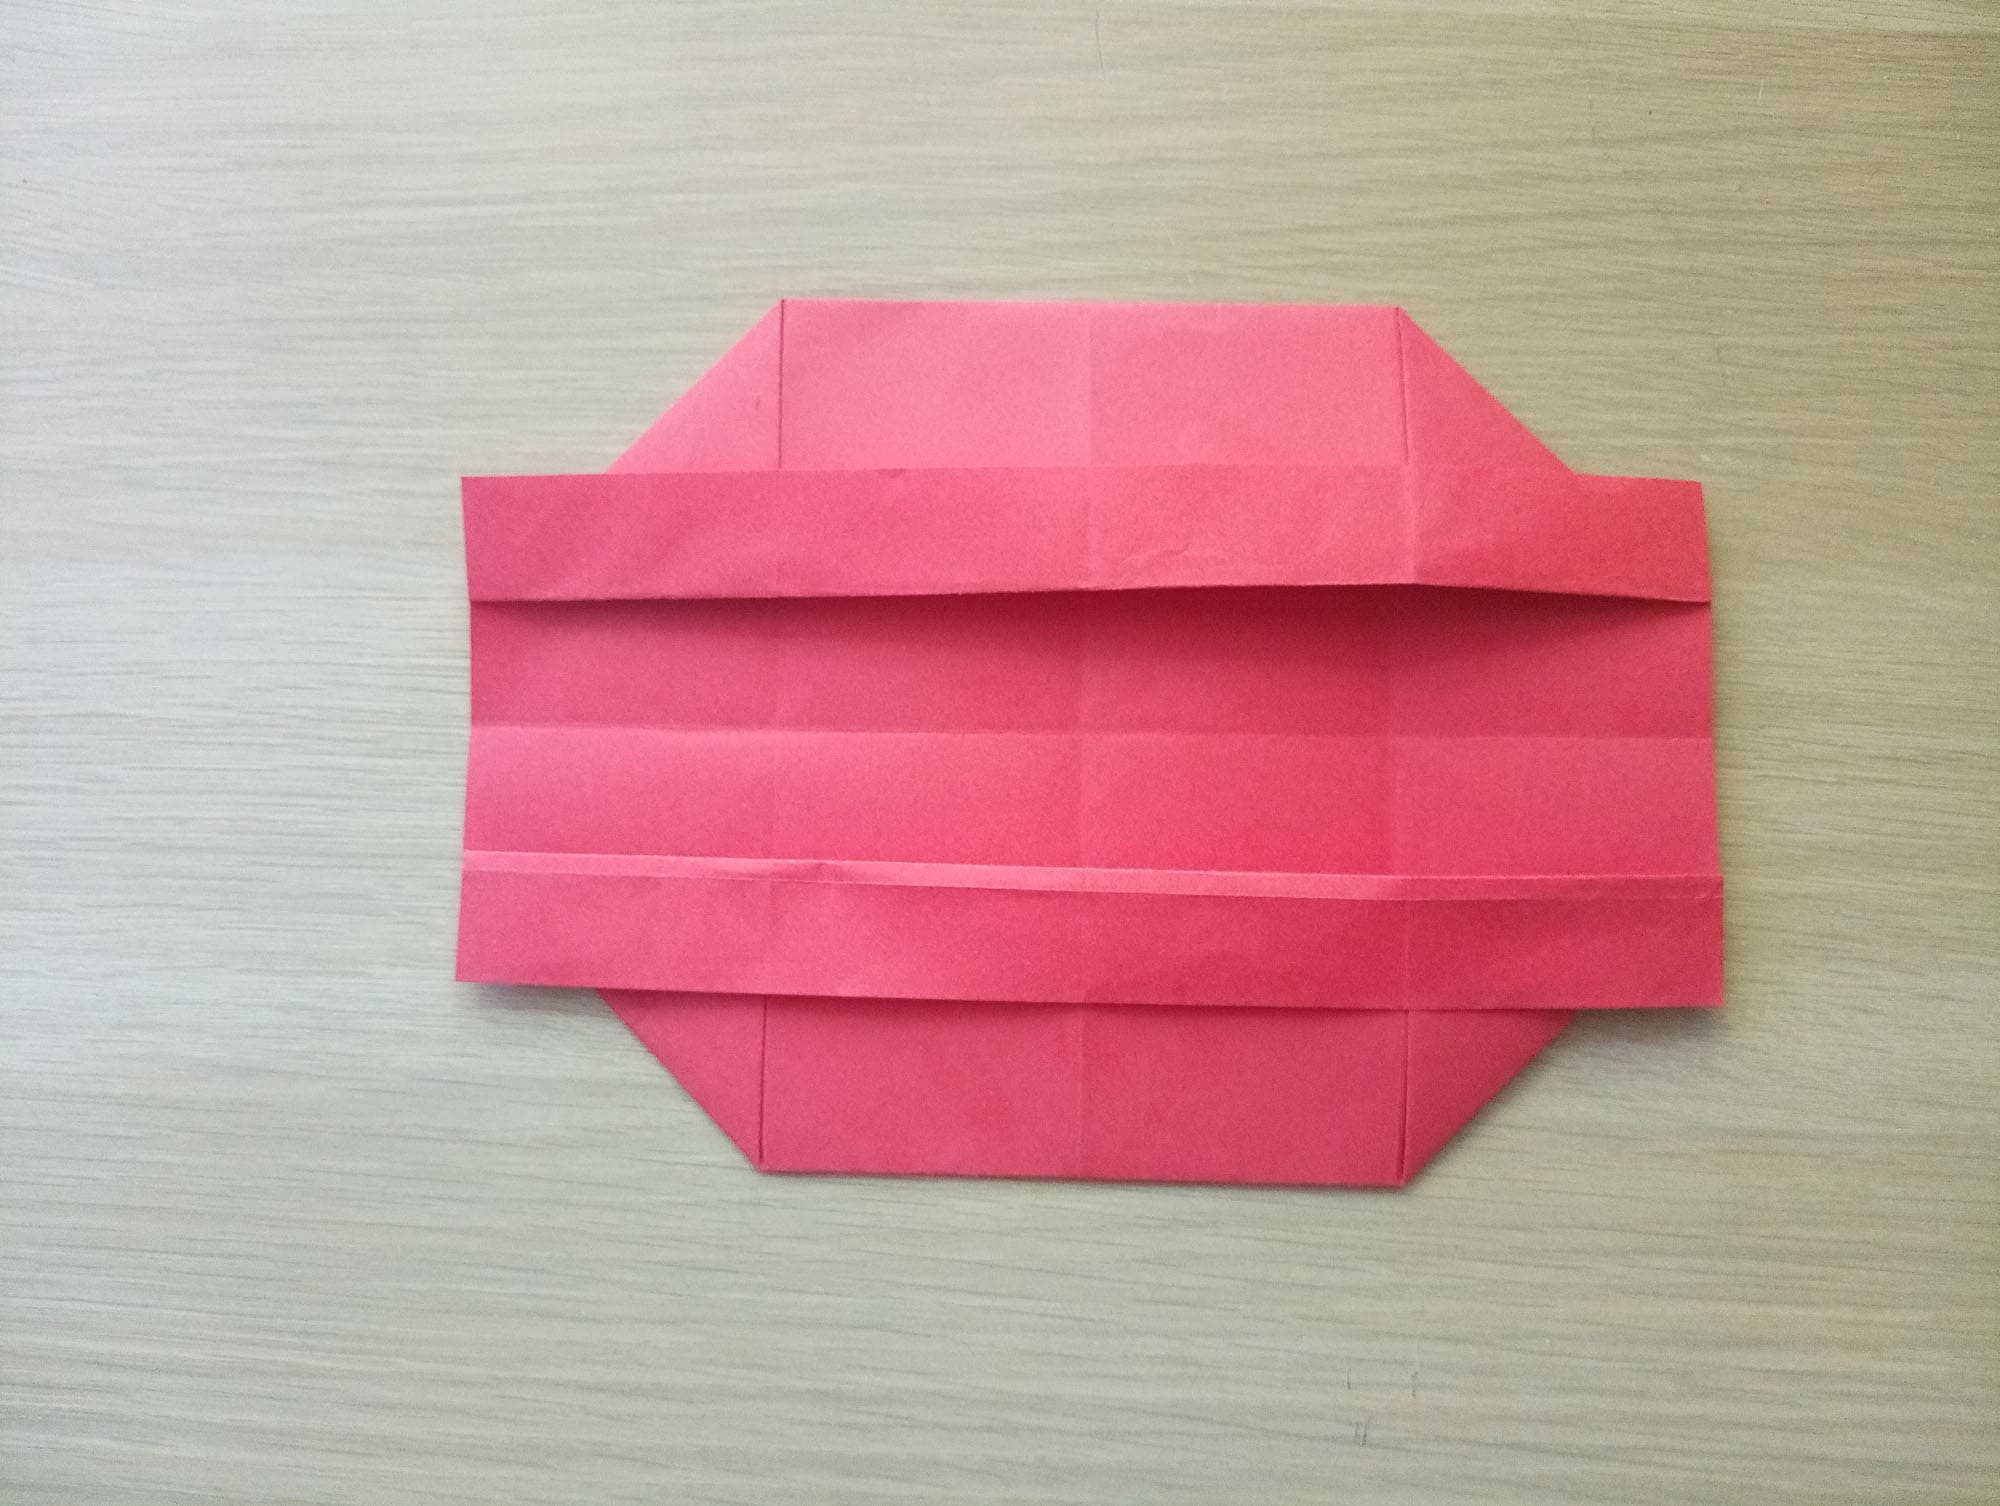
Repeat steps with the opposite side.

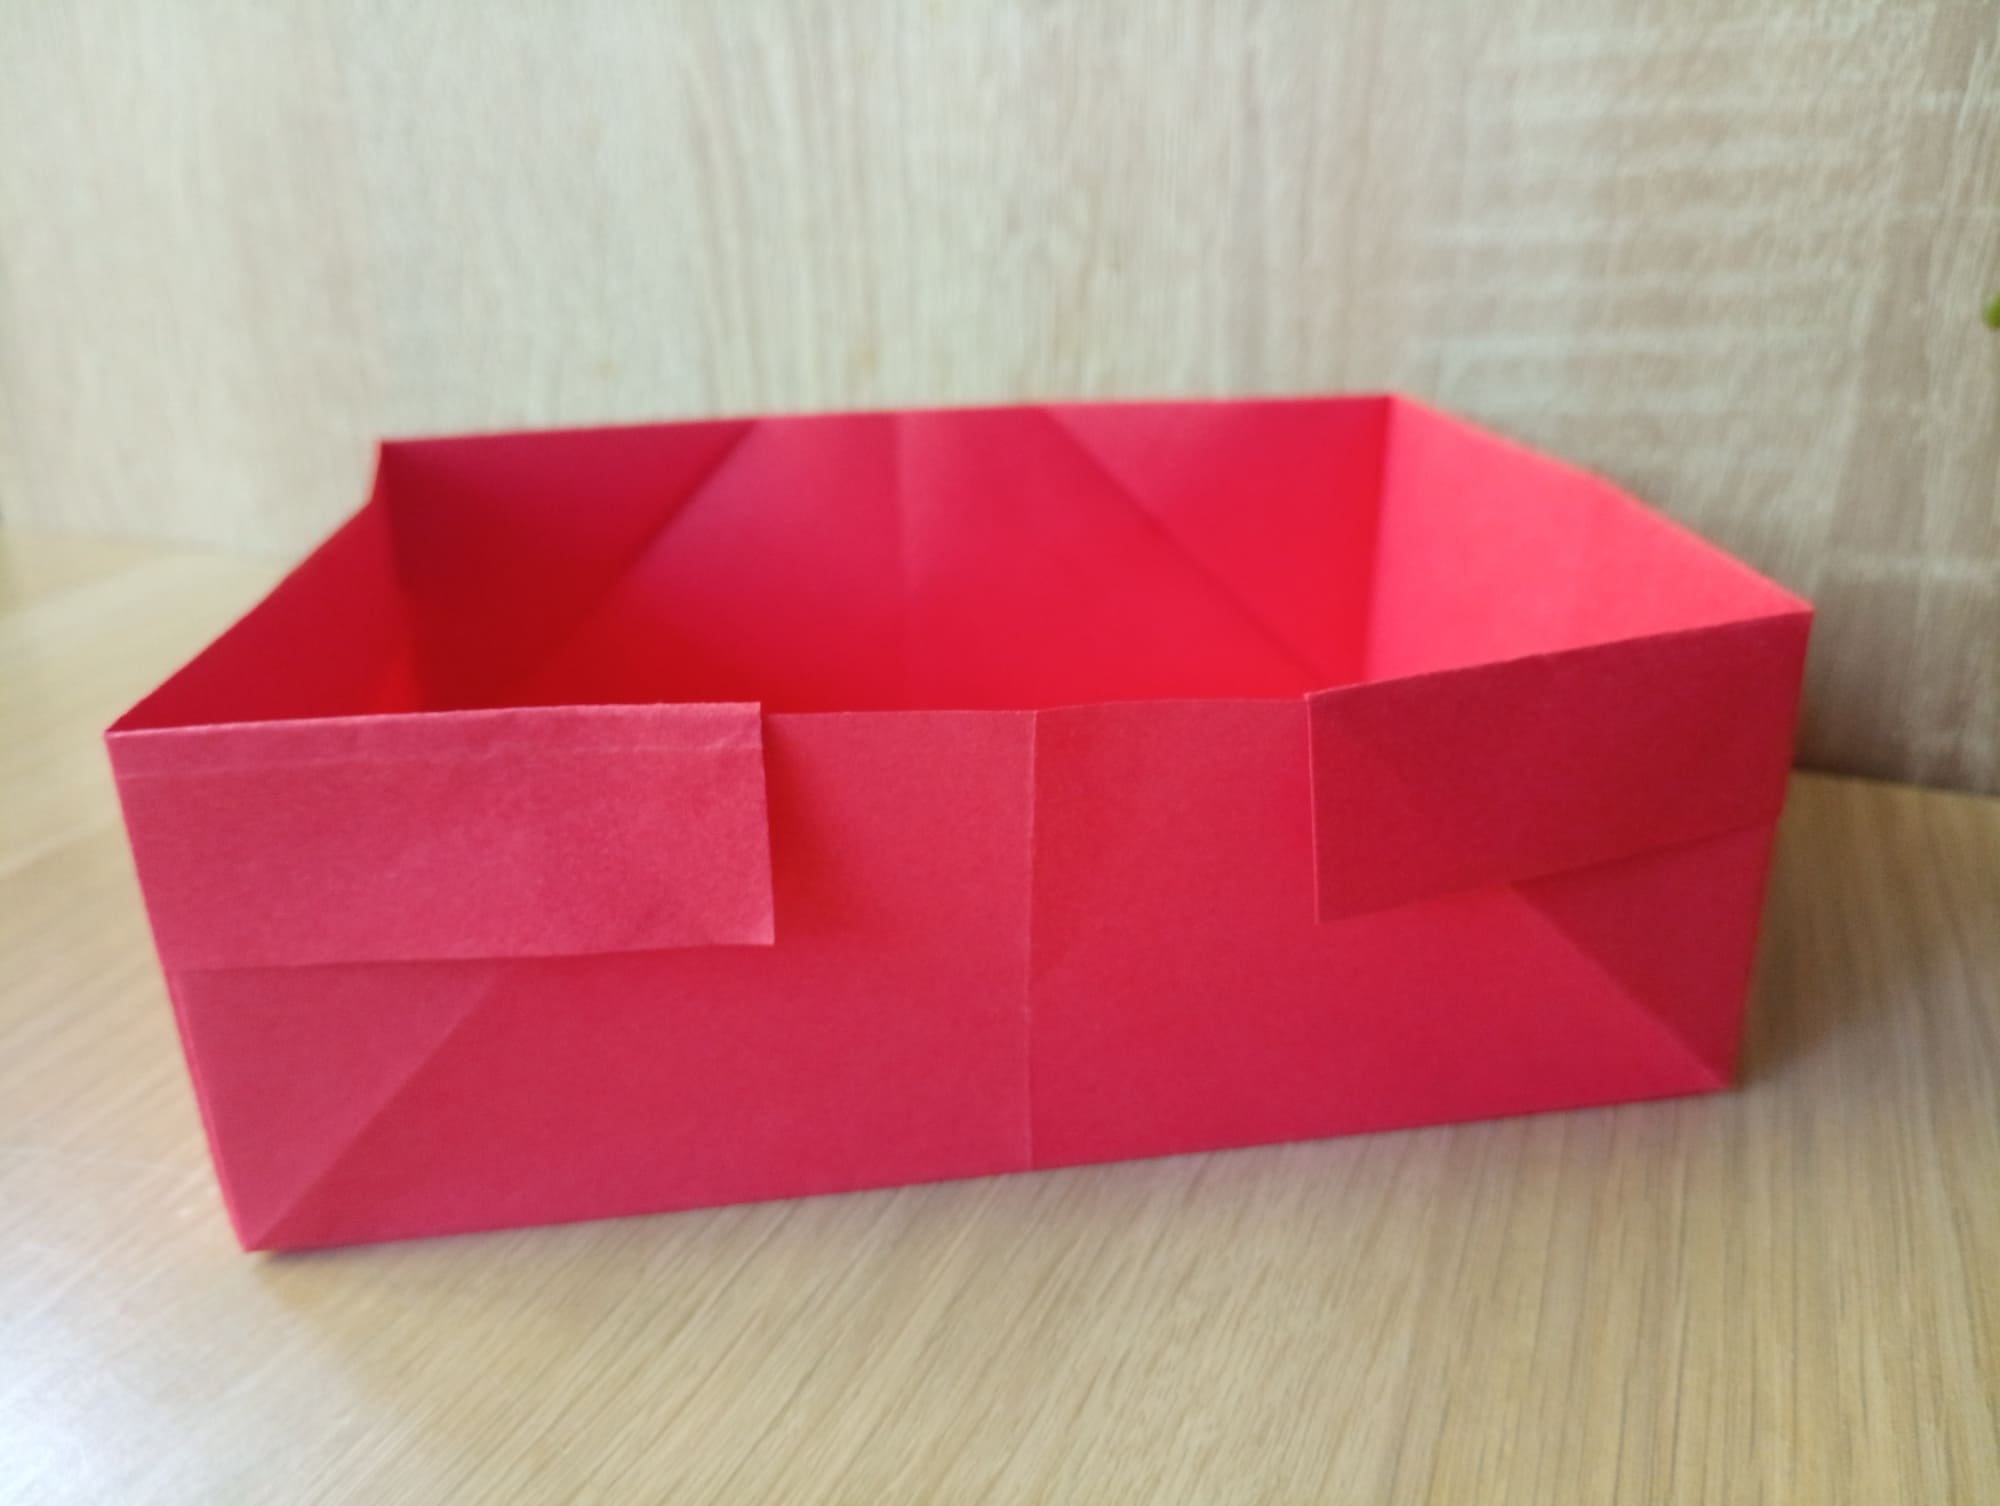
Now, you can begin to form a box, for which you need to open it.
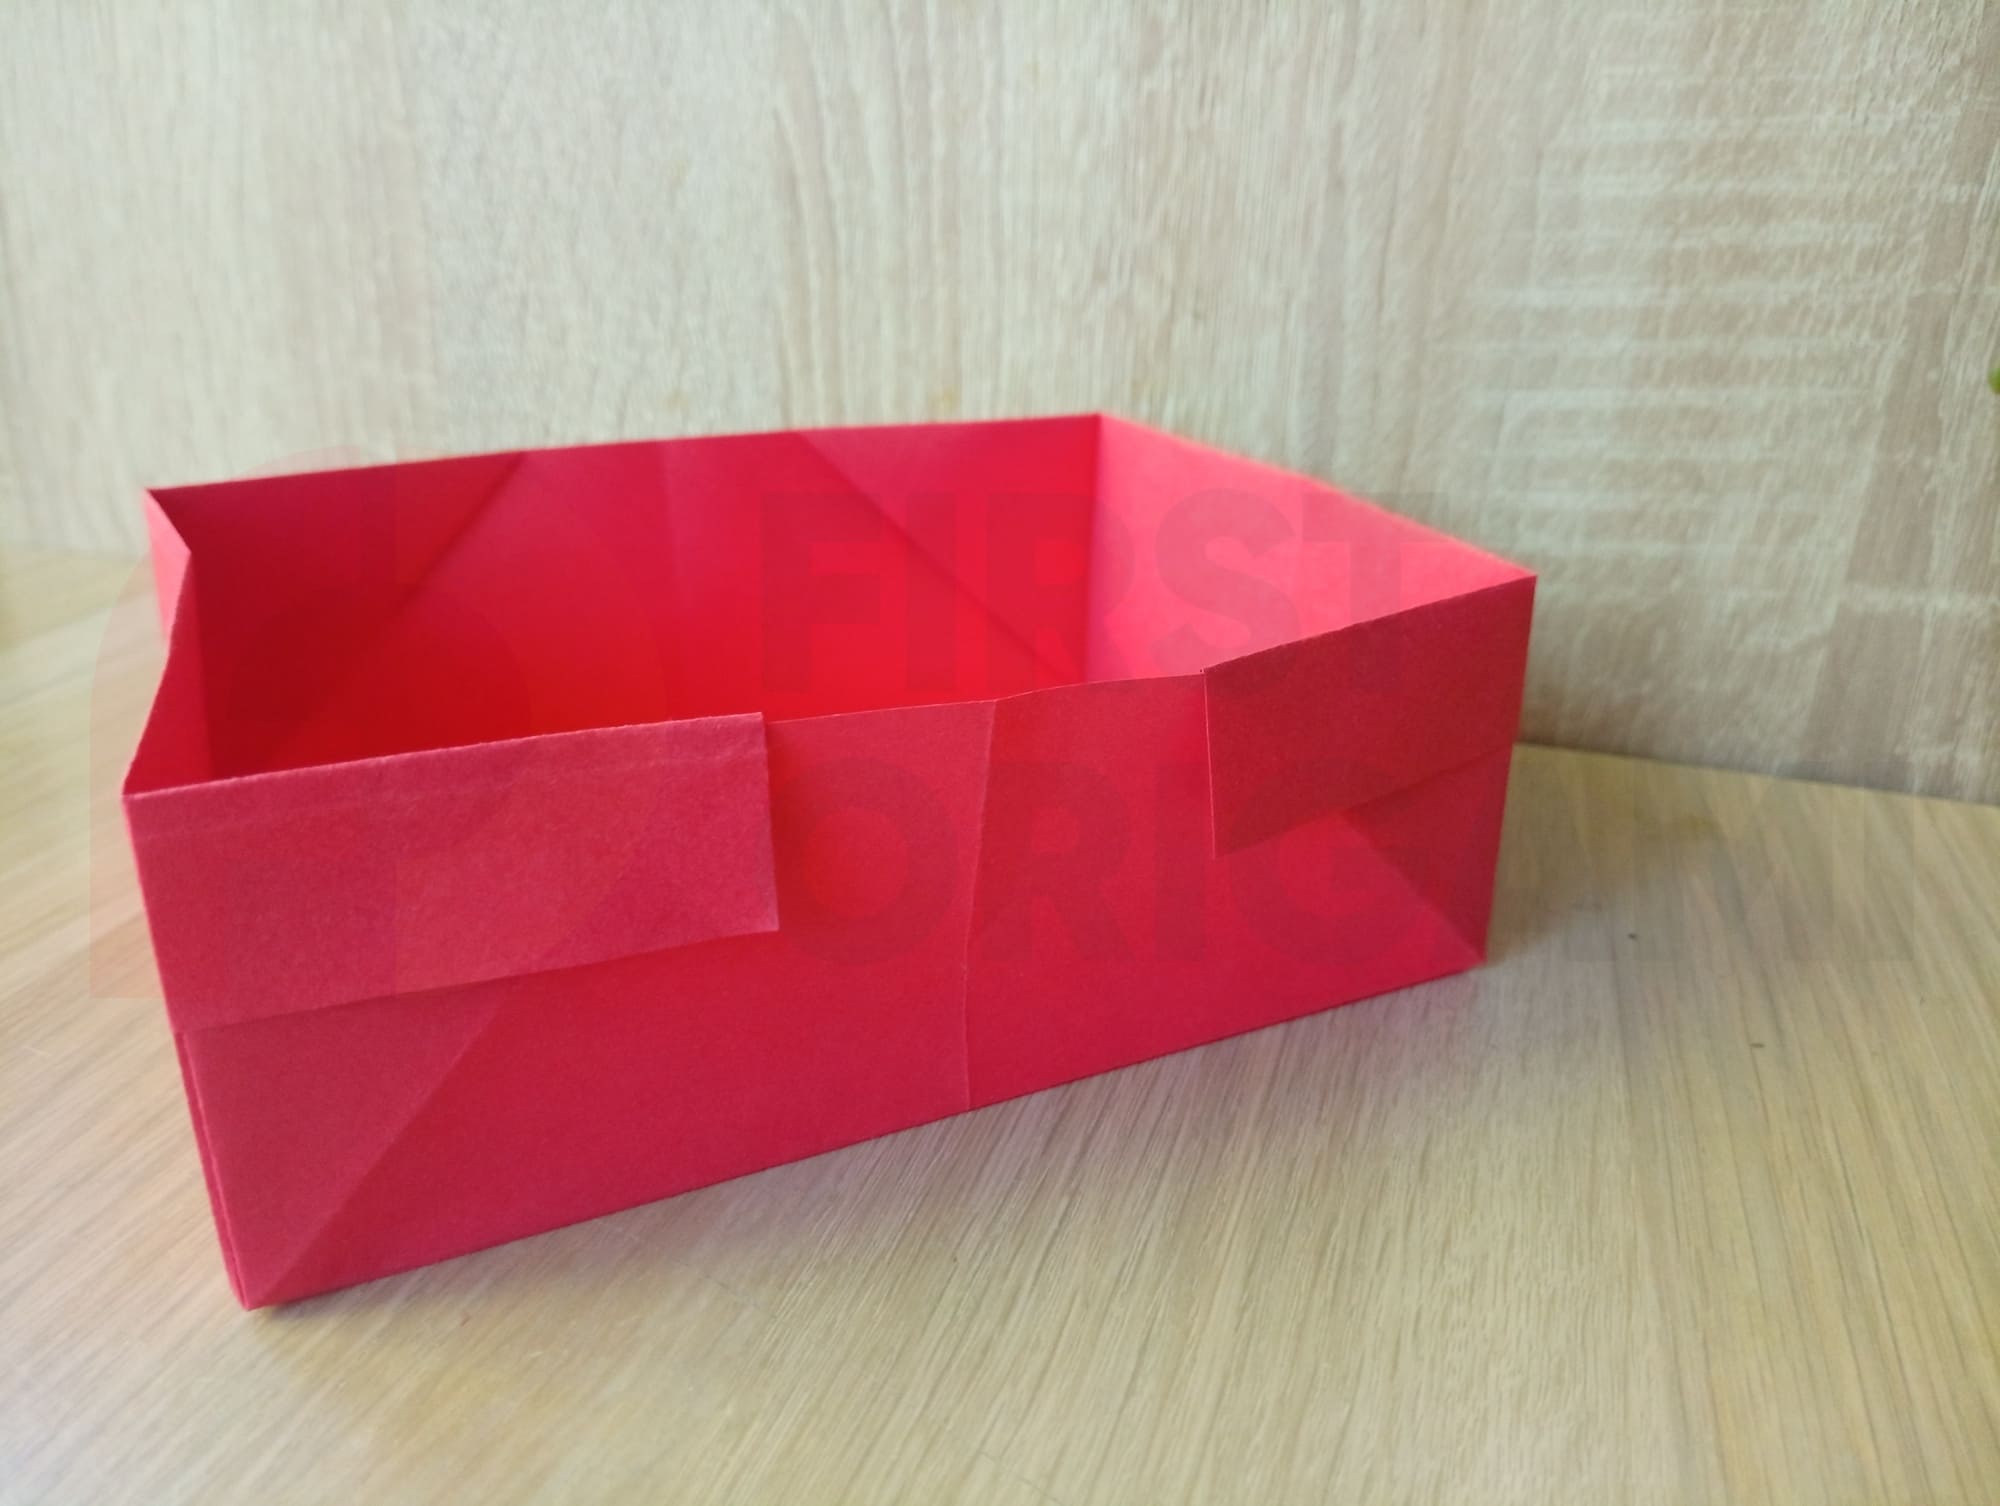
Shape the box with gentle movements.
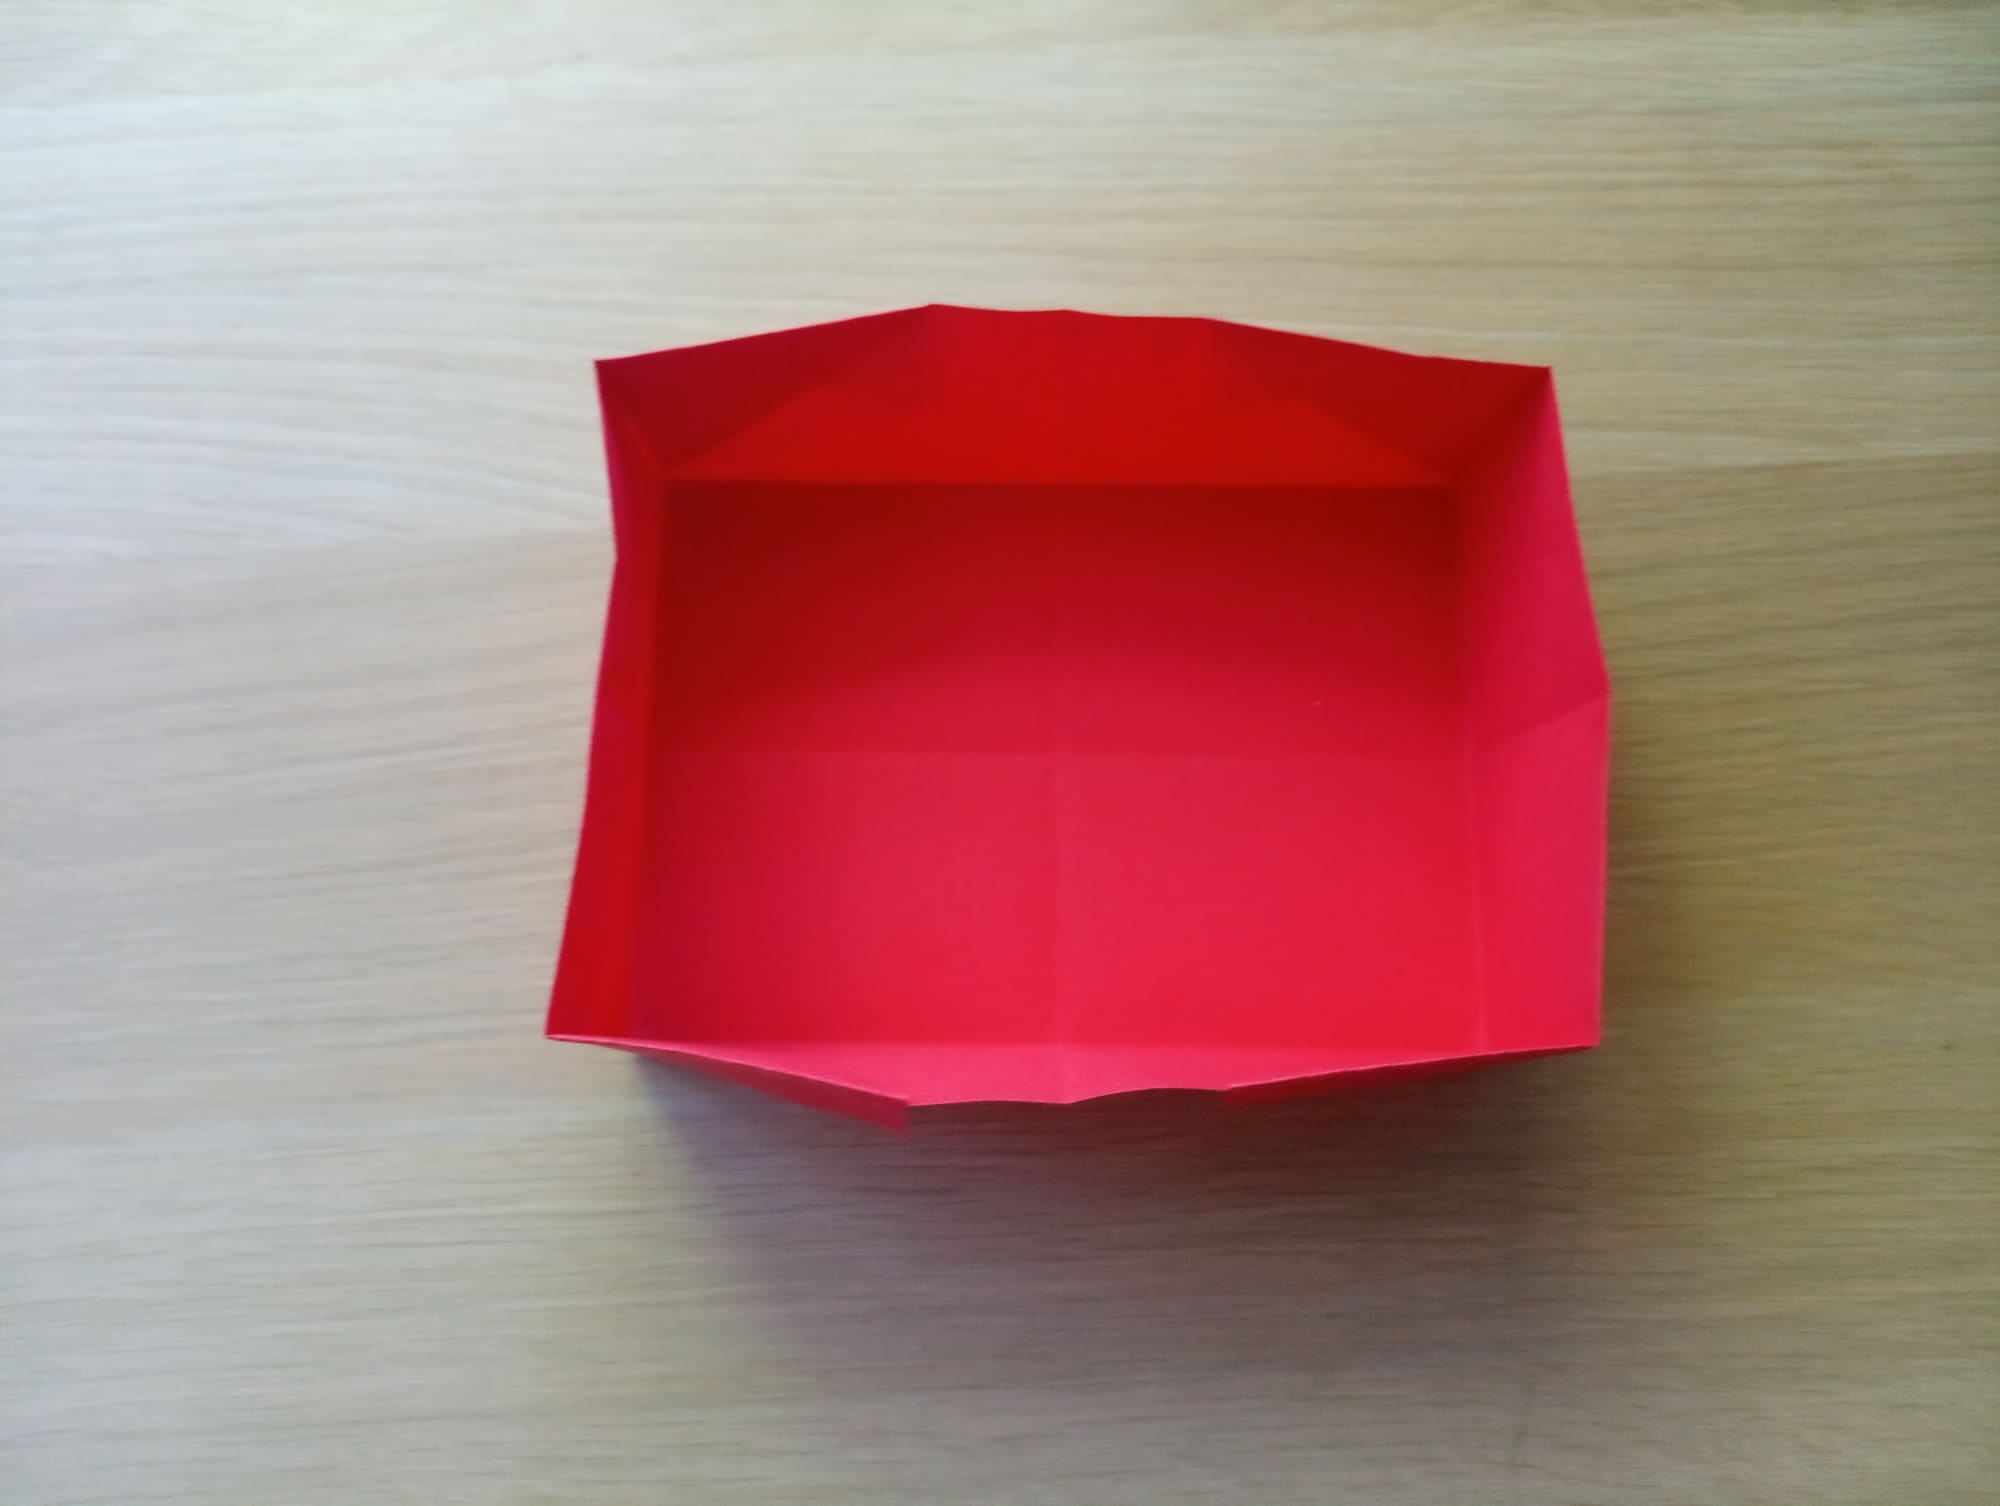
If necessary, straighten and press down with your fingers the folds where they are not well done.
Now, put the contents into the box to test its effectiveness. Even children can handle simple origami folding. Try it!


