Origami Rooster
A paper rooster, made in the origami technique, will be a great addition to the interior of the kitchen or a gastronomic gift for your loved ones. To perform the master class you will need only one sheet of paper and a little free time. As for the color — you can experiment and choose an origami paper of any shade. Make a master class with your children. This is a great family leisure activity, following the results of which everyone will have a little friend – a rooster!
Step-by-step instructions for making a rooster in the origami technique – are below.
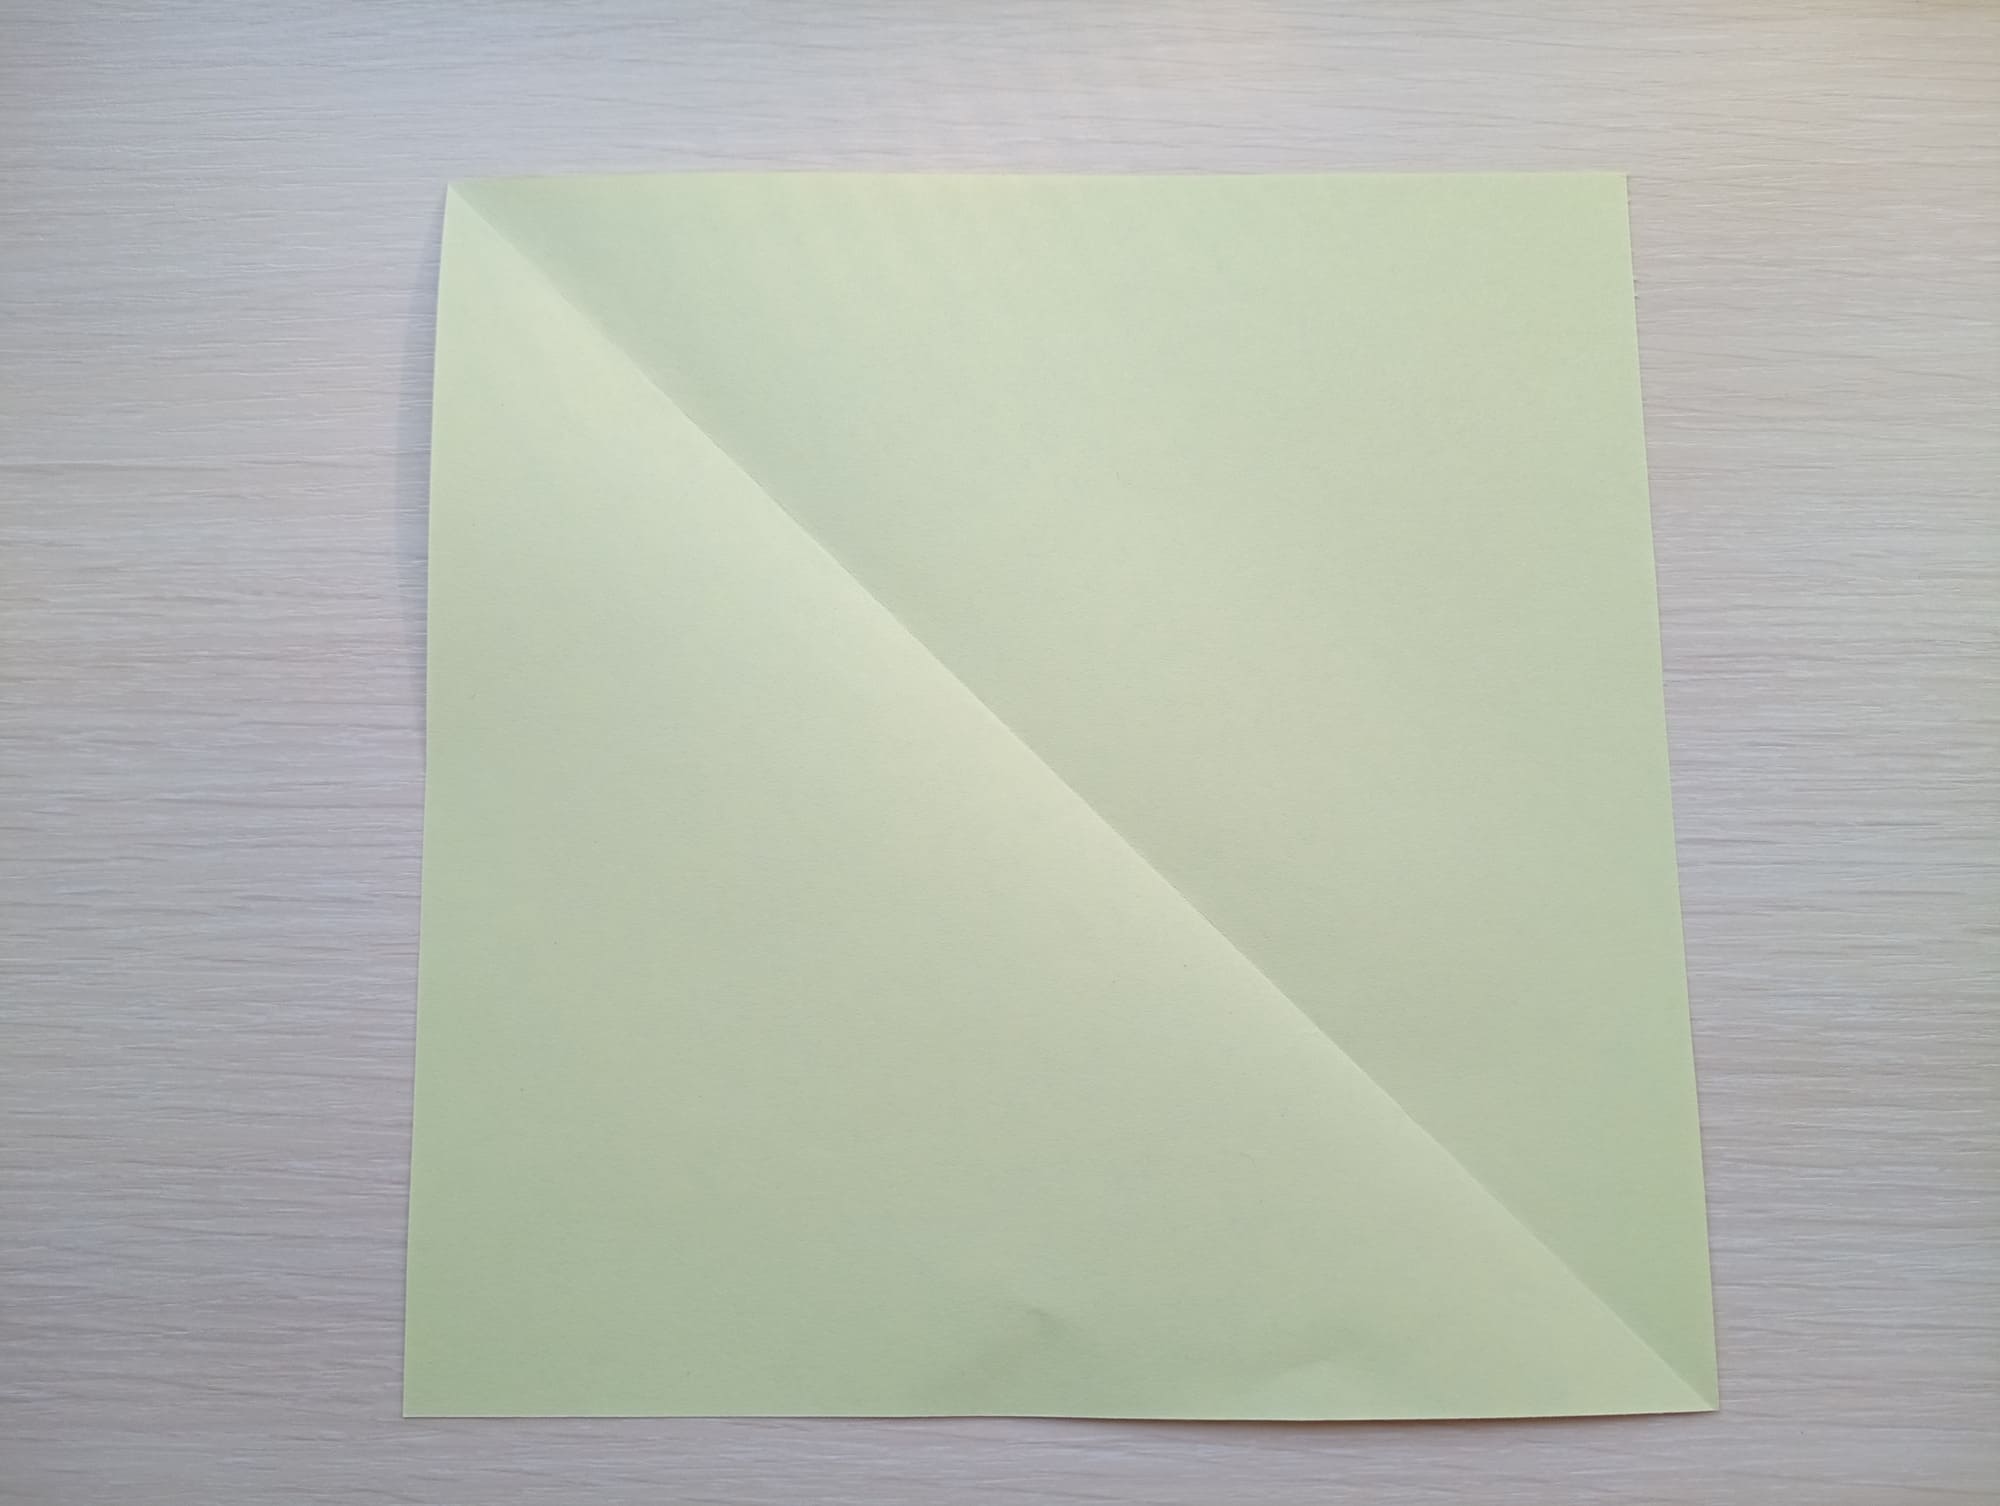
Take a square piece of paper (size 15 by 15 cm).
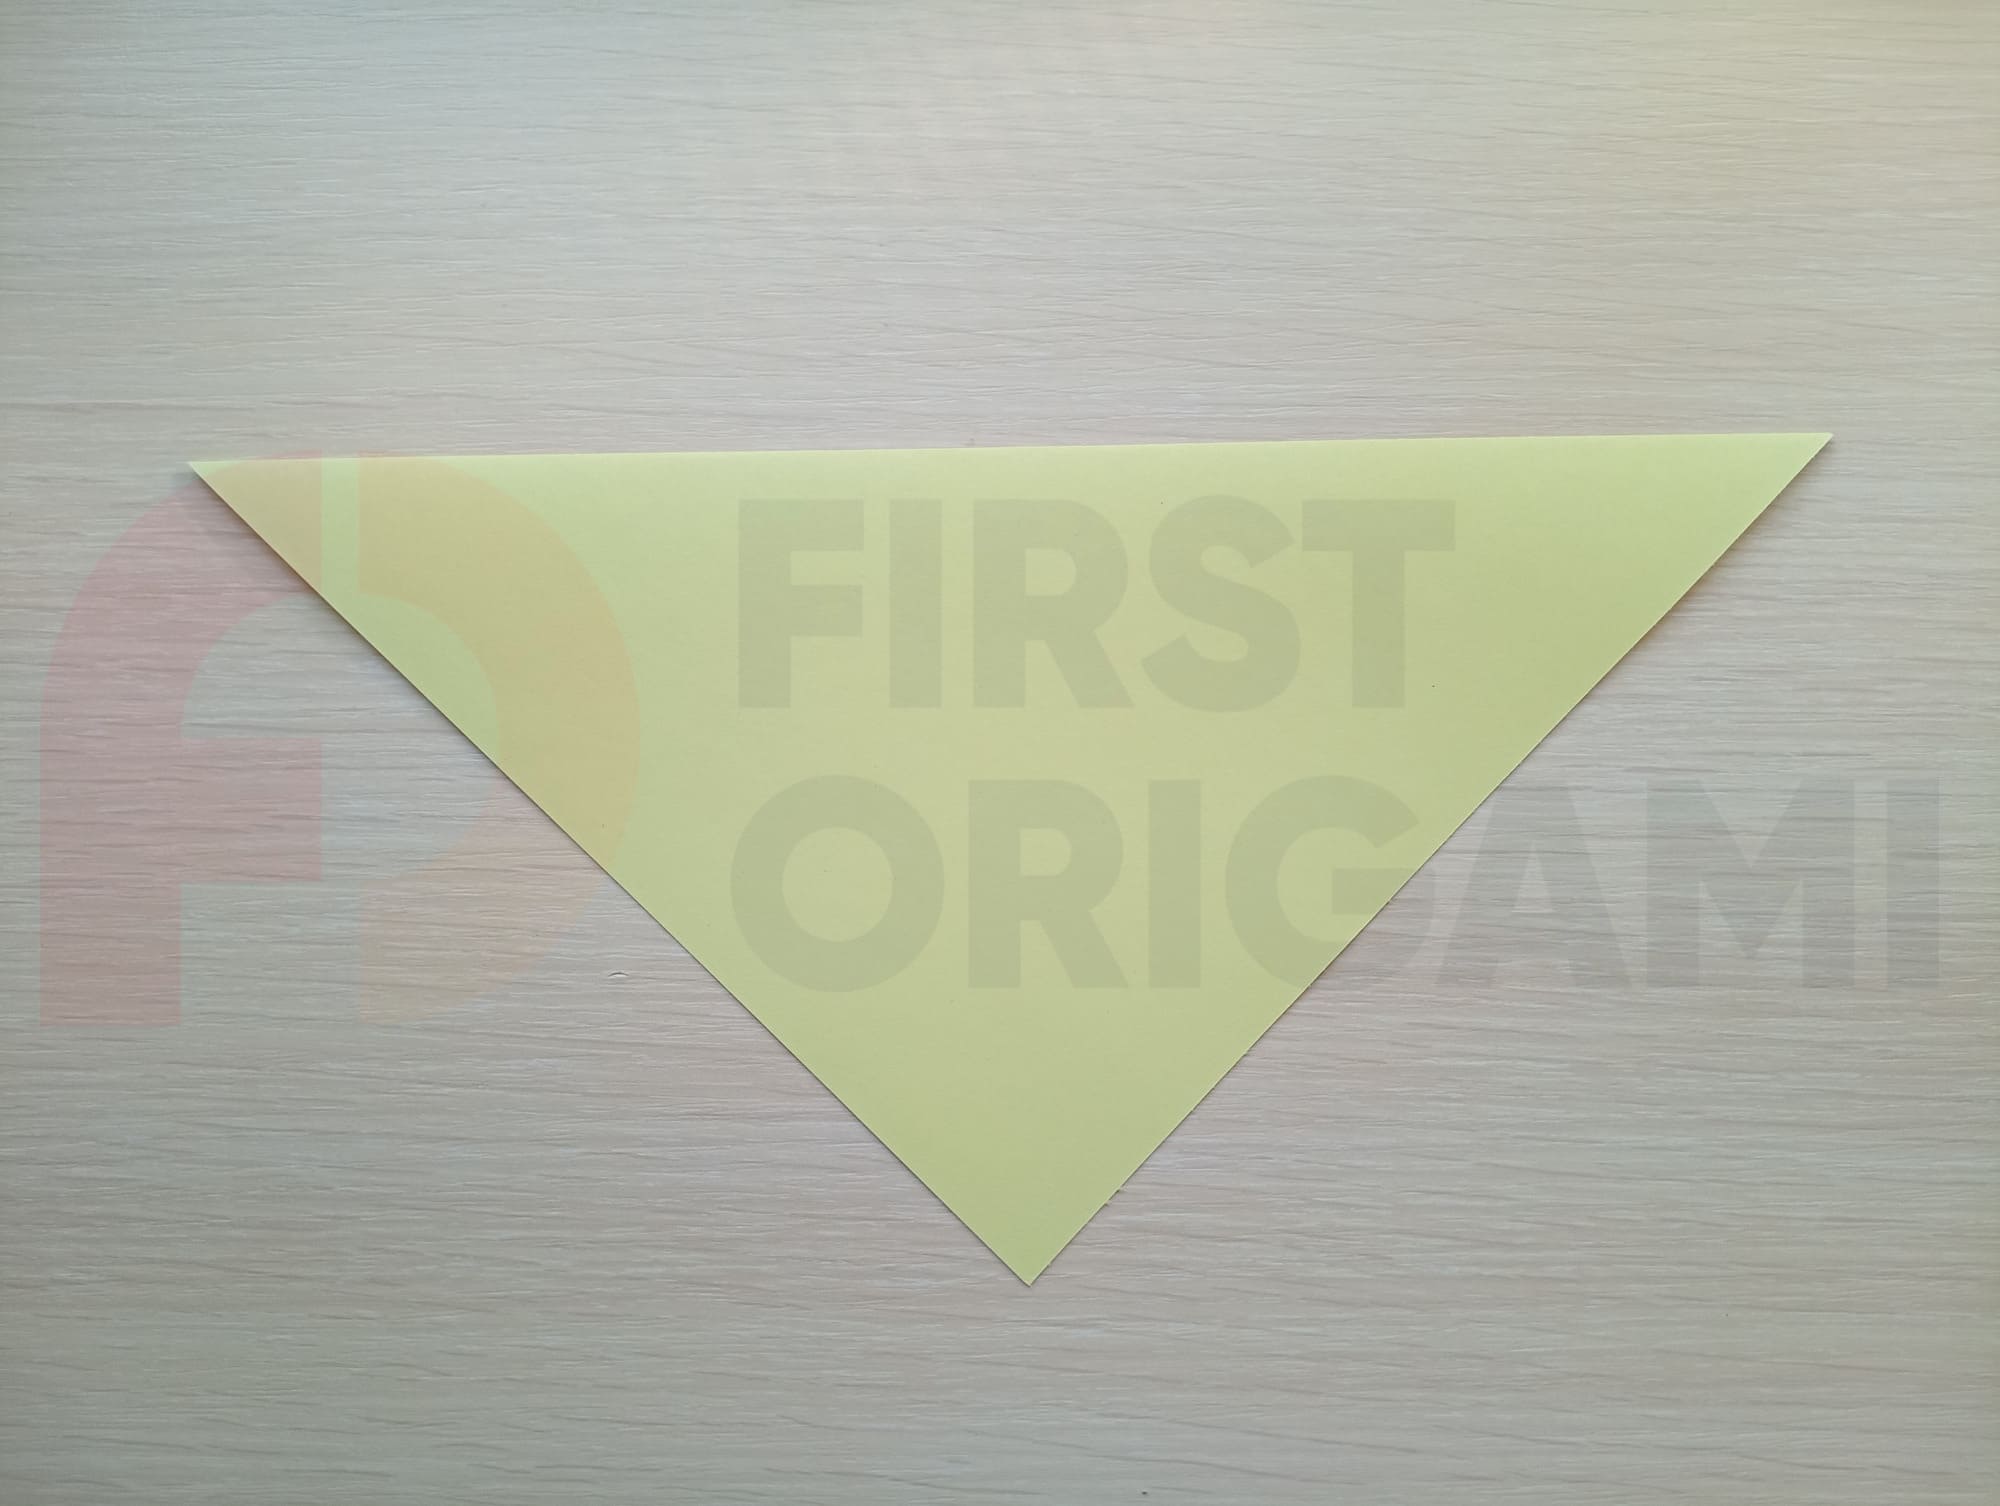
Fold it diagonally in half.
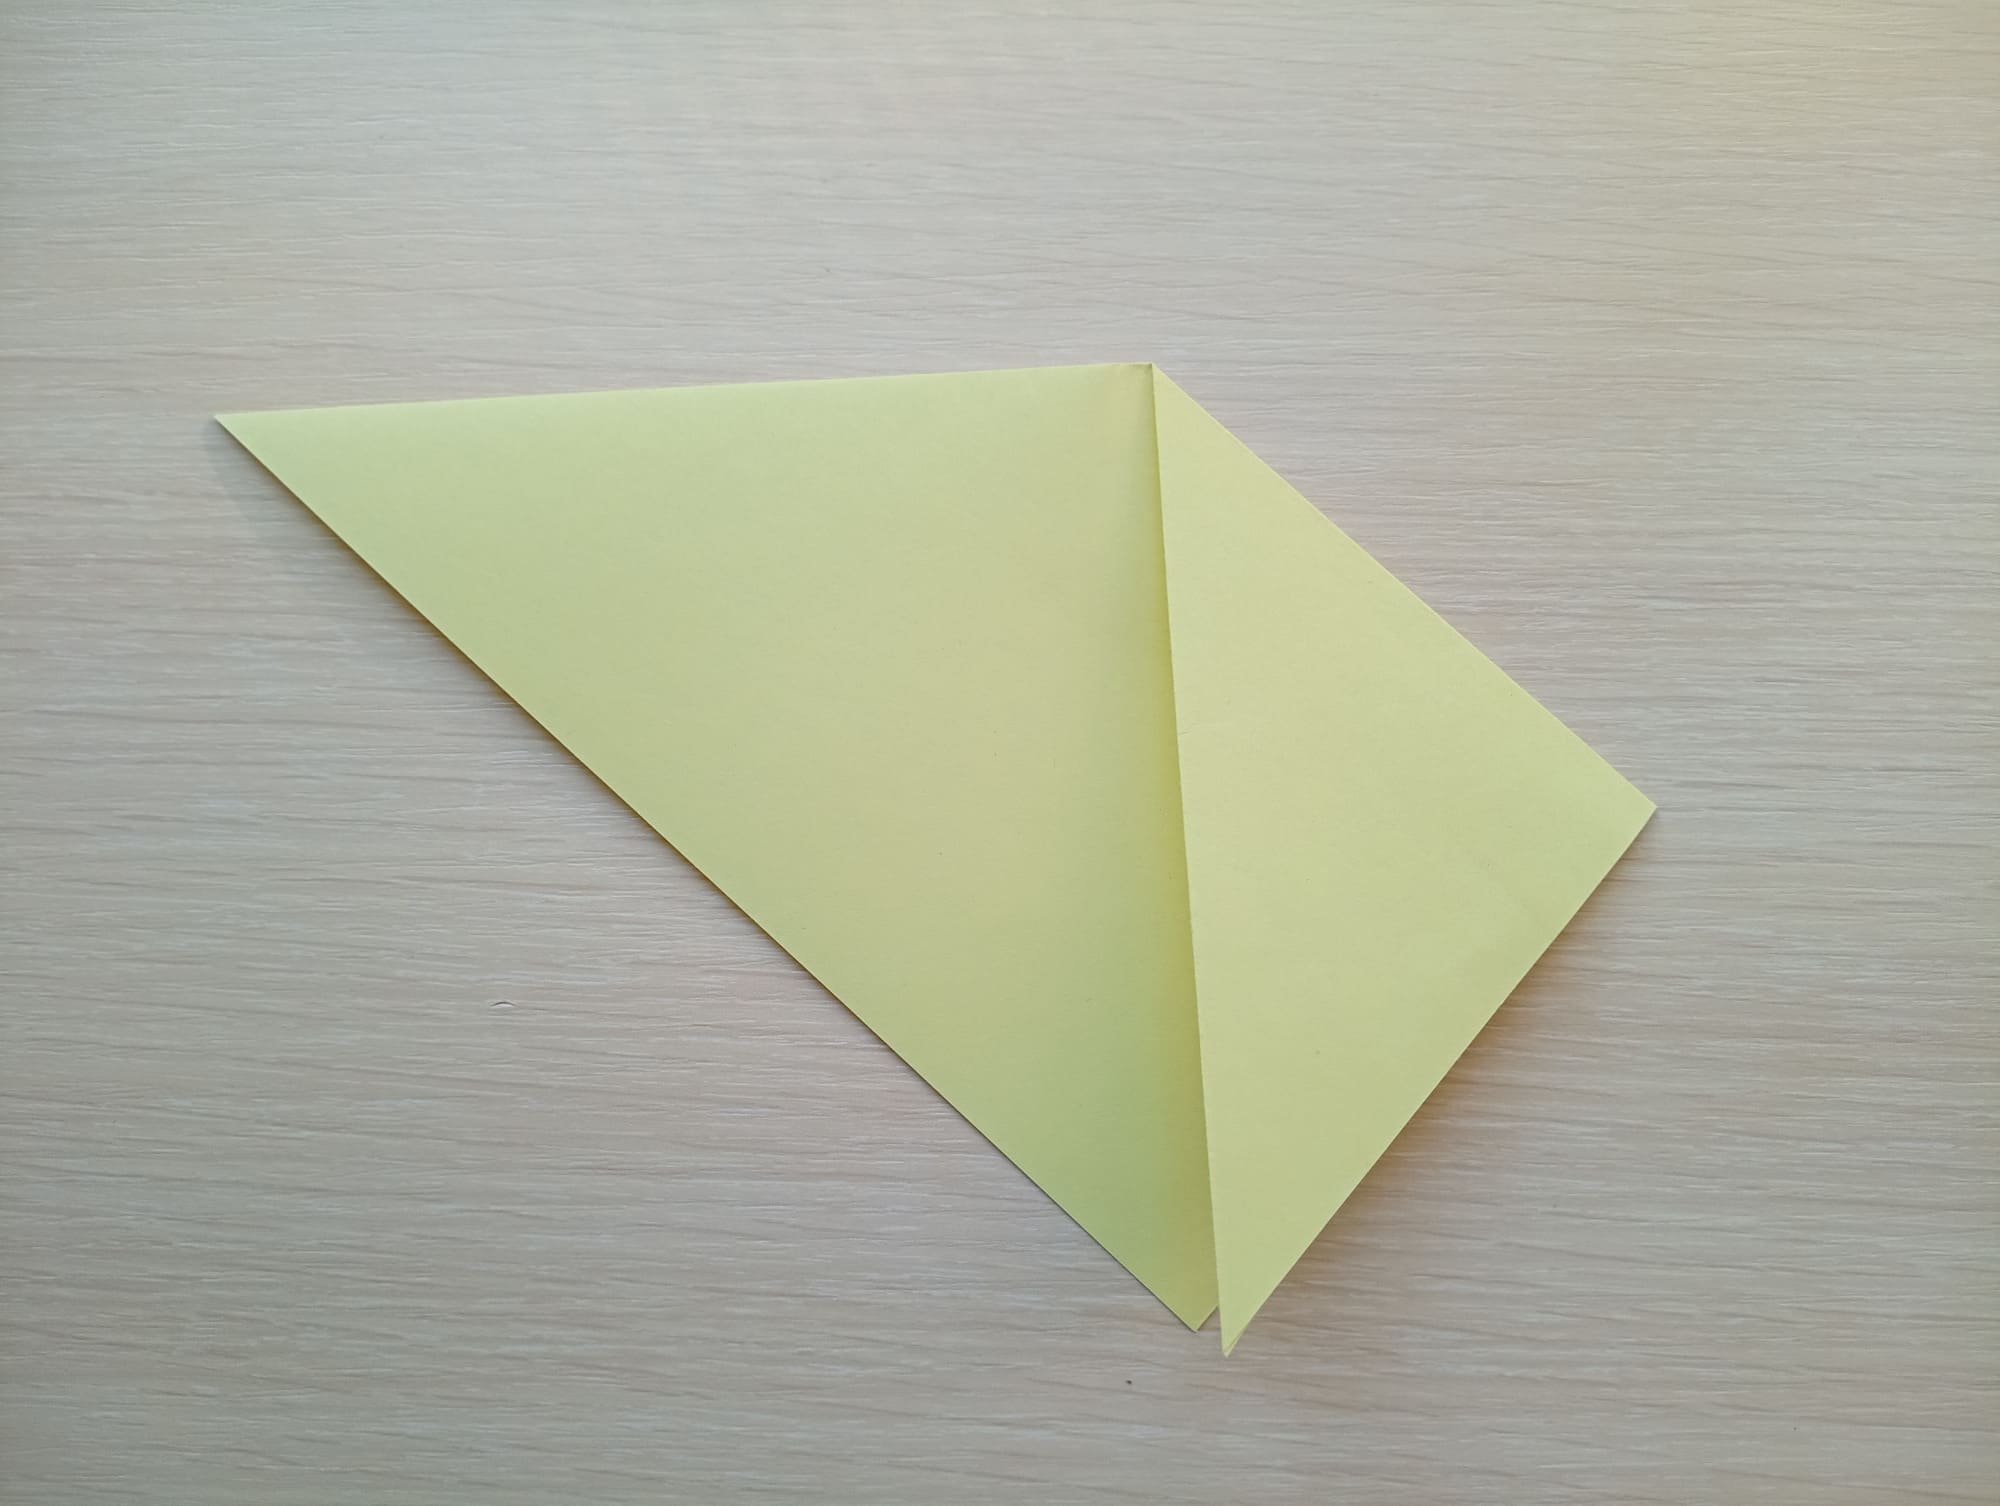
Fold the right side to the center line.

Fold the left side to the center fold as well.
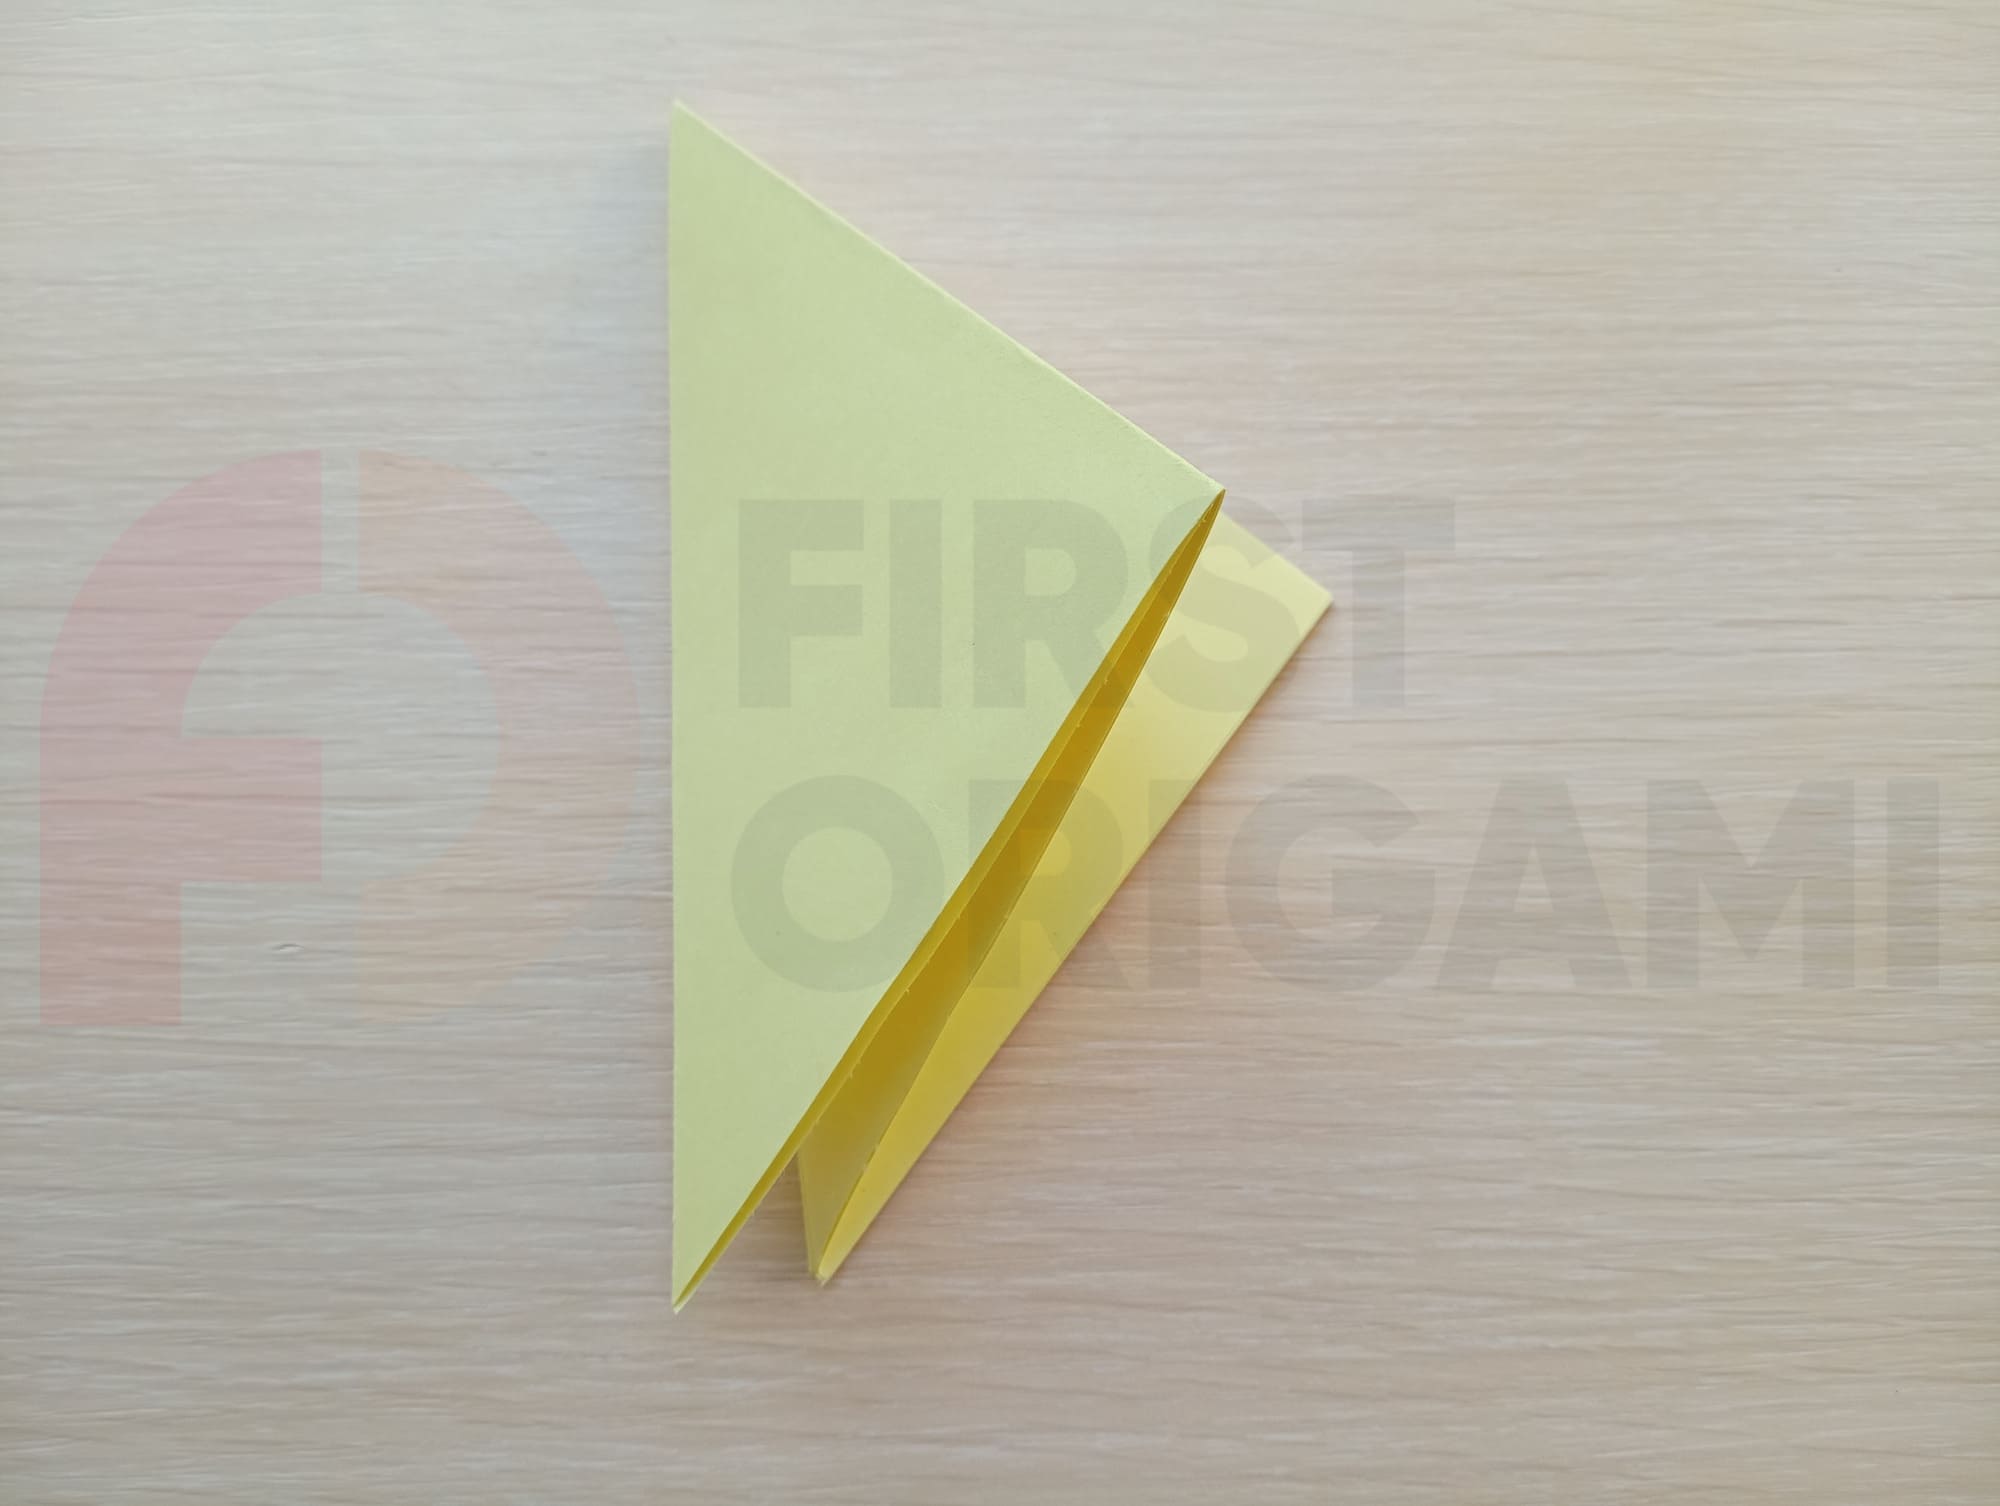
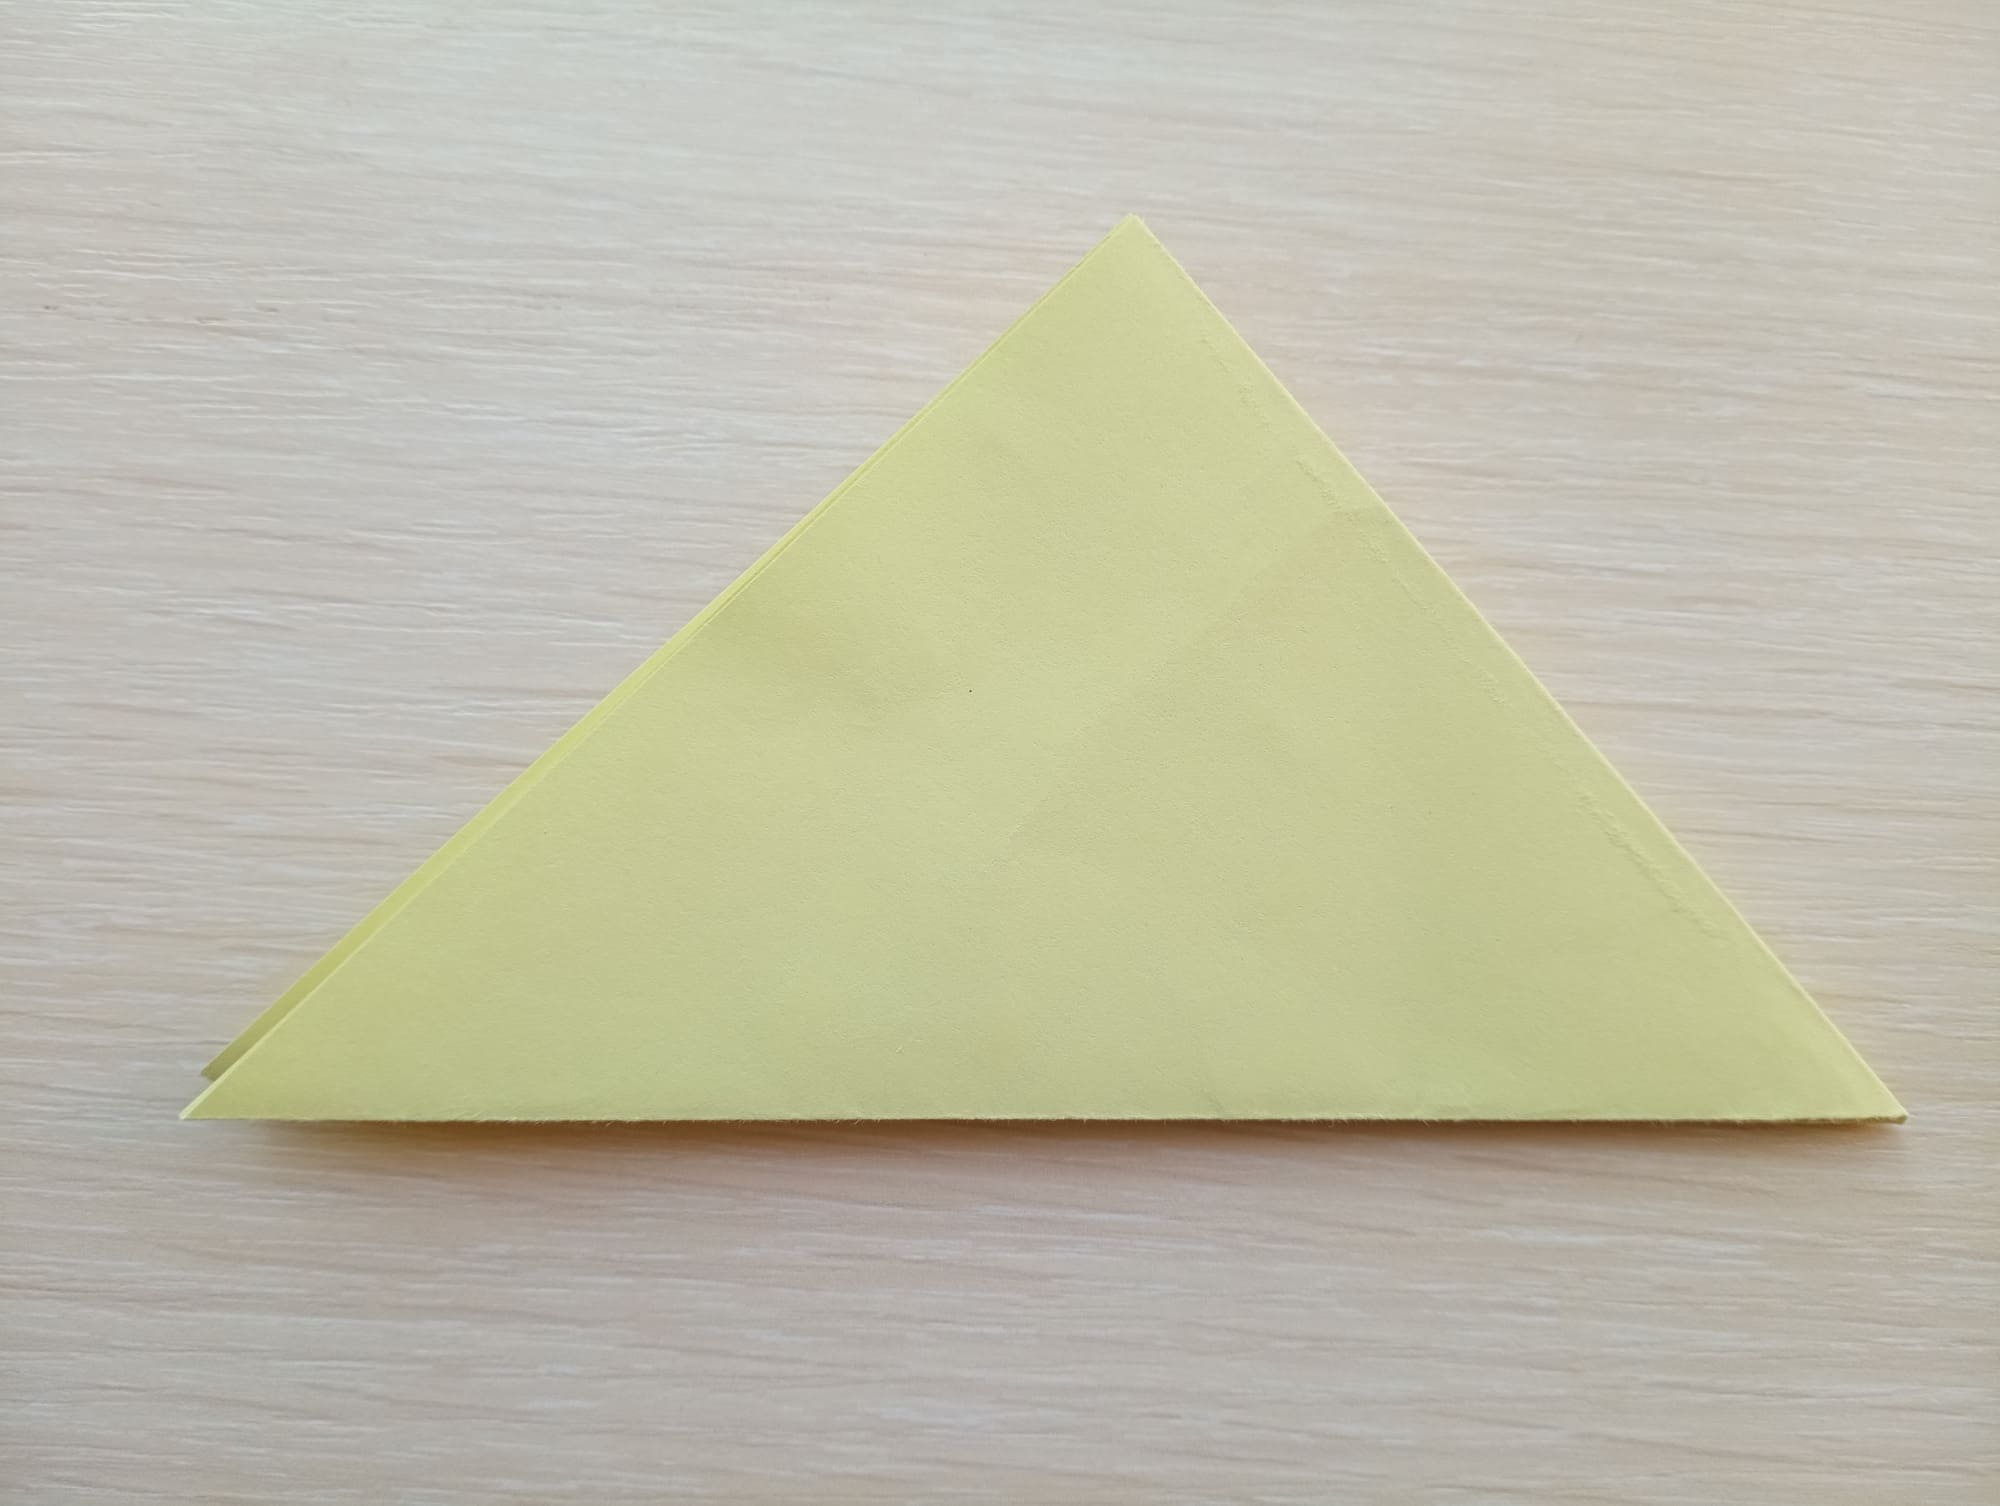
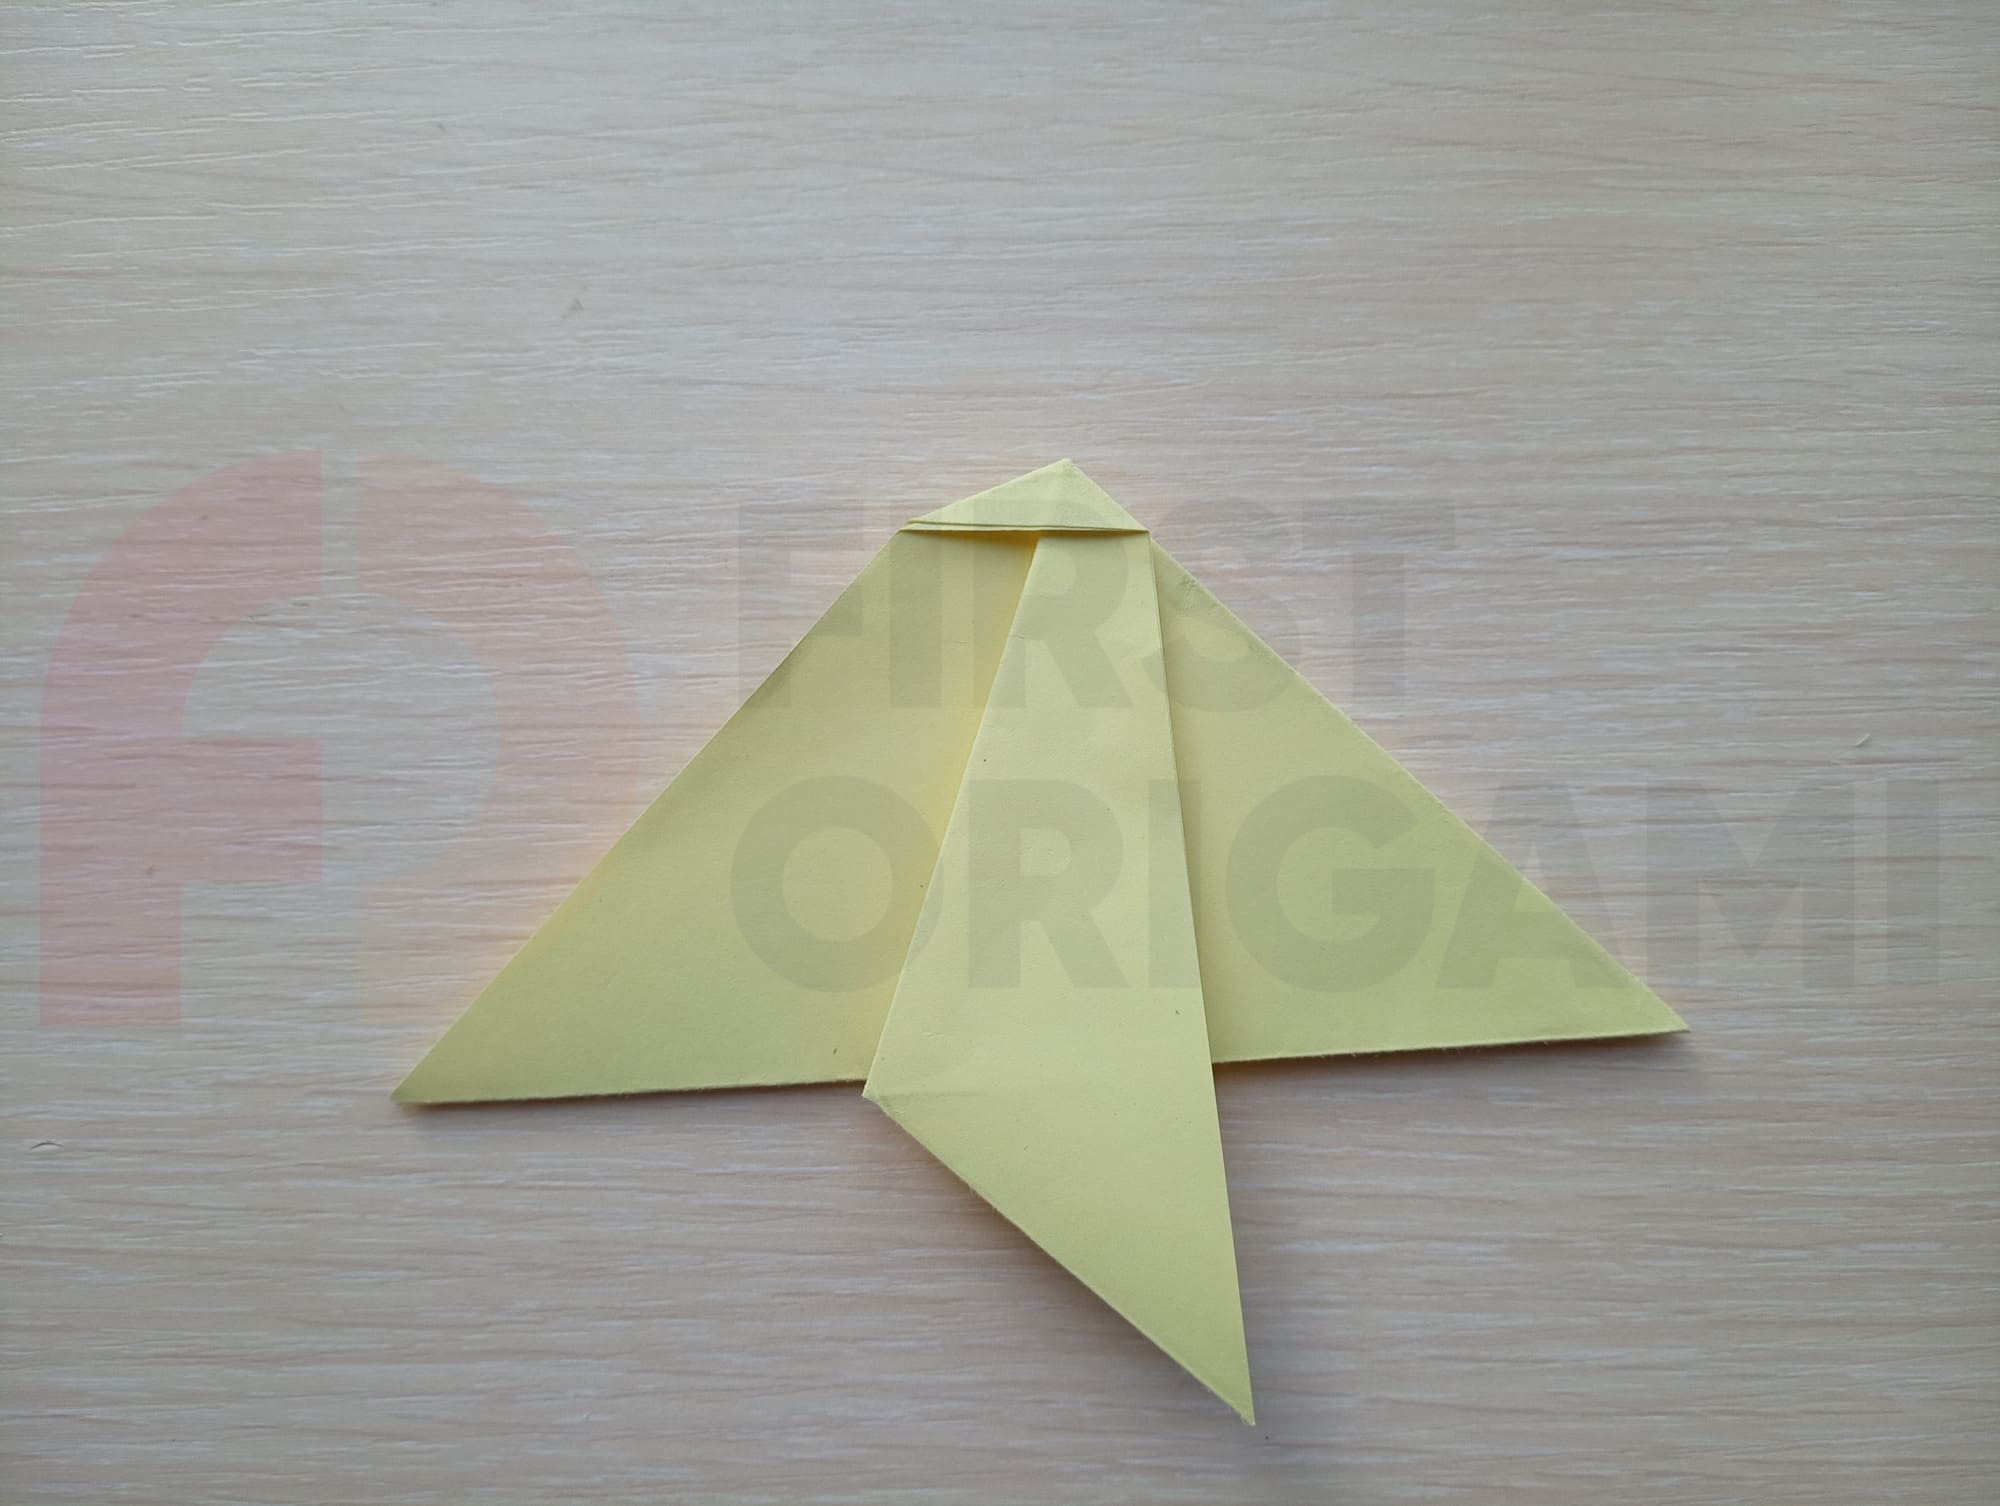
Fold the resulting rhombus in half and unfold the shape as in the photo.
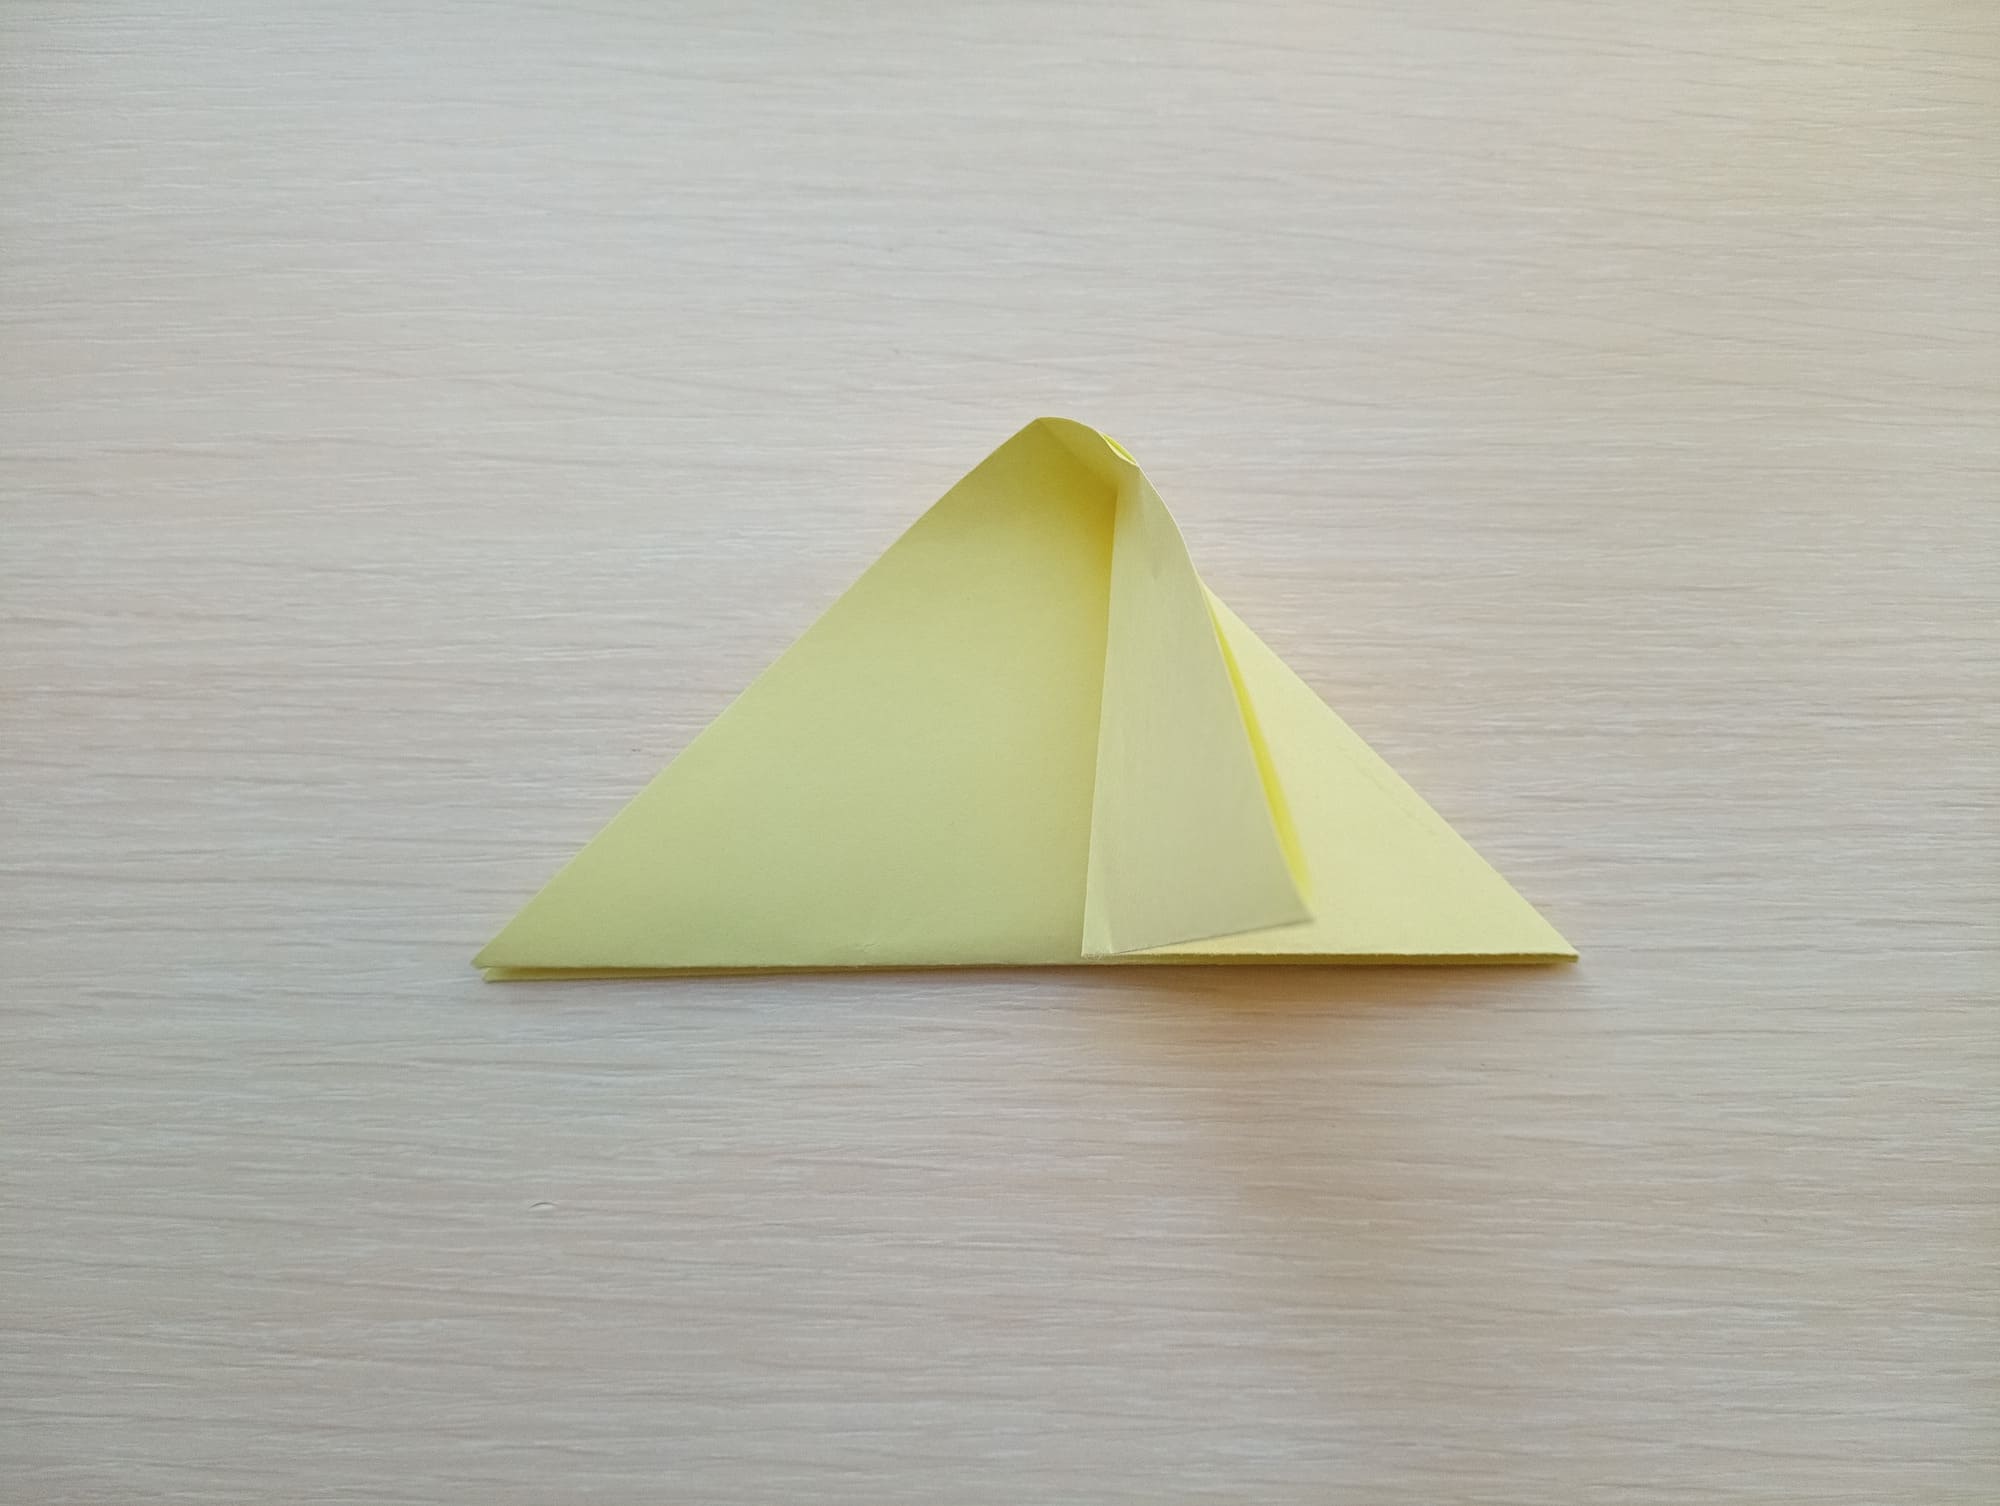
Pull the edge of the top layer upwards gently, forming the next fold (see photo).
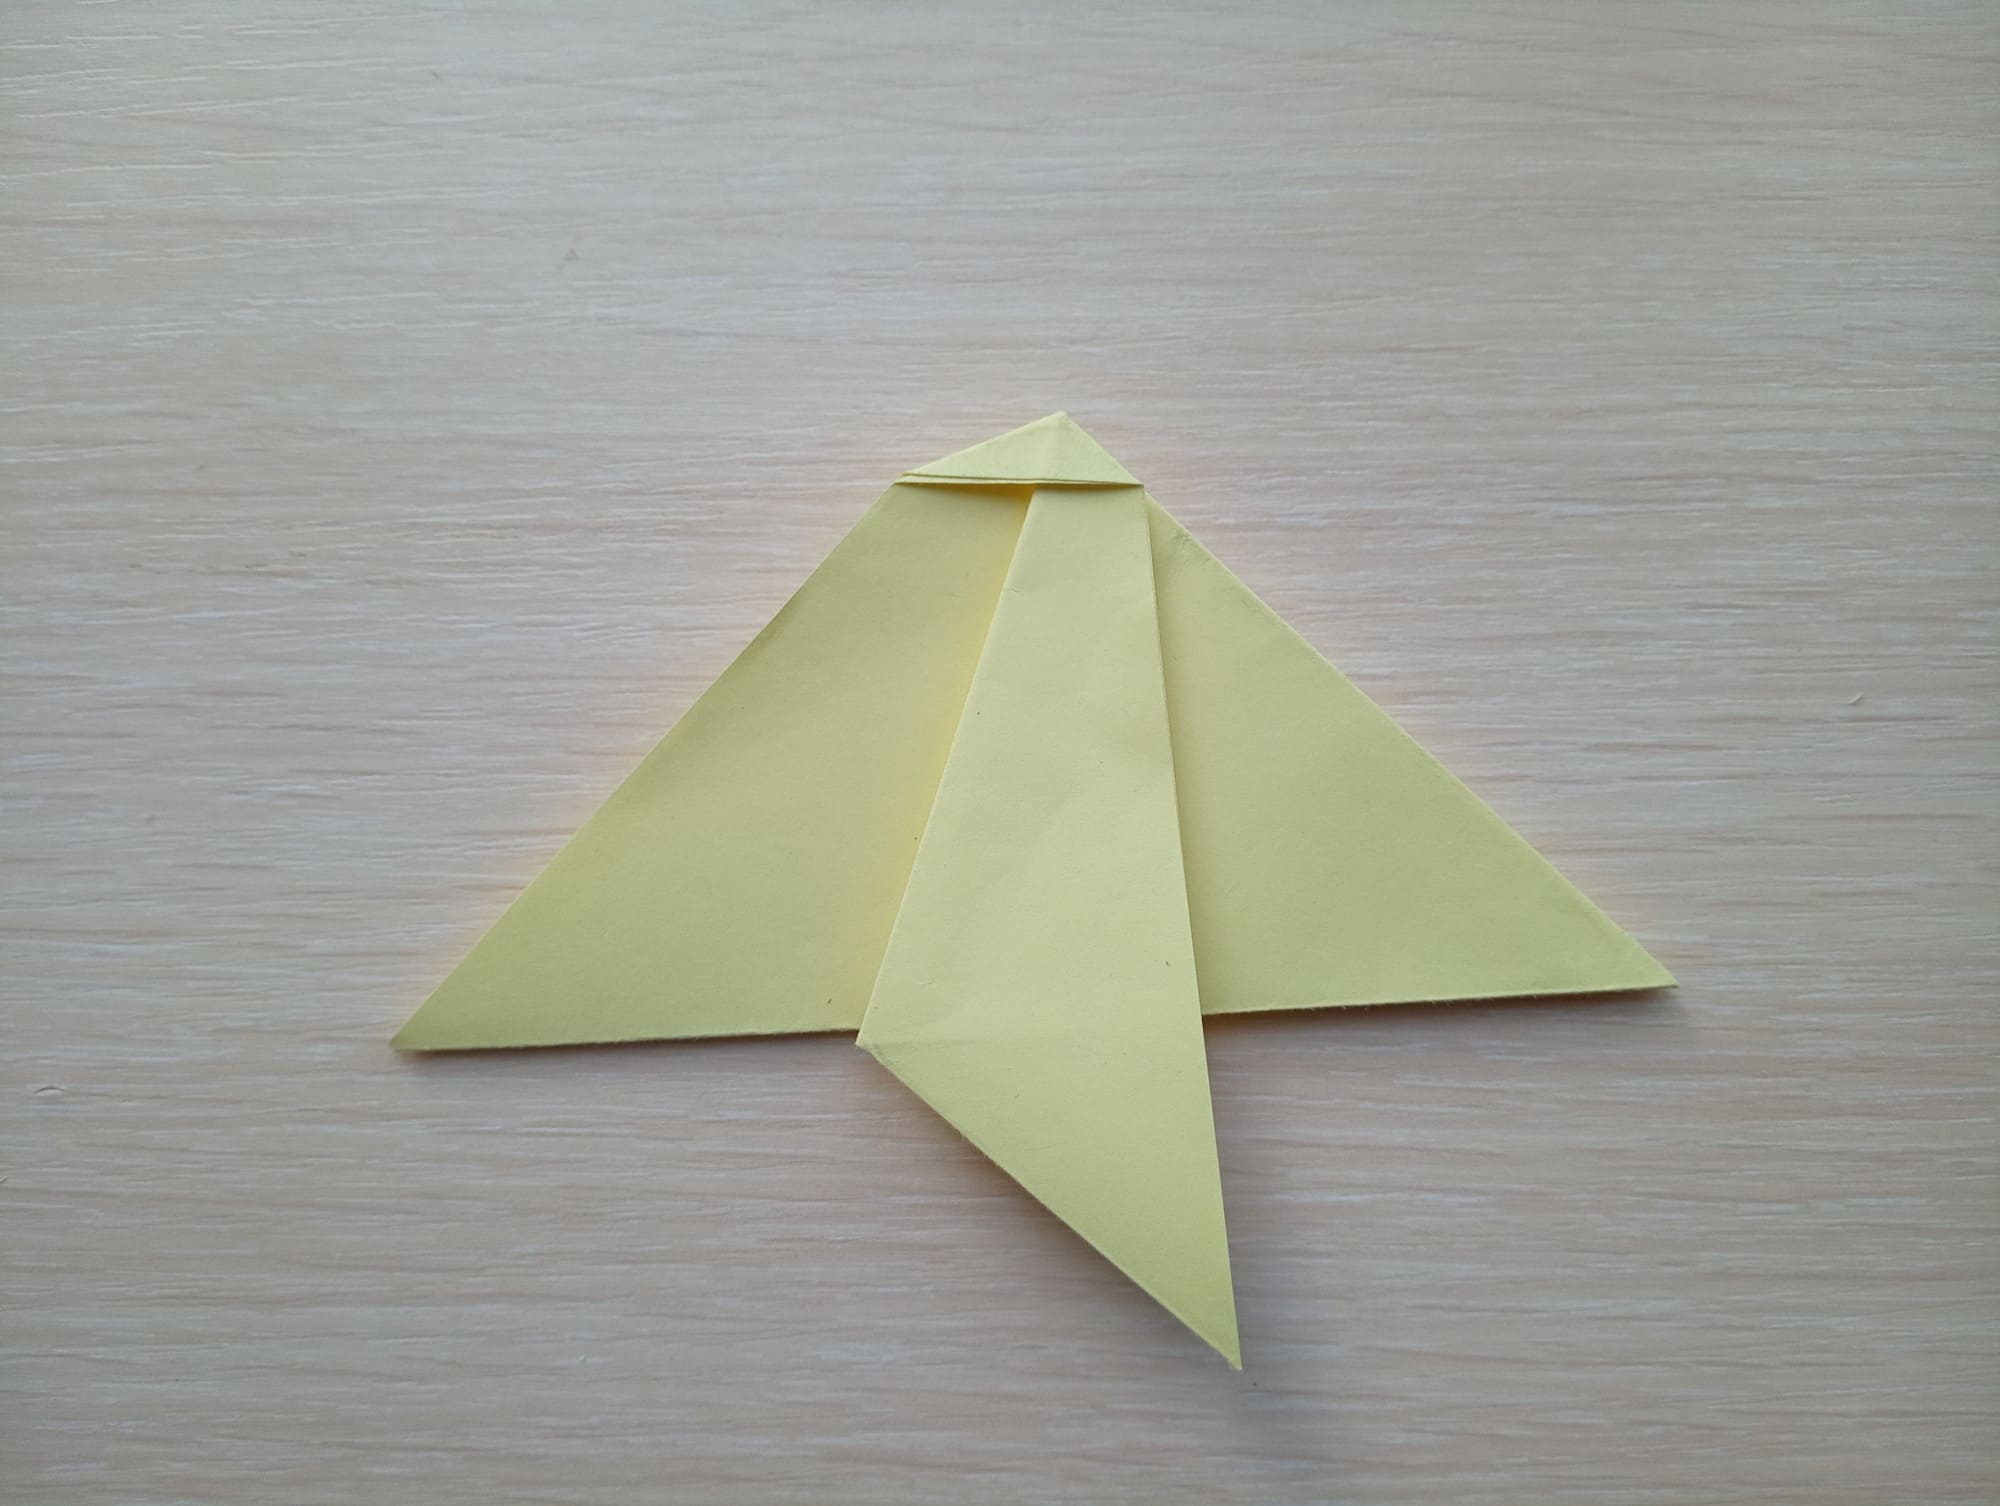
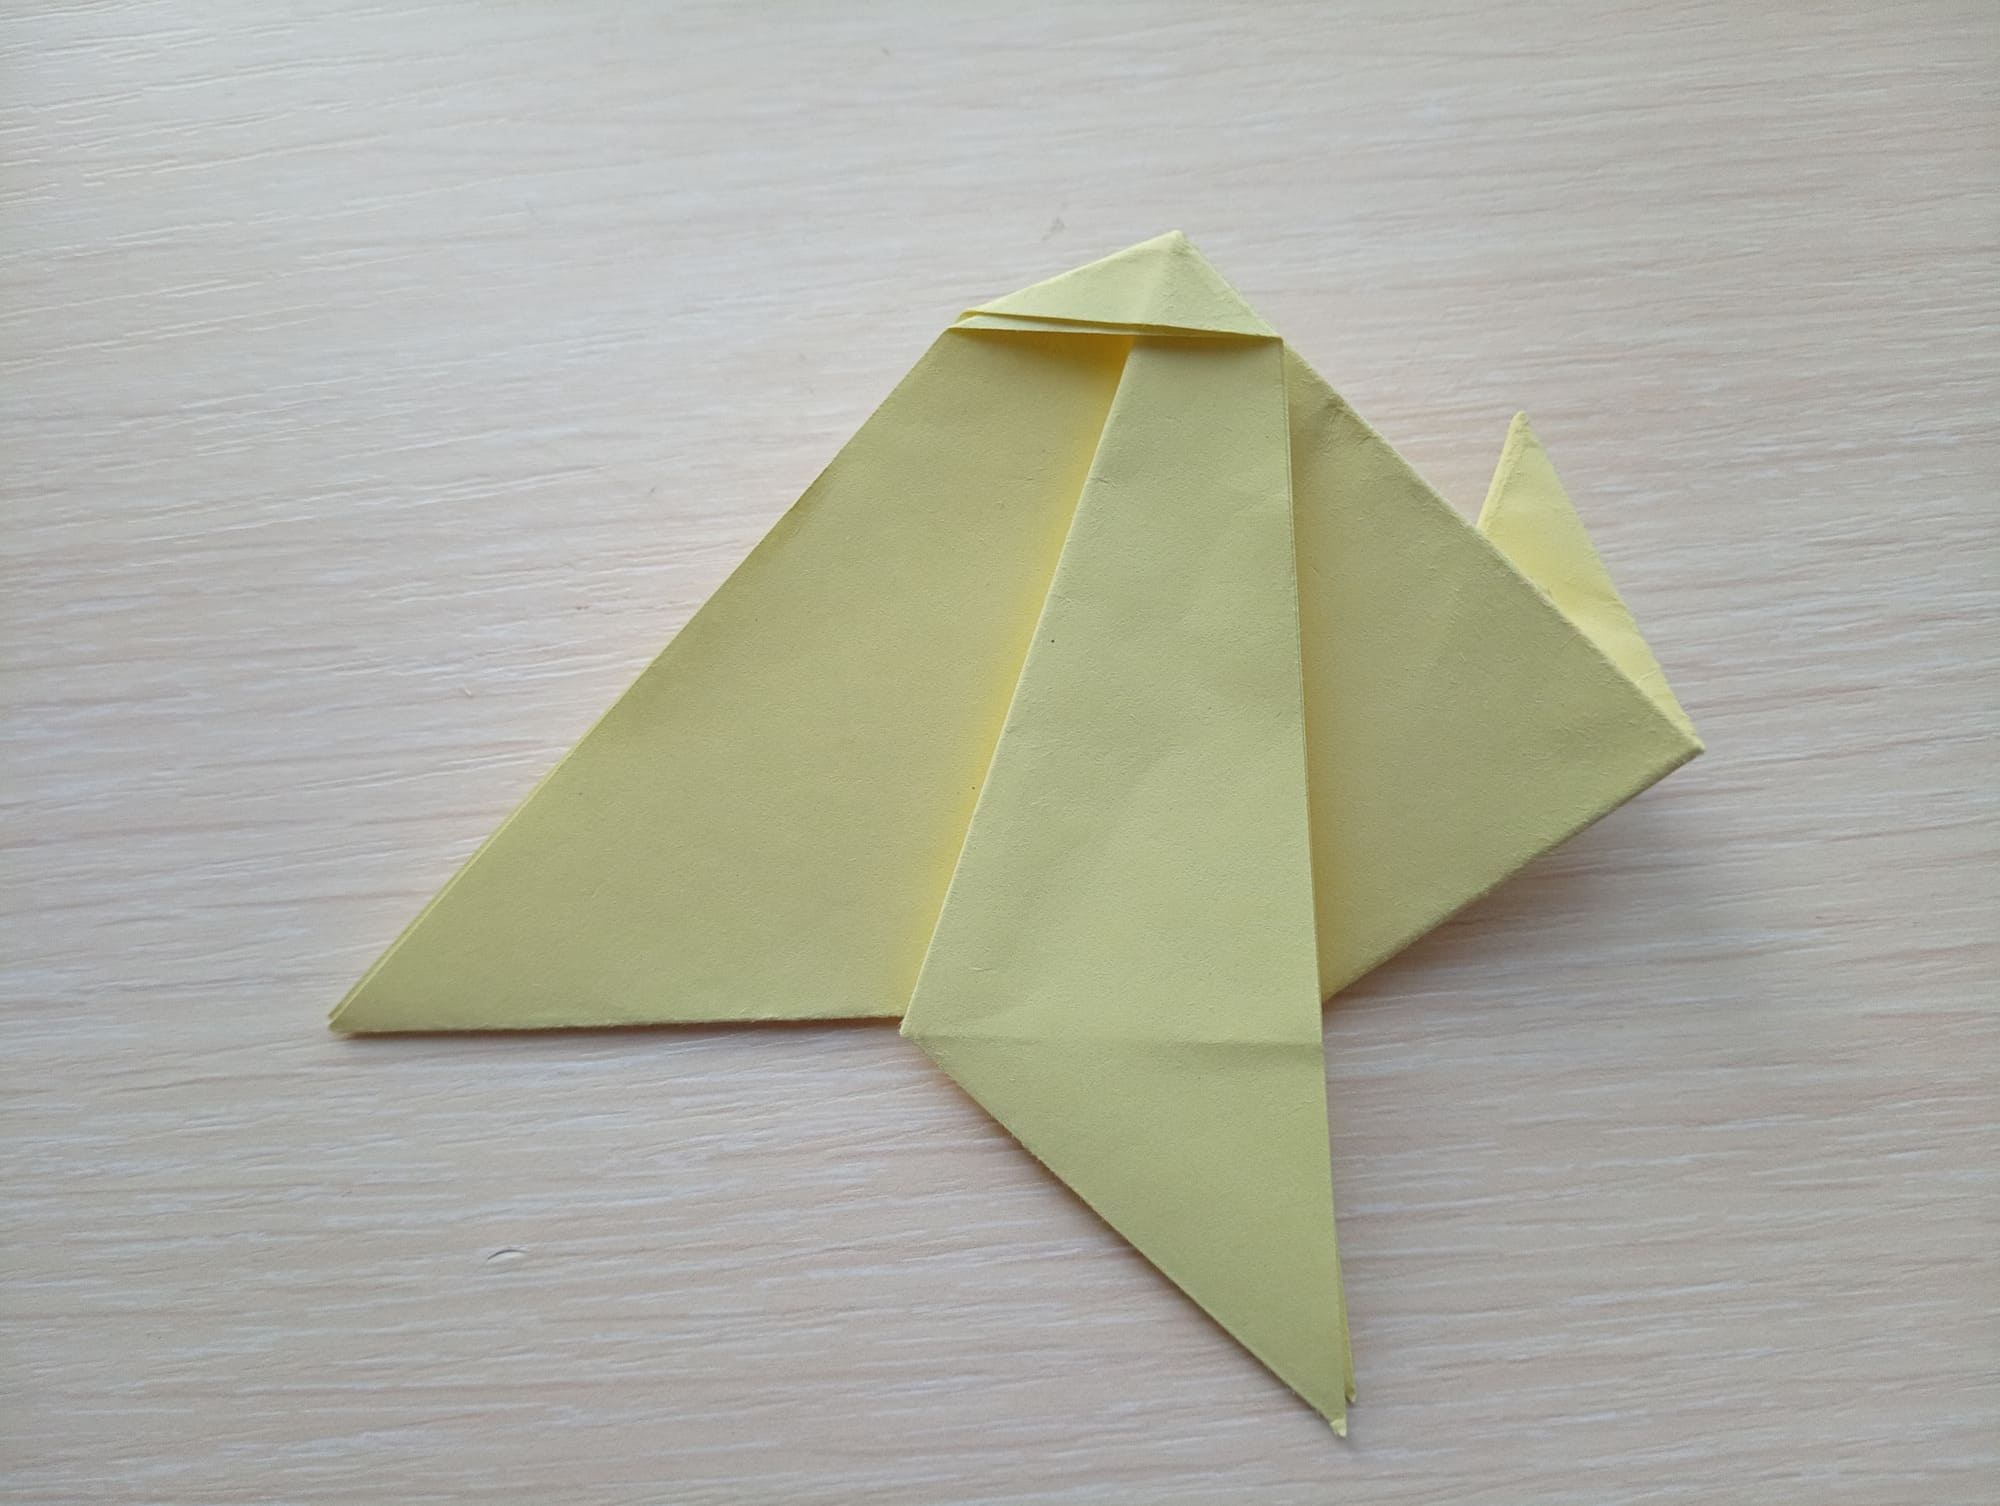
Flip the shape over and repeat the same steps. The folded ends of both sides should match symmetrically (as in the photo).
Bend the tail on the right side.
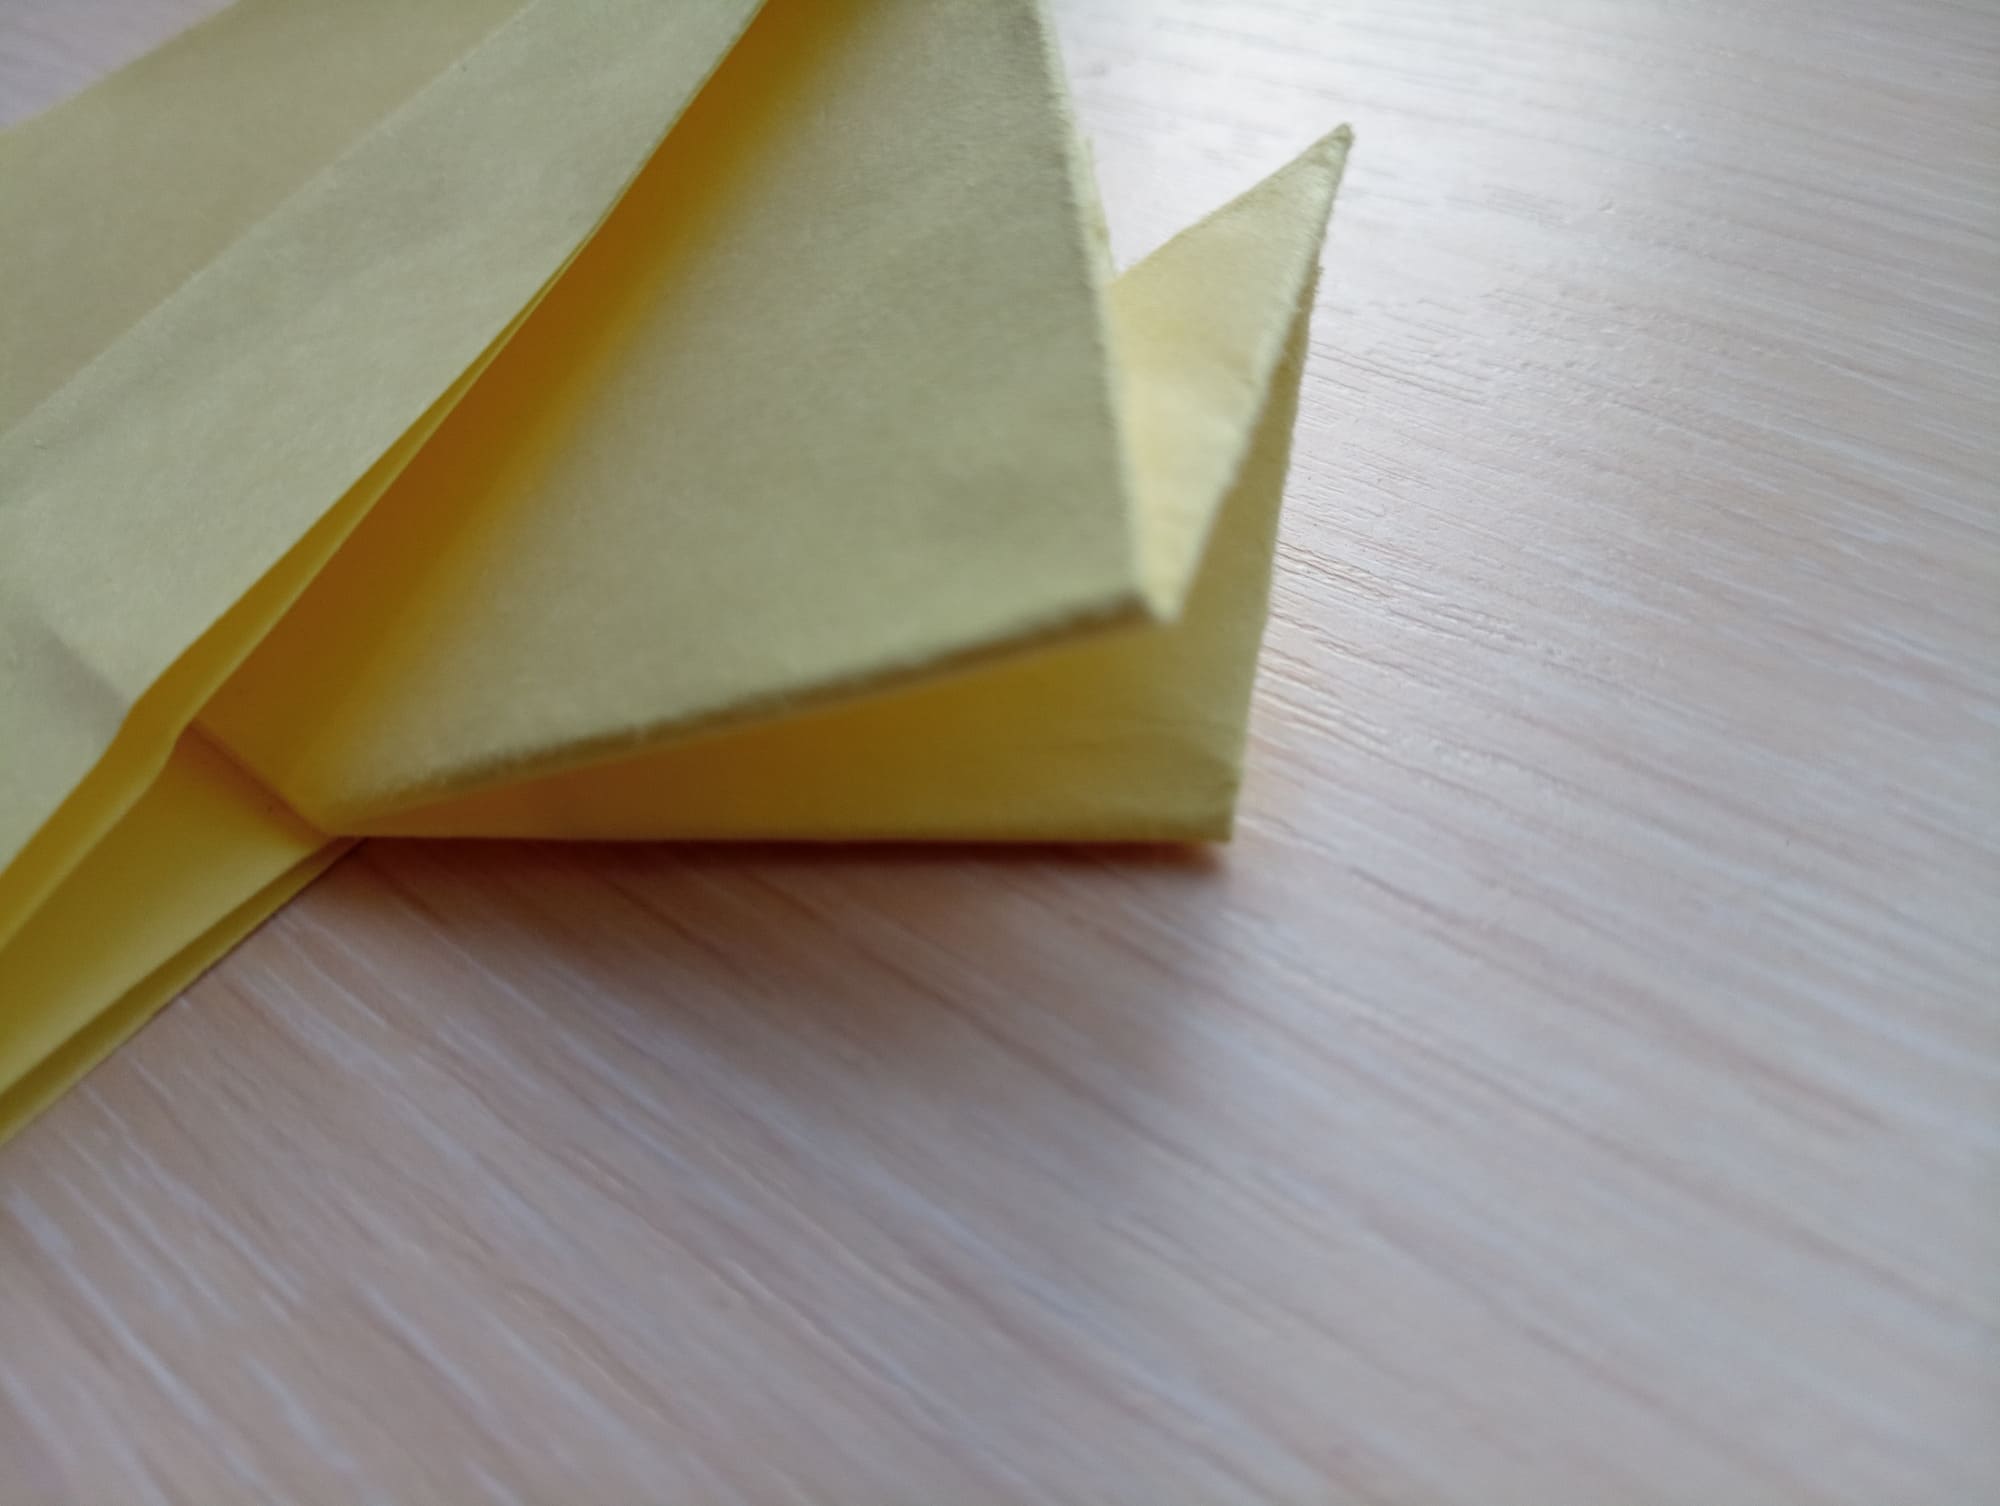
Make an inner reverse fold in the tail (see photo).

Turn the piece as in the photo.
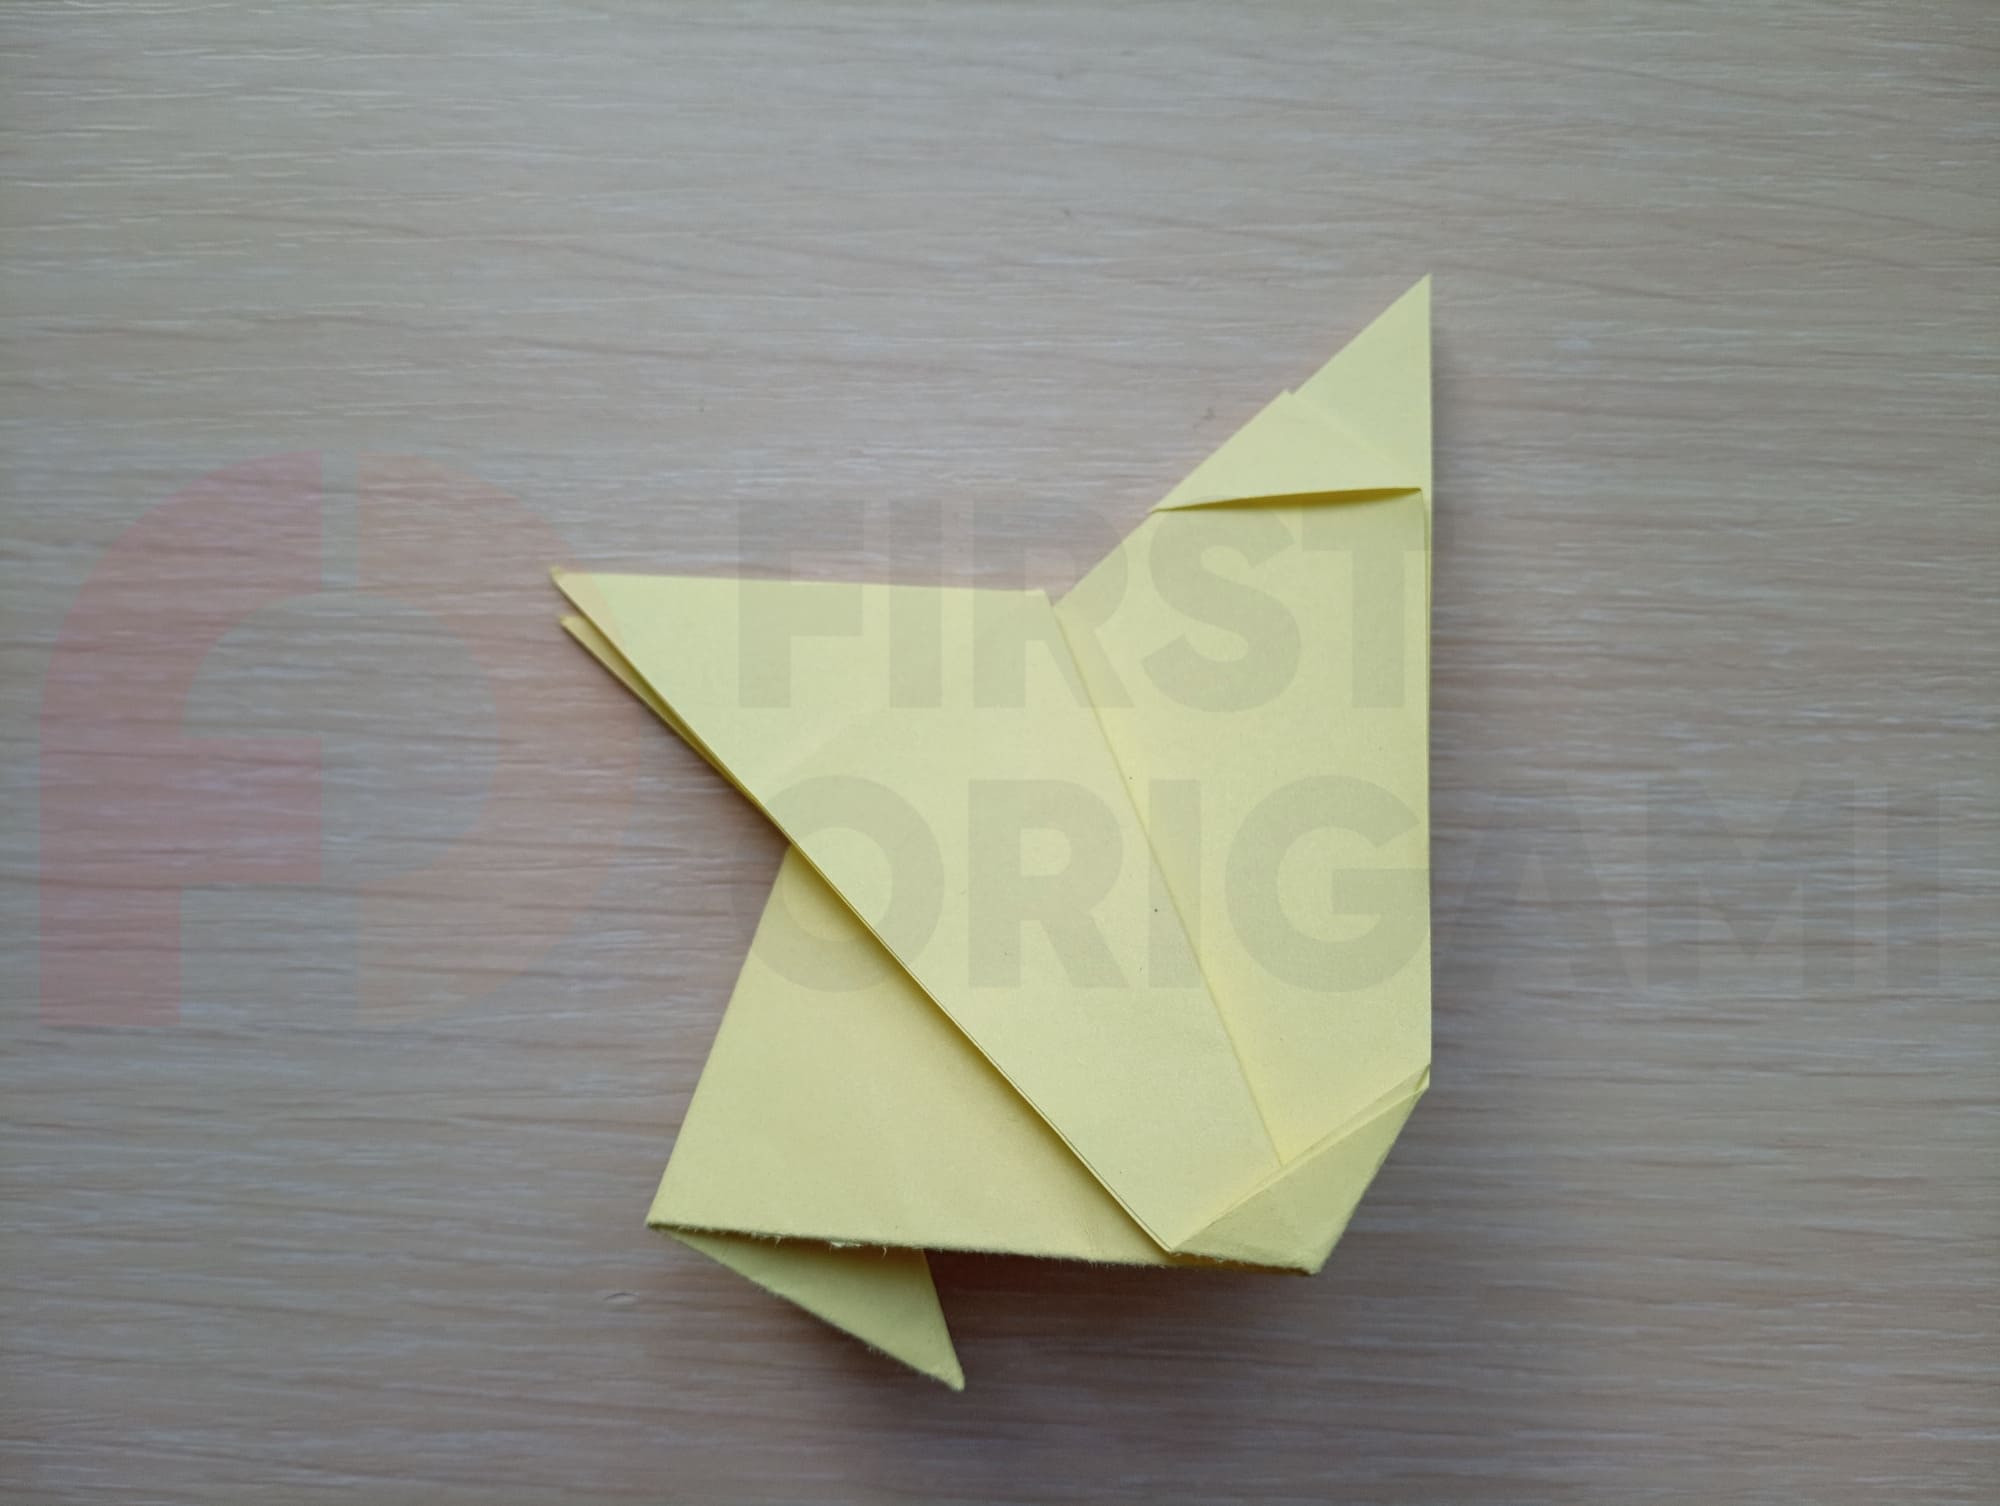
Fold back one layer at the top corner to form the rooster’s crest.
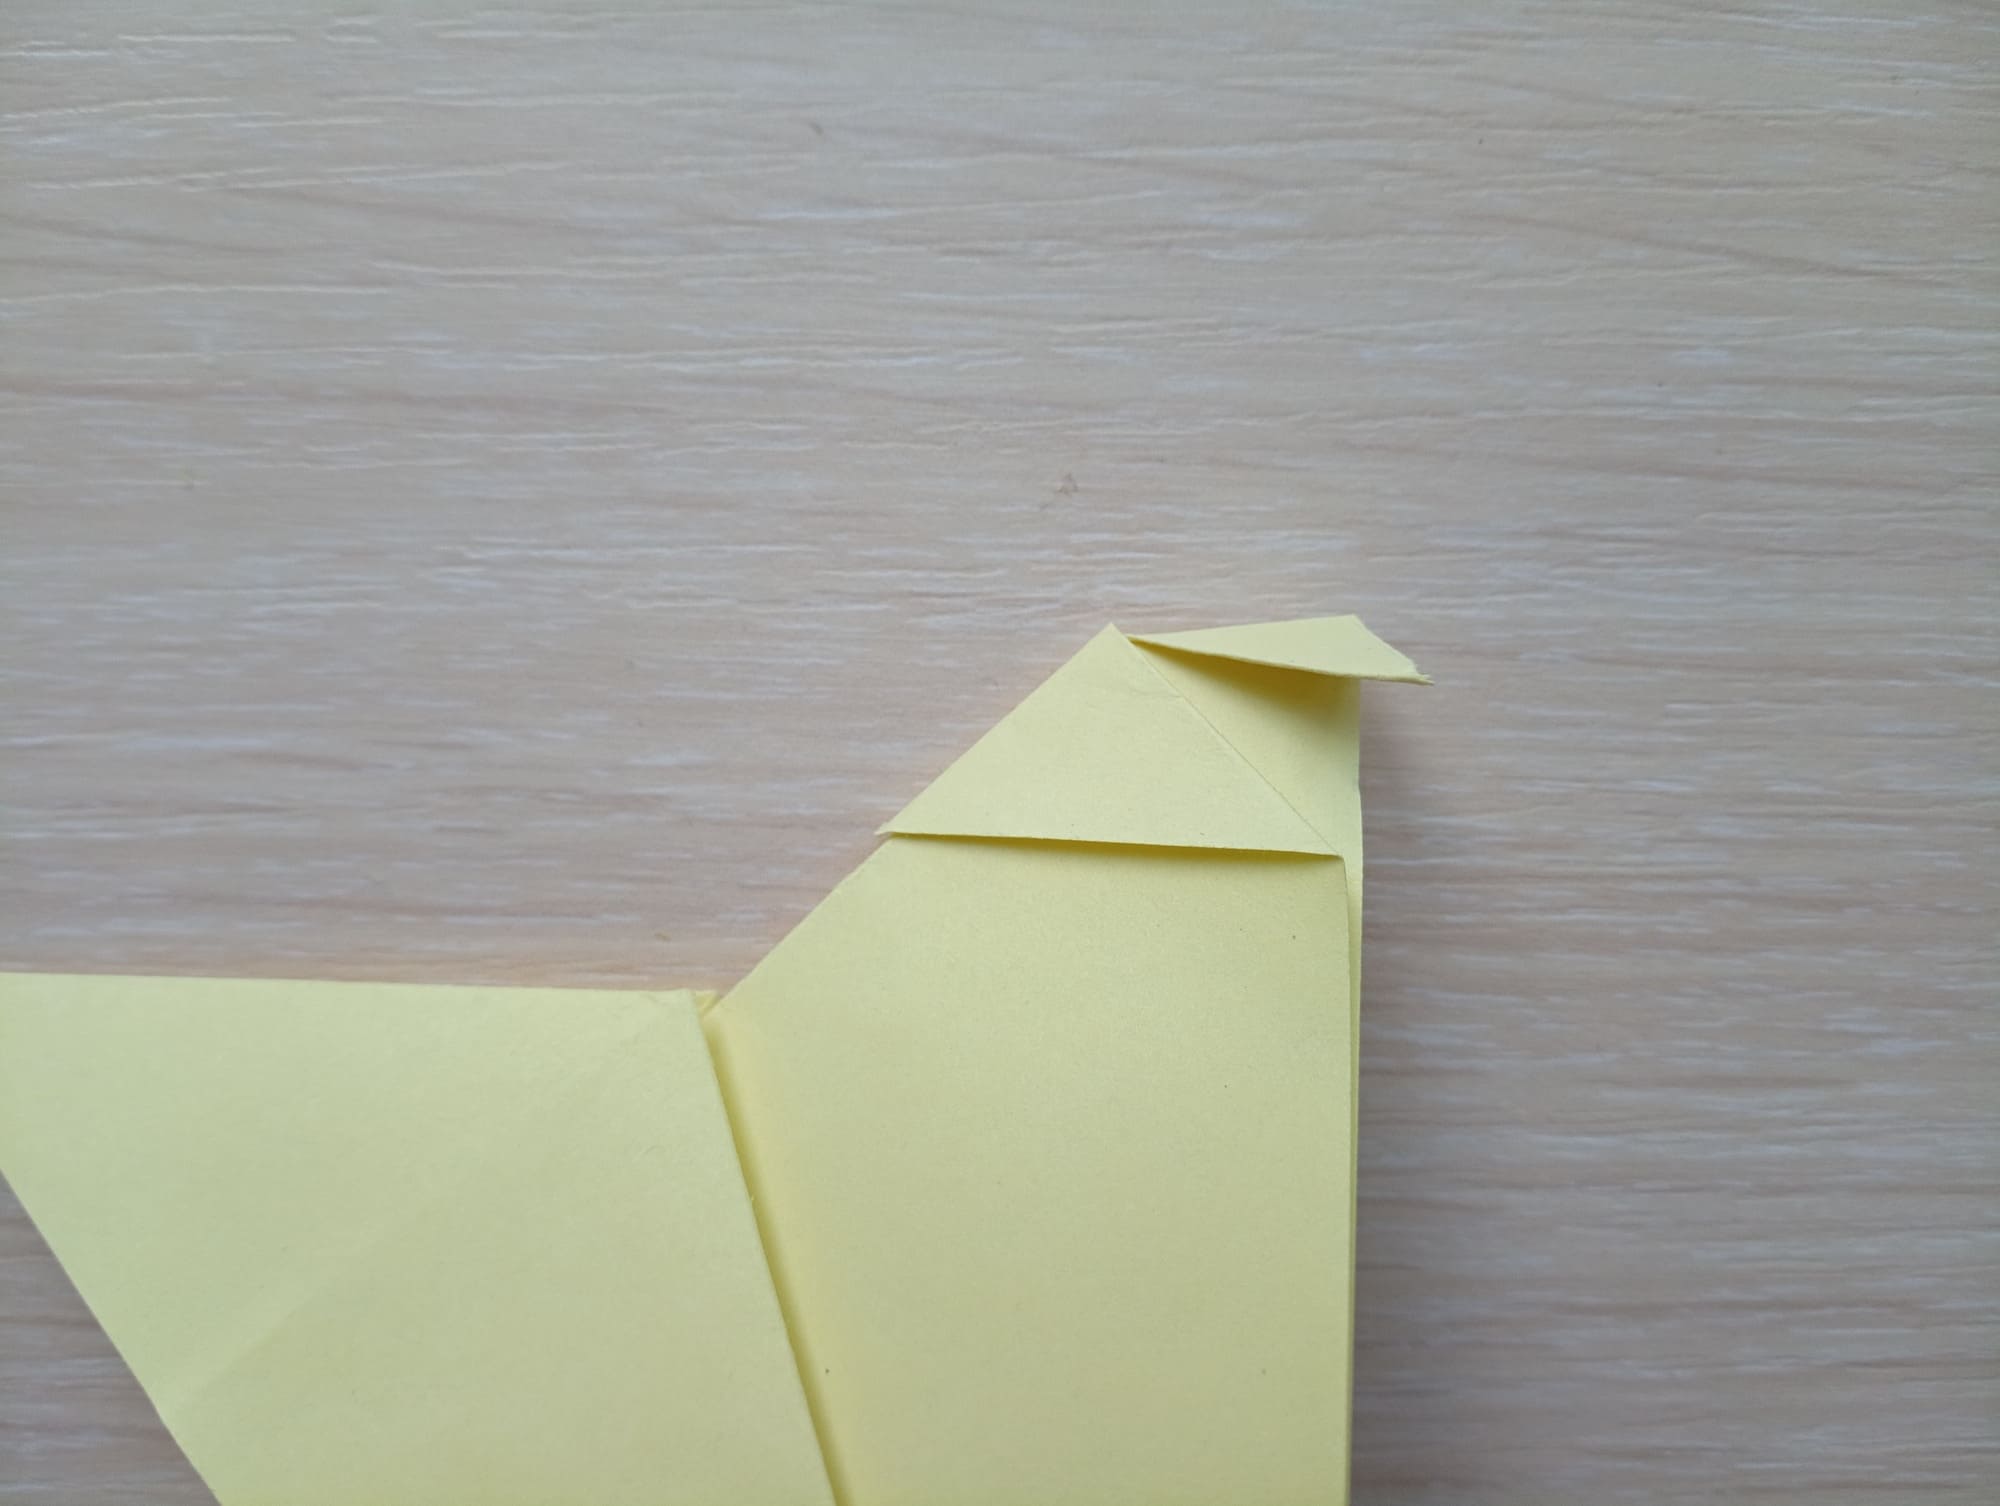
For the beak, fold over the head part and make the inner back fold.
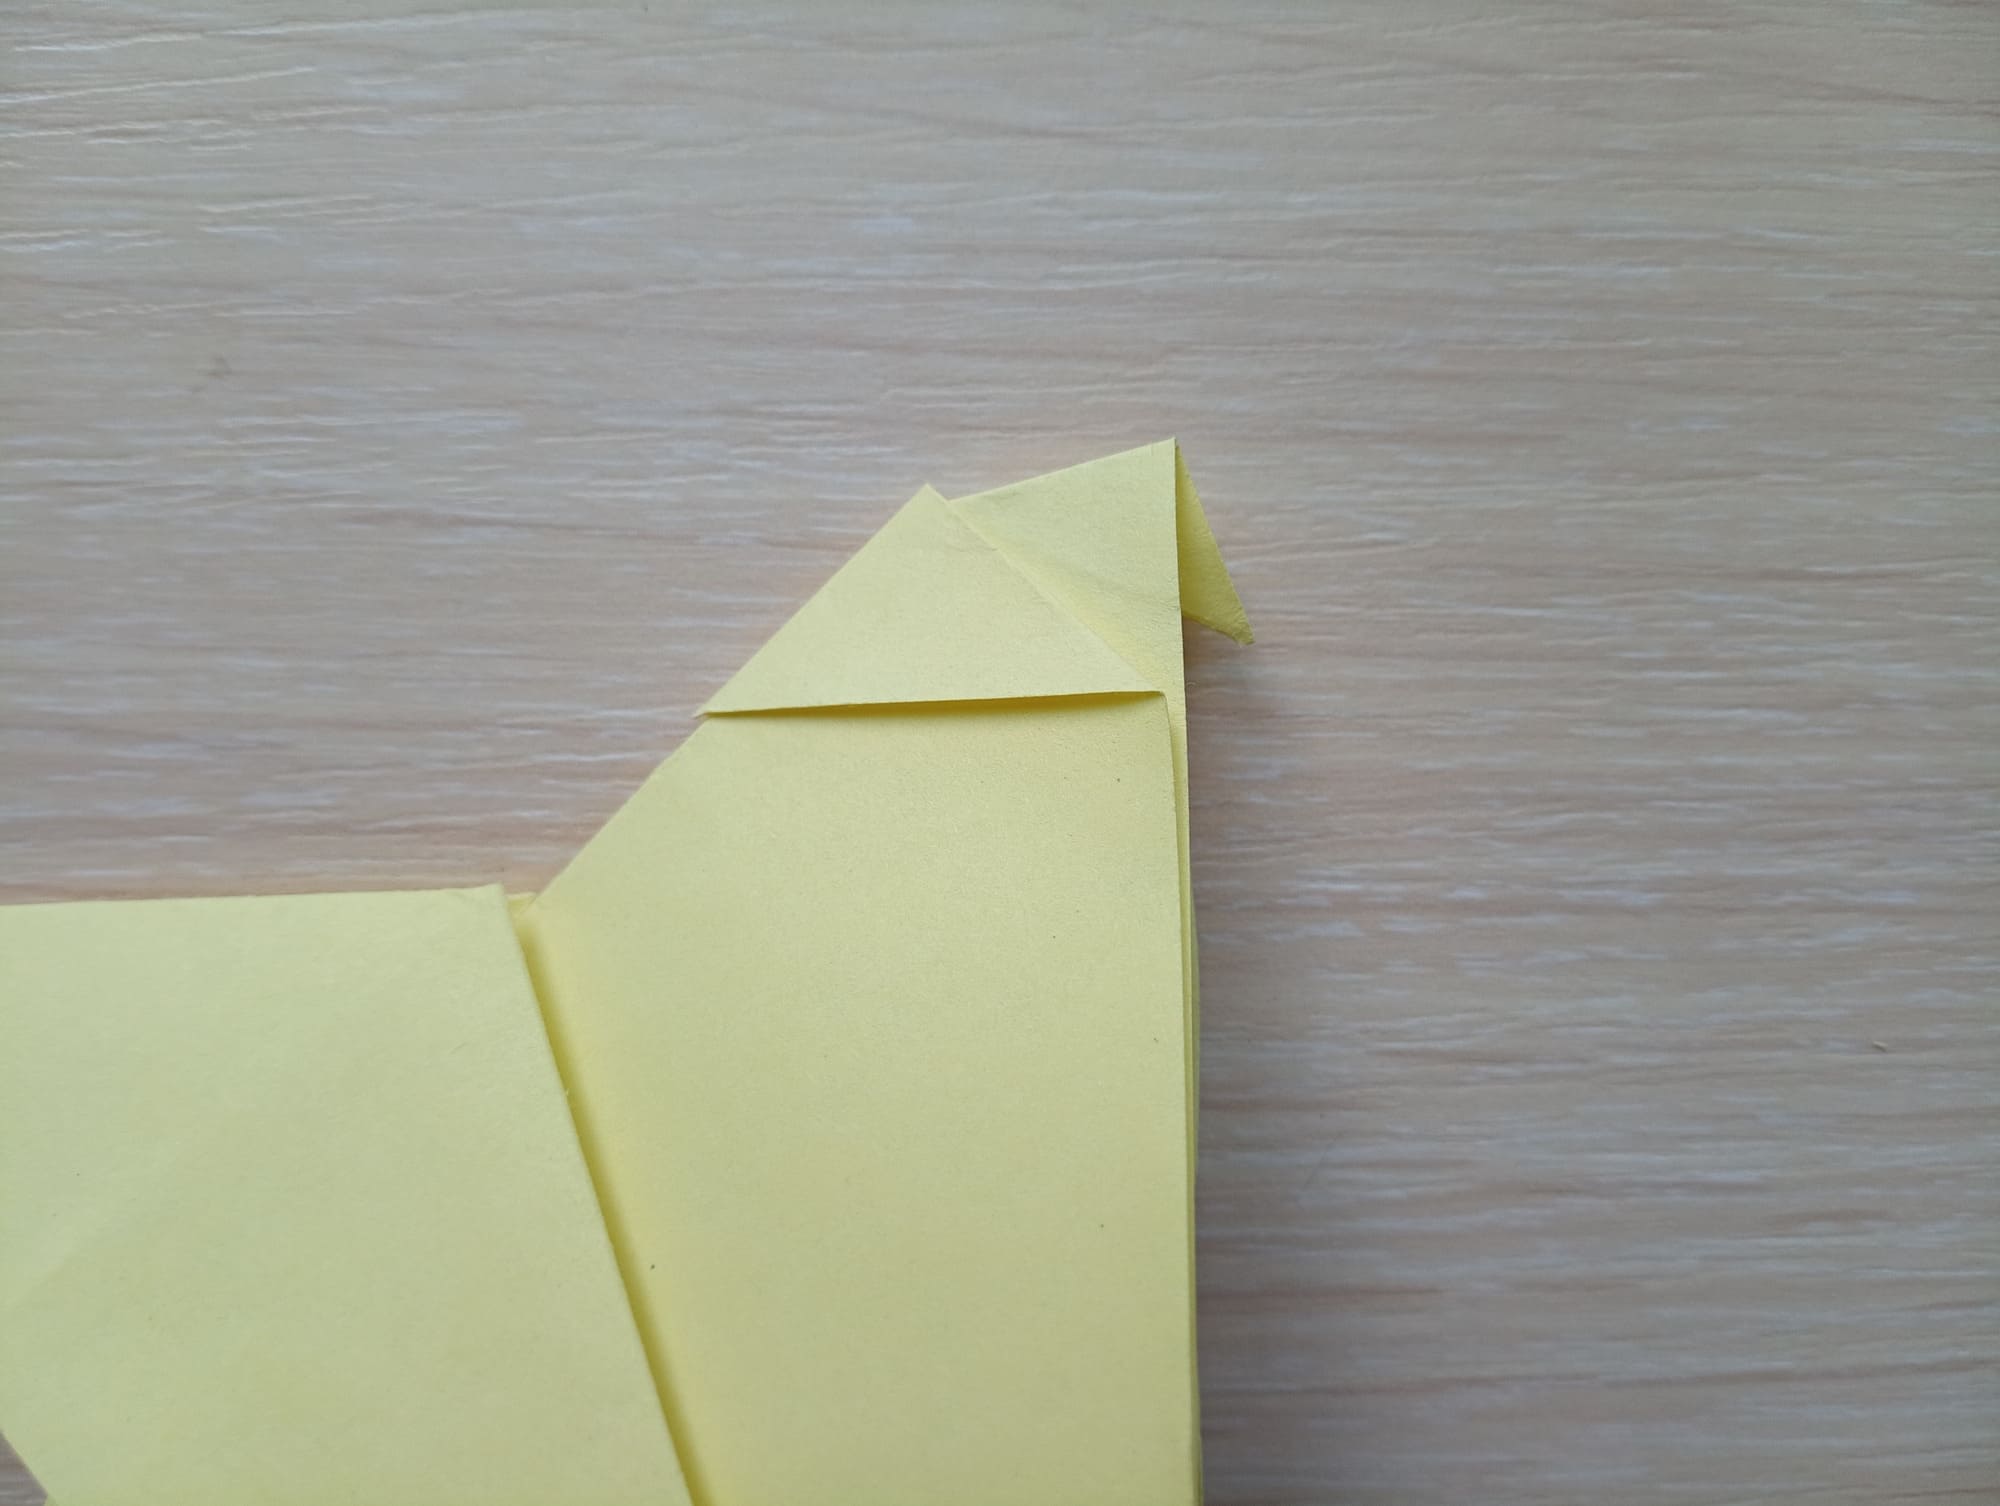
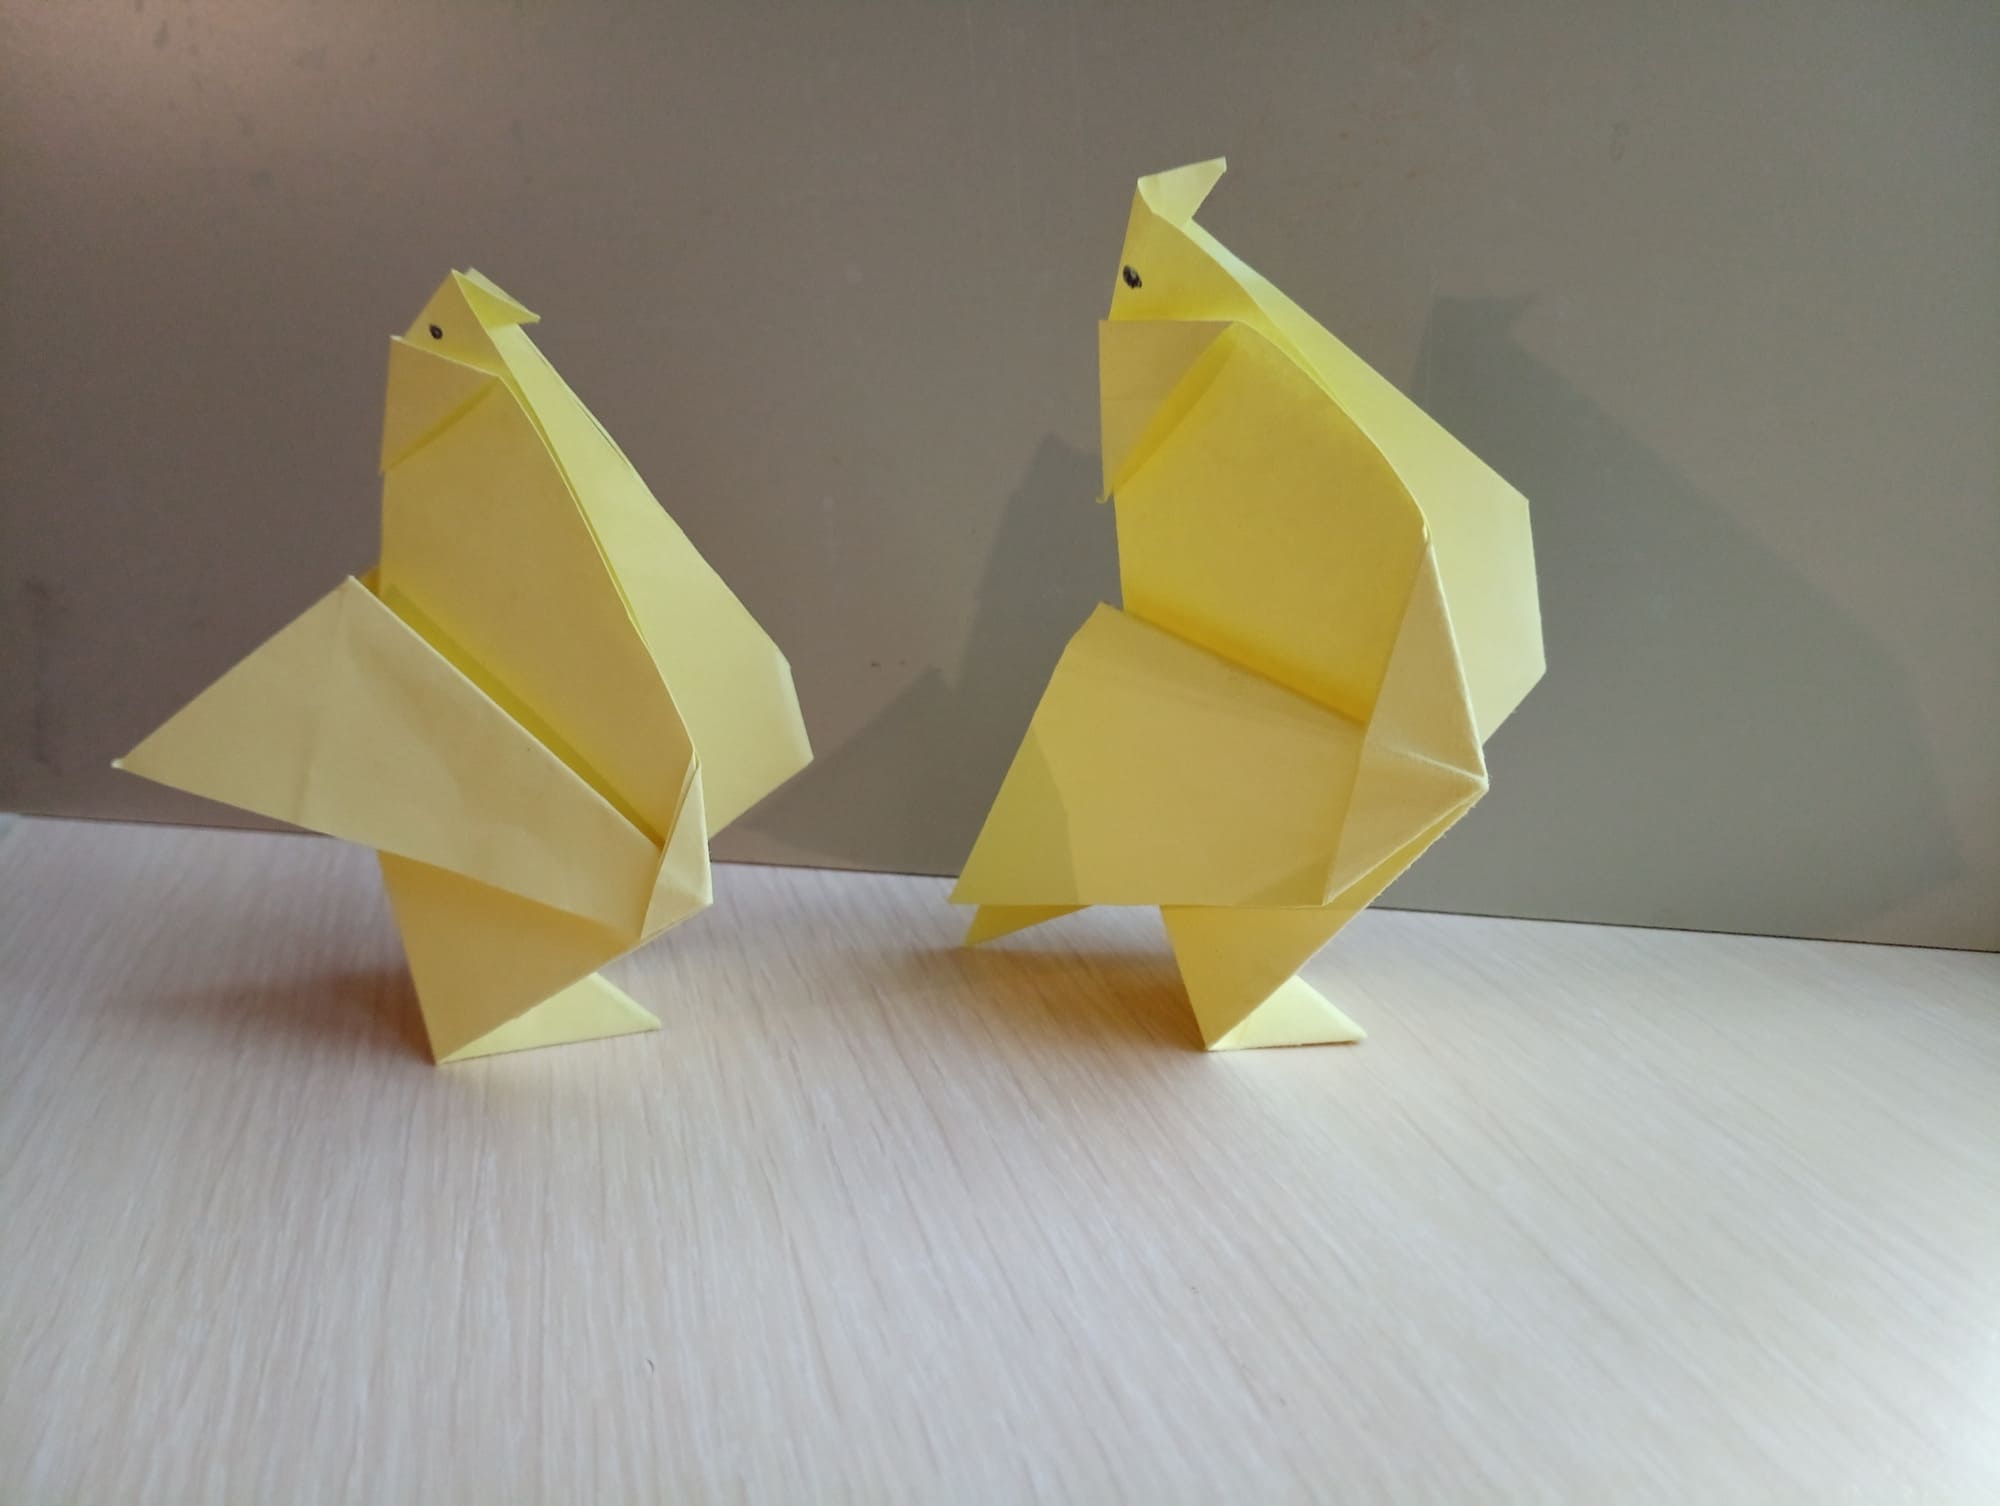
Draw an eye on the finished rooster figure and you can send it to the henhouse!
This beautiful and easy-to-make rooster looks just like a real one! Children will love this model because you can play with it or give it as a souvenir. Try this master class and you will succeed. The main thing is to follow the instructions carefully and to put a pinch of love into what you do.


