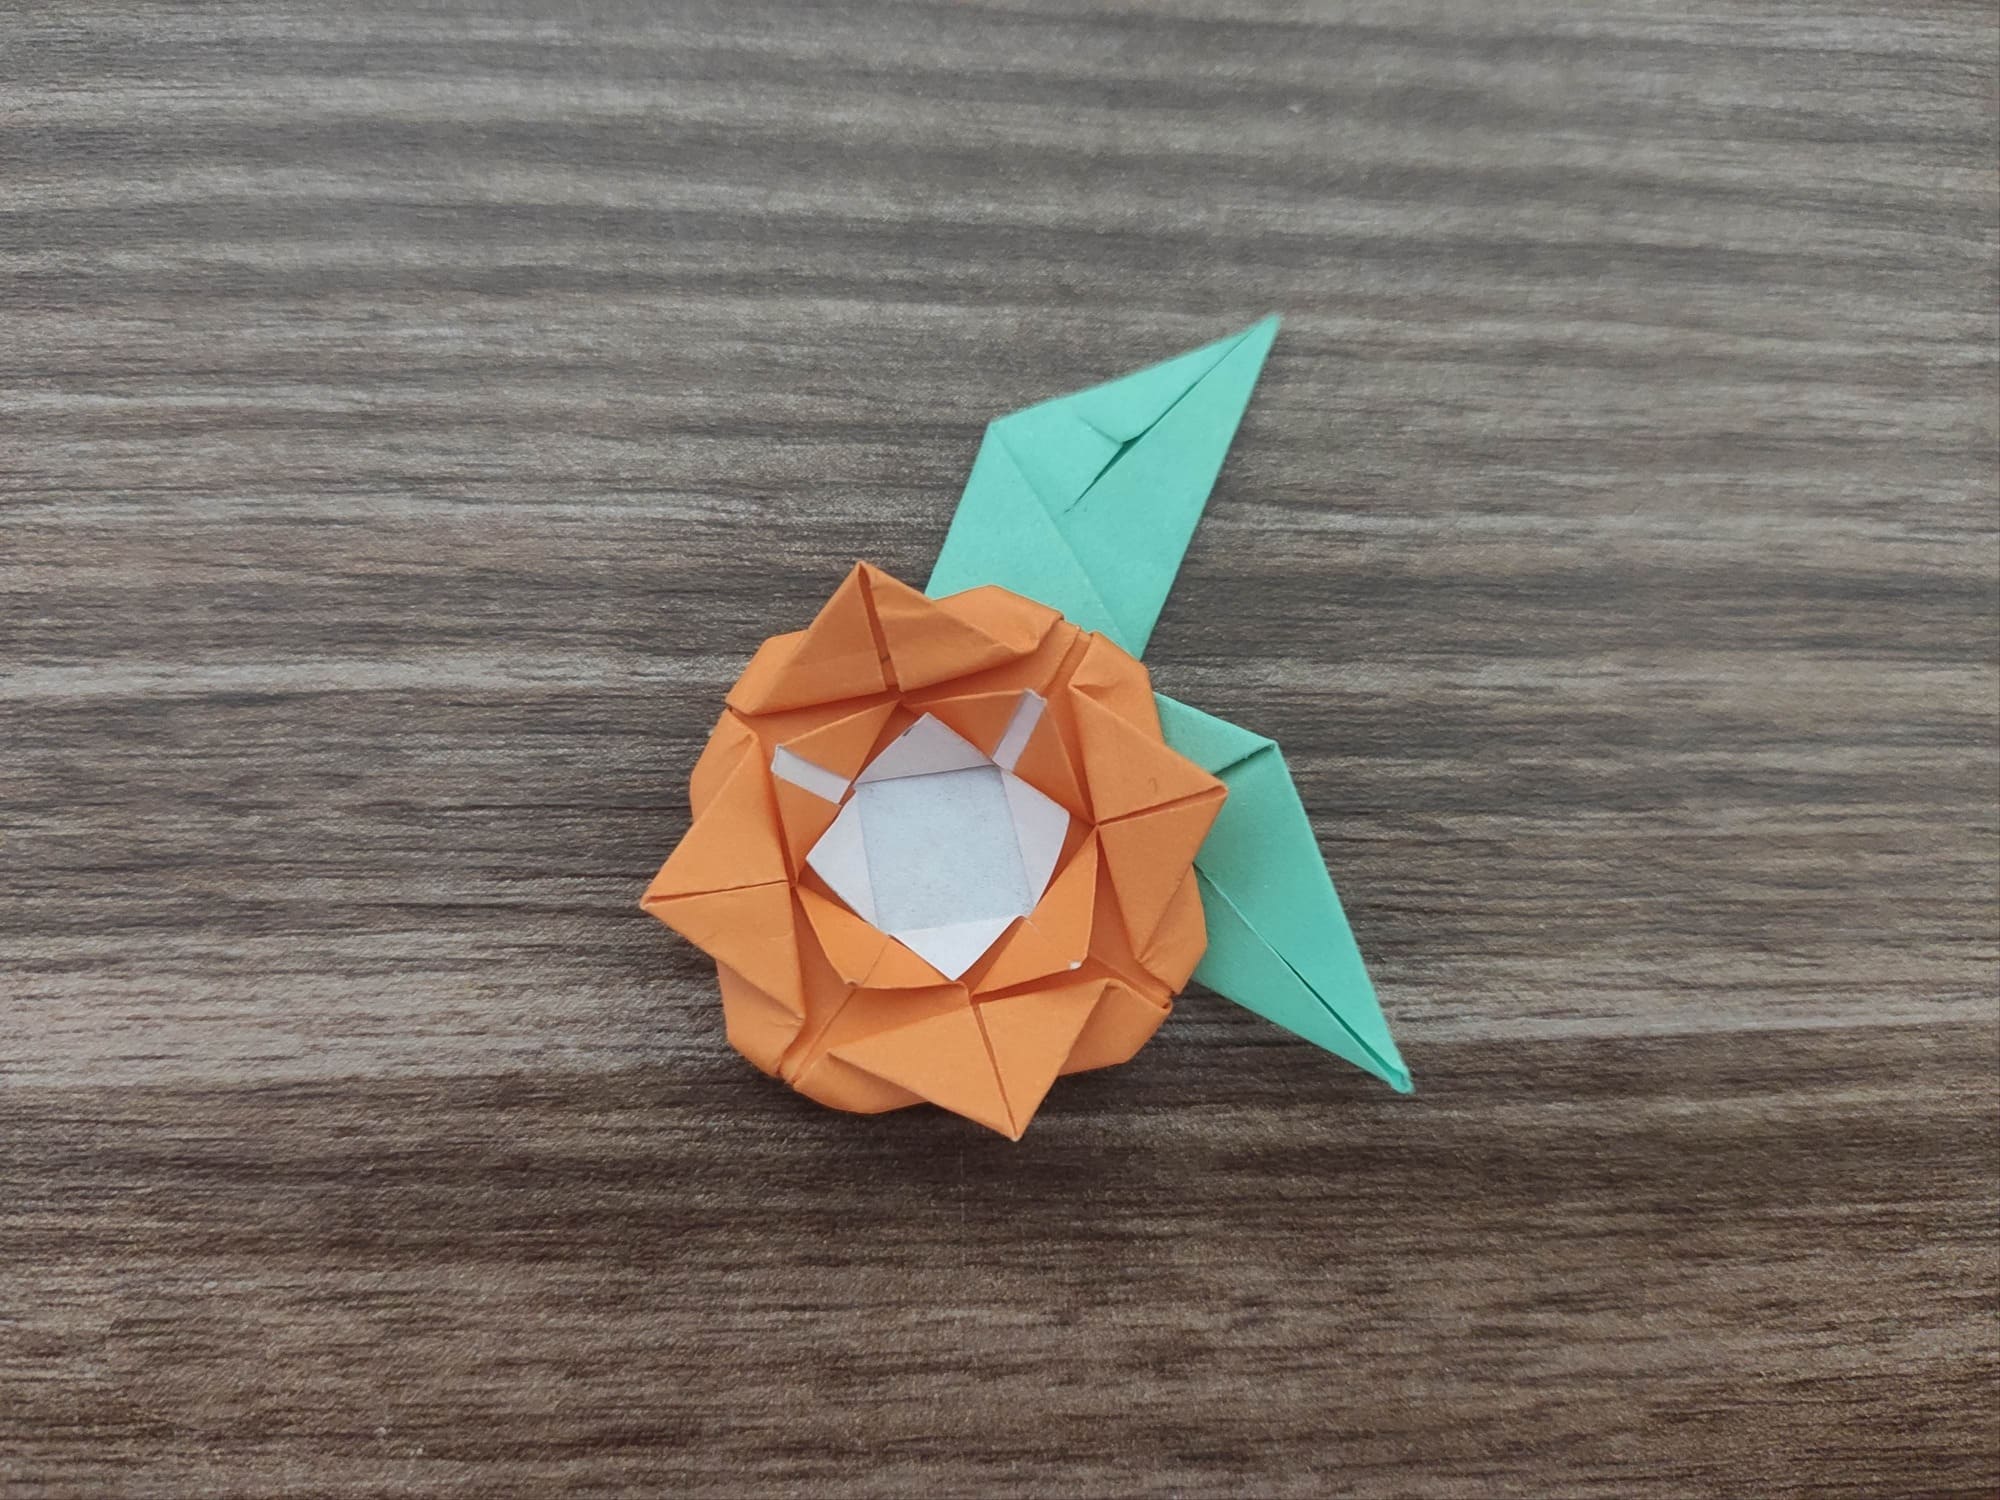
Origami Rose with Leaf
In the origami technique, you can fold various plants and flowers, including tulips, sunflowers, lilies, and even chrysanthemums. But today we suggest you create a paper rose. Following the instructions below, you will get a beautiful rose with leaves.
To fold this figure you will need a 15×15 cm square of red paper (for the bud) and a 7.5×7.5 cm square of green paper (for the leaves).
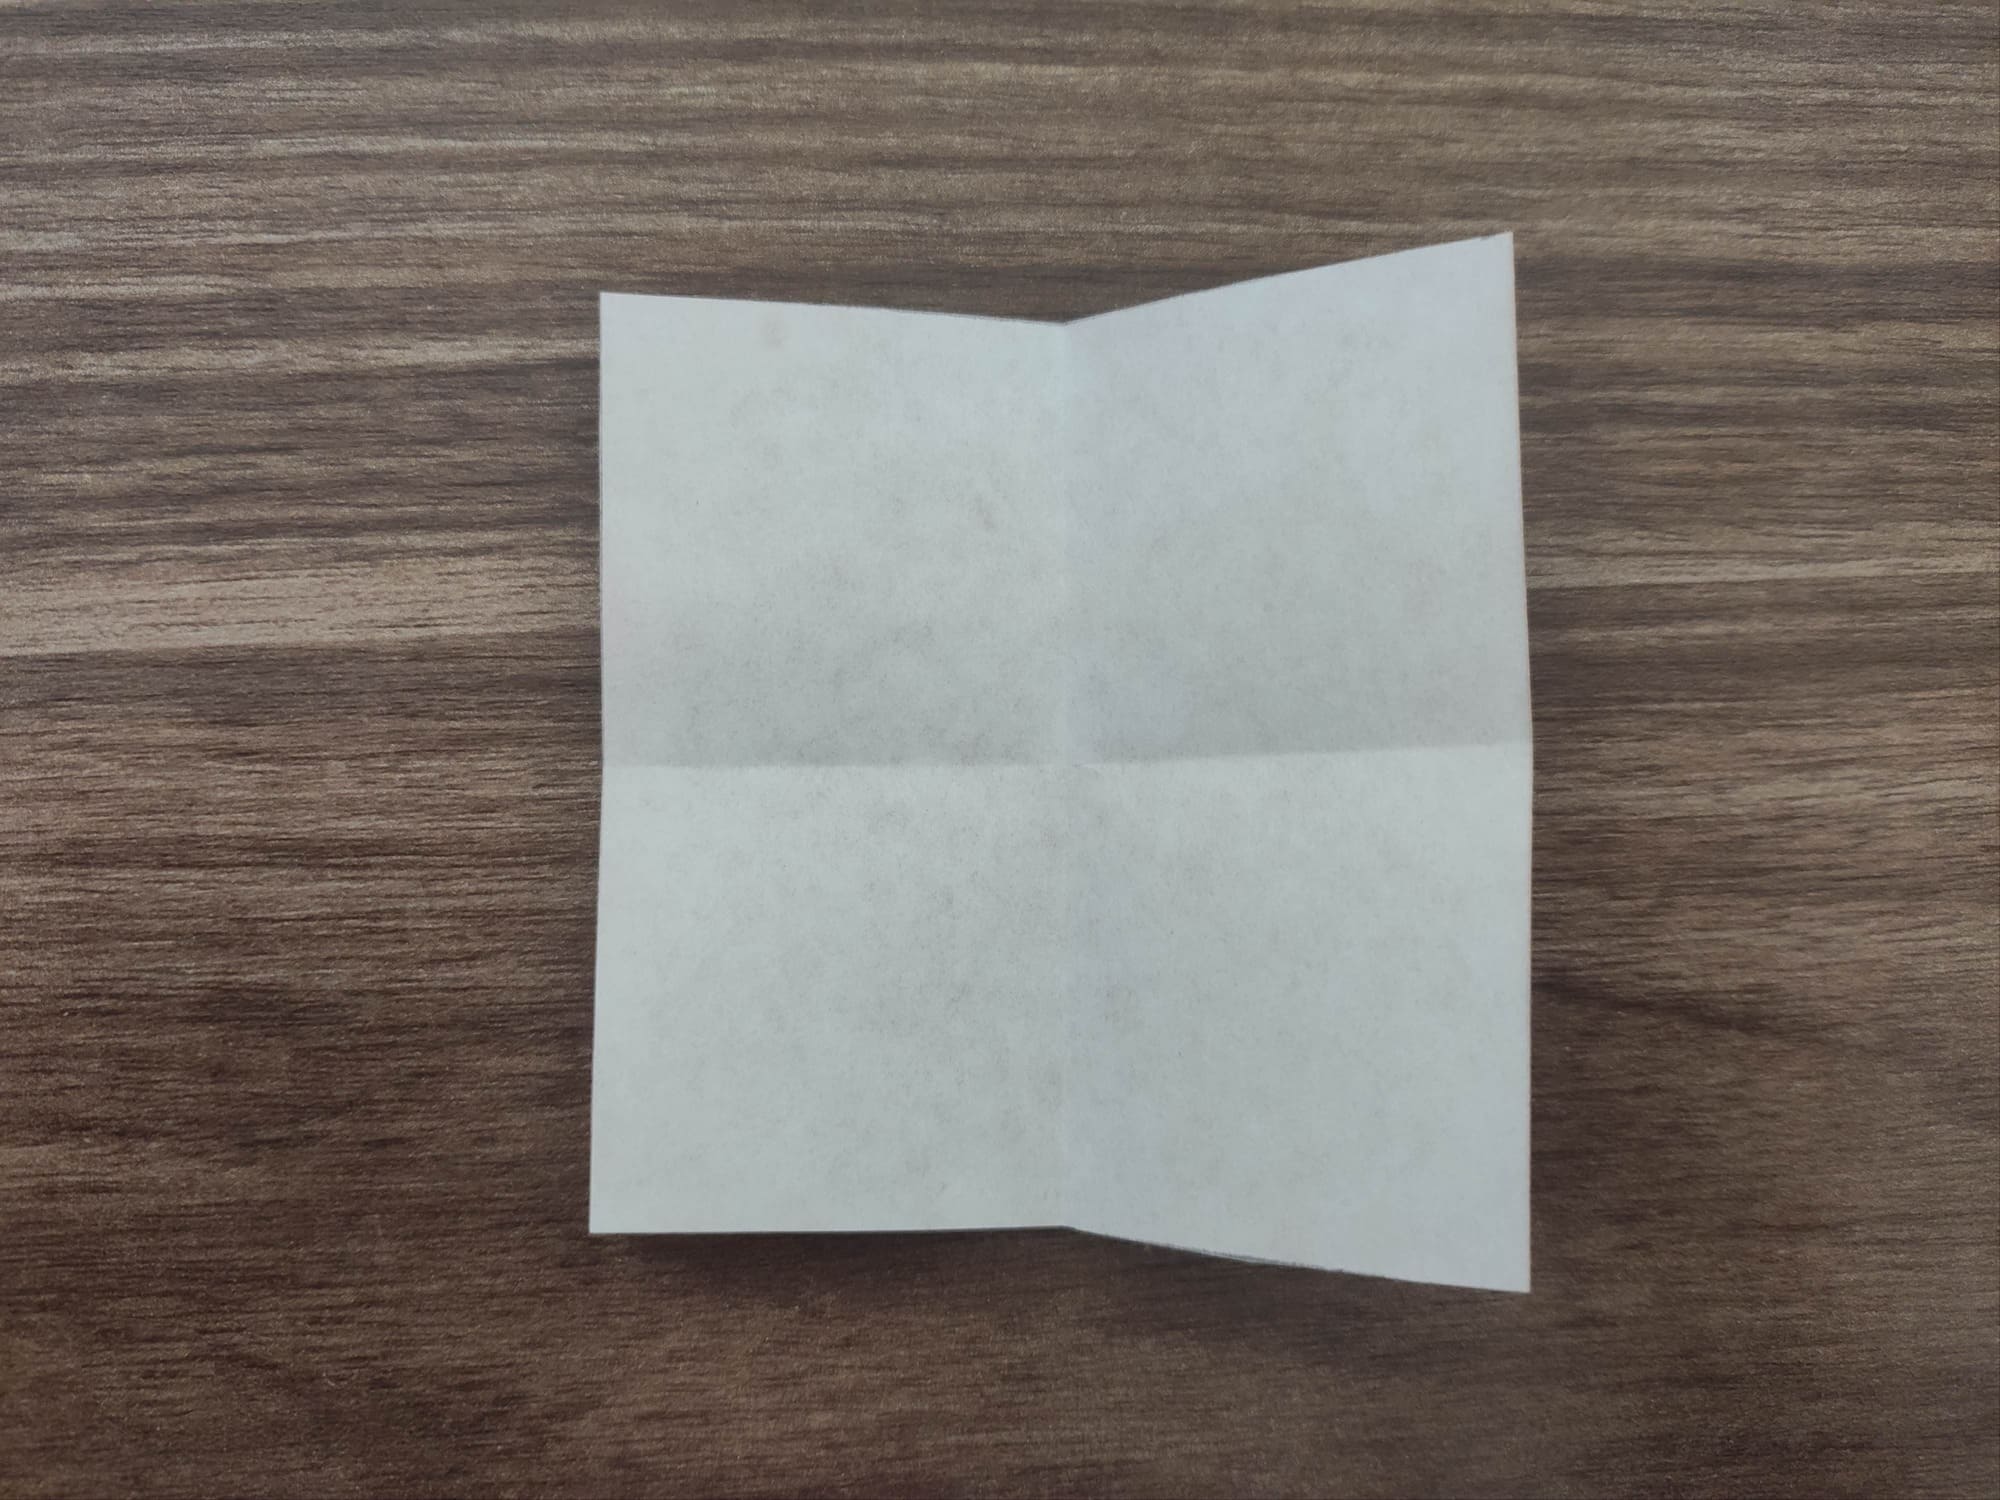
Take the red or orange paper, and place it with the colored side down. Fold the square in half, first horizontally and then vertically.
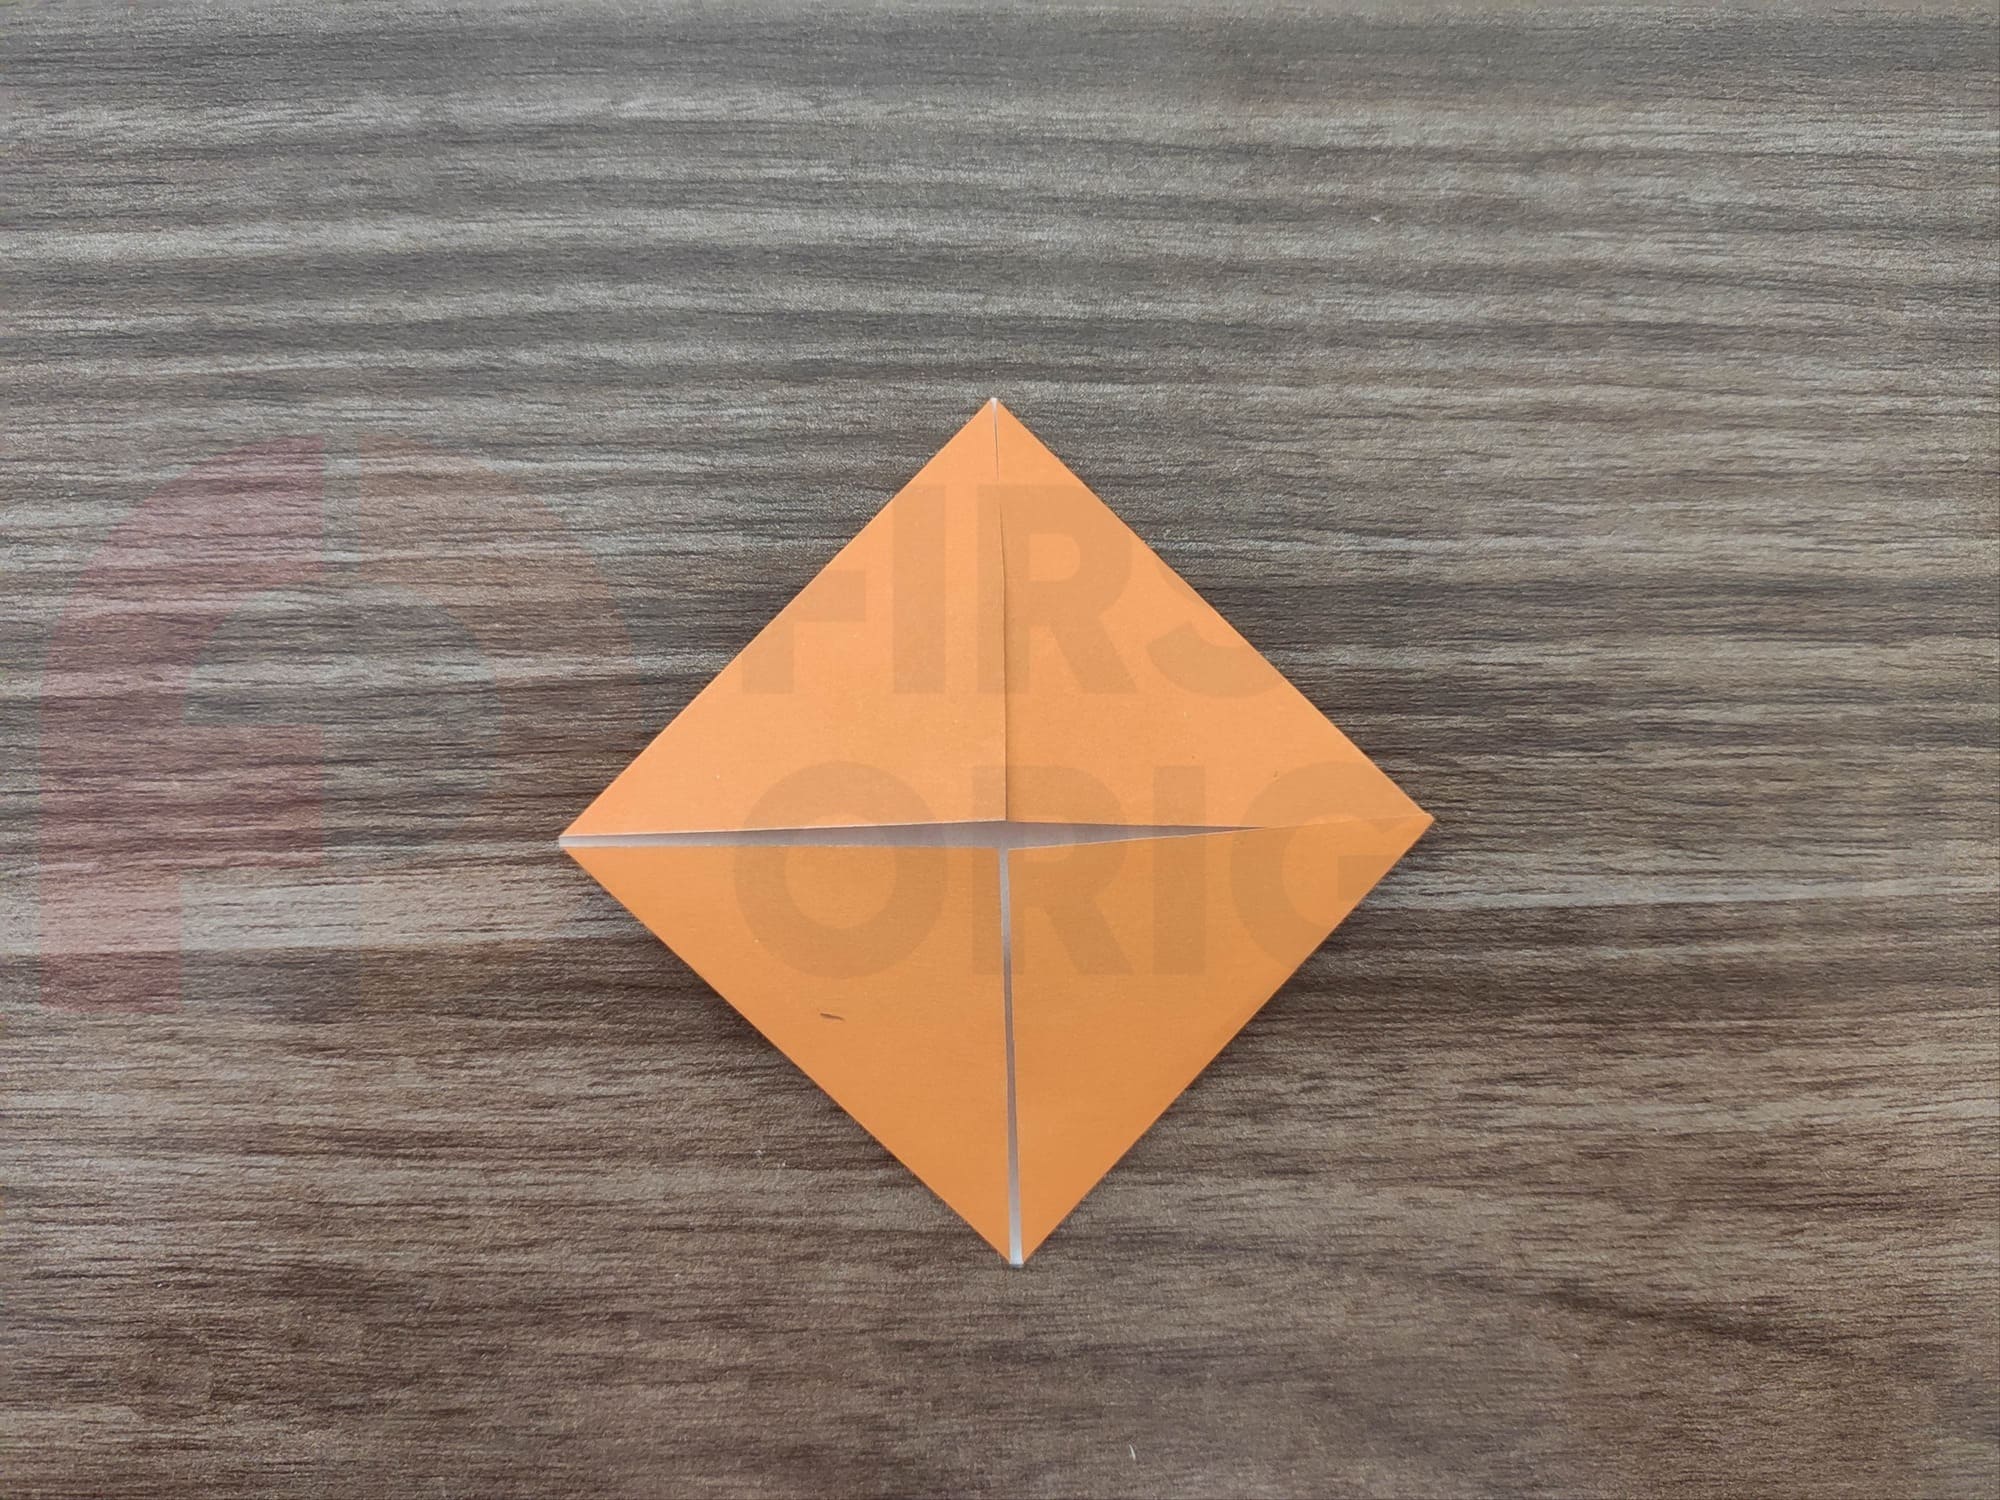
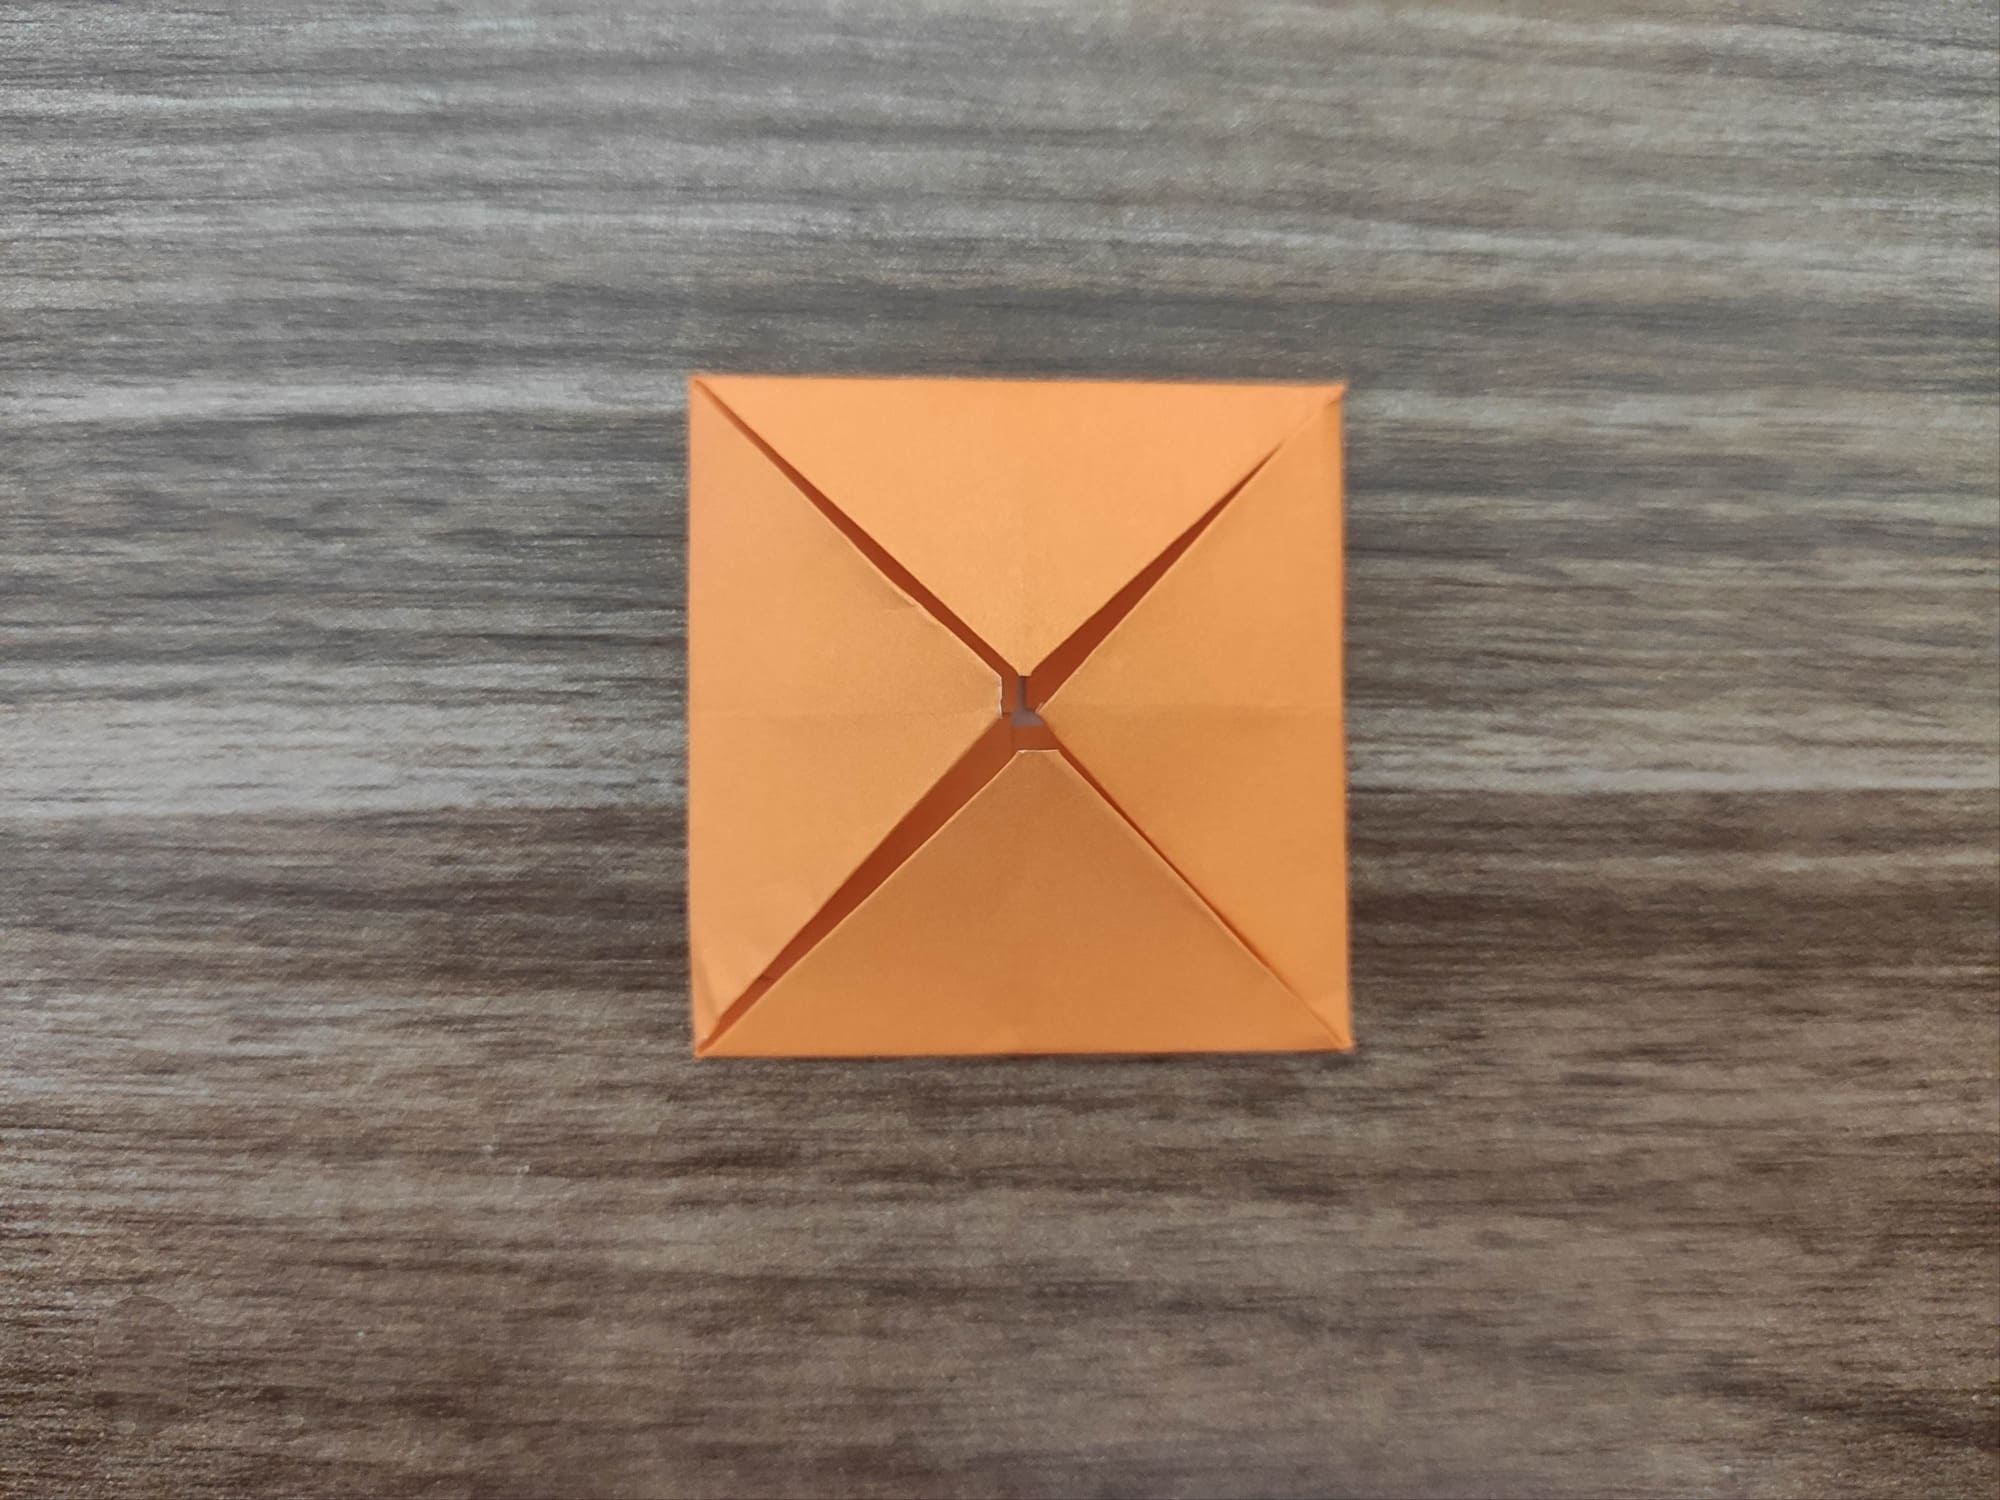
Fold all four corners of the square to the center so that they meet at one point.
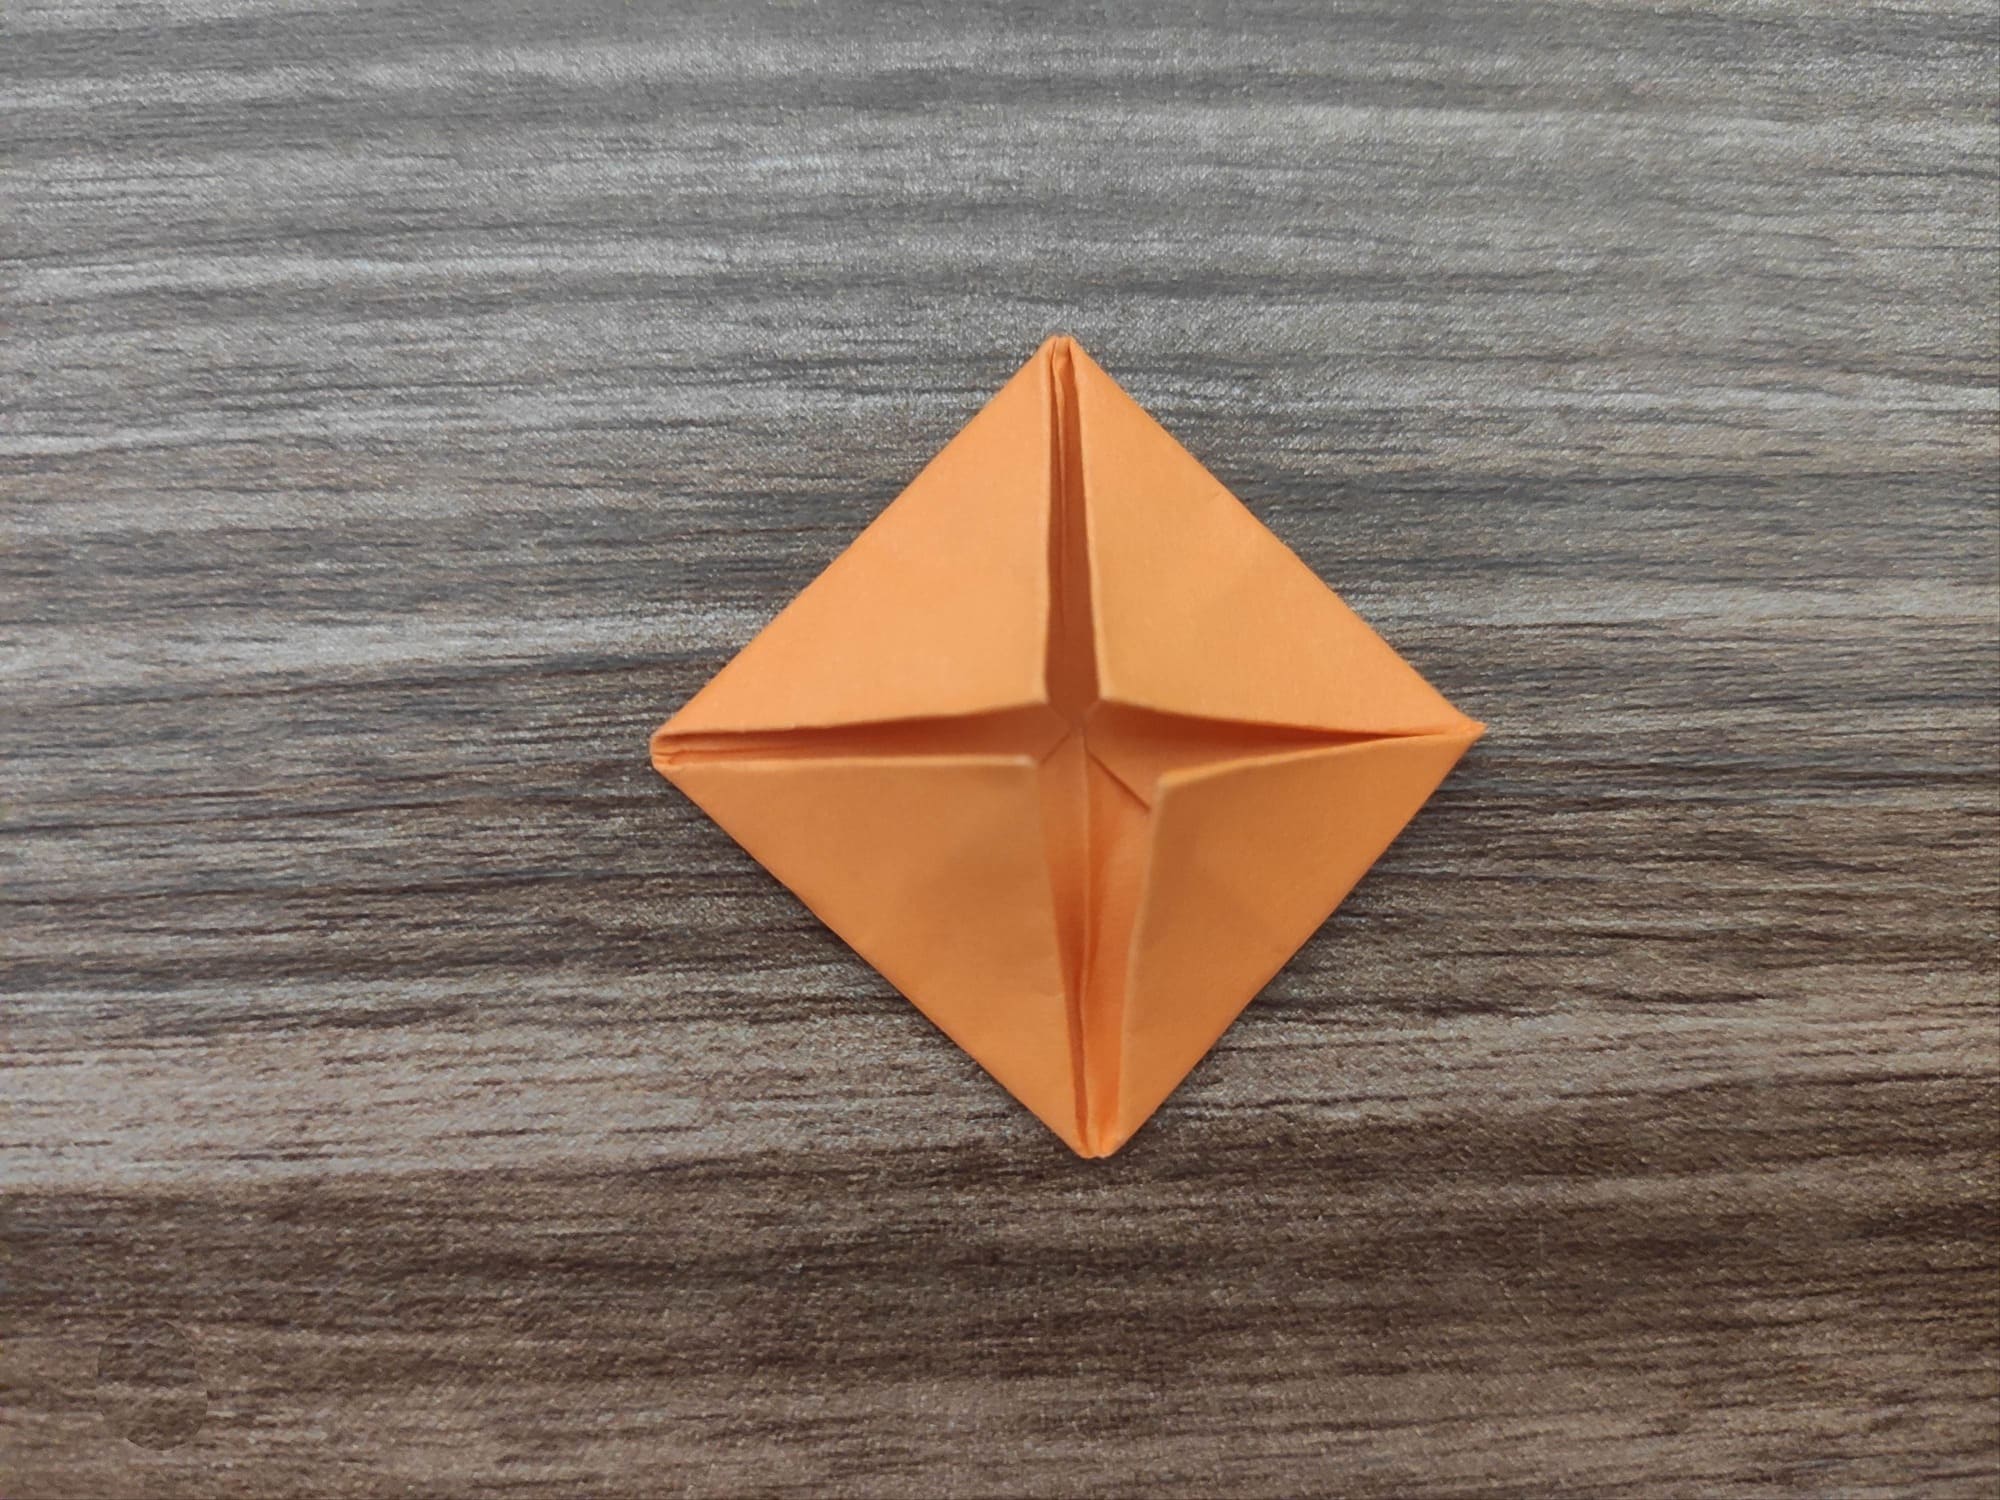
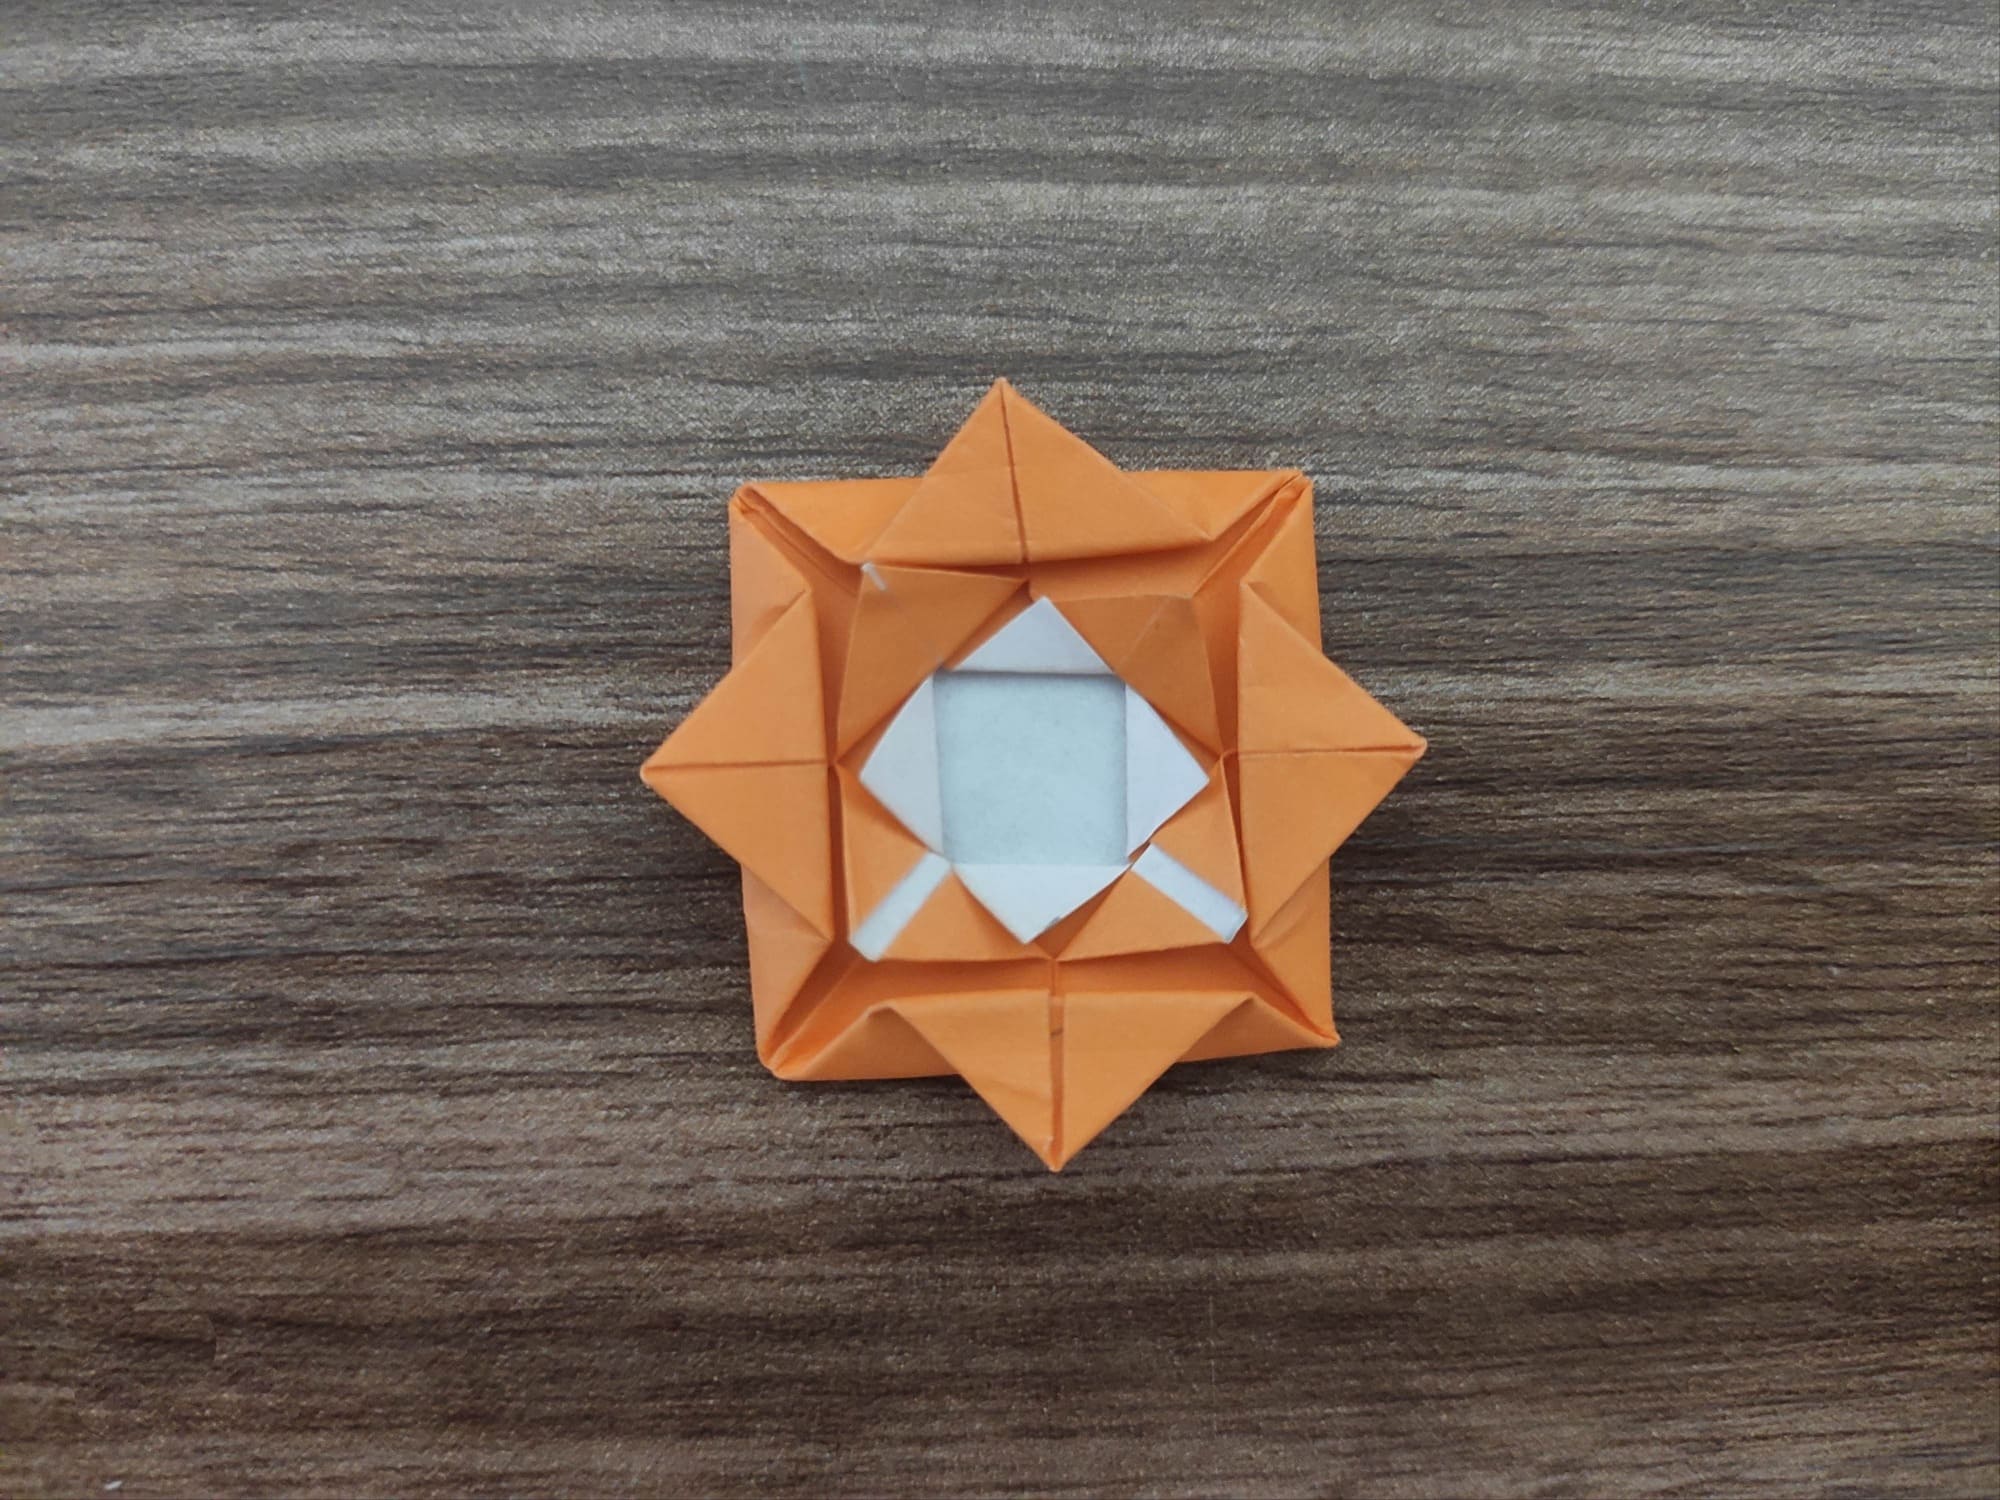
Bend all four corners of the square to the center again.
Repeat this action for the third time. This is how you form the rosebud.
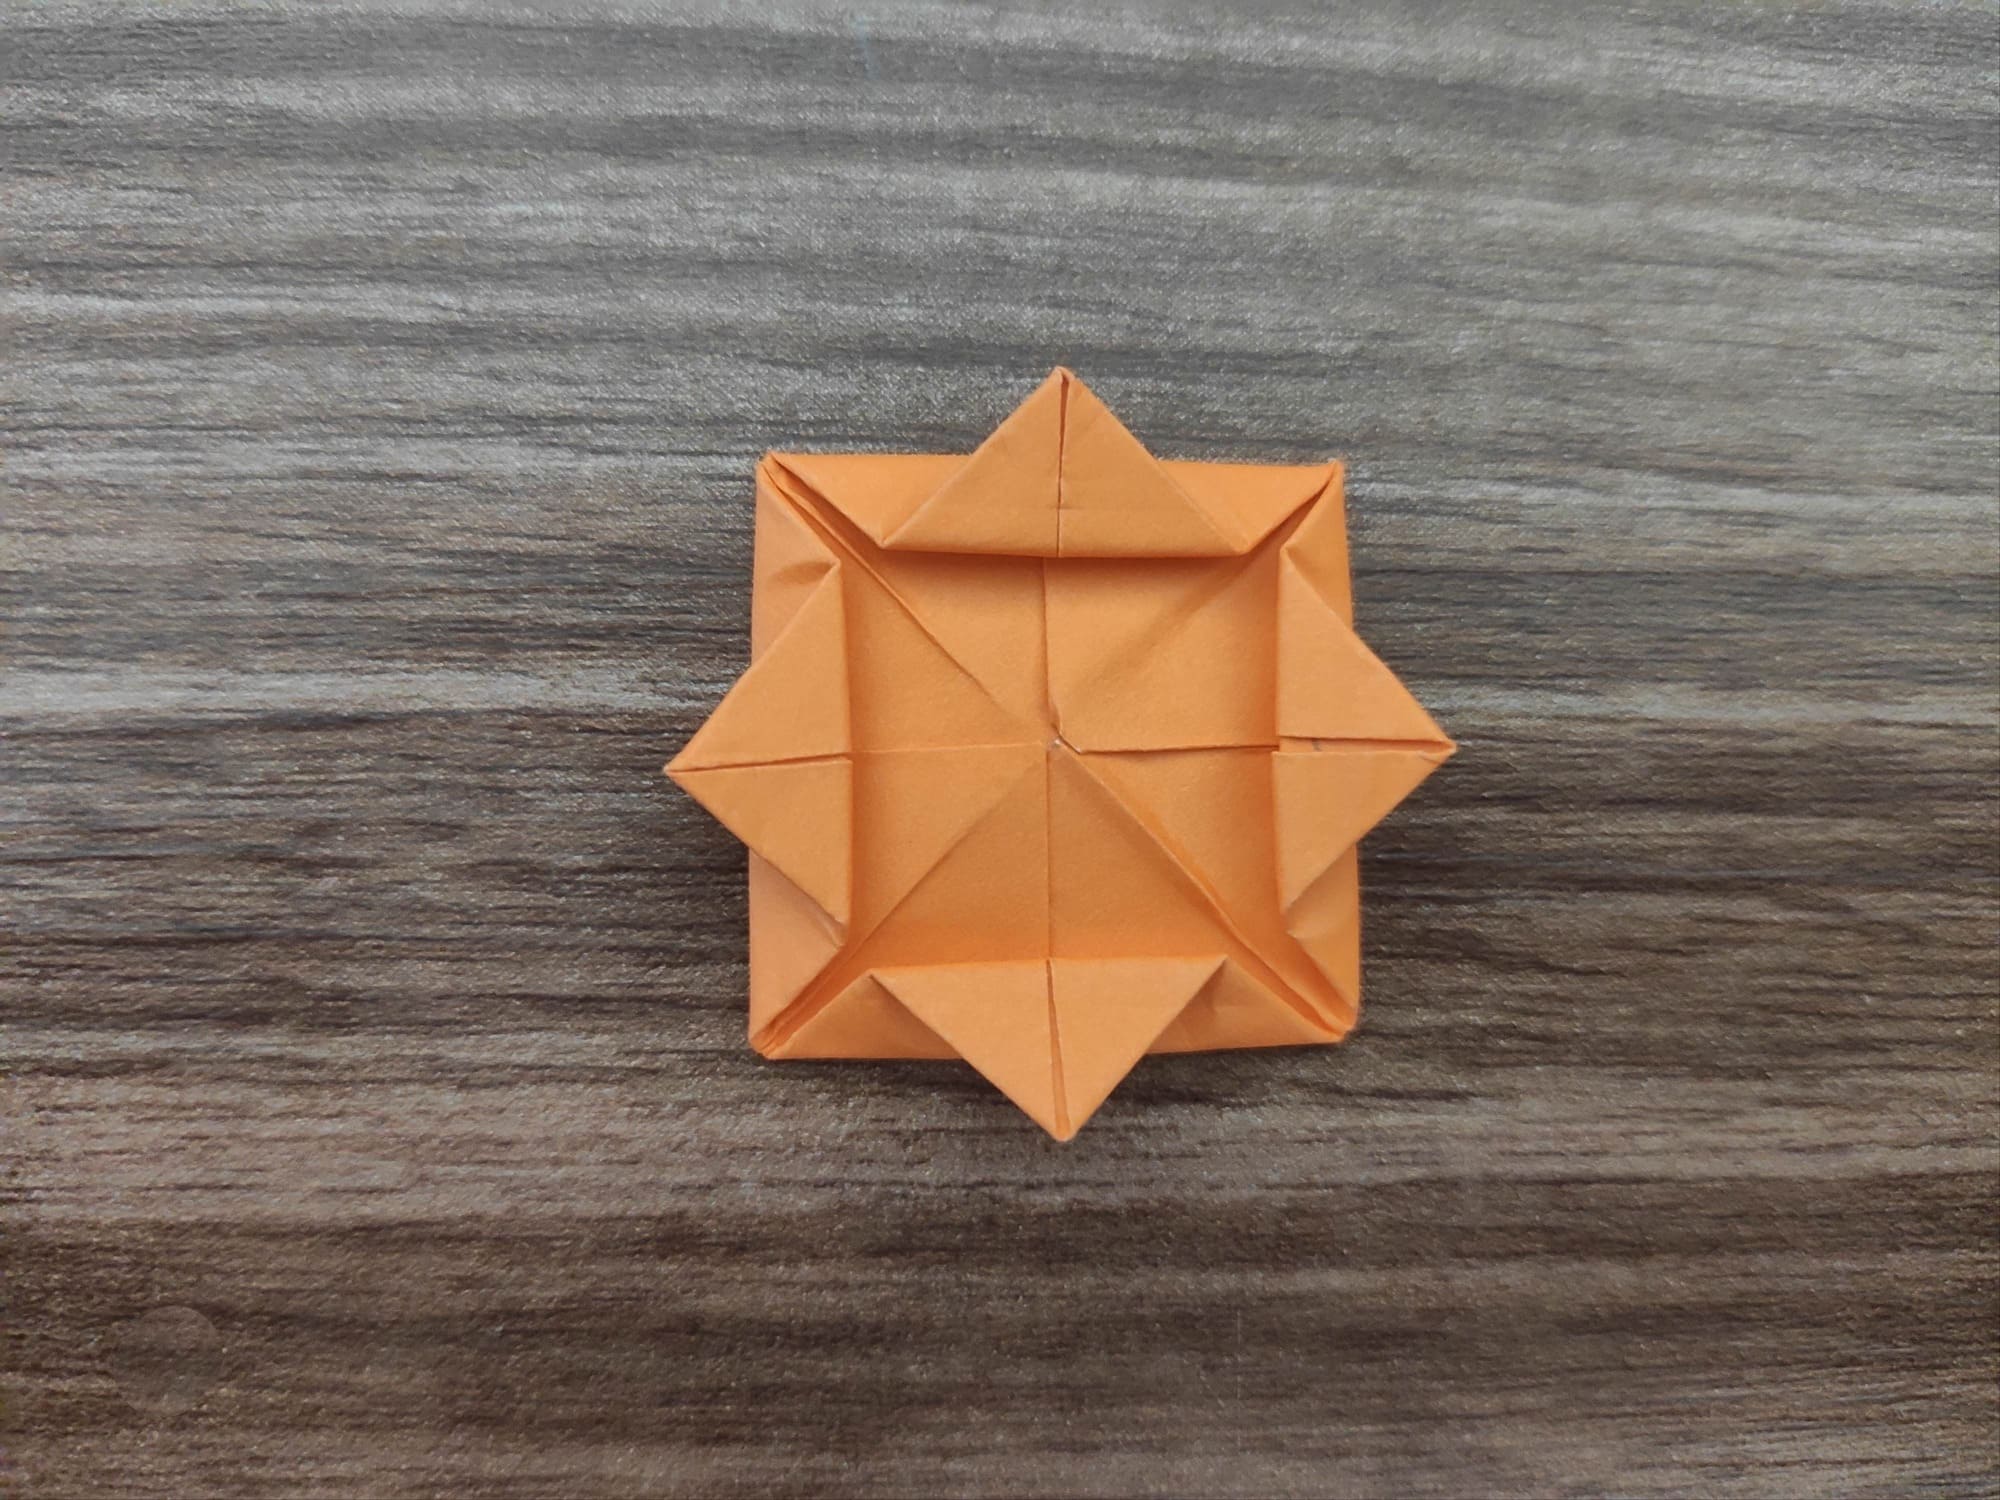
Now bend the outer petals outwards about 1 cm from the edge of the bud.
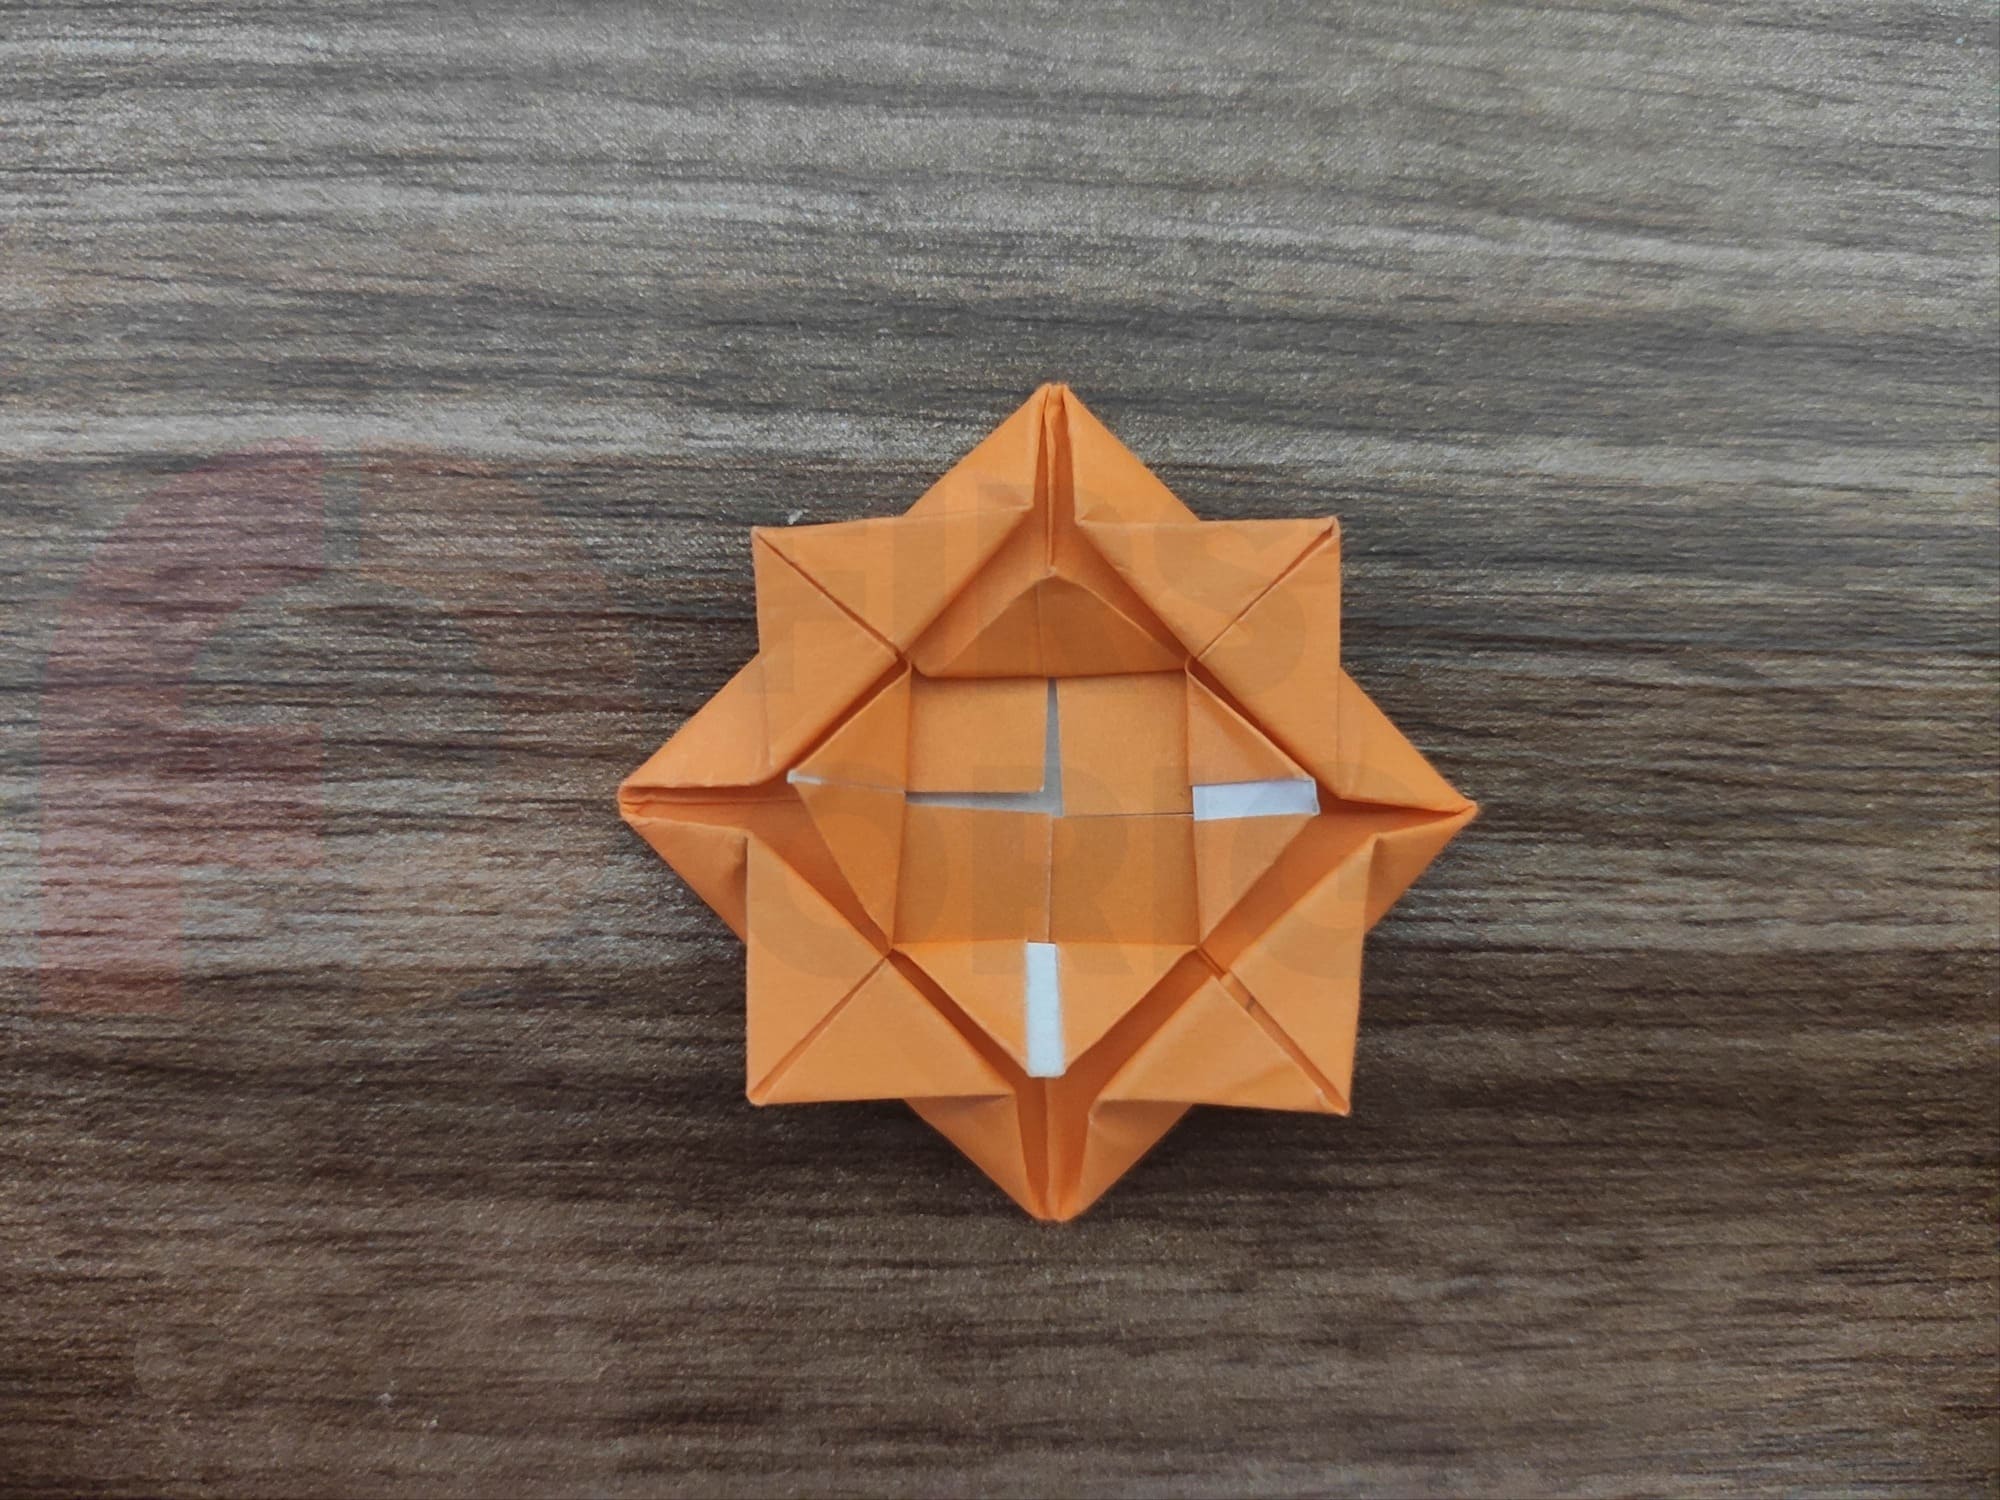
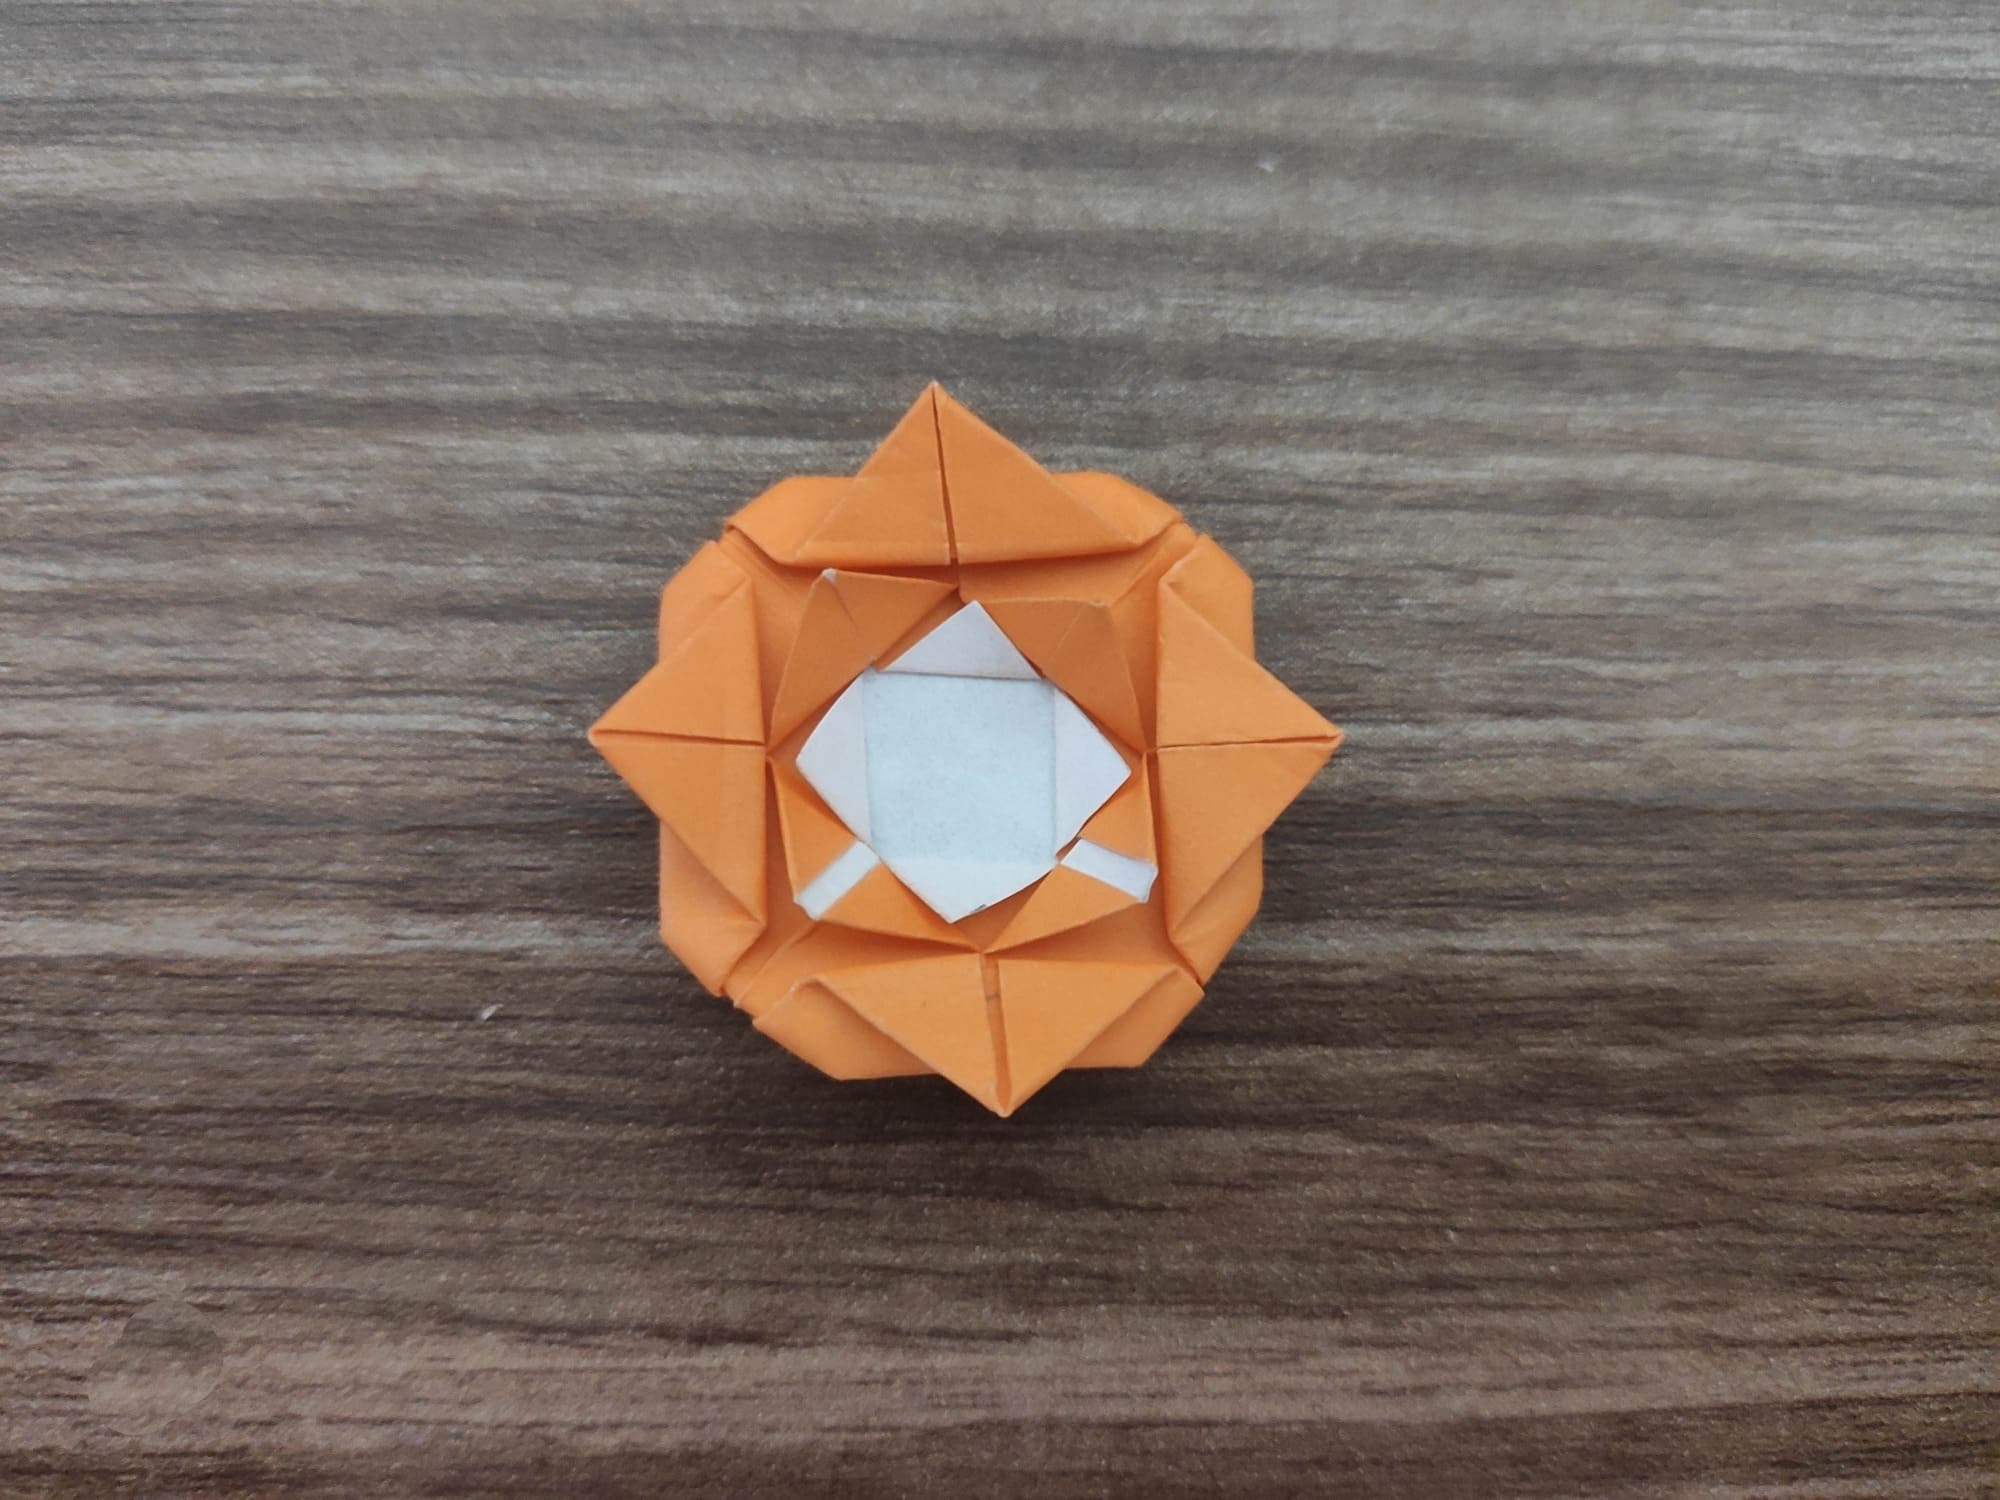
Fold out the next layer of petals, a little closer to the center of the bud.
Repeat this step for a third time. You can see that the rosebud has opened!
Now tuck the corners of the lower petals a little, giving the bud a more realistic look.
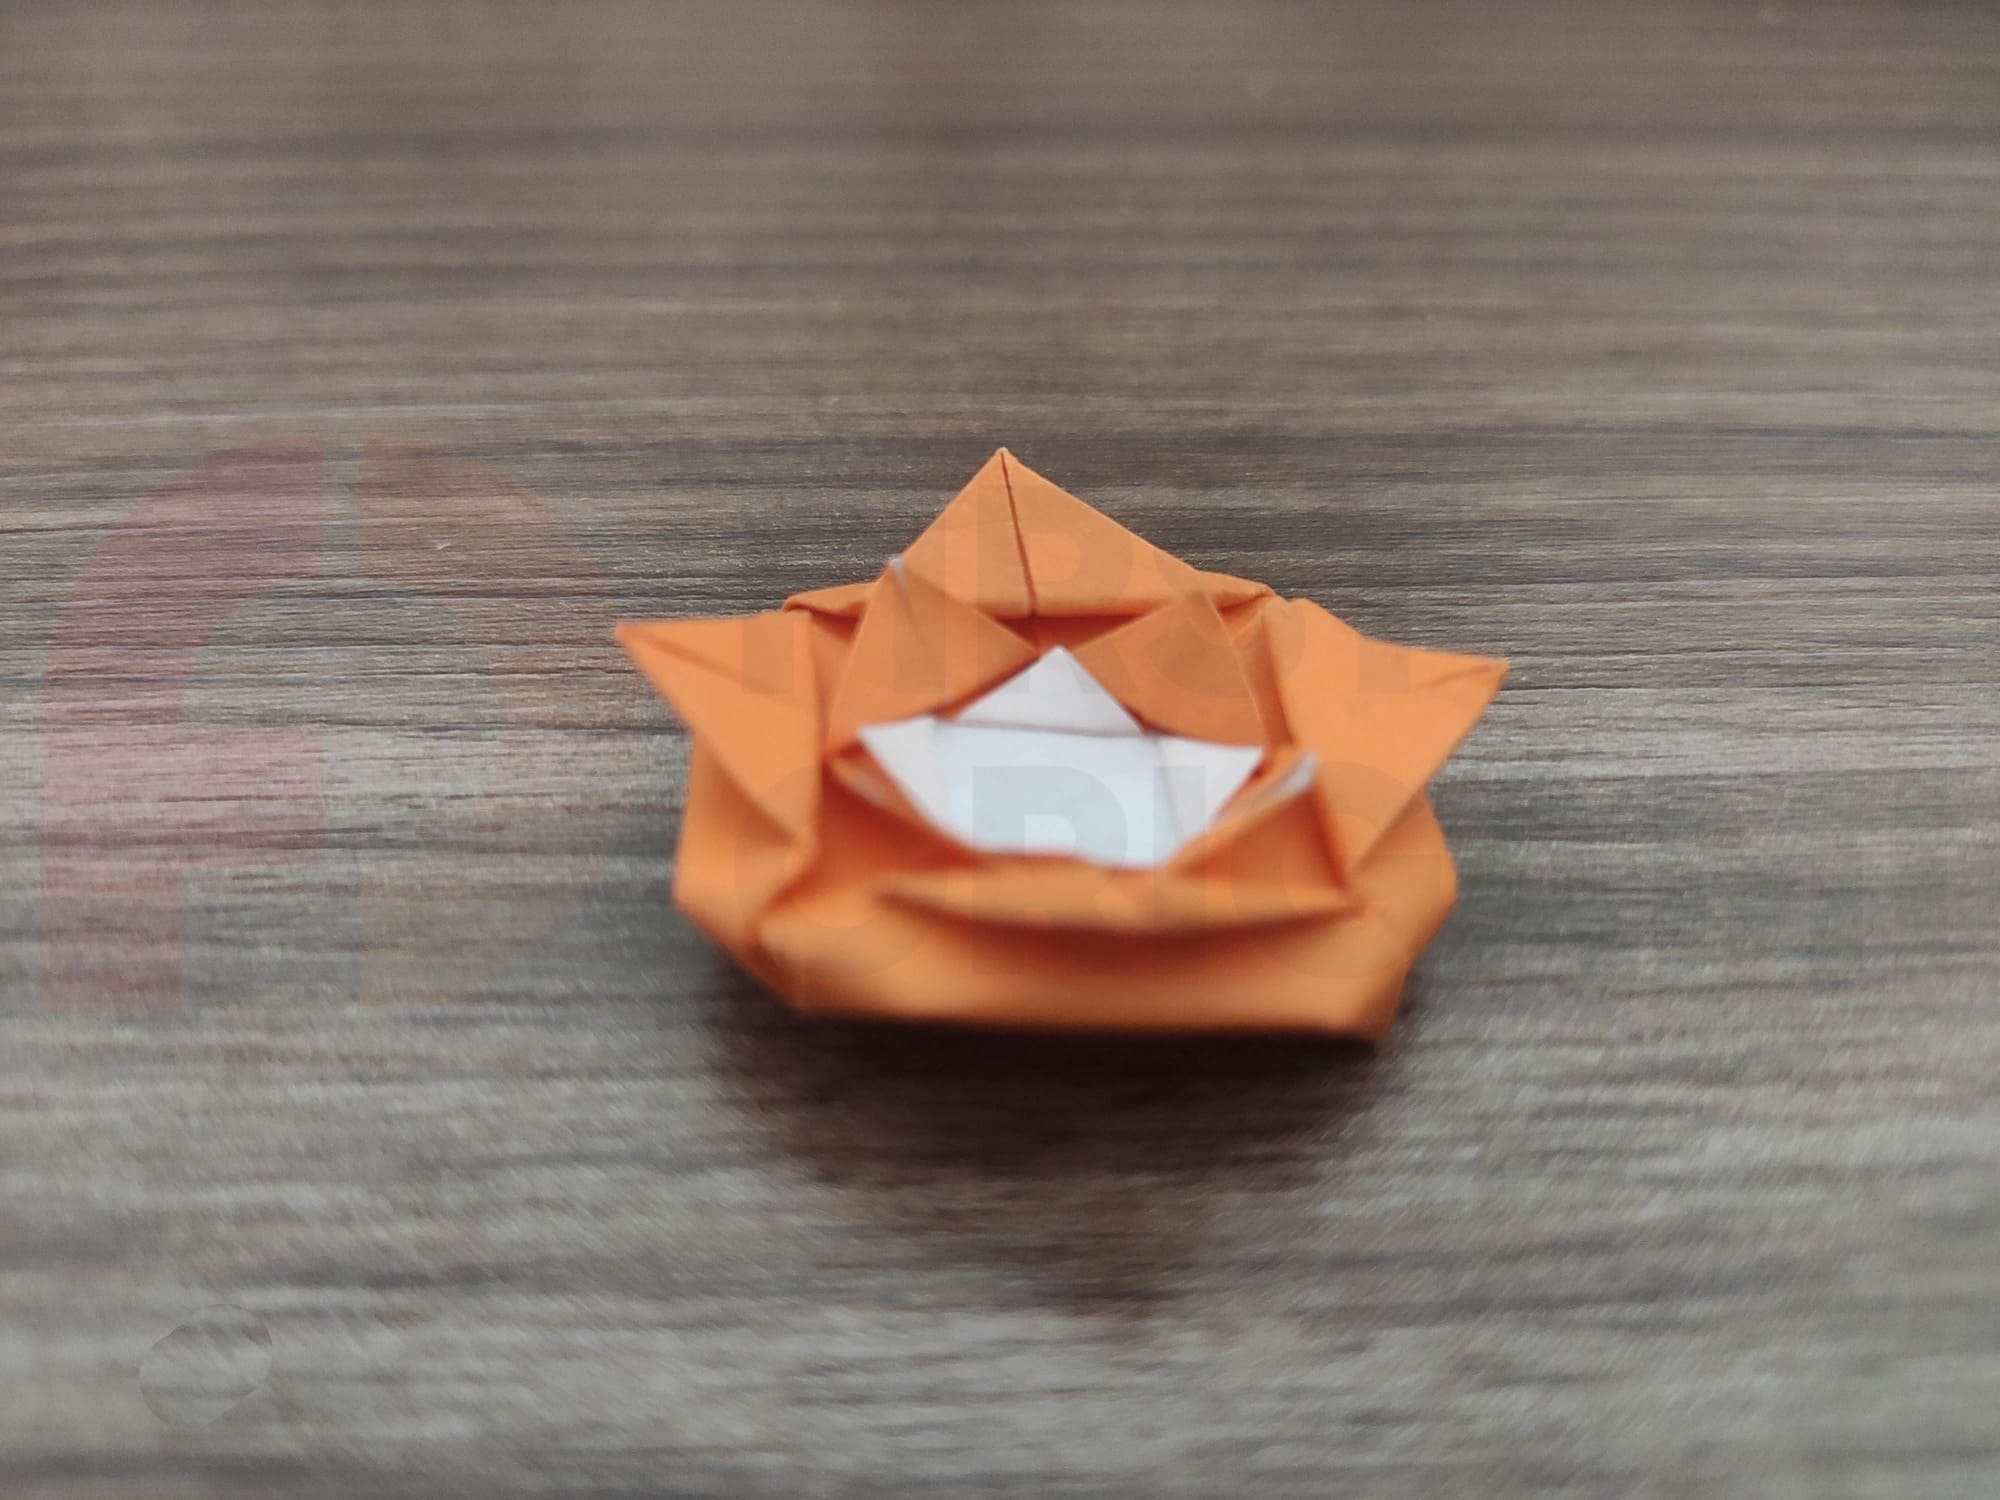
Done! Now it’s time to make the leaves.
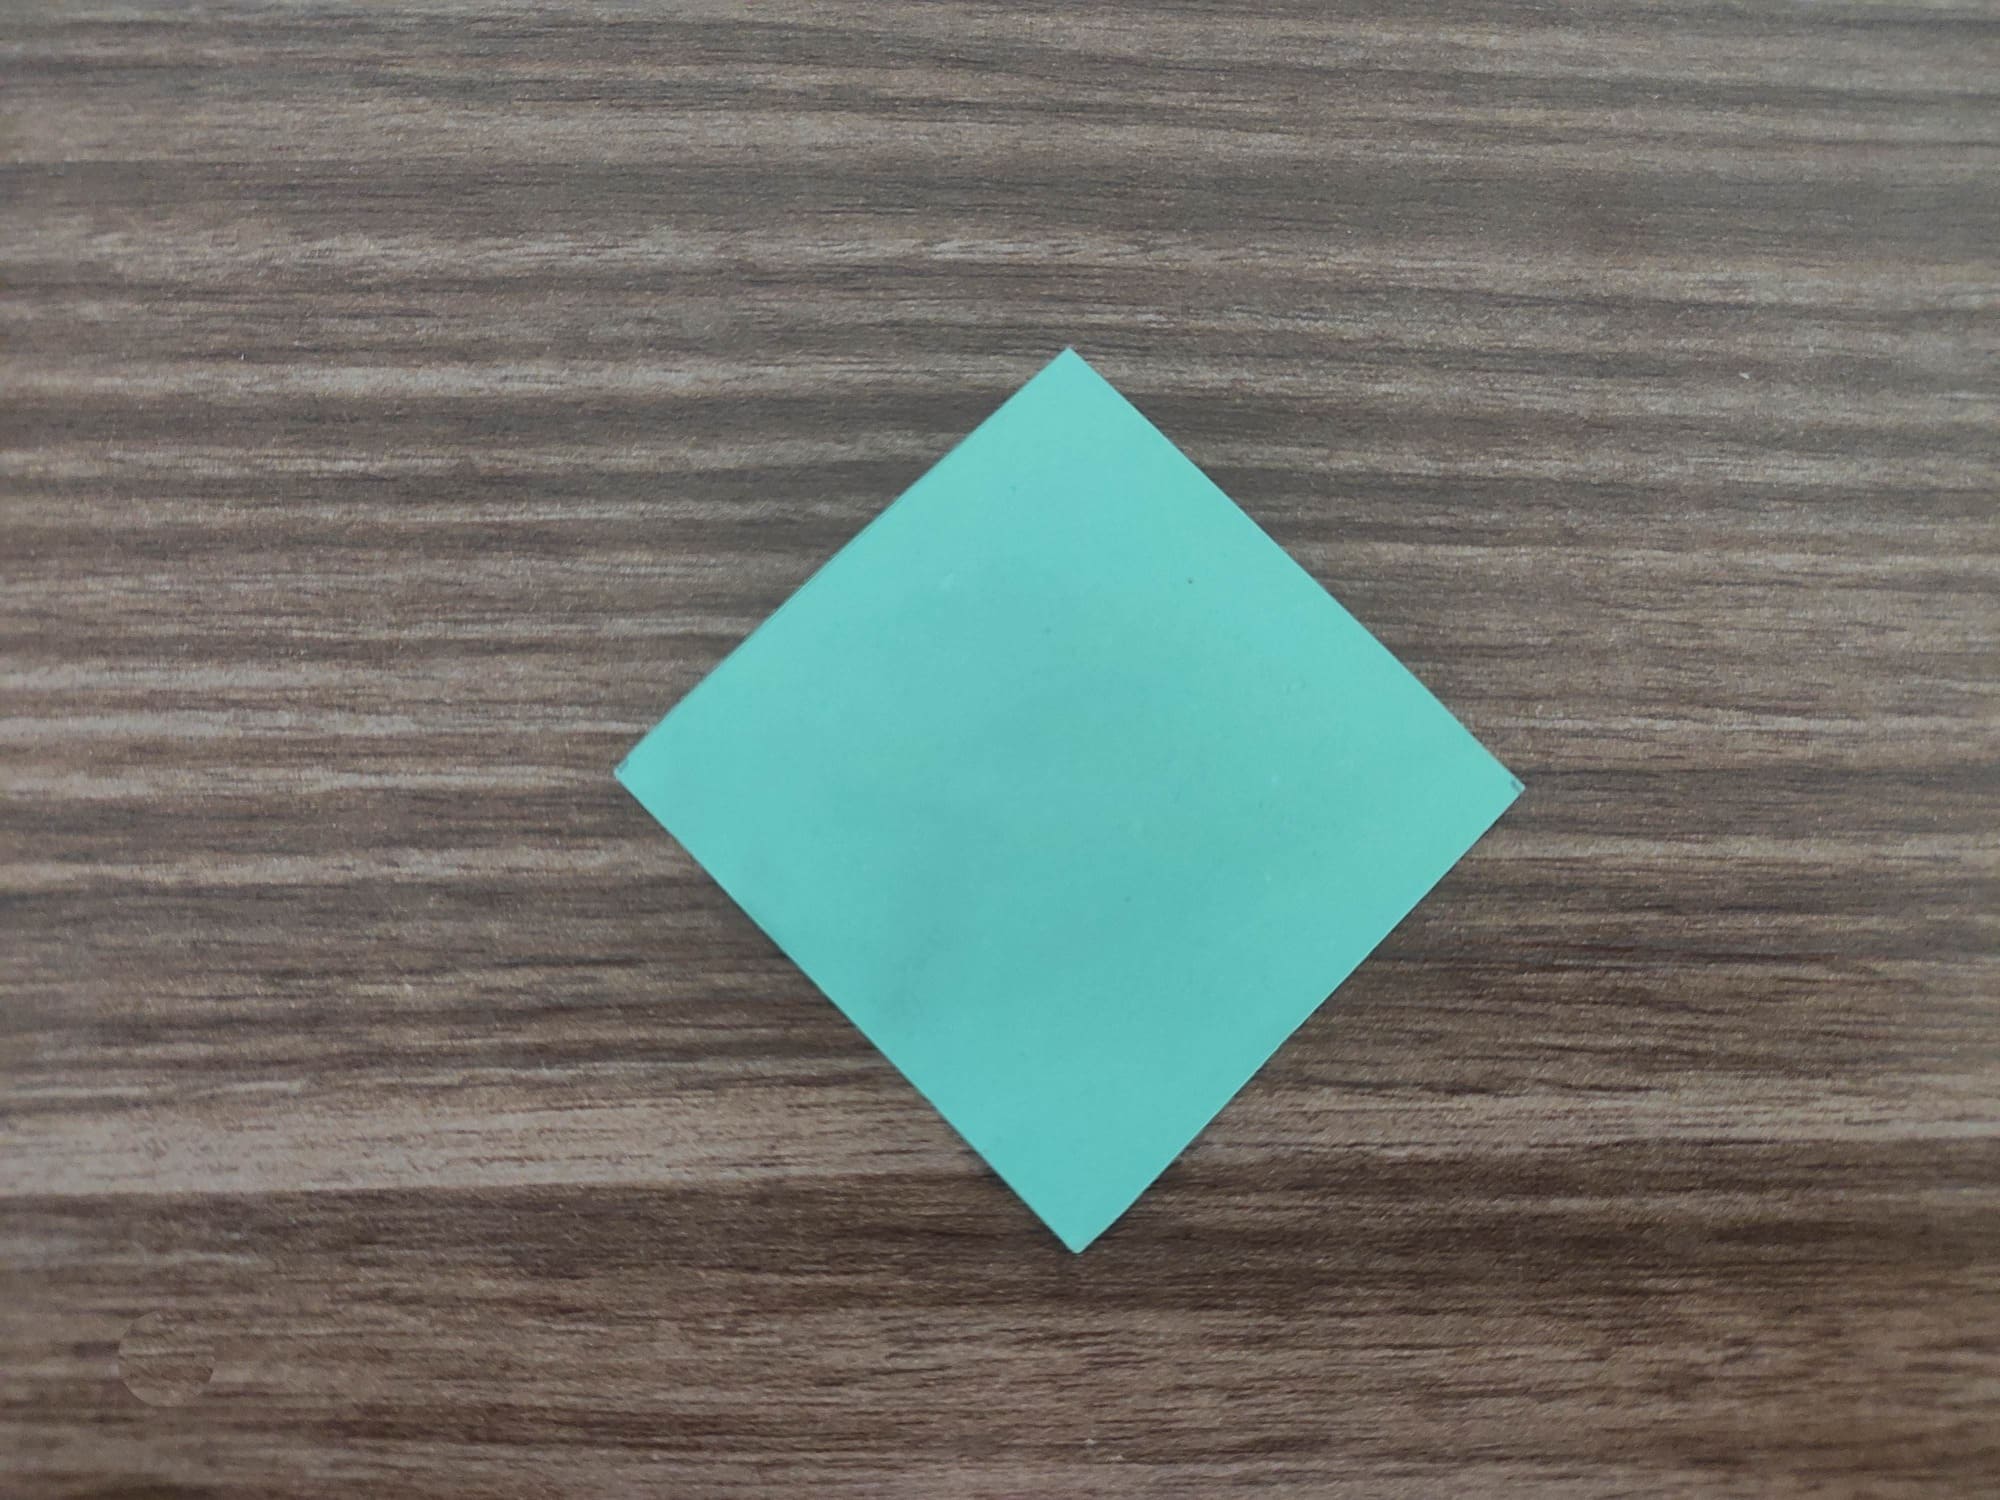
Now take the green colored paper. If it is two sides, put it green side down.
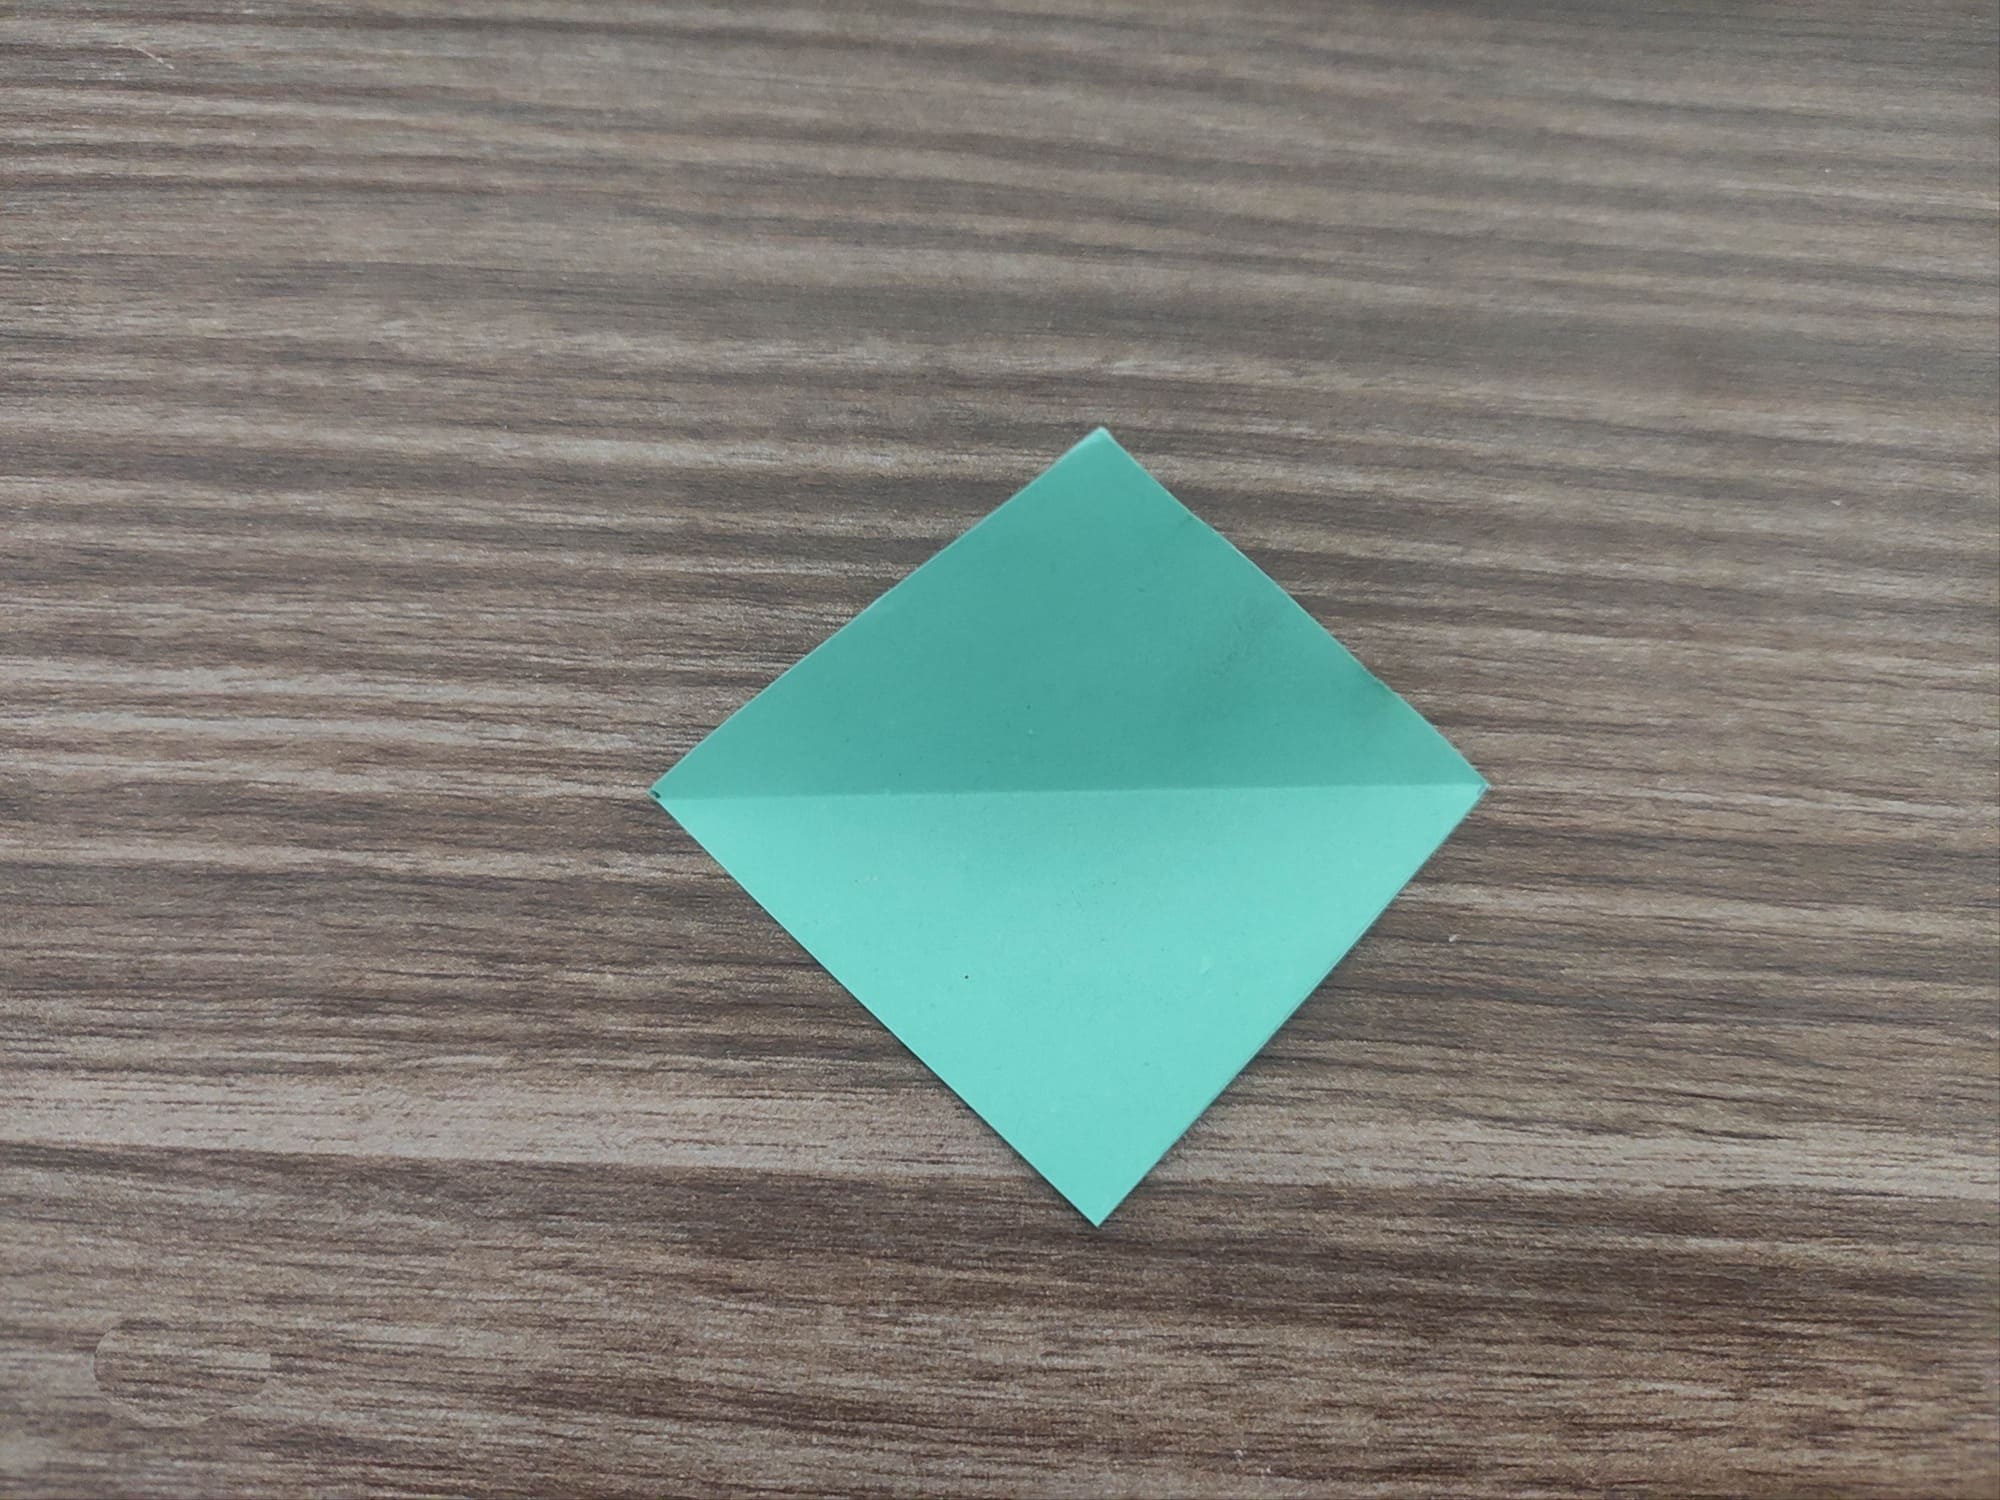
Fold the square diagonally and then unfold it.
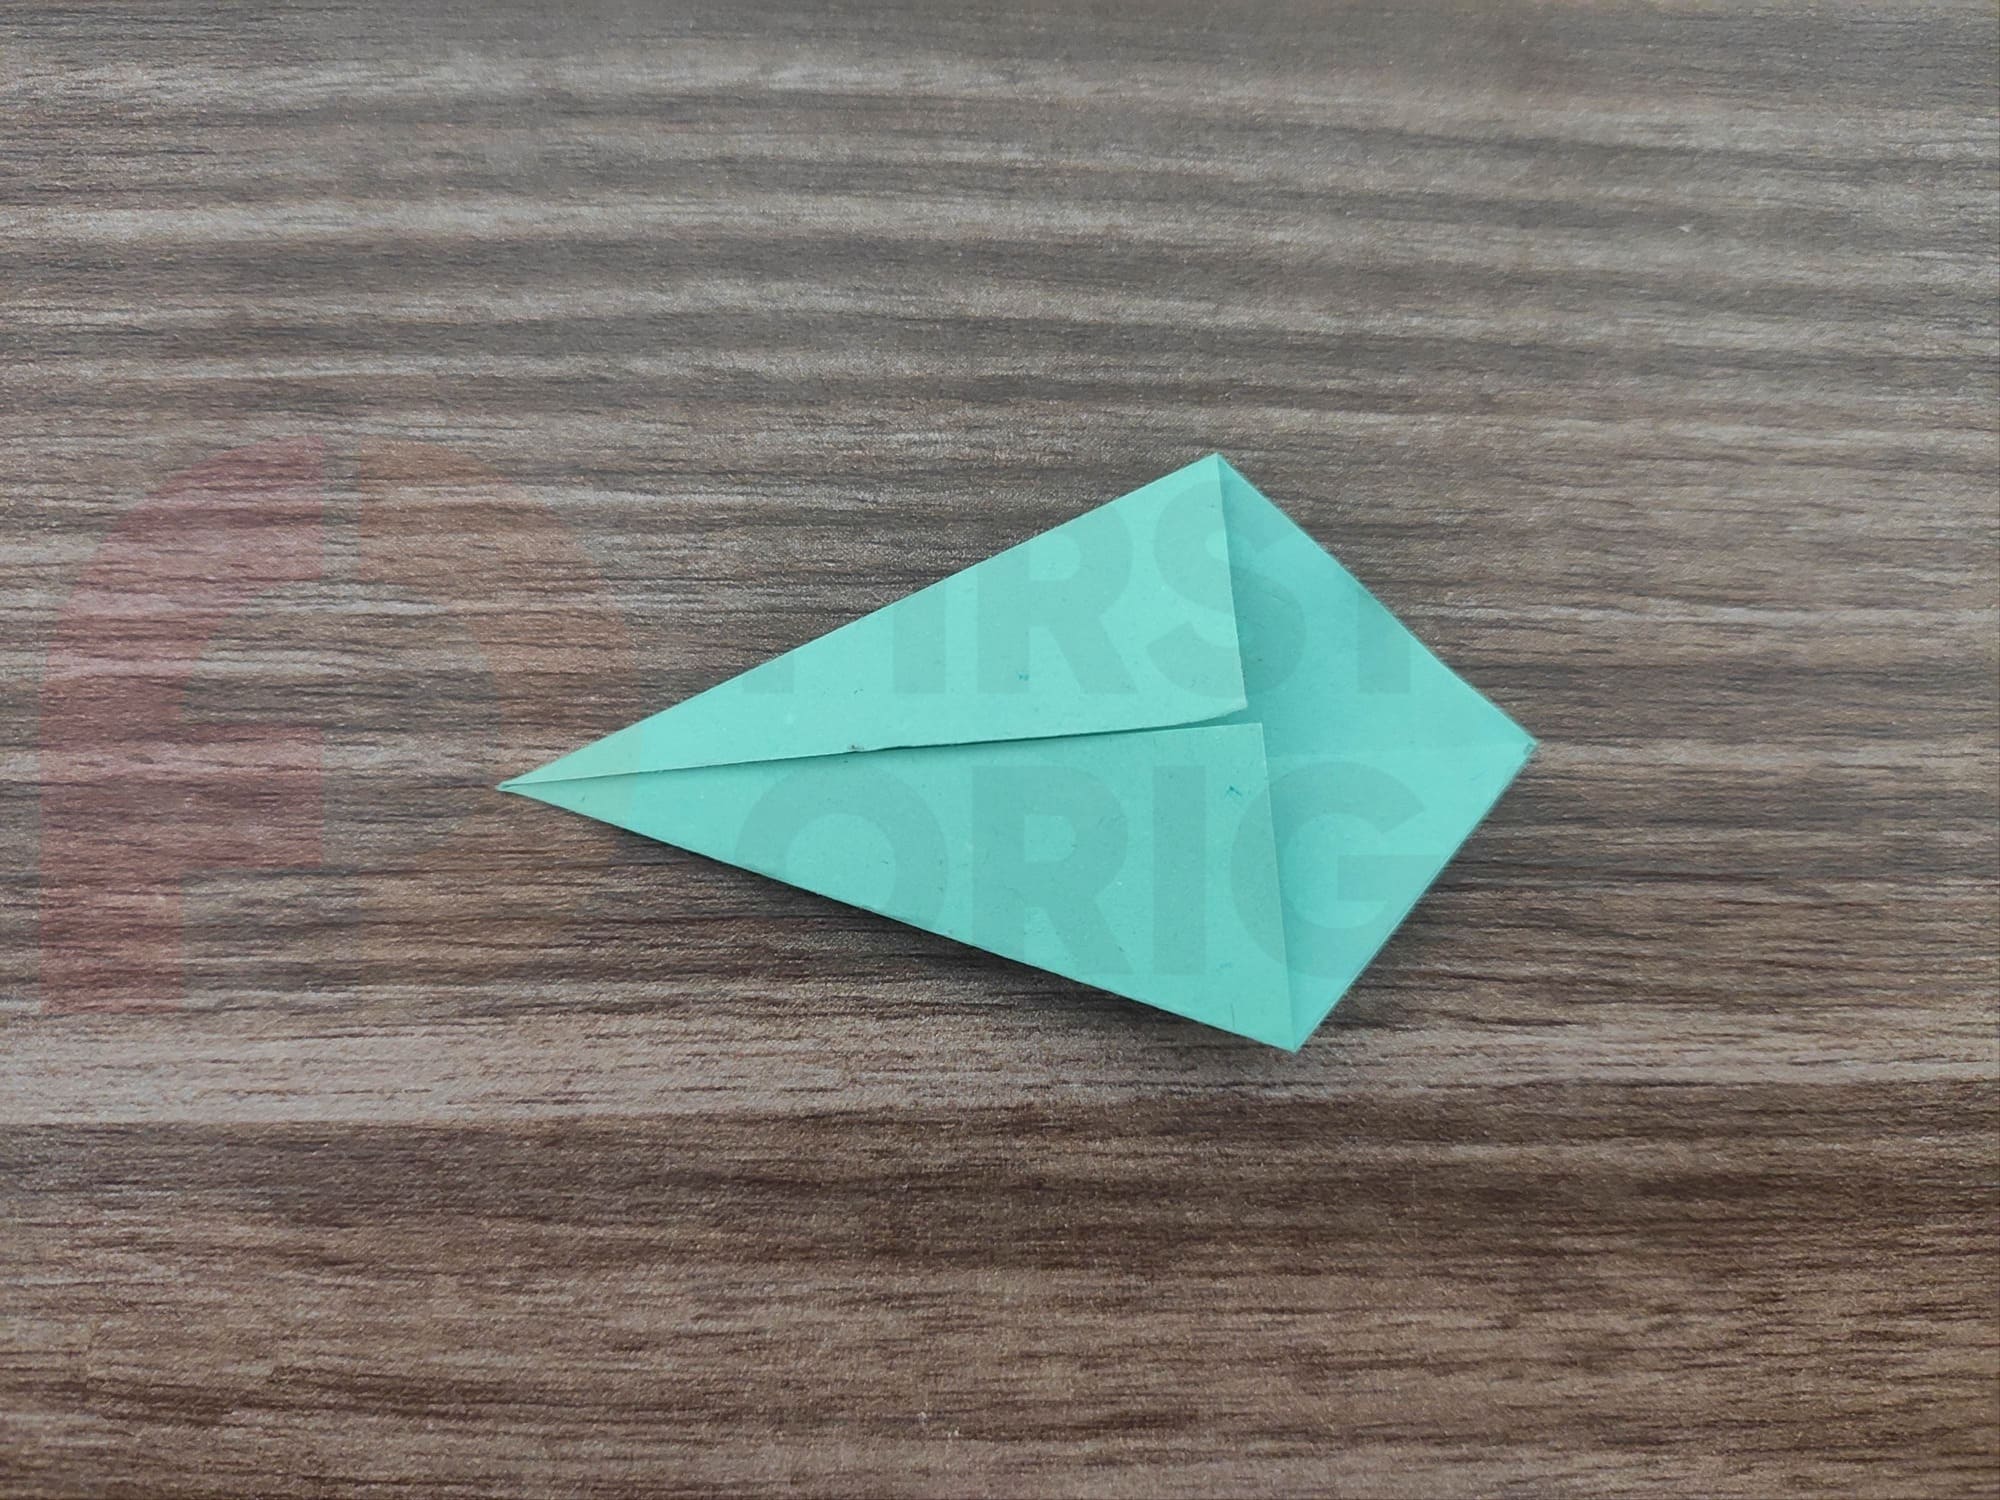
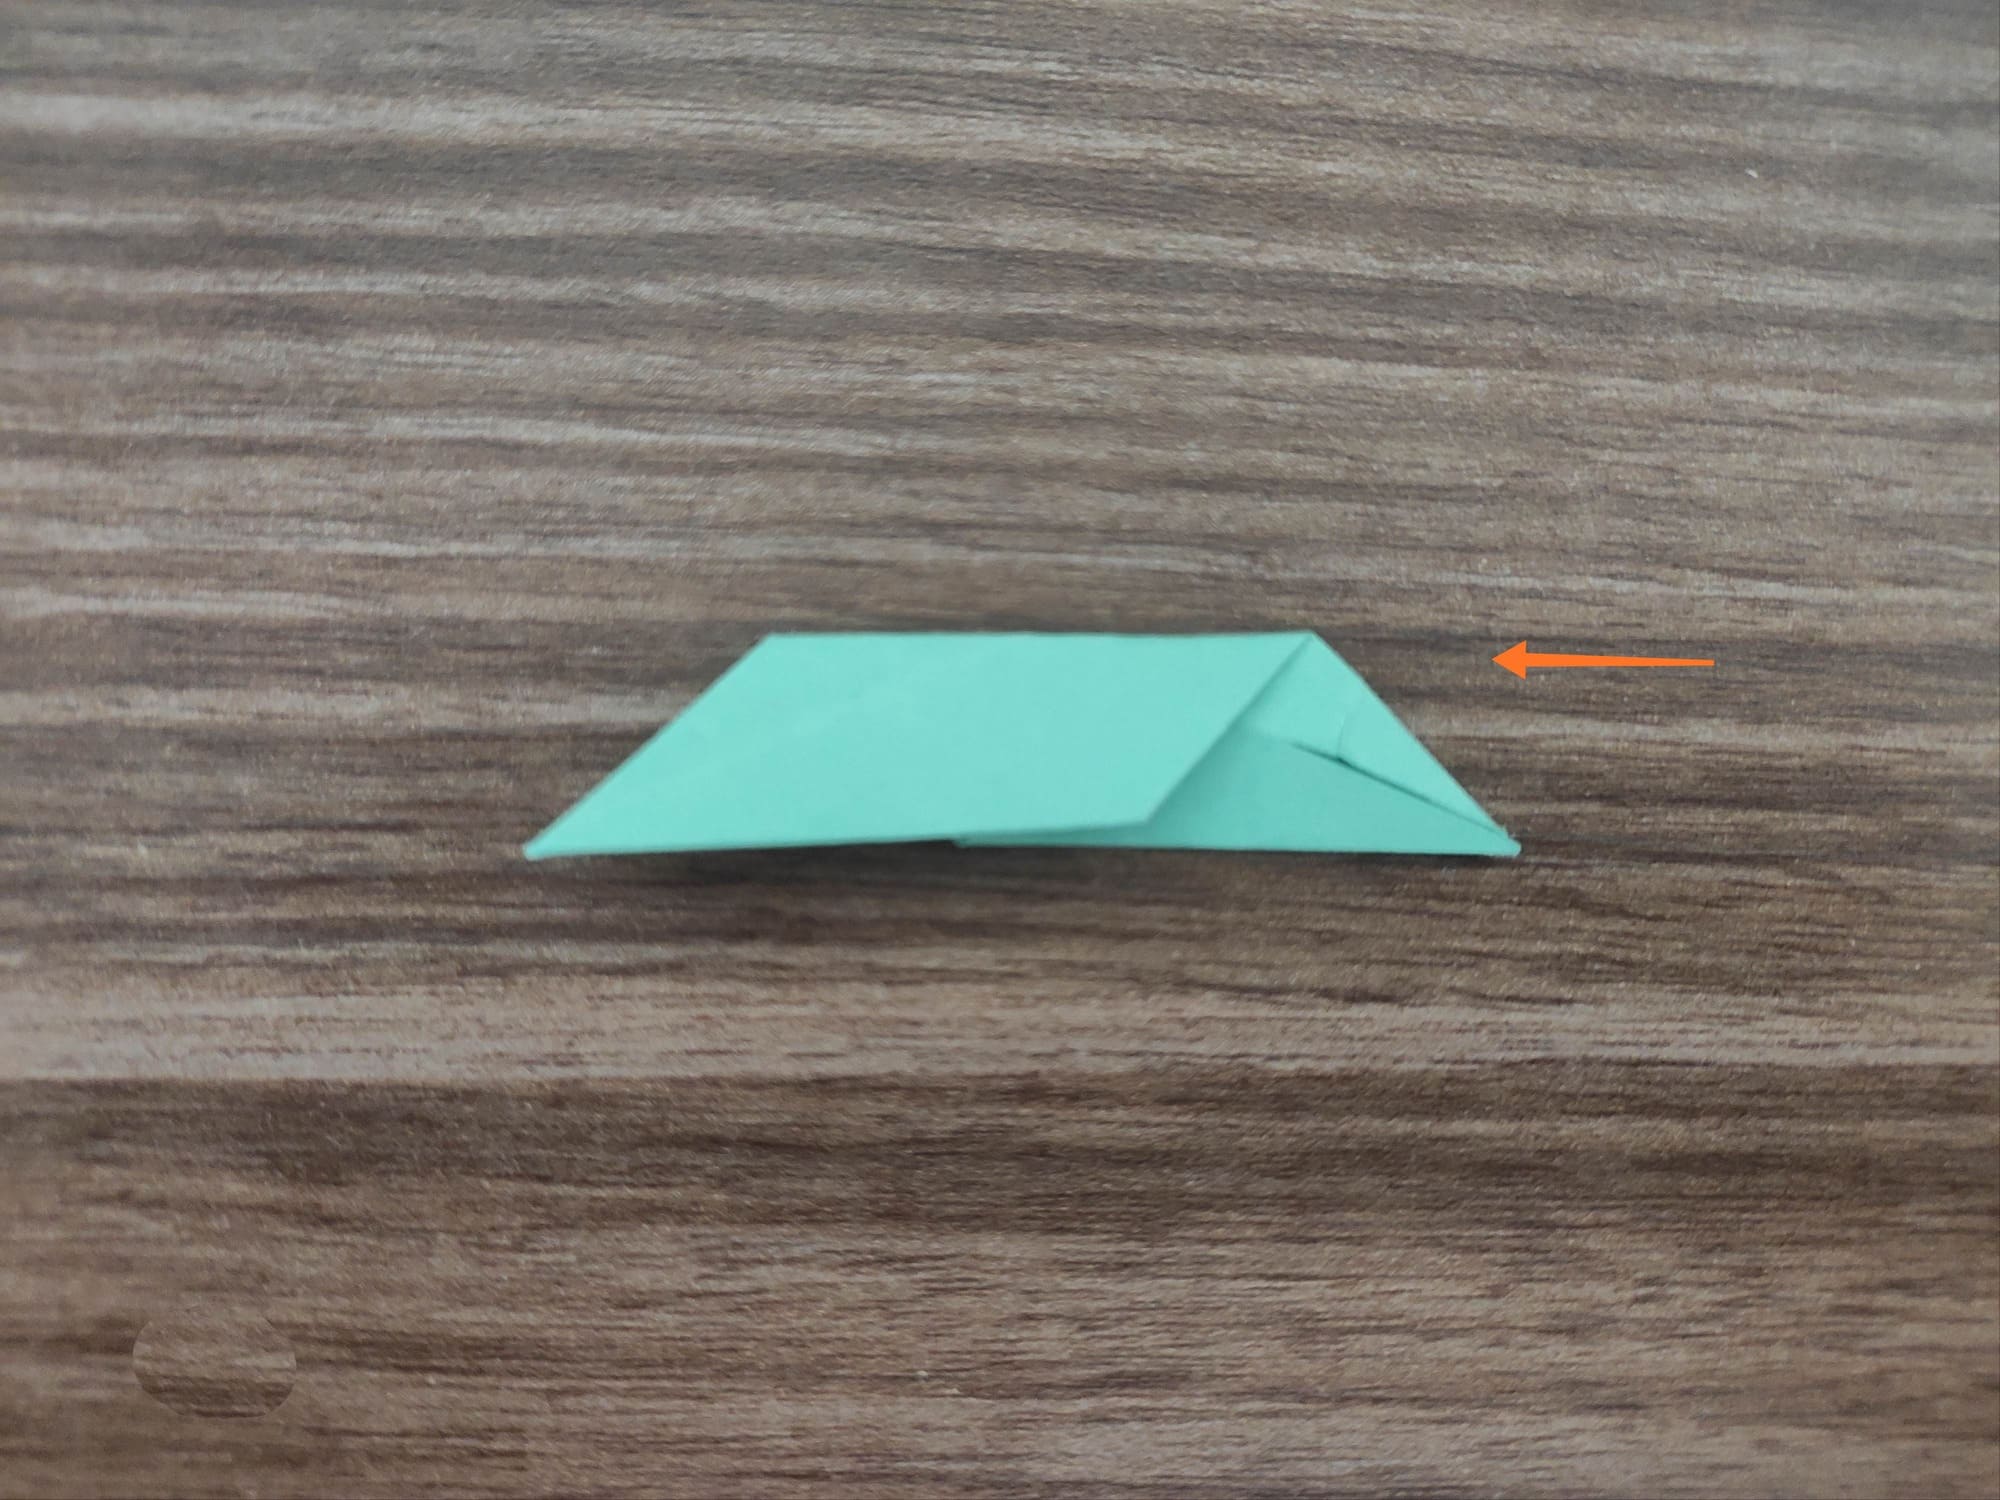
Make two folds from the left side to the center fold line.
Make two folds on the right up to the center fold line, overlapping the paper on the left folds.
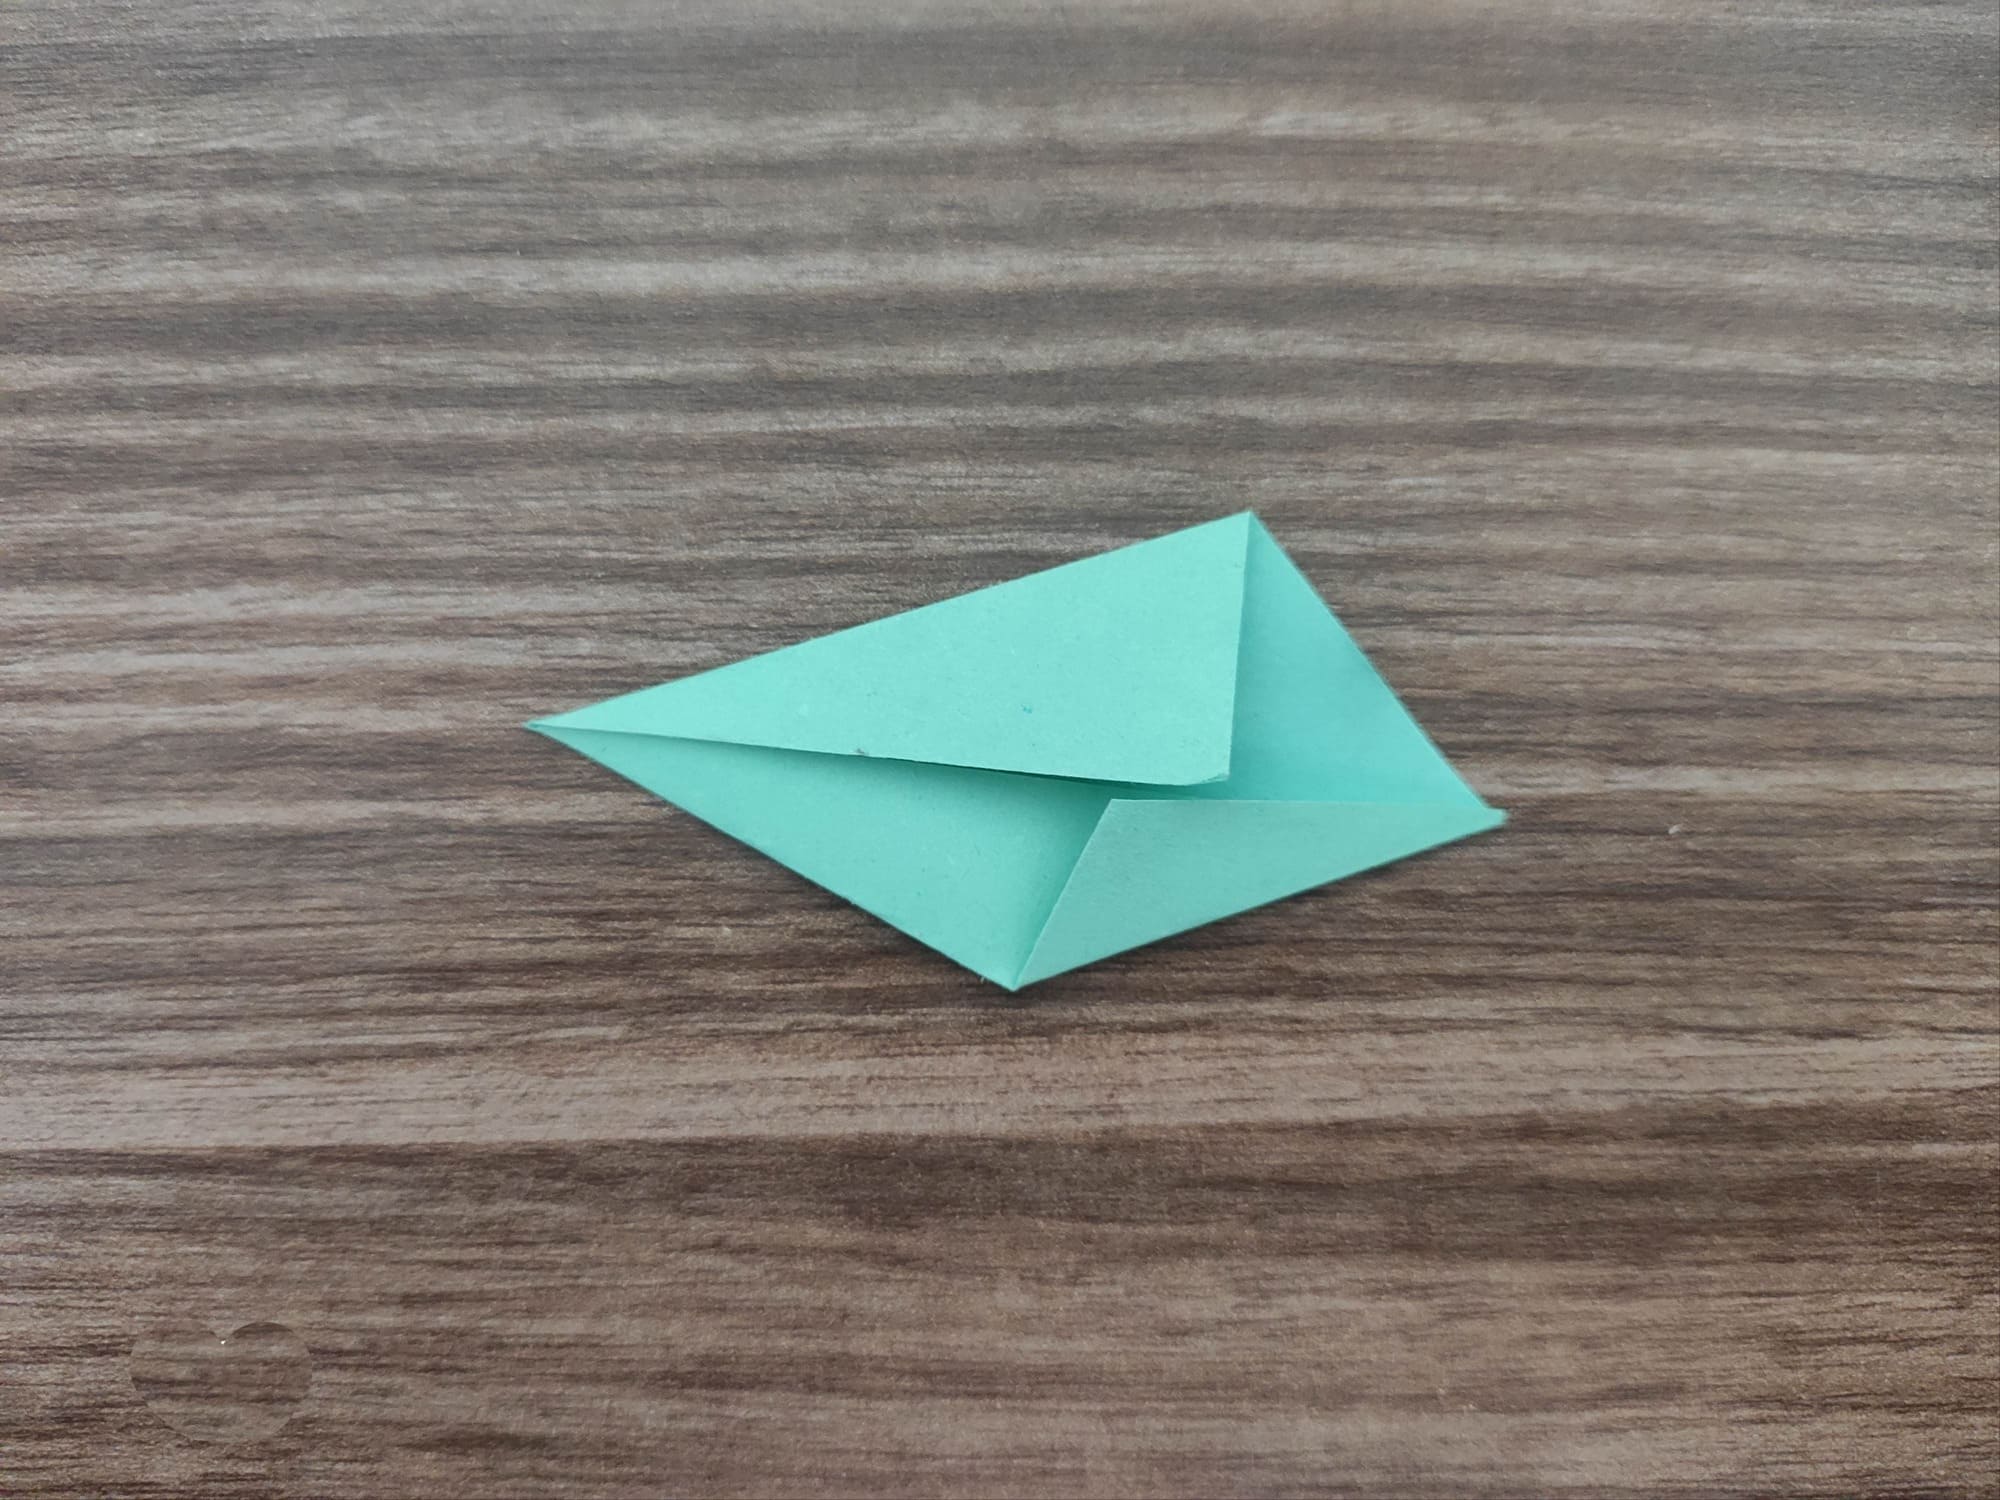
Fold the resulting diamond in half so that the opposite sides are joined.
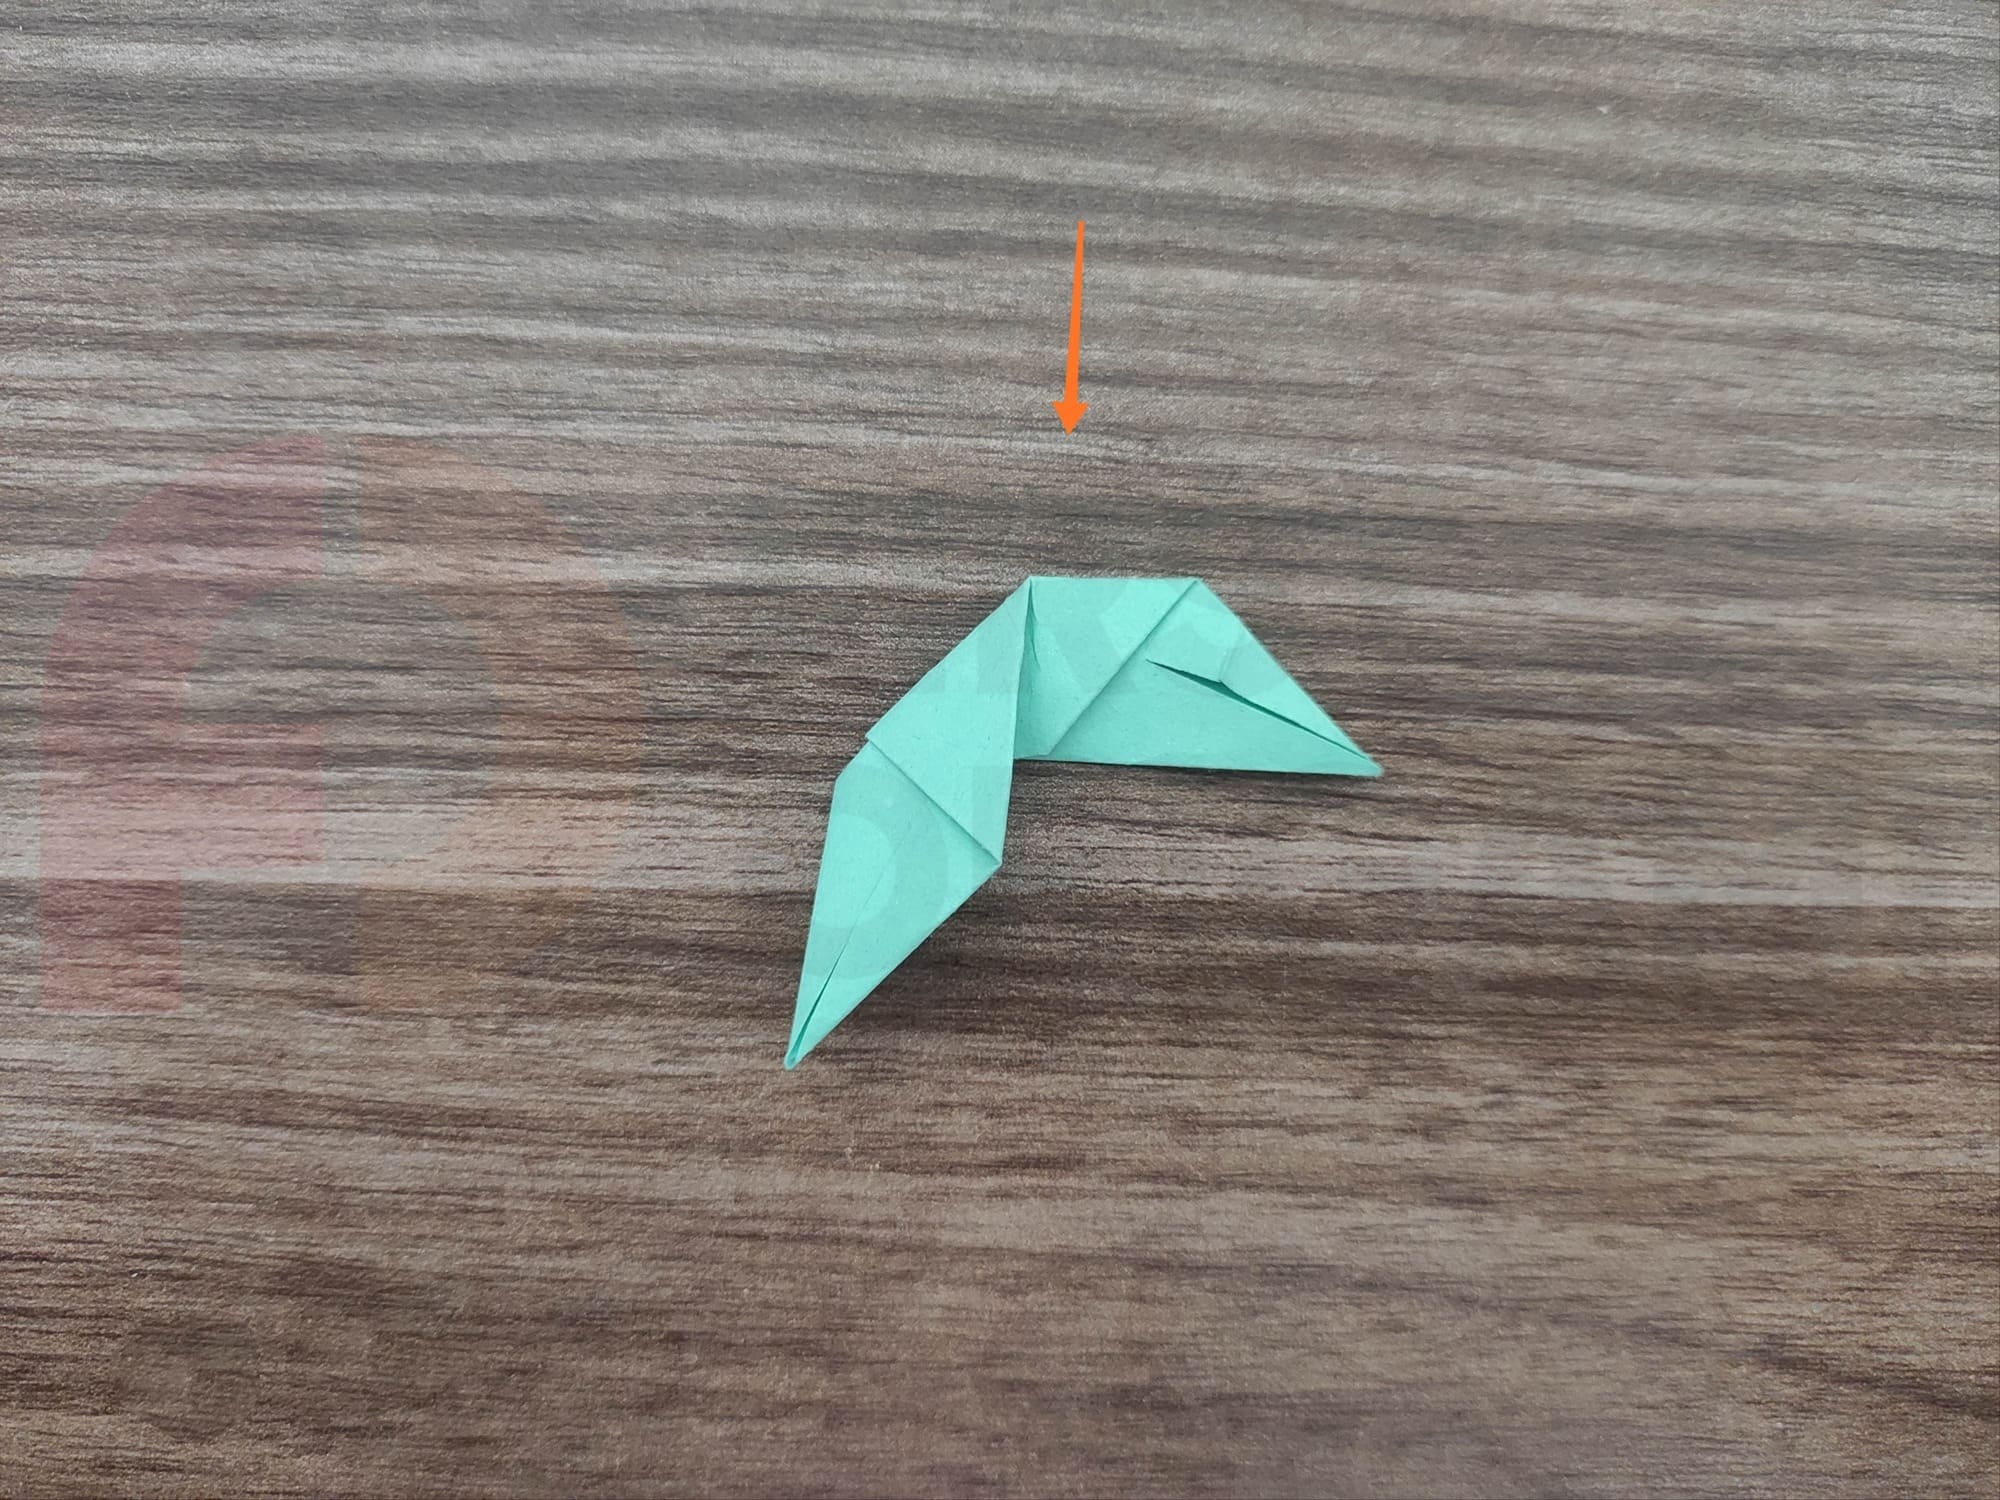
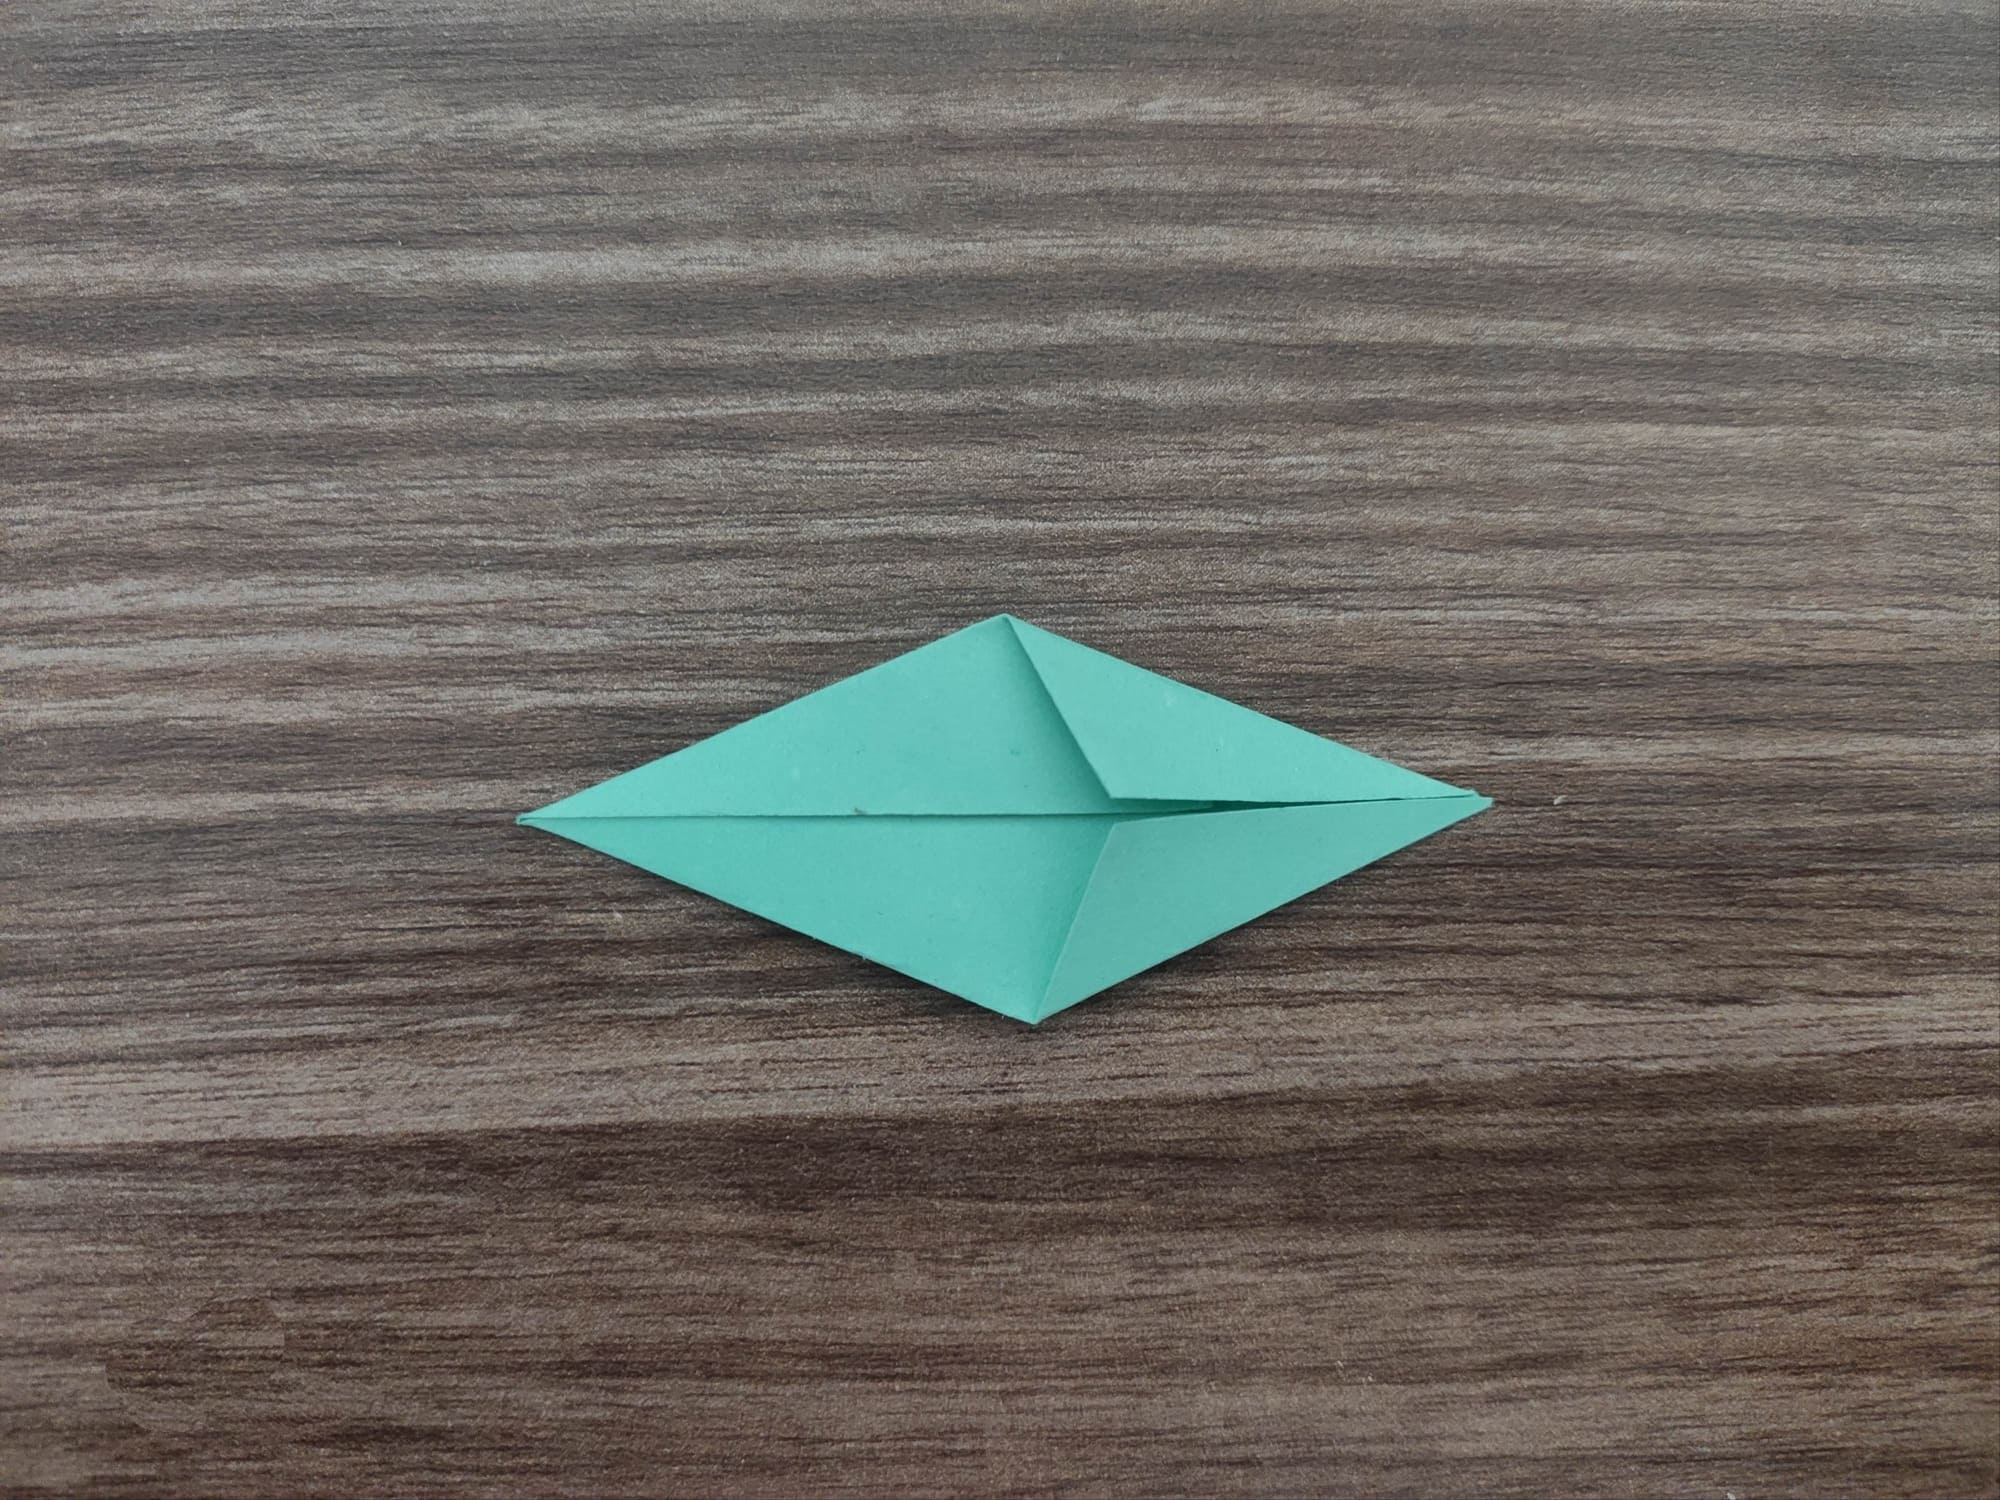
Fold the figure again as shown in the photo.
Connect the bud to the leaf.
Your royal flower is ready!