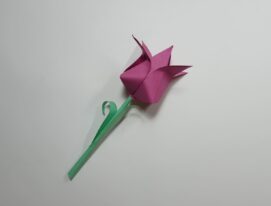
Origami Rosebud
A rosebud made with the origami technique looks very realistic. With the help of the instructions below you can make a small gift for your friends and loved ones. For this figure, you will only need 10-15 minutes.
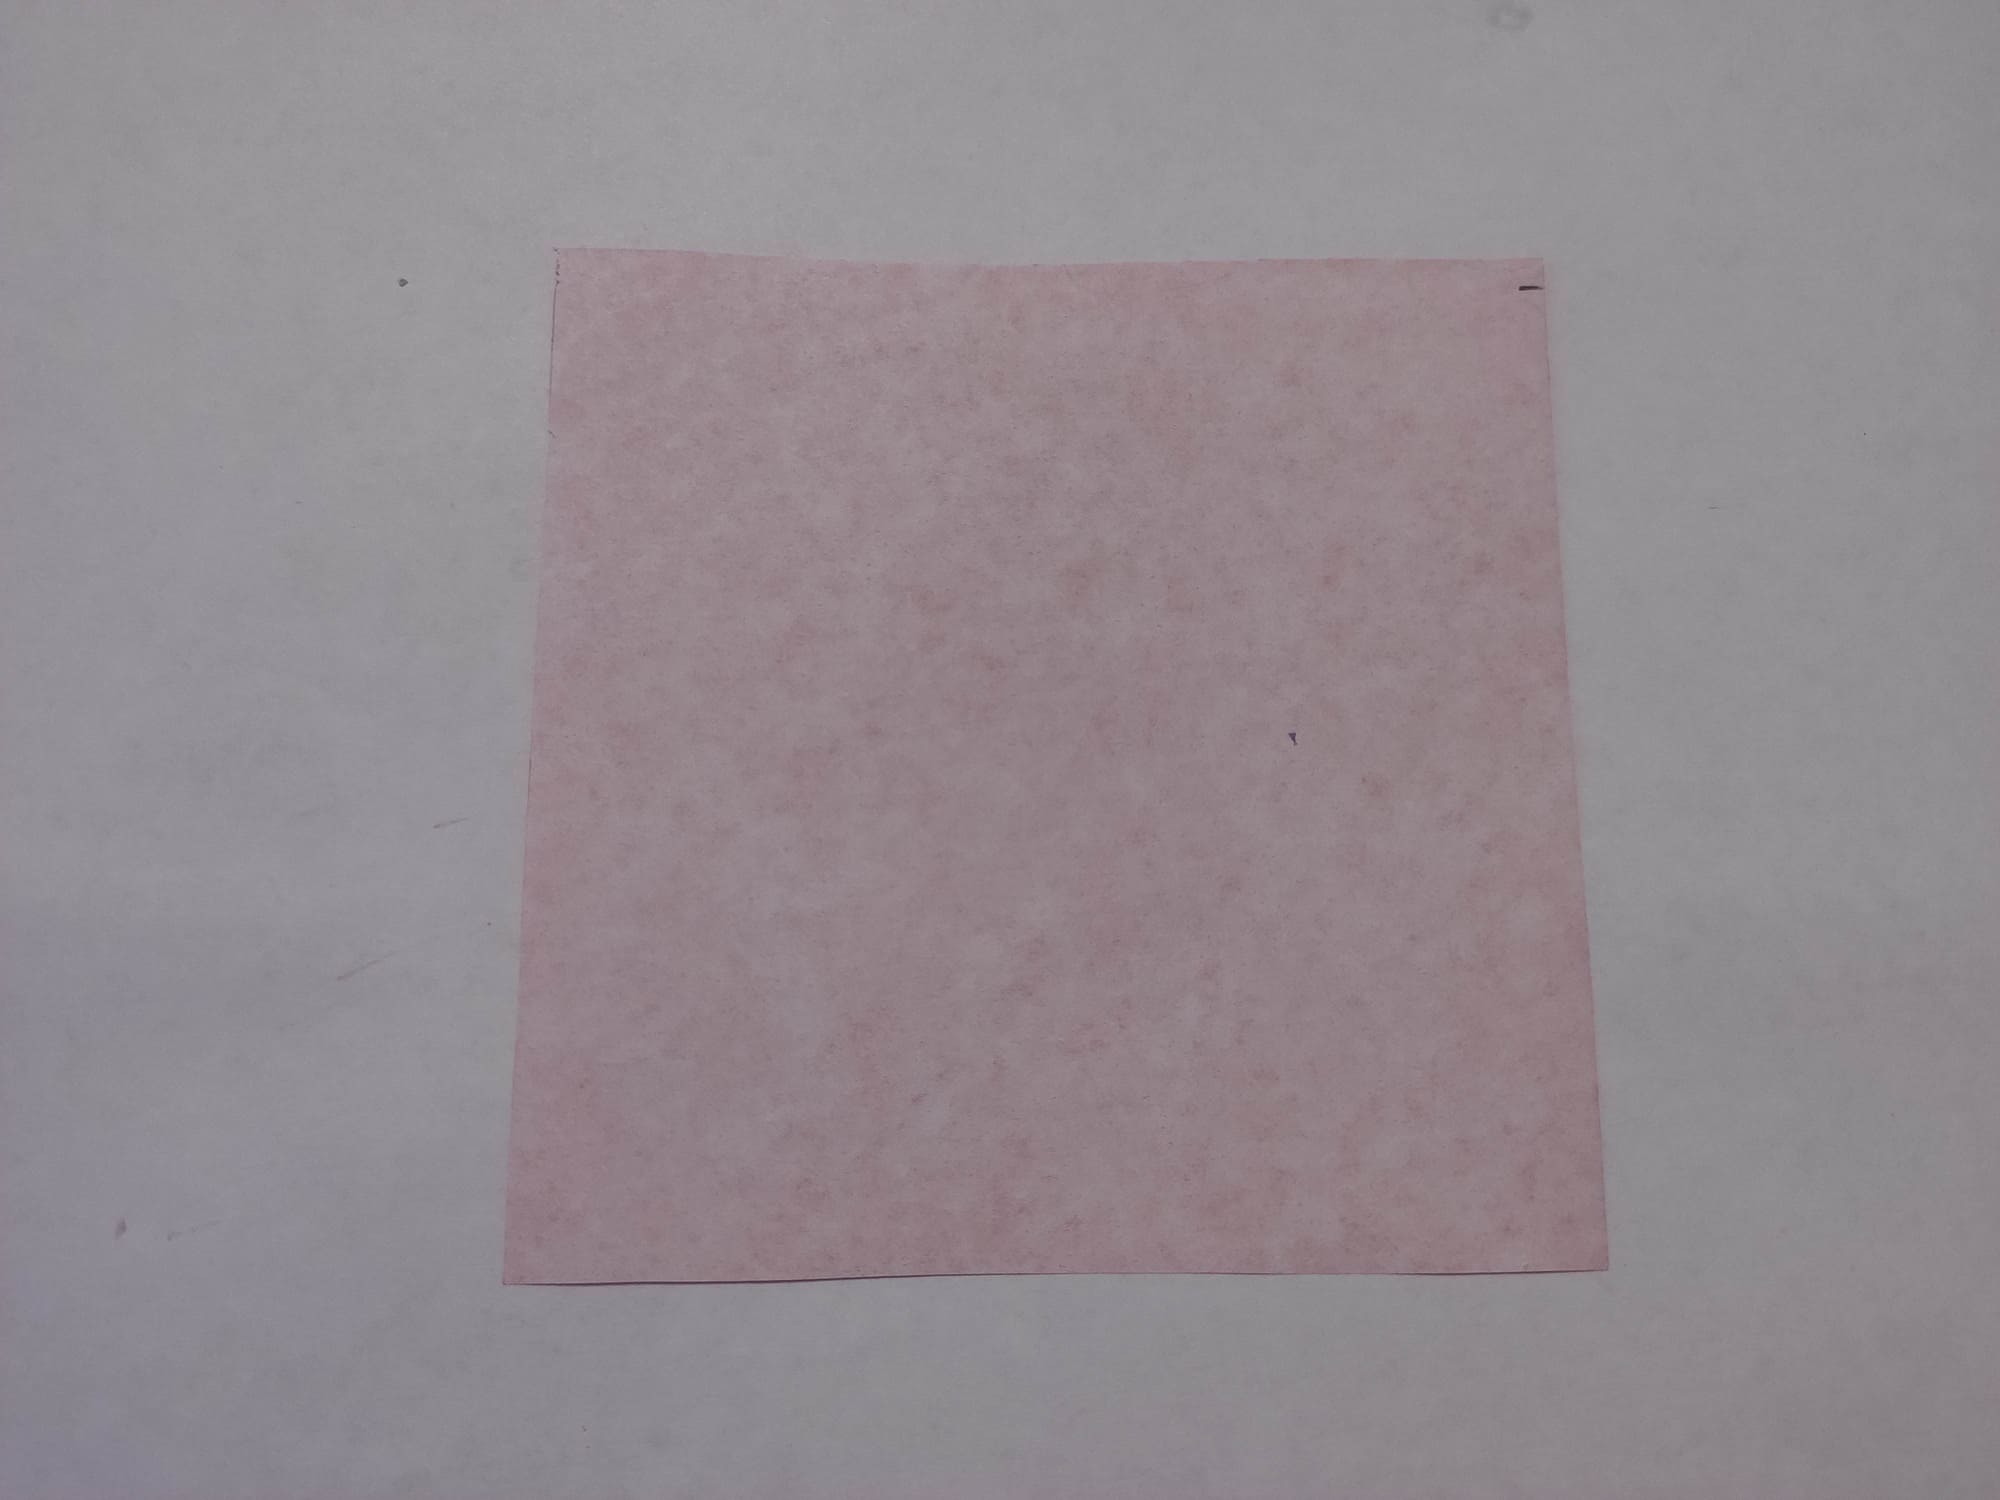
Take a square of origami paper or cut out a square of 15×15 cm from ordinary colored paper. The red or pink colored paper will suit you best. Lay the paper with the colored side down.
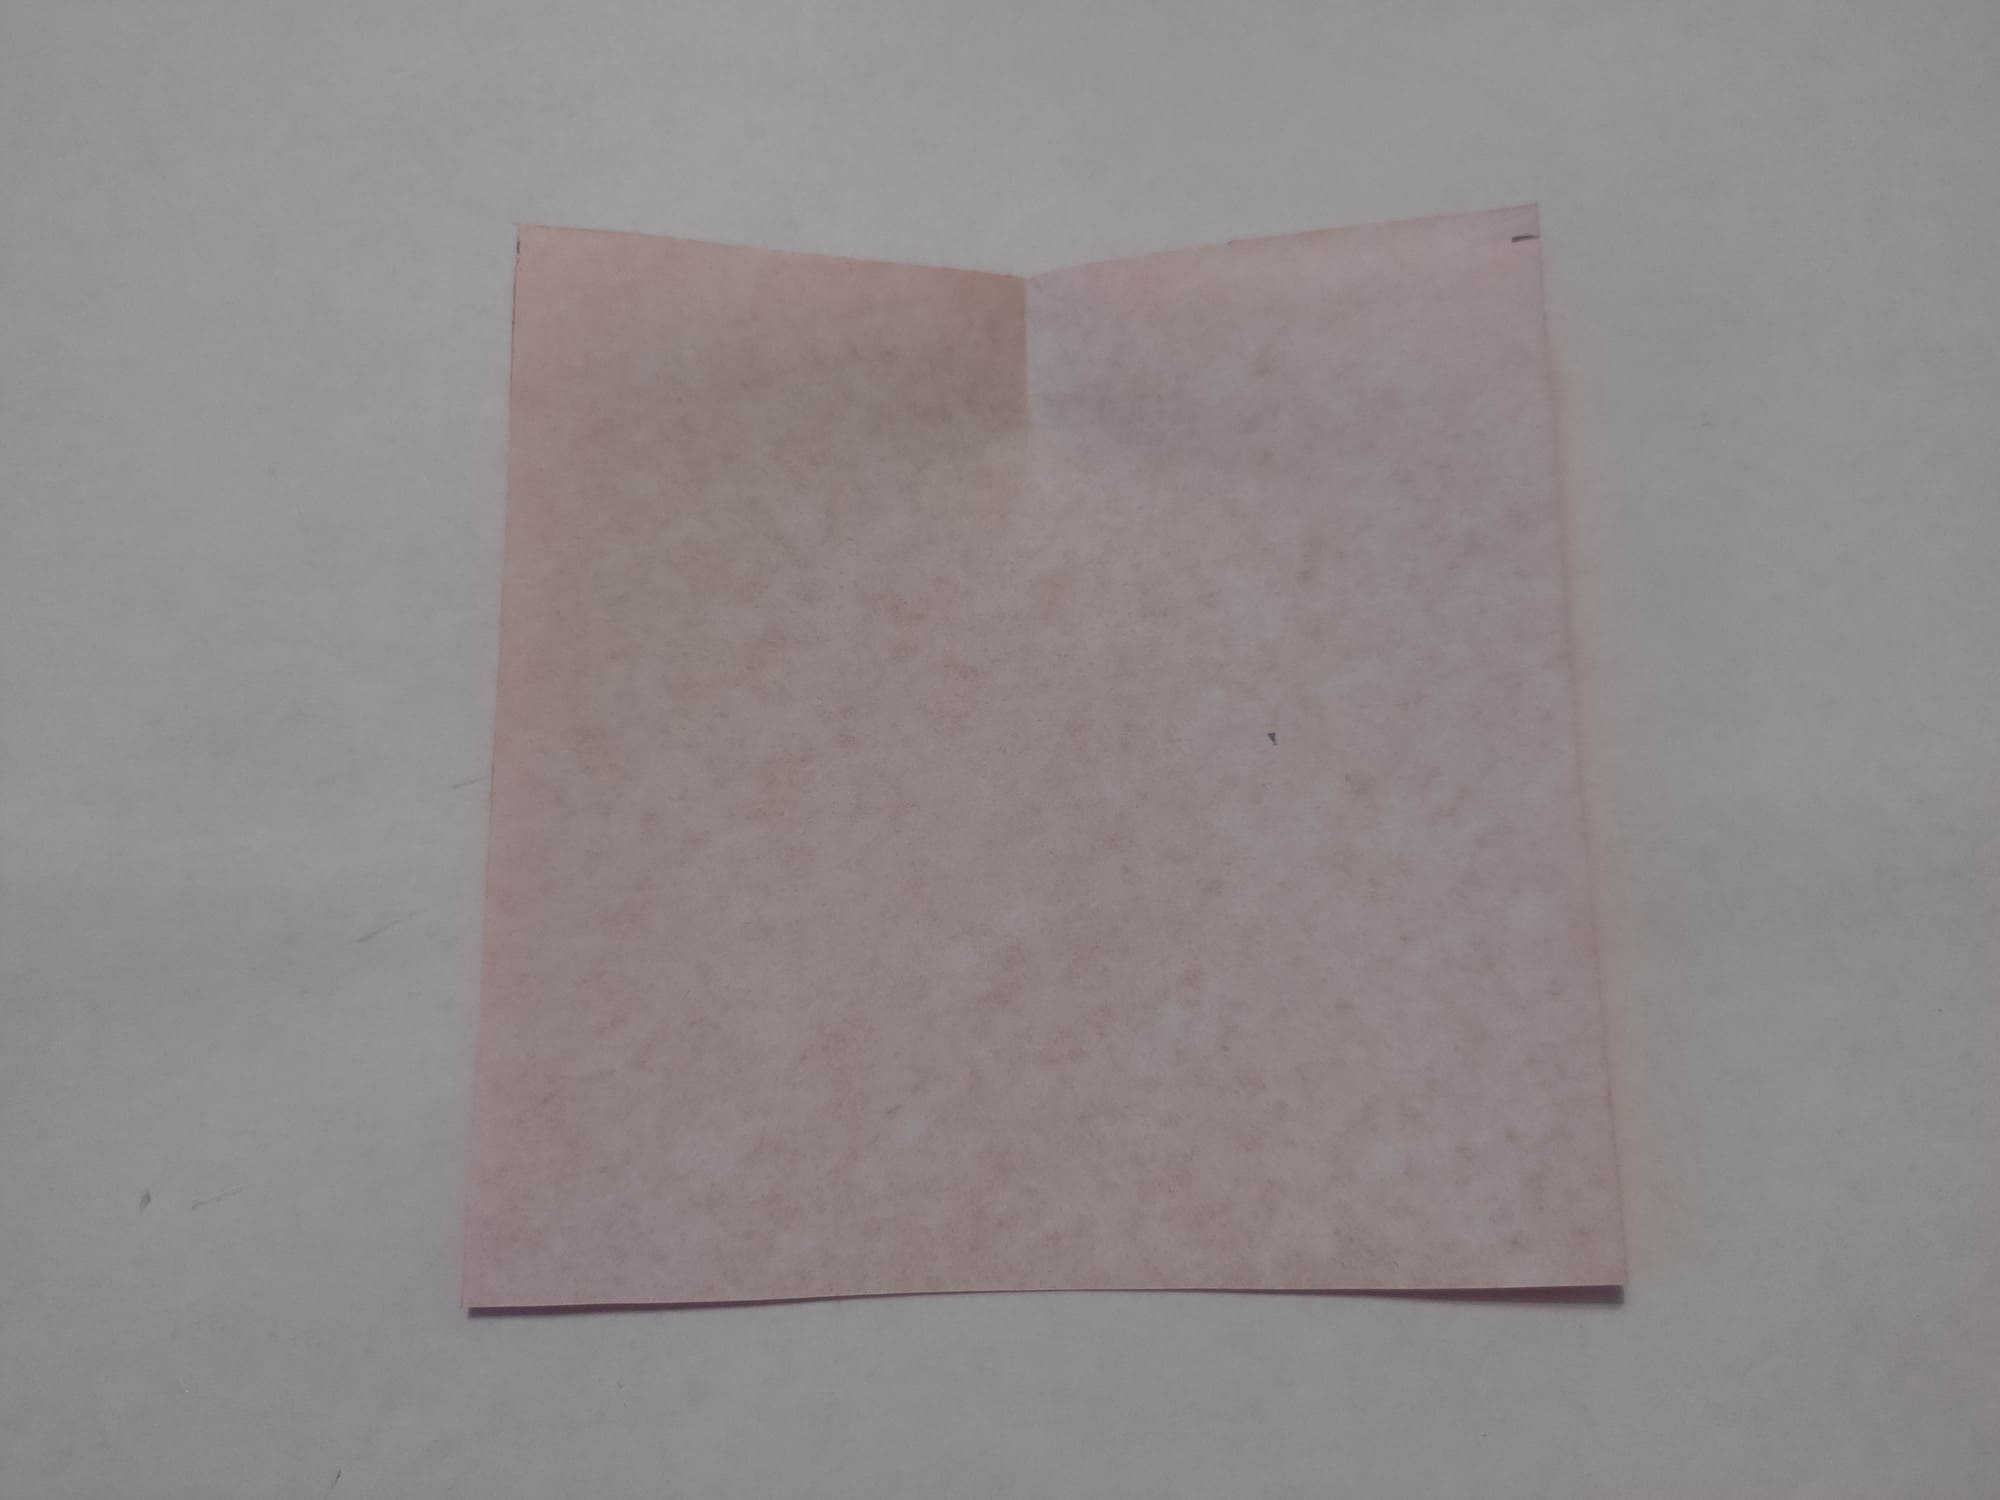
Find the center of one side of the square and make a small fold in this place, just to mark the middle.

Similarly, make a small fold in the middle of the left and right halves. This way you will divide the side of the square into four equal parts.
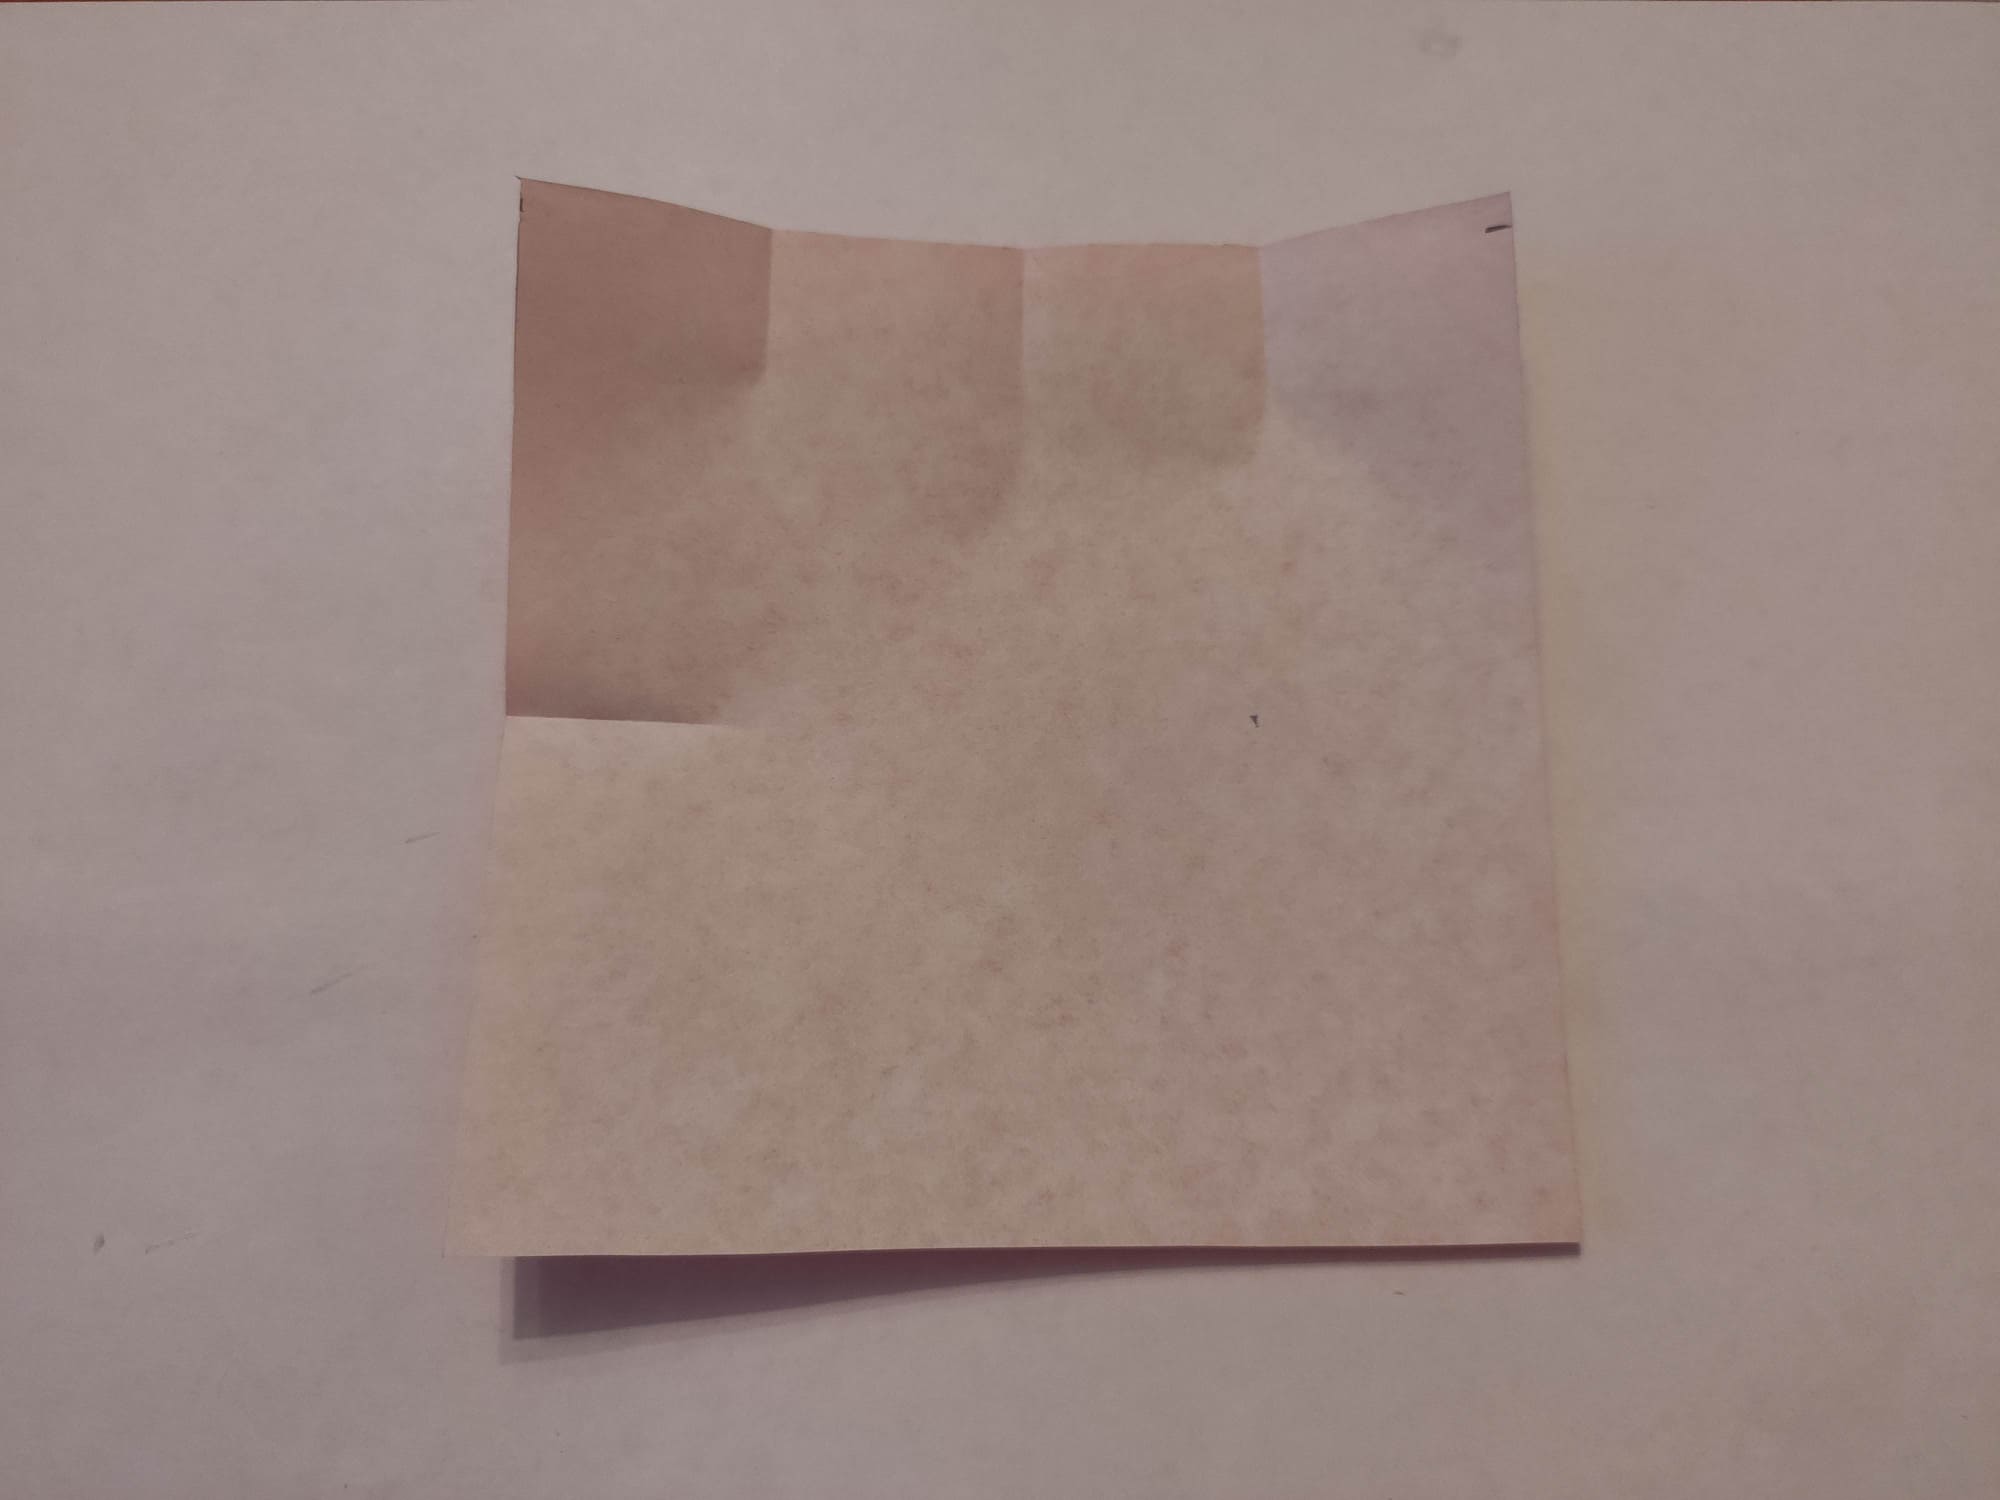
Now make a small fold in the middle of the adjacent side of the square.
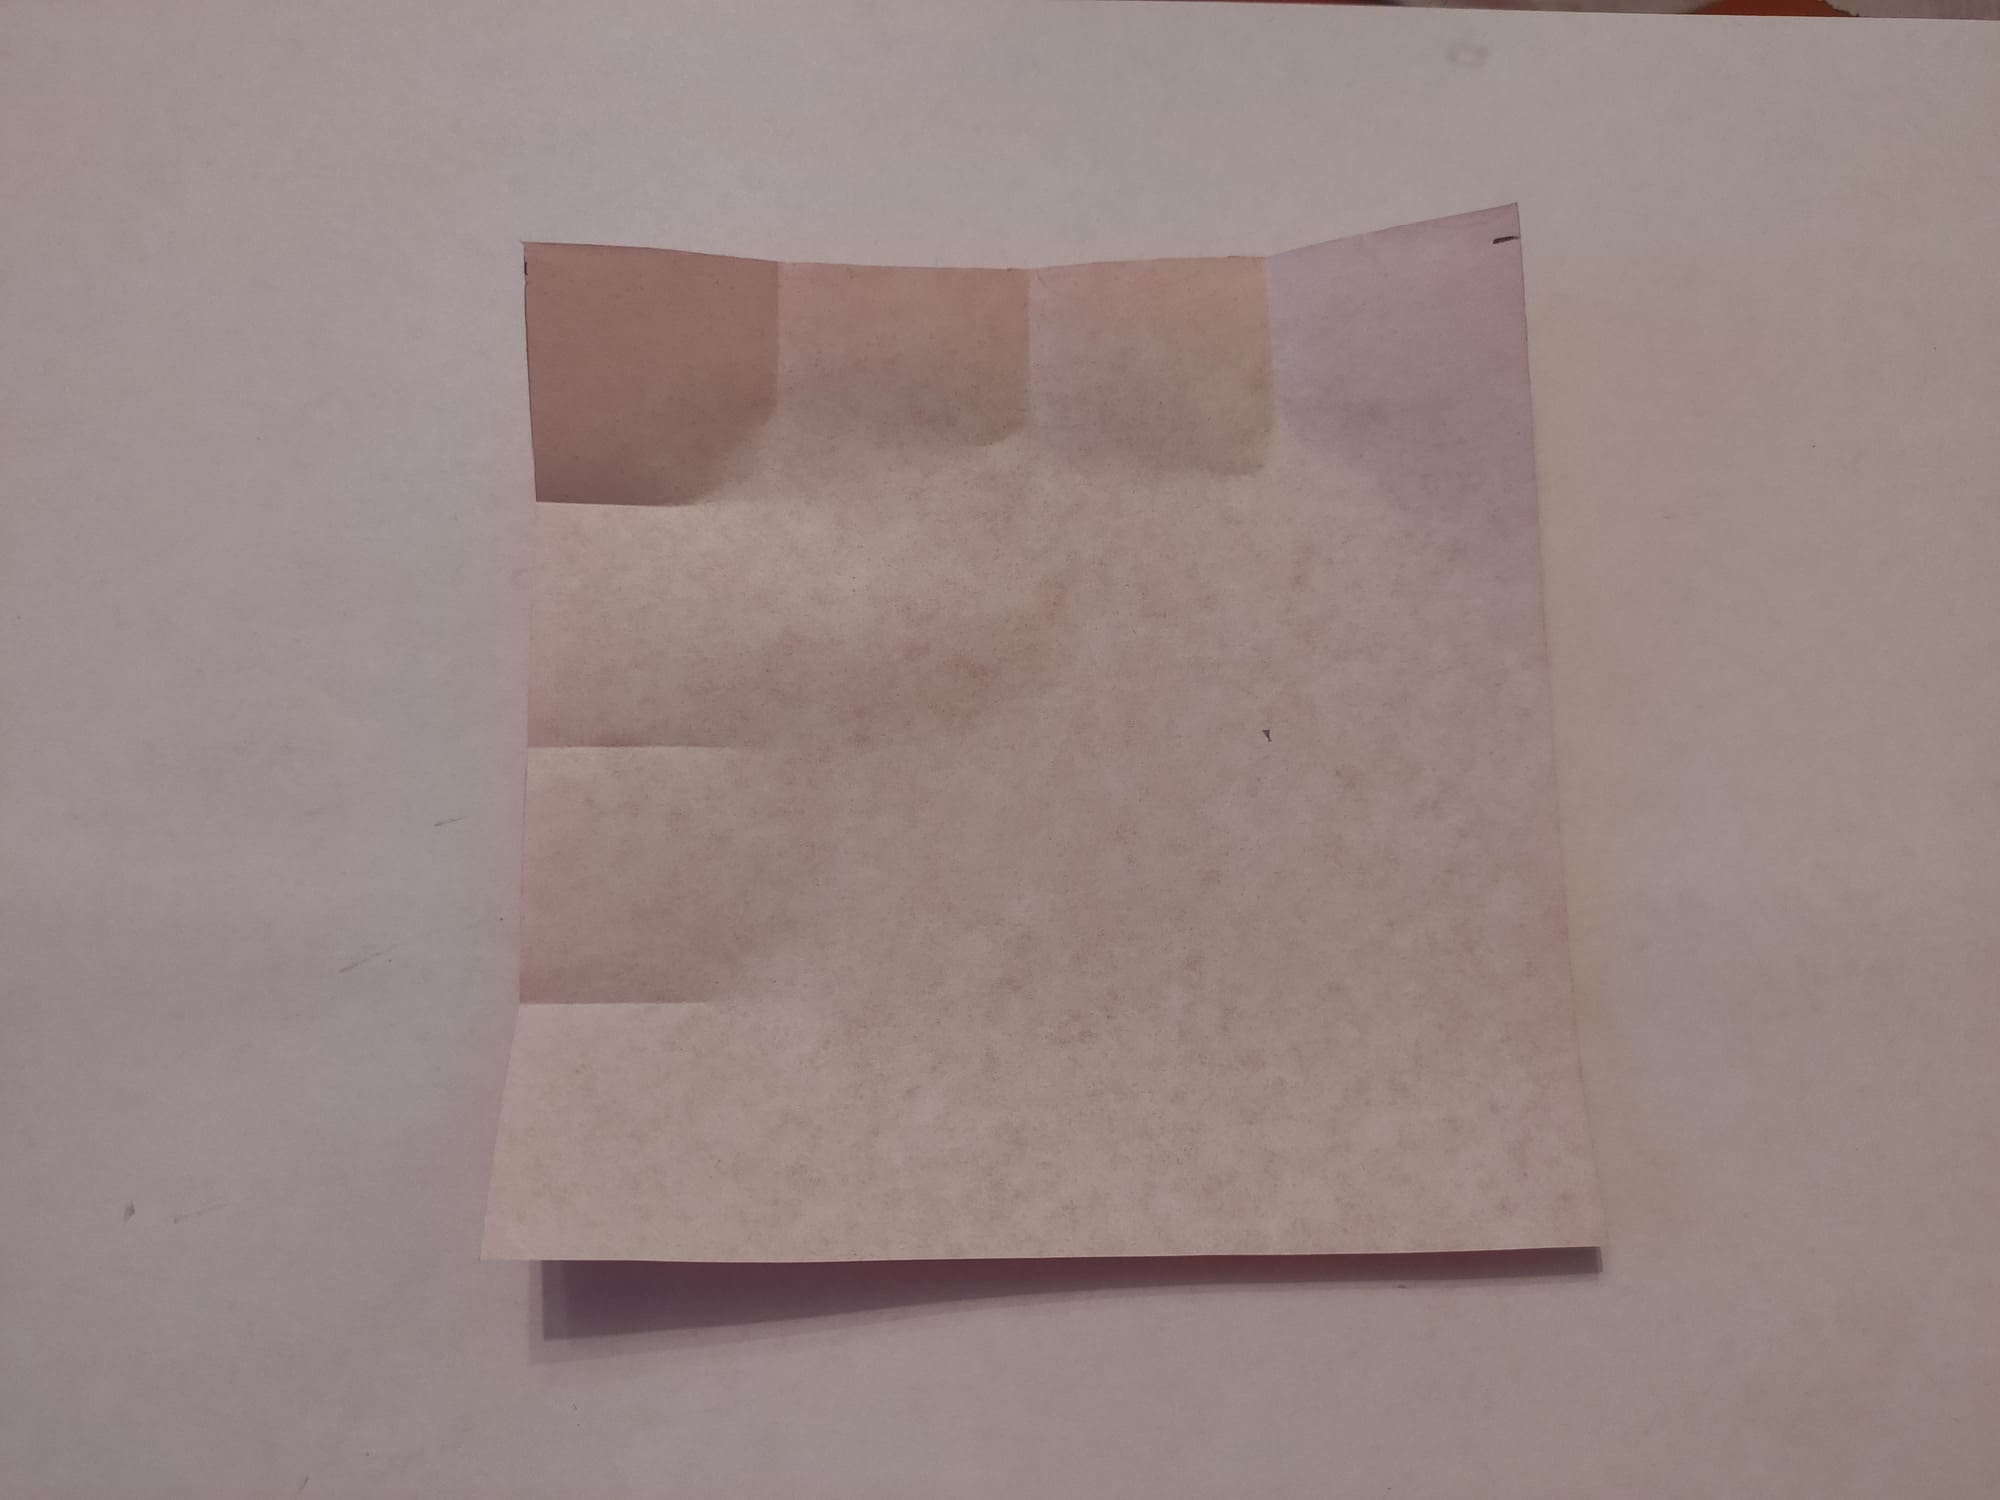
Similarly, make small folds in the middle of the right and left halves. Three folds will divide the adjacent side of the square into four equal parts.
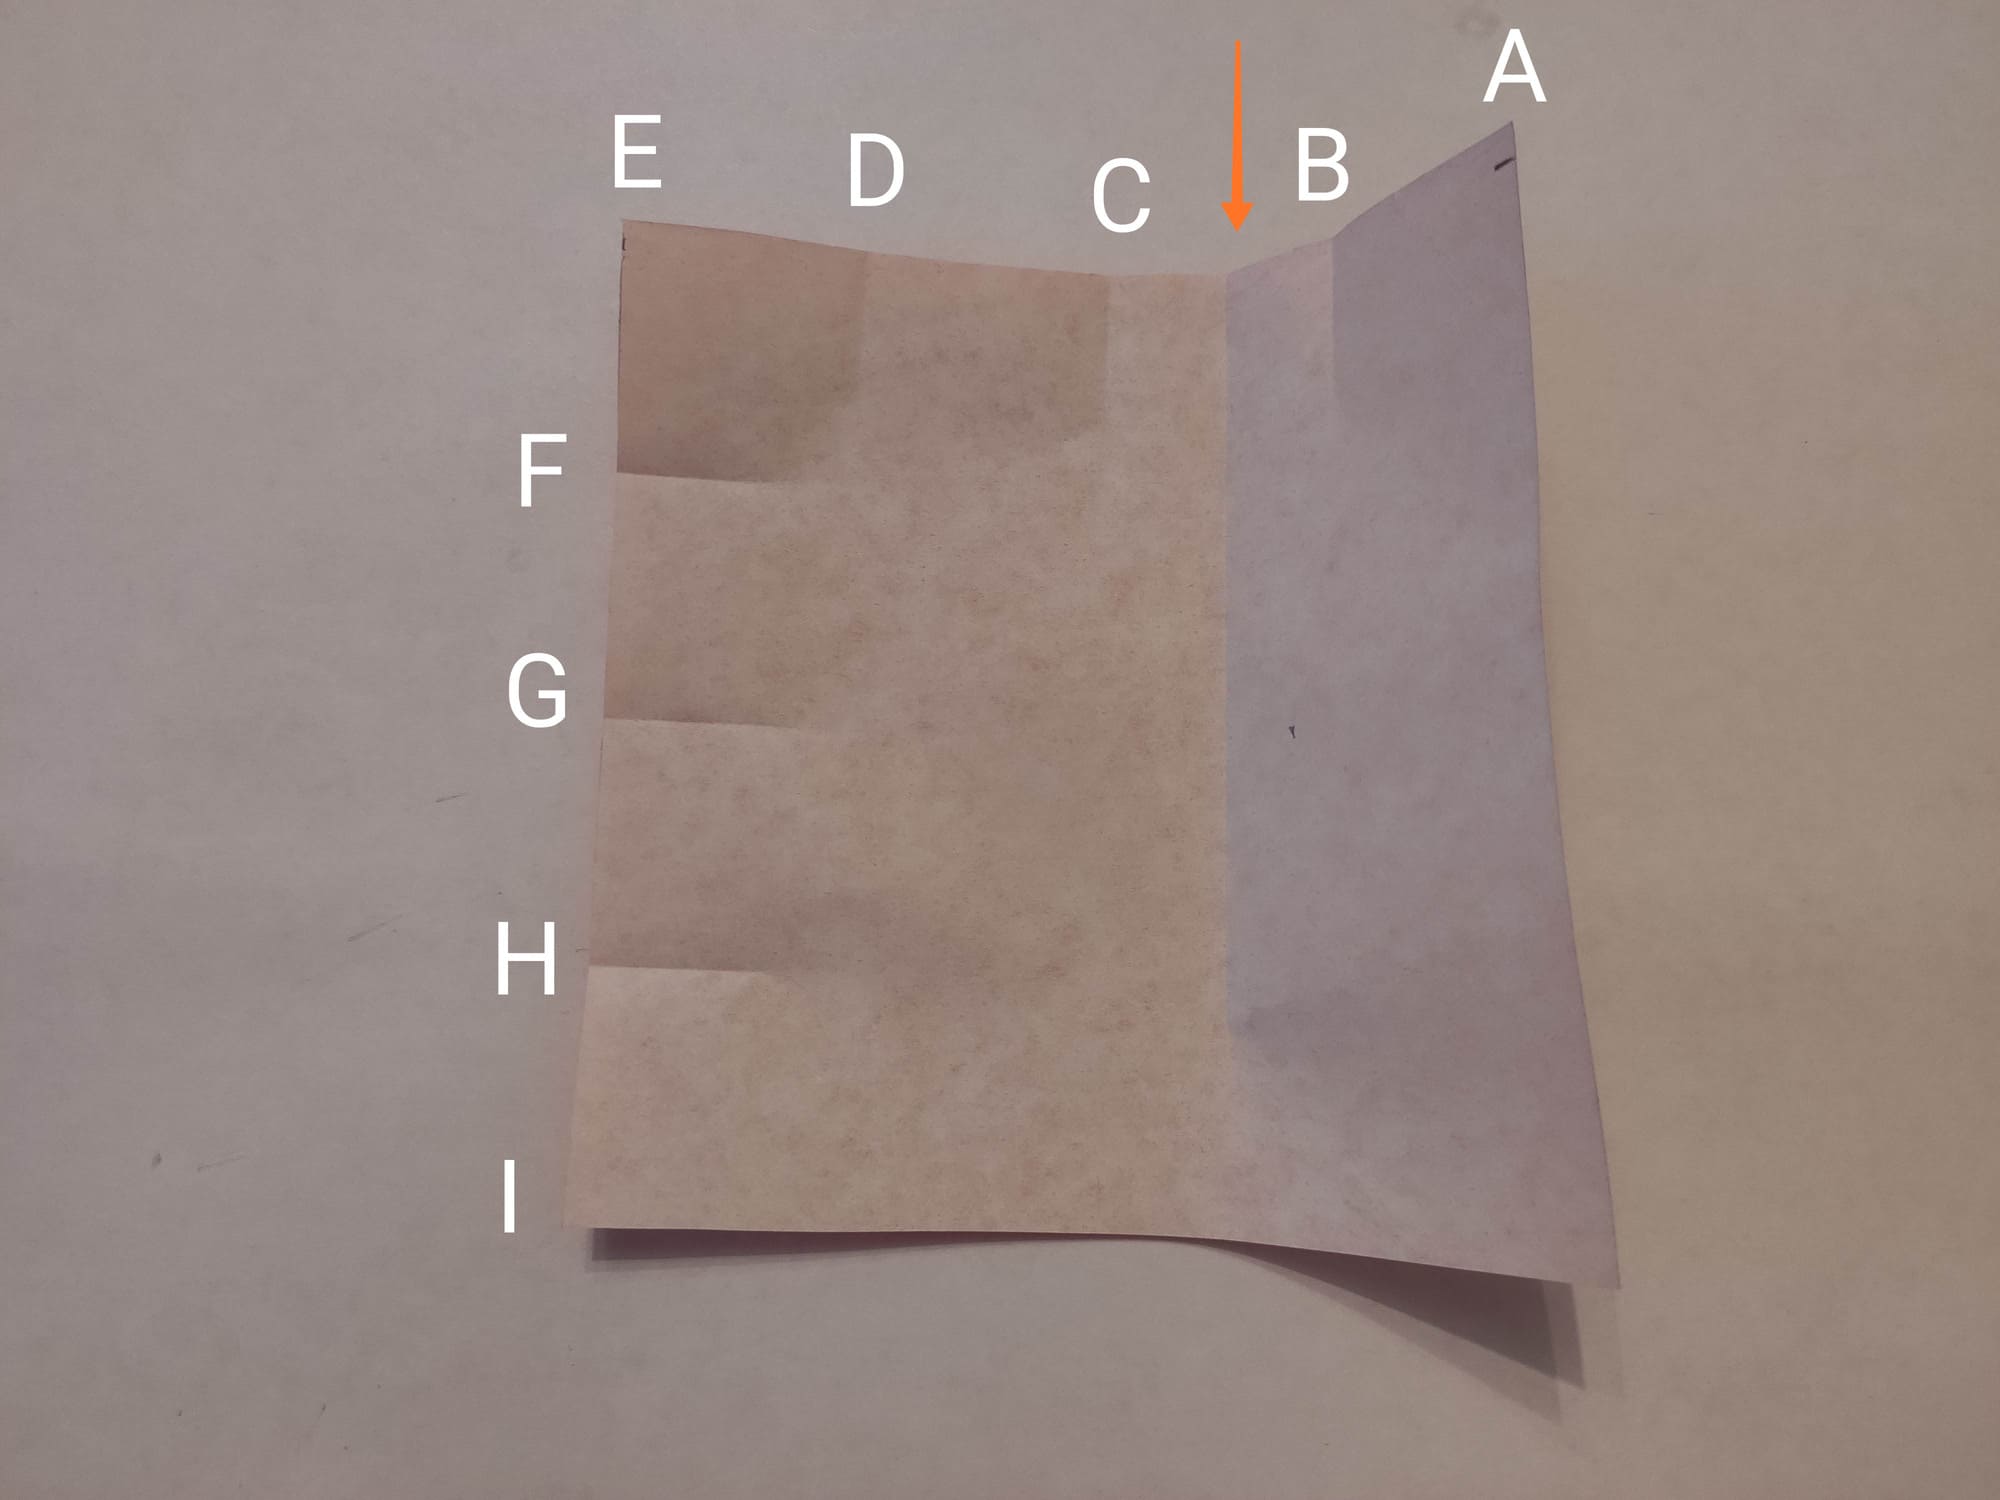
Next, make a fold so that point A is aligned with point D. This fold should be smoothed three-quarters of the way through.
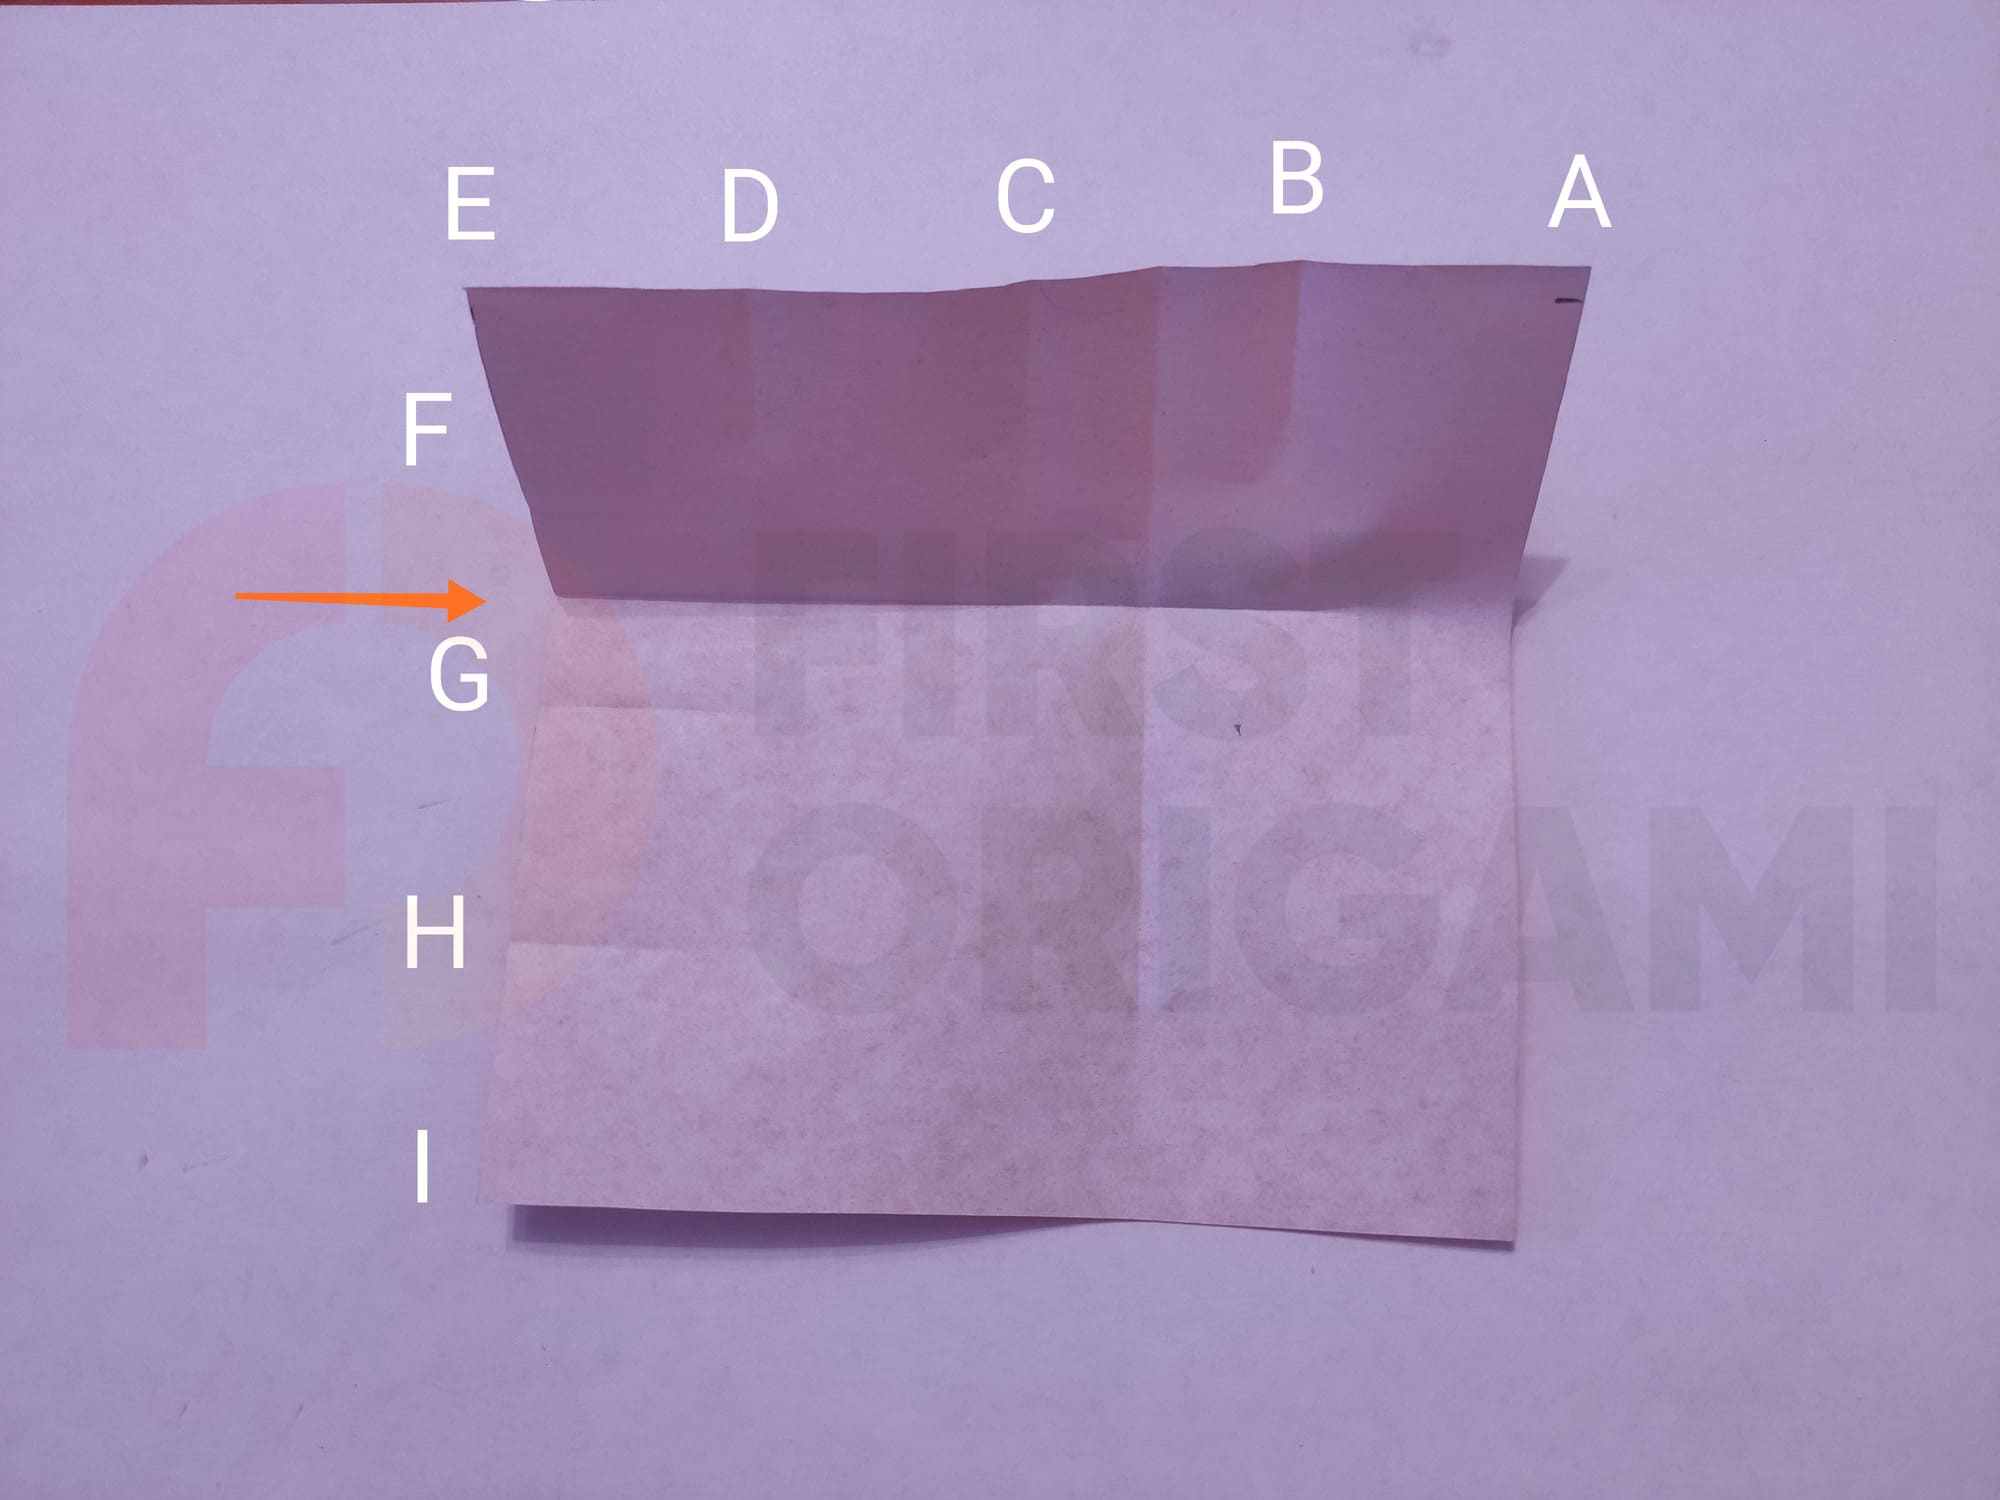
A similar fold must be made on the adjacent side, combining points E and H.
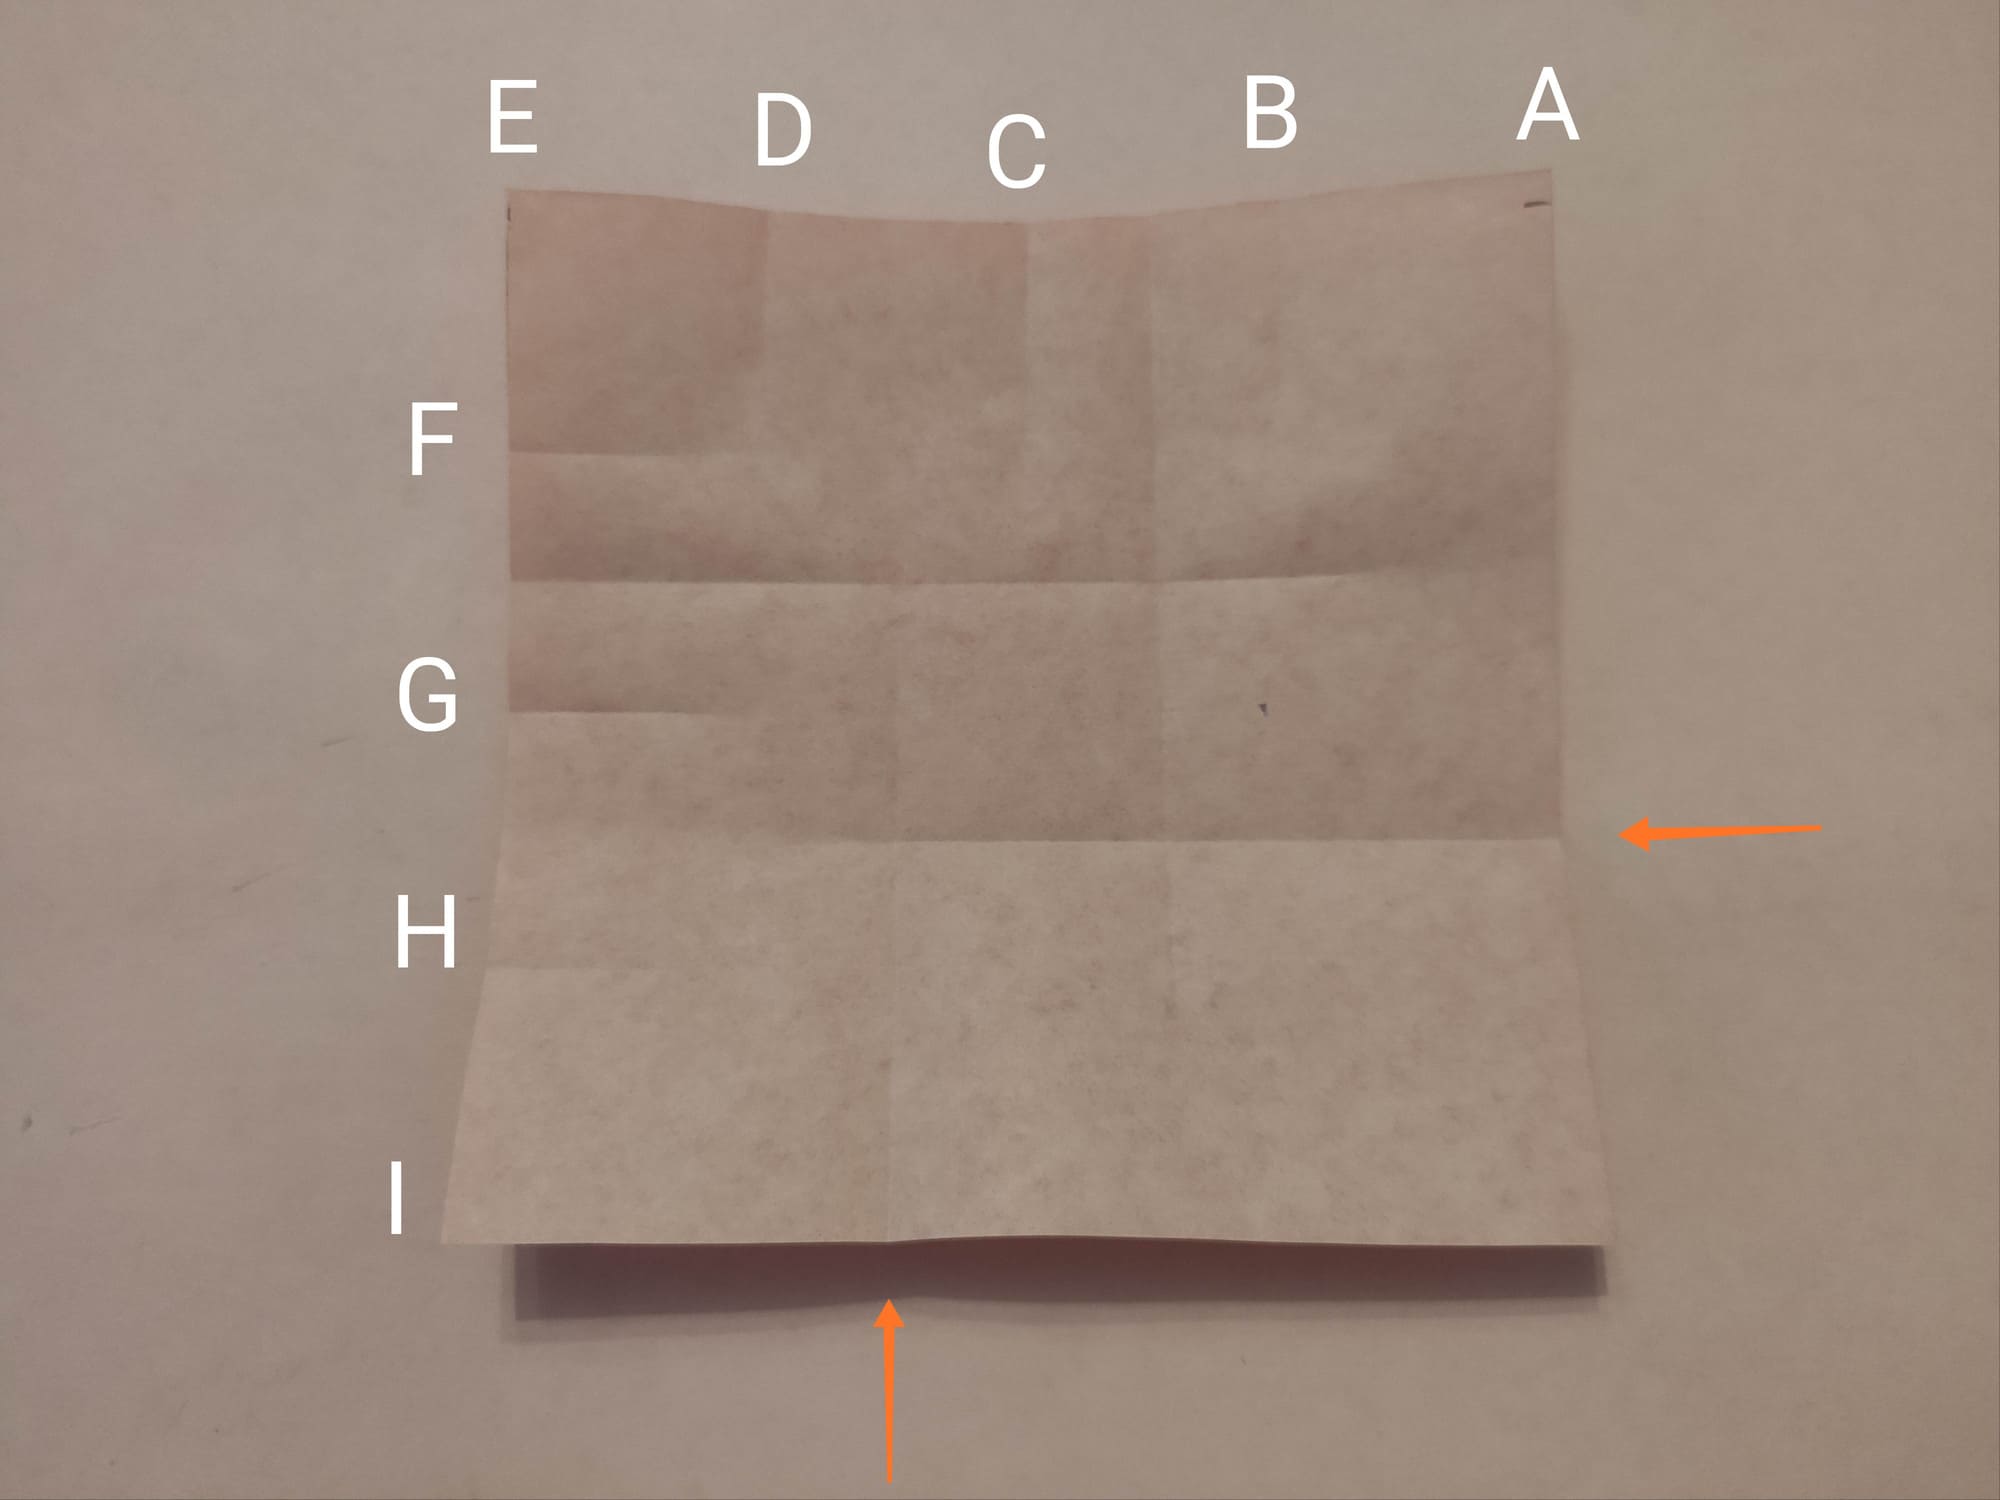
The same folds must be made by overlapping points E and B, and I and F. At first, this number of folds seems confusing. But if you are focused and attentive, it will work out!

Make two diagonal folds: in the upper left and lower right squares. You should not smooth out the fold in the center square that is formed.
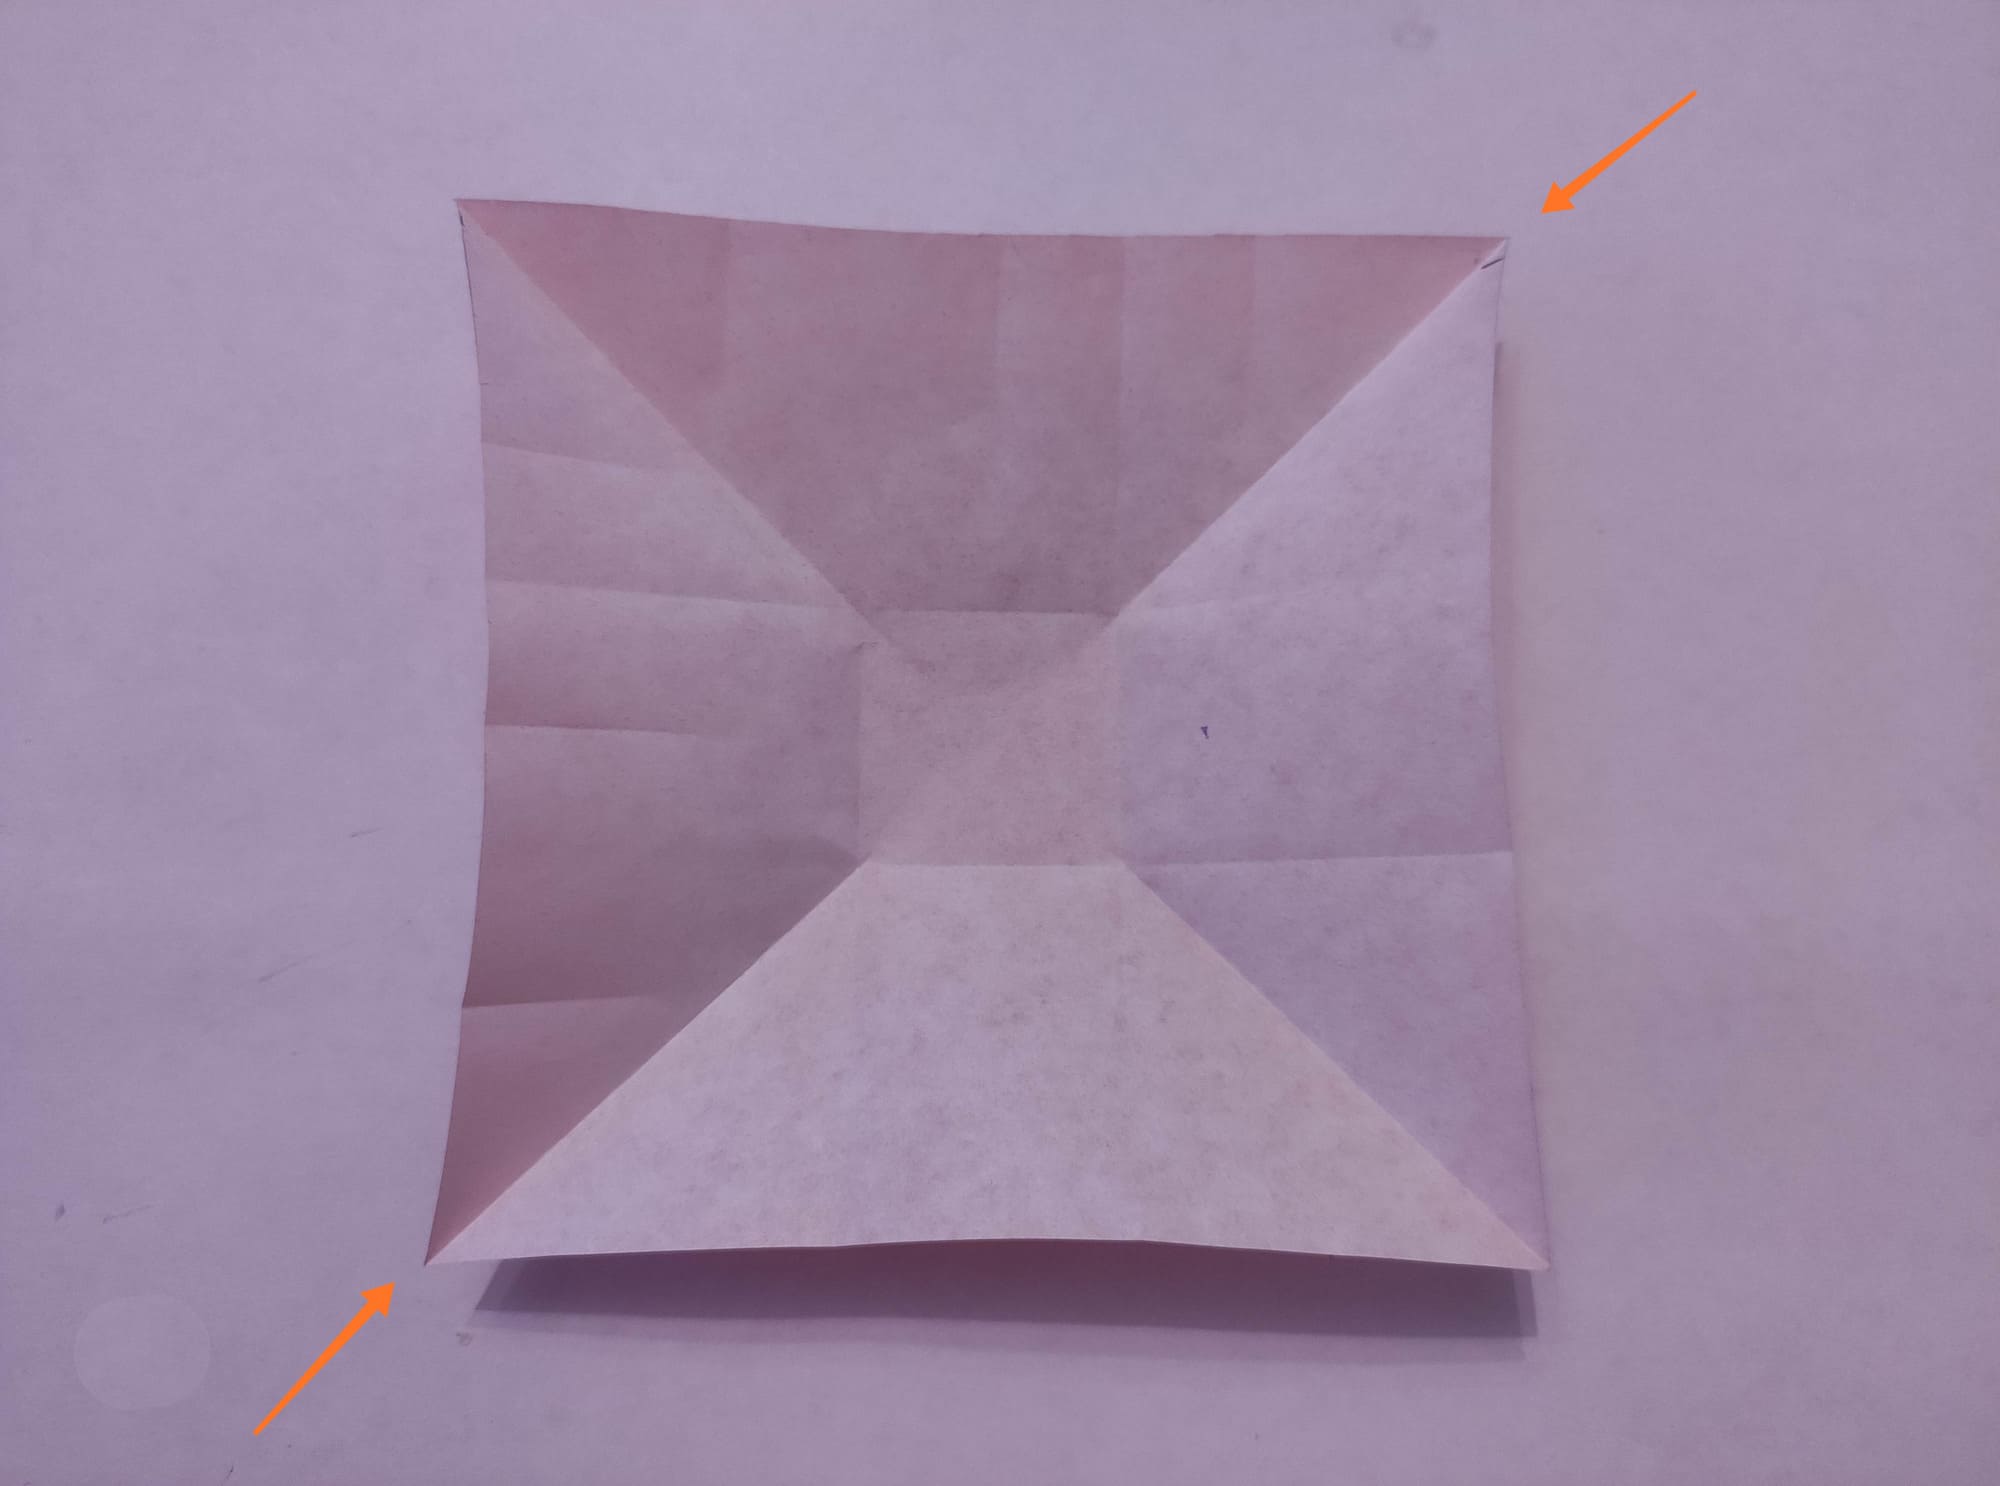
Make two more diagonal folds: in the lower left and upper right squares. Also, do not smooth the fold in the center square.
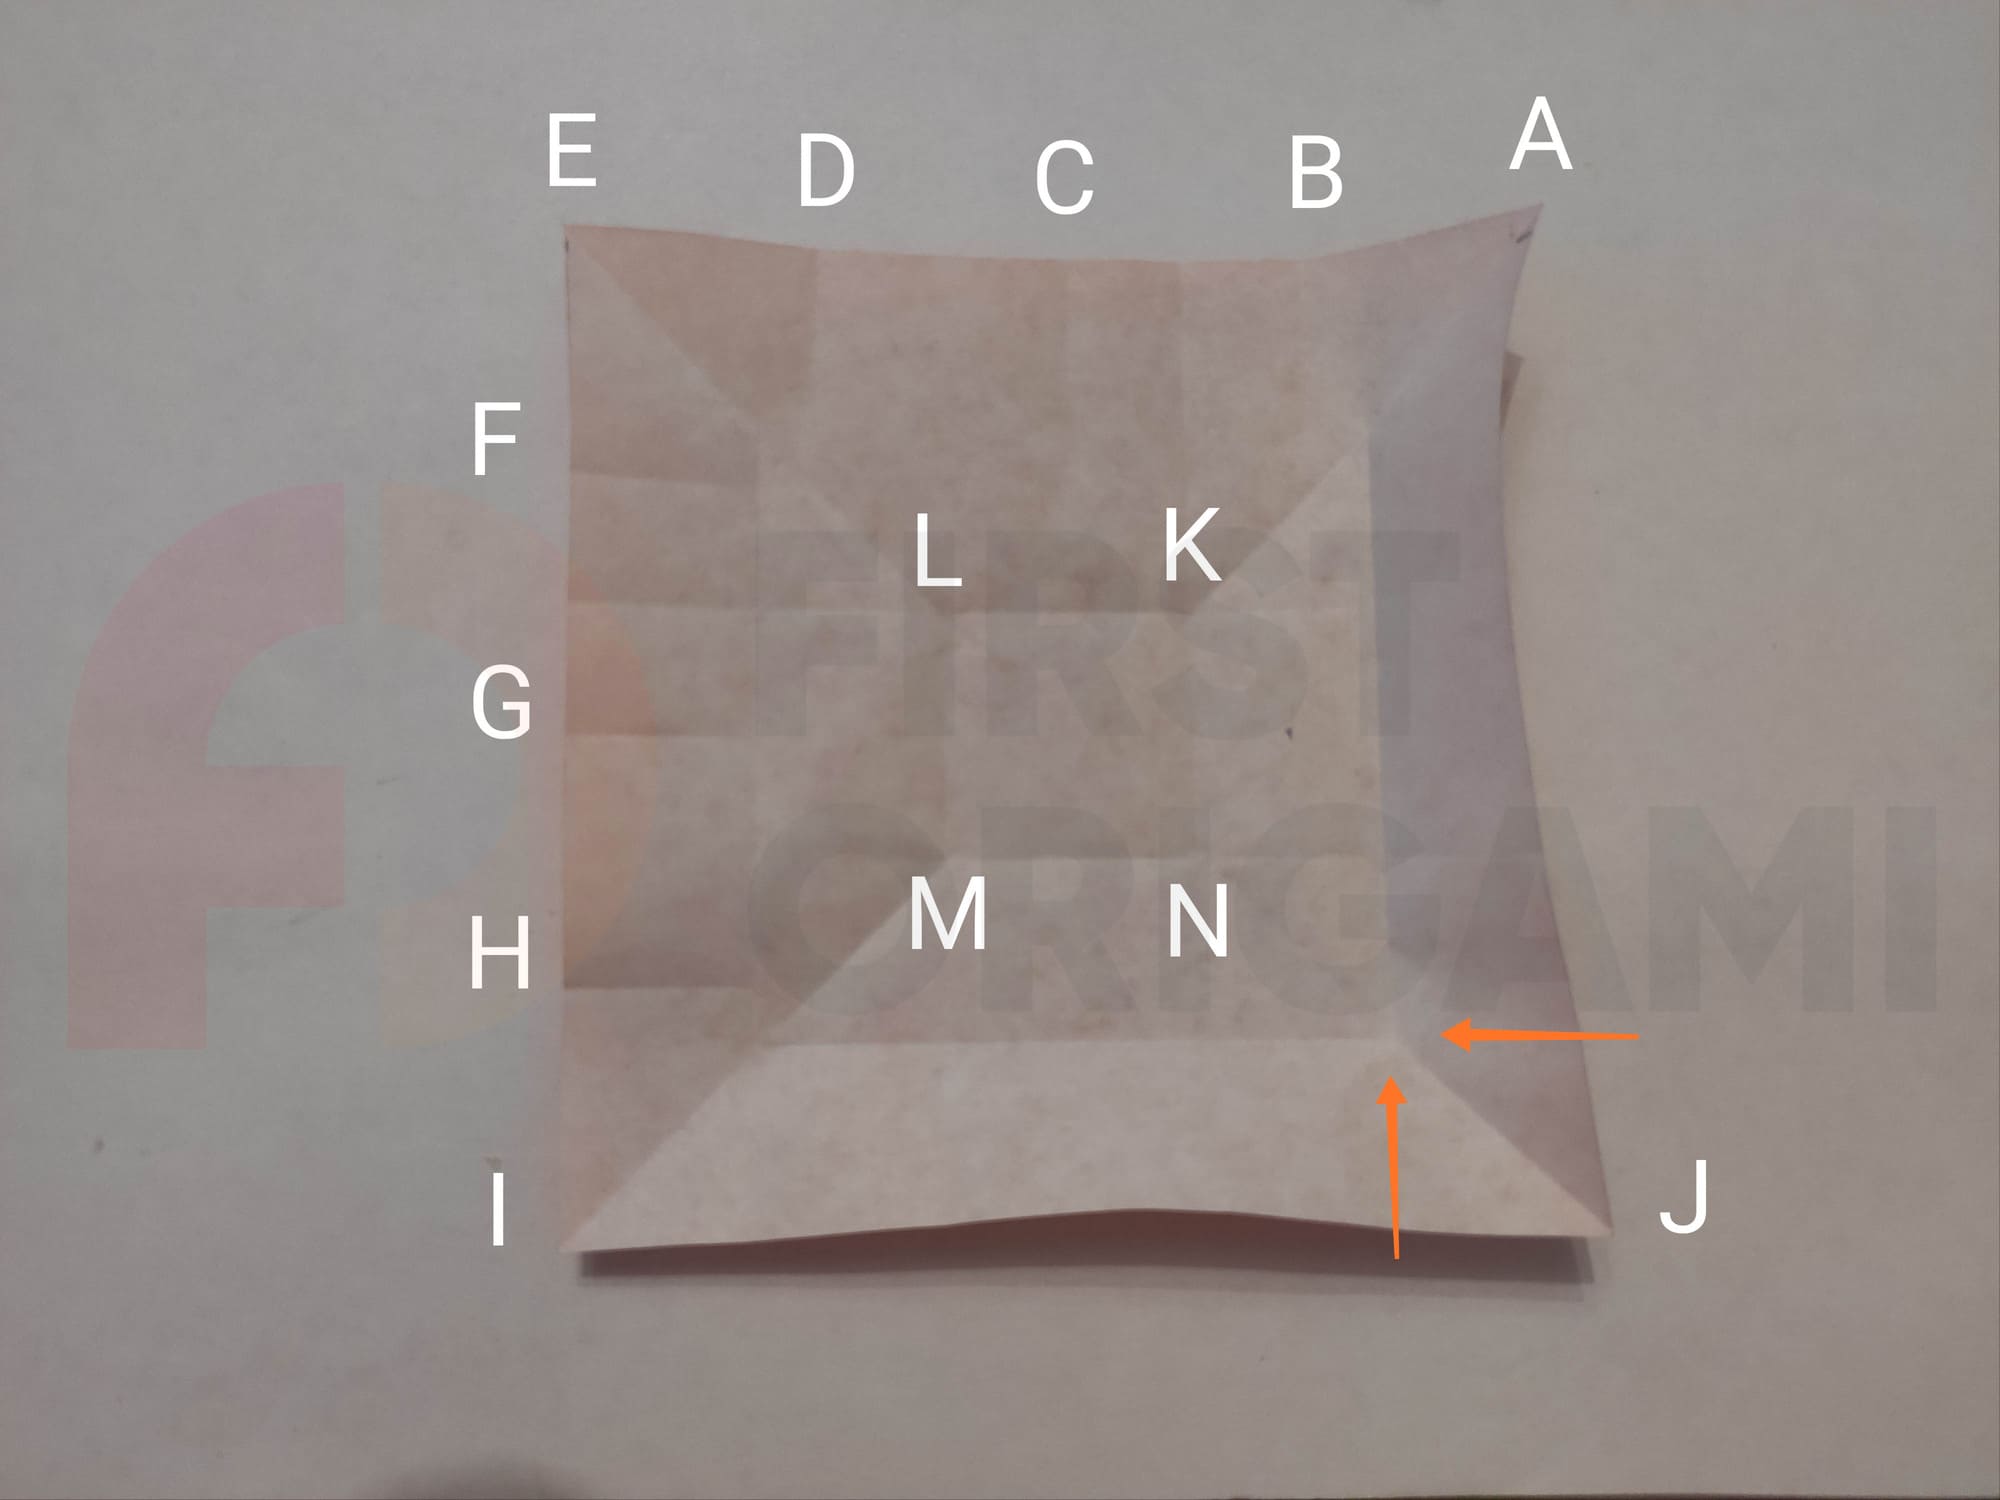
You are almost there! Make a fold on the trapezoid AKNJ by aligning the line AJ with KN, and also for the trapezoid JNMI by aligning the line JI with NM.
Similarly, make a fold on trapezoid AKLE by aligning line AE with KL, and also for trapezoid ELMI by aligning line EI with LM.
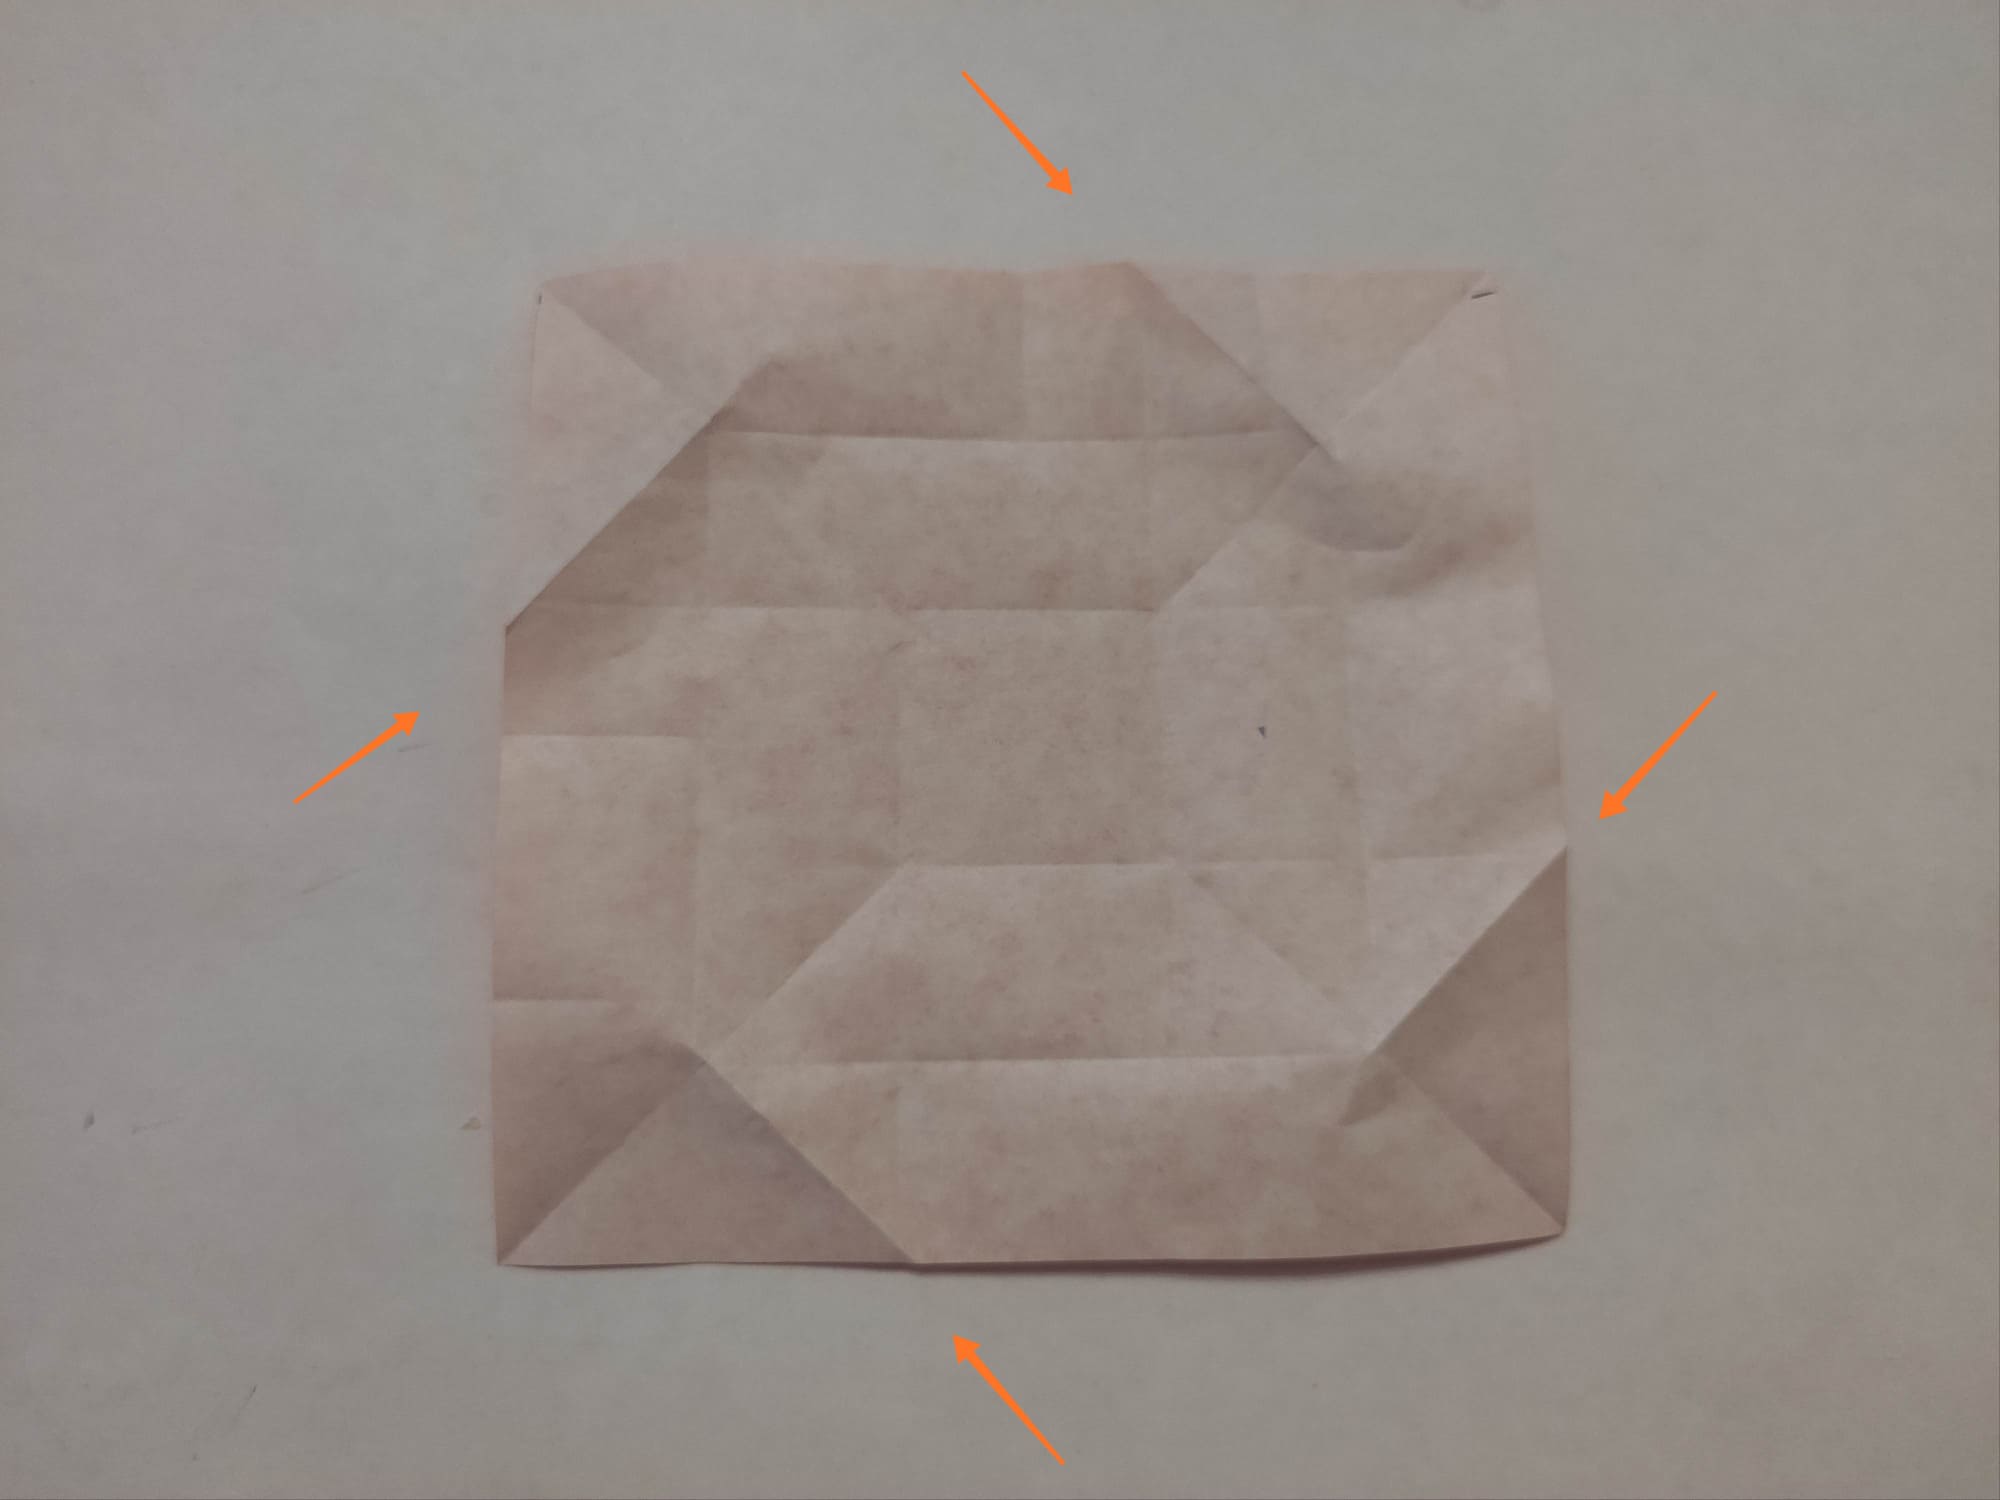
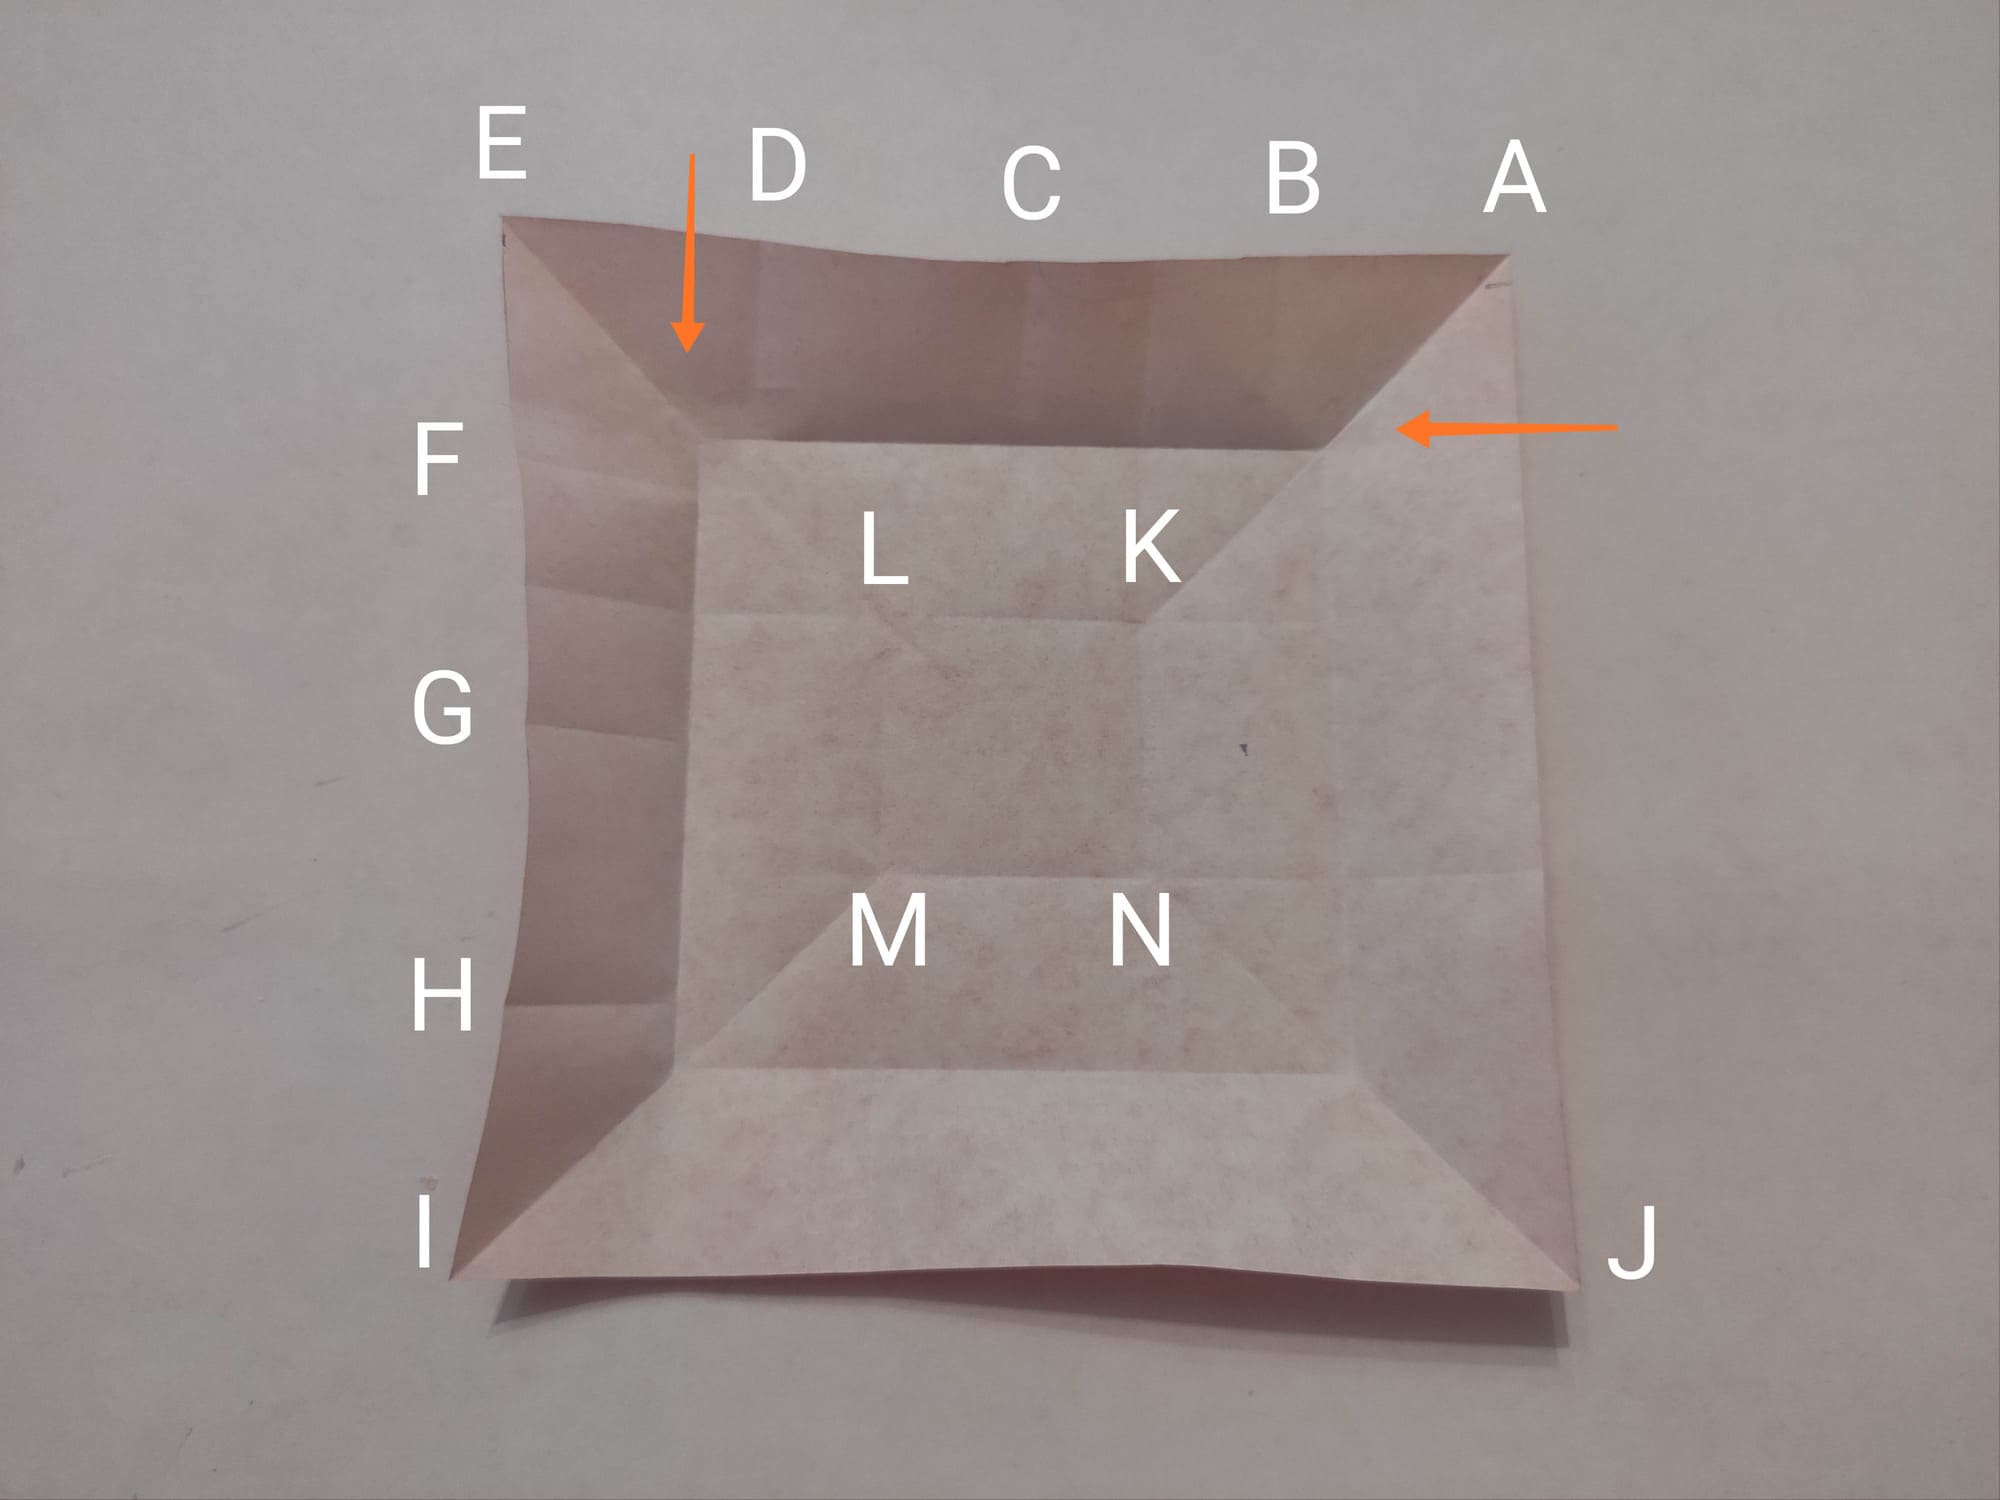
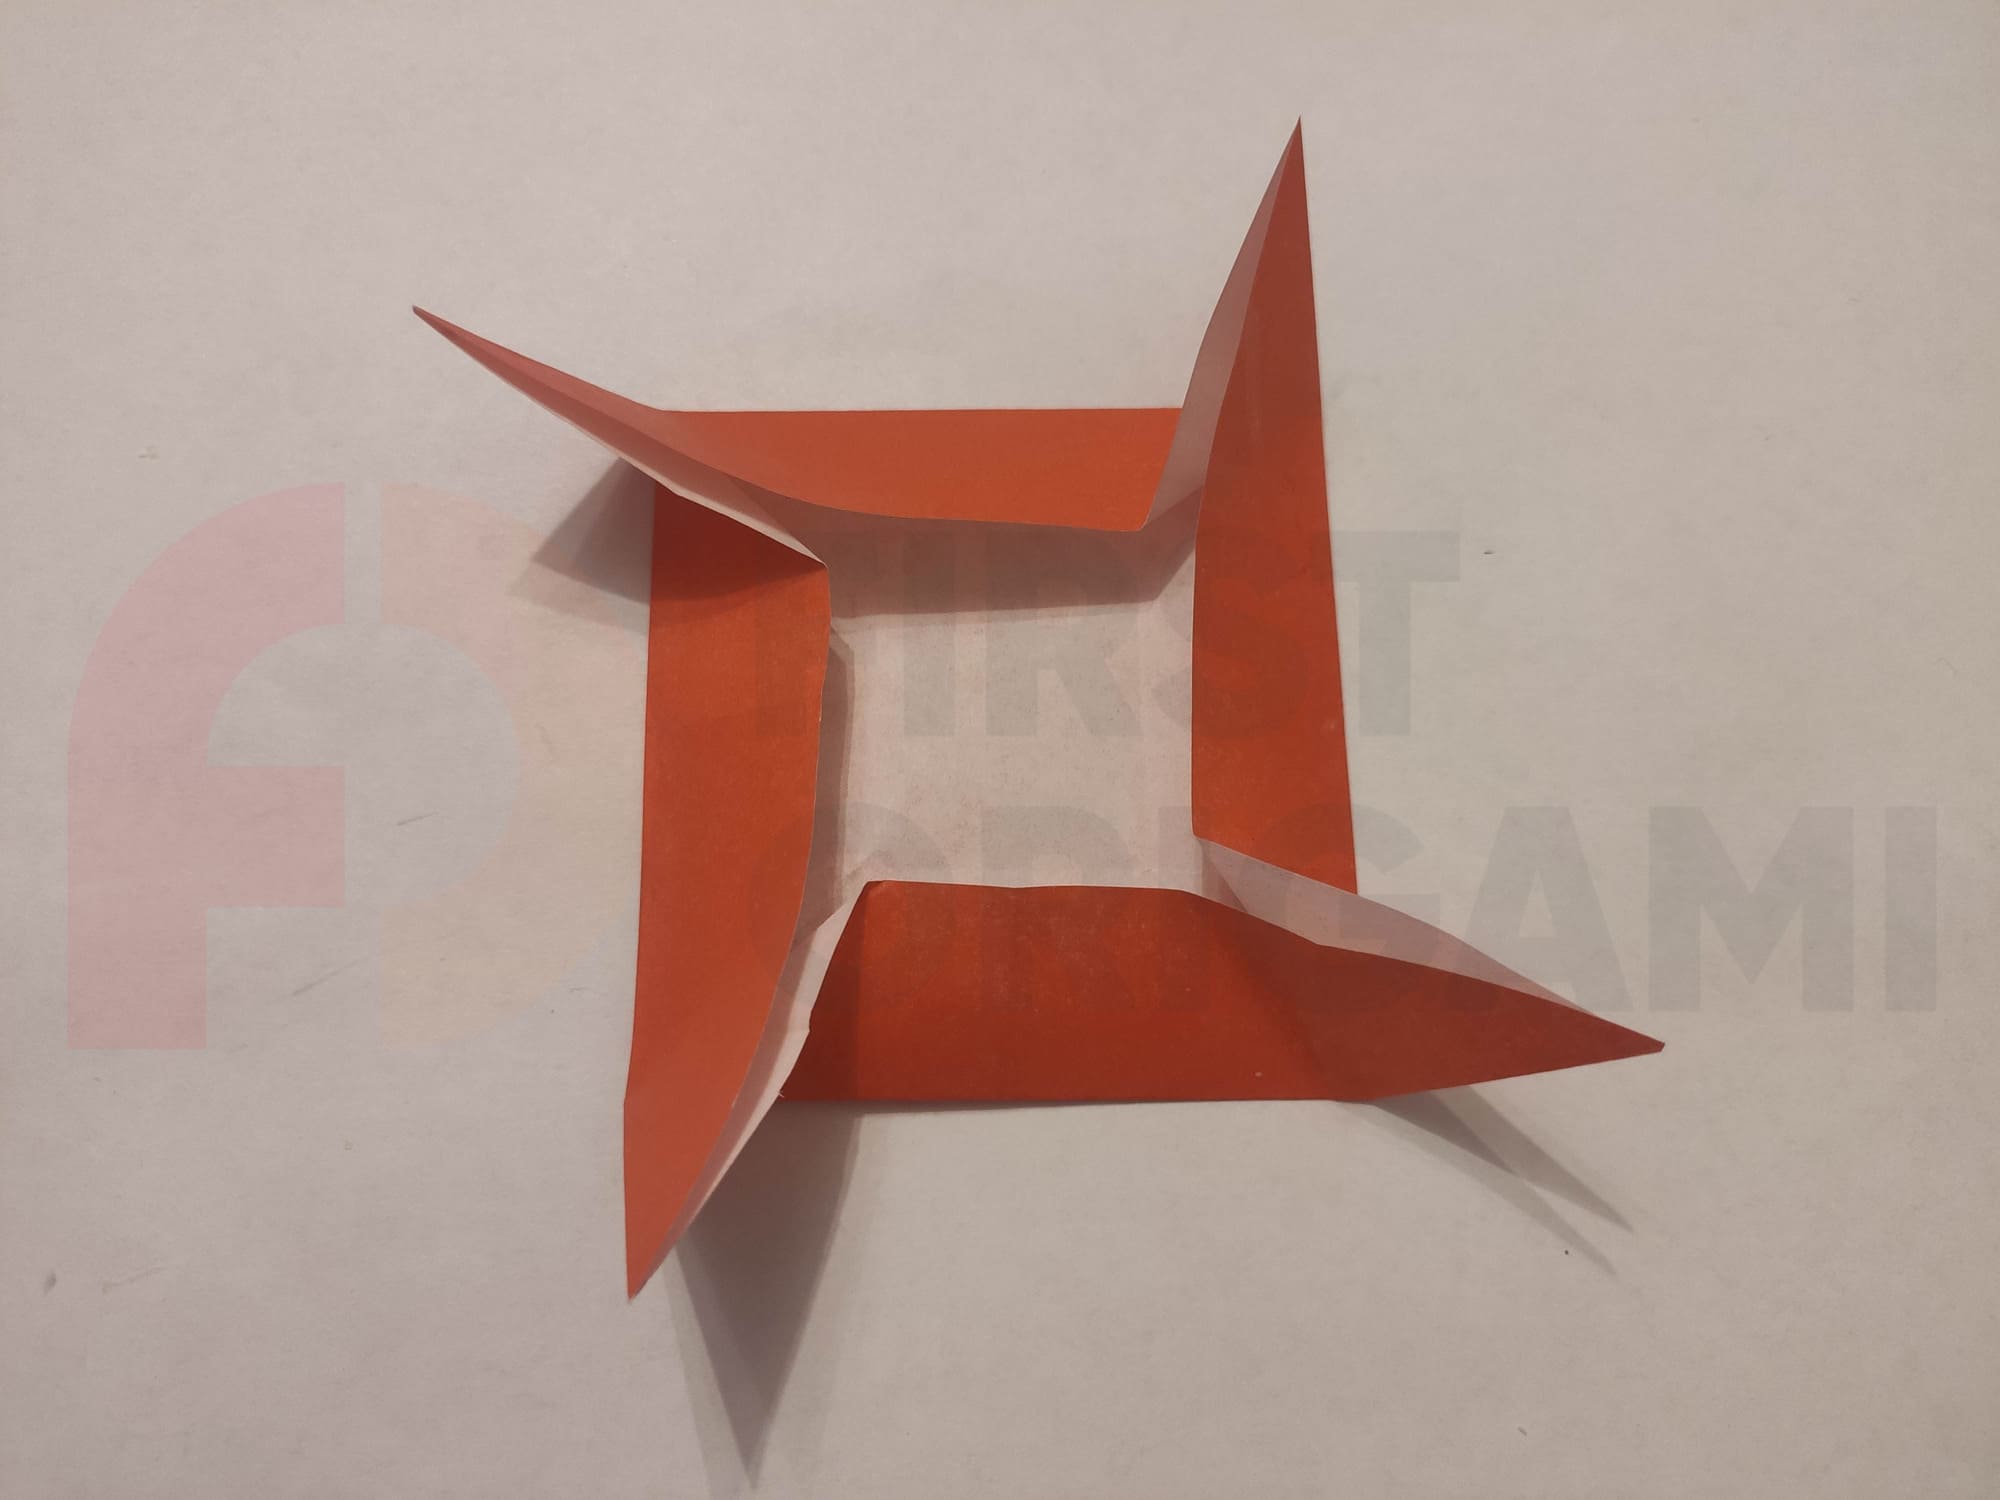
Next, make four diagonal folds at the locations indicated in the photo.
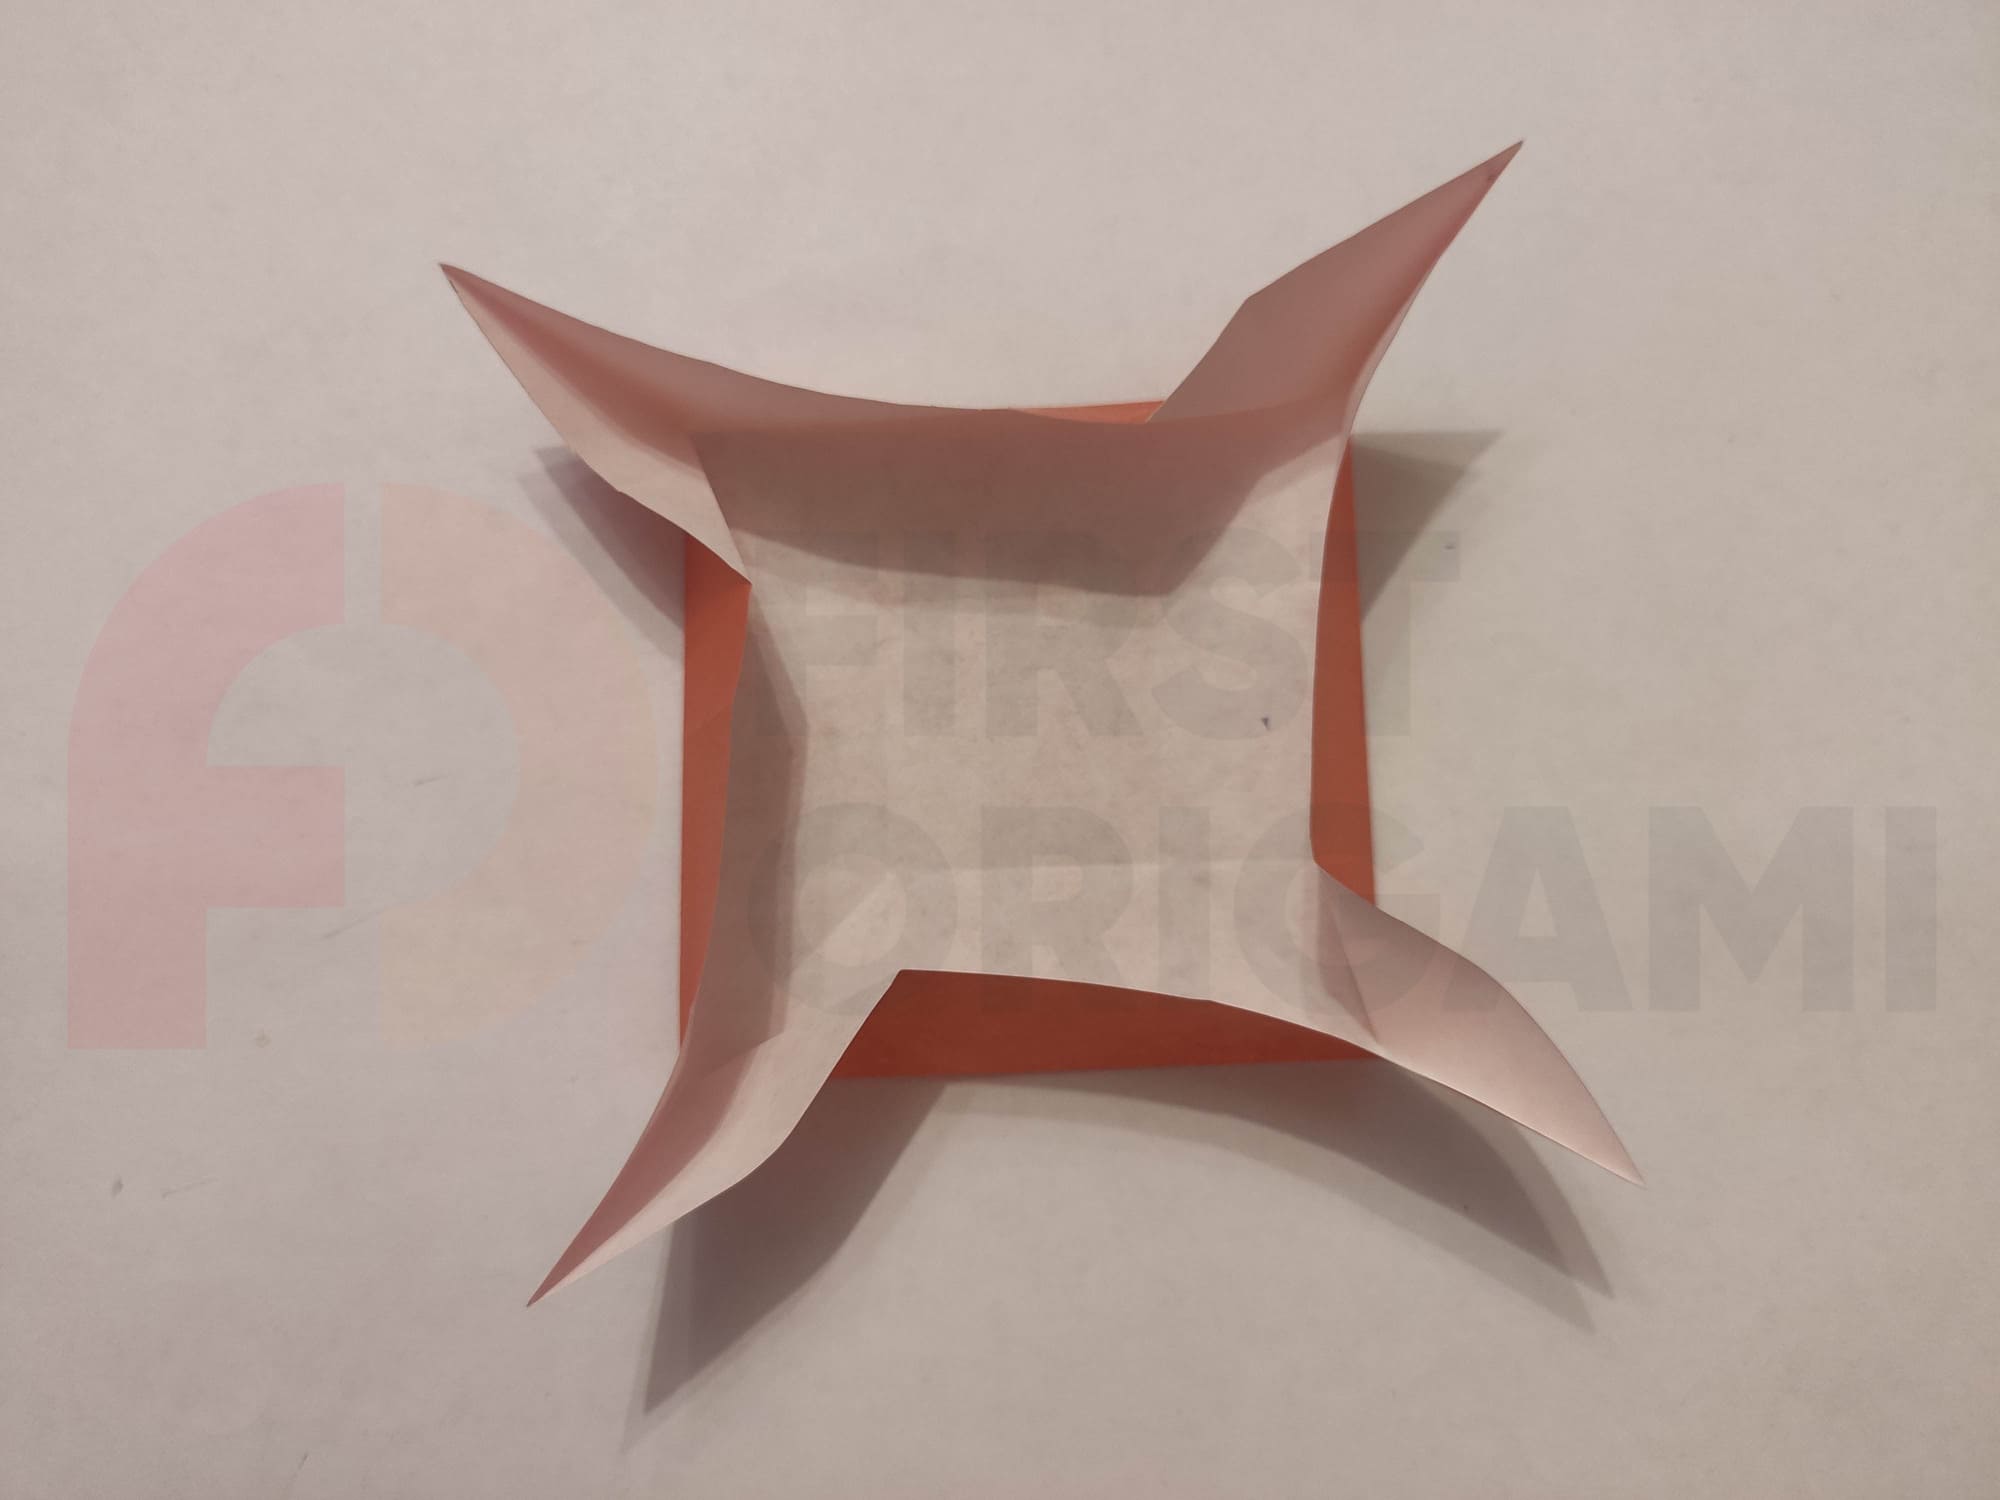
Well done! You can now start forming the bud. Make the folds as shown in the photo below and turn the bud over with the colored part up.
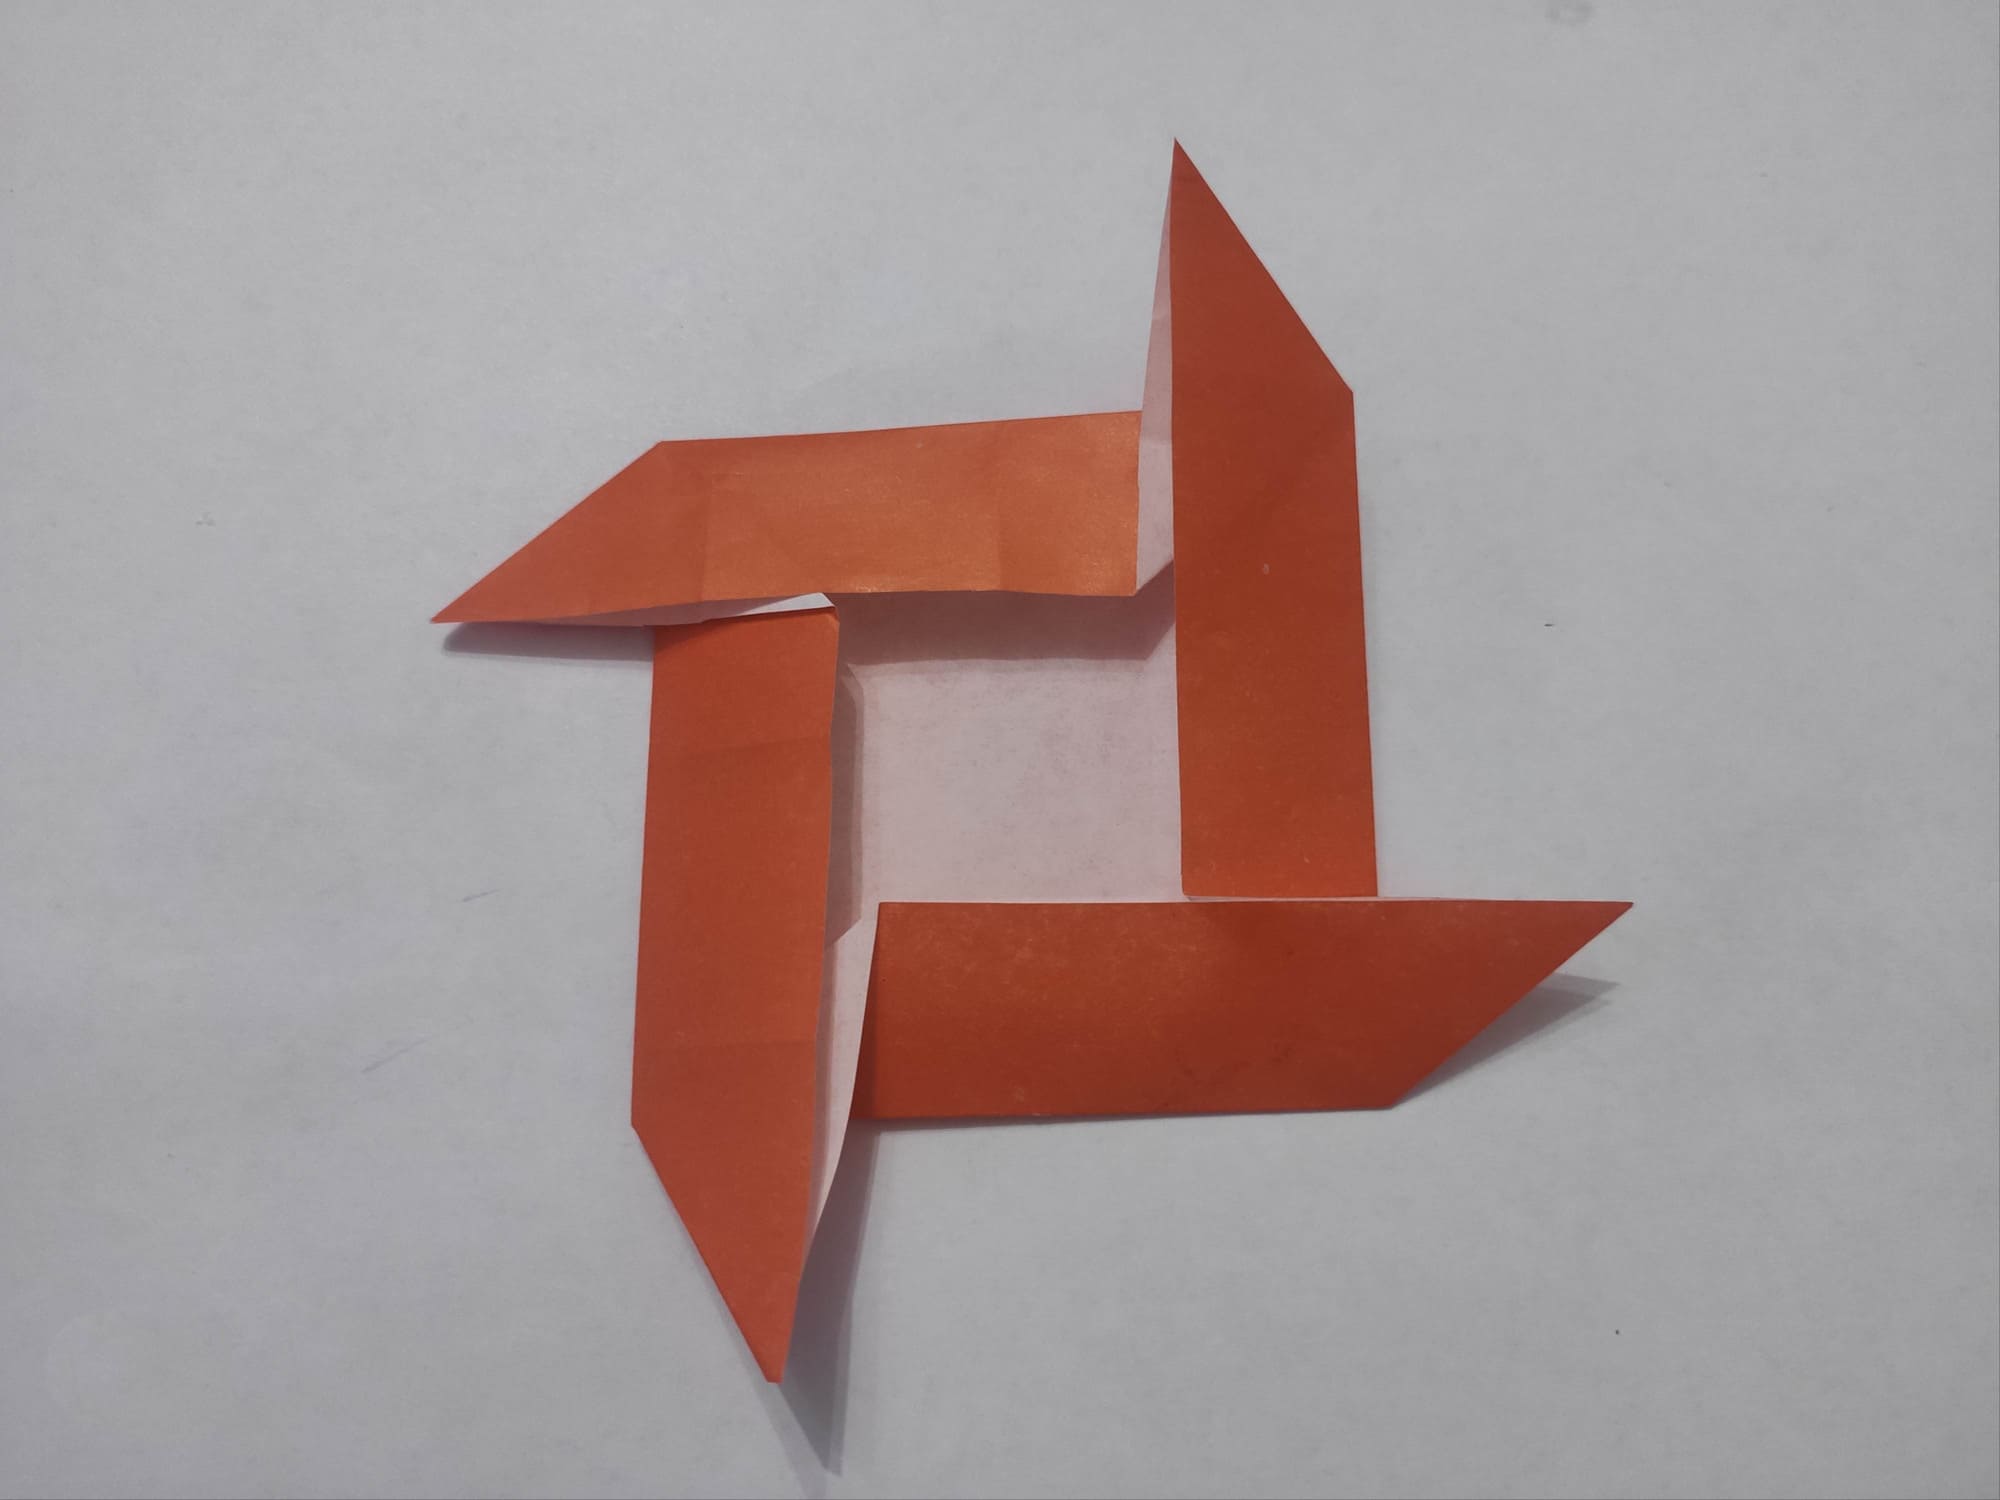
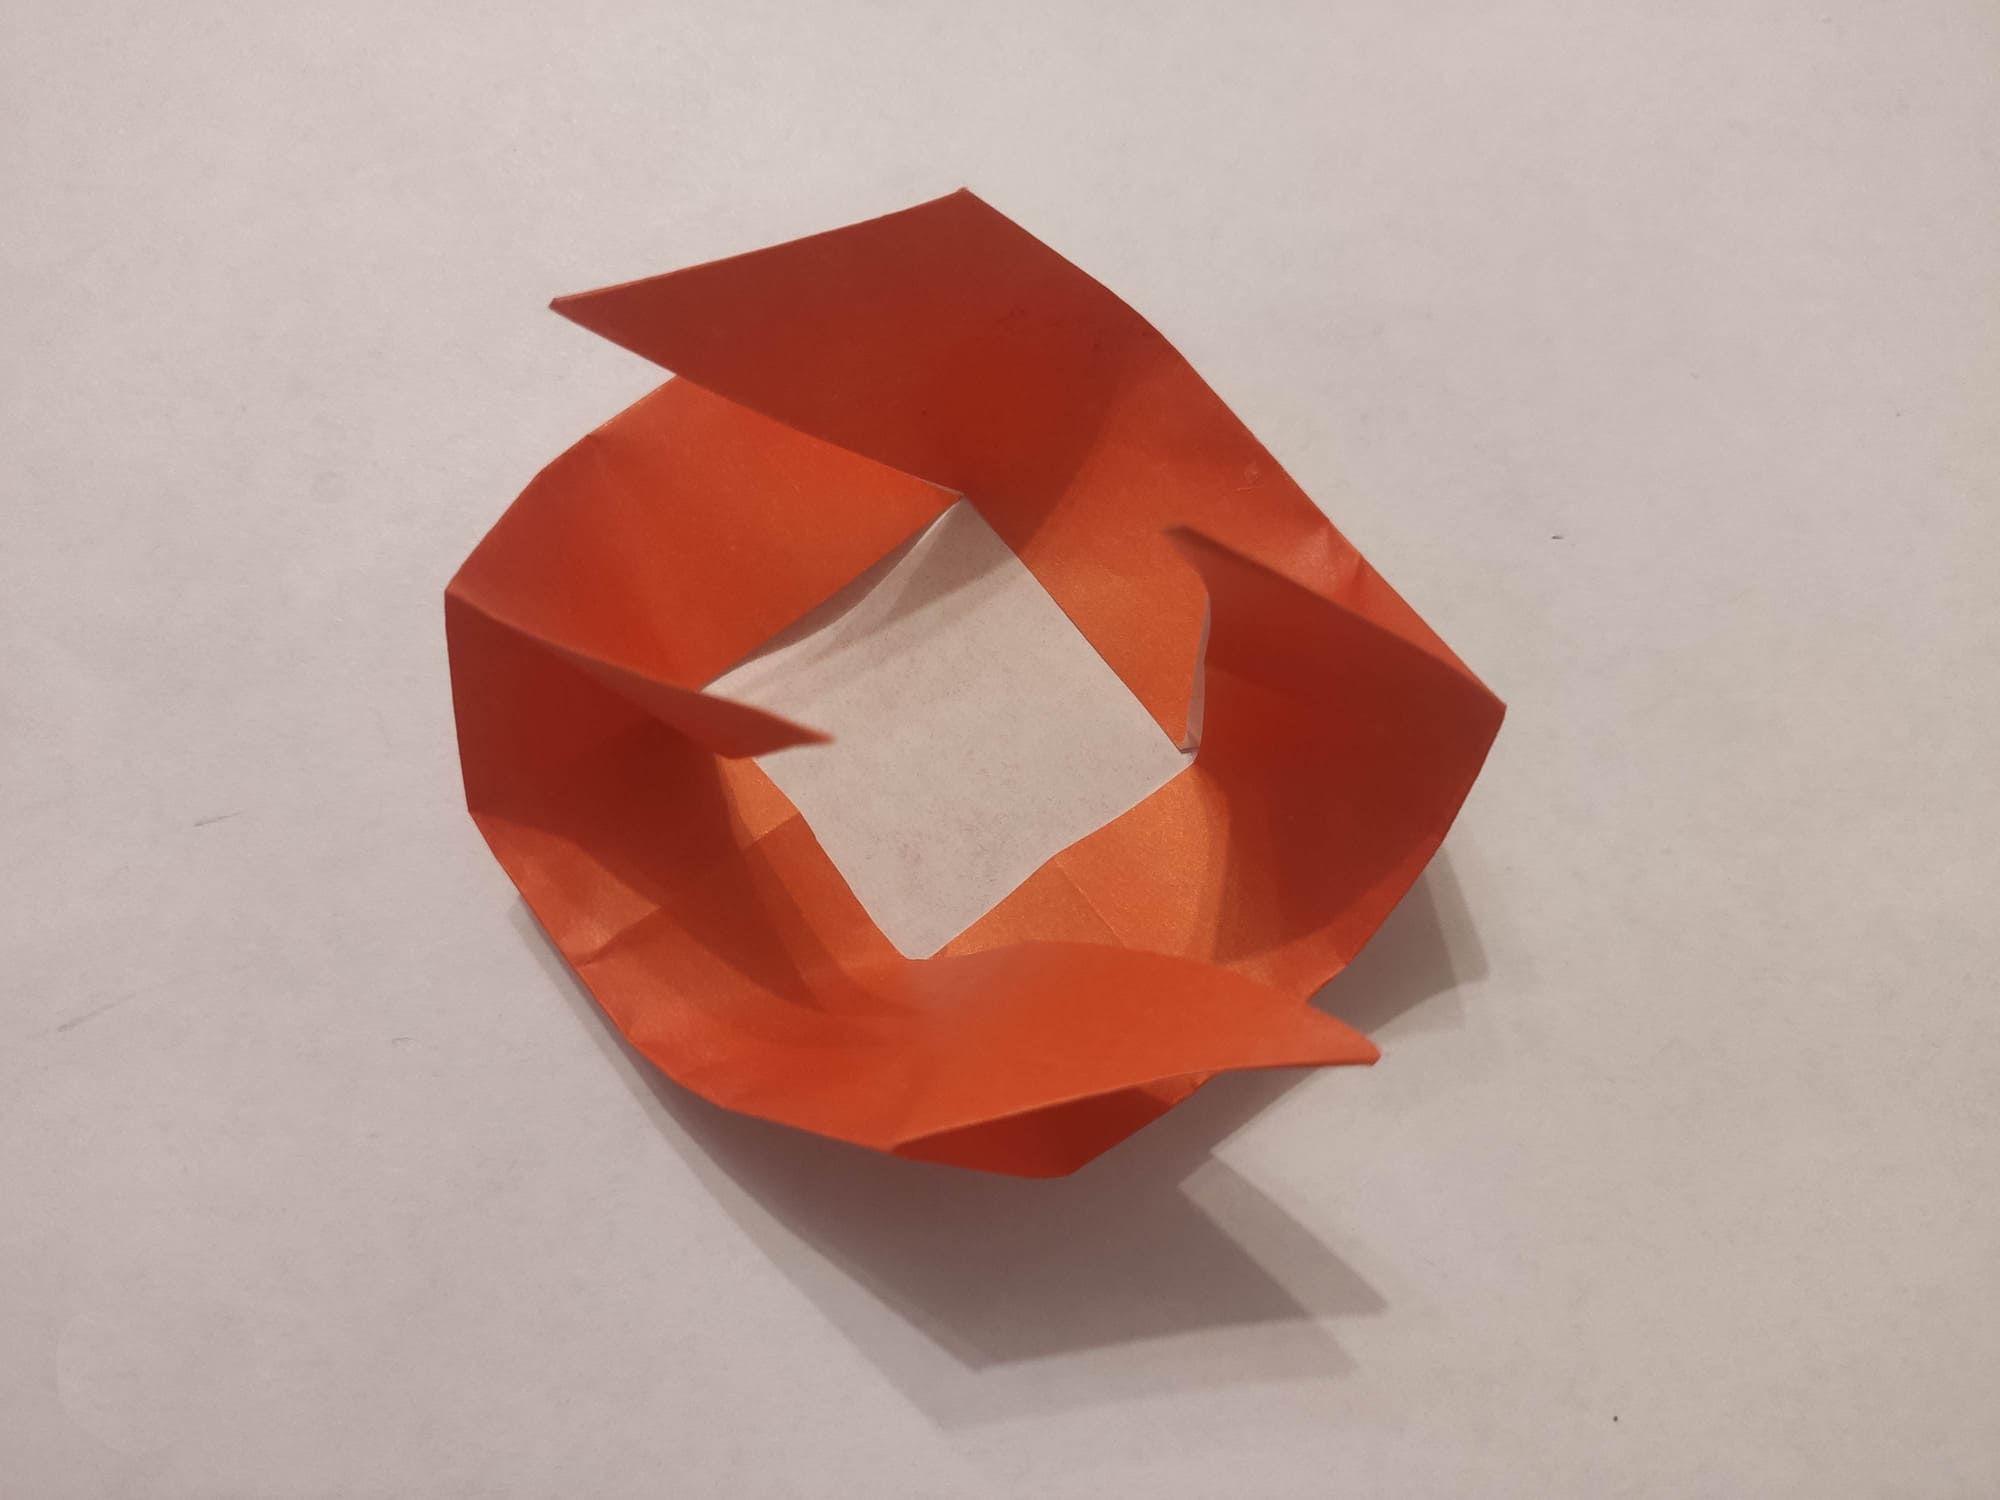
Just a few more steps left. Make another bend, as shown in the photo, and again turn the bud.
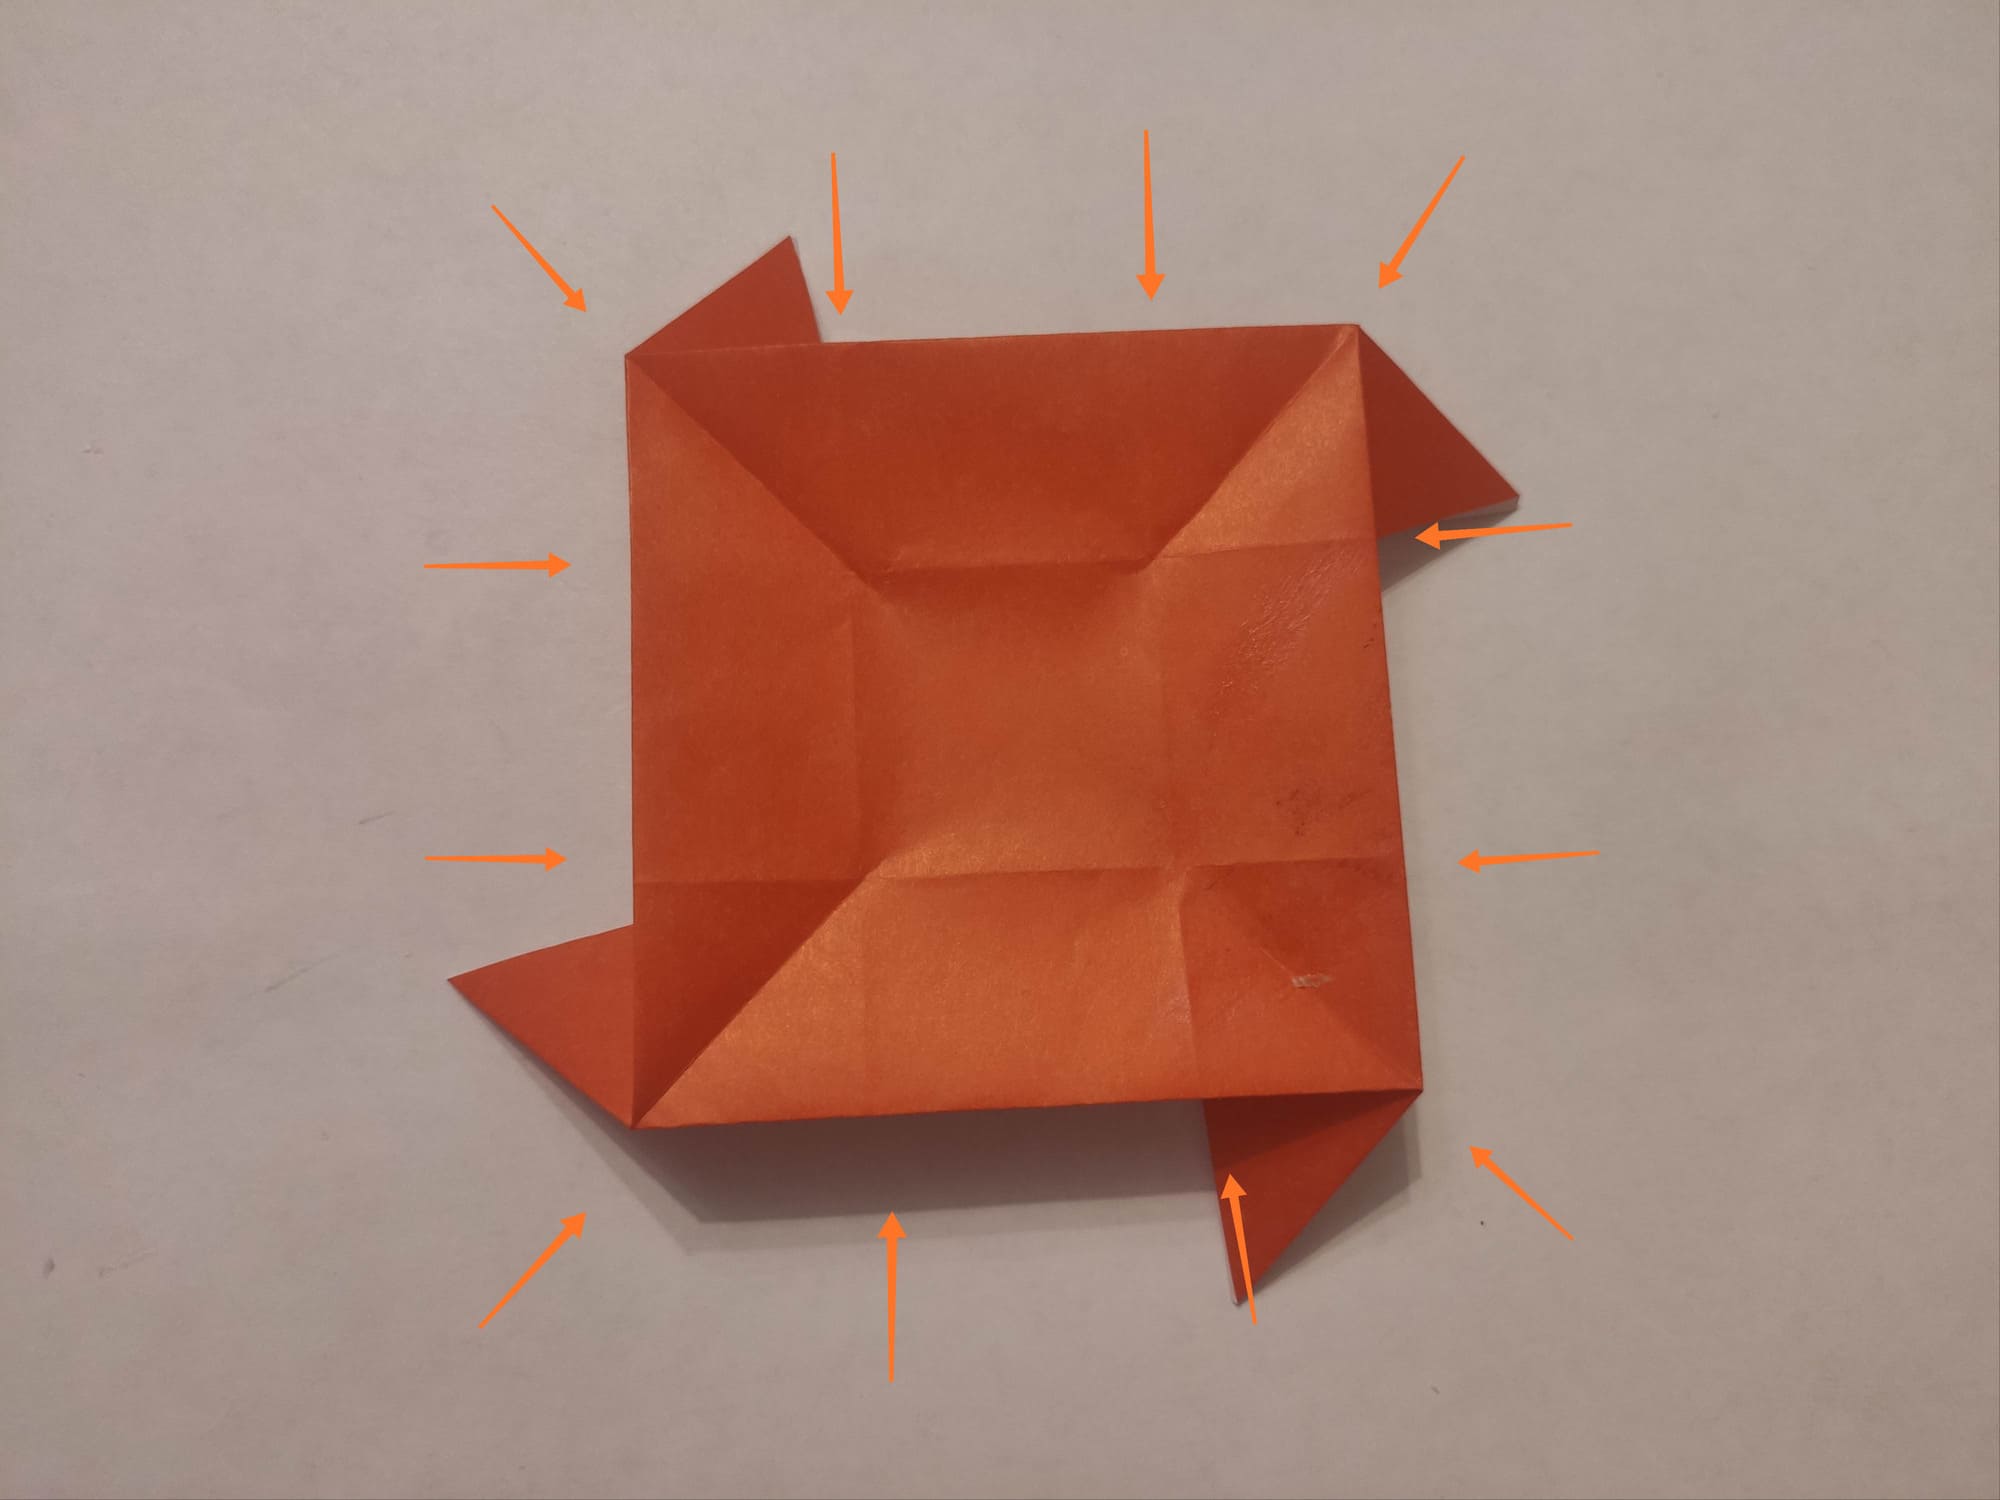
Gently lift the petals, wrapping them inside the bud.
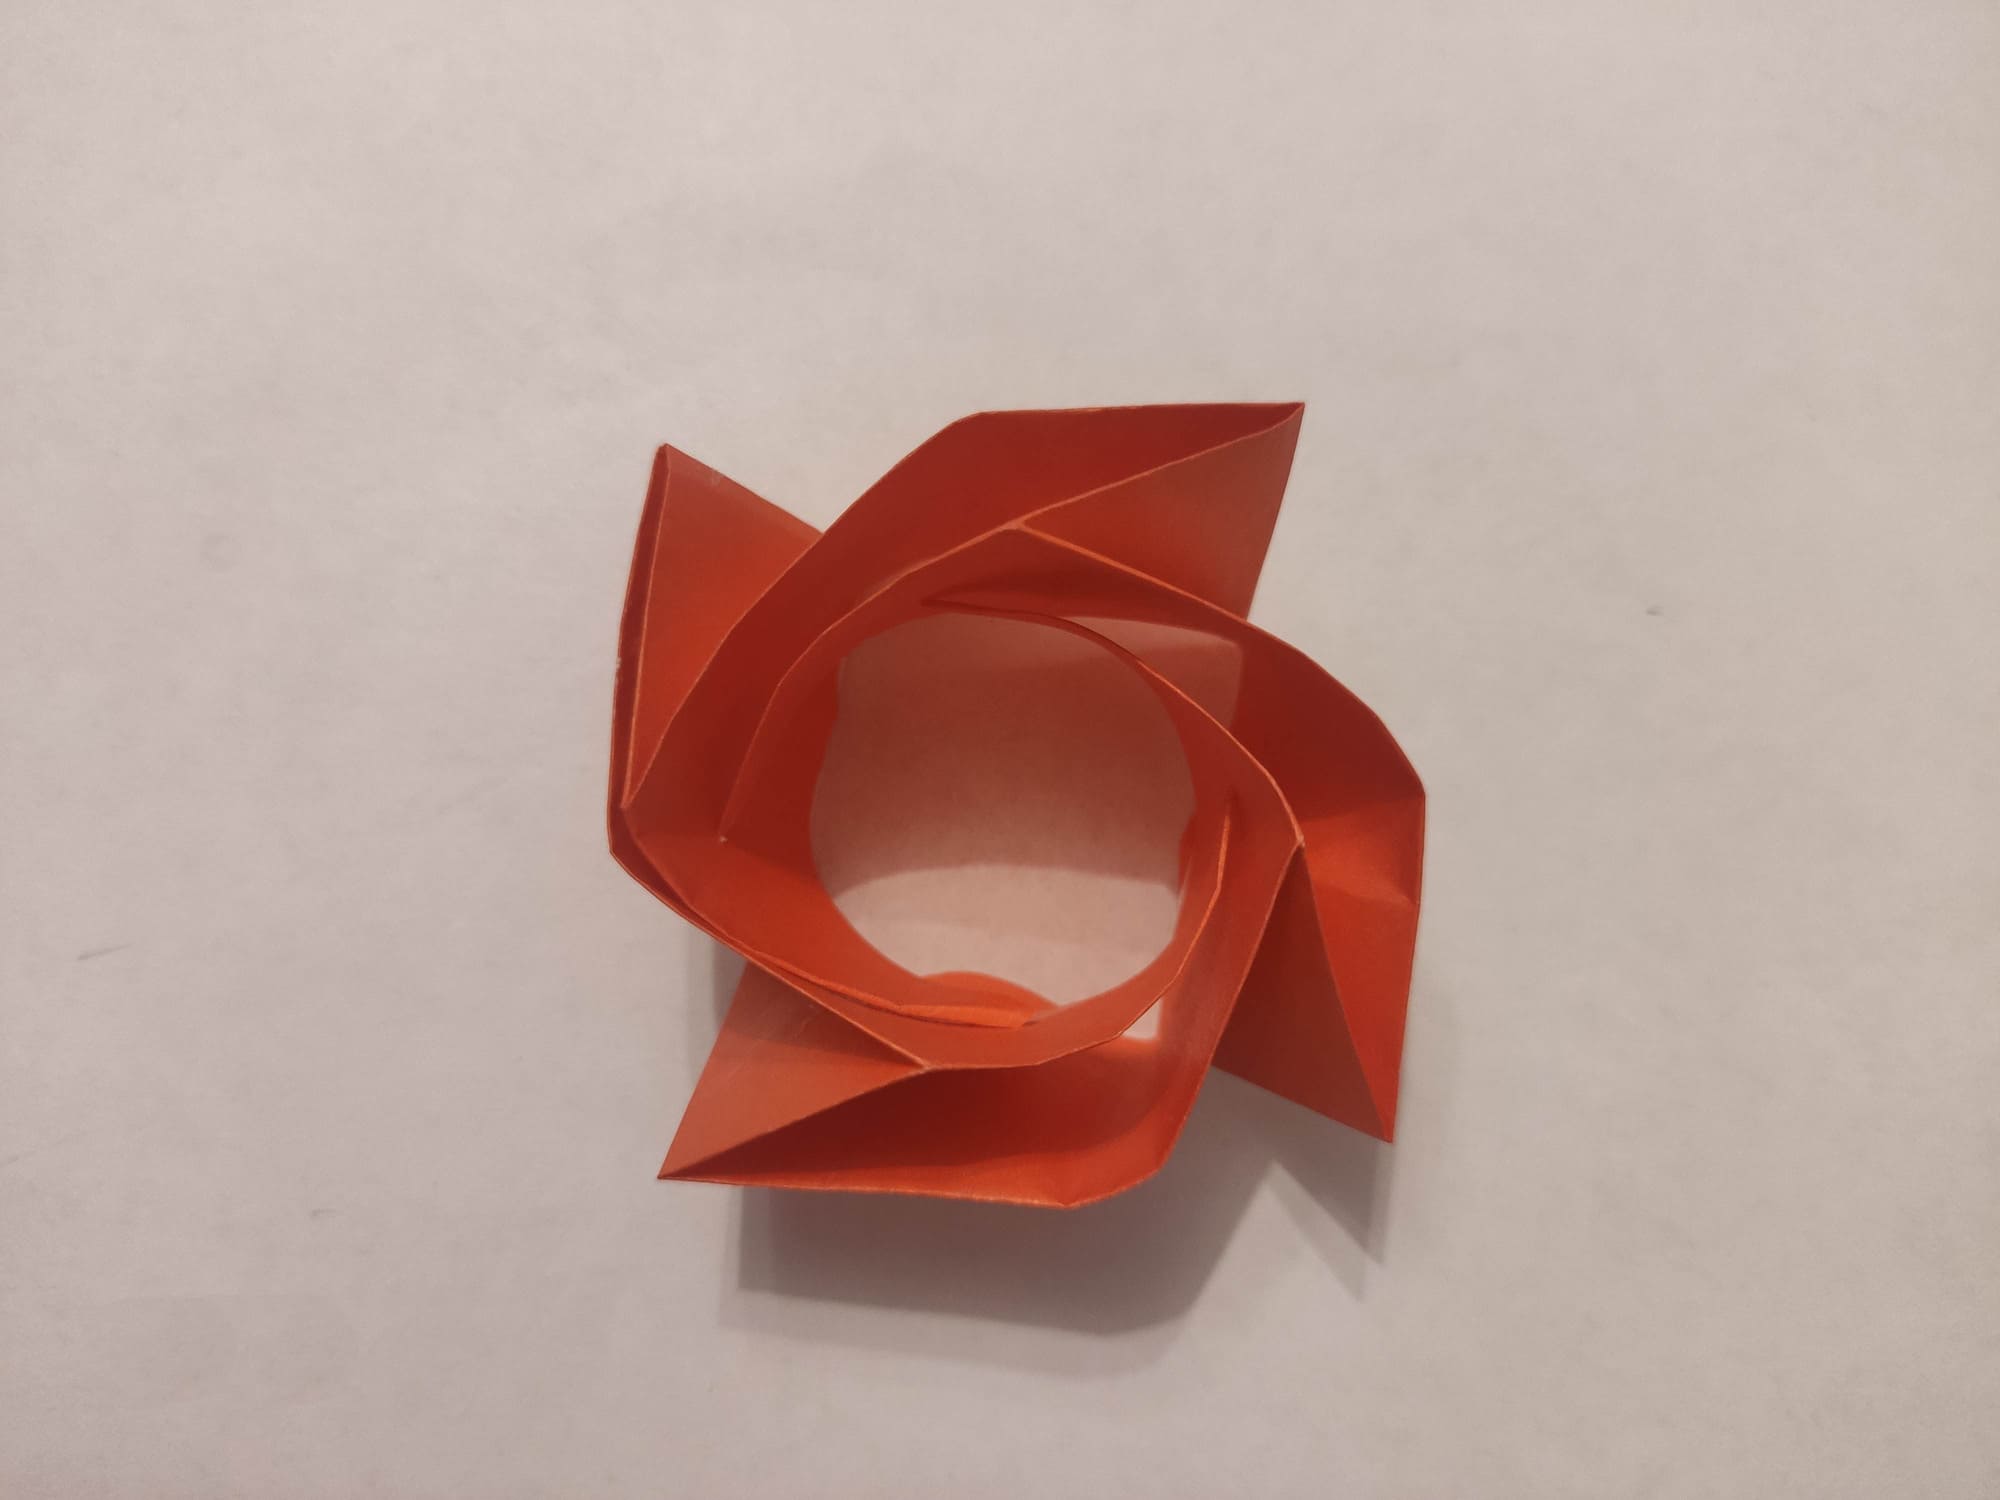

Final action: bend the tips of the petals outward, giving them a more realistic shape.

A beautiful pink bud is ready.
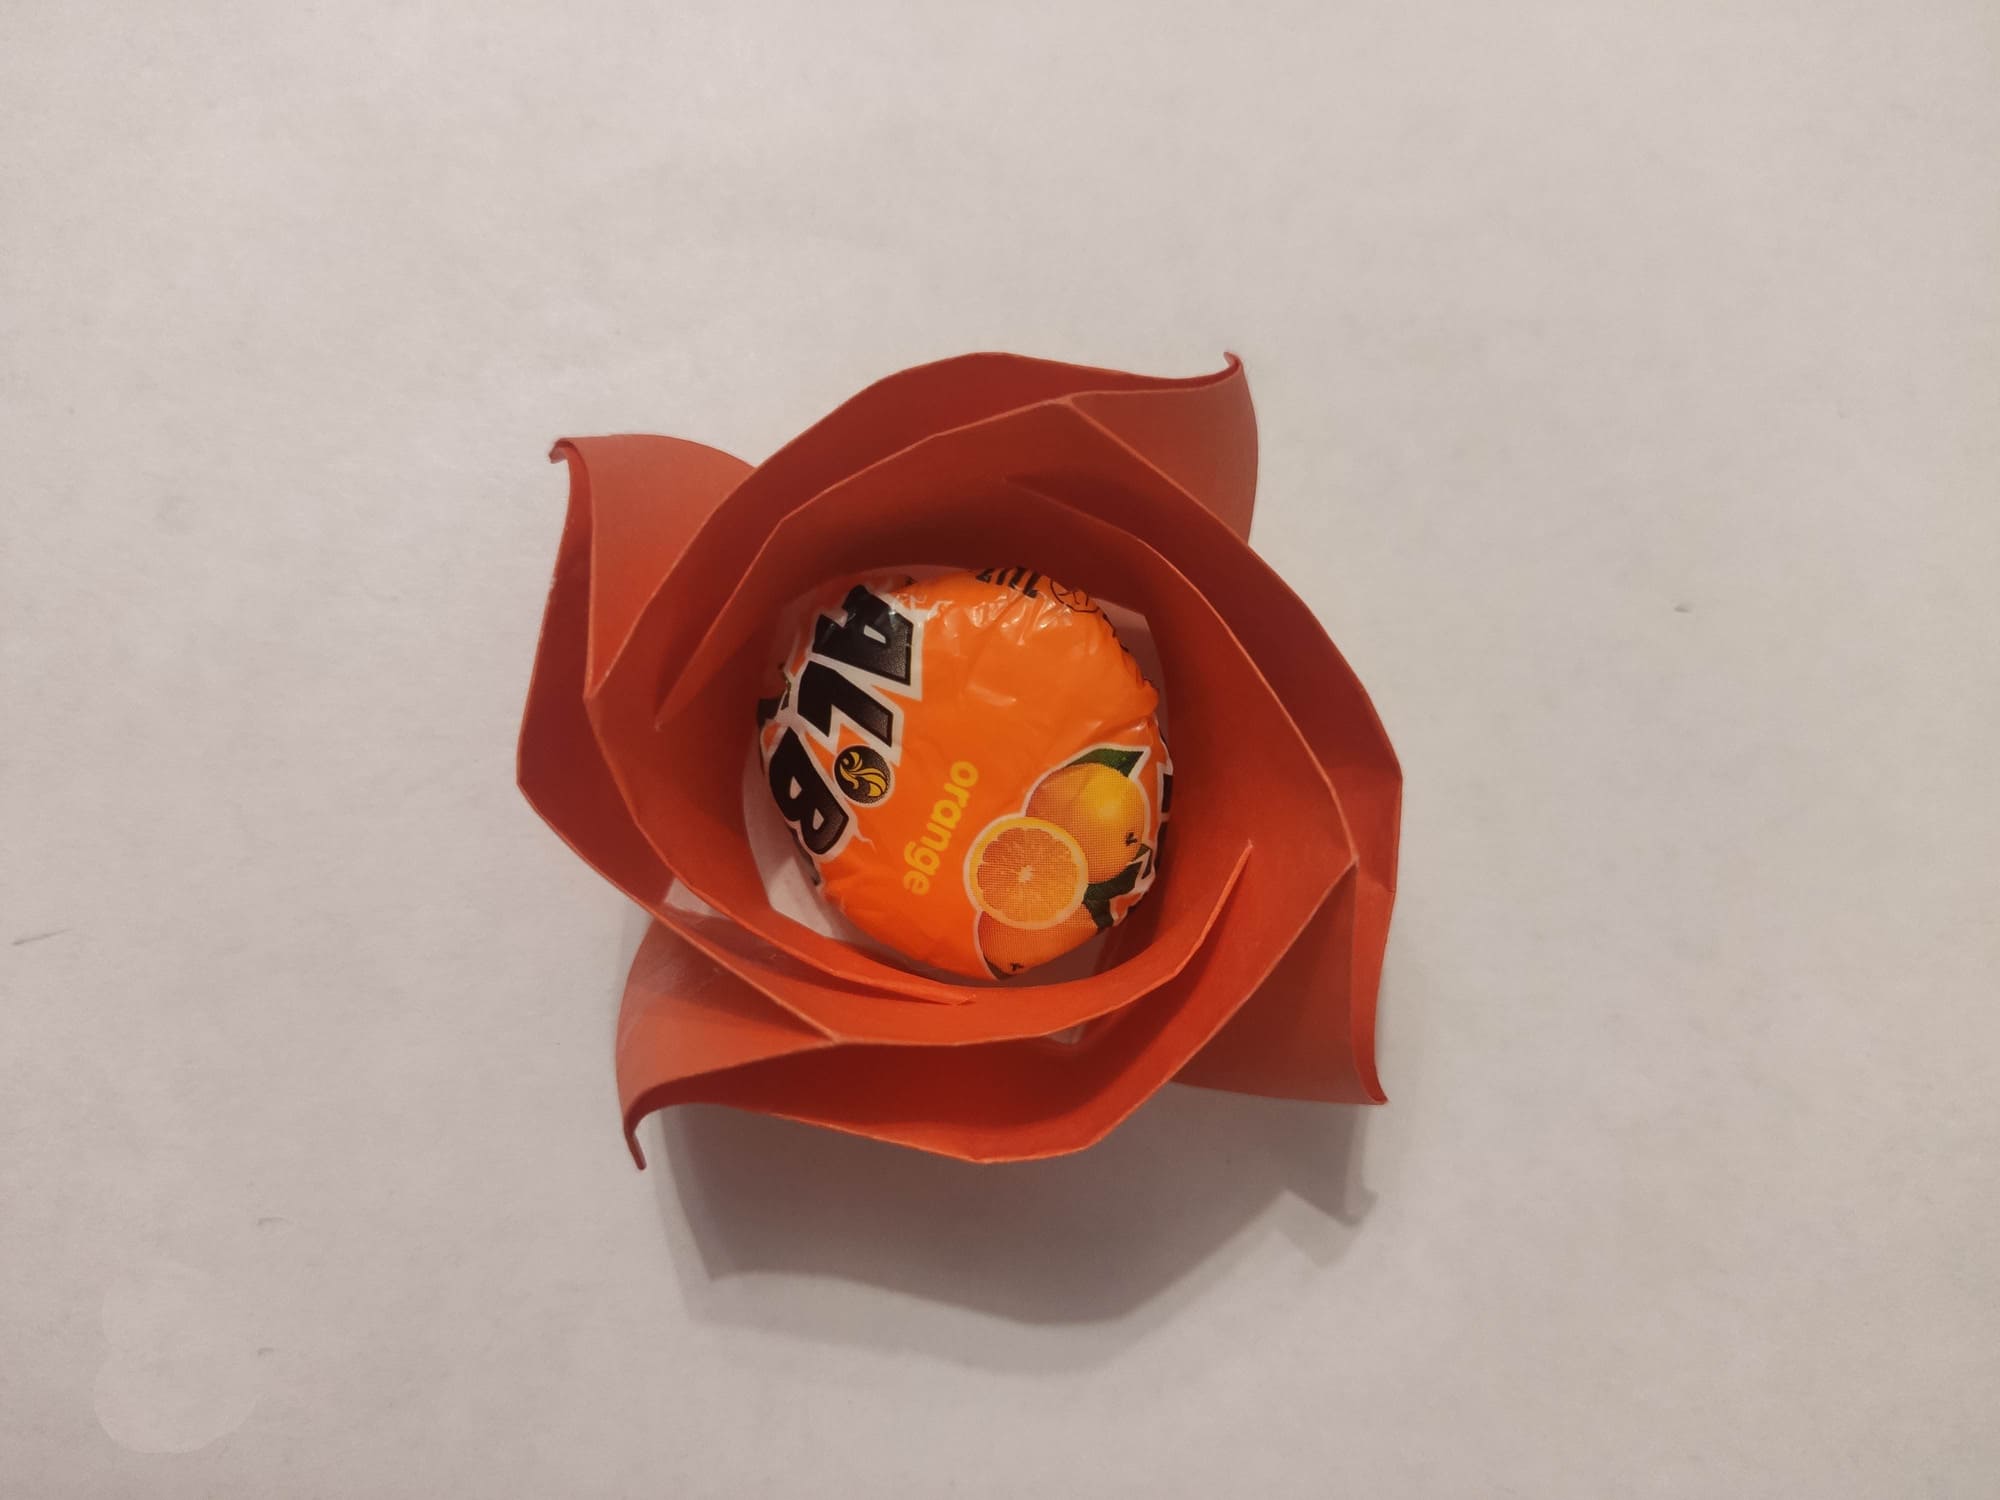
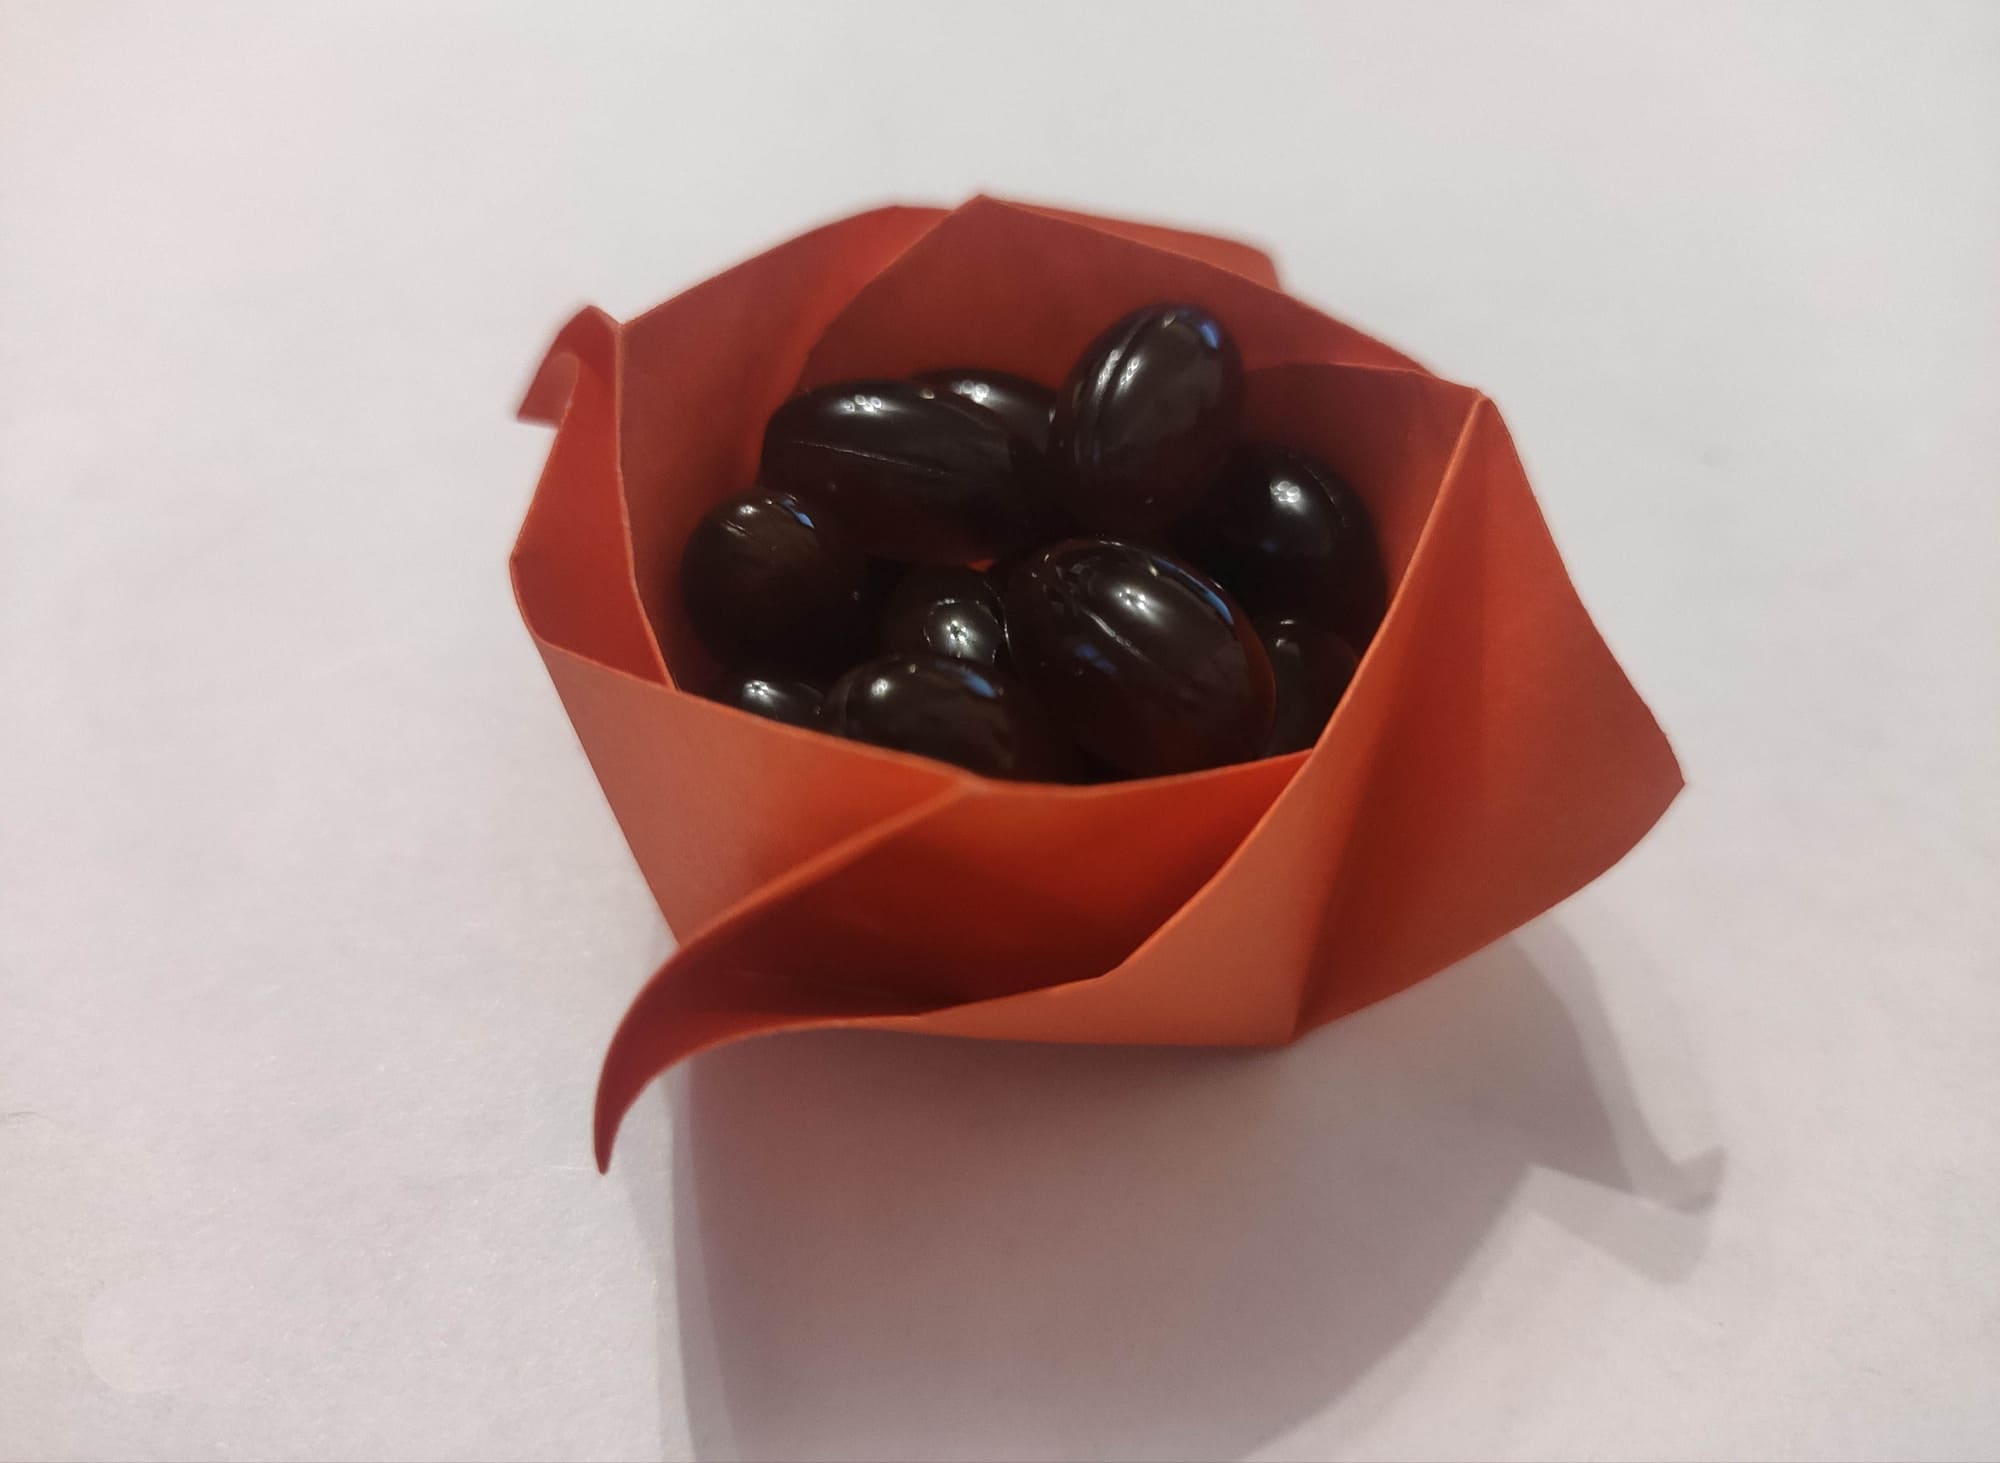
You can place a candy in the center and make your loved one happy!
If you make several of these flowers and put sweets there, you get a beautiful gift!