Origami Sailor Wing Airplane
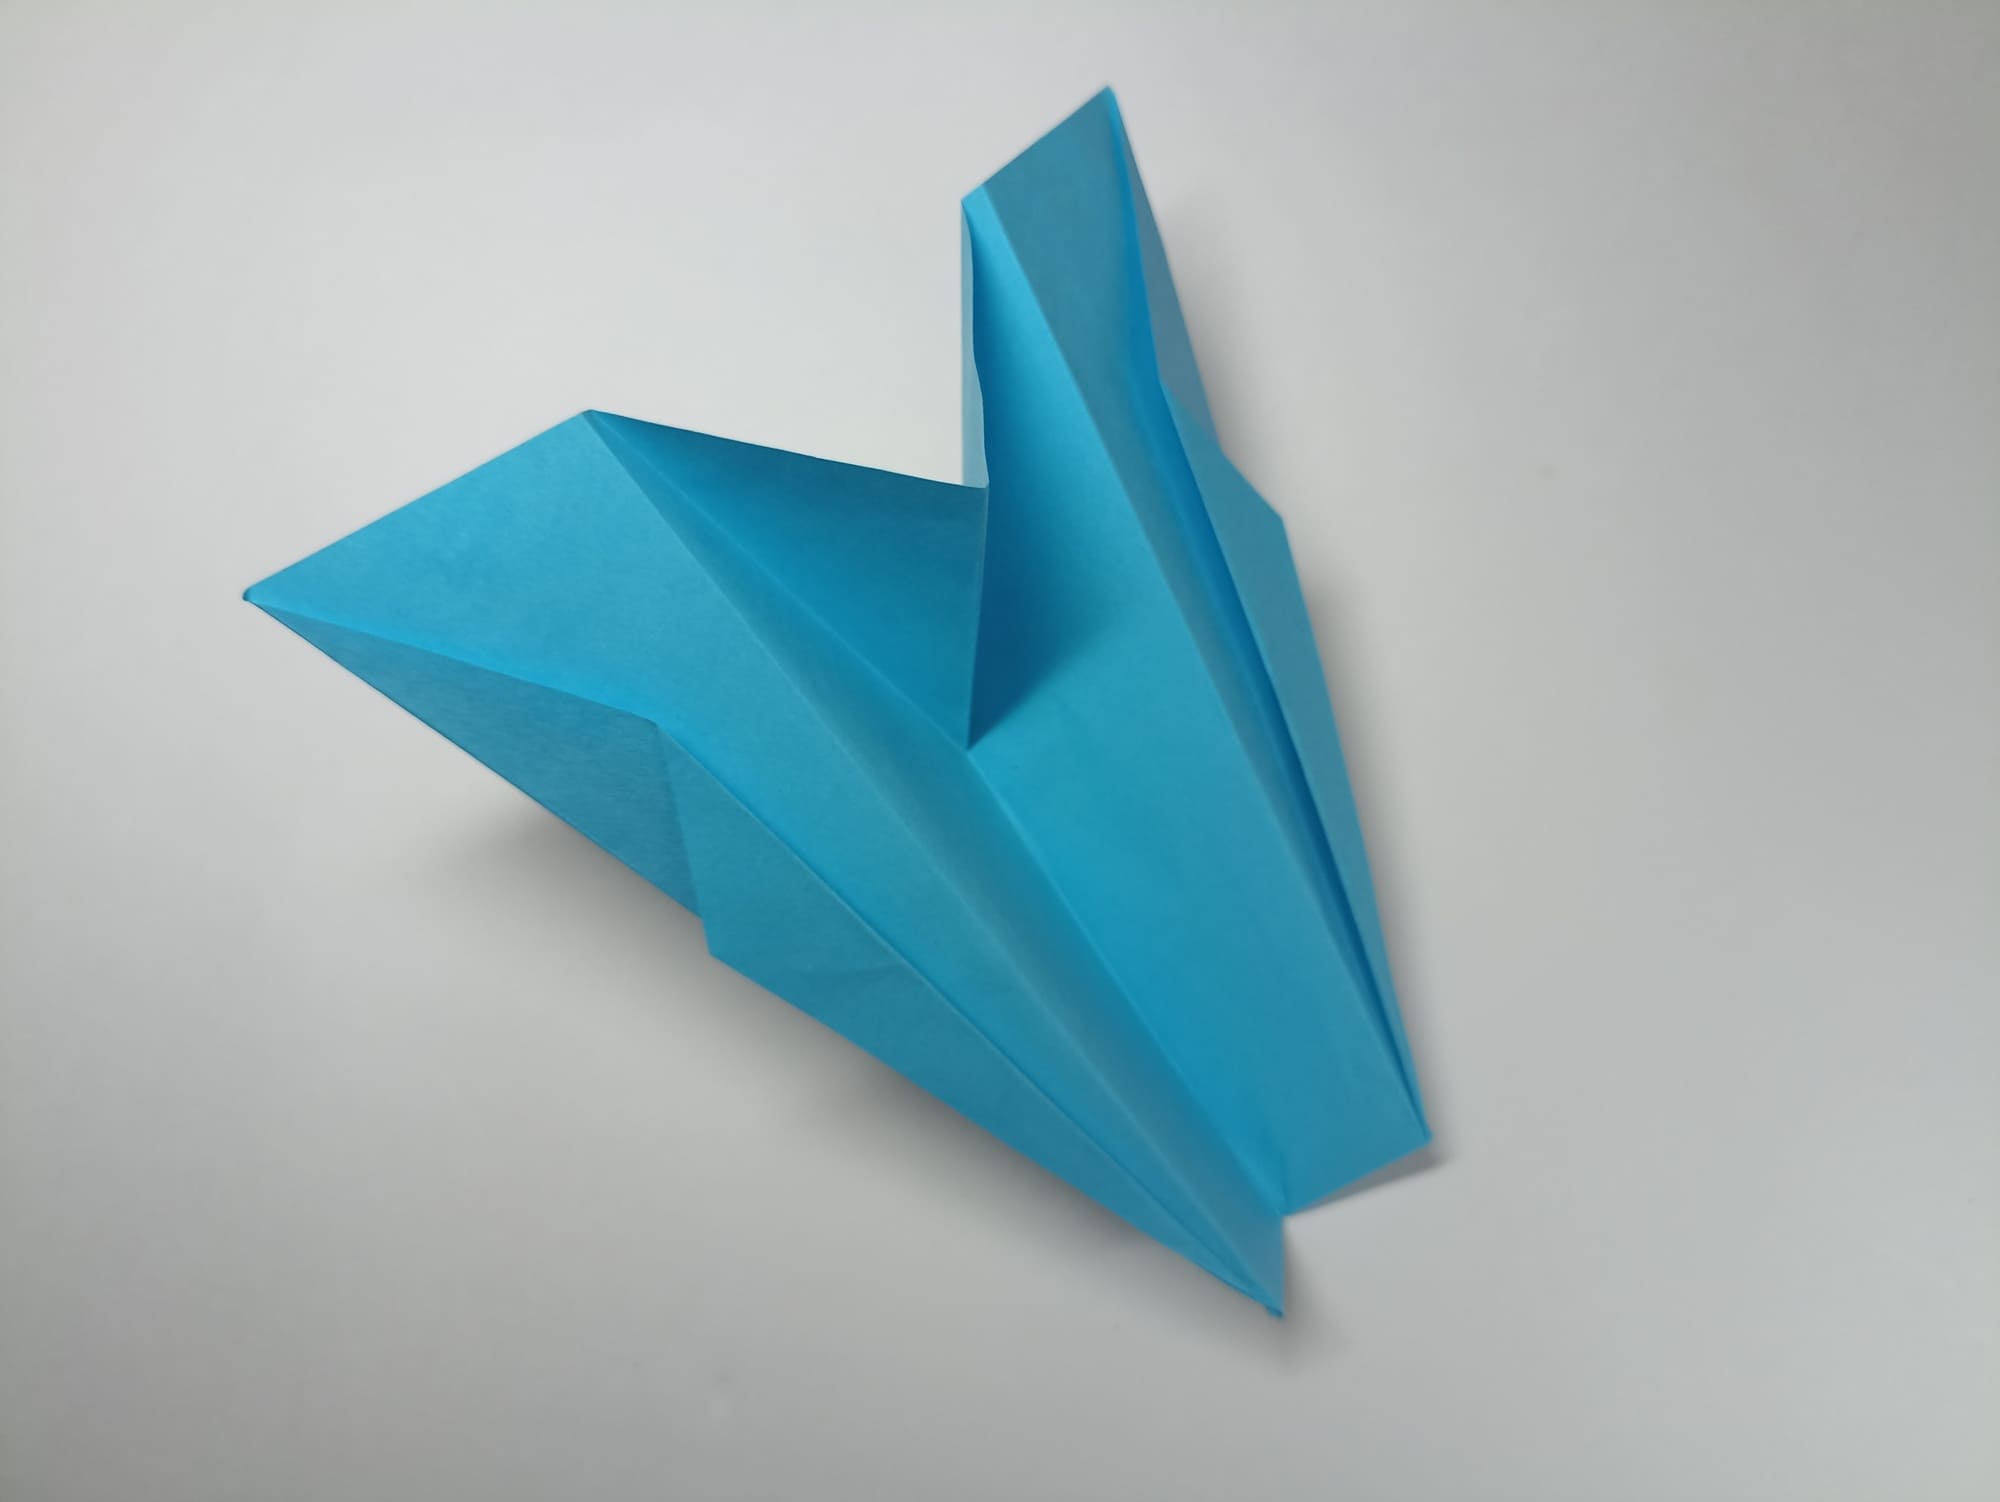
A wide base of the body, straight wings, and a truncated nose are the distinctive features of this paper glider. The design allows the airplane to fly far in a straight line without making tilts, loops, or flips.
The model has characteristics similar to those of a real air cruiser, which accompanies maneuverable combat aircraft, covering them with its hull and repelling enemy attacks.
Place the sheet of paper vertically and mark the cross folds.
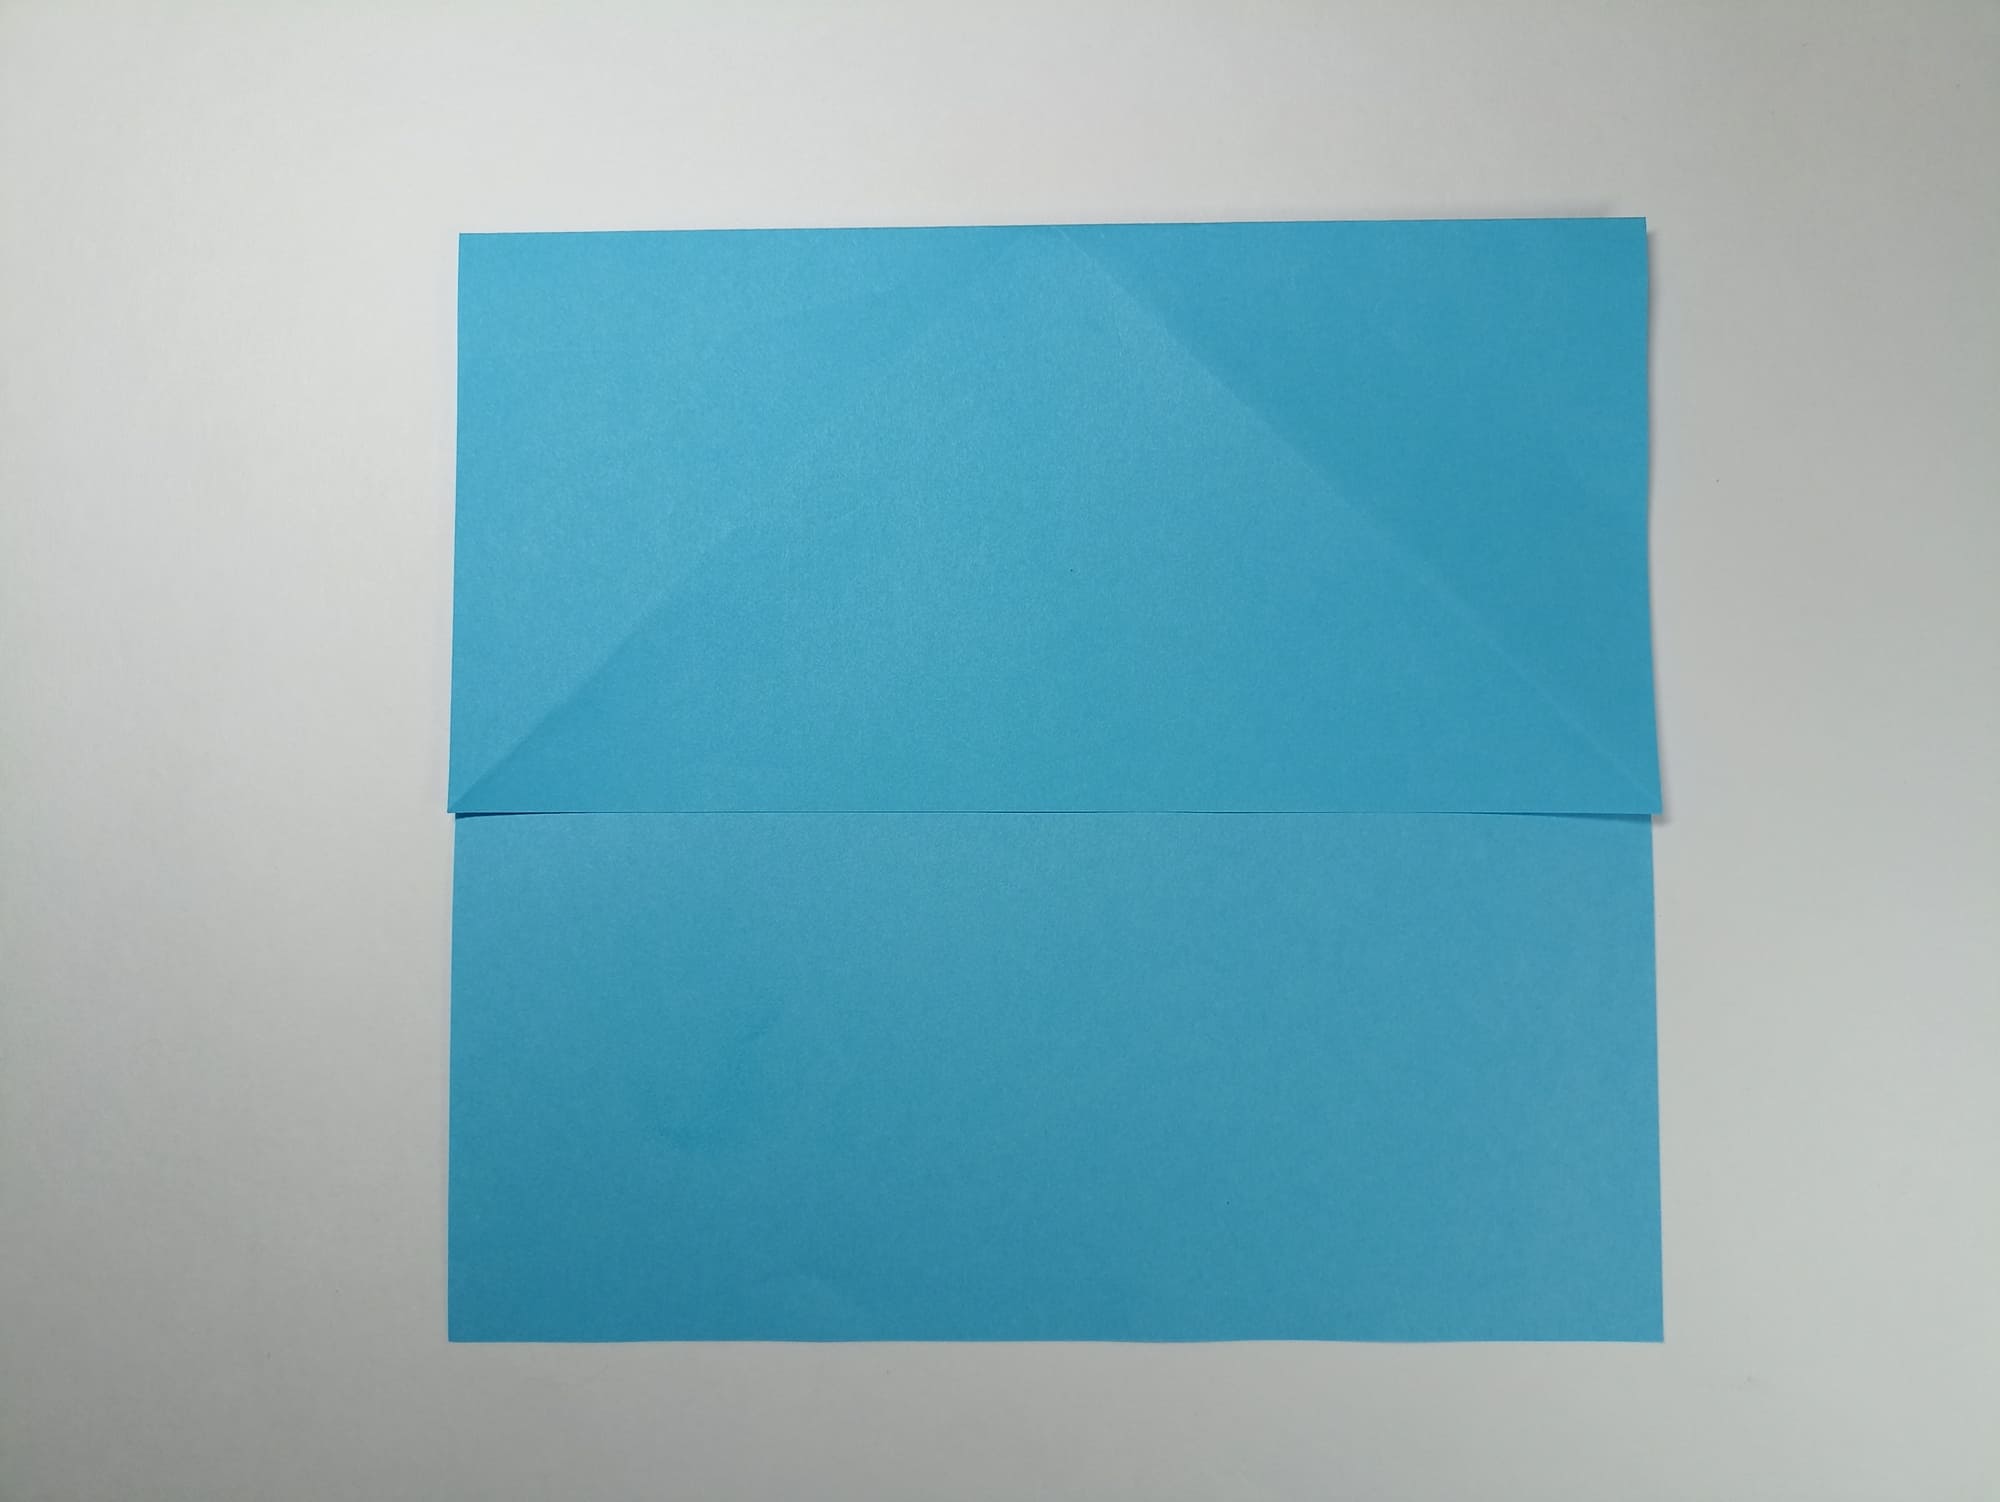
Align the right corner with the left side, crease, and unfold.


Align the left corner with the right side, crease, and unfold.
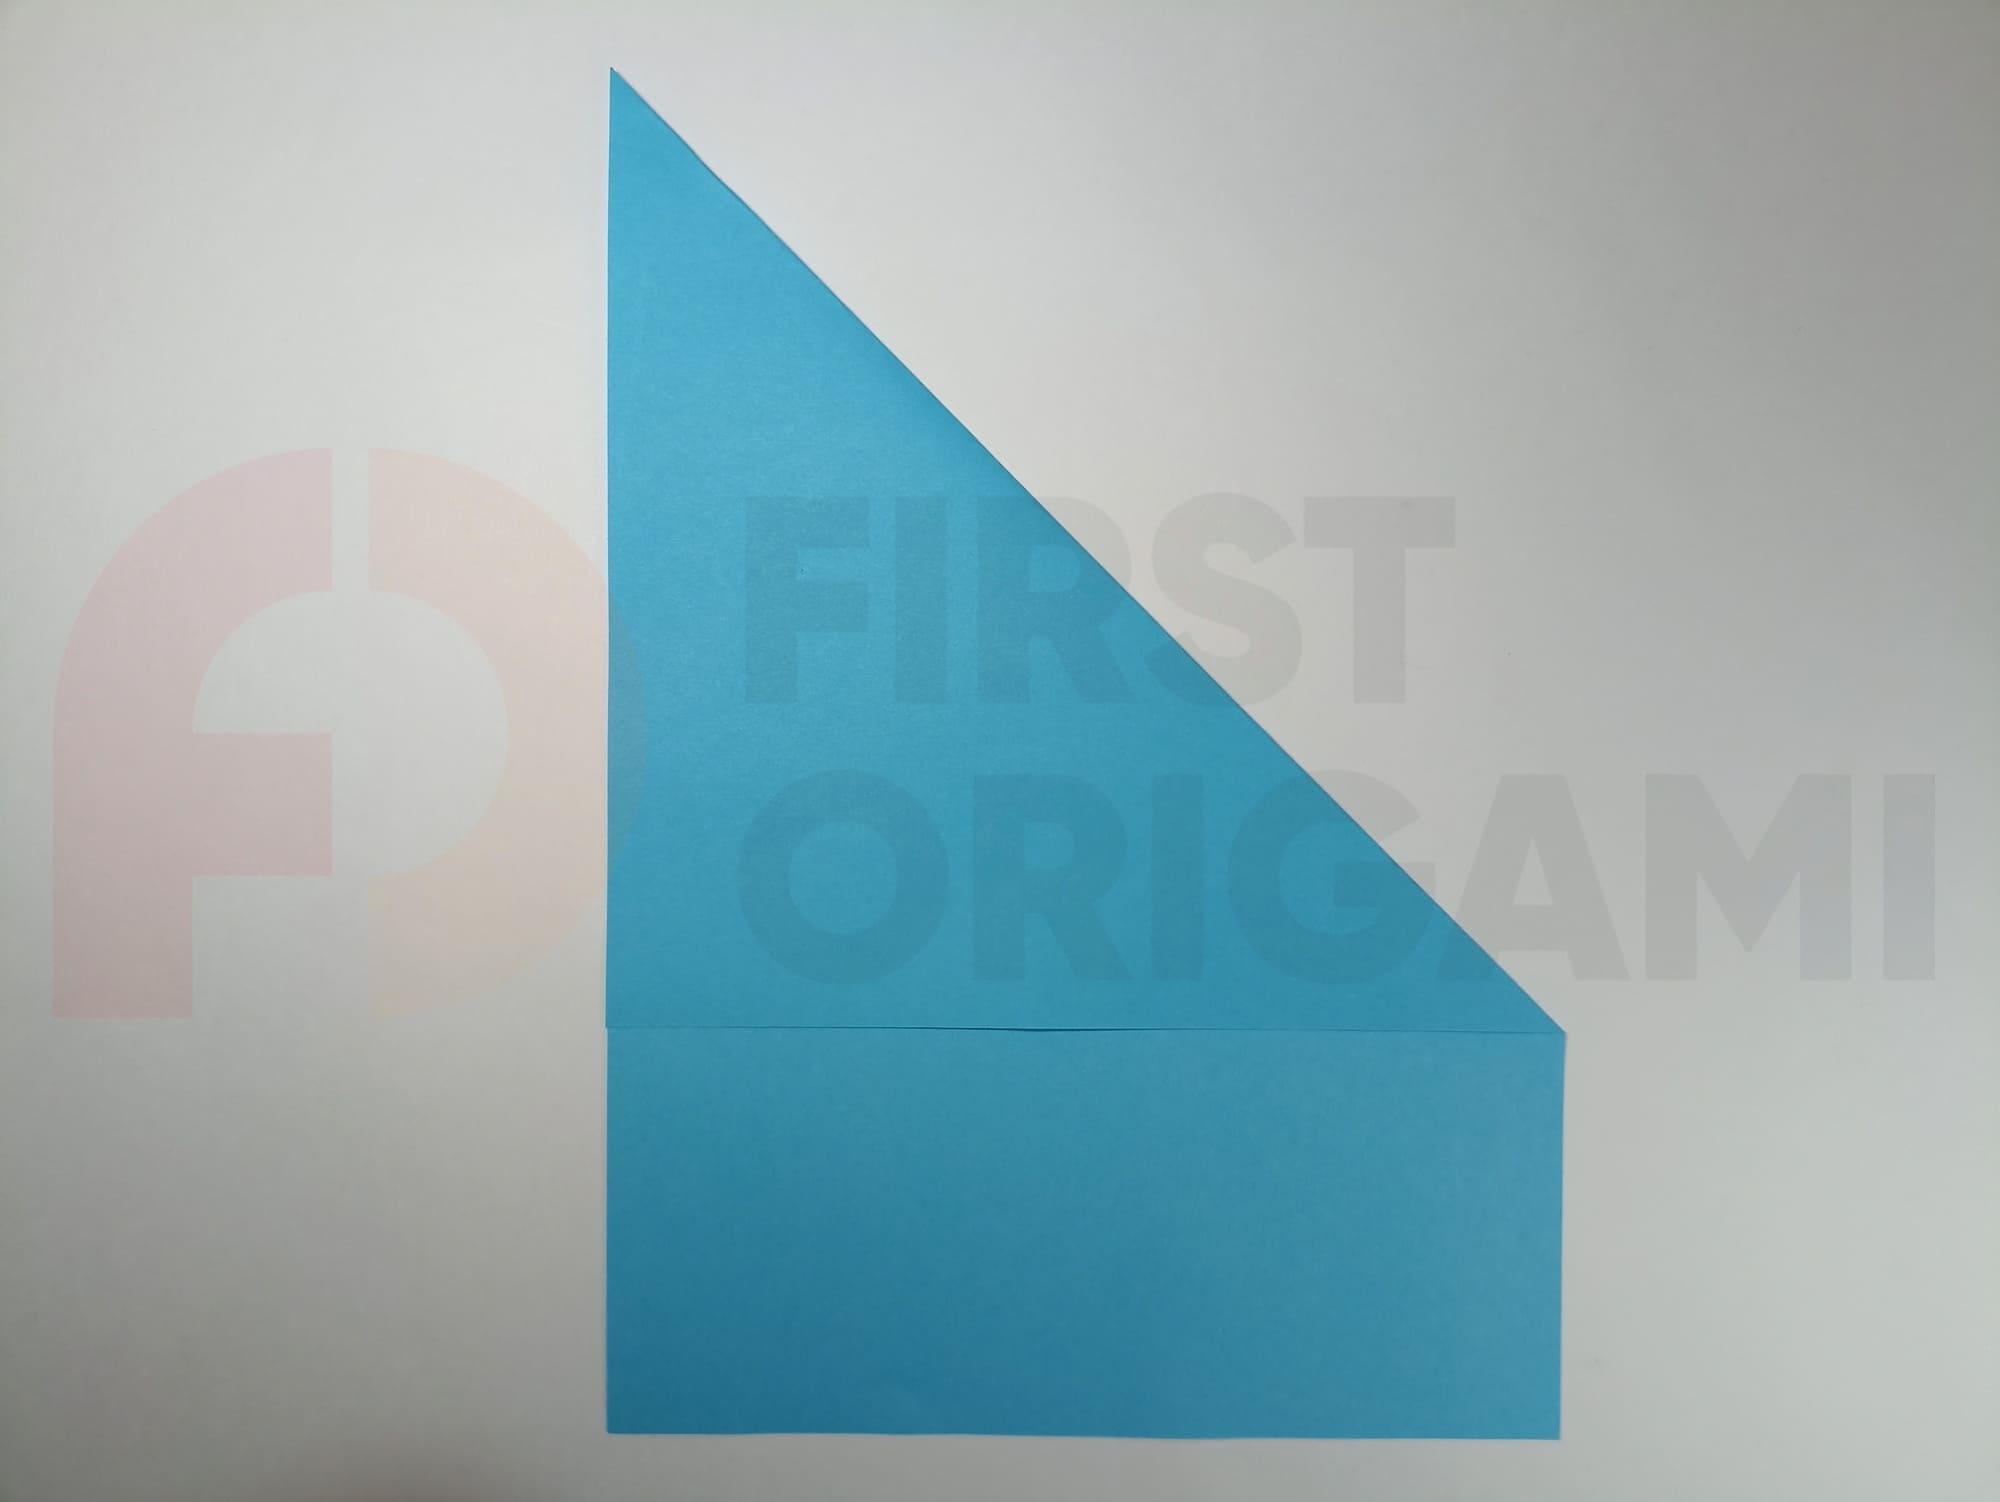
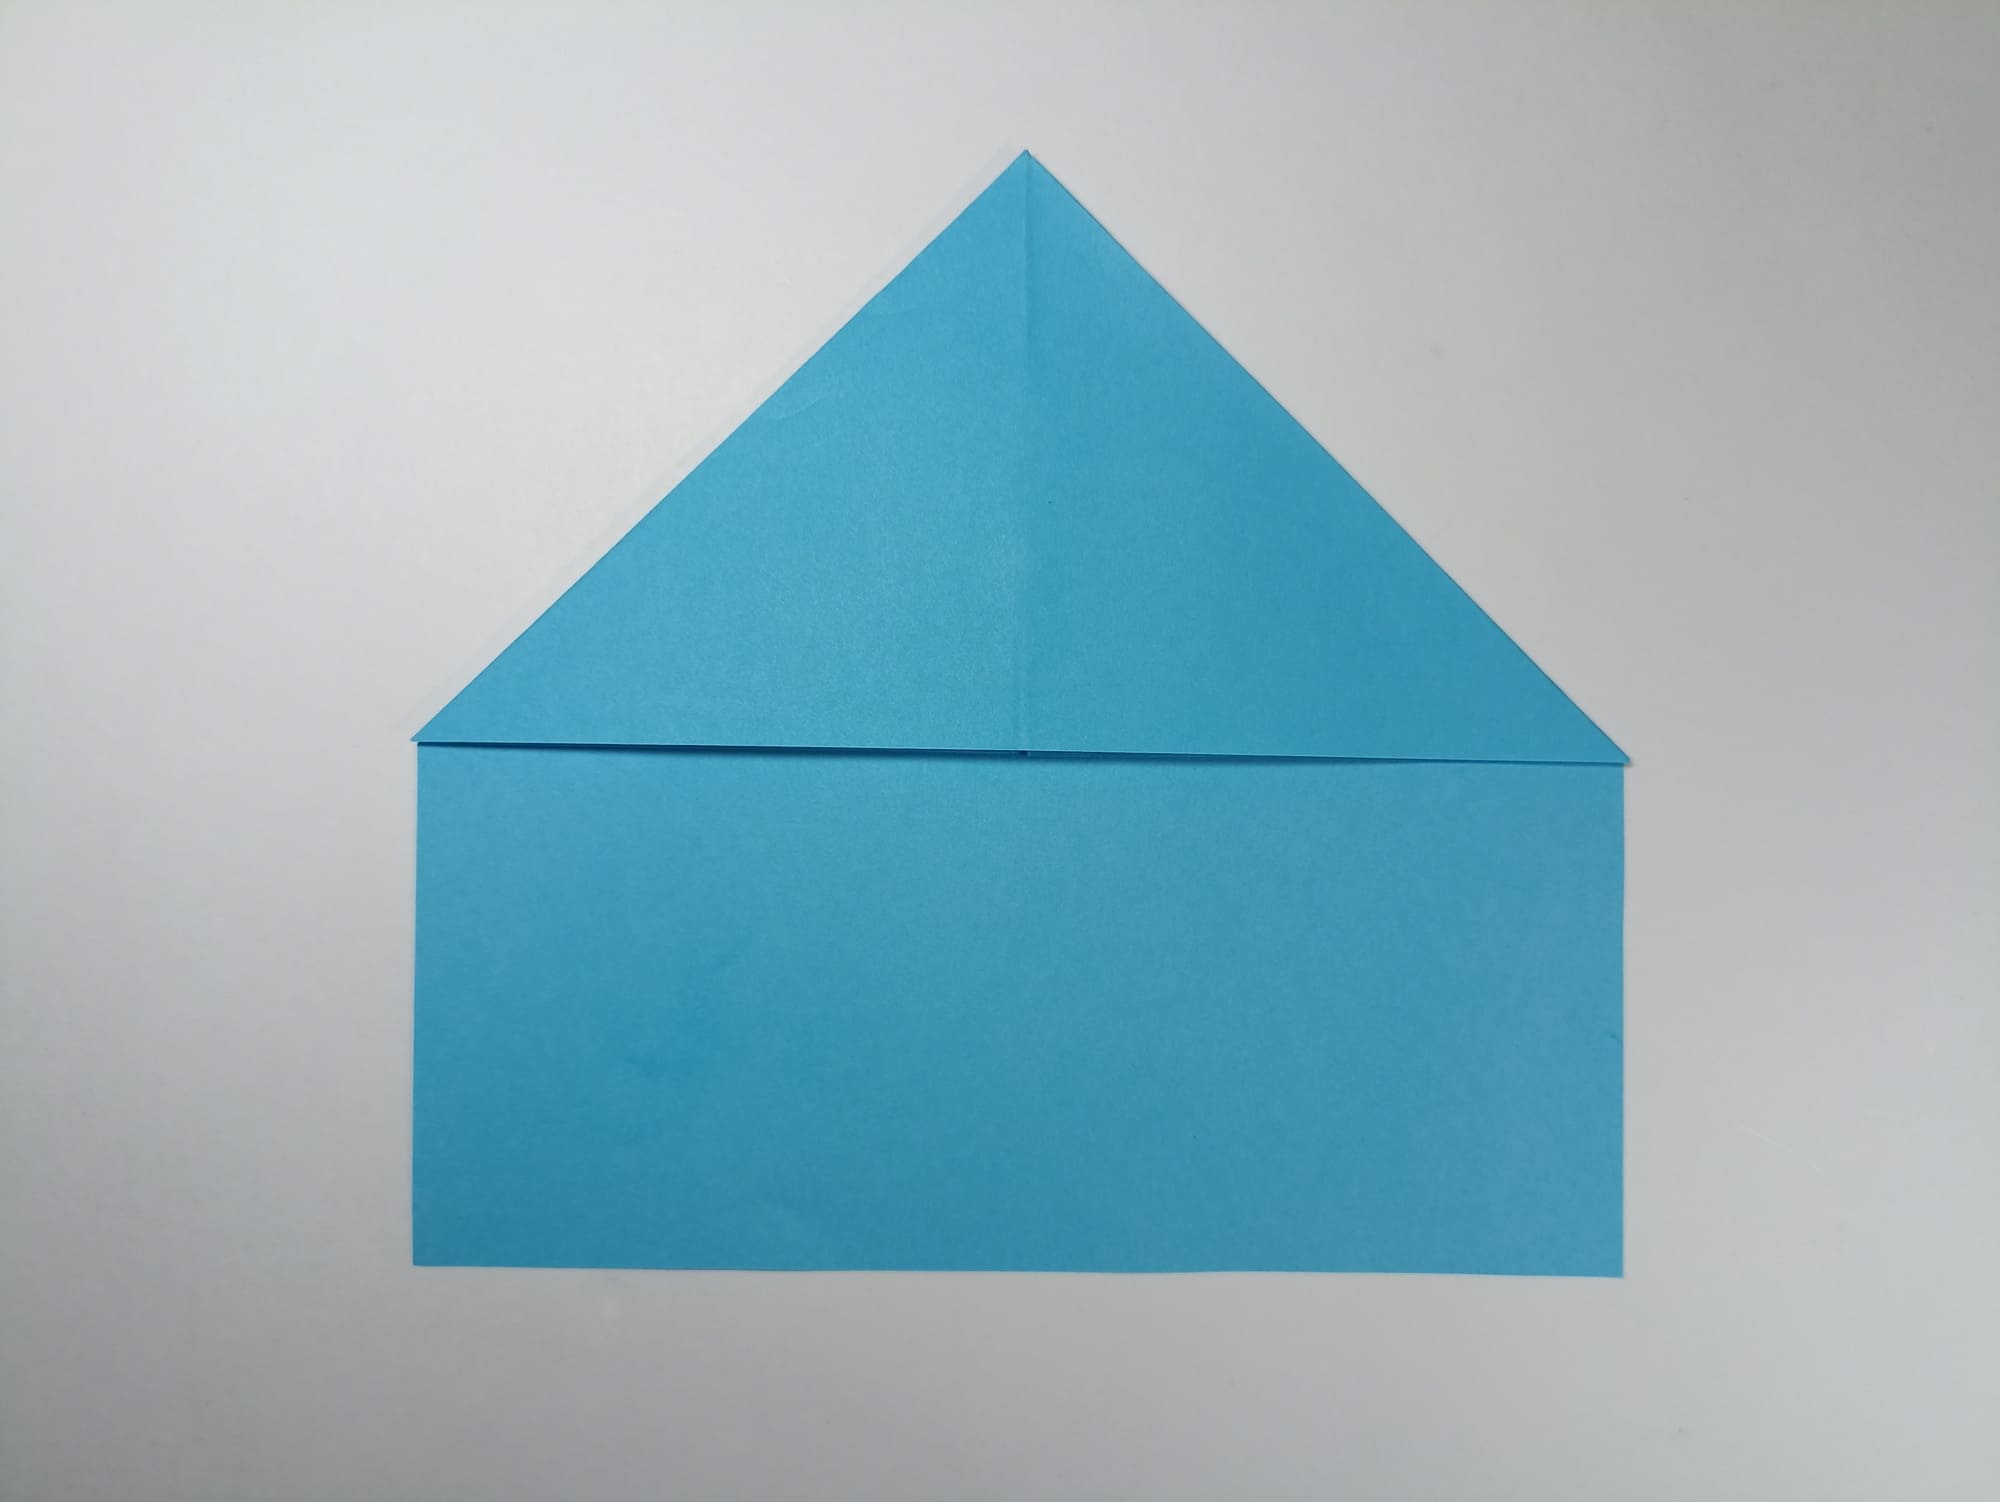
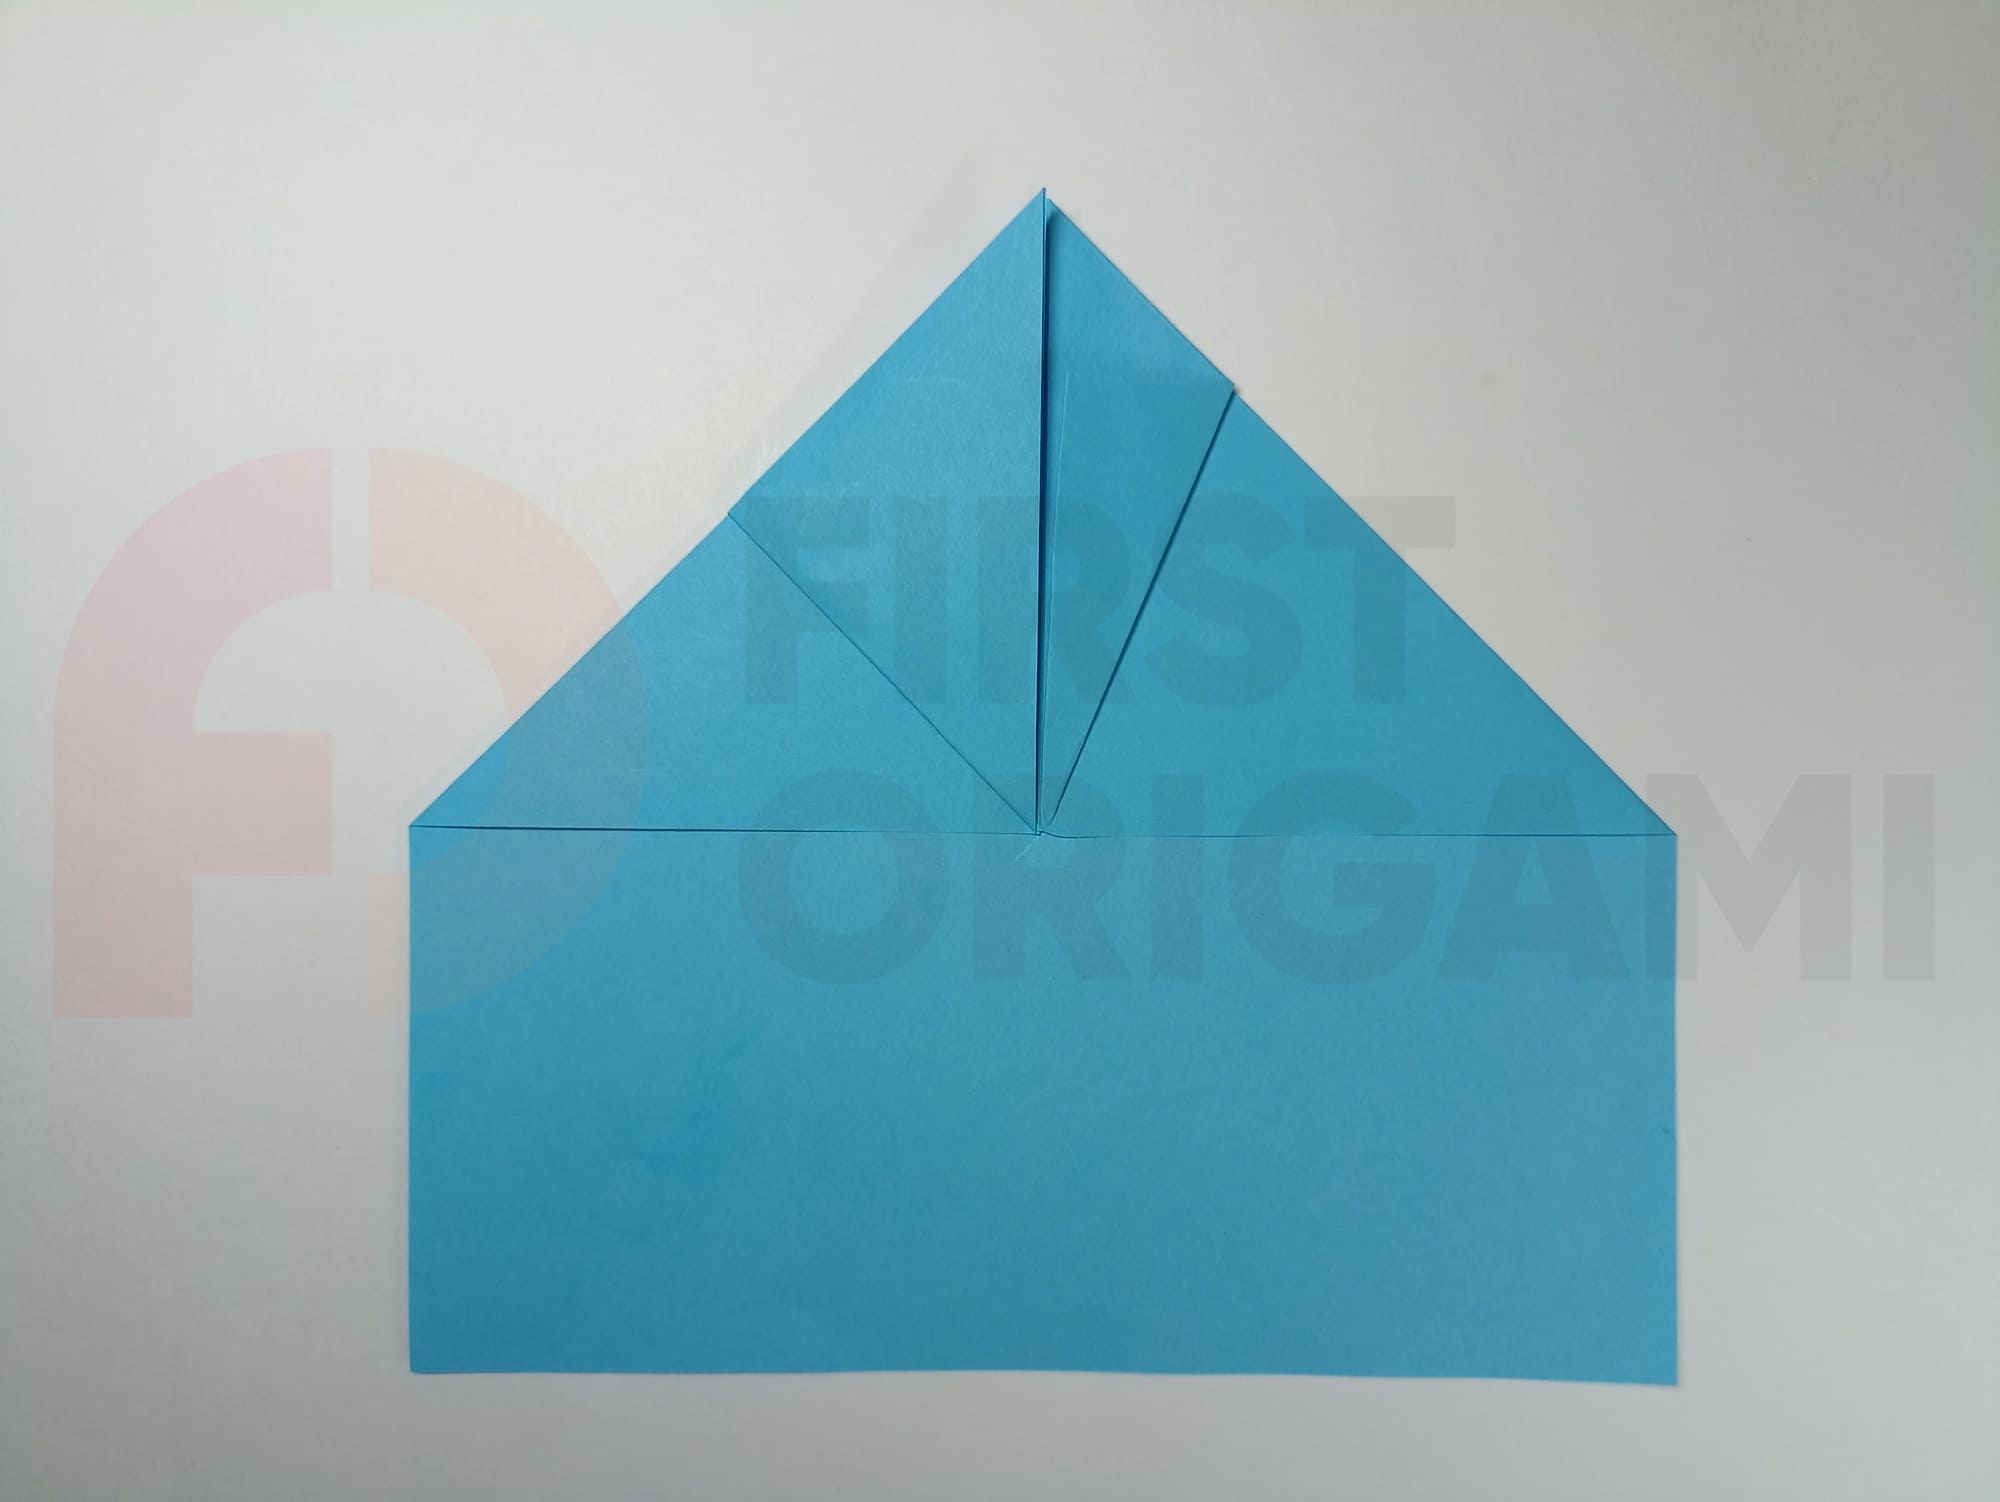
Draw a horizontal line at the level of the intersection point of the diagonals.
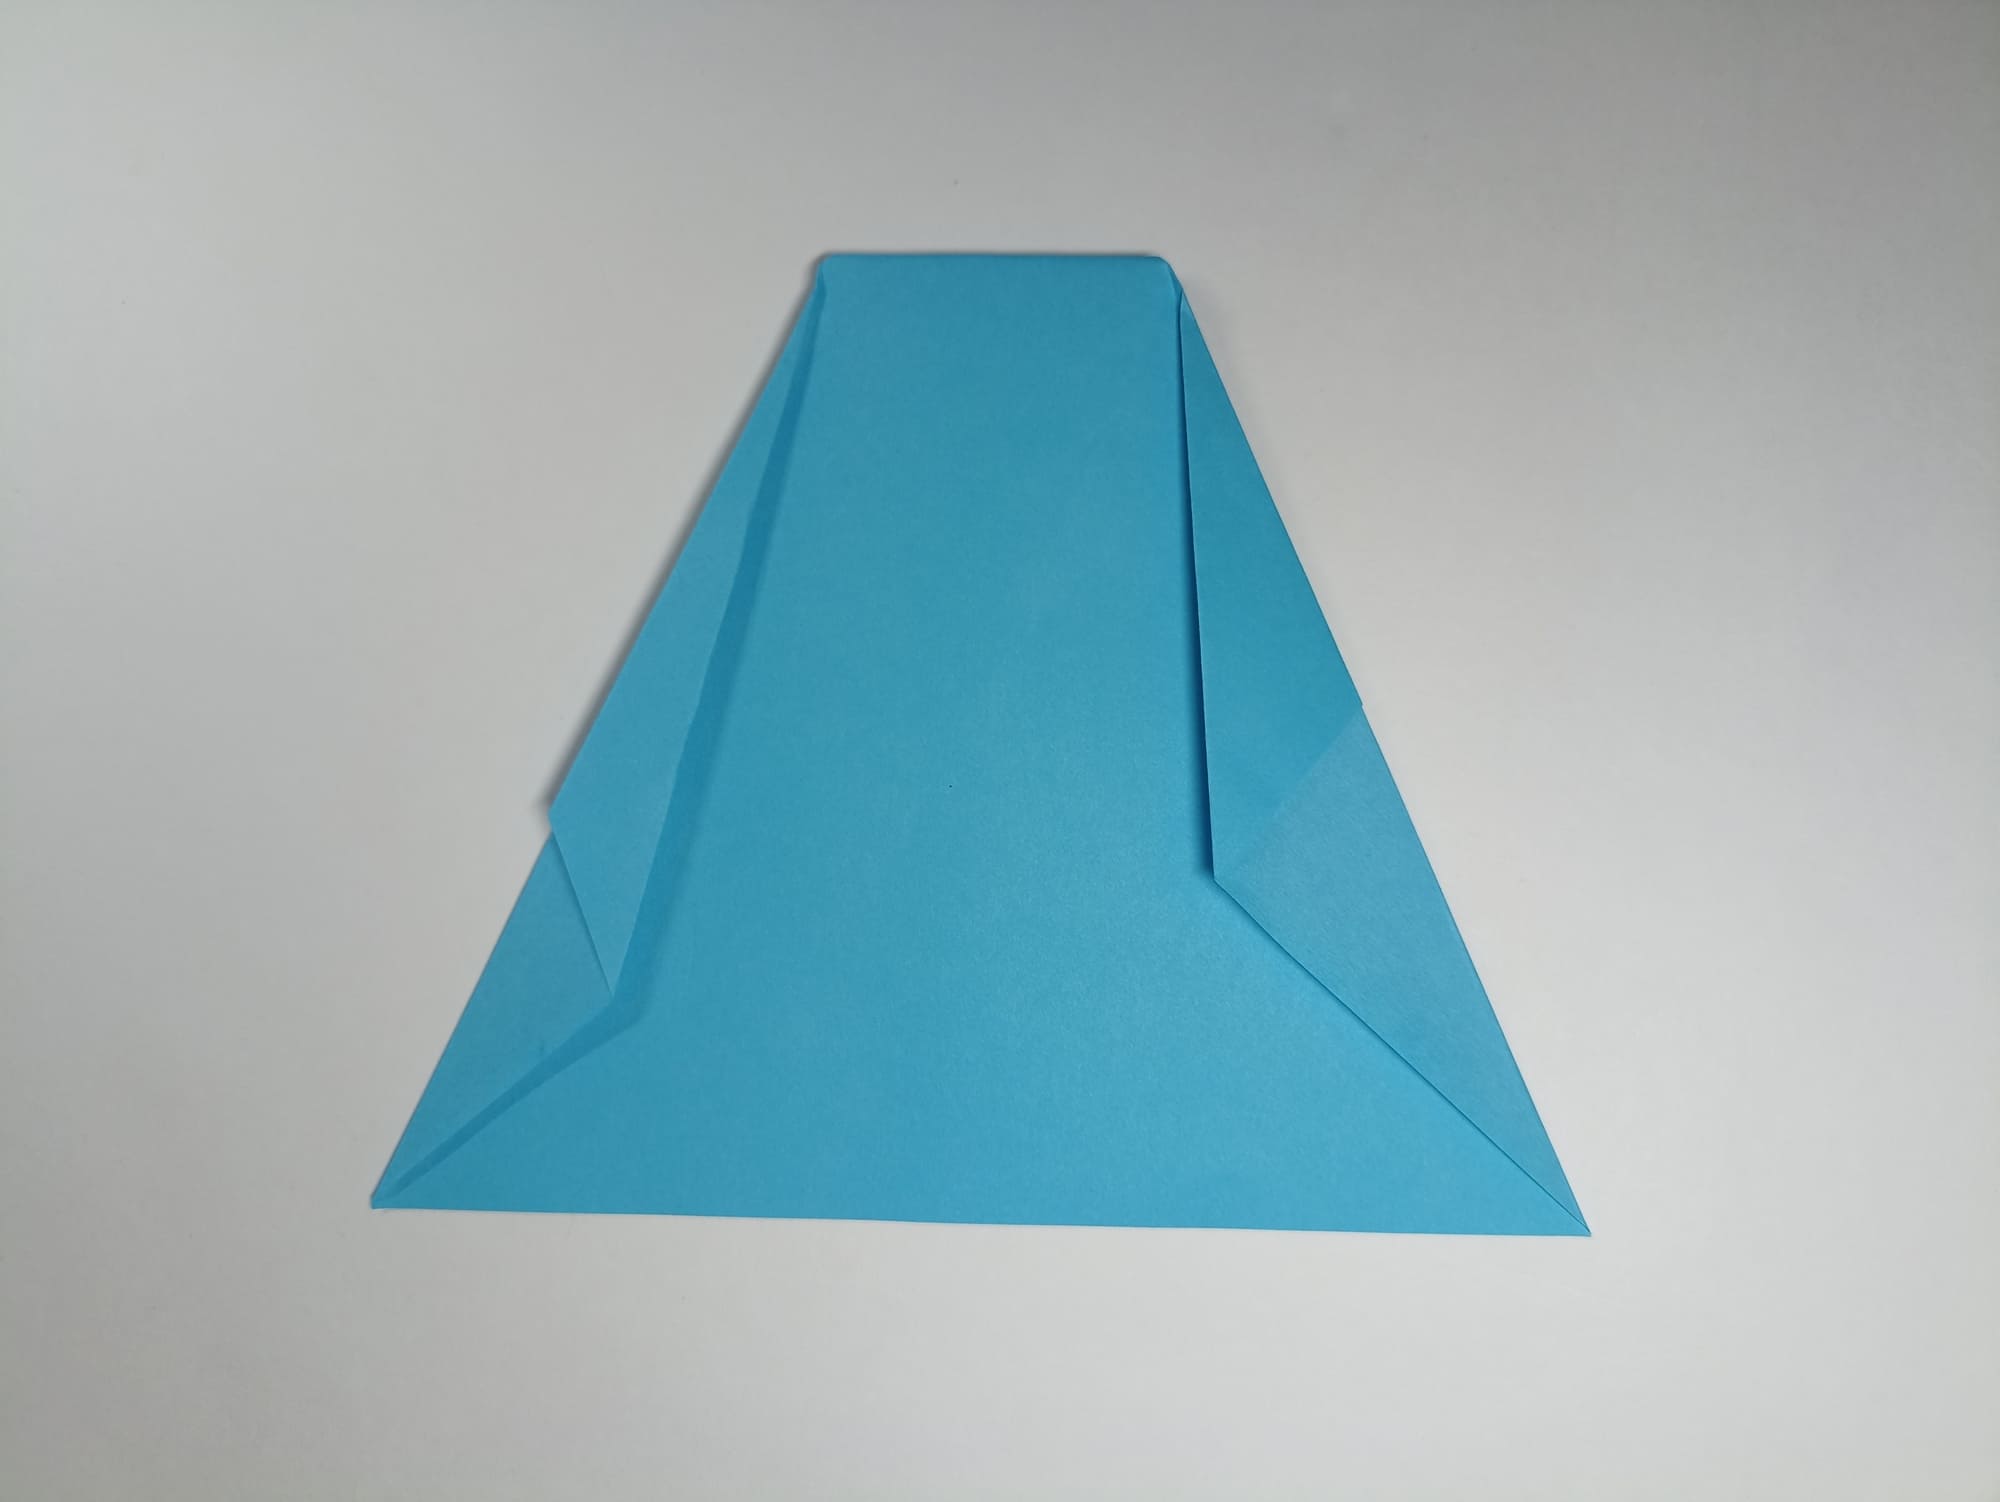
Make a fold, aligning the horizontal line with the middle line on both sides to form two separate triangles. Align and crease the folds.
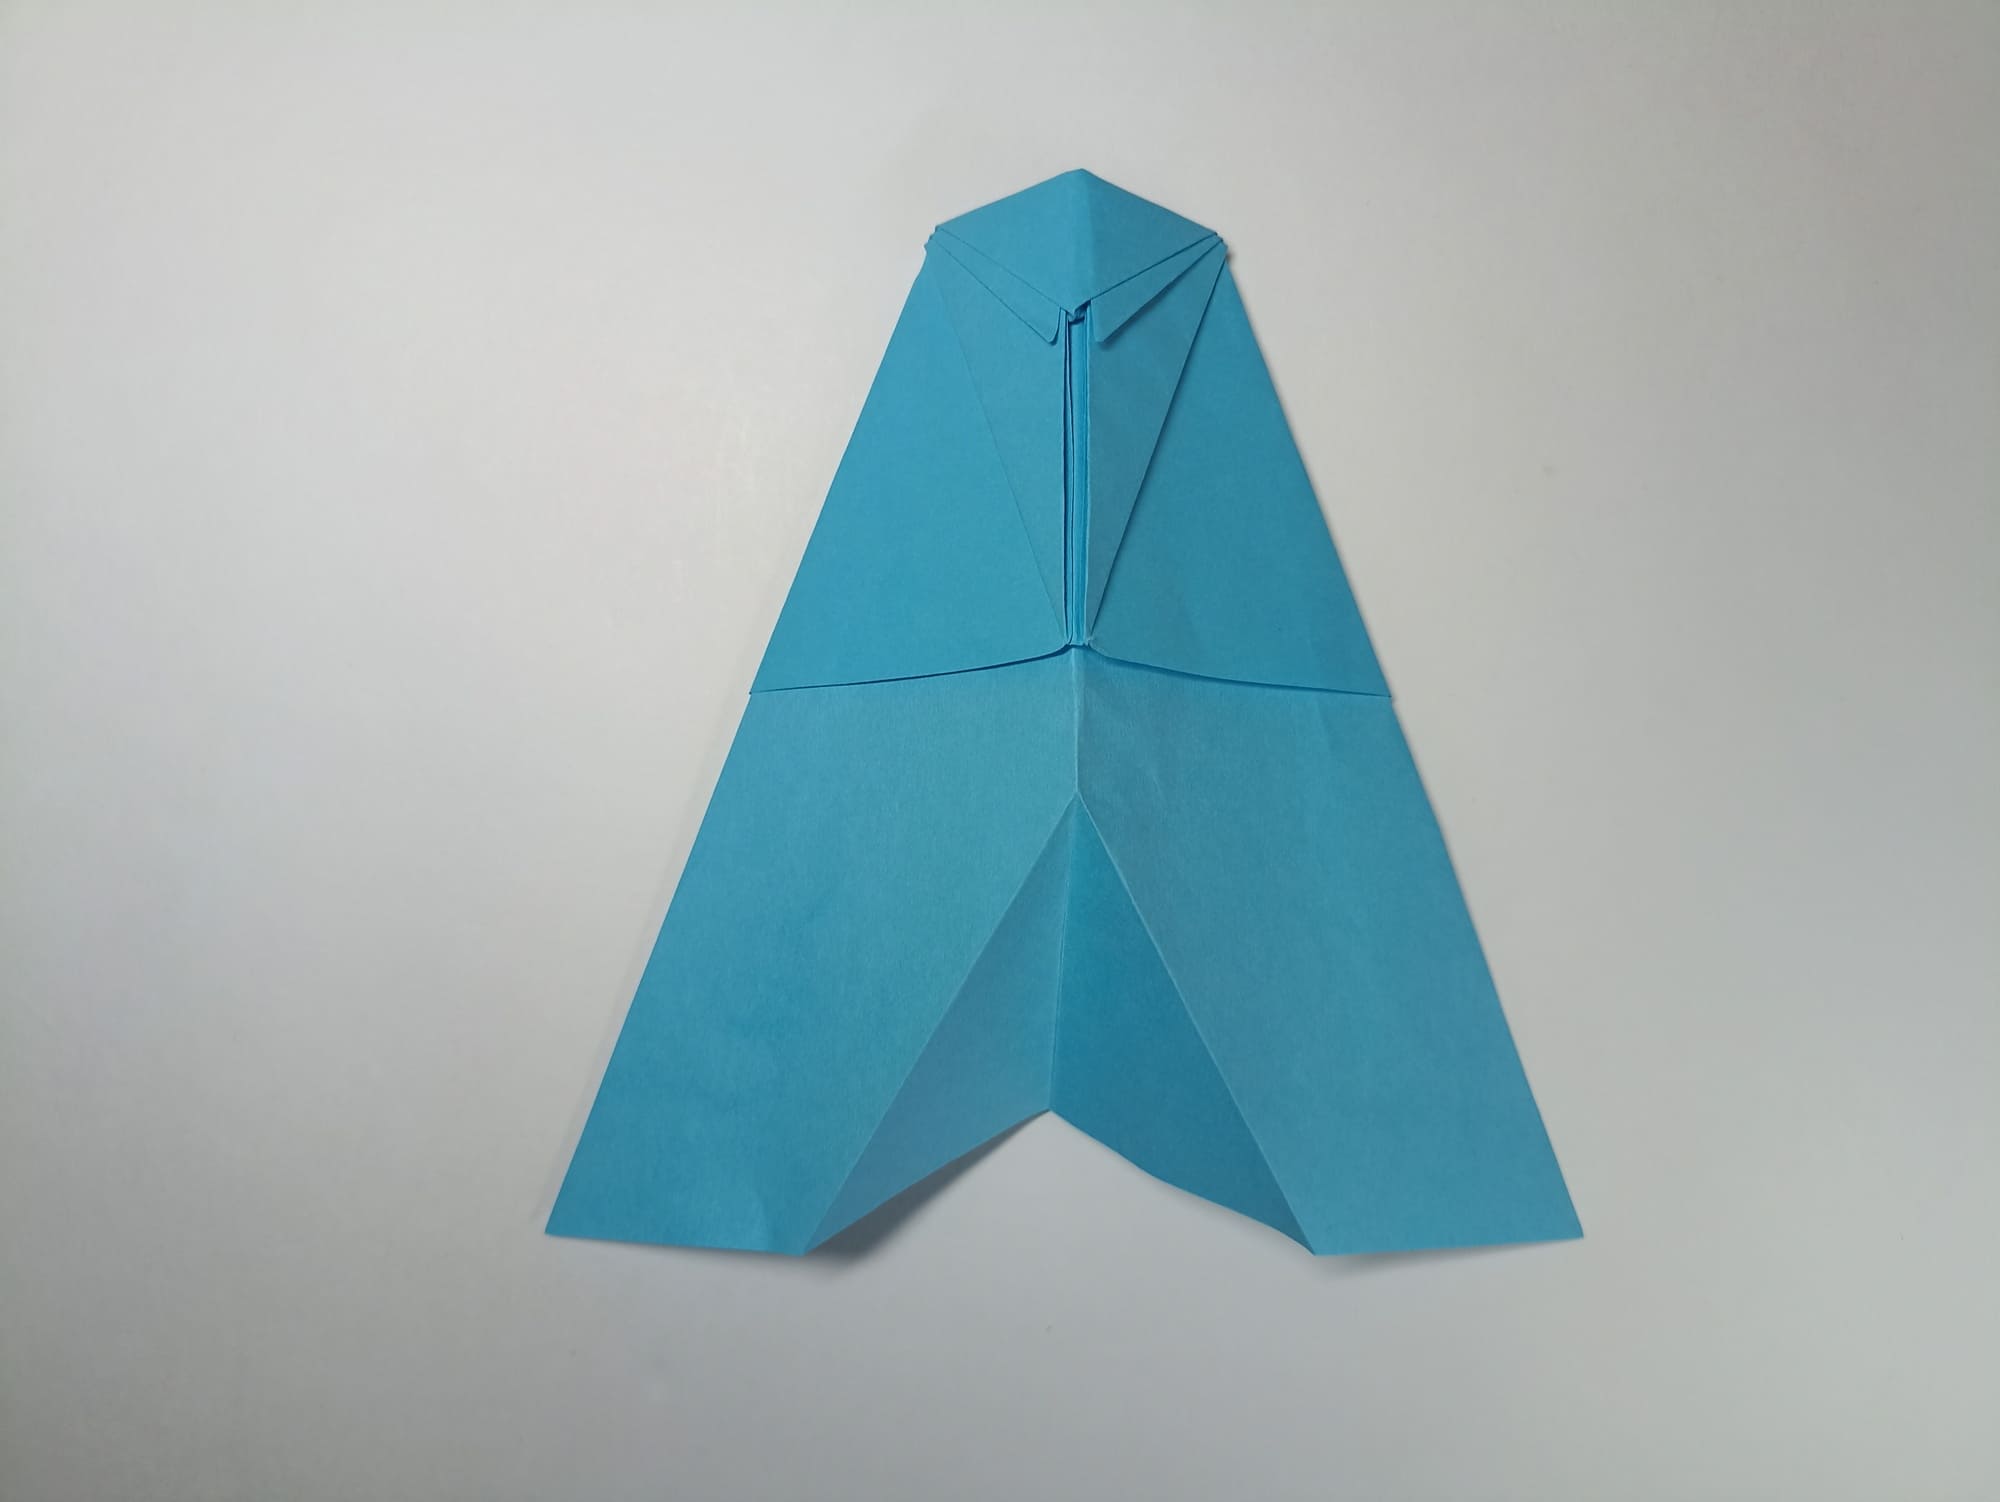
Compare with the illustration.
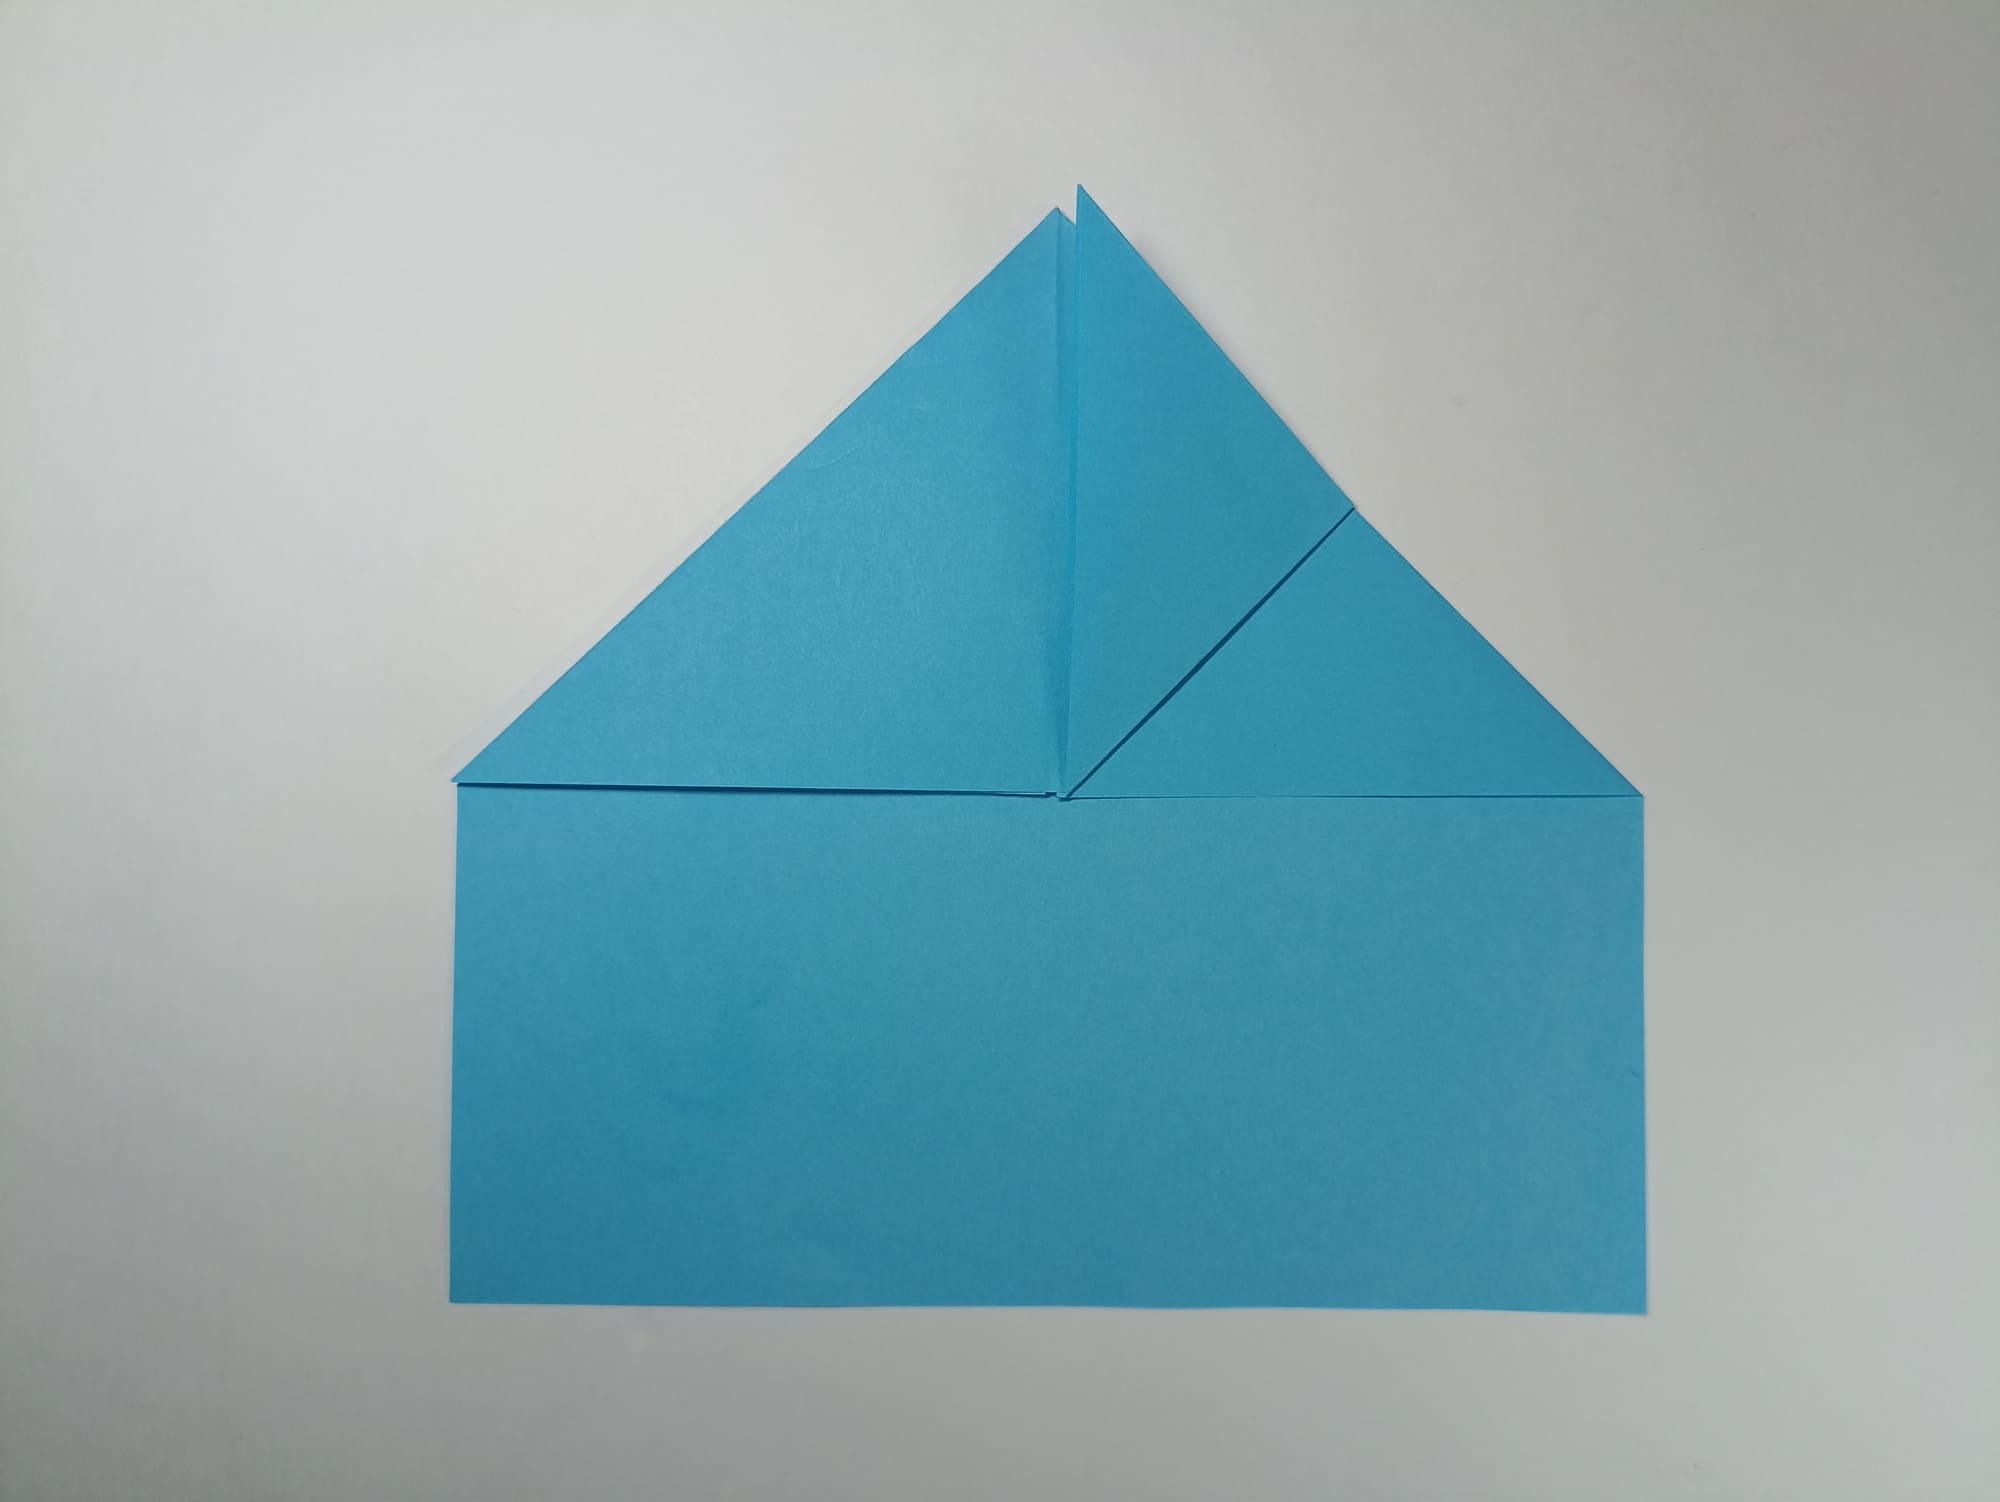
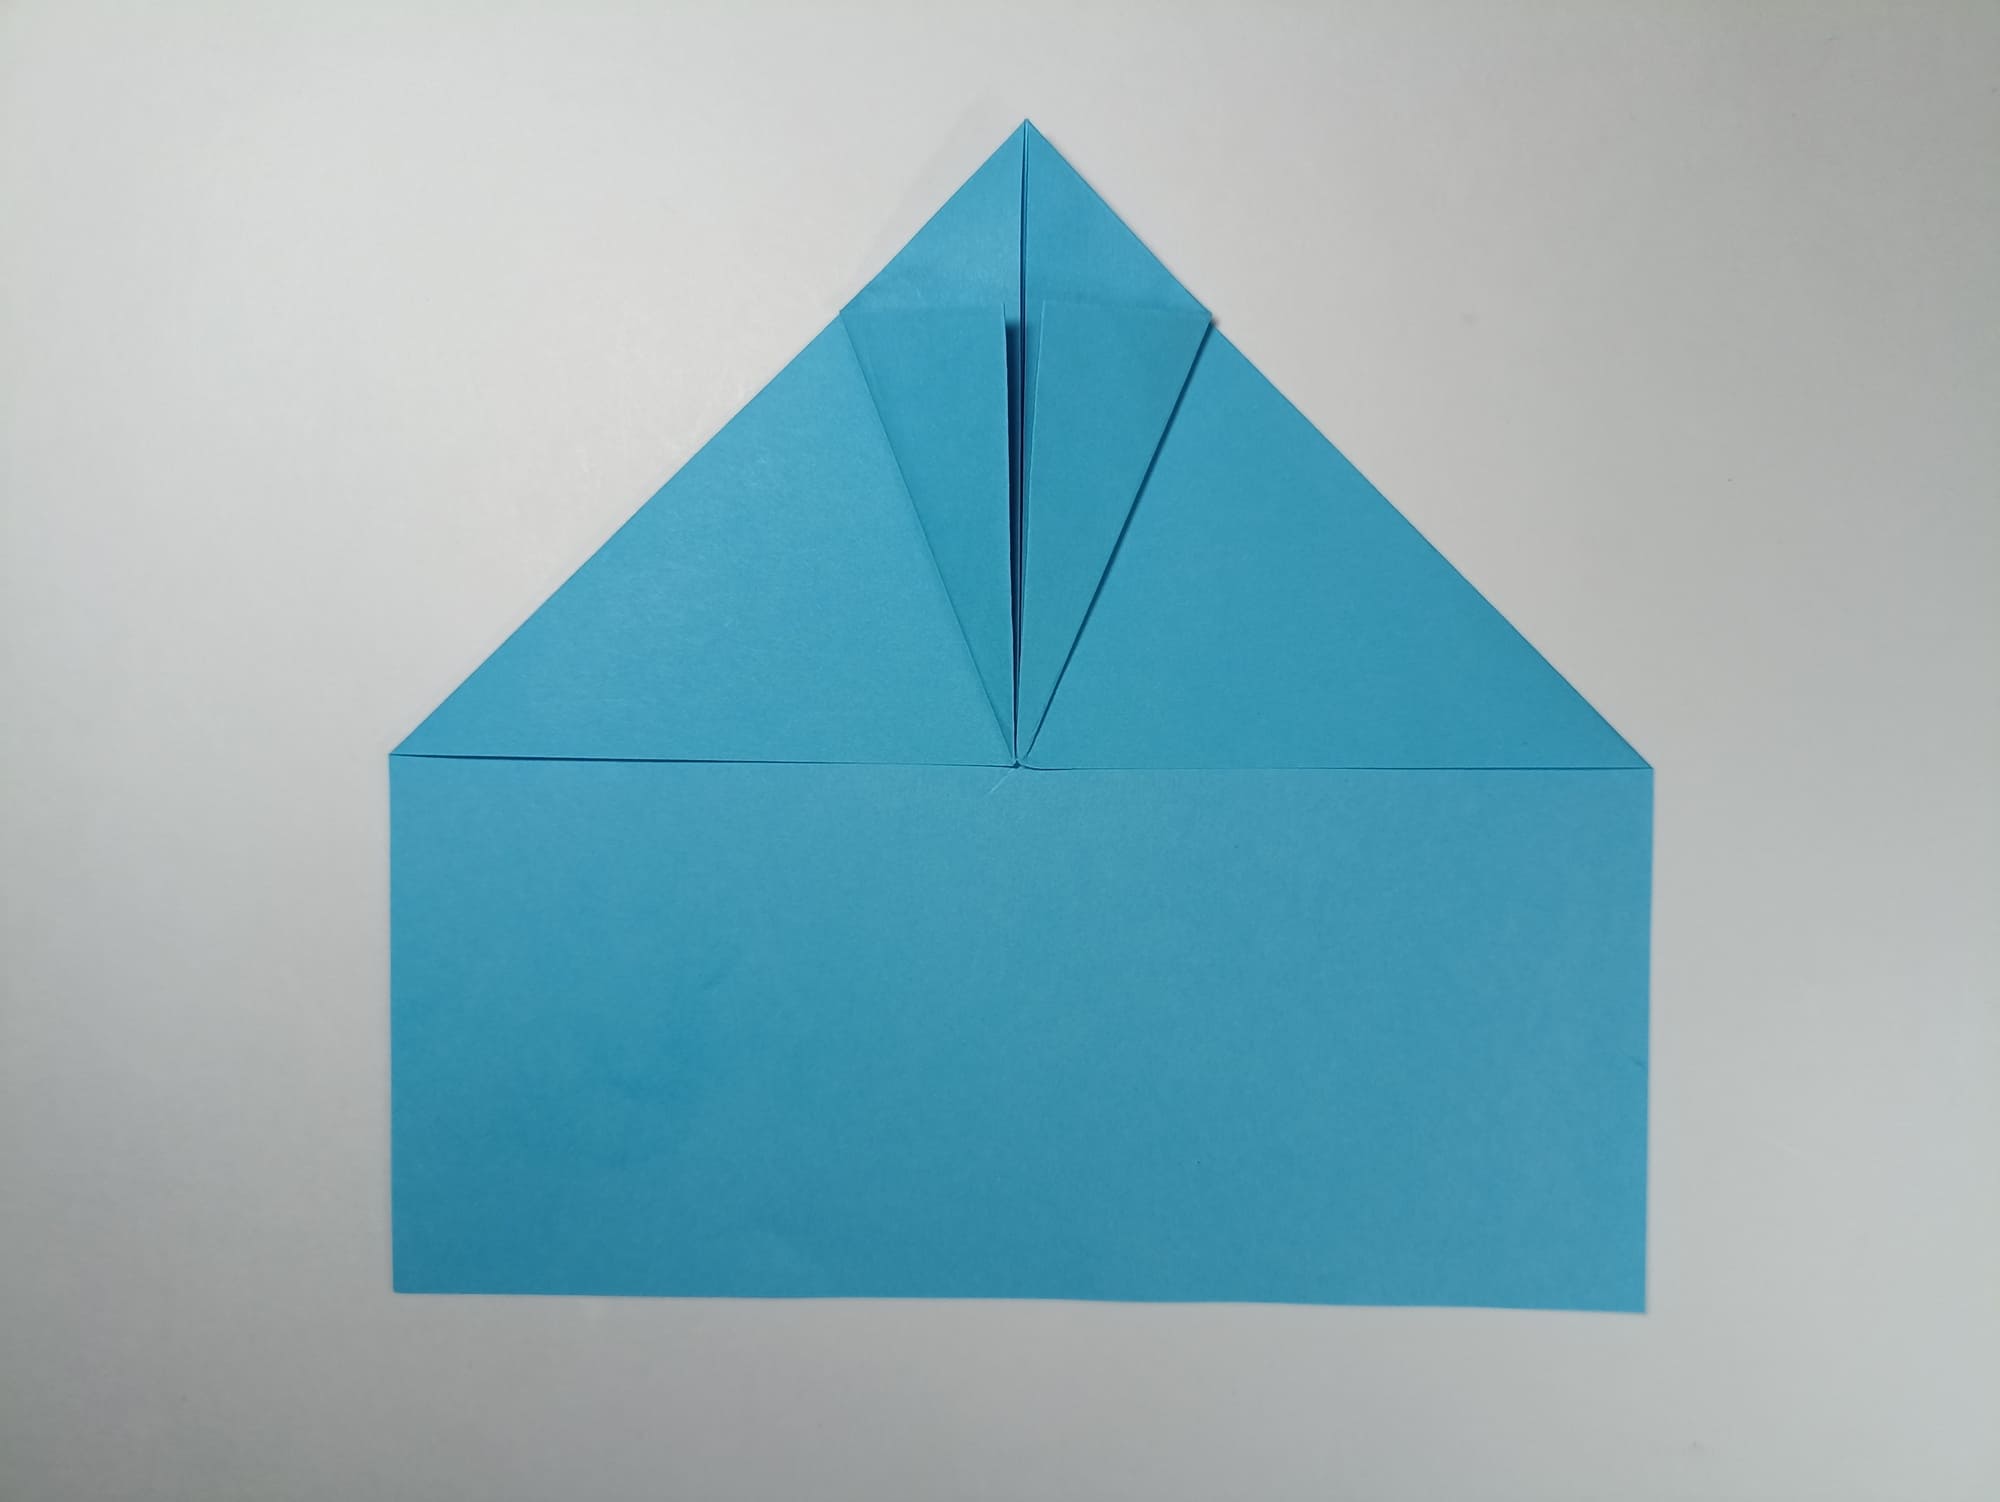
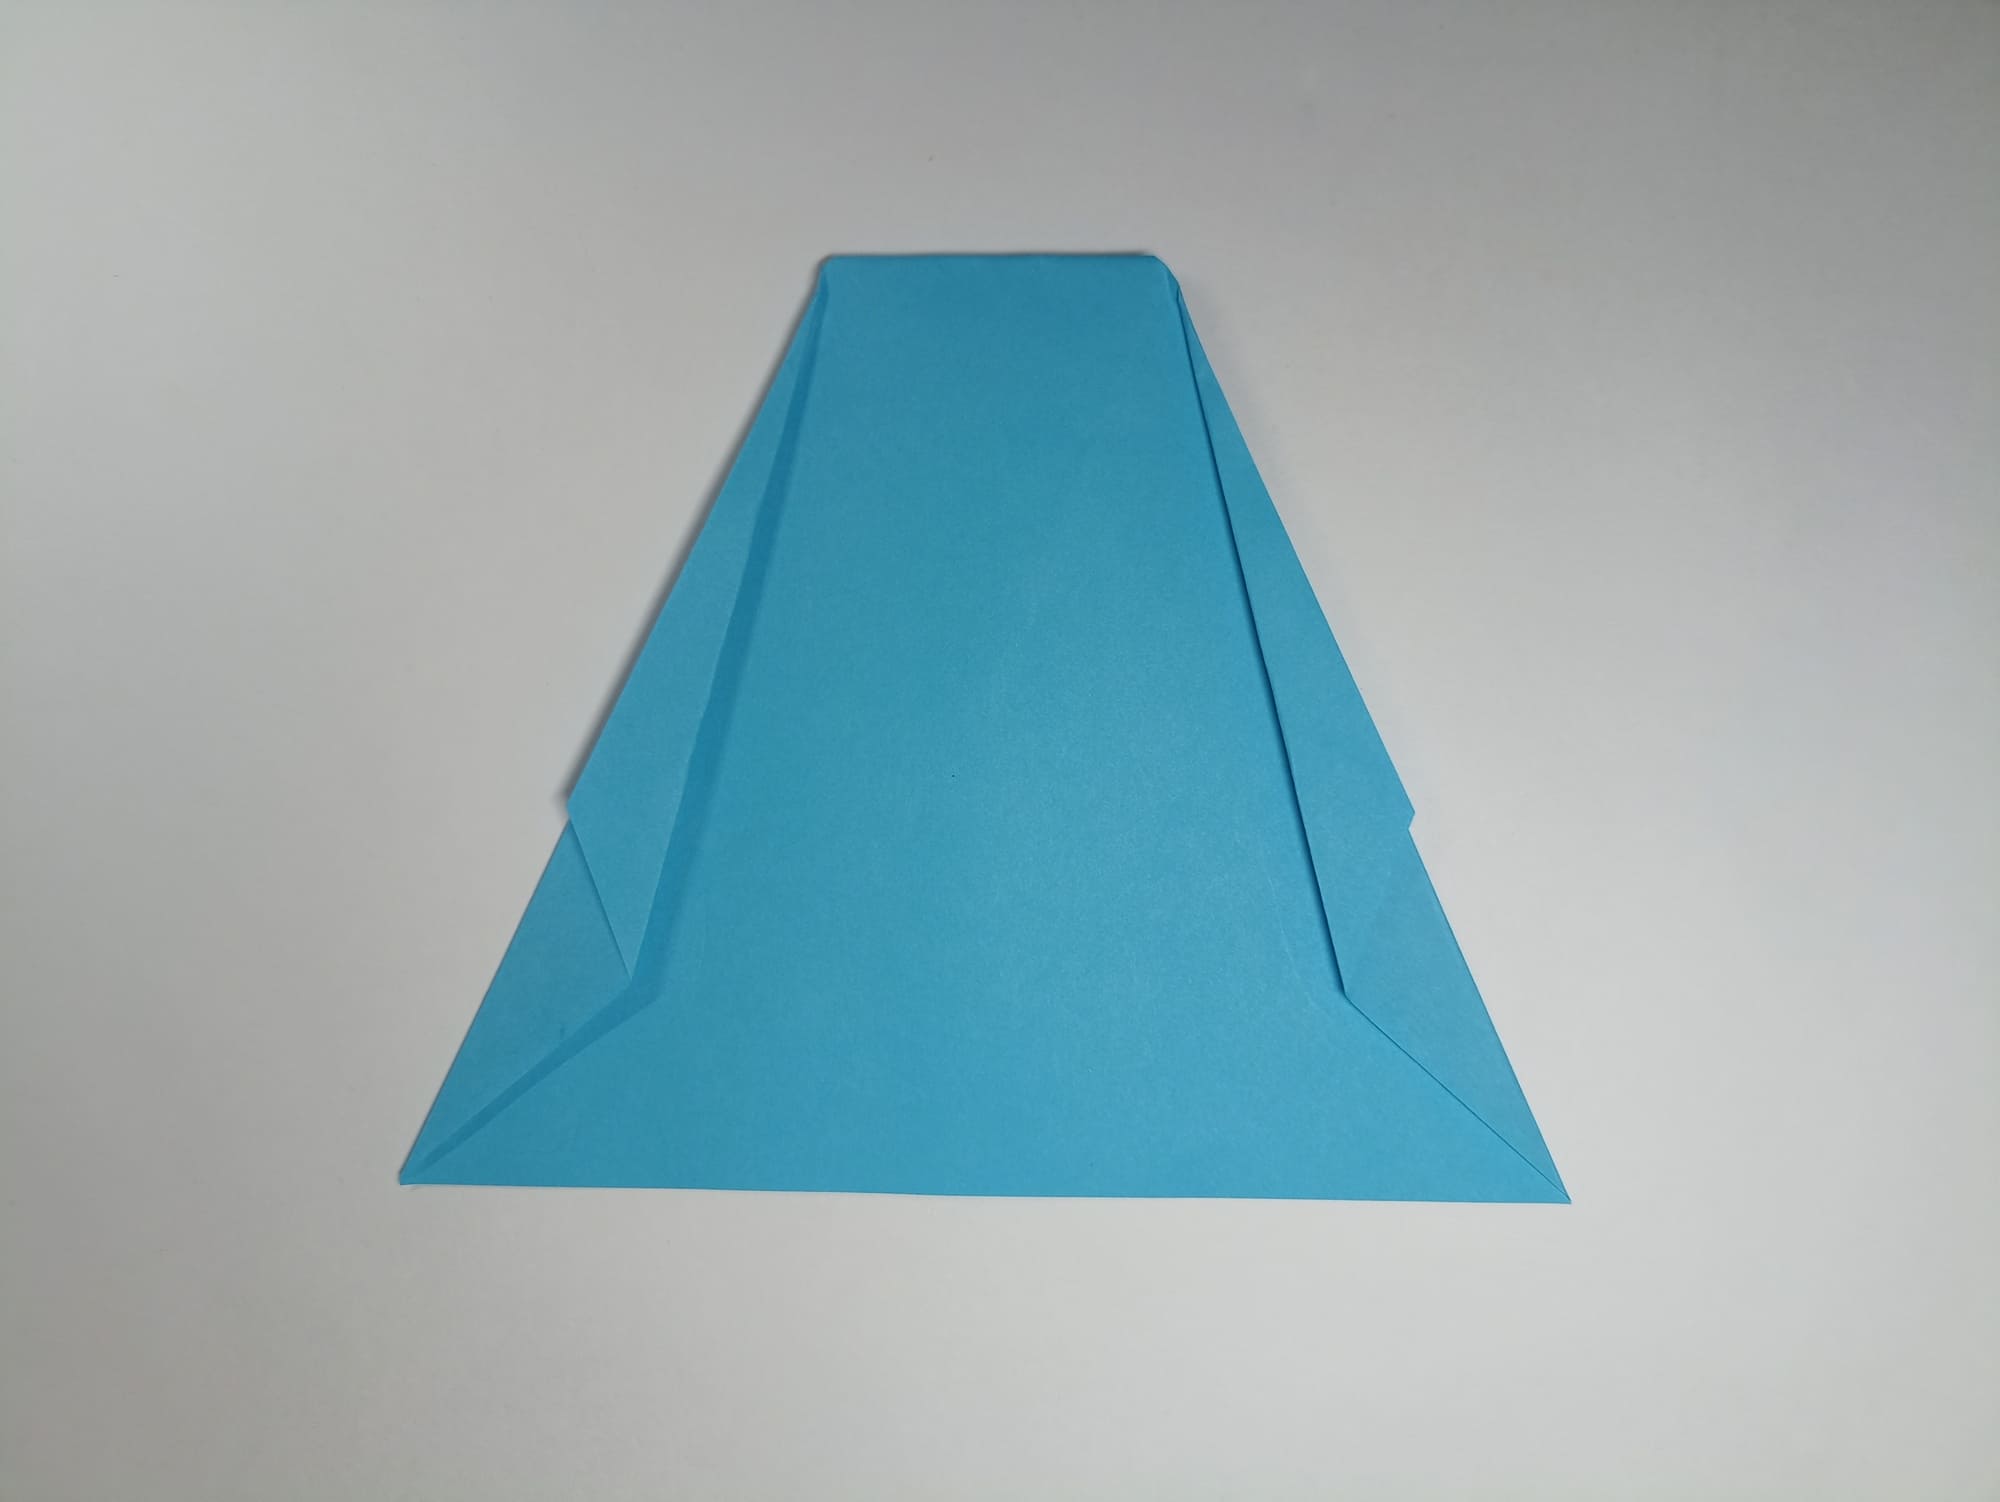
Fold the right-side corner of the upper triangle to the middle line, and repeat the fold on the left side.
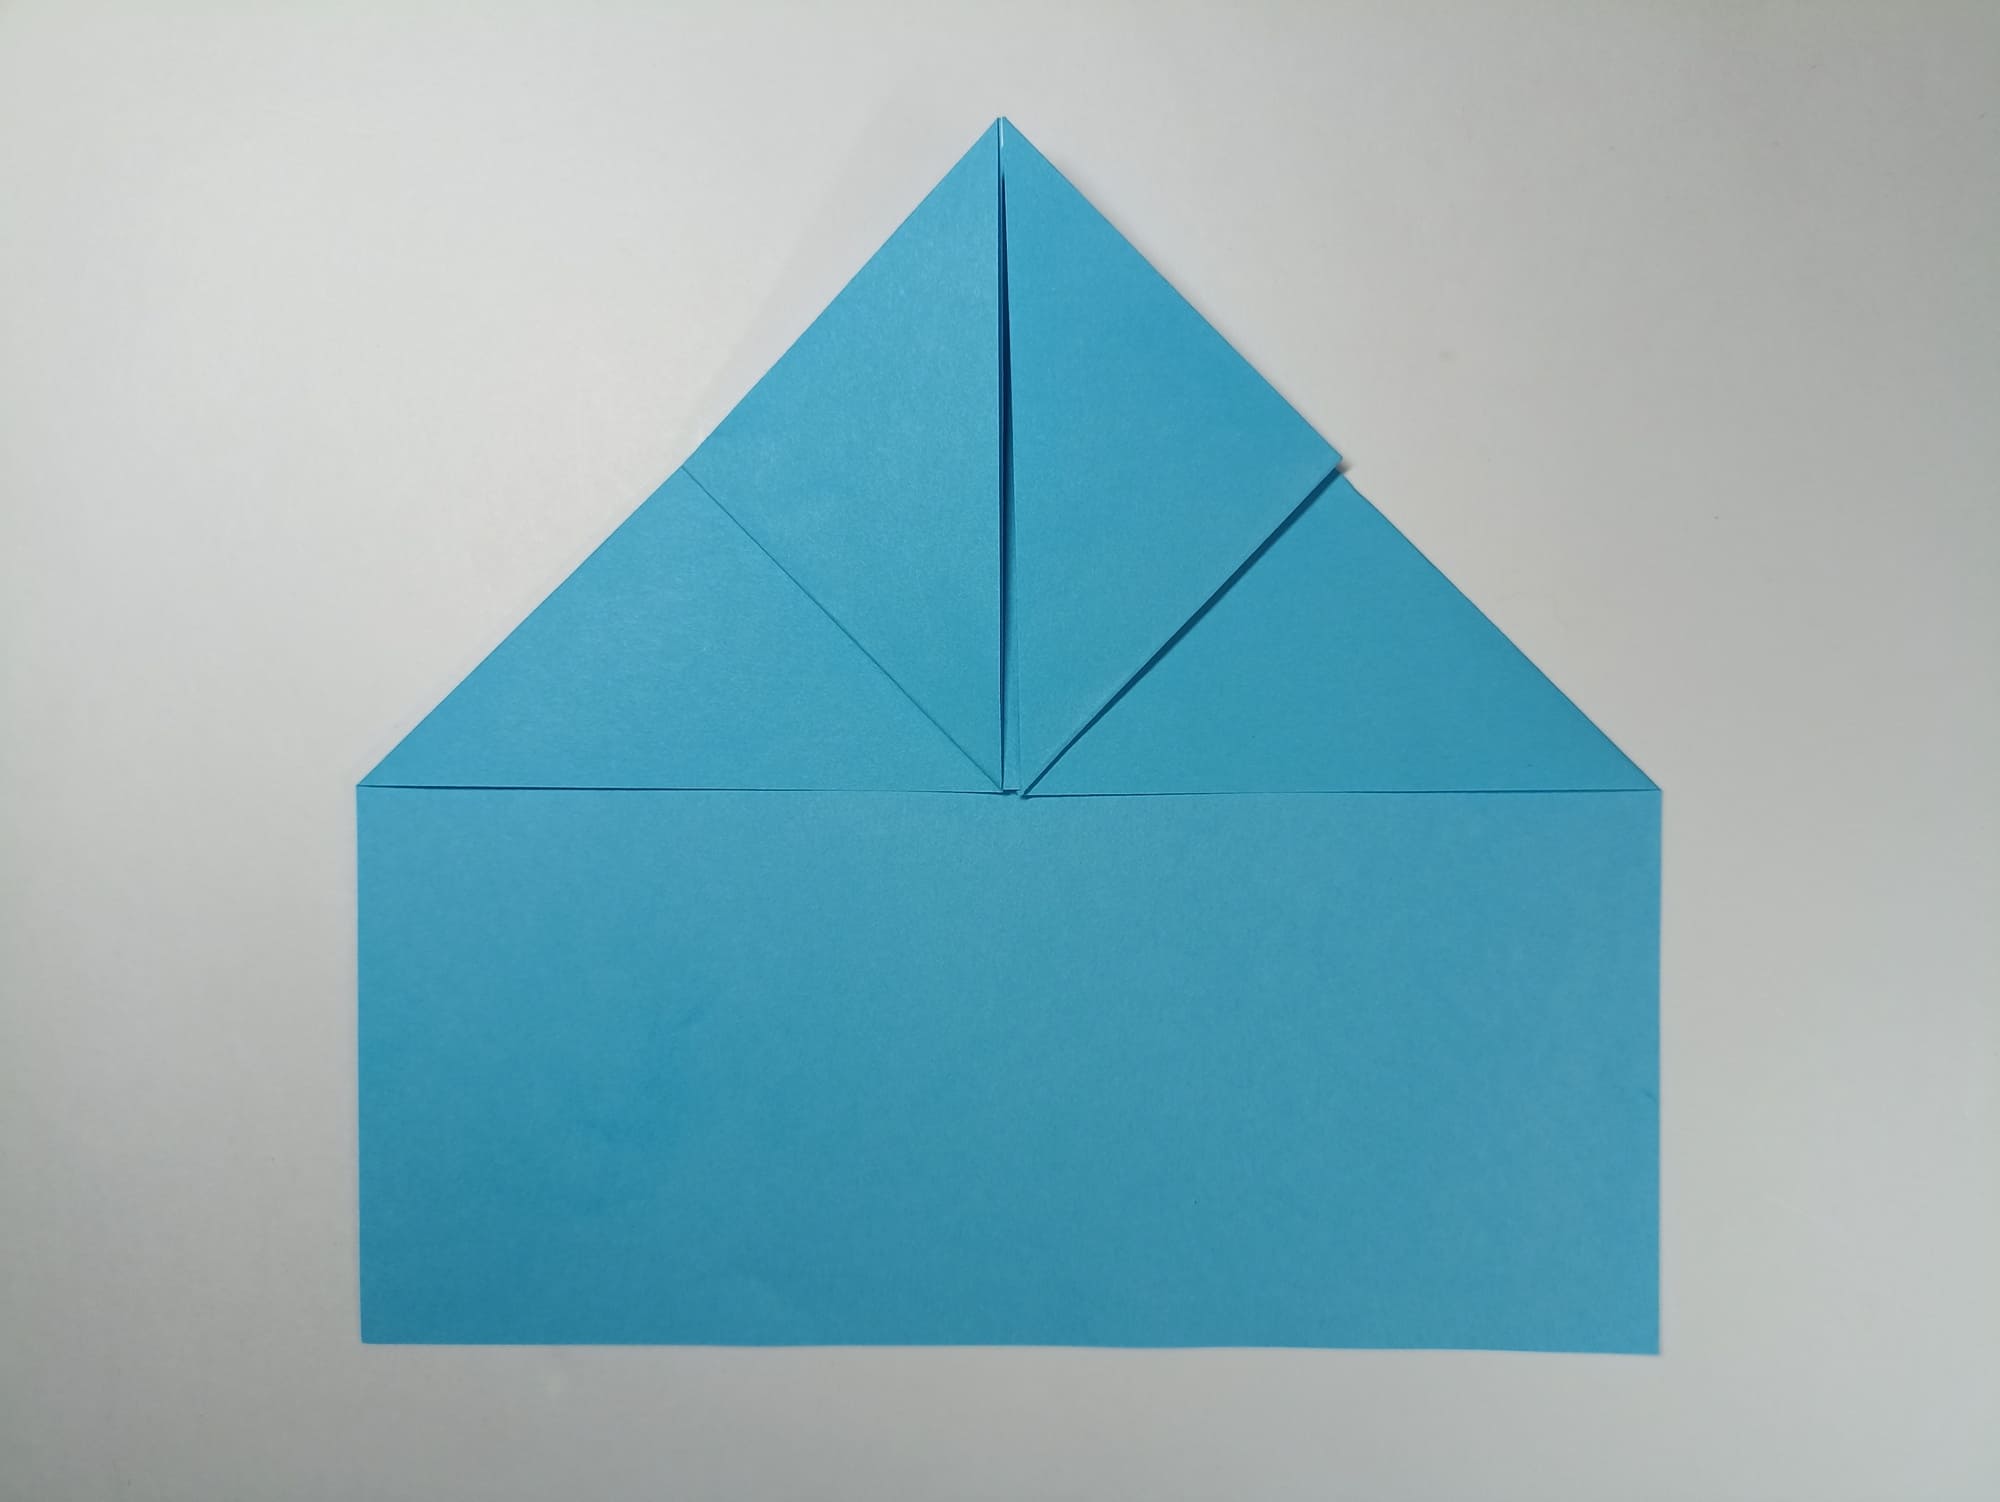
Align the lower side of the right small triangle with the middle, and repeat in a mirror manner.
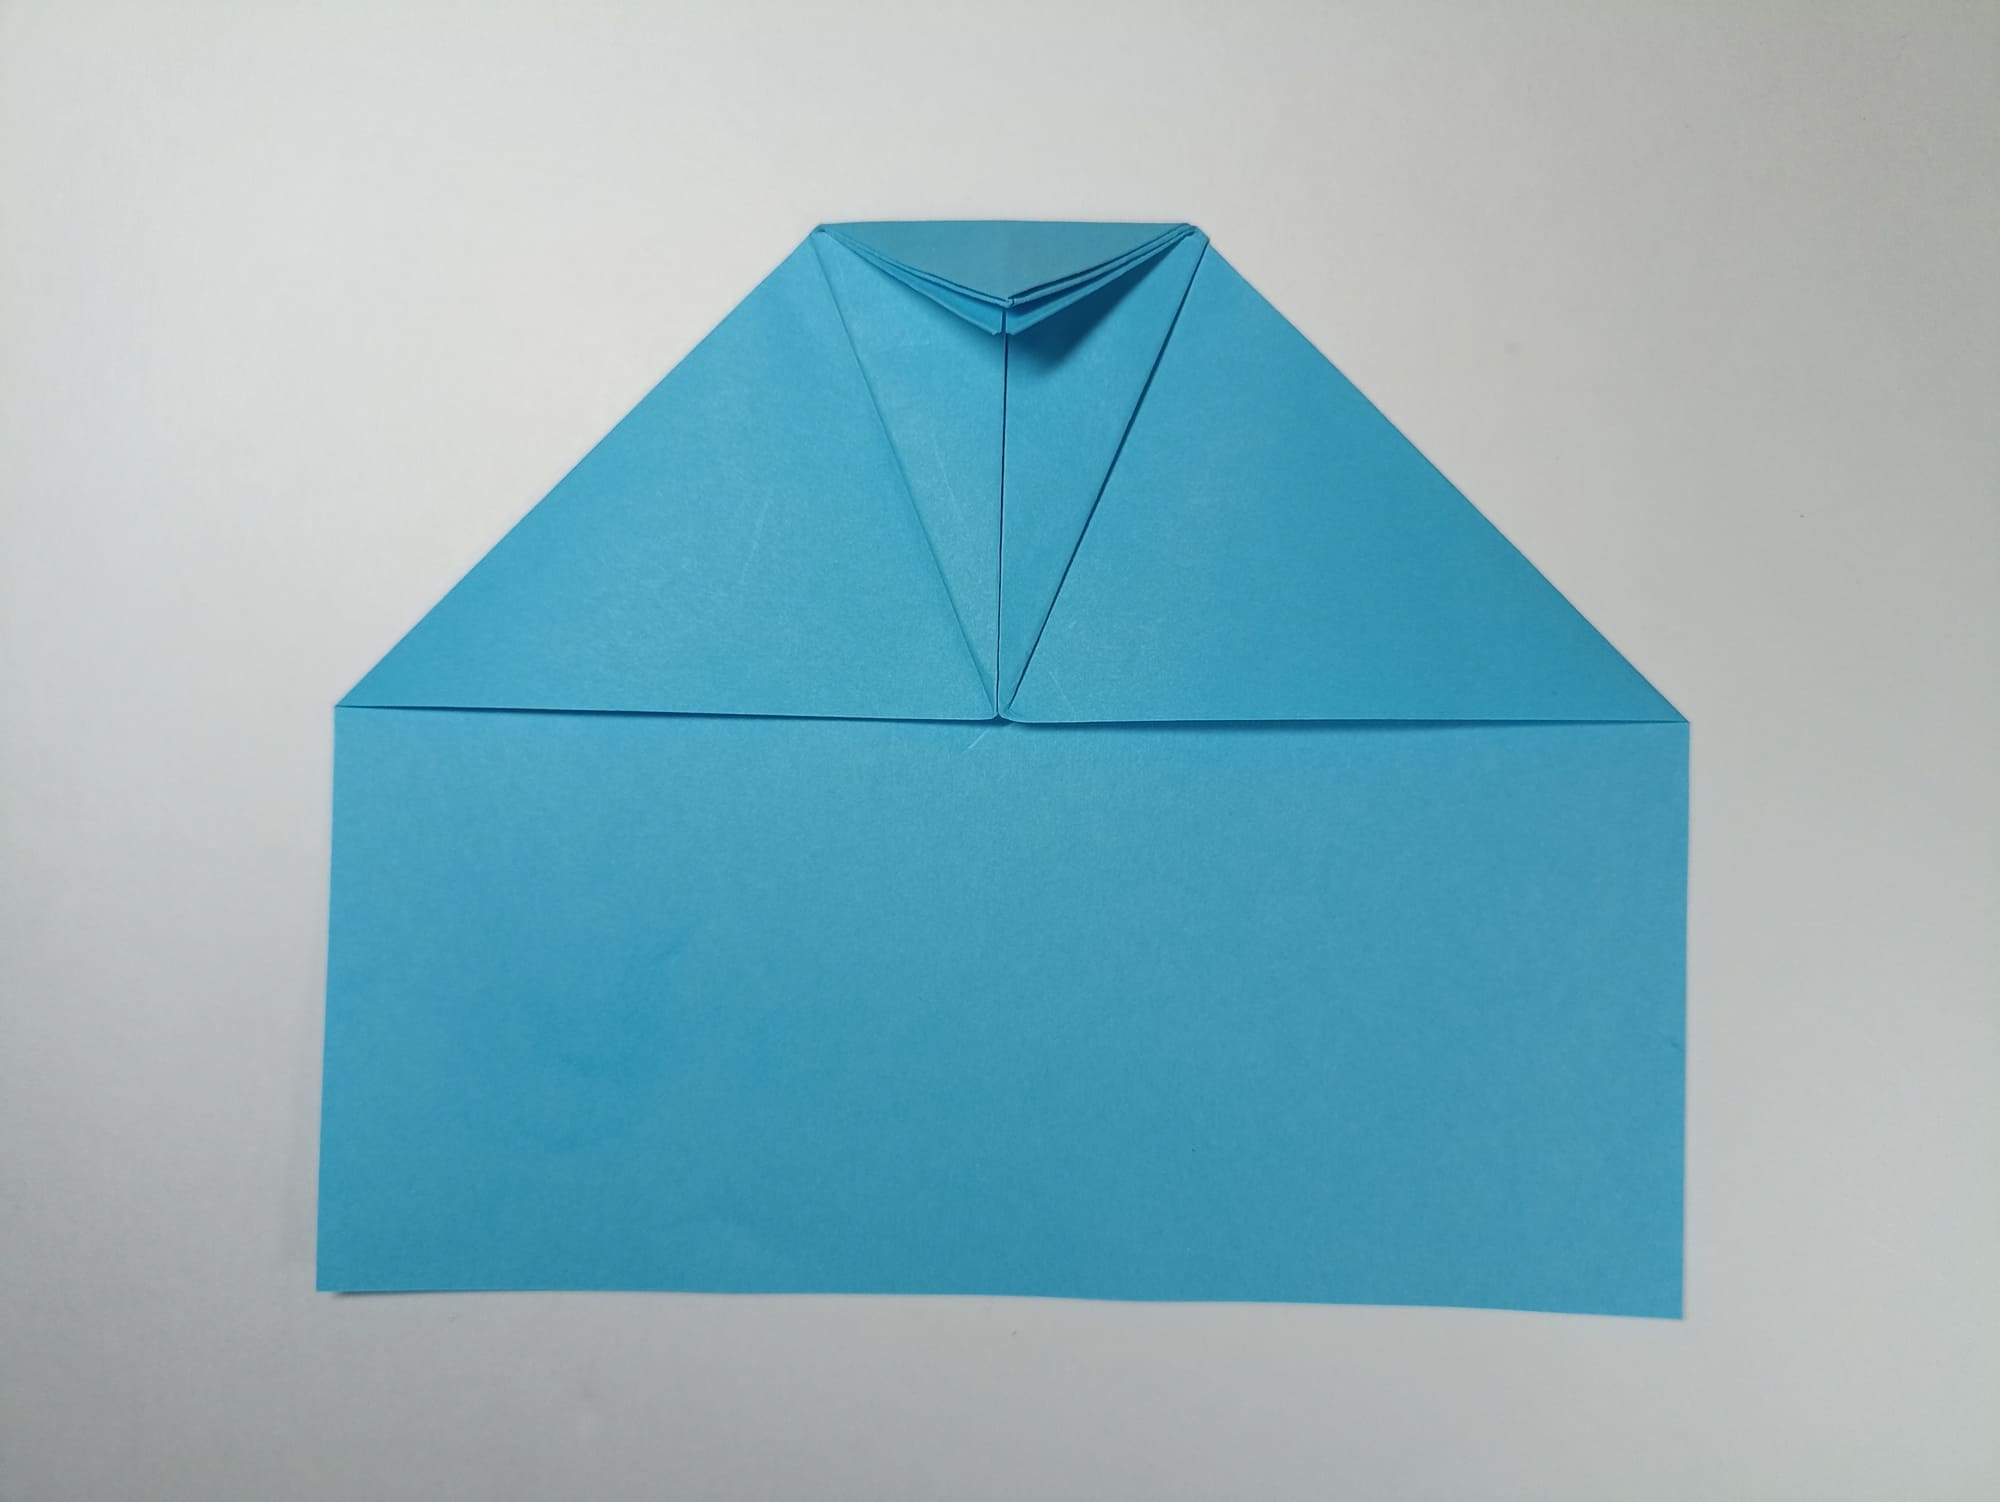
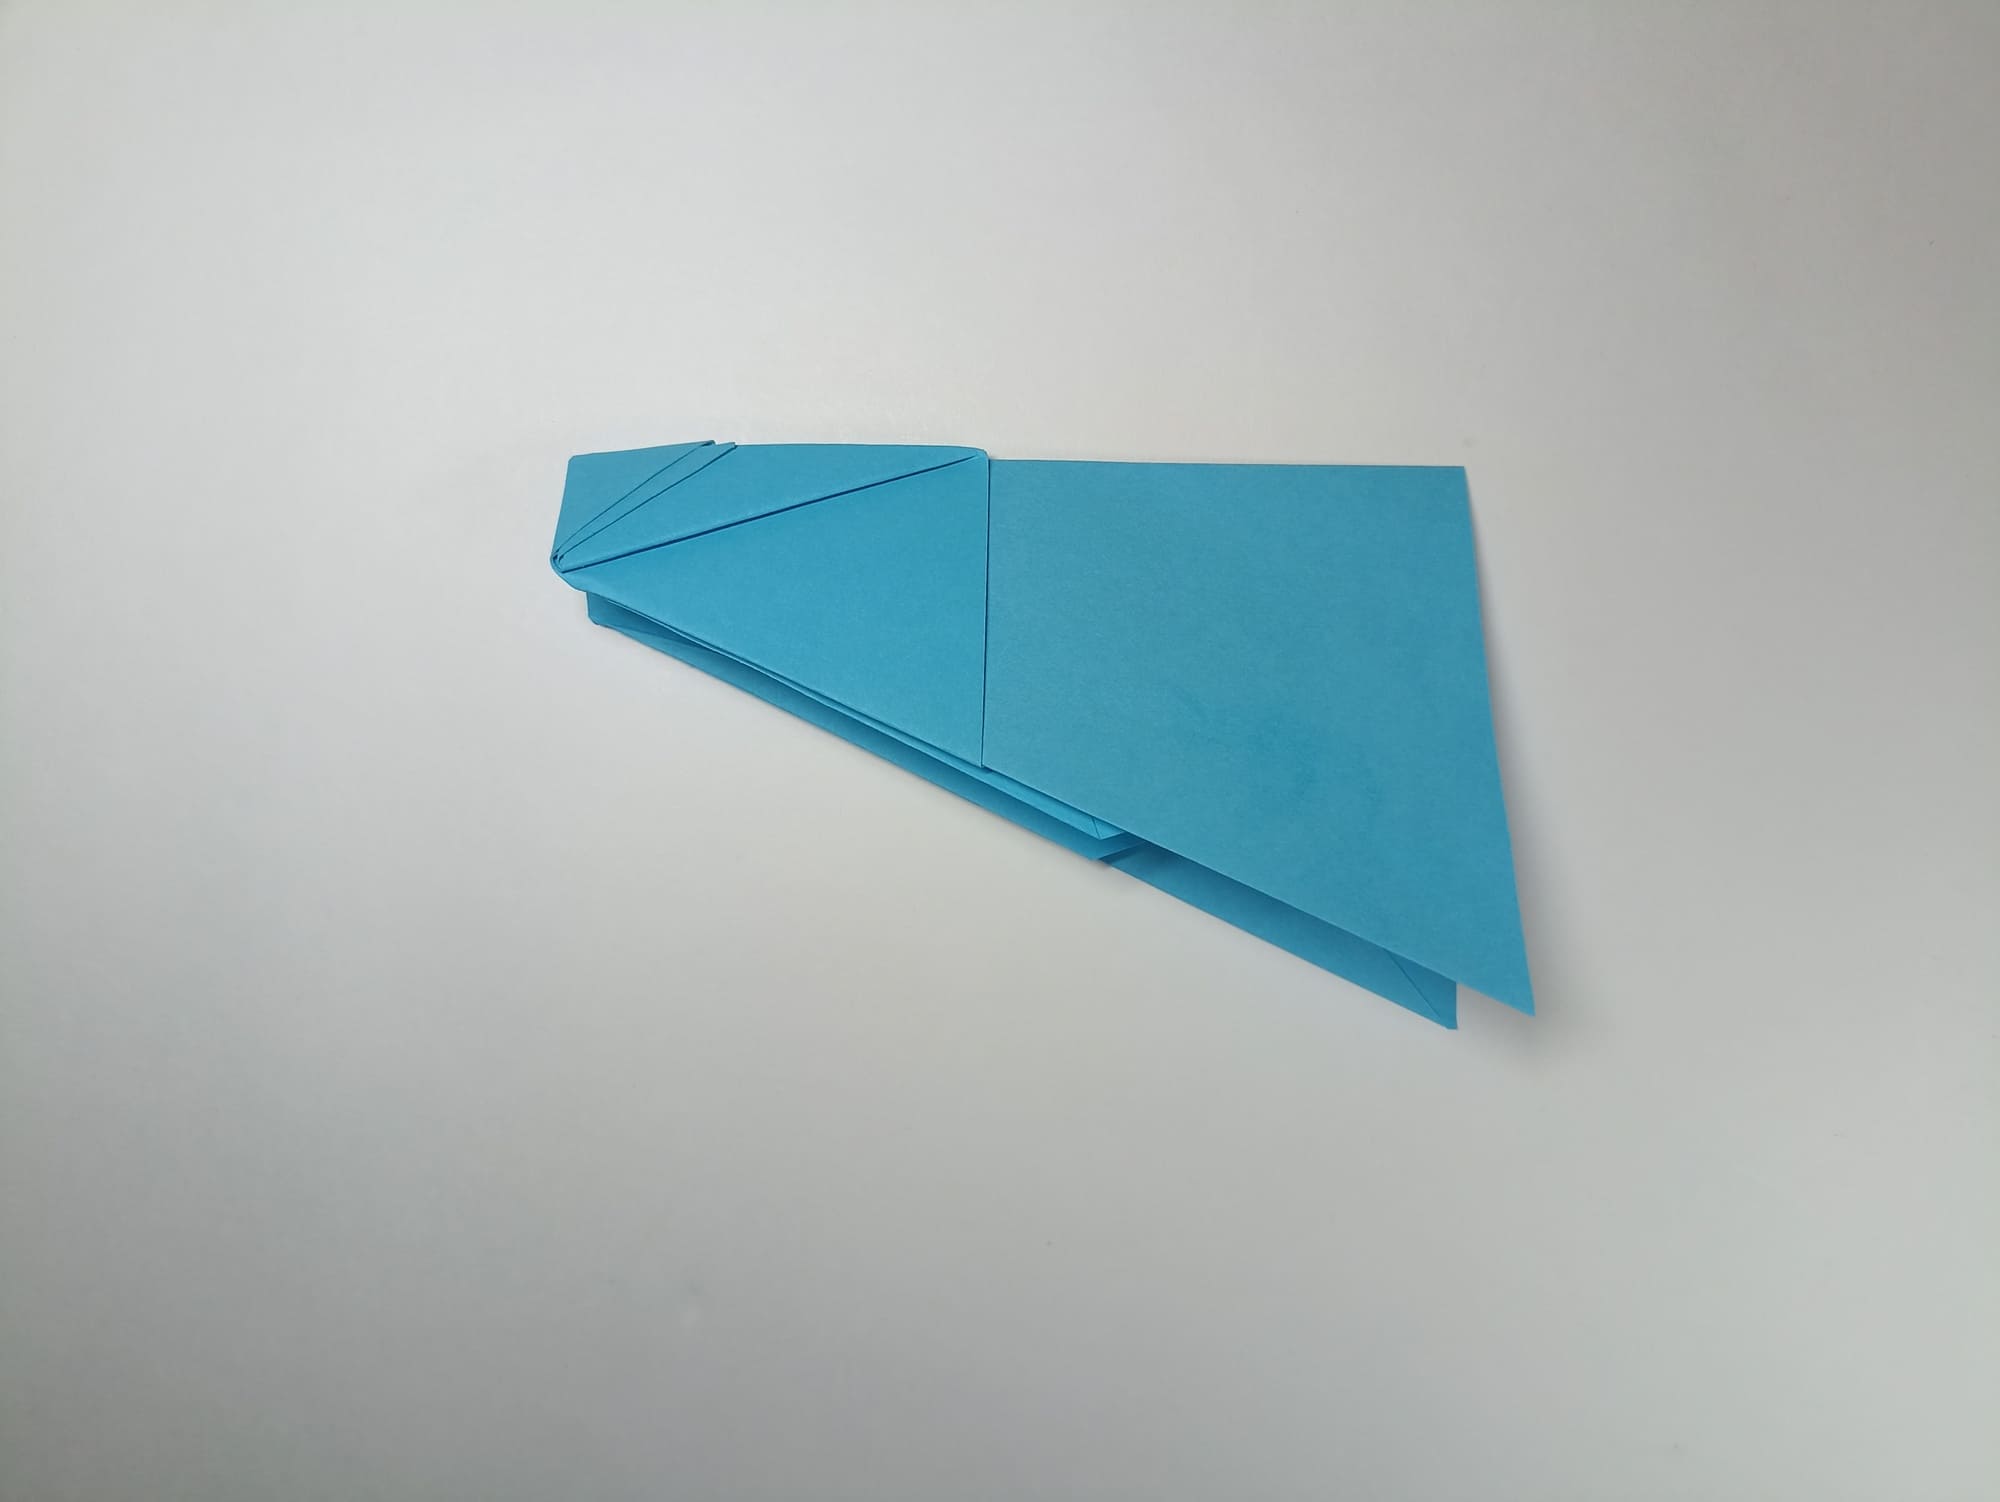
Bend the top of the triangle down towards yourself and compare it with the illustration.
Place the top of the right angle of the small triangle on the right side into the pocket formed by the top fold.

Repeat the steps on the left side.
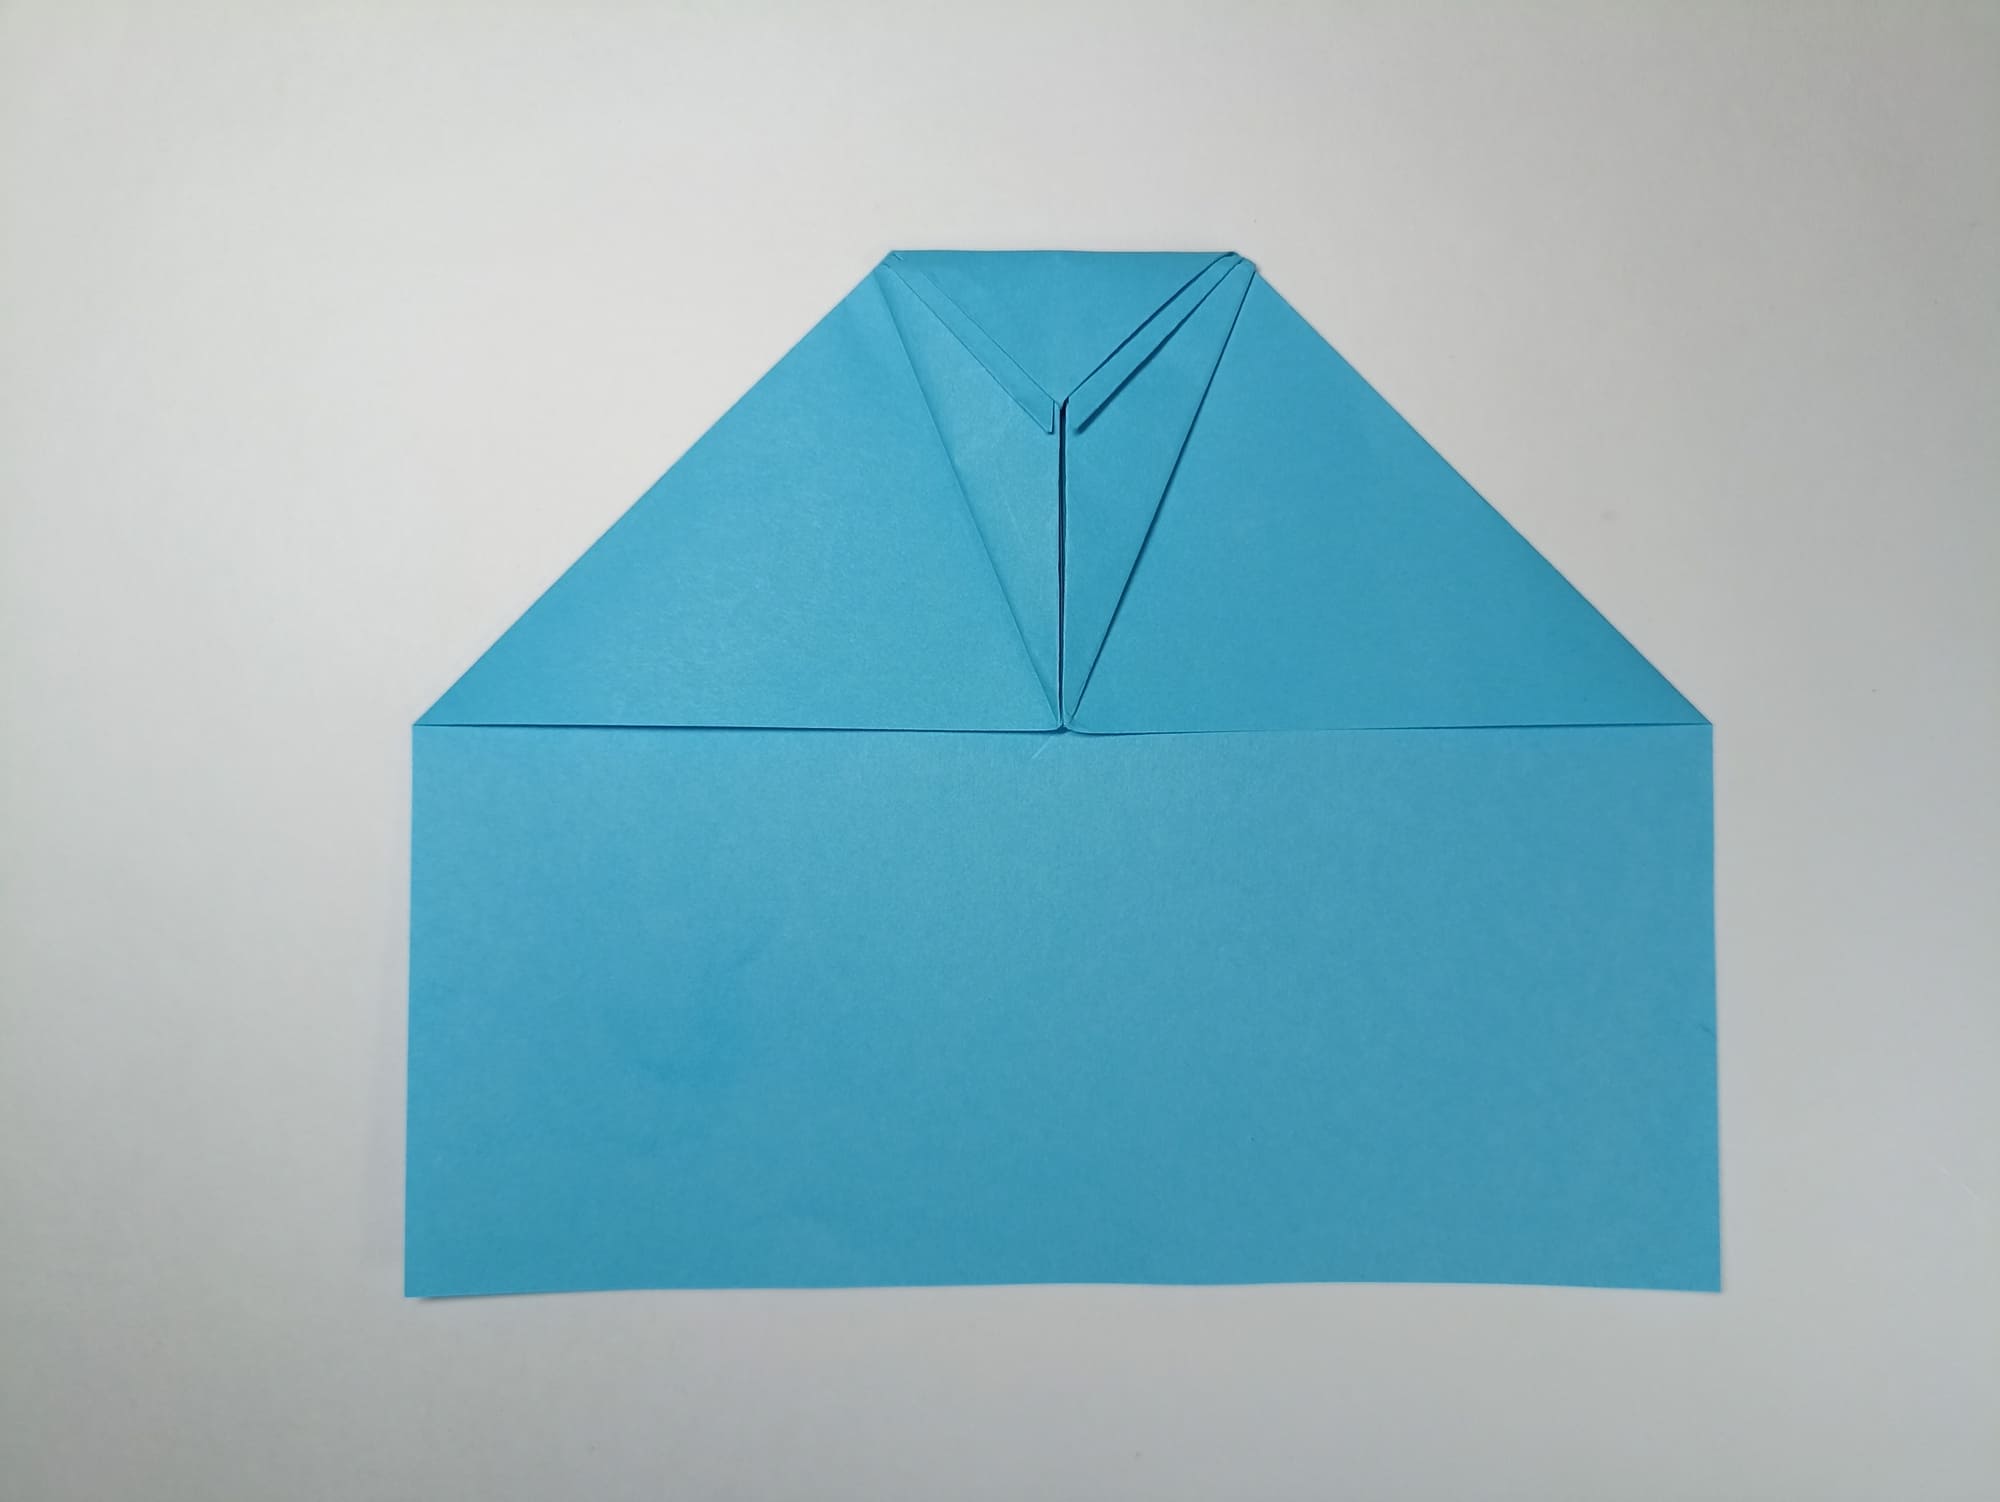
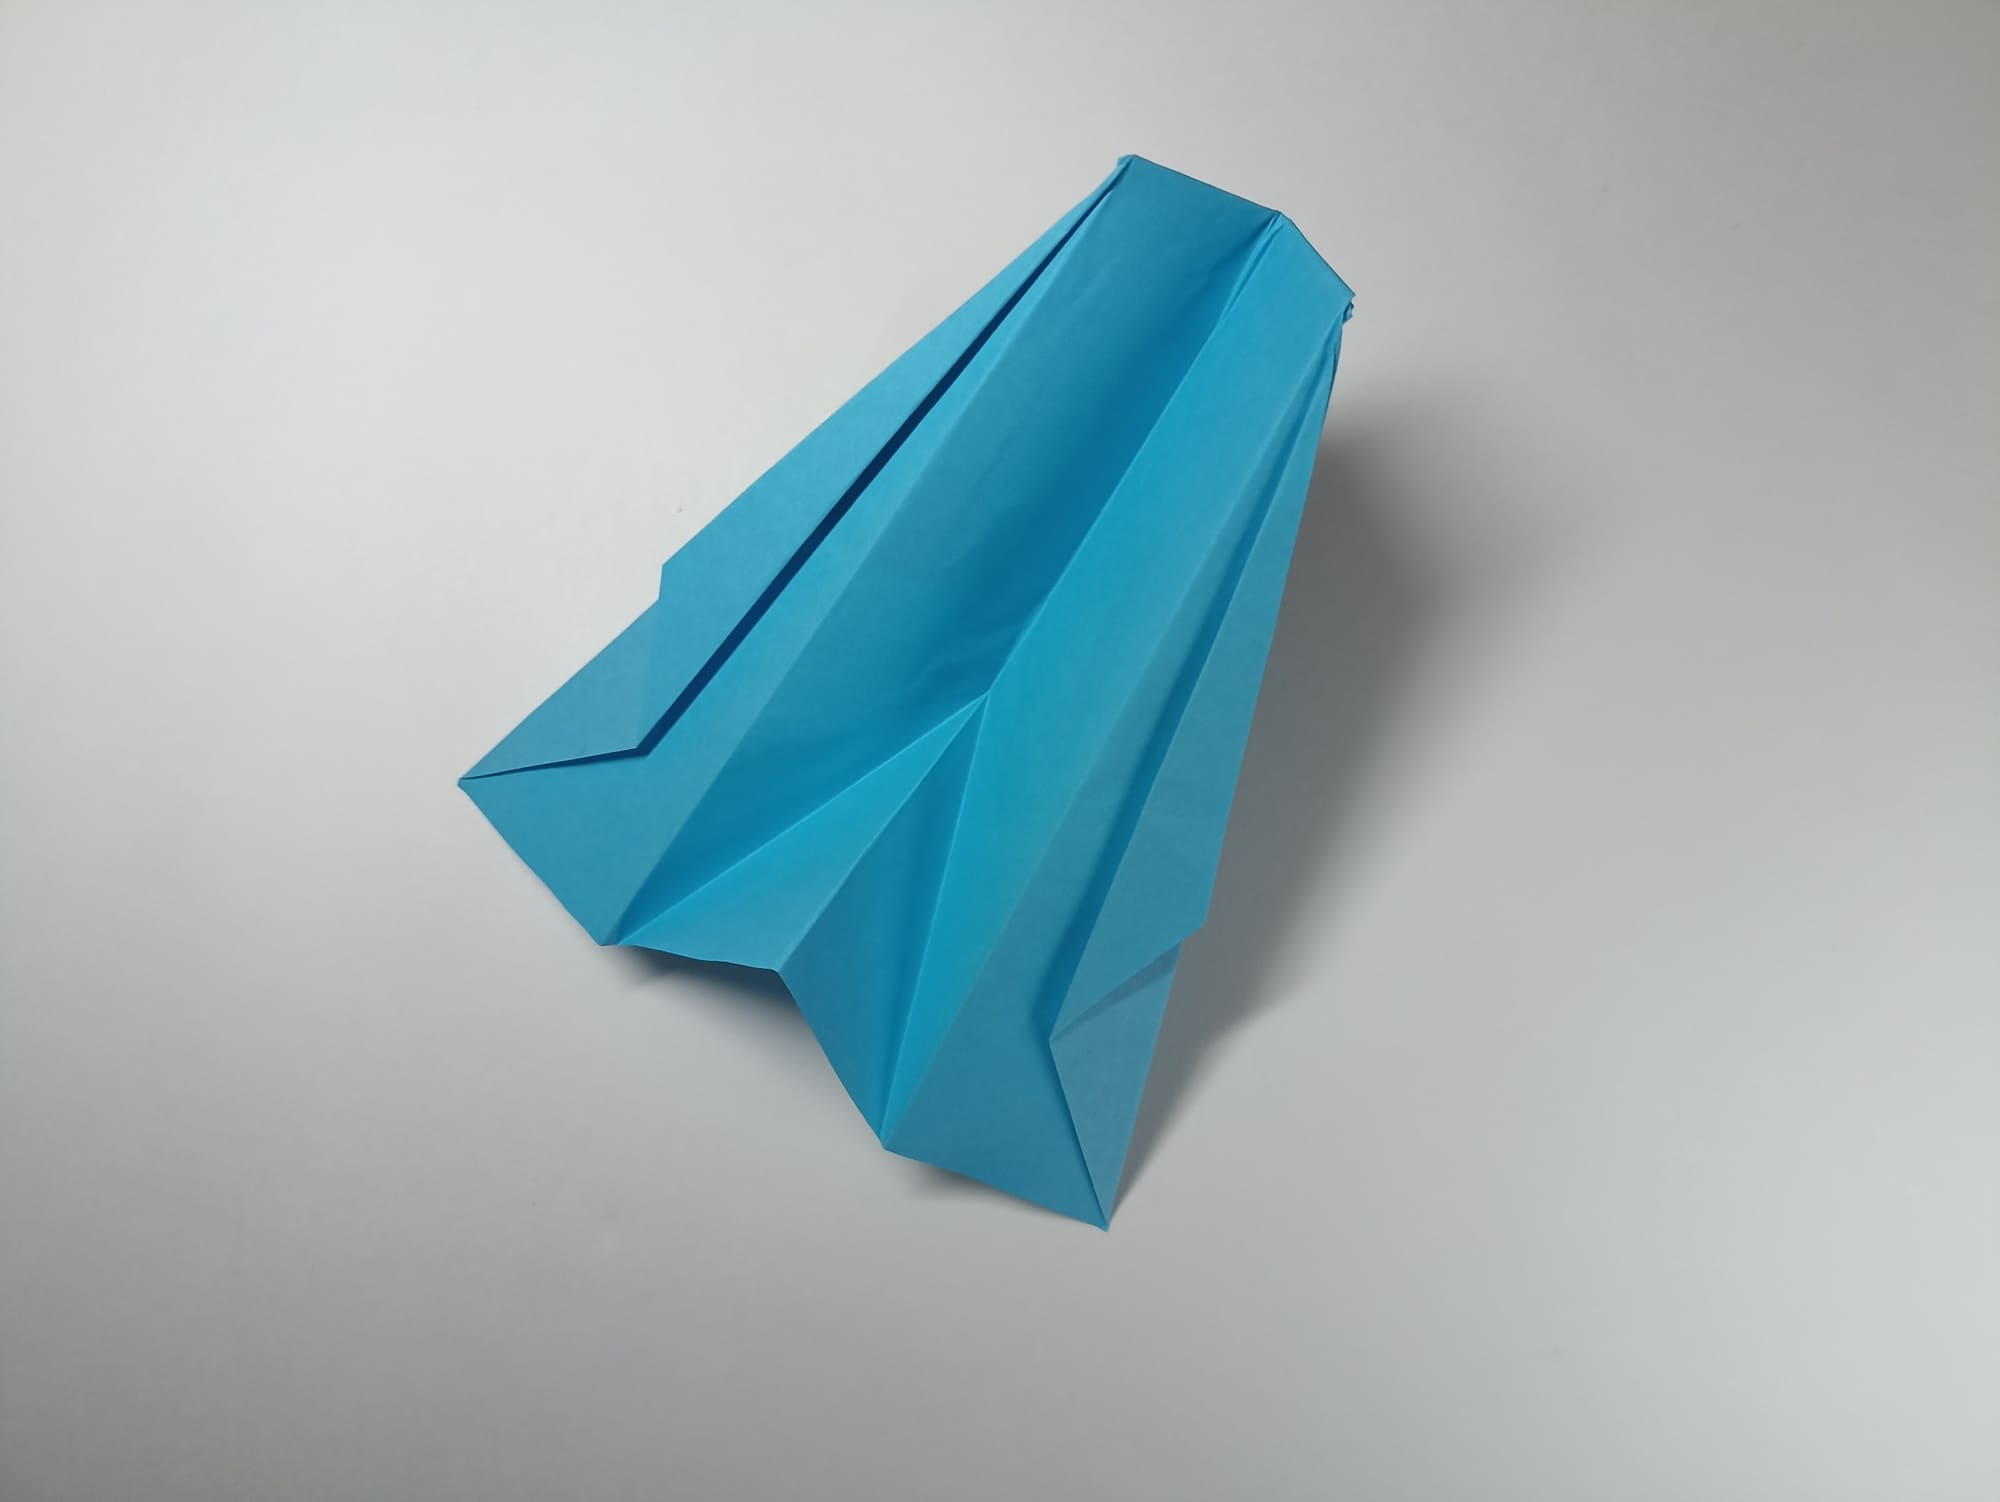
This is the most complicated step of the work. At the same time, there should not be any difficulties if the previous folds were symmetrical.
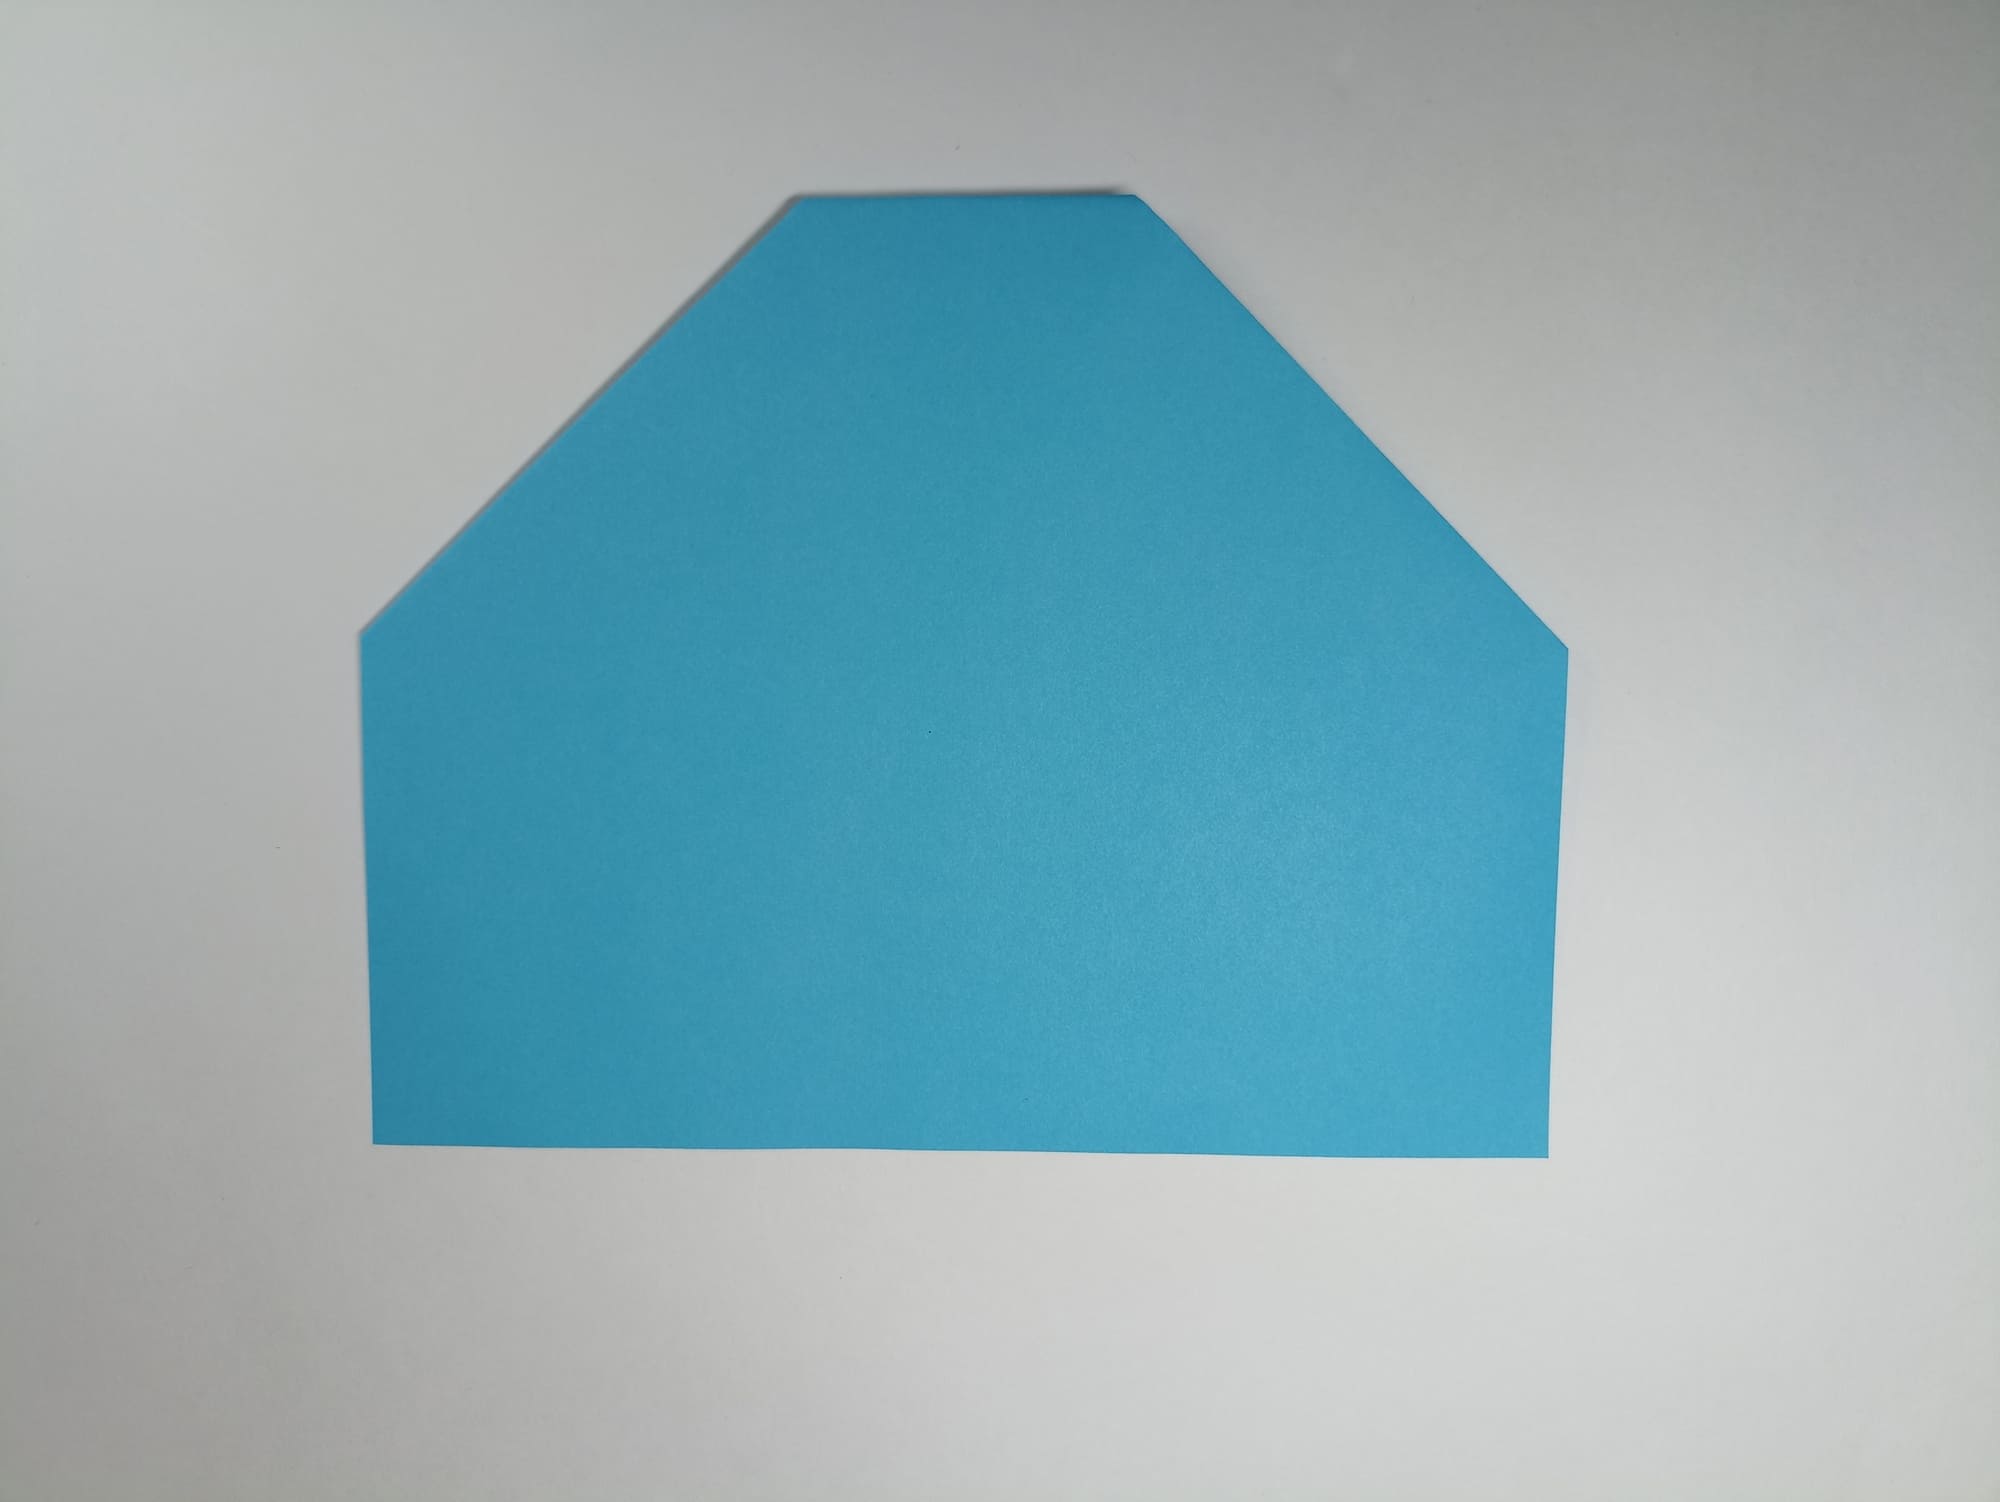
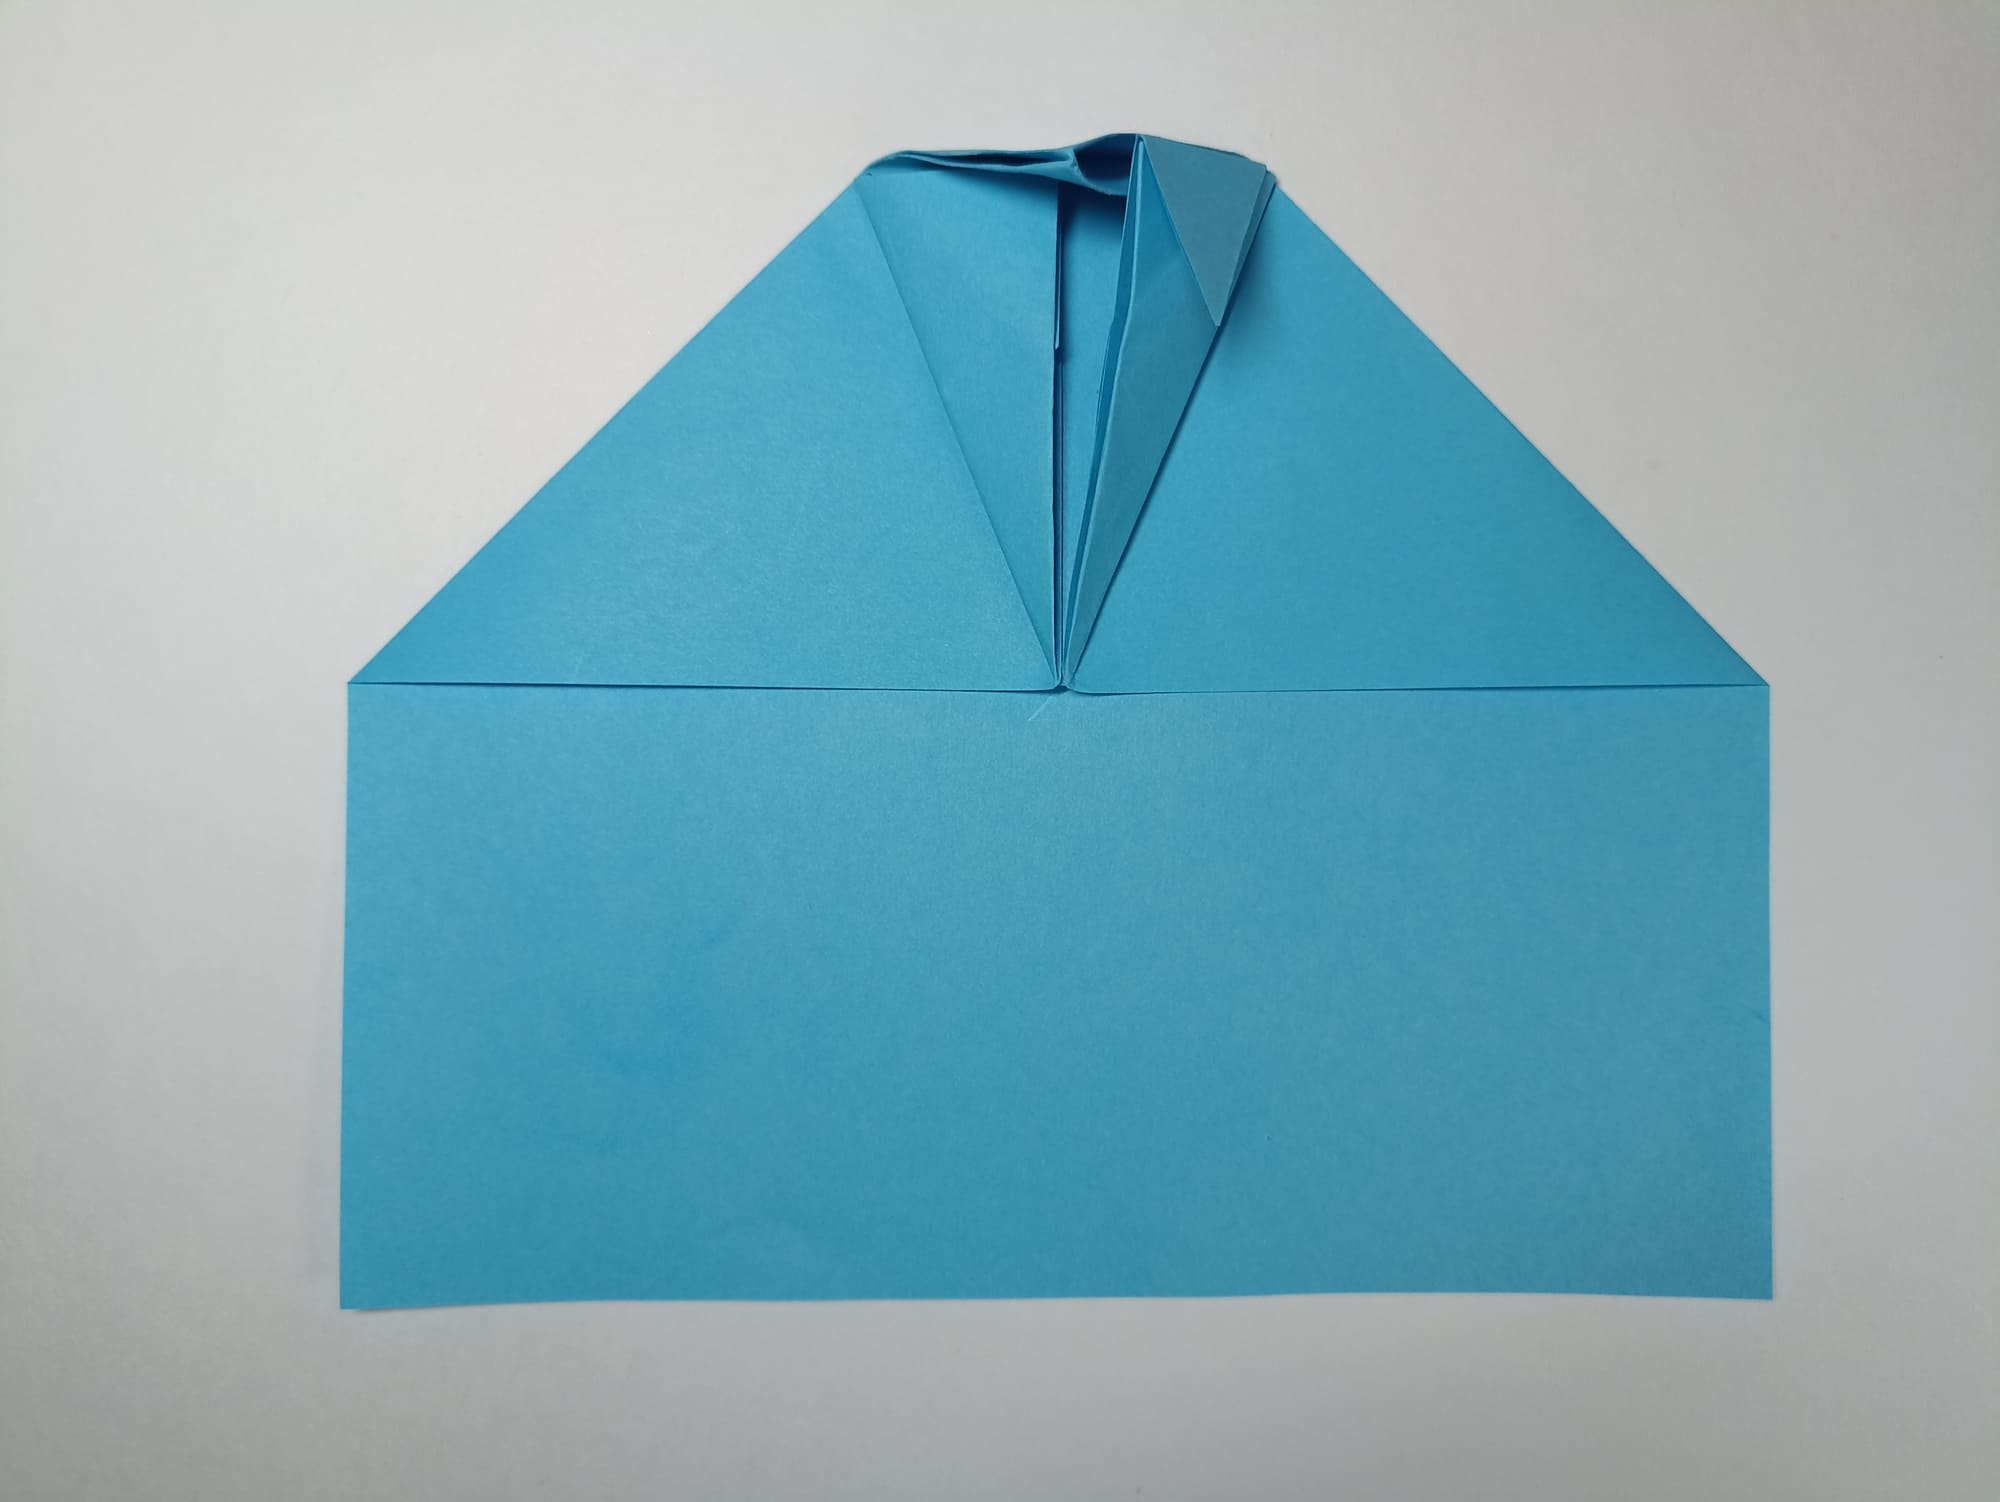
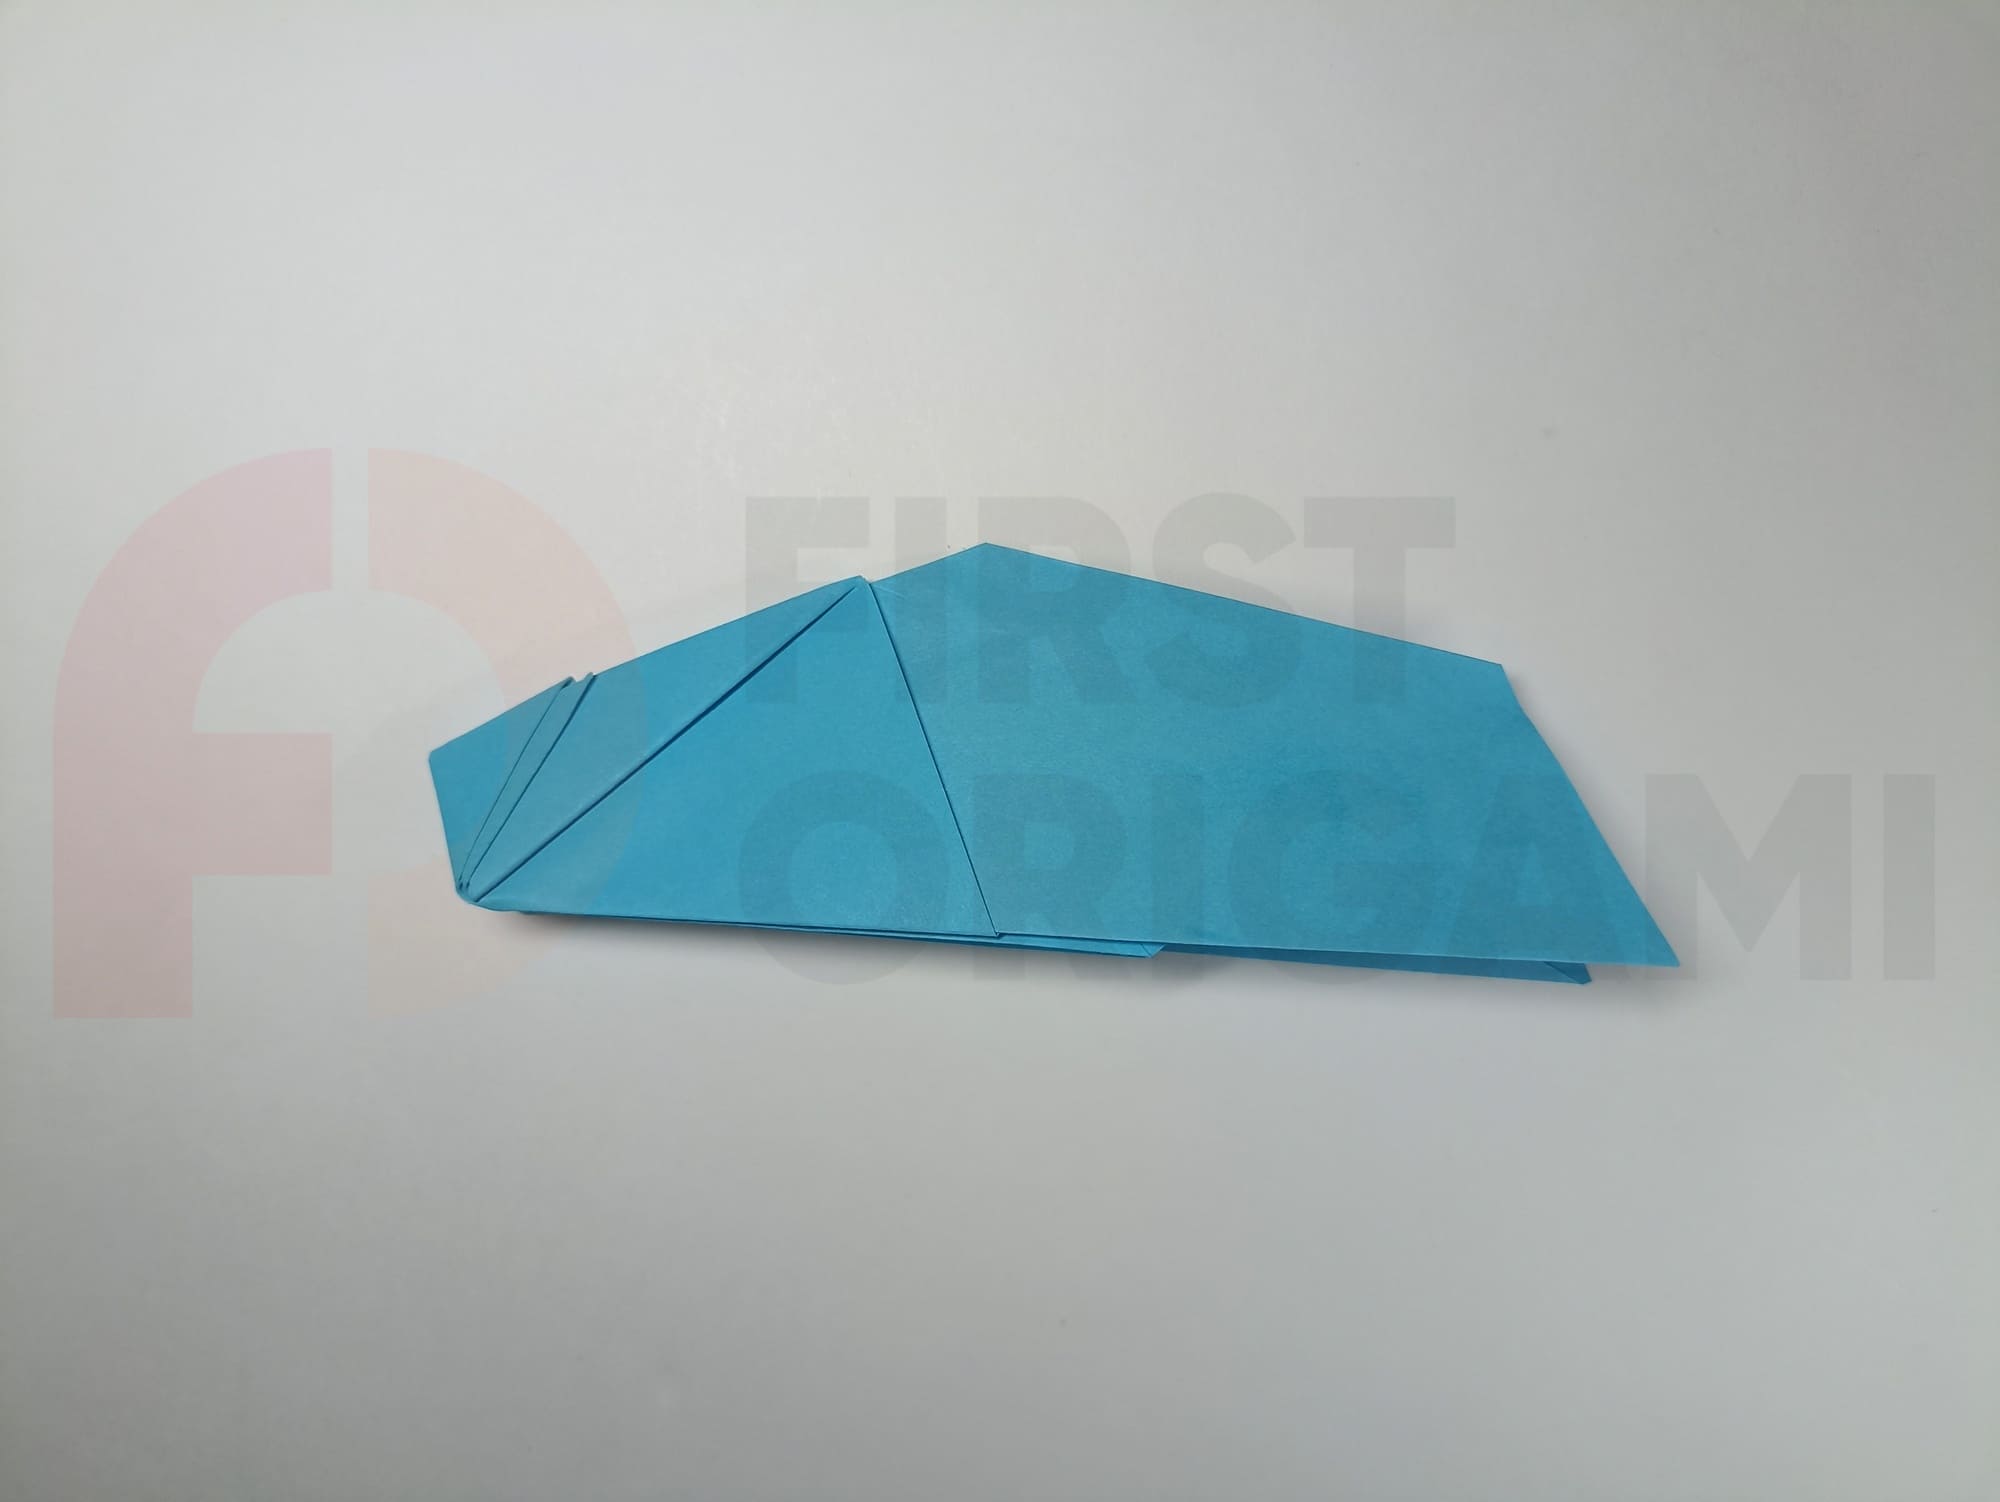
Turn the figure over.
Fold the triangle towards yourself, matching the upper and lower corners of one side of the pentagon.
Repeat the step 17 on the other side.
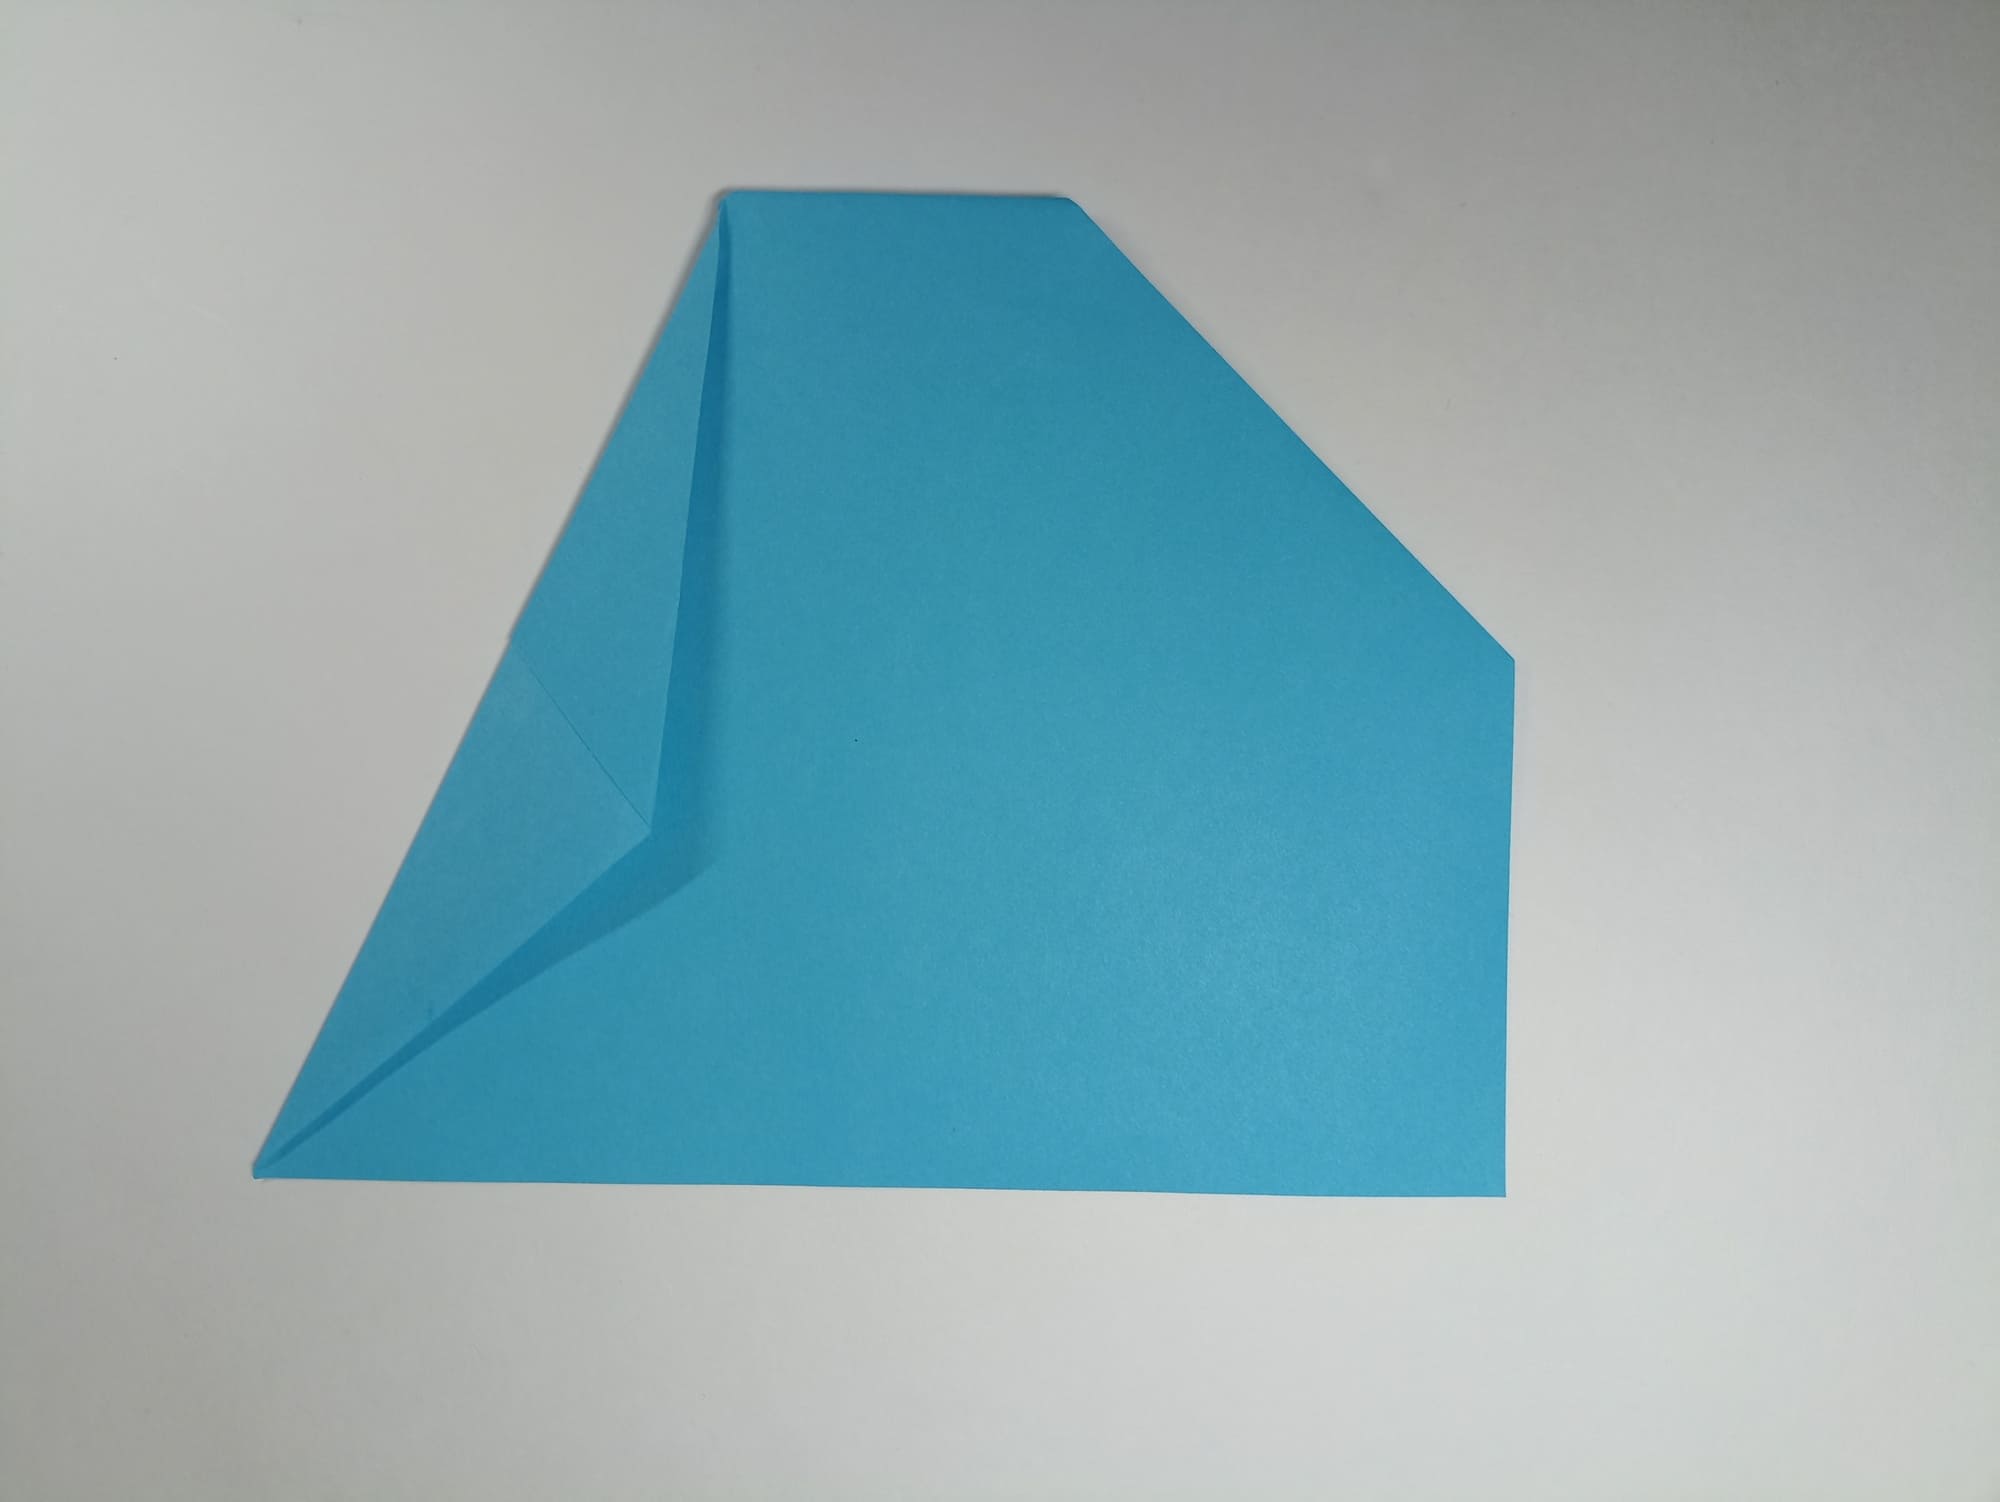
Divide the resulting triangles in half, going from the top corner and aligning the edge with the side.
Make folds on both sides.
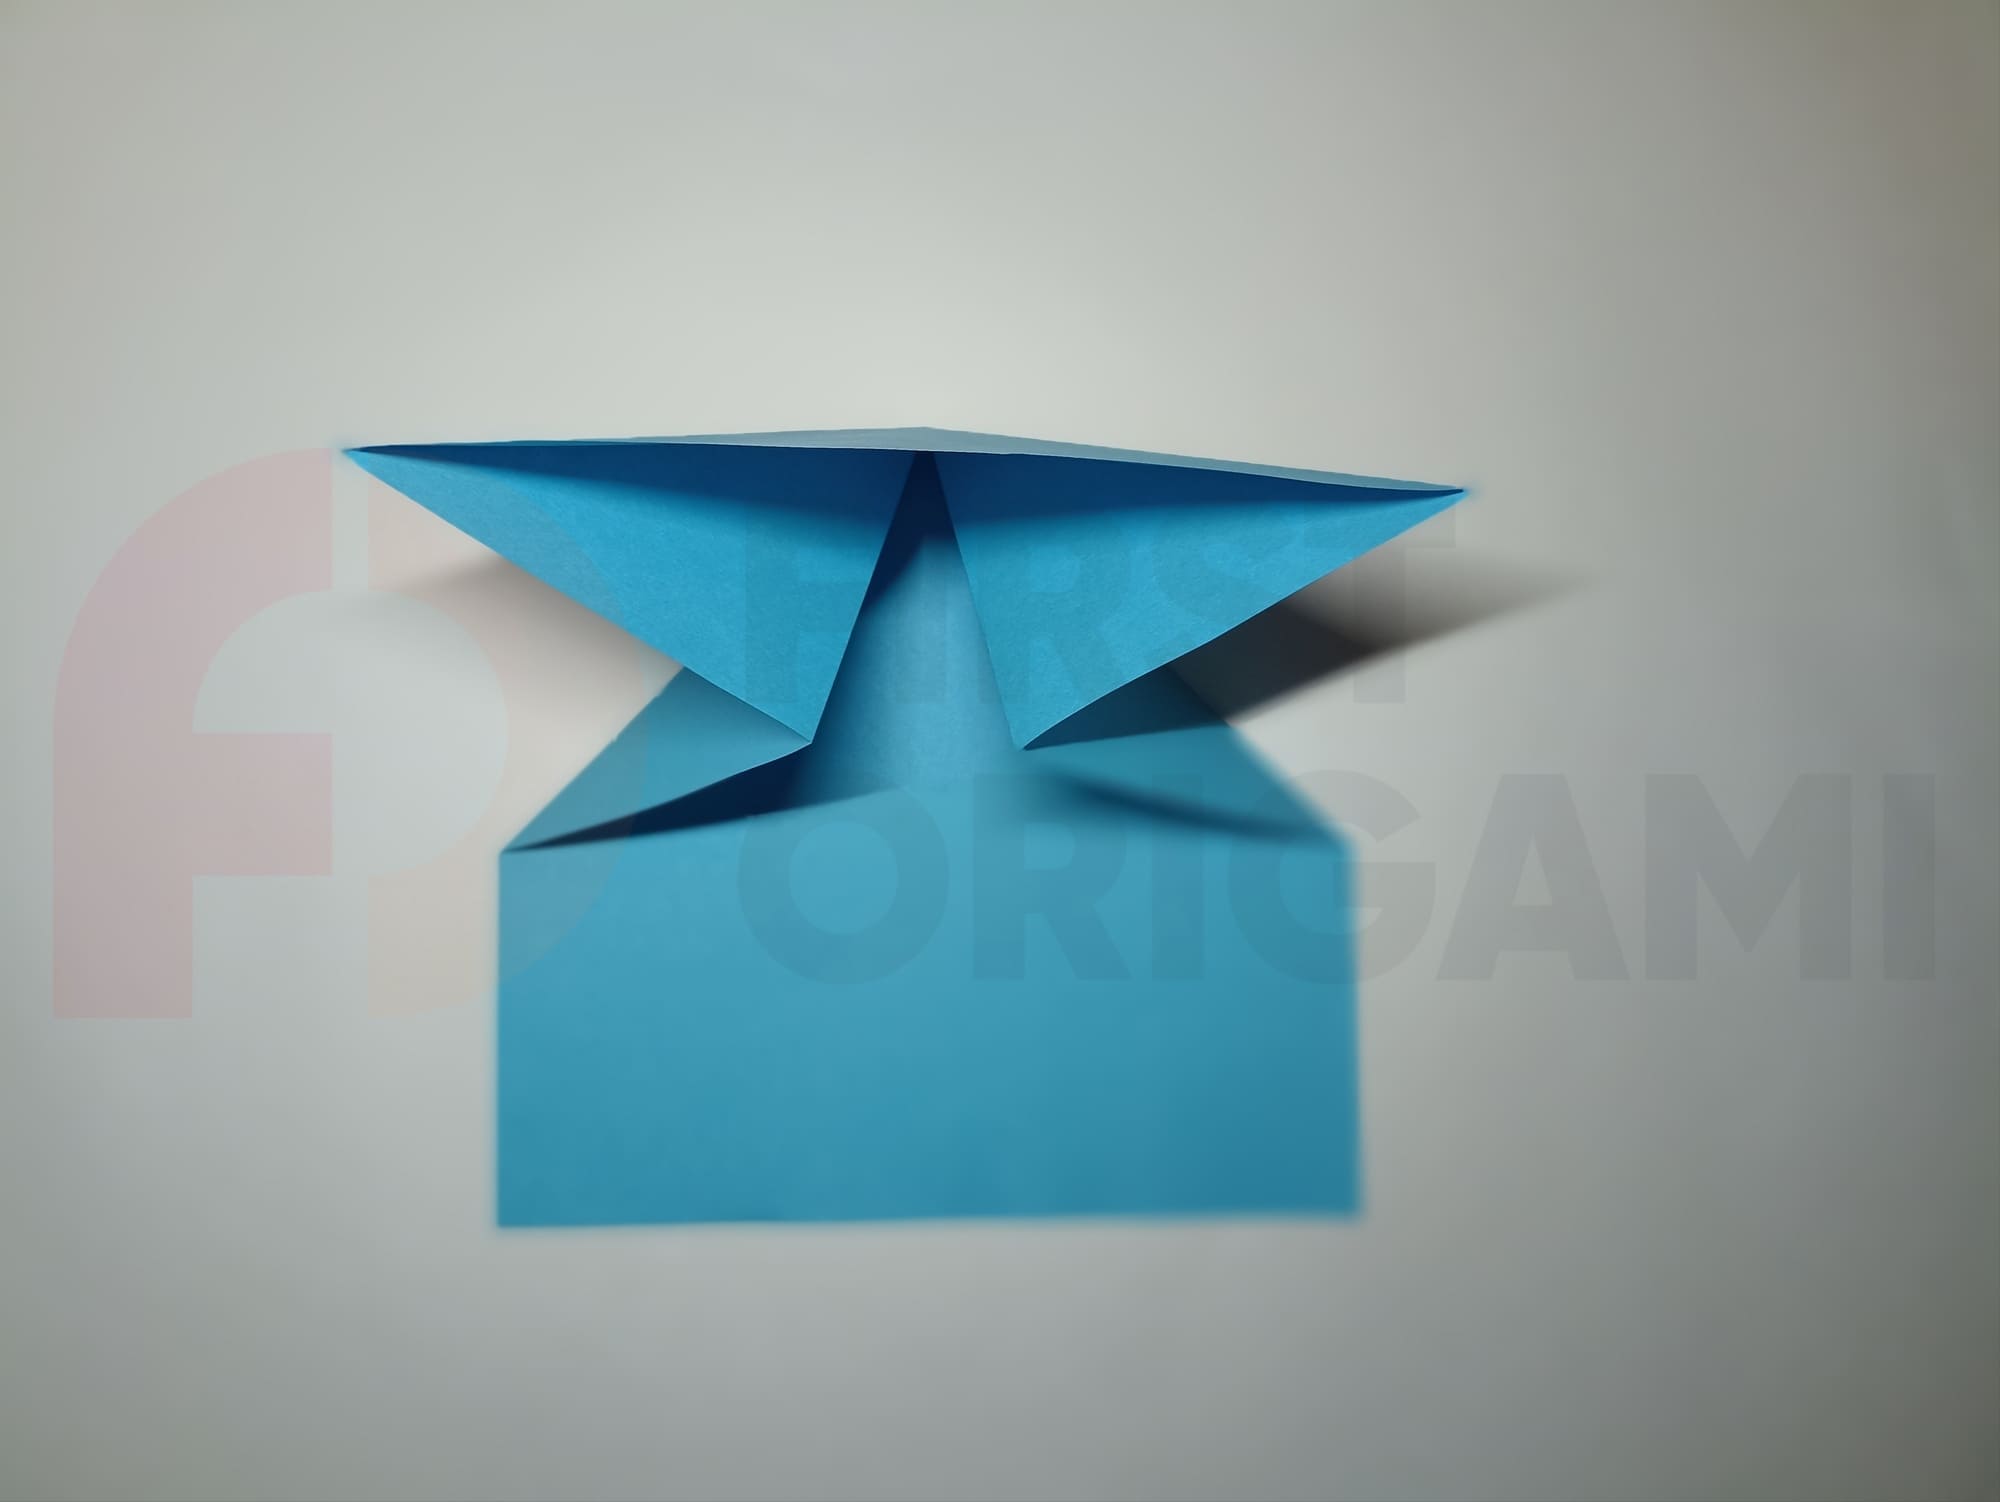
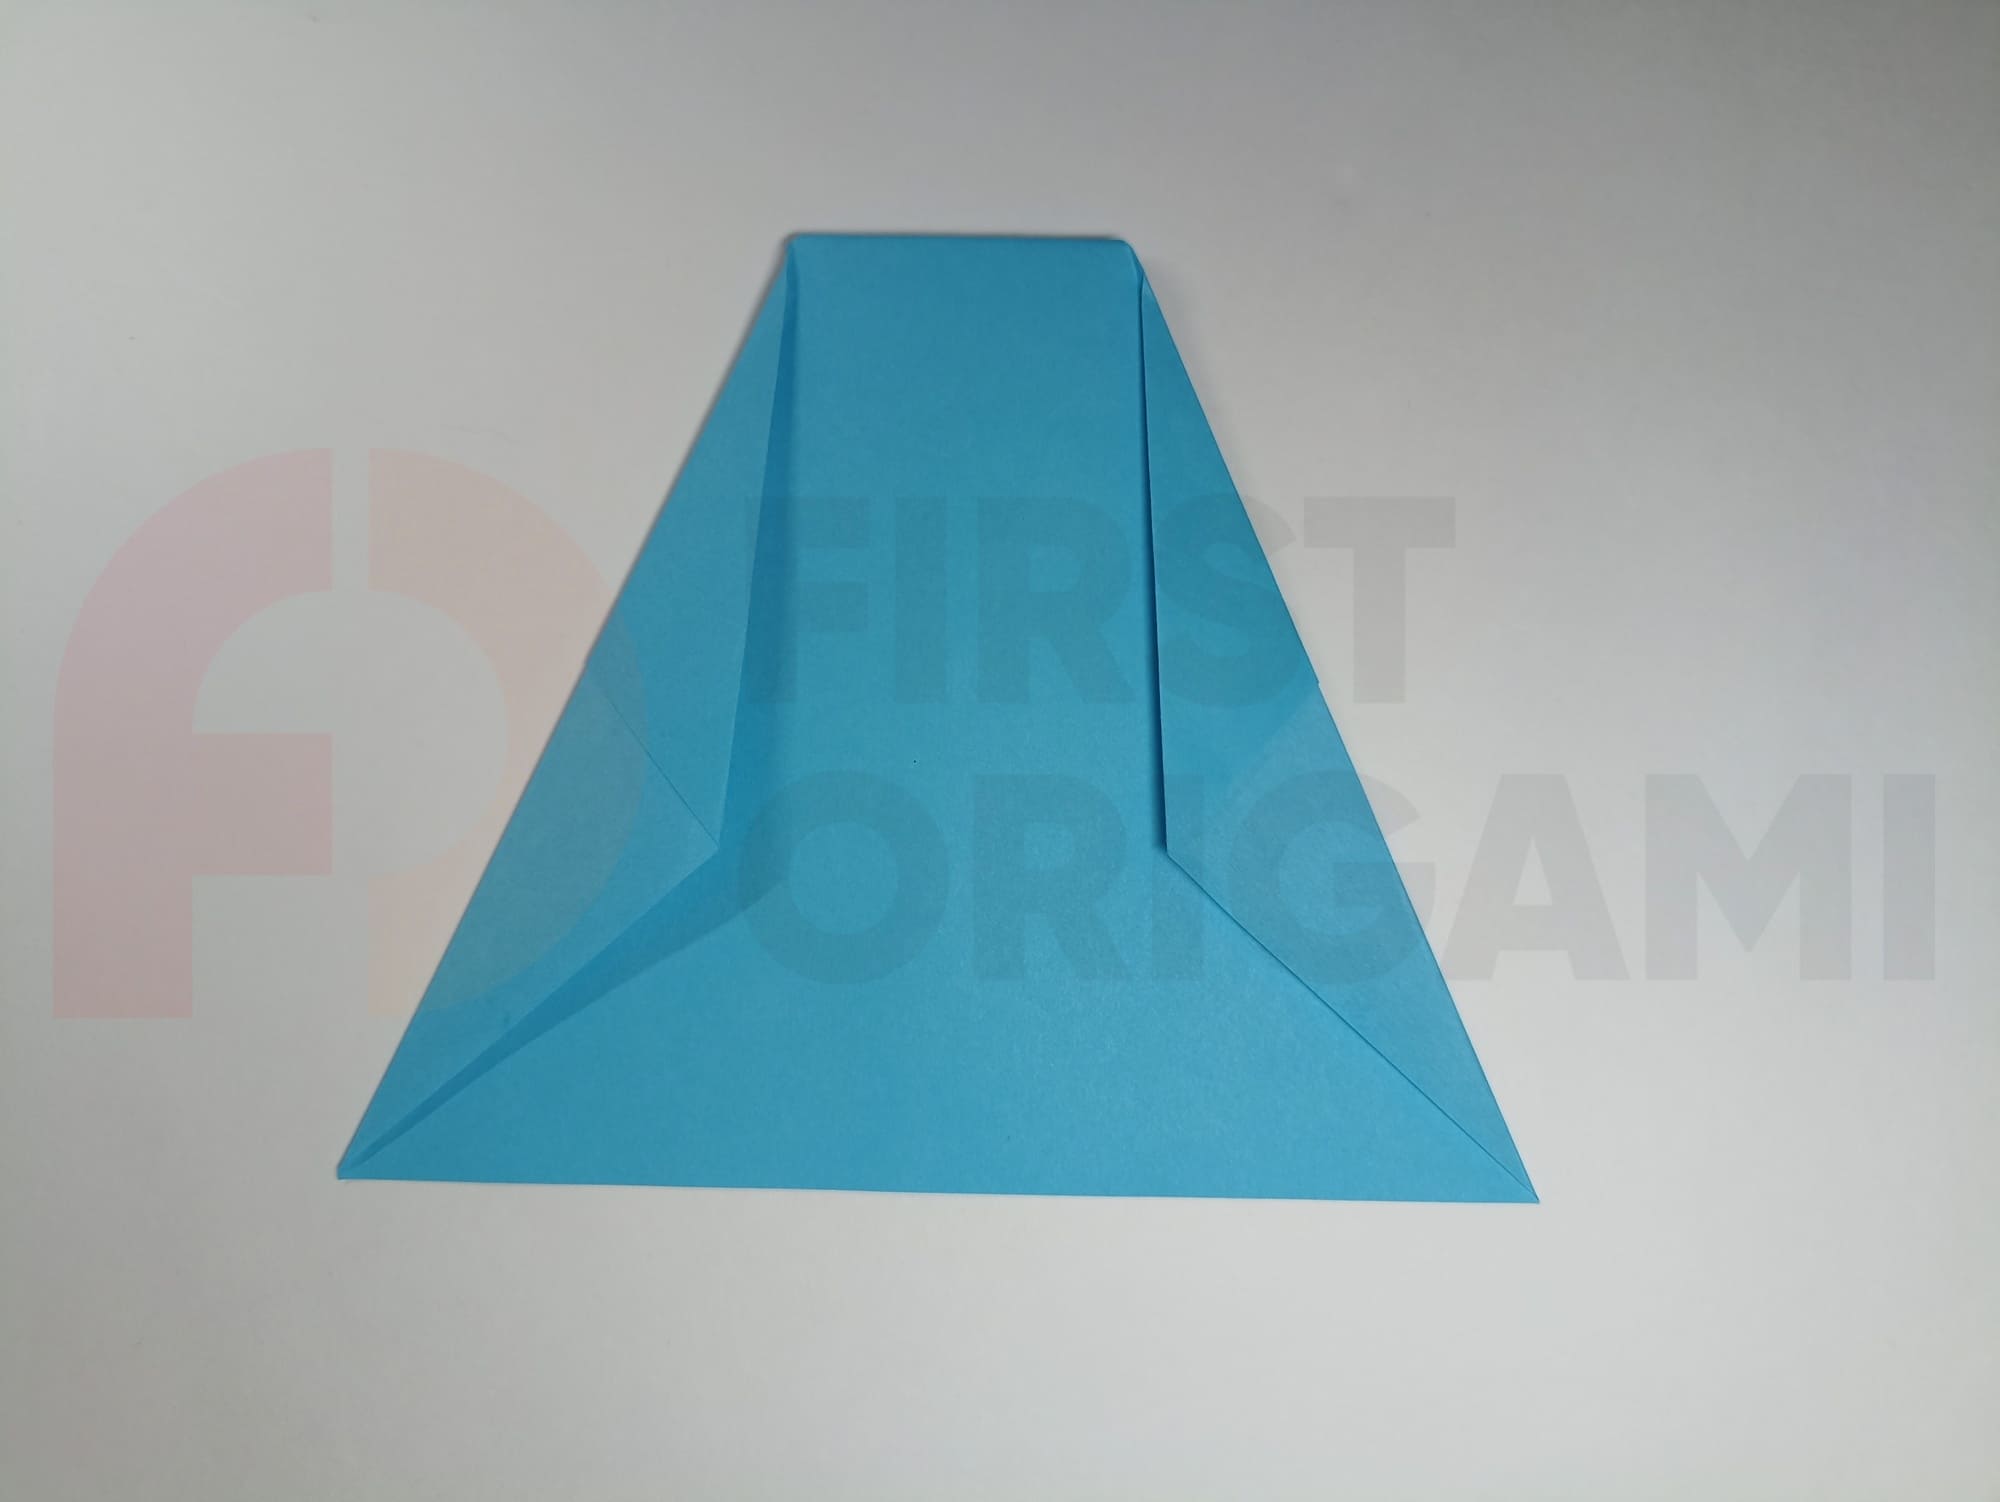
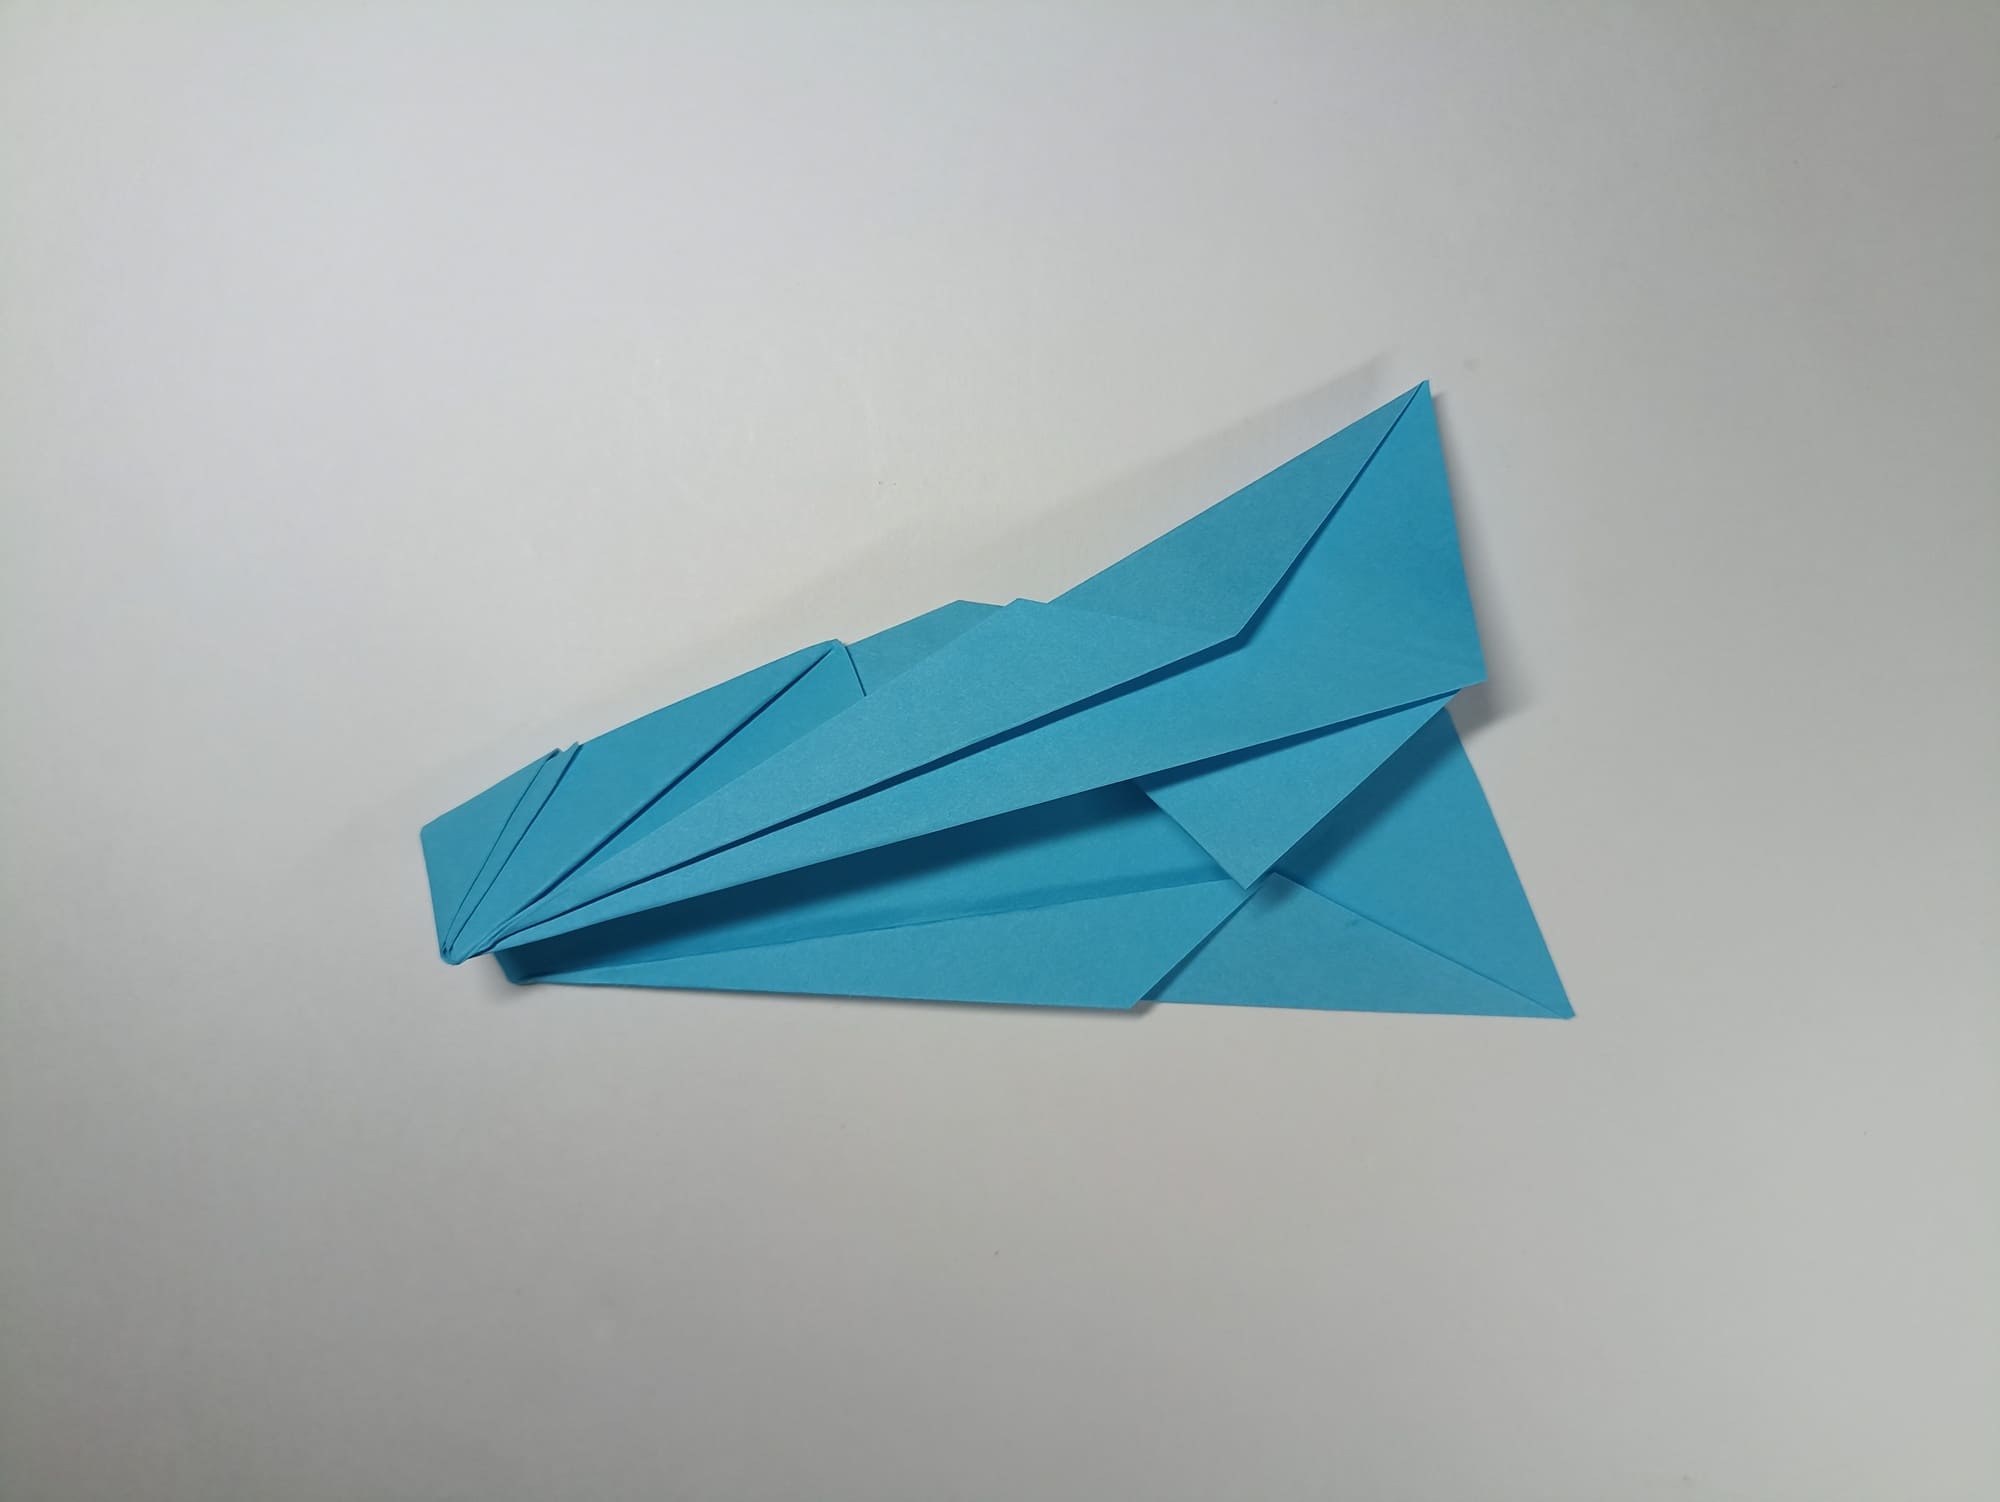
Close the figure along the middle vertical line, aligning the corners and sides. Turn it horizontally.
Bend the right 90-degree corner of the figure inward, forming a triangular fold. Crease the folds.
Compare the figure you got with the illustration.
Return the shape to its original position, and bend the wings up alternately on one side and the other.
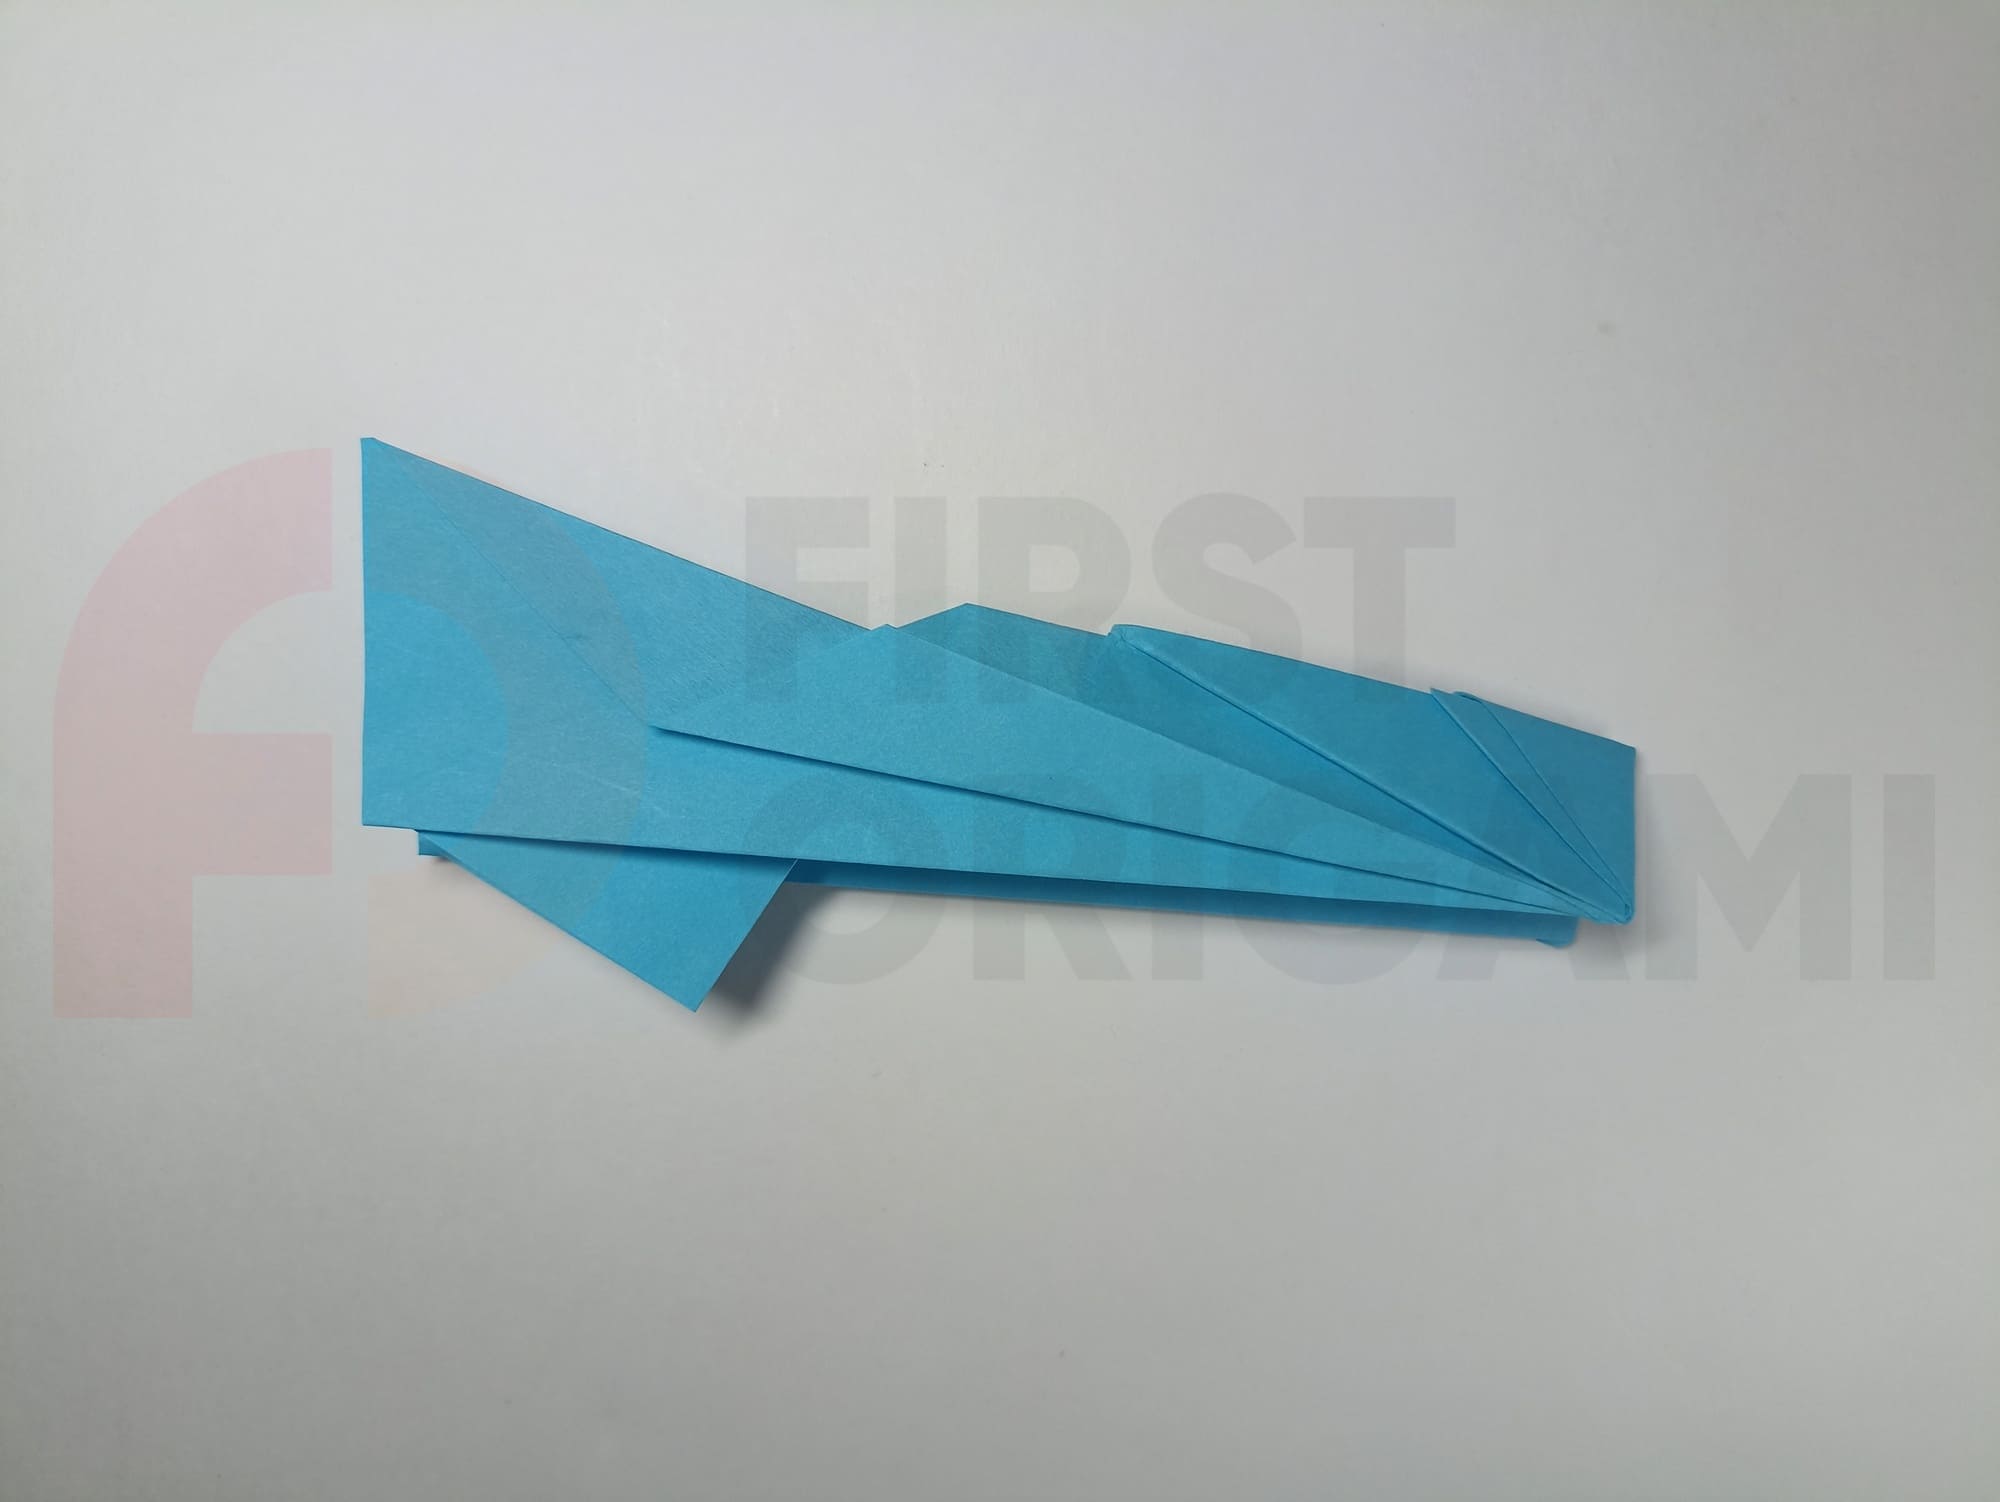
Spread the wings and body.
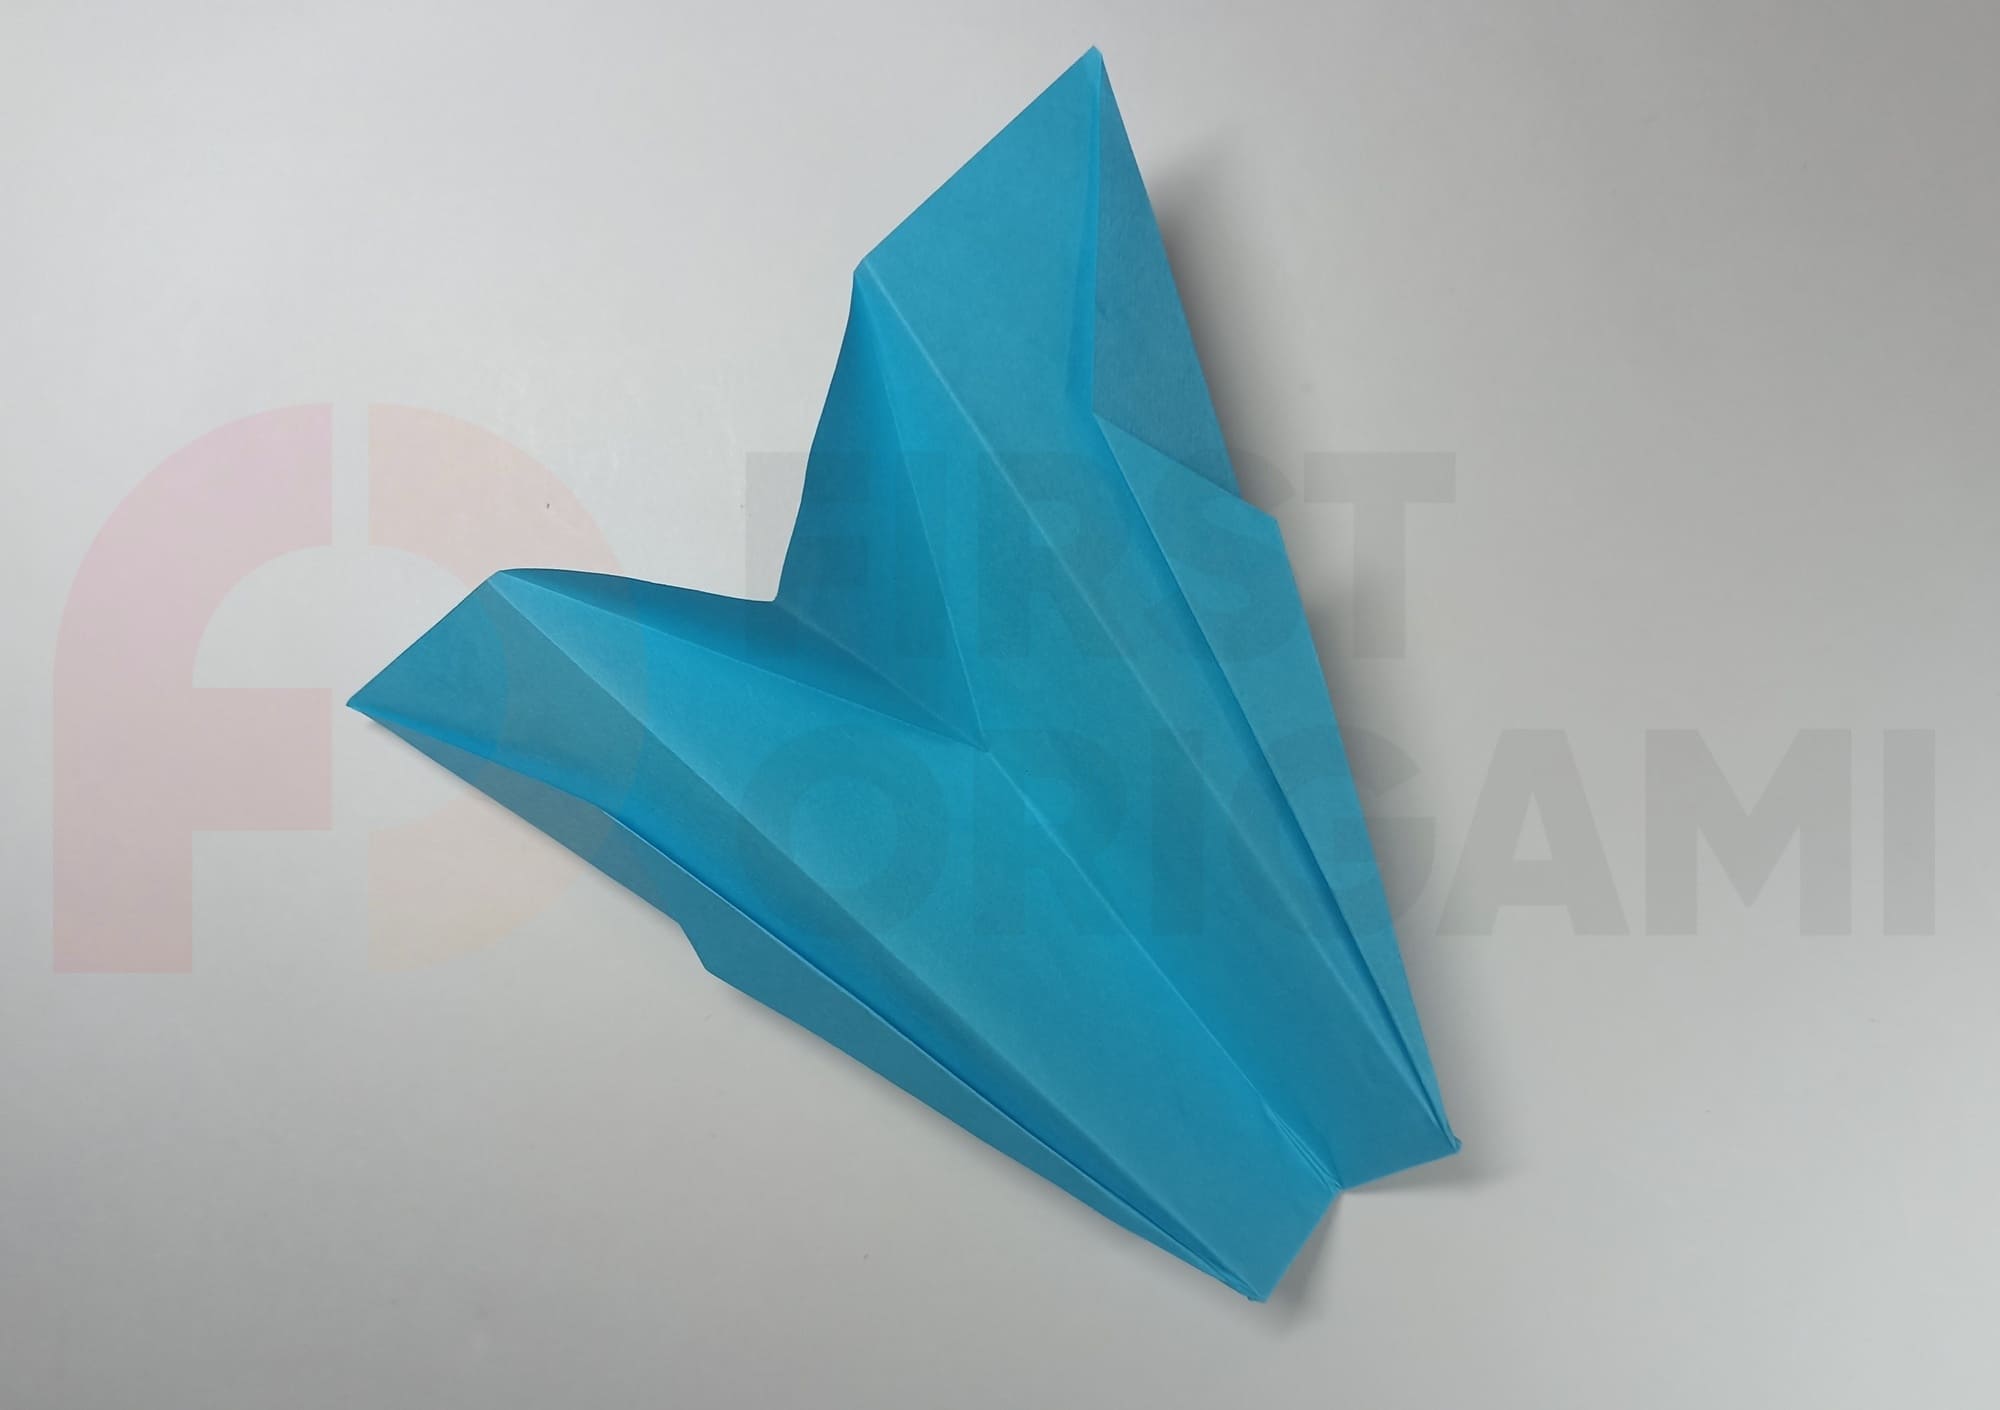
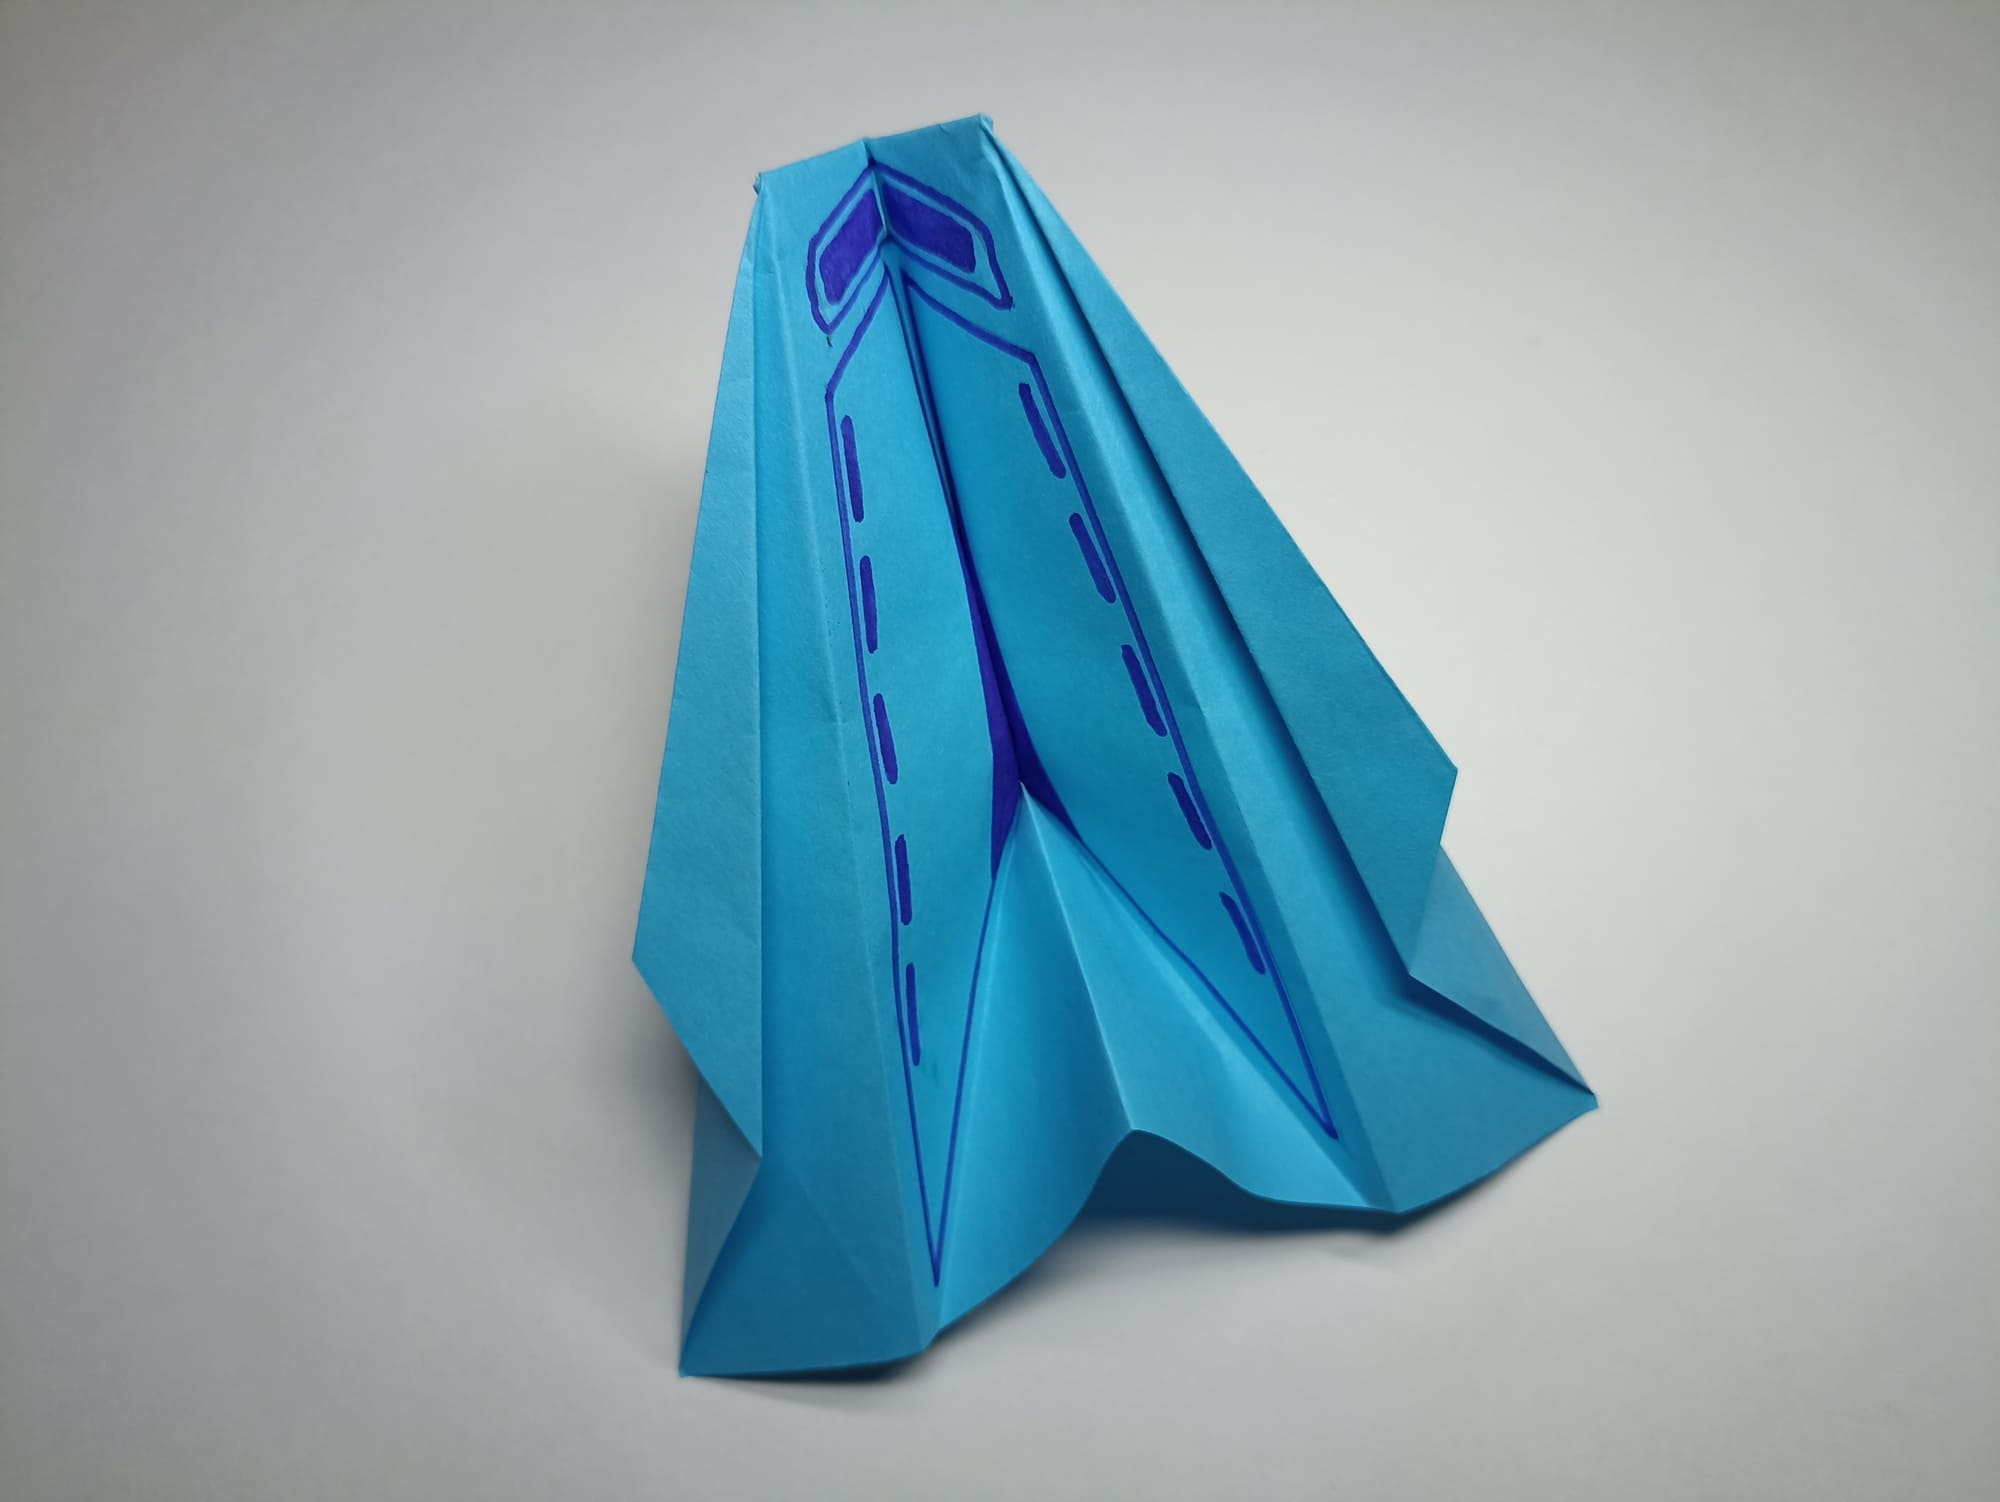
The plane is ready!
The depth and slope of the tail section will allow you to change the flight altitude. This airplane needs to be launched smoothly, without jerking. For long-term planning, you need to monitor the angle of the body, which should be within 90 degrees.