Origami Samurai Hat
Making a samurai helmet requires very little time, everyone can do it with this simple master class! If you need a helmet of large size – just take a large sheet of paper square shape. Whether you want to wear it or use it for decoration is up to you!
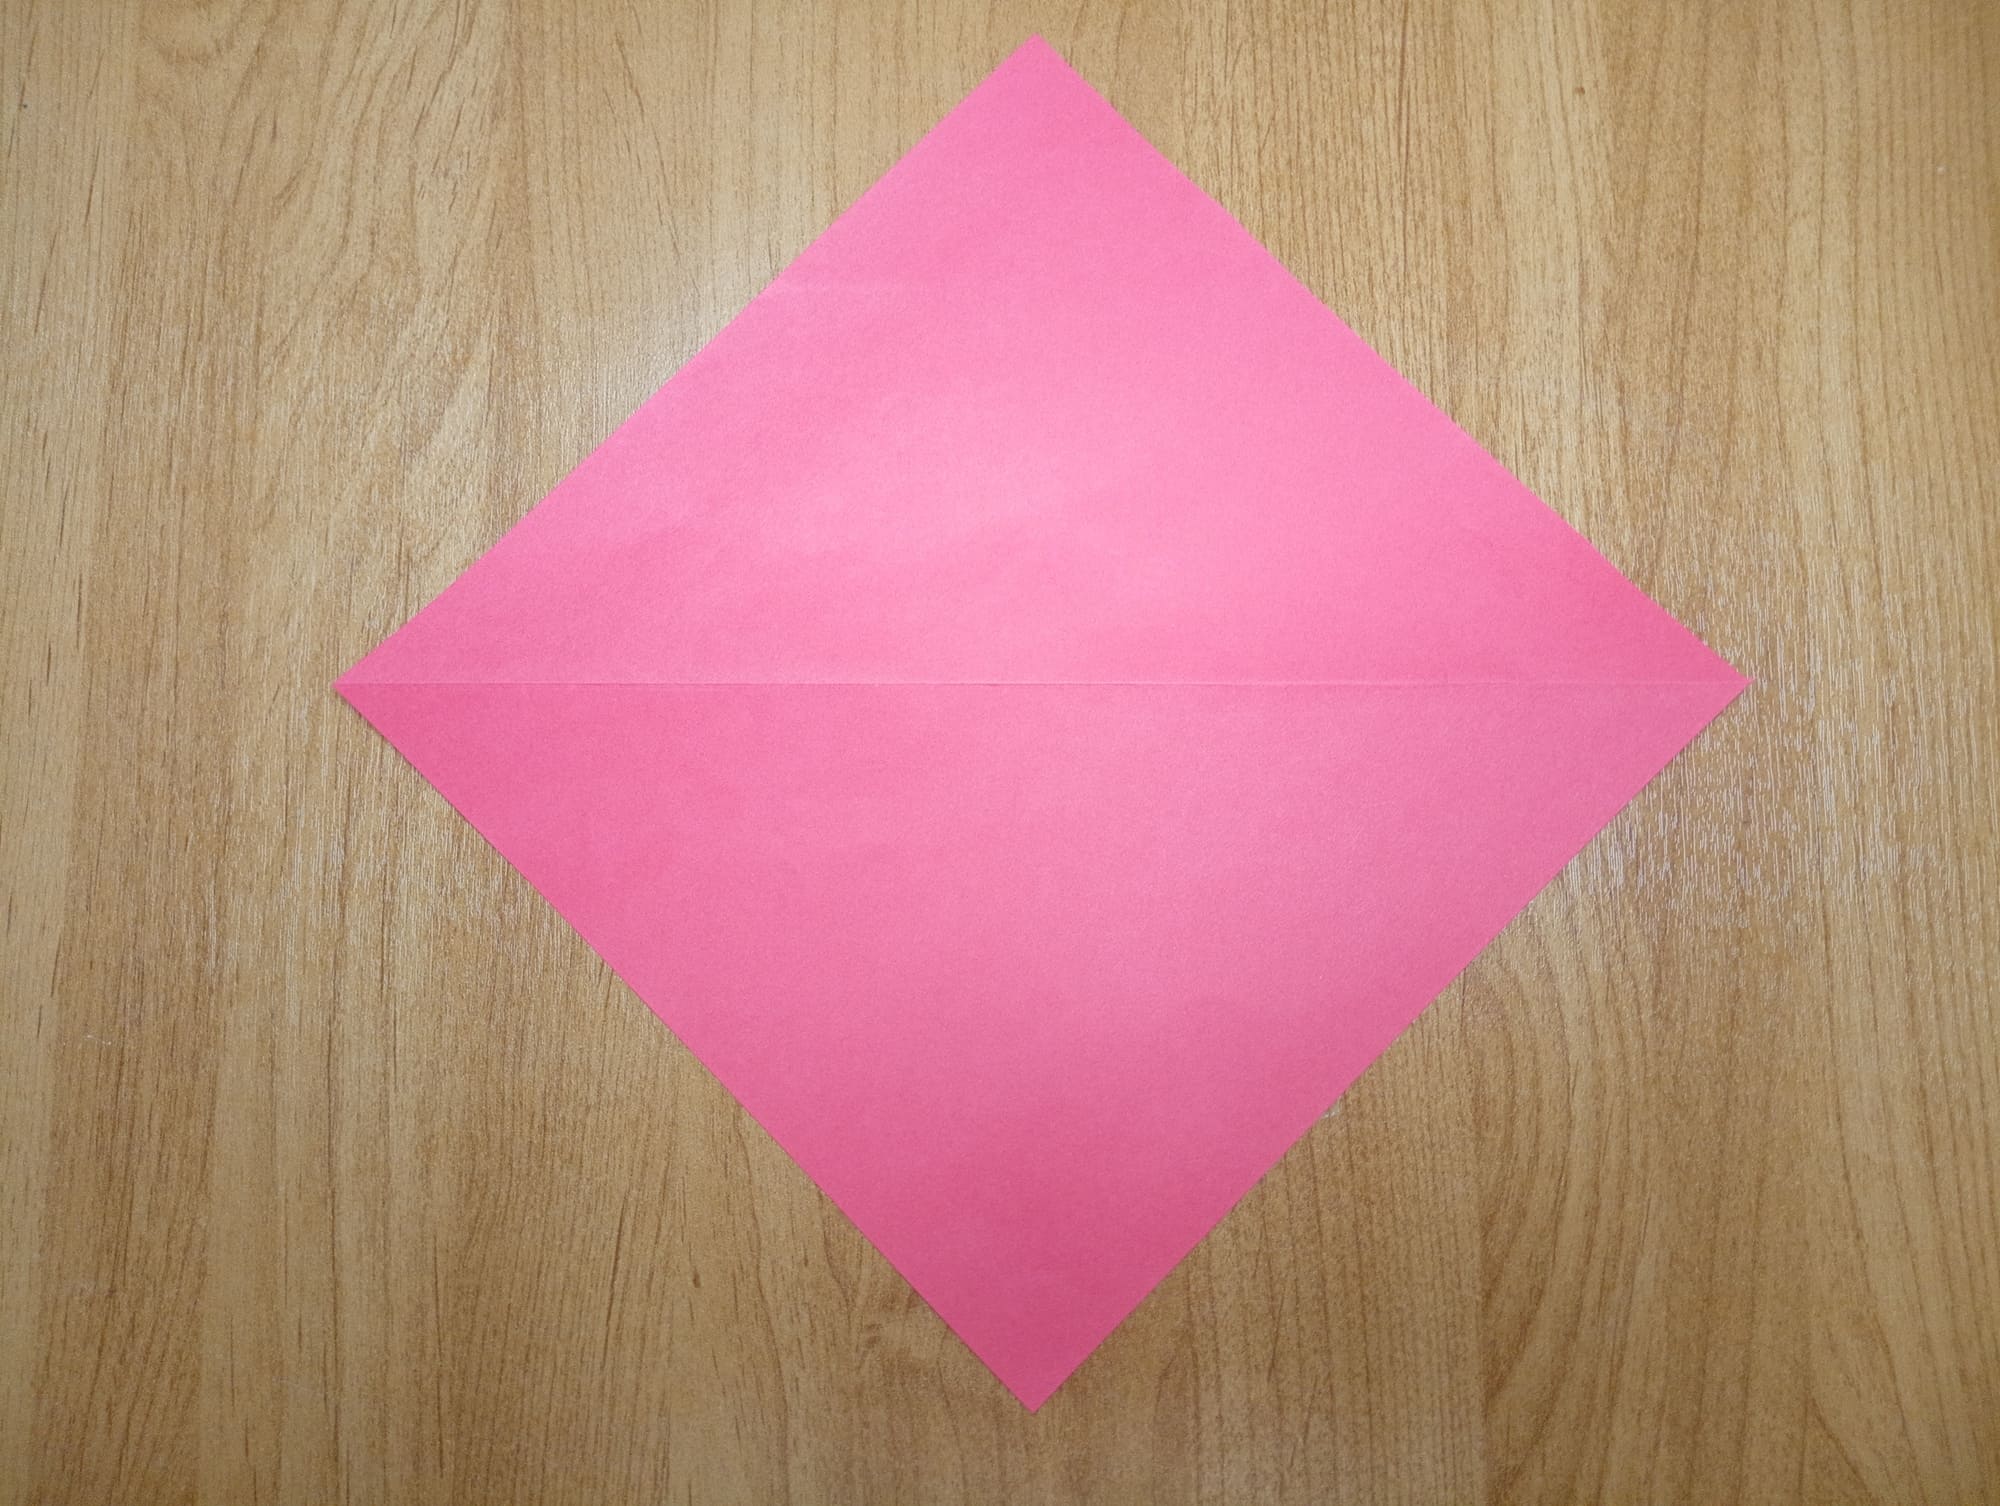
Prepare a 21×21 cm square of paper in the desired color.
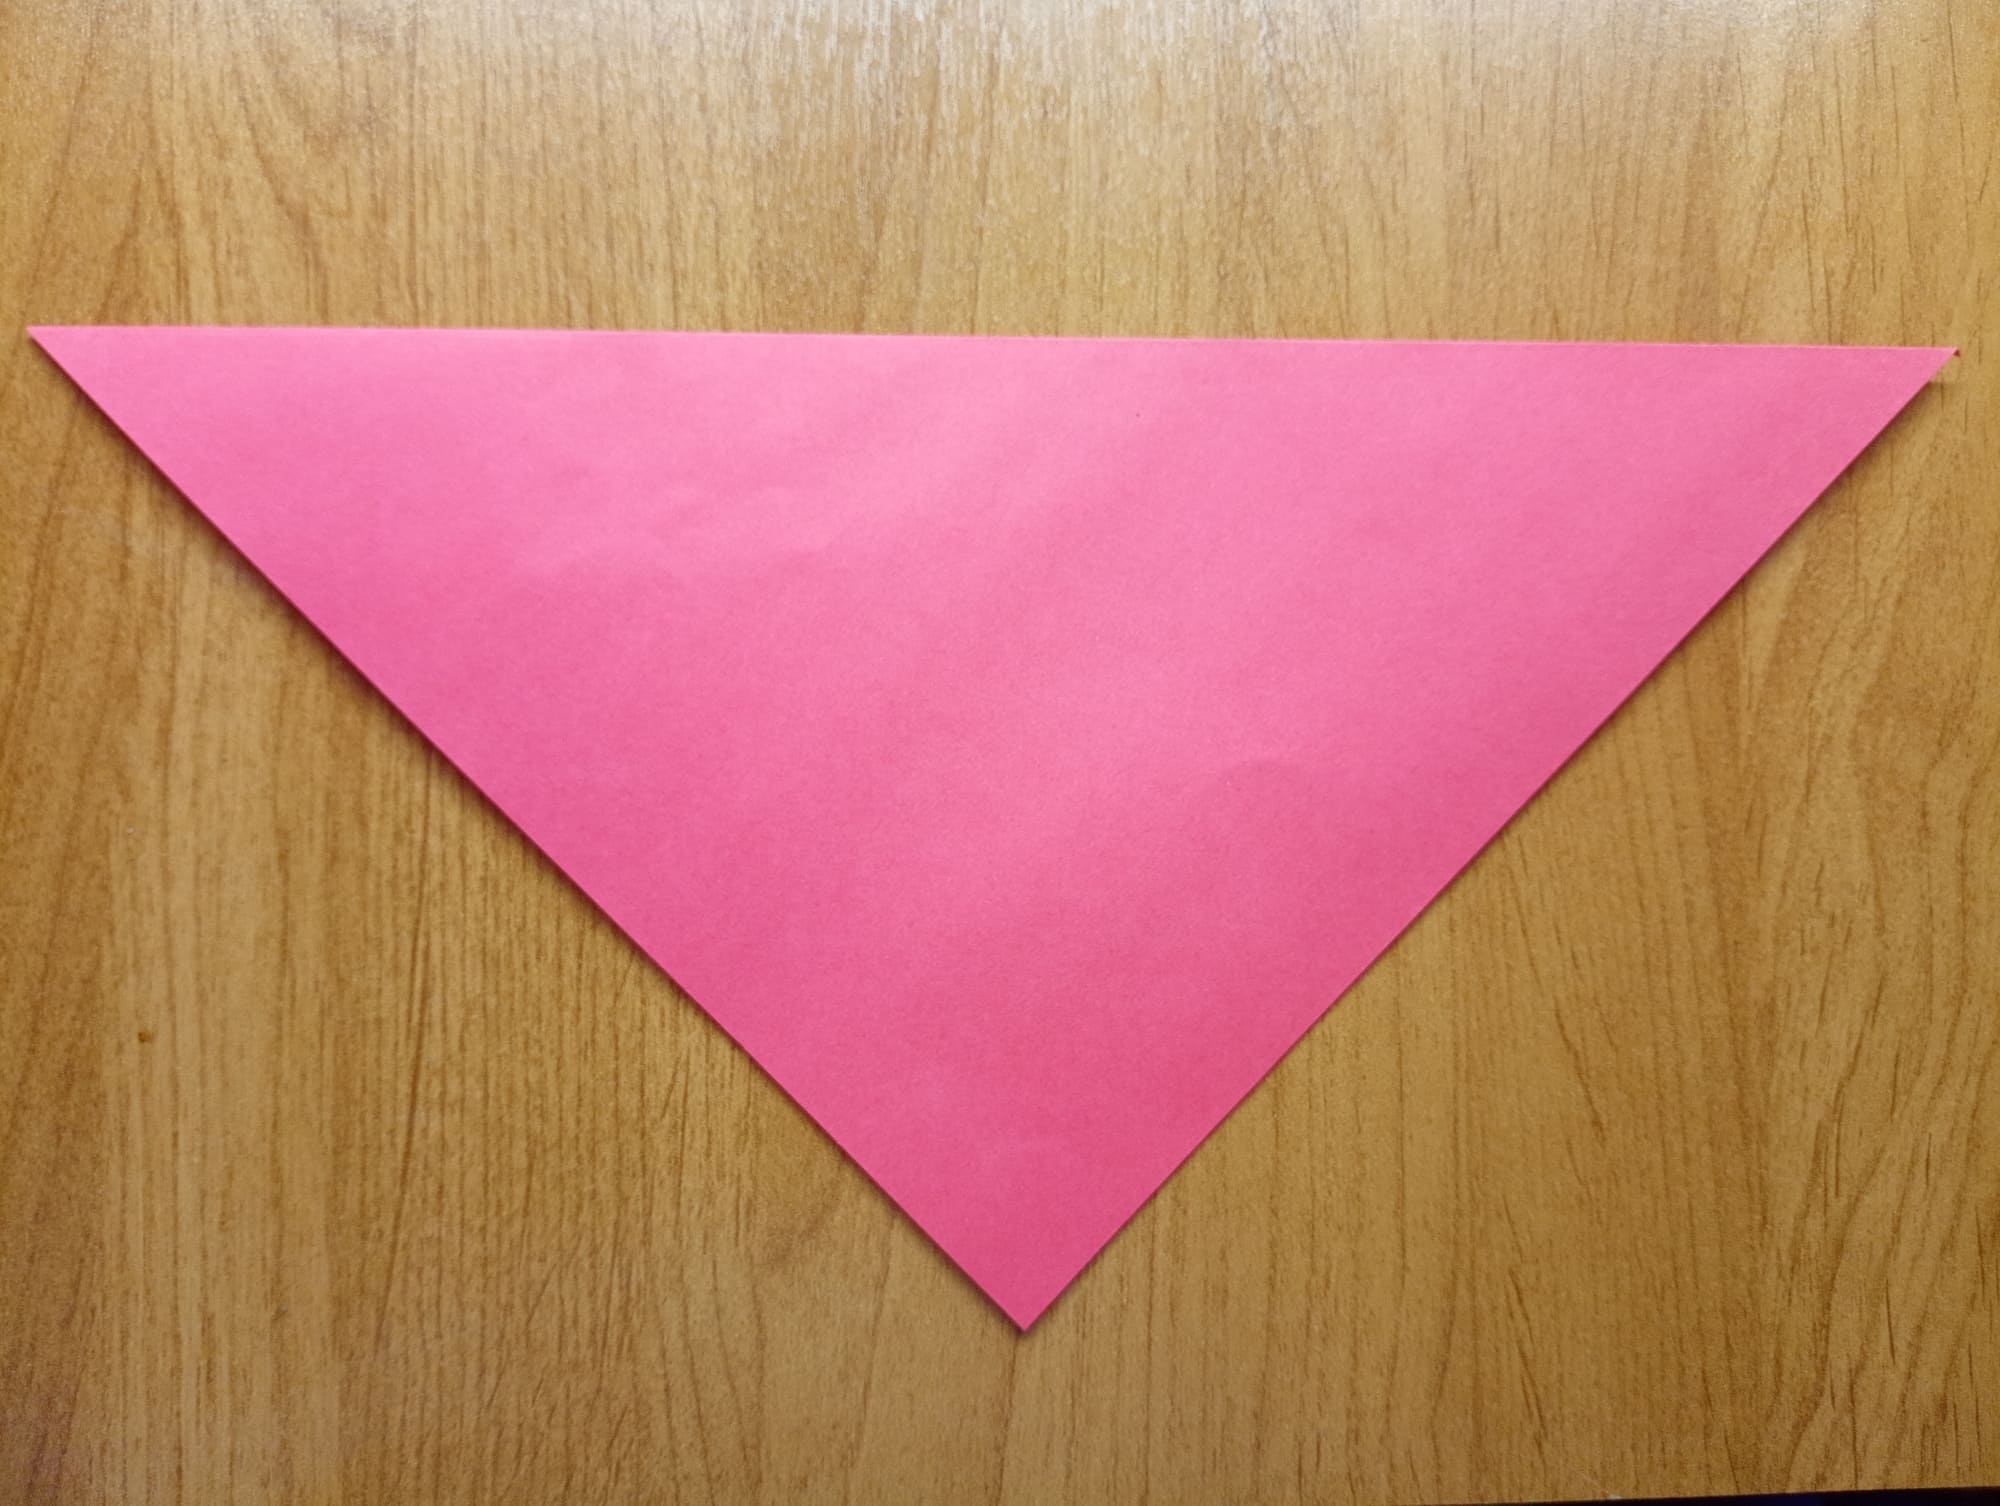
Fold the square diagonally in half.
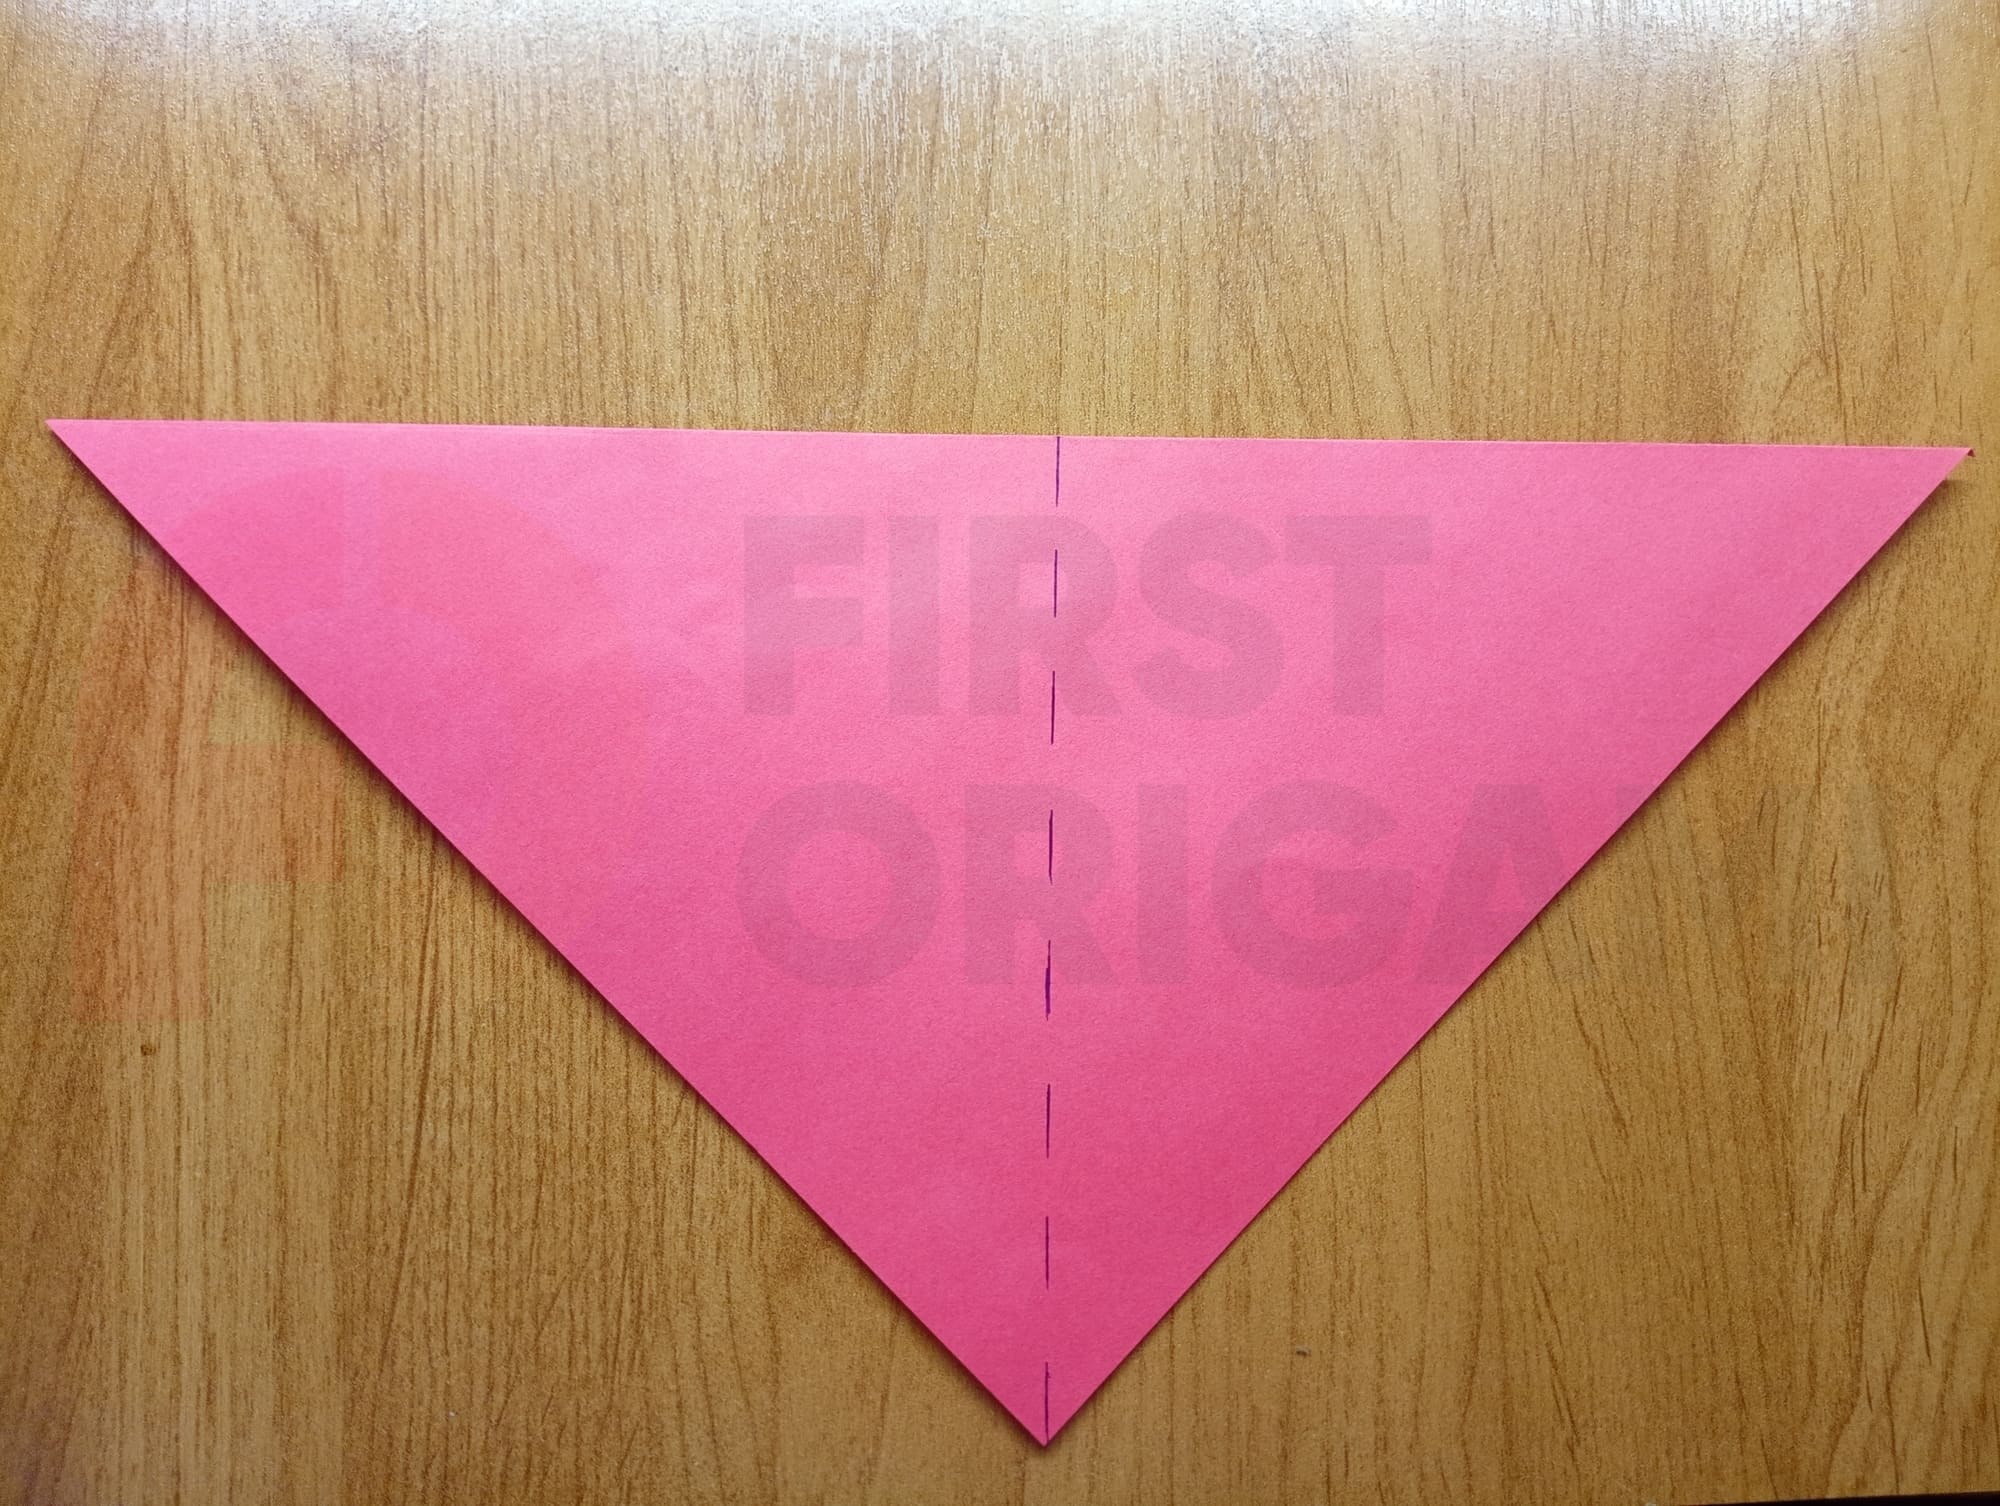
In the middle part, mark the fold line and fold the right edge so that it joins it.
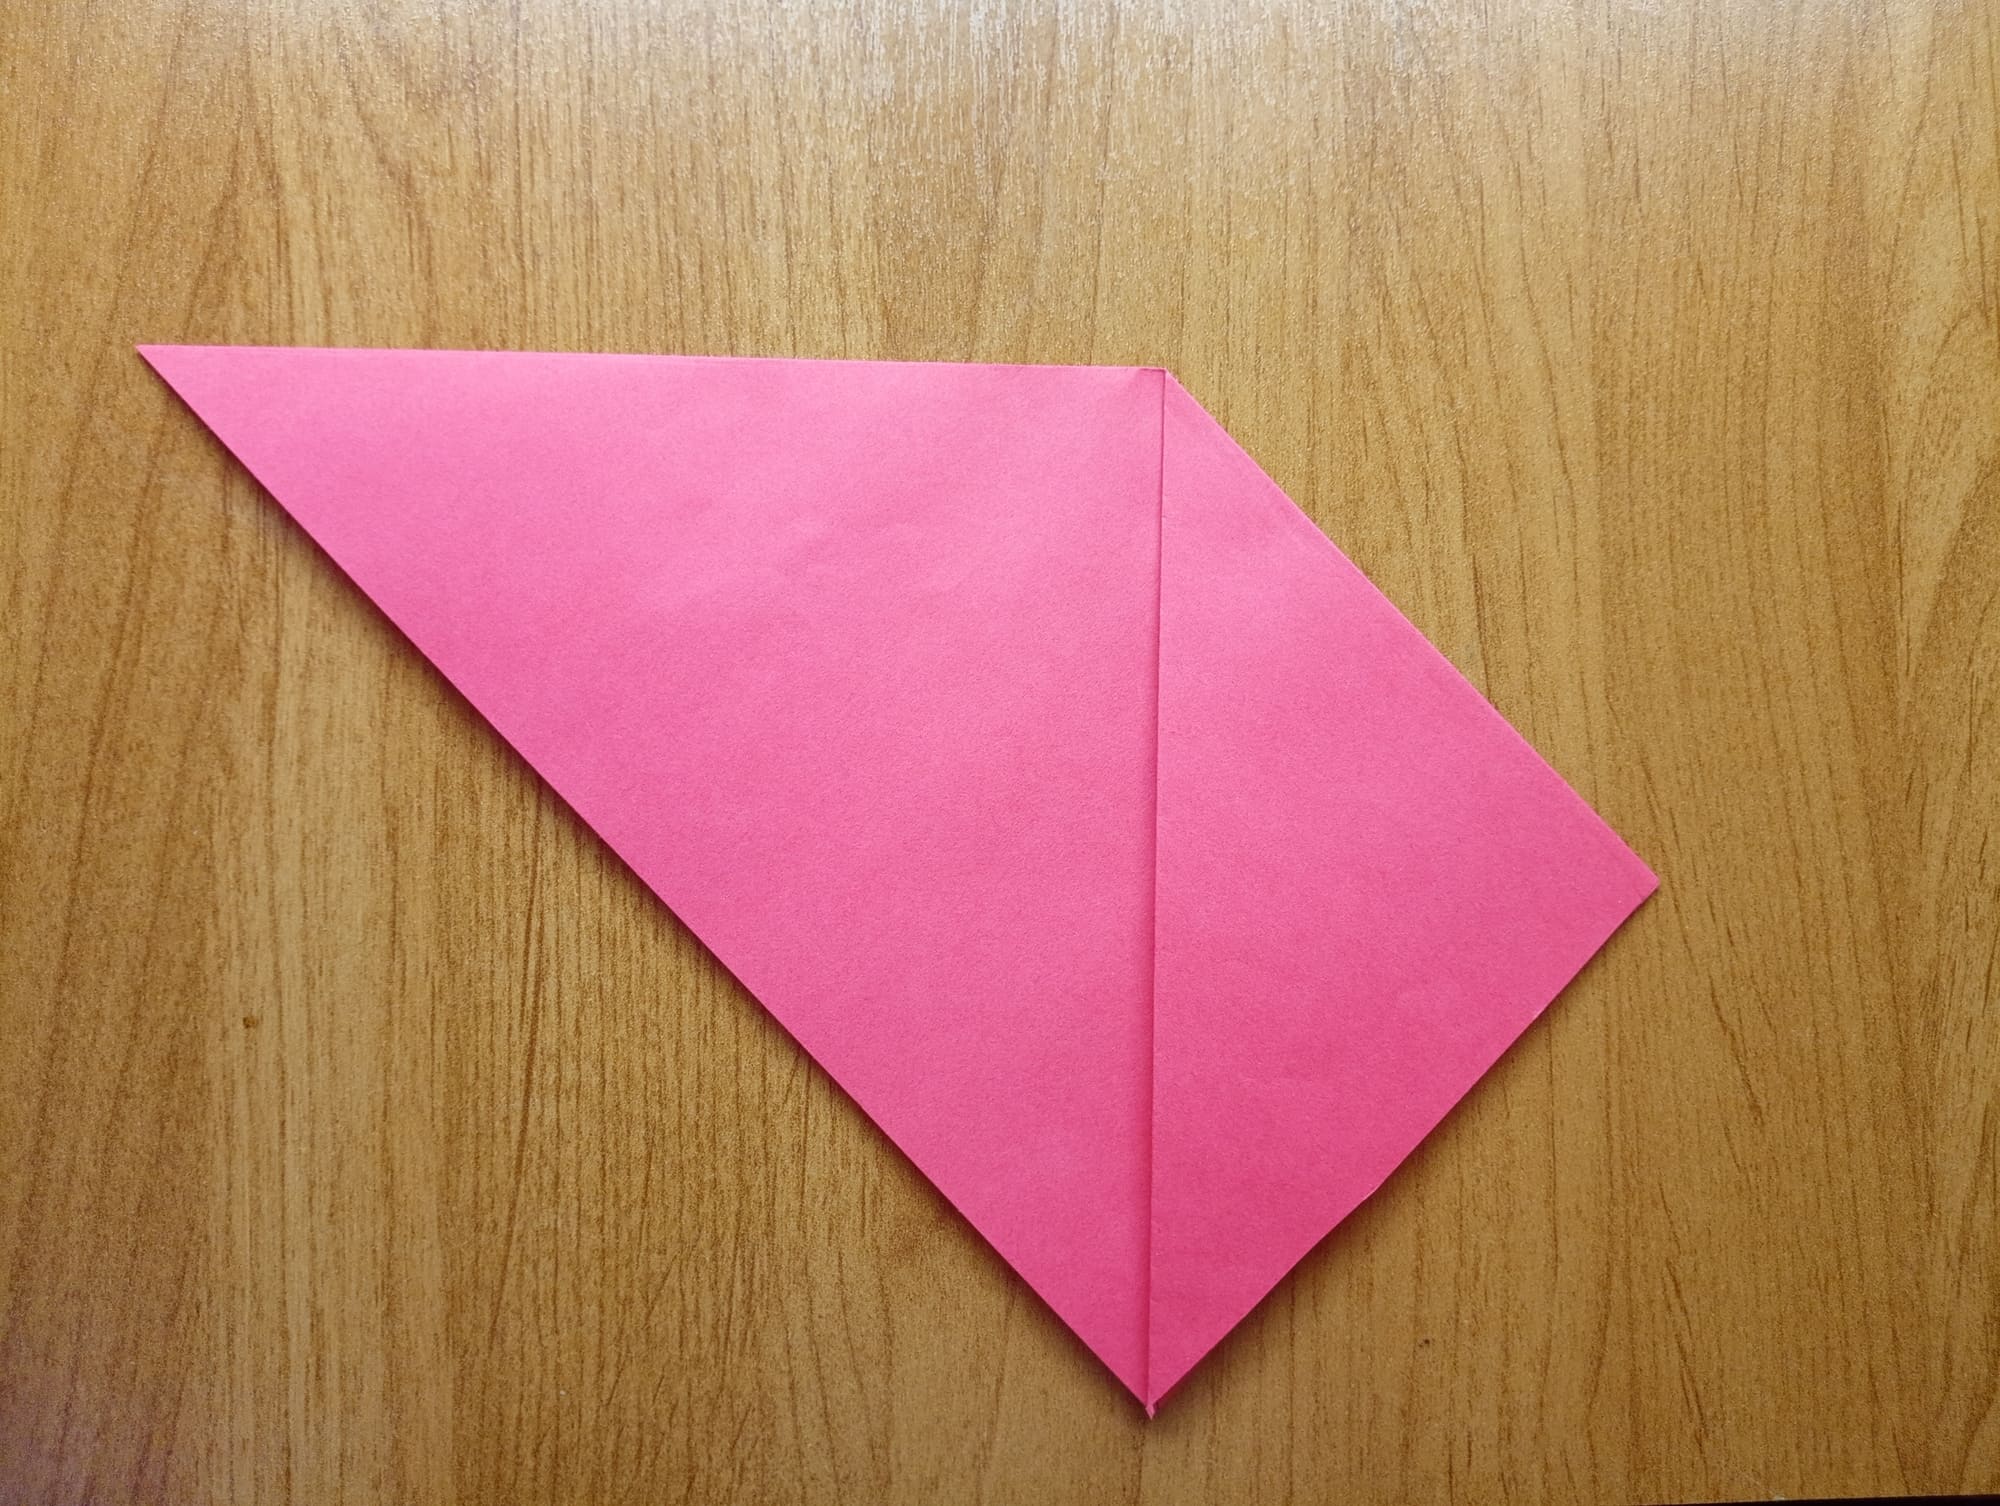
You should get a trapezoid with a sharp corner looking up left.
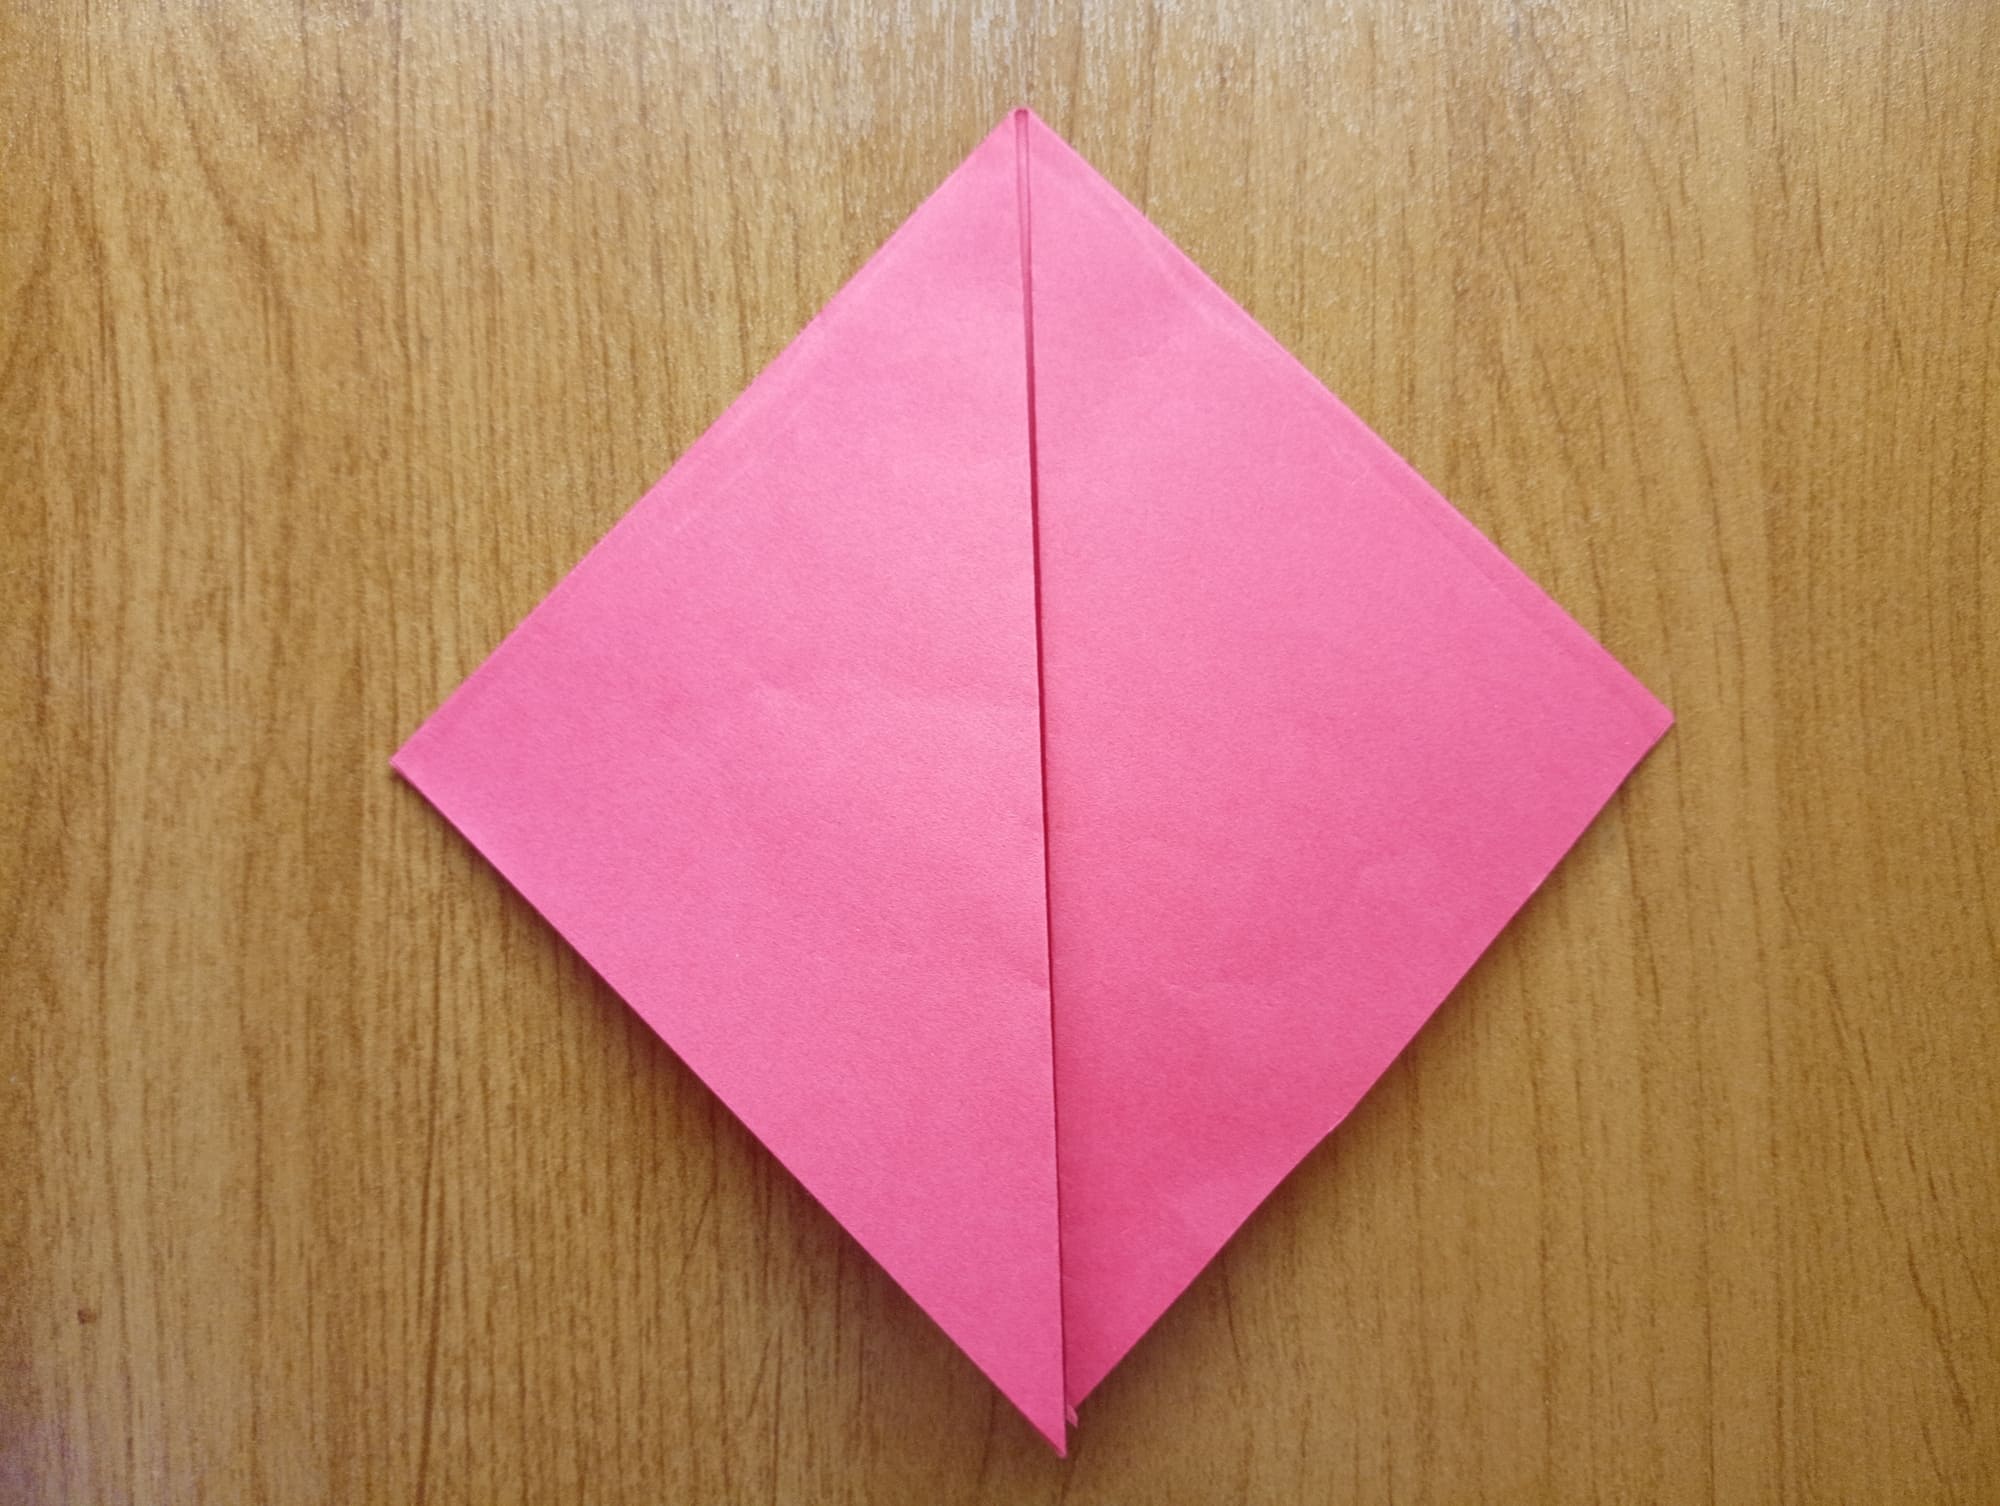
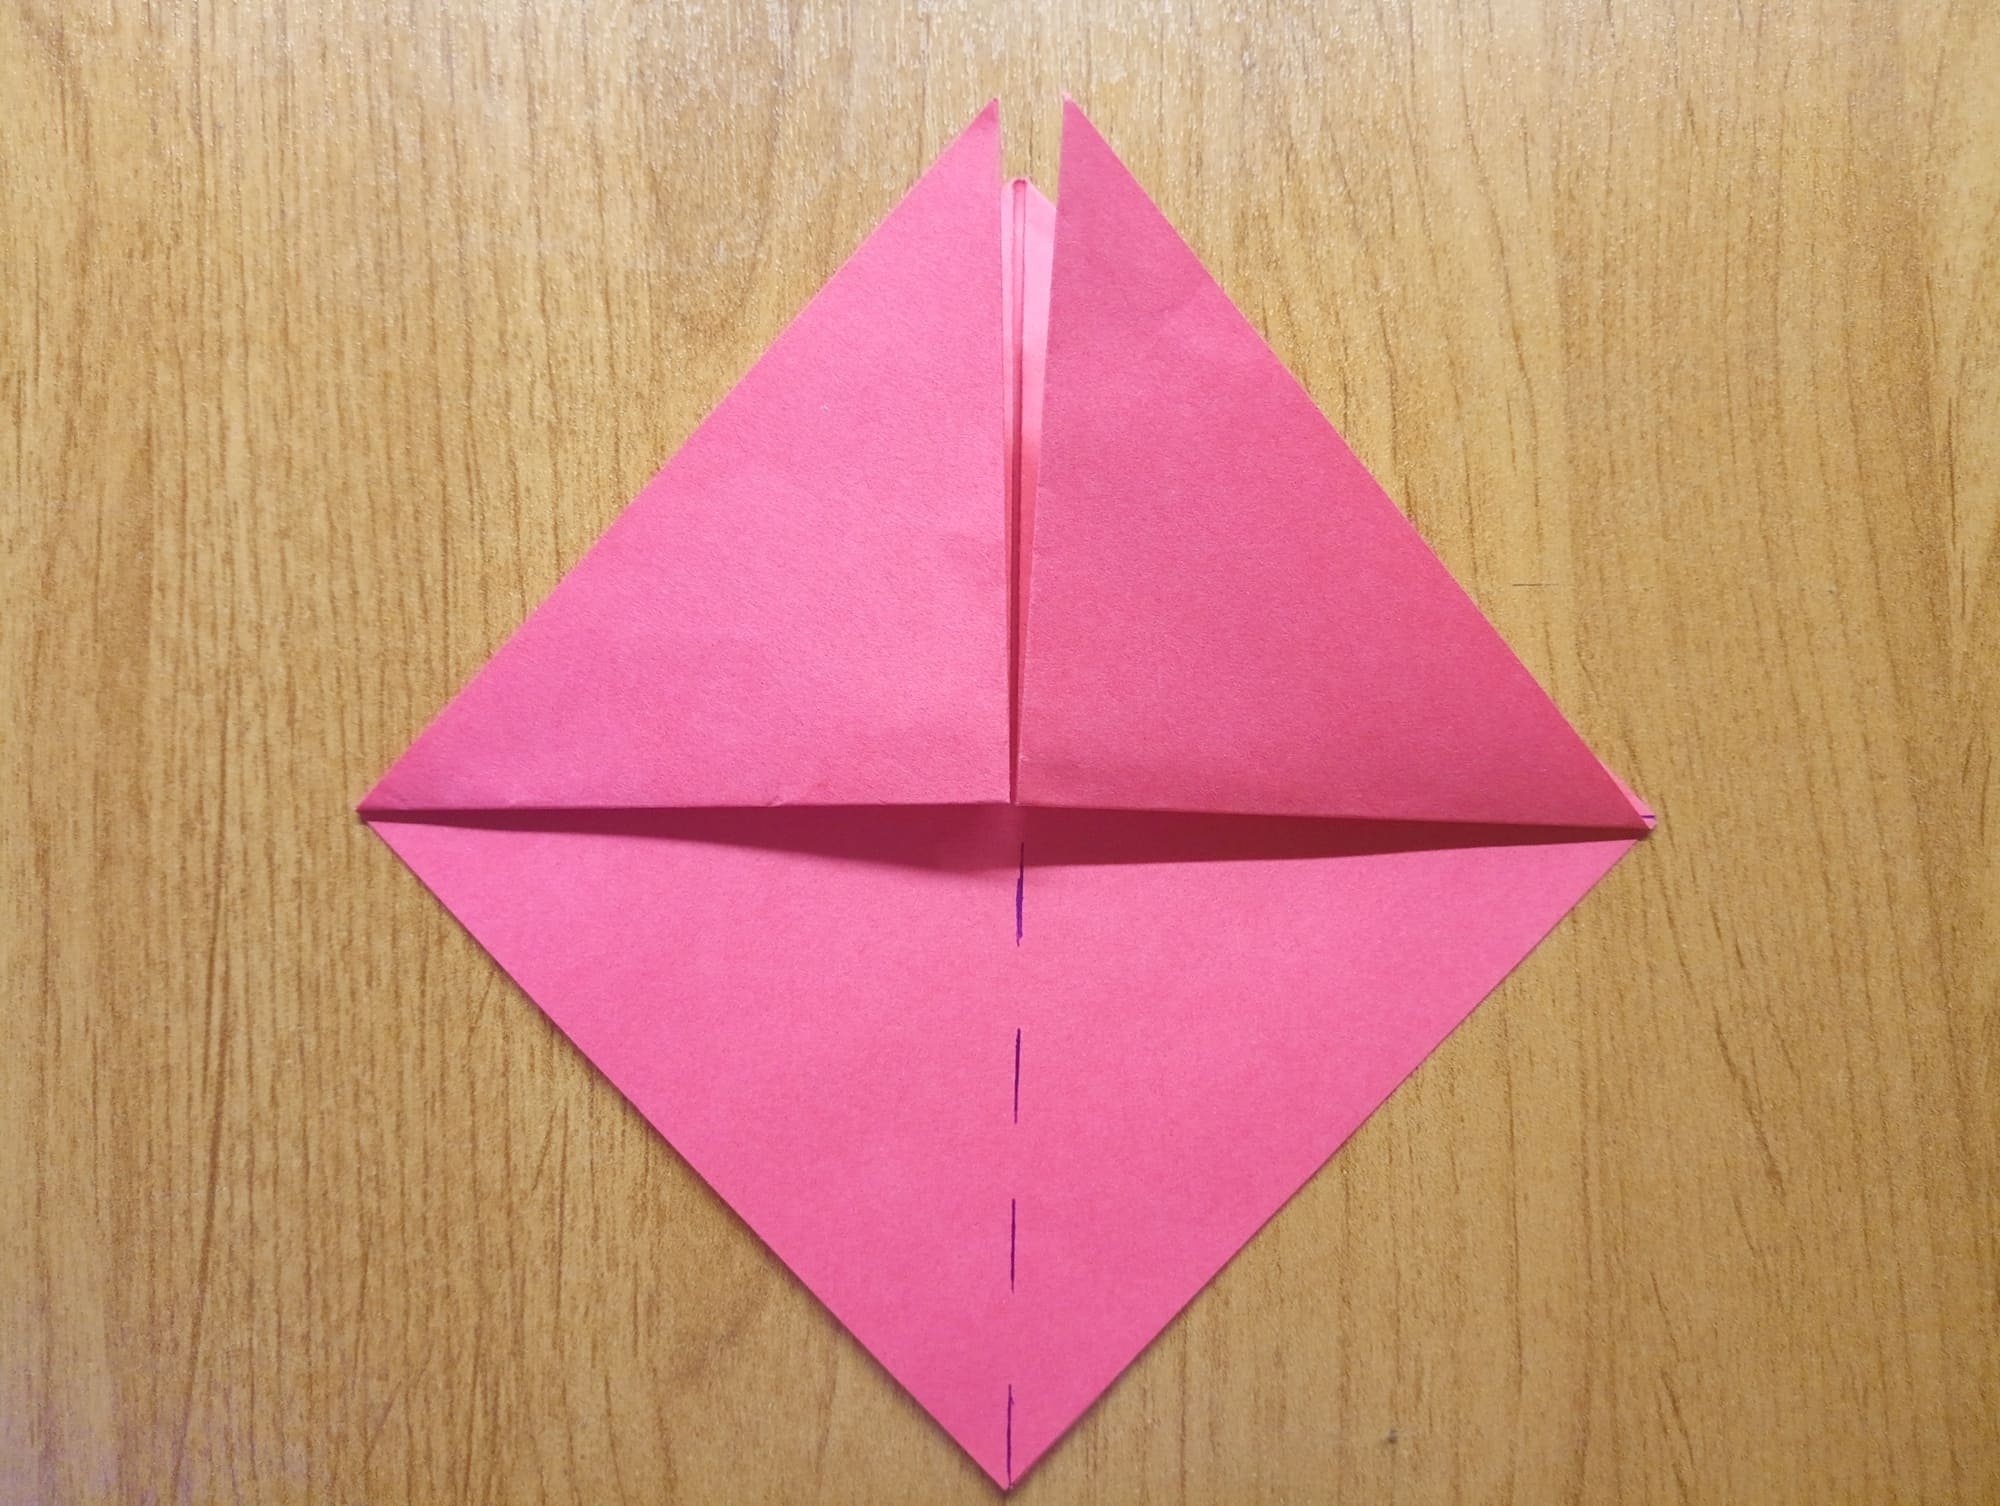
Repeat the actions with the left edge. After joining the edges in the middle, the base of the helmet will be formed.
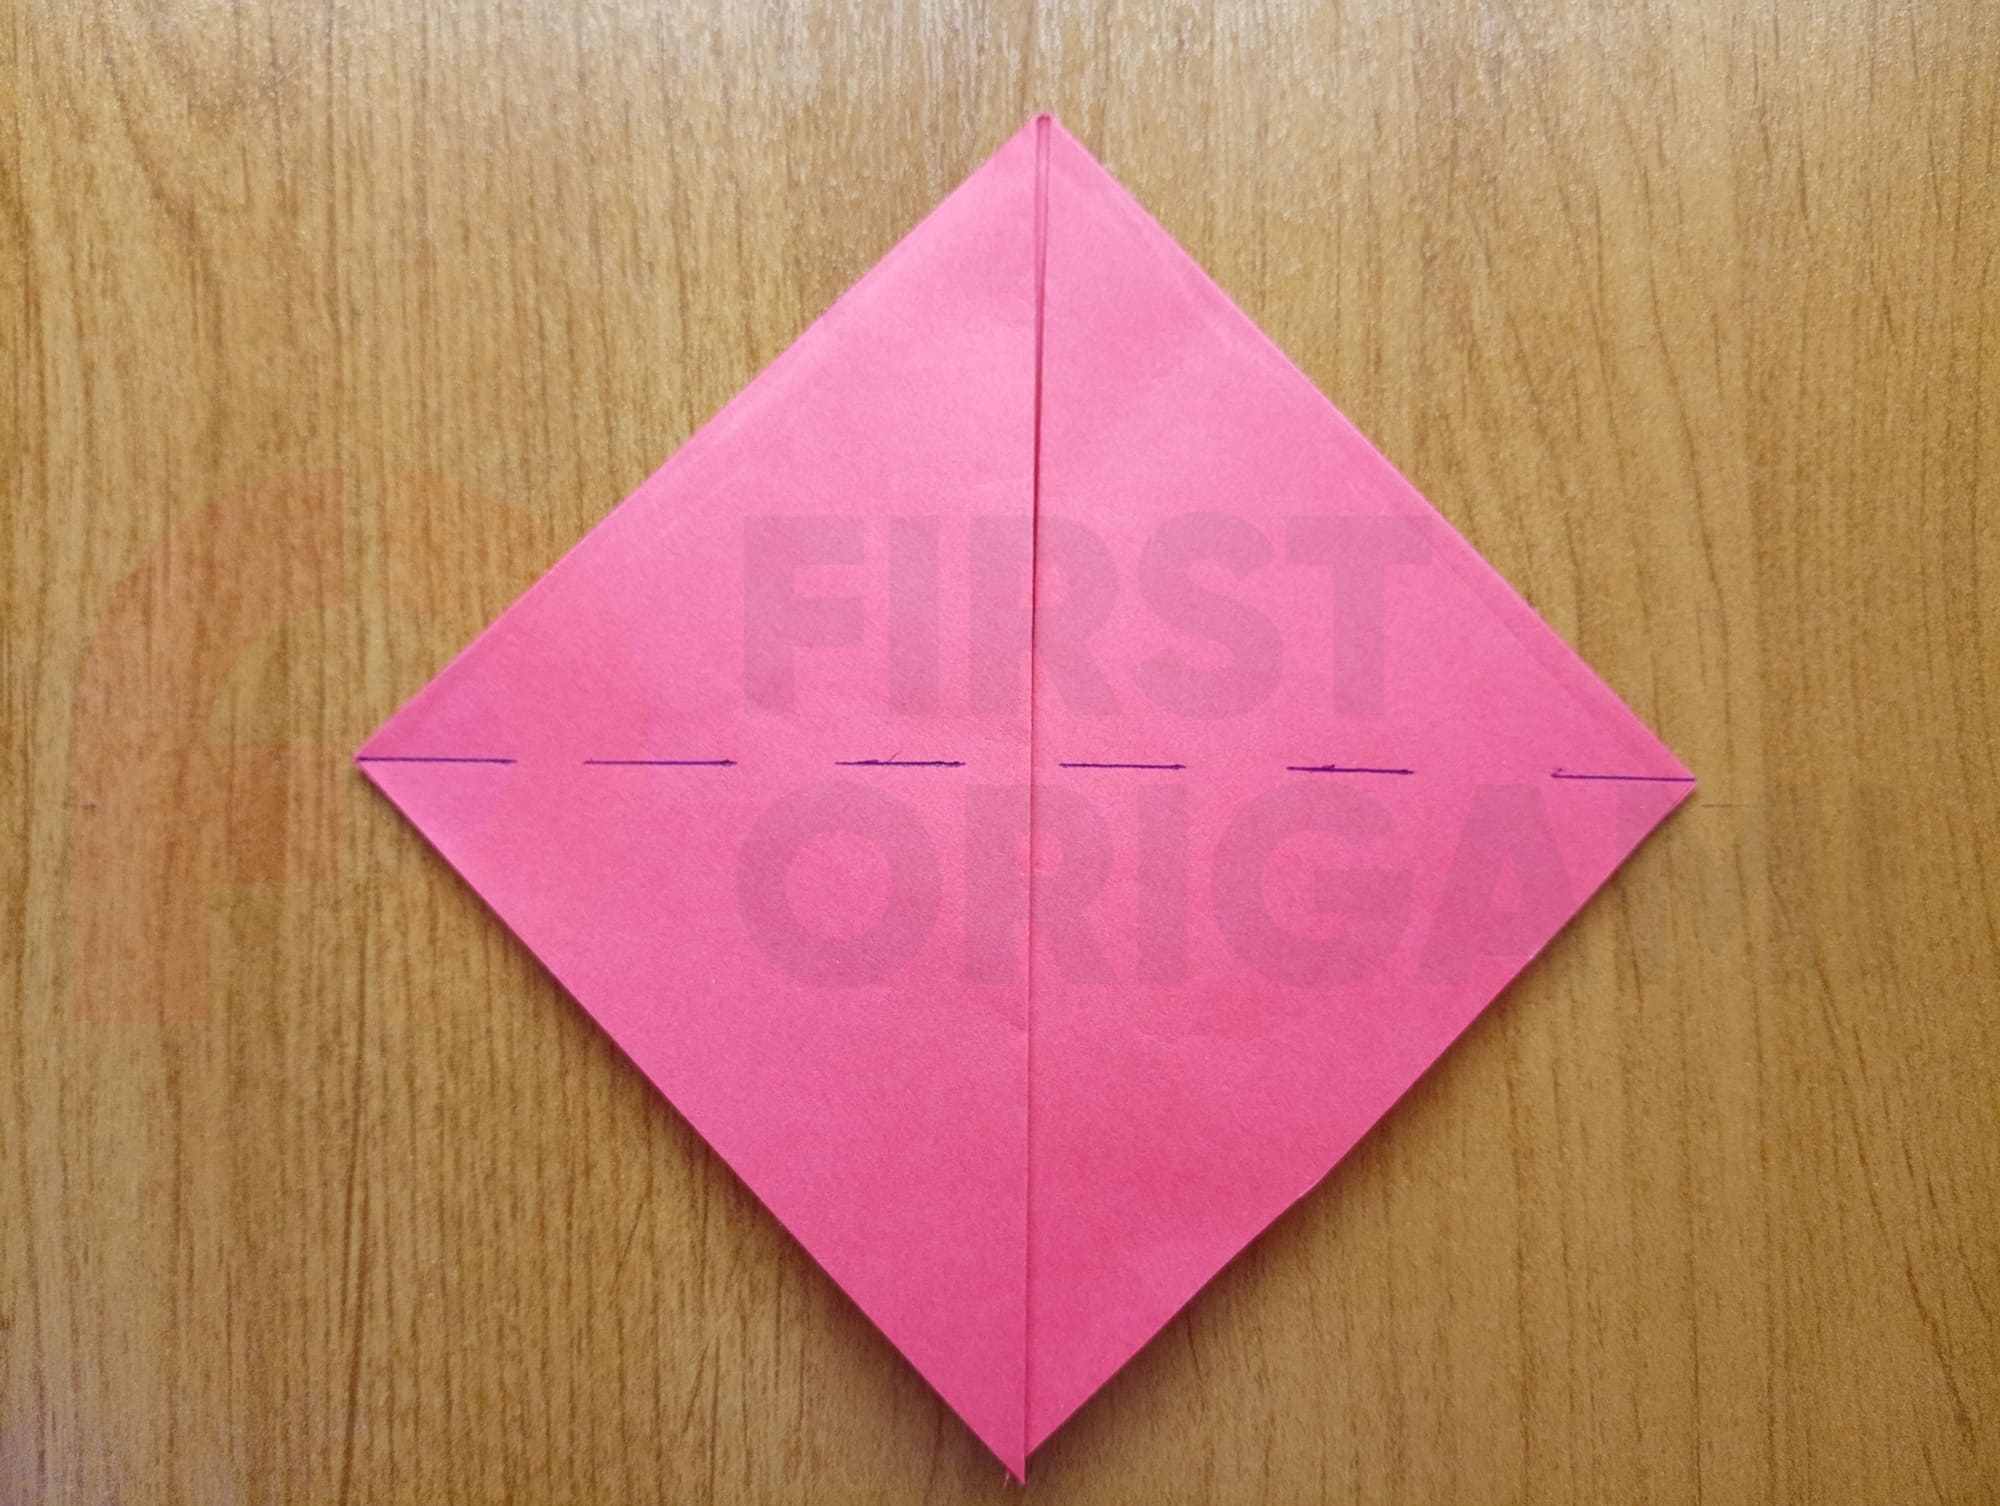
Draw a dotted line across the figure and fold along the upper parts of the helmet (see the photo).
Now draw a vertical dotted line along the bottom layer of the resulting figure.
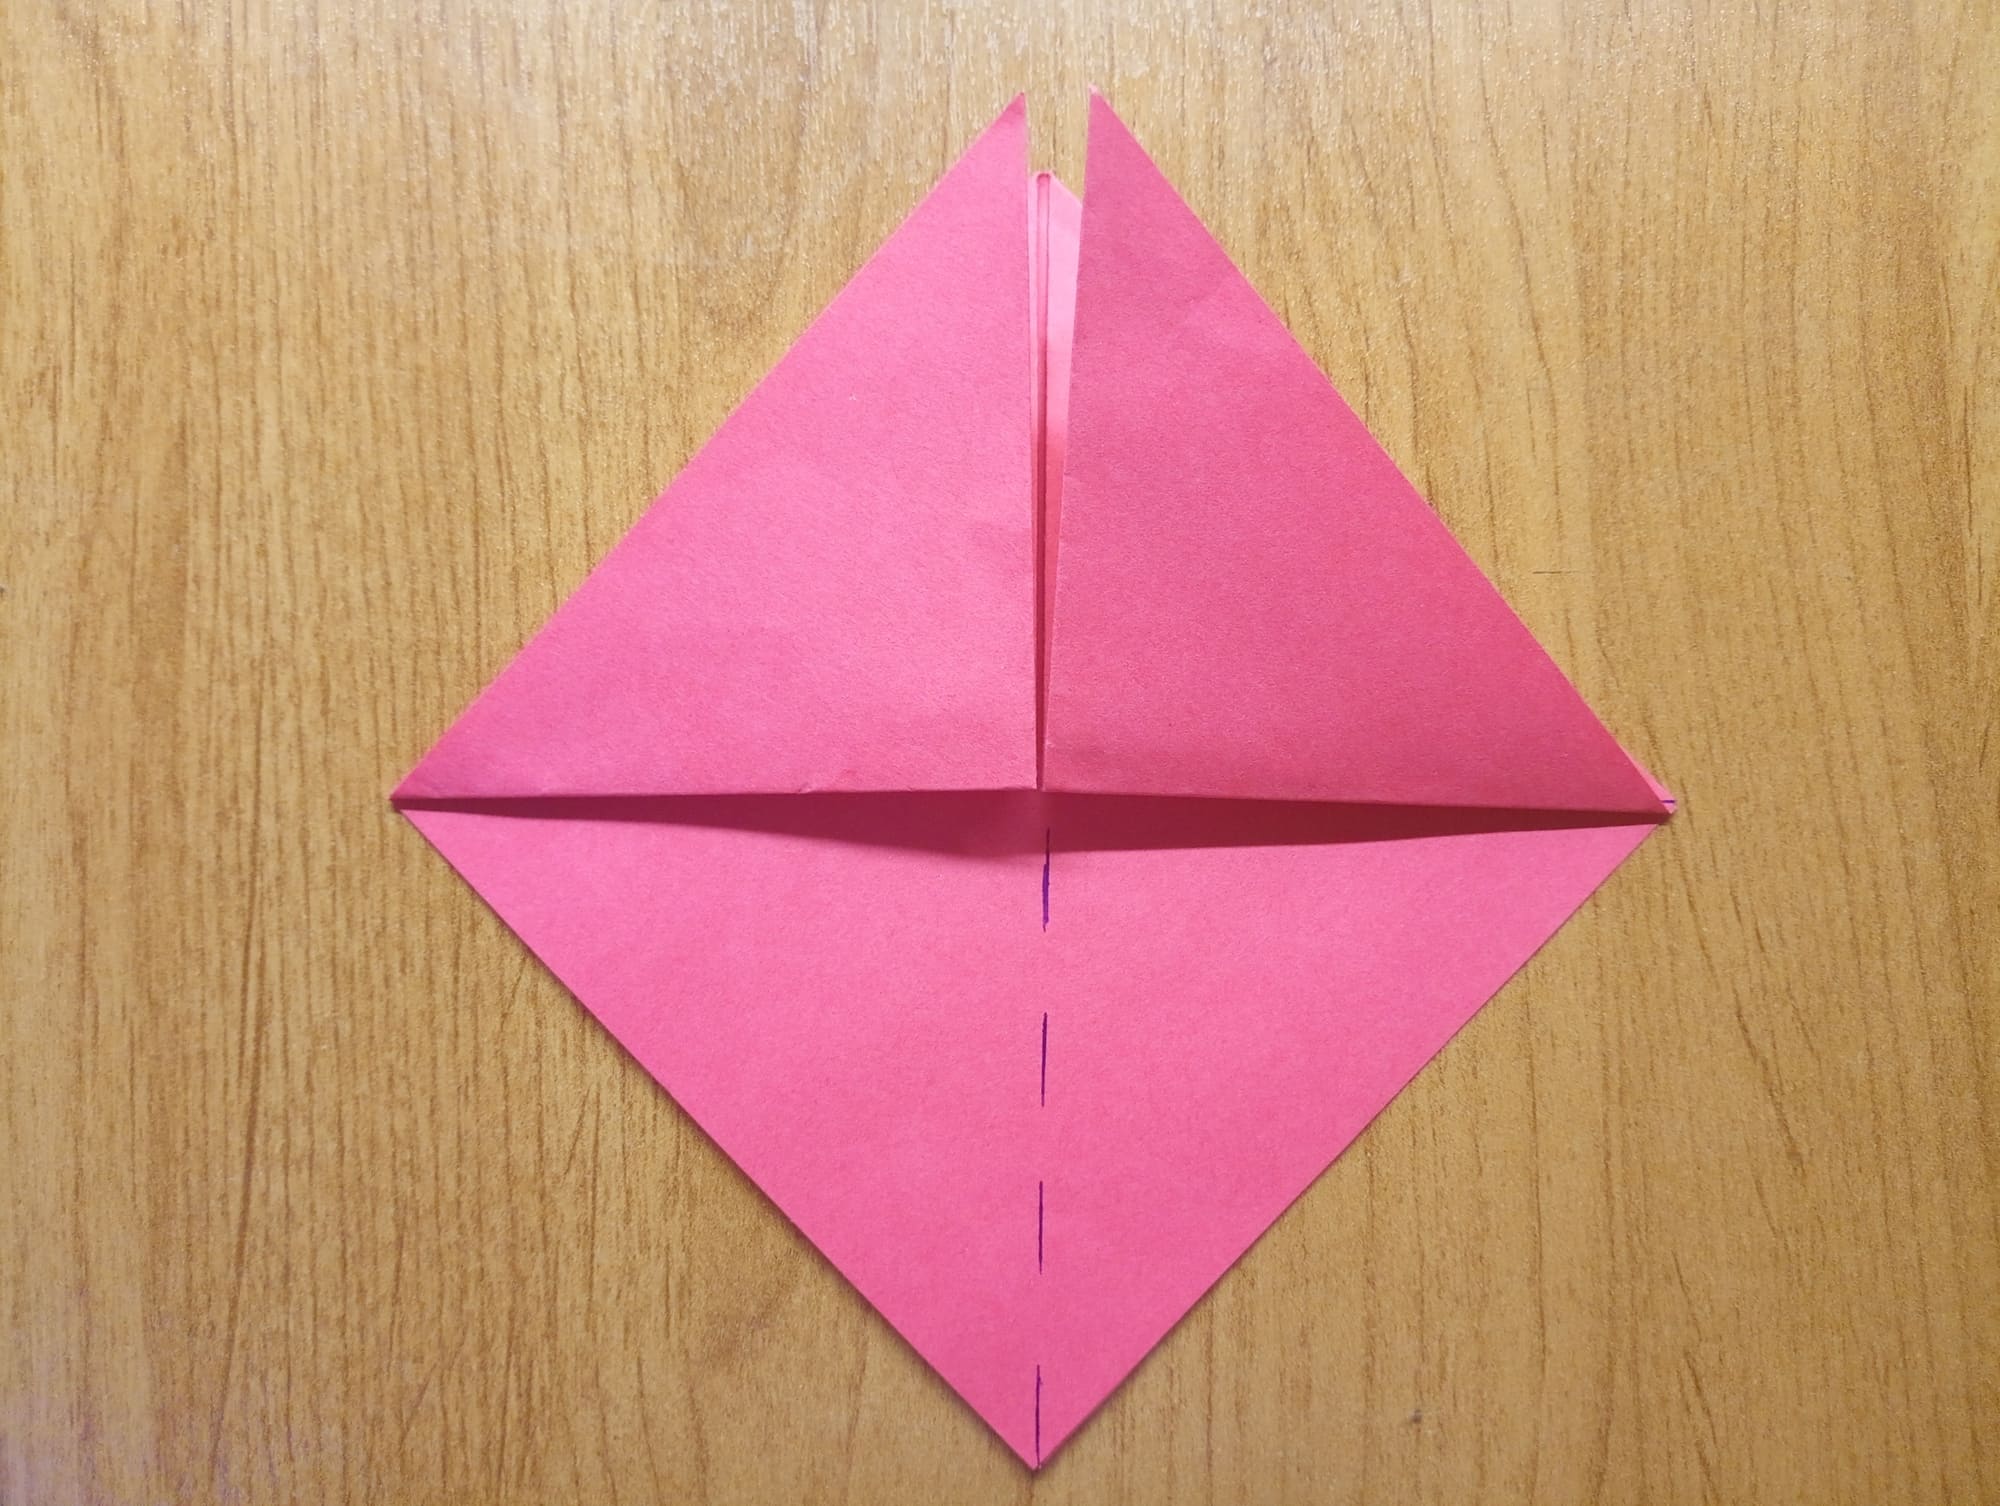
You should get the same element as in the photo below.
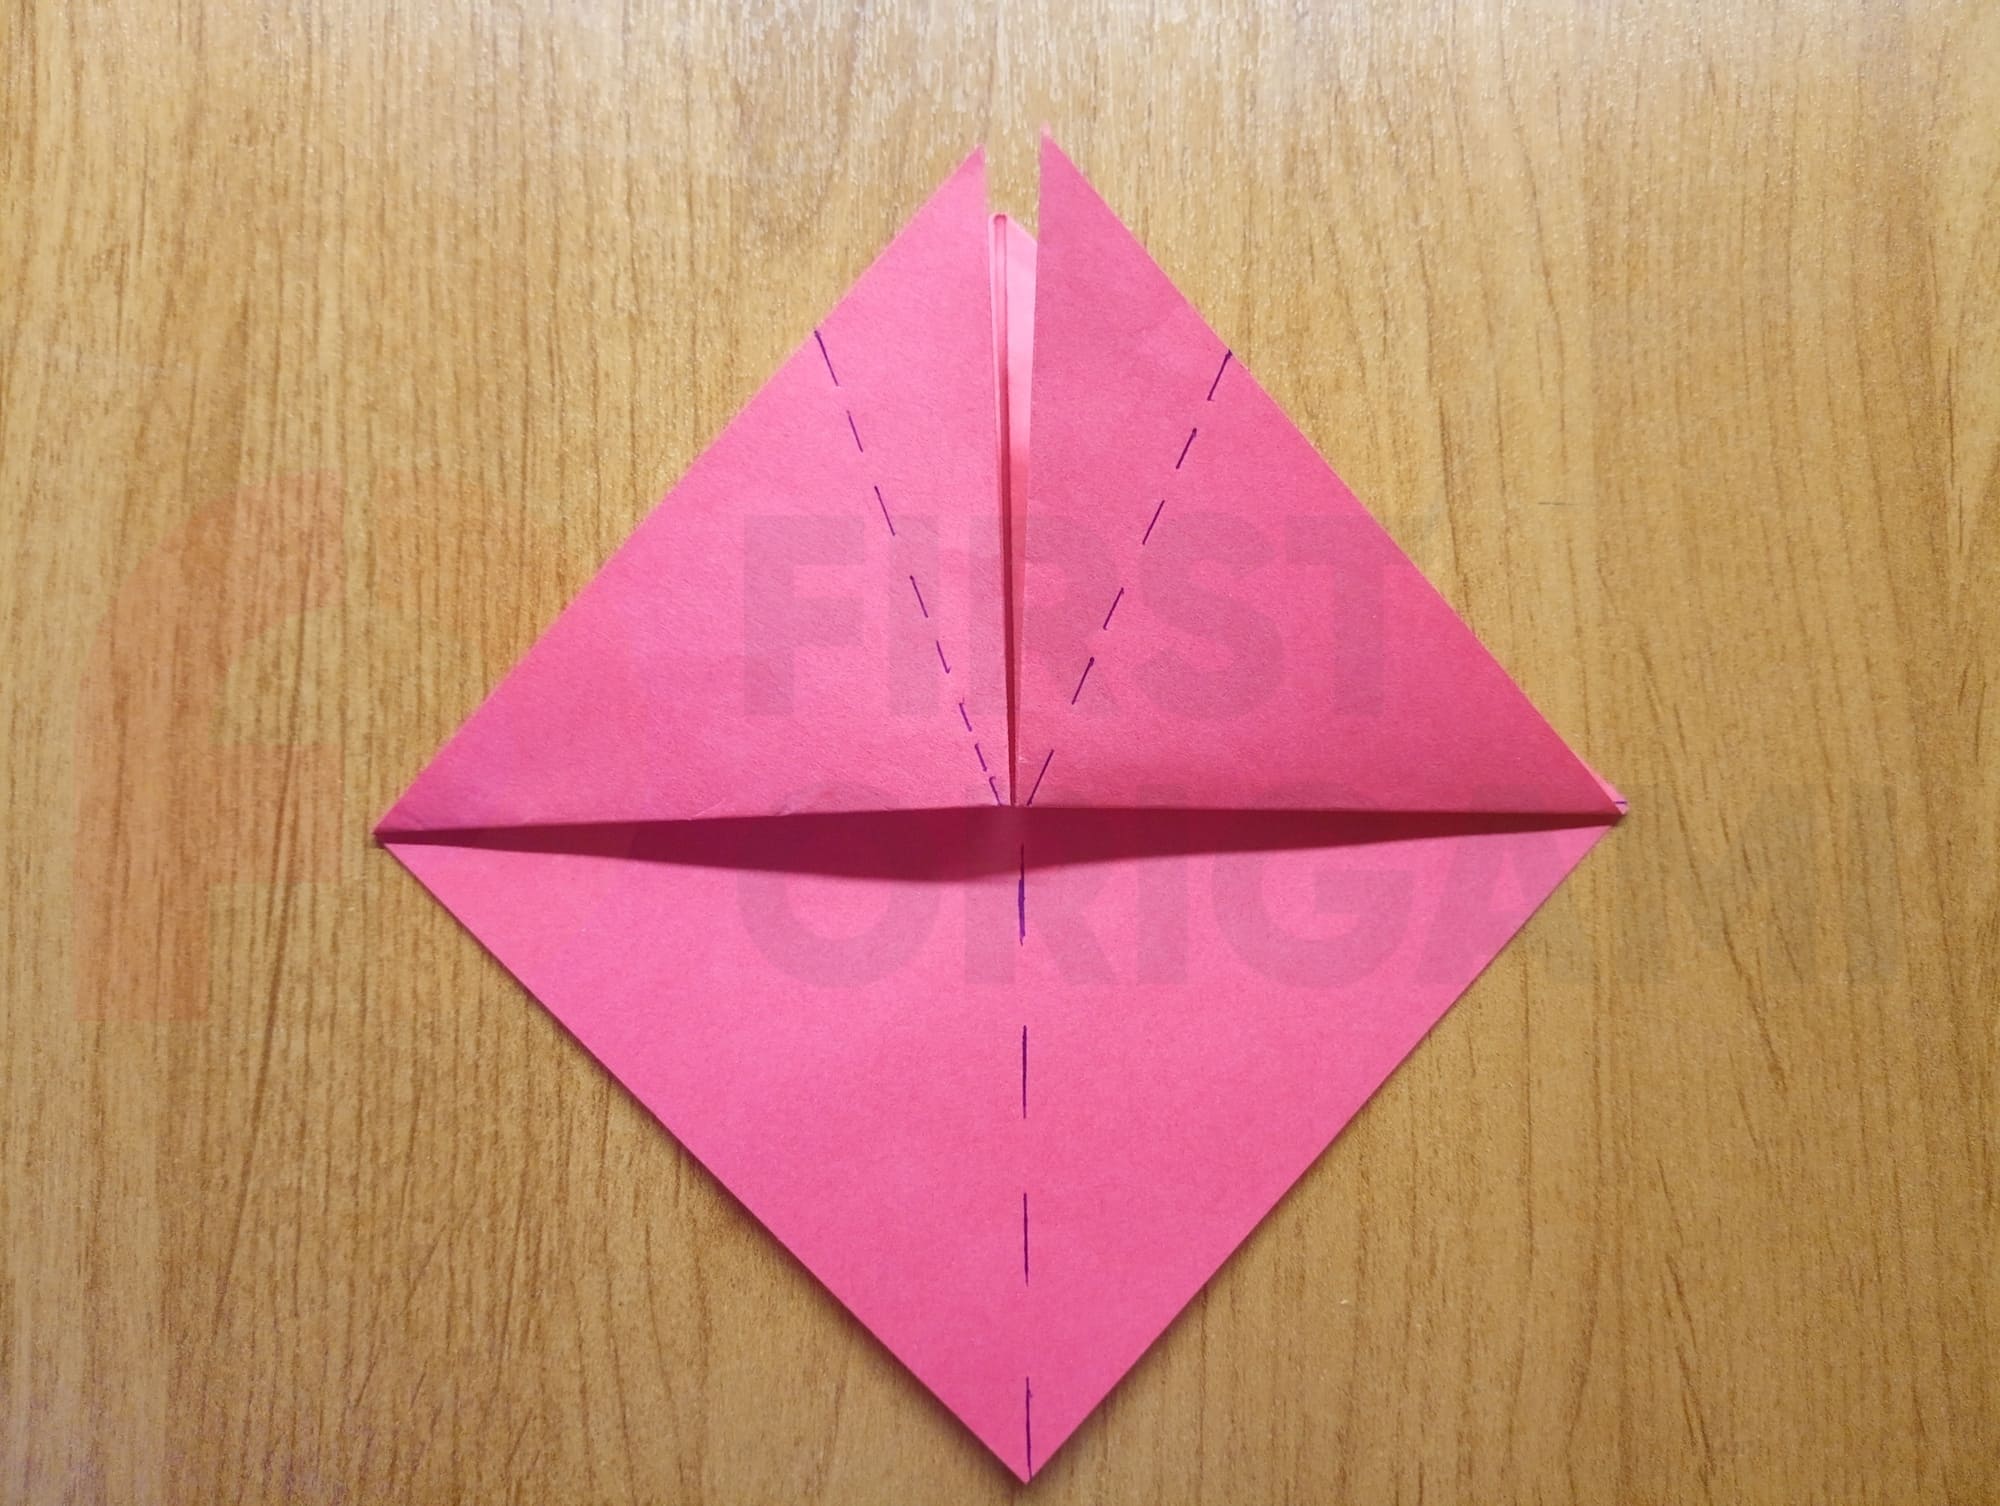
At the top of the helmet, draw dotted lines (see photo) and fold the edges along them.
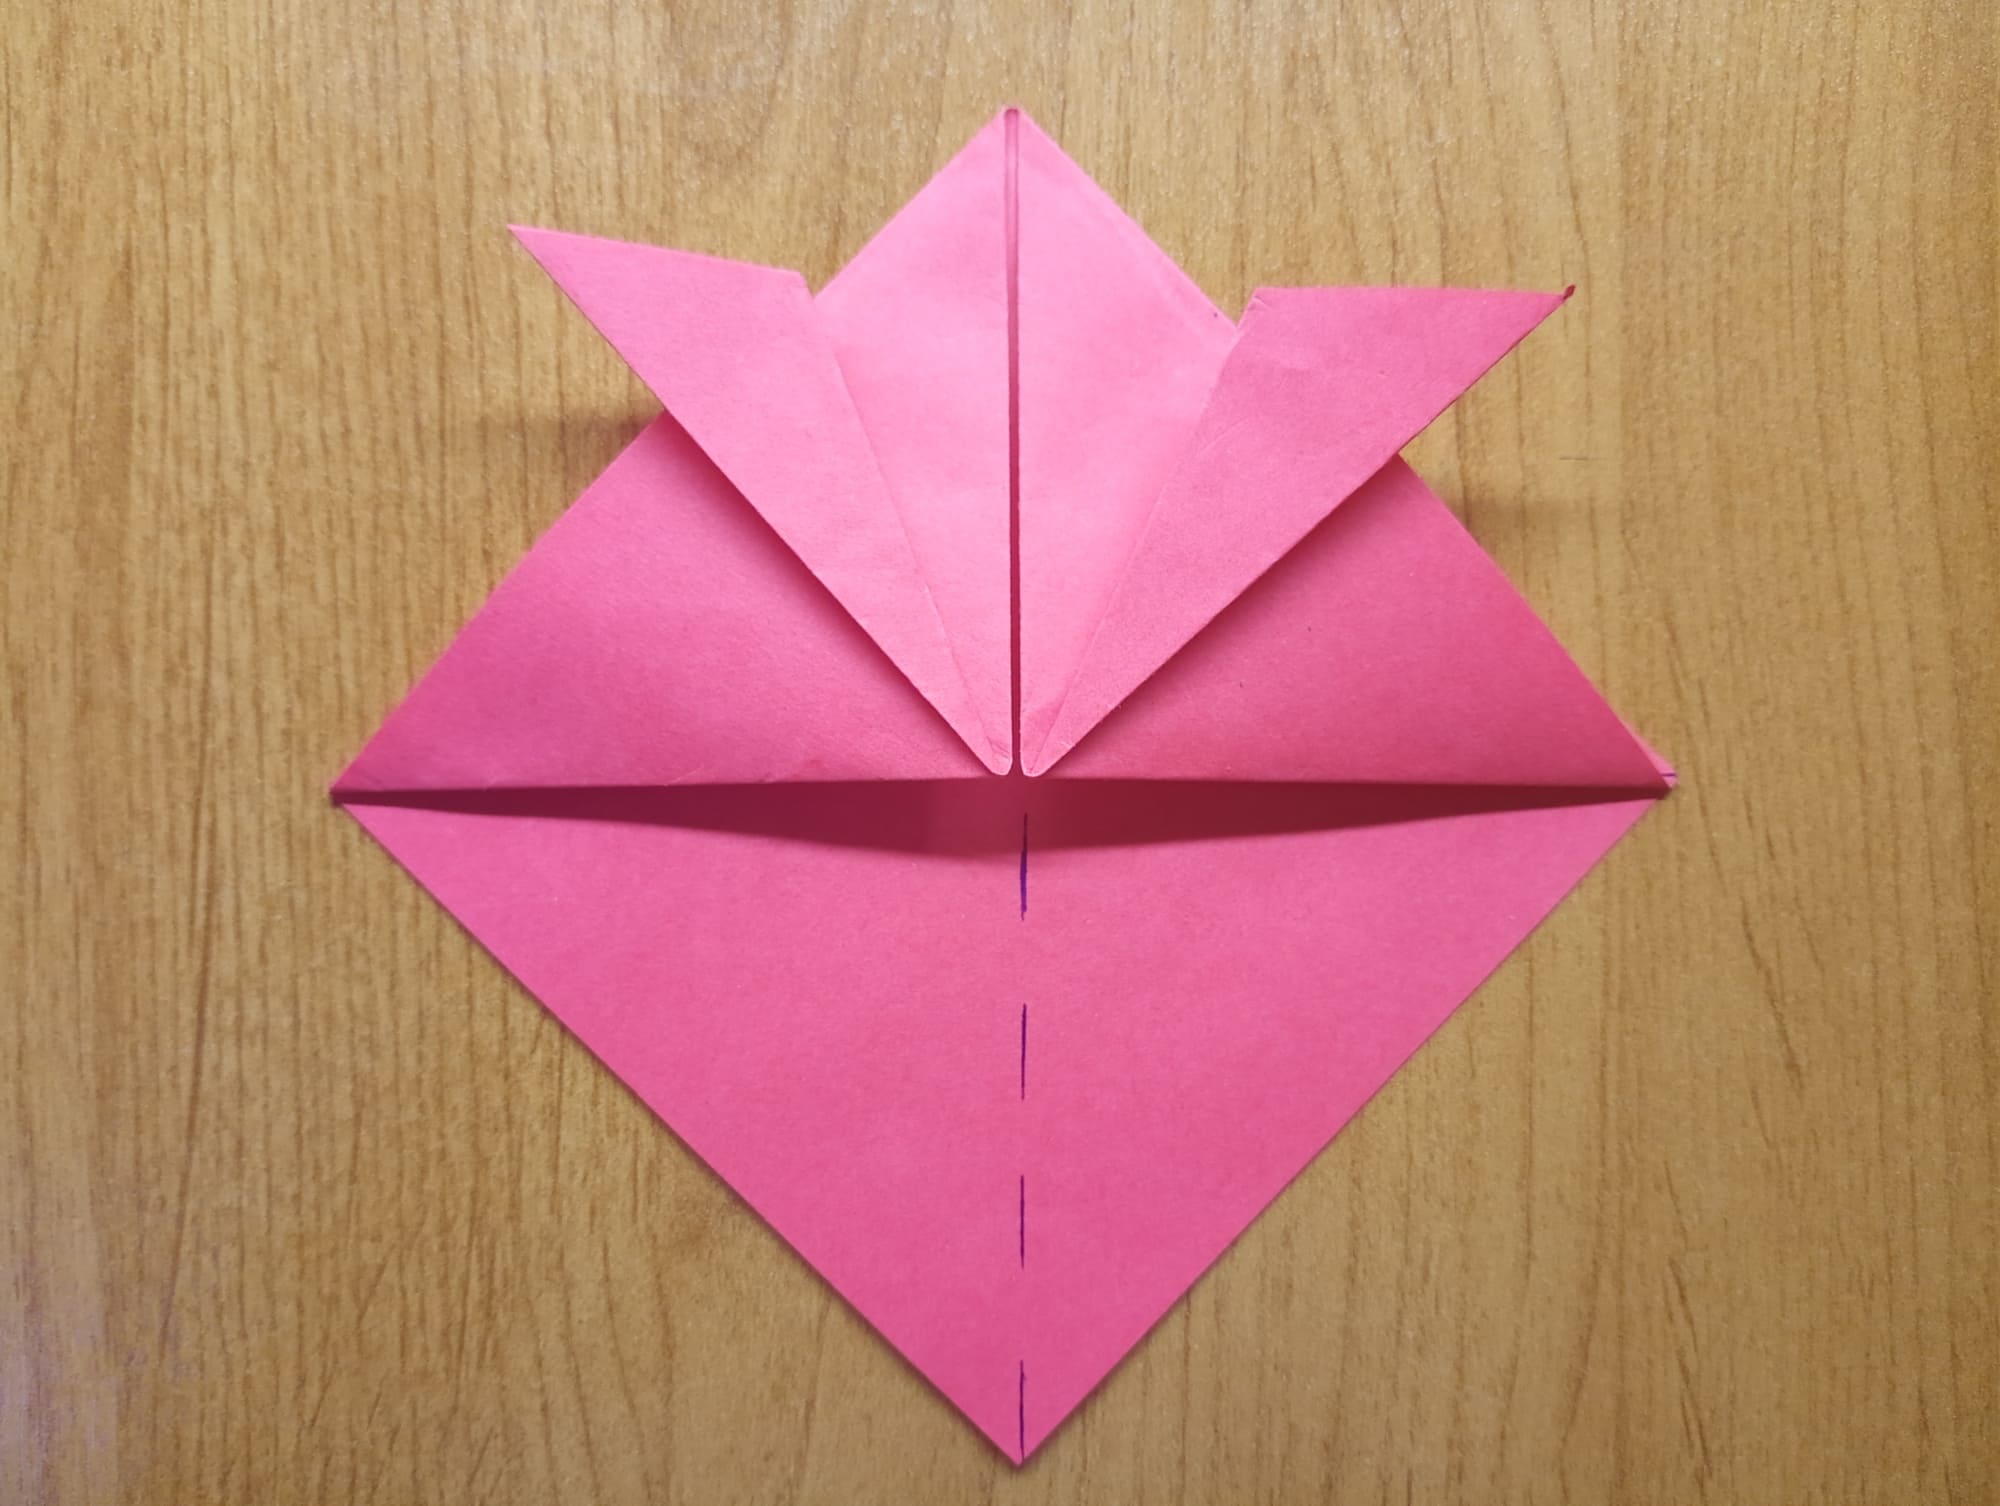
Iron the folding lines well, as if you are “opening” the petals of the figure.
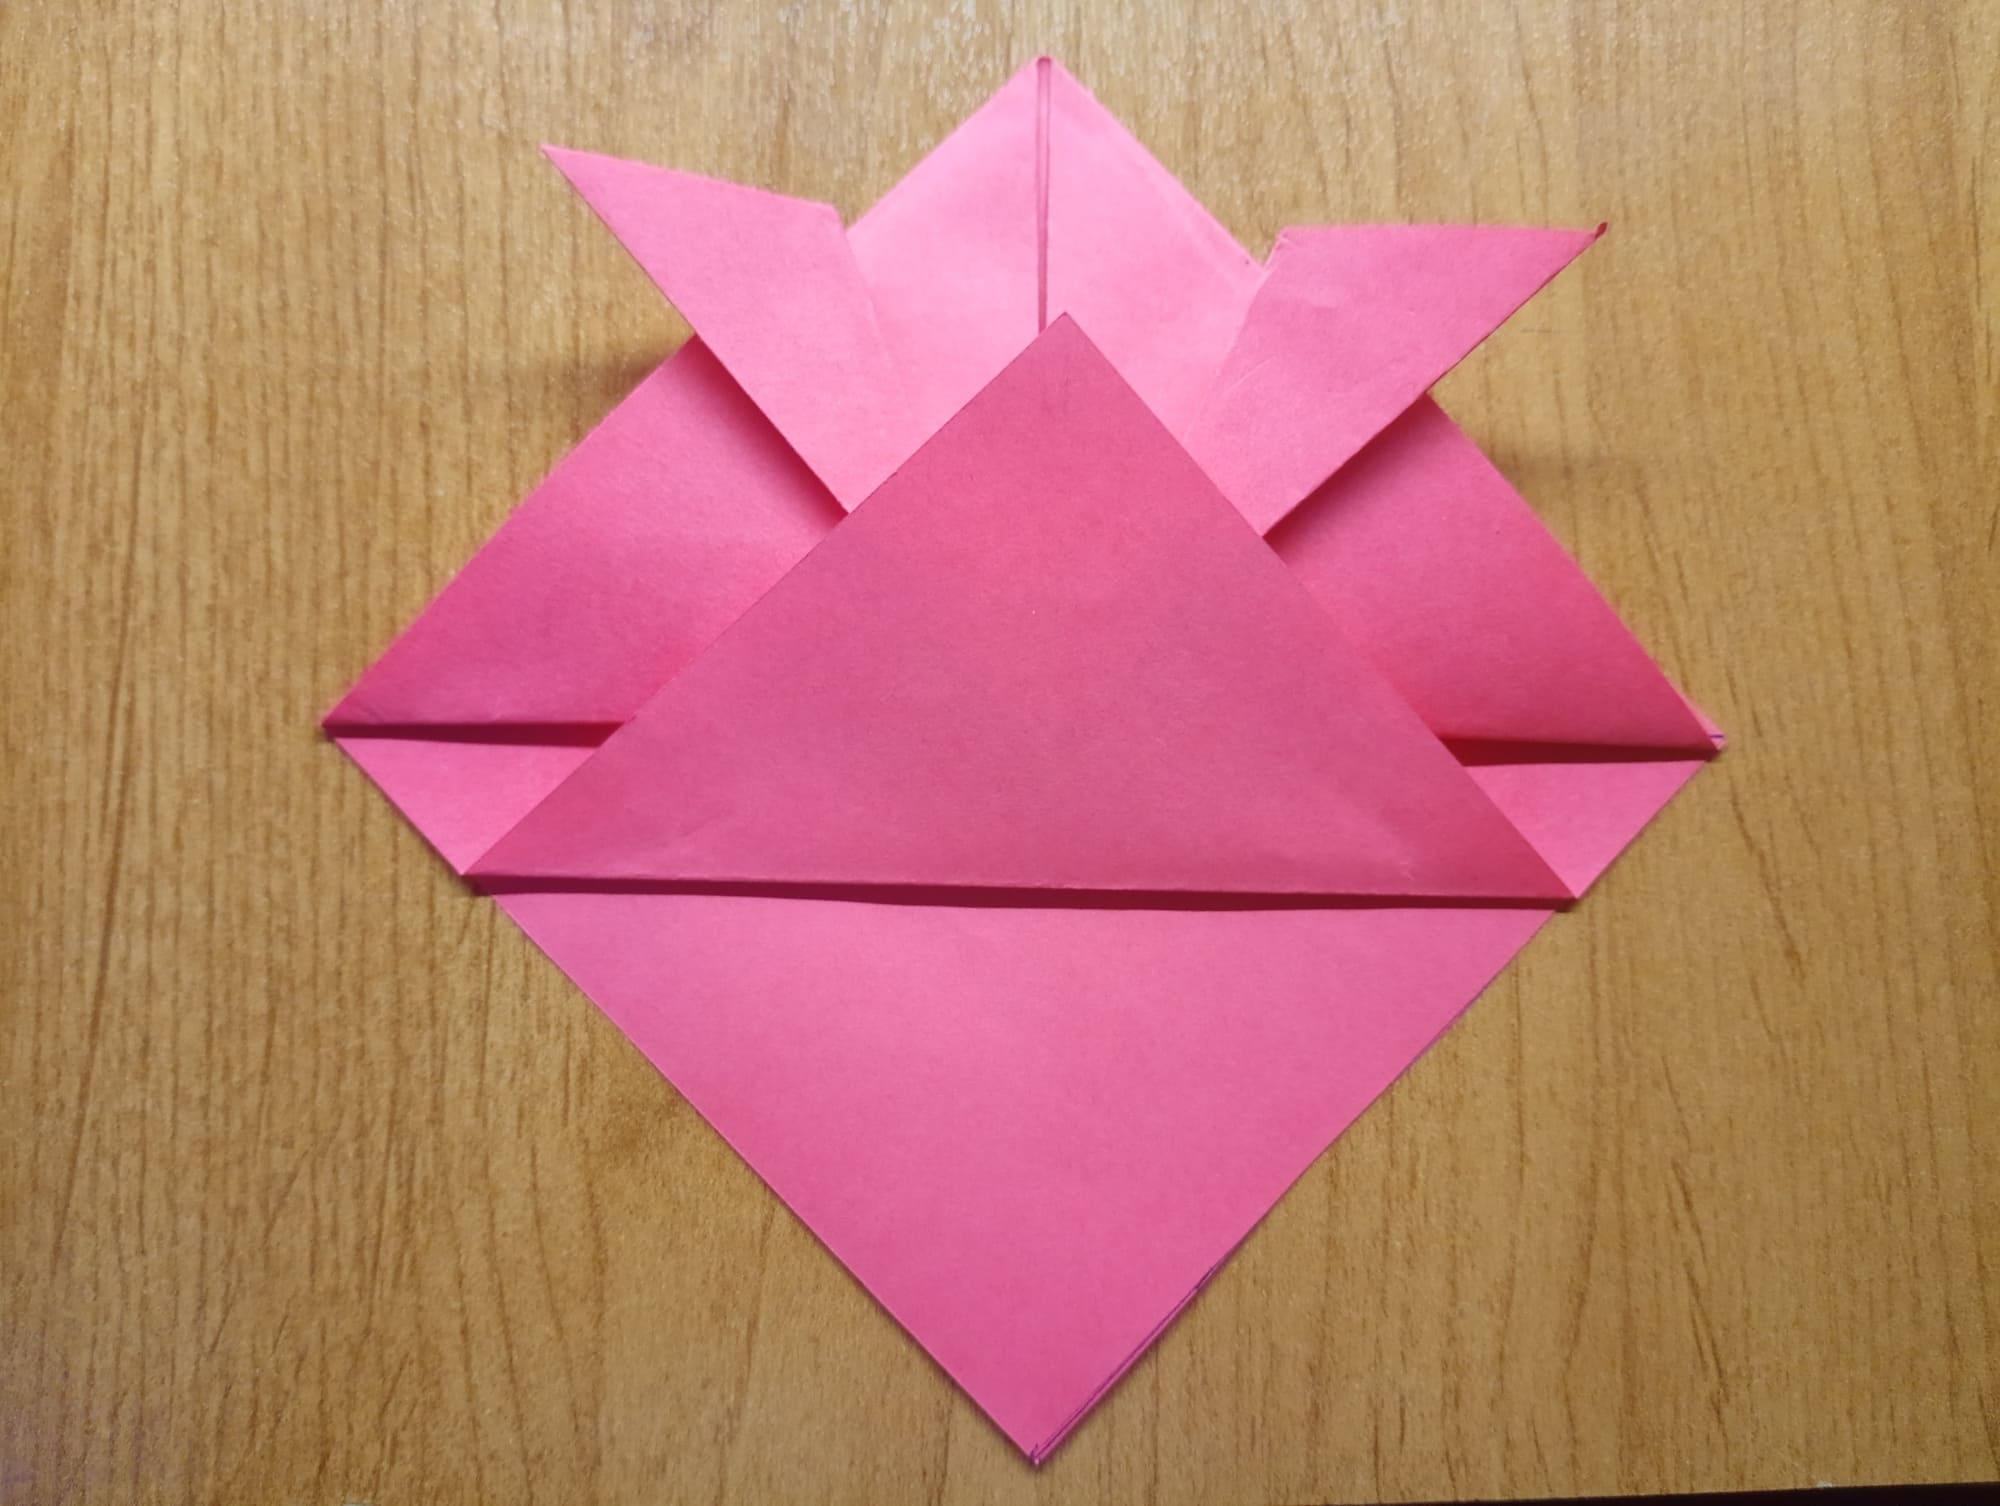
Fold the next bottom layer (it is the penultimate layer) by ¾, and then make a second fold along the first line, so that all the edges are folded (see the photo).
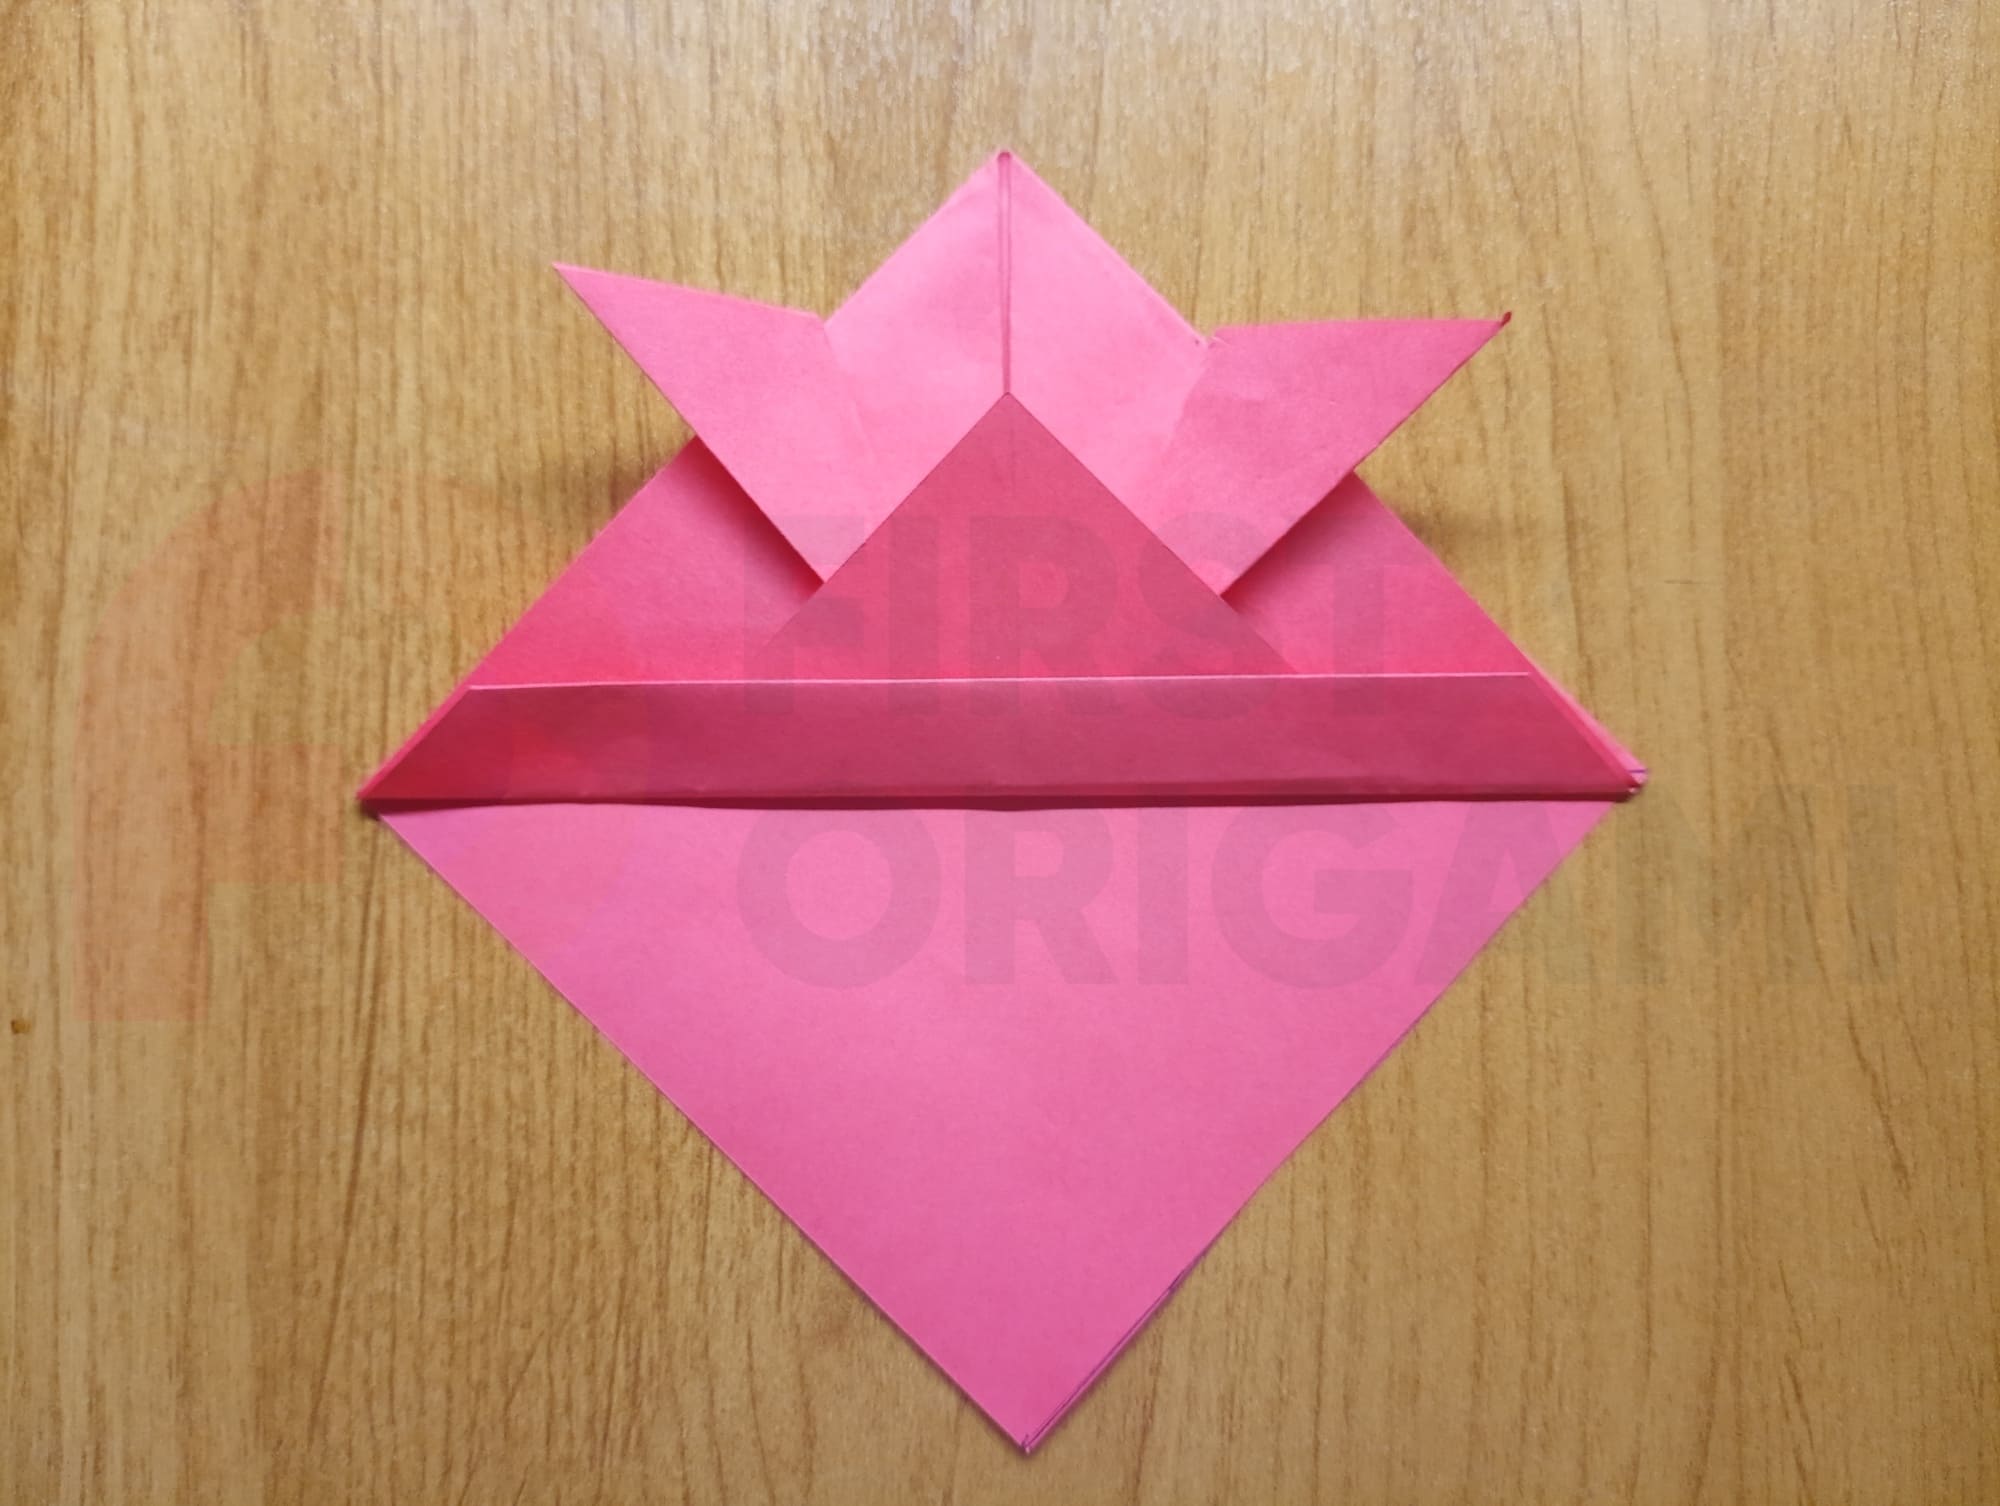
Fold the bottom part of the top layer, thickening the trapezoid element under the resulting triangle, as shown in the photo.

Fold the bottom remaining layer back to make a helmet.
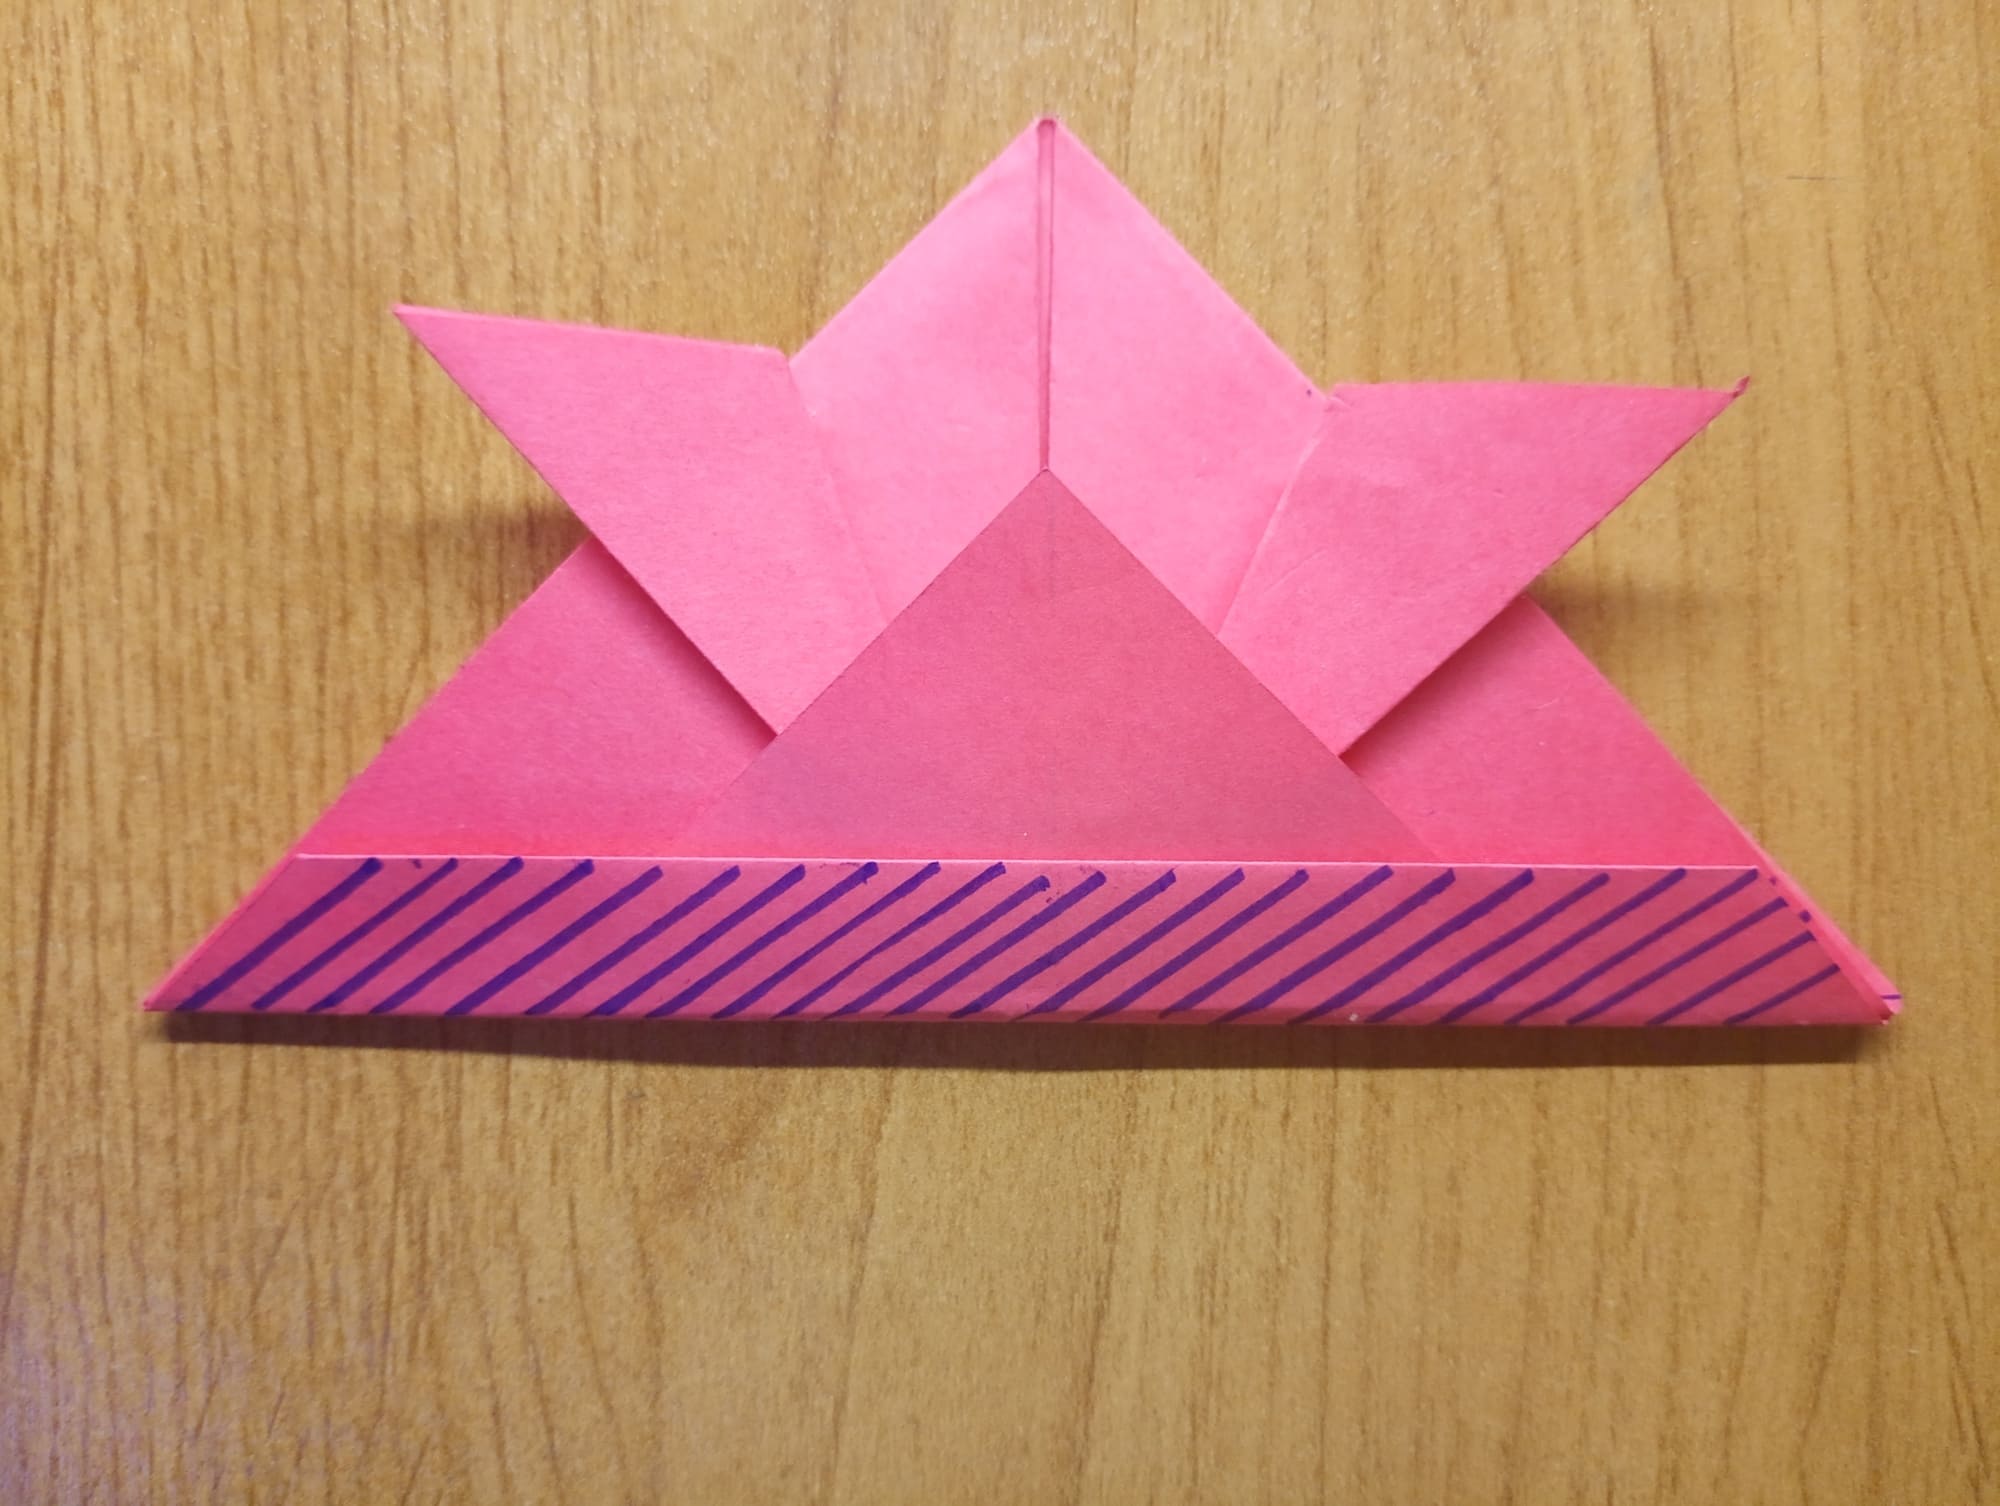
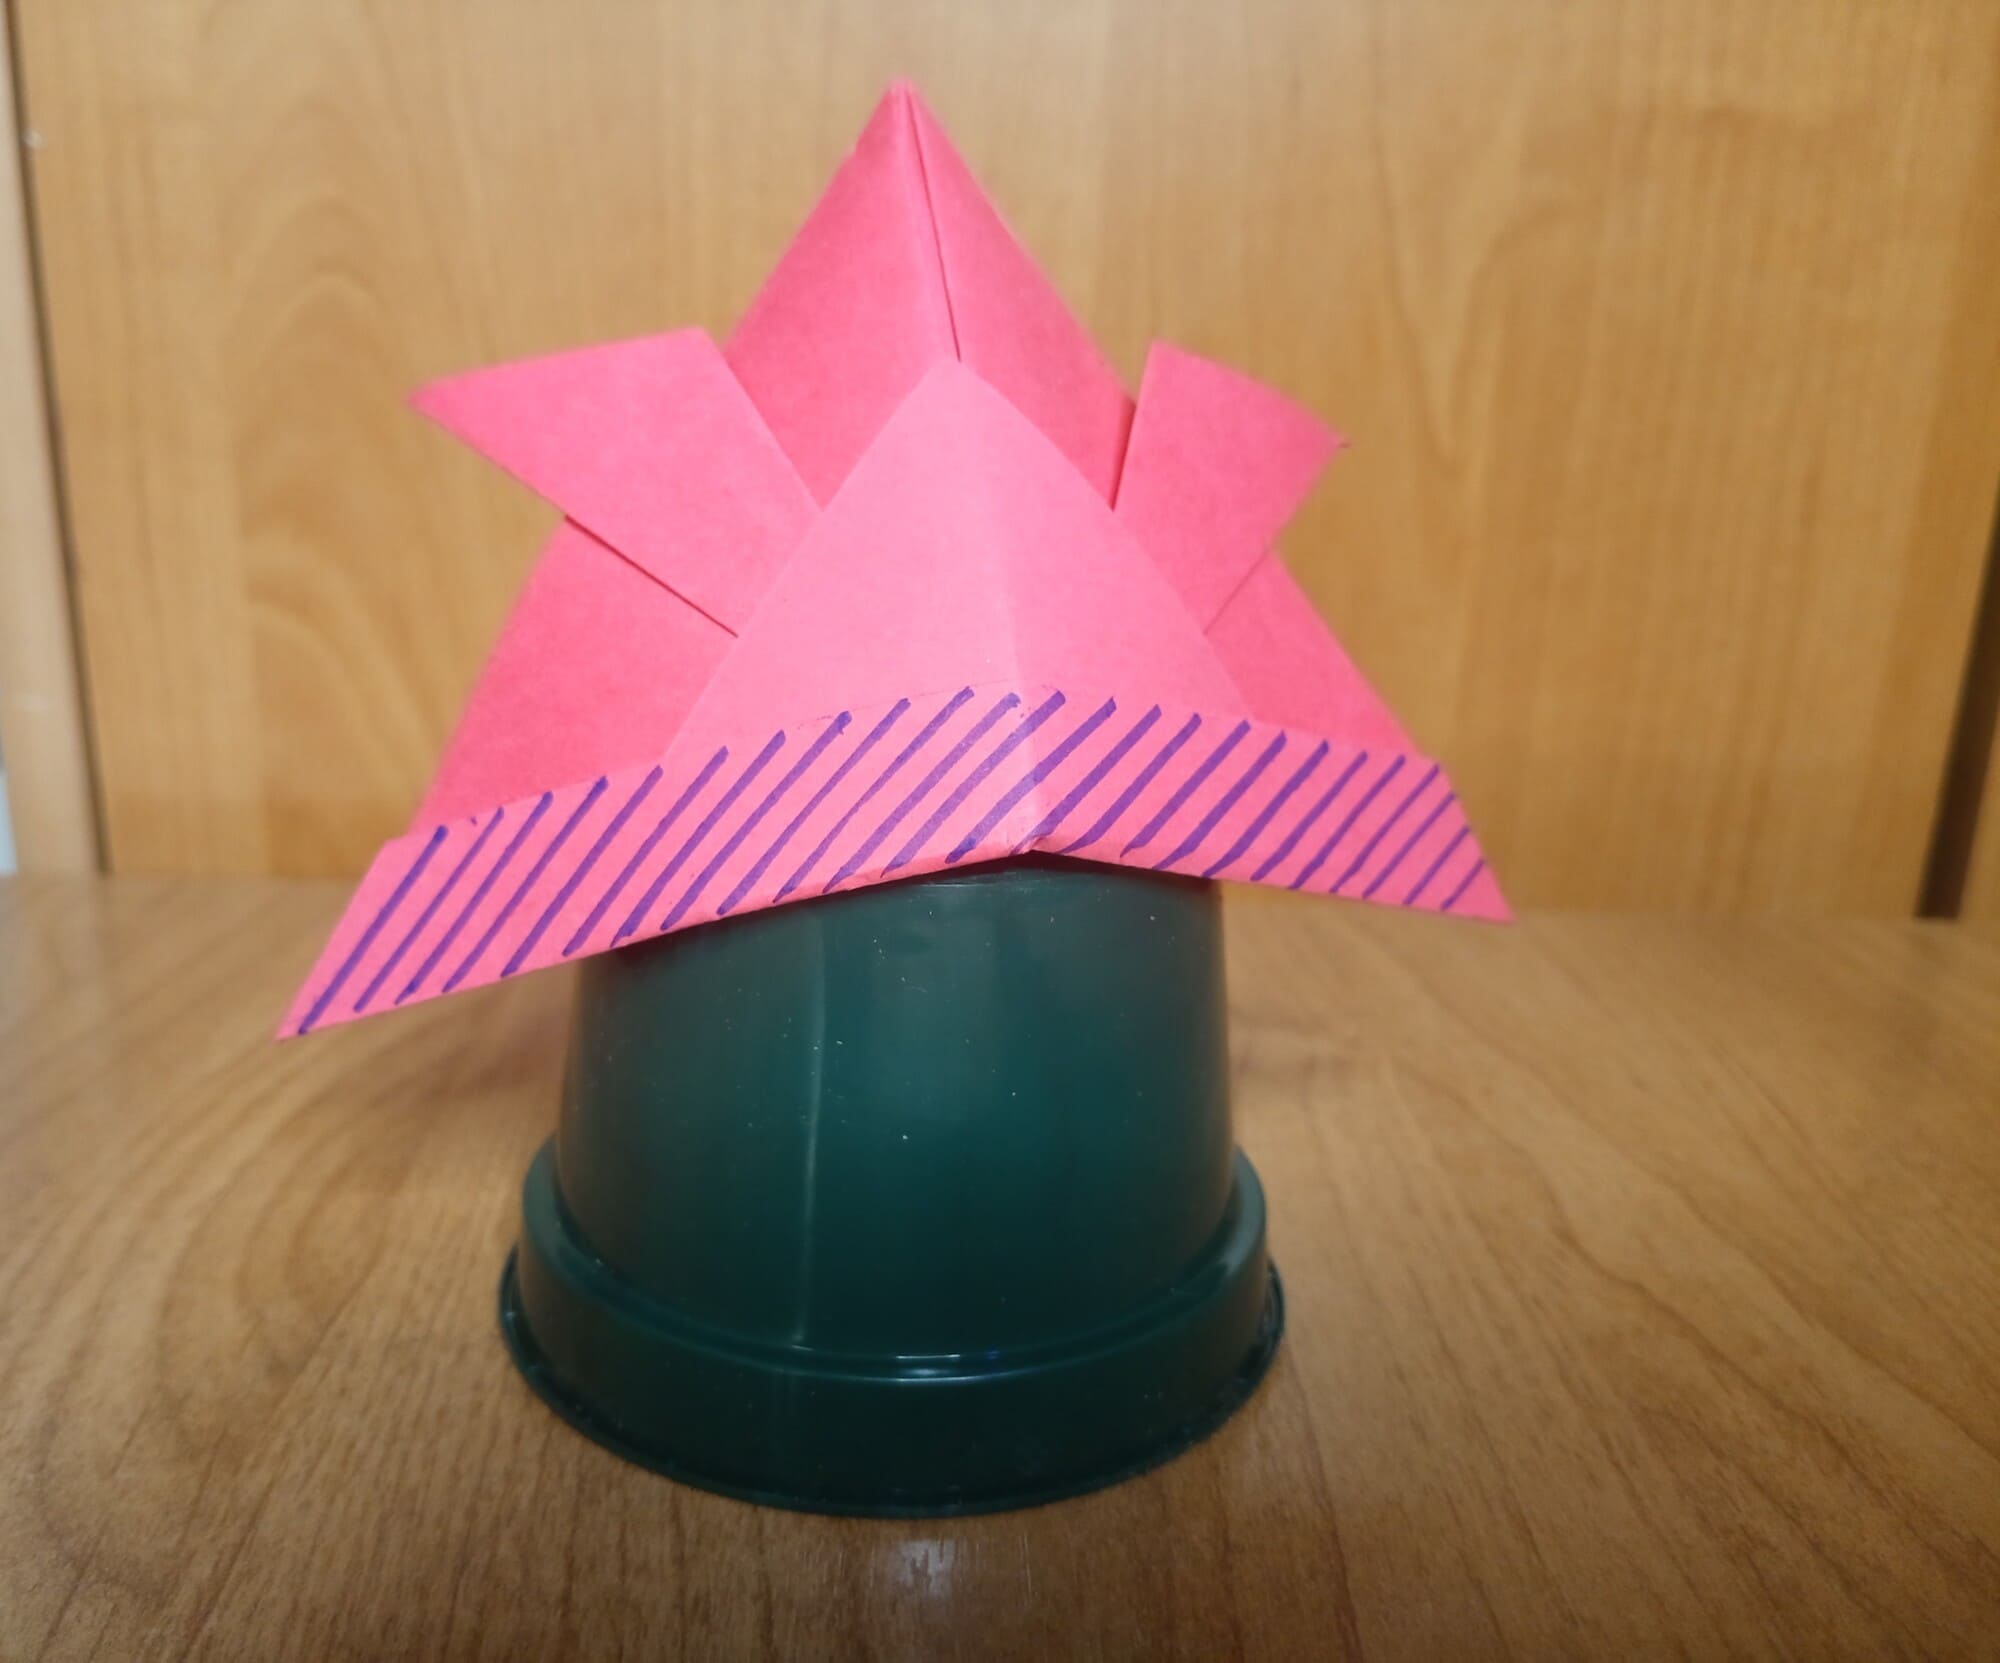
Decorate the helmet as desired, then you can play or put it on figurines in your home collection.
The unusual samurai helmet is ready! Experiment with the colors and ornaments, make a larger size of the hat for family play, or just enjoy the making process with your kids!
The unusual samurai helmet is ready!


