Origami Santa Claus boot

This is that very stocking that is usually hung on the fireplace so that Santa Claus can put a gift in it. A wonderful holiday tradition!
This origami is much smaller than the actual size of Christmas stockings, so the gift probably won’t fit in there. However, it can be a great addition to gift wrapping or even a Christmas tree decoration.
To make it, you will need one-sided red origami paper measuring 15×20 cm. If you wish, you can take a larger or smaller sheet of paper, but you must maintain the proportions of 3:4. Please note that this origami is quite complex, so children may need the help of adults.

Place a piece of paper vertically, colored side up.
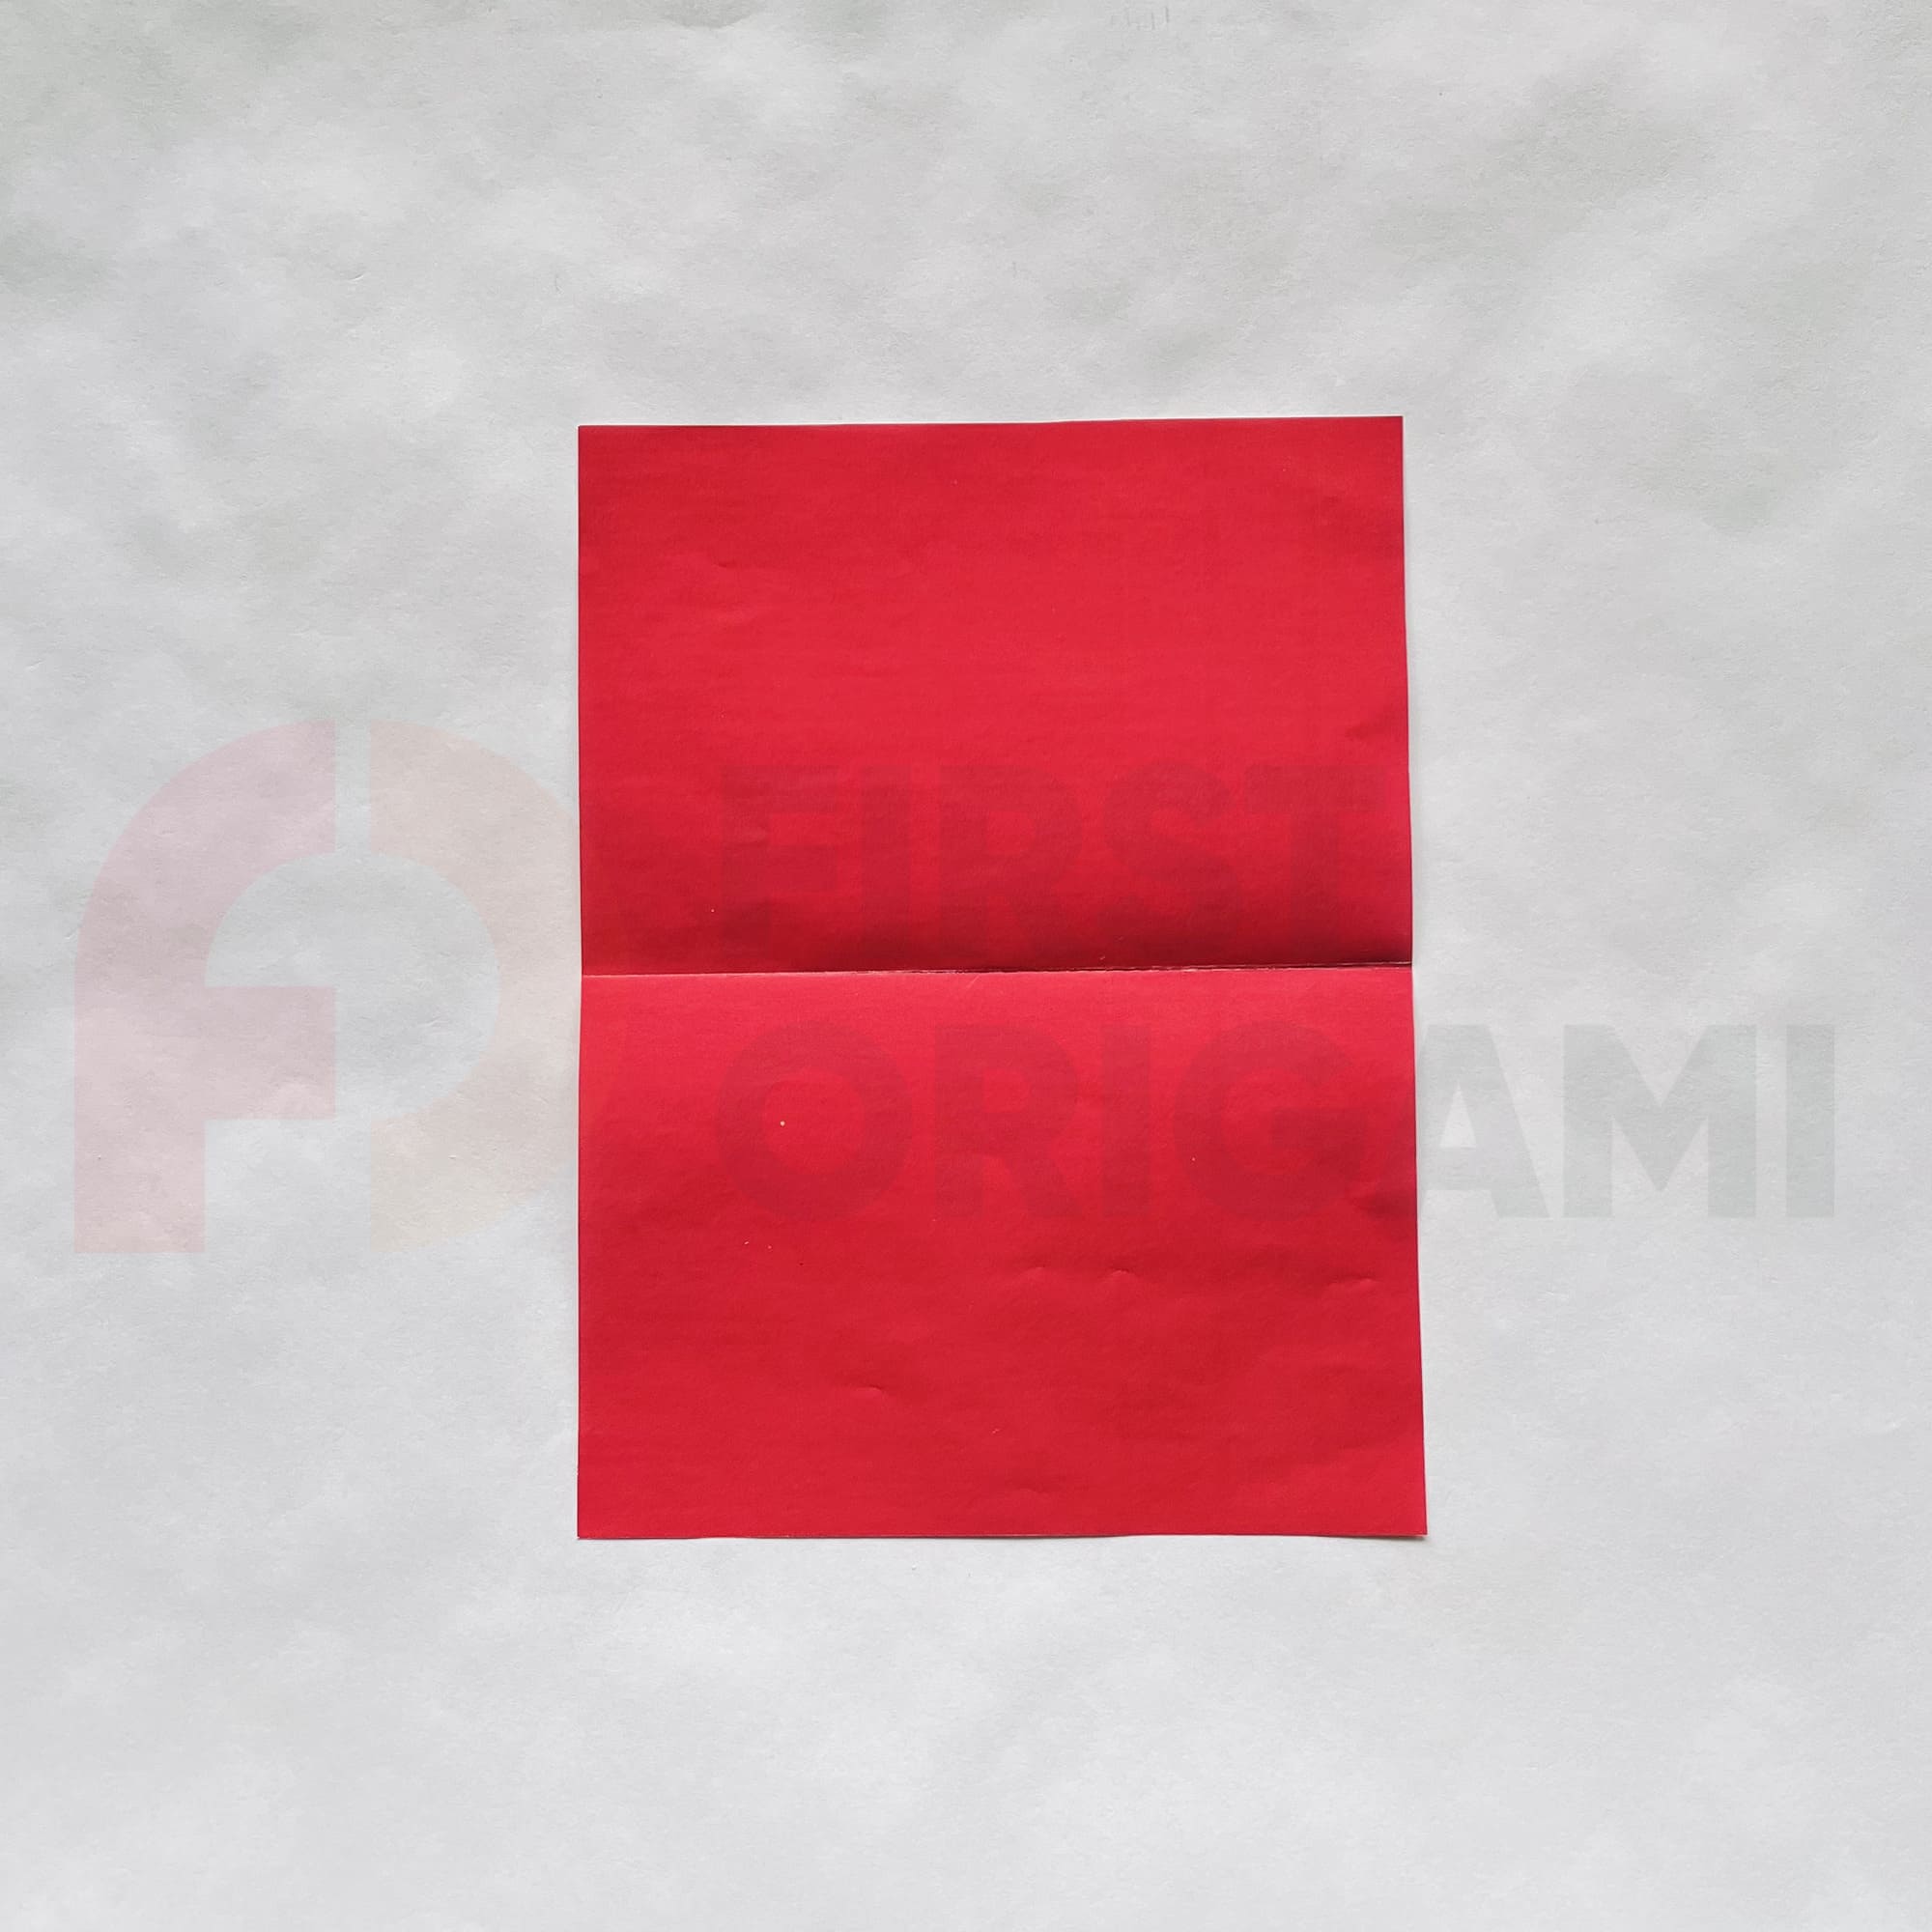
Fold in half along the horizontal axis, crease the fold, and unfold.

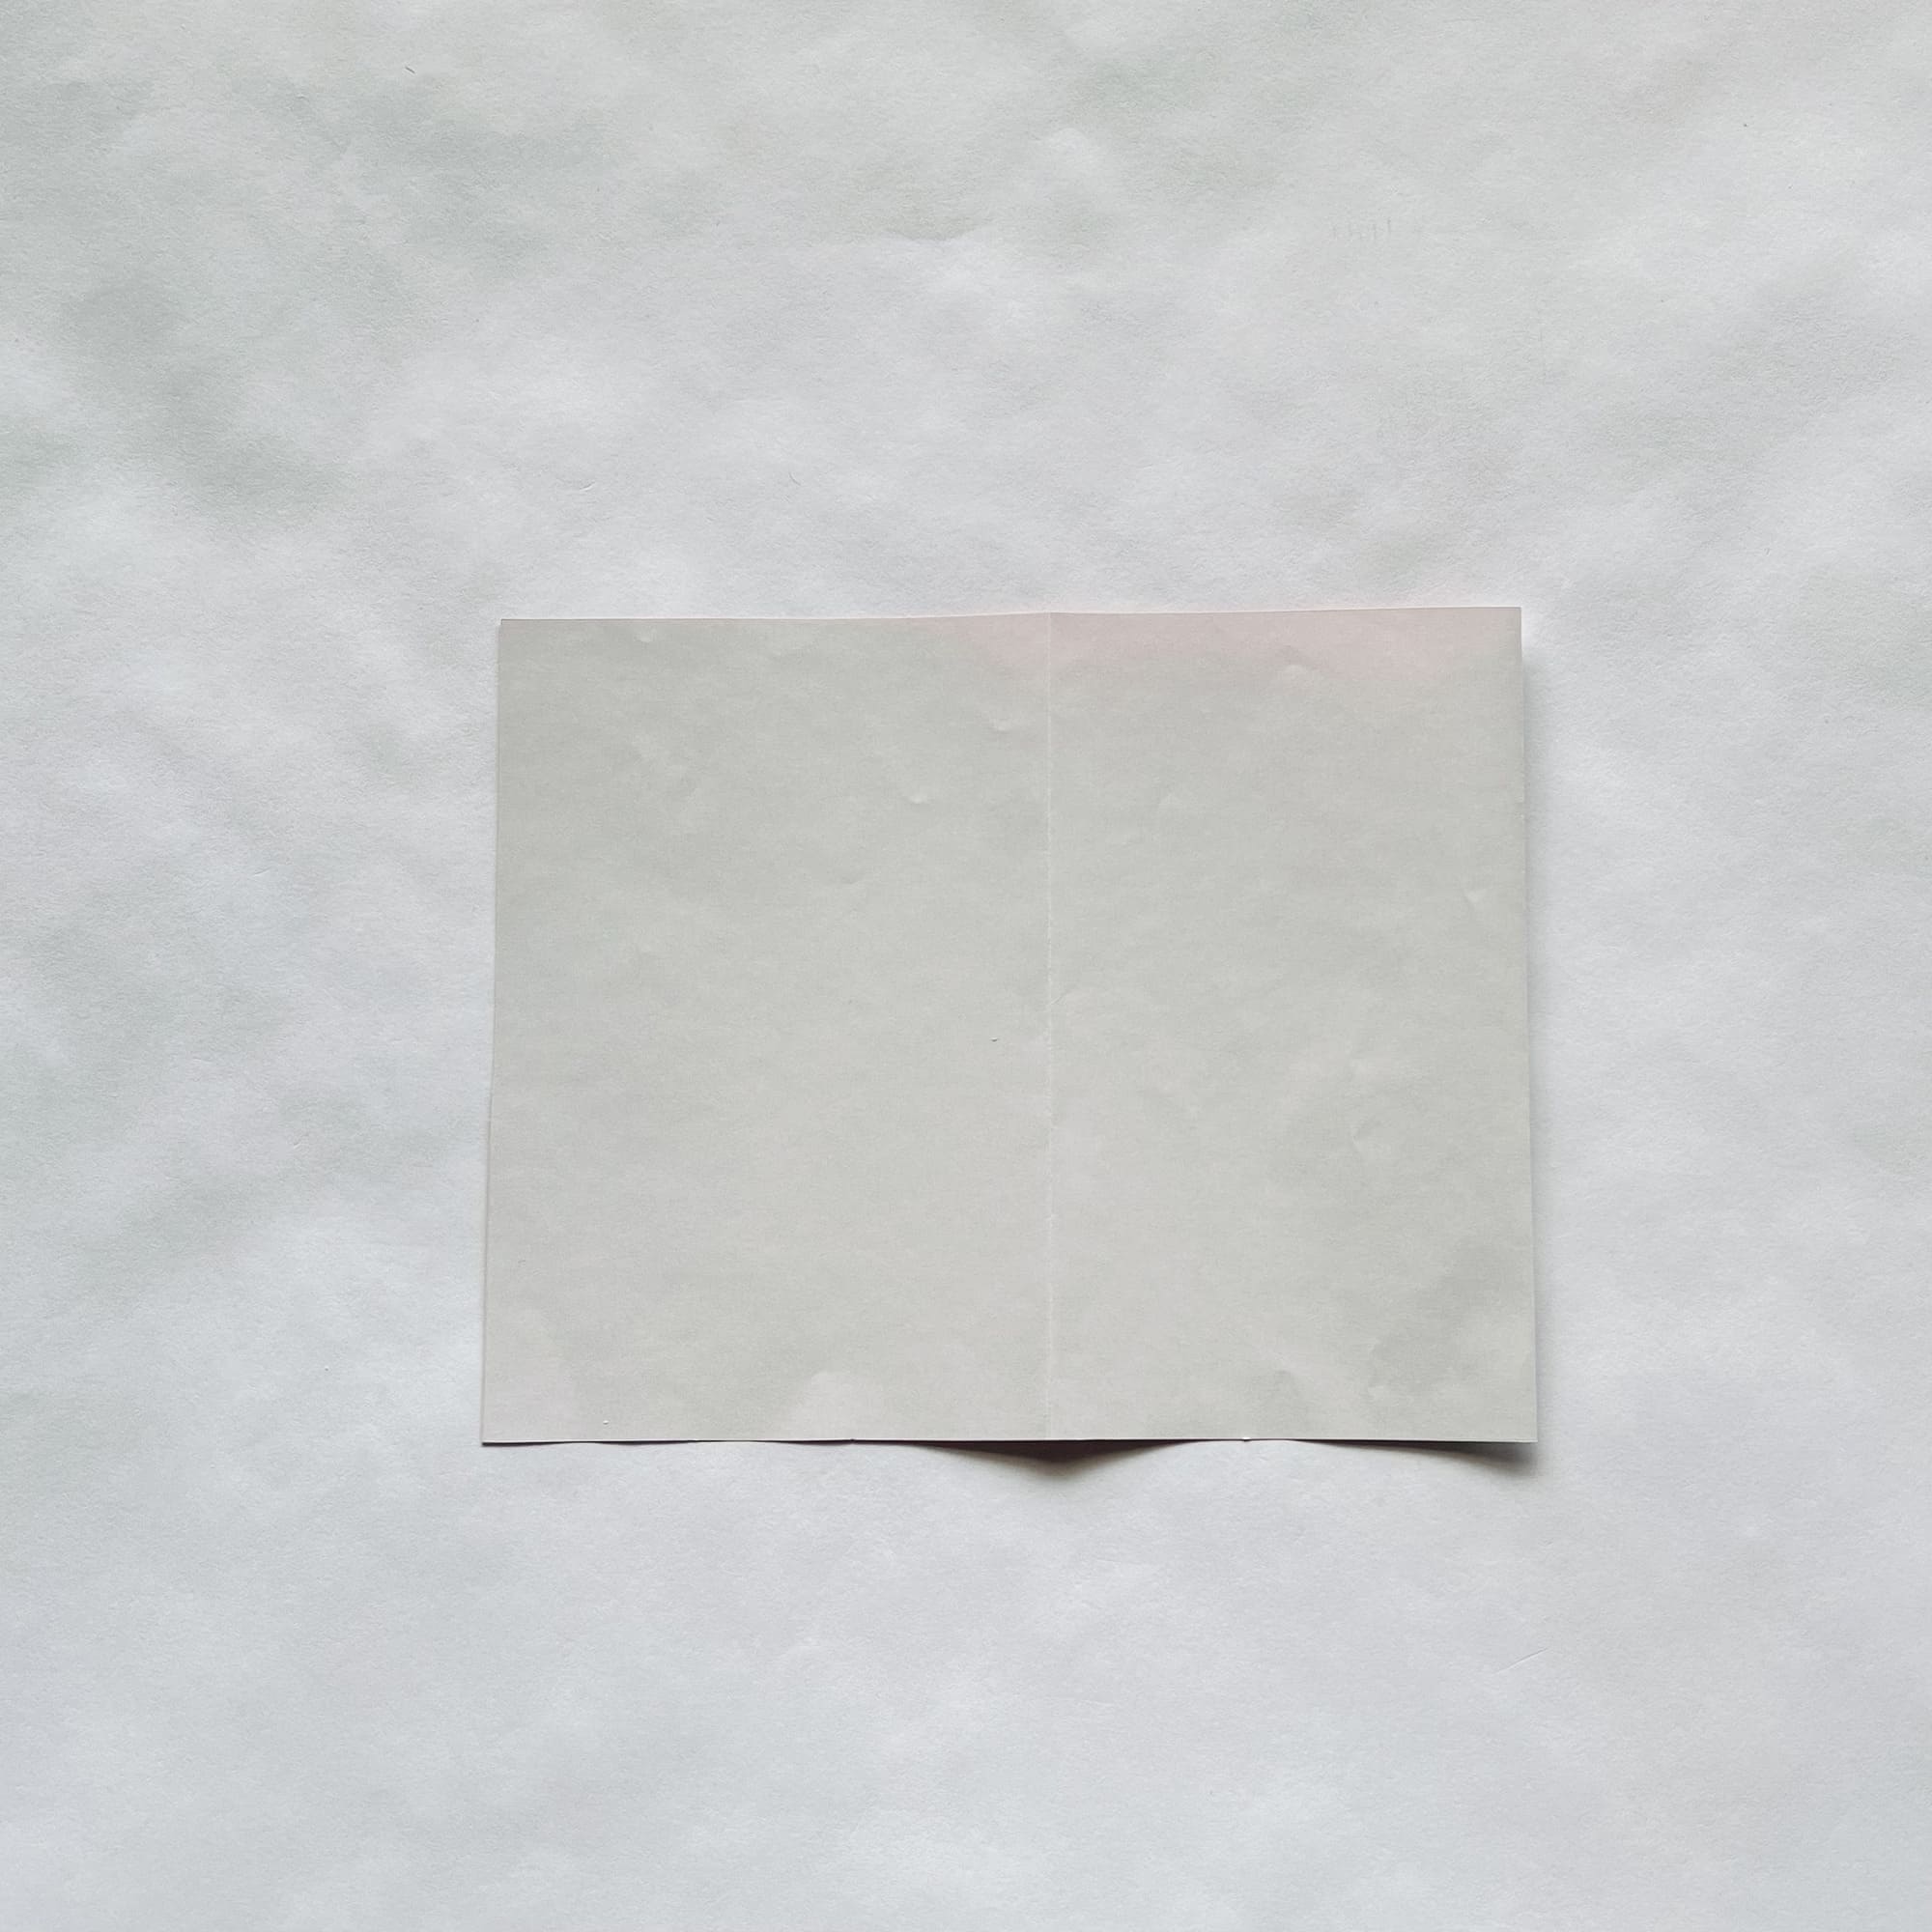
Fold the bottom edge inward about 1 cm.

Rotate the paper 90 degrees counterclockwise and turn it over.
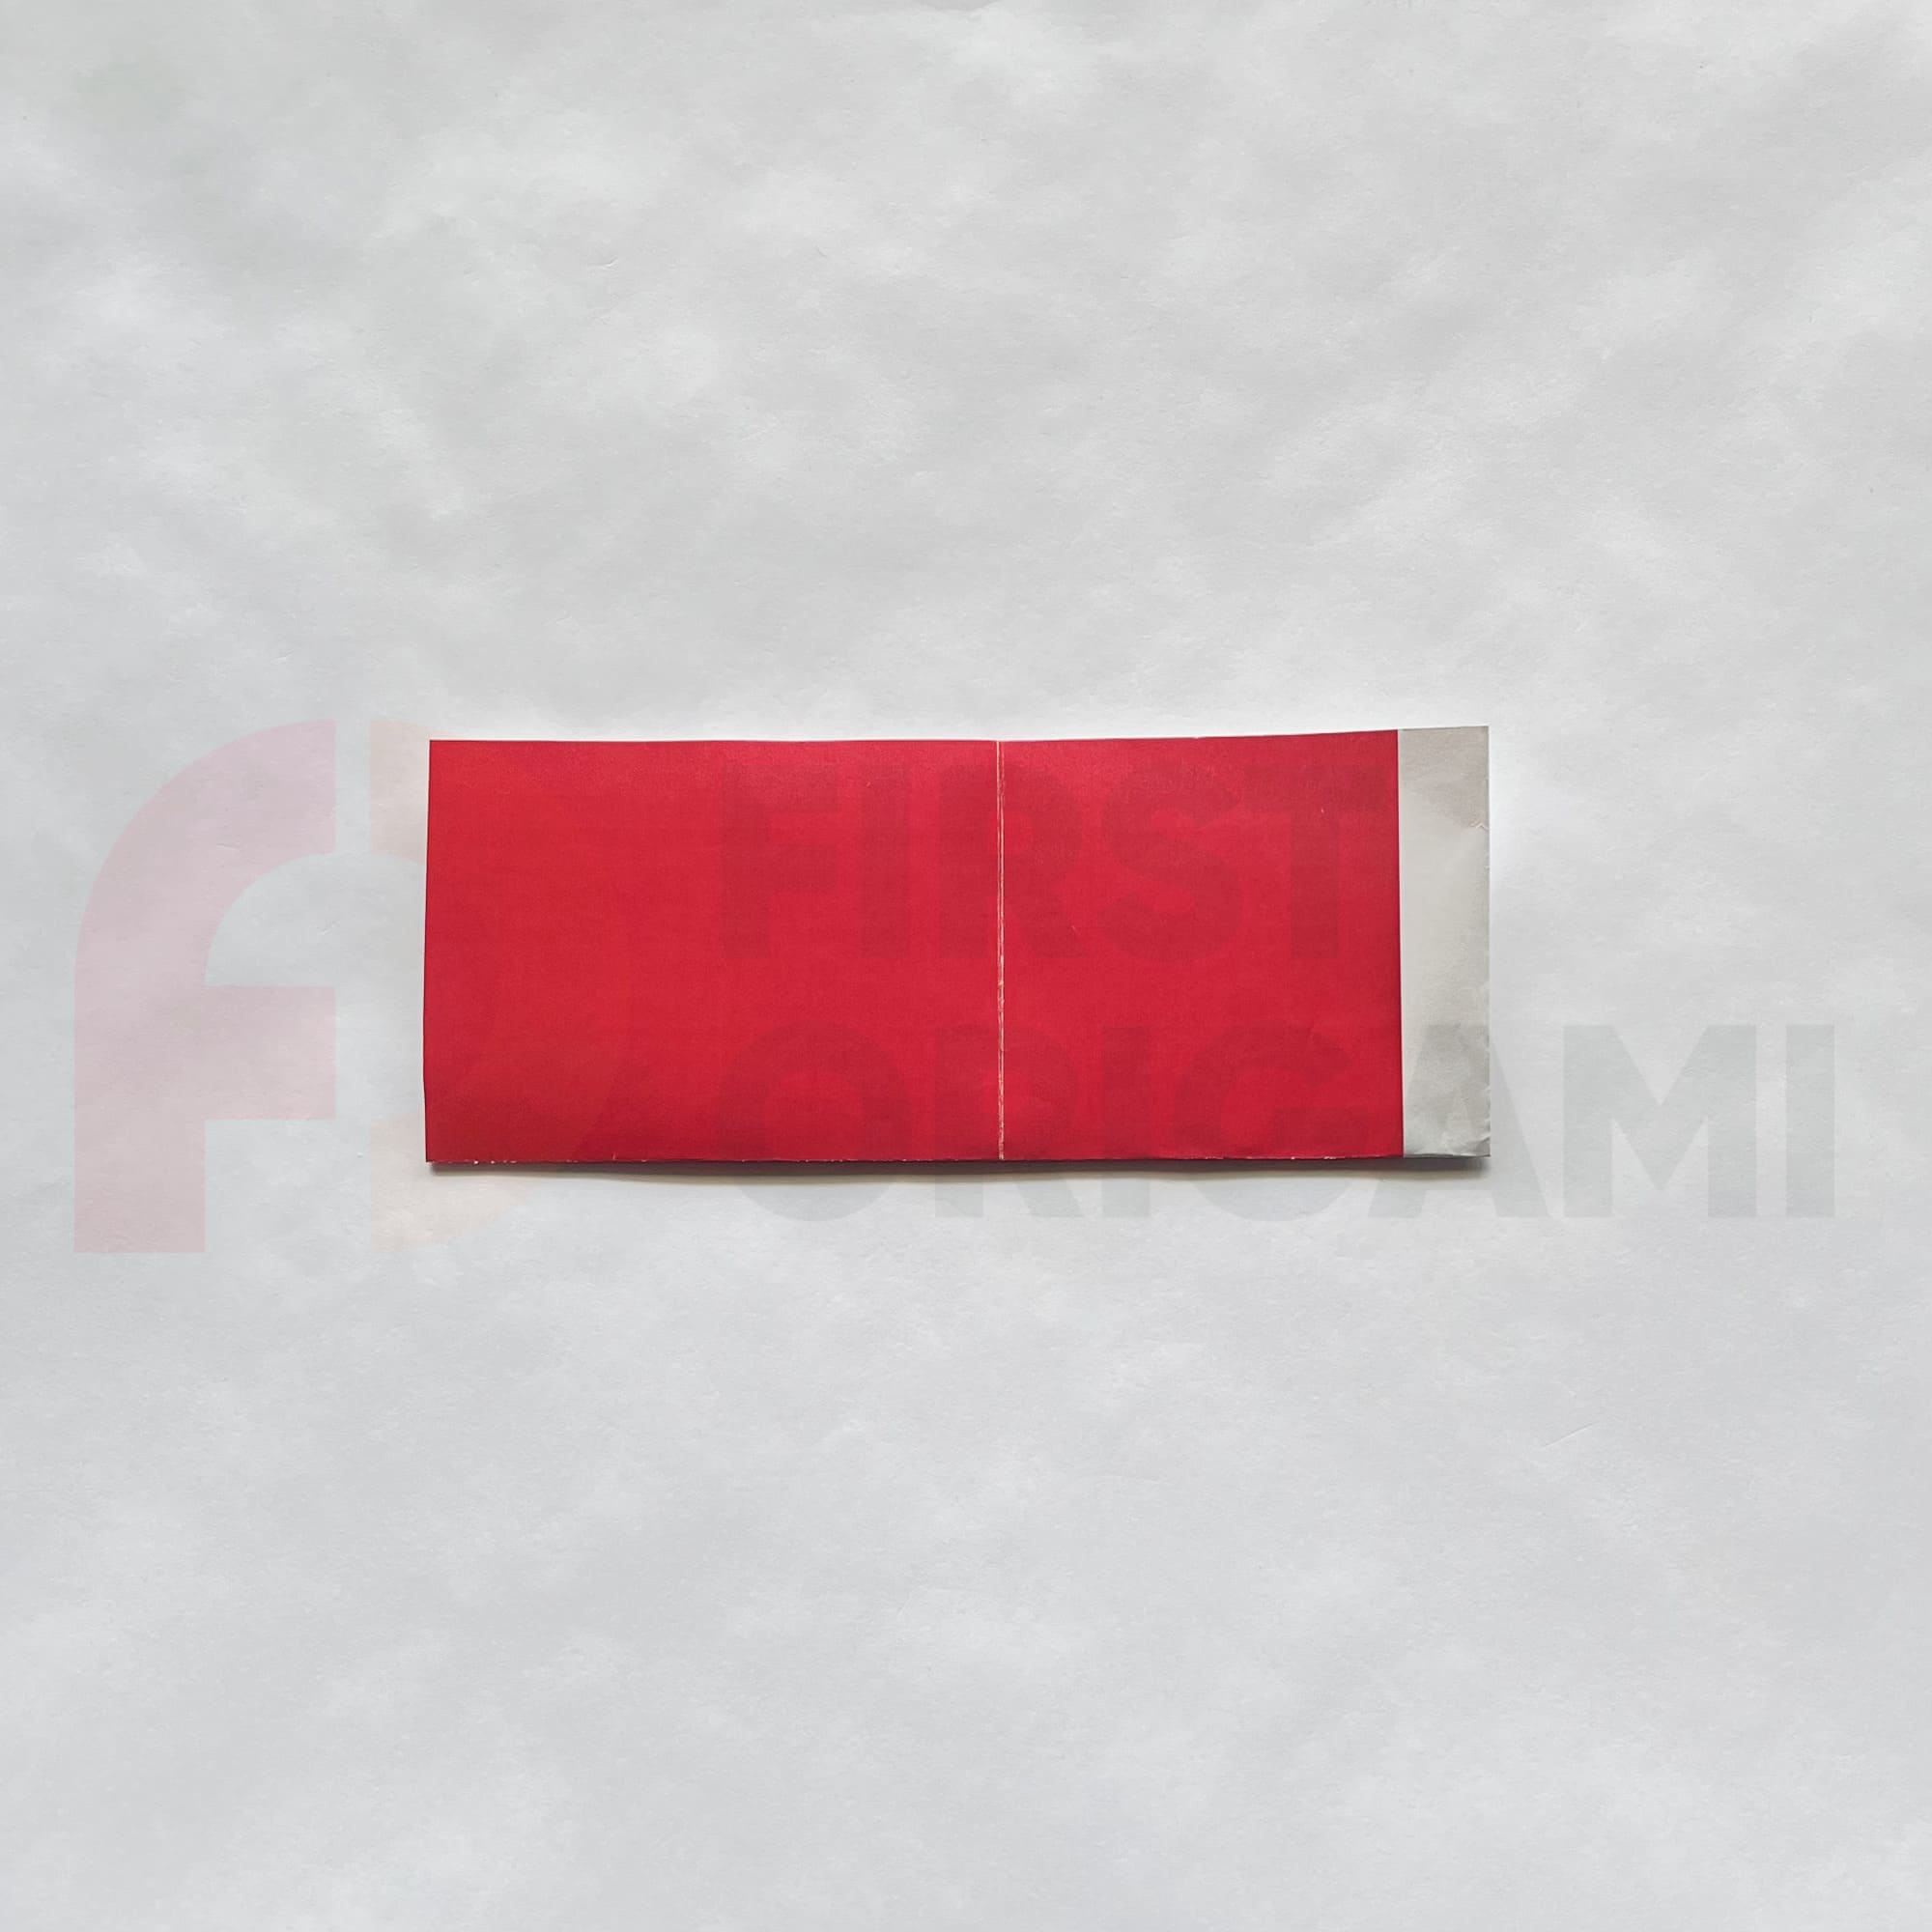
Fold the paper in half horizontally and unfold.
It is important to carefully crease all the folds. This will help you at the final stage of making origami.

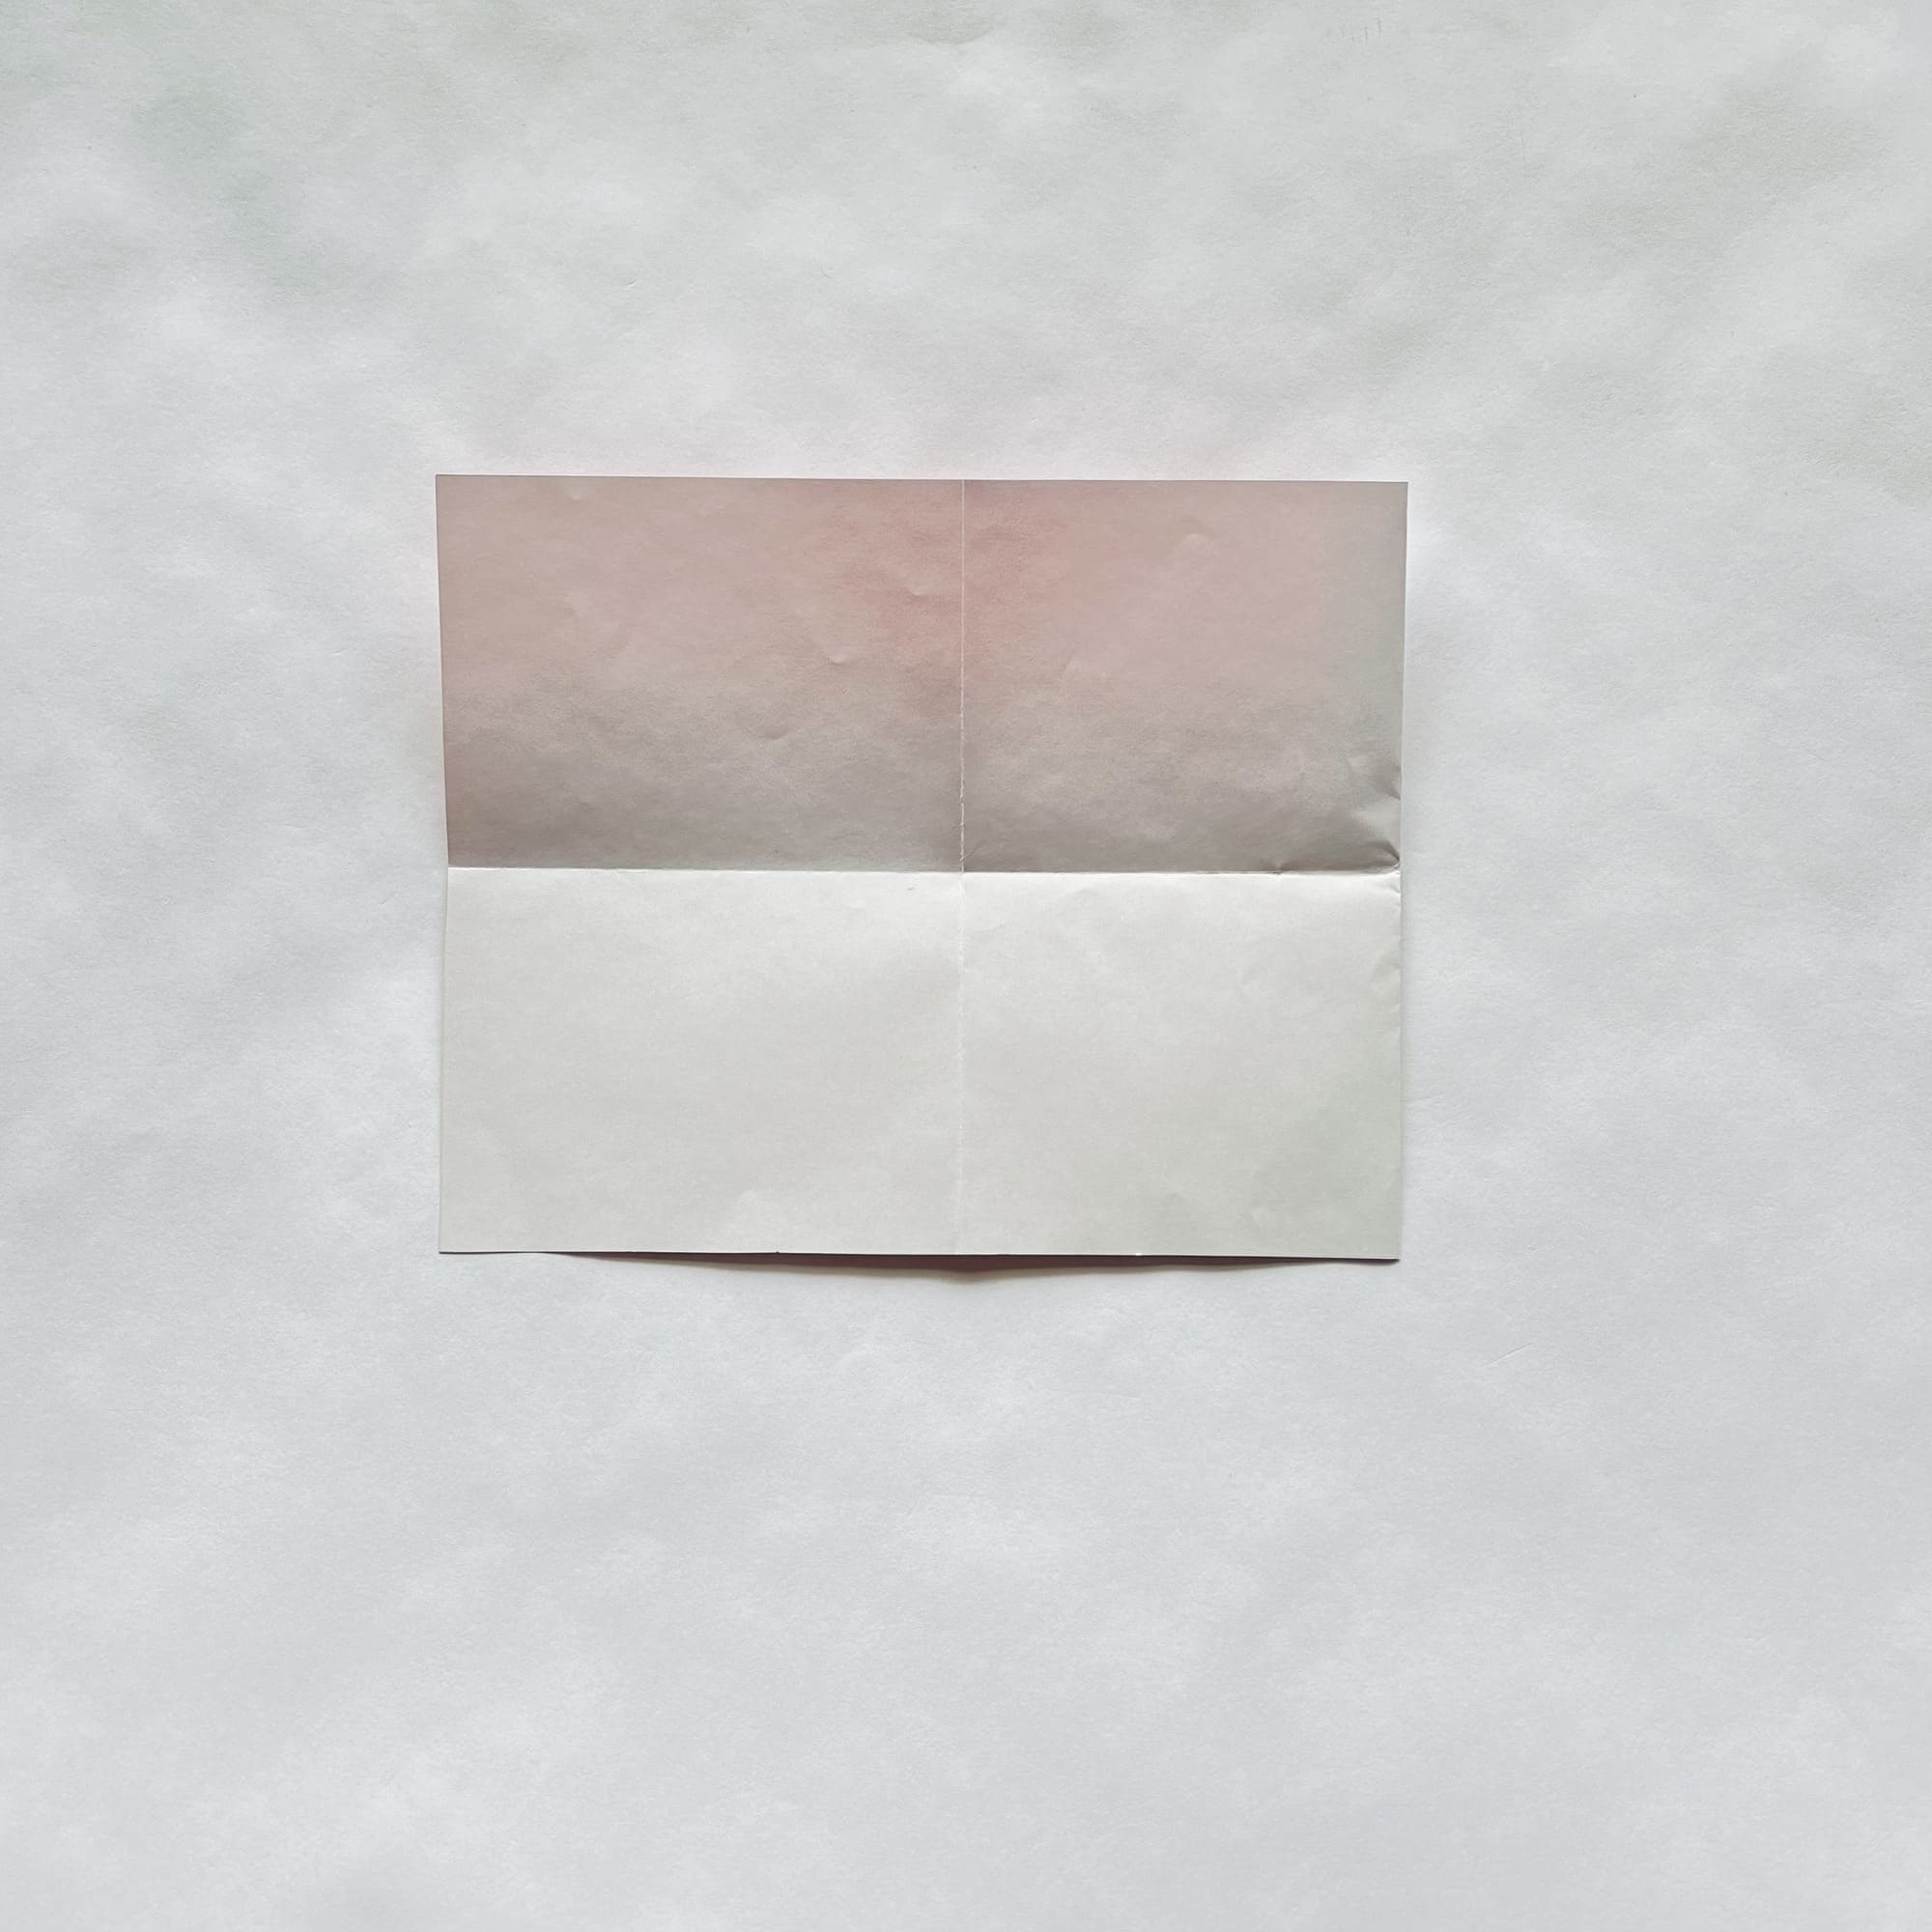
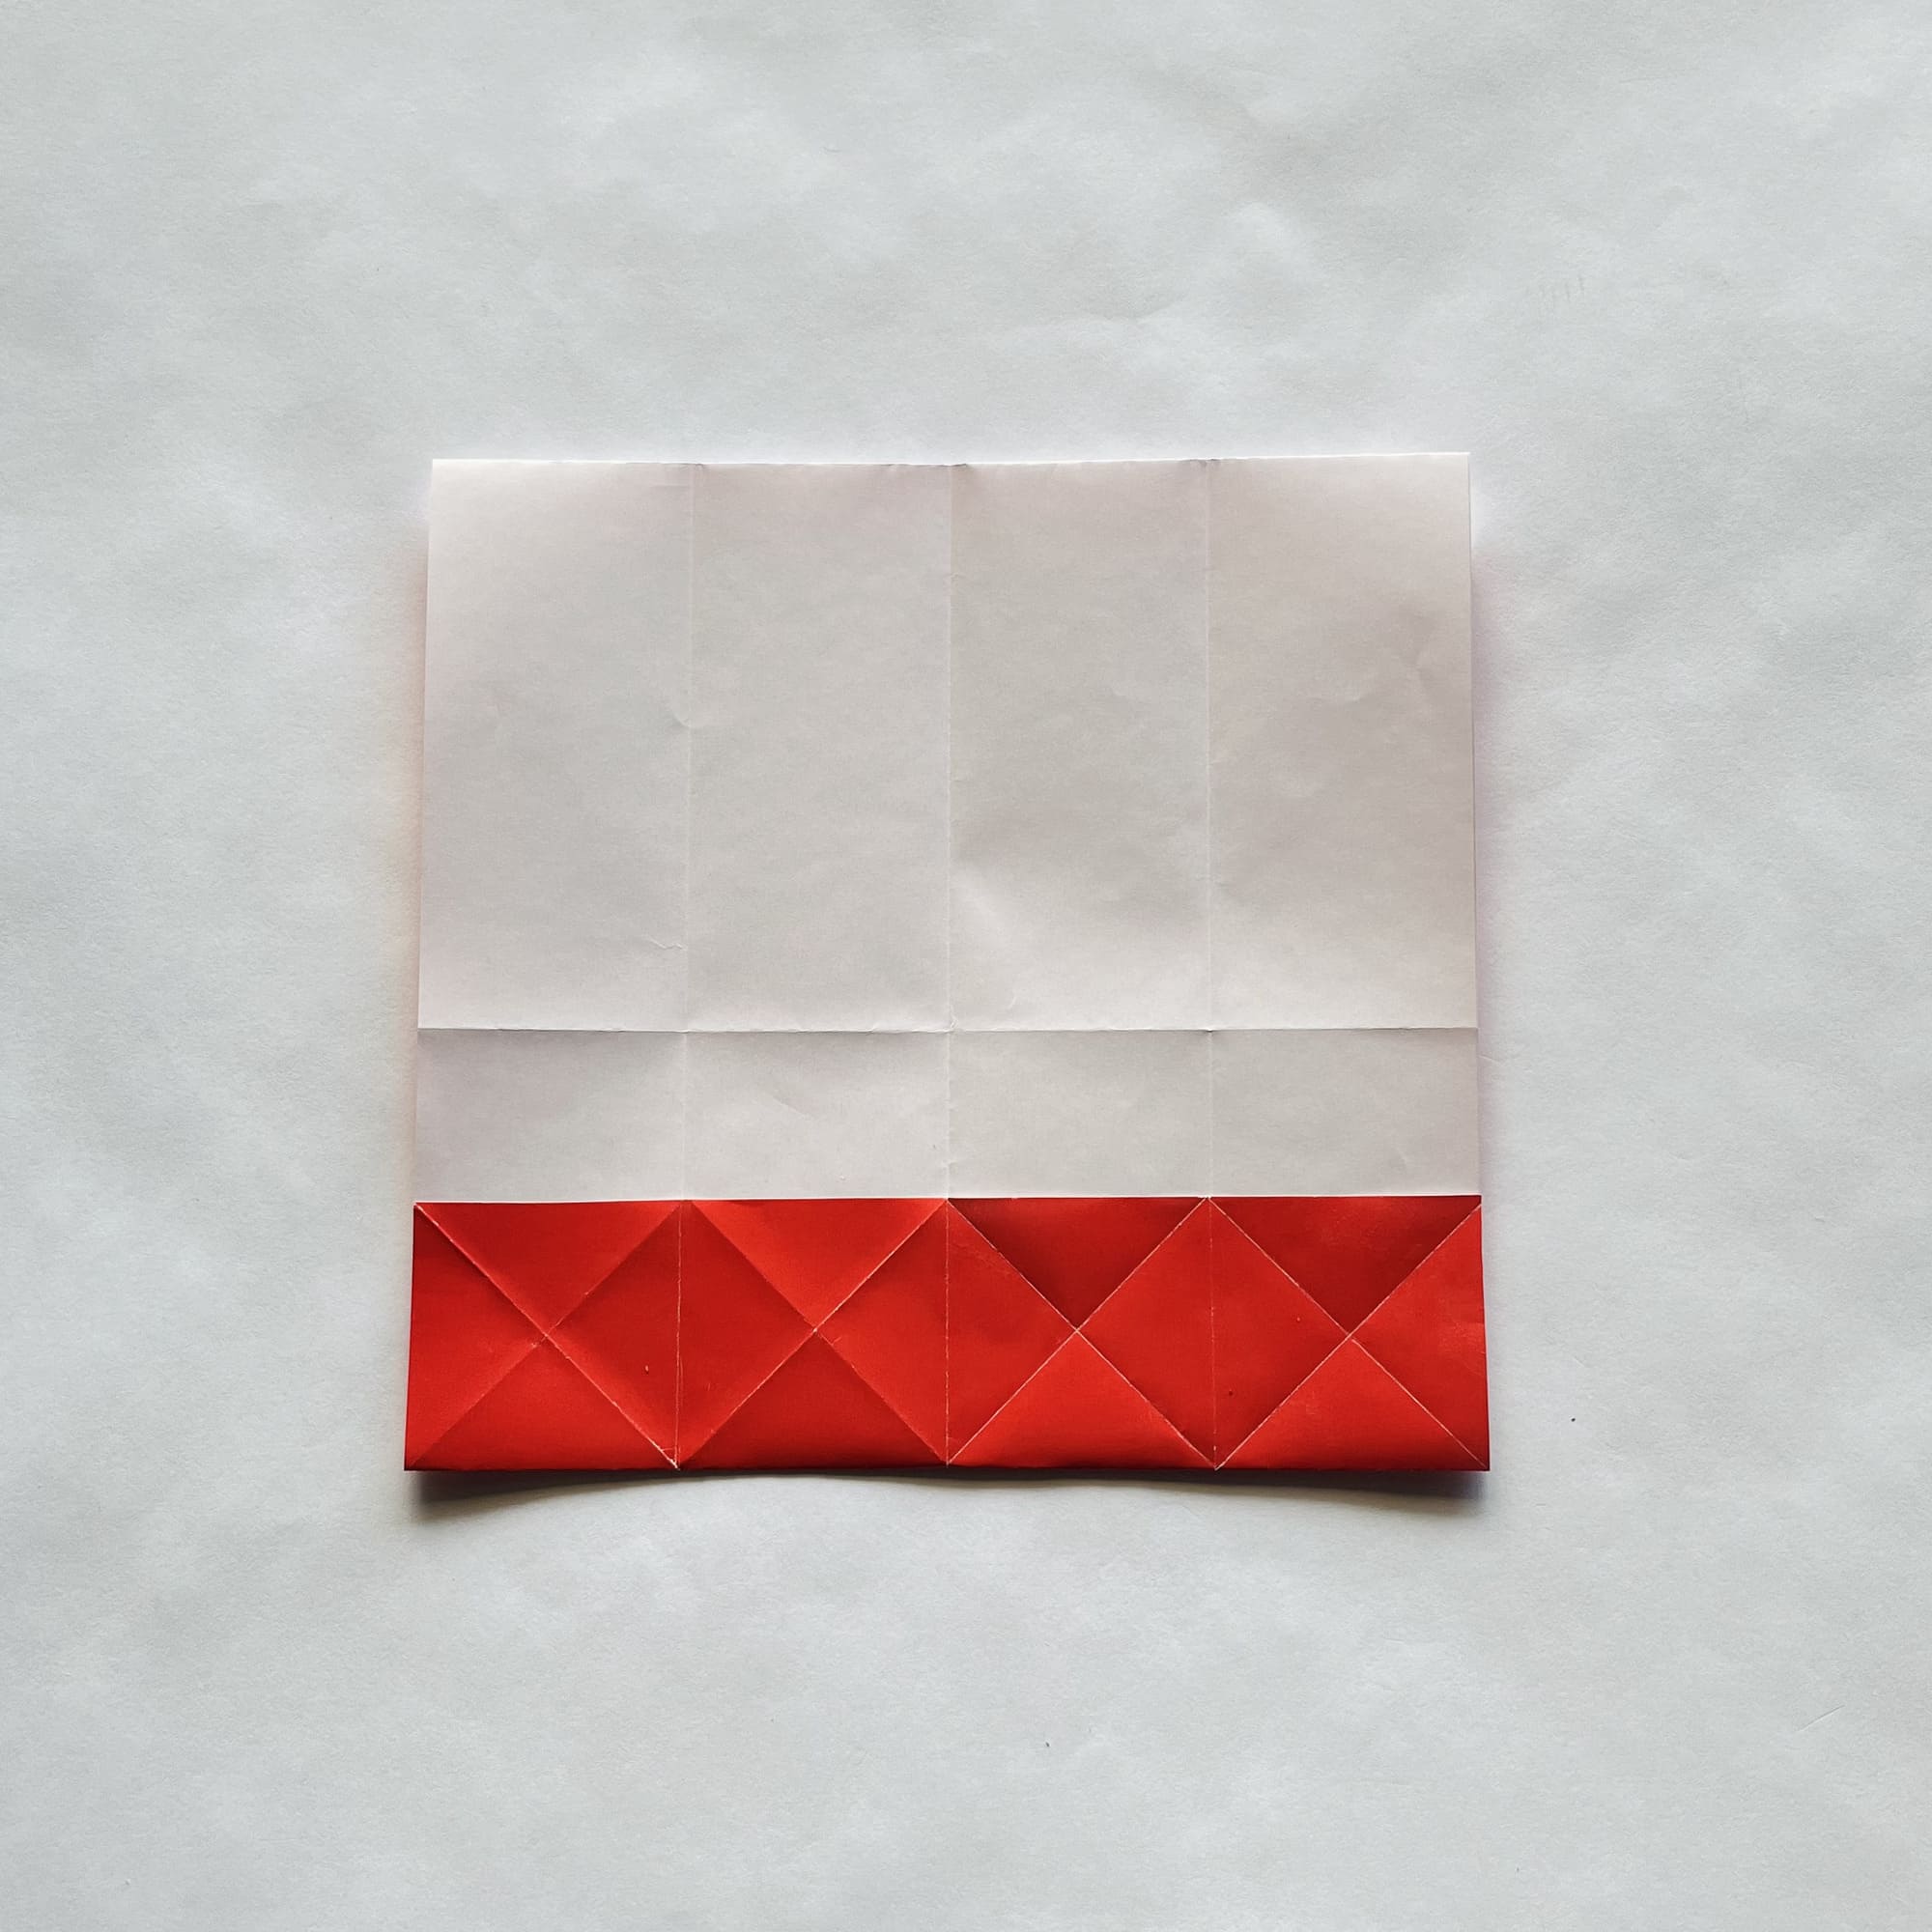
Alternately fold the top and bottom edges to the midline and unfold.


Fold the paper in half along the horizontal axis.

Rotate the paper 90 degrees counterclockwise.

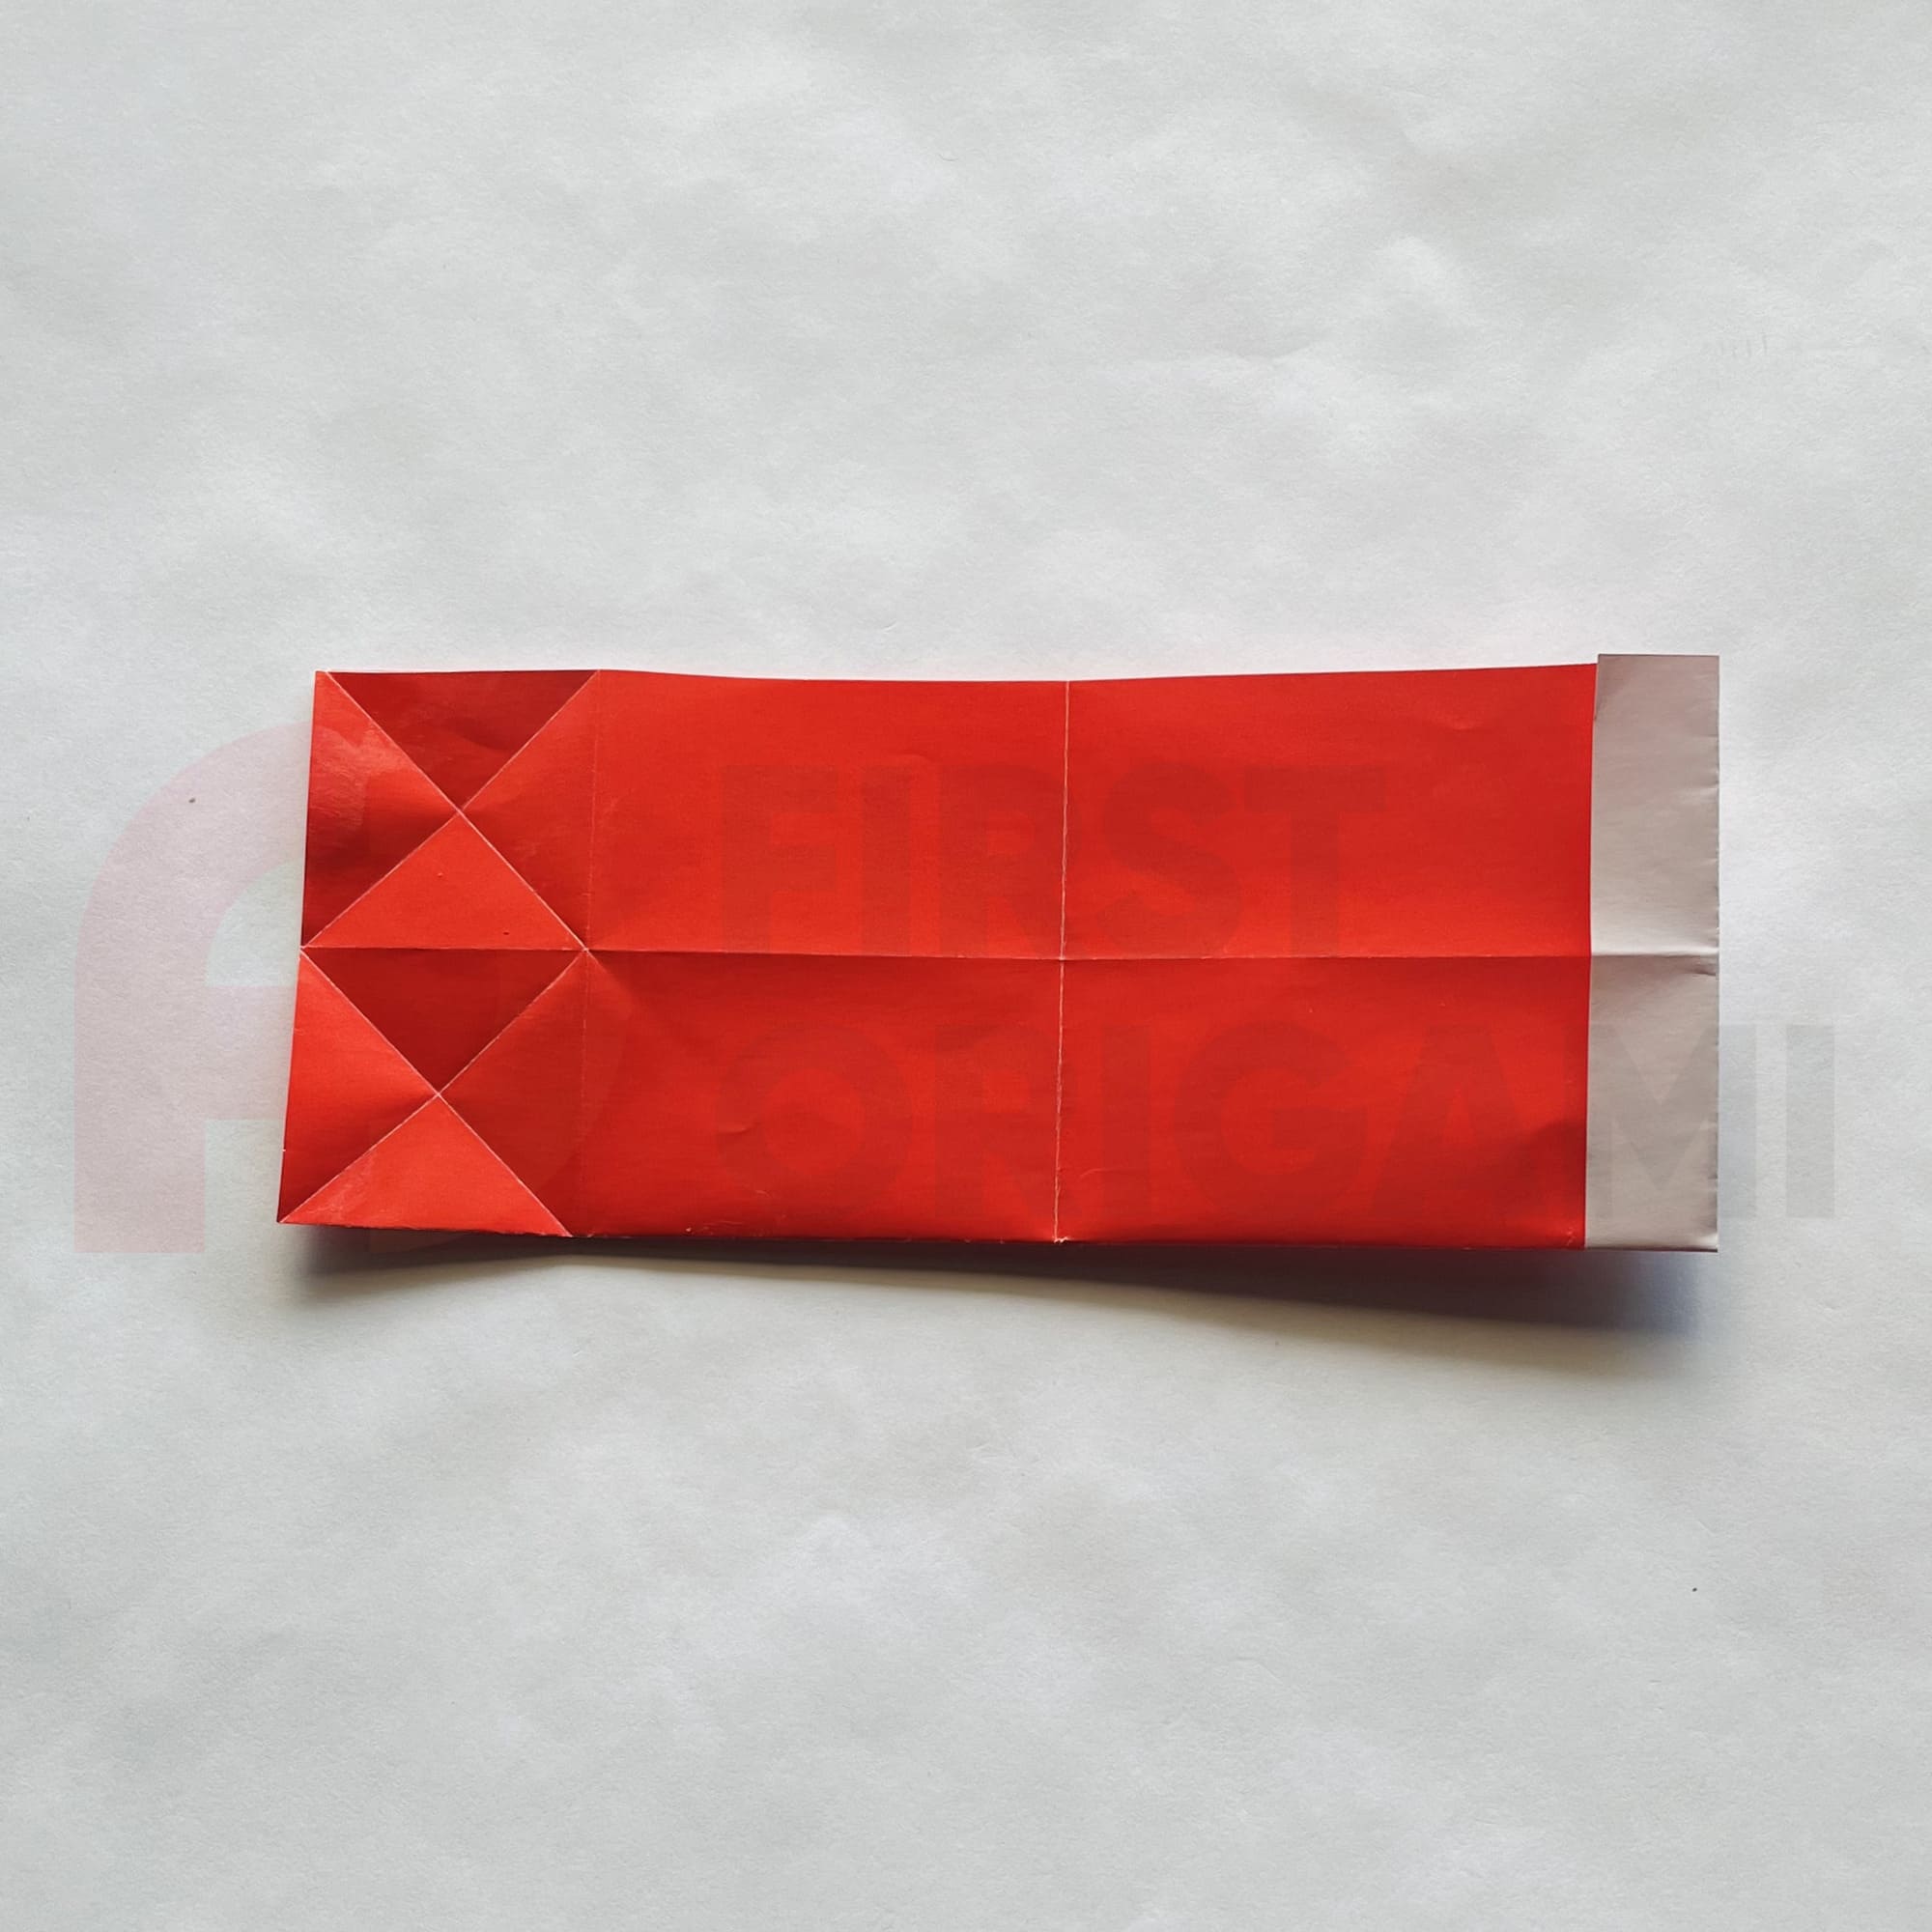
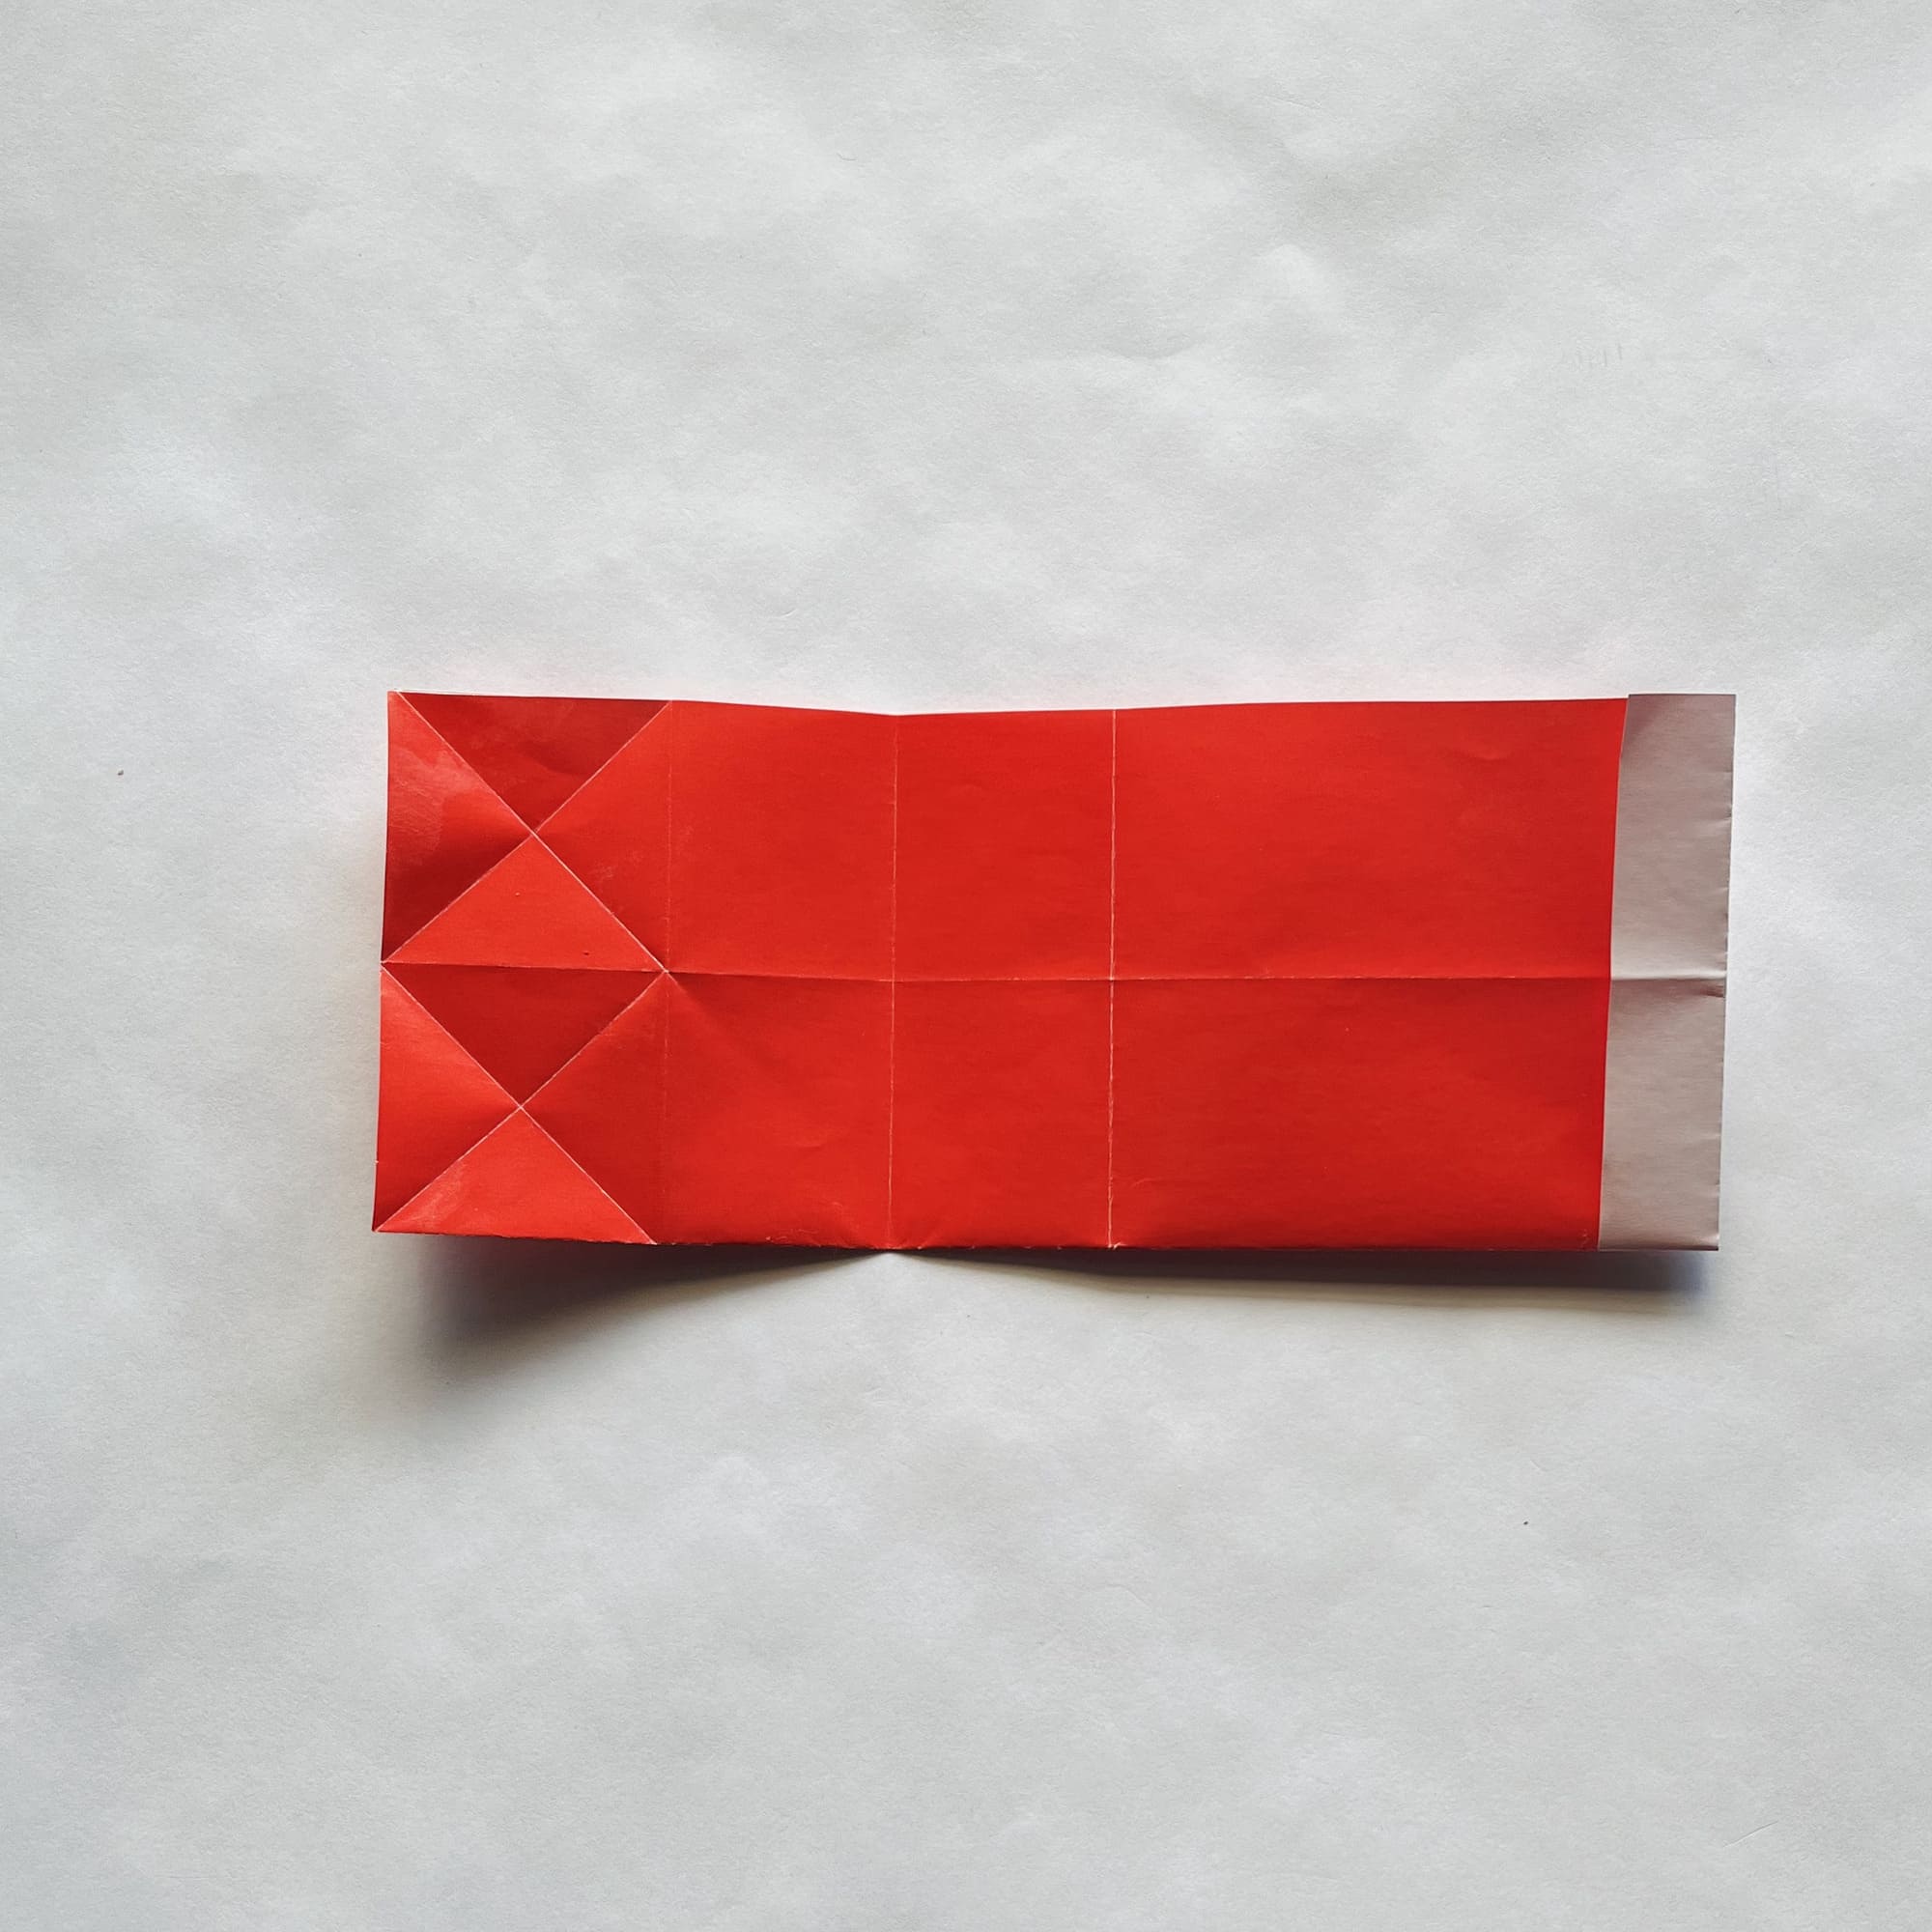
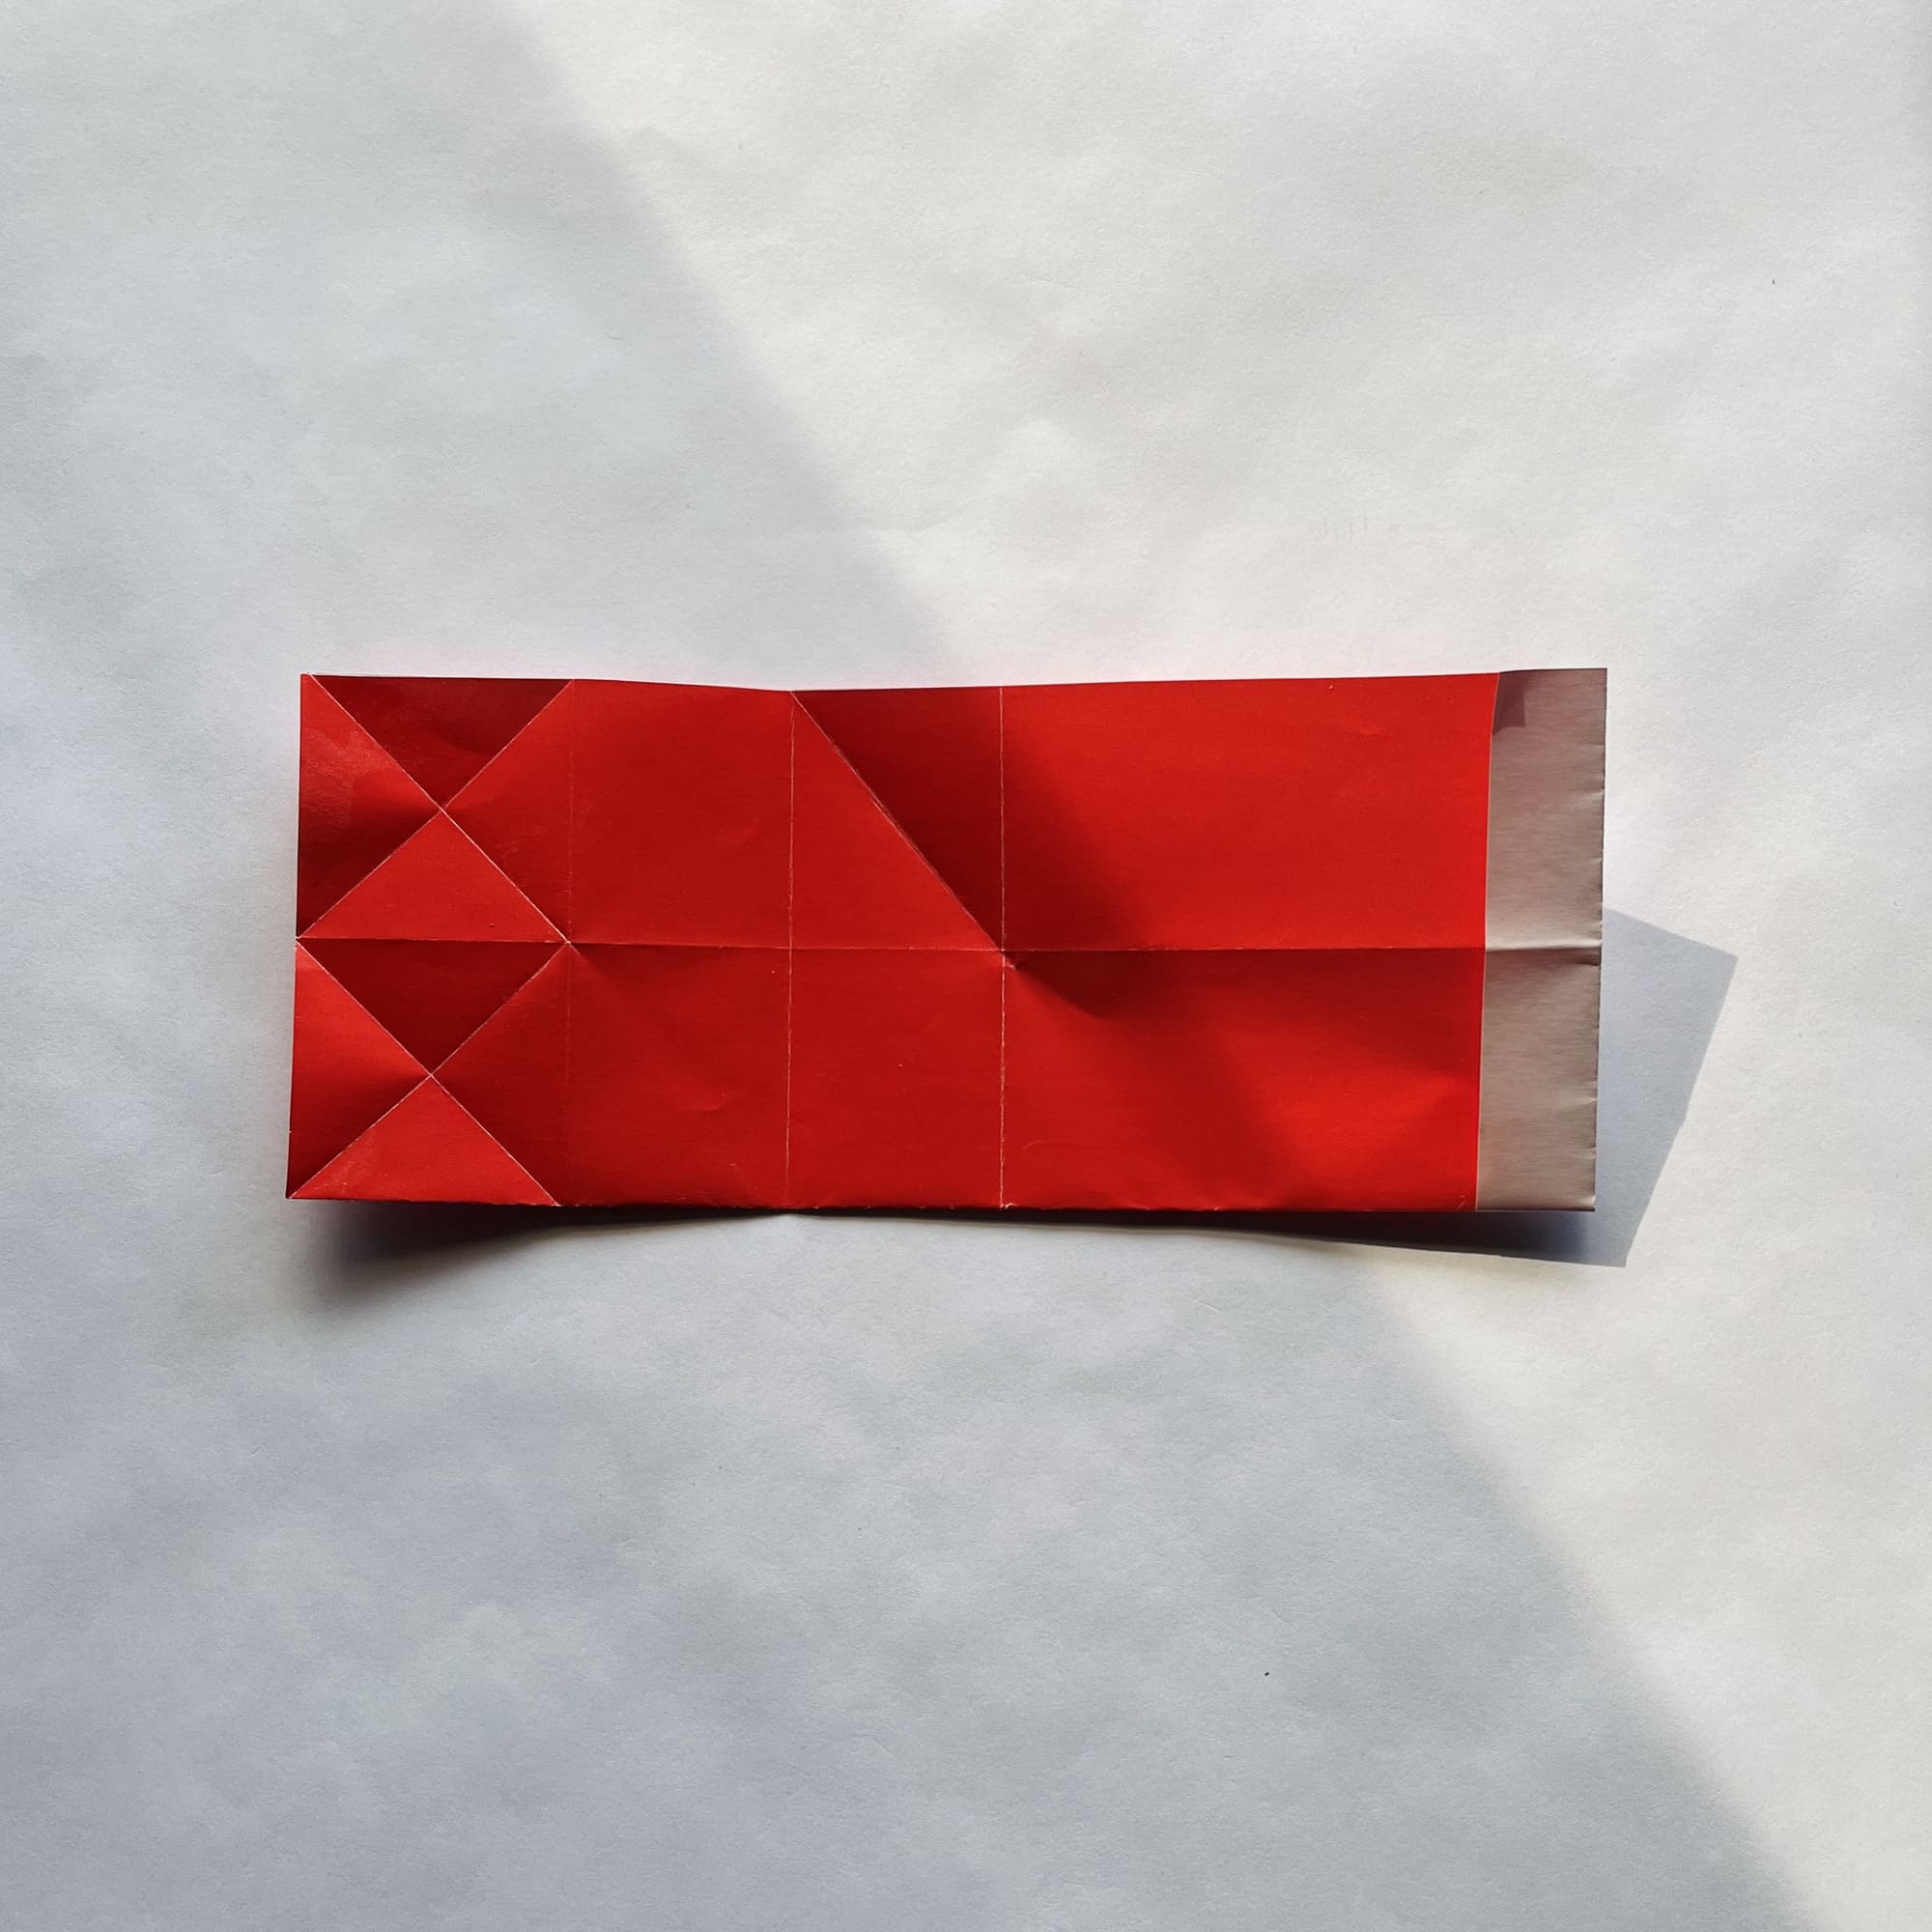
Fold both lower corners symmetrically to the center line, crease the folds, and unfold.


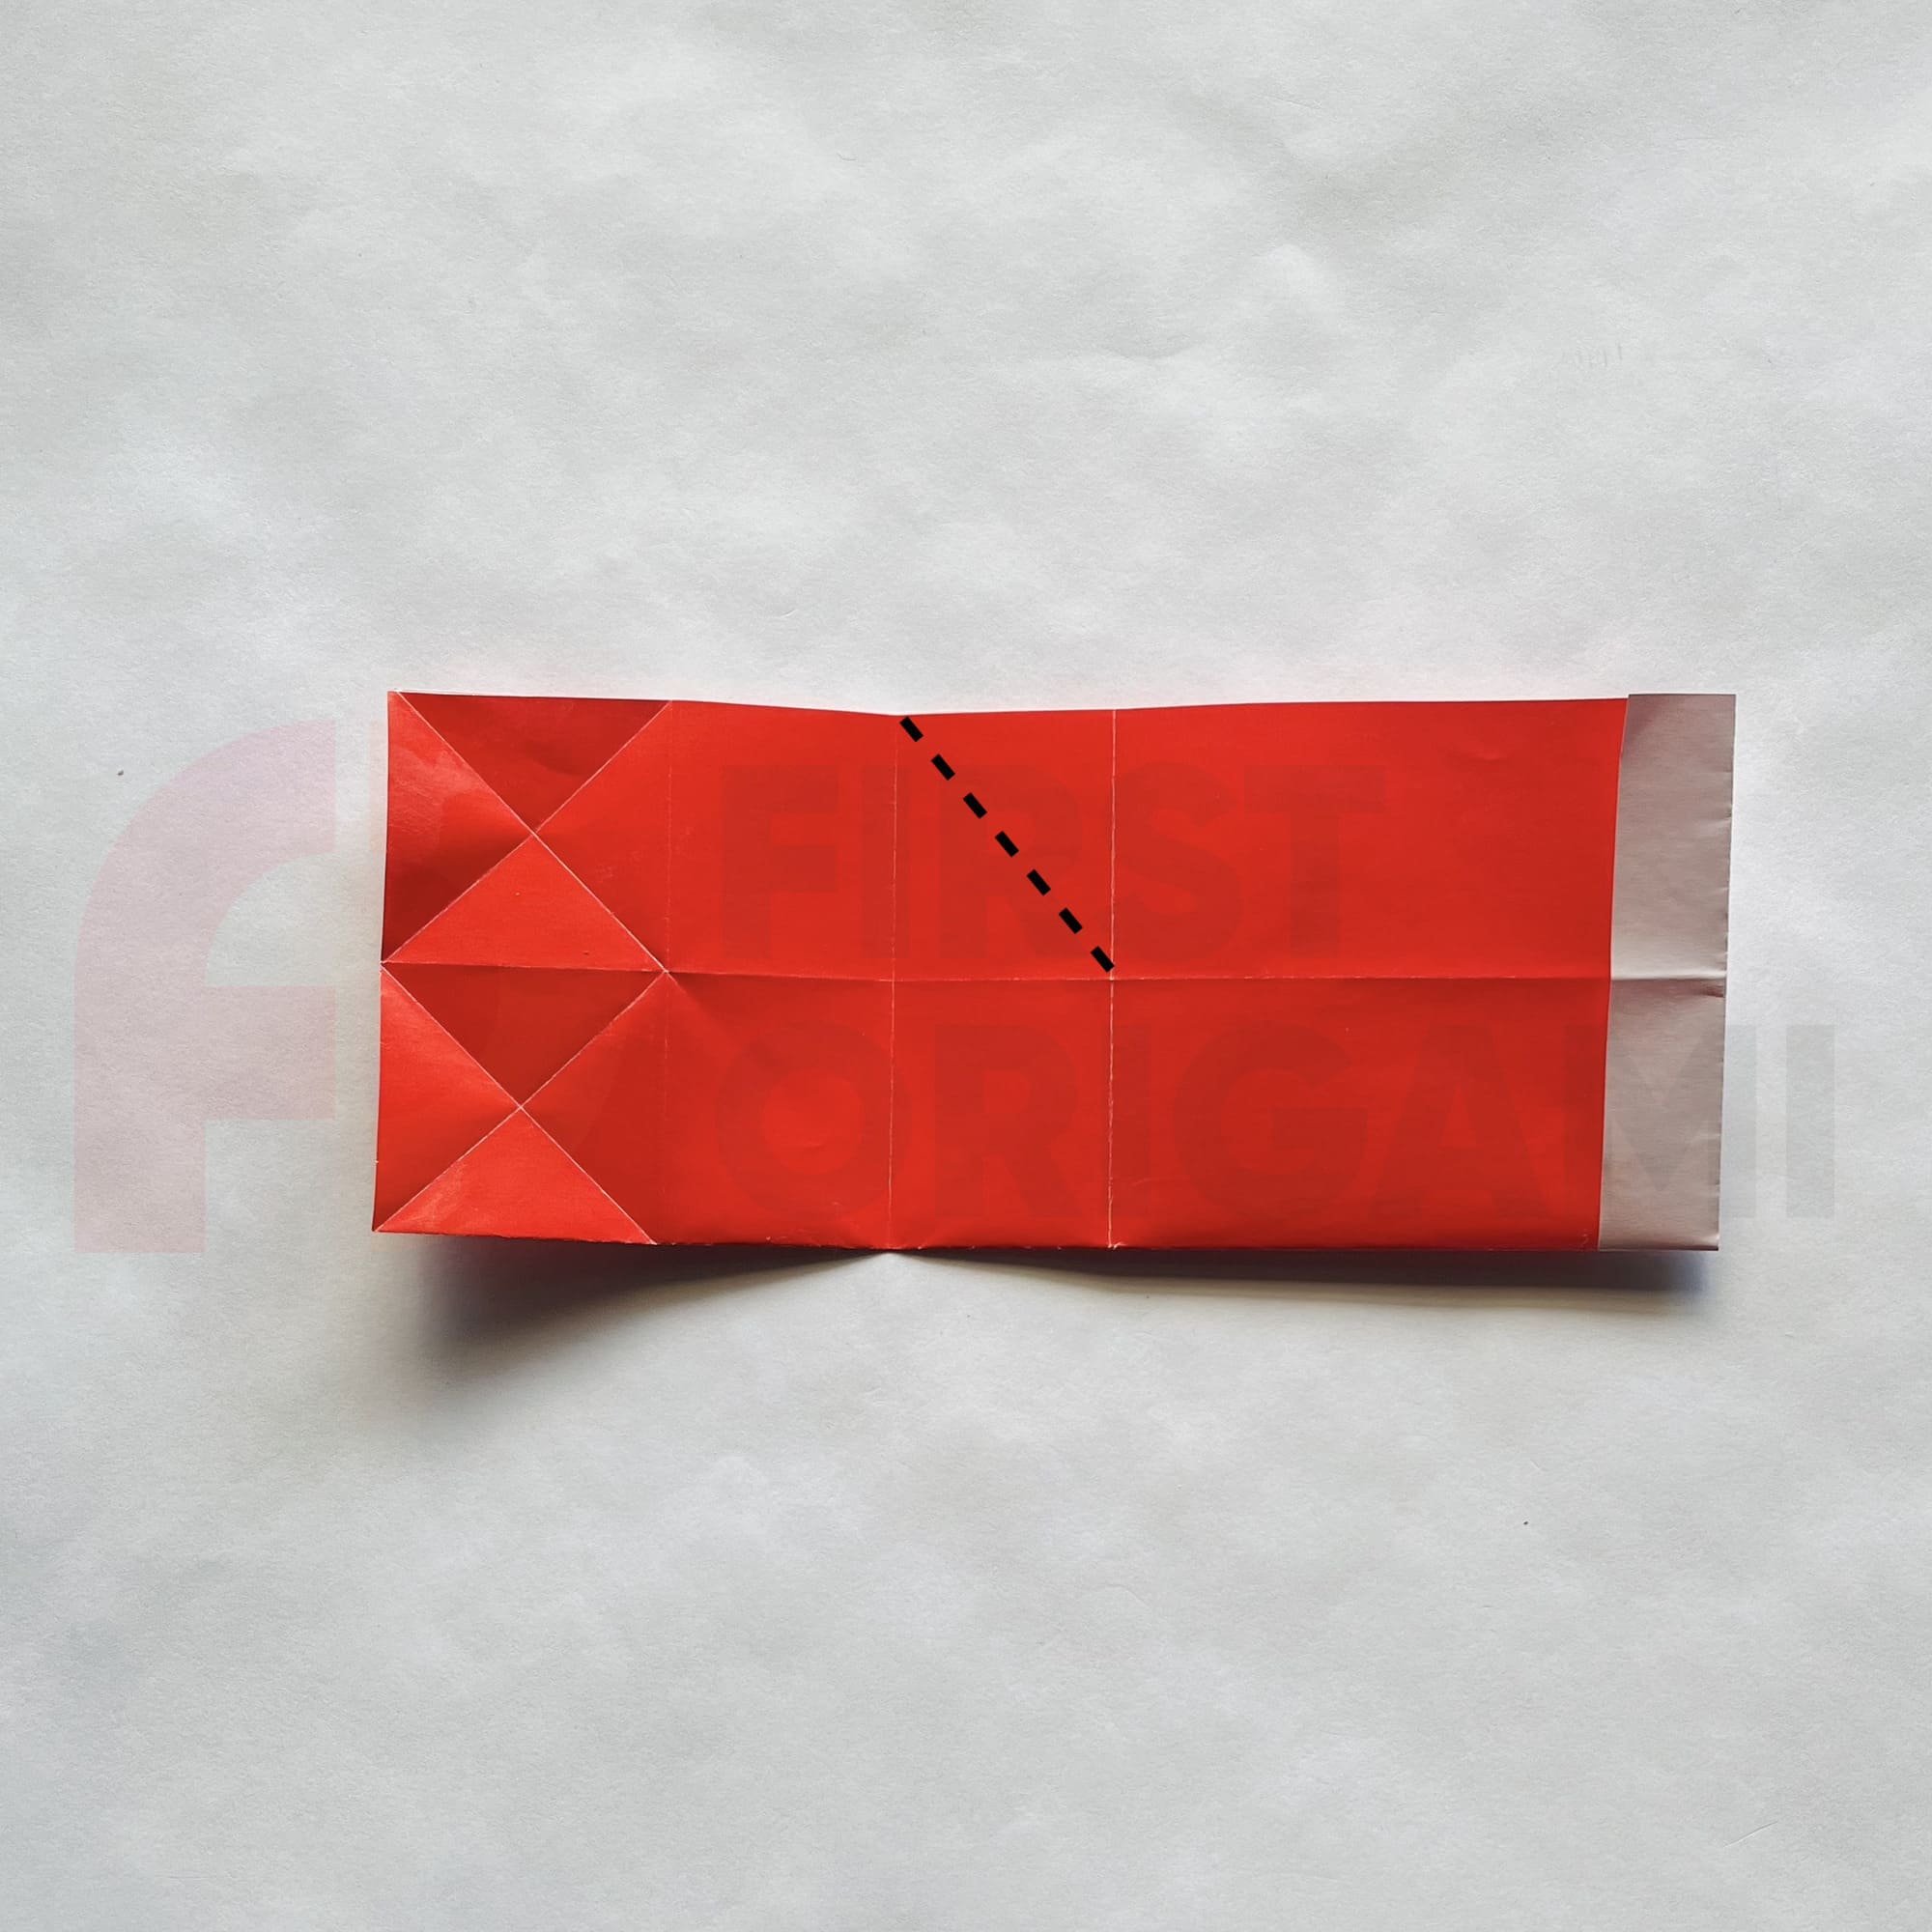
Now, fold the lower right corner to the left edge, but crease the fold only where indicated by the dotted line.


Similarly, fold the lower left corner to the right edge, creasing the fold only at the indicated interval.


Turn the paper white side up, fold the bottom edge inward along the dotted line, and then unfold.

Fold the paper in half and place it horizontally: the fold should be on top.

Fold the paper, connecting the points indicated by the arrows.

Crease the fold and unfold.
Fold the paper slightly and mark the fold along the dotted line.

Unfold the paper and place the colored side up.

Fold the sides back. Next, you proceed to the most difficult part, so it is better to use video instructions.

Focusing on the V-shaped bend in the center, fold the paper so that it forms two volumetric parts in the shape of the letter “L”.


Turning to the white top, insert one edge into the other.


Now, let’s do the front part.

Fold the outer corner of the inner layer inward.


Bend the outer layer slightly to improve visibility.


Fold the right side of the inner layer inward, focusing on the folds. You should get a miniature cone. If you have any problems, refer to the instructions in the video.

Now, press the left side into the cone, folding the bottom corner and making it flat.


Tuck the protruding corner into the pocket, as shown in the photo.


Congratulations! Your voluminous Christmas paper boot is ready!
If you reached the end of the instructions and everything worked out for you, then you can rightfully consider yourself a confident origami master!


