Origami Sea Glider Airplane
A small and light airplane assembles quickly and flies well. Thanks to its unusual shape, it will successfully complement your collection of paper aircraft. You can organize real aerial competitions. We are sure you would like to see if your “Sea Glider” can win in distance, speed, or number of turns.
To check this, you first need to assemble the first model following the simple step-by-step instructions. This model does not require much, so you only need thick paper and scissors. Let’s get started!
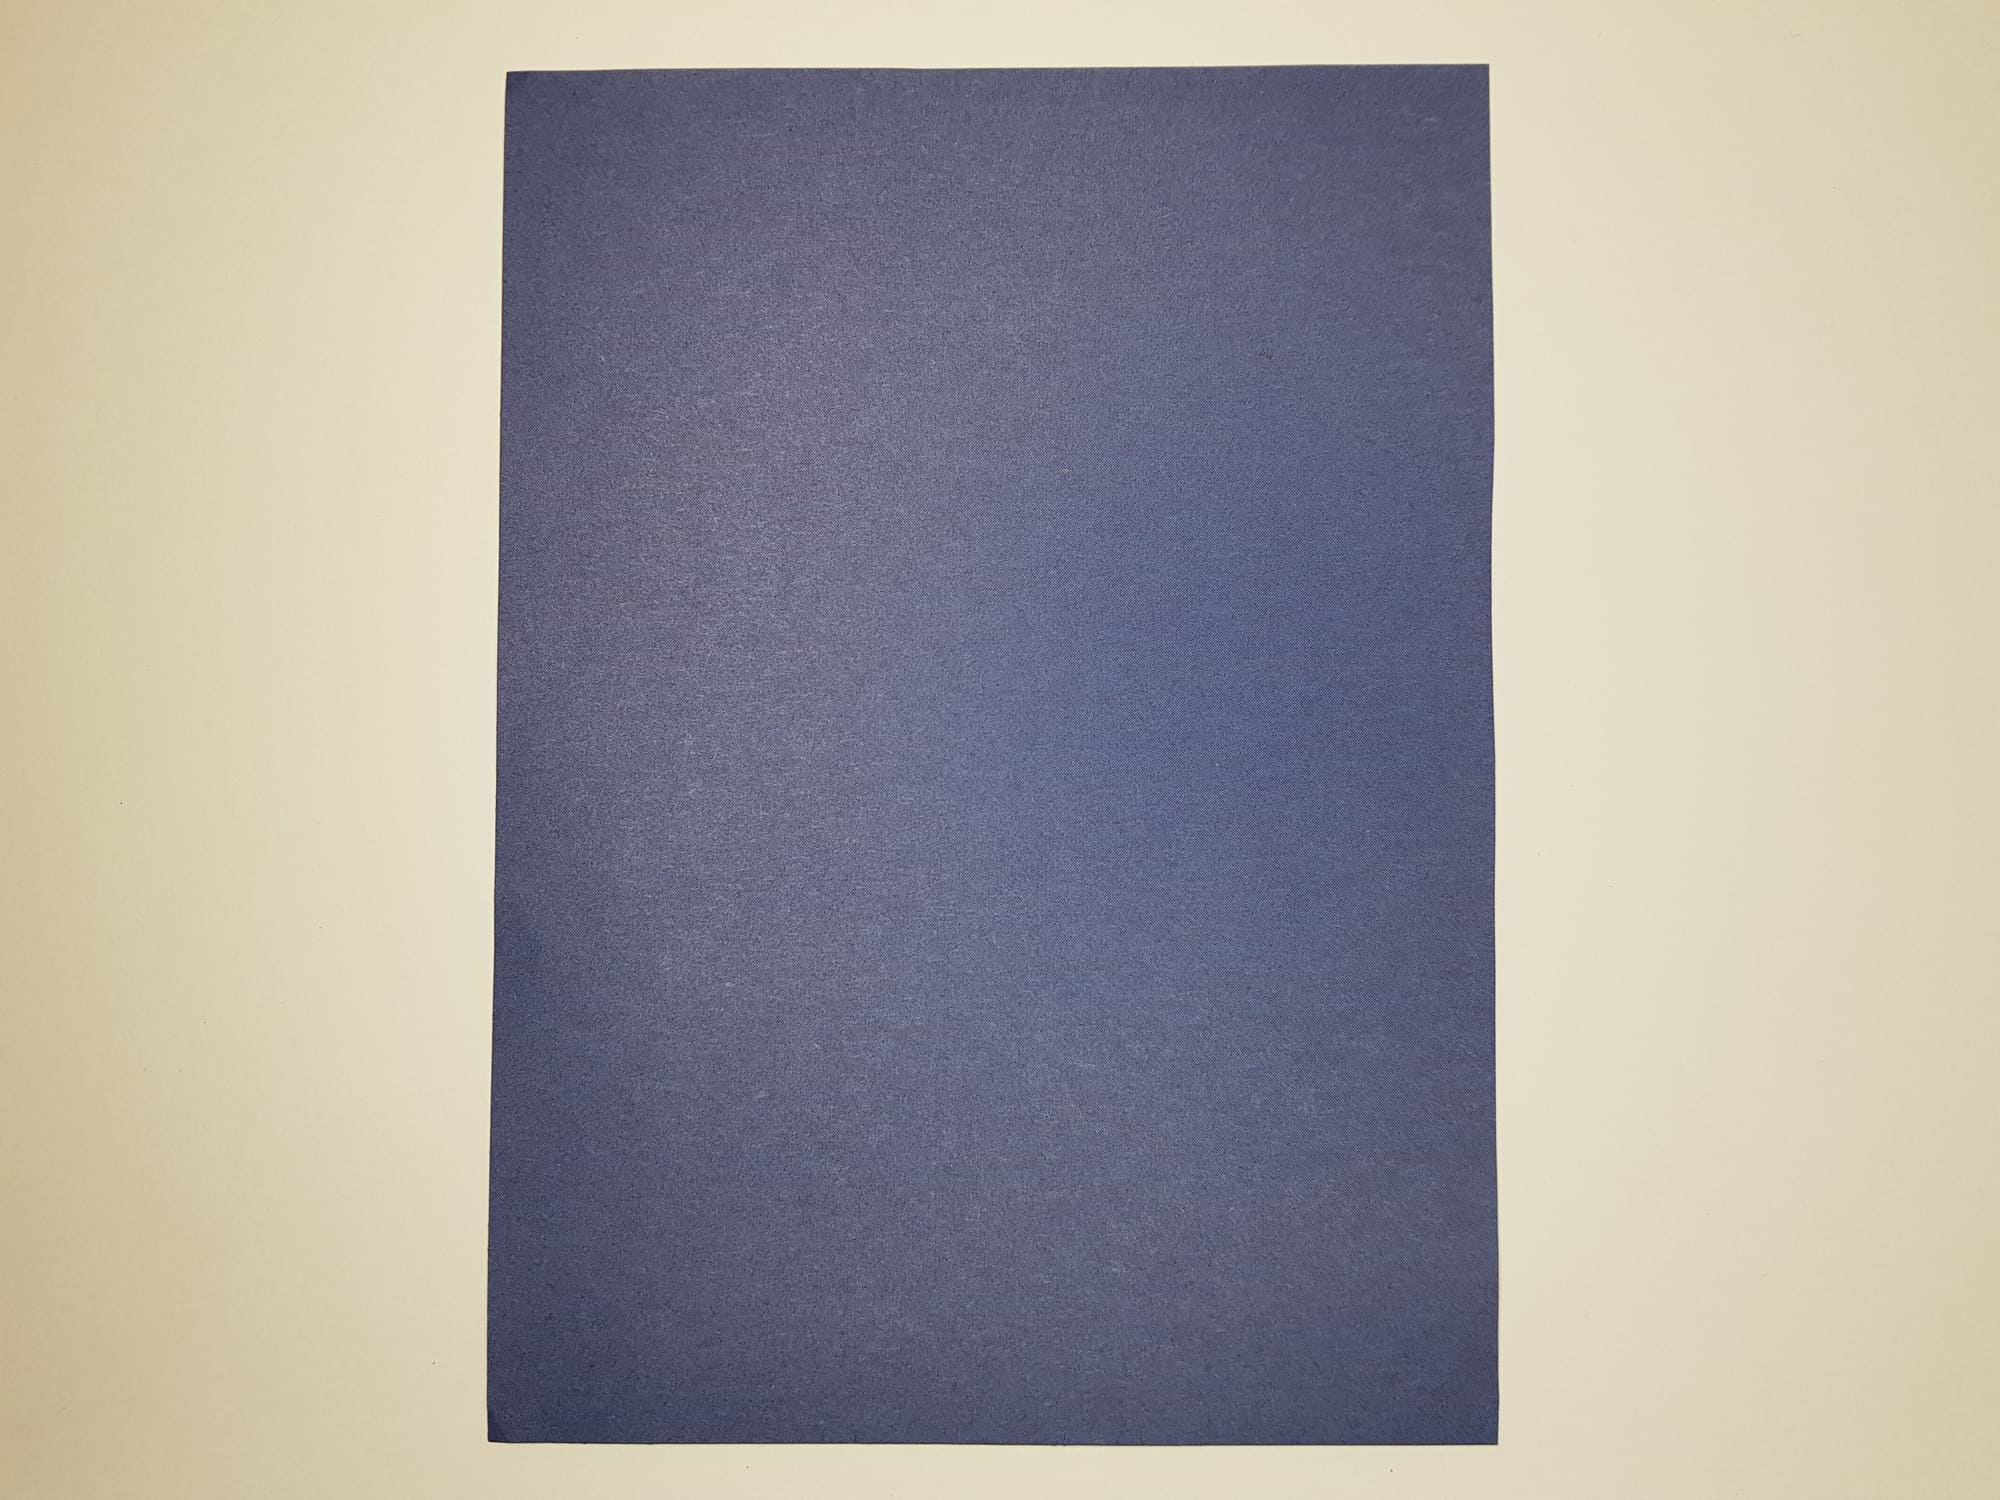
Take a sheet of A4 or other size with approximately the same aspect ratio.
Fold the top right corner toward the left side and press the fold.
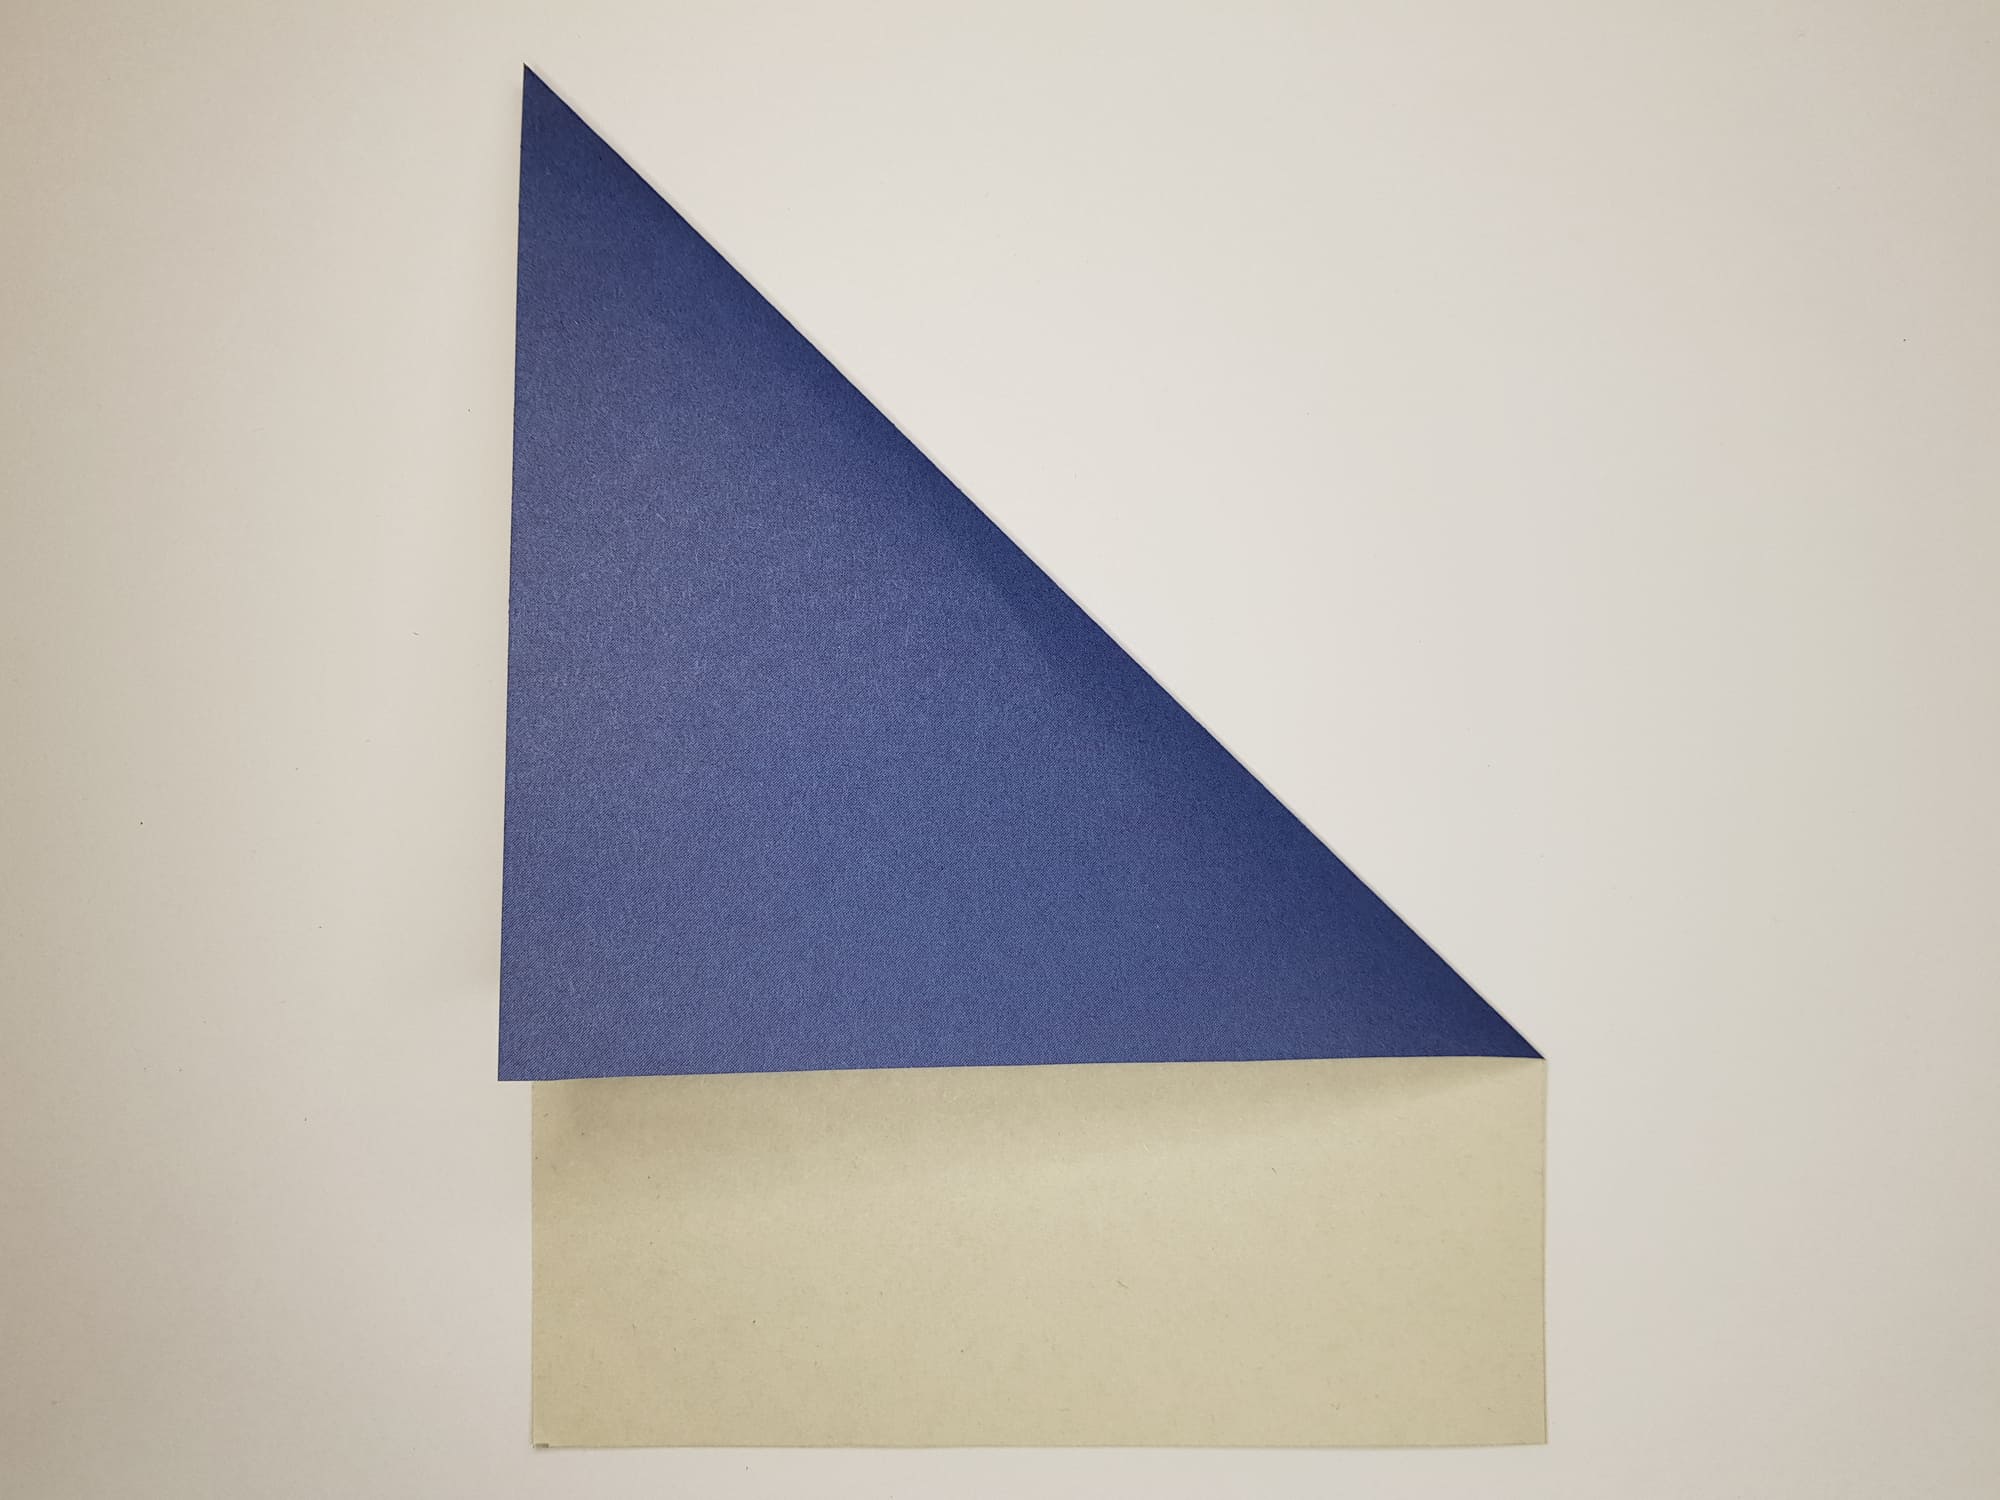
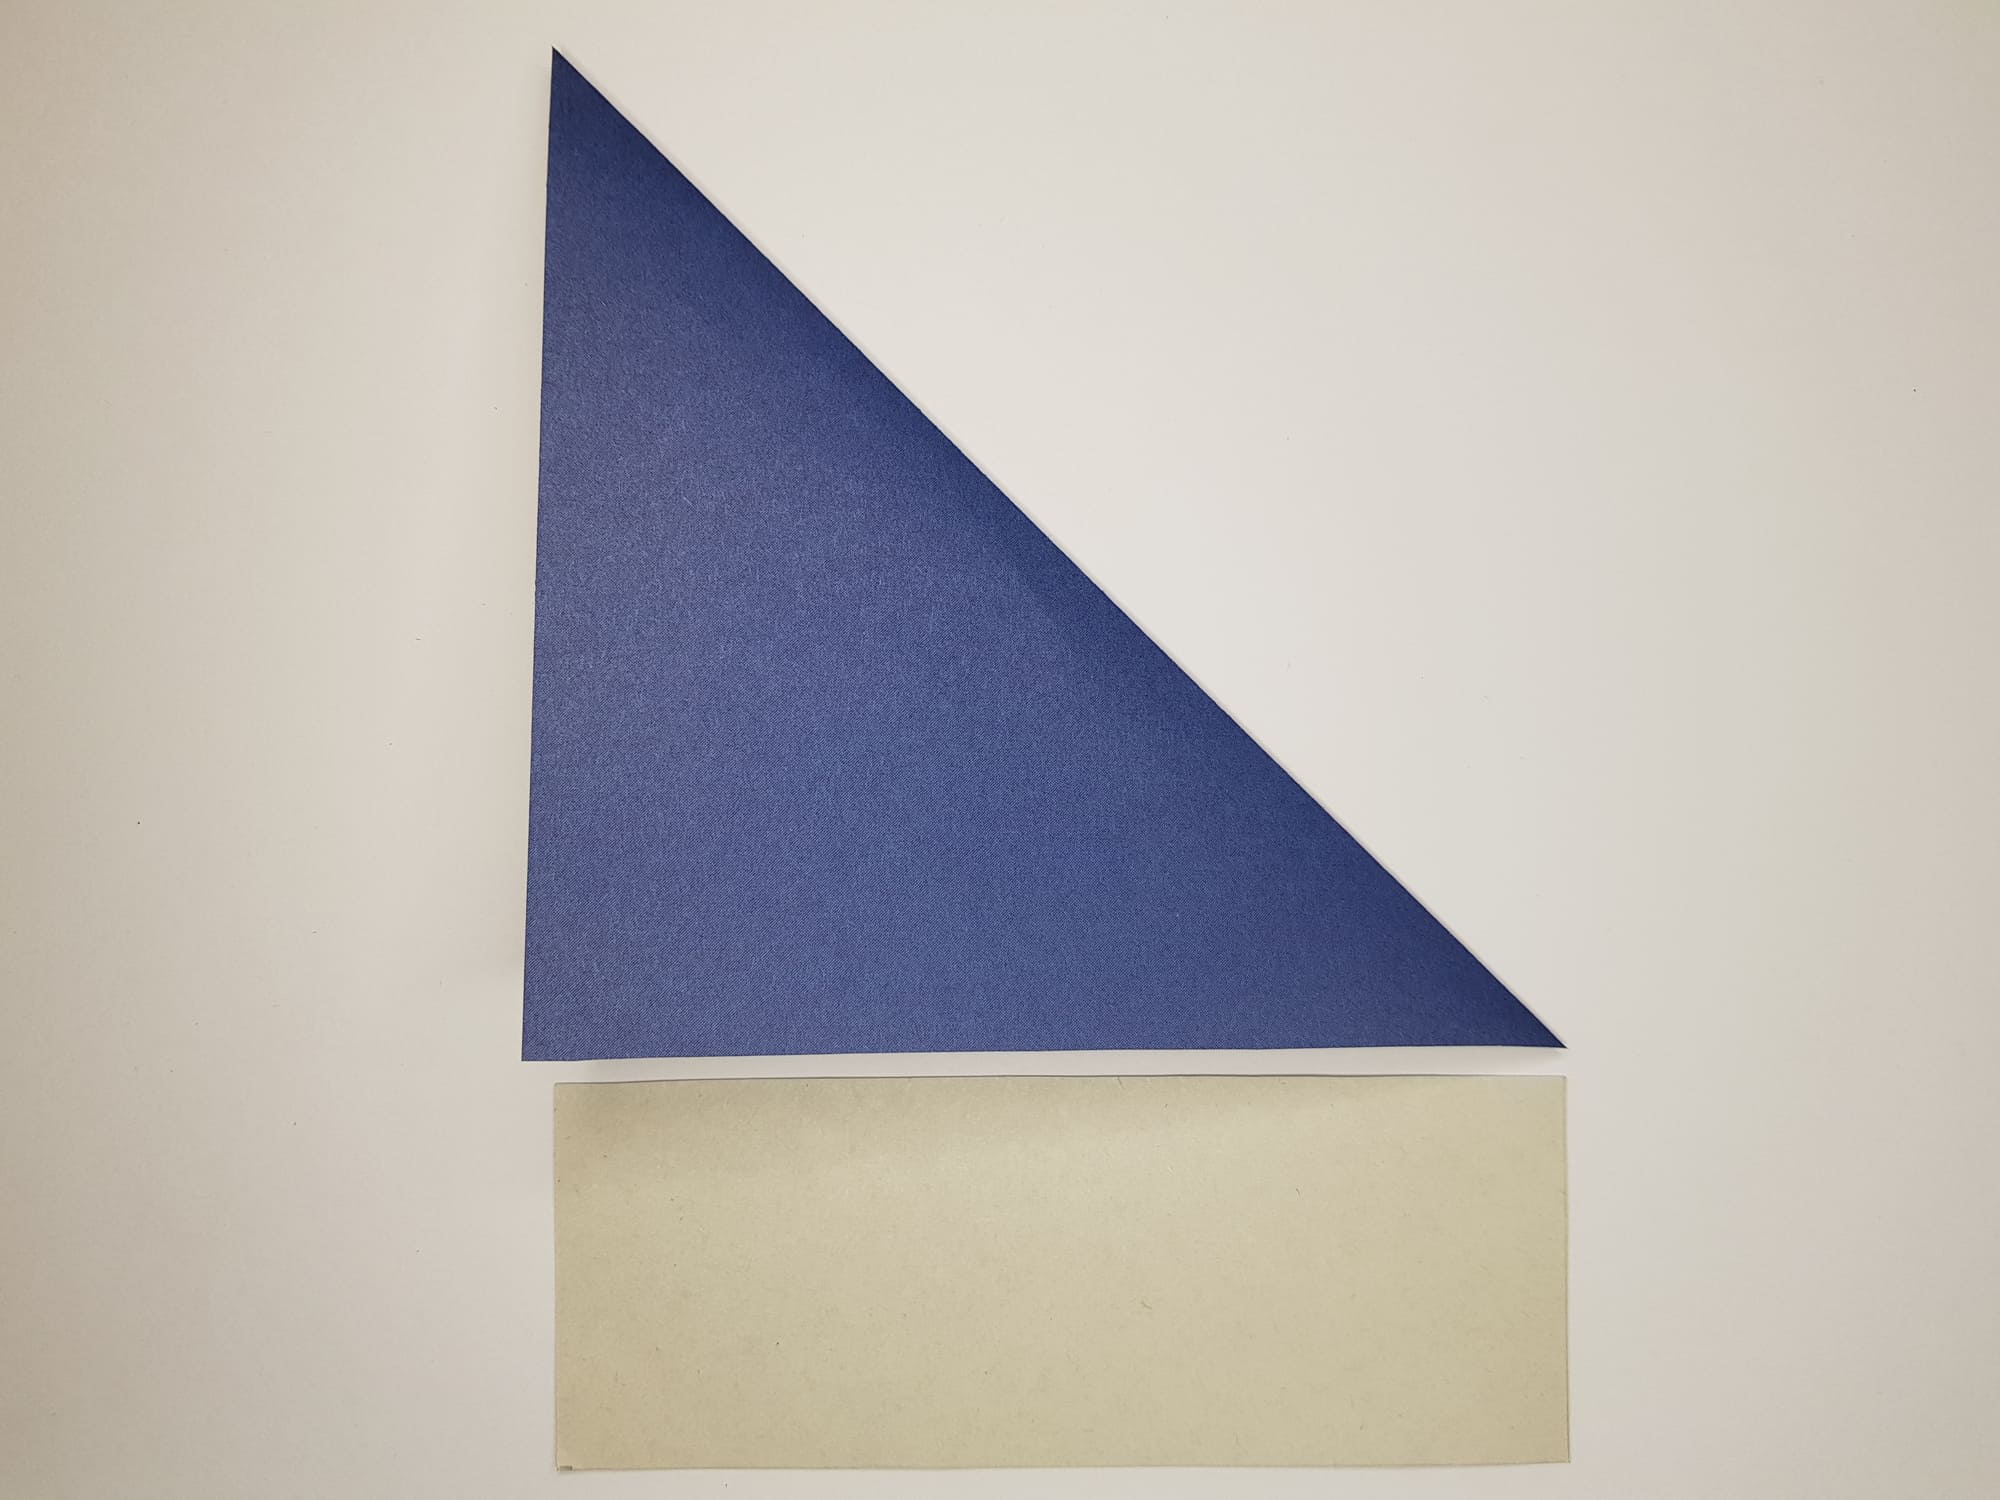
Use scissors to cut off the bottom of the paper and create a neat, folded square.
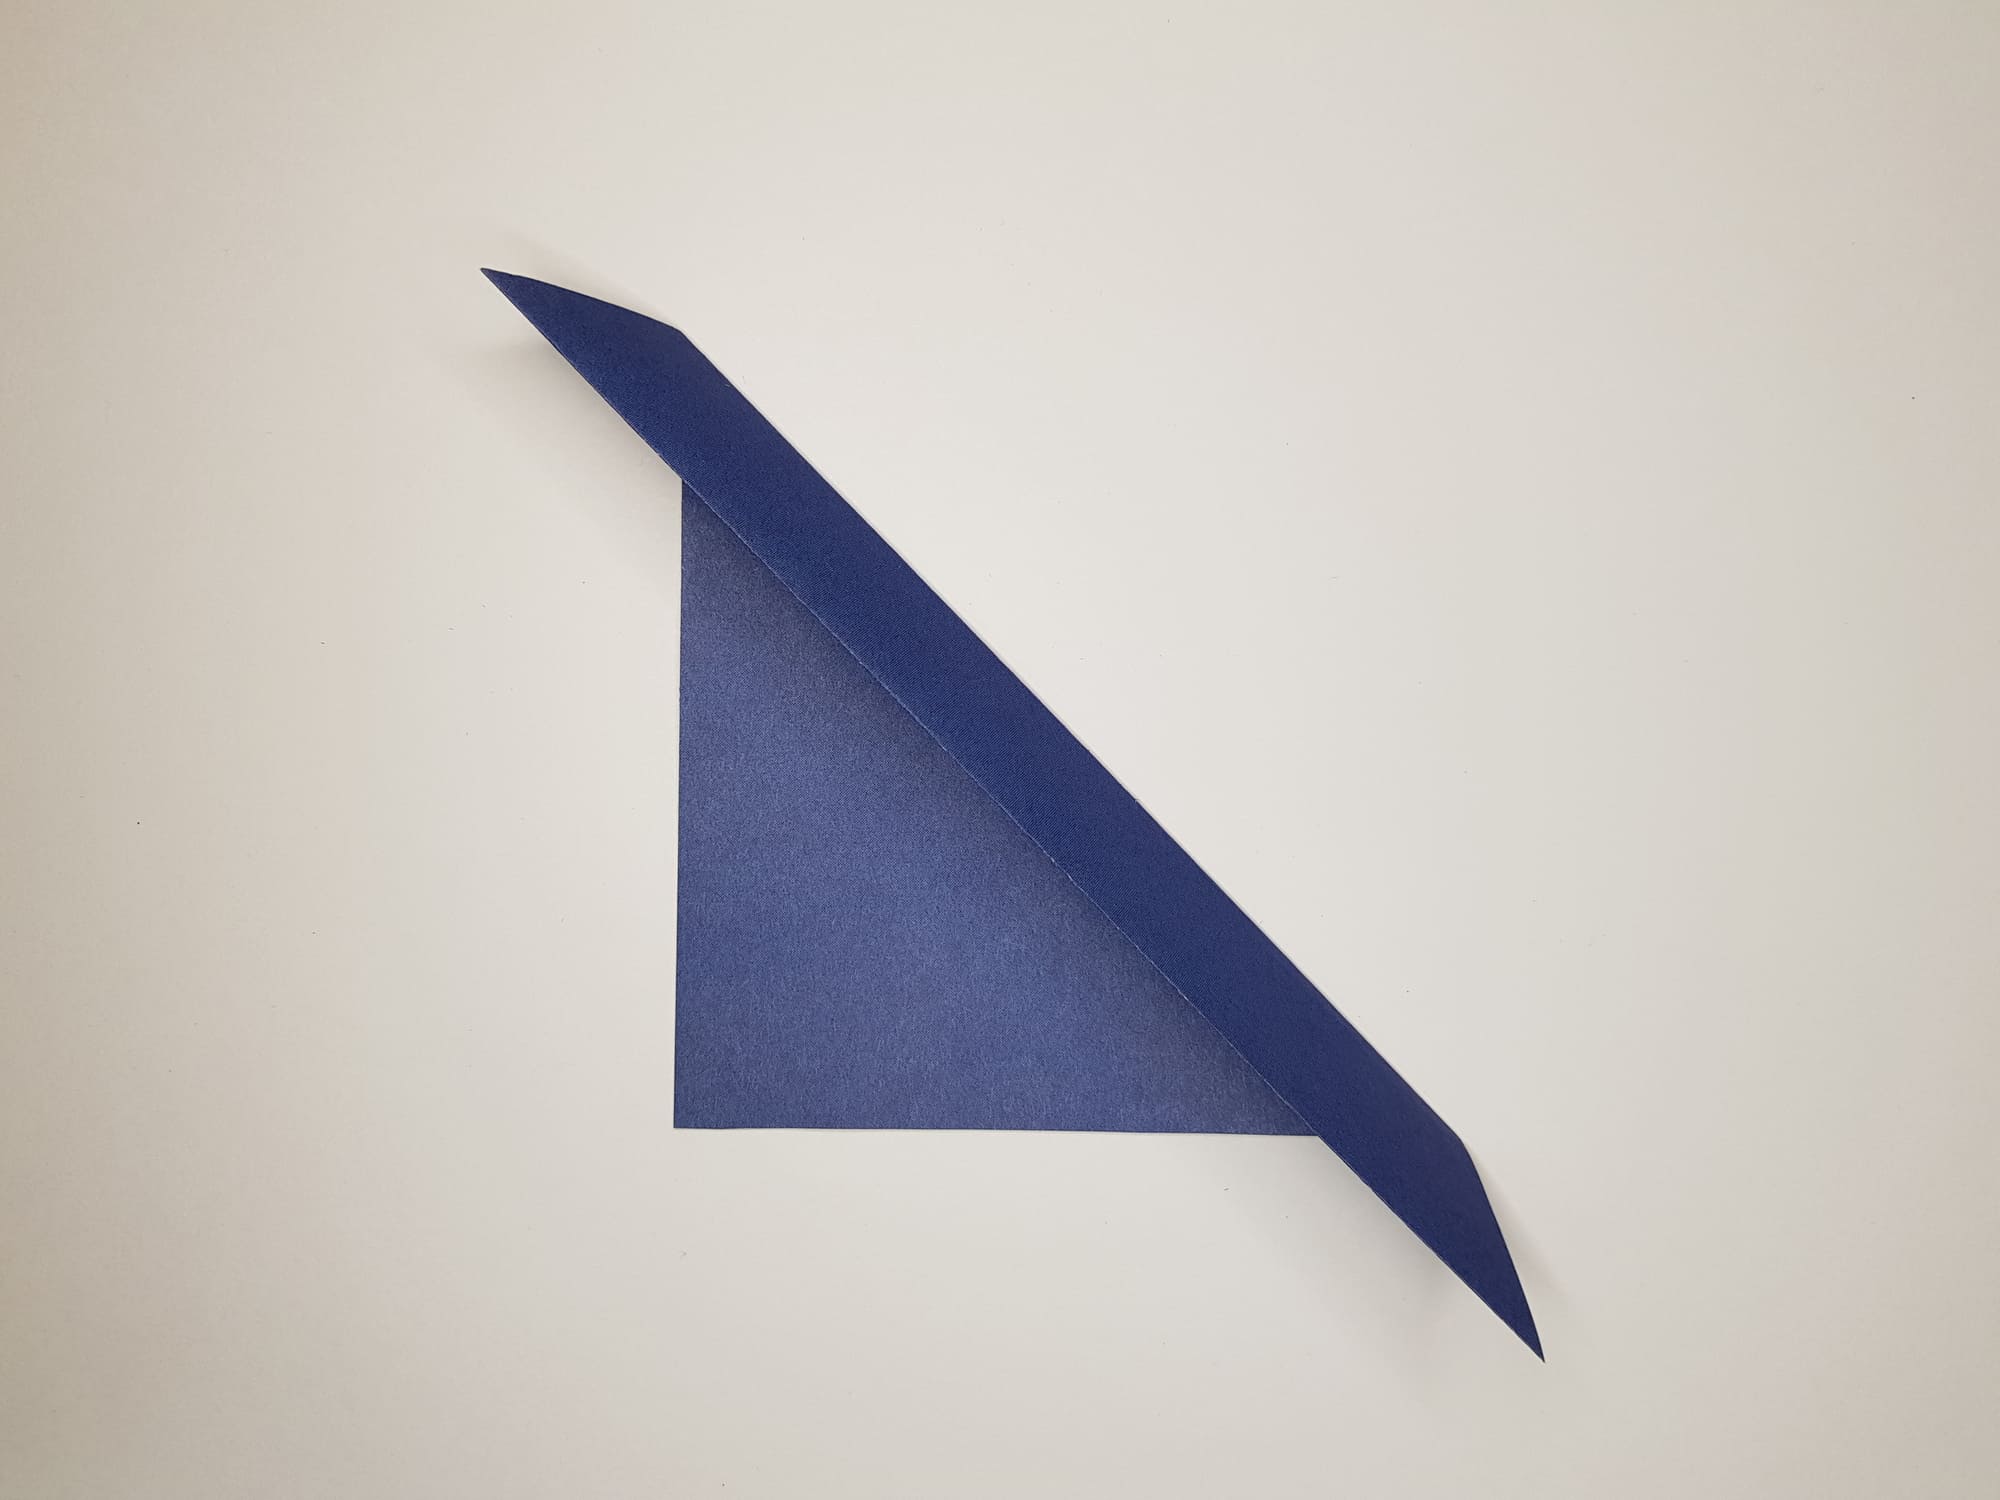
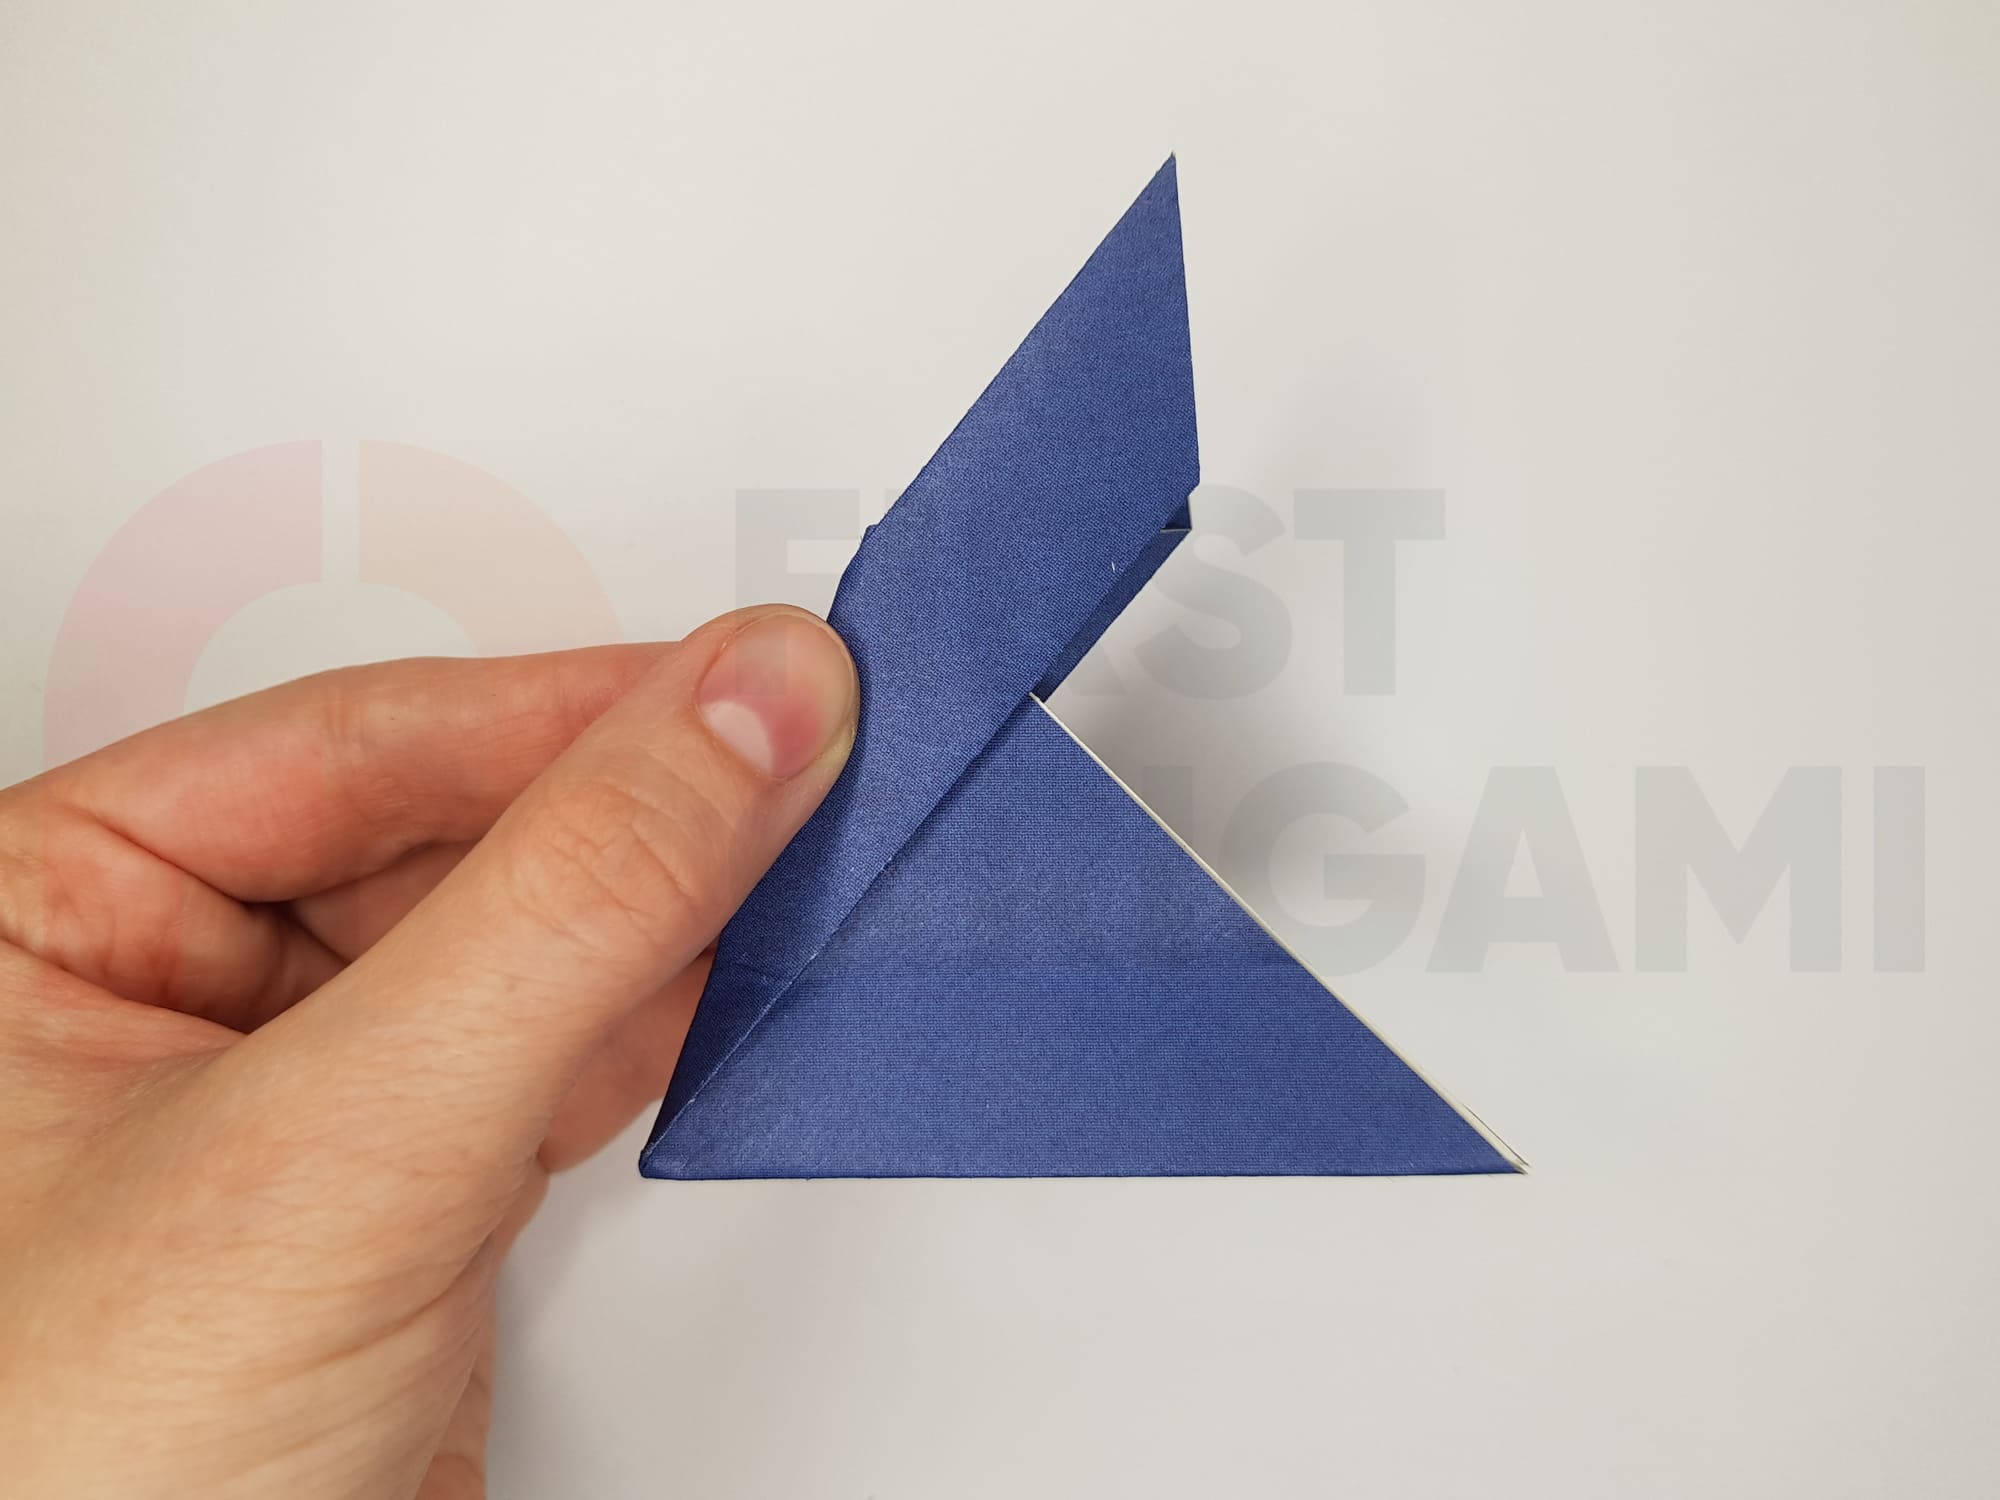
Step away approximately 2 cm from the edge of the triangle and bend the paper towards you, as shown in the photo.
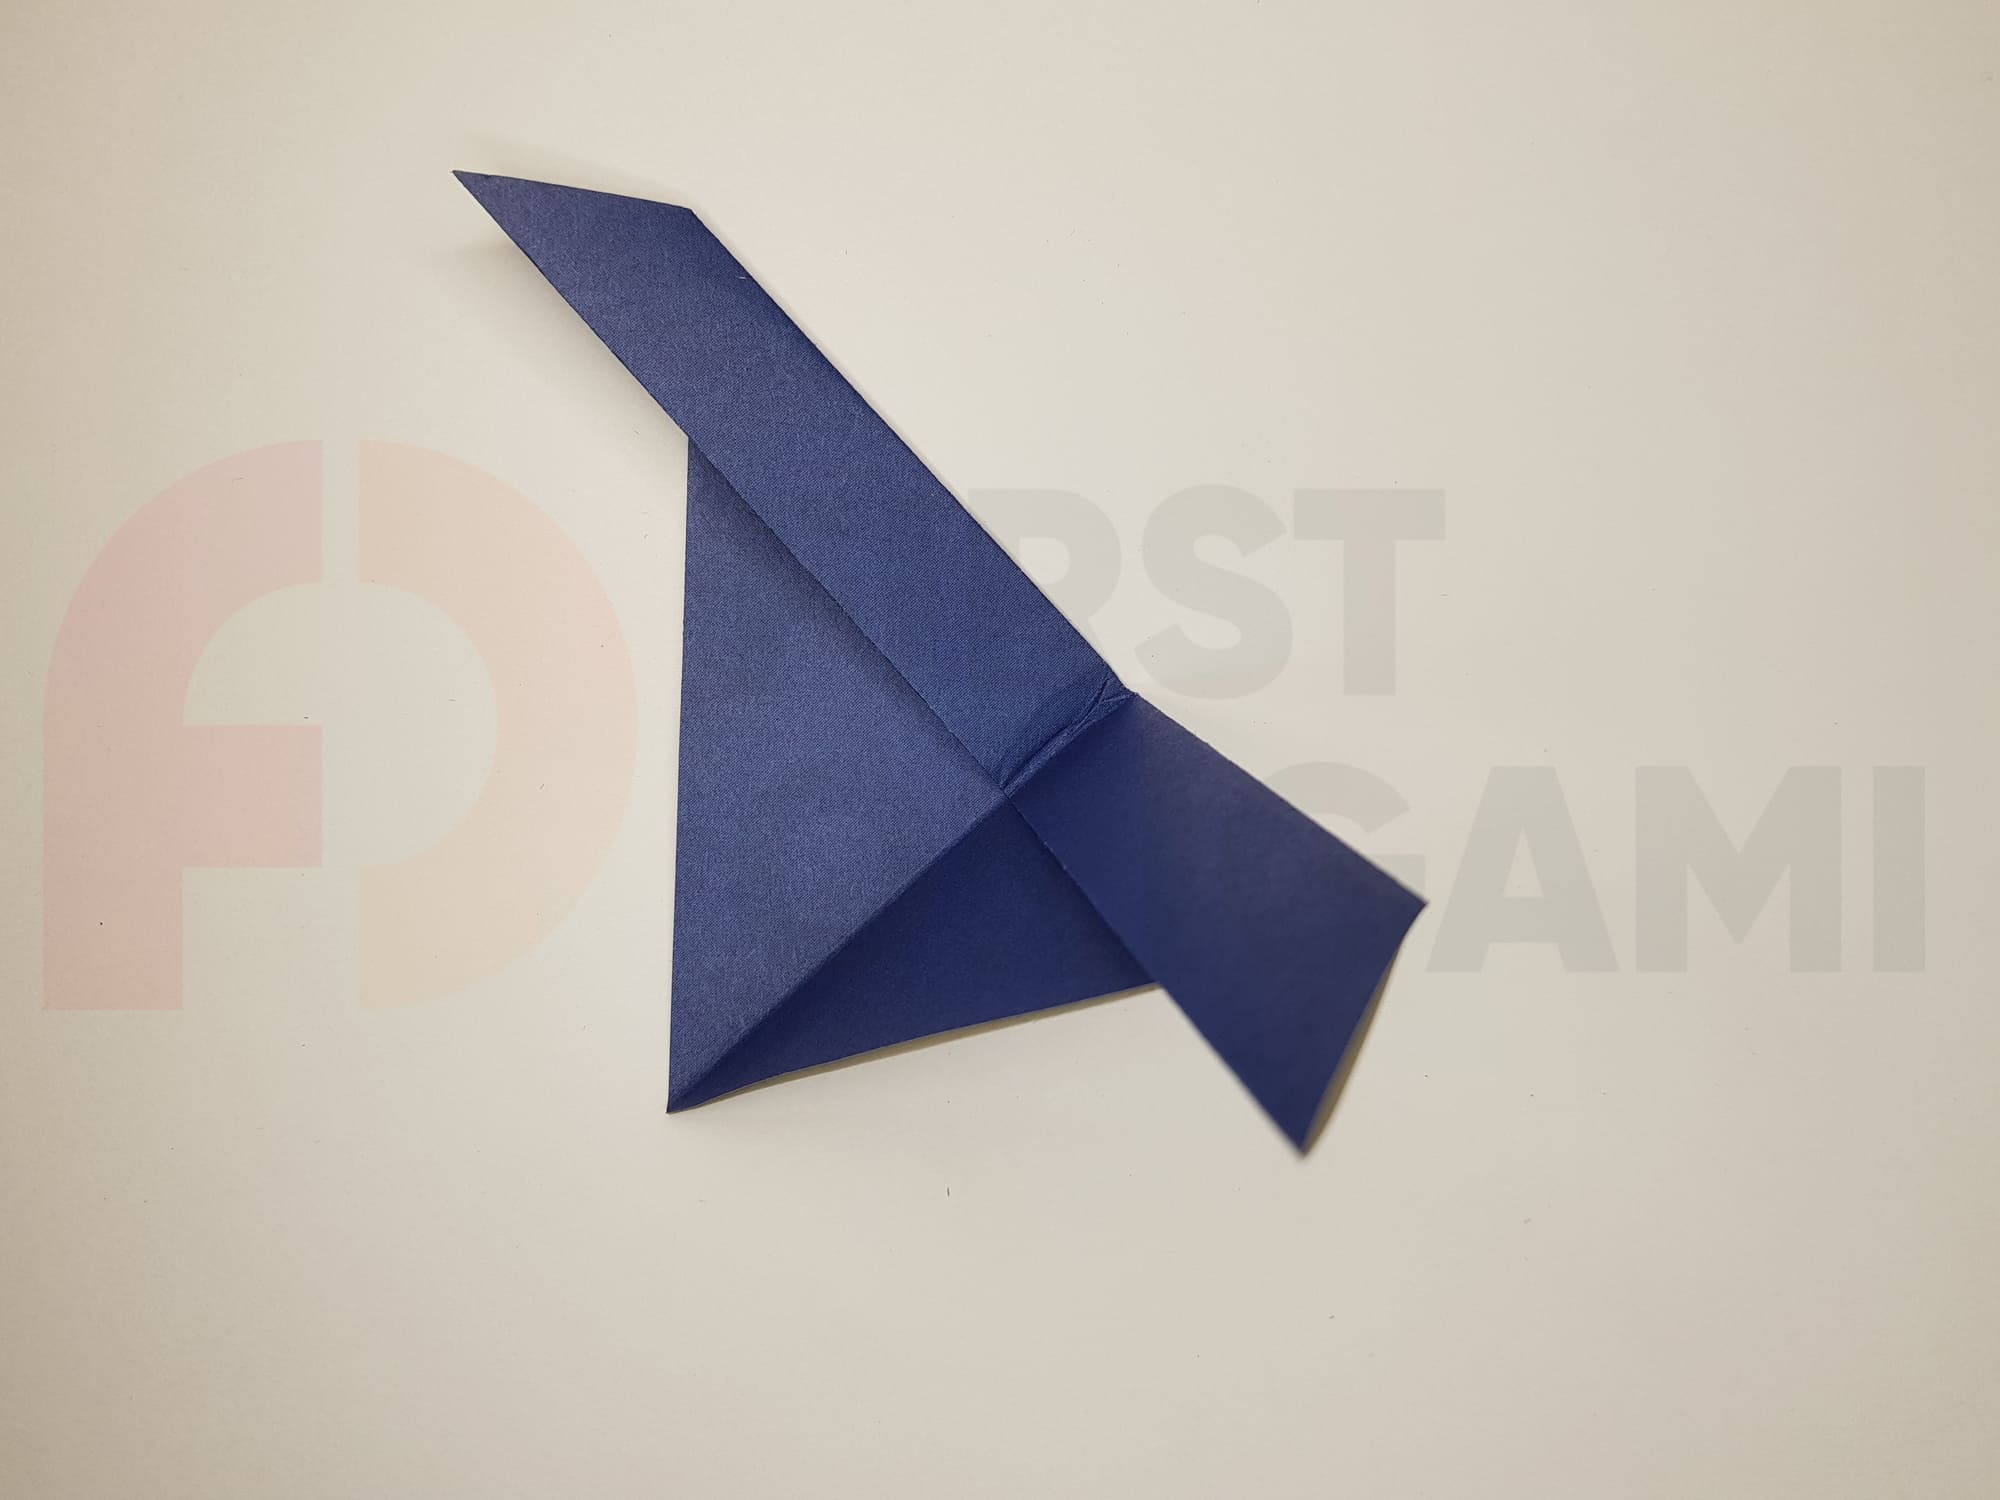
Fold the resulting figure in half, moving away from you.
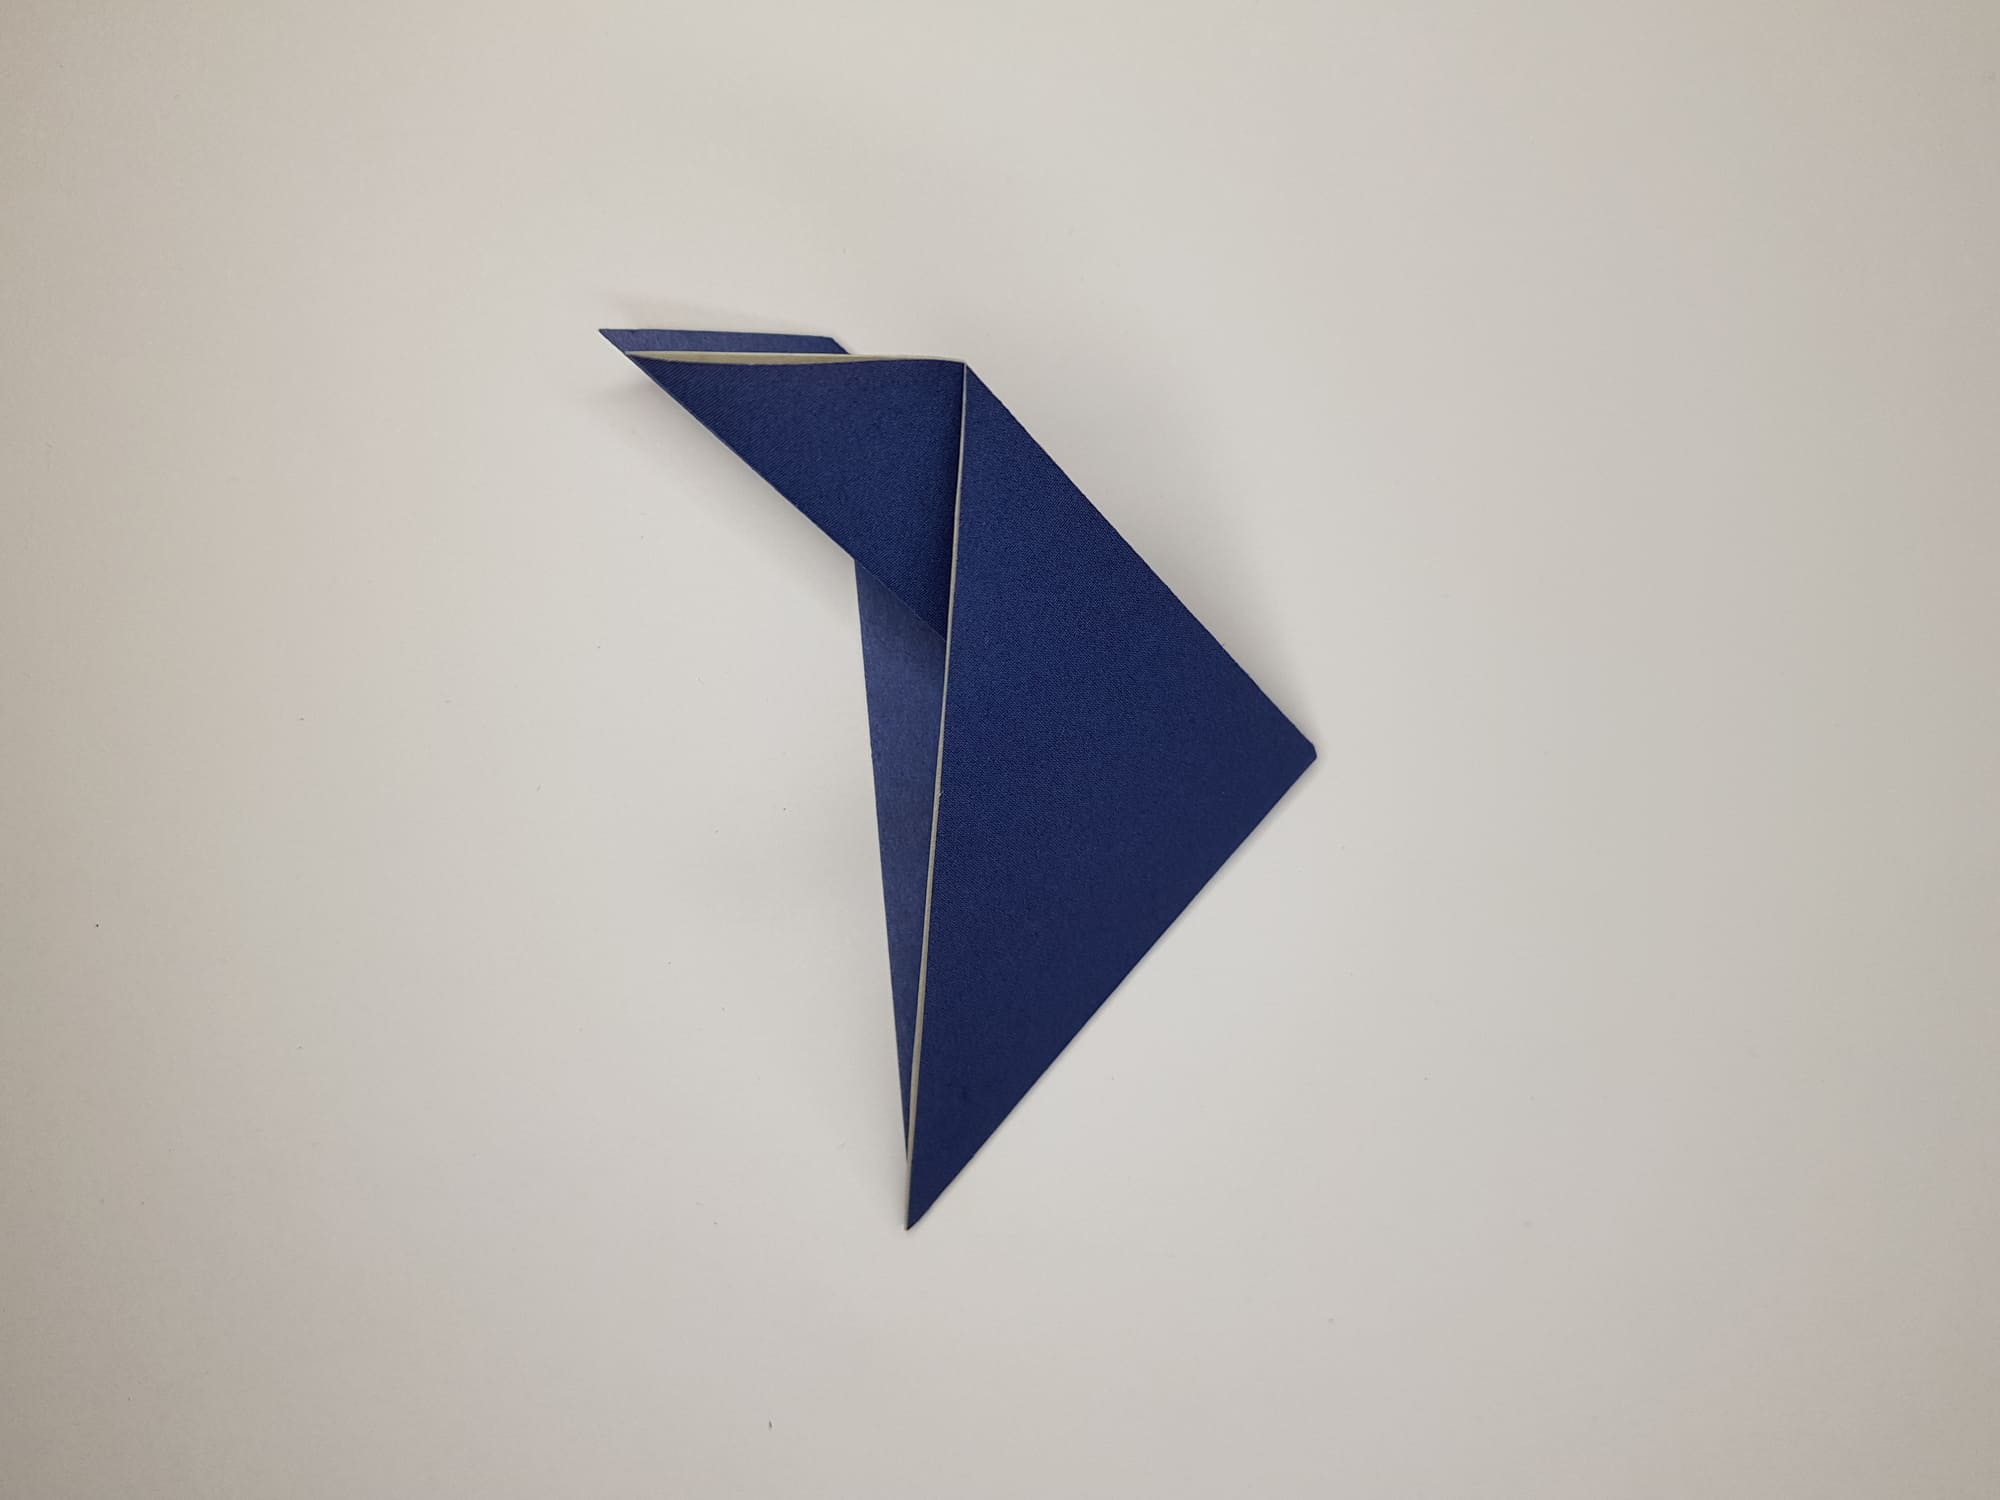
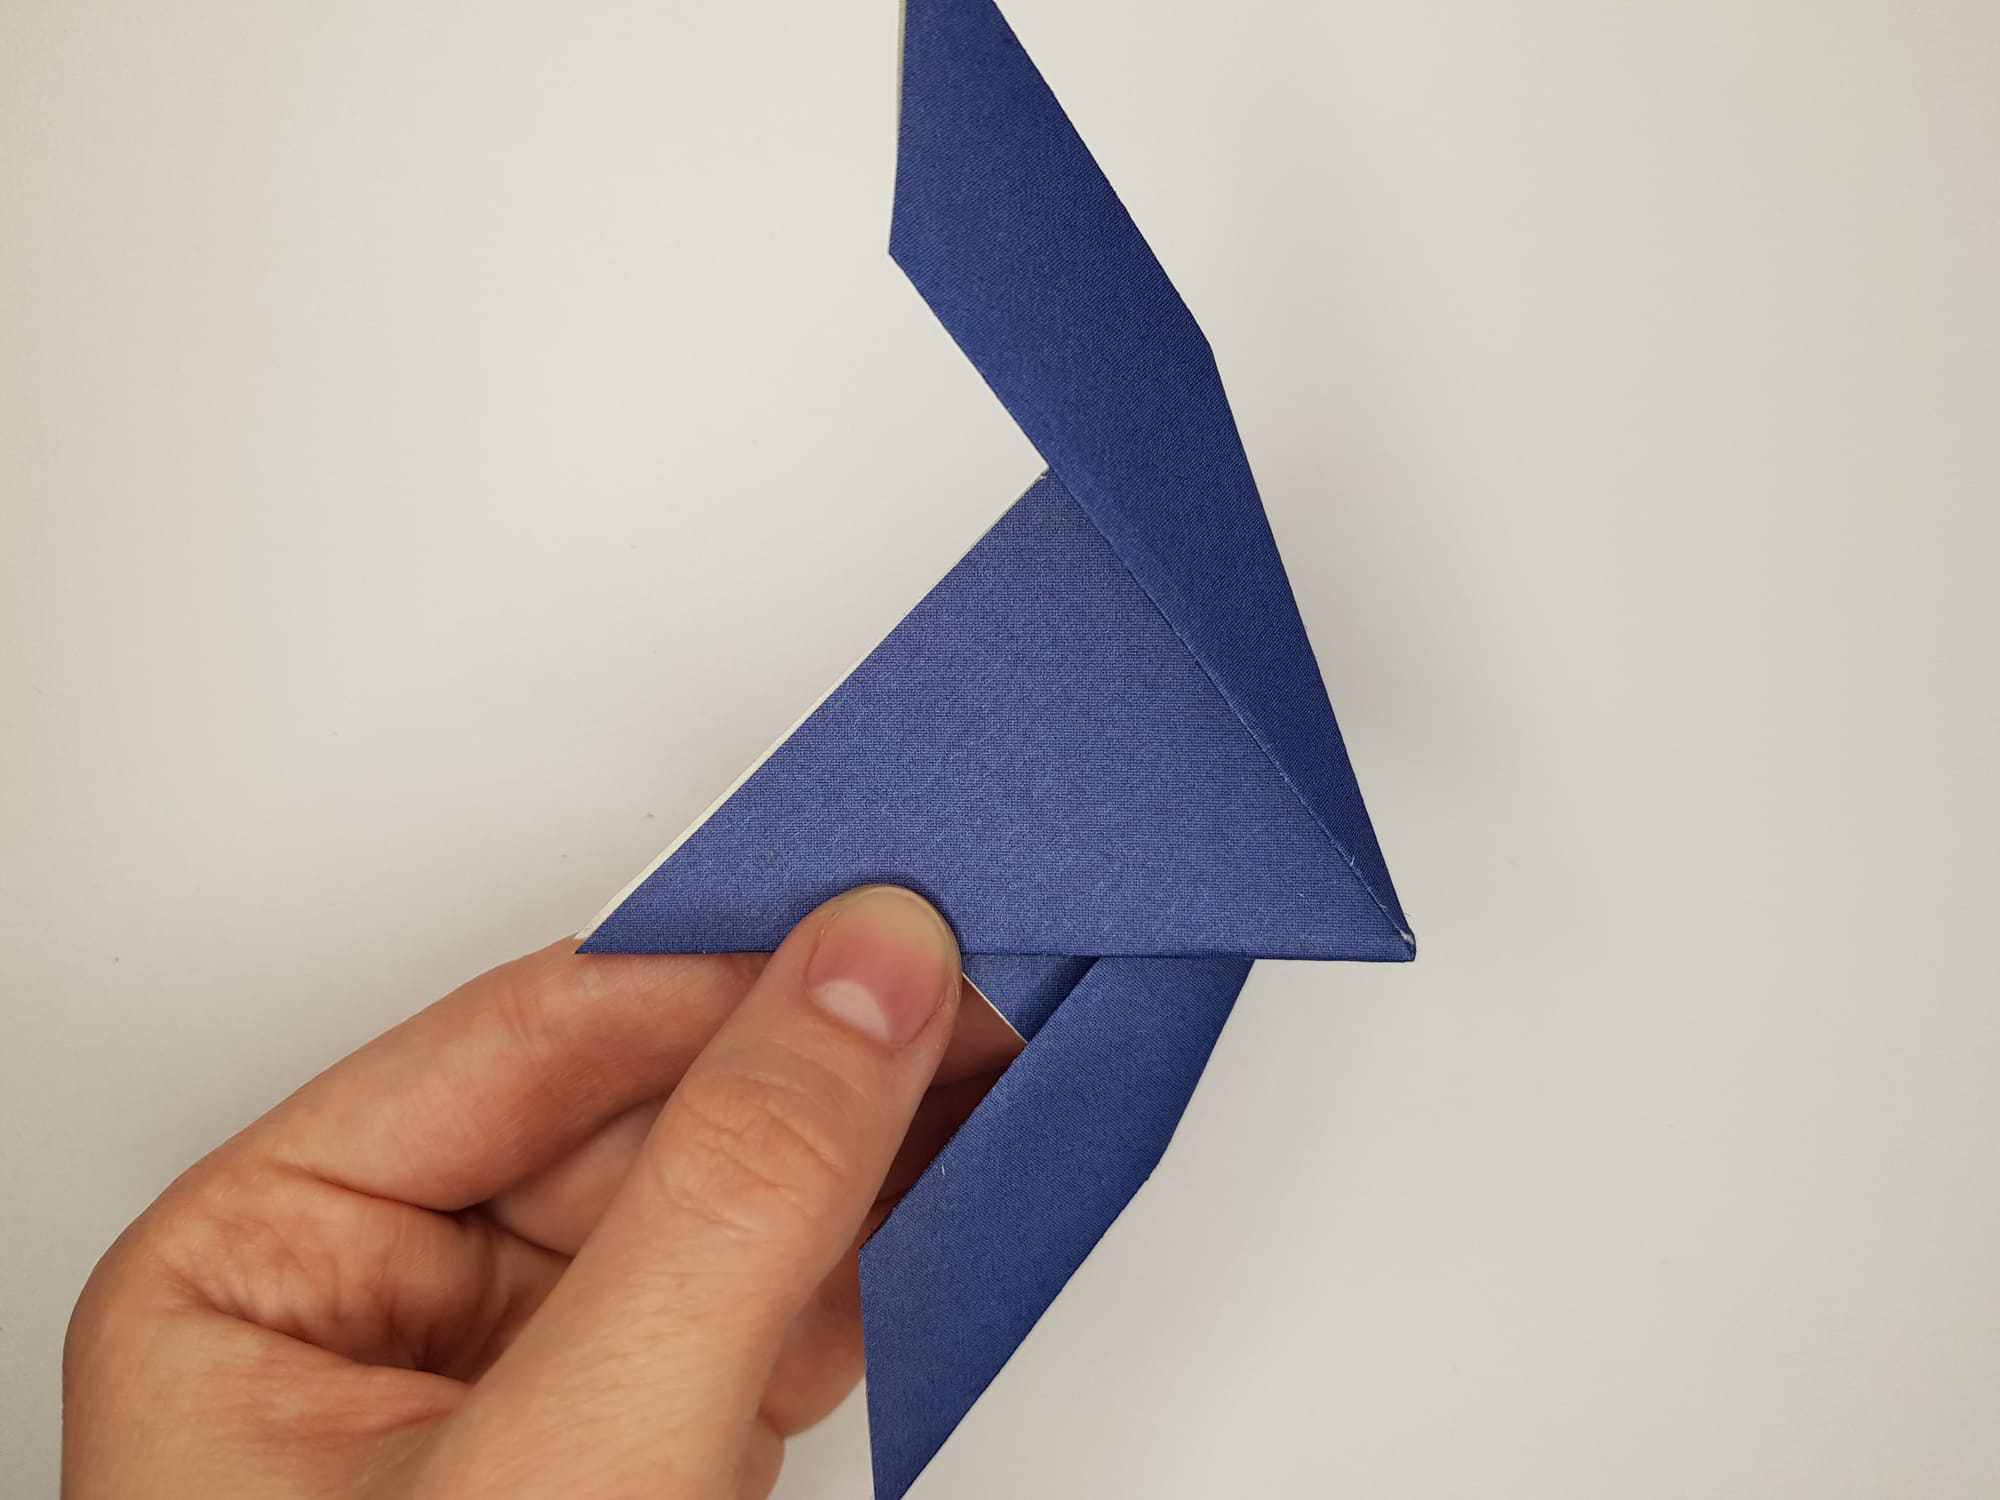
Fold the top edge of your future airplane as shown in the photo.
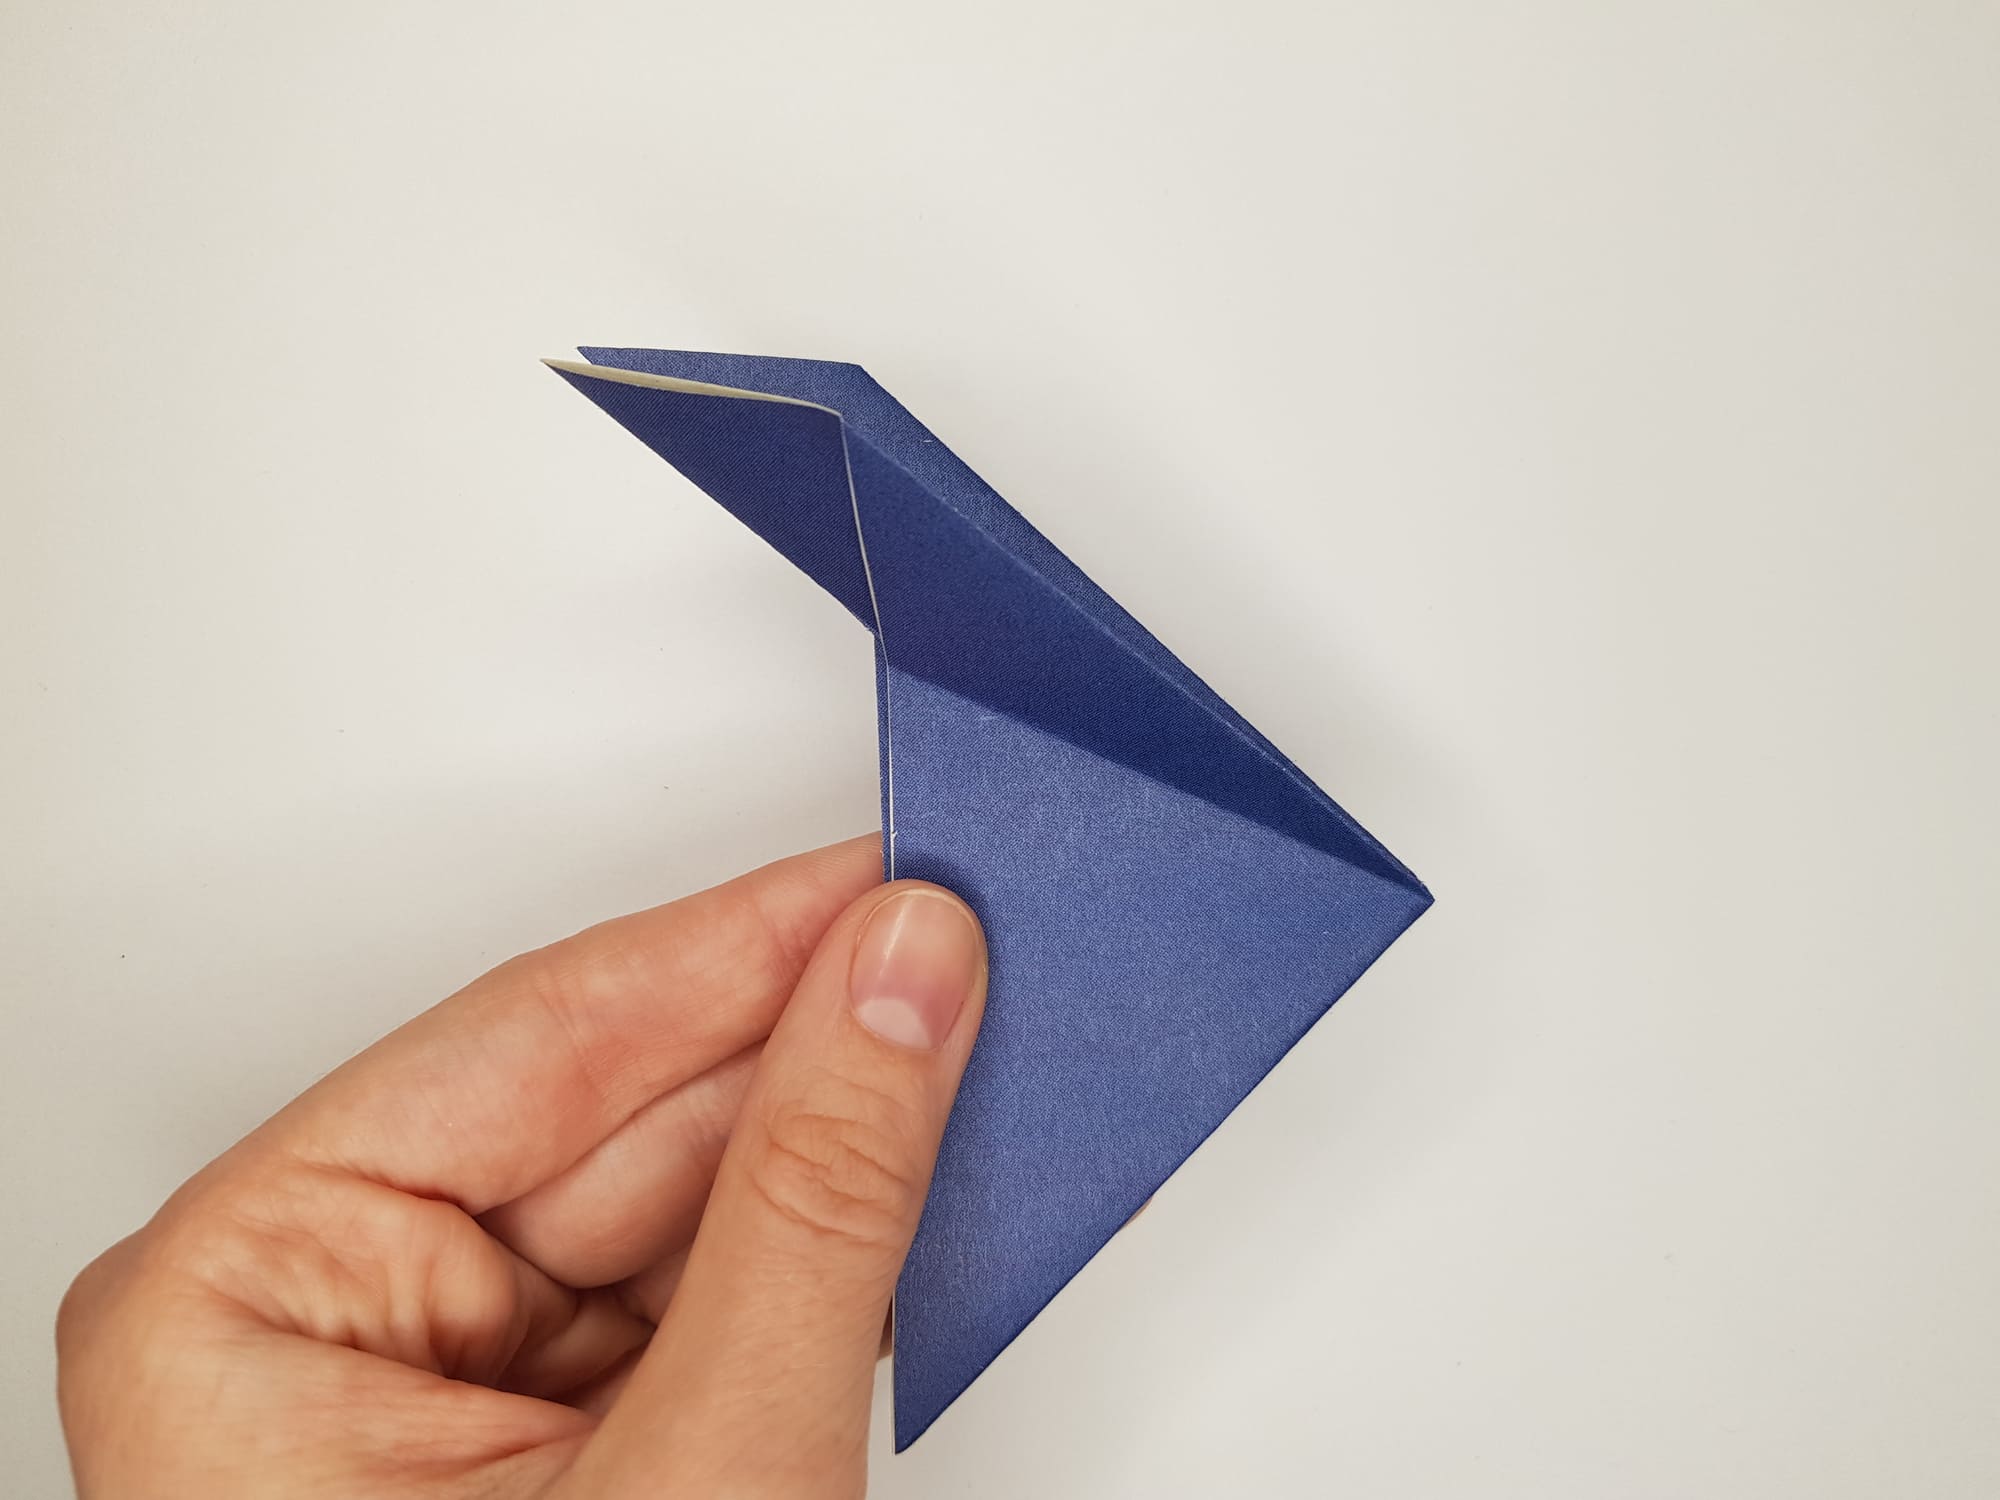
Flip the paper over and repeat step 6 on the other side.
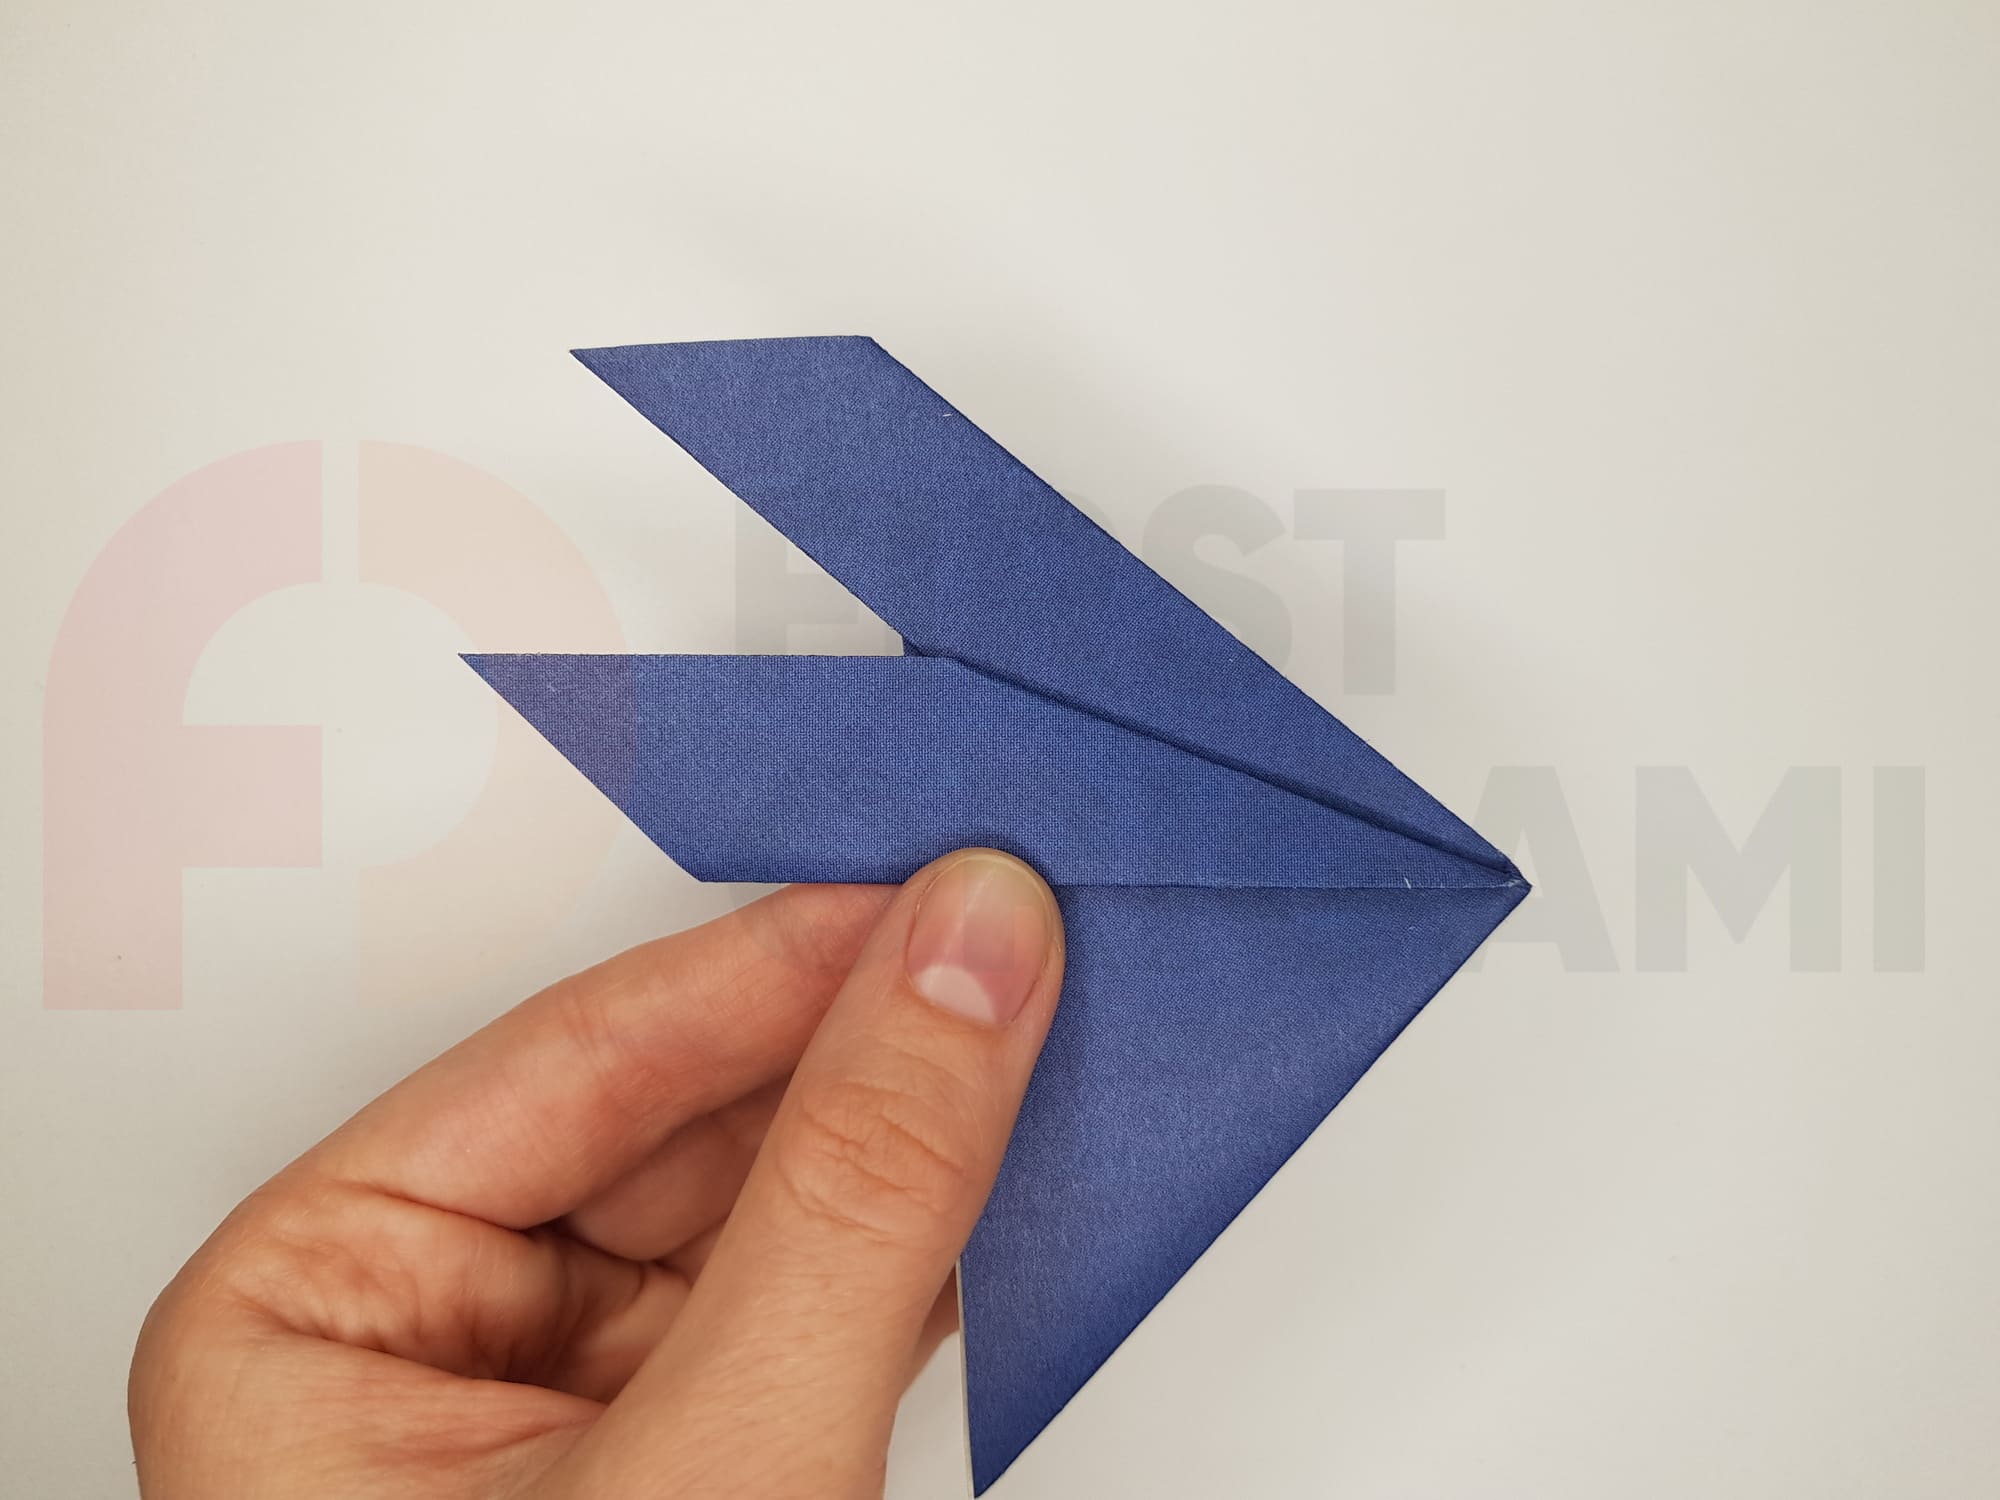
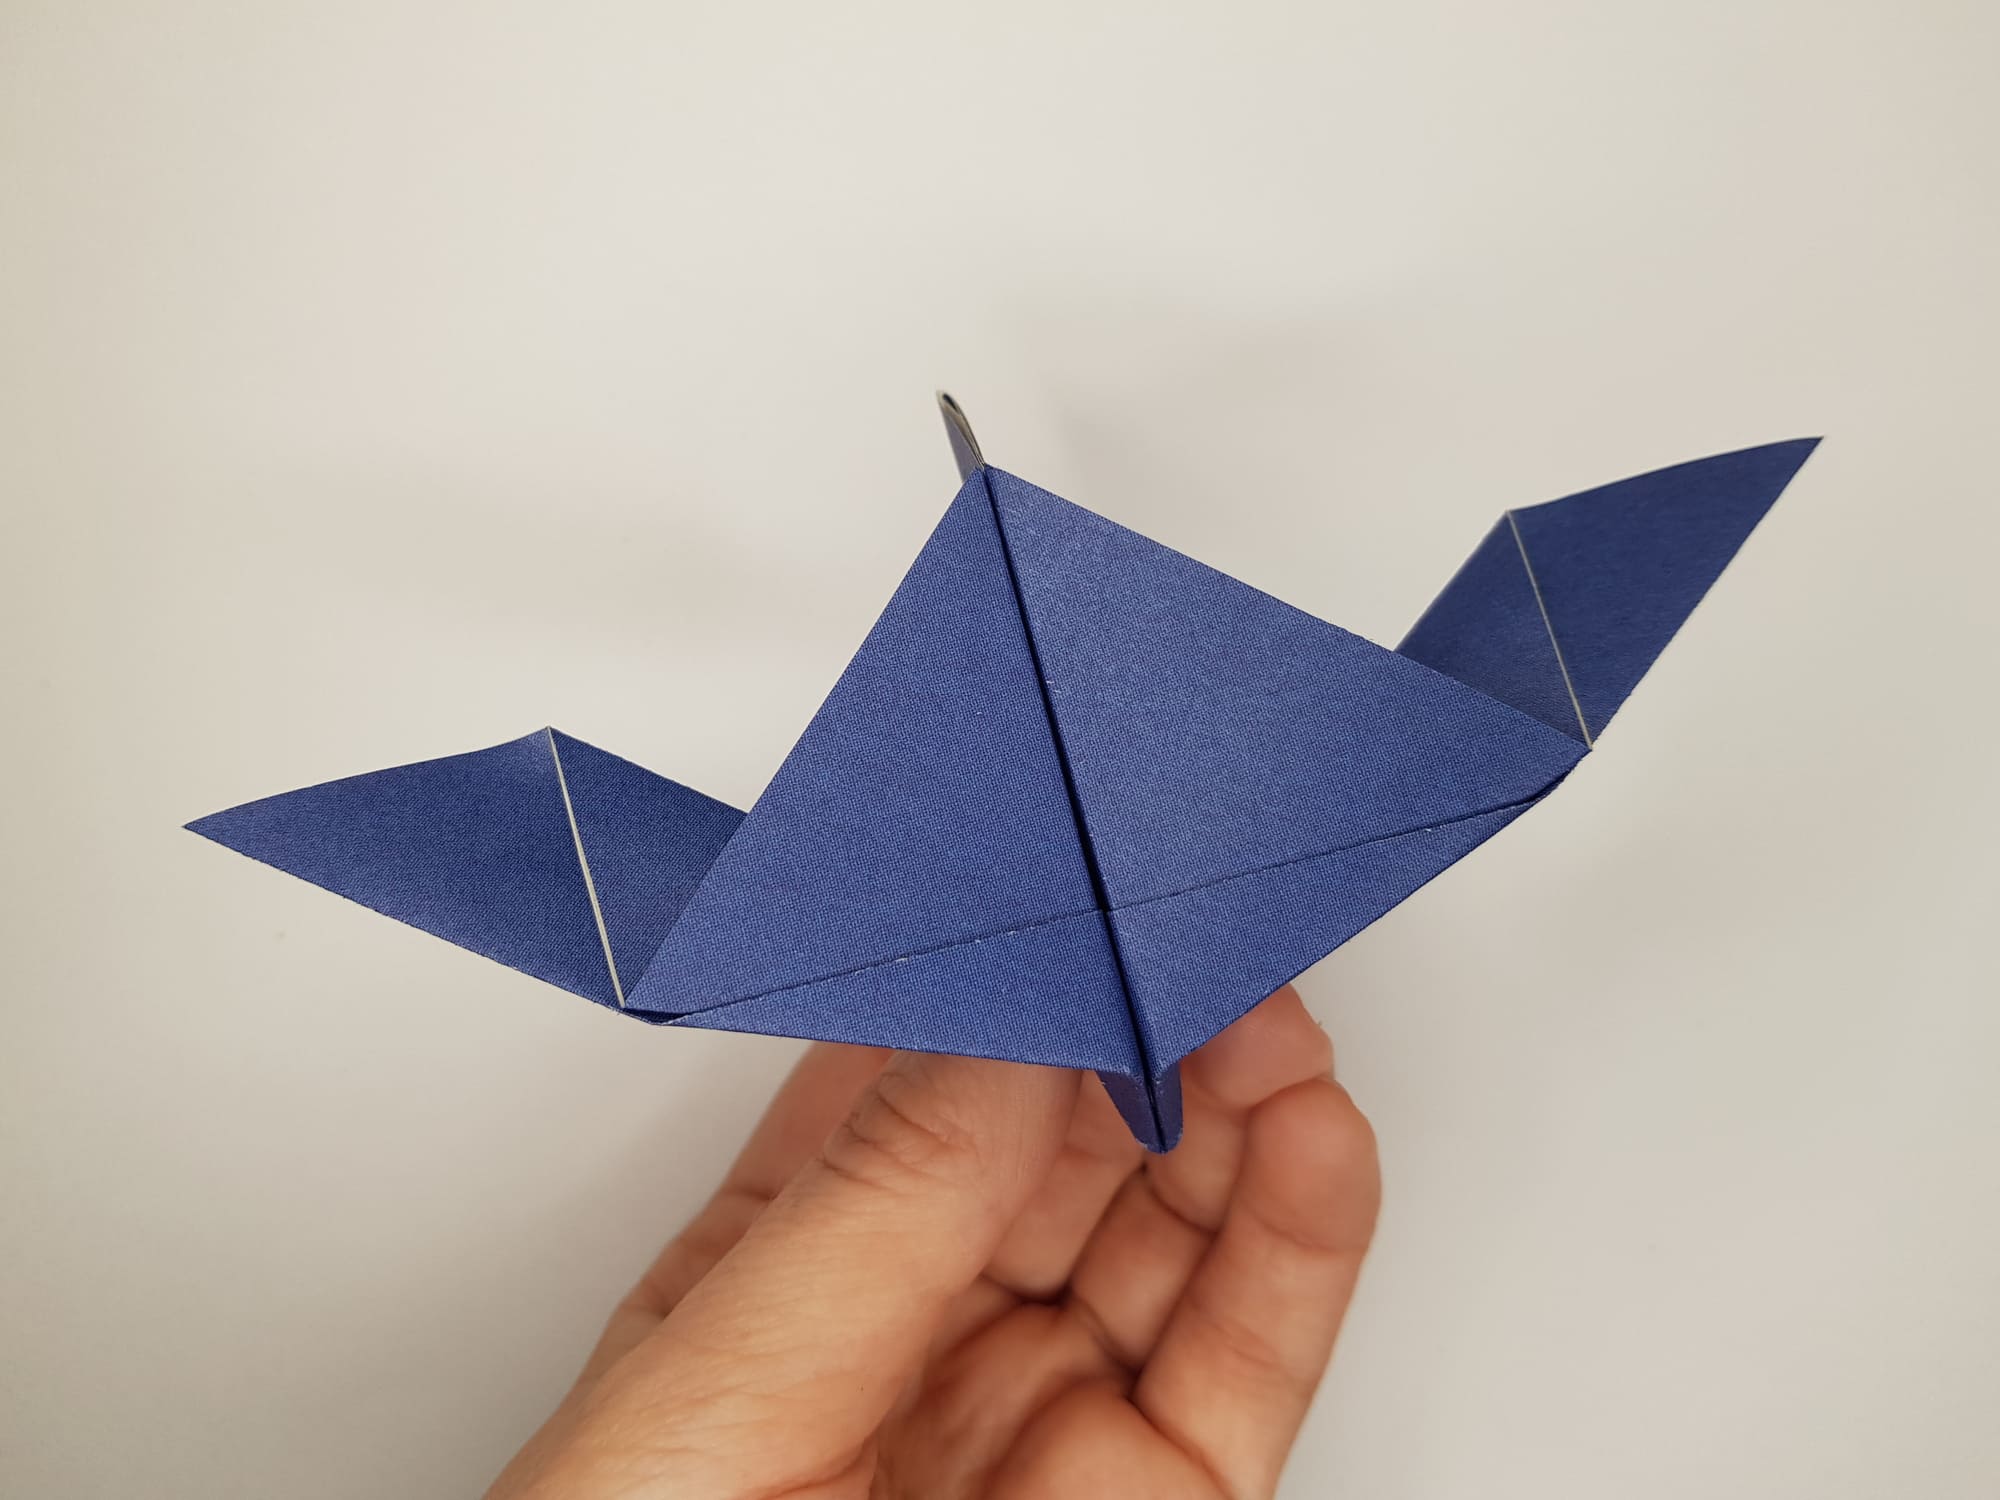
Position the shape as shown in the photo and fold one side in half downwards towards you.

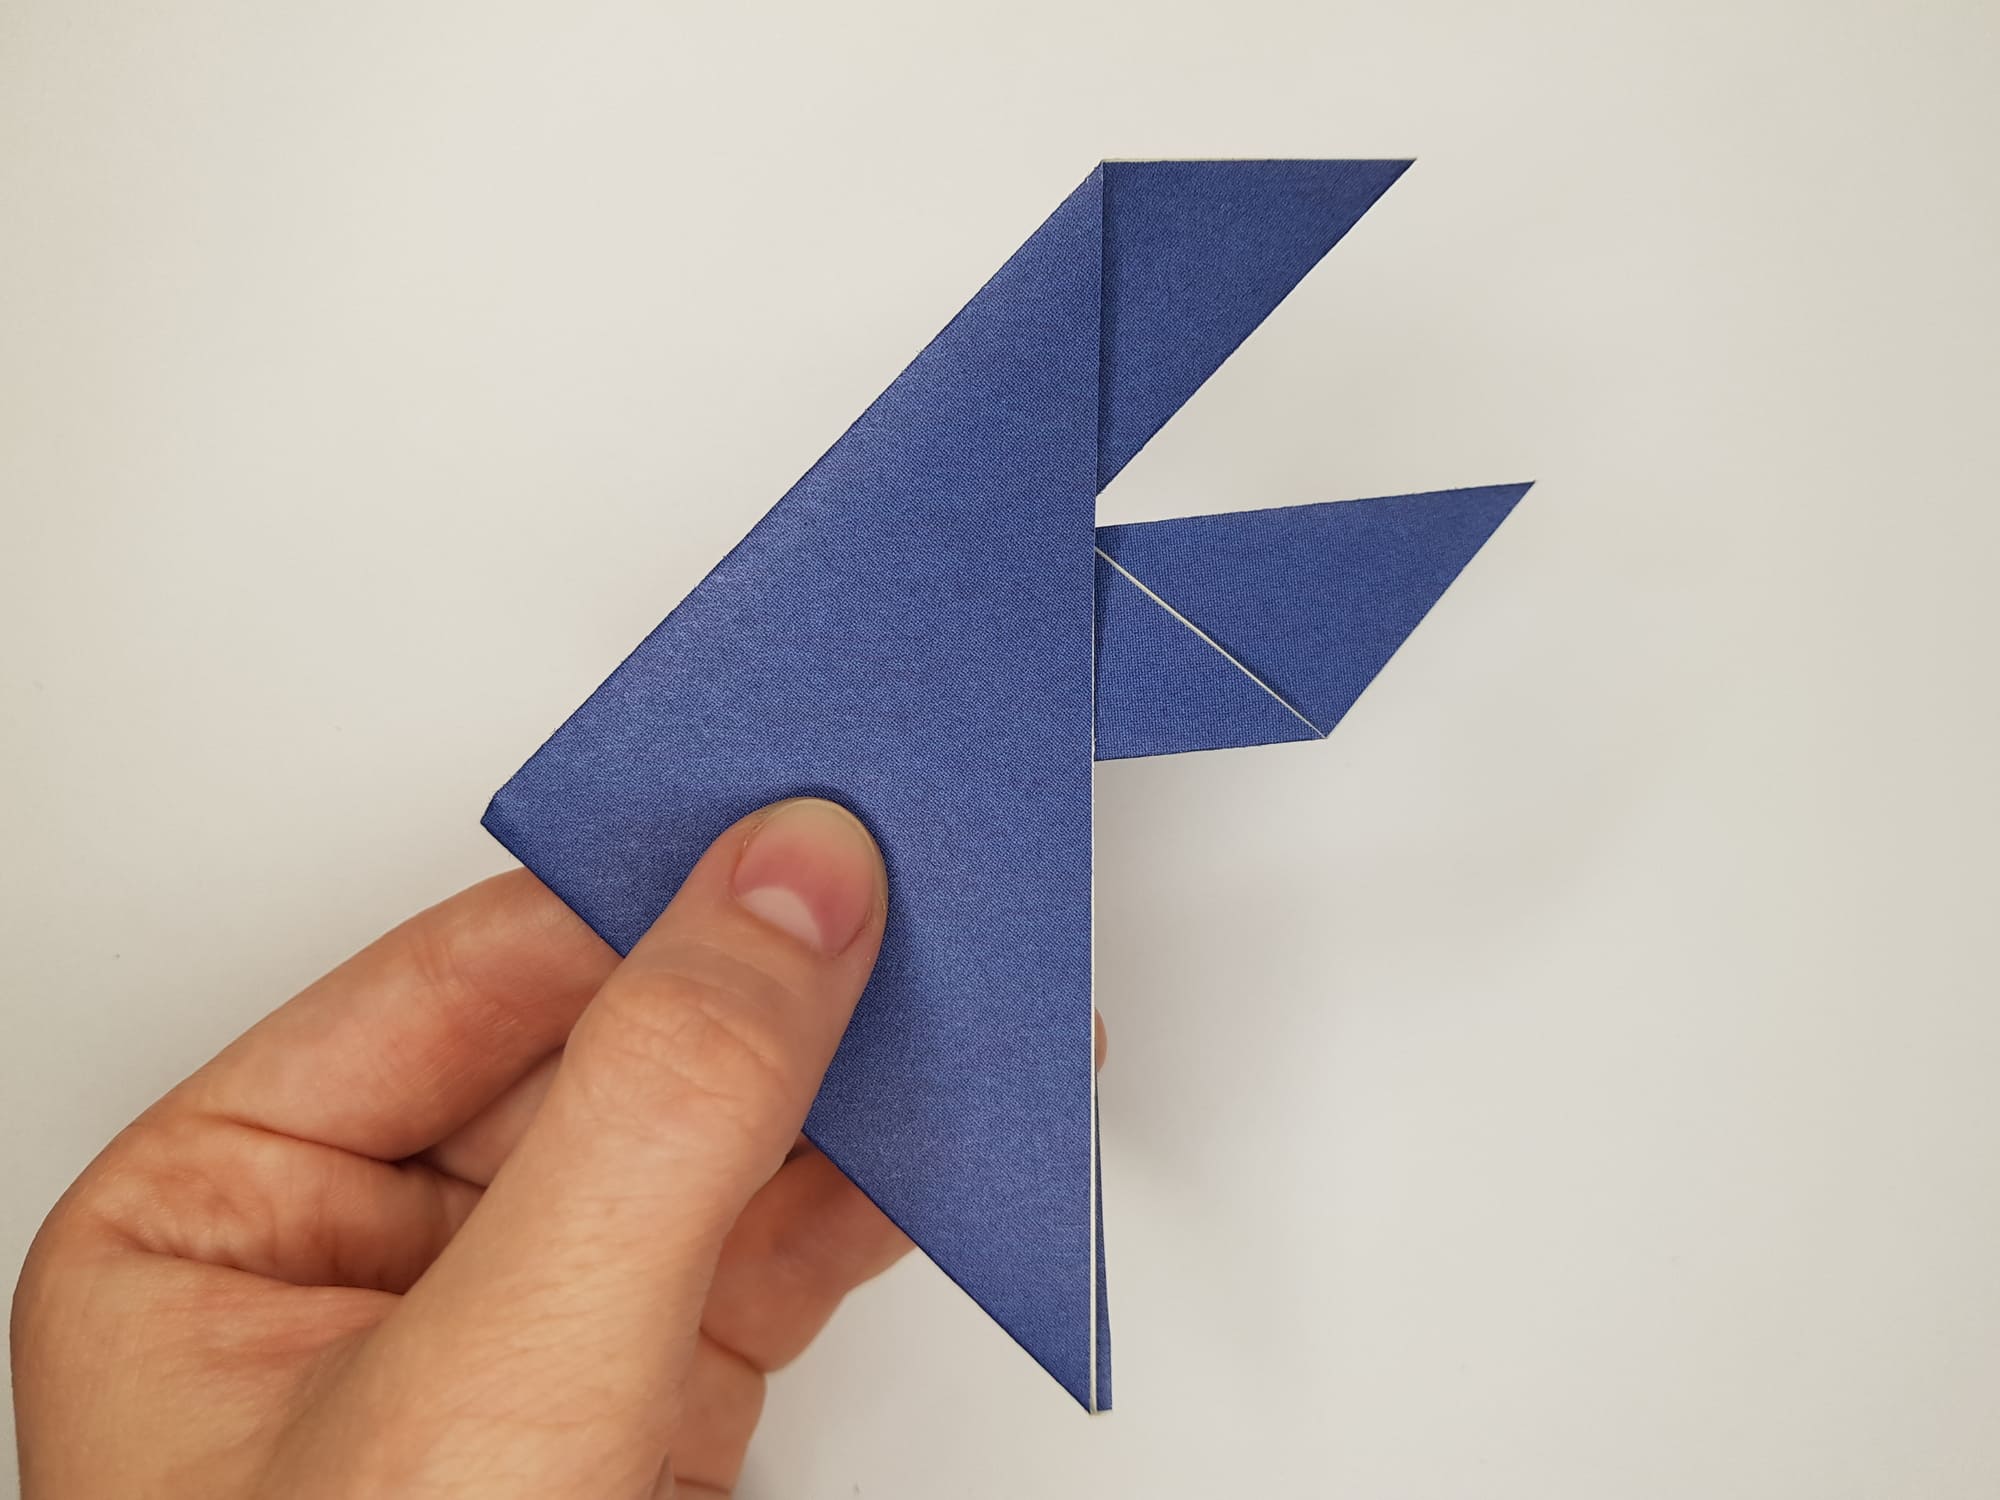
Do the same with the other side.

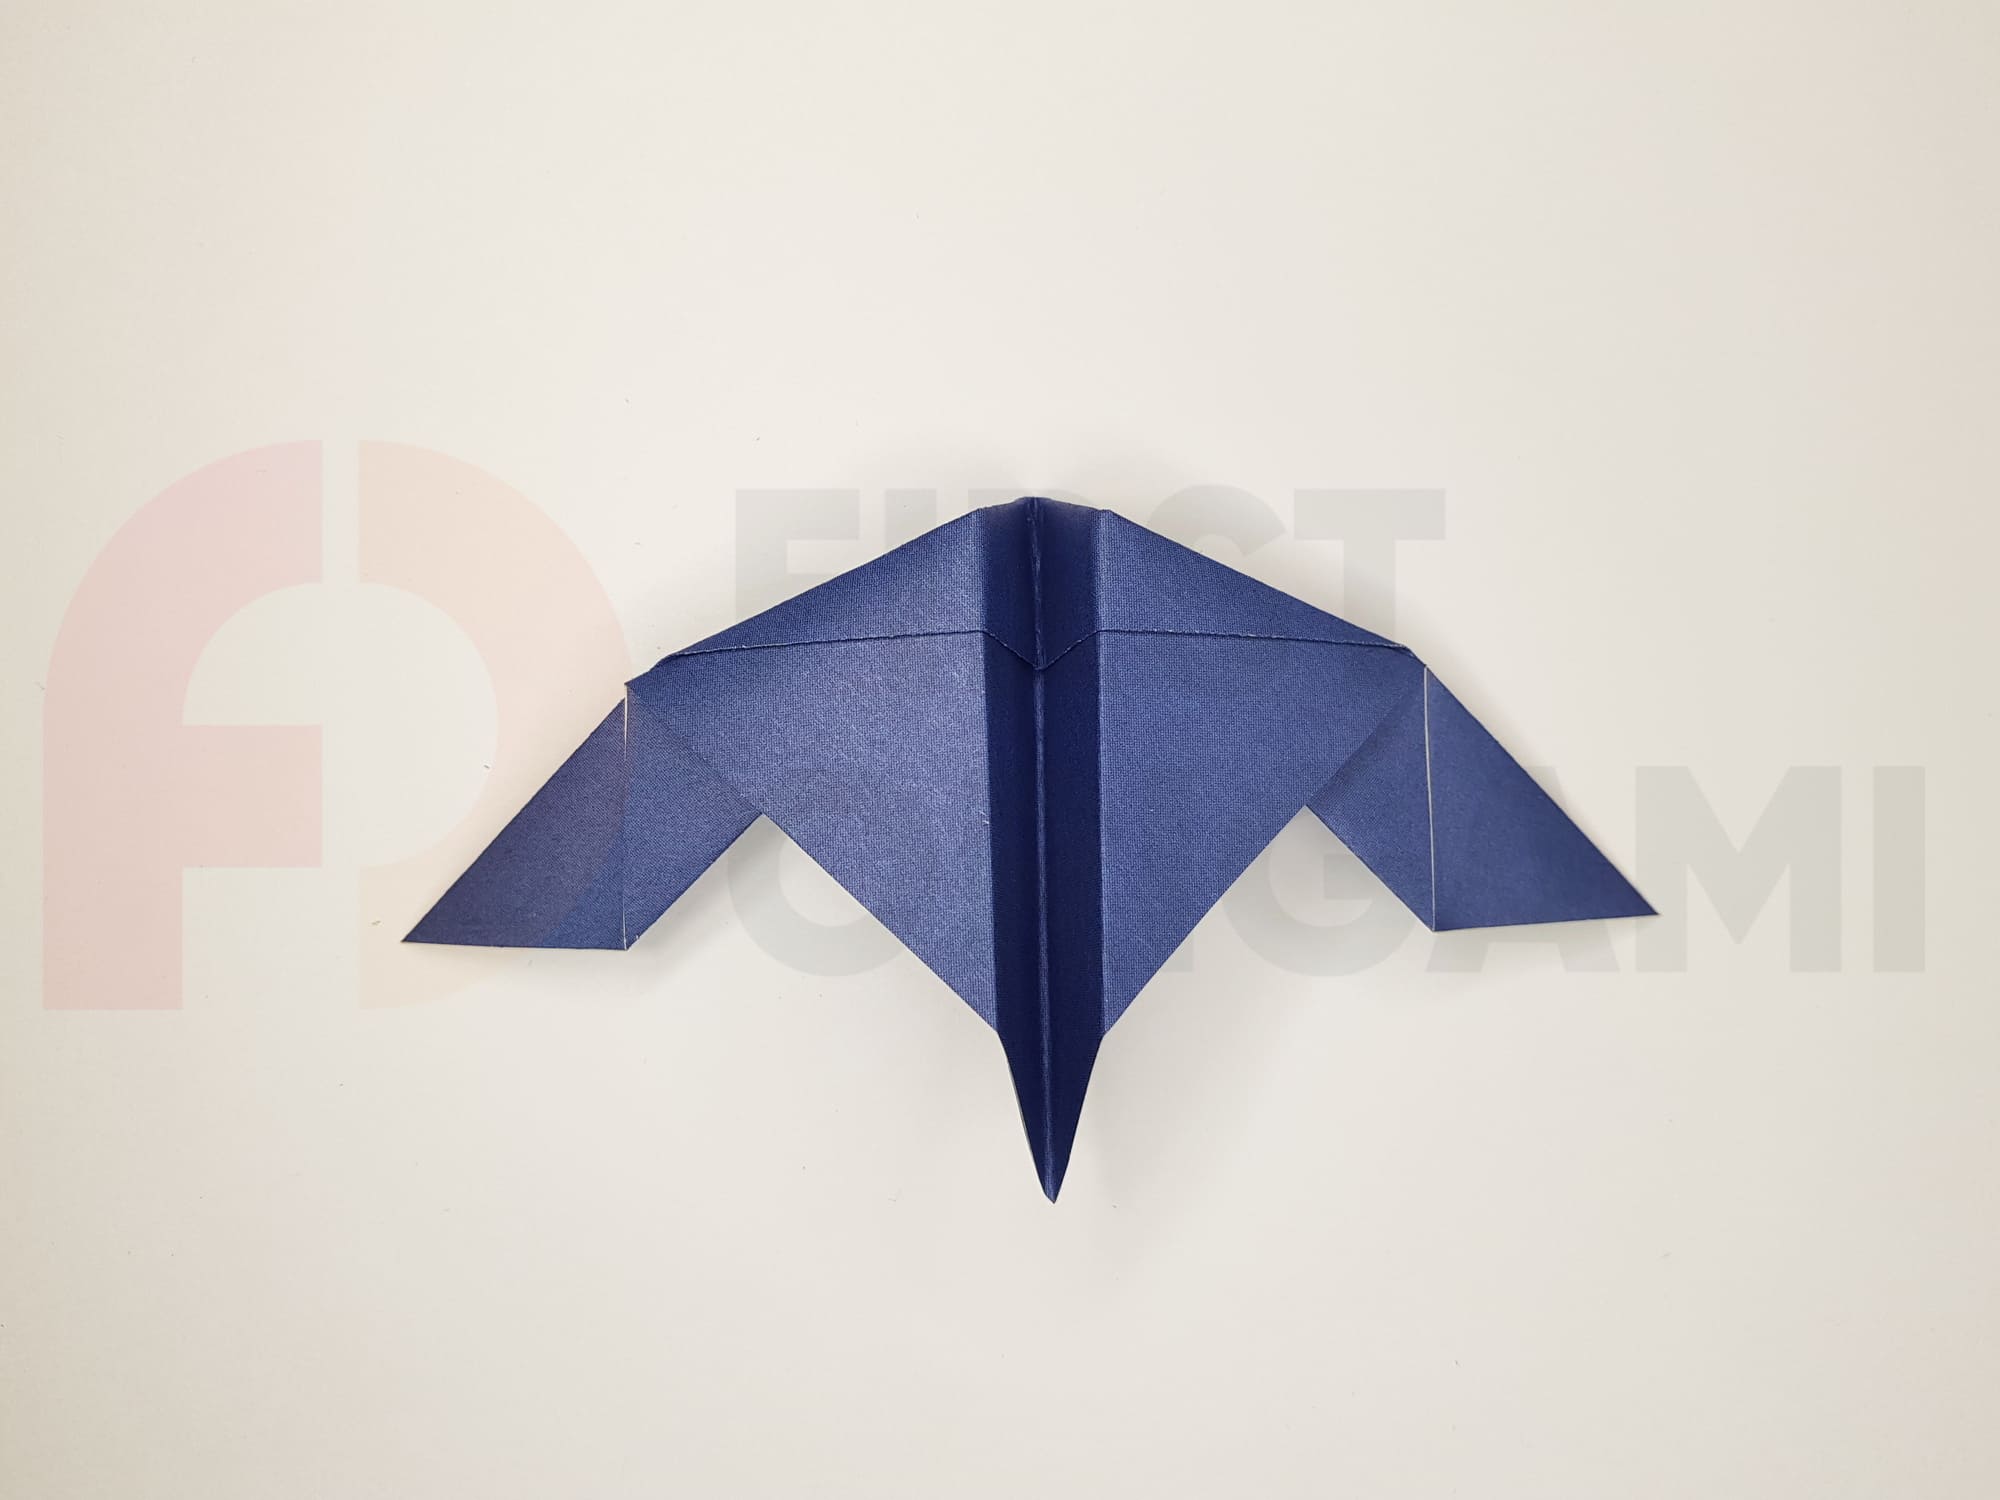
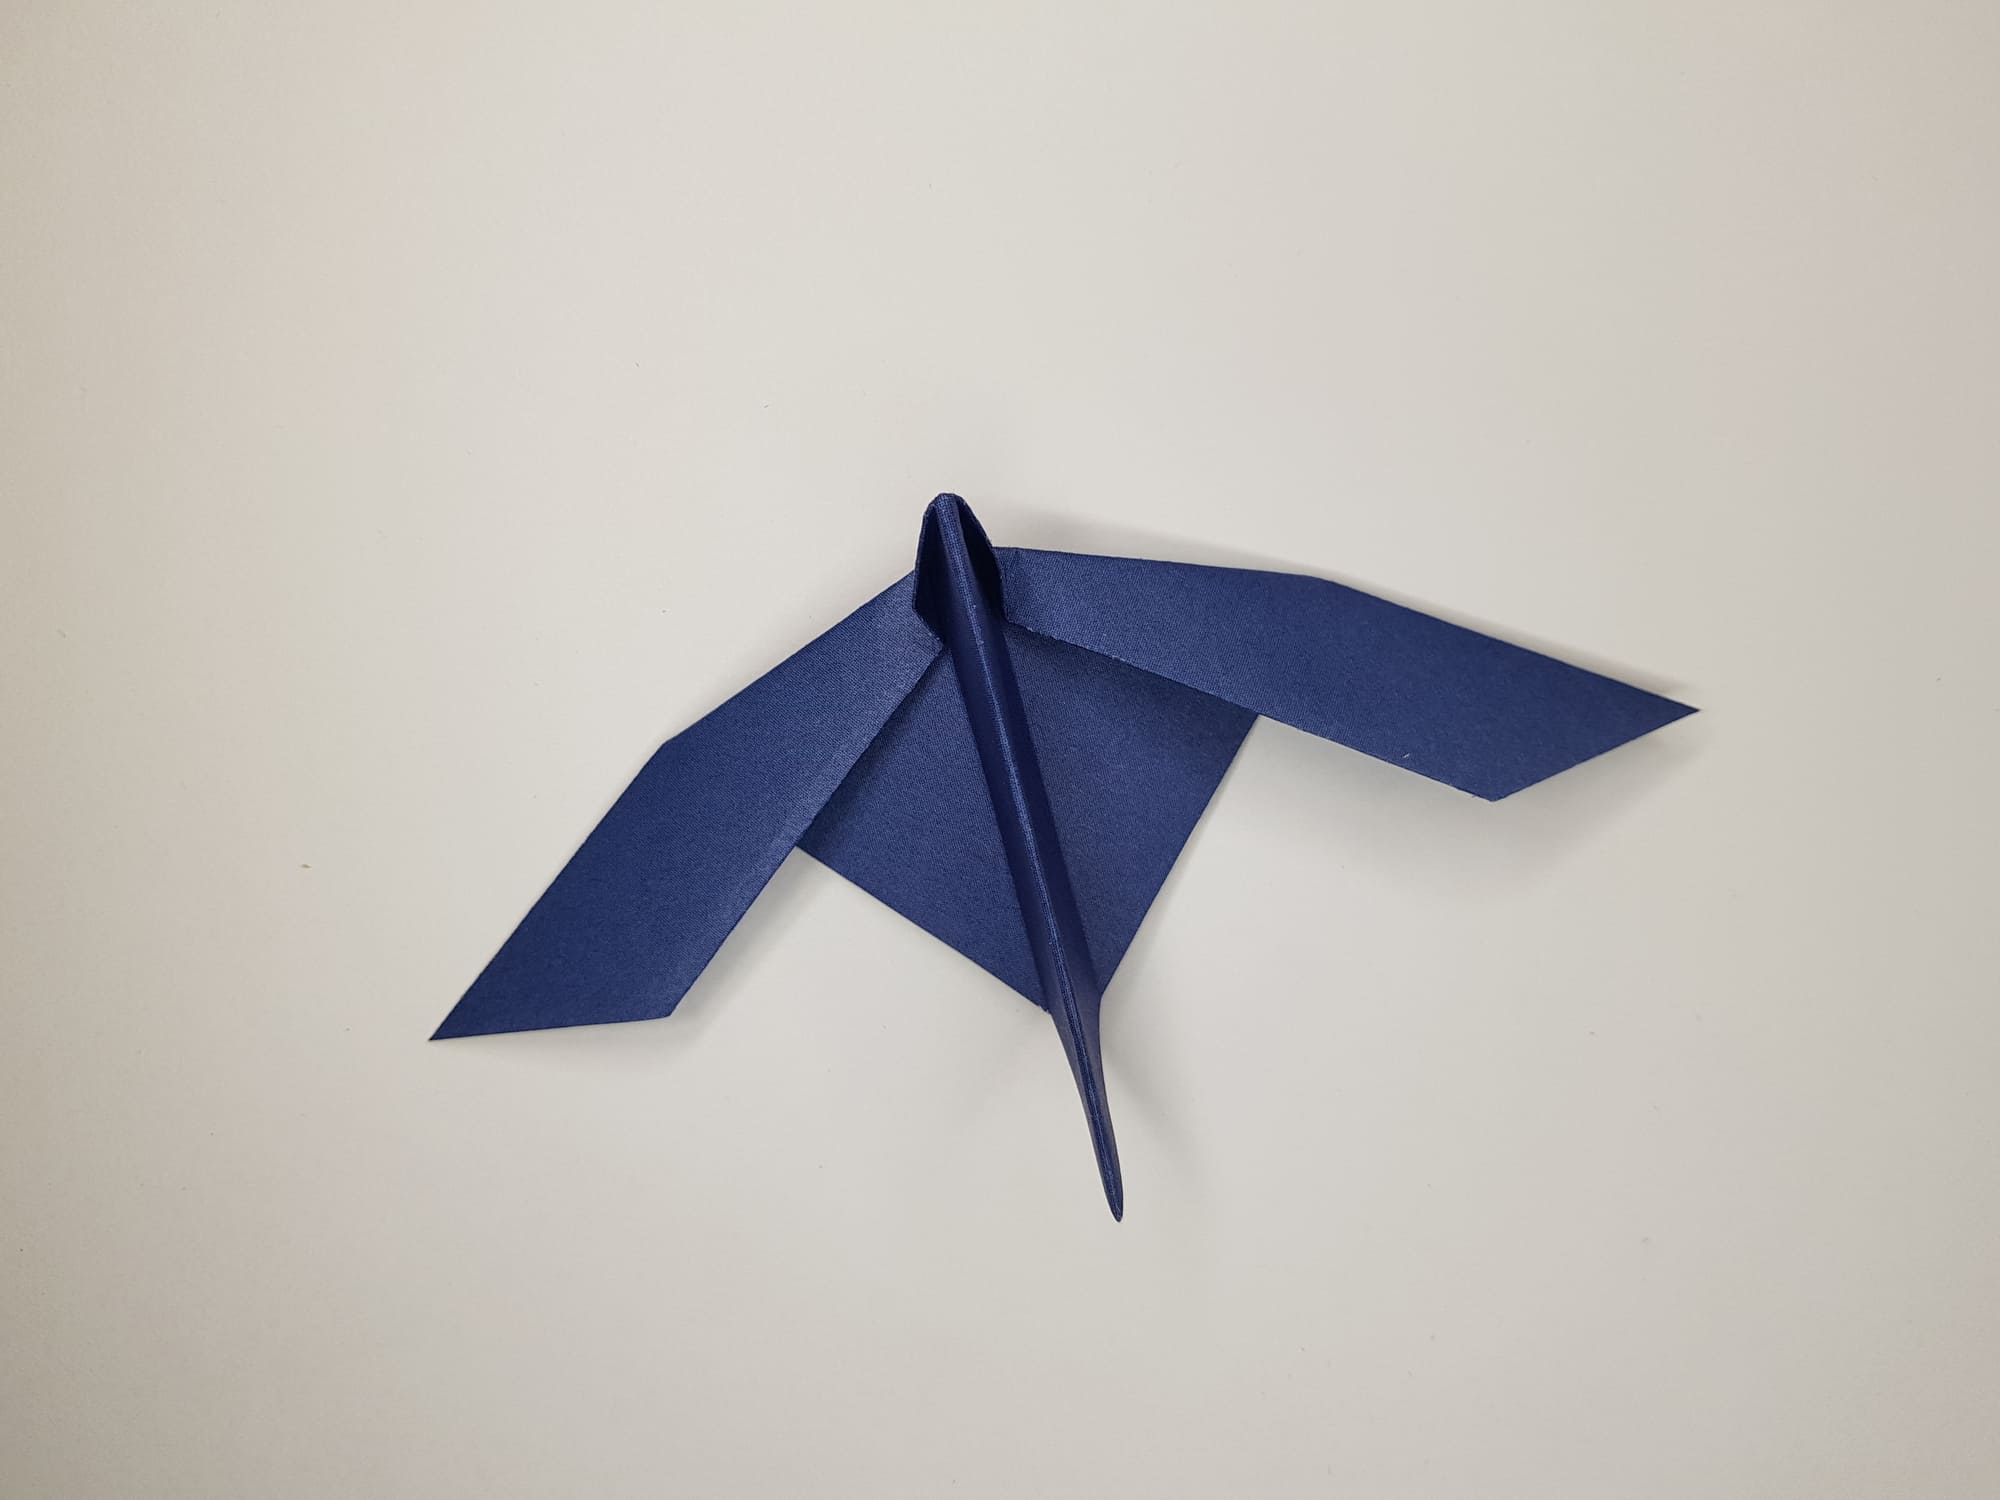
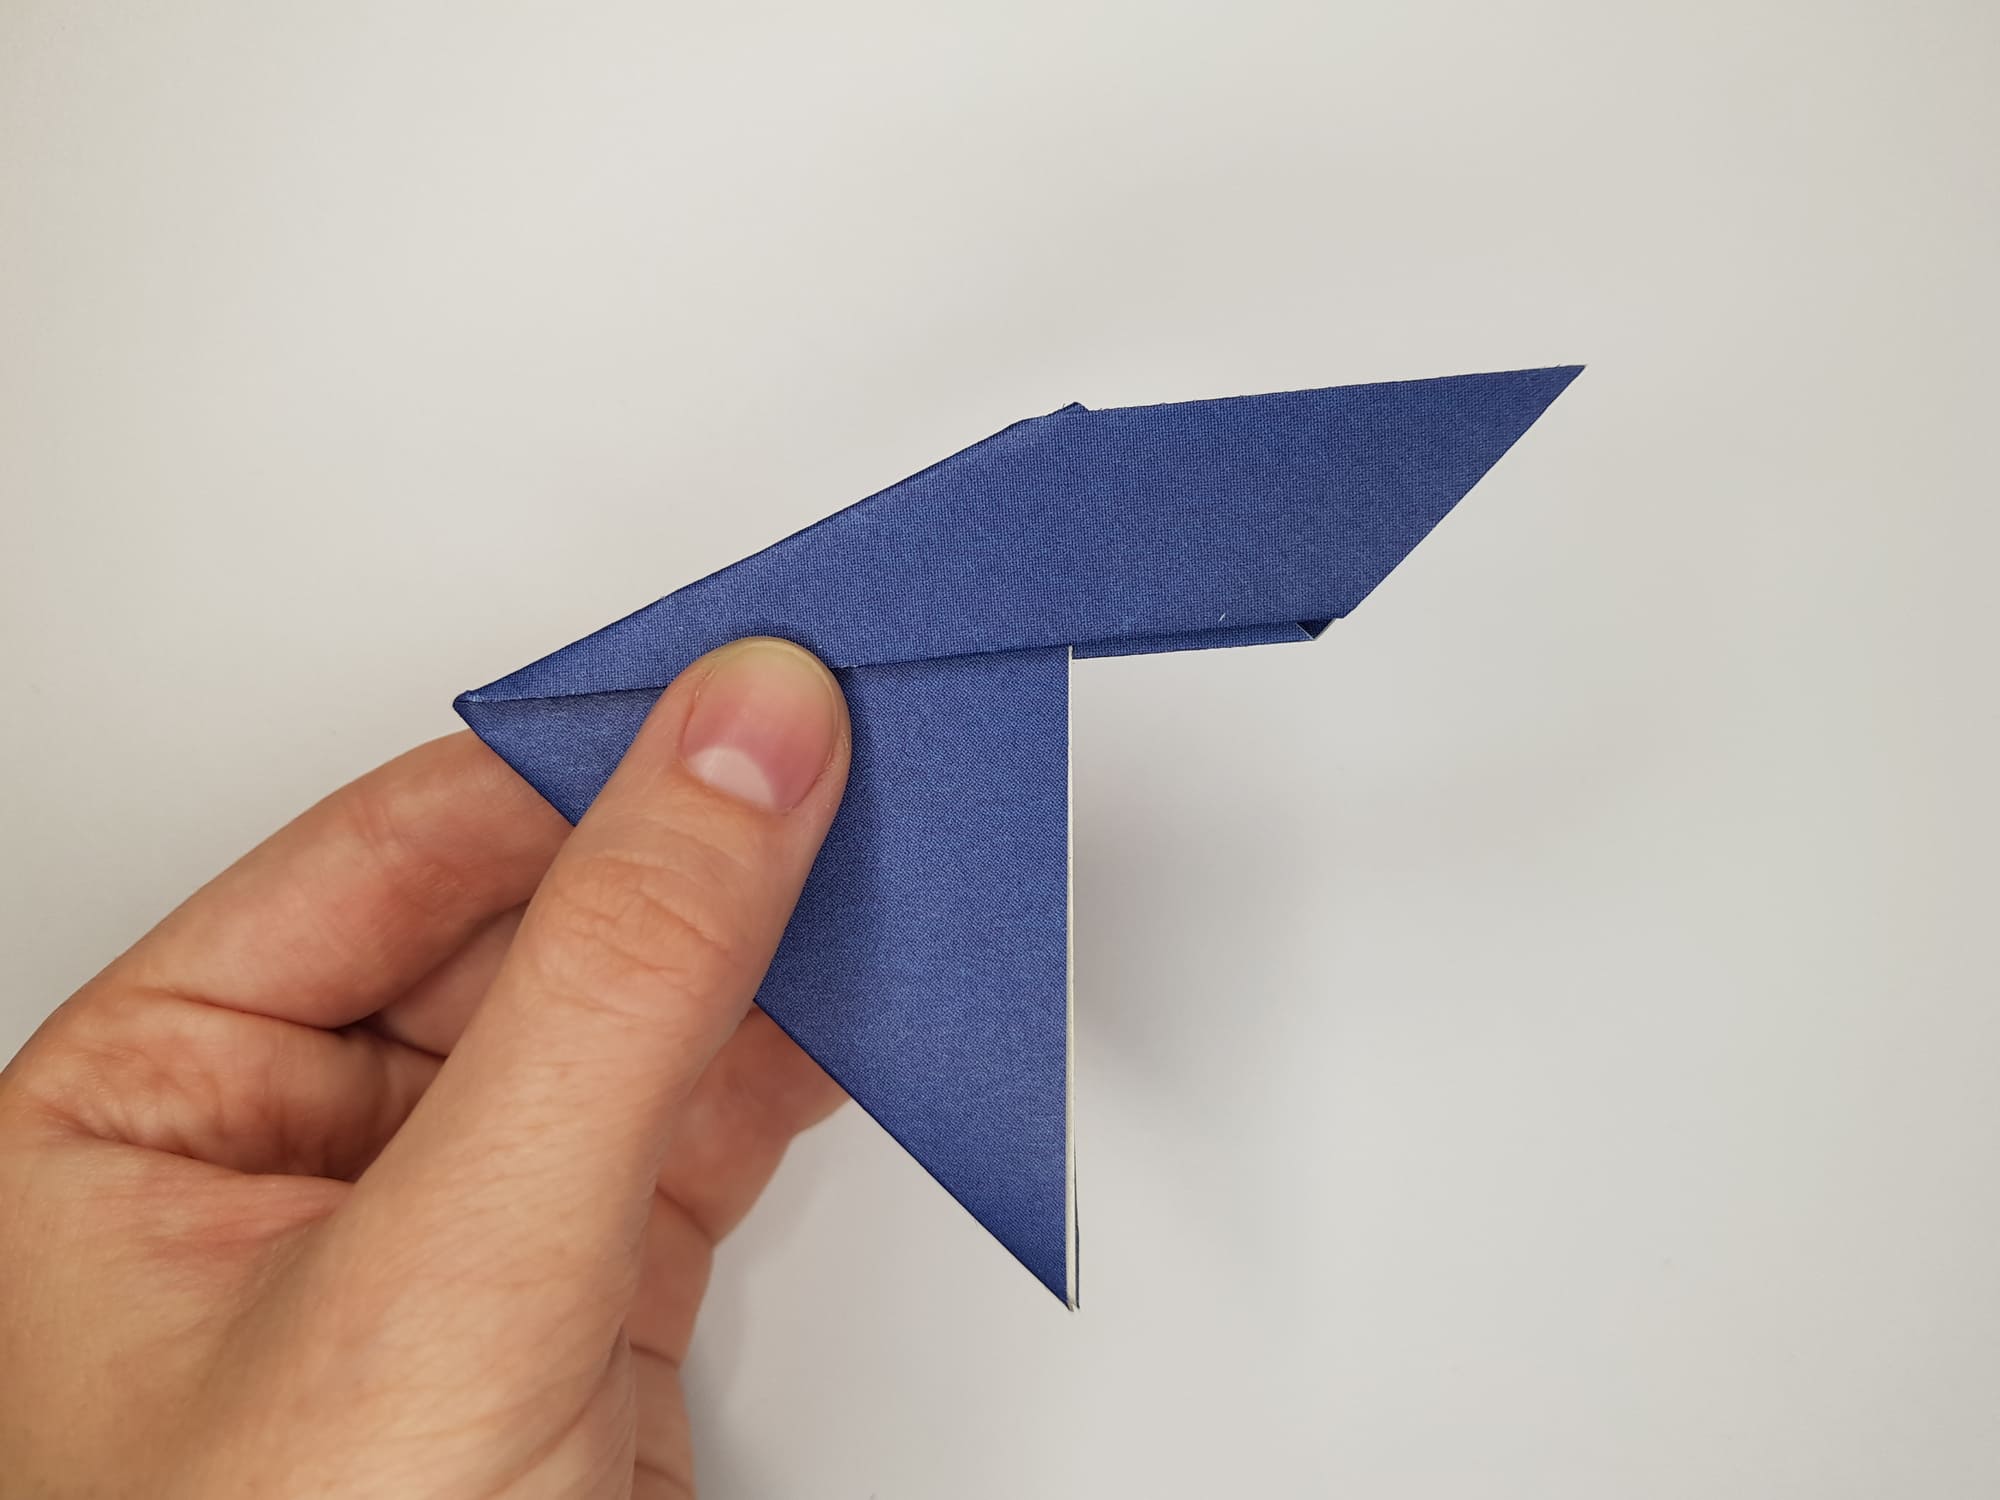
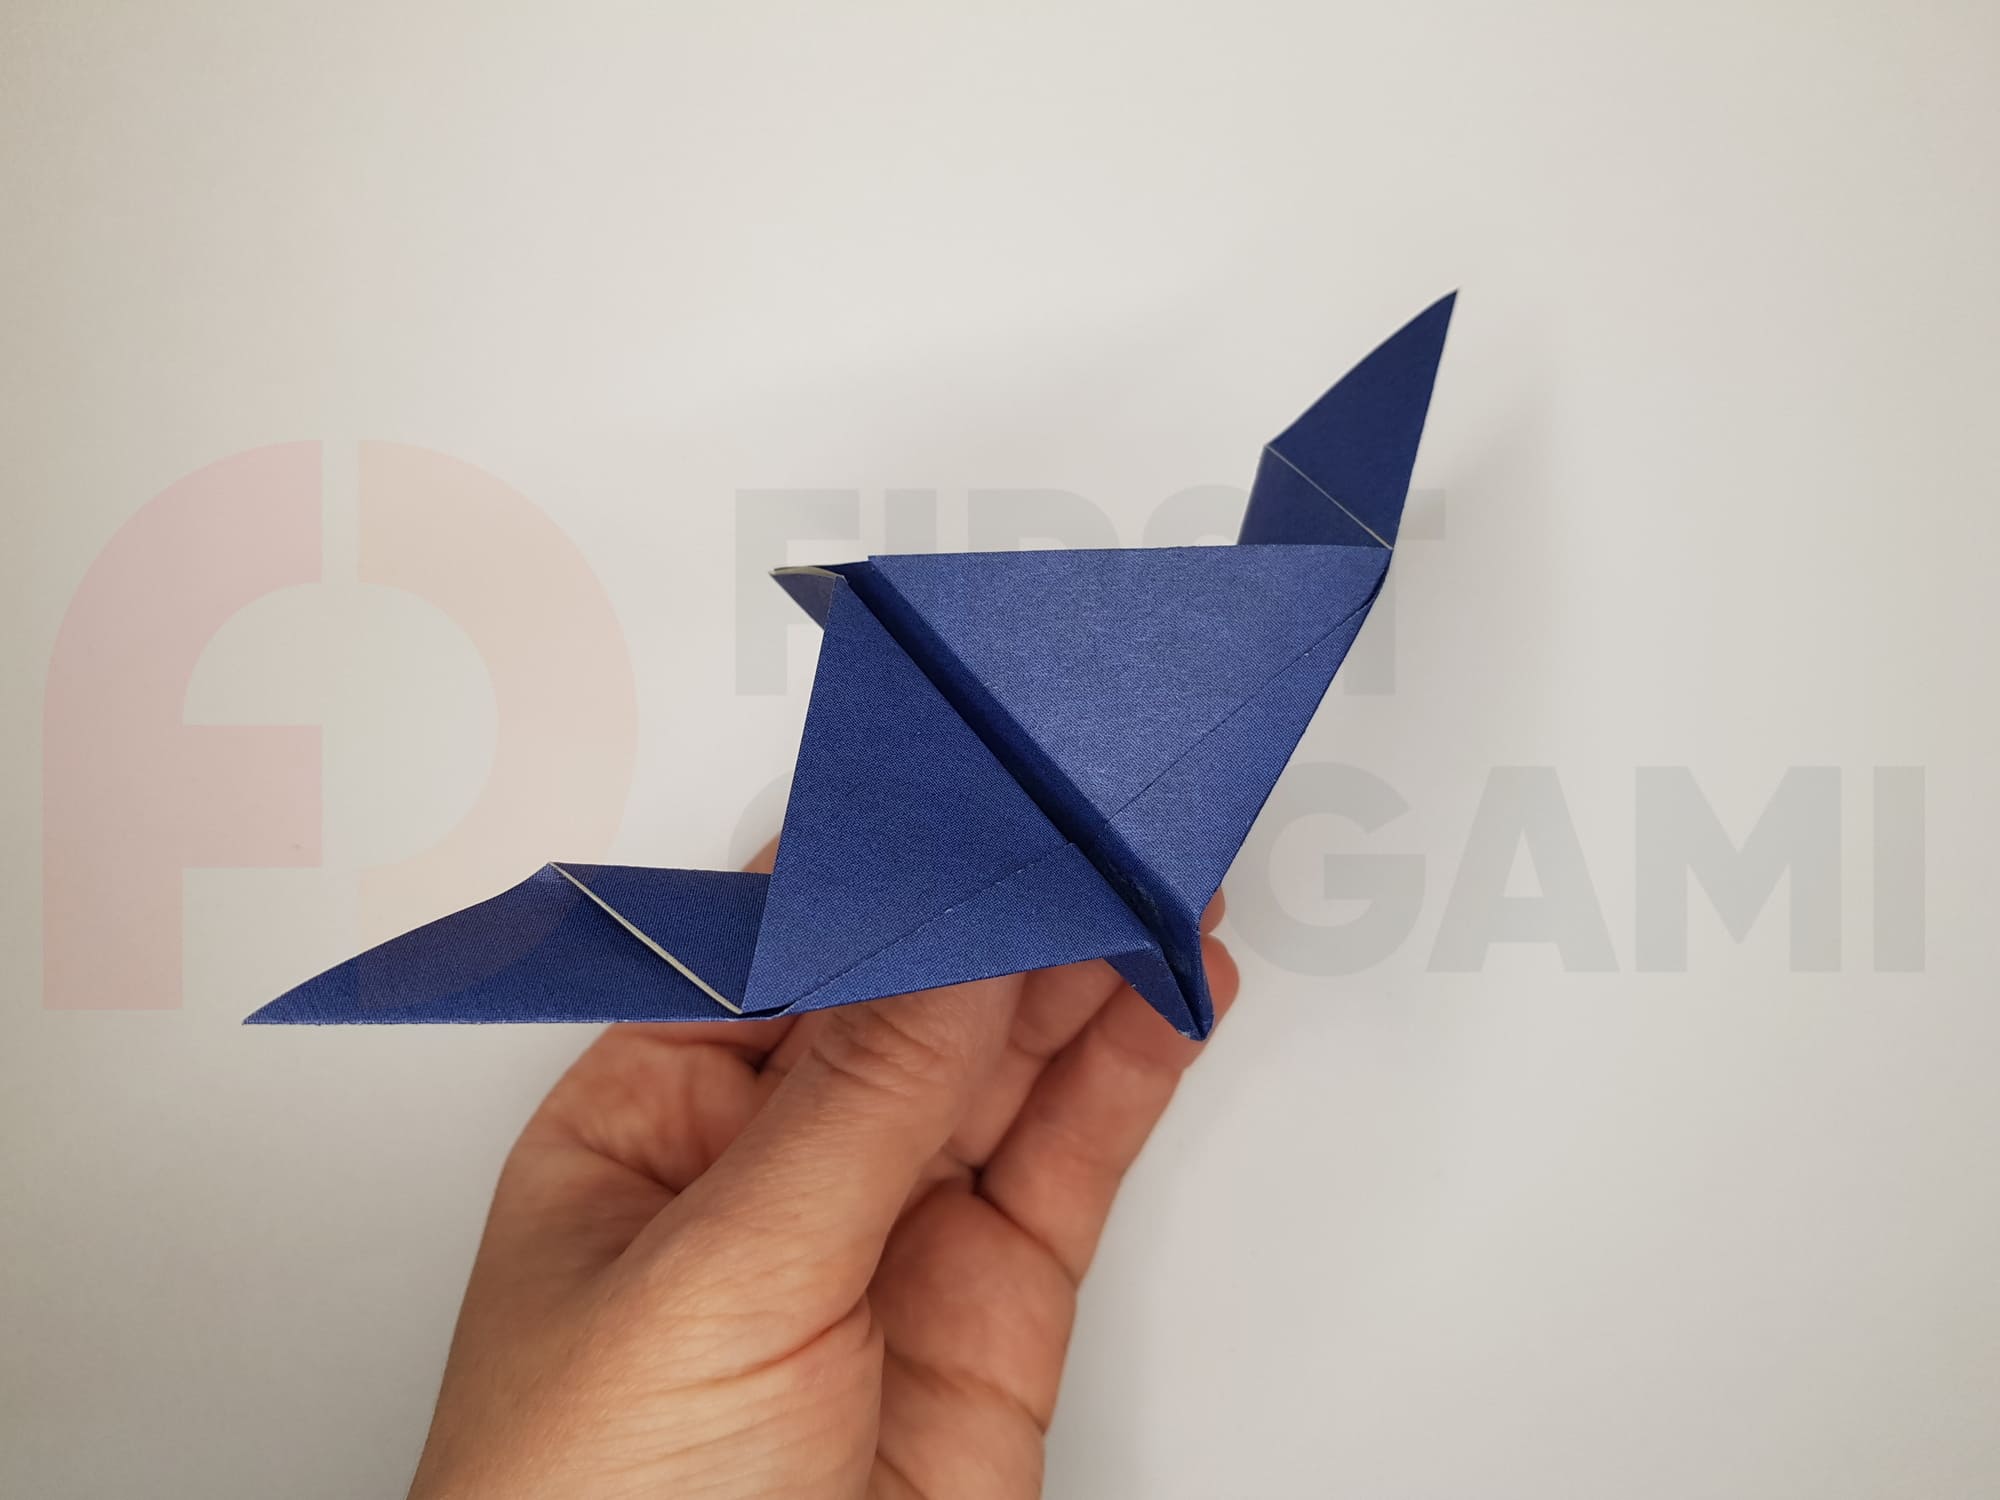
Straighten the model you have just created and the sea glider is ready.
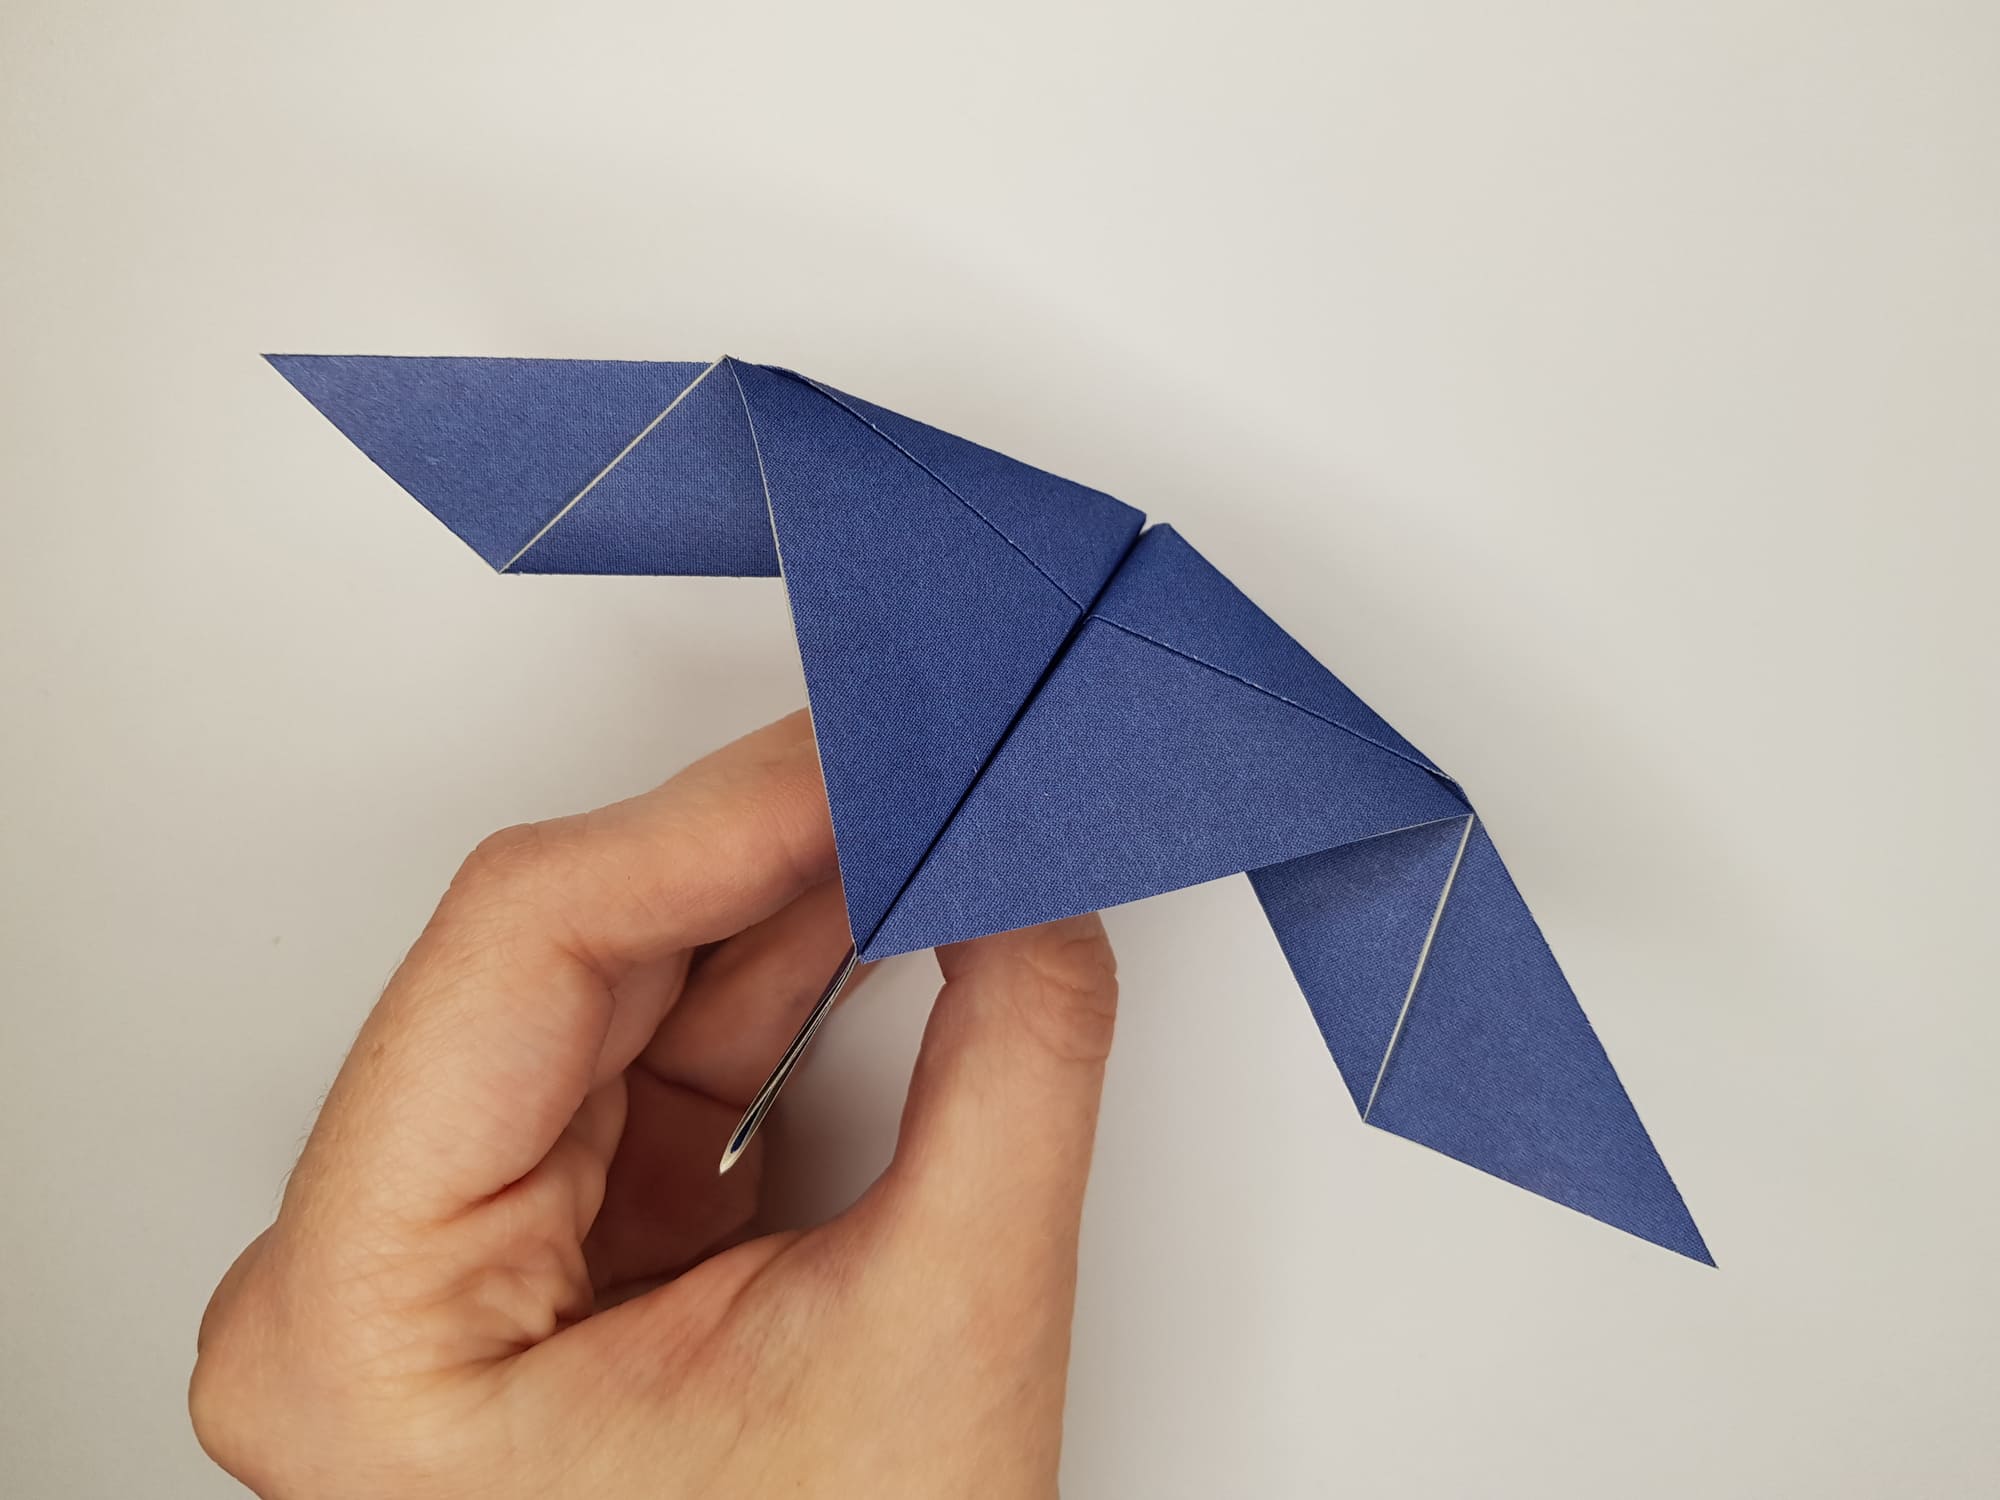
The paper airplane using the origami technique is ready.
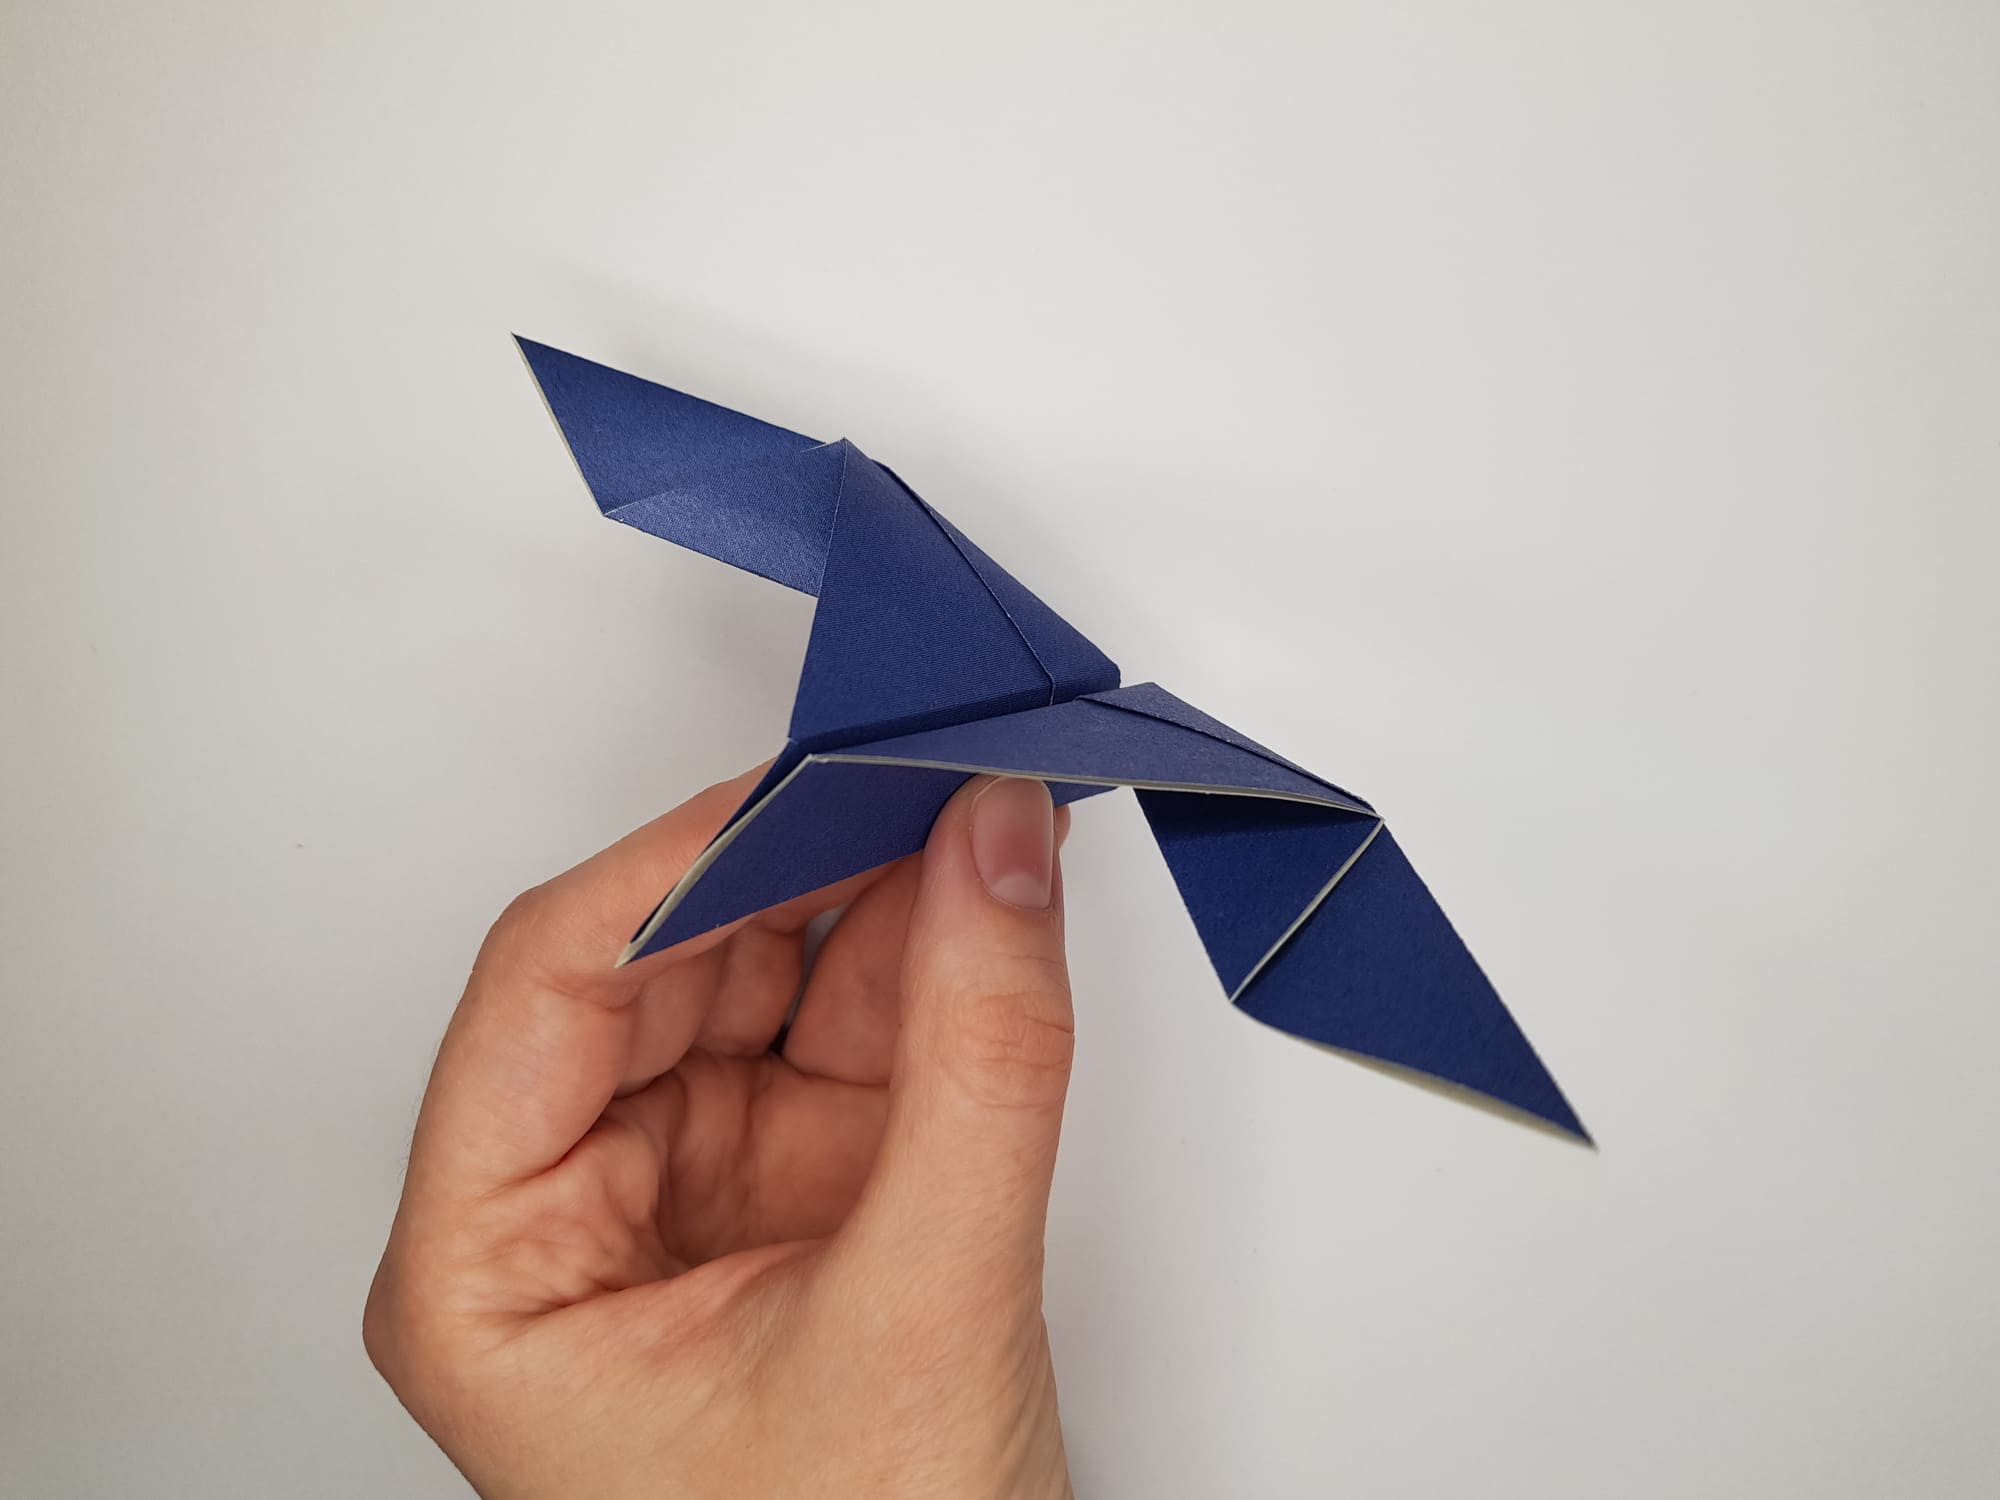
To make it fly well, you can experiment with different folds in the last steps. Fold the wings at different angles and you can check how this affects the range and speed of flight right away. You should launch the model carefully, giving it the desired direction. Now, you can feel like a real aircraft designer!


