Origami Shark

The shark is not so scary and dangerous if it is made using the origami technique. Predatory fish turns out to be quite cute, both children and adults will like it. The pattern was developed by the master Fumiaki Shingu. It can be done by everyone who follows the proposed instructions step by step. A master class on making a shark will require very little time from you. Prepare a sheet of square paper and start following simple steps.
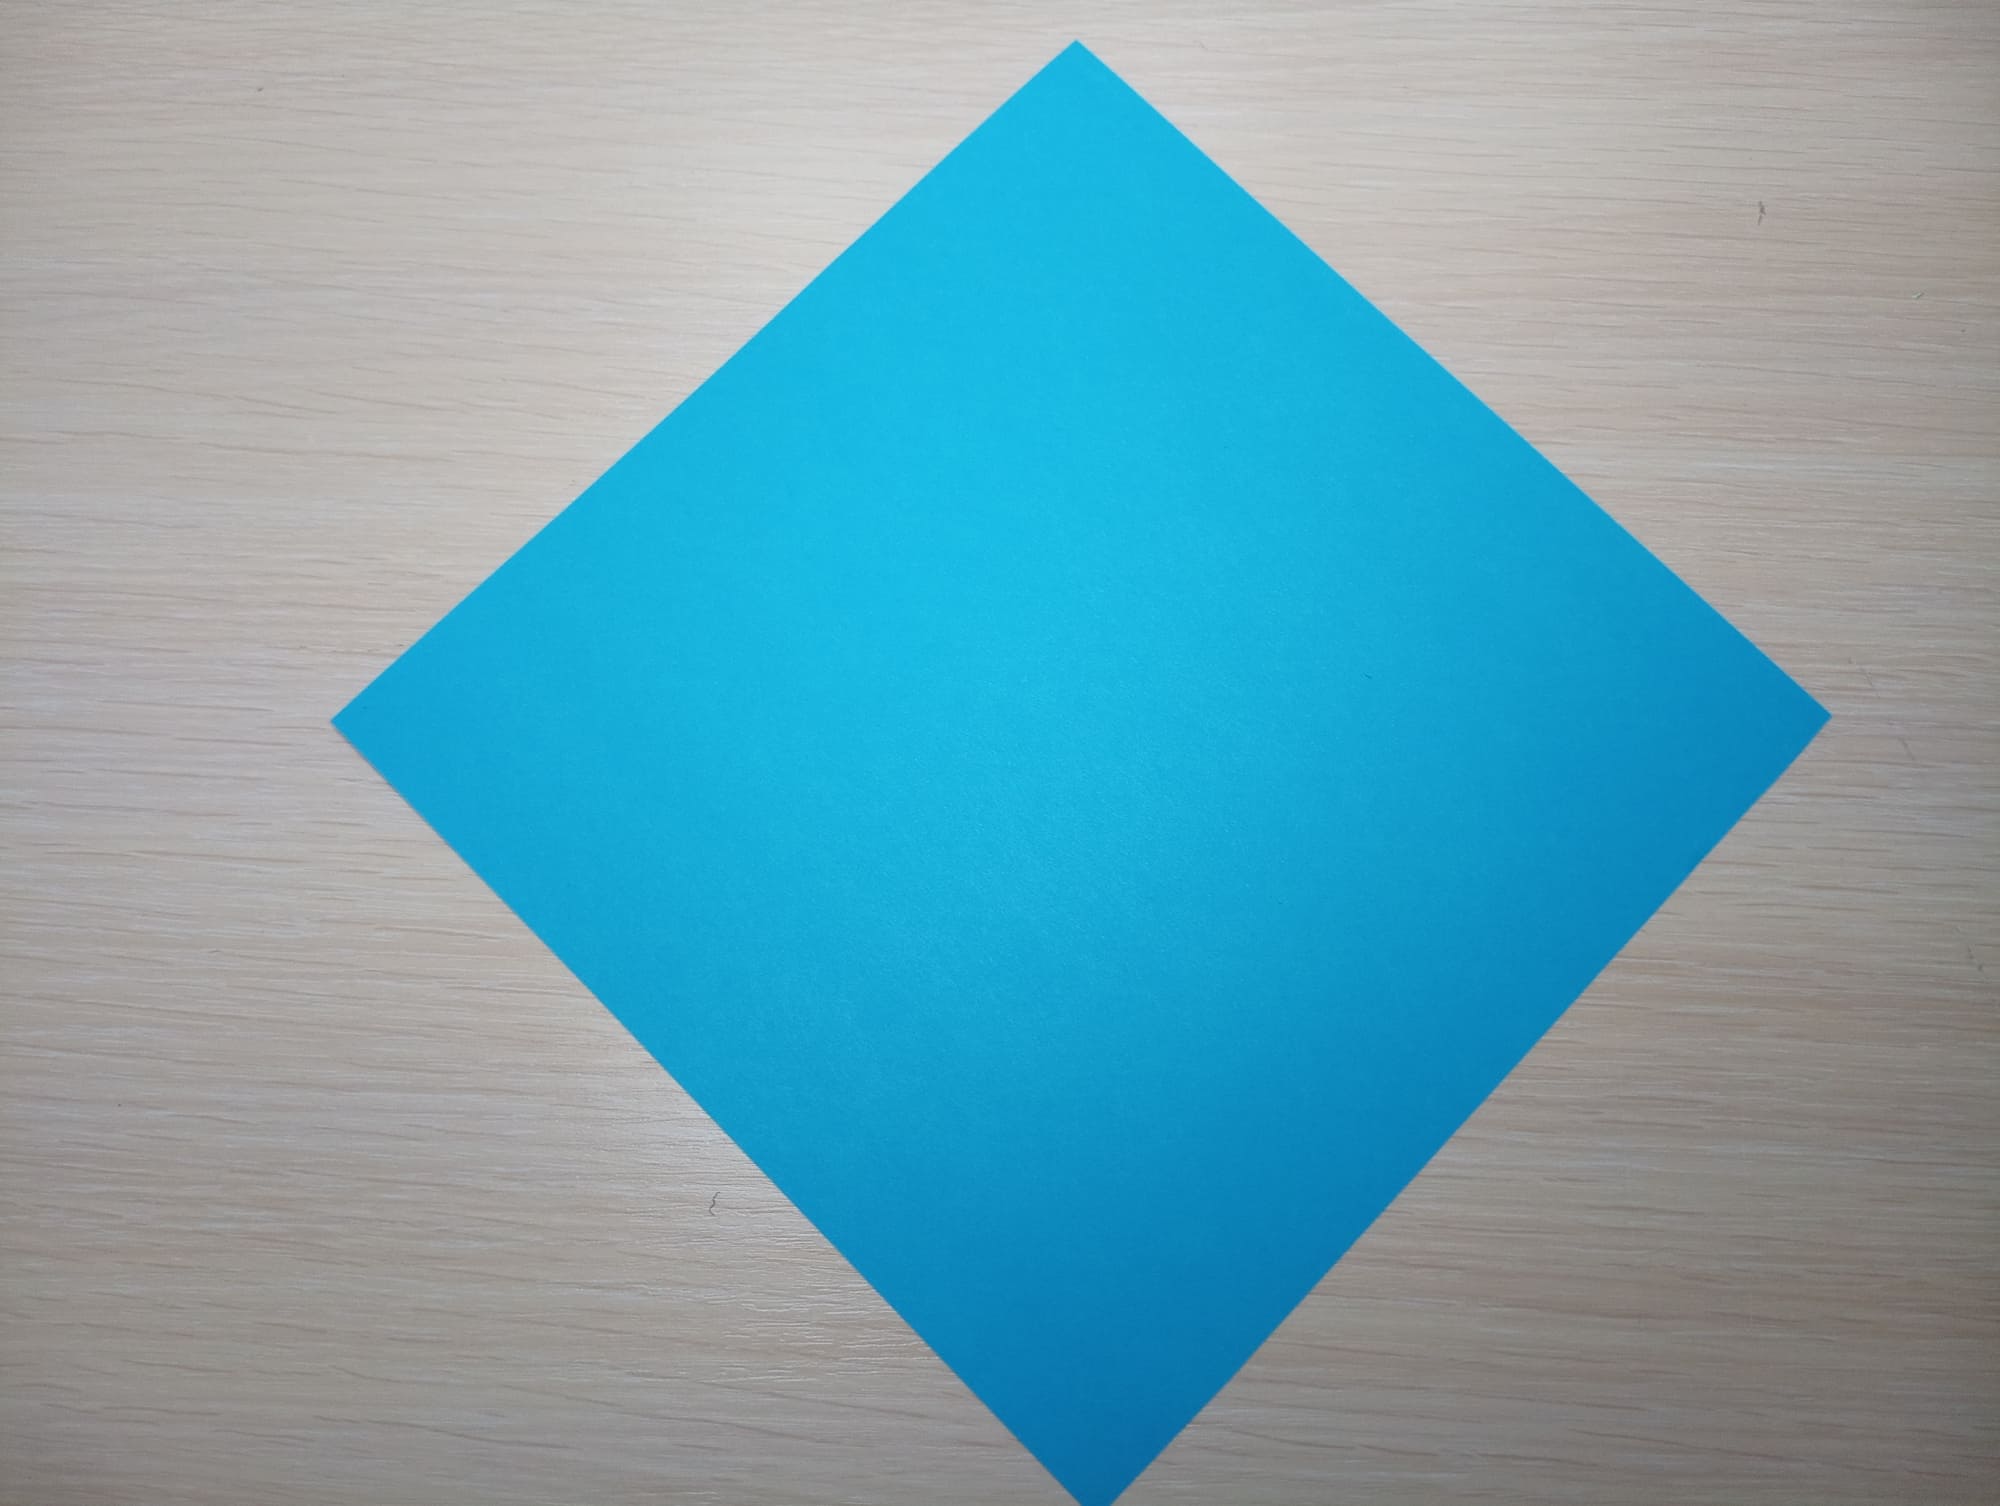
Take a sheet of paper measuring 15 by 15 cm.
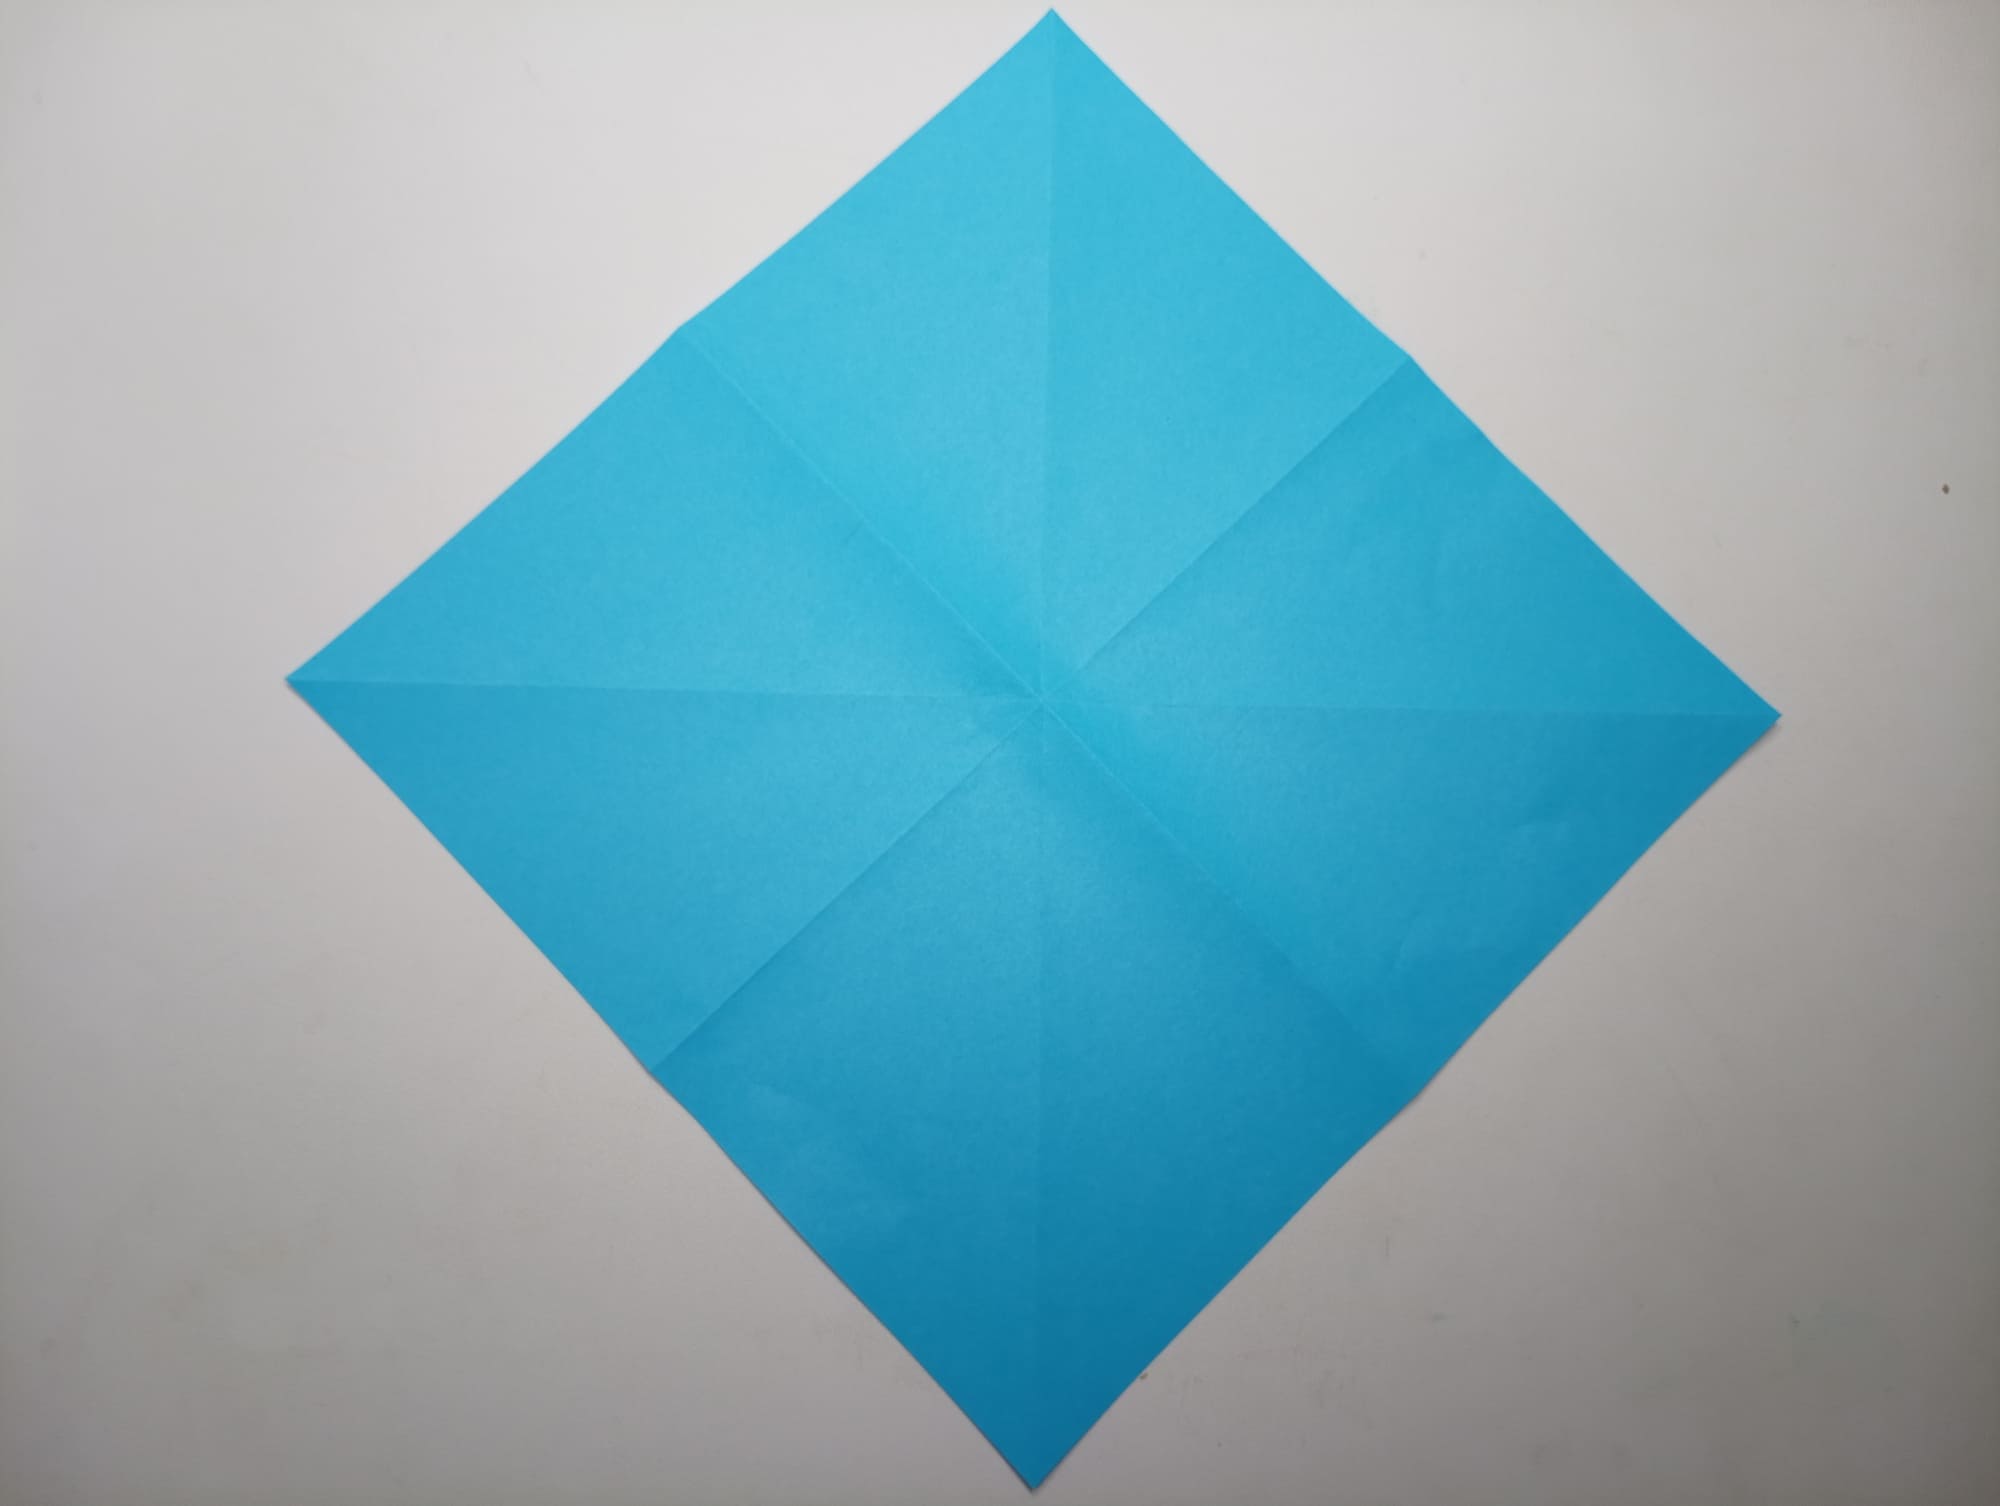
Perform folds in both diagonals, as well as vertically and horizontally. Open the sheet and you should get the same result as in the photo.
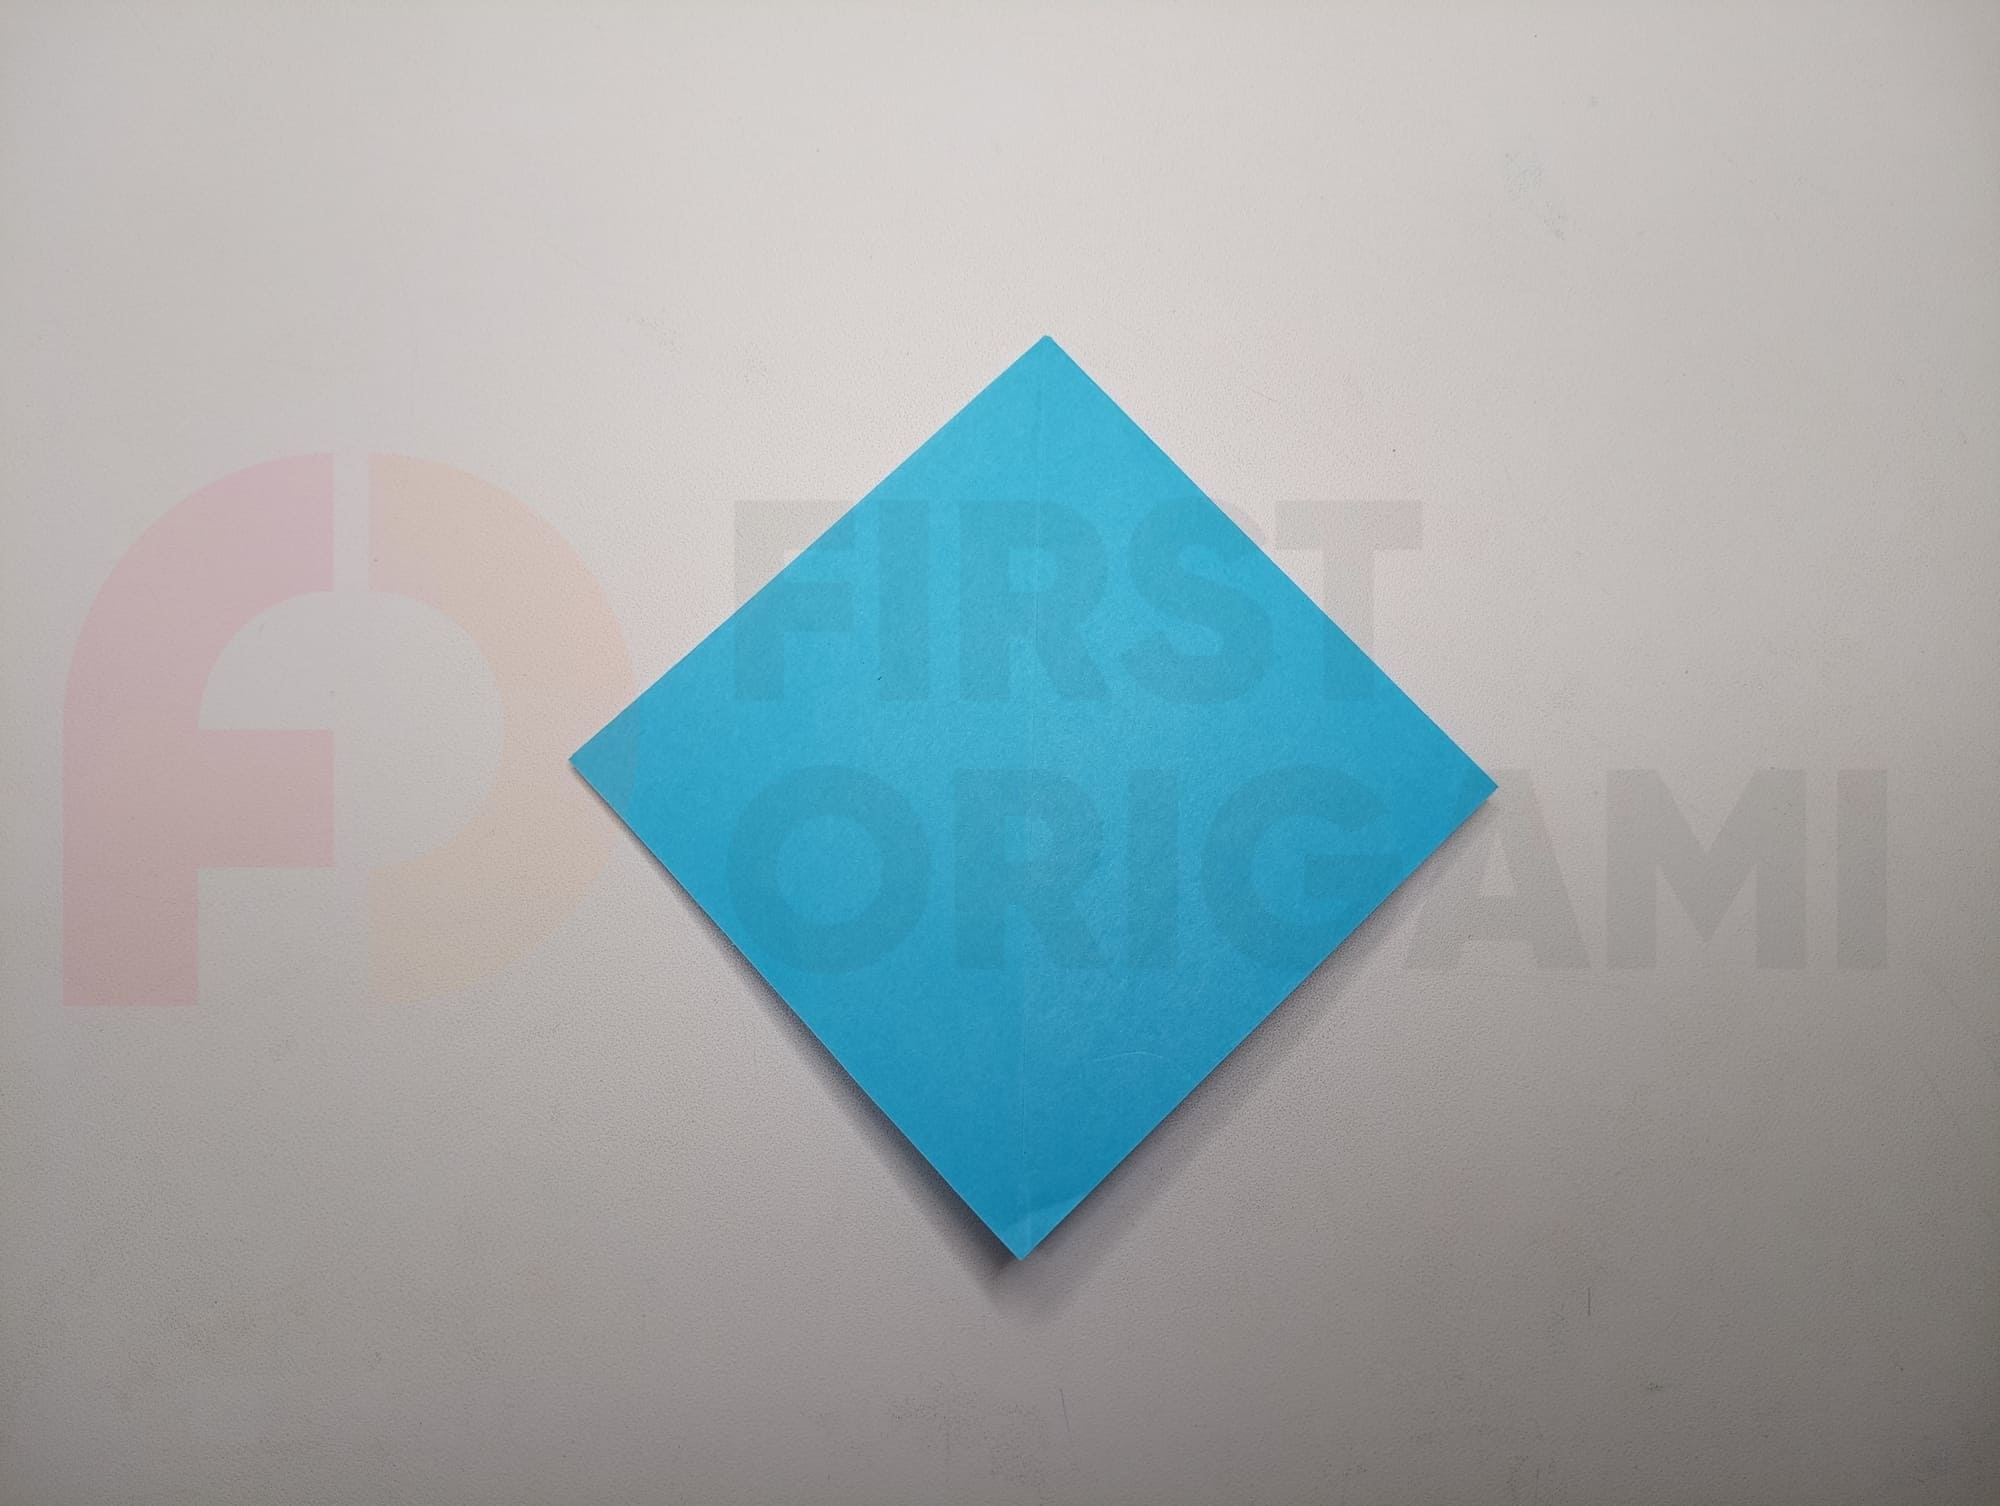
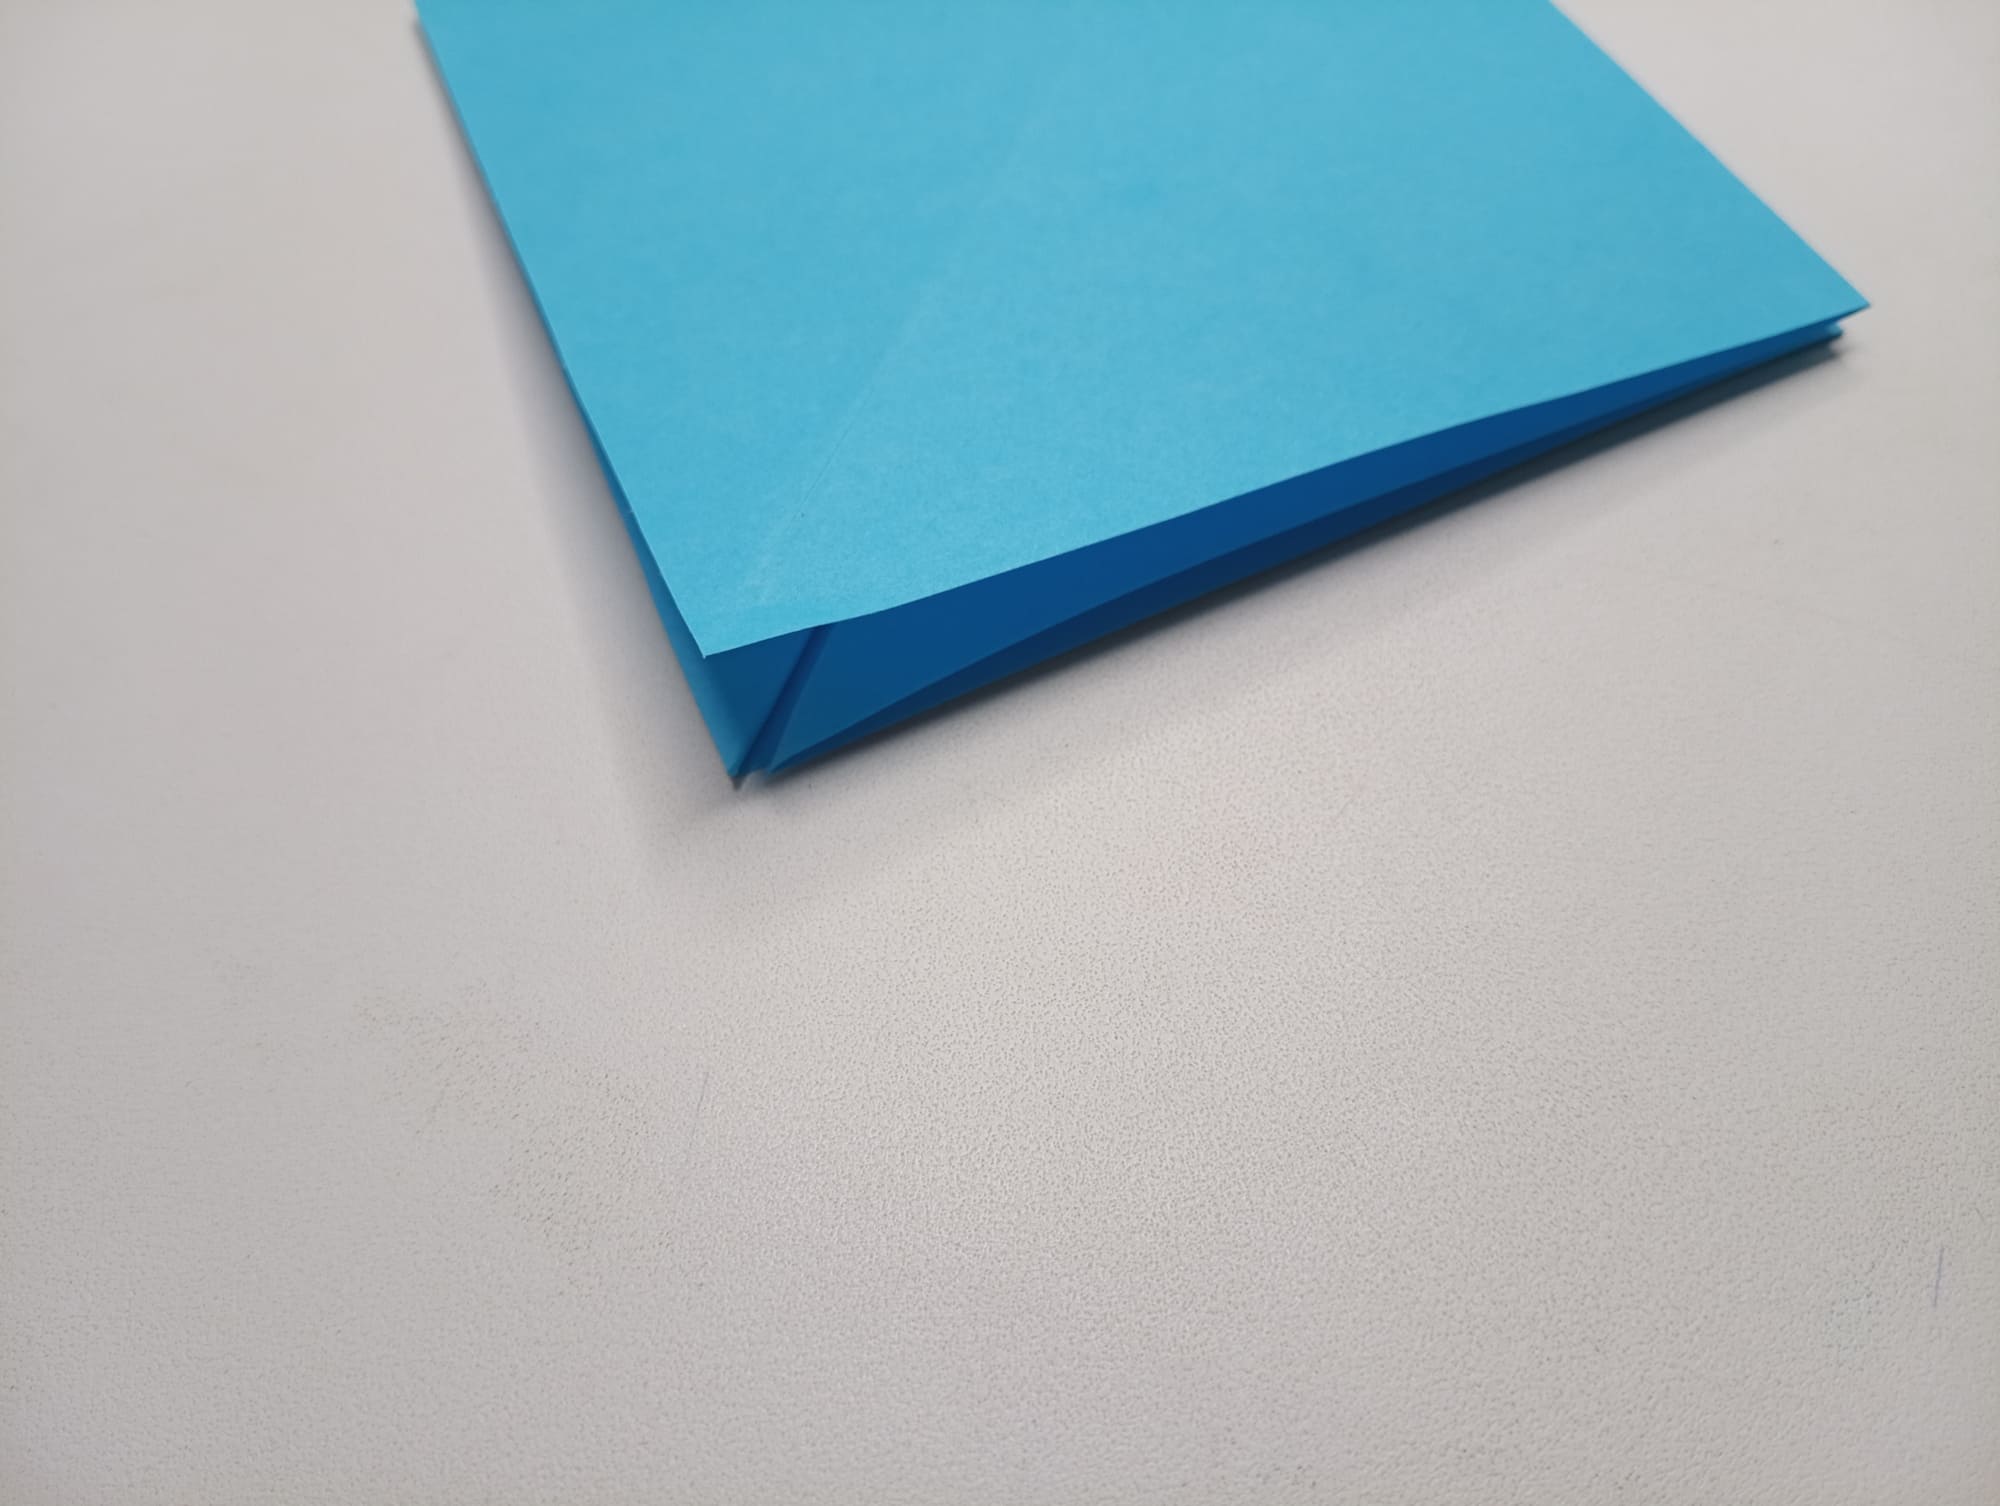
Fold a sheet of paper along the folds, like for a square origami base.
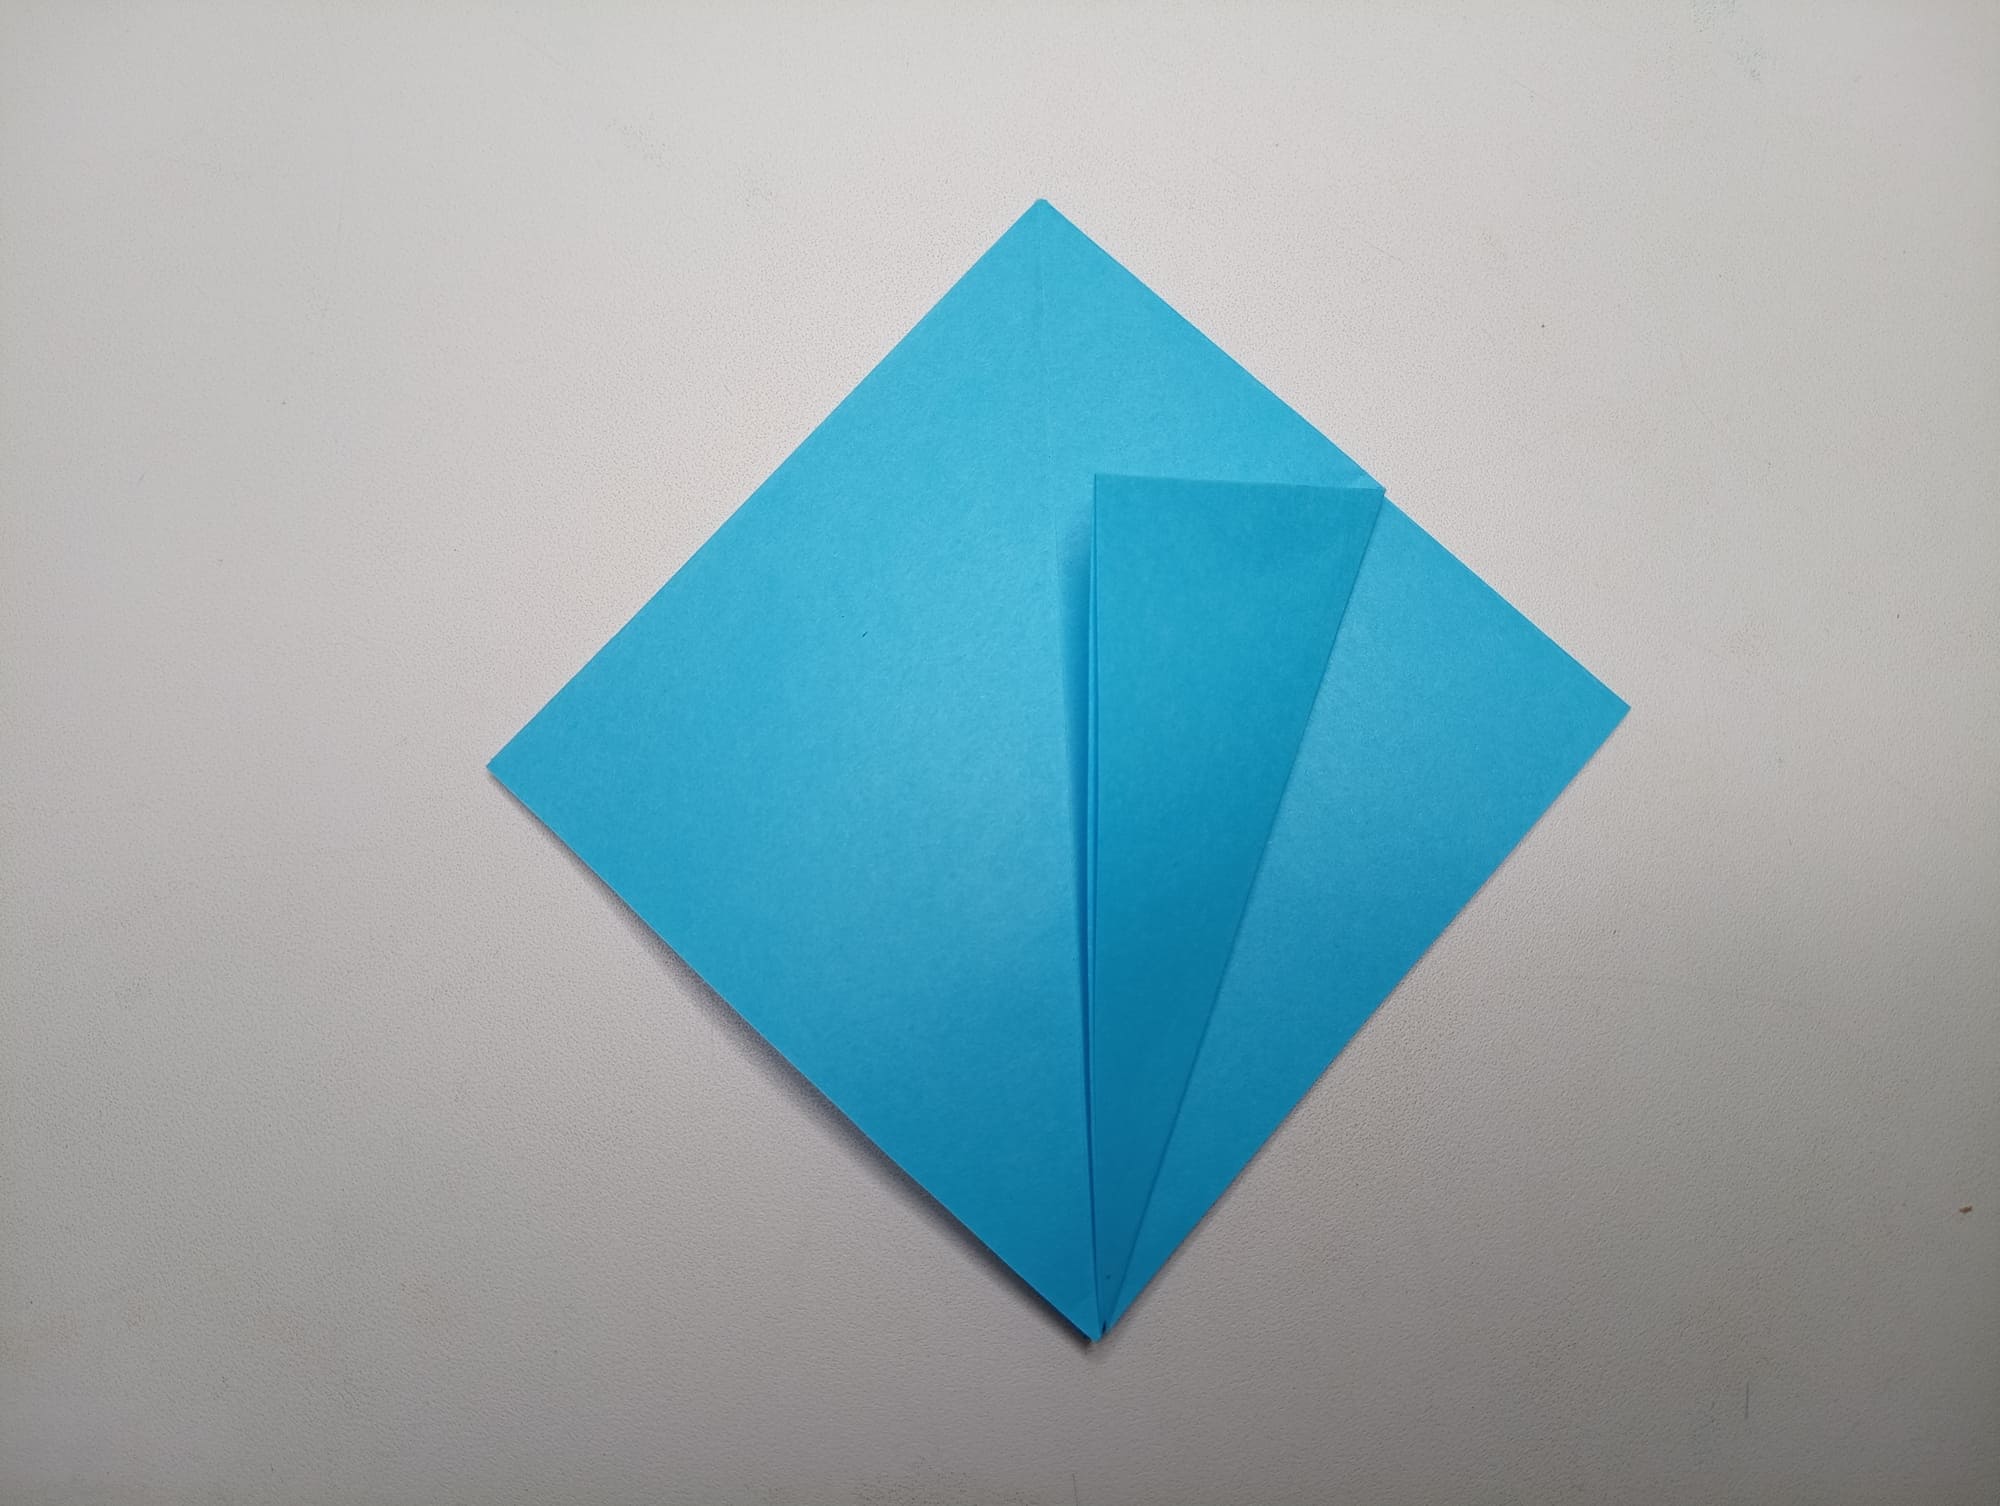
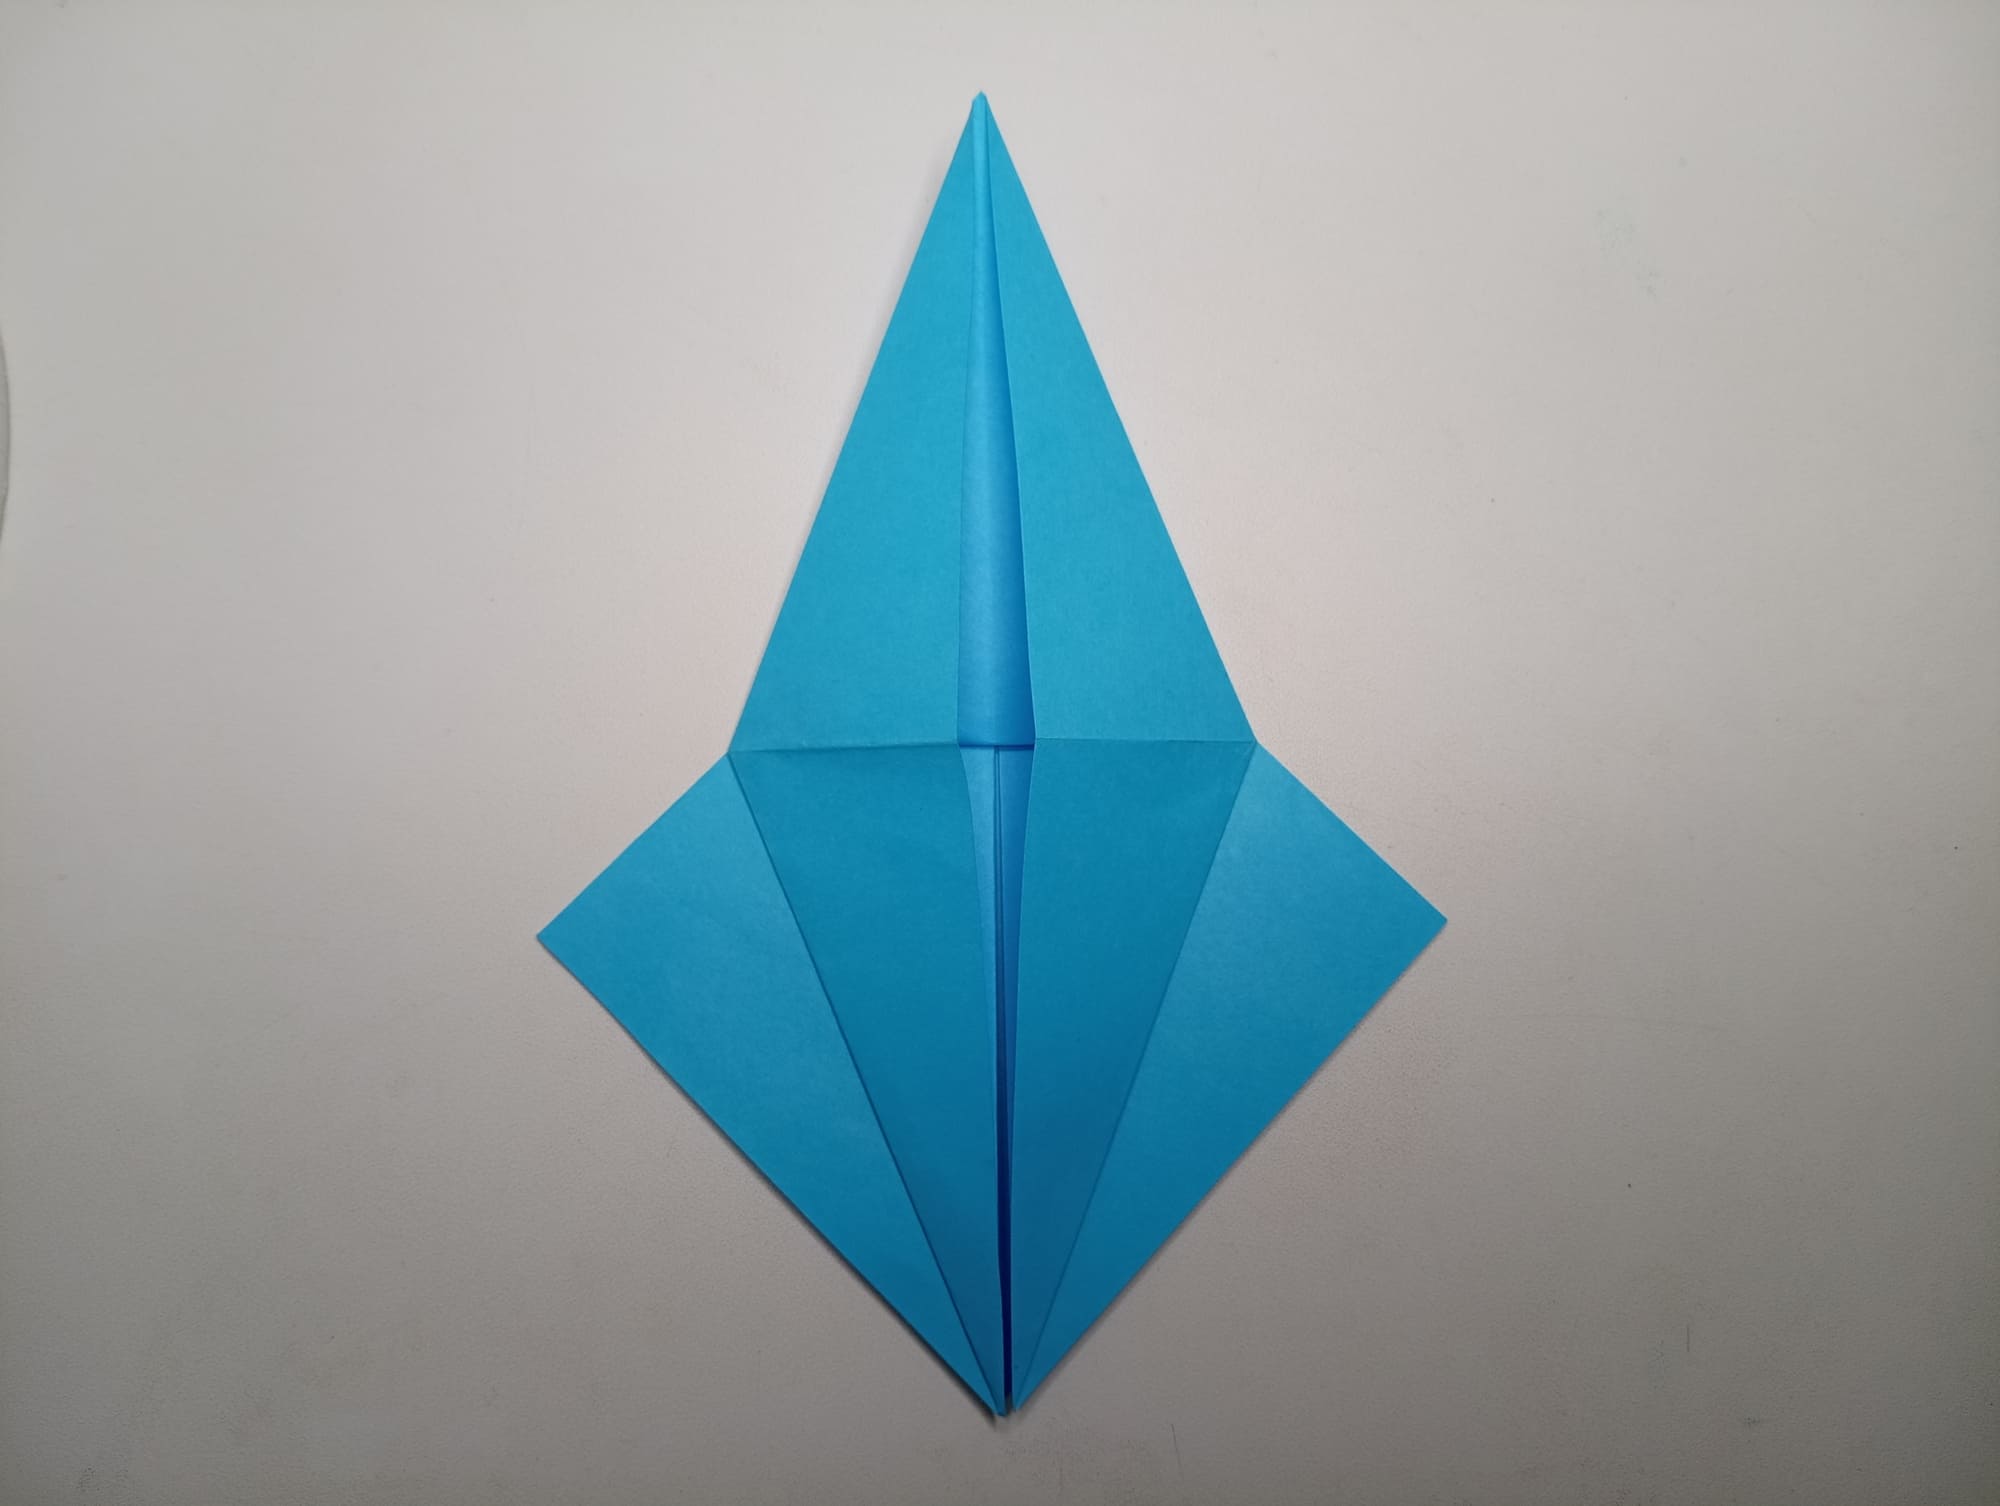
Bend the upper right edge of the sheet to the center fold line of the figure.
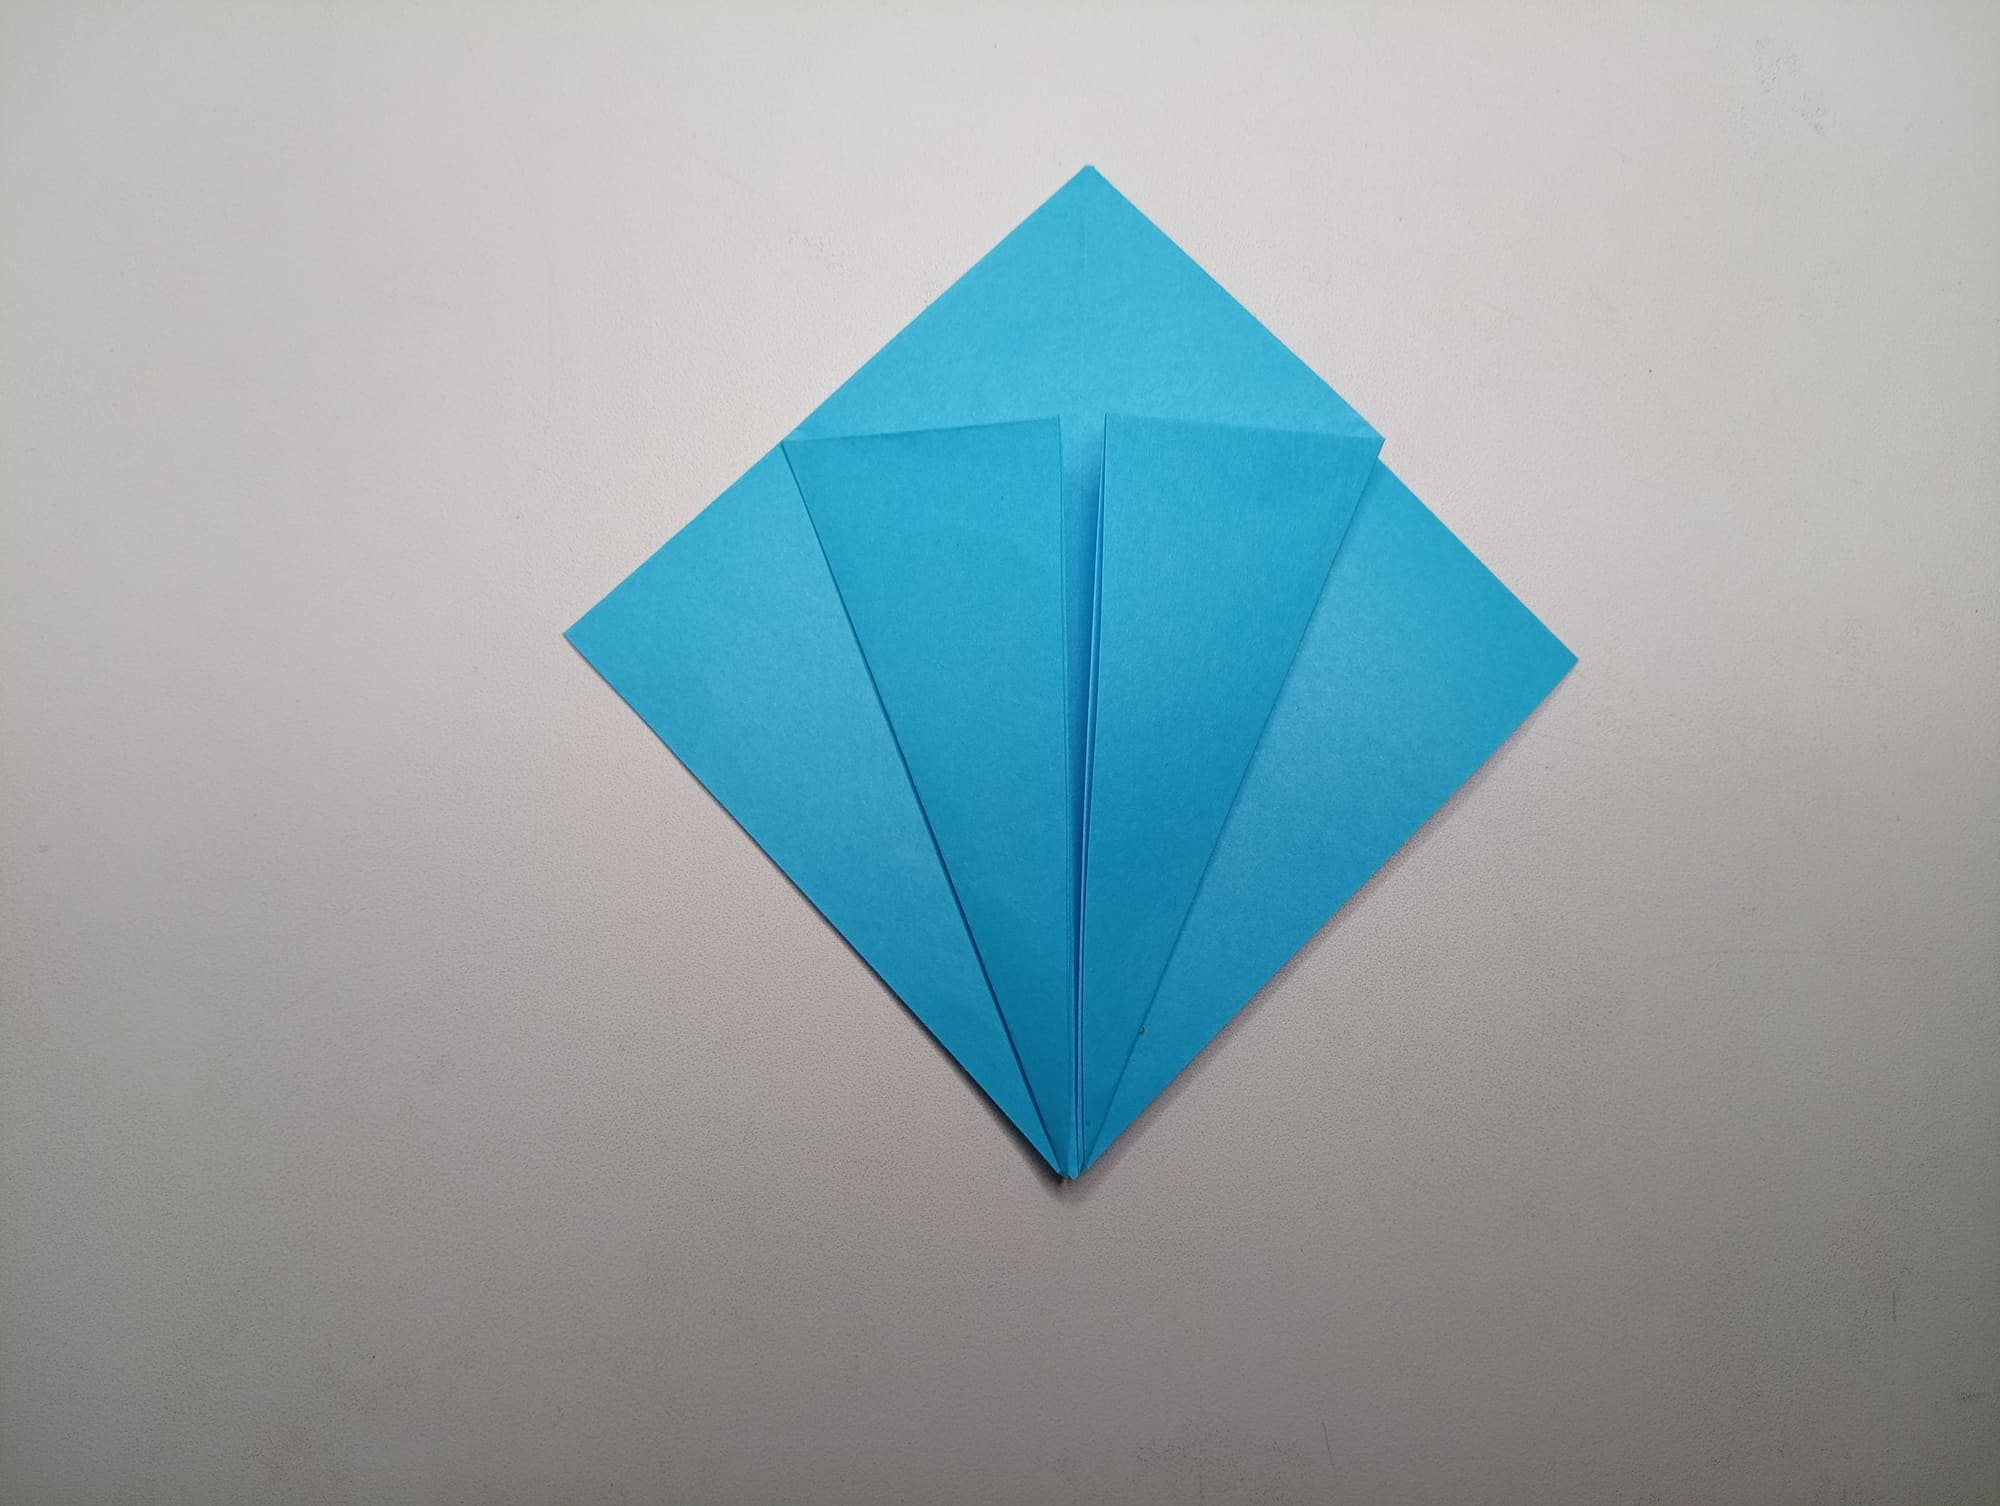
Repeat the same with the left side. The result is on the photo.
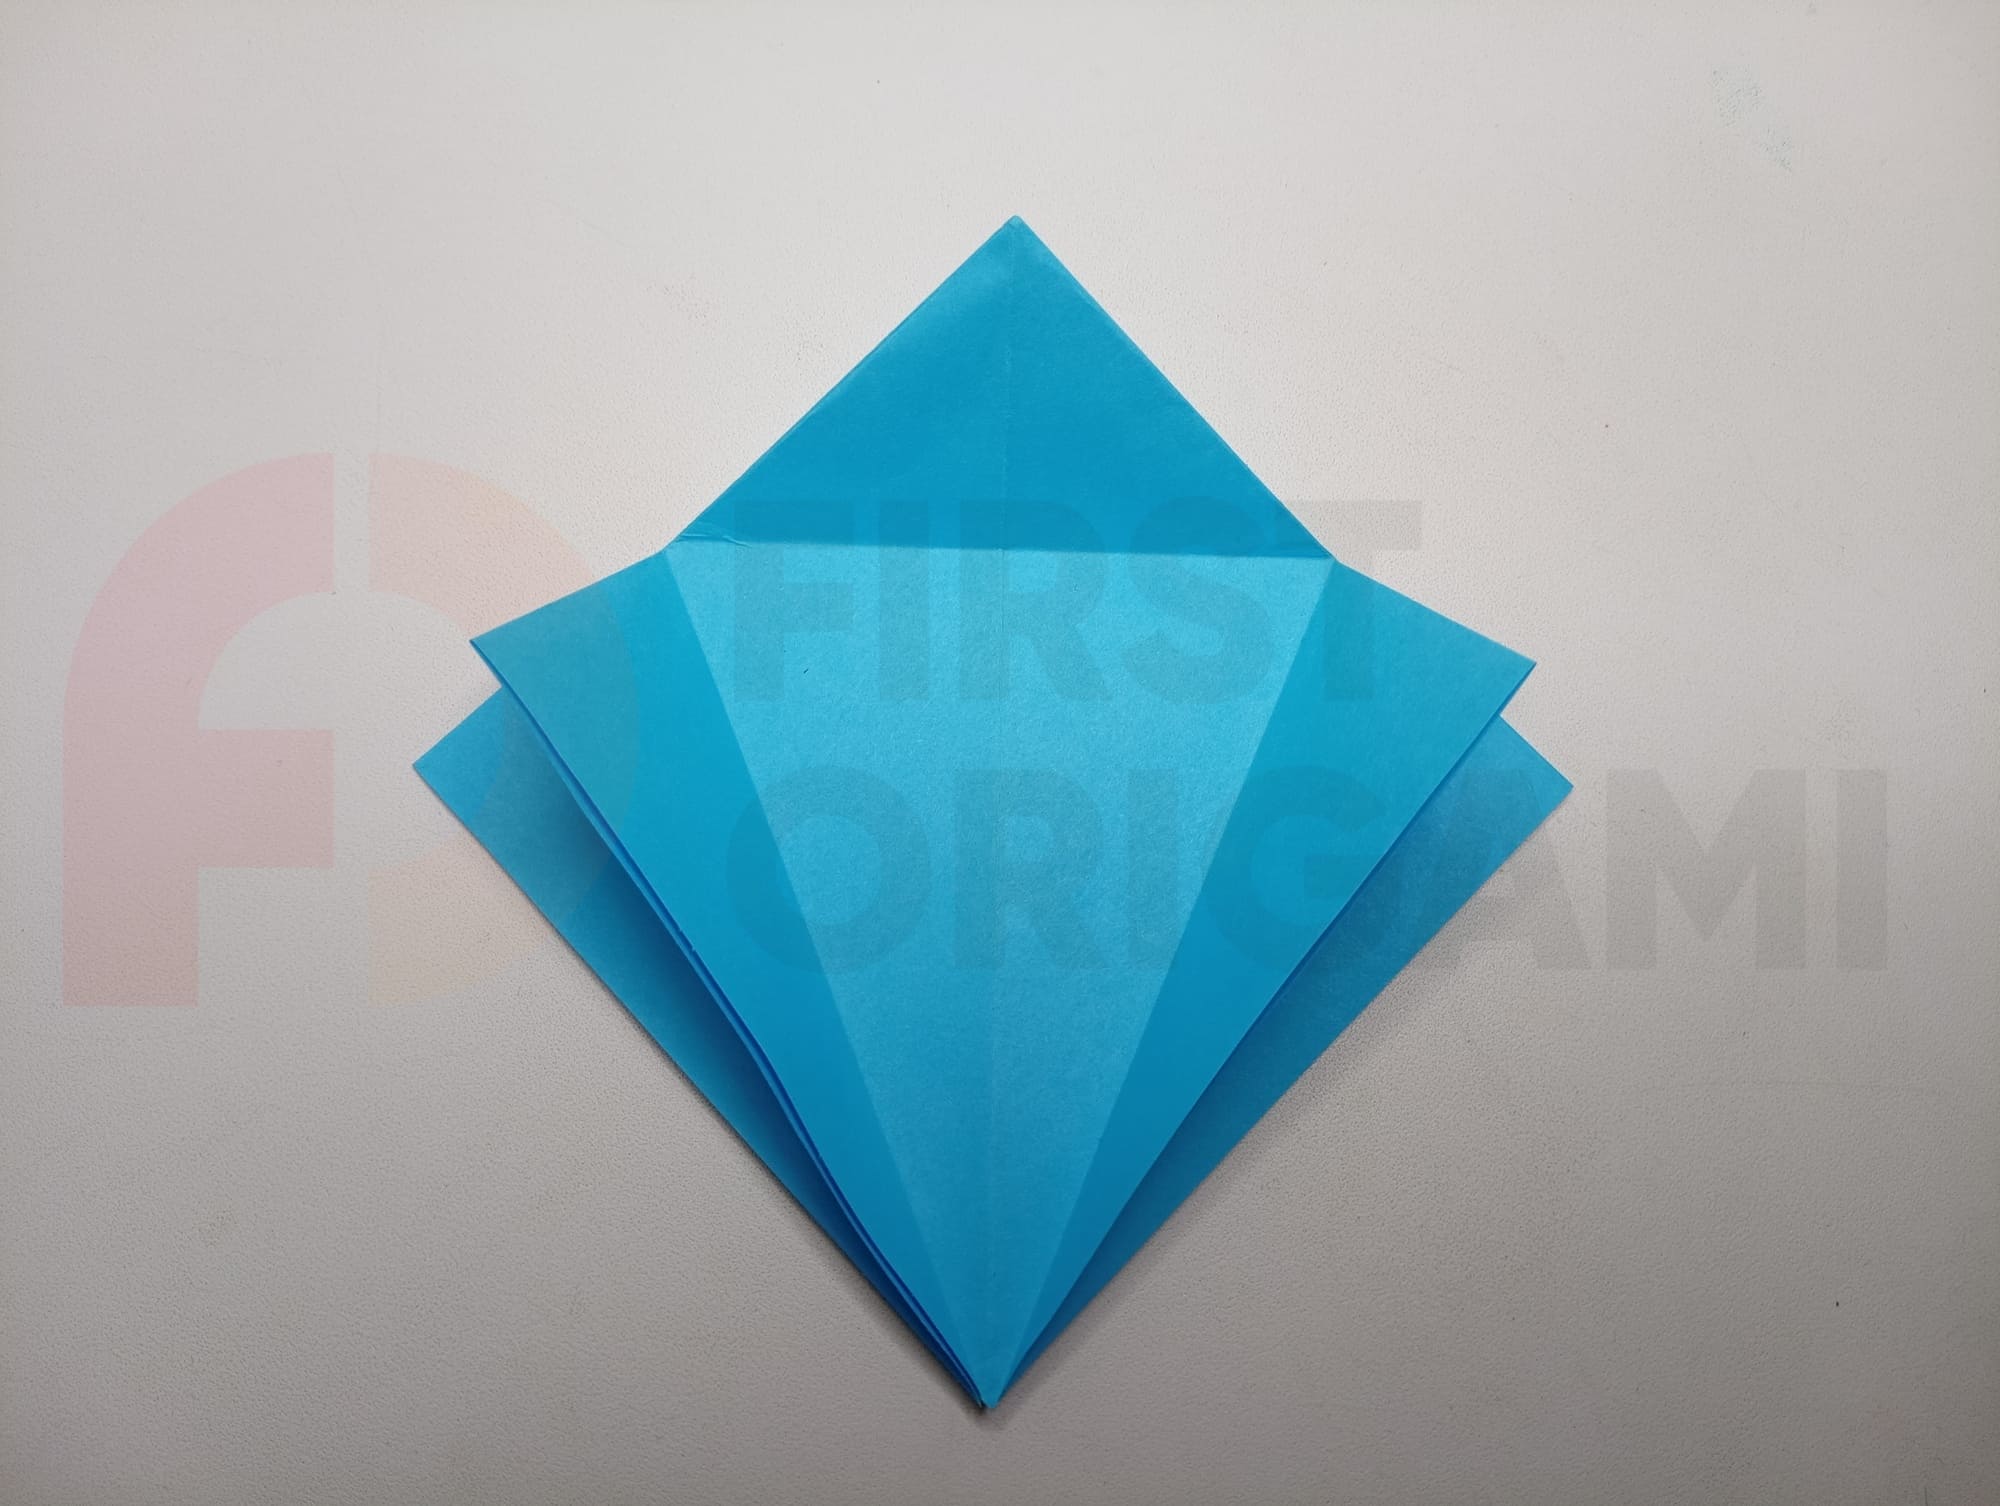
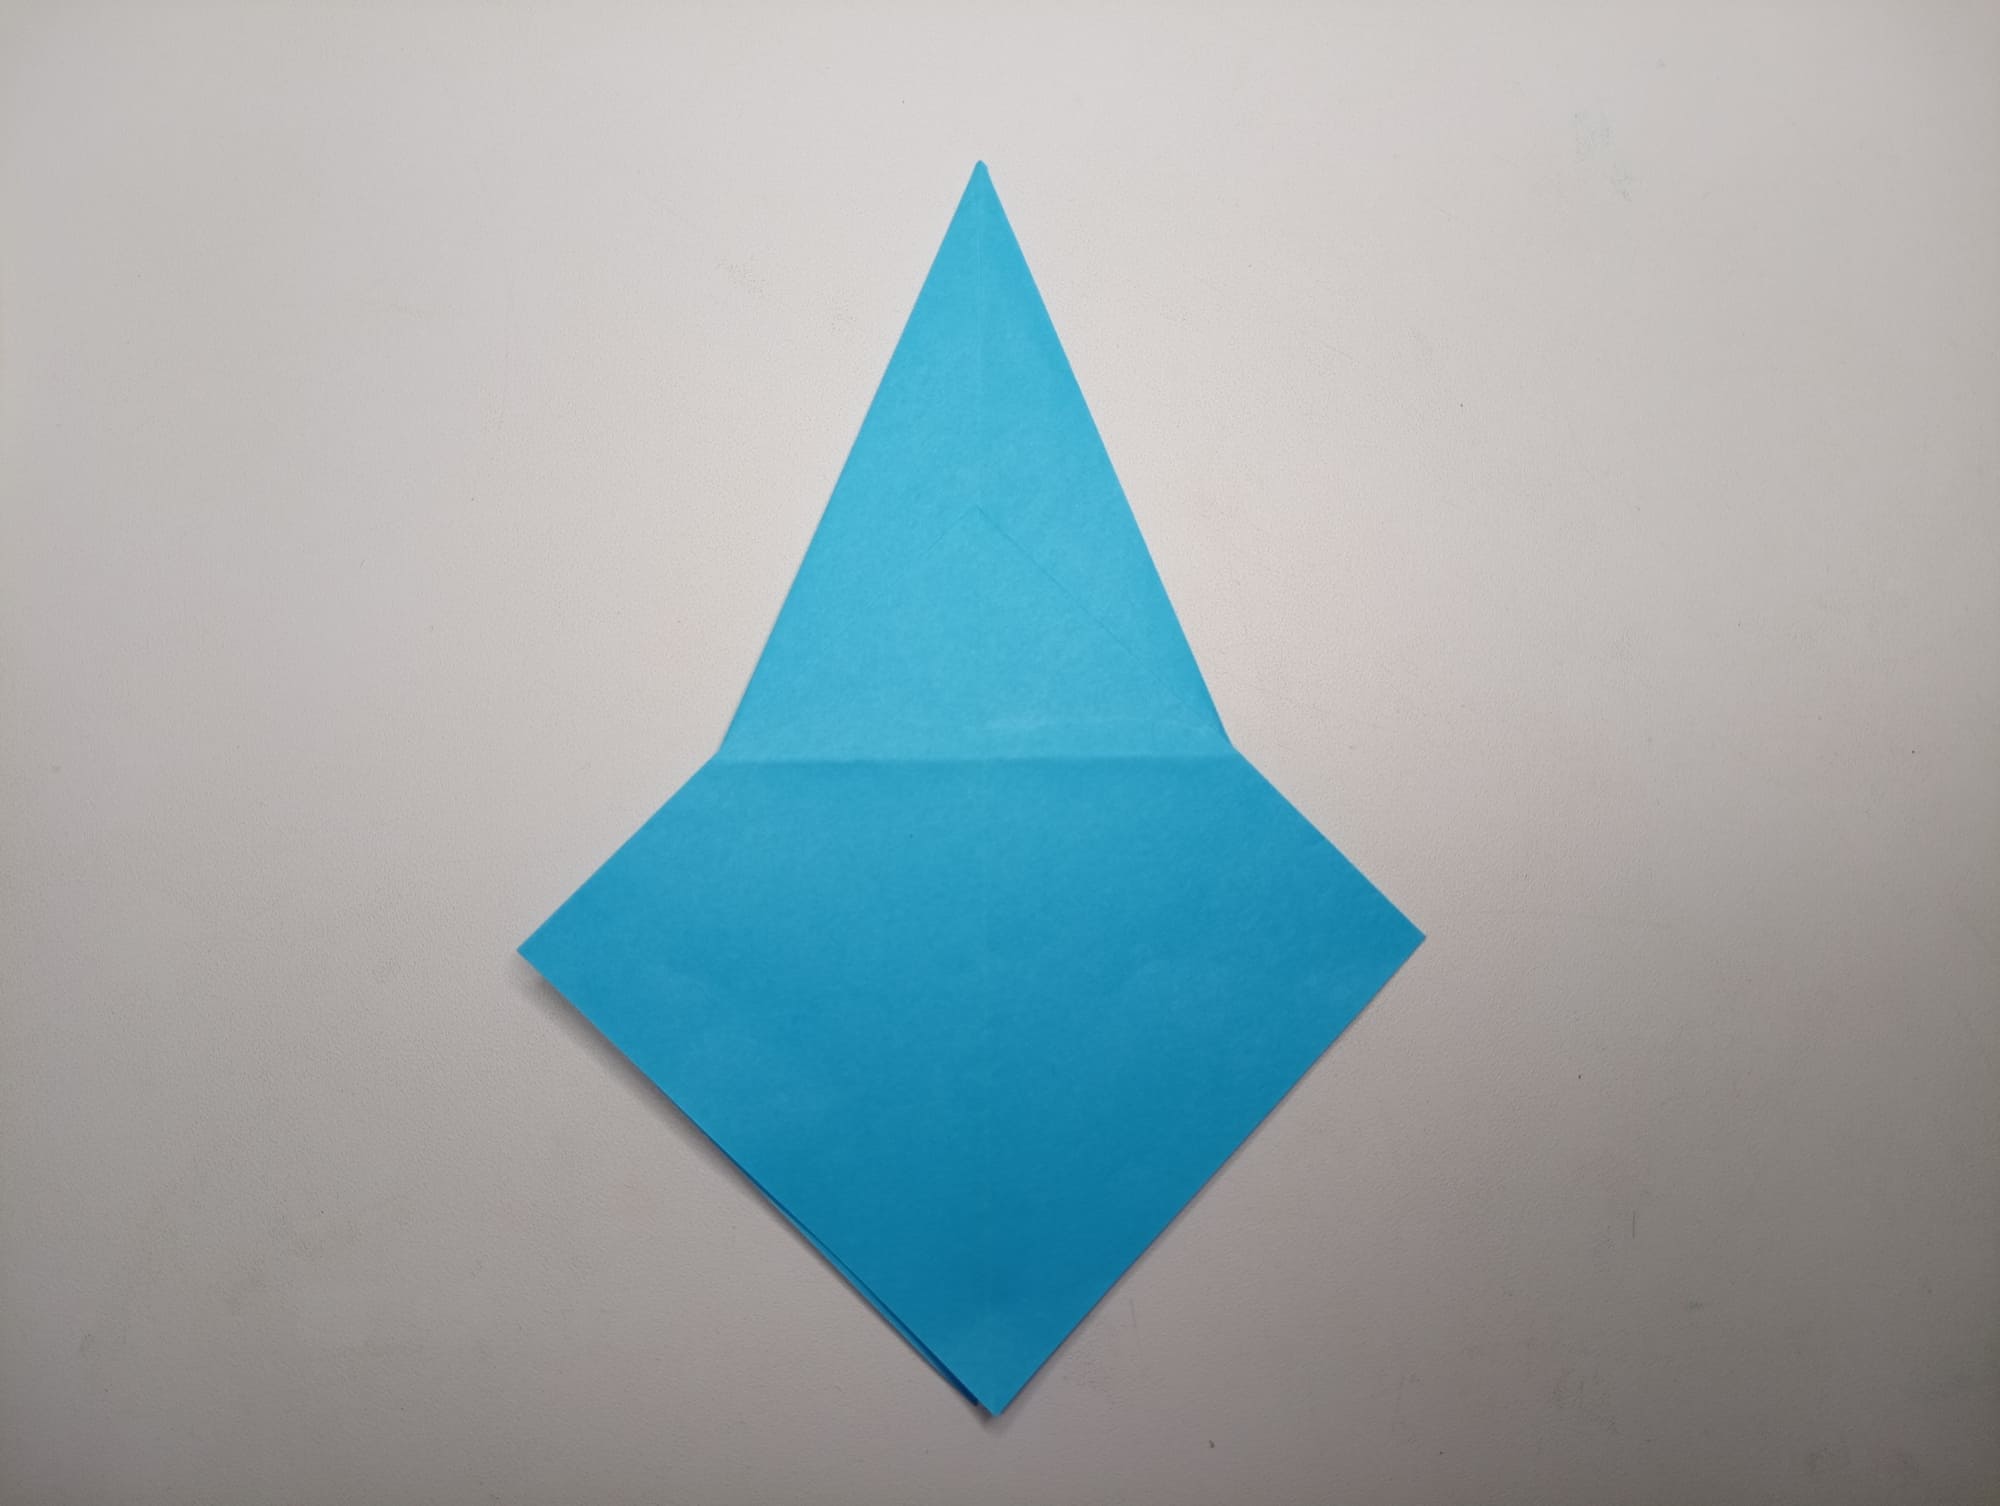
Bend the top edge down and open the figure again. You should get three folds.
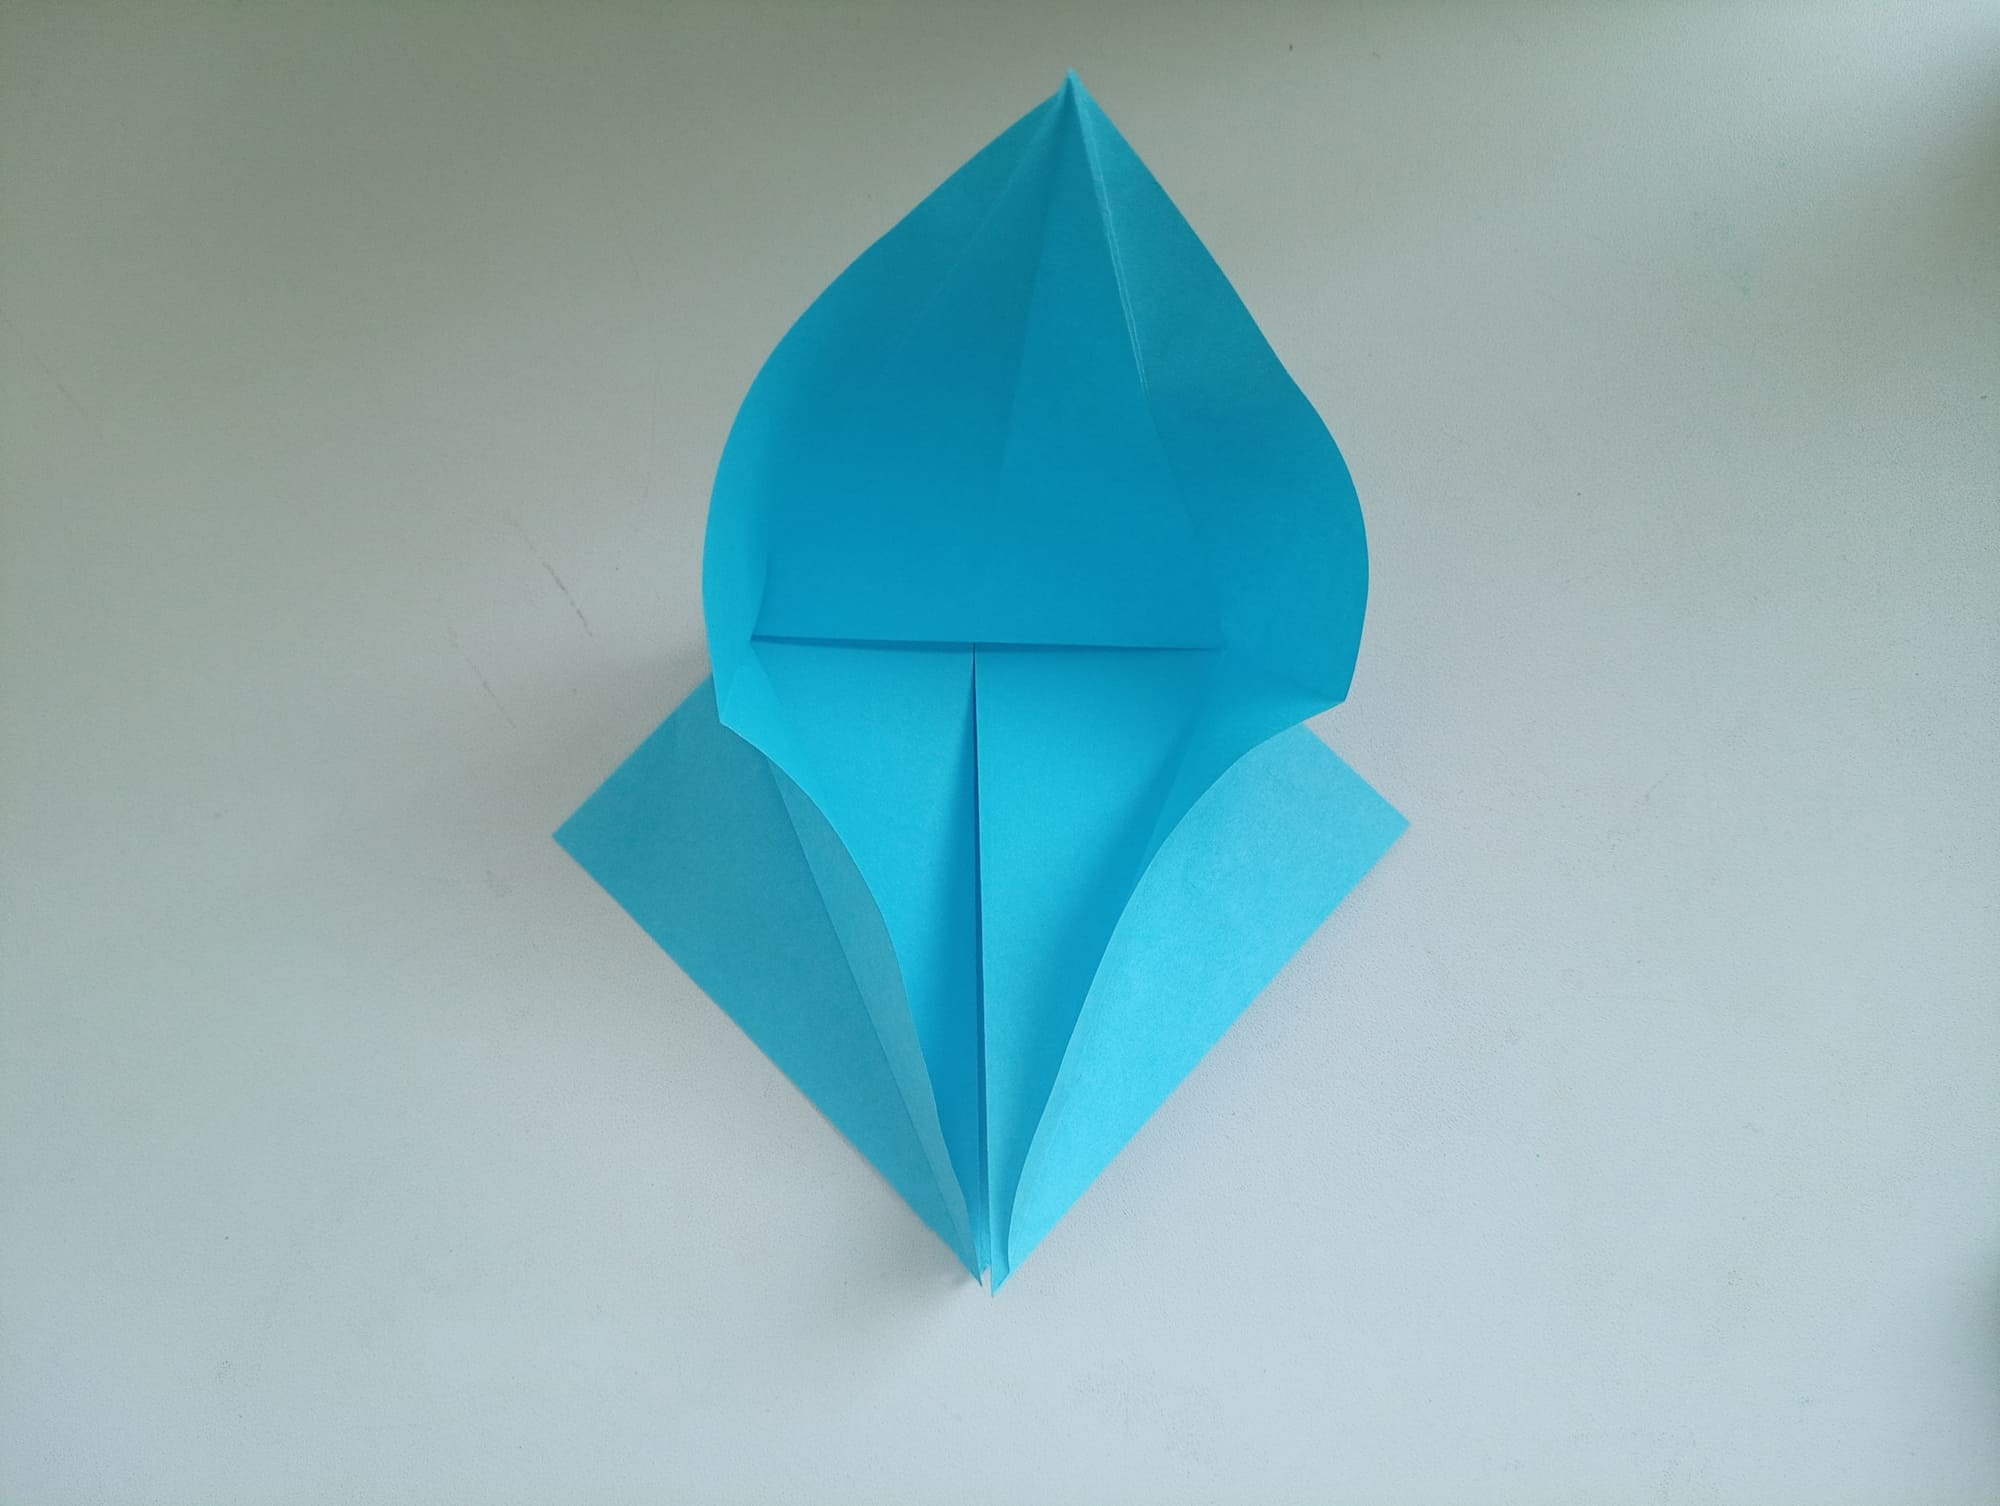
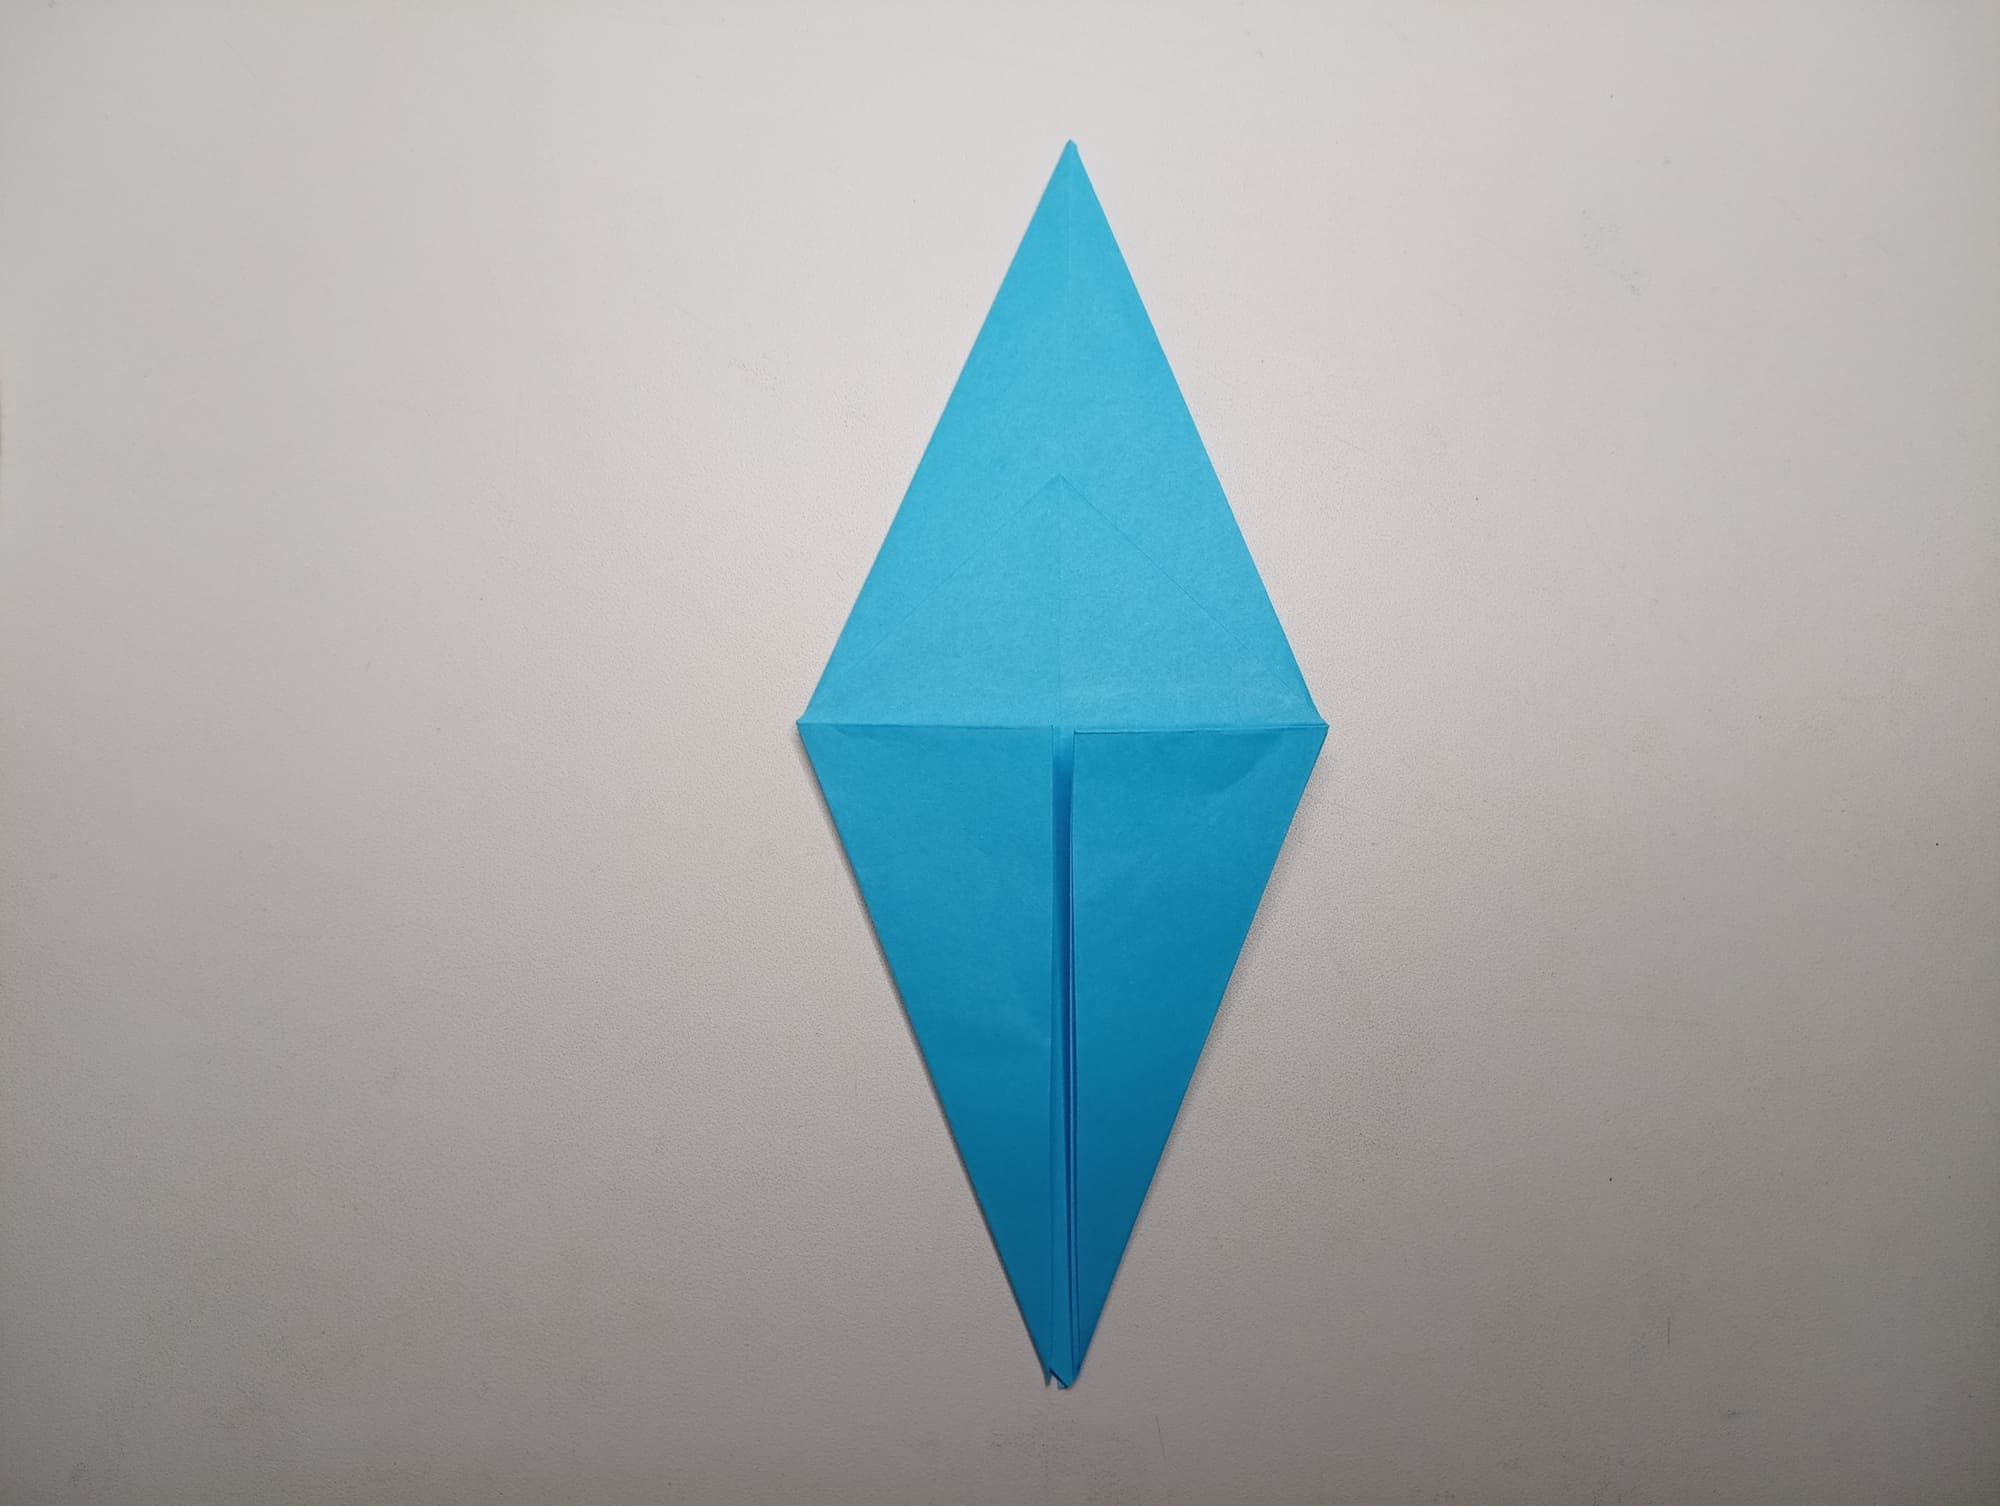
Pry up the bottom corner of the figure and pull it up until you open it completely (see photo).
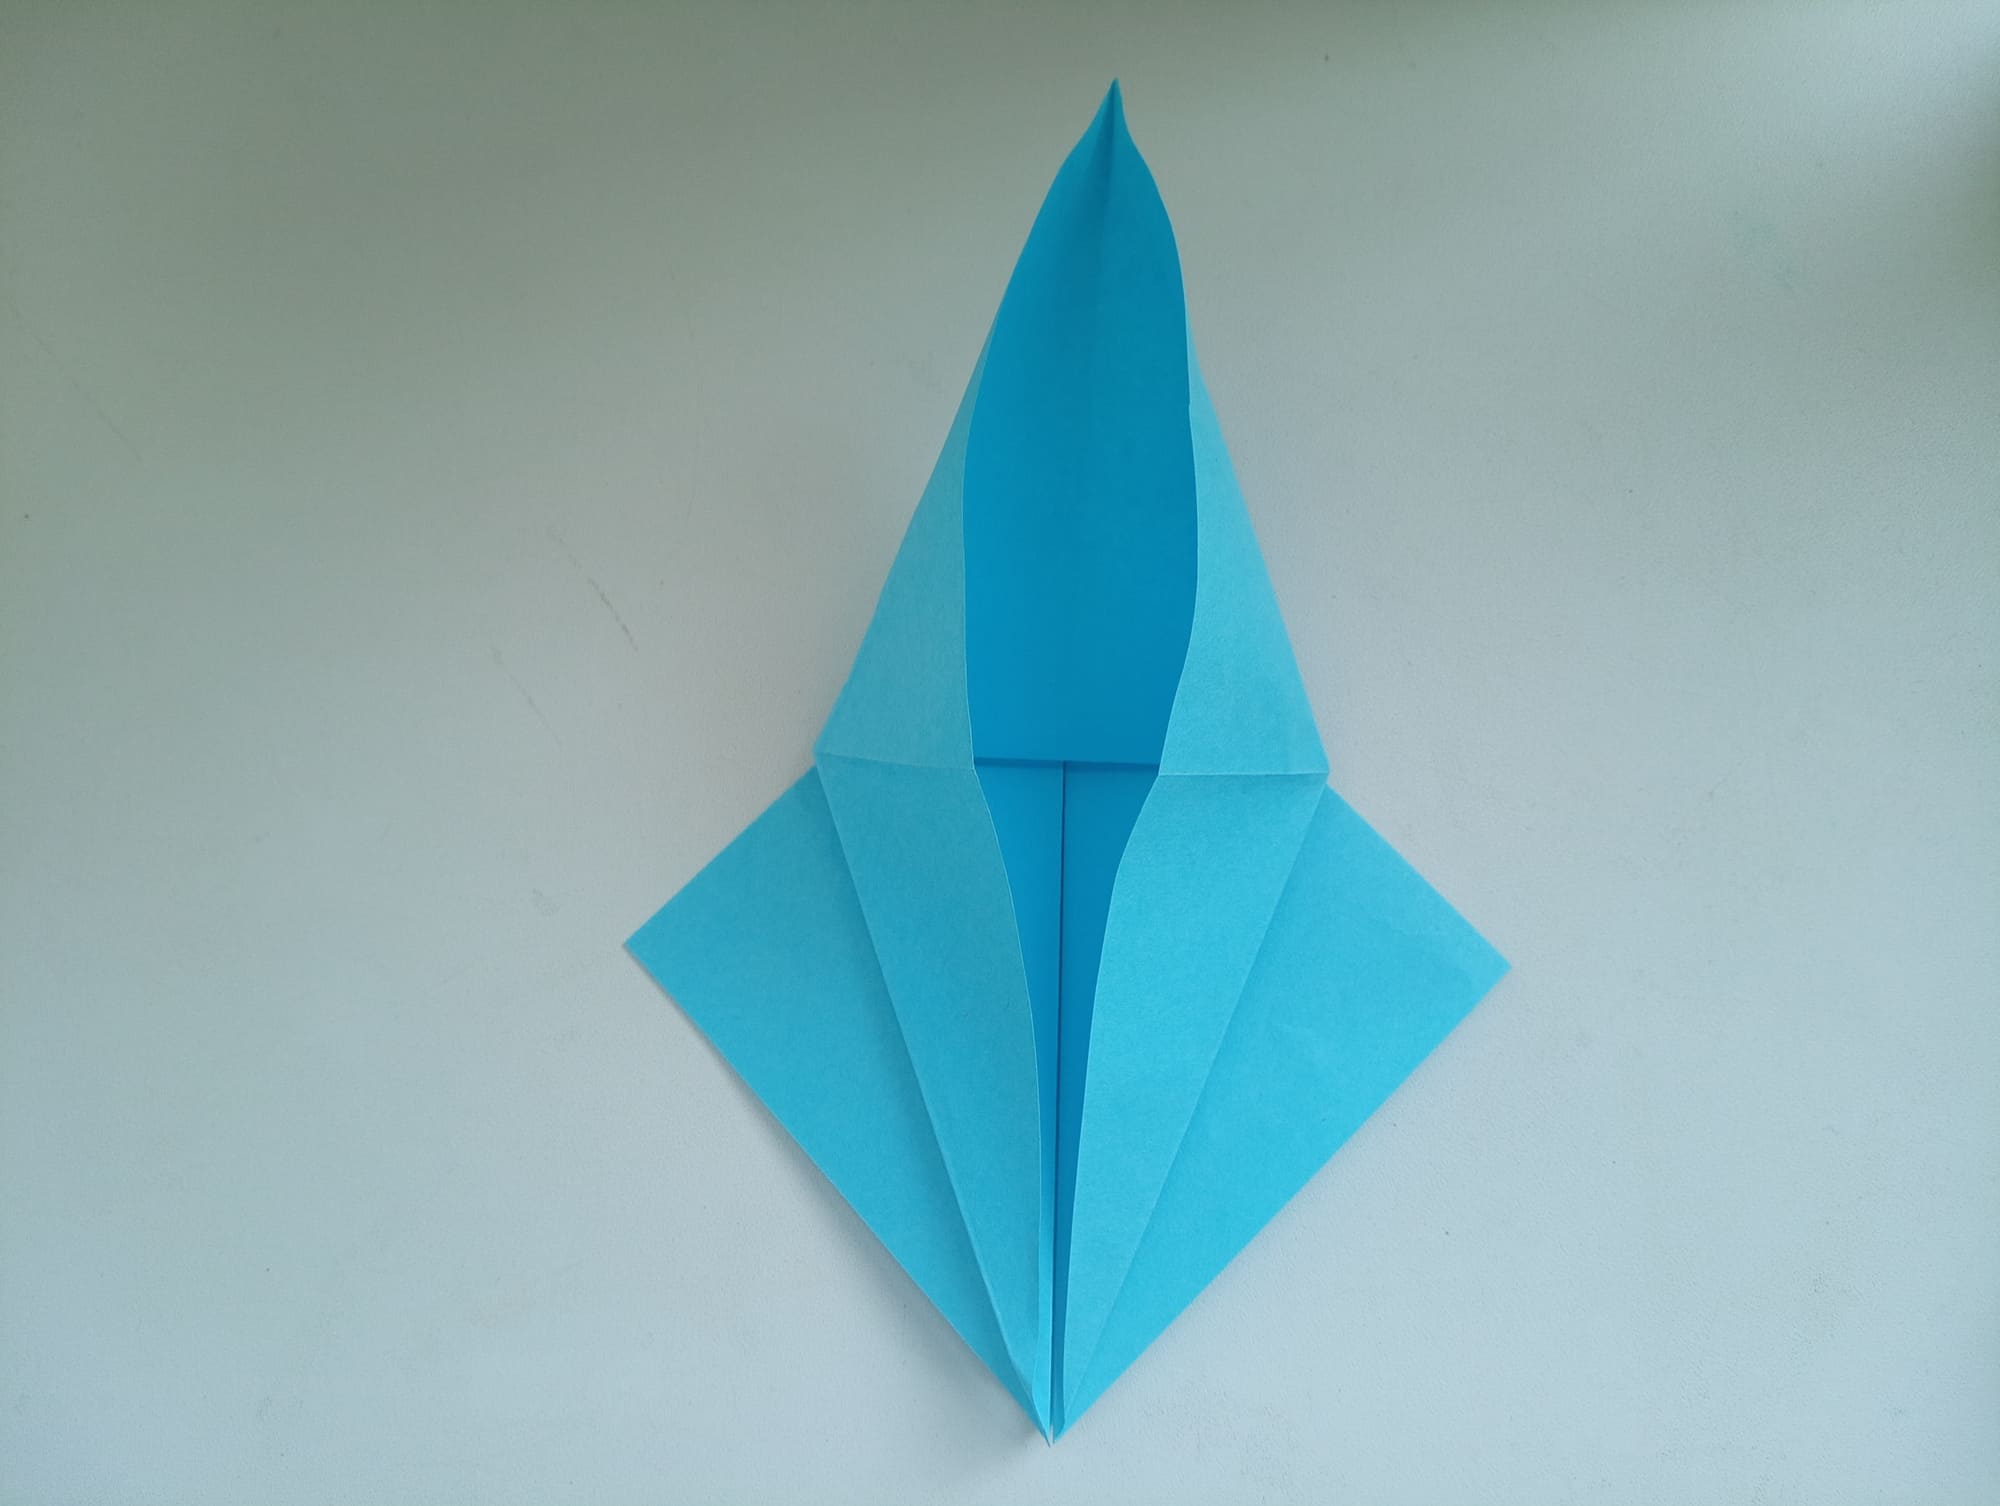
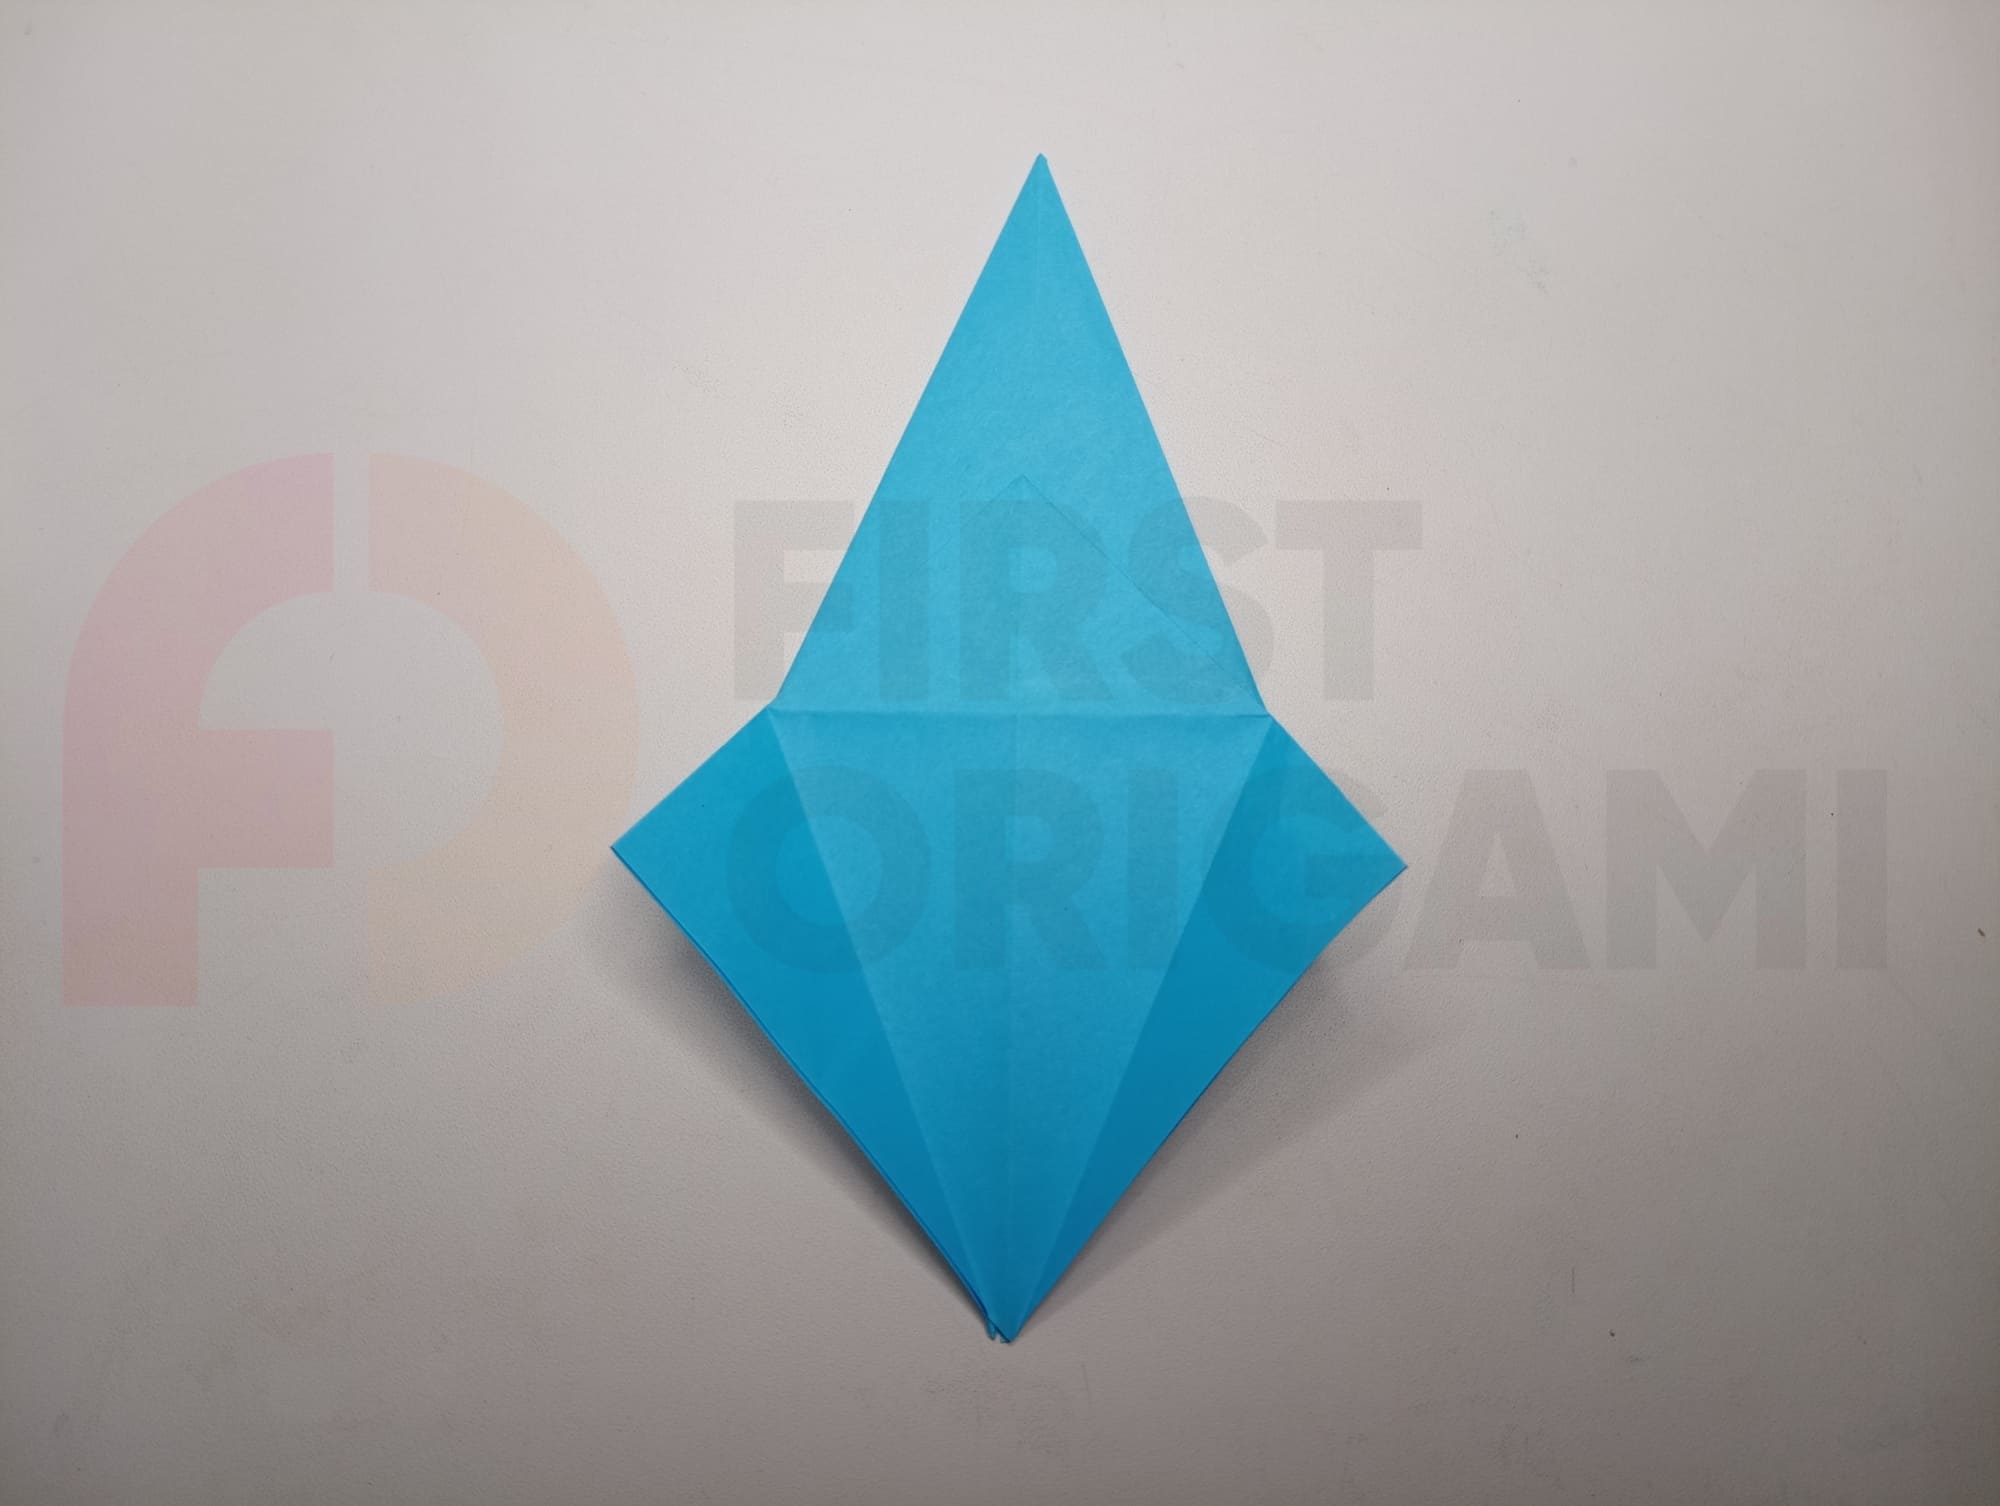
Flip the shape.
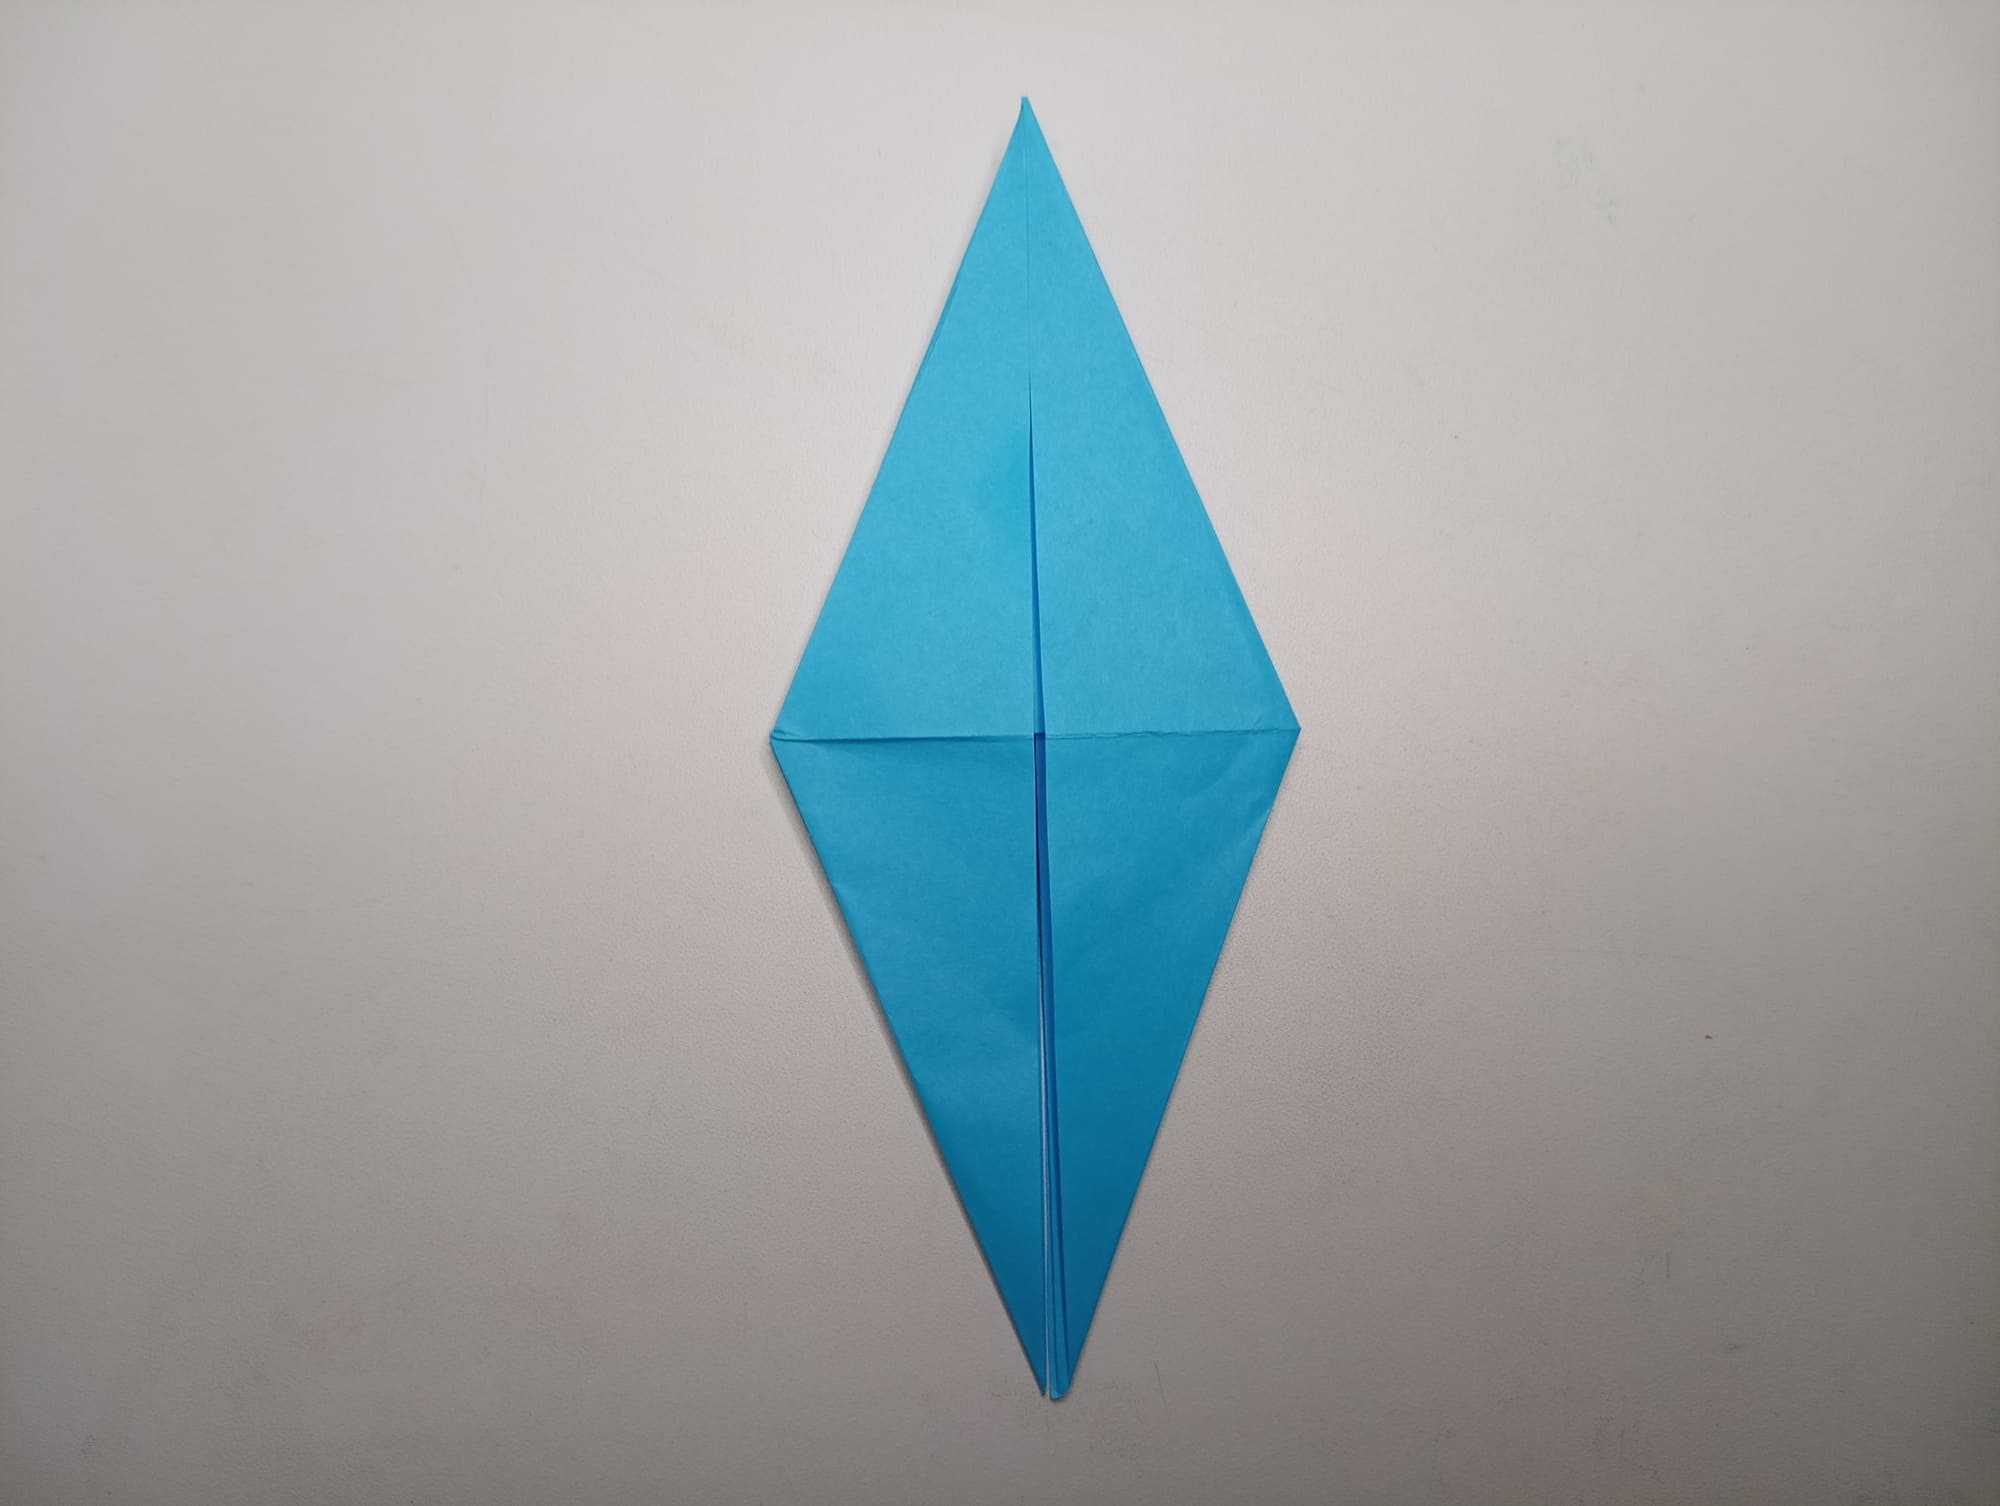
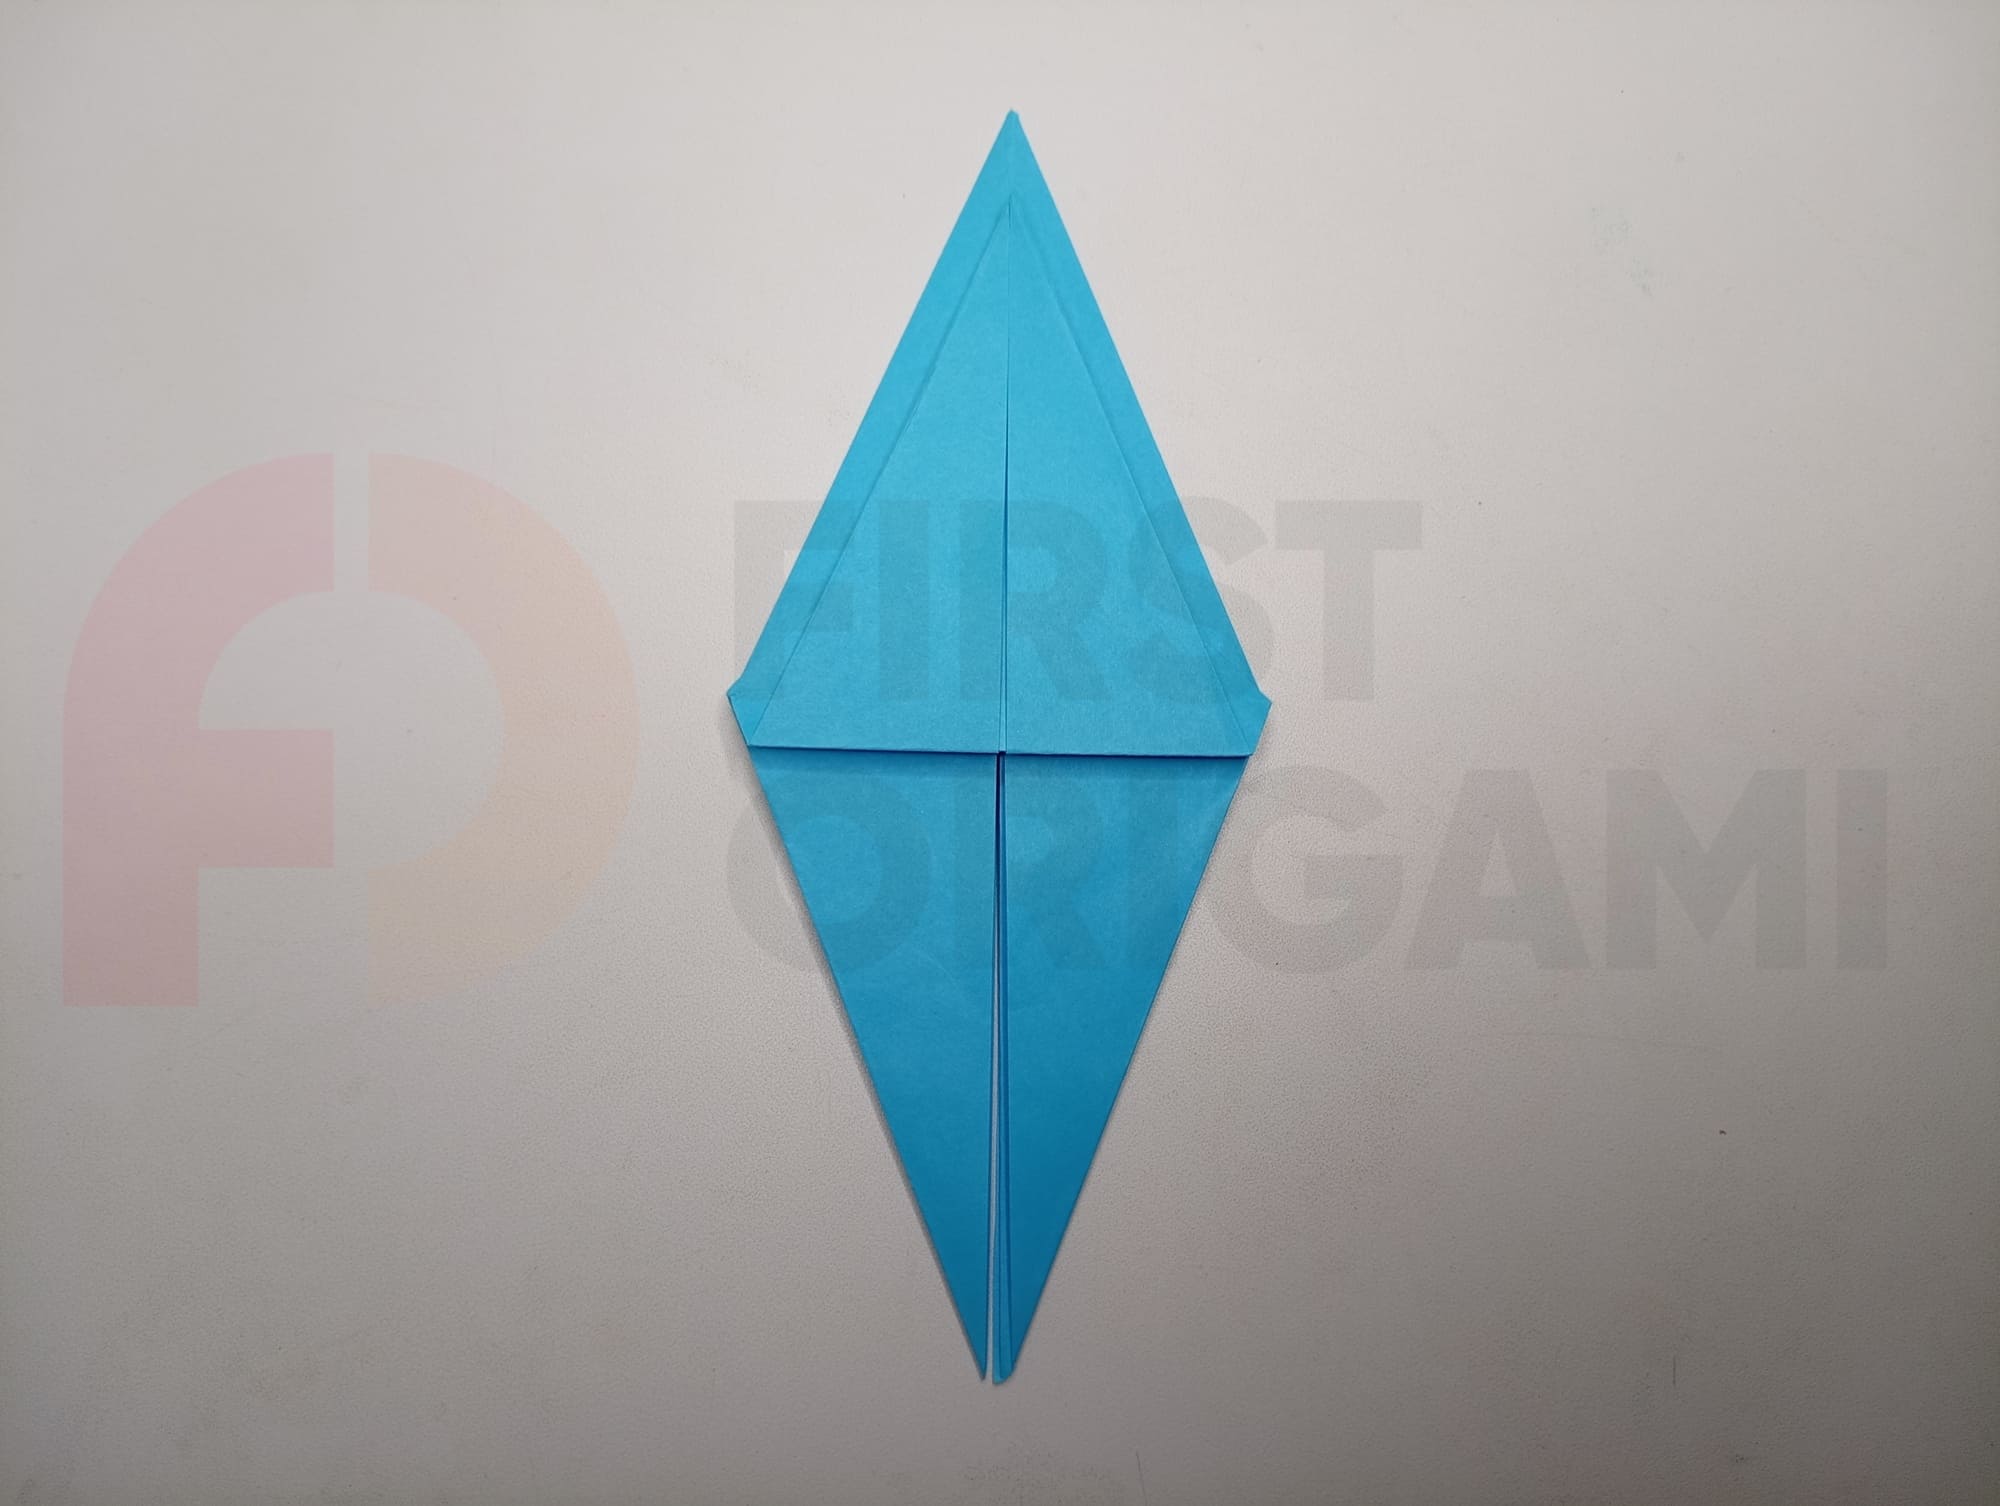
Bend the right and left sides to the central fold, as in the photo.
Open the sides as shown in the photo.
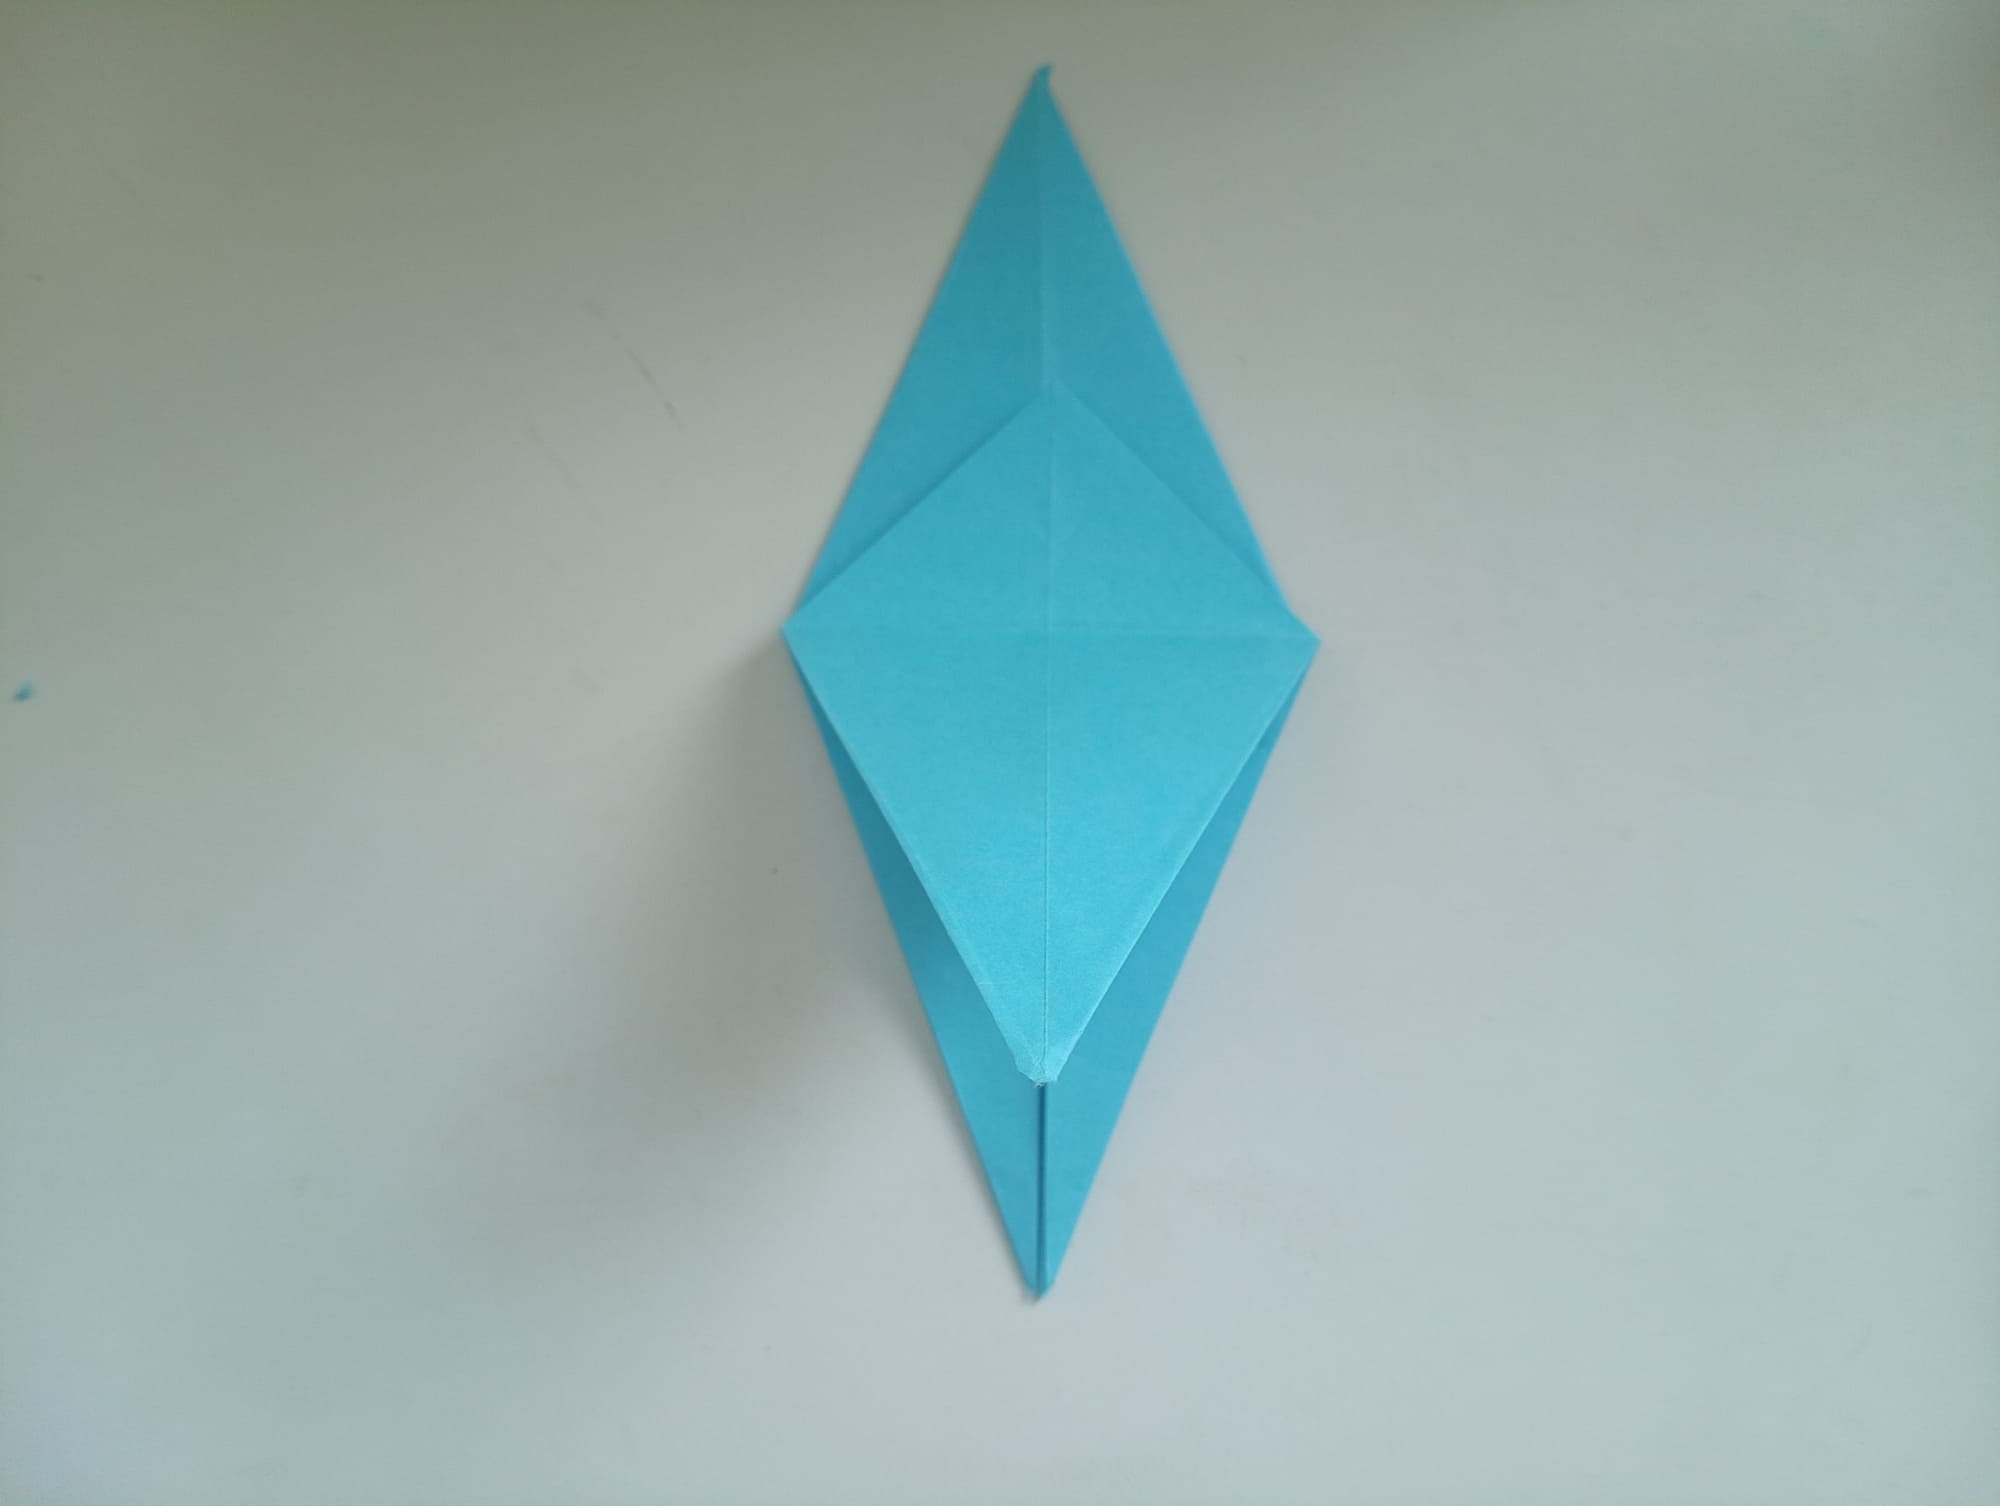
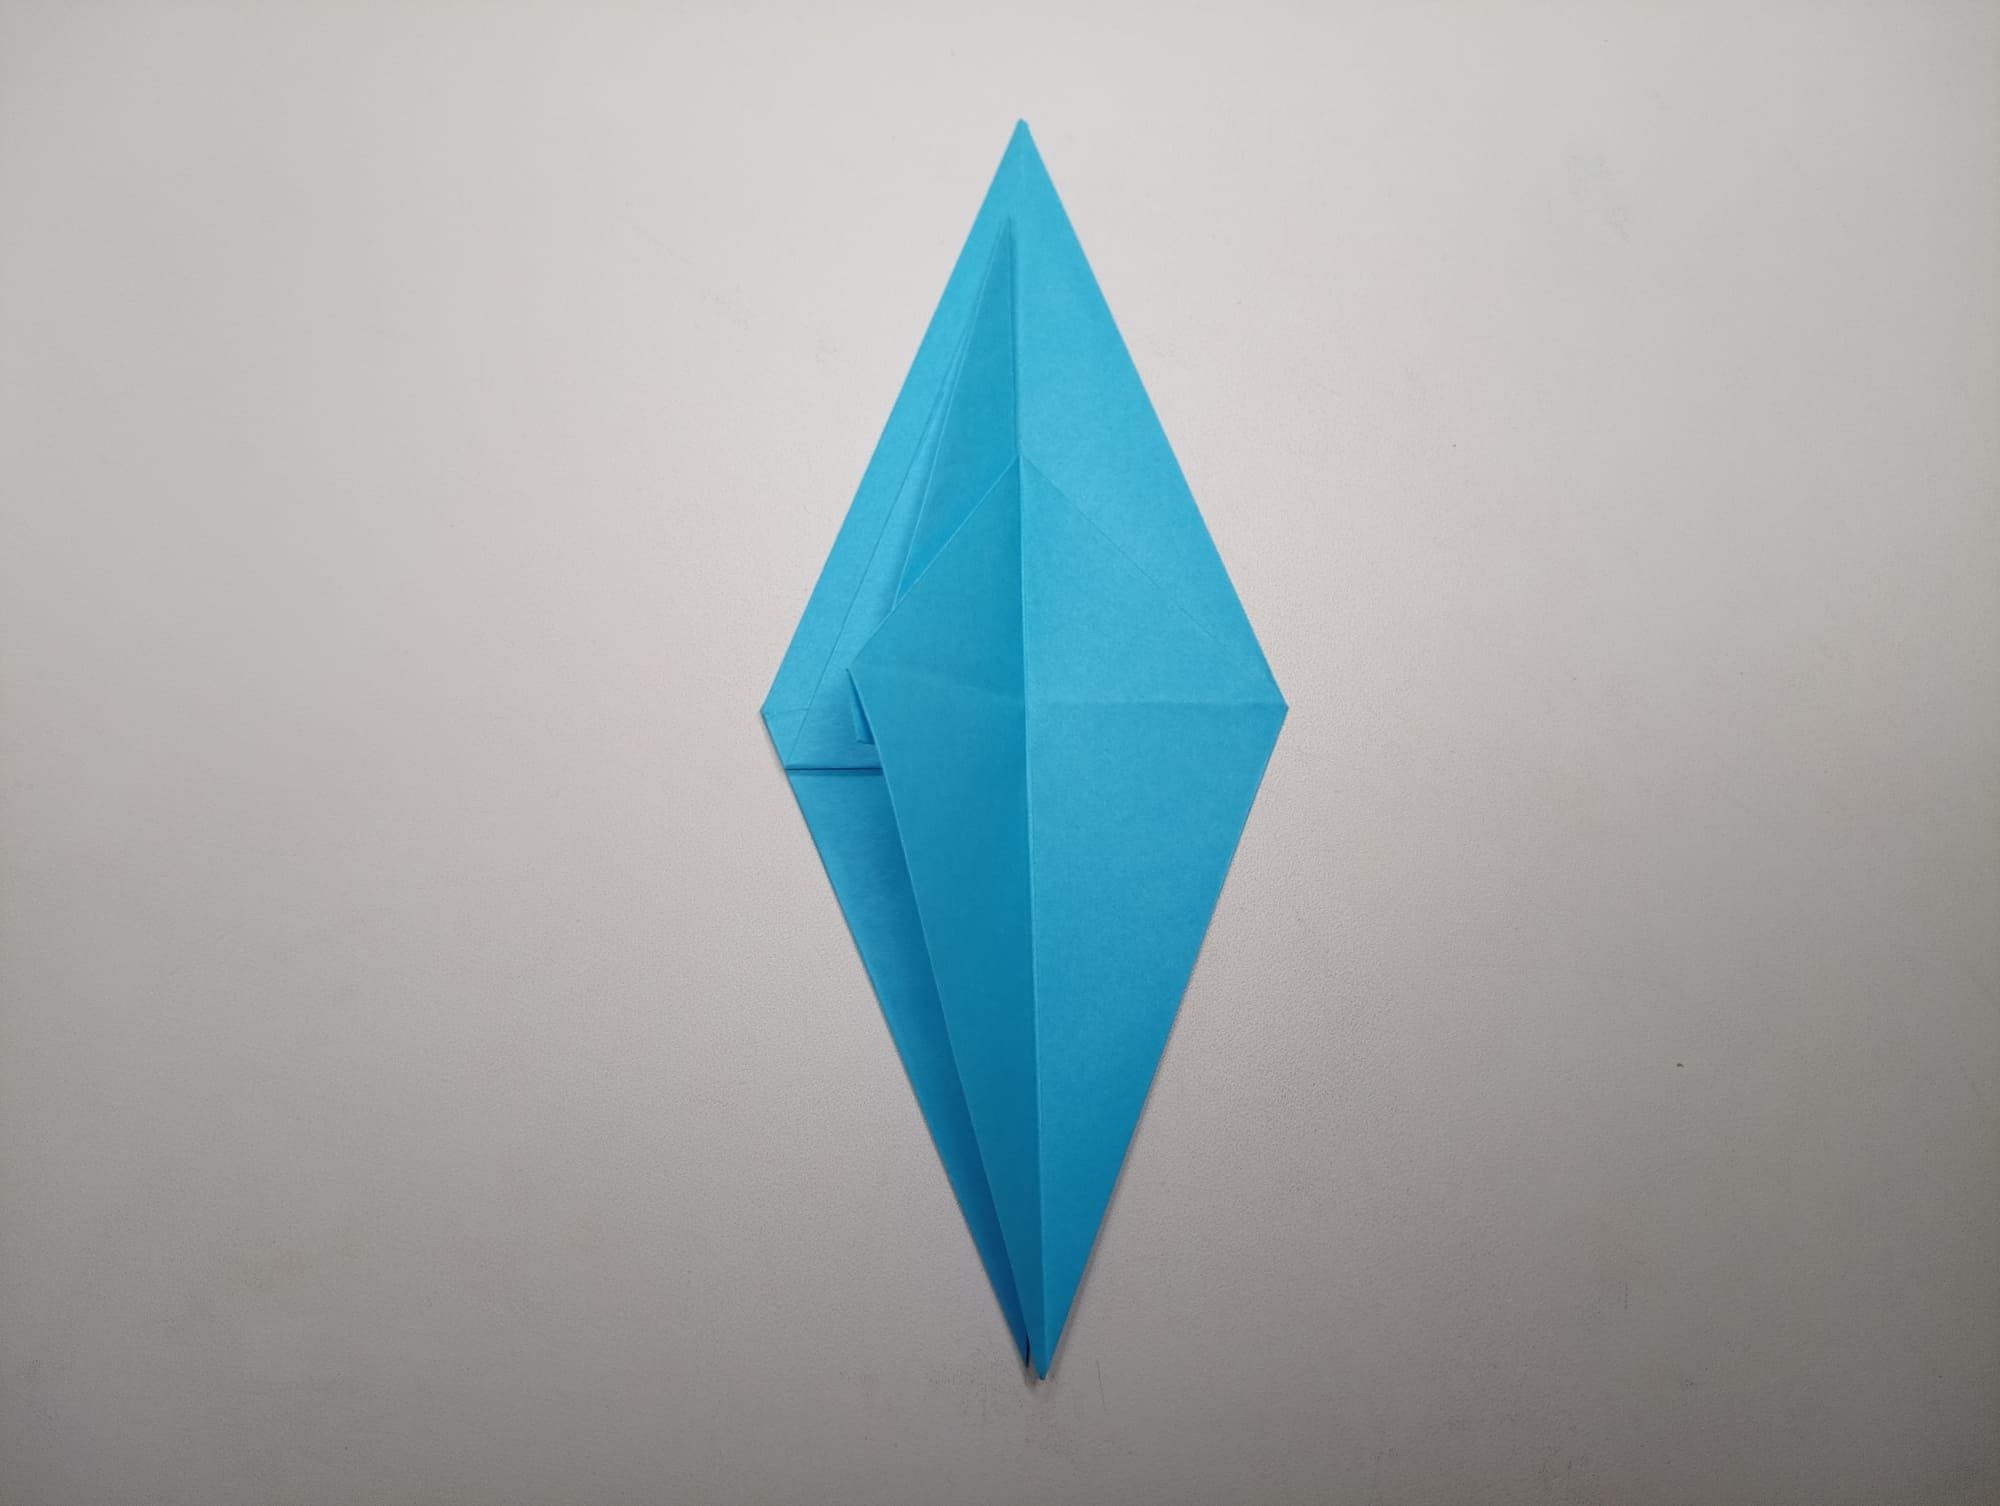
Pry up the bottom edge, and pull it up until you get the result, as in the photo. Gently straighten the sides with your fingers.
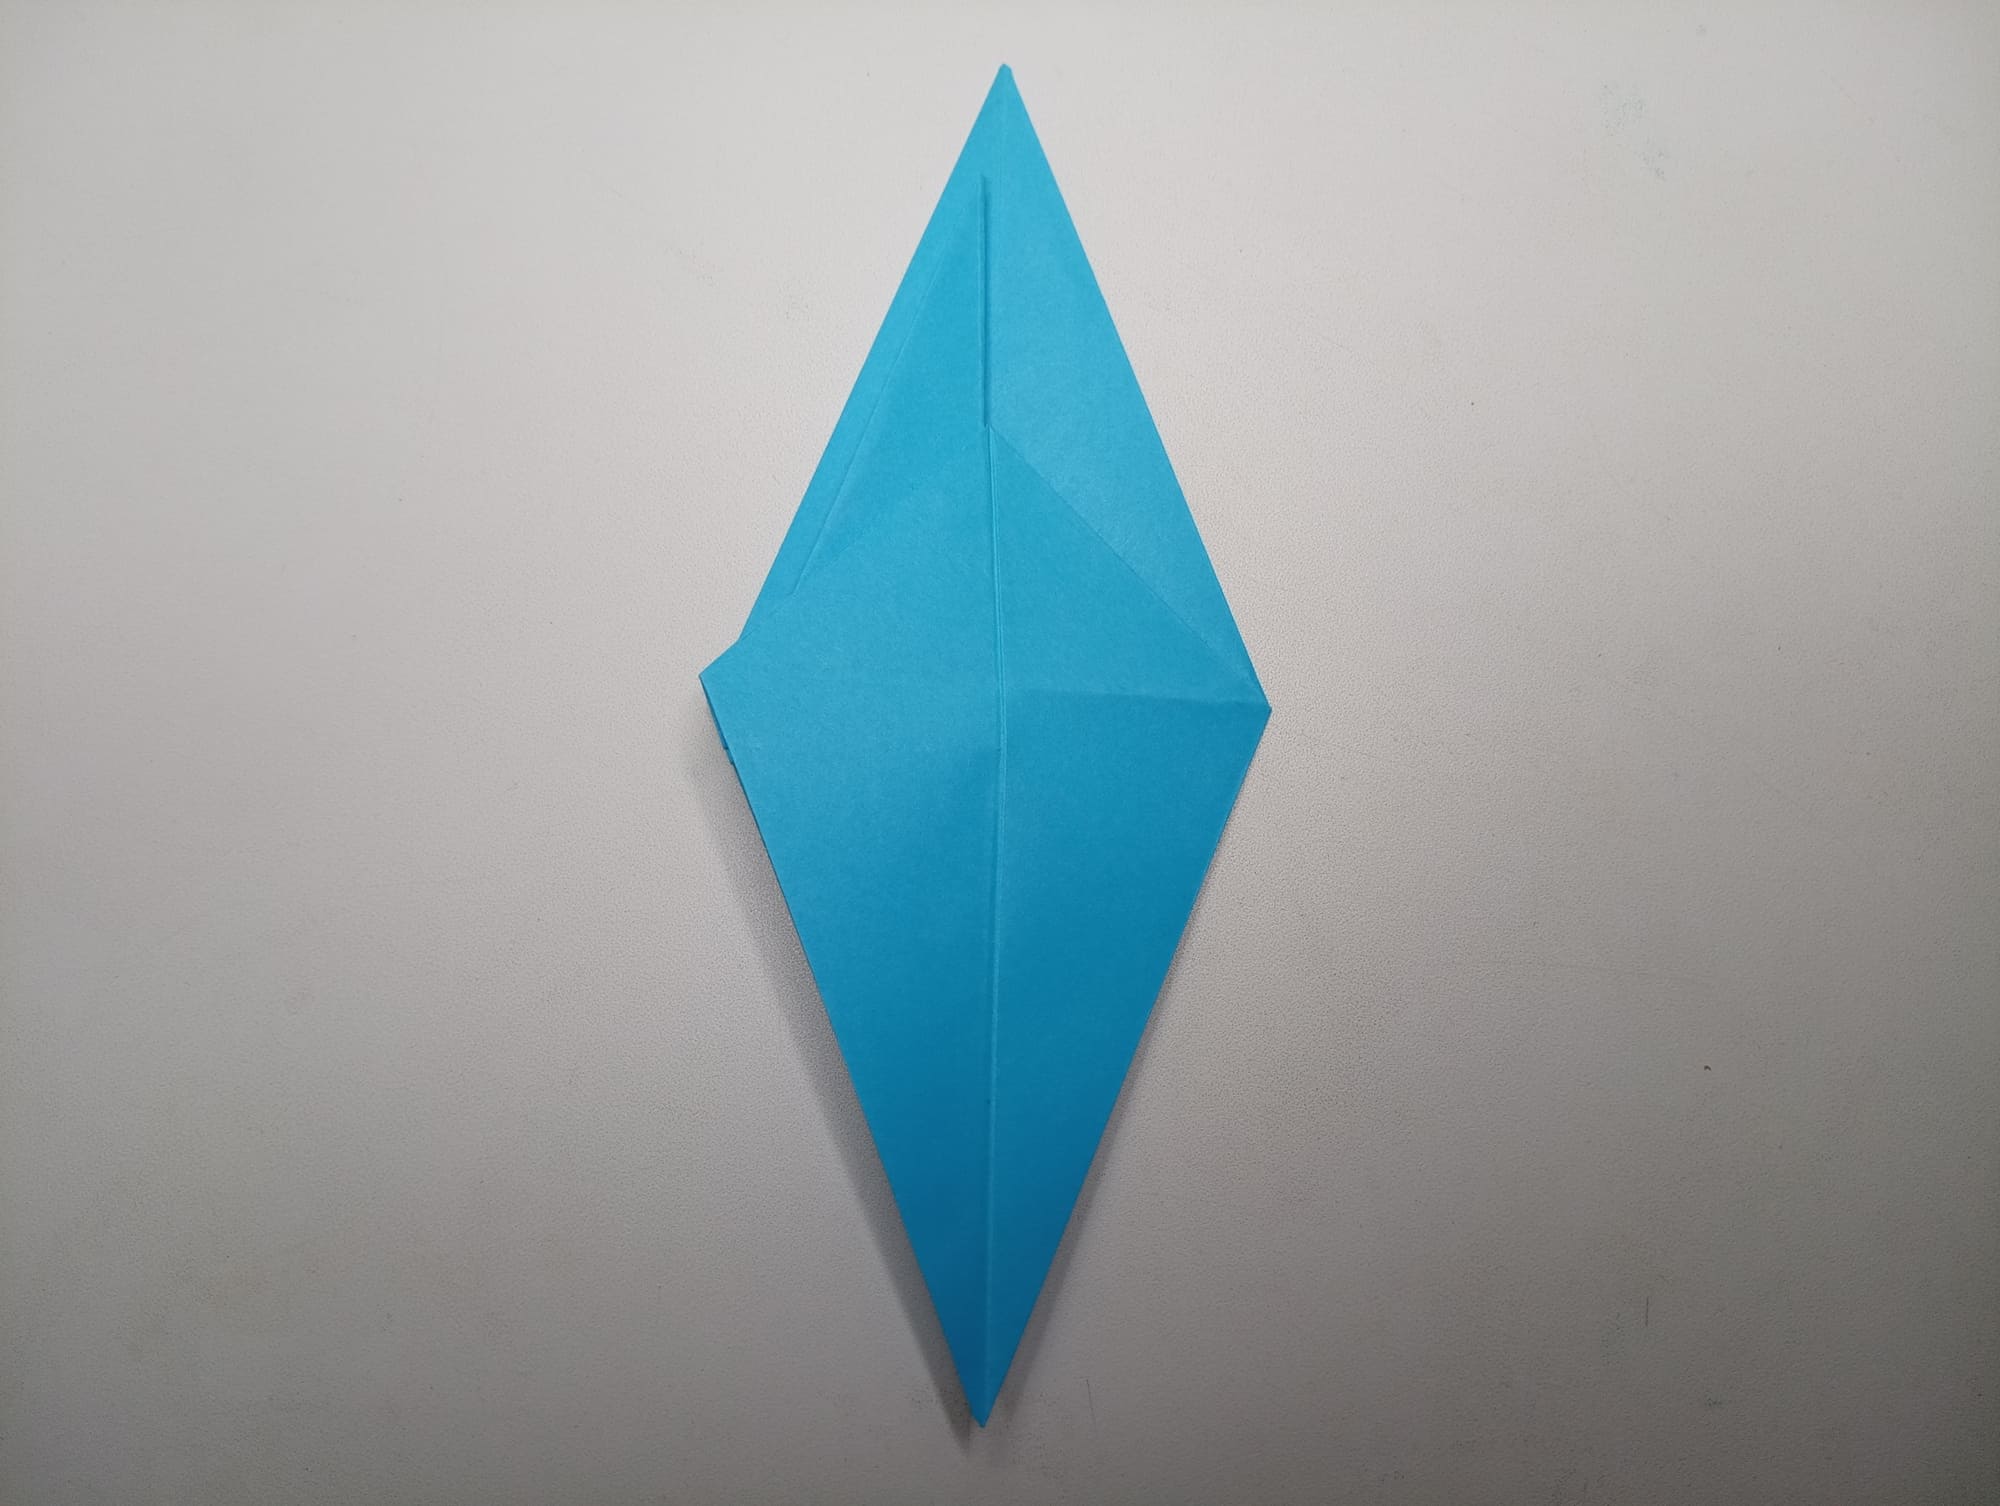
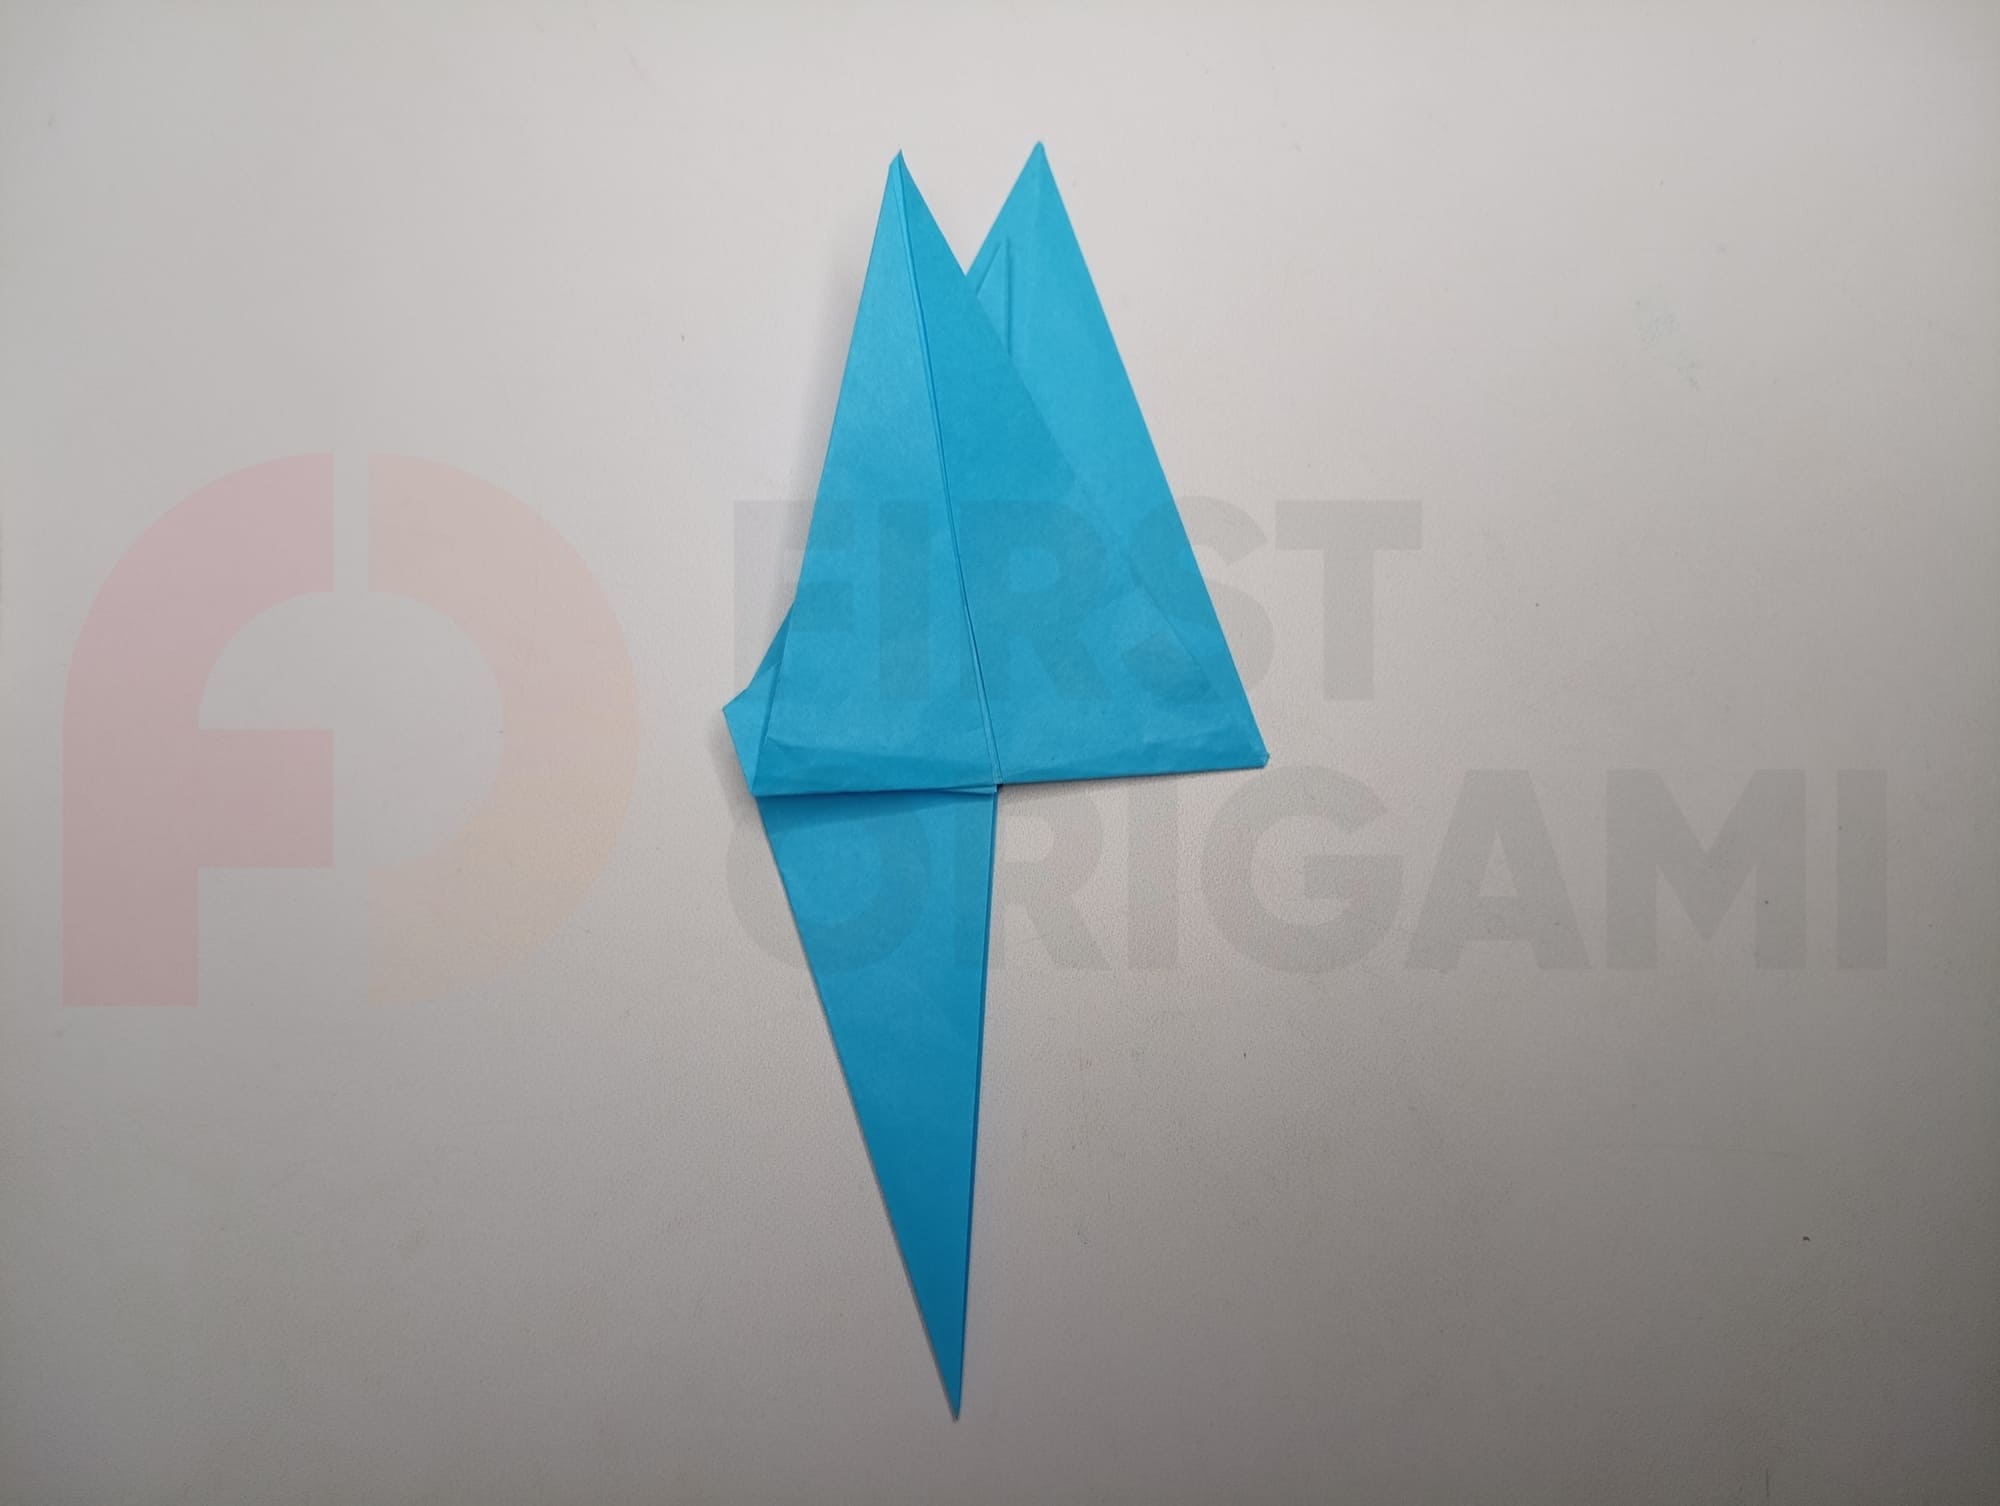
Bend the top edge of the valve down.
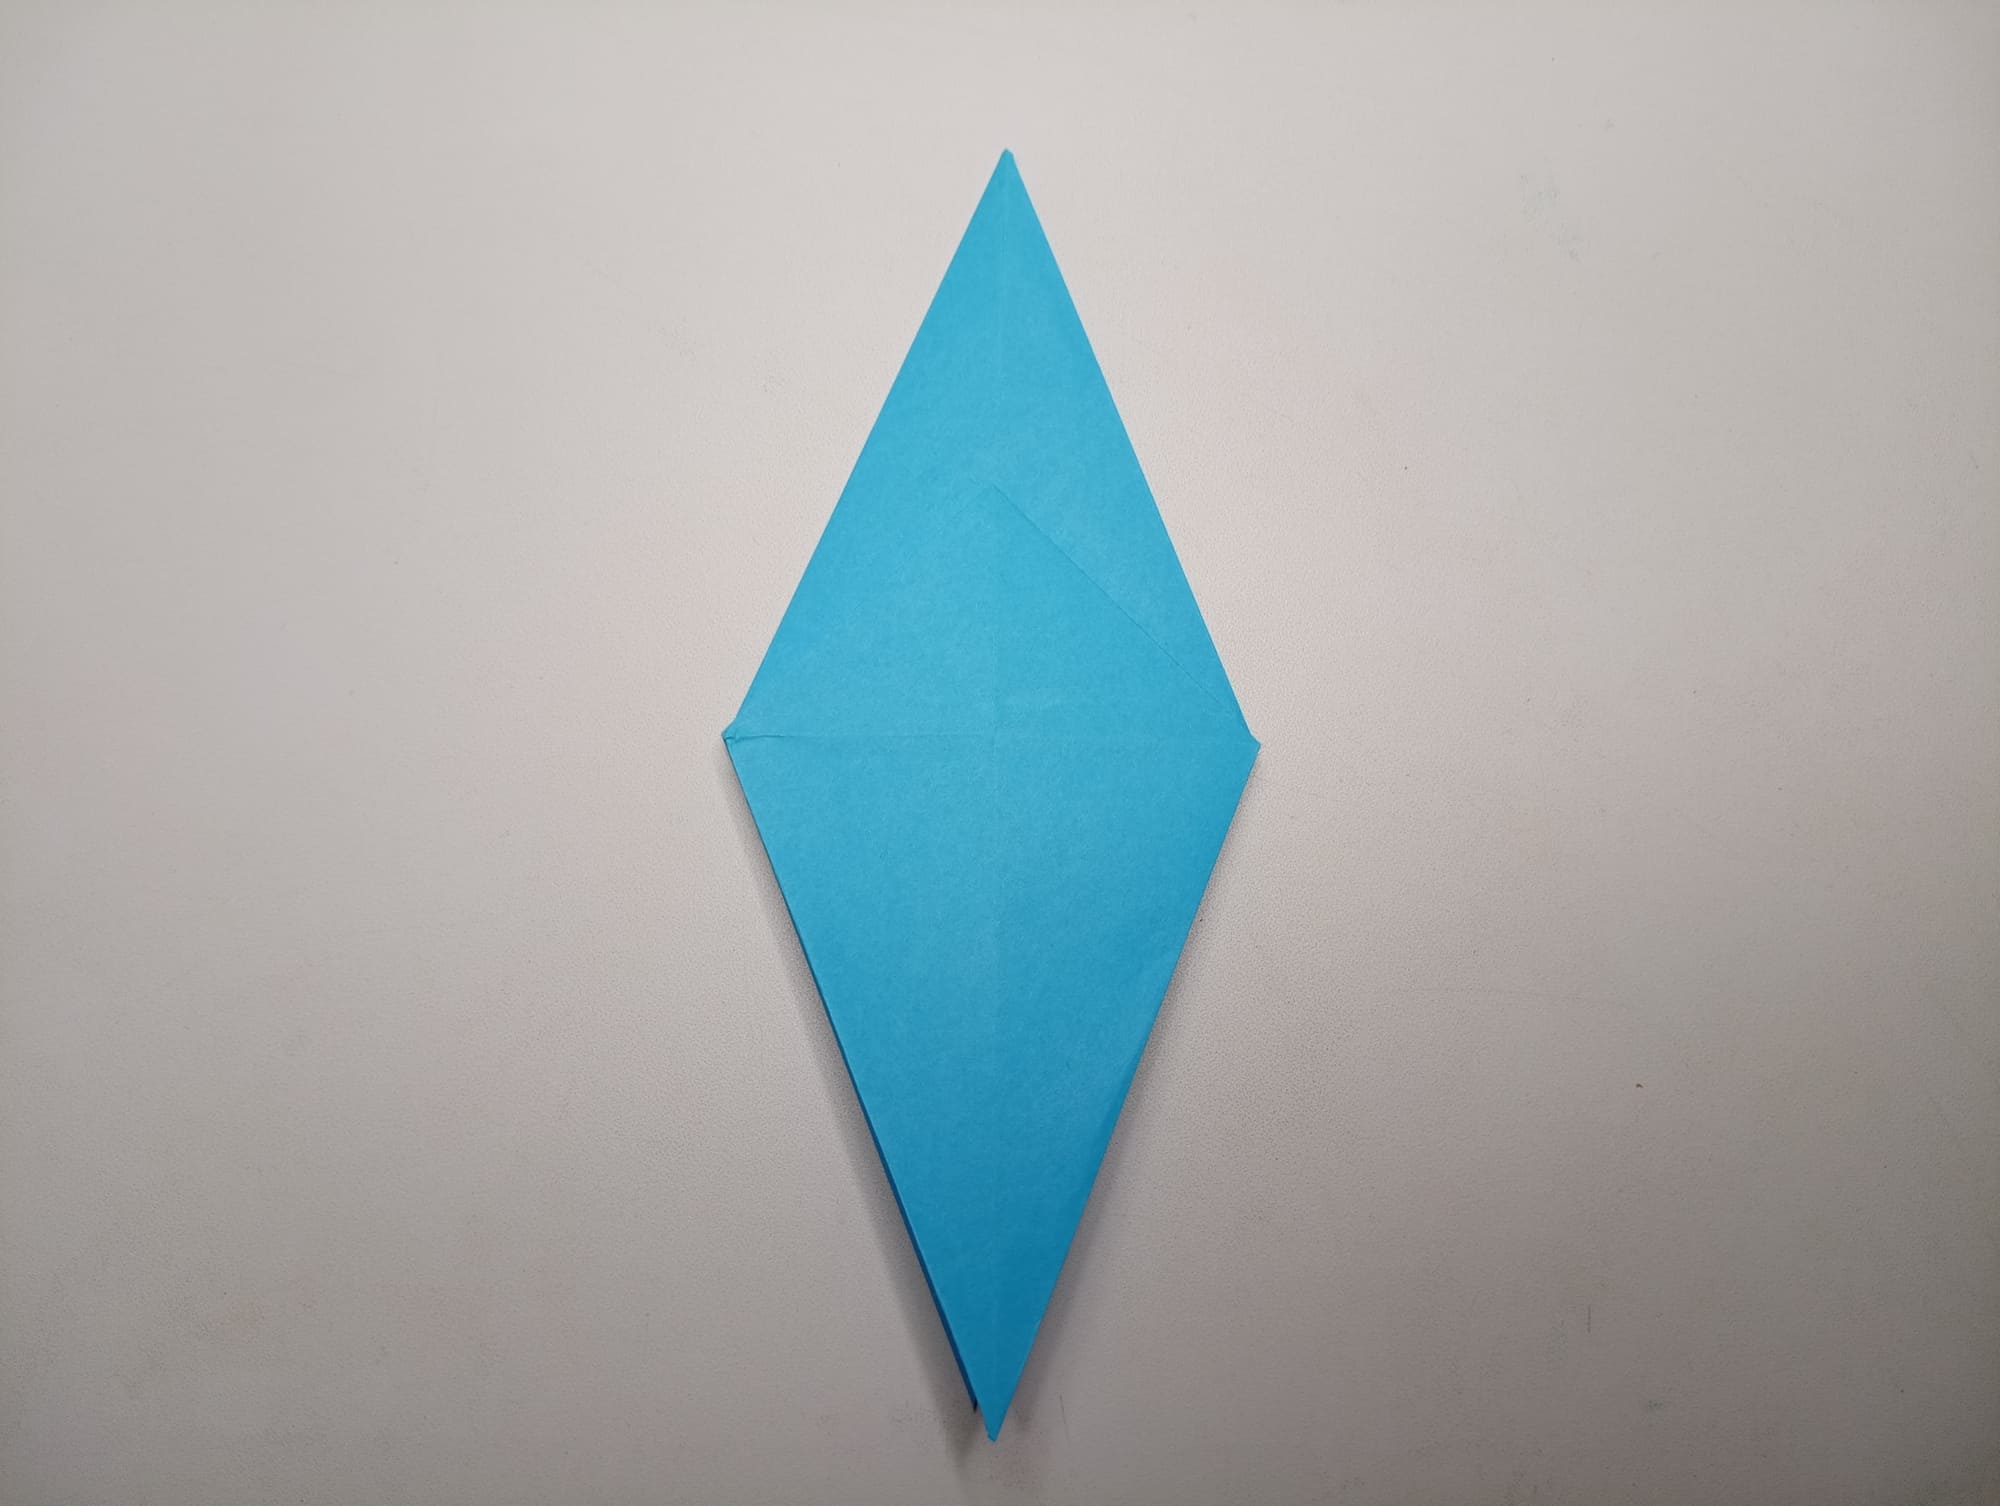
One valve will be down. You need to make a fold with it just below the middle horizontal line (see photo).
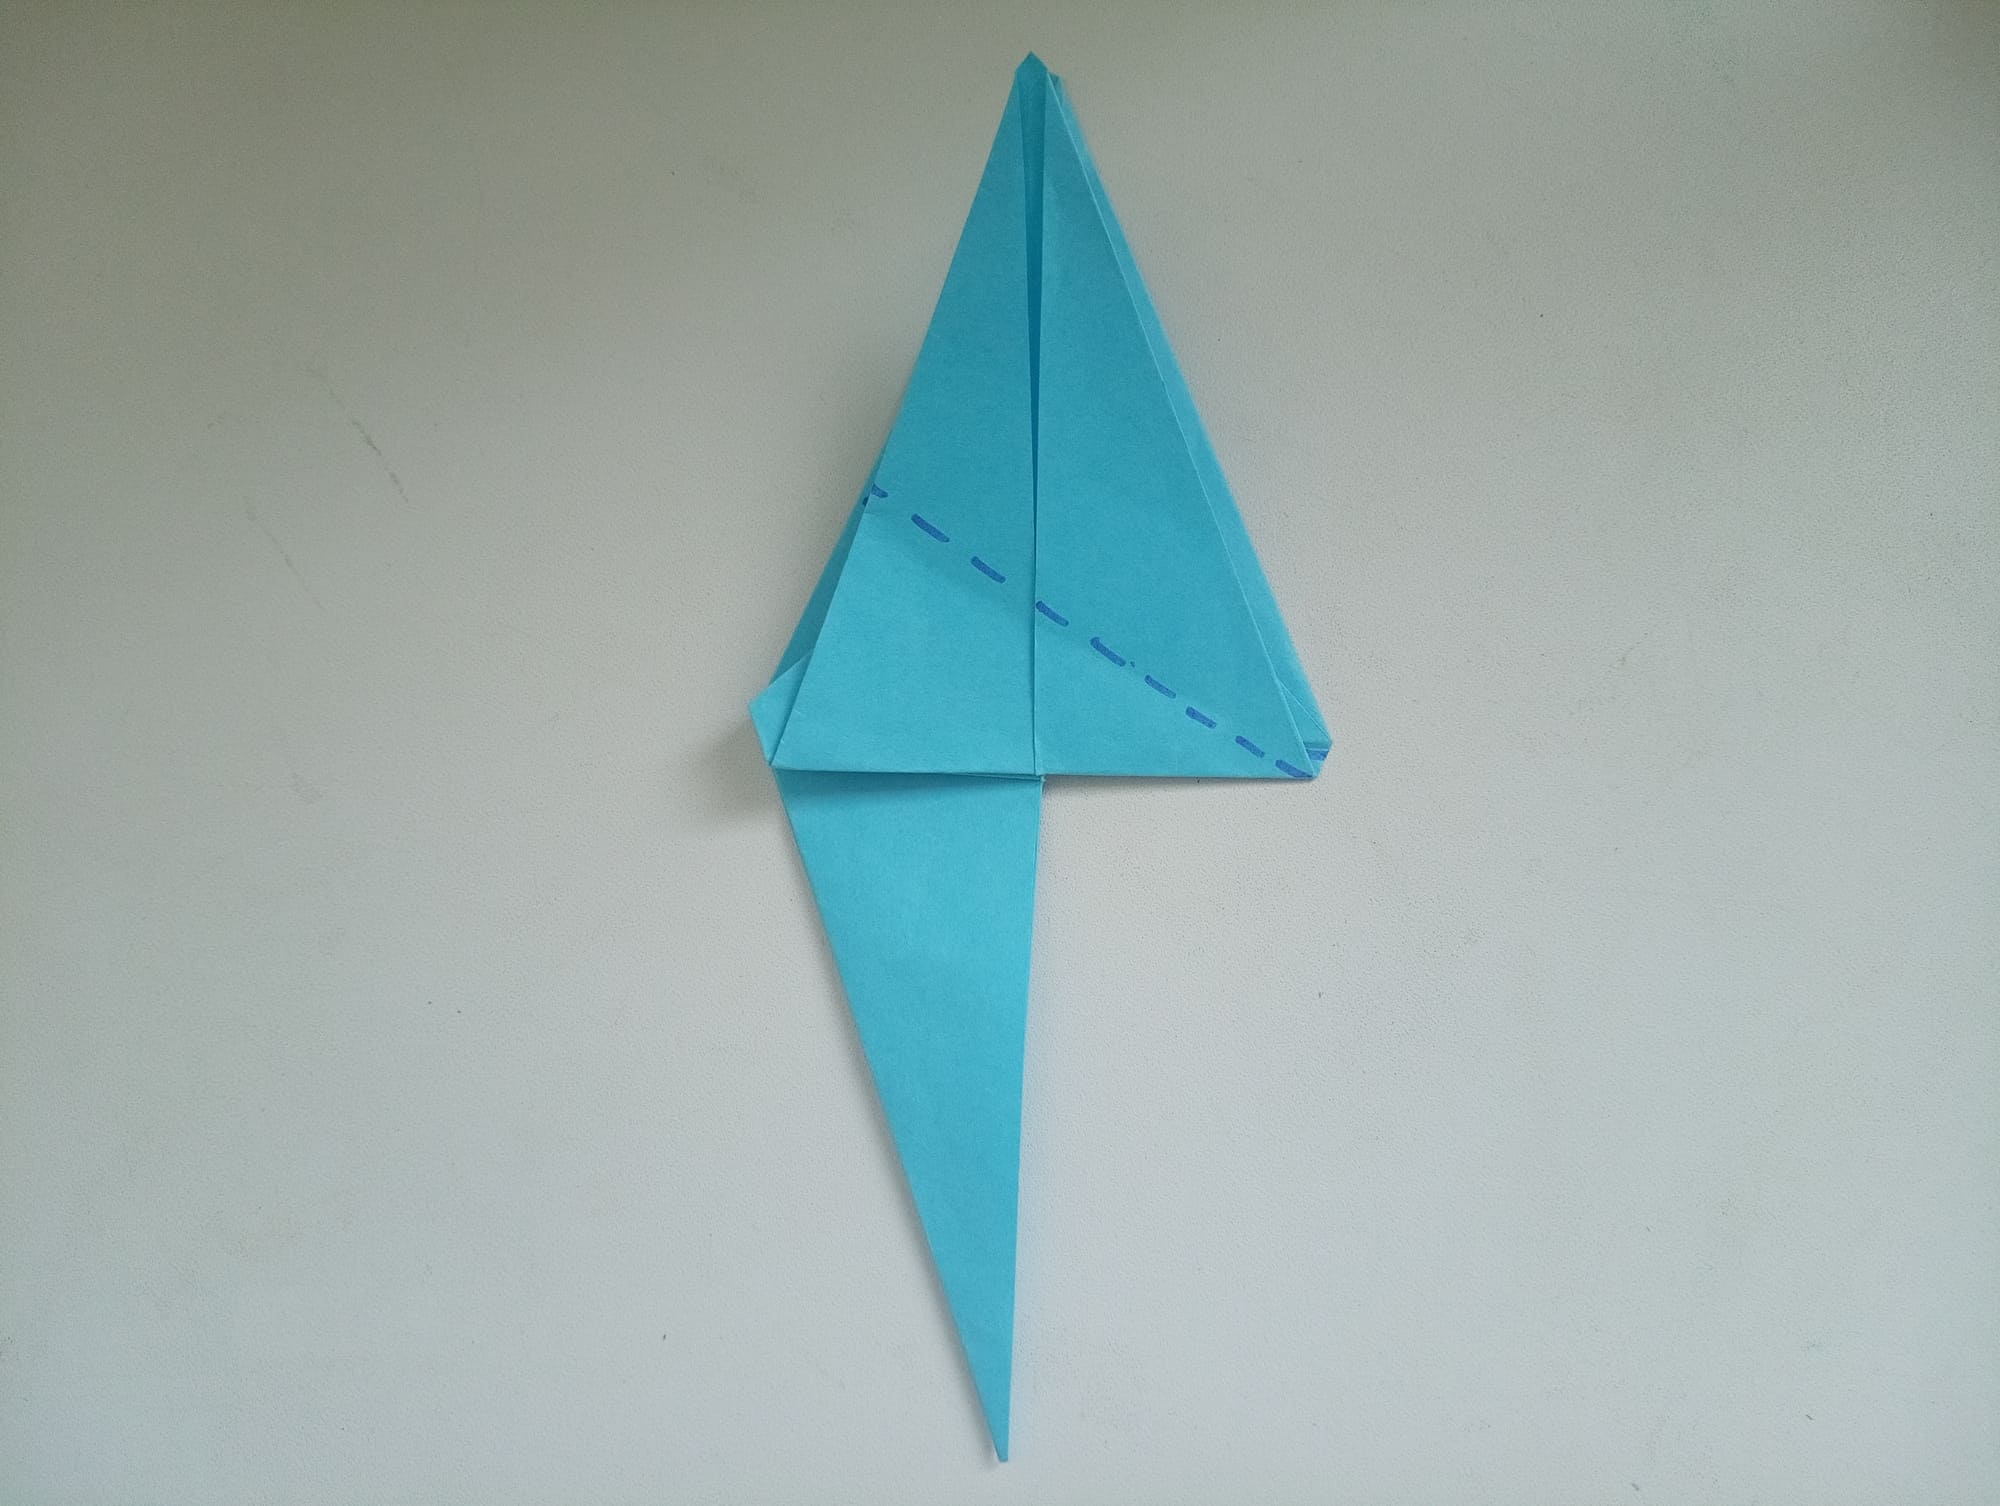
Perform a vertical fold by folding the figure in half lengthwise.
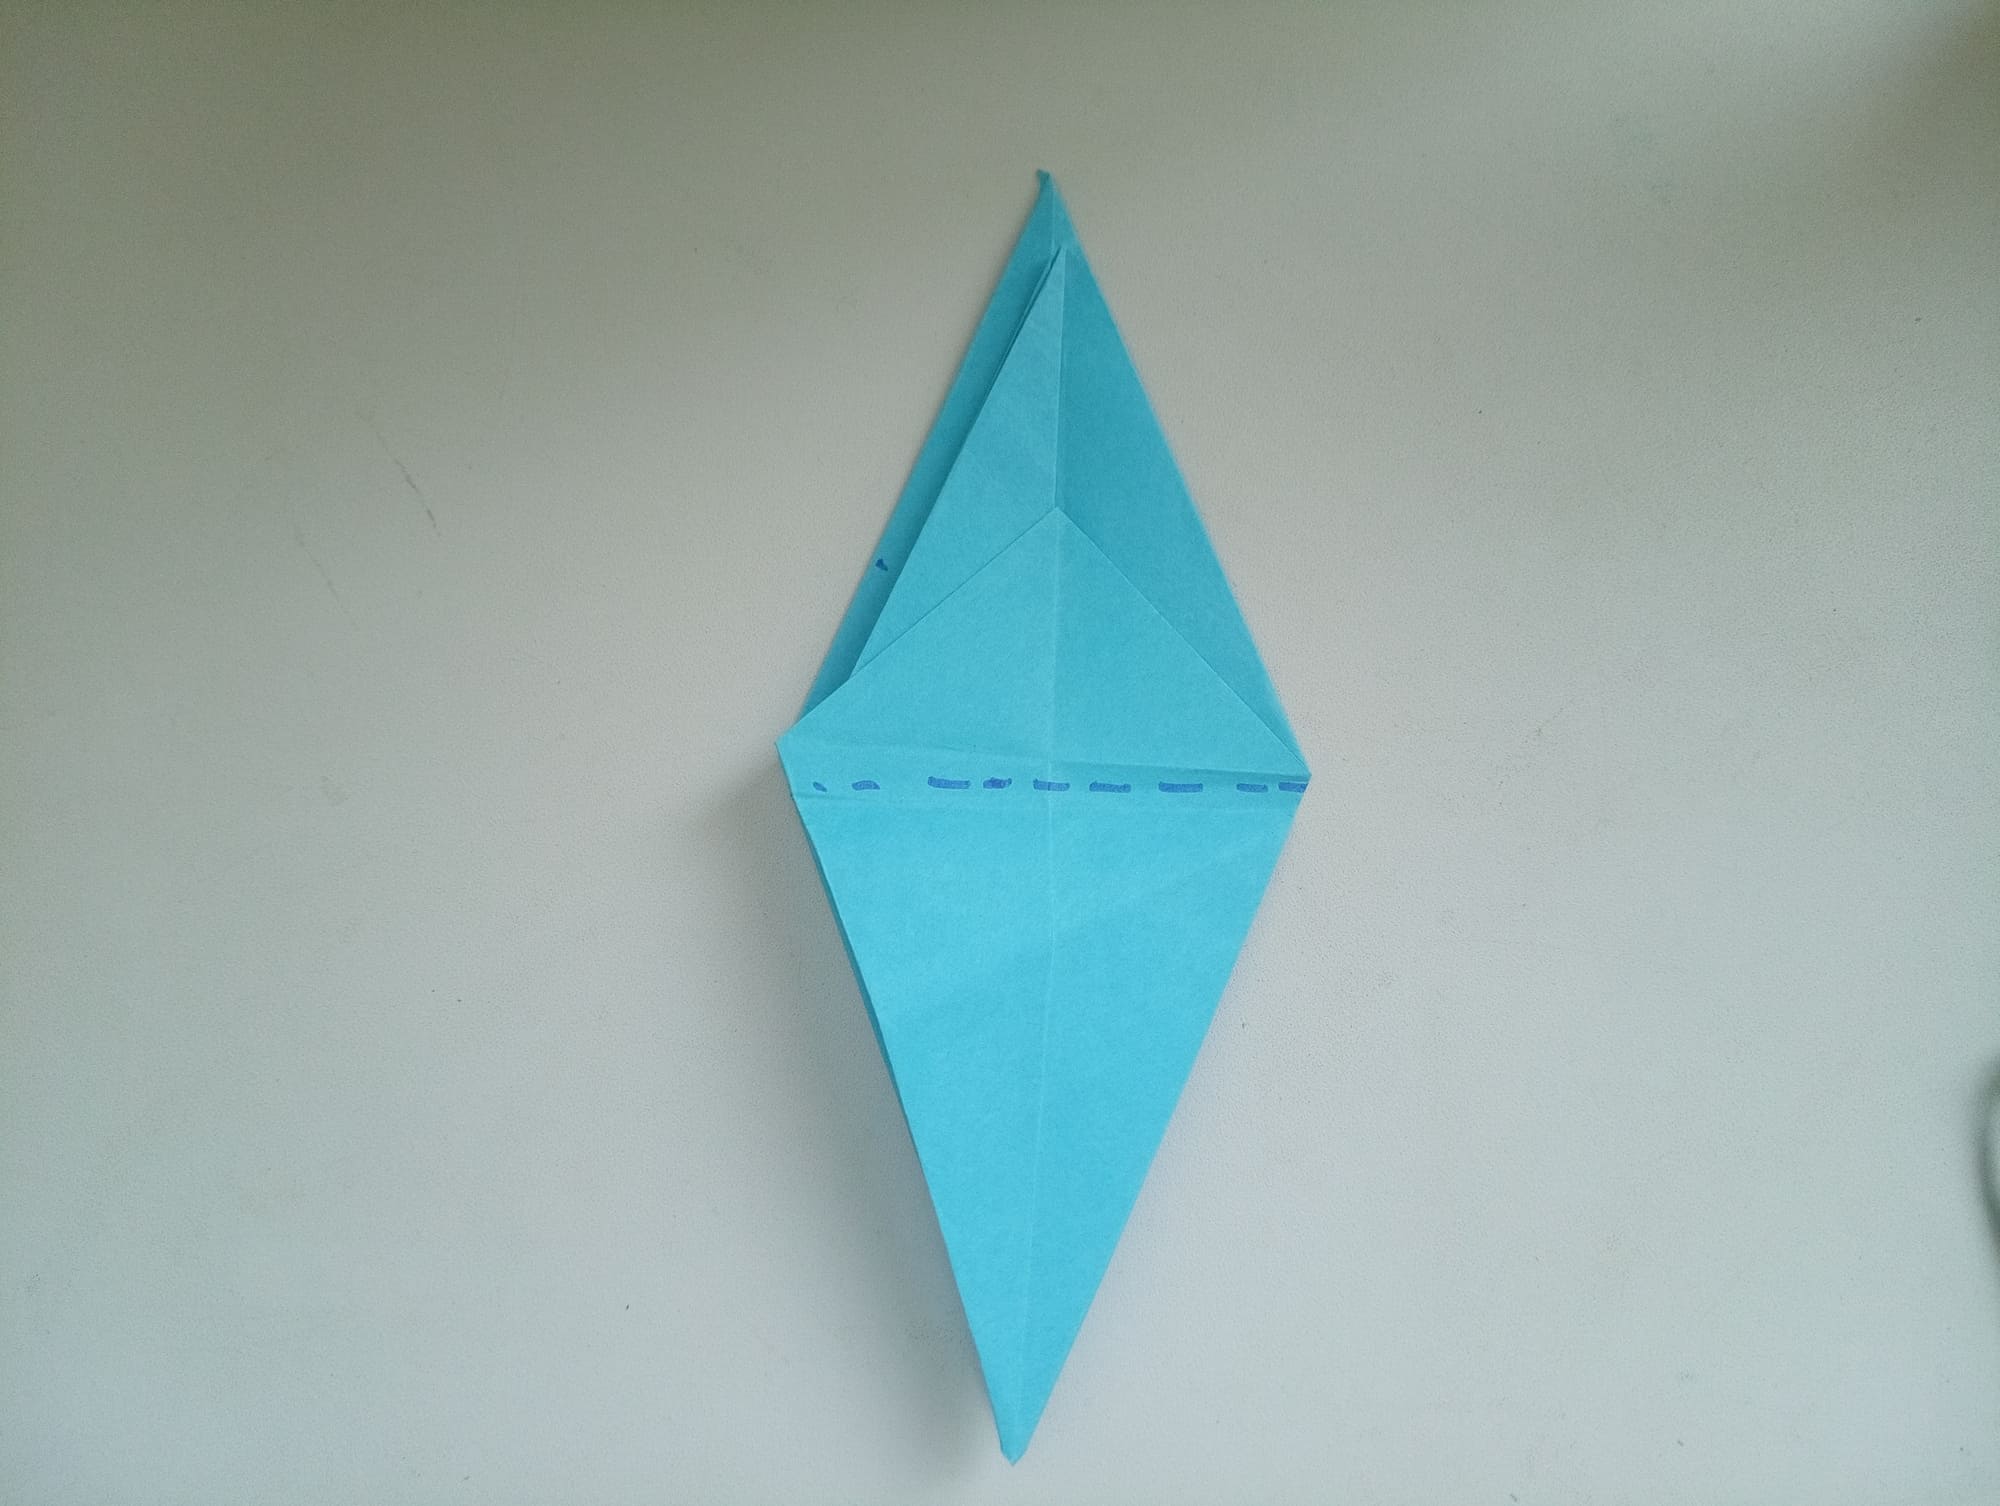
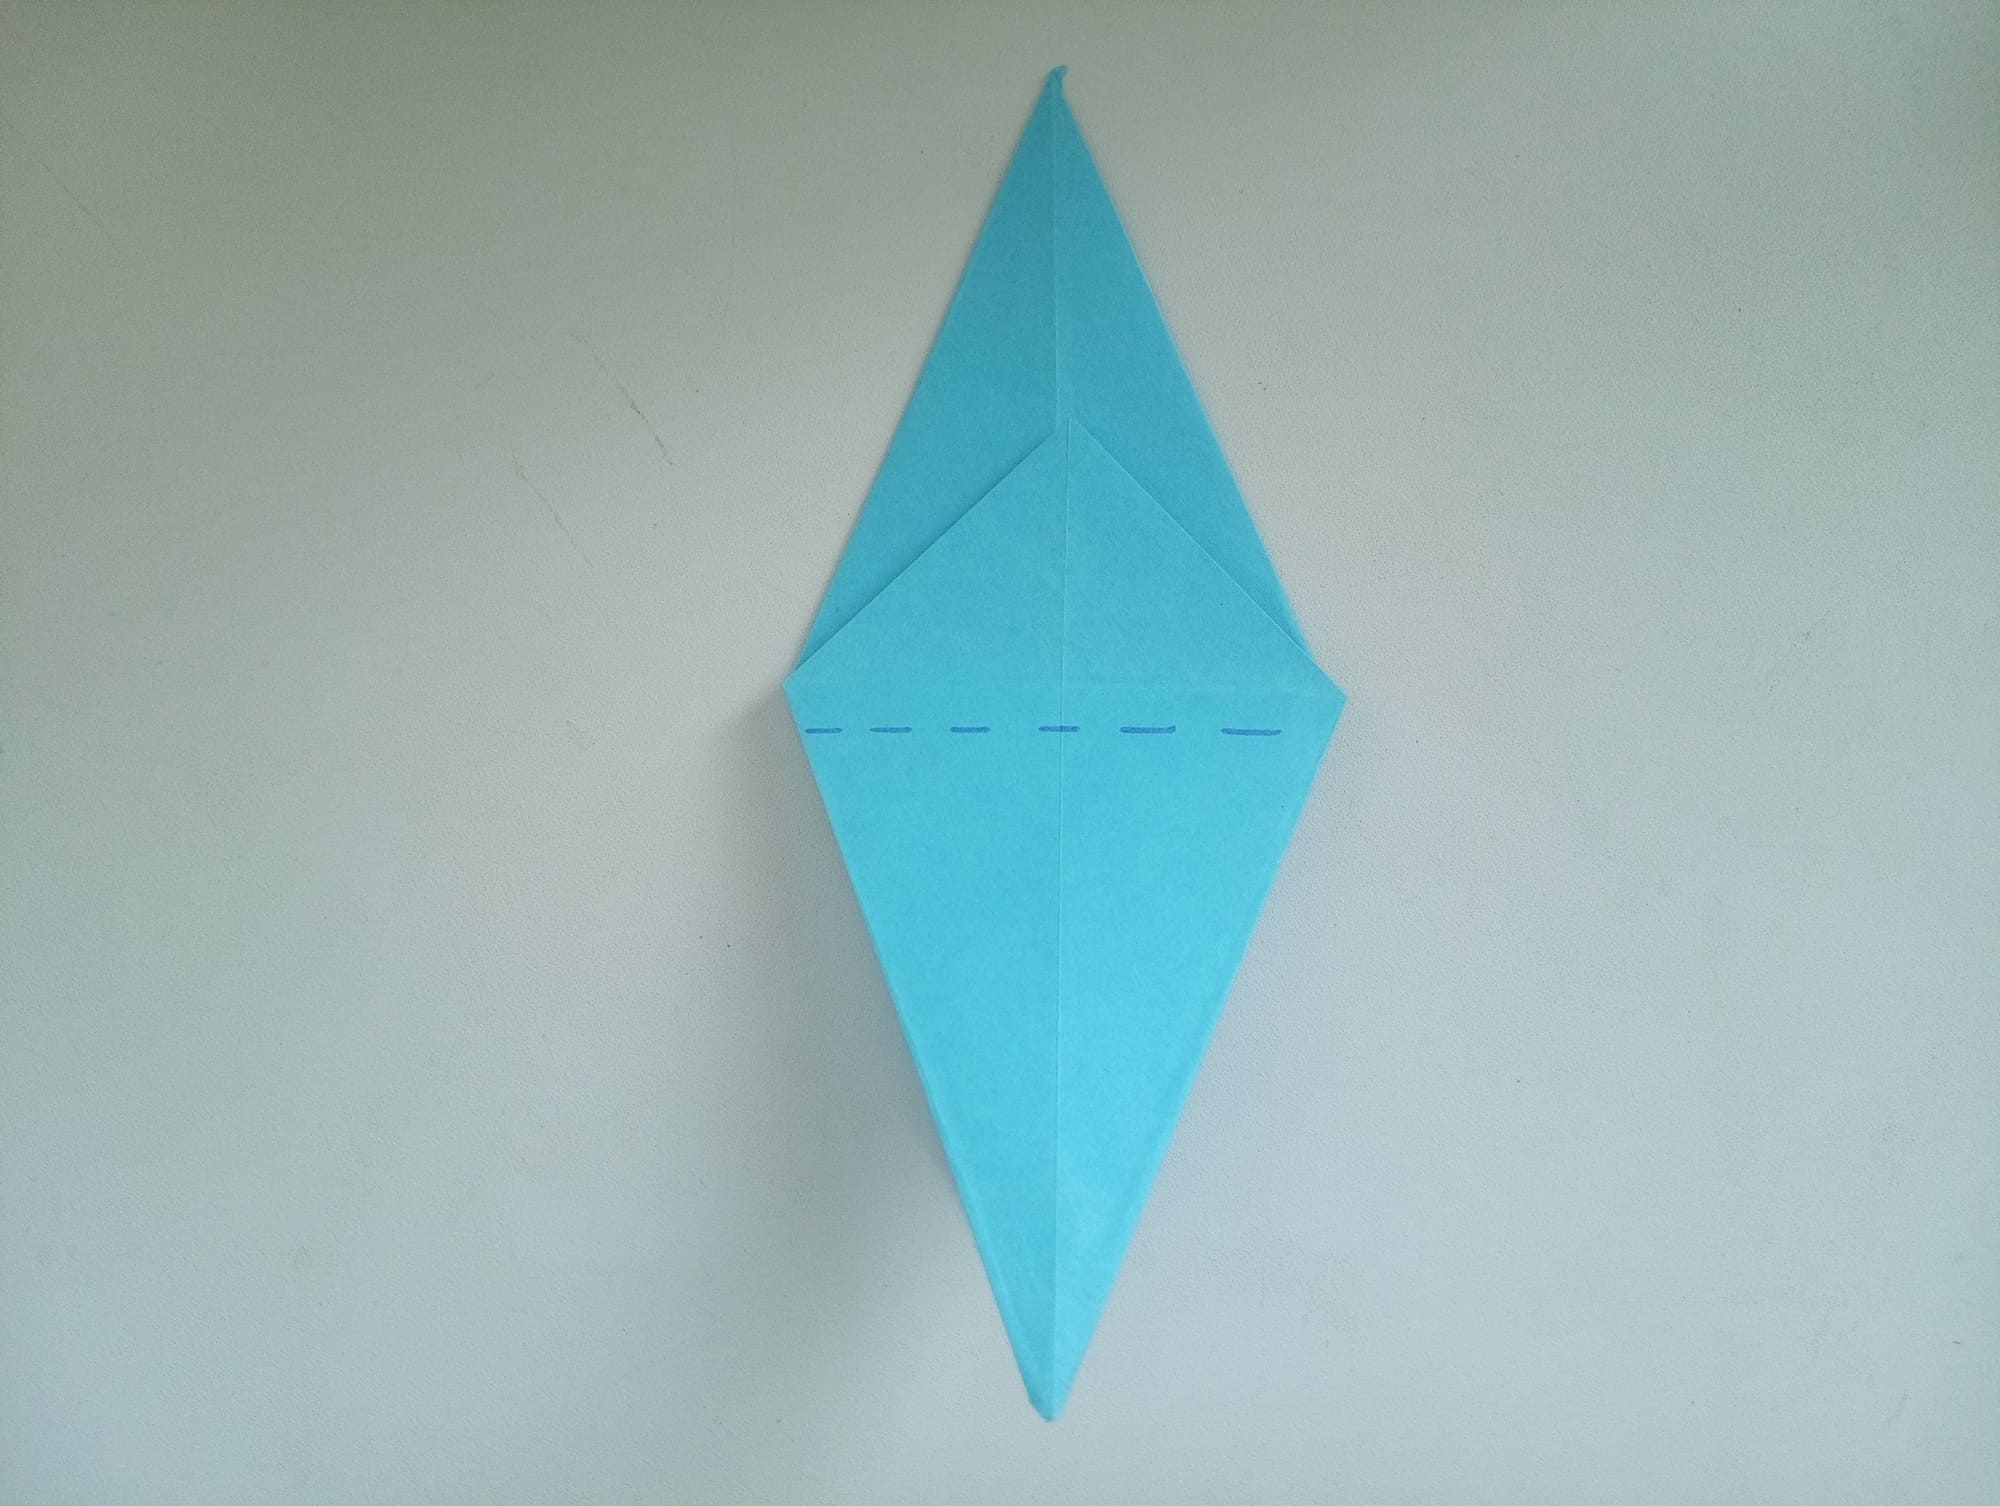
Make two folds along the dotted lines (see photo).
Bend the rear top valve back down.
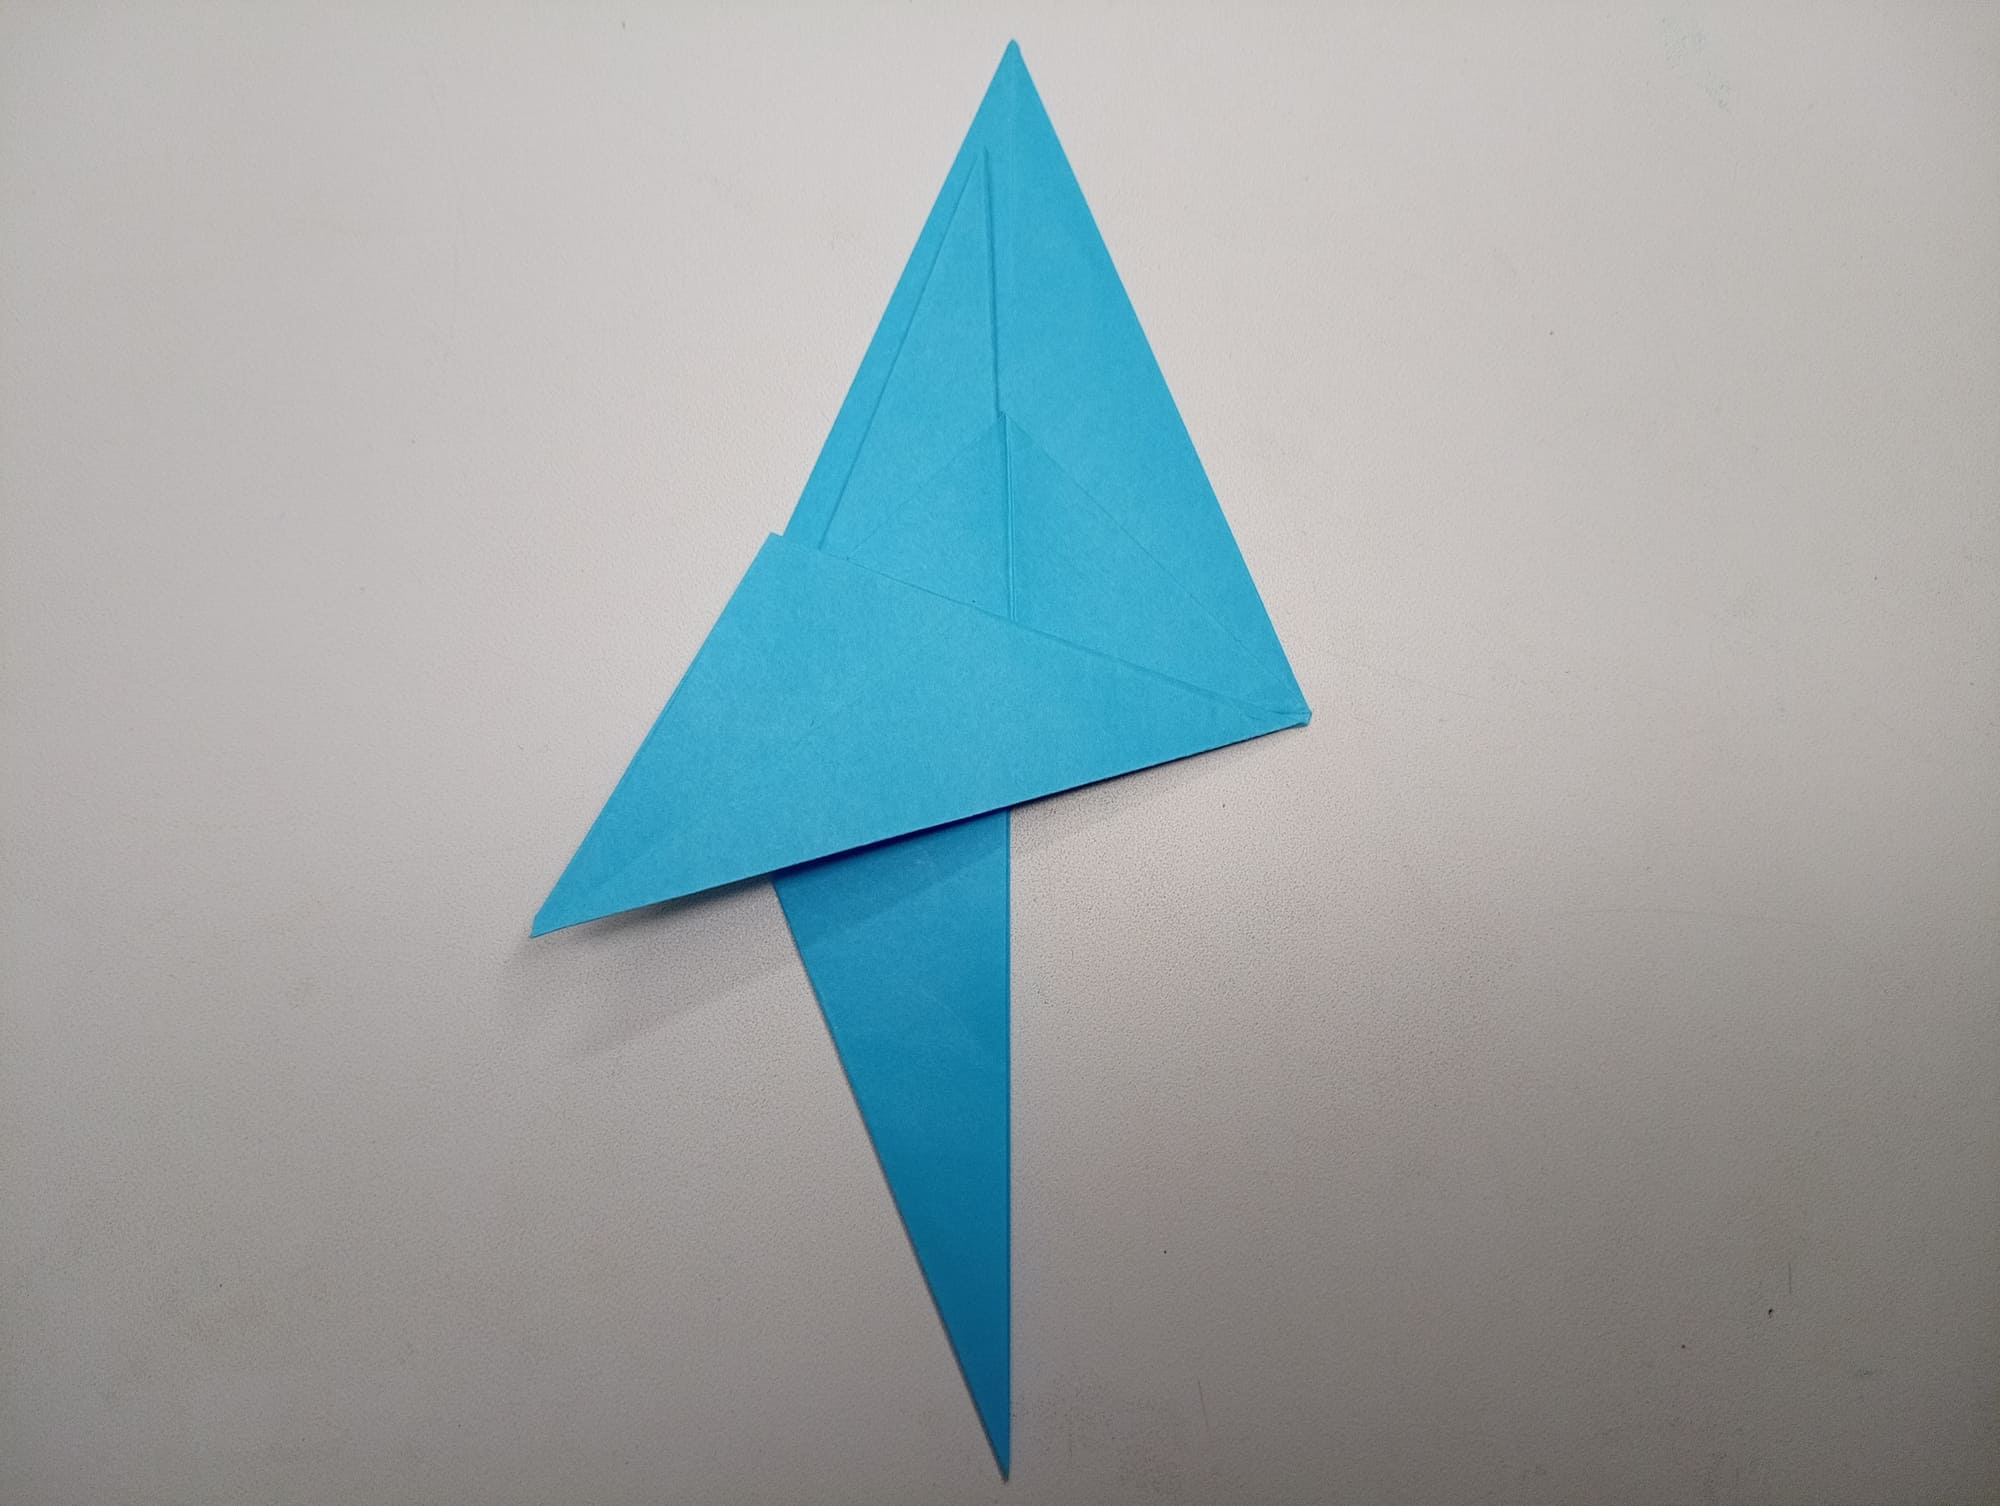
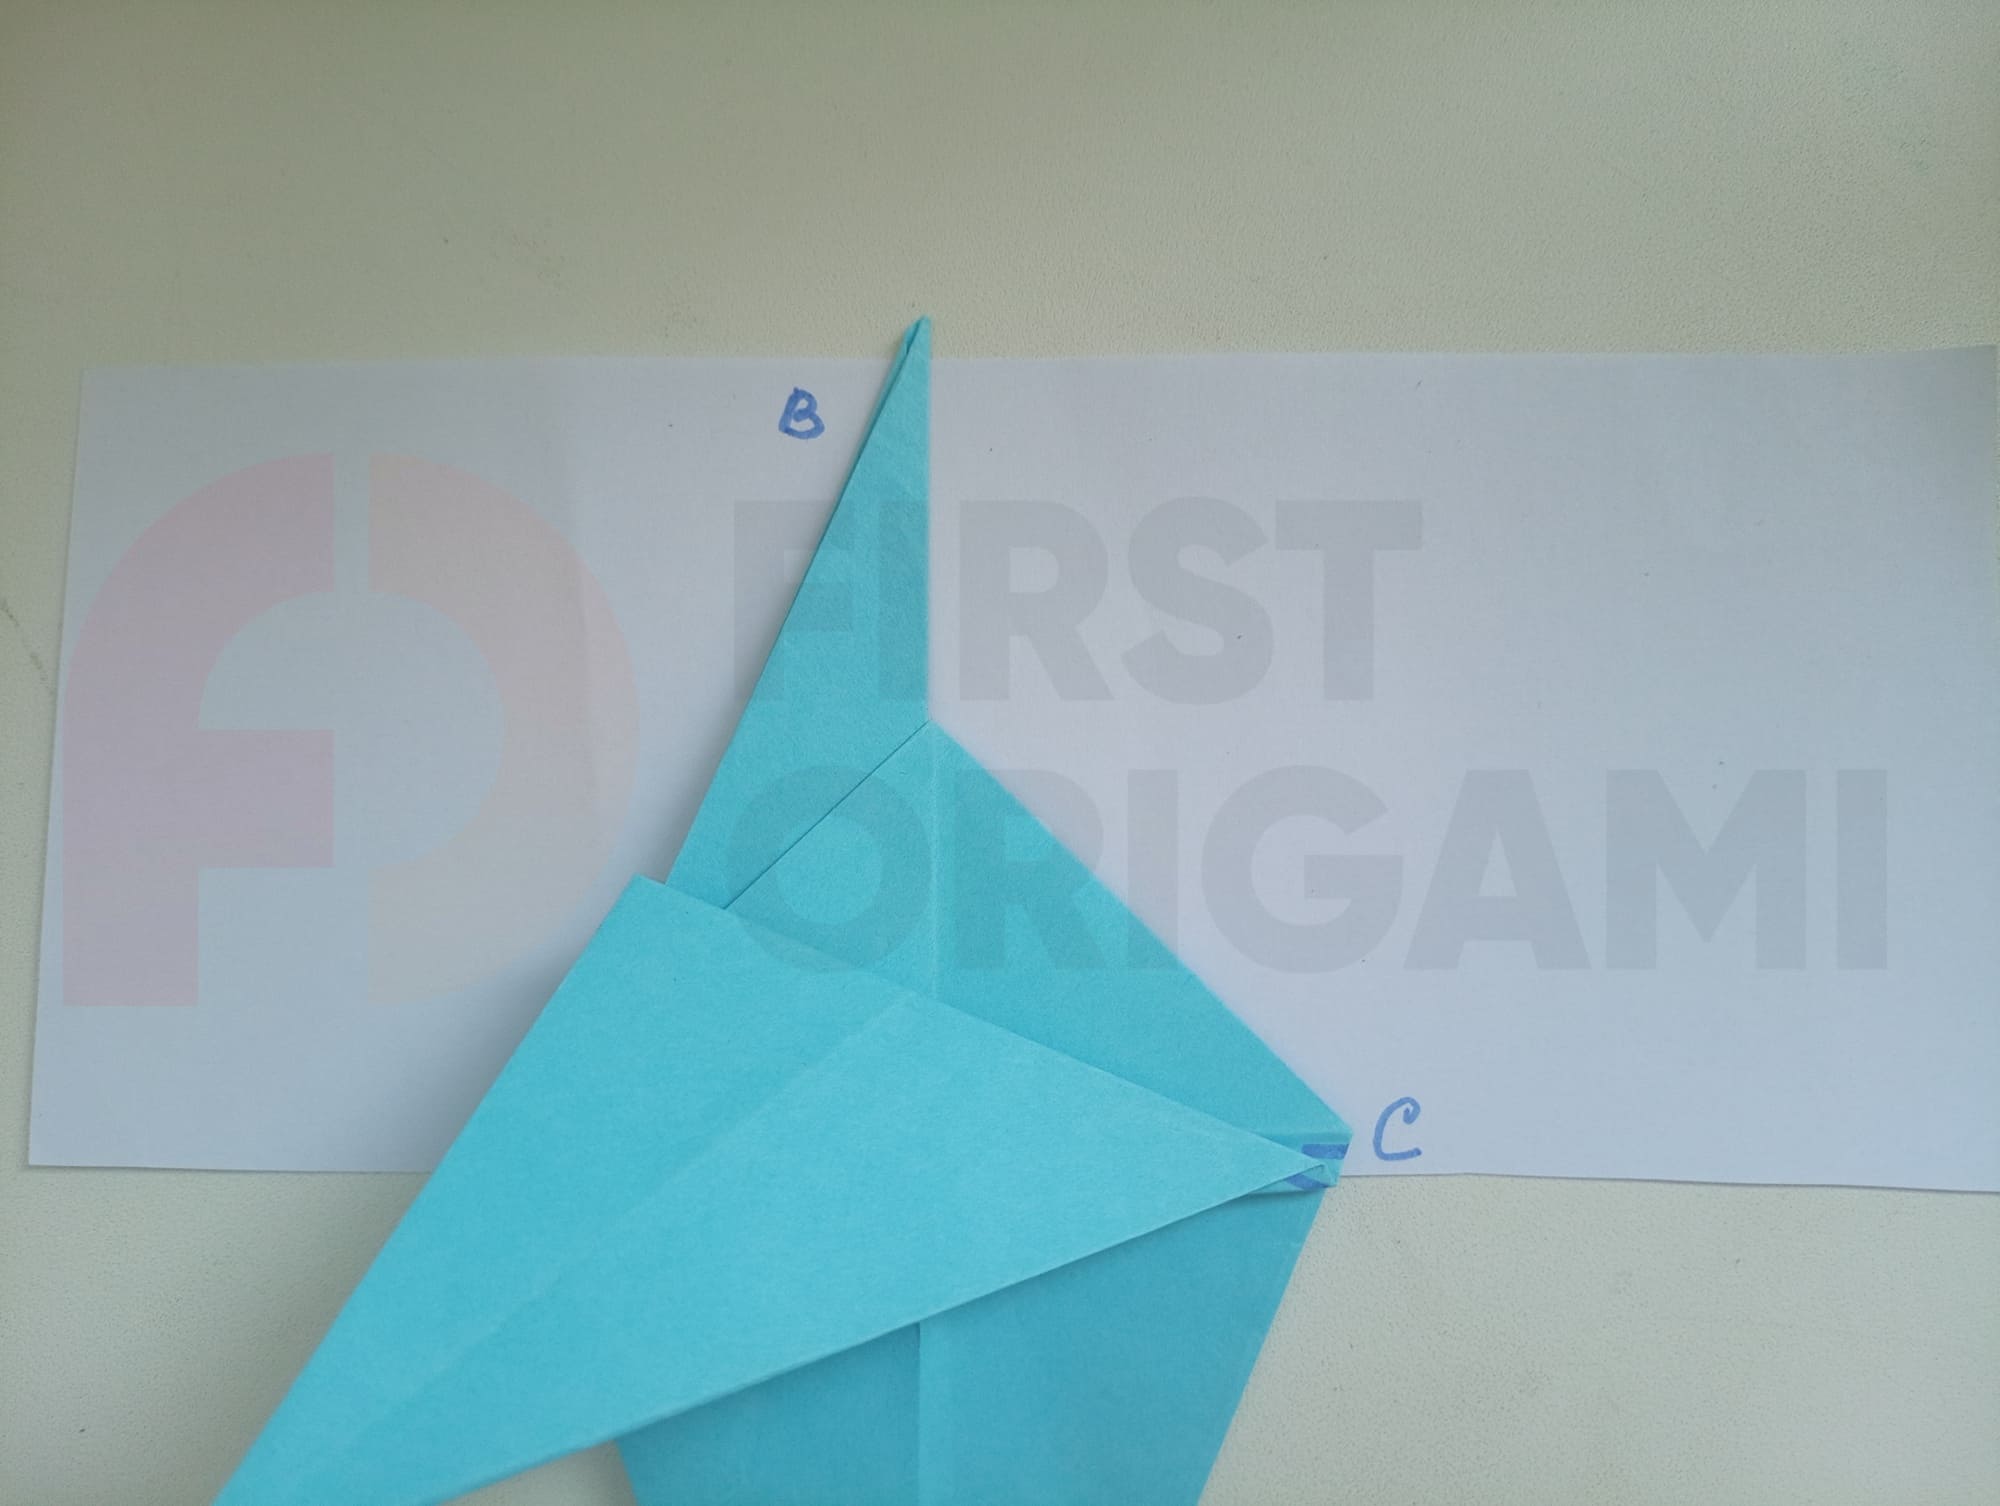
Hold the figure at point C and gently pull the edge of point B until it stops. The edge of point B will go down.
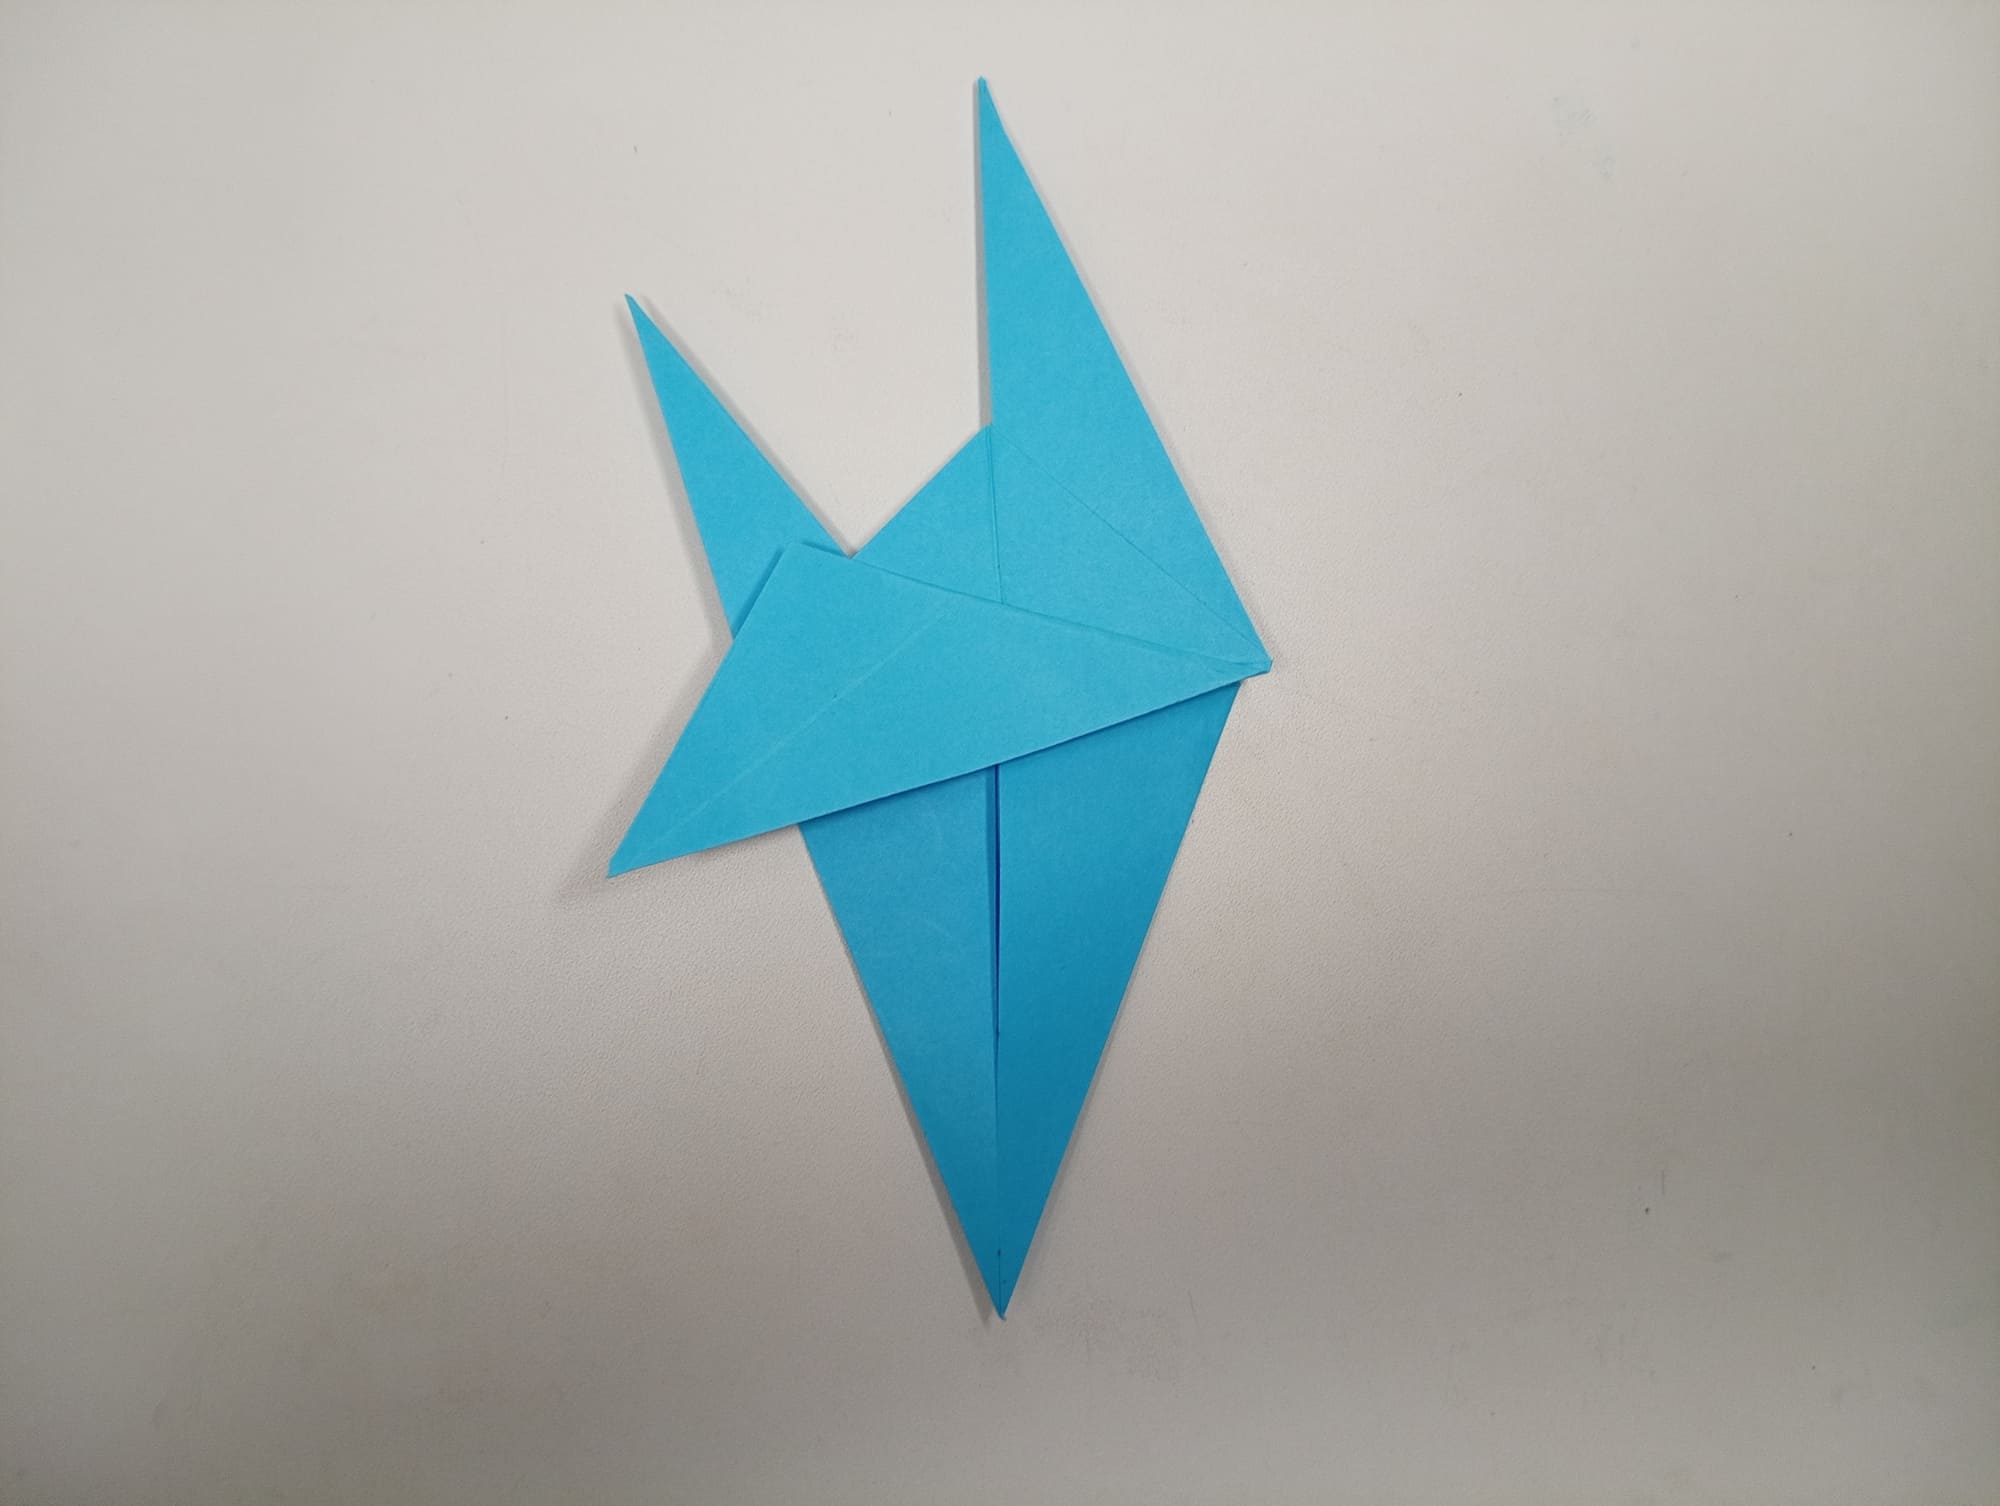
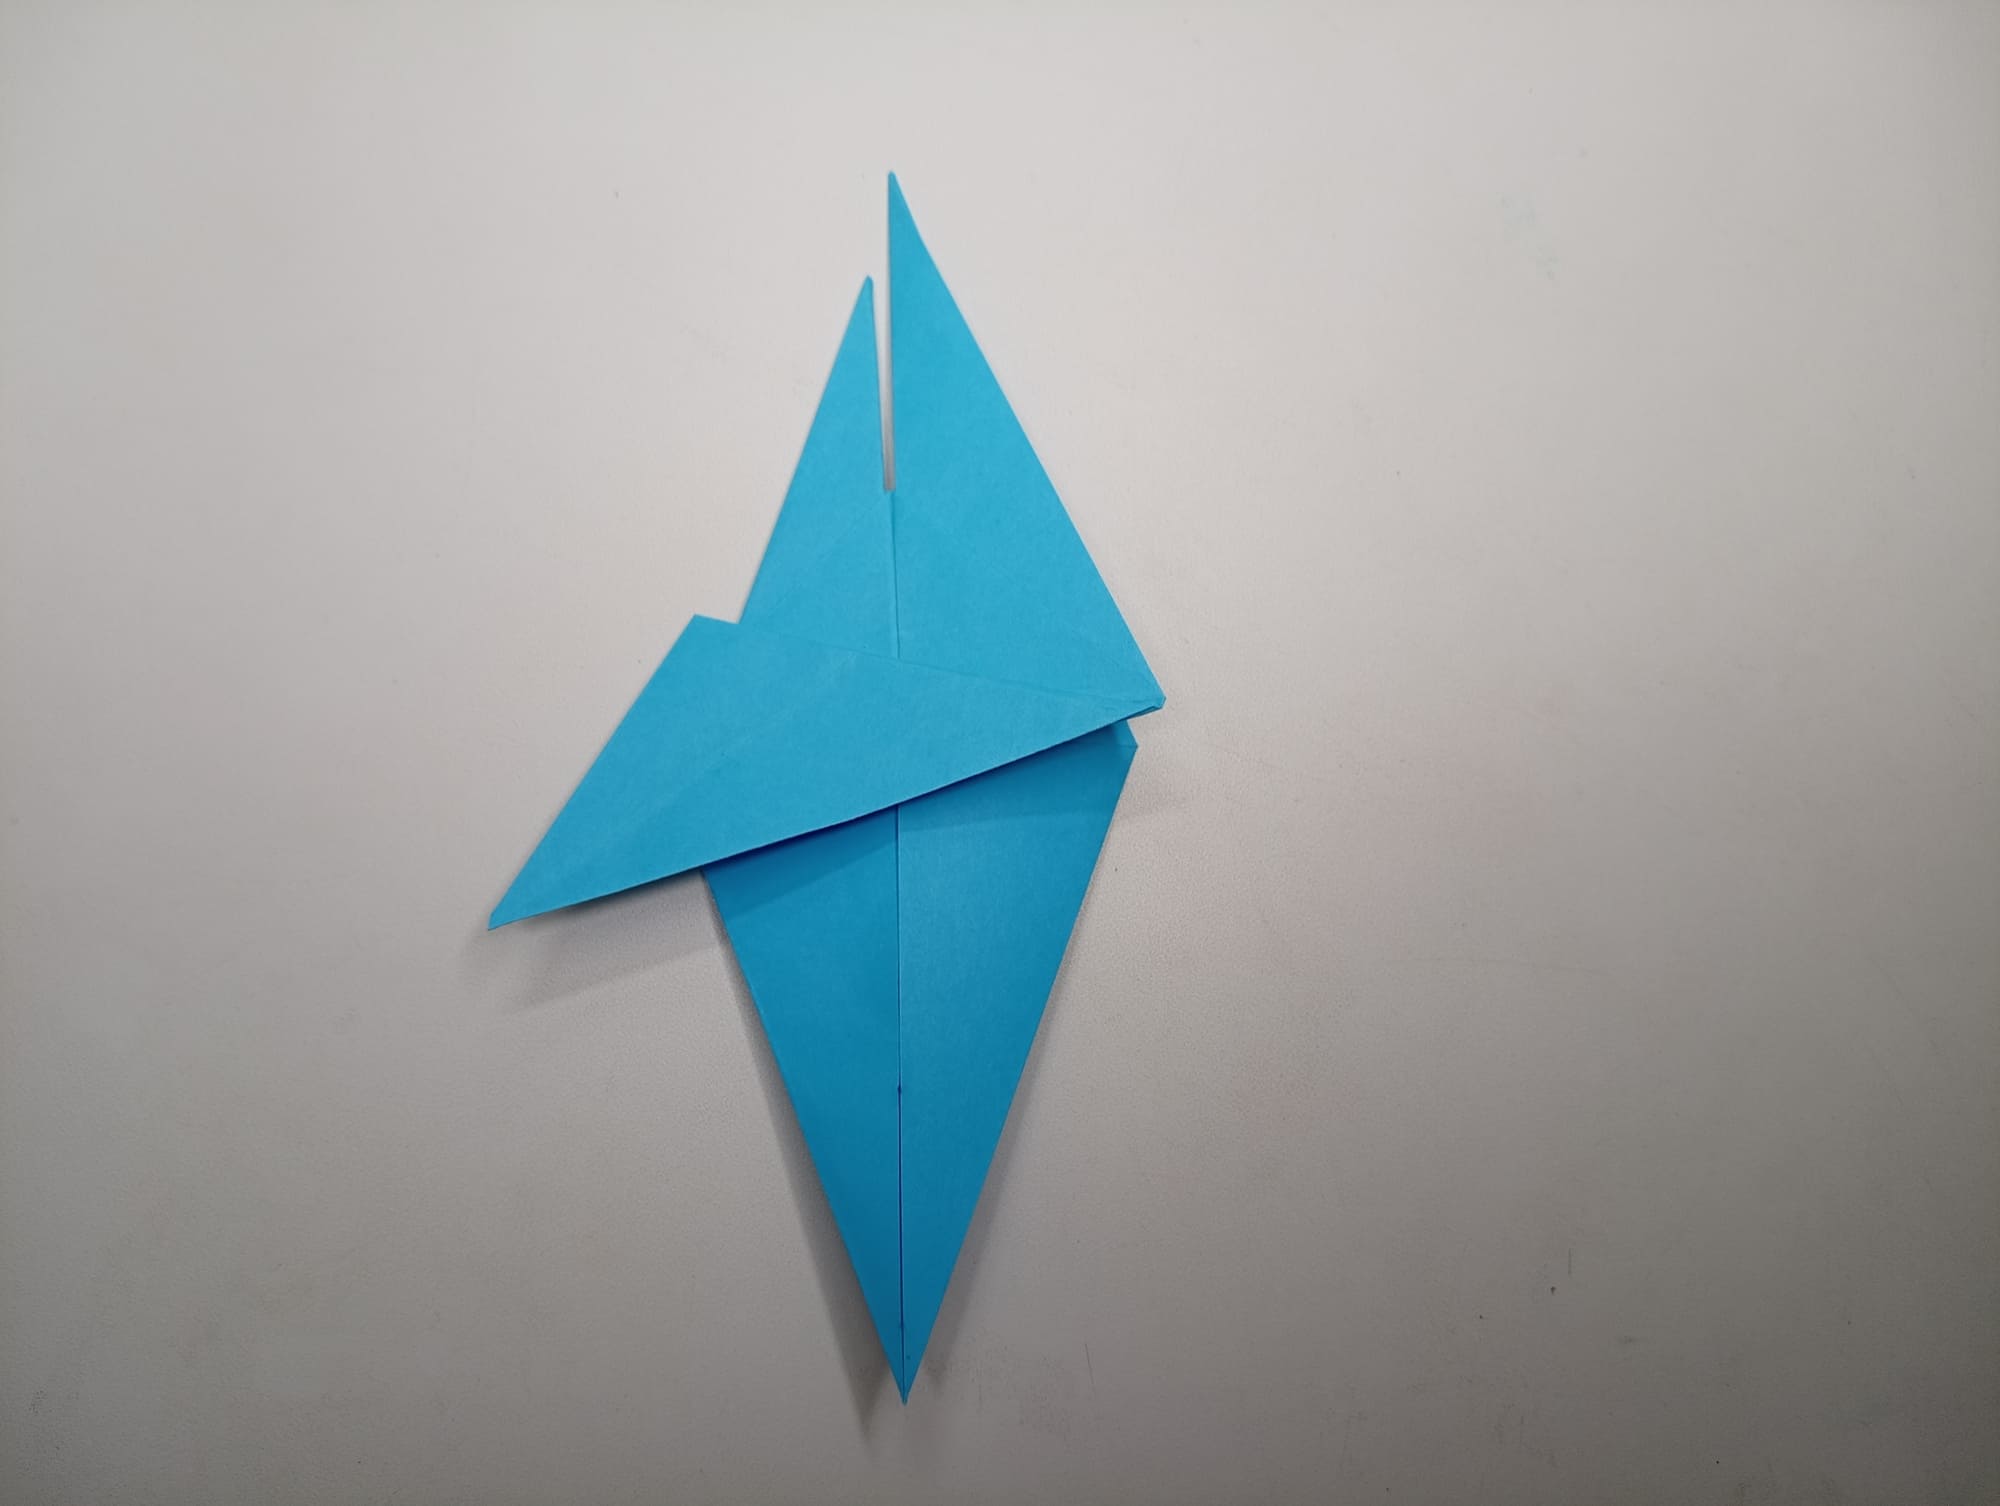
The right side of the figure must be bent to the left vertically.
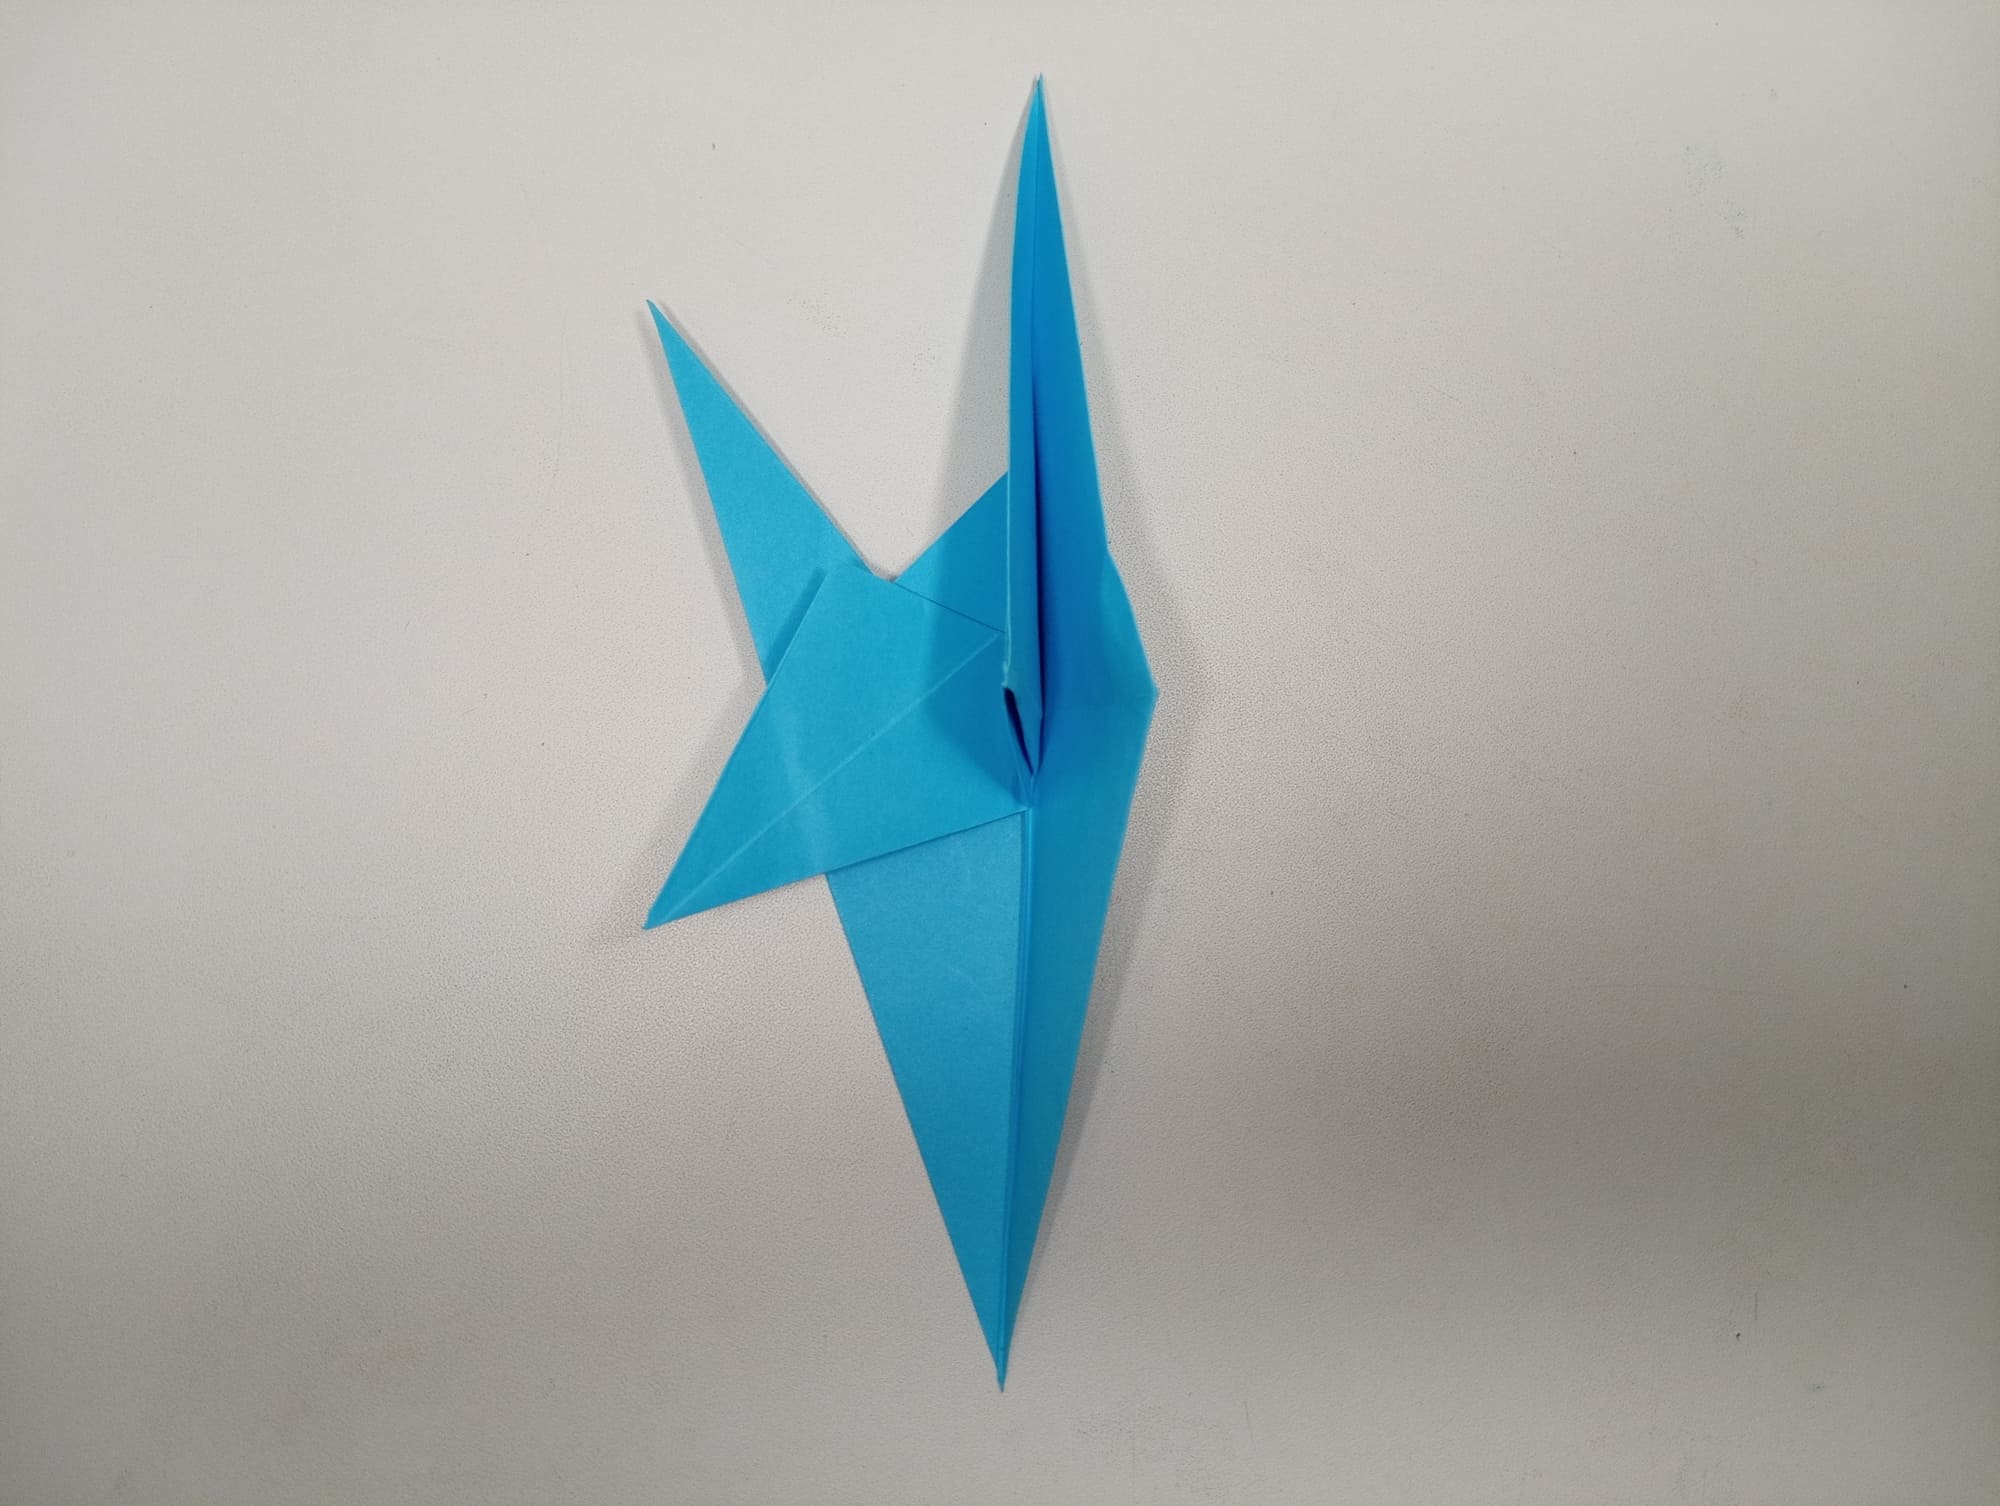
Rotate the shape 90 degrees. The base of the shark is ready.
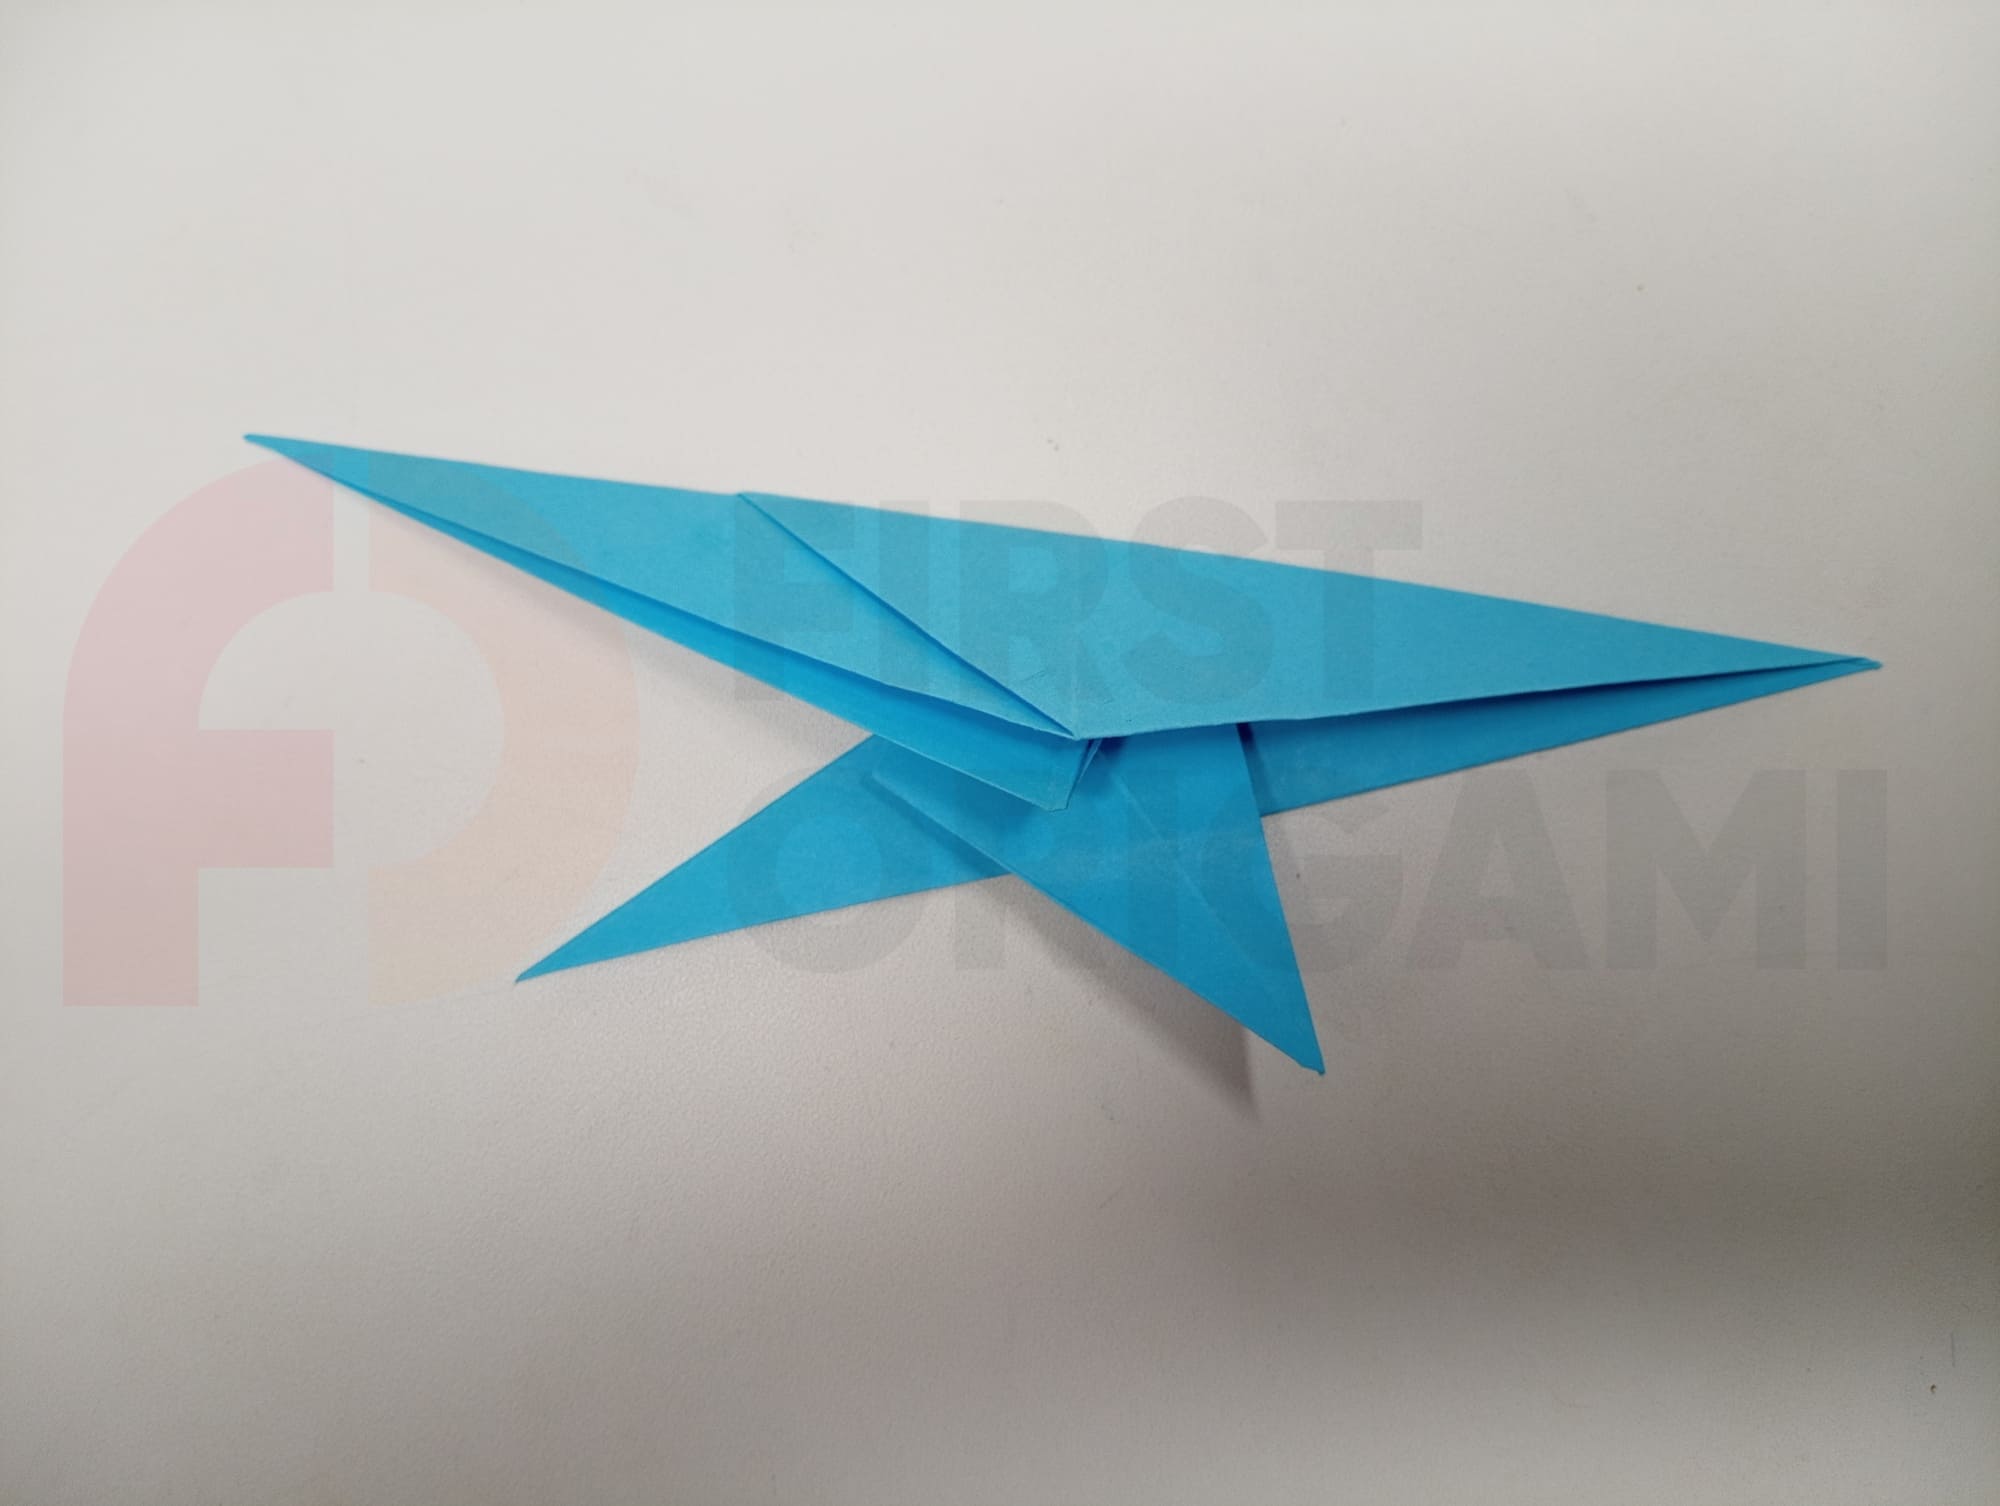
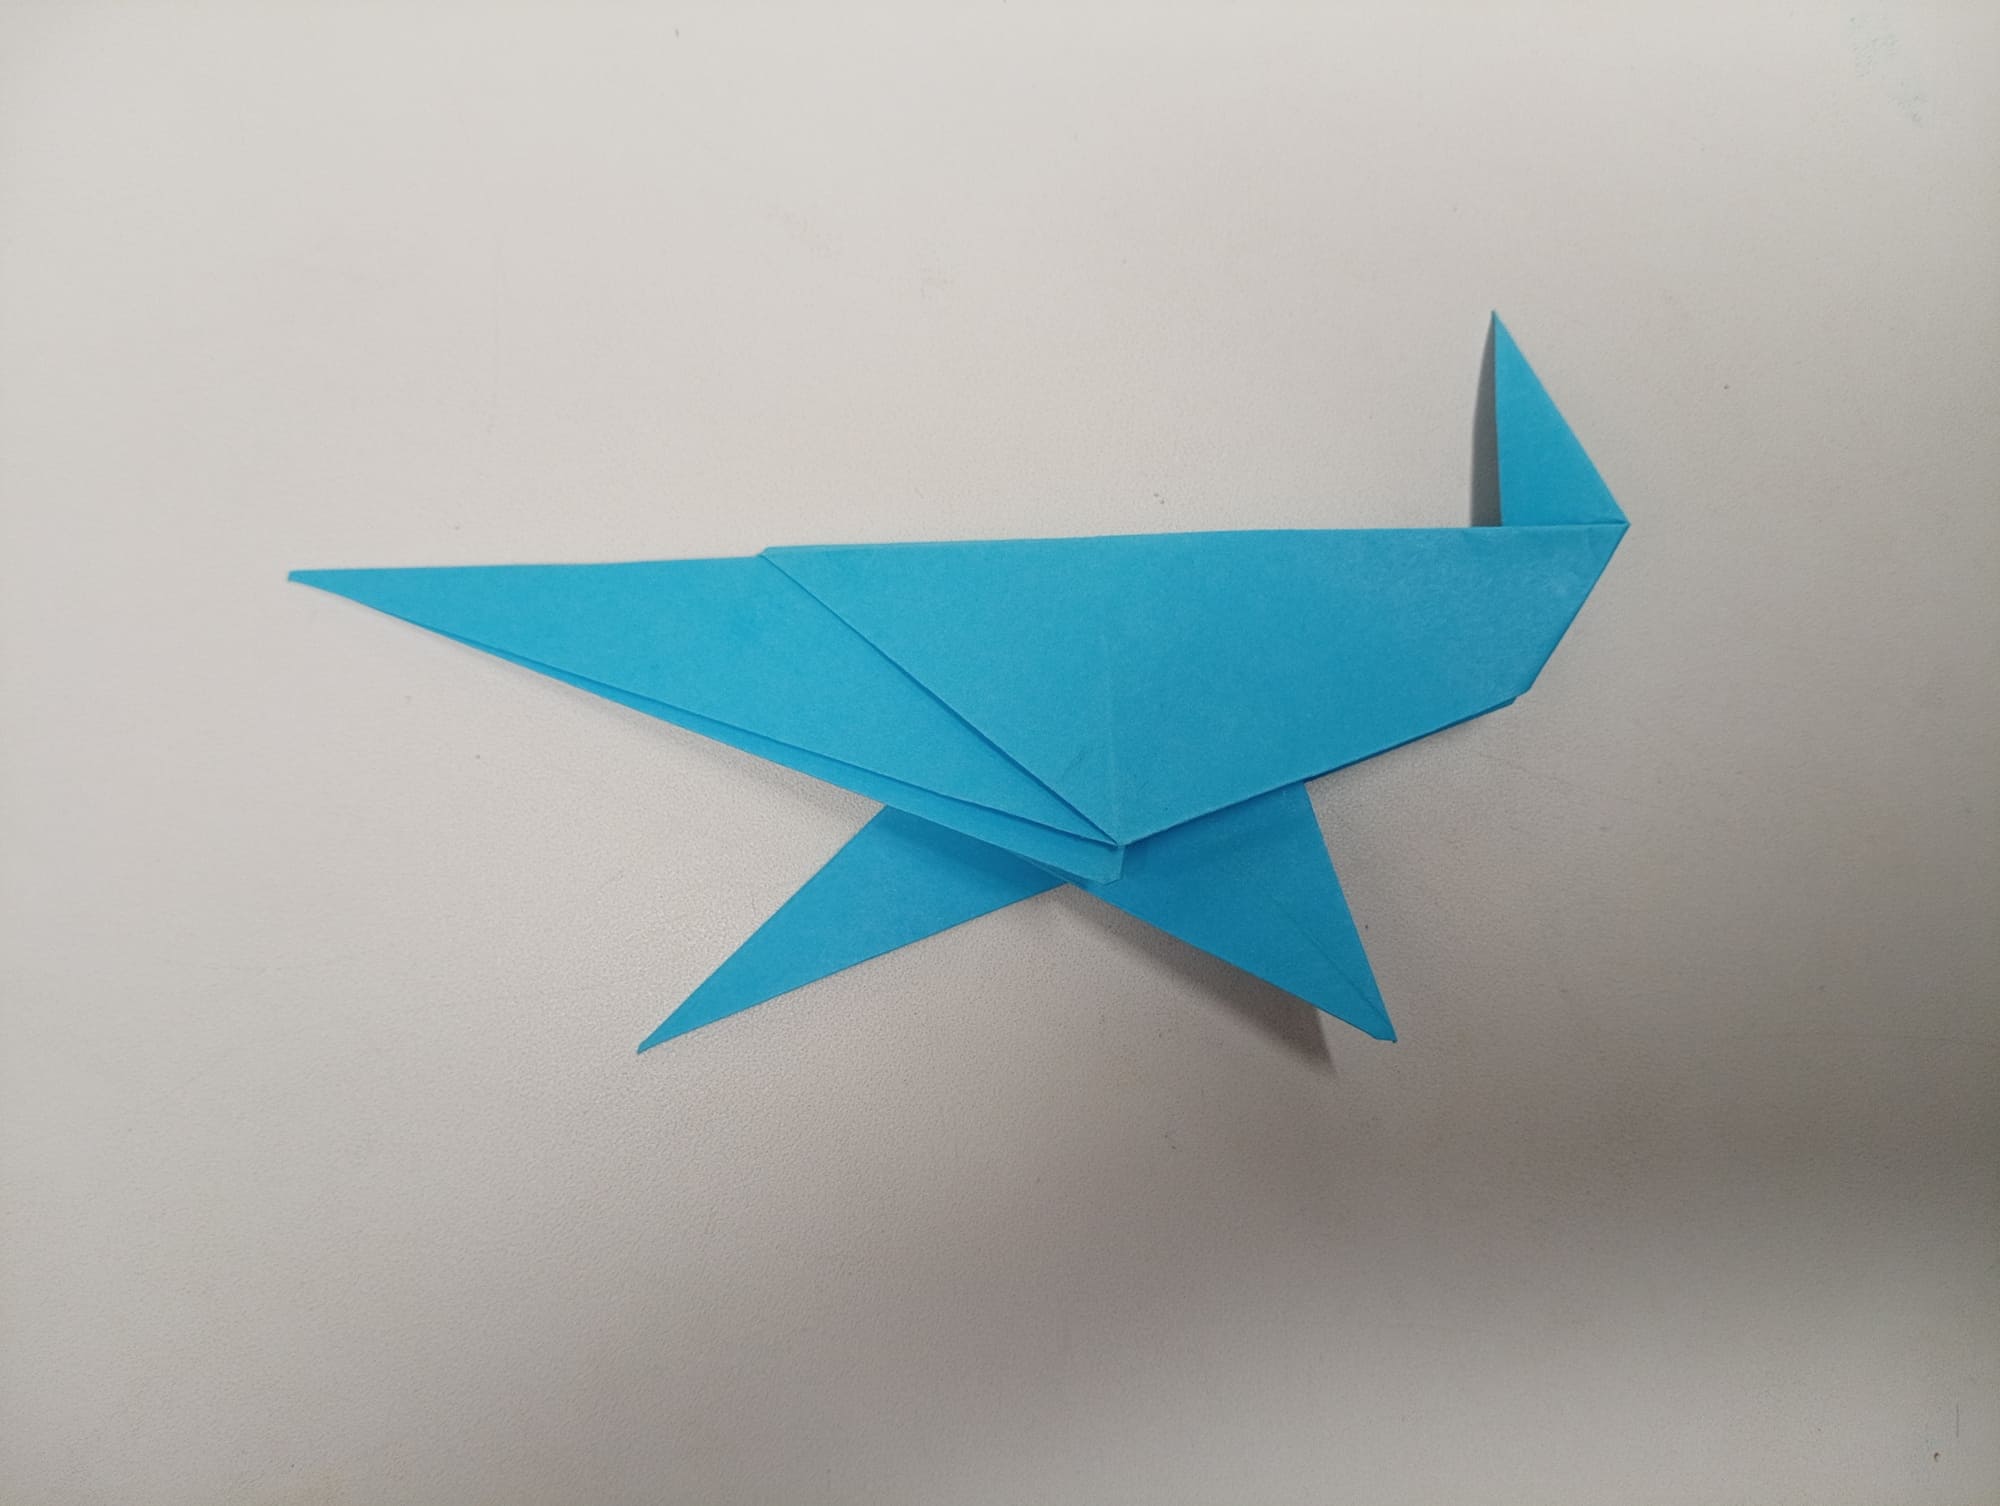
You should form a tail, for which you should bend the right edge and perform an outside reverse fold.
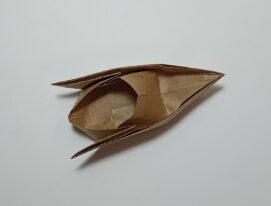
The shark is ready.
You only have to add an eye and teeth to it. Draw them with a pen or marker.
The origami shark looks good and believable. Teeth can be drawn even larger. Use this figure to play with children. You can even play with it in the water. If you want to make a larger figure, take the original sheet with the desired dimensions. Follow all the same steps and a huge shark will appear in your house. Don’t be afraid, it’s not dangerous at all!