Origami Sink (Method 1)
As you already know, origami is not only about toys and complex figures but also about technical folds and basic shapes. The pray we are going to show you one of the basic origami folding techniques, known as the Shell. This technique is used in many different origami diagrams, but below you will find the instructions of one of the most interesting crafts — the Eight-Pointed Star, which is all made of Shell folds.
So apart from mastering a very useful basic origami skill, in the end, you will get a very stylish geometric decoration for your home. And if you are stubborn enough, make several stars, create a fairy-tale atmosphere in your room, and in the end, you will be really confident in folding the Shell!
To fold the paper into a “shell” means to wrap the protruding middle of the sheet inwards. The difficulty is not to wrinkle the core that we are wrapping. So be attentive and check each step with our photo and video instructions. Let’s start!

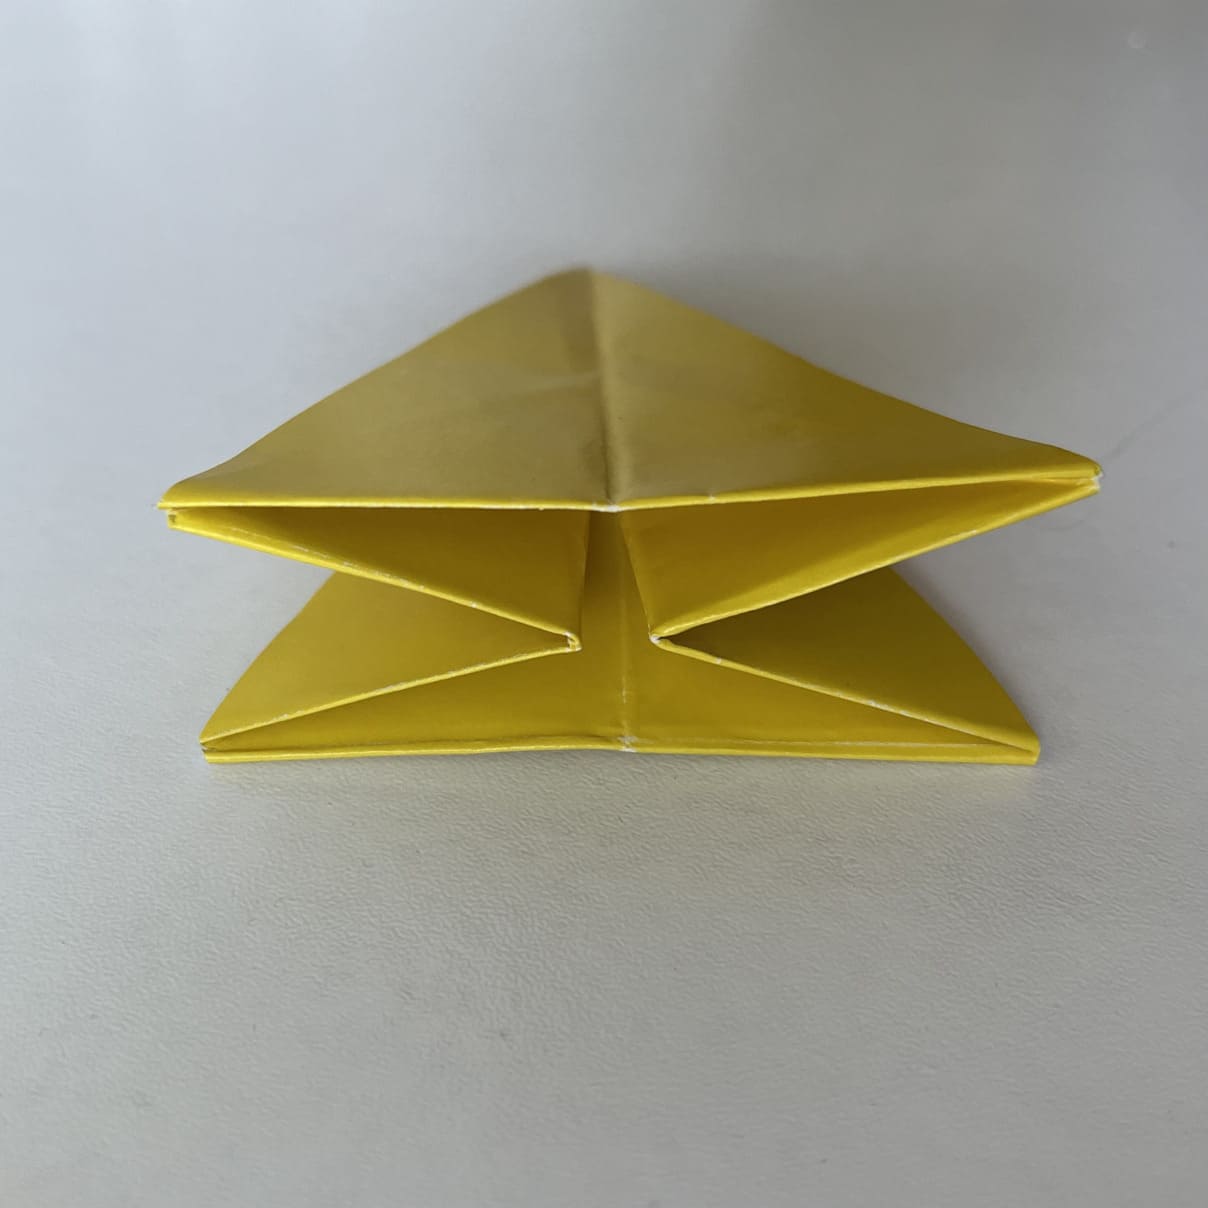
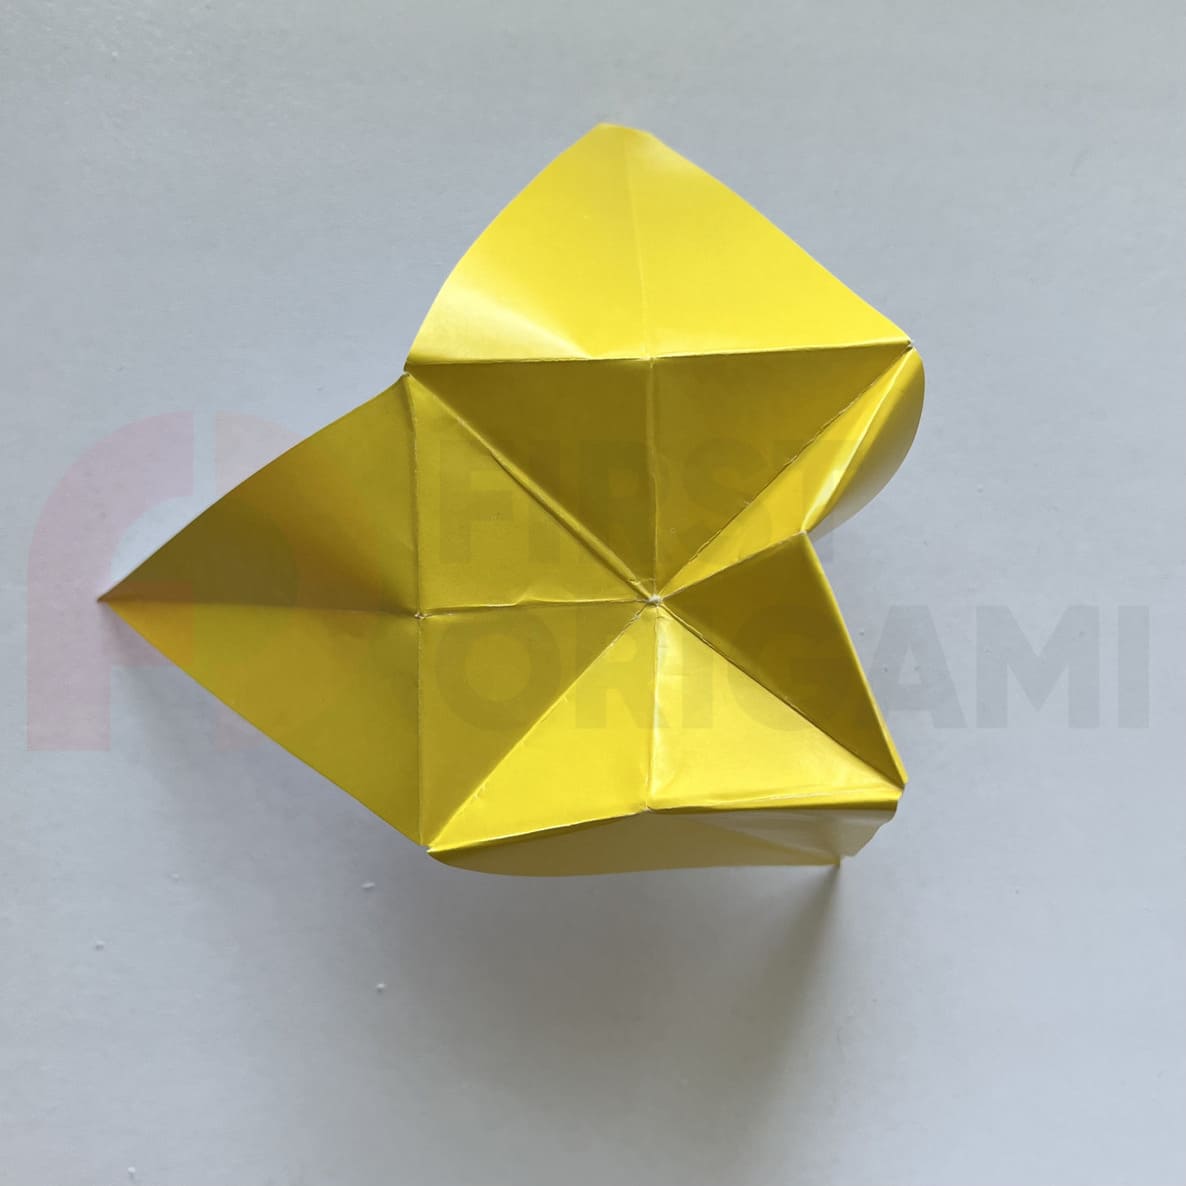
The photo shows what the leaf looks like at the intermediate stage of origami making. We needed to “recess” the center of the leaf (the sharp corner when folded).
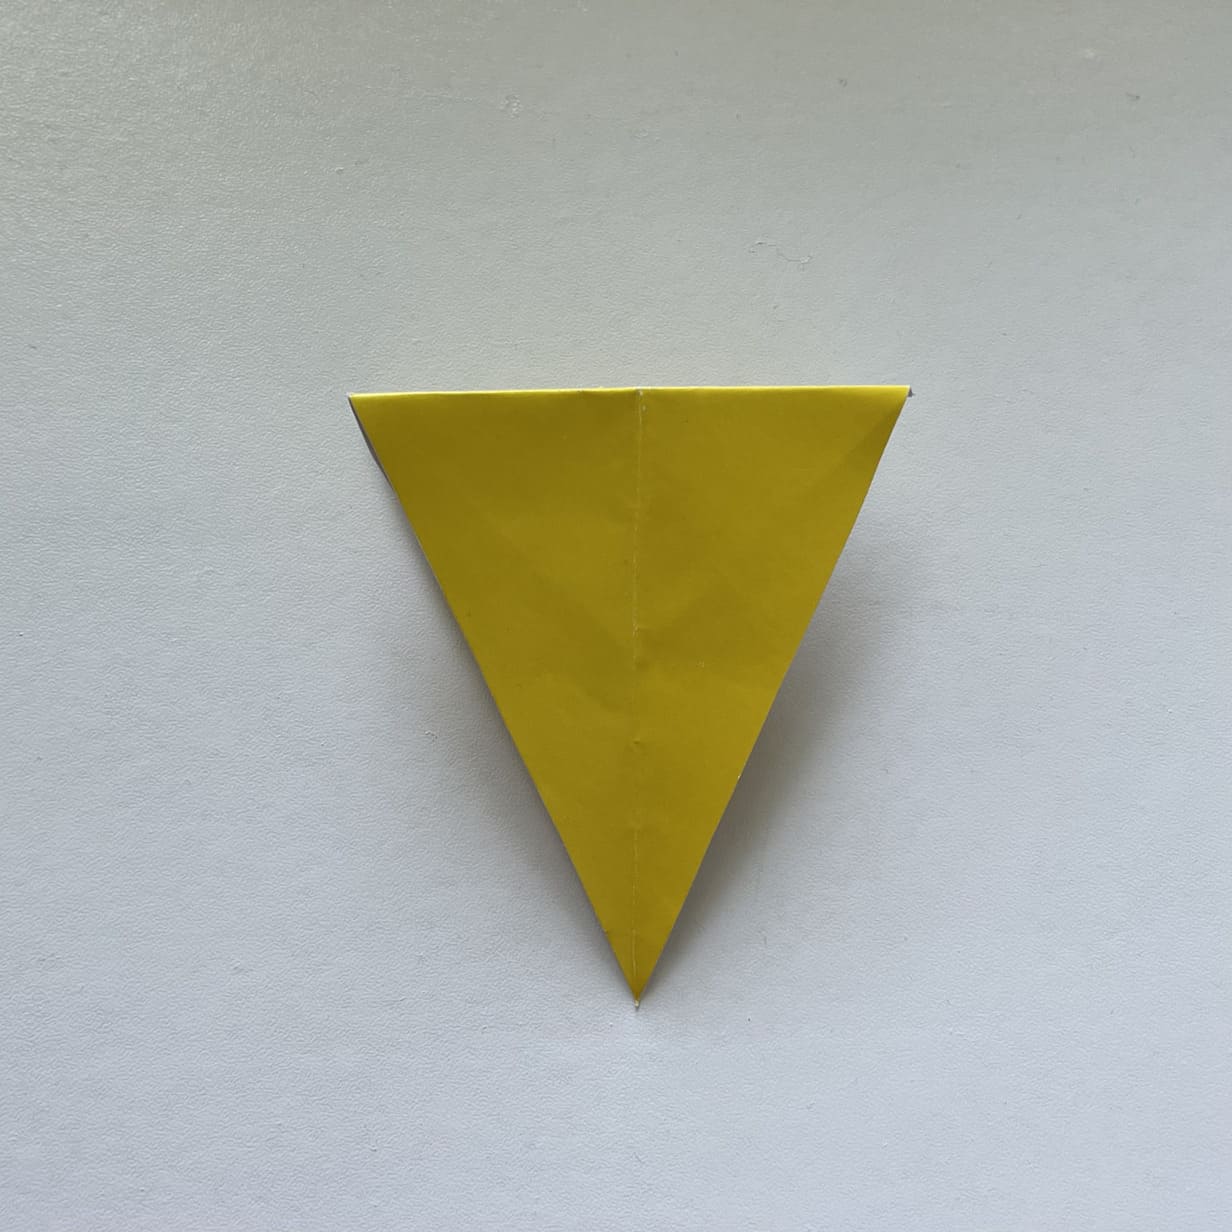
Bend the top cornerback, making up a triangle pointing down. Iron the folding line well.
In the center on four sides, you can see the fold lines forming a square. These folds are made inwards, we need to fold them in the opposite direction so that they are convex.
The two diagonal folds in the center of the square also fold in the opposite direction. You can see in the photo what should turn out at the intermediate step.
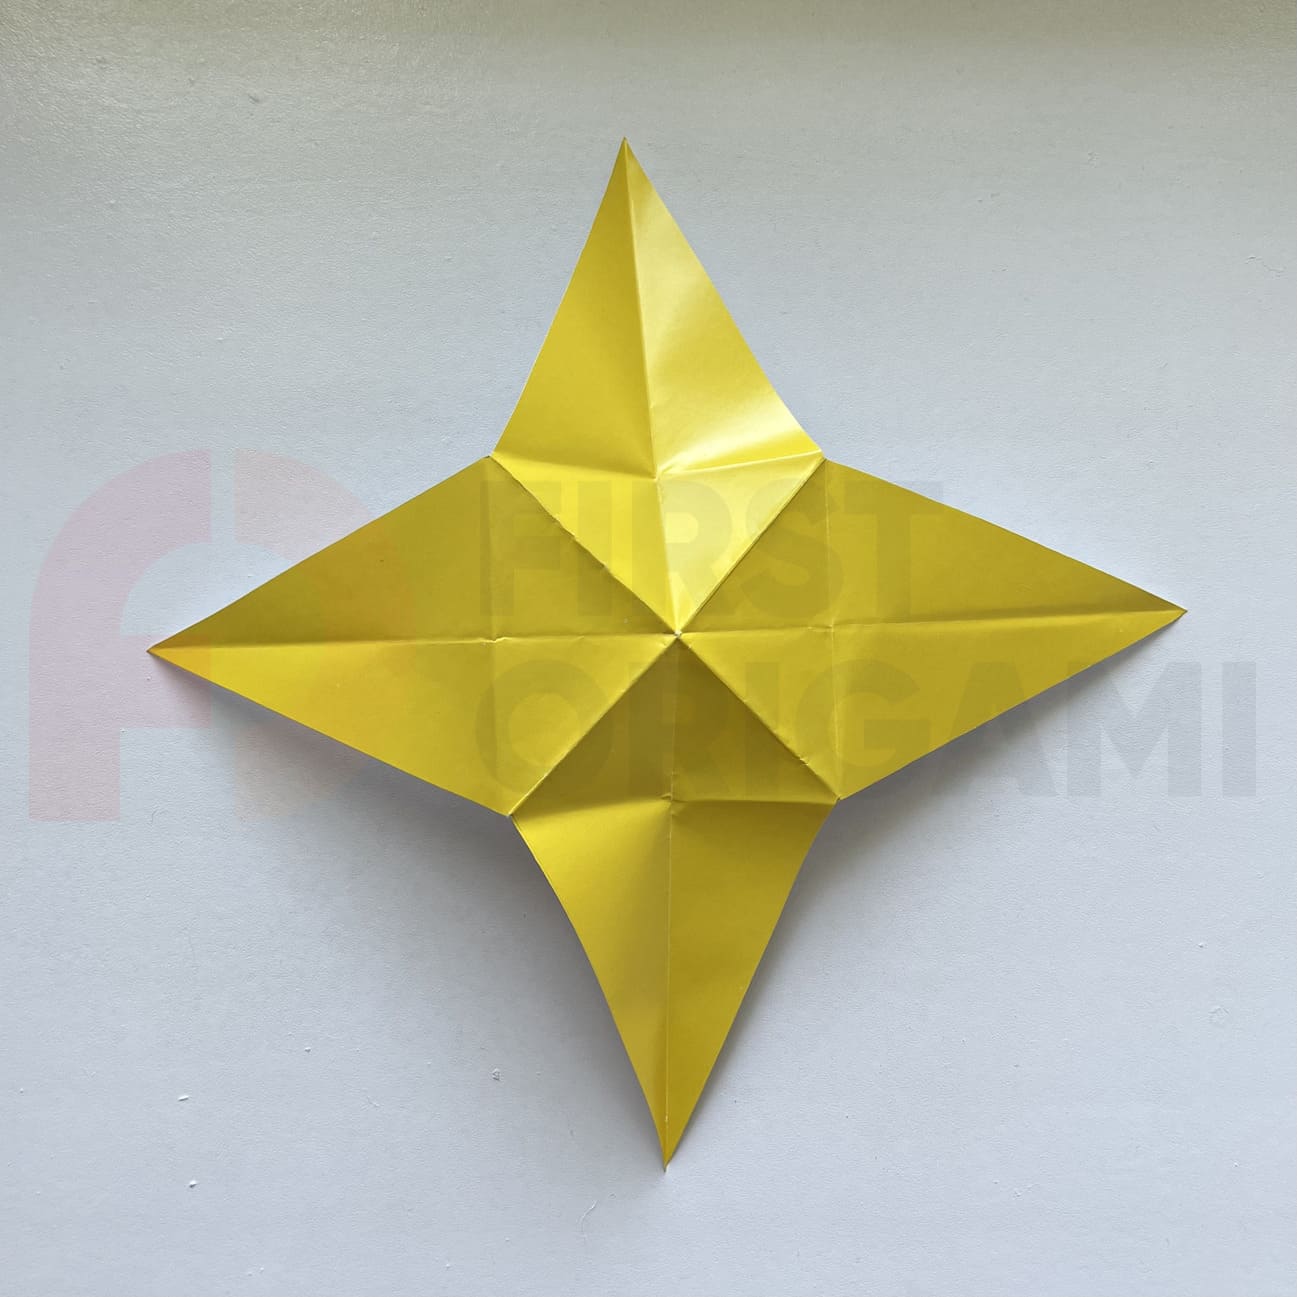
Now to sink the core of the figure, we only need to press the paper from the sides so that they meet in the center.
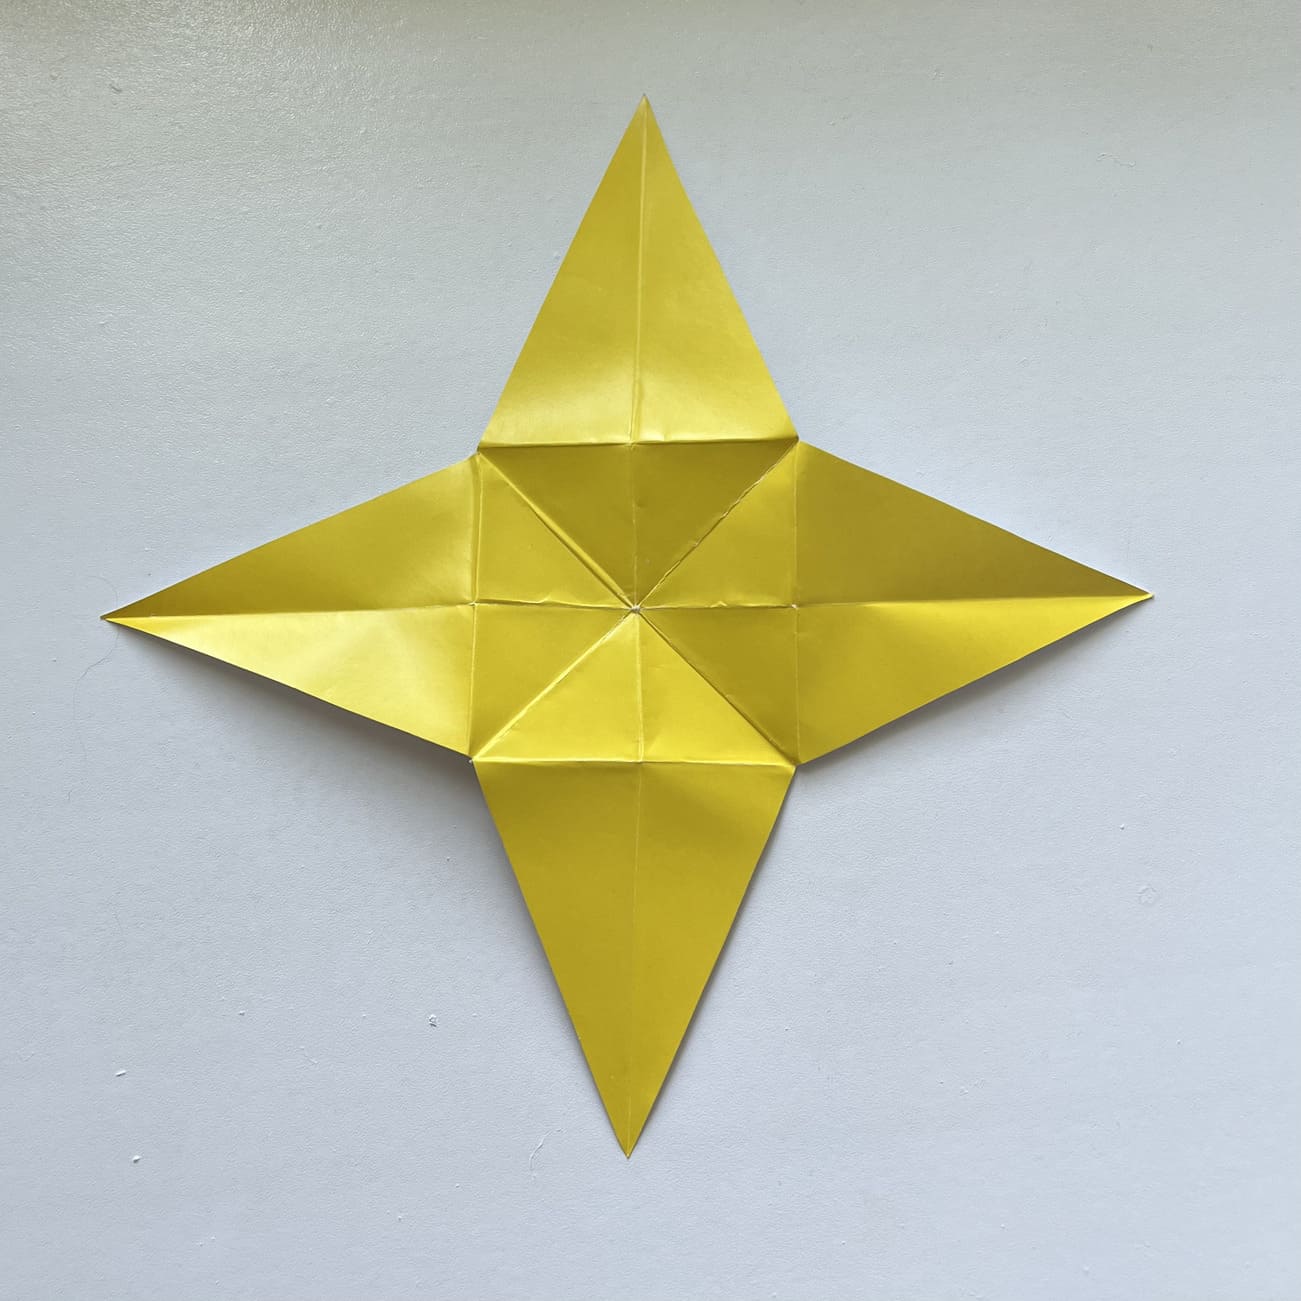
Here we go! Now just work out all the folding lines and smoothen the surface of the paper, and your Shell element is ready!


