Origami Snail
A master class on making a snail using the origami technique is very simple. Even a child can do it. To complete it, you need one sheet of paper and very little time. You can play with the finished snail, use it as a visual educational material, and include it in compositions with natural materials. The master class is also well suited for working with children. Follow the suggested steps without mixing their sequence.
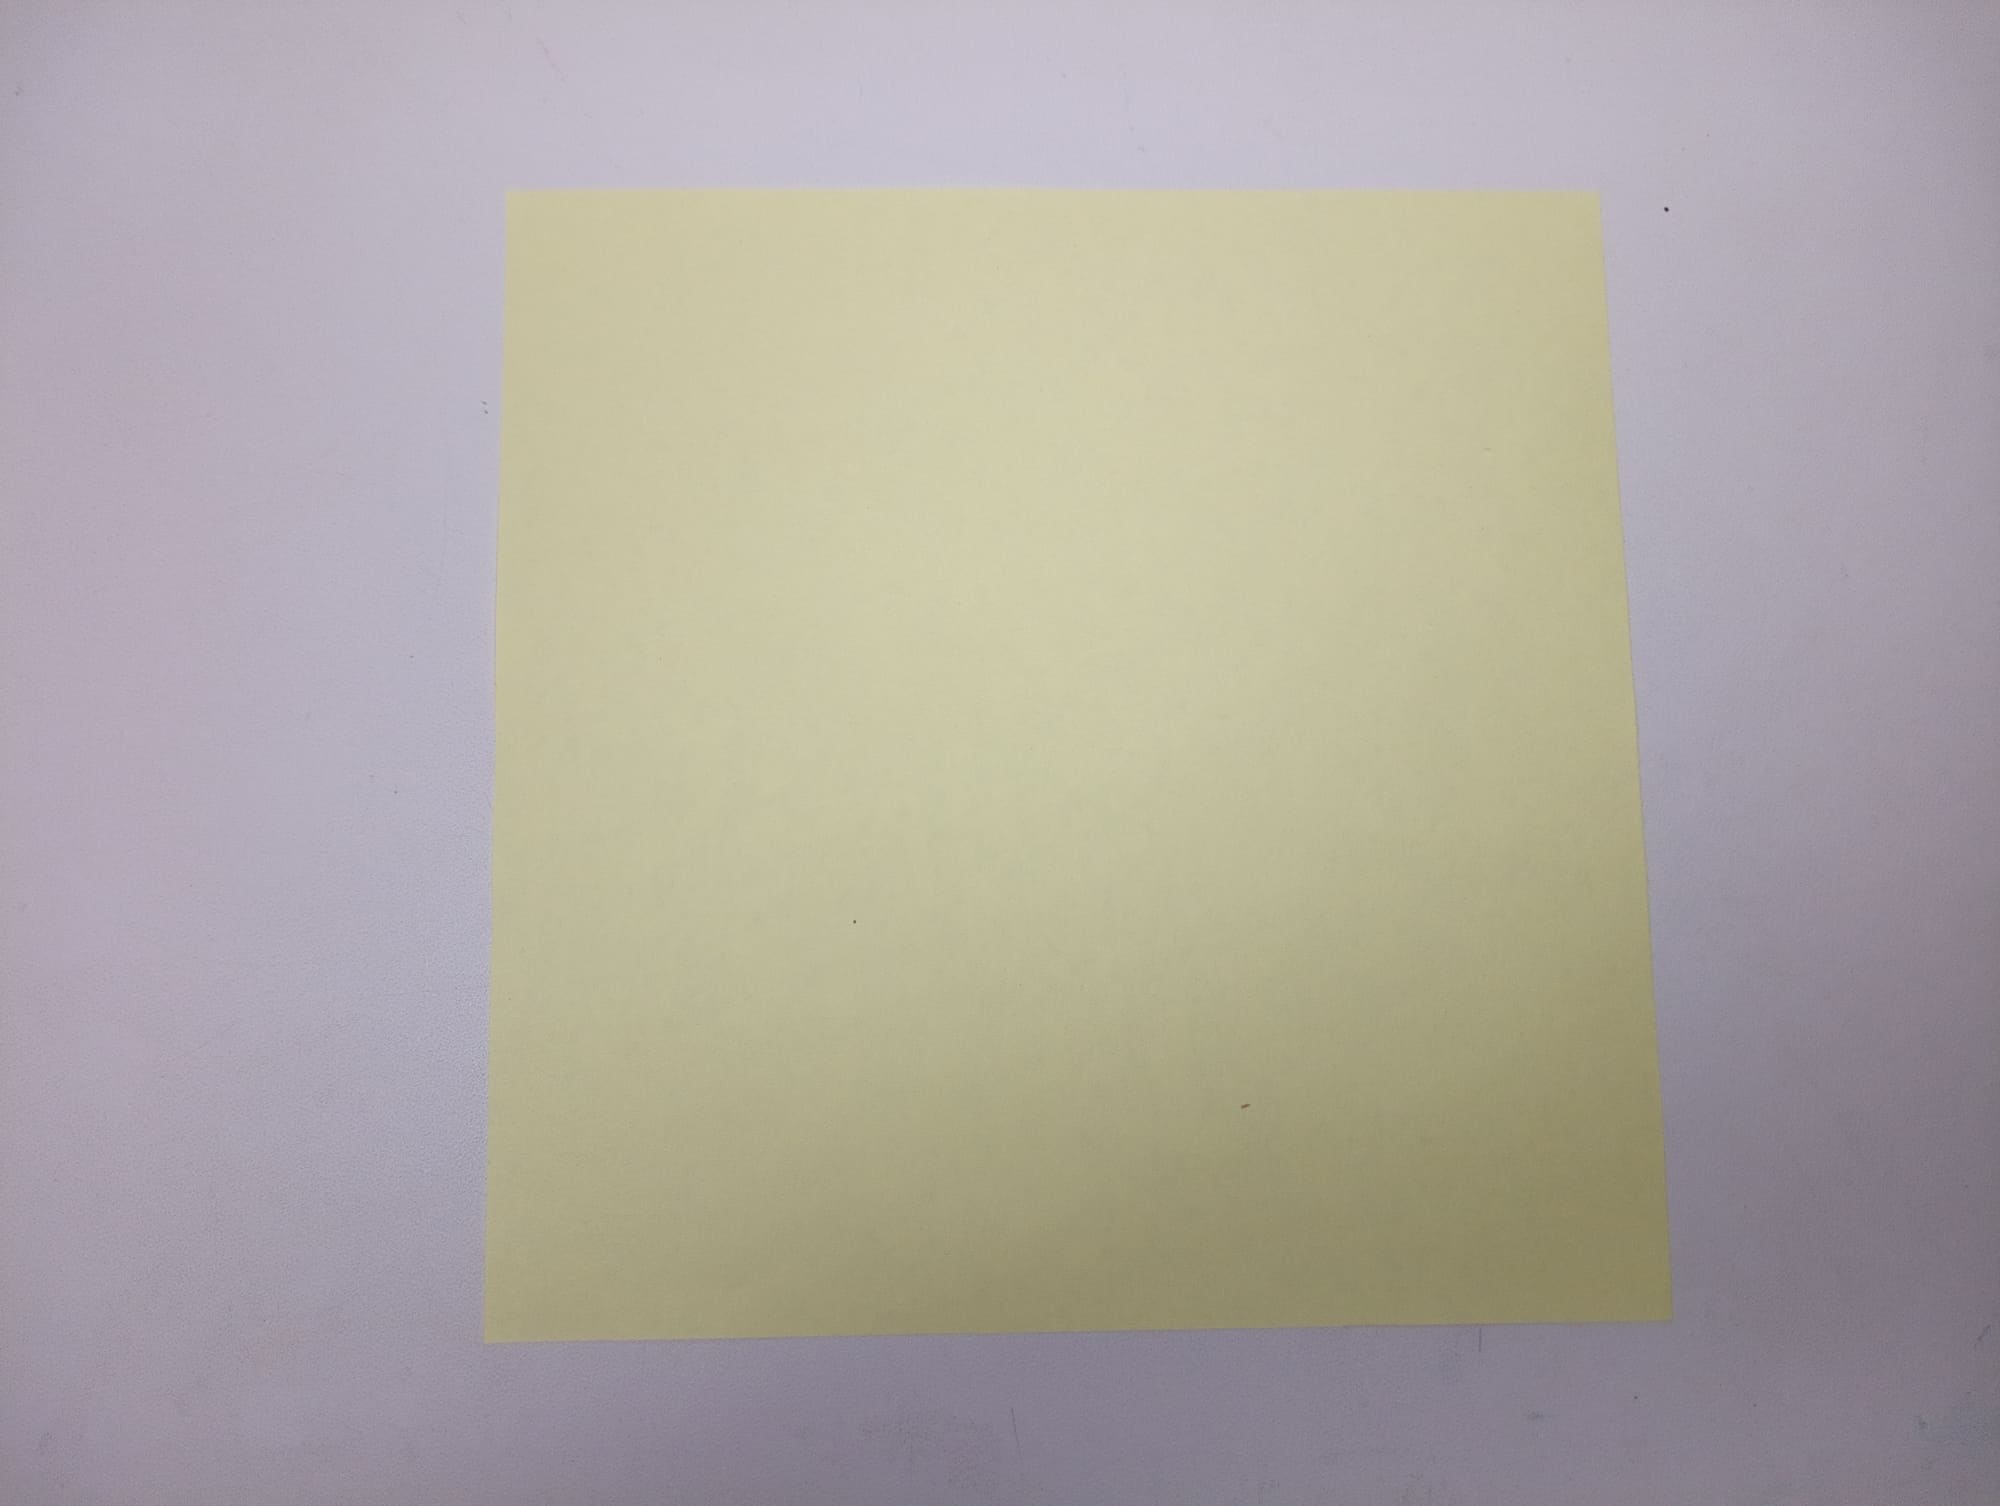
Take a sheet of square paper. A 15×15 cm size would be suitable.
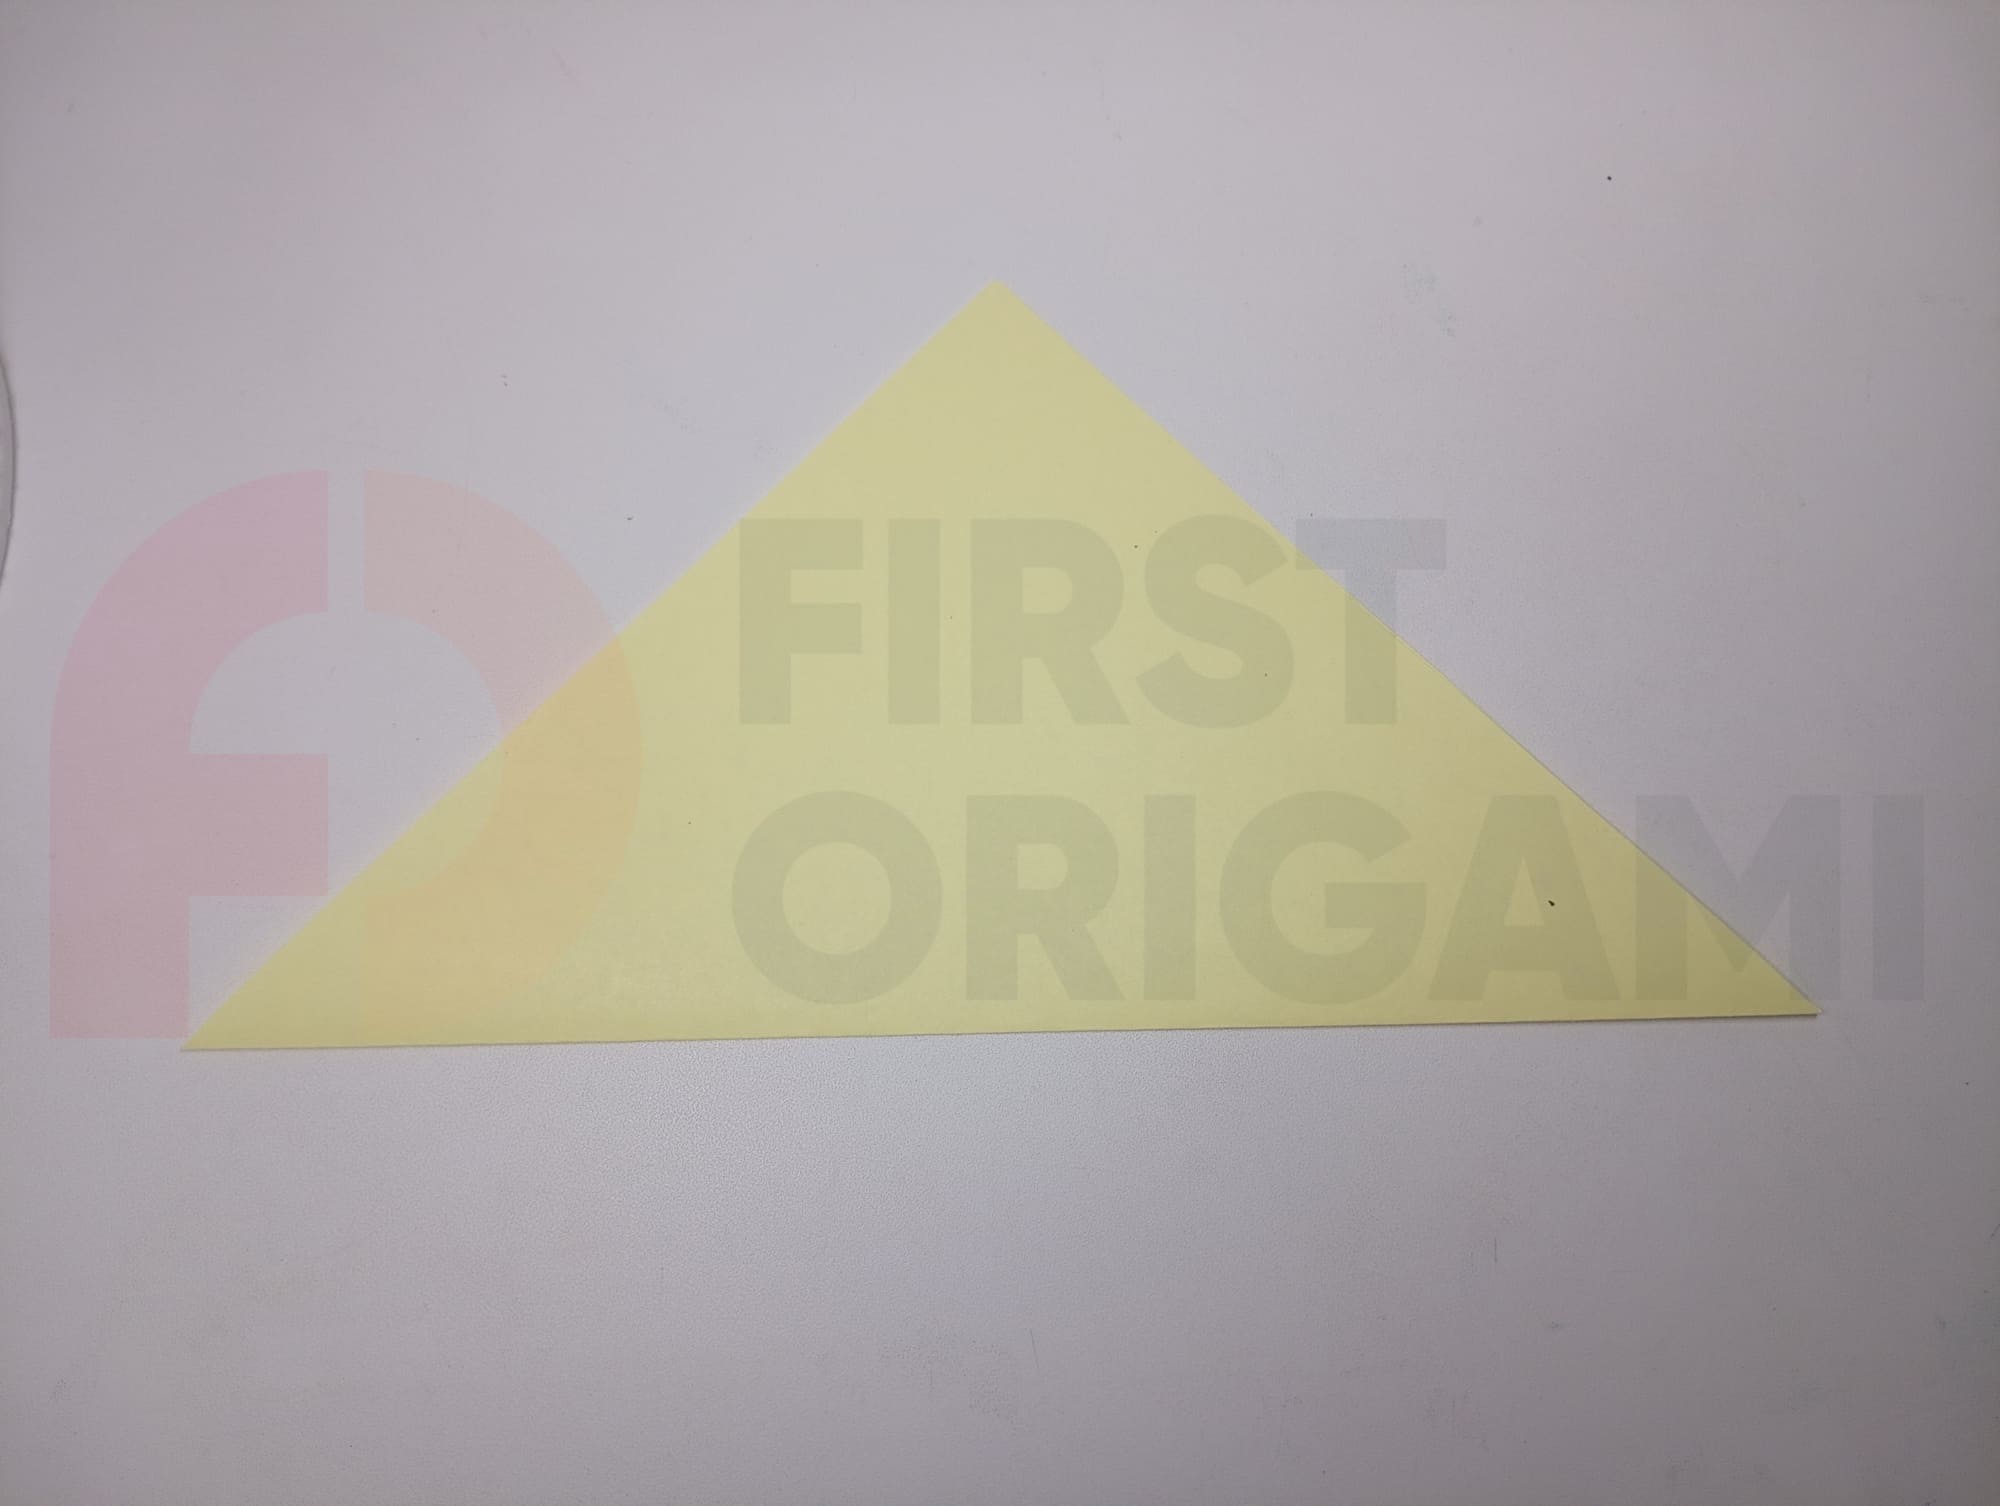
Fold the paper in half to make a triangle.
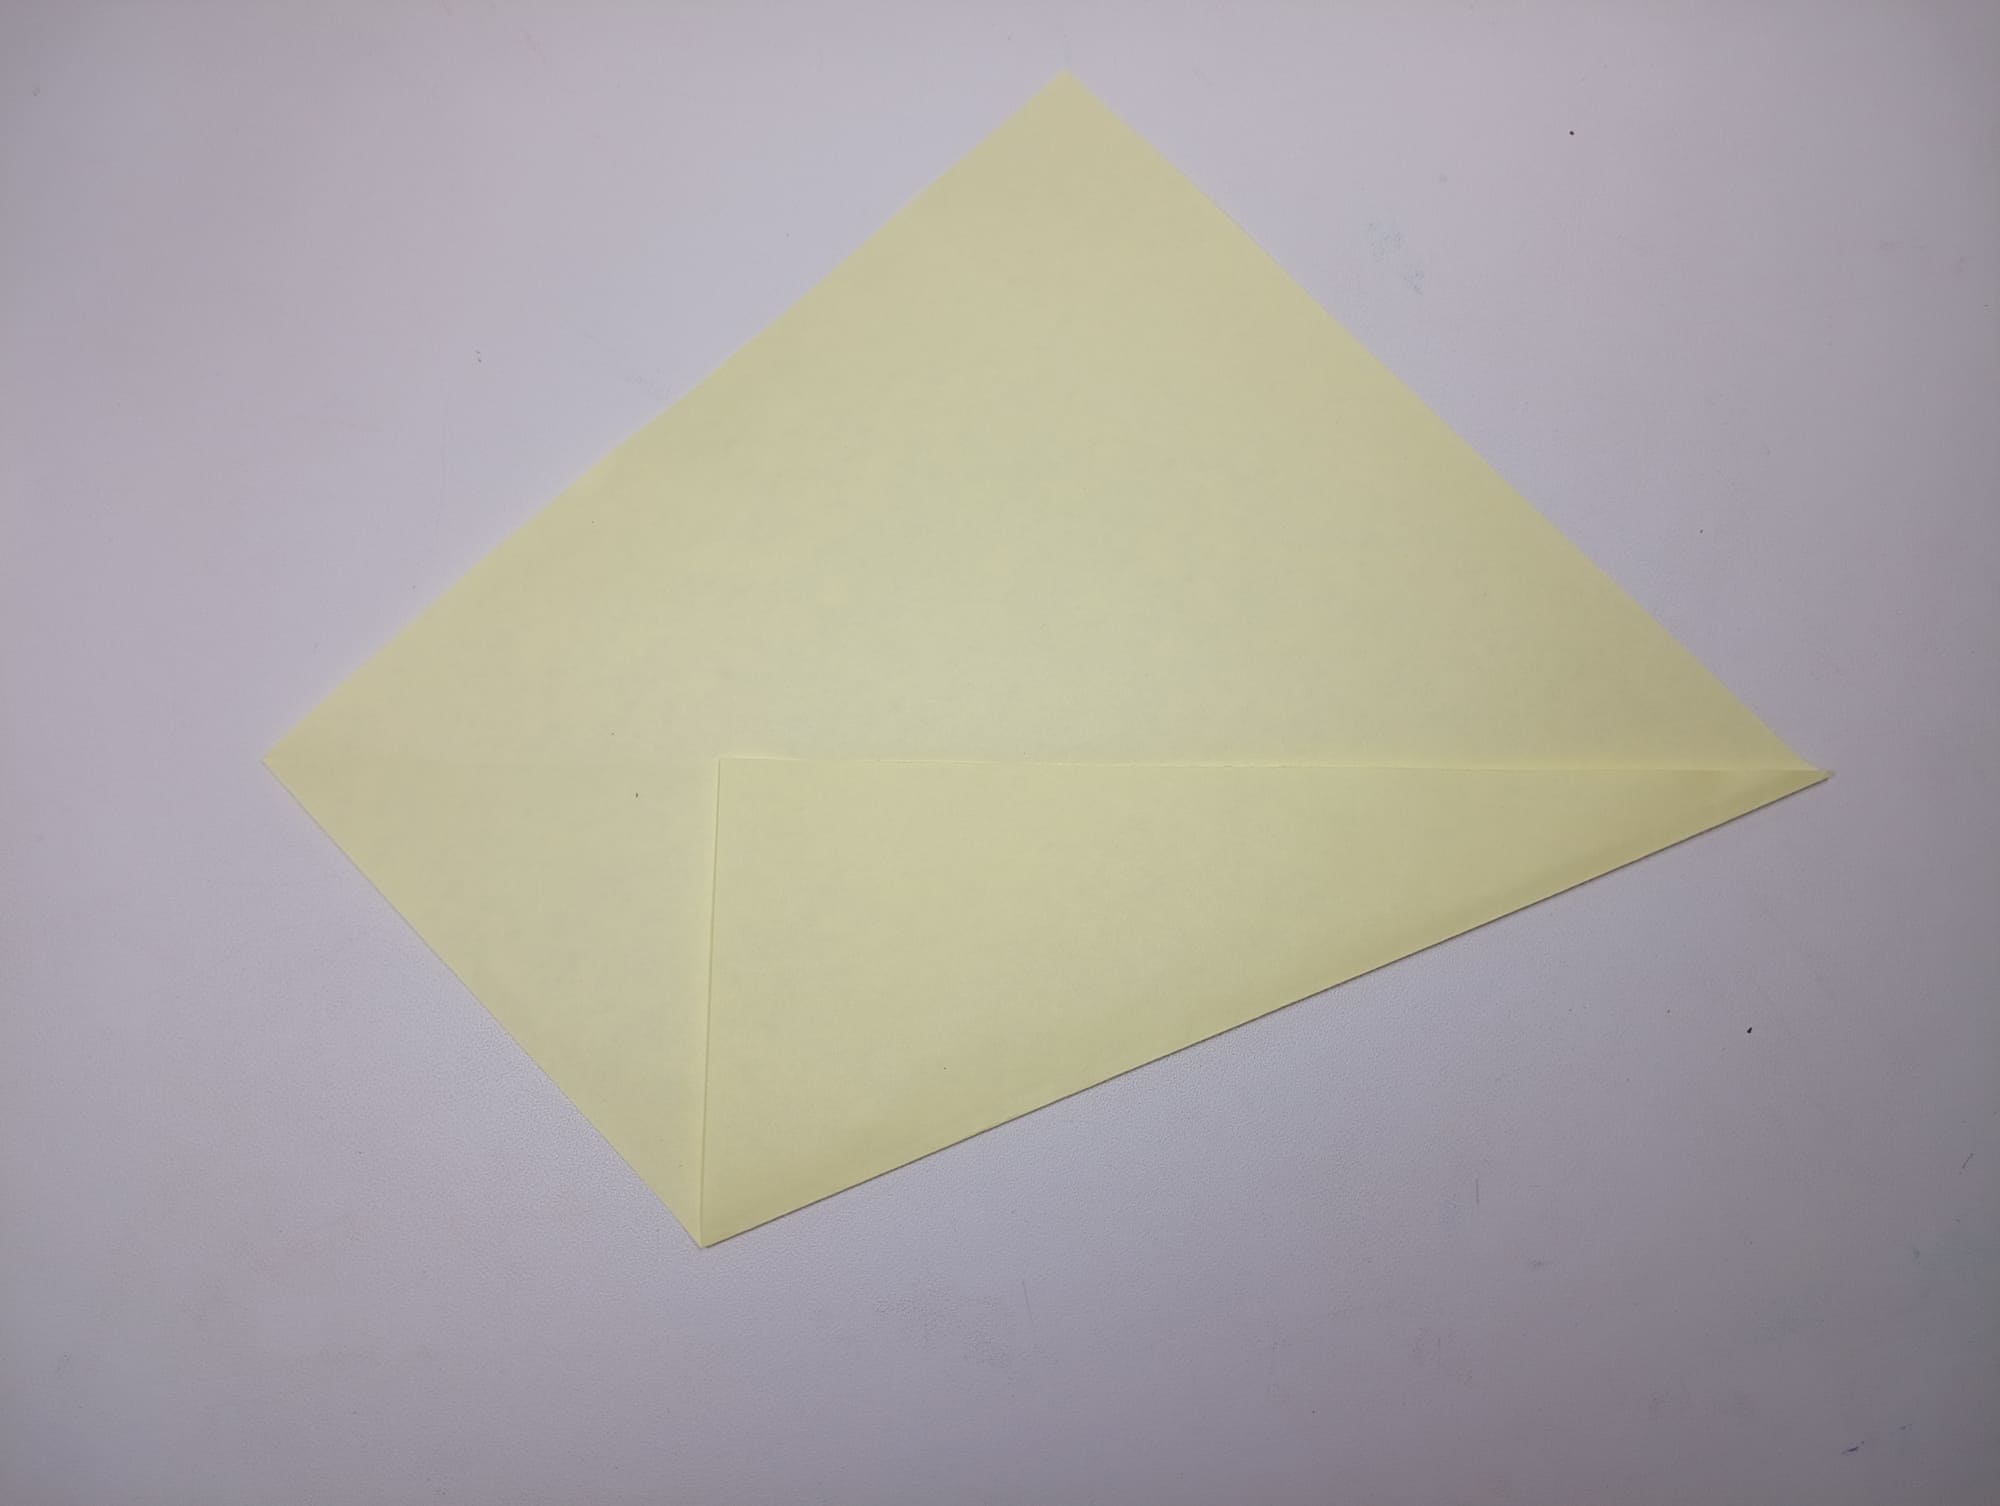
Open the sheet of paper and fold one of the ends towards the center fold line.
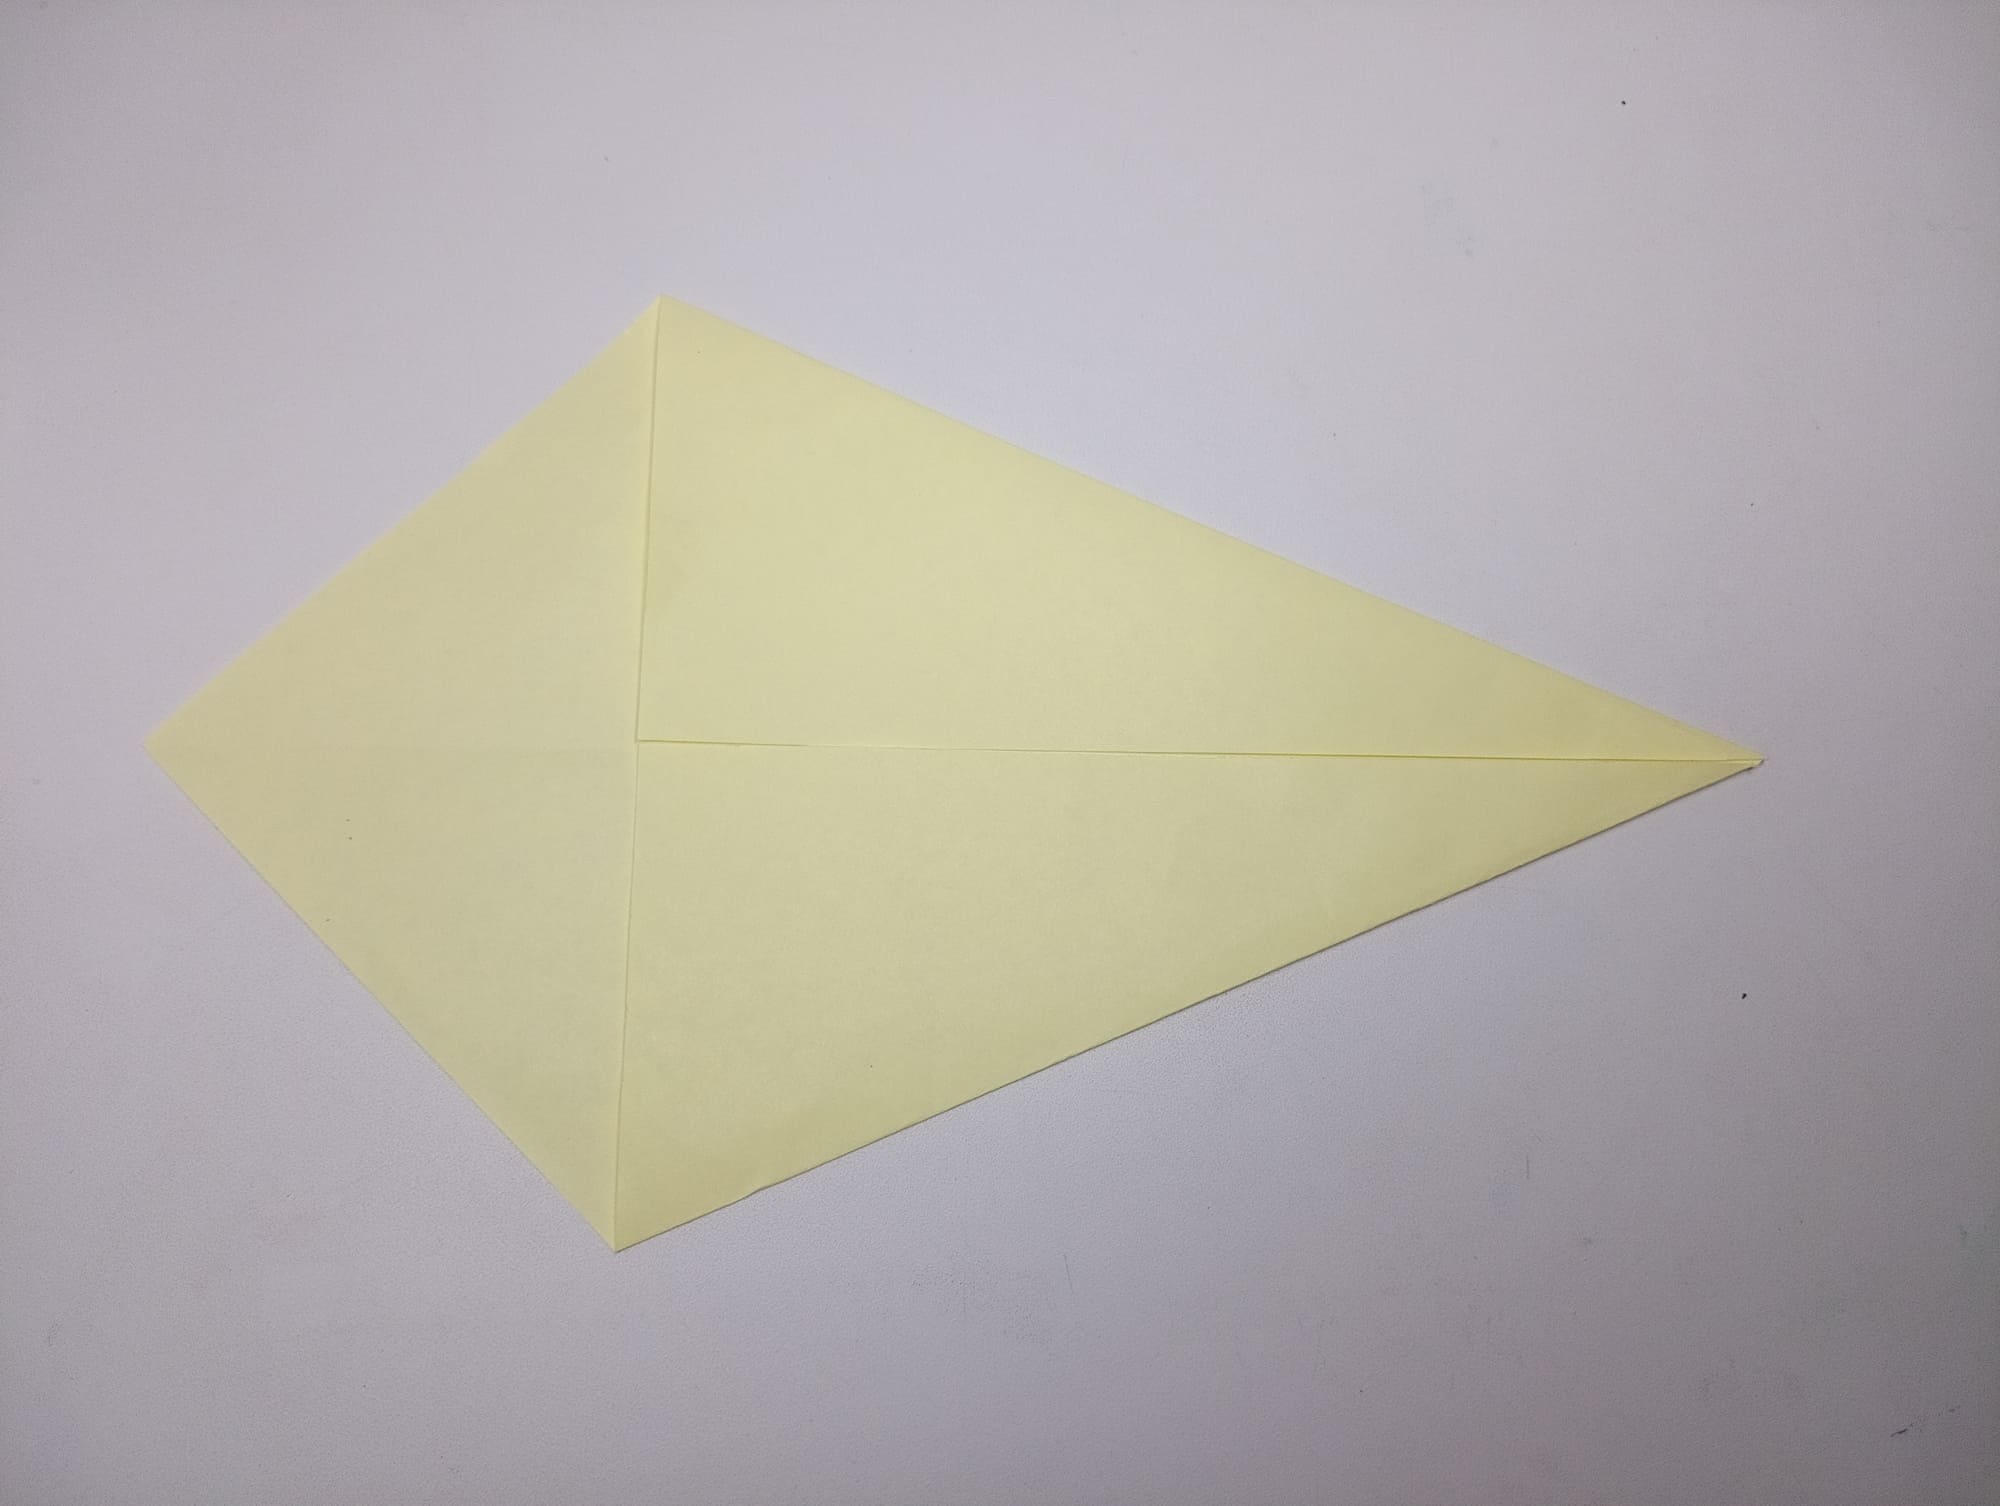
Fold the other end also to the center fold line to get the result, as in the photo.
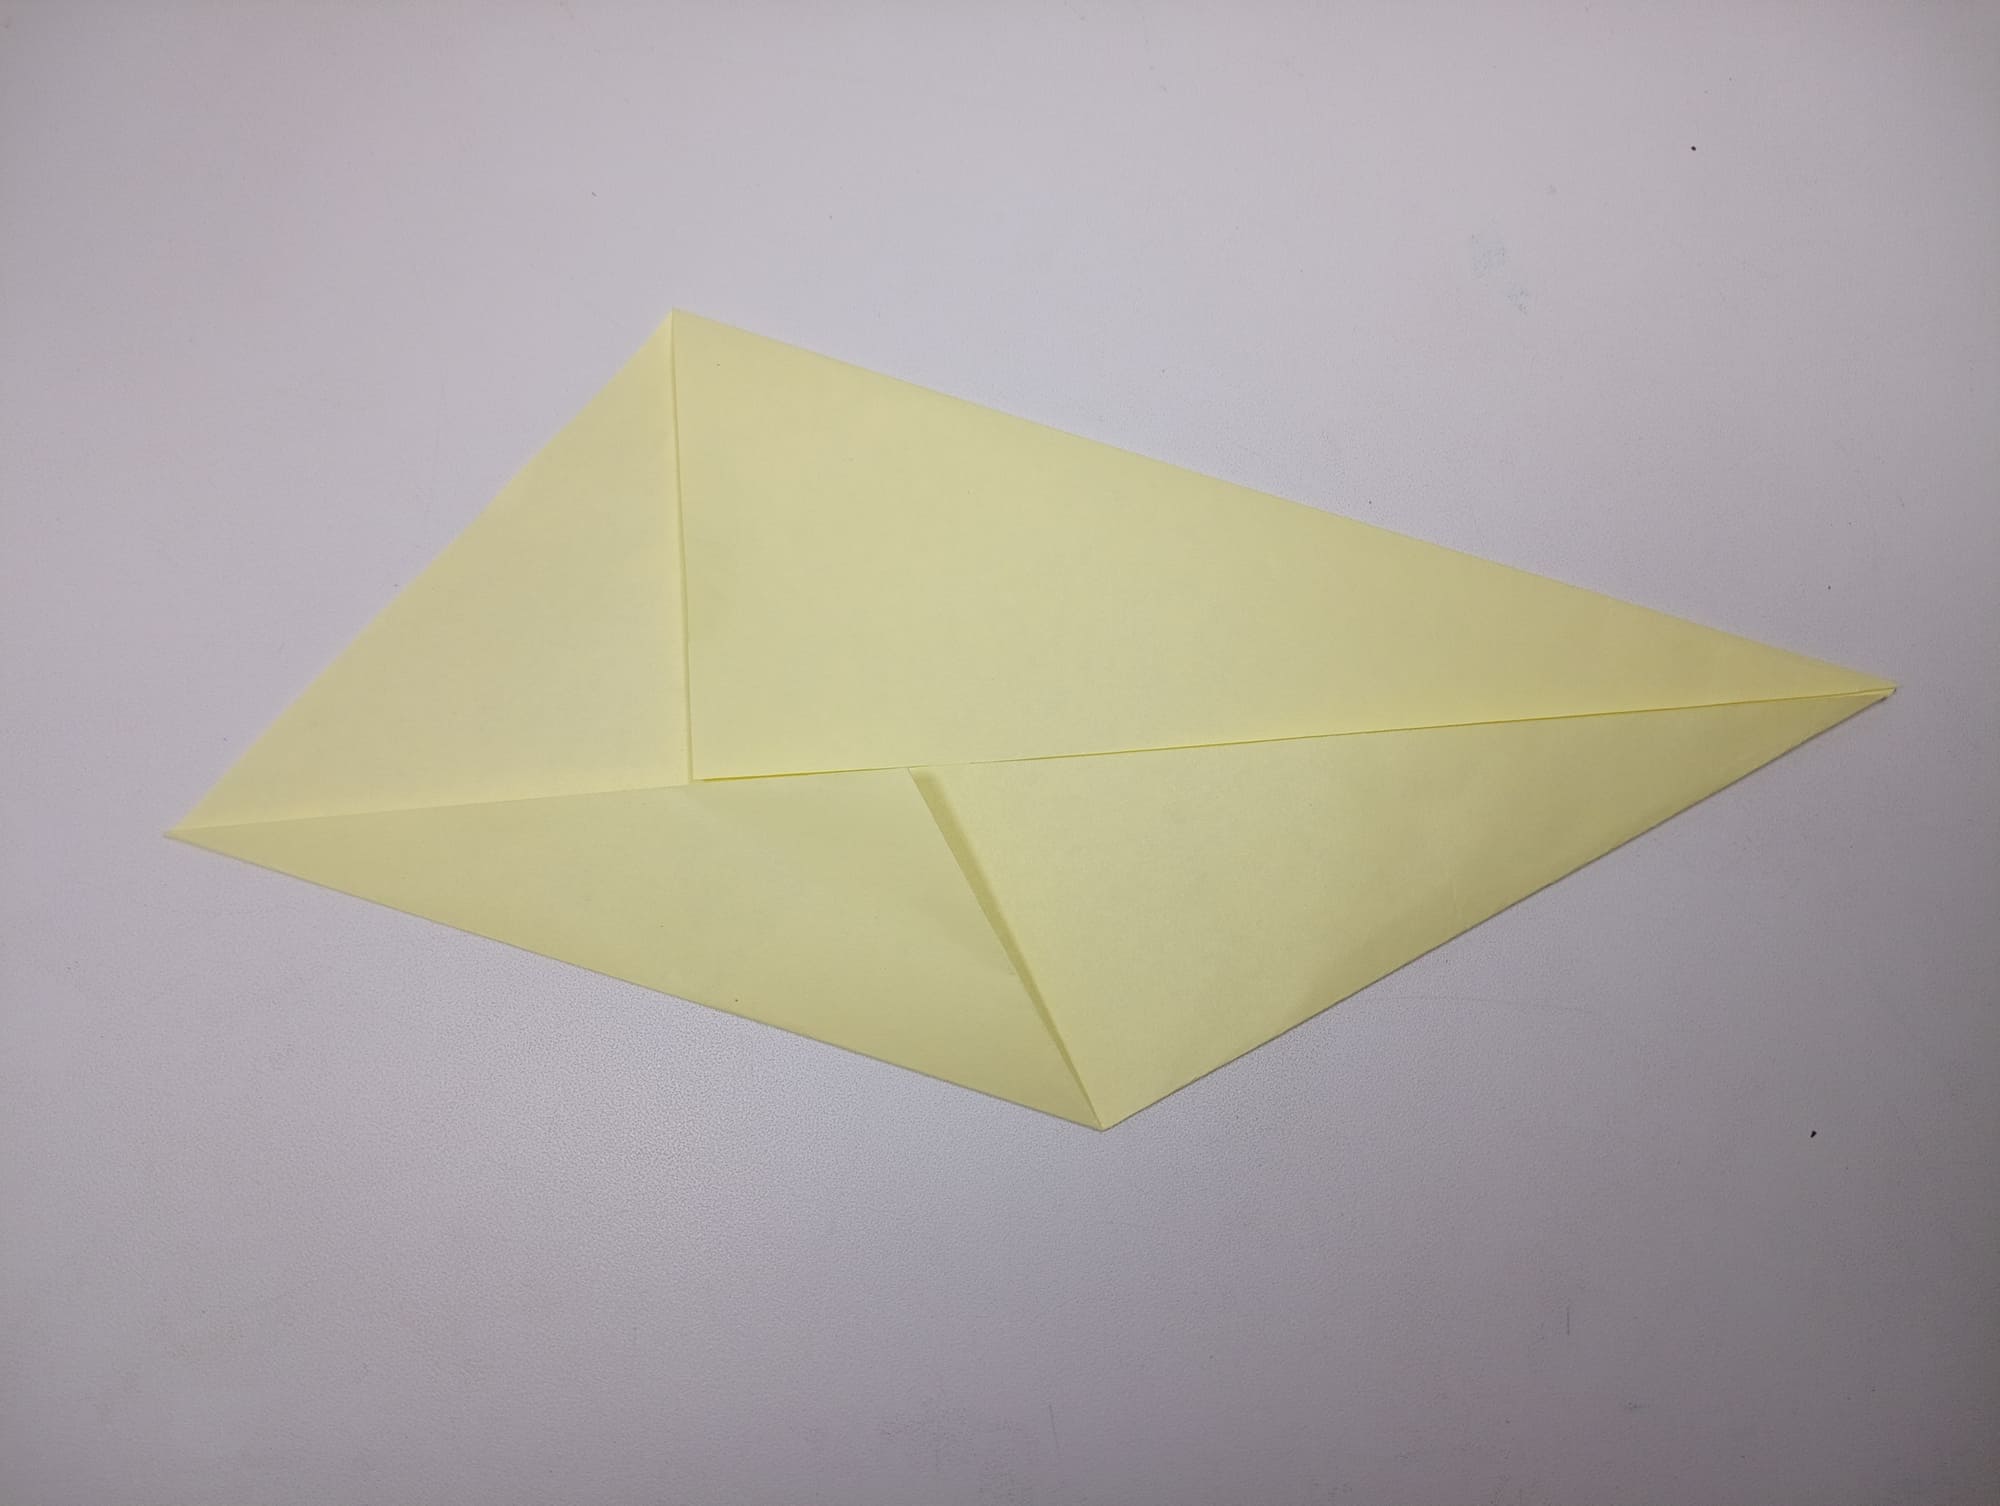
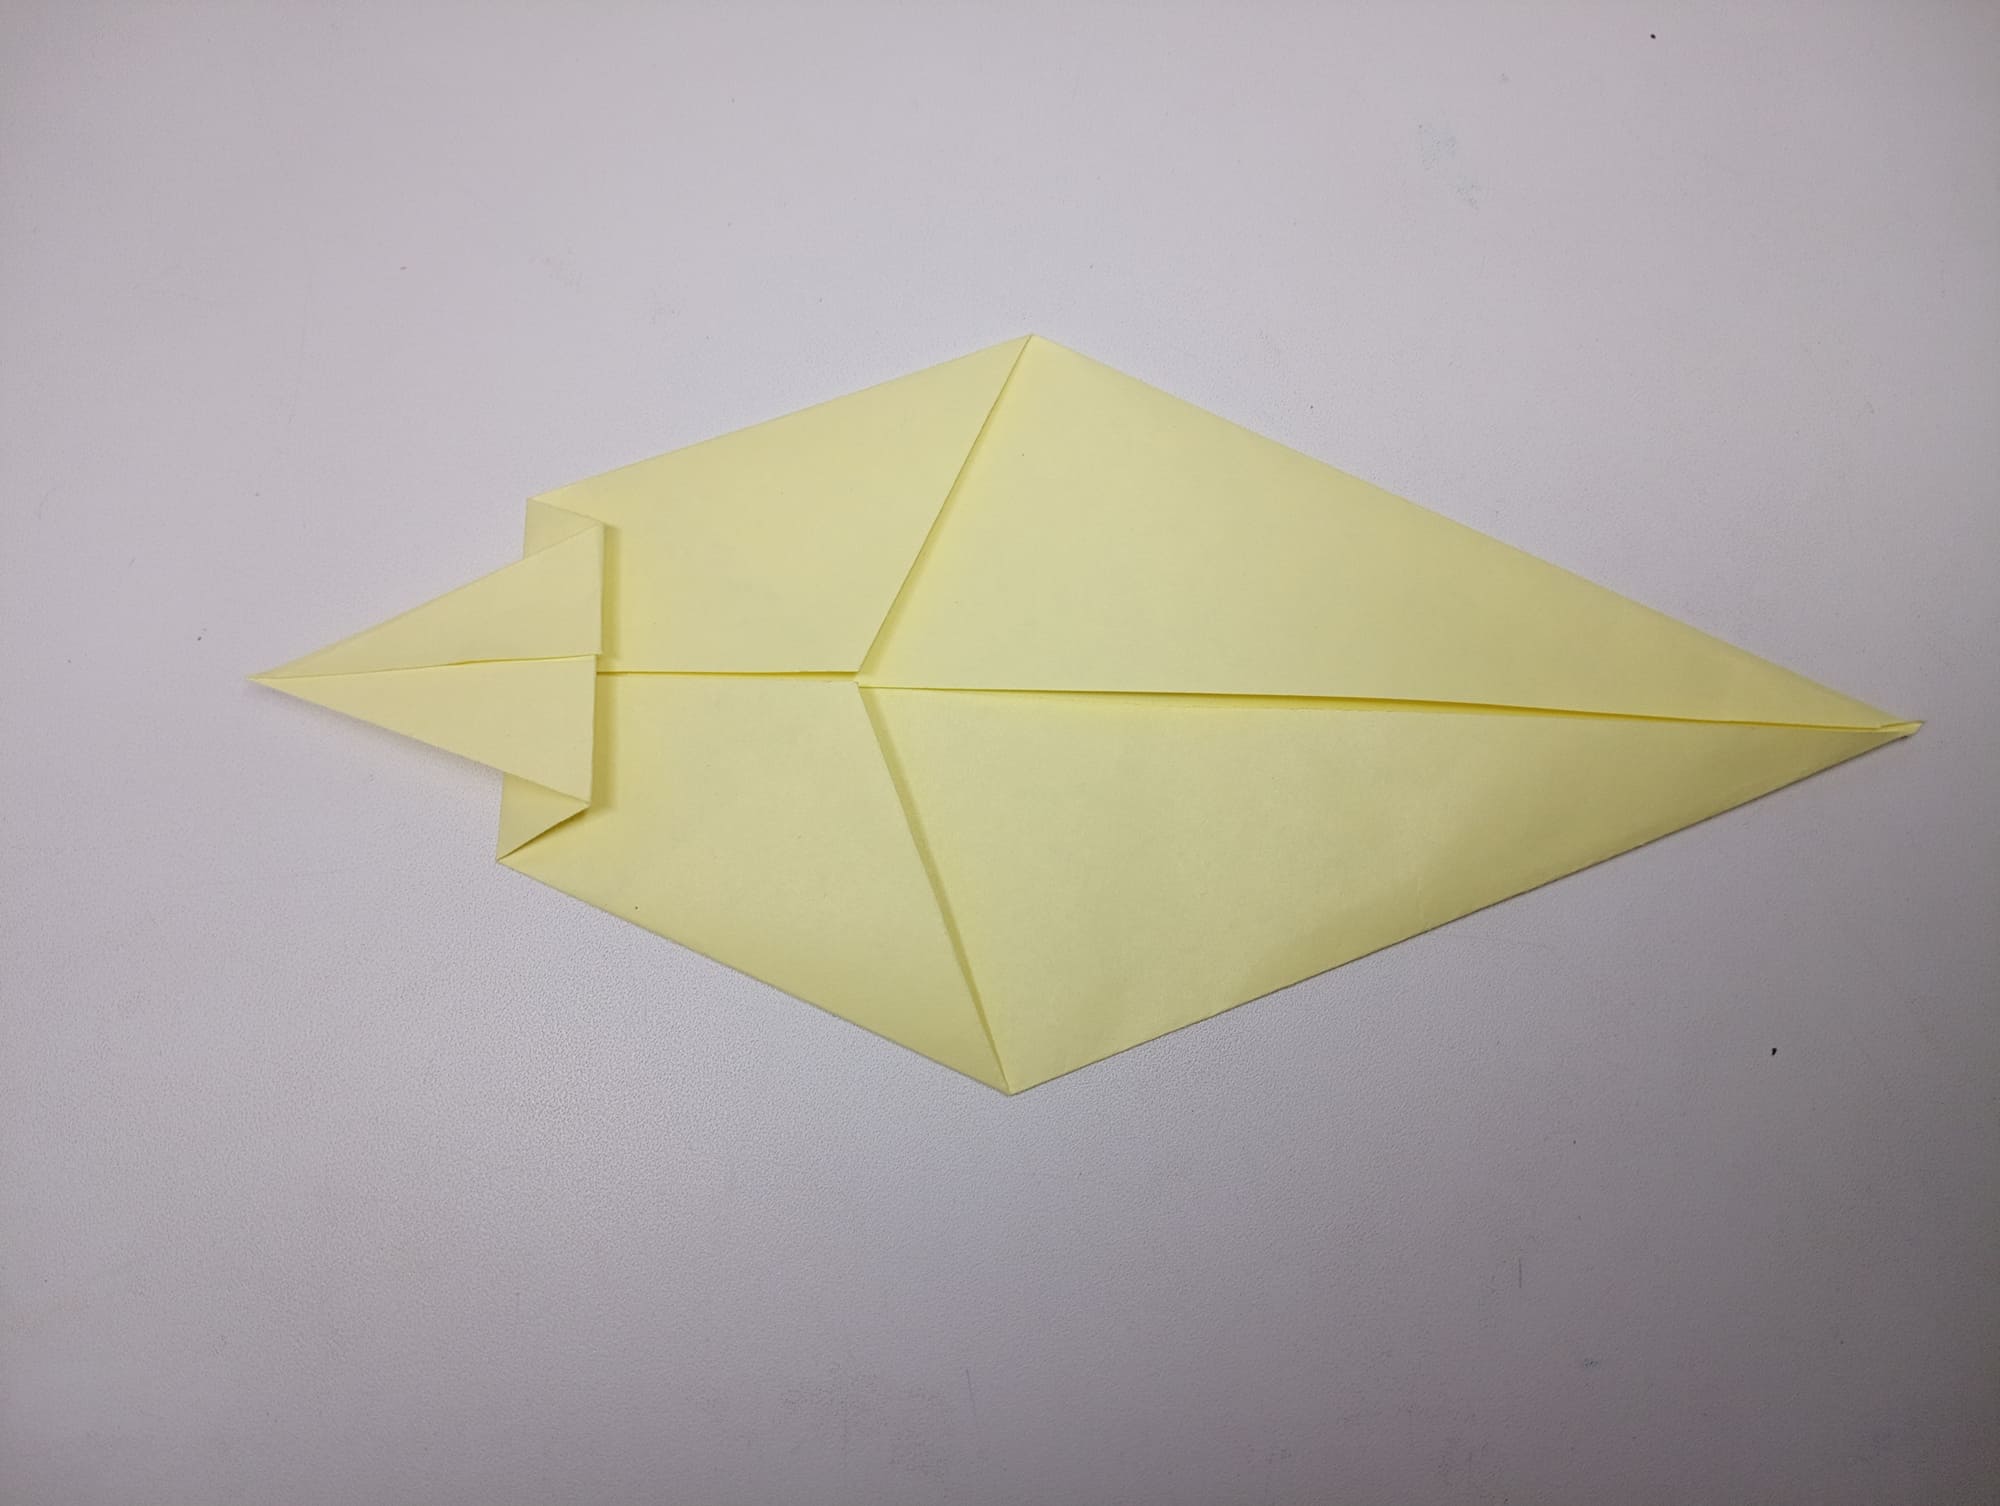
Now, you need to fold the other side also to the central part, so that the different ends intersect (see photo).
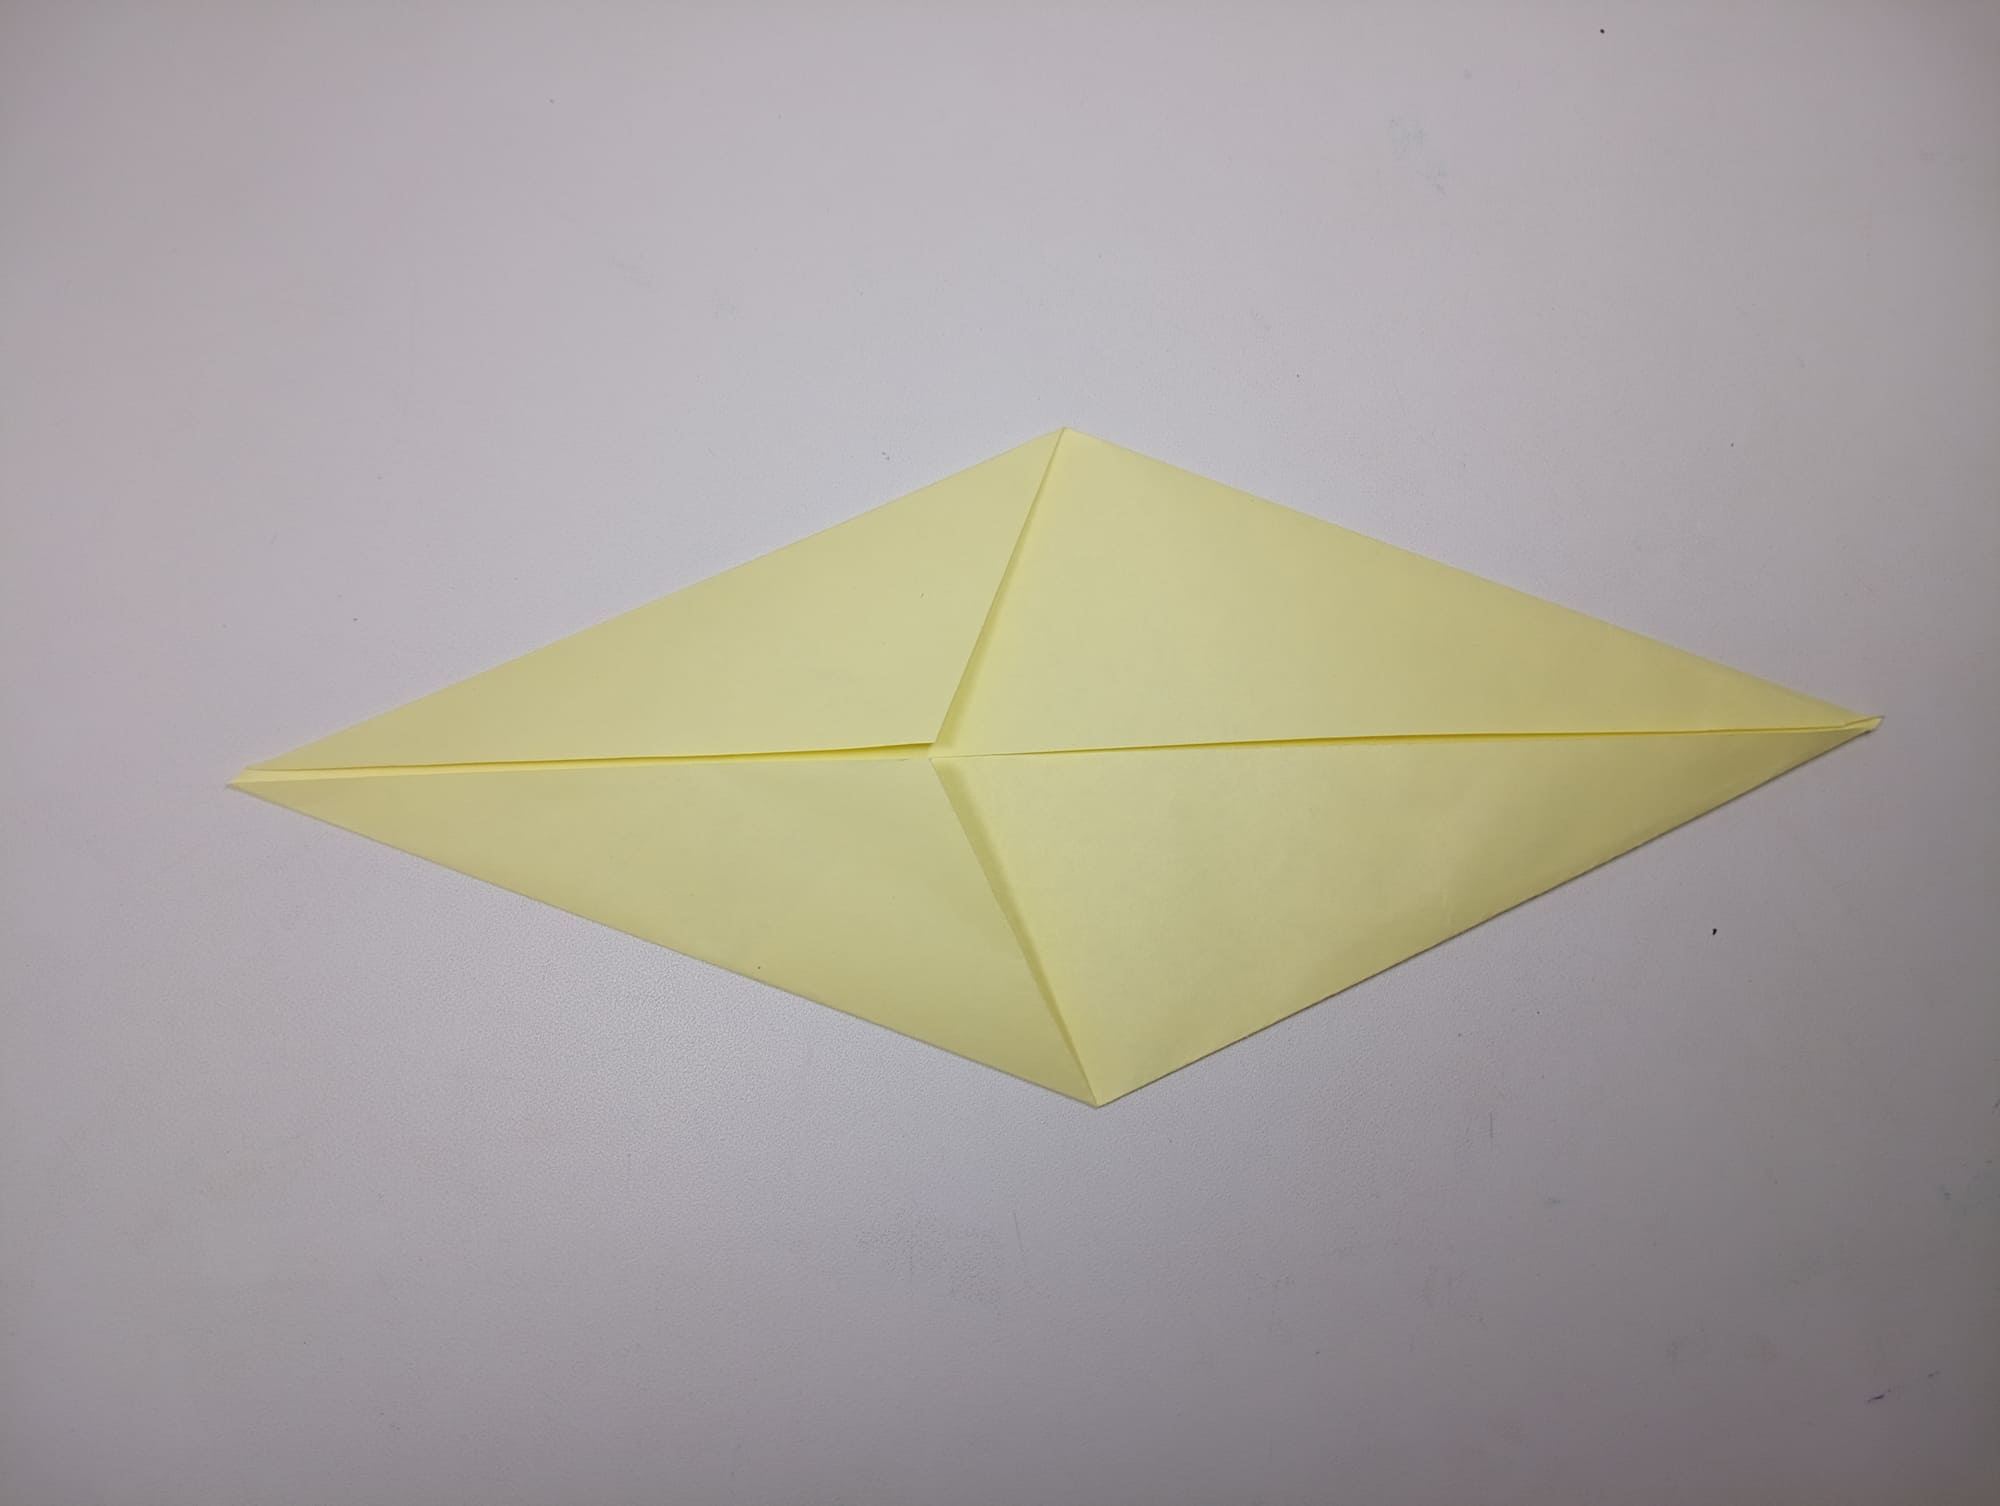
Repeat the previous fold for another end. You should get a shape like this.
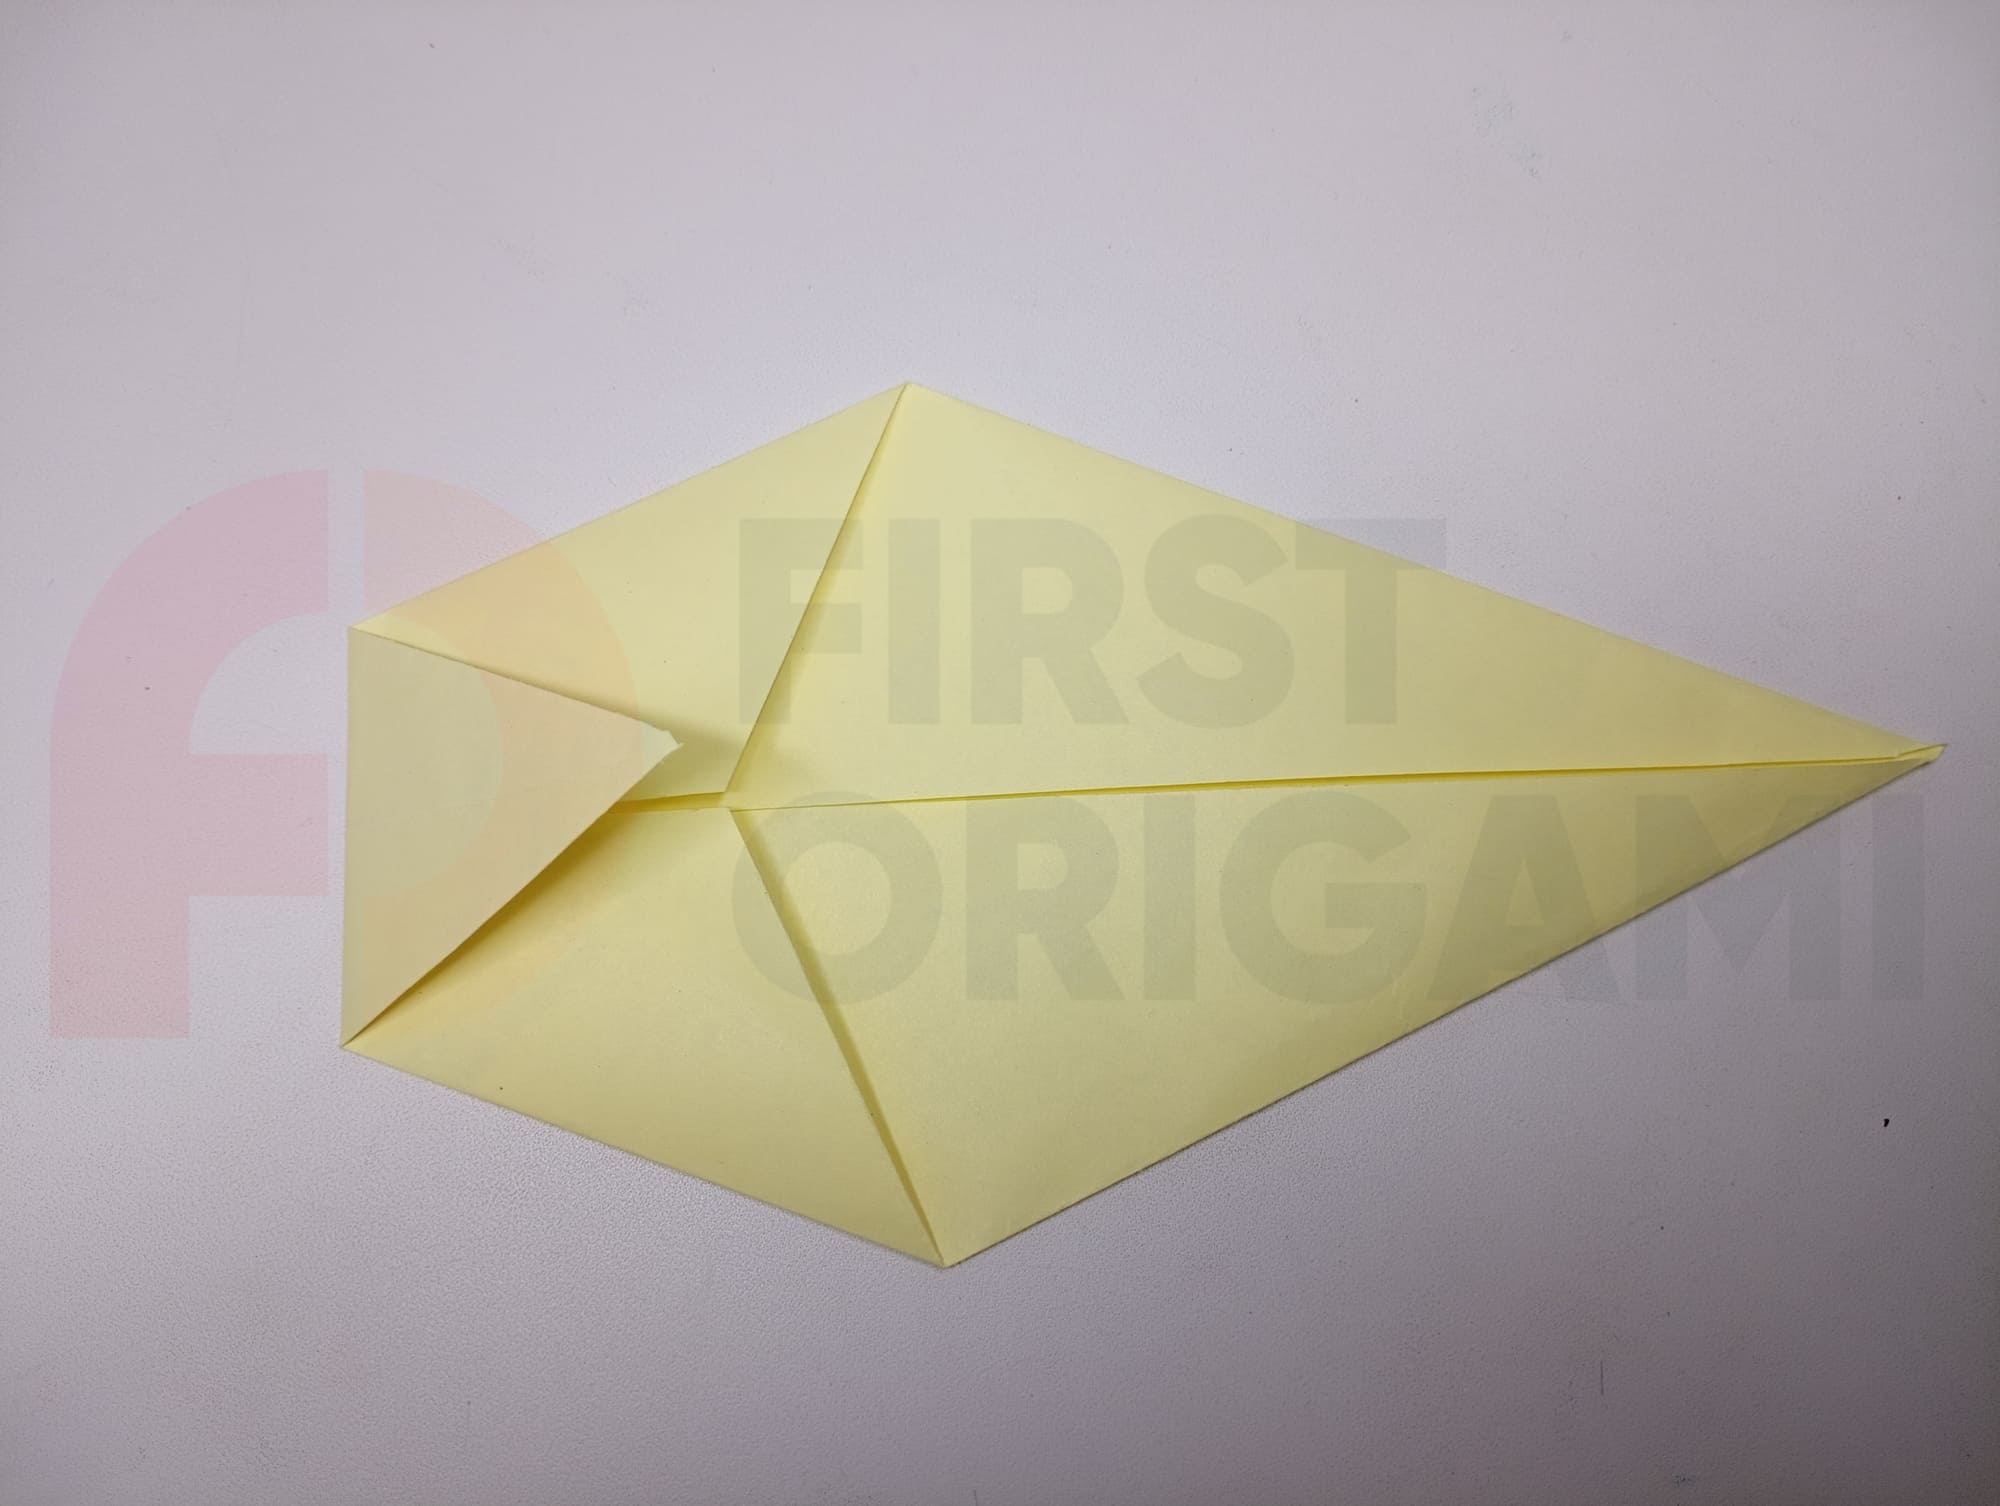
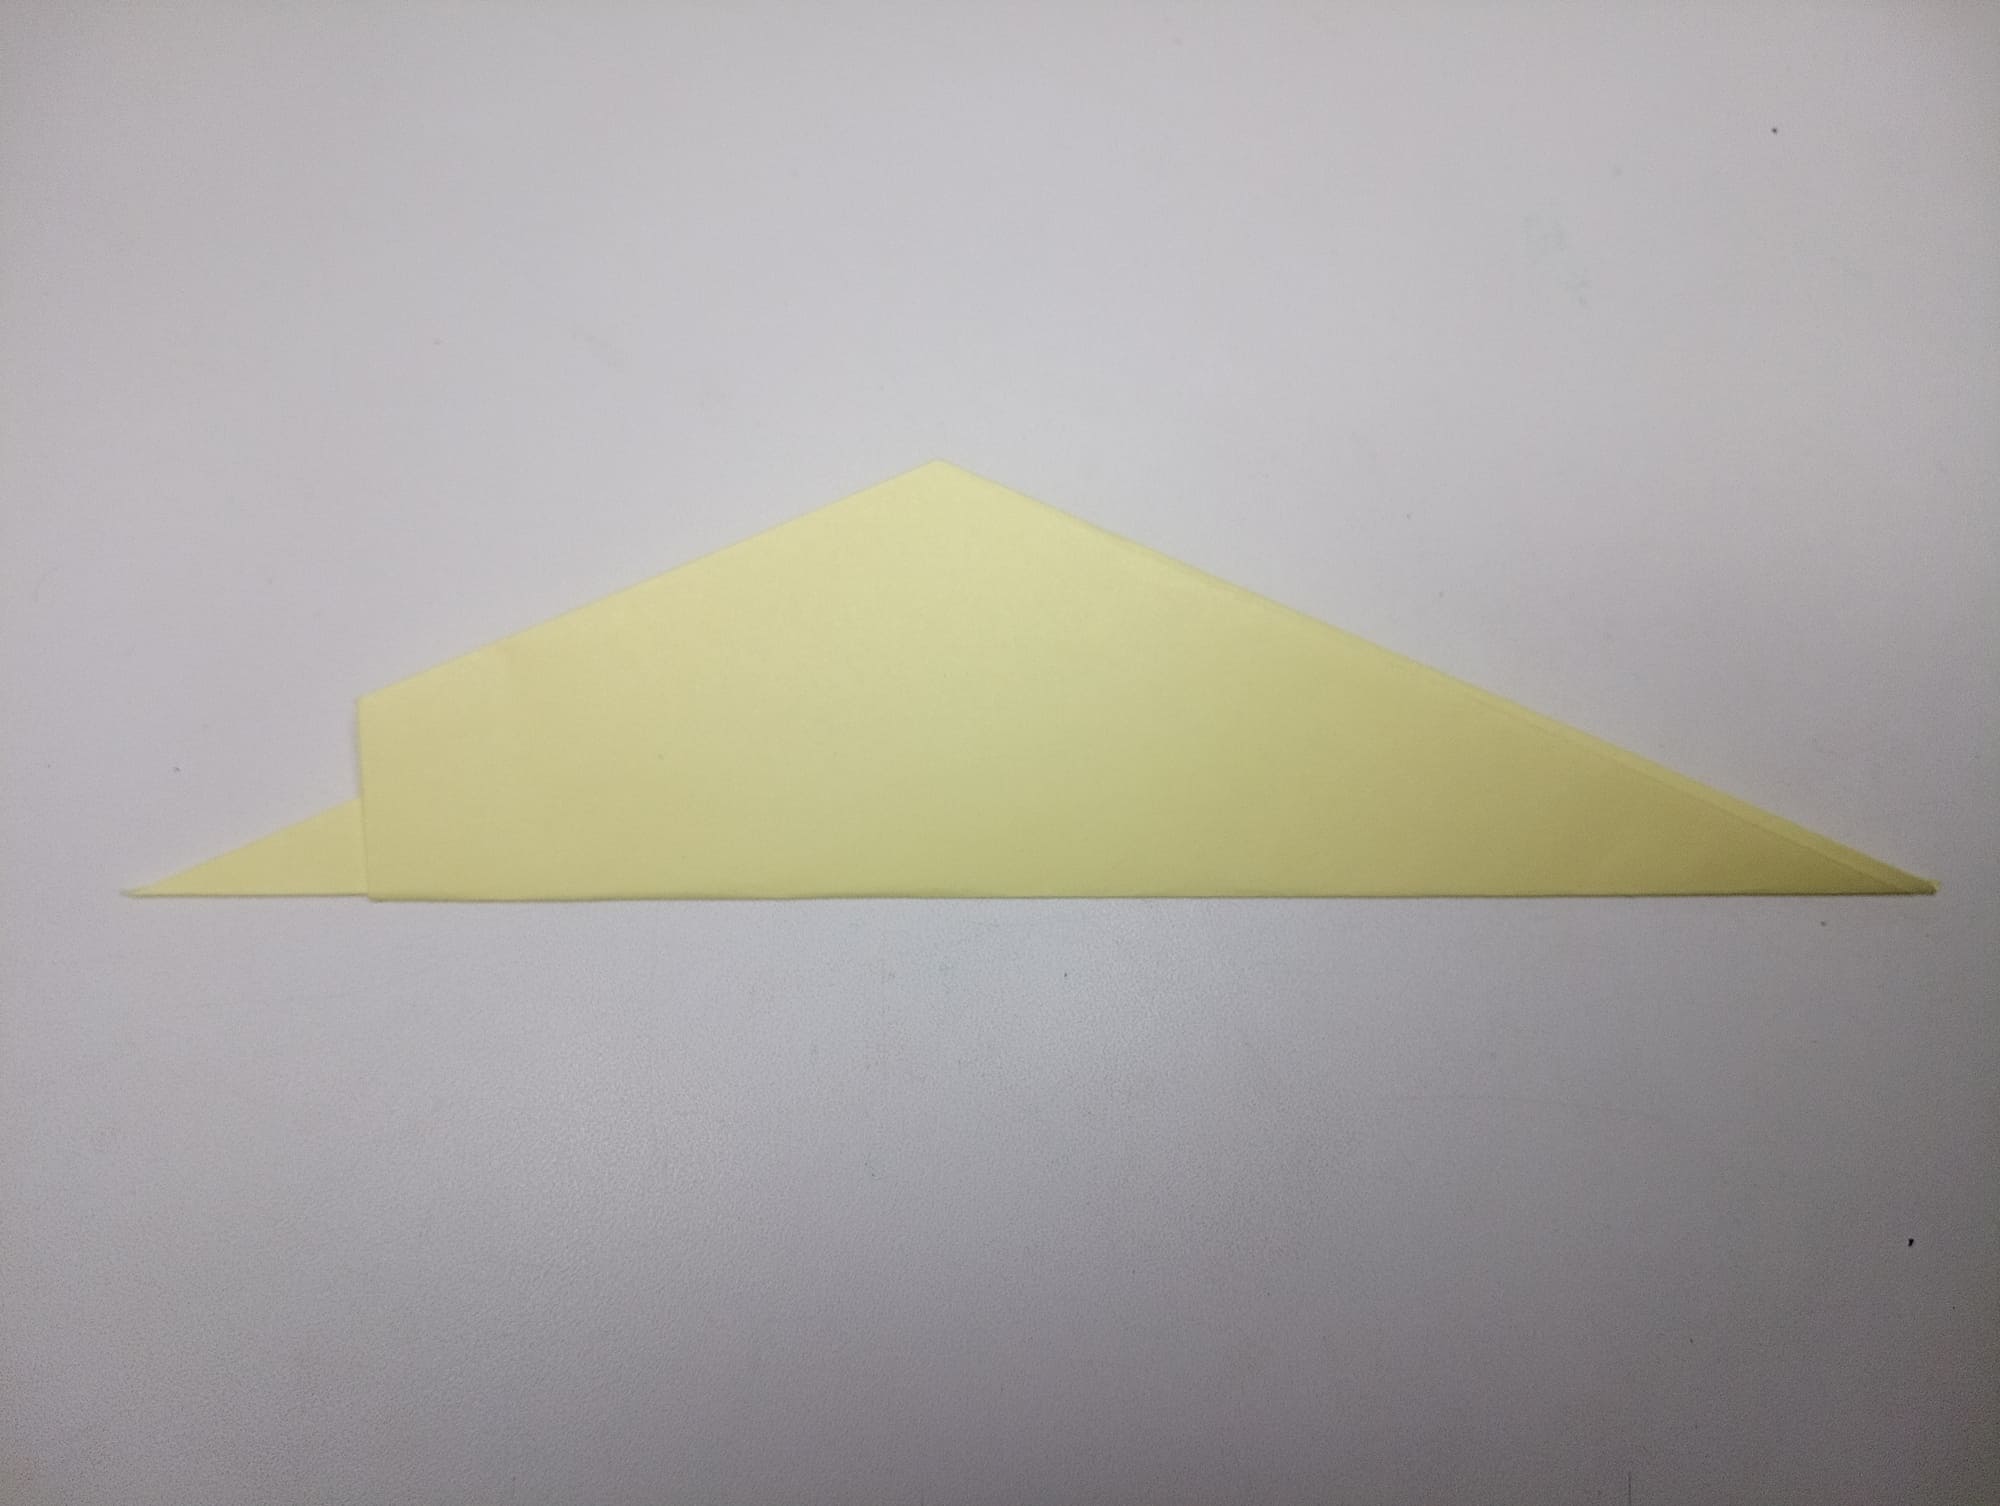
Fold the right side to the point of intersection of the sides.
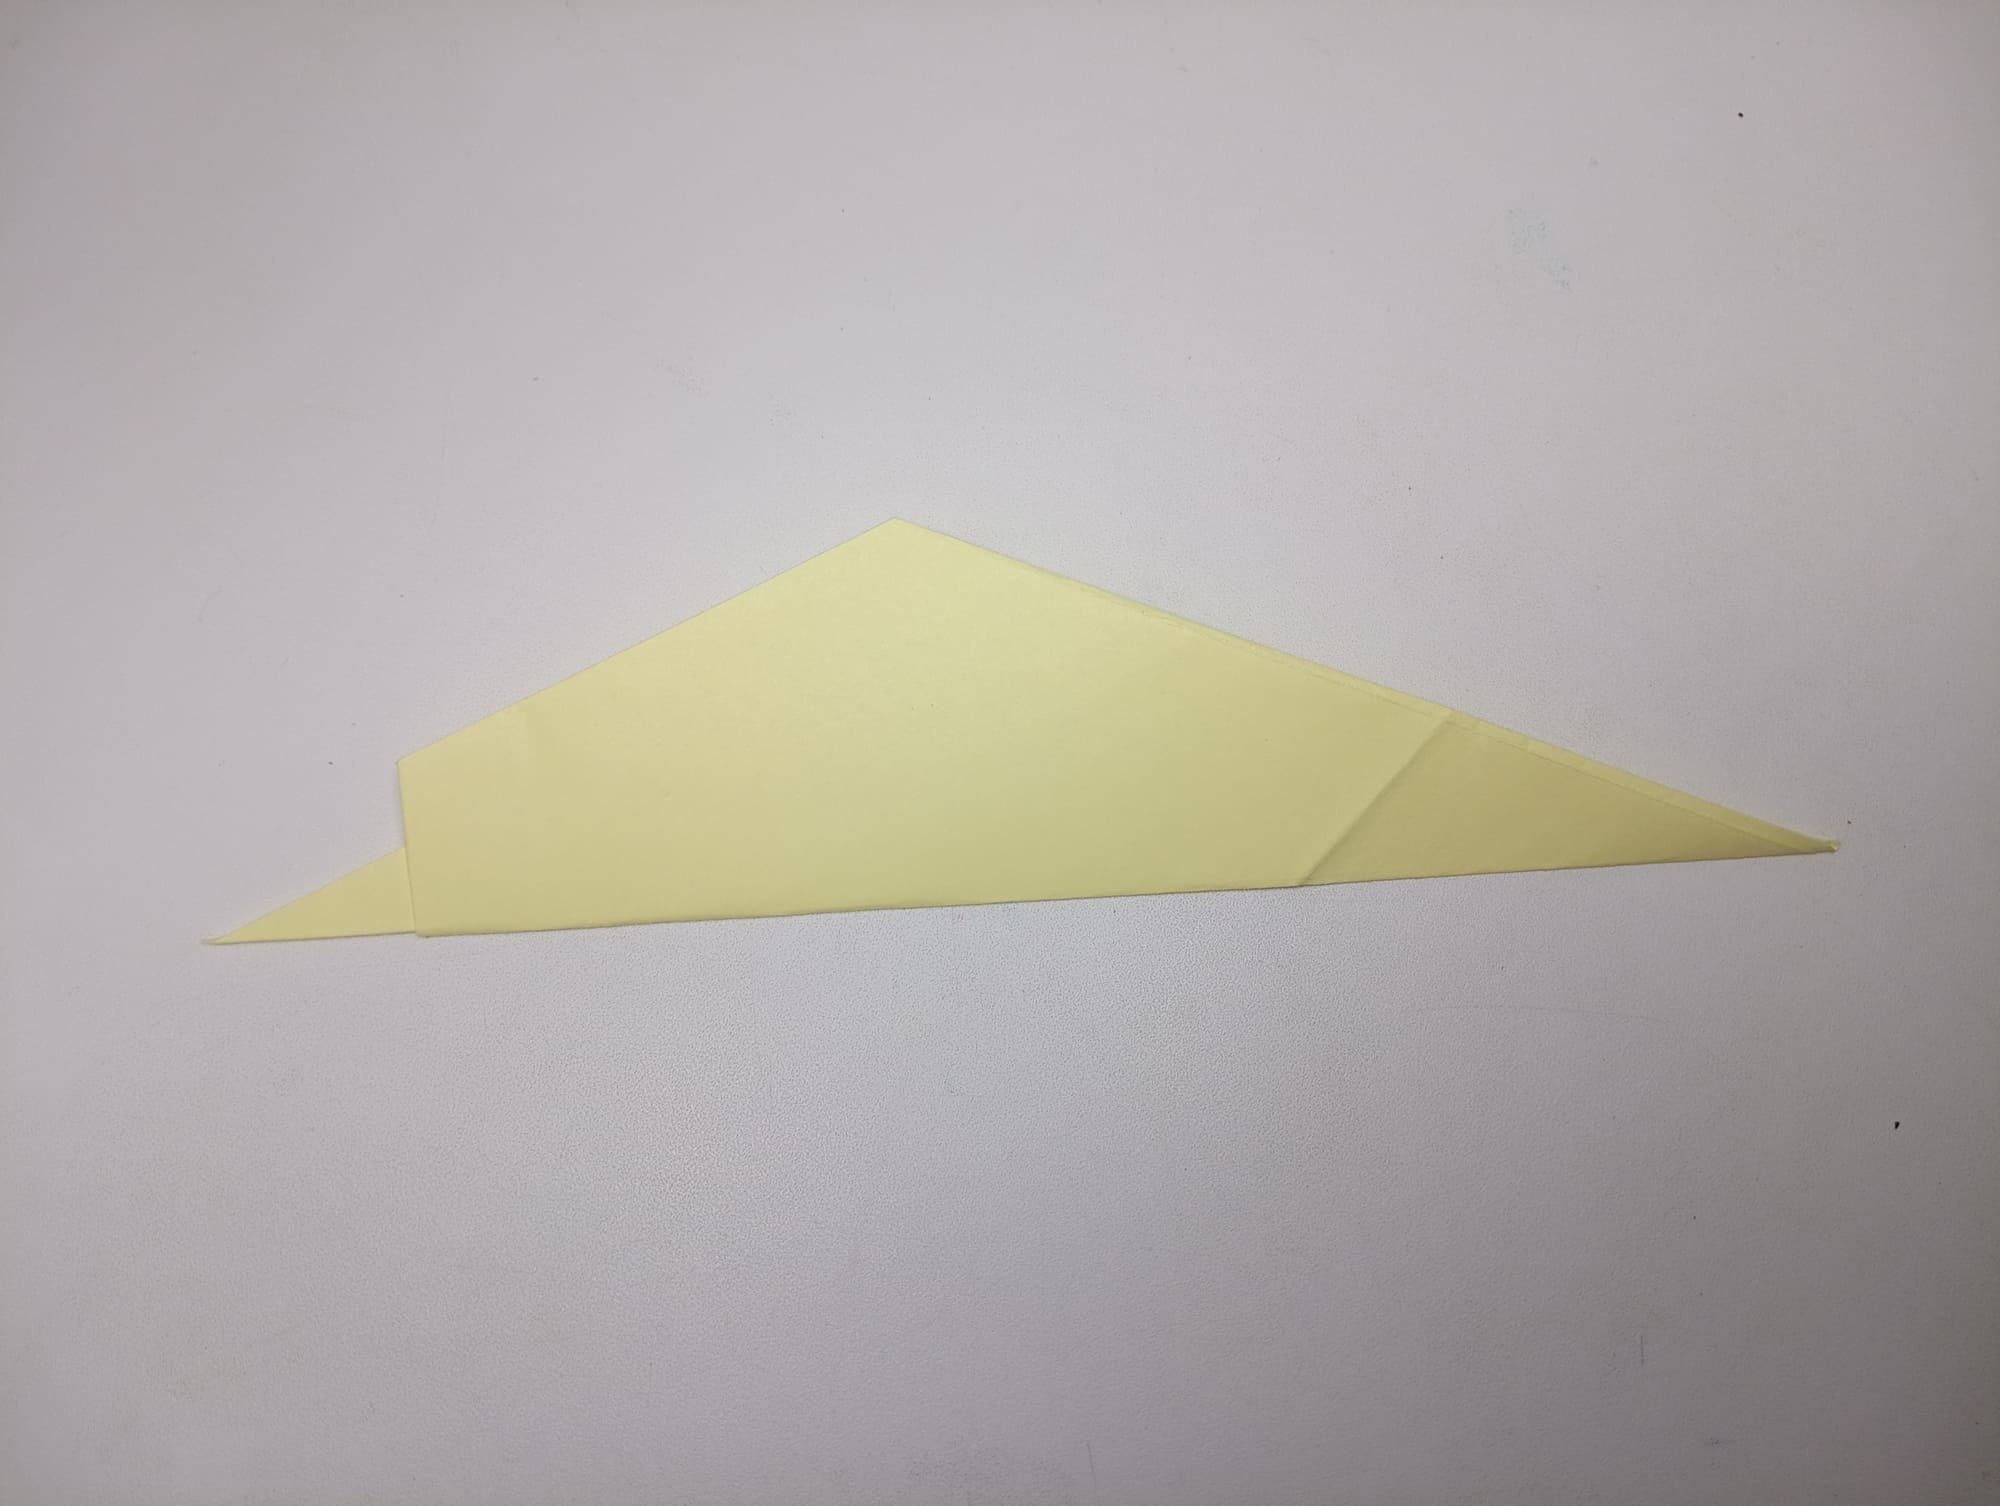
You should carry out the reverse fold of the same part to get the following figure.
The result is folded in half lengthwise.
Make a fold on the right, as in the photo, keeping the fold visible.
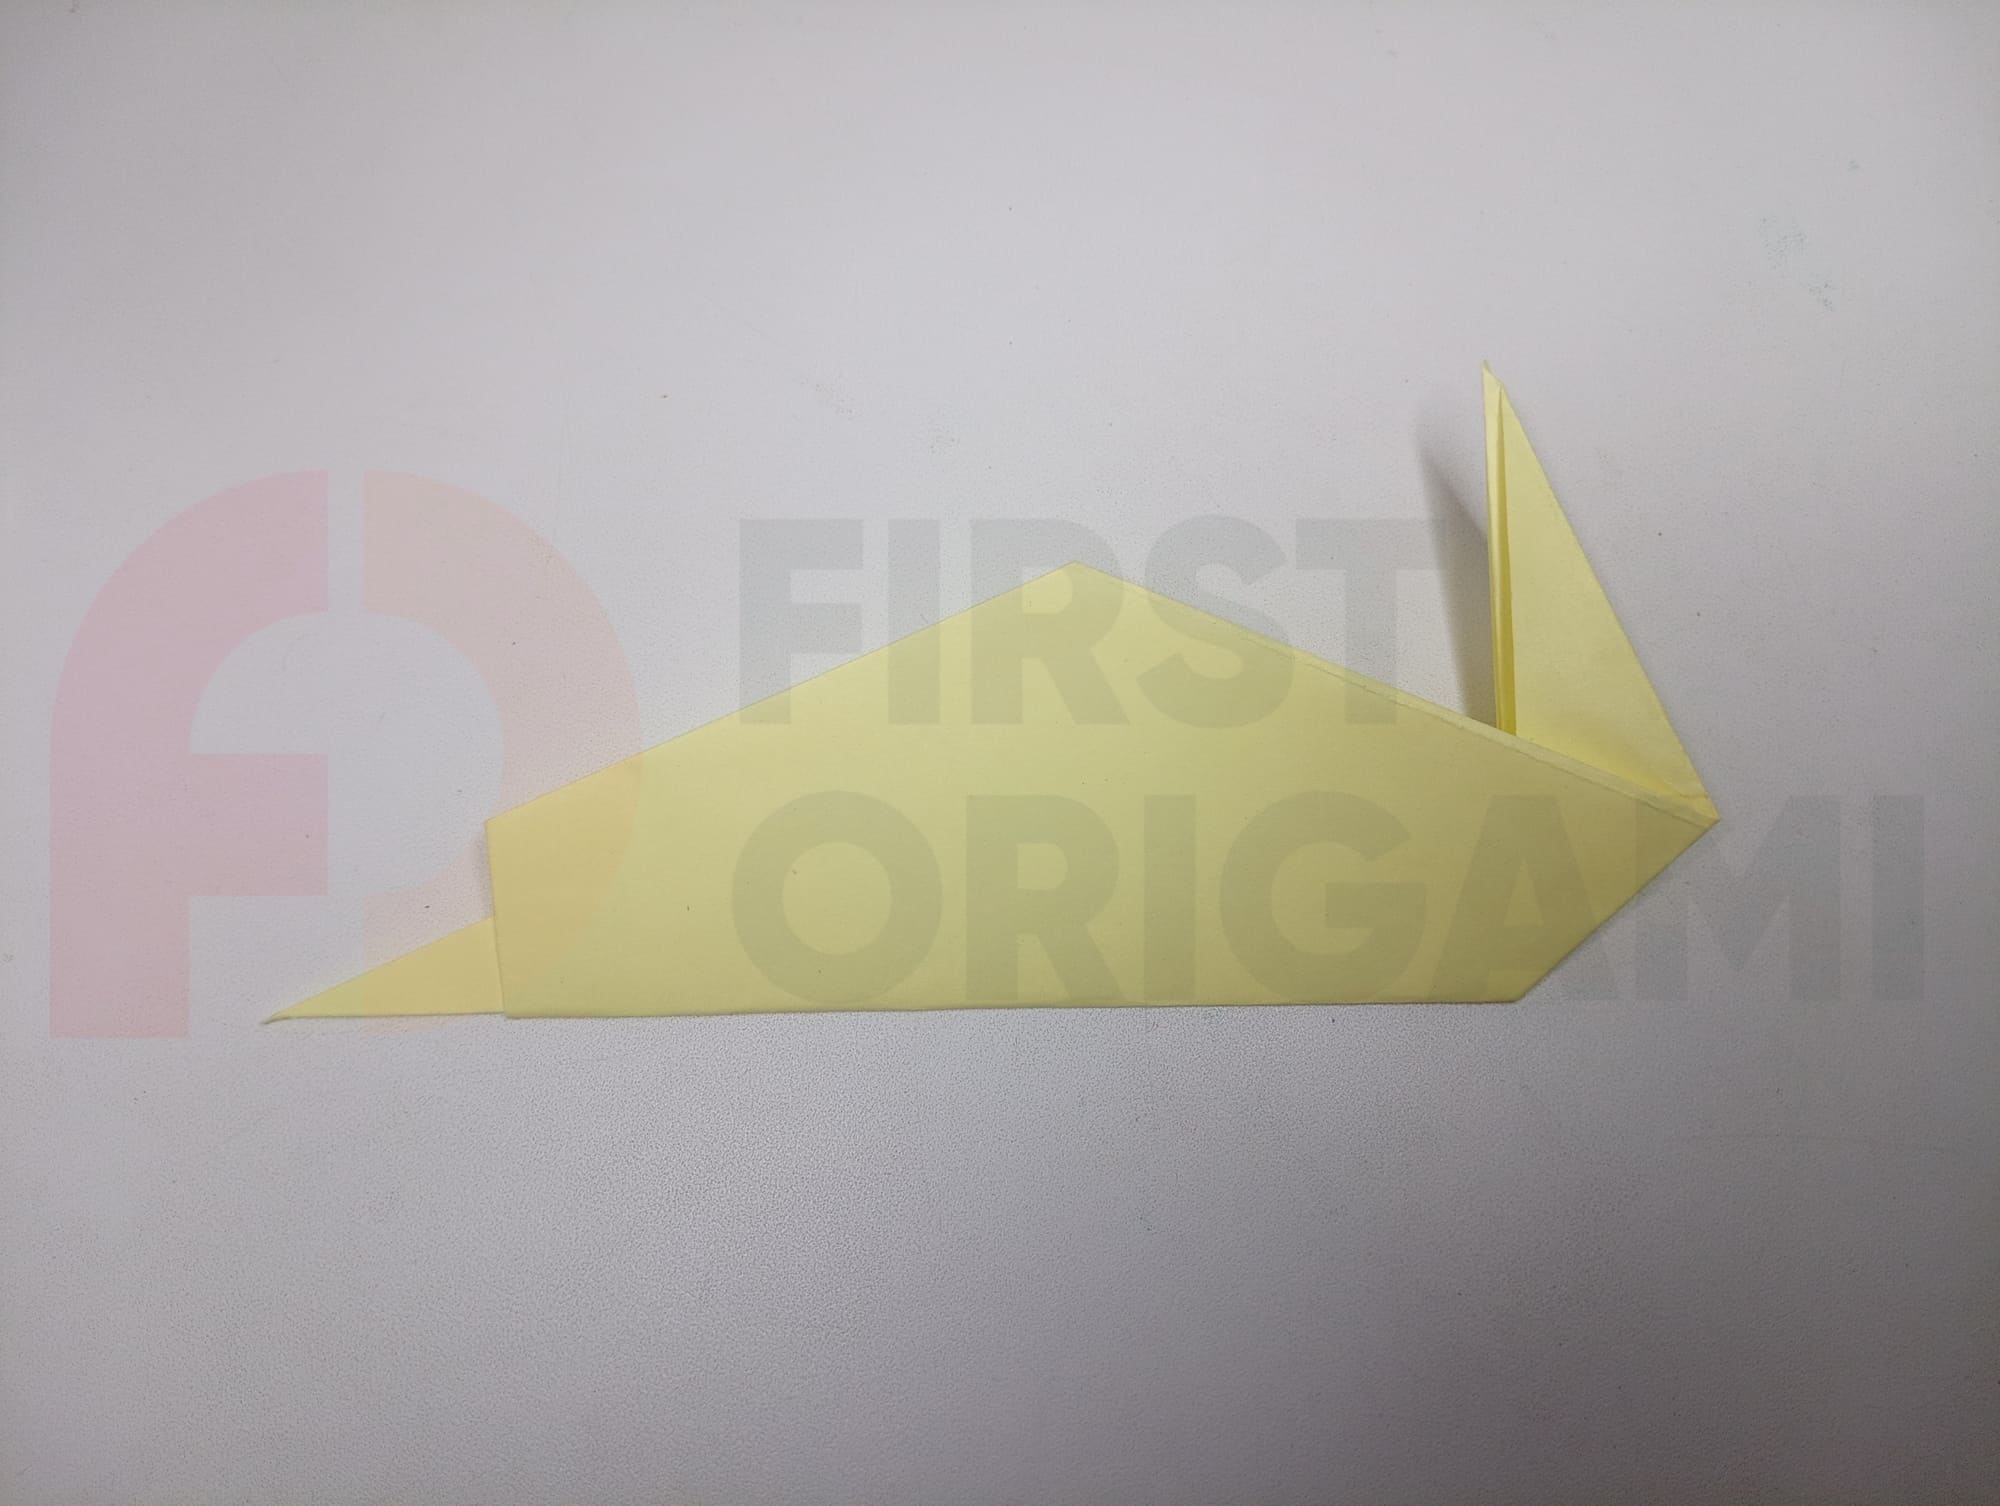

You will get a fold for which you need to perform a reverse fold, look at the photo how it looks.
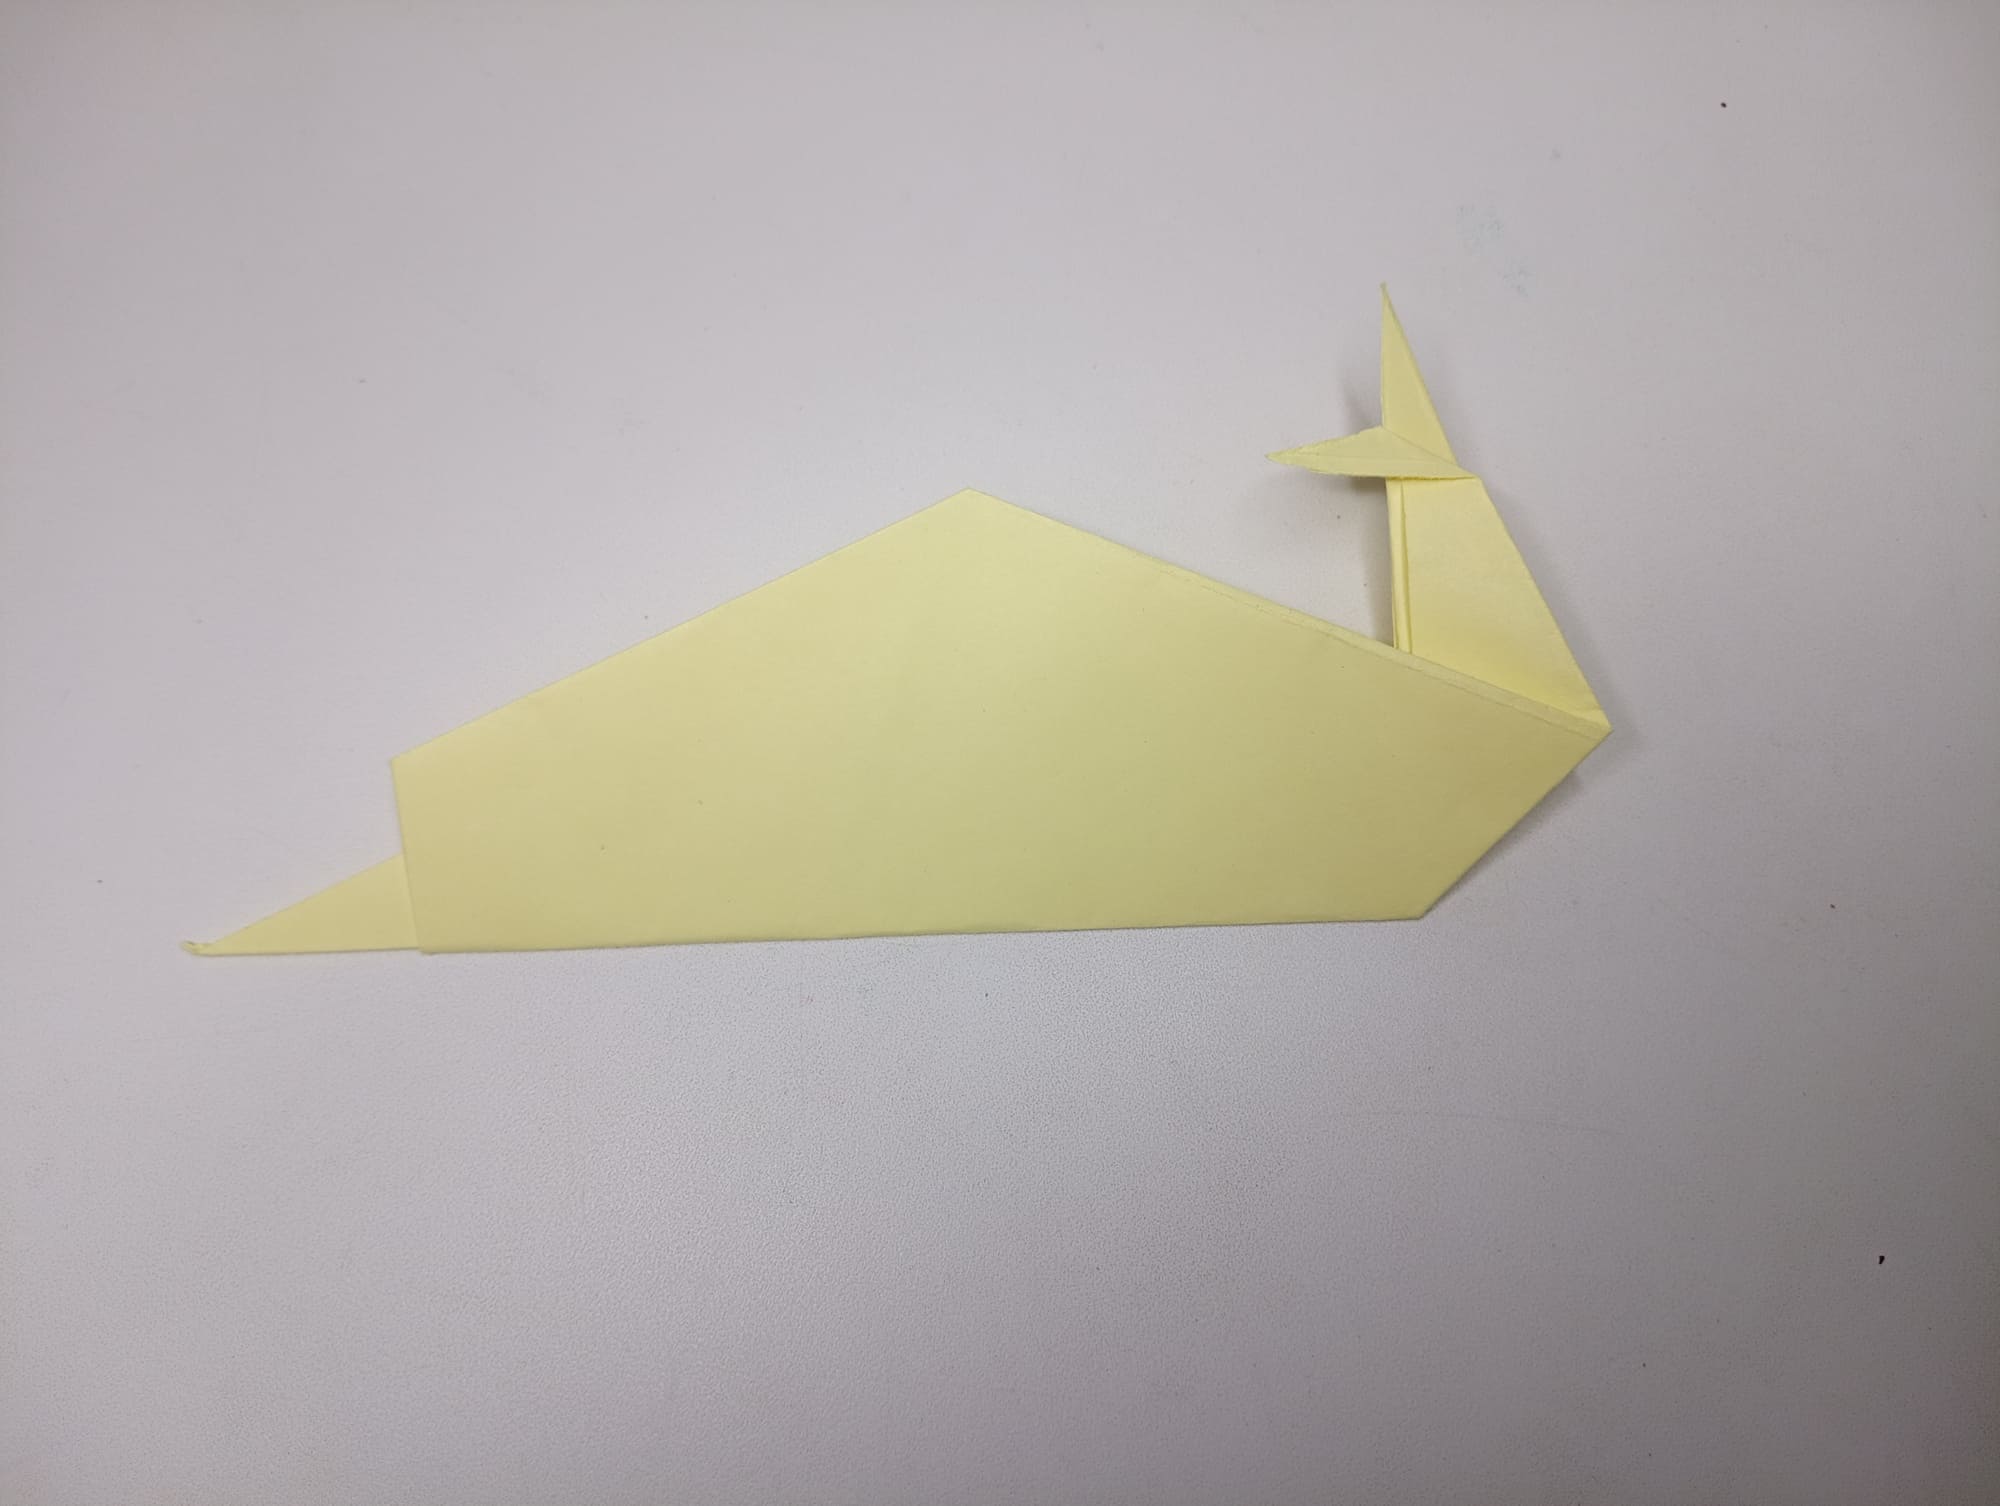
Crease all fold lines. In the upper part of the resulting tip, it is necessary to make a neat cut, but not completely. You should also make a fold towards the bottom side.
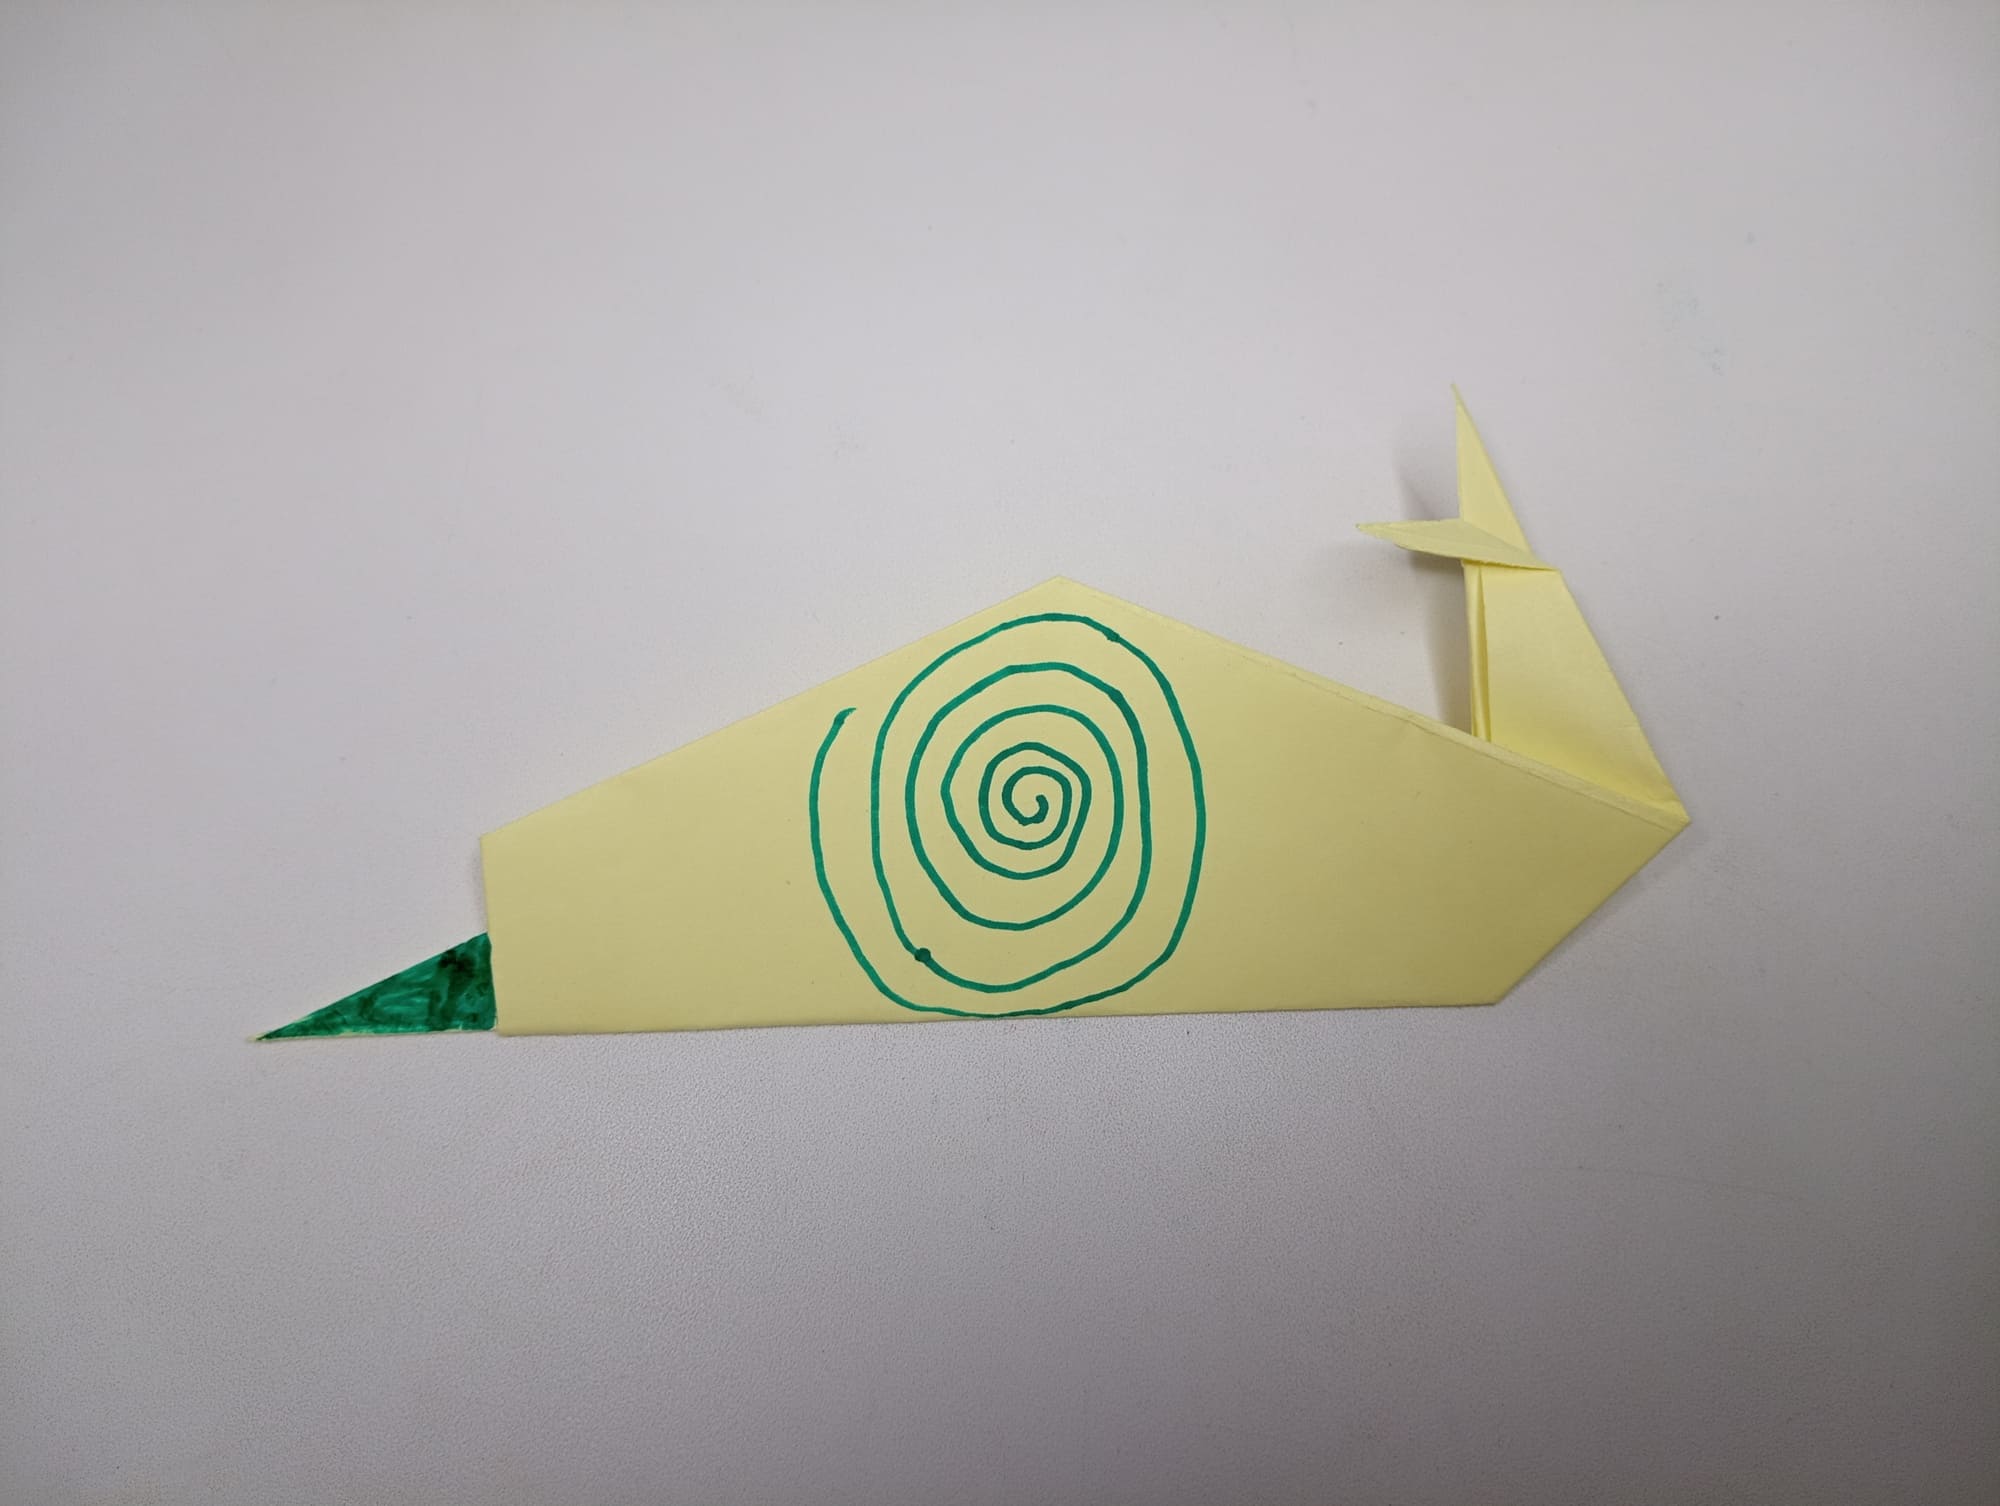
The origami snail is ready.
It can be painted and decorated as desired. In the middle, you can draw a spiral circle, giving naturalness to the snail. The tail can also be painted. Play with the snail with pleasure, decorate themed corners with it, or use it for decorations. The origami snail is a simple master class and should definitely be done with the children.


