Origami Snowman
These instructions will help you to create a wonderful themed origami for the New Year. You can have a nice and fun time and, at the same time, make a very cute figure. This little paper snowman is sure to cheer you up. It can be used as a Christmas tree decoration, a bookmark, or placed on a shelf for everyone to admire.
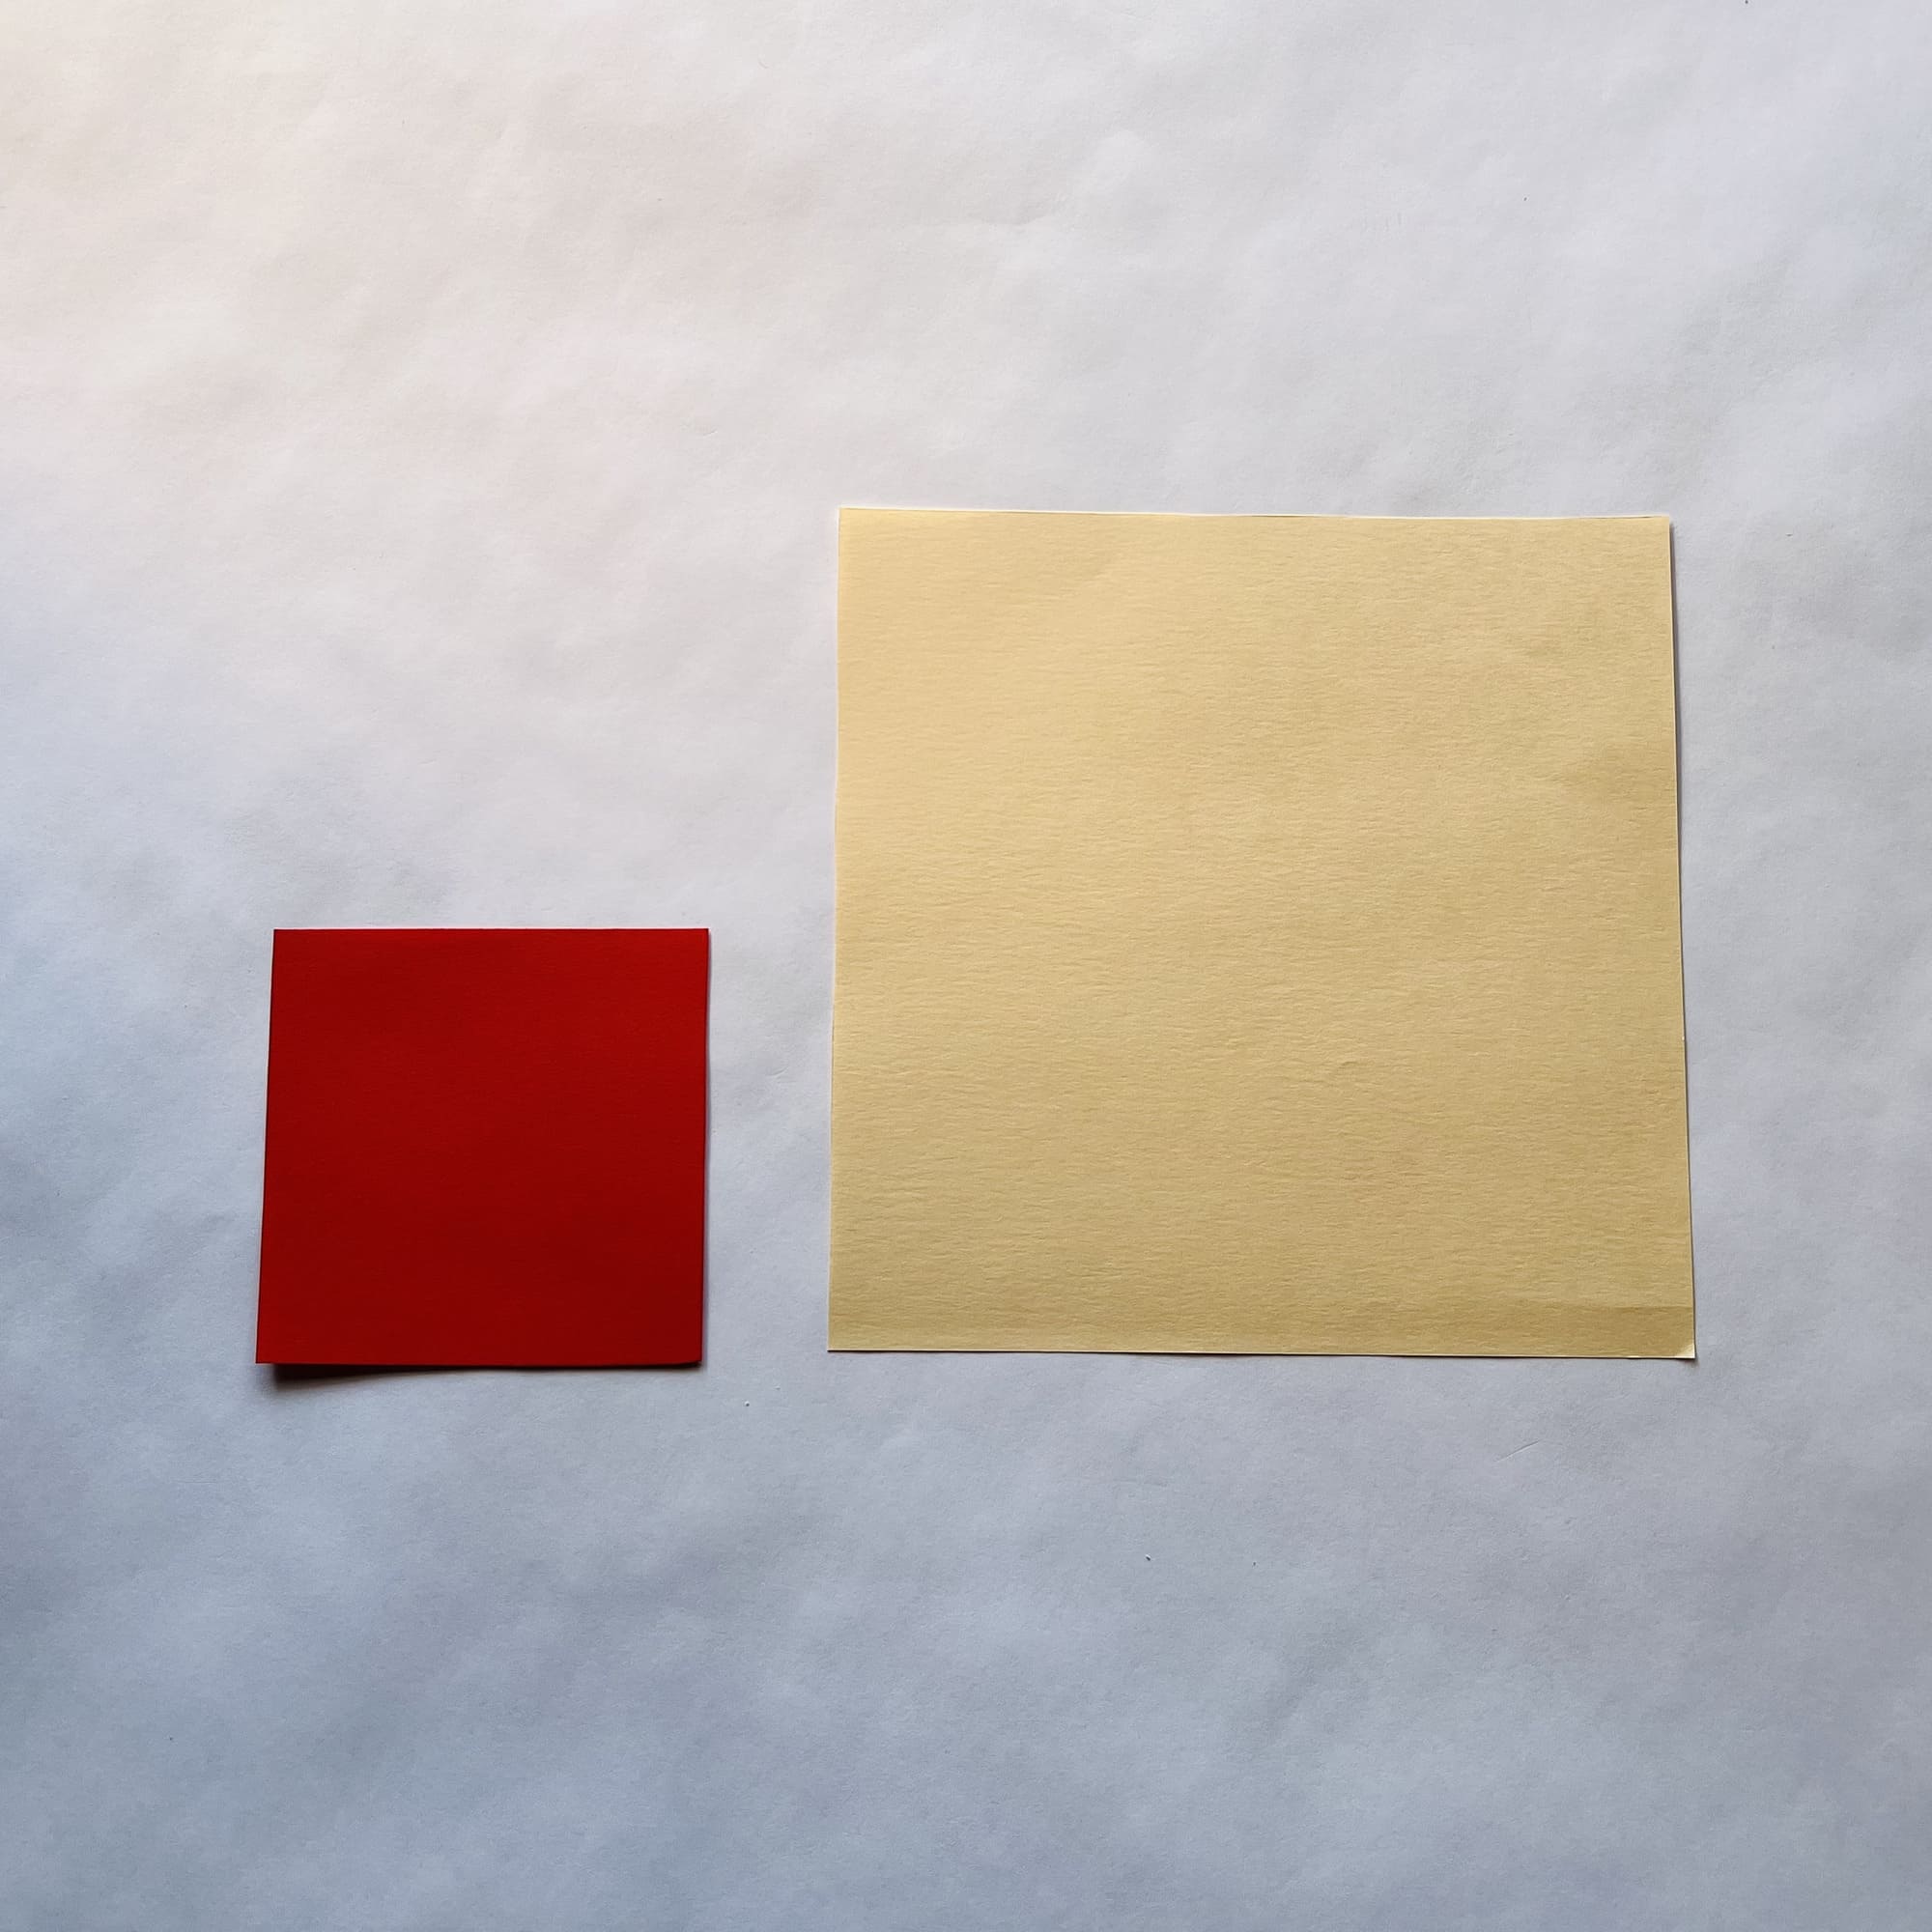
This origami is quite simple to make, but the youngest origami masters may need the help of adult friends. To make it, you will need a light sheet of paper measuring 15×15 cm, as well as a small red paper for the New Year’s snowman hat – 7.5×7.5 cm.
First, let’s make the snowman himself: take a sheet of paper measuring 15×15 cm.
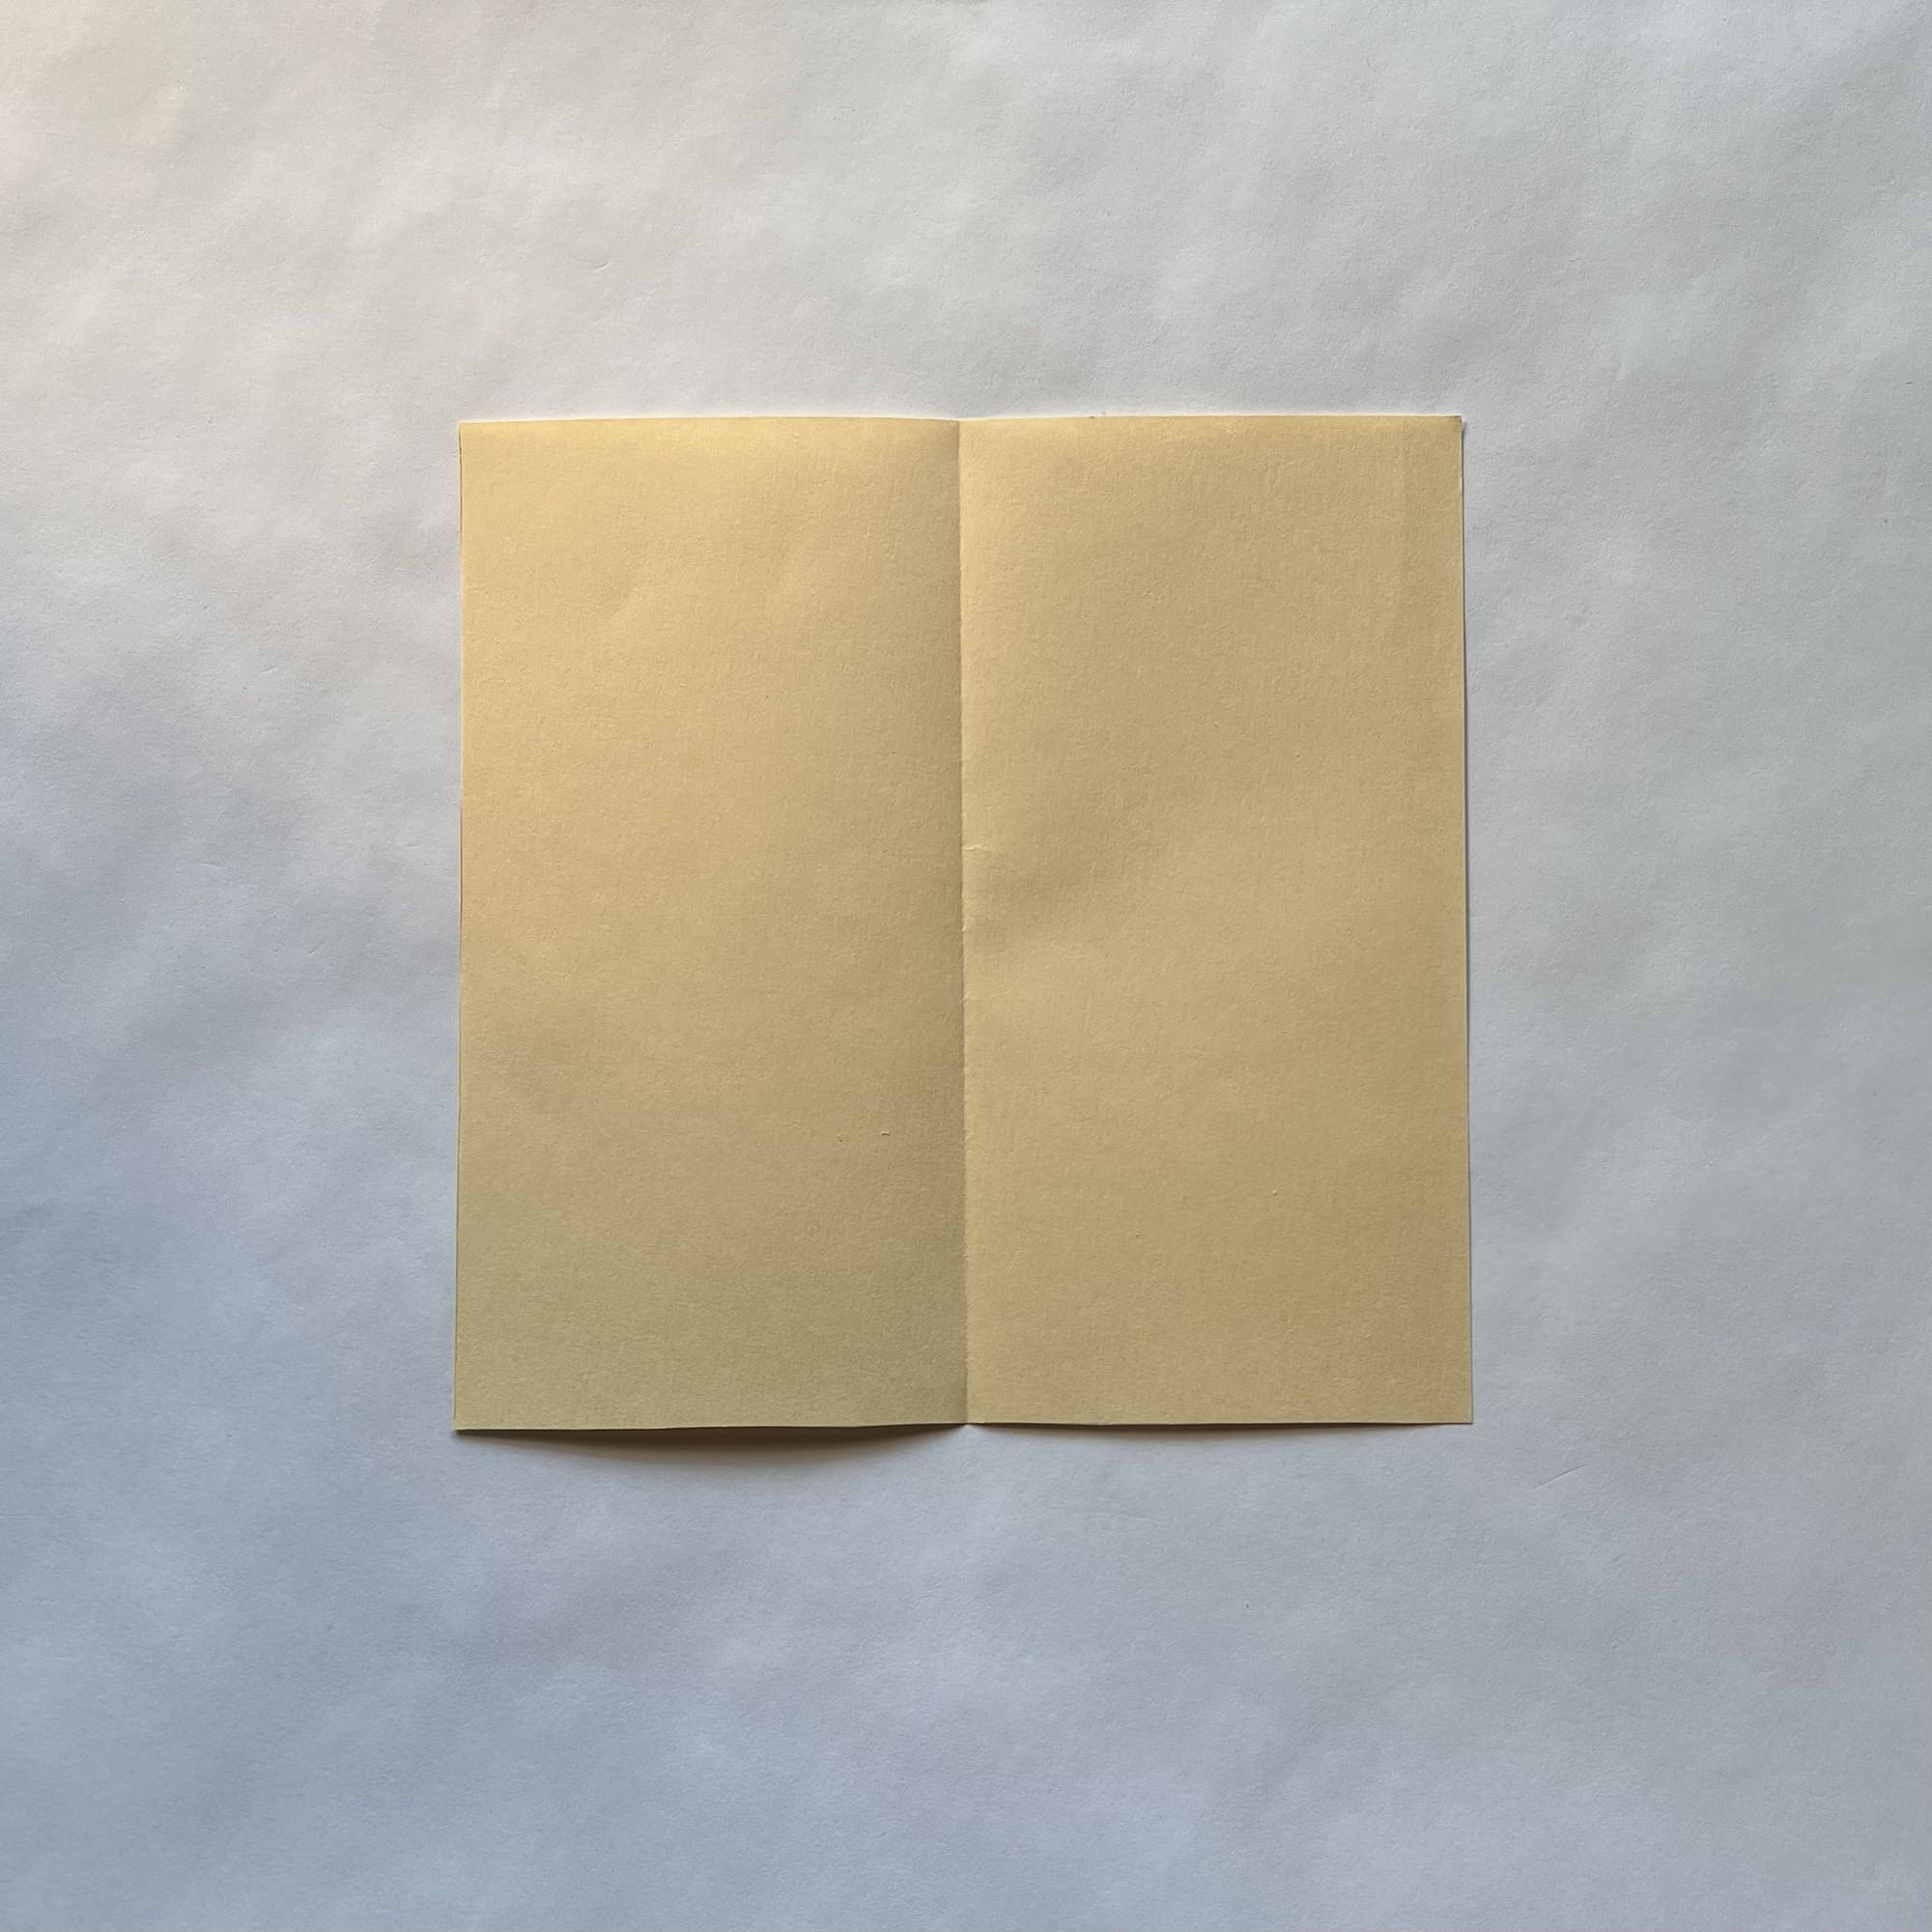
Fold the paper along a vertical axis, crease the fold, and unfold.
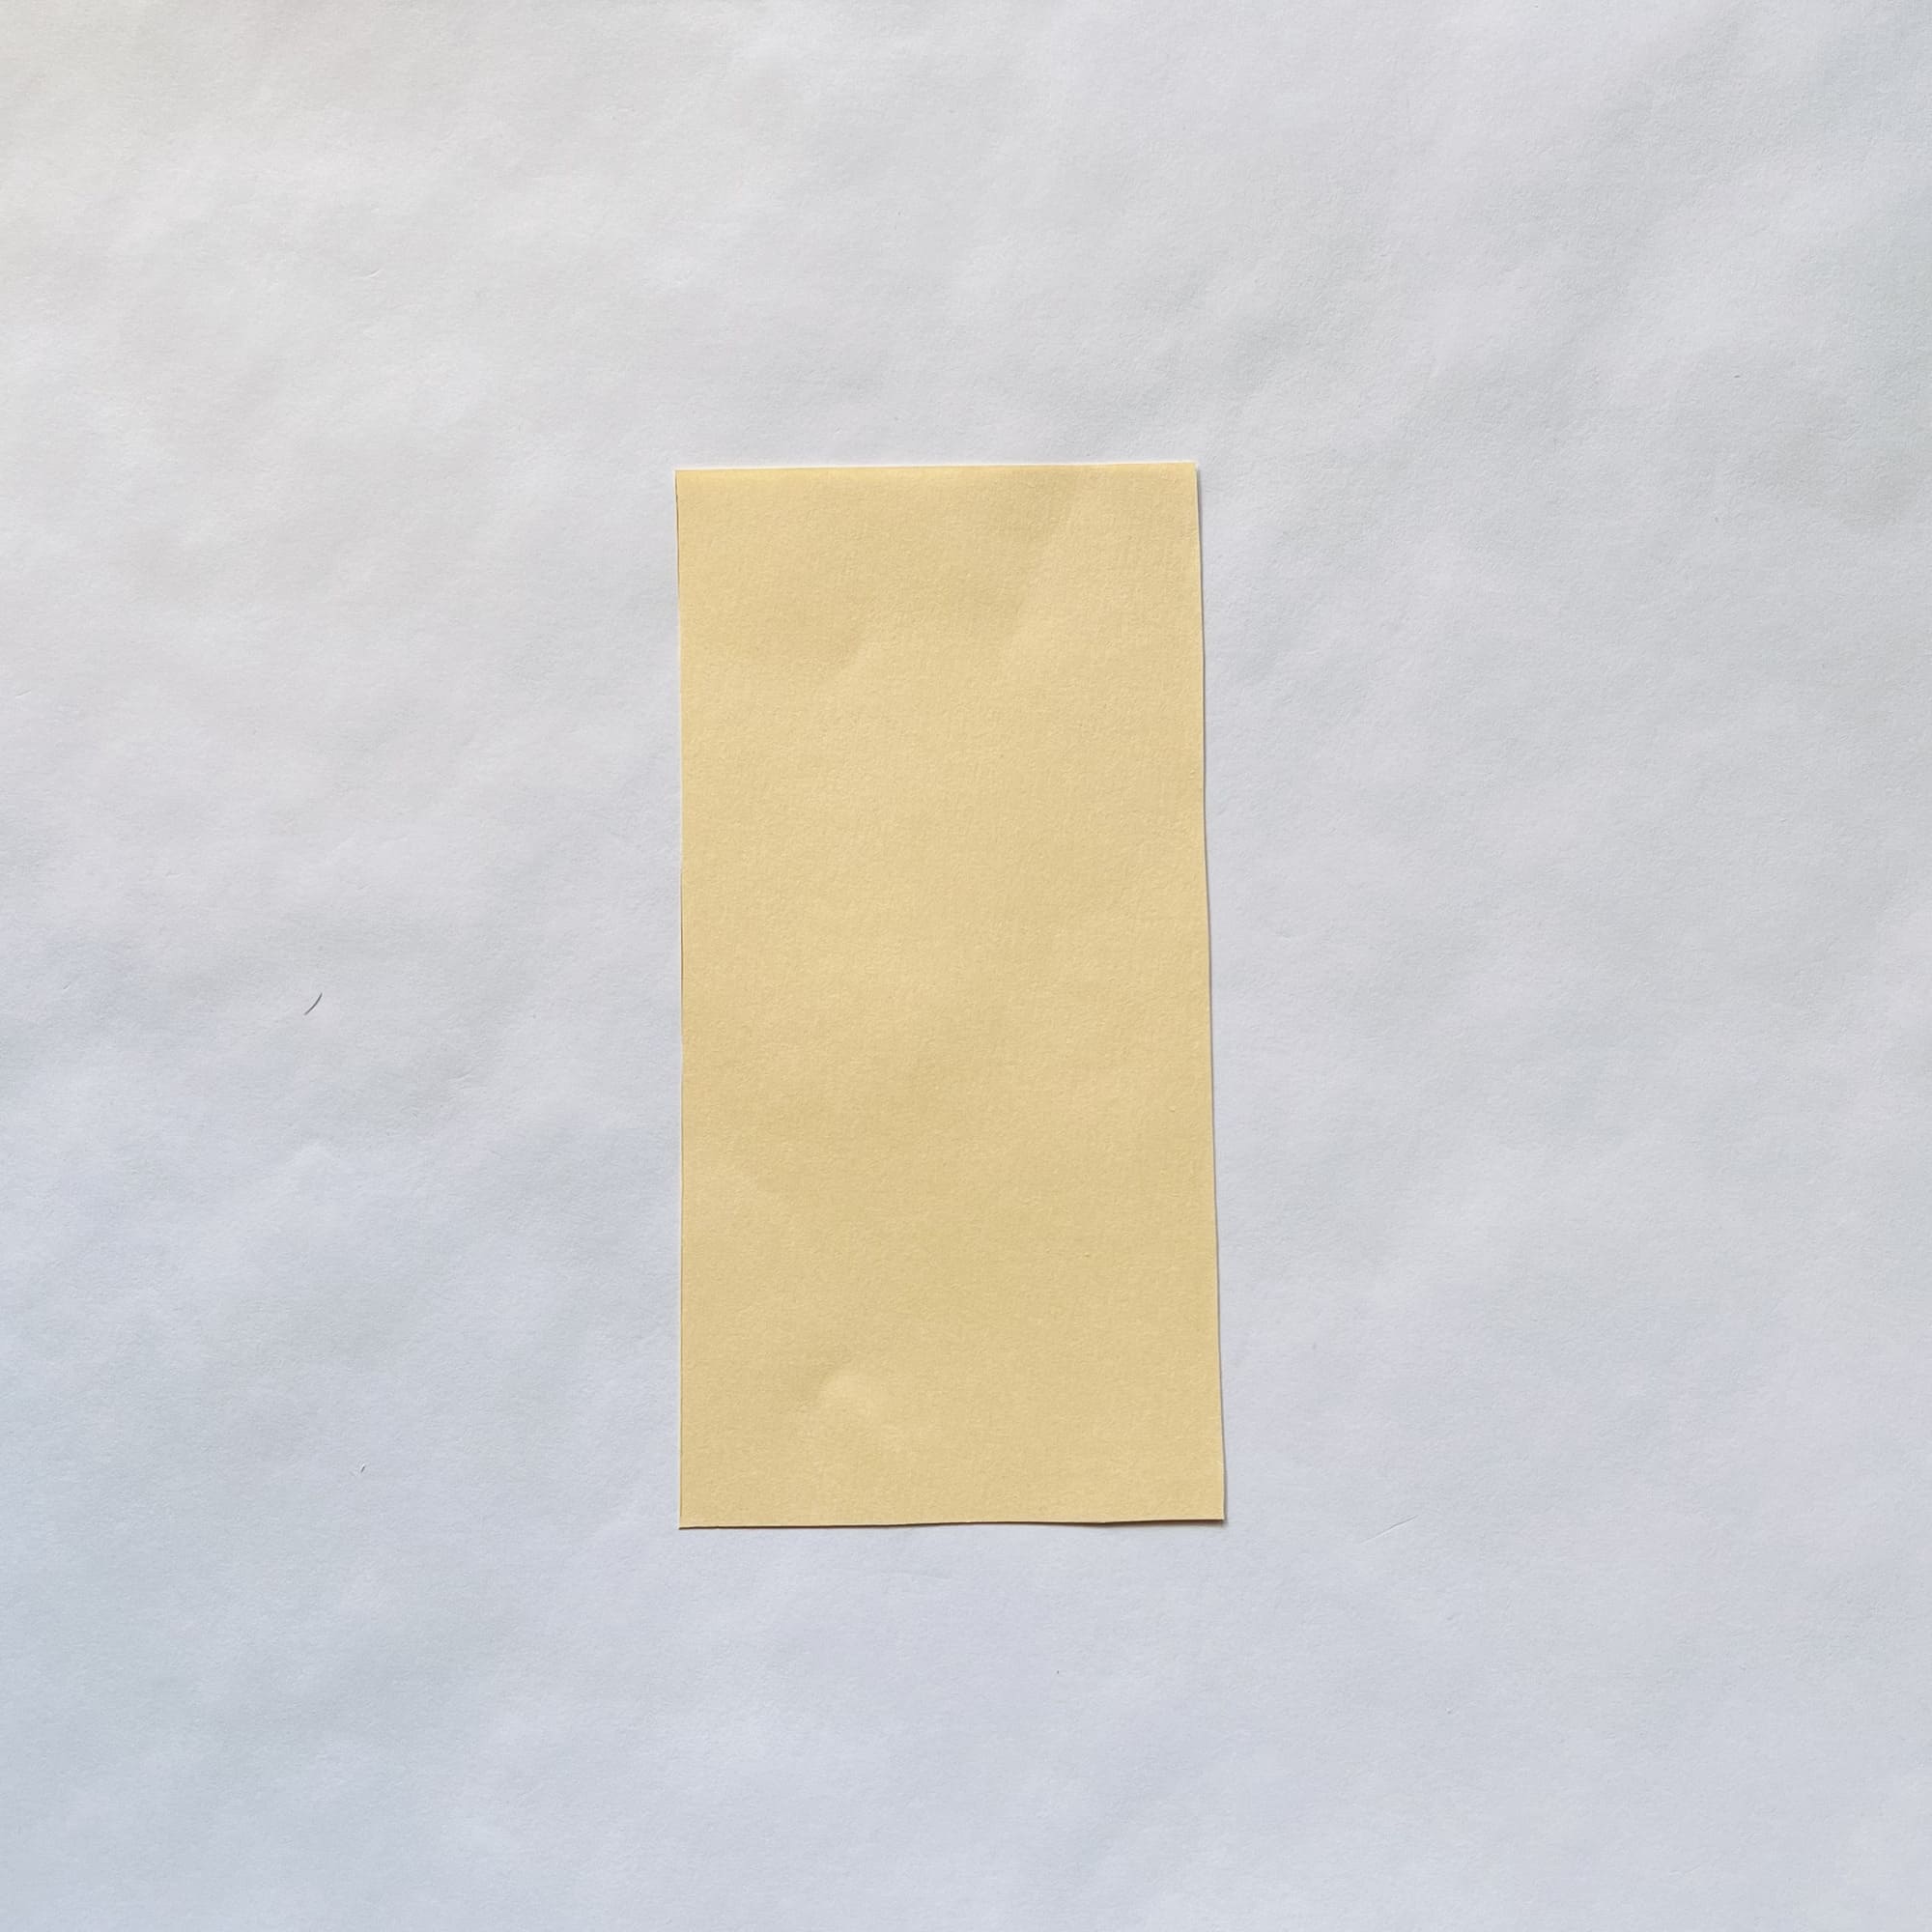
Cut the paper along the fold line. You only need one-half of it.
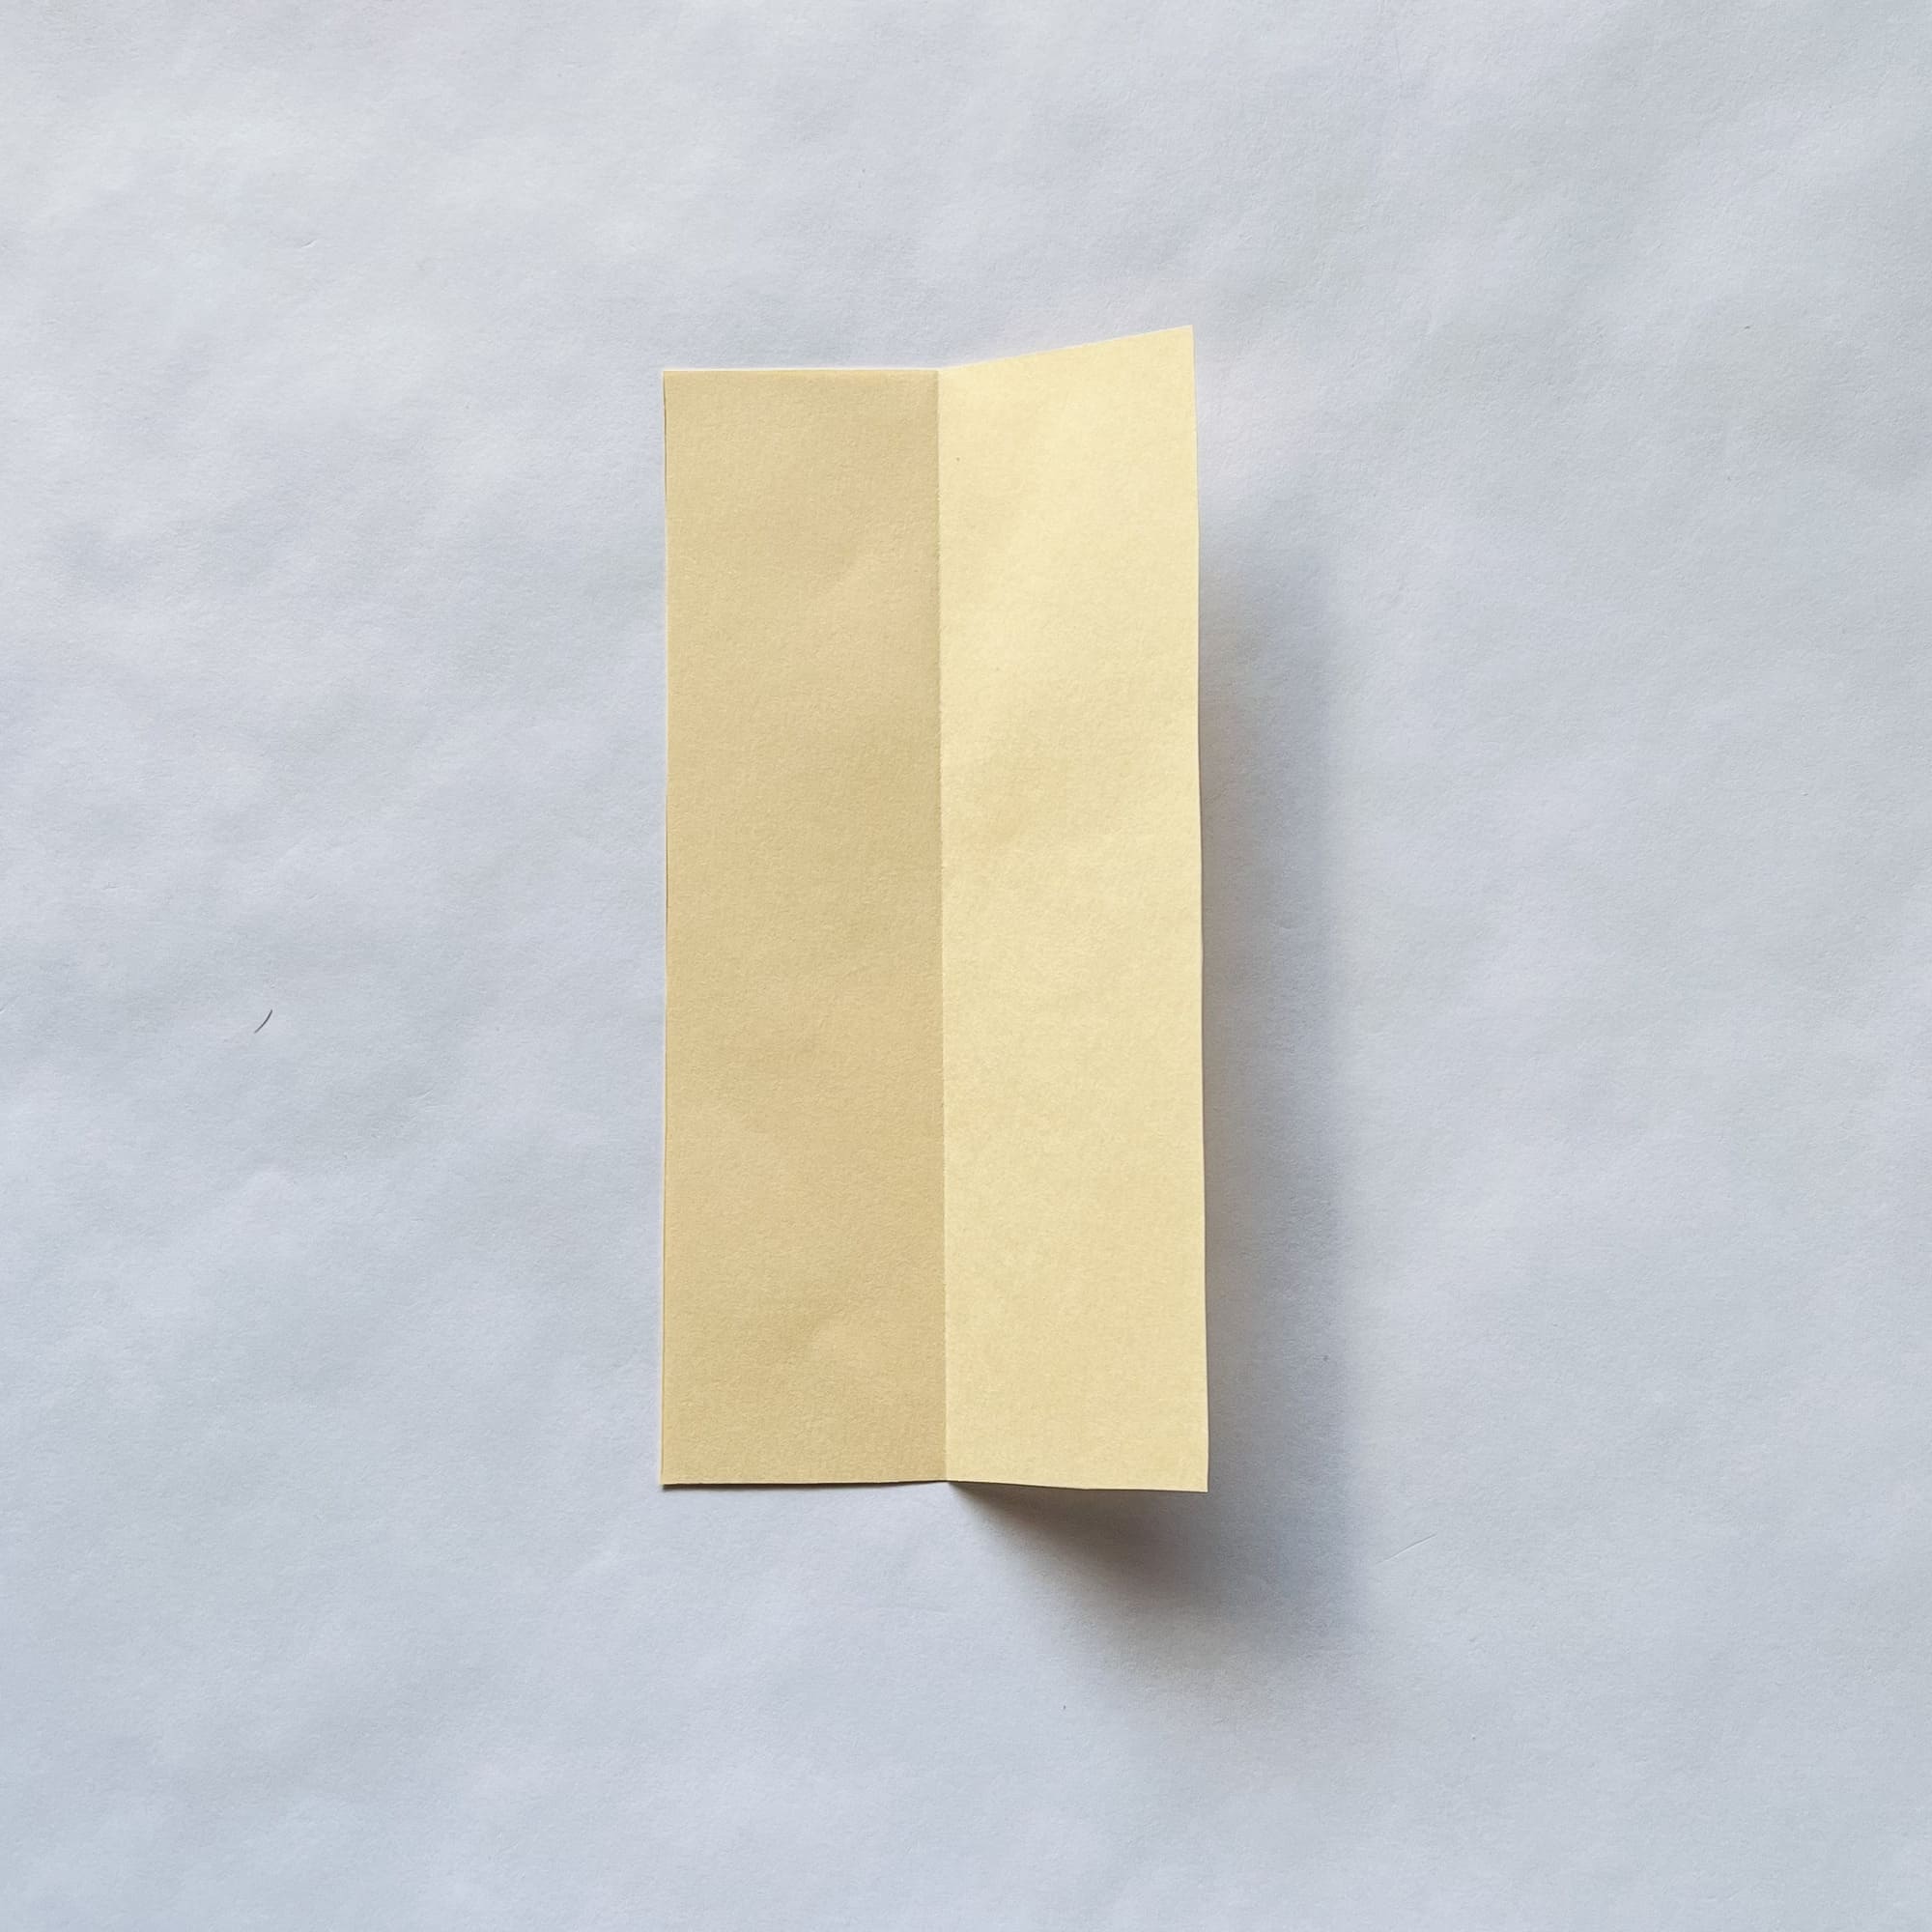
Fold it in half vertically, then unfold it.
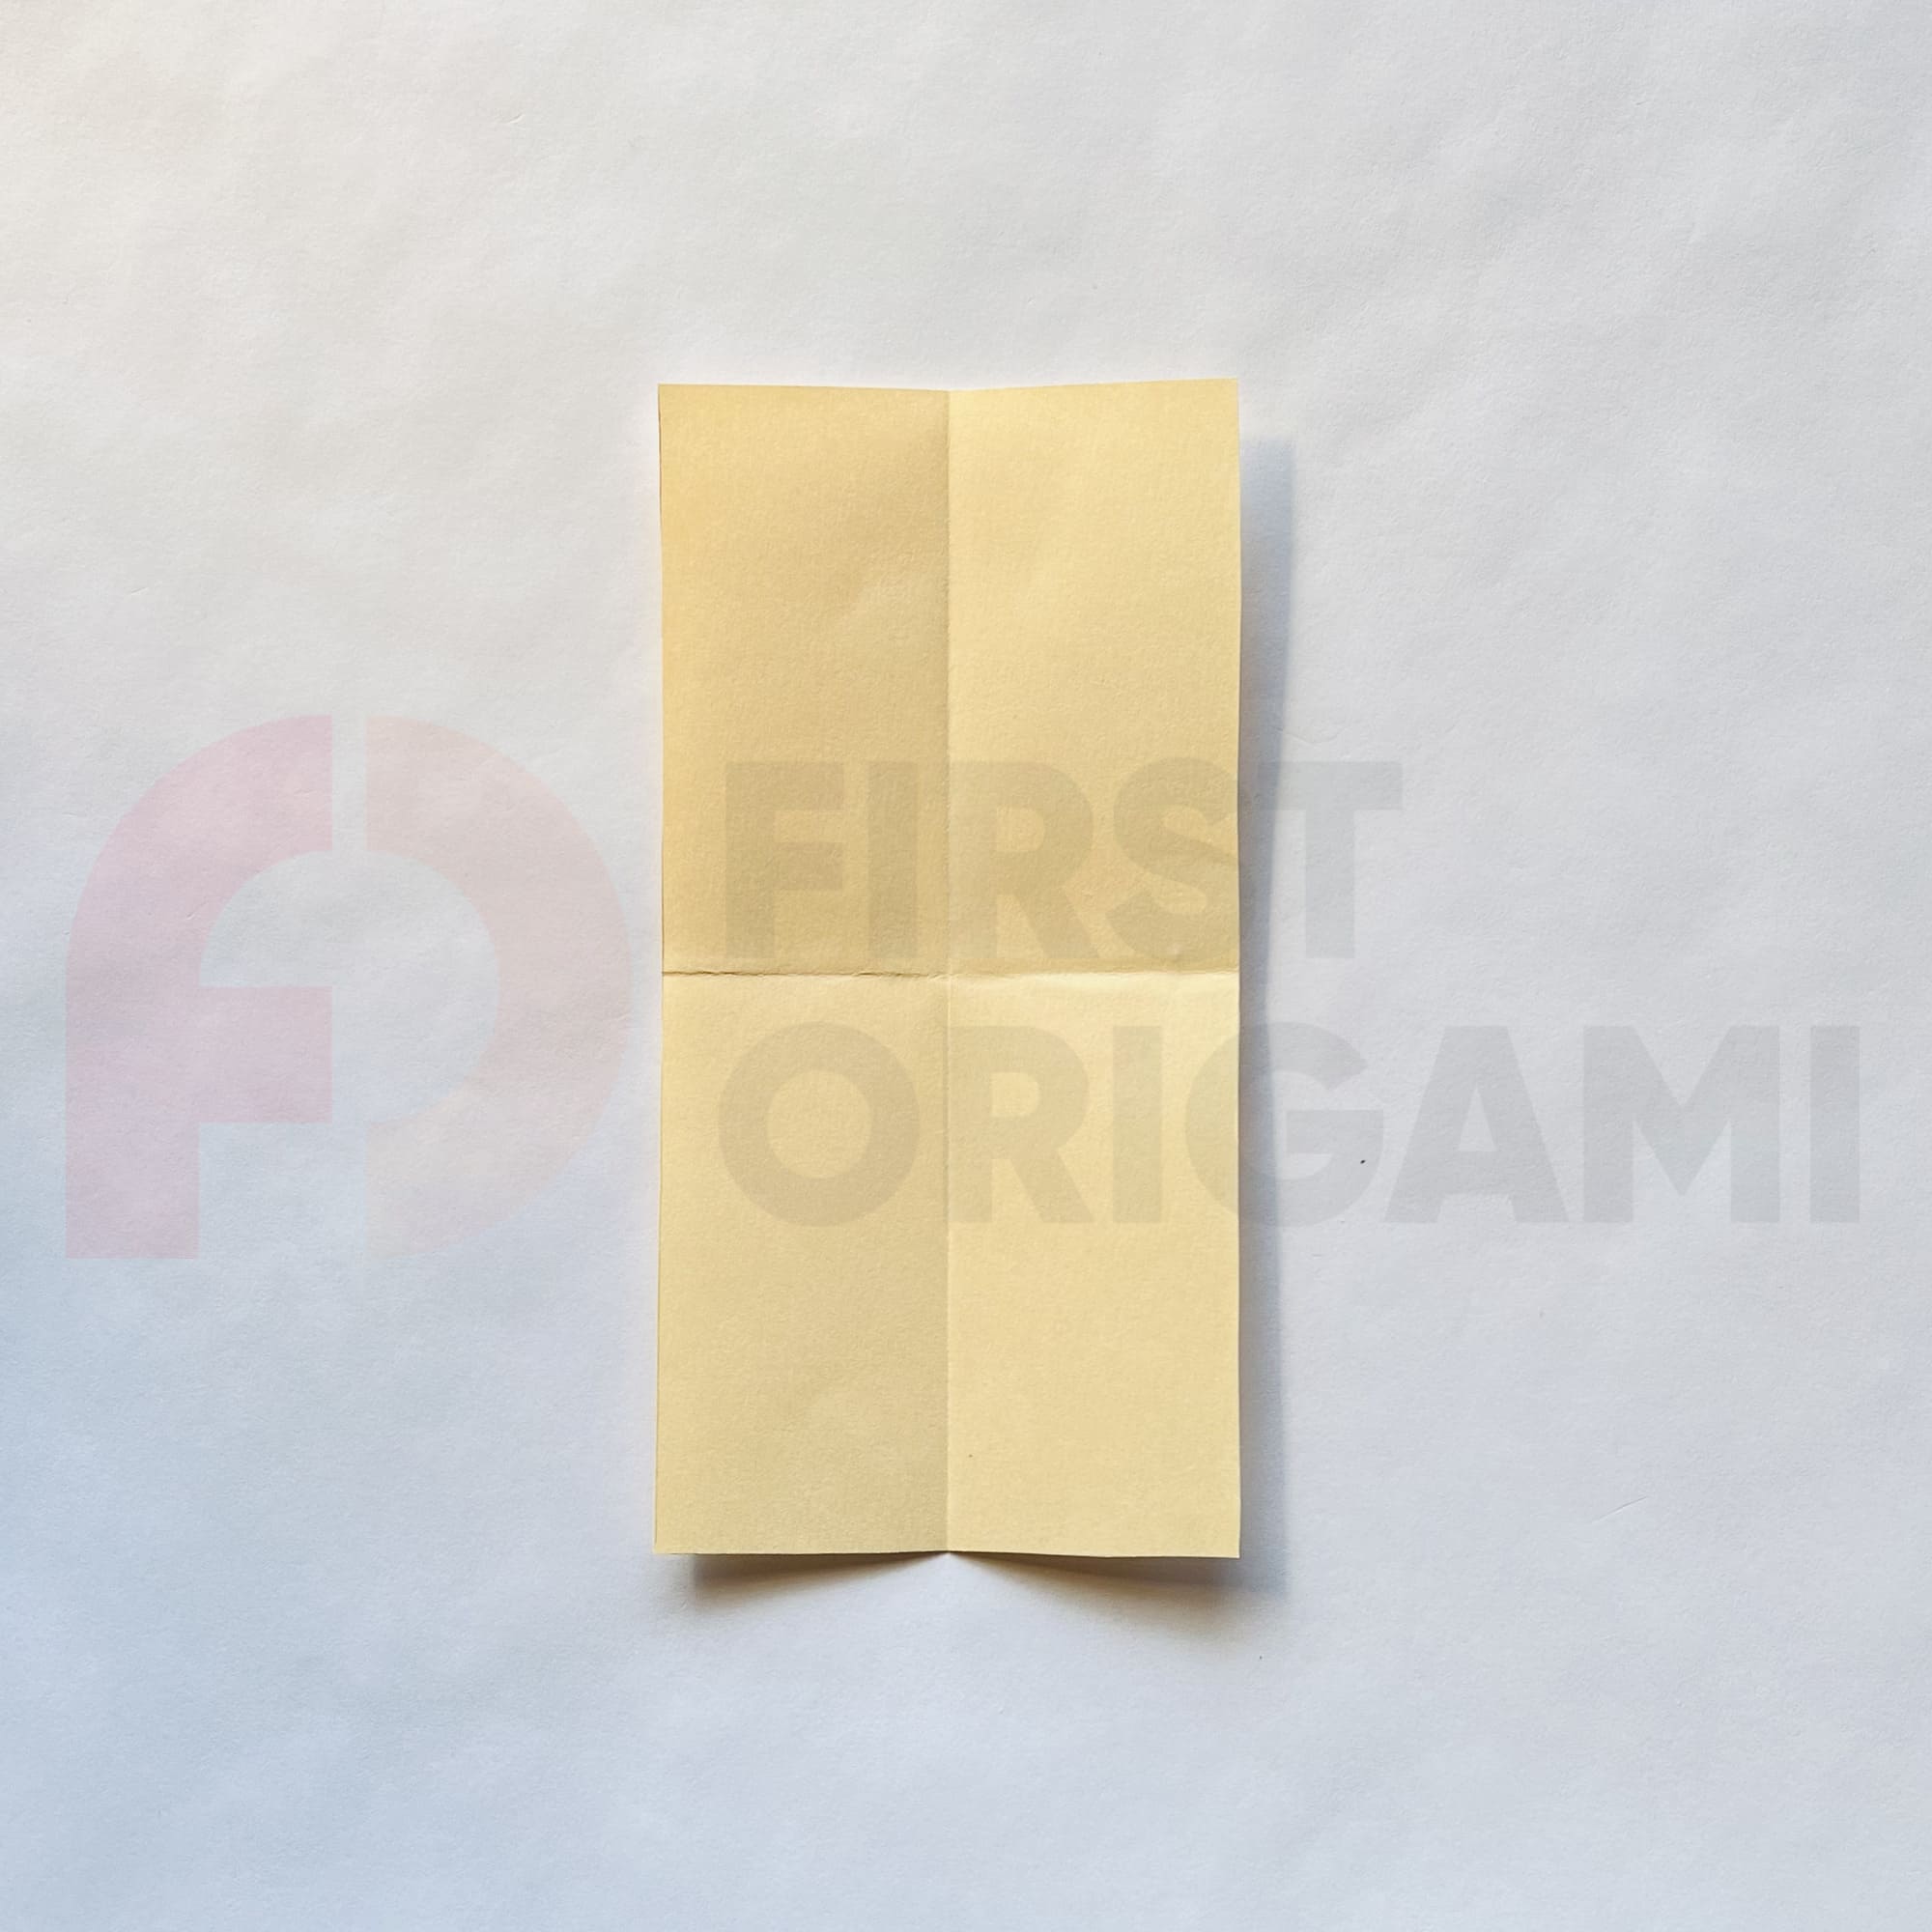
Now, fold the paper along a horizontal axis, crease the fold, and unfold.
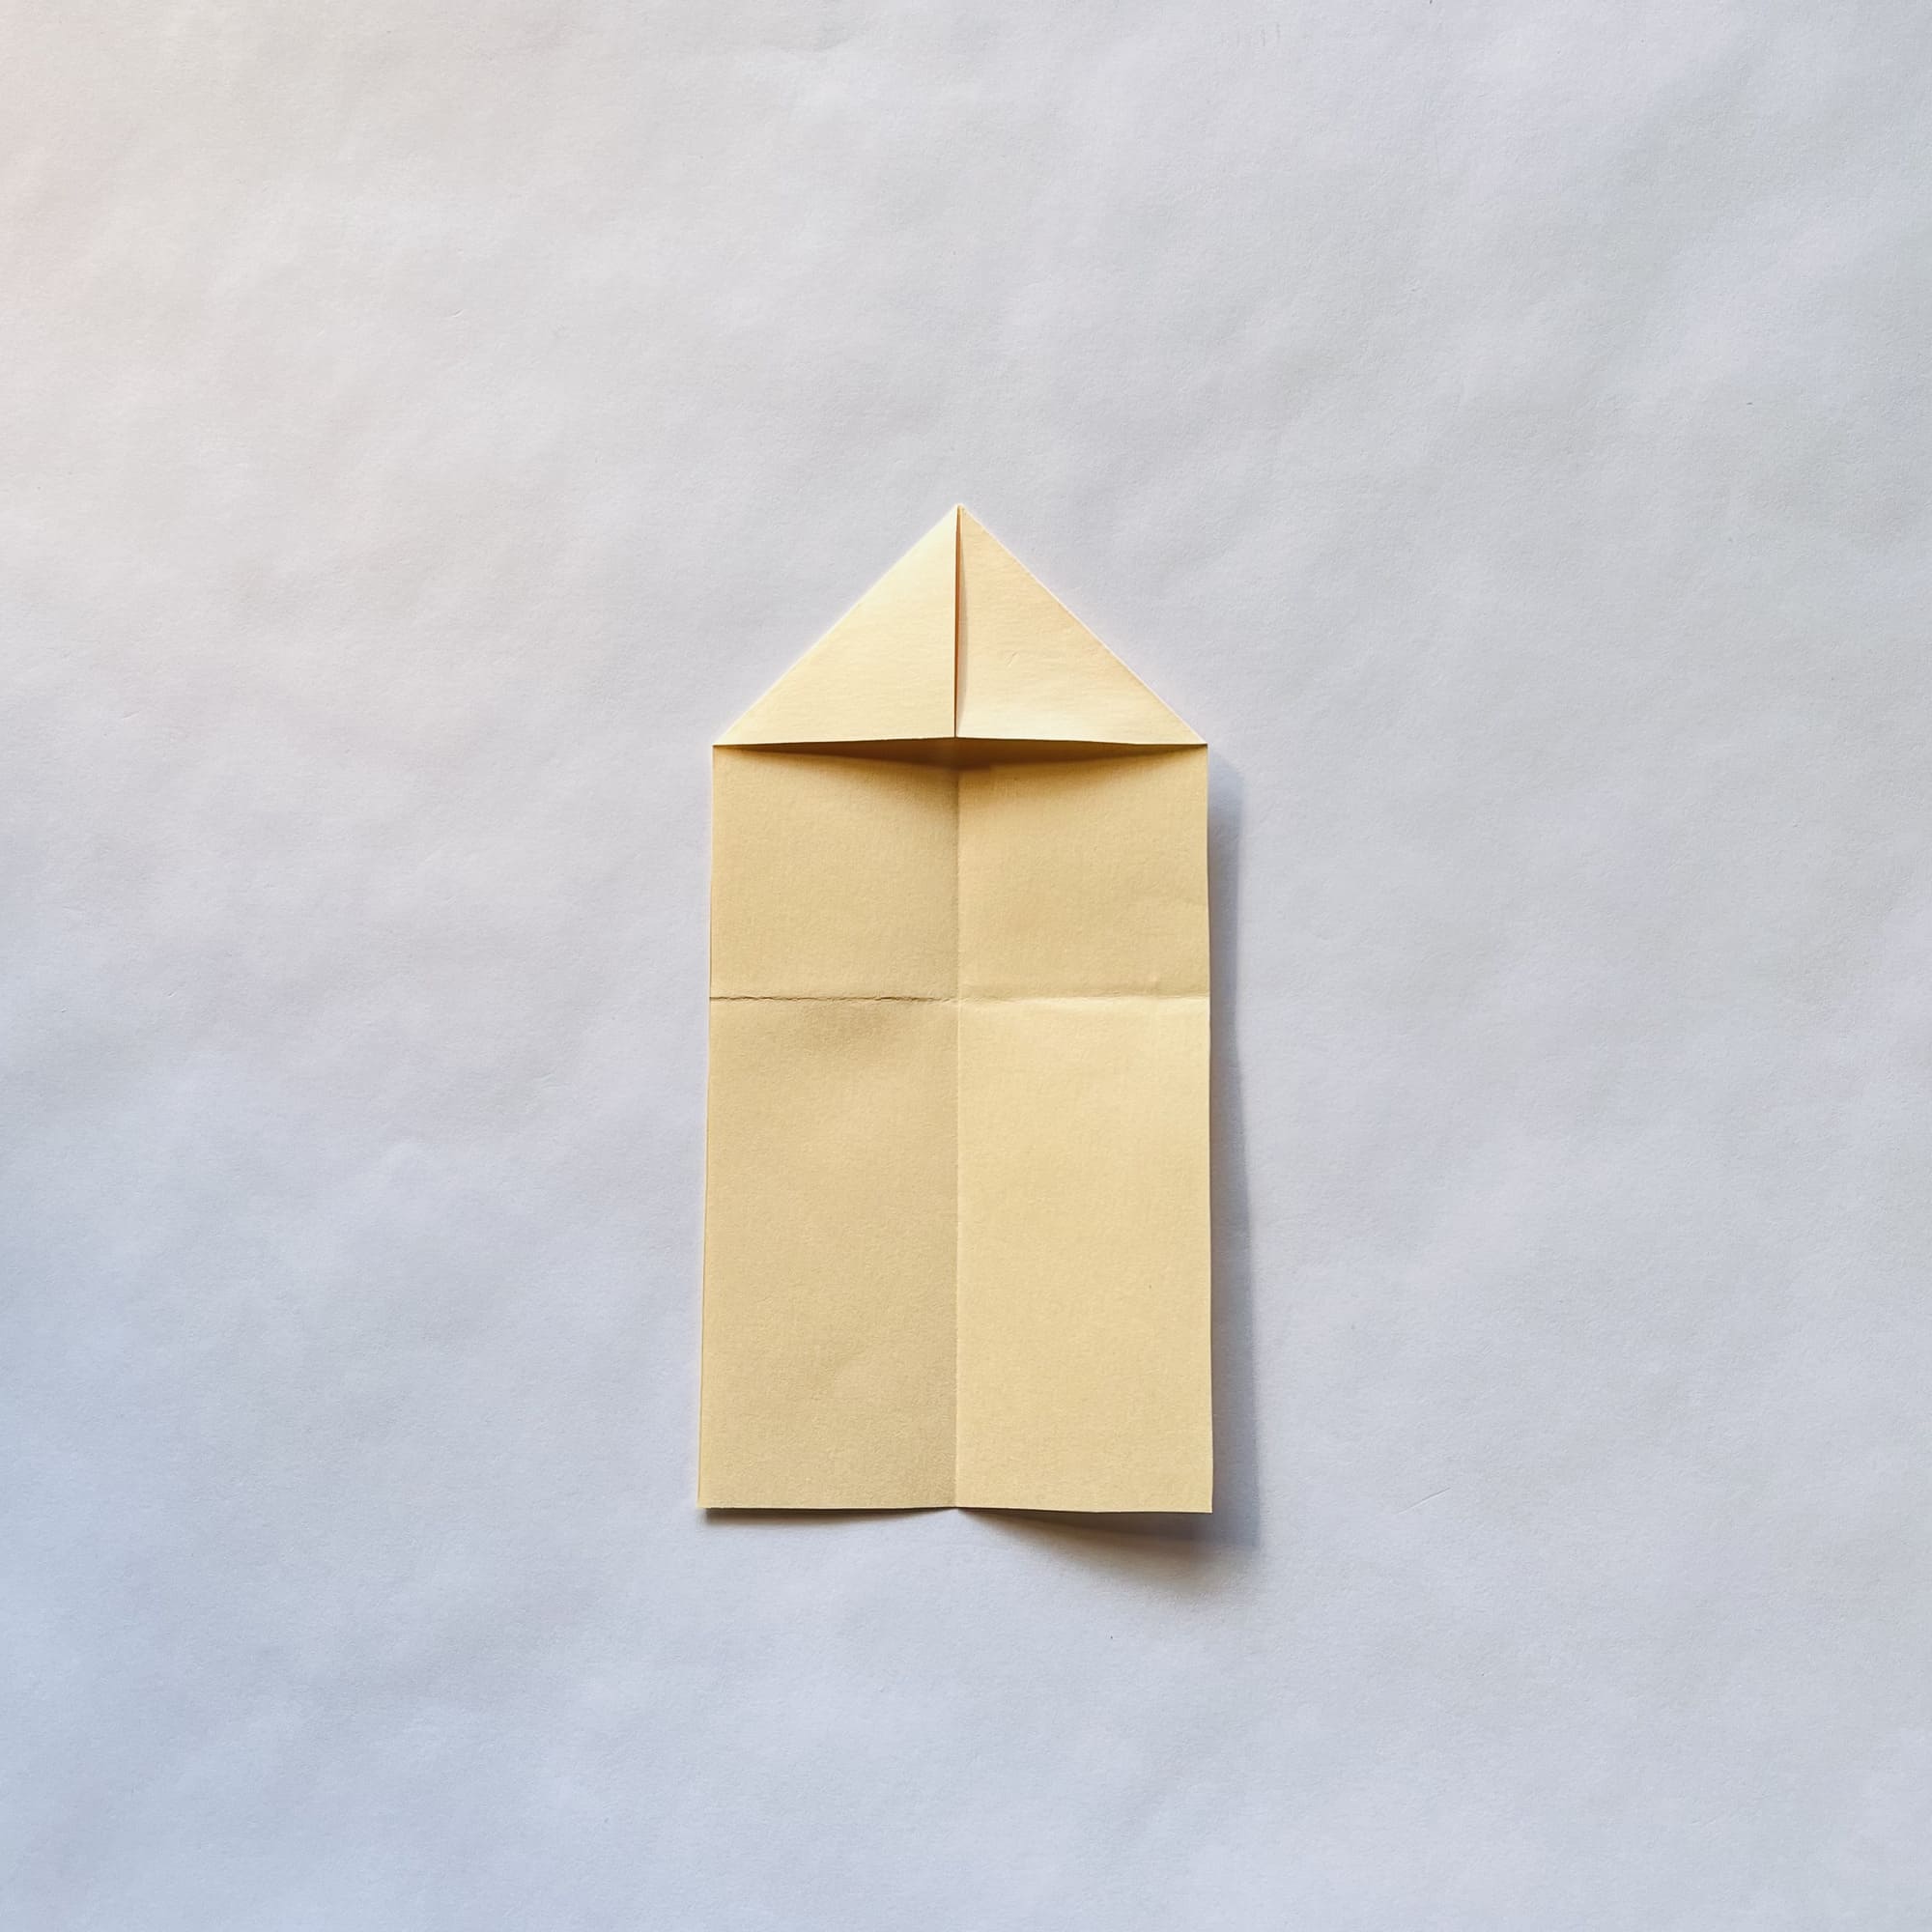
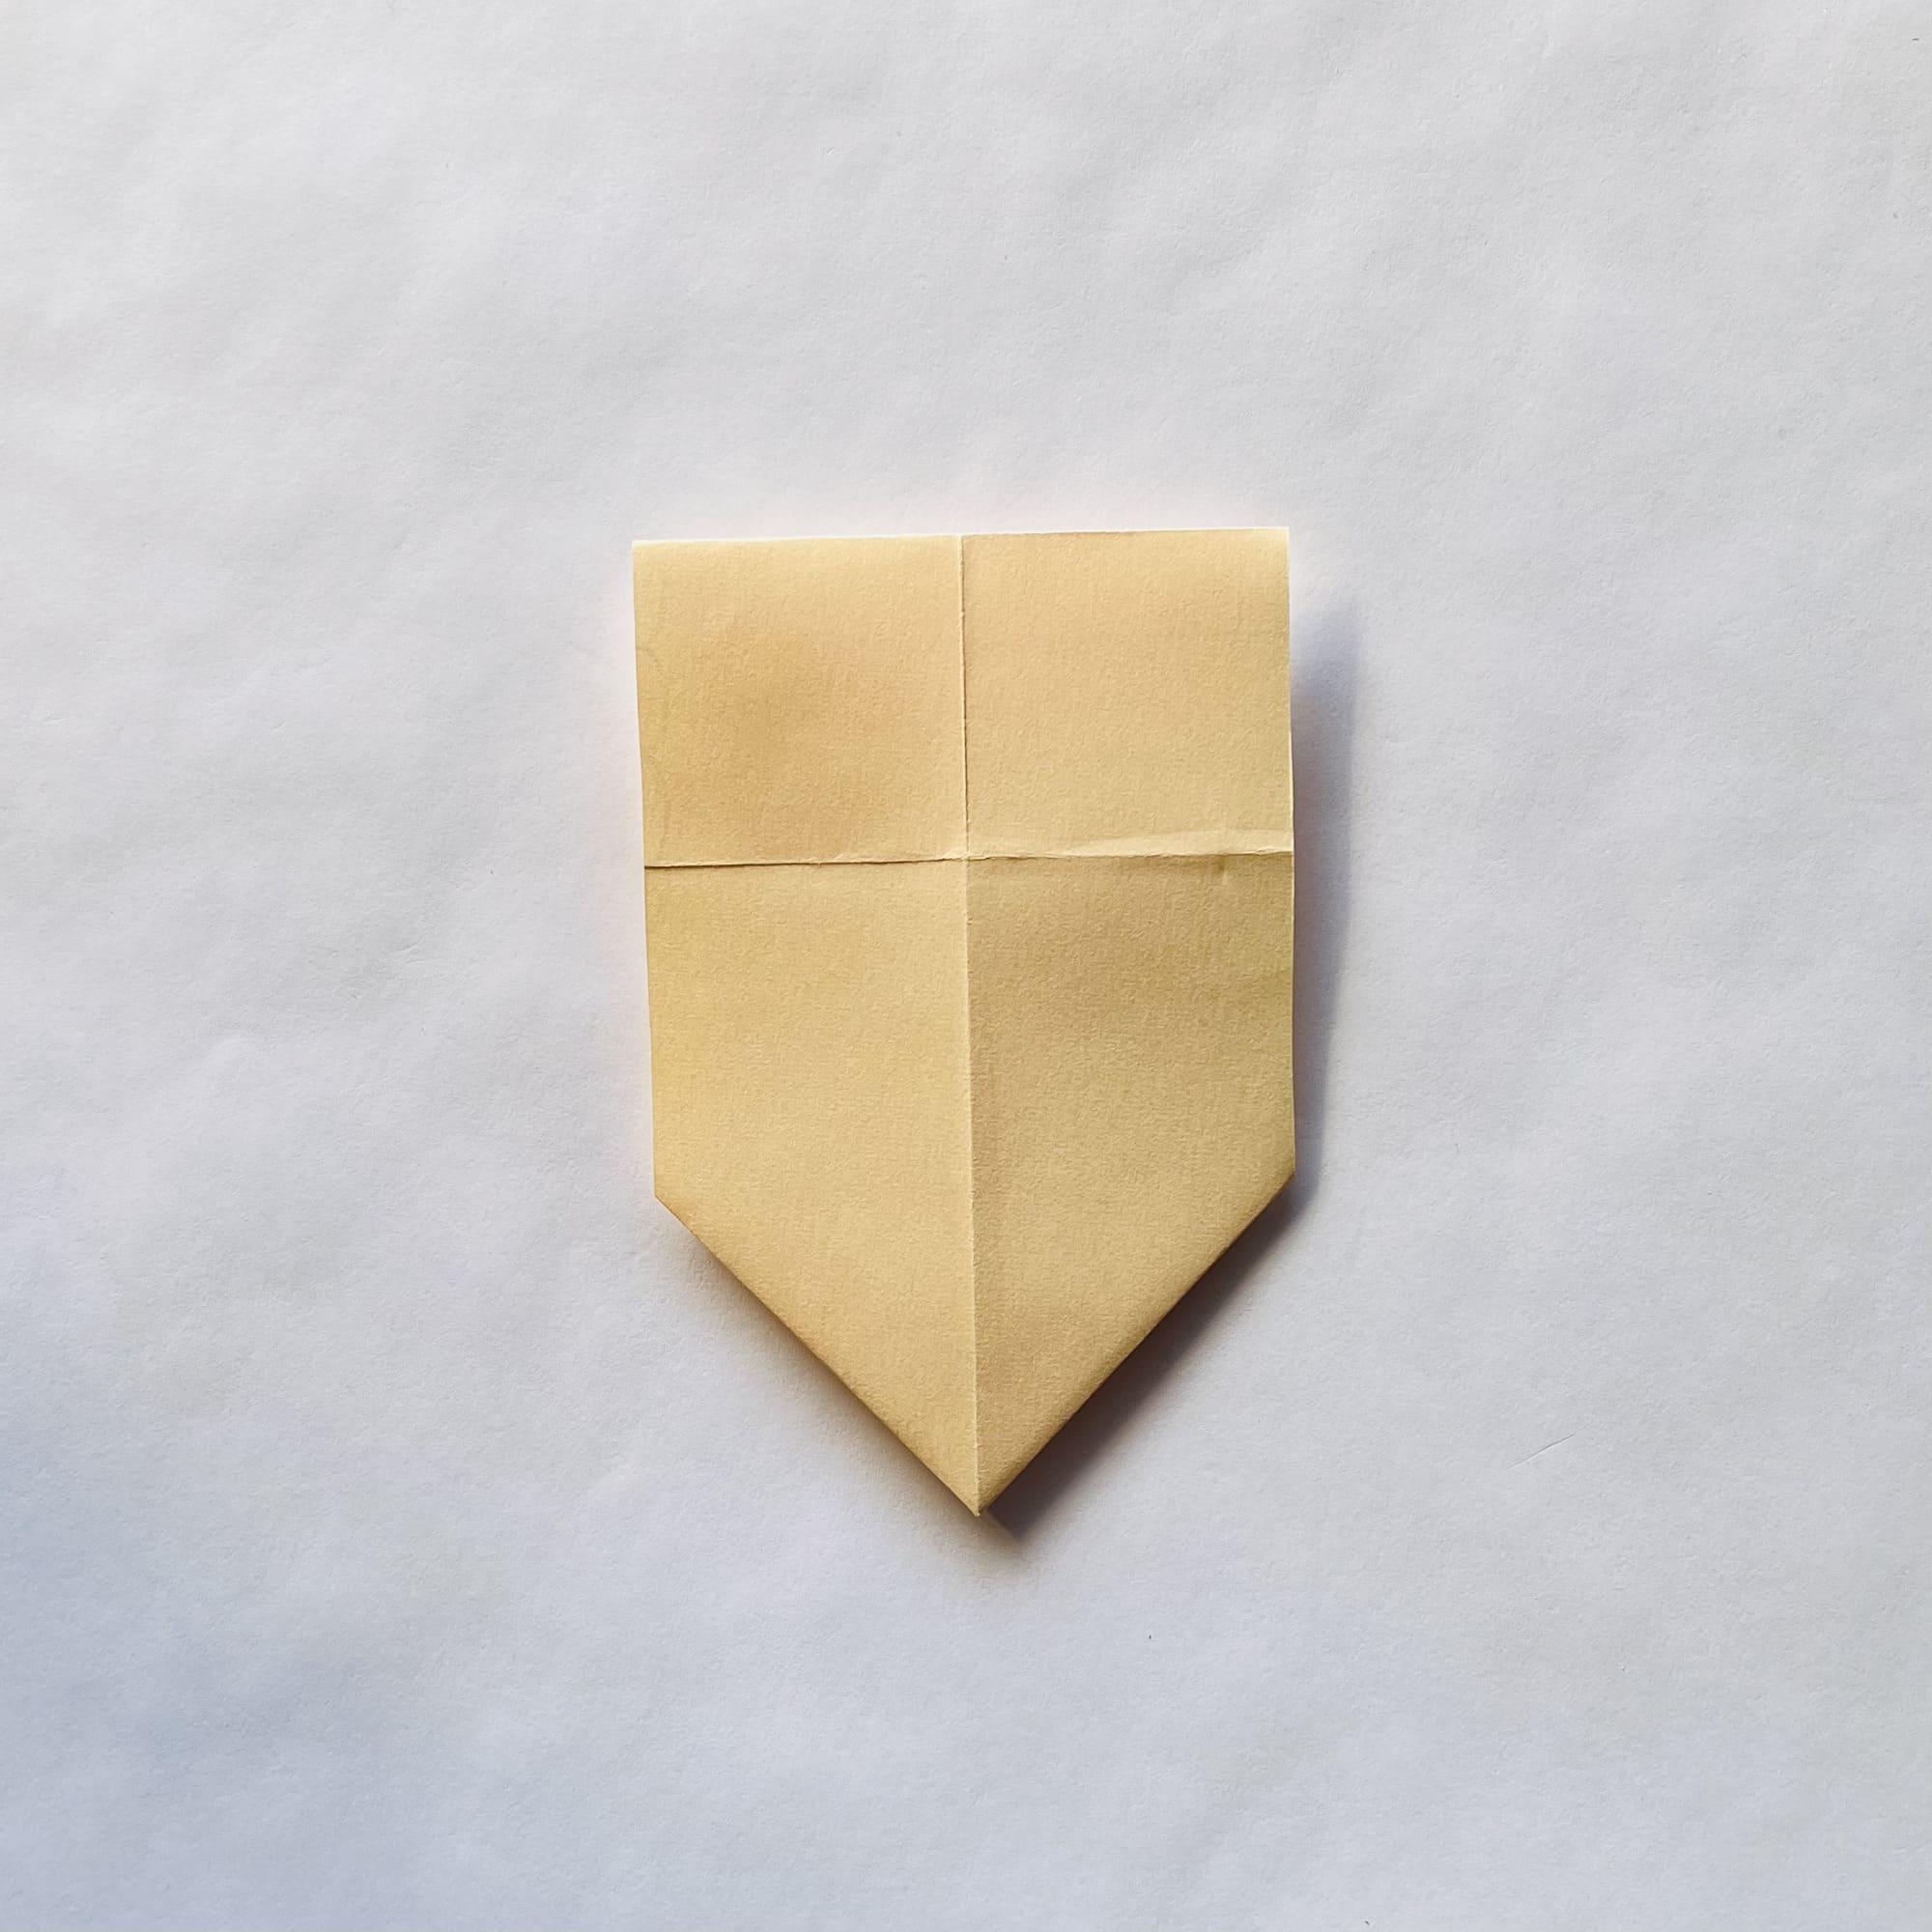
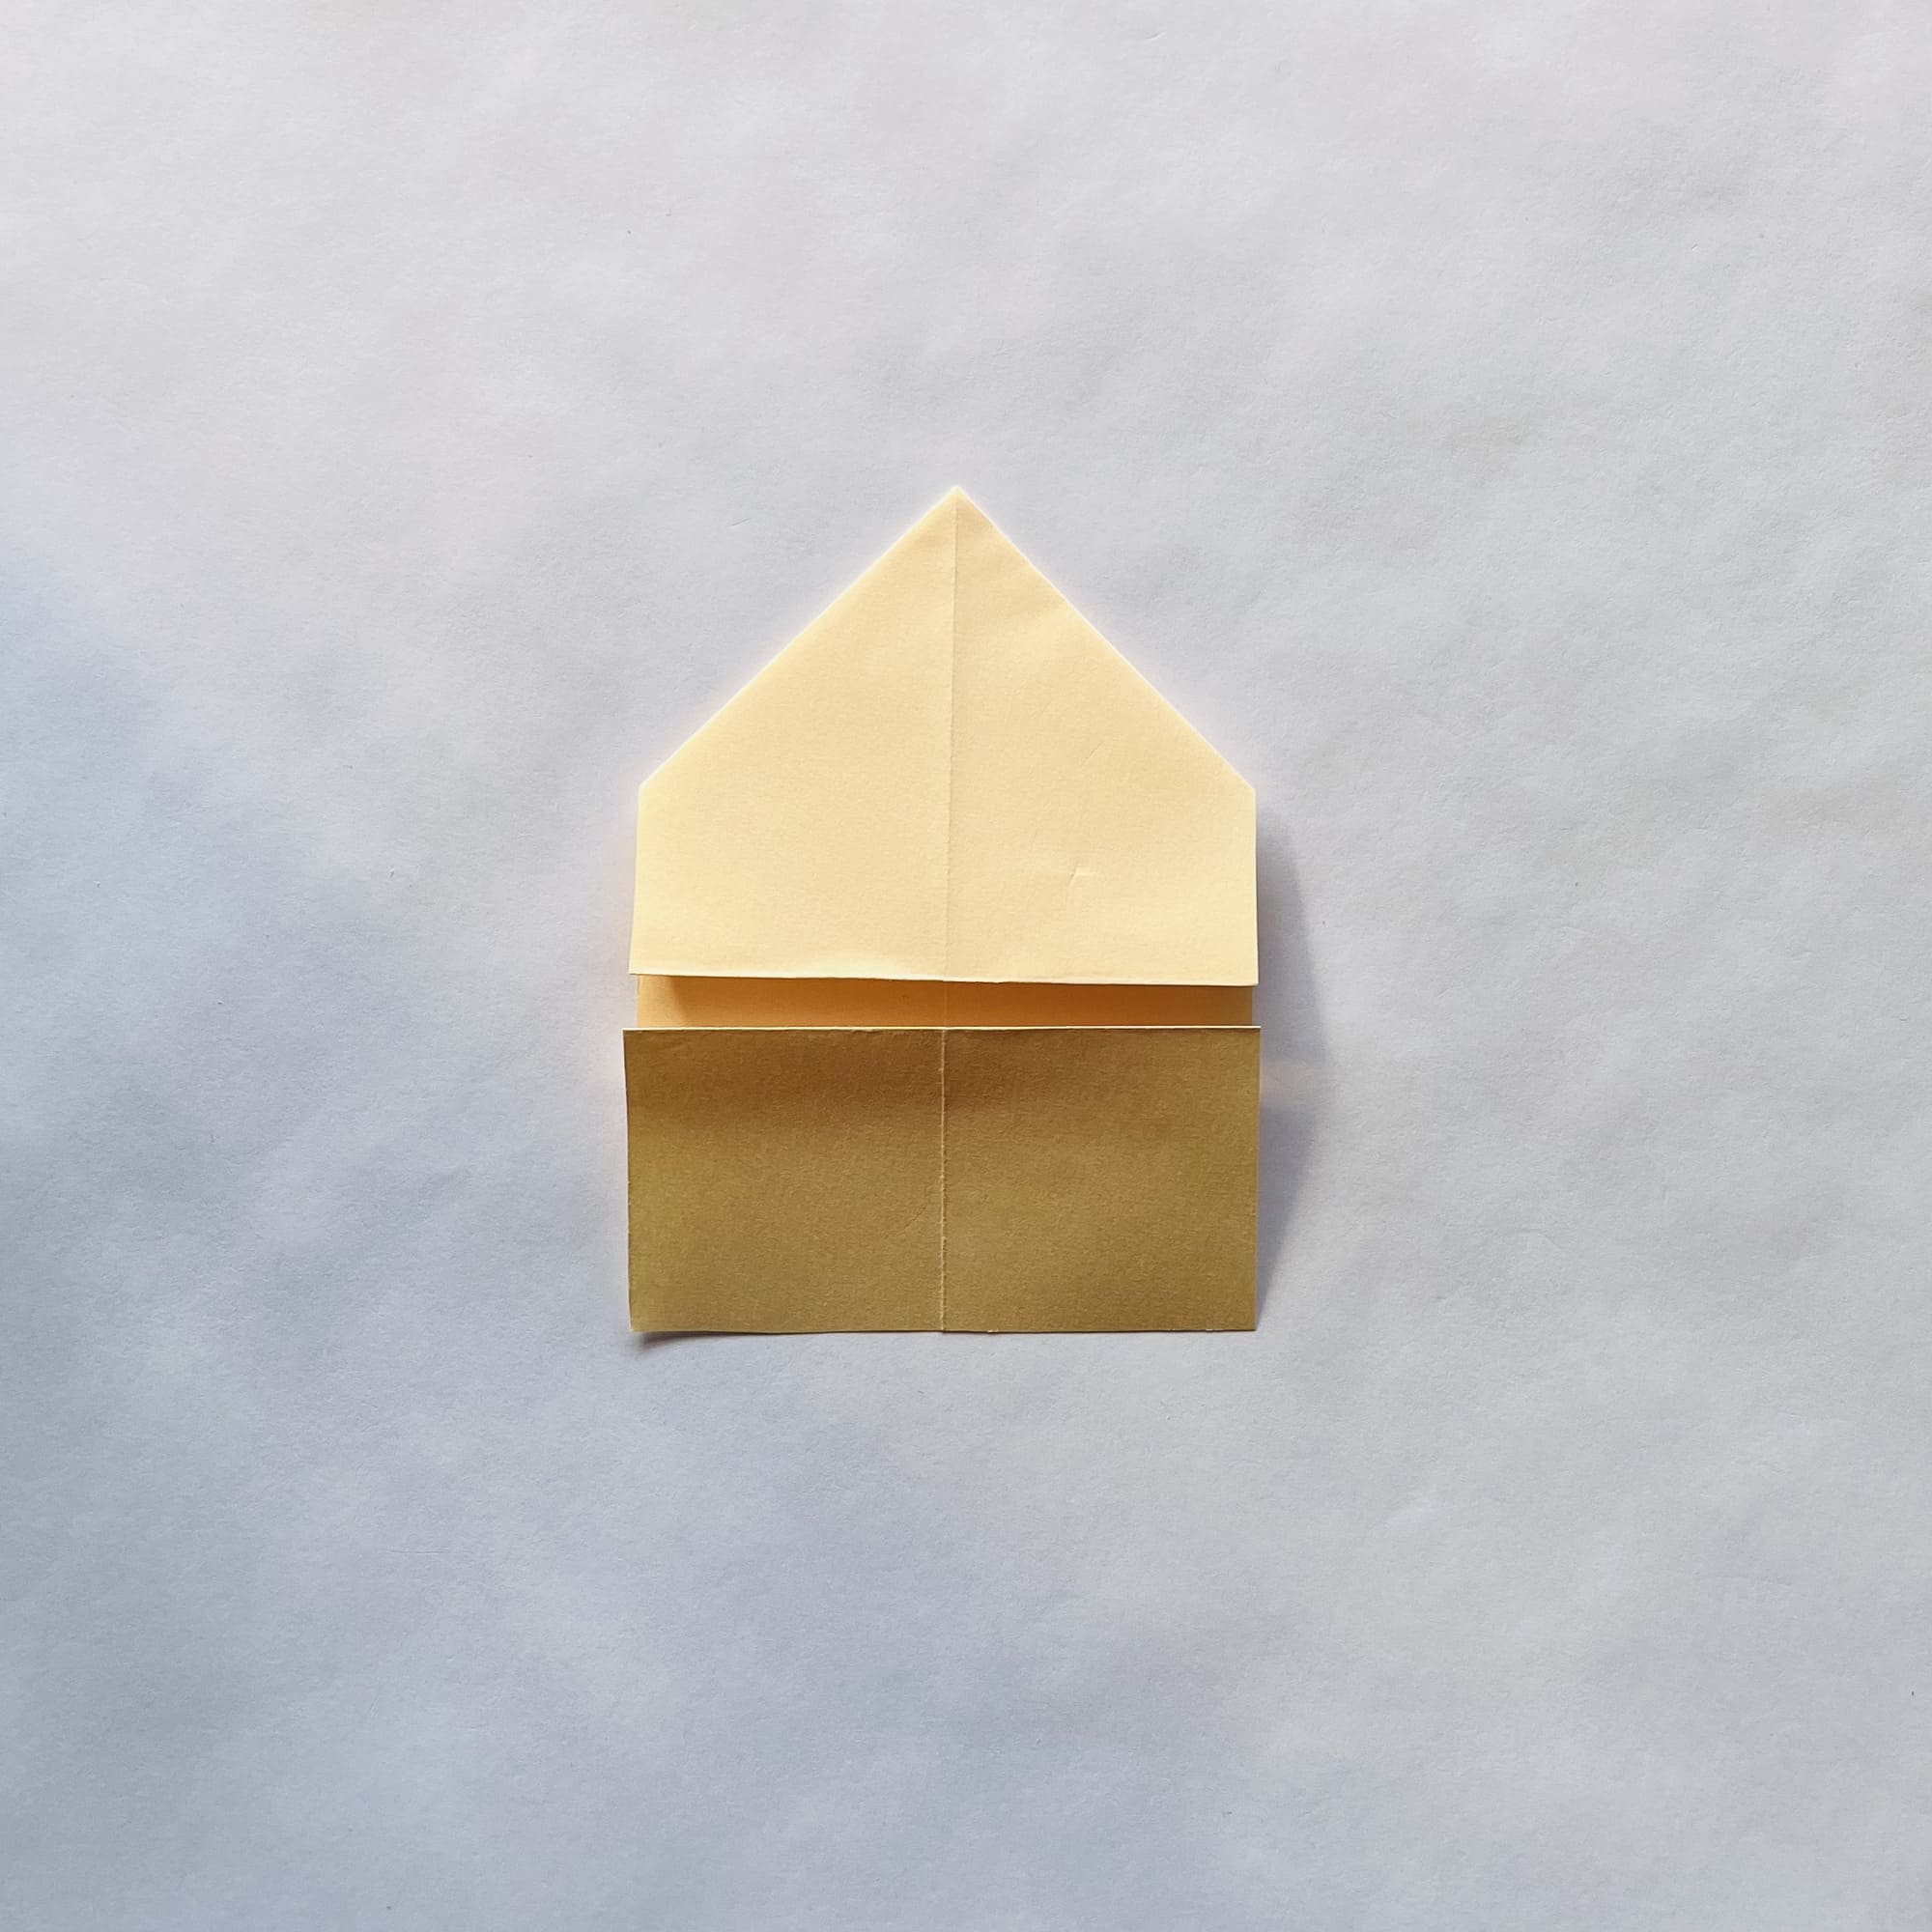
Fold the top corners to a vertical line.
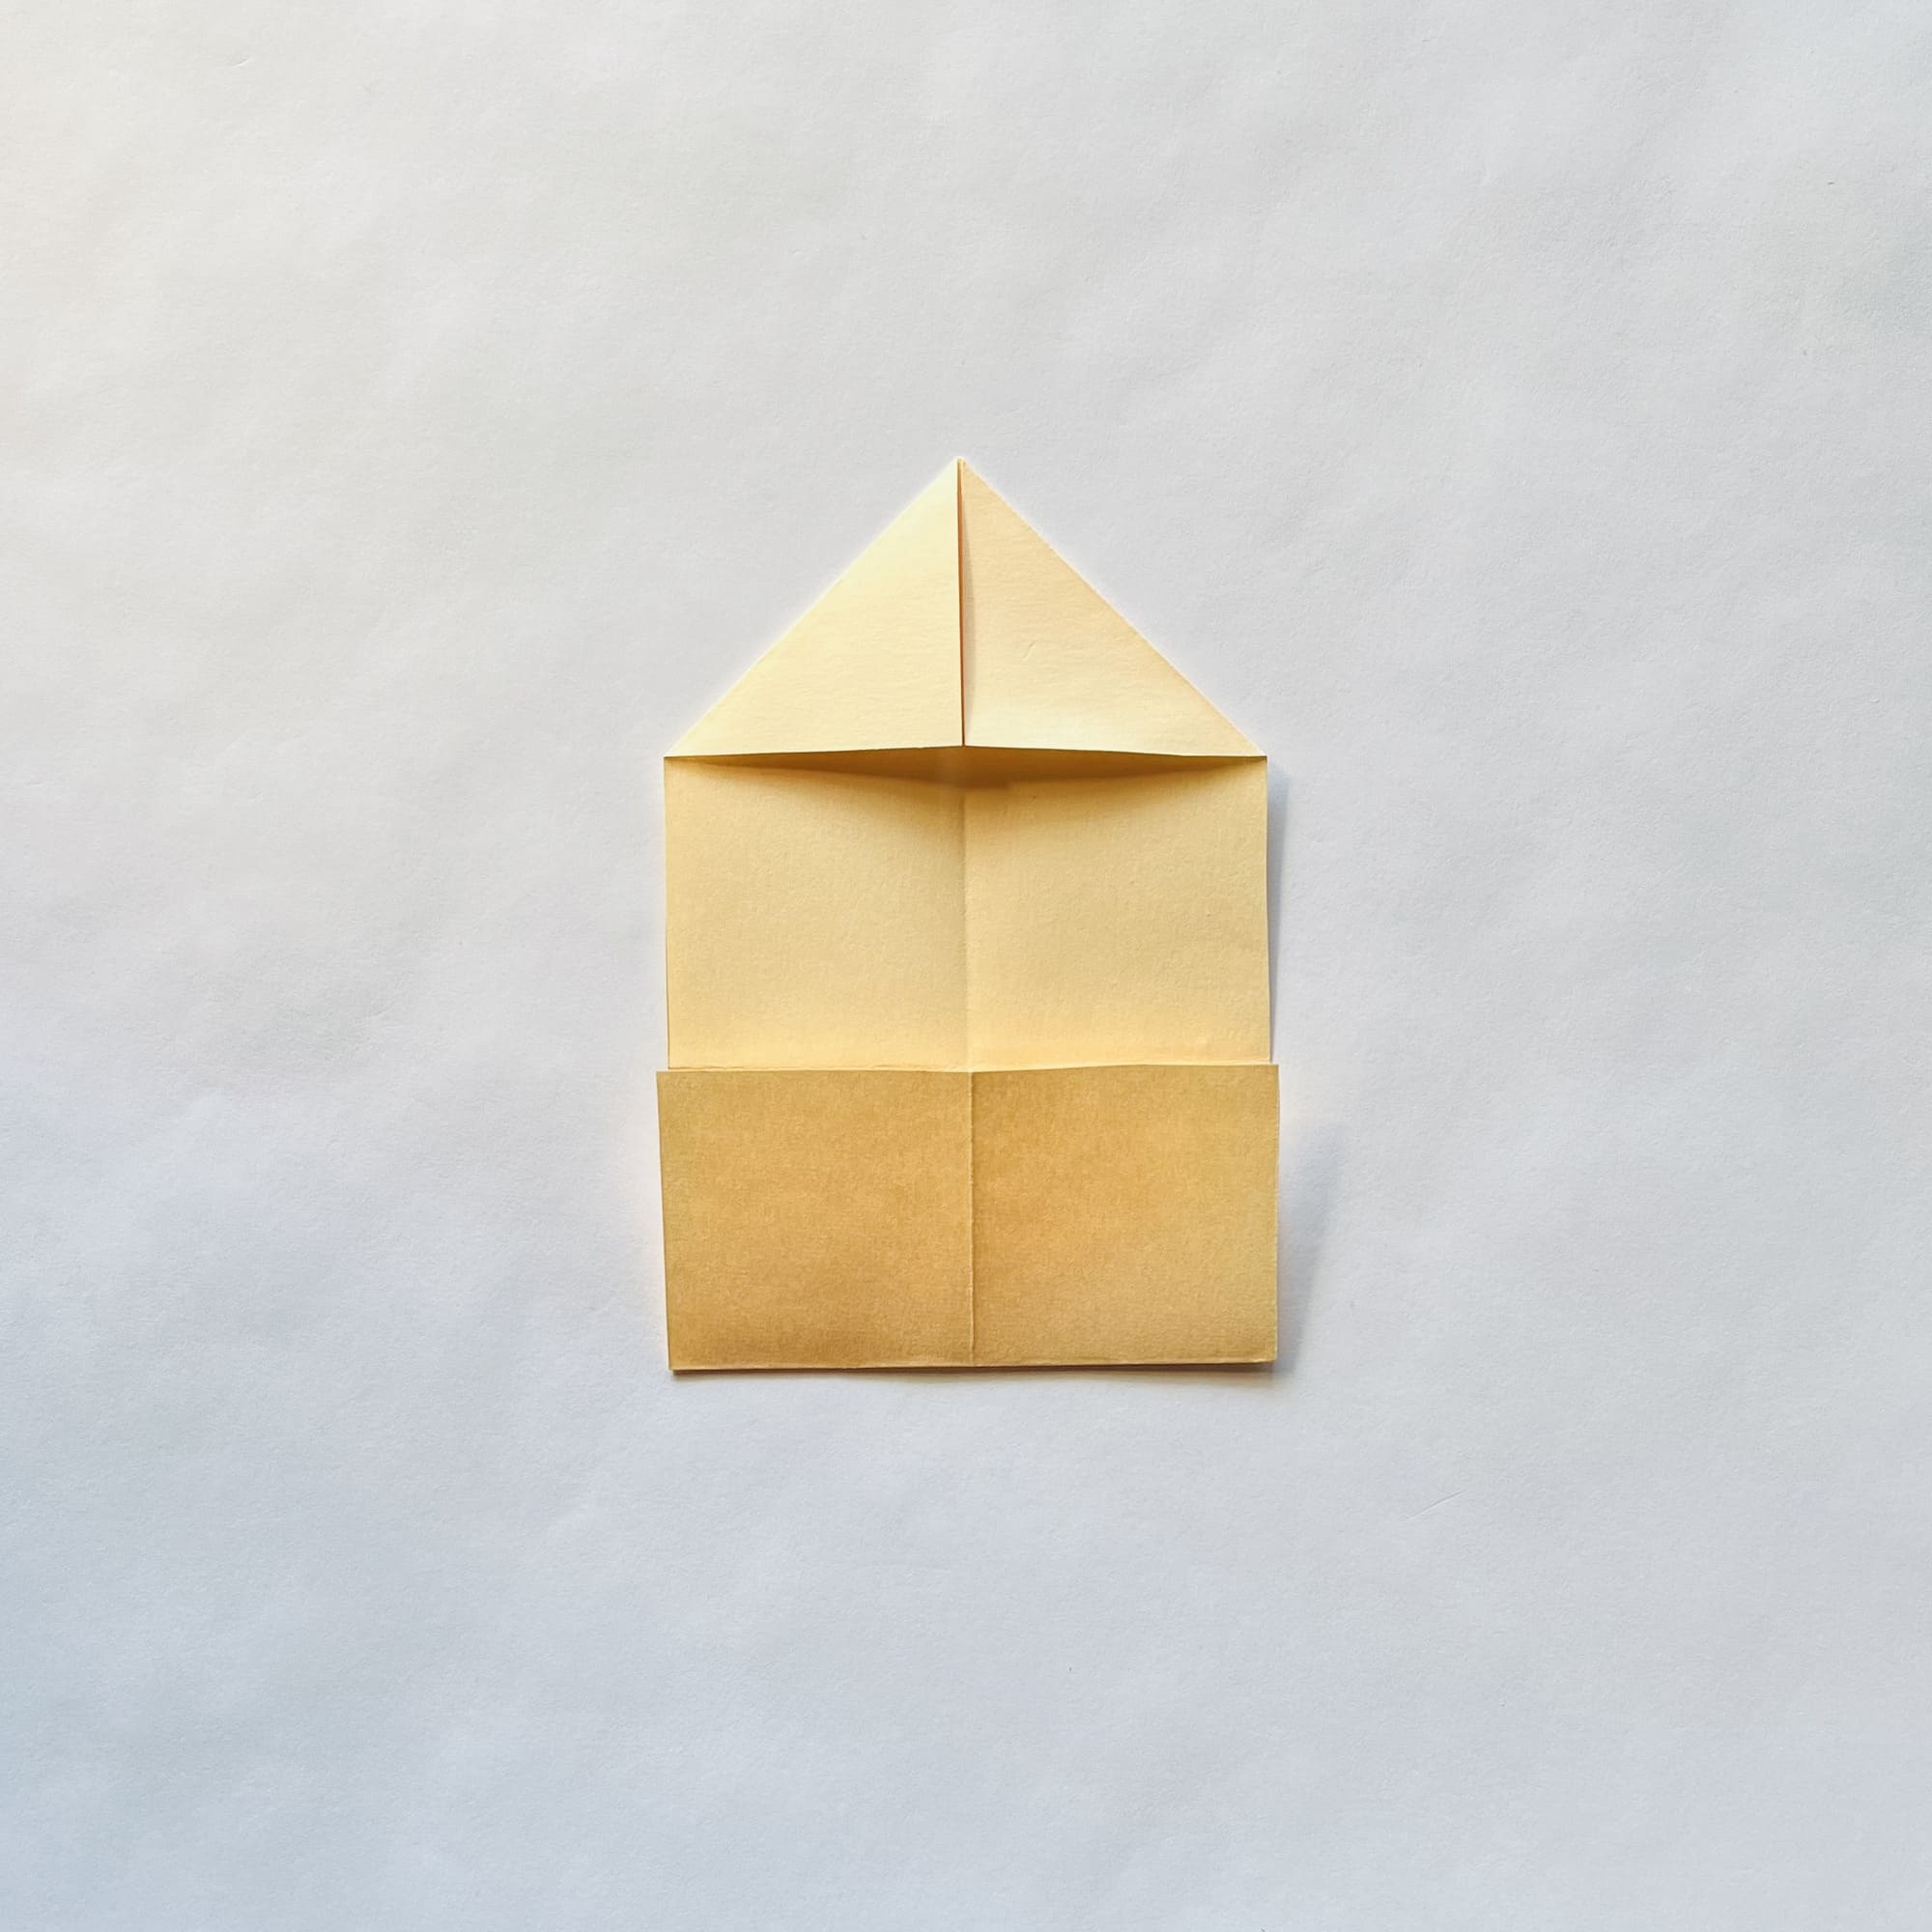
A horizontal fold divides the paper into two parts: fold the lower one in half, bending its lower edge inward.
Carefully crease the fold and unfold.

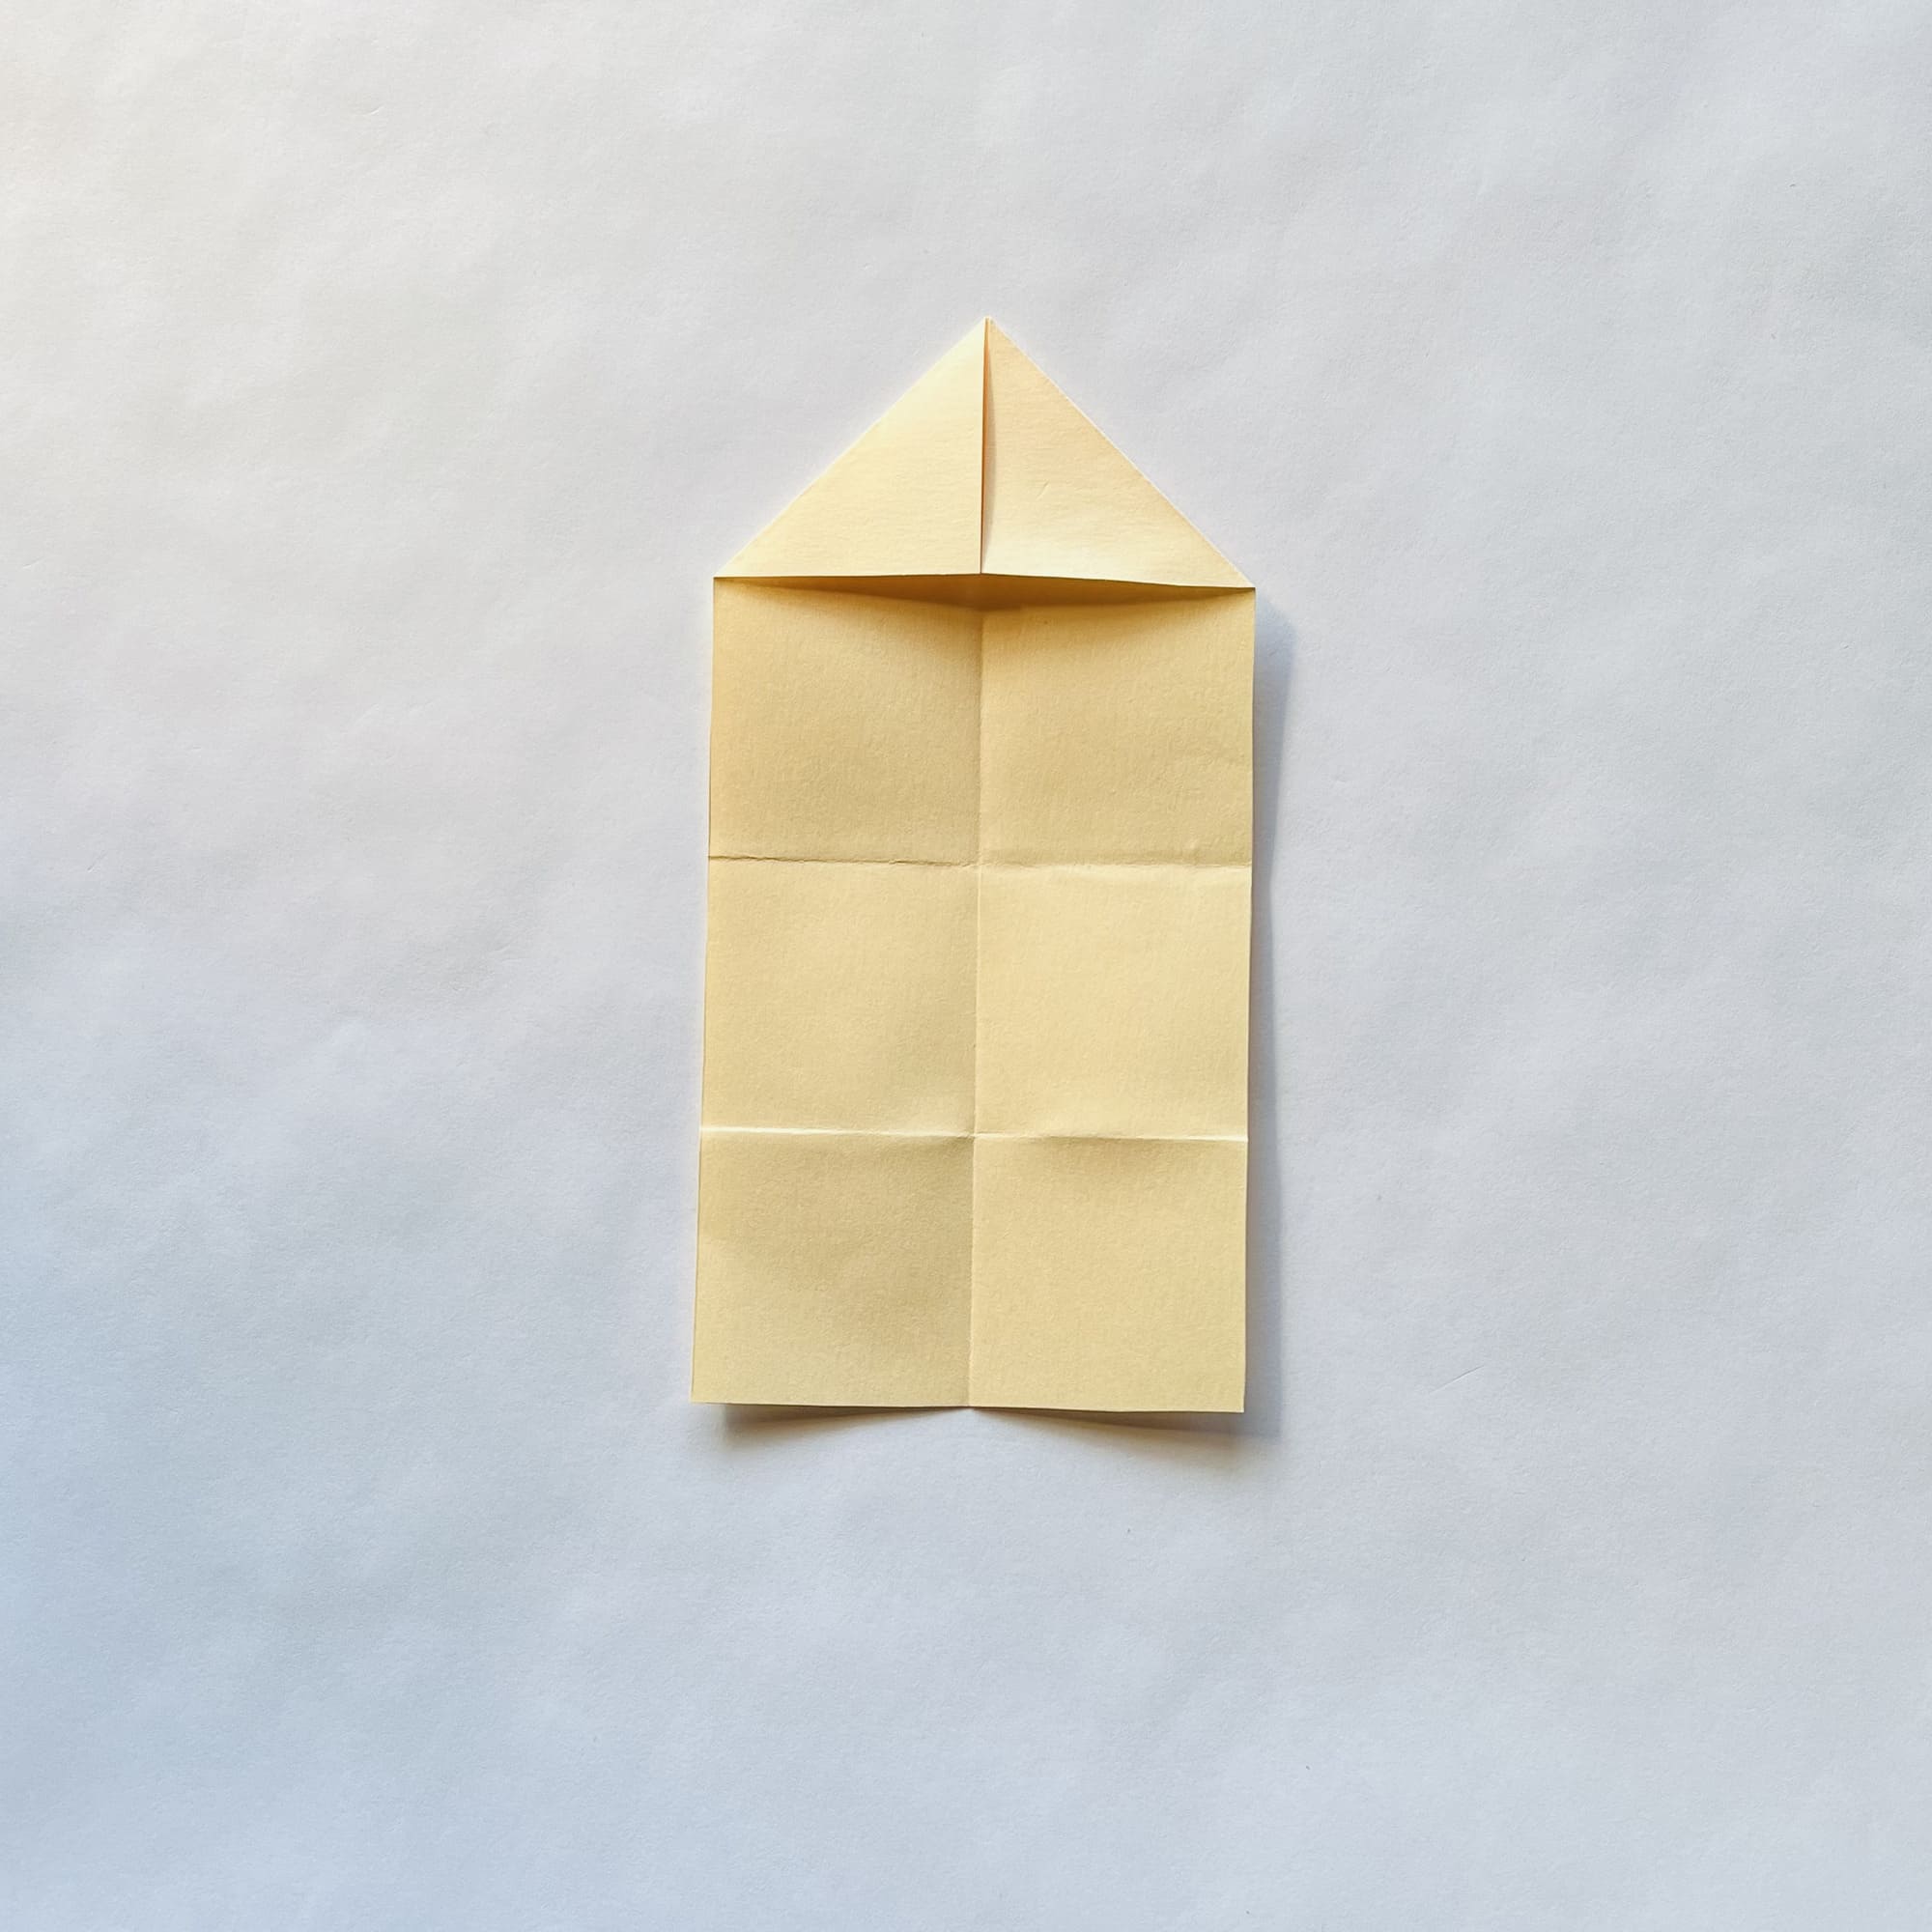
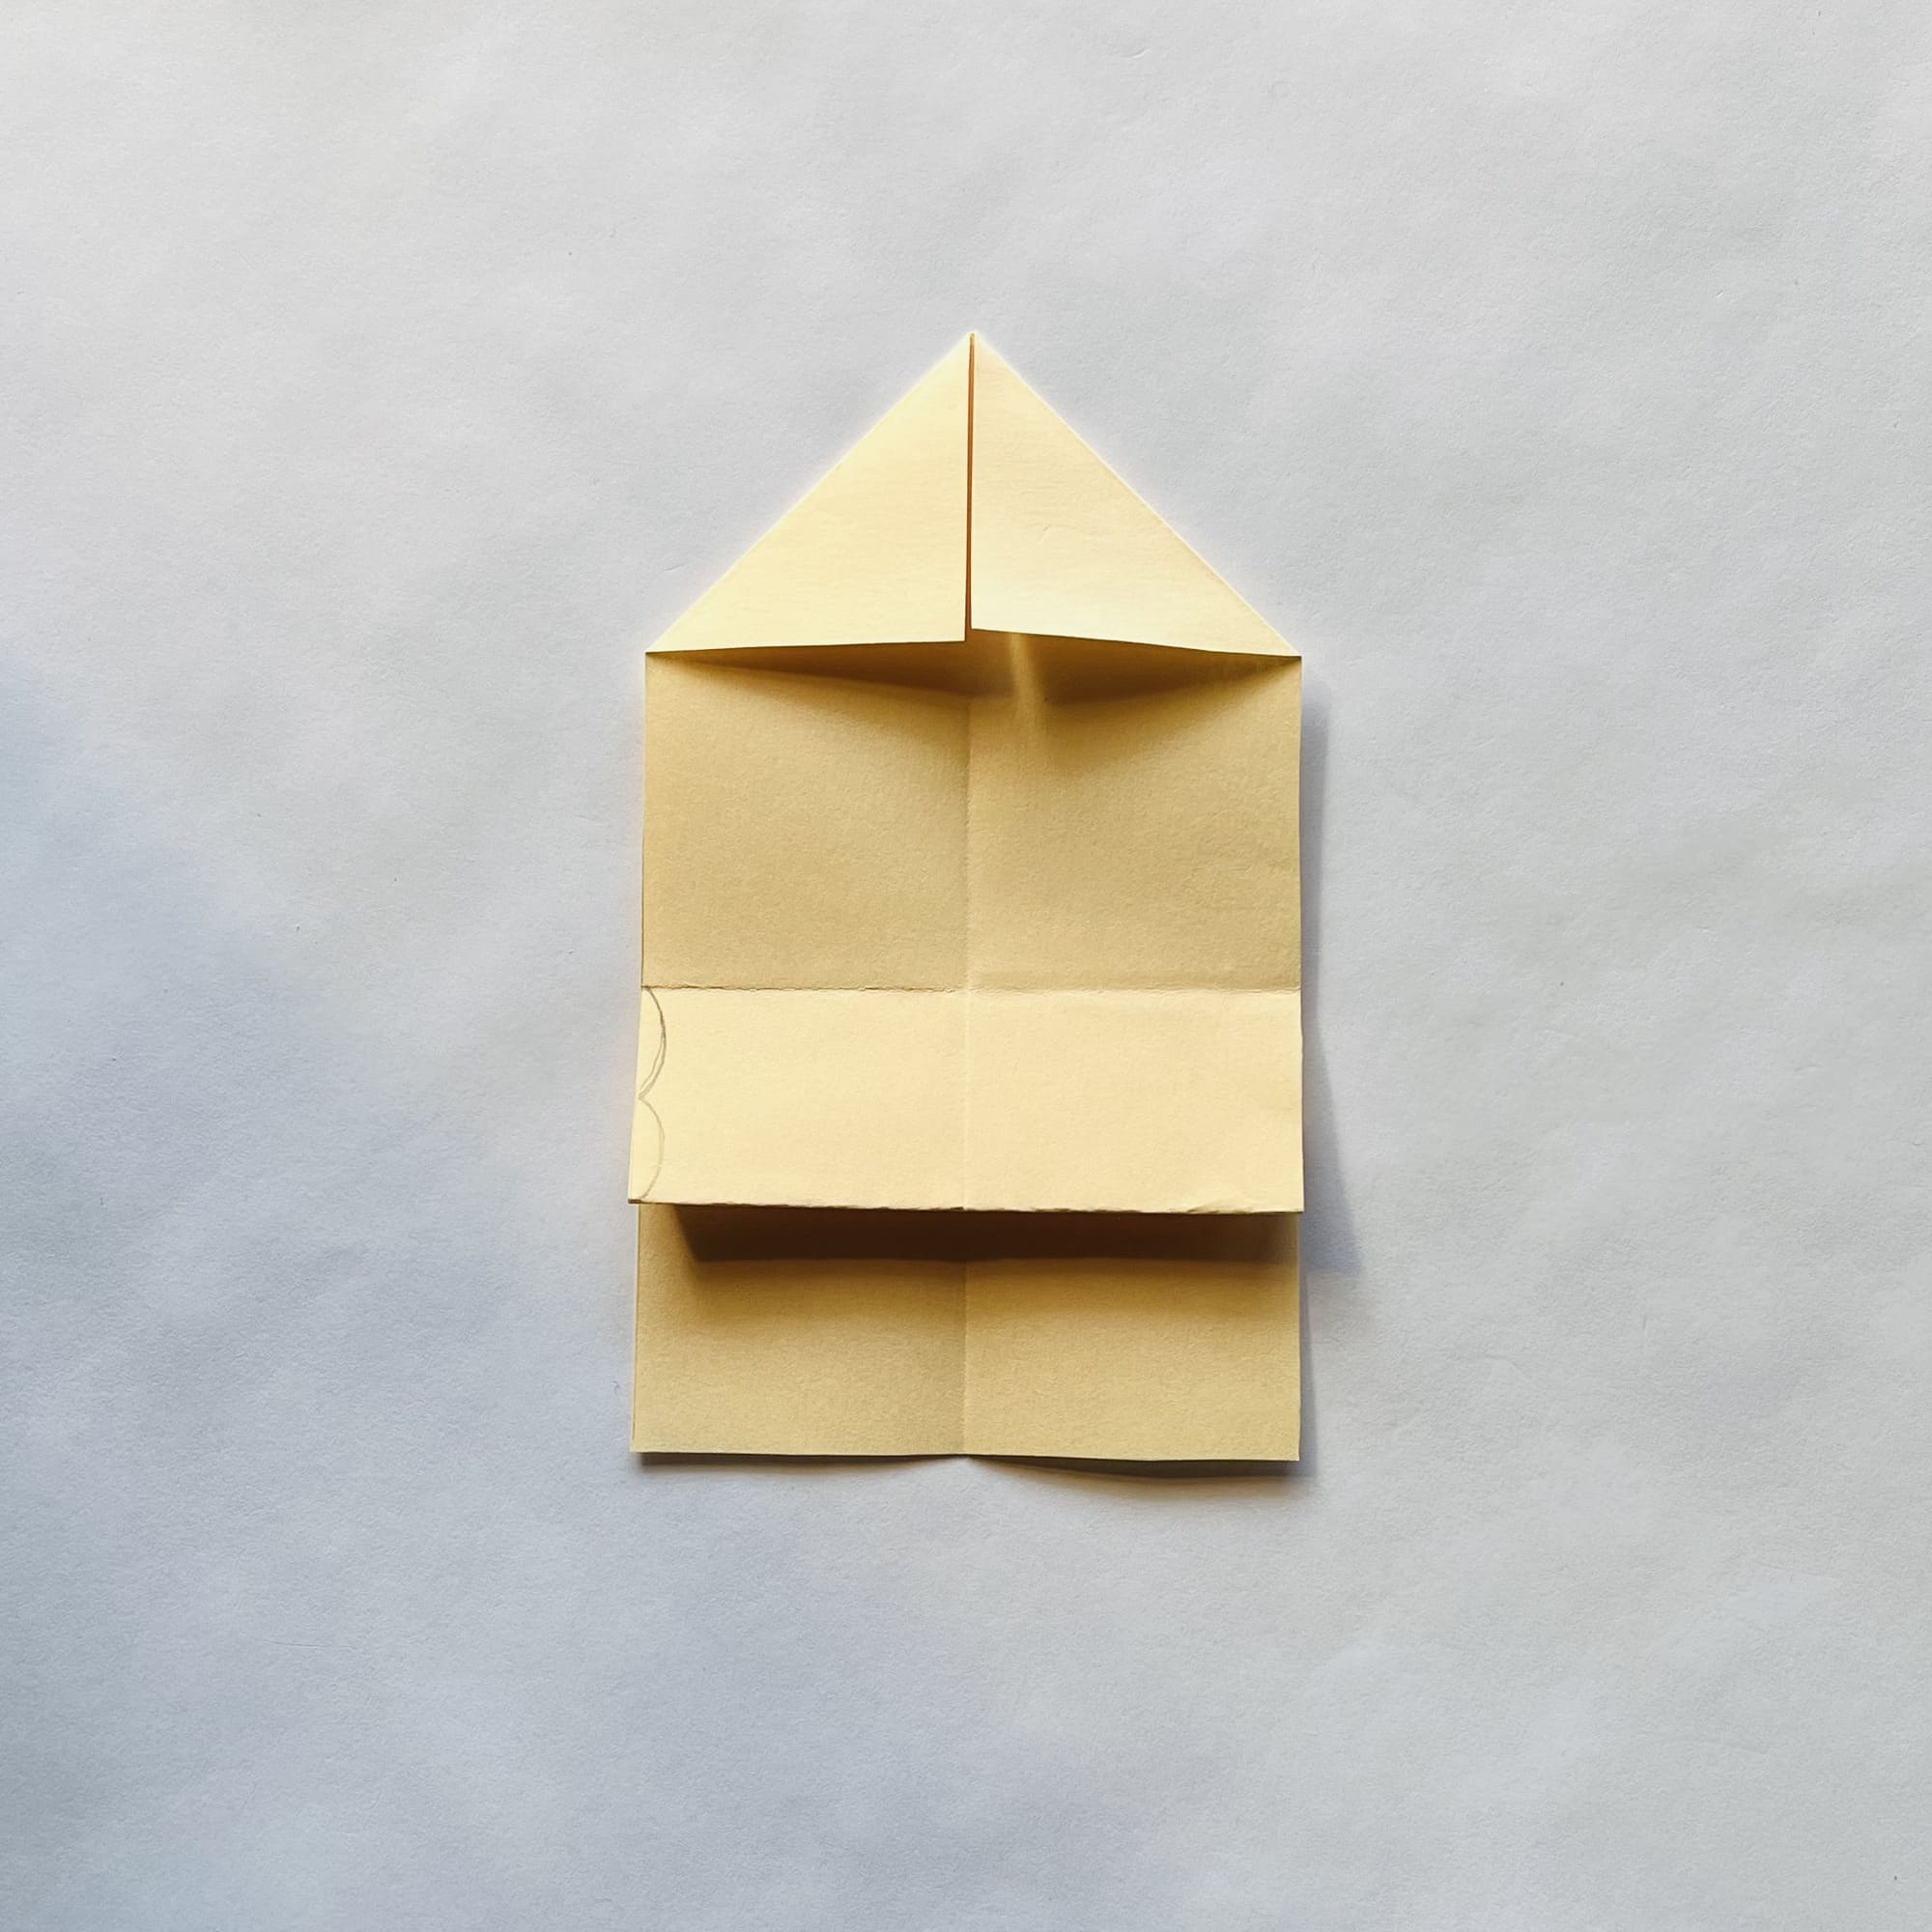
The central third portion must be divided into three equal parts. Draw a horizontal line between the middle and bottom using a pencil.
Fold the top down, aligning along the lowest fold line.
Now, bend it upward along the horizontal line that you drew with a pencil.
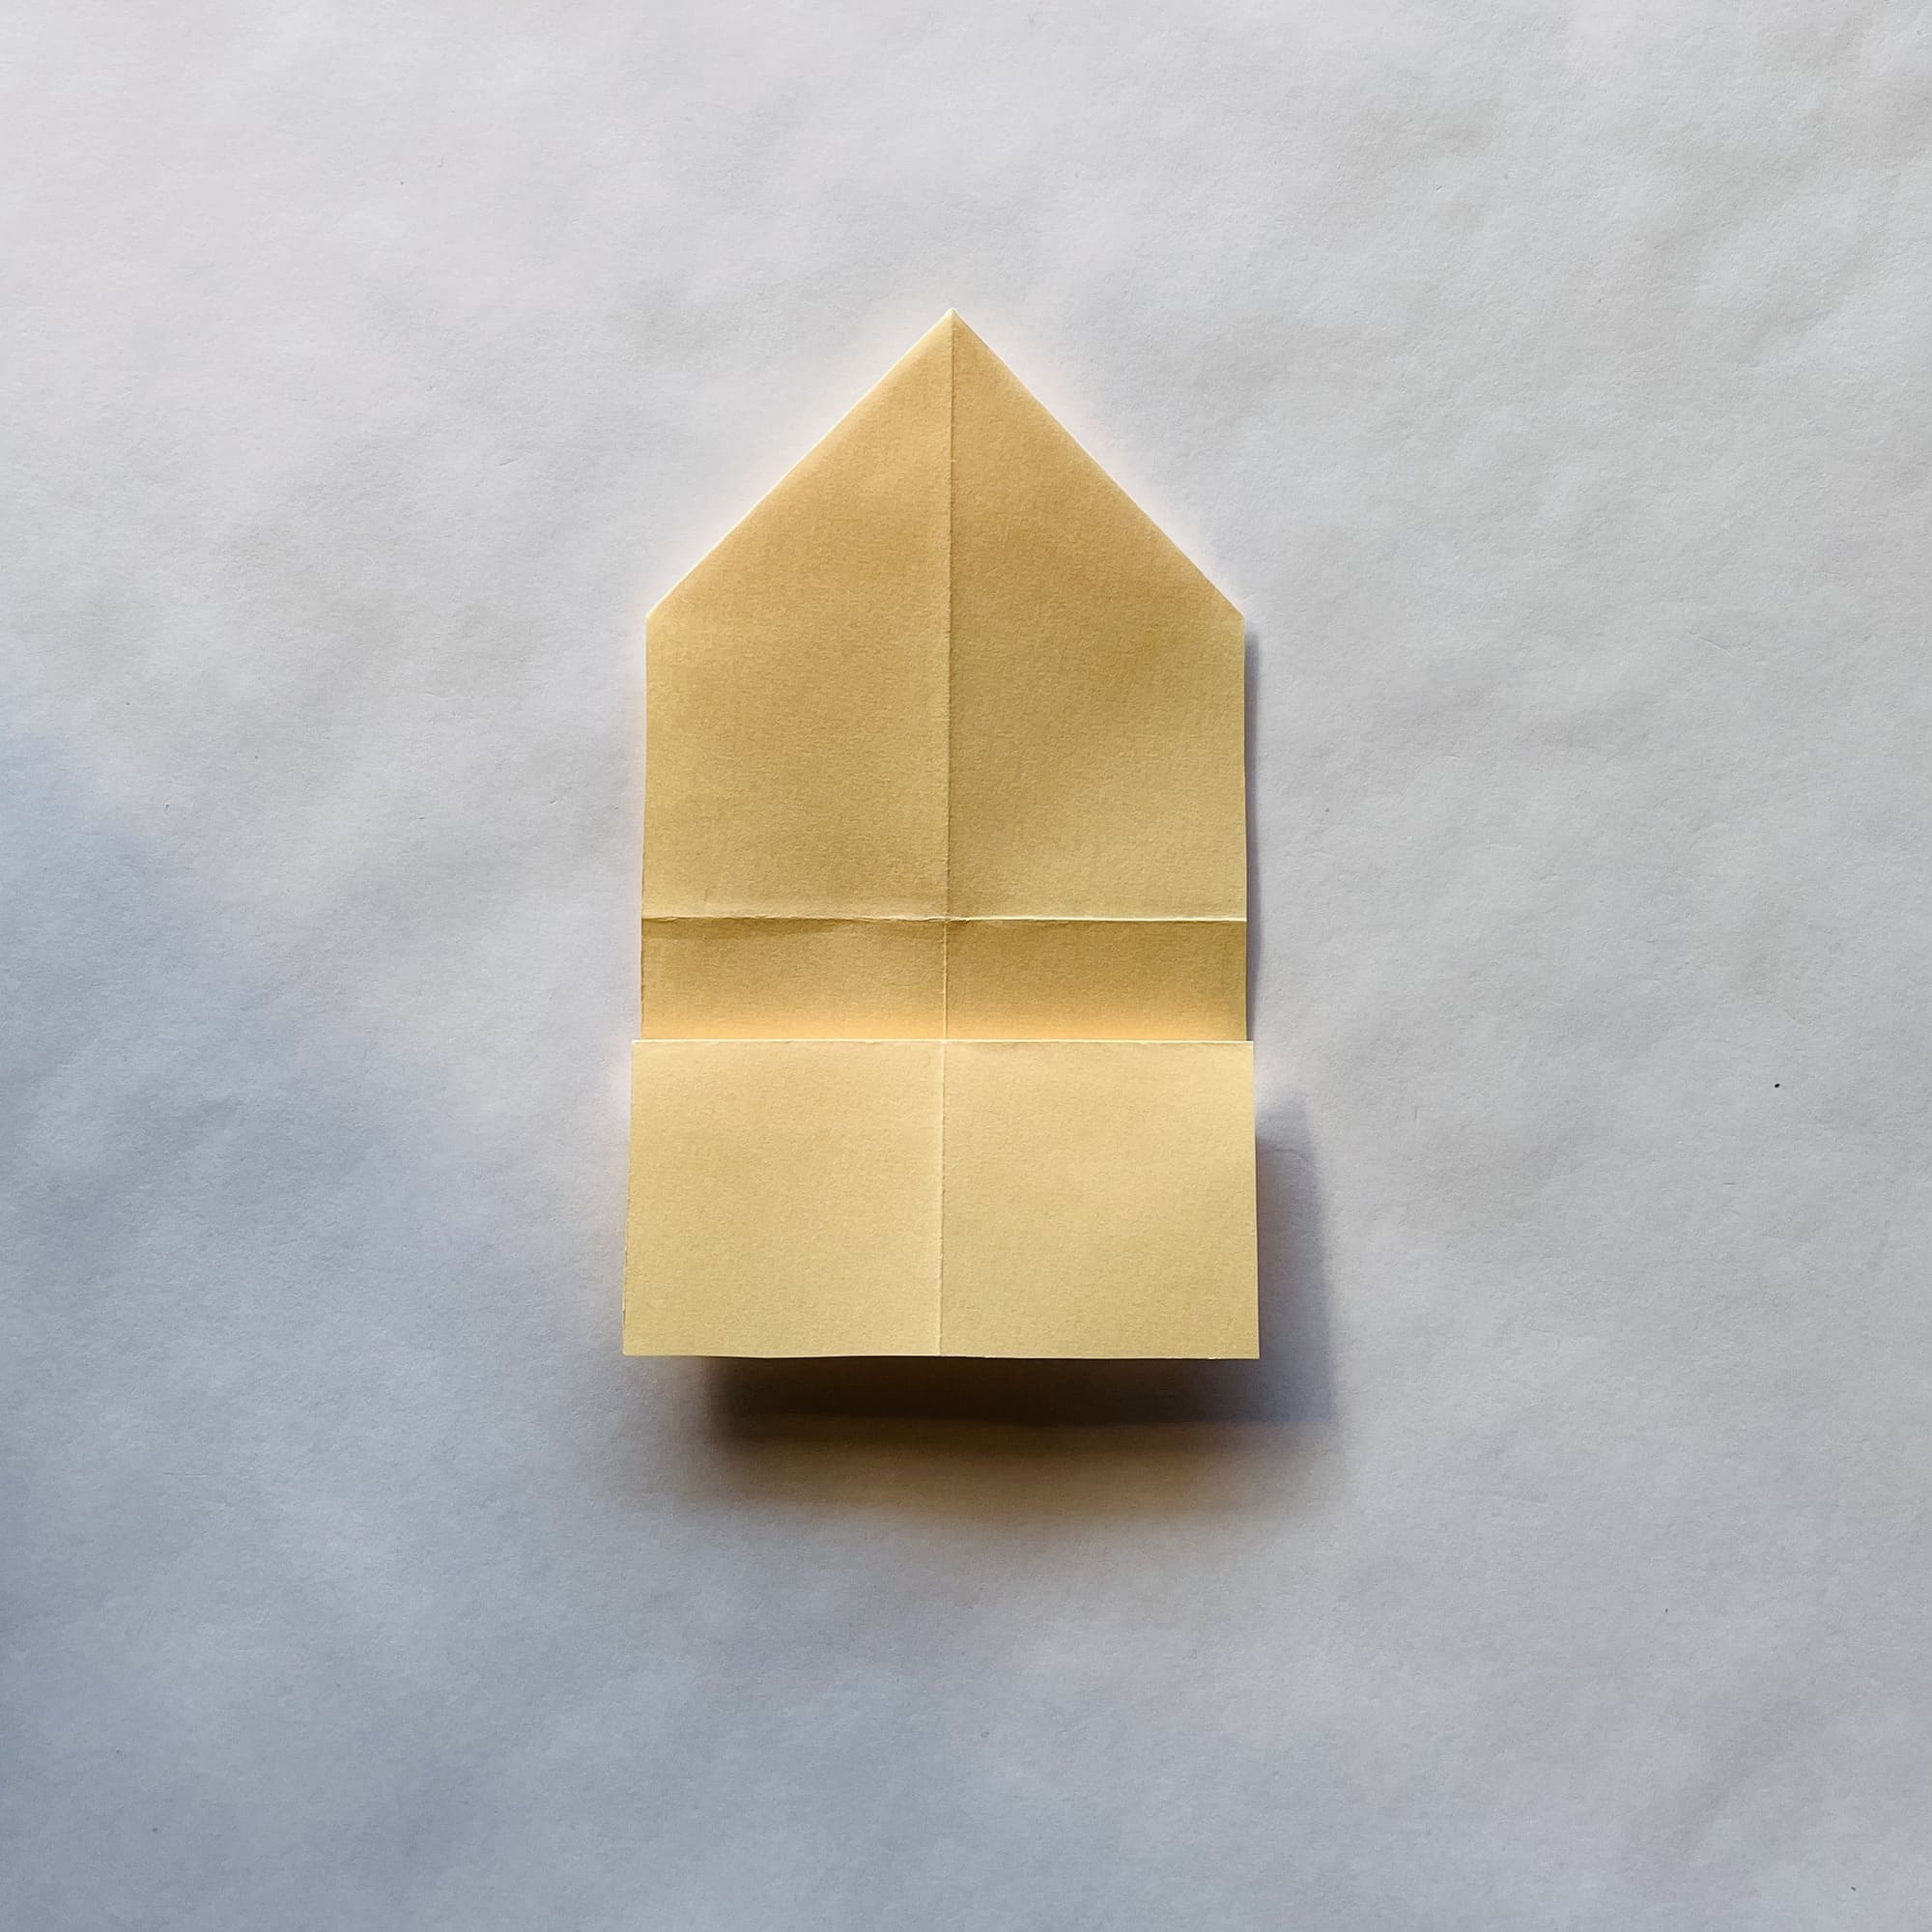
Turn the paper over.
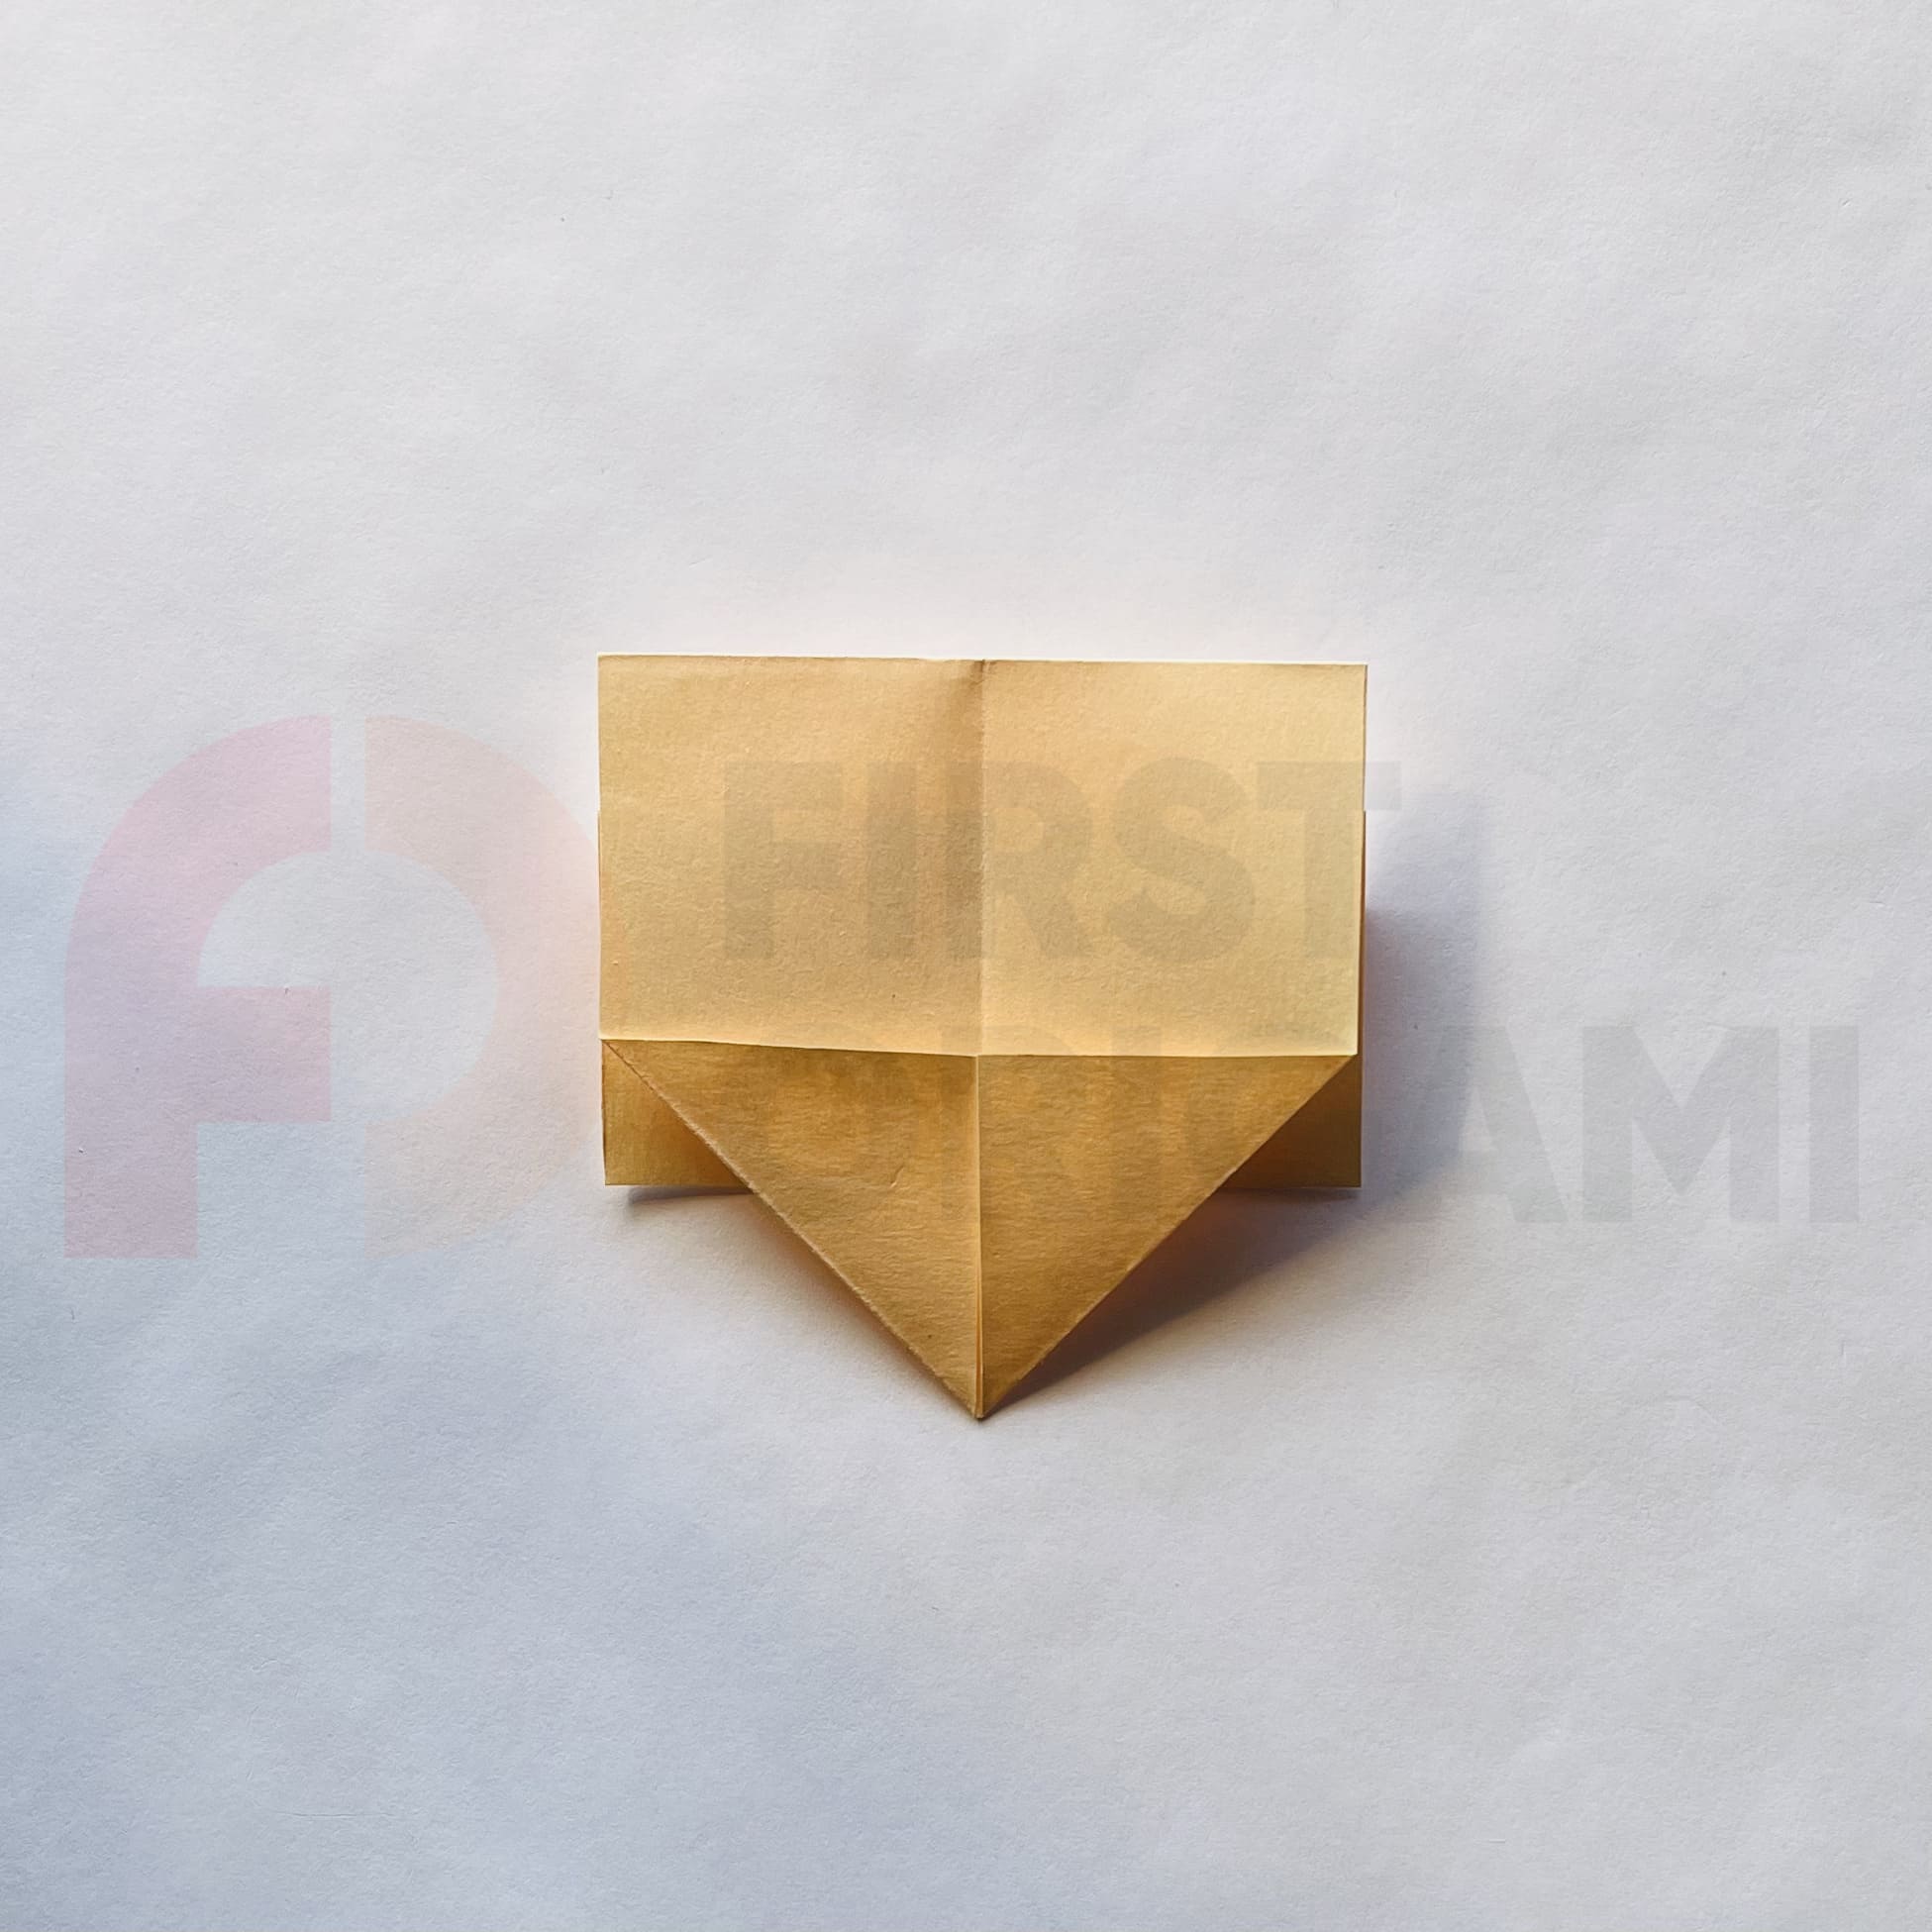
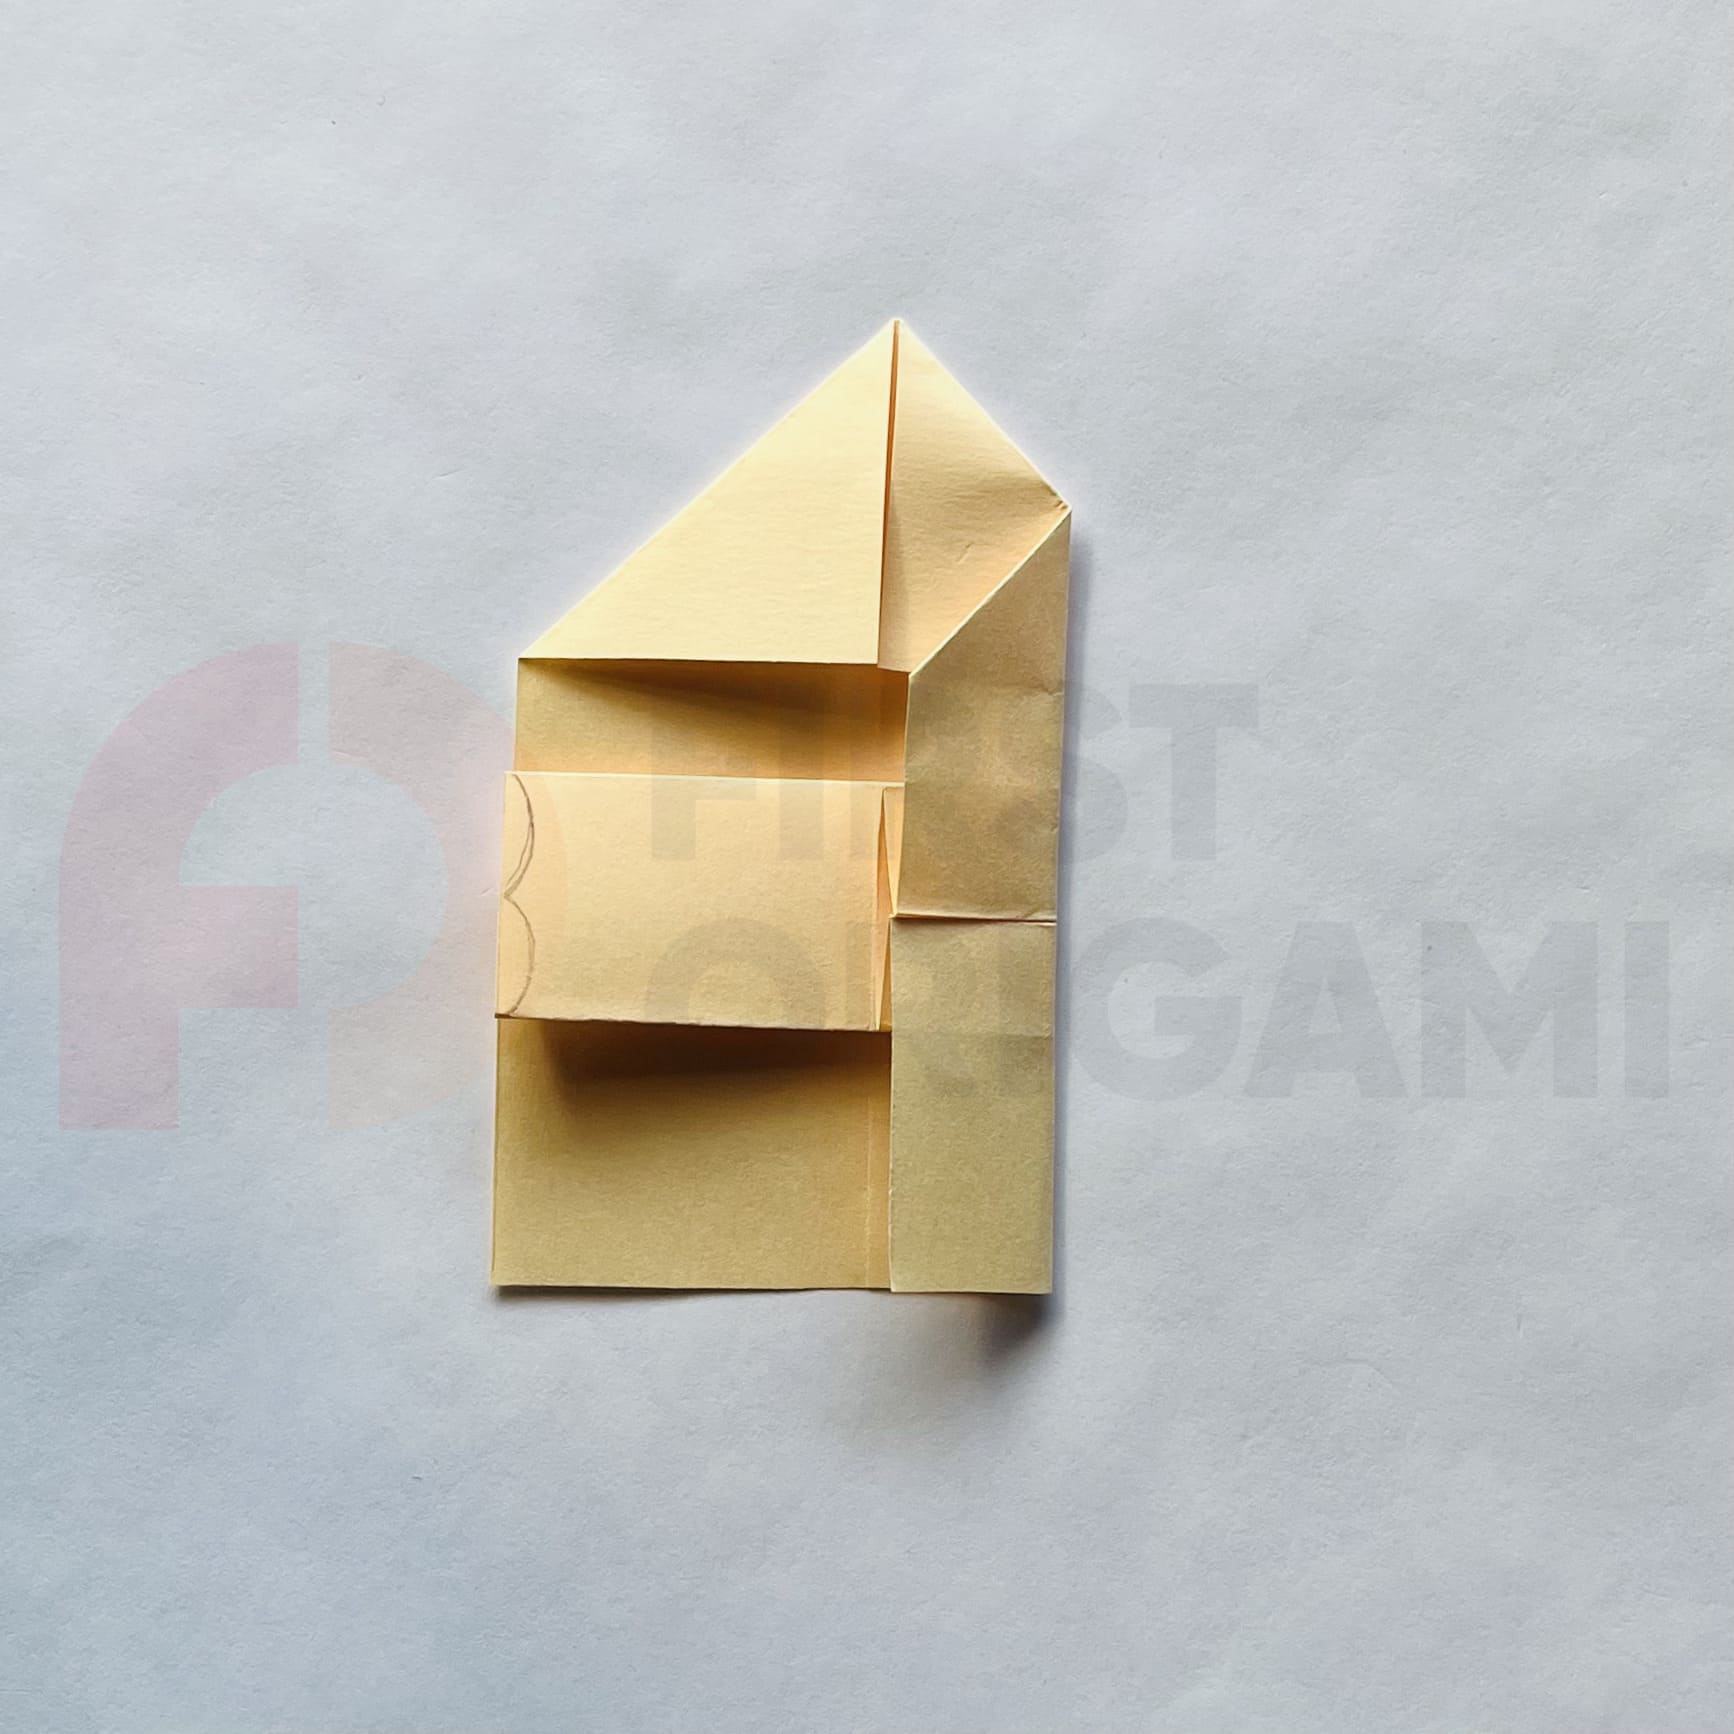
Fold the top down along the fold line.
Next, fold this part up, as shown in the photo.

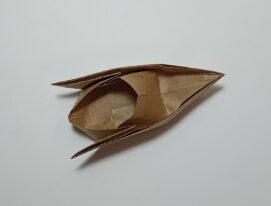
Check how the paper should look from the side.

Turn the shape over.
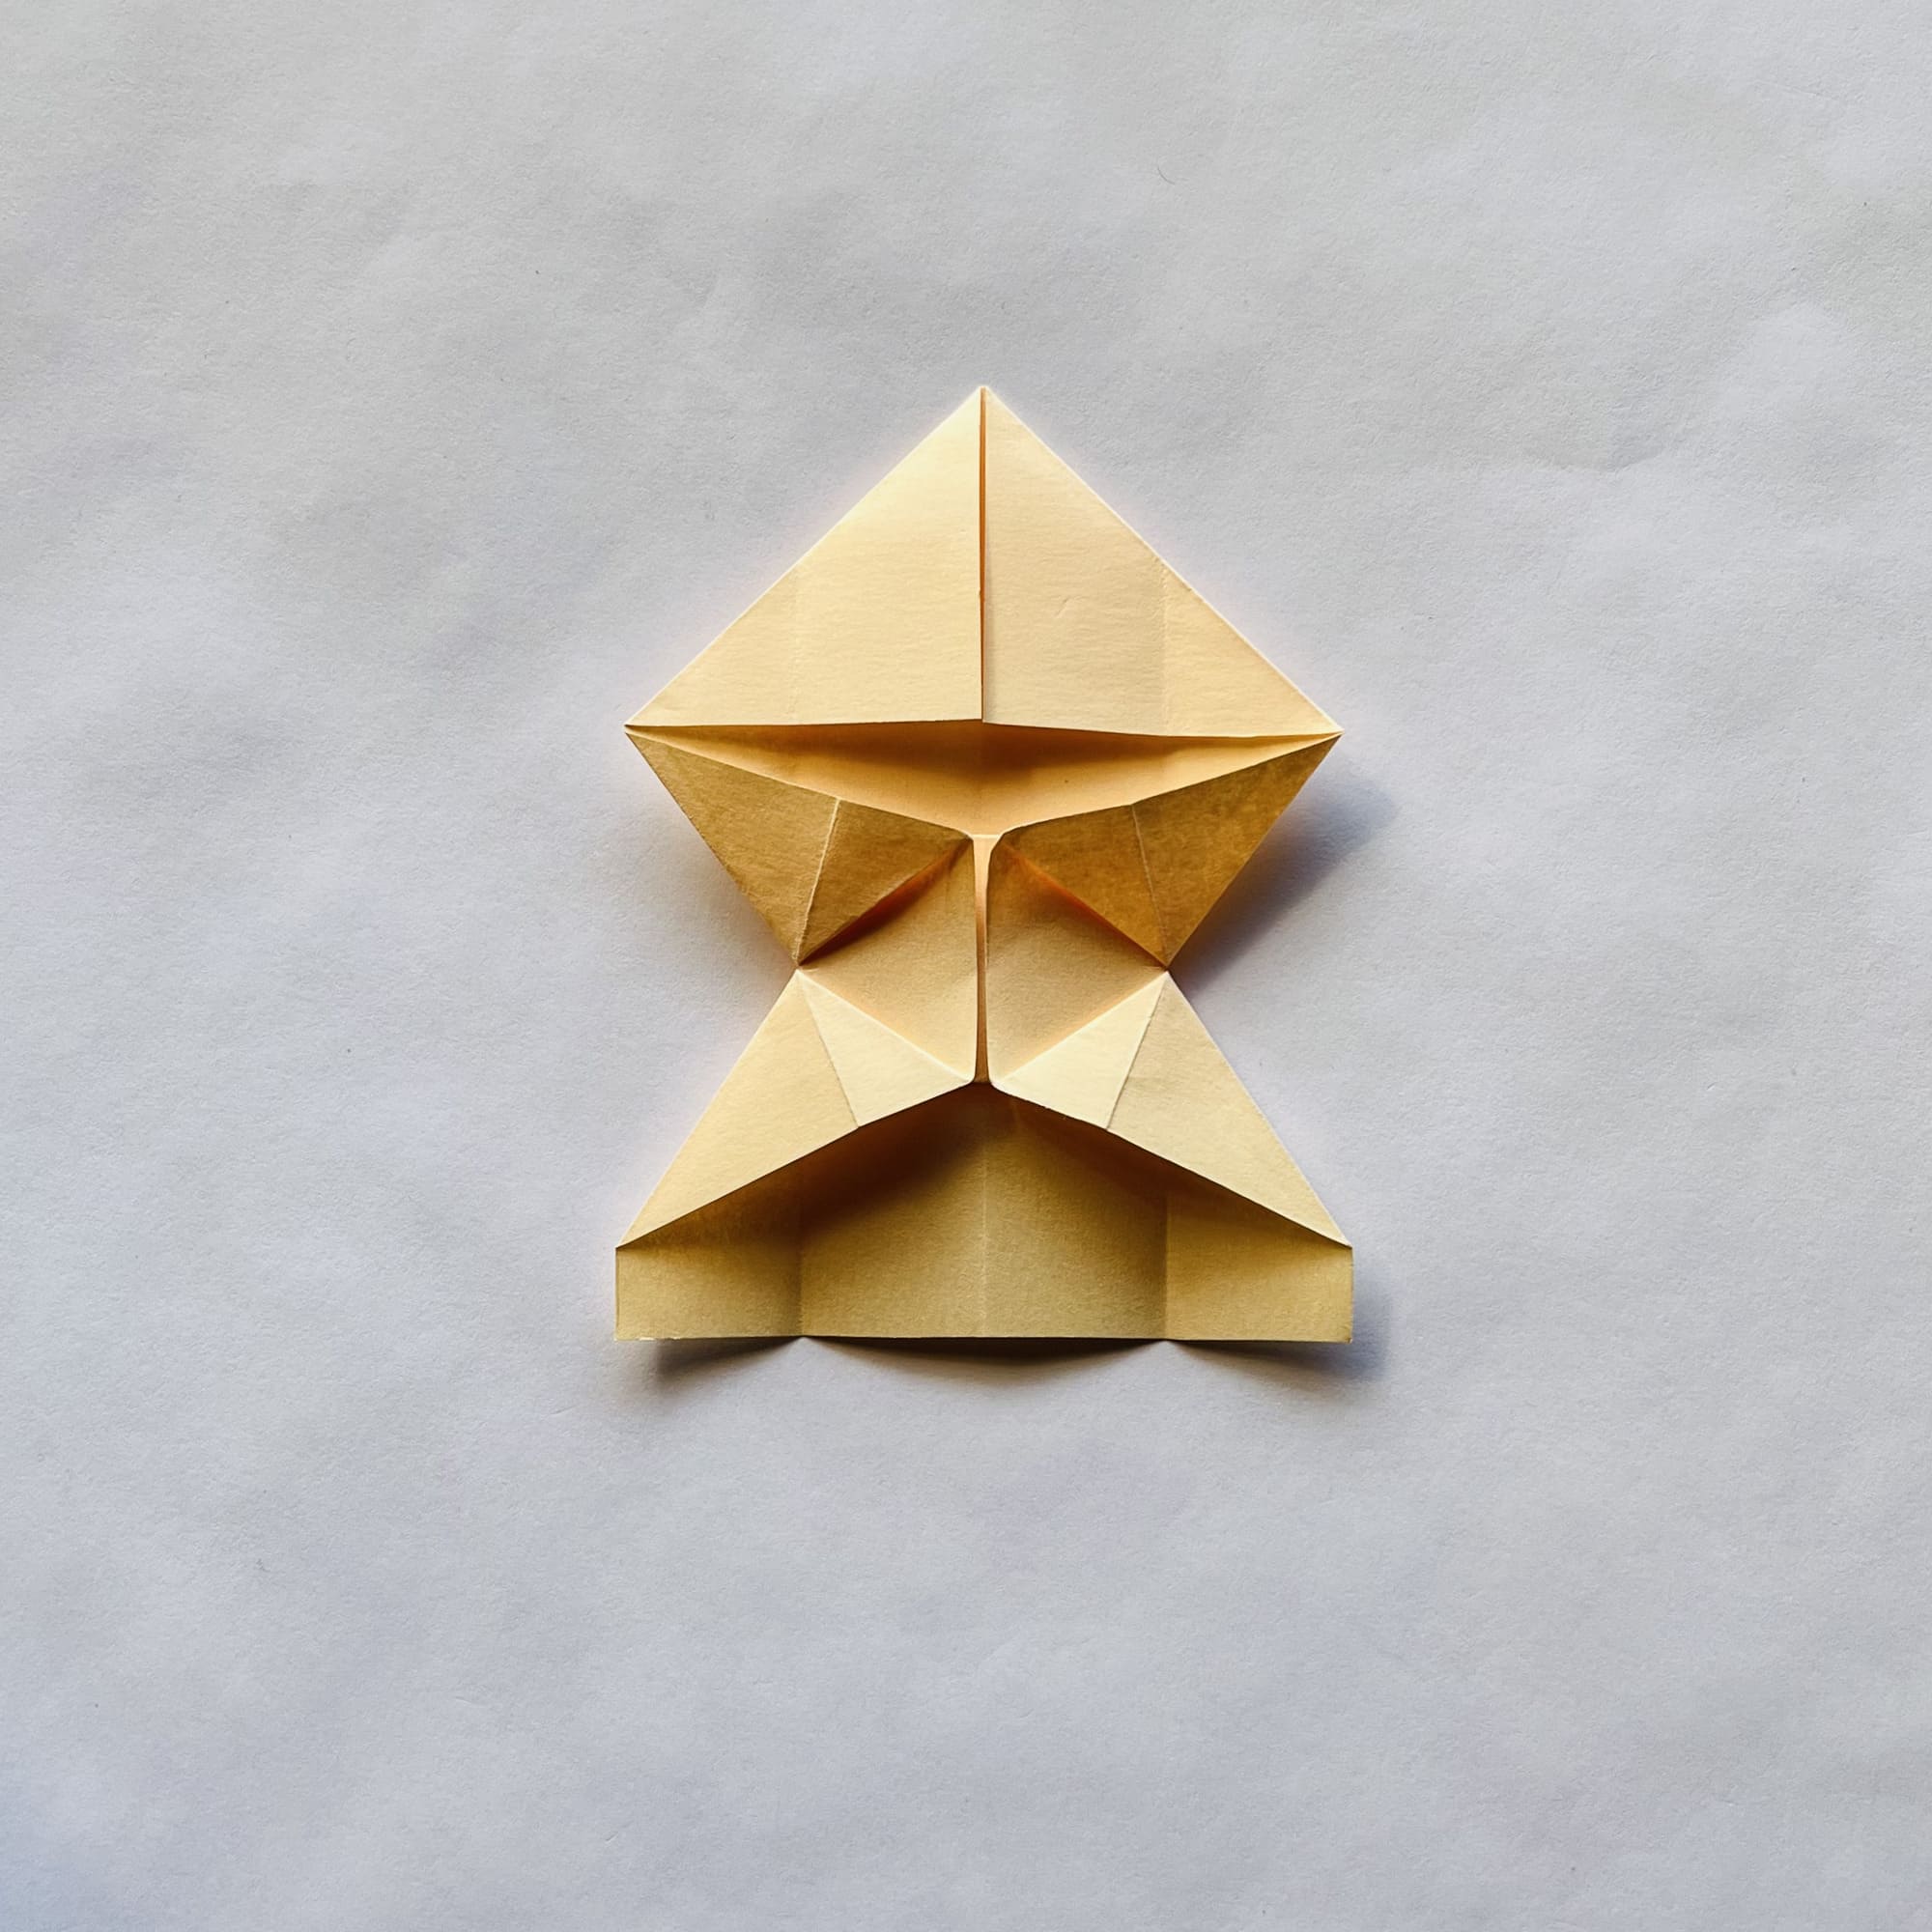
Alternately fold the sides to the center line.


Now, carefully follow the instructions in the photo: in the central part on the right, make a flattening fold.
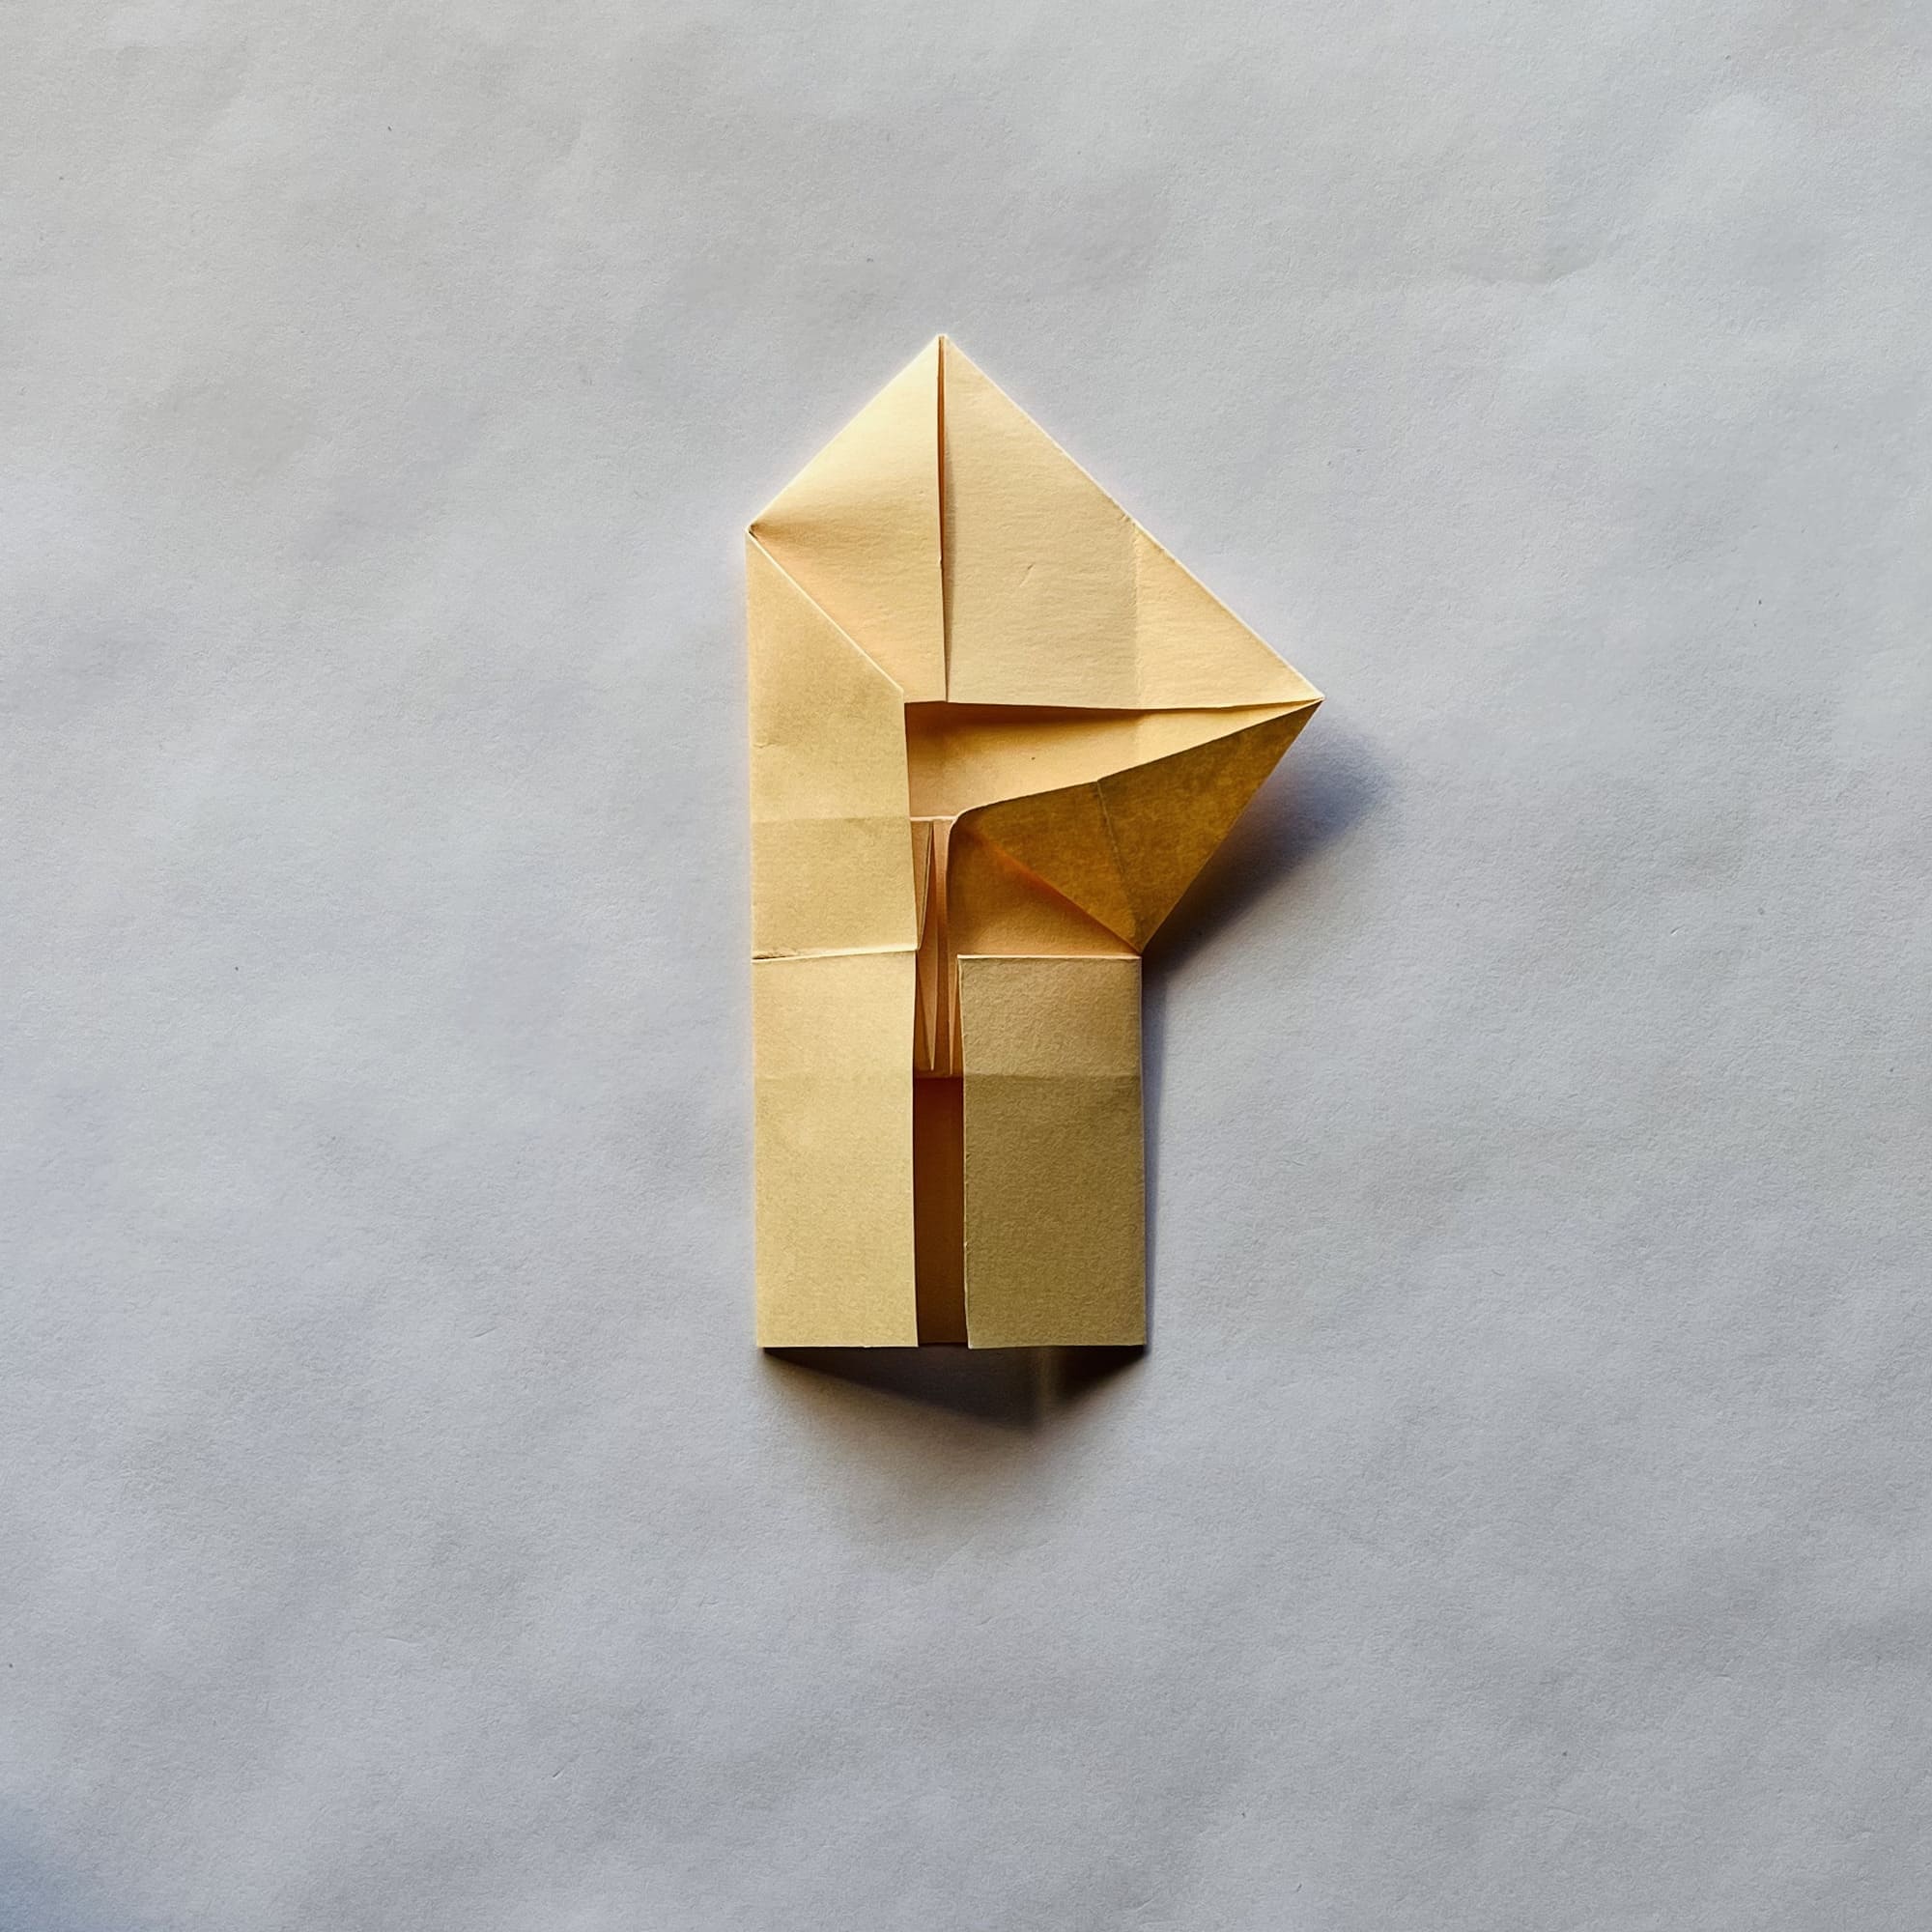
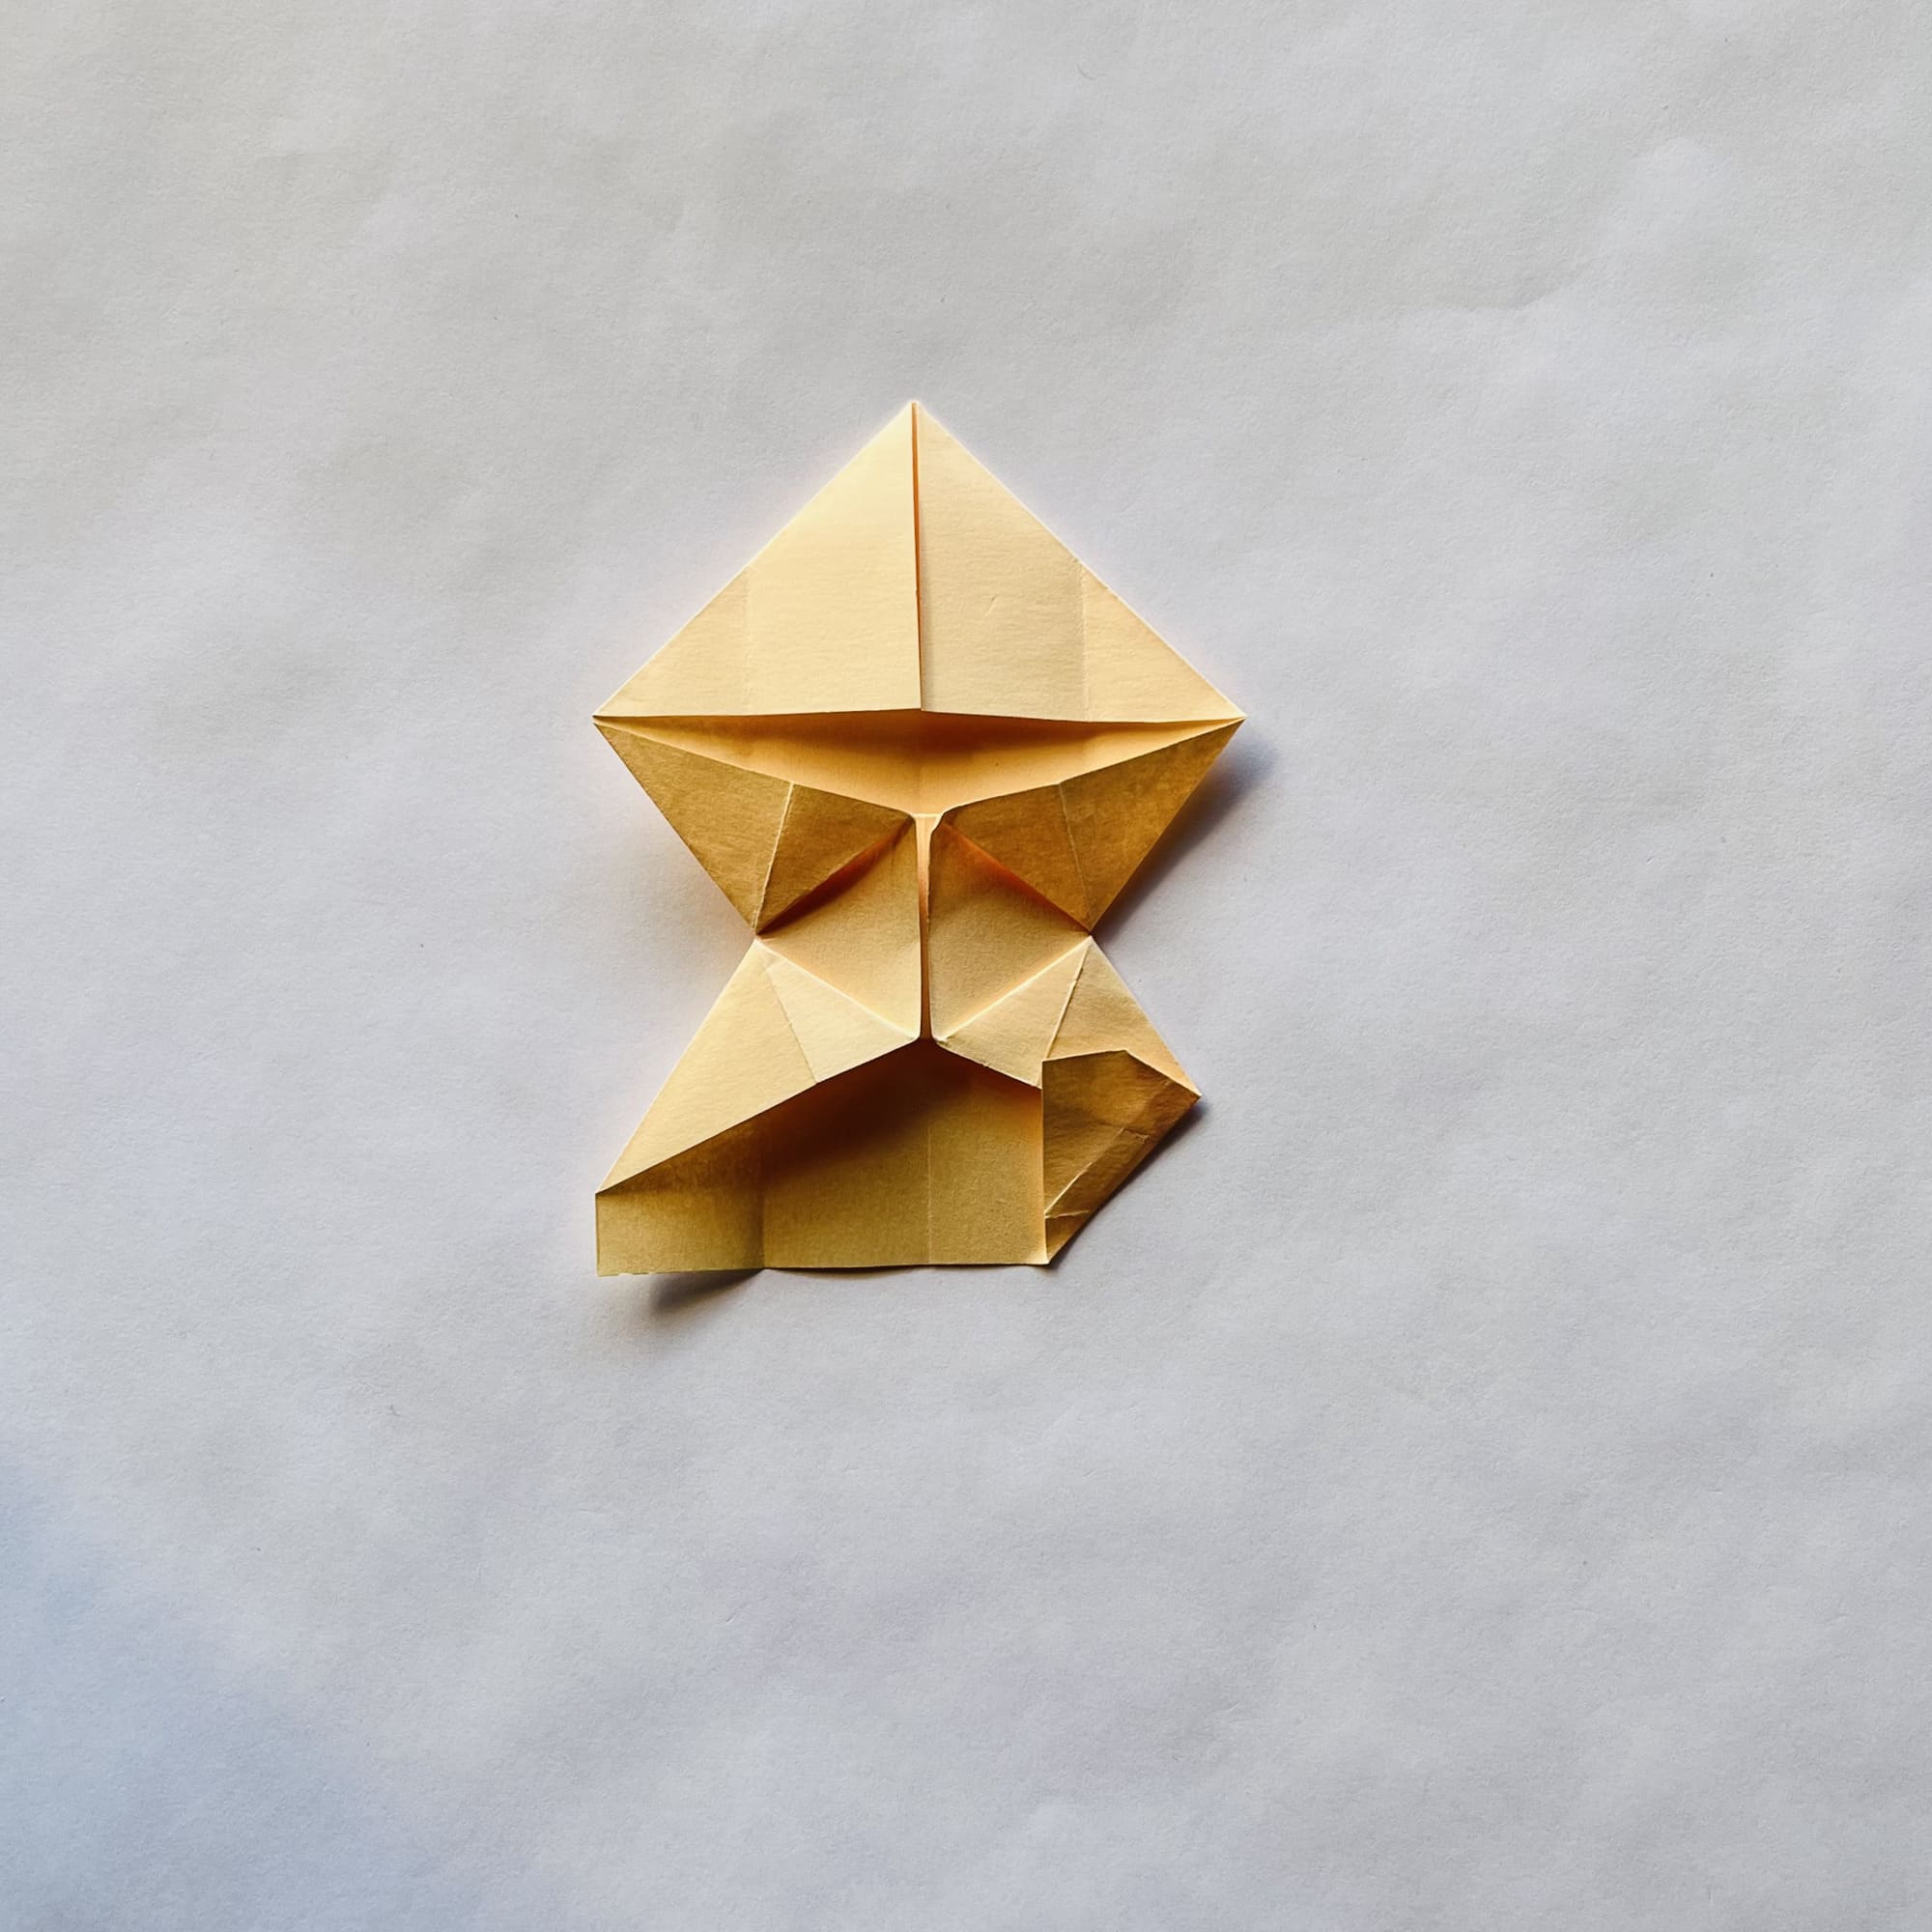
Make a flattening fold on the right side of the bottom of the shape.
Repeat steps 20-22 on the left side of the figure.
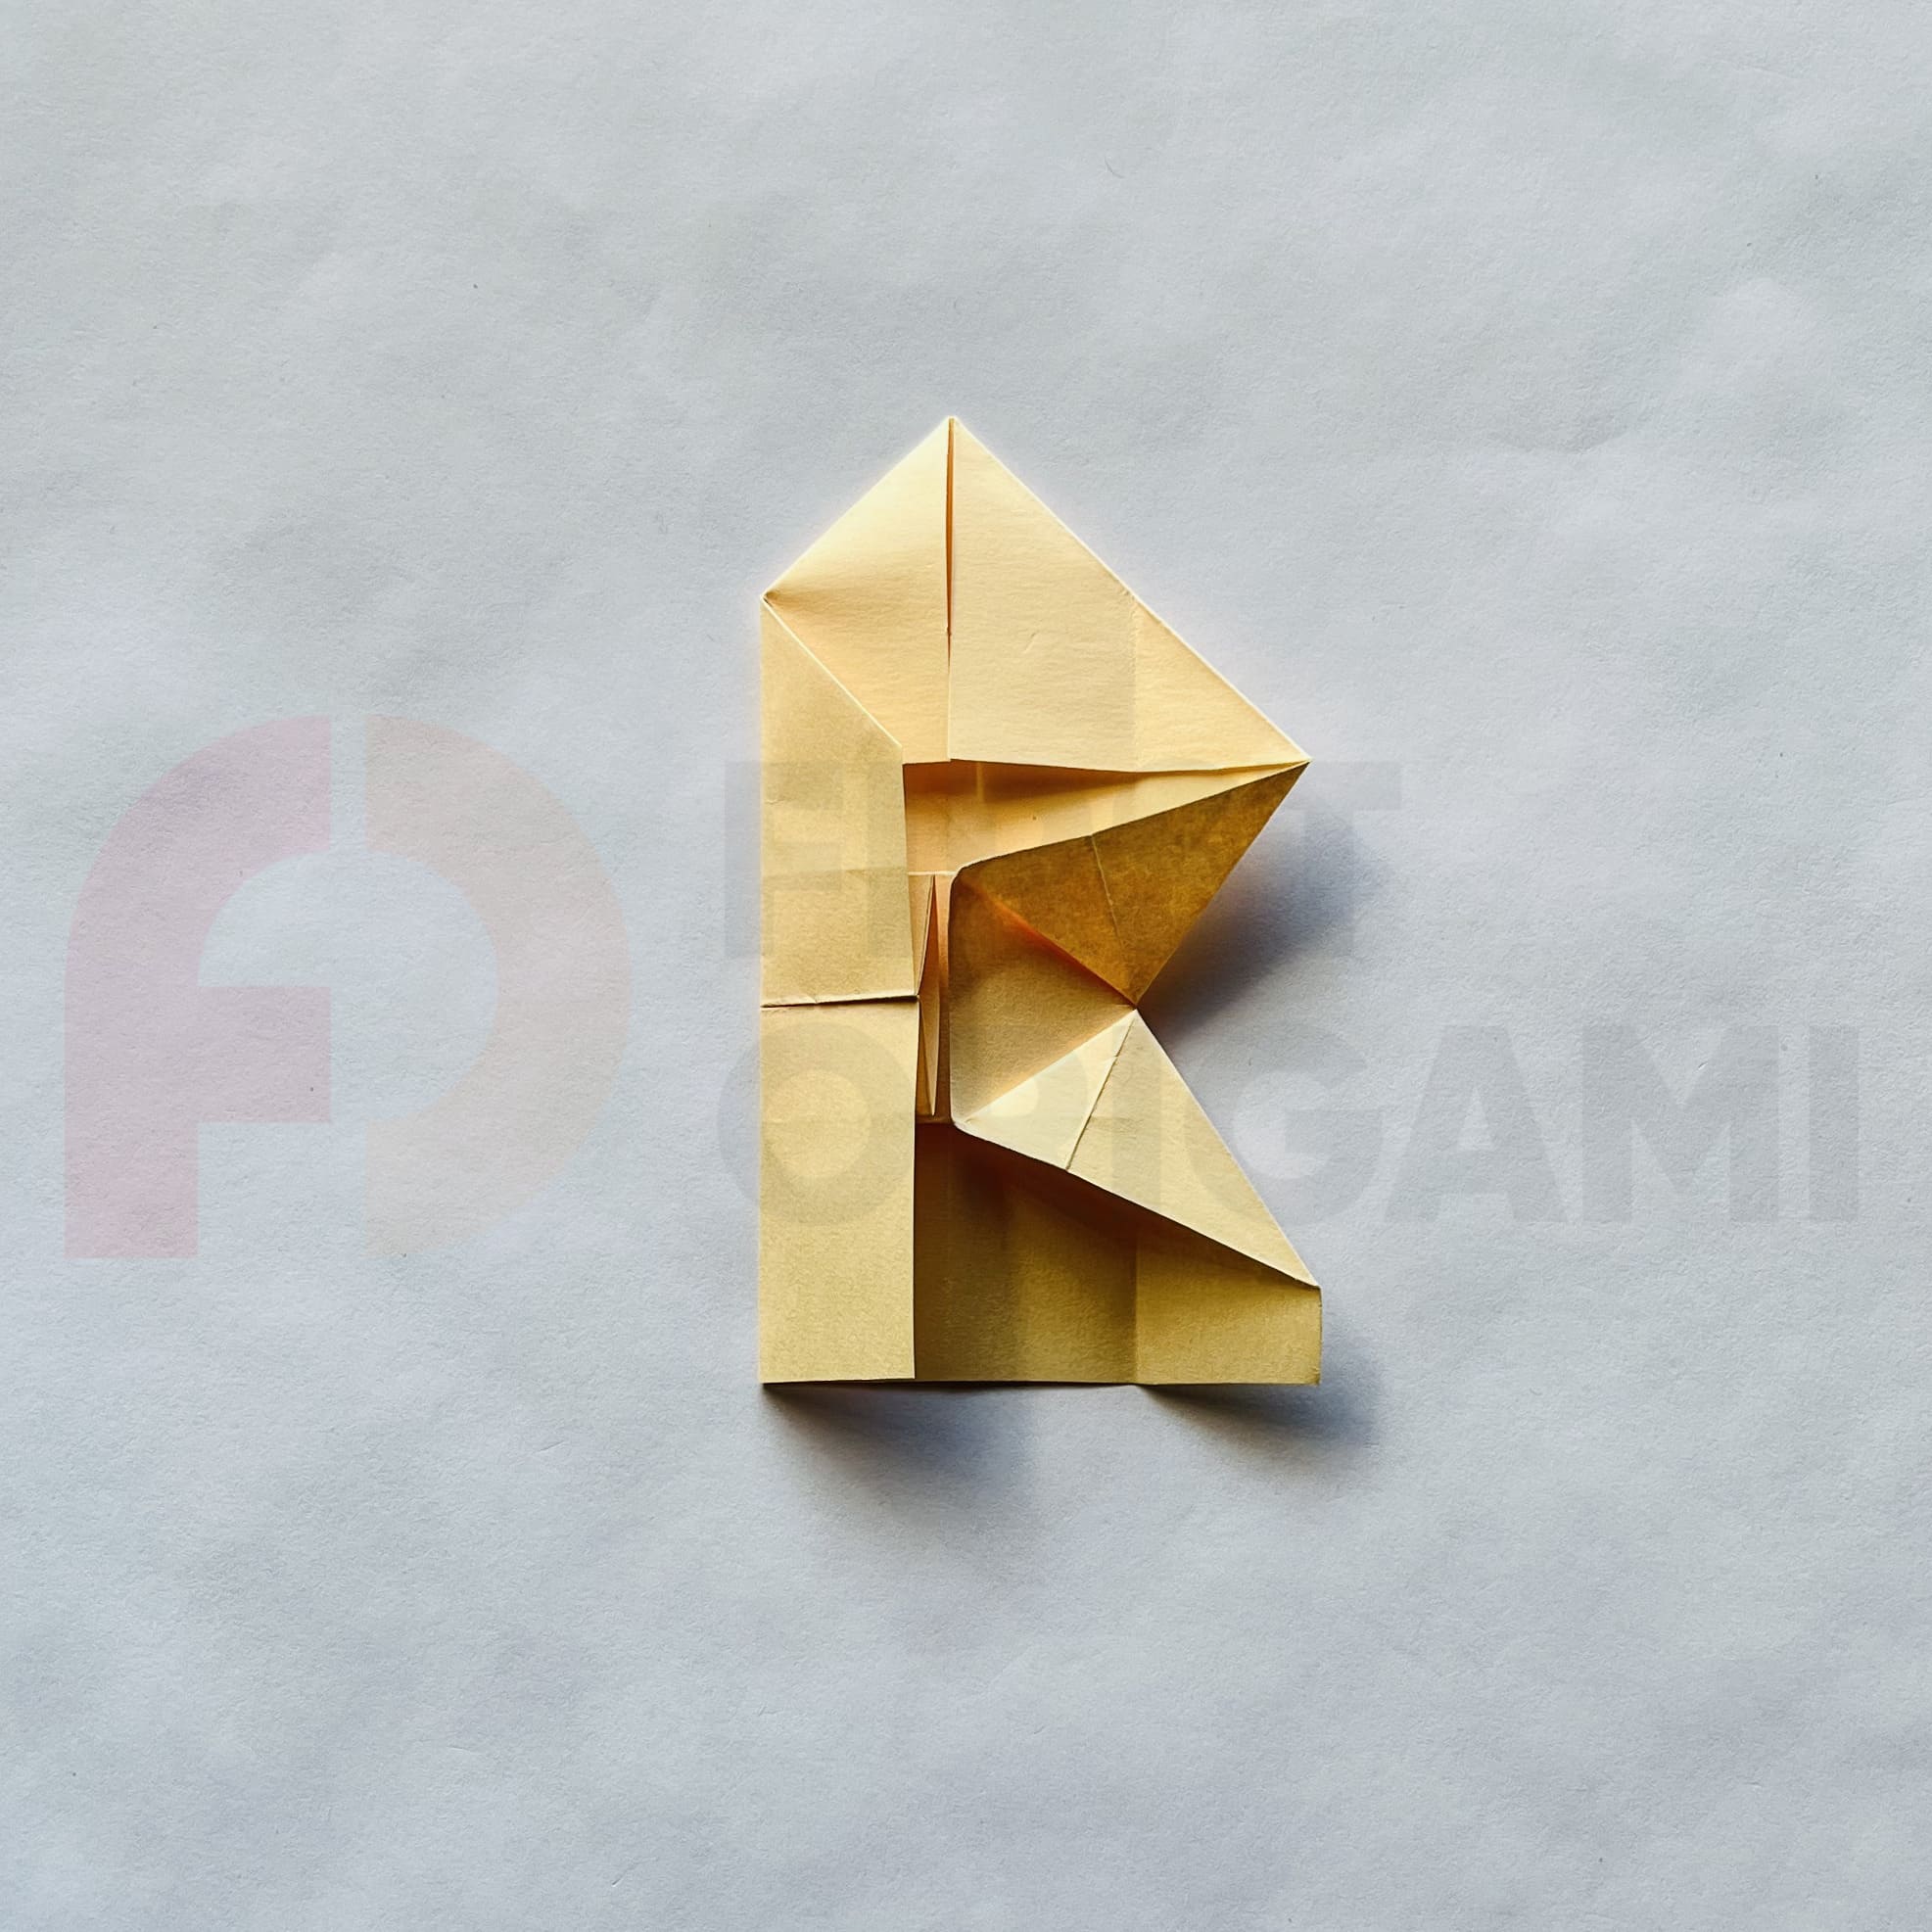
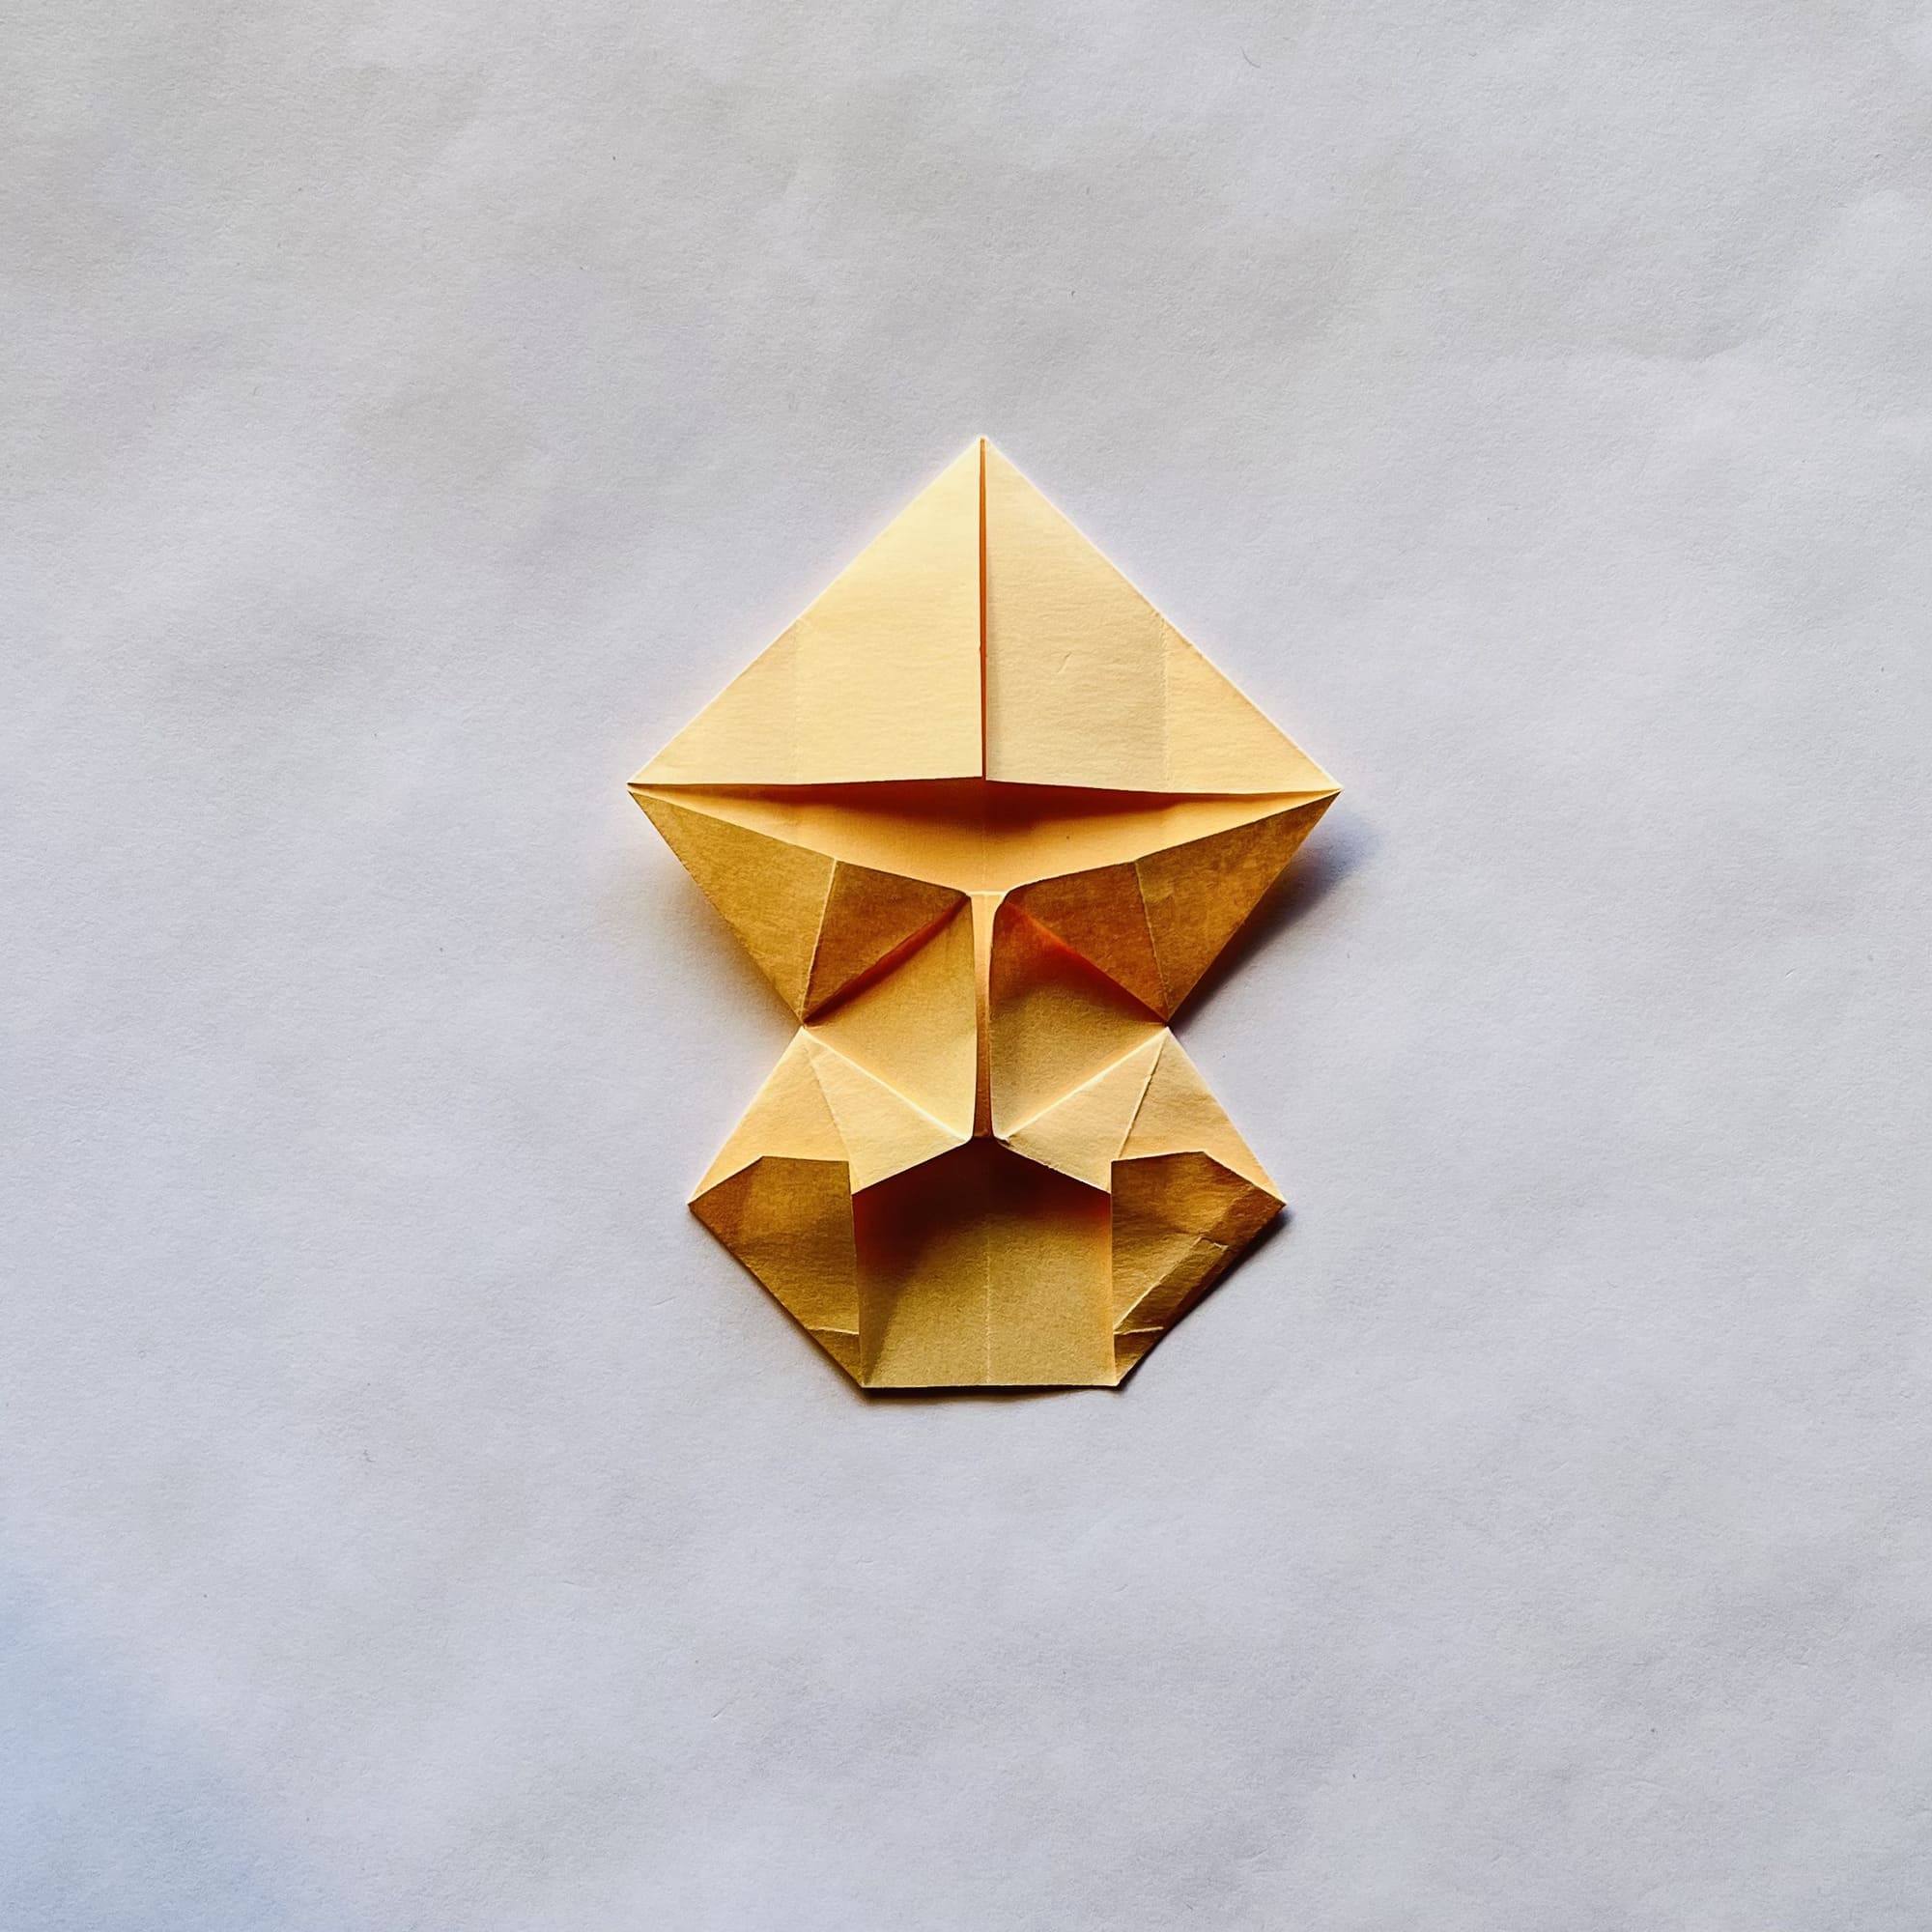
Alternately fold the right and left lower corners up, as shown in the photo.
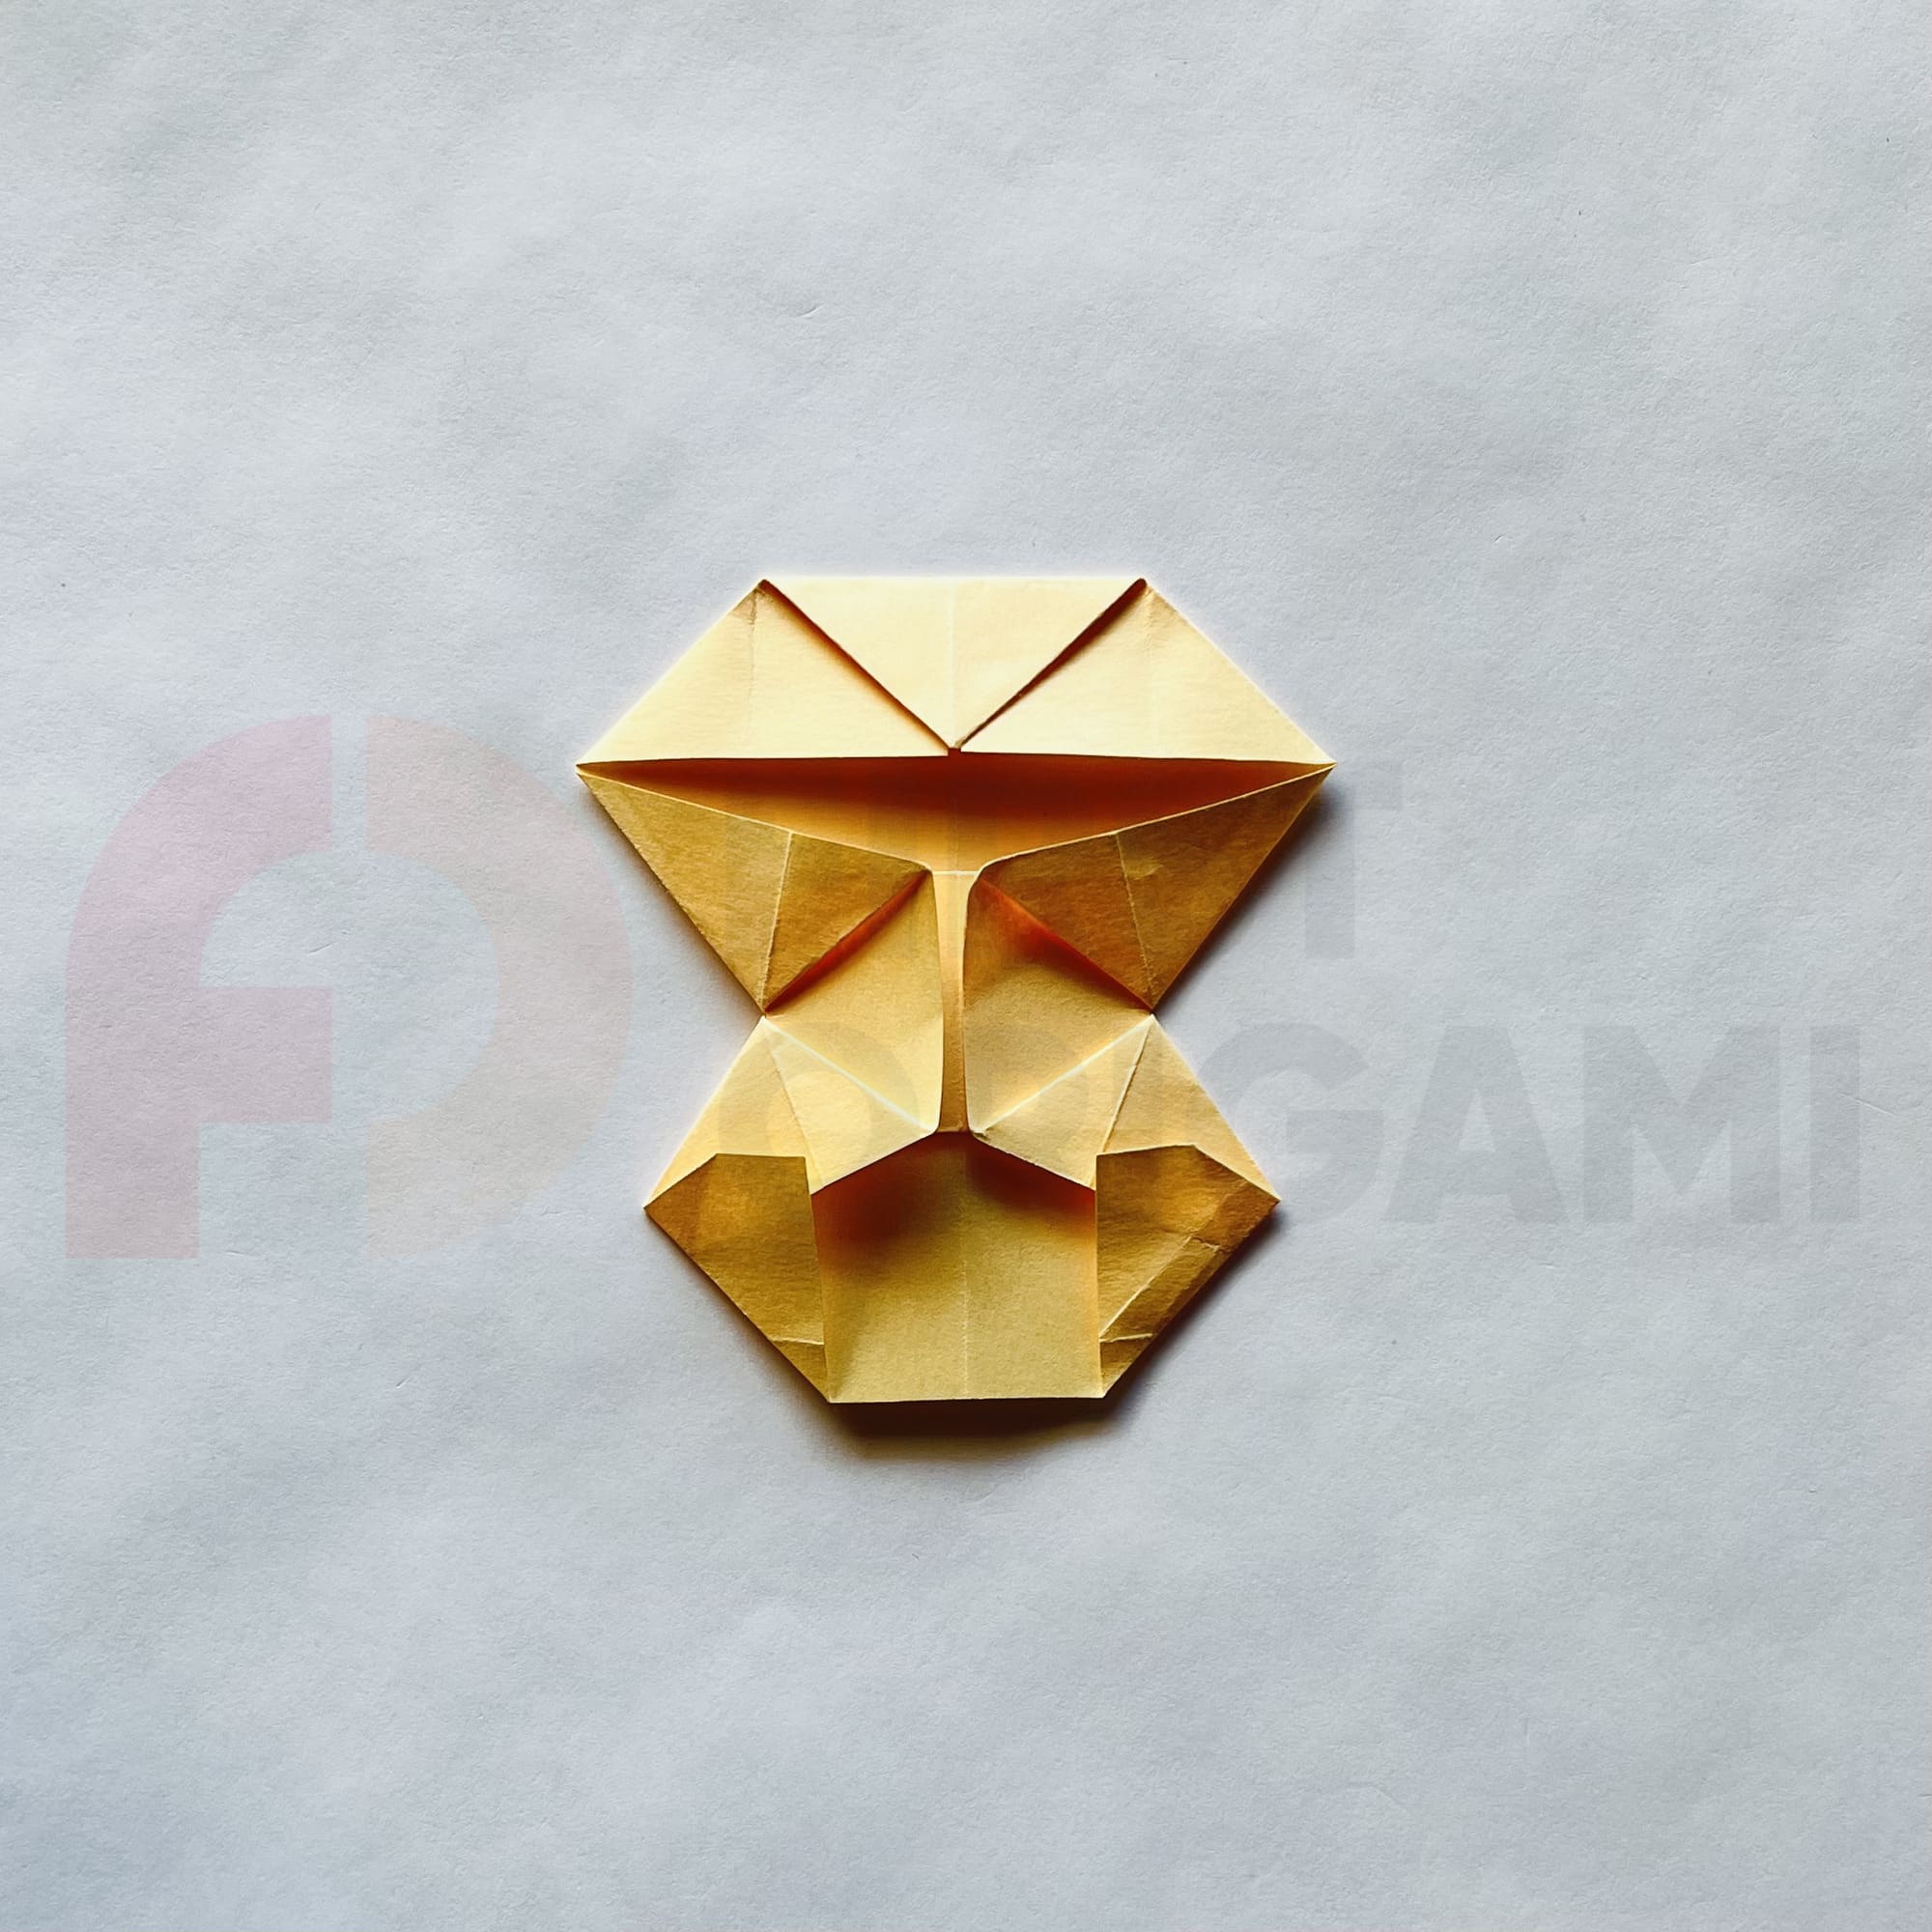
Fold the top corner down until the corners of the paper intersect.
At the top of the figure, fold the side corners inward.
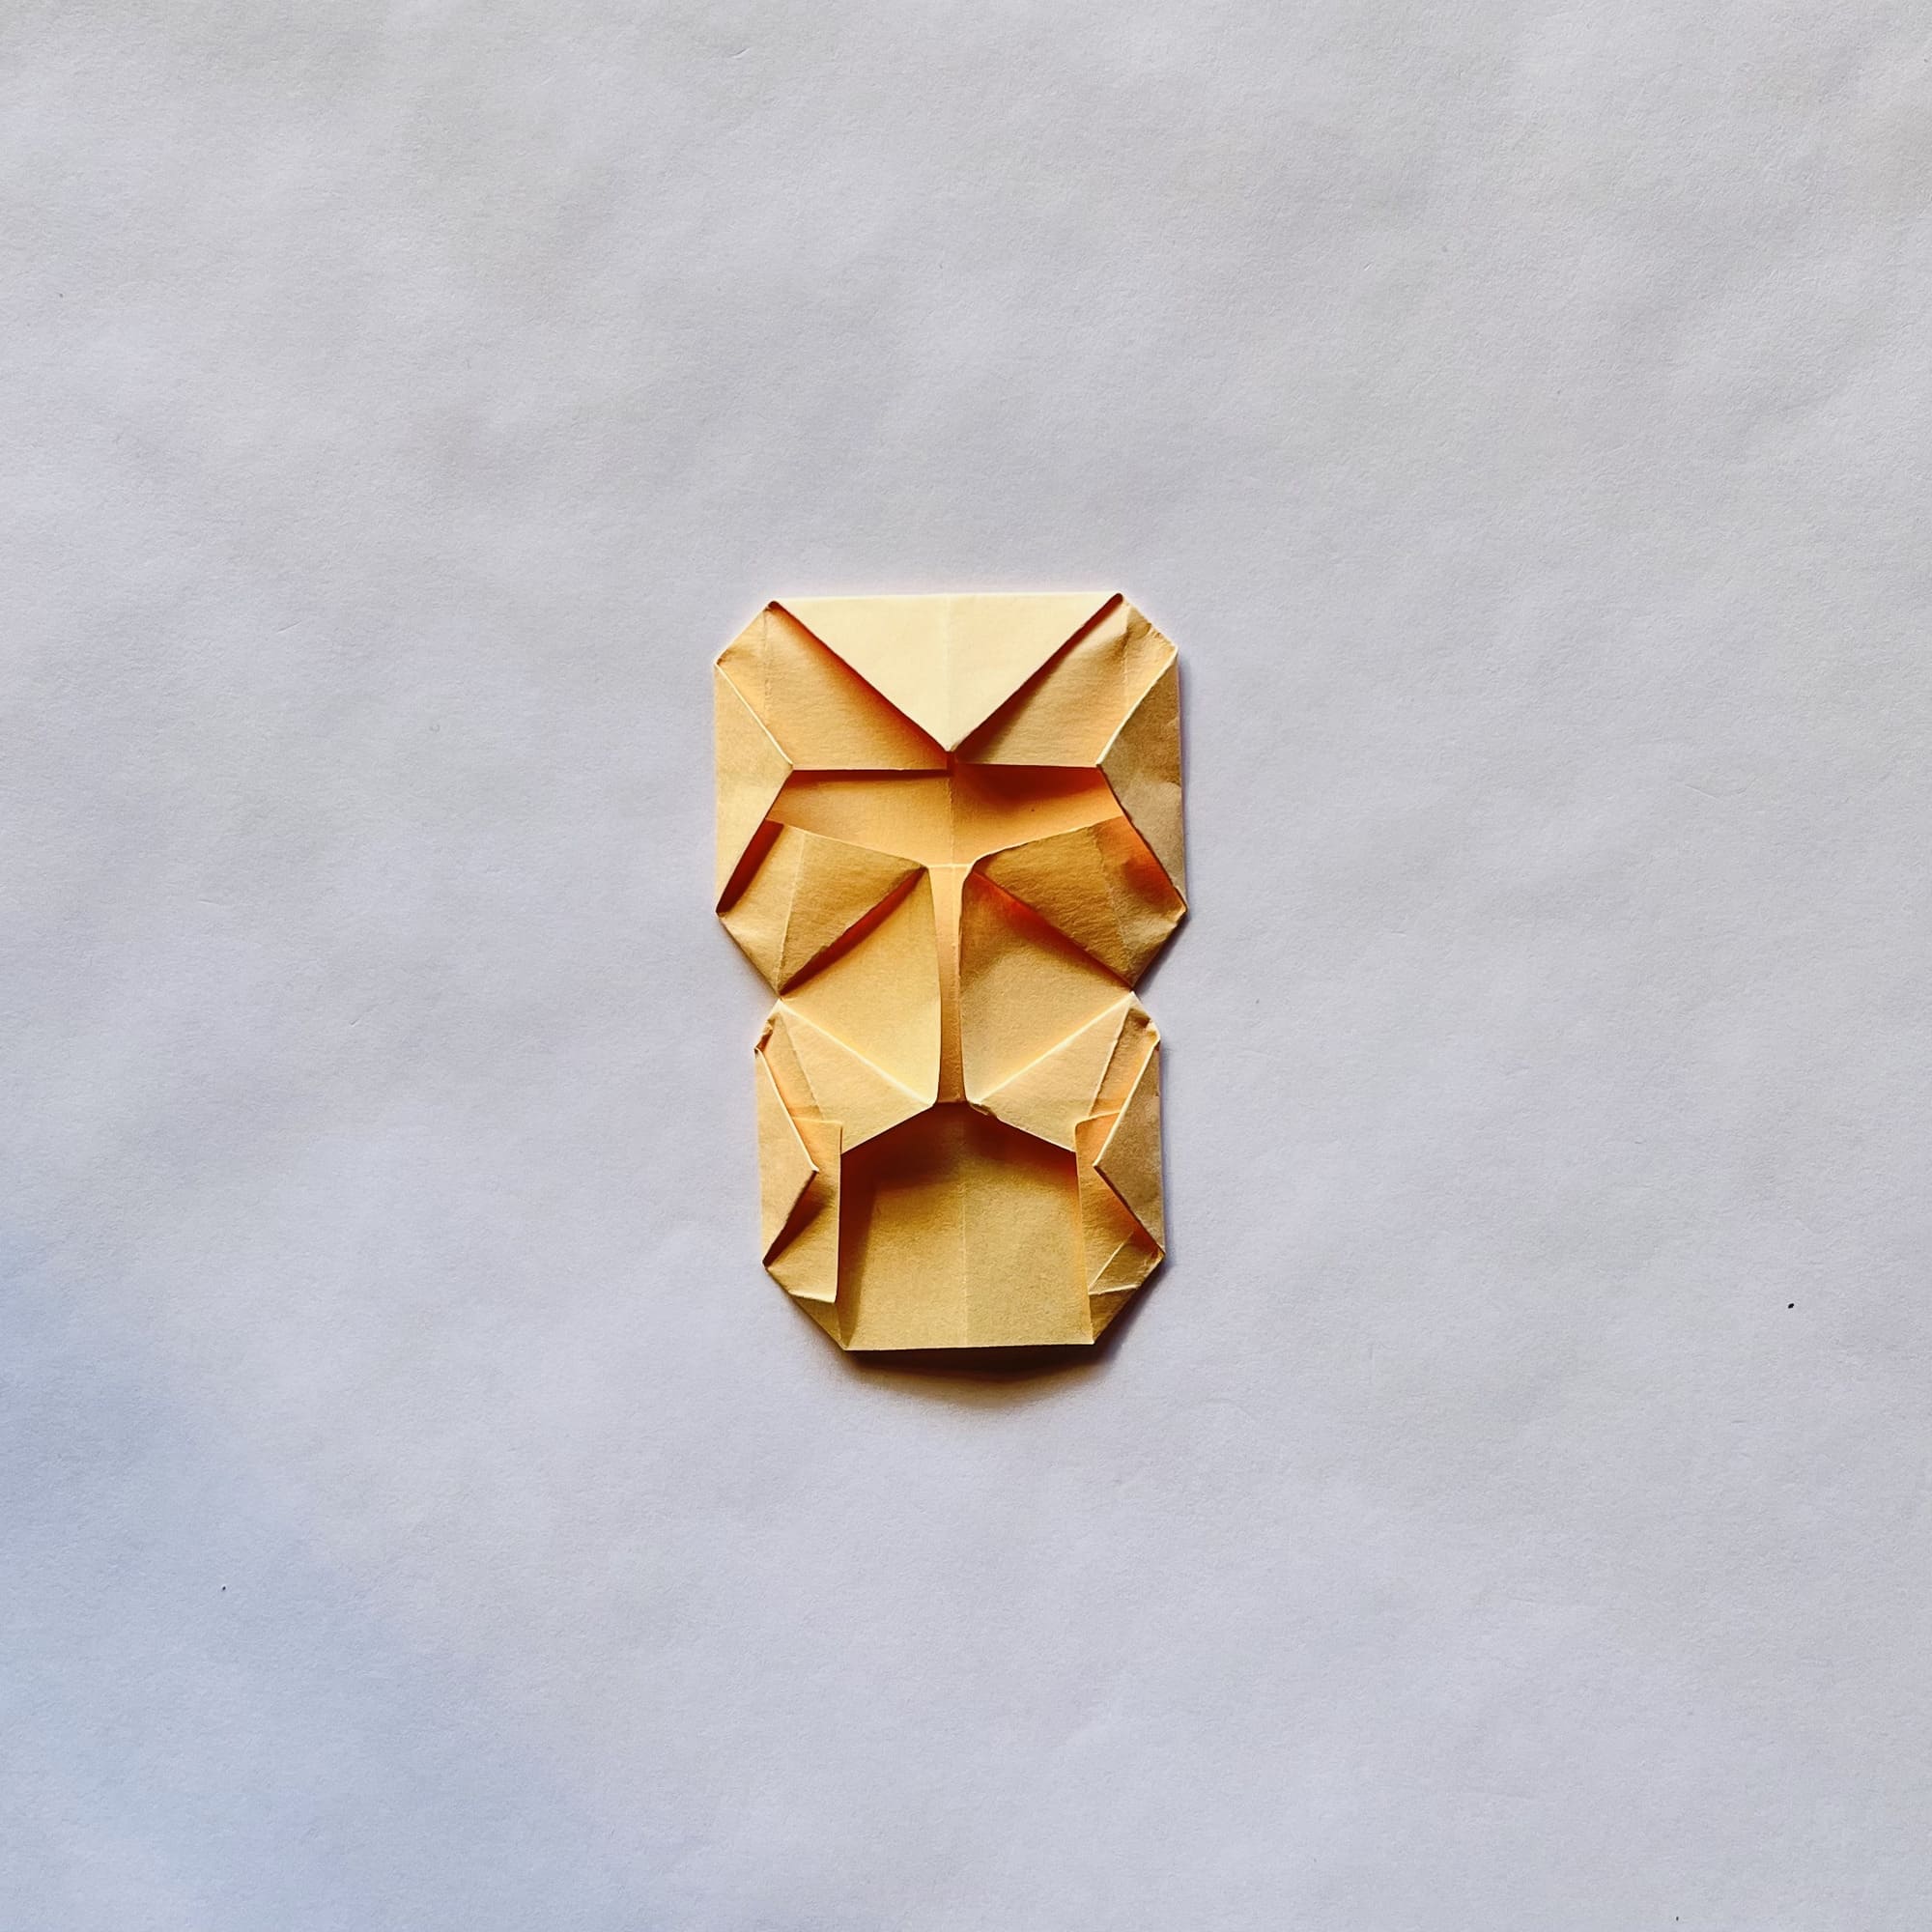
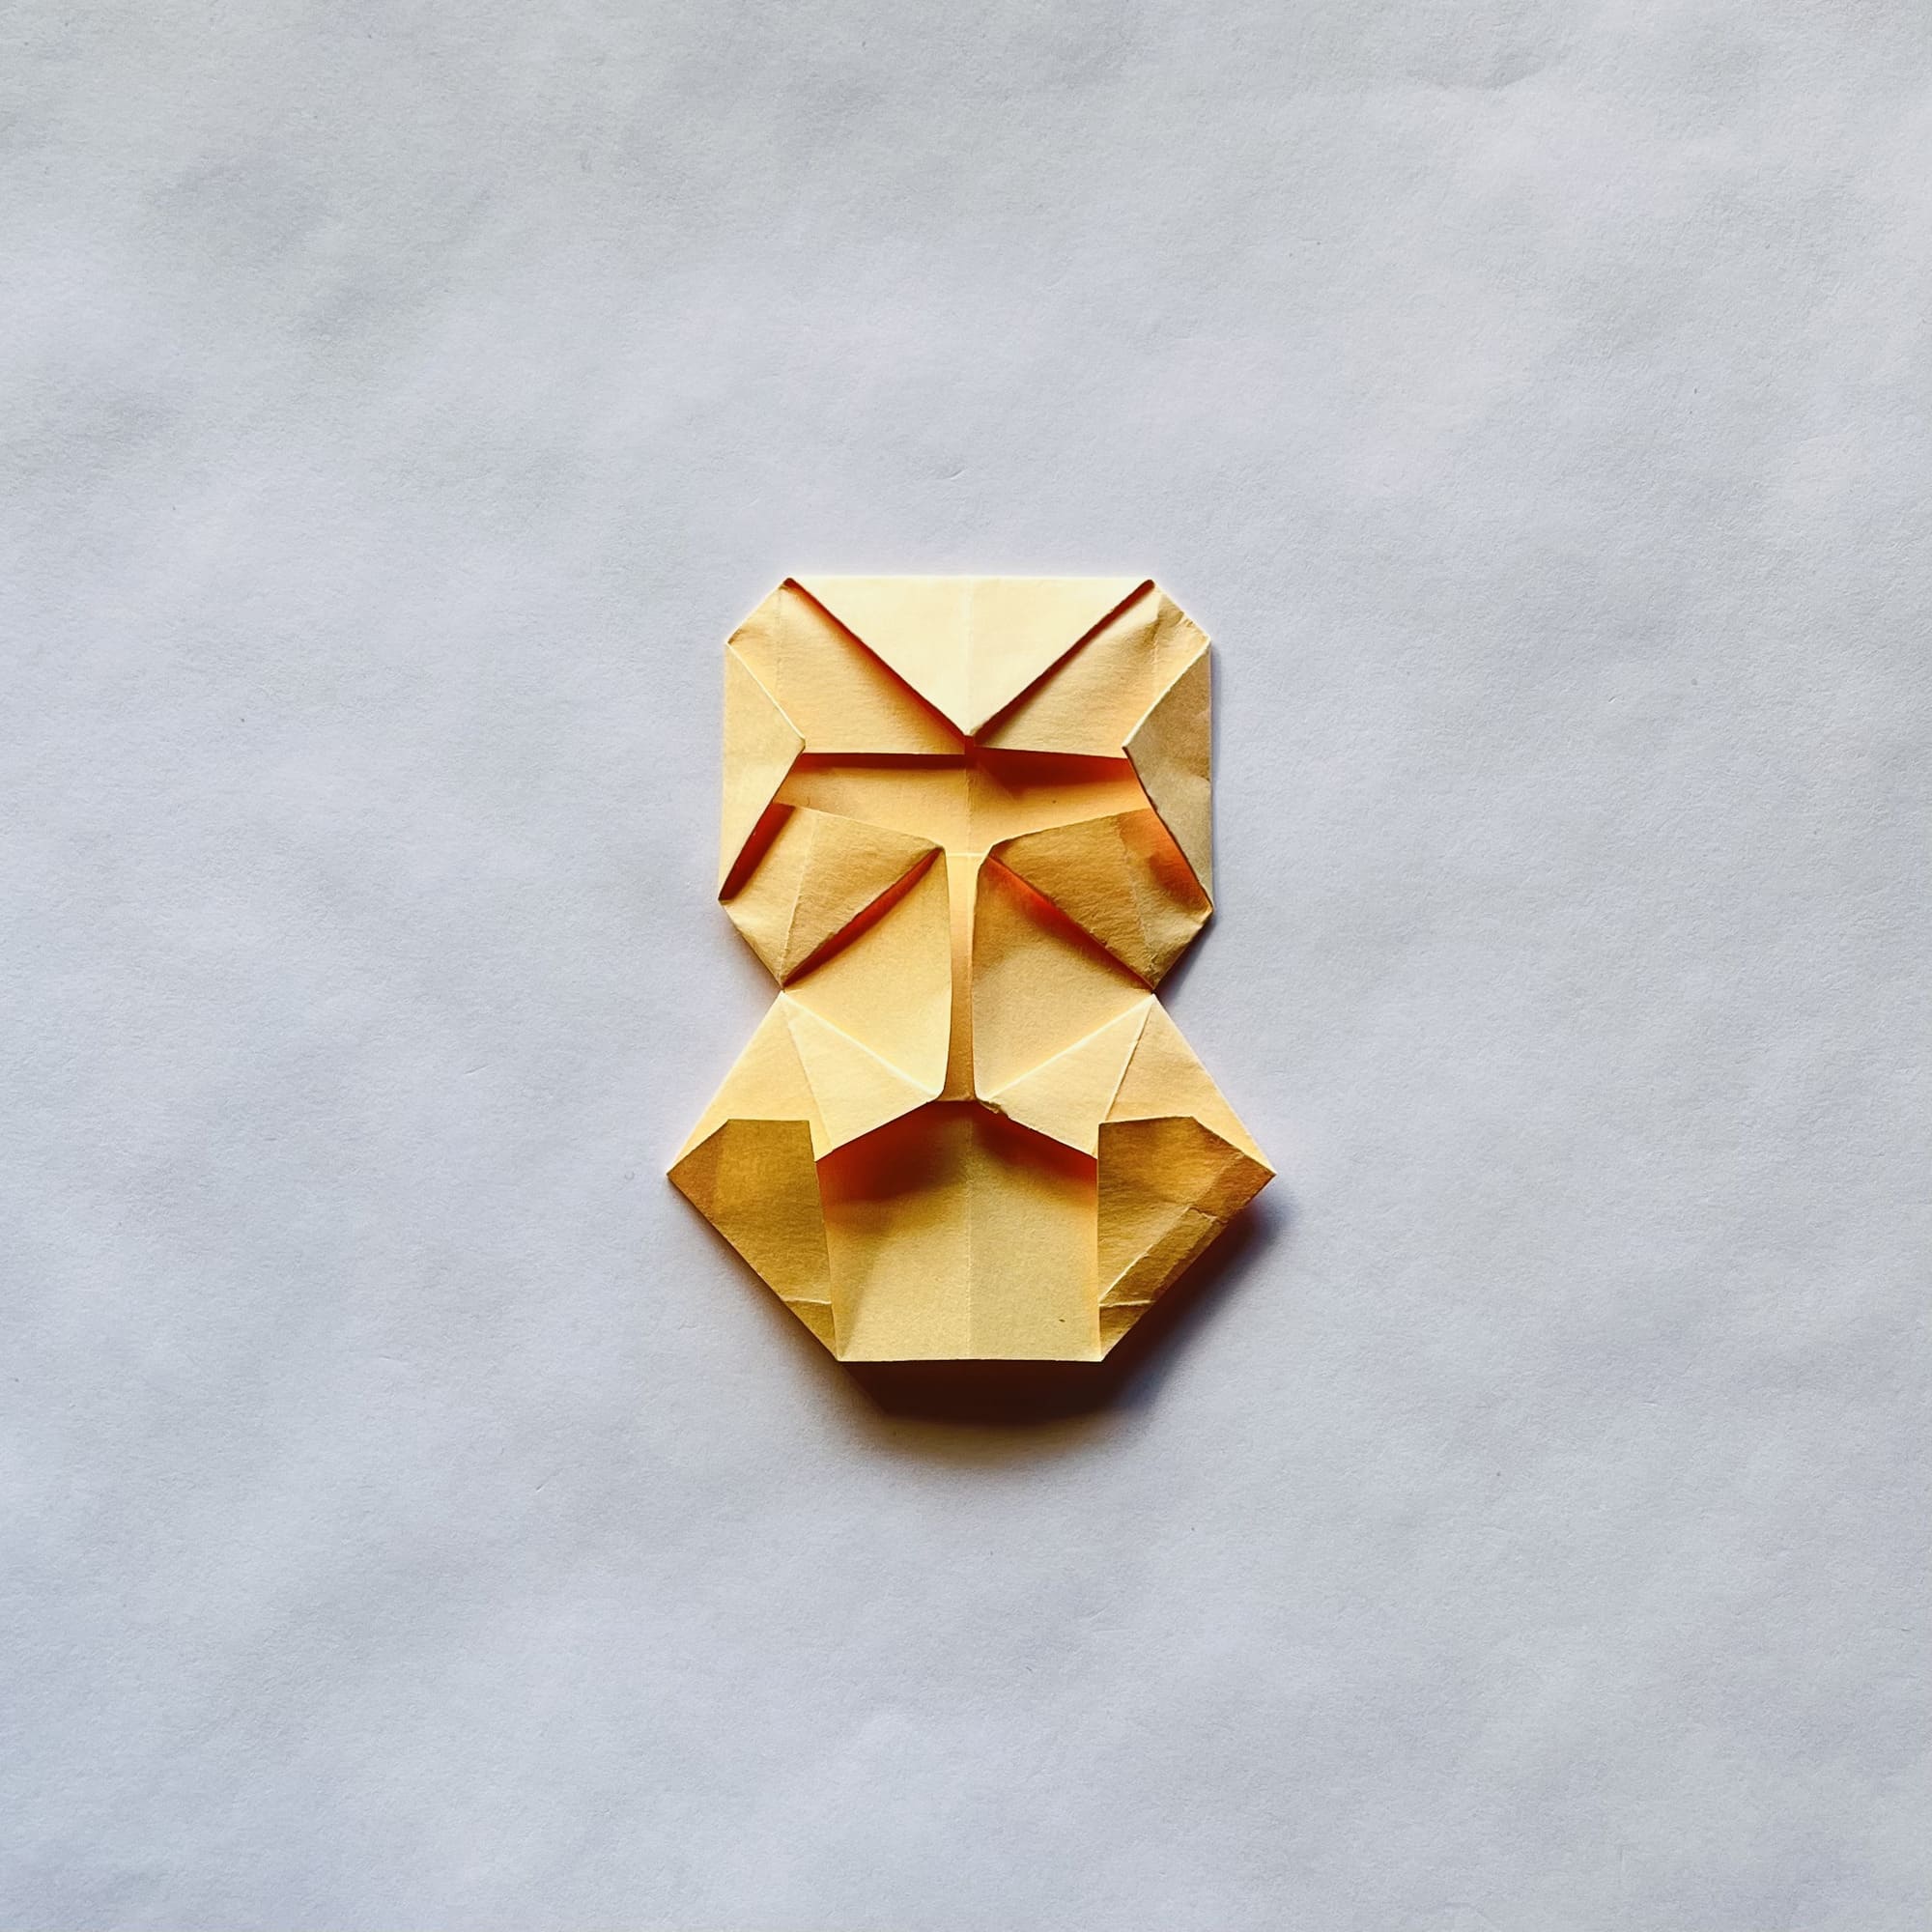
Fold the left and right corners in the lower half of the figure inward as well.

Turn the figure over and you will see how the image of a snowman is starting to appear.
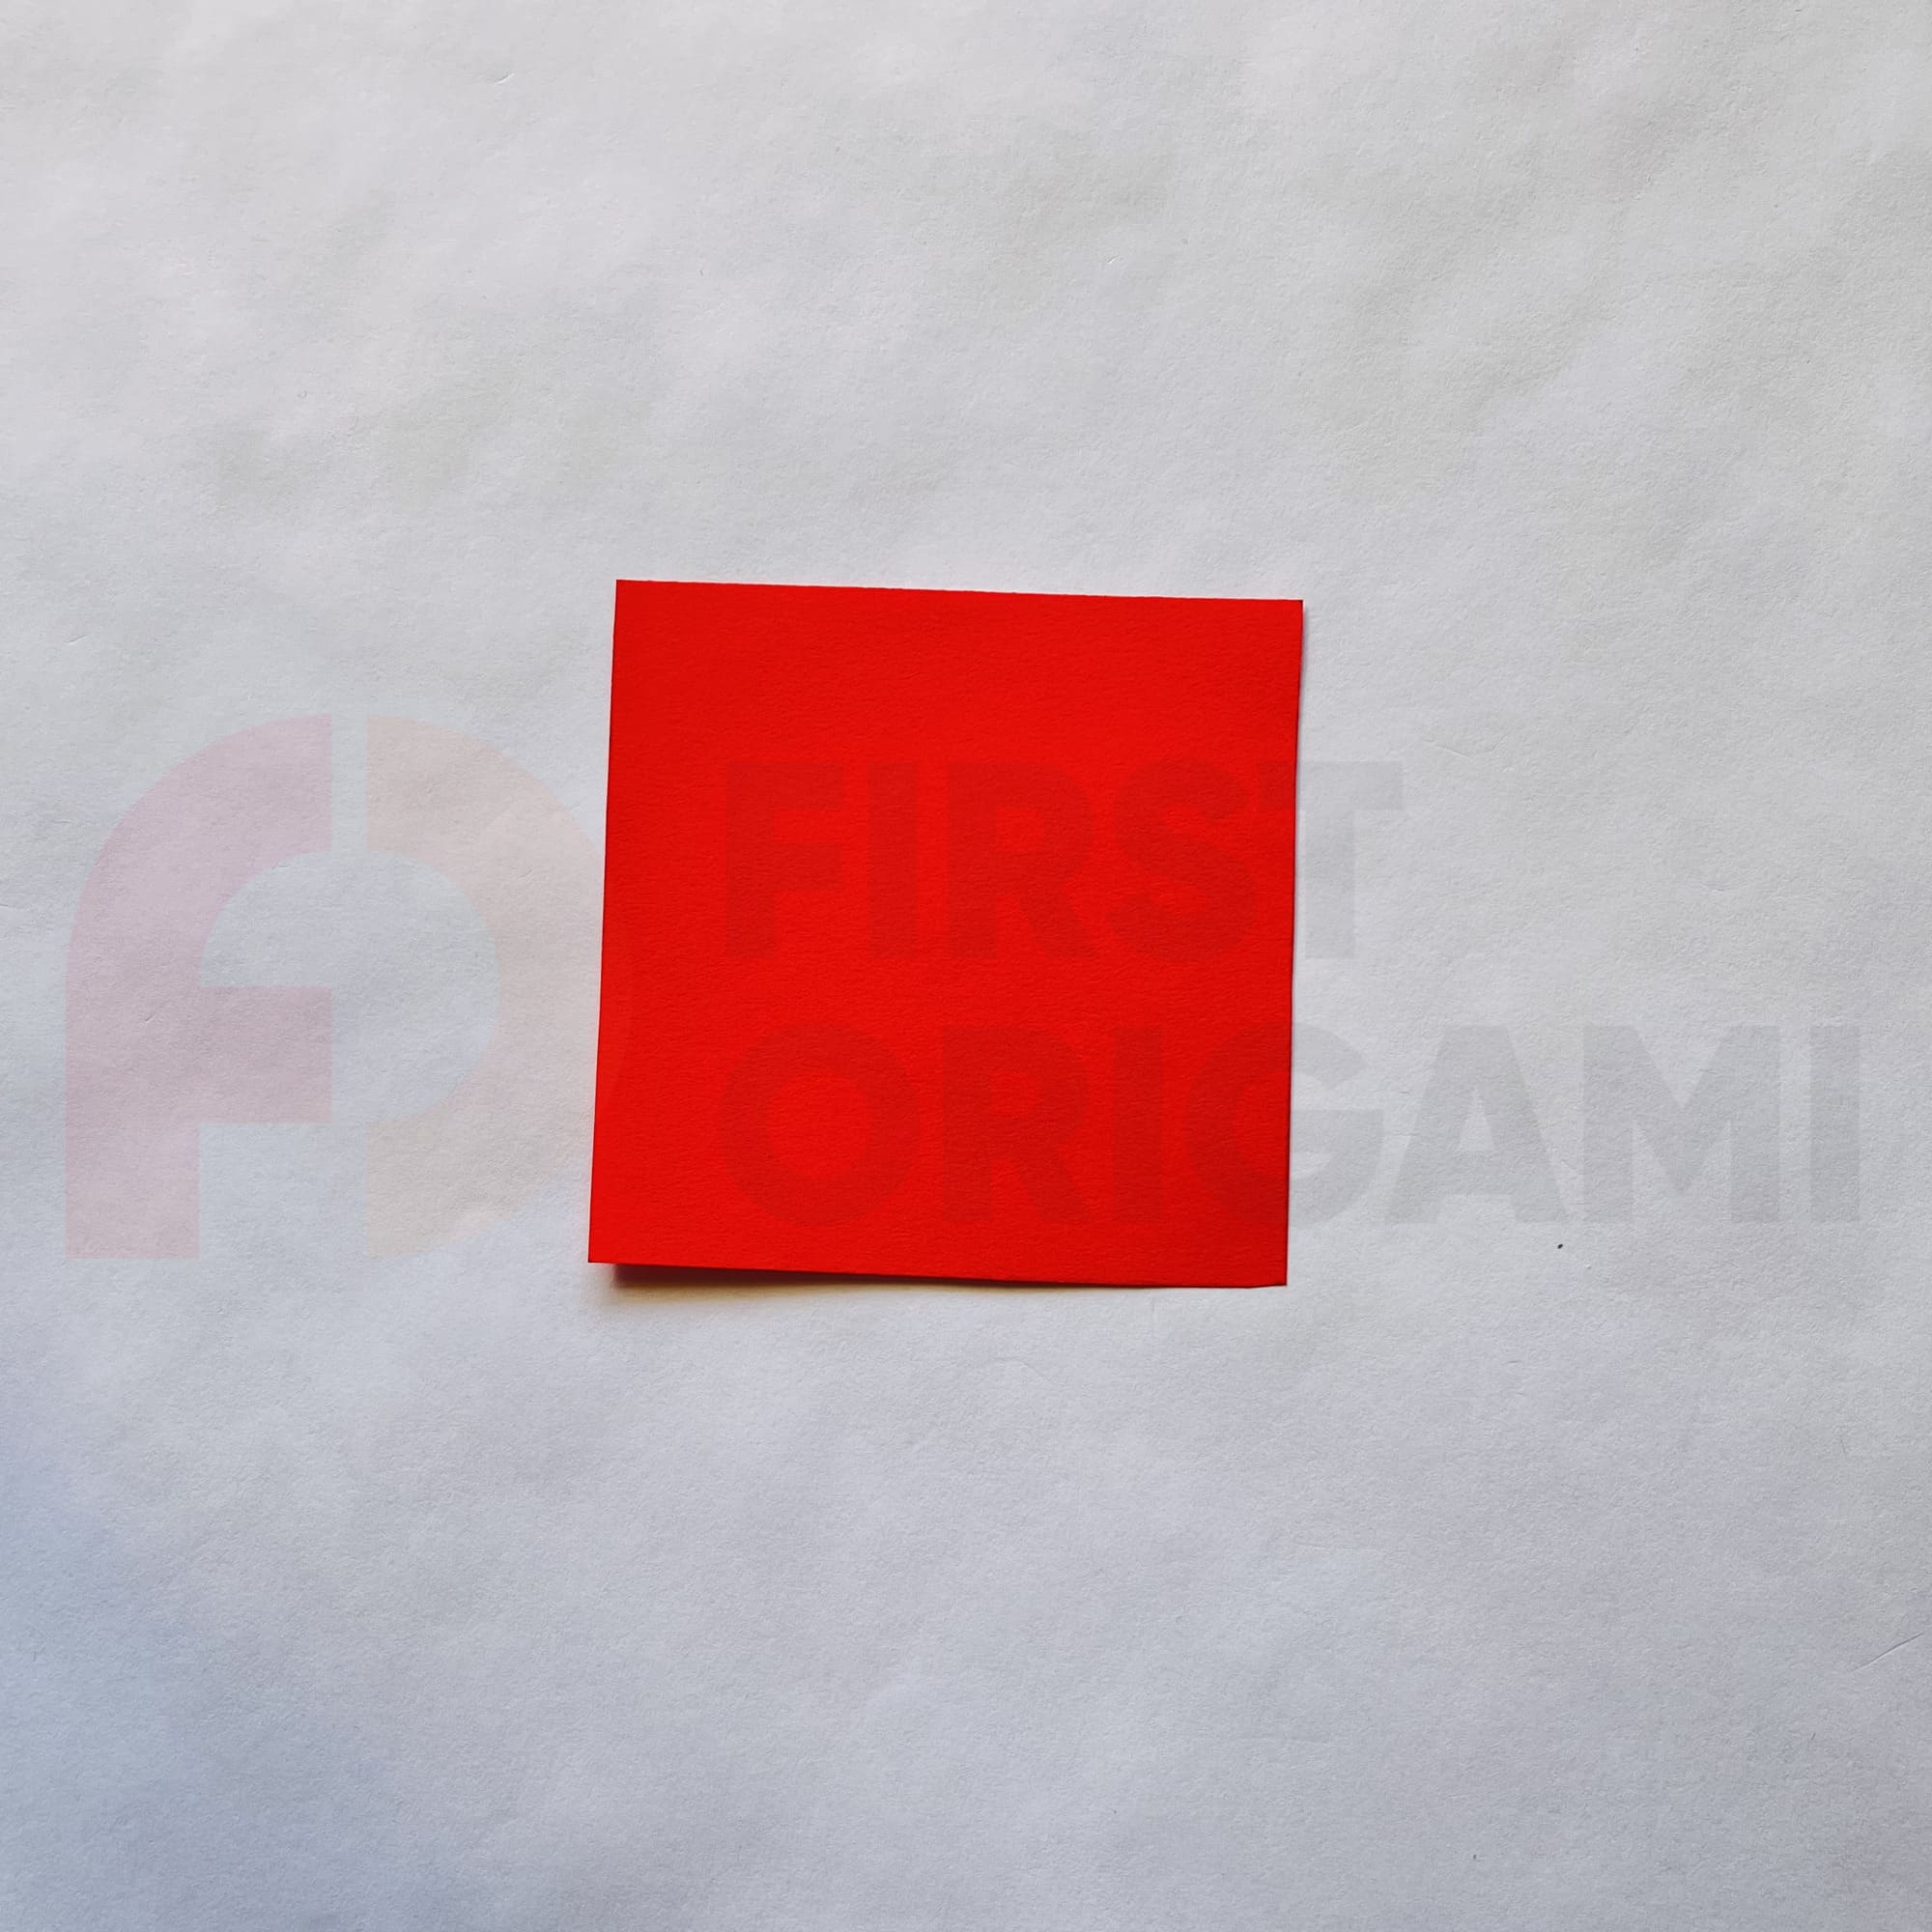
Take a small red piece of paper. If it is colored only on one side, then the colored side down.
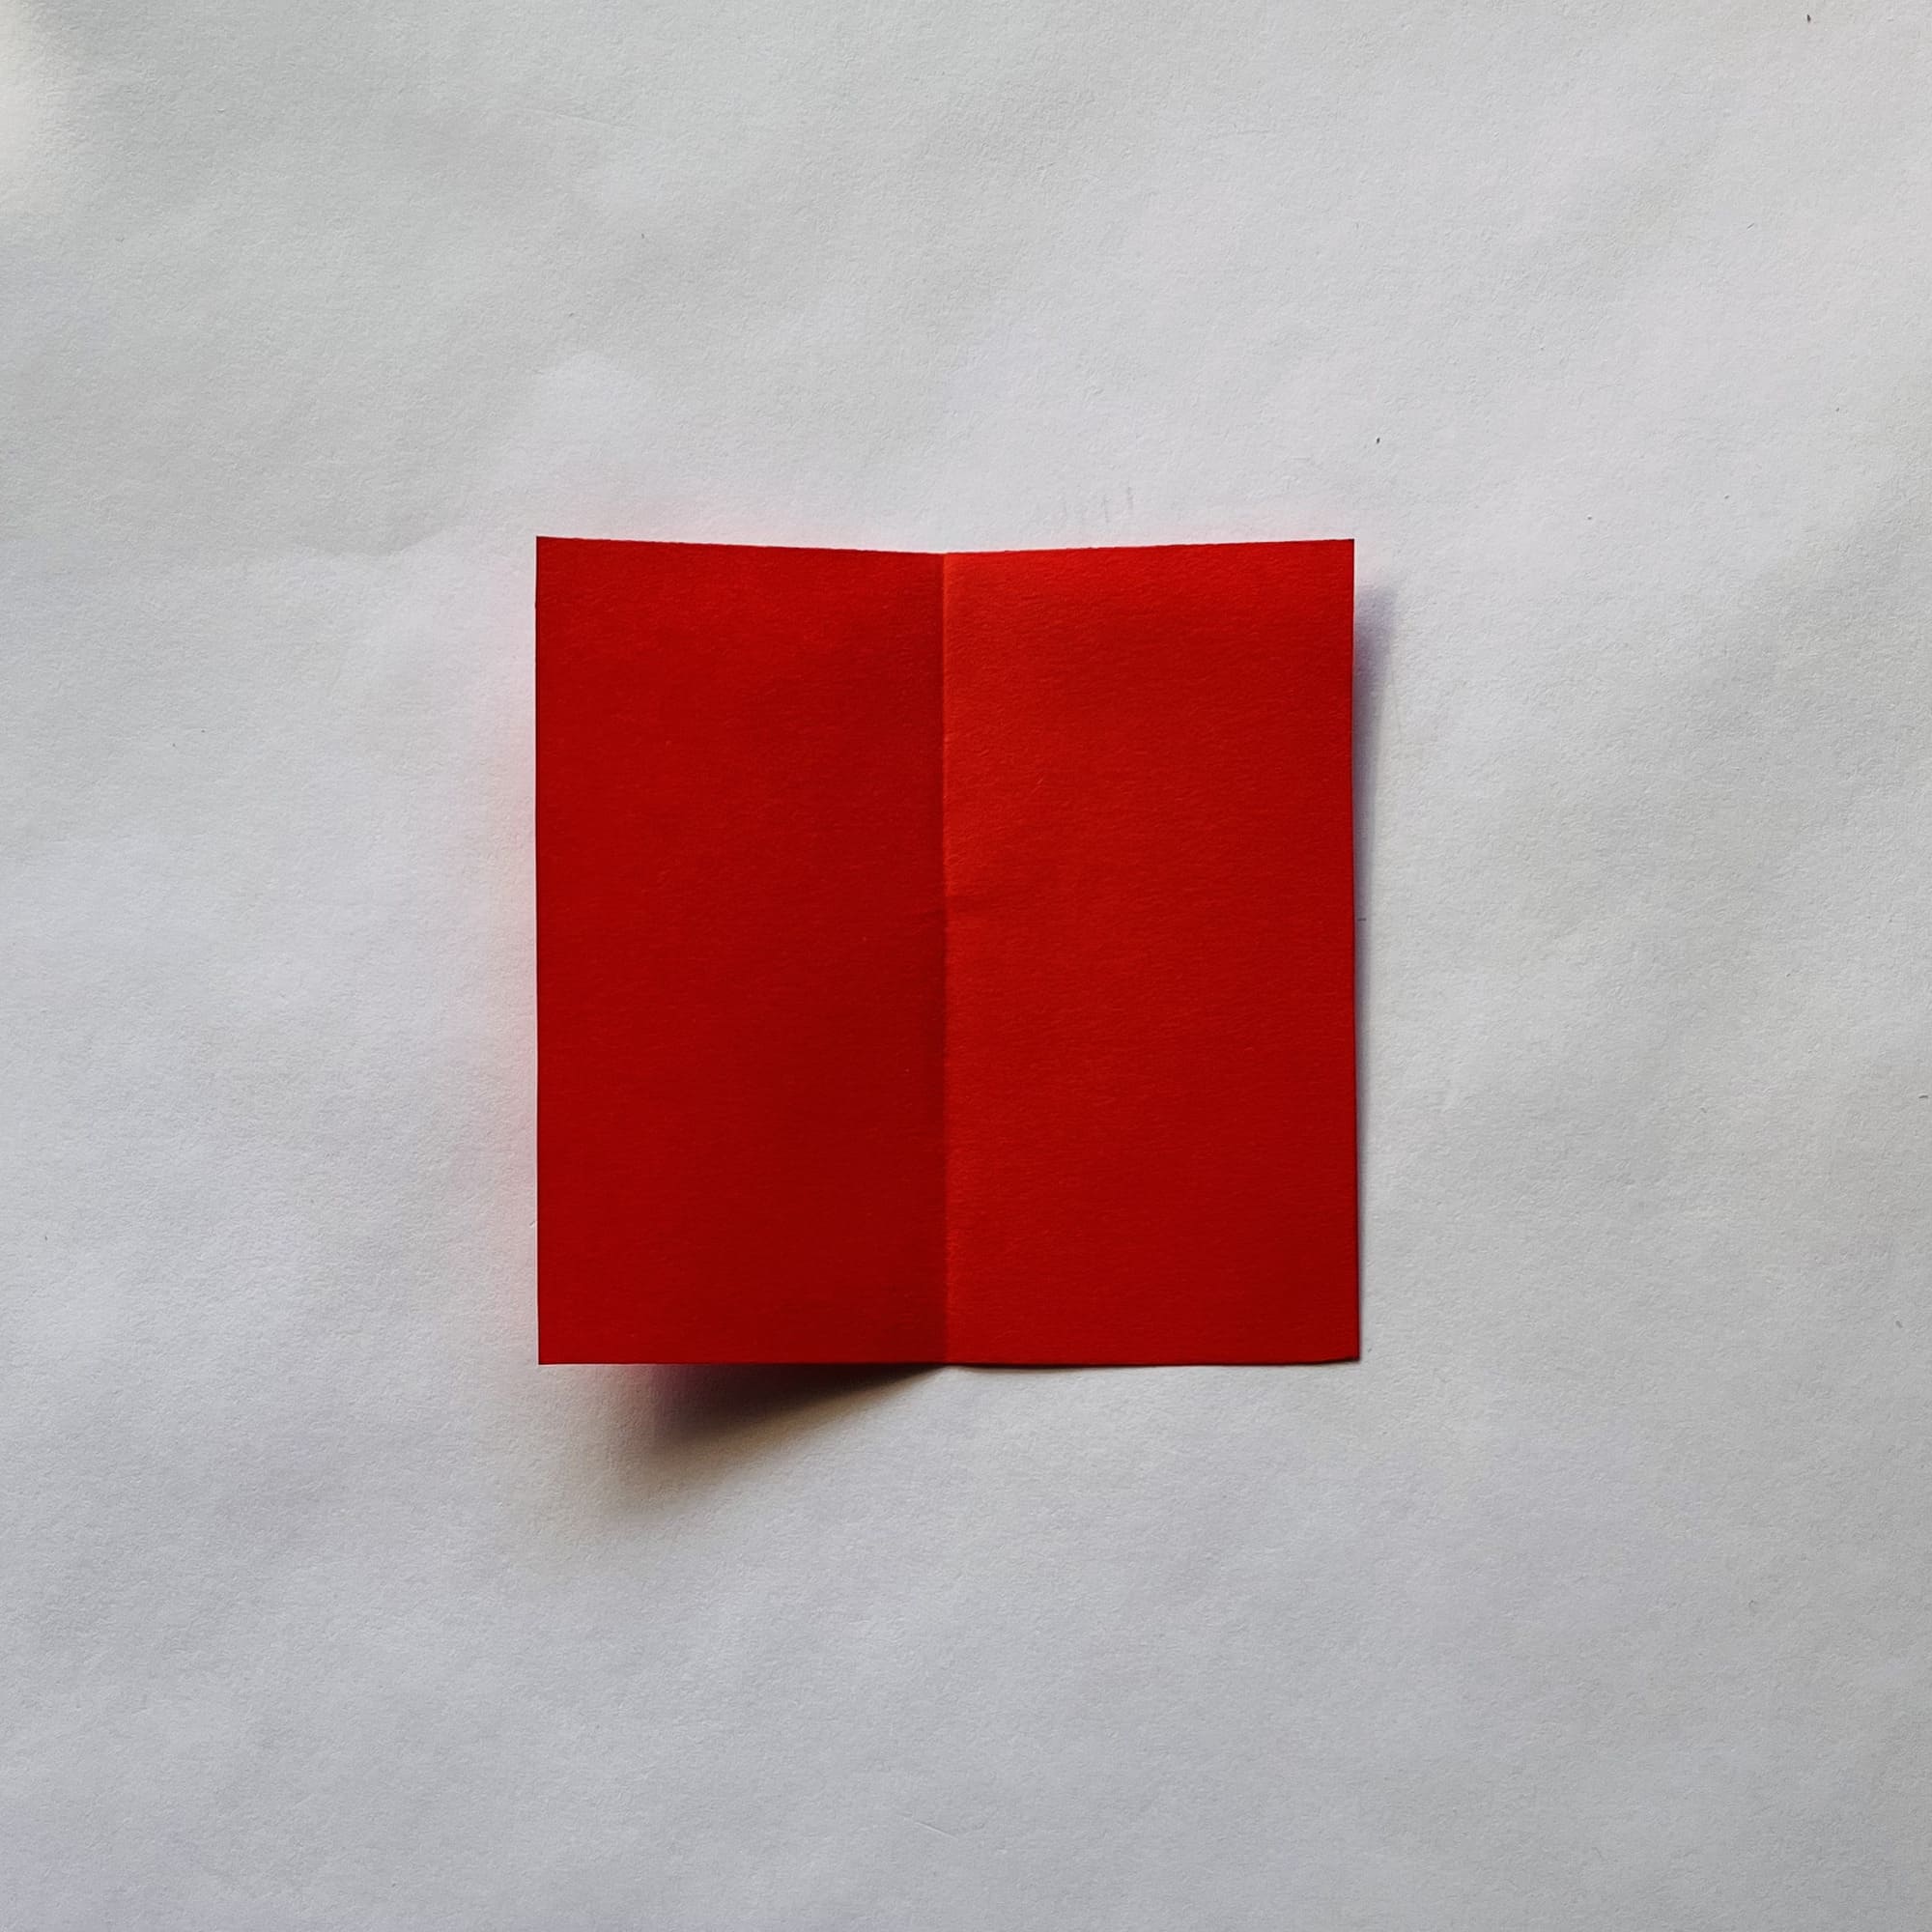
Fold it in half, crease the fold, and unfold it.
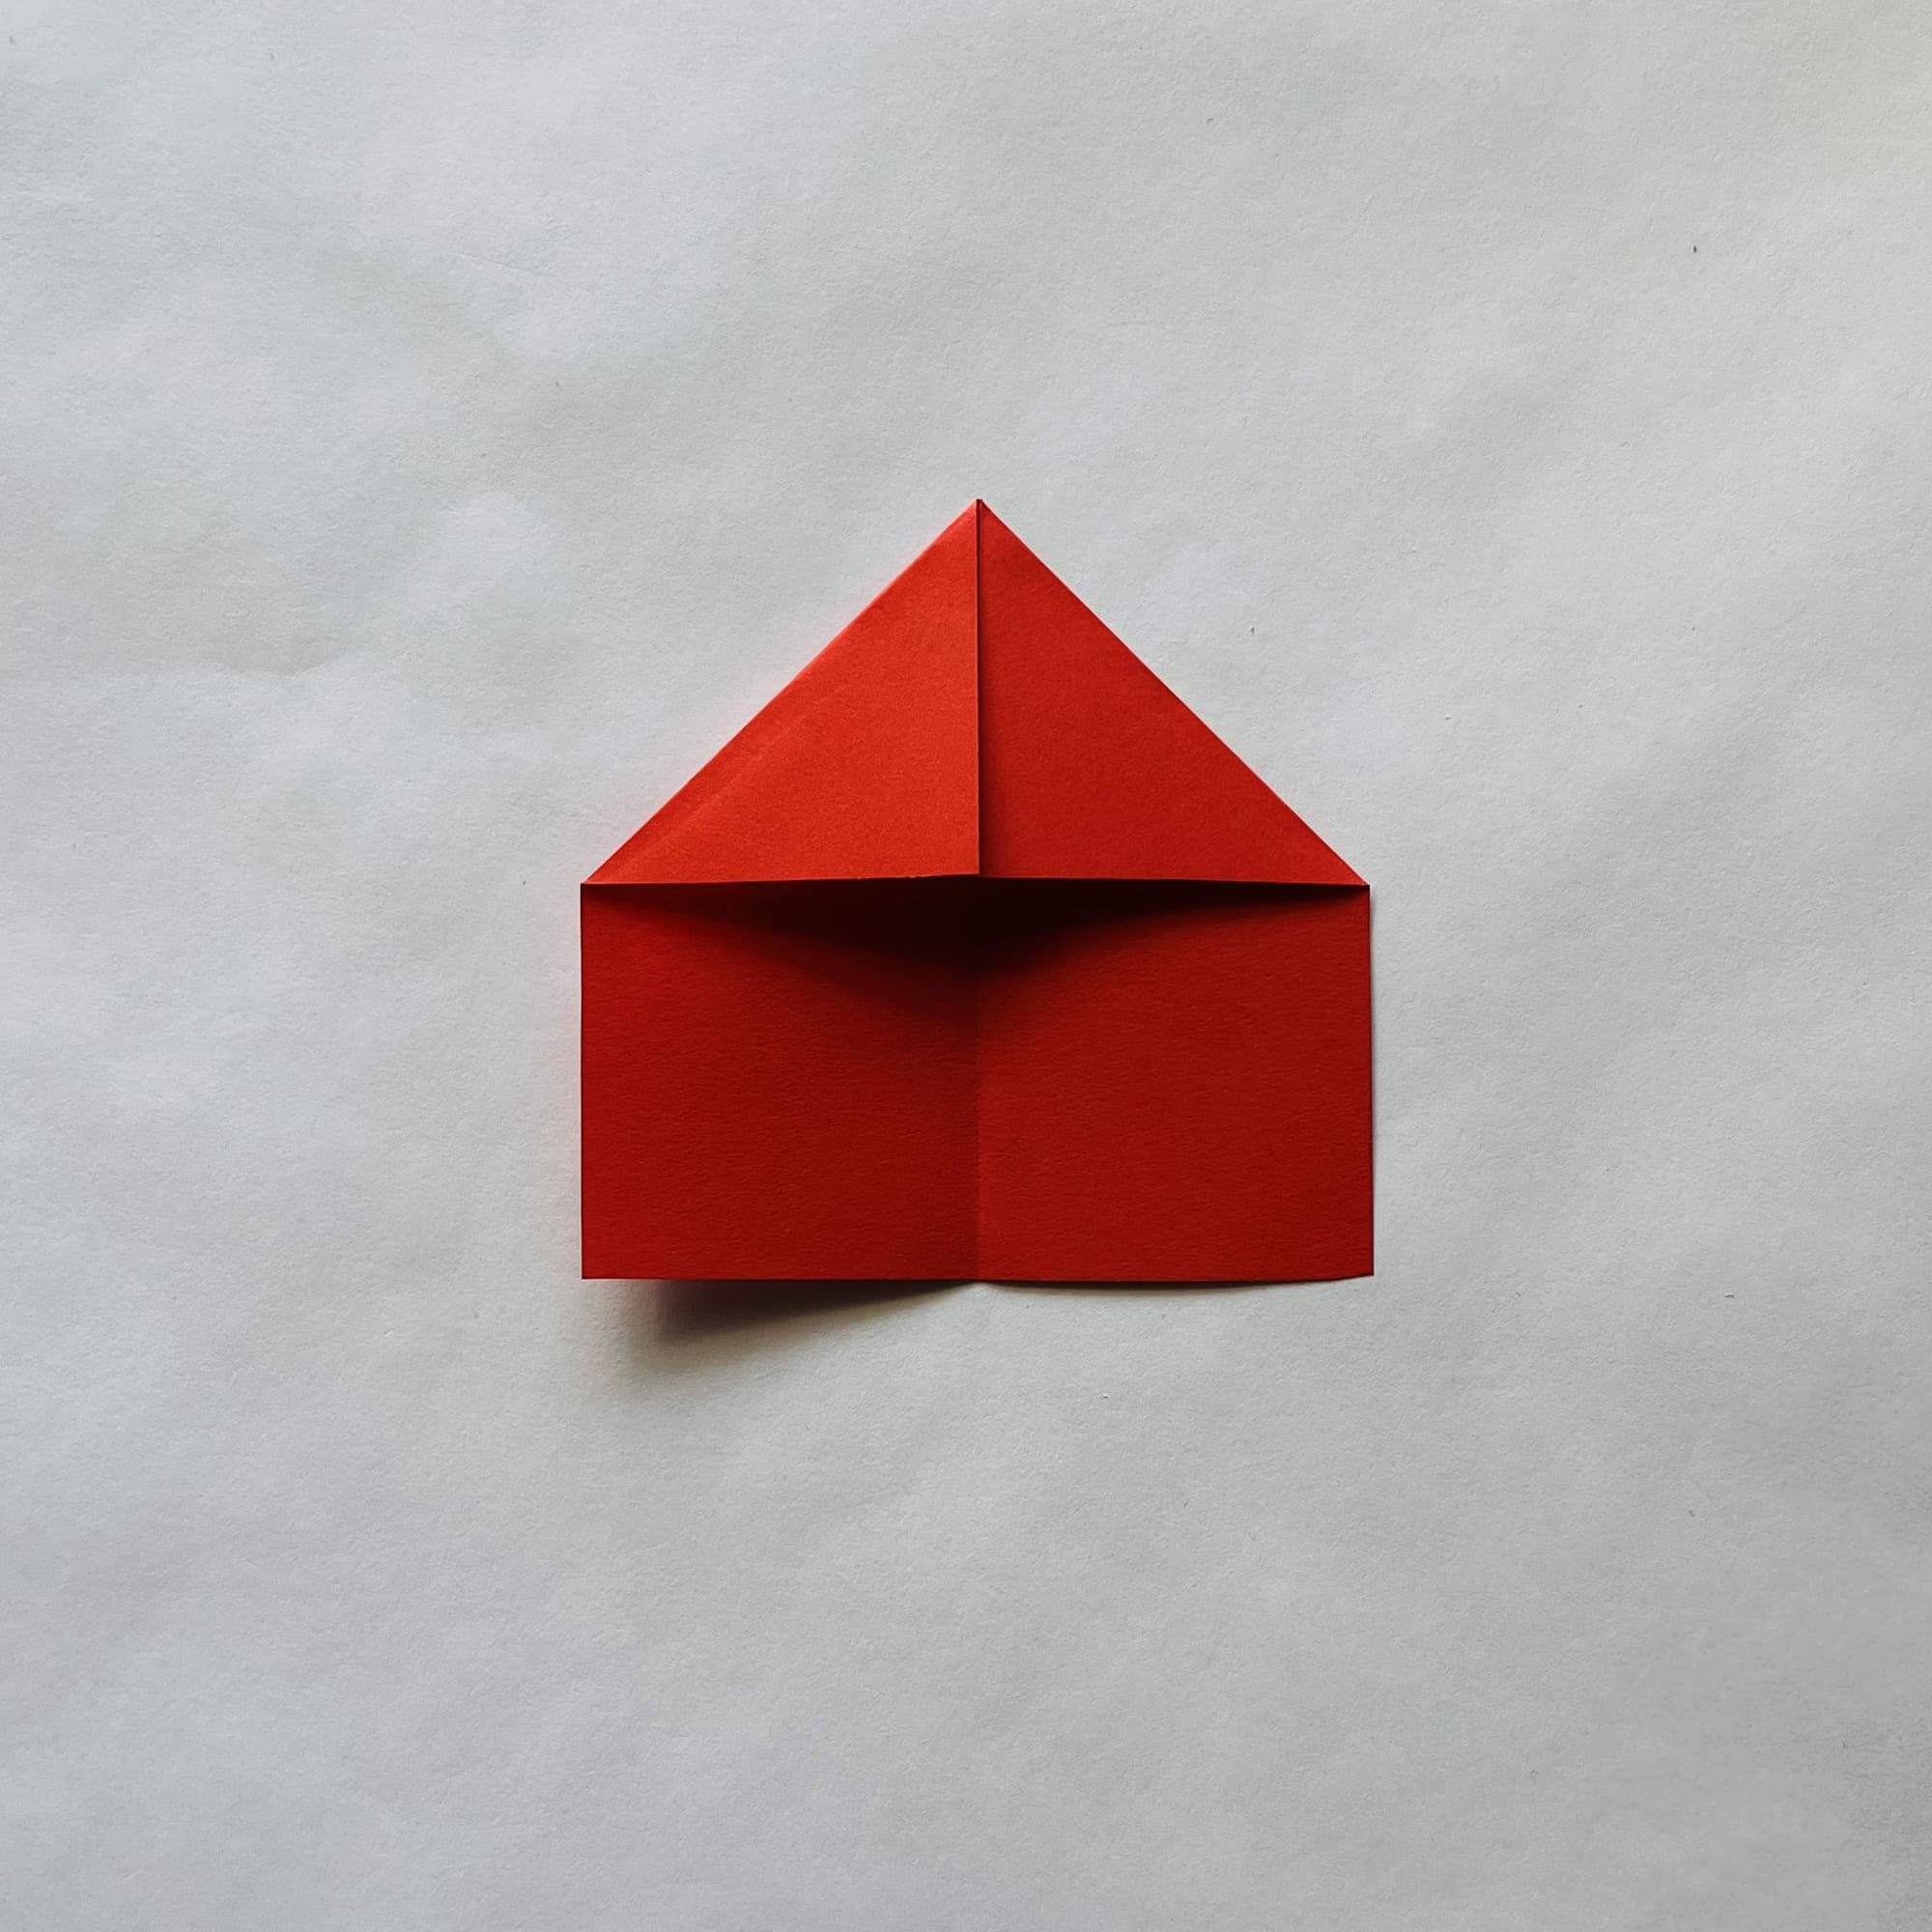
Fold both top corners towards the center line.

Turn the paper over and fold the bottom edge up about 0.5–1 cm.

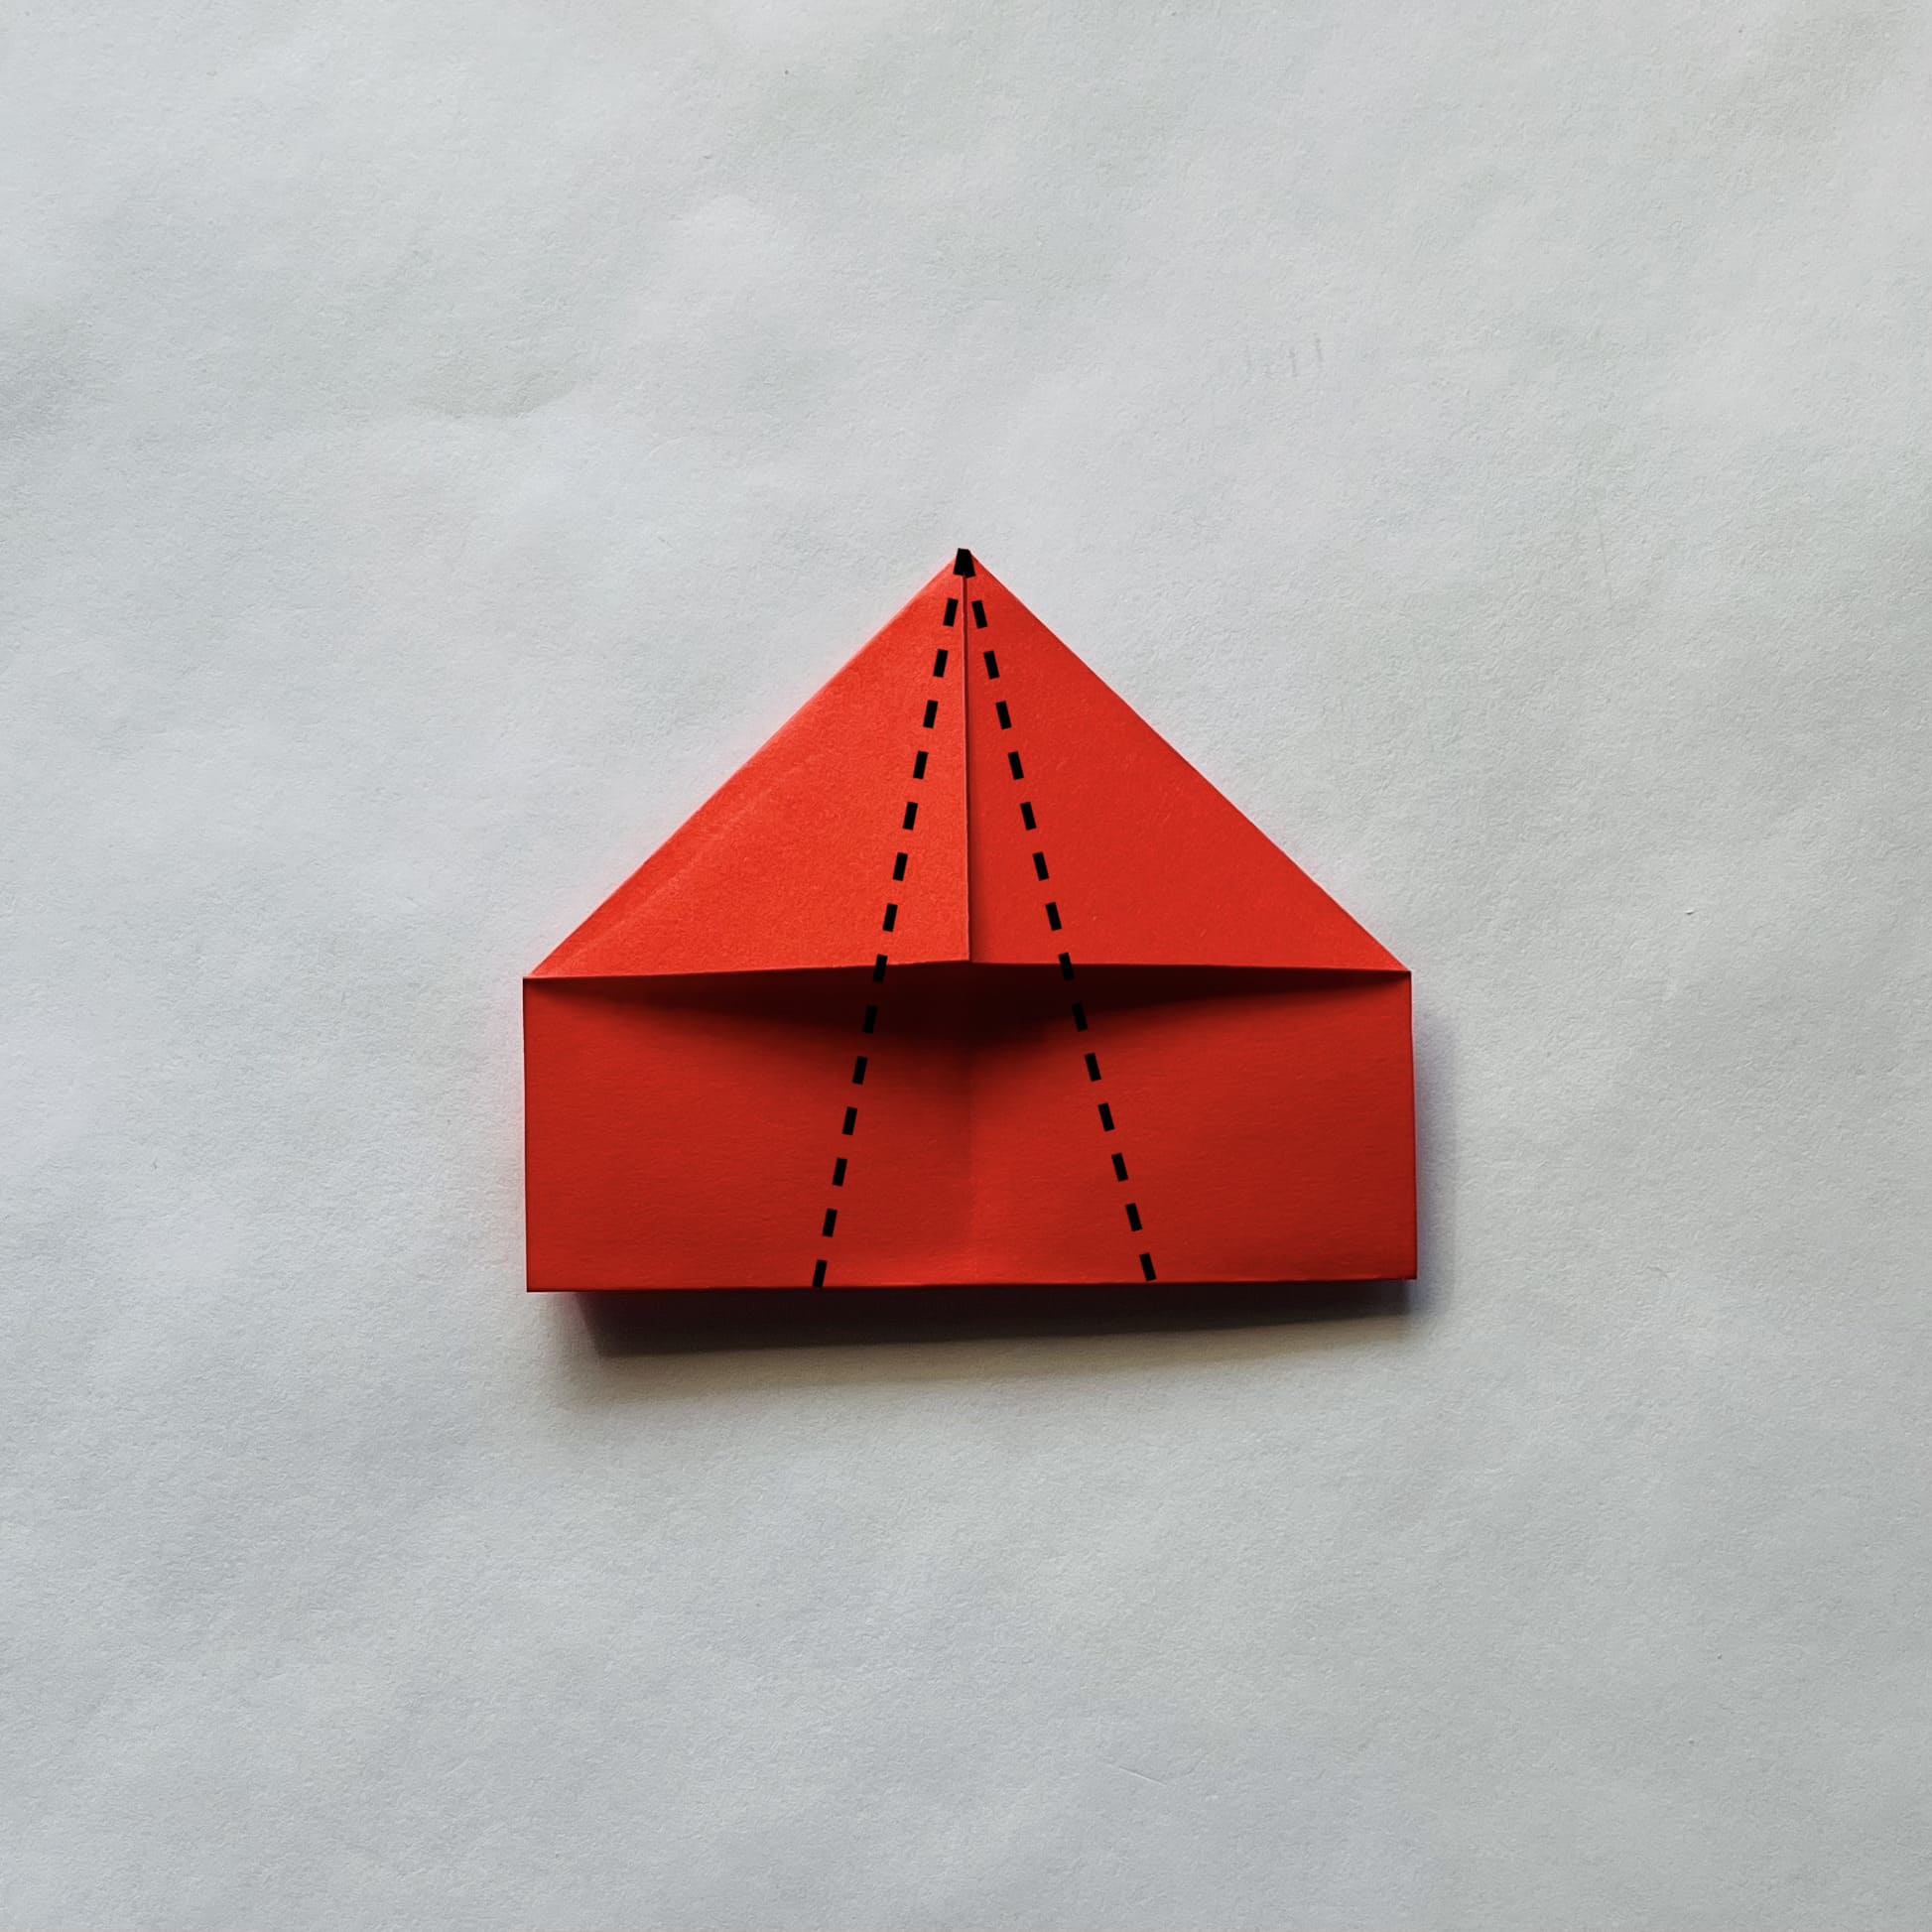
Turn over again. Now, you need to fold the paper twice along the dotted lines.
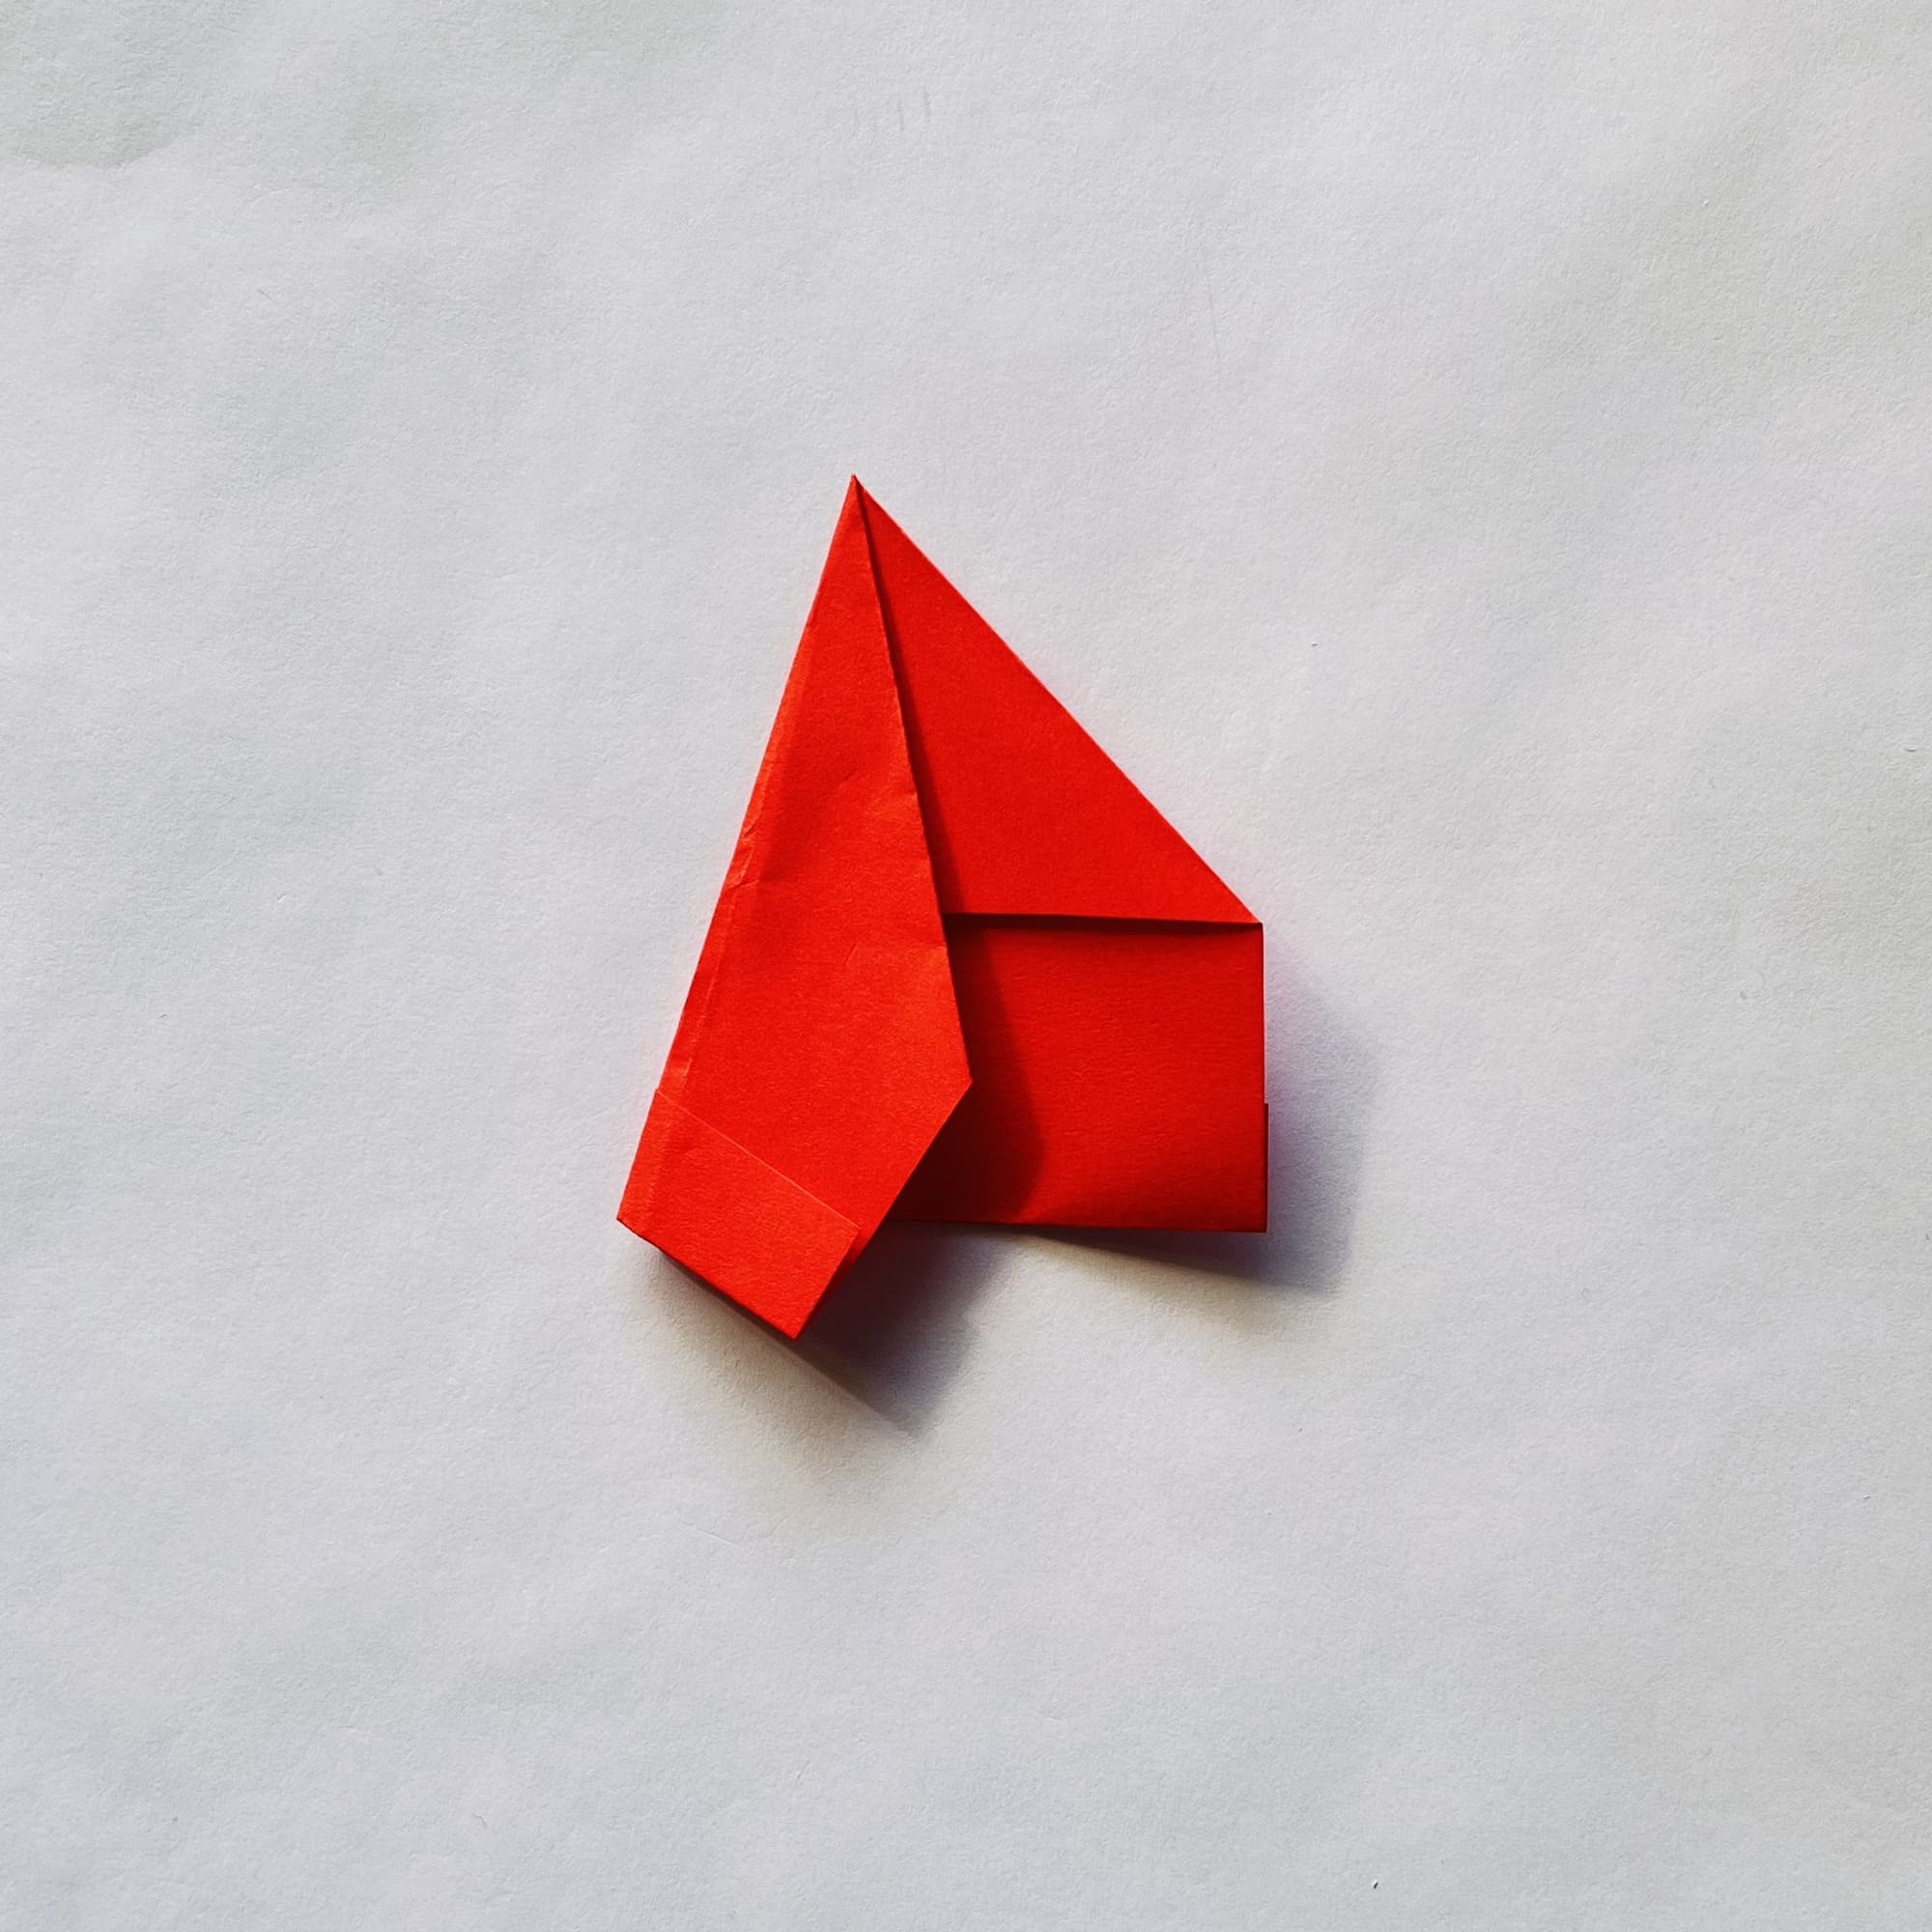
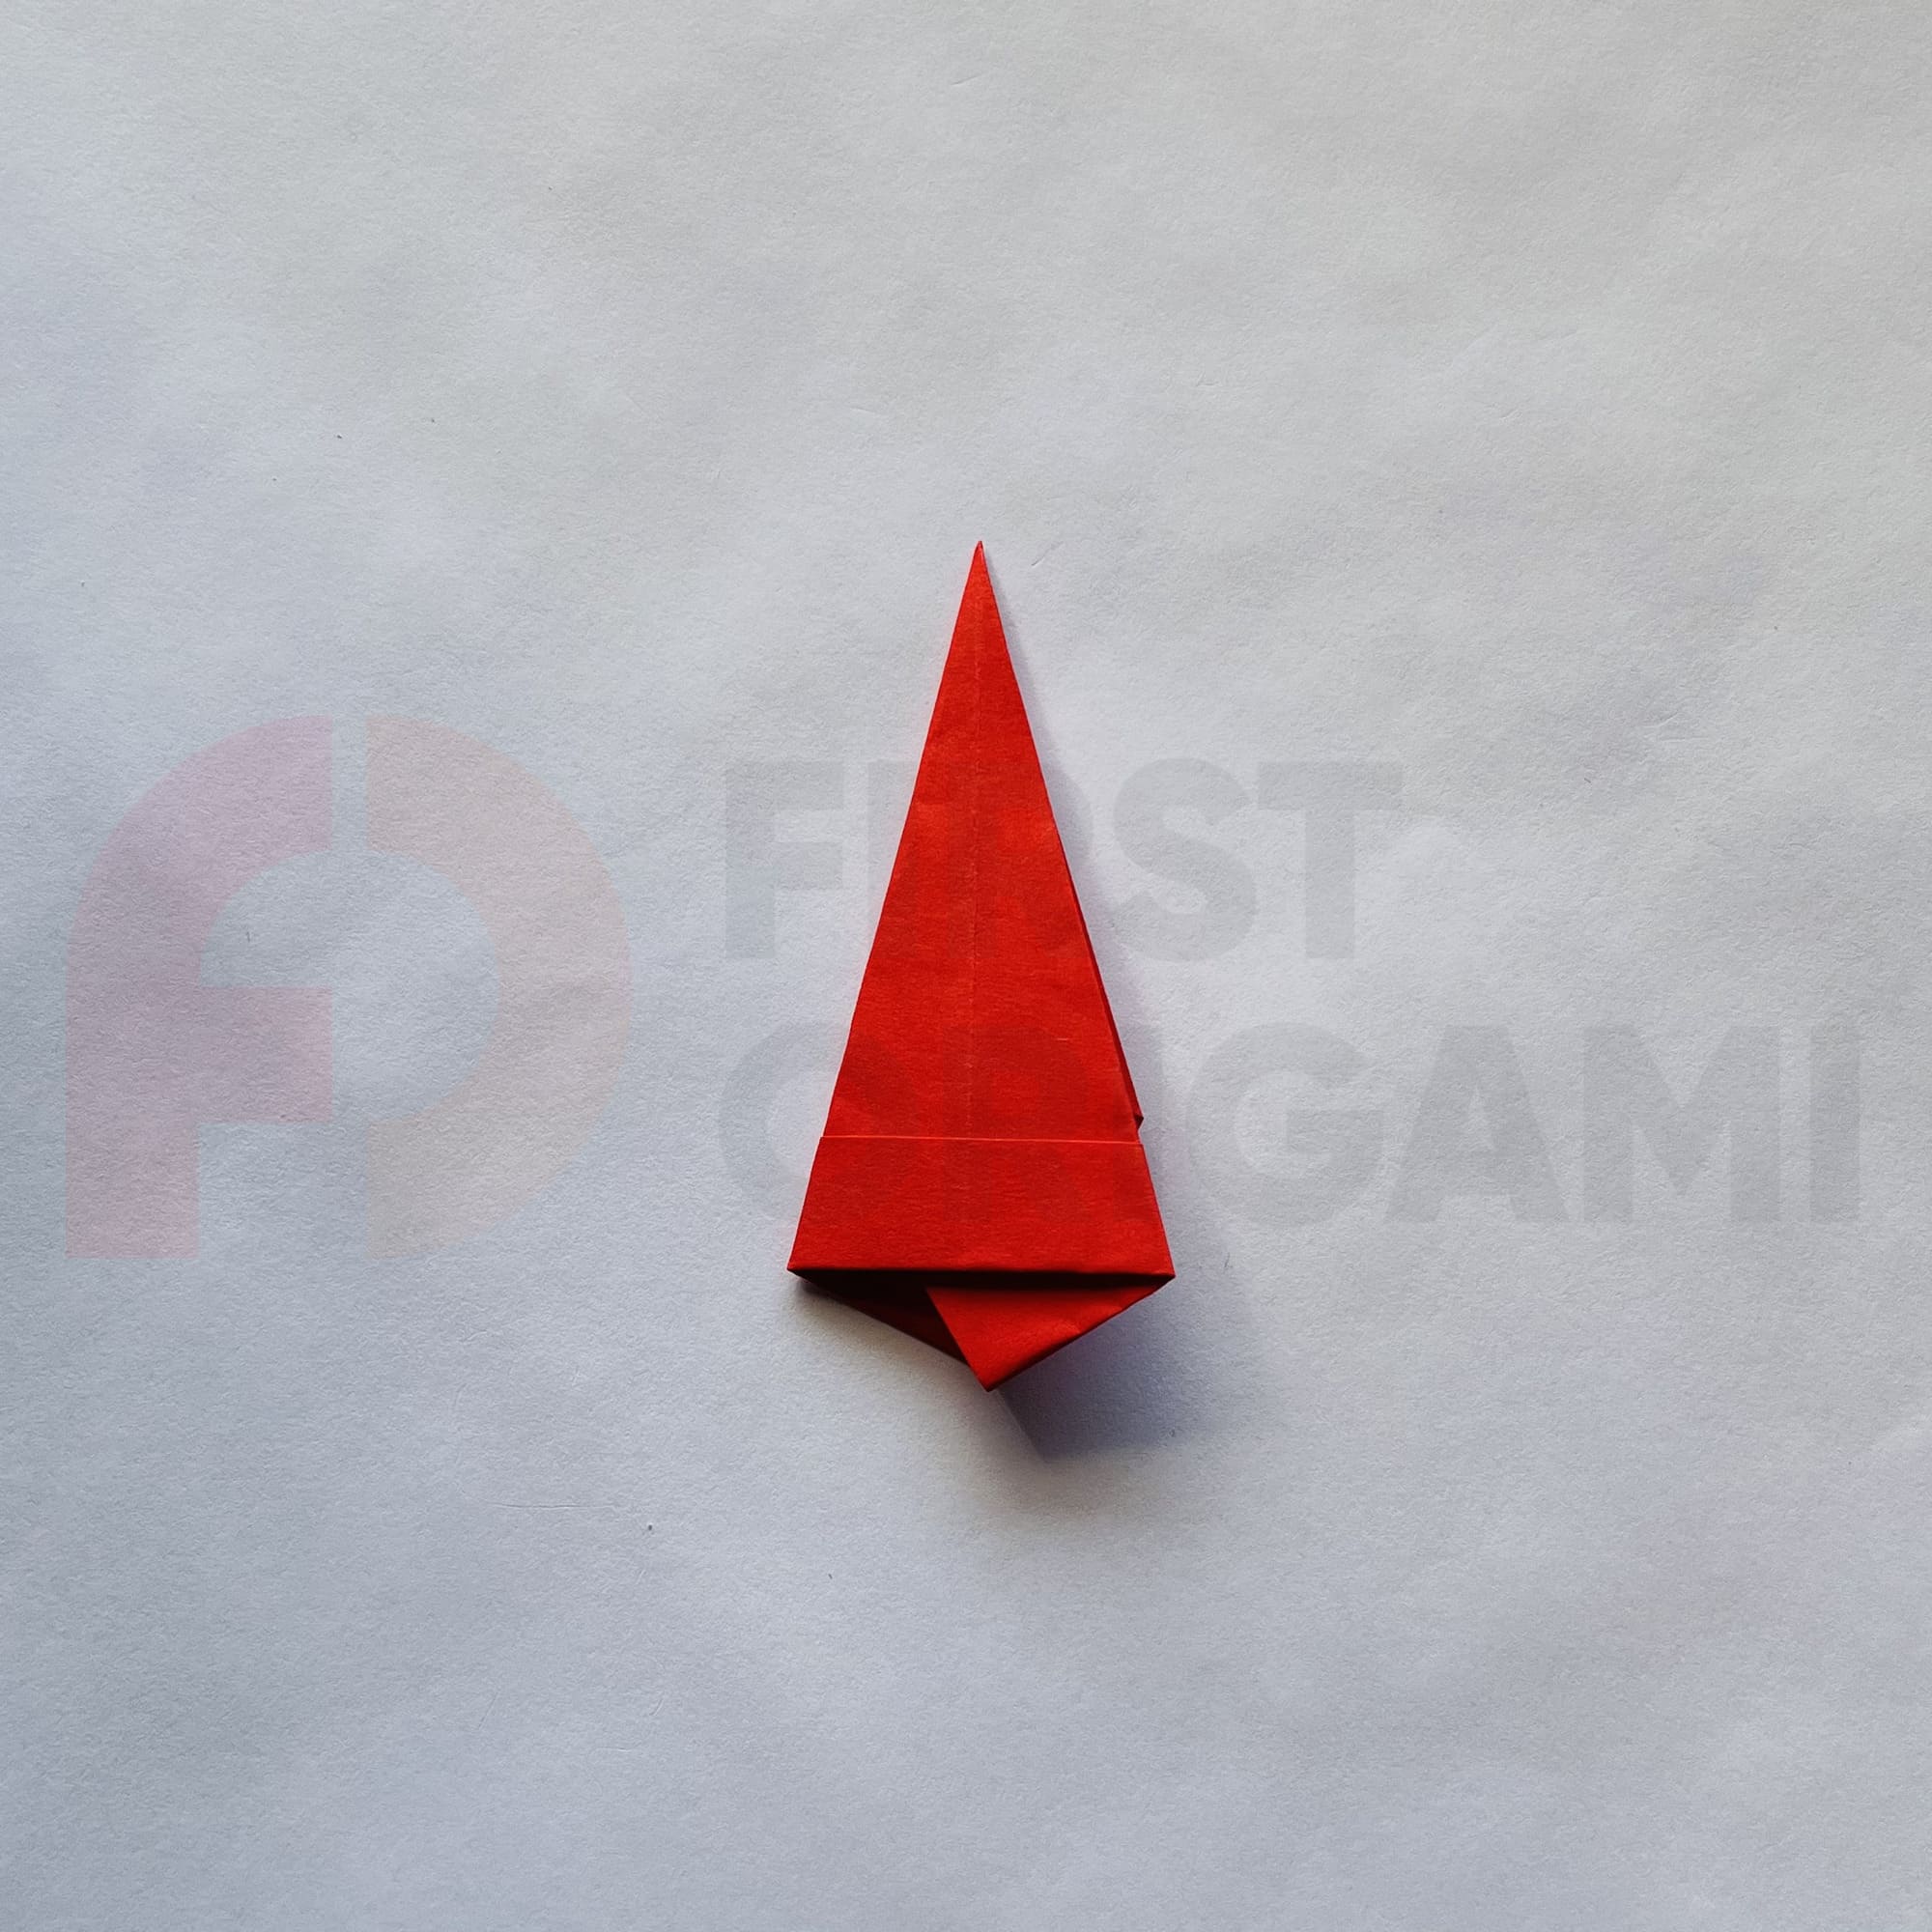
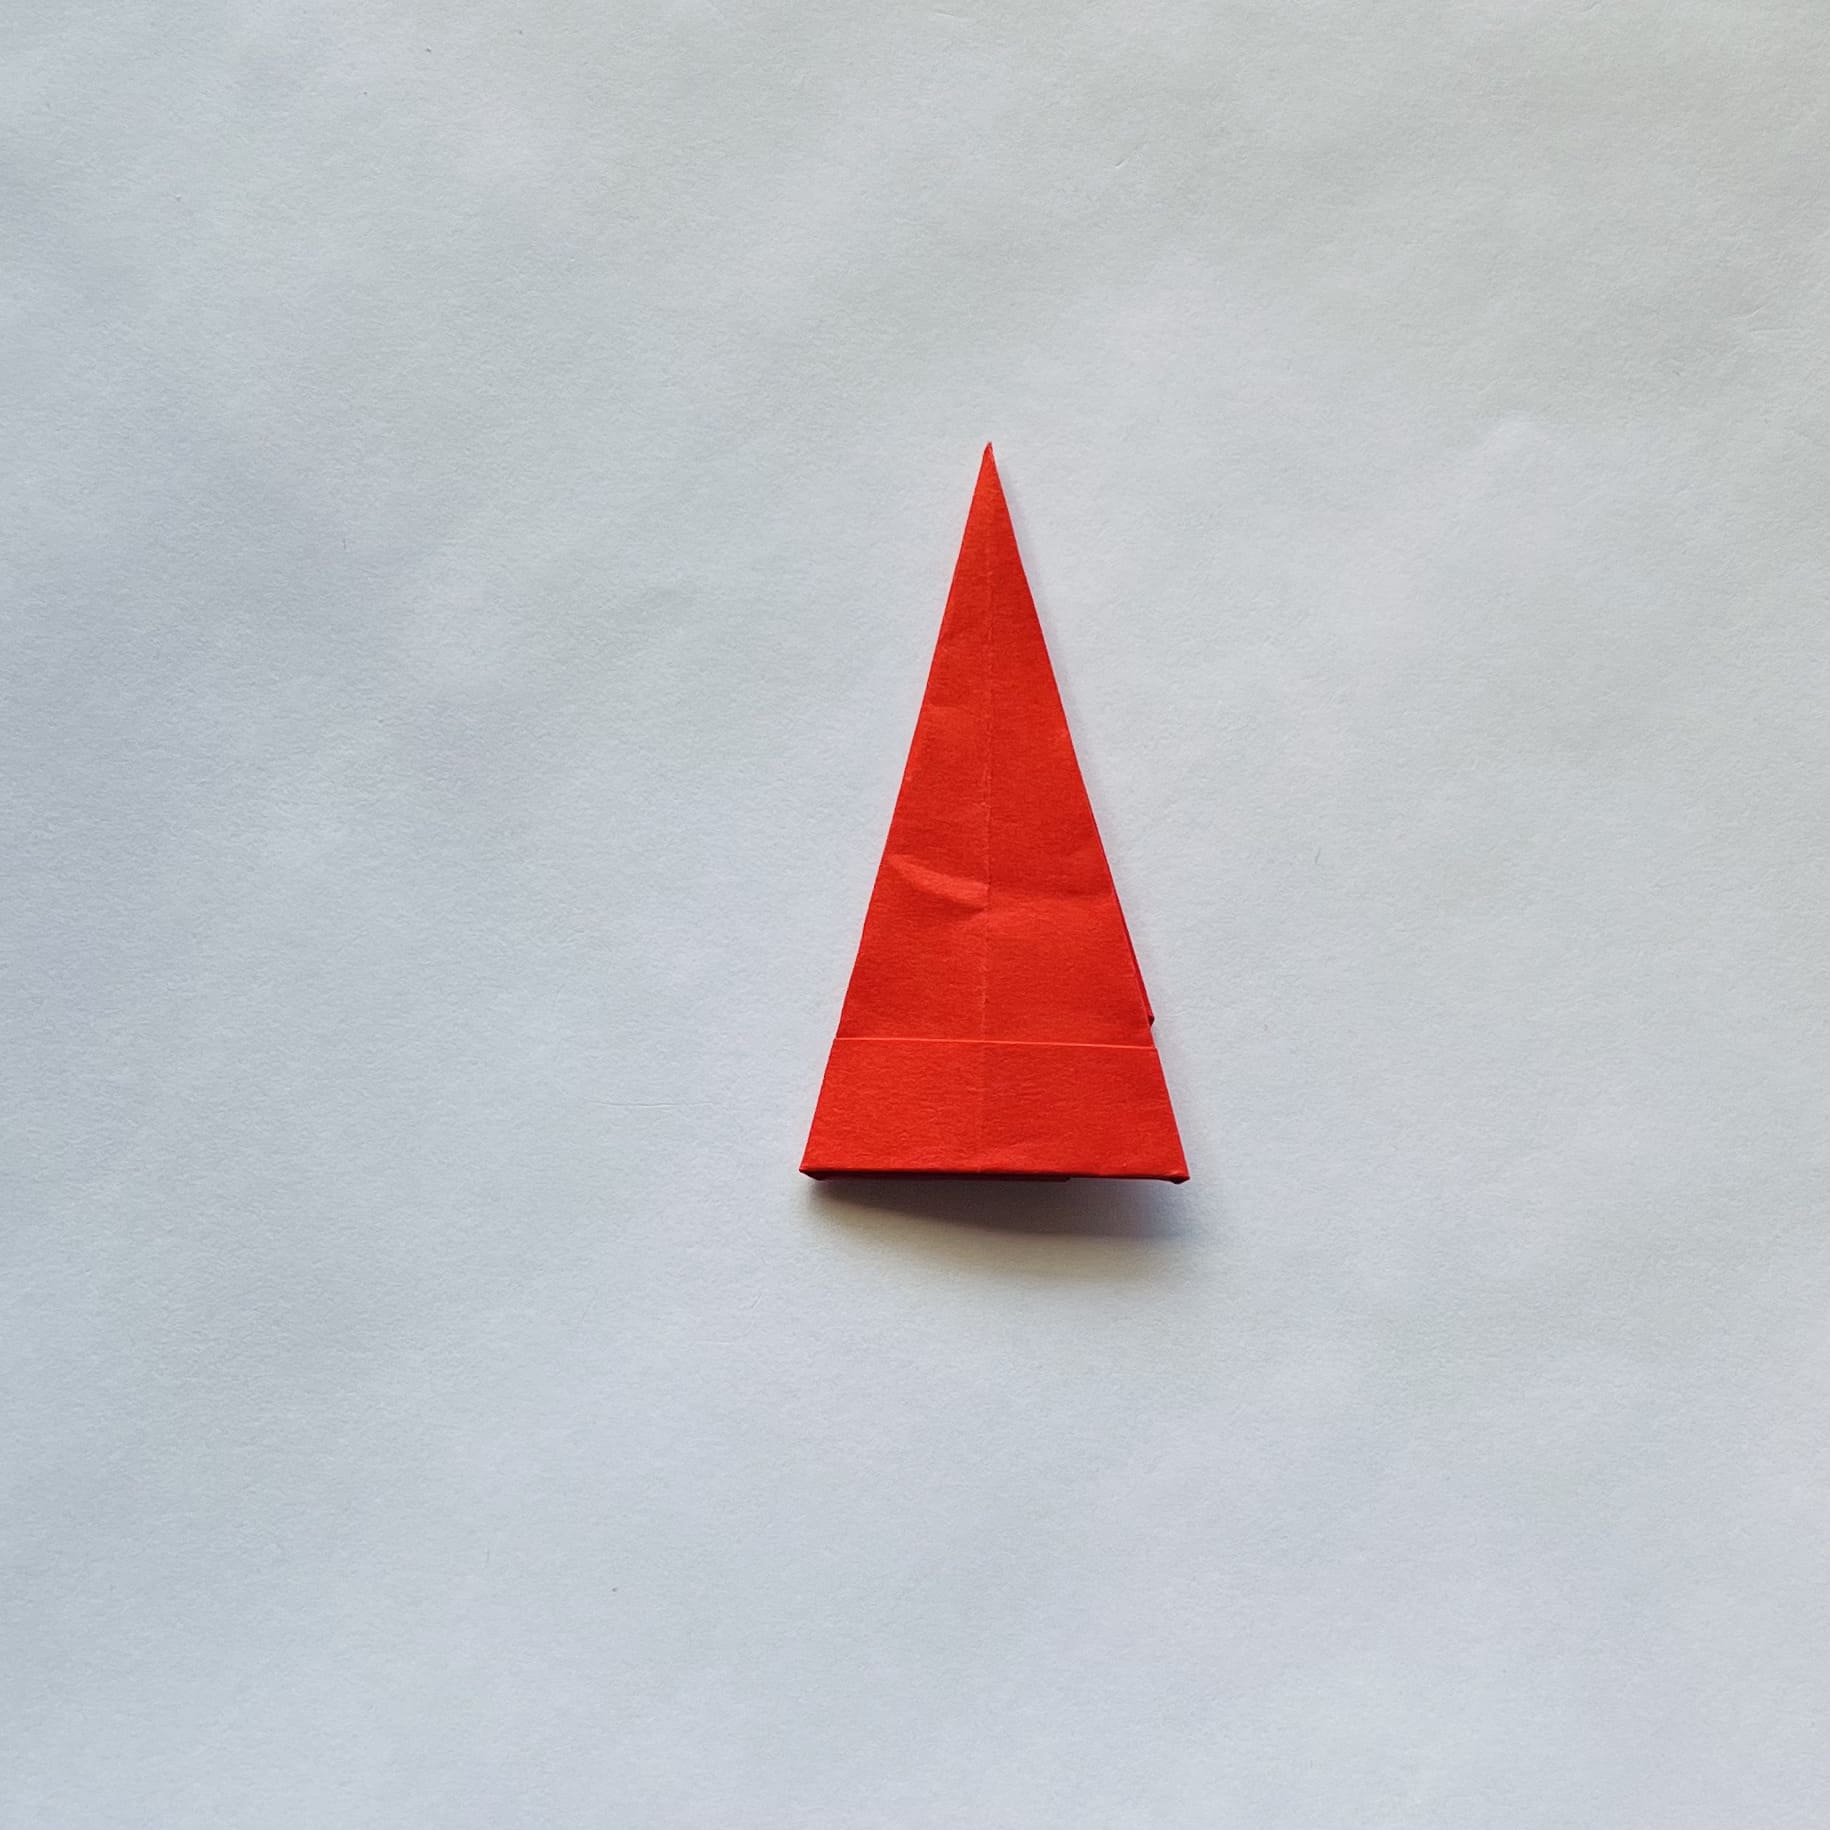
Turn the shape over and fold the edges of the paper protruding from the bottom inside the cap.
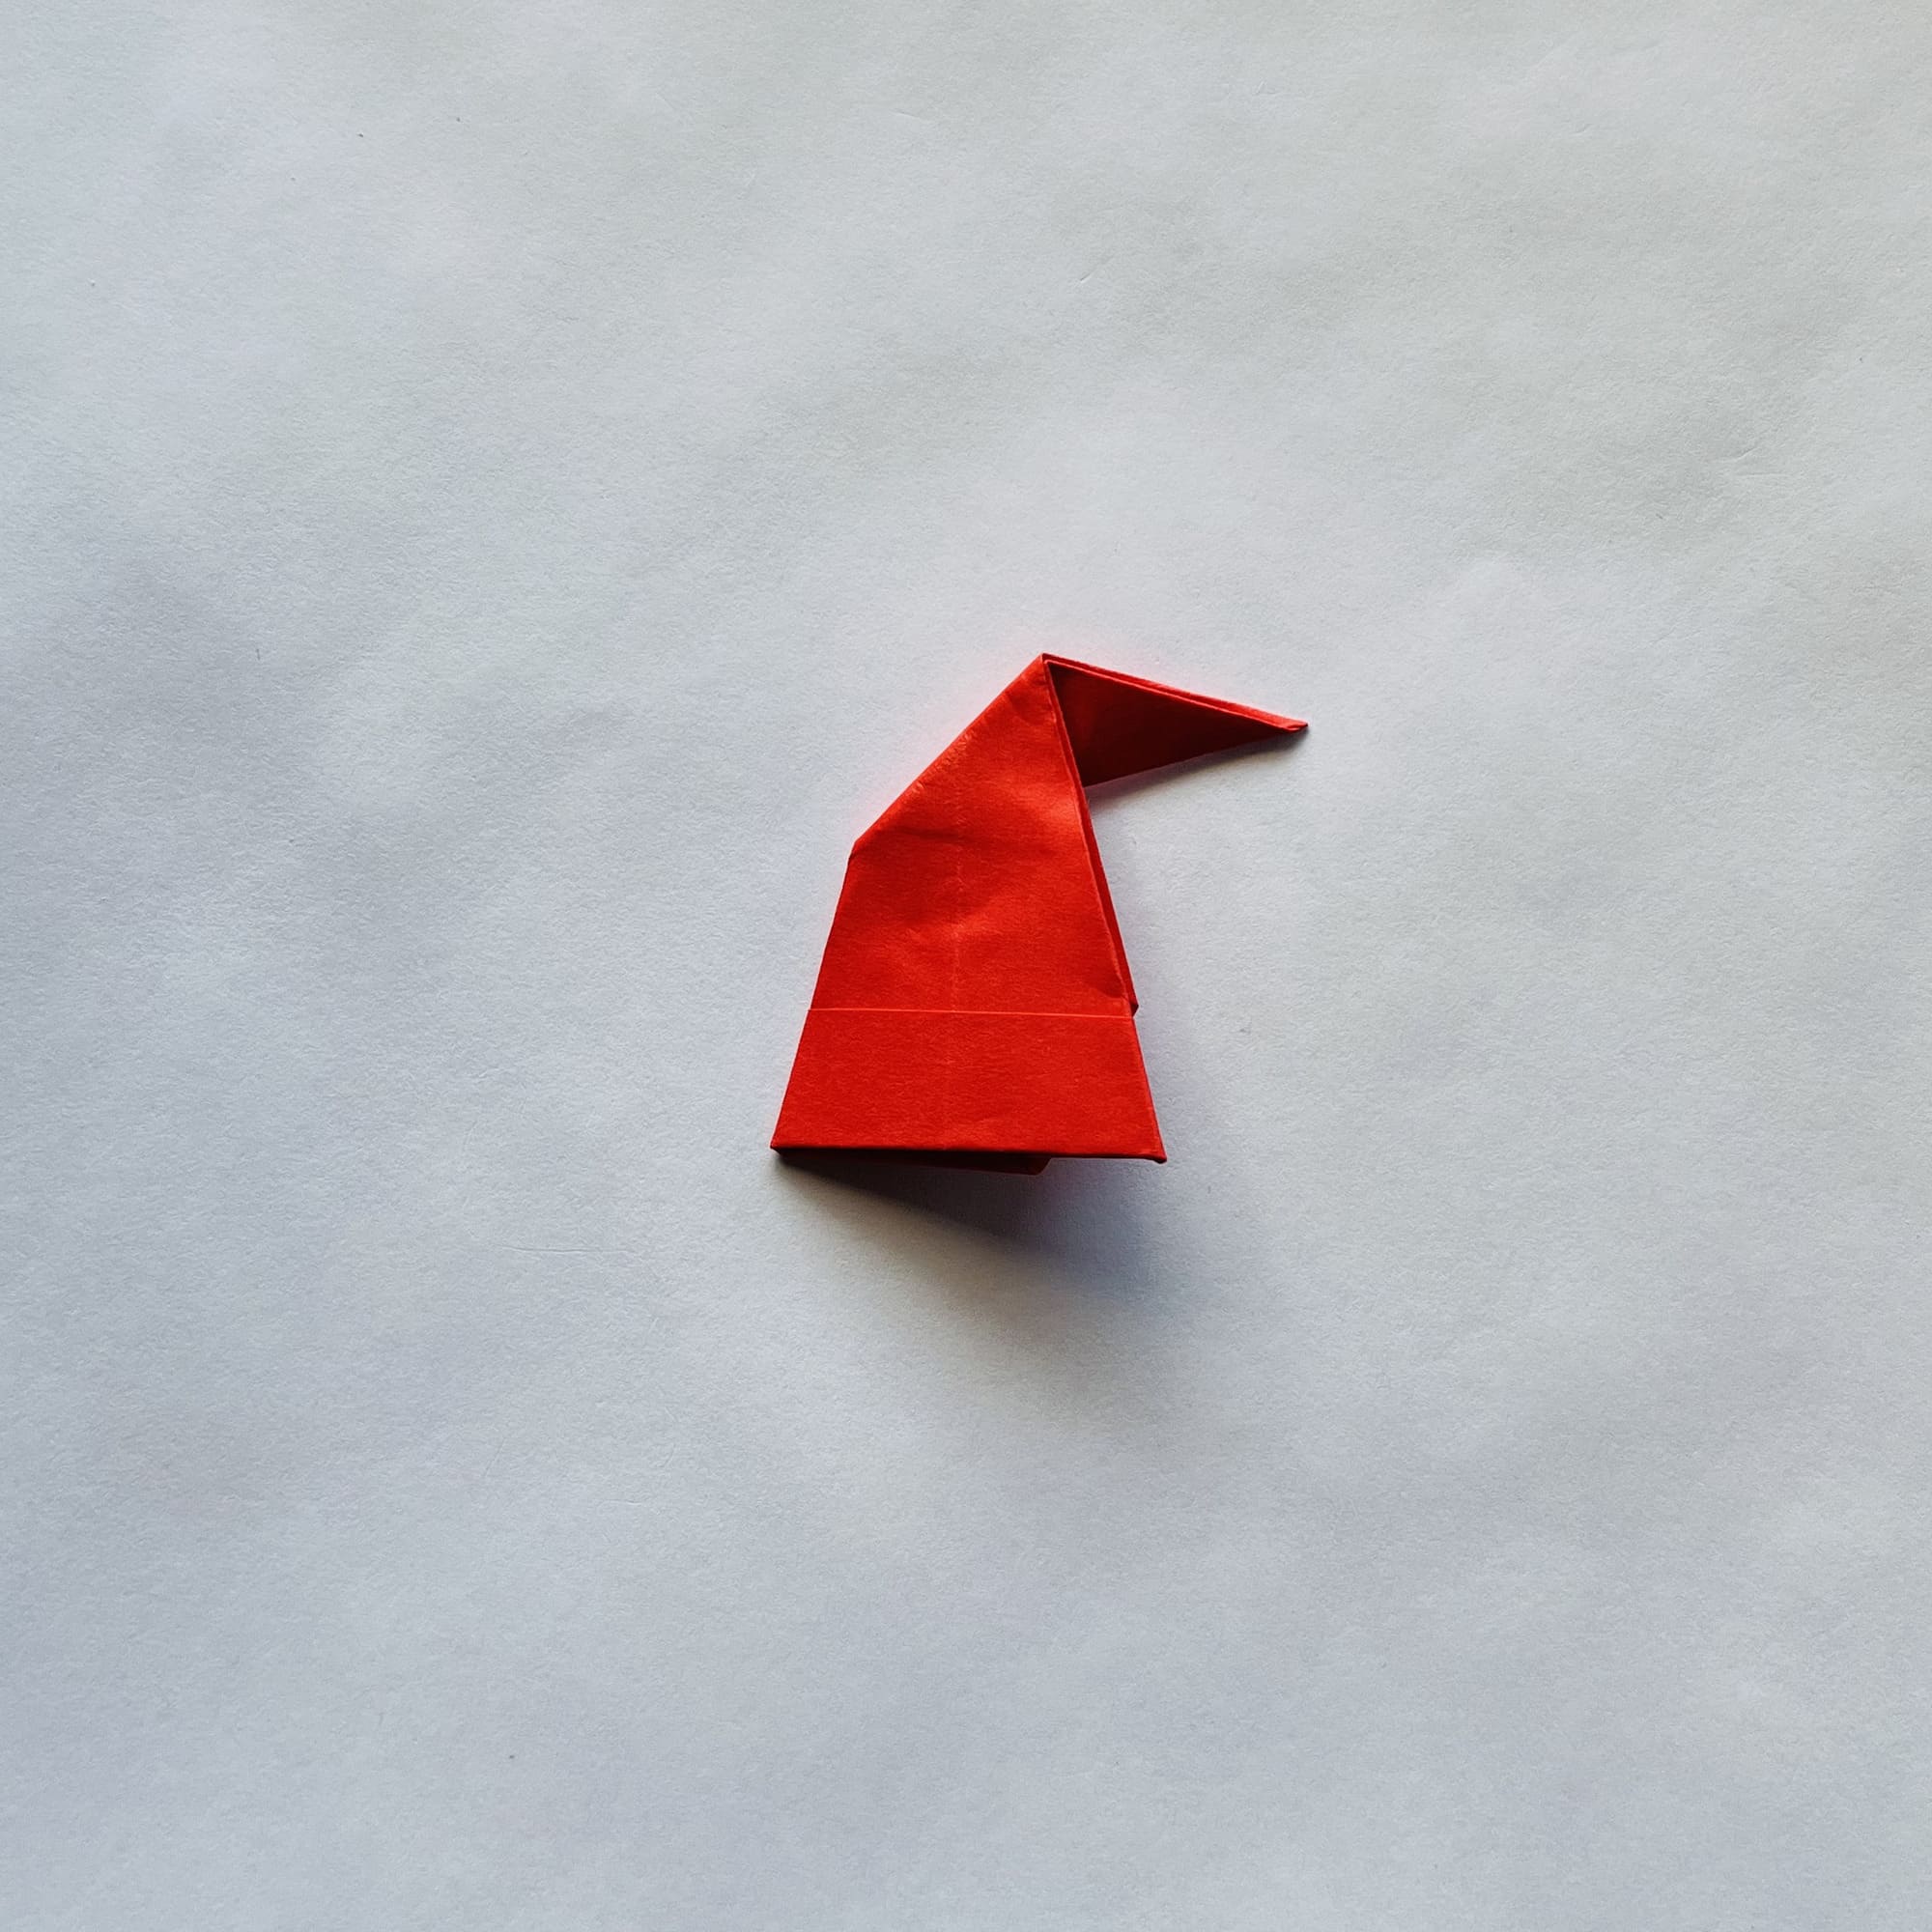
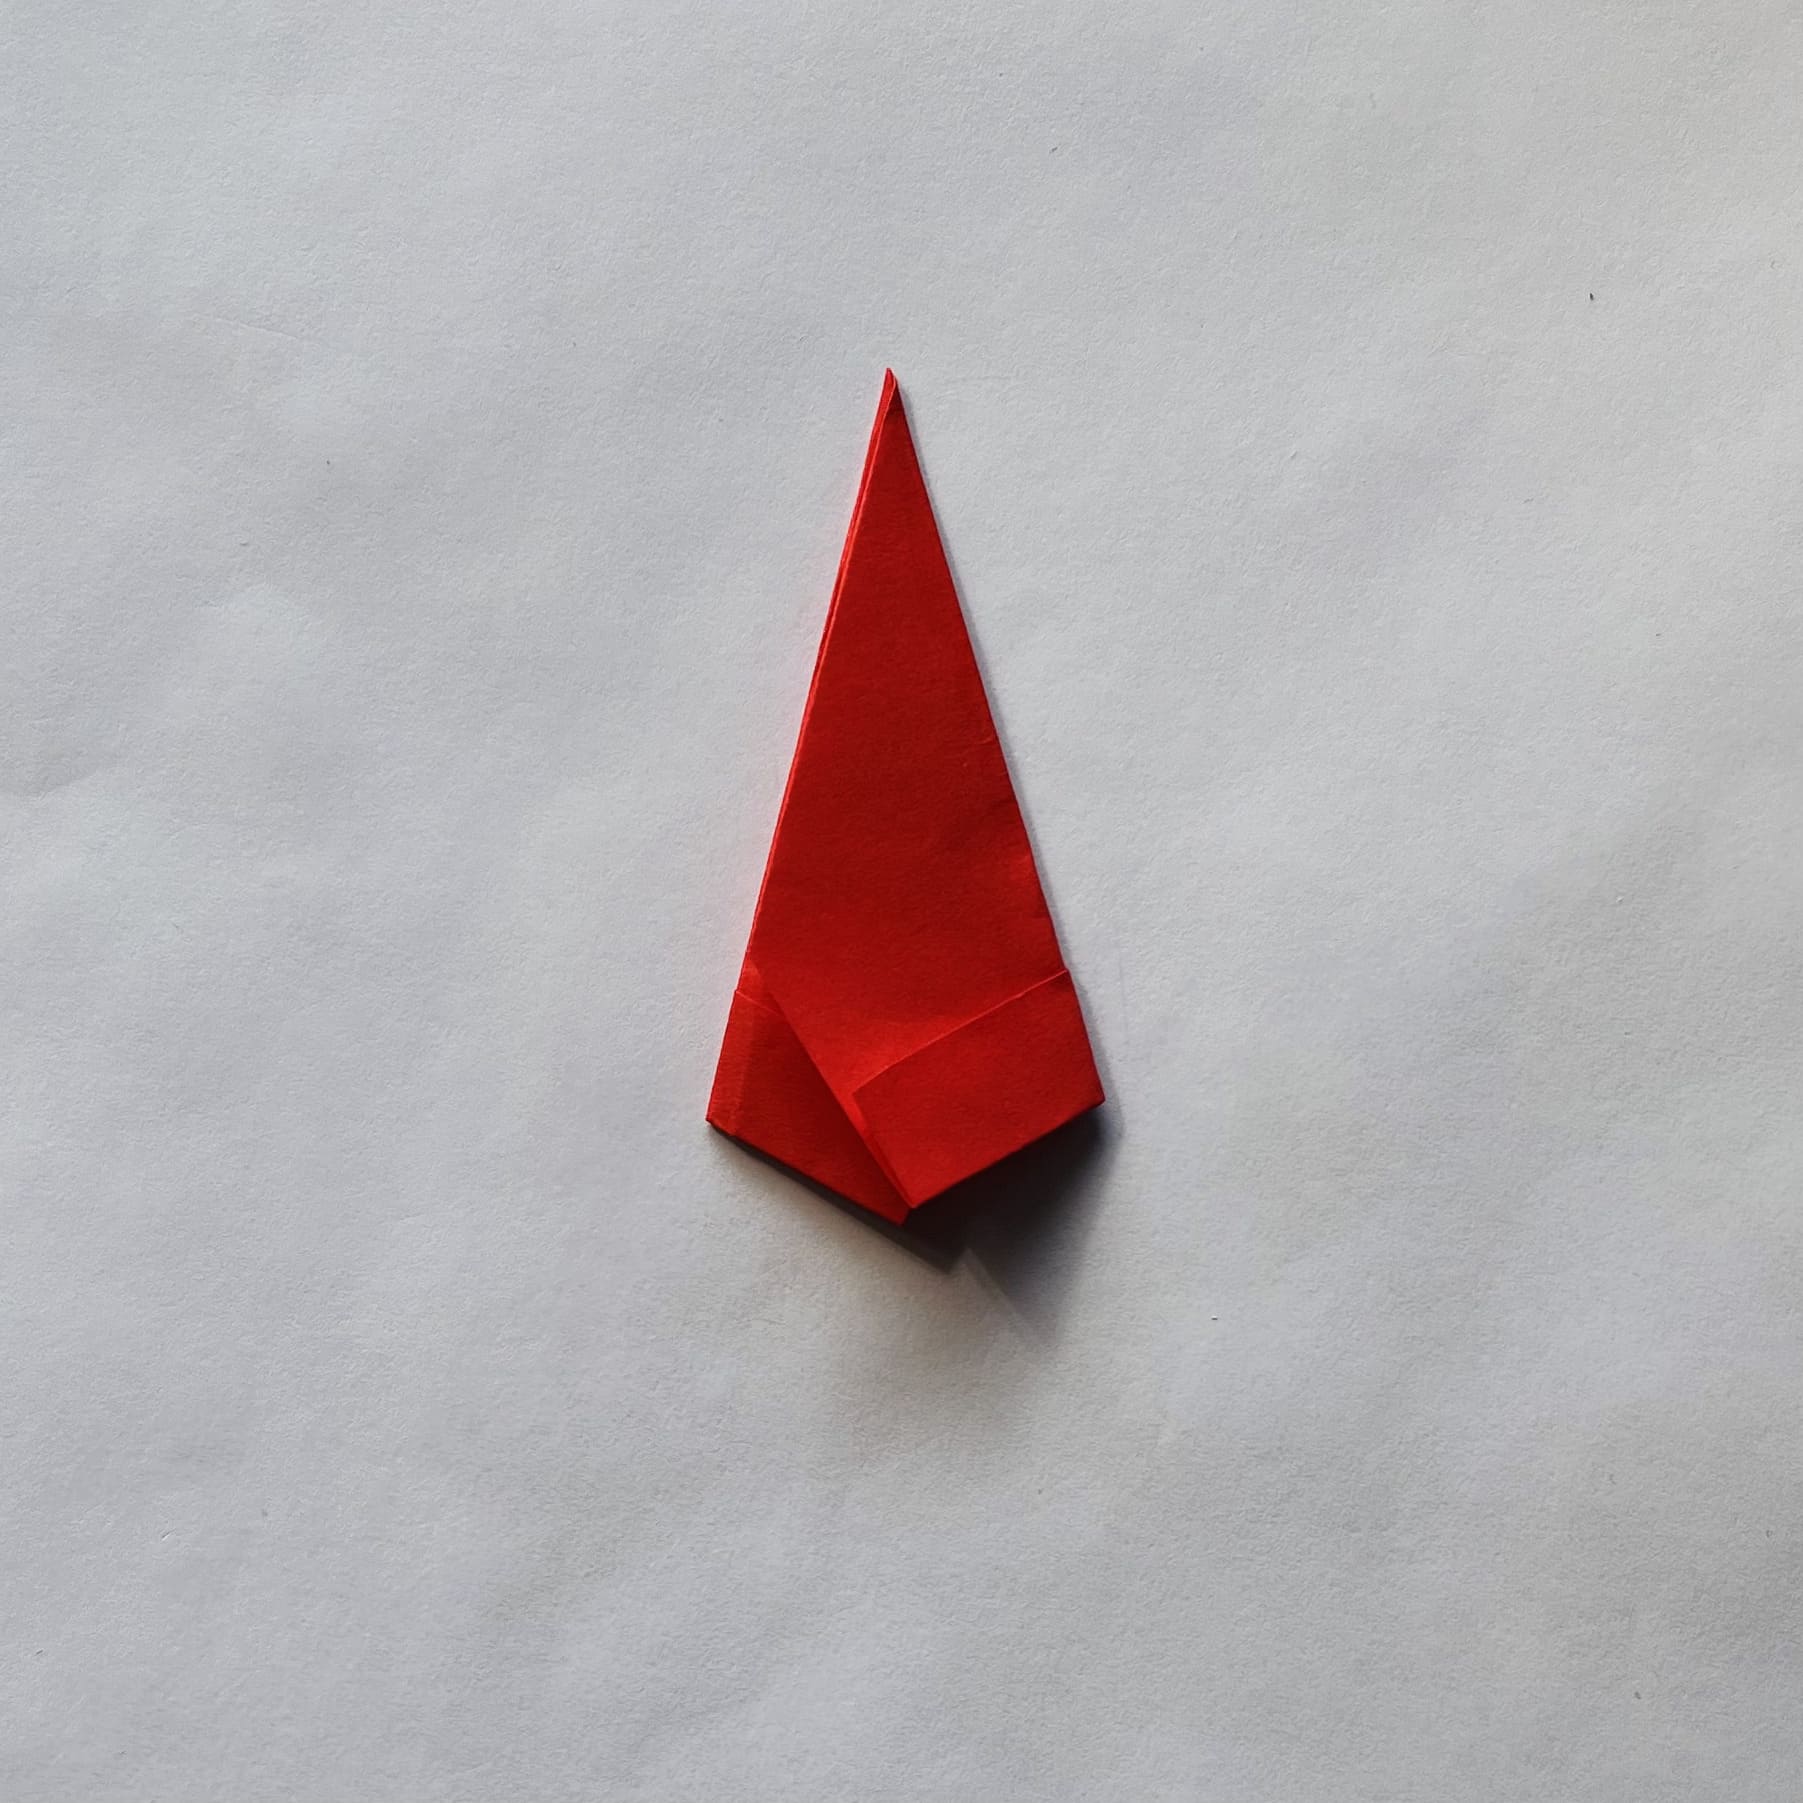
Final touch: fold the top corner back and to the side.
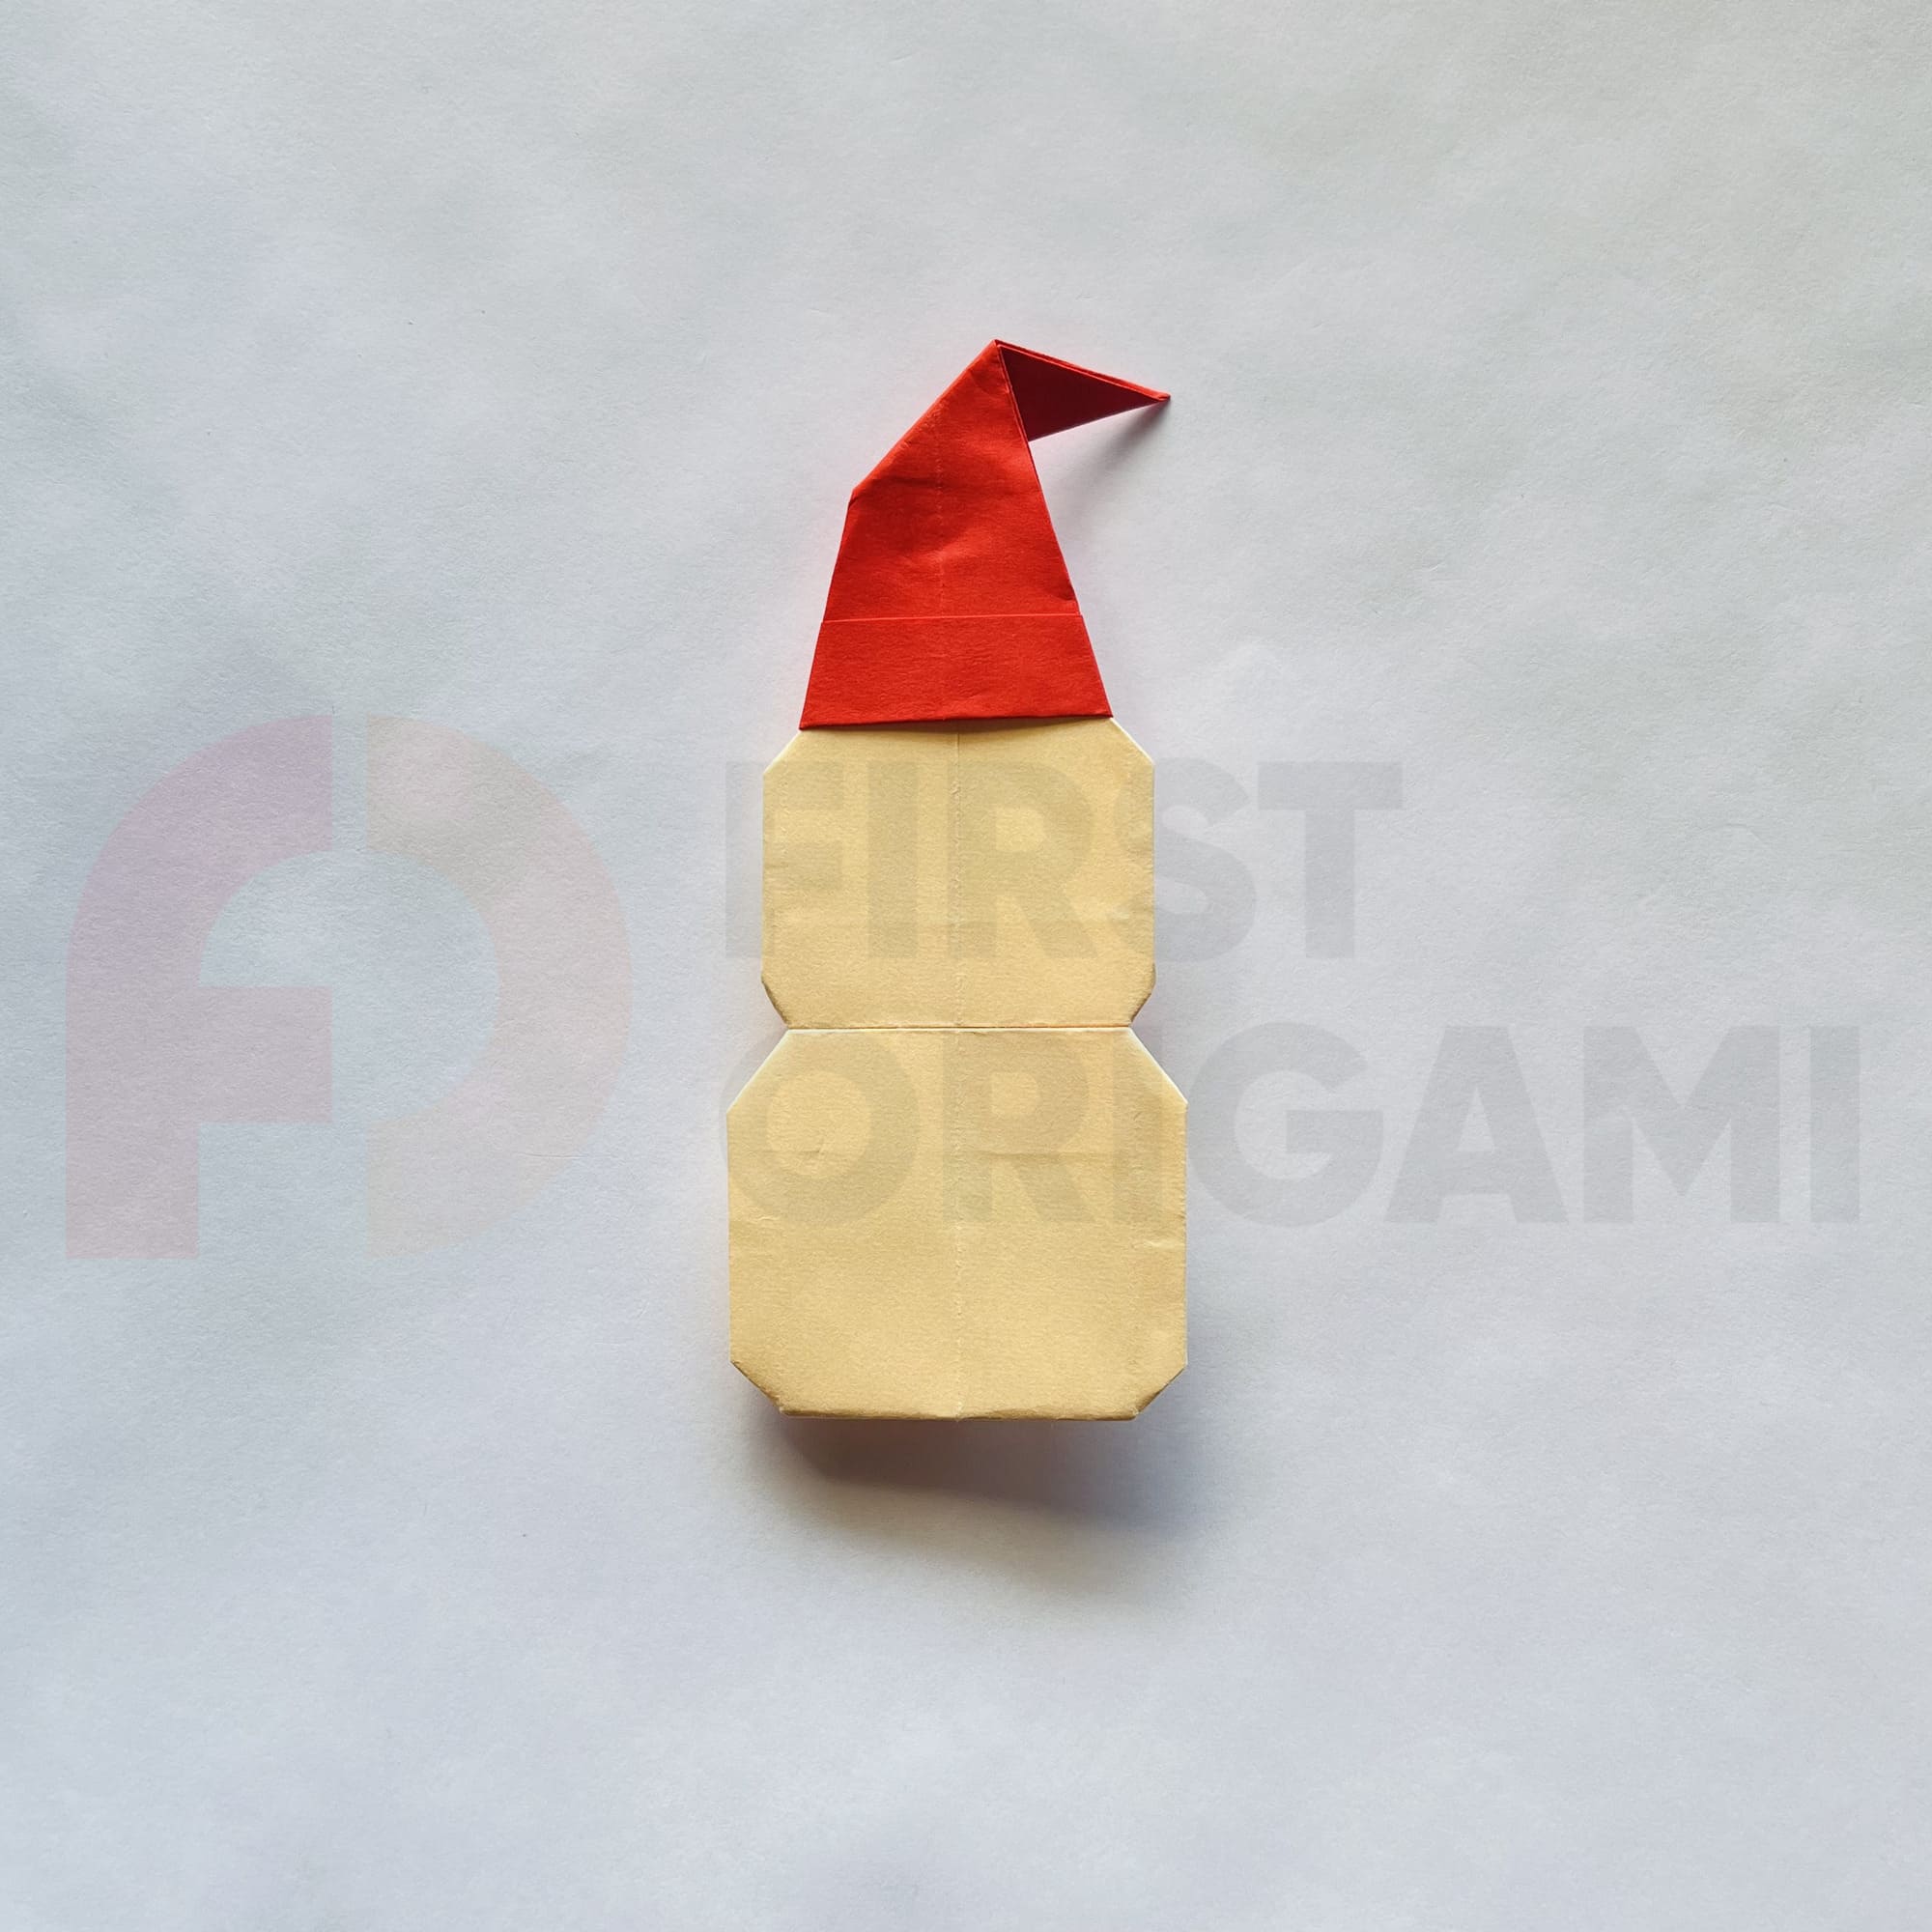
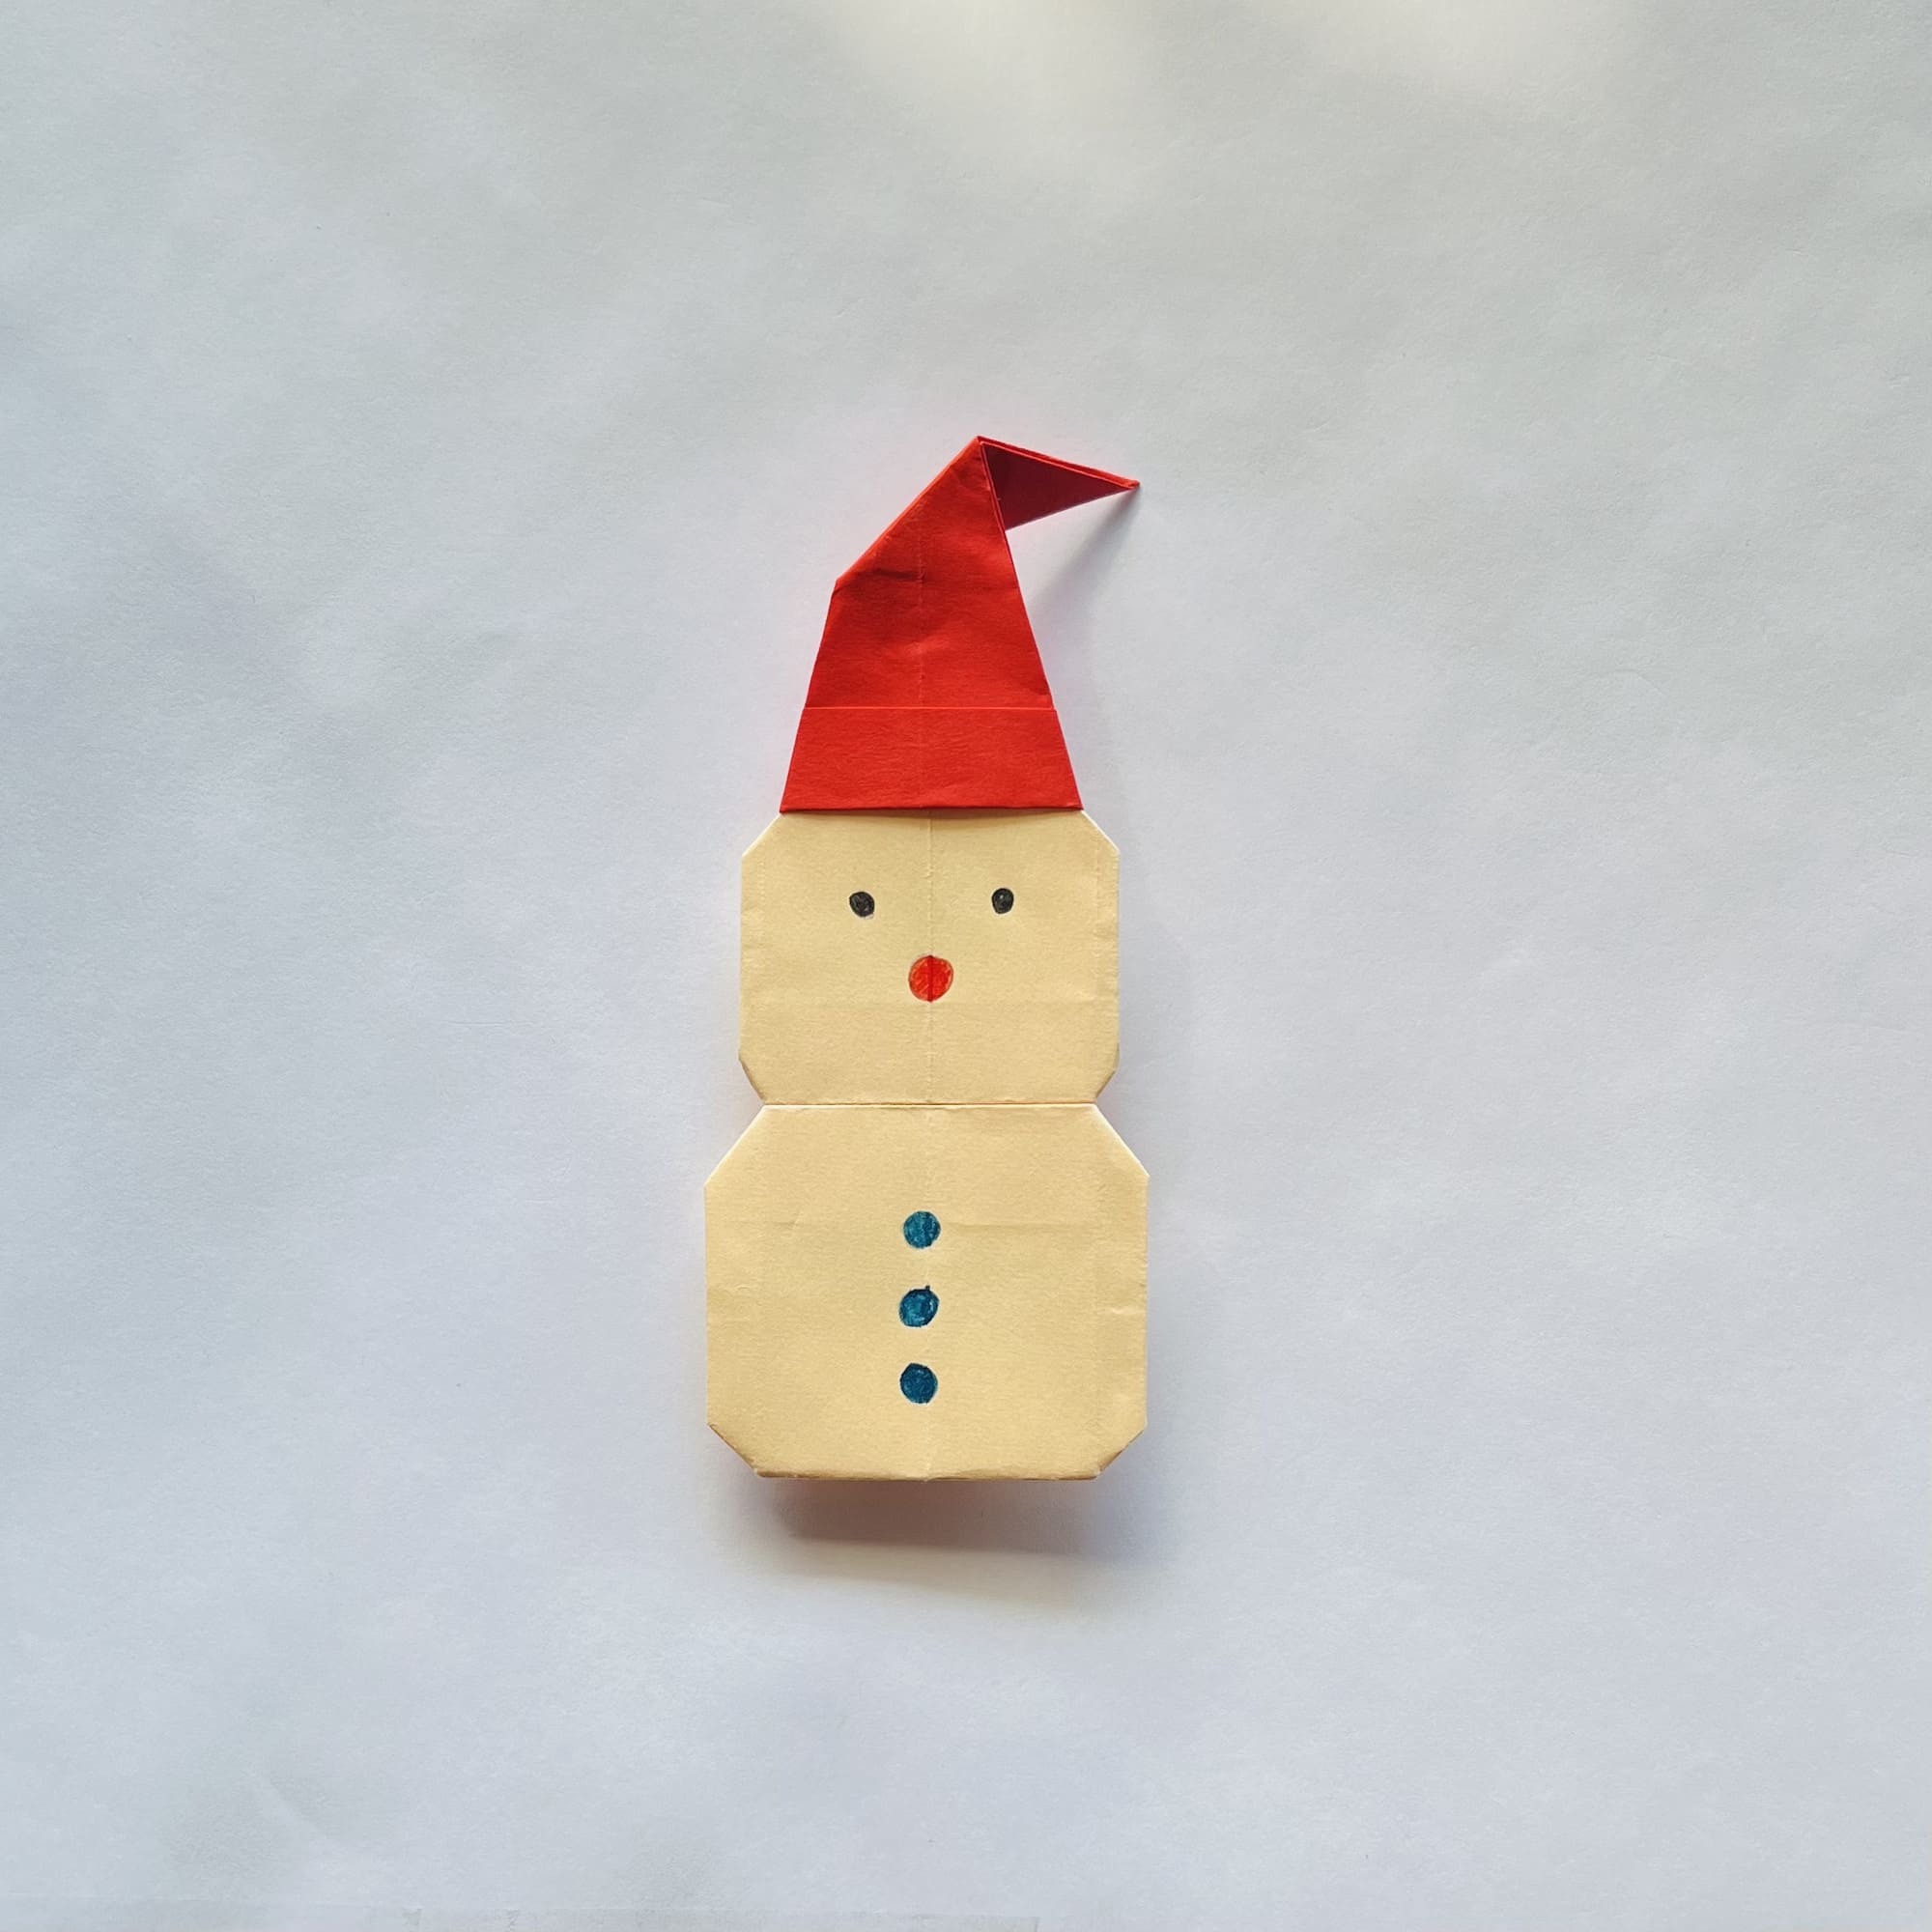
Both pieces of origami are ready!
Now all that remains to do is to connect them and enjoy the result. To make the figure even cuter, you can add eyes, nose, and buttons on imaginary clothes to the snowman.