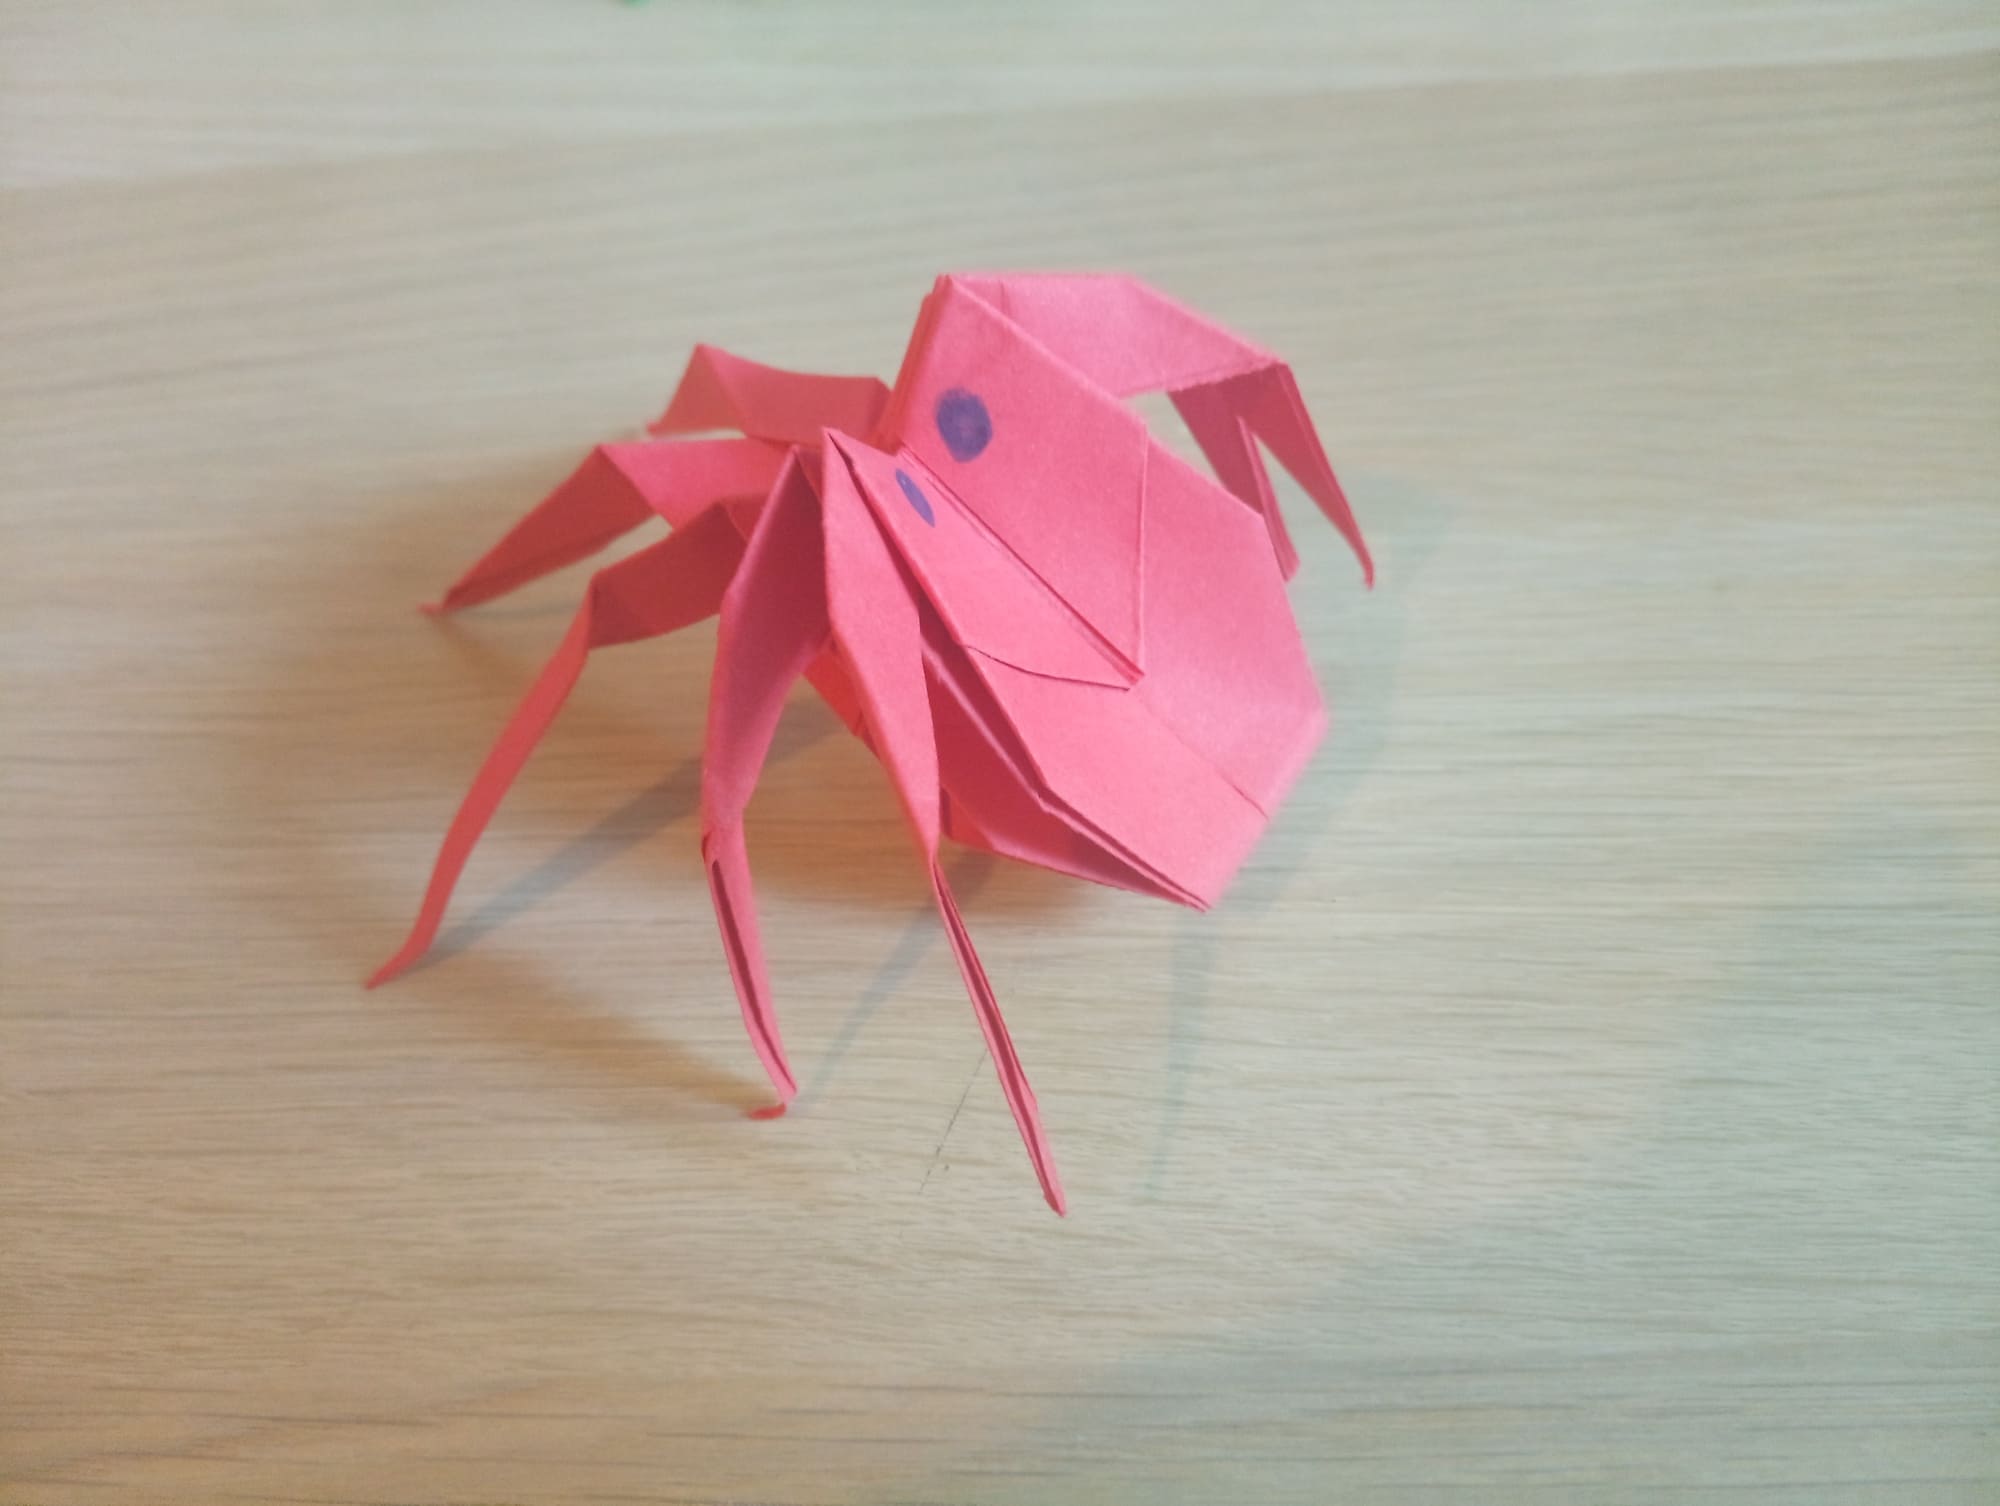
Origami Spider
Spiders are insects that please only a few. However, cute, carved spiders made according to the origami pattern will not leave anyone indifferent. To make spiders, you will need scissors in addition to paper. The legs of the spider will be cut, and this should be done with extreme care. Ready? Let’s get started!
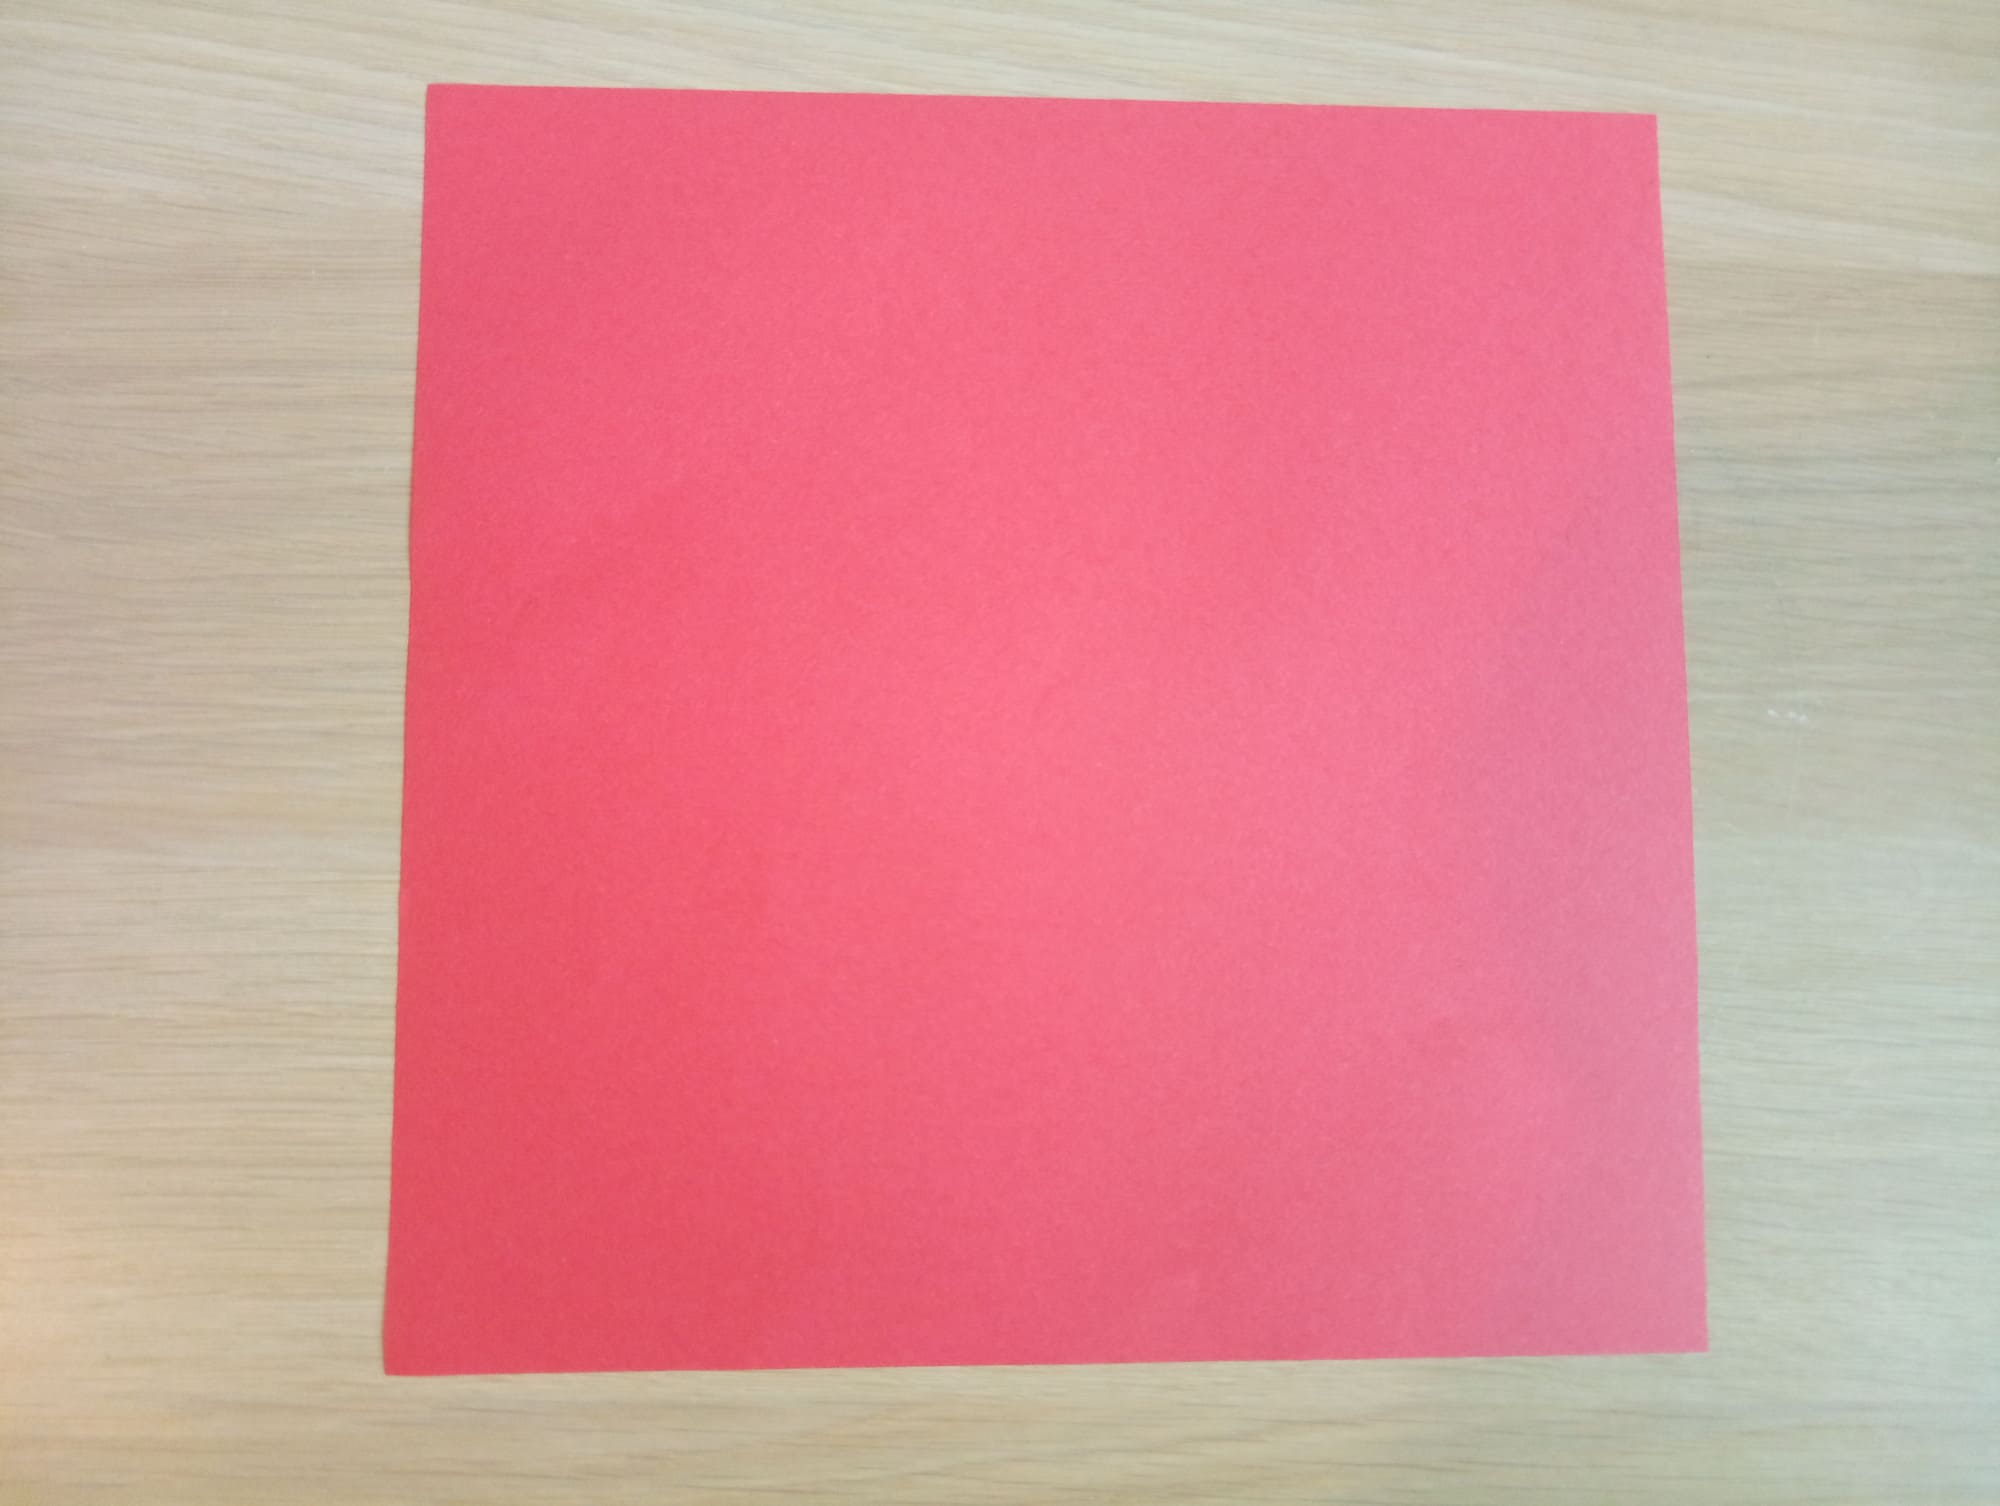
Prepare a sheet of paper measuring 15 by 15 cm.
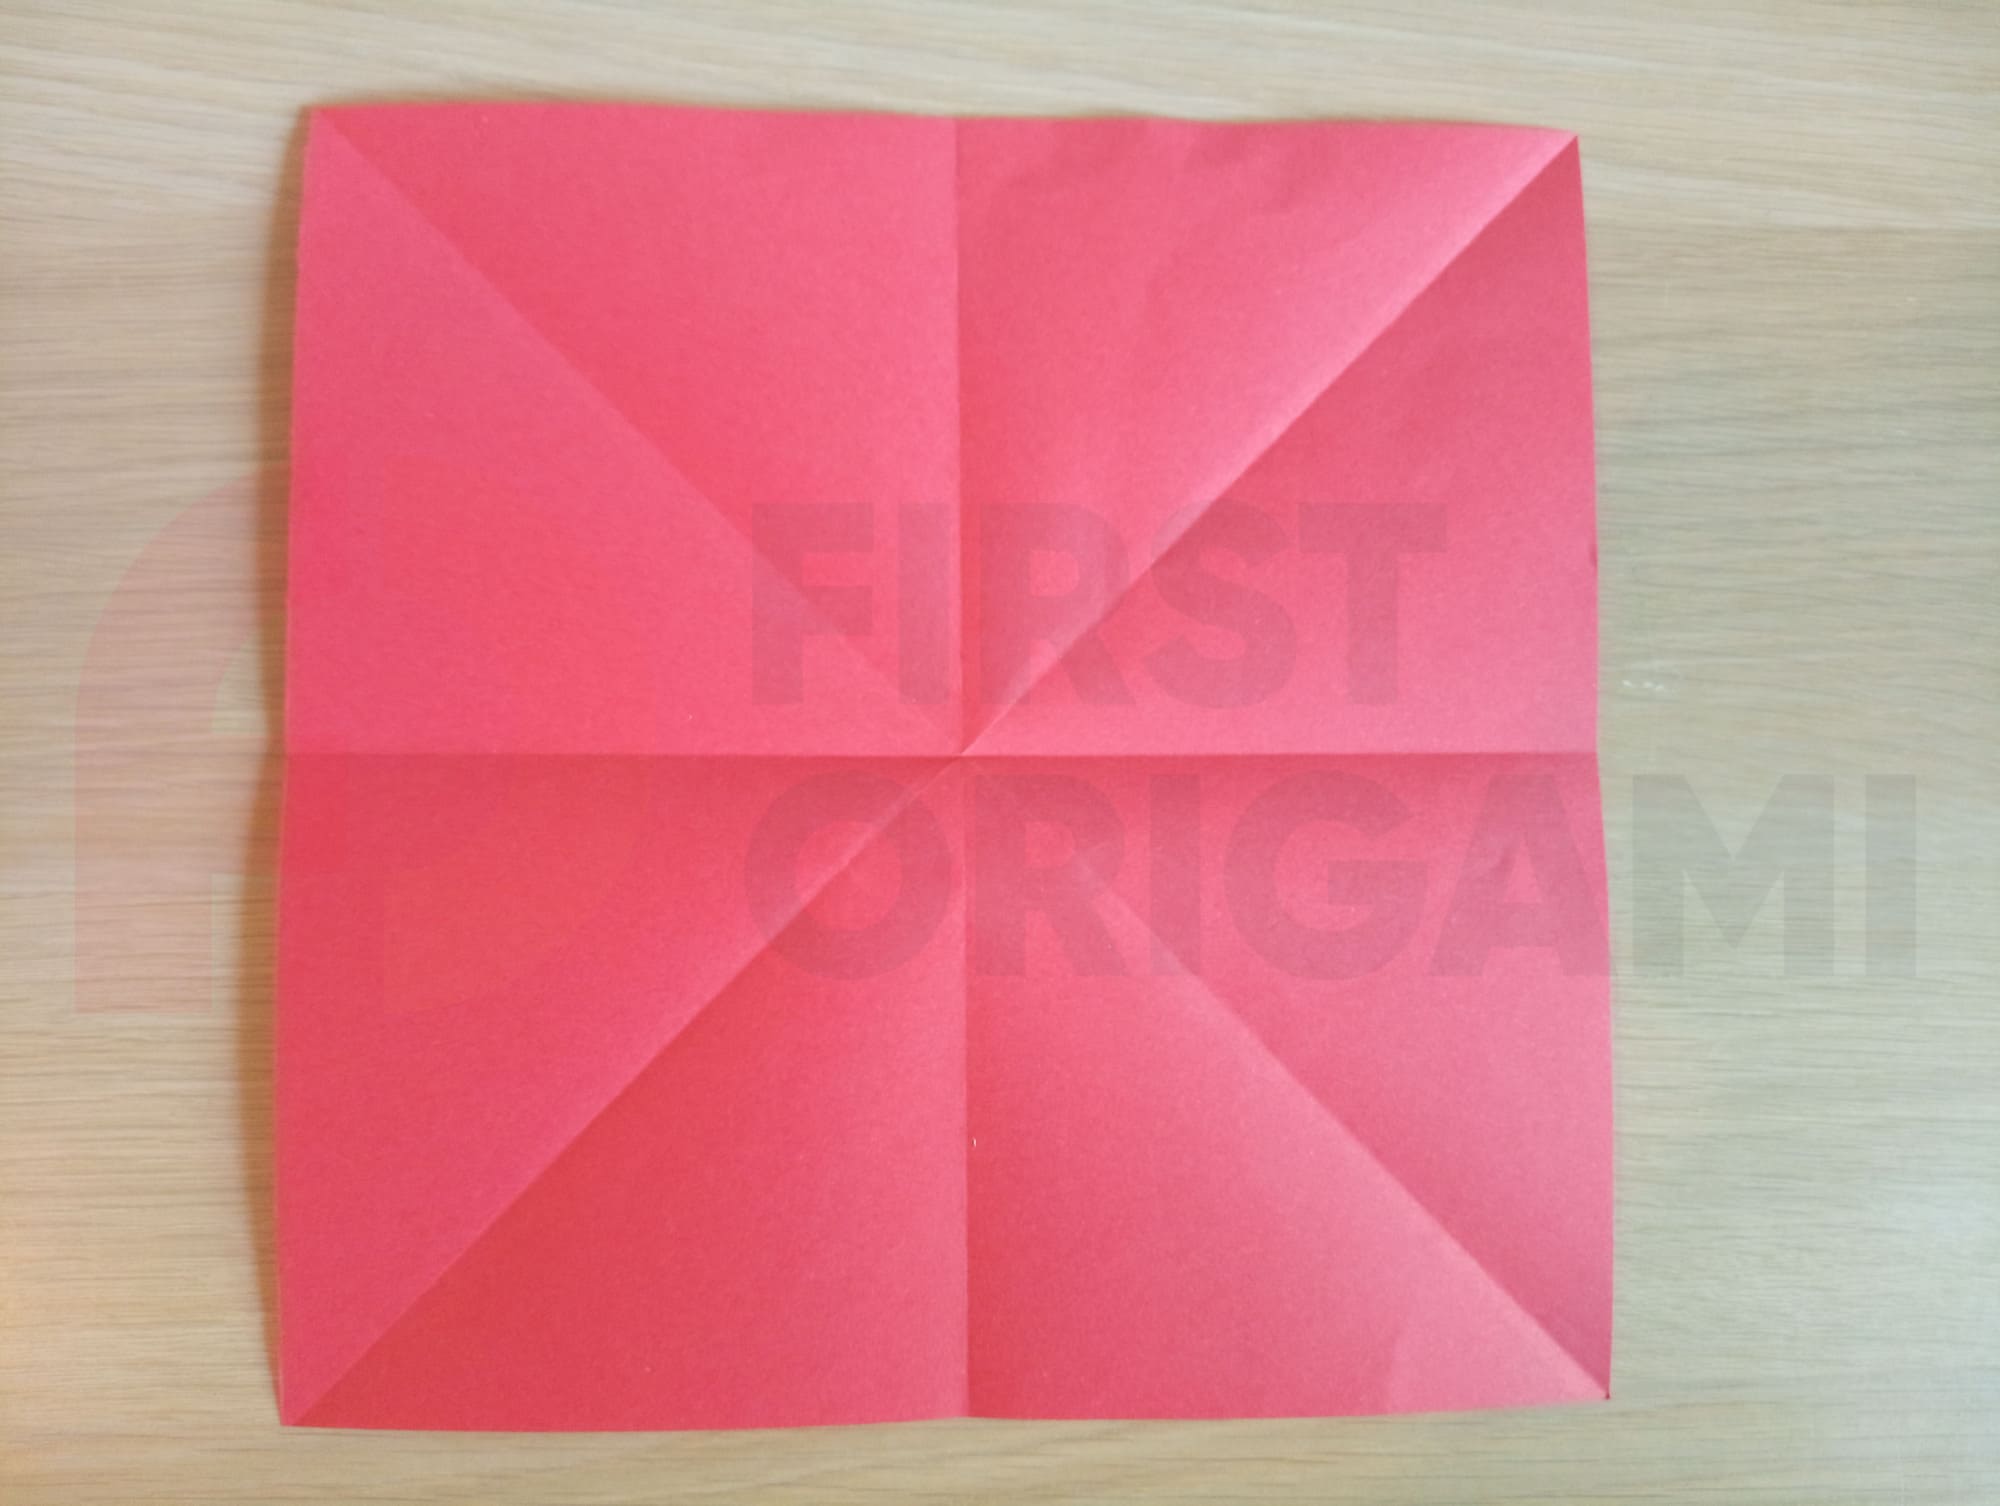
Make a square origami base. To do this, you need to make folds in both diagonals, horizontally and vertically, and then unfold.
Lay out the square base.
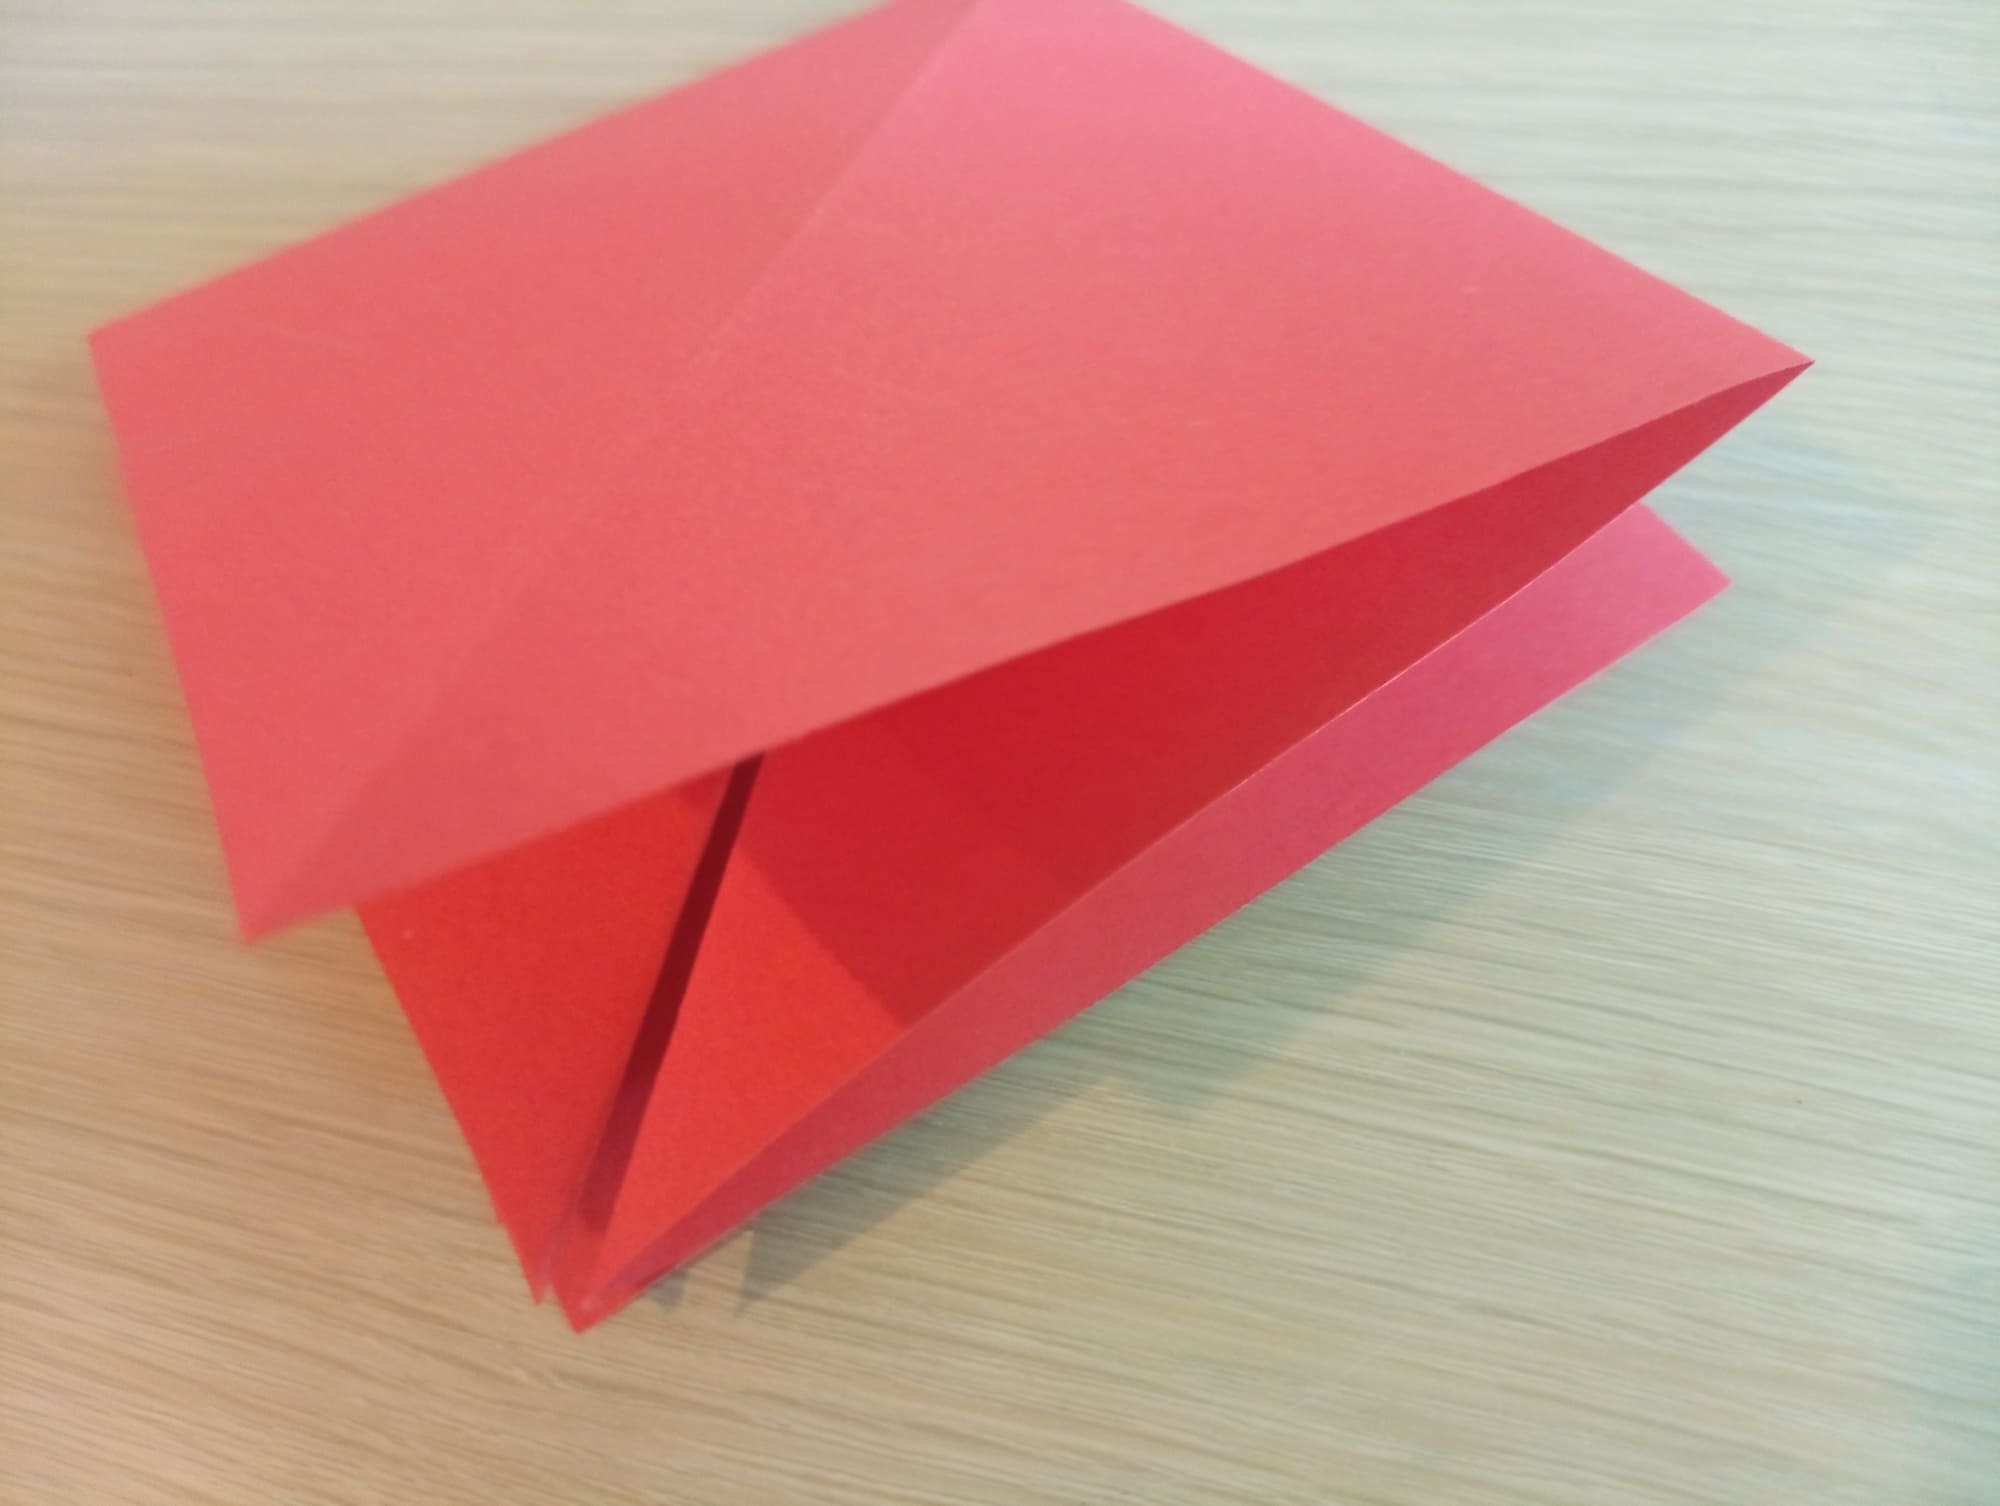
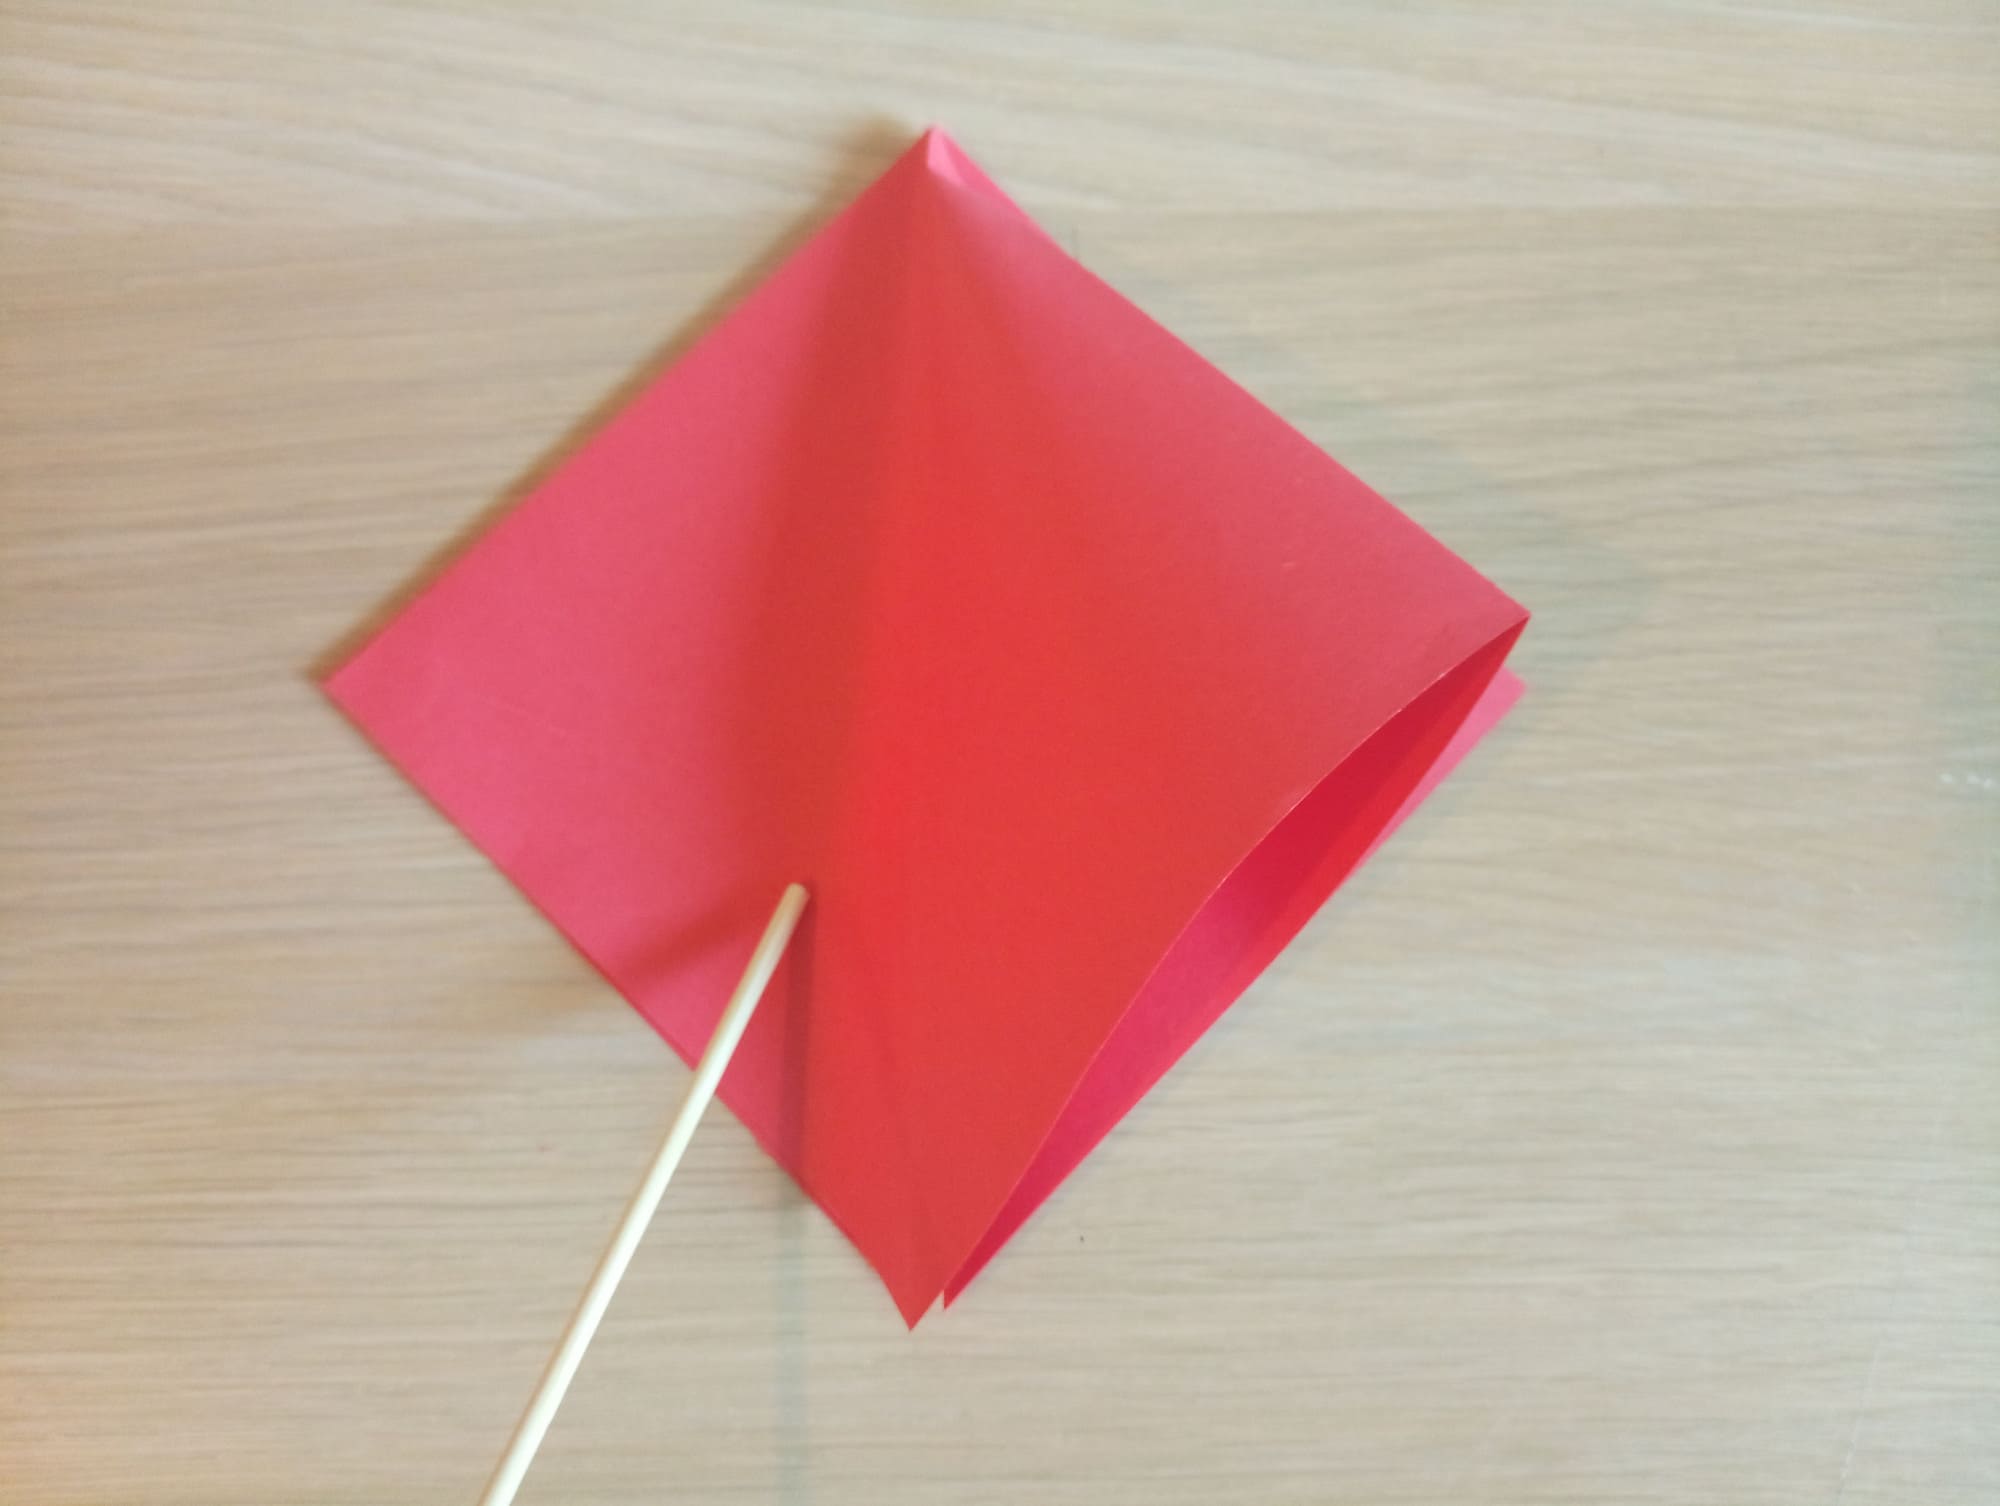
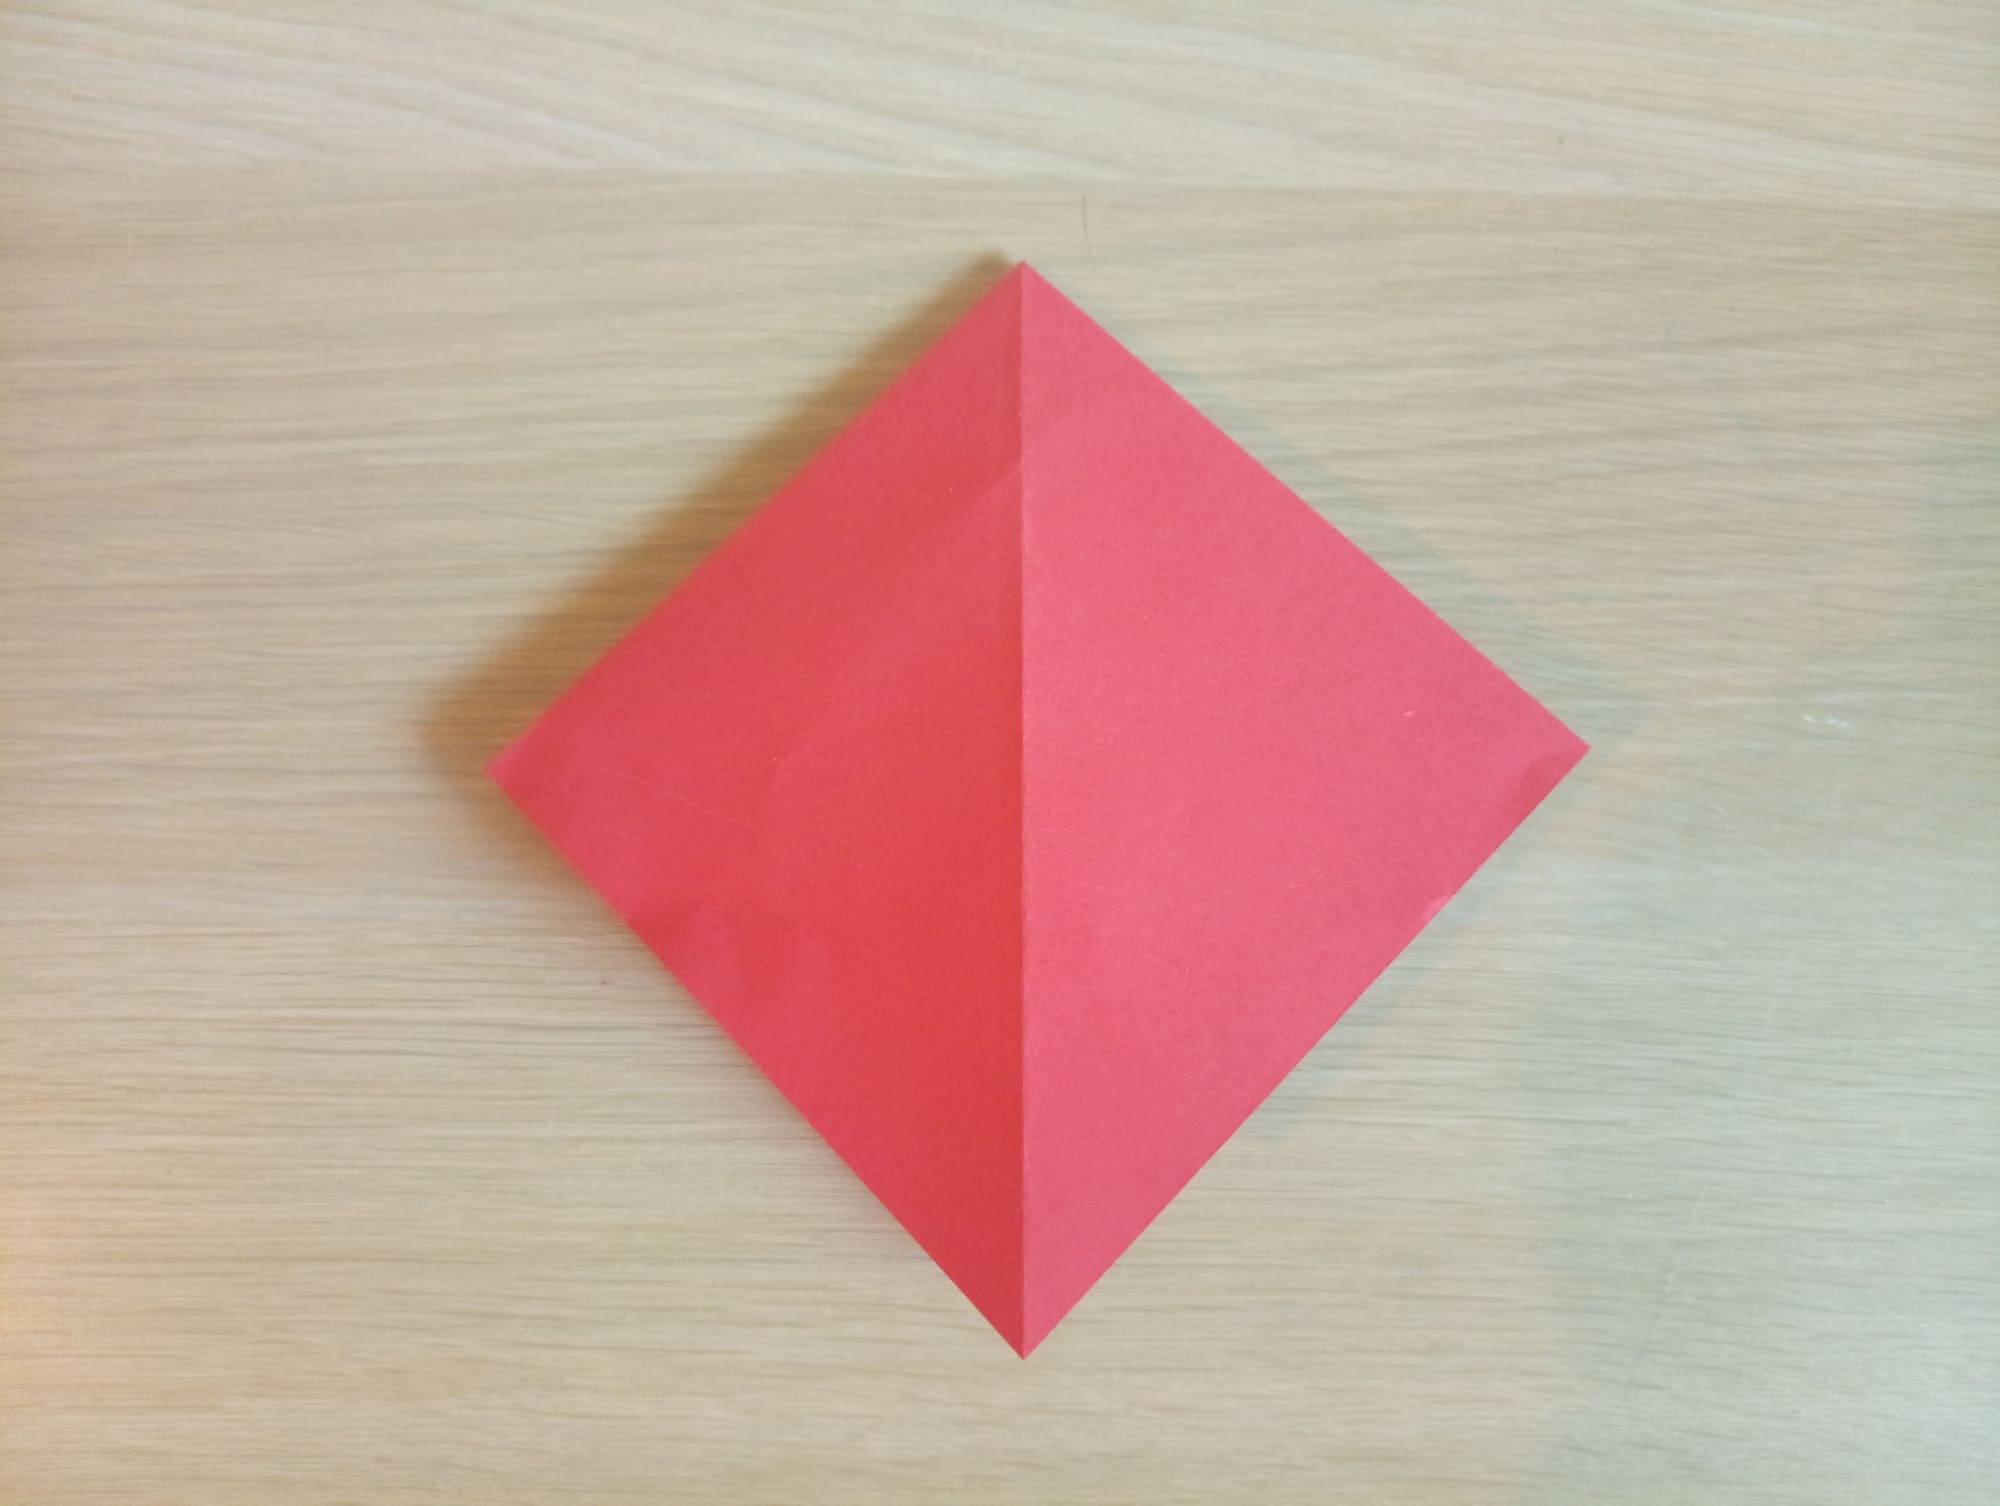
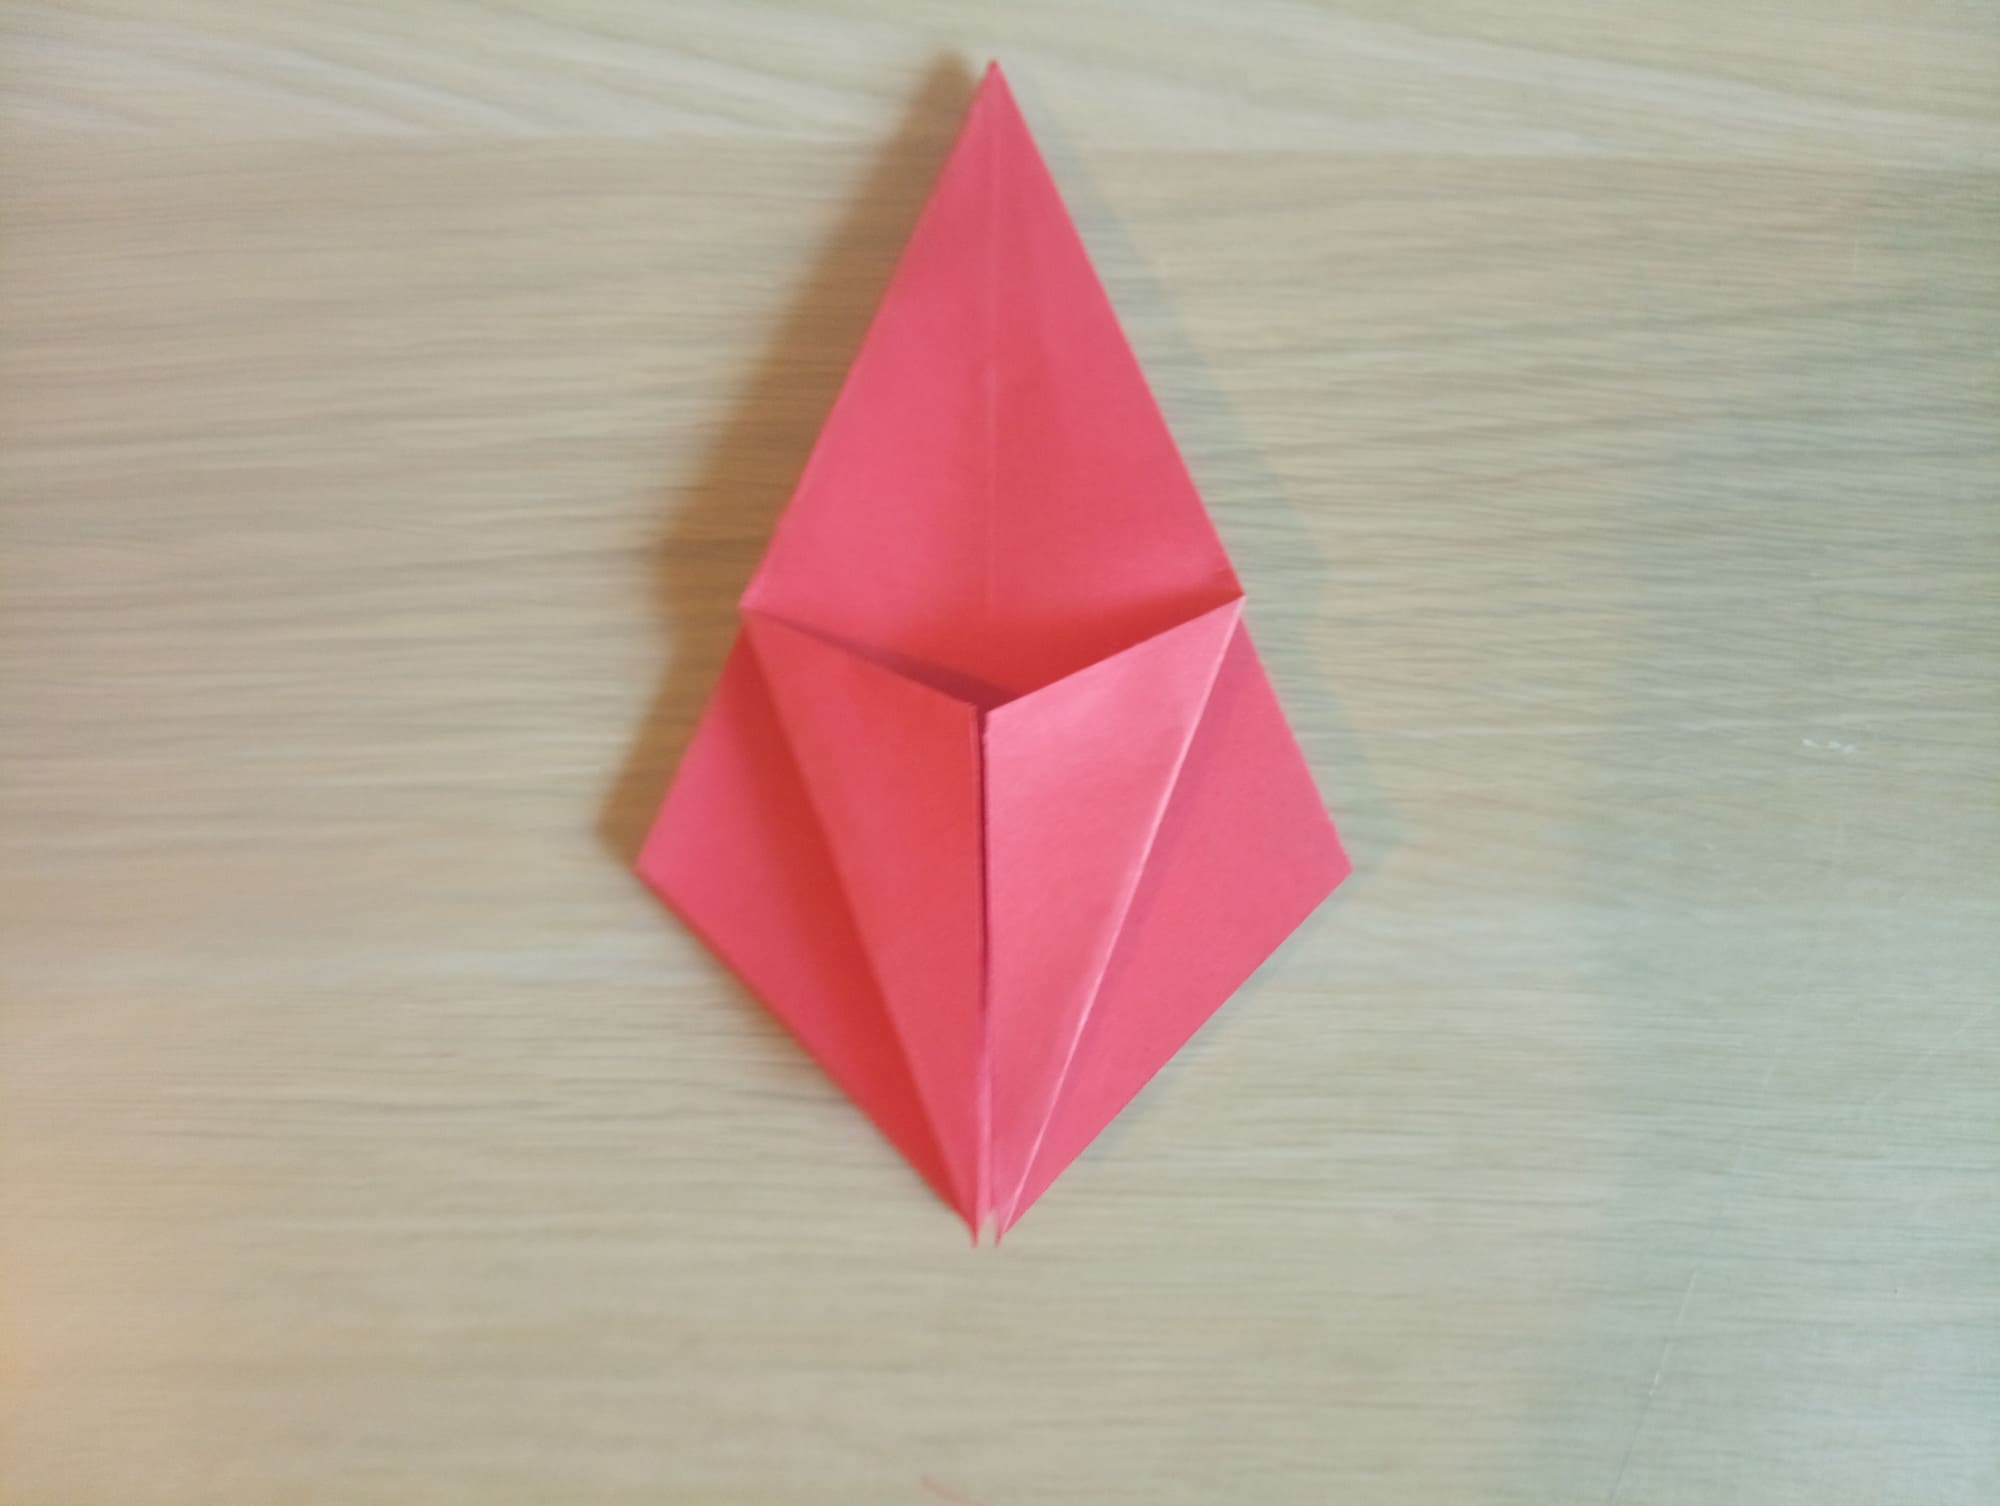
Make a squash fold. For this well-known technique in origami, you need to insert a finger into one valve, move it forward, bend, and straighten it.
See step-by-step photos.
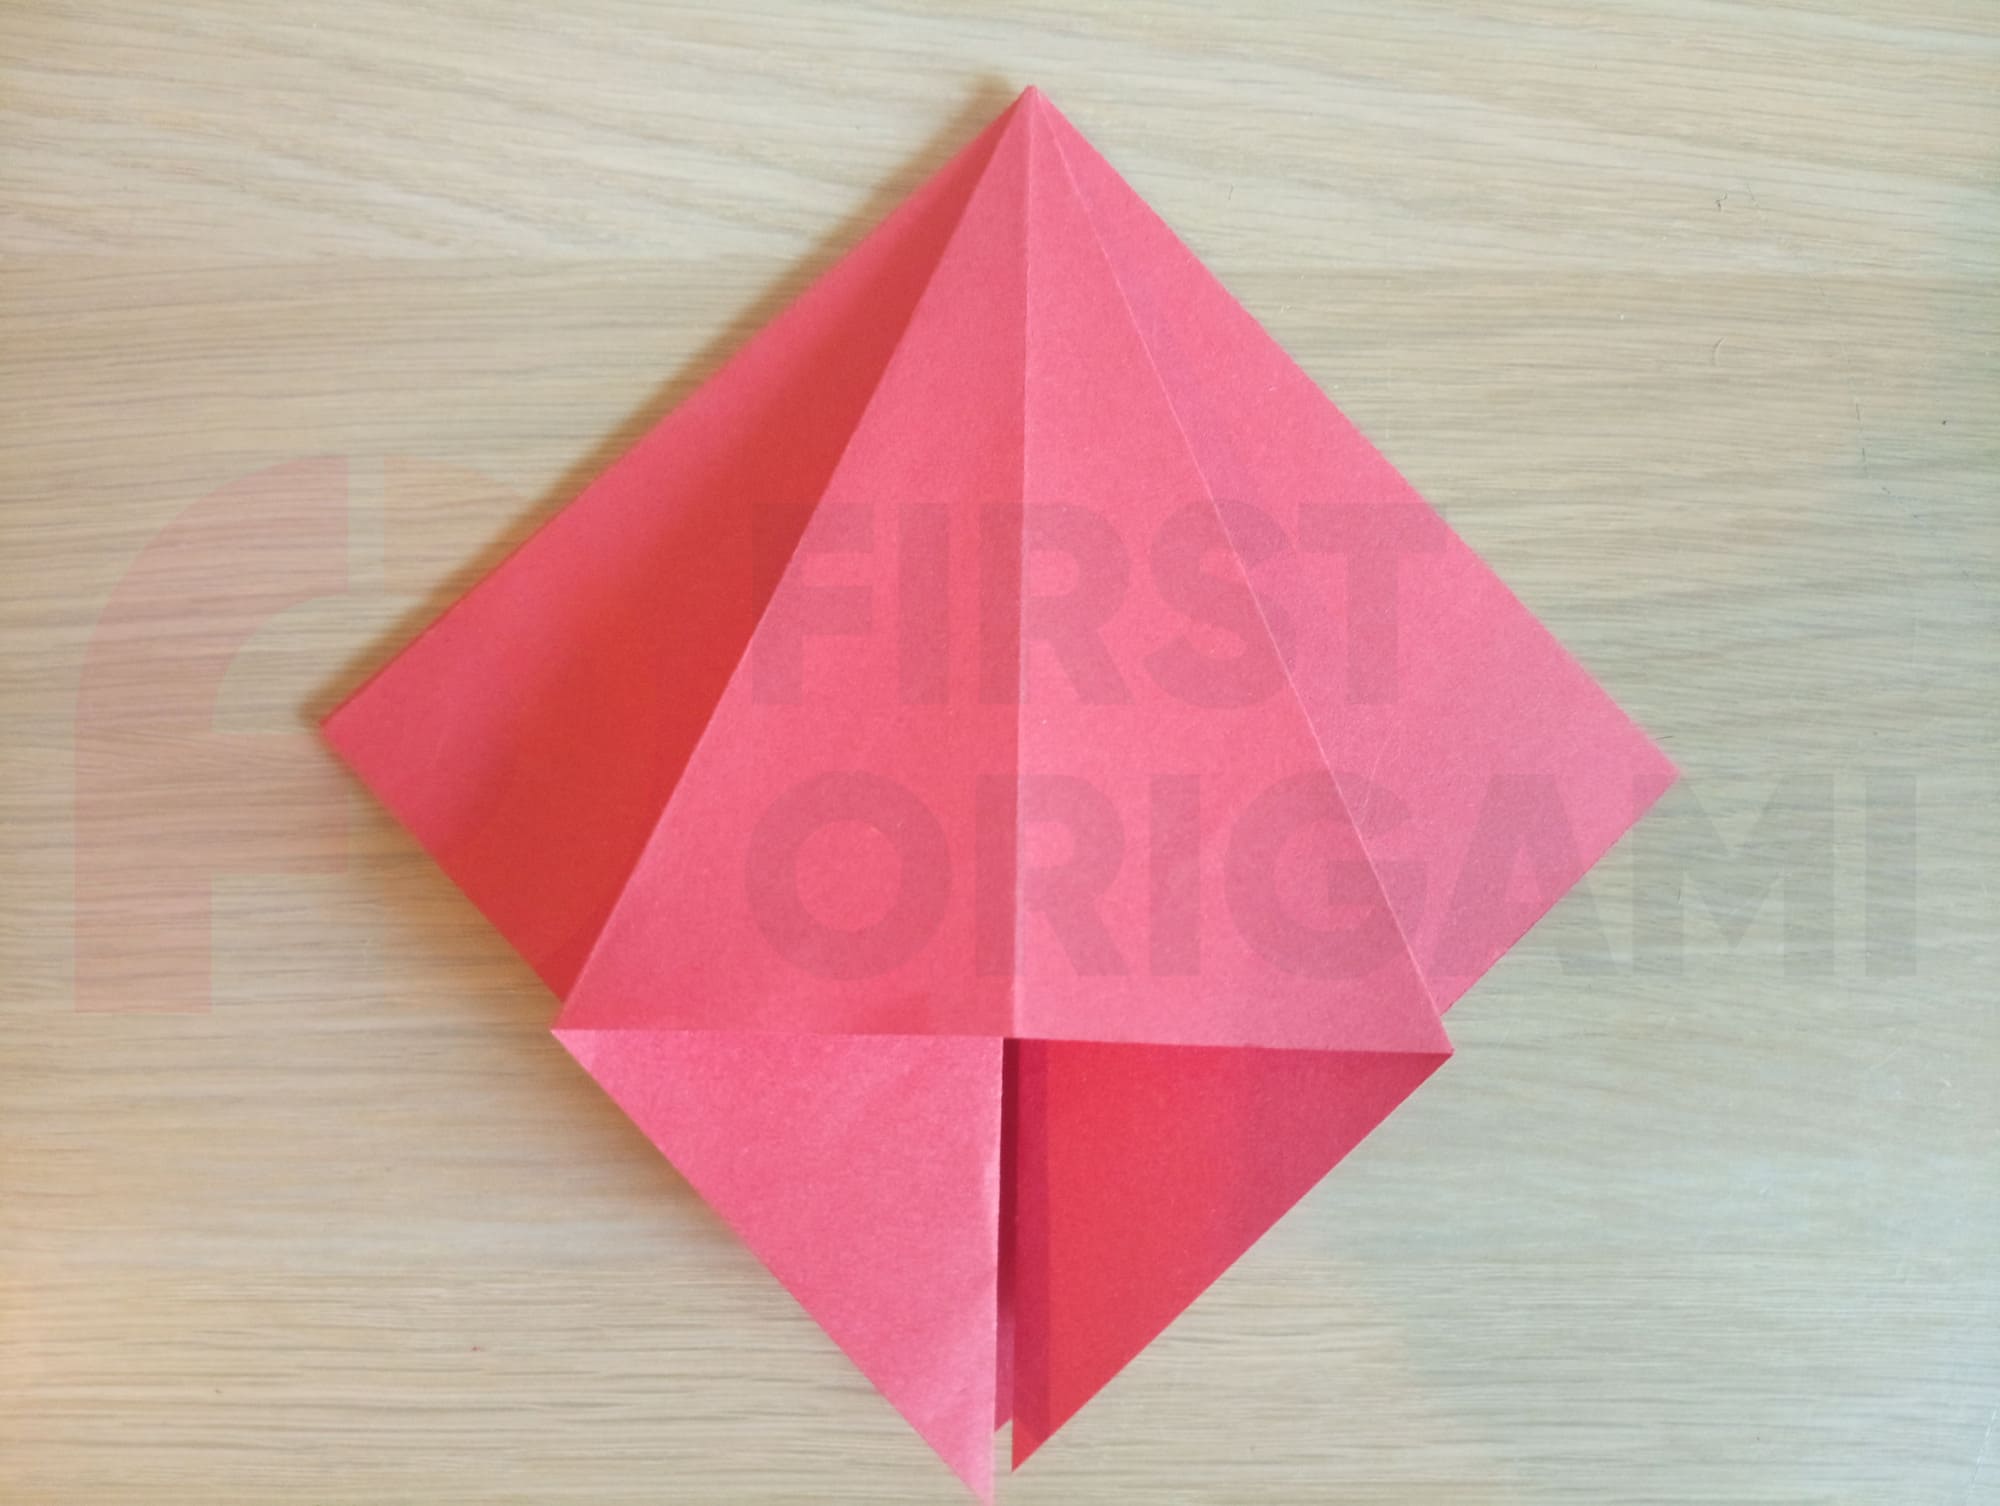
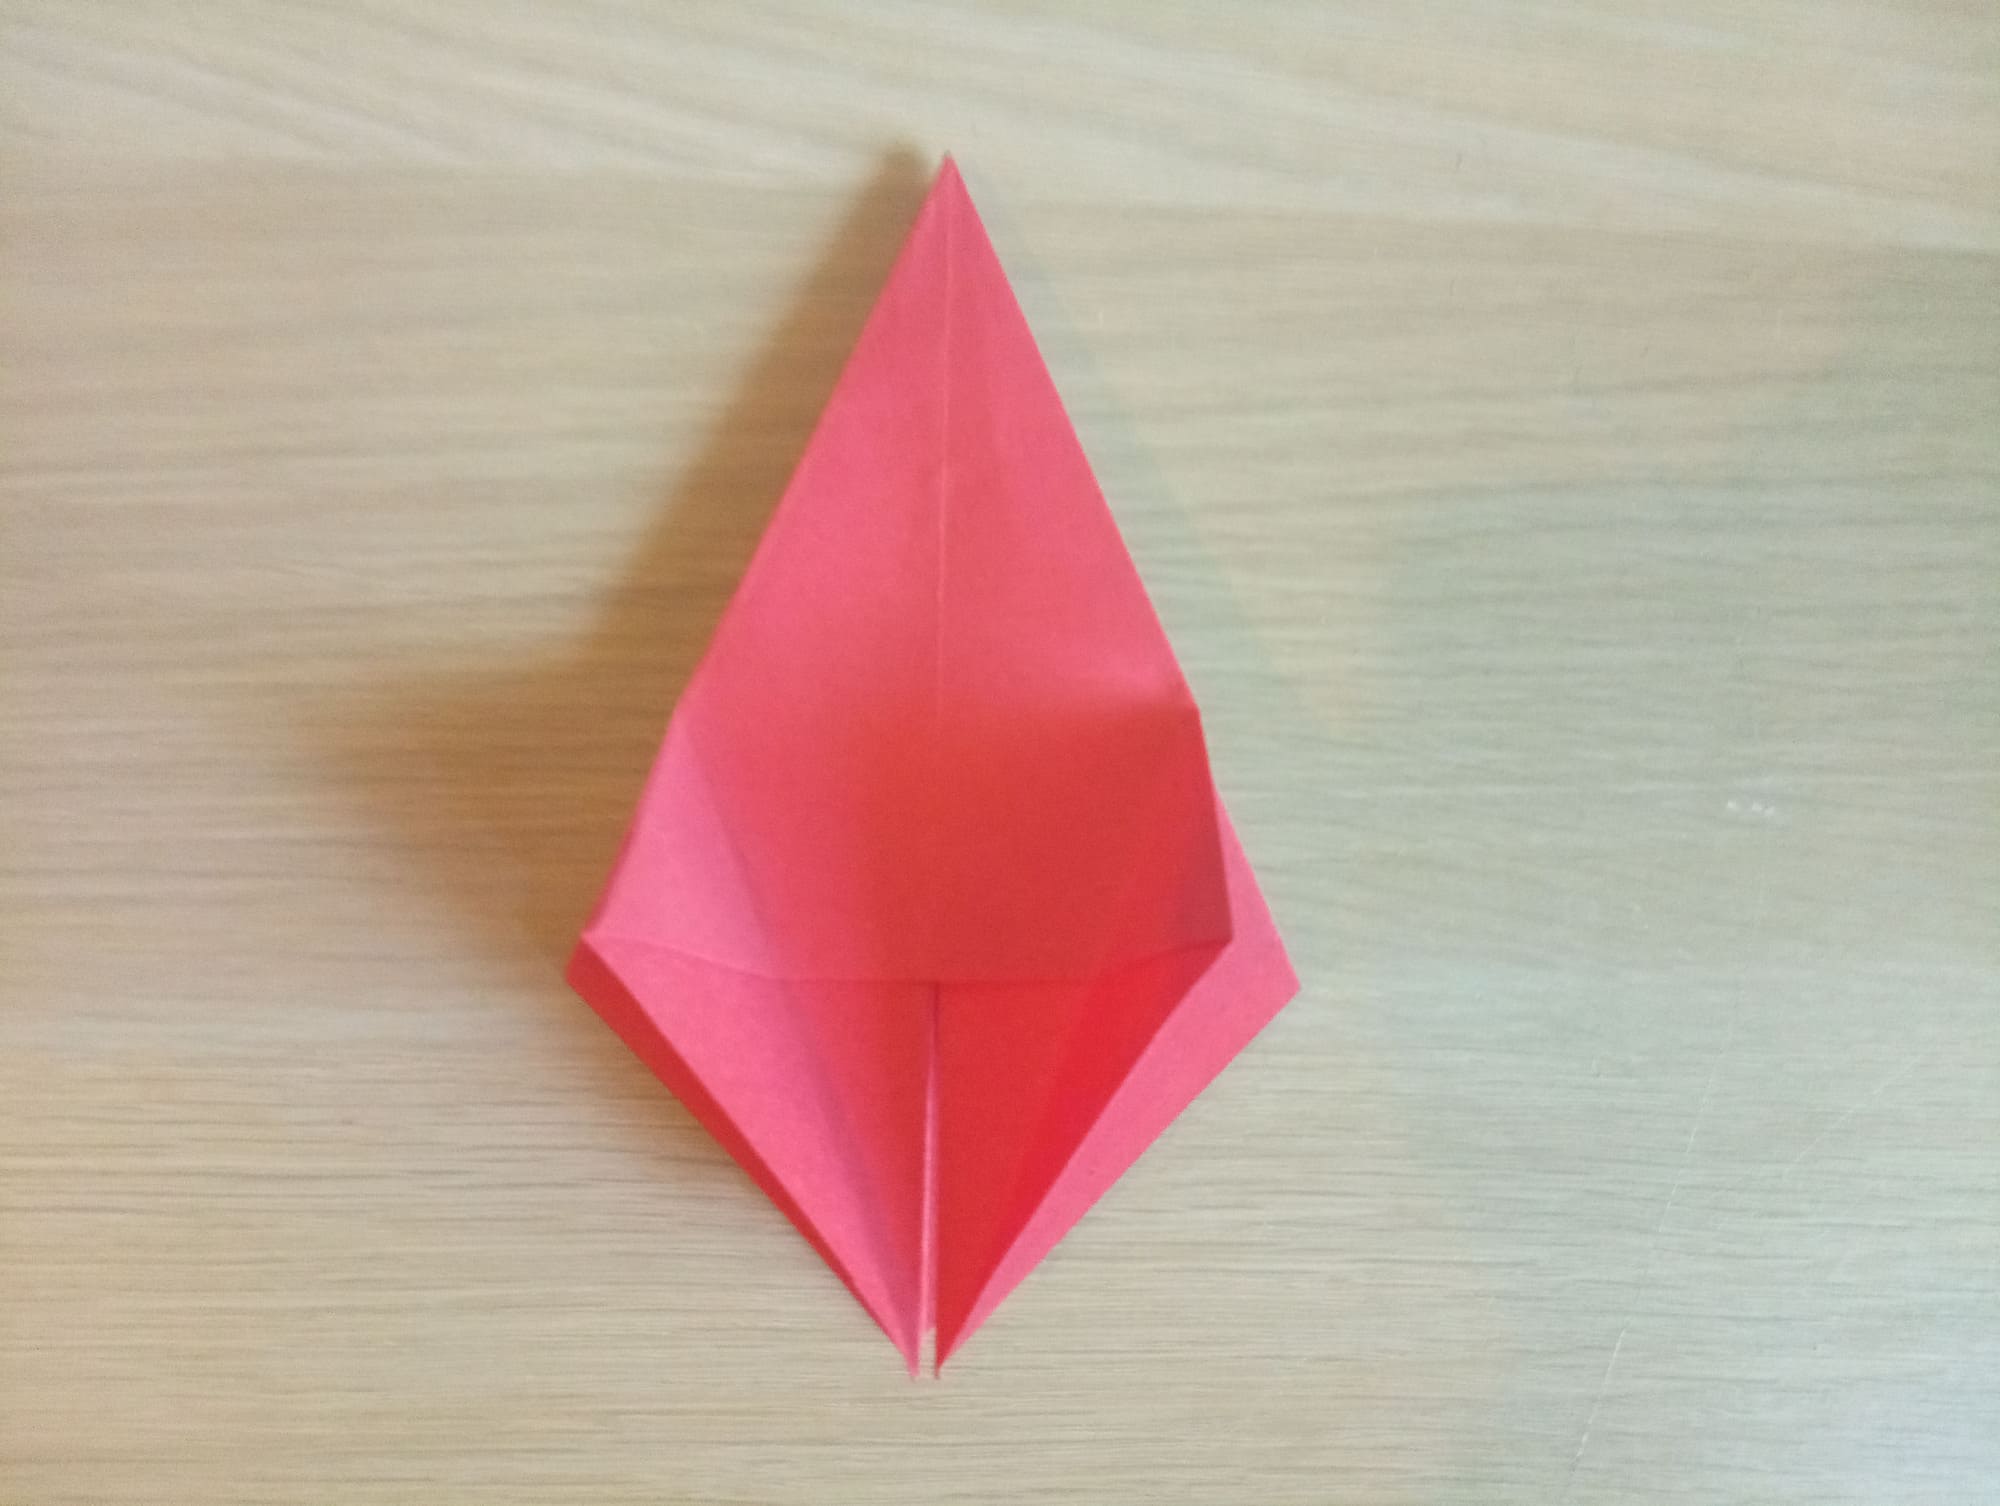
Perform these squash folds with three other flaps. You should get a rhombus shape.
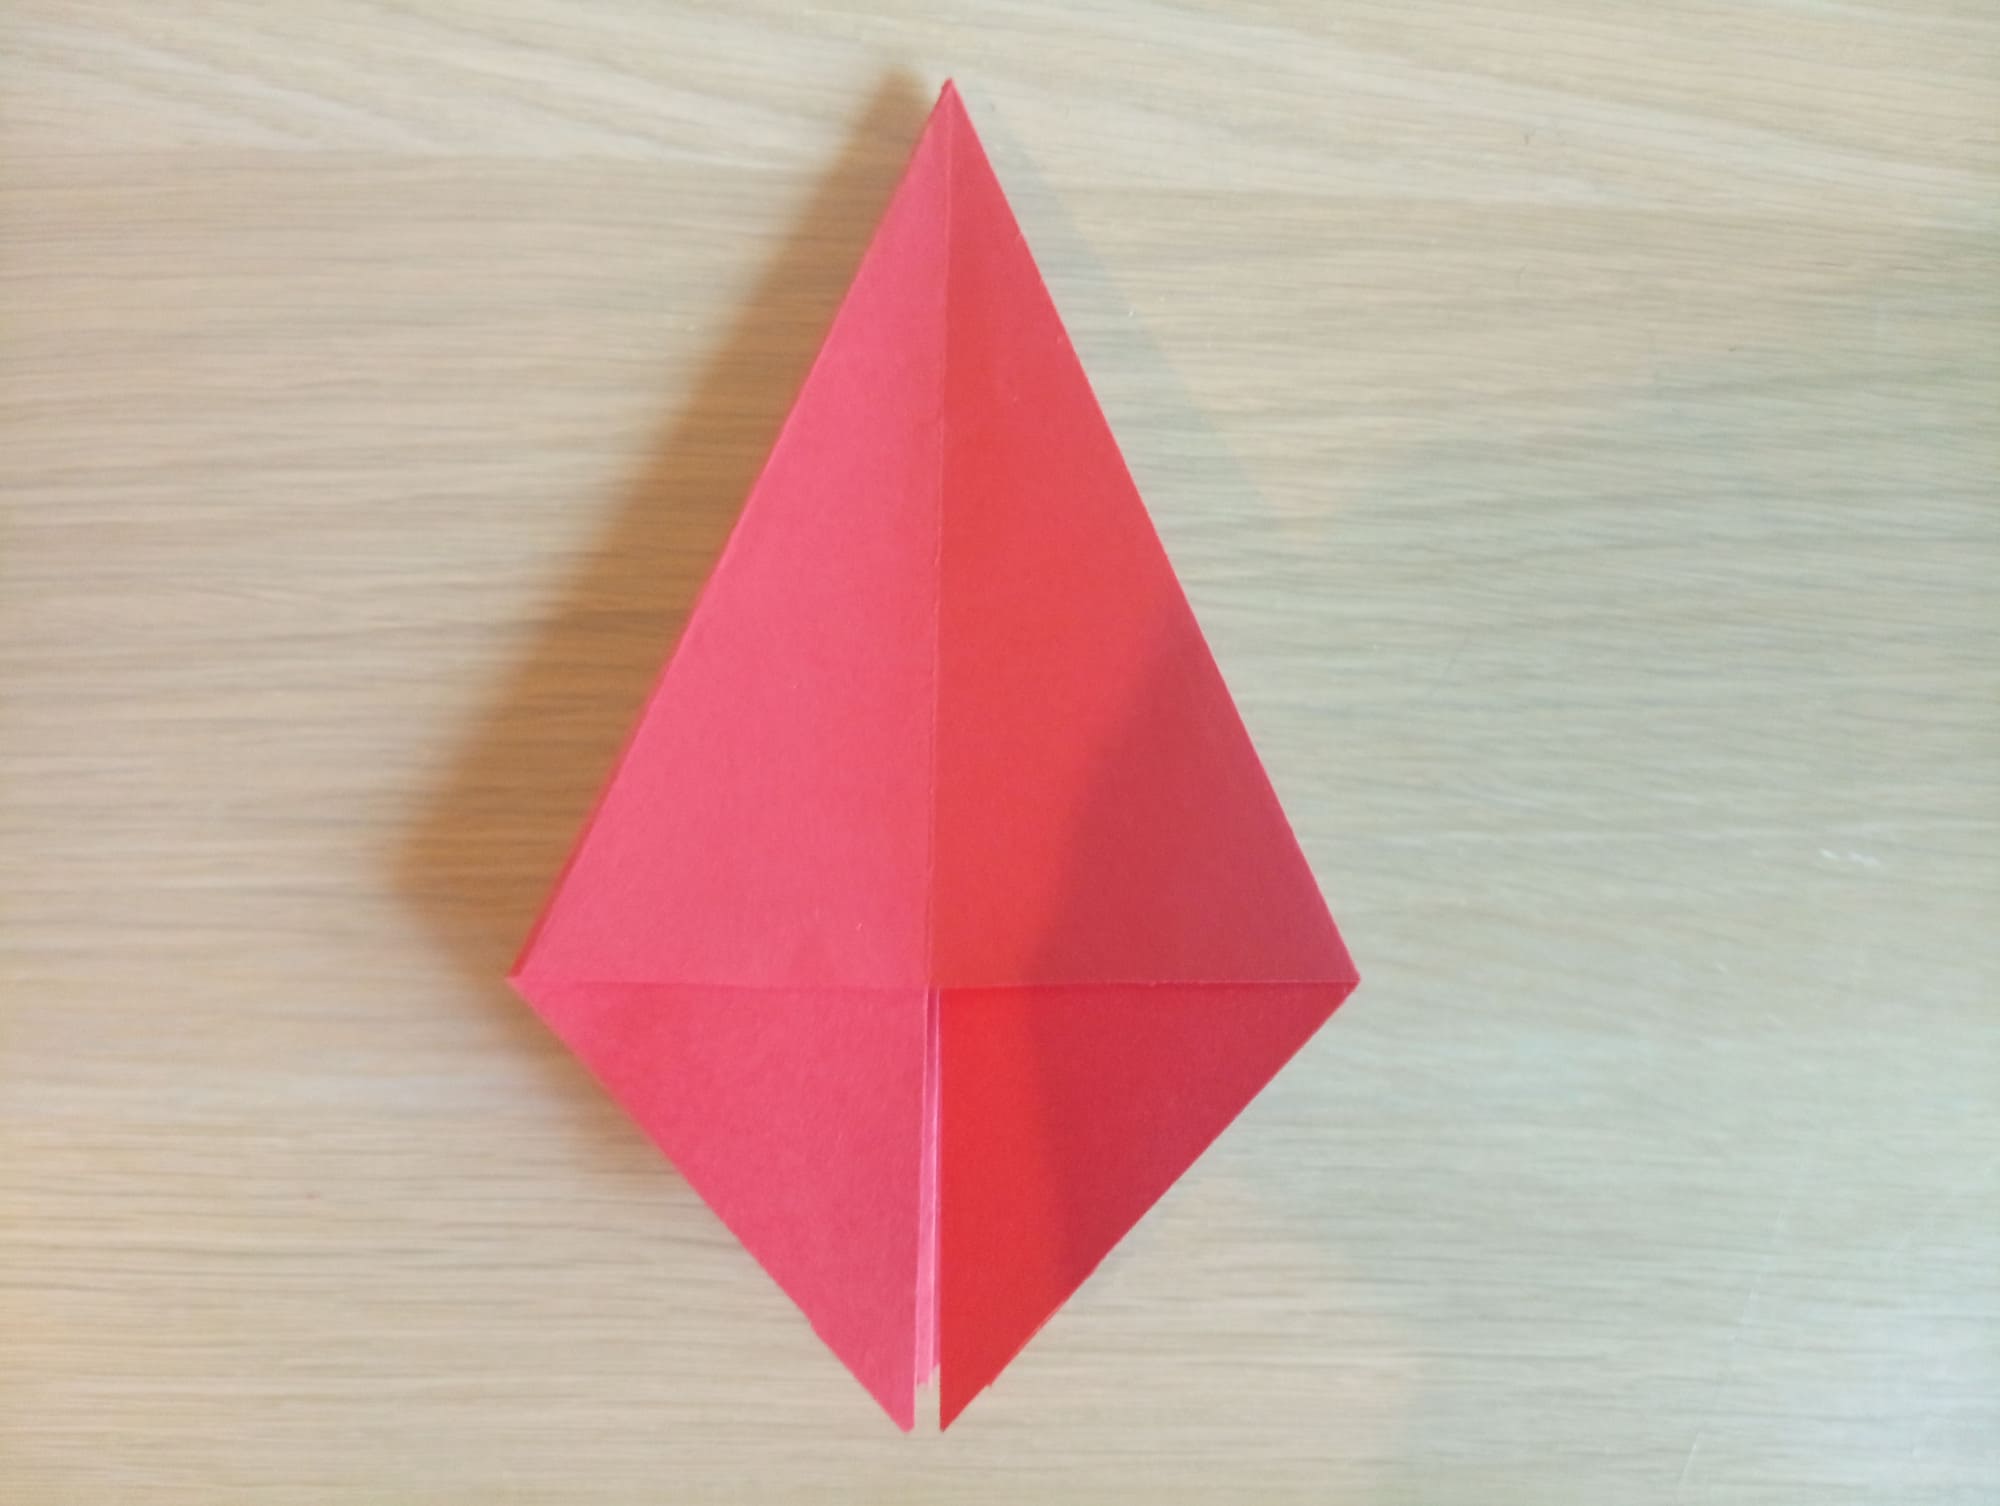
The next step is to bend the corners, straighten them to make folds.
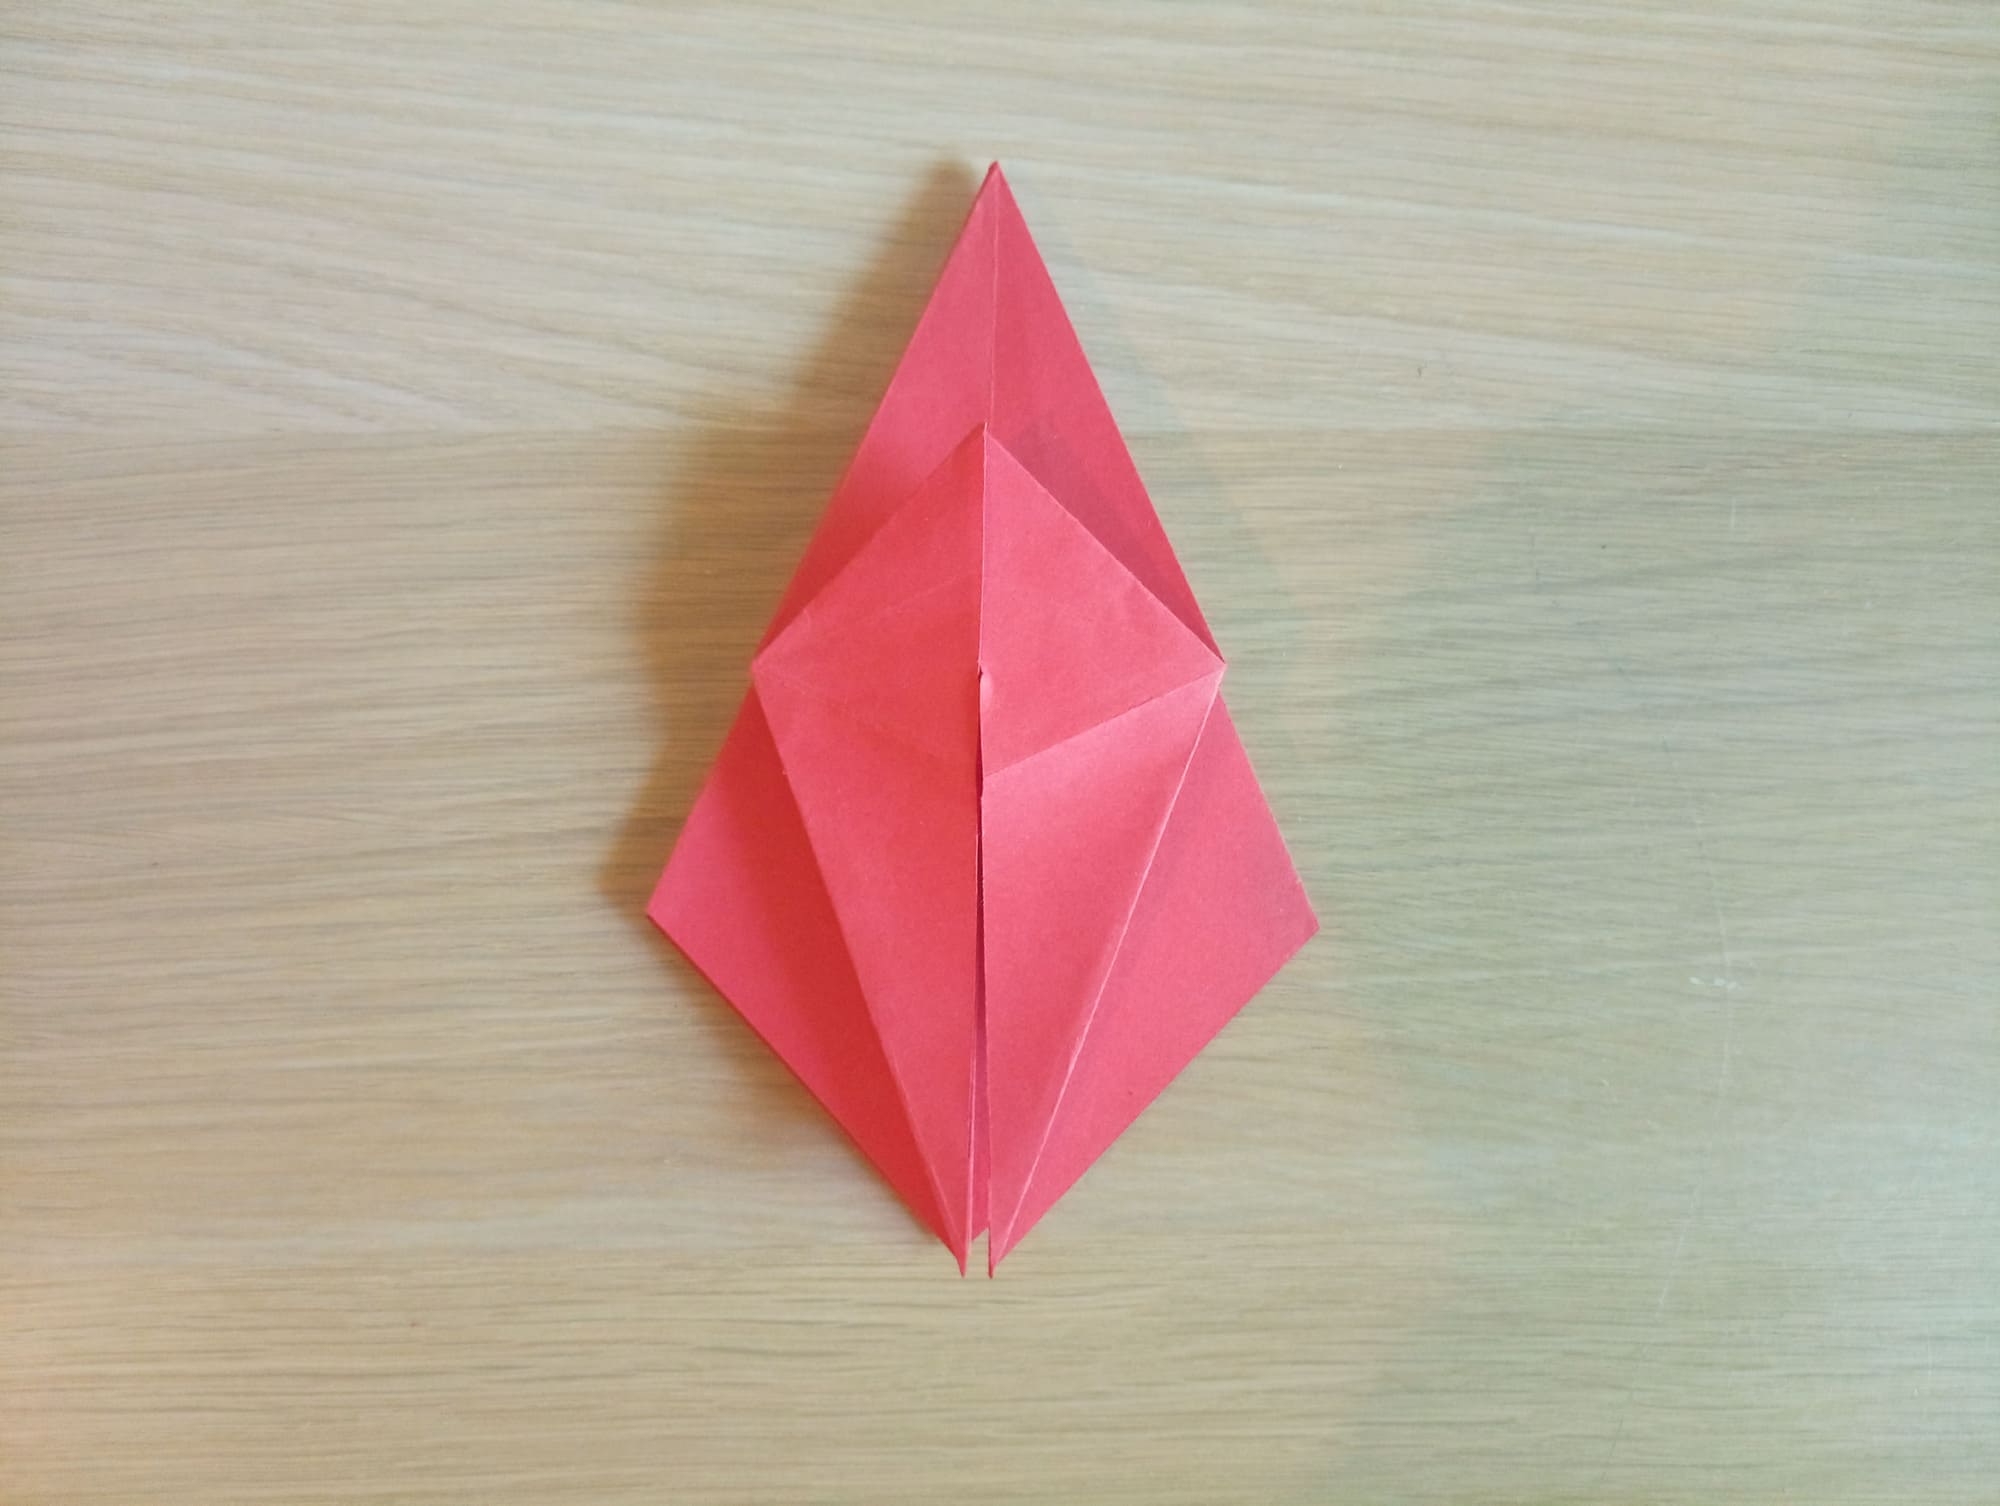
Perform petal bending – a traditional origami technique.
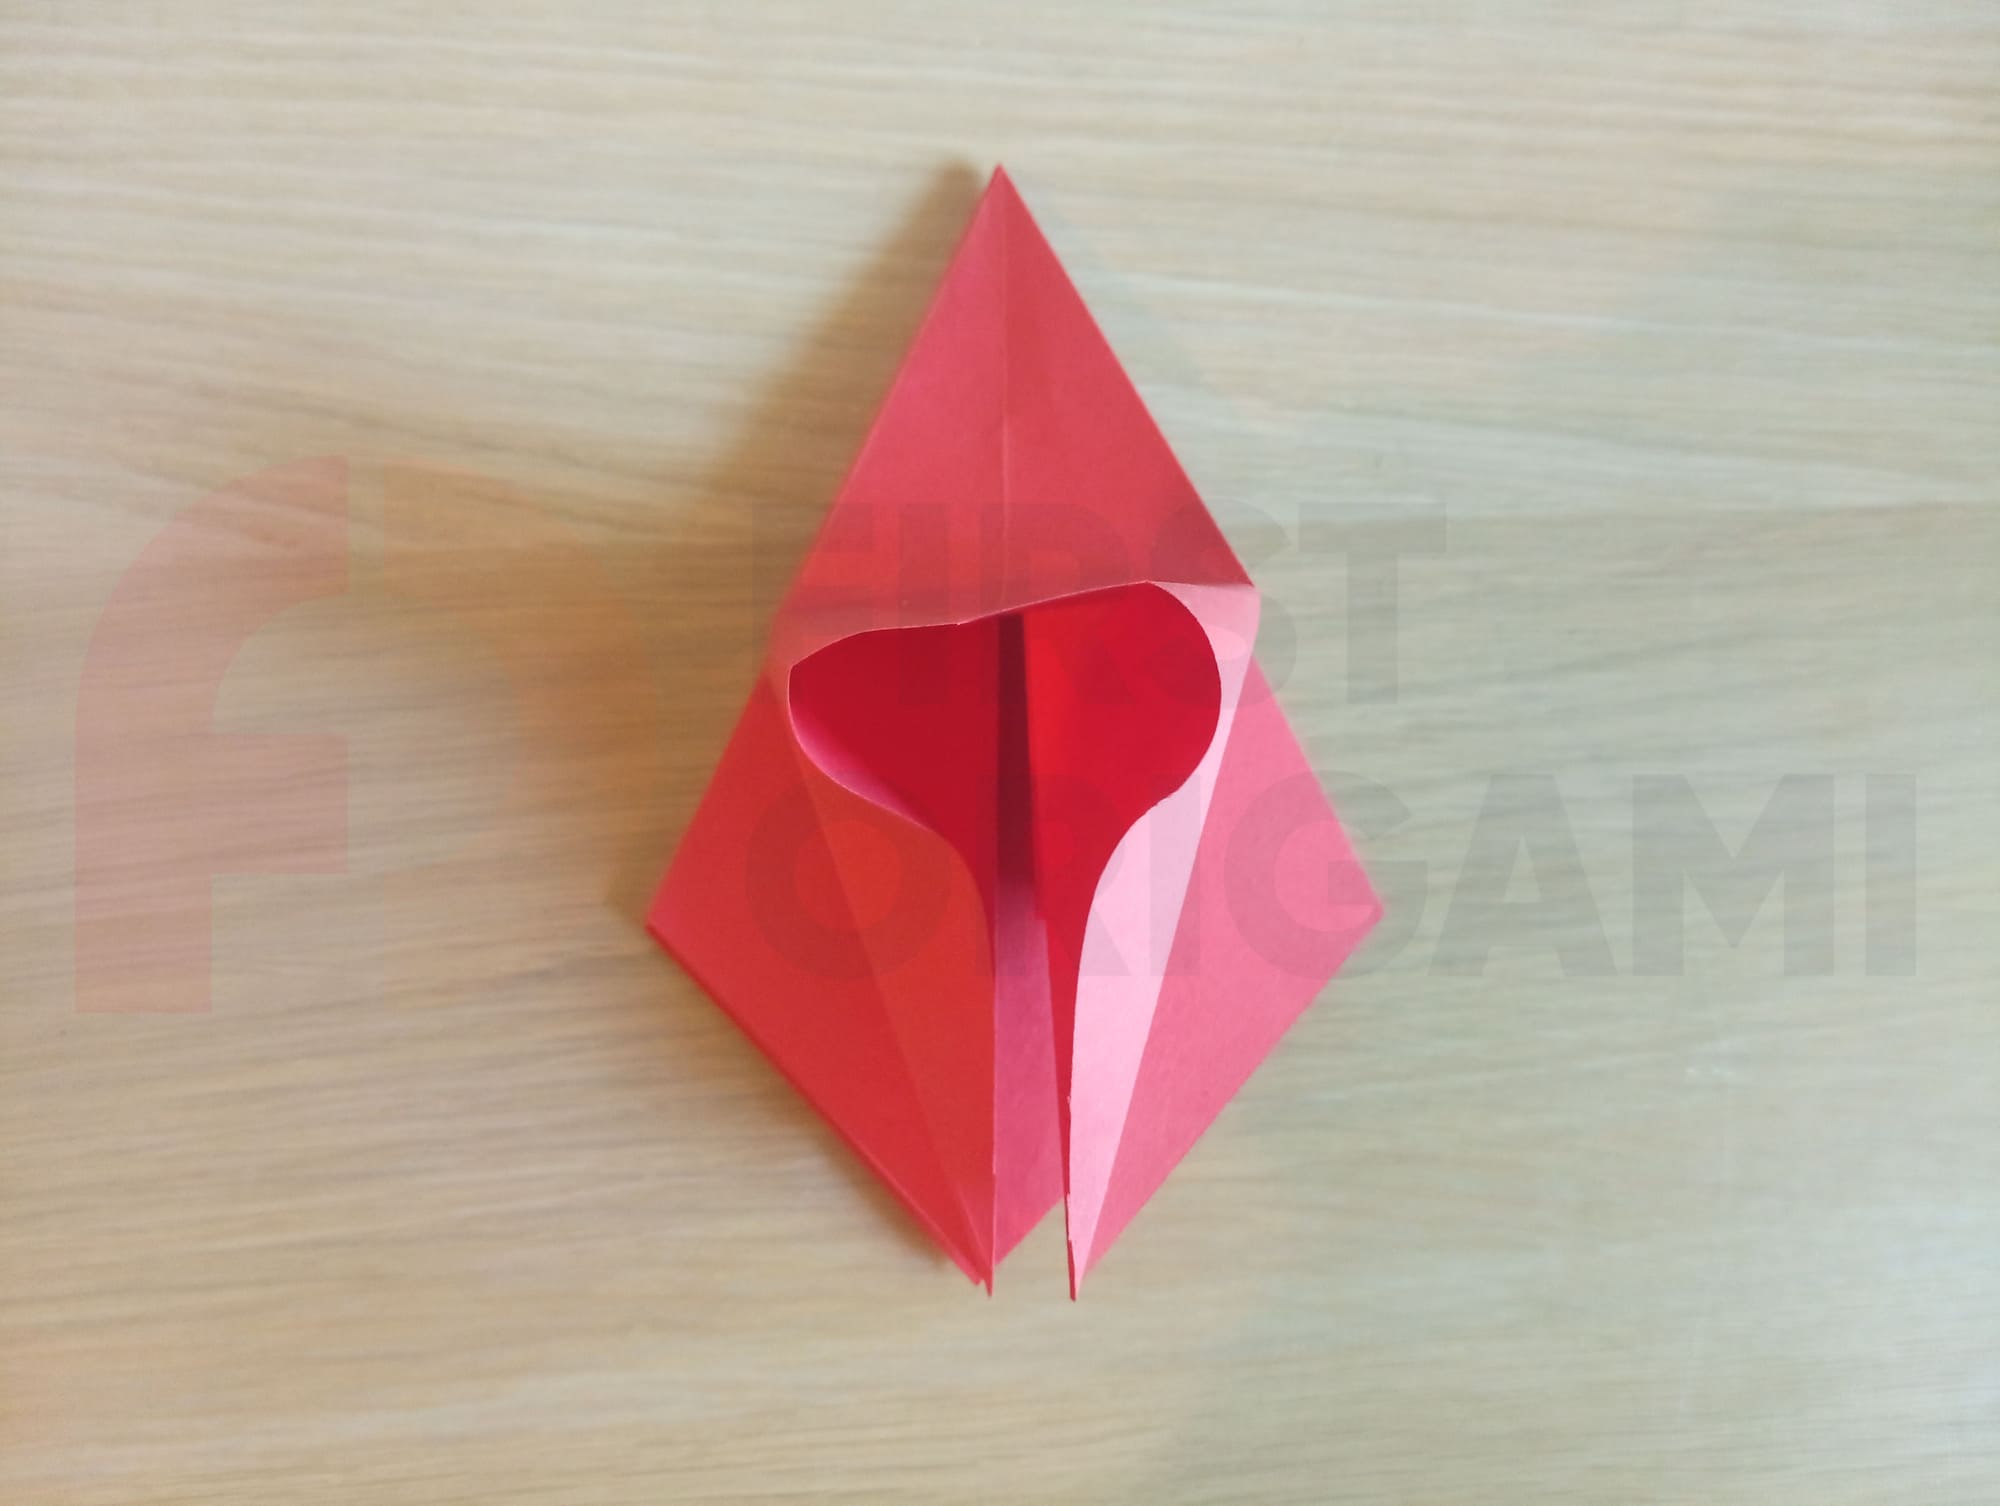
This petal fold must be done for the other three sides.
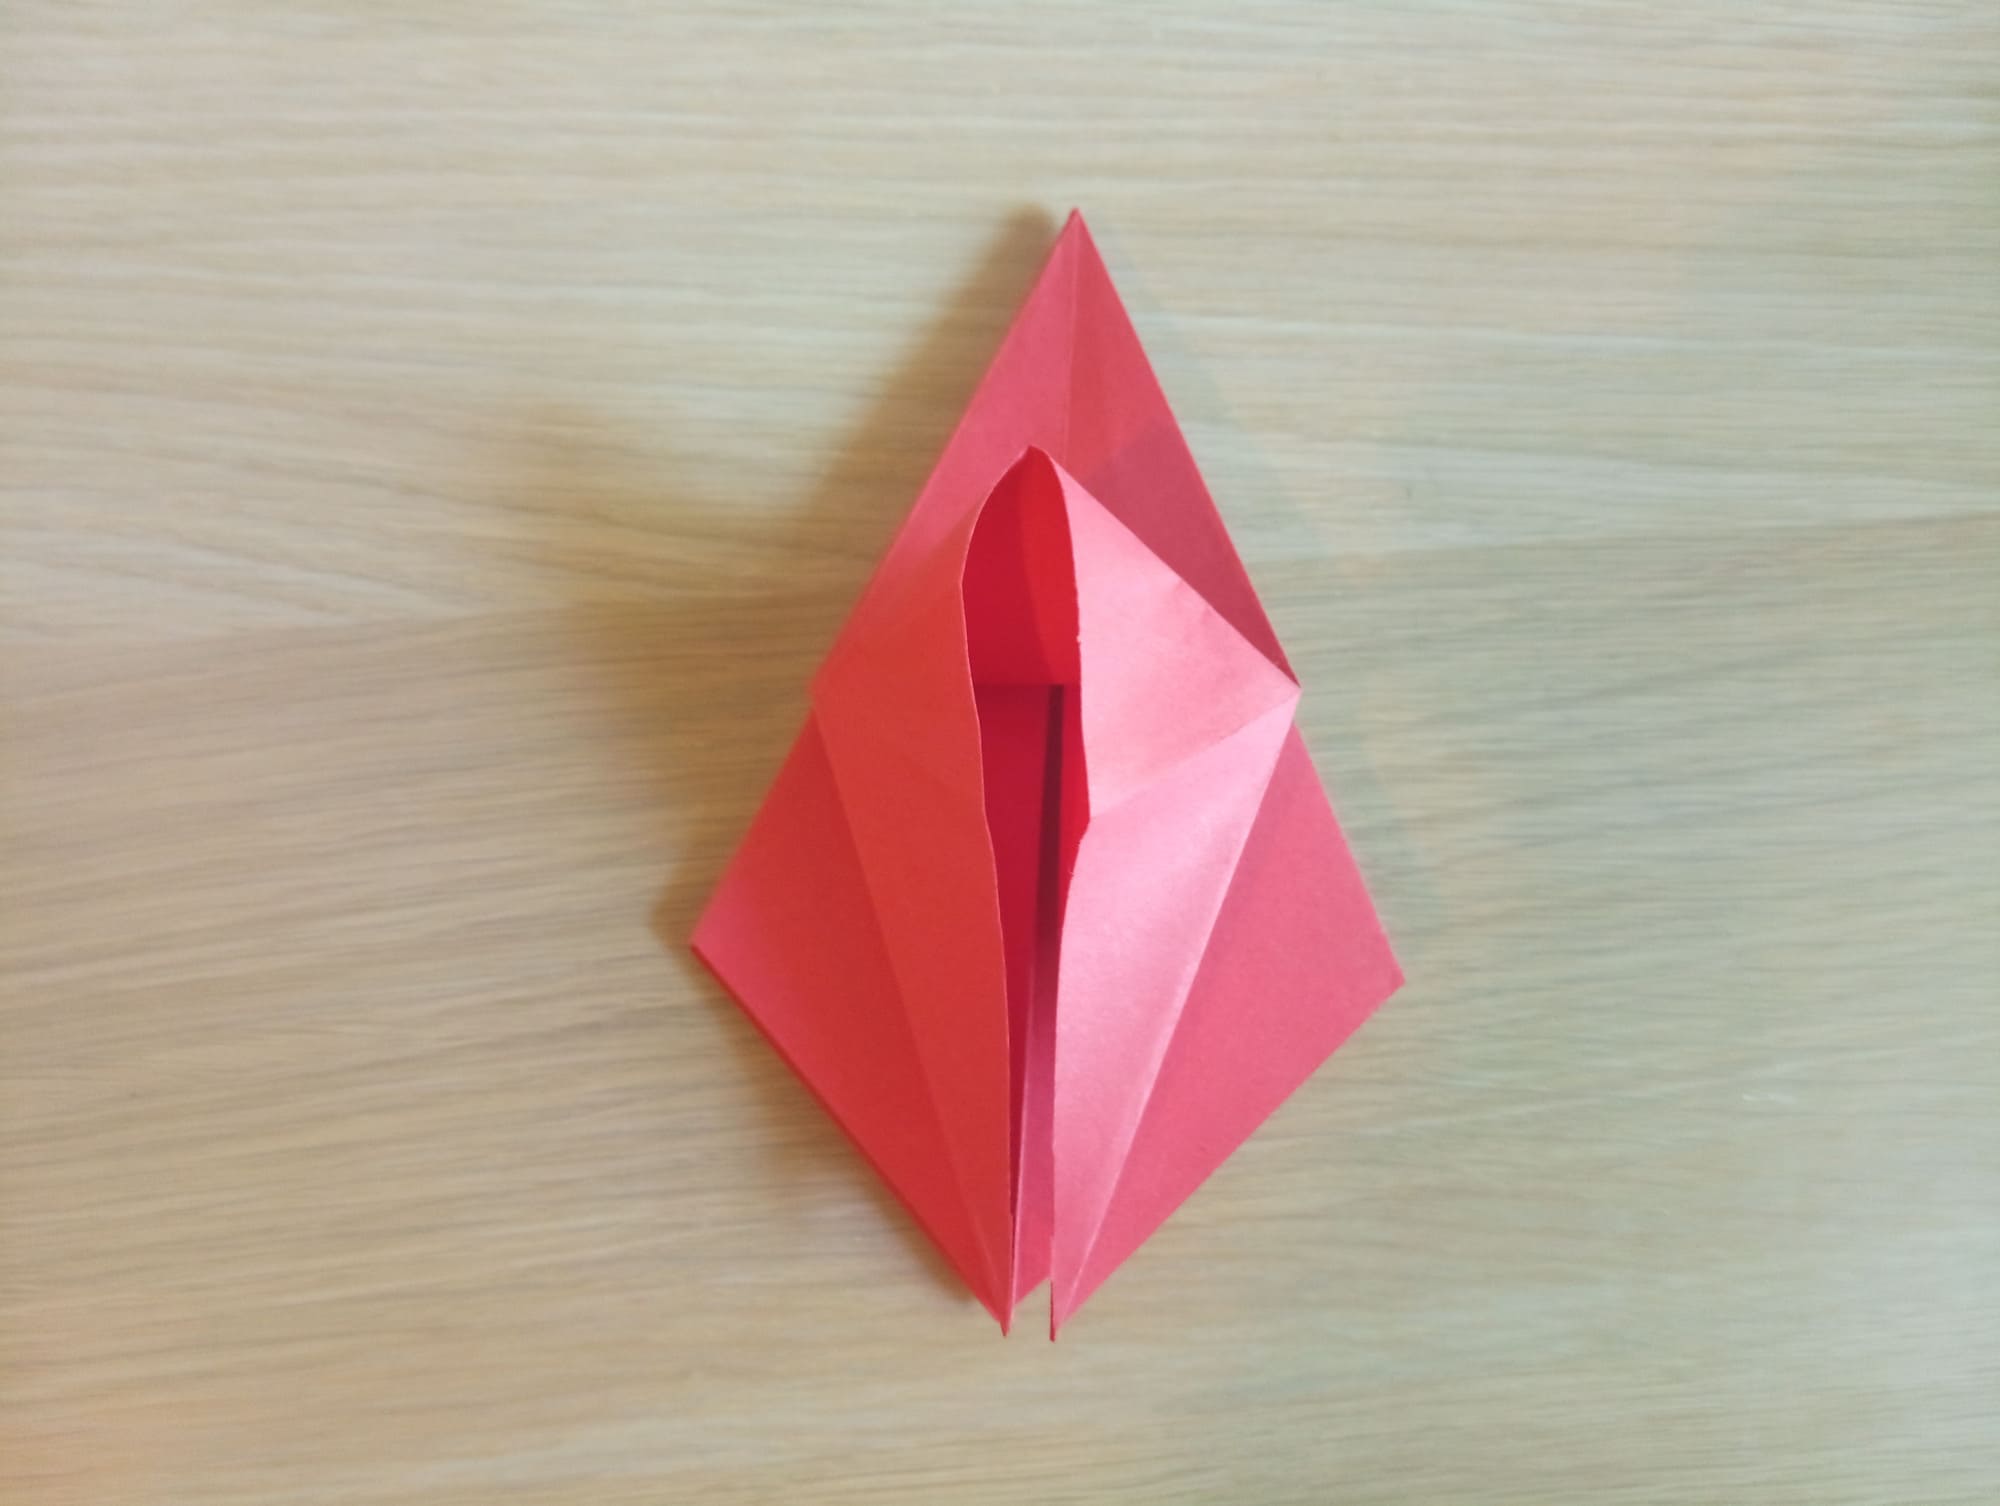
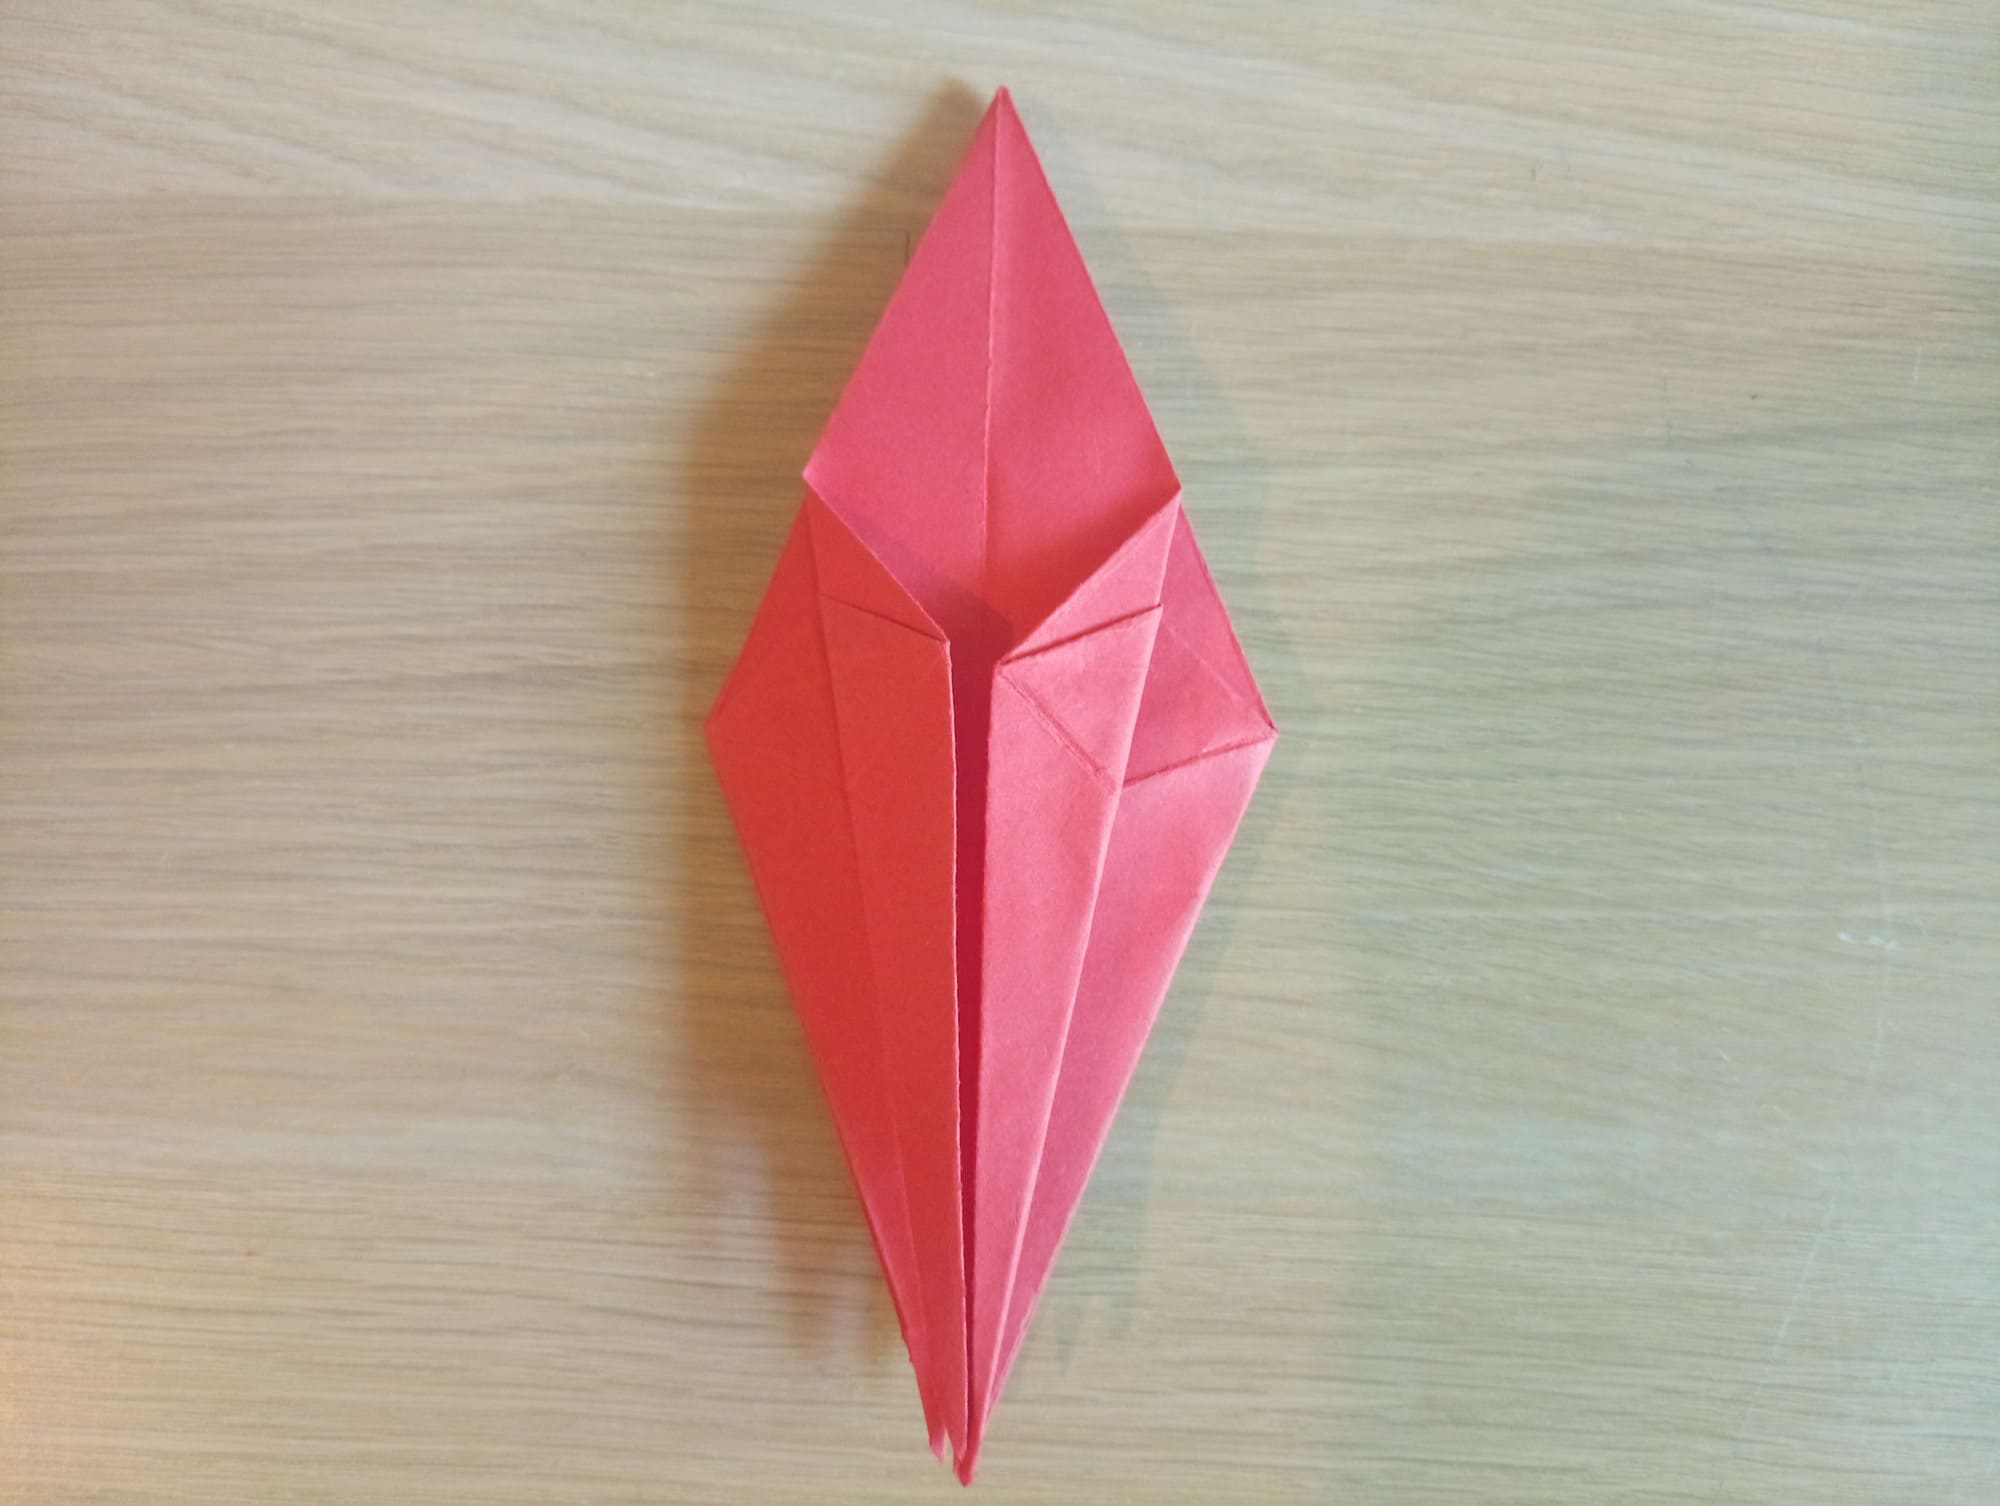
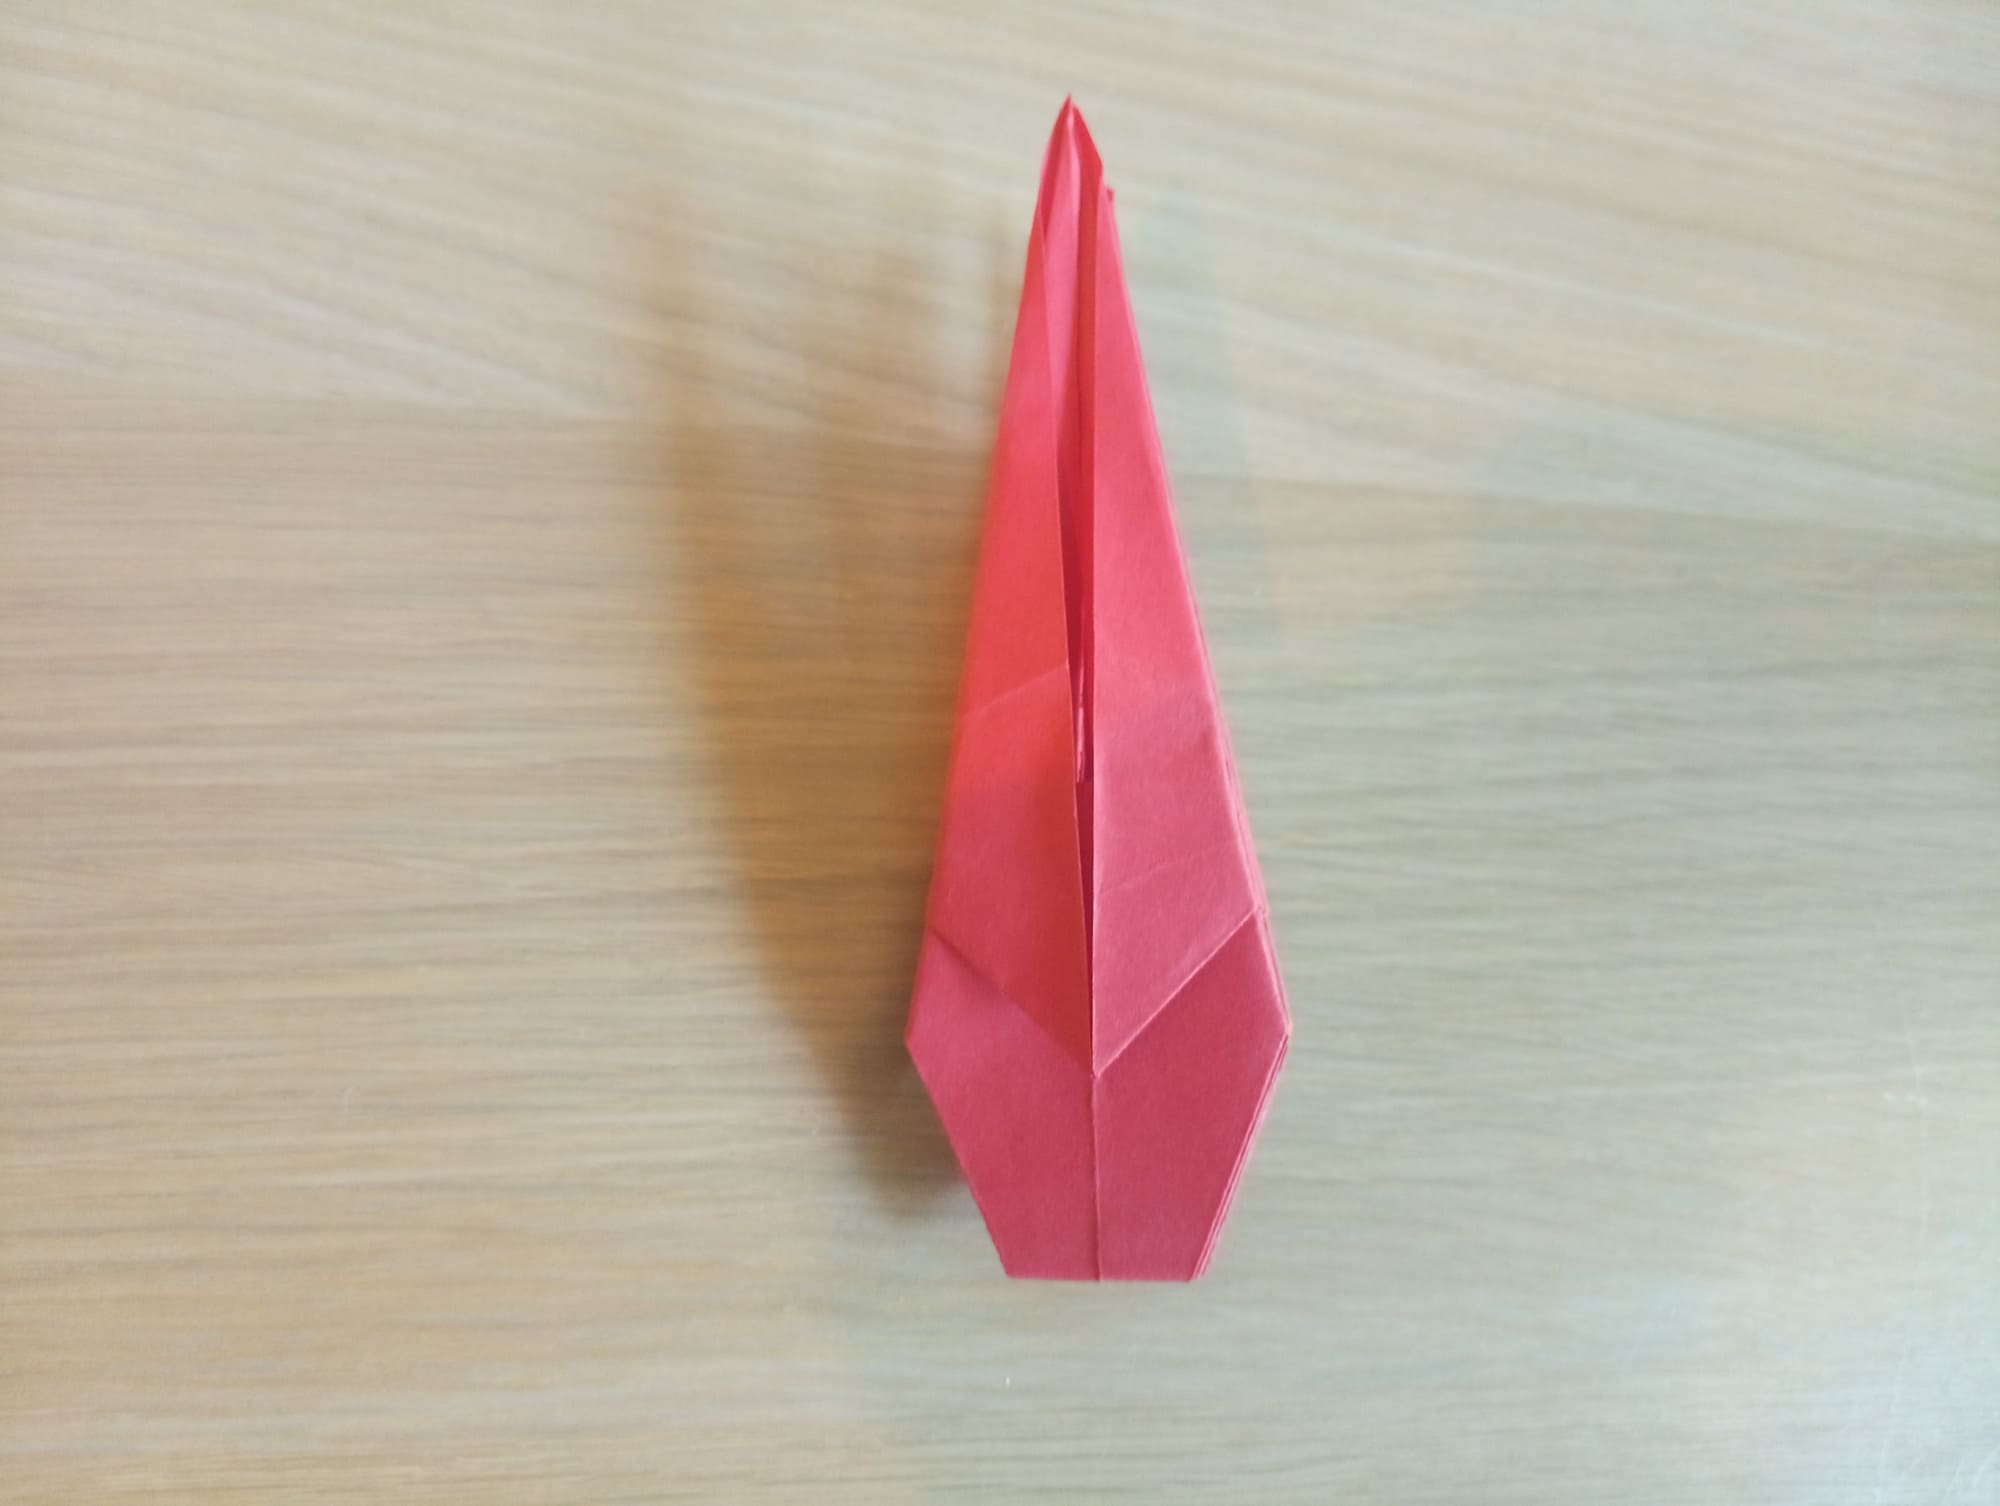
Tuck the side edges of the diamond into the middle.
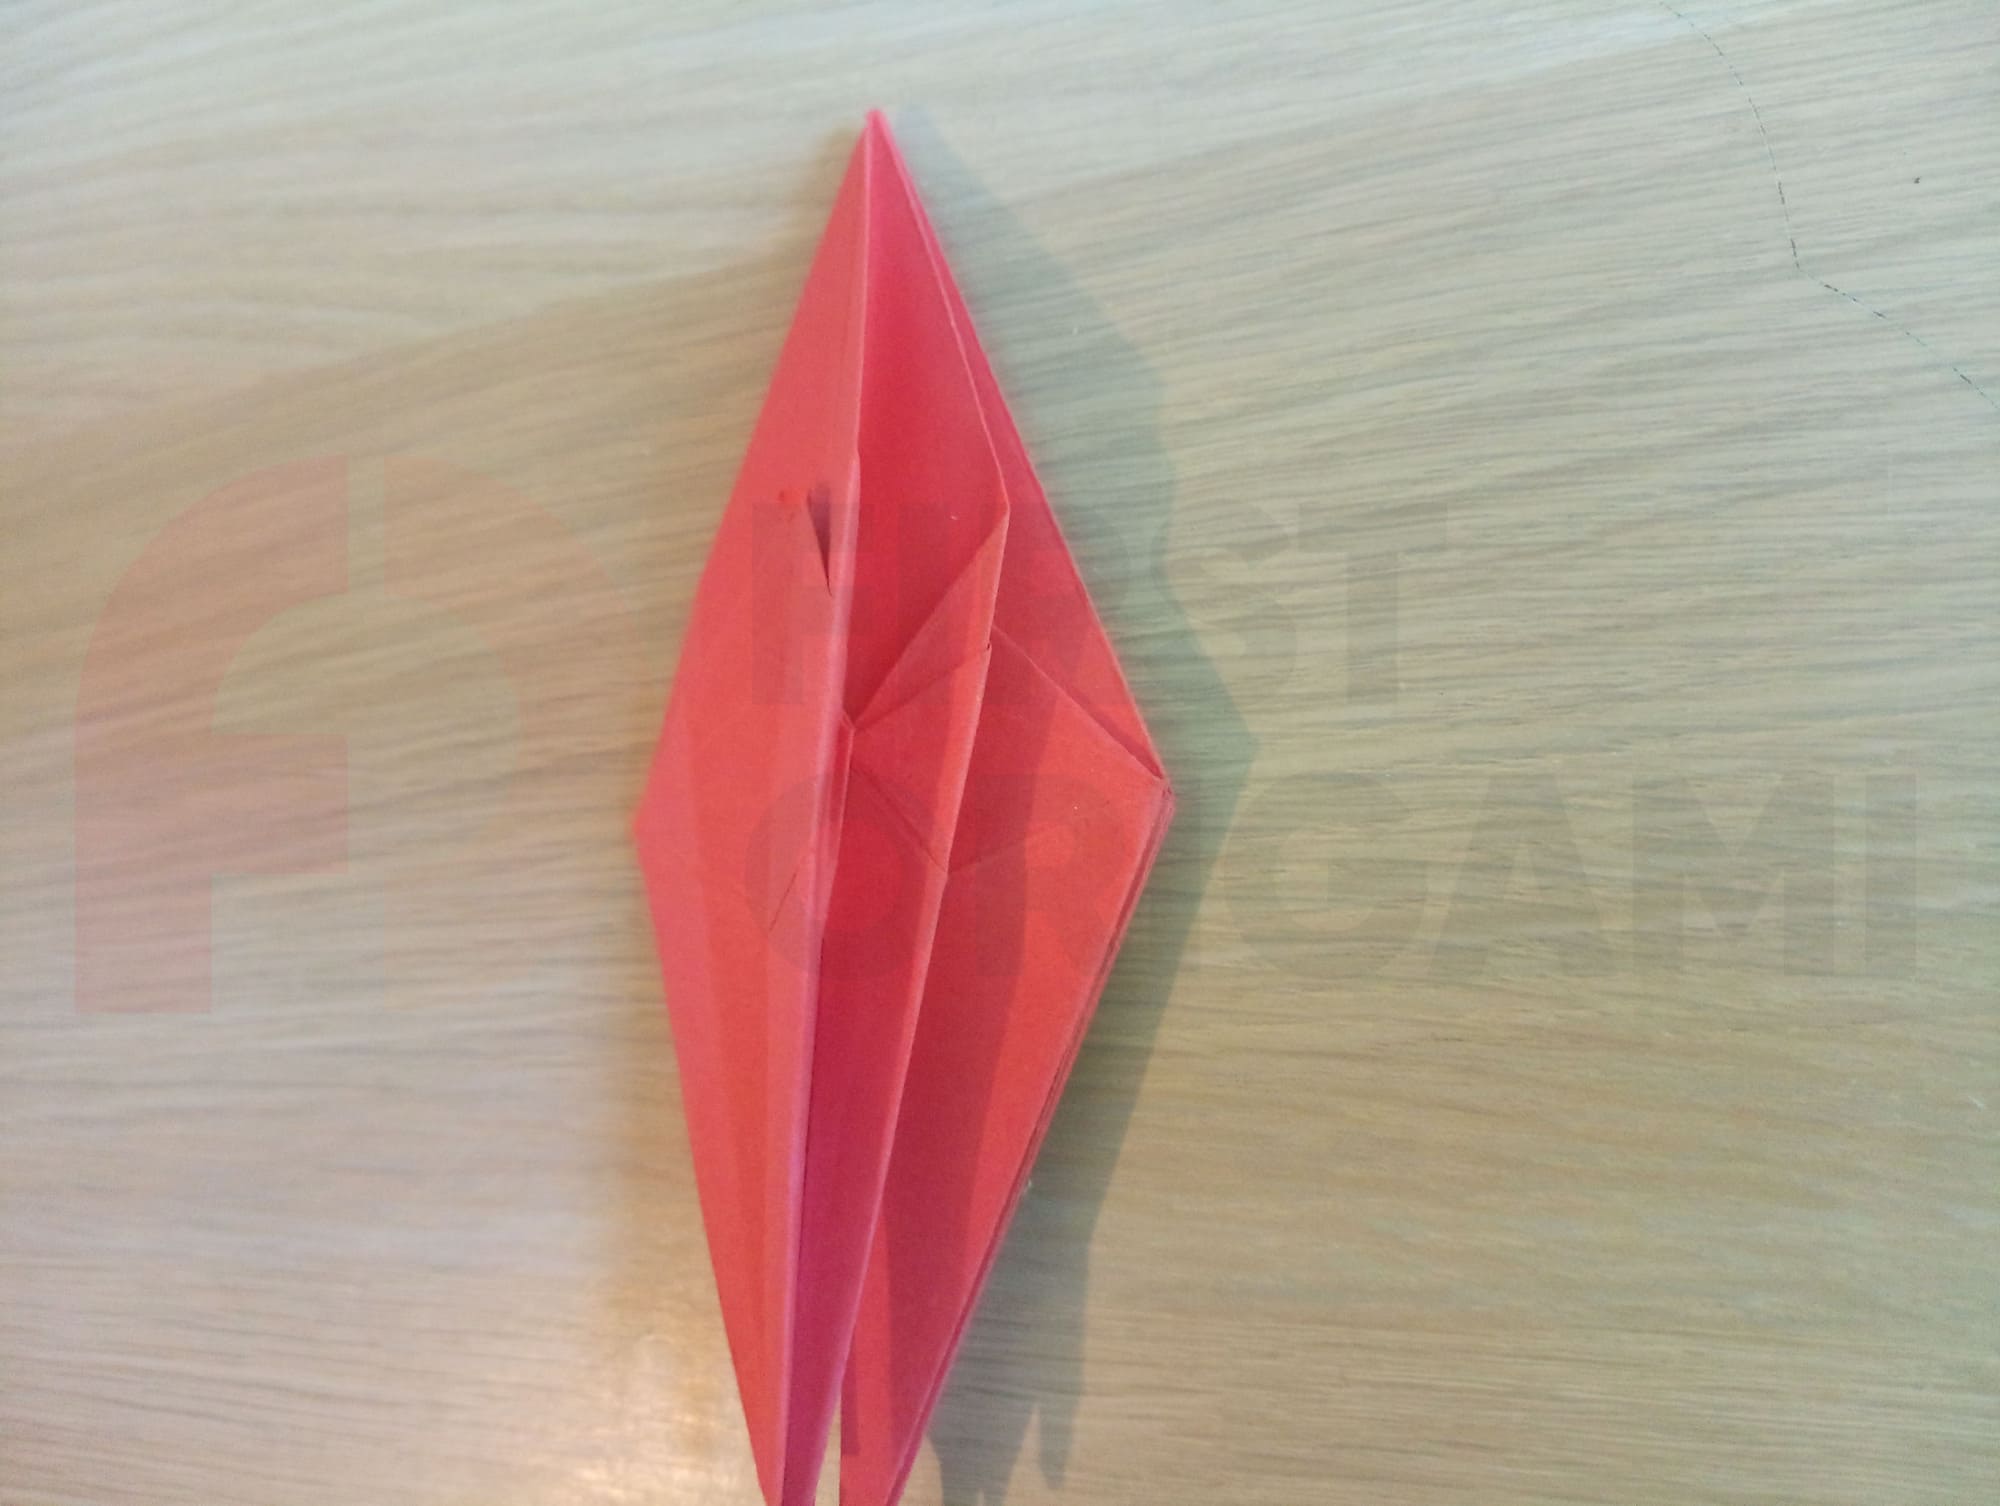
Follow the steps for the other sides.
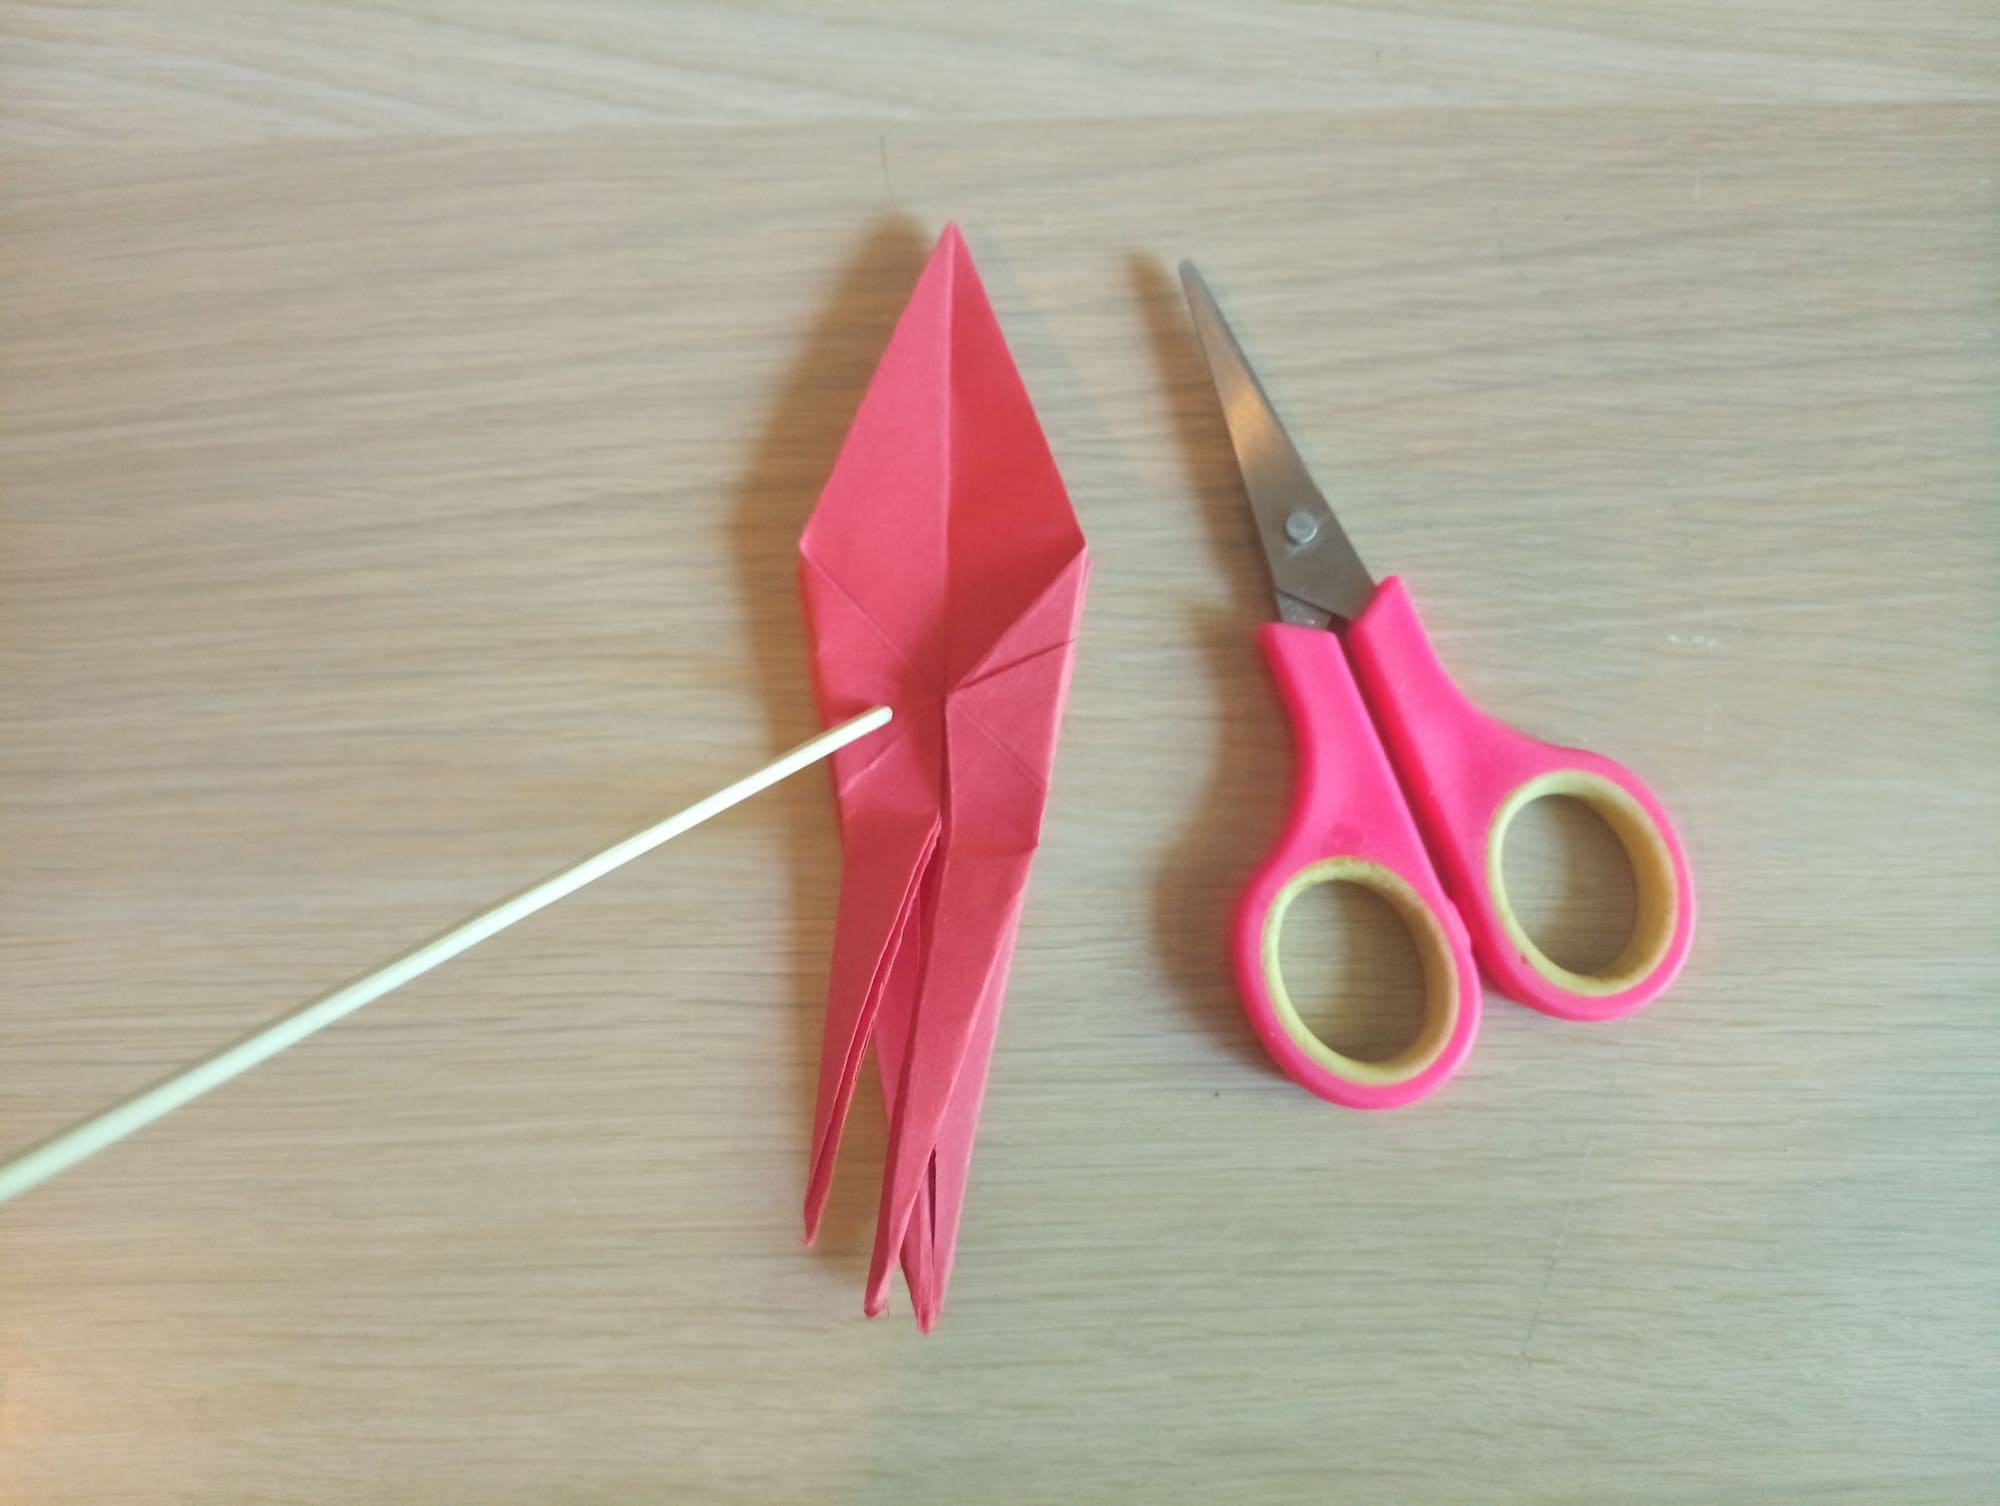
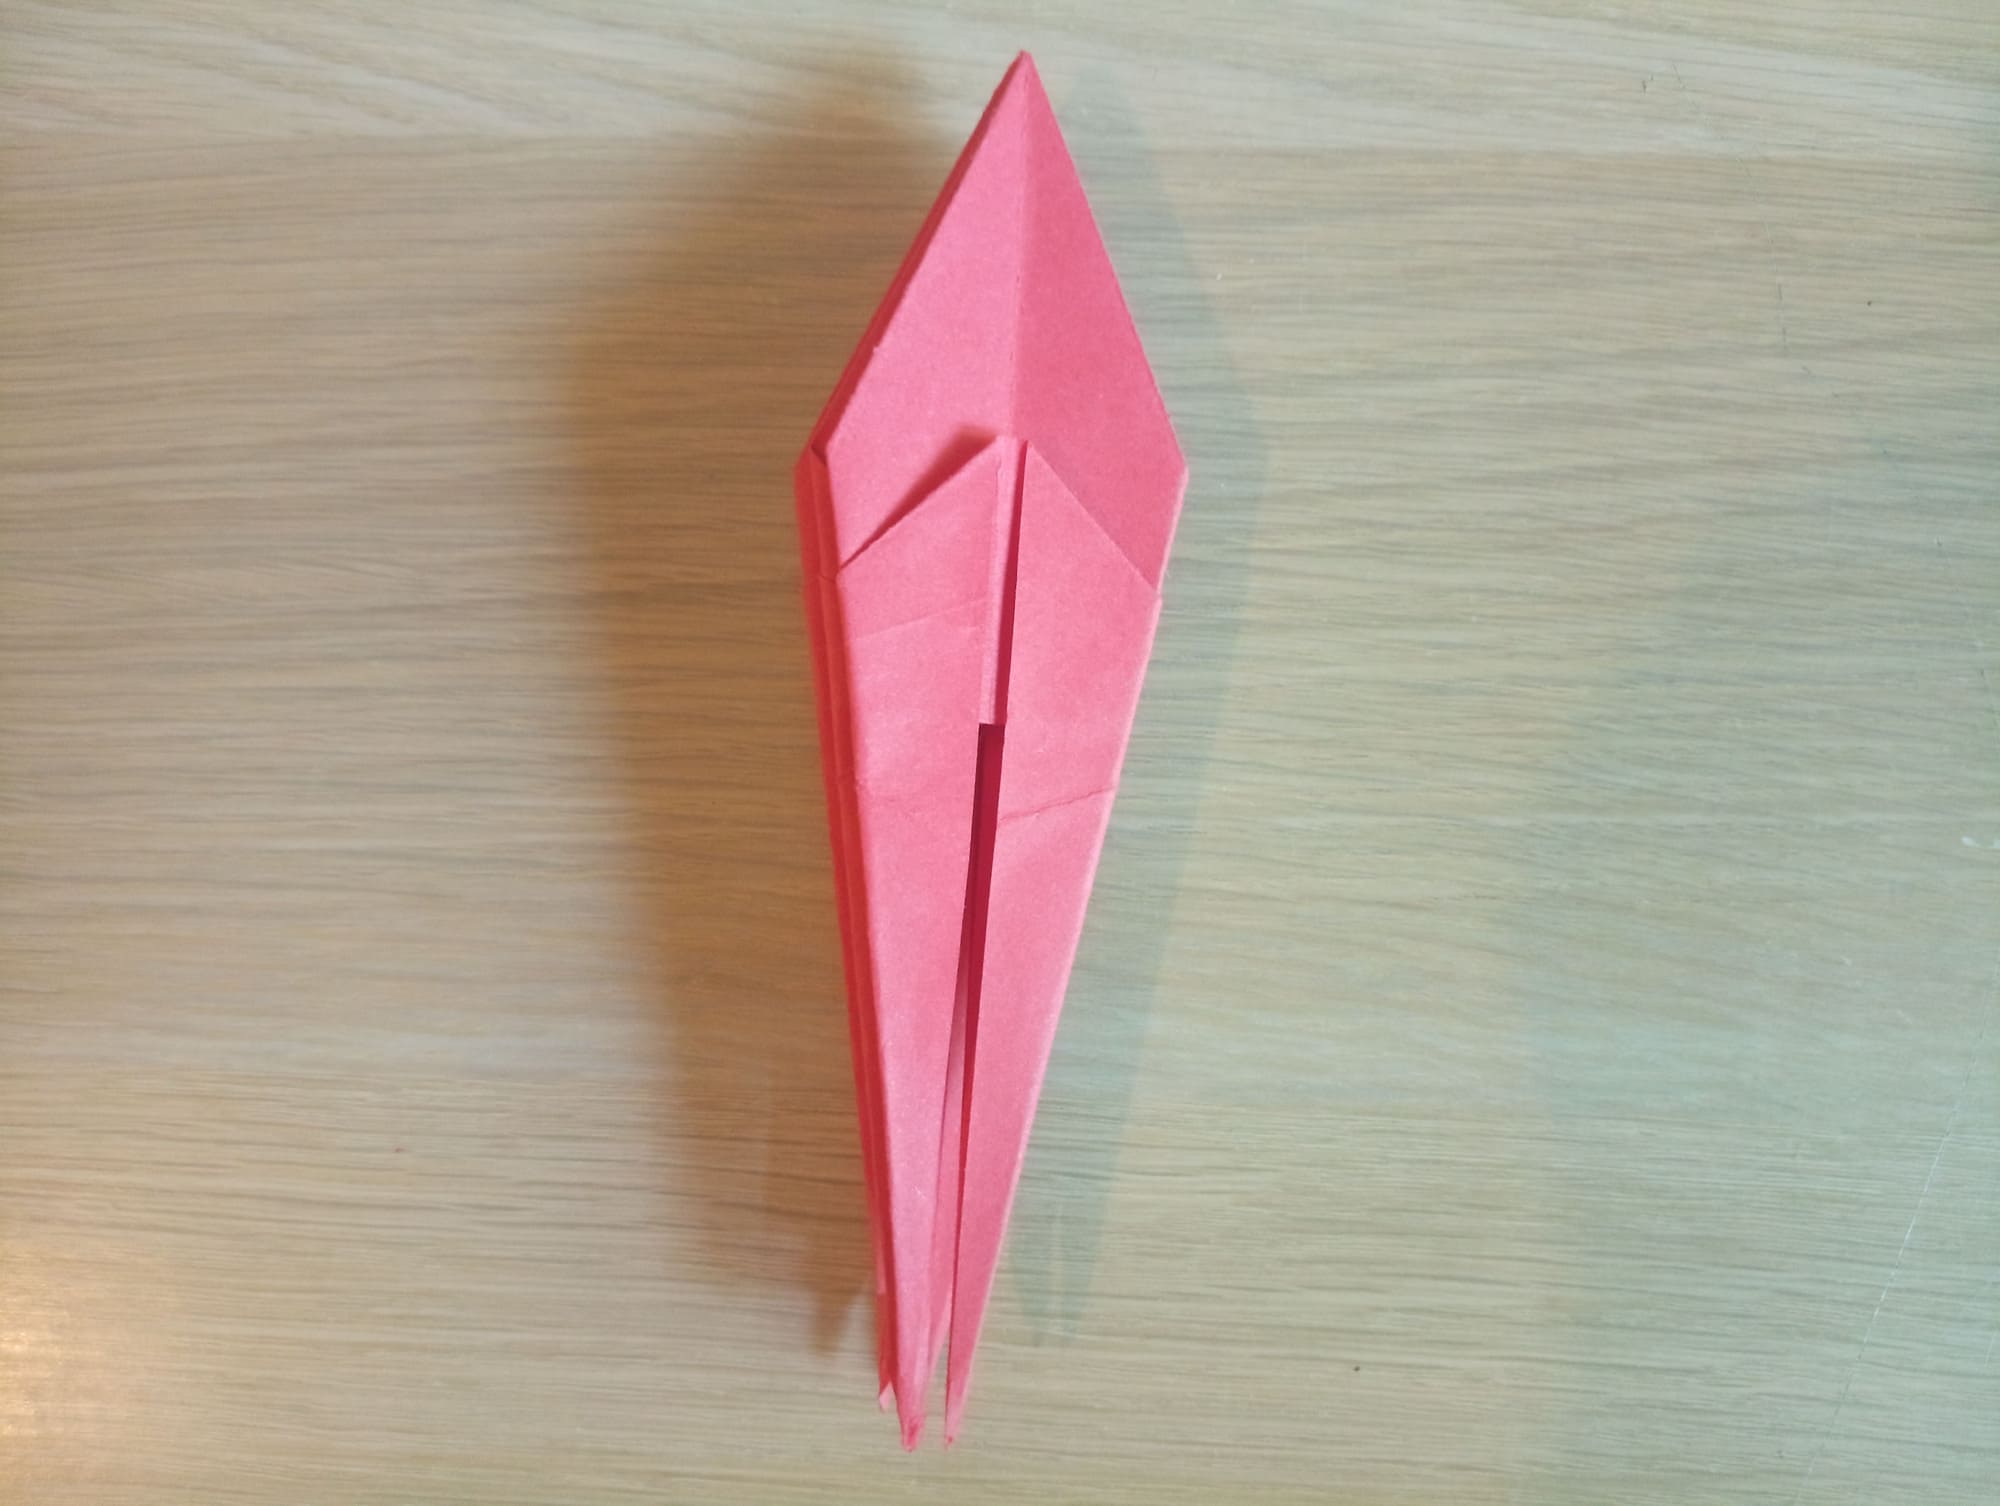
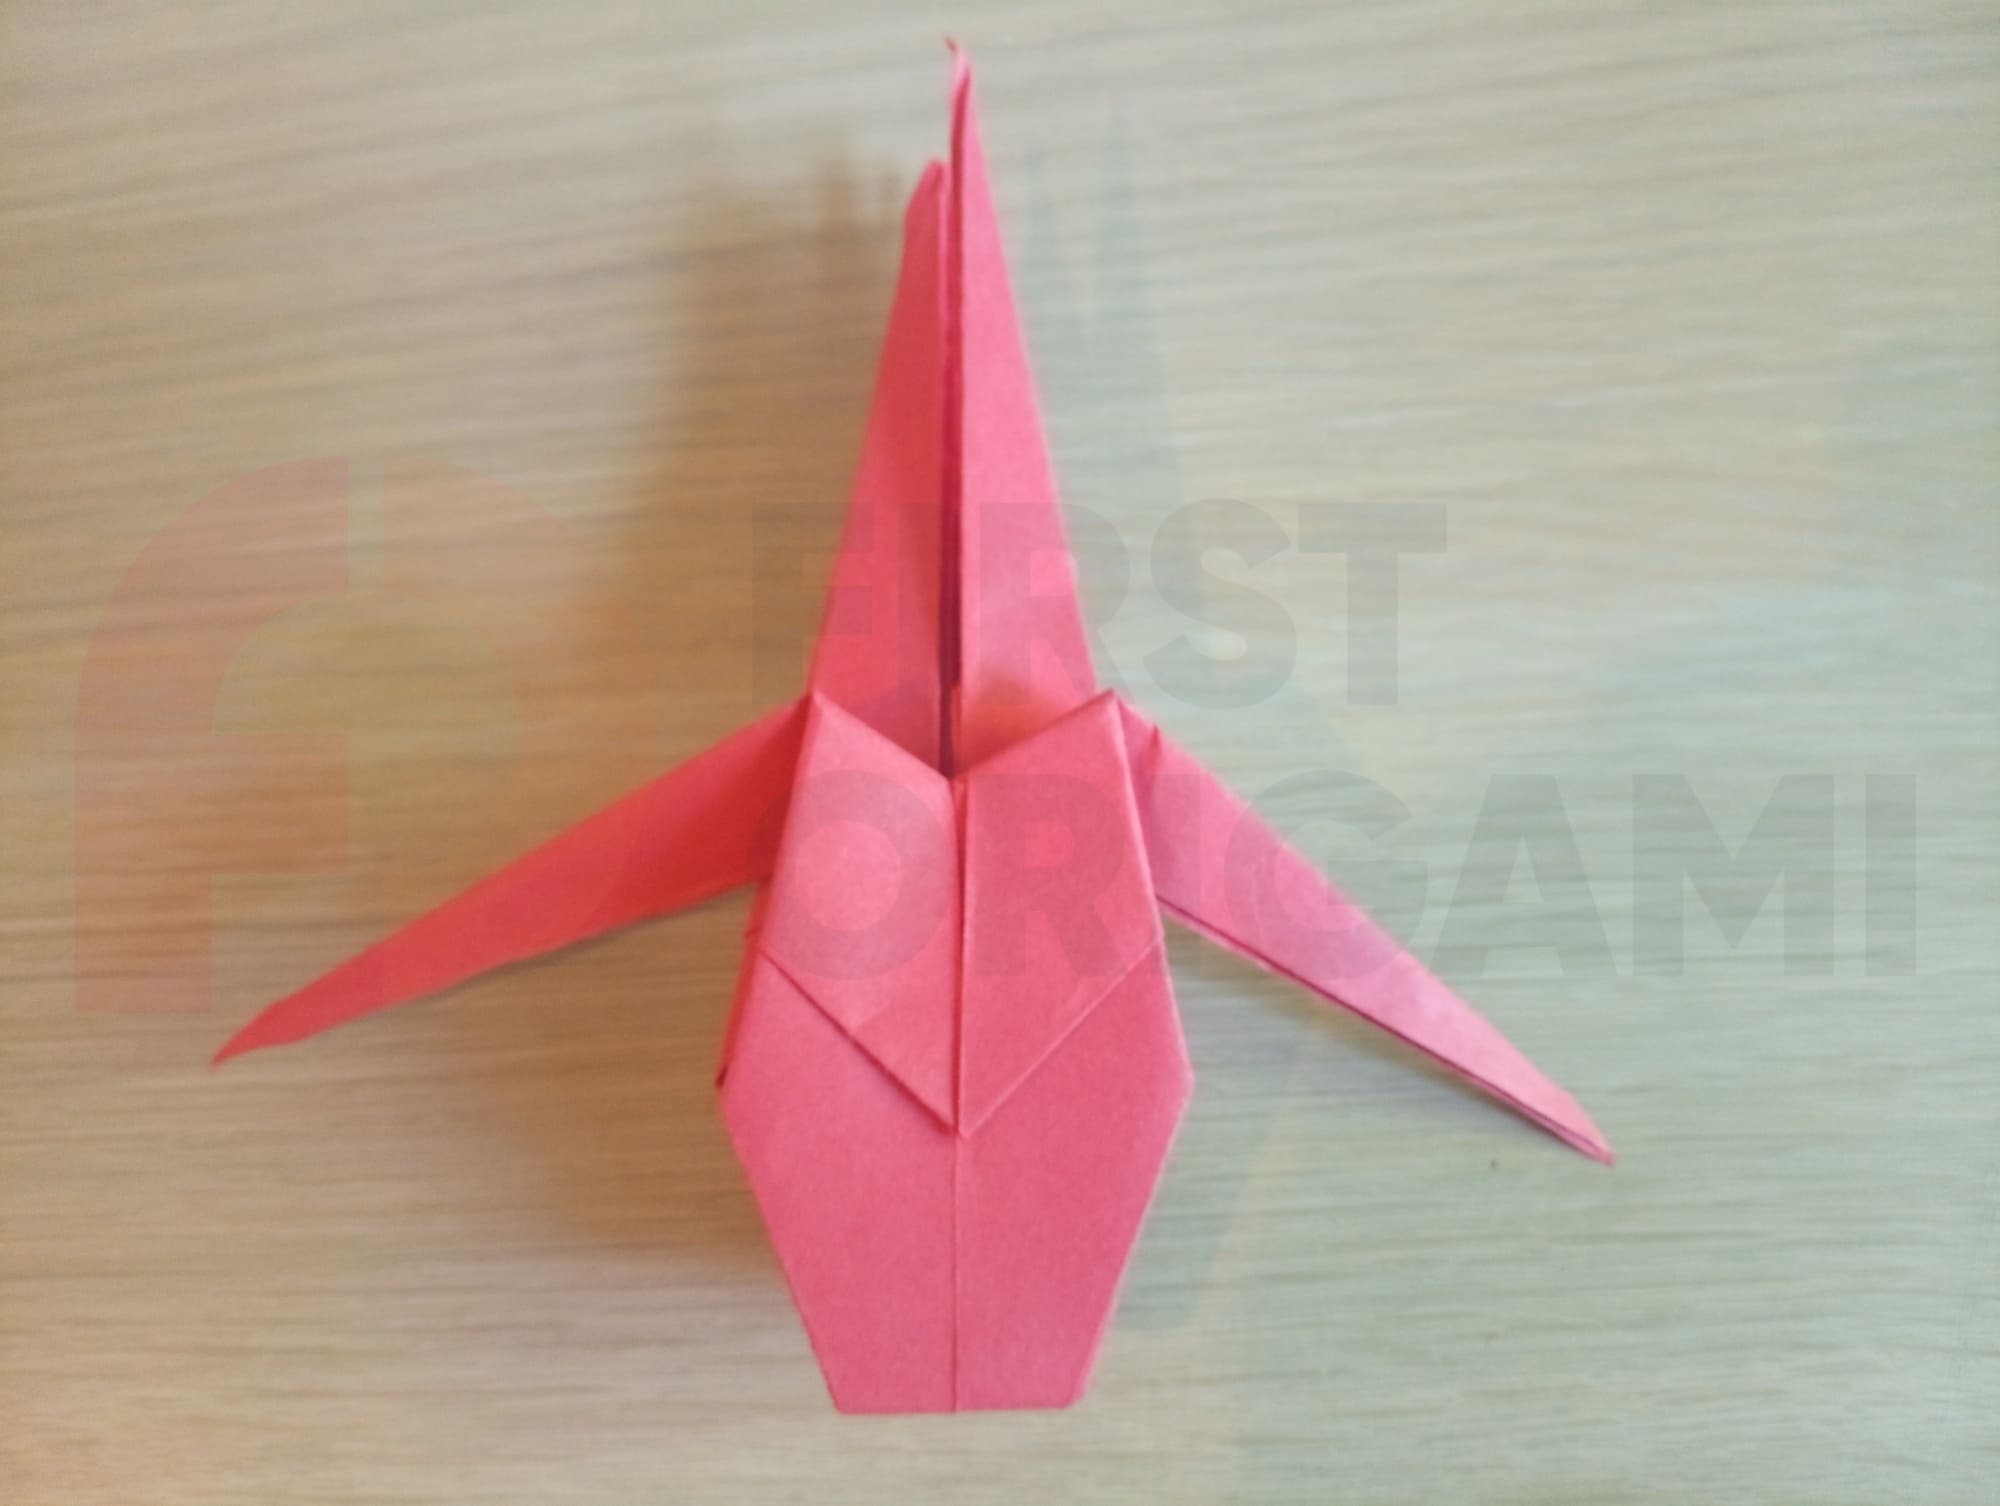
Prepare the scissors, which you need to cut the paws. There are 4 of them in total; after a longitudinal cut, it becomes 8. The cut paws are clearly visible in the photo.
After cutting the paws, you need to form a body, for which a corner is simply wrapped.
Now, you need to bend the paws one by one, as in the photo.
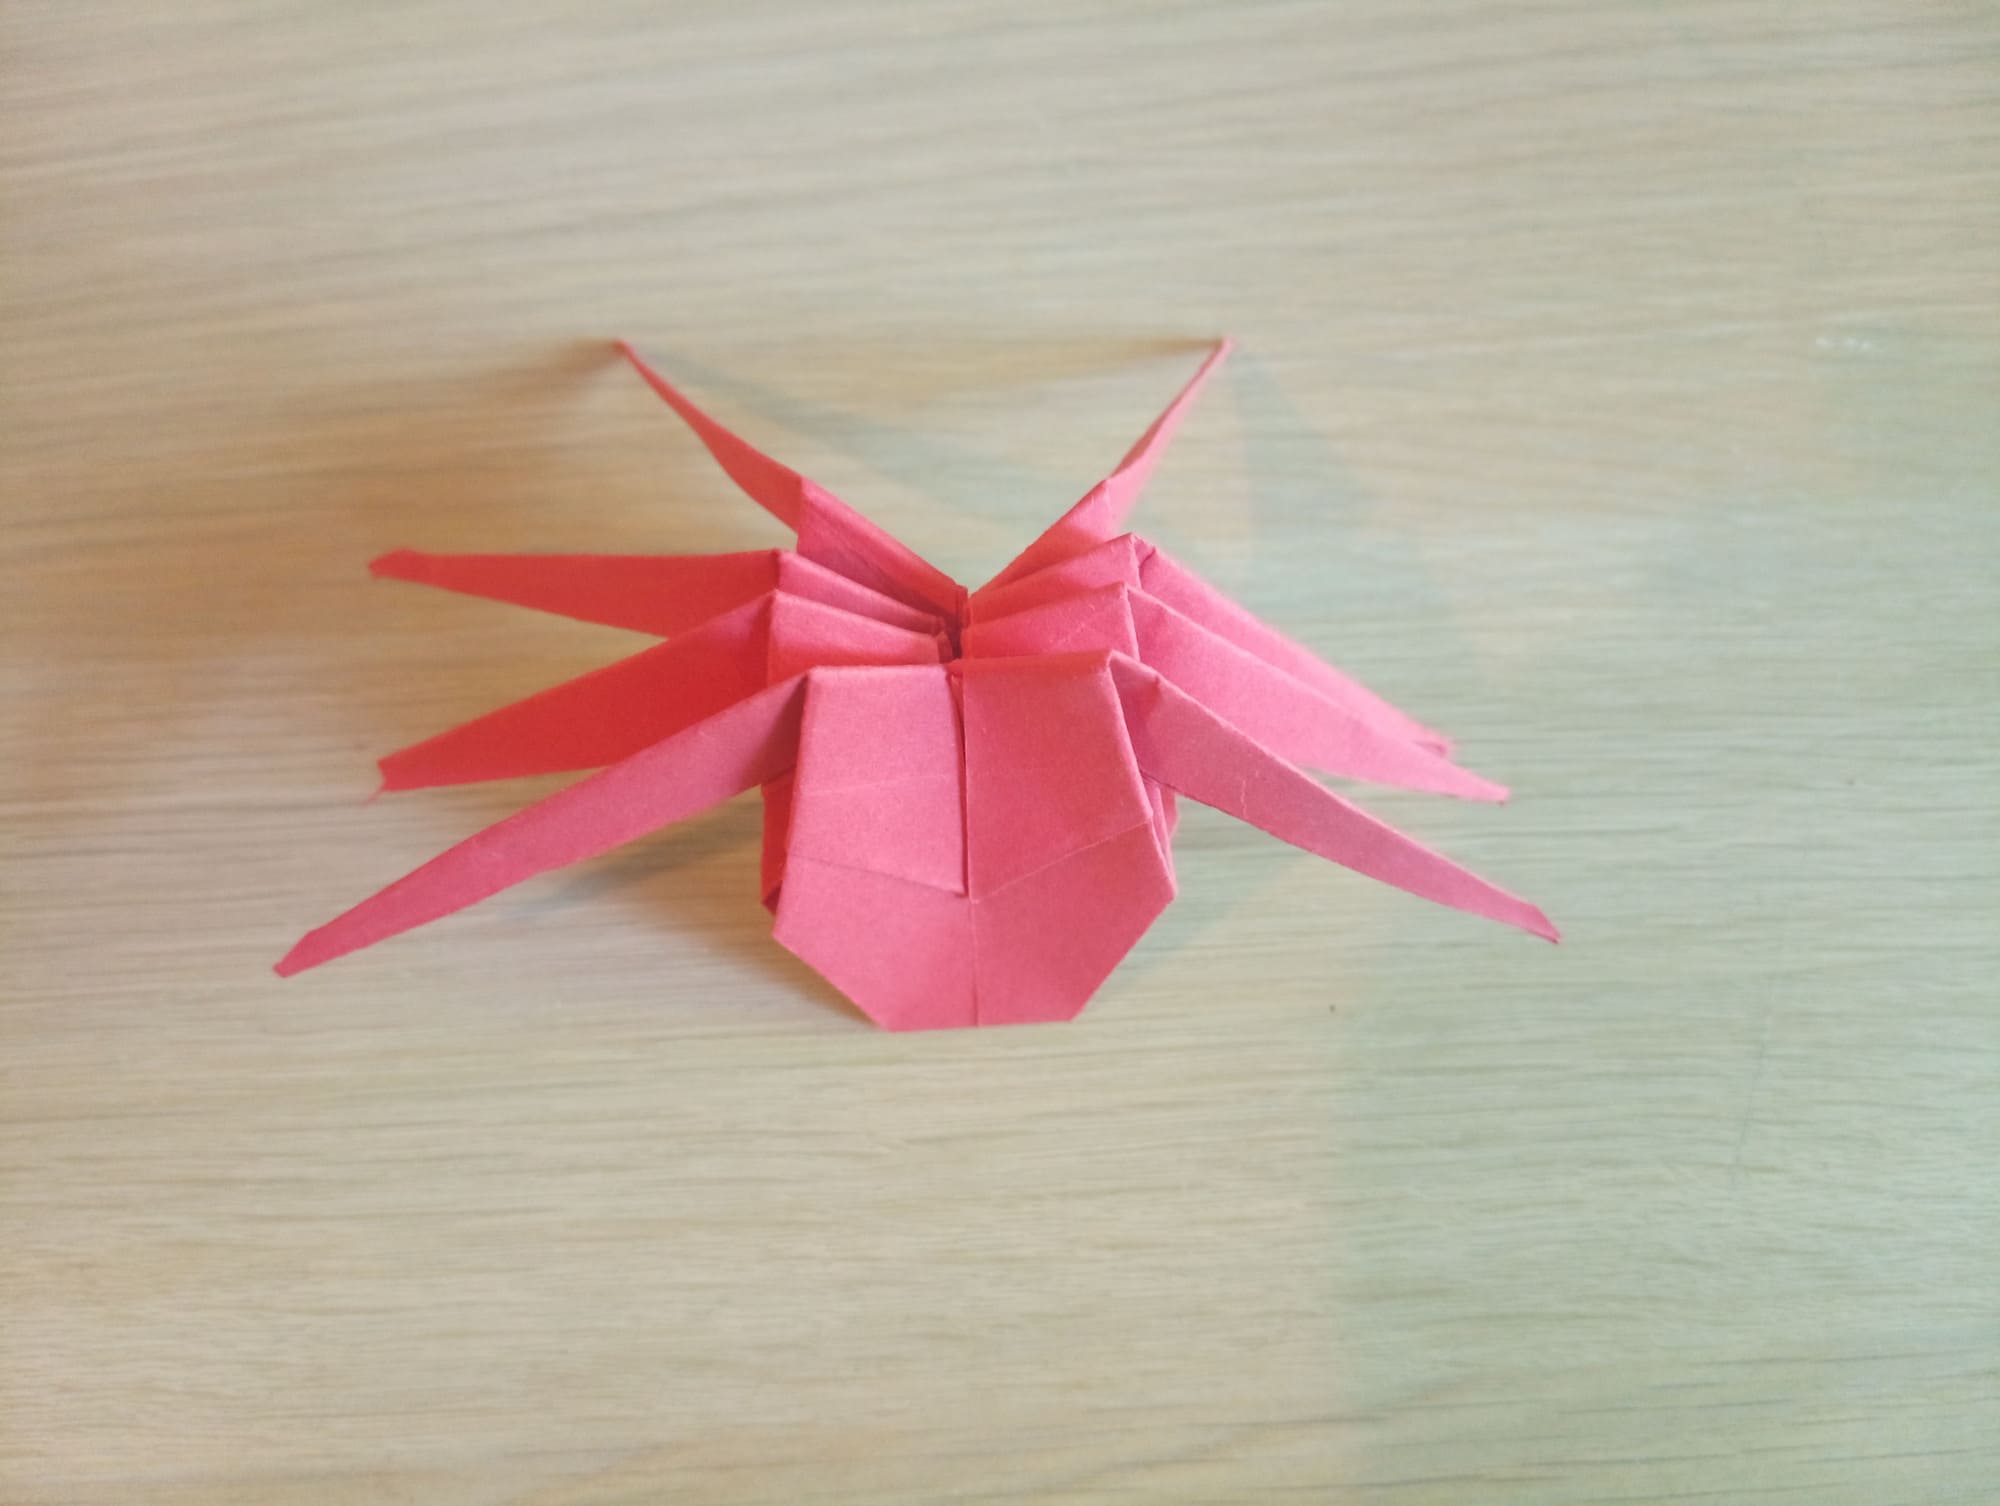
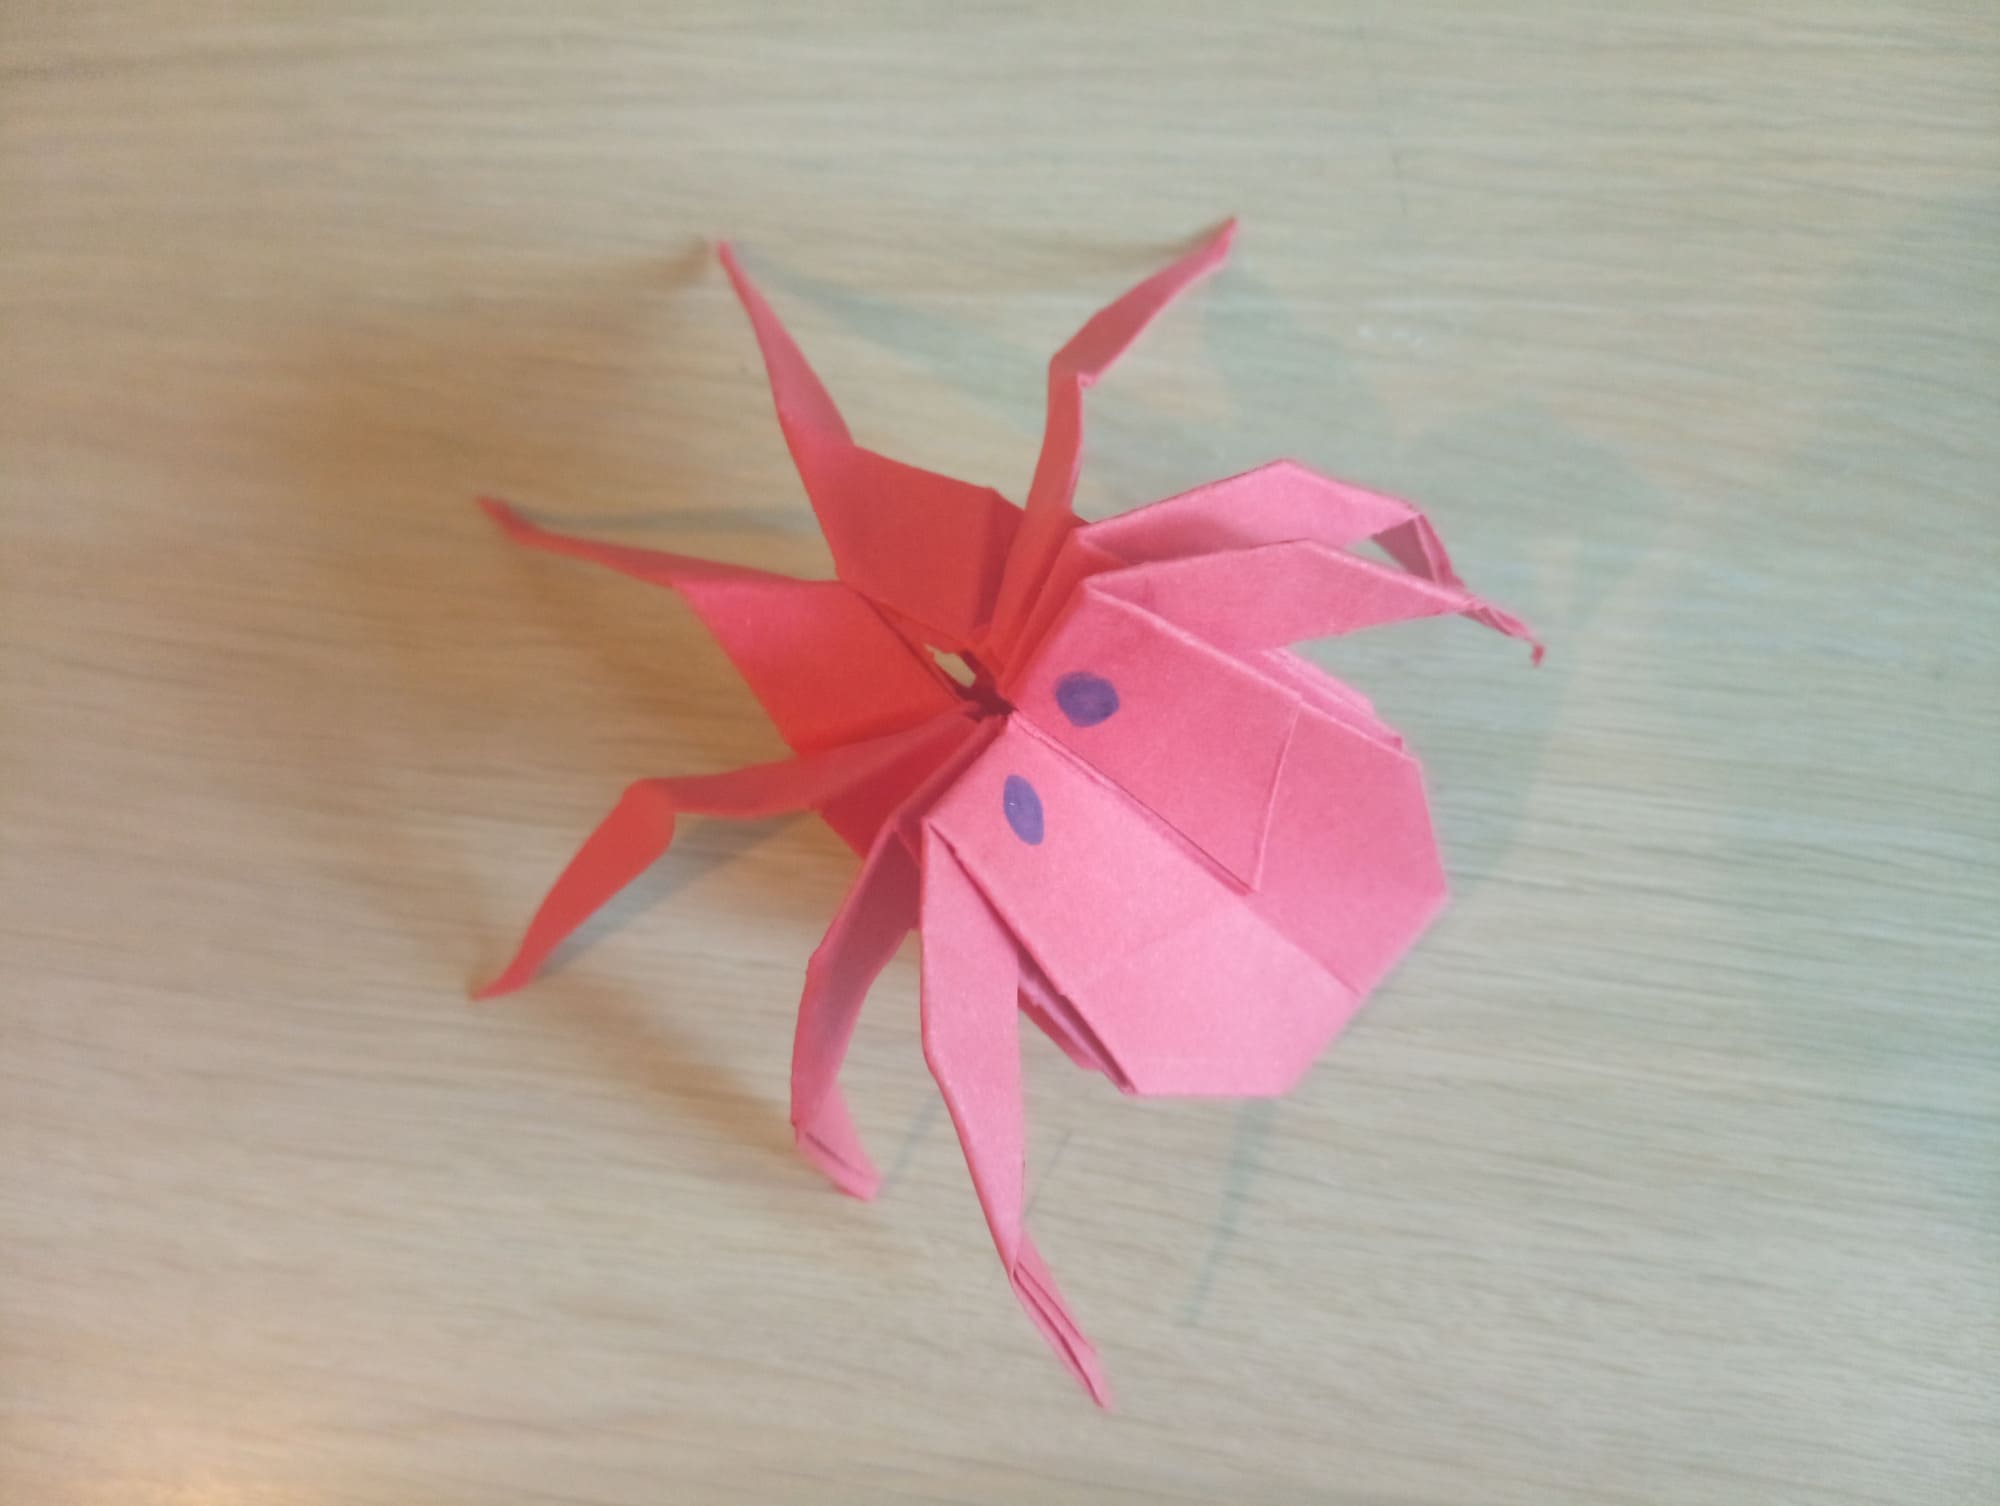
The finished spider just needs to have its eyes drawn!
Look at these charming creatures! After all, they are not scary at all! You can pick them up, play, and have fun. If you are making these for the Halloween holiday, this decor will definitely come in handy. The master class is simple, but you should show perseverance and accuracy. You will surely succeed!


