Origami Spin Plane
Launching airplanes is a wonderful idea, especially if you make them yourself. You can arrange an air flotilla competition by inviting your friends. Winners will be determined in various categories: unusual flight path, best trick, and longest flight.
In order for an airplane to fly in a straight line or turn over in the air, you need to change the length of the aircraft, the width of the wings, or the angle of the tail. If everything is done correctly, the paper model will be able to repeat some aerobatics. An airplane designed according to the proposed instructions flies forward and rotates in a spiral around its axis.
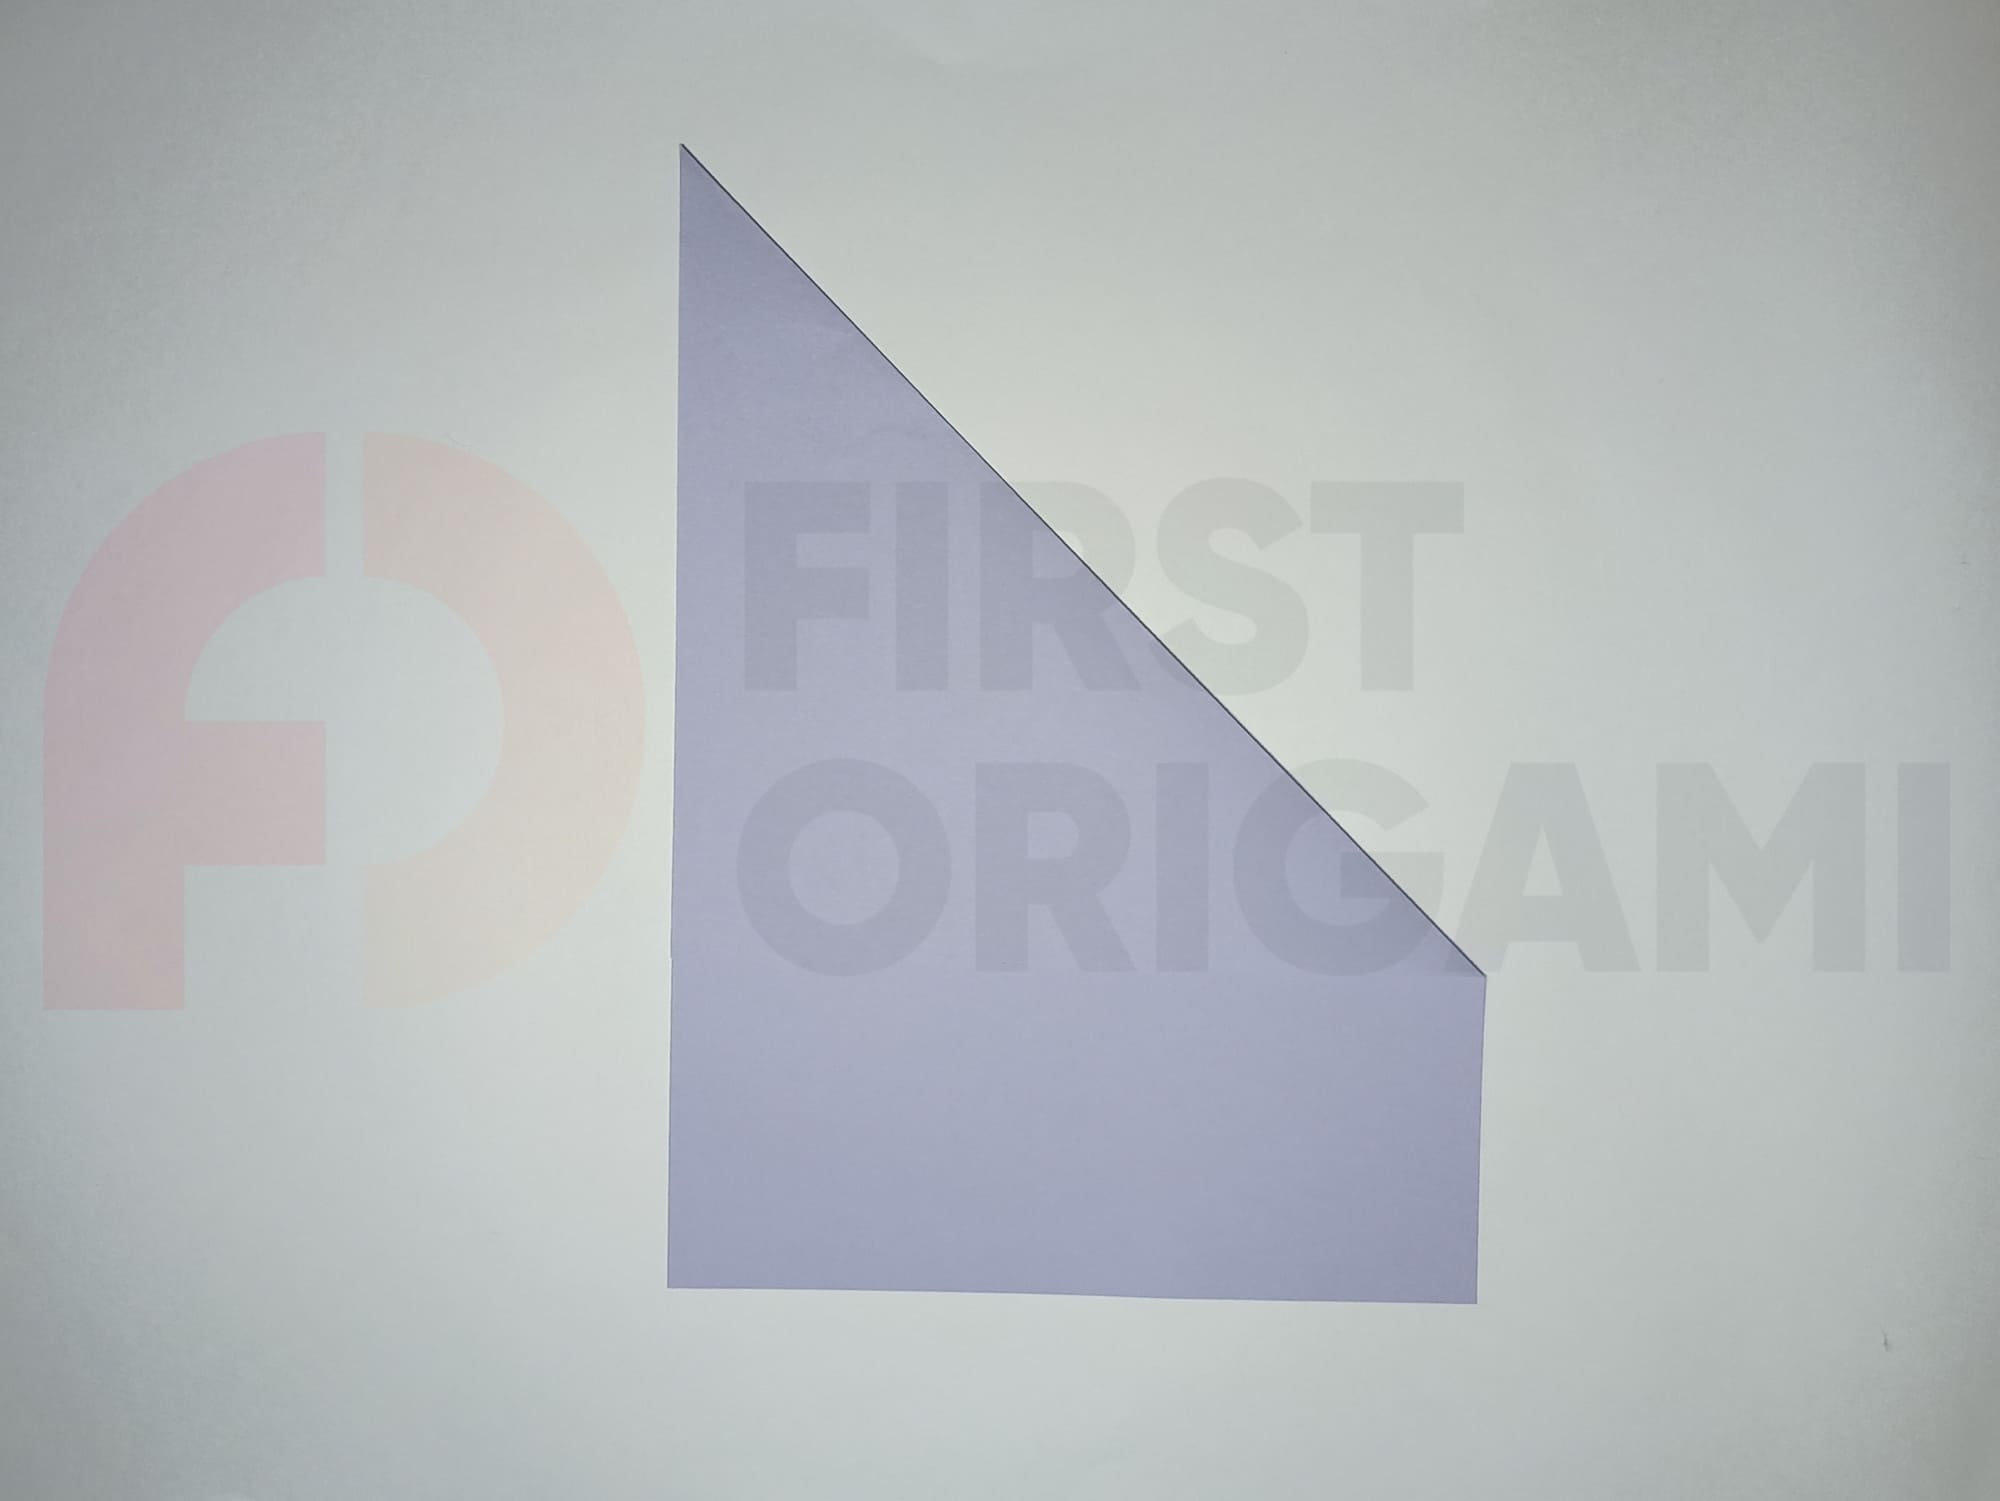
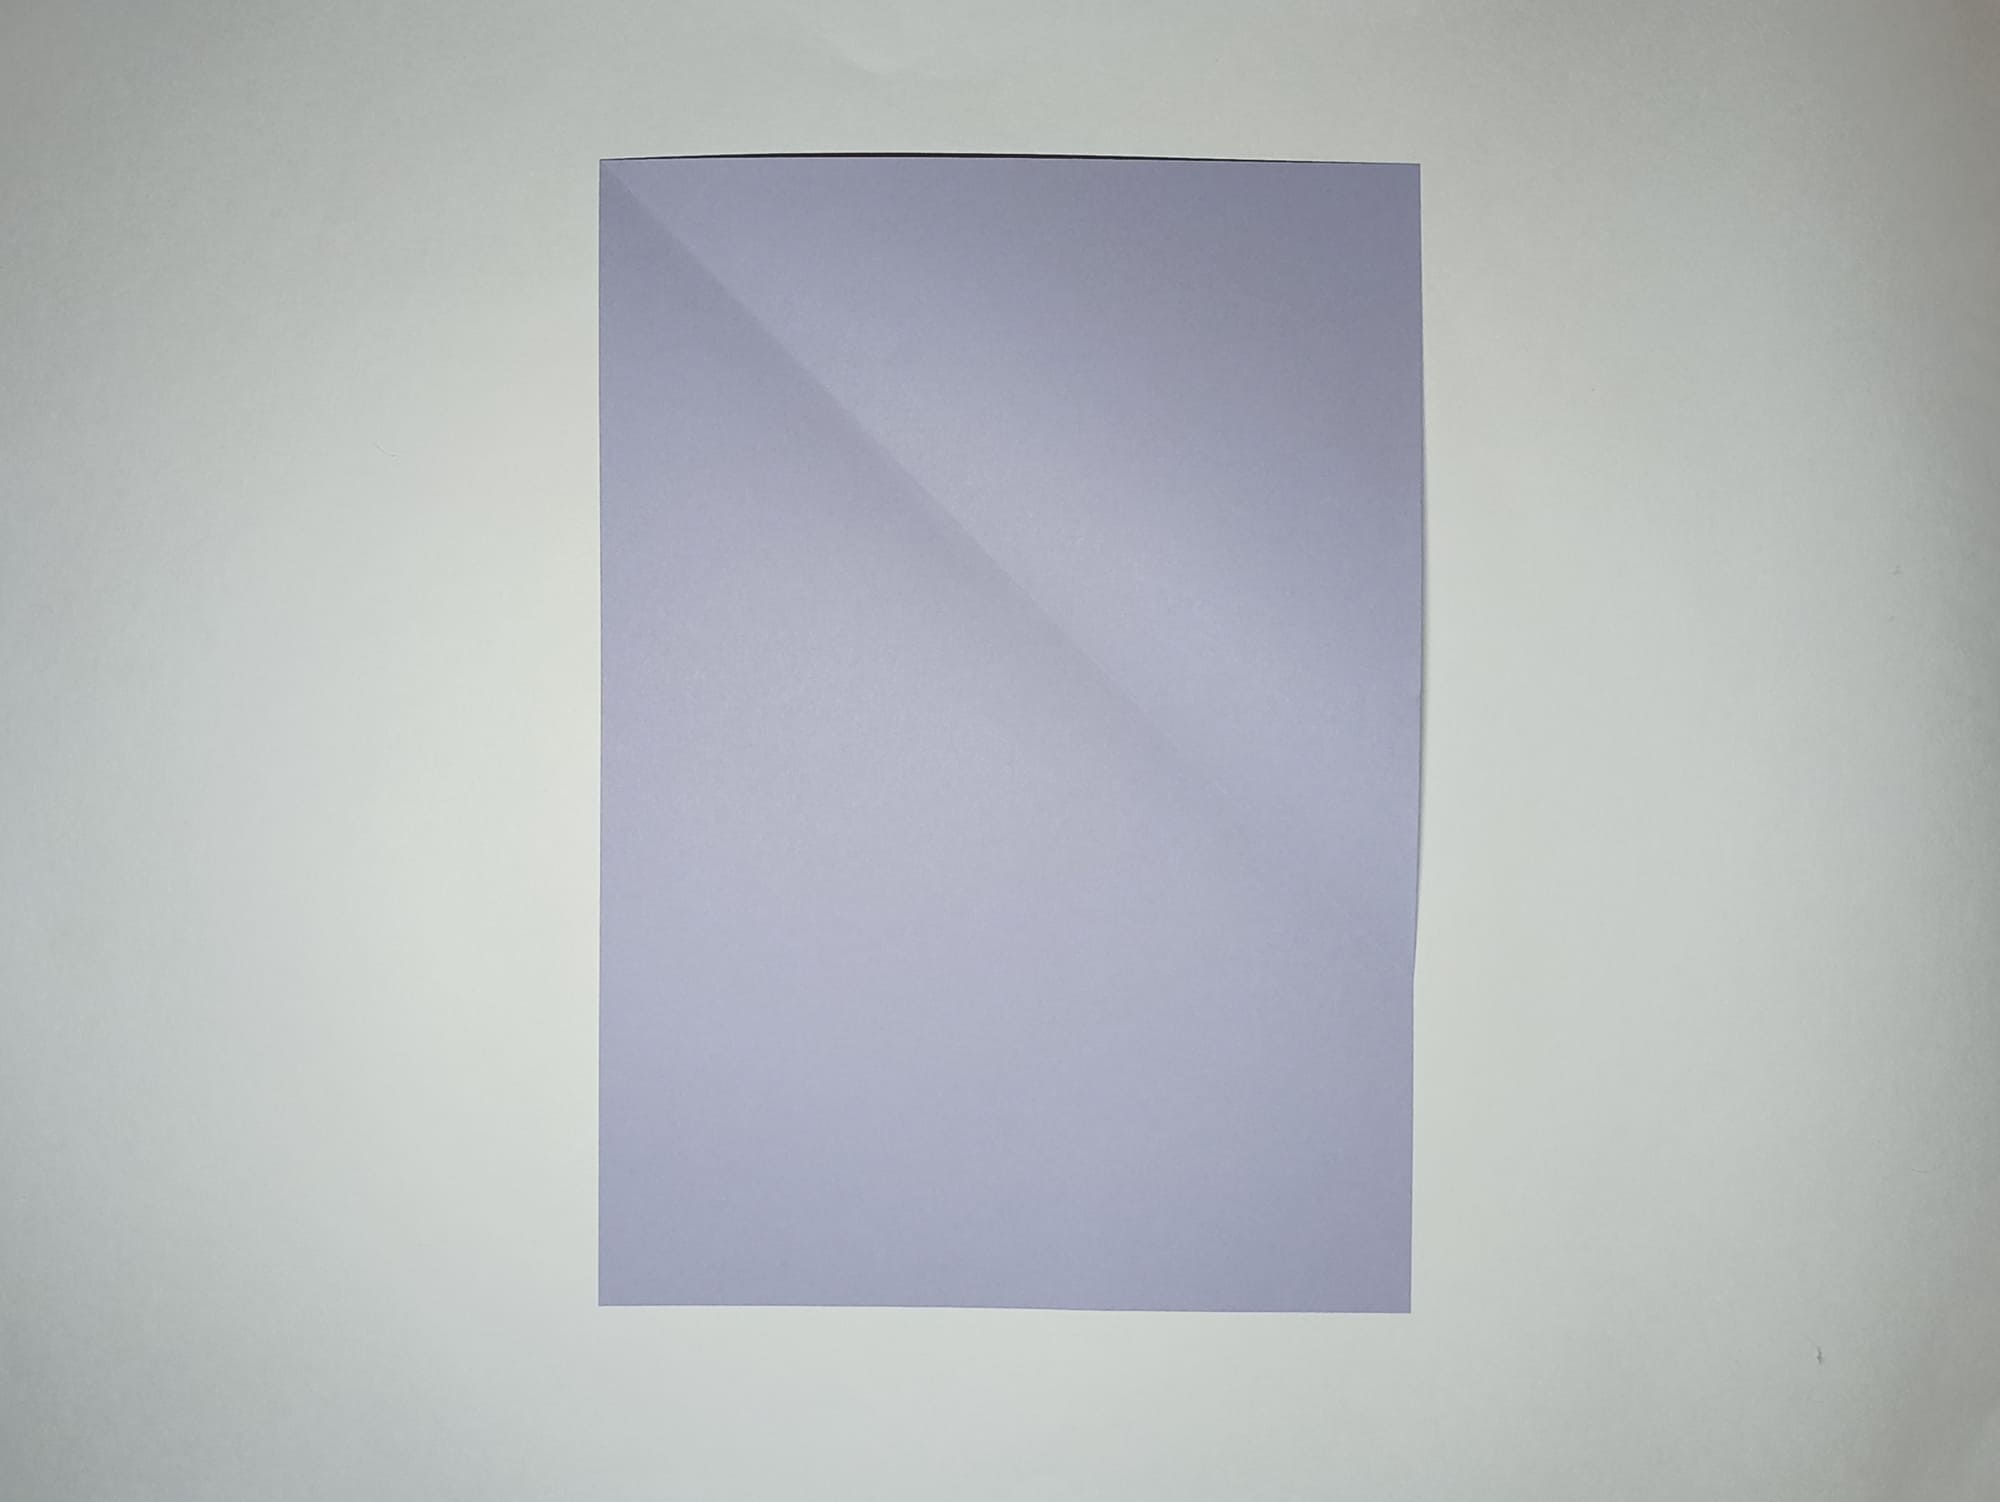
Mark the point of the horizontal fold, aligning the top side of the sheet of paper alternately with the right and left sides, and open the figure.
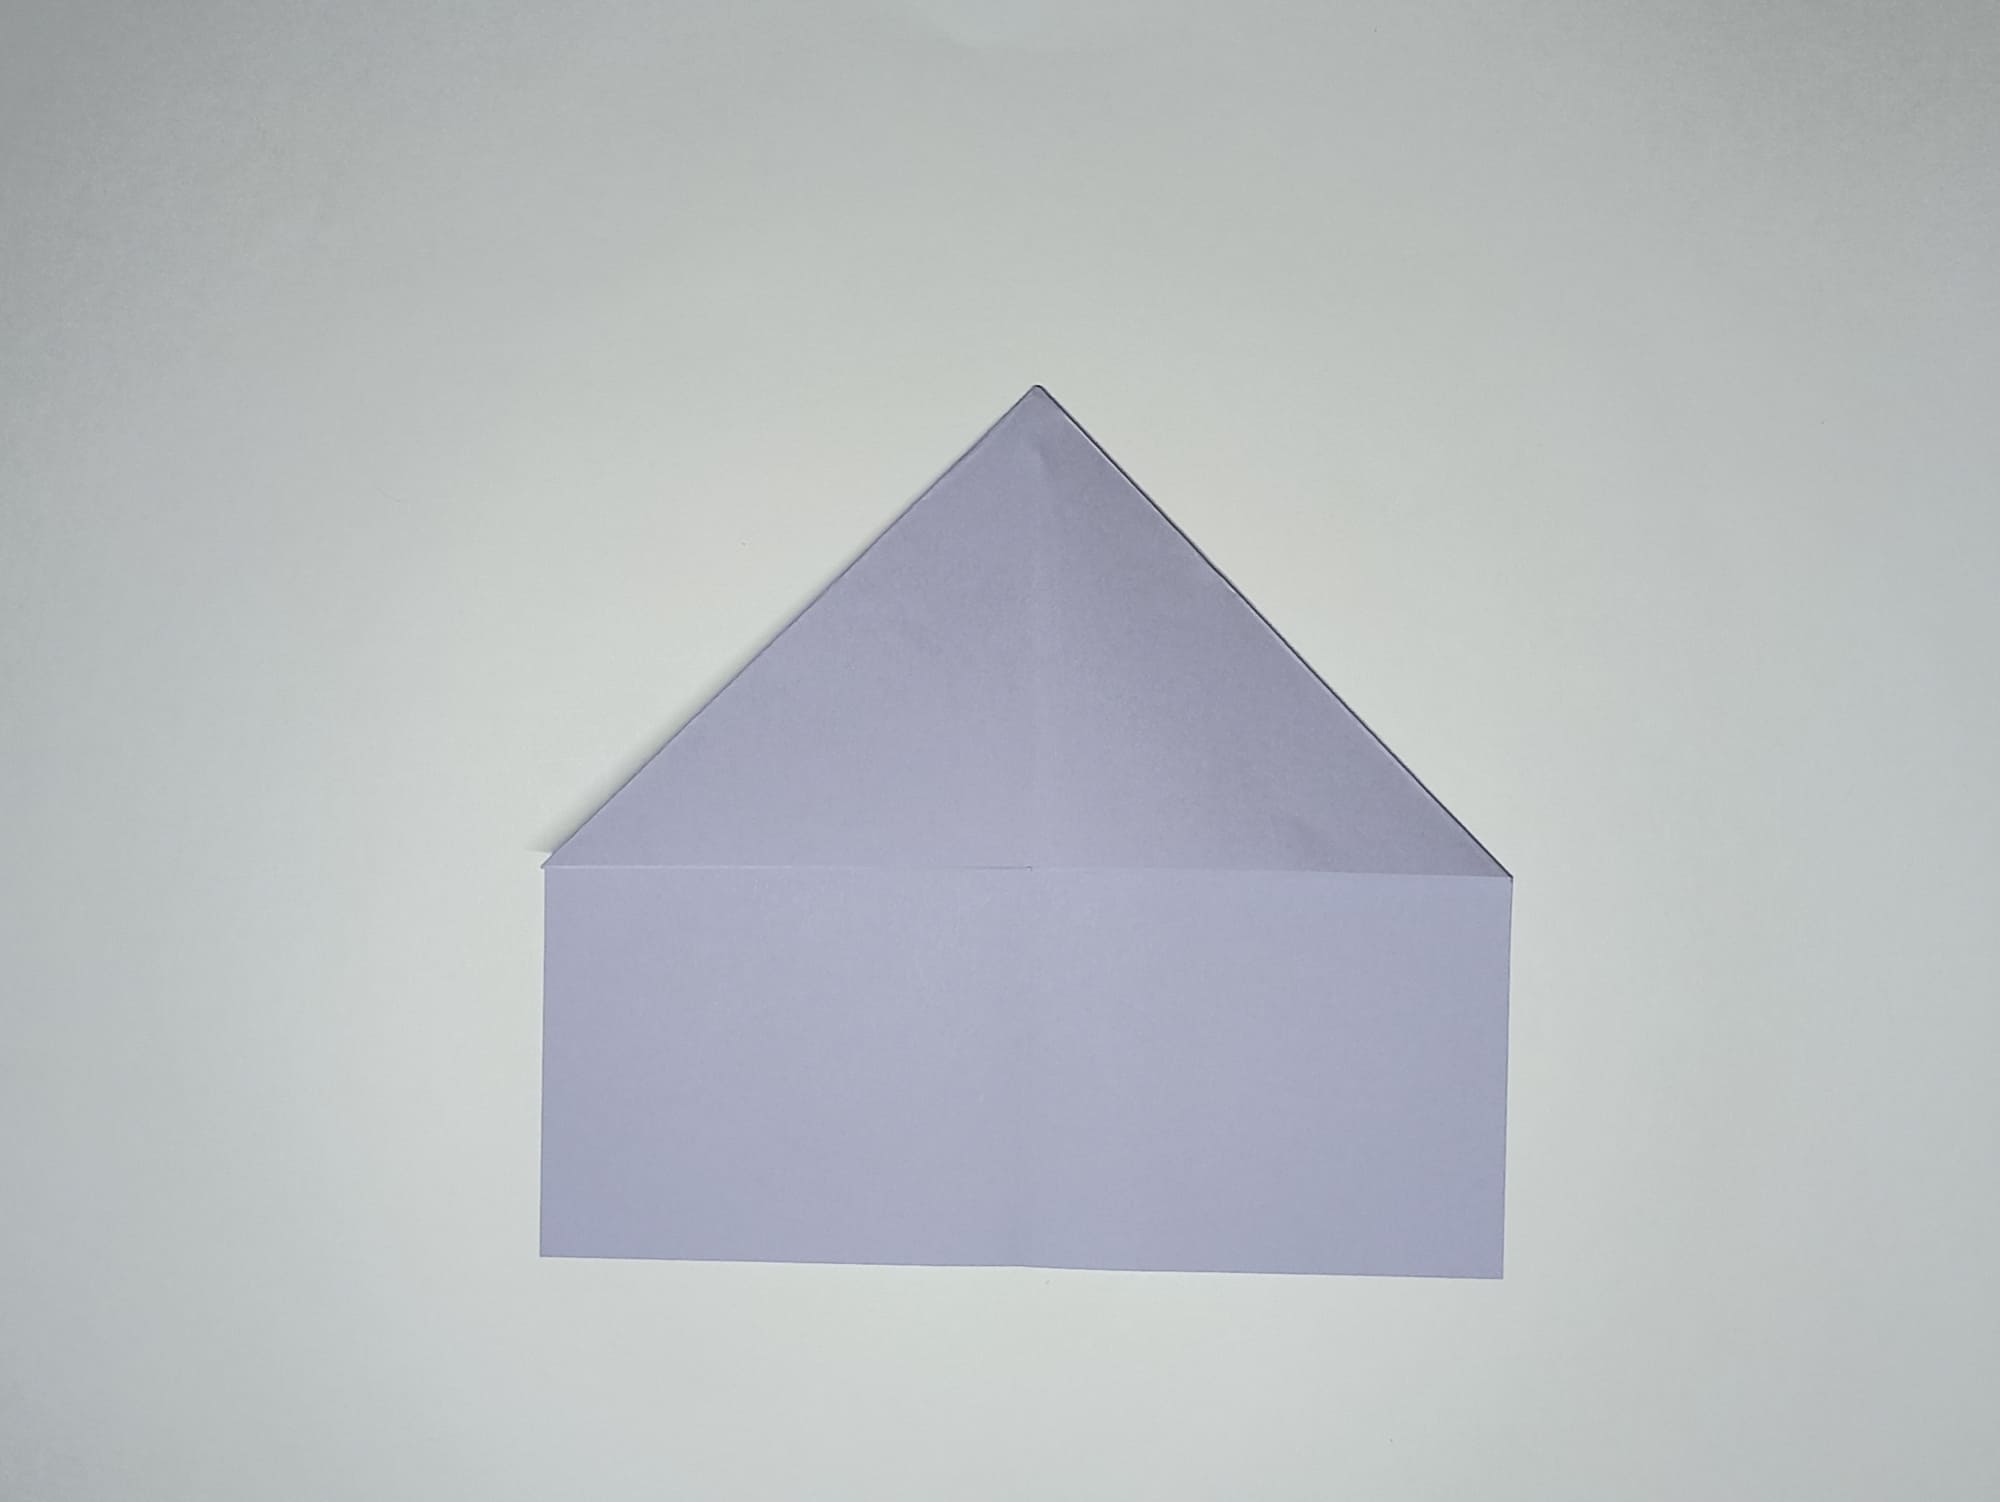
The new fold line will be at the level of the intersection point of the diagonals. Bend the sheet of paper towards itself.
Mark the center line, connecting opposite sides, and open your figure.
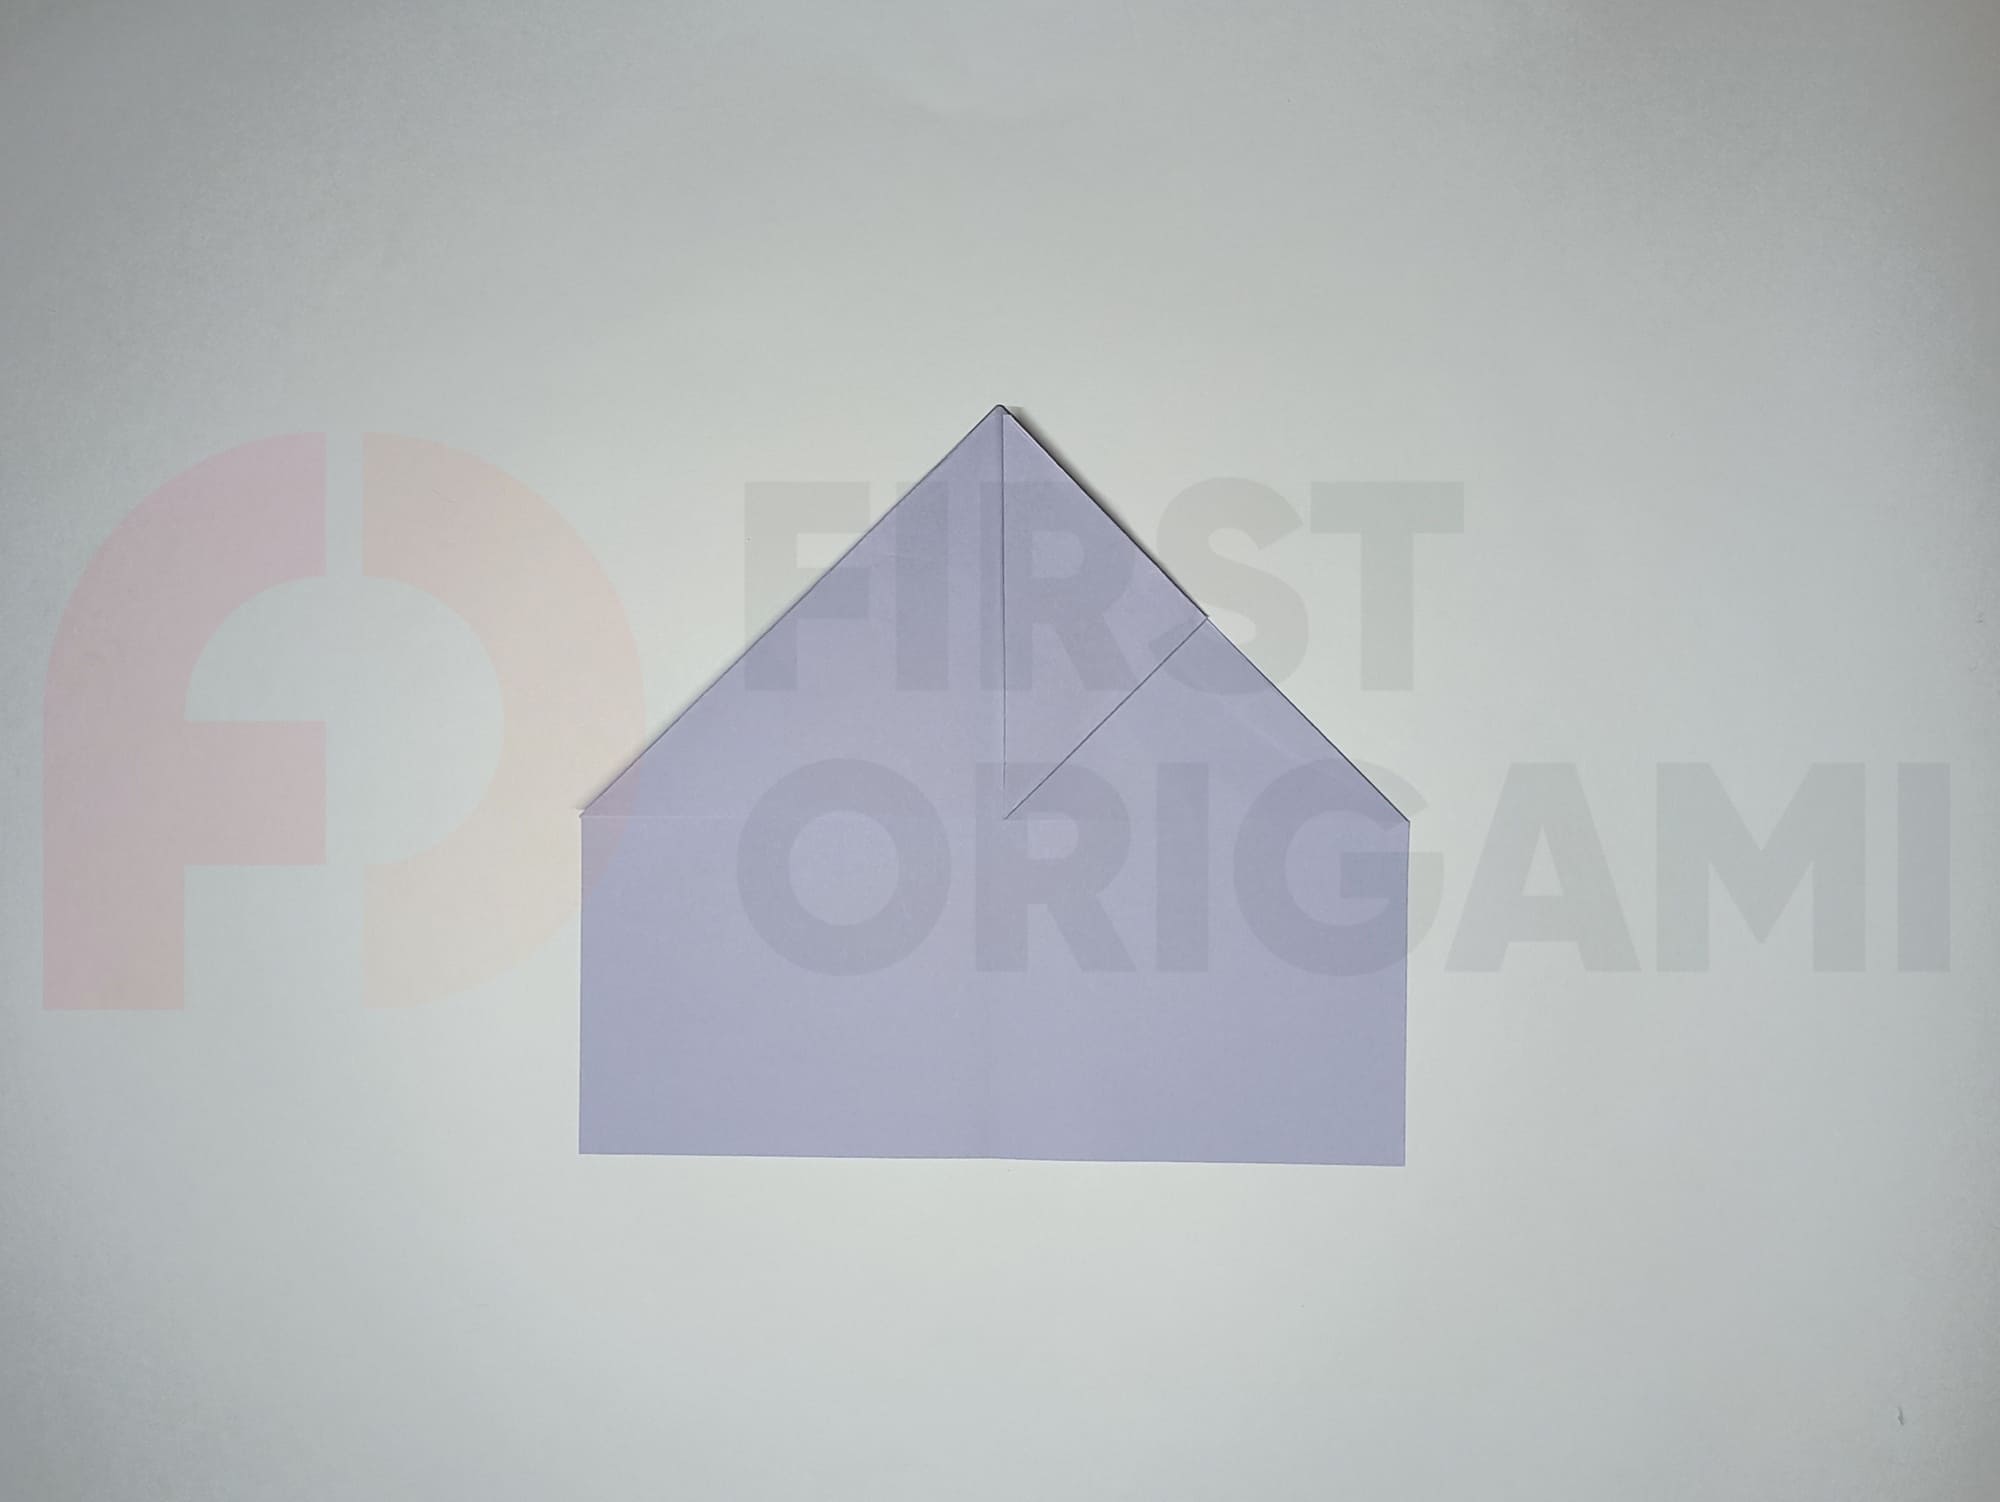
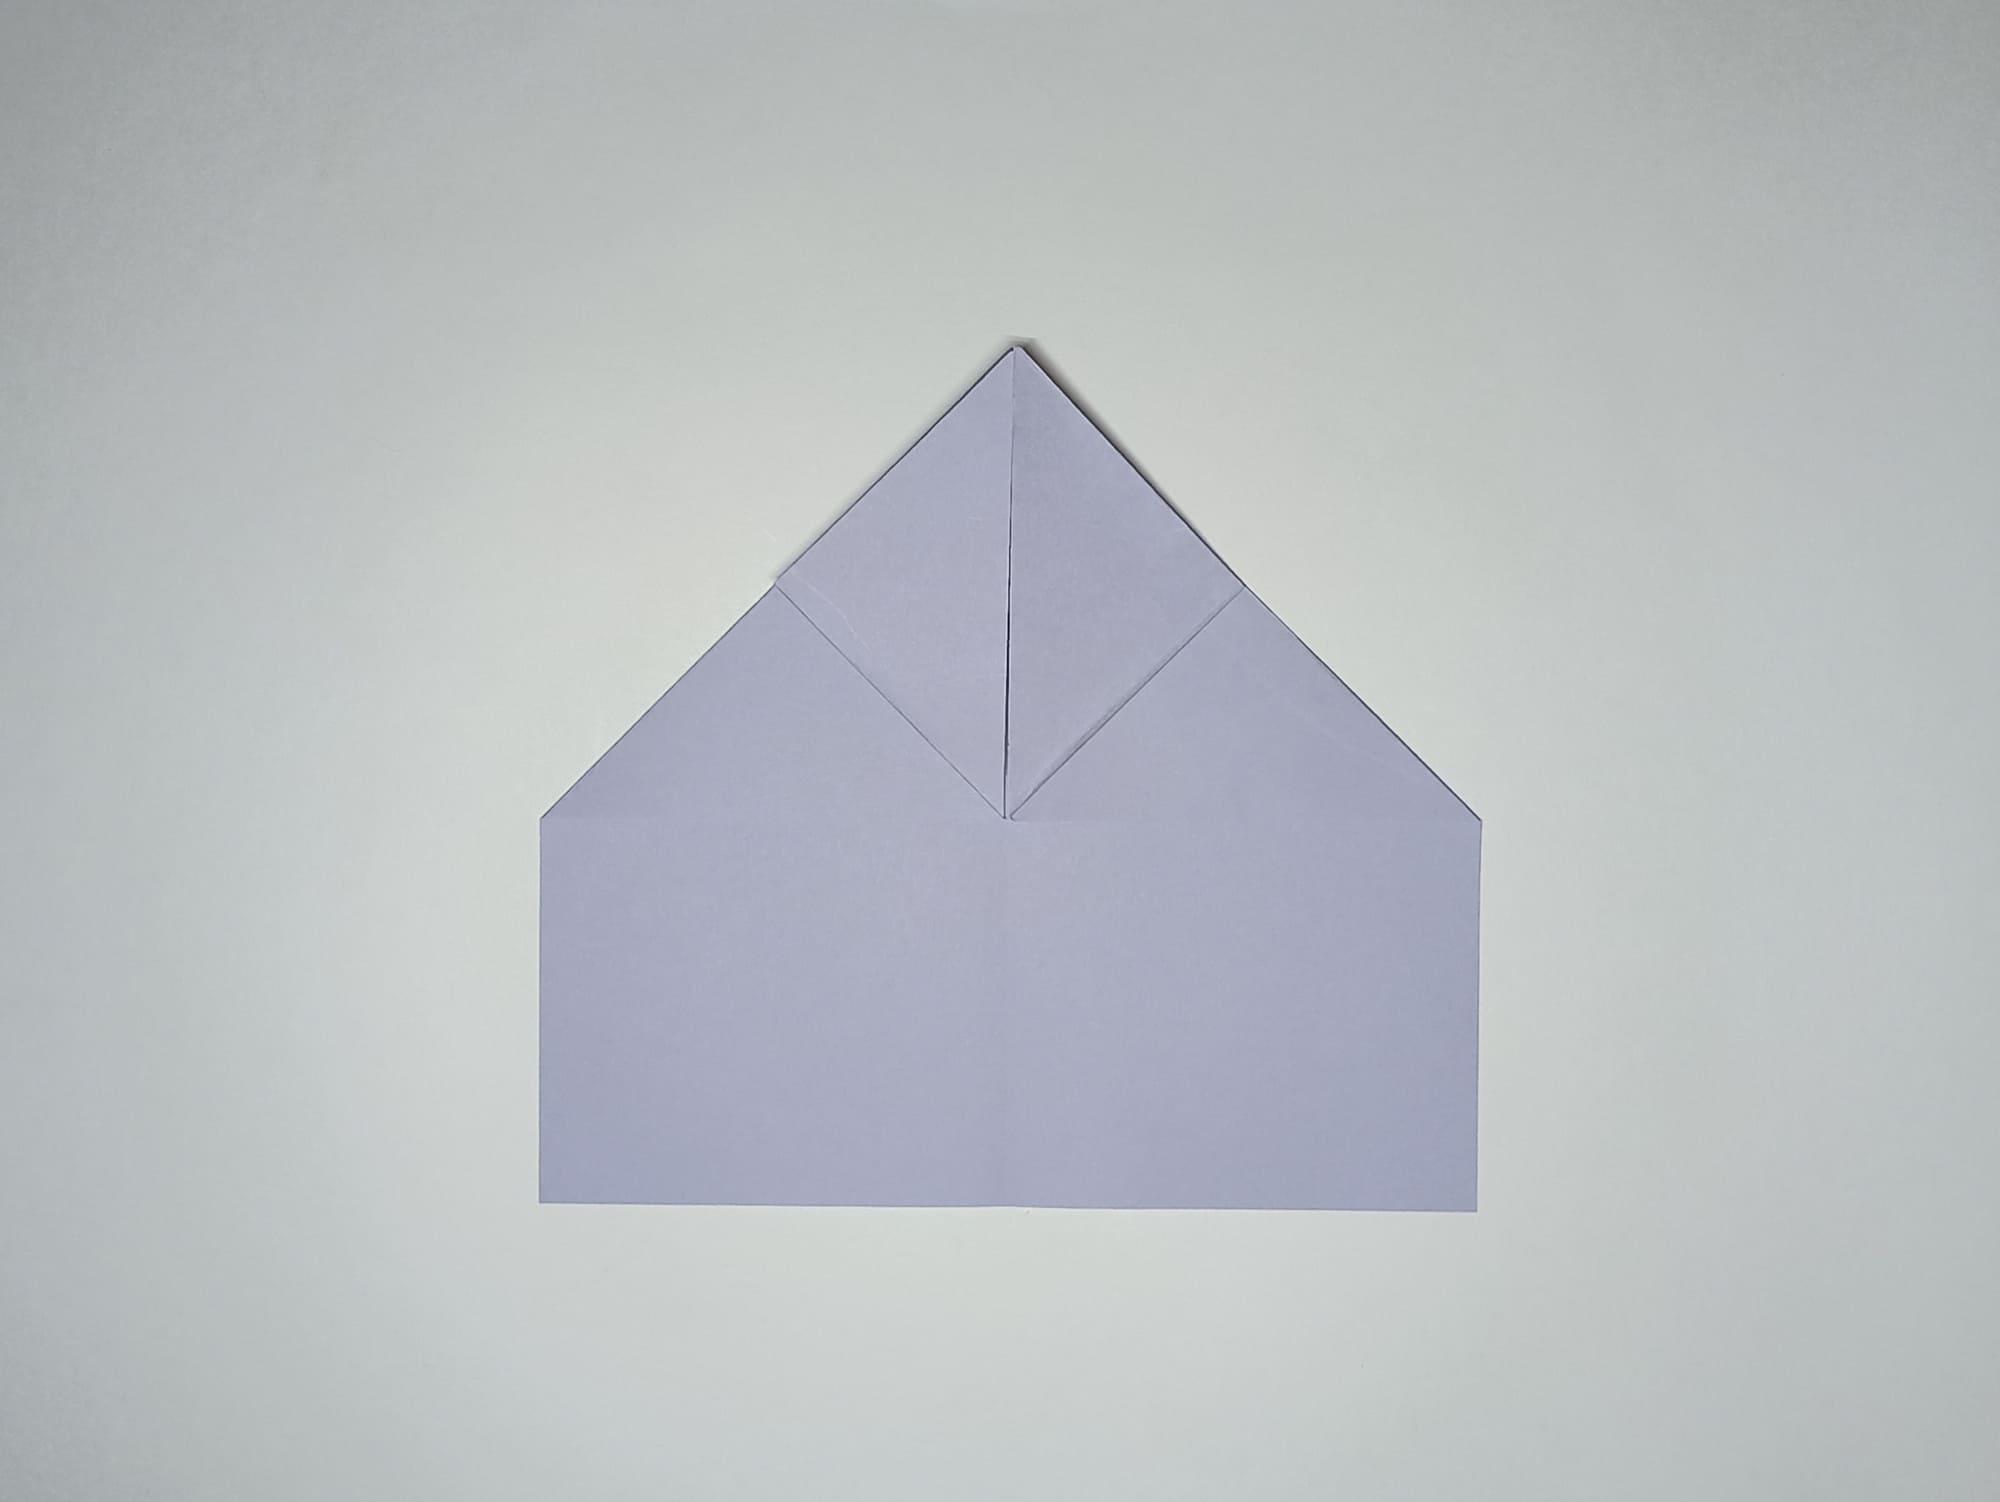
Fold the top corners, aligning them in the center. The accuracy of the folds affects symmetry.
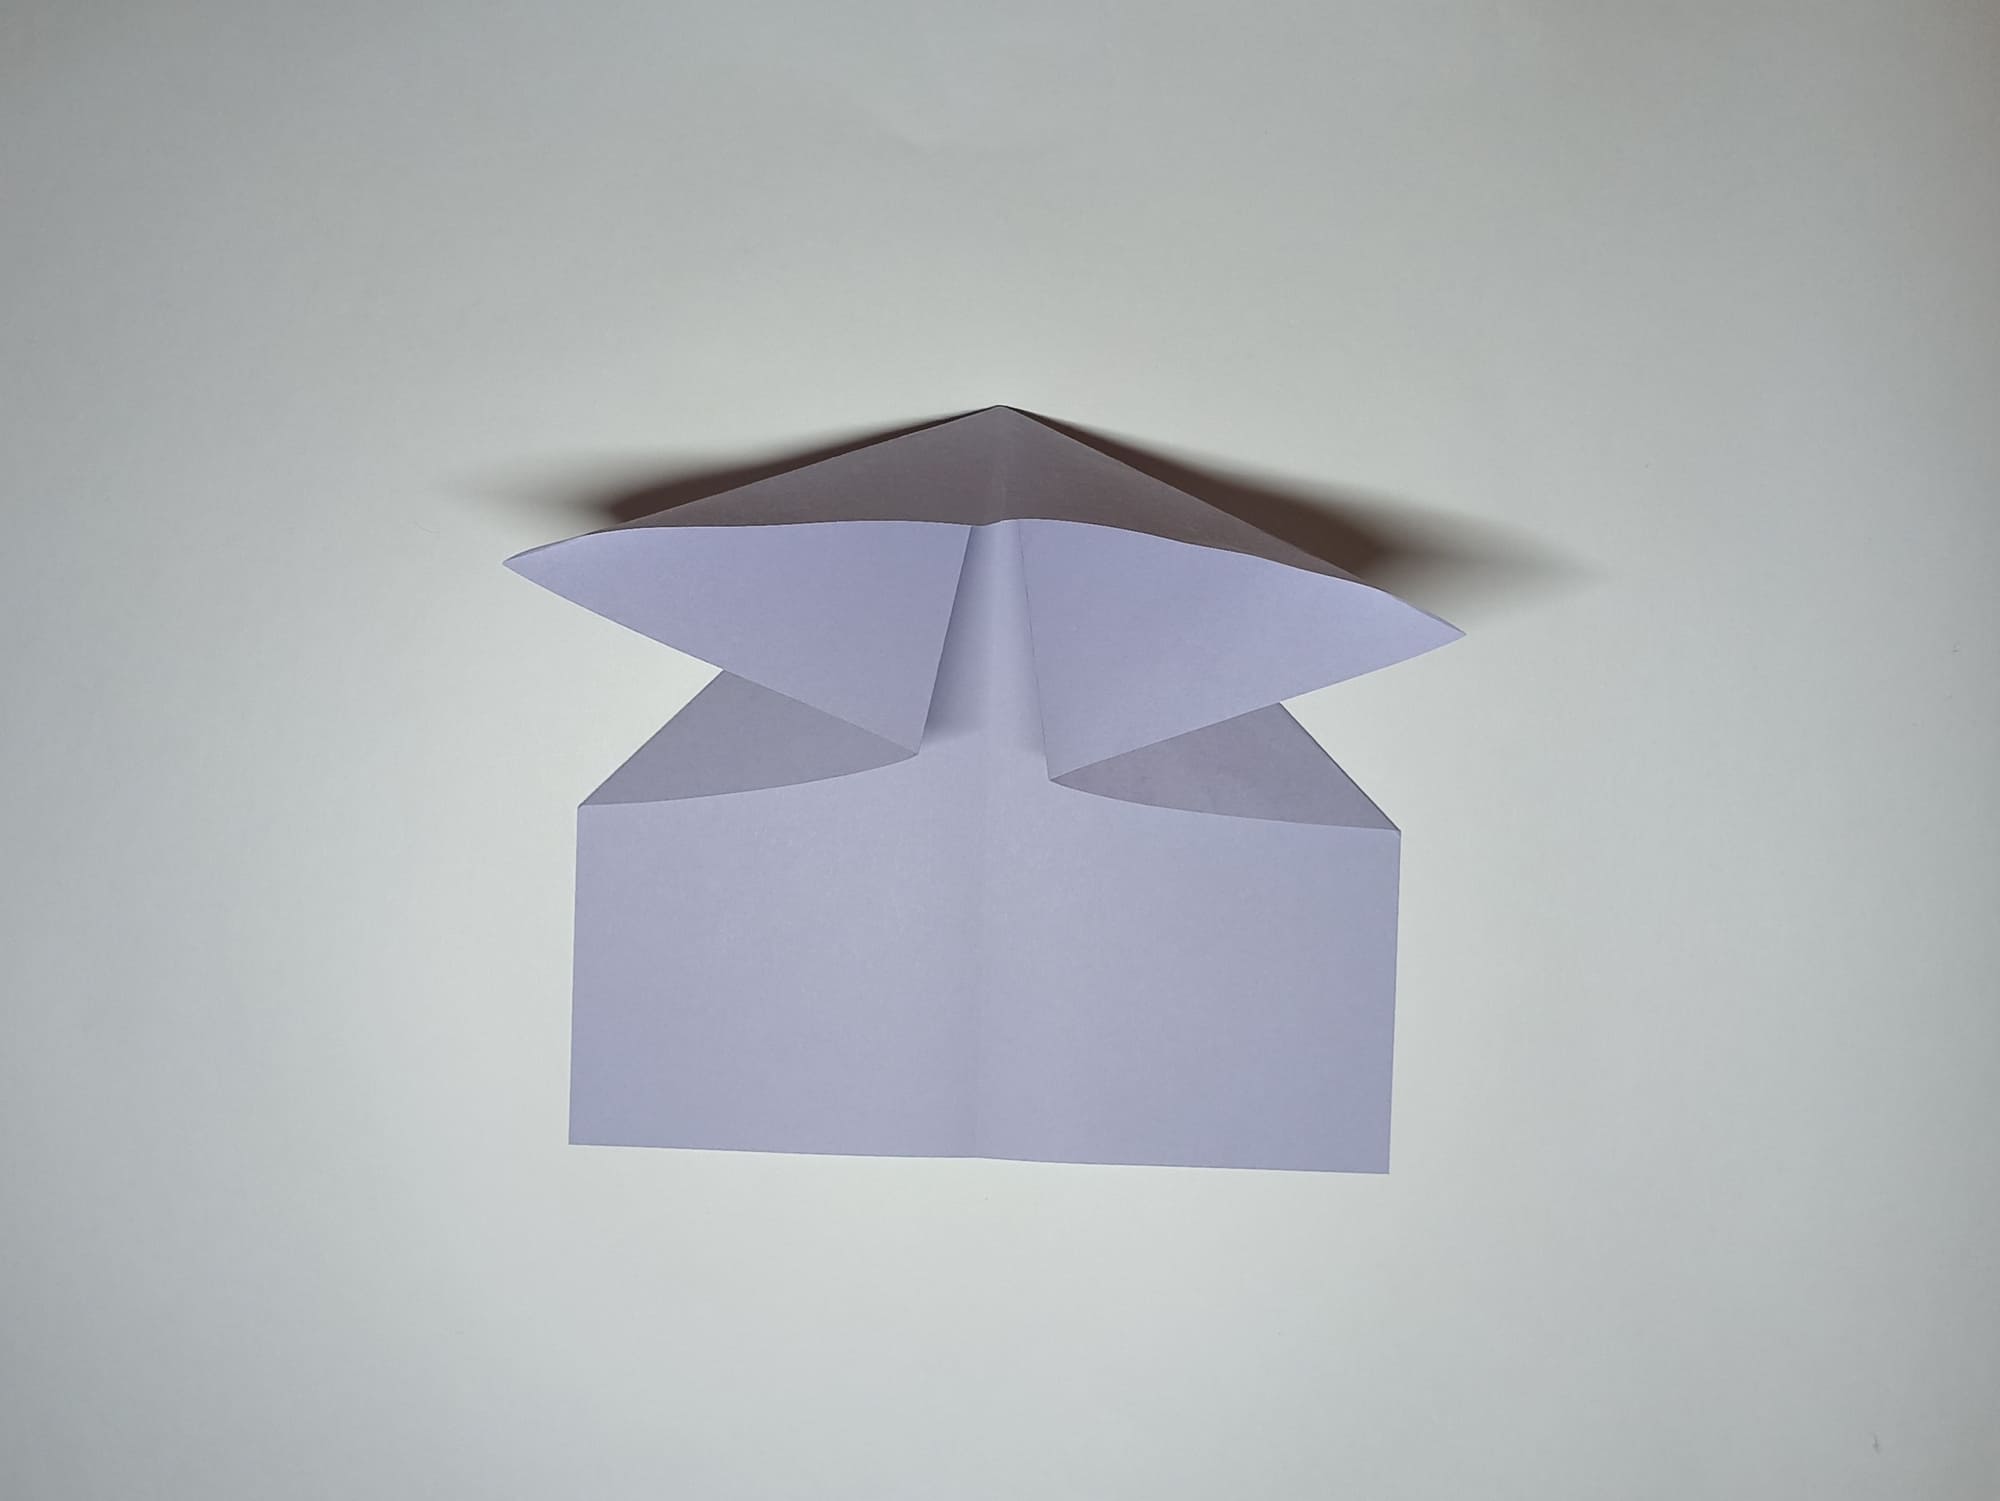
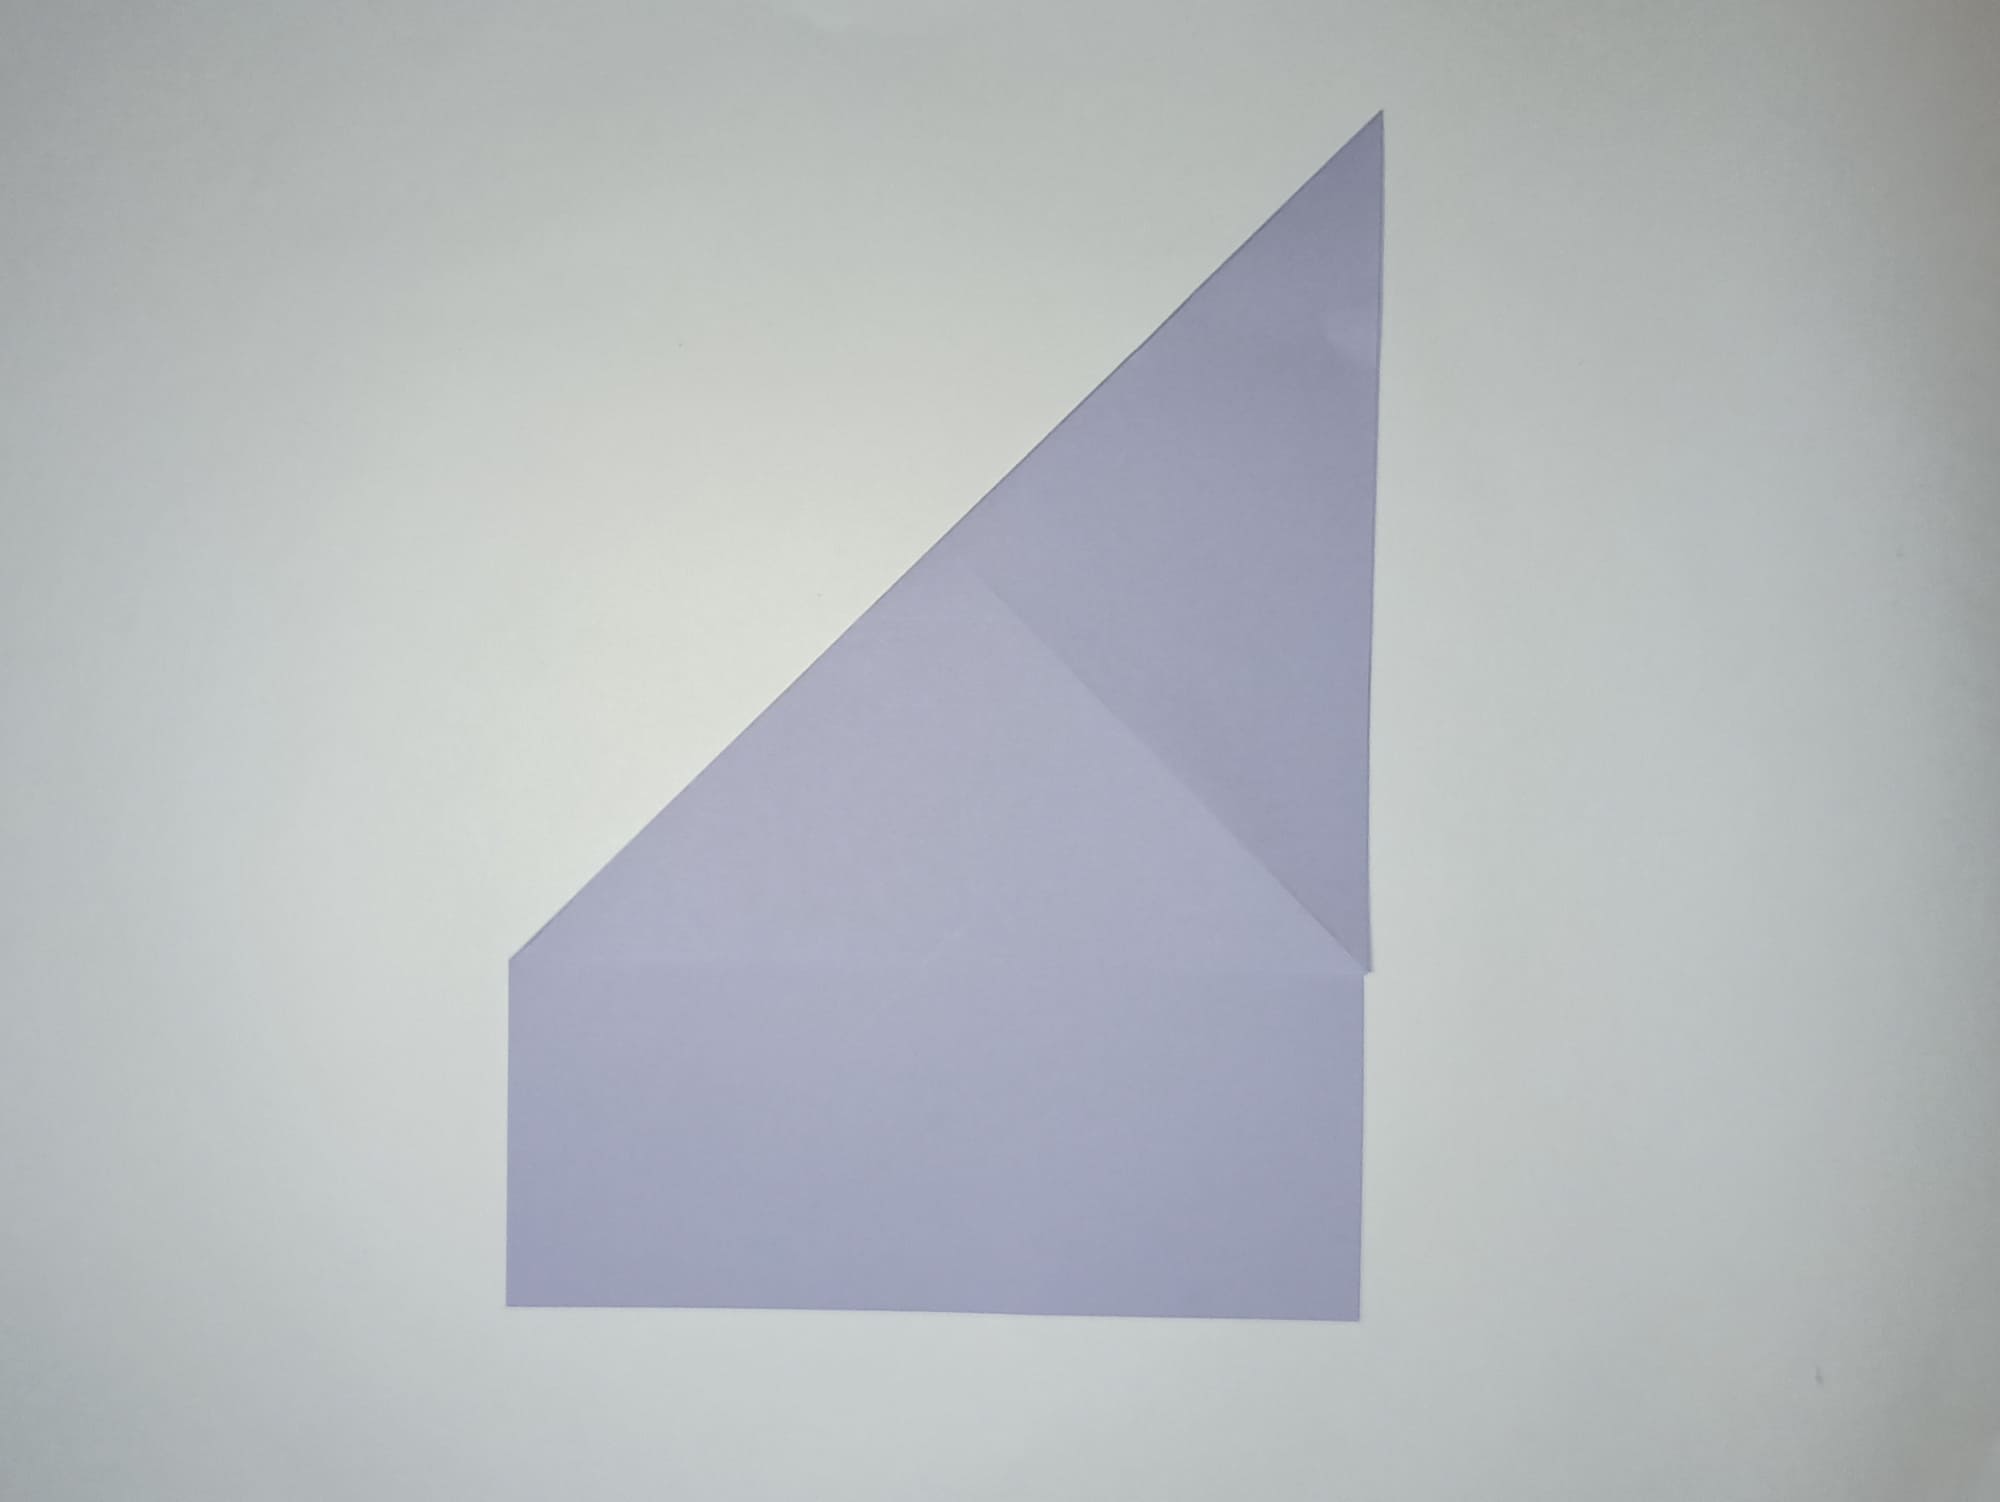
Expand the entire sheet of paper and align the lines: bring the horizontal middle line to the center on the right and left sides, forming two triangles, upper and lower, separated by a partition. Crease the folds.
Fold the bottom corners of the triangle towards the top to form a rhombus.
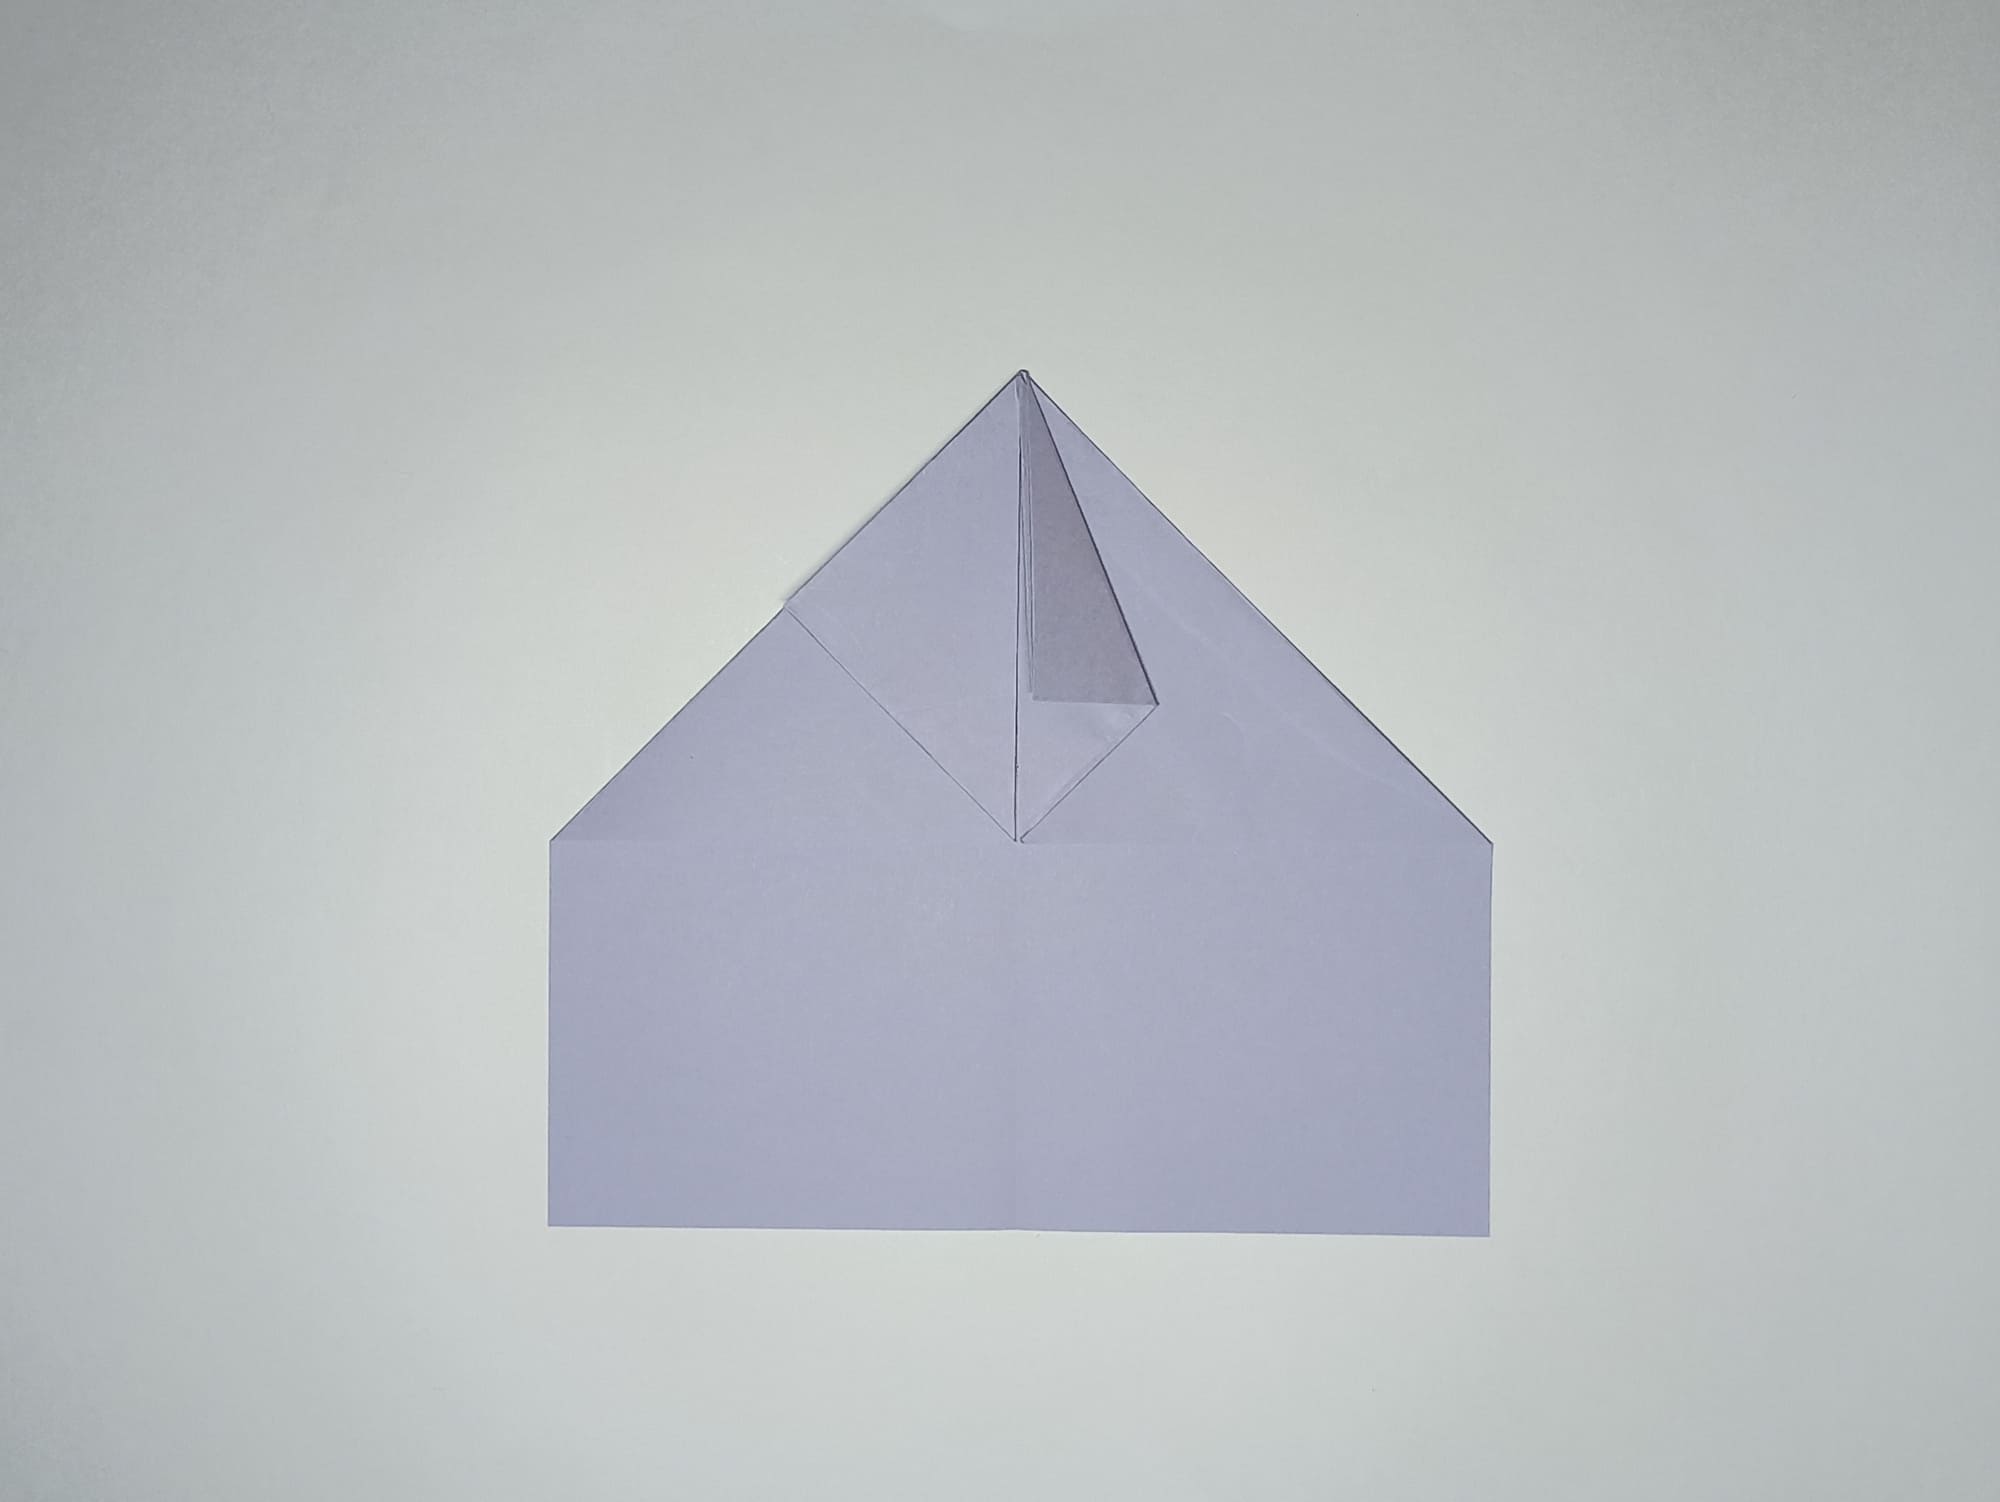
Fold the top sides of the rhombus towards the center, opening all the folds of the upper triangle.
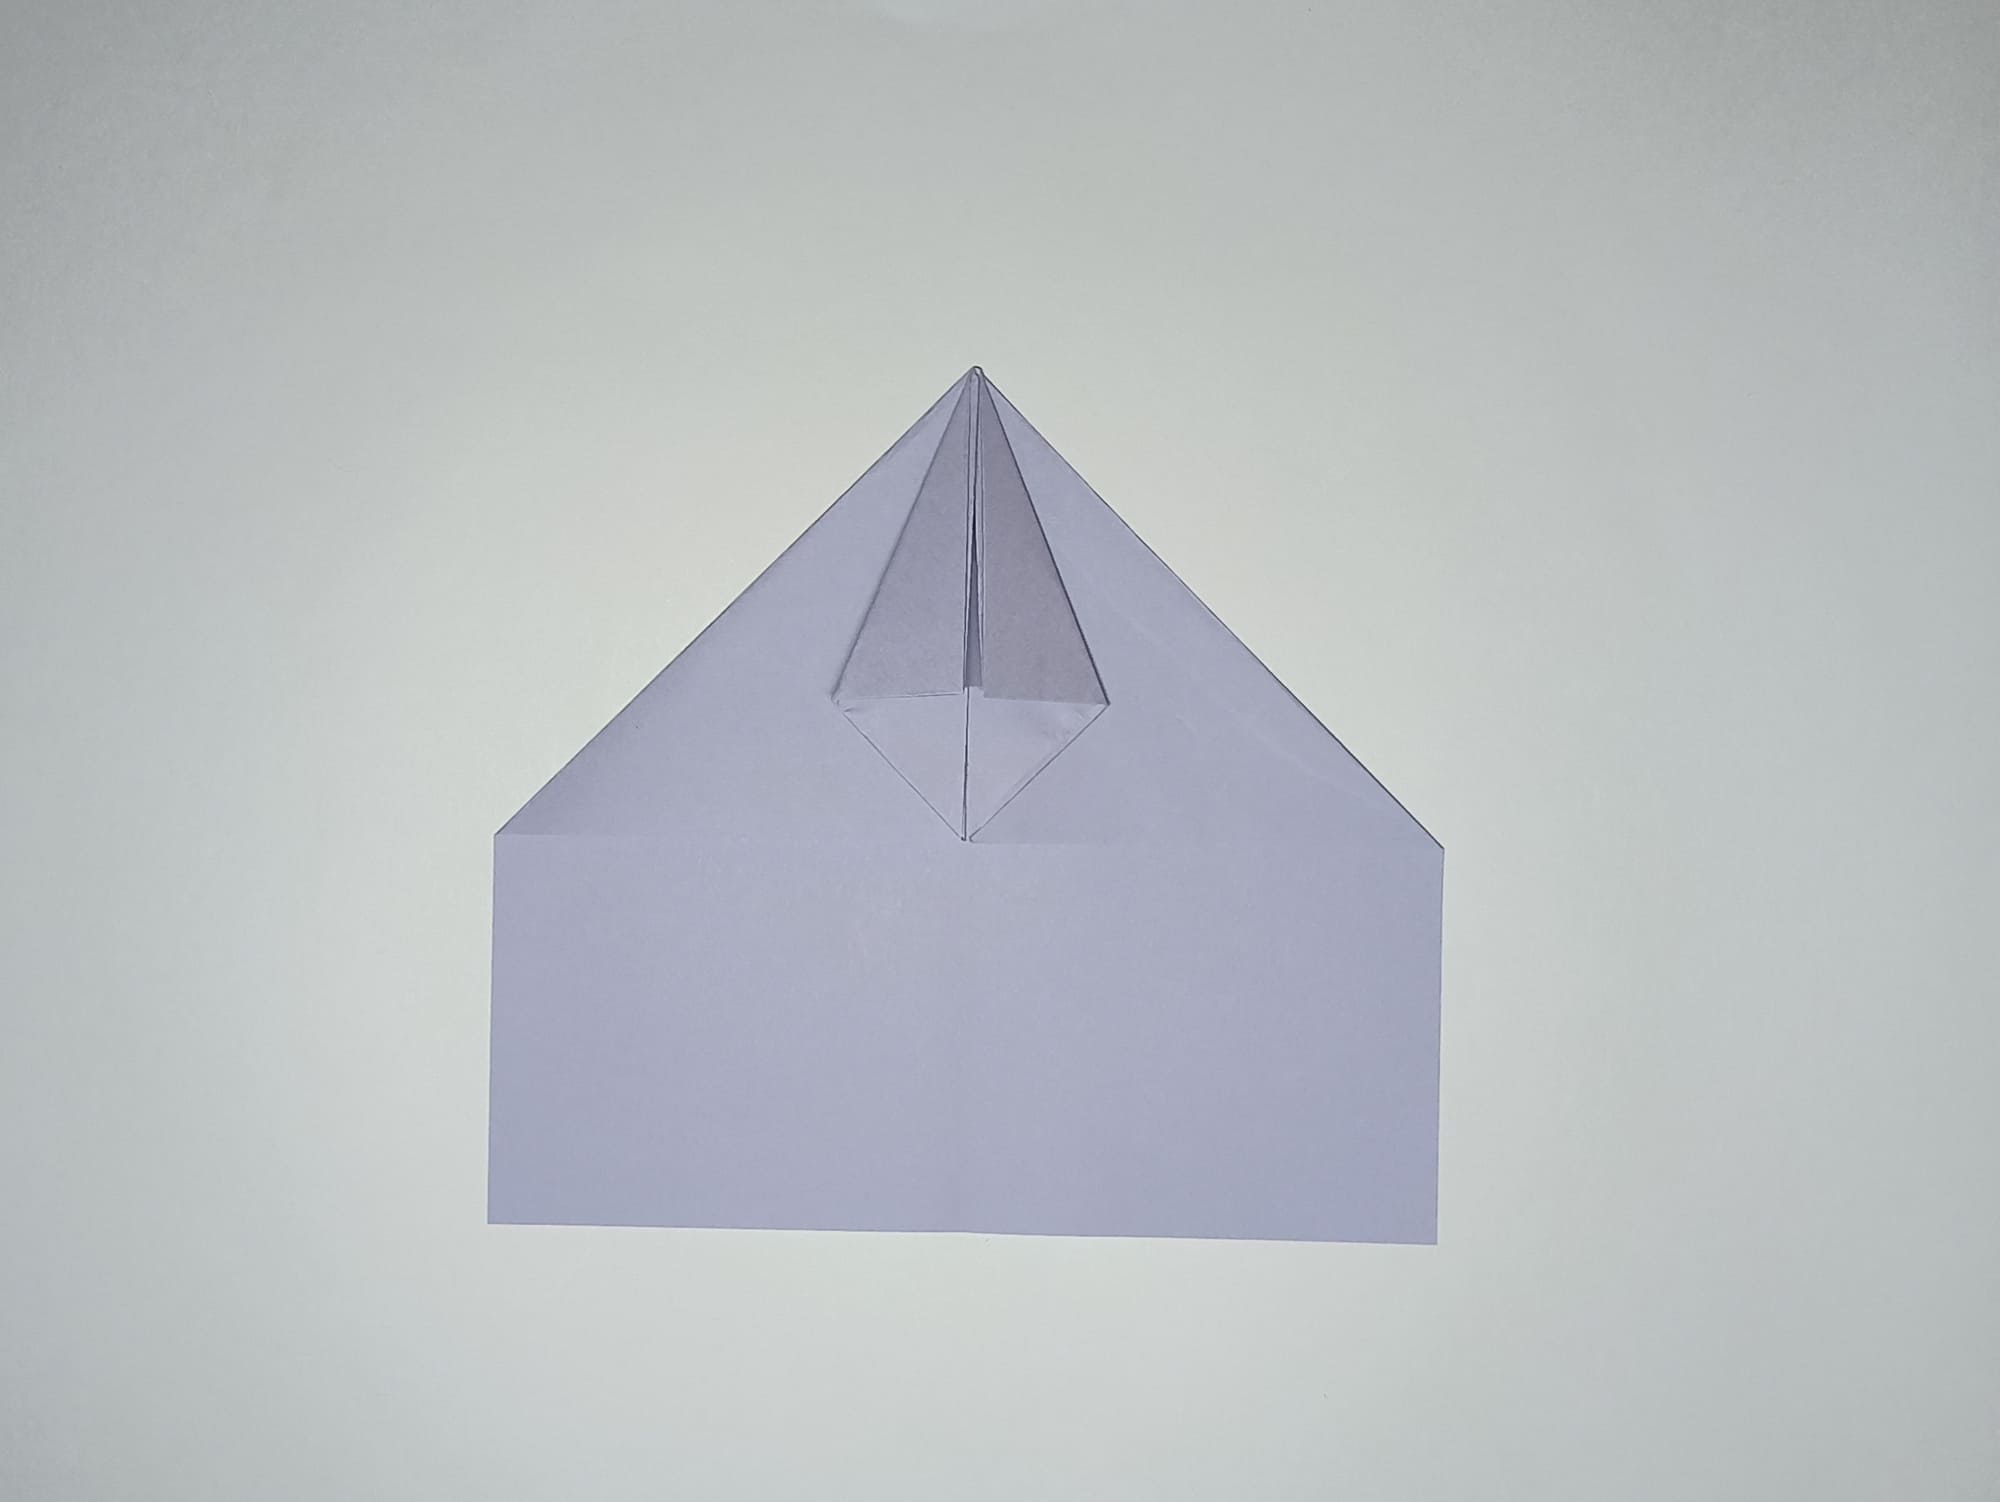
Fold the top side of the large triangle towards the middle, align the bottom corner with the top, straighten the fold, and do the same on the other side.
This is the most difficult step in the process of the airplane creation.
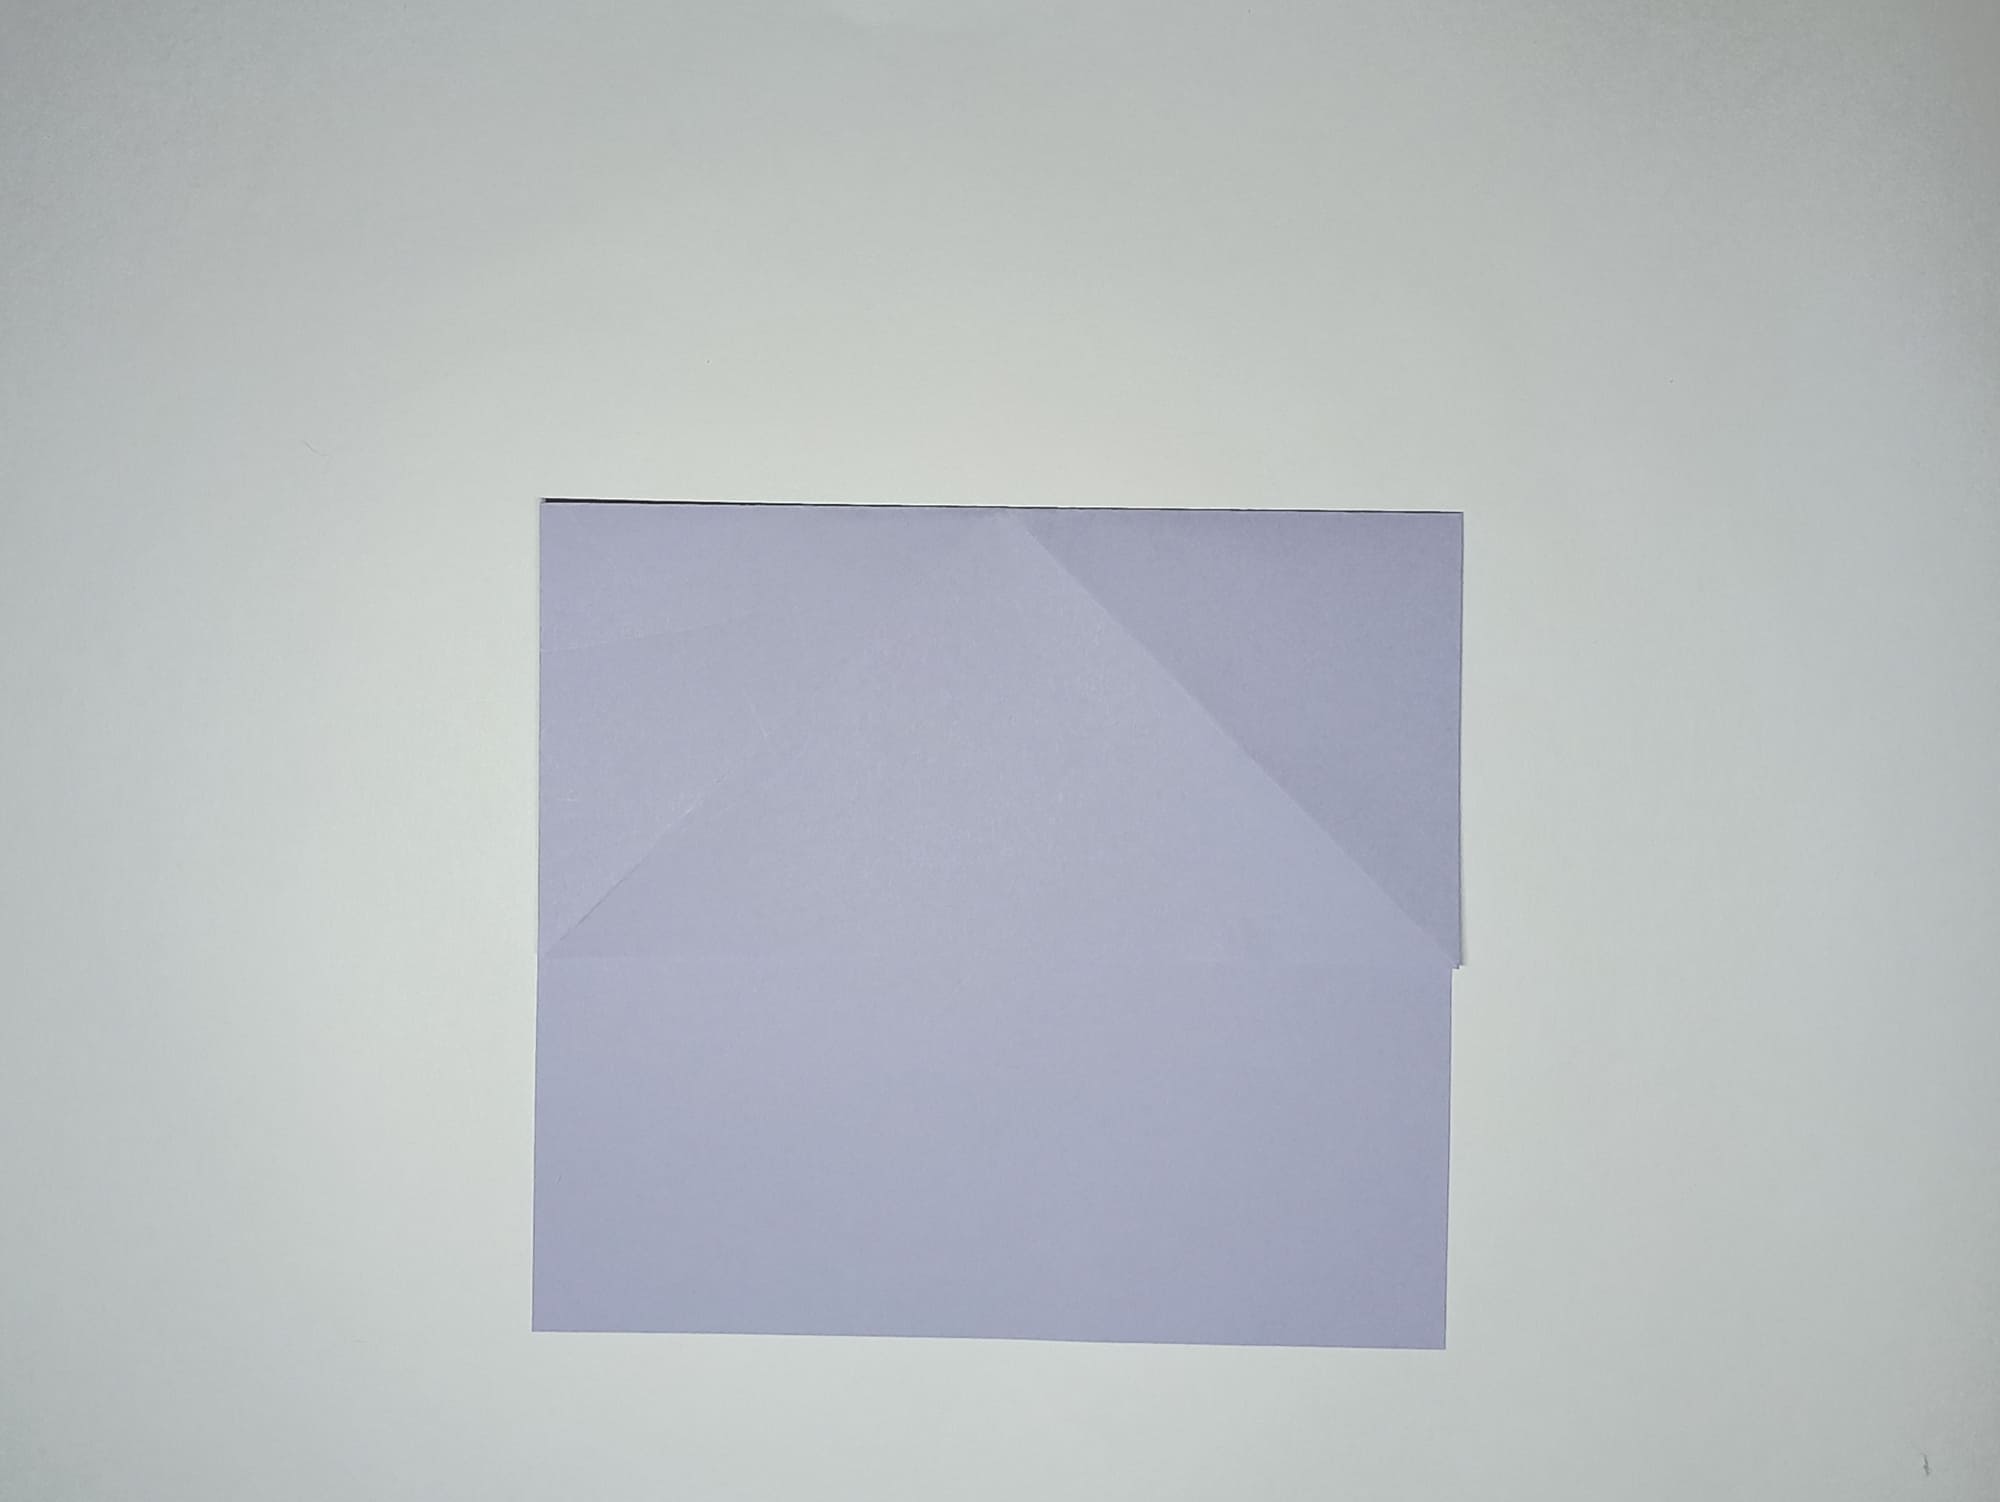
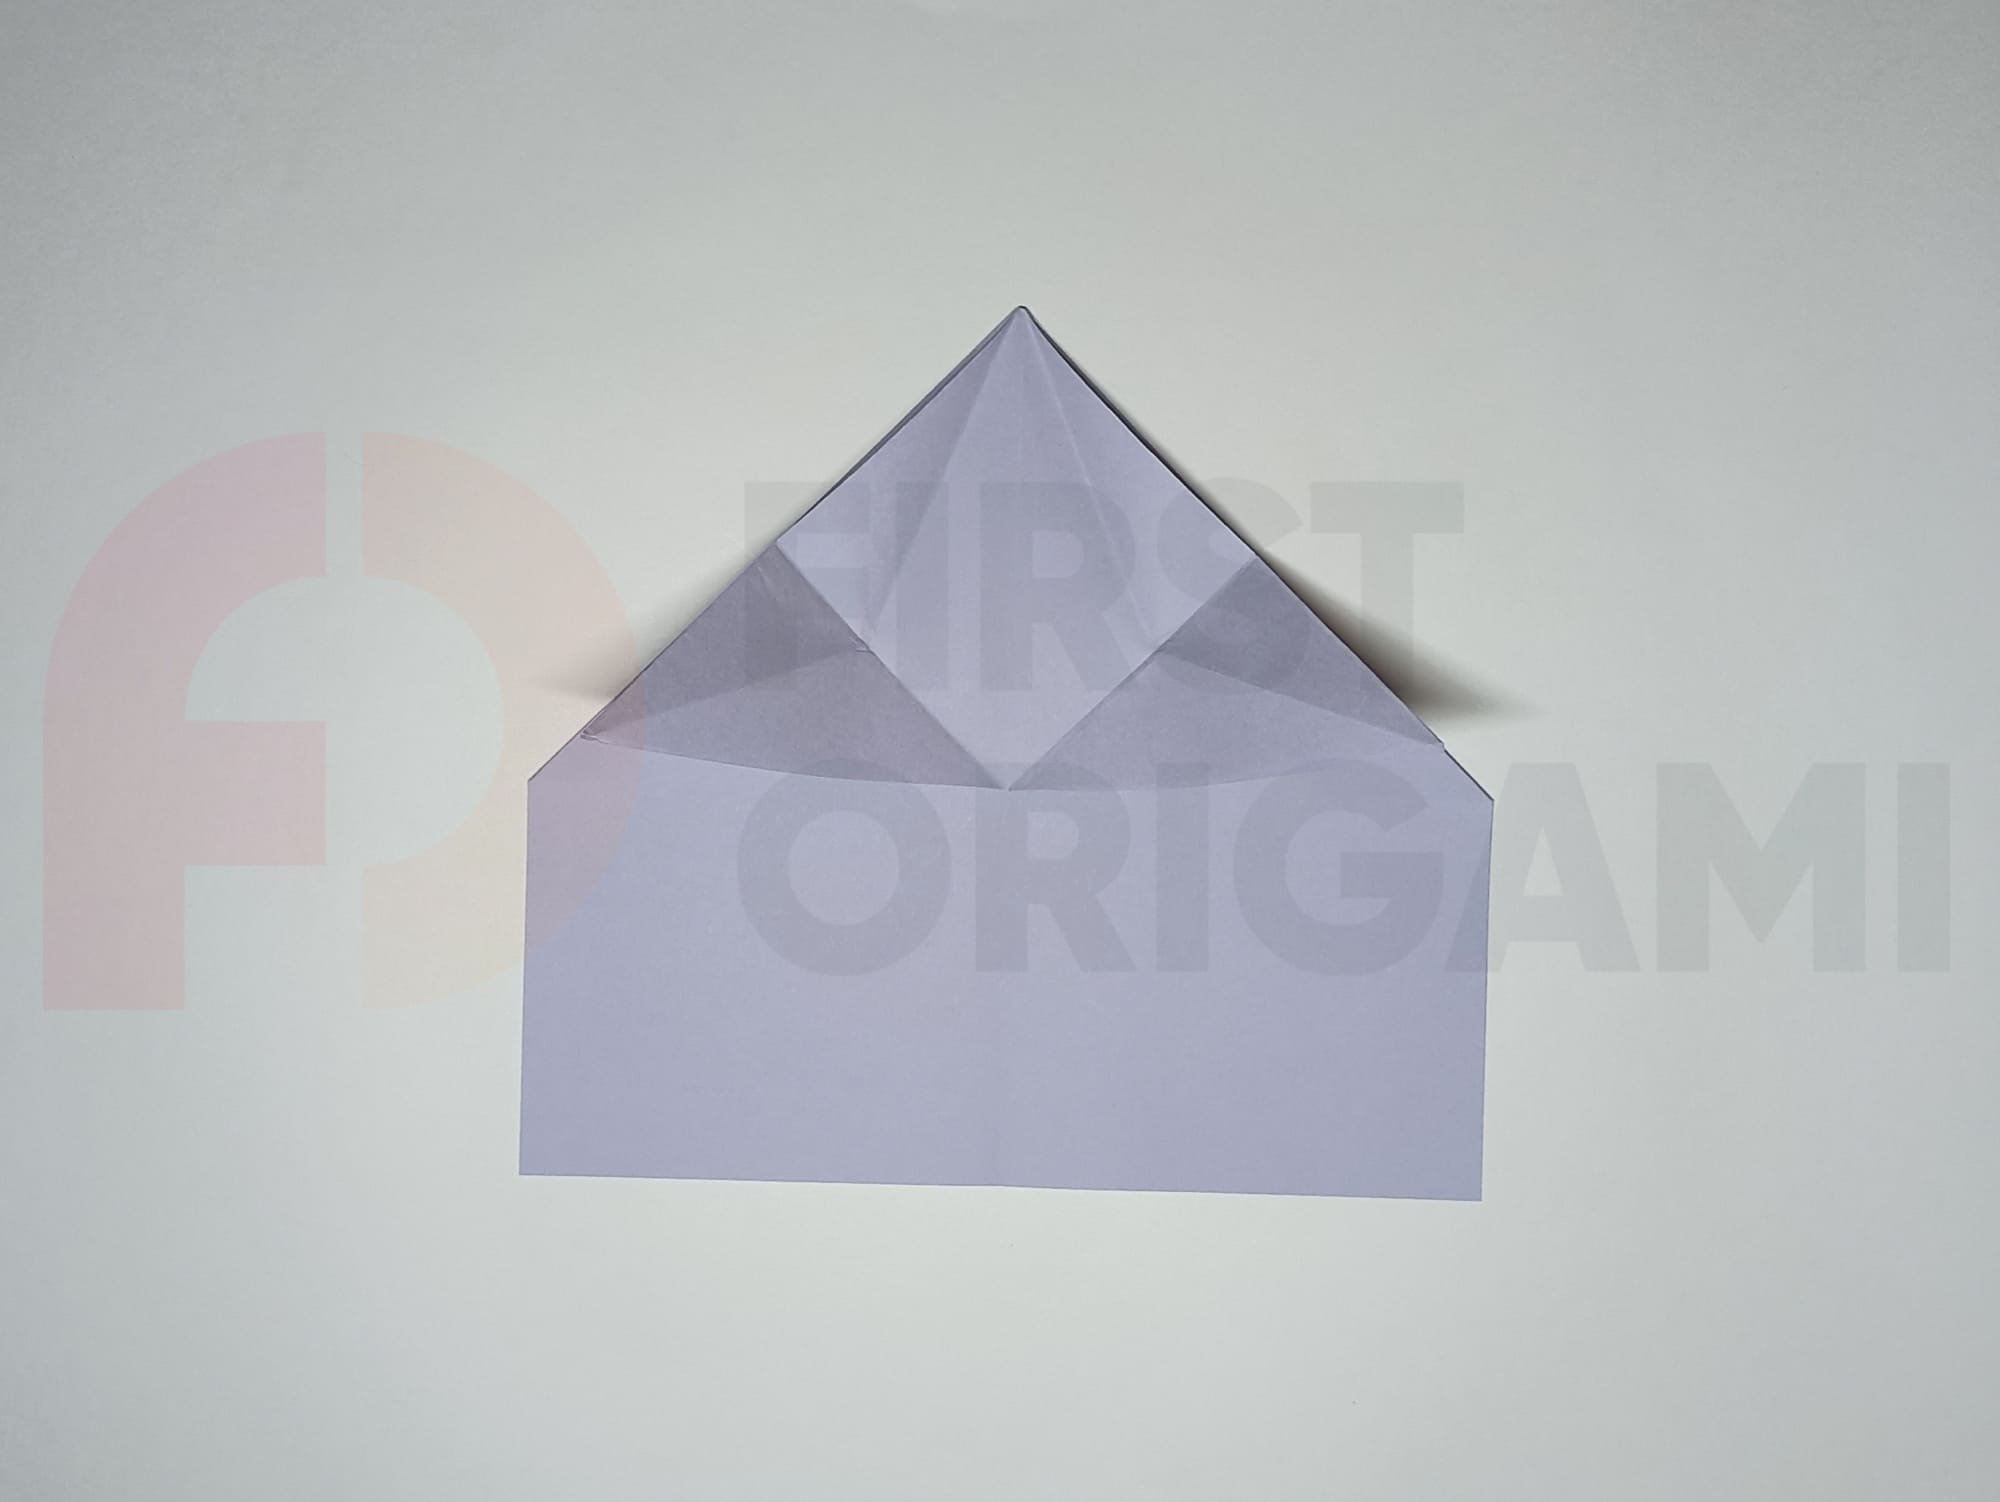
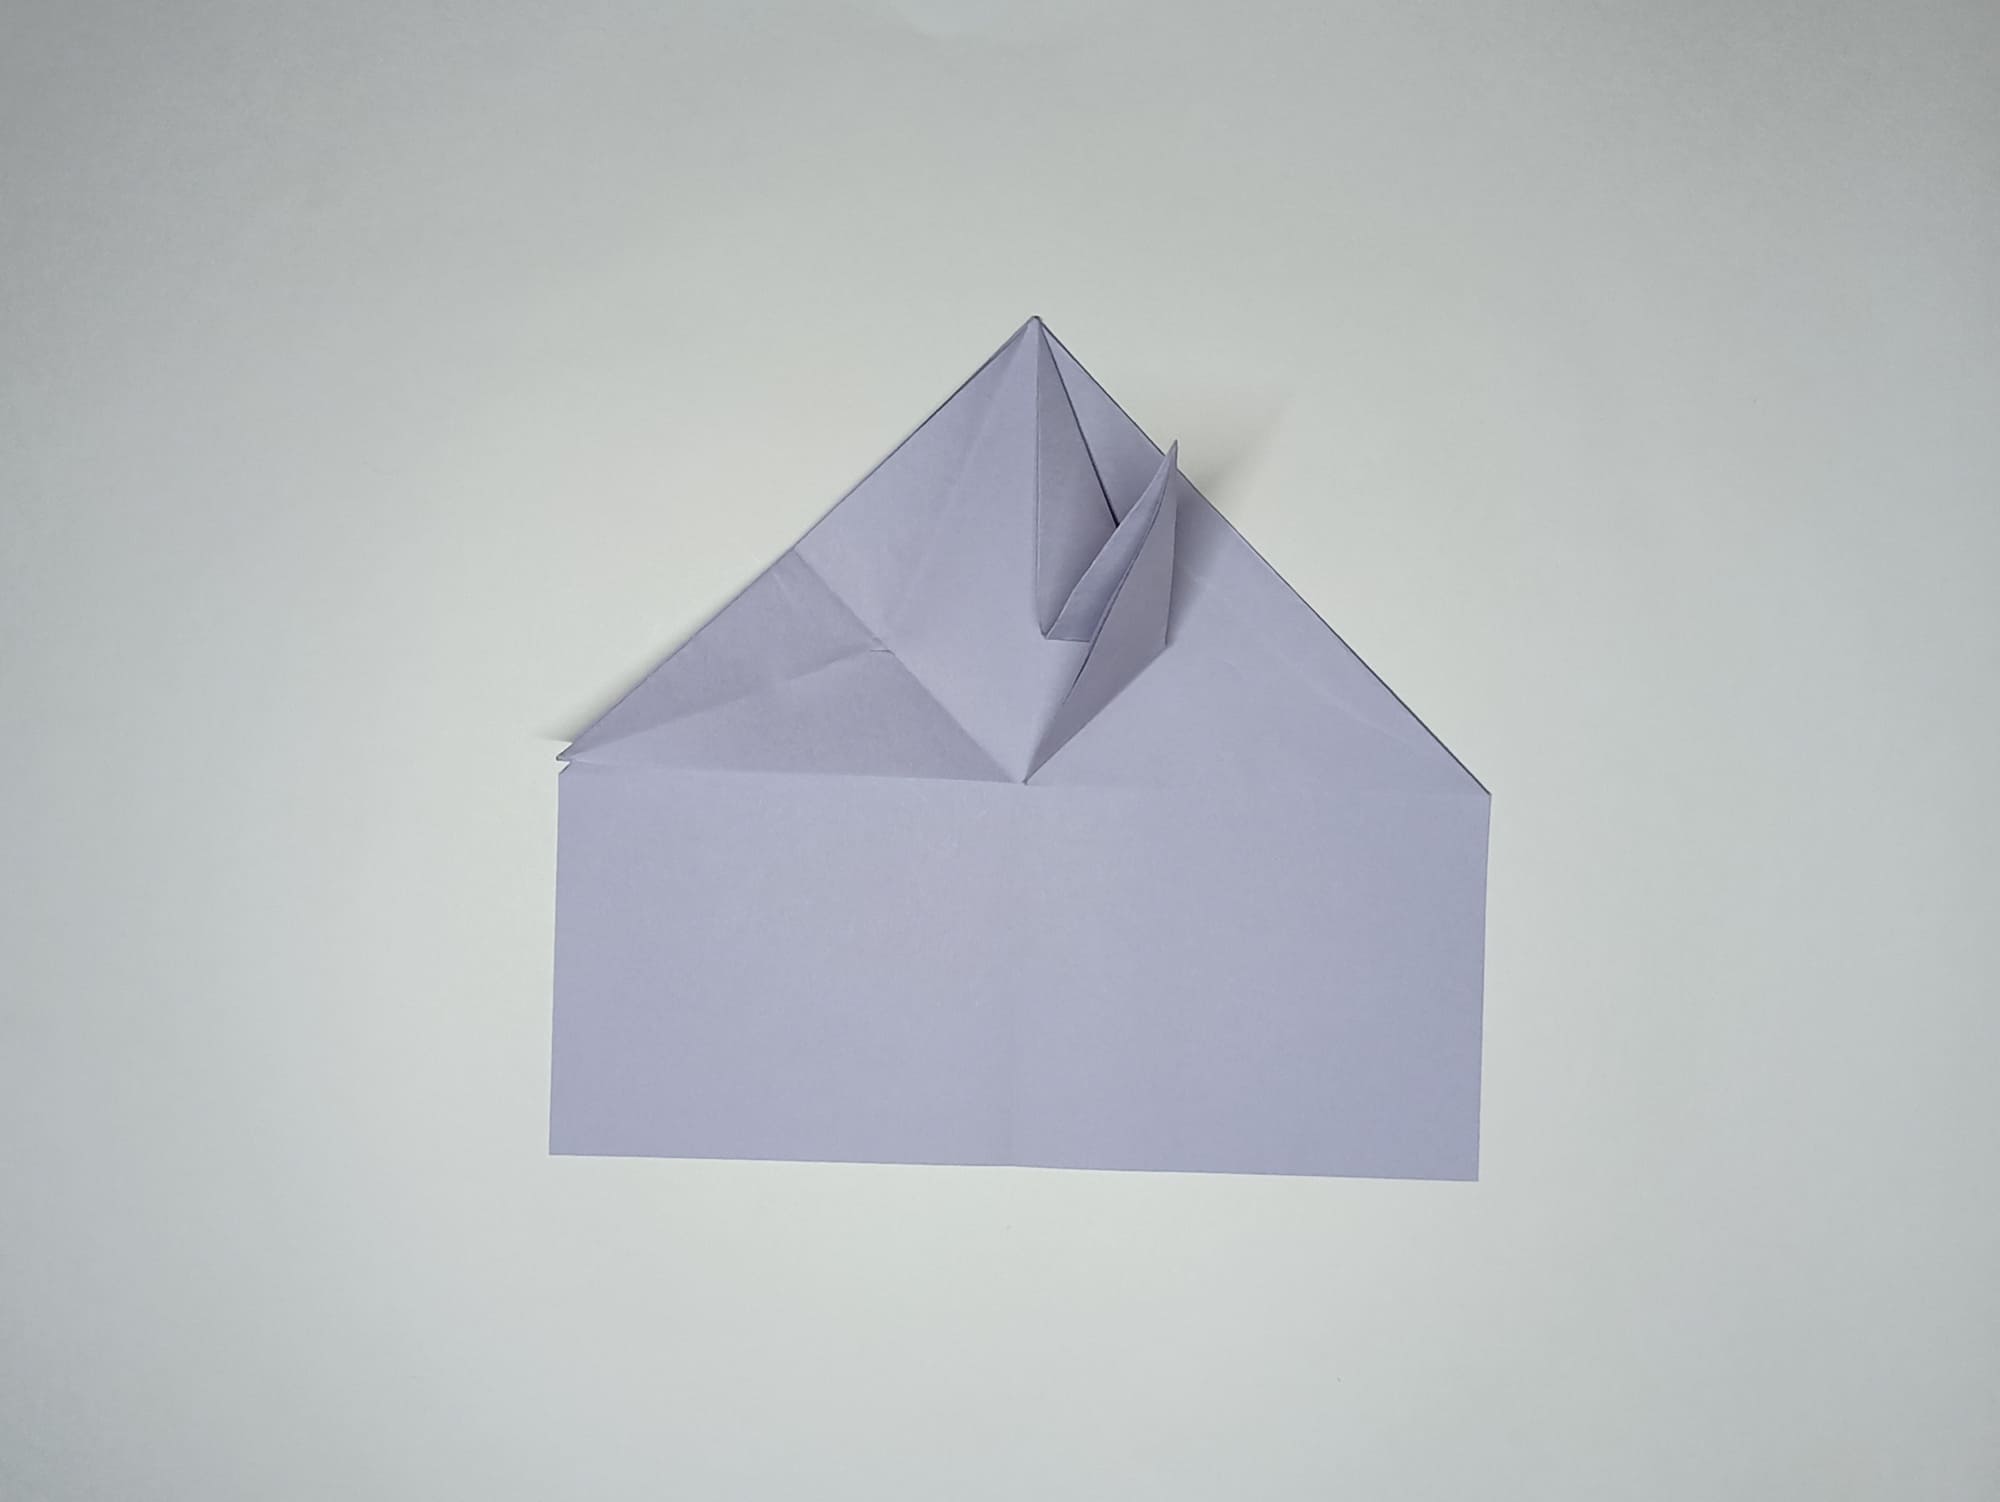
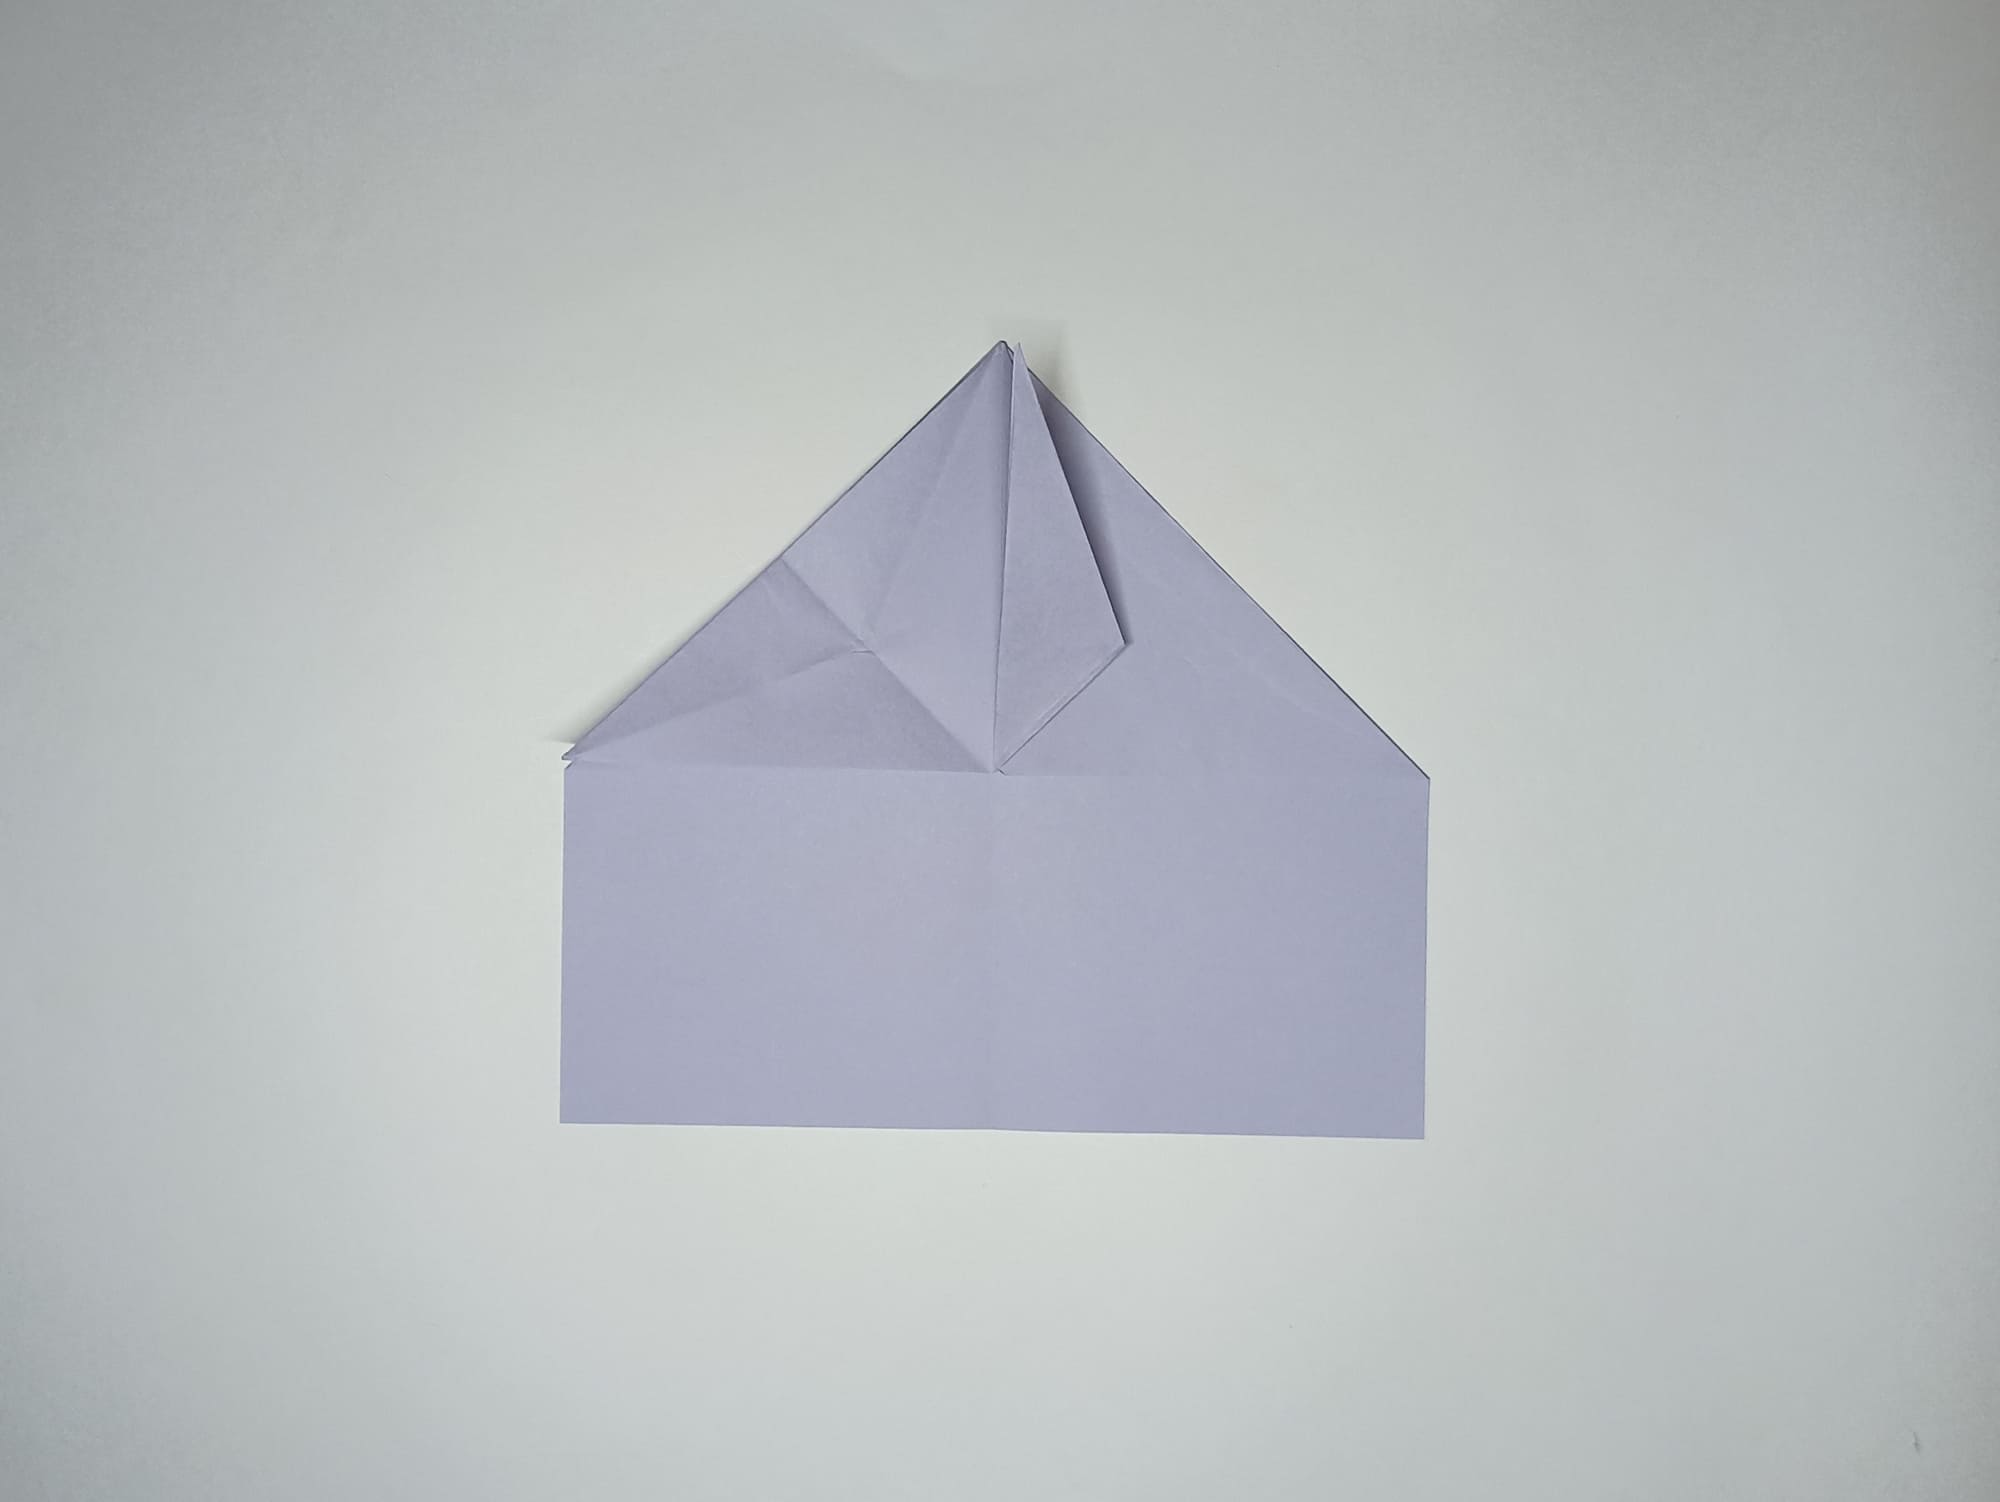
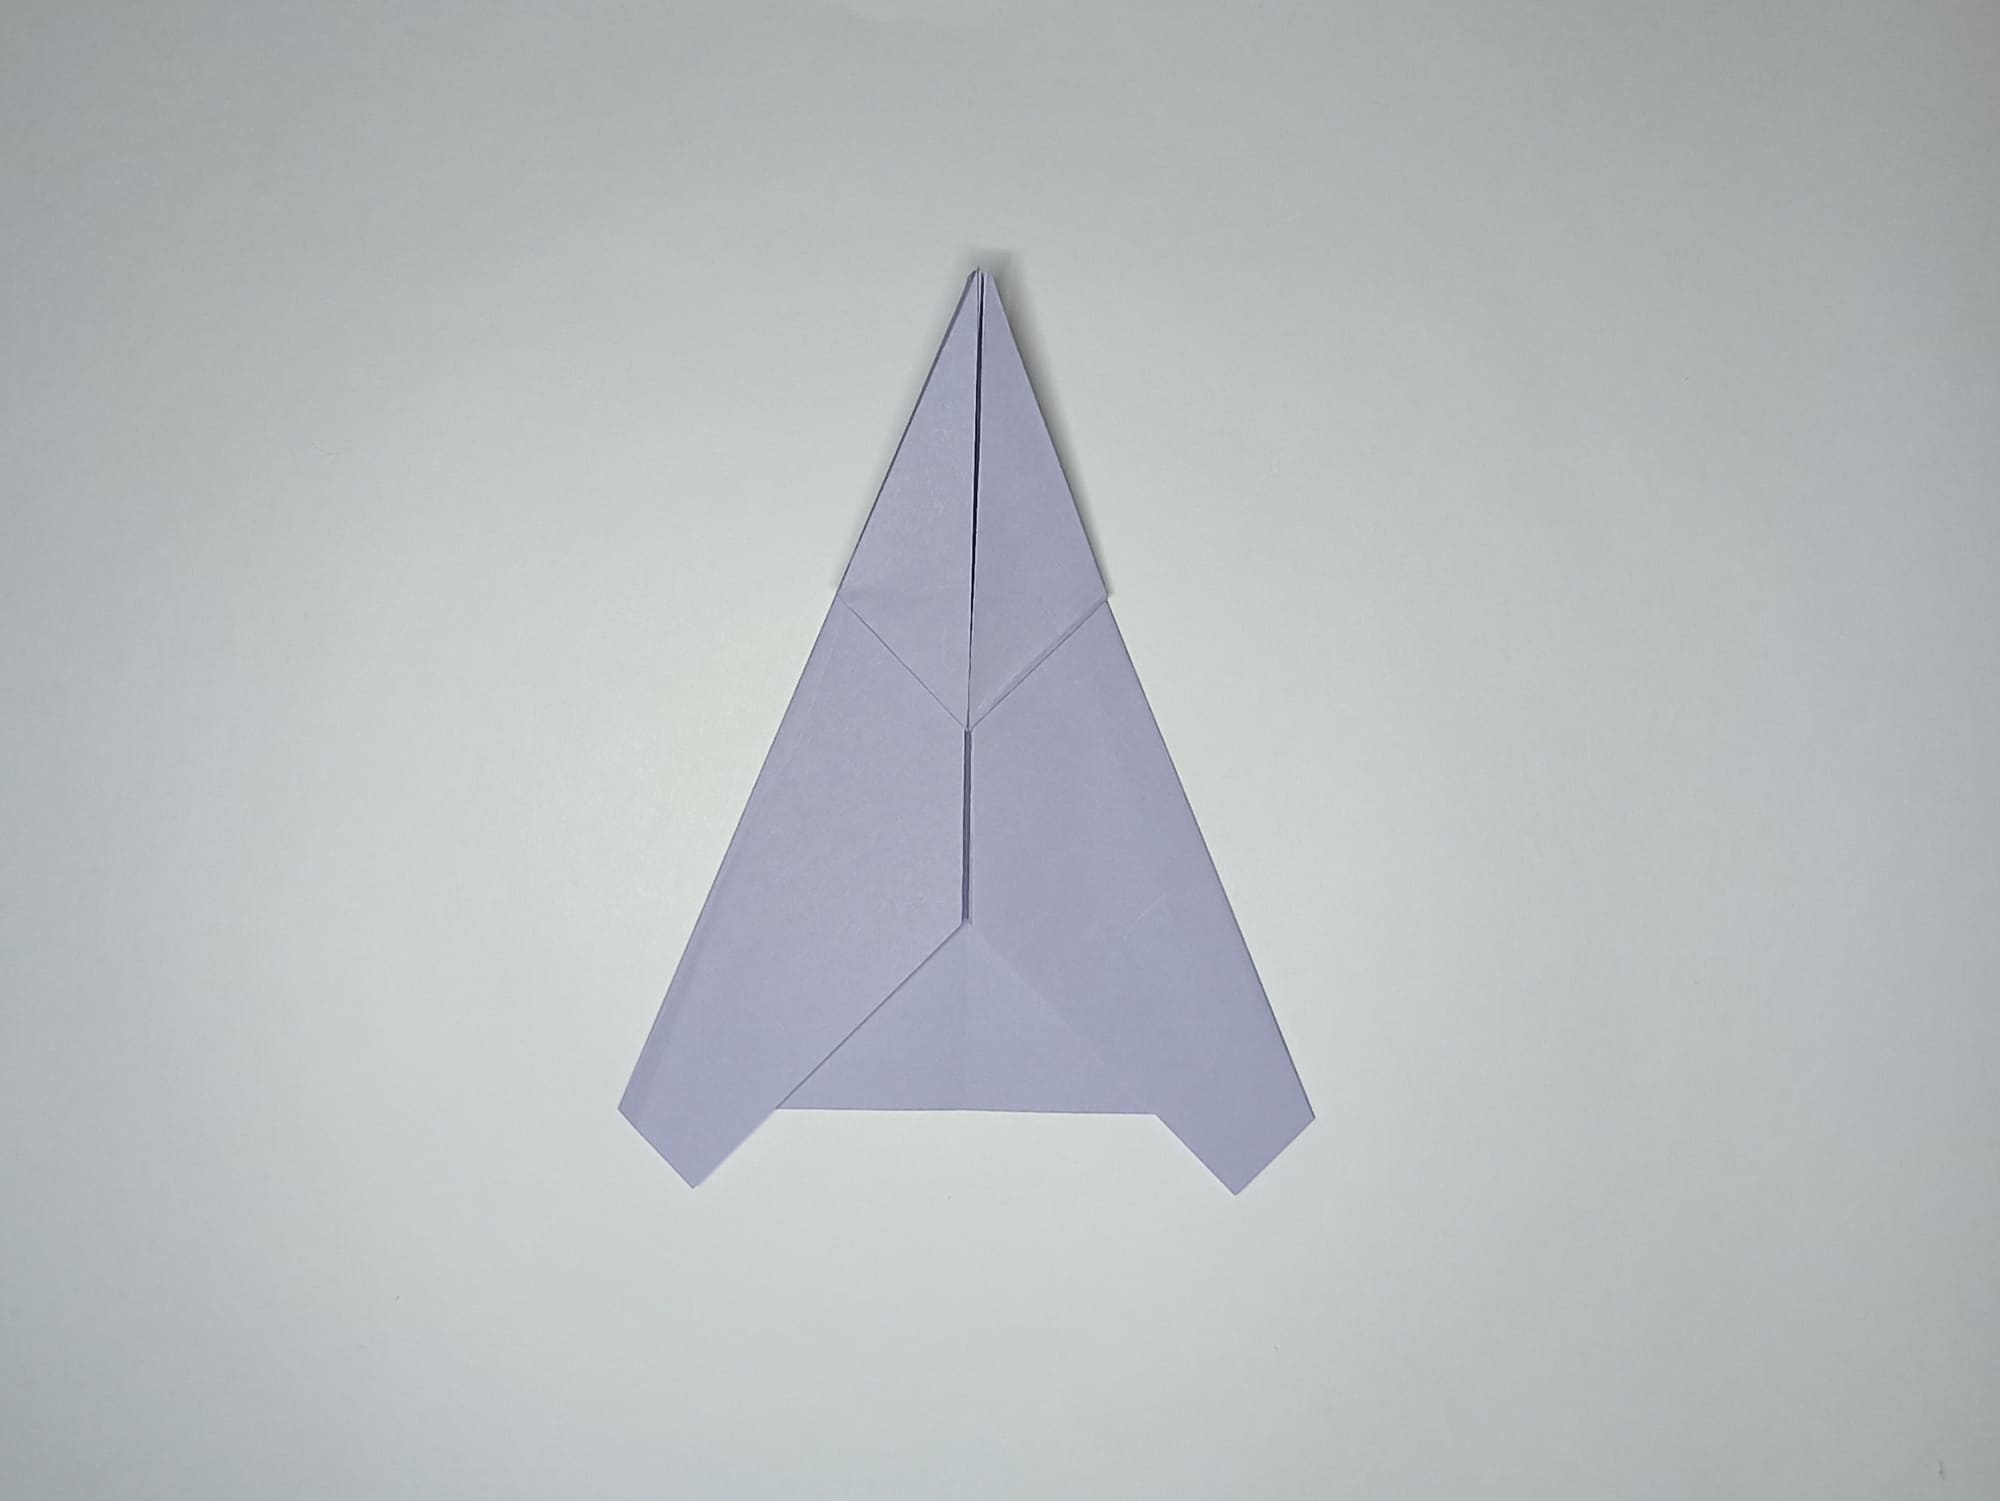
Fold the upper sides of the lower part of the figure to the middle, lifting the small triangles, and crease the folds.
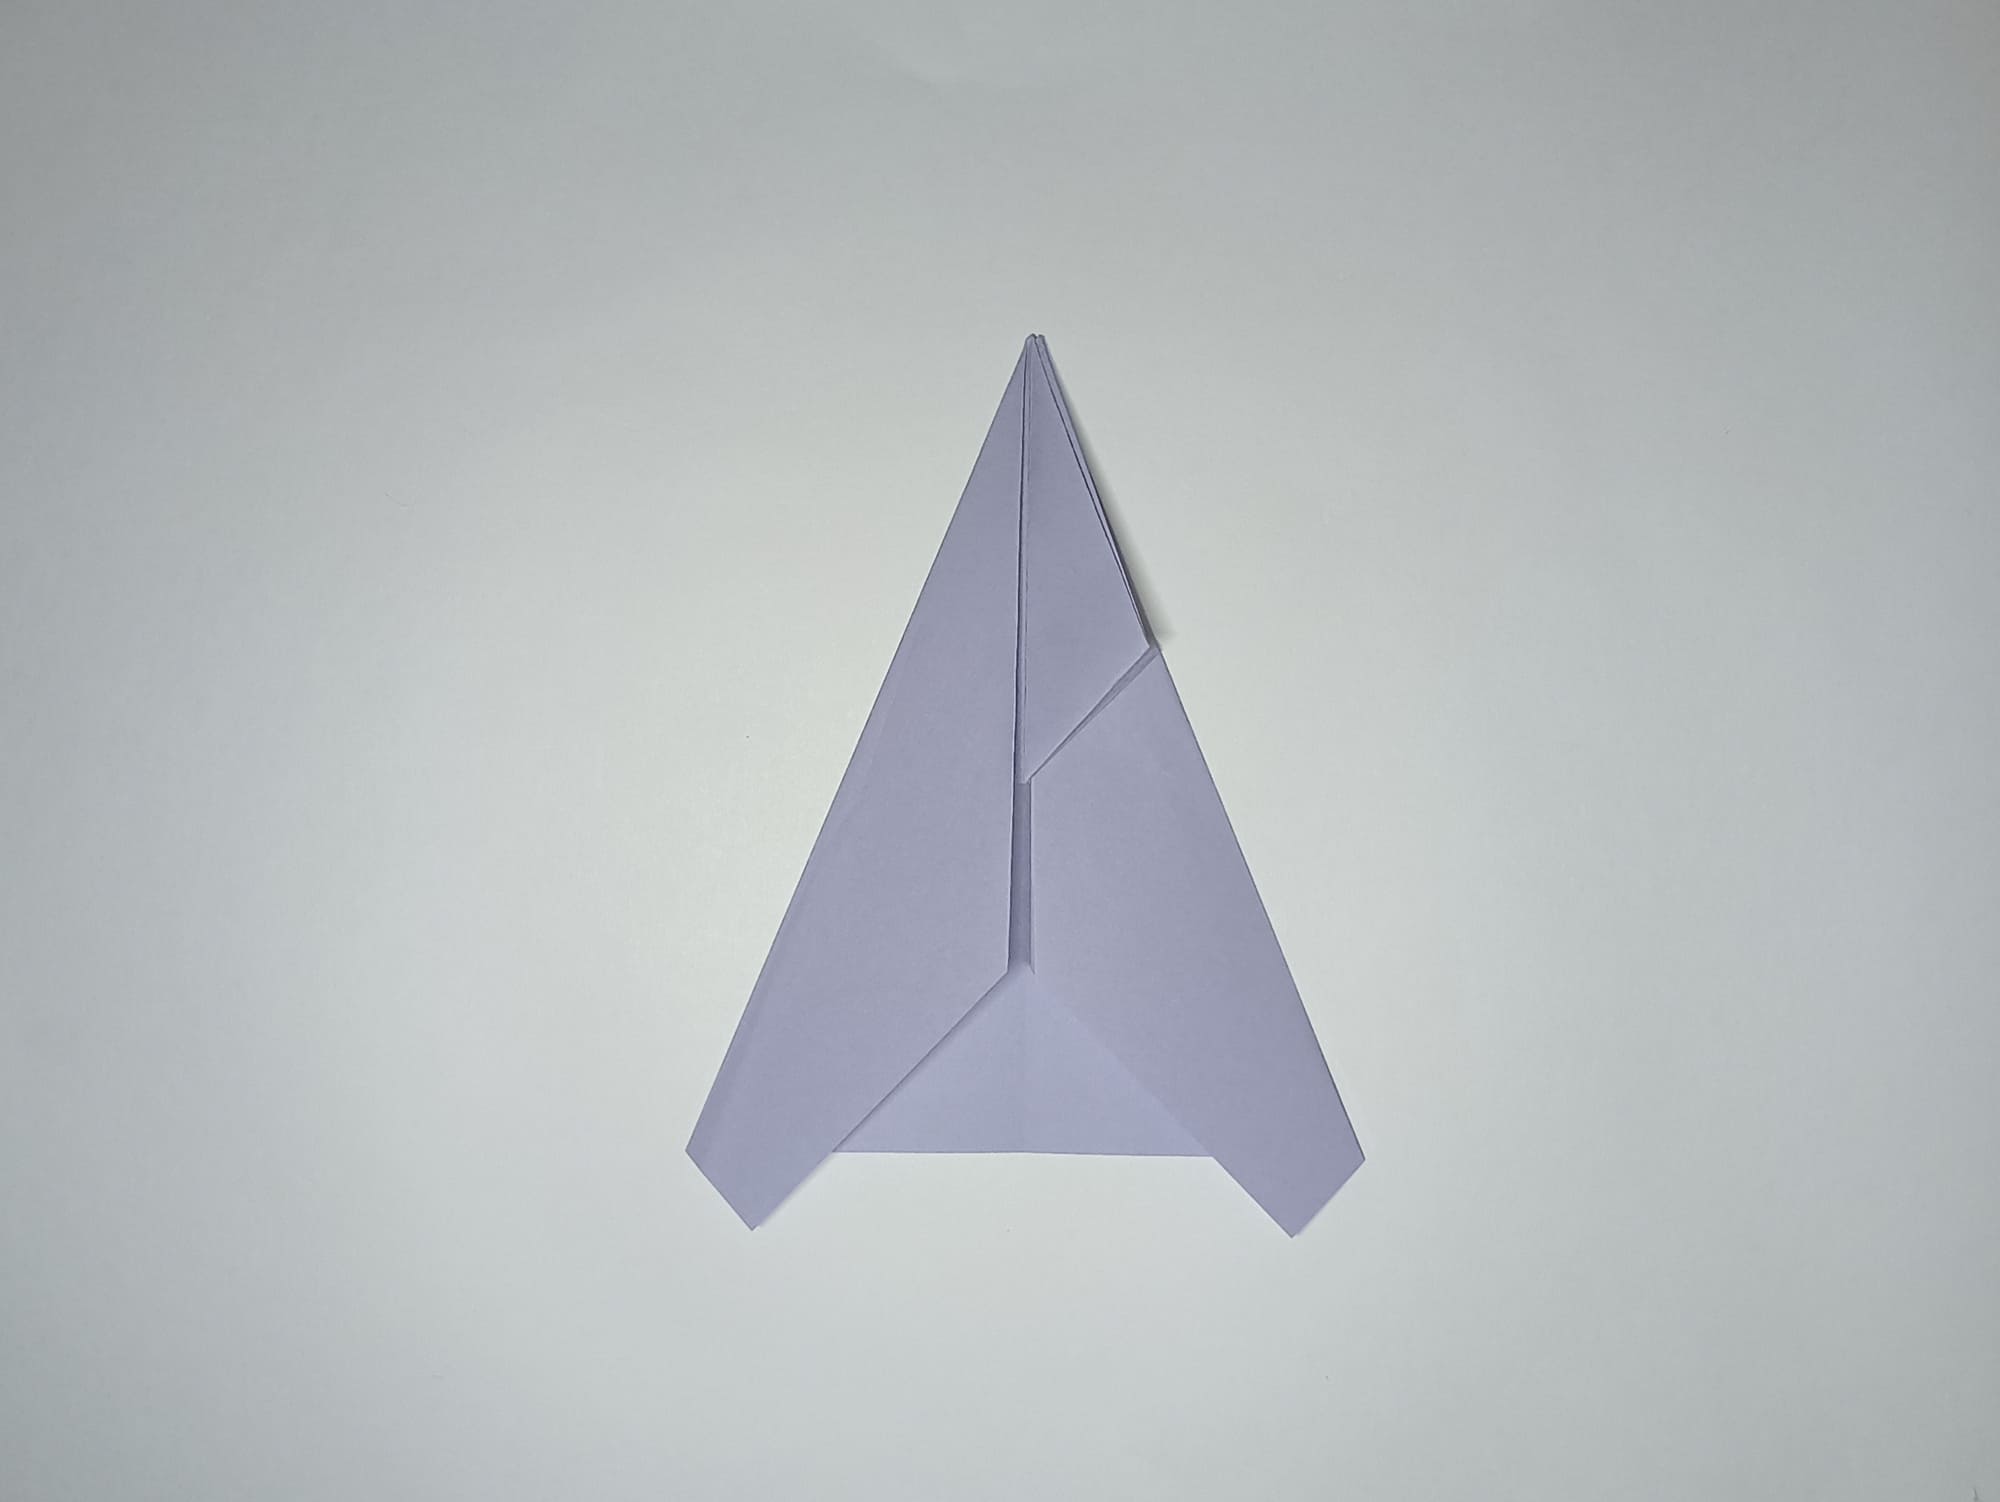
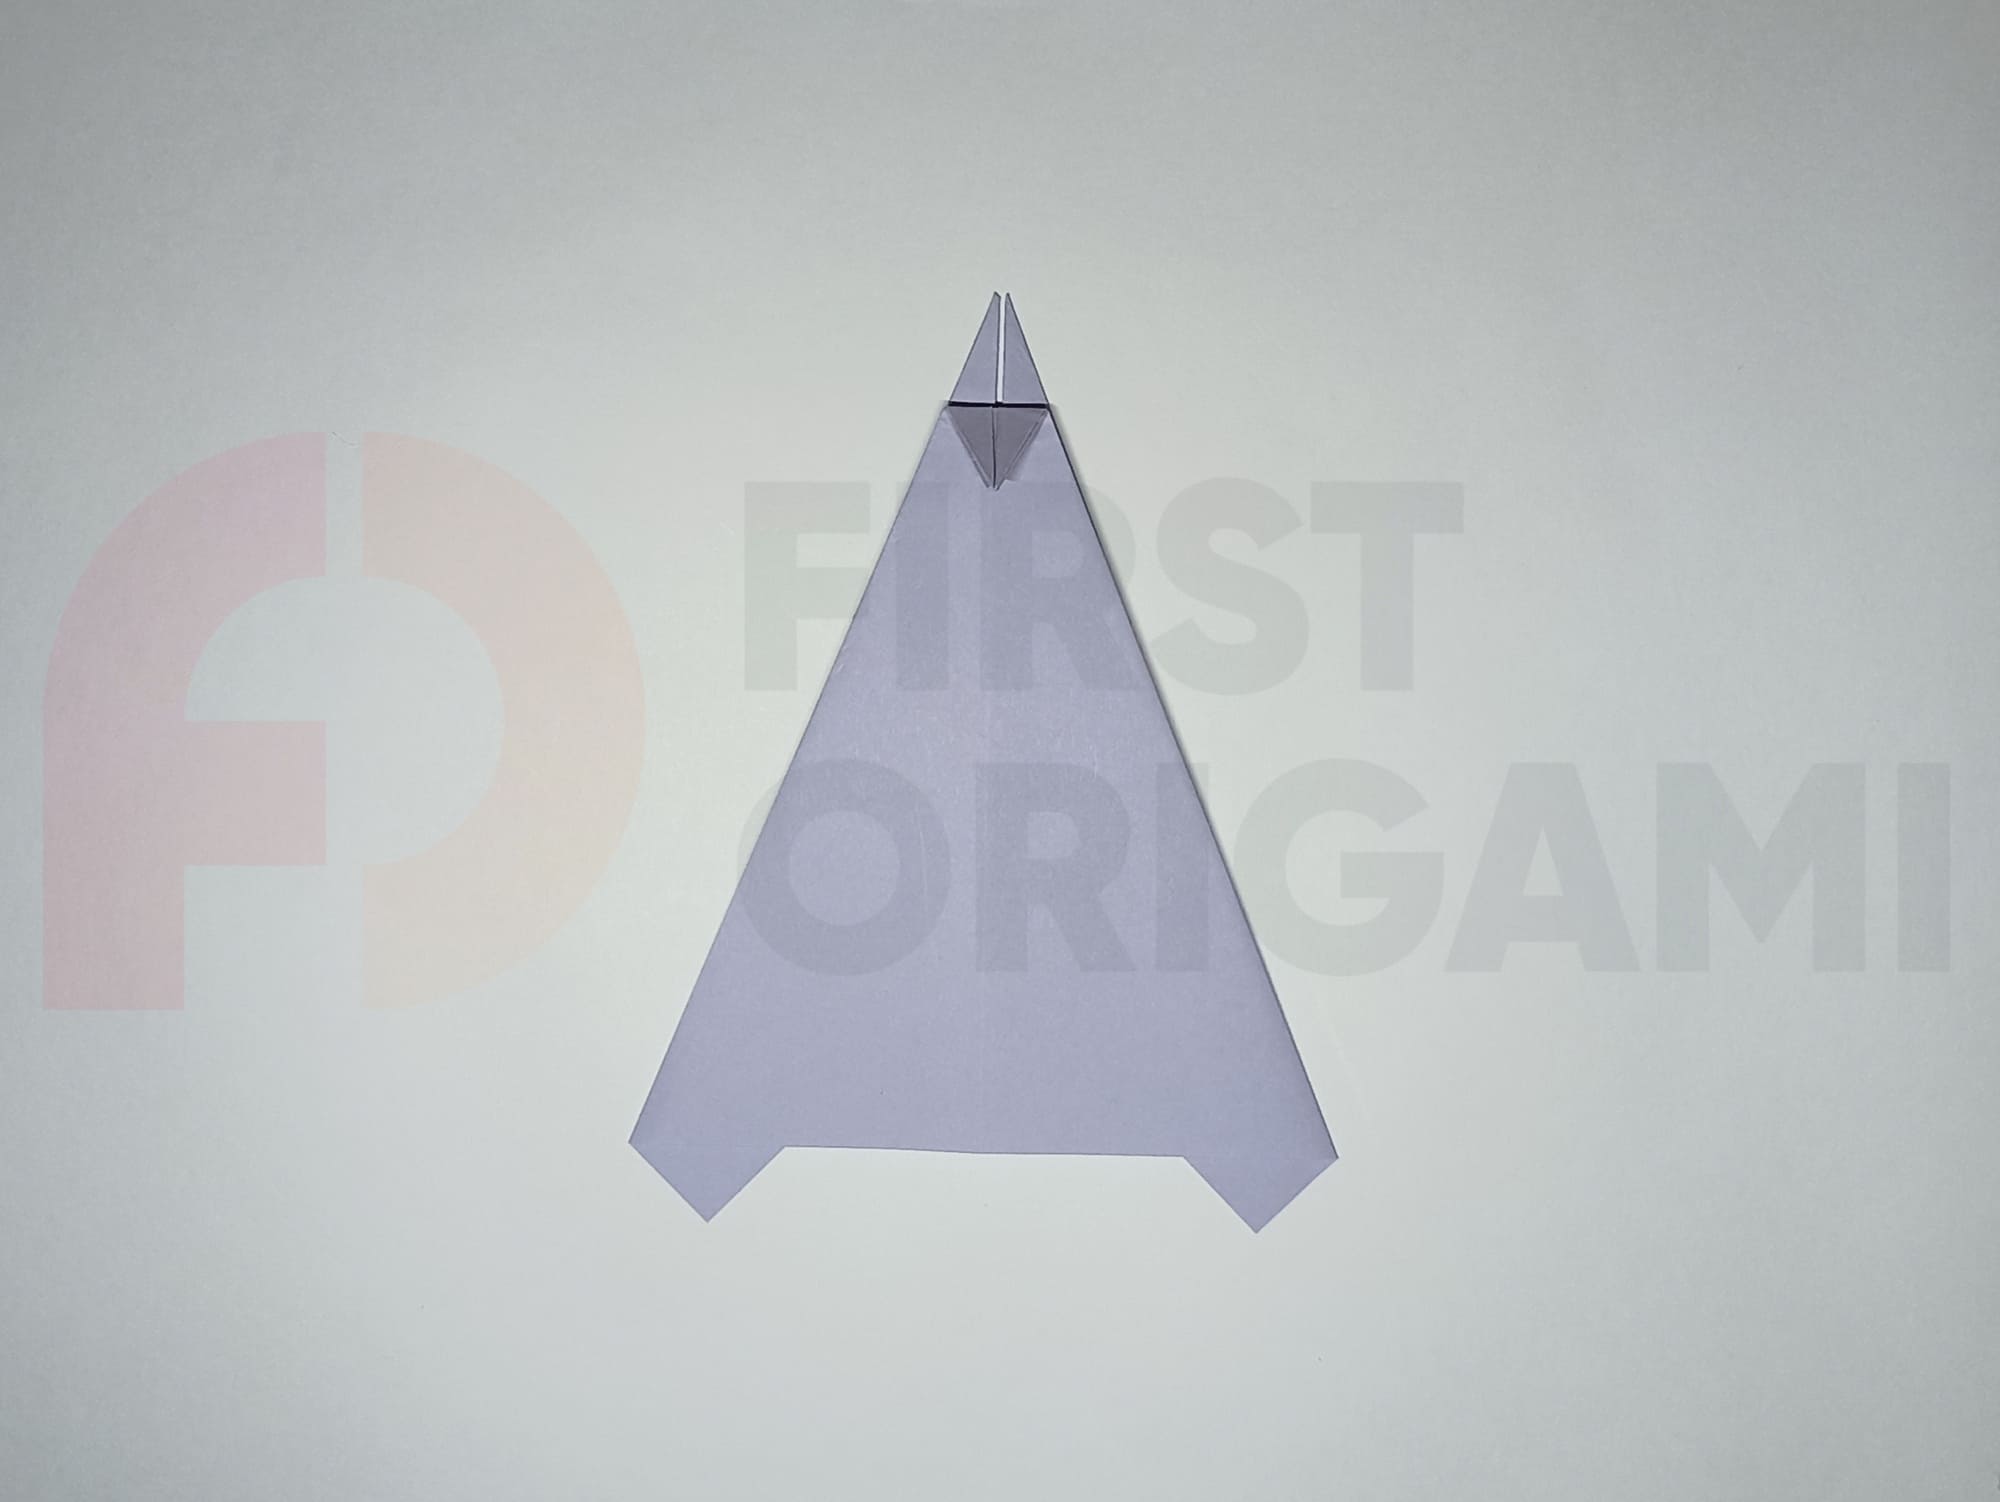
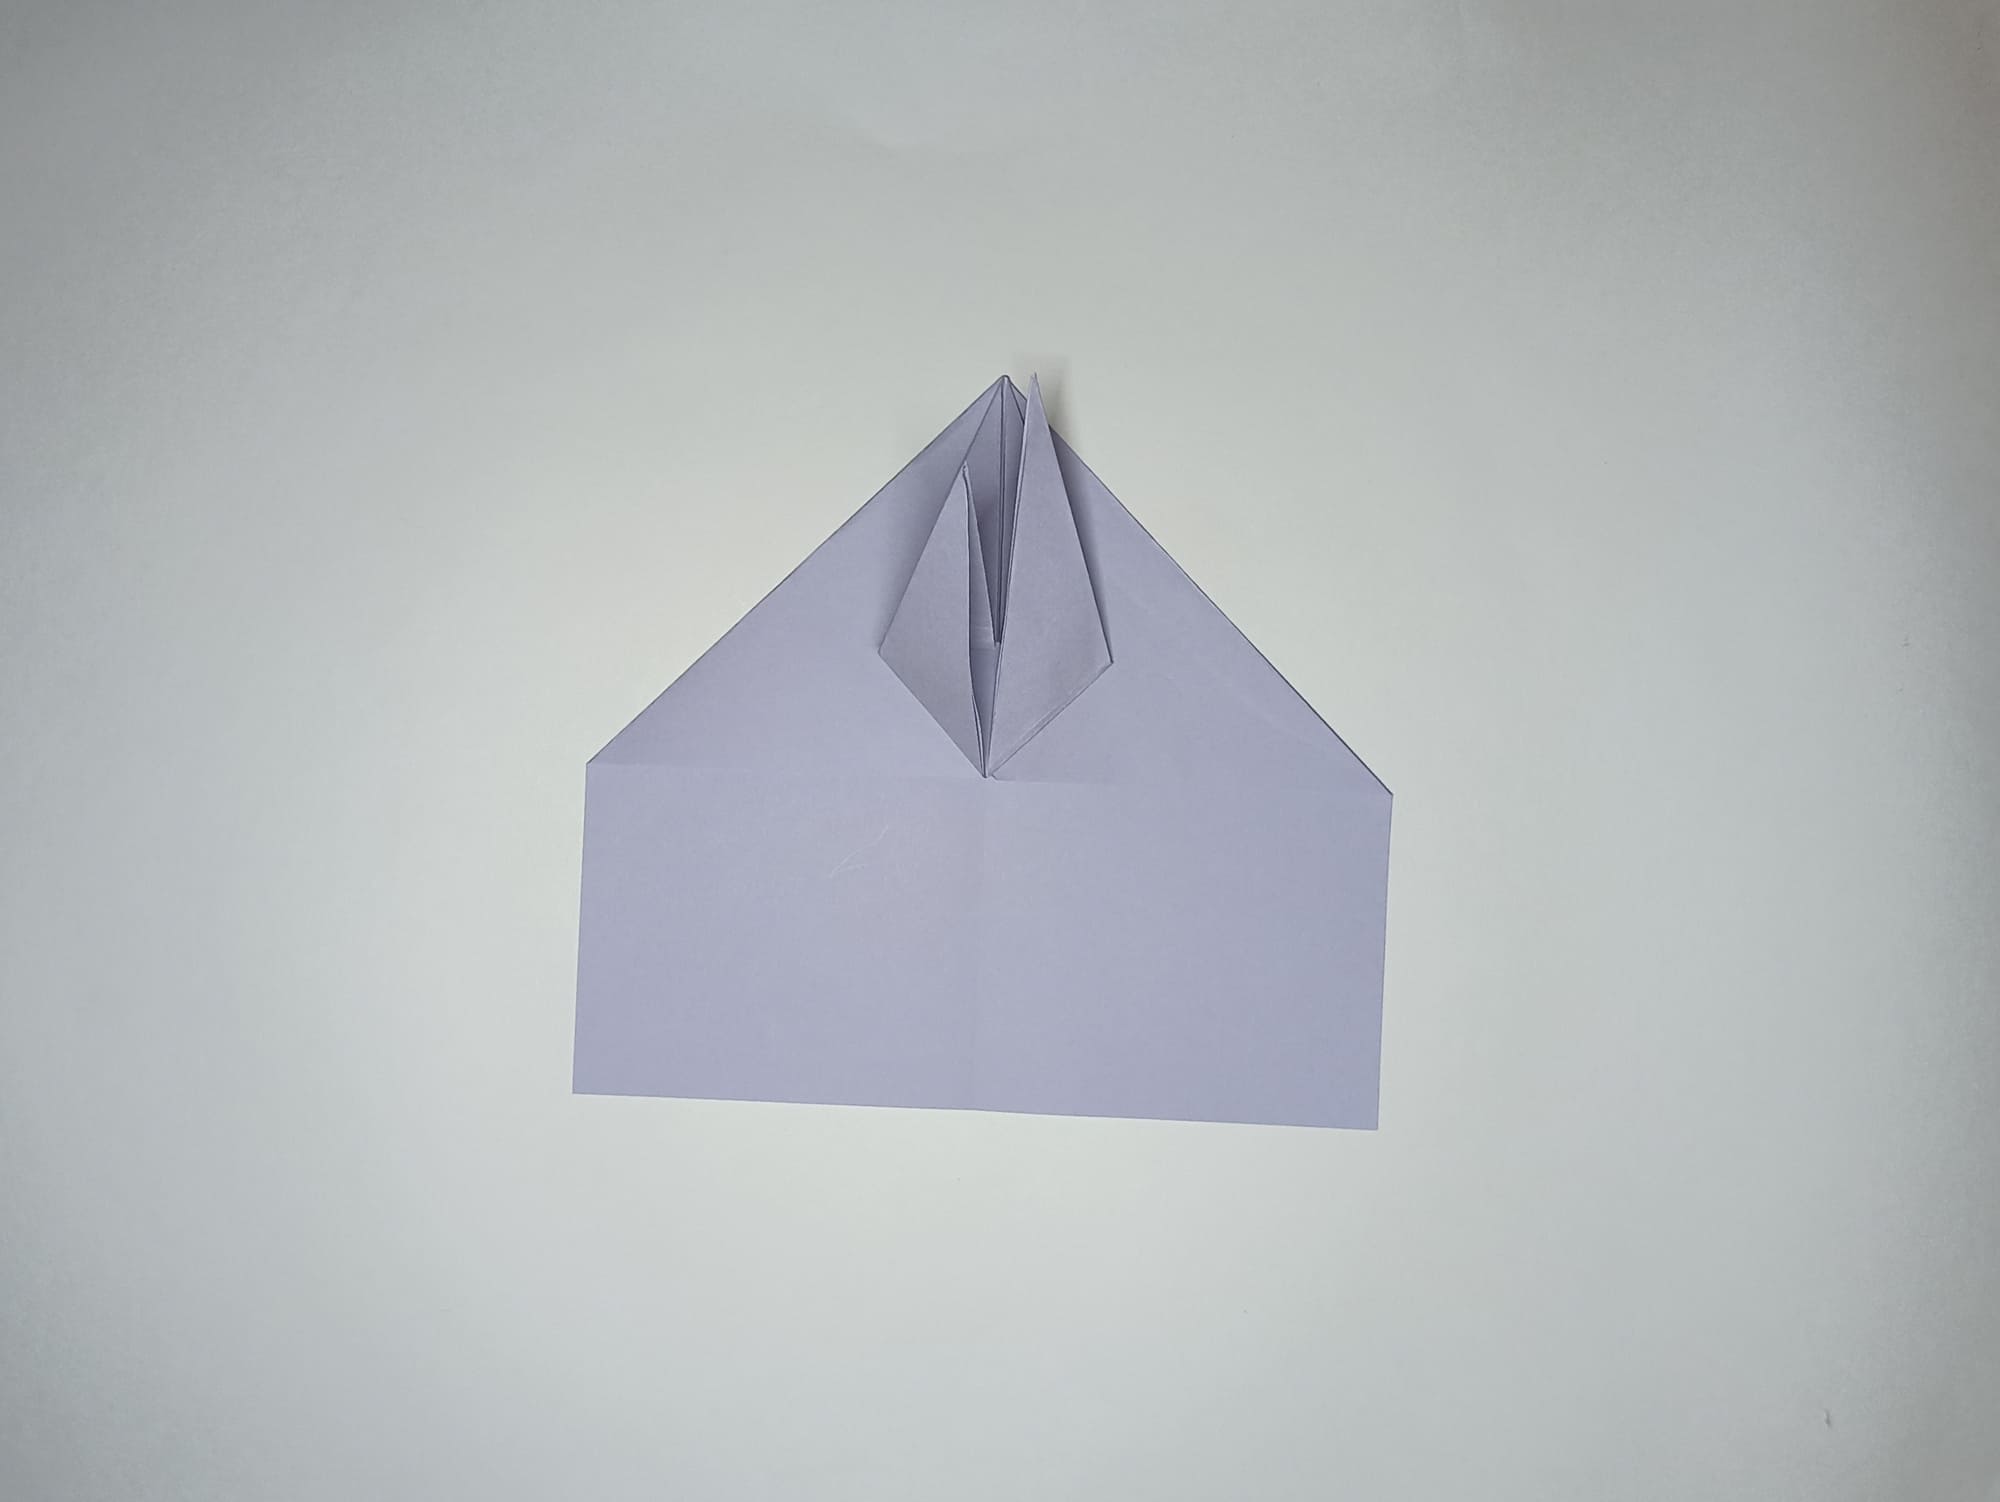
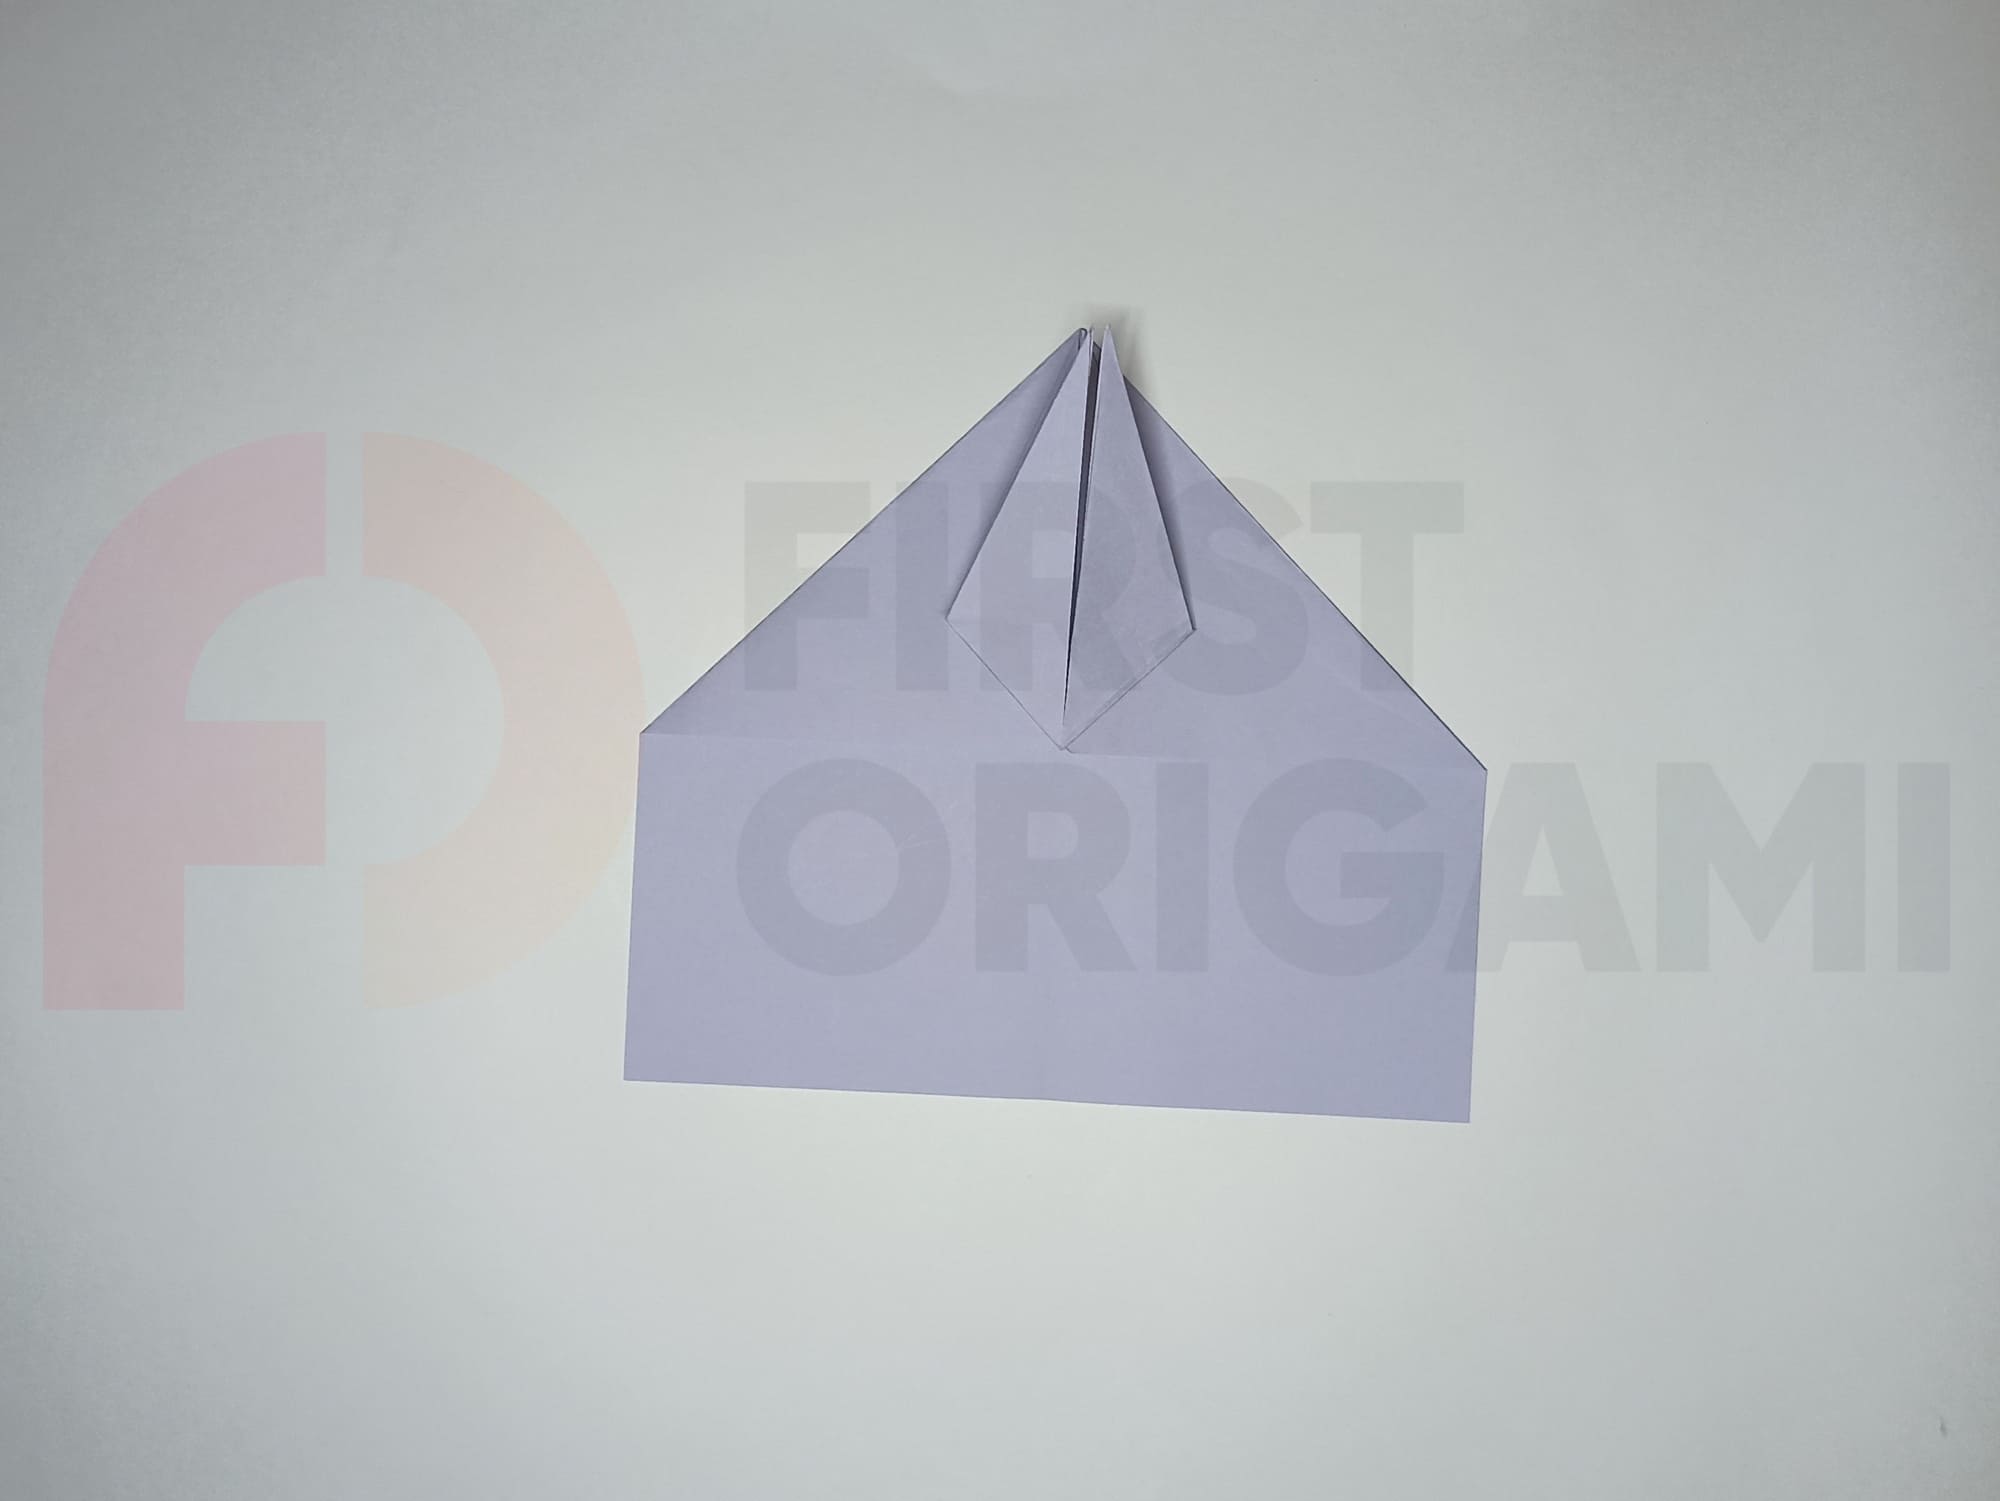
Turn the figure over. Bend the top of the sharp triangle a couple of centimeters towards you and turn the sheet over.
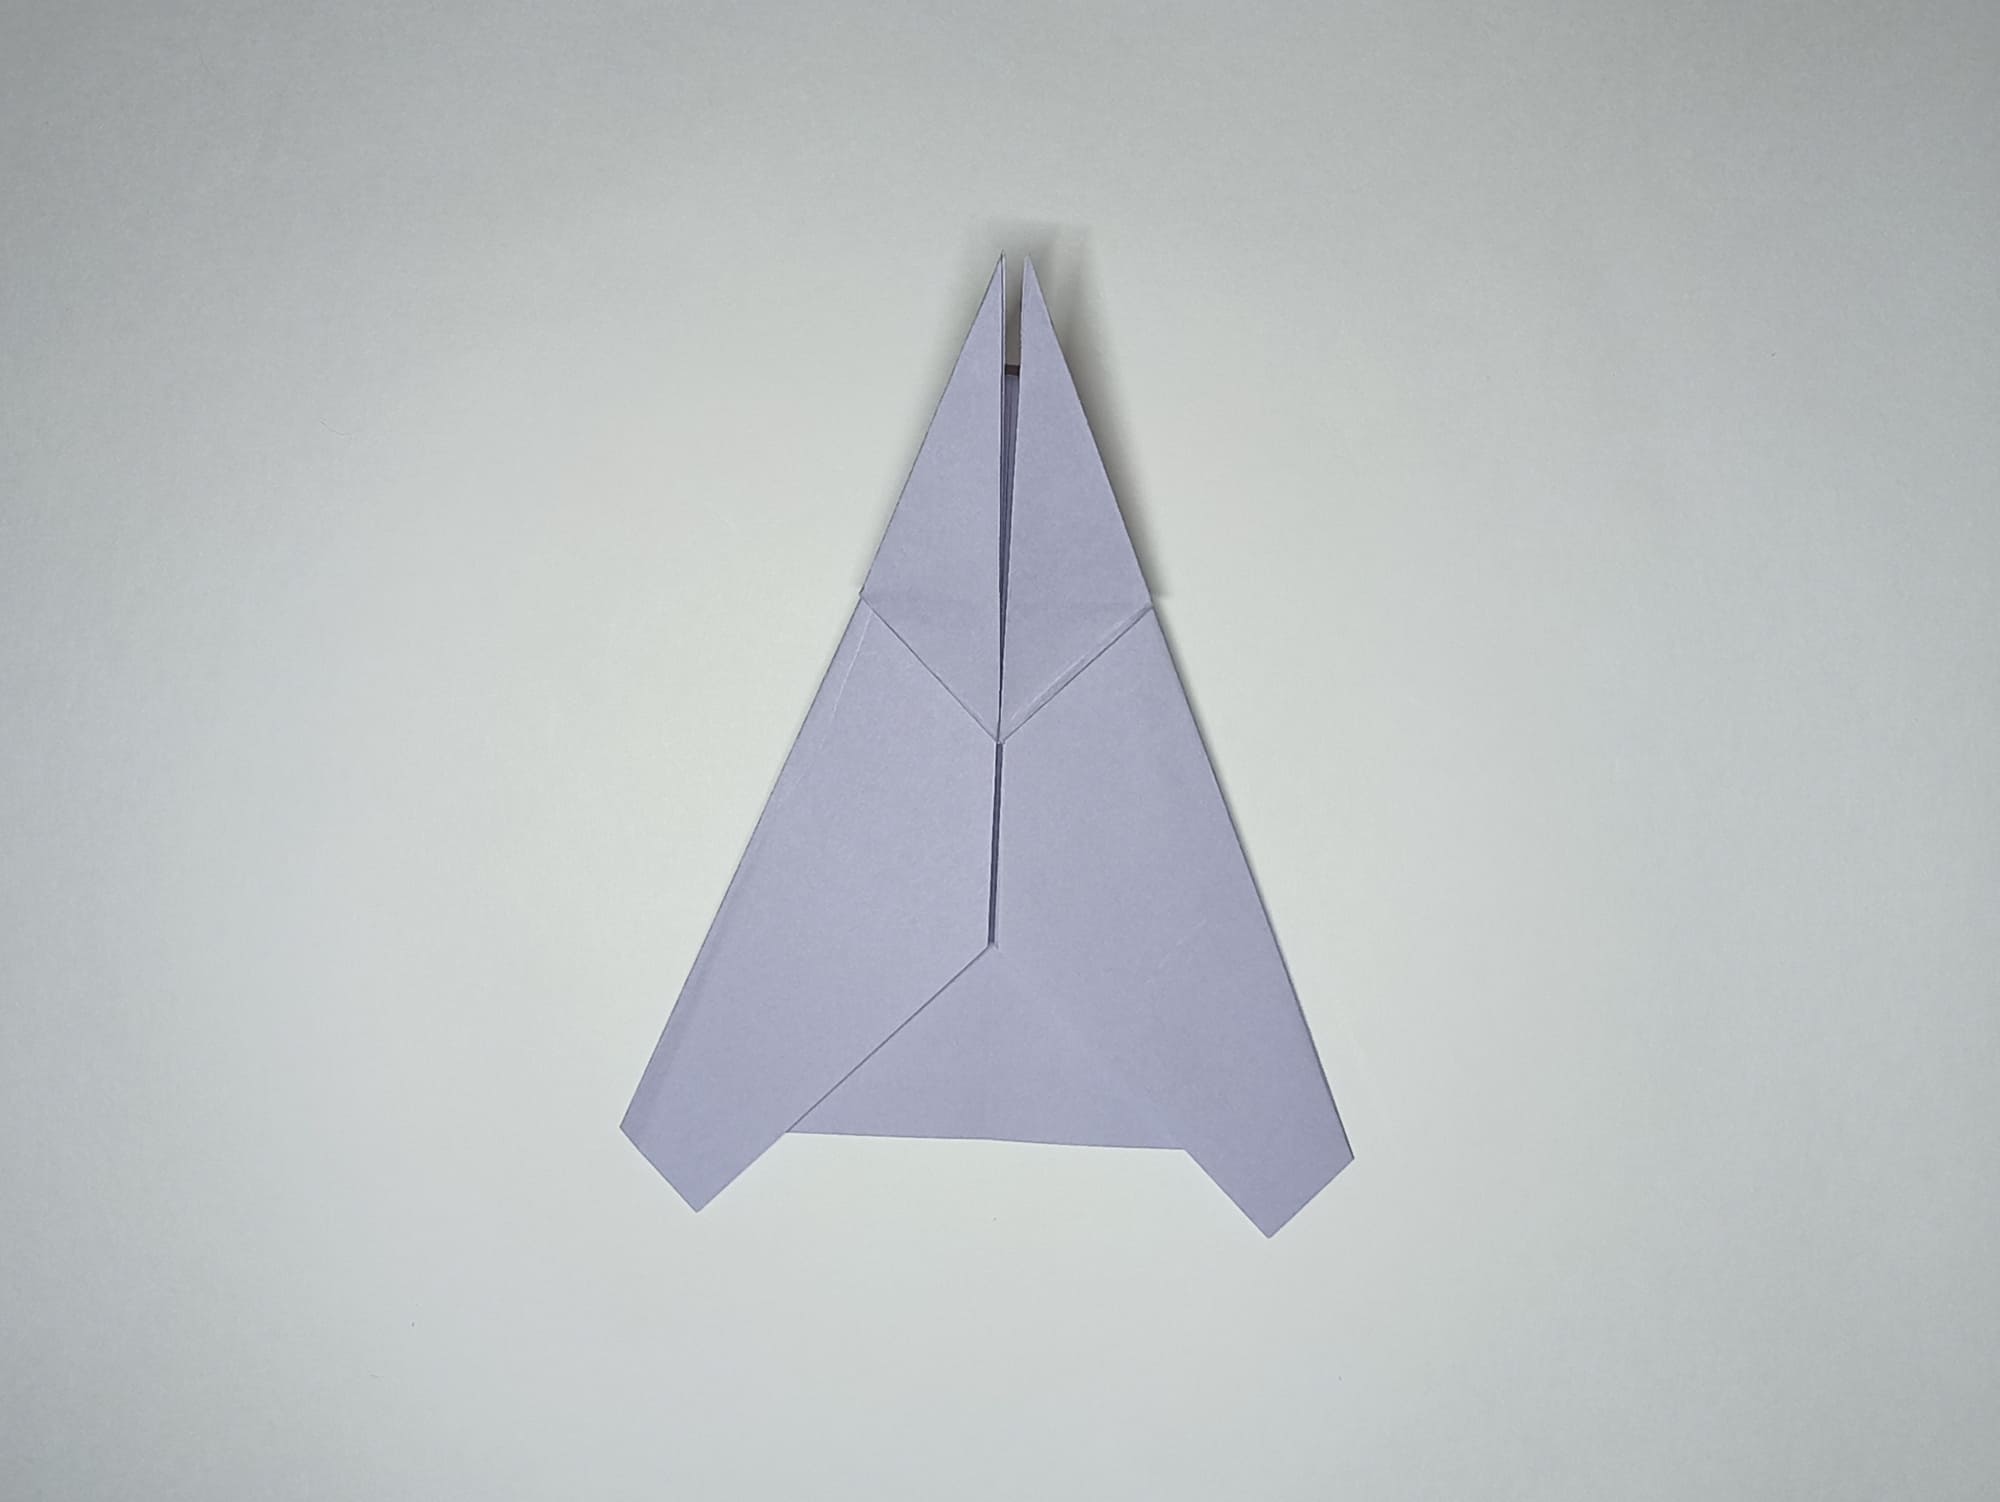
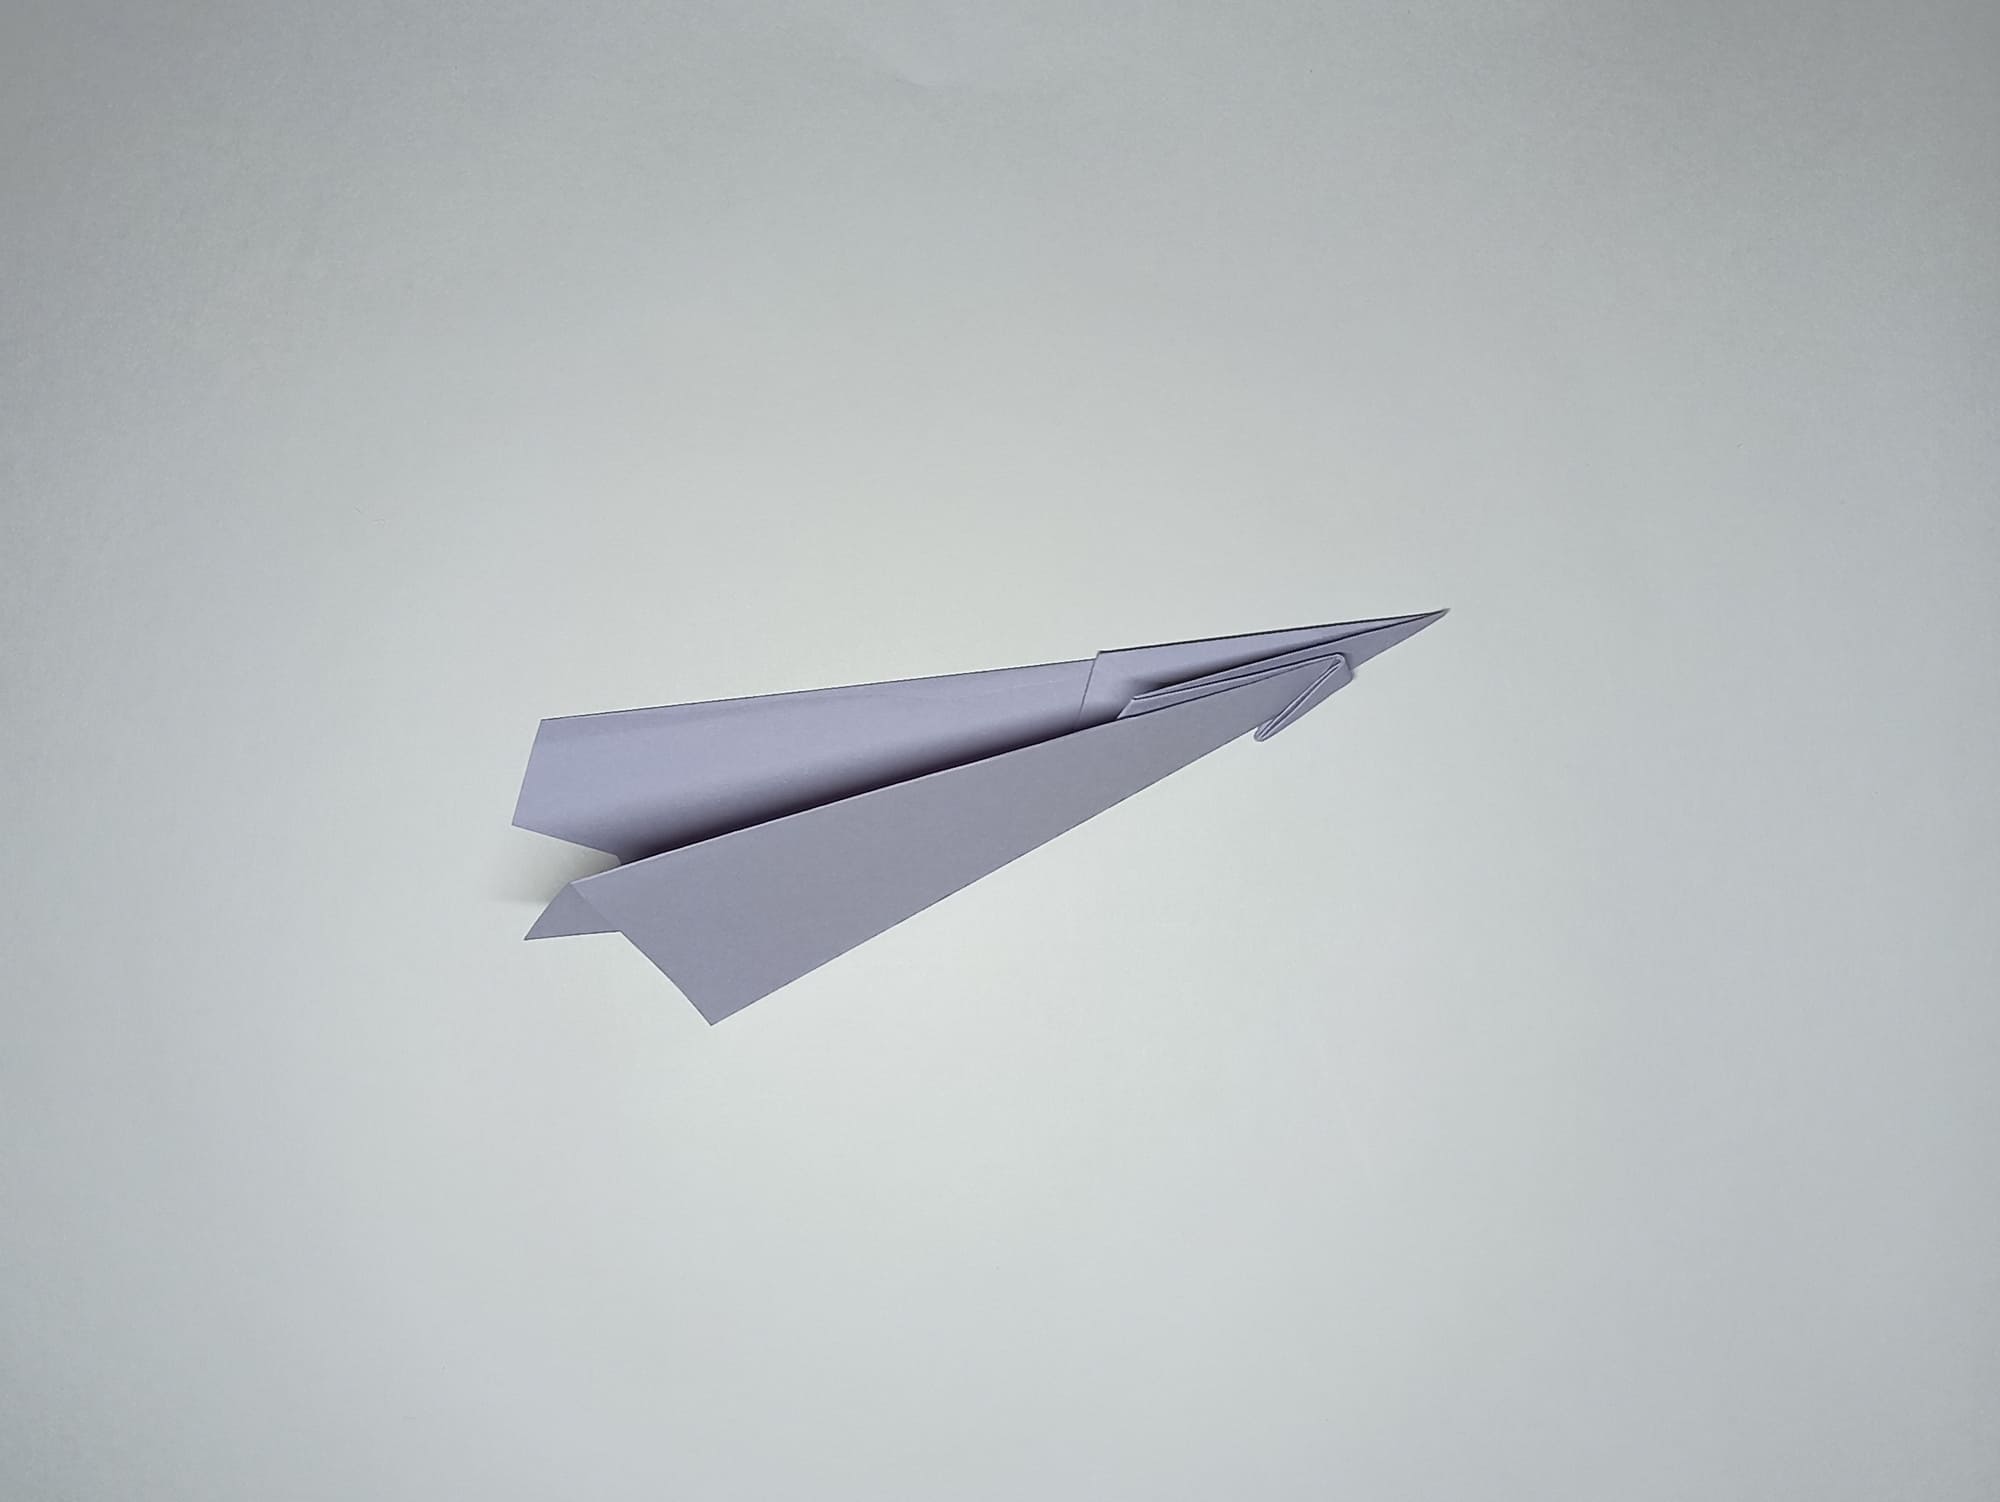
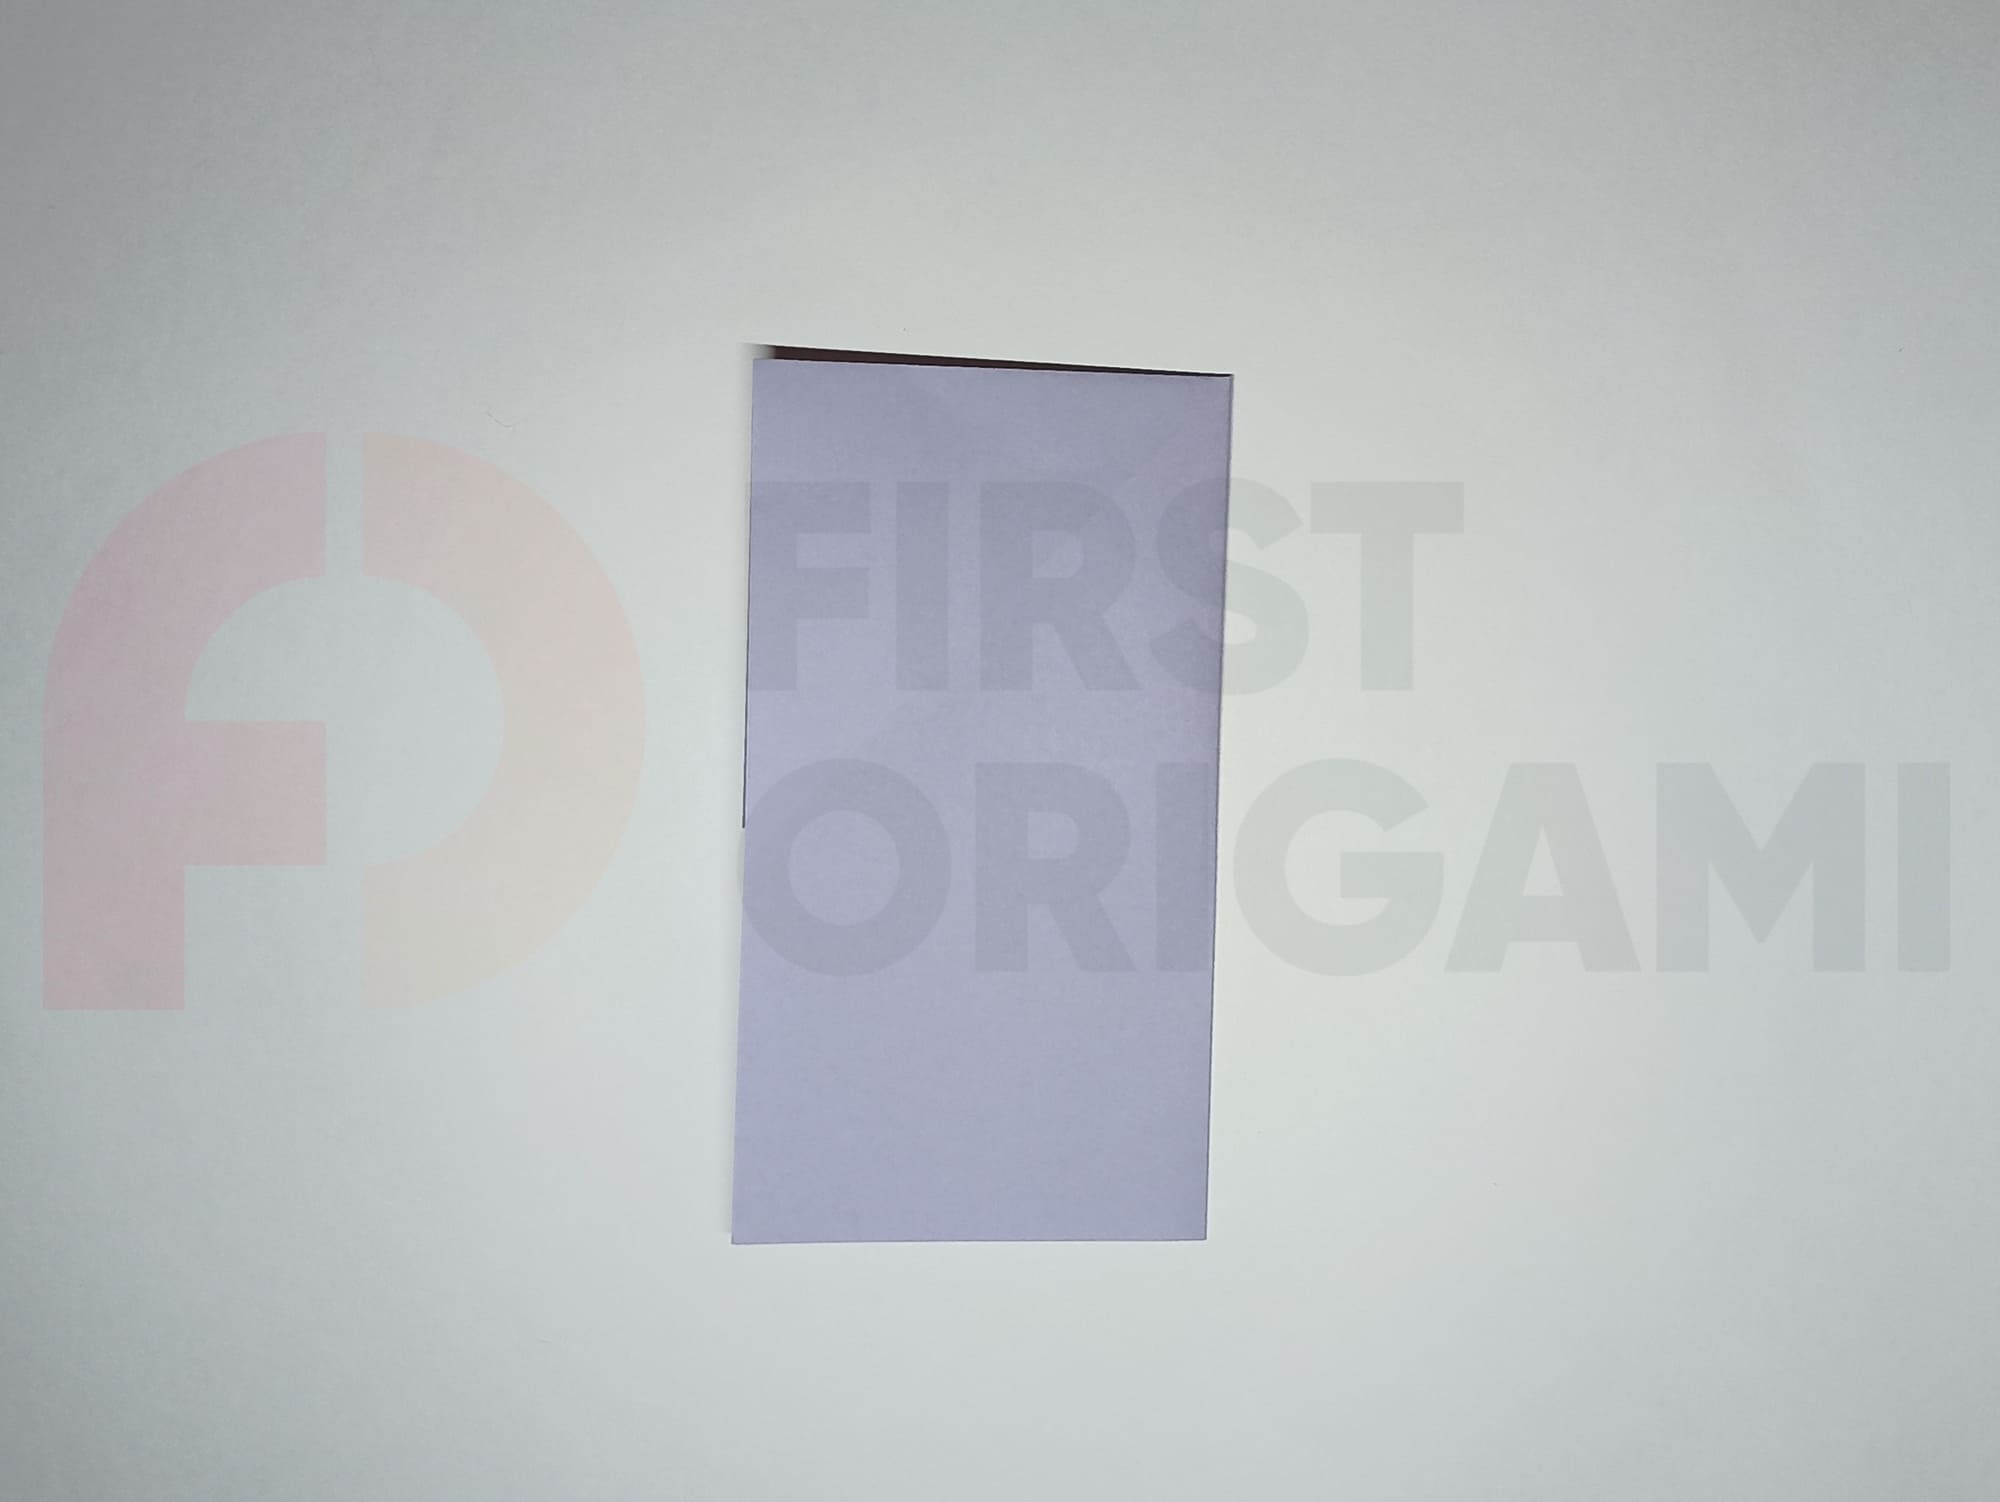
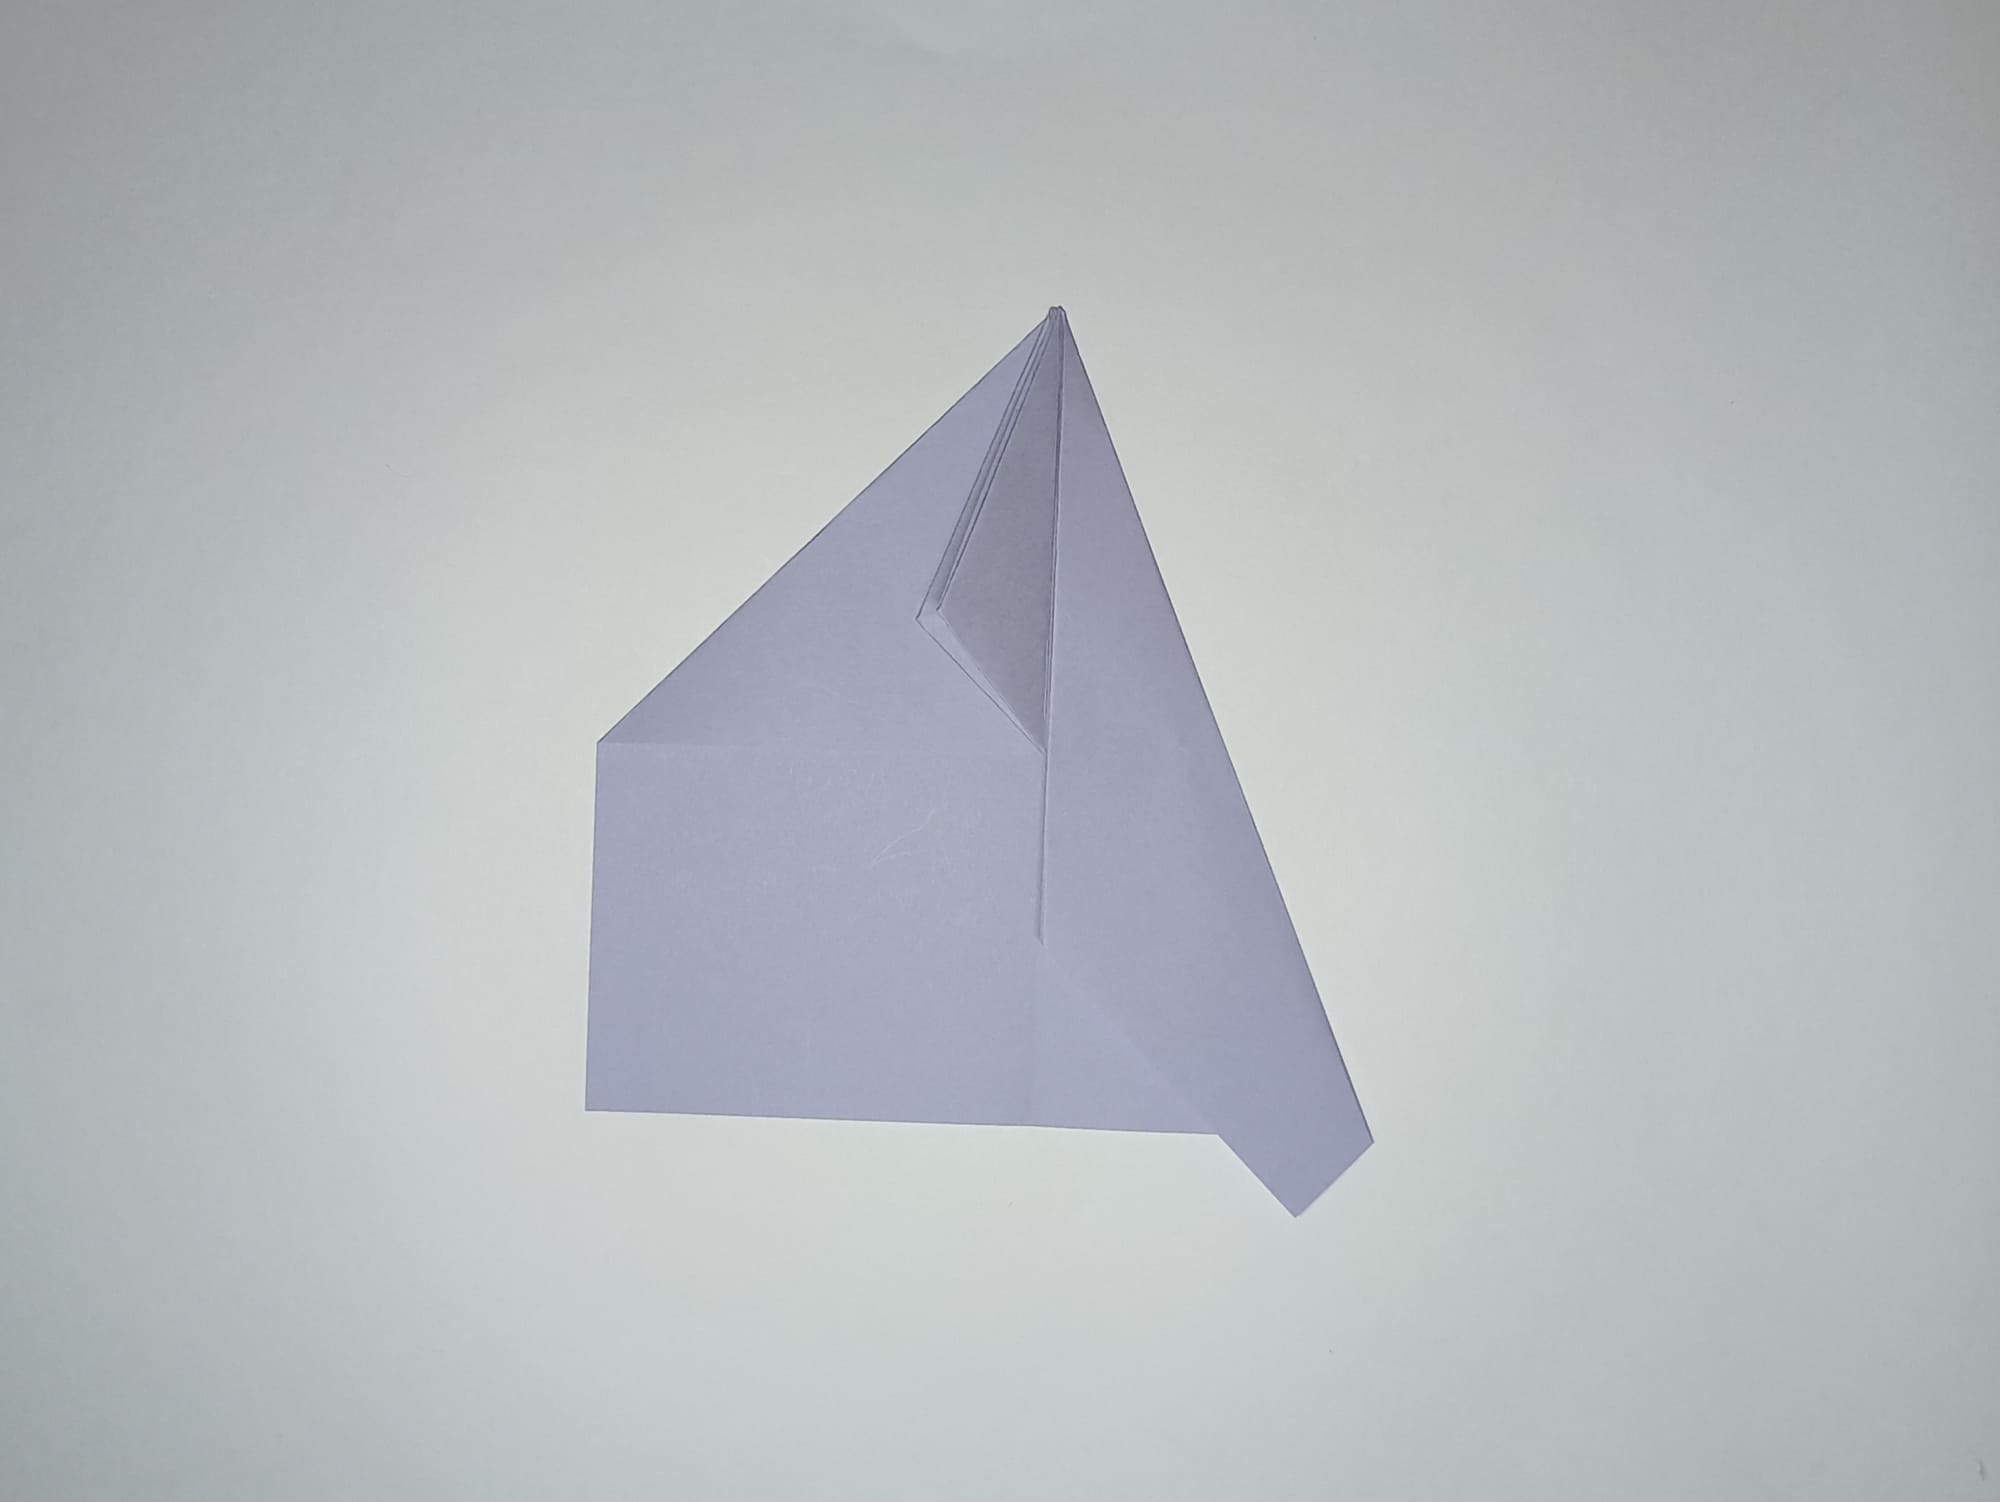
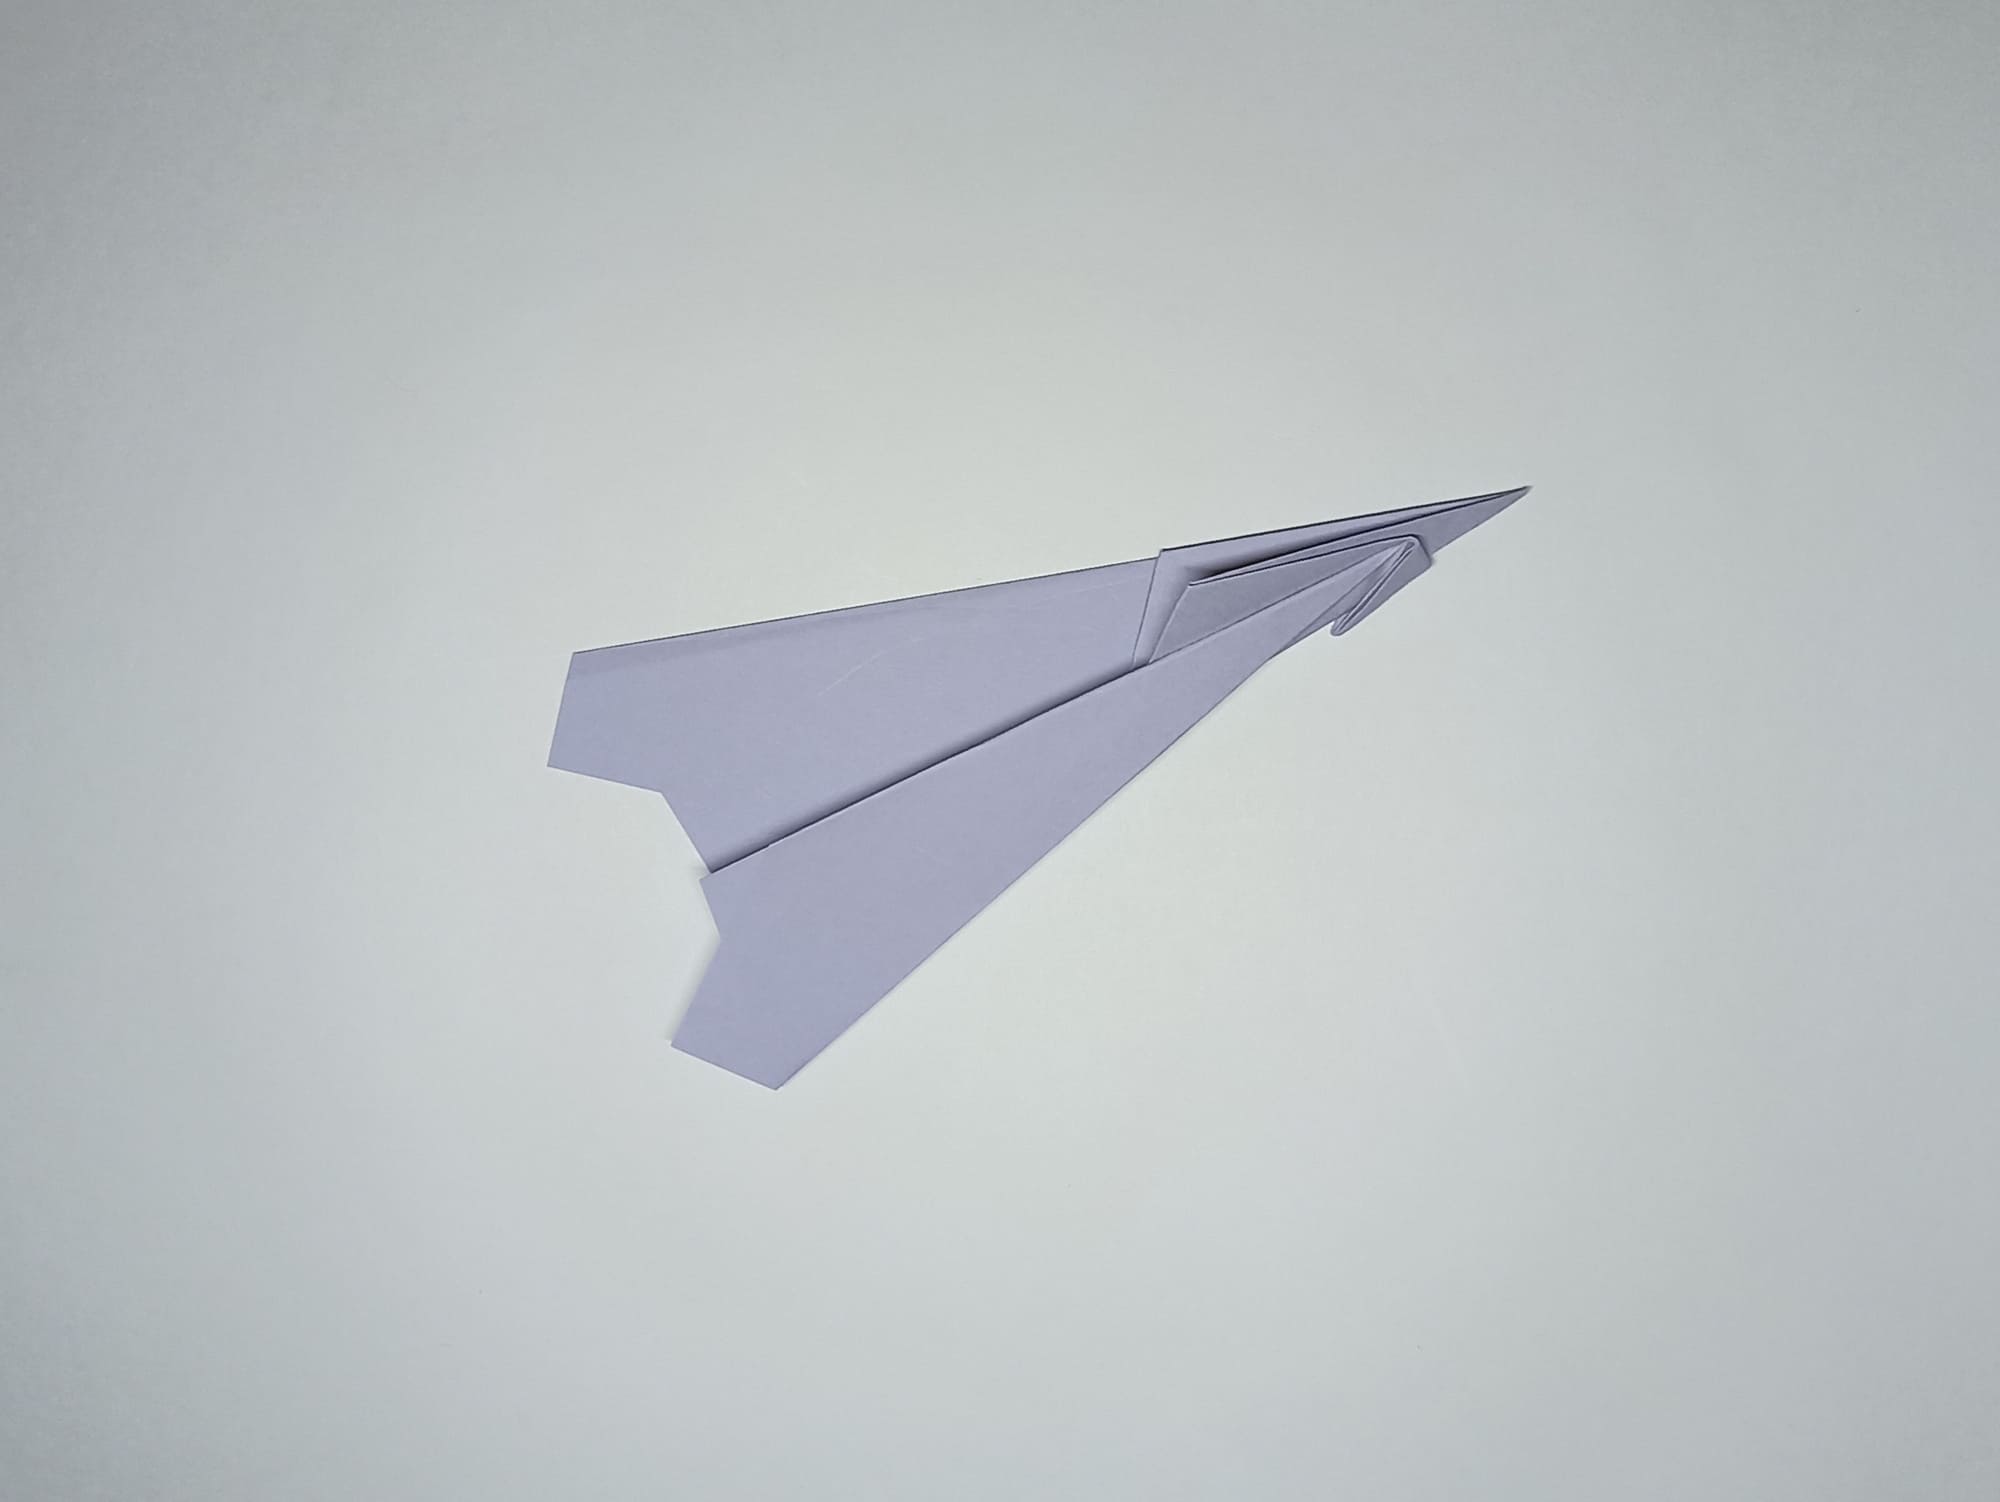
Close the entire figure along the vertical middle line, aligning the sides.
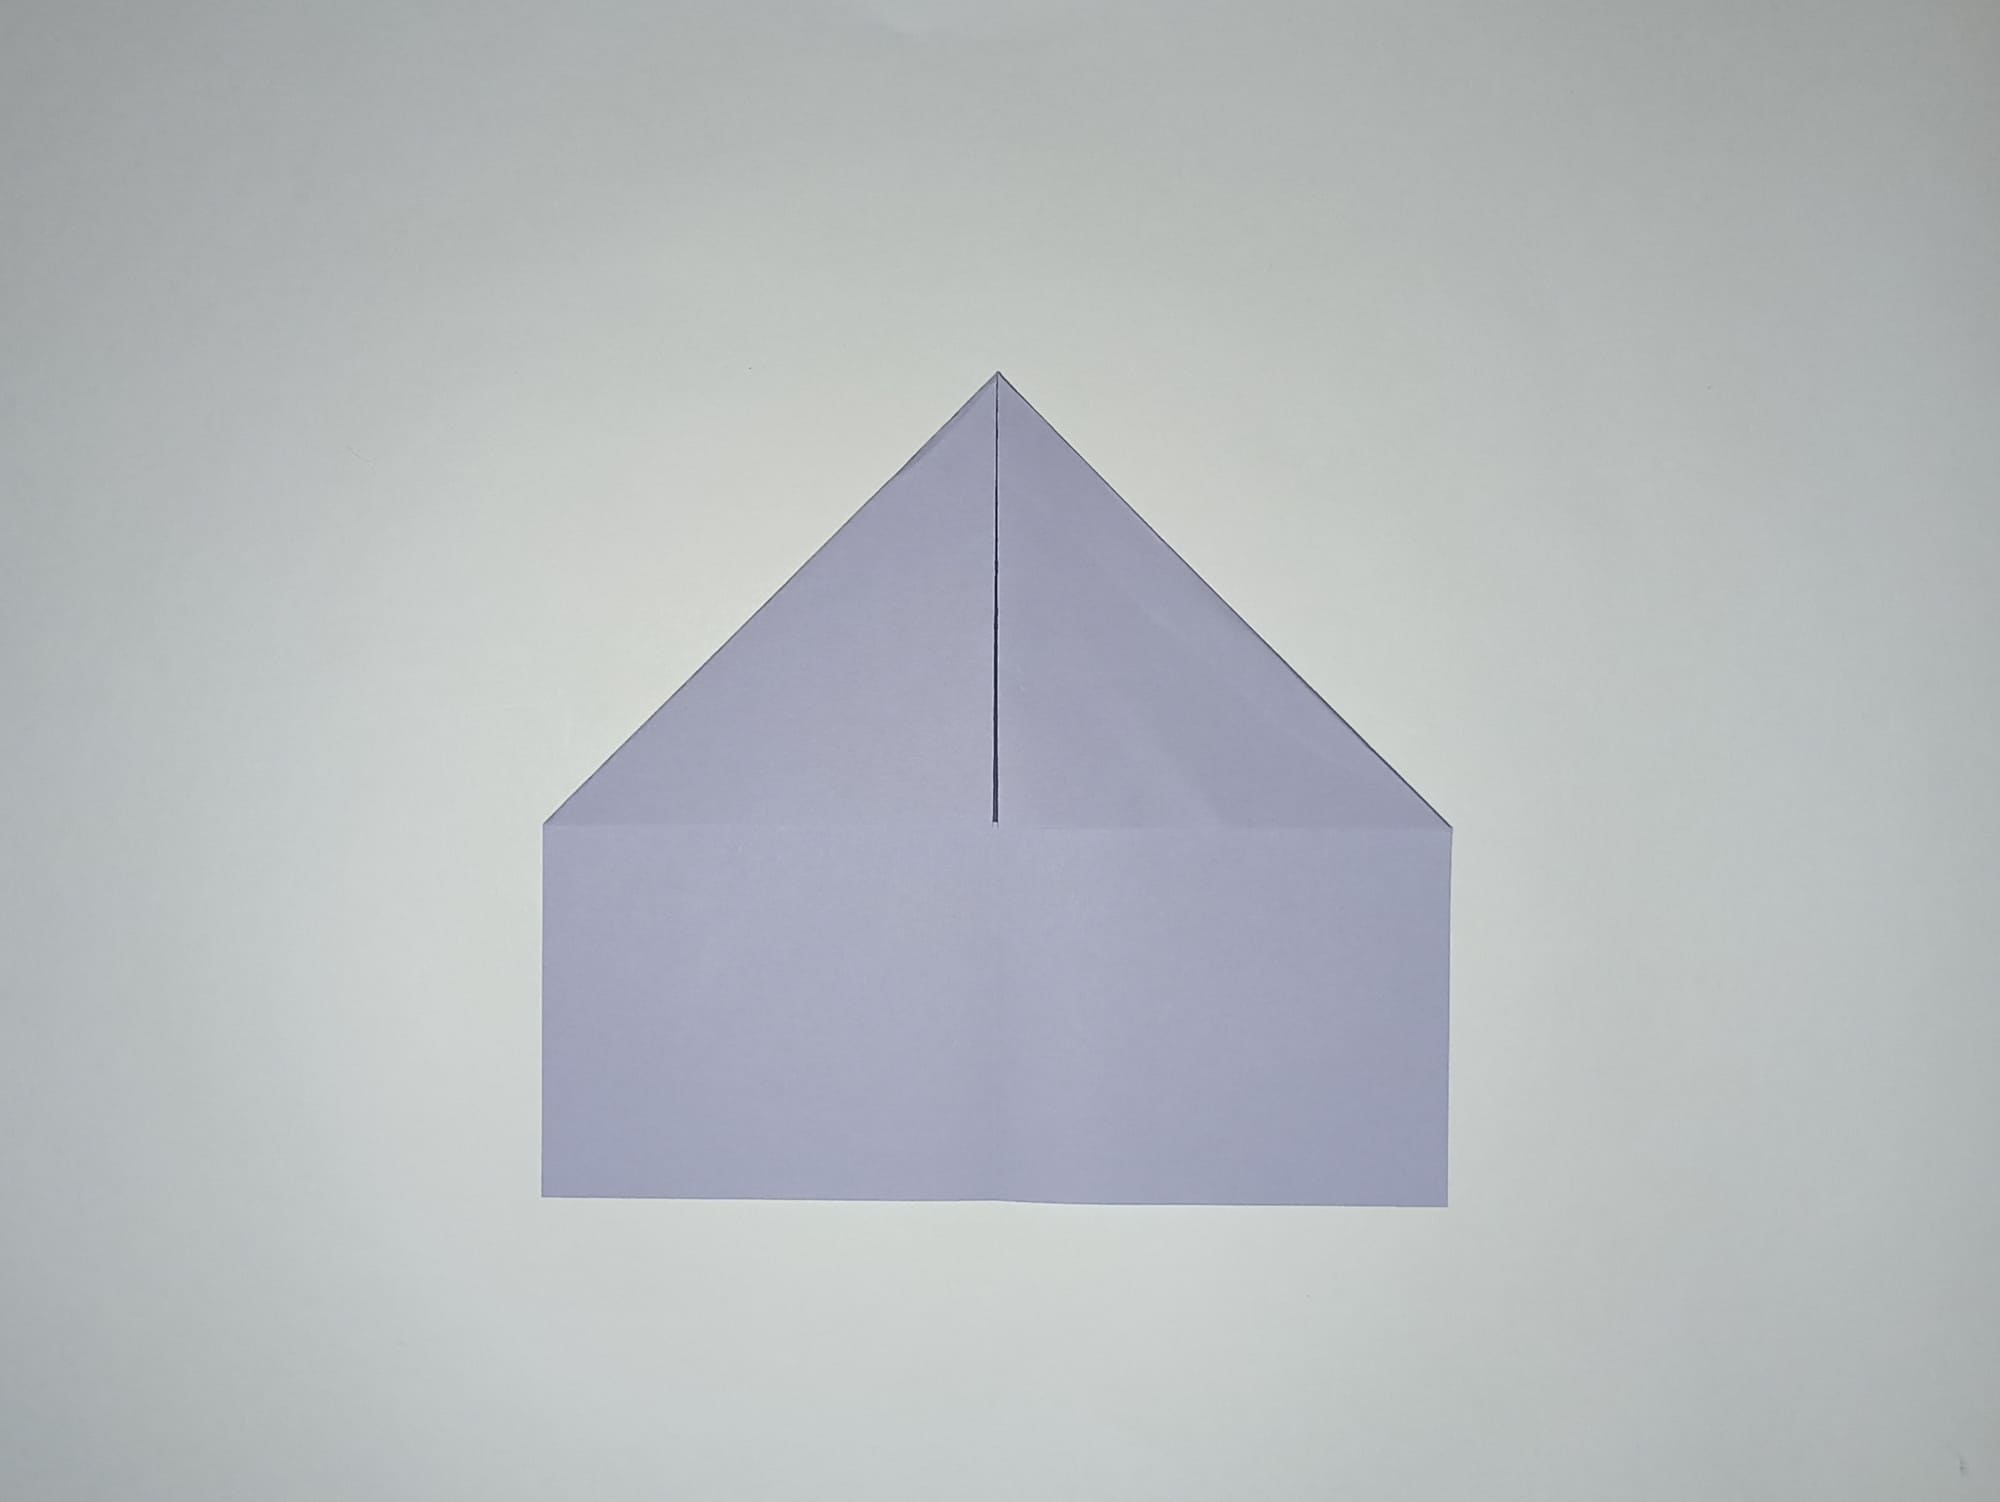
Bend the wings at a distance of about a centimeter from the main axis.
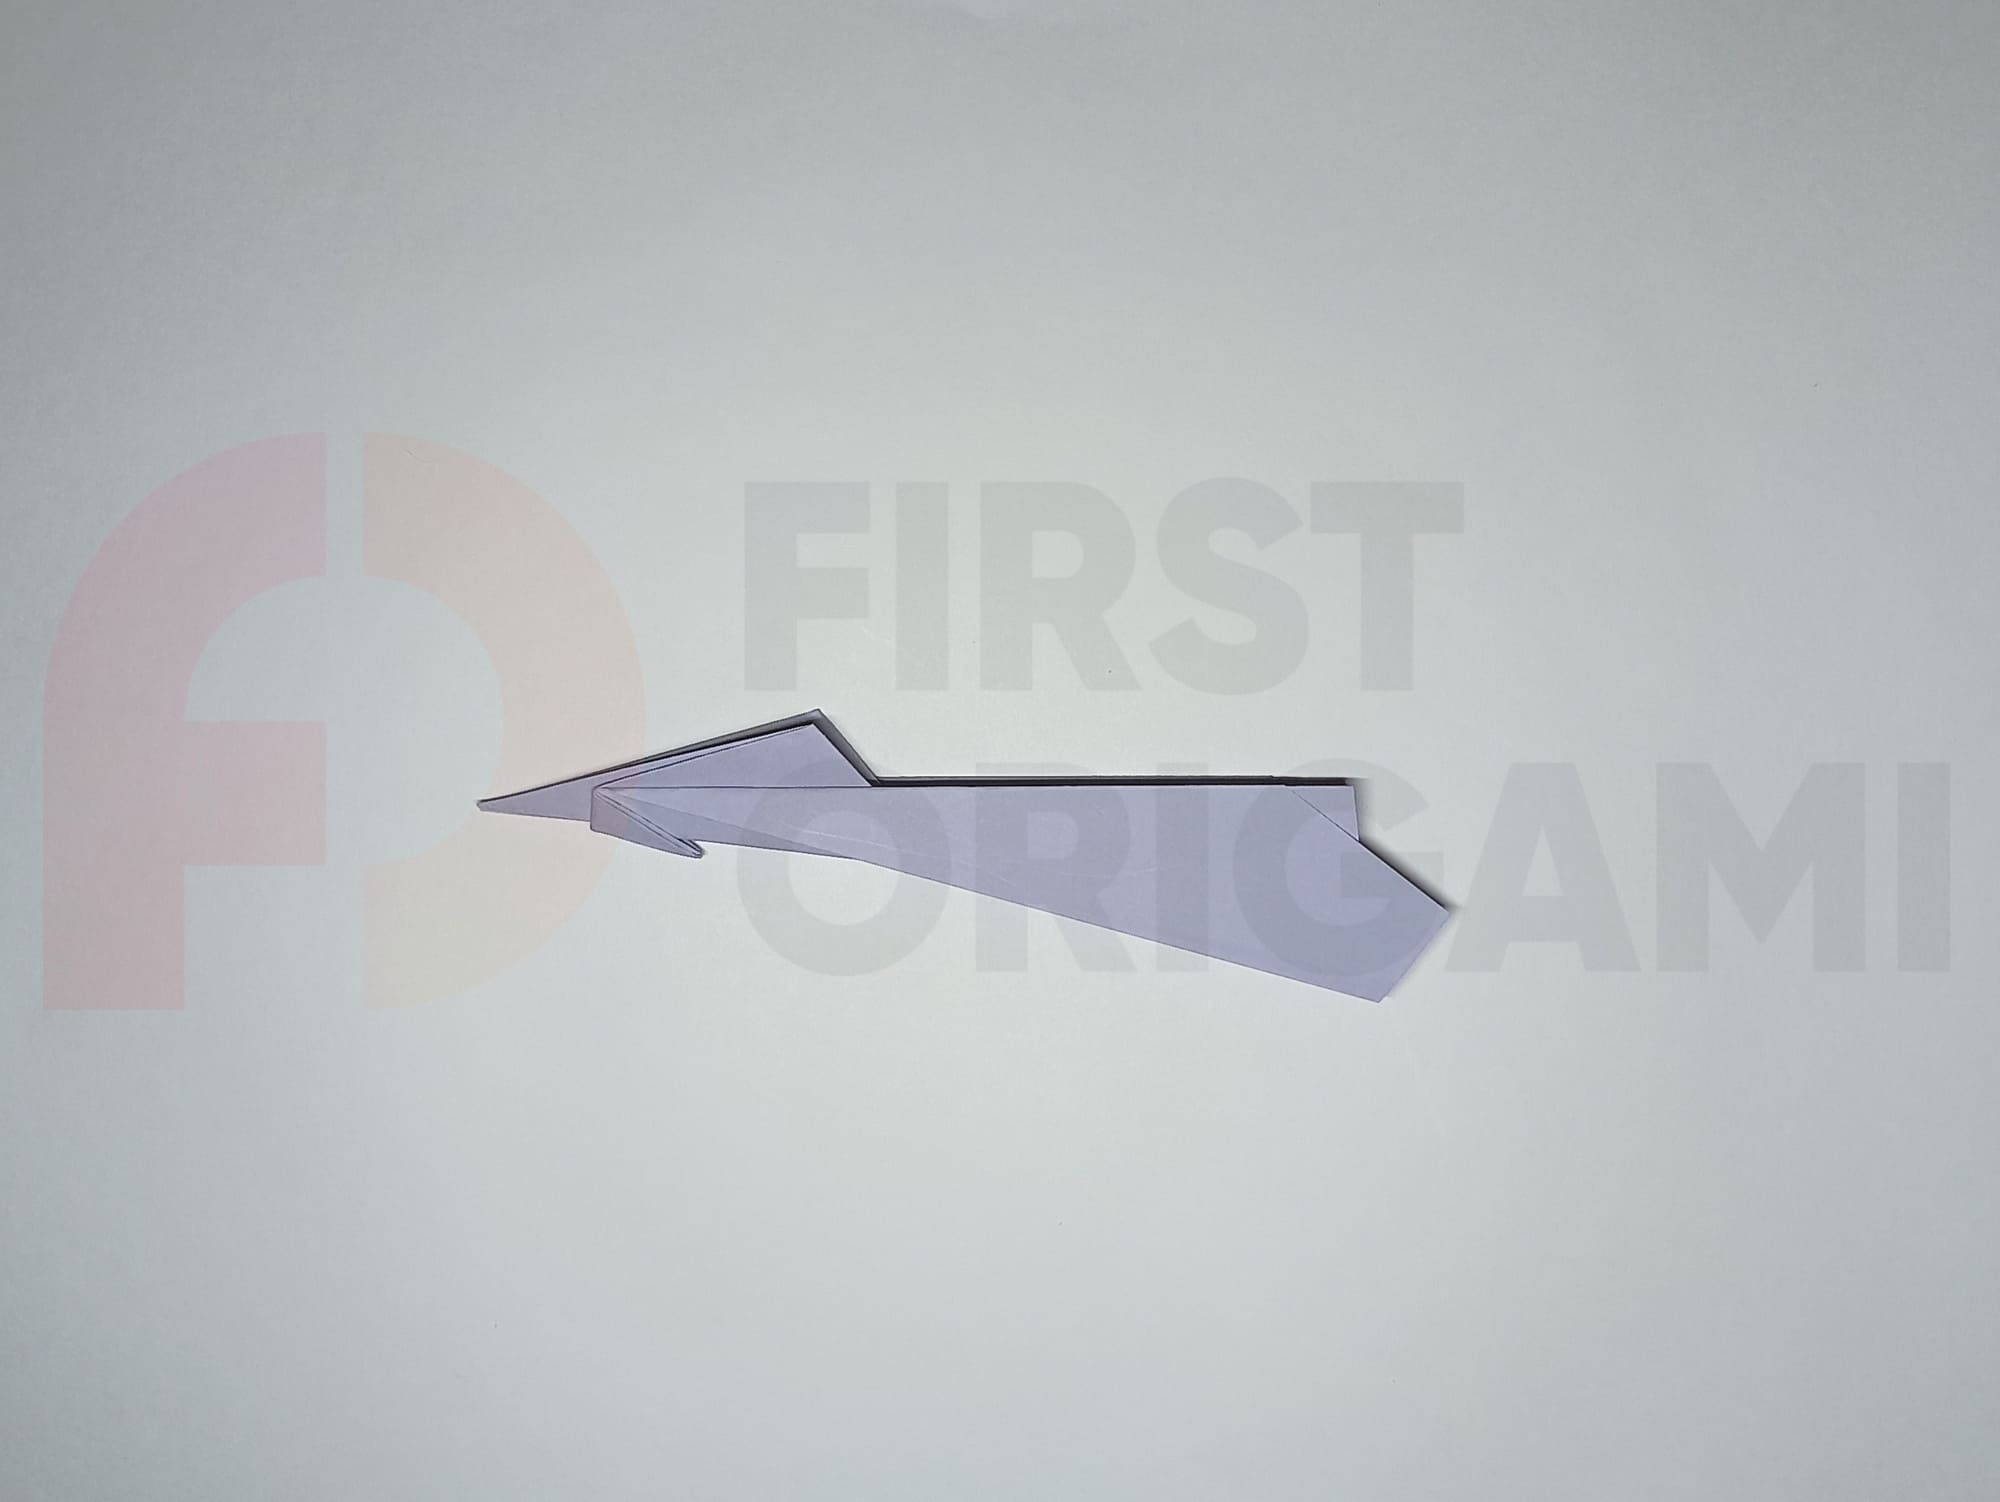
The angle can be changed.
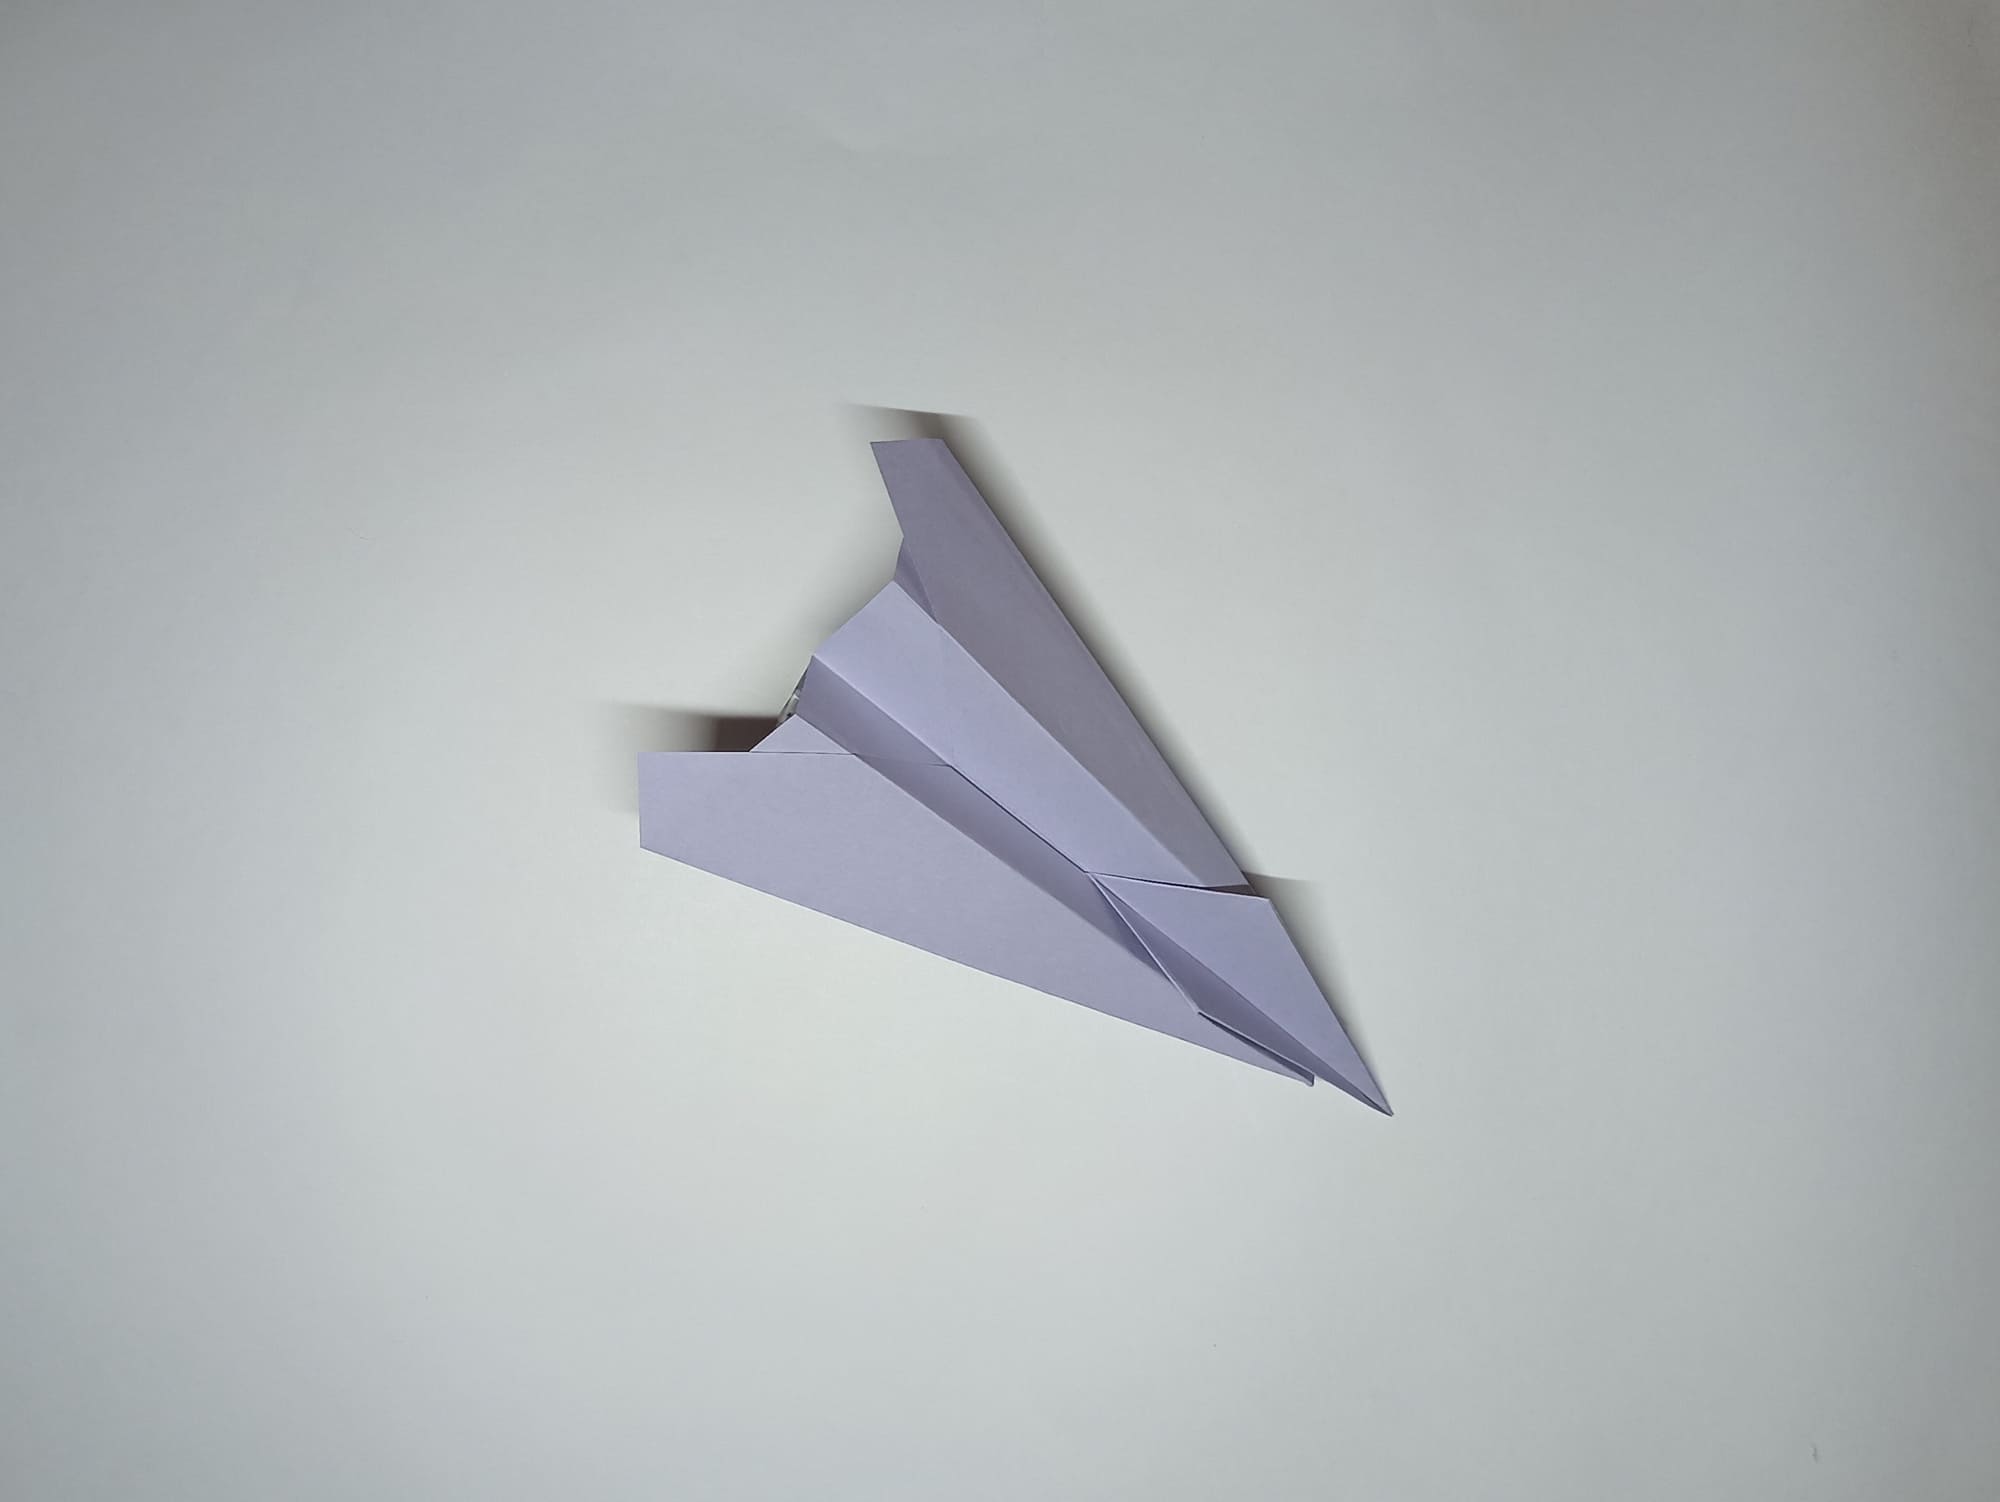
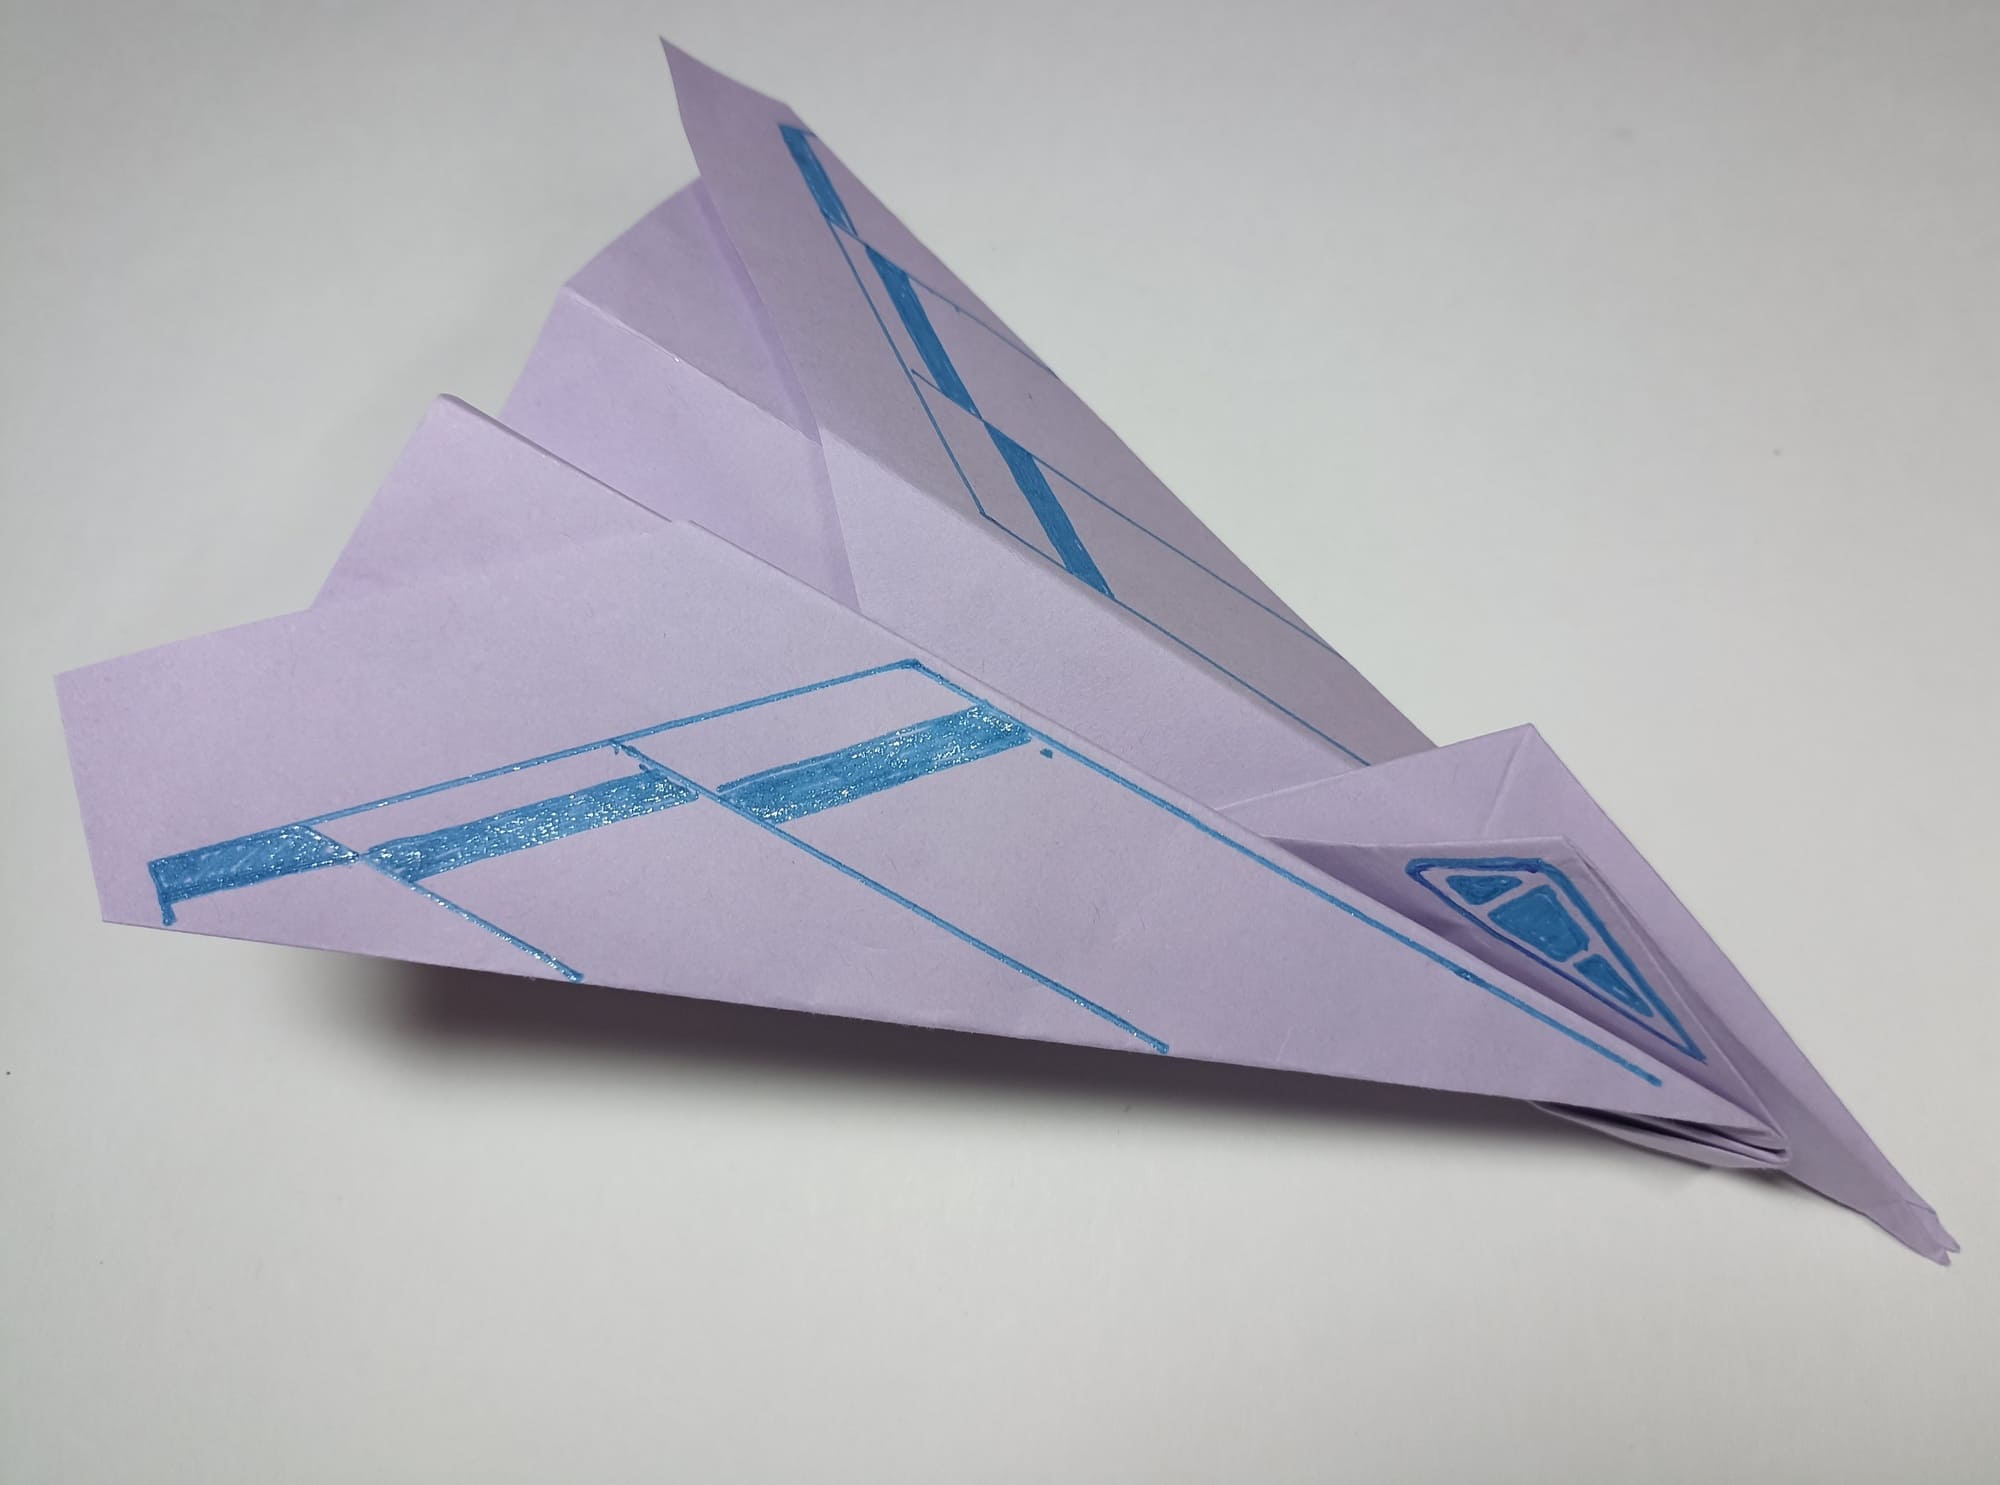
Here is the result!
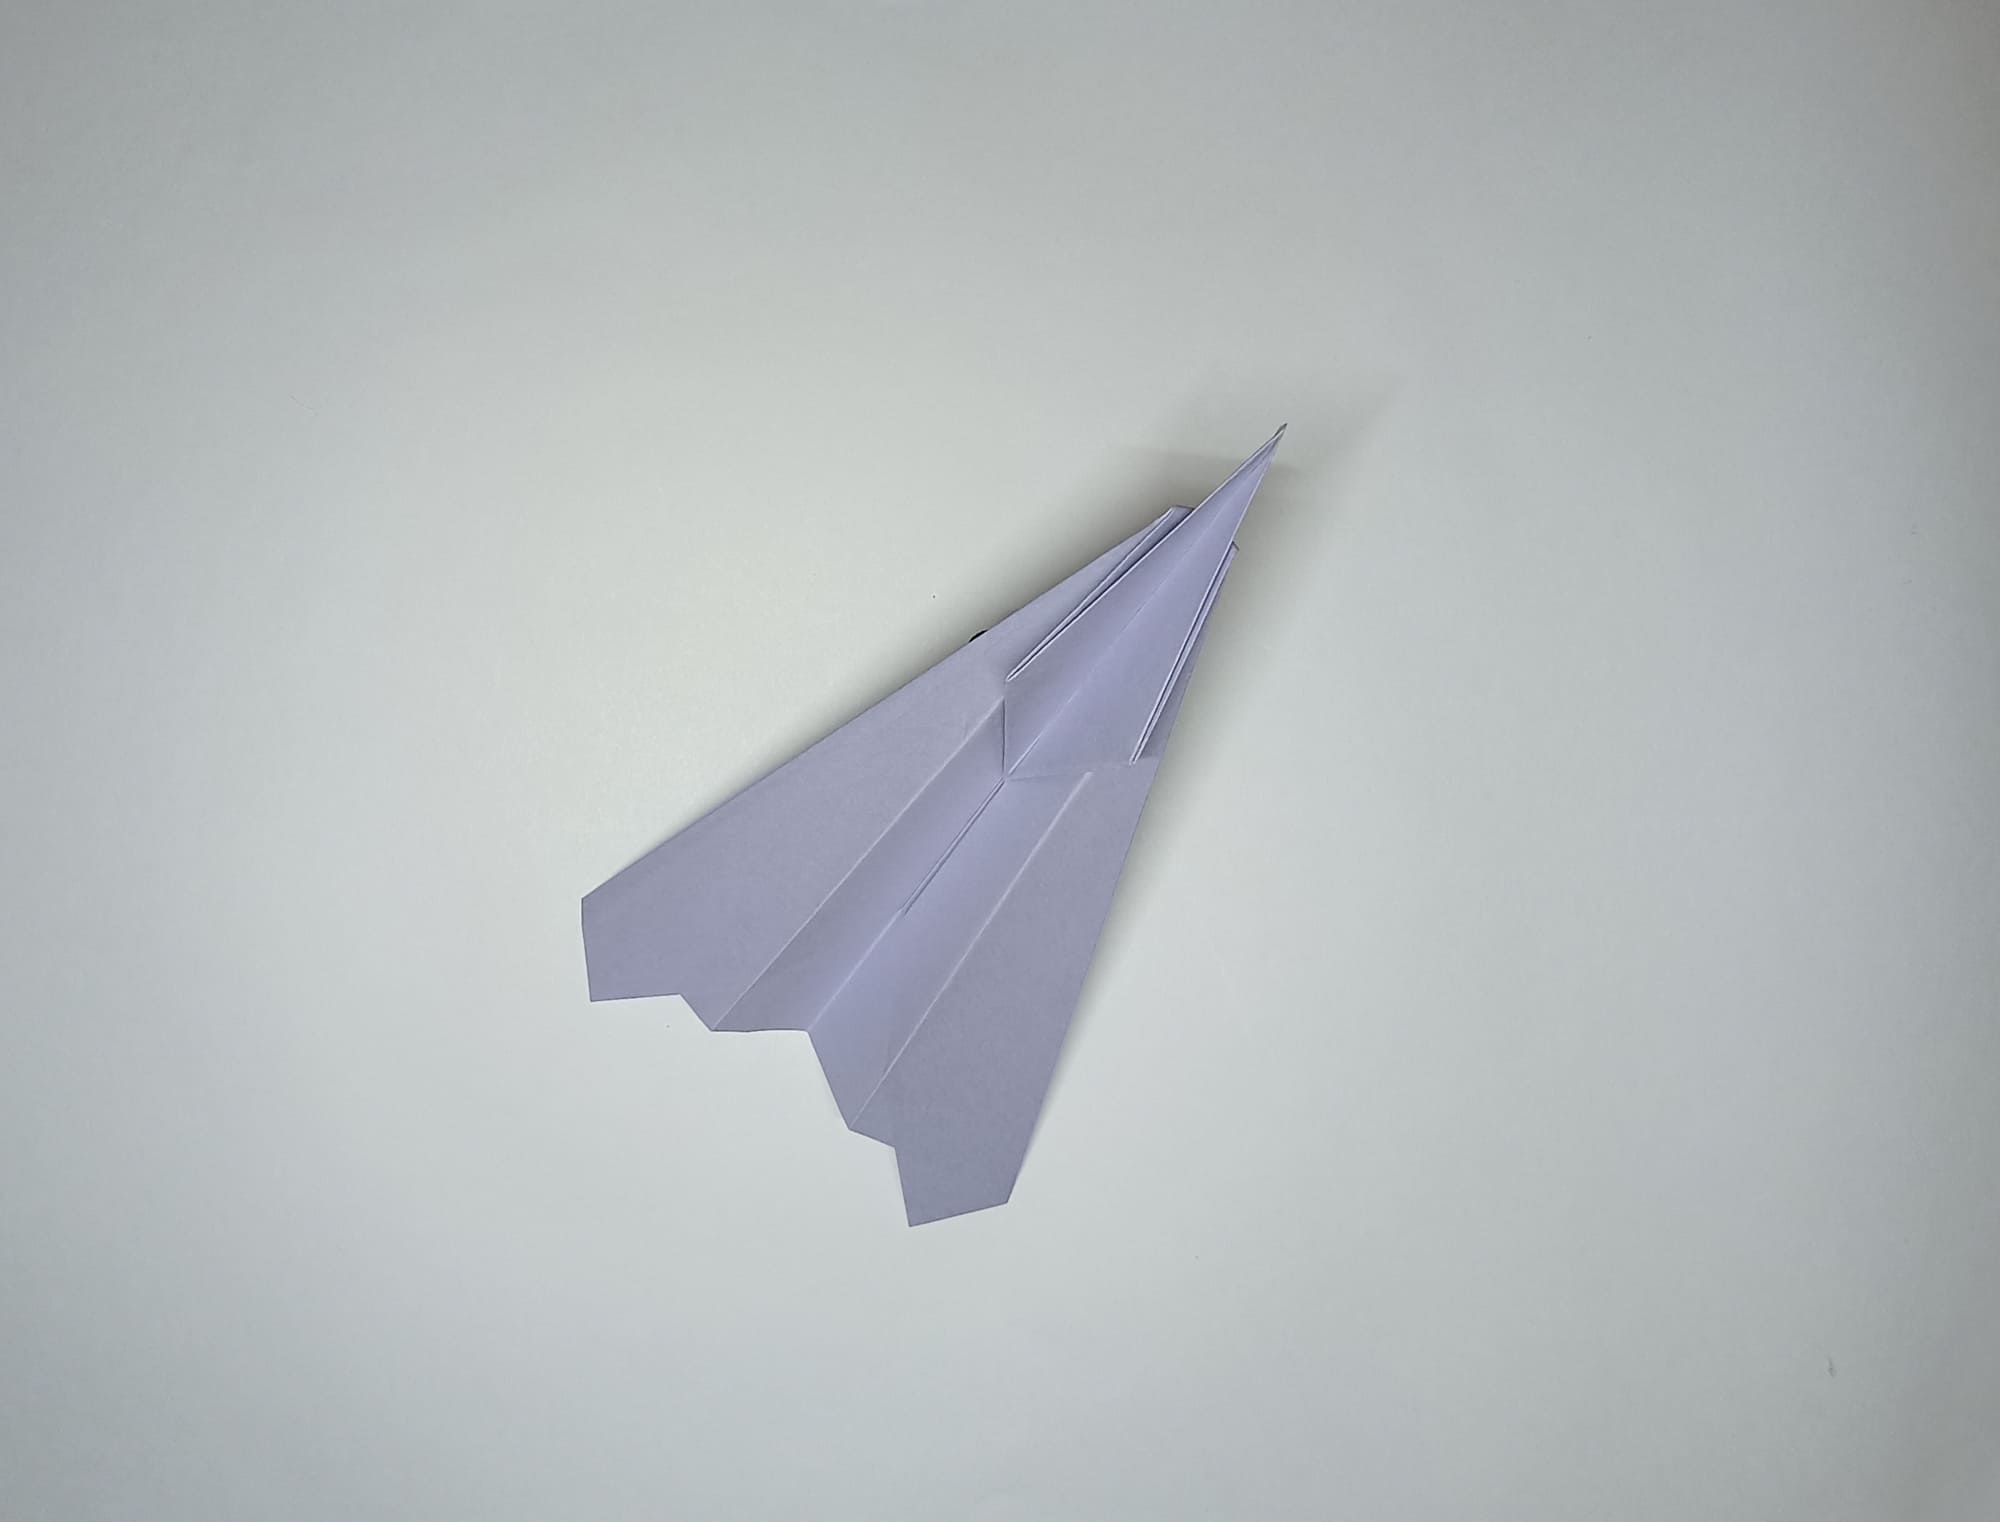
The protrusion of the upper fold is similar to the cockpit, where the pilot controls the aircraft. All that remains is to show your imagination and paint the airplane so that it does not look like any other model.


